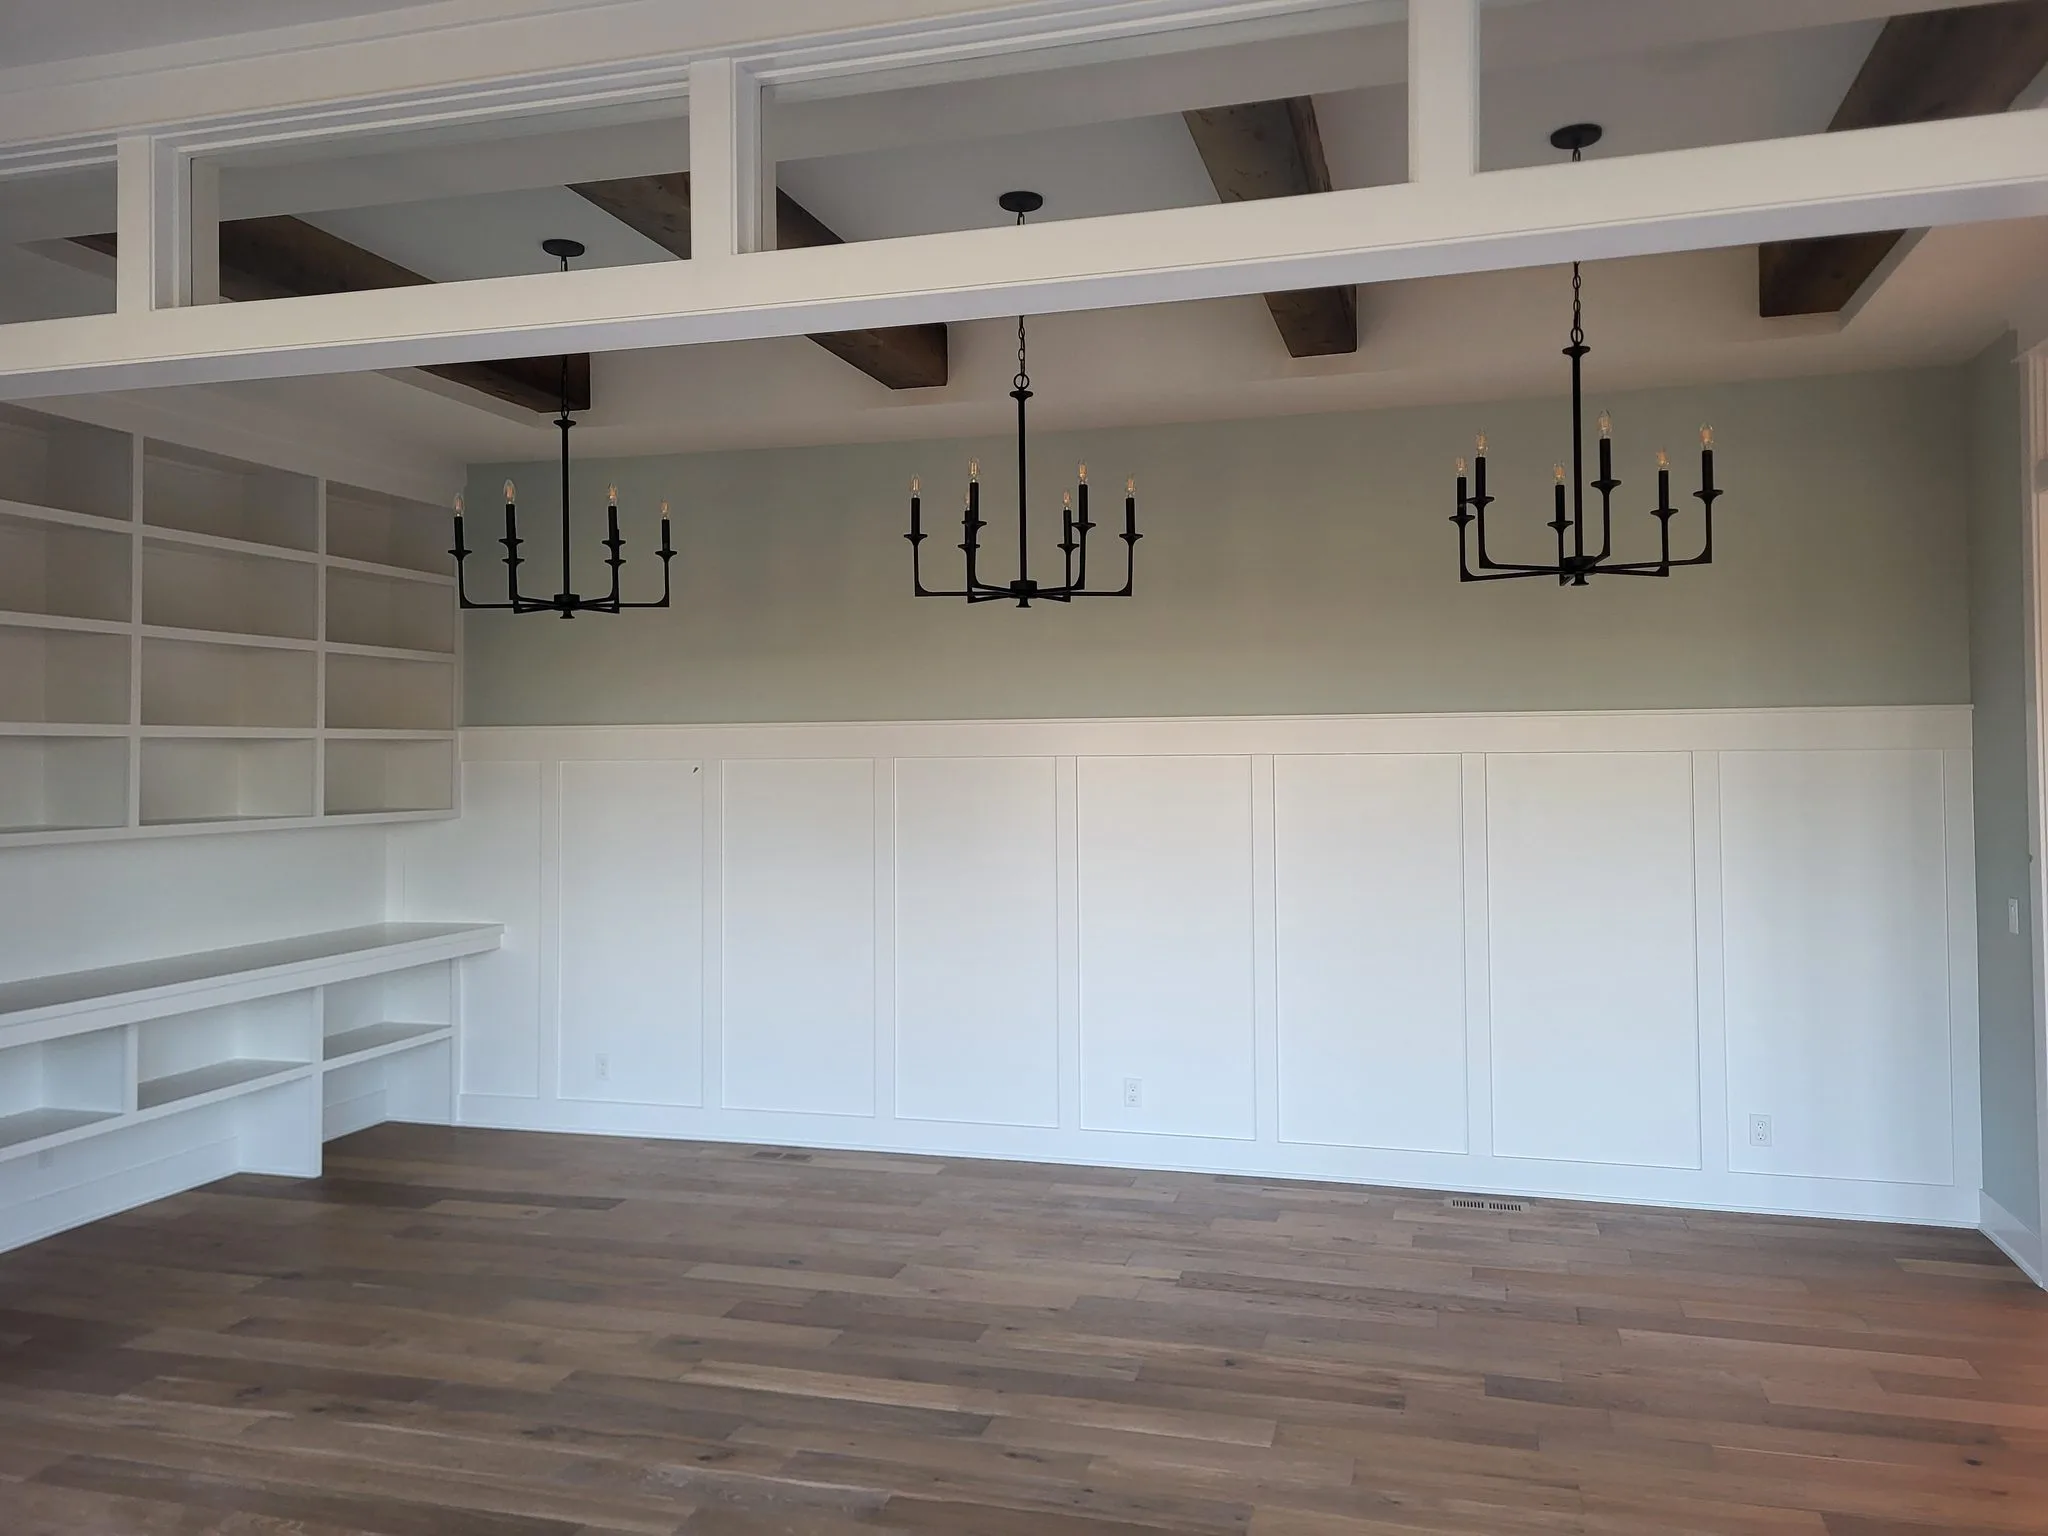
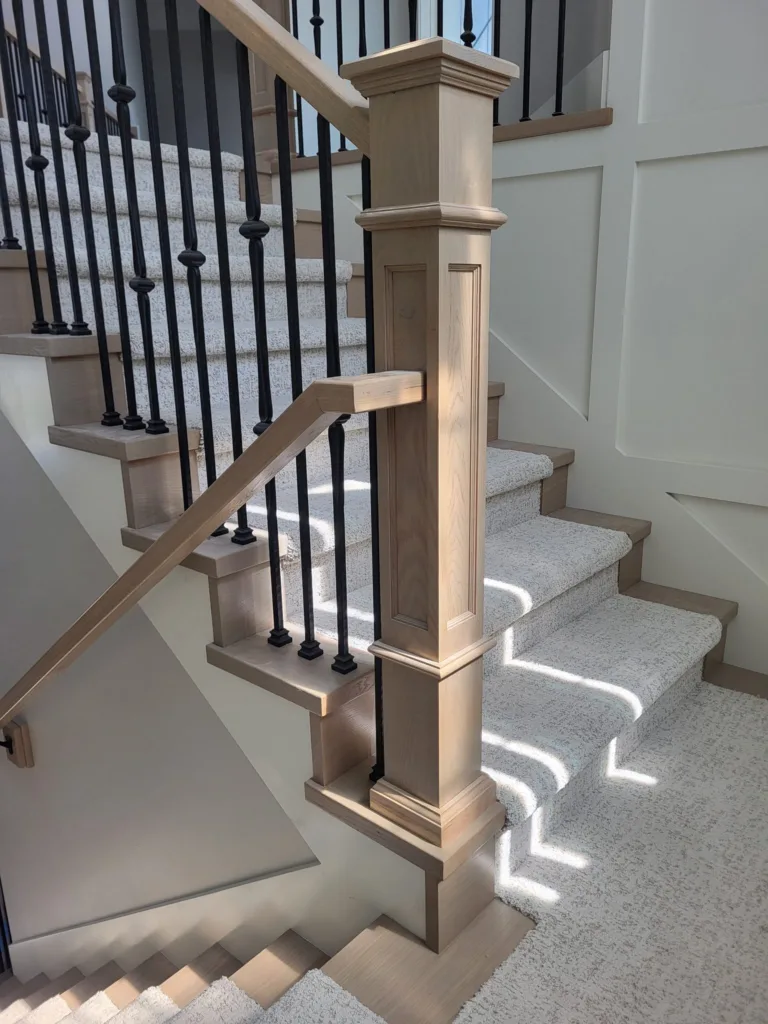
Trim carpentry is the work that people see, and mastering trim carpentry fundamentals is what separates professionals from amateurs. Framing gets buried behind drywall, plumbing hides inside walls, and electrical disappears behind cover plates - but trim is right there in plain sight, every day, for the life of the building. It’s the work that gets judged by homeowners, inspected by builders, and critiqued by every carpenter who walks through the door after you. The difference between a trim carpenter who produces quality work and one who doesn’t isn’t talent or natural ability - it’s discipline. It’s a set of habits applied consistently on every piece, every joint, every room.
These five guidelines aren’t secrets. They’re not advanced techniques reserved for master craftsmen with decades of experience. They’re fundamental trim carpentry principles that every carpenter should follow from day one - and that too many carpenters ignore because they’re in a hurry, because they think “close enough” is good enough, or because nobody taught them proper methods. Following these guidelines won’t make you slower. In fact, the opposite is true: carpenters who work with precision from the start spend less time fixing mistakes, ripping out bad work, and explaining callbacks to their foreman.
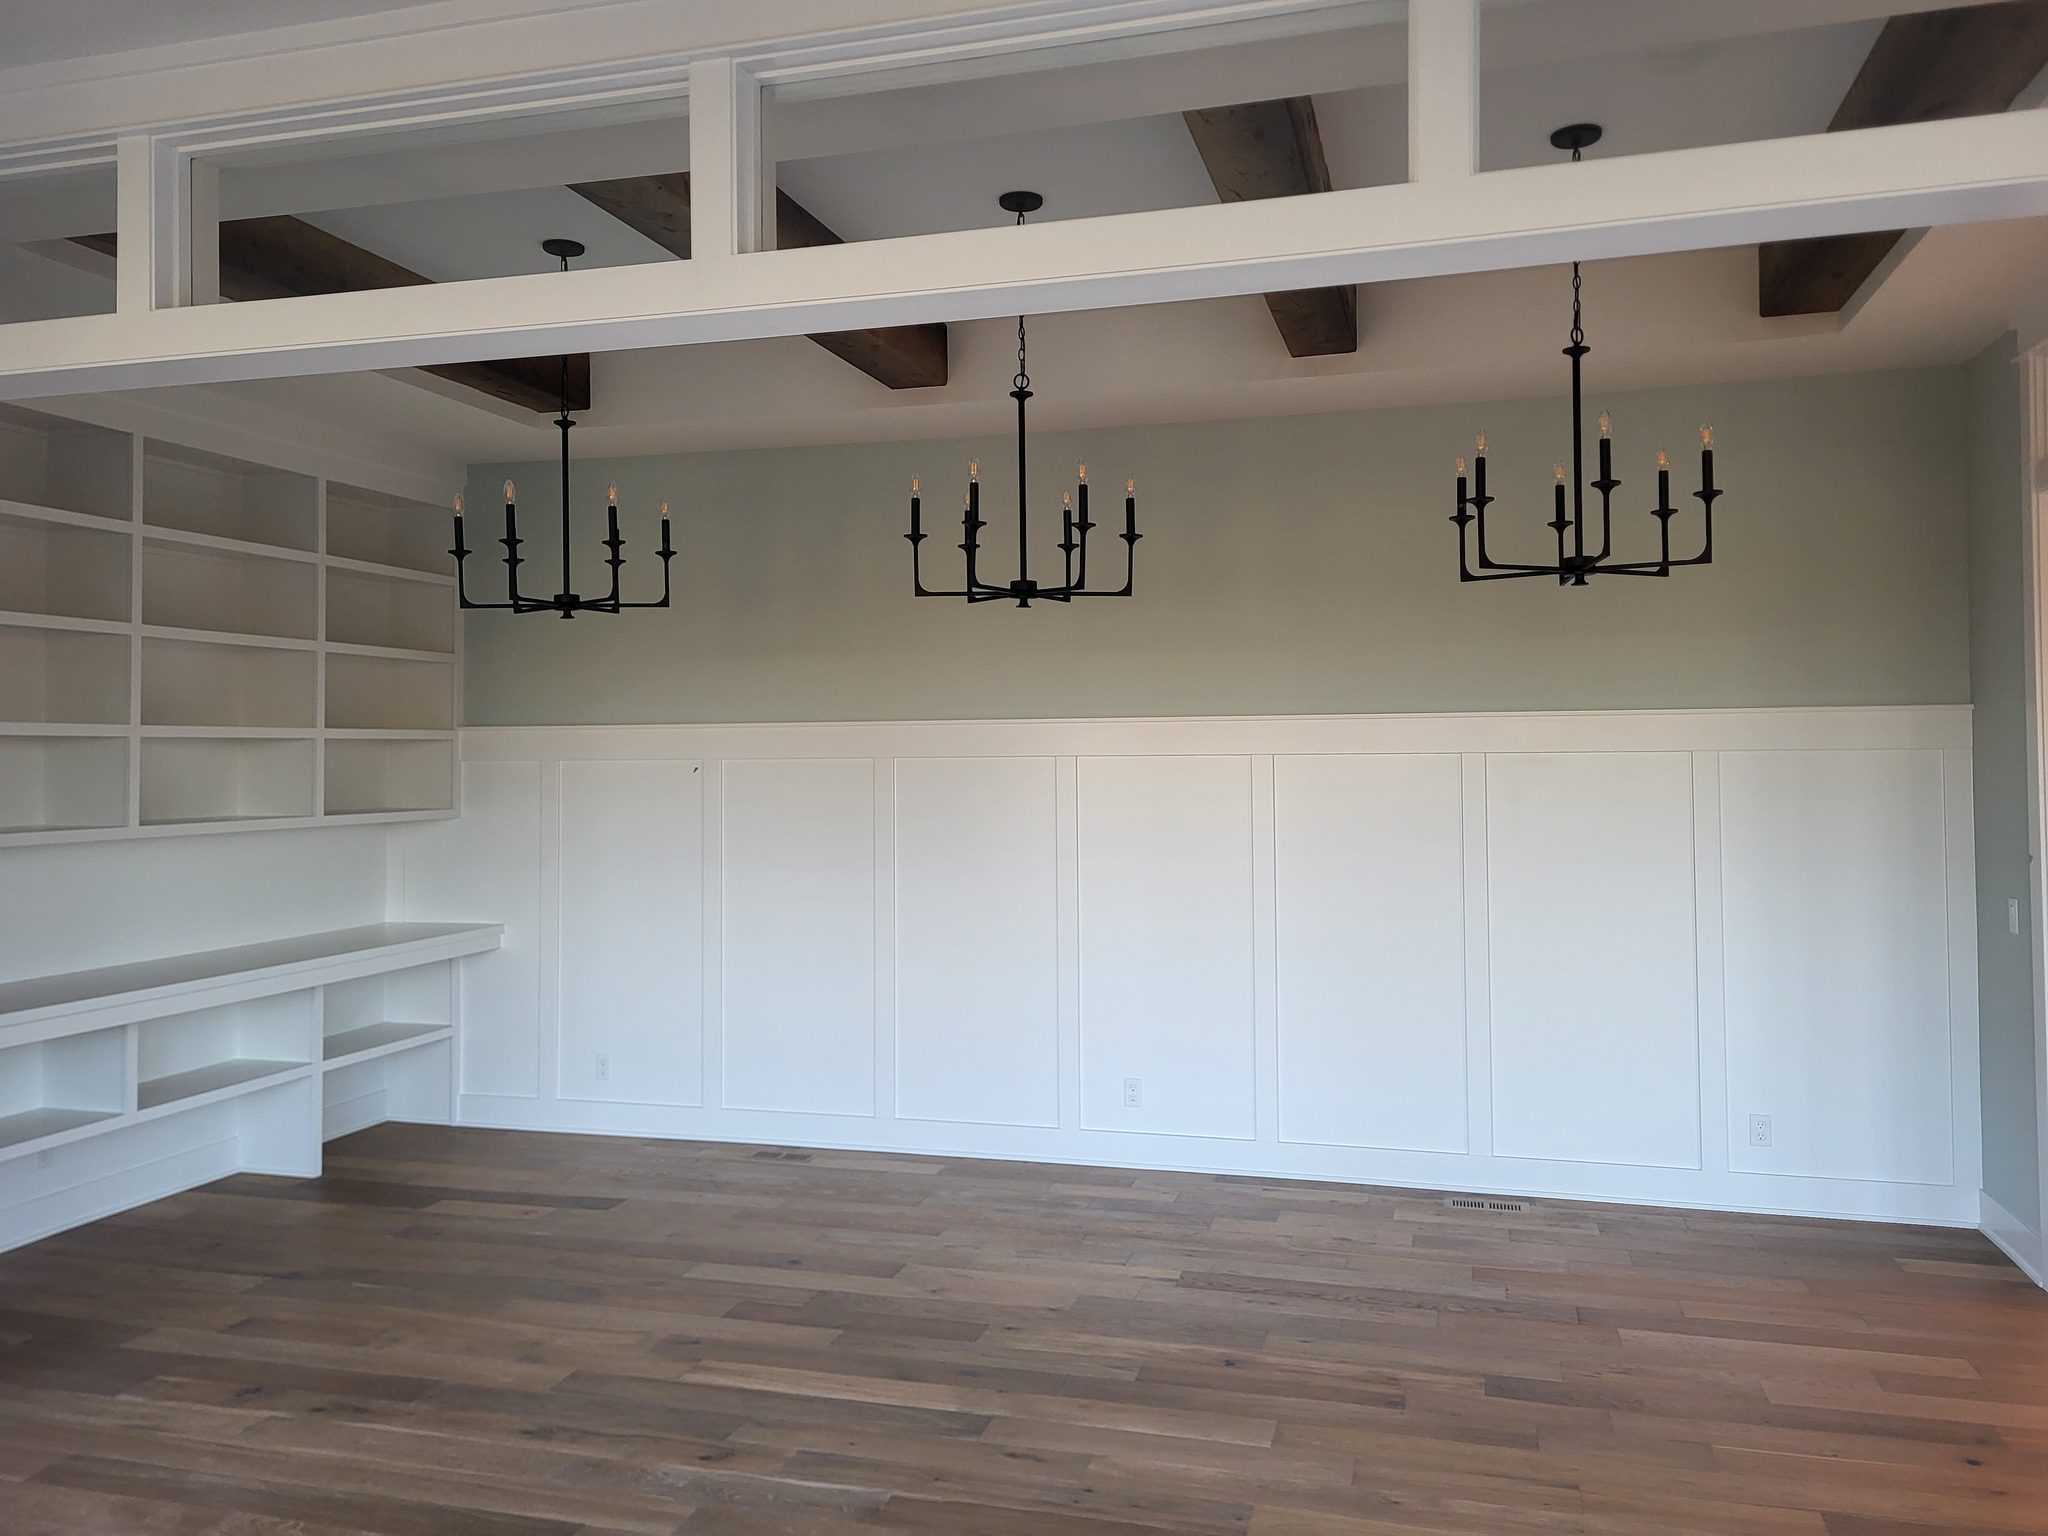
This trim carpentry guide applies to all trim work - baseboard, crown molding, door casing, window casing, chair rail, wainscoting, built-ins, and everything else that falls under the finish carpentry umbrella. Whether you’re running 500 linear feet of baseboard in a production tract home or hand-fitting stain-grade crown in a custom build, these same principles apply. The materials change, the profiles change, the complexity changes - but the fundamentals don’t.
Read through all five guidelines before your next job. Pick the one you struggle with most and focus on it deliberately. Within a week, it will start becoming automatic. Within a month, all five will be second nature. That’s how you go from acceptable to exceptional in trim carpentry - not by learning tricks, but by building habits.
A trim carpentry job gets judged one room at a time, so understand up front why trim carpentry rewards discipline more than raw skill: a careful carpenter who checks level and plumb on every piece will out-produce a fast carpenter who skips the checks, because trim carpentry mistakes cost far more time to fix than they would have cost to prevent in the first place.
Trim Carpentry Guideline 1: Achieve Level, Plumb, and Square
Why It Matters
Every piece of trim you install exists in relationship to the walls, floors, and ceilings around it. If you assume those surfaces are level, plumb, and square - and install your trim accordingly - you’ll produce work that looks wrong even when your cuts are perfect. The trim will gap at the floor, bow away from the wall, or produce joints that don’t close. In trim carpentry, everything downstream depends on understanding the actual conditions of the surfaces you’re working against. A carpenter who checks level, plumb, and square before cutting a single piece will always produce better work than one who assumes and adjusts later.
How to Check
For trim carpentry, use a spirit level (4-foot minimum) to check walls for plumb and floors for level at every location where trim will be installed. A laser level is valuable for long runs - setting a level line across an entire room for baseboard or crown. A carpenter’s square (framing square or combination square) checks corners for 90 degrees. Don’t just check one spot and assume the rest of the wall matches - walls can bow, twist, and lean at different points along their length. Check at the top, middle, and bottom of every wall you’re trimming.
Common Mistakes
The most common trim carpentry mistake is trusting walls and floors to be level and plumb - they almost never are. Drywall and framing introduce variations that are invisible to the eye but immediately apparent when you hold trim against them. Another common mistake is checking level once and assuming conditions are consistent across an entire room. Floors can be out of level by 1/2″ or more over the span of a single wall. Walls can bow 1/4″ in the middle of an 8-foot run. If you don’t check, you don’t know - and your trim will show it.
Real-World Application
Before casing a door, check the jamb for plumb on both sides and the header for level. If the jamb is out of plumb, your casing reveal will vary from top to bottom unless you compensate. Before running baseboard, check the floor for level along each wall. If the floor dips in the middle of a run, you’ll need to scribe the baseboard to follow the floor or the gap at the bottom will be visible. Before installing crown molding, check the wall-to-ceiling intersection - the angle is rarely a perfect 90 degrees, and the wall may not be plumb. These checks take seconds but save minutes (or hours) of rework.
Pro Tip: Develop the habit of placing your level against every surface before you measure or cut. Make it automatic - level on the wall, level on the floor, square in the corner. Do it every time, even when you think you already know the answer. The day you skip the check is the day the wall is 3/8″ out of plumb and you waste material on bad cuts. Consistency in checking produces consistency in results.
This is the standard trim carpentry work gets judged against, not the corner-cutting the guide warns about.
Trim Carpentry Guideline 2: Measure Twice, Cut Once the Right Way
Everyone knows the phrase “measure twice, cut once.” It’s the most repeated advice in carpentry - and the most commonly misunderstood. In trim carpentry, the point isn’t just to measure two times and hope you get the same number. The point is to verify your measurement before committing to an irreversible cut. But more importantly, it’s about measuring the right way in the first place. A bad technique measured twice still gives you a bad cut. The specific method you use to take and transfer measurements matters more than simply doing it twice.
Hook-End vs. Burn-an-Inch
The hook on the end of your tape measure is designed to slide - it compensates for its own thickness when you push it against an inside surface versus hook it on an outside edge. But hooks wear out, bend, and introduce error. For measurements that require precision (and all trim measurements do), consider “burning an inch” - line up the 1-inch mark at your starting point instead of the hook end, then subtract 1 inch from your reading. This eliminates hook-end error entirely. Just make sure you always remember to subtract that inch - marking your tape with a small piece of tape at the 1-inch mark can serve as a visual reminder.
Story Sticks
A story stick is a piece of scrap material - a strip of wood, a piece of lath, even a length of baseboard - that you use to transfer a dimension directly without reading a number. Hold the stick in the opening, mark the exact length on the stick, then transfer that mark to the material you’re cutting. This eliminates reading errors, transposition errors, and rounding errors. Story sticks are especially valuable for openings that aren’t perfectly square - you can mark the exact length at the top and bottom of the opening on separate sticks and transfer both marks to your material. Use story sticks whenever possible instead of tape measures for critical dimensions.
Direct Transfer
The most accurate measurement is no measurement at all. Whenever possible, hold the actual piece of trim in position and mark it directly from the surfaces it will meet. For baseboard, hold the piece against the wall and mark the length directly from the corner or the casing edge. For casing, hold the piece against the jamb and mark the miter cut from the reveal line. Direct transfer eliminates every source of measurement error - the only thing that can go wrong is an inaccurate mark, and that’s easy to verify before you cut.
Accounting for Saw Kerf
Every saw blade removes material - the kerf. A standard 10-inch miter saw blade has a kerf of approximately 1/8″. If you line your mark up with the center of the blade, you’ll cut the piece 1/16″ short. Always cut on the waste side of the line - position the blade so the kerf falls entirely in the scrap, not in the piece you’re keeping. This is basic, but it’s missed often enough that it’s worth stating explicitly: the blade goes on the waste side of the line, every time, no exceptions.
Pro Tip: When you’re measuring for a piece that fits between two walls or between two casings, always measure at the point where the trim will actually sit - not at the floor, not at the ceiling, not at the top of the wall. Baseboard sits at the floor, so measure at the floor. Crown sits at the ceiling, so measure at the ceiling. Walls aren’t parallel to each other, so a measurement at the floor may be 1/4″ different from a measurement at the ceiling. Measure where the piece goes.
Trim Carpentry Guideline 3: Master Your Joints
Joints are where trim carpentry skill becomes most visible. A tight, clean joint looks professional. A gapped, misaligned joint screams amateur. The difference comes down to knowing which joint to use in each situation, executing it properly, and taking the time to fine-tune the fit before nailing. There is no substitute for practice, but understanding the theory behind each joint type accelerates the learning process.
Inside Corners: Cope vs. Miter
In trim carpentry, inside corners give you two options: a miter joint (both pieces cut at 45 degrees) or a coped joint (one piece runs into the corner, the other is profile-cut to fit against it). For paint-grade trim, coped joints are almost always superior. A coped joint stays tight even when the walls move or the house settles, because the coped piece presses against the profile of the other piece. A mitered inside corner opens up as the wood shrinks or the walls shift. Mitered inside corners are acceptable for small, flat profiles (like simple ranch casing) or for stain-grade work where the grain match matters. For baseboards, crown molding, and any profiled trim in paint-grade applications - cope the inside corners.
Outside Corners: The 46.5-Degree Technique
Outside corners should always be mitered. But here’s a technique that many production carpenters use: instead of cutting both pieces at exactly 45 degrees, cut them at 46.5 degrees (or even 47 degrees). This slightly steeper angle causes the front edge of the miter to close tightly while leaving a tiny gap at the back. Since you see the front edge and not the back, the joint looks perfect. A true 45-degree miter only works if the corner is exactly 90 degrees - and most corners aren’t. The 46.5-degree technique compensates for slight variations in wall angle and produces a tighter-looking joint on nearly every outside corner you encounter.
An outside miter with the front edge pulled tight. That front edge is the only part anyone ever sees, which is the whole reason for cutting a hair past 45 degrees.
Scarf Joints (Splices)
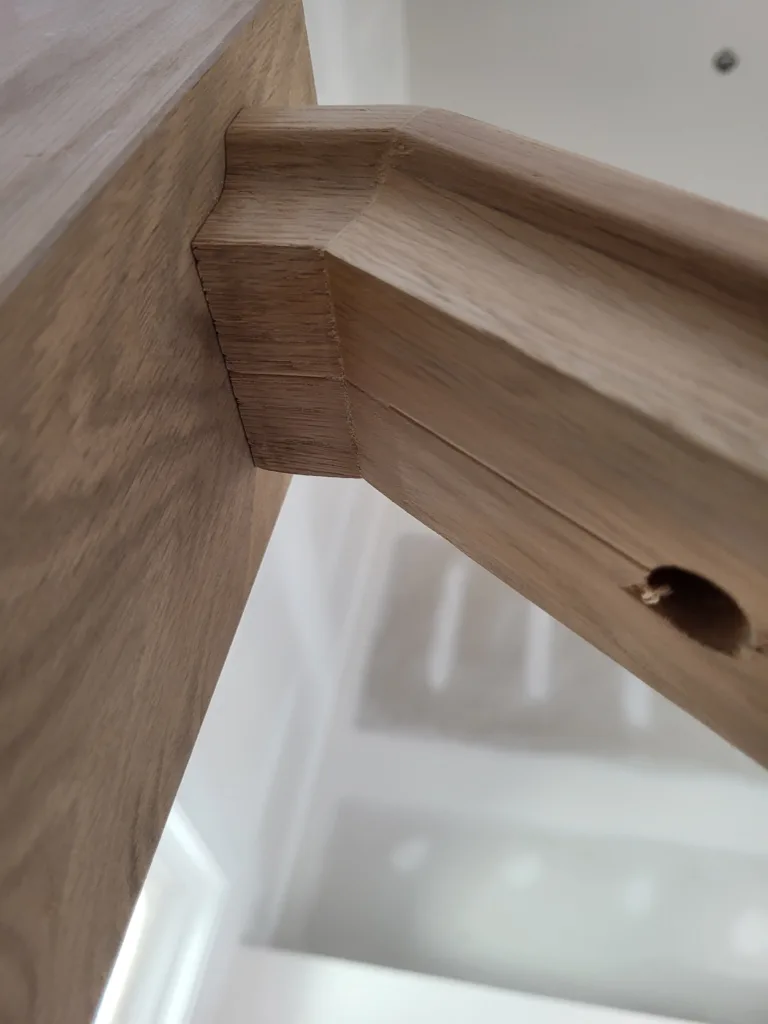
When a wall is longer than your trim material, you need a splice. Never butt two pieces end-to-end - the joint will be visible immediately and will open up over time. Instead, use a scarf joint: cut both pieces at opposing 45-degree angles so they overlap. Always locate the scarf joint over a stud so you can nail through both pieces into solid framing. The direction of the overlap matters - the piece closer to the main entry or the most common viewing angle should be on top, so the shadow line of the joint is less visible from the primary viewpoint.
Butt Joints
Butt joints - where one piece simply meets another at a 90-degree cut - are acceptable where trim meets a casing, a plinth block, or a corner block. They are not acceptable as splices or at inside corners for profiled trim. When you use a butt joint, the cut end must be clean, square, and tight to the surface it meets. Any gap at a butt joint is immediately visible and looks sloppy.
Glue Every Outside Miter and Splice
This is non-negotiable. Every outside miter joint and every scarf joint gets glue - wood glue applied to both mating surfaces before the joint is assembled and nailed. Glue prevents the joint from opening as the wood shrinks seasonally. Nails hold the piece to the wall, but glue holds the joint together. Without glue, an outside miter will open within the first heating season as the wood dries and contracts. With glue, the joint stays tight for the life of the trim. No exceptions.
Pro Tip: When coping inside corners, make your miter cut first (45 degrees to expose the profile), then follow the profile line with a coping saw. Angle the coping saw back slightly (called back-cutting) so that only the very front edge of the cope contacts the adjoining piece. This makes the fit easier to fine-tune - you can shave the back without affecting the visible front edge. Test the fit before nailing, and use a round file or sandpaper to adjust any tight spots. A well-coped joint should press tight against the profile of the other piece with zero gap visible from the front.
Trim Carpentry Guideline 4: Consistent Reveals and Margins
What a Reveal Is
In trim carpentry, a reveal is the intentional offset between two surfaces - the small step where one piece of trim sits back from the edge of another. The most common example is the reveal between door or window casing and the jamb. Instead of setting the casing flush with the inside edge of the jamb, you set it back approximately 3/16″ to create a small, consistent step. This reveal serves two purposes: it creates a clean visual line (a shadow line that defines the transition), and it gives you forgiveness on alignment - a 3/16″ reveal is much easier to keep consistent than a flush edge, which shows every minor variation.
Standard Reveals
The standard reveal for door and window casing is 3/16″ (approximately the thickness of two nickels stacked). Some builders specify 1/4″, others specify 1/8″ - always check the job specifications or ask the builder. Whatever the dimension is, it must be the same on every door and window in the house. Consistency across the entire project matters more than the exact dimension. A 1/4″ reveal that is perfectly consistent on every opening looks better than a 3/16″ reveal that varies from door to door.
Use a Jig or Spacer
Don’t eyeball your reveals. Make a simple jig - a small block of wood cut to the exact reveal dimension - and use it on every opening. Set the jig against the inside edge of the jamb, butt the casing against the jig, and mark or nail. This guarantees the same reveal on every piece. Some carpenters use a combination square set to the reveal dimension, which works just as well. Others use a self-centering reveal gauge (available at most hardware stores). The tool doesn’t matter - what matters is that you use something instead of guessing.
The Eye Catches Inconsistency
Here’s the key insight about reveals: the human eye doesn’t notice whether a reveal is 3/16″ or 1/4″. But it absolutely notices when the reveal on the left side of a door is different from the reveal on the right side, or when the reveal at the top of the casing doesn’t match the sides. The eye catches inconsistency instantly, even at small scales. A reveal that wanders - wide at the top, narrow in the middle, wide at the bottom - looks far worse than a reveal that is slightly off the specified dimension but perfectly consistent from top to bottom. Consistency trumps precision every time.
Pro Tip: When setting reveals on door and window casing, mark the reveal on the jamb at the top corners first - these are the most visible points and set the reference for everything else. Use your jig to mark a small pencil line on the jamb at each corner where the casing miter will land. Then align your casing to those marks. If the jamb is slightly out of plumb, you may need to adjust the reveal slightly from top to bottom to follow the jamb - a consistent reveal that follows a slightly out-of-plumb jamb looks better than a reveal that’s perfect at the top and gapped at the bottom.
Trim Carpentry Guideline 5: Finish the Details
Installing the trim is the job. The finish details that come after it are short, but they are the difference between a wall a painter can work with and one that costs him an hour. Two things matter here, and one thing matters just as much: knowing where our work stops.
Set Every Nail Below the Surface
Every fastener gets set below the surface of the trim. Not flush, not proud, below. A nail left sitting proud has to be found and driven by somebody else later, and a nail head at the surface will telegraph through the finish.
Run the gun so the tip seats consistently, check your depth on scrap when you change material or move to a different profile, and hand-set anything the gun could not reach cleanly. When you walk a room at the end, run your hand over the trim rather than just looking at it. Your fingertips find a proud nail that your eye slides right past.
Glue Squeeze-Out
When you glue an outside miter or a scarf joint, some glue will squeeze out when the joint closes. Clean it immediately with a damp cloth or sponge - do not wait for it to dry. Dried glue creates a hard, shiny spot that shows through the finish. If you catch it while it is still wet, one wipe with a damp cloth removes it completely. If you miss it and it dries, somebody has to scrape it off and rework the surface, which takes ten times longer and risks damaging the trim. Keep a damp rag in your back pocket or tool belt specifically for glue cleanup.
Where Our Scope Ends
Filling fastener holes, sealing the gap between trim and wall, and any sanding, priming or finishing belong to the painter. That is not us being lazy about details. It is a scope line, and respecting it is what keeps the finish consistent.
The painter is going to fill, seal and coat the whole room in one pass with one set of materials. Trim crews who fill a few holes themselves along the way create patches that flash differently under the finish coat, so the painter ends up reworking them. Doing someone else's step badly is worse than not doing it.
What the painter needs from us is simple and it is entirely within our control: joints closed tight, reveals consistent, fasteners set below the surface, glue cleaned off while it was wet, and the floor swept. Hand over that and the finish work goes fast. Hand over proud nails and dried glue and you have made the next trade's job harder, which eventually comes back to you.
Never Leave a Room Half Done
Do not leave a room without closing out the pieces you installed that day. Set the nails, clean the glue, sweep the floor. Coming back tomorrow to finish yesterday's detail work is inefficient, and details get missed when you try to pick them back up cold.
Make it a rule: if the trim is nailed, it gets closed out before you move on. Every time.
Pro Tip: run the same close-out sequence in every room so it becomes muscle memory. Walk the room with your hand on the trim and set anything proud, wipe any glue you find at the joints, check that your reveals held, then sweep. On production work that is a few minutes a room, and it is the difference between a punch list and a clean handoff.
Bonus: The Professional Trim Carpentry Mindset
The five trim carpentry guidelines above cover technique. But technique without the right mindset produces inconsistent results. The best trim carpenters share a set of attitudes that drive their work quality - and these attitudes are just as learnable as any cutting technique or measuring method. Mindset is what turns good trim carpentry technique into a repeatable habit, job after job.
Take Pride in Every Piece
Treat every piece of trim like it’s the one the homeowner will inspect up close. The baseboard behind the door? Make it tight. The casing in the closet? Same standard as the casing in the living room. The crown in the hallway nobody looks at? Run it the same quality as the master bedroom. When you hold every piece to the same standard, your overall quality is consistent - and consistency is what impresses builders, homeowners, and fellow tradespeople. A house where every opening, every room, and every corner is the same quality speaks to a carpenter’s character.
Consistency Over Perfection
In trim carpentry, a consistent standard across an entire house impresses more than one perfect piece surrounded by average work. Builders don’t want one award-winning door casing and twelve that are just okay. They want all thirteen to be solid, tight, and professional. Focus your energy on maintaining the same level of quality from the first door to the last, from the most visible room to the least. Consistency is what earns you repeat work and referrals - it tells the builder that the quality they see on the walk-through is the same quality behind every door and in every closet.
Clean Your Workspace
Sawdust on a finished hardwood floor is carelessness. Cutoffs stacked in the corner of a room is disorganization. Dried glue smeared on a wall is sloppy. Clean as you go. Sweep up after each room. Collect your cutoffs and dispose of them properly. Wipe down any surfaces you’ve touched with dirty hands or tools. A clean workspace signals professionalism to the builder, the homeowner, and the other trades on the job. It also prevents damage claims - sawdust ground into a finished floor by foot traffic creates scratches that someone will have to pay to fix. Don’t let it be you.
Ask Questions When Unclear
If you’re not sure about a detail - the reveal dimension, the trim profile, the door swing direction, the species of material - ask. Ask the builder, ask the foreman, ask the lead carpenter. In trim carpentry, it is always better to spend 30 seconds asking a question than to spend 30 minutes ripping out and replacing work you did based on an assumption. Nobody judges a carpenter for asking a smart question. Everyone judges a carpenter for installing the wrong material, the wrong profile, or the wrong swing direction because they didn’t want to look like they didn’t know. Asking questions is a sign of professionalism, not weakness.
These five habits are what separate a trim carpentry professional from someone just installing wood on a wall. Apply them consistently and your trim carpentry work will hold up to scrutiny from the builder, the homeowner, and your own eye walking back through the house a year later.
Have you ever built something using wood? Maybe you've made a birdhouse, a toy, or even helped fix something in your house. When we use wood to create or repair things, we might think we're doing the same job. But there's a big difference between being a carpenter and a woodworker. The carpenter vs woodworker...