On this page
Introduction #
The newel post is the anchor point of your entire stair railing system. When you install newel post anchors correctly, every baluster, handrail section, and guardrail stays solid for decades. A baluster is the vertical spindle between the handrail and the floor or stair tread. Get this wrong and nothing else matters - your railing will flex, creak, and eventually loosen until someone gets hurt.
After 30+ years of finish carpentry, I’ve installed hundreds of newel posts. I’ve seen every method, from the old-school threaded rod approach to modern surface-mount brackets. The L-bracket anchor kit method I’ll walk you through here is the most reliable way to install newel post systems for most residential work. It’s strong, adjustable, and once you trim it out, completely invisible.
What makes it challenging to install newel post hardware isn’t the fastening. It’s getting the post perfectly plumb (perfectly vertical, with no lean in any direction). Floors aren’t level, walls aren’t straight, and stair stringers (the angled boards that support the treads) have their own ideas about where things should go. The shimming technique I’ll show you is the single most important skill in this guide, and it’s something most tutorials skip entirely. Shimming means wedging thin pieces of material into small gaps to fine-tune the post’s position.
You might install newel post anchors at the bottom of a staircase, at a landing turn, or along an open second-floor railing. Whichever it is, the process is basically the same. Master it once and you’ll handle any newel post situation with confidence.
Before You Begin #
Prerequisites #
- Stair treads and risers fully installed and secured
- Flooring installed (or exact finished floor height known for rough-in)
- Skirt boards installed if applicable
- Railing layout complete with post locations marked
- All newel posts, balusters, and handrail sections on site
- Building code reference available - IRC R312 guardrail requirements (IRC is the International Residential Code) apply to all residential installations
What You Need To Know #
- Guard rail height requirement: 36 inches minimum from finished floor or stair nosing (the front edge of the tread that sticks out past the riser) to top of rail
- Stair handrail height: 34 to 38 inches measured vertically from the stair nosing
- Newel posts must resist a 200 lb concentrated load applied in any direction at the top
- Post height = desired rail height minus handrail thickness plus any below-floor mounting depth
- The L-bracket method is surface-mount - the post sits on top of the finished floor, not through it
- Construction adhesive is your insurance policy - brackets provide the structure, adhesive prevents micro-movement
Tools Required #
Power Tools #
- Cordless drill/driver with clutch settings
- Miter saw (for cutting posts to height)
- 23-gauge headless pin nailer (for trim concealment pieces)
Hand Tools #
- 4-foot level
- Torpedo level
- Tape measure
- Combination square
- Pencil
- Wood shims (cedar or composite)
Supplies #
- L-bracket anchor kit (4 brackets, 16 short screws, 12 long screws per post)
- 1/8-inch drill bit for pilot holes (small guide holes drilled before driving a screw, to prevent splitting)
- Construction adhesive (polyurethane-based recommended)
- Wood glue for trim pieces
- 23-gauge headless pins (3/4-inch to 1-inch)
Materials #
- Newel post (box newel, meaning hollow and built-up, or solid, cut to calculated height)
- Newel post trim pieces (base molding to conceal brackets - typically included with post or ordered separately)
- Newel post cap (decorative top piece)
Install Newel Post: Step-by-Step Process #
Step 1: Review Railing Layout and Calculate Post Height #
Before you cut anything or install newel post hardware, take the time to review your complete railing layout. Every newel post location should already be marked on the floor and/or stair treads. Verify these positions against your plans and check that the spacing between posts will work with your baluster layout.
Calculate the Cut Height #
- Measure from the finished floor (or stair nosing for stair-mounted posts) up to the desired top-of-handrail height
- Subtract the handrail thickness and any gap between the handrail and the newel top
- Add the height of the newel cap if it sits on top of the post
- The result is your cut length - mark it clearly and cut on the miter saw
Pro Tip #
Always dry-fit (temporarily hold the piece in place without fasteners) your handrail section against the post before committing to the cut. Some handrail profiles sit higher or lower than you expect, especially volute or turnout fittings (curved starting pieces some handrails use). Cut long and trim if needed - you cannot add wood back.
Step 2: Attach L-Brackets to the Newel Post #
The L-bracket anchor kit is the heart of how you install newel post systems with professional results. A standard kit includes 4 L-shaped steel brackets and two sets of screws. The 16 short screws attach the brackets to the post, and the 12 long screws secure the post to the floor through the bracket base. Each bracket goes on one face of the post, near the bottom.
Attach the Brackets #
- Position each bracket flush with the bottom of the post. The vertical leg goes against the post face, and the horizontal leg extends outward along the floor
- Center the bracket on each face of the post
- Drill 1/8-inch pilot holes through each bracket hole into the post
- Drive the short screws through the bracket into the post - snug, not over-torqued (tightened too much)
- Repeat on all 4 sides of the post
Pro Tip #
Always drill pilot holes with a 1/8-inch bit - even into softwood posts. Driving screws without pilots near the bottom of a post risks splitting, especially on hardwood newels. The 30 seconds you spend on pilot holes saves you a ruined $80 post.
Step 3: Set the Post with Construction Adhesive #
With all four brackets attached, you’re ready to install newel post in its final position. The construction adhesive serves as both a bonding agent and a vibration dampener - it prevents the tiny movements that eventually loosen the screws.
Position and Secure #
- Apply a generous bead of construction adhesive to the bottom of the post in an X pattern
- Set the post in its marked position on the floor
- Press down firmly to spread the adhesive evenly
- Drill pilot holes through the horizontal bracket legs into the subfloor
- Drive the long screws through the bracket base into the floor - start with just two opposing brackets
Pro Tip #
If the post mounts on a stair tread, your long screws must grab solid structure beneath it: the stringer, or added blocking. Don’t just anchor into the tread material itself. A 3/4-inch thick tread alone won’t hold a newel post under load. Pre-drill deep enough to verify you’re hitting structure.
Step 4: Plumb the Post - The Critical Shimming Technique #
This is the step that separates a solid install newel post job from a DIY wobble. Getting a newel post perfectly plumb on an imperfect floor takes a specific technique, and it’s not what most people expect.
Check and Adjust for Plumb #
- Place a 4-foot level against two adjacent faces of the post - check both directions
- Identify which direction the post is leaning - the bubble tells you which side needs a shim
- Loosen the screws on the bracket that’s on the high side (the side the post leans toward)
- Insert a shim between the bracket base and the floor on the opposite side (low side)
The Overcompensation Technique #
Here’s the technique that most guides never mention: when you insert a shim under the bracket, intentionally overcompensate. Push the post slightly past plumb in the opposite direction. When you tighten the screw down through the bracket on that side, the compression of the shim brings the post back to exactly plumb.
- Slide the shim in until the level shows the post leaning slightly past center - about 1/16 inch past plumb
- While holding the post, drive the long screw through the bracket into the floor on the shimmed side
- As the screw tightens, it compresses the shim and pulls the post back to dead plumb (perfectly vertical, with zero lean)
- Verify with the level - if it’s not perfect, loosen, adjust shim thickness, and repeat
- Check both directions again after all brackets are fully secured
Pro Tip #
This technique works because wood shims compress predictably under screw pressure. The key is learning how much to overcompensate - it varies by shim material and thickness. Cedar shims compress more than composite. After doing a few posts, you’ll develop a feel for it. Always re-check plumb in both directions after tightening all four brackets, because adjusting one side can slightly affect the other.
Step 5: Secure All Brackets and Final Plumb Check #
Once your primary shim adjustment achieves plumb in both directions, it’s time to permanently install newel post brackets and lock everything down.
Final Fastening Sequence #
- Drive all remaining long screws through all four bracket bases into the floor
- Work in an alternating pattern - opposite brackets, not adjacent - to keep pressure balanced
- Snug each screw firmly but do not over-torque - you’ll strip the pilot hole or crack the bracket
- Do a final plumb check on all four faces after every screw is set
- If anything shifted, loosen, re-shim, and re-tighten - do not leave a post that’s close enough
Pro Tip #
Grab the post at the top and try to rock it in all directions. There should be zero movement. If you feel any flex at all, you’re either missing structure below (screw not biting into stringer or joist) or you have a loose bracket. Fix it now - once the trim goes on, you’ll have to tear it all off to access the brackets again.
Step 6: Install Trim to Conceal Brackets #
The final step to install newel post trim transforms your industrial-looking brackets into a clean, finished appearance. The trim pieces - sometimes called newel base molding or pedestal trim - wrap around the bottom of the post and cover the L-brackets completely.
Trim Installation #
- Measure and cut trim pieces to fit each face of the post. Most newel trim kits come with mitered corners (angled 45-degree cuts) or butt-joint designs (two flat ends meeting square, with no angle)
- Apply wood glue to the back of each trim piece
- Position the trim against the post, covering the brackets completely
- Secure with your 23-gauge headless pin nailer - the pins are virtually invisible and won’t split the trim
- Pin into the post above and below the bracket - avoid shooting pins directly into the bracket area where you’ll hit metal
- Wipe away any glue squeeze-out immediately with a damp cloth
Pro Tip #
Use a 23-gauge headless pin nailer specifically - not an 18-gauge brad nailer. Brad nails leave visible holes that need filling, and on stained or clear-coat newel posts, those fill spots are nearly impossible to hide. A 23-gauge pin leaves a hole so small it’s invisible to the naked eye, and the glue provides the real holding power anyway. The pins are just clamps while the glue dries.
Quality Check #
After you install newel post hardware, run through every item on this list before moving on to balusters or handrails. A problem with the newel post will cascade through the entire railing system.
- Post is perfectly plumb in both directions (check with 4-foot level on two adjacent faces)
- Zero movement when rocking the post firmly at the top - no flex, no creaking
- Post height yields correct handrail height: 36 inches minimum for guardrails, 34-38 inches for stair handrails
- All bracket screws are fully driven and snug - none stripped or spinning
- Construction adhesive is set (no sliding or shifting when lateral pressure is applied)
- All trim pieces fully cover brackets - no metal visible from any angle
- Trim joints are tight with no gaps - glue squeeze-out cleaned
- Post is correctly positioned for handrail and baluster alignment - dry-fit a baluster and handrail section to confirm
Install Newel Post Troubleshooting #
Problem: Post Won’t Stay Plumb - Keeps Shifting When Tightening Screws #
Solution: You’re likely tightening brackets in sequence instead of alternating. Always tighten opposite brackets (front then back, then left and right). If the floor is significantly out of level, you may need shims under two adjacent brackets. Use the overcompensation technique - push past plumb before tightening so the compression brings it back to center.
Problem: Screws Spinning in Floor - Not Grabbing #
Solution: Your long screws aren’t hitting solid structure below. On stair treads, you need to be grabbing the stringer, not just the tread thickness. On flat floors, verify you’re hitting a joist or solid subfloor. If the subfloor is particleboard or OSB (oriented strand board) and the screws won’t bite, use longer screws that reach the joist. You can also add a block of solid wood beneath the subfloor at the newel location.
Problem: Post Rocks Slightly Even After All Screws Are Tight #
Solution: There’s a gap between the post bottom and the floor that the construction adhesive didn’t fill. Remove the post, apply additional adhesive, and re-set. In severe cases (warped floor or out-of-square post), add a thin shim between the post bottom and the floor before re-attaching the brackets. The adhesive will bond around the shim.
Problem: Trim Pieces Don’t Sit Flat Against Post #
Solution: The bracket screwheads are protruding and pushing the trim out. Check that all short screws are fully countersunk (driven flush or slightly below the surface) into the bracket. Some kits require Phillips head screws that need significant torque to seat fully. If the bracket itself is slightly bent from tightening, straighten it with pliers before applying trim.
Problem: Box Newel Post Split When Driving Bracket Screws #
Solution: You skipped the pilot holes or drilled too close to the post edge. Box newels are hollow with relatively thin walls (typically 3/4 inch). Always drill 1/8-inch pilot holes and position screws at least 3/4 inch from any edge. If the post has already split, glue the split closed with wood glue, clamp overnight, and re-drill the pilot holes in a slightly different location.
Problem: Post Height Is Wrong After Cutting #
Solution: If the post is too tall, simply re-cut it. If it’s too short, you have two options: add a thicker newel cap to make up the difference, or cut a new post. Never shim the bottom to add height - it creates an unstable installation. This is why the rule is always cut long first and trim down.
Related Guides #
- How to Install Metal Balusters - Installing balusters between your newel posts
- How to Install Stair Skirt Boards - Complete the stair trim before newel post installation
Reference Photos #
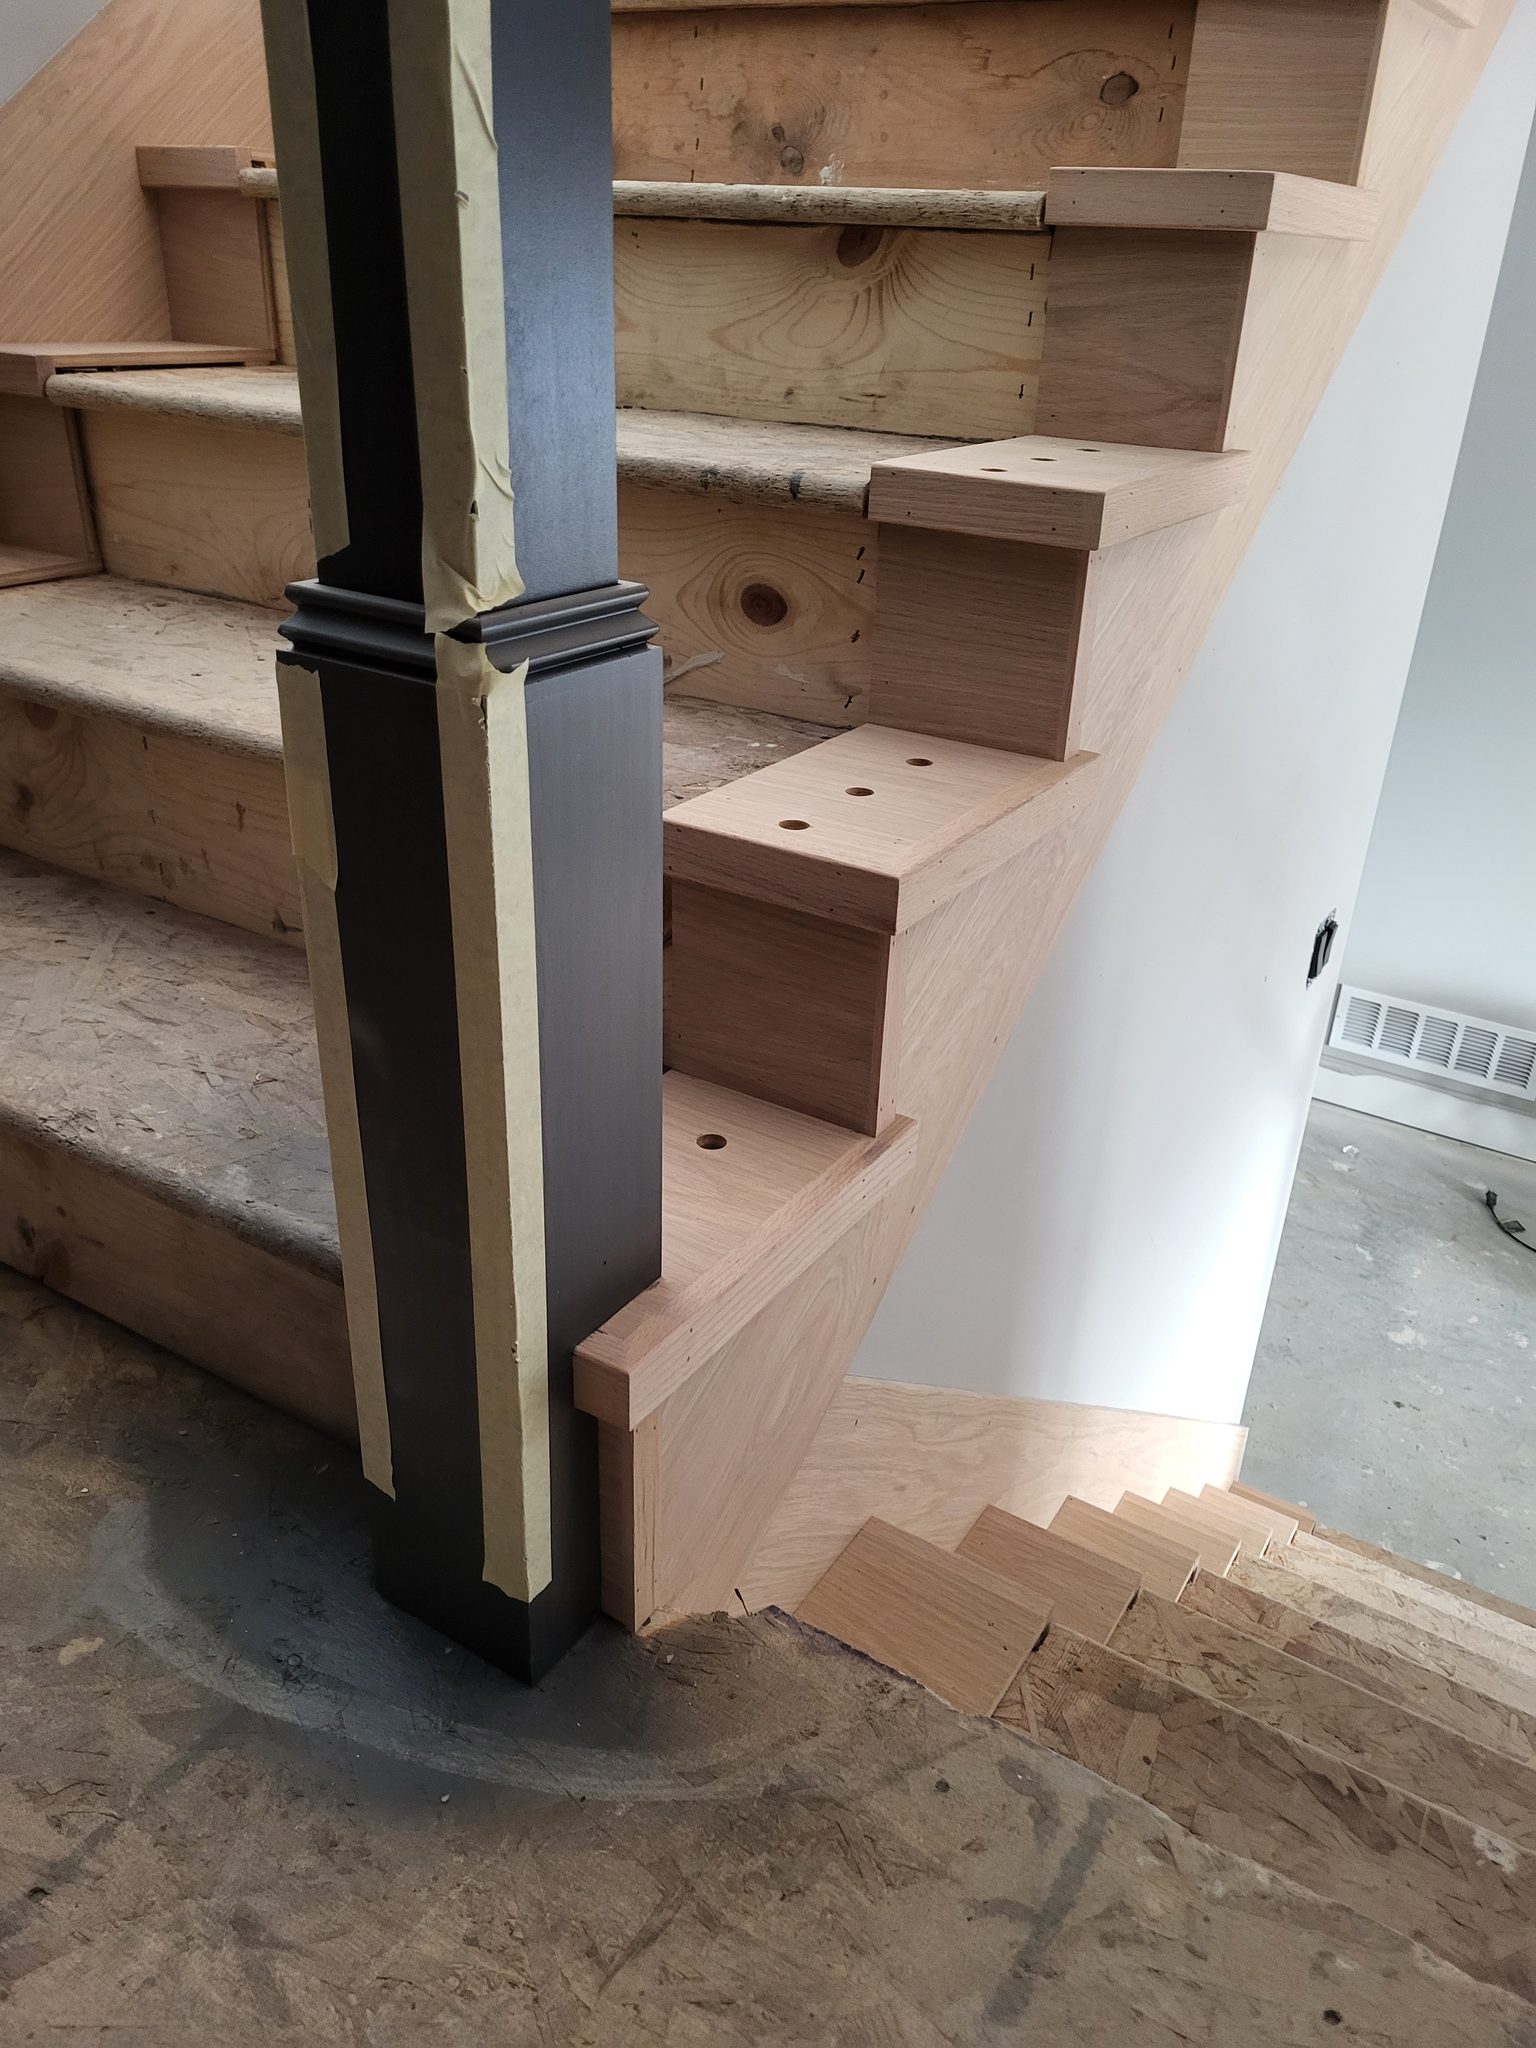
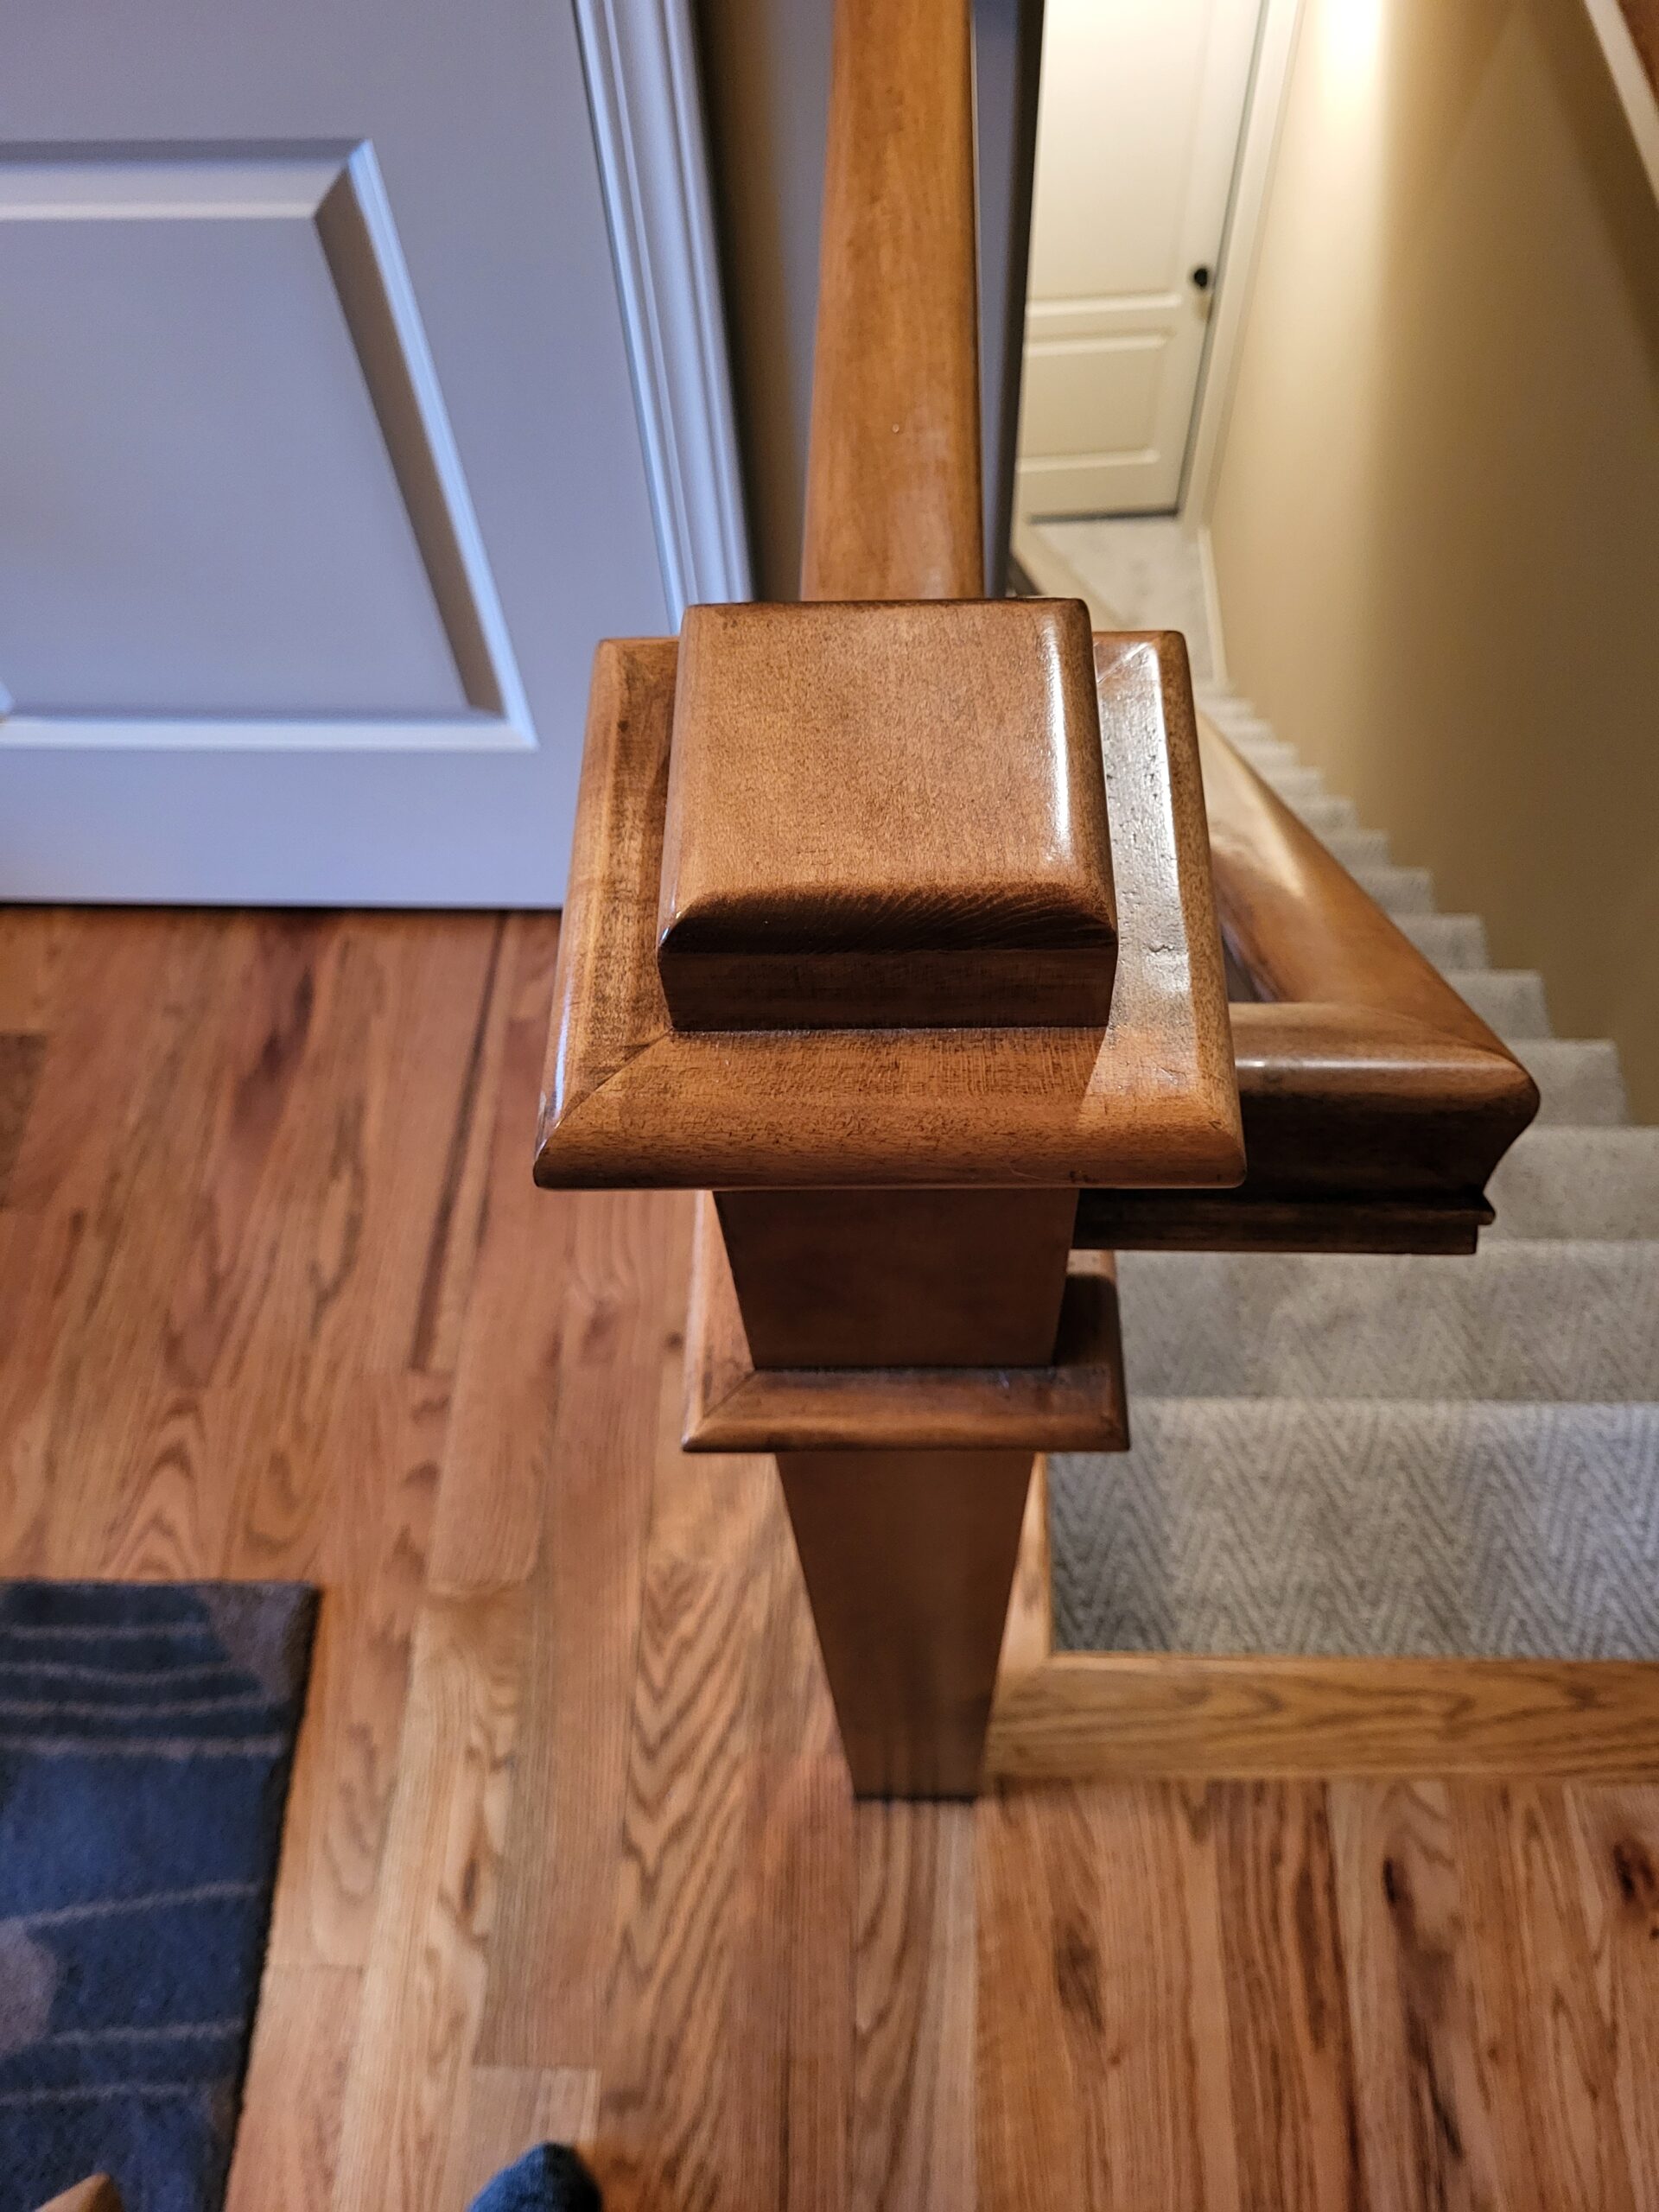
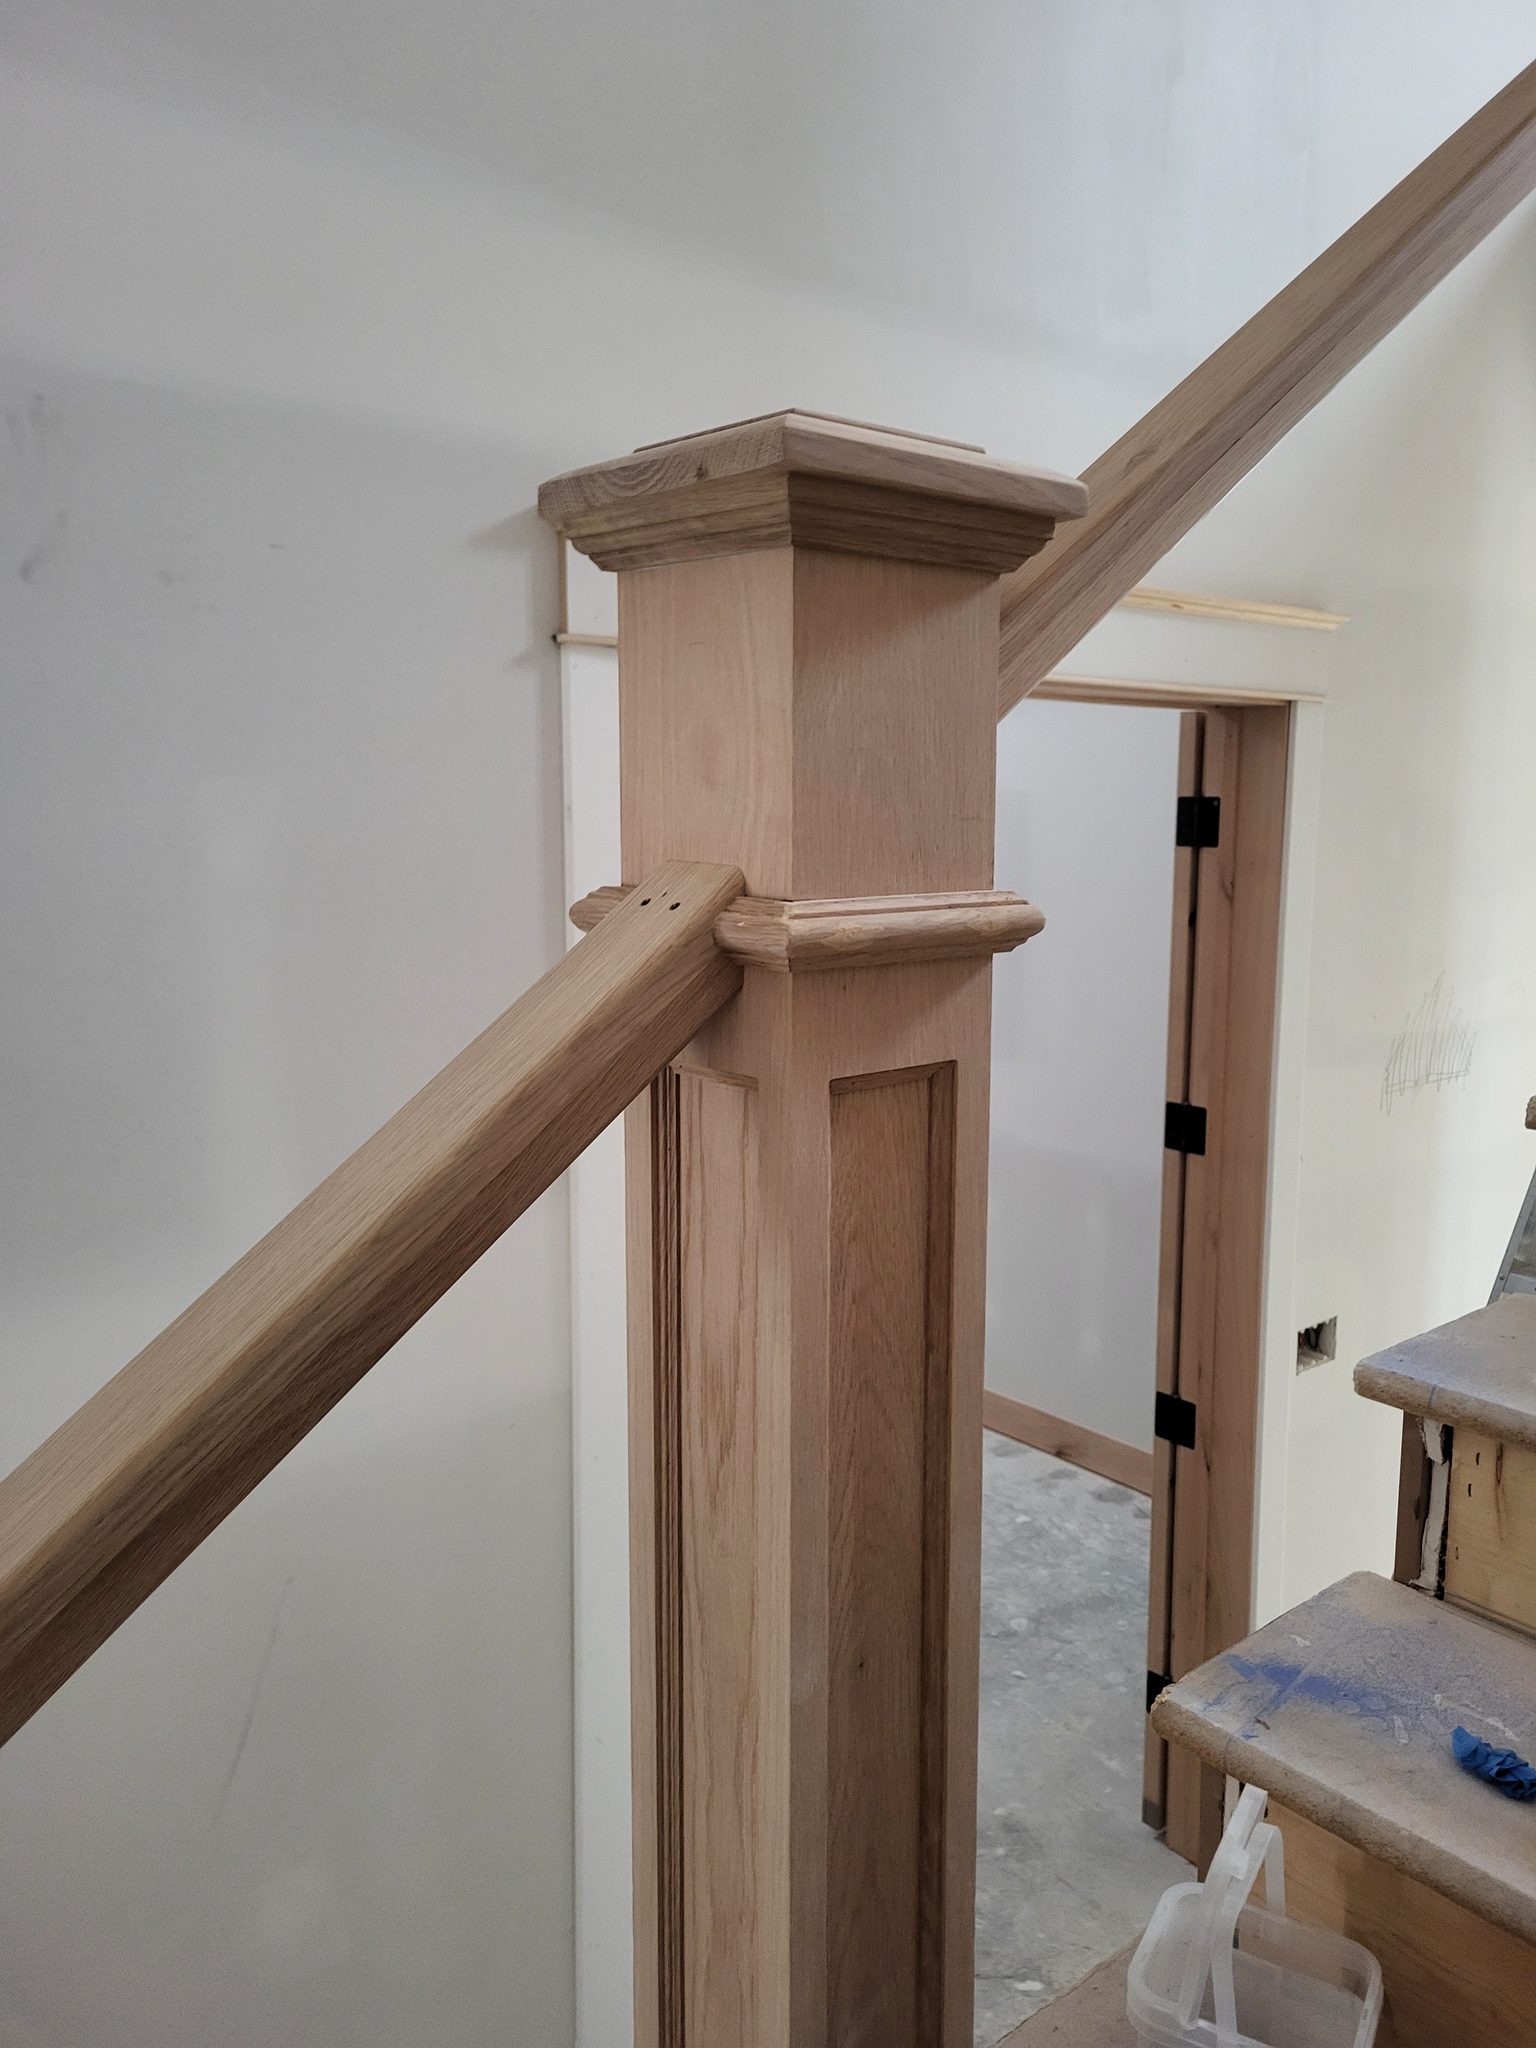
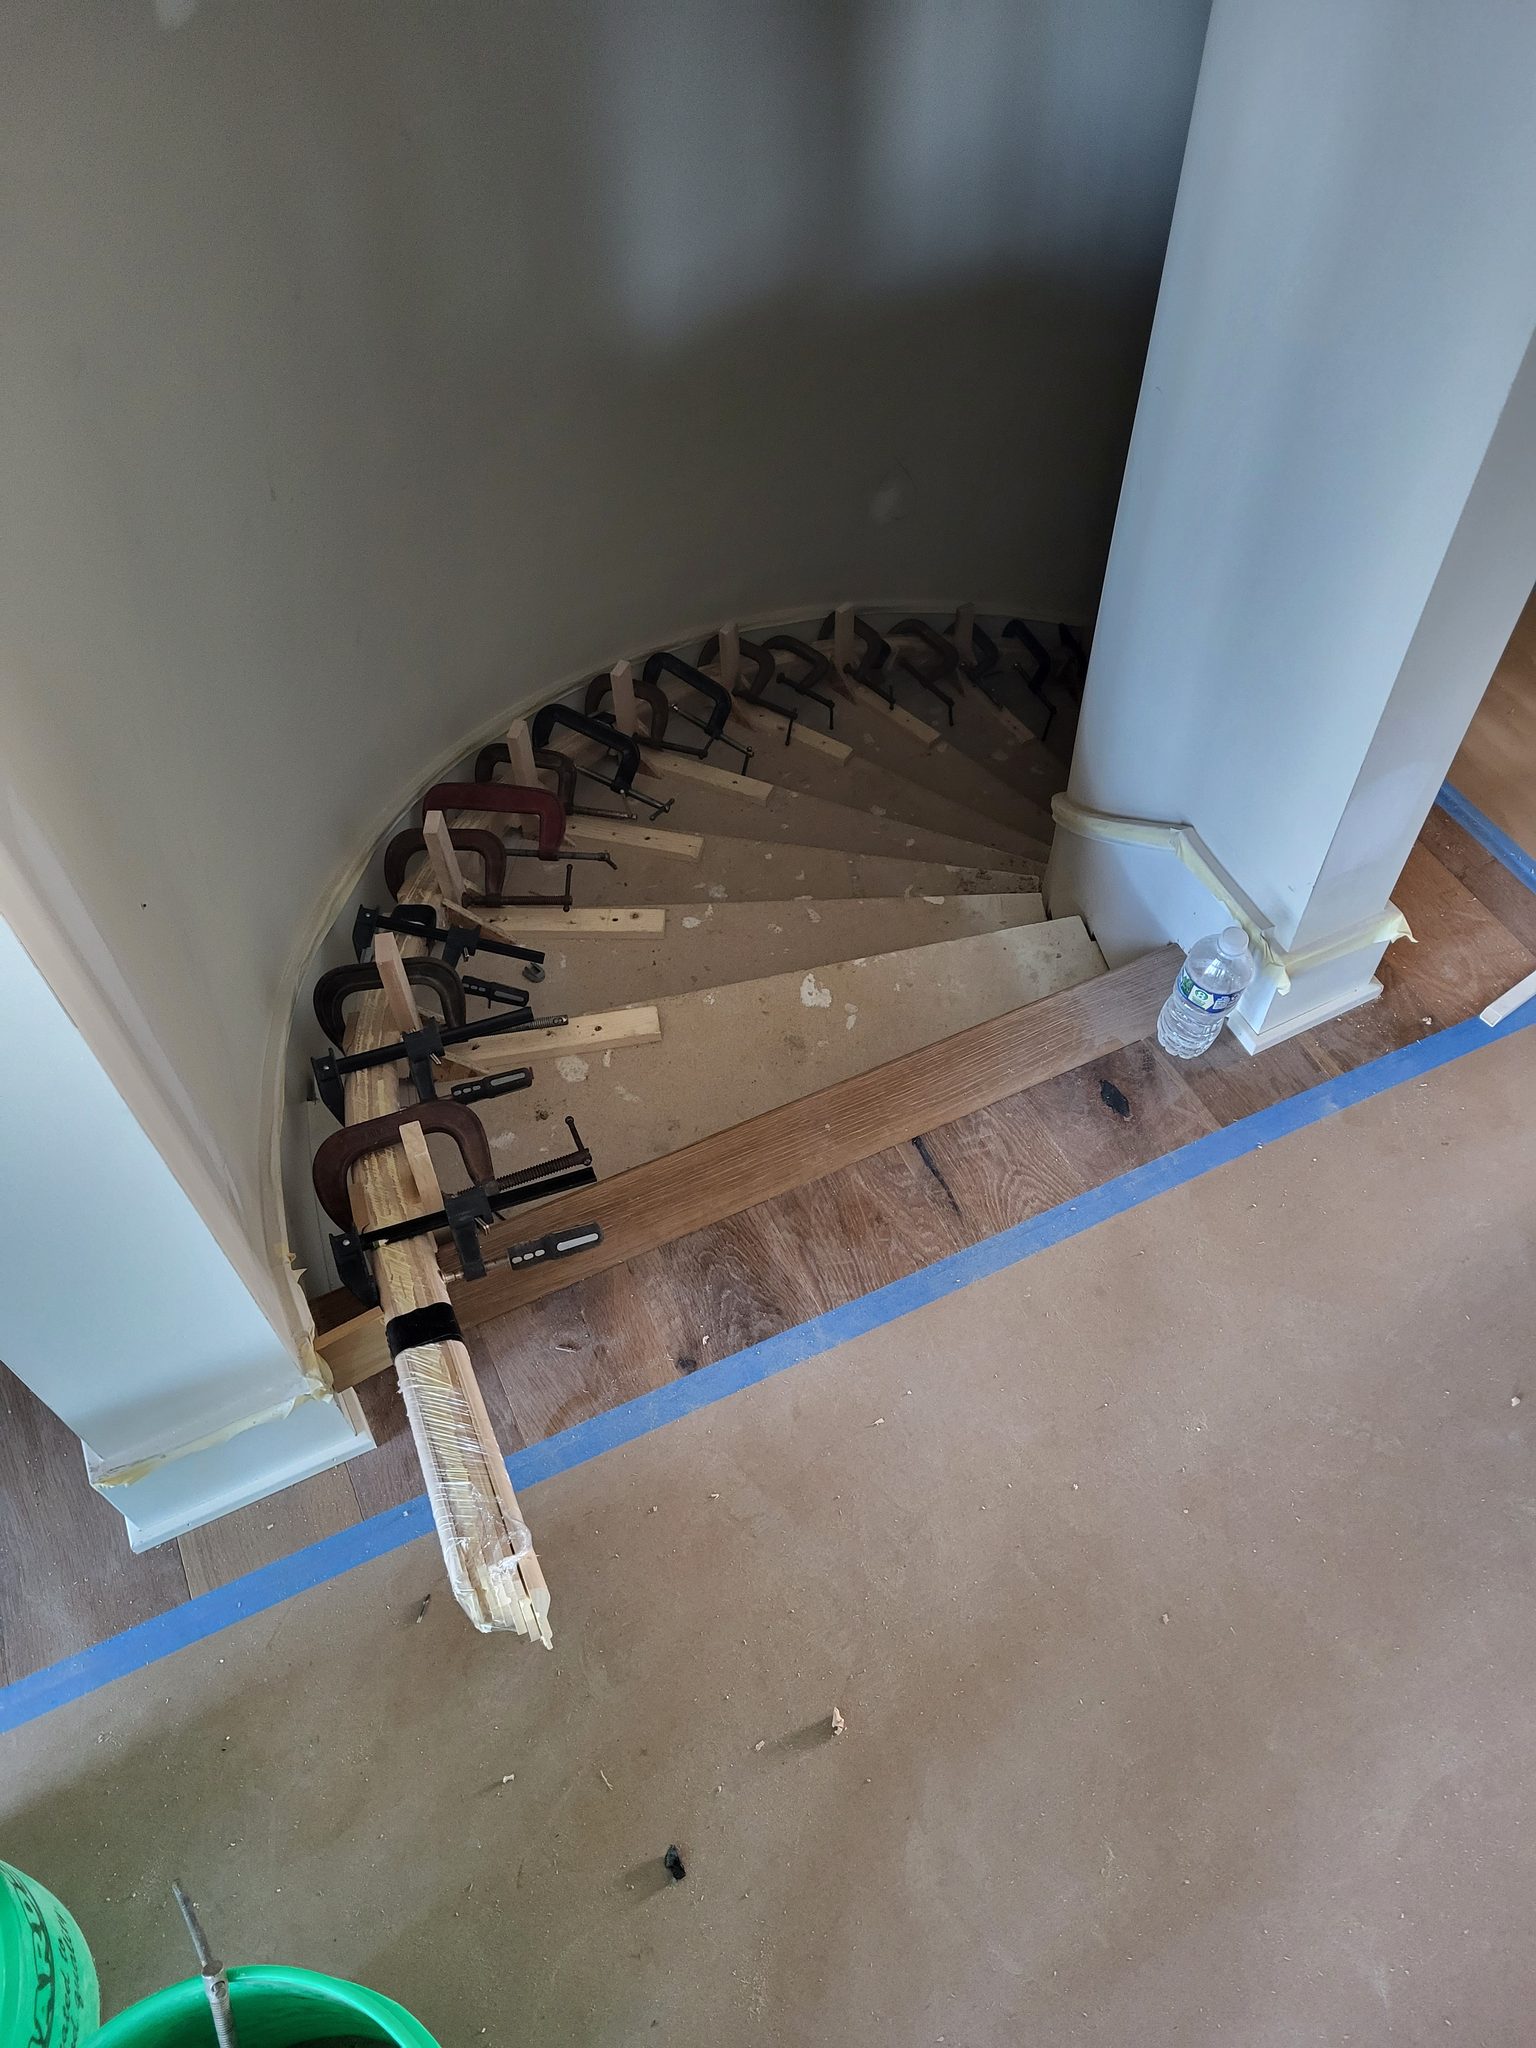
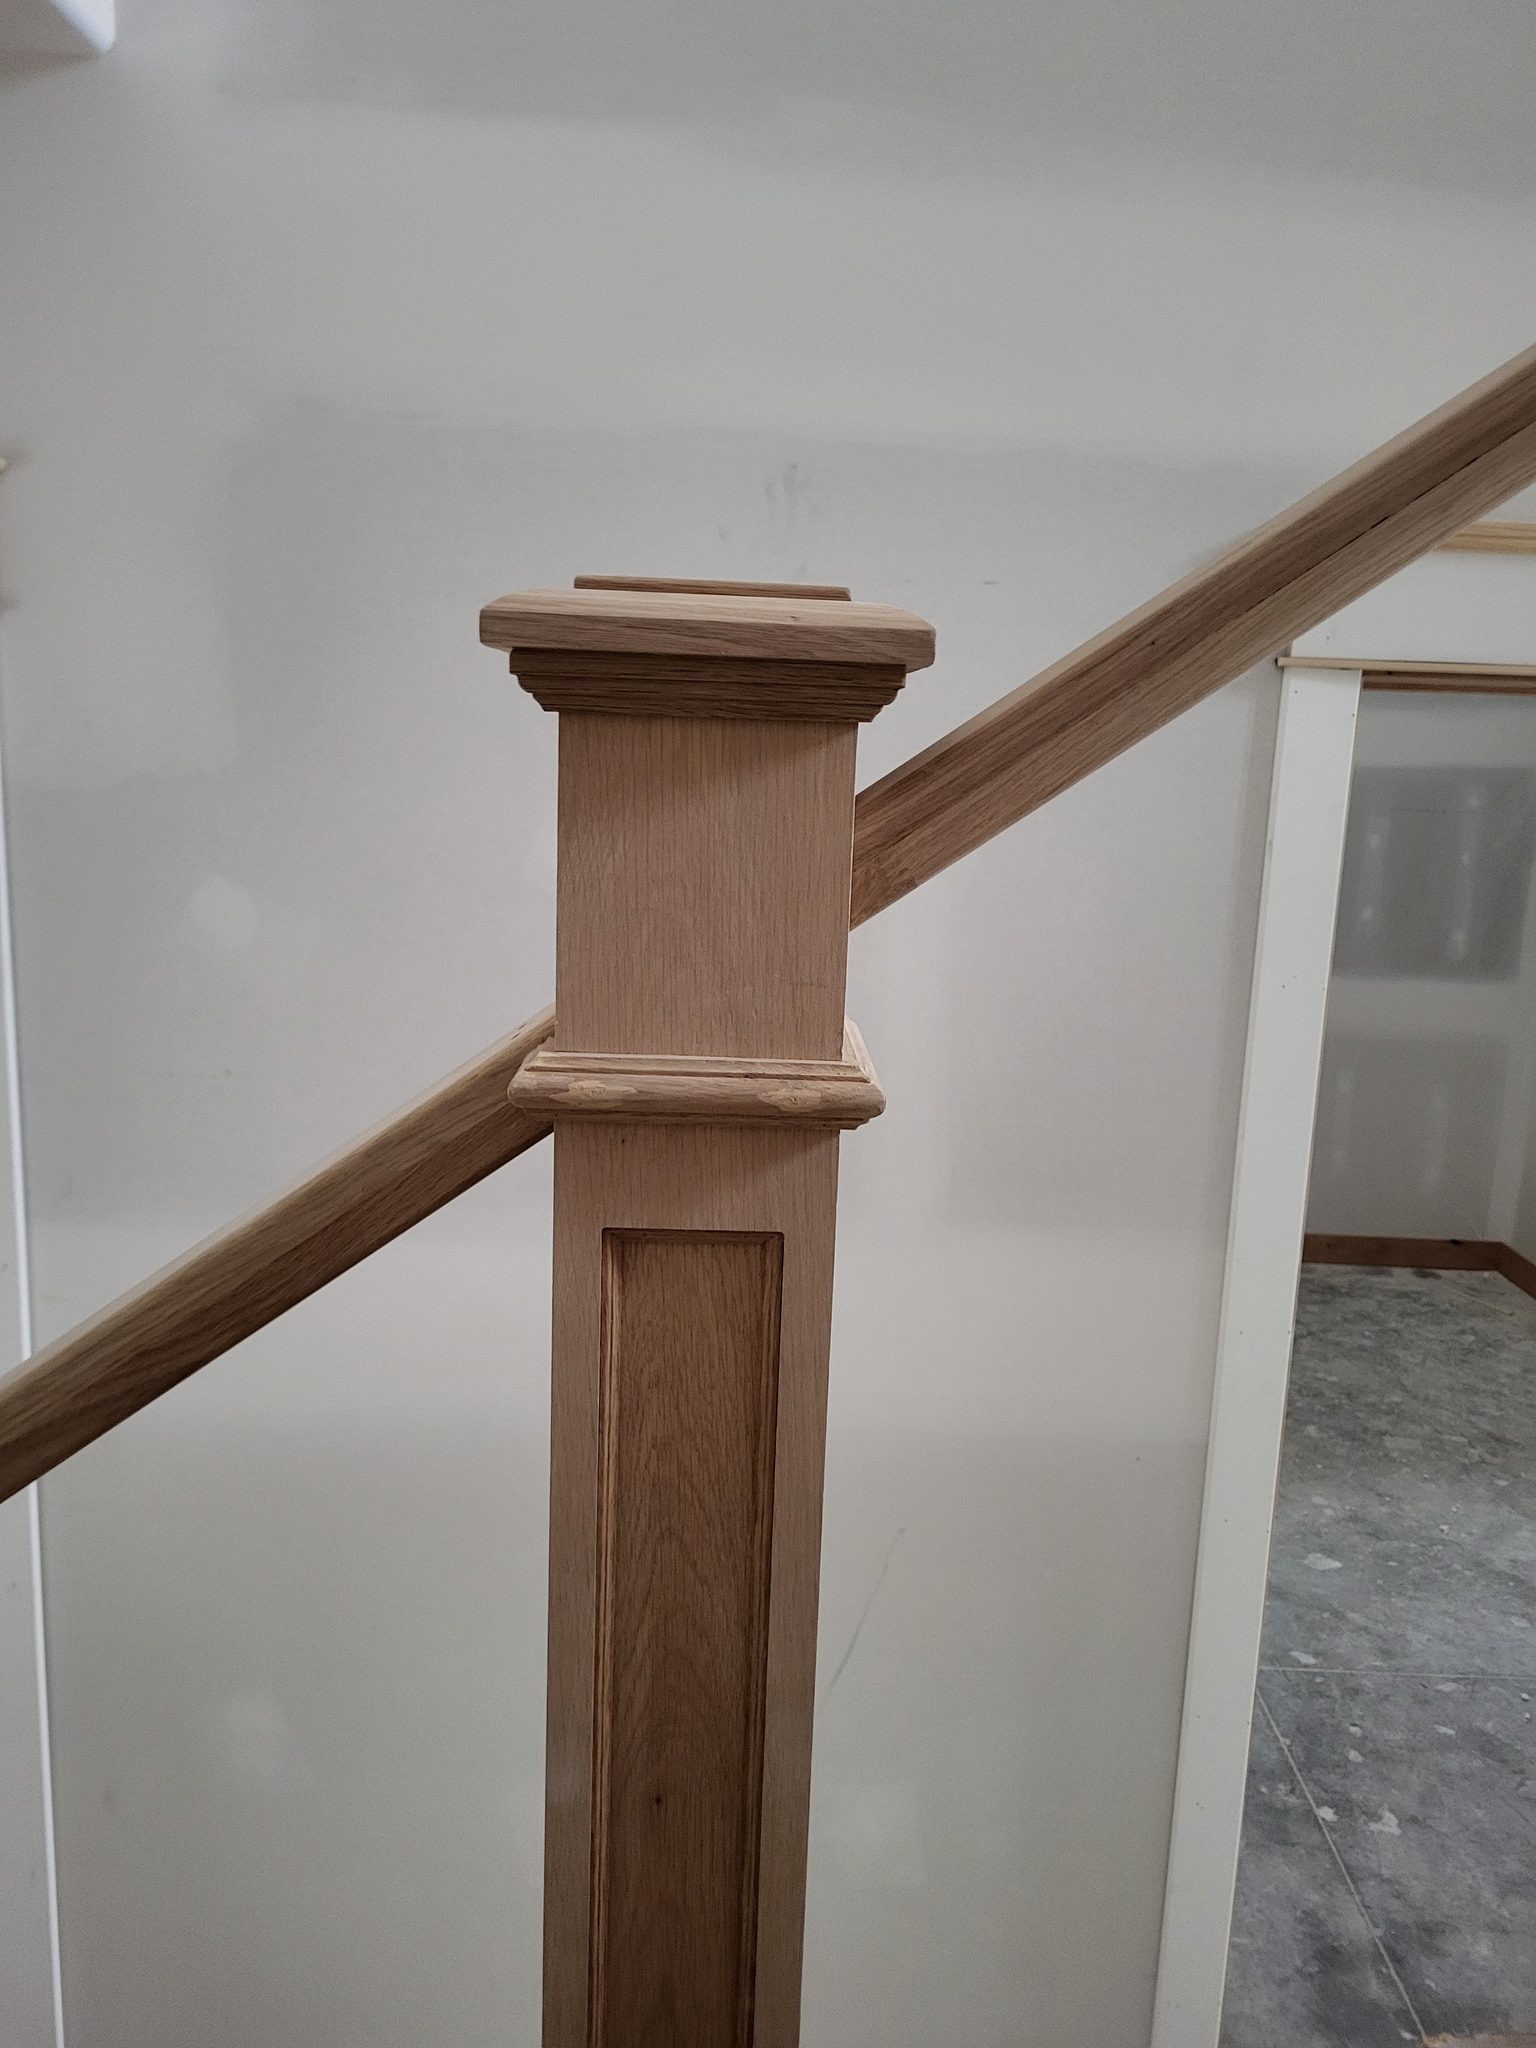
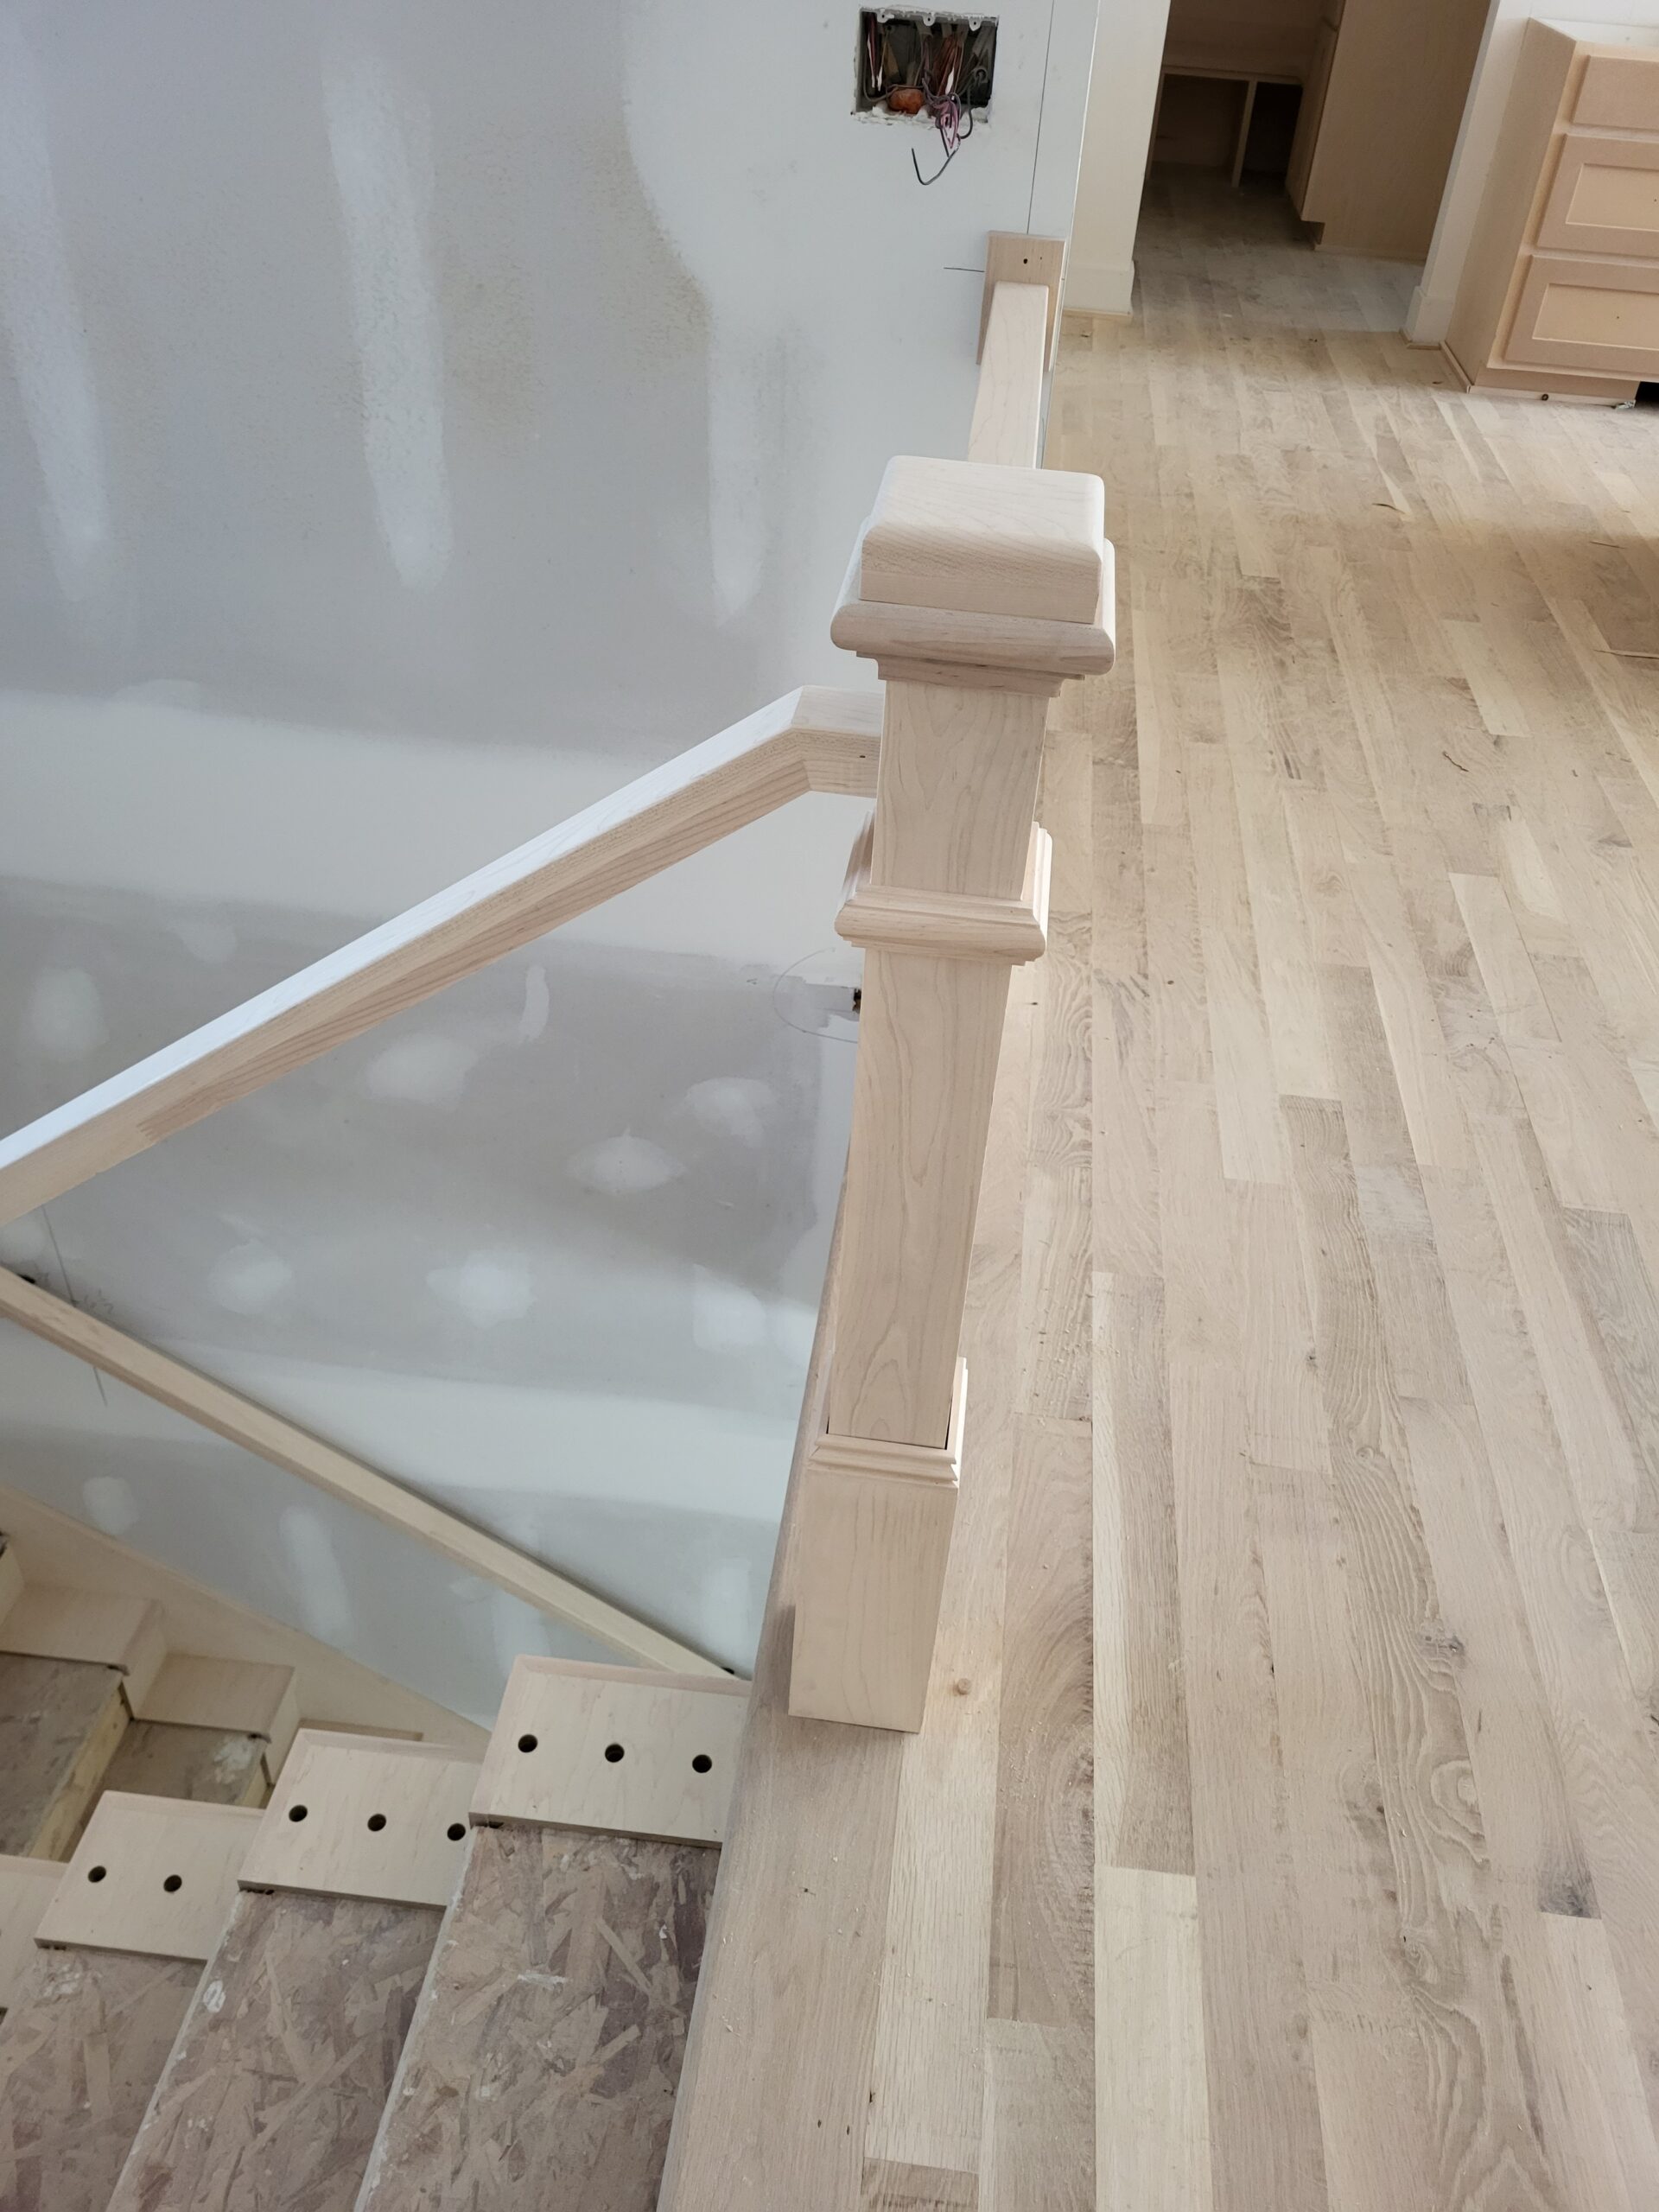
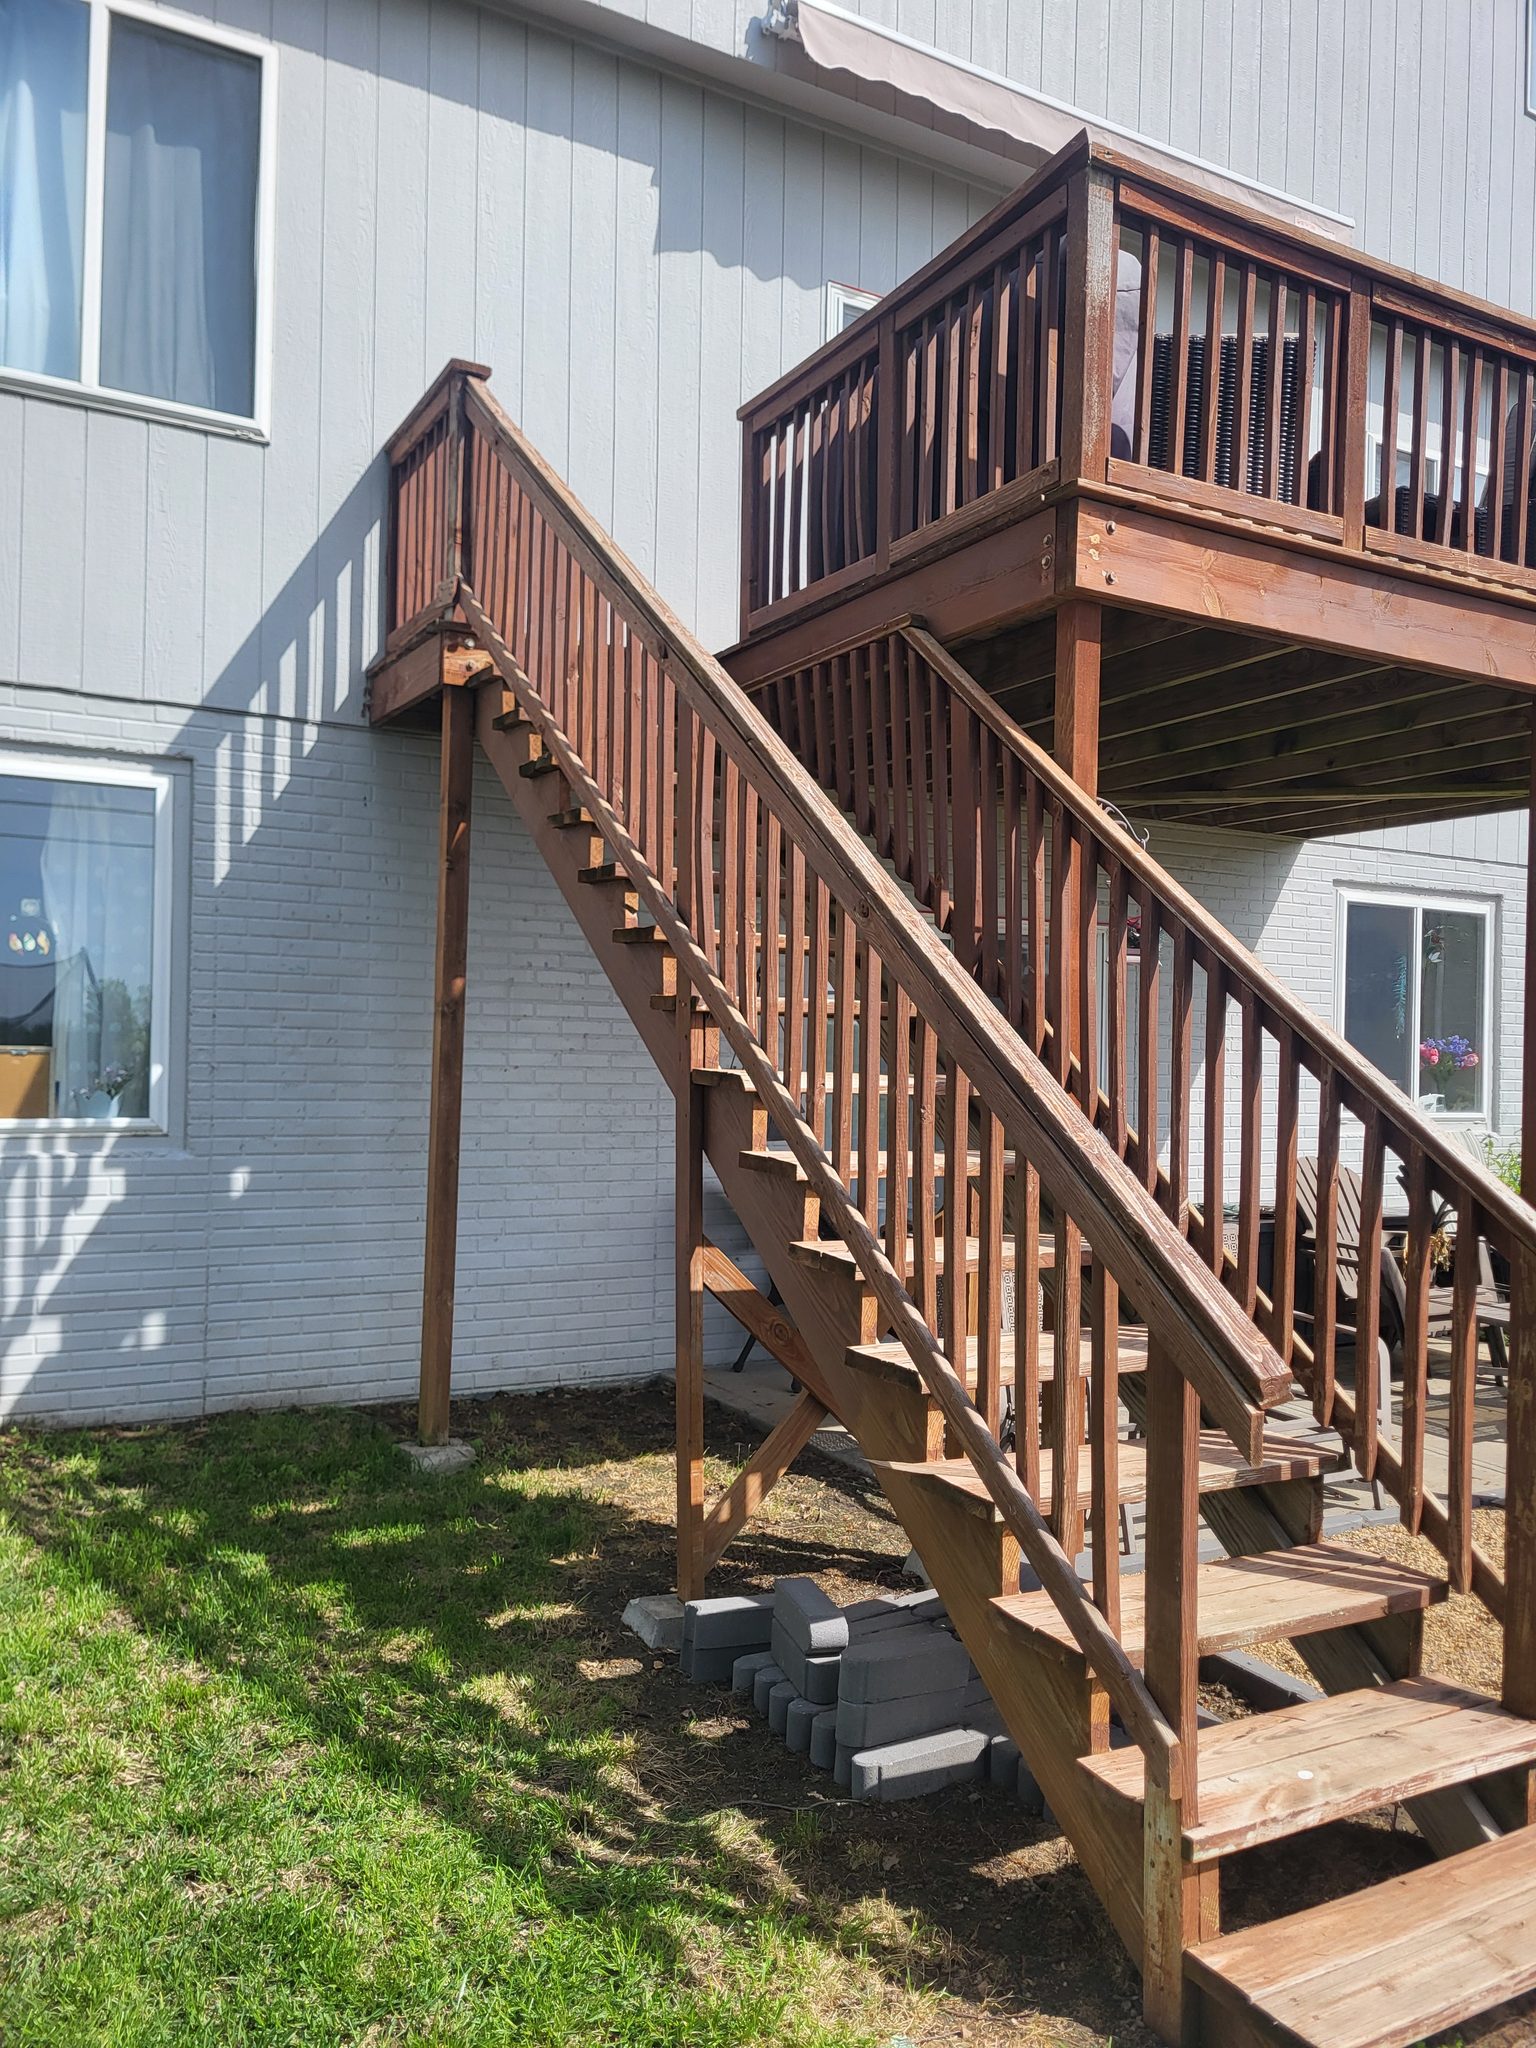
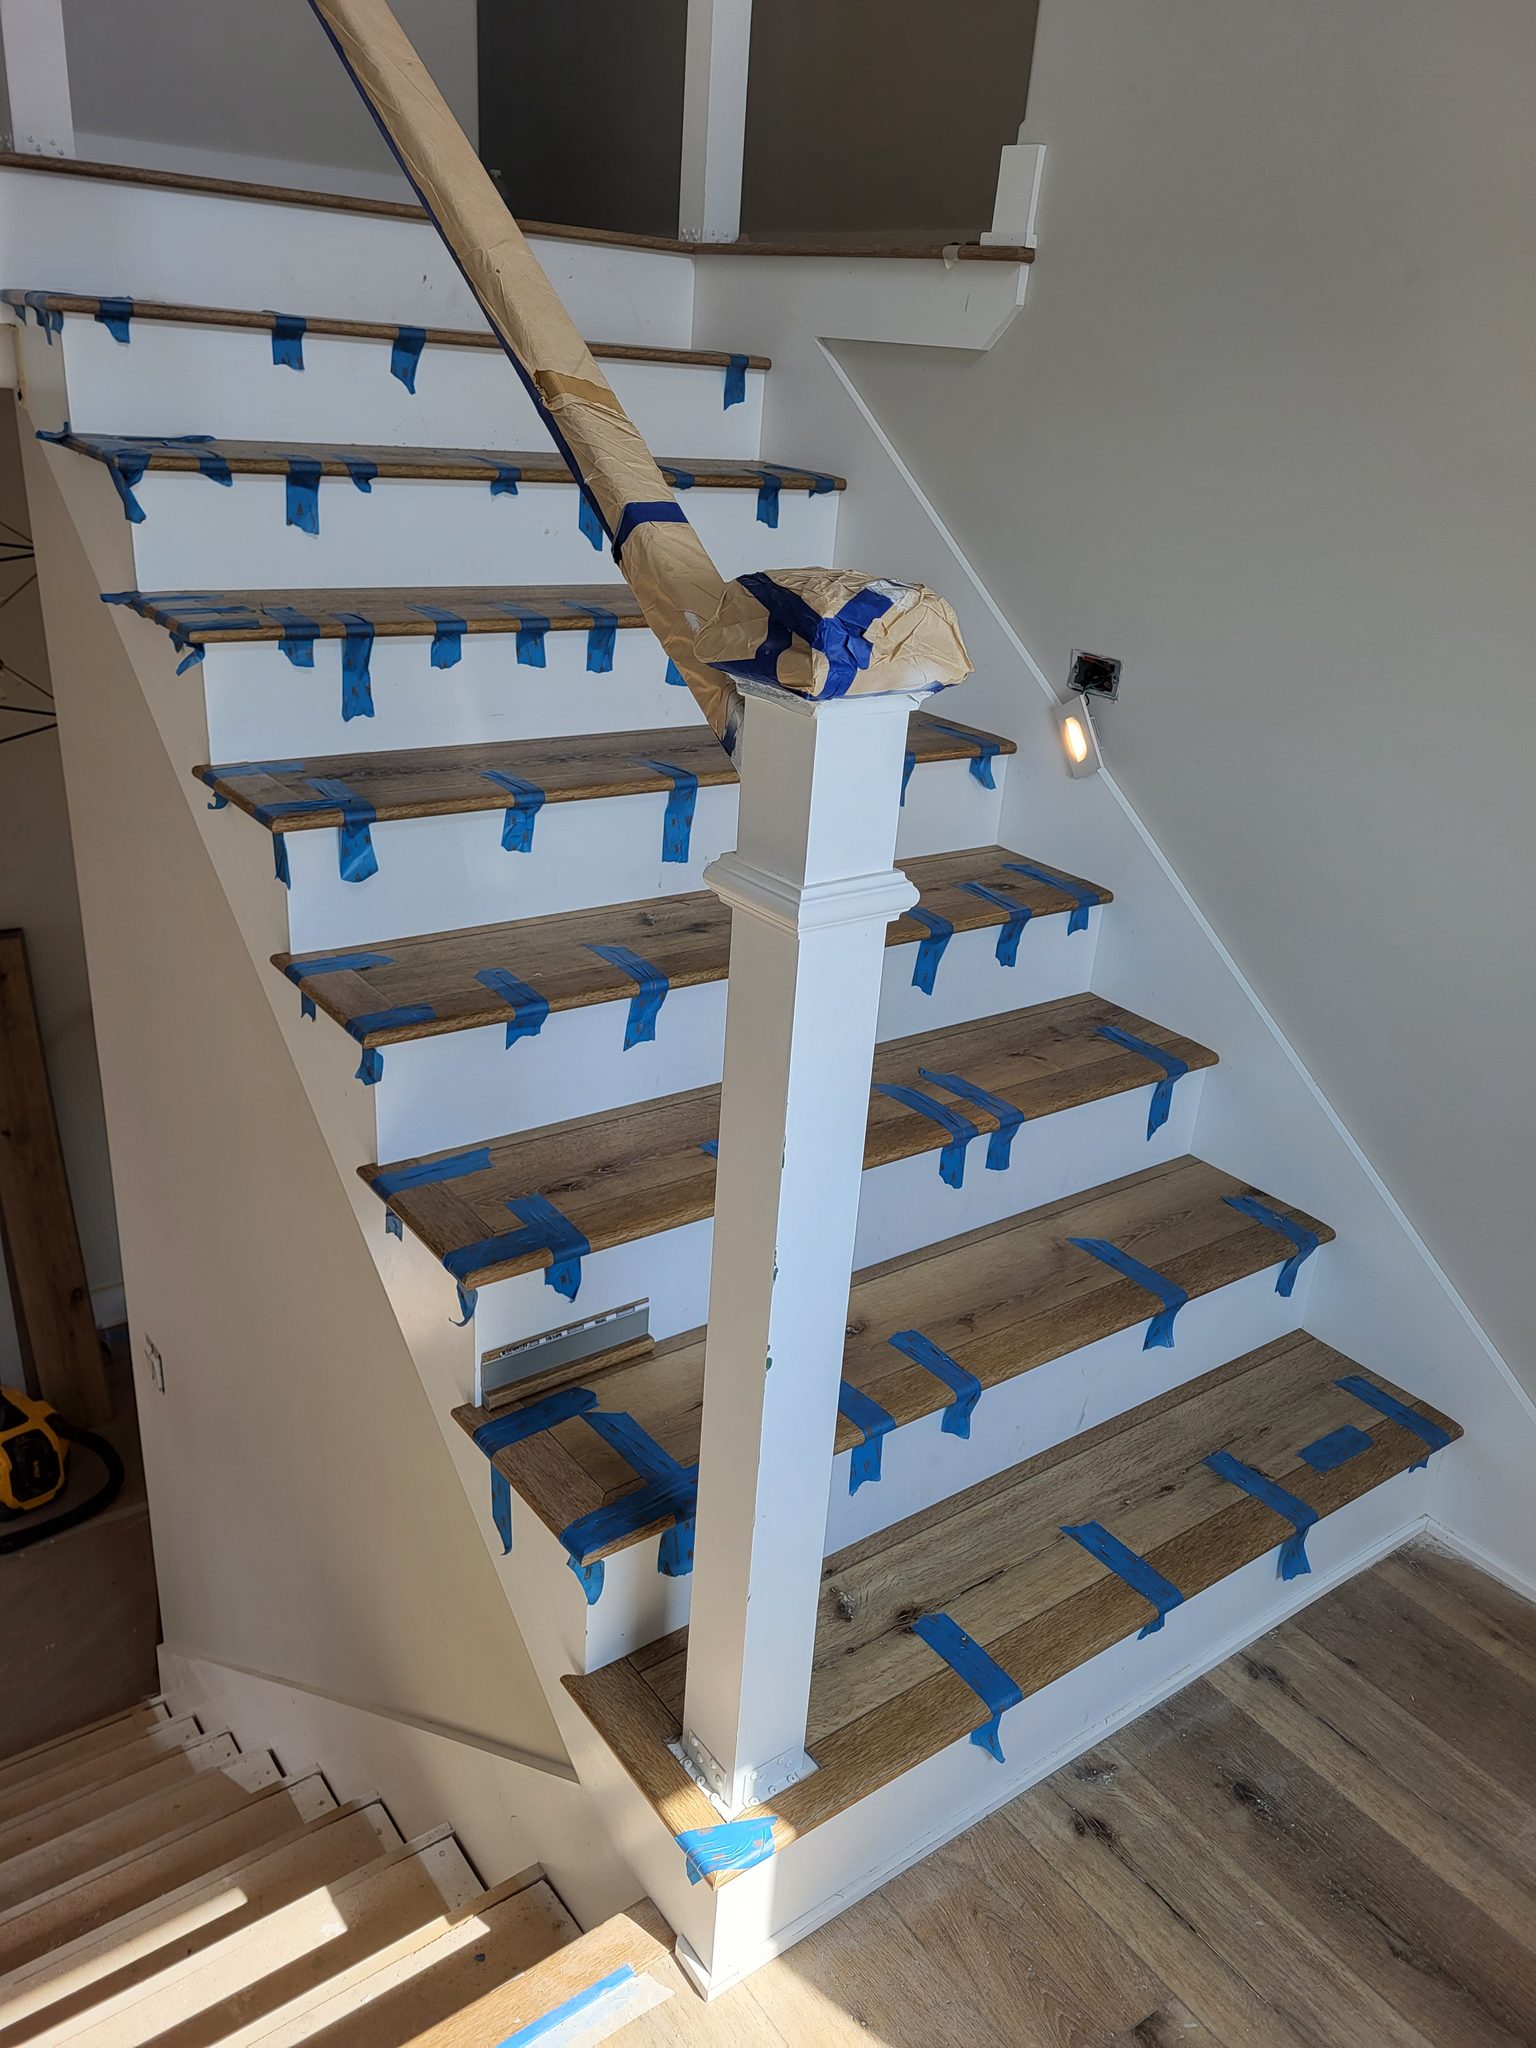
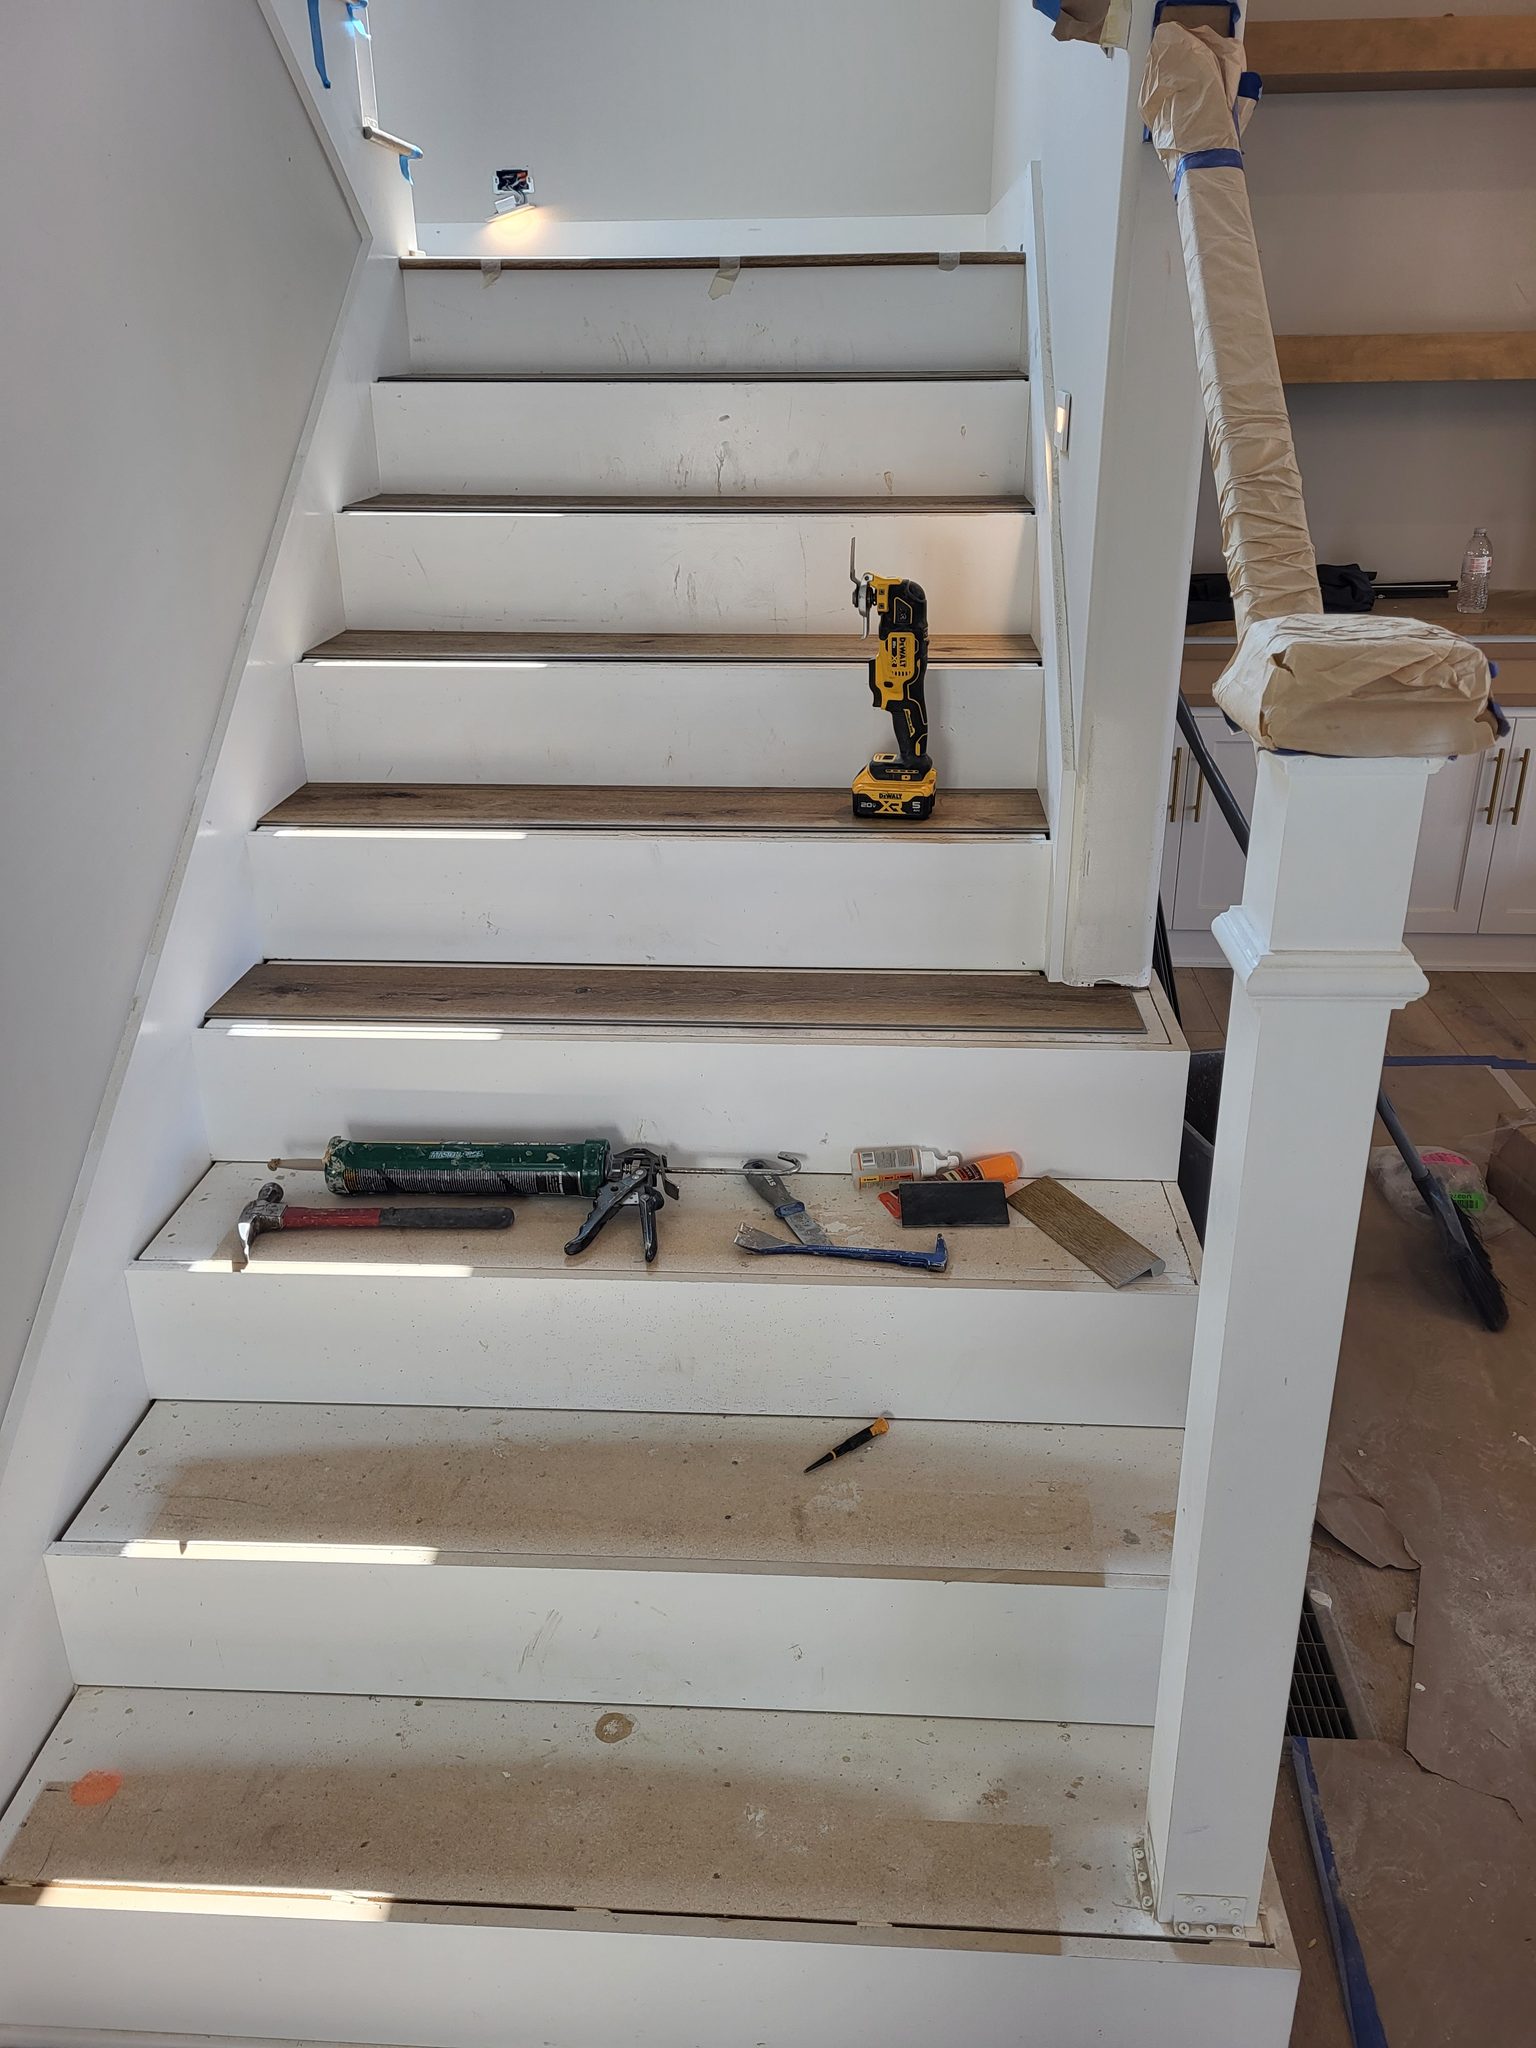
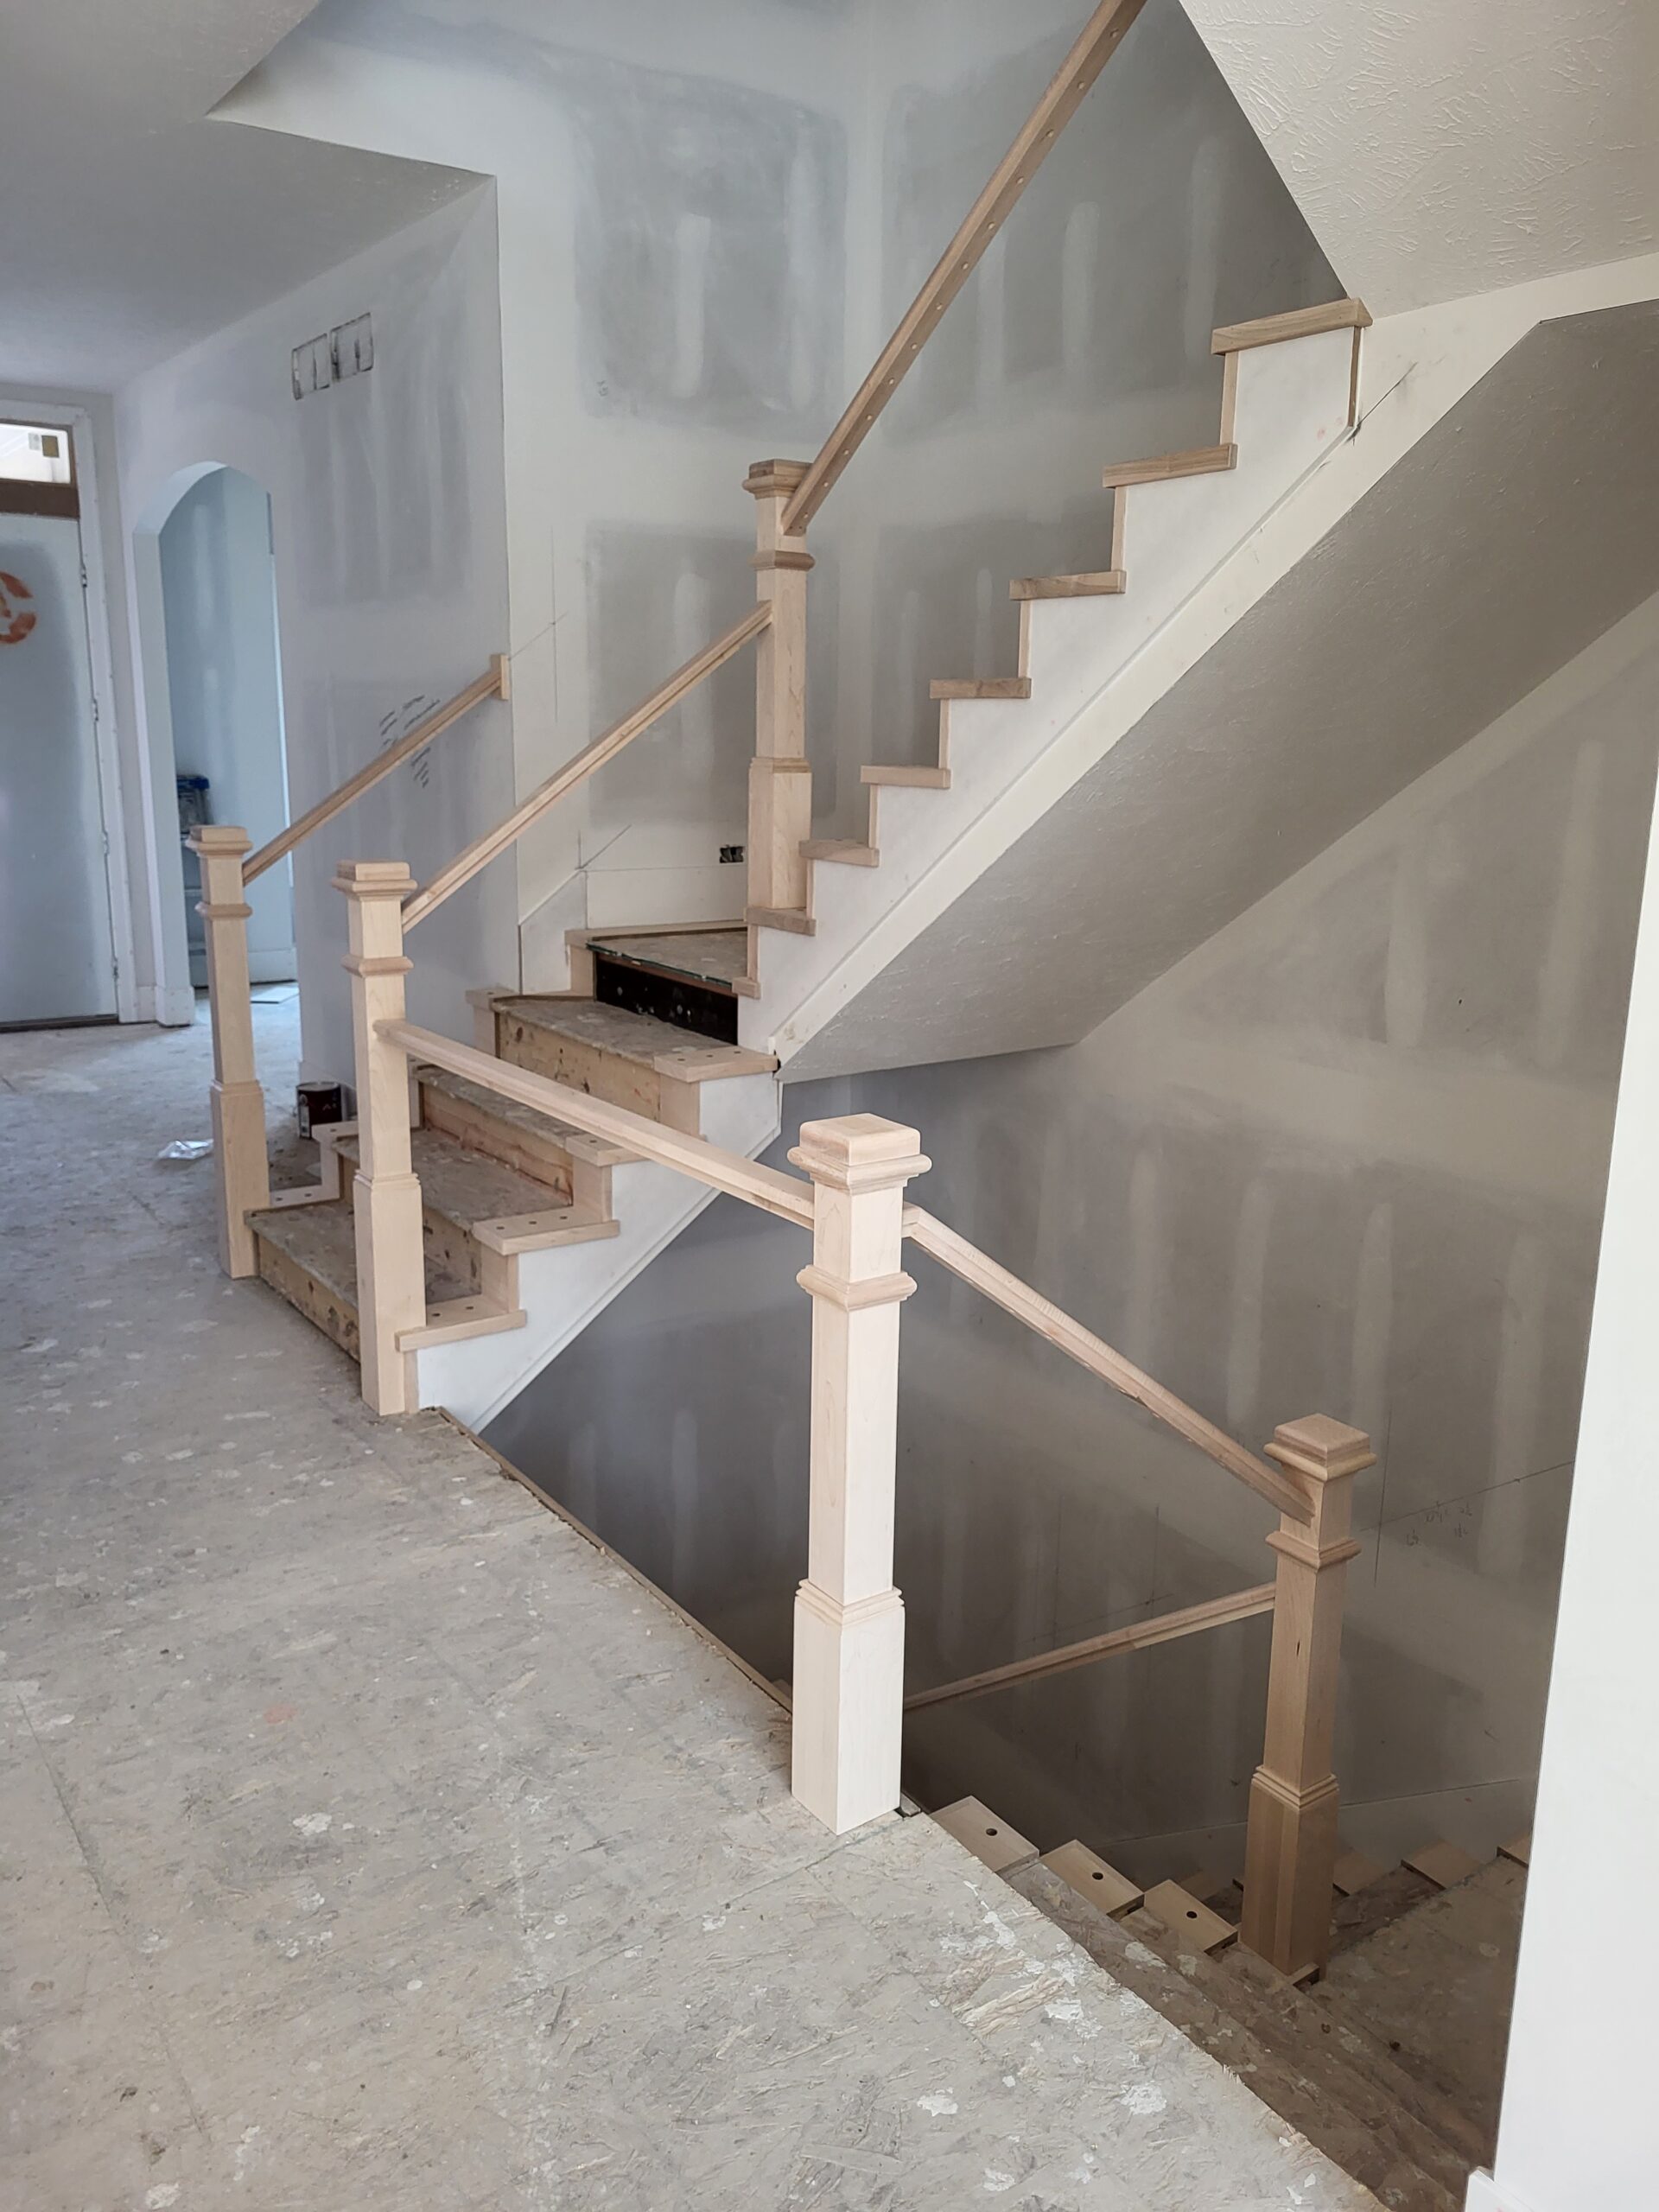
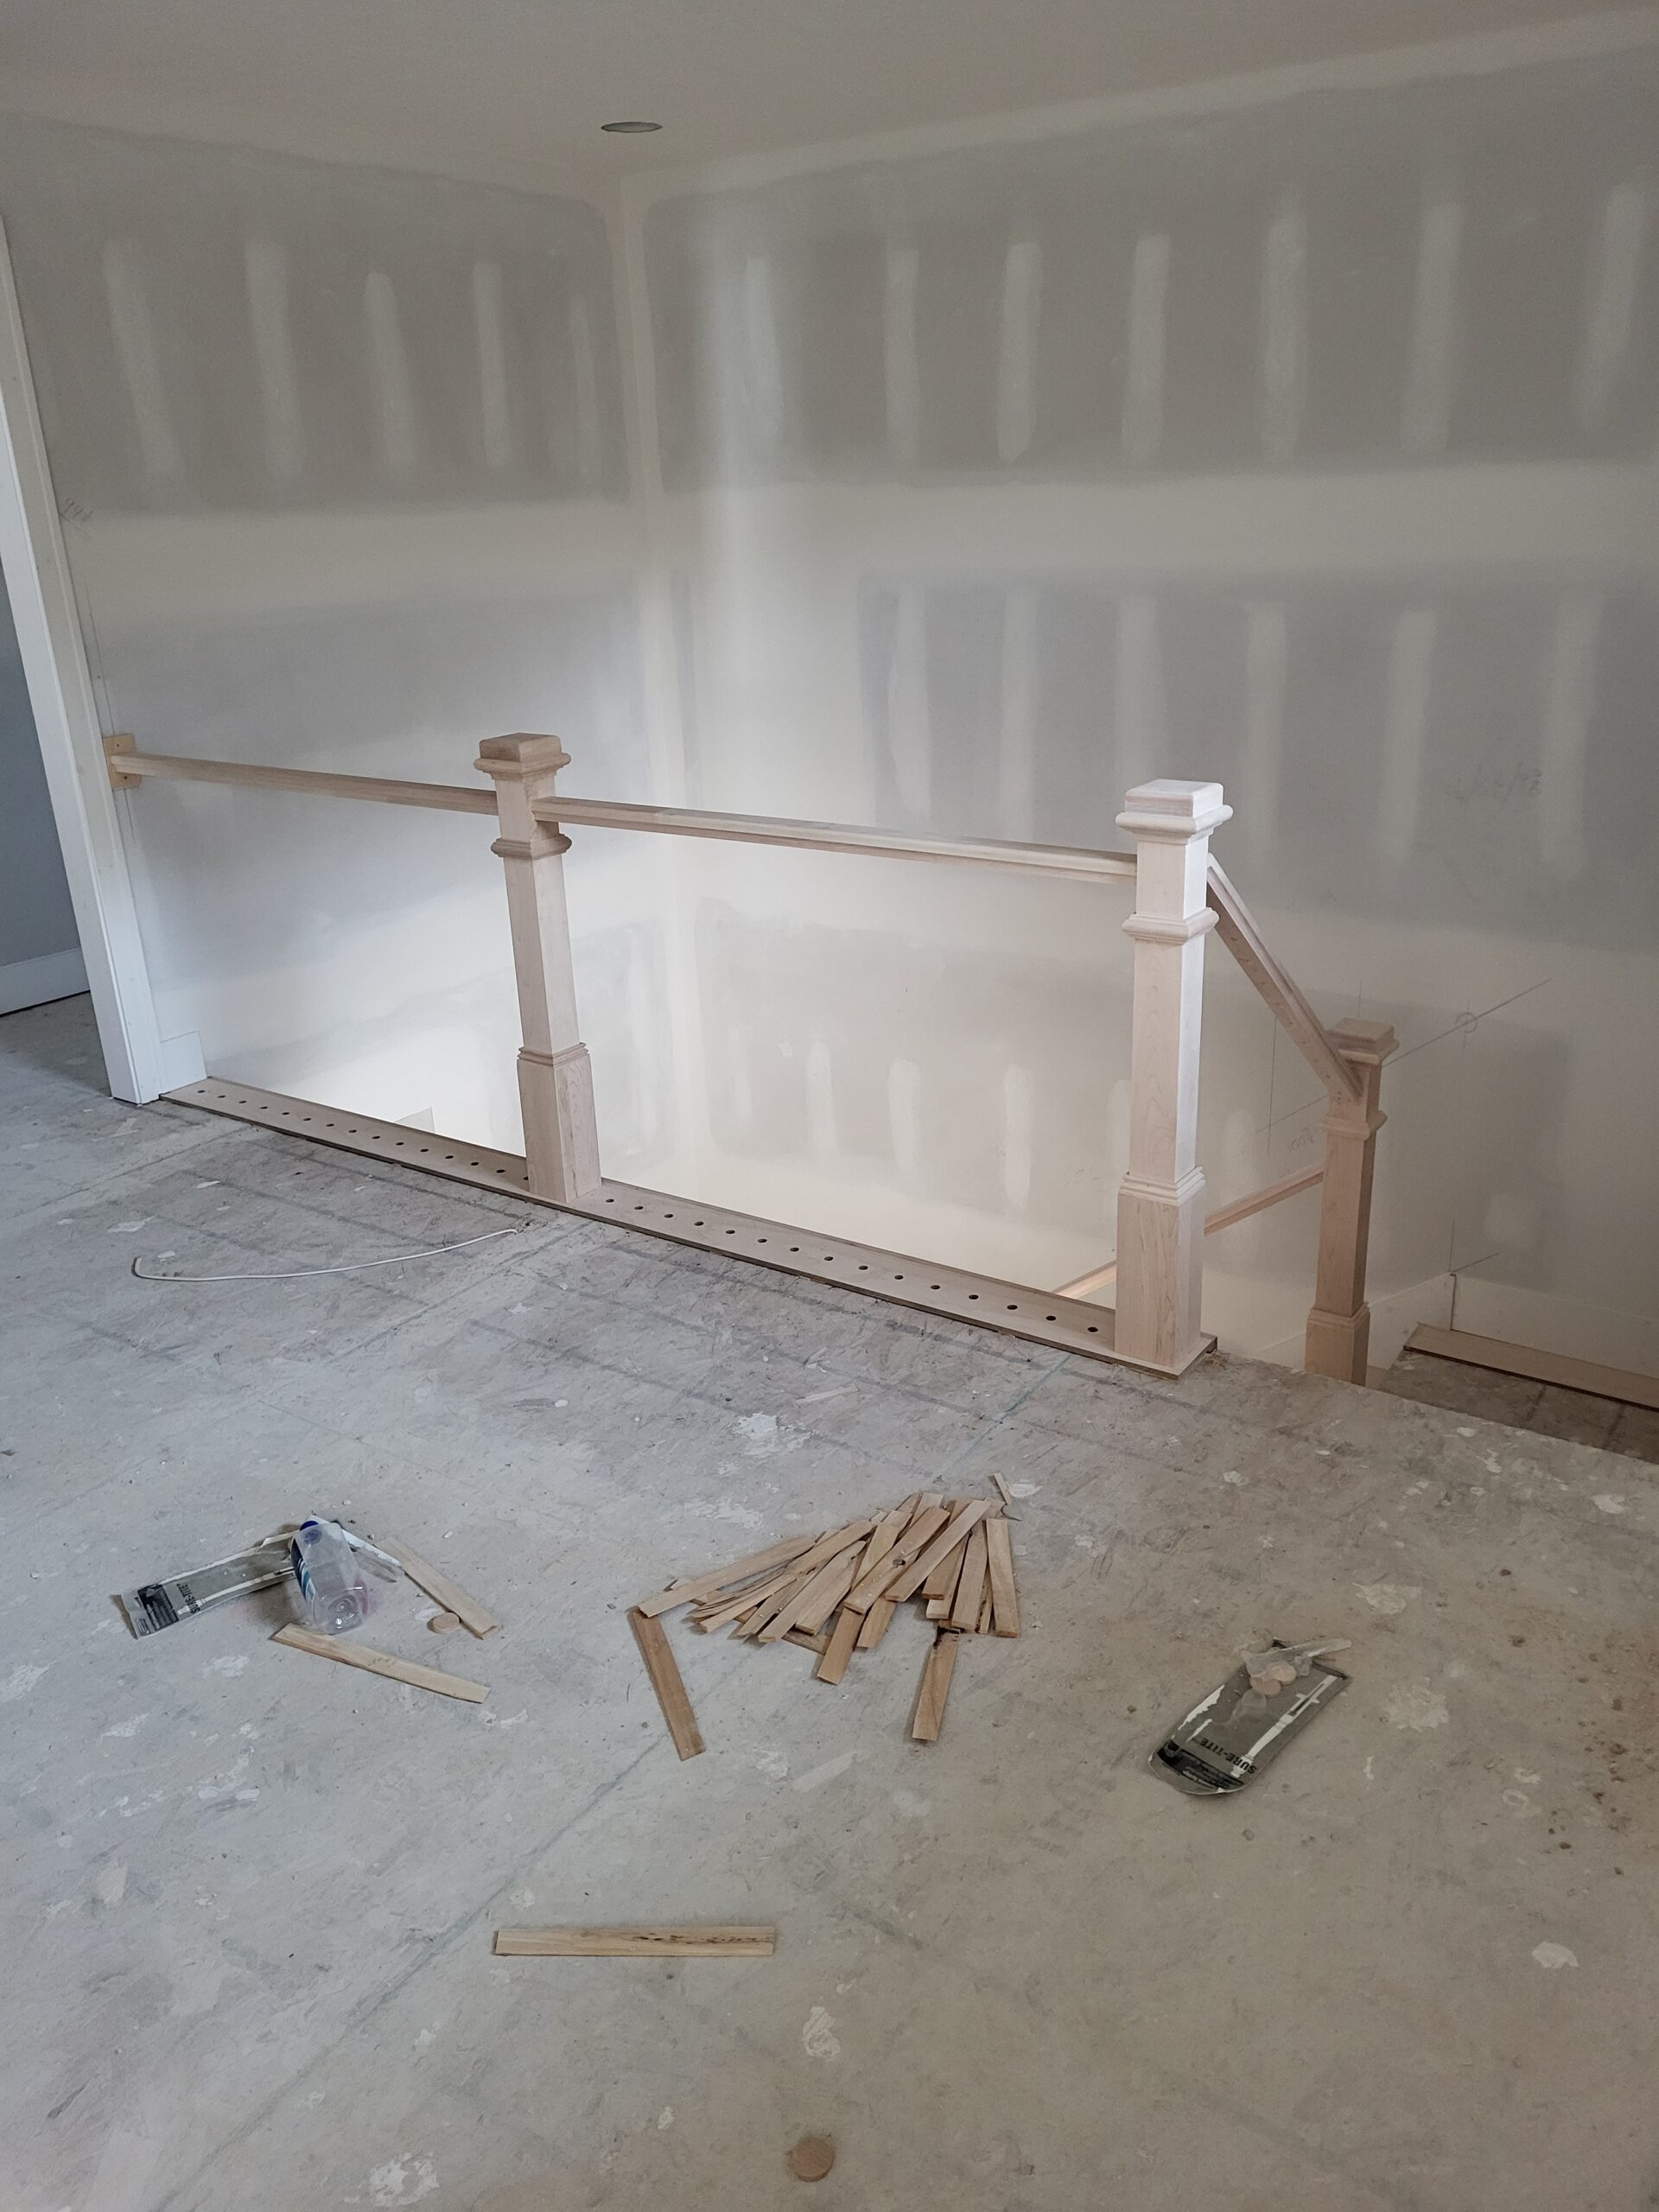
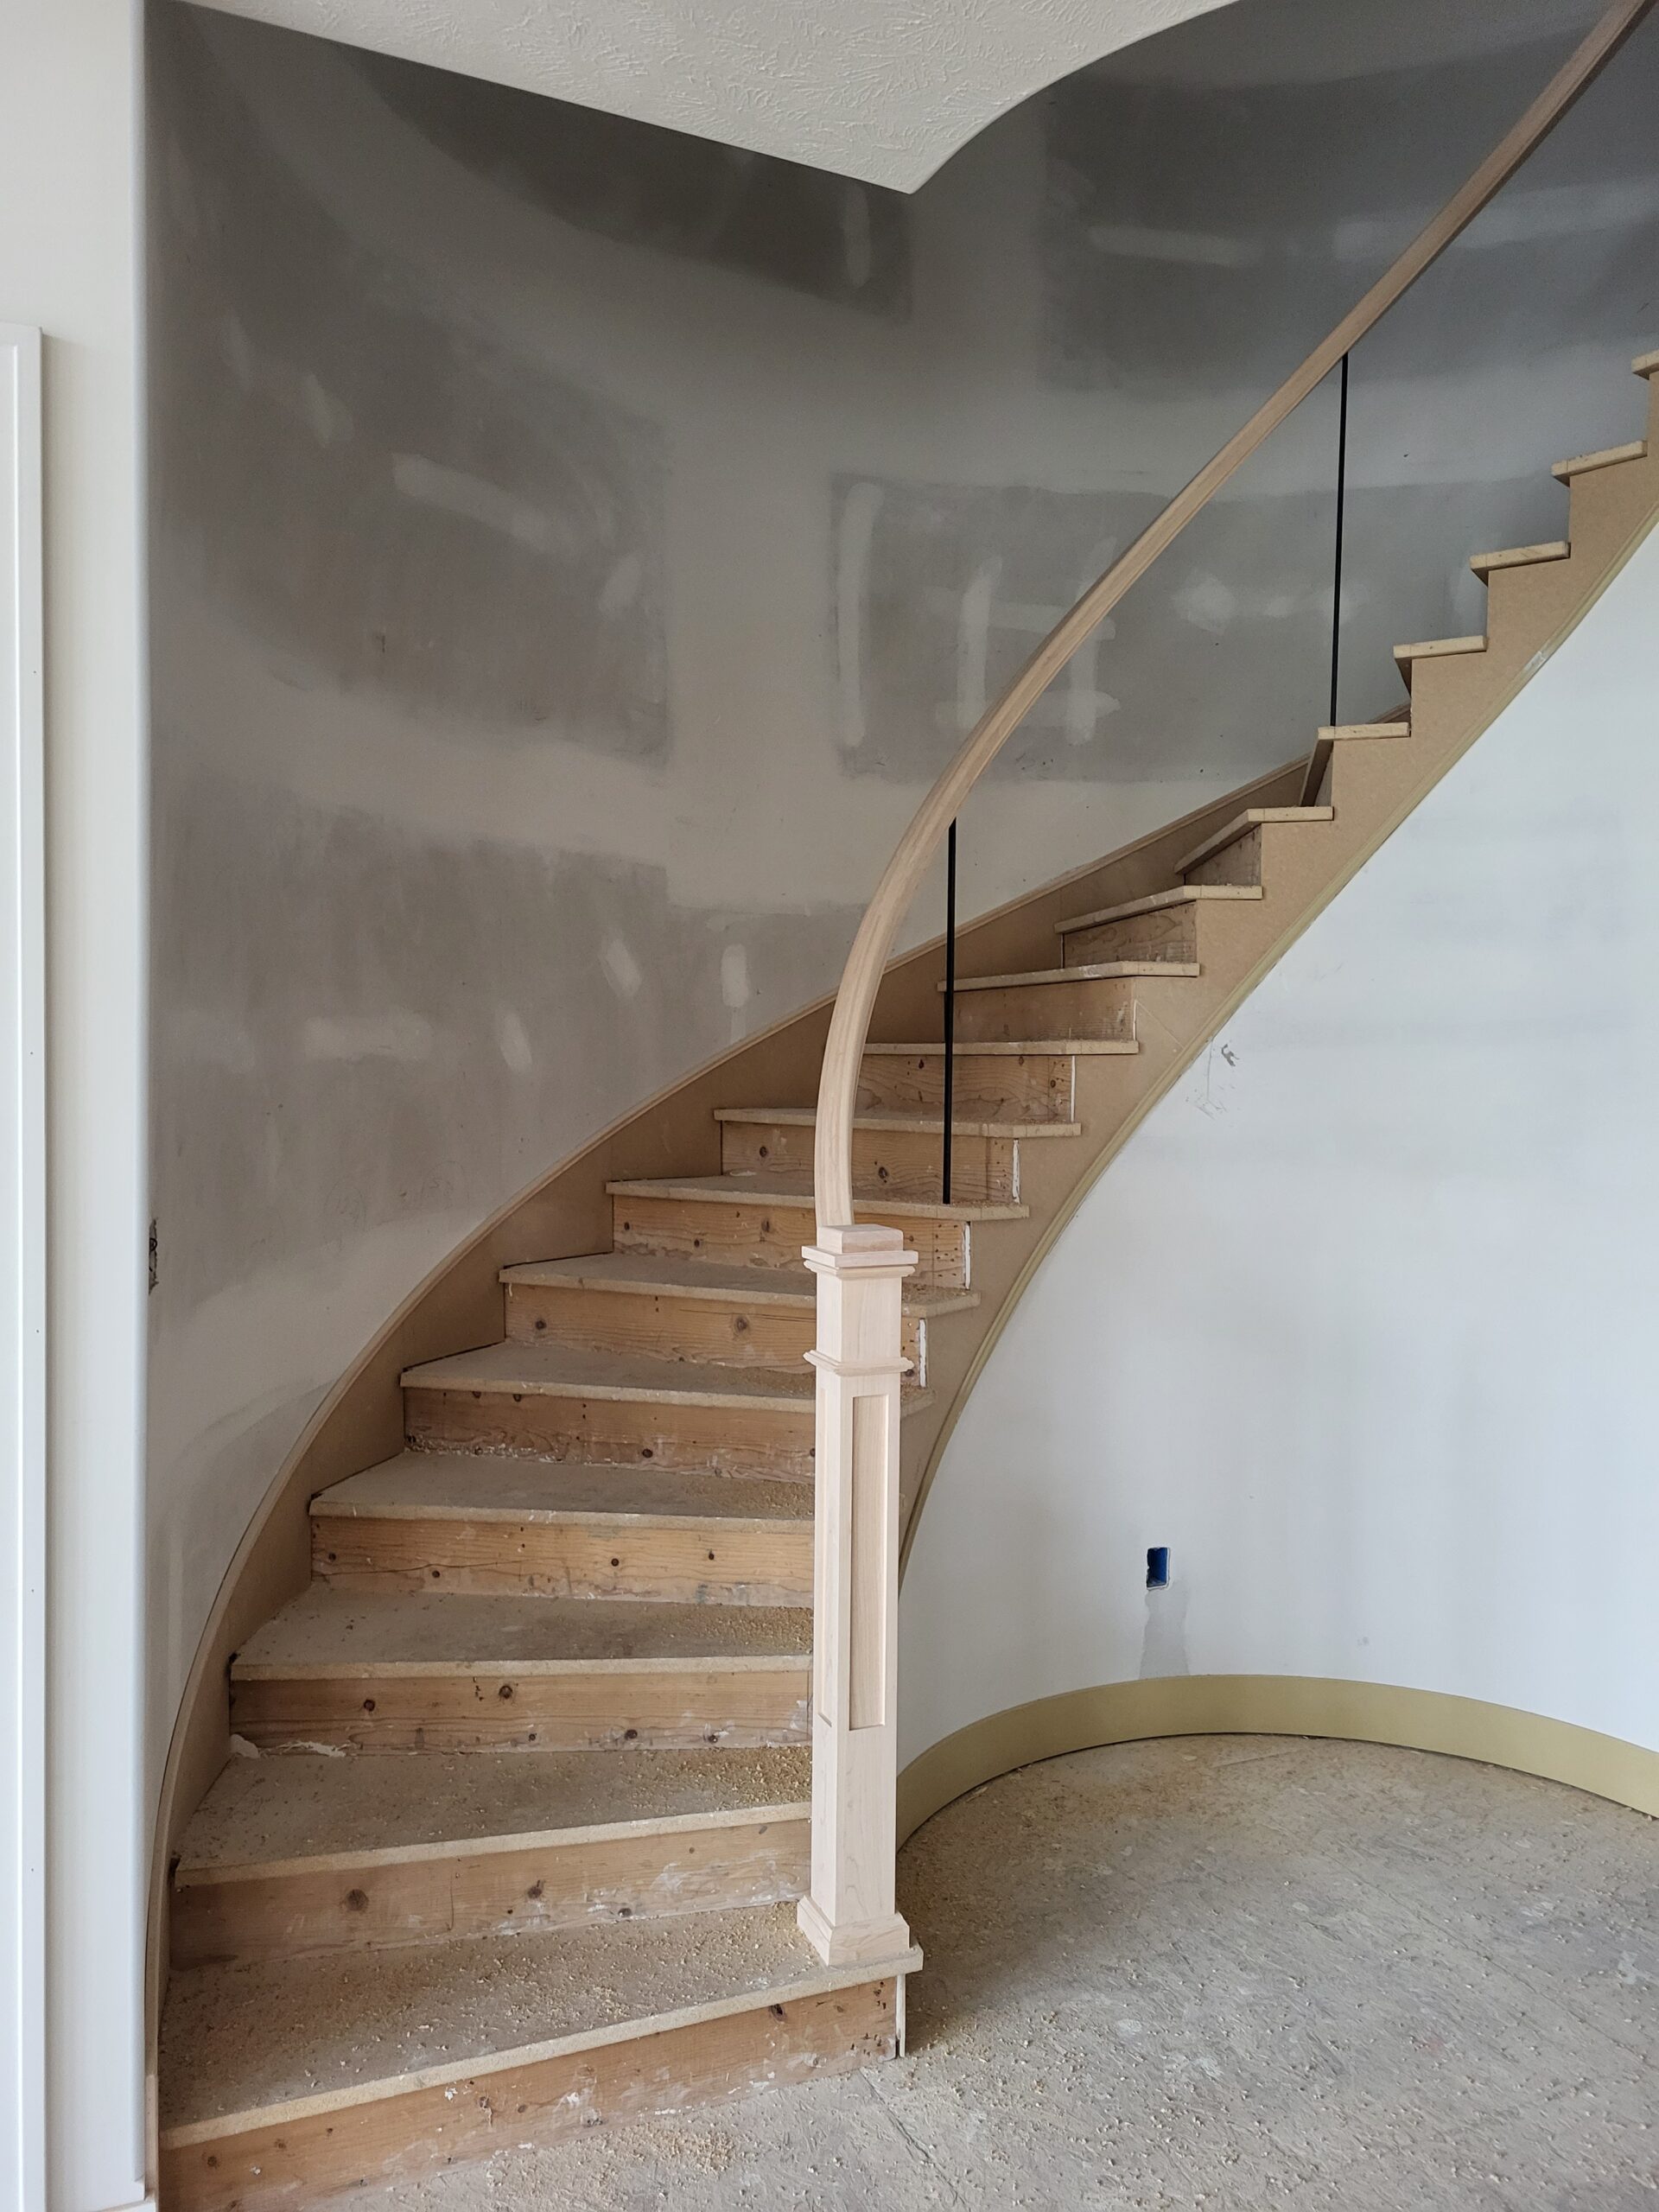
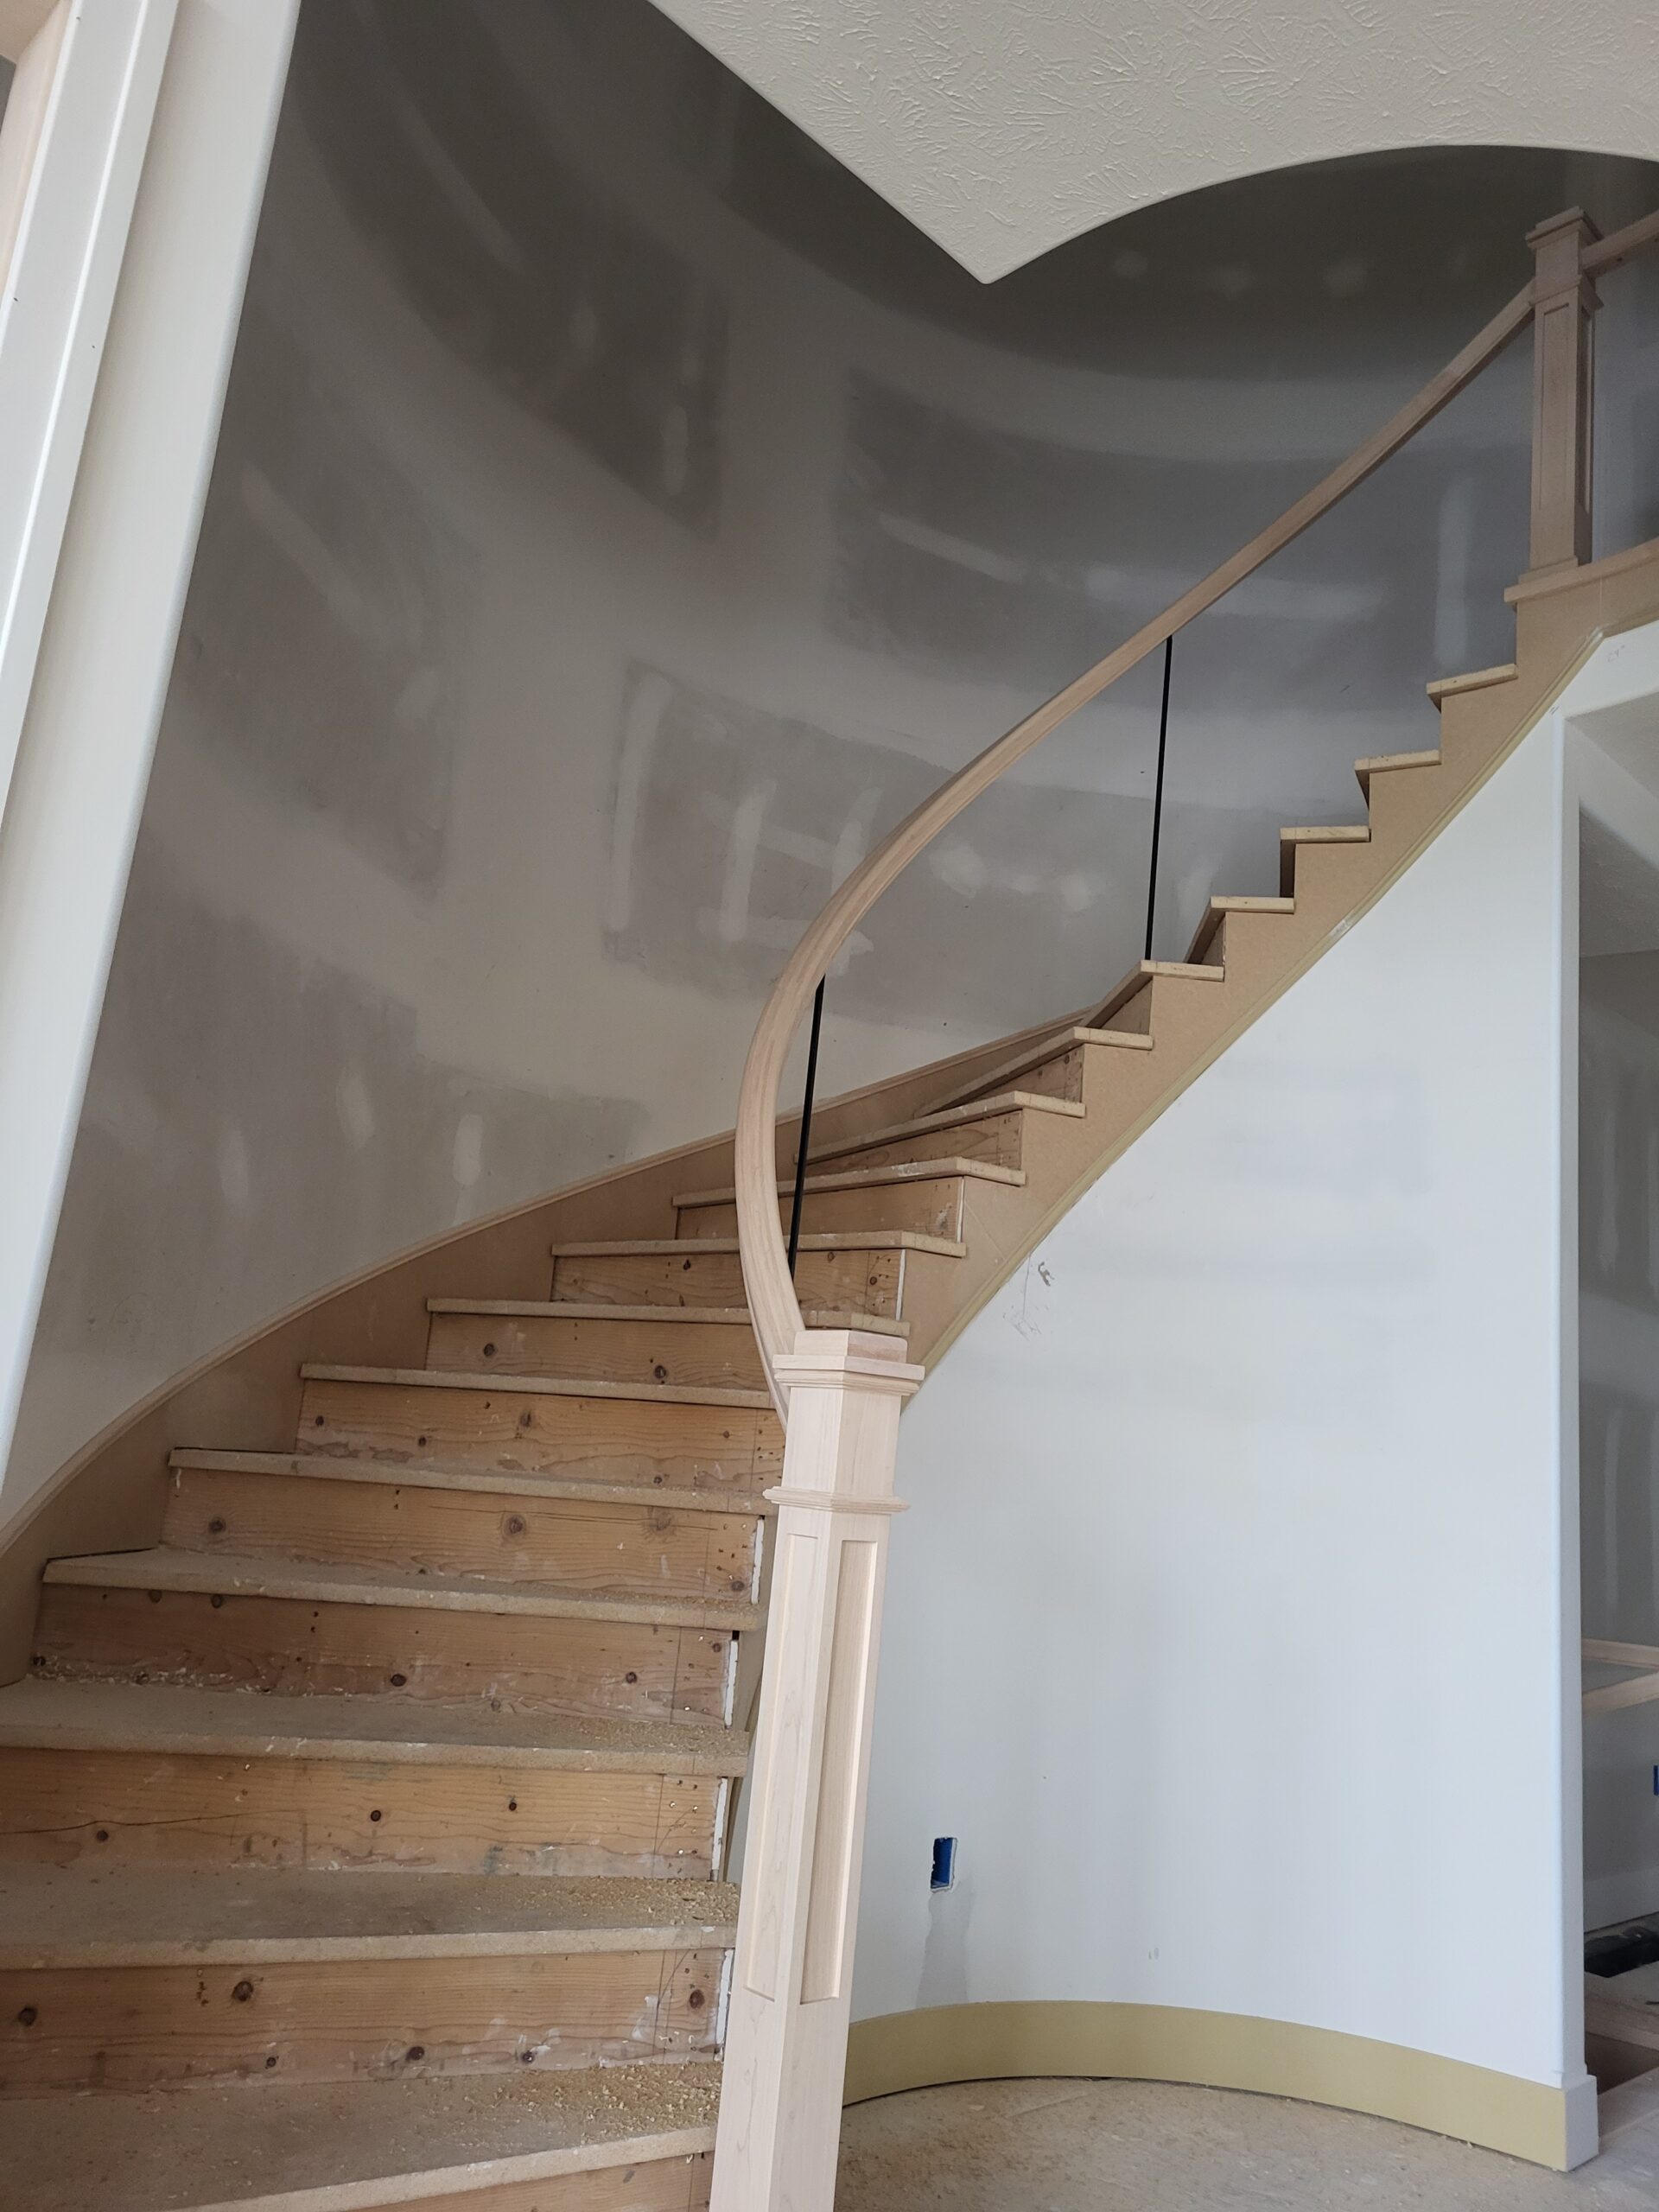
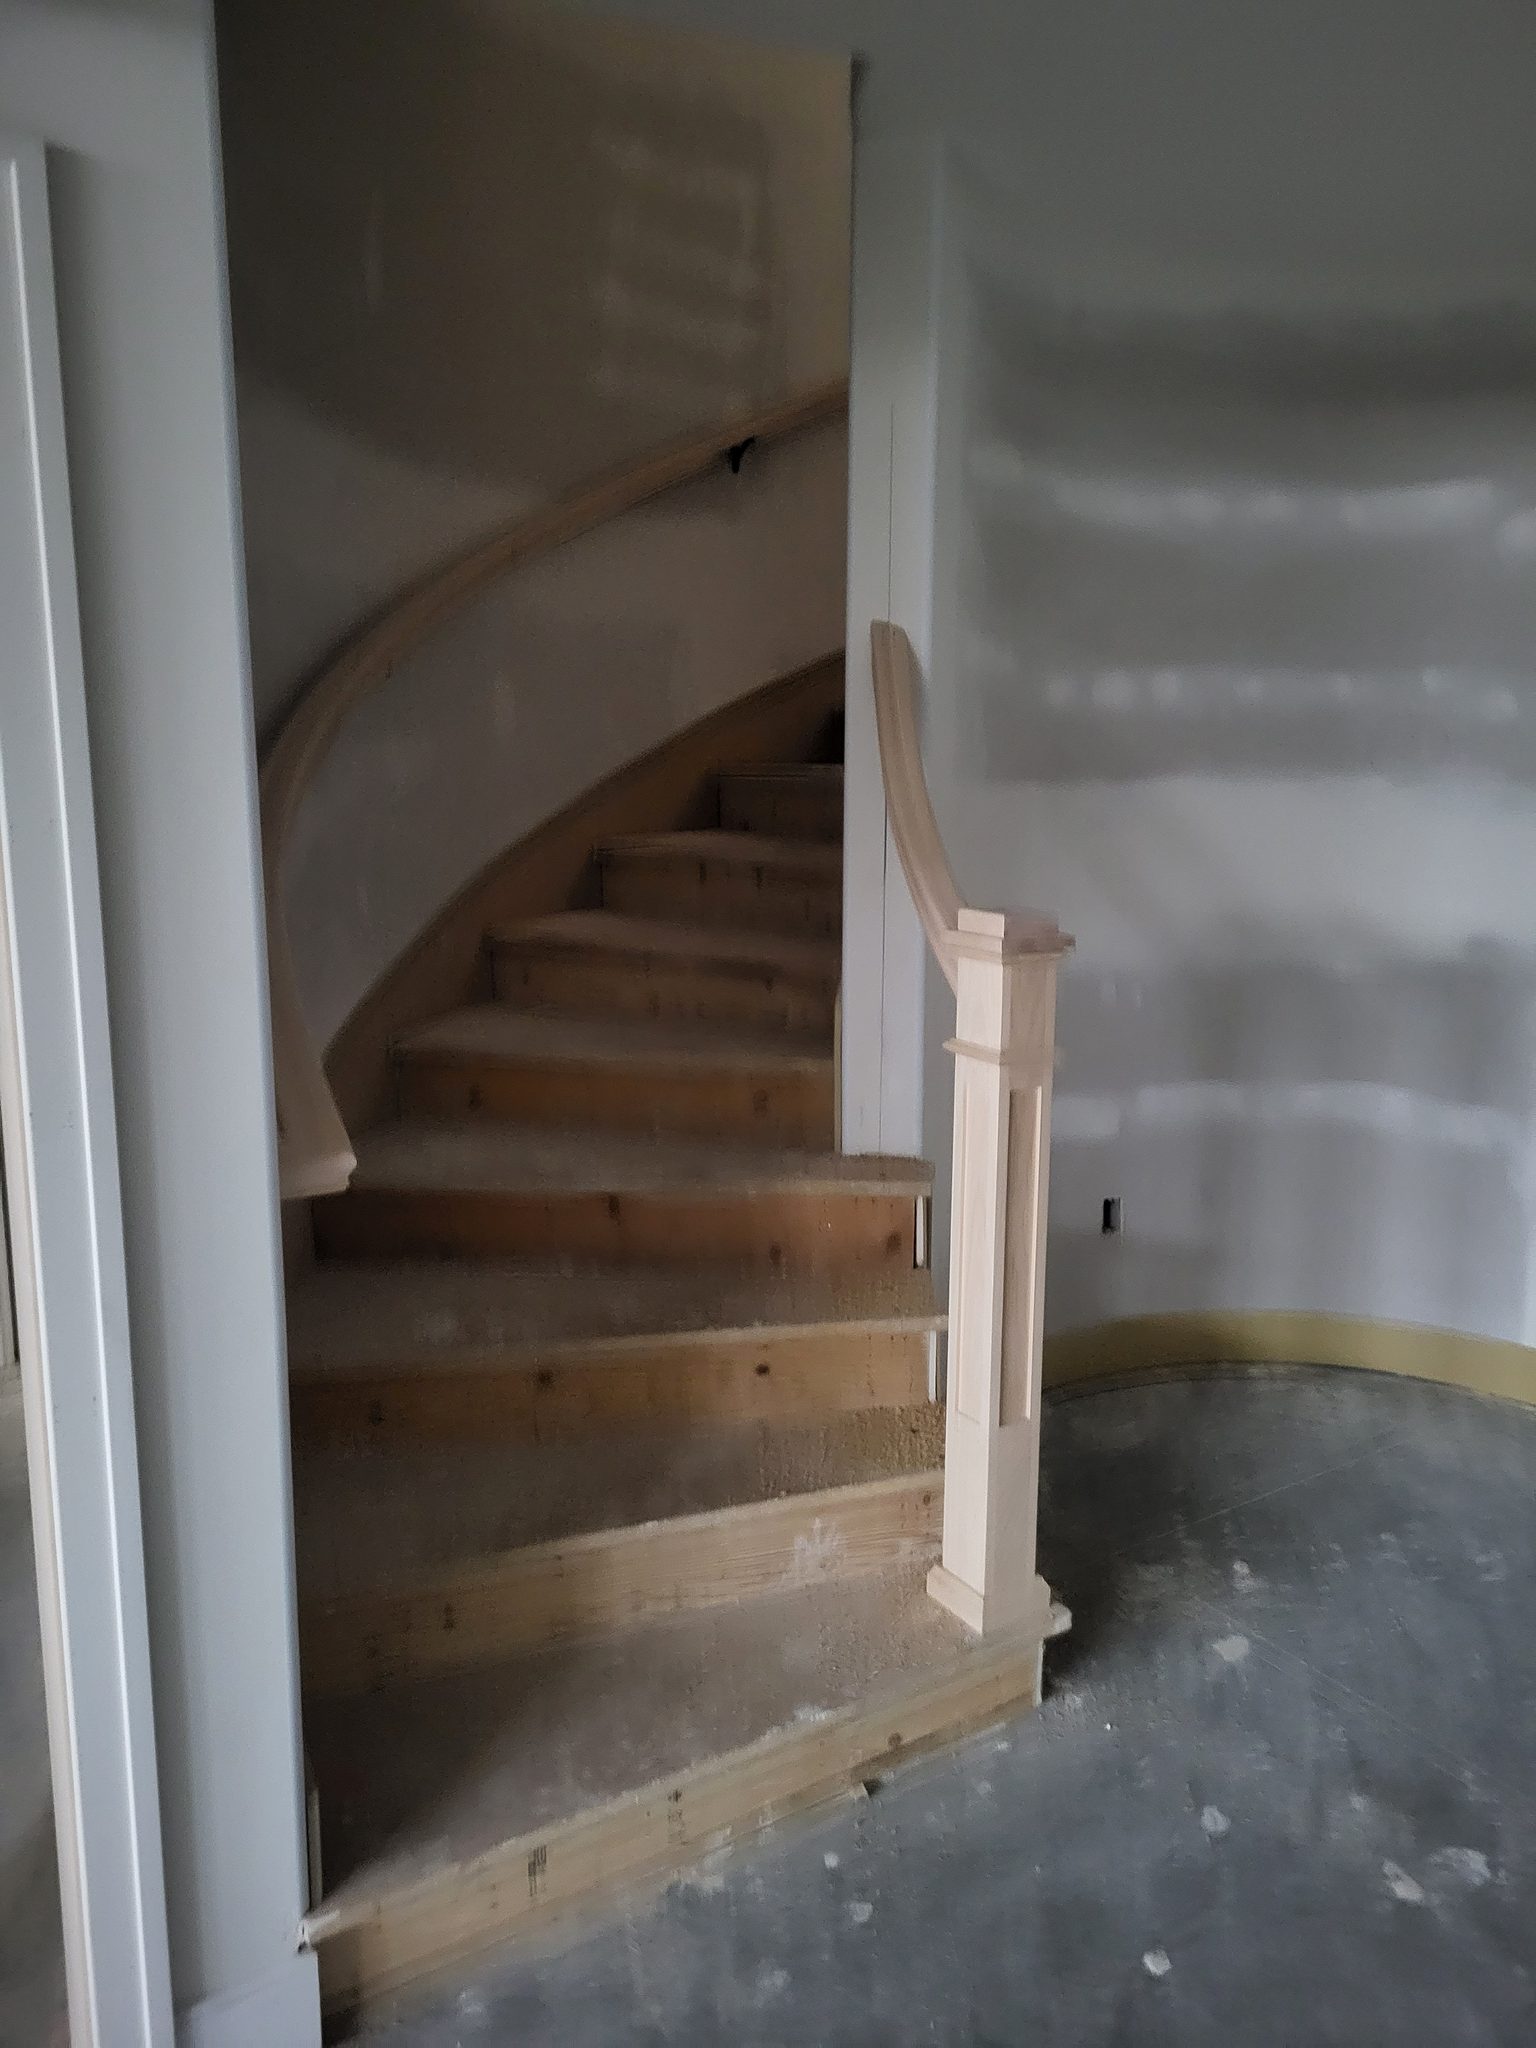
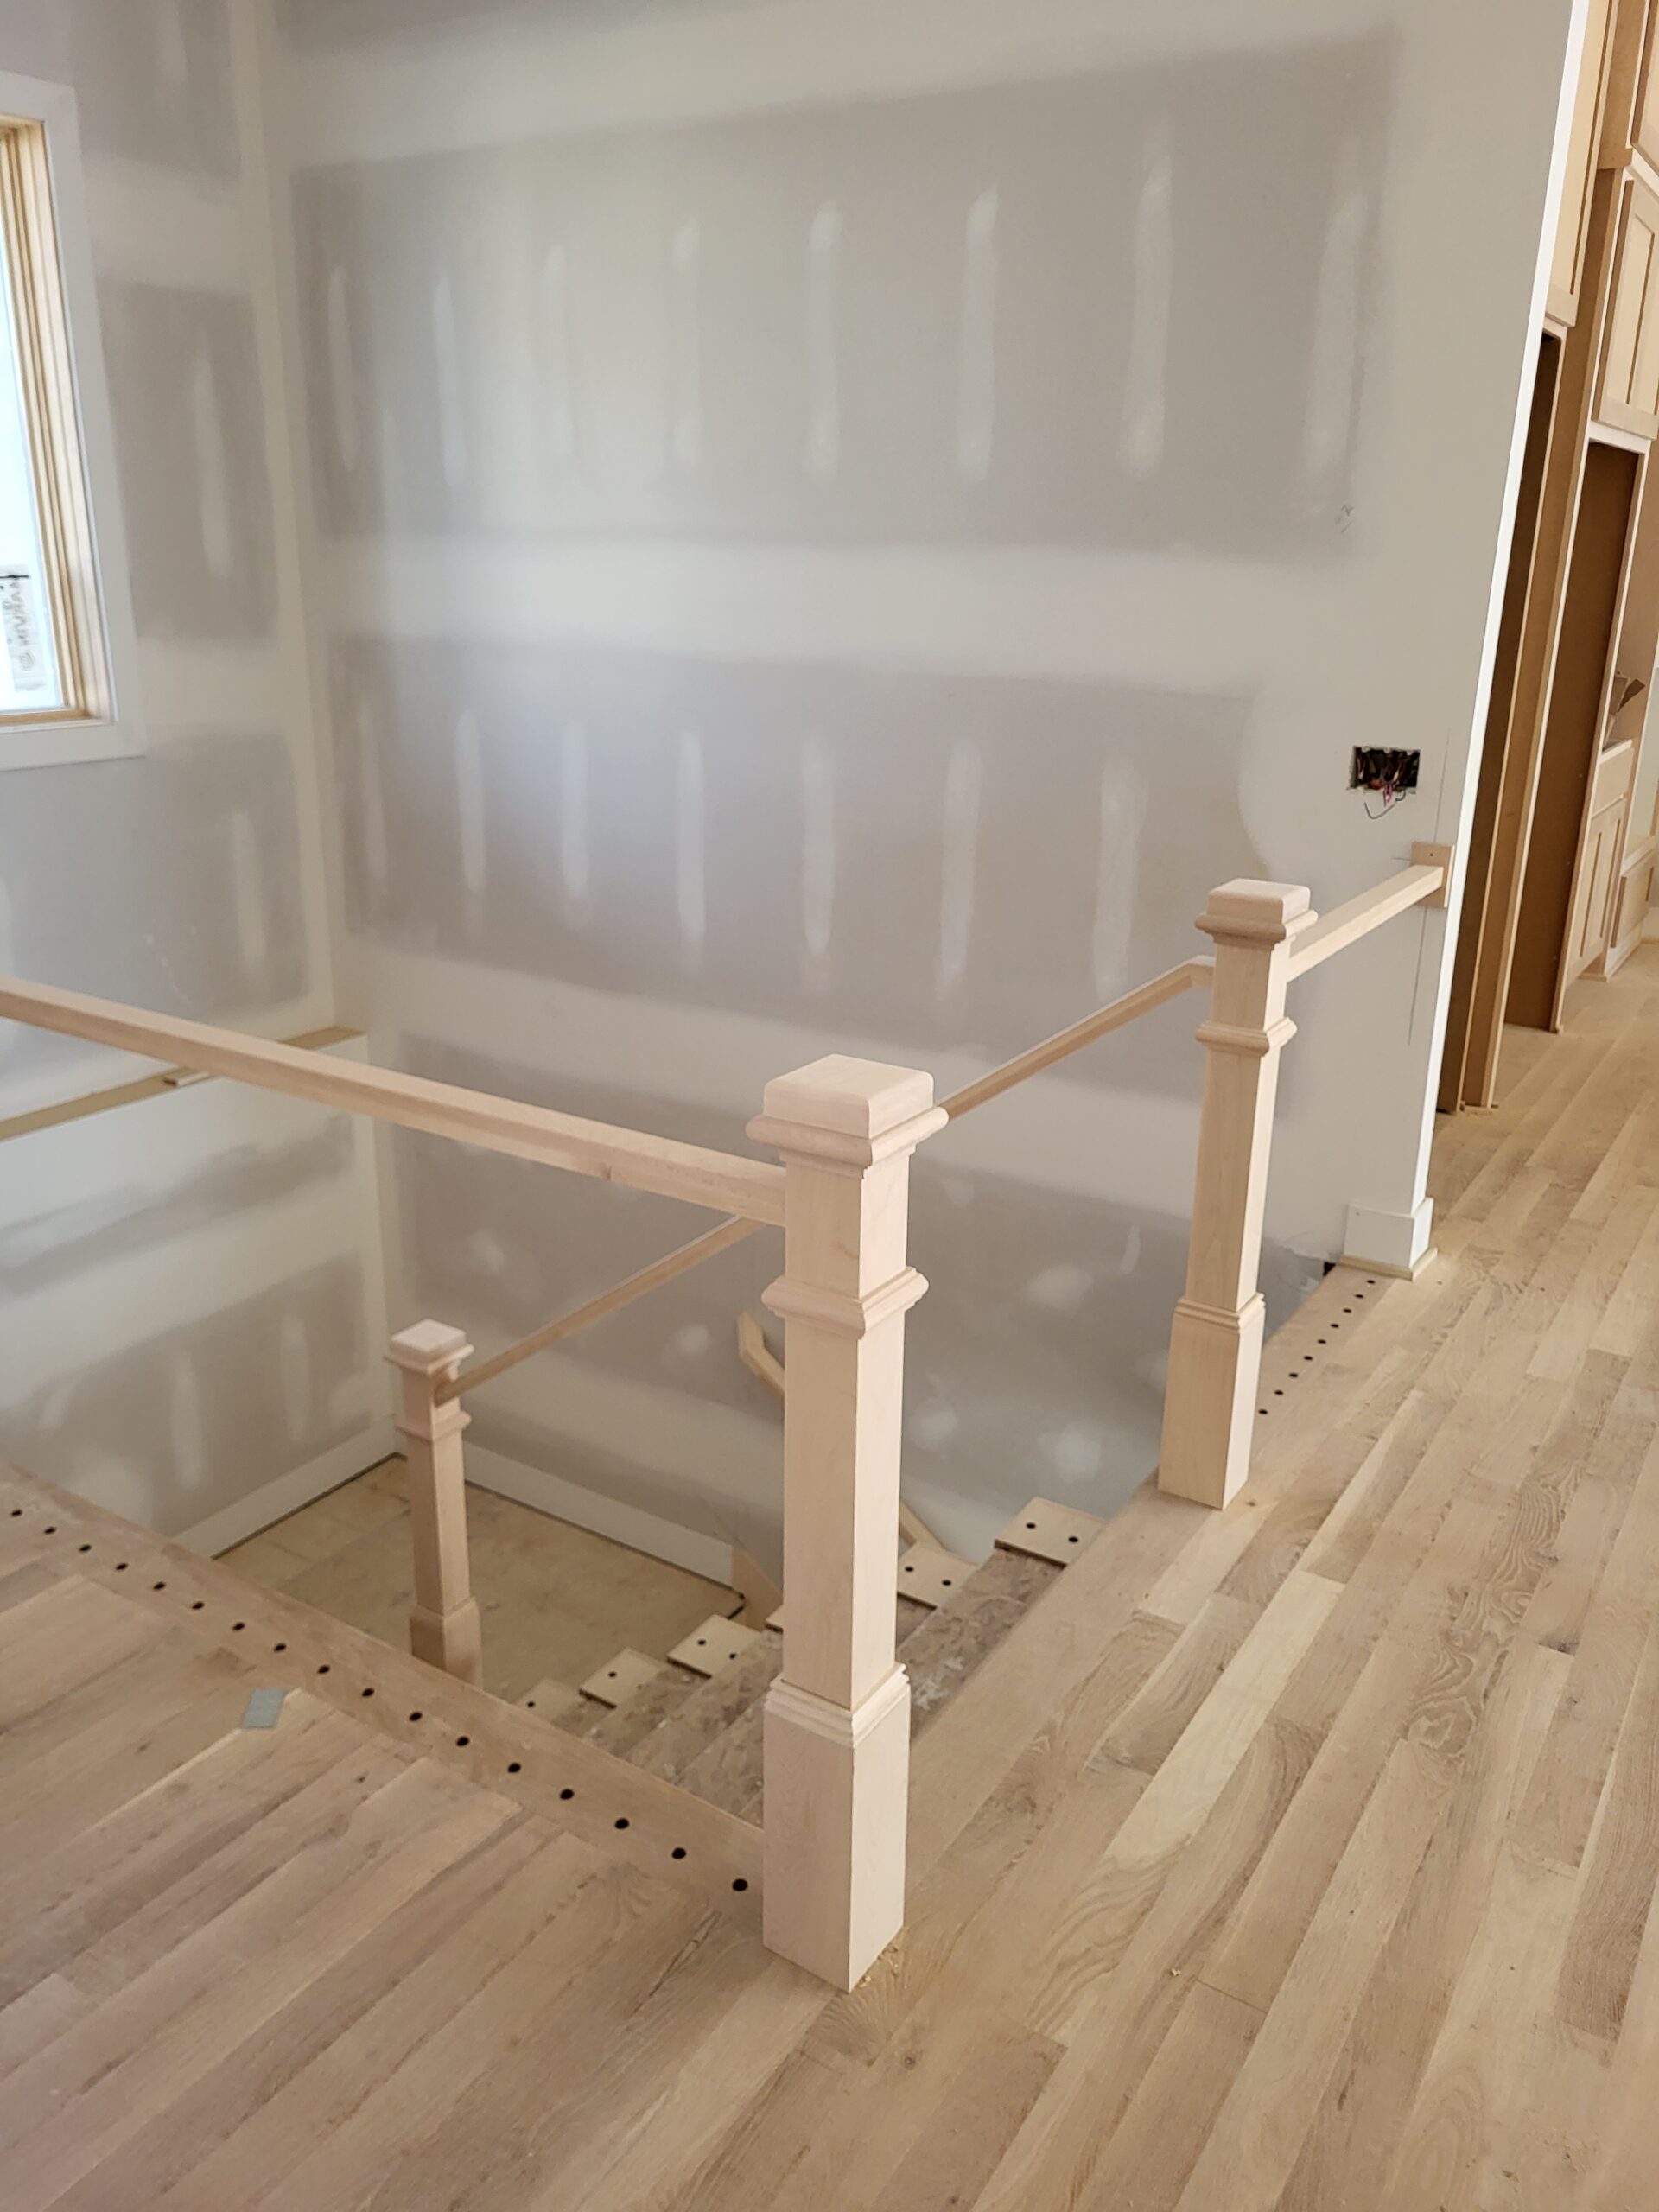
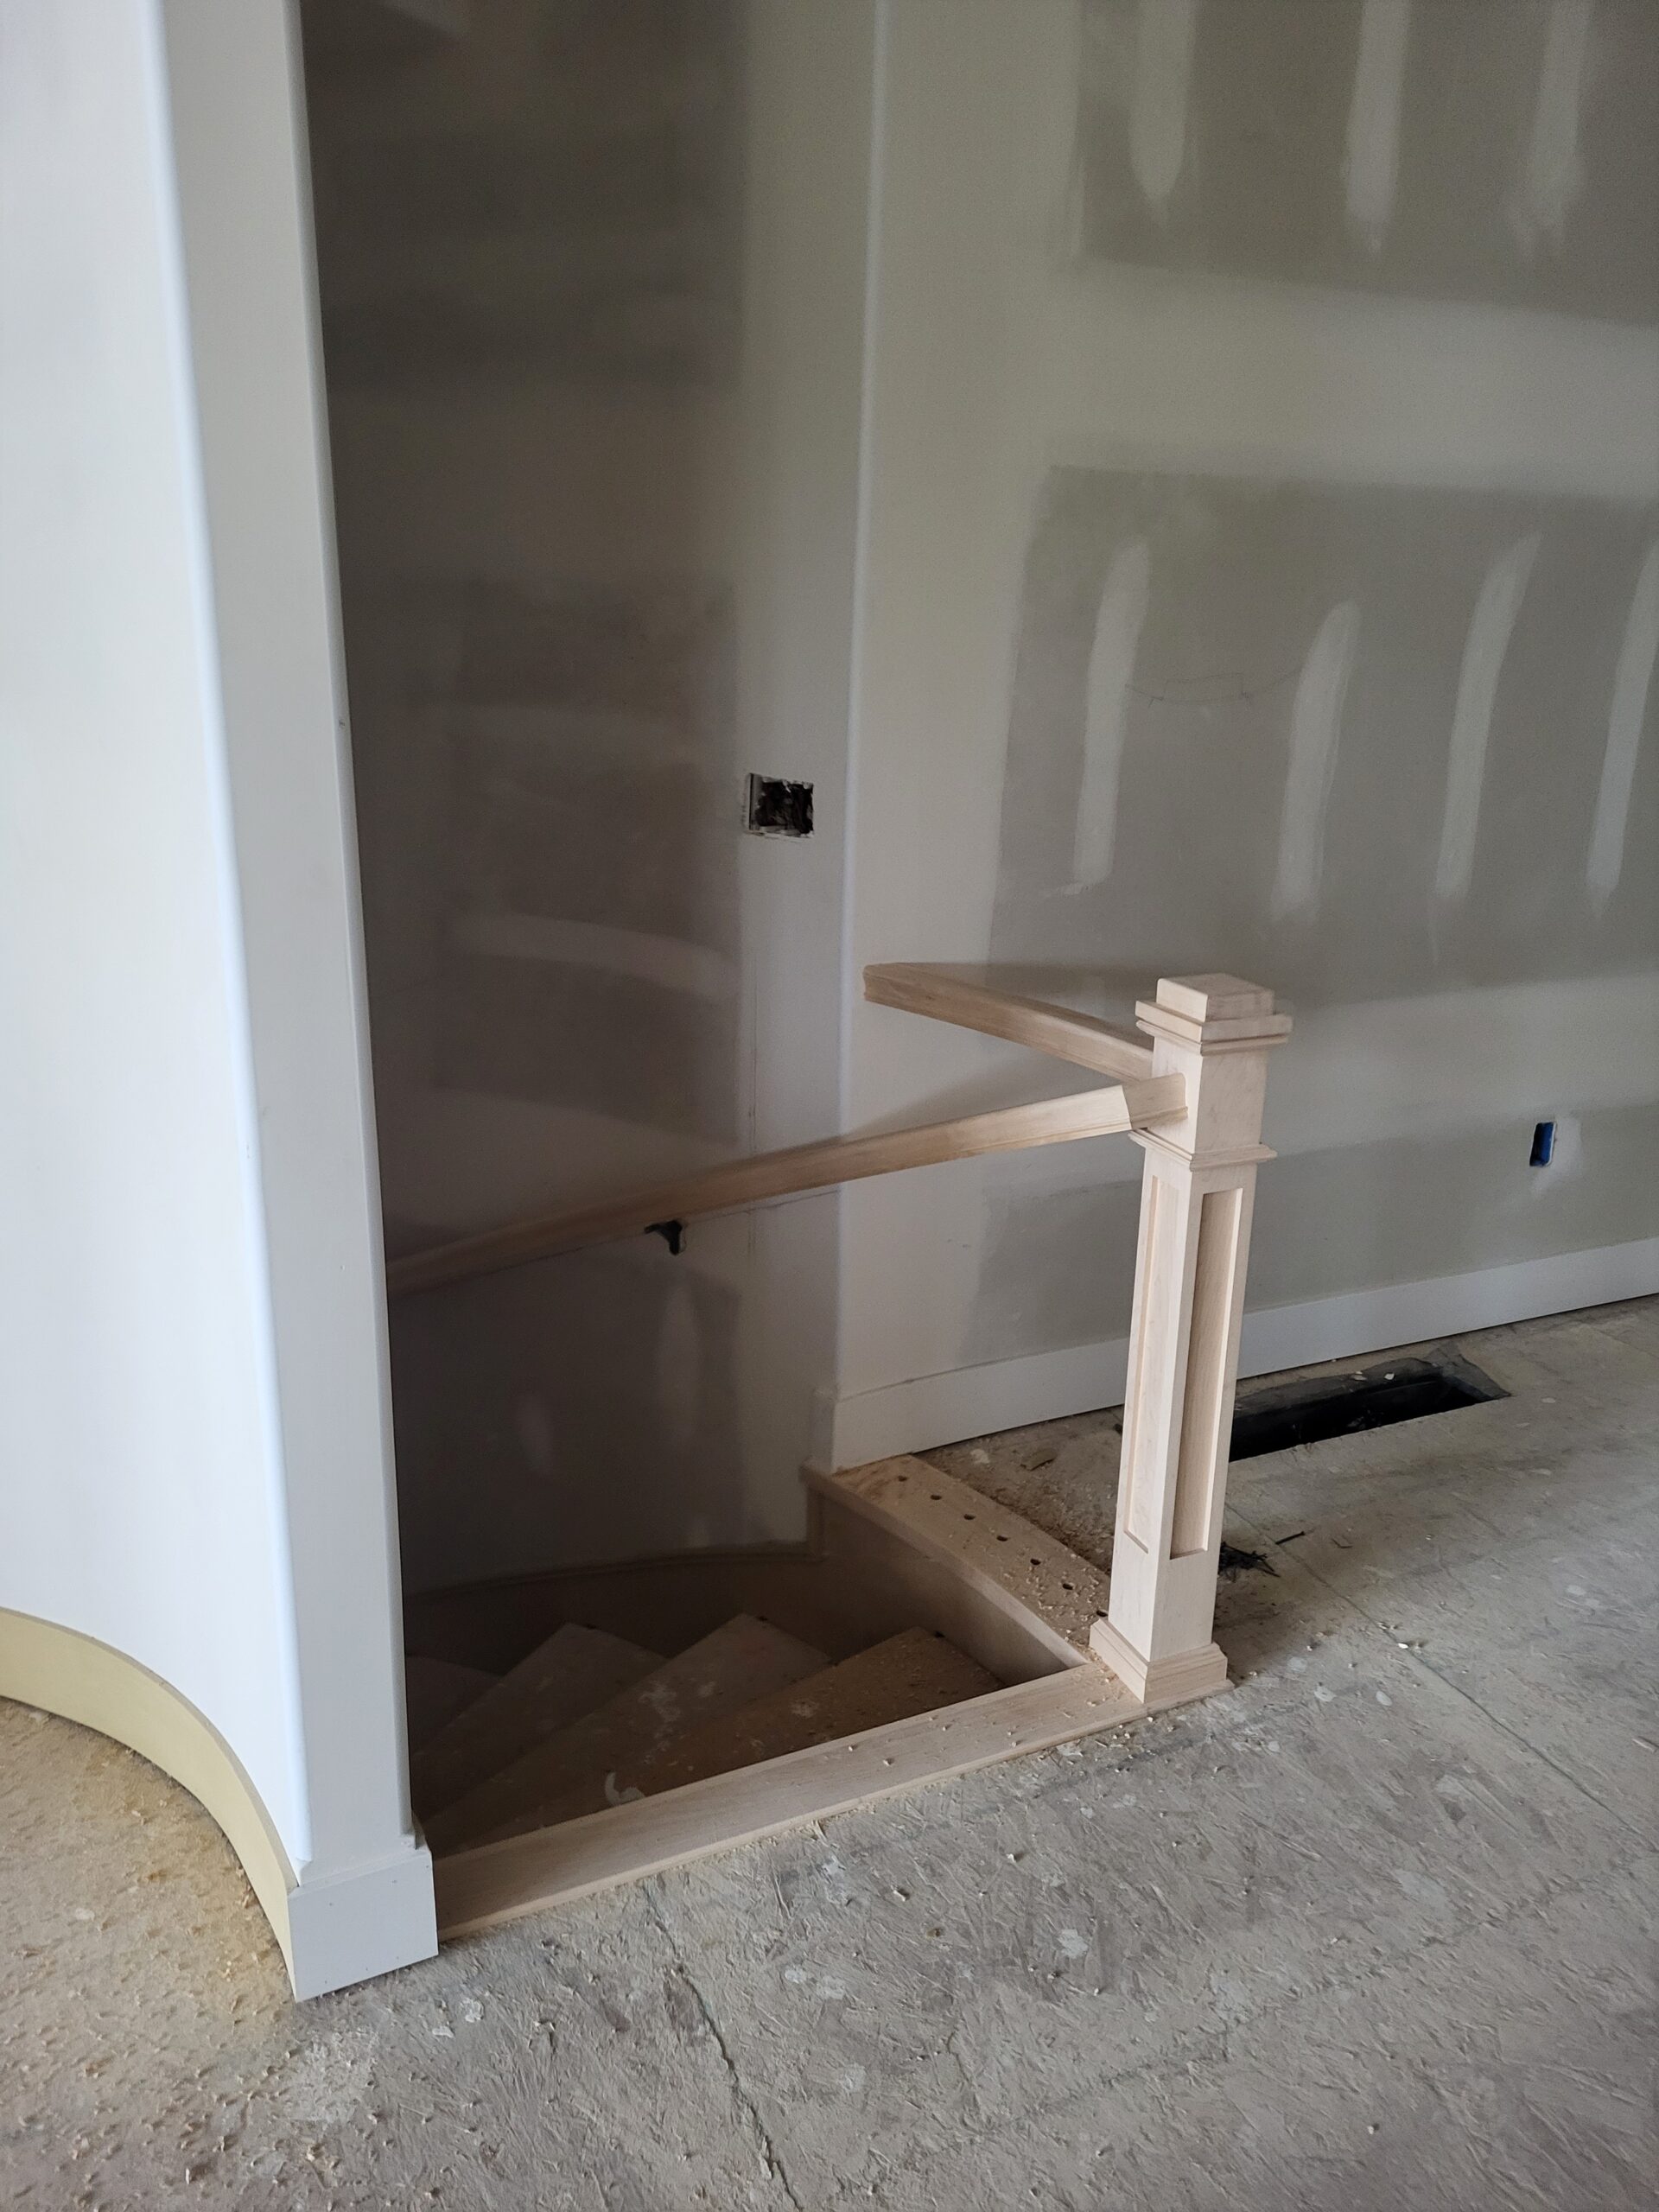
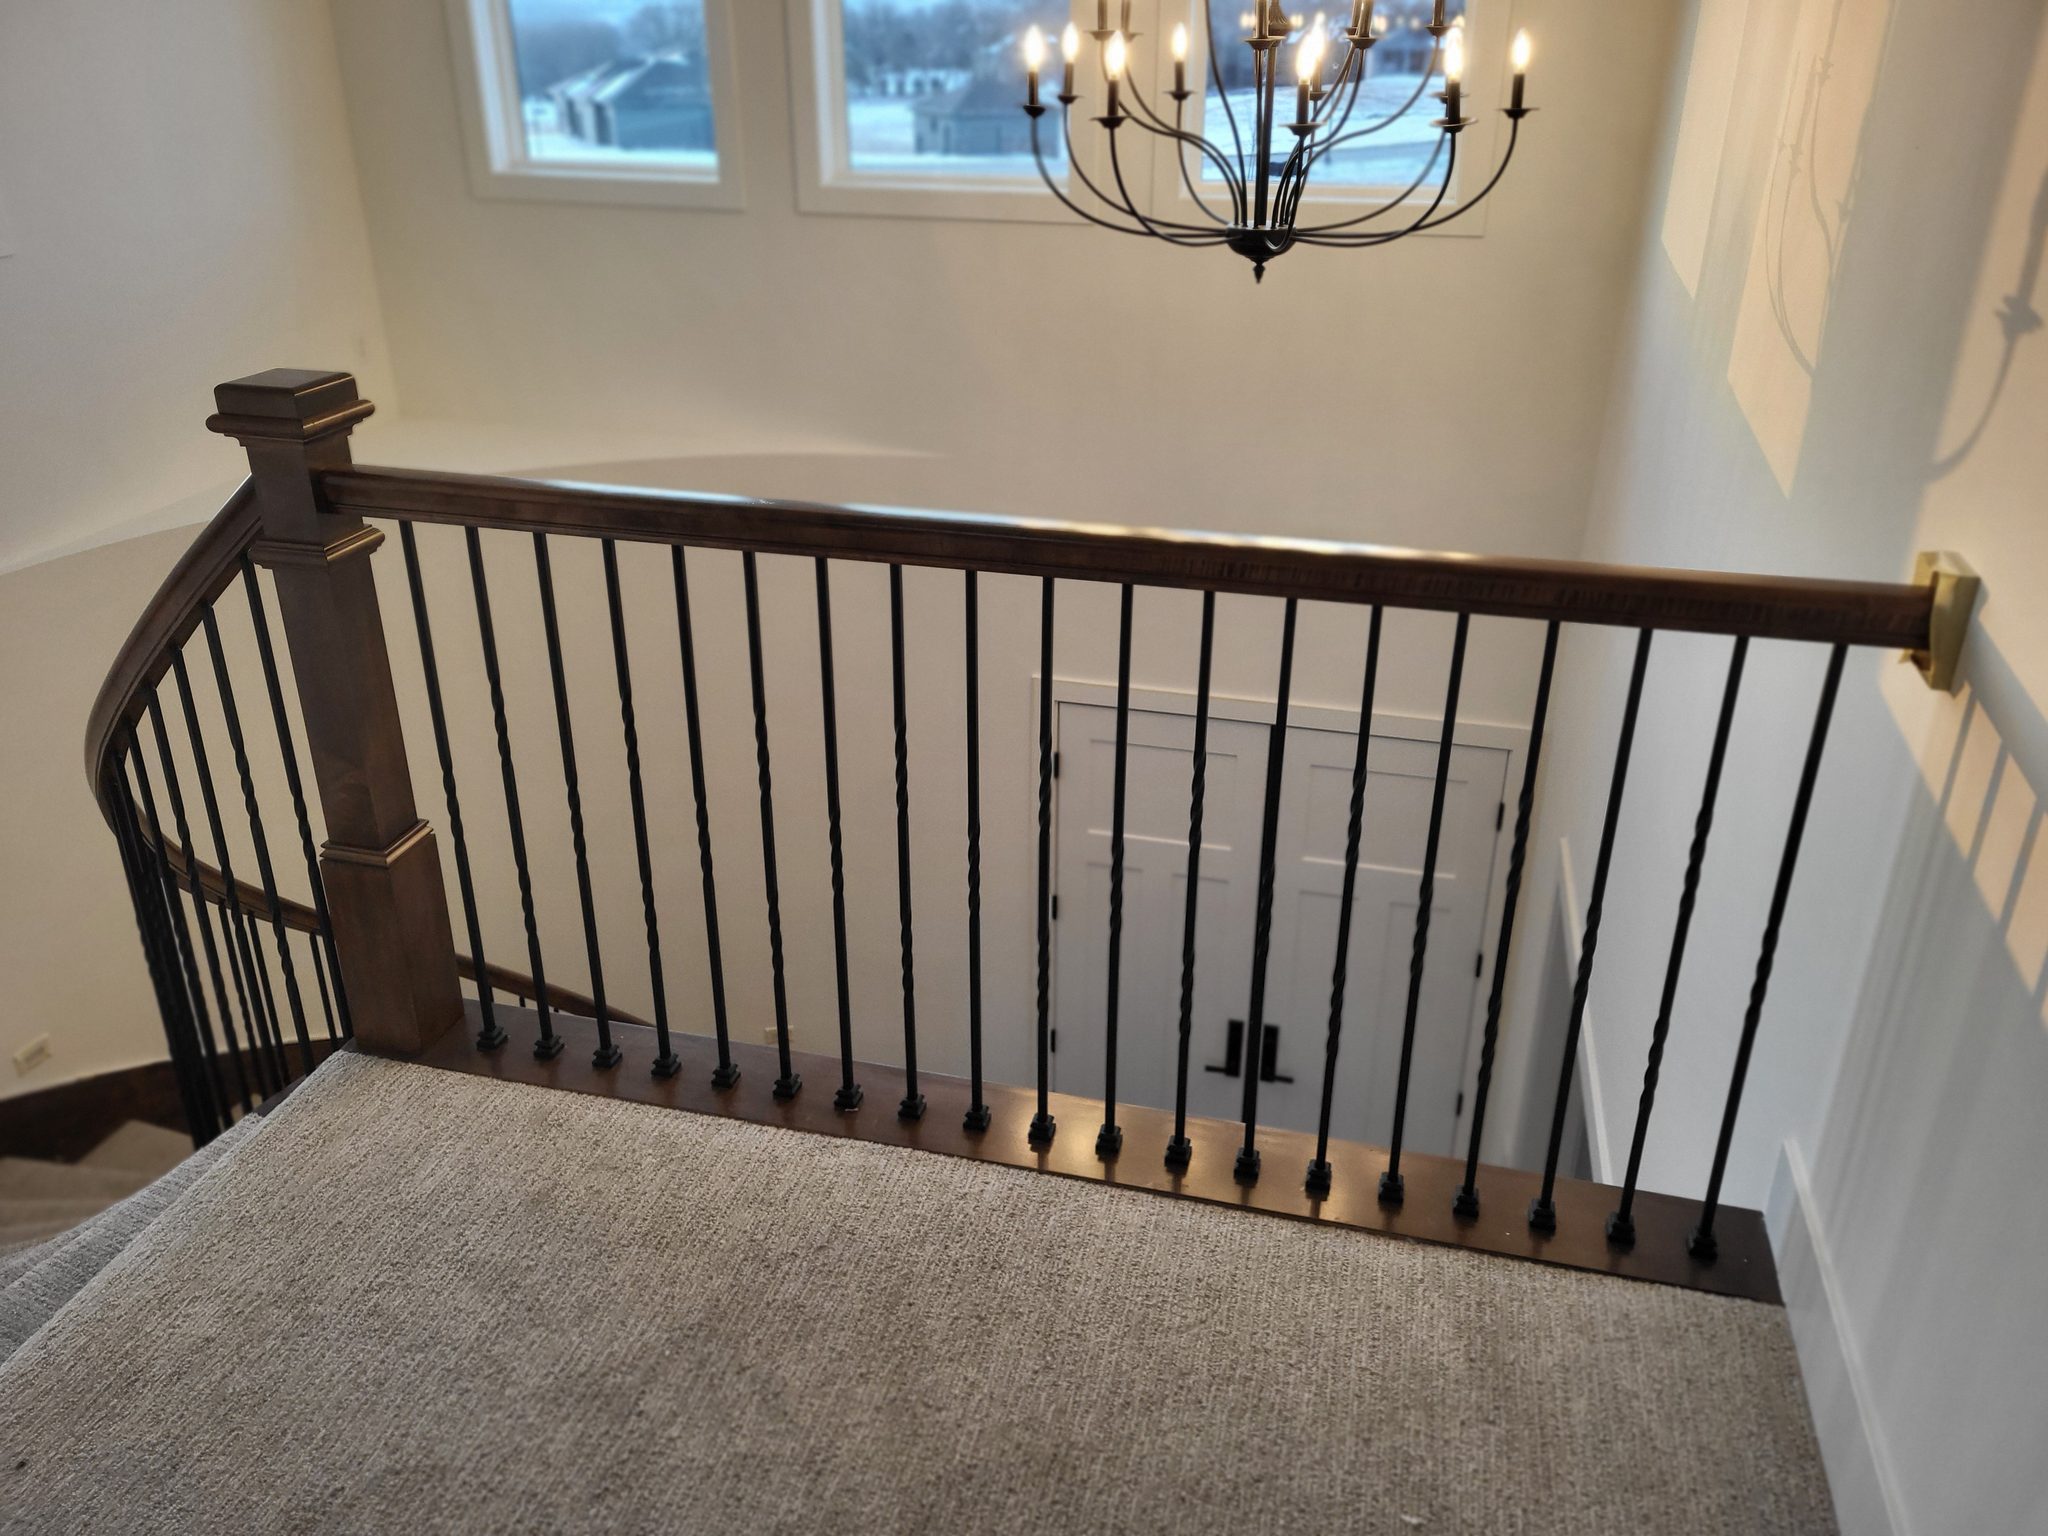
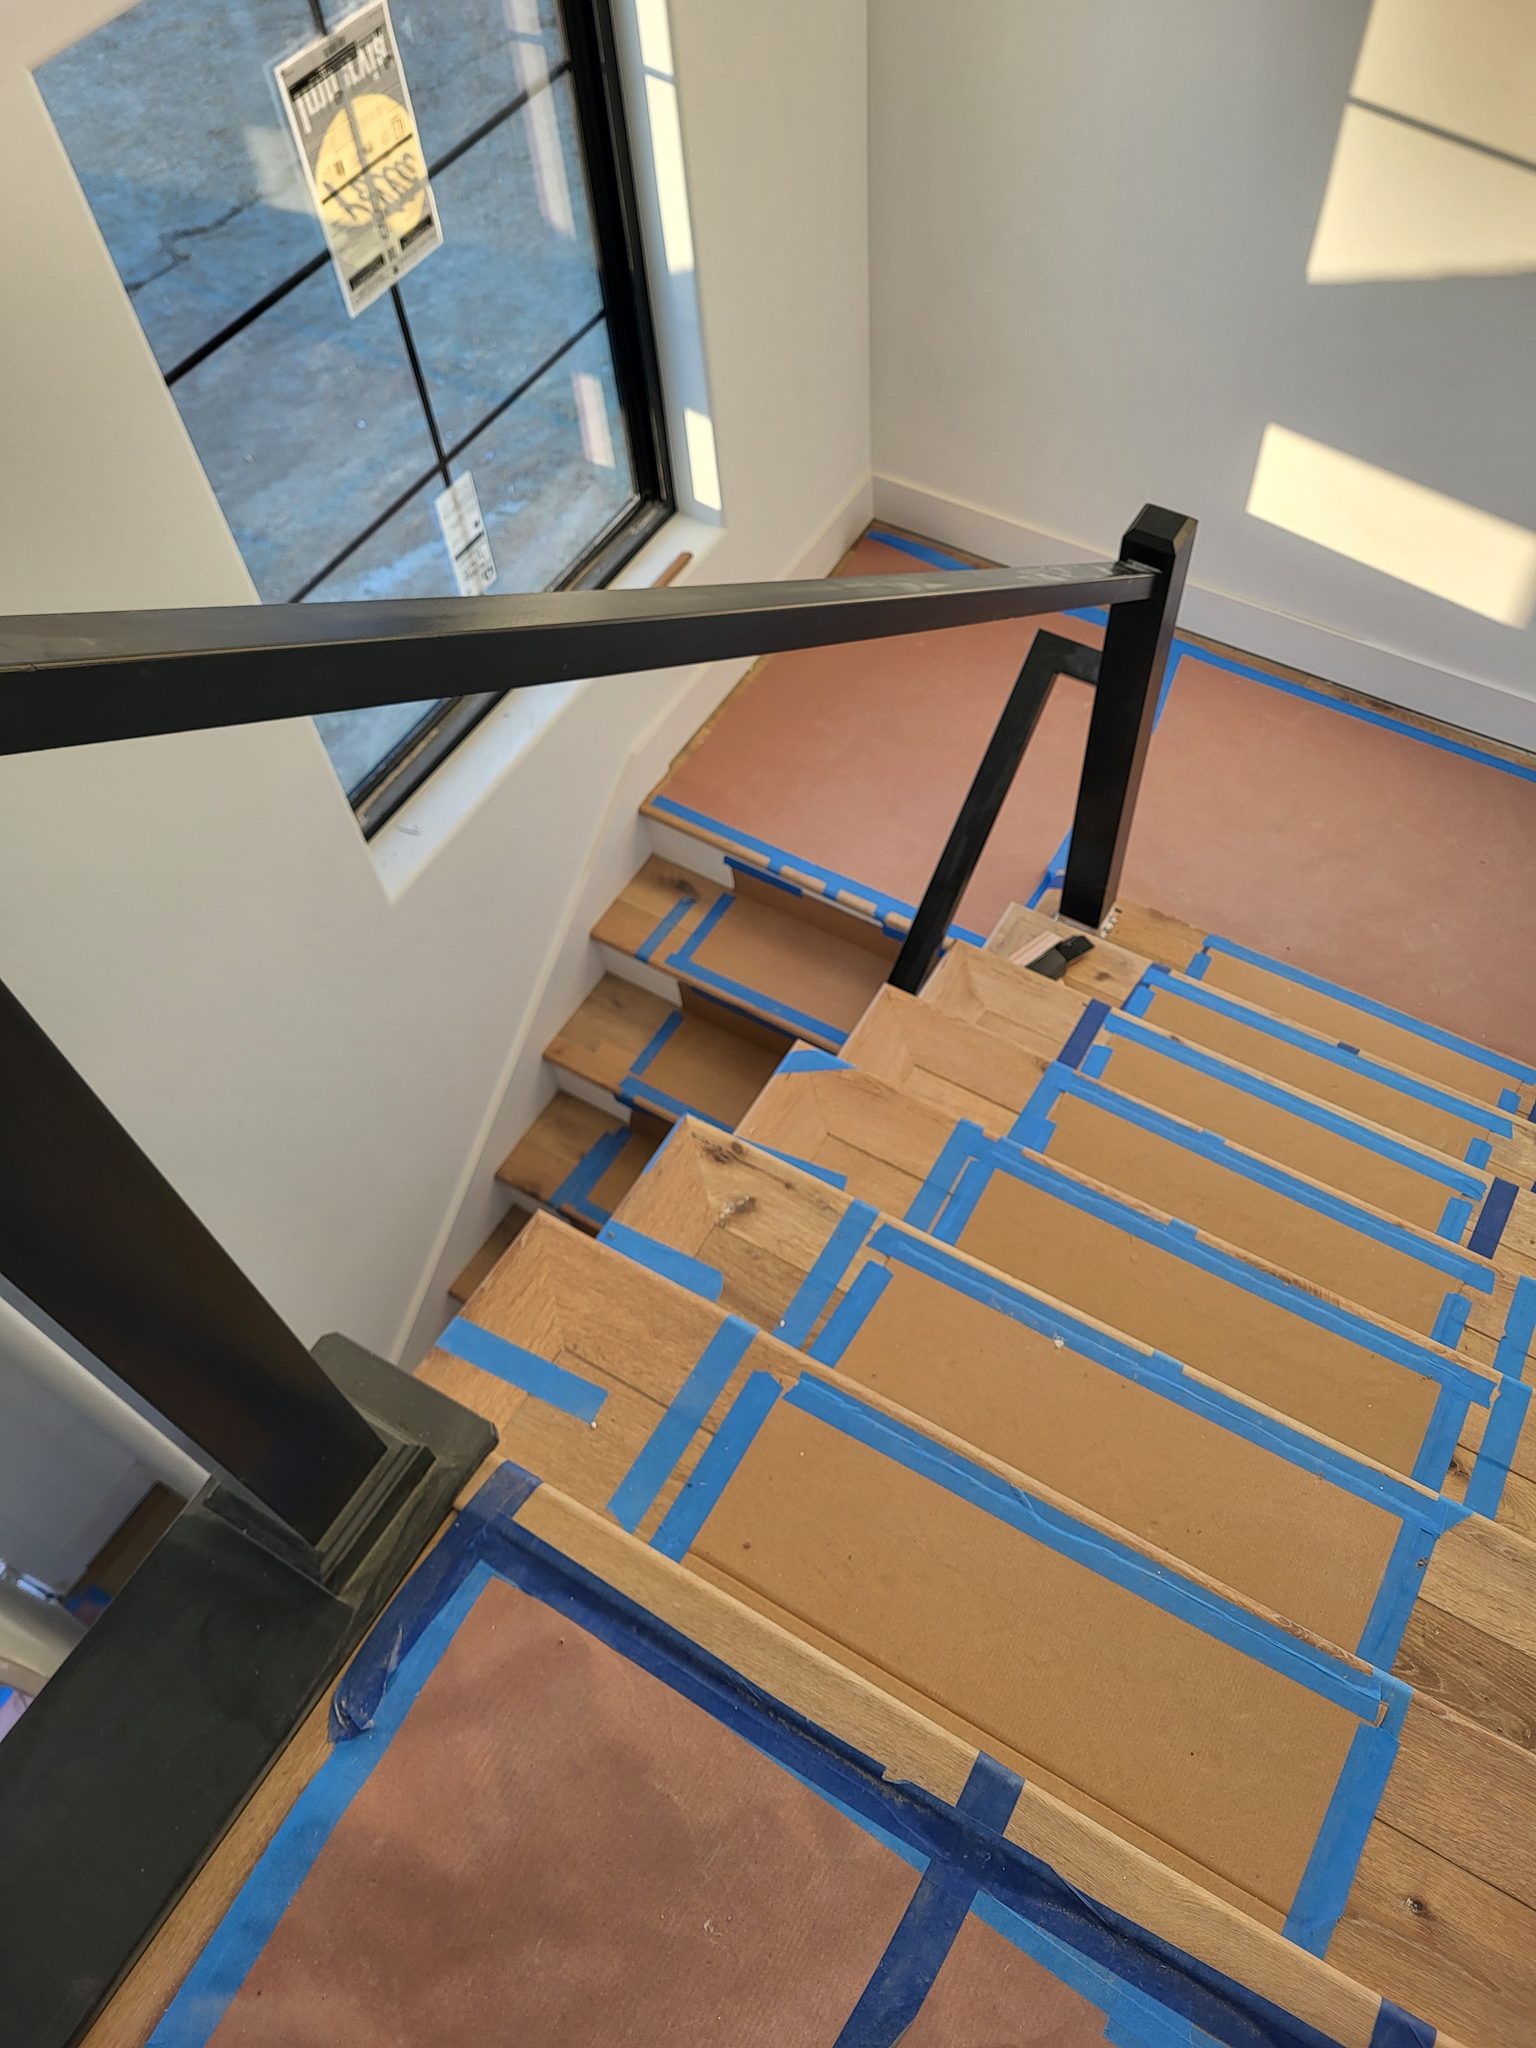
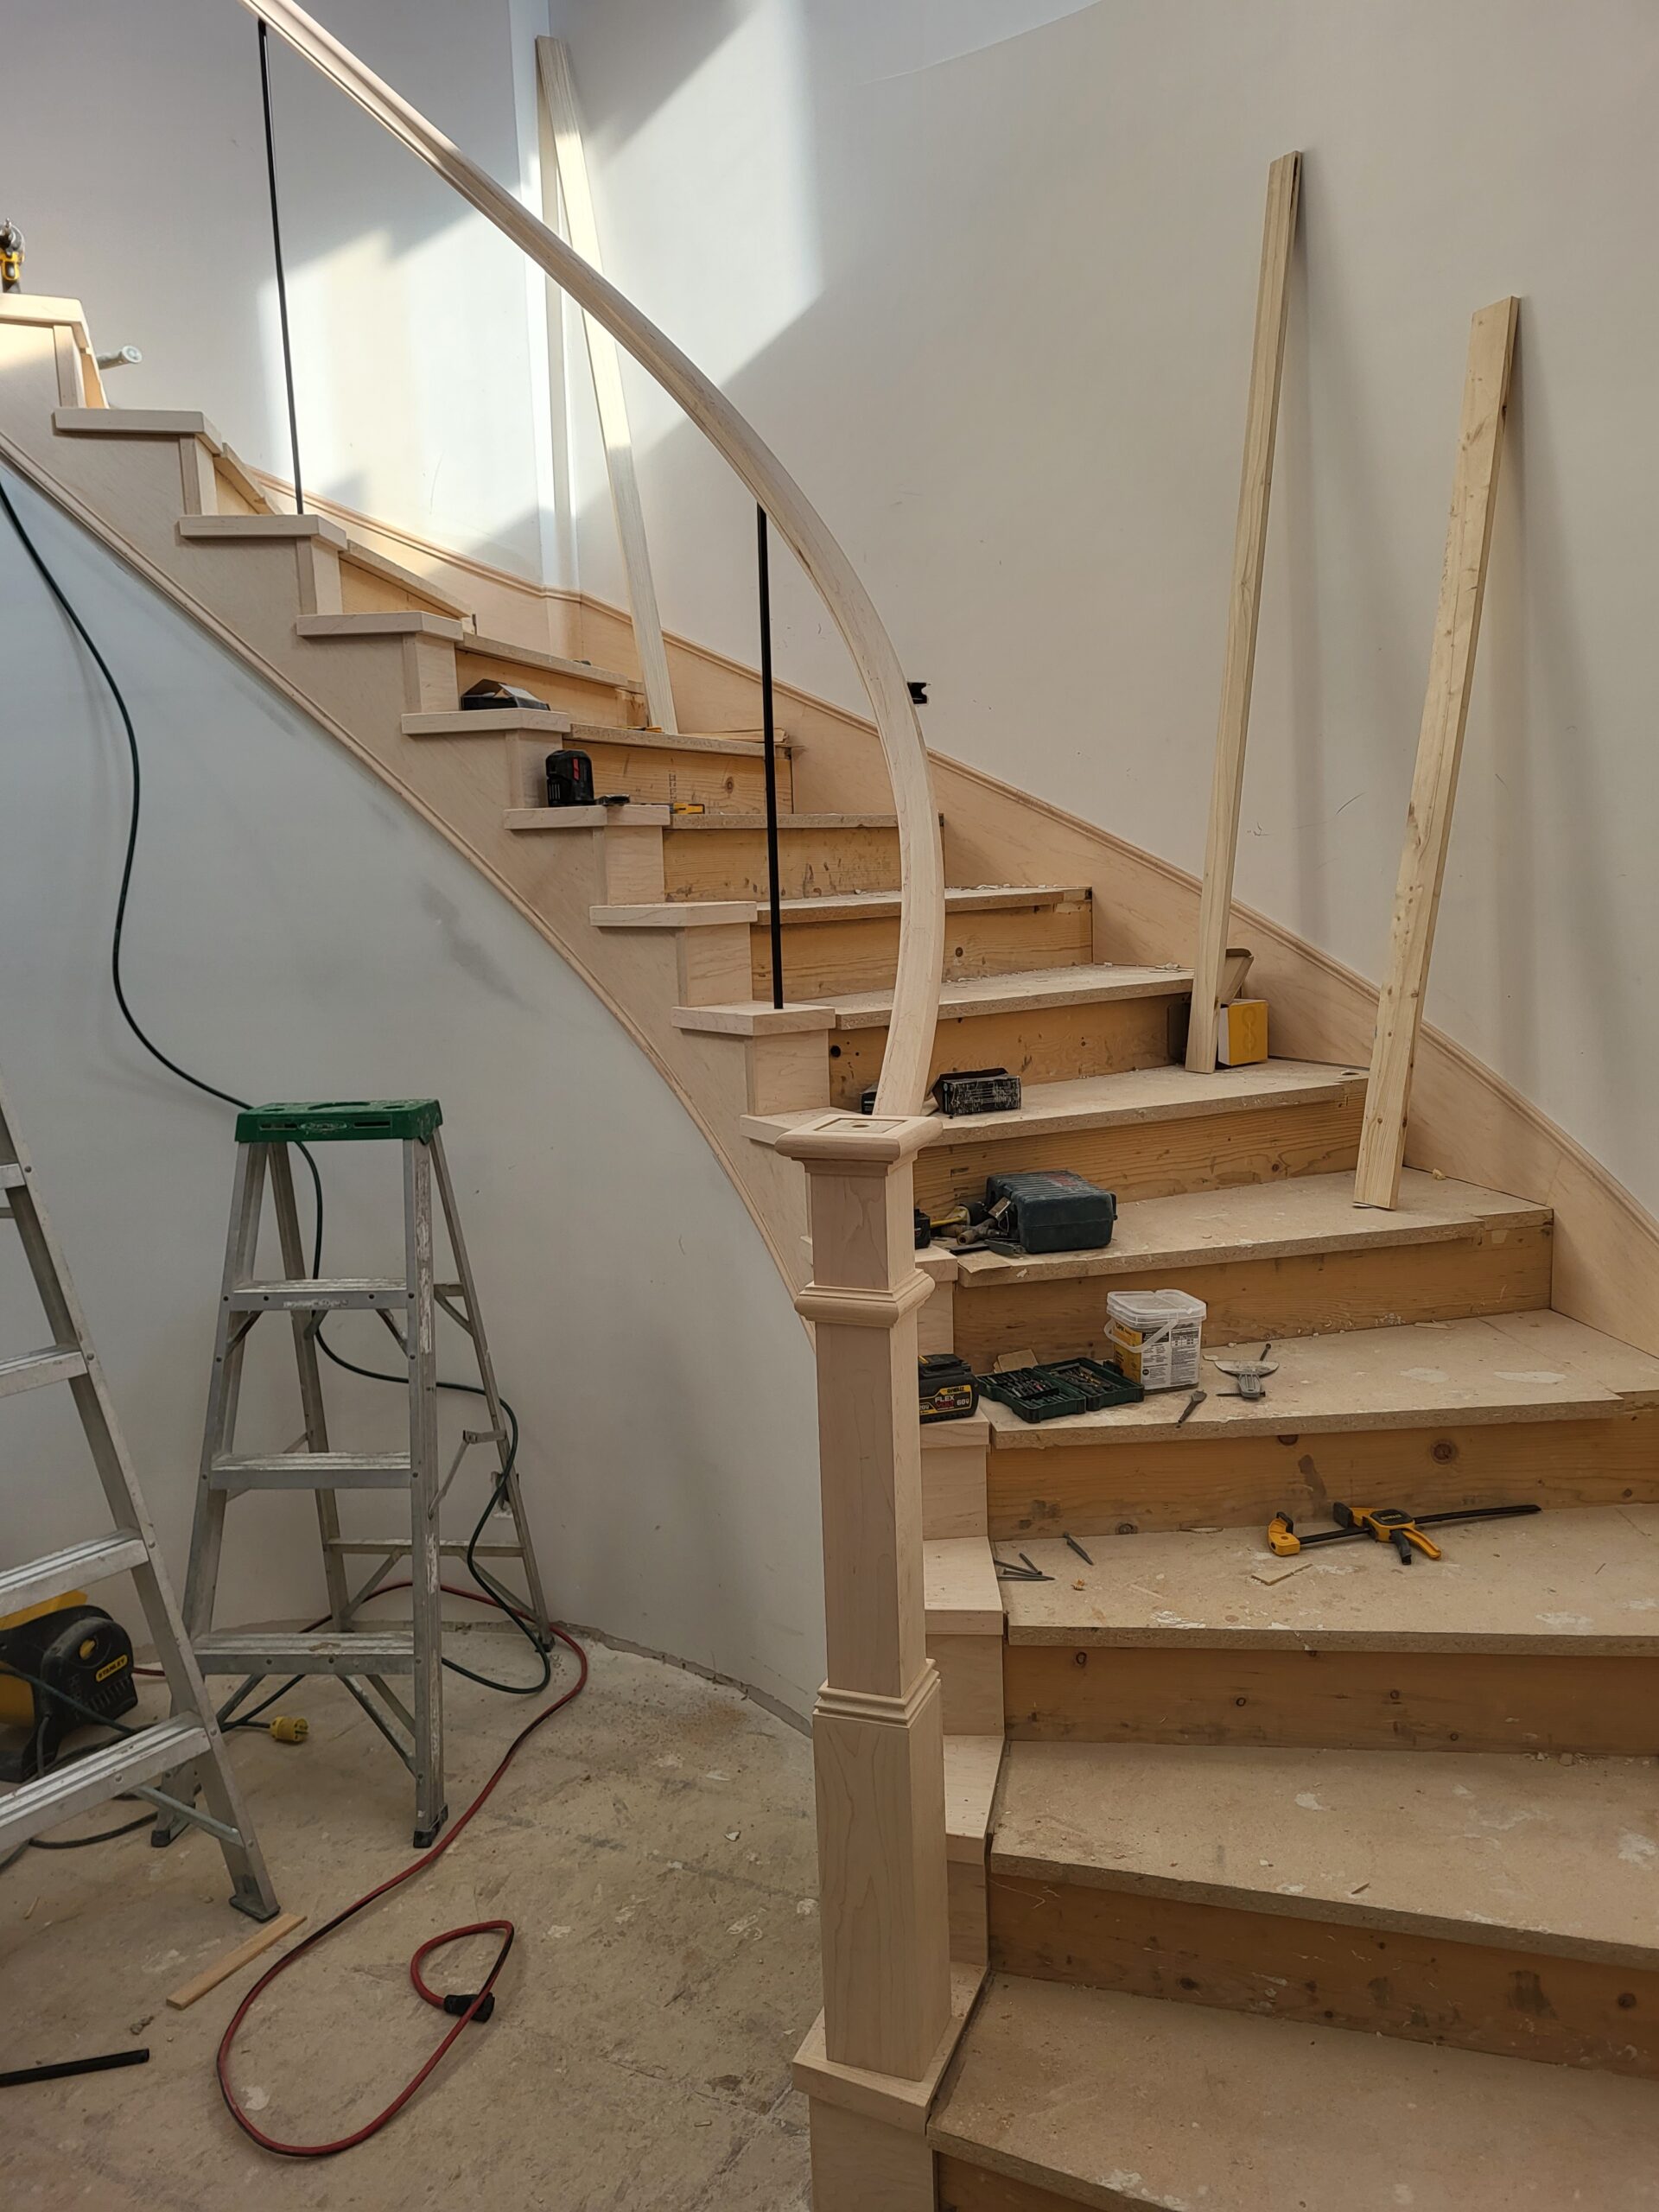
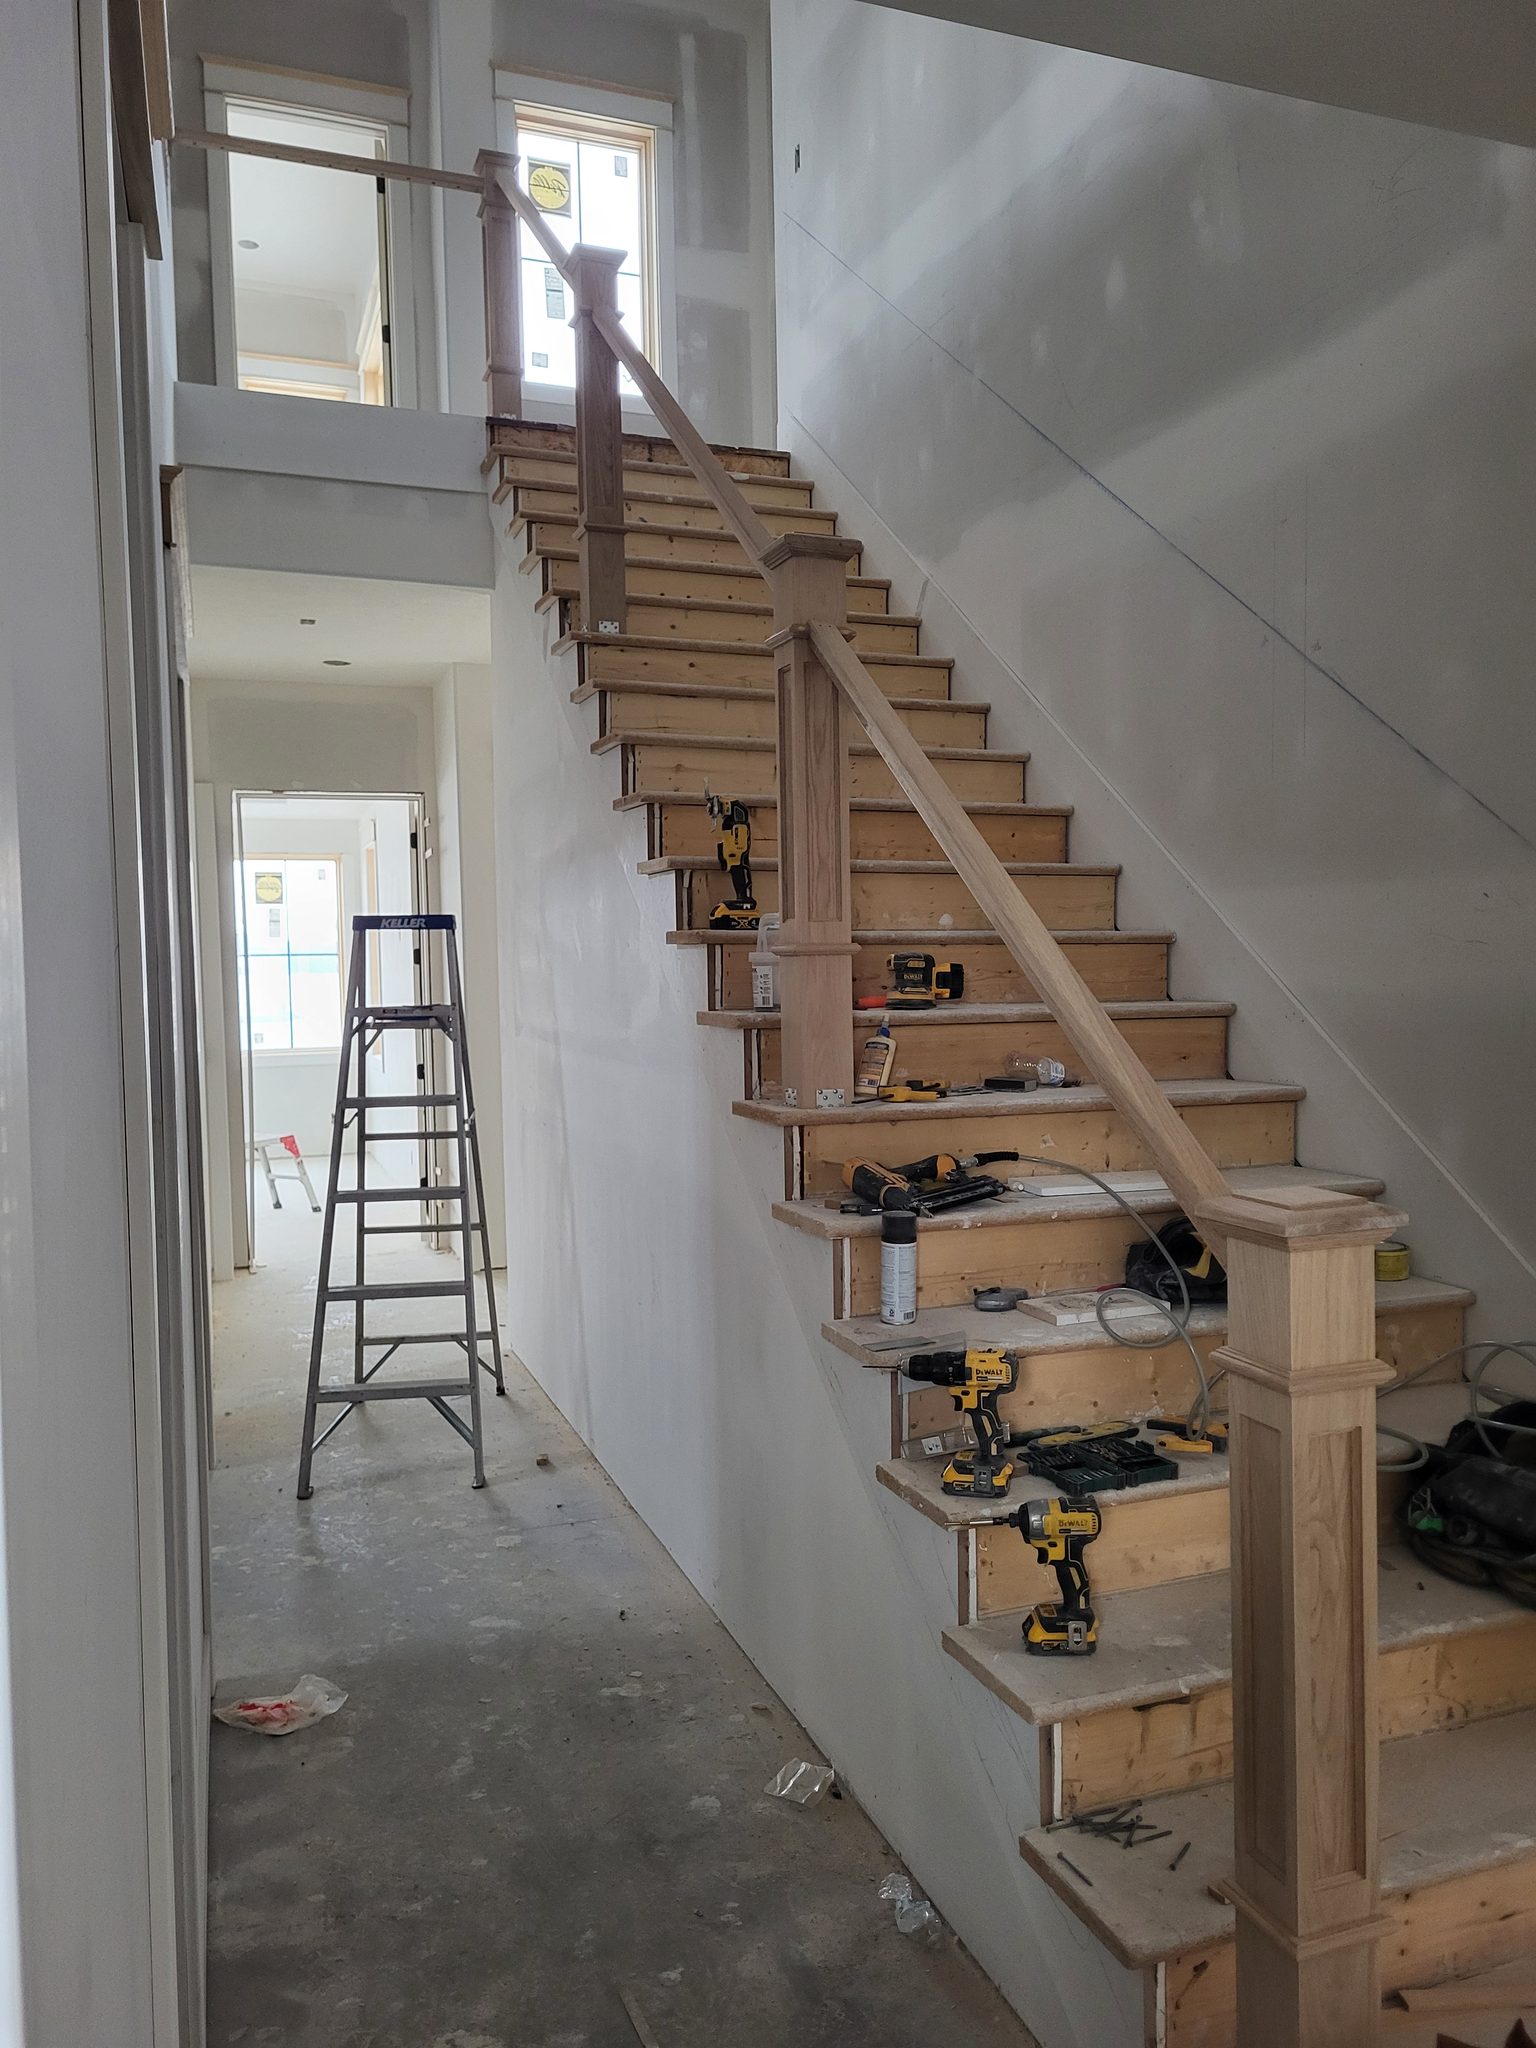
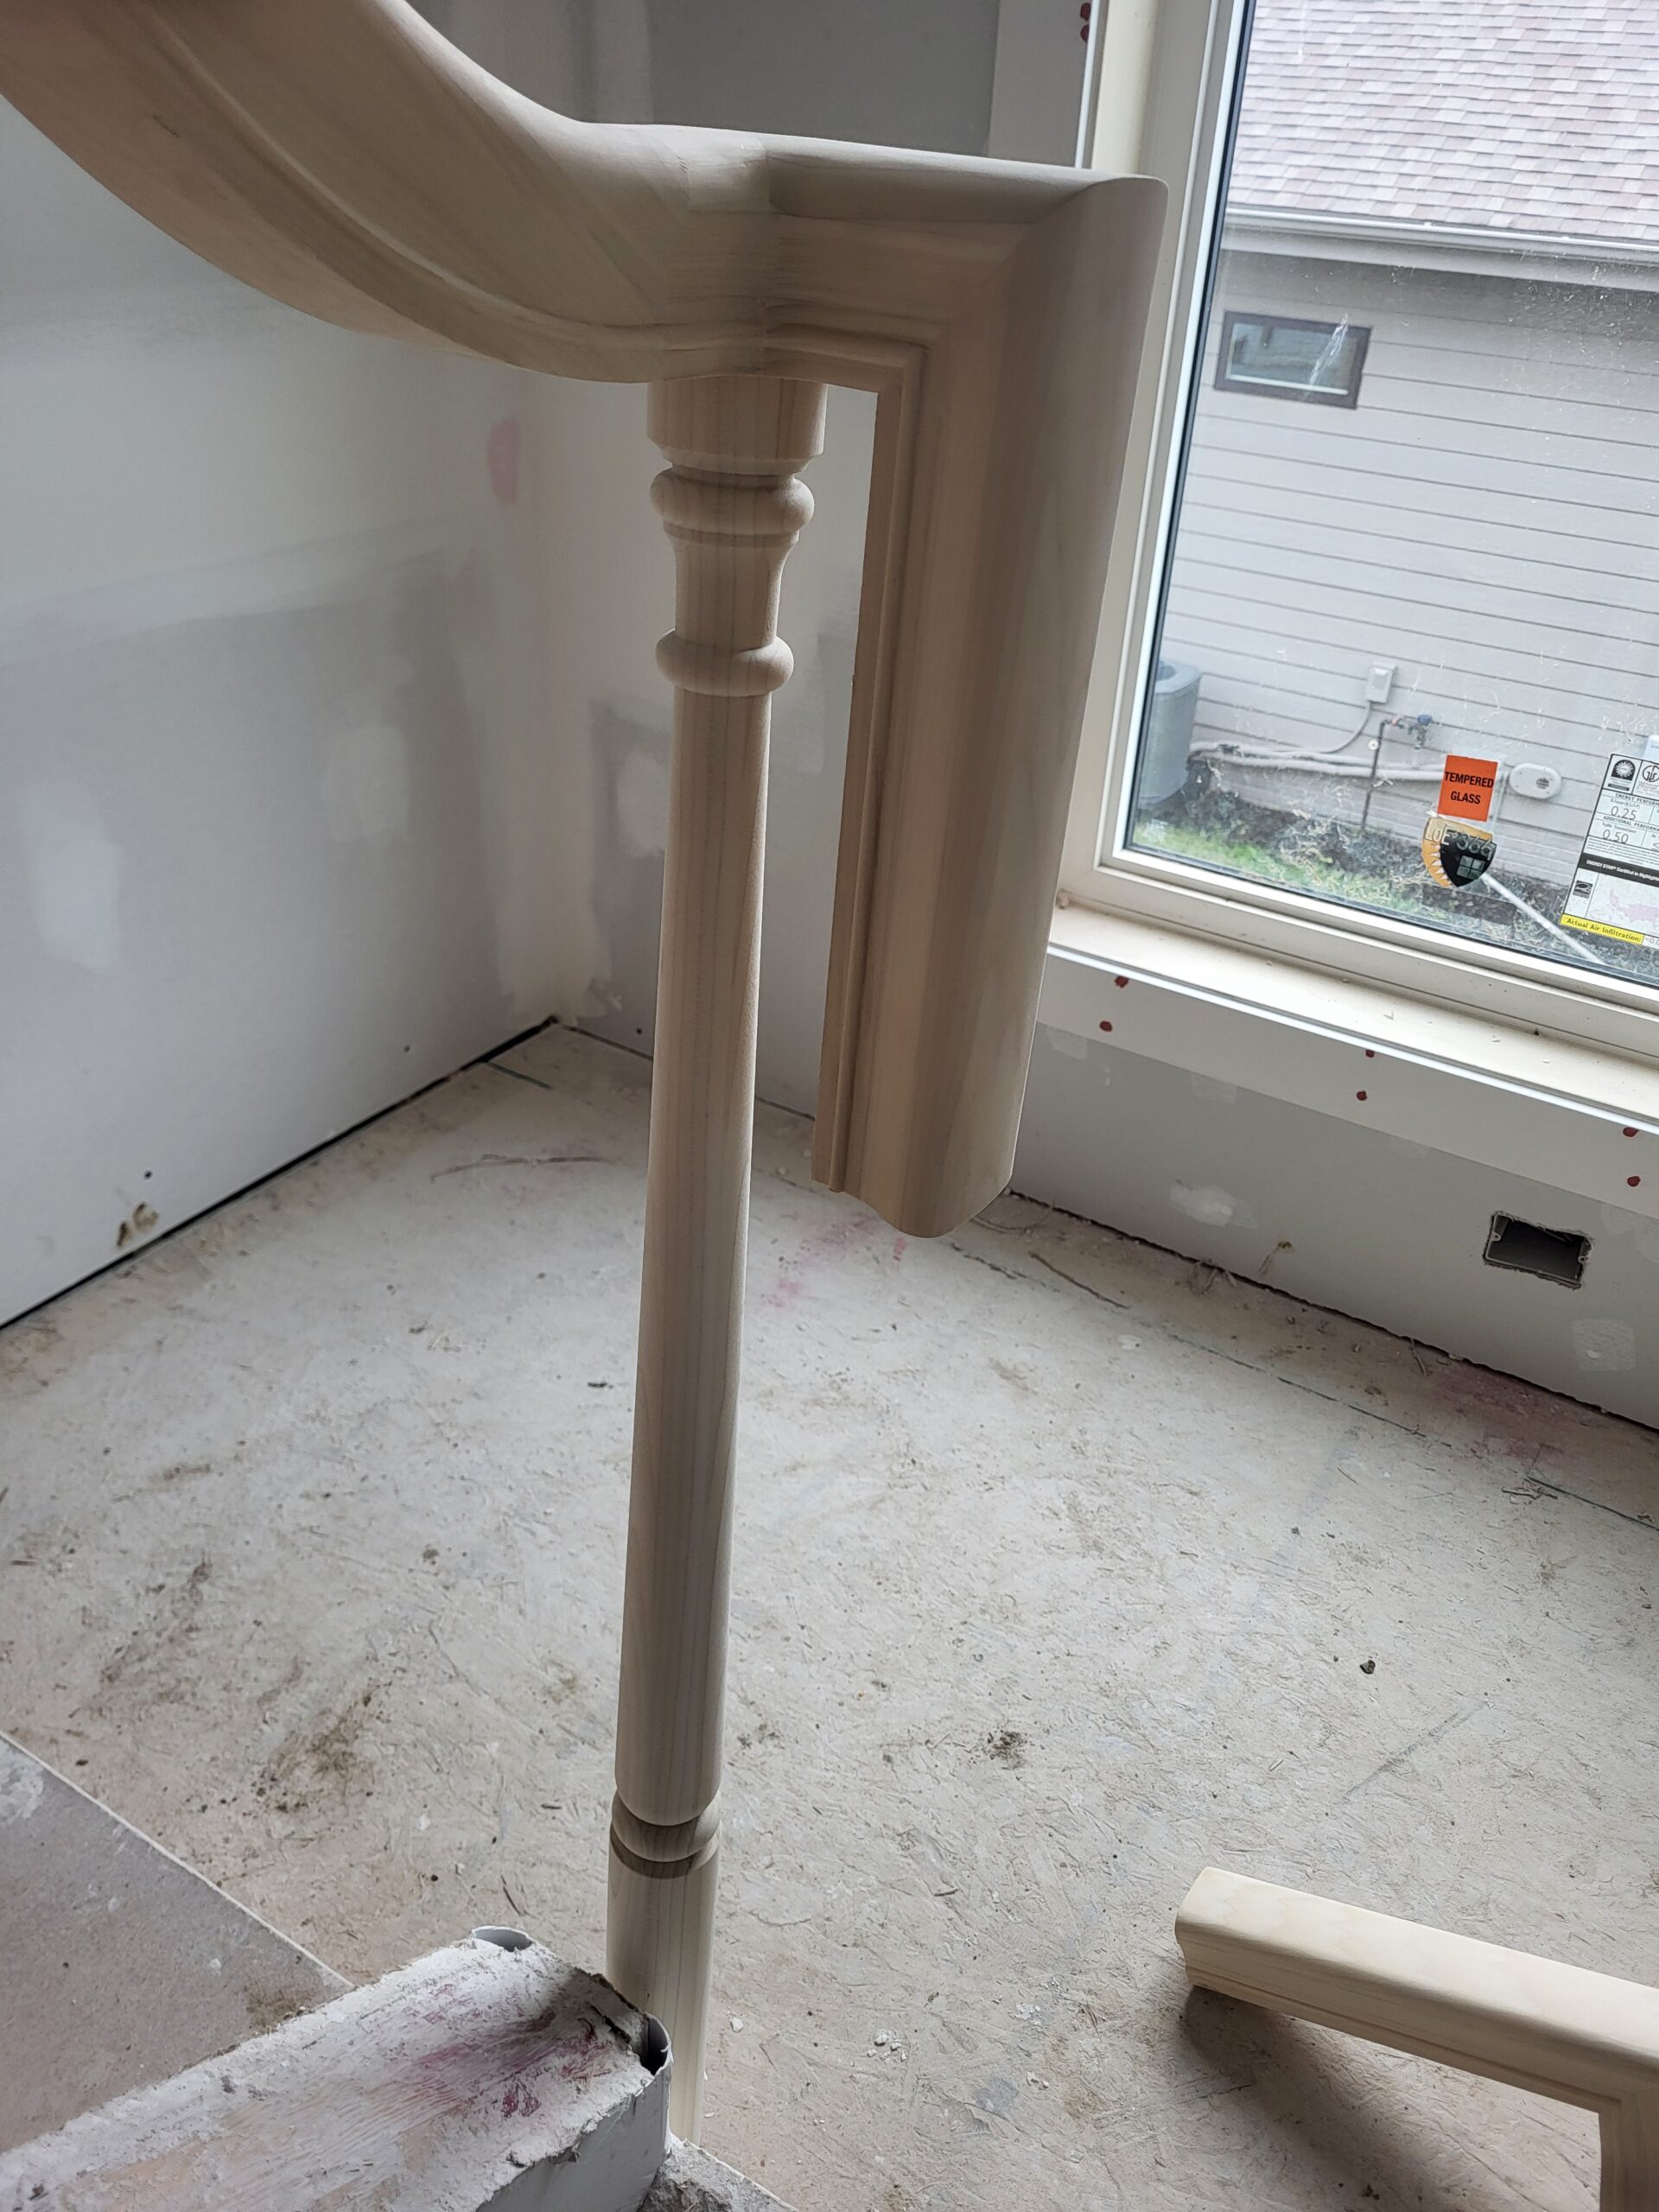
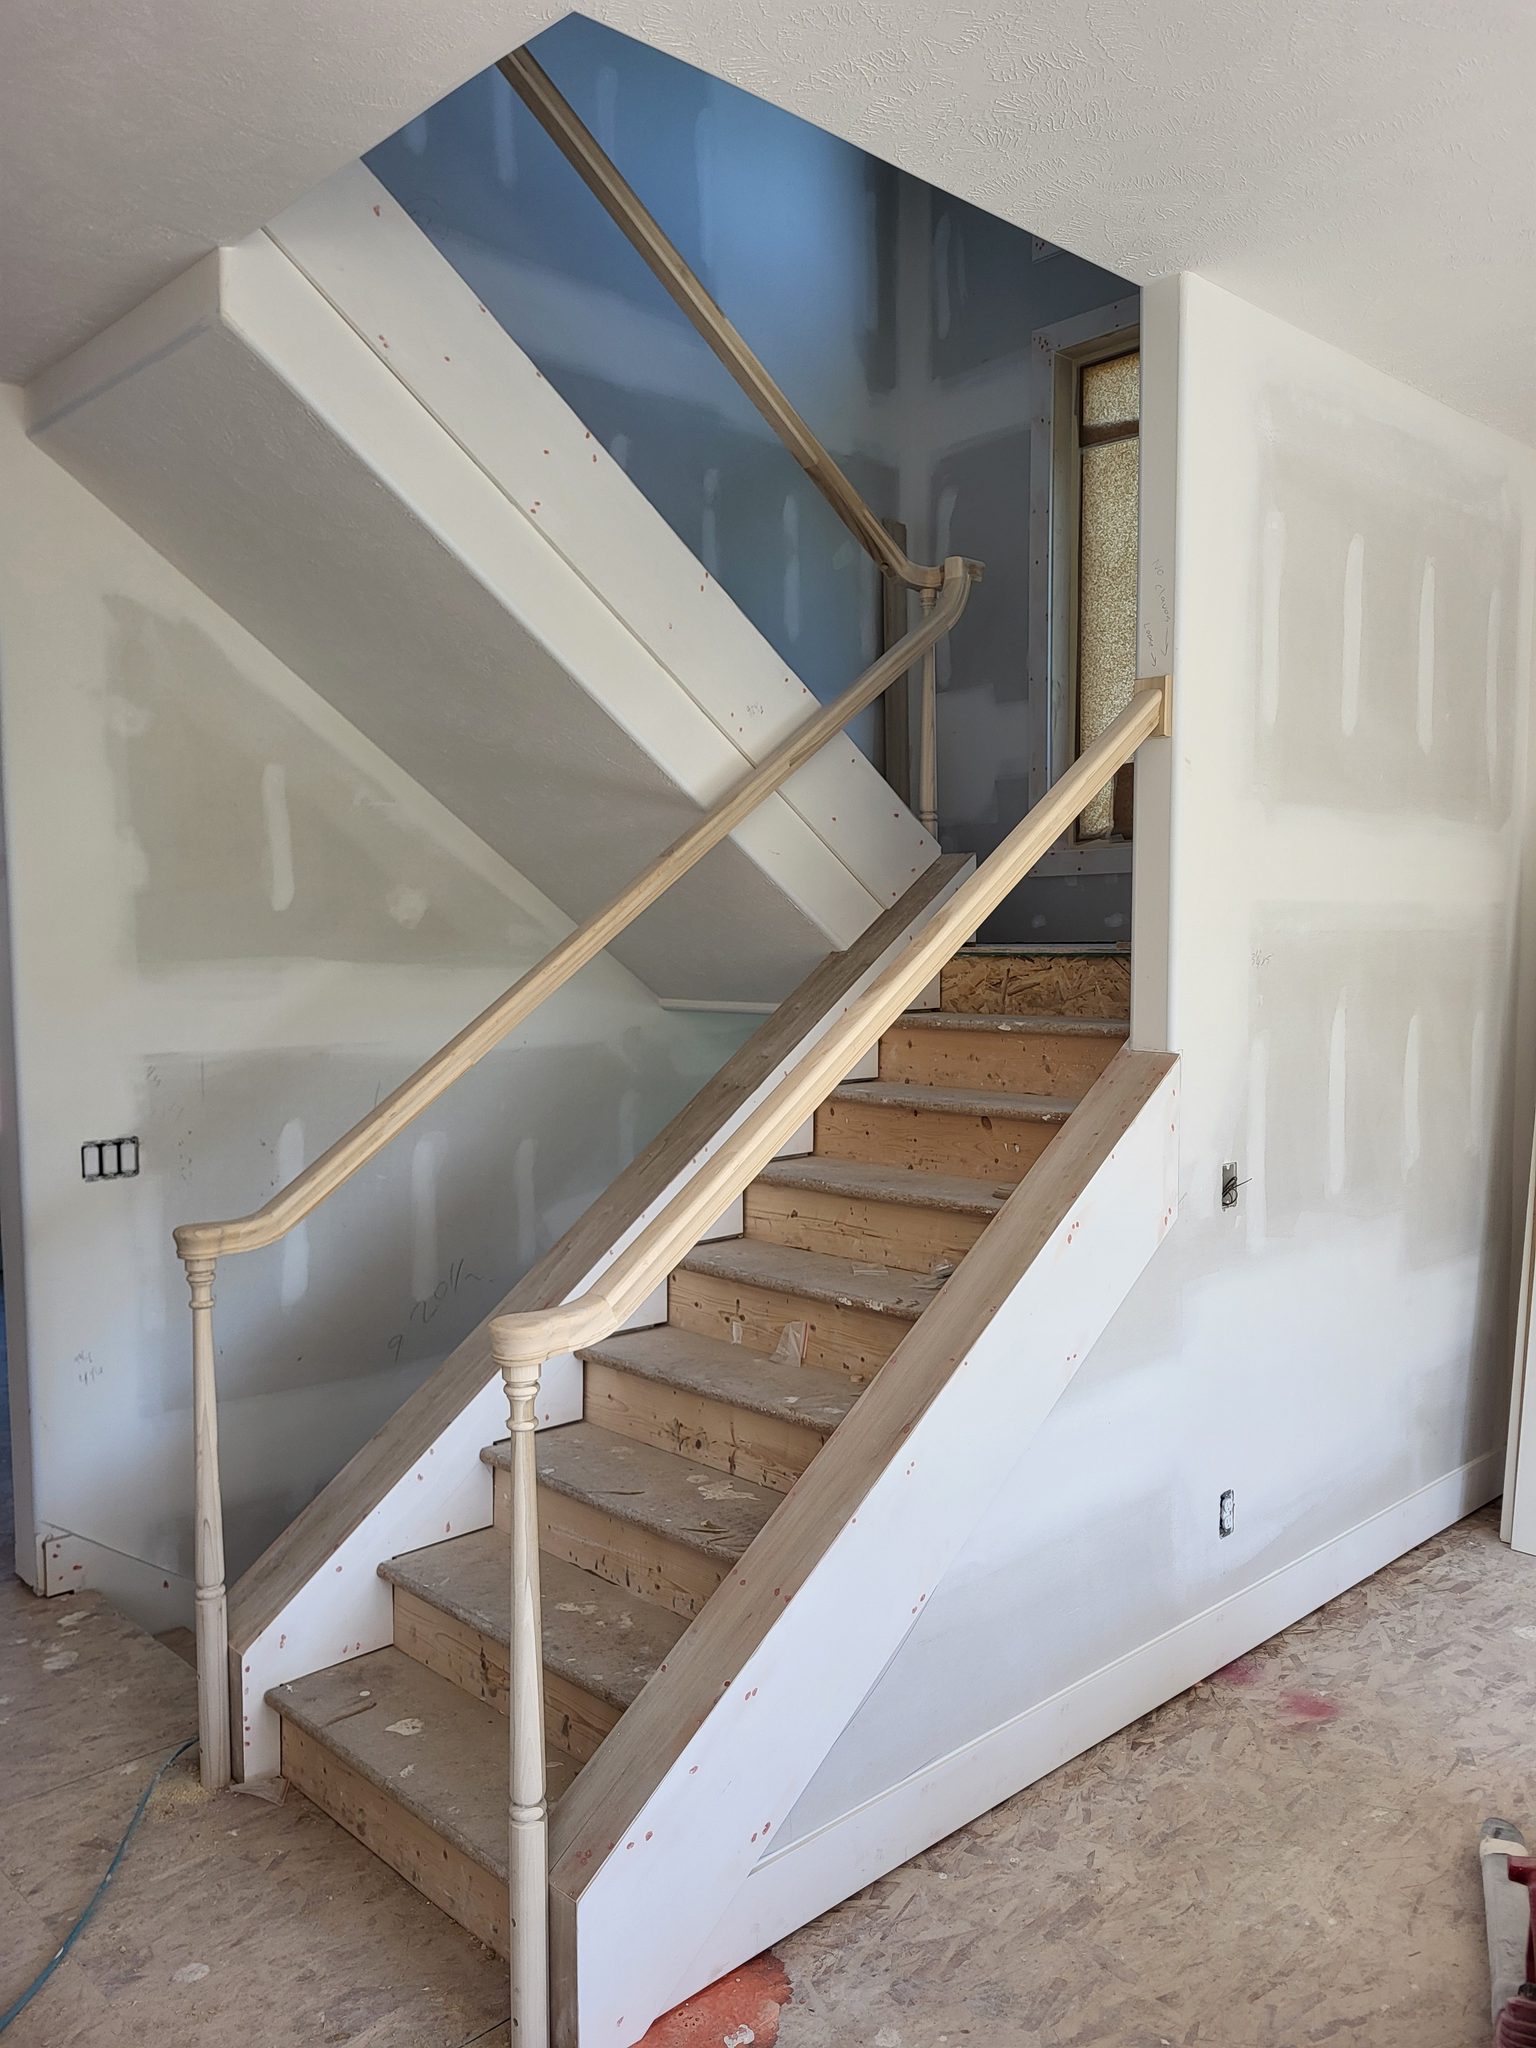
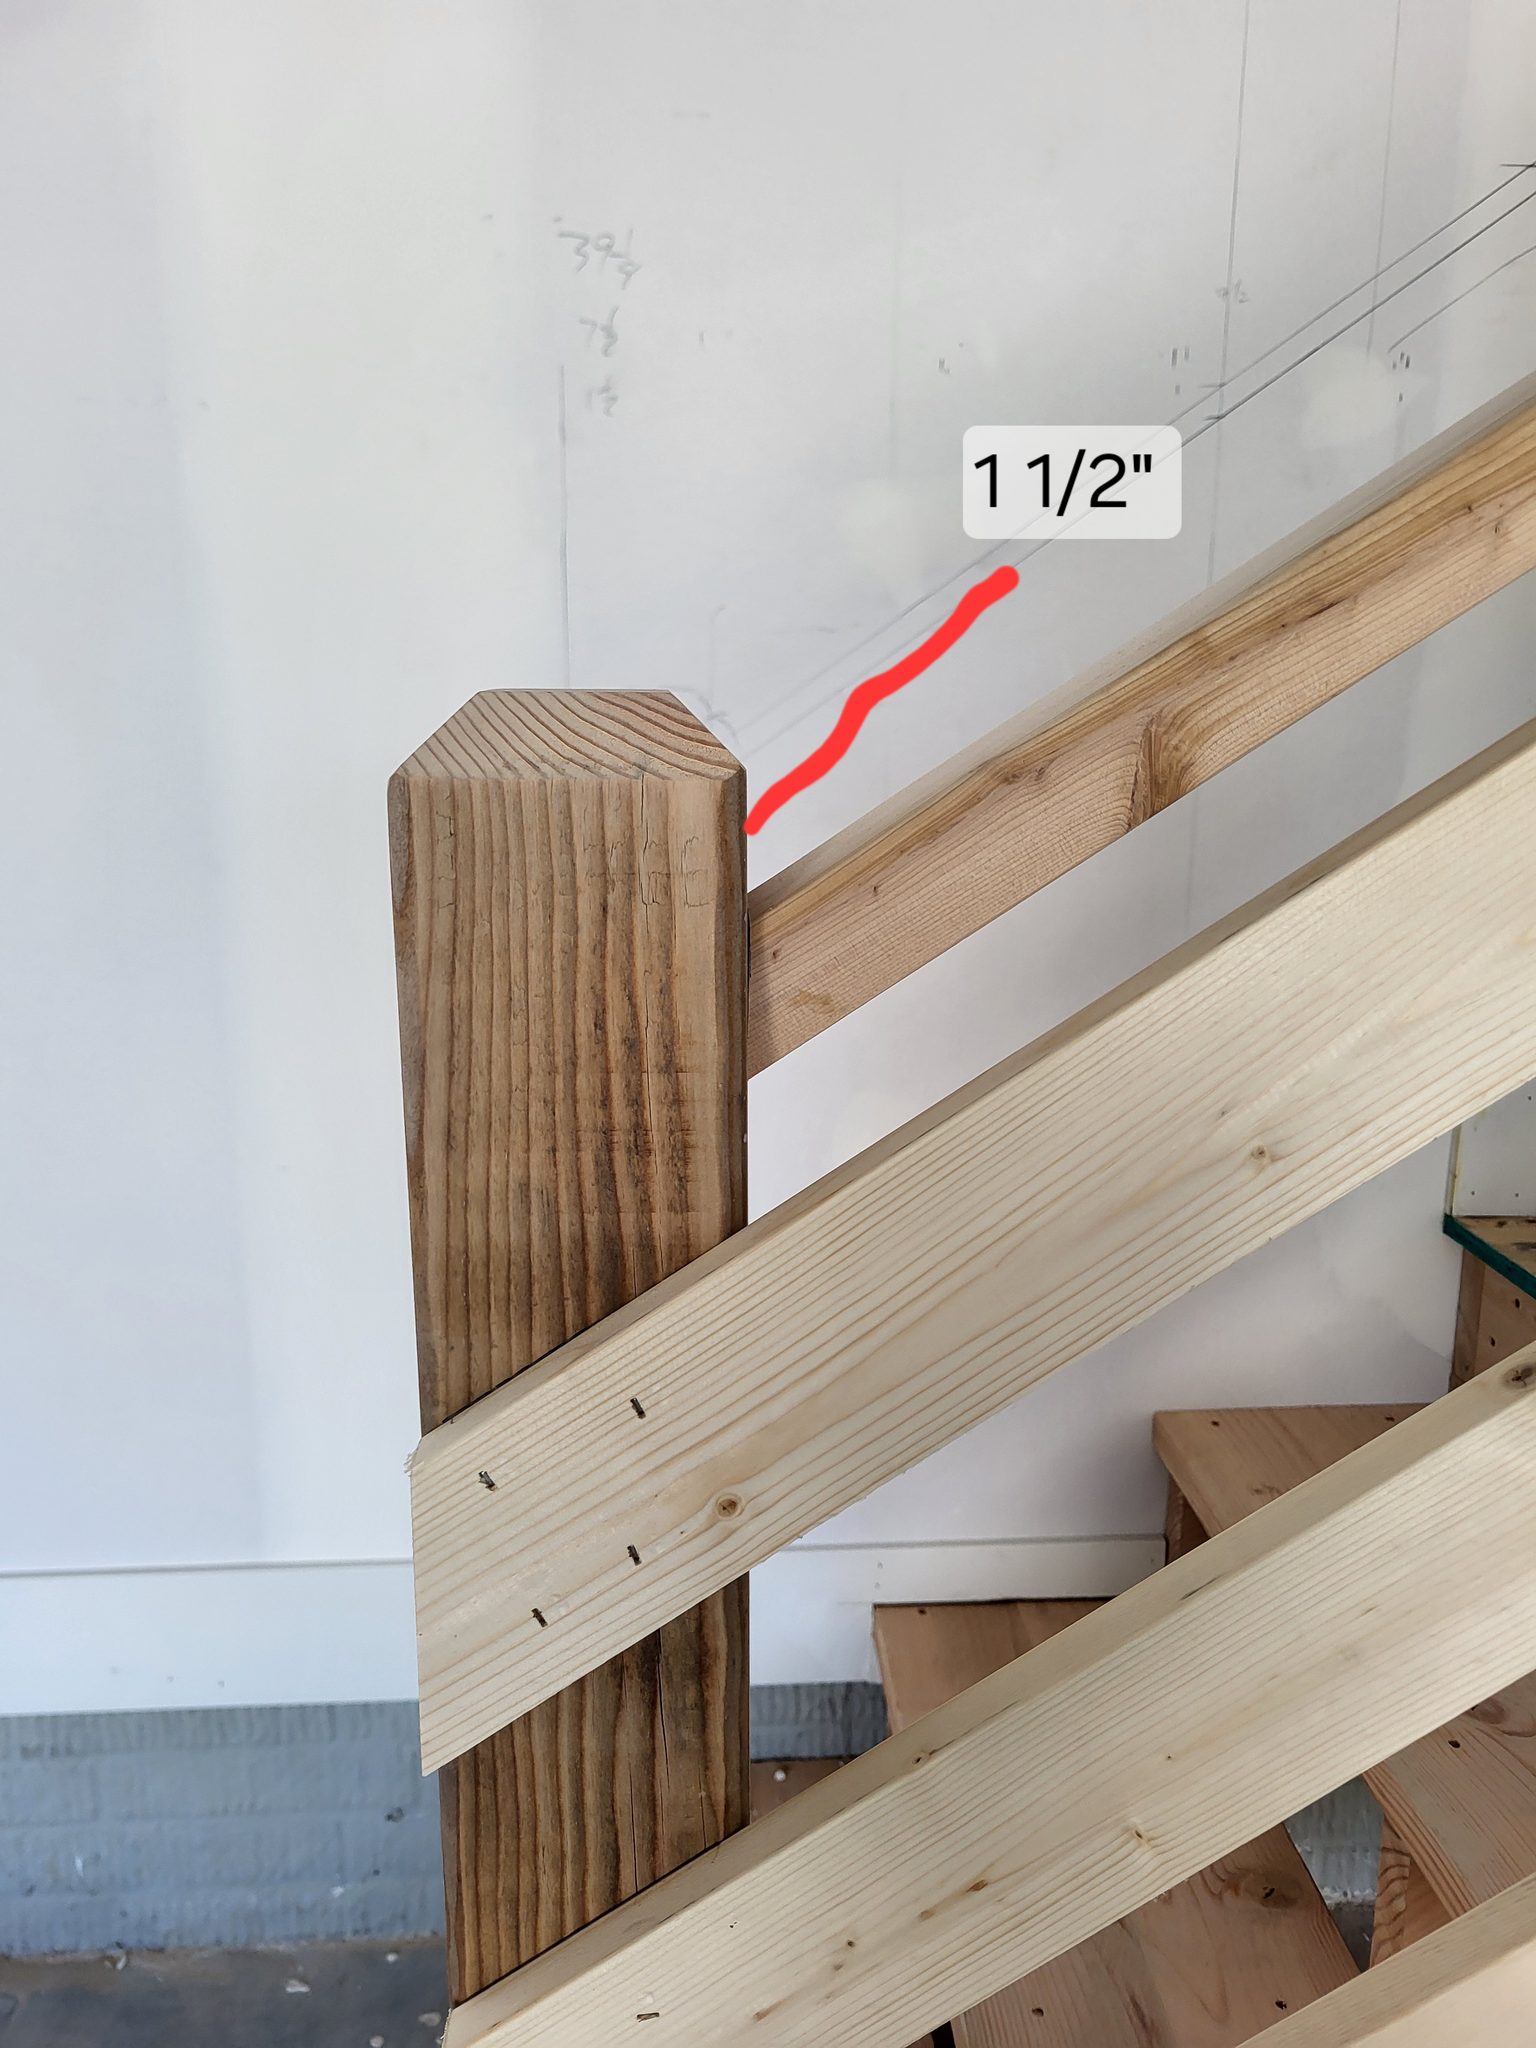
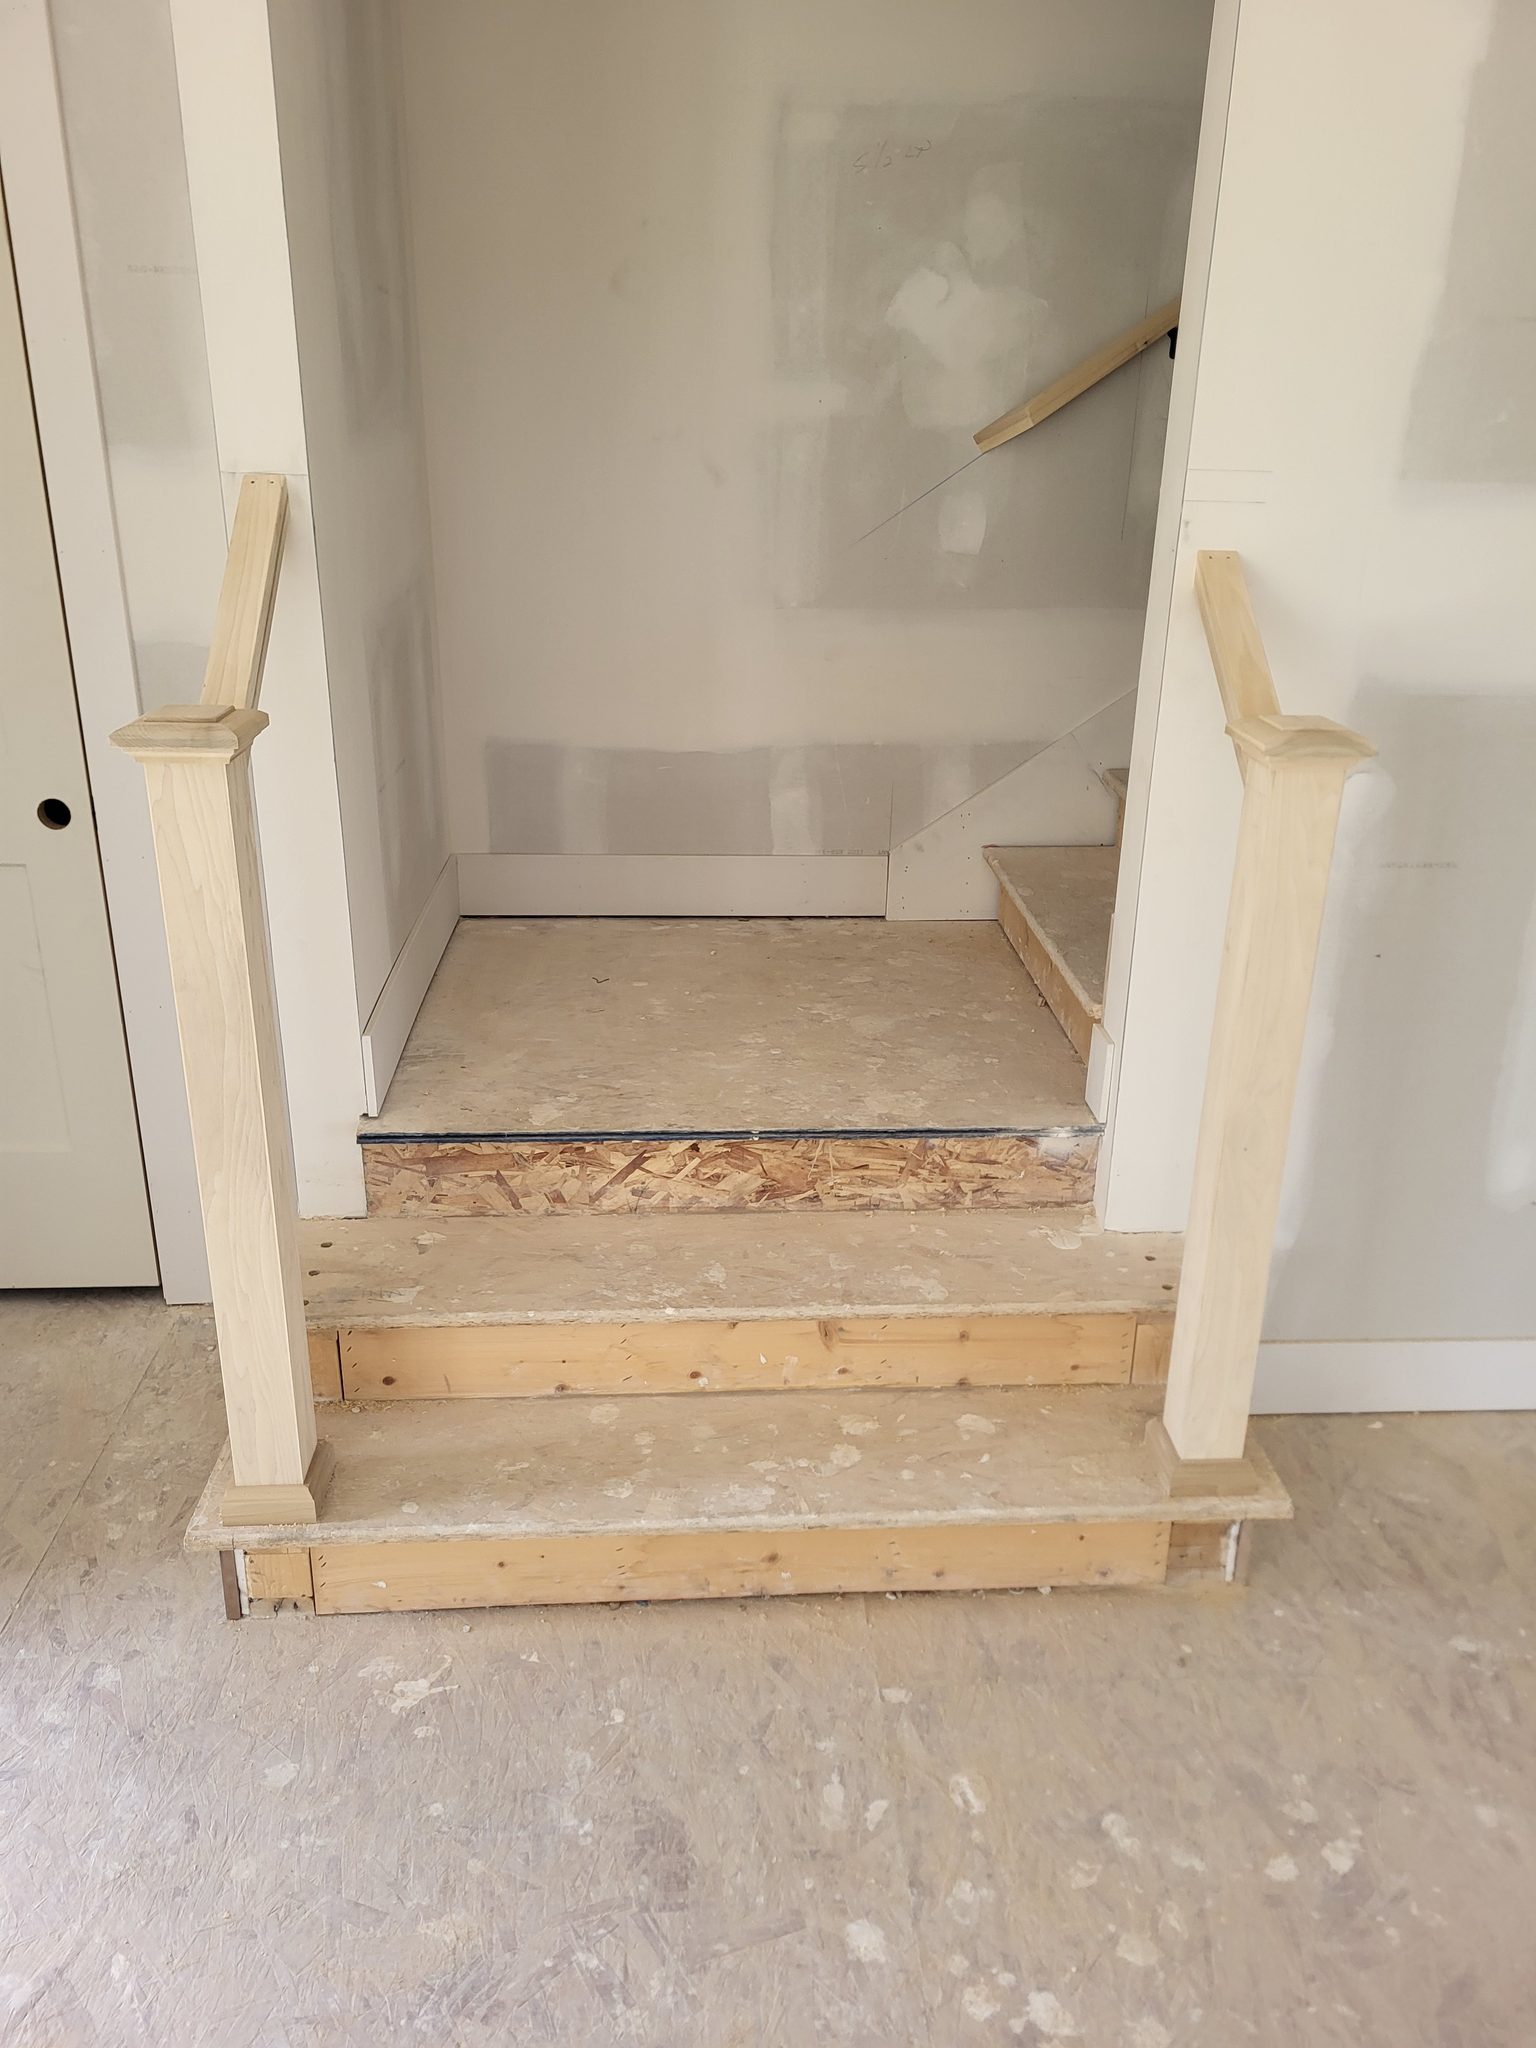
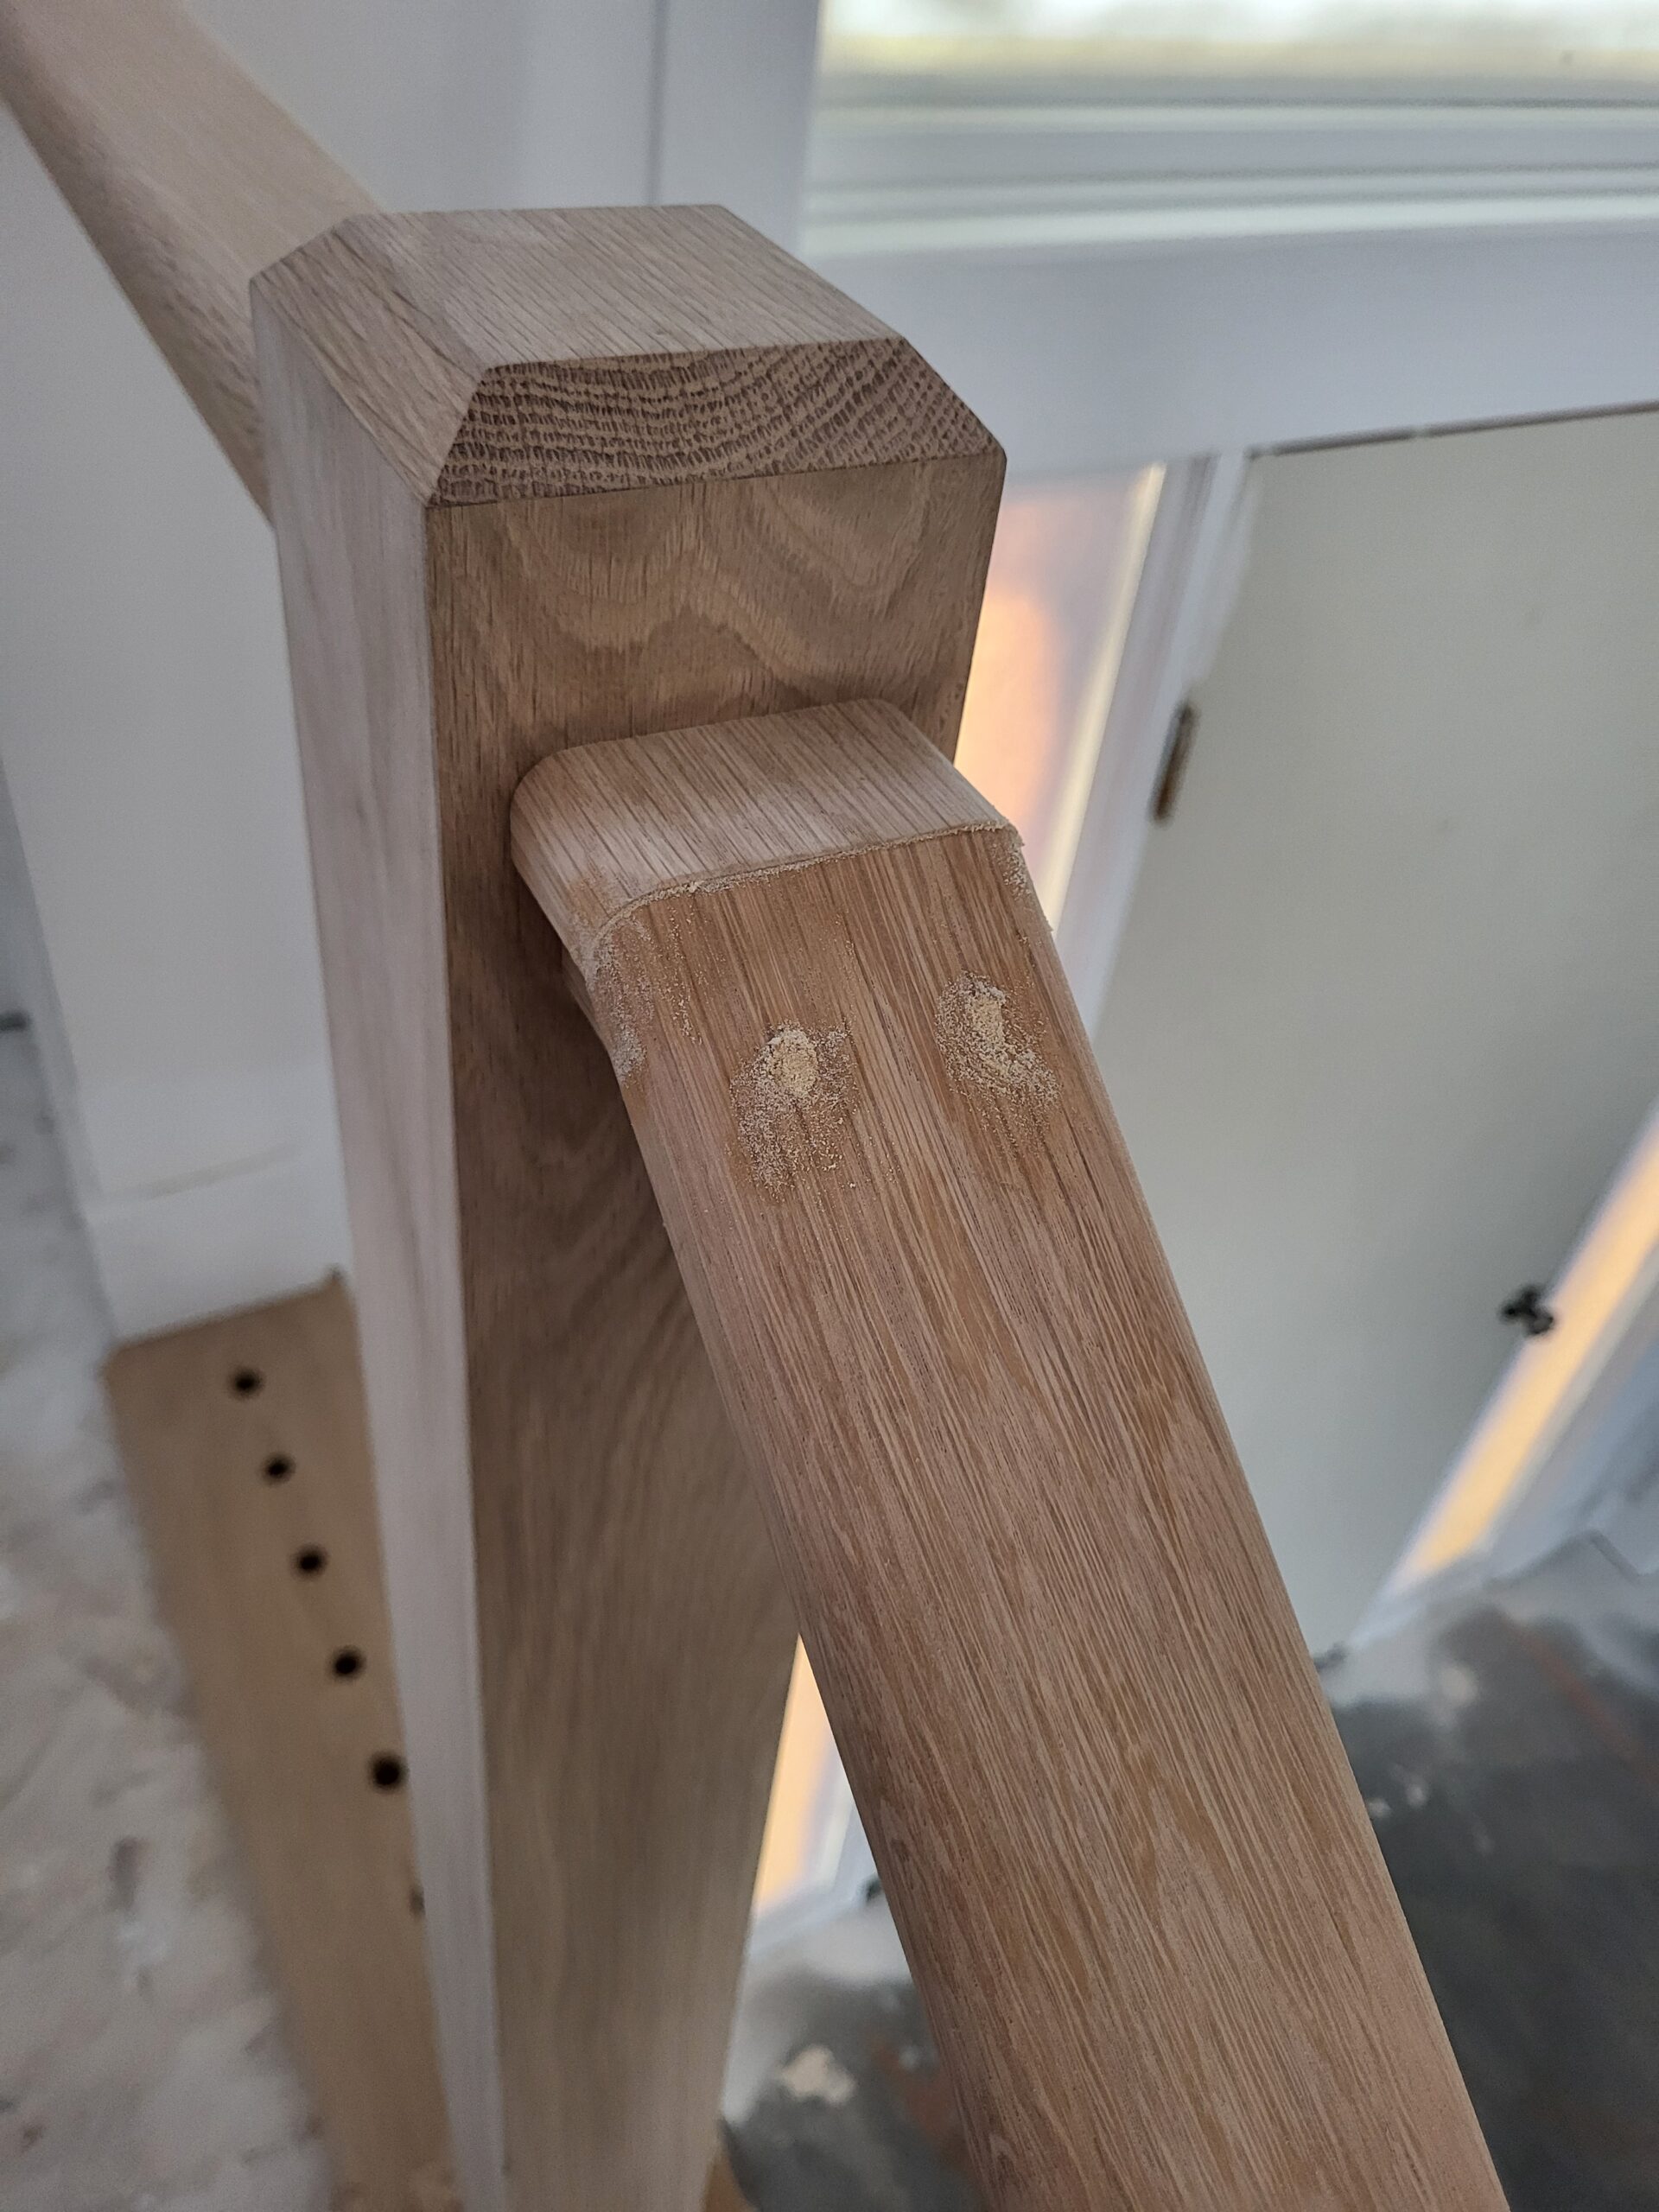
The following photos show examples of this type of work completed in the field. These serve as visual references for quality standards, proper installation techniques, and finished results.
Showing 25 of 25 photos