On this page
When a Garage Step Handrail Is Required #
Building codes vary by jurisdiction. But most codes use the same basic rule, based on how many risers (the vertical board at the back of each step, one per step) the stairway has:
- 4 or more risers: You need a rail on every open side. A wall counts as a side, so a stair against a wall gets one rail, on the open side. The International Residential Code (IRC), section R311.7.8, the rule most US jurisdictions follow, asks for one side. Every open side is our standard, so no inspector can red-tag us
- 1 to 3 risers (up to 22-7/8″ of total rise): The IRC does not require a handrail here, so we do not add one unless the customer or the local inspector asks for one. Bellevue city code 8-28 (1986) still says handrail at 3 or more risers, and we have not confirmed whether inspectors there enforce it, so ask the Bellevue inspector before you skip one
A customer can always ask for a handrail on a short stair, and it is a cheap add. Build it the same way as a required one.
Building Code for Your Garage Step Handrail #
These are the key IRC requirements for homes. Your local jurisdiction may add stricter rules, so check before you build:
- Height: 34″ to 38″, measured straight up from the stair nosing (the front edge of each tread, the flat part you step on) to the top of the handrail. The height must stay the same on every tread
- Graspability: You have to be able to wrap your hand around the rail. Here is what is allowed:
- Round cross-section (what you would see if you sliced straight through the rail): 1-1/4″ to 2″ diameter
- Non-circular cross-section (oval, or rectangular with eased edges, meaning the edges are rounded off instead of sharp): perimeter 4″ to 6-1/4″, max cross-section 2-1/4″. A flat 2x4 fails this grip-size rule (IRC R311.7.8.5): its perimeter is 10″ and it has no finger recess, so never use one as the rail
- Continuity: The rail must run without a break from directly above the top riser to directly above the bottom riser
- Ends: Each end of the rail must turn back into the wall or a post. That turn is called a return. It keeps the end from staying open and catching on clothing
- Clearance: Leave at least 1-1/2″ of open space between the rail and the wall, if the rail is mounted to a wall
- Structural: The rail has to hold a 200 lb push at any single point, from any direction, without failing
Local rules: What a stair of 4 or more risers needs on its open sides depends on the town. Omaha takes an open grab rail, with nothing underneath. Gretna wants the full cattle chute, with no opening a 4″ ball passes through (6″ at the triangle formed by the riser, tread and bottom rail), plus closed risers. Ask the local inspector before you build.
Guards: A guard is a rail with infill, such as balusters or slats, so nothing can fall through. The code requires one only where a walking surface is more than 30″ above the floor below (IRC R312.1.1). A required guard is 36″ high (34″ along the open side of a stair), with no opening a 4″ ball passes through.
Garage Step Handrail Materials #
- Handrail: Use a pre-shaped wood handrail (sold at any building supply store in 6’, 8’, and 12’ lengths) or a metal handrail kit. For garage or utility stairs, a metal bracket-mount kit is the simplest choice. Brackets are the metal arms that hold the rail to the wall
- Handrail brackets: These are wall-mount brackets. They bolt to the wall and cradle the rail (the cradle is the curved part of the bracket that the rail rests in). You need at least 3: one near the top, one near the bottom, and one in the middle. For rails longer than 8’, add a bracket every 4’
- Fasteners: 3″ or 3-1/2″ lag screws (heavy-duty threaded screws that bite into studs, the vertical framing boards inside a wall, or other solid framing) with washers. Each bracket needs 2 lag screws
- Wall anchors (if there is no stud): Use heavy-duty toggle bolts (spring-loaded anchors that grip inside a hollow wall) rated for 200+ lbs, for any bracket spot where you can’t hit a stud
- End returns or wall returns: These are pre-made fittings that curve the rail’s end back to the wall, the same kind of return described above. Code requires them so the rail never ends with an open tip
- Post (if there is no wall to mount to): A solid wood post, in regular pine or cedar - never pressure-treated, even in a garage. Sized to pass the Step 6 load test without flexing, and long enough to notch into the tread and still reach the 34-38″ rail height.
Garage Step Handrail Installation Process #
Step 1: Determine Rail Position #
Put a rail on every open side of the stairs. A wall counts as a side, so a stair against a wall gets one rail, on the open side, and a stair with both sides open gets two. Code asks for one side, but some inspectors want both and a red tag costs more than a rail. An open side takes a rail on a post. See Troubleshooting: No wall to mount to, below. If the stairs are walled in on both sides, there is no open side, but code still wants one rail. Put it on a framed wall you can screw into and mount the rail there with brackets - it is the stronger option (see Step 3). If that wall is concrete or block, use a post instead.
Step 2: Mark Handrail Height #
- At the bottom step, measure up from the tread’s nosing (the front edge, defined above) and mark the wall at 34″, the bottom of the 34-38″ code range. It also fits Bellevue’s older 30-34″ city rule. Do not go under 34″
- At the top step, do the same thing: measure up from the nosing and mark 34″
- Snap a chalk line between the two marks. This line shows the top of the handrail, and it should follow the slope of the stairs
- Check your work: the chalk line should run parallel to the stair’s nosing line. Measure at the mid-point too. It should also read 34″ from the nosing. If it does not, adjust the line
Step 3: Locate Studs or Framing #
Handrail brackets must anchor into solid framing (studs or other structural wood), not just drywall or siding:
- Use a stud finder to mark where the studs are along the chalk line
- Studs usually sit 16″ on center (on center, or OC, means measured from the center of one stud to the center of the next), but in garages they may be spaced 24″ OC
- If you are mounting to a concrete or block wall, skip bracket-mounting here - install a post instead (see Troubleshooting: No wall to mount to, below)
- Mark each bracket location. Ideally, every bracket lands on a stud. If a bracket has to fall between studs, use heavy-duty toggle bolts rated for the load
Step 4: Mount Brackets #
- Position the first bracket near the bottom of the stairs, 4-6″ from the bottom nosing
- Position the last bracket near the top, 4-6″ from the top nosing
- Space the remaining brackets evenly between the first and last bracket, no more than 4’ apart
- Hold each bracket so its cradle lines up with your chalk line. The top of the handrail will sit on, or in, the cradle at the chalk line height
- Drill pilot holes into the stud, or use the right anchor if there is no stud. Then drive the lag screws with washers. Snug them tight, but do not overtighten, or you can crack the stud or strip the drywall anchors
- Check that each bracket is plumb. The cradle should face straight up, not angled
Step 5: Cut and Install Handrail #
- Measure the distance from the bottom bracket to the top bracket. Then add back the 4-6″ you left between each end bracket and its nosing (Step 4), so the rail runs from directly above the top riser to directly above the bottom riser
- At each end the rail turns back into the wall or a post, so check the length of your end return fittings before you cut
- Cut the handrail to length. For wood rails, use a miter saw for clean, straight ends
- Set the rail into the bracket cradles. It should sit level in each cradle, at the correct height
- Secure the rail to each bracket using the set screws (small screws that lock the rail in place inside the cradle) or through-bolts (bolts that pass all the way through) provided with the brackets
- Install the end returns (the fittings that curve the rail end back toward the wall, described above). Glue and screw them on. Code requires this so clothing can’t catch on an open rail end
Step 6: Final Verification #
- Height check: Measure from every tread’s nosing to the top of the rail. It must read 34-38″ at every point, and stay consistent, with no more than 3/8″ variation
- Grip test: Wrap your hand around the rail at several points. Your fingers should close around it without strain
- Load test: Grip the rail and push your full body weight down and sideways. There should be no movement, no looseness, and no creaking. The code requires the rail to hold 200 lbs. If you feel any give, reinforce the bracket anchoring
- Clearance: If the rail is wall-mounted, check that there is at least 1-1/2″ between the rail and the wall at every bracket location. If it is post-mounted, confirm the post does not crowd the stair width
- Continuity: Run your hand along the full length of the rail. There should be no breaks, no sharp edges, and no screws sticking out
- End returns: Both ends curve back to the wall (or a post), with no open ends that could catch clothing or bags
Quality Check: Garage Step Handrail #
- Rail height reads 34-38″ from every tread nosing, and stays consistent
- All brackets are secured into studs or heavy-duty anchors, with no drywall-only mounts
- Rail is continuous with no breaks
- End returns installed at both ends
- Wall-mounted rail keeps 1-1/2″ of clearance from the wall; a post-mounted rail does not crowd the stair width
- The rail passed the 200 lb load test: full body weight, no movement
- Graspable profile: your hand closes around the rail comfortably
- No sharp edges, no fasteners sticking out, and no rough spots
Troubleshooting Your Garage Step Handrail #
No studs at the right locations: This is common in garages with wide stud spacing, or a concrete or block wall instead of framing. If the wall is concrete or block, stop trying to bracket-mount it - use a post instead (see No wall to mount to, below). For a framed wall with wide spacing, use heavy-duty toggle bolts (rated 200+ lbs) between the studs. Make sure at least 2 of your brackets still hit actual studs.
Rail wobbles after installation: Re-check every bracket. The most common cause is one bracket that missed the stud. Remove it, re-drill (you may need to shift 1/4″ to find the center of the stud), and re-mount it. If the bracket itself is solid, the rail may not be fully seated in the cradle. Check the set screws.
Height is inconsistent (it varies more than 3/8″ from tread to tread): Either the brackets are not precisely on the chalk line, or the stair treads have inconsistent rise (rise means the vertical height of each step). Adjust individual bracket heights by shimming (adding thin spacers behind the bracket to change its angle or height) or by using the slotted screw holes. If the treads themselves are uneven, fix the treads first.
No wall to mount to (open side, or a concrete or block wall): Some stairs have an open side, or the wall there is concrete or block instead of framing. Either way, skip bracket-mounting on that side and use a post instead. Cut a notch into the tread where the post lands, so it seats down against the stringer. Screw the post to the side of the stringer with exterior-rated structural screws - snug enough that it passes the Step 6 load test with no movement. Use a solid post in regular pine or cedar, sized to pass that same load test without flexing - never pressure-treated even in a garage. Set the post at the same 34-38″ height as the rest of the rail. It still has to meet the same continuity, end return, and 200 lb load requirements described above.
External Resources #
- IRC R311.7 - Stairway Code Requirements - residential building code for stairs, handrails, treads, and guardrails
All Garage Steps Guides #
- Build Garage Steps - Core guide - 2 stringers, open risers, up to 30-1/2 inches of rise (start here)
- Garage Steps with a Landing - Over 30-1/2 inches of rise, or a door that swings over the steps
- Garage Steps with 3 Stringers - Add a center stringer for open-riser stairs wider than 36″
- Garage Steps with Closed Risers - Add riser boards for a finished look
- → You are here: Garage Step Handrail - When and how to install a code-compliant handrail
Reference Photos #
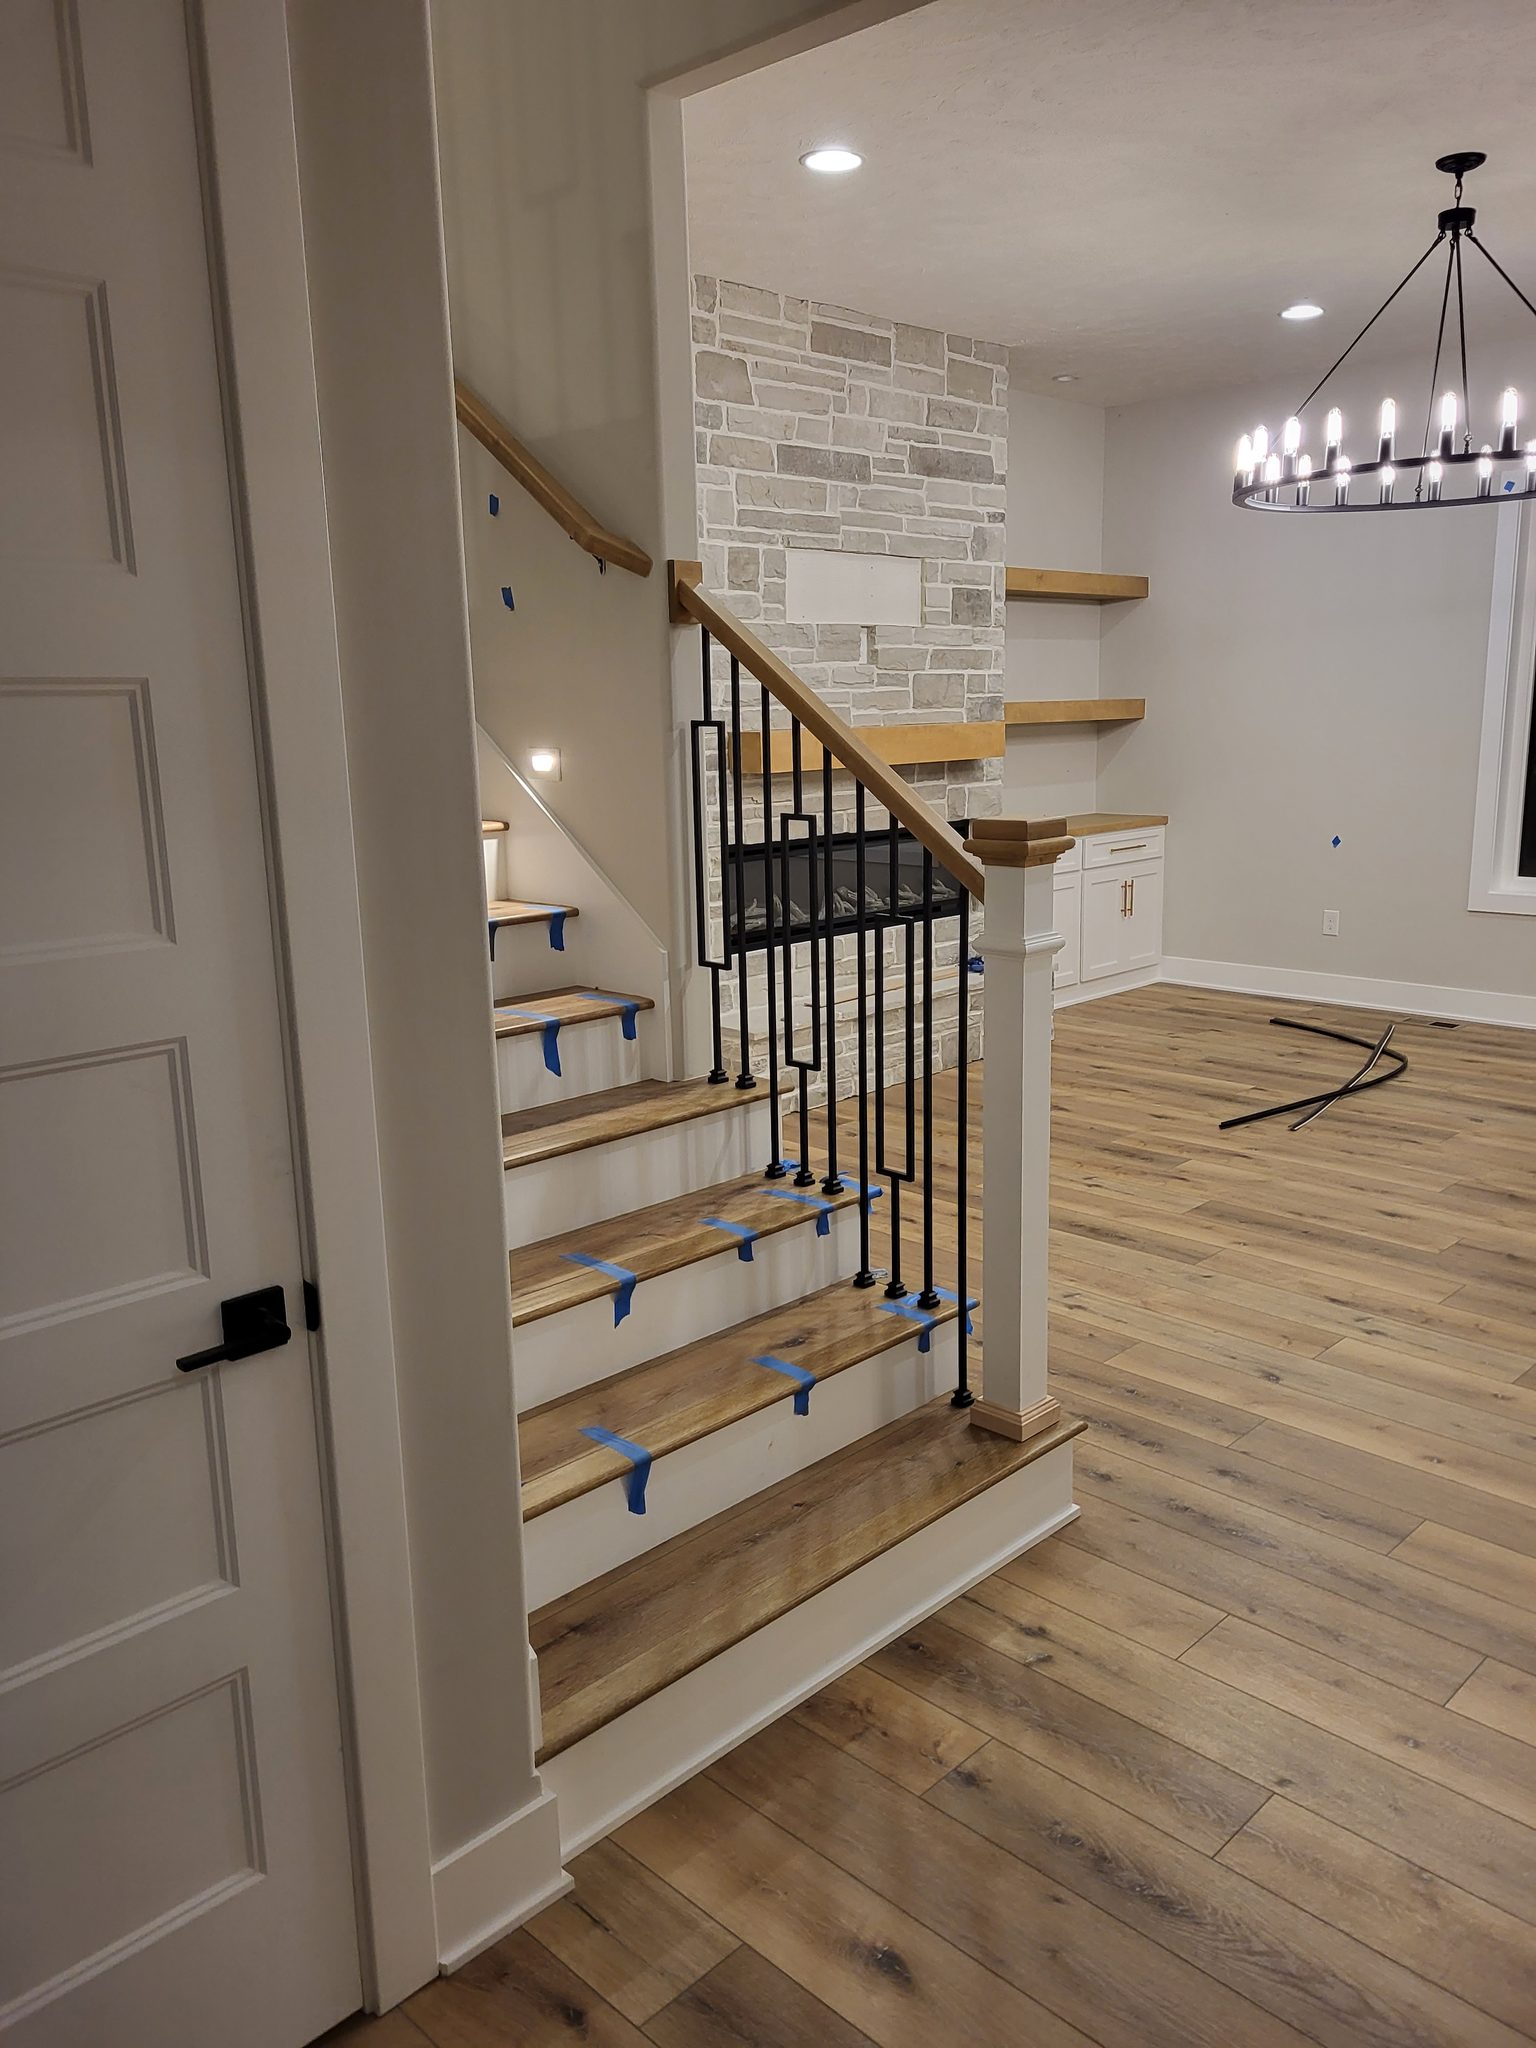
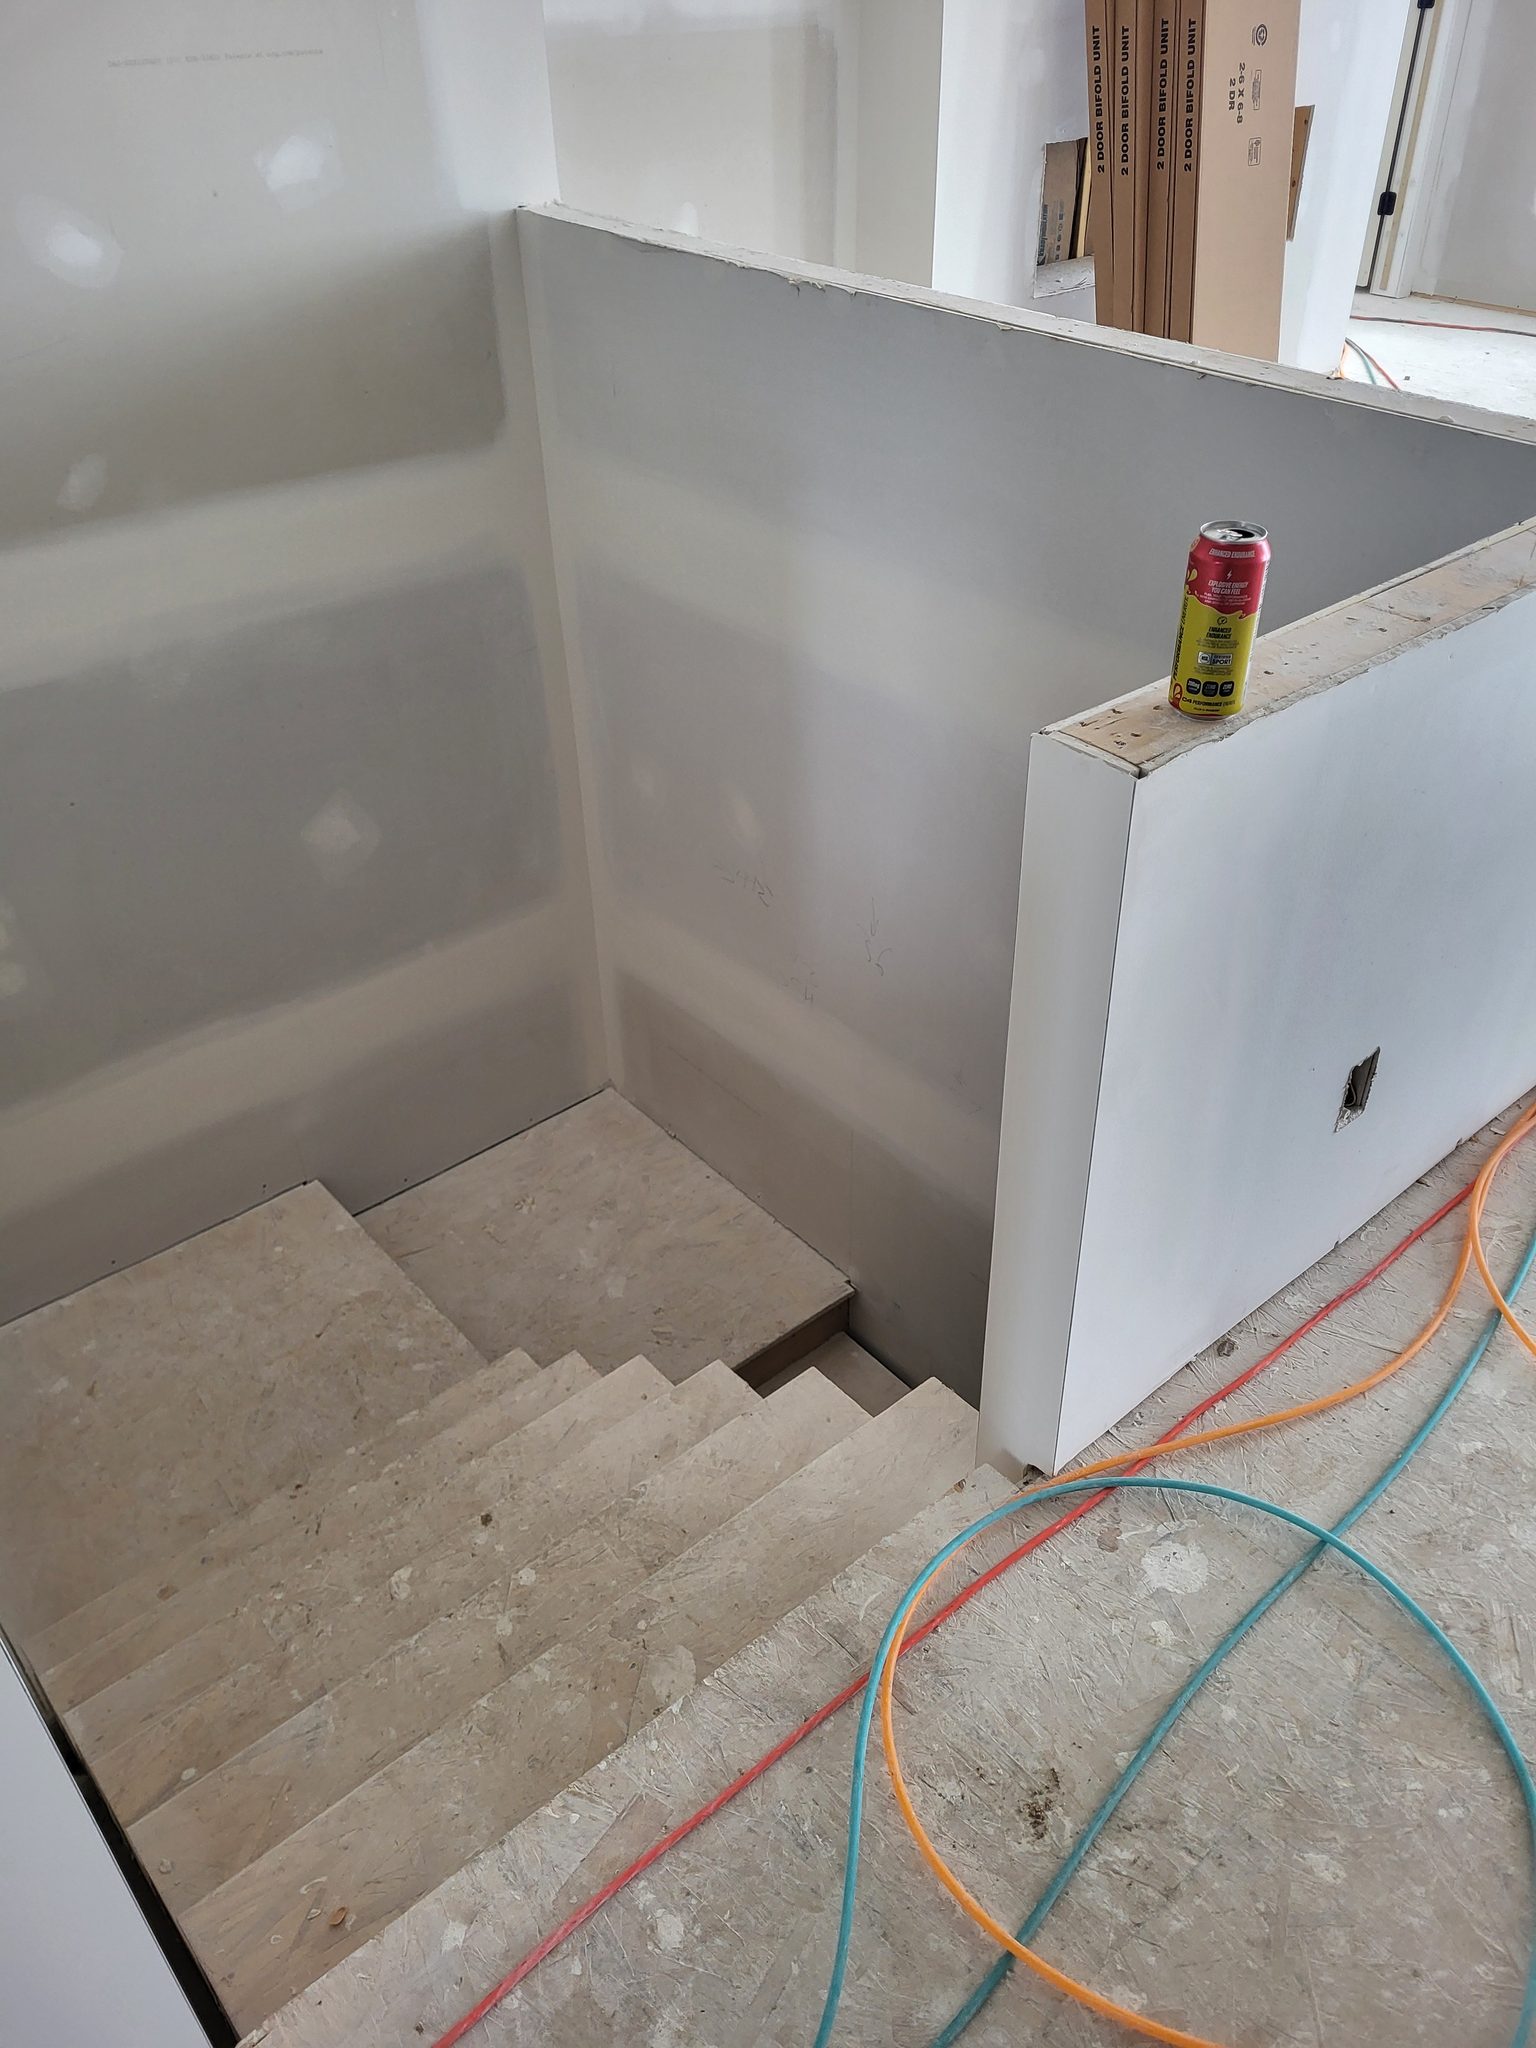
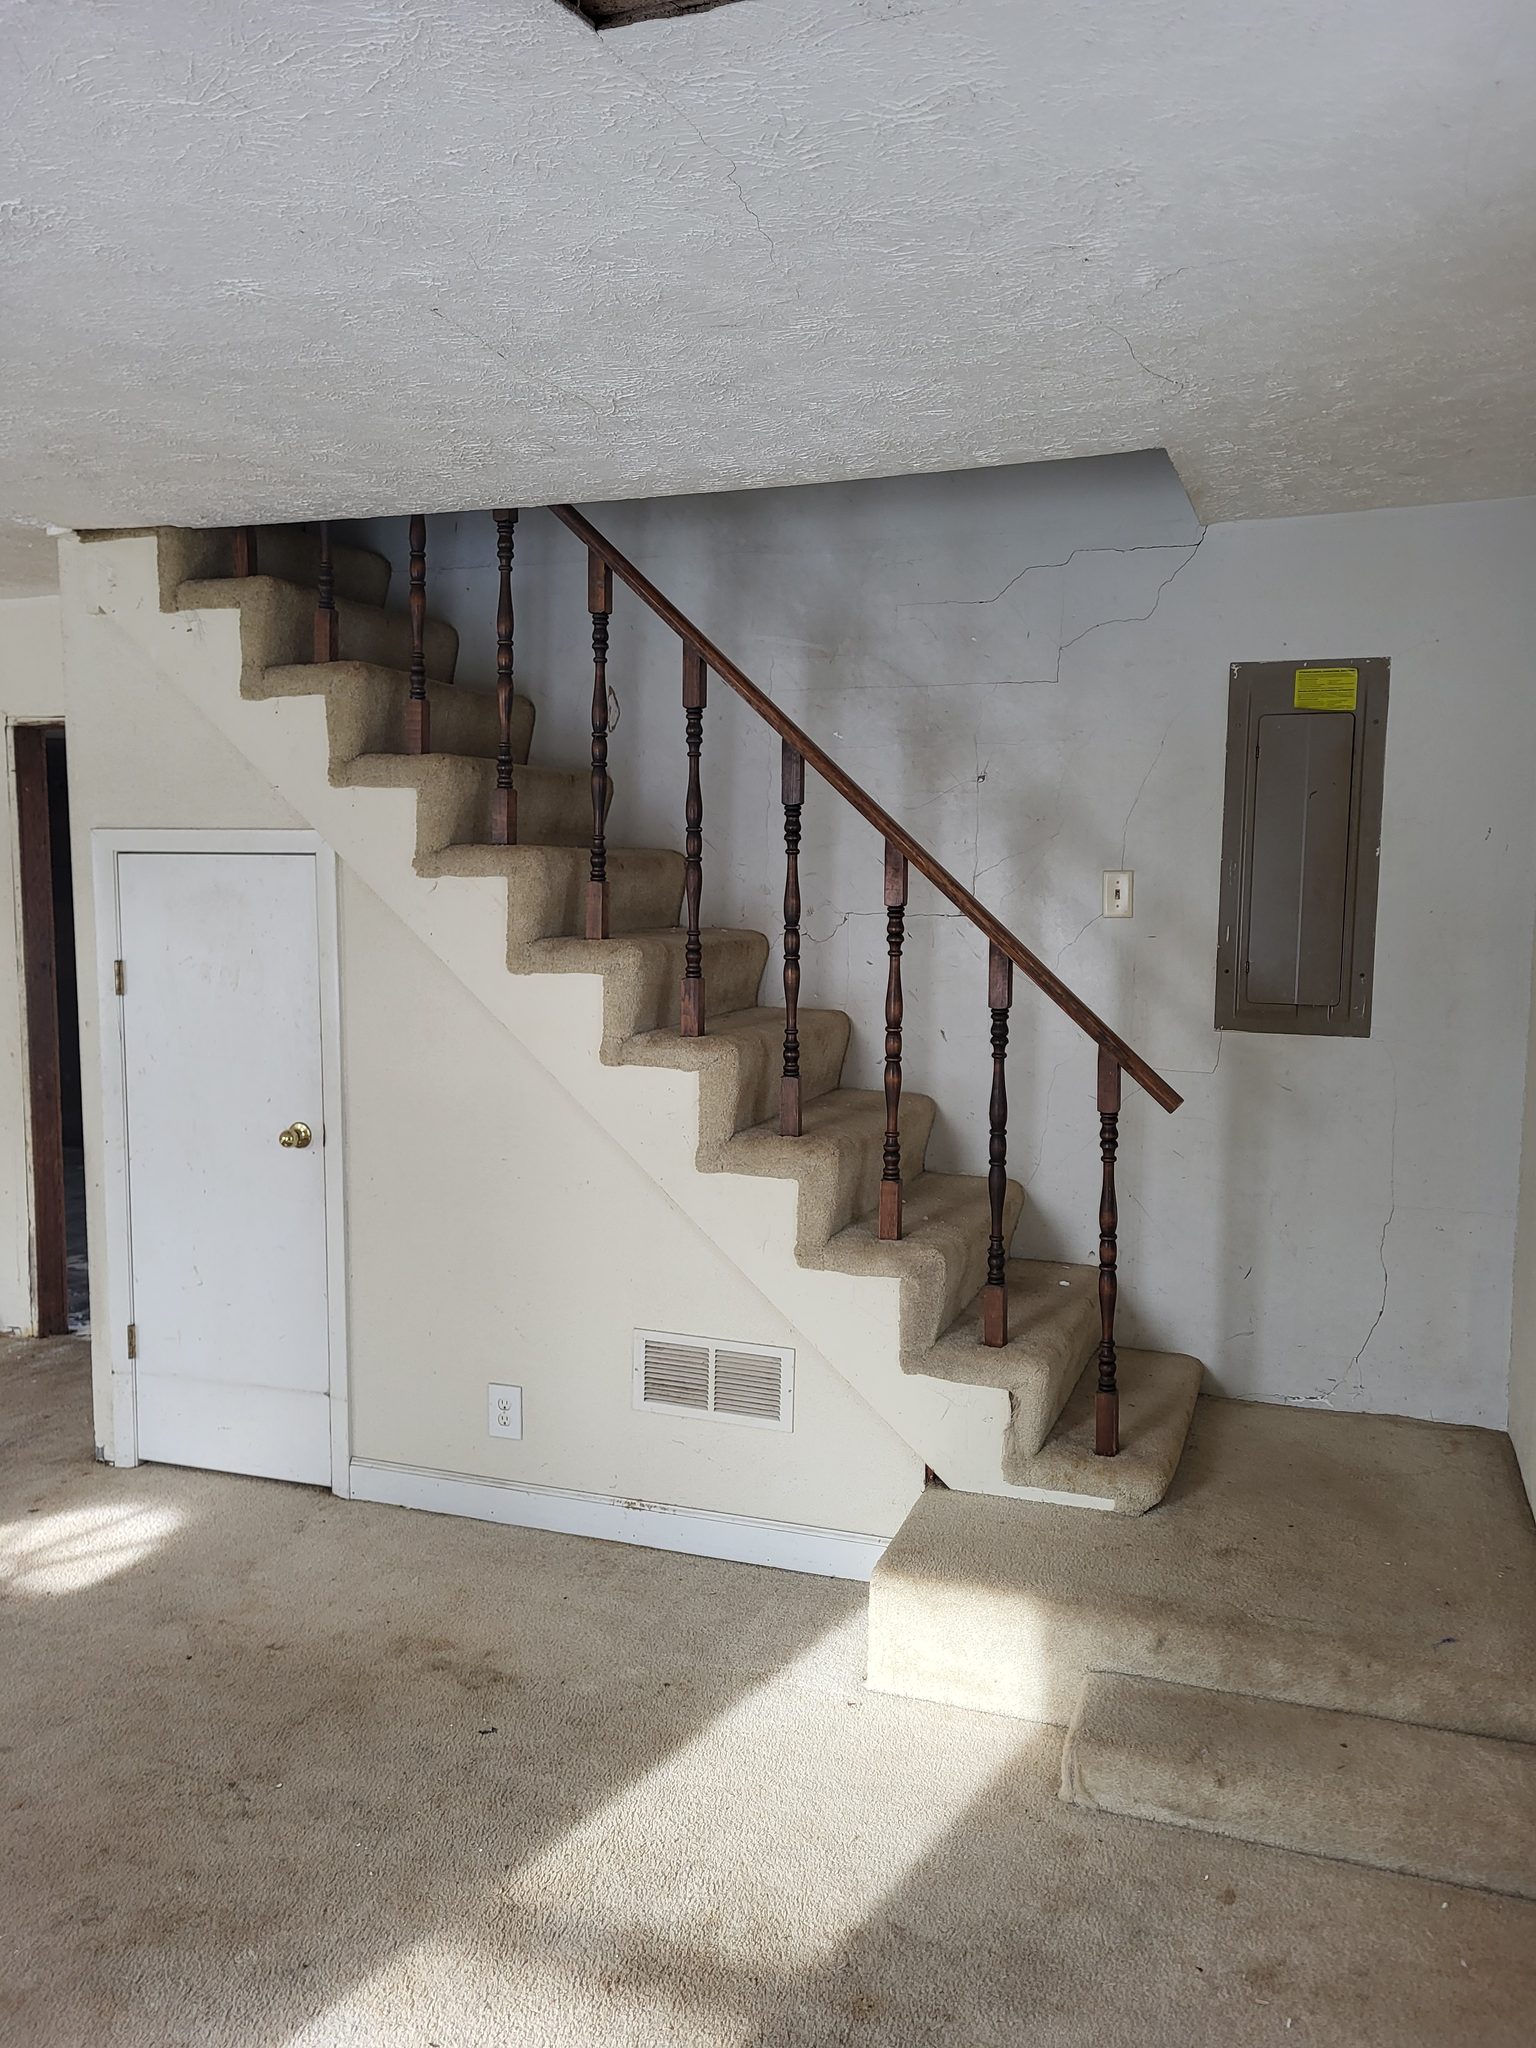
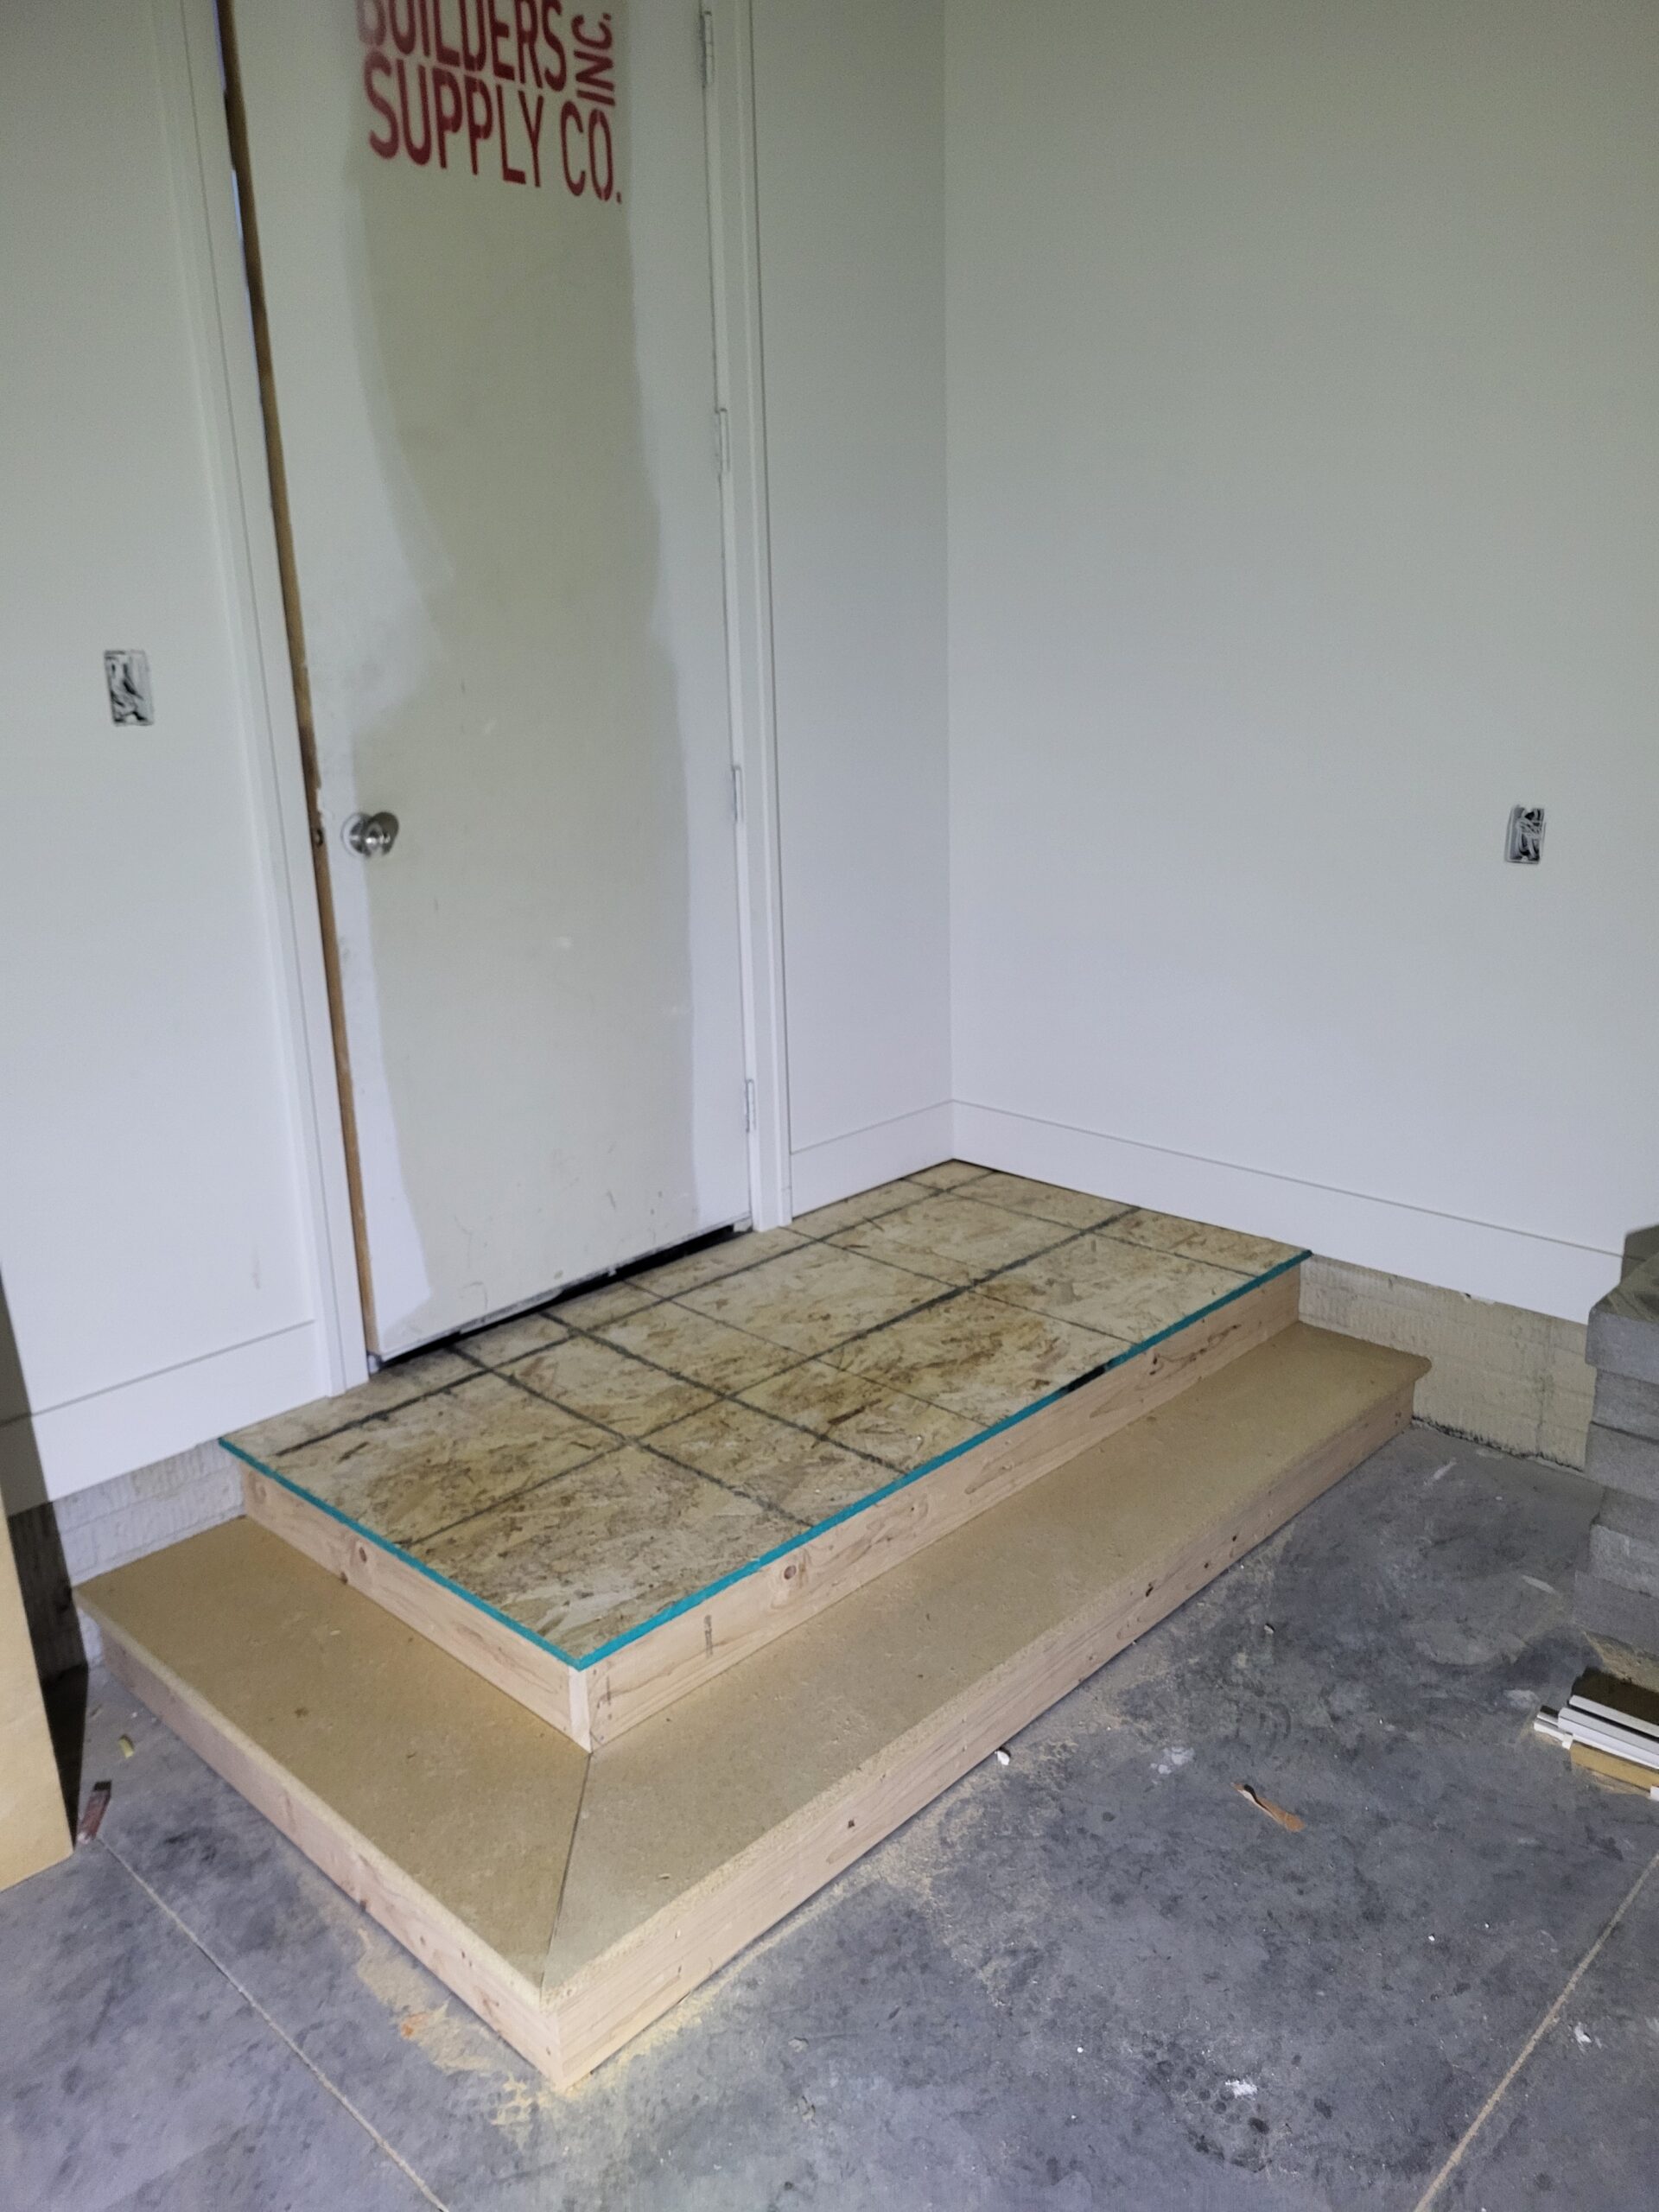
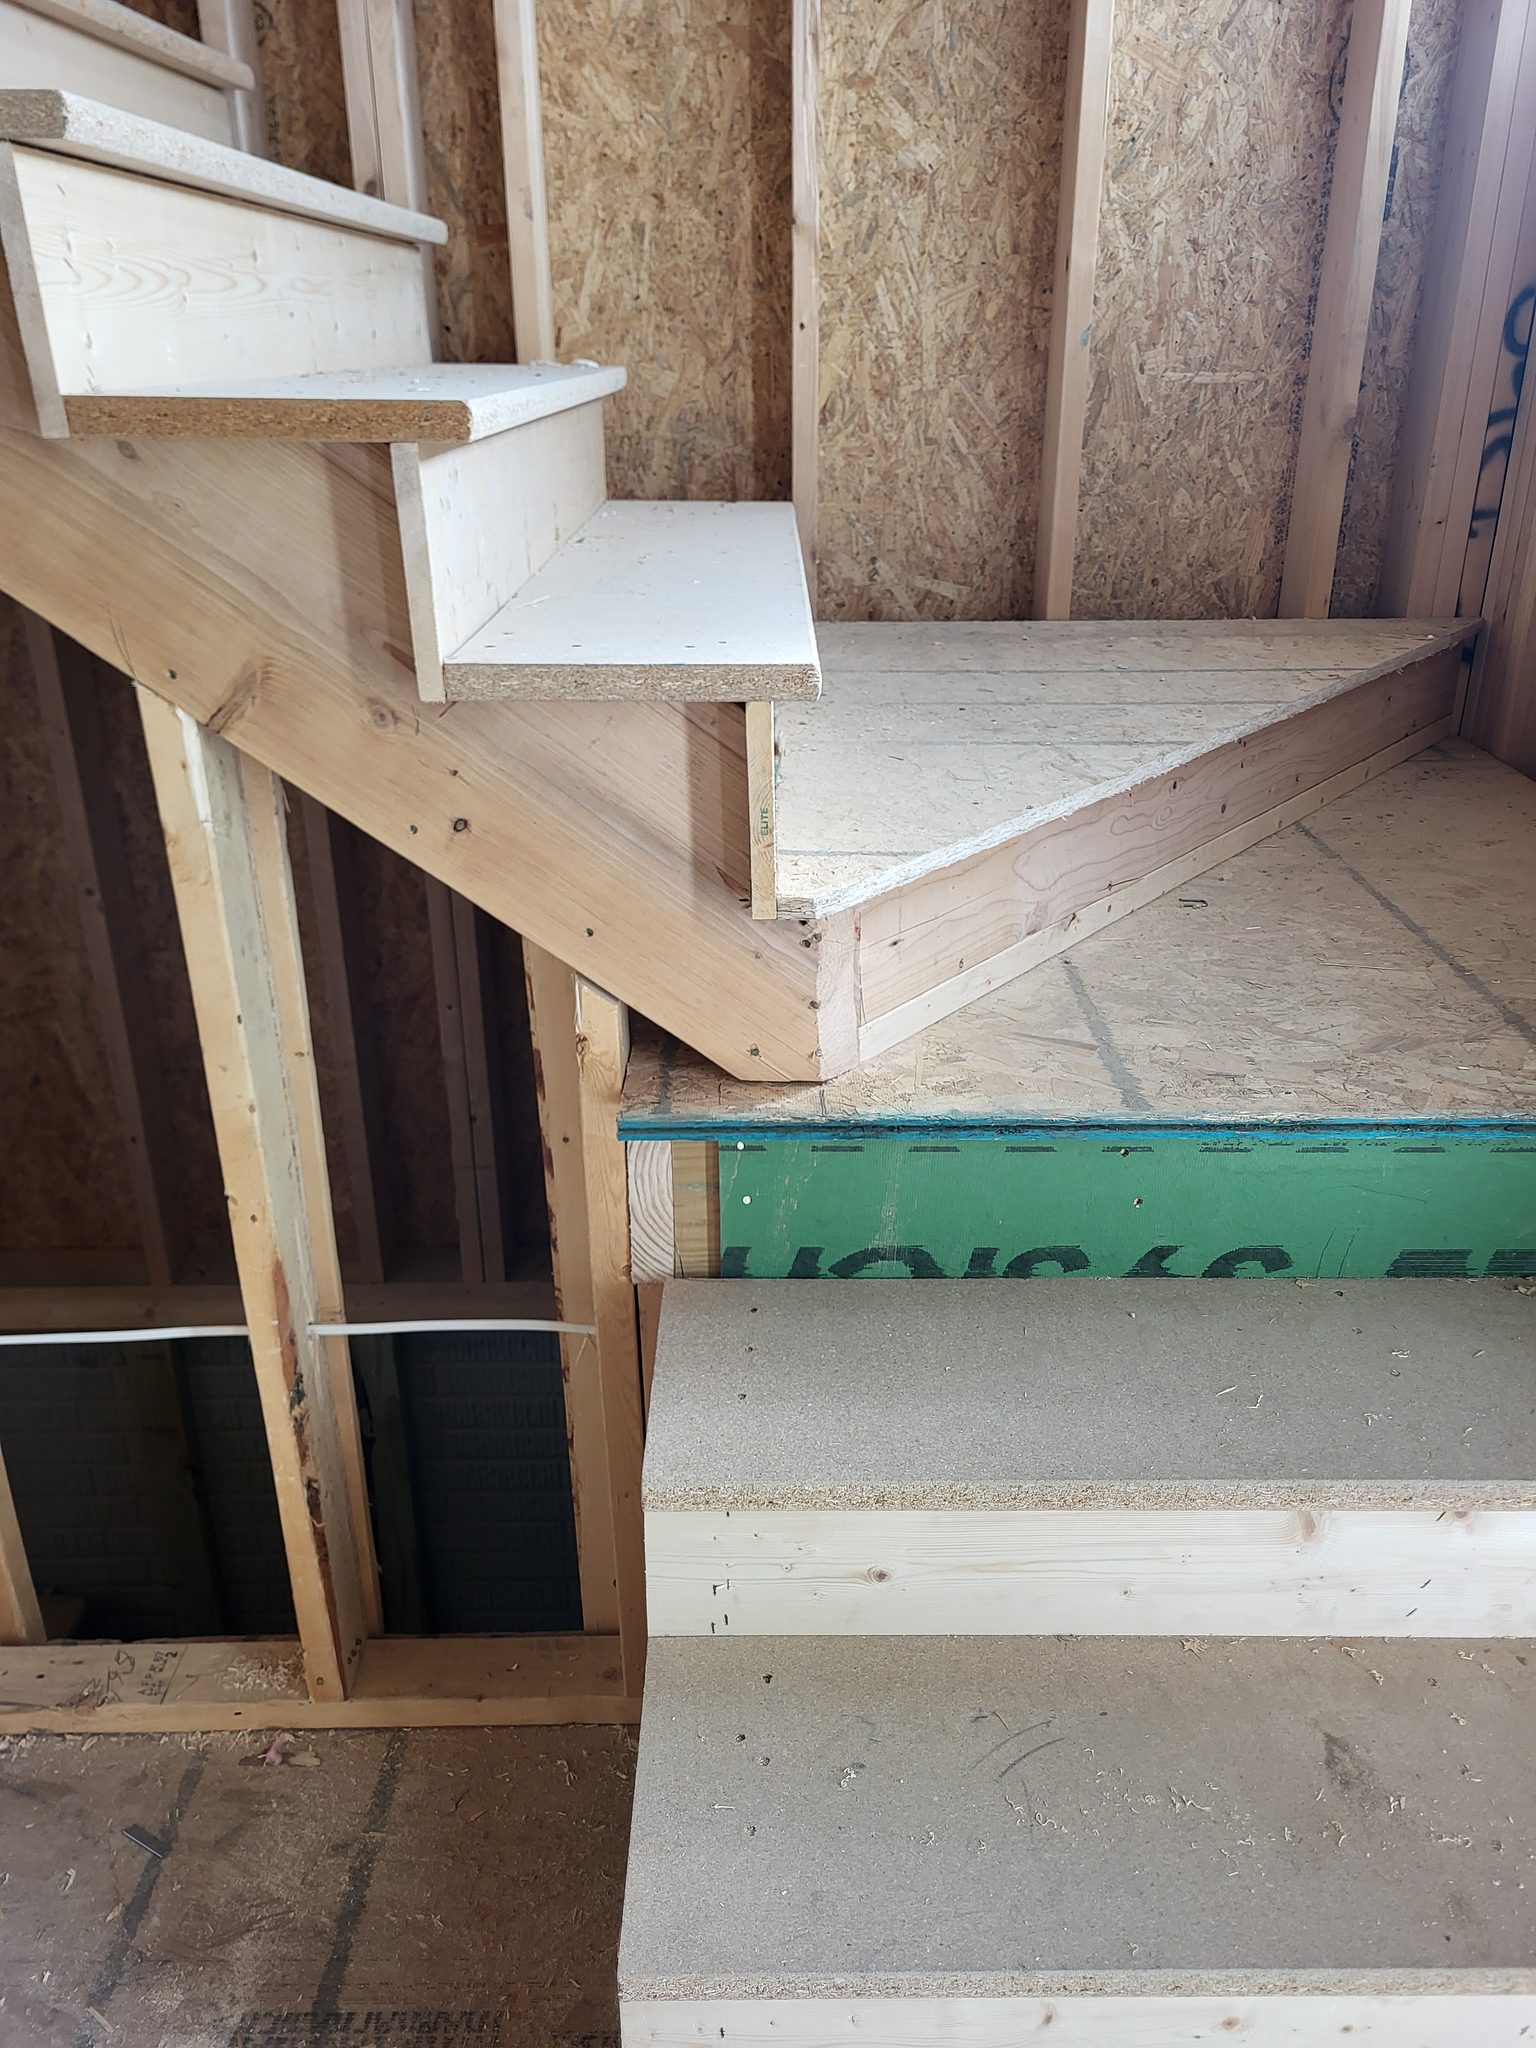
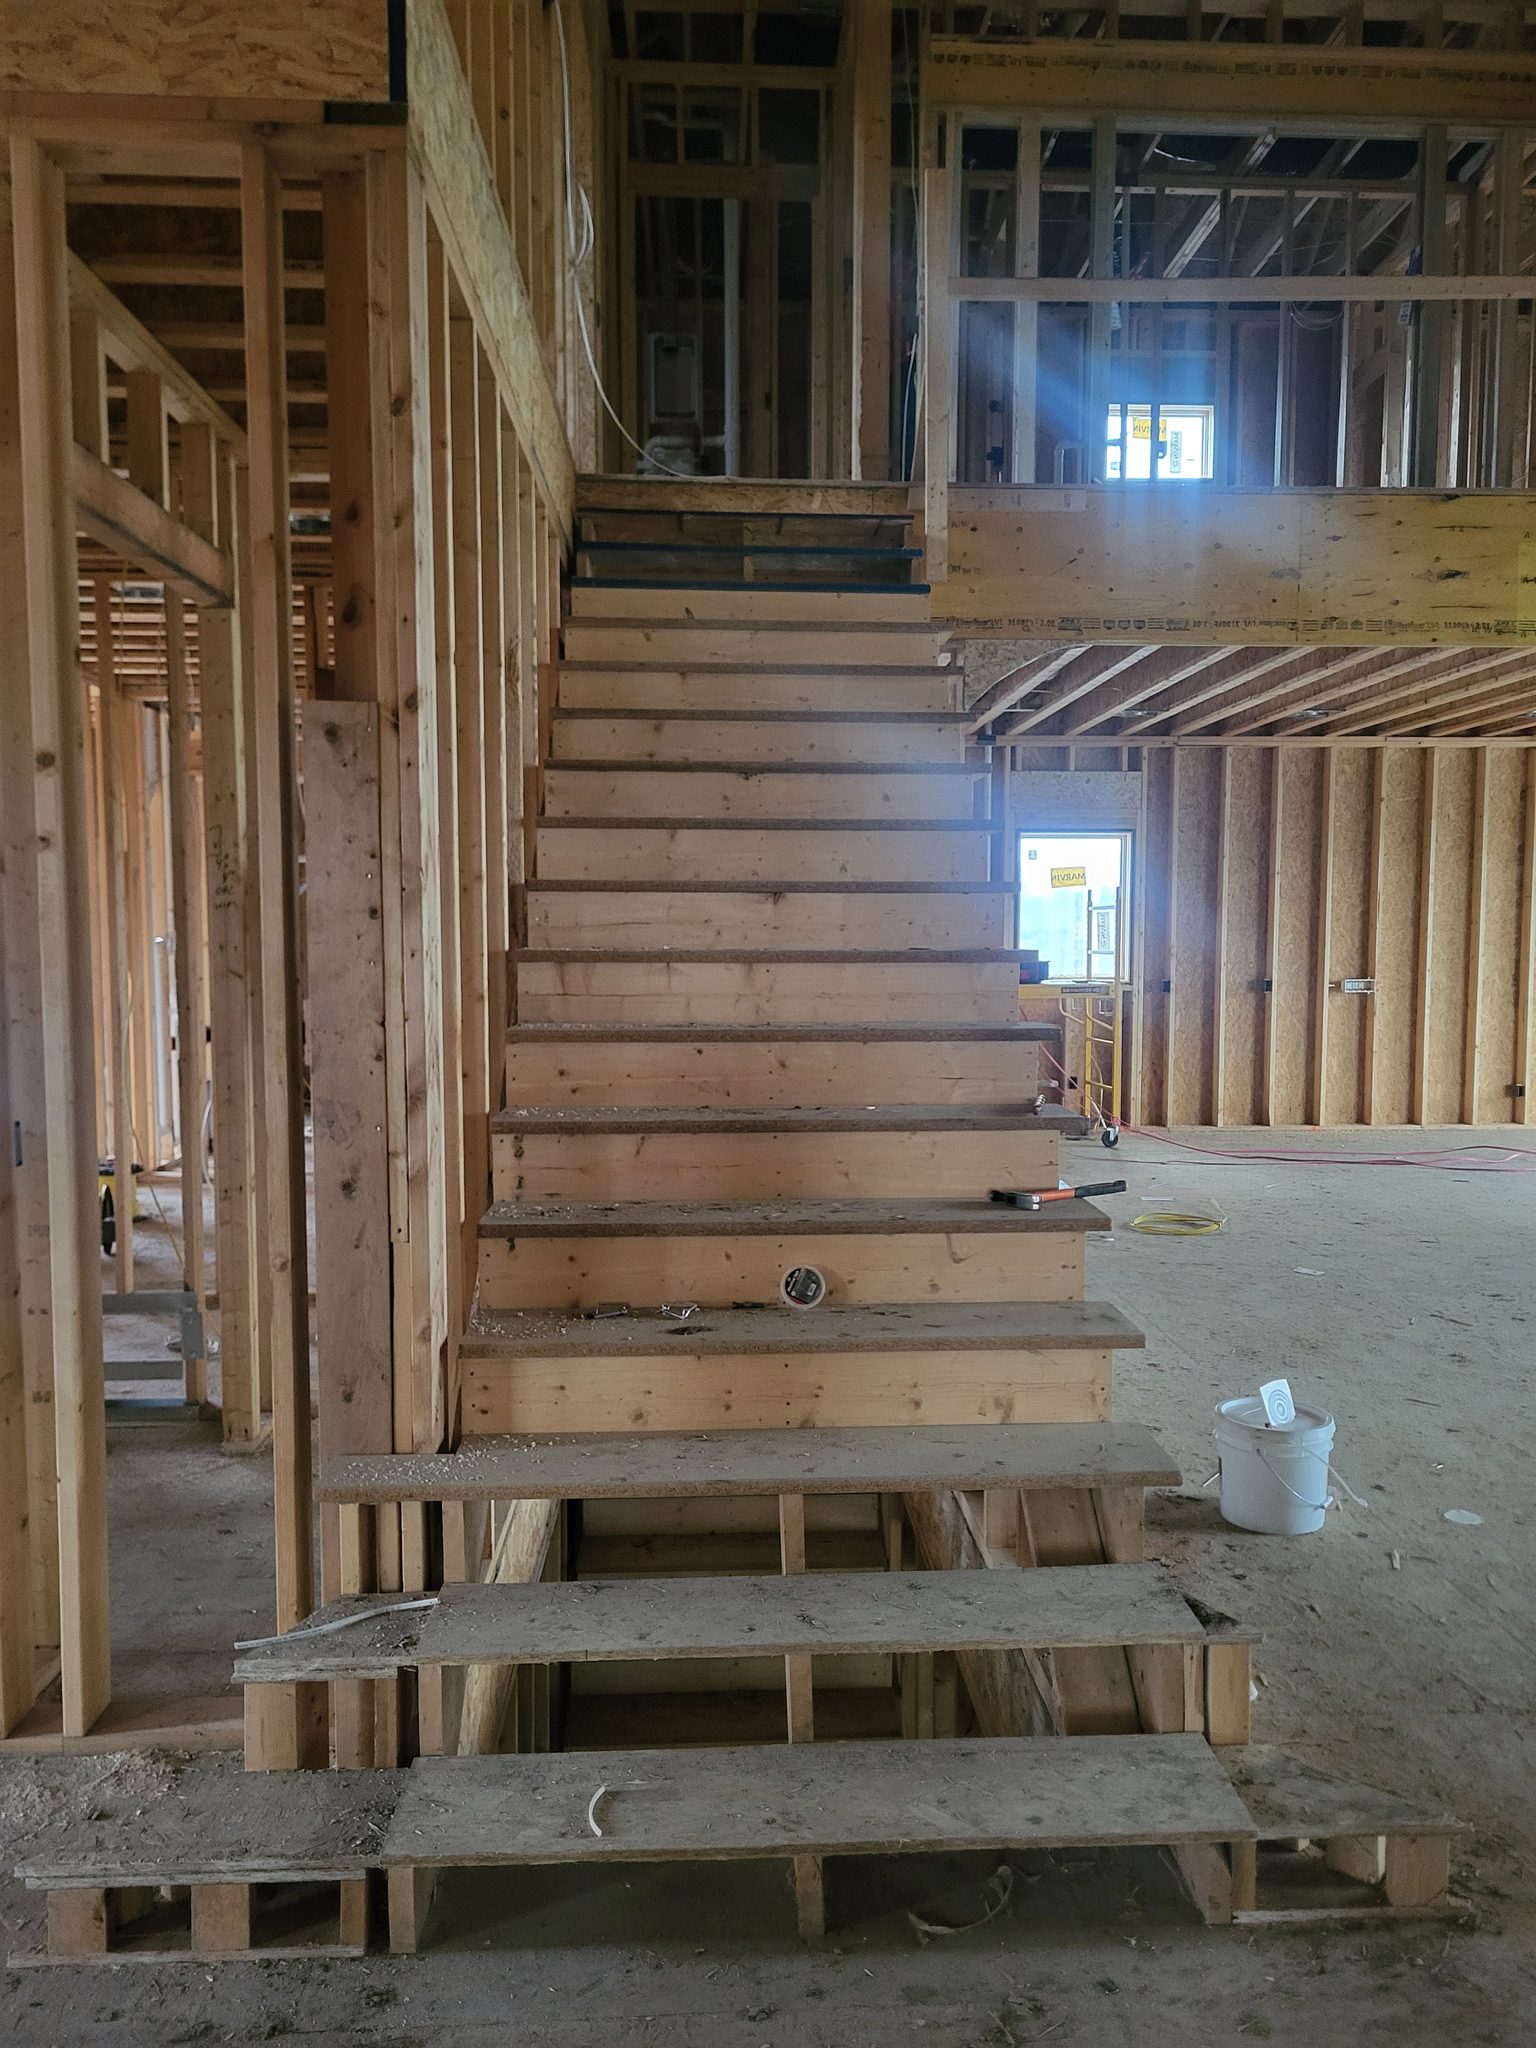
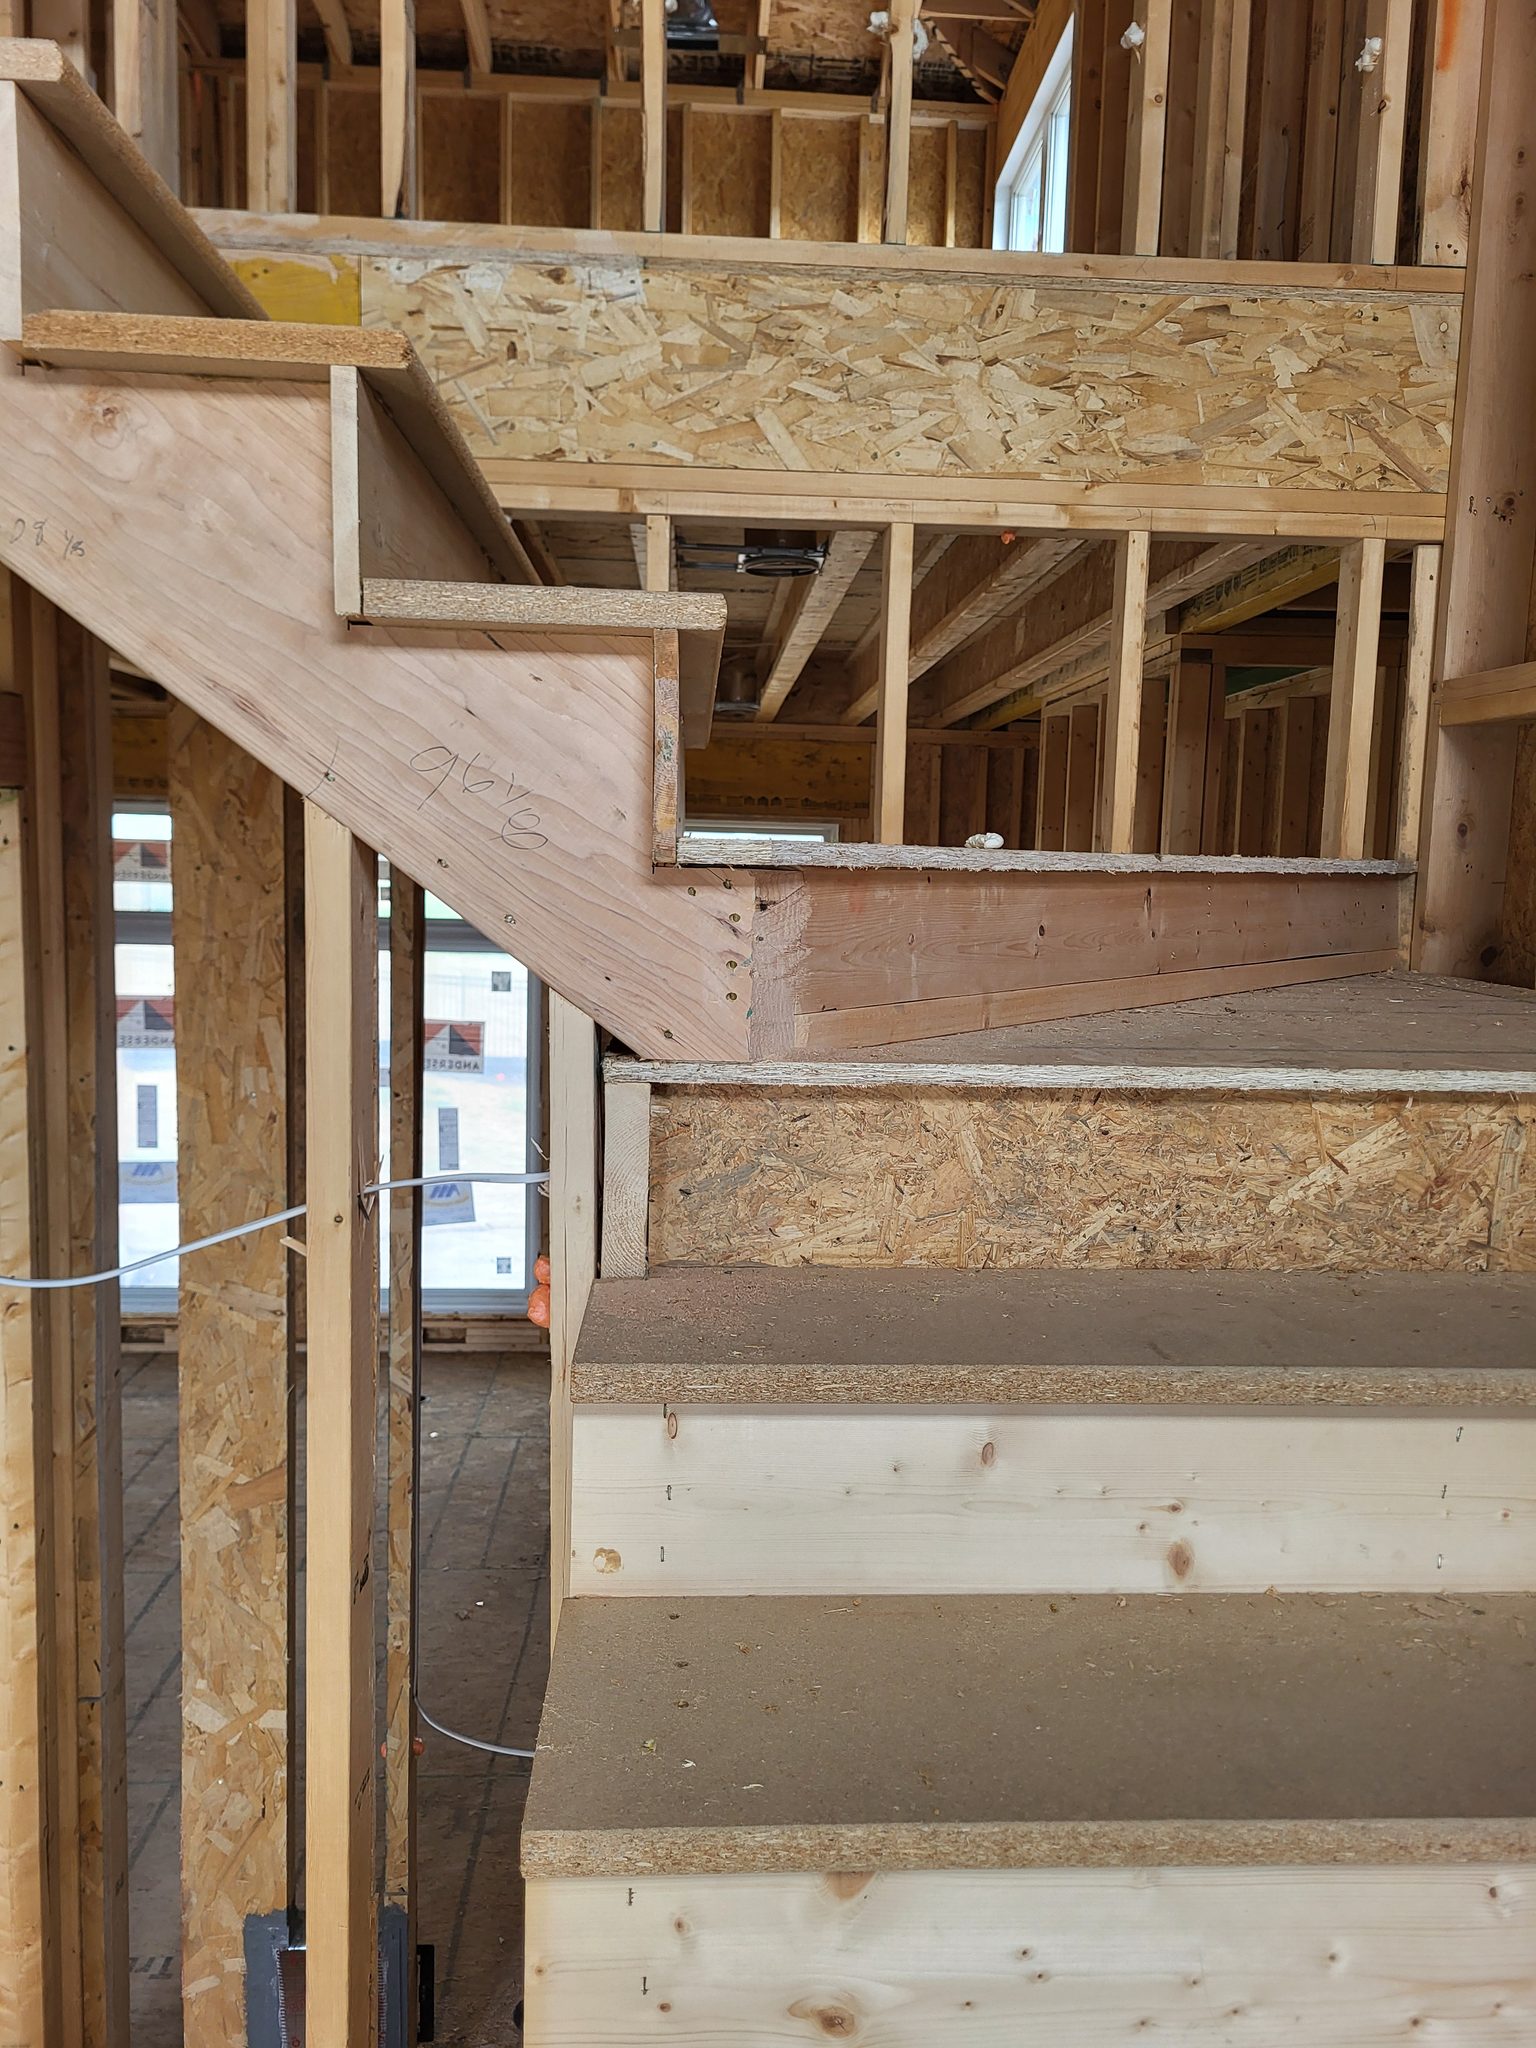
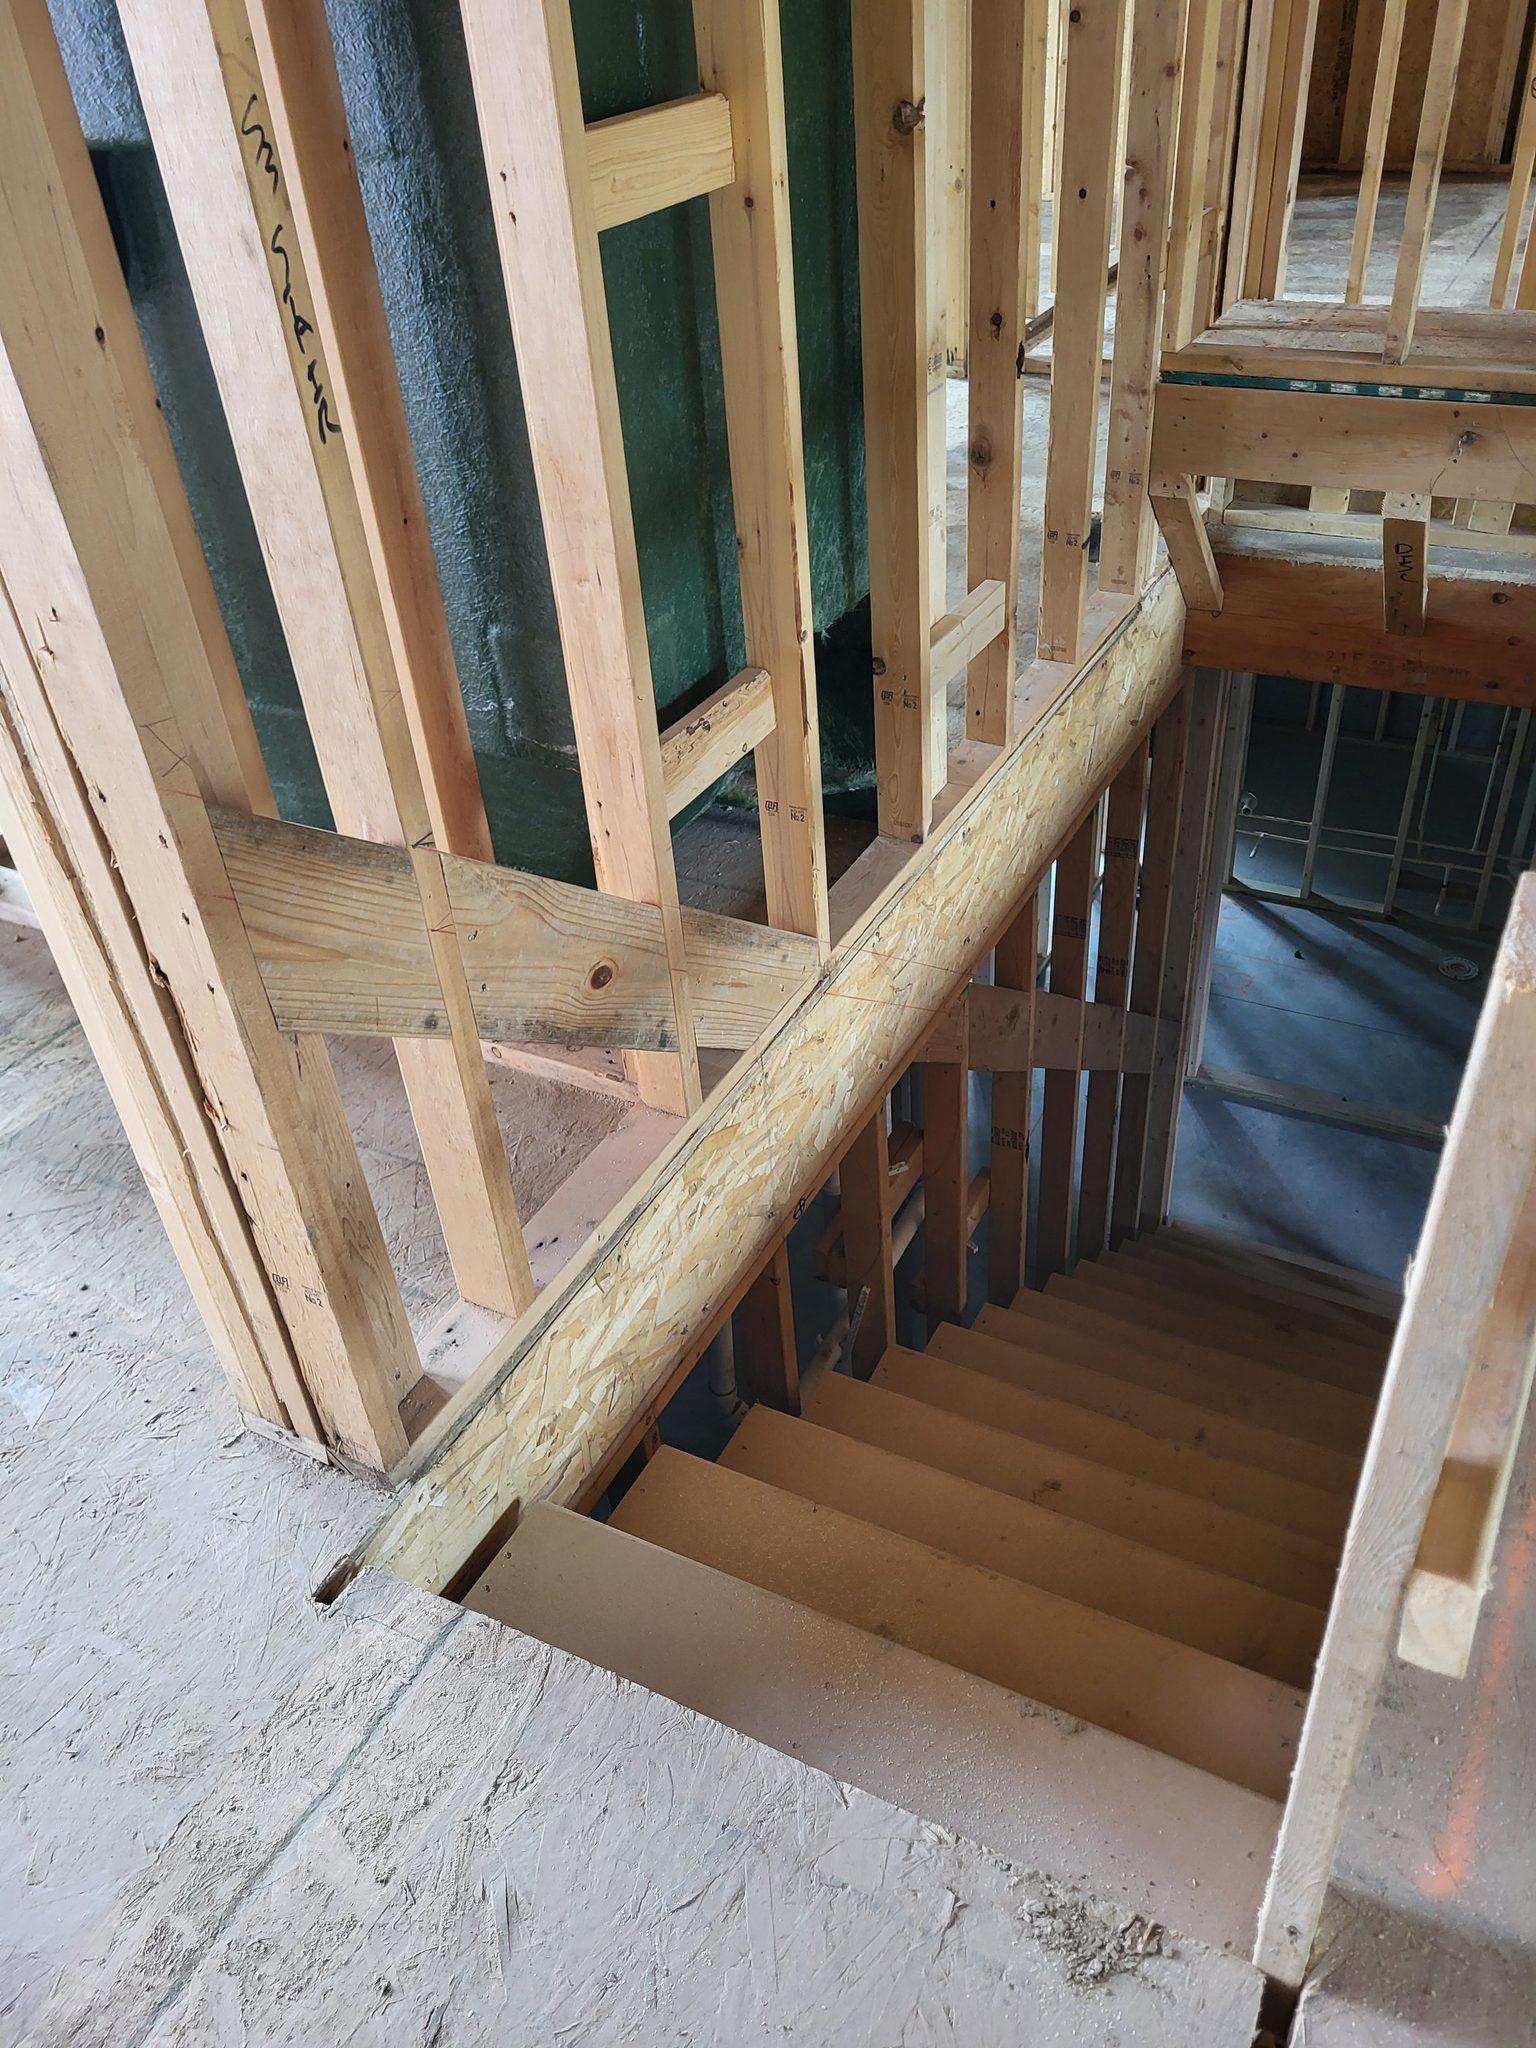
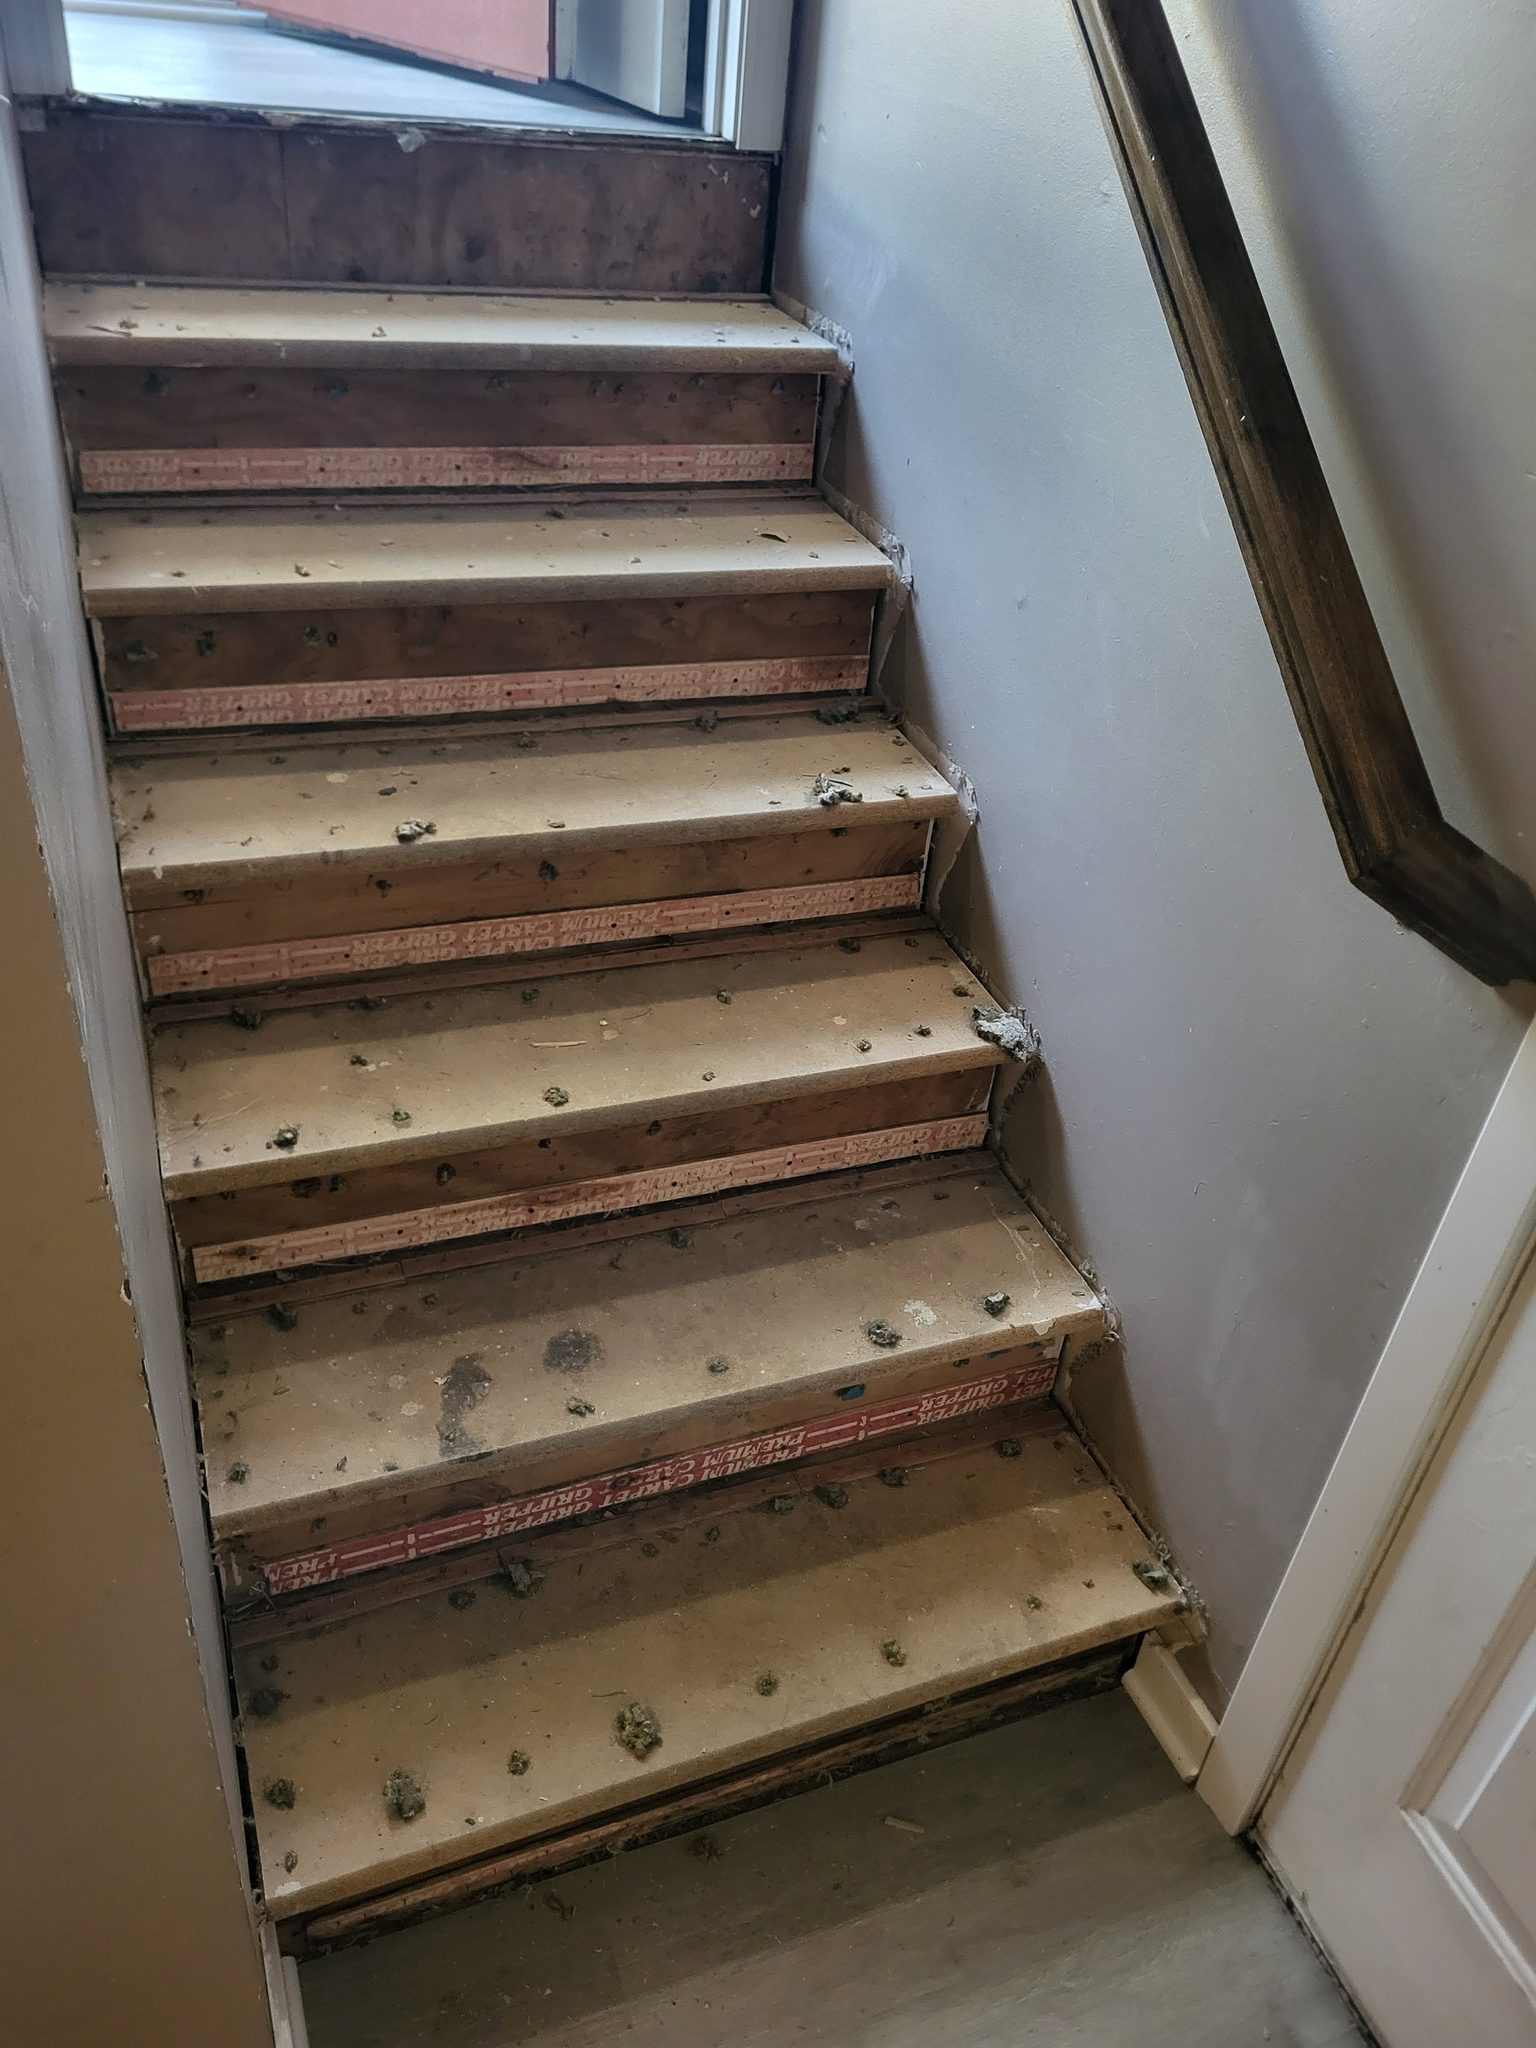
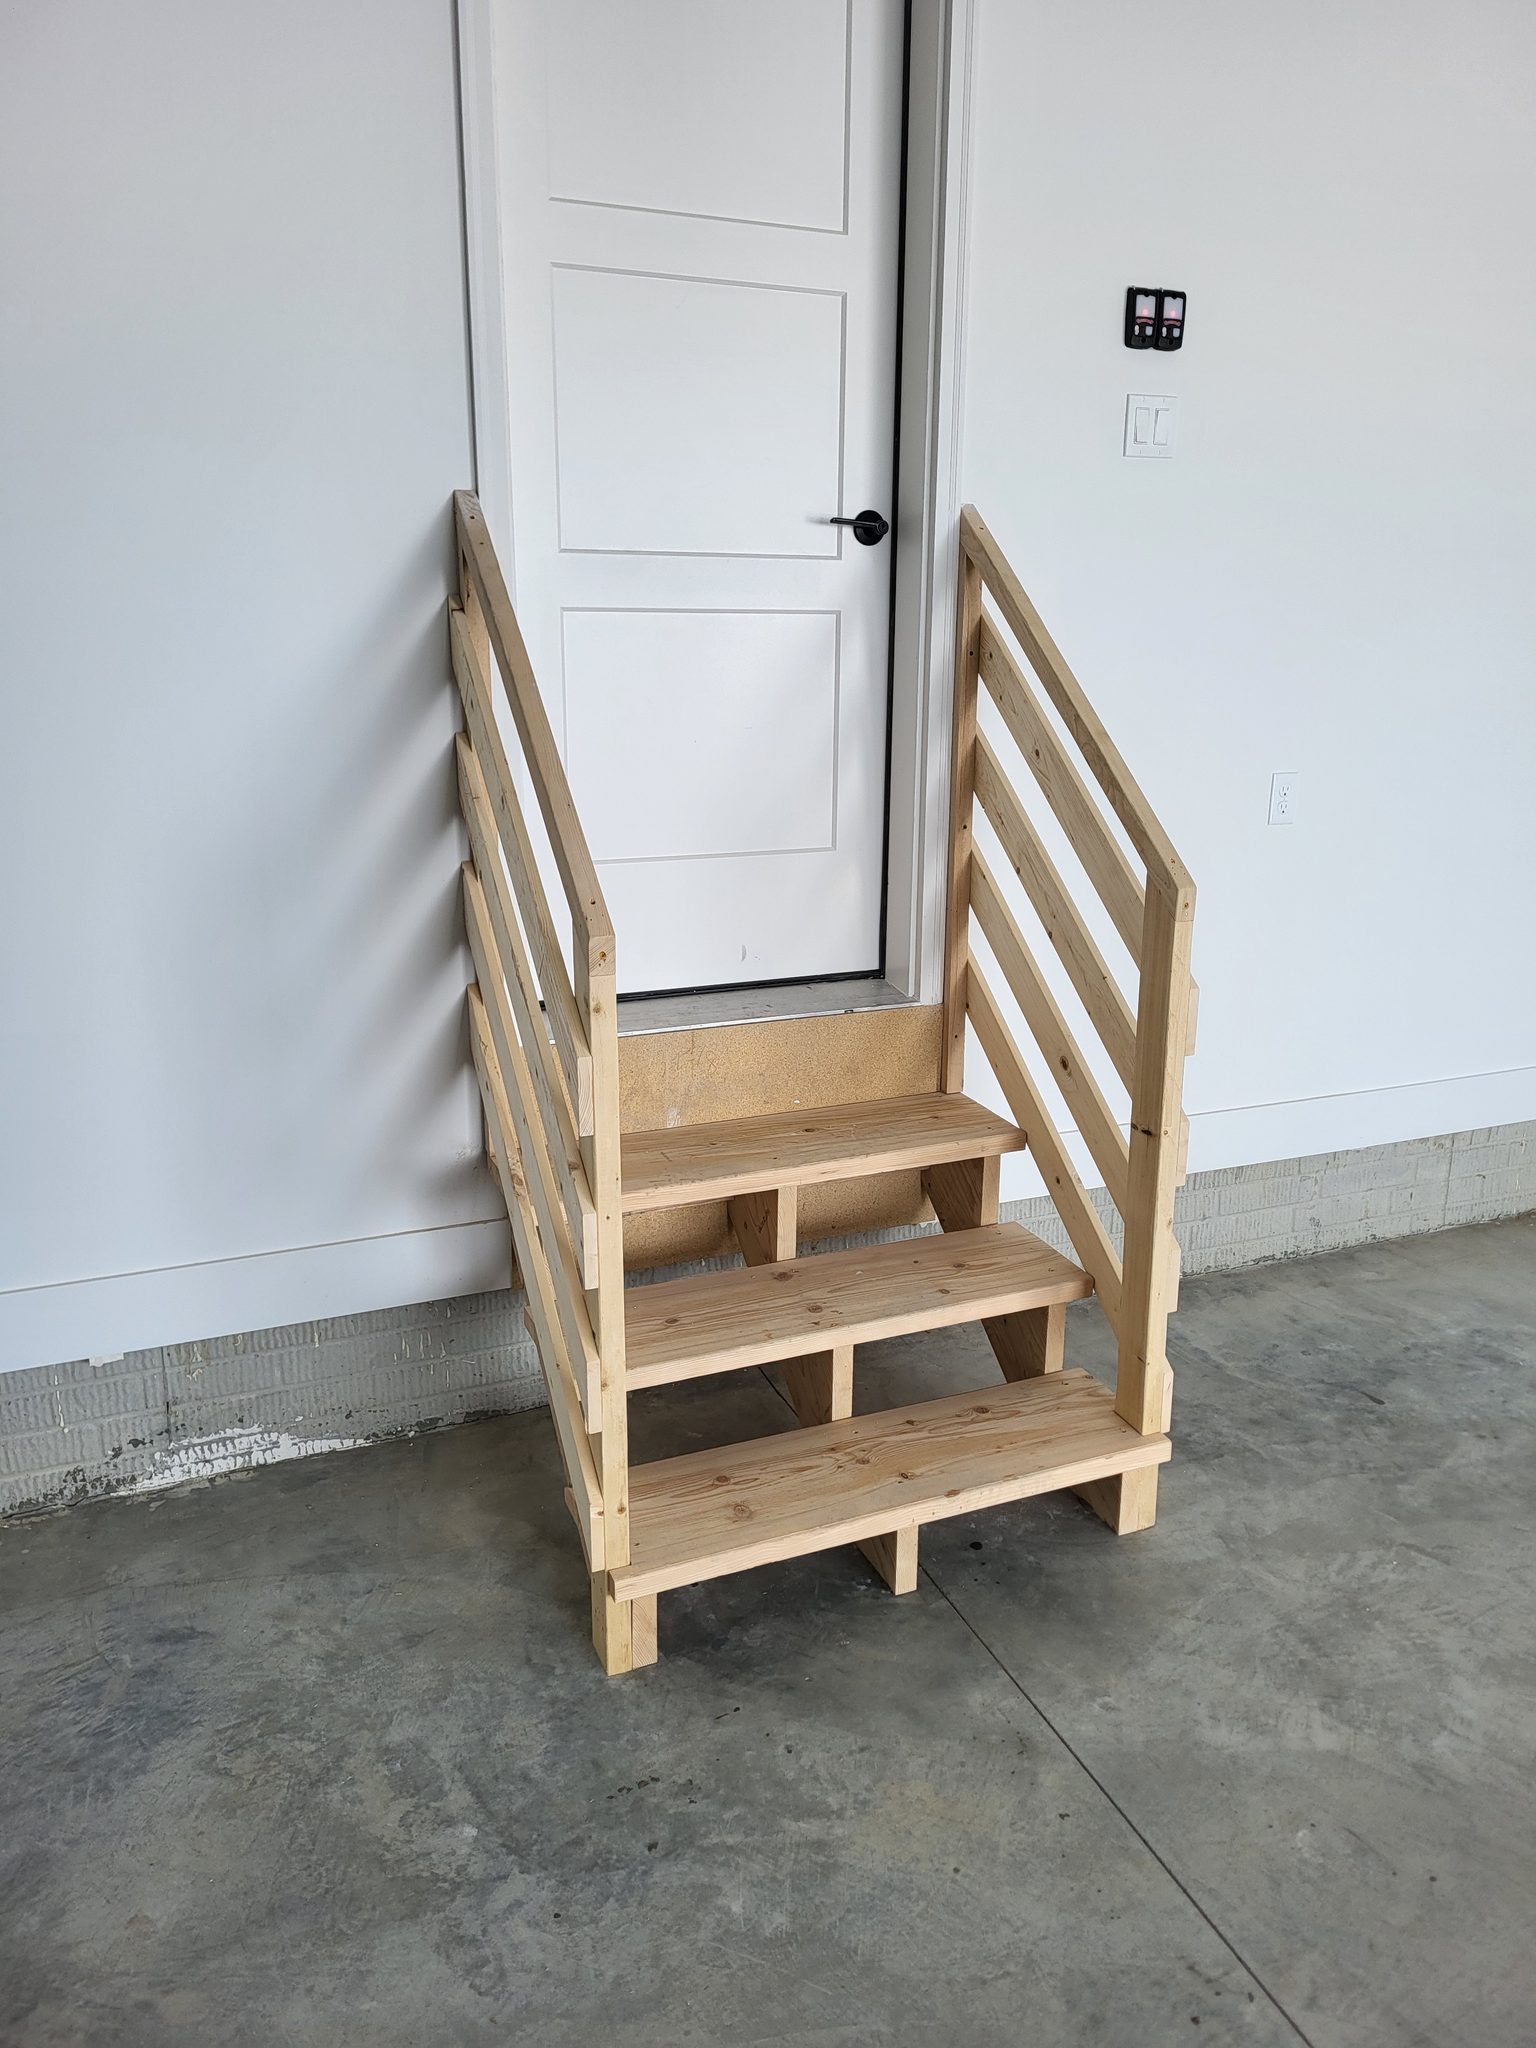
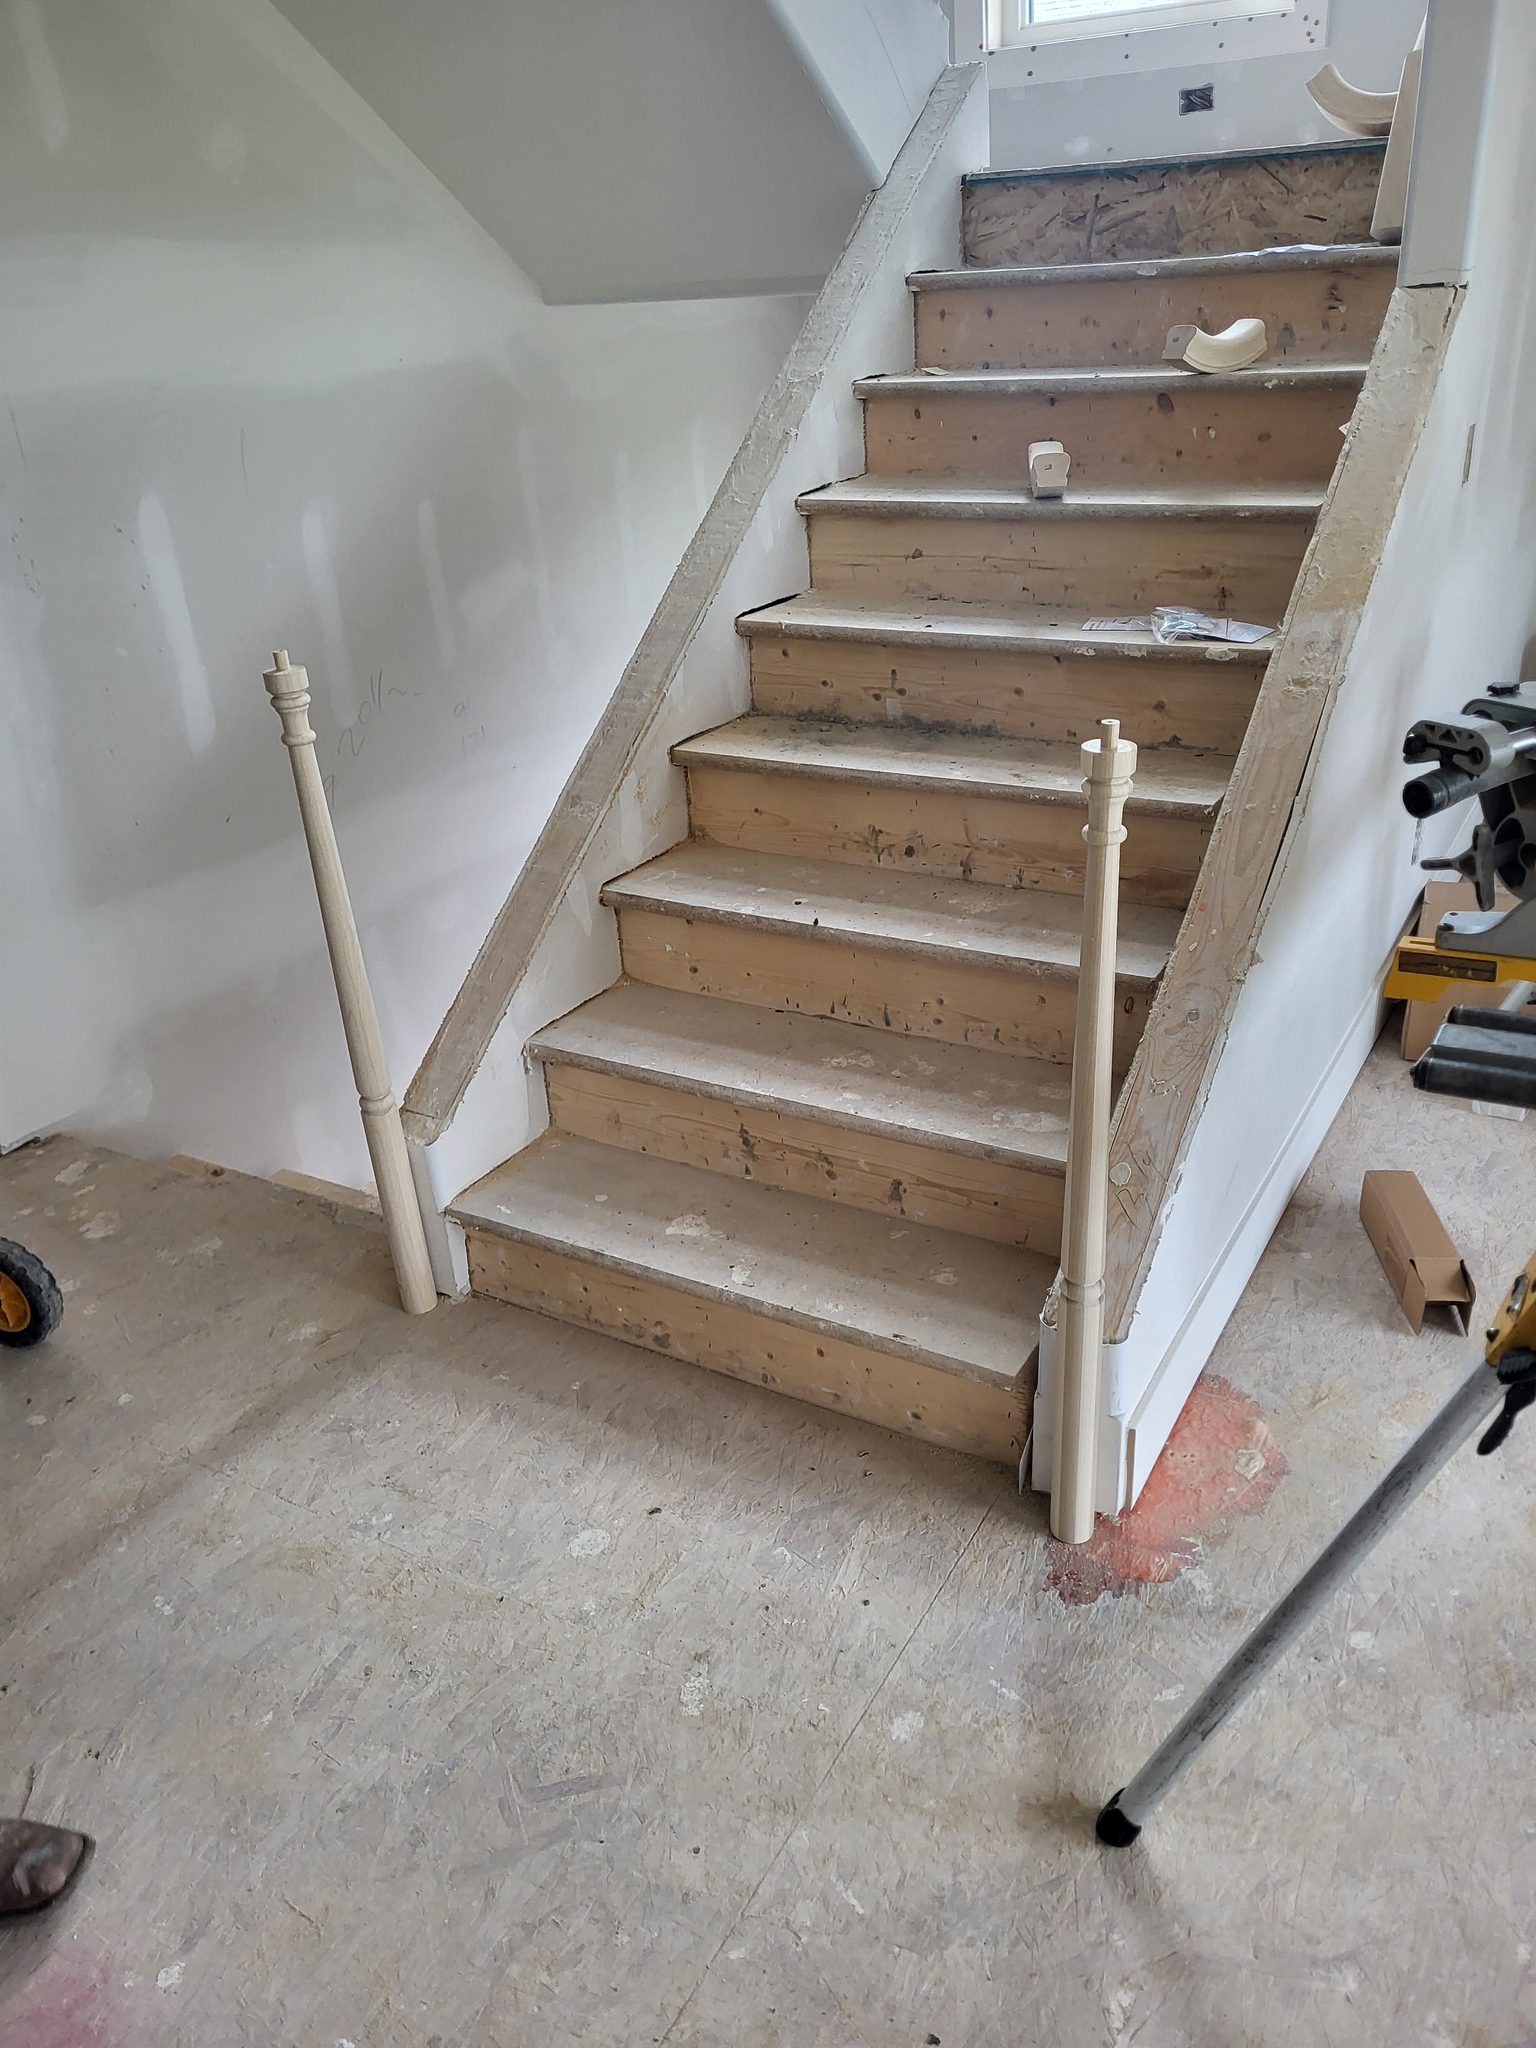
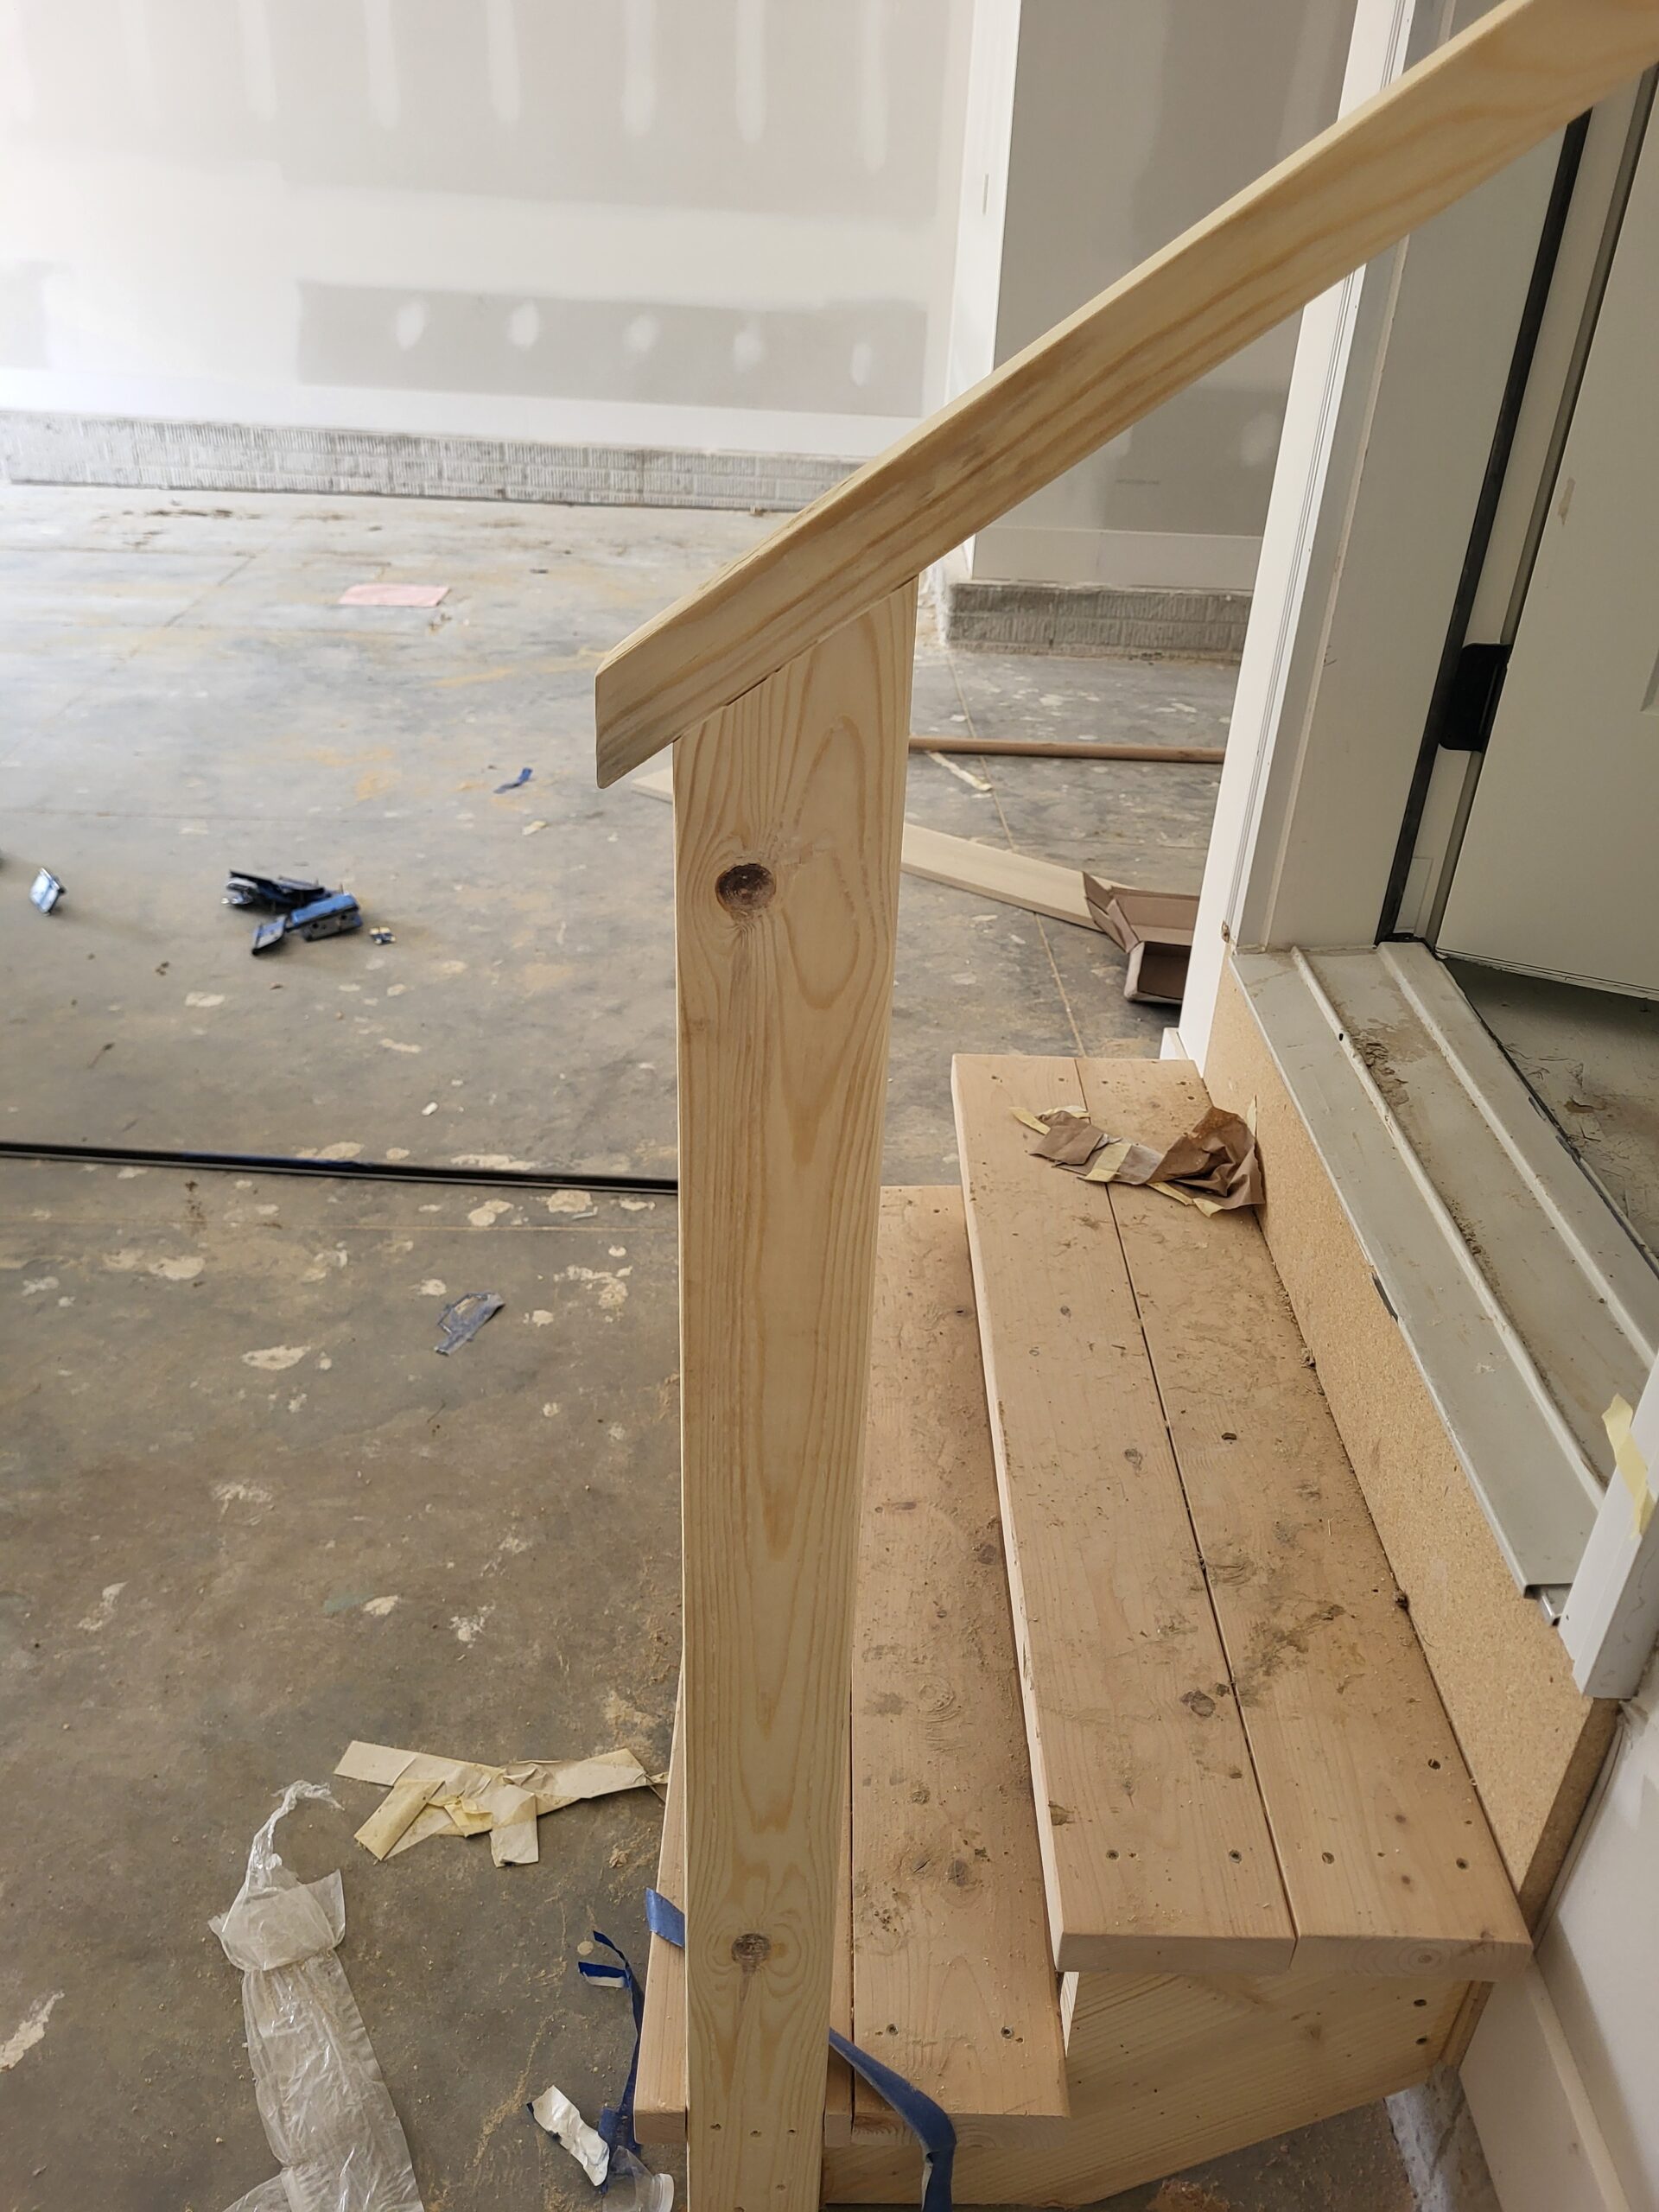
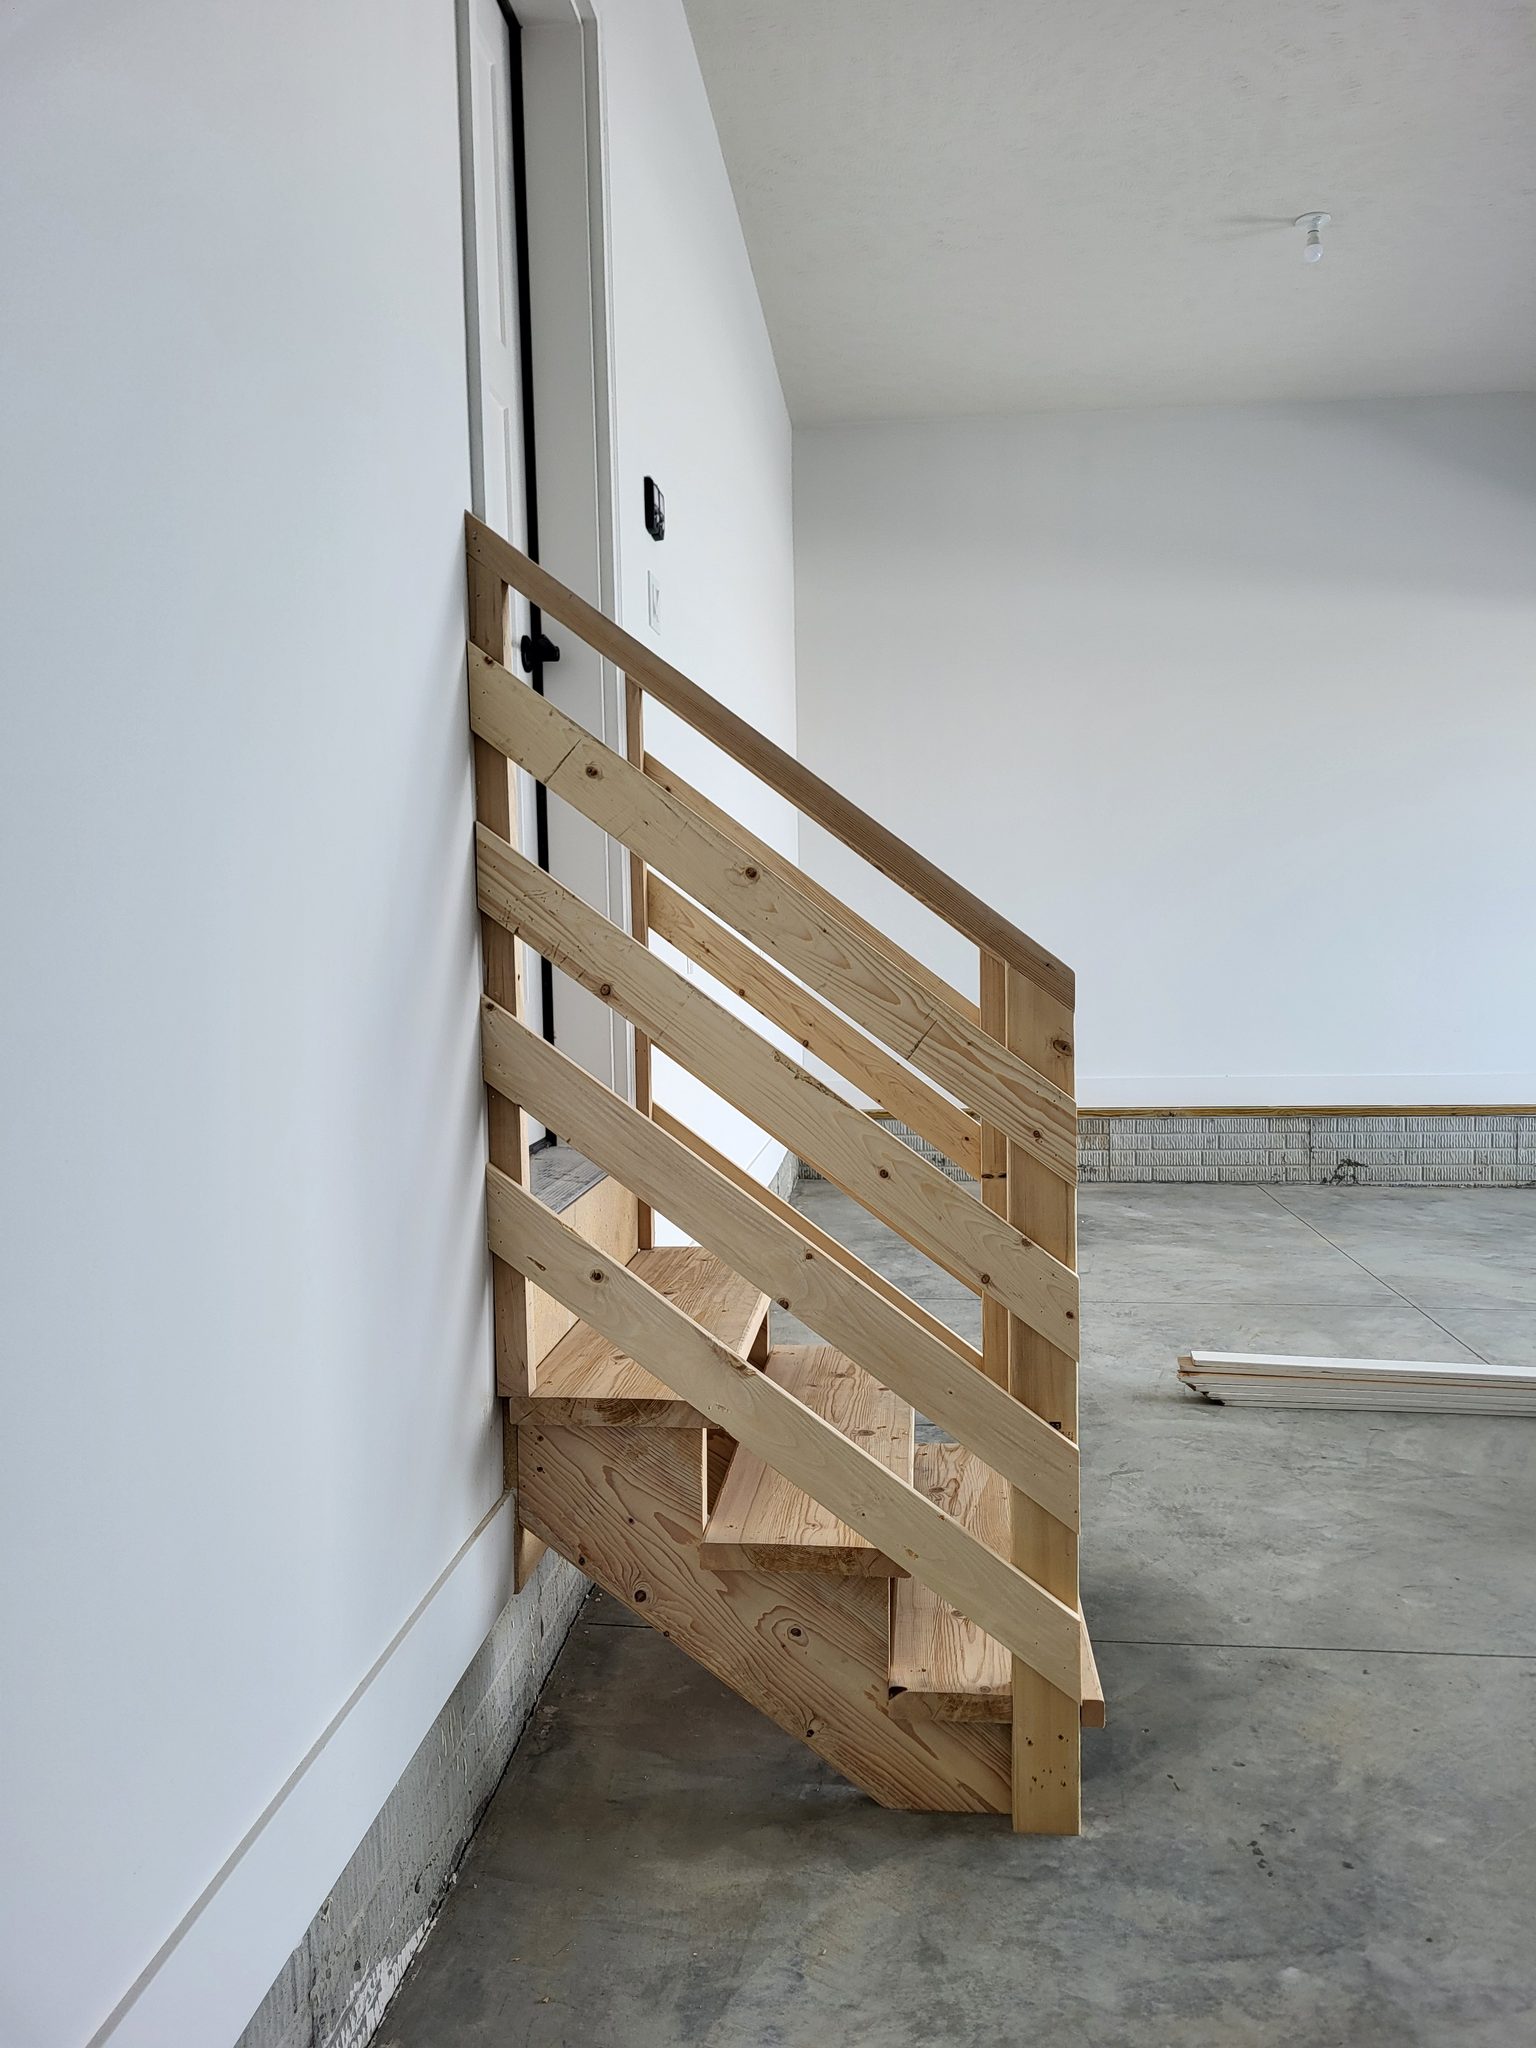
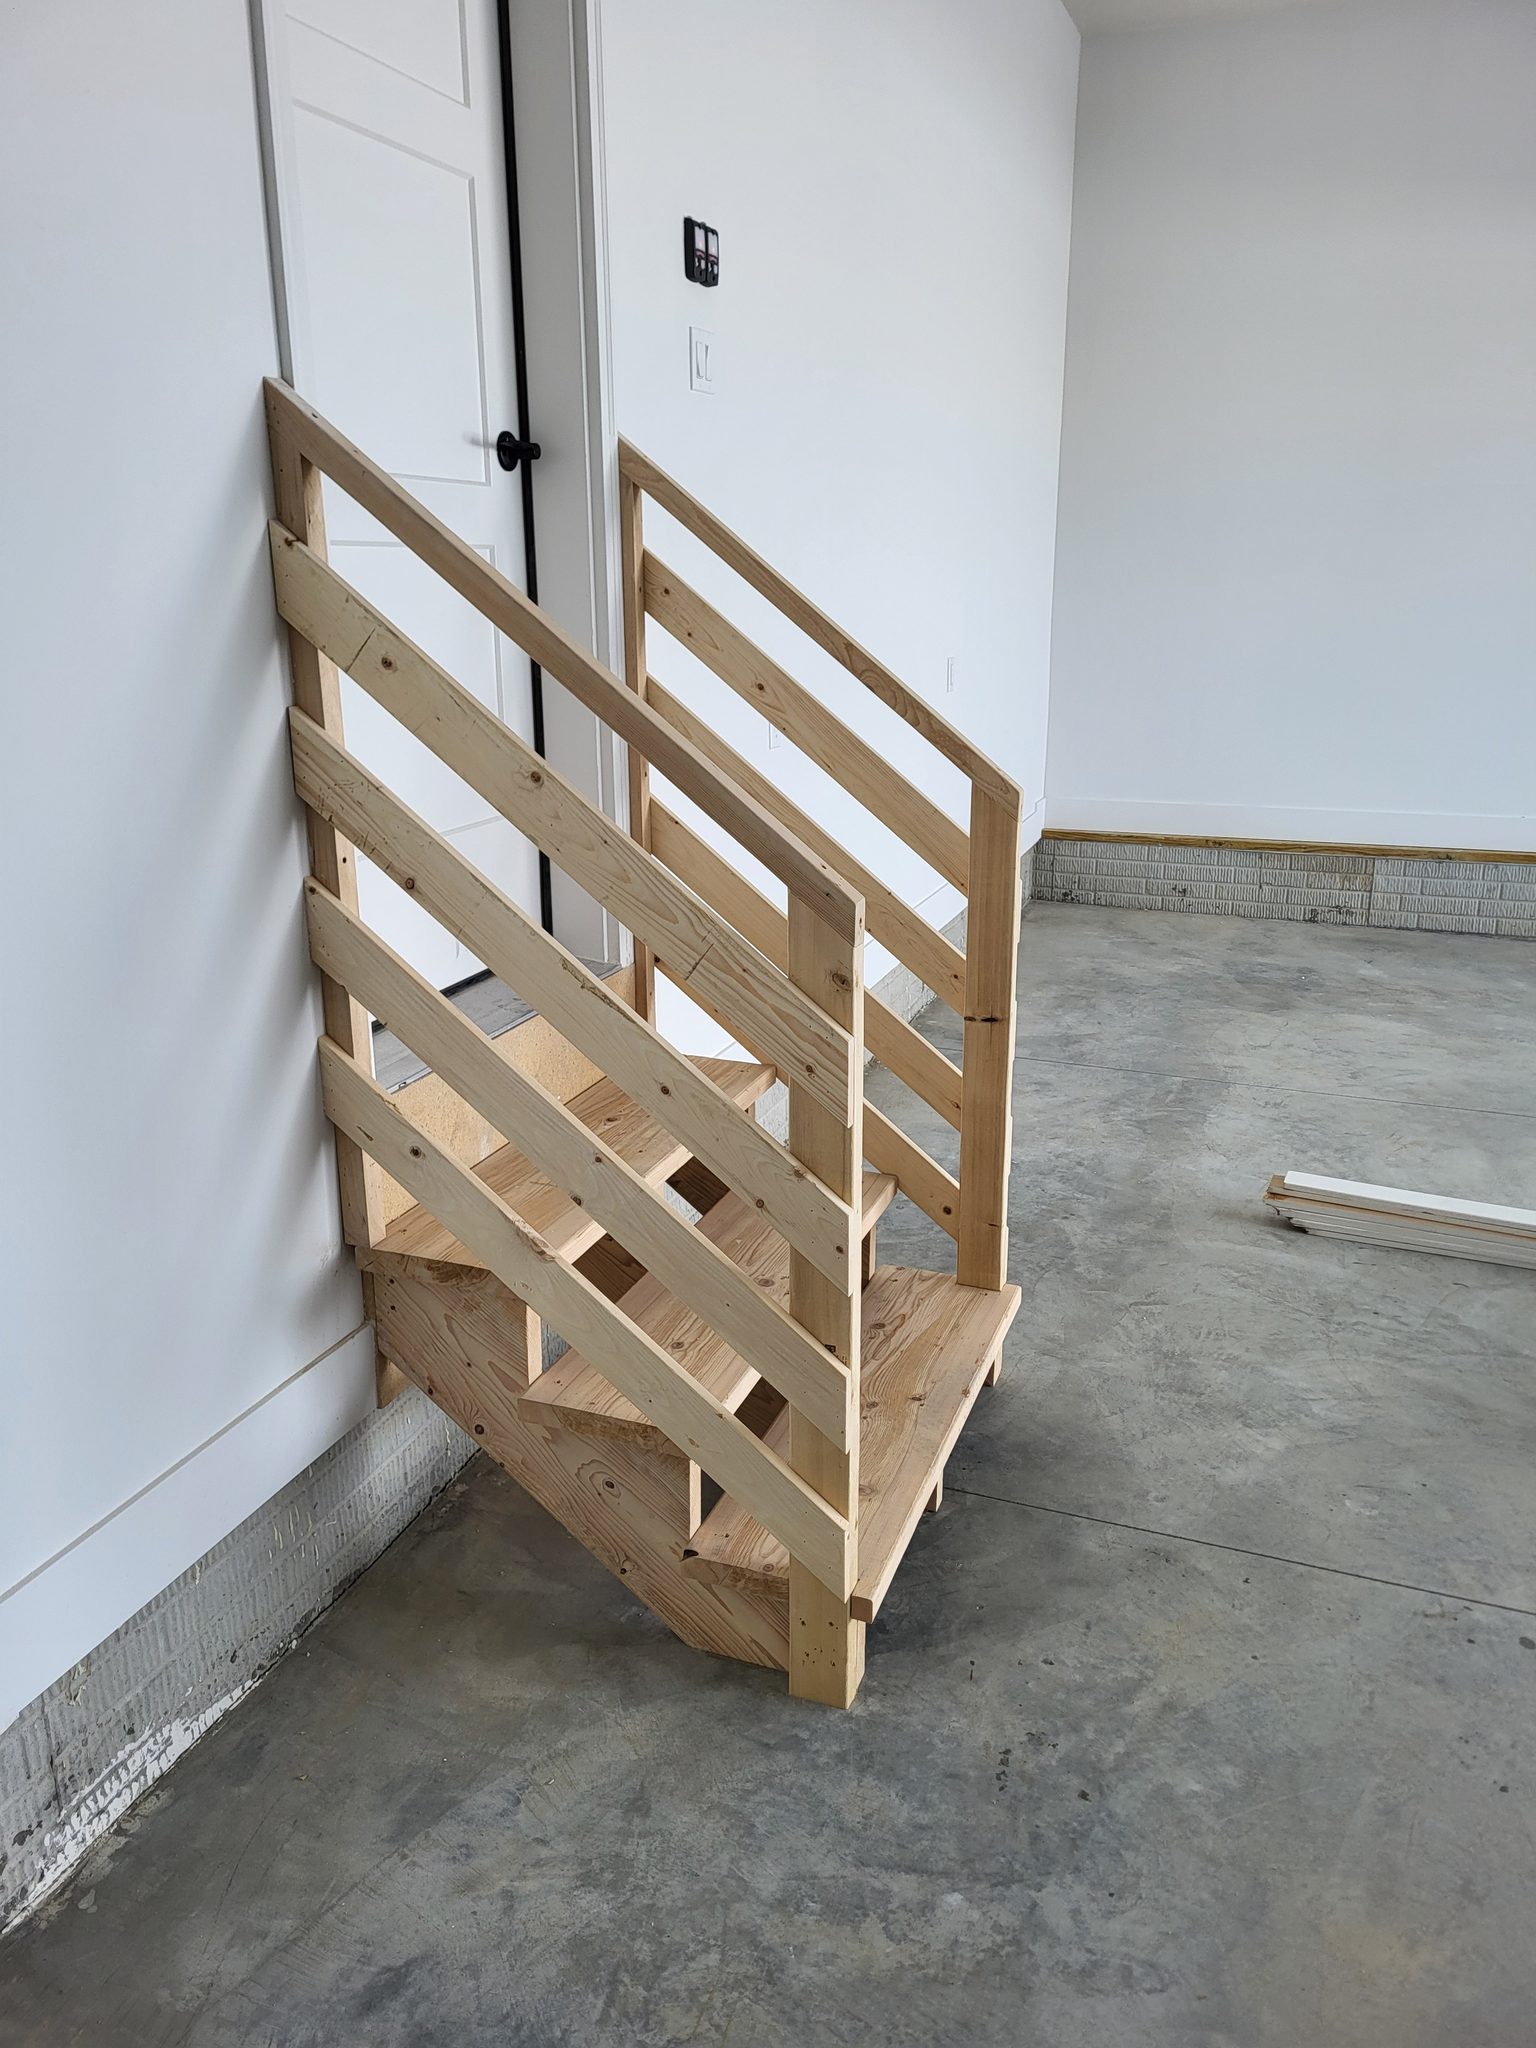
The following photos show examples of this type of work completed in the field. These serve as visual references for quality standards, proper installation techniques, and finished results.
Showing 14 of 14 photos