On this page
Introduction #
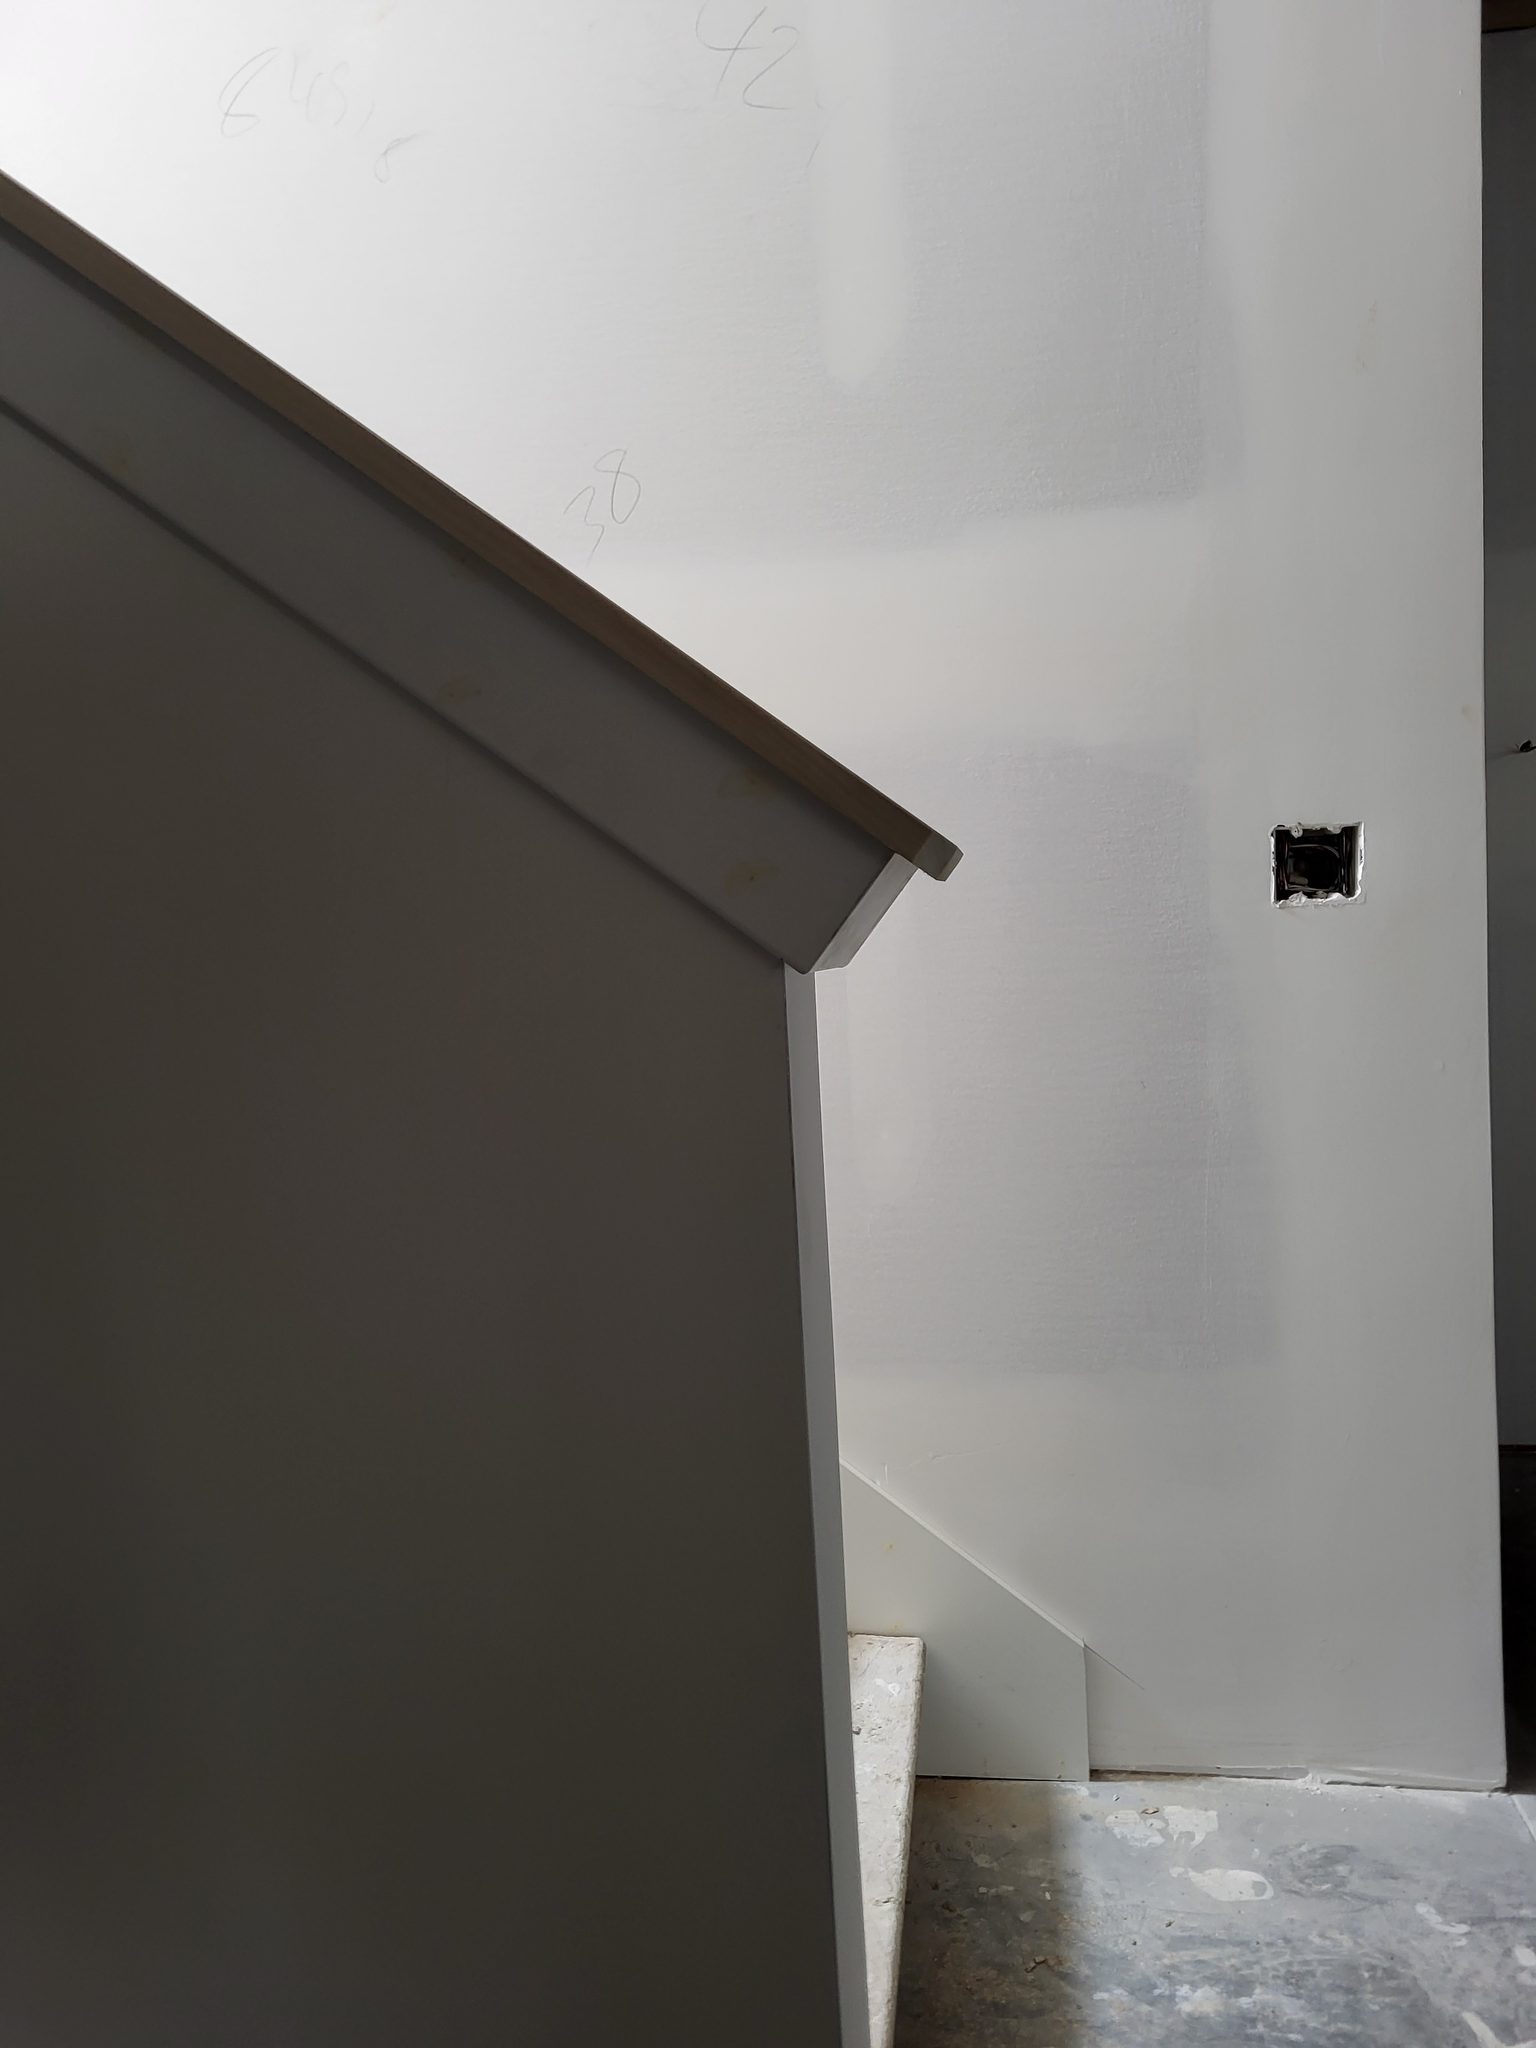
Installing a wood wall cap is a crucial step in finishing a half wall or knee wall at a stair, providing both a functional and aesthetic finish. This Old House covers the general stair vocabulary if you need it; this guide is how we build the cap. In new construction or remodels, the wall cap serves as a protective and decorative element, often used to top half-walls or to finish the ends of railings. The single most important concept in achieving professional results is precision in measurement and cutting. A well-fitted wall cap not only enhances the visual appeal but also ensures durability and safety, reducing the likelihood of callbacks due to improper fit or finish.
When installing wood wall caps, attention to detail is paramount. The process involves precise cuts, secure fastening, and meticulous finishing to ensure the cap blends seamlessly with the surrounding architecture. This task requires a solid understanding of wood properties and the ability to work with various tools to achieve a perfectly aligned and smooth finish.
Before You Begin #
Before you install the wood wall cap, confirm that the following prerequisites are complete.
Prerequisites #
- Drywall installation is complete and primed.
- Flooring is installed and protected.
- Rough-in carpentry for stairs and handrails is completed.
What You Need To Know #
When you install a wood wall cap, understanding these core techniques will save you time and prevent callbacks.
- Ensure all measurements are accurate within 1/16 inch to prevent gaps.
- Use a miter saw for precise angle cuts, especially on corners.
- Secure the cap with finishing nails and adhesive for stability.
Tools #
- Miter Saw - for precise angle cuts
- Brad Nailer - for securing the cap without visible nail heads
- Measuring Tape - for accurate measurements
- Level - to ensure the cap is perfectly horizontal
- Wood Glue - for additional bonding strength
- Sandpaper (120-grit) - for smoothing edges and surfaces
Materials #
- Wood Cap Material - typically oak or maple, 1-inch thick
- Finishing Nails - 2-inch, for secure attachment
Installation Steps #
Step 1. Measure and Cut the Wood Cap #
Measure the length and width of the wall where the cap will be installed. Use a miter saw to cut the wood cap to the required dimensions, ensuring precise 45-degree cuts for corners.
- Double-check all measurements before cutting.
- Test fit the cap to ensure a snug fit.
Step 2. Prepare the Surface #
Ensure the top of the wall is clean and free of debris. Sand any rough edges on the wall cap to ensure a smooth finish.
- Use 120-grit sandpaper for smoothing.
Step 3. Install the Wood Cap #
Apply a bead of wood glue along the top of the wall. Position the wood cap and press firmly into place.
- Ensure the cap is level before securing.
Step 4. Secure the Cap with Nails #
Use a brad nailer to secure the cap in place, driving nails every 12 inches along the length of the cap.
- Ensure nails are flush with the surface.
Pro Tips #
Common Mistakes #
- Mistake: Misaligned cuts leading to gaps - Always double-check your angles and measurements before cutting.
- Mistake: Uneven surface due to improper leveling - Use a level during installation to ensure a flat surface.
QC / Punch Checklist #
- Wall cap is securely fastened with no visible gaps or movement.
Related Guides #
- How to Build a Handrail for Metal Balusters Like a Pro
- How to Install a Newel Post
- How to Install Stair Skirt Boards: Drop-In Method
- How to Install Notched Skirt Boards
Reference Photos #
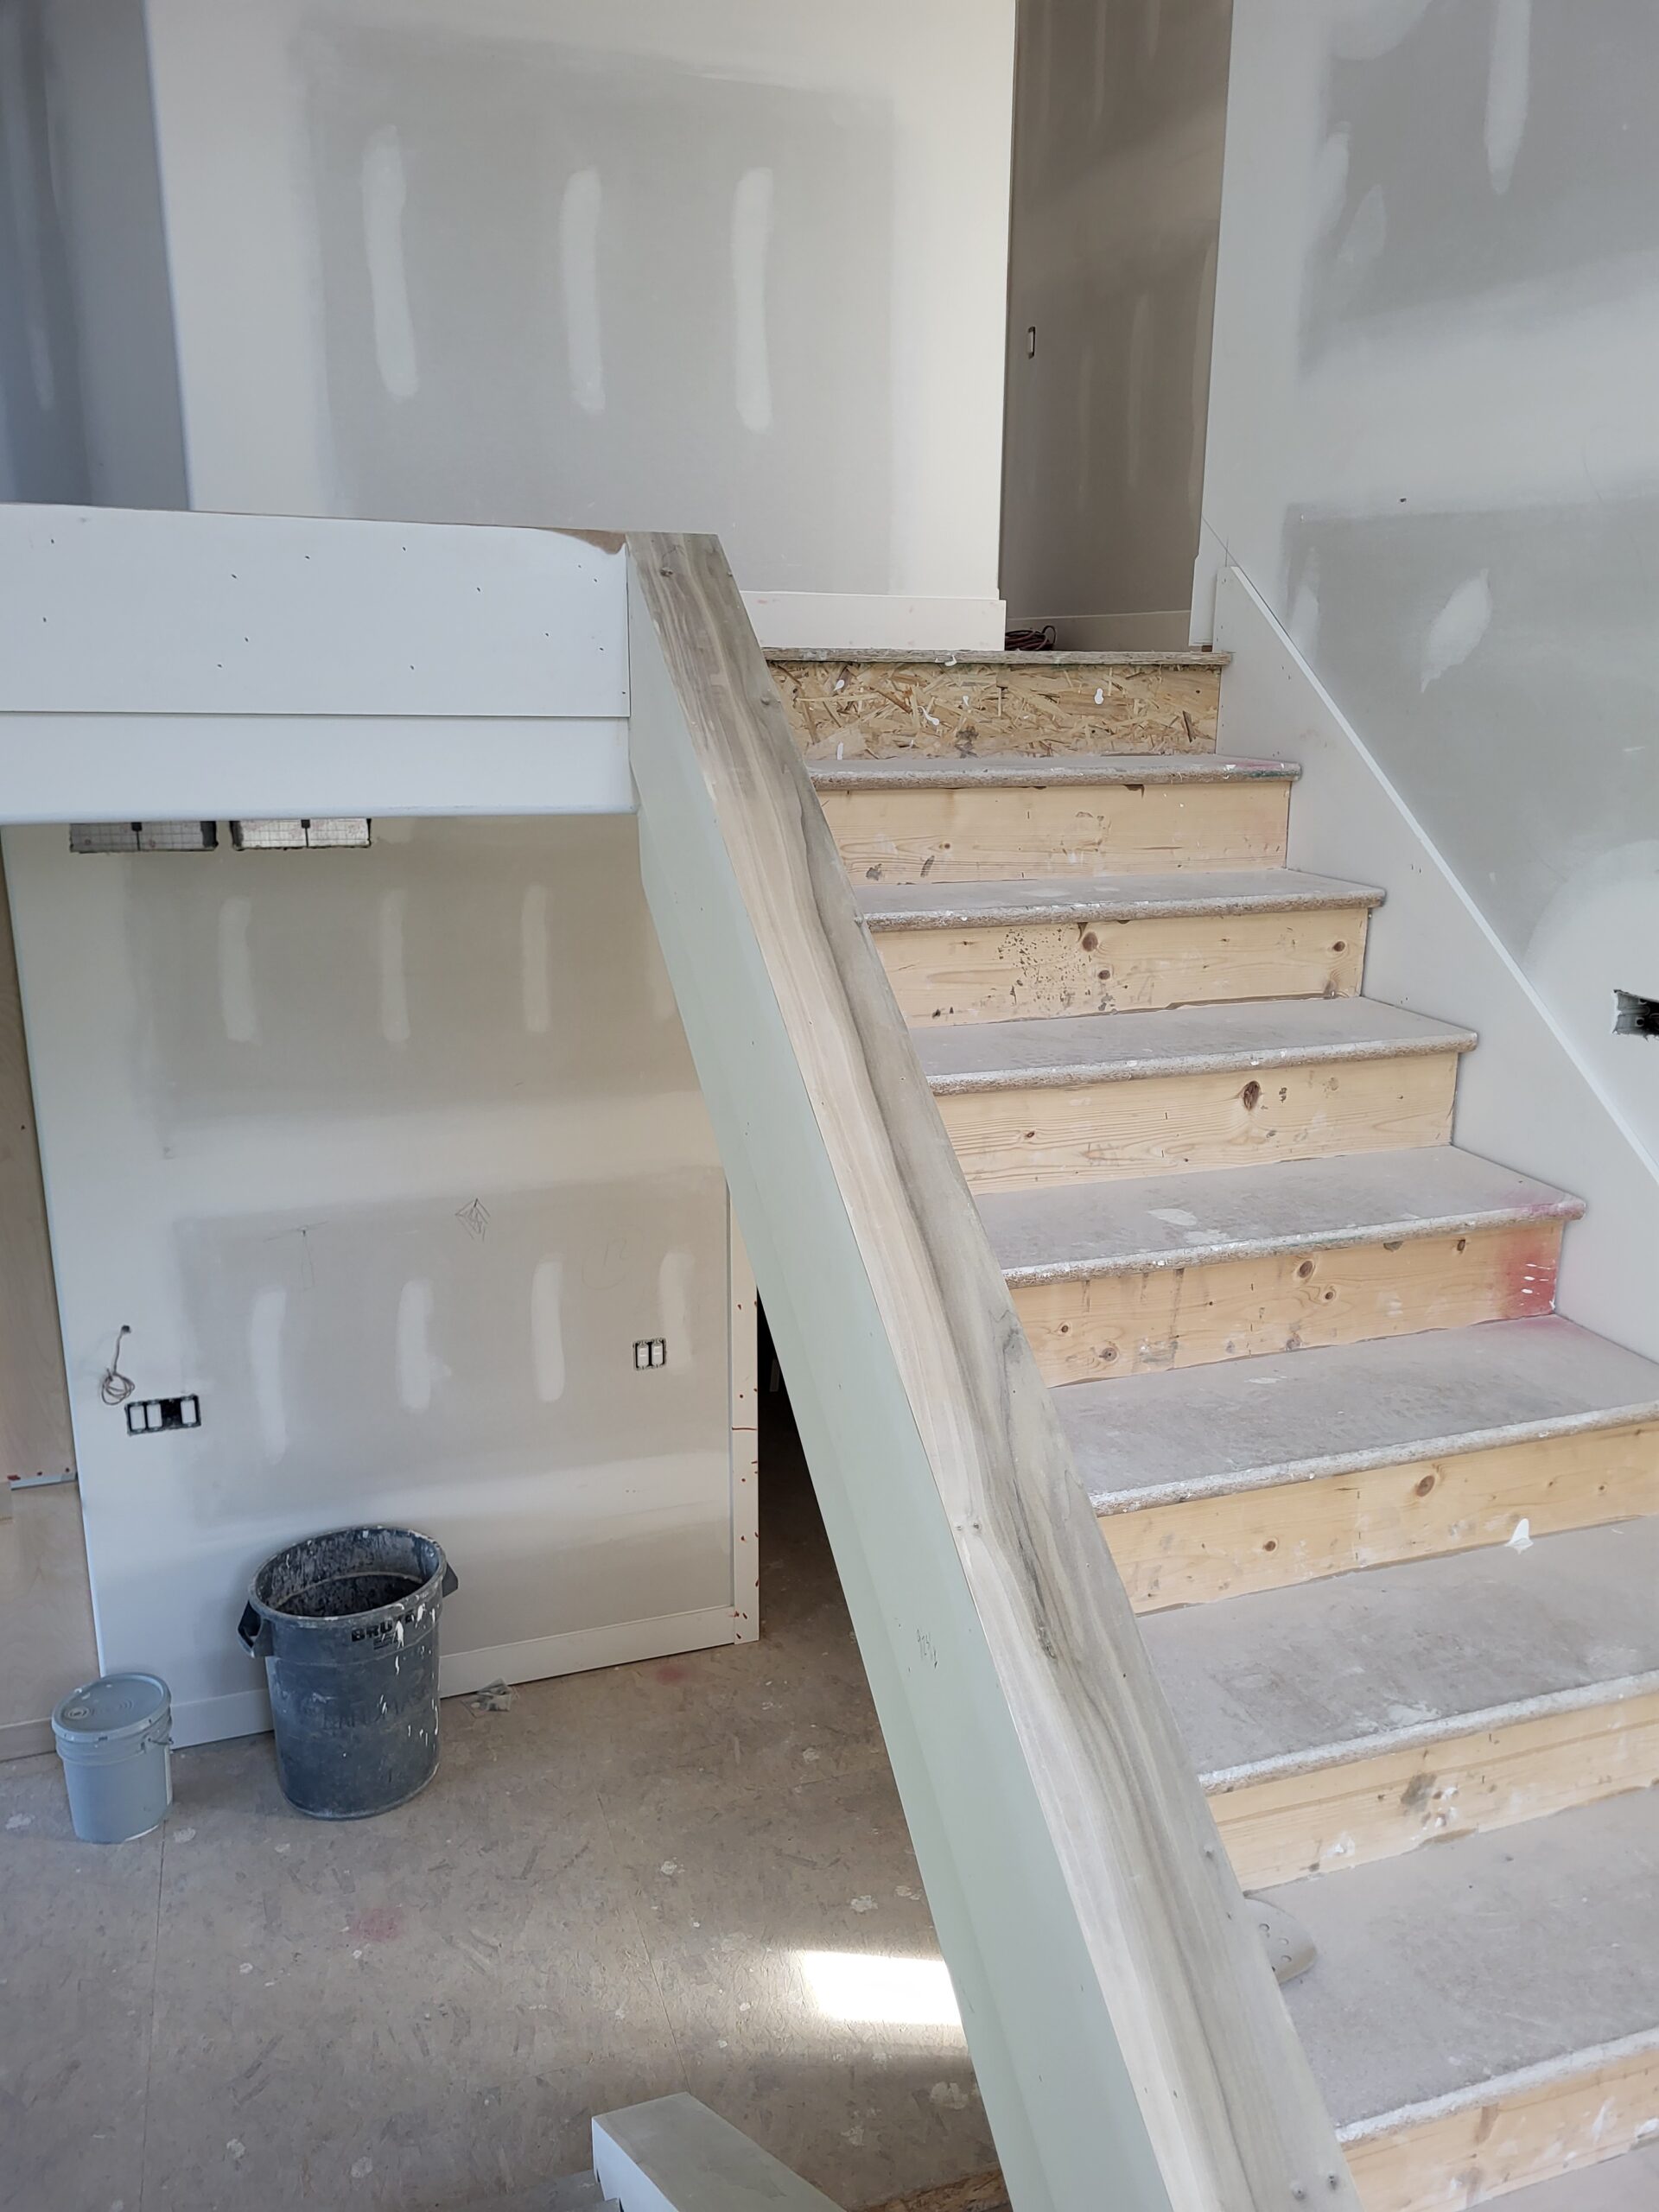
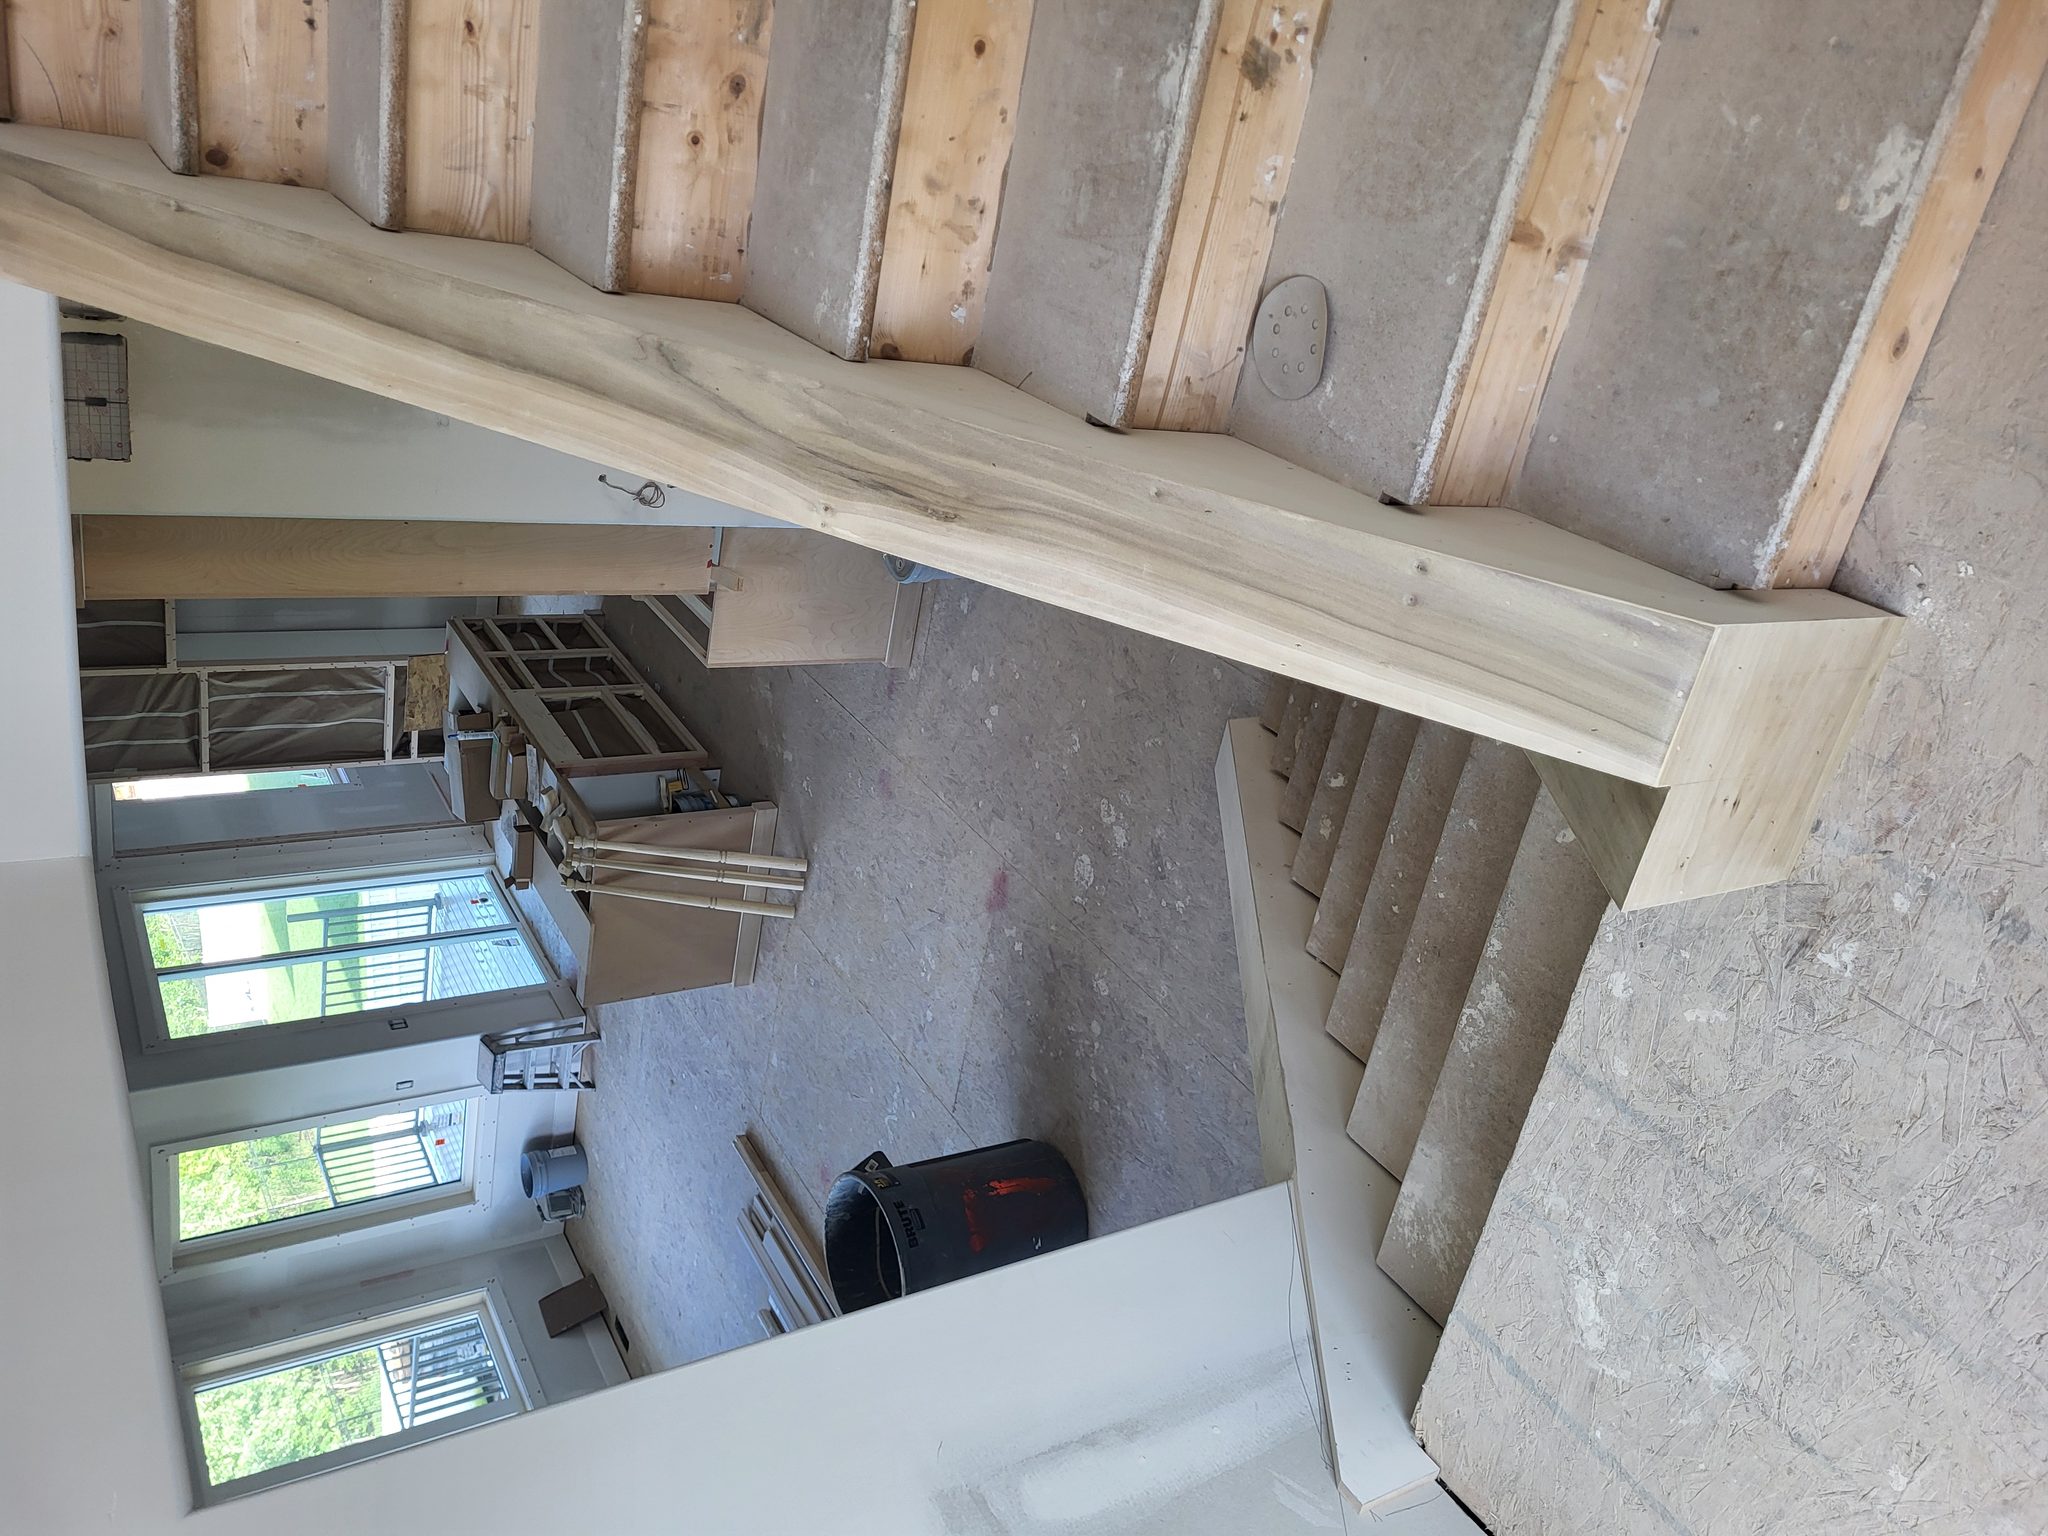
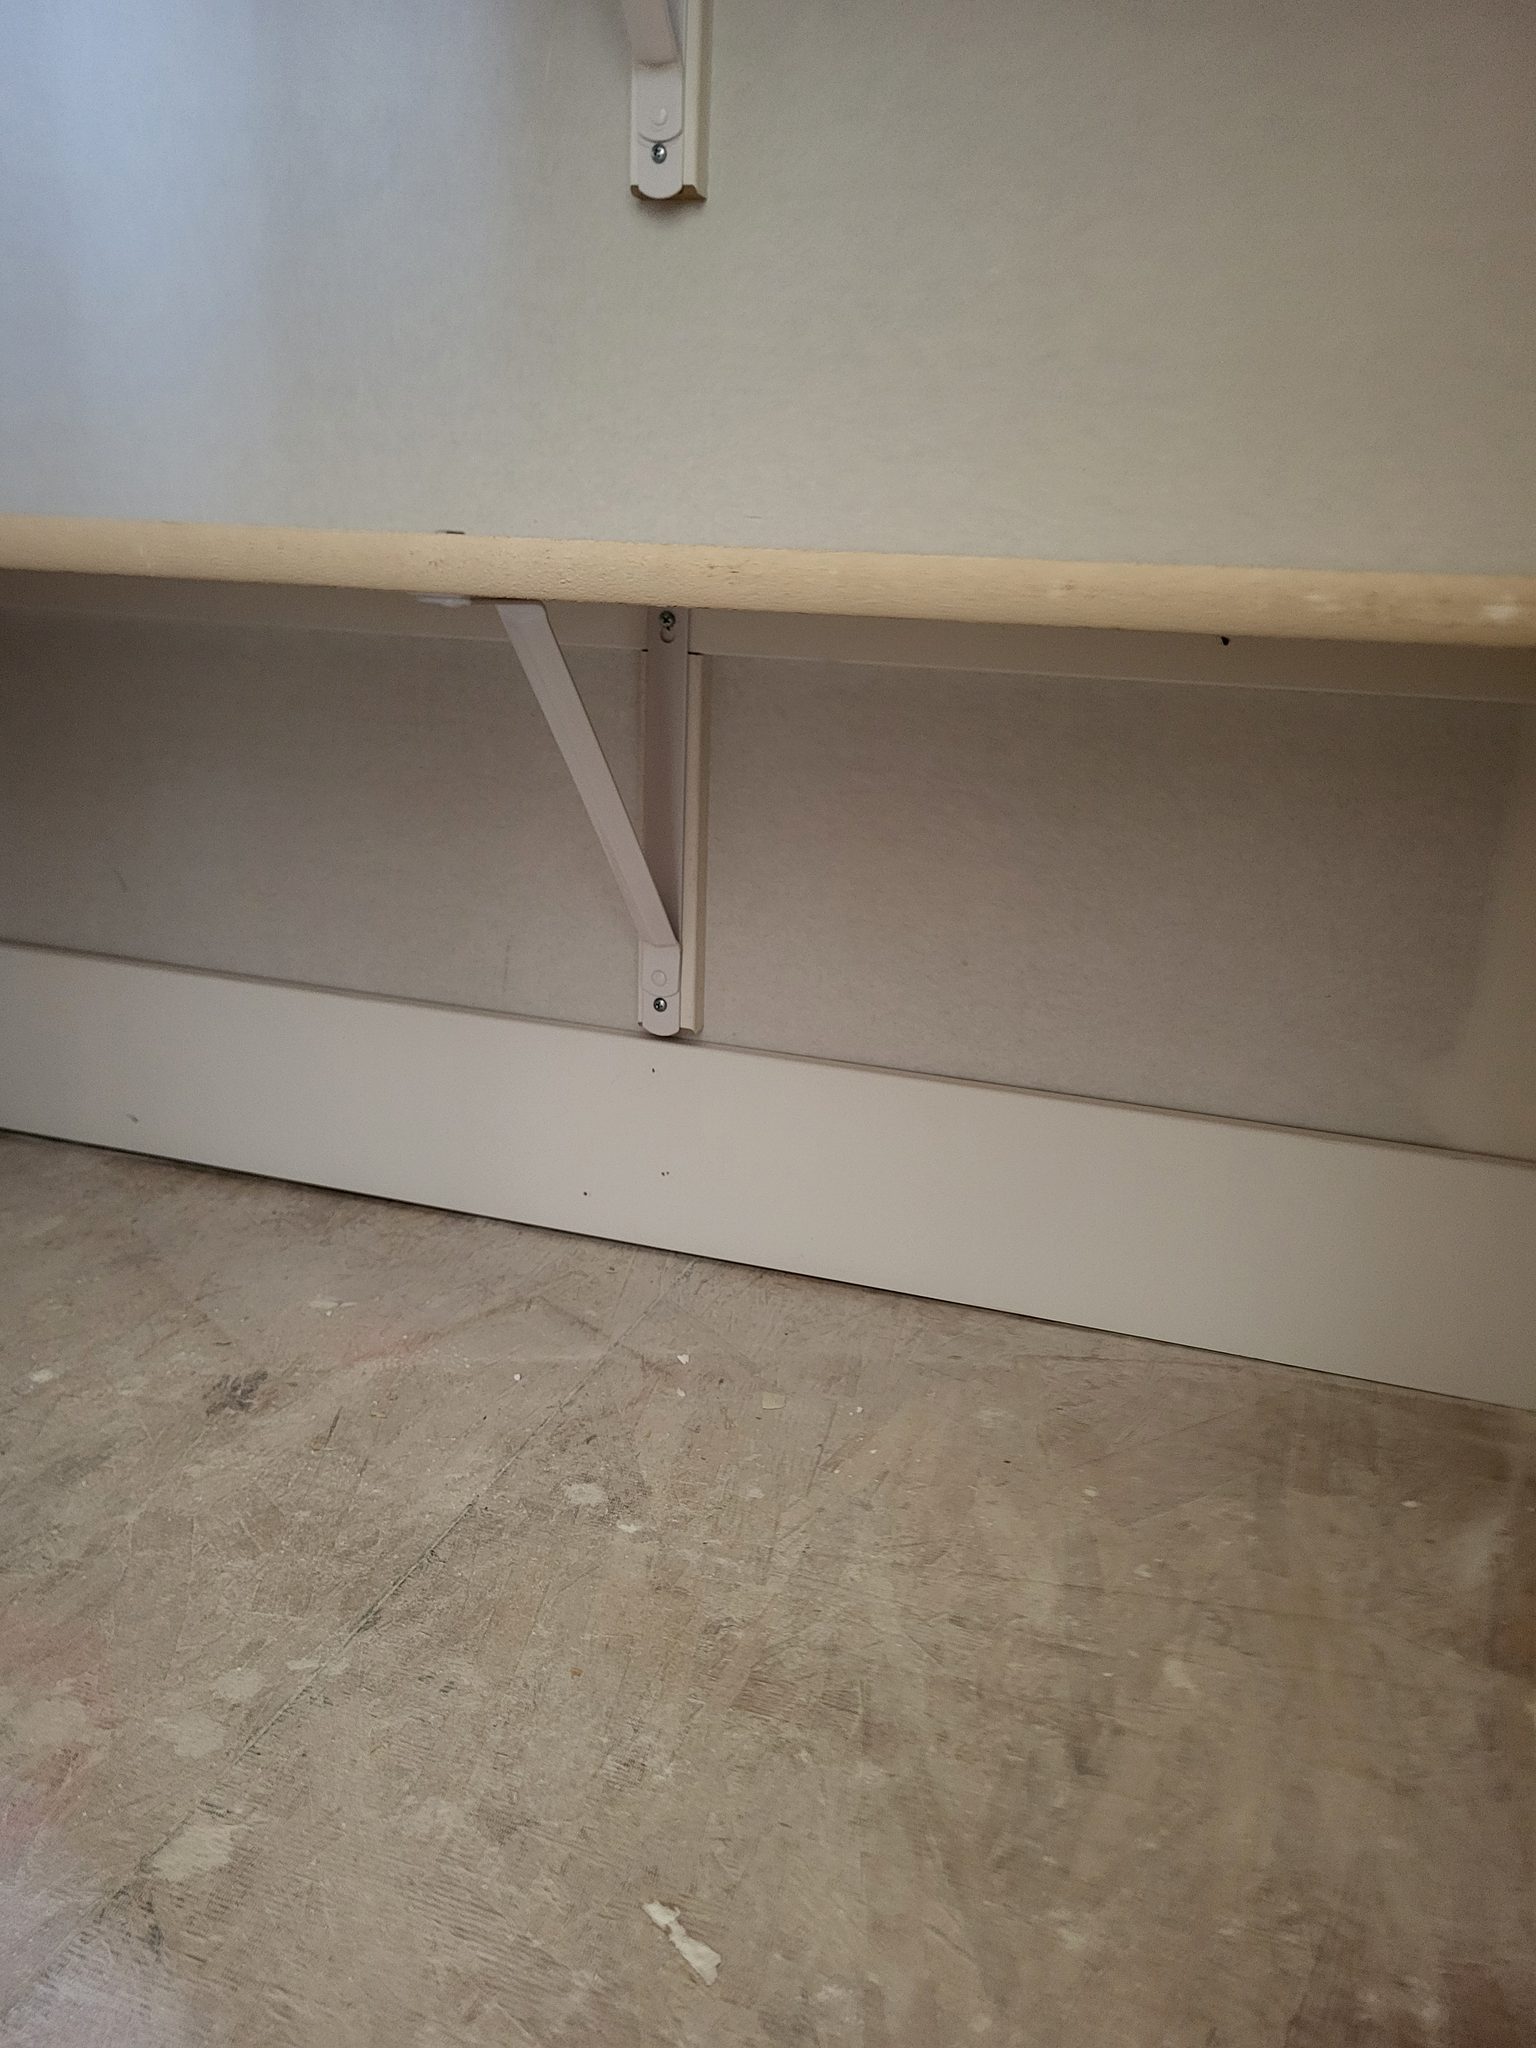
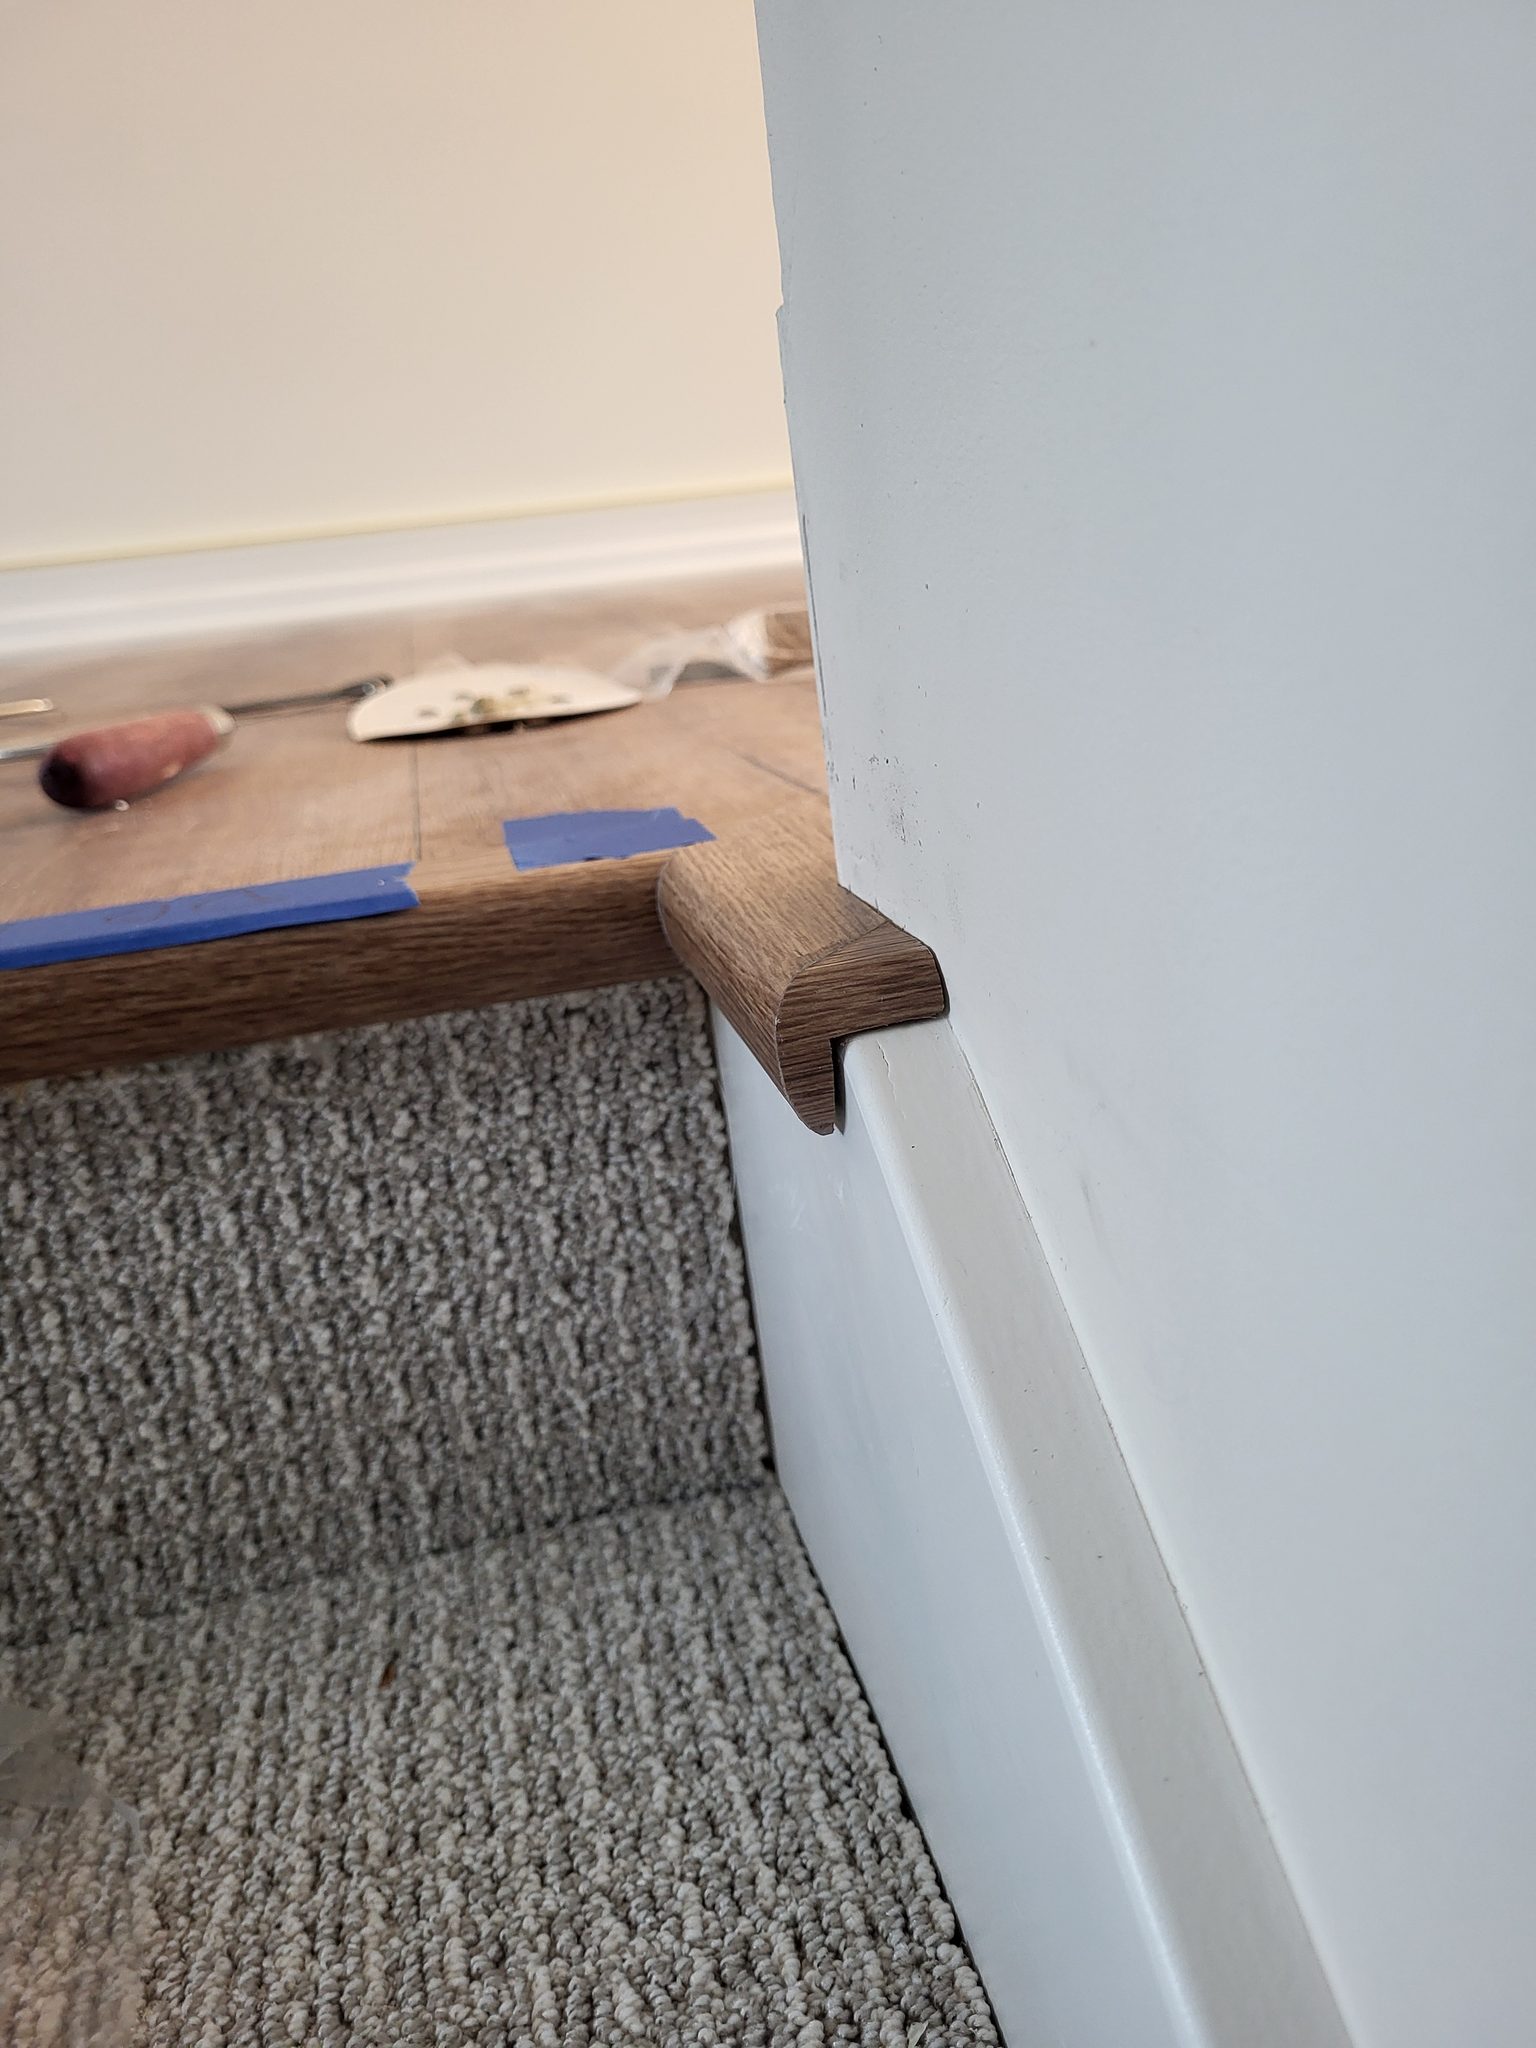
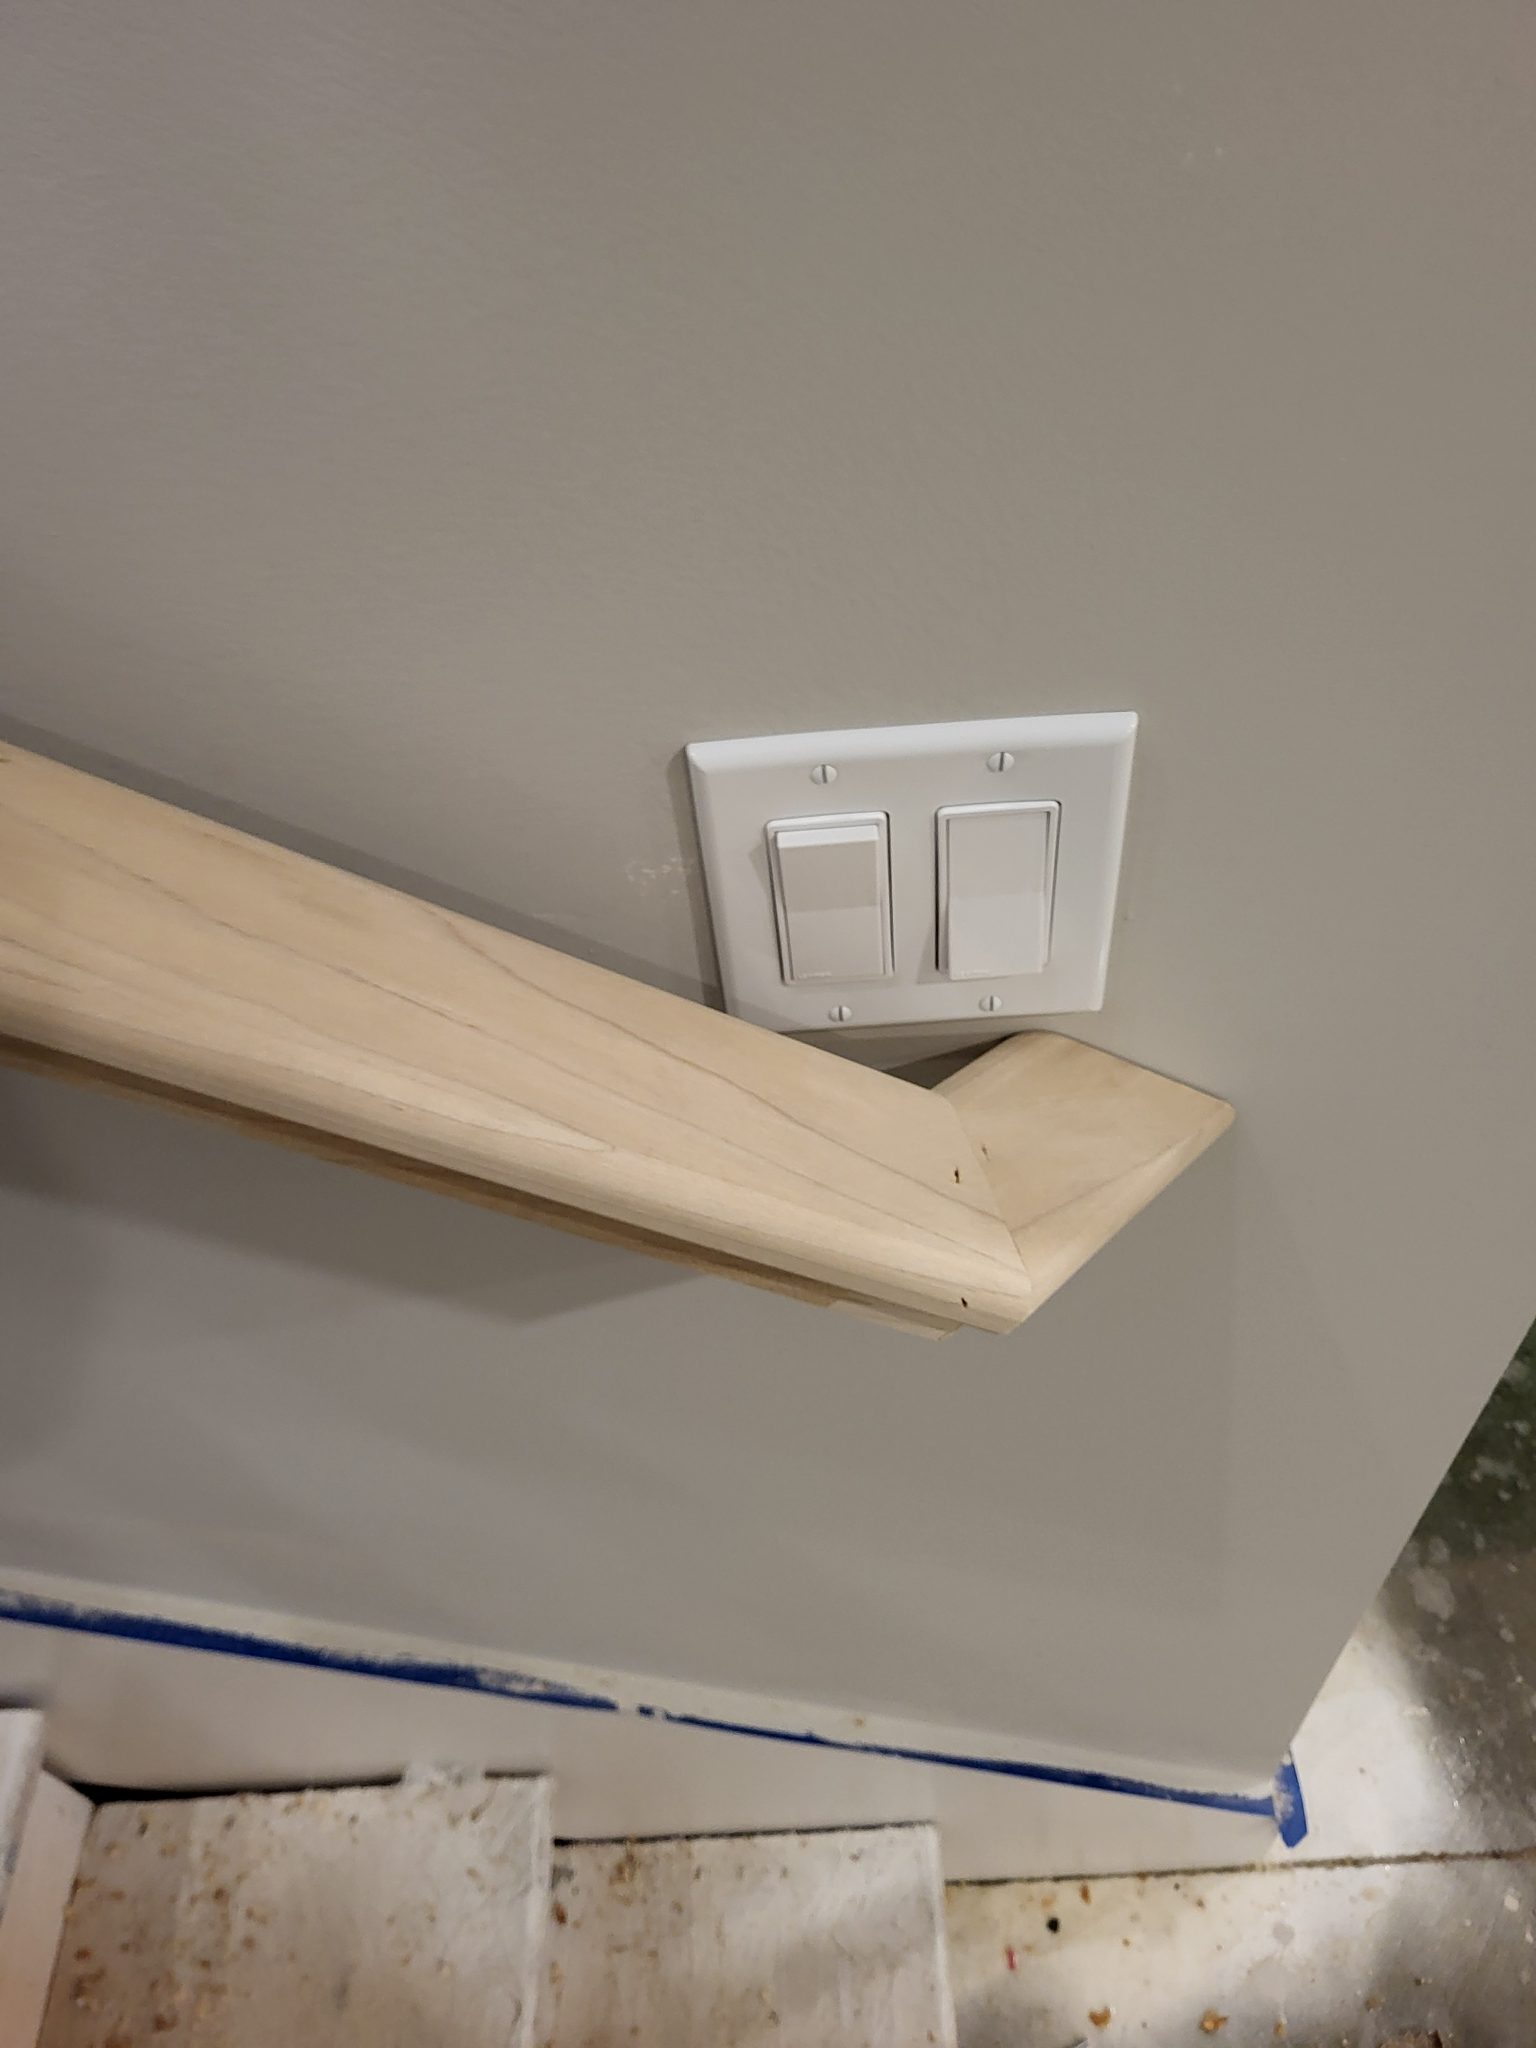
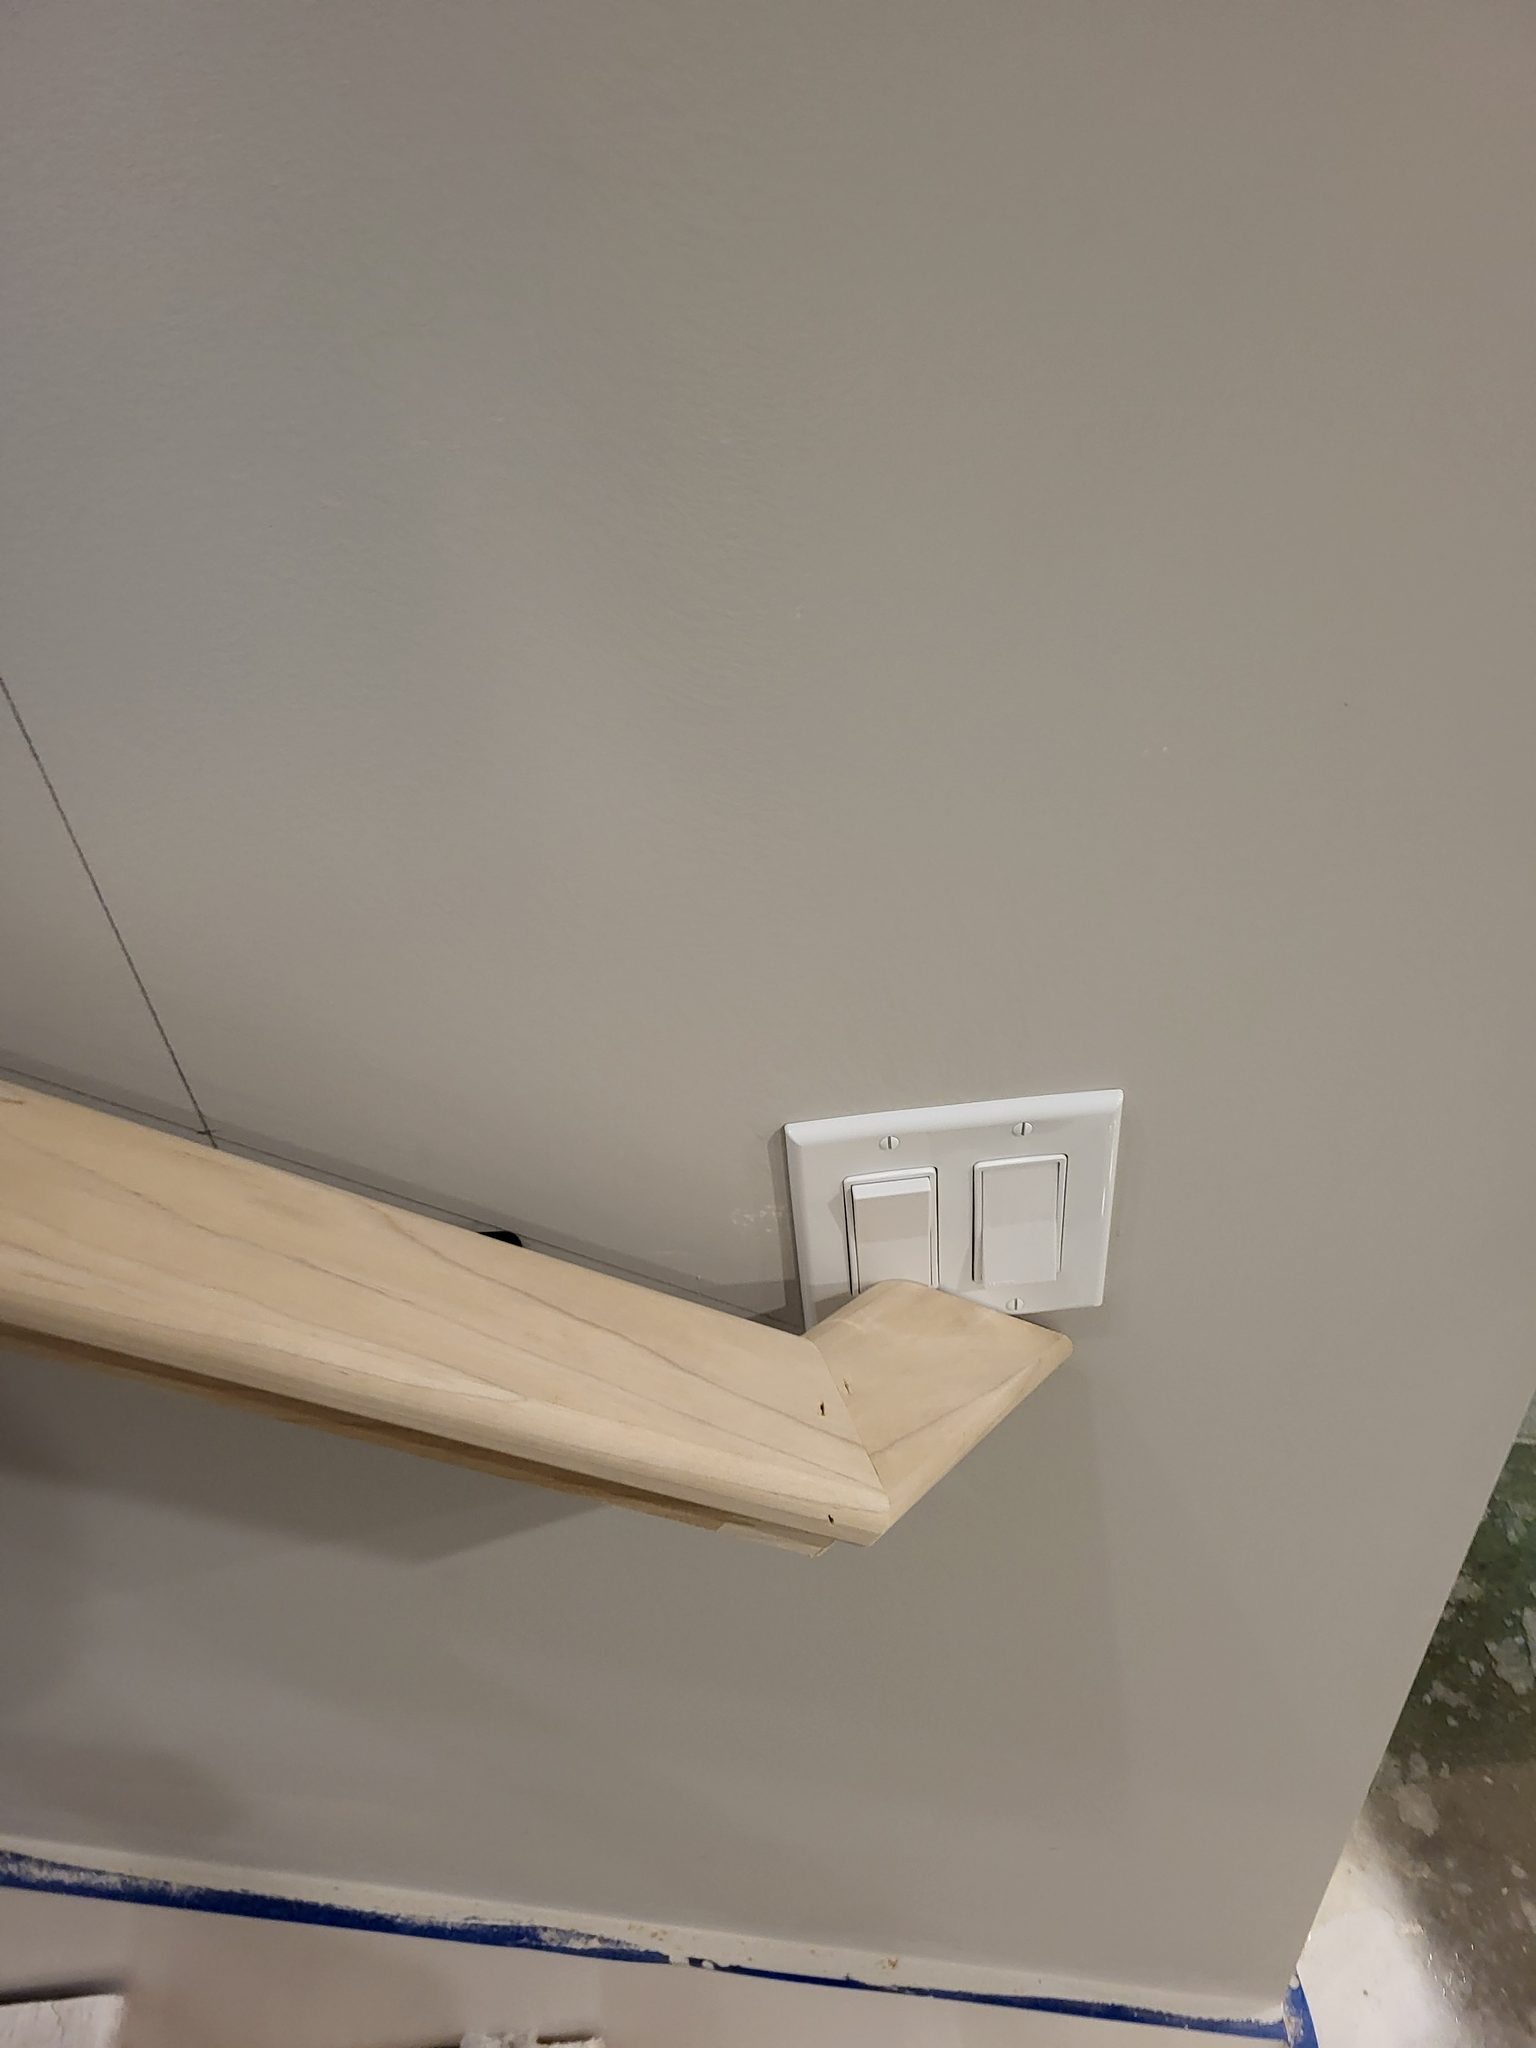
The following photos show examples of this type of work completed in the field. These serve as visual references for quality standards, proper installation techniques, and finished results.
Showing 7 of 7 photos