On this page
Introduction #
A pocket door slides into the wall instead of swinging open on hinges. It saves floor space because you do not need a clear arc for the door to swing through. That makes pocket doors a good choice for small bathrooms, closets, and other tight spots where a swinging door would block traffic or furniture. When it is open, the door disappears completely into the wall cavity (the hollow space inside the wall), so you get that floor space back.
The framer installs the pocket door frame (a steel track system built inside the wall) during rough construction, before drywall goes up. Your job as the finish carpenter starts after the drywall is done: hang the door slab on the track, install the split jambs, adjust the rollers so the door slides smoothly, and case the opening. Know where the framer’s work ends and yours begins before you start.
The hardest part of installing a pocket door is getting it to slide smoothly and hang plumb. To get there, the overhead track has to be perfectly level, the door has to be adjusted right using the height adjustment nuts on the roller hardware, and the split jambs have to go in without binding the door. If a pocket door drags, sticks, or wobbles, that points to the finish work, even when the rough frame was built correctly.
Quality hardware makes a big difference over builder-grade kits. Heavier-duty track systems with ball-bearing rollers run smoother and quieter than cheap alternatives. If the customer or general contractor (GC) is choosing the hardware, recommend the good stuff. It is the difference between a door that works well for years and one that starts giving trouble in a year or two.
Before You Begin #
Prerequisites #
- Pocket door frame (steel track and split stud system, the doubled-up studs that frame the wall pocket) has been installed during rough framing and inspected. If you are setting the frame yourself at framing stage, see How to Install a Pocket Door Frame first.
- Drywall is complete on both sides of the pocket wall - drywall in the pocket frame area should be attached with nails or adhesive only (NOT screws) to avoid hitting the door slab inside the wall
- Floor covering is installed, or at minimum the finished floor thickness is known so the bottom gap can be set correctly
- The rough opening (the framed hole in the wall before any trim goes on) matches the pocket frame manufacturer’s specifications
- Electrical and plumbing have been routed away from the pocket cavity (no wires or pipes running through the door’s travel path)
What You Need To Know #
- When you install a pocket door, the slab hangs from rollers at the top of the track - there is no bottom track. The door is guided at the floor level by small guides mounted at the base of the jamb.
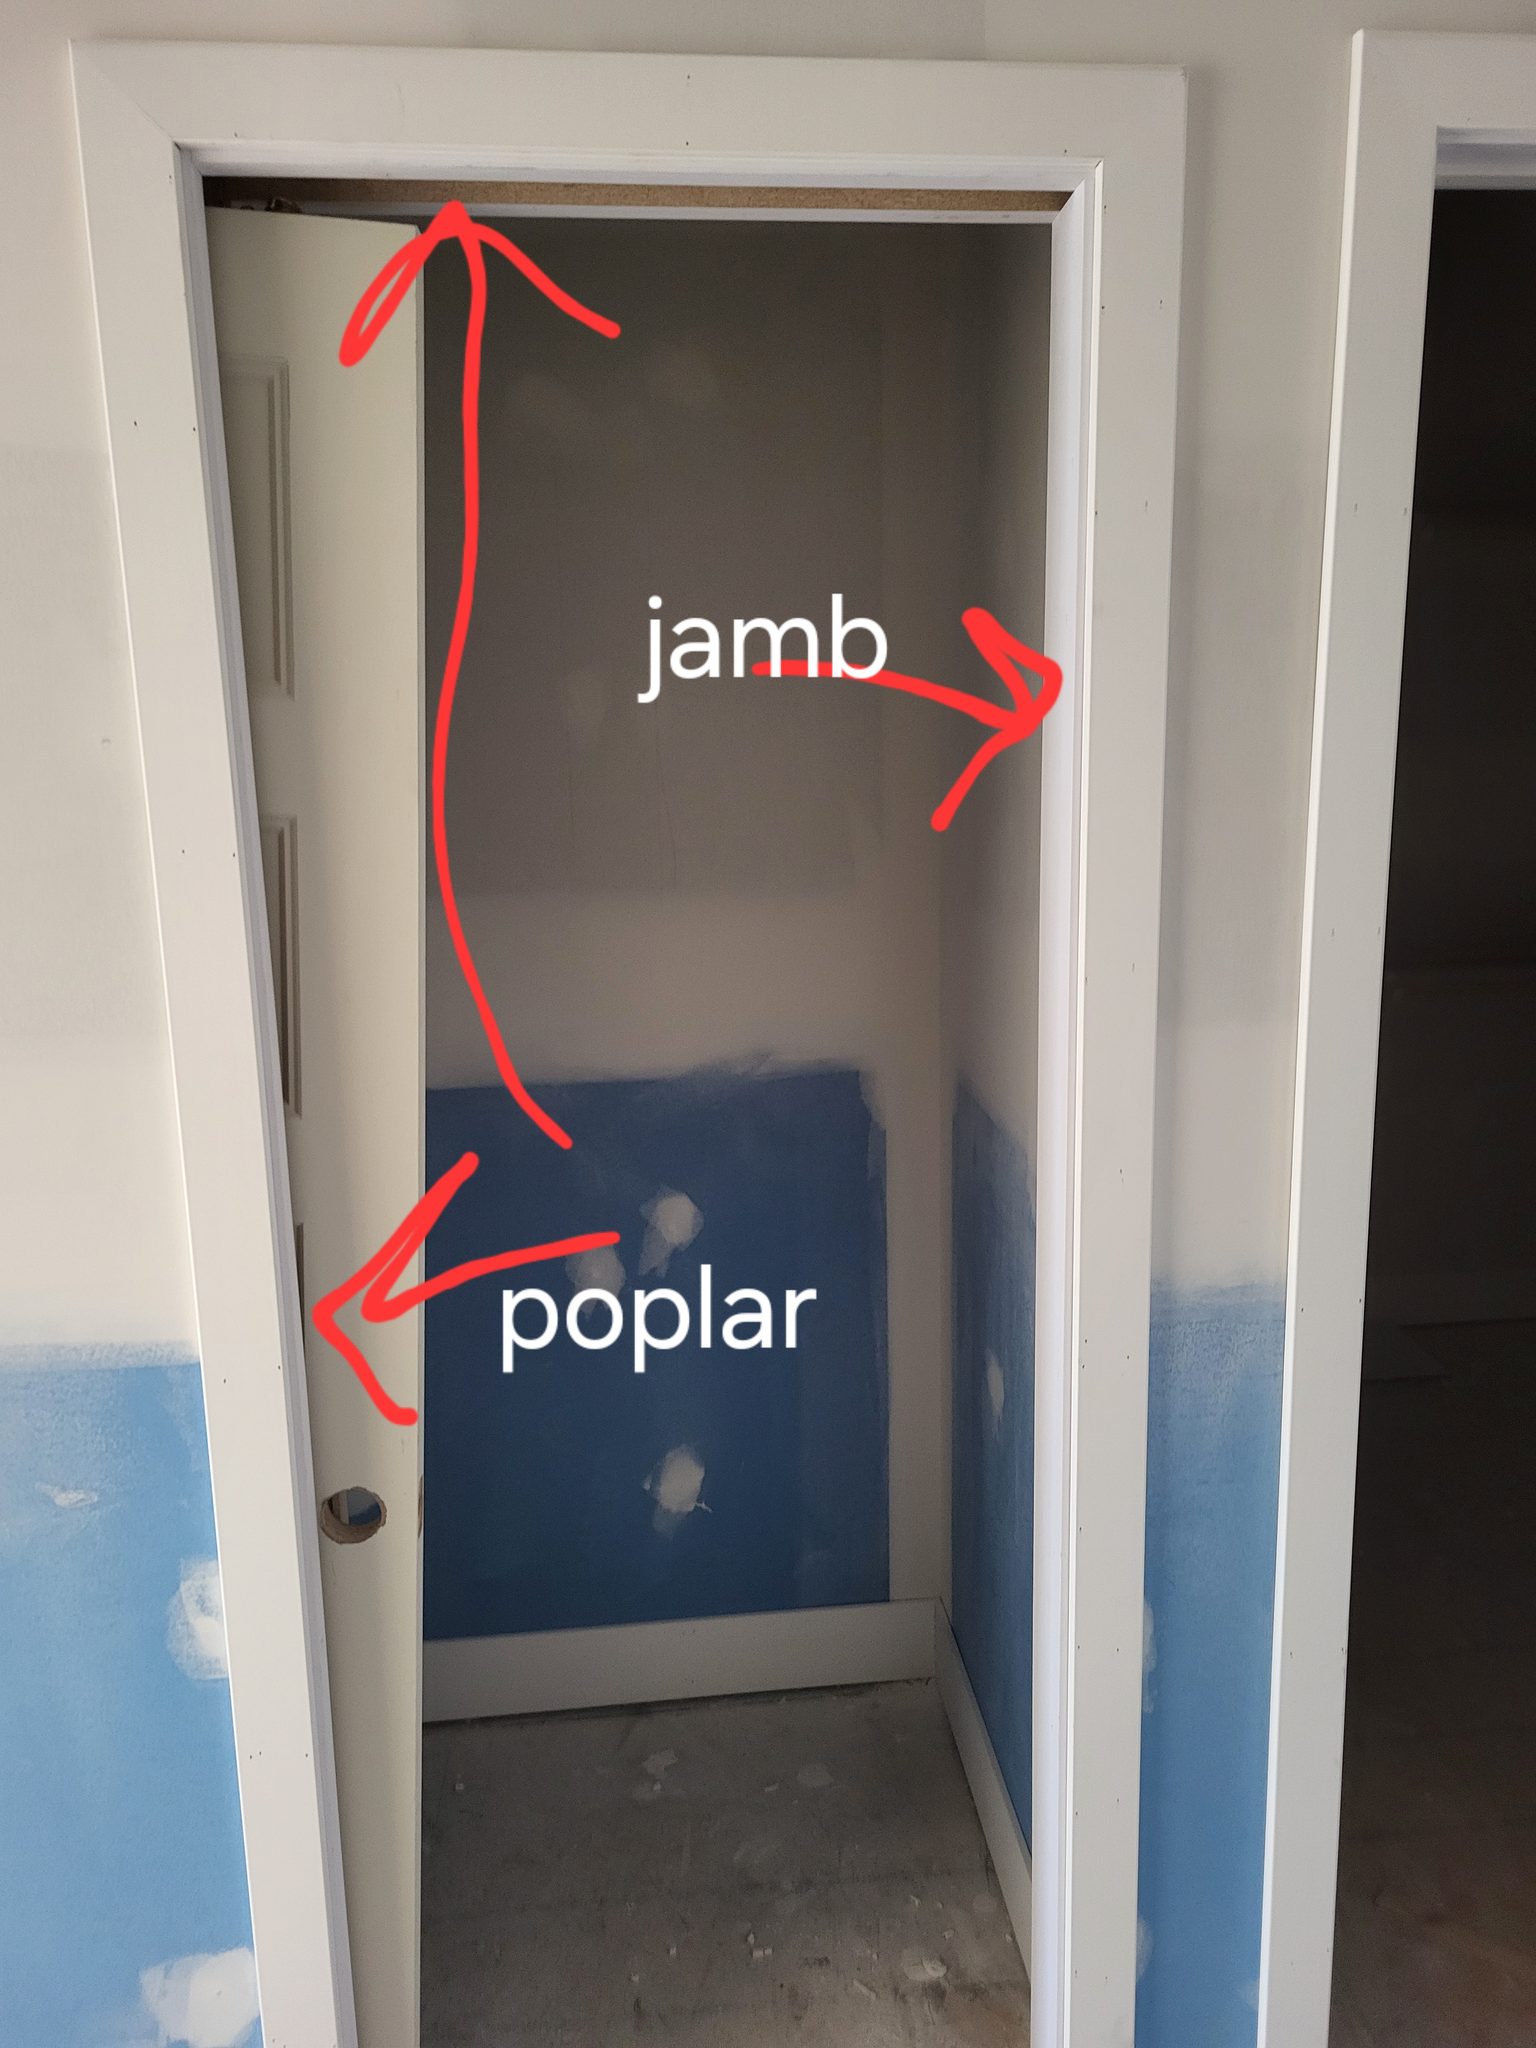
- Split jambs are two-piece jambs that sandwich the drywall and wall framing. They allow the door to slide between them without the jamb blocking the pocket opening.
- The door slab needs to be slightly narrower than the finished opening to allow clearance on both sides as it travels in and out of the pocket.
- You adjust the door’s height using nuts on the roller hardware at the top of the door. Turning the nuts raises or lowers each side on its own, so you can set the door plumb and control the bottom gap.
- A pocket door needs a pocket door pull (flush or recessed hardware), not a regular doorknob. A standard doorknob sticks out from the face of the door, and that would stop the door from sliding all the way back into the wall cavity.
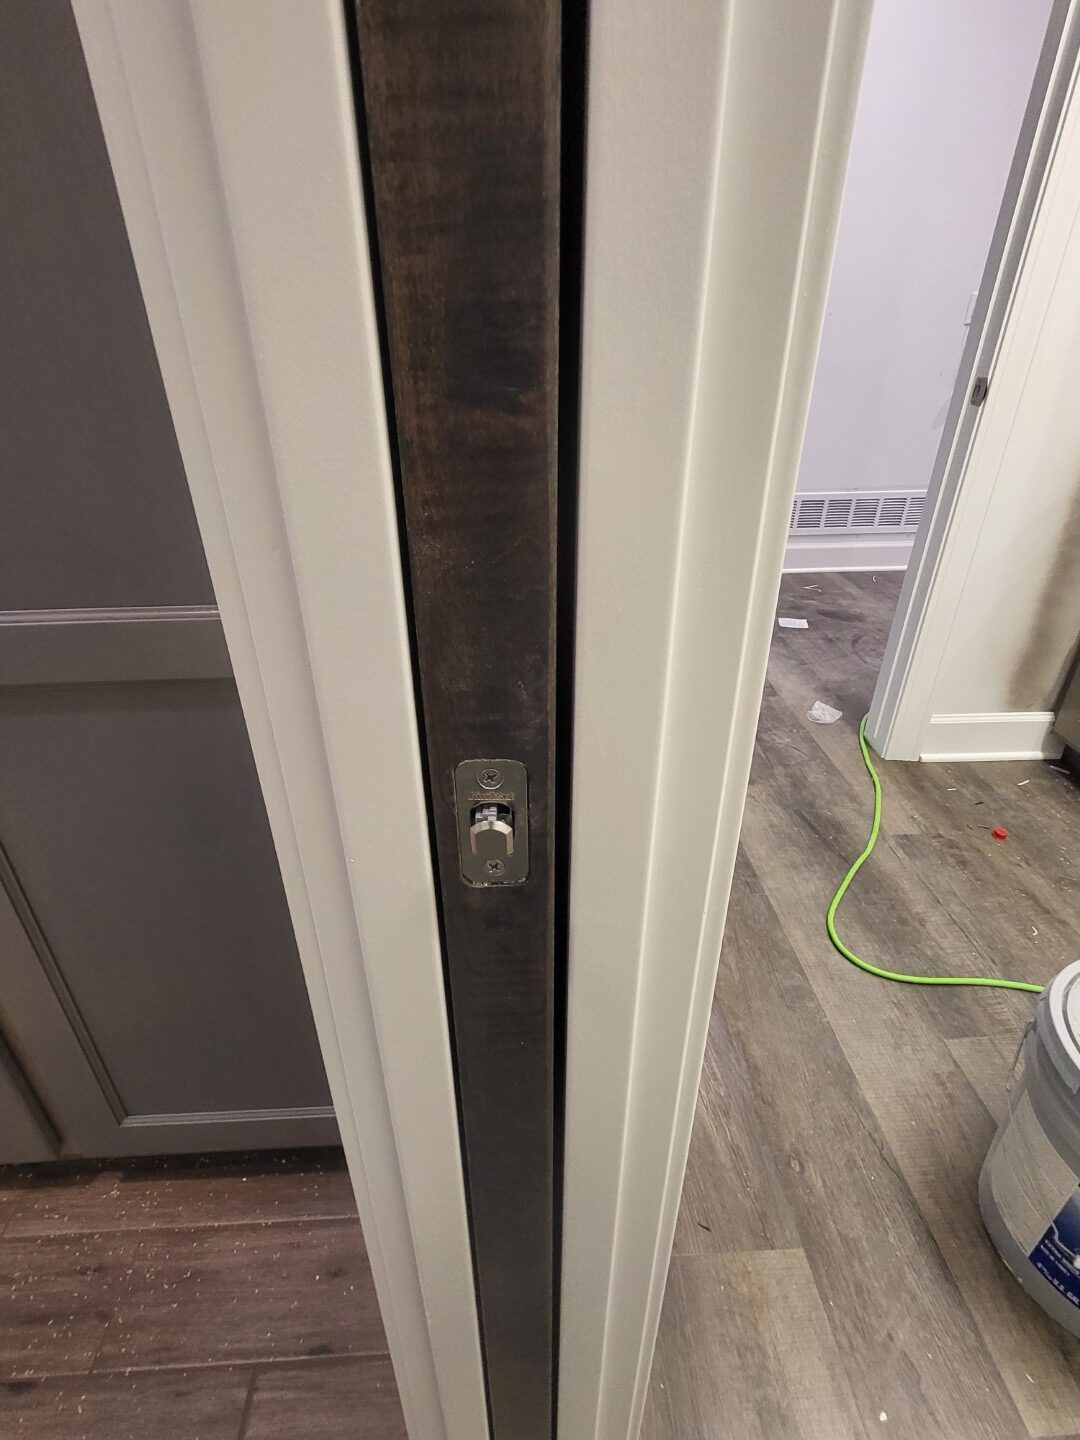
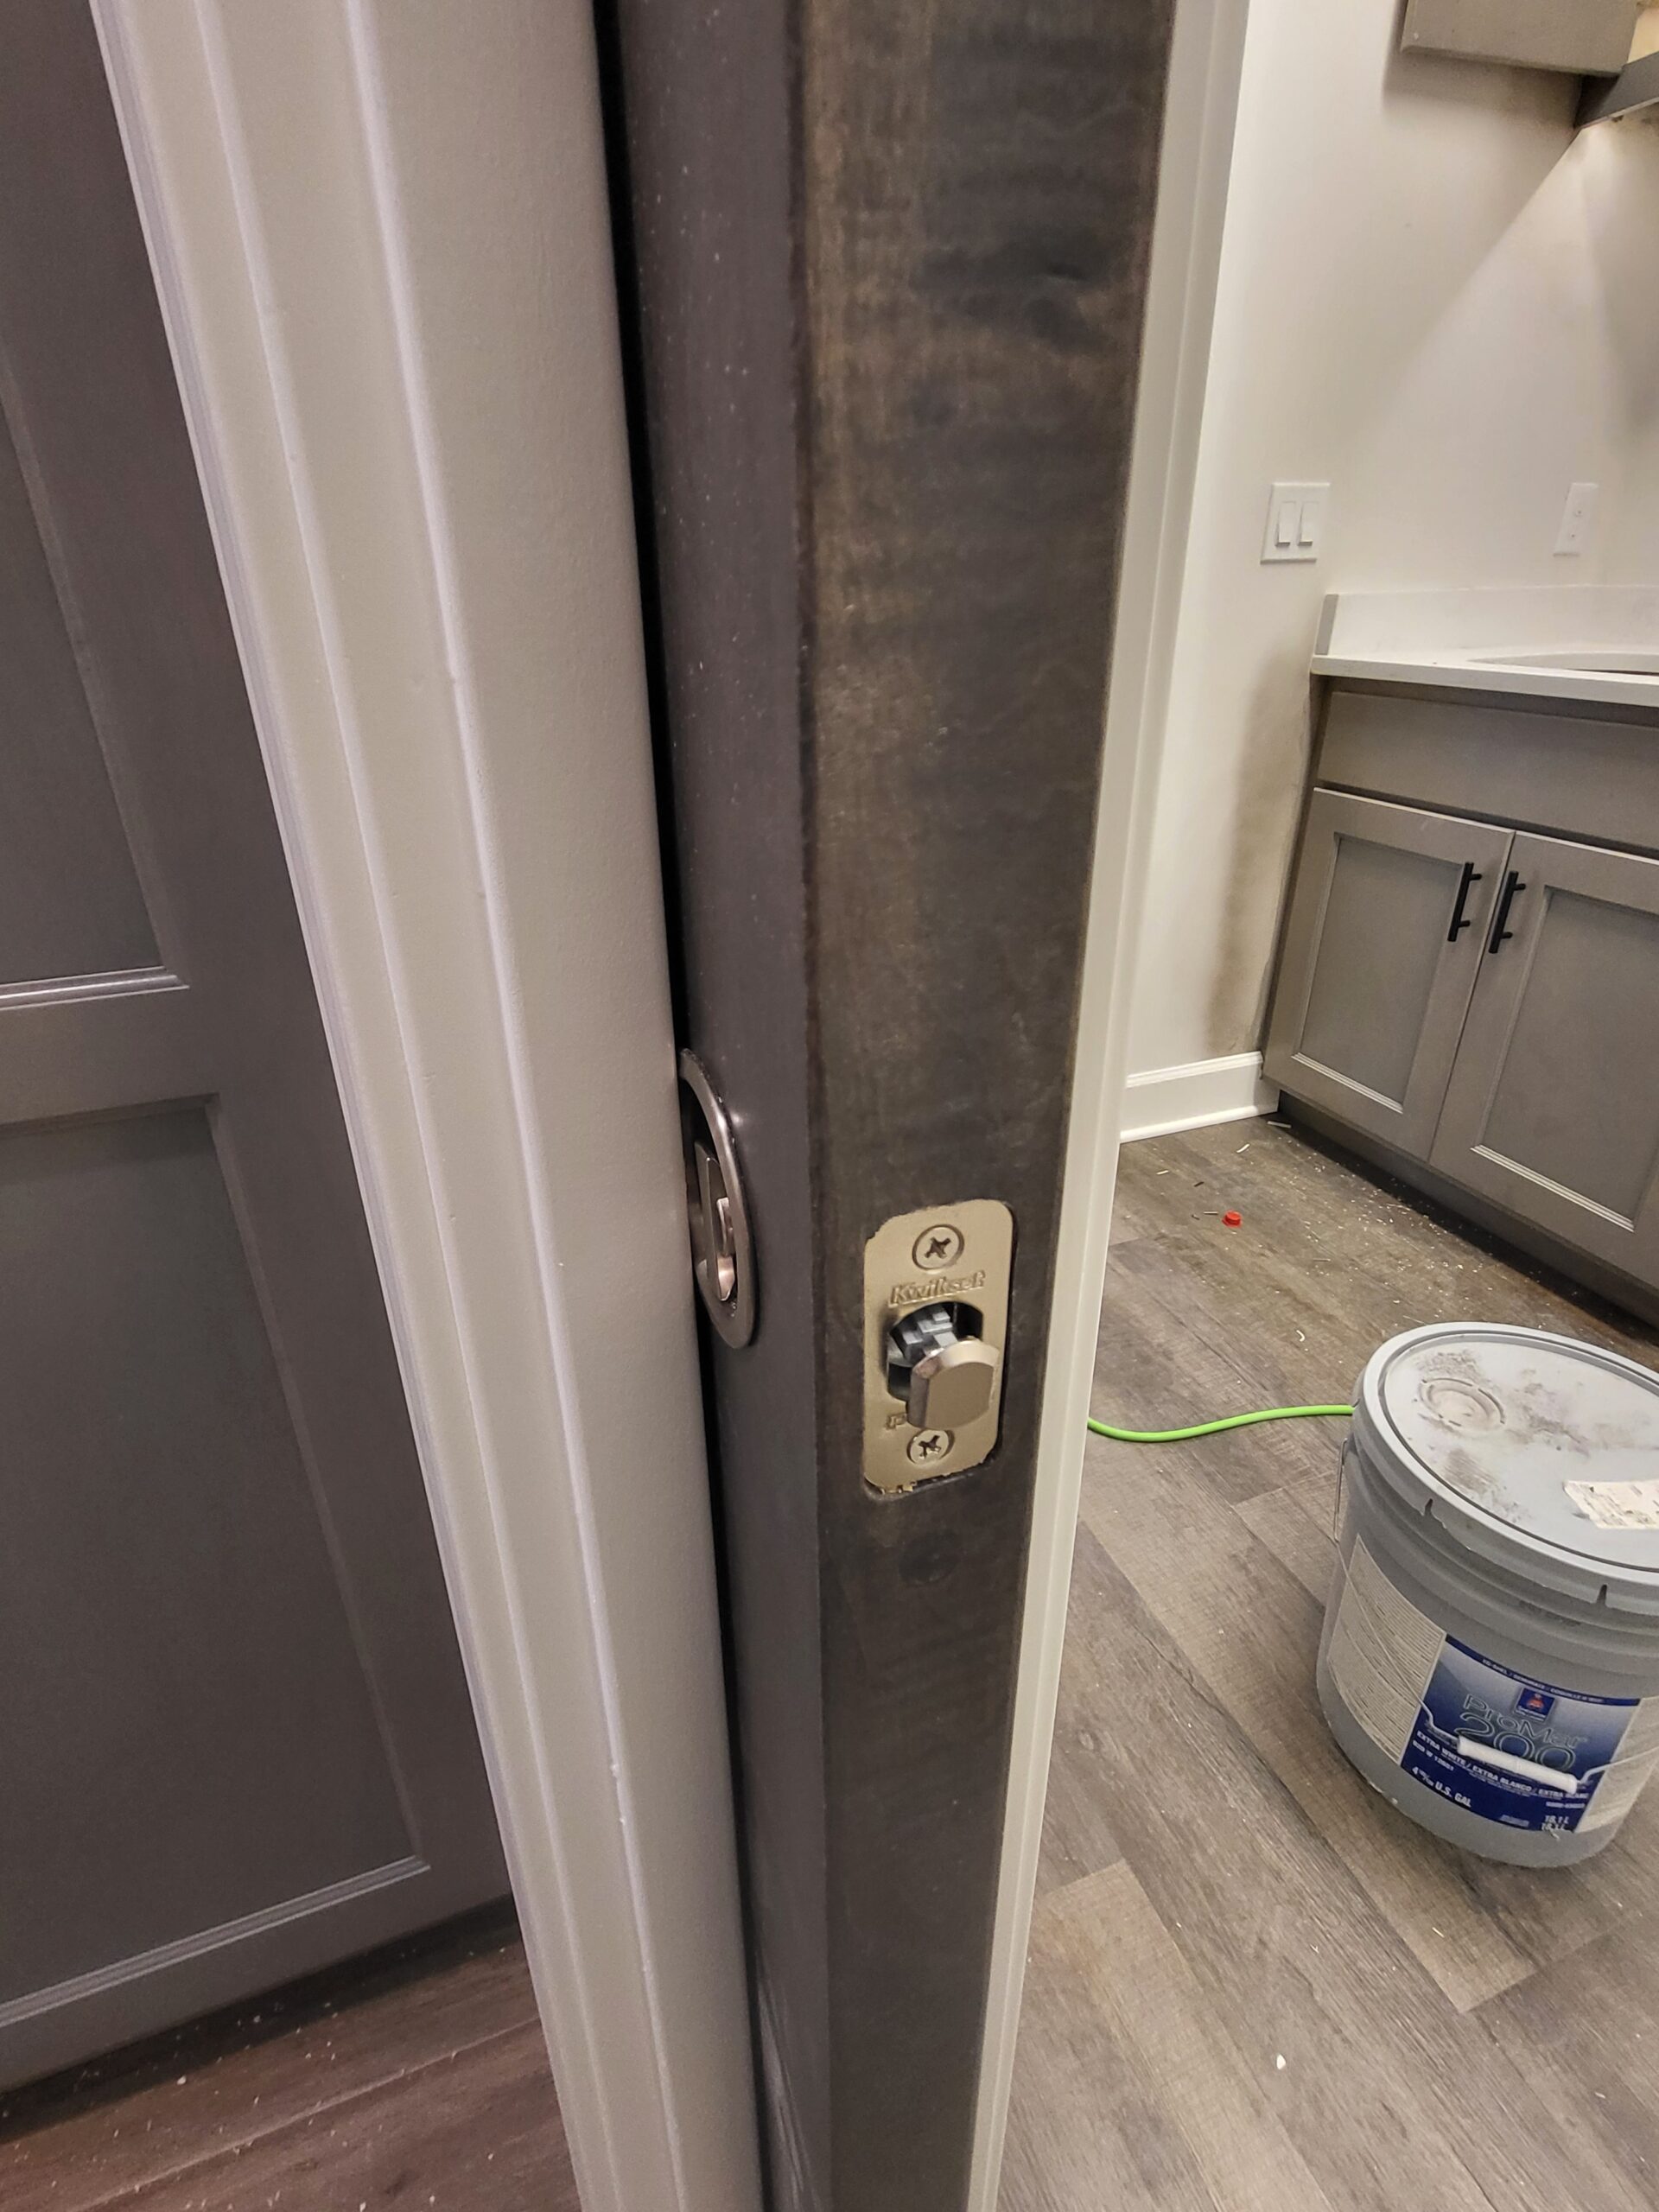
- Privacy locks for pocket doors are specialty items. They mount in the edge of the door, and the latch catches a strike plate (a small metal plate) set into the jamb. A standard passage or privacy lockset will not work here.
Tools Required #
Power Tools #
Hand Tools #
- Tape measure
- 4-foot level
- Pencil
- Screwdriver (flathead and Phillips)
- Pliers or small wrench (for roller adjustment nuts)
- Utility knife
Supplies #
- 18-gauge brad nails (1-1/2″ and 2″)
- Wood screws (for hardware mounting)
- Shims (wood or composite)
- Wood glue
- Silicone spray lubricant (for track)
Materials #
- Pocket door slab - flat panel style (raised panel doors can catch on the pocket frame as they slide in and out)
- Roller hardware (usually included with the pocket frame kit - verify before starting)
- Split jamb pieces (may come with the pocket frame kit or need to be fabricated on site)
- Pocket door edge pull / flush pull hardware (both sides of door)
- Privacy lock hardware (if required - pocket door specific)
- Casing material (matching house trim profile)
- Door guides (floor-mounted or jamb-mounted, to keep door centered in the opening)
Steps to Install a Pocket Door #
Step 1: Inspect the Pocket Frame #
Before you hang the pocket door slab on the track, take time to fully inspect the pocket frame. Use your level to check that the overhead track is level along its full length. Even a small tilt will make the door drift open or closed on its own. Check the split studs and track for any damage that may have happened during drywall work.
Clear the pocket cavity of any debris: drywall dust, screws, chunks of mud, or anything else that could get in the way of the door slab as it slides in and out. Look inside with a flashlight to make sure nothing is blocking the path.
Pro Tip: Run your hand along both sides of the pocket cavity to feel for drywall screws poking through. Even one screw sticking through will scratch the door slab every time it opens and closes. Back out any screw like that and replace it with a nail or a shorter screw that will not reach into the cavity.
Step 2: Attach Roller Hardware to Door Slab #
Mount the roller brackets to the top edge of the door slab, following the manufacturer’s instructions. Most setups use two roller assemblies, placed the same distance in from each end of the door, usually about 2 inches from each edge. Always follow the specific hardware specs for your kit.
The roller brackets attach to the top of the door with screws. Make sure they sit centered on the door’s thickness and are firmly seated. The rollers should spin freely before you hang the door. If they feel gritty or stiff, clean and lubricate them first.
Step 3: Hang the Door on the Track #
With the roller hardware attached, tilt the door into the opening at an angle. Lift the top of the door up and hook the rollers onto the overhead track. Most pocket door track systems have a slot or hook mechanism - the rollers slide into the track from the open end (the room side of the opening).
Once the door is on the track, slide it back and forth through its full travel to check for smooth movement. It should glide easily, with no catching, grinding, or extra force needed. If it feels rough, check for debris in the track, rollers that are out of alignment, or a track that is not level.
Have a helper support the door’s weight while you hook the rollers onto the track. Pocket door slabs can be heavy and awkward to handle alone, especially in tight spaces.
Step 4: Adjust Door Height and Plumb #
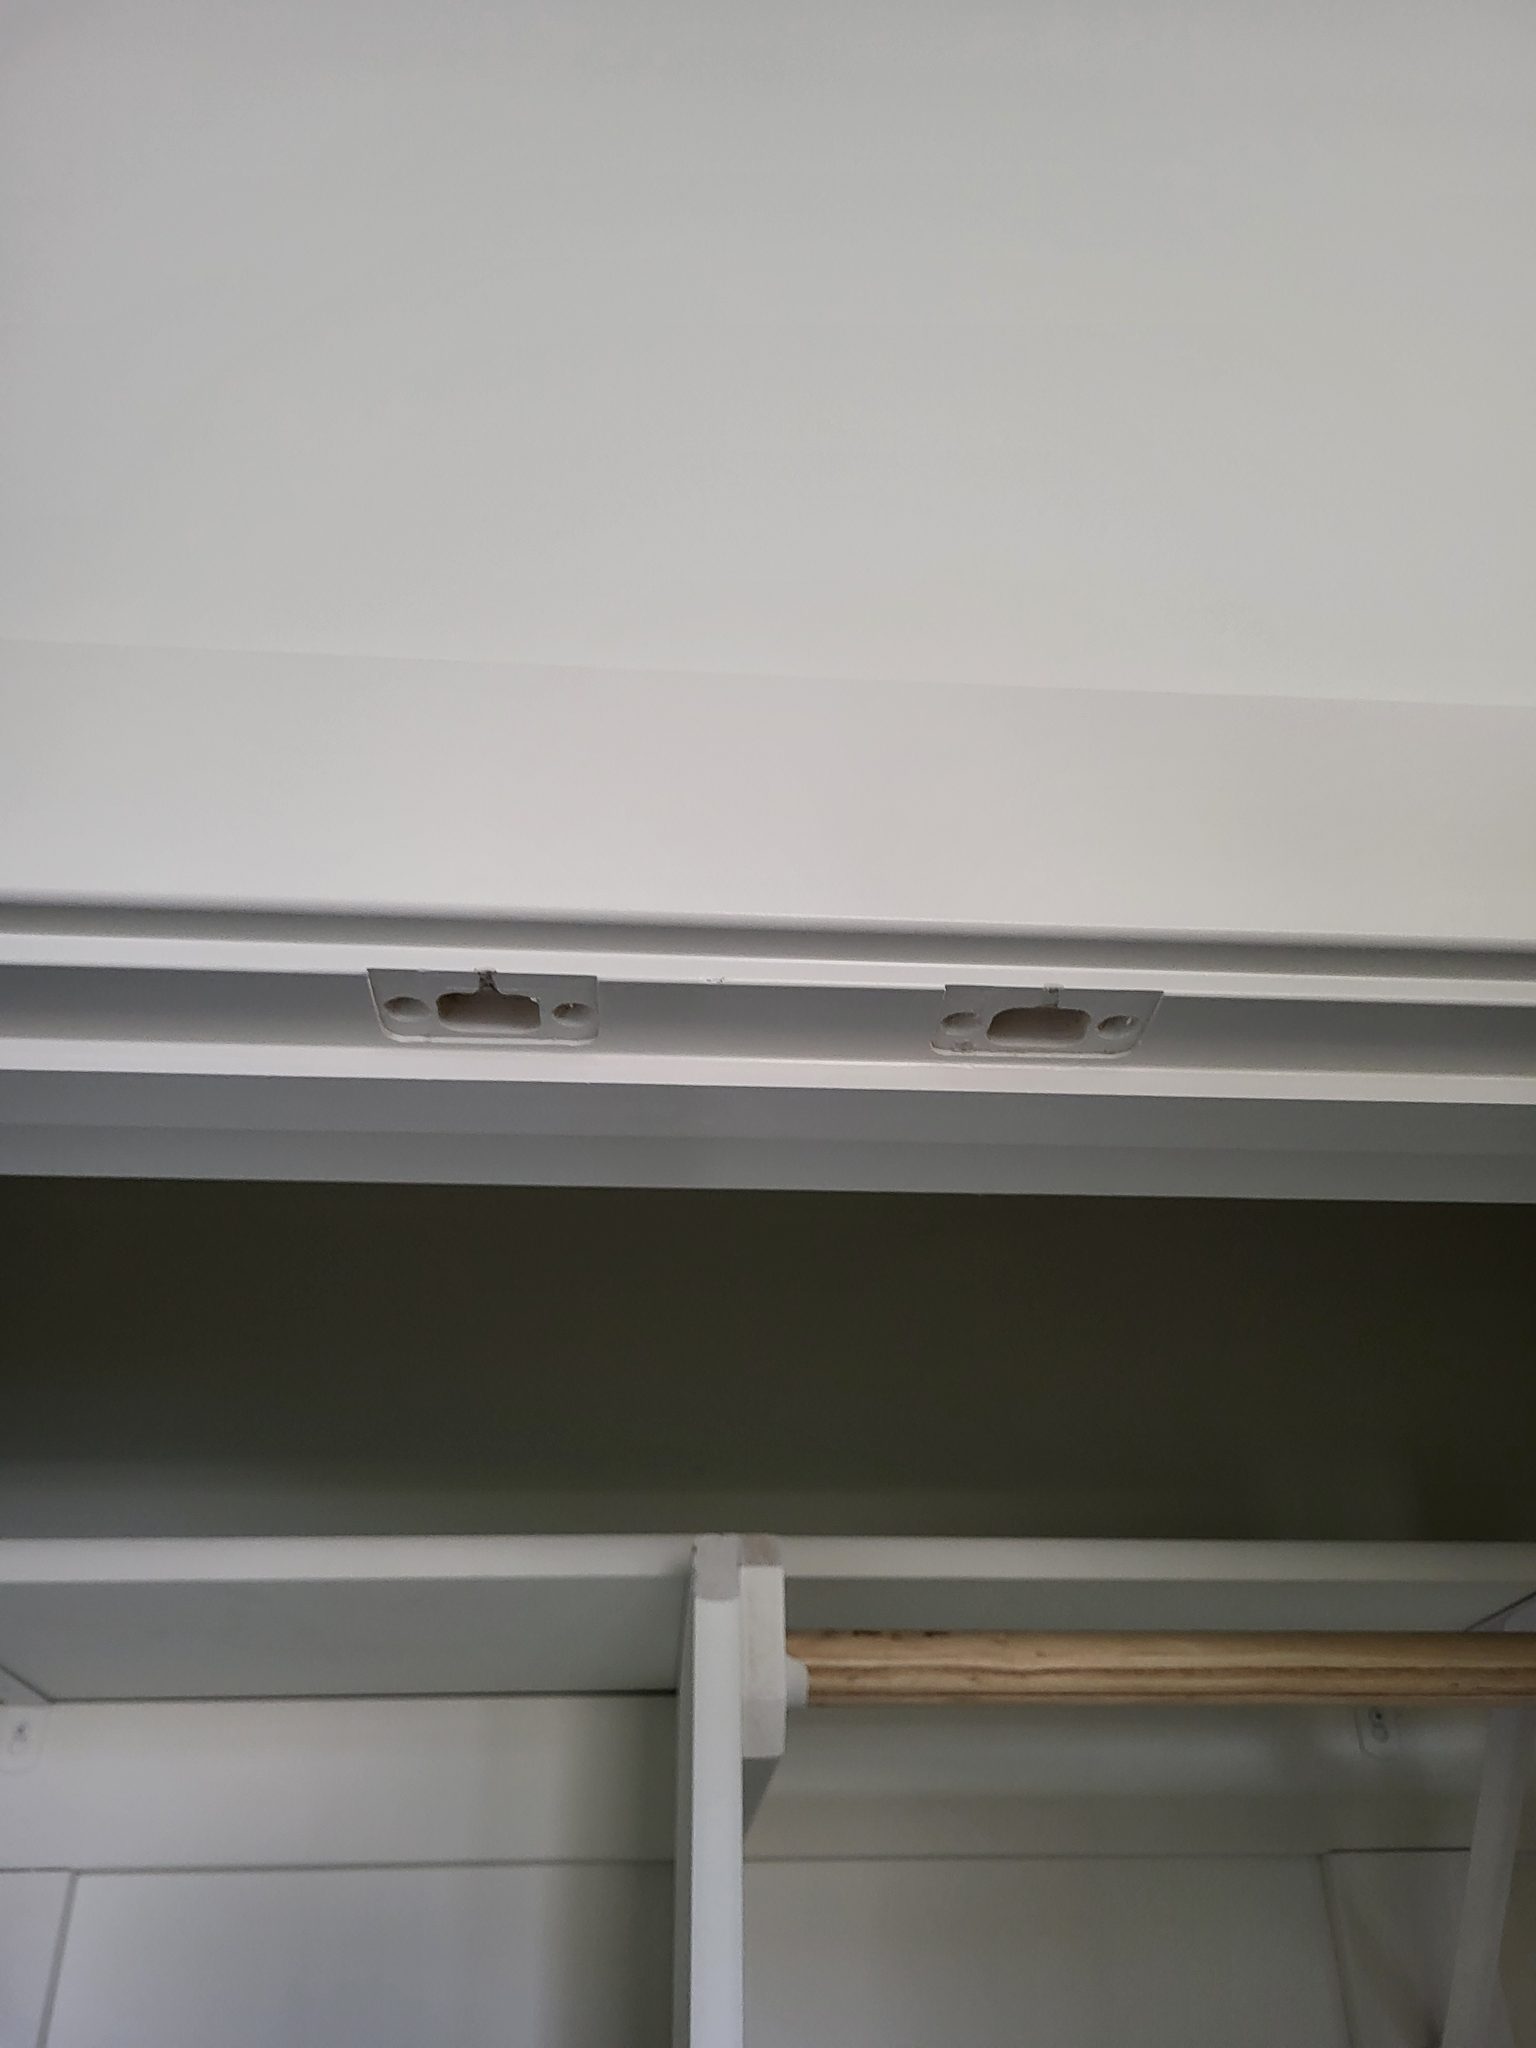
With the door hanging on the track, use the adjustment nuts on the roller brackets to fine-tune the height. Each roller adjusts on its own, usually through a bolt or nut you can reach from above or through a small slot in the track. Turning the nut raises or lowers that side of the door.
Set the bottom gap first. The standard gap between the bottom of the door and the finished floor is approximately 1/2 inch. That gap has to stay the same across the door’s full travel. If the gap changes as the door moves, the track is not level and needs to be corrected.
Pro Tip: Adjust one side at a time, and check for plumb with your level after each change. The door should hang perfectly vertical and keep an even gap at the bottom across its full travel. Cut a spacer block to the gap height you want, then slide it along the floor under the door as you move it, to check that the gap stays consistent.
Step 5: Install Split Jambs #
Split jambs are a must on a pocket door. These two-piece jamb assemblies are made just for pocket doors: overlapping pieces that attach to each side of the wall and form a finished jamb with a gap in the middle for the door to slide through. A standard one-piece door jamb would block the opening; a split jamb does not.
Install the strike-side jamb first (the side where the latch or lock will engage). Shim the jamb (tap thin, tapered wood or composite wedges in behind it to hold it plumb) and nail through the shims into the framing. Then install the pocket-side jamb pieces. The pocket-side jamb usually has a narrower profile, or a special shape, that wraps the edge of the pocket opening.
The split jambs must sit snug against the wall surfaces, but they must NOT pinch or bind the door. The door needs to slide freely between the jamb pieces, with a small, even gap on each side. Test the door after you install each jamb piece. If it suddenly gets harder to slide, the jamb is too tight and needs to be adjusted.
Step 6: Install Hardware and Strike #
Install the pocket door edge pulls (flush pulls) on both sides of the door. These sit recessed into the edge and face of the door, so nothing sticks out past the door’s surface. Mark the pull locations and mortise them (cut a shallow, exact-sized pocket for the hardware) using the manufacturer’s template. Take your time here. These pulls are visible and have to work, so precision matters.
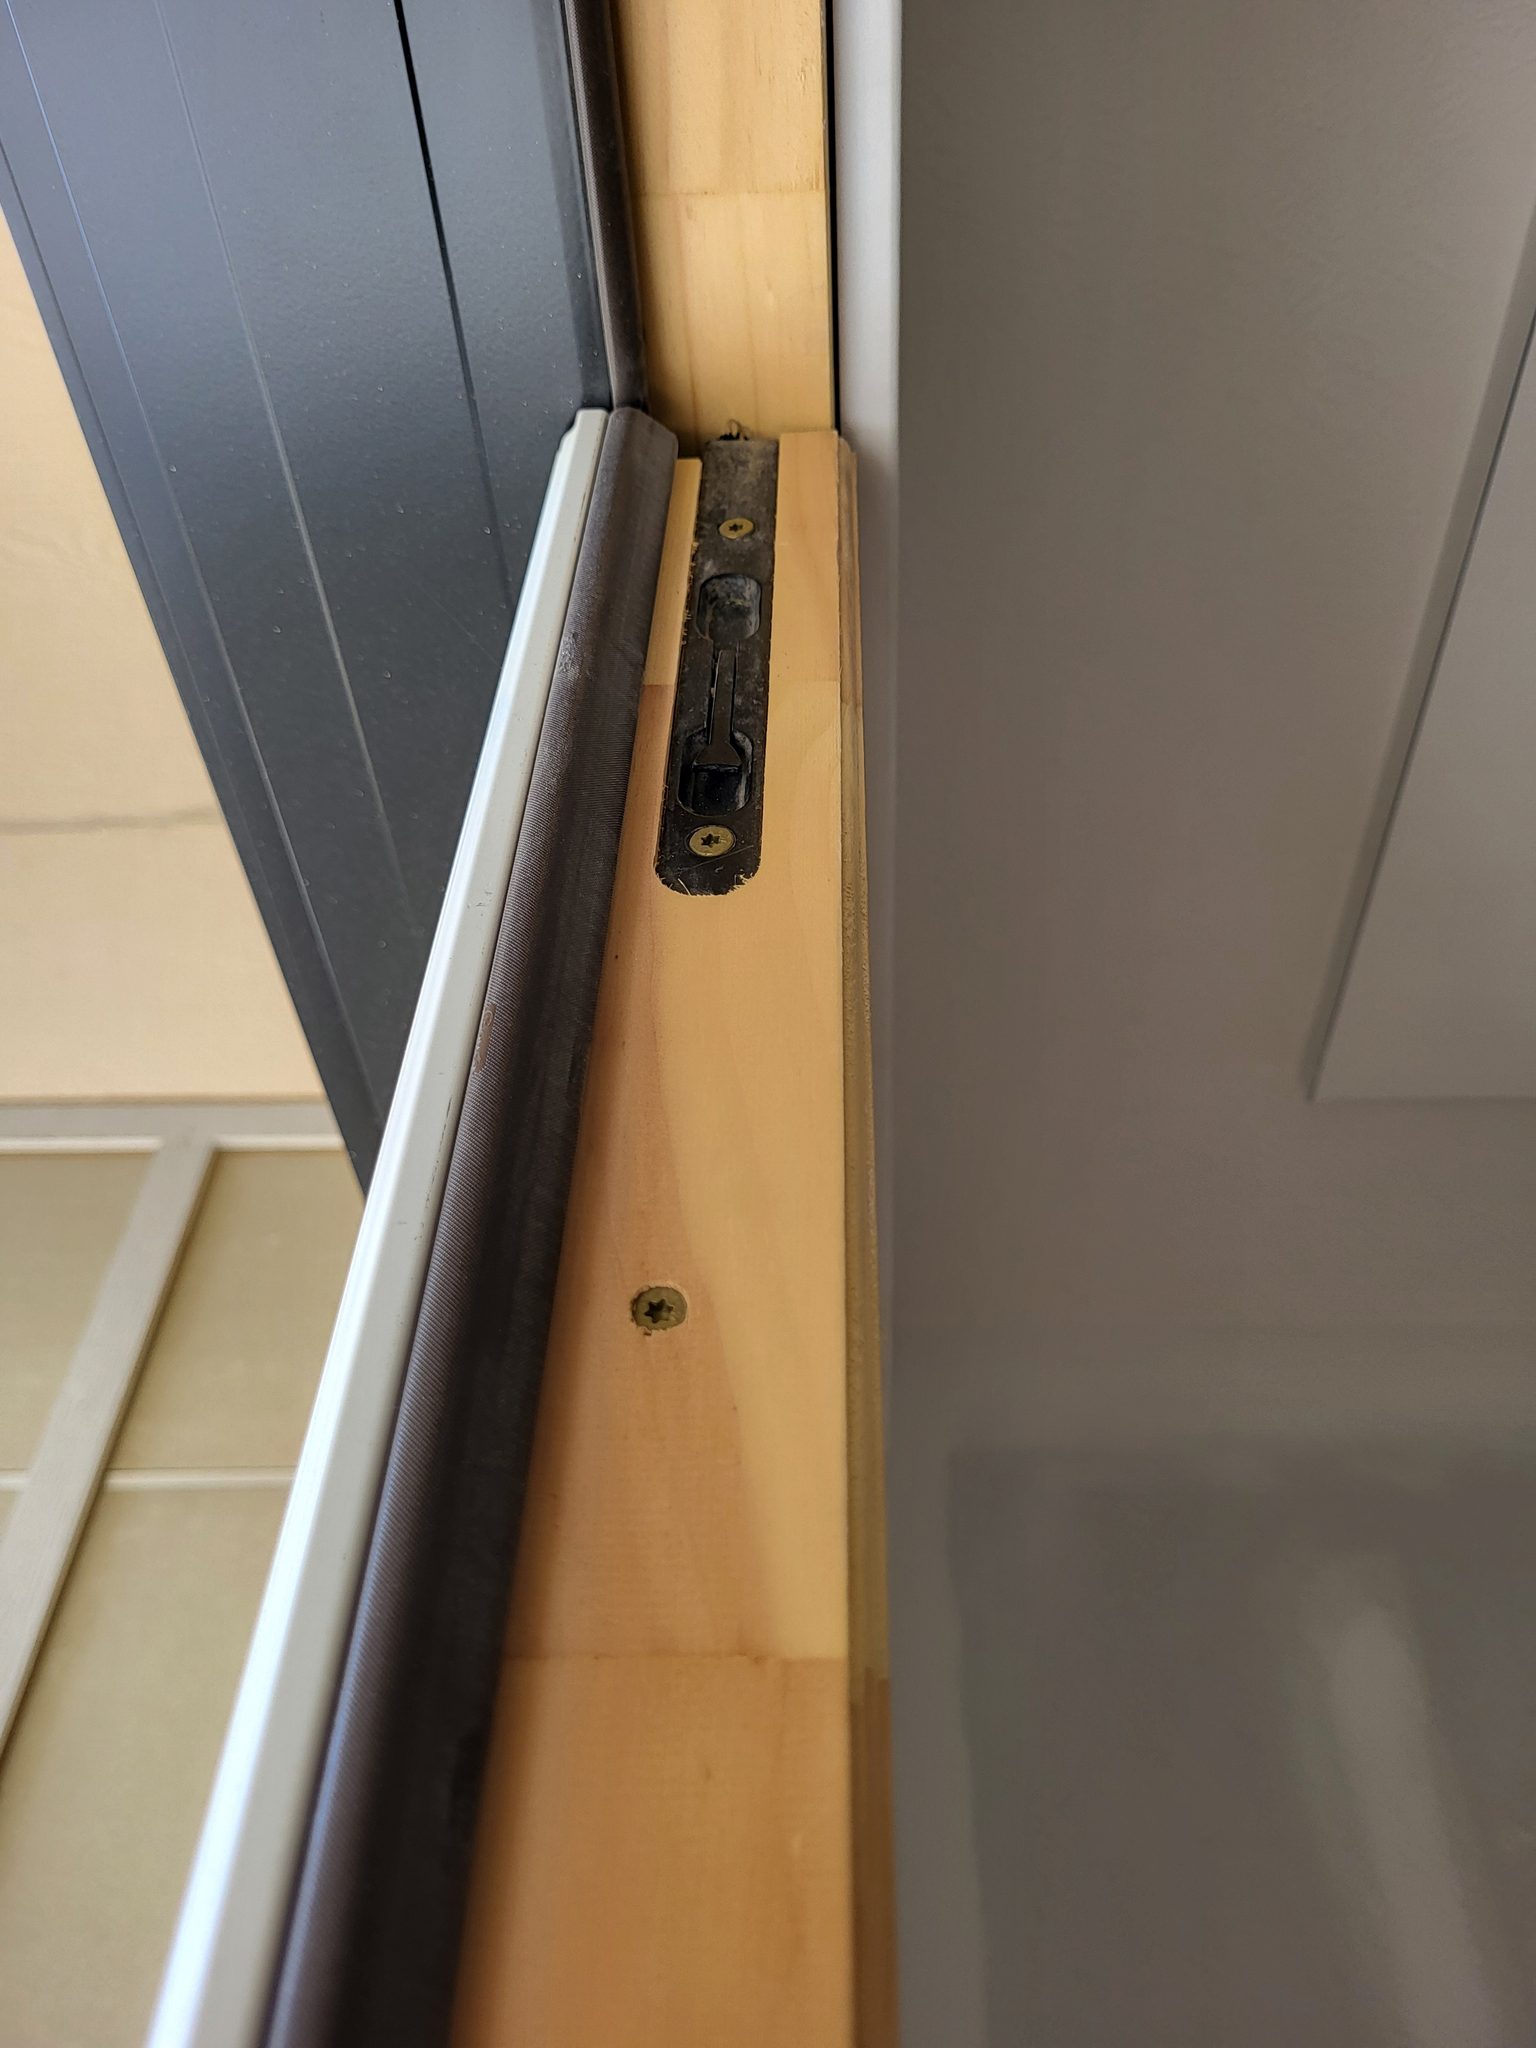
If the job needs a privacy lock, install the pocket door lock mechanism. These locks mount in the edge of the door. One side has a thumb turn (a small lever you turn by hand to lock or unlock the door); the other side has an emergency release for outside access. Install the matching strike plate in the jamb, and line it up carefully so the latch engages smoothly when the door closes.
Test all the hardware. The pulls should grip comfortably and let you move the door easily. The latch should engage and release cleanly, with no forcing.
Step 7: Case the Opening and Final Adjustments #
Install casing on both sides of the opening, matching the trim profile used through the rest of the house. Miter the corners, and nail the casing to the jamb edge and the wall framing with 18-gauge brads. Pay extra attention to the casing on the pocket side. It has to be positioned so it does not get in the way of the door as it slides out of the pocket.
After the door and casing are in, make your final adjustments. Slide the door through its full range of travel several times. Listen for any rubbing, catching, or rattling. Make small roller adjustments if you need to. Install floor-mounted or jamb-mounted door guides at the bottom of the opening to keep the door centered and stop it from swinging side to side.
Pro Tip: Test the door through its FULL range of travel after the casing goes in. Casing set too close to the opening edge can catch the door as it exits the pocket. Leave a consistent 3/16″ reveal between the casing and the opening edge to avoid this problem.
Quality Check #
After you install a pocket door, run through this checklist to check your work.
- Door slides smoothly through full travel without catching or dragging
- Door hangs plumb in the closed position
- Consistent bottom gap across the full travel of the door
- Split jambs do not bind or pinch the door
- Latch engages and releases properly without forcing
- Edge pulls function correctly on both sides of the door
- Casing is clean, tight, and consistent on both sides
- No screws protruding into the pocket cavity
- Door does not rattle or wobble when sliding or at rest
Troubleshooting After You Install a Pocket Door #
Door Is Hard to Slide #
If the door takes a lot of force to move, check three things. First, make sure the overhead track is level. Even a slight bow or sag will create resistance. Second, the rollers may need lubrication. Apply silicone spray to the track and the roller wheels. Third, check the pocket cavity for drywall screws poking into the door’s path. Any screw tip sticking through will drag on the door slab and create friction.
Door Hangs Crooked #
A door that hangs out of plumb needs a roller height adjustment on one side. Use the adjustment nuts on the roller brackets to raise or lower the low side until the door hangs perfectly vertical. Check it with a level held on the face of the door. If you run out of adjustment range and the door still isn’t plumb, the track itself is probably not level, and it will need to be corrected.
Door Won’t Stay in the Pocket (Slides Back Out) #
If the door drifts out of the pocket on its own, the track is probably tilted a little toward the opening, and the door is rolling downhill under gravity. The fix is to re-level the track. If that’s not practical after drywall, install a small rubber bumper or detent (a small catch that holds the door in place) at the back of the pocket to hold the door open.
Door Rattles When Closed #
Rattling happens when the door swings side to side in the opening. Install door guides at the bottom of the jamb. These are small brackets, tipped with nylon or rubber, that keep the door centered in the opening. Most pocket frame kits include floor guides, but they may need adjusting or replacing if the door still rattles.
Door Rubs on Floor #
If the door drags on the finished floor, raise the roller height. Use the adjustment nuts on the roller brackets to lift the door until you have a consistent 1/2-inch gap at the bottom. If the floor is uneven, you may need to split the difference, or set the gap to clear the highest point of the floor across the door’s travel.
Can’t Install a Standard Doorknob #
That’s by design. Pocket doors cannot use standard doorknobs or lever handles that stick out, because that hardware would stop the door from sliding all the way into the wall cavity. Pocket doors need flush-mount edge pulls or recessed cup pulls that sit flush with, or below, the door surface. If the job needs a privacy lock, use a pocket-door-specific lock that mounts in the edge of the door.
Helpful Resources #
These outside resources have more detail on pocket door hardware and how to install it:
- How to Install a Pocket Door Frame - Our walkthrough for framing the pocket before the door goes in.
- Family Handyman - Pocket Door Installation - Step-by-step guide with close-up photos of roller hardware and split jamb details.
- Johnson Hardware - Pocket Door Systems - Manufacturer specifications and guides for popular pocket door frame and track systems.
Reference Photos #
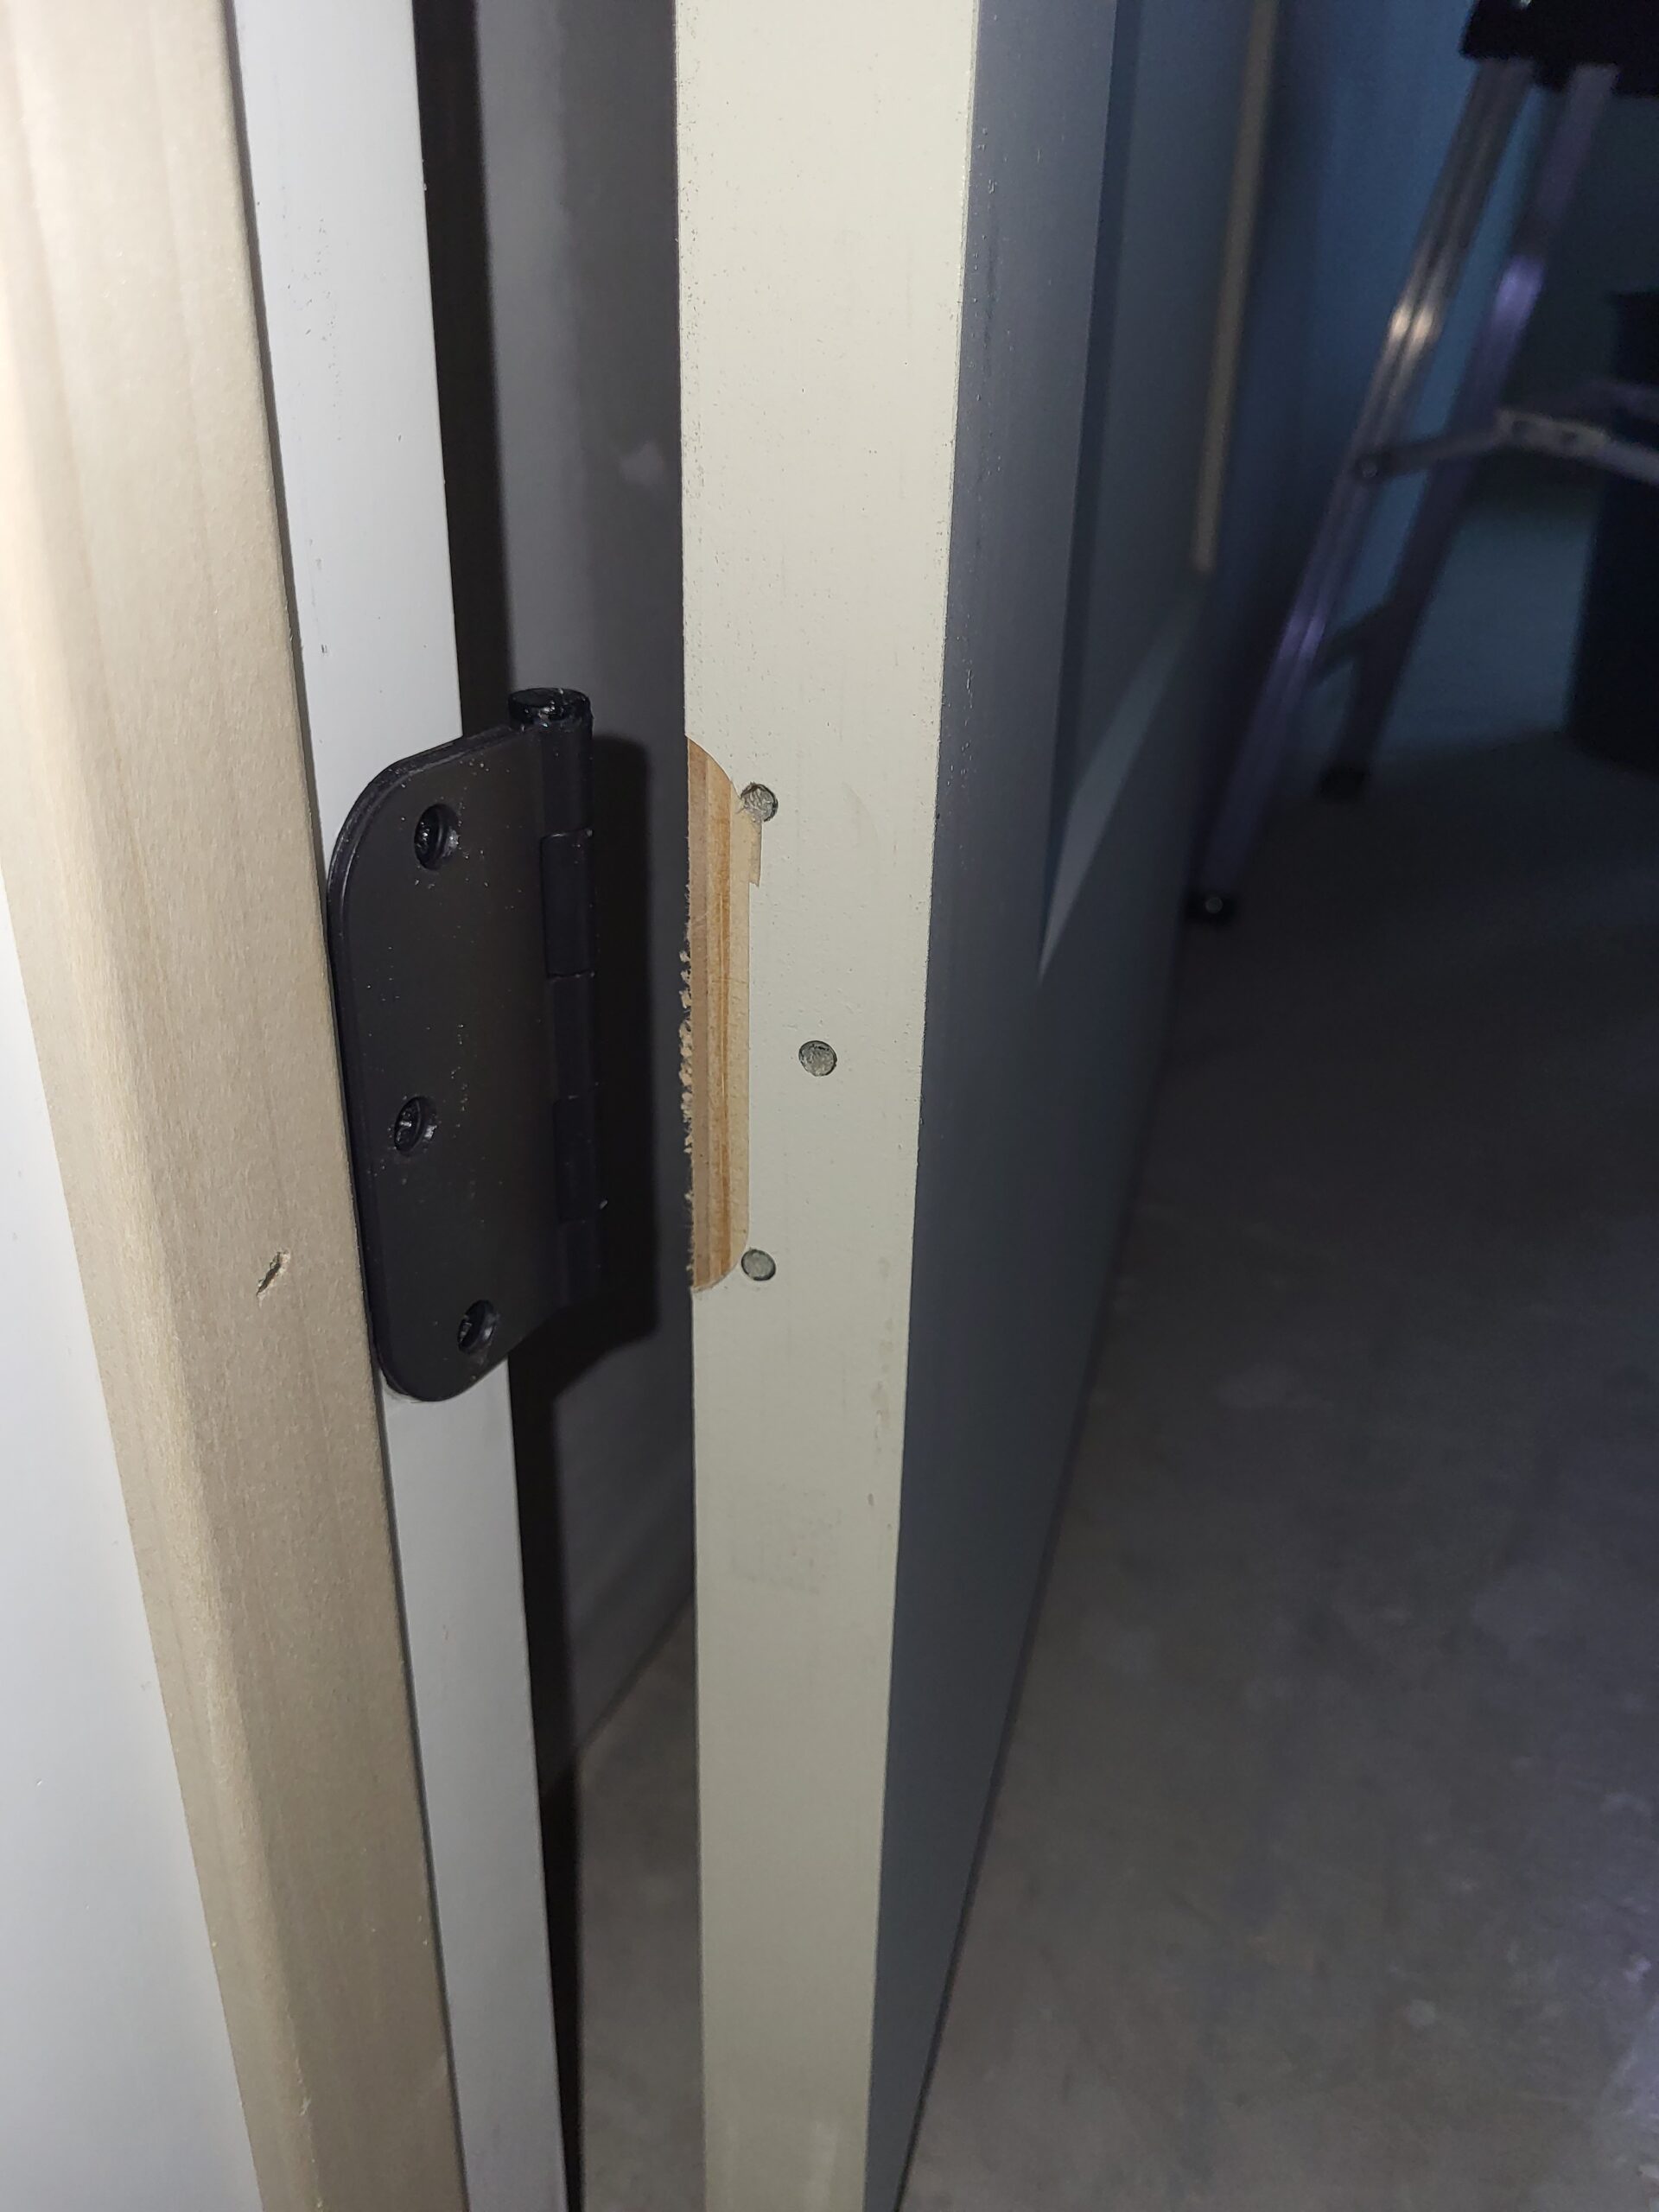
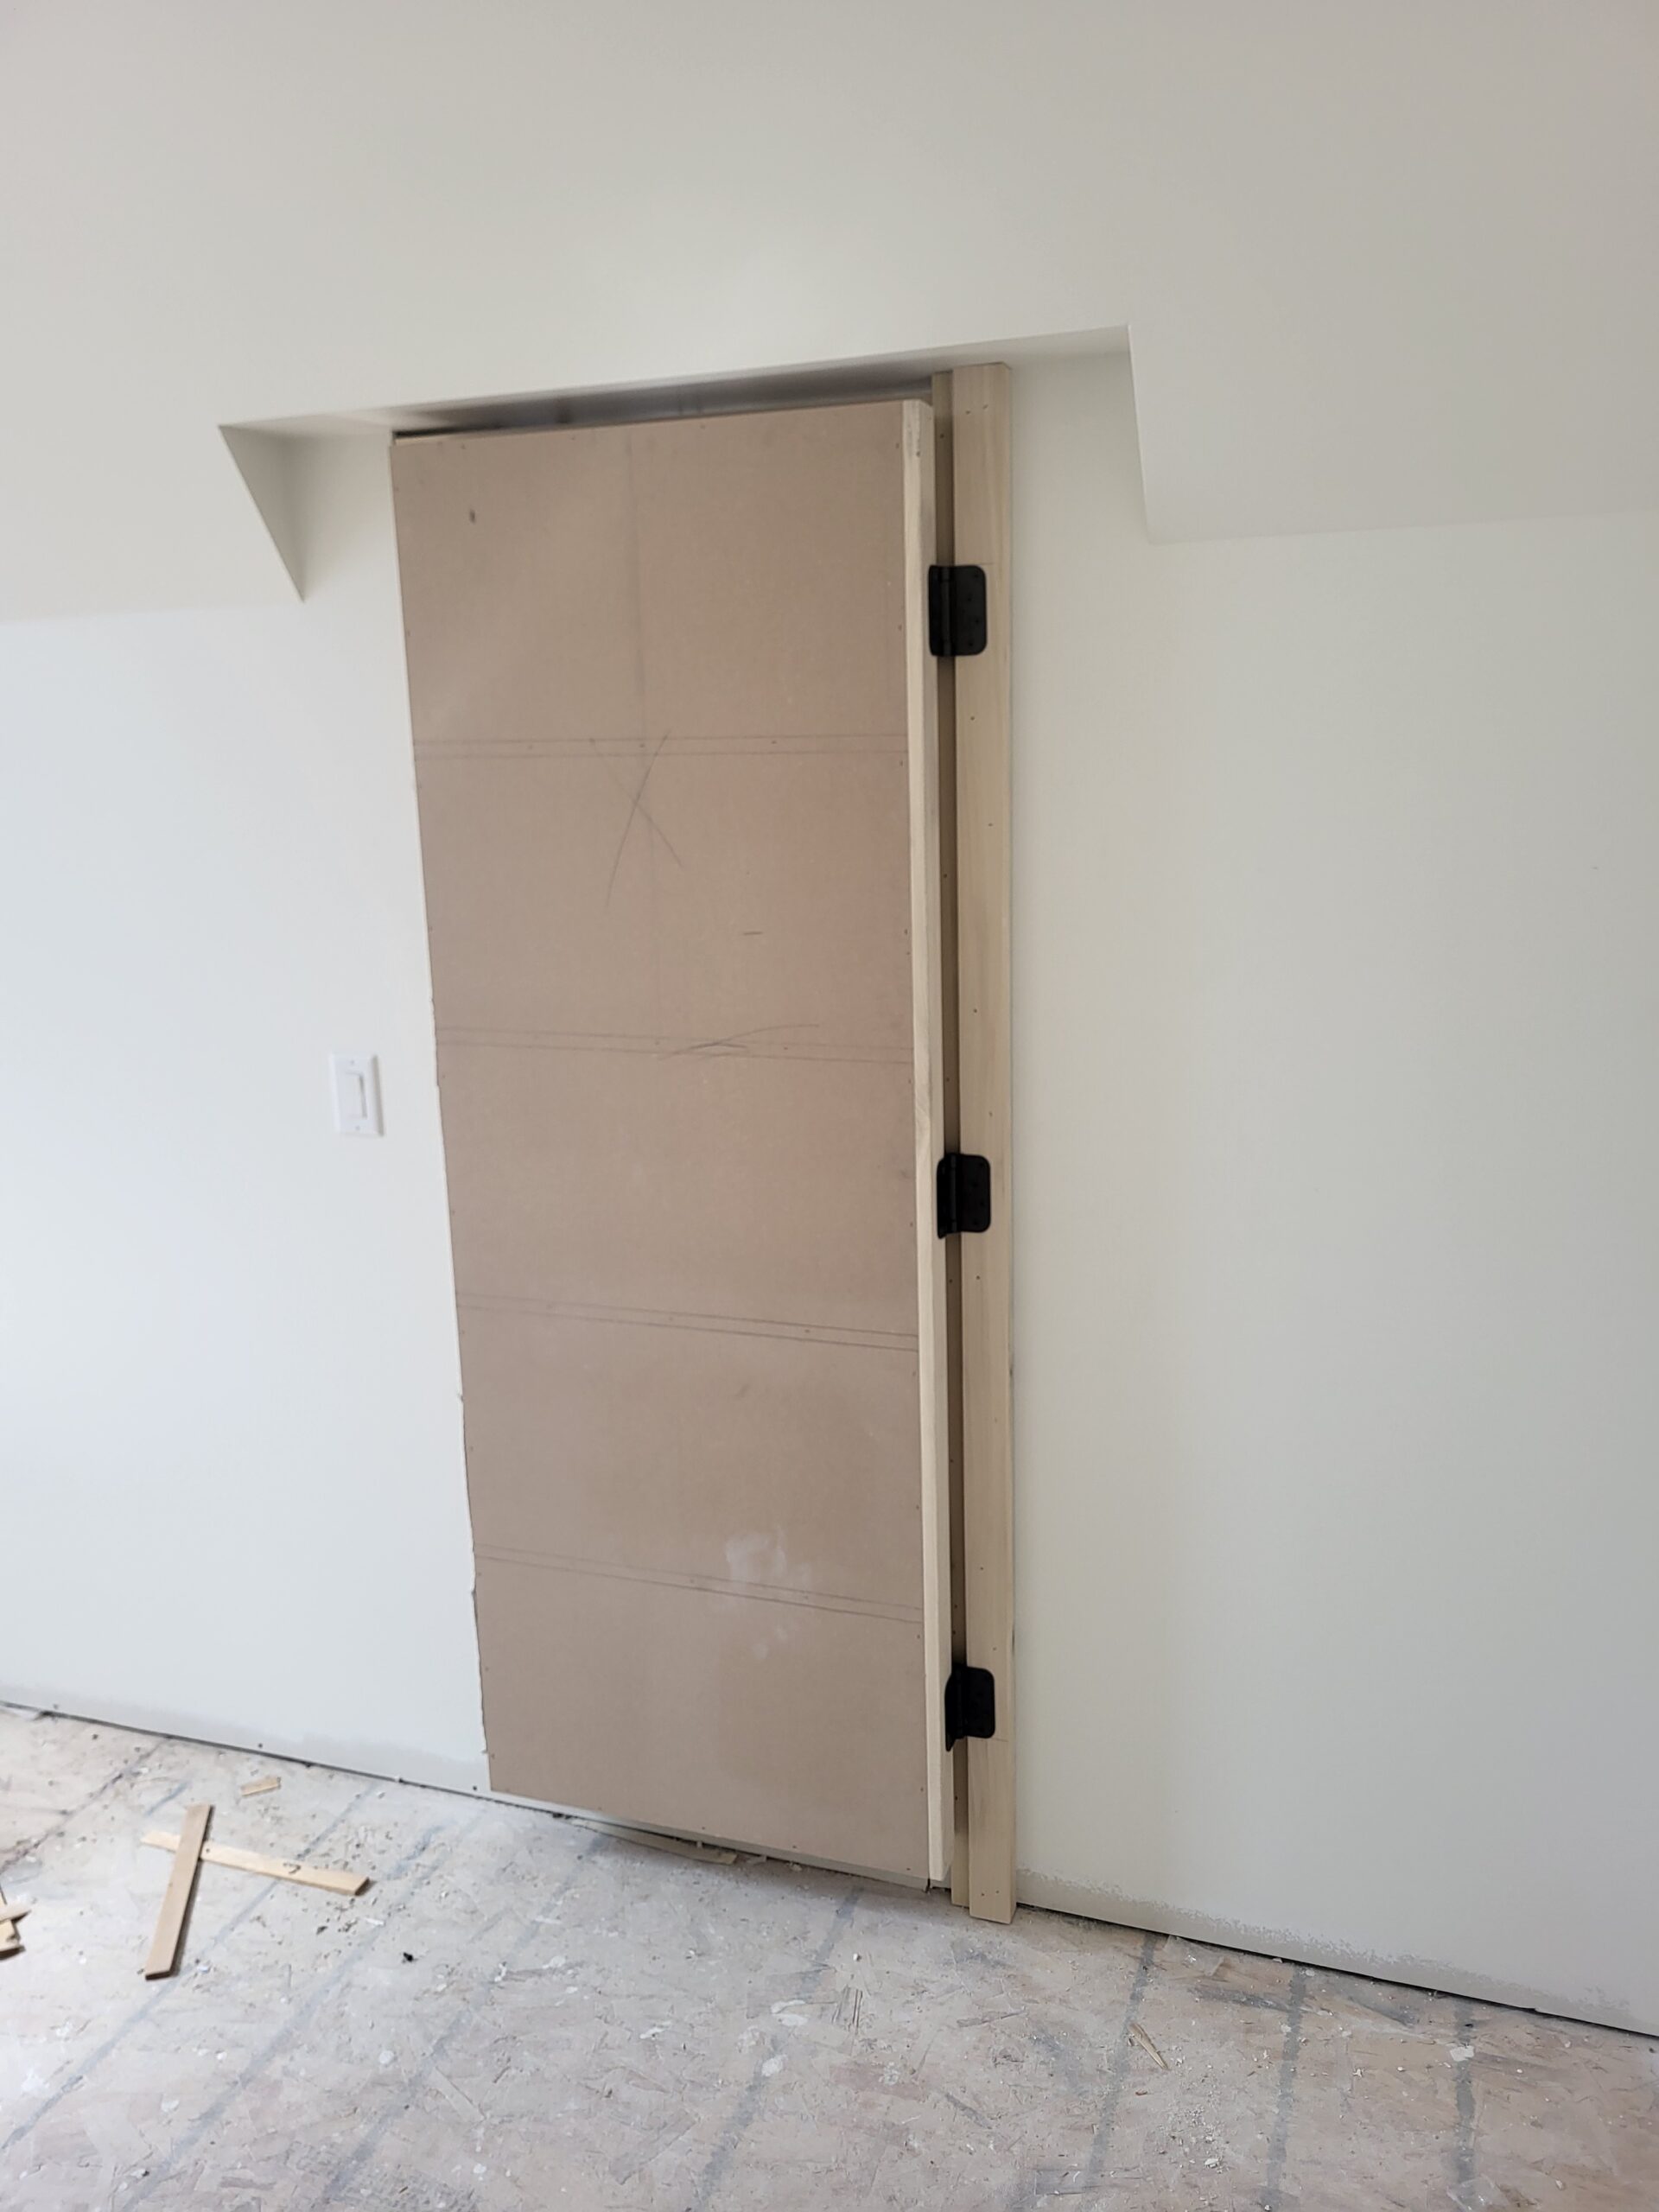
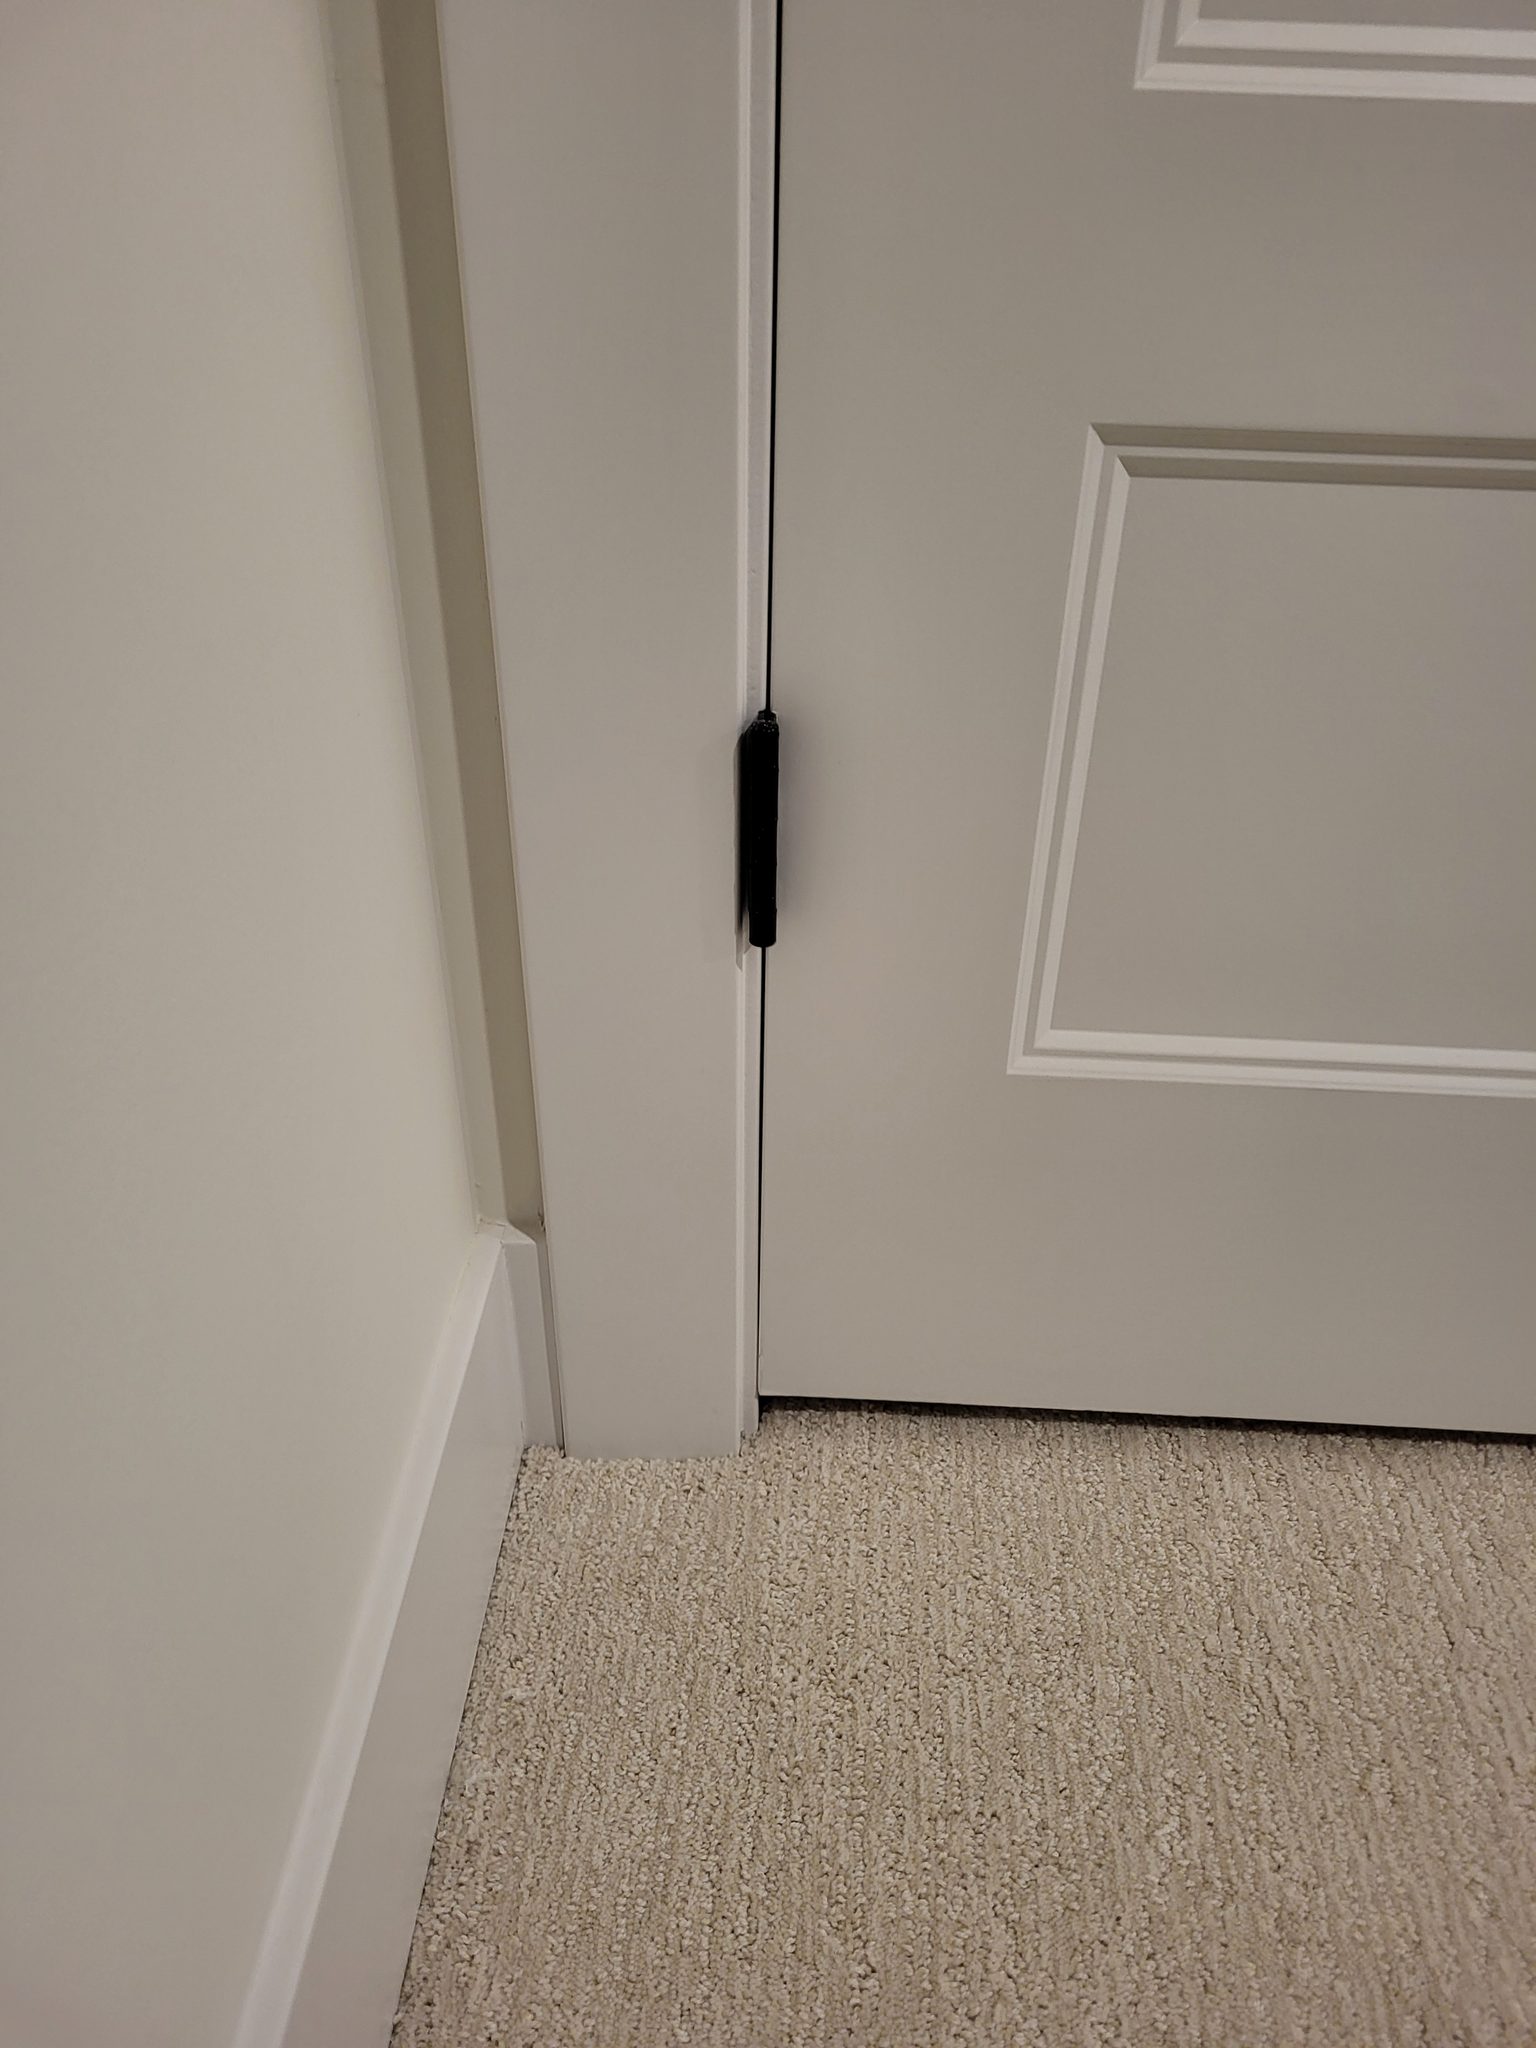
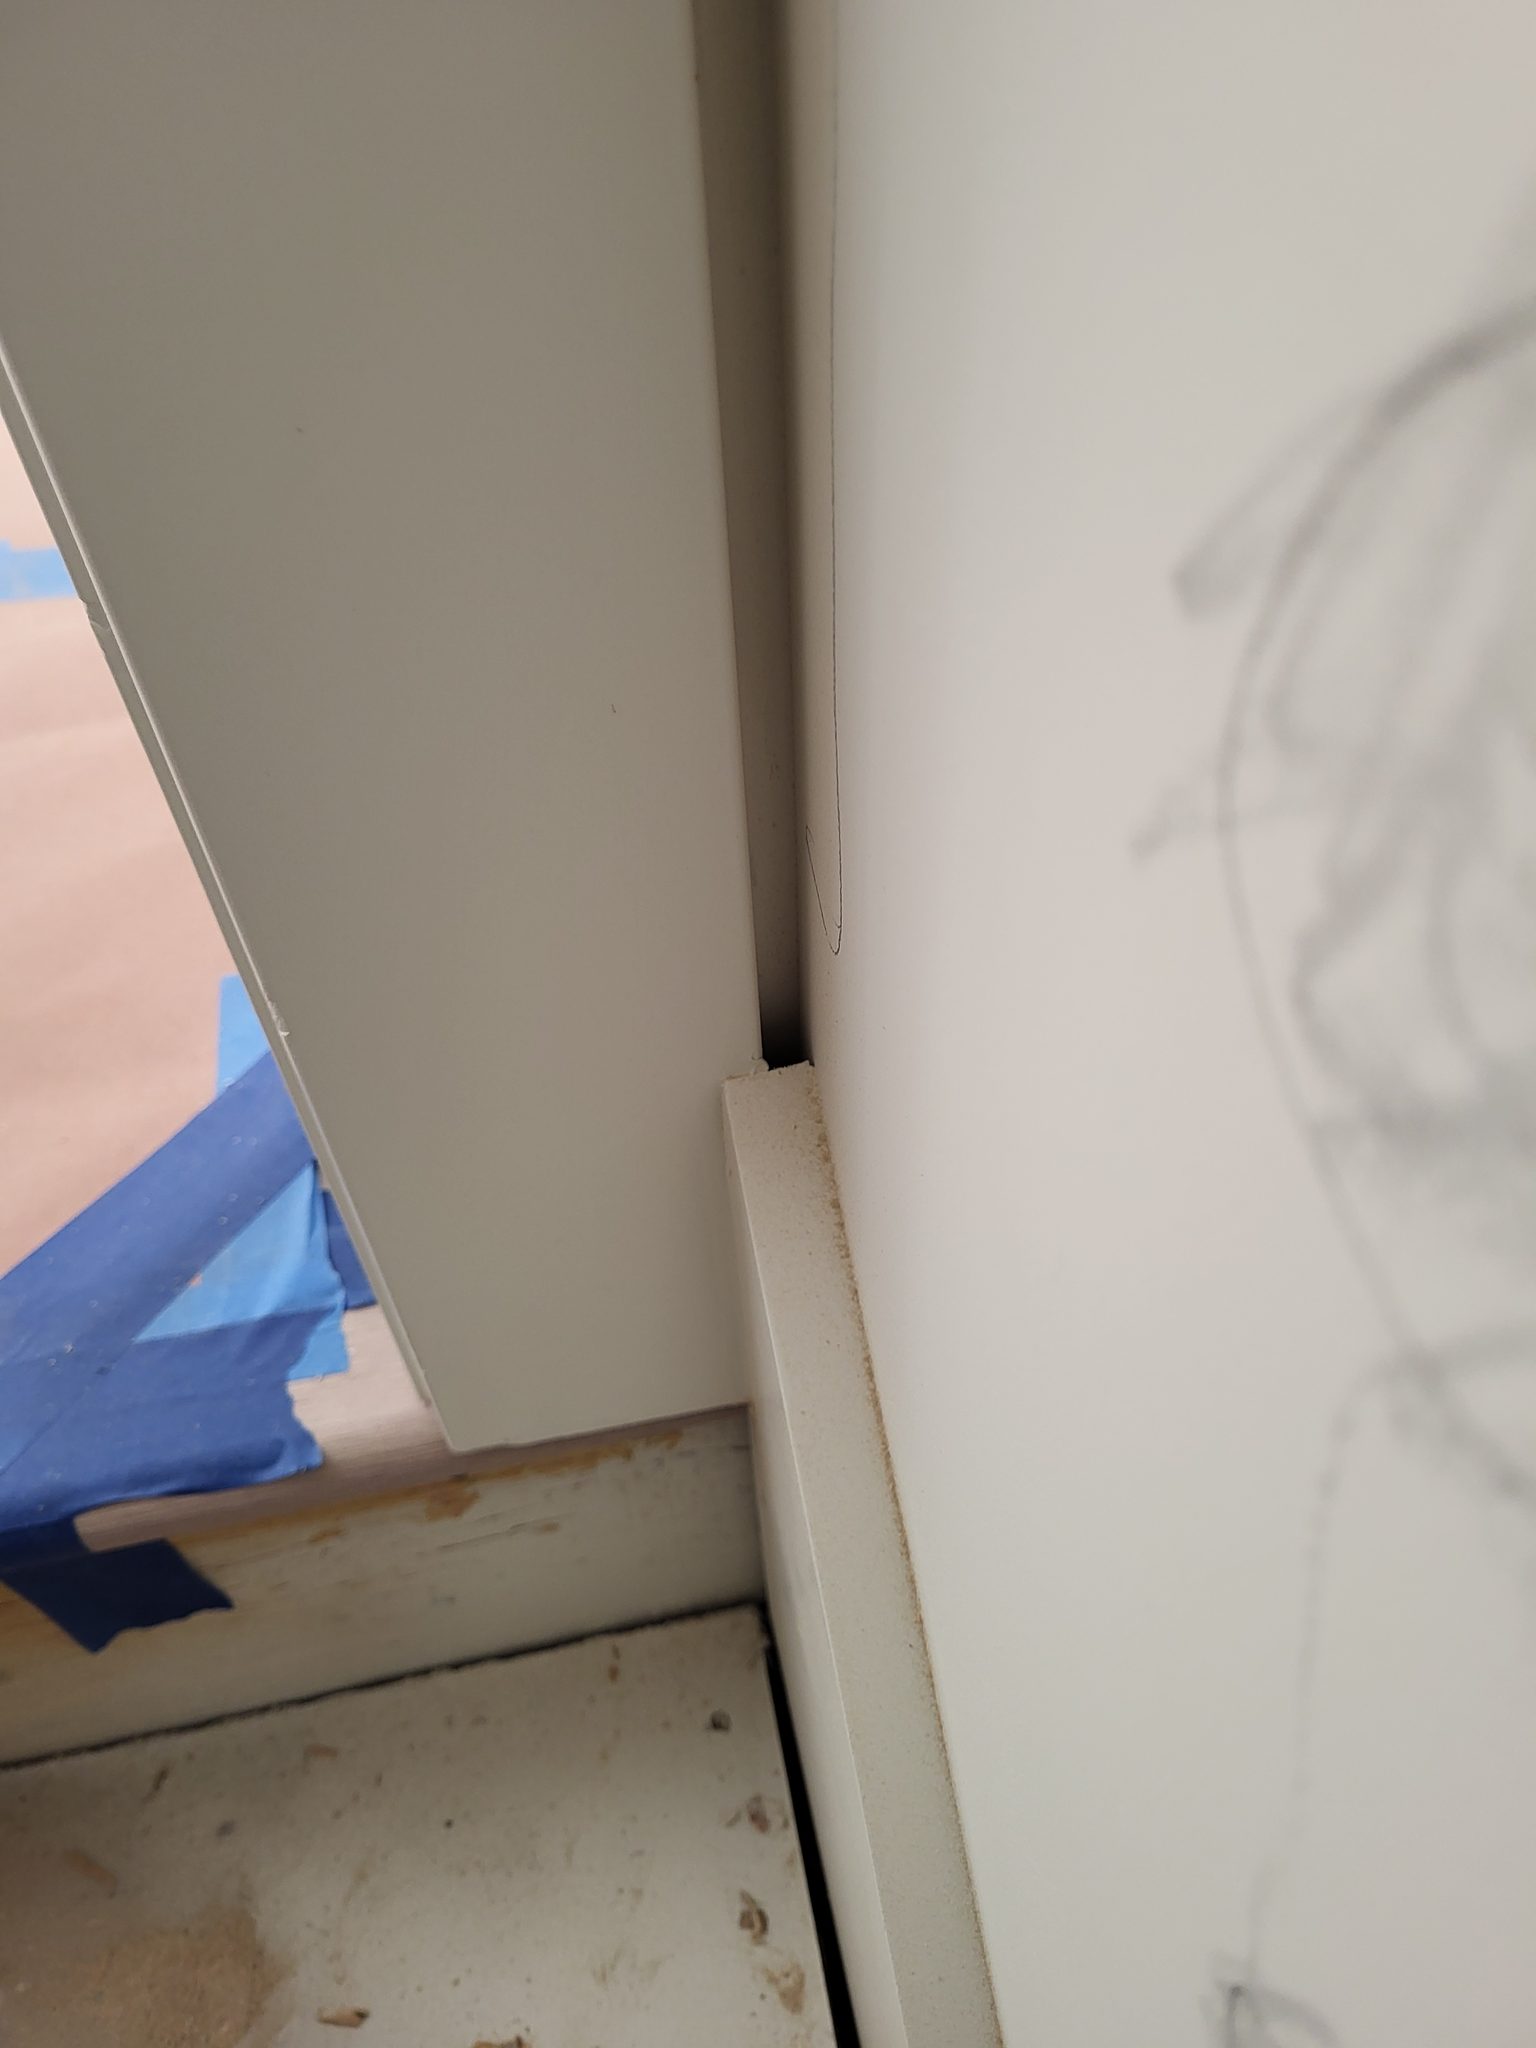
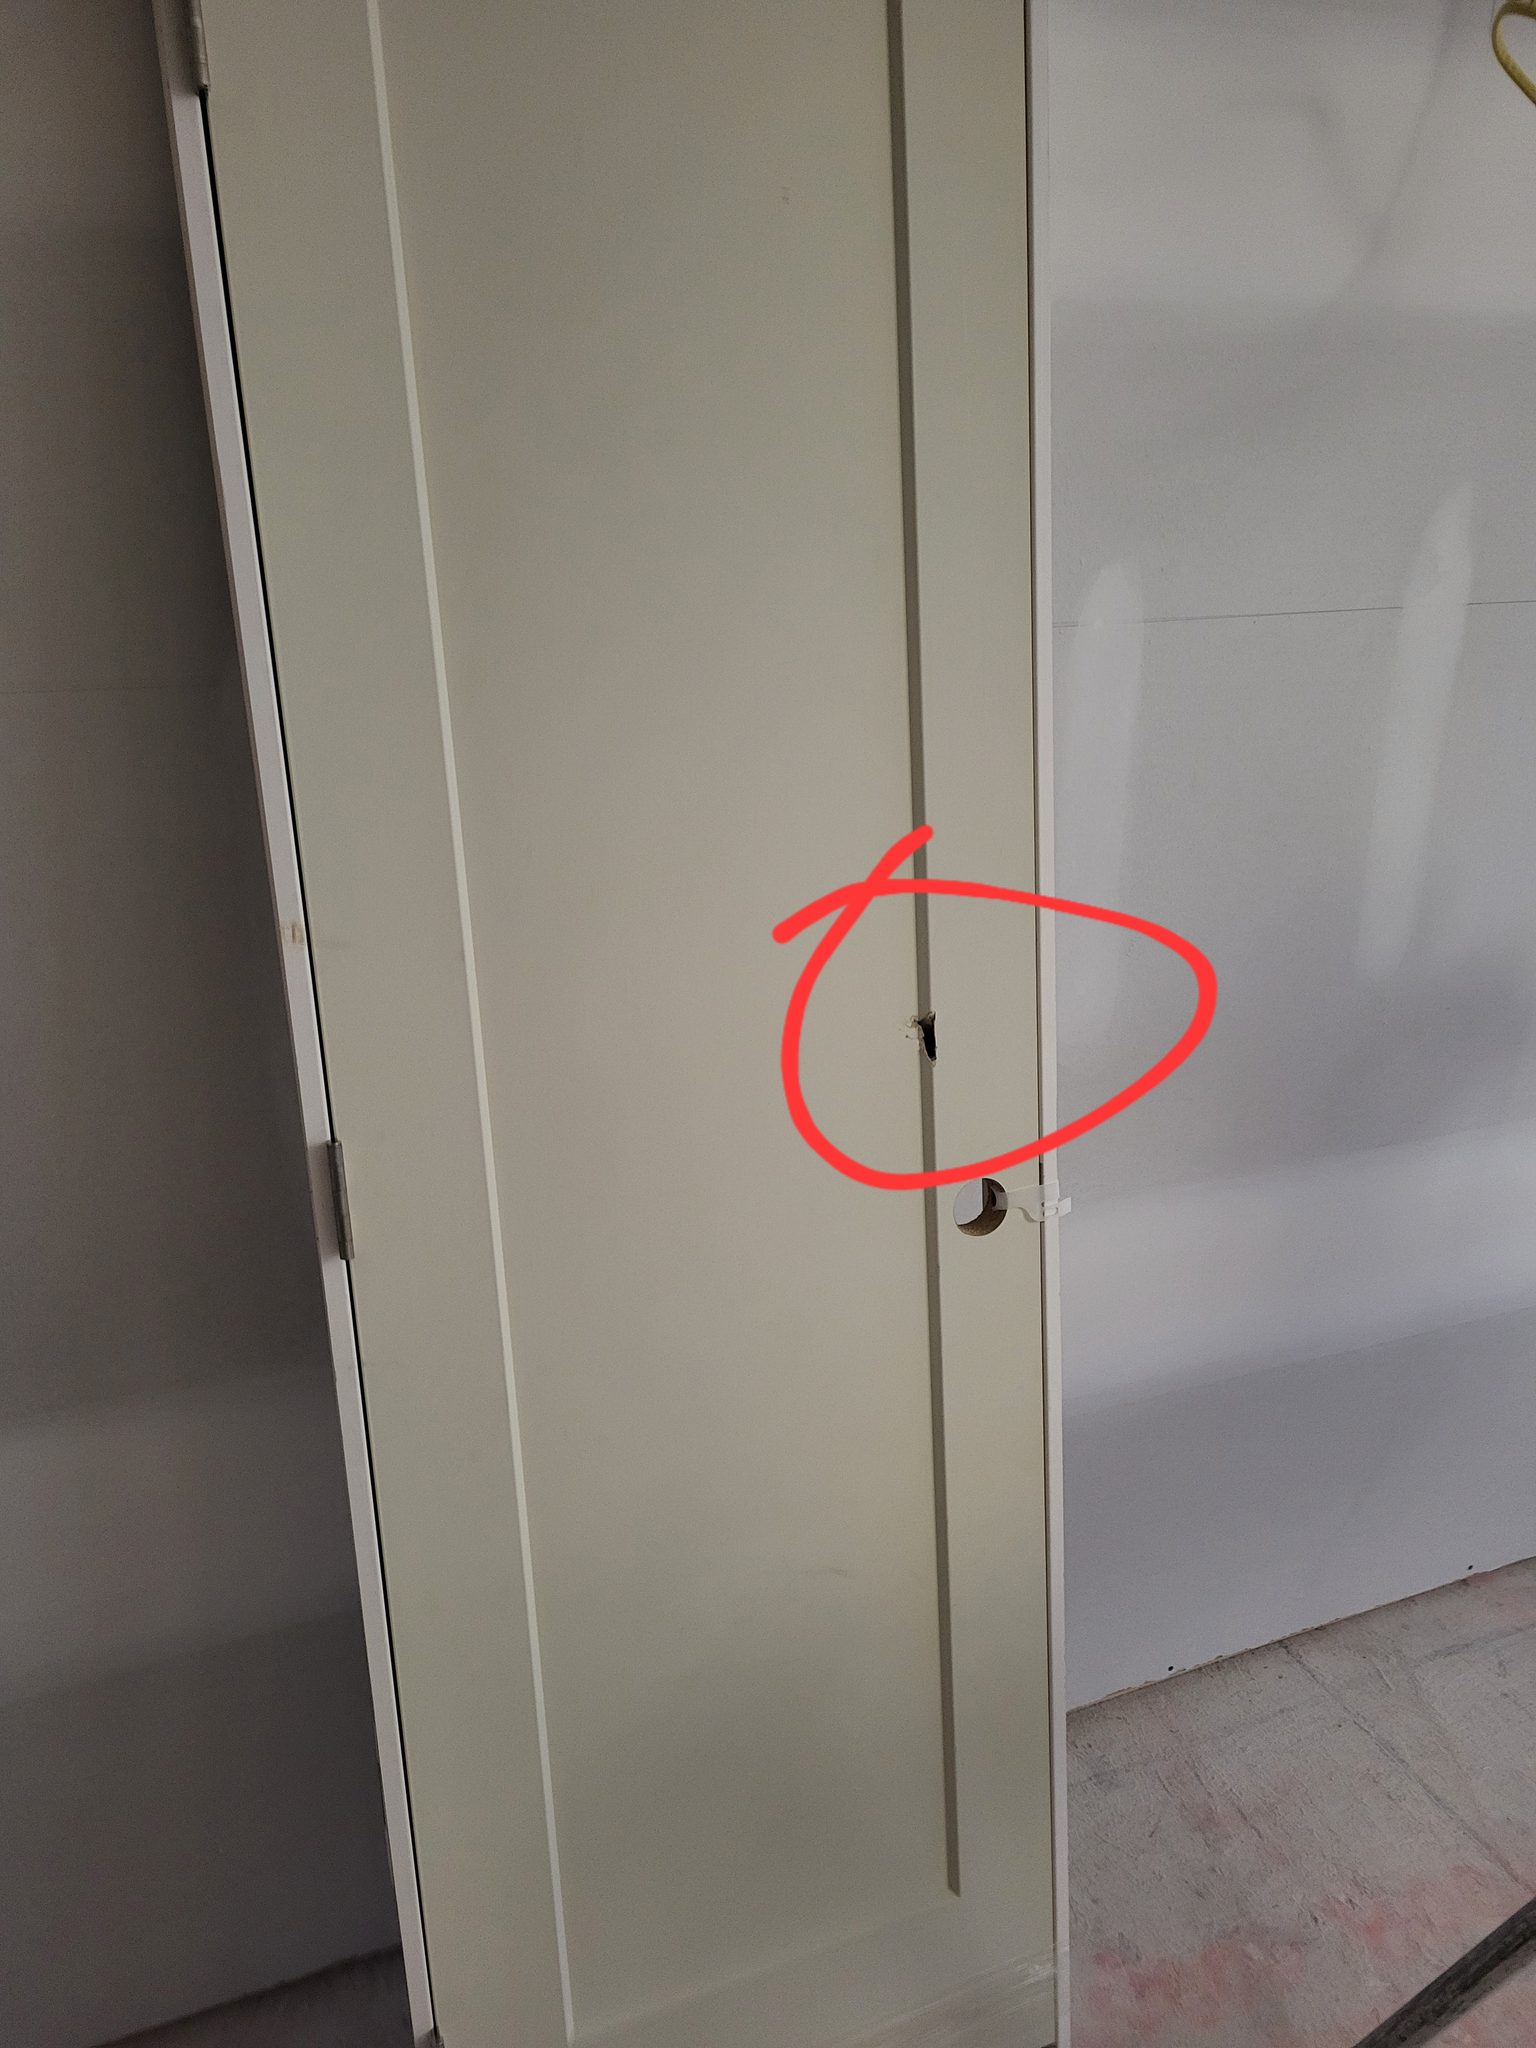
The following photos show examples of this type of work completed in the field. These serve as visual references for quality standards, proper installation techniques, and finished results.
Showing 10 of 10 photos