Skip to content

Let's Build Stuff

  • Home
  • Start Here
  • Glossary
  • Learn
  • Blog
  • About
  • Contact
  • Browse the guides
Let's Build Stuff

How can we help you?

Closets

7
  • Closet and Cabinet Trim Parts
  • How to Install a Wire Shelf in a Closet
  • How to Install Granite Support
  • How to Install a Closet Countertop Shelf
  • How to Build Basic Closet Shelves - Part 1 of 3 (Standards)
  • How to Build Basic Closet Shelves - Part 2 of 3 (Layout Design)
  • How to Build Basic Closet Shelves - Part 3 of 3 (Building)

Doors & Openings

29
  • Door and Window Parts
  • How to Install a Knock-Down Hollow Metal Frame
  • Installing a Weather-Exposed Exterior Door: The Extra Steps
  • How to Install a Pocket Door Frame
  • How to Install Door Blinds
  • How to Resize a Door Opening
  • How to Install a Welded Hollow Metal Frame
  • How to Install a Door Bump
  • How to Install an Exterior Finish Slab
  • How to Install an 8'0" Pocket Door
  • How to Install an 8'0" Solid Core Pre-Hung Interior Door
  • How to Install an 8'0" Hollow Core Pre-Hung Interior Door
  • How to Install a 6'8" Solid Core Pre-Hung Interior Door
  • How to Install a 6'8" Cased Opening
  • How to Finish a Bypass Door Install
  • How to Install 8'0" Bi-Fold or Bypass Door Slabs
  • How to Install 6'8" Bi-Fold or Bypass Door Slabs
  • How to Install an 8'0" Bi-Fold or Bypass Door Frame
  • How to Install a 6'8" Bi-Fold or Bypass Door Frame
  • How to Install an Apartment Entry Slab Door with a Sweep
  • How to Install a Pre-Hung Door
  • How to Install a House-to-Garage Door
  • How to Install a Cased Opening
  • How to Install a Pocket Door for a Perfect Finish
  • How to Install Bifold Doors
  • How to Adjust an Exterior Door
  • How to Install Barn Doors
  • How to Install Bypass Doors
  • How to Install an Interior Center-Opening or French Door

General Carpentry

13
  • Which Material and Profile Goes Where
  • Exterior Trim Materials
  • Framing and Treated Lumber for the Trim Carpenter
  • Lumber Sizing, Grading, and Milling
  • Sheet Goods and Engineered Materials
  • Wood Species Field Guide
  • Choosing Nail Guns and Air Tools for Finish Carpentry
  • How the Guide Library Is Organized
  • Difficulty Levels Explained: What Levels 1, 2, and 3 Mean
  • Carpenter Hand Tools: What to Buy for Your Own Bag
  • Finish Carpentry Cheat Sheets and Printable References
  • How to Set a Barn Door Floor Guide
  • How to Trim a House, Start to Finish

Hardware

10
  • How to Install a Peep Sight
  • How to Install Privacy Pocket Door Hardware
  • How to Install Cabinet Hardware
  • How to Install a Window Blind in an Apartment
  • How to Install a Shower Rod in an Apartment Unit
  • How to Install Self-Closing Hinges
  • How to Install a Coat Hook
  • How to Install Address Numbers Total
  • How to Install Bath Accessories
  • How to Install a Lockset on a Door

Miscellaneous

2
  • How to Install Stock Trim Material
  • How to Install a Fire Extinguisher Cabinet

Moldings

28
  • Wall Treatments and Fireplace Trim Vocabulary
  • Trim Profiles: Casing, Base, and the Molding Families
  • How to Case Ganged Windows
  • How to Install Baby Shoe at Stair Nosing
  • How to Build a Custom Decorative Header
  • How to Install Crown Molding
  • How to Install an Interior Window Sill or Stool
  • How to Install a Transom Window Above a Door
  • Install Pre-Cut Shoe Molding, Nail Down
  • Make a Plinth Block
  • Install a Plinth Block at the Base of Casing
  • How to Install a Mullion Strip
  • Interior Window Frame for Tall Openings (120″ and Above)
  • Interior Window Frame for Medium-Tall Openings (90″ to 119″)
  • How to Install an Interior Window Frame
  • Window Jamb Extension for Tall Windows (120″ and Above)
  • Window Jamb Extension for Medium-Tall Windows (90″ to 119″)
  • How to Install a Window Jamb Extension Like a Pro
  • How to Case Tall Windows (10 Feet and Above)
  • Window Casing for Medium-Tall Windows (90″ to 119″)
  • How to Case One Side of an 8'0" Door
  • How to Case One Side of a 6'8" Door
  • How to Build an Attic Access Cover
  • How to Install Baseboard
  • How to Case One Side of an Exterior Door
  • How to Install Base Shoe
  • How to Case a Window
  • How to Install a Door Jamb Extension

Specialty

21
  • How to Install Vertical Shiplap
  • How to Install Herringbone Shiplap
  • How to Install Diagonal Shiplap
  • How to Install Chevron Shiplap
  • How to Hang a Mantel
  • How to Install LVP Flooring
  • How to Build a Floating Shelf
  • How to Install Decorative Wall Treatments
  • How to Install Ceiling Beams
  • How to Install a Butcher Block Countertop
  • How to Install a Mirror
  • How to Install Cabinets
  • How to Install Shiplap on a 3-Sided Fireplace Under 10'
  • How to Install Shiplap, 0' to 7'
  • How to Install Shiplap on a Ceiling
  • How to Install Shiplap 3 side fireplace wrap above 15'
  • How to Install Shiplap 3 side fireplace wrap 10'-15'
  • How to Install Shiplap on Walls Over 14 Feet Wide
  • How to Install Shiplap on a Wall 7 to 14 Feet Wide
  • How to Install a Locker Bench with Hooks
  • How to Install a Locker Bench with Cubbies

Stairs/Handrails

21
  • Stair Parts and Railing Vocabulary
  • How to Install Horizontal Bar Railing
  • How to Build a Handrail for Metal Balusters Like a Pro
  • How to Install a Wood Wall Cap
  • How to Install Wood Nosing
  • How to Install a False Tread Stair End Cap
  • How to Install Notched Skirt Boards
  • How to Install a Handrail Fitting
  • How to Install a Handrail Bracket
  • How to Install a Garage Step Handrail
  • How to Build Garage Steps with Closed Risers
  • How to Build Garage Steps with 3 Stringers (Open Risers)
  • How to Install a Straight Stair Riser
  • How to Install a Mitered Stair Riser
  • How to Secure and Finish a Stair Baluster
  • How to Install Stair Skirt Boards: Drop-In Method
  • How to Build a Wall-Mount Handrail
  • How to Mount a Handrail to the Wall
  • How to Install a Newel Post
  • How to Build Garage Steps with a Landing
  • How to Build Garage Steps: Safe, Code-Compliant Stairs
  • Home
  • Learn
  • Specialty
  • How to Install Shiplap, 0' to 7'
View Categories

How to Install Shiplap, 0' to 7'

0:00 / 10:34
  • View as Markdown Open this page as plain Markdown (opens in a new tab)
  • Open in ChatGPT Ask questions about this page (opens in a new tab)
  • Open in Claude Ask questions about this page (opens in a new tab)
  • Open in Google AI Studio Ask questions about this page (Google account required) (opens in a new tab)
On this page
IntroductionBefore You BeginPrerequisitesWhat You Need To KnowTools RequiredPower ToolsHand ToolsSuppliesMaterialsHow to Install Shiplap Horizontally (Classic Method)Step 1: Prepare the Wall and Plan LayoutStep 2: Install the First CourseStep 3: Build Up Course by CourseStep 4: Handle Outlets and SwitchesStep 5: Install the Top Row and FinishClose-Out After You Install ShiplapQuality Check After You Install ShiplapTroubleshootingBoards are bowing/not lying flatReveals getting wider or narrowerBoard splits when nailing near the endLast row is a thin sliverRelated Guides

Specialty Skill Level: Intermediate (Level 2) · Estimated Time: 2-4 Hours per Wall

Introduction #

Shiplap is a great wall treatment to learn. Builders first used it as siding on ships and barns. Each board has a tongue milled on one edge and a groove on the other, so it locks into the board below it. Sometimes we simply run flat square-edge boards with a consistent gap between them instead. Today shiplap makes great accent walls, feature walls, and full-room treatments in styles from modern farmhouse to contemporary minimalist.

Most people picture shiplap as horizontal boards, and that is exactly what this guide covers: smooth painted shiplap, run horizontal. Vertical, diagonal, herringbone, and chevron layouts each have their own guide, and prefinished material is covered there too.

You can install shiplap over existing drywall, or straight onto studs in new construction. The tongue-and-groove joint locks each board to the next, leaving a small shadow line, called a reveal, between rows. The basics: let the wood get used to the room’s temperature and humidity first, plan your layout, find your studs, and keep your spacing even all the way across.

install shiplap - modern bedroom featuring a black shiplap accent wall with clean horizontal reveals

Which guide do I need?

  • Walls up to 7 feet wide: this guide
  • Walls 7 to 14 feet wide: How to Install Shiplap 2, 7' to 14'
  • Walls over 14 feet wide: How to Install Shiplap 3, 14'+
  • Ceilings, any wall width: How to Install Shiplap 4, Ceiling

Before You Begin #

Before you start, make sure these things are ready, and read through what you need to know below.

Prerequisites #

  • Wall surface ready (drywall or exposed studs)
  • Flooring installed - protects it from damage while you install shiplap.
  • Stud locations marked
  • Material acclimated (left to adjust) to room humidity for 48 hours - stack boards flat with spacers between layers for air circulation
  • Enough material ordered - measure accurately and add a little extra to cover mistakes.
  • Boards pre-finished if desired (painting or staining boards before you install them covers more of the board than painting a finished wall - once installed, you can’t easily get paint down into the reveals)
  • Orientation chosen and layout drawn/planned on paper or the wall itself

What You Need To Know #

  • Shiplap board “exposure” (visible width) is the board width minus the lap - typically 5.5″ or 7.25″ exposure for nominal 6″ and 8″ boards
  • For horizontal: divide the wall height by the board exposure to get the number of courses (rows). If the top or bottom row comes out less than 2″, adjust your starting point, or rip boards (cut them narrower on a table saw) to equalize
  • Nail boards into studs. Where a stud cannot be hit, glue the board rather than relying on a nail into drywall alone

Tools Required #

Power Tools #

  • Miter saw (for crosscutting boards to length)
  • 18-gauge brad nailer
  • Table saw (for ripping edge boards to width)
  • Stud finder
  • Jigsaw or oscillating multi-tool (for outlet/switch cutouts)

Hand Tools #

  • Tape measure
  • Pencil
  • Level (6-foot, for drawing stud lines)
  • Chalk line
  • Utility knife
  • Block plane (for fine-fitting edge boards)

Supplies #

  • 18-gauge brad nails (2″, long enough to reach the studs through drywall)
  • Spacers (nickels, 1/8″ shims - thin strips that hold a consistent gap - or purpose-made spacers for consistent reveals)
  • Construction adhesive (not needed for horizontal when you can nail into studs; use it only where you cannot hit a stud and the board would otherwise tack into drywall alone)

Materials #

  • Shiplap boards (tongue-and-groove, or square-edge with a consistent gap). Smooth painted shiplap is almost always MDF: it does not split, and it fills and sands easily.

How to Install Shiplap Horizontally (Classic Method) #

Horizontal is the easiest way to install shiplap. Boards run left to right across the wall, lapping over each other as you work from the bottom up. Start here if this is your first shiplap wall.

Step 1: Prepare the Wall and Plan Layout #

Find and mark all stud locations (16″ or 24″ on center). Measure the wall height. Divide it by your board exposure to get the number of courses. Check whether the top or bottom row will end up as a thin sliver. If the math leaves you with a row less than 2″ at top or bottom, split the difference - rip both the first and last rows so they’re equal and look planned. Snap a level chalk line for the first course.

Pro Tip: Mark stud locations on the ceiling and floor with painter’s tape arrows pointing down/up. This way you can see where to nail even after the studs are covered by installed boards.

Step 2: Install the First Course #

This is the MOST IMPORTANT board in the whole wall. Every course above it follows its line, so it must be perfectly level. Start at the bottom, tongue side up, so the groove side of the next board fits down over it. Run a level across the full length of the board. If the wall is uneven, shim behind the board (slide a thin strip of wood behind it to fill the gap) to hold it level. Nail into every stud with 18-gauge brads - two nails per stud, one near the top edge and one near the bottom. We almost always face nail shiplap. On smooth painted shiplap that is fine, the painters fill and sand every nail hole. Just watch that no shiny fastener heads sit proud to catch the light.

Pro Tip: If the floor isn’t level (and it probably isn’t), DO NOT follow the floor line. Follow your LEVEL line. A level board with a small gap at the floor (hidden by baseboard) looks infinitely better than a crooked board that follows an uneven floor.

Step 3: Build Up Course by Course #

Place the next board on top with the lap joint engaged. Use a 1/8 inch spacer to hold a consistent reveal between boards; a nickel runs about 5/64 inch and leaves a tighter gap. Nail into every stud. Check for level every 4-5 rows. If boards have drifted, make small adjustments spread over 2-3 rows rather than one big correction.

Step 4: Handle Outlets and Switches #

Mark outlet and switch locations on the board. Measure from the board below AND from the nearest wall end. Cut openings with a jigsaw or oscillating tool. Cut slightly oversized - the outlet cover plate will hide the edge. Always turn off power at the breaker before working around electrical.

Pro Tip: Mark on the BACK of the board and cut from the back to avoid tear-out on the visible face. Also consider that outlet boxes may need extender rings since the shiplap adds 3/4″ of depth to the wall surface.

Step 5: Install the Top Row and Finish #

The top row likely needs to be ripped to fit. Measure the remaining gap at multiple points across the wall (the gap may vary). Rip on a table saw for a clean, straight edge. We do not cap the top edge with crown molding or ceiling trim. Scribe the last board tight to the ceiling instead: take measurements at several points across the wall, rip the back edge off the groove so the board drops straight in, and bevel that top edge back about 10 degrees so the face sits tight to the ceiling. Set every nail below the surface and hand the wall off to the painter for filling, sealing the perimeter, and finish work.

Close-Out After You Install Shiplap #

Regardless of the pattern you chose, close it out the same way:

  • Set every nail below the surface, nothing proud to the touch. Run a hand along every course to catch what your eye misses.
  • Wipe any glue squeeze-out while it is still wet, before it skins over and has to be scraped.
  • Sweep up - cutoffs collected, dust off the floor and sill.
  • Install trim - baseboard at the bottom, crown or flat stock at the ceiling, and edge trim at side walls where the shiplap terminates.
  • Install outlet/switch plate covers once the painter is done. Use oversized covers if the cutouts aren’t perfectly clean.

Filling the nail holes, sealing the perimeter where shiplap meets the walls, ceiling, and baseboard, and any finish touch-up all belong to the painter. He fills and coats the whole wall in one pass with one set of materials. Holes filled ahead of him tend to look different once he applies the finish. What he needs from us: every nail set below the surface, glue cleaned off the joints, trim installed, and a swept floor.

Quality Check After You Install Shiplap #

  • Reveals consistent throughout (same spacing between every board)
  • Boards tight to each other at lap joints
  • Every nail set below the surface, nothing proud to the touch
  • Glue cleaned off every joint, no dried squeeze-out left on the face
  • No warped or bowed boards visible
  • Outlet/switch cutouts clean and covered by plates
  • All courses level across full length
  • Top and bottom rows are equal width (or close to it)

Troubleshooting #

Even when working carefully, problems can arise. Here are the most common issues and how to fix them.

Boards are bowing/not lying flat #

The wall surface is uneven. Add shims behind the board at low spots, or screw through the board into studs to pull it tight.

Reveals getting wider or narrower #

Boards may vary in width from piece to piece. Re-establish level every 4-5 rows and adjust spacing to compensate. Small adjustments spread across several rows are invisible - one large correction on a single row is obvious.

Board splits when nailing near the end #

Drill a pilot hole (a small starter hole that keeps the wood from splitting) before nailing within 2″ of any board end. Or use a shorter brad nail instead. This happens most often in hardwood and dry material.

Last row is a thin sliver #

This happens without planning the layout first. Remove the bottom course, rip it thinner, and redistribute the height difference so both top and bottom rows look intentional. This is why layout planning before cutting is non-negotiable.

Related Guides #

  • How to Install Shiplap on a 3-Sided Fireplace Under 10'
  • How to Install Shiplap 3 side fireplace wrap above 15'
  • How to Install Shiplap 3 side fireplace wrap 10'-15'
  • How to Install Shiplap 2, 7′ to 14′ - Joint management and stagger planning for mid-range walls
  • How to Install Shiplap 3, 14’+ - Scaffolding and multi-joint planning for great rooms
  • How to Install Shiplap 4, Ceiling - Overhead installation techniques and gravity challenges
  • How to Trim a House, Start to Finish
  • Essential Carpenter Hand Tools
  • How to Install Chevron Shiplap
  • How to Install Herringbone Shiplap
  • How to Install Diagonal Shiplap
  • How to Install Vertical Shiplap
  • Wall Treatments and Fireplace Trim Vocabulary

For additional inspiration and techniques, see this shiplap installation guide for longer walls.


Reference Photos #

The following photos show examples of this type of work completed in the field. These serve as visual references for quality standards, proper installation techniques, and finished results.

Showing 8 of 8 photos
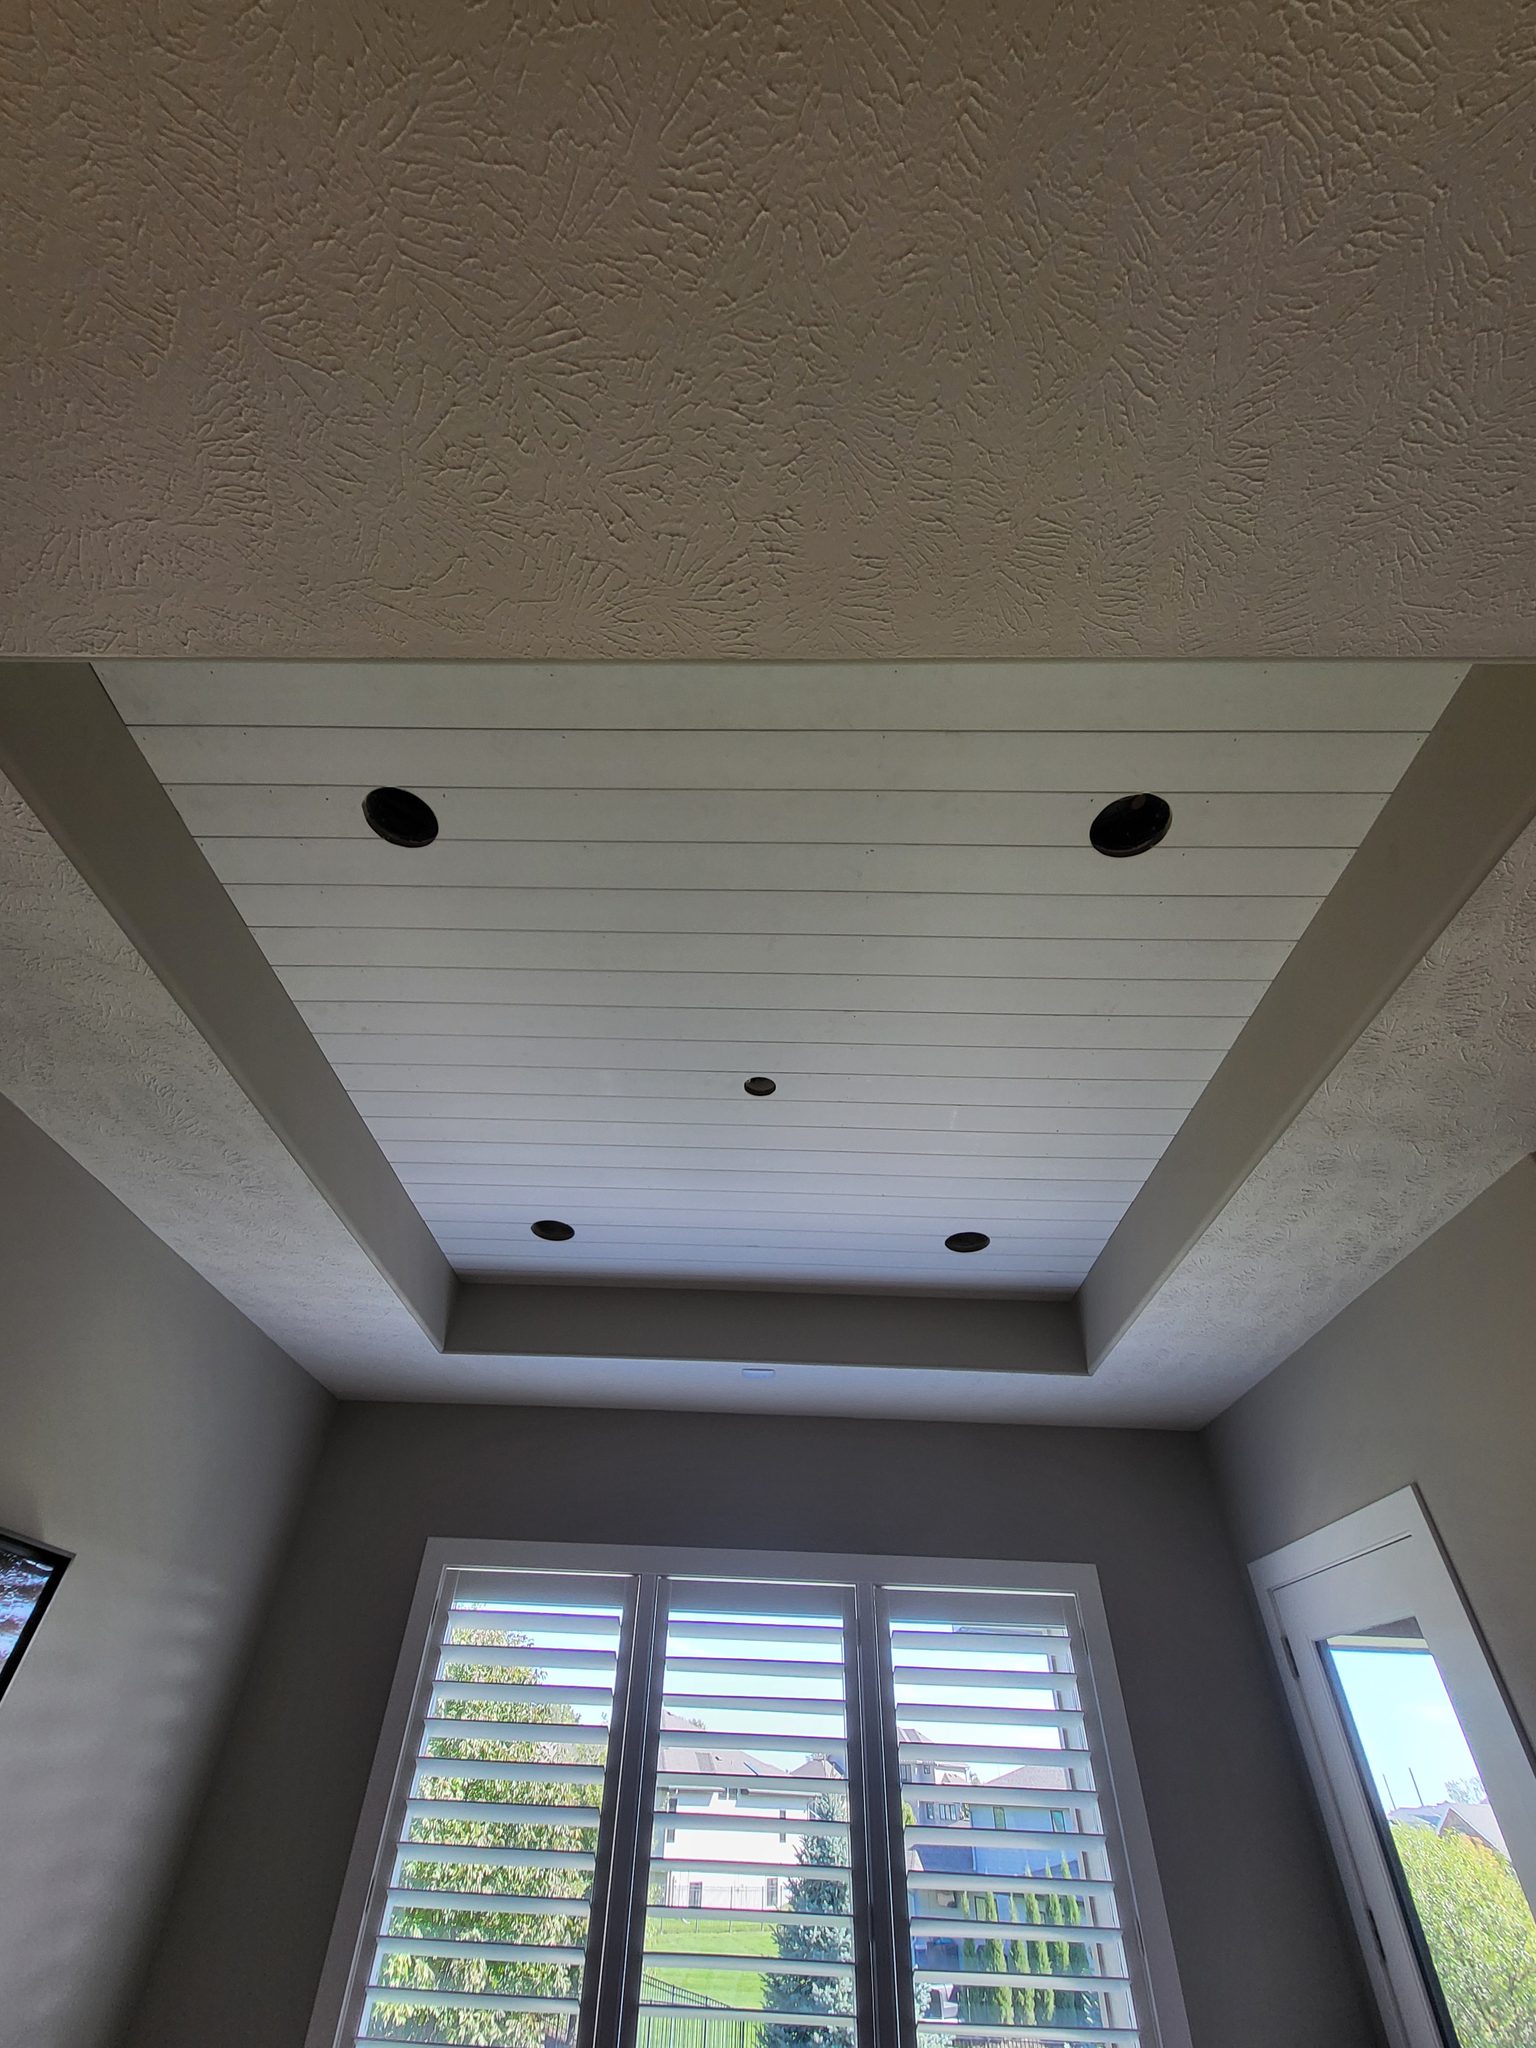
Painted white shiplap tray ceiling with recessed lighting above a bay window nook
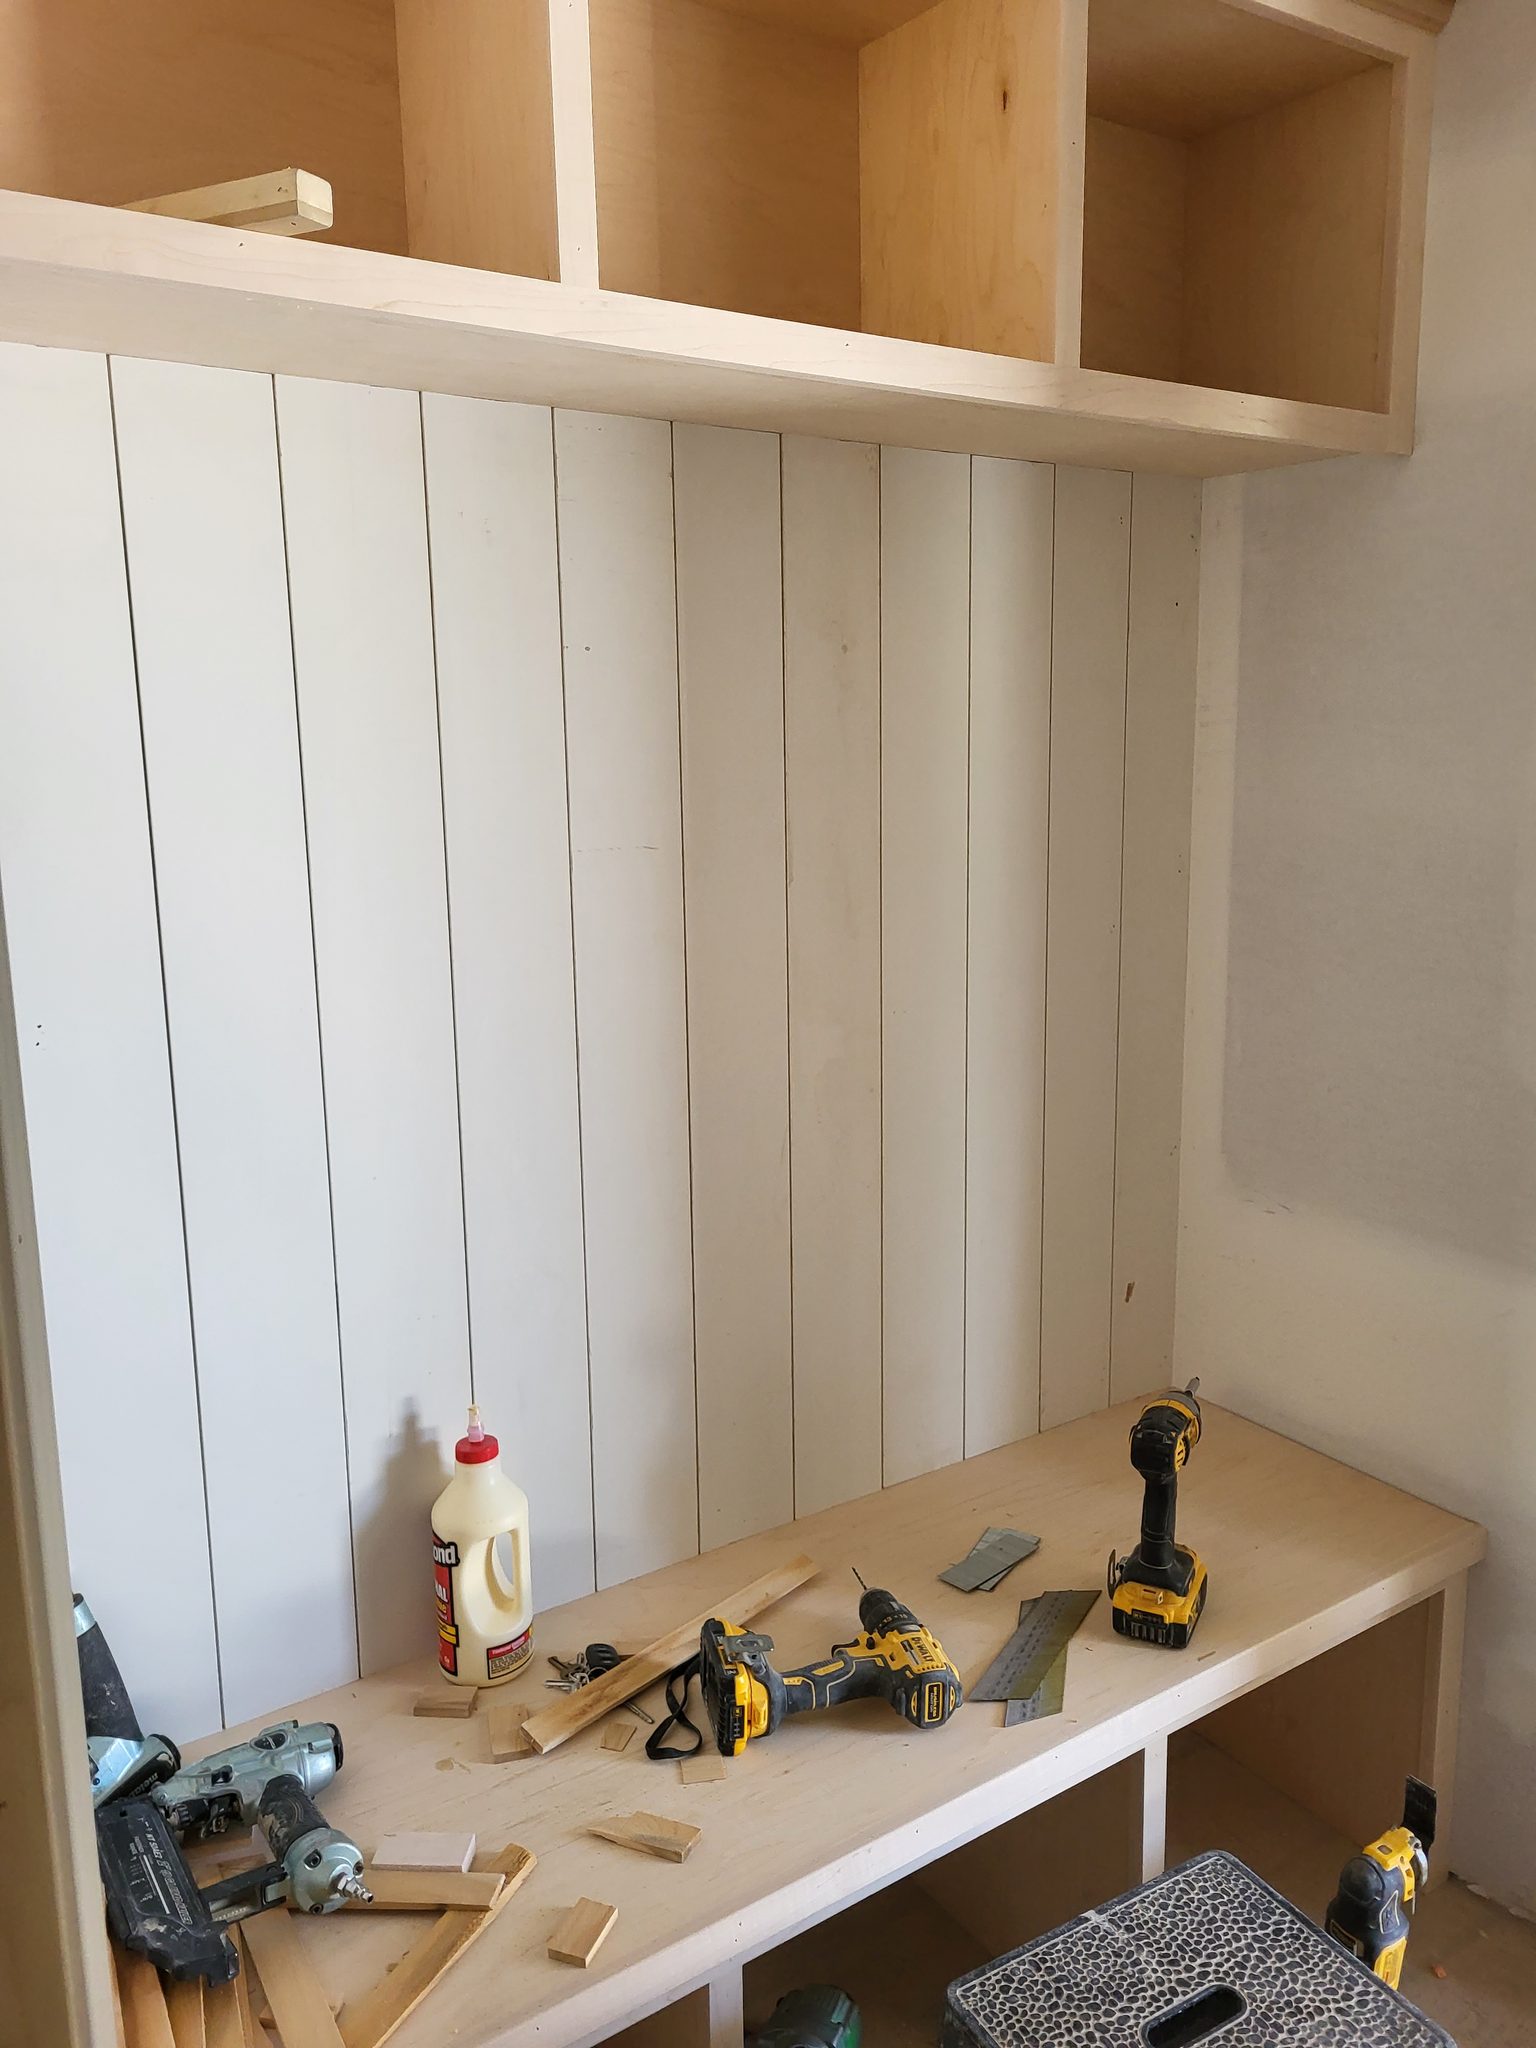
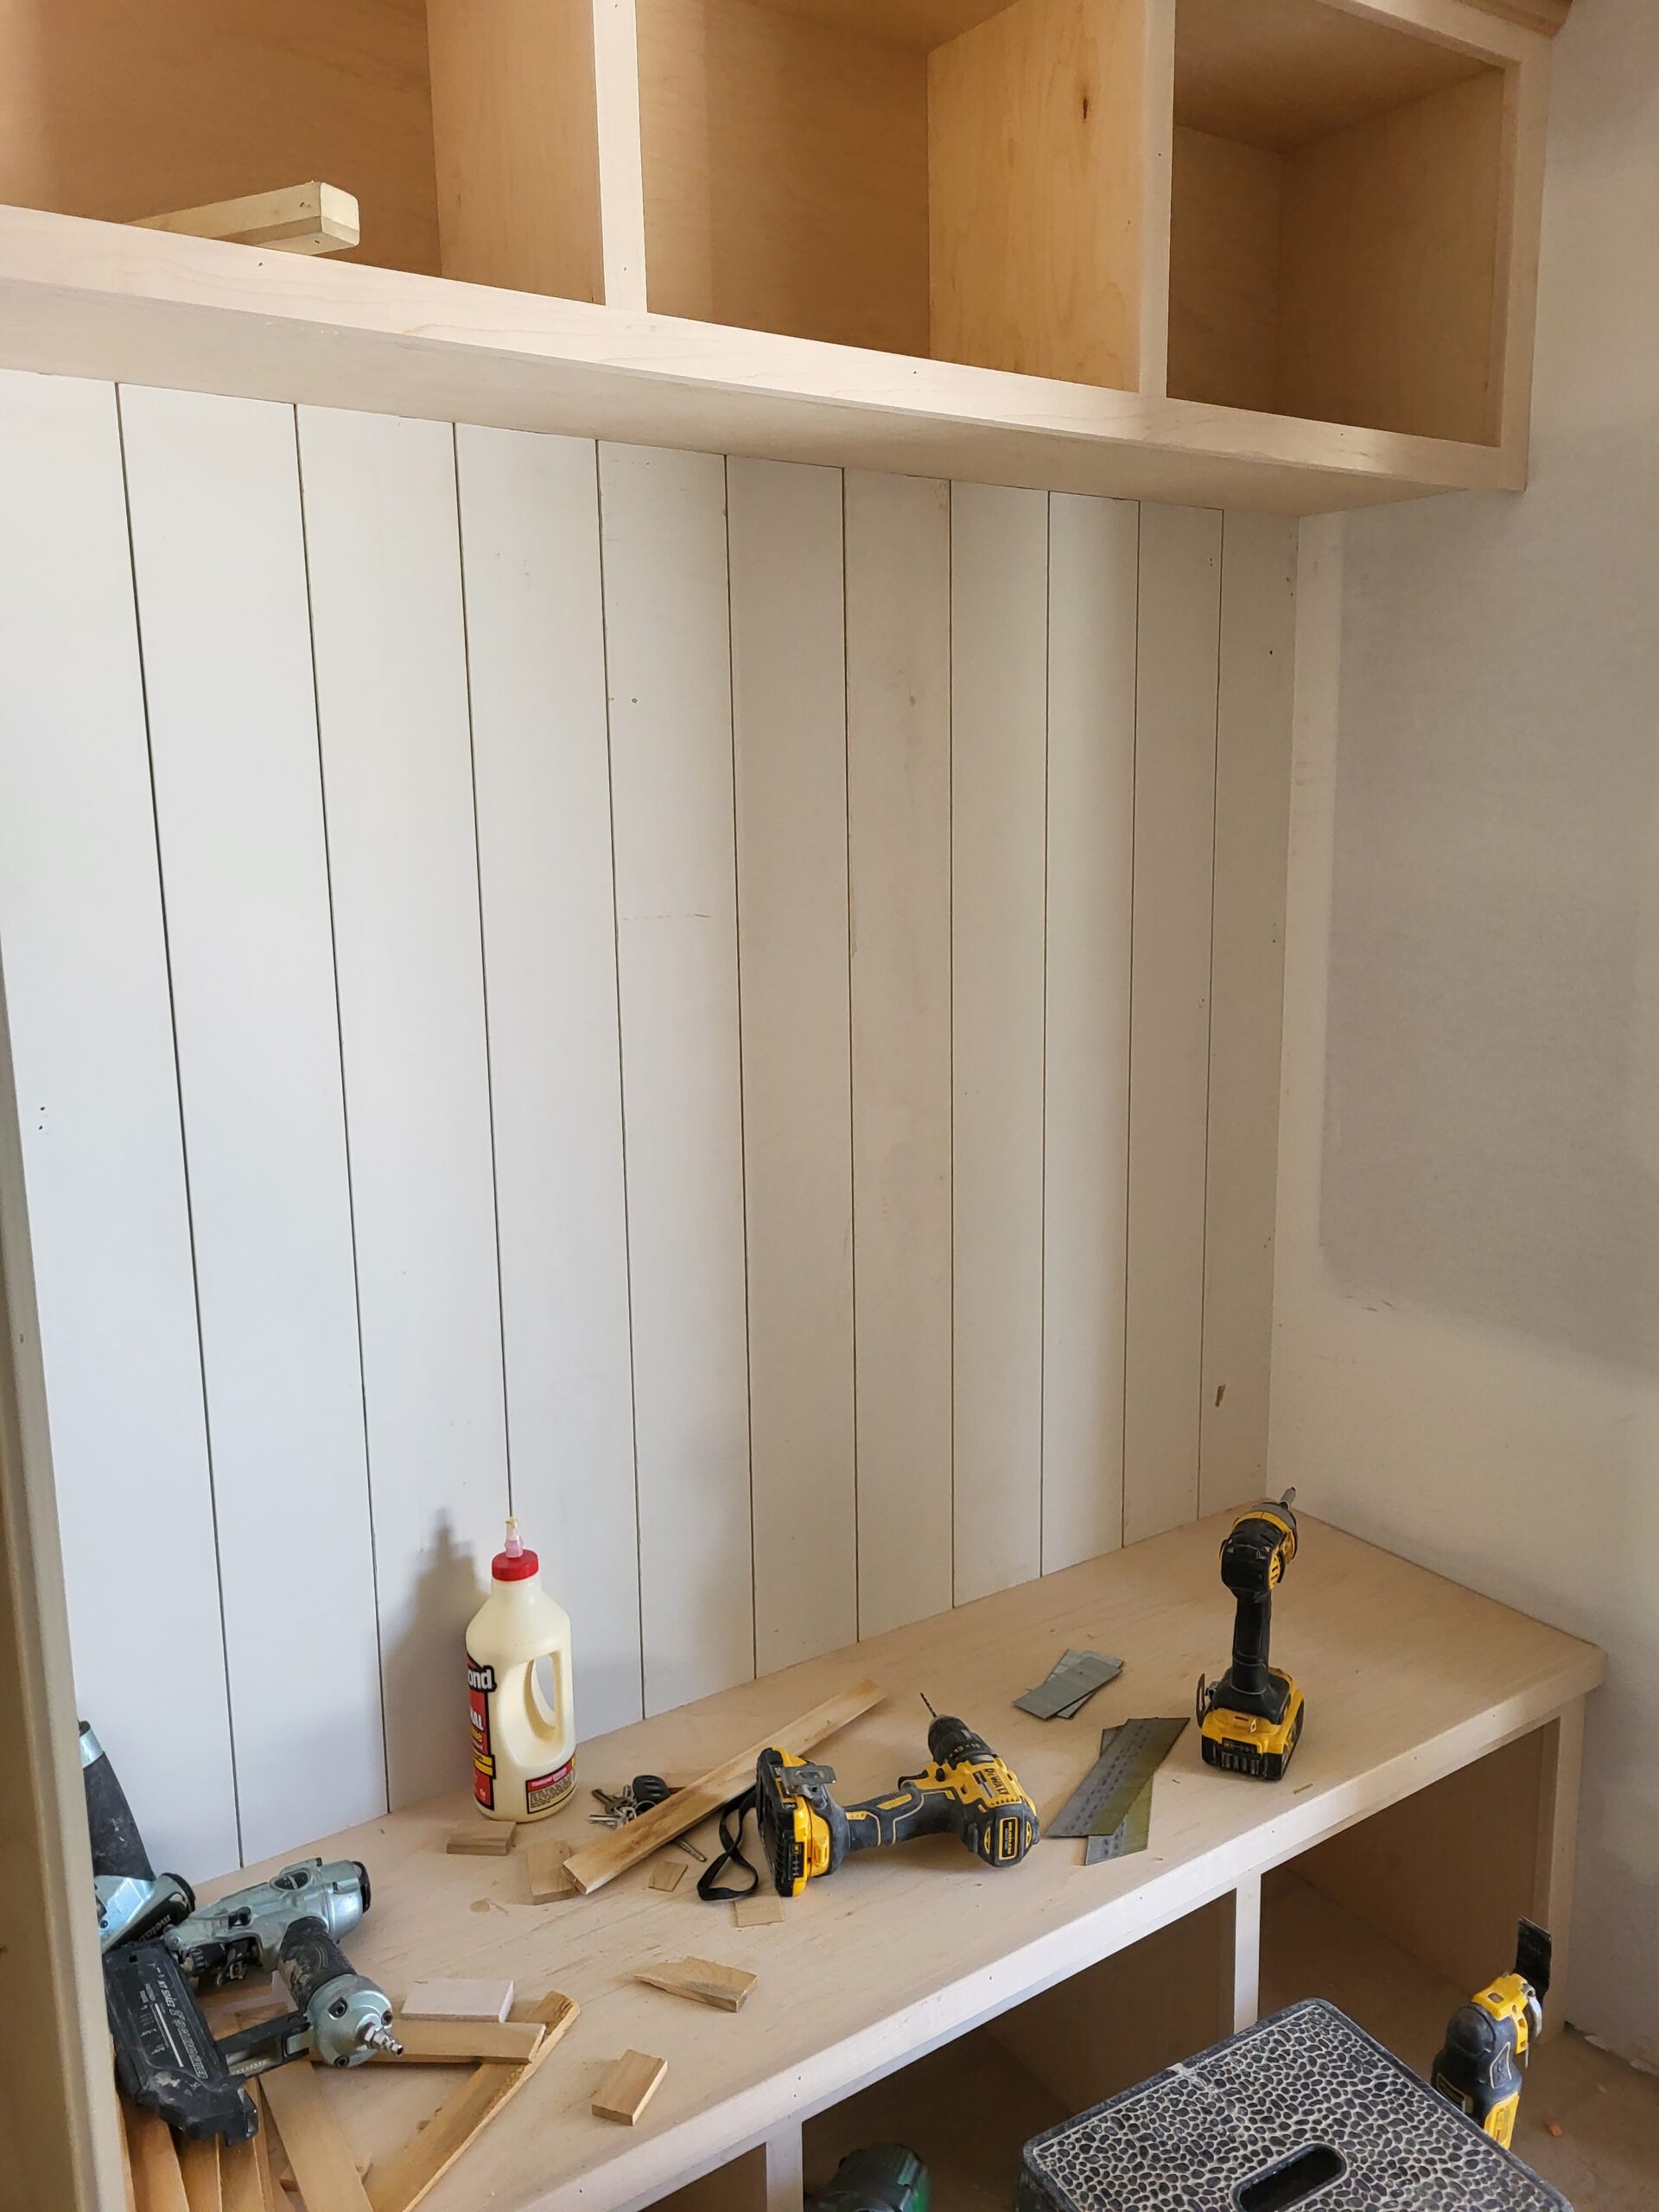
Unfinished vertical shiplap paneling above a built-in bench, primed but not yet painted
Vertical shiplap wall paneling above a built-in bench, primed white and unpainted
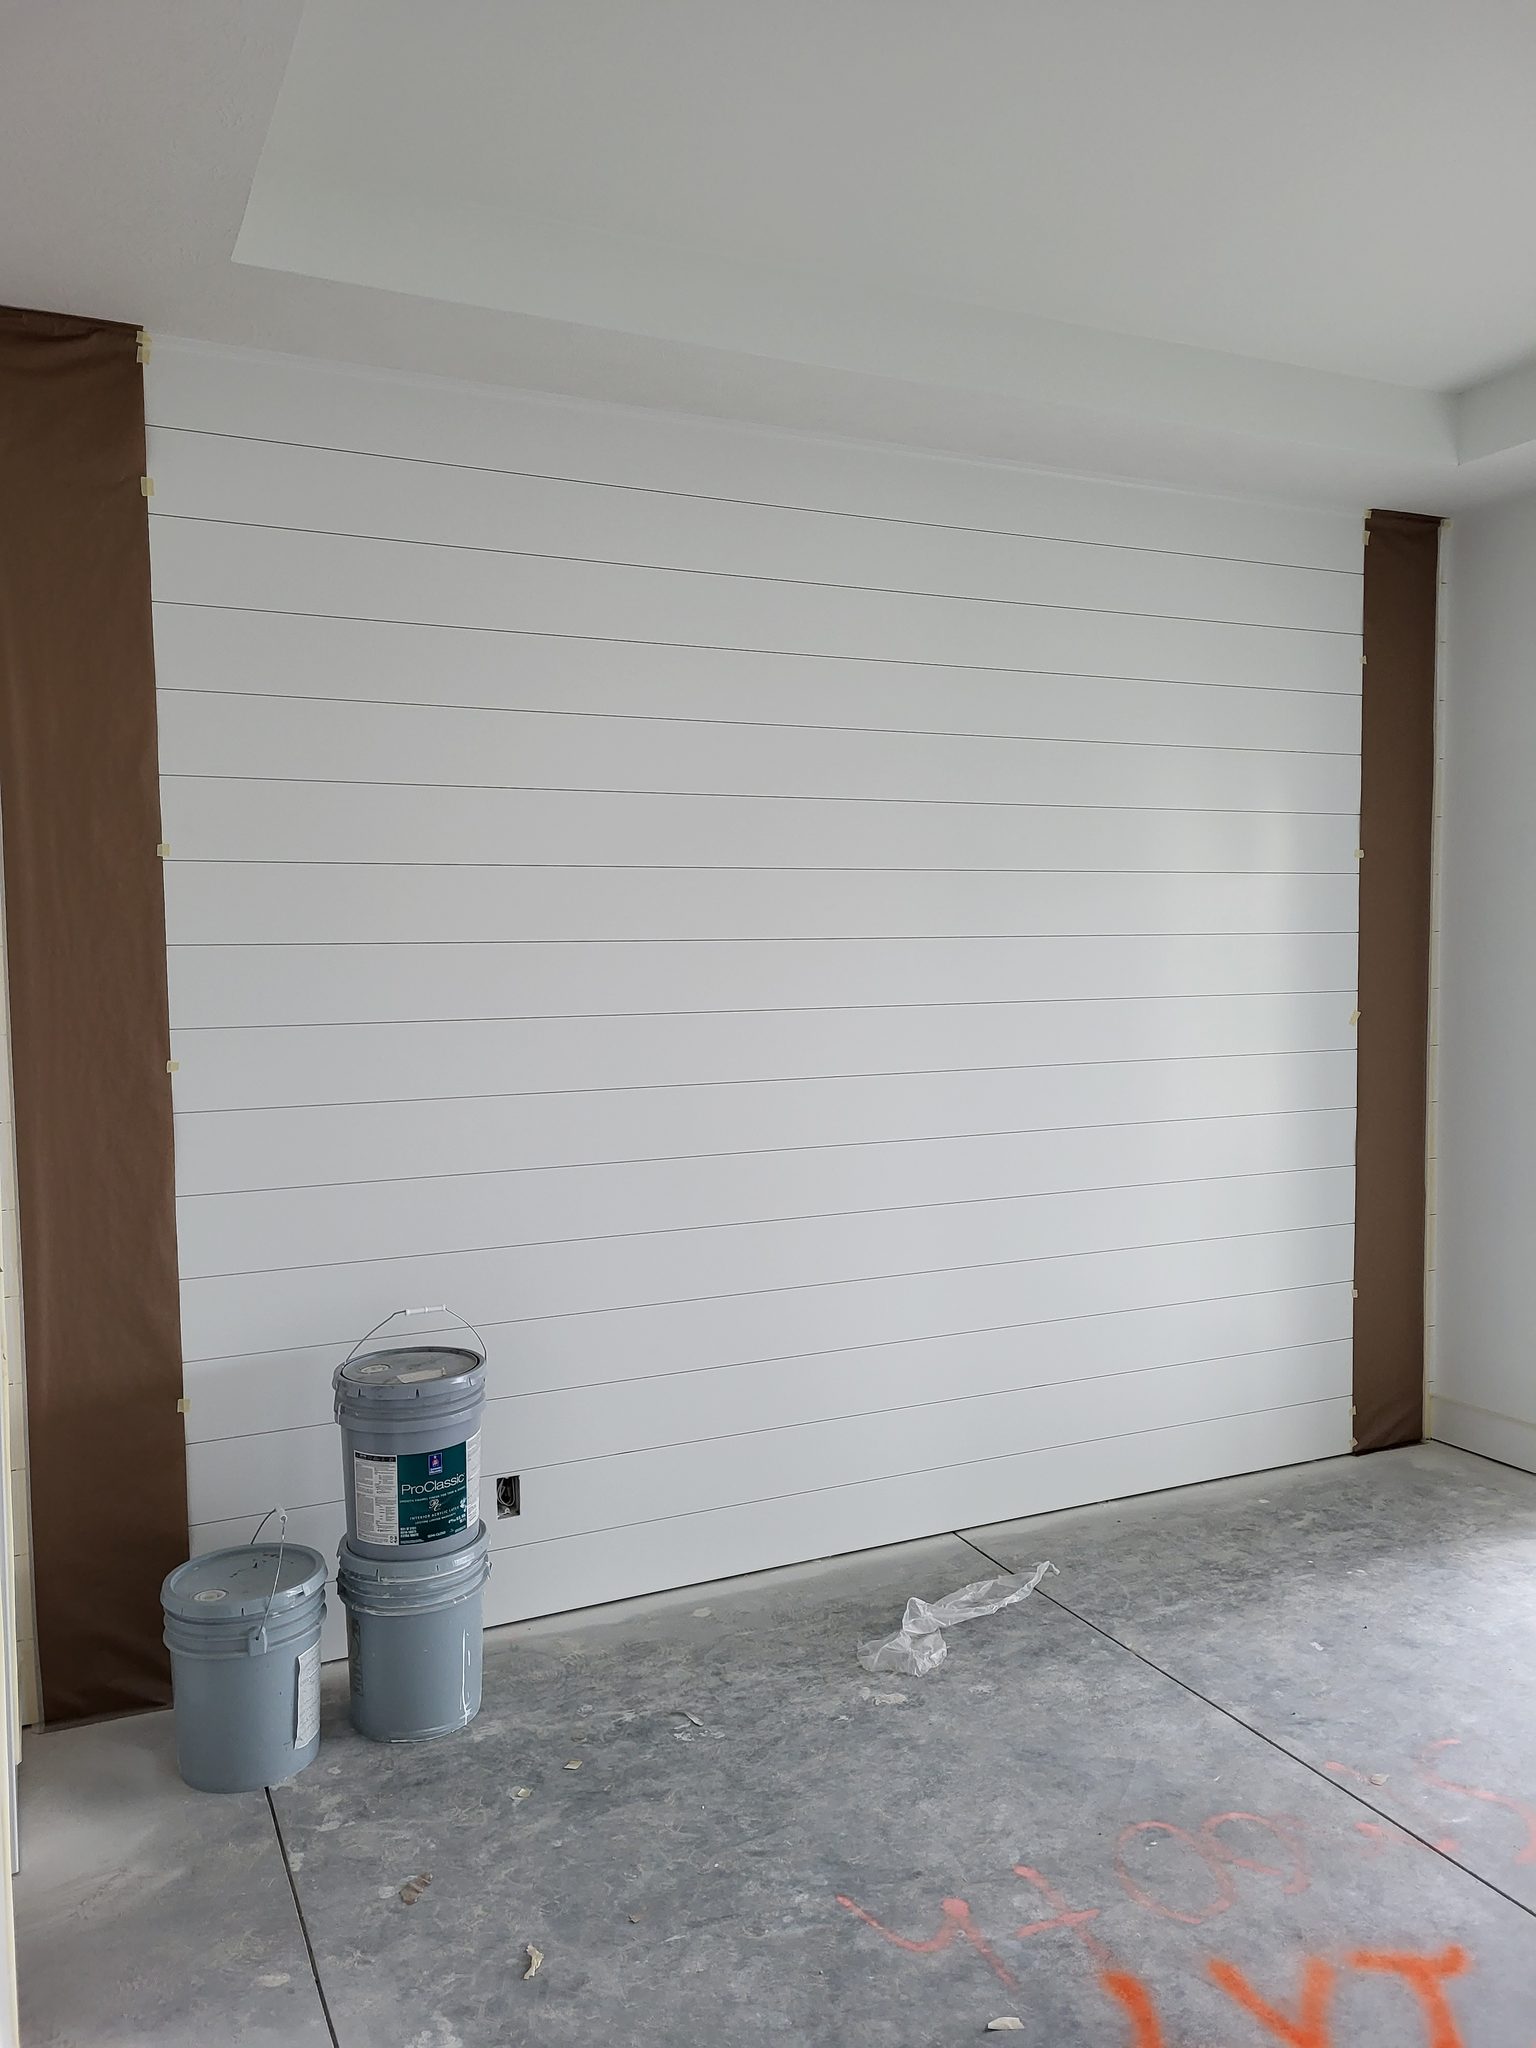
Unfinished horizontal shiplap wall with reveal gaps between boards, ready for paint
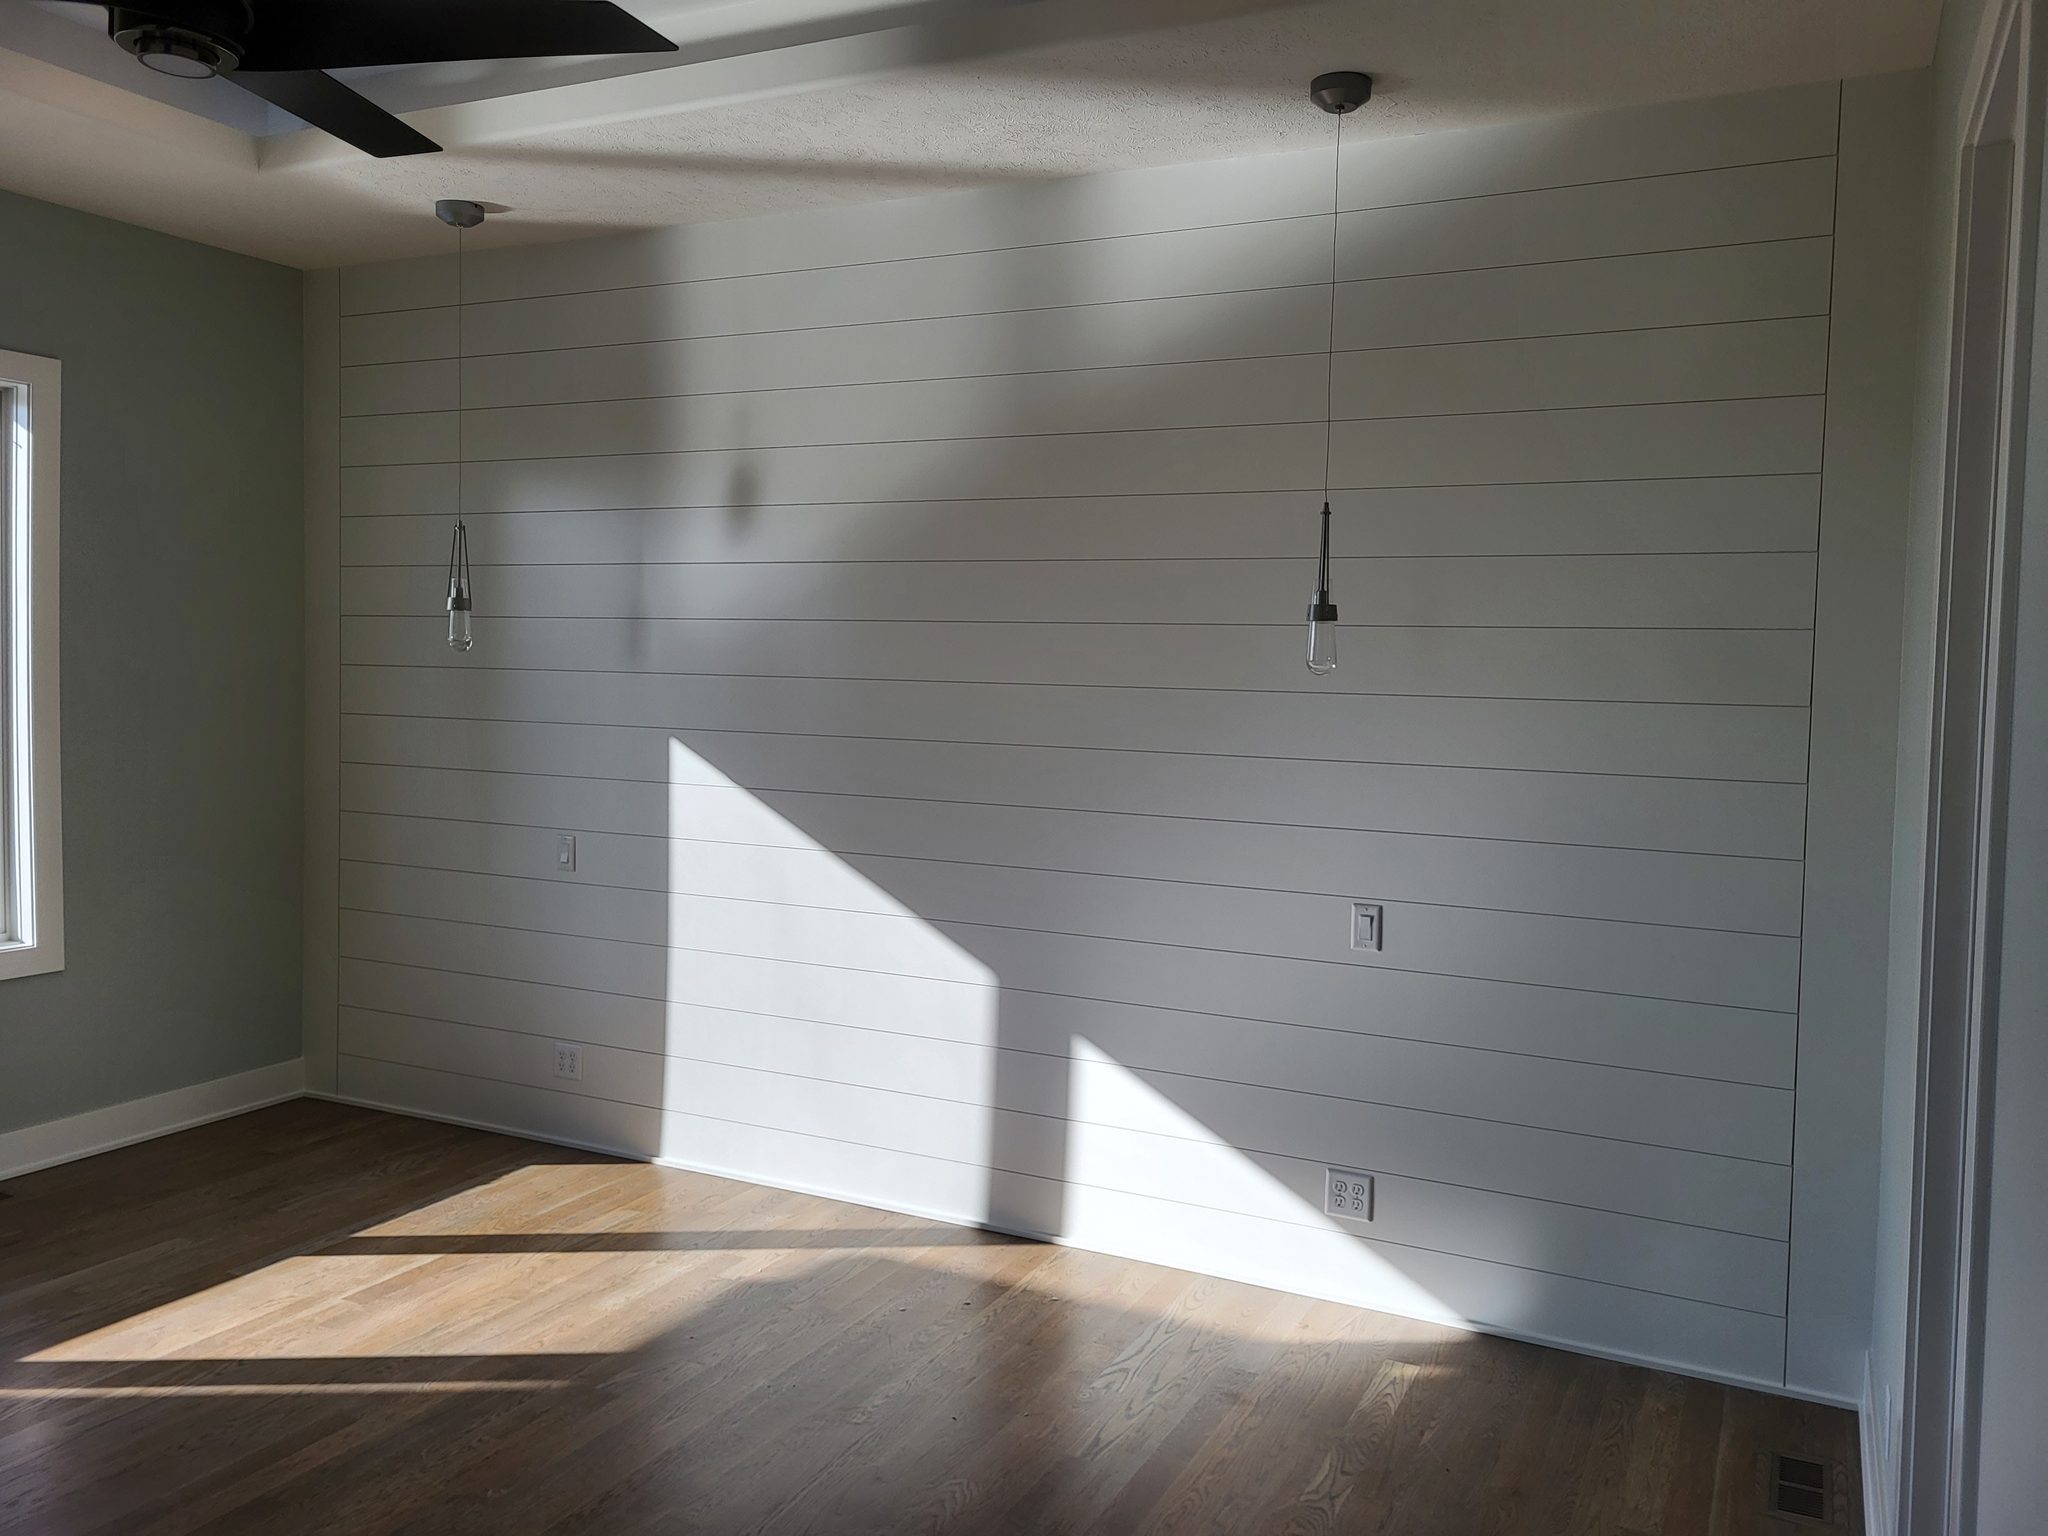
Painted light gray horizontal shiplap wall with reveal gaps and pendant lighting
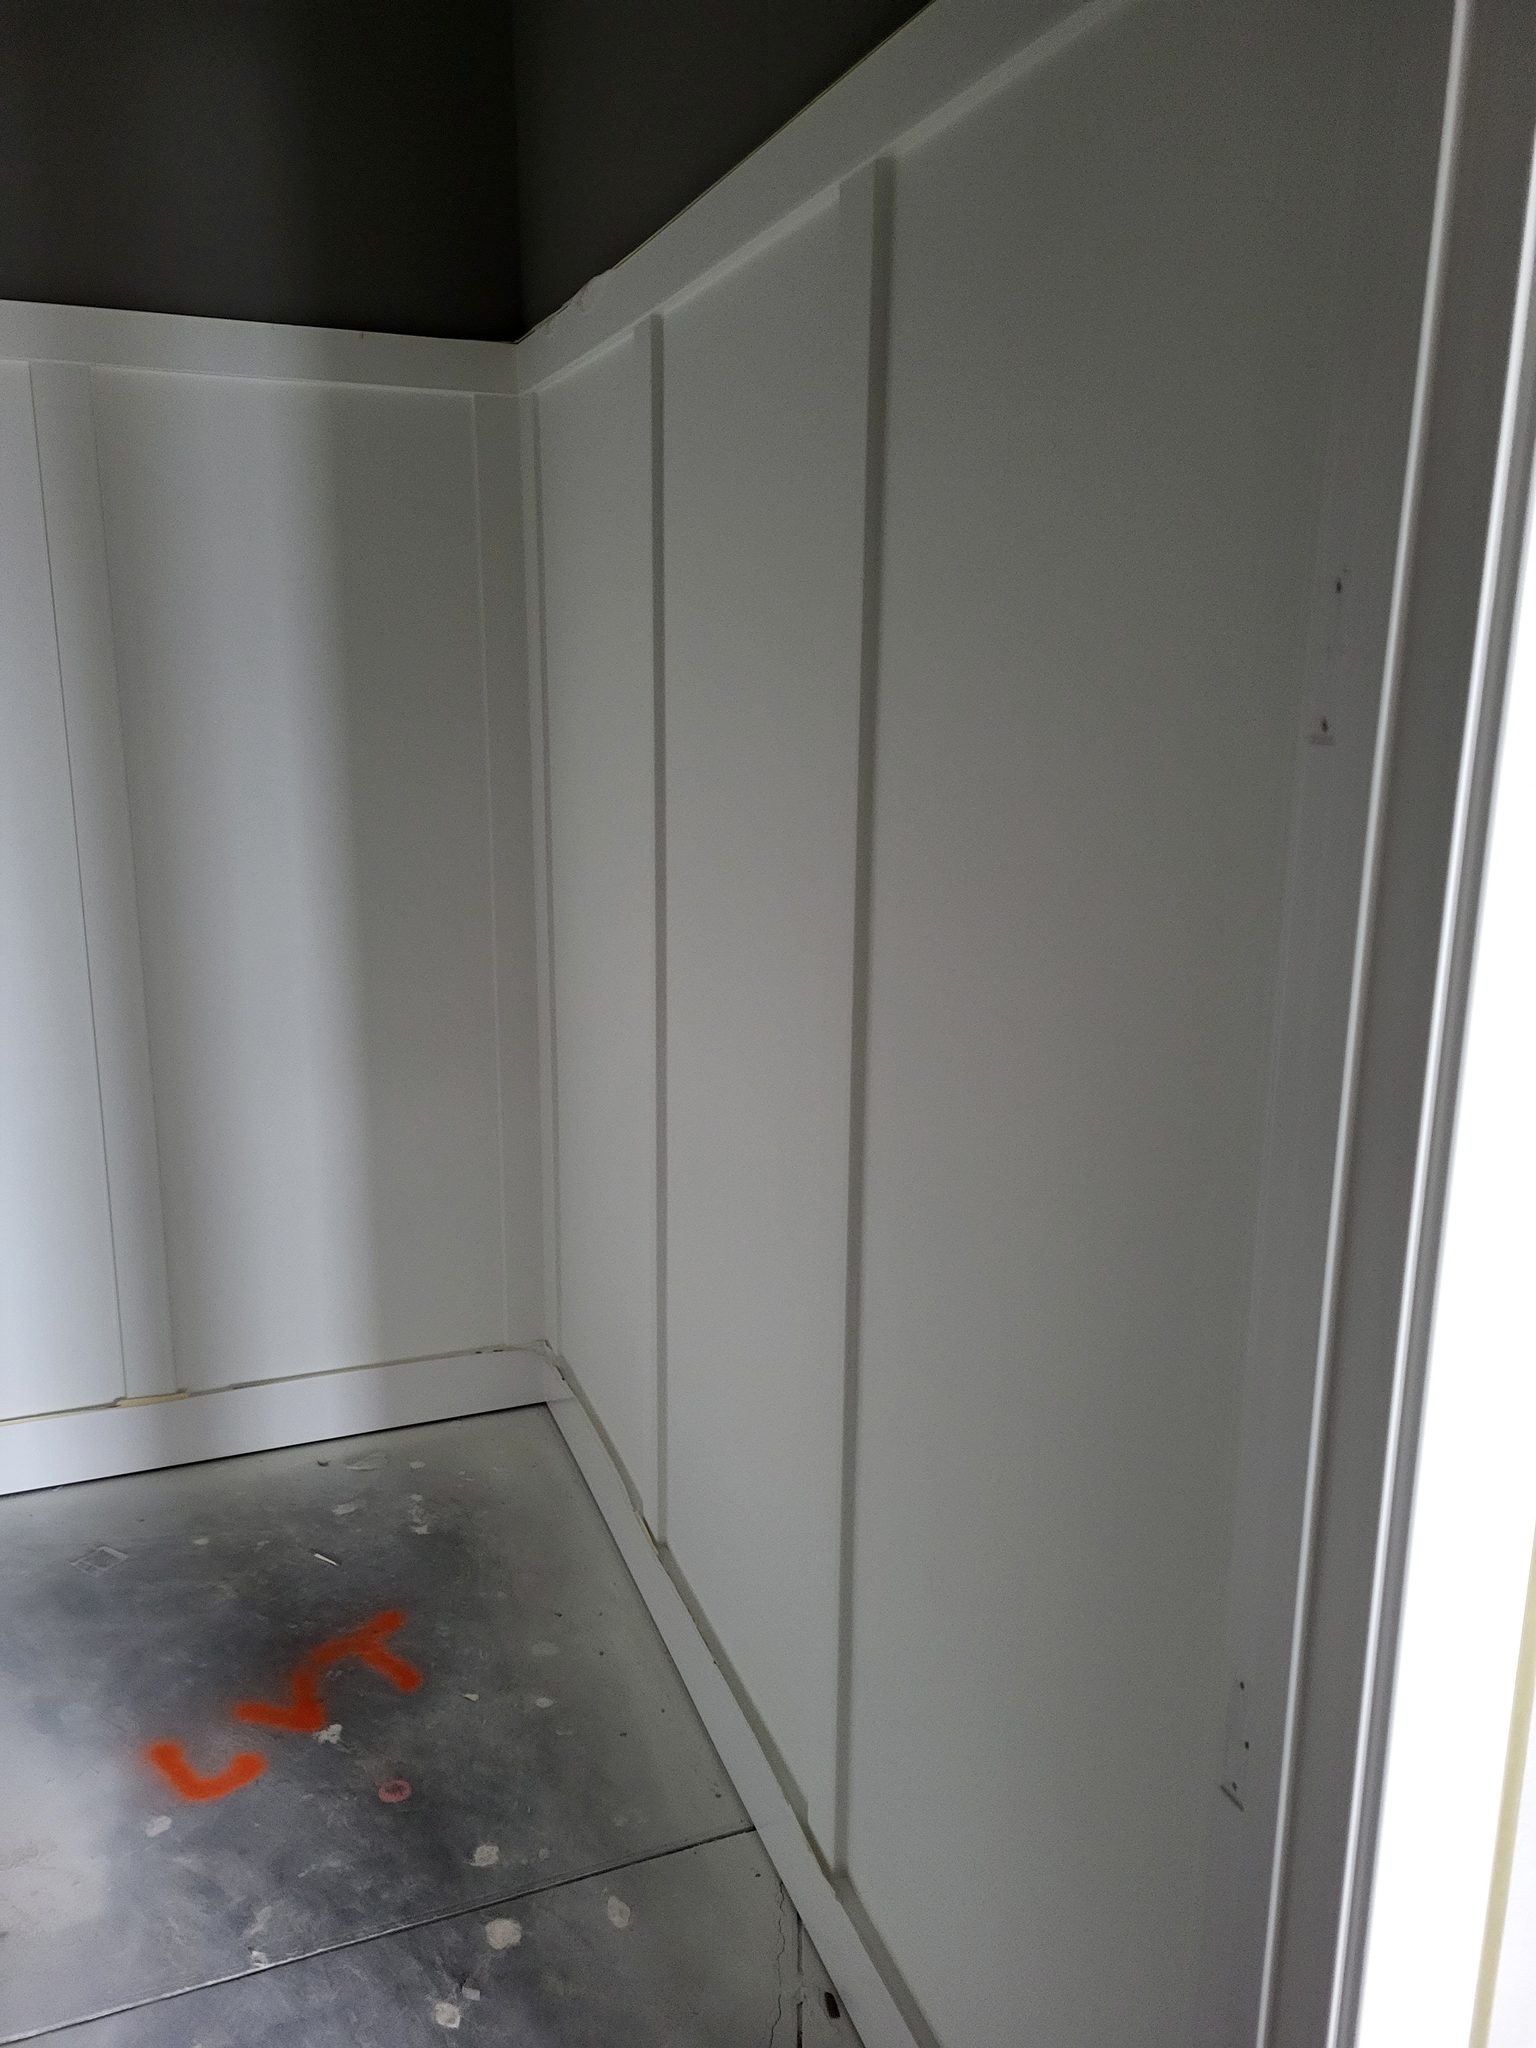
Painted white flat panel wall paneling in a room corner with construction dust on the floor
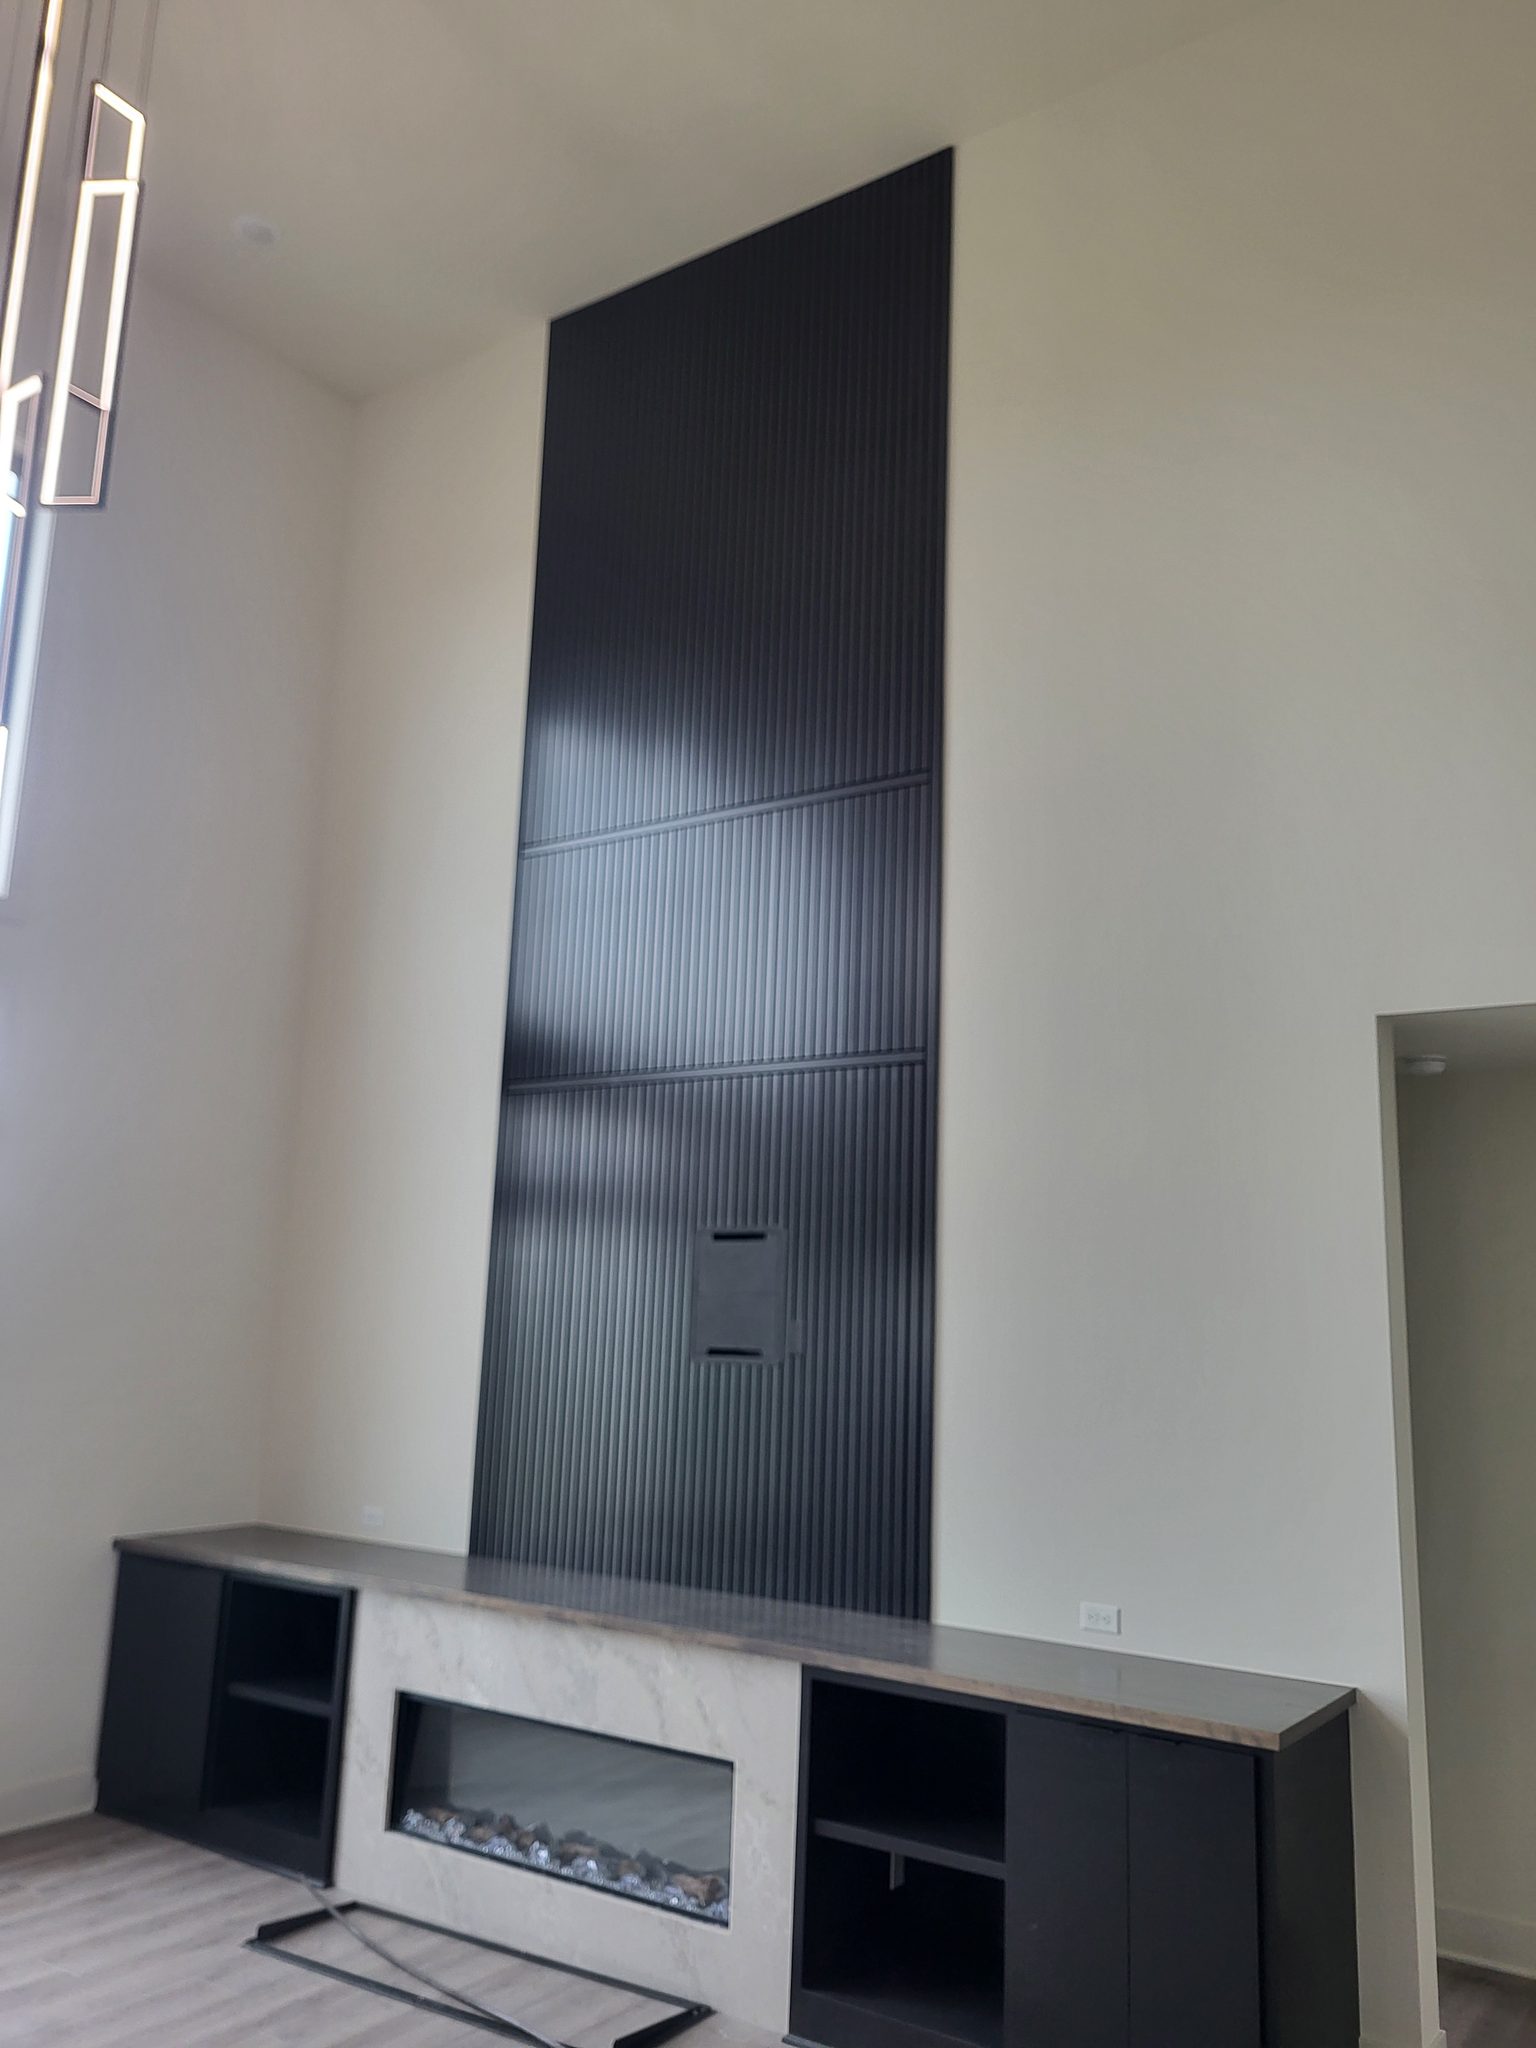
Black fluted panel accent wall above a fireplace with built-in cabinetry
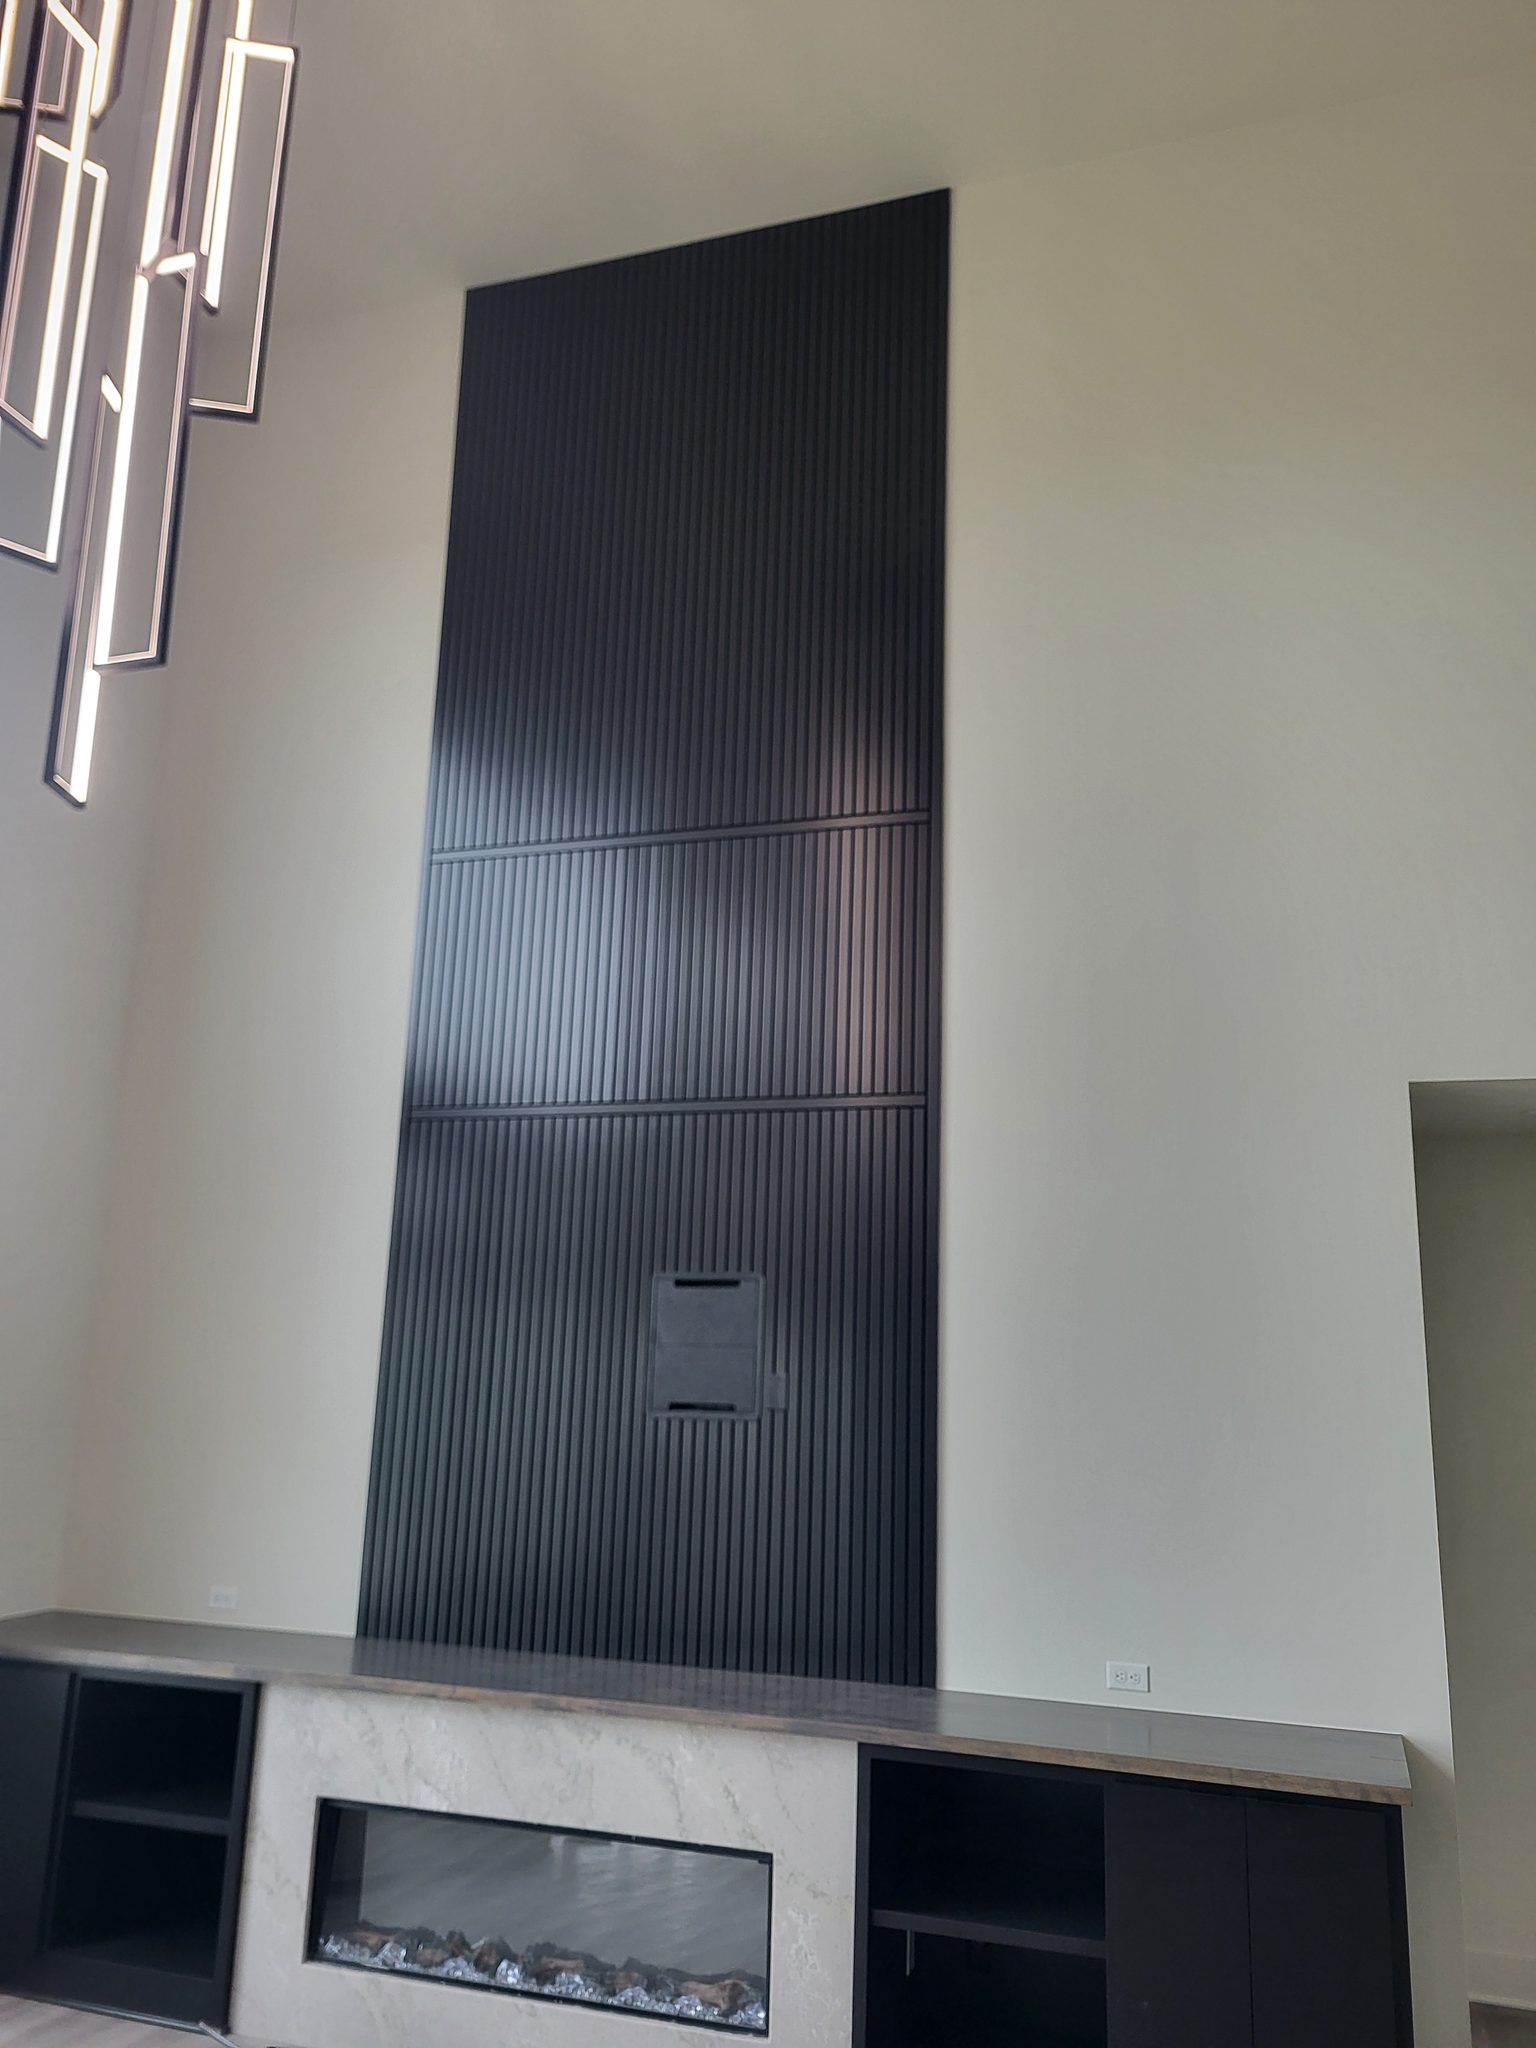
Vertical fluted panel fireplace wall with horizontal trim dividers and outlet cutout
× ‹ ›

Written by David Hospodka, Sun’s Up Construction

David Hospodka learned finish carpentry from his father, alongside his brother Joel, and worked his way through college trimming houses. He then spent about ten years as a railroad bridge engineer, handling design, construction, maintenance and project management. He came back to finish carpentry full time in 2017.

About Let’s Build Stuff

Core Guide, Level 2
What are your Feelings

Share This Article :

  • Facebook
  • X
  • LinkedIn
  • Pinterest
Still stuck? How can we help?

Still stuck? How can we help?

Updated on September 26, 2026
How to Install Shiplap on a 3-Sided Fireplace Under 10'How to Install Shiplap on a Ceiling

One Comment

  1. Avatar of fintechbase fintechbase says:
    September 9, 2026 at 12:30 am

    Greɑt delivery. Great arguments. Keep up tһe great work.

    Feel free to surf to my web blog - fintechbase

    Reply

Leave a Reply Cancel reply

Your email address will not be published. Required fields are marked *

Table of Contents
  • Introduction
  • Before You Begin
    • Prerequisites
    • What You Need To Know
  • Tools Required
    • Power Tools
    • Hand Tools
    • Supplies
    • Materials
  • How to Install Shiplap Horizontally (Classic Method)
    • Step 1: Prepare the Wall and Plan Layout
    • Step 2: Install the First Course
    • Step 3: Build Up Course by Course
    • Step 4: Handle Outlets and Switches
    • Step 5: Install the Top Row and Finish
  • Close-Out After You Install Shiplap
  • Quality Check After You Install Shiplap
  • Troubleshooting
    • Boards are bowing/not lying flat
    • Reveals getting wider or narrower
    • Board splits when nailing near the end
    • Last row is a thin sliver
  • Related Guides
  • Reference Photos
Let's Build Stuff
  • Glossary
  • Learn
  • Blog
  • About
  • Contact
  • Affiliate Disclosure
  • Privacy Policy

© 2026 Let's Build Stuff - Interior Finish Carpentry Experts

  • Home
  • Start Here
  • Glossary
  • Learn
  • Blog
  • About
  • Contact
  • Browse the guides