On this page
What Changes for Windows 90 to 119 Inches Tall #
Windows in the 90″ to 119″ range bring a few real challenges. Here's what's different about a tall window casing job:
- You need a step stool or stepladder. The top of a 90-119″ window sits 8 to 10+ feet off the floor. That's the header height (the horizontal framing piece above the window) plus the rough opening. You can't reach the header casing, the top miters, or the upper nails from the ground.
- Side casings are 7.5 to 10 feet long. Standard casing stock comes in 7-foot lengths. That may not be long enough. You'll need 10-foot or 12-foot stock for each side piece. Check your material length before you start cutting.
- Longer pieces flex. A 9-foot piece of 2-1/4″ casing bows under its own weight when you hold it flat. That makes it harder to cut accurately. It's also harder to hold the piece in place while you nail it.
- More nails per side casing. The core guide calls for nails every 12-16″. On an 8-foot side casing, that's 6-8 nails per row instead of 3-4. More nail points means more time spent holding the piece steady while you nail.
- A helper is useful but not required. You can do this solo at this size with a few technique adjustments (see below).
Which guide do I need?
- One window with four mitered corners: How to Case a Window
- Windows 90 to 119 inches tall: this guide
- Windows 10 feet and taller: How to Case Tall Windows (10 Feet and Above)
- Two or more windows side by side: How to Case Ganged Windows
Additional Tools for Window Casing #
Tall window casing needs a couple of extra tools beyond the core guide list.
You'll need everything from the core guide tool list, plus:
- Step stool or 4-foot stepladder - It needs to be sturdy enough to stand on while you nail overhead. Follow OSHA portable ladder safety guidelines when you work at height. A step stool works for windows up to ~100″. Taller windows in this range need a proper stepladder.
- Miter saw with enough crosscut capacity - Make sure your saw can cut the full width of the header casing in one pass. Most 10″ sliding miter saws cut up to 12″ wide; a 12″ slider handles up to 16″. If your header piece is wider than your saw's capacity, flip the piece over and finish the cut from the back side.
Tall Window Casing Material Planning #
Standard window casing stock often comes in 7-foot lengths. That's not long enough to cover one side piece on a window this tall. Before you start:
- Measure your longest side casing, add 3 inches for waste, and order stock at least that long.
- 10-foot or 12-foot lengths are the right stock for this window size. Most suppliers carry these in common profiles.
- If long stock isn't available in your profile, This Old House recommends a scarf joint - an angled splice where two shorter pieces meet, cut at matching angles and glued together. Place the joint behind a curtain rod or at some other spot where it won't be seen. A scarf joint takes some practice. If this is your first one, try it on a scrap piece before you cut your good stock.
What’s Different Step-by-Step #
Follow the core guide for the full process. Below are the changes for a tall window casing job:
Follow the core guide for the complete process. These are the changes for 90-119″ windows:
Steps 2, 6, 7 - No Significant Changes #
Step 2 (Measure and Cut Header): Same process. The header width doesn't change with window height.
Step 6 (Bottom Casing): Same process. The bottom is at the same working height as a standard window.
Step 7 (Finish and Detail): Same techniques, but you'll be on a ladder to check the upper joints and set the upper nails. Budget extra time for climbing up and down.
Step 1: Inspect and Mark Reveal Lines #
Same inspection and marking process as the core guide. But now you need the ladder to reach the top jamb (the wood frame around the window opening). Mark the reveal there too (the strip of flat jamb that stays showing once the casing goes on). Check that the jambs stay flush (flat and even with the wall) along the full height. A jamb can be flush at waist level and still be proud (sticking out past the wall) or recessed (sunk back from the wall) up at 8 feet. You just can't see it from the ground.
Step 3: Install the Header #
Same positioning and nailing as always. The only real difference is height. You're on a ladder, holding the header at 8-10 feet. Set the ladder up centered on the window so you can reach both ends of the header without moving it.
Solo technique: Tack a temporary finish nail partway into the wall, just below your header reveal mark on one side. Rest one end of the header on the nail, align the other end, and nail from that end toward the supported end. Pull the temporary nail out once the header is secure.
Step 4: Measure and Cut the Side Casings #
Same measuring and cutting as always, but support long pieces while you cut. A 9-foot piece of casing hanging off one side of the miter saw will droop, and that throws off your cut. Use a roller stand, a sawhorse, or a helper to hold the offcut end (the extra length past the saw) level with the saw table.
Step 5: Install the Side Casings #
Same gluing, positioning, and nailing as the core guide. The hard part is holding a 7.5-10 foot casing piece plumb against the reveal marks while you nail it from a ladder.
- Start at the top. Align and glue the miter joint first. Glue does the holding here too: pull the joint tight and hold it until the glue grabs. The locked miter holds the top steady while you work your way down the piece, from the ladder to the floor.
- Move the ladder as you work down. Don't overreach. Move the ladder so your nailing stays within comfortable arm's reach.
- For the lower half, you can step off the ladder and work from the floor.
Tall Window Casing Time Estimate #
The core guide estimates 20-30 minutes per standard window. For 90-119″ windows, plan 30-45 minutes per window. The extra time comes from moving the ladder, handling longer material, and driving more nails, not from any change in technique.
Quality Check - Additions #
After completing the core checklist, check these tall window items too:
After you finish the install, run through the full core guide quality checklist. Then check these:
- Side casings run straight for their full length. Sight down the edge from the bottom to check. Longer pieces have more room to bow between nail points.
- Upper fasteners (the nails set higher up) sit below the surface. They're above eye level, so it's easy to forget to check them.
- The reveal stays even from top to bottom on both sides. Check it with your combination square at the top, middle, and bottom of each side casing, not just at eye level.
Troubleshooting Window Casing Problems #
These tall window casing problems are specific to the 90″ to 119″ range:
Side Casing Bows Away from the Wall #
Long casing pieces can bow outward between nail points, especially if the wall dips in slightly. Add an extra nail halfway between the existing nails, on the row that goes into the wall framing. If there's no framing behind the wall at that spot (it's hollow), put a dot of construction adhesive behind the casing at the bow point before you nail it.
Top Miter Opens While Nailing Down the Side #
The weight of the long side casing pulls the top miter joint apart as you nail the lower section. To prevent this, glue the top miter and hold it tight before nailing anything else on that piece. Glue does the holding at the miter, not cross-nailing. If the joint has already opened, back out the lower nails, re-close the miter with glue, hold it tight until it grabs, then re-nail from top to bottom.
Casing Stock Too Short for Side Pieces #
You measured after cutting, and the 7-foot stock doesn't reach the full side. If you have matching stock, you can make a scarf joint: cut both pieces at a 30-degree angle (not 45, a shallower angle hides the seam better), then glue and nail the splice. Place it low, somewhere furniture or curtains will hide it. The better fix: return the short stock and buy 10-foot or 12-foot lengths instead.
Most problems on a tall window casing job come down to one thing: support the long stock so it doesn't droop while you cut or nail it. Get that right, and a 90-119 inch window runs about like a standard one, just from a ladder instead of the floor. Measure twice, support the stock, and keep the reveal even from top to bottom.
Related Tall Window Casing Guides #
-
Core Guide:
How to Case a Window Like a Pro
- Complete step-by-step process for all window sizes -
Case Window 3 (120″+)
- Windows with tops at 10 feet or higher: full stepladder, two-person recommended, heavy/long
stock
Related Guides #
Reference Photos #
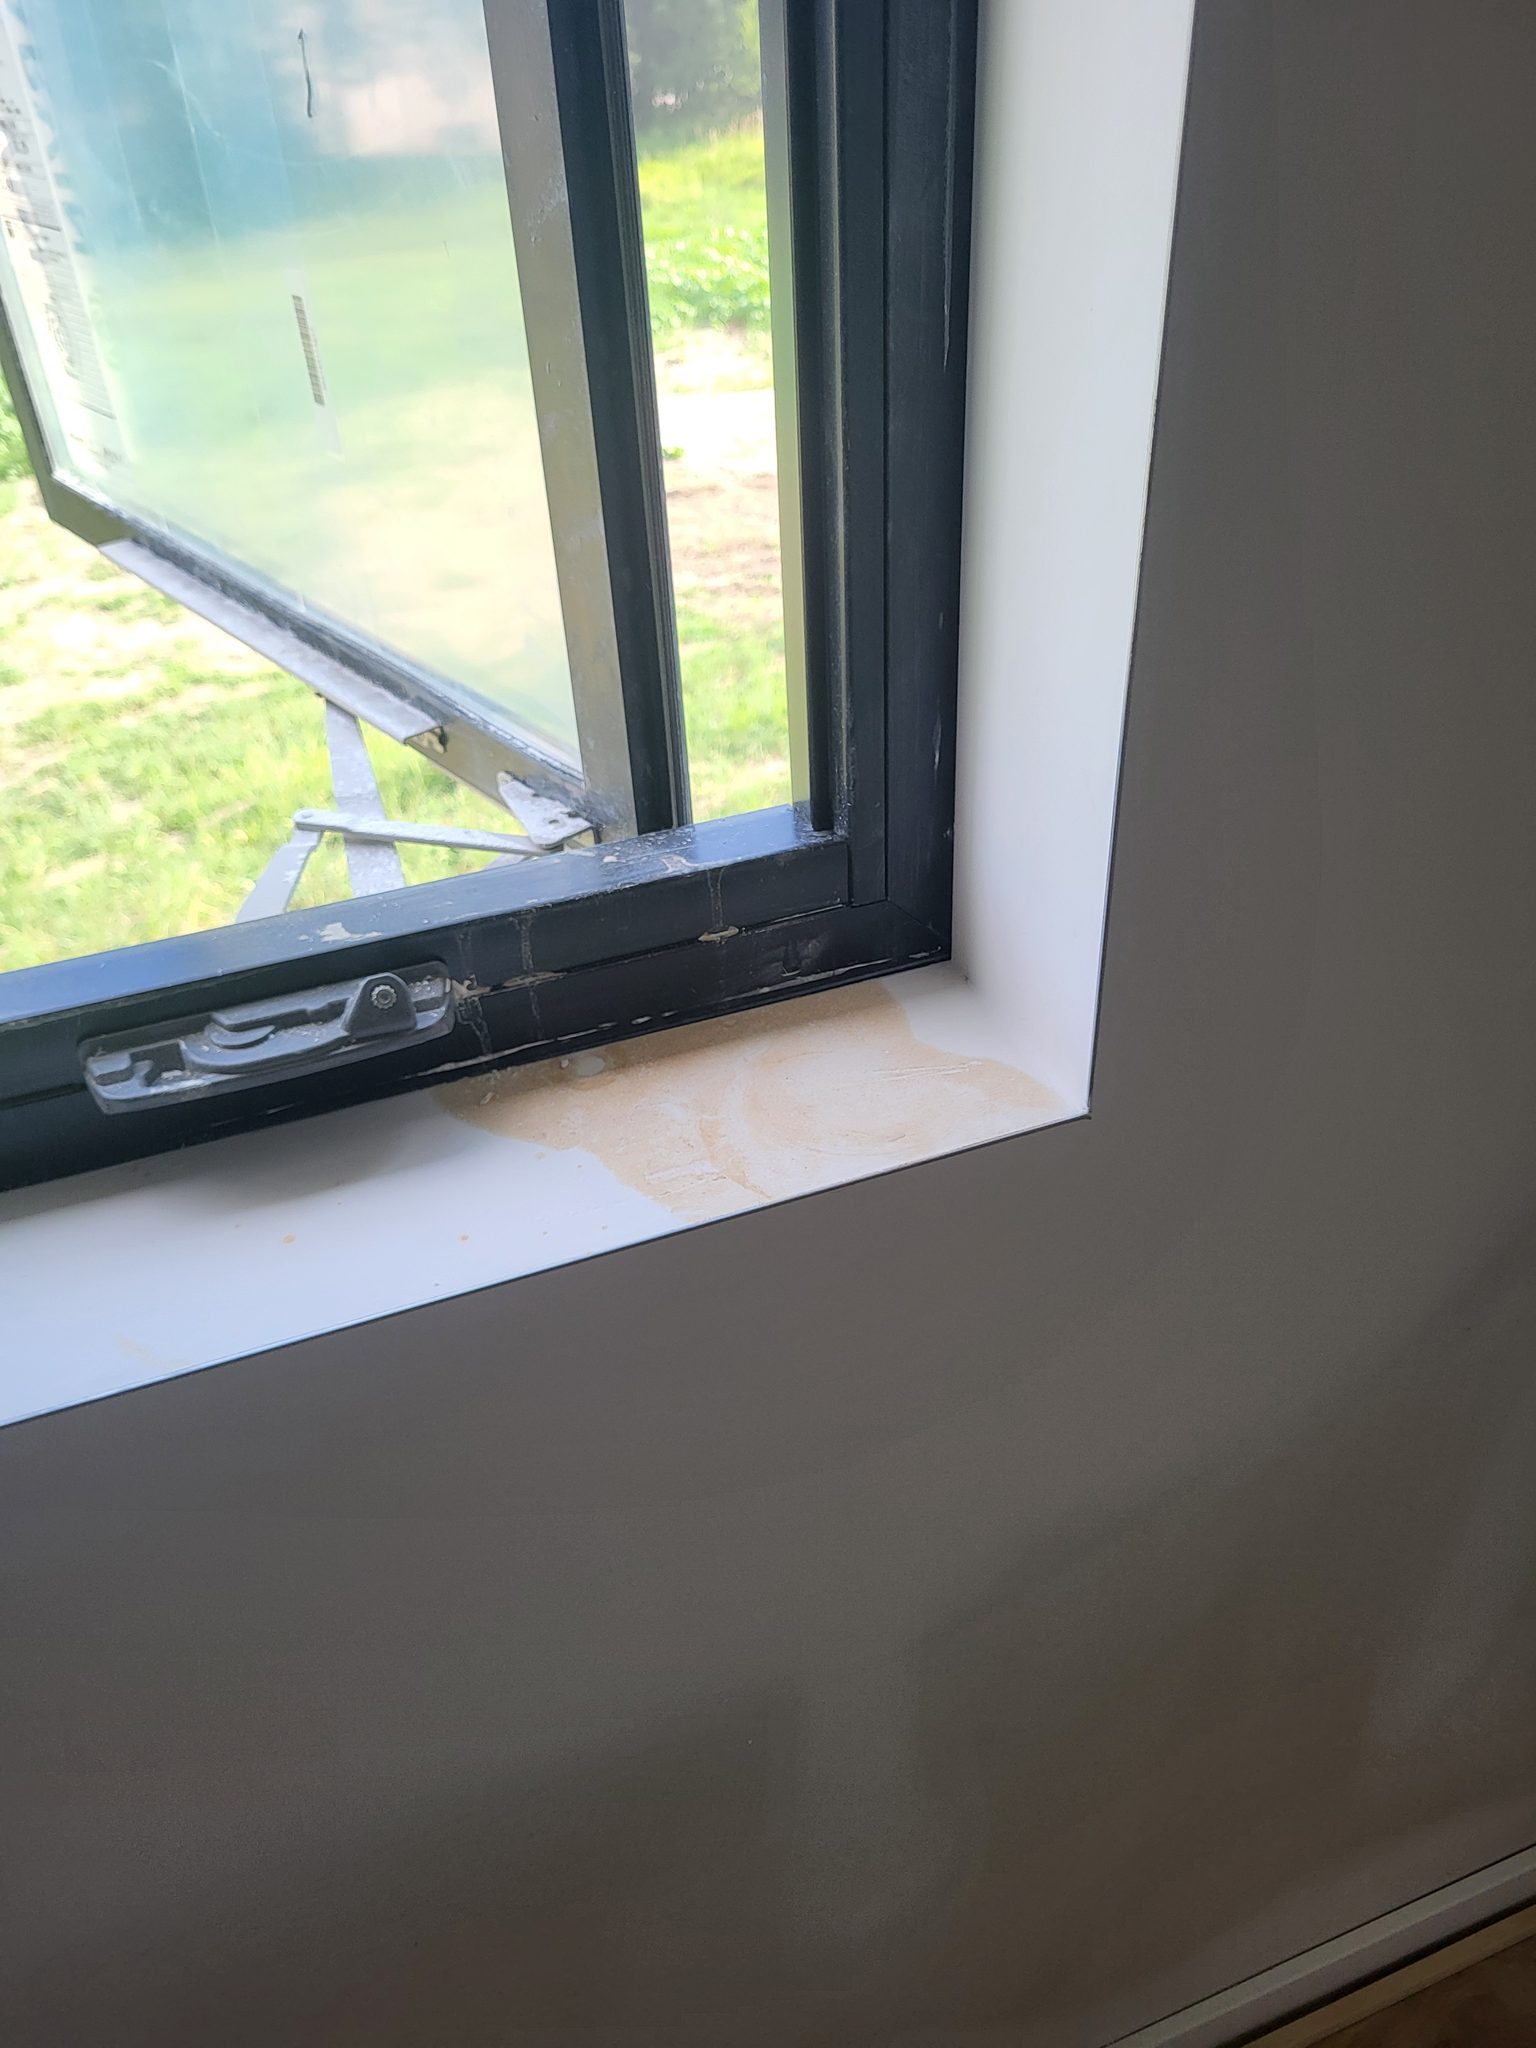
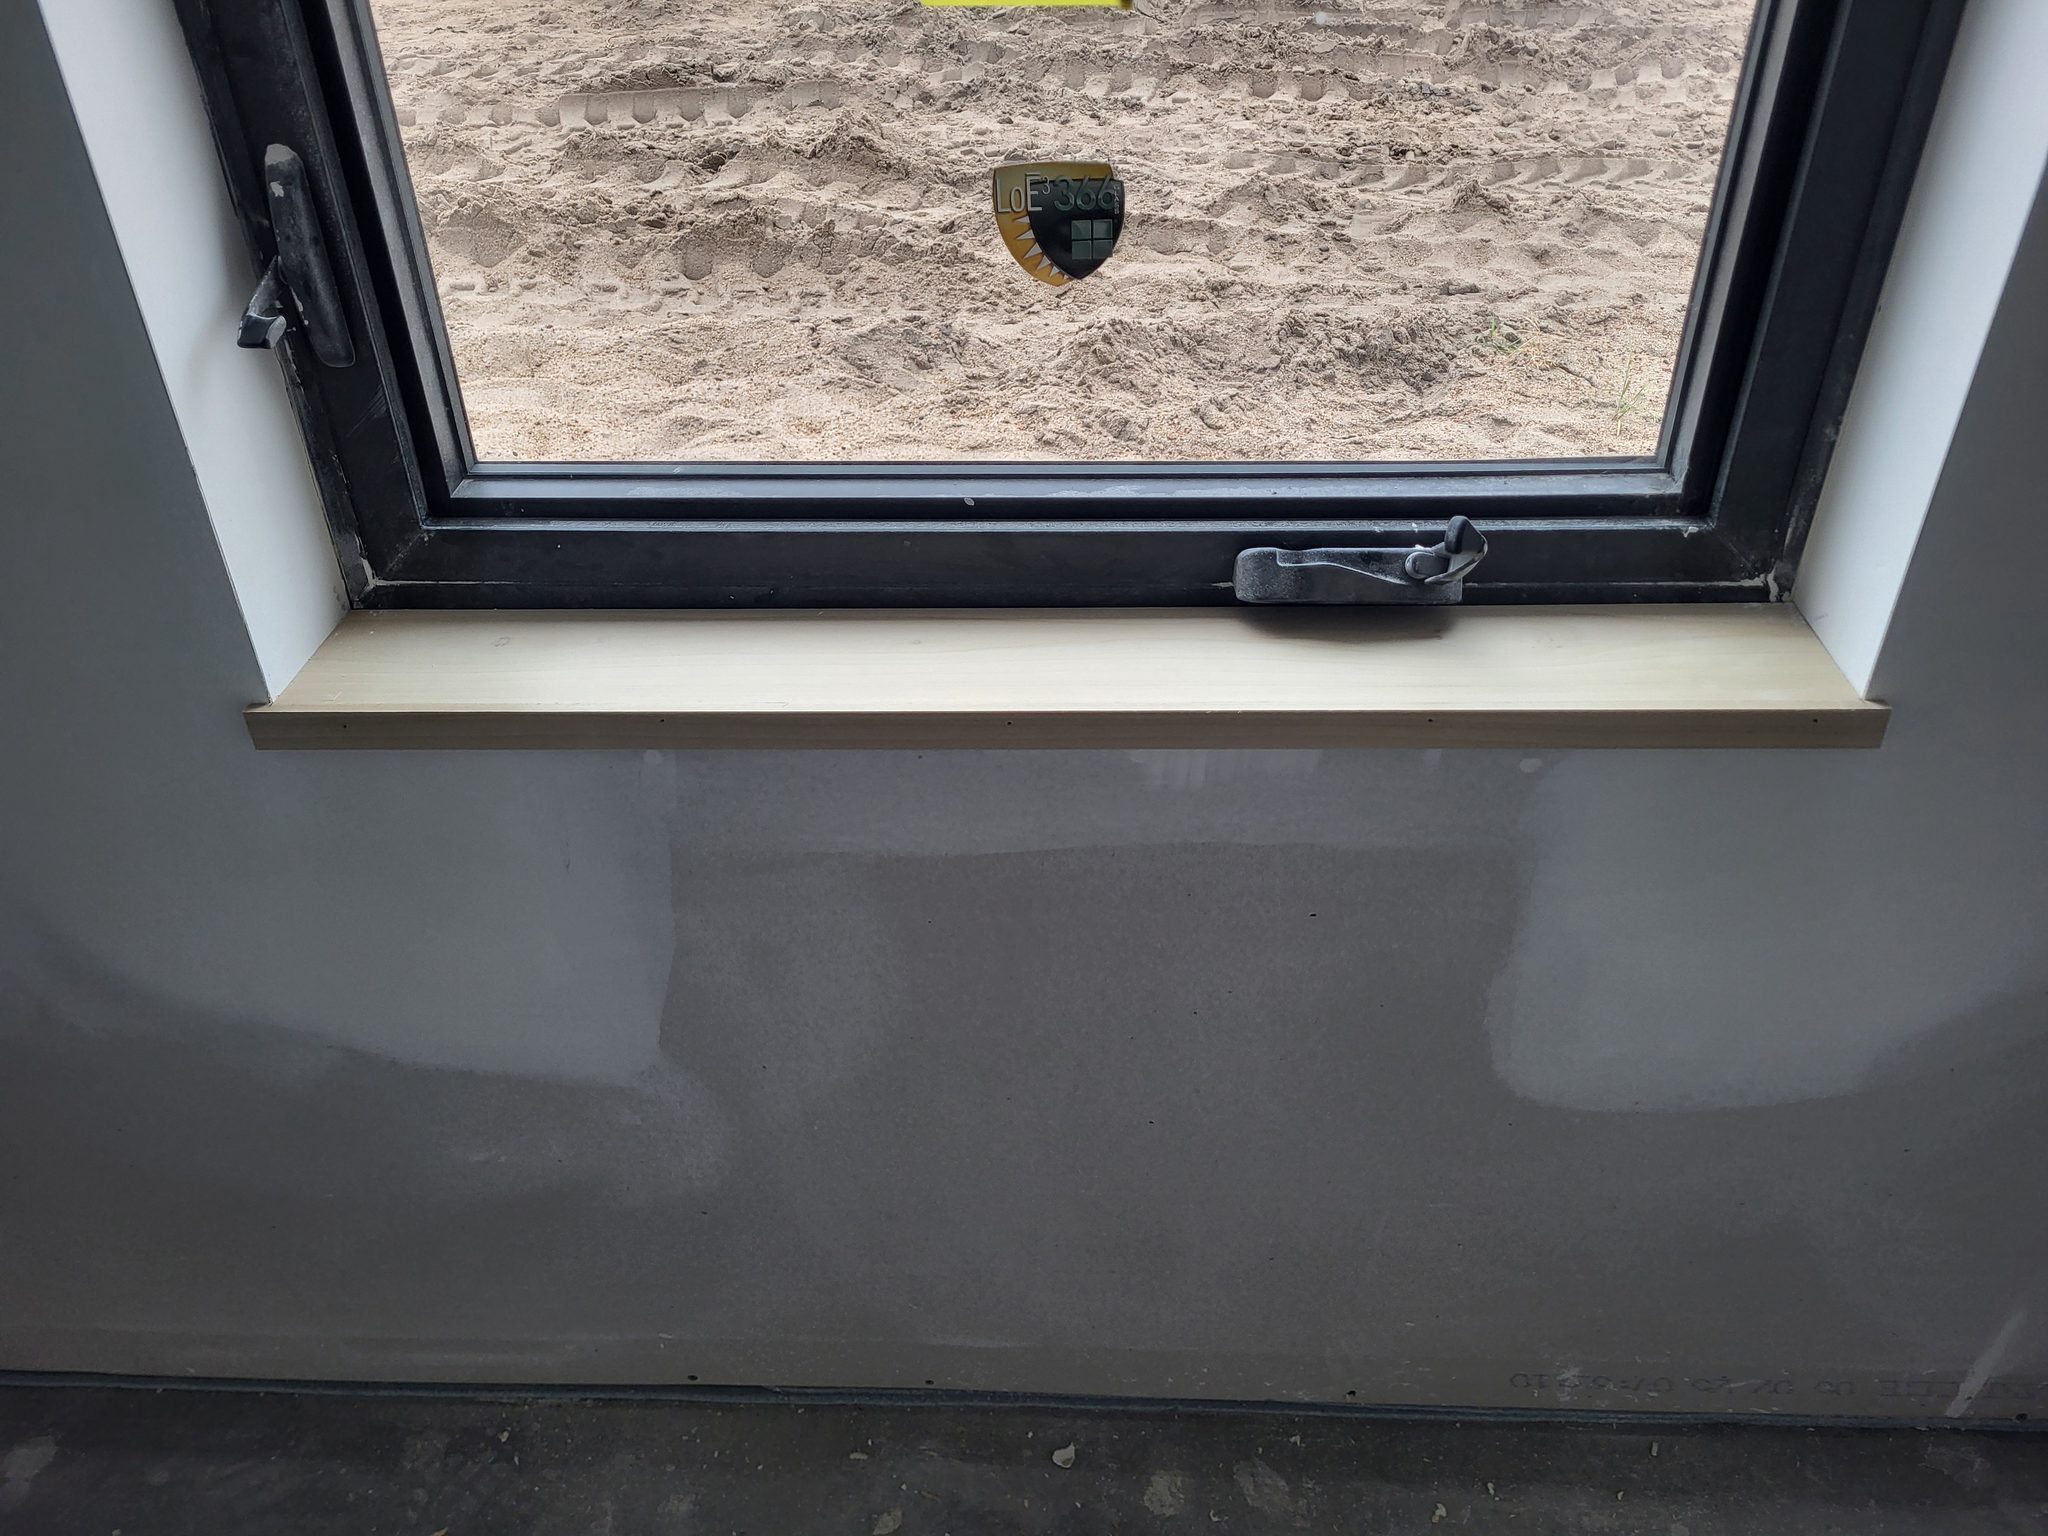
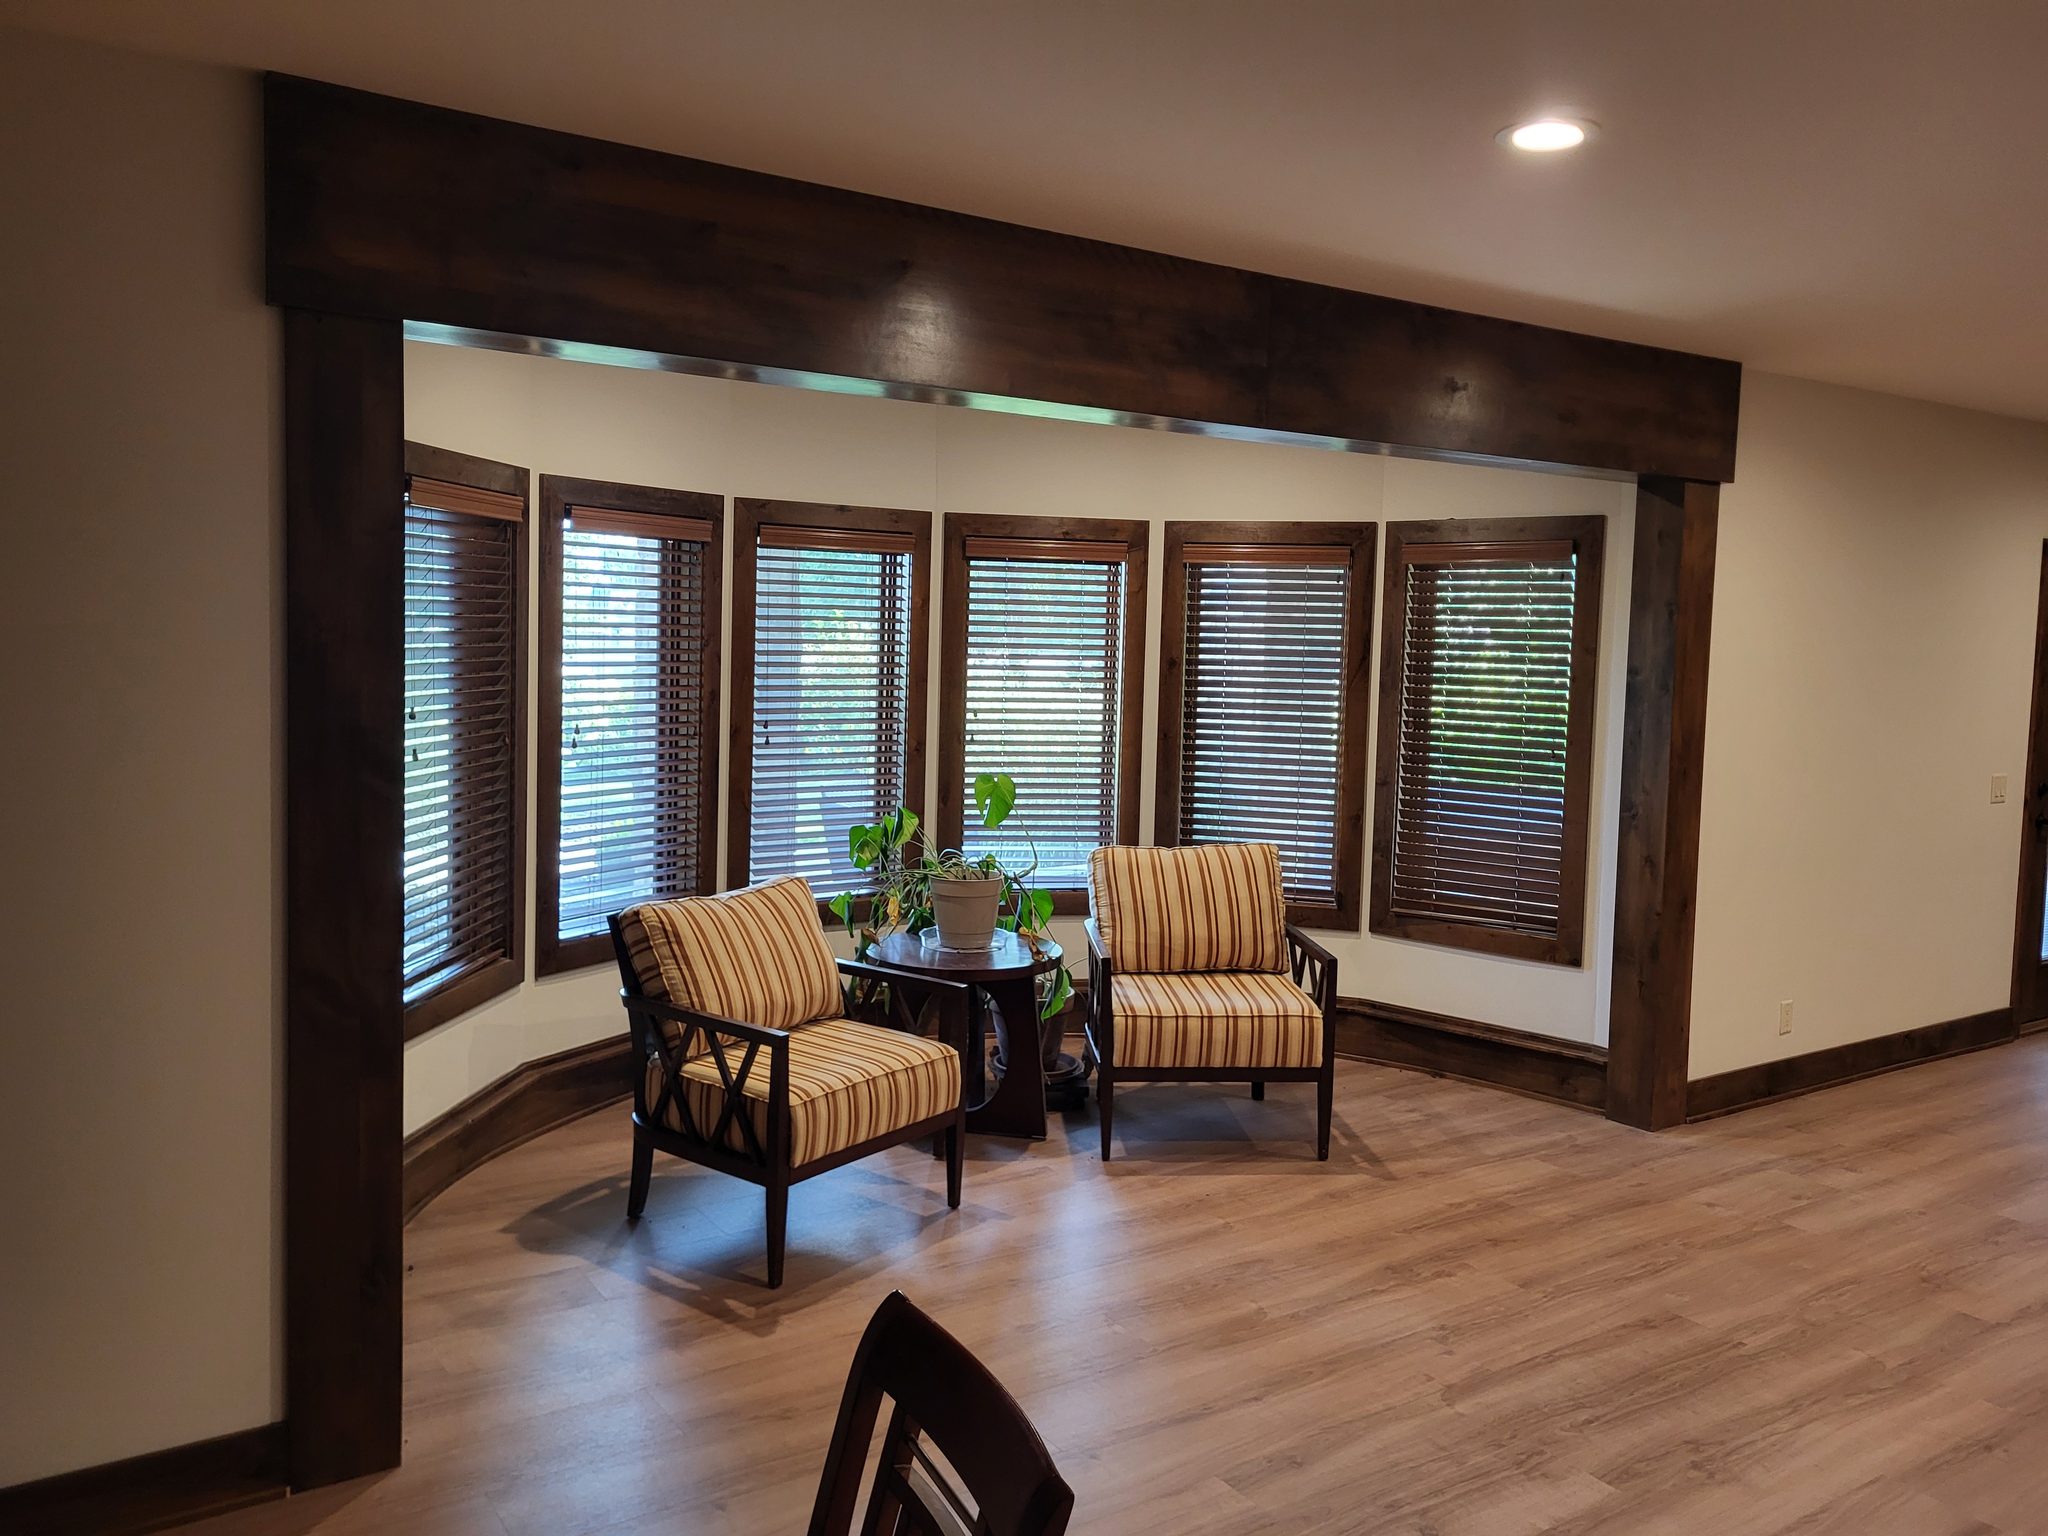
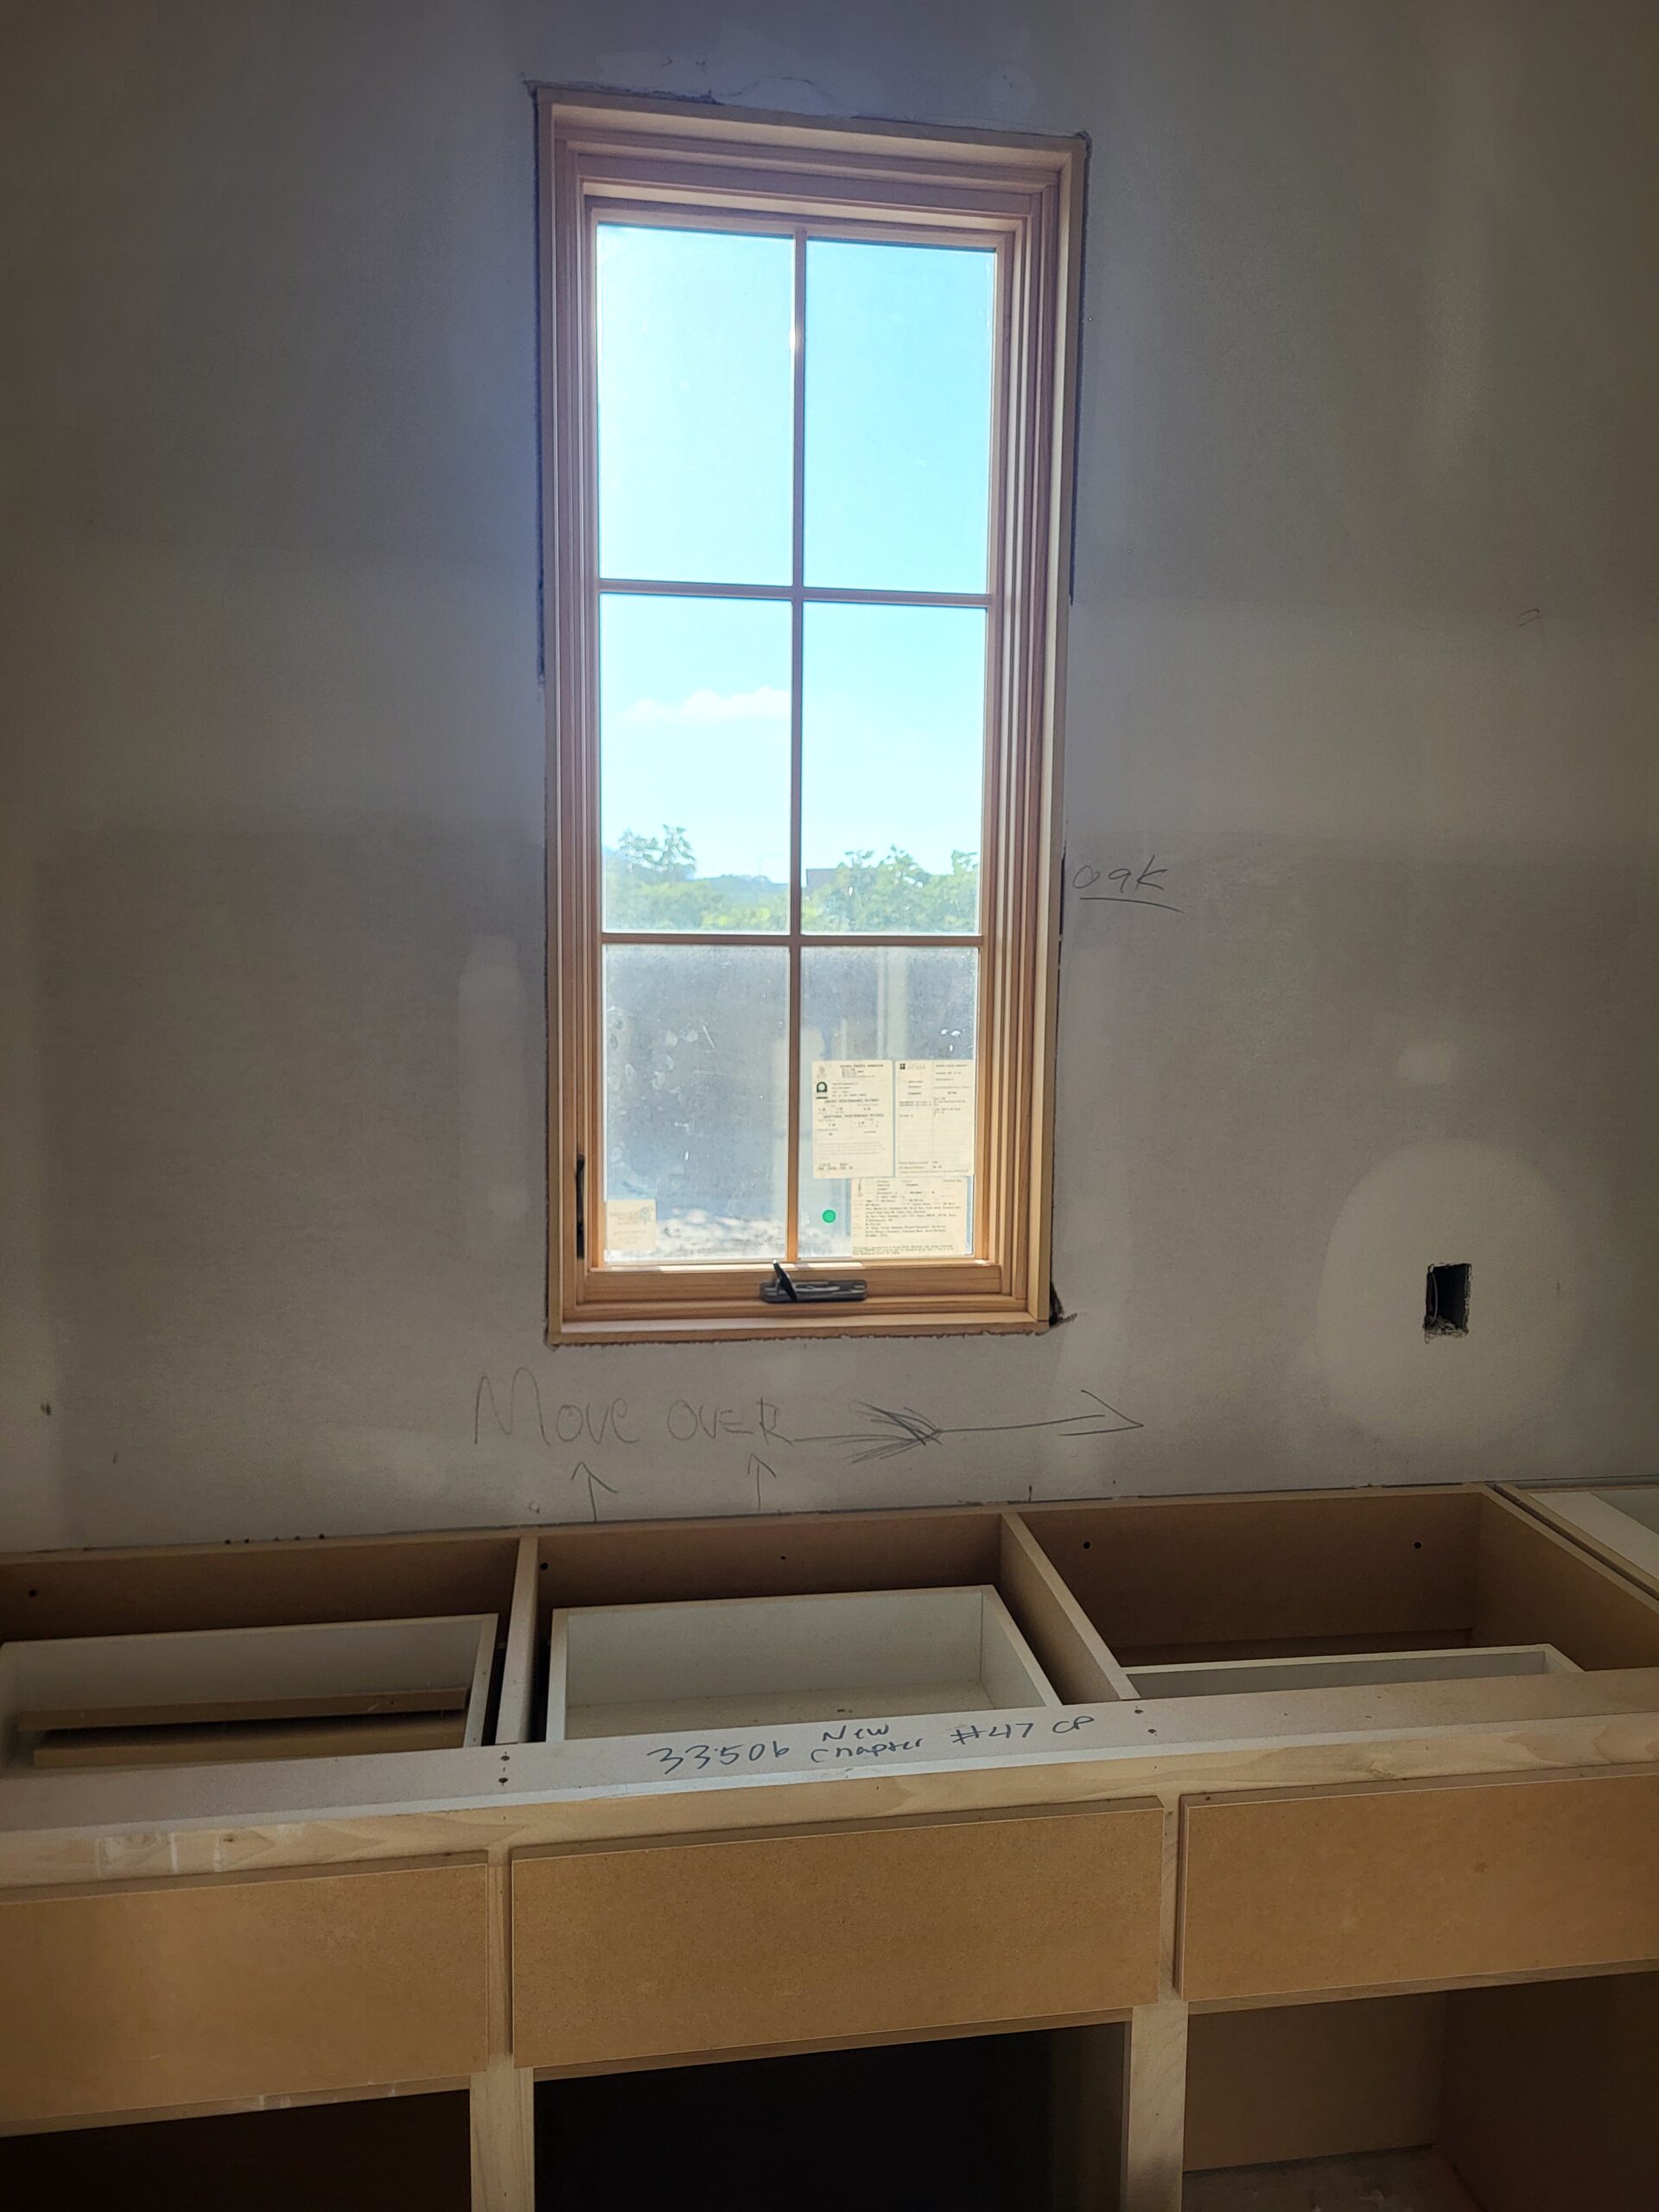
The following photos show examples of this type of work completed in the field. These serve as visual references for quality standards, proper installation techniques, and finished results.
Showing 4 of 4 photos