On this page
Category - General Carpentry #
Skill Level - 2 (Intermediate) #
Guide Overview #
Trimming a house from start to finish uses every skill you have as a finish carpenter. This guide covers the whole trim phase on a new construction job, from walking onto a freshly drywalled site to walking off with every piece of trim installed and the site swept clean for the painters. This guide won't teach you how to hang one door or cut one joint. It's about the order you work in, how you plan, how you manage material, and the habits that keep a big job moving fast.
On a new house, the trim carpenter shows up after the drywall is hung, taped, sanded, and primed. At that point the house is just white walls, rough openings (framed openings that don't have a door or window in them yet), and bare stairs. Your job is to install every piece of interior trim: doors, casing (the trim boards that go around a door or window opening), baseboard, closet shelving, stair parts, and anything else the plans call for. After you leave, the painters finish their work and flooring goes in. Then you come back for punchout, a short follow-up visit to fix any small items left over. Punchout is covered in its own guide.
Planning Before Cutting #
The biggest mistake new carpenters make is grabbing a nail gun before they have a plan. A professional trim job always starts with planning: reviewing the scope of work, checking that deliveries are correct, figuring out how to use your material efficiently, and setting a work order (the sequence you'll do tasks in). Only after that do you pick up a nail gun. This guide gives you the workflow experienced crews follow on every house.
This is a Level 2 overview, and it links out to many Level 1 and Level 2 task guides. Think of it as the playbook for how to trim a house efficiently. Each task, like hanging a door, installing baseboard, or casing a window, has its own guide with full step-by-step instructions. Here, we focus on the big picture: how all those tasks fit together into one efficient job.
Before You Begin #
Prerequisites for the Trim Phase #
- Drywall must be hung, taped, mudded, and sanded throughout the house
- Primer coat of paint should be applied (trim goes on after primer, before finish paint)
- All door openings must be framed to correct rough opening dimensions
- Stairs must be framed and ready for their finish pieces: treads, risers, and skirt boards
- Flooring almost never goes in before trim. The one exception is real hardwood floor that needs to be sanded and stained on-site; that goes in before trim. Every other floor type, like tile, LVP (luxury vinyl plank), or carpet, is installed after the trim phase and after the painters are done. You still need to know the flooring type and thickness ahead of time so you can set your door heights and baseboard correctly, even though the floor itself comes later
- All trim materials must be delivered to the jobsite and sorted by type, profile, and room before starting
- Construction plans and door schedule must be available on-site
- Electrical outlets and switches must be wired and boxes set (so you know what to work around)
- Cabinets should go in before the trim phase if possible, but scheduling doesn't always allow that, so either order can work
Key Principles for a Professional Trim Phase #
- Doors first, baseboard last. Working in this order stops you from redoing work later and keeps the joints between trim pieces clean
- Hard stuff first, easy stuff last. Do the highest-skill items, like stair parts and specialty trim, while you're still fresh. Save repeat work, like casing and baseboard, for when you can batch it
- Batch similar tasks. Install all the doors before you start casing. Install all the casing before you start baseboard. Factories use this same idea on assembly lines: doing one kind of task at a time saves time, because you're not switching tools or switching your thinking back and forth
- Keep the saw close to the work. Set up your miter saw on the same floor you're working on, as close to the rooms you're trimming as you can. Walking back and forth to a saw across the house wastes hours over the course of a job
- Bring material to the work. Don't carry one piece at a time from the staging area. Move a whole batch of material to where you're working before you start cutting
Efficiency and Production Tactics #
- Cut the biggest pieces first. Always cut your largest pieces first, from the smallest stick of material that will still work. This gets the most out of your material when you trim a house and cuts down on waste
- Batch your cuts. Measure and cut as many pieces as you can at once instead of making one trip to the saw per piece. If you have six windows that all take the same casing length, cut all twelve legs and all six headers in one session
- Set up jigs and templates. A jig is a simple guide or fixture you build so you can repeat a cut or a measurement the exact same way every time. For repeat lengths, clamp a stop block (a fixed piece that stops your material in the same spot every time) to your miter saw fence. Make a template for shelf cleat heights. For window reveals, use a story pole, a stick marked with your measurements that you use instead of a tape measure, so every window comes out the same. All of this saves time and keeps your work consistent
Jobsite Habits and Production Tracking #
- Keep the jobsite clean as you go. Throw waste straight into a trash can and take it to the dumpster when it's full. Don't throw scraps on the floor and let them turn into a huge cleanup job at the end. A clean job is a safer, faster, more professional-looking job
- Track your daily production. Use a production tracking app to log your progress and measure it against your targets. Knowing your pace keeps you on schedule and helps you estimate future jobs
- Always read the plans before cutting anything. Every house has its own details, specialty rooms, or builder-specific requirements that you won't catch just by looking at the framing
These aren't ideas out of a textbook. They're tactics that experienced finish carpenters learn the hard way, over years of real production work. You learn them by carrying material up too many flights of stairs, and by running out of casing on a Friday afternoon.
Tools, Supplies, and Materials #
Tools #
Every finish carpenter needs a full set of personal hand tools and power tools. Every crew also needs shared equipment, like miter saws, compressors, and pneumatic nailers (nail guns that run on air pressure from a compressor). Instead of listing everything here, we wrote two guides that cover every tool you need for finish carpentry:
- Best Finish Carpentry Tools - The Personal Kit Every Trim Carpenter Needs
- Finish Carpentry Crew Tools - The Shared Equipment Every Trim Crew Needs
Supplies vs. Tools - Understanding the Difference #
In the trades, tools and supplies are two different things. Tools are things you own, take care of, and bring with you from job to job, like your tape measure, your miter saw, your nail gun. Supplies are things that get used up on the jobsite, like glue, shims (thin, tapered pieces of wood or plastic you tap into a gap to level and lock something in place), nails, and saw blades. You buy tools once, and they last until they wear out. Supplies get used up on every job.
Who provides supplies depends on what they're for. Supplies that go with a specific tool are usually provided by the carpenter: nails for your nail gun, blades for your saw, bits for your drill. General supplies that end up in the finished product are usually provided by the customer, the builder or general contractor: wood glue, shims, and construction adhesive. Sealing gaps and filling nail holes is the painter's job, a separate trade, not ours. Our job is to set the nails just below the surface and hand off tight, clean joints. This varies by contract, so always clarify before the project starts.
Common finish carpentry supplies include:
- Carpenter provides: Finish nails and brads (various gauges and lengths), saw blades, drill bits, pencils, chalk line refills, utility knife blades
- Customer typically provides: Wood glue, construction adhesive, shims (cedar or composite), painter's tape
Materials #
In finish carpentry, the customer almost always provides the materials: the builder, the general contractor (GC), or the homeowner. Finish carpenters are usually a labor-only trade, meaning you're paid for your work, not for the materials. The customer picks everything: trim profiles, door styles, stain grade vs. paint grade, hardware finishes, and they handle delivery timing with the supplier. Your job is to install what they picked, to a professional standard.
When you get to the site to start a trim project, the material pile should already be there. Your first task is to check that what was delivered matches what the plans and selections call for. Typical materials include:
- Pre-hung interior doors (per door schedule)
- Door casing material (per plans-typically 2-1/4" or 3-1/4" colonial or craftsman profile)
- Baseboard material (per plans-typically 3-1/4" to 5-1/4" height)
- Base shoe or quarter-round molding
- Window casing (if picture-frame style) or stool and apron material (the stool is the flat piece that sits on the interior windowsill; the apron is the trim board just below it)
- Crown molding (if specified)
- Stair components: skirt boards, handrail stock, newel posts, balusters
- Closet shelving material, cleats, rods, 1x2s and 1x4s
- Any specialty trim per plans (chair rail, wainscoting, accent walls)
How to Trim a House: The Planning Phase #
Before you pick up a nail gun, put real time into planning. This is the most overlooked part of any trim job, and it's where experienced carpenters pull ahead of everyone else. A thorough planning phase catches material shortages early, cuts down on wasted motion, and sets you up to work through the house in an efficient order.
Step 1: Review the Scope, Plans, and Door Schedule #
Walk the house with the construction plans and door schedule (the list in the plans that spells out every door's size, type, and swing) in hand. Note every room, every door type, every window, and any specialty trim detail. Mark up your copy of the plans as you go. Take photos of the plans and door schedule with your phone so you don't have to keep walking back to the plan table.
Step 2: Scatter Doors and Check Deliveries #
Scatter all the doors to their openings. Lean each pre-hung door against the wall next to its rough opening, with the hinge side facing out, so you can check that the swing direction matches the schedule. While you're doing this, check that every door was delivered correctly: right-hand vs. left-hand swing, correct size (2/0, 2/4, 2/6, 2/8, or 3/0), hollow-core vs. solid, and any special doors (doubles, barn doors, pocket doors). Catching a wrong door now saves you a trip later.
Check all the selections against the plans. Is the casing profile correct? Is the baseboard the right height? Are the doors the right style? Are stain-grade items actually stain-grade? Check all of this before you cut a single piece.
Step 3: Inventory and Plan Material Usage #
Walk the material pile and check that everything matches the selections. Then plan out how you'll use the material. This is one of the most important steps when you trim a house, because it heads off shortages and cuts down on waste.
Casing Material Optimization #
- Are there 8-foot doors? An 8-foot door needs a casing leg over 8 feet long, which means you only get one leg out of a 16-foot stick. Factor the headers in too
- Are there also 6'8" doors? You can often get an 8-0 leg and a 6-8 leg out of the same stick. Plan these pairings to get the most out of your material
- Are the windows picture-frame cased? Measure them and pre-cut pieces a few inches long for each window. Set the pieces out by the window so you know right away whether you have enough. Don't wait until you're mid-install to find out you're short
- Count doors and windows as one casing take-off: Every door leg, door header, and window casing piece comes off the same stock. Total all of it before you cut, so the pairings above actually work out and you are not ordering casing twice.
Closet Material Check #
- Look at all the closets. Are there linen closets? Walk-in closets with extra shelving stacks? Closets with 16-inch shelving?
- Get a rough estimate of the shelving material you'll need. Do you have enough cleats, rods, 1x2s, and 1x4s?
- Closets are notoriously hard to estimate from plans alone. Build them early in the job, so if you need to order more material, the supplier can deliver it before you leave the project
Handrail Material Check #
- Count newel posts (the main posts a handrail starts at, ends at, or turns at). Do you have enough? Count rail sections. Is there 1x8 for stair nosing?
- Balusters don't get installed during the trim phase; they go in at punchout. But count them now and check the scope for any pattern, so the supplier can get an accurate count as early as possible and have them ready for punchout
Pro Tip: The whole point of this planning phase is to catch material shortages before they turn into schedule problems. If you find out on day one that you're short on casing, the supplier can deliver more while you're still working on doors. If you find out on the last day, you're either making an extra trip or leaving the project unfinished.
How to Trim a House: The Work Phase #
With your planning done, it's time to start installing. The work order below is the sequence experienced finish carpenters follow in new construction. Each phase builds on the one before it, so following this order cuts down on rework and keeps you moving fast.
Step 4: Hang All Doors First #
Doors are always first. Every door sets the casing layout, and the casing sets where the baseboard starts and stops. Getting all doors hung, shimmed, and working correctly before anything else saves a lot of time, because you won't have to work around unfinished openings. Case the doors here too, with the doors, and case the windows right after in the next step. All of it comes off the same casing stock, so running doors and windows back to back is what lets you factor the quantities together. Once every door is hung and cased, a lower-skill crew member can be handed baseboard installation.
- Work systematically: Start at one end of the house and work toward the other. Don't jump around randomly. Keep your tools and materials moving in one direction
- Hang doors before lunch, case after lunch: Hang all the doors in the morning, then case them in the afternoon. This keeps you in one mode at a time instead of switching tools and mindset every few minutes, and it means every door you touch gets finished the same day. Never leave a piece unfinished at the end of the day.
- Batch by task, not by piece: The same principle applies everywhere. Measure several pieces of baseboard, cut them all, then nail them all, instead of doing one full piece at a time. Fewer trips back and forth to the saw is faster than it looks.
- Test every door before moving on: Open it fully, close it, check that it latches. The door should swing freely without rubbing and stay wherever you stop it
- See detailed guide: How to Install a Pre-Hung Door
Step 5: Case Windows #
Window casing follows door casing on purpose. Both come out of the same casing stock, so doing them back to back is how you factor the quantities as one number and get the most out of every stick. Window casing covers the gap between the window frame and the drywall. With every window opening in its final position, you can measure and cut efficiently. This is also where your pre-cut window casing from the planning phase pays off: you already know you have enough material.
- Use the same reveal dimension everywhere: Typically a 3/16" setback from the inside edge of the jamb. Set your combination square once and use it on every opening for consistency
- Batch your casing cuts: If you have multiple openings of the same size, cut all the legs and headers at once. Use a stop block on your miter saw for repeat lengths
- Picture-frame windows: Case all four sides to the approved style, per the customer's spec. Four mitered corners is the most common treatment, but it isn't universal. See guide: How to Case a Window
- Windows with stool and apron: Install the stool and apron before the side casing
Step 6: Build Closets Early #
Closets come right after the doors and casing for a reason: closet shelving is hard to estimate accurately from plans alone. By building closets early, you find out quickly whether you have enough material. If you're short on cleats, rods, or shelving stock, you can get the order to the supplier early and have it delivered while you're still working on the rest of the house.
- Linen closets and pantries: Multiple shelves per the plans; these use up more material than you'd expect
- Use jigs, and work in this order: Nail in all cleats and bulkheads first, then install hardware, then shelves and rods last. Set the shelving on sawhorses so you're not bending over to cut it. Measure and cut the whole house's closet material at once so you can plan what you need efficiently.
Step 7: Stair Components and Handrail #
Tackle stair work while you're fresh and before the house gets cluttered with other trim pieces. It is the most demanding and most visible work in the trim phase, and it tends to take the most time. Getting it done early keeps your schedule on track. Work in this order: skirts, nosing, newel posts, rails and drilling for balusters, then wall mounts.
- Skirt boards first: They set the wall plane on both sides of the staircase. See guide: How to Install Skirt Boards
- Nosing: Nosing goes on after the skirt boards. Tack it in place for now.
- Newel posts: Must be plumb and rock-solid. See guide: How to Install a Newel Post
- Rails, and drill for balusters: Build the rail with returns, and drill the baluster holes now even though the balusters themselves go in later. See guide: How to Build a Wall-Mount Handrail
- Wall mounts: Mount the rail to the stair wall. See guide: How to Mount a Handrail to the Wall
- Balusters are punchout: Balusters usually get installed at punchout, not during the trim phase. Still, count them now and check the scope for the correct pattern so the supplier can get them ready. See guide: How to Install Metal Balusters
Step 8: Garage Steps #
Build garage steps as soon as you can. This is a safety priority. The entry from the garage into the house is a high-traffic area through the entire construction process, and an unfinished step is a tripping hazard for every trade coming through the house. Don't put this off until the end. See guide: How to Build Garage Steps
Step 9: Specialty Trim #
Specialty trim is planned and completed on its own, separate from stairs and handrail, and often before the rest of the trim phase. Treat it as its own pass through the house rather than something you fit in between stair steps.
- Crown molding: If the house has crown, install it before baseboard. Crown needs compound angle cuts and careful coping (cutting one piece's end to match the profile of the piece it meets)
- Wainscoting or chair rail: These go on before baseboard, since the baseboard butts into the bottom of them
- Fireplace mantels and surrounds: These are focal points that need precise fitting. Do them while you have full focus and no time pressure
Step 10: Install Baseboard Last #
Baseboard is the last major thing you install when you trim a house. It covers the joint between the wall and the floor, or subfloor, since flooring usually isn't down yet. Baseboard goes in every room, hallway, and closet. It's the single largest quantity of material in the whole trim phase, so working efficiently and managing your material matters more here than anywhere else.
- Cut the biggest pieces first, from the smallest stick that works: This gets the most out of your material. Short scrap pieces build up as you go and can be used for closets and short runs
- Cope inside corners: Cut the first piece square into the corner. On the piece that butts into it, back-cut the end at 45 degrees (angle the back of the cut away so only the thin front edge touches the joint) and cope it with a coping saw, cutting along the profile line so the end matches the shape of the first piece exactly. See guide: How to Install Baseboard
- Miter outside corners: Cut opposing 45-degree miters. Glue the miter joint for durability
- Butt into door casing: The baseboard butts square into the side of the door casing at every doorway
- Scarf joints for long walls: When a wall is longer than your stock, join pieces with a scarf joint: two matching 45-degree angled cuts that overlap, so the seam is less visible than a square butt joint. Glue the joint
Pro Tip: Cut every piece exact to size. A piece cut long and squeezed into place is more likely to bow out as the temperature and moisture change, so a pressure fit costs you later. Measure and cut a whole area at once, then nail it all at once, instead of chasing a perfect fit one piece at a time. Don't add extra length to coped pieces; the cope needs to fit exactly.
A Note About Base Shoe #
Base shoe is not installed during the trim phase. It's a punchout item. Base shoe covers the gap between the baseboard and the finished floor, so it can't go in until after flooring is installed. In most cases we do not pre-cut the shoe. Leave it full length and unfinished, stacked along the back wall of the main floor's main room. Two reasons: the trim supplier sends out more material than the job needs and schedules a return pickup, and you do not want the shoe going back on that truck. Leaving it there also shows the painters where it is, so they can paint it in the correct color (matching cabinets, stain, or paint). The cutting and nailing happen when you come back for punchout. If the customer asks for the shoe to be pre-cut, mark each piece with a black sharpie for where it goes and leave it in the room it belongs to instead. See guide: How to Install Base Shoe
How to Trim a House: The Walk-Through and Cleanup Phase #
The last step of the trim phase is a thorough quality check and cleanup. Remember, this is not the final walk-through. The painters still need to come through, then flooring goes in, and then you'll do a punchout walk-through. This walk-through is about making sure your work is complete, correct, and ready for the painters.
Quality Check Before You Leave #
- Test every door: Open and close each door, check for rubbing, and confirm the margin is even on all three sides
- Inspect all miter joints: Look at every casing miter and every baseboard outside corner miter for gaps. Tight joints are non-negotiable. Glue, putty, and sand every wood-to-wood joint smooth. That's our job, not the painter's. Nail holes stay painter scope, we don't touch those.
- Check all spliced joints: Run your finger along each splice; it should feel flush with no steps or gaps. Glue, putty, and sand the splice smooth, that's our job, not the painter's. Coped joints are inside corners, so you can't run a finger over those. Check them by eye for a tight fit
- Check stair components: Grip every handrail and shake it. Check that newel posts are solid. Inspect skirt board joints
- Check closet shelving: Make sure all shelves are level and at the correct height, and that rods are secure
- Check that baseboard sits flat: Look for any pieces bowing away from the wall
In new construction, carpenters do carpenter work and painters do painter work. The painters fill all the nail holes and repair any minor drywall damage. Your job is to make sure every piece of trim is installed correctly, tight, and secure.
Cleanup #
- Blow out all sawdust: Use your compressor with a blow nozzle to clear sawdust from window sills, inside closets, behind doors, along baseboards, and in corners
- Sweep every room: Sweep all floors thoroughly, sawdust, wood shavings, nail strips, shim scraps, everything. A leaf blower works too for clearing dust out of corners and off trim ledges.
- Remove all scrap material: Take all cut-offs, trash, and debris straight to the dumpster
- Put excess material in the garage: Any leftover trim material that wasn't used goes in the garage for the customer or GC to return to the supplier
- Remove all tools and equipment: Pack up your miter saw, compressor, nailers, and all hand tools. Check every room for tools you may have set down
- Secure the jobsite: Close and latch all windows, and lock all exterior doors
Pro Tip: Do the quality check at the end of the day, before cleanup. If you find issues, your tools are still set up to fix them. Finding a problem after you've packed up the miter saw means either setting back up or coming back another day, and both cost time and money.
For the standards behind these checks, read our trim carpentry guidelines, covering level and plumb, measuring, joints, reveals, and finish details.
Trim a House Quality Checklist #
- All doors operate smoothly: they open and close without rubbing or sticking, no hinge is bound, and shims are pulled from under the door
- Door margins are consistent (1/8" gap) on all three sides of every door
- All casing miter joints are tight, glued, puttied, and sanded smooth, with no visible gaps
- All baseboard coped joints are tight
- All baseboard outside corner miters are tight, glued, puttied, and sanded smooth
- Baseboard sits flat against the wall with no bowing or gaps
- Handrails are solid and within code height (34"-38")
- Newel posts are plumb and rock-solid
- If balusters have already been installed (uncommon at this stage; usually punchout), confirm spacing is 4" or less between spindles.
- Closet shelves are level and at the correct height with secure rods
- Garage steps are securely glued to the floor and don't bounce
- Specialty trim (crown, wainscoting, fireplace) is complete per plans
- Excess material is in the garage for return
- Jobsite is swept, blown out, and all debris removed to the dumpster
Troubleshooting Common Issues When You Trim a House #
Problem: No power on-site when you show up to start
Solution: This is a coordination issue. Call the customer or GC before you head out to confirm the house has temporary power. If you get there and there's no power, you can't run your miter saw, compressor, or nail guns. Some crews carry a generator as a backup, but that's a last resort; the customer or GC should have power set up before the trim phase starts. Battery-powered tools are a backup too if power isn't available, but you still need a way to charge them. Add "confirm power" to your pre-start checklist.
Problem: Wrong doors were delivered or doors are missing from the order
Solution: This is exactly why Step 2 (scatter doors and check deliveries) exists. If you find wrong sizes, wrong swing directions, or missing doors, tell the customer or GC right away and get the reorder started. Don't wait; door lead times can run 1-3 weeks. Meanwhile, keep going with closets, stairs, and other work that doesn't depend on the missing doors.
Material and Schedule Troubleshooting #
Problem: Ran out of a specific trim profile mid-project
Solution: Order more right away and keep working on other rooms or other trim types while you wait. Never substitute a different profile; even a "close" match will be noticeable. This is exactly why the planning phase pushes you to check materials early. Keep a running count of what you've used so you can predict shortages before they happen.
Problem: The house isn't ready for trim: drywall isn't finished, primer isn't done, or other trades are still working
Solution: Don't start. Working on top of other trades creates conflicts, rework, and damage to your finished trim. Talk clearly with the customer or GC about what "trim ready" means: drywall complete, primer applied, rough openings correct, stairs framed. If only part of the house is ready, you can start in the finished areas, but make sure you have enough scope to keep your crew busy.
Problem: Running behind on your production schedule
Solution: Find the bottleneck. Common time-wasters when you trim a house: walking too far to the miter saw (move it closer), not batching tasks (stop switching between task types), and not having materials staged (stage material the day before). Use your production tracking app to spot patterns and adjust how you work.
Jobsite Readiness Troubleshooting #
Problem: Material was stored outside or in an unheated garage and is warped or wet
Solution: Warped or moisture-swollen trim leads to poor joints and callbacks. If the material is visibly bowed, twisted, or damp, flag it for the customer or GC. They need to either replace it or let it acclimate, meaning sit and adjust to the temperature and humidity, in the heated house before you install it. Forcing bad material into place wastes time and gives you a bad result.
Problem: Plans are unclear or missing details for specialty trim
Solution: Don't guess. Call the customer or GC to get it clarified before you cut anything. Ask for the selection sheet, check in with the designer if there is one, and take photos of any written clarifications so you have a record. Guessing on specialty items (crown details, fireplace surrounds, wainscoting heights) almost always means redoing the work.
Related Guides #
This master guide on how to trim a house links out to many task guides. Here are the key ones:
- Tools: Personal Finish Carpentry Tools | Crew Tools
- Doors: How to Install a Pre-Hung Door
- Casing: How to Case a Window
- Baseboard: How to Install Baseboard
- Base Shoe: How to Install Base Shoe
- Stairs: Skirt Boards | Wall Handrail | Newel Posts | Metal Balusters
- Garage Steps: How to Build Garage Steps
- Finish Carpentry Cheat Sheets - Quick reference sheets covering reveals, fastener schedules, and other trim standards
Trimming a whole house tests every skill, every planning habit, and your overall efficiency as a carpenter. It's not about any single cut or nail. It's about running the whole job from start to finish, keeping your quality consistent from the first piece to the last, and leaving behind a house that's ready for the painters, with every piece of trim tight, secure, and installed right. Plan before you cut. Follow the work order. Track your production. And always do the hard stuff first.
Reference Photos #
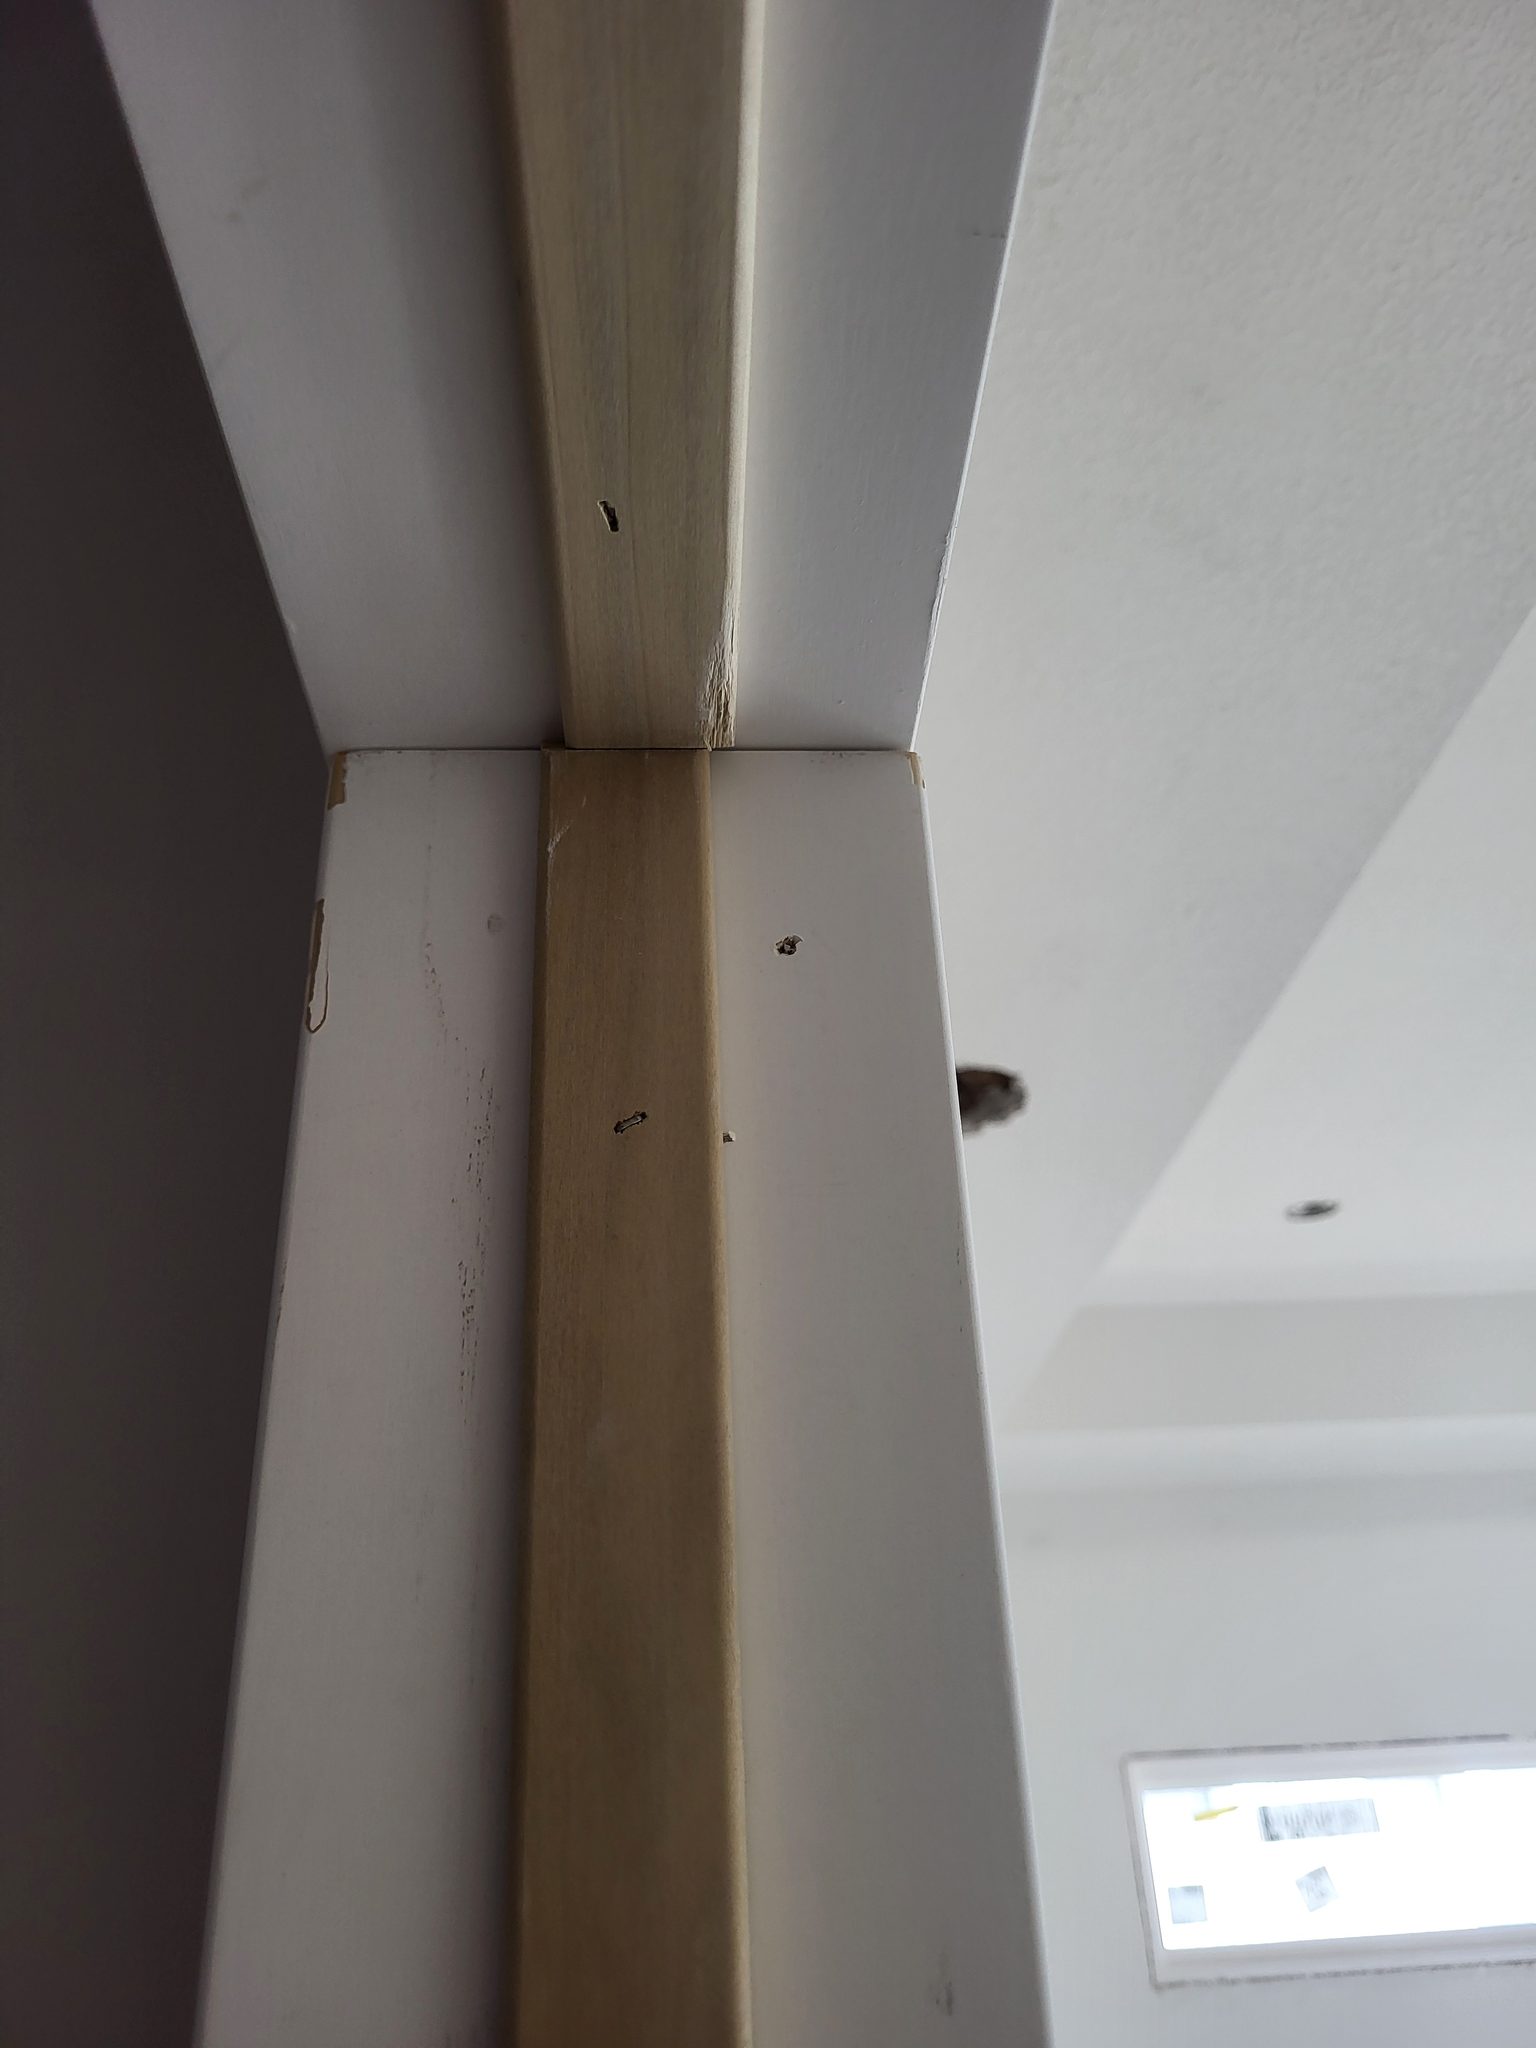
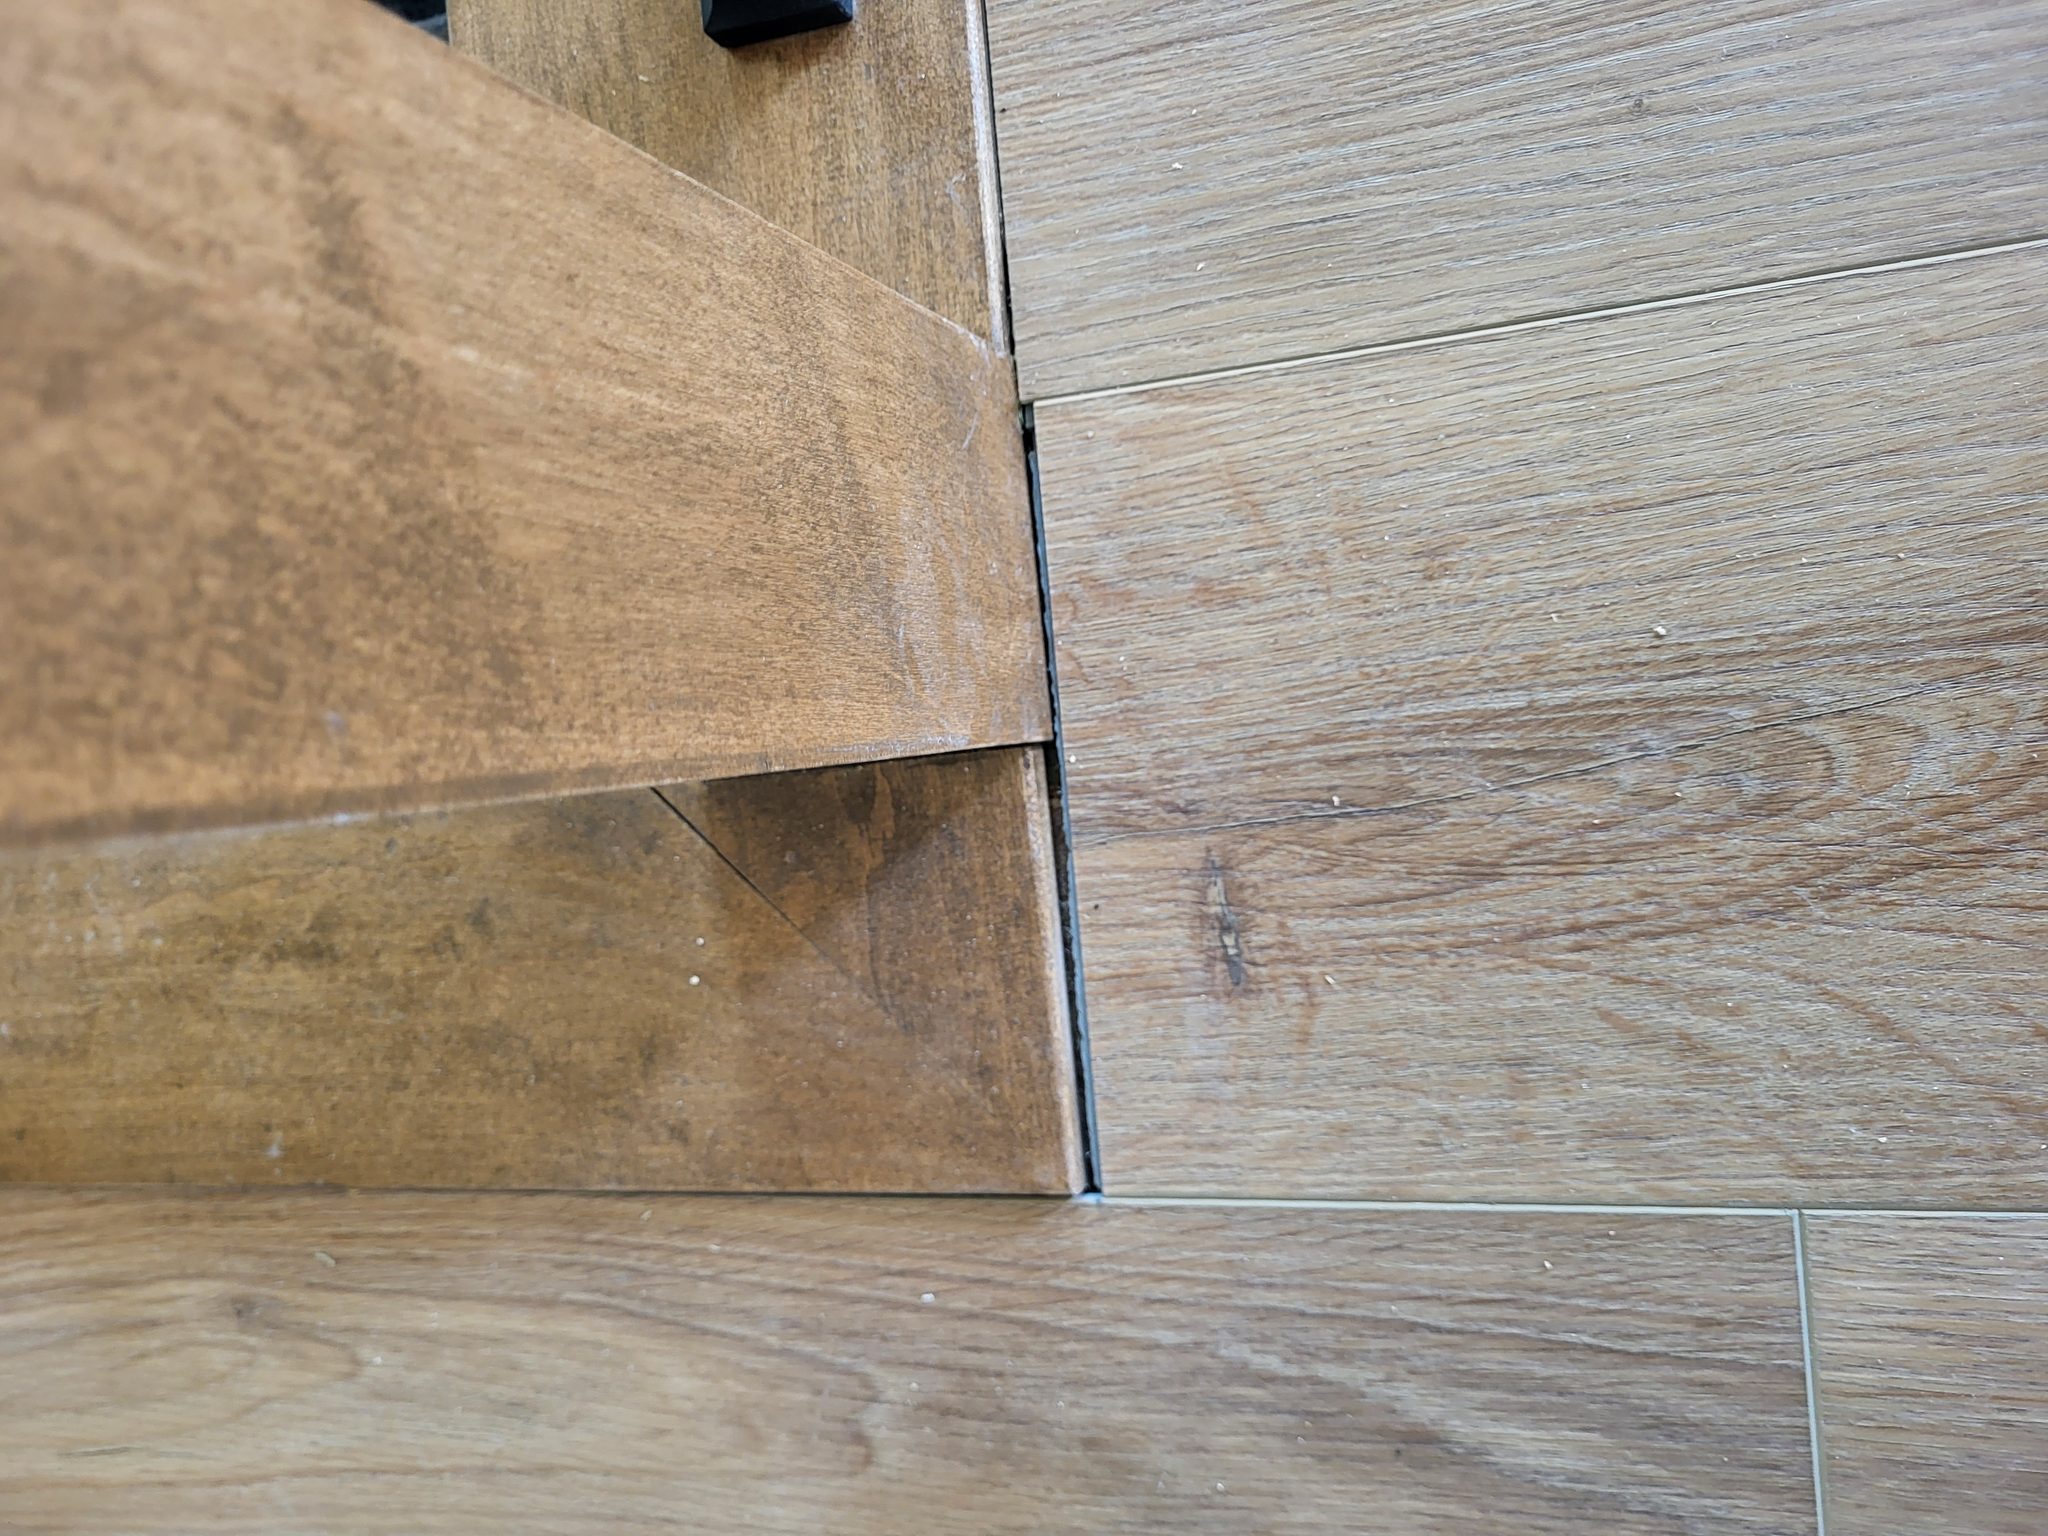
The following photos show examples of this type of work completed in the field. These serve as visual references for quality standards, proper installation techniques, and finished results.
Showing 2 of 2 photos