On this page
Introduction #
Building an attic access cover is one of the simplest finish carpentry jobs you can do, but it has a big effect on energy efficiency. Attic access covers are also called scuttle hole covers. Building codes require one wherever there is attic space above the living area, so inspectors can reach the mechanical systems, insulation, and framing up there to check them. The cover itself is the panel that sits in that ceiling opening. It keeps the heated or cooled air in your house from leaking into the unheated attic above.
In new construction, building the cover correctly takes more than one trade. The framer builds the rough opening (the framed hole before any trim goes on) in the ceiling joists or trusses. The drywaller then covers the ceiling and the opening area with drywall. Finally, the finish carpenter builds the removable access panel and trims the opening with casing (the flat trim boards used around doors and windows) so it looks clean and finished.
A properly built panel must meet three basic requirements. It must be removable, meaning you can push it up and slide it out of the way without any tools. It must be insulated, so heat cannot pass through the opening. And it must fit cleanly within the opening, with only small gaps. These are not just good habits - they are code requirements in most areas.
A well-built attic access cover should look like it belongs in the ceiling. The panel should sit flush, the casing should be tight with clean miters (tight, angled corner joints), and there should be no visible gaps or rough edges. When it’s done right, most people will walk right past it without even noticing it’s there. That’s the mark of quality finish carpentry work.
Before You Begin #
Prerequisites #
- Ceiling drywall must be complete and the attic opening must be cut out
- The rough opening must be properly framed and accessible - verify that the framing is solid and square before starting
- Casing material must be available and matched to the rest of the trim package in the house
- You should be comfortable using a miter saw and brad nailer
- U.S. Department of Energy: Insulation Guide - Official resource covering insulation R-values and requirements for attic access openings
What You Need To Know #
- Standard attic access openings are at least 22″ x 30″ per building code. Check your local code too, since some areas require a bigger opening
- The access panel rests on stop strips (also called ledger strips). These are strips of wood installed inside the opening that act like a shelf, holding the panel up
- Insulation must be attached to the top of the panel to meet energy code. This is something code officials will check during inspection
- The panel must come out without any tools - a homeowner should be able to push it up and slide it to one side to reach the attic
- The opening gets trimmed with casing, the same material used around doors and windows, to give it a finished look
Tools Required #
Power Tools #
- Miter saw - for cutting casing with mitered corners and cutting stop strips to length
- 18-gauge brad nailer - for attaching stop strips and casing
- Drill/driver - for pre-drilling or driving screws if needed to reinforce stop strips
Hand Tools #
- Tape measure - for measuring the opening and cutting materials to size
- Pencil - for marking cut lines and positioning
- Utility knife - for cutting insulation and trimming drywall edges
- Drywall saw - for cleaning up the opening edges if the drywall wasn’t cut cleanly
- Straight edge - for marking straight cuts on the plywood or MDF panel
Supplies + Materials #
- 1/2″ or 3/4″ plywood or MDF (a flat, smooth wood panel) - for the access panel itself (one piece large enough for the opening)
- 1x2 or 1x3 lumber - for stop strips (ledger strips) that the panel rests on inside the opening
- Casing - matching the trim package in the house, enough to trim all four sides of the opening
- 18-gauge brad nails - 1-1/2″ for stop strips and 2″ for casing
- Construction adhesive - for securing insulation to the top of the panel
- Rigid foam insulation (1″ or 2″ thick) or batt insulation - to insulate the top of the panel and meet energy code
- Drywall (if needed) - for patching or finishing around the opening edges
Attic Access Cover Building Process #
Step 1: Measure and Prepare the Opening #
Before building the panel, start by checking that the rough opening is square. Measure the diagonals - the distance from corner to corner across the opening - and if they match (or are within 1/8″), the opening is square. If the opening is out of square, you’ll need to account for that when you build the panel. Measure the inside width and length of the opening at multiple points to get accurate numbers.
Clean up the edges of the opening. If the drywall wasn’t cut cleanly, use a utility knife or drywall saw to trim it back so you have clean, straight edges. Remove any loose drywall paper or debris. The cleaner the opening, the better your casing will sit.
Step 2: Install Stop/Ledger Strips #
Cut four pieces of 1x2 or 1x3 to fit inside the opening - two for the long sides and two for the short sides. These strips act as a shelf that the access panel rests on. Position the strips so they sit back 1/2″ to 3/4″ from the bottom edge of the opening. This setback lets the panel sit flush with, or just slightly above, the finished ceiling surface.
Nail the strips into the framing around the opening with the brad nailer. Make sure all four strips are level and at the same height. If one strip sits higher than the others, the panel will rock instead of sitting flat. For extra hold, add a bead of construction adhesive behind each strip before nailing.
Pro Tip: Use a scrap piece of your panel material as a guide when you position the stop strips. Hold the scrap against the bottom edge of the opening, then push the strip up against it. This makes sure your setback is exactly the right depth for a flush fit.
Step 3: Build the Panel #
Now build the panel itself. Cut your plywood or MDF panel to fit the opening. Subtract about 1/4″ from each dimension (1/8″ per side) to leave clearance. The panel needs to drop in and lift out easily. If it’s too tight, it will bind and be hard to remove. If it’s too loose, it will rattle and look sloppy.
Test fit the panel by dropping it into the opening onto the stop strips. It should sit flat and level with the ceiling. Check all four edges - you want a small, even gap all the way around. If the panel doesn’t sit flat, check that your stop strips are level. Make any adjustments now before moving on.
Step 4: Add Insulation to the Panel #
Cut rigid foam insulation to the same size as the panel, or slightly smaller. Apply construction adhesive to the top face of the panel and press the insulation firmly into place. The insulation faces the attic side. When the panel sits in the opening, the insulation is on top, facing up into the attic space.
If you use batt insulation instead of rigid foam, you can still attach it to the top of the panel. Use adhesive, or staple a thin piece of plywood or cardboard over it to hold it in place. The key is that the insulation stays attached to the panel when it’s lifted and moved.
Pro Tip: Use rigid foam insulation rather than batt whenever possible. Rigid foam is easier to attach, stays in place better over time, and gives you a higher R-value per inch (R-value is the rating for how well a material blocks heat). A single layer of 2″ rigid foam will usually meet the minimum code requirement for attic access insulation.
Step 5: Install Casing Around the Opening #
Trim the opening the same way you would case a window - with flat casing around all four sides and mitered corners. Measure and cut each piece of casing to fit. The casing should sit tight against the ceiling drywall on the outside, and overlap the opening edge to cover the gap between the drywall and the framing.
Start with one of the long sides, then fit the two short sides with mitered corners, and finish with the opposite long side. Nail the casing into the framing using the brad nailer with 2″ brads. Make sure your miters are tight - any gaps in the corners will be visible and look unprofessional. If needed, apply a small amount of wood glue to the miter joints for extra holding power.
Step 6: Test and Finalize #
Test your completed attic access cover by dropping the panel back into the opening with the insulation facing up. The panel should sit flush with the ceiling surface and rest firmly on the stop strips. Now test how it moves: push the panel up from below and slide it to one side. It should move freely without binding or catching on the casing or framing.
Check the overall look from below. The panel should look like part of the ceiling - flush, with an even gap around the edges that’s barely noticeable. The casing should be tight, with clean miters and no visible gaps between the casing and the ceiling surface. If the panel or casing will be painted, it’s ready for the painter at this point.
Pro Tip: If the panel tends to shift or rattle a little, add a small piece of adhesive-backed weatherstripping around the top edge of the stop strips. This creates a light friction fit that keeps the panel snug, without making it hard to remove.
Attic Access Cover Quality Check #
Before considering this task complete, verify the following quality standards are met:
- Panel sits flush with the ceiling surface, not sunk in or sticking out
- Panel is removable without tools - pushes up and slides easily
- Insulation is securely attached to the top of the panel and stays in place when the panel is moved
- Casing miters are tight with no visible gaps at the corners
- No gaps between the casing and the ceiling drywall
- Opening is trimmed on all four sides, with the casing overlapping the opening edge by the same amount all the way around
- Panel gap is even all the way around - small and consistent
- Stop strips are secure and level - panel does not rock or shift
Troubleshooting Attic Access Cover Problems #
Panel Doesn’t Sit Flush with the Ceiling #
If the panel sits too high (above the ceiling surface) or too low (sunk into the opening), the stop strips are not positioned correctly. Remove the strips and reinstall them at the correct depth. Use a scrap piece of your panel material as a guide. The top of the strip plus the panel thickness should equal the depth from the top of the framing to the bottom of the ceiling drywall.
Panel Falls Through the Opening #
This means the stop strips are either missing, not secured properly, or set too far from the edge of the opening. The panel should be larger than the gap between the stop strips. Check that the strips are nailed firmly into the framing, not just into drywall, and that they reach far enough into the opening to support the panel. If the framing is too far from the opening edge, you may need wider strips (1x3 instead of 1x2).
Large Gap Around the Panel #
If the gap between the panel and the opening is too large (more than 1/4″ per side), the panel was cut too small. Cut a new panel to the correct size: the opening width minus 1/4″ total (1/8″ per side), and the opening length minus 1/4″ total (1/8″ per side). A panel that’s too small will look sloppy, rattle, and let air pass through the gap.
Insulation Falls Off the Panel #
The insulation was not glued on well. Remove the old insulation and clean the panel surface. Apply fresh construction adhesive in a generous zigzag pattern across the whole panel face. Press the insulation on firmly and let the adhesive cure (fully dry and harden) before you reinstall the panel. For batt insulation, try sandwiching it between the panel and a thin piece of plywood or hardboard, secured with screws through both layers.
Related Guides #
- How to Trim a House
- How to Case a Window
- Carpenter Hand Tools
- How to Install a Transom Window Above a Door
Reference Photos #
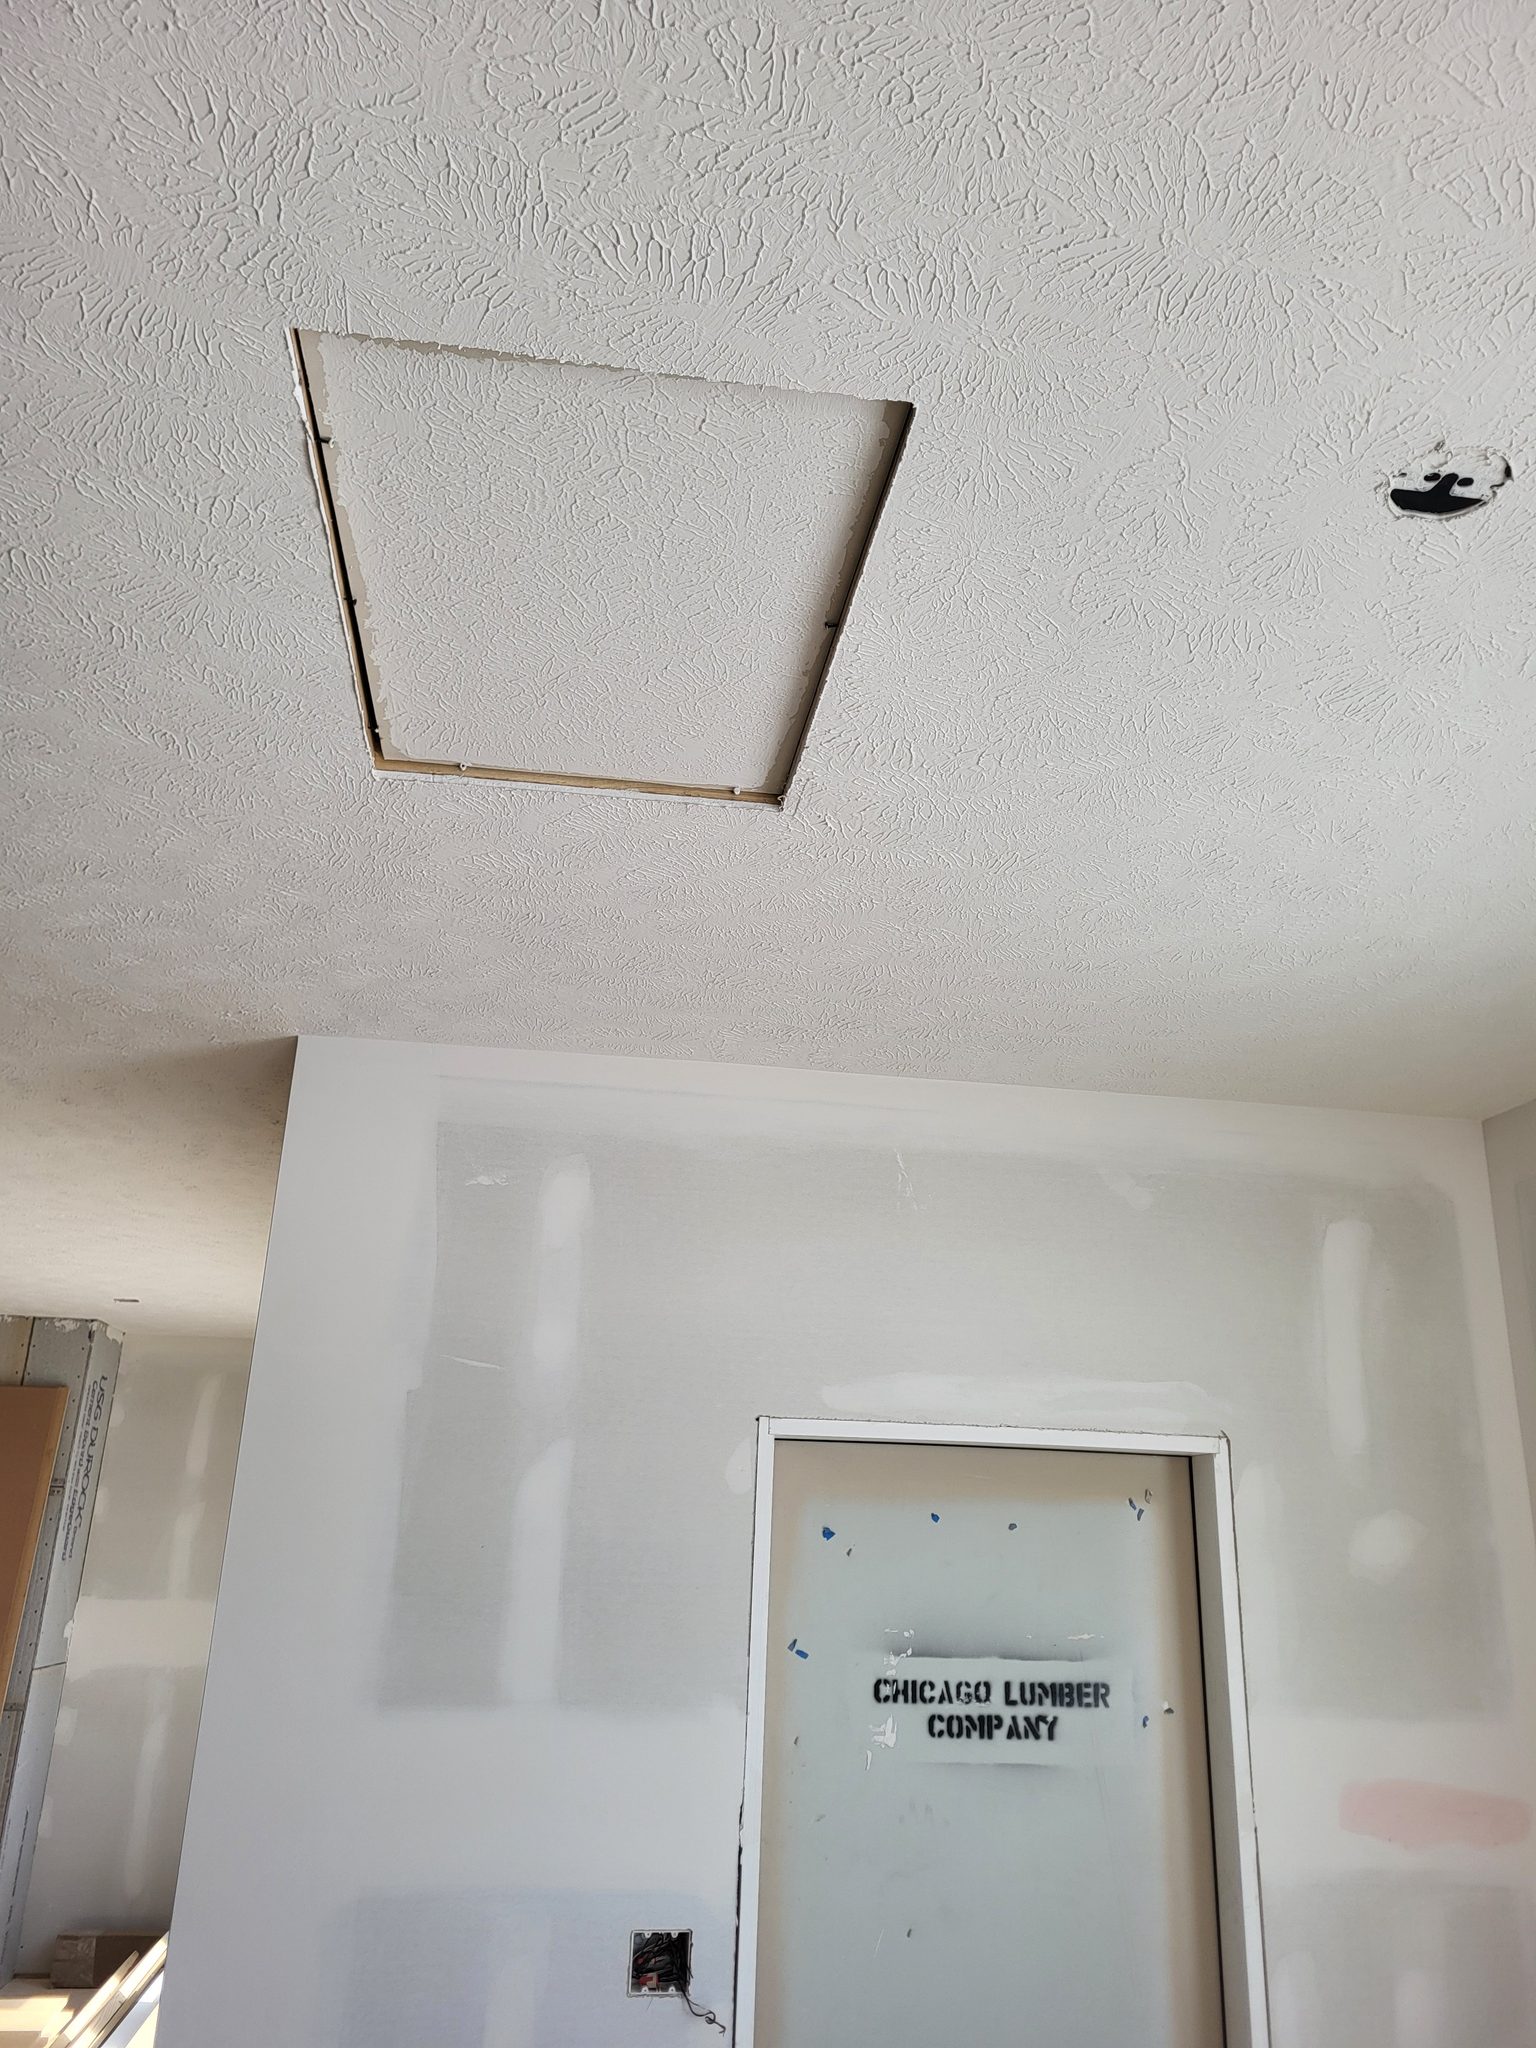
The following photos show examples of this type of work completed in the field. These serve as visual references for quality standards, proper installation techniques, and finished results.
Showing 1 of 1 photos