On this page
Introduction #
When you install base shoe, you add a small molding that runs along the bottom of your baseboard where it meets the floor. Its job is to cover the gap between the baseboard and the flooring. That gap is there on purpose. Flooring like hardwood, laminate, and LVP (luxury vinyl plank) needs room to expand and shrink as temperature and humidity change, so installers leave a small gap at the walls. Base shoe hides that gap and gives the room a clean, finished look.
Base shoe does another job too: it covers up an uneven floor. Most floors are not perfectly level, especially in older homes or over concrete slabs. Without base shoe, you would see light gaps under the baseboard in the low spots, and the baseboard would look like it is floating off the floor. Base shoe is flexible. It bends to follow the dips and rises in the floor and presses down tight to the surface, so you get a clean line between wall and floor even where the floor is not flat.
Base shoe also makes the whole job easier on everyone's schedule. Some customers want to skip the shoe and put baseboard straight down after the flooring is in, to save money. It usually costs more instead: trim and painters both have to make an extra return trip, working over finished floors that can get damaged in the process. If the customer wants the no-shoe look, make sure they understand it costs more, not less.
You will work with two common styles of base shoe. The first is rounded base shoe. Its profile (the cross-section shape you would see if you cut straight through it) is a quarter oval, taller than it is wide when installed correctly. People often confuse this with “quarter round,” but true quarter round is a perfect quarter circle, equal in height and depth. Rounded base shoe is not quarter round. It is a quarter oval, taller on one side than the other. The second style is square base shoe. Its profile is flat and rectangular. Both styles do the same job, but they look different and need different techniques at inside corners.
There is one rule to learn before you start: when base shoe goes on, and how it attaches. Always install base shoe after the flooring is finished. Nail it to the baseboard or cabinet, never to the floor. The flooring needs to move freely underneath the shoe. If you nail through the shoe into the floor, you pin the flooring down, and it can buckle, gap, or crack as it tries to expand. Nail into the baseboard or cabinet only, and let the shoe ride on top of the floor.
Before You Begin #
Before you install base shoe, make sure the items below are done and that you understand the basic techniques.
Prerequisites #
- Flooring installation is complete in the room
- Baseboard is installed, nailed, and secure
- The area along the base of the walls is clean, with no debris, dust, or flooring scraps
- Any paint or stain on the baseboard is dry (you do not want wet paint sticking to new shoe)
- You know whether you are using rounded or square base shoe for this project, and you have enough material to install base shoe in every room on the schedule
What You Need To Know #
- Two styles, two different corner methods: Rounded base shoe (quarter-oval profile) and square base shoe (flat, rectangular profile) need different cuts at inside corners. Square shoe can use a butt joint at inside corners: one piece runs into the corner with a square-cut end, and the next piece butts straight into it, no angle needed. Rounded shoe must be mitered at inside corners instead. A miter is an angled cut, usually 45 degrees, so two pieces meet corner to corner. Rounded shoe needs this because its curved face will not sit flush against a flat, square-cut end.
- Exception for inside corners: When two different finish colors meet at an inside corner (for example, white shoe on one wall meeting stained shoe on another), always miter the inside corner if the profile matches too, even with square shoe. A butt joint would show the raw end grain of one color right against the face of the other, and it looks bad. If the profile also differs between the two runs, a square butt is fine instead - just make sure the smaller profile piece butts into the bigger one.
- Install standing up, not flat: Base shoe stands with its taller side against the wall and its shorter side on the floor. The only exception is at door thresholds. There, you may not have room for the full height, and the shoe drops down to meet the floor. In that spot, the shoe can lay flat as it returns to the floor surface.
- Nail to baseboard or cabinet, NOT to floor: This is the single most important rule when you install base shoe. Your nails go sideways into the baseboard. If you angle downward and catch the floor, you are pinning the flooring in place and stopping it from expanding. The shoe sits on top of the floor and attaches to the wall side only.
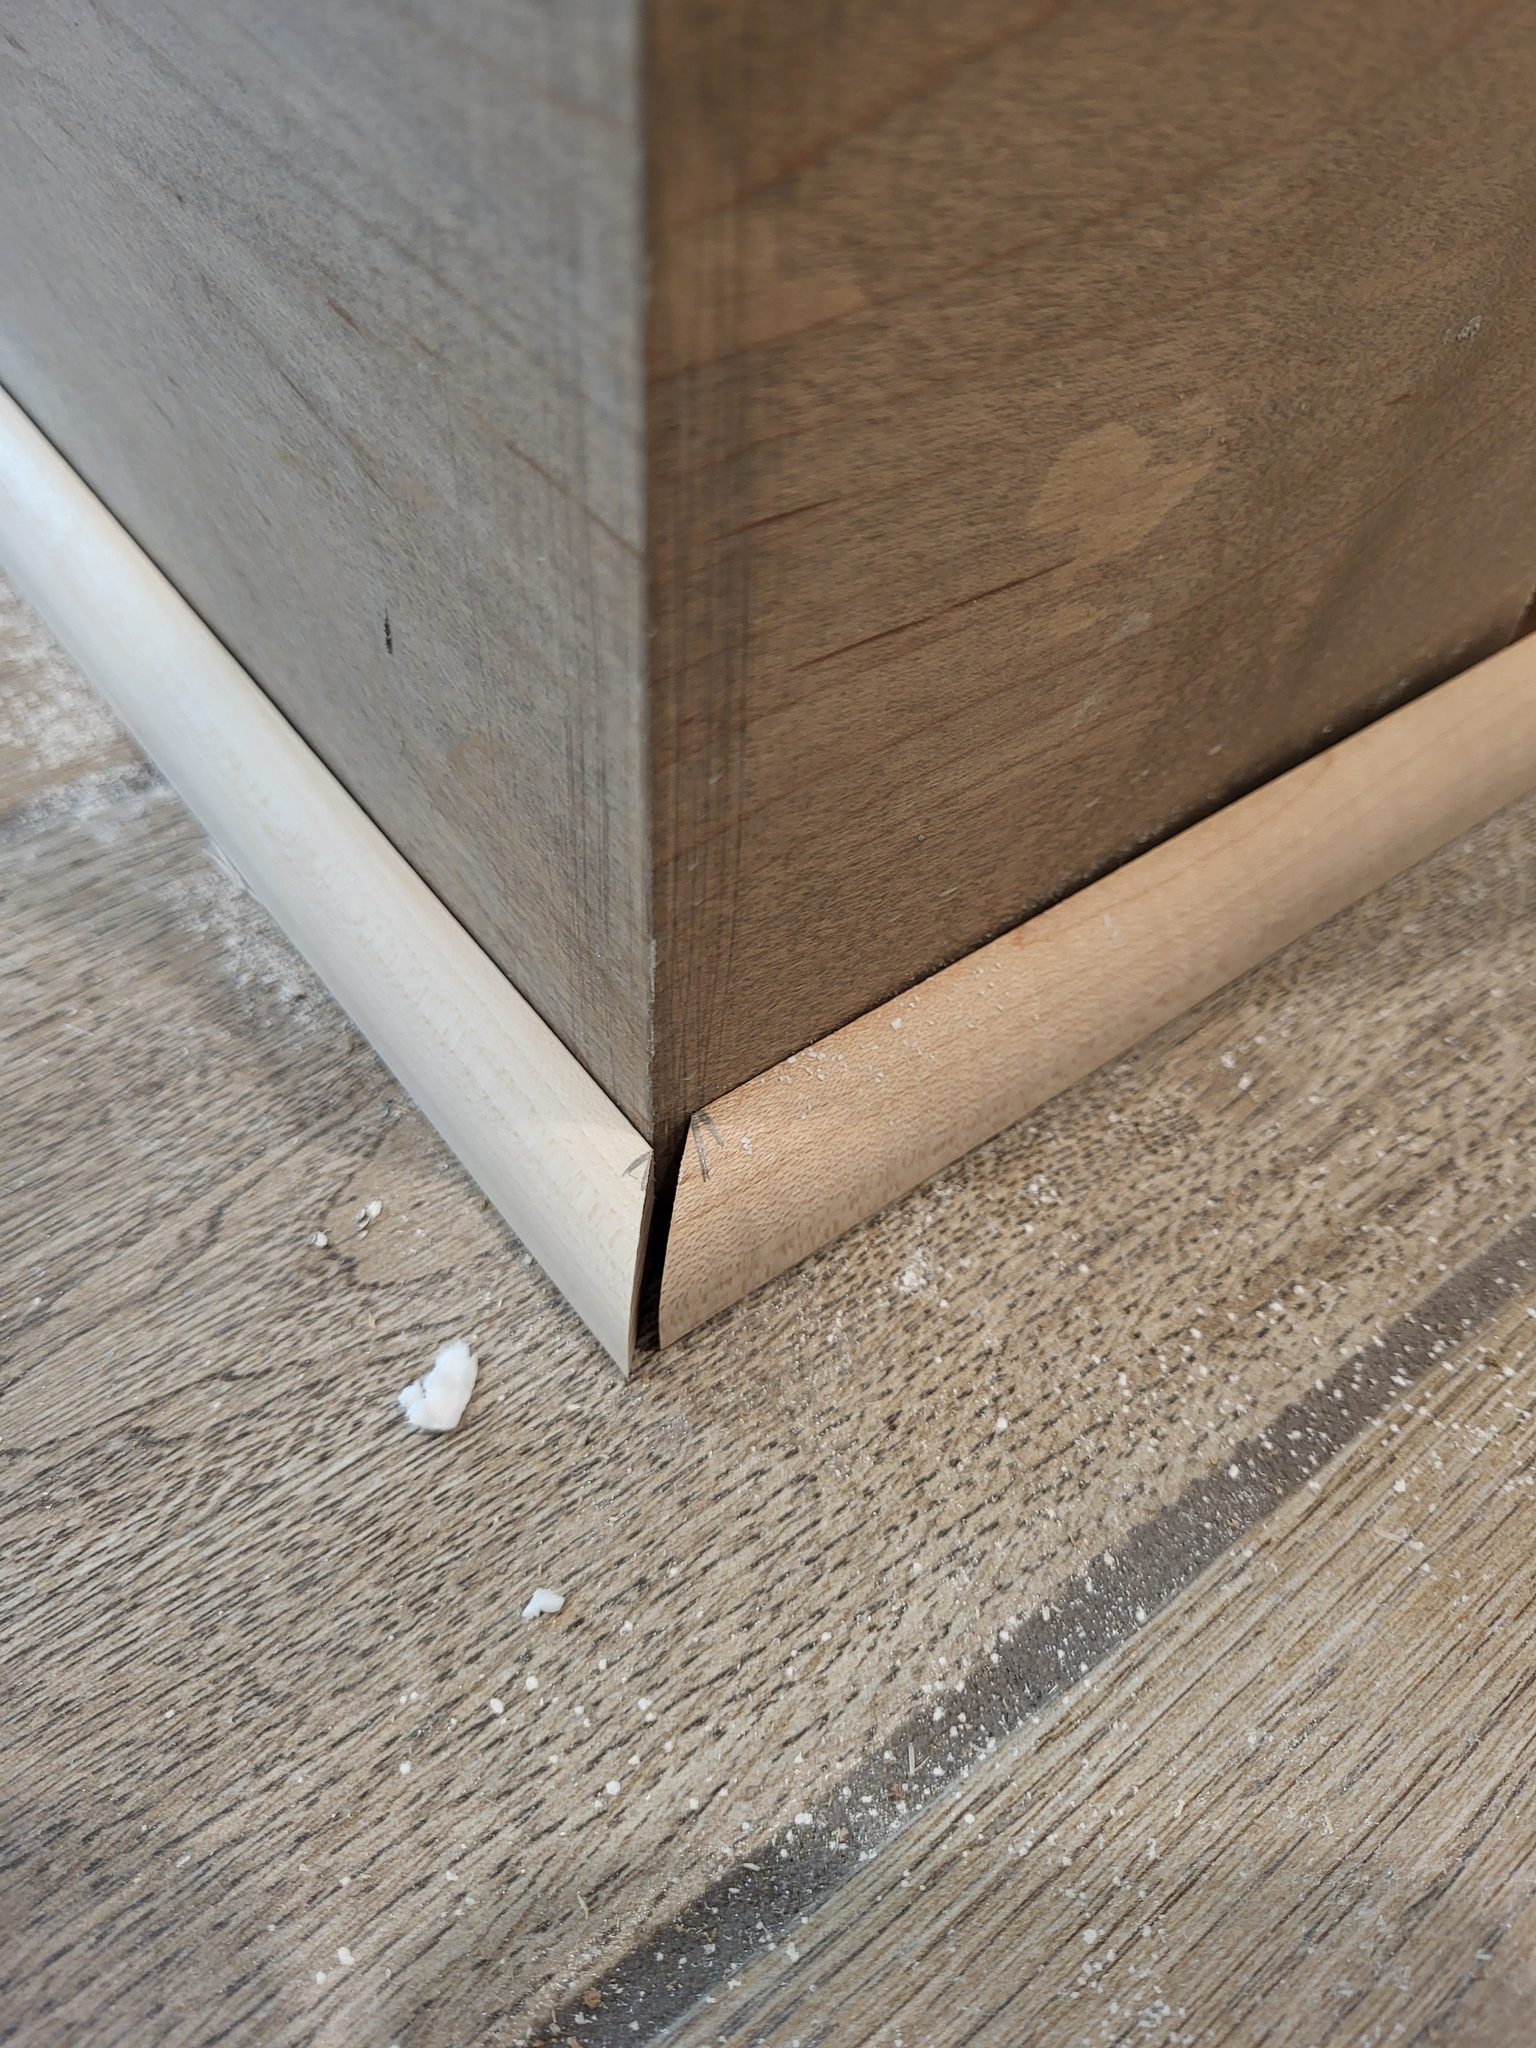
- Outside corners cut at 46.5 degrees: When you install base shoe at outside corners, cut miters at 46.5 degrees, not 45. Most wall corners are not perfectly square, so the extra 1.5 degrees gives you a tight joint at the front edge of the miter, the part you actually see.
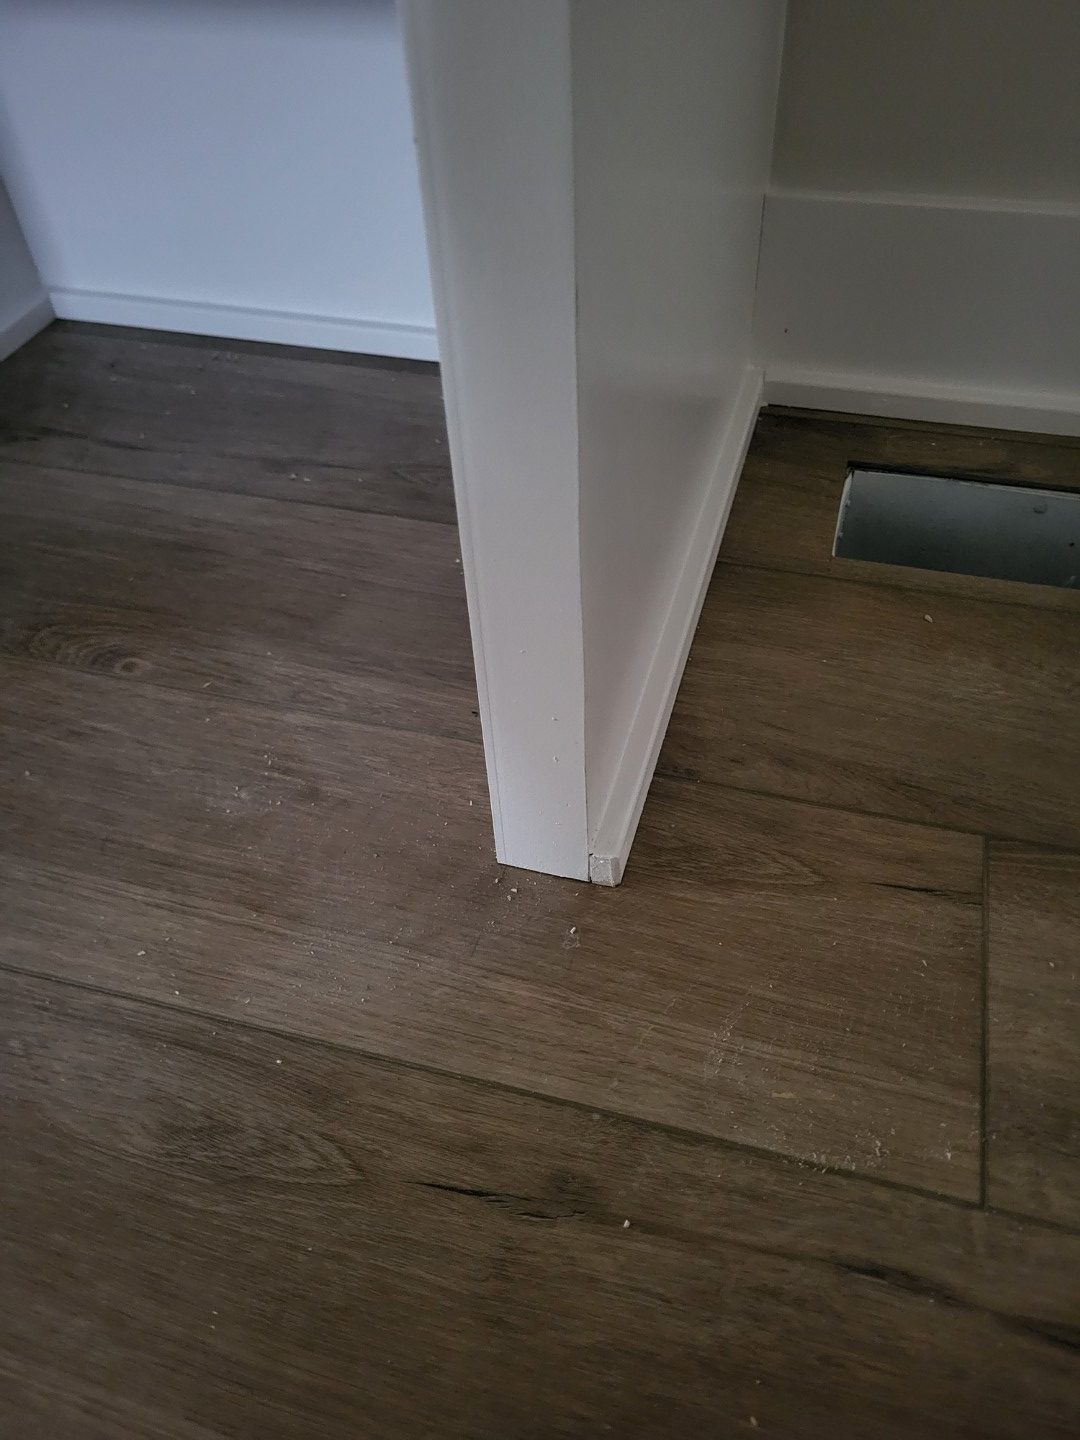
- Door thresholds: At doorways, base shoe typically either returns to the floor (curving down to meet the floor surface) or stops cleanly at the edge of a threshold transition piece. It should never just end with a raw cut in the middle of a doorway.
- Where the shoe waits between trim and punchout: The supplier ships more trim than the job needs and then schedules a return pickup. Leave the shoe in the house so it does not go back on that truck: full length, unfinished, stacked along the back wall of the main floor's main room, where the painters will find it and paint it. You install it at punchout. If the customer asked for the shoe to be pre-cut, mark each piece with a black sharpie for where it goes and leave it in the room it belongs to instead.
Tools Required #
Power Tools #
- Miter saw: You need this for accurate angle cuts at corners. A 10-inch sliding miter saw works well, but even a basic 10-inch chop saw handles base shoe easily, since the pieces are small.
- 18-gauge brad nailer: Your main fastening tool. 18-gauge brads hold shoe molding securely and are small enough to leave a tiny hole that fills easily.
- 23-gauge micro-pin nailer (optional but recommended): Use this for delicate profiles, thin shoe molding, or hardwoods that tend to split. Micro pins are nearly invisible and will not crack small moldings near the ends the way a bigger nail can.
- Air compressor with hose: Powers pneumatic (air-driven) nailers, if you are not using cordless battery nailers.
Hand Tools #
- Tape measure: For measuring wall lengths and marking cut locations.
- Pencil: For marking cut lines on the shoe. A sharp carpenter’s pencil or mechanical pencil works best for precise marks on small molding.
- Utility knife: For cleaning up cuts, trimming splinters, and scoring marks.
- Nail set: For driving any brads that did not sink flush with the nailer. A 1/32-inch nail set matches 18-gauge brad heads perfectly.
- Small pry bar or flexible scraper: For gently adjusting shoe into position, especially when pressing into tight inside corners or working around obstacles.
Supplies #
- 18-gauge brads, 1-3/4″: The standard fastener for base shoe. The length you need depends on the thickness of your shoe and baseboard. You want the brad to go into the baseboard but not punch through and hit the wall.
- 23-gauge micro pins, 1″ (optional): For use with the micro-pin nailer on delicate pieces or near the ends of shoe, where it might split.
- Wood glue: Use this to reinforce miter joints at outside corners. A small amount on the two cut faces of the miter keeps the joint tight over time as the wood moves with the seasons.
Materials #
Base shoe. Most base shoe comes prefinished, already primed or painted. Confirm with the customer before you install anything raw or unpainted - that is their call, not ours. Poplar is the more common choice for painted work: it is affordable, easy to cut, nails well, and holds paint better than MDF (medium-density fiberboard, an engineered wood panel) in areas that get damp. MDF base shoe runs a smaller, thinner profile than solid wood and breaks easily if it gets knocked around on site. It can also be damaged by moisture at the floor level, so avoid it in bathrooms and laundry rooms. For stained or natural finishes, alder, oak, and maple are the usual options. Alder is the easiest to cut and nail, oak is the most durable, and maple needs pre-drilling or a micro-pin nailer near the ends because it splits easily.
Profile. Base shoe profiles can look nearly identical between suppliers but differ slightly in size. Confirm the profile matches before you order a full run, especially if you are matching shoe that is already installed elsewhere in the house.
How to Install Base Shoe Step by Step #
Step 1: Prep and Plan Your Layout #
Before you cut a single piece, walk the whole room and look at every wall where you plan to install base shoe. Find all the inside corners, outside corners, door thresholds, cabinet transitions, and obstacles like floor vents or built-in furniture. This planning step saves you from wasting material and making bad cuts.
- Start by identifying the longest walls. These are where you want to use your longest, straightest pieces of shoe. Shorter walls and closets can use shorter pieces and offcuts.
- Starting point doesn't matter much for base shoe - start wherever is convenient. What matters is using your longest, straightest pieces where they'll show the most (see the note above about identifying your longest walls first).
- Check all inside corners with a speed square or just by eye. Note any corner that is noticeably out of square - these will need a slightly adjusted miter angle.
- Note where the shoe will meet door casings or thresholds. Decide whether it will return to the floor or just end against the edge of the casing.
- If the room has cabinets, note where the baseboard stops and the cabinets start. The shoe usually runs into the cabinet toe kick or gets trimmed flush with the end of the baseboard.
- When cabinet shoe doesn't match trim shoe: Some cabinet suppliers include their own base shoe with the cabinets, and it may not match your trim shoe's profile. If the cabinet shoe is rounded, install your trim shoe first and cope the cabinet shoe into it, so the joint stays tight against the curved profile (a square butt against a round profile leaves a gap, same as at inside corners). If both are rounded, or both are square, but they are slightly different sizes, install the bigger profile first - the smaller piece copes into a rounded profile, or butts square into a square one.
Pro Tip: Take a piece of scrap shoe and walk it around the room, holding it in position at each corner and transition point. This shows you how the shoe will sit and helps you catch problems early - like a floor vent that is too close to the wall, or a loose baseboard section that needs re-nailing before you install base shoe over it.
Step 2: Measure and Cut Inside Corners #
Inside corners are where two walls meet and form a 90-degree (or close to it) inward angle. When you install base shoe, how you cut inside corners depends on whether you are using the square or rounded profile.
Square Base Shoe: Butt Joints #
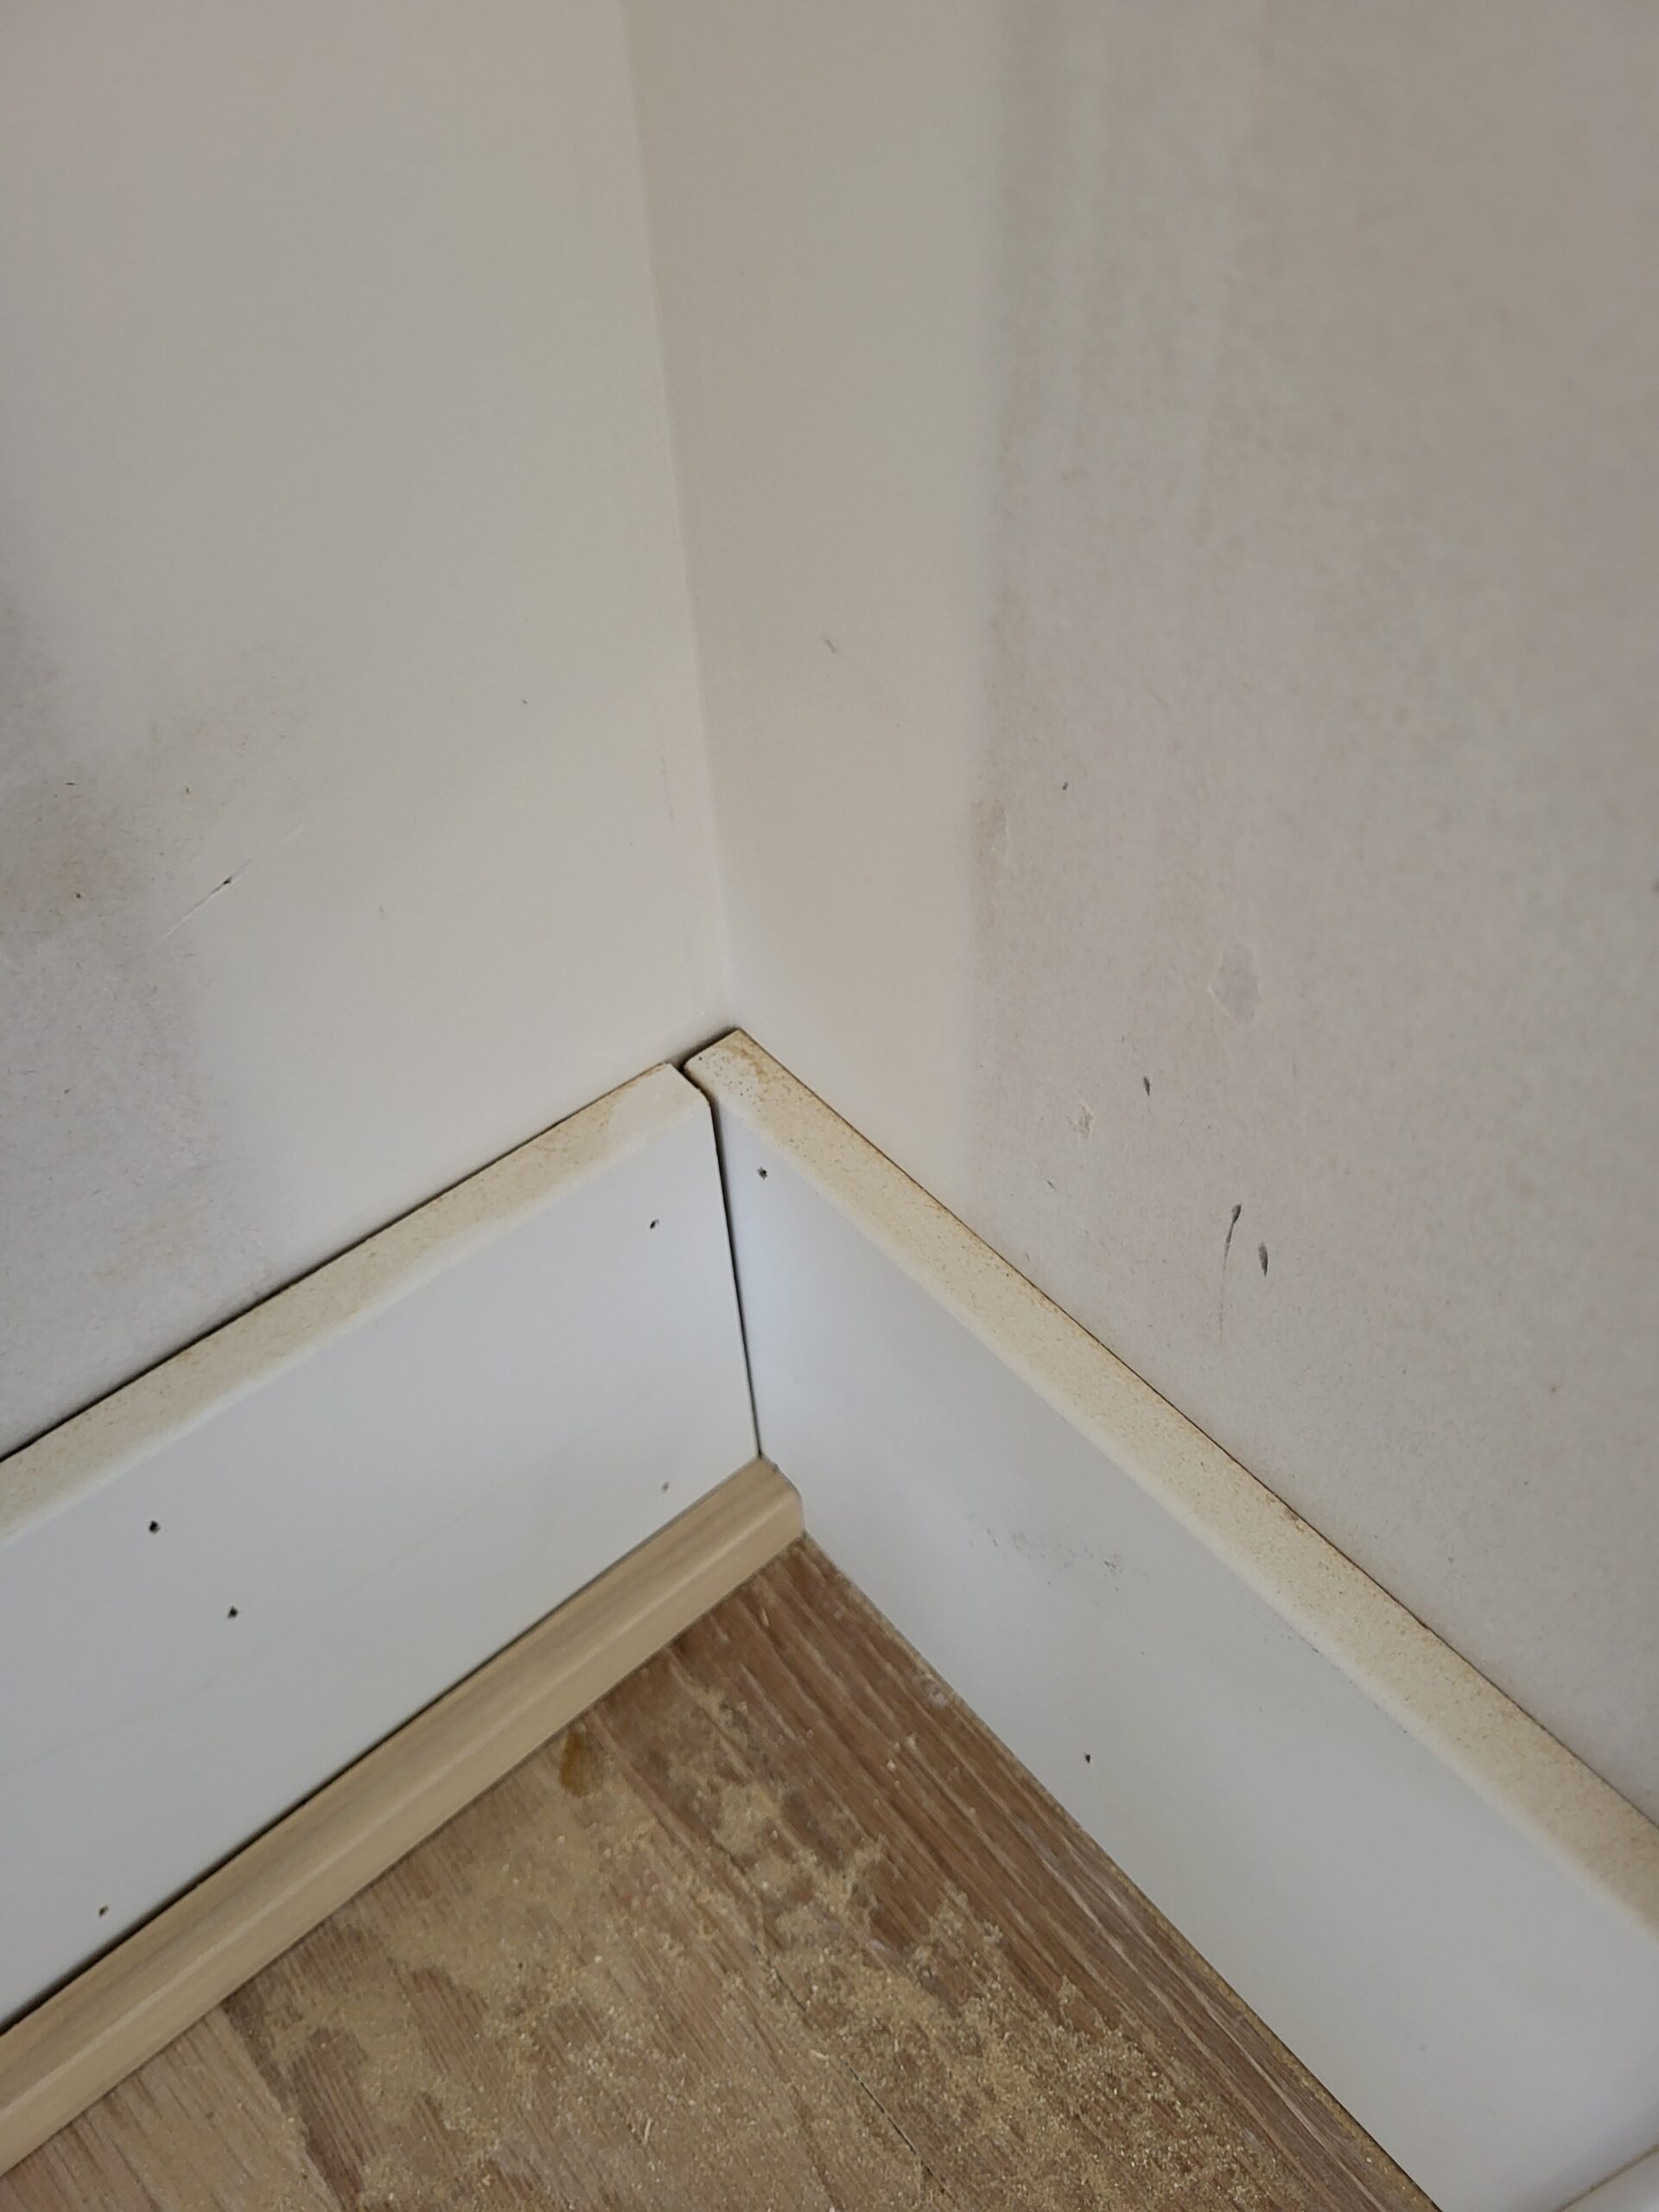
When you install base shoe with a square (rectangular) profile, inside corners are handled with a simple butt joint. The first piece runs all the way into the corner with a straight (square) cut on the end. The second piece is also cut square and butts directly into the face of the first piece. Because the profile is flat, the butt joint creates a clean, tight line with no visible gap.
- Run the first piece tight into the corner with a square-cut end. Nail it in place.
- Measure the second wall from the corner to the next transition point (door casing, outside corner, or next inside corner).
- Cut the second piece square and press it into the corner, butting it tight against the face of the first piece.
- Nail the second piece, placing a brad within 1-2 inches of the inside corner to hold the joint tight.
Rounded Base Shoe: Mitered Inside Corners #
When you install base shoe with a rounded (quarter-oval) profile, you cannot use a butt joint at inside corners because the curved profile will leave a visible gap where the round face meets the flat end cut. Instead, both pieces are mitered at 45 degrees to form a tight inside miter joint.
- Cut the first piece with a 45-degree inside miter on the end that goes into the corner. The miter should open toward the back (wall side) of the shoe so the front faces meet tightly.
- Cut the second piece with the opposite 45-degree inside miter.
- Dry-fit both pieces in the corner before nailing. The front edges should meet tightly with no visible gap.
- Nail the first piece in place, then press the second piece into the joint and nail it as well. Place a brad close to the corner on both pieces to keep the joint tight.
When Different Colors Meet #
If the base shoe changes color at an inside corner - for example, white painted shoe on one wall meeting stained oak shoe on the other - you must miter the inside corner if the profile is the same on both walls. This applies even to square shoe. A butt joint would show the end grain of one color right against the face of the other, and the color mismatch would stick out. A 45-degree miter hides the end grain inside the joint and gives you a clean color change. If the profile is different too, a square butt joint is fine instead of a miter - just make sure the smaller profile piece butts into the bigger one, not the other way around.
Pro Tip: When measuring for inside corner cuts, always measure to the exact back corner of the wall, then add 1/16 inch. That little bit of extra length forces the shoe to spring-fit into the corner (it bows slightly under pressure and locks itself tight), which keeps the joint closed even if the wall is a little out of square. If the piece ends up too long, shave it with a utility knife or sand the end instead of re-cutting it.
Pro Tip: For mitered inside corners on rounded shoe, apply a small amount of wood glue to the miter faces before assembly. Inside corners tend to open up over time as the wood shrinks, and the glue keeps the joint from pulling apart.
Step 3: Measure and Cut Outside Corners #
Outside corners are where two walls meet and form an outward angle. When you install base shoe at outside corners, both pieces are mitered at 46.5 degrees - not 45 - using the same technique as baseboard outside miters. Most wall corners are not perfectly square, so the extra 1.5 degrees closes the front edge of the miter tightly anyway.
- Measure from the previous joint (inside corner, door casing, etc.) to the point of the outside corner along the wall.
- Mark that measurement on your shoe piece. The long point of the miter will be on the front face (the side you see), and the short point will be on the back (wall side).
- Set your miter saw to 46.5 degrees and make the cut. Make sure the shoe is oriented correctly on the saw - the face that will show should be facing you.
- Cut the mating piece on the adjoining wall at an opposite 46.5-degree angle.
- Dry-fit both pieces at the corner (hold them together without nailing or gluing, just to check the fit). The front edges should meet tightly. The back of the joint may have a slight gap - that is normal and will not be visible once installed.
- Apply a thin bead of wood glue to both miter faces before nailing. Outside corner miters are under stress from the angle, and glue keeps the joint from opening over time.
- Nail one piece in place first, then set the second piece and press the miter joint together before nailing. Place a brad within 2 inches of the miter on both pieces.
Pro Tip: After nailing both pieces of an outside miter, pinch the joint together with your fingers while it can still move. Shoot a pin nail through the front edge of one piece into the other, horizontally, right at the point of the corner. This locks the miter together and keeps it from opening as the wood dries. Use a 23-gauge micro pin here so you do not split the thin edge.
Pro Tip: If the outside corner is slightly off (not a perfect 90 degrees), adjust your miter angle by 0.5 to 1 degree. Cut test pieces from scrap first, hold them on the actual corner, and dial in the angle before cutting your real pieces. A little time on test cuts saves a lot of wasted material.
Step 4: Install Base Shoe #
With your pieces cut and dry-fitted, it is time to nail everything in place. The install itself is simple, but where you put your nails matters.
- Nail into the baseboard or cabinet, not the floor. Angle your nailer slightly upward - about 10 to 15 degrees above horizontal - so the brad drives into the lower half of the baseboard. You want the nail going into wood, not through the shoe and into the flooring below.
- Spacing: Place nails every 16 inches along the length of the shoe. Where the floor is uneven and the shoe wants to gap away from it, add a nail at the low spot rather than tightening the spacing down the whole run.
- Press the shoe tight to the floor while nailing. Use your foot or your free hand to push the shoe down firmly against the floor surface as you shoot each nail. If you nail without pressing down, the shoe may sit slightly above the floor and leave a visible shadow gap underneath.
- Work from one end of the wall to the other. Start at one corner joint, press the shoe into position, nail it every 16 inches, and work toward the other end. Do not try to nail the middle first and work outward - this can cause the shoe to bow or buckle.
- At corner joints: Place a nail within 1-2 inches of every inside and outside corner joint to hold the joint tight. Without a nail near the joint, the shoe can pull away from the corner over time.
- At butt splices (long walls): If a wall is longer than your shoe stock, you will need to splice two pieces together. Cut both ends at a matching 30-degree angle (a scarf joint) rather than butting them square. The angled joint is less visible and stays tighter than a square butt. Glue the scarf joint and nail through both pieces at the splice.
- You do not usually need glue on a straight run of shoe against the baseboard, the nails hold it fine. It does not hurt to add a bead there if you want extra insurance, but it is optional - glue is doing real work at the miters and at scarf splices (see above).
Pro Tip: If the floor has low spots where the shoe gaps away from the surface, do not force it down with extra nails - you will crack it. Instead, use a heat gun to gently warm the shoe (if it is MDF or a softwood). Heat makes it more flexible. Press it down and nail it while it is warm. If a gap still will not close, add a fastener closer to the low spot instead of forcing the whole run down. Sealing that gap is the painter's job, not ours, and the bottom edge of the shoe needs to stay free to move anyway.
Pro Tip: When nailing near the end of a piece (within 2 inches of a cut end), switch to the 23-gauge micro-pin nailer if you have one. The thinner pin is much less likely to split the thin end of the molding. If you only have an 18-gauge nailer, pre-drill with a 1/16-inch drill bit before nailing near the ends.
Step 5: Door Thresholds and Transitions #
Every doorway is a spot where base shoe either stops or changes direction. How you handle it depends on whether the doorway has a threshold, a door casing, or is just an open passthrough.
- Door casings with plinth blocks: If the door casing has a plinth block at the bottom (a thicker block at the base of the casing), the shoe simply butts into the plinth block with a square cut. This is the easiest transition - just measure to the plinth block and cut square.
- Door casings without plinth blocks: The shoe runs up to the edge of the door casing and stops. Cut the end square and fit it tight against the casing. If the casing is thinner than the baseboard, the shoe may need to be trimmed or notched slightly to sit flat.
- Return to floor: At doorways, closet openings, or anywhere the shoe ends without meeting another piece of trim, it should return to the floor. Cut a small 45-degree return piece and glue it to the end of the shoe so the profile wraps back down to floor level. This gives a finished look instead of a raw cut end.
- Threshold transitions: At a door threshold or transition strip between rooms, the shoe meets the edge of the threshold and stops. Cut the shoe to fit tight against the threshold. If the threshold is higher than the shoe, the shoe simply butts into the side of the threshold. If the threshold is lower, the shoe may need a return to the floor before reaching the threshold.
- Open doorways between rooms: If the same flooring runs through an open doorway with no threshold, the shoe continues around the corner of the doorway using outside miters (46.5 degrees) just like any other outside corner. The shoe wraps around the drywall corner inside the doorway opening.
Pro Tip: For floor returns, cut the return piece on the miter saw first, then glue it to the end of the shoe before you nail the shoe in place. Use painter’s tape to hold the return piece tight while the glue sets: about 10 minutes with CA glue (cyanoacrylate, also called super glue), or clamp it for 30 minutes with wood glue. Once the glue sets, install the whole piece as one assembly so the return does not get knocked off while you are nailing.
Pro Tip: At doorways where two different flooring materials meet and the shoe changes style or color, make sure both pieces of shoe end cleanly at the threshold, each on its own side. Do not try to miter two different profiles together at a threshold - it never looks right. Give each side its own clean end.
Step 6: Set, Clean, and Sweep #
Once every piece is nailed, walk the room and close it out. This is quick work, and it is the last thing standing between your install and the painter, the next trade in line.
- Set any proud brads: Walk the room and run your finger along the shoe. “Proud” means sticking up above the surface - even 1/32 of an inch counts, and it will telegraph through the finish (show up as a bump once it is painted). Set it below the surface with a nail set. Your fingertips will catch what your eyes miss, so feel the run, do not just look at it.
- Clean any glue: Wipe glue off the miter faces while it is still wet. Dried glue leaves a hard spot that shows through the finish and has to be scraped, which risks damaging a small profile like shoe.
- Check your joints one more time: Inside corners closed, outside miters tight at the front edge, no lifted ends at thresholds.
- Sweep the room: Cutoffs collected, dust off the floor along the run. A clean room is part of the handoff.
Filling the nail holes, sealing the seam at the top of the shoe, and any sanding or finish work all belong to the painter. He fills and coats the whole room in one pass with one set of materials, and if we spot-fill ahead of him it creates patches that look different once the finish goes on. Leave him tight joints, nails set below the surface, and a swept floor, and his work goes fast.
Quality Check After You Install Base Shoe #
Before you call the room complete, check every item on this list:
- All inside corner joints are tight with no visible gaps between the two pieces
- All outside corner miters are tight at the front edge with the joint line barely visible
- Base shoe sits flat against the floor along its entire length with no visible light gaps underneath
- Shoe does not move or flex when pressed with a finger - it is securely nailed
- The gap between baseboard and flooring is completely covered along every wall
- All door threshold transitions are clean, with returns or square, flush ends - no raw-cut ends visible
- Every brad is set below the surface, nothing proud to the touch
- Shoe profile orientation is correct everywhere - taller dimension vertical, shorter dimension on floor
- No splits, cracks, or damaged sections in any installed pieces
Troubleshooting #
Even when you install base shoe carefully, small problems can come up. Here are the most common issues and how to fix them.
Base shoe pulls away from the floor in low spots #
This is the most common issue when you install base shoe on uneven floors. The shoe bridges over the low spots instead of following the dips. Do not force it down with more nails - you will crack it. Instead, add a nail on each side of the low spot (about 2 inches away) to hold the shoe as close to the floor as it will naturally flex. Leave the rest of the gap for the painter to seal. Do not try to close it yourself by sealing the bottom edge, and never glue the shoe to the floor, because it has to stay free to move as the floor does. For gaps bigger than 1/8 inch, use a more flexible shoe material, or warm the shoe gently to soften it before pressing it down and nailing.
Inside corner joint has a gap #
If a butt joint on square shoe has a gap, the wall is probably not perfectly straight. The shoe on the second wall may get pushed slightly away from the corner by a bump in the wall behind it. Remove the second piece, check the wall with a straight edge, and if there is a bump, press the shoe past it and nail it tight. If the gap is on a mitered inside corner (rounded shoe), the wall angle may not be exactly 90 degrees. Re-cut both miter pieces at a slightly adjusted angle - try 44.5 or 45.5 degrees - and test the fit before nailing. A gap under 1/16 inch is small enough that the painter will close it, but re-cutting is still the better fix if the piece is short enough to redo quickly.
Base shoe splits when nailing near the end #
Splitting near the end of a piece is one of the most common problems when you install base shoe, especially with hardwoods like oak and maple. The nail pushes the wood fibers apart because there is not enough material around it to resist the force. There are three fixes. First, switch to a 23-gauge micro-pin nailer for any nails within 2 inches of a cut end - the thinner pin moves far less wood and almost never causes splitting. Second, if you only have an 18-gauge nailer, pre-drill with a 1/16-inch drill bit before nailing. Third, put a drop of thin CA glue (super glue) on the end of the piece before nailing - it hardens the wood fibers and makes them resist splitting.
Gap between the top of the shoe and the baseboard #
If you notice a gap along the top where the shoe meets the baseboard, it usually means one of two things: the baseboard is not sitting flat against the wall, or the shoe is getting pushed outward by an uneven floor. First, check if the baseboard is tight to the wall - it may need to be re-nailed. If the baseboard is fine, the shoe is probably being pushed outward at the bottom by the floor. Try pressing the top of the shoe into the baseboard and nailing it at a slight downward angle, to pull it tight against the baseboard face. If a gap remains after re-nailing, leave it for the painter to seal instead of working the piece any harder.
23-gauge micro pins will not hold in MDF base shoe #
MDF base shoe is dense, but it does not have wood grain for the tiny barbs on a micro pin to grip into. If 23-gauge pins are pulling out or not holding in MDF, switch to 18-gauge brads - the larger diameter holds much better in MDF. If you need to use micro pins (for example, to avoid splitting a delicate profile), put a small drop of CA glue into the nail hole right after pinning. The glue soaks into the MDF fibers around the pin and creates a solid bond. Or, if the MDF shoe will be painted, you can add construction adhesive on the back of the shoe along with nailing - the adhesive gives you the long-term hold, while the pins just hold the shoe in position while the adhesive cures.
Related Guides #
These guides cover related trim skills that will help you install base shoe with better results. For additional reference, see this baseboard installation guide.
- How to Install Baseboard - Base shoe installs over baseboard, so understanding proper baseboard installation is essential background knowledge.
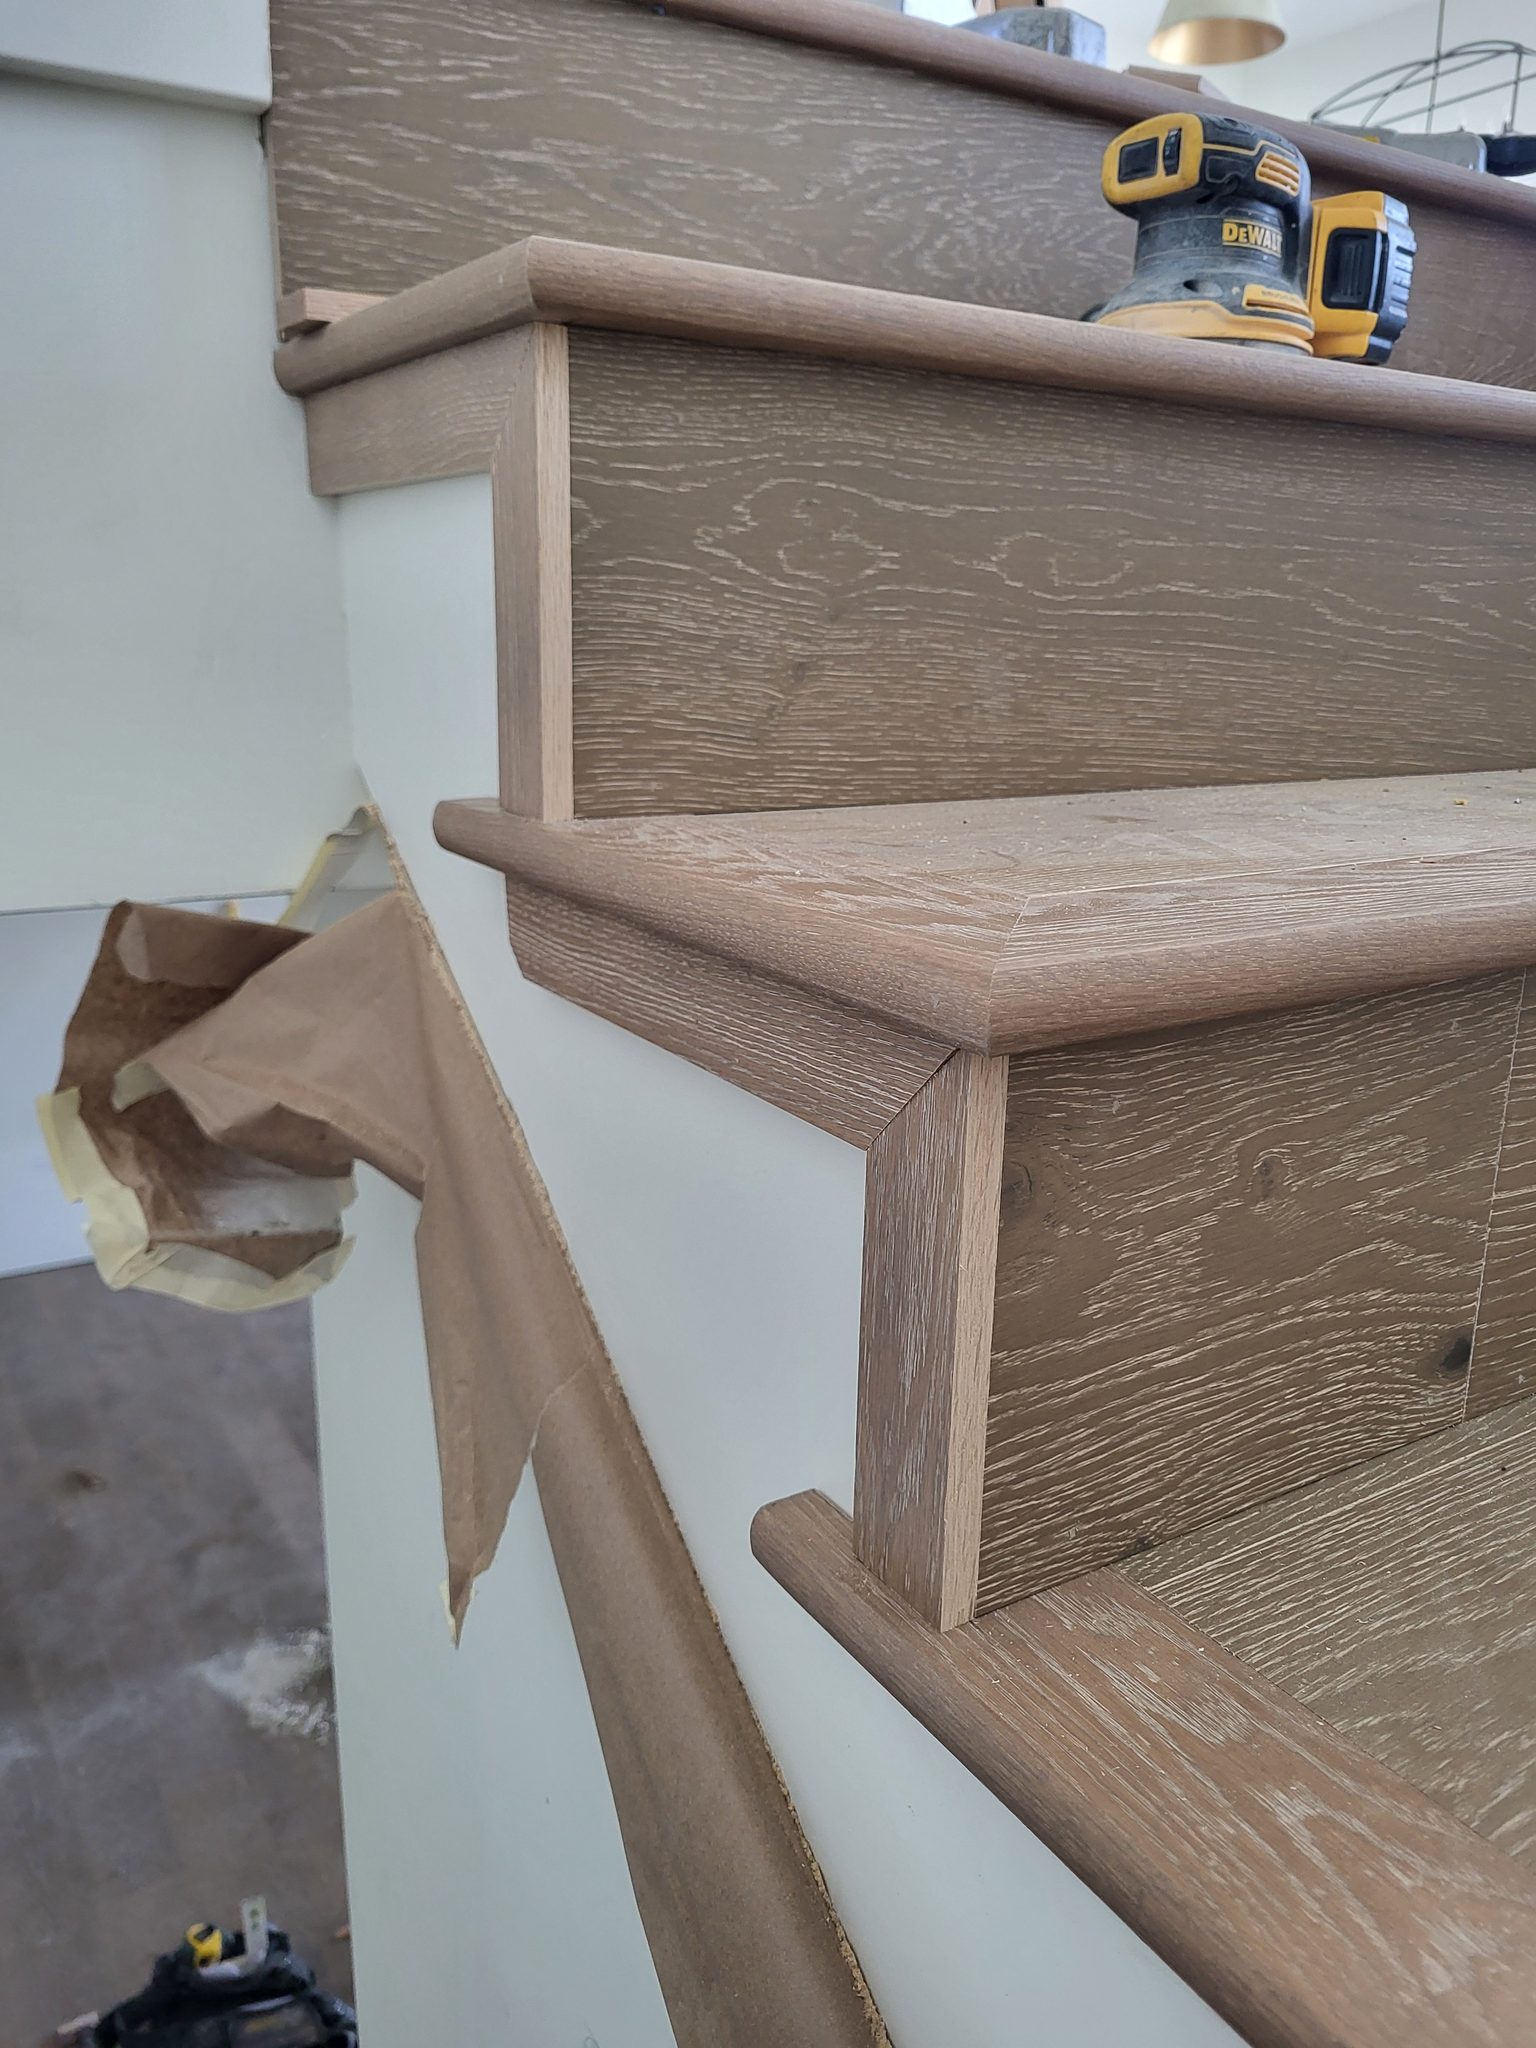
- How to Install Baby Shoe at Stair Nosing - Base shoe on a stair nosing over hard flooring is a different job: the nosing needs to clear the floor by about 3/8″, and the shoe gets ripped down to 5/16″ on the table saw to fit.
- How to Case a Window - Window casing uses many of the same miter and joint techniques as base shoe, especially outside corners.
- Finish Trim Carpentry Overview - A broader look at all the trim elements in a room and how they work together as a system.
- Essential Carpenter Hand Tools - Detailed guide to the hand tools used in finish carpentry including nail sets, utility knives, and measuring tools.
- Shoe Molding on Skirt Board - Detail Drawing - Shows where to place base shoe and how to angle-cut it where it meets an angled stair skirt board.
- How to Install Cabinets
Reference Photos #
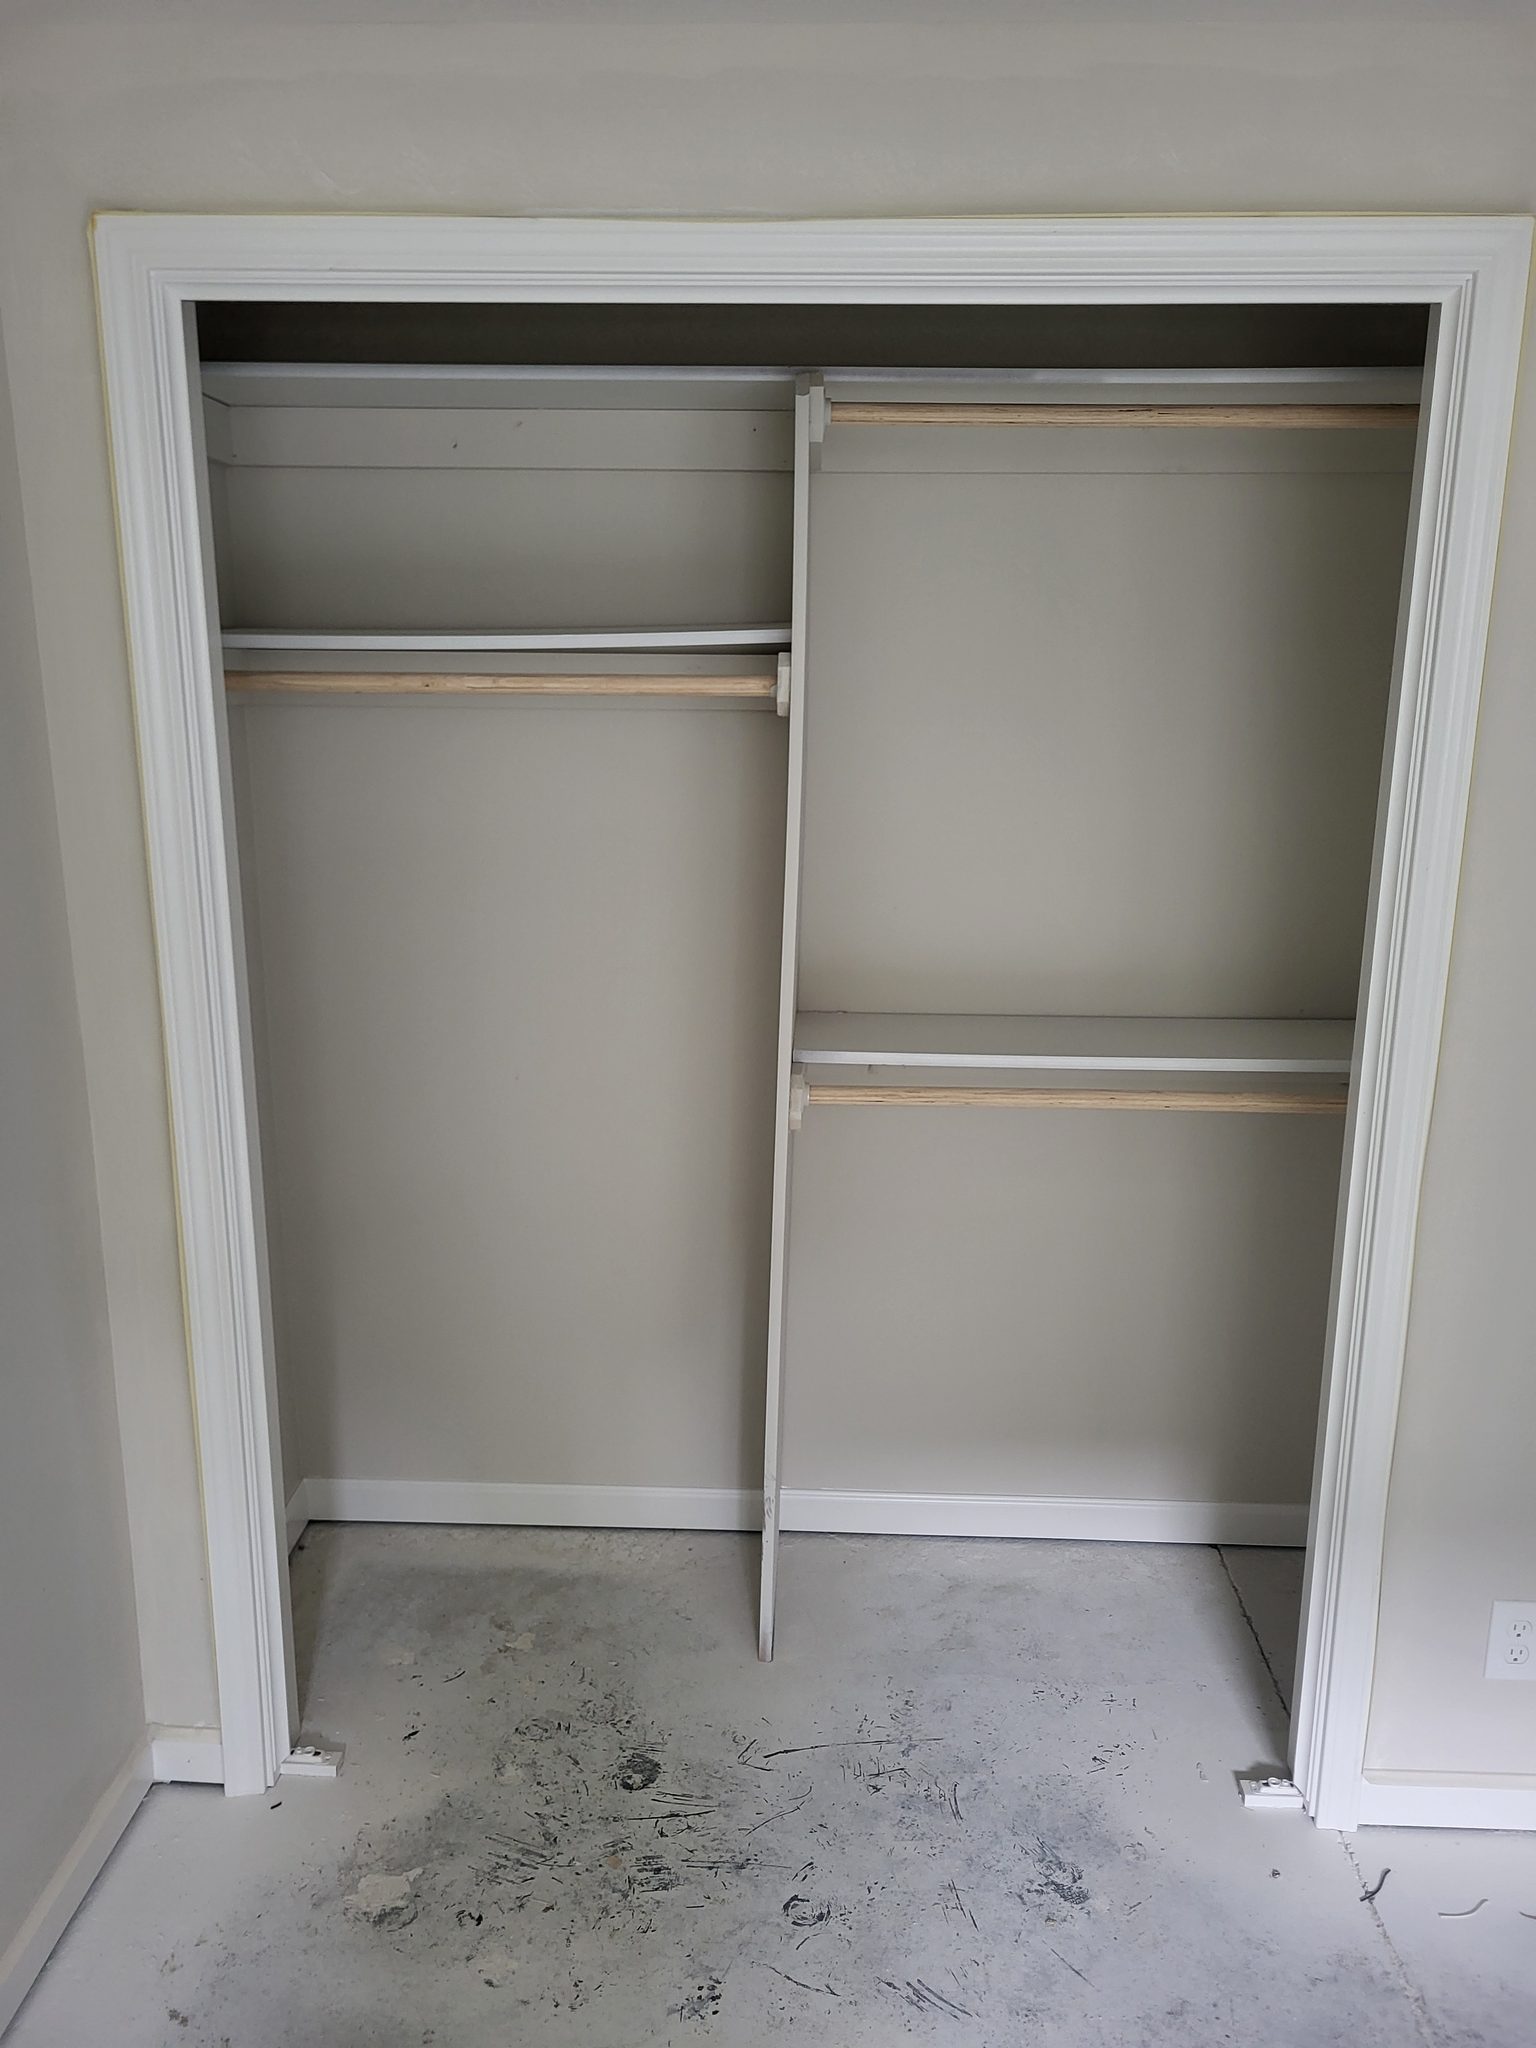
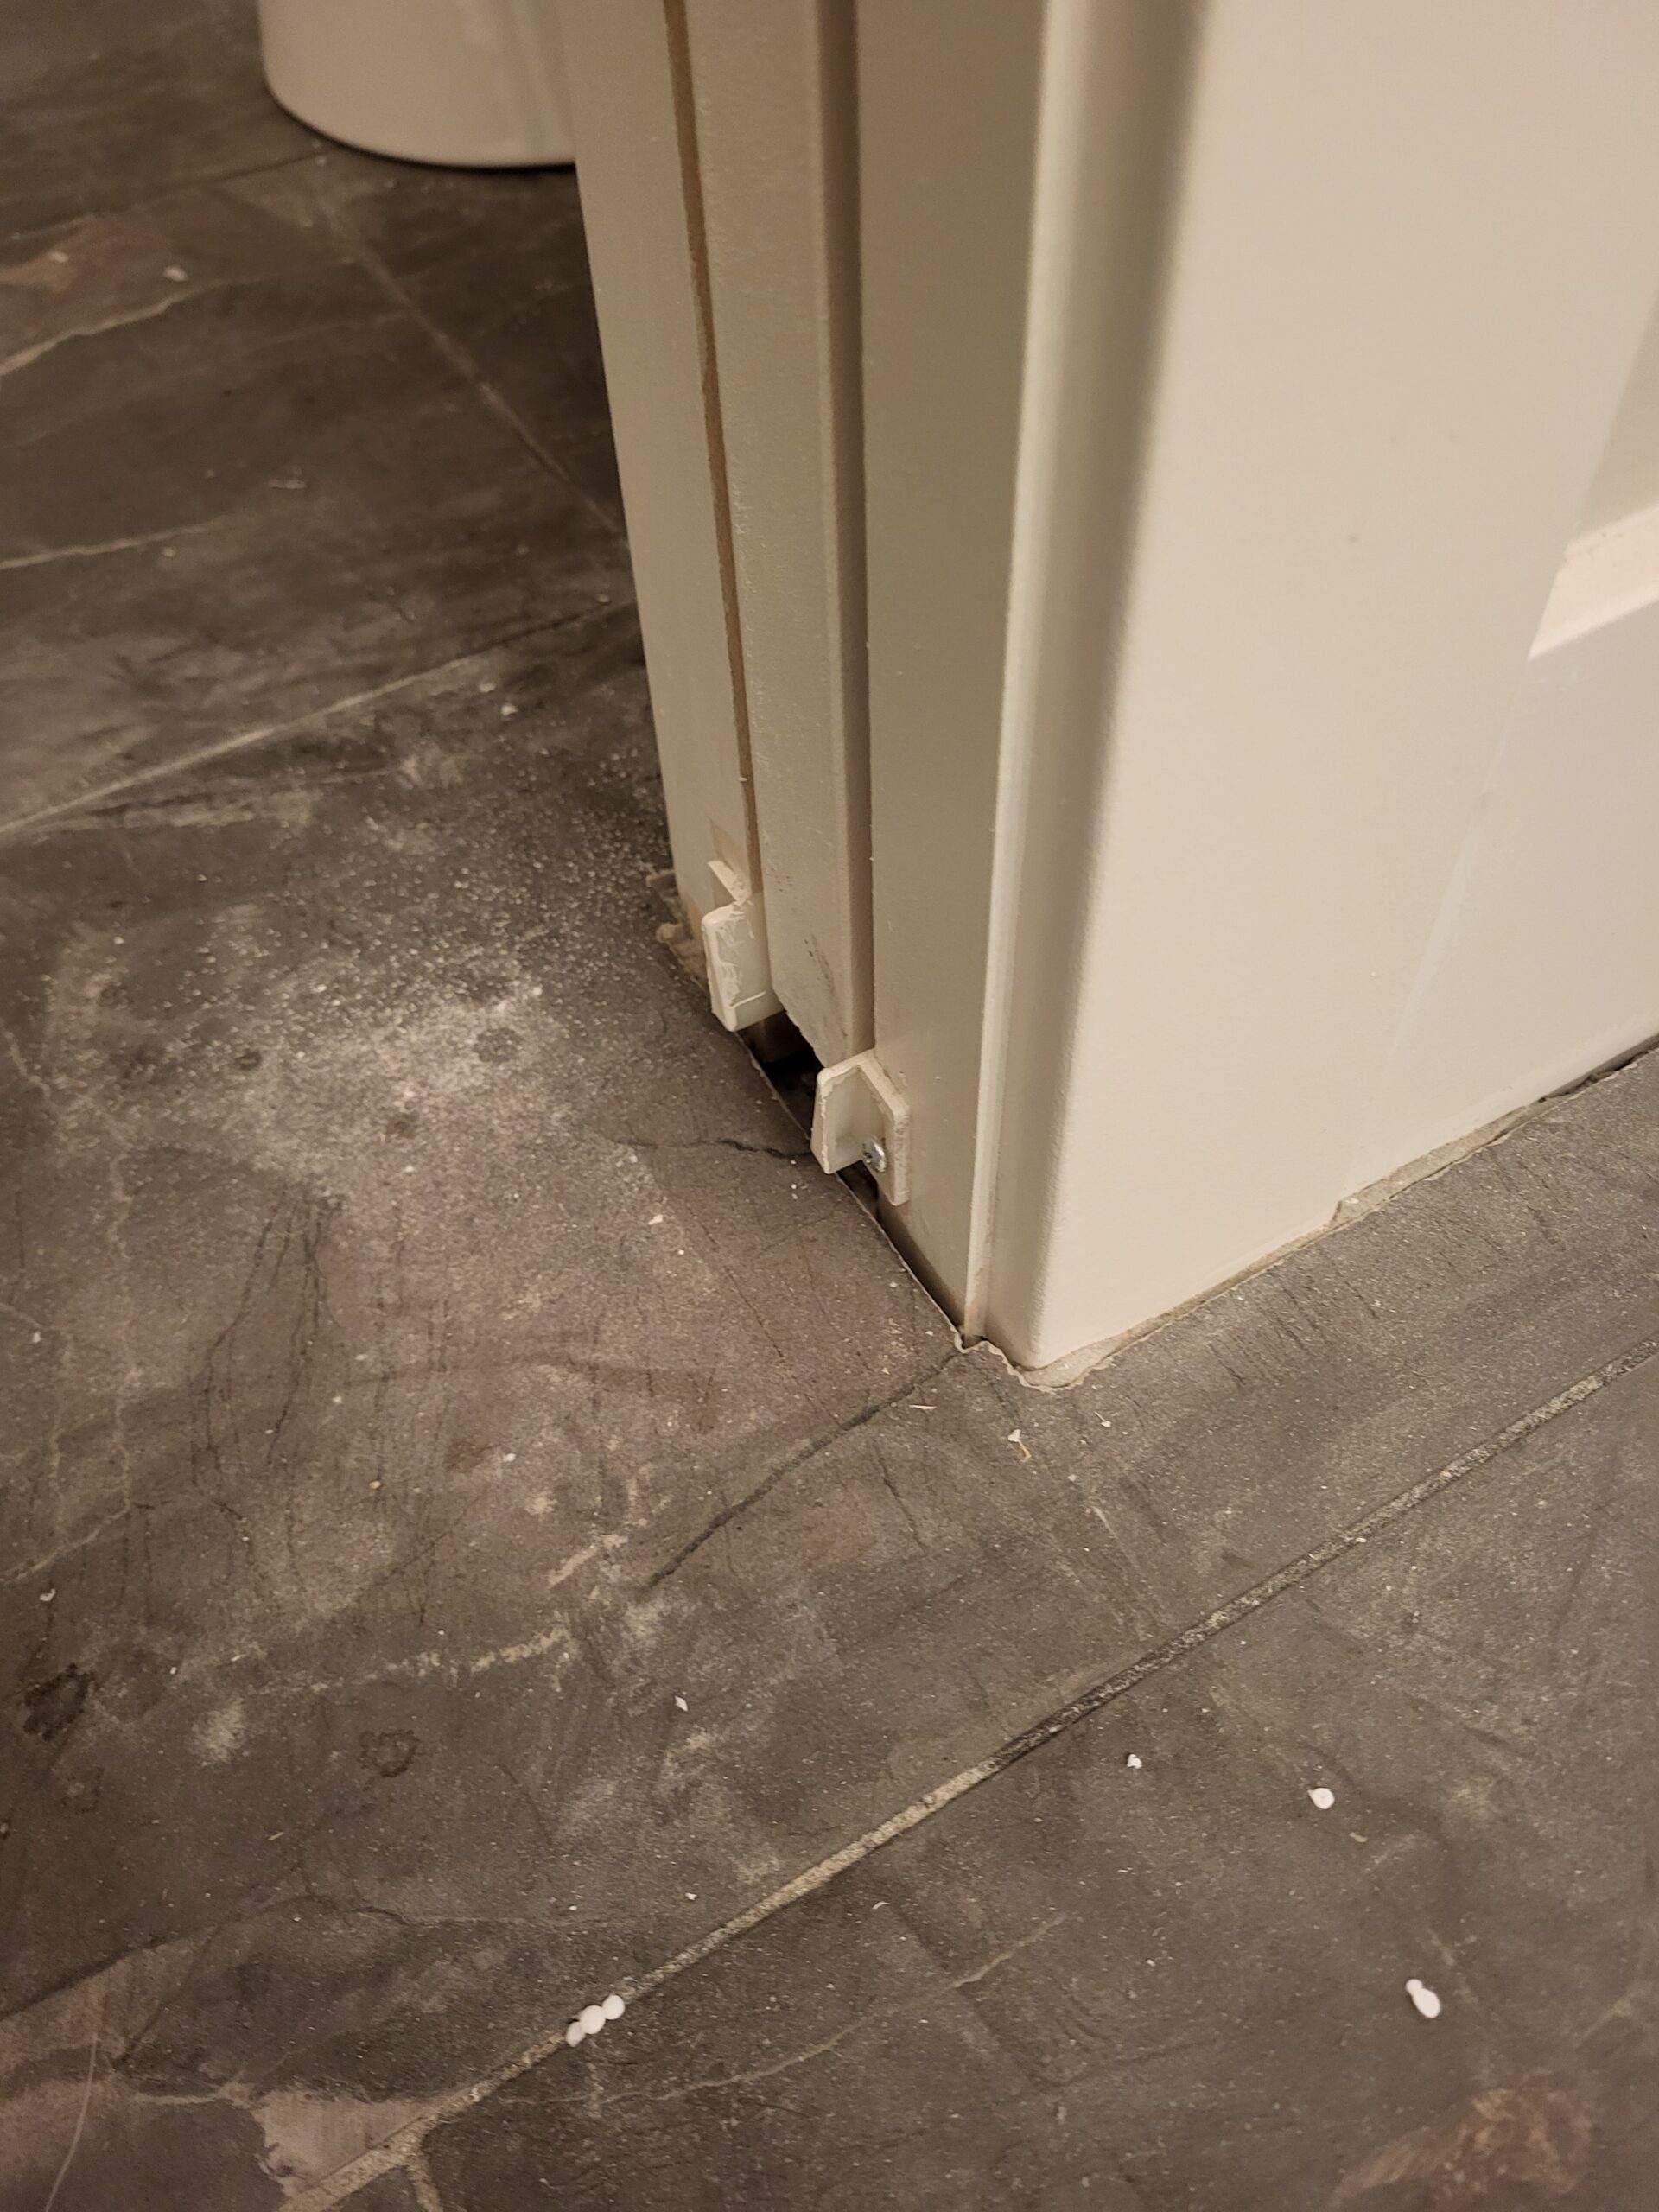
The following photos show examples of this type of work completed in the field. These serve as visual references for quality standards, proper installation techniques, and finished results.
Showing 13 of 13 photos