On this page
Category - Stairs/Handrails #
Skill Level - 2 (Intermediate) #
Estimated Time - 30-60 minutes per rail #
This guide covers how to build a wall-mount handrail: how to measure it, cut it, and put the end pieces together so it looks like one continuous piece of wood. A separate guide covers mounting the finished rail to the wall. Build first, then mount. You’ll often build several rails at the miter saw and install them one at a time as you move through the house.
In new residential construction, code requires a wall-mount handrail on at least one side of any staircase with four or more risers. The handrail stock is usually a shaped piece of hardwood or paint-grade material, shaped (or profiled) so a hand can wrap around it comfortably. That is called being graspable. The stock comes in long, straight lengths. Your job is to cut it to the right size and finish both ends so no raw, cut wood is left showing in the finished home.
Returns are the short angled pieces that wrap a wall-mount handrail back toward the wall at each end. The preferred method uses 45-degree miter cuts for a smooth, clean transition. In tight spaces where a 45-degree return would hit an obstruction, use a 90-degree (square) return instead. Either way, the return must fit tight, be glued, and be pinned with brad nails so the rail reads as one continuous piece of wood.
Building a wall-mount handrail is a Level 2 task. It takes solid miter saw skills and precise measuring. You’ll use formulas to calculate the rail length from the stair dimensions. If you’ve made clean 45-degree cuts on crown molding or casing, you already have the saw skills for this. The hard part is getting the math right so the finished rail fits the staircase.
Before You Begin: Wall-Mount Handrail Prep #
Prerequisites #
- Stairs must be fully installed with treads and risers in place
- Stair skirt boards should be installed (they establish the wall plane the rail returns will meet)
- Handrail stock must be on-site and acclimated to the jobsite environment
- Miter saw must be set up, tuned, and capable of making precise 45-degree cuts
- Determine which wall gets the handrail (typically the right side going down per code preference)
What to Know #
- 45-degree returns are the preferred method - they give a smooth, clean transition from rail to wall and are the standard in new construction
- 90-degree (square) returns are the fallback - use these only when something in the way stops a 45-degree return from fitting, like a corner or door frame that’s too close
- The measuring formula for 45-degree returns: Measure nosing-to-nosing (front edge of the bottom step to front edge of the top step) along the pitch line (the slope of the stairs, not straight across). Subtract 6″ for wall clearance on both ends, then add back 8″ combined for the two 45-degree returns. Net result: nosing-to-nosing plus 2″
- Each 45-degree return adds approximately 4″ of effective length to the rail because the mitered piece wraps back at an angle
- Handrail stock profile must be consistent - the return pieces are cut from the same stock, so the profile wraps seamlessly from the main rail into the return
- Wood glue plus 18-gauge brad nails is the standard assembly method - the glue gives long-term strength, and the brads hold everything in place while it dries
- Build the rail slightly long rather than short - you can always trim, but you can’t add length back
Which guide do I need?
- Build the handrail before installing it: this guide
- Mount a handrail you've already built: How to Mount a Handrail to the Wall
Wall-Mount Handrail Tools Needed #
Power Tools #
- Miter saw (10″ or 12″ compound miter saw)
- 18-gauge brad nailer with 1-1/4″ to 2″ brads
- Air compressor (for brad nailer)
Hand Tools #
- Tape measure (25-foot)
- Pencil
- Speed square
- 4-foot to 6-foot level
- Clamps (small spring clamps or bar clamps for holding returns while glue sets)
Supplies #
- Wood glue
- Damp rag (for wiping excess glue squeeze-out)
Materials #
- Handrail stock (profiled, graspable, typically 1-1/4″ to 1-1/2″ diameter round or shaped profile) - buy length long enough for the main rail plus at least 12″ extra for return cuts
- Additional short piece of matching handrail stock for returns (if offcut from main rail isn’t long enough)
Process to Build a Wall-Mount Handrail #
Step 1: Determine the Rail Location and Take Measurements #
Before cutting anything, you need to determine which wall gets the wall-mount handrail and measure the exact distance the rail needs to span. Accurate measurements at this stage prevent wasted material and re-cuts later. Every rail is custom-sized to its specific staircase.
Identify the Rail Wall #
- Check the plans: The construction drawings typically specify which side of the staircase gets a wall rail - it’s usually the right side when going down
- Look for obstructions: Check both ends of the wall for anything that might interfere with the returns - light switches, thermostat boxes, return air vents, or door frames that are too close to the stair opening
- Note the wall surface: In new construction, the wall should be smooth drywall. If there’s a textured finish, the return may not sit perfectly flush against it. Scribe the return end to the wall (trace the wall’s surface onto the piece and trim it to match) so it still sits tight, instead of counting on a gap getting sealed later
Measure Nosing-to-Nosing #
- Identify the bottom nosing: This is the front edge of the bottom tread where the staircase starts
- Identify the top nosing: This is the front edge of the top tread at the landing, or the landing nosing if there’s one
- Measure along the pitch line: Hold your tape measure at the bottom tread nosing and measure along the angle of the stairs (following the pitch, not horizontally) to the top tread nosing. This is your nosing-to-nosing measurement
- Record the measurement clearly: Write it down with a label like “Stair A: nosing-to-nosing = 128-3/4”
Calculate the Main Rail Cut Length #
- The formula for 45-degree returns: Nosing-to-nosing minus 6″ plus 8″ = Nosing-to-nosing plus 2″. Example: if nosing-to-nosing is 128-3/4″, your main rail cut is 130-3/4″
- Why subtract 6″: You want the rail to stop approximately 3″ short of each nosing point on both ends - this provides clearance from the wall at each end and allows the return to wrap back naturally
- Why add 8″: Each 45-degree return adds approximately 4″ of effective length (the mitered piece wraps back from the rail end toward the wall), and you have two returns, so 4″ + 4″ = 8″
- For 90-degree returns: The formula is simpler - just nosing-to-nosing minus 6″ for wall clearance. The 90-degree returns don’t add effective length since they go straight back into the wall
Pro Tip: Always double-check your measurement and do the math twice before cutting. A common error is subtracting 6″ total instead of 3″ from each end, which gives you a rail that’s 3″ too short. Write the full formula on the rail itself with a pencil: “128-3/4 + 2 = 130-3/4”.
Step 2: Cut the Main Rail and Return Pieces #
All wall-mount handrail cuts happen at the miter saw station. You’ll make the main rail cut first, then cut the return pieces from an offcut (the leftover piece from that first cut) of the same handrail stock. Your miter saw has to make clean, accurate 45-degree cuts. Any gap in the miter joint will show on the finished product.
Cut the Main Rail #
- Set the miter saw to 45 degrees: Verify the angle with a speed square against the blade - this must be a precise 45 degrees, not “close enough”
- Position the handrail stock: Lay the rail on the saw table with the flat bottom against the fence. Make sure the profiled (graspable) side faces up
- Cut the first end: Make a clean 45-degree miter cut on one end of the rail. The miter should open toward the wall side (the flat bottom of the rail)
- Measure and mark the cut length: From the long point of the first miter (the far tip of the angled cut, where the outside edge is longest), measure your calculated length (e.g., 130-3/4″) and mark it clearly
- Cut the second end: Make the opposing 45-degree cut at the mark. The miter on this end opens in the same direction as the first (both miters open toward the wall). This creates a rail where both ends are cut for returns that wrap back toward the wall
- Check your work: The long points of the miters should be on the top (graspable) side of the rail, and the short points on the bottom (flat/wall) side
Cut the Return Pieces #
- Use an offcut from the same stock: The return pieces must be from the same handrail profile so the grain and shape match seamlessly at the joint
- Cut a 45-degree miter: Starting from a square-cut end of the offcut, make a 45-degree cut that mirrors the miter on the main rail end - when the two mitered faces meet, they should form a tight joint with the return piece wrapping back toward the wall
- Set the return length: The return piece only needs to be about 3″ to 4″ long - it wraps back to (or nearly to) the wall surface. Measure from the long point of the 45-degree cut and make a square cut at the back end
- Cut two returns: You need one for each end of the rail. Cut them identically
- Dry-fit each return: Hold the return piece against the mitered end of the main rail without glue, just to check the fit. The profiles should align perfectly and the miter joint should close tight with no visible gap
Common Mistake to Avoid: Cutting the returns from a different piece of handrail stock that doesn’t match the profile exactly. Even handrails from the same manufacturer can have slight profile variations between batches. Always cut returns from the same piece you cut the main rail from - use the offcut.
Step 3: Assemble the Returns to the Main Rail #
Assembly is where the pieces come together. Wood glue plus 18-gauge brad nails makes a joint that is both strong and tight, ready for the painter to fill and finish later. Take your time lining up the profiles before you nail. Once the brads are in, you can’t easily reposition the return.
Glue and Pin the Returns #
- Apply wood glue to the miter face: Spread a thin, even coat of glue on both mitered surfaces - the main rail end and the return piece. You want full coverage but not so much that it squeezes out excessively
- Press the return into position: Align the profiles carefully - the top curve of the return must flow seamlessly into the top curve of the main rail. Press firmly to seat the joint
- Clamp briefly if needed: If the joint wants to spring open, use a small spring clamp to hold it tight while you grab the brad nailer
- Pin with 18-gauge brads: Shoot 2-3 brad nails through the return into the main rail body to lock the joint. Angle the brads slightly so they cross through the miter joint for maximum hold
- Nail placement: Place brads where they’ll be least visible, along the bottom edge or underside of the rail where the mounting bracket will cover them
- Wipe excess glue immediately: Use a damp rag to clean any glue squeeze-out from the joint before it dries. Dried glue is much harder to remove and can prevent stain from penetrating evenly
- Repeat for the second return: Assemble the other end of the rail using the same technique
For 90-Degree Returns (Alternative Method) #
- When to use 90-degree returns: Only when a 45-degree return won’t fit - typically when the rail end is within 2″ of a corner, door frame, or other obstruction
- Cut the main rail end square: Instead of a 45-degree miter, cut a clean 90-degree (square) cut on the end that needs the 90-degree return
- Cut the return piece: Cut a short piece (2″ to 3″) of matching rail stock with a square end that will butt against the rail end and a square back end that meets the wall
- Attach with glue and brads: Same technique as 45-degree - glue both mating faces, press into position, pin with brads
- Note: 90-degree returns are less elegant than 45-degree returns. The square end grain is more visible and the transition is abrupt rather than smooth. Use this method only when you must
Pro Tip: When shooting brads into the return, hold the return firmly with your off hand and brace the main rail against a solid surface. If the rail is sitting on sawhorses and can move, the brad nailer’s force can push the return out of alignment before the brad fully seats. A stable work surface makes this a one-shot operation.
Step 4: Set, Clean, and Check the Rail #
Once both returns are glued and pinned, close out the rail before it goes to the installer. This is a few minutes of work and it is what separates a rail that hangs well from one that gets fought with later.
- Set every brad below the surface: Run your fingers along the whole rail, through both return joints. A brad sitting even slightly proud will catch a hand later and telegraph through the finish. Set anything proud with a nail set.
- Clean any glue you missed: If squeeze-out dried before you caught it, scrape it off with a sharp chisel rather than leaving it. Dried glue sits proud and will not take stain or paint evenly.
- Check both return joints: Hold each one up to the light. Tight and flush passes. A joint that is not tight gets re-cut from fresh stock, not filled - a filled gap opens back up once the rail is handled and mounted.
- Run a hand down the full profile: This rail gets gripped, so check it like a safety item, not a finish item. Nothing should catch a hand - no splinters, no proud brad, no ridge at either return.
- Sweep up: Cutoffs collected, dust off the bench.
Filling the brad holes and any final sanding or finish work belong to the painter, not to us. He fills and coats every rail in the house in one pass, using one set of materials. A rail that got spot-filled or sanded ahead of him will flash differently under the finish, and he will just have to rework it anyway. What he needs from us is simple: tight, glued, and pinned joints, fasteners set below the surface, and a rail that is straight and true. That is exactly what the companion guide for mounting it to the wall assumes you are starting with.
Wall-Mount Handrail Quality Check #
- Both 45-degree return joints are tight with no visible gaps (hold up to light to check)
- Return profiles flow seamlessly into the main rail profile - no misalignment of the curves
- Every brad is set below the surface, nothing proud to the touch
- Return profile transition is flush to the main rail with no ridge or bump detectable by touch
- Rail length matches your calculated measurement (re-check before installing)
- Rail is straight - sight down its length from one end, checking for any bow or twist
- No glue residue visible on the rail surface
- Return ends are the correct length to nearly touch the wall when installed
- Entire rail feels smooth to the touch with no splinters, rough spots, or sharp edges
Wall-Mount Handrail Troubleshooting #
Problem: Miter joint on the return has a visible gap
Solution: Re-cut it. A miter gap that gets filled to look closed will open again once the rail is handled and mounted, so it is not worth trying to save. Check your miter saw calibration with a speed square first. A common cause is the handrail stock not sitting flat against the saw fence during the cut.
Problem: Return profile doesn’t align with the main rail profile
Solution: The offcut was likely rotated or flipped when you cut the return. When you cut the return piece, the rail stock must be in the same orientation as the main rail was: same face up, same way against the fence. Re-cut from fresh stock.
Problem: Wood splits when brad-nailing the return
Solution: The return piece is small and can split easily. Pre-drill brad holes with a 1/16″ bit to prevent splitting. Also keep brads at least 3/8″ from the edges and ends of the return piece. Use shorter brads (1-1/4″) if the return is thin.
Problem: Rail is too short after assembly
Solution: Unfortunately, you can’t add length to a wall-mount handrail. Double-check the measurement formula and re-cut from new stock. The most common math error is subtracting 6″ total instead of 3″ from each end. Label your measurements clearly to prevent this from happening again.
Problem: Glue squeeze-out has dried and stained the wood
Solution: The fix for this is prevention, and prevention is on us. Keep a damp rag on you during glue-up. Wipe every joint before the glue skins over, because dried squeeze-out will not take stain and it will flash under paint. If a bead has already cured, do not chisel or sand a stain-grade rail to chase it. That risks gouging a profile someone is going to grip and see. A cured skin at the joint is a finish problem. Leave it flagged for the painter instead of reworking a rail you already mounted.
Problem: return keeps popping off before glue sets
Solution: The miter surfaces may be too smooth for the glue to grip, or you’re not applying enough clamping pressure. Rough up both miter faces lightly with 80-grit sandpaper before gluing - this gives the glue more surface area to bond. Use a spring clamp until you can shoot the brads.
Related Guides #
Continue building your stair carpentry skills with these related guides:
- How to Mount a Handrail to the Wall Like a Pro
- How to Install Skirt Boards Like a Pro
- How to Install a Handrail Fitting
- How to Install a Handrail Bracket
- How to Install a Garage Step Handrail
Building a wall-mount handrail is a core stair carpentry skill. The 45-degree return joint shows up again and again, on handrails, chair rails, and any profiled trim that ends against a wall. Get the measuring formula down, keep your miter saw dialed in for accurate 45-degree cuts, and practice the glue-and-pin technique until it’s second nature. Family Handyman also has helpful visual references for handrail construction. The goal is a handrail that looks and feels like one continuous piece of wood from end to end.
Reference Photos #
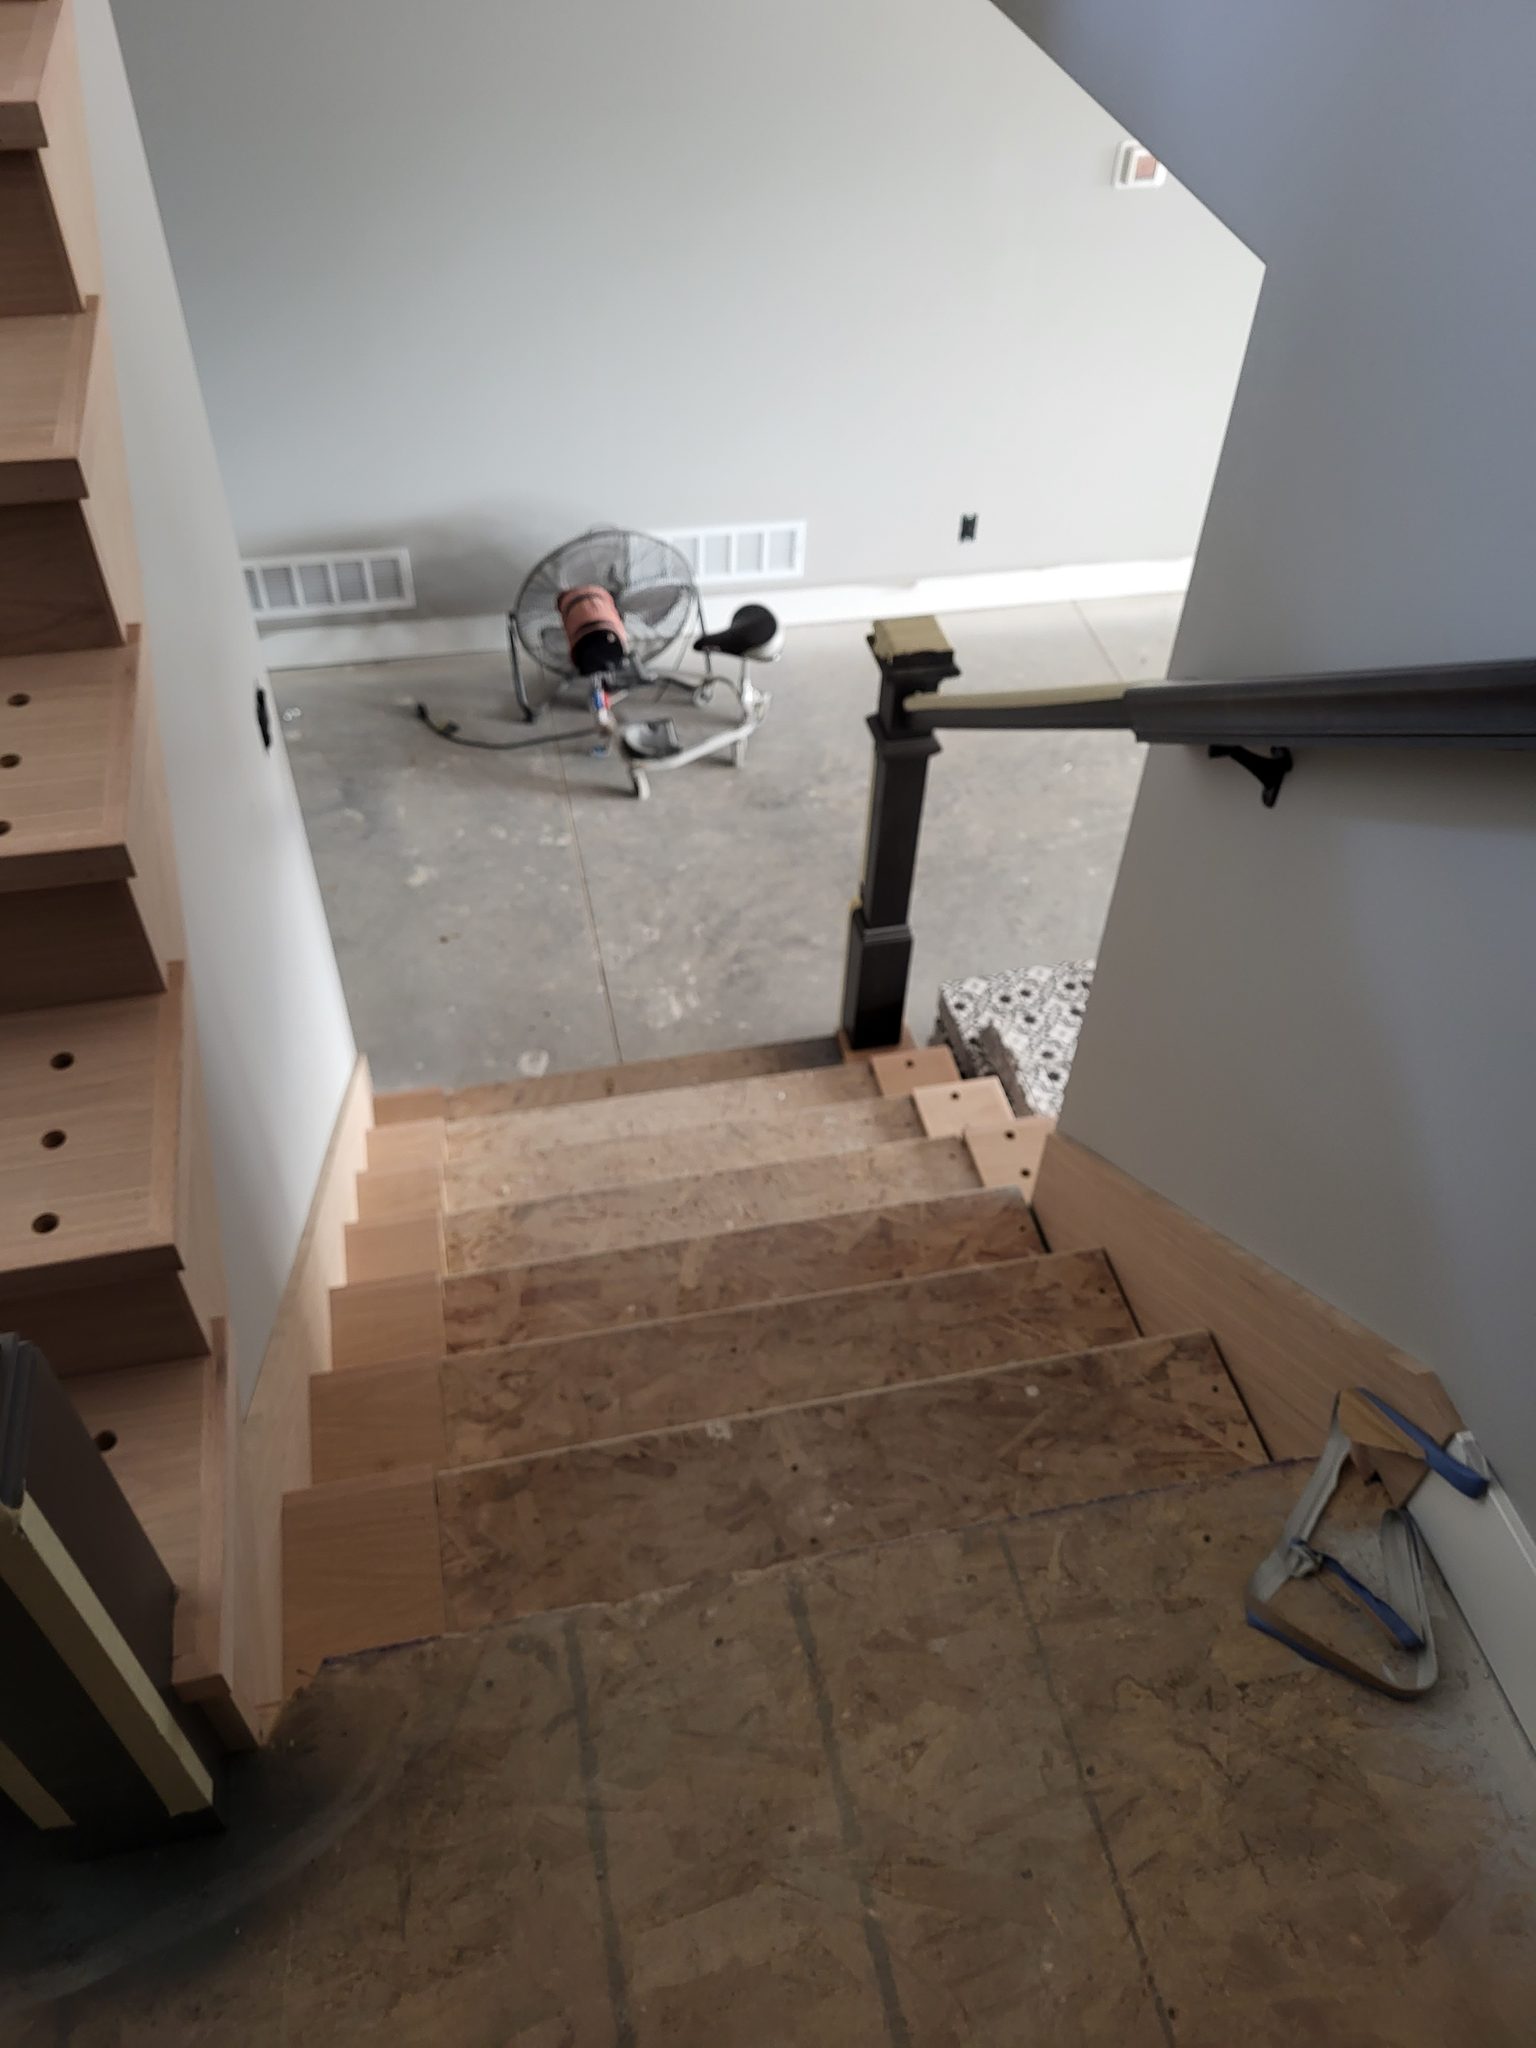
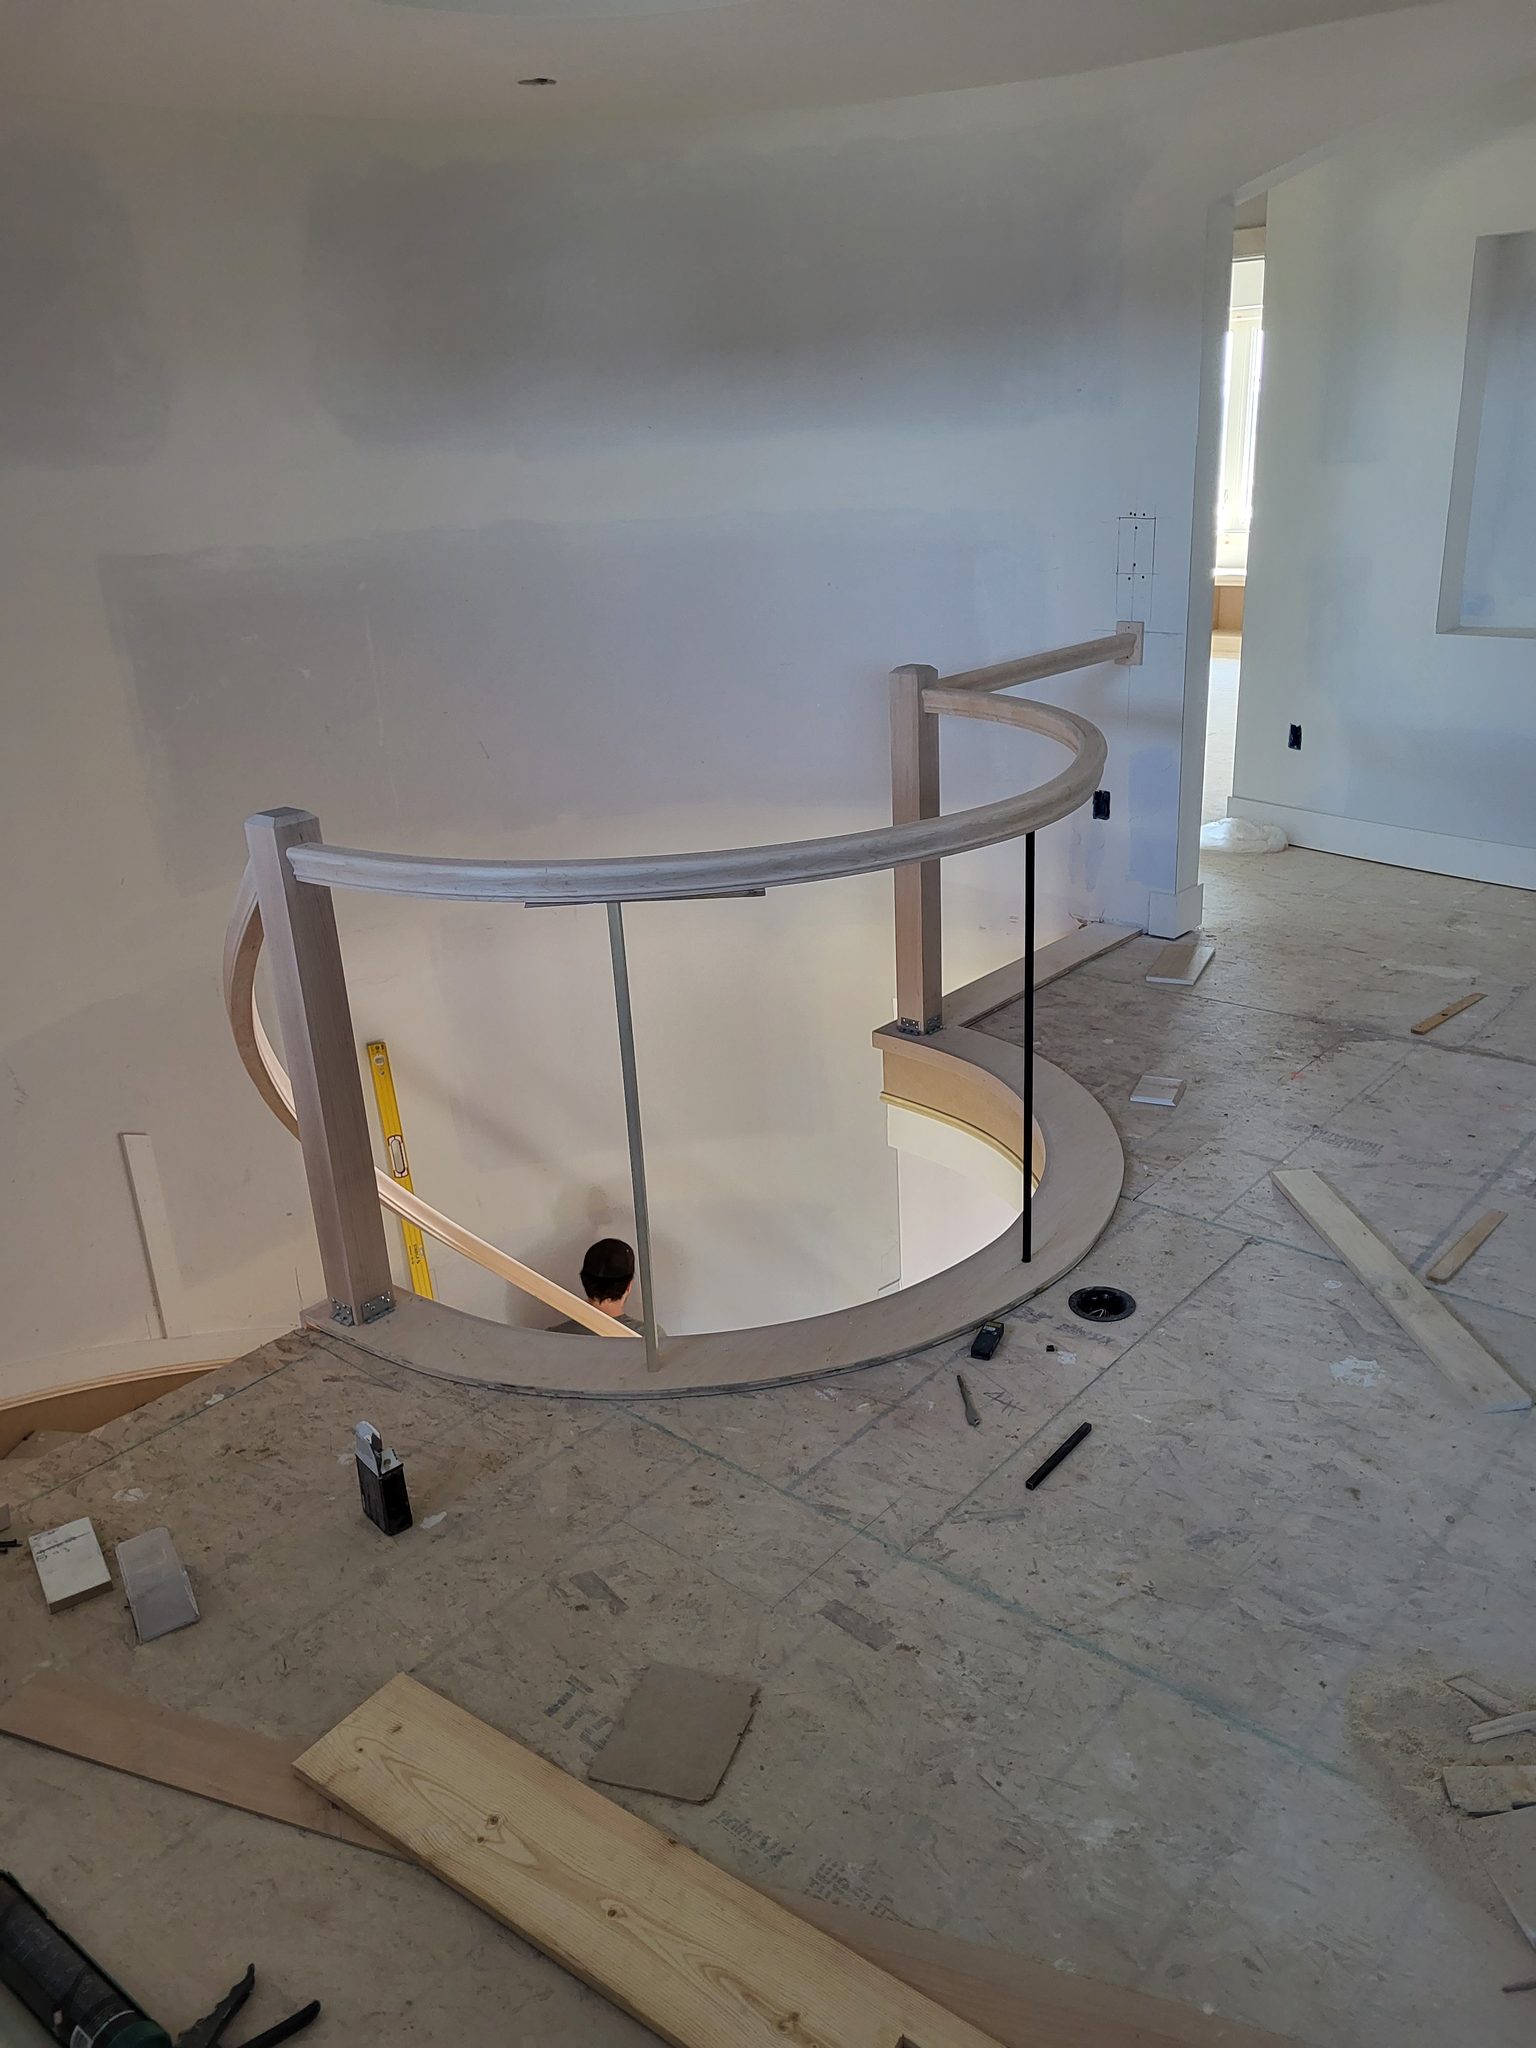
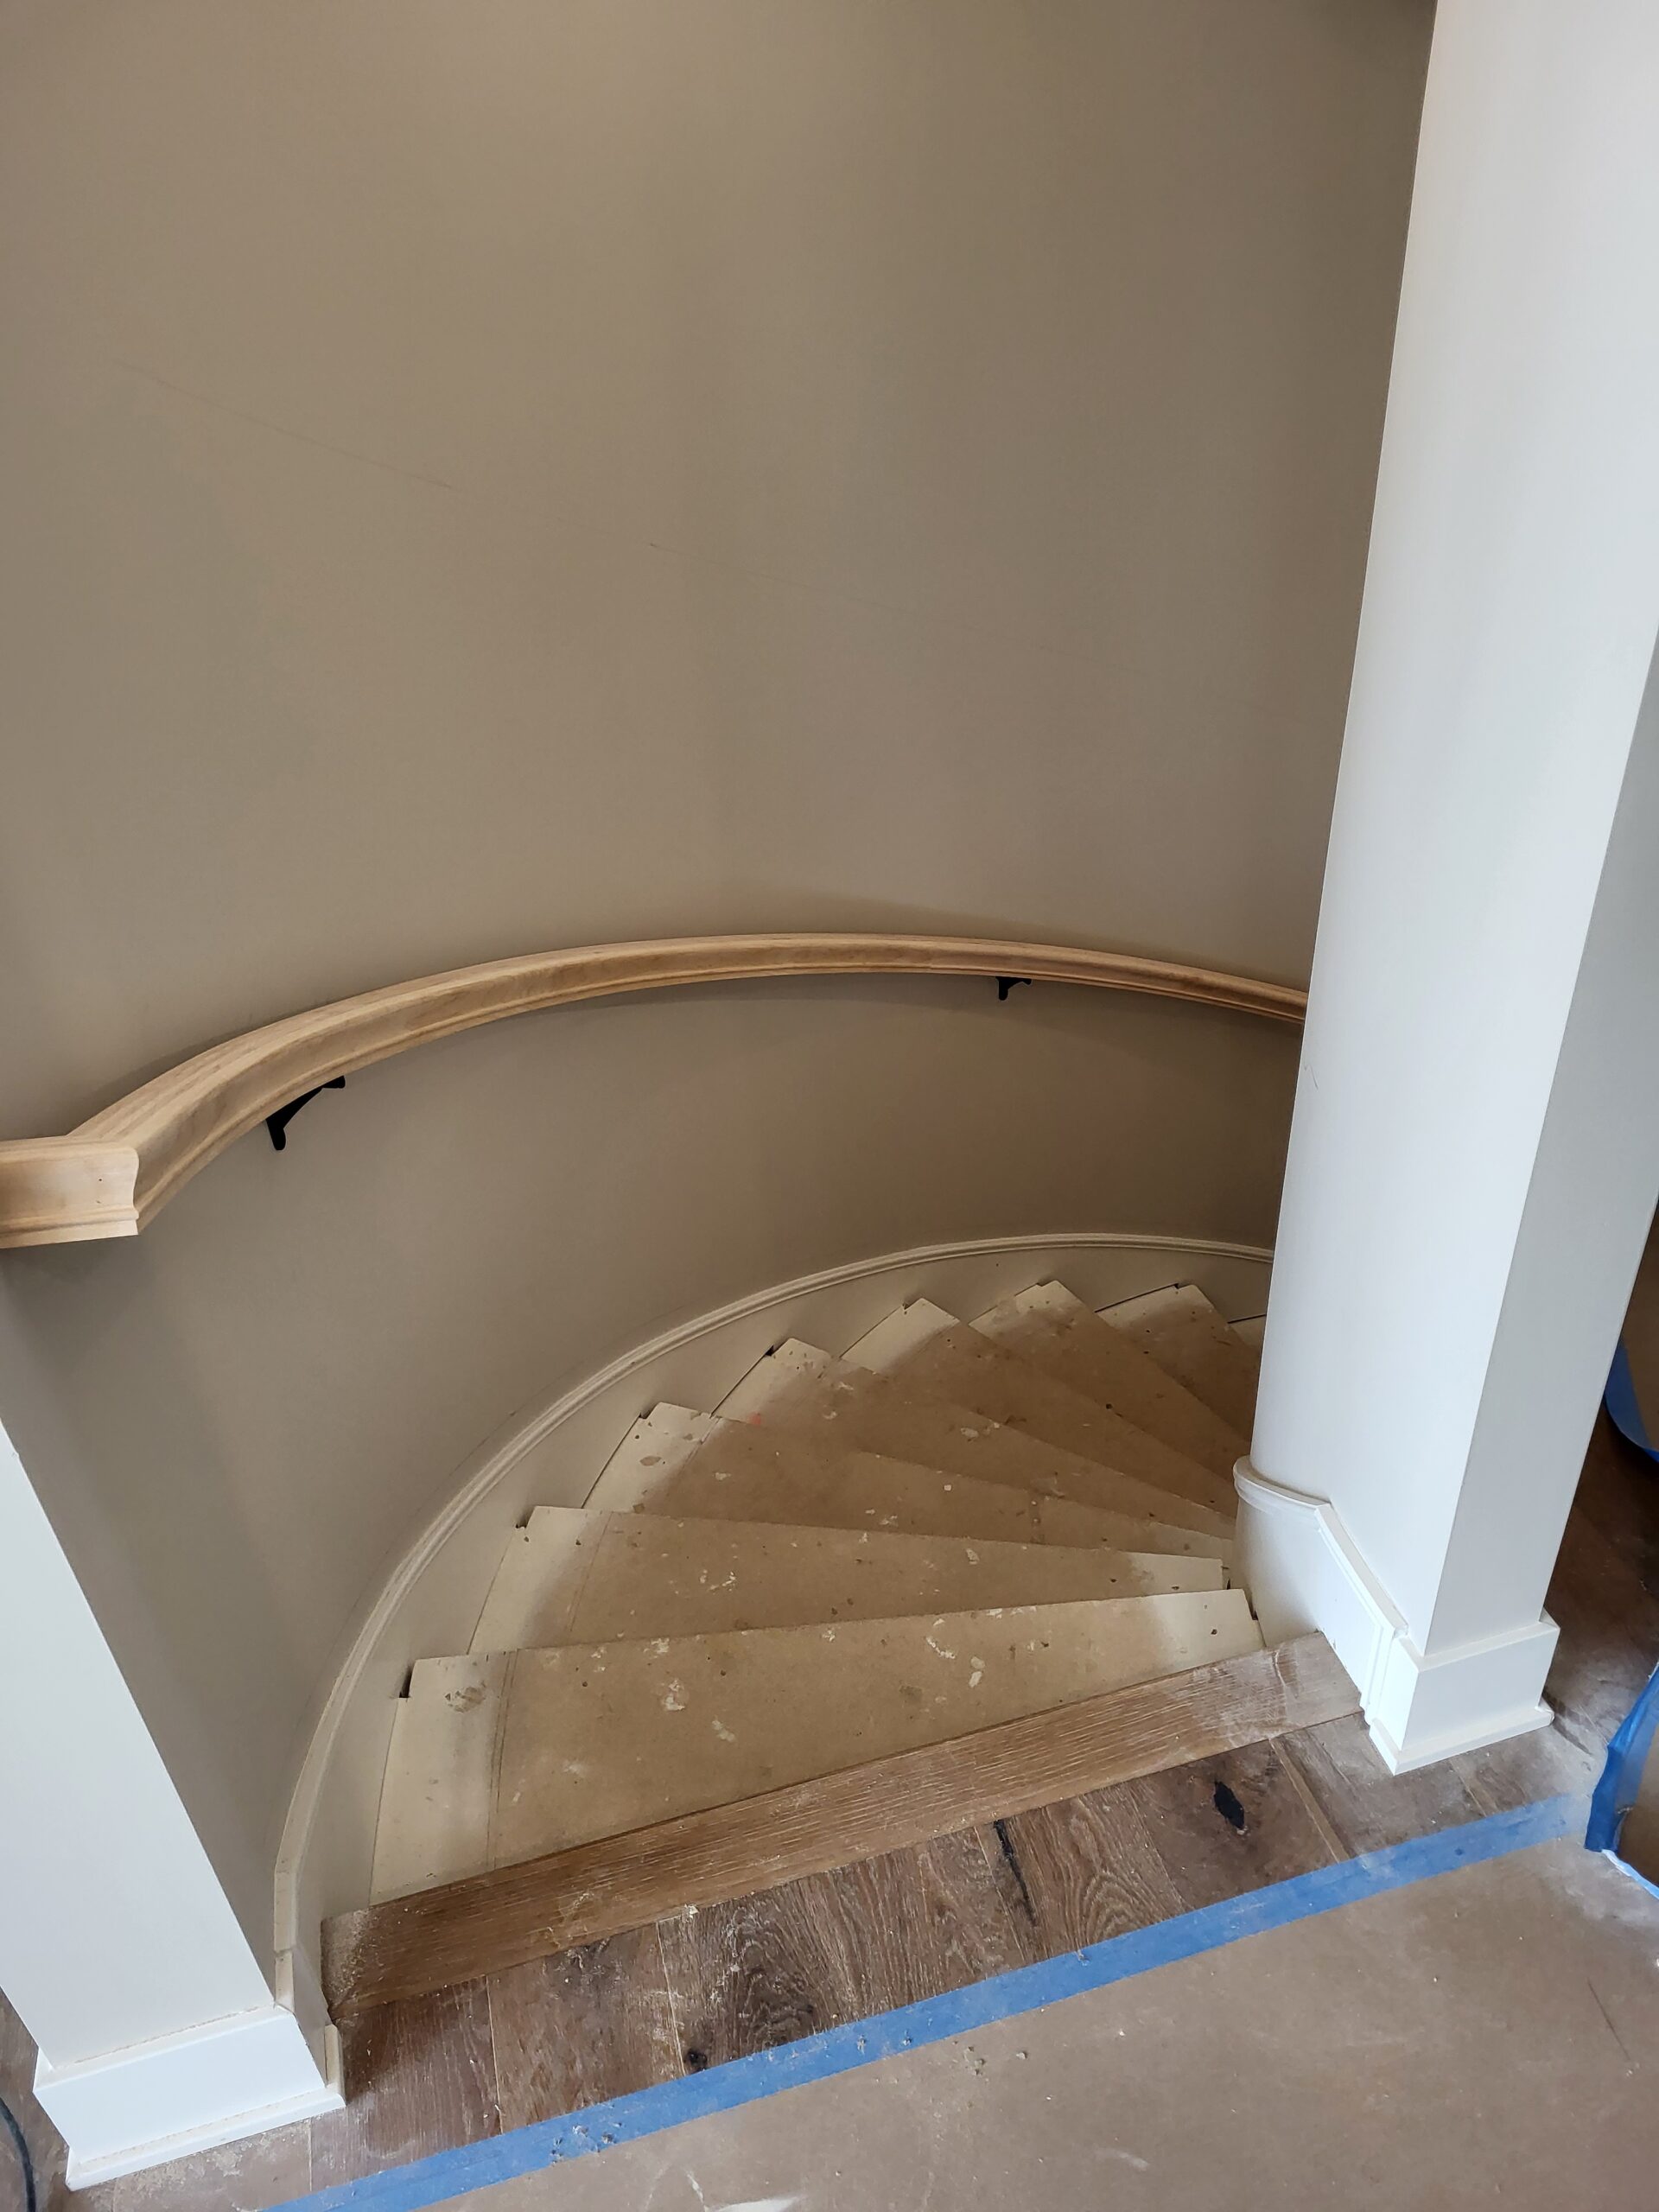
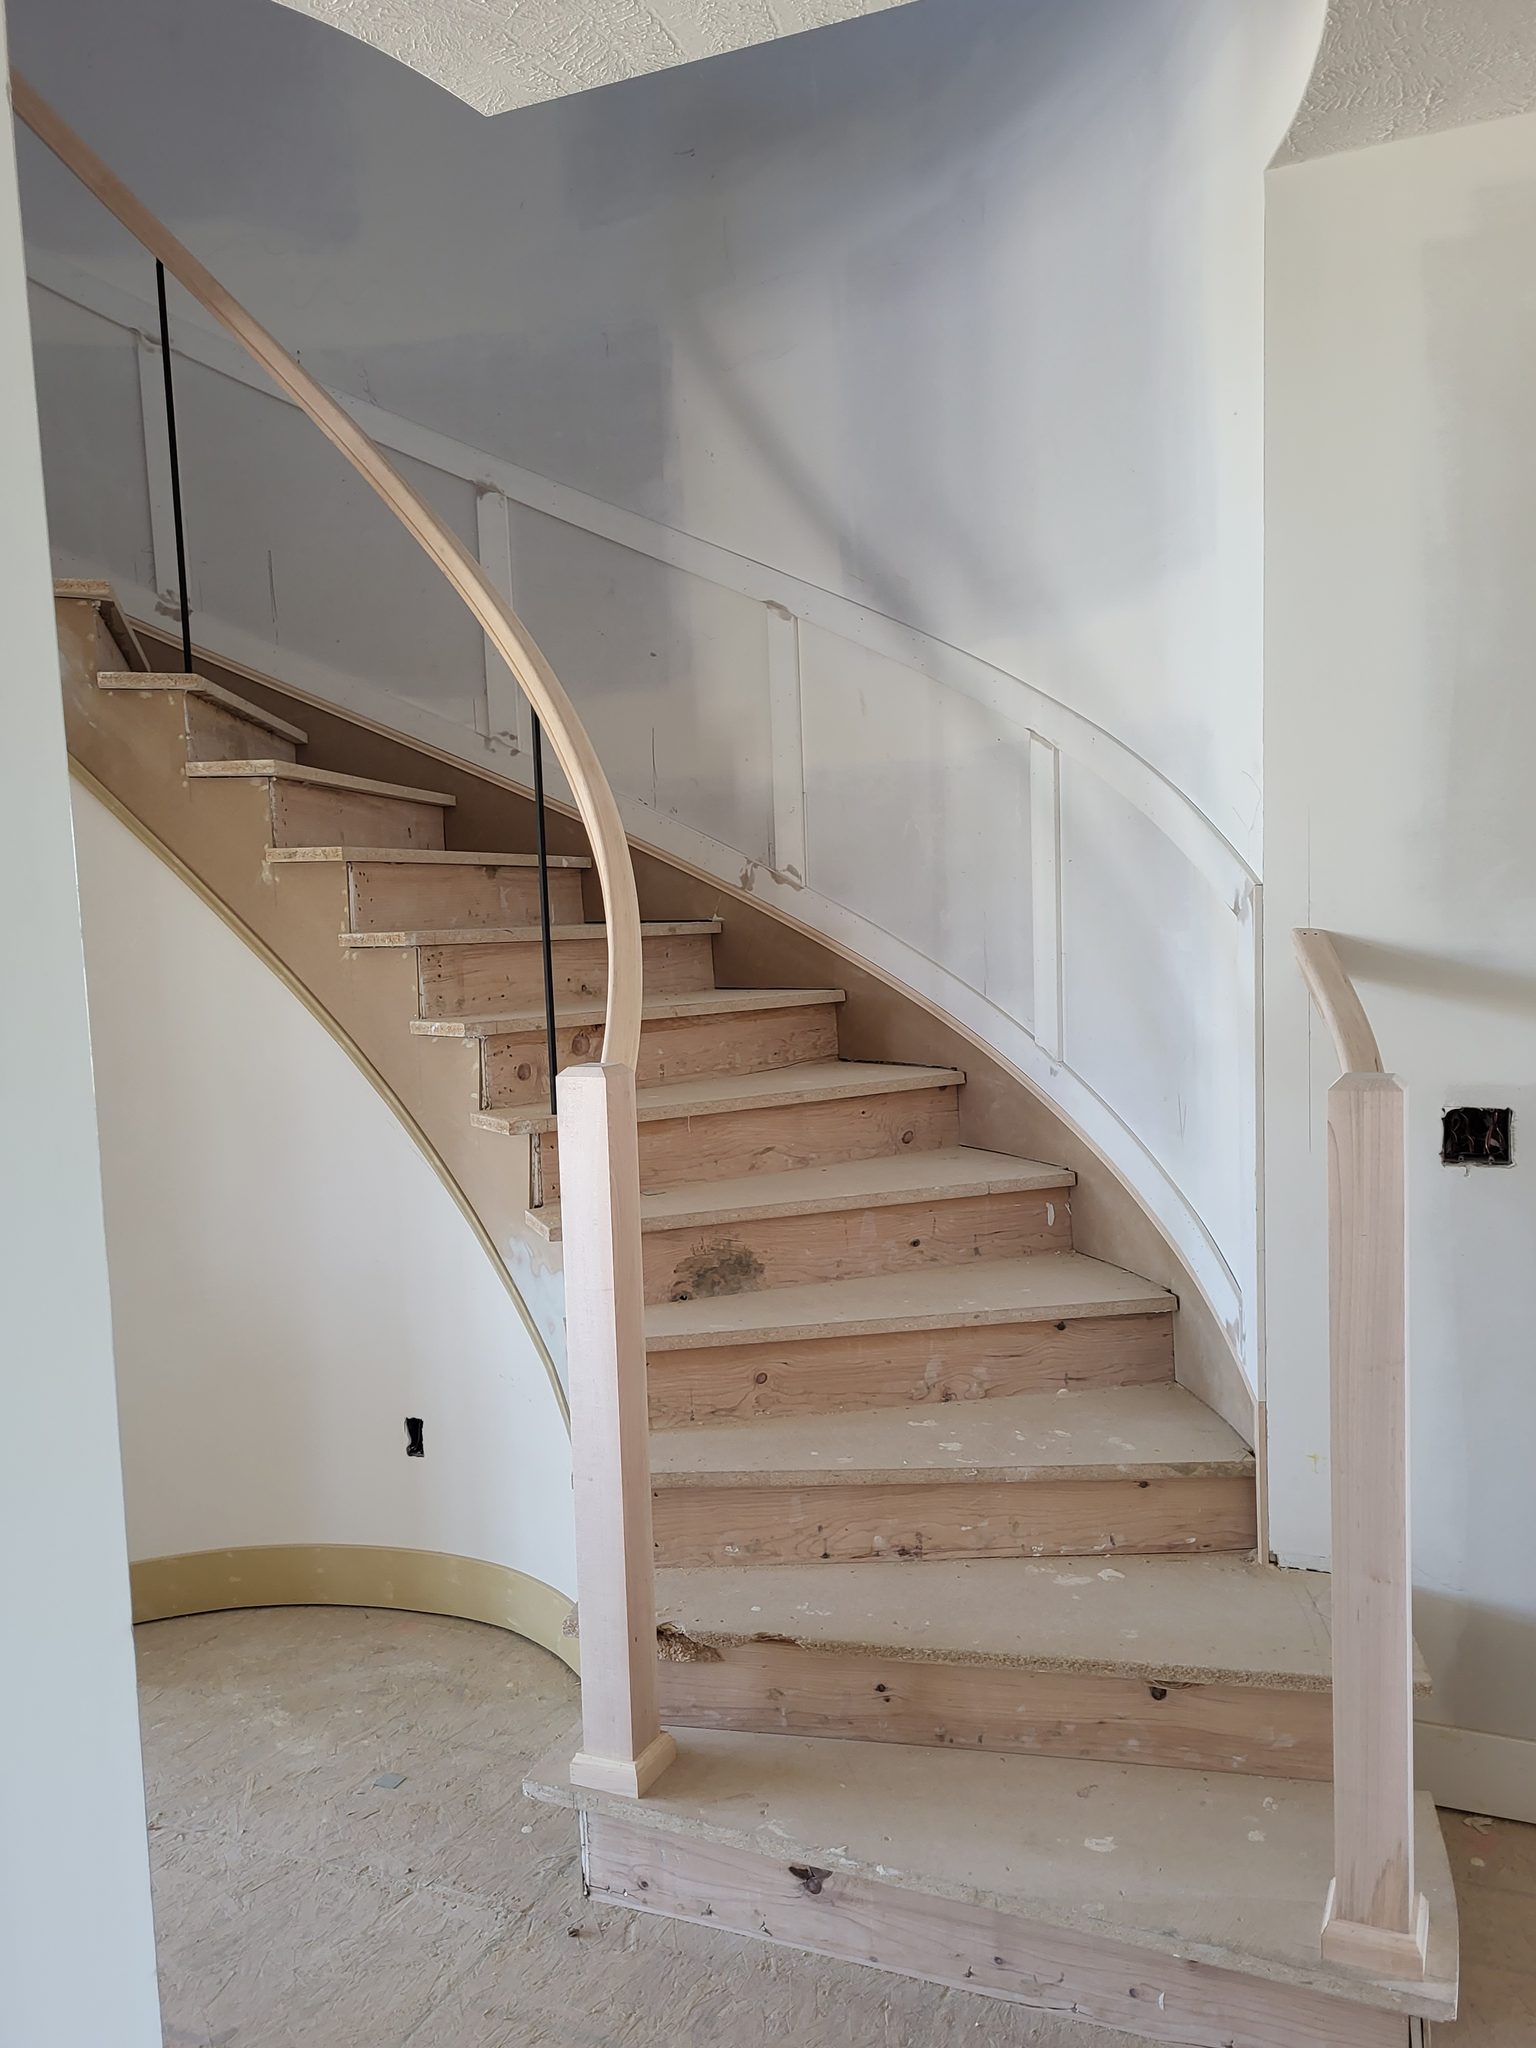
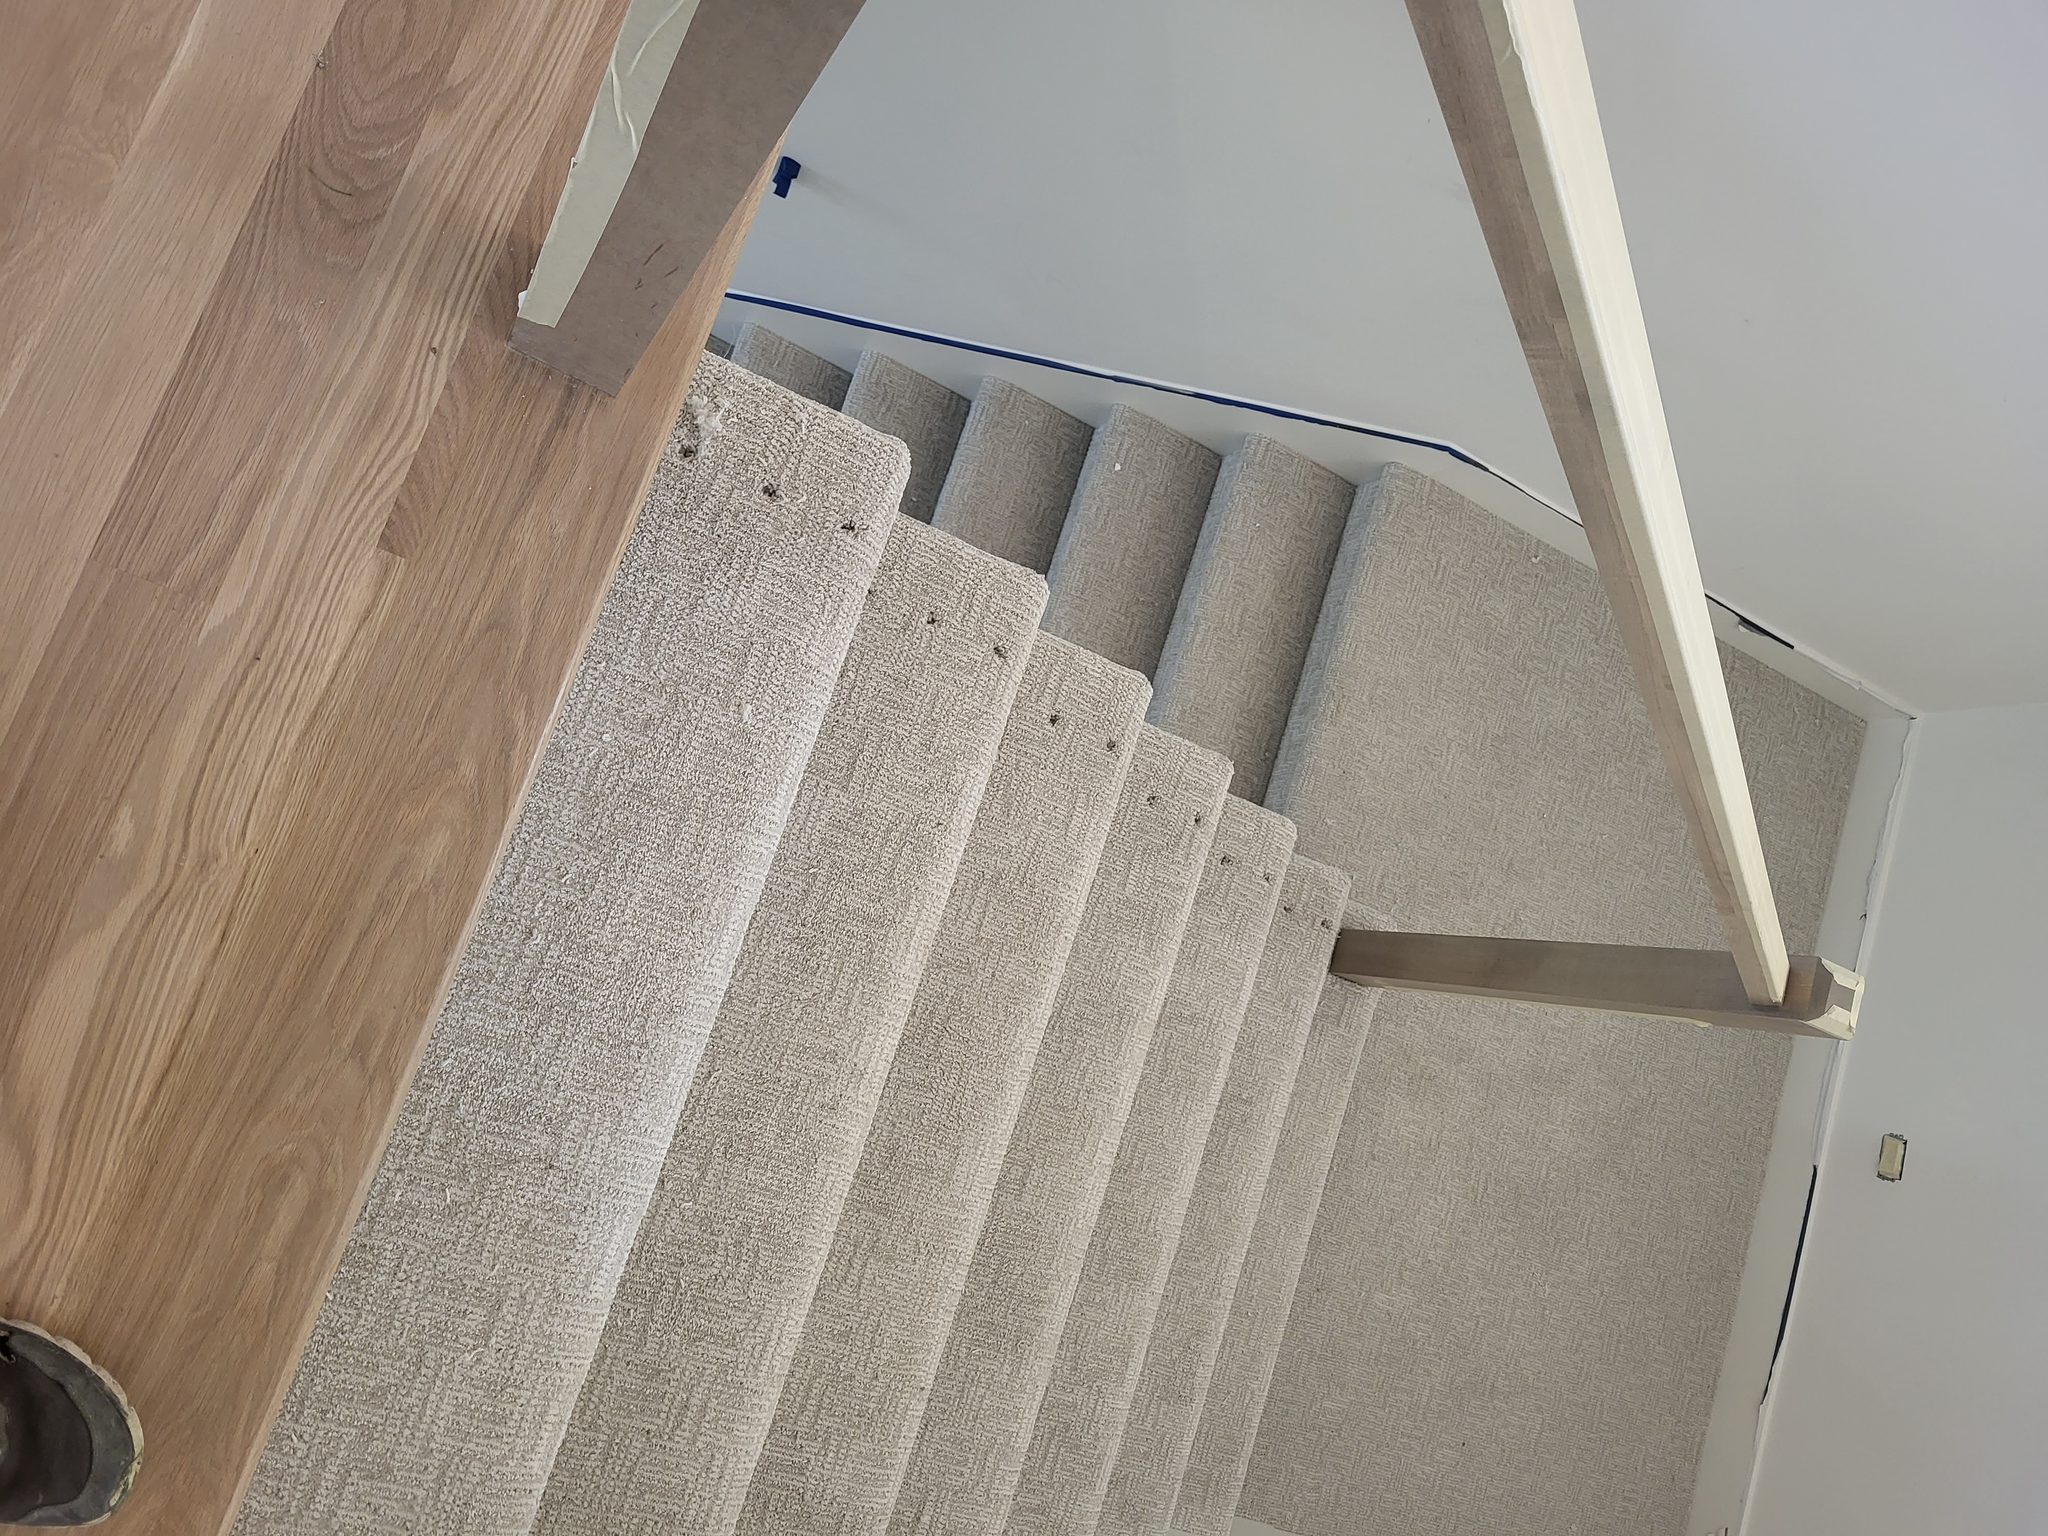
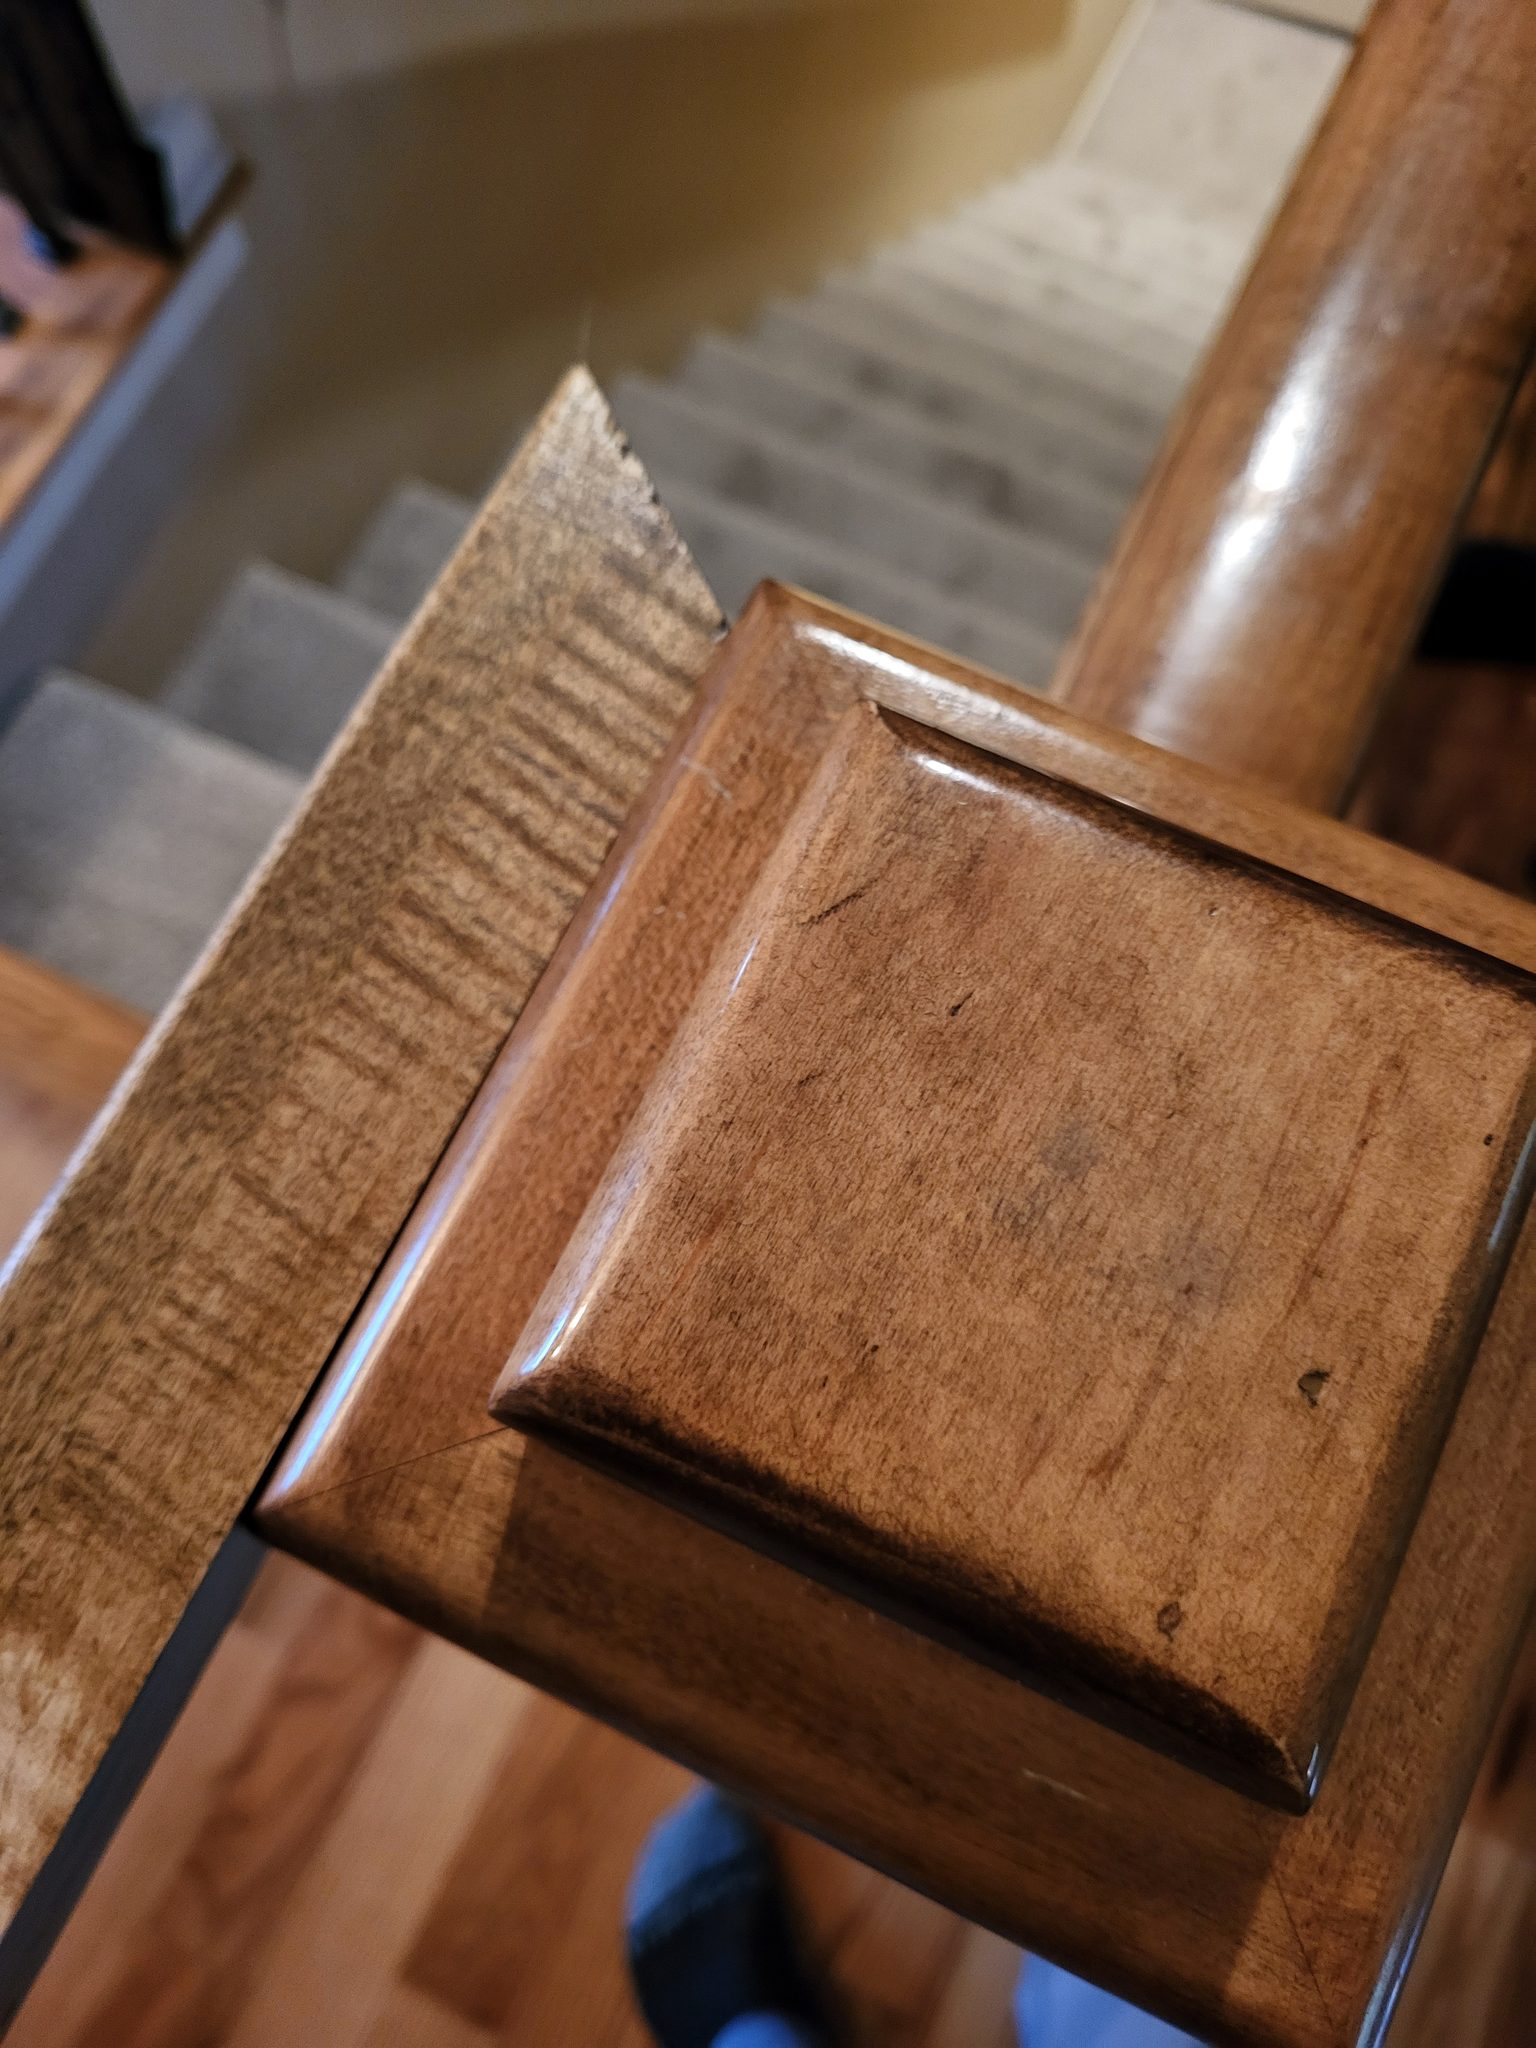
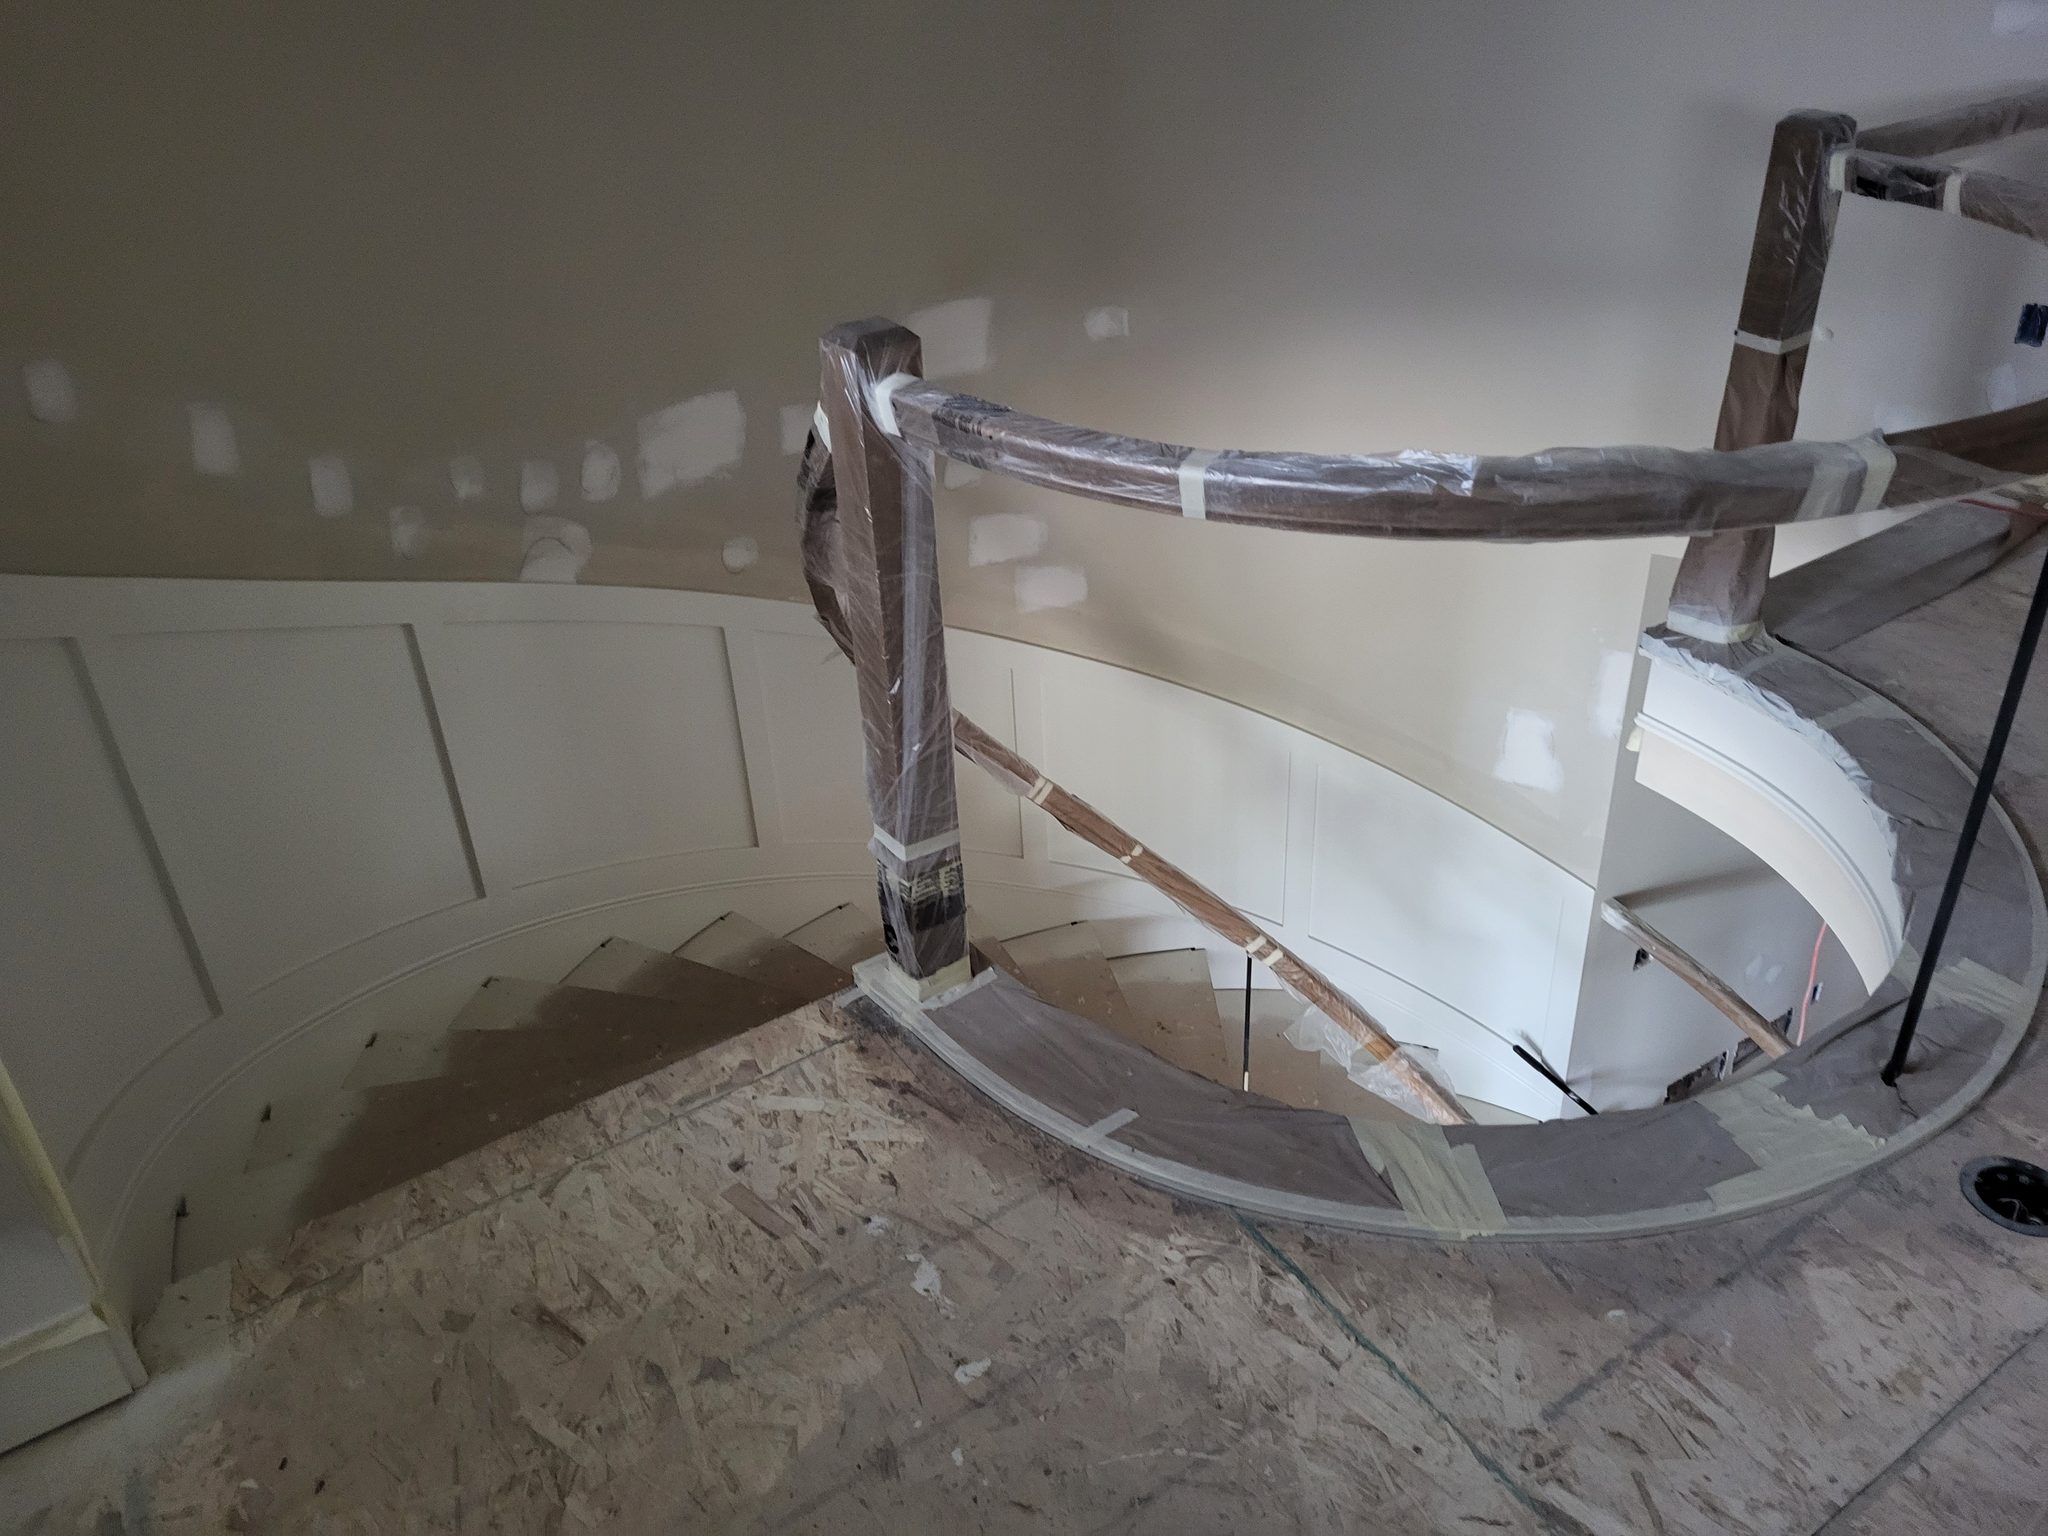
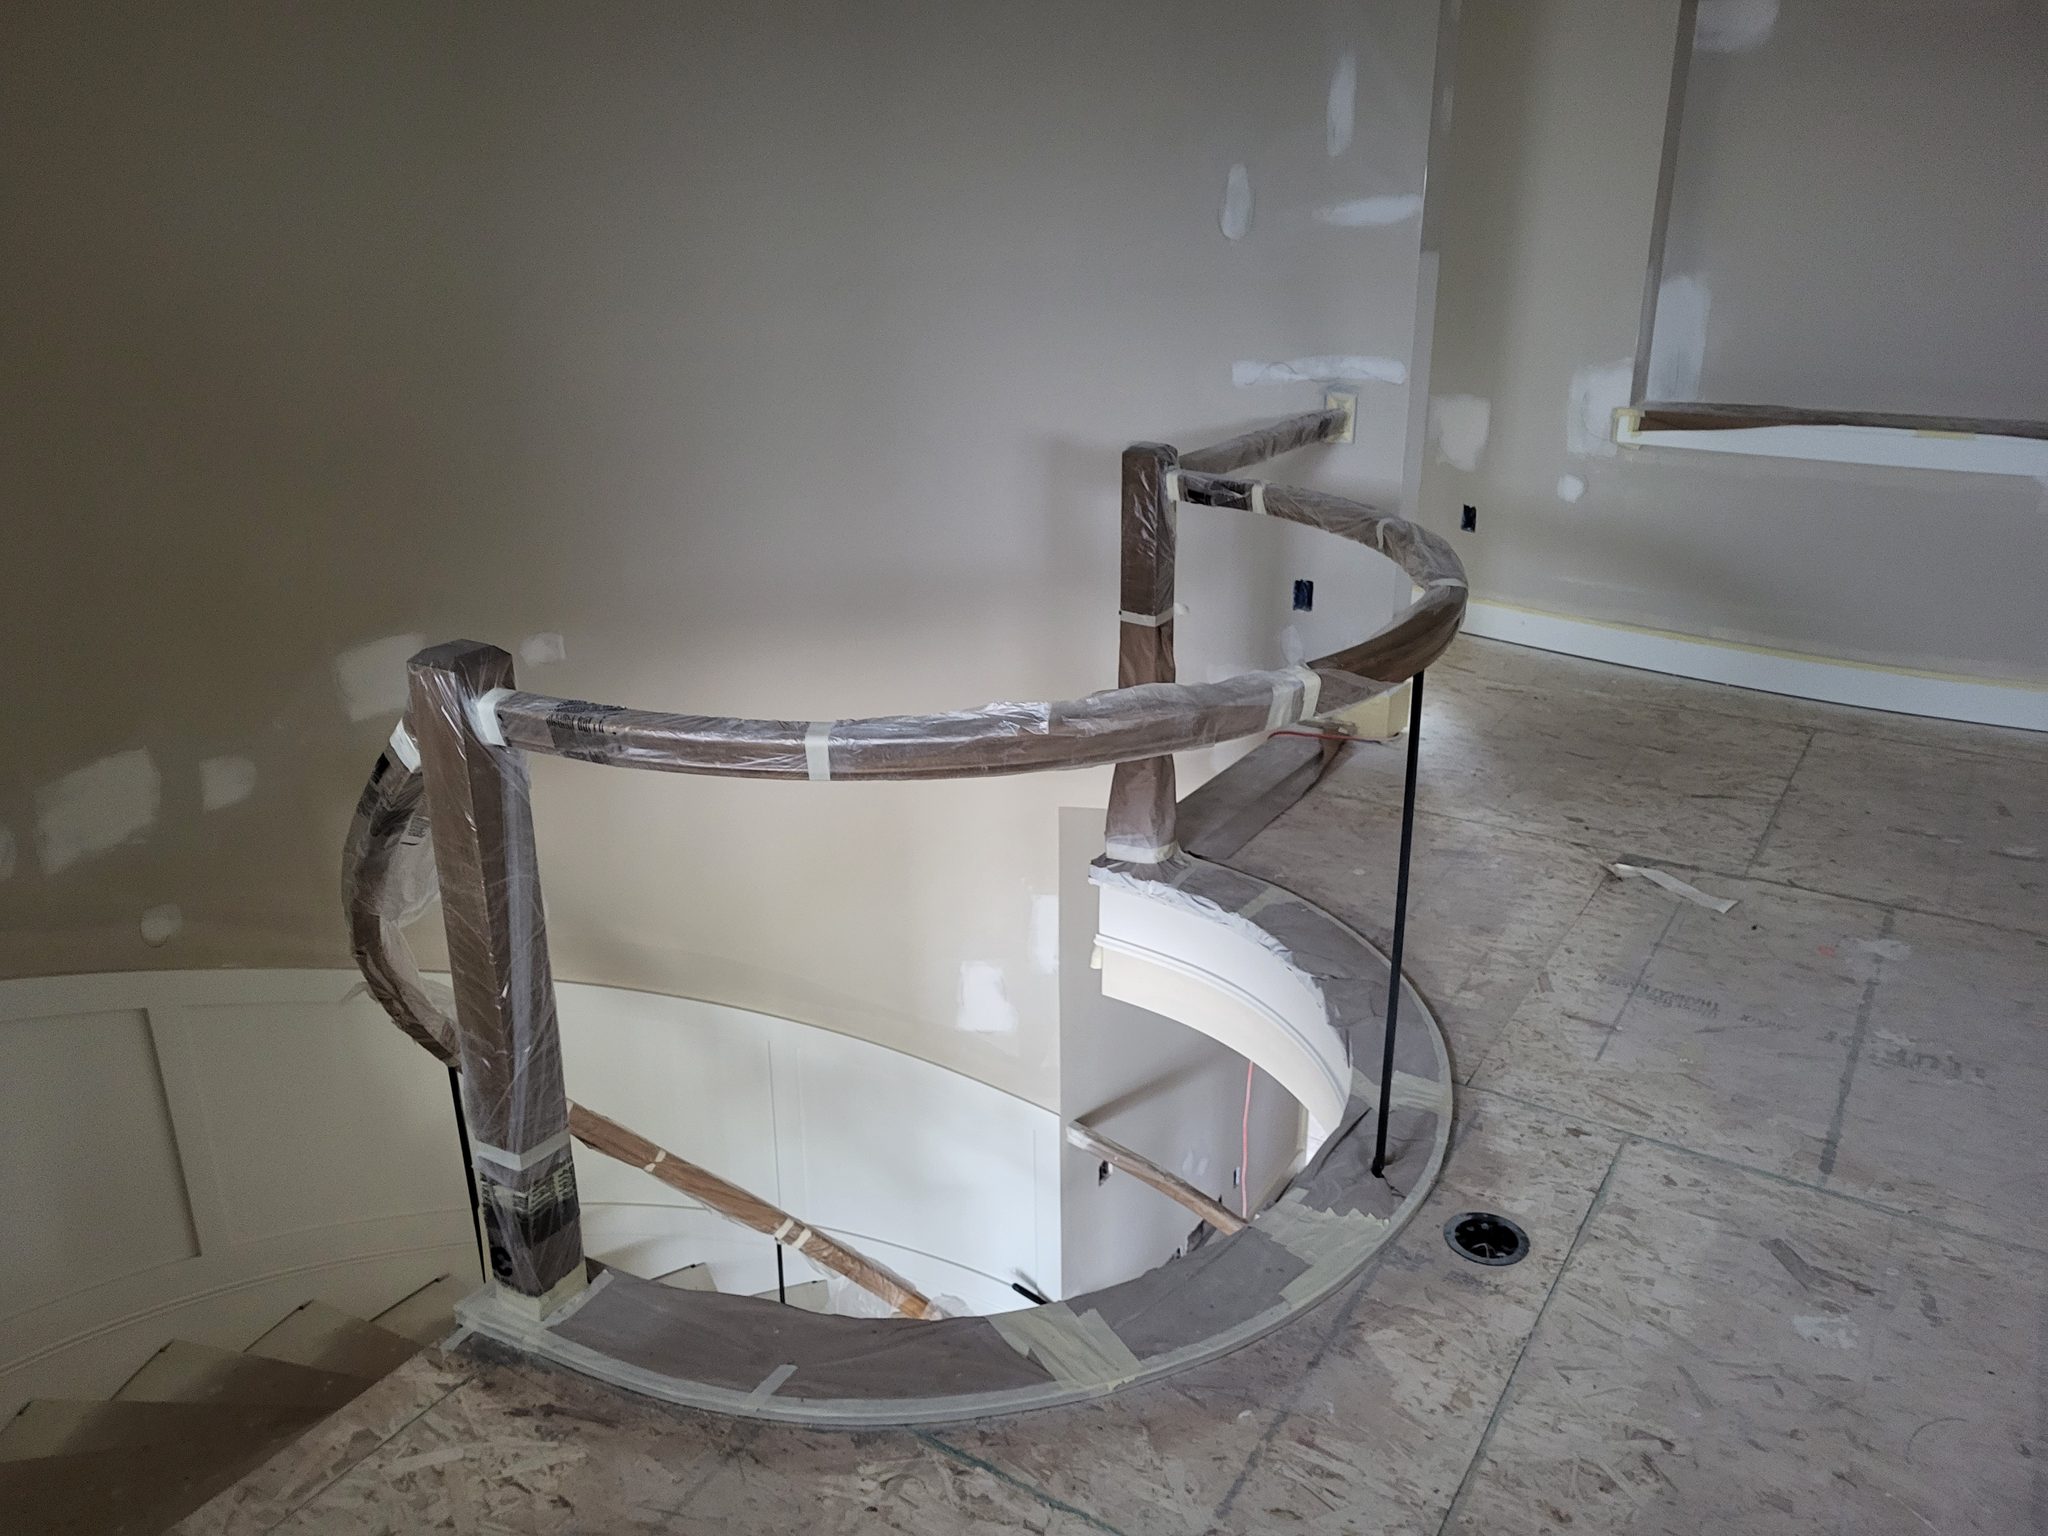
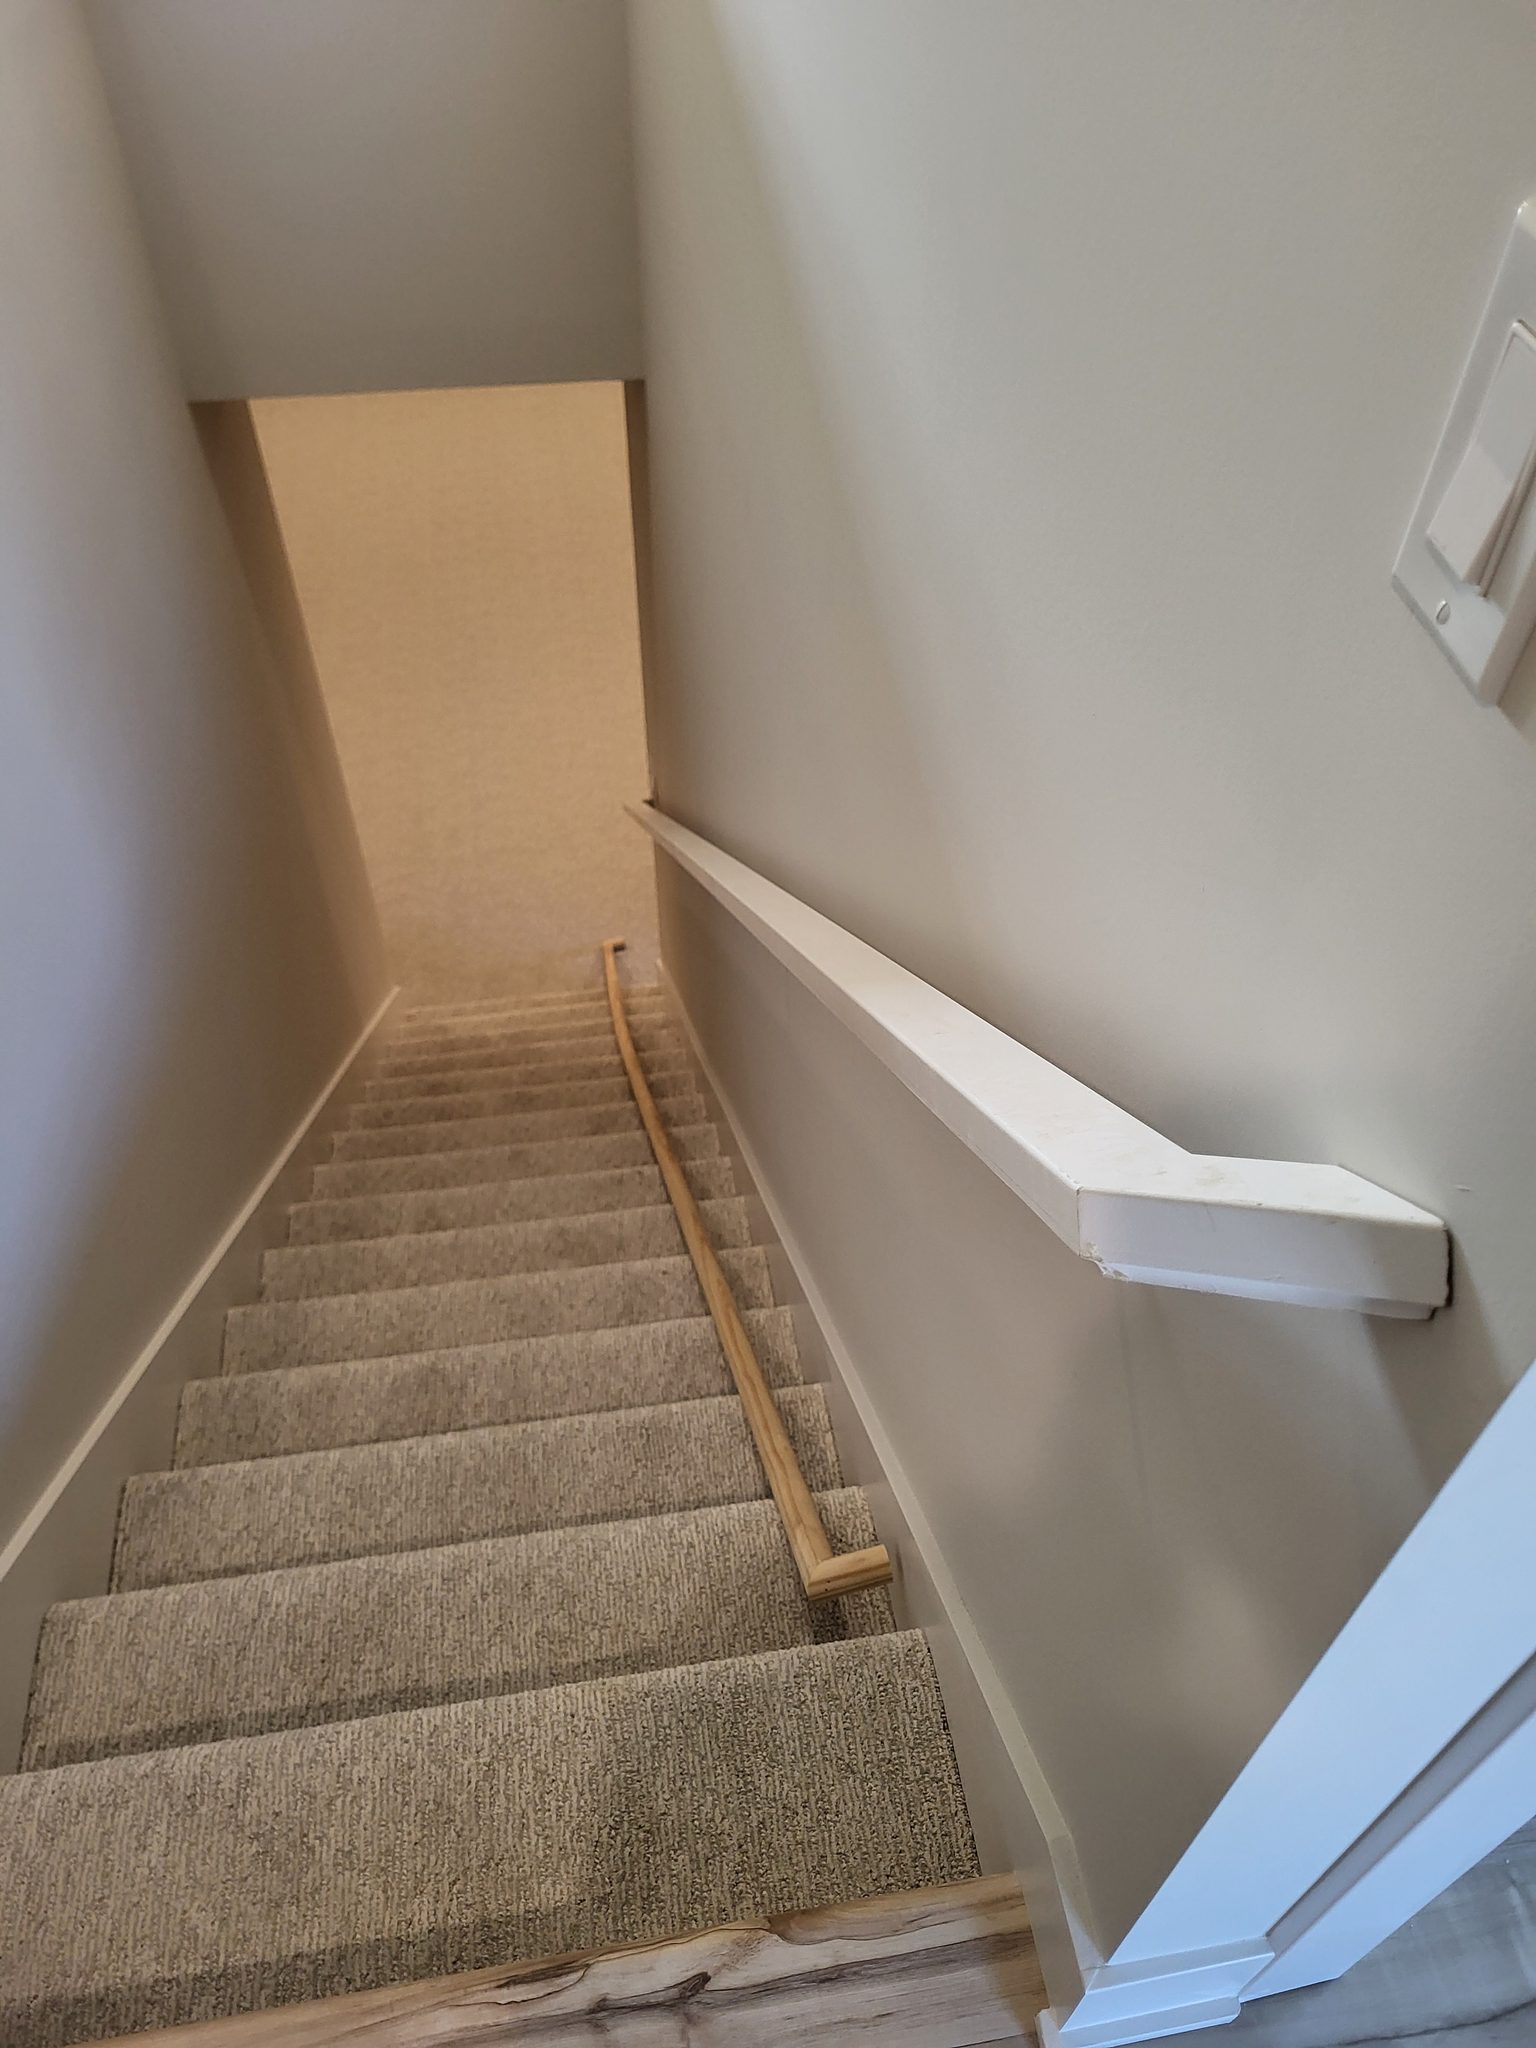
The following photos show examples of this type of work completed in the field. These serve as visual references for quality standards, proper installation techniques, and finished results.
Showing 9 of 9 photos