On this page
Before You Begin #
Prerequisites #
- Garage floor poured and cured
- Door rough opening set and framed
- Total rise measurement taken from the garage slab, at the point where the stringers will land, up to the top of the finished floor at the door (see Step 1, including the Gretna exception)
What You Need To Know #
When you build garage steps for any residential project, IRC (International Residential Code) requirements govern the entire process. Code allows a riser (the vertical board on each step) up to 7-3/4″, but our max is 7-5/8″, 1/8″ under the code max. Minimum tread depth (the flat part you step on) is 10″. The maximum variance between any two risers is 3/8″. The landing must be at least 36″ in the direction of travel. And guardrails are required if the total fall height (the full vertical drop from top to bottom) exceeds 30″. This guide is for a total rise over 30-1/2″ (5 or more risers at our 7-5/8″ max), or for any rise where the door swings out over the steps. With an in-swinging door and 30-1/2″ of rise or less, use the core guide instead.
Calculate the number of risers by dividing total rise by your target riser height. For example, if total rise is ex. 32″ and you try 4 risers: ex. 32 ÷ 4 = ex. 8″ each - that is over our 7-5/8″ maximum (and over the 7-3/4″ code maximum), so it fails.
Try 5 risers: ex. 32 ÷ 5 = ex. 6.4″ each - that works and is comfortable. Then treads equal risers minus one, because the landing counts as the tread for the top step.
Which guide do I need?
- Open risers up to 36 inches wide at the brick mold, 2 stringers, up to 30-1/2 inches of rise (1 to 4 risers): How to Build Garage Steps: Safe, Code-Compliant Stairs
- Closed risers for a finished, visible look, 2 stringers up to 48 inches wide: How to Build Garage Steps with Closed Risers
- Open risers 36 to 48 inches wide at the brick mold, 3 stringers: How to Build Garage Steps with 3 Stringers (Open Risers)
- Over 30-1/2 inches of rise, or a door that swings out over the steps: this guide
Tools Required #
Power Tools #
- Circular saw
- Miter saw
- Drill/driver
- Framing nailer (optional but significantly faster)
Hand Tools #
- Tape measure (25-foot minimum)
- Framing square with stair gauges
- Pencil
- Speed square
- Level (4-foot)
- Pry bar
Supplies #
- 3″ exterior-rated structural screws
- 2-1/2″ exterior-rated screws (for decking the landing and treads)
- Construction adhesive
Materials #
- 2×12 lumber (for stringers, the diagonal boards that the treads and risers attach to - typically need 2-3 depending on stair width)
- 2×10 or 2×8 (for landing frame joists)
- 3/4″ OSB (for the landing deck)
- 2×12 lumber (for treads, the same stock as the stringers - 11-1/4″ wide gives a 10″ tread with a 1-1/4″ overhang)
- 2×4 or 2×6 (for blocking - short framing pieces used for extra support)
- Regular pine or cedar for the landing support legs and anywhere else wood touches the concrete slab, never pressure-treated - those connections get glued down, not anchored
Build Garage Steps with a Landing: Complete Process #
Step 1: Calculate the Layout to Build Garage Steps #
Measure the total rise from the garage slab, at the point where the stringers will actually land, up to the top of the finished floor at the door. The top of the finished floor is the bottom of the door threshold, since the door sits on the finished floor. Gretna is the exception: there the inspector measures from the top of the metal part of the sloped threshold, so measure to that line. Garage floors slope (typically 1/4″ per foot toward the garage door for drainage), so a reading taken at the threshold instead of the stringer location will be wrong. This is the most important measurement when you build garage steps with a landing - if it’s wrong, every riser will be wrong. Measure at least twice, ideally three times.
Divide total rise by 7-5/8″ and round UP to the next whole number of risers (our max riser is 7-5/8″, 1/8″ under the code max). Then calculate the exact riser height: total rise divided by number of risers. Determine the landing height by subtracting one riser height from the finished floor height at the door - the landing sits one step down from the house floor. To check the riser count and riser height for your total rise, use the garage steps calculator. Use it for those two numbers only: its stringer length and material list are for steps with no landing.
Pro Tip: Use a story pole. This physical reference catches measurement errors that math alone might miss, especially where precision matters for safe construction. Stand the pole at the point where the stringers will land, mark the finished floor height at the door, then divide and mark each riser on the pole. You can hold this against your stringers during layout to verify the cuts.
Pro Tip: The finished floor is almost never installed yet at this stage. If you measured to the subfloor, your total rise is short by the finished floor’s thickness - check the plans or ask the customer what is going down (3/4″ hardwood, tile plus its backer, LVP, and so on) and add that thickness to your measurement. If the finished floor is already installed, you measured to it directly and there is nothing to add. Getting this wrong by even 3/4″ will make your top riser feel different from the rest - and it will fail inspection.
Step 2: Build the Landing Frame #
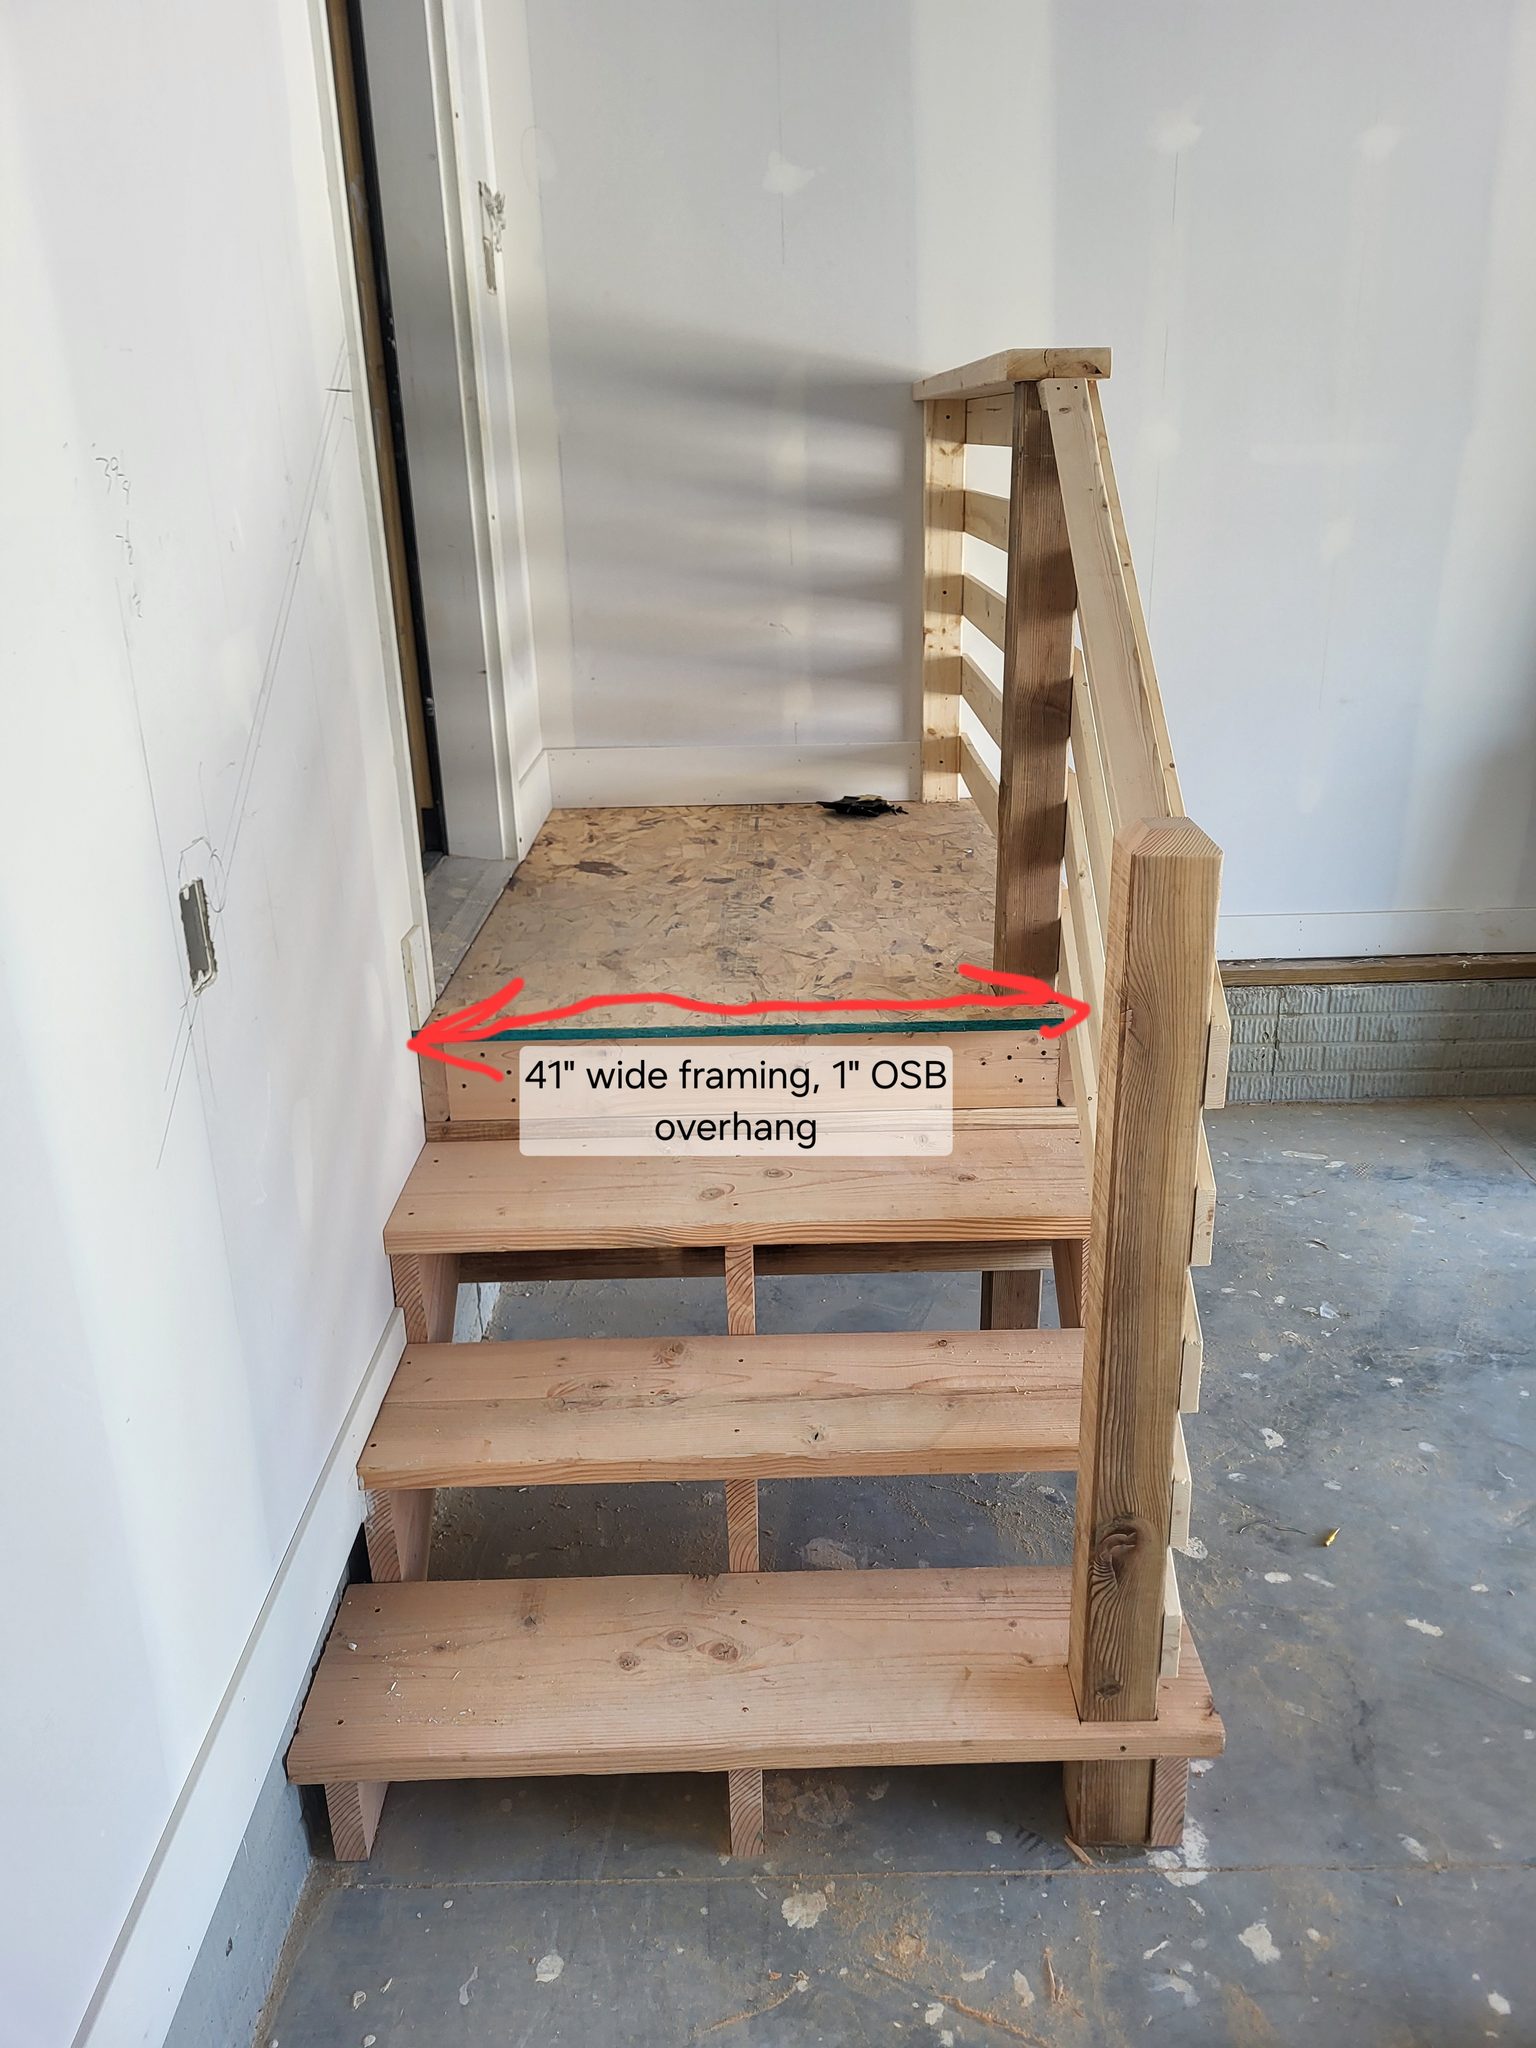
Building the landing frame is the first major structural step. Build a 2x frame platform at the calculated landing height, using 2×8 or 2×10 joists spaced 16″ on center. The landing attaches to the wall framing on the house side with lag screws (large, heavy-duty screws) or structural screws into the studs, and it’s supported by legs or posts on the garage side. Make the landing at least 36″ deep in the direction of travel (42″ is better), and as wide as the door opening plus any trim. Glue the legs or posts to the concrete floor with PL Premium or a similar polyurethane construction adhesive rated for wood to concrete, the same way you’ll glue the stringers in Step 6 - nothing gets drilled or anchored into the slab. Use regular pine or cedar for these, not pressure-treated; the glue bond is what keeps them from moving, not the wood type. Get this framing right, because it needs to last decades without failing.
Step 3: Deck the Landing #
After framing, the next phase is decking the landing. Install 3/4″ OSB on top of the landing frame, and screw it down with 2-1/2″ exterior-rated screws every 8″ along each joist. The landing surface must be level in both directions, and at the correct height - one riser down from the finished floor height at the door. Check for level across the full surface before moving on. Once the stringers are attached, fixing the landing height becomes much harder.
Pro Tip: The landing height must account for the finished tread material. If the plan calls for adding carpet, tile, or hardwood later, subtract that thickness from the platform height now. A 3/4″ thick finished floor material means building the landing 3/4″ lower than your calculated height.
Step 4: Lay Out the Stringers #
Proper stringer layout is critical to a solid set of steps. Using a framing square with stair gauges clamped at your riser height and tread depth, lay out the stair pattern on the 2×12. Set one gauge at the riser dimension on the tongue, the short side of the square, and the other at the tread dimension on the blade, the long side. Walk the square down the board, marking each tread and riser cut line.
Remember to subtract one tread thickness from the bottom riser height, so that all the finished risers end up equal. The bottom step sits on the garage floor, which acts as its tread surface. That means it needs to be shorter than the other risers, by the thickness of the tread material used on the upper steps.
Step 5: Cut the Stringers #
Cutting the stringers accurately is essential - get this wrong and every step will be wobbly or uneven. Cut along your layout lines with a circular saw. The circular saw blade is round, so it can’t reach the full depth of the inside corners, where the tread and riser cuts meet. Finish these inside corners with a handsaw or reciprocating saw.
Cut your first stringer carefully, test-fit it in place, and verify the riser heights and tread depths before cutting the remaining stringers. Then cut all stringers and verify they match by stacking them together - any deviation means a wobbly step.
Pro Tip: Never cut past your layout lines at the inside corners. Overcutting weakens the stringer at its most critical stress point, because the remaining wood at each notch is what carries the load. Use a handsaw or reciprocating saw to finish the corner cuts cleanly, stopping exactly at the intersection of the lines.
Step 6: Install Stringers to Build Garage Steps #
This connection ties the stairs into the landing platform. Attach the top of each stringer to the landing rim joist (the outer framing board at the edge of the landing) with 3″ exterior-rated structural screws through the stringer’s plumb cut into the rim joist. Use at least 4 screws per stringer. This is the standard method for attaching the top of the stringer.
Back board: We always join the stringers with a back board before they go up. Cut a 2x4 to fit between the stringers at the top, against the landing rim joist, standing on edge, and screw through the outside face of each stringer into its ends. With 3 stringers, cut a 2x4 piece to fit between each pair. The stringers and the back board then go against the landing as one frame, and you fasten that frame as above.
Glue the bottom of each stringer directly to the garage slab - no kicker plate, and nothing drilled or anchored into the concrete. Sweep the slab clean where each stringer will sit, dry-fit the stringer and trace its footprint, then apply a generous zigzag bead of PL Premium or a similar polyurethane construction adhesive rated for wood to concrete to the bottom edge and press the stringer down firmly along the full length of the cut. Let the adhesive cure per the tube’s instructions before anyone uses the stairs. Use 2 stringers for stairs up to 36″ wide, and 3 stringers for anything wider.
Step 7: Install the Treads #
Once the stringers are set, the final phase is installing the treads. Treads should overhang the riser face by 3/4″ to 1-1/4″. This overhang is called the nosing projection, and it’s required by code.
Screw every tread down with exterior-rated screws at each tread support point. On open risers the treads are not glued; closed-riser treads get glued and screwed. Pre-drill near the edges to prevent splitting.
Step 8: Final Checks and Details #
The final step is checking every connection solidly. Check the entire assembly at every connection point: landing to wall framing, stringers to landing rim joist, and the glue bond between the stringers and the concrete slab.
Check all risers with a tape measure for consistency - the maximum allowable variance between the tallest and shortest riser is 3/8″ per code. Install any required handrails at this stage. A flight of 4 or more risers needs a handrail (IRC R311.7.8), and when the total rise is over 30-1/2″ the flight up to the landing has at least 4. Then the rail is required, not optional: put one on every open side (a wall counts as a side). A landing more than 30″ above the floor below also needs a guard on its open sides (R312.1.1): 36″ high, with no opening a 4″ ball passes through. Gretna wants the full cattle chute style, and Omaha takes an open grab rail, so check with the local inspector. See the separate handrail mounting guide for details.
Pro Tip: Walk the stairs multiple times before calling the project done. Your feet will tell you if a riser is off - an uneven step feels wrong immediately, even if the difference is only 1/4″. Walk up, walk down, walk normally, walk quickly. If anything feels off, measure and fix it now, not after the trim goes on.
Quality Check: Build Garage Steps with a Landing Correctly #
- All risers within 3/8″ of each other (measure every one)
- Landing level in both directions
- Landing properly attached to wall framing with structural fasteners
- Stringers solid, with no movement or racking (side-to-side shifting)
- Treads don’t flex or squeak under foot traffic
- Nosing projection consistent on all treads (3/4″ to 1-1/4″)
- Bottom of stringers glued solidly to the concrete floor
- Rail on every open side of any flight of 4 or more risers (a wall counts as a side), and a guard on every open side of the landing if it is more than 30″ above the floor below
- Overall assembly feels solid and stable when walked
Troubleshooting Common Garage Steps Problems #
One Step Feels Higher or Lower Than the Others #
This is the most common issue with garage steps. Re-measure all risers from finished tread surface to finished tread surface. The most common cause is the bottom riser not being adjusted for tread thickness. The bottom step sits on the concrete floor (no tread material added), so the stringer must be cut shorter at the bottom by exactly one tread thickness. If it’s off, remove the stringer, re-cut the bottom by the correct amount, and re-glue it to the slab.
Landing Not Level #
Either the joists are not properly shimmed (packed with thin wood wedges to level them), or the wall attachment point is at the wrong height. Check level across multiple points on the landing surface. Shim under the joists at the low spots, or re-attach the ledger board (the board fastened to the wall that the landing frame hangs from) at the correct height. The landing must be level in both directions - side to side, and front to back.
Stringers Flexing or Bouncing #
If the stringers flex when you walk on them, the stairs need reinforcement. Either you need more stringers, or the existing ones are undersized. Add a center stringer between the outside stringers to get rid of the flex. Always use 2×12 stock for stringers. 2×10 is too narrow for most stair layouts, and it doesn’t leave enough wood above the notch cuts to carry the load safely.
Stairs Pulling Away from Landing #
The stringer-to-landing connection isn’t strong enough. Add more 3″ exterior-rated structural screws through the stringer’s plumb cut into the rim joist - go up to at least 4 per stringer if you aren’t already there. Screws driven straight through into the rim joist resist both vertical load (weight pressing down) and horizontal pull-out (the stairs pulling away from the landing).
Squeaky Treads #
Screws are backing out or the tread is not pulled tight to the stringer. Remove the treads one at a time, re-set each tread tight to the stringers, and re-screw with new exterior-rated screws in slightly offset holes.
Bottom of Stringers Sliding on Concrete #
The adhesive bond to the slab failed, or never fully set. Possible causes: the concrete wasn’t swept clean before gluing (dust and debris block the bond), the bead didn’t cover the full length of the bottom cut, or the stairs got used before the adhesive cured. Remove the stringer, clean both surfaces back to bare material, and re-glue with a full, even bead across the whole bottom edge. Give the adhesive the cure time on its label before anyone uses the stairs again.
Helpful Resources #
These external resources provide more detail on stair construction codes, techniques, and safety.
- How to Build Garage Steps: Safe, Code-Compliant Stairs - Our full rundown on rise, run, and code minimums for stair construction
- How to Install a Garage Step Handrail - The next step once your stairs and landing are built
- IRC Stairway Code Requirements - Official International Residential Code specifications for stair construction
All Garage Steps Guides #
- Build Garage Steps - Core guide - 2 stringers, open risers, up to 30-1/2 inches of rise (start here)
- → You are here: Garage Steps with a Landing - Over 30-1/2 inches of rise, or a door that swings over the steps
- Garage Steps with 3 Stringers - Add a center stringer for open-riser stairs wider than 36″
- Garage Steps with Closed Risers - Add riser boards for a finished look
- Garage Step Handrail - When and how to install a code-compliant handrail
Related Guides #
Reference Photos #
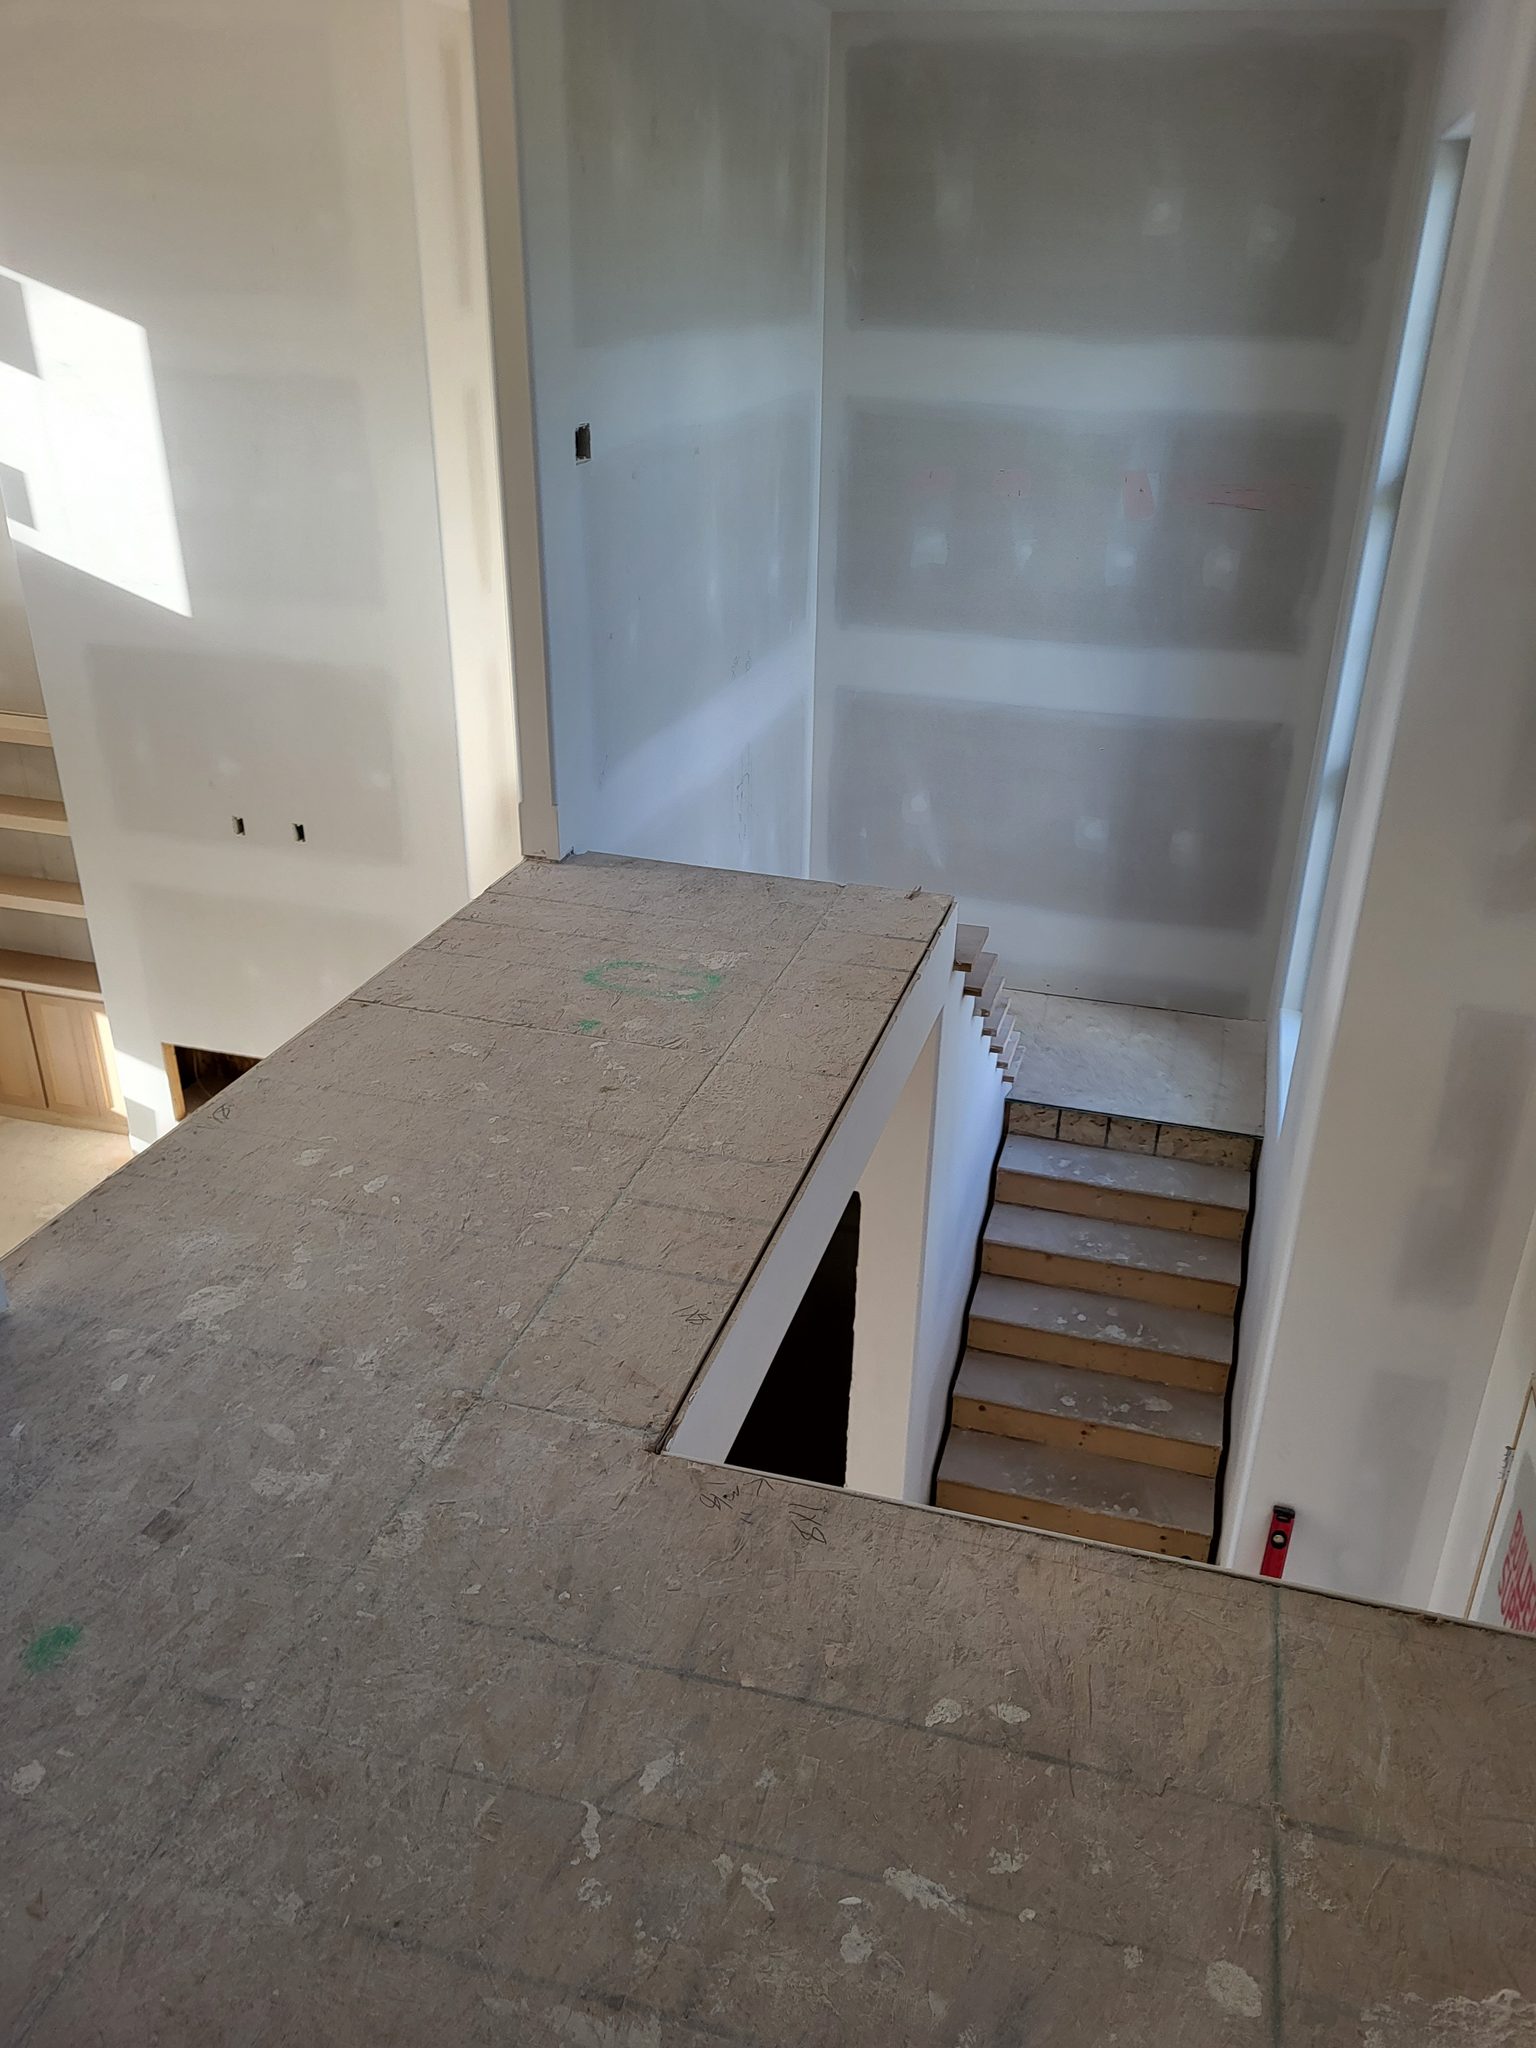
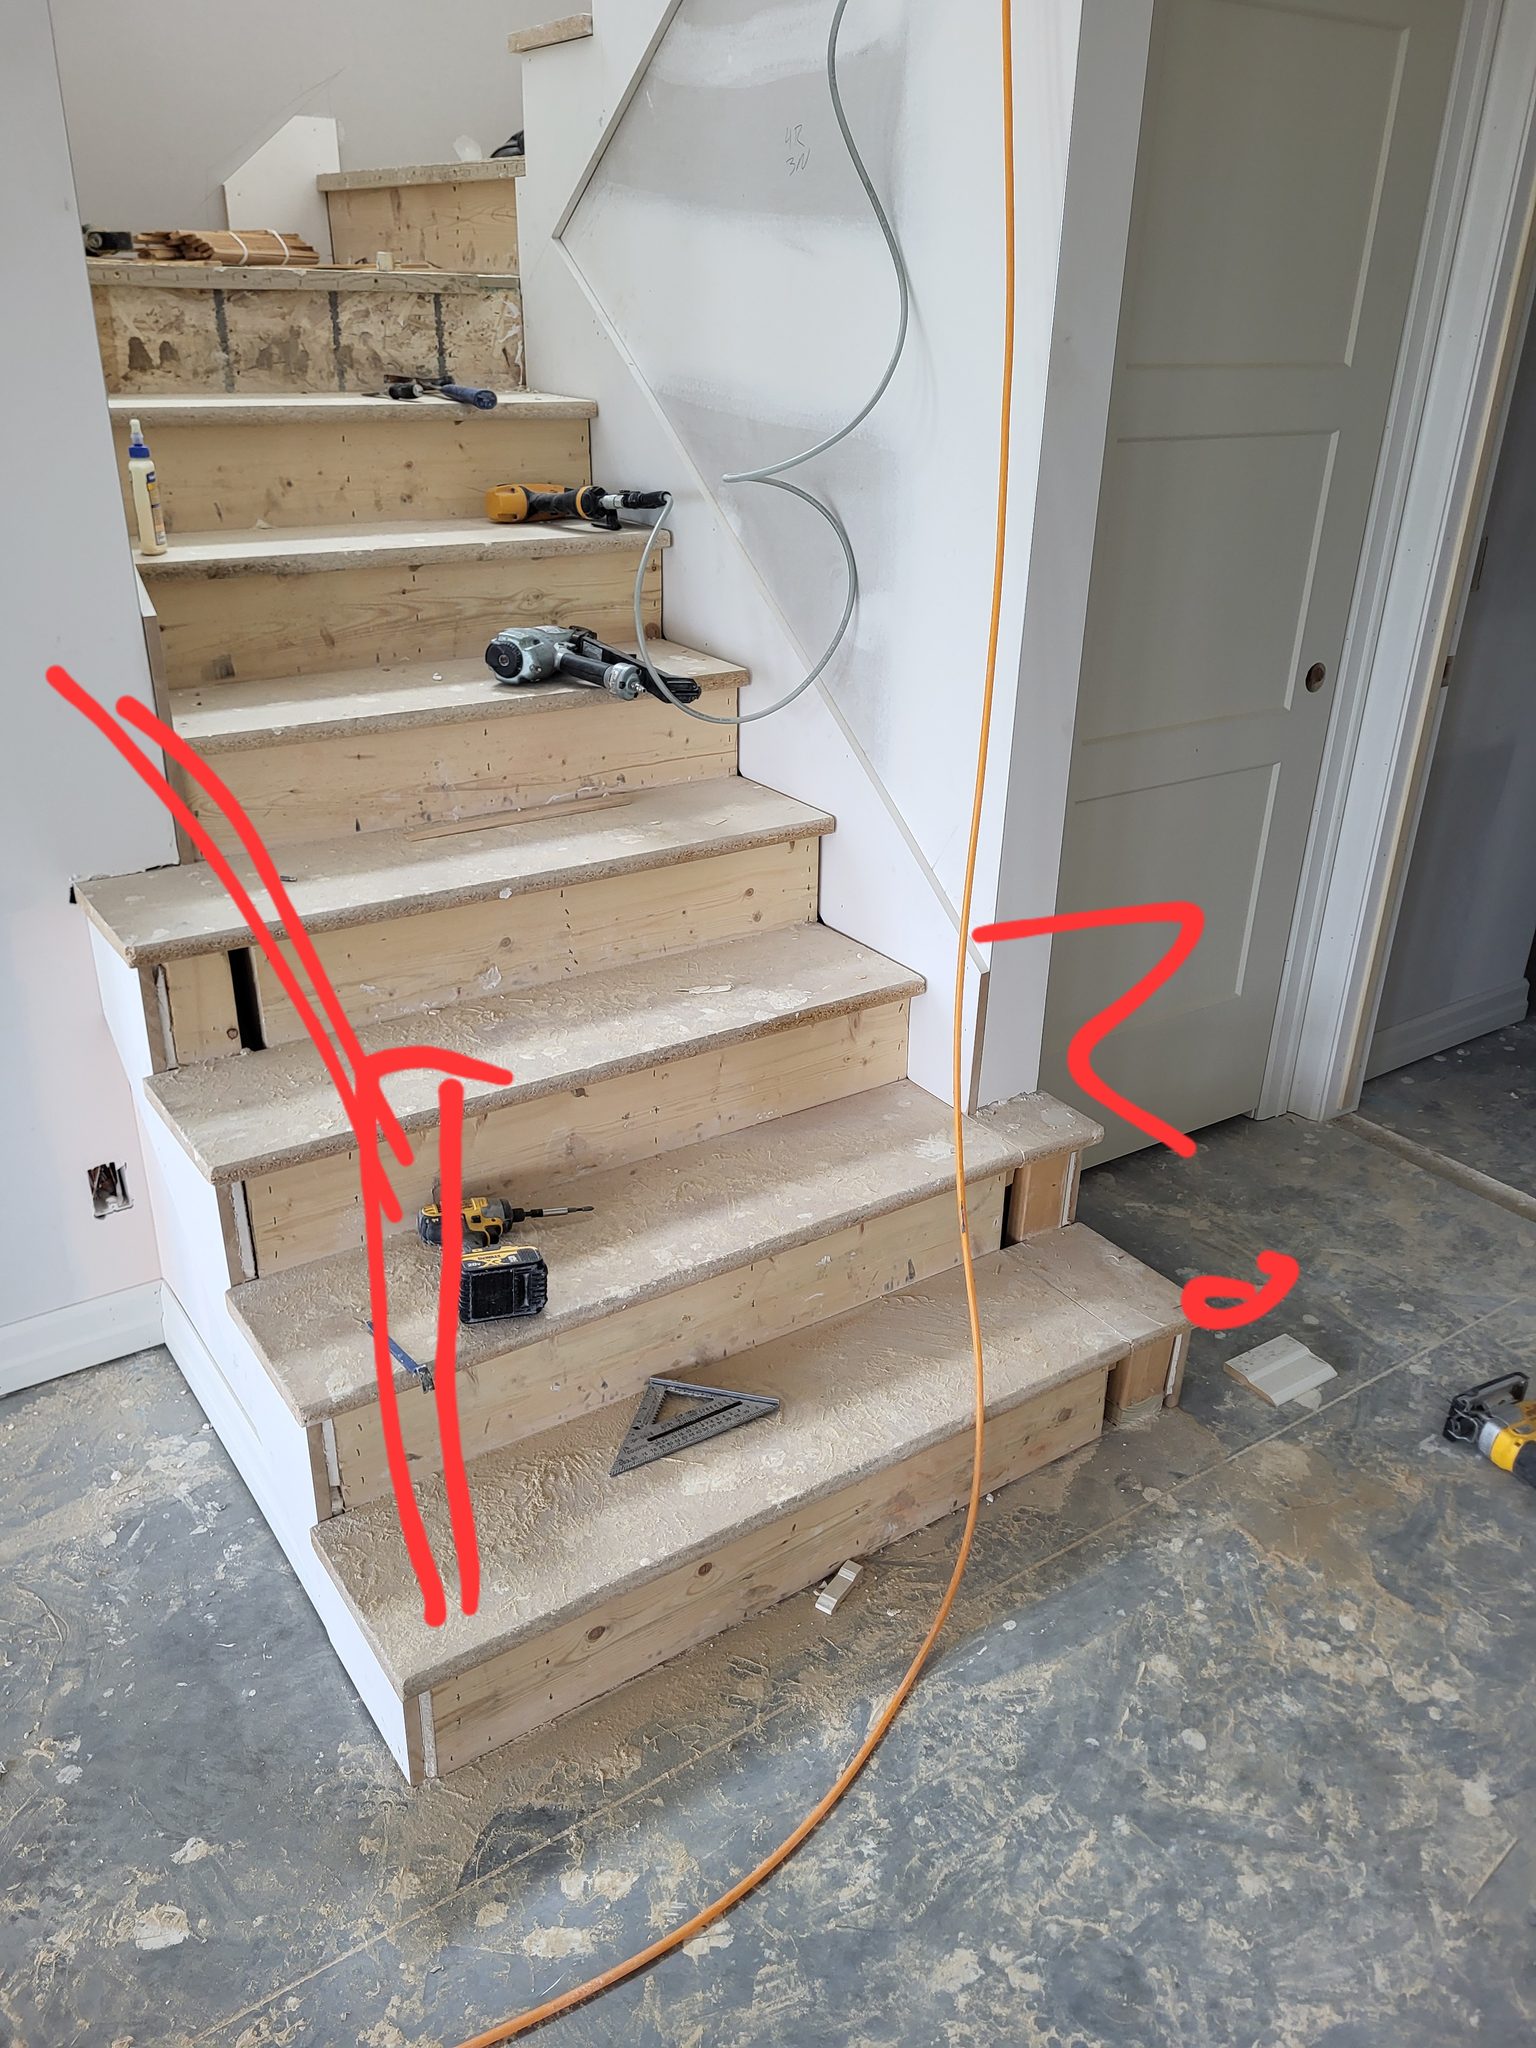
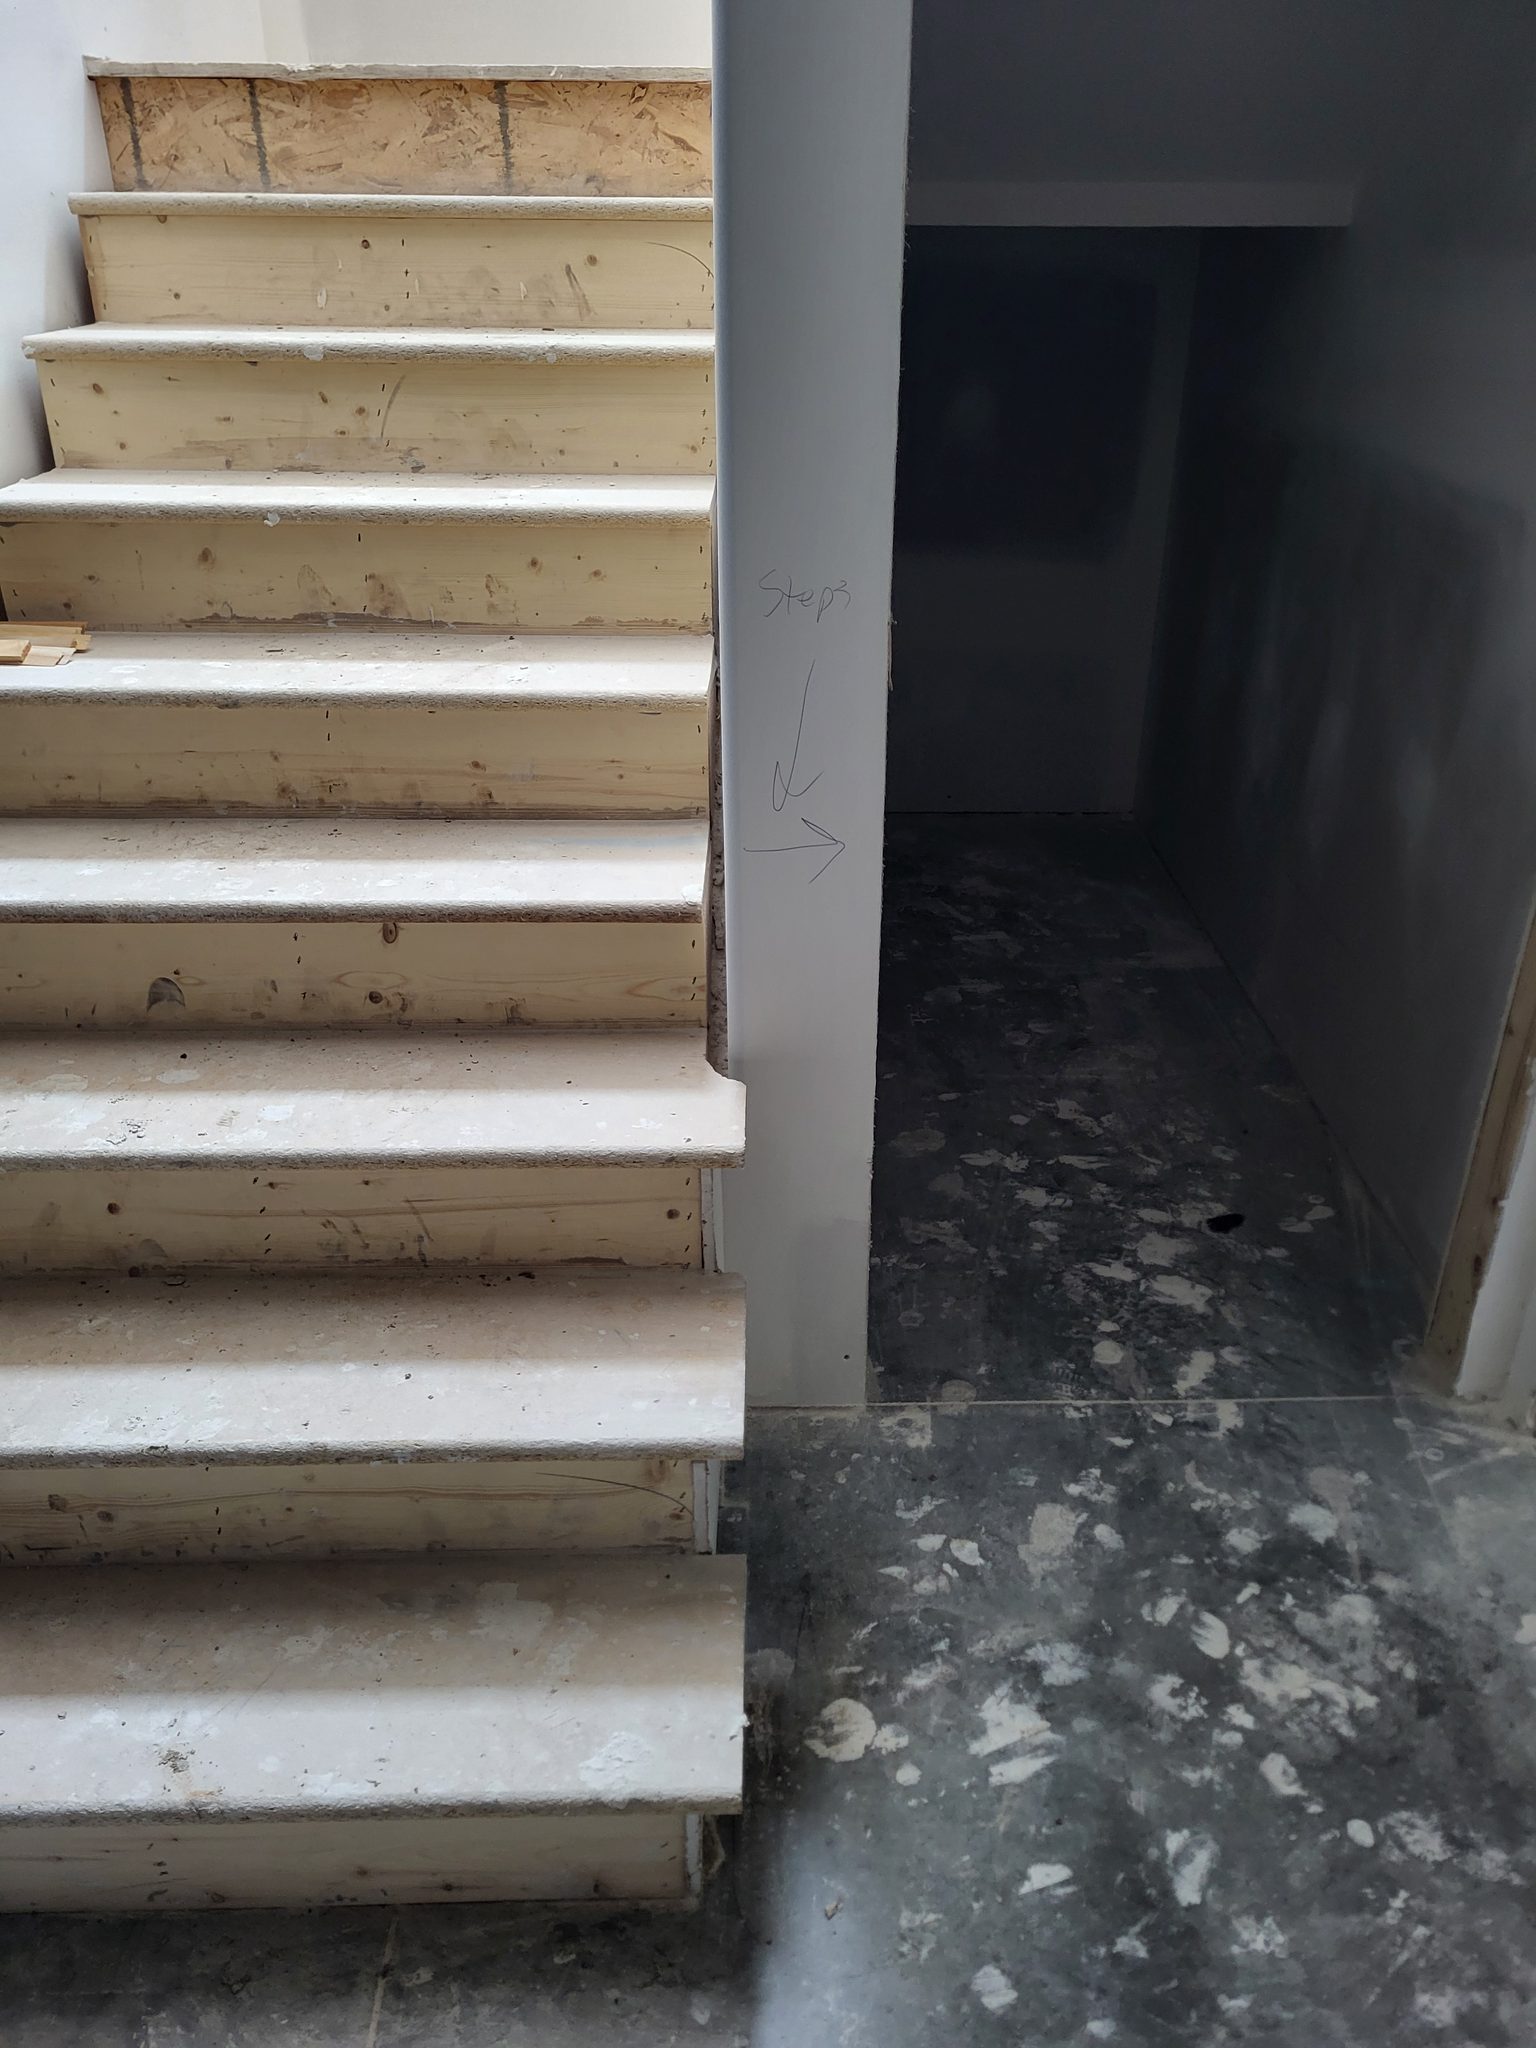
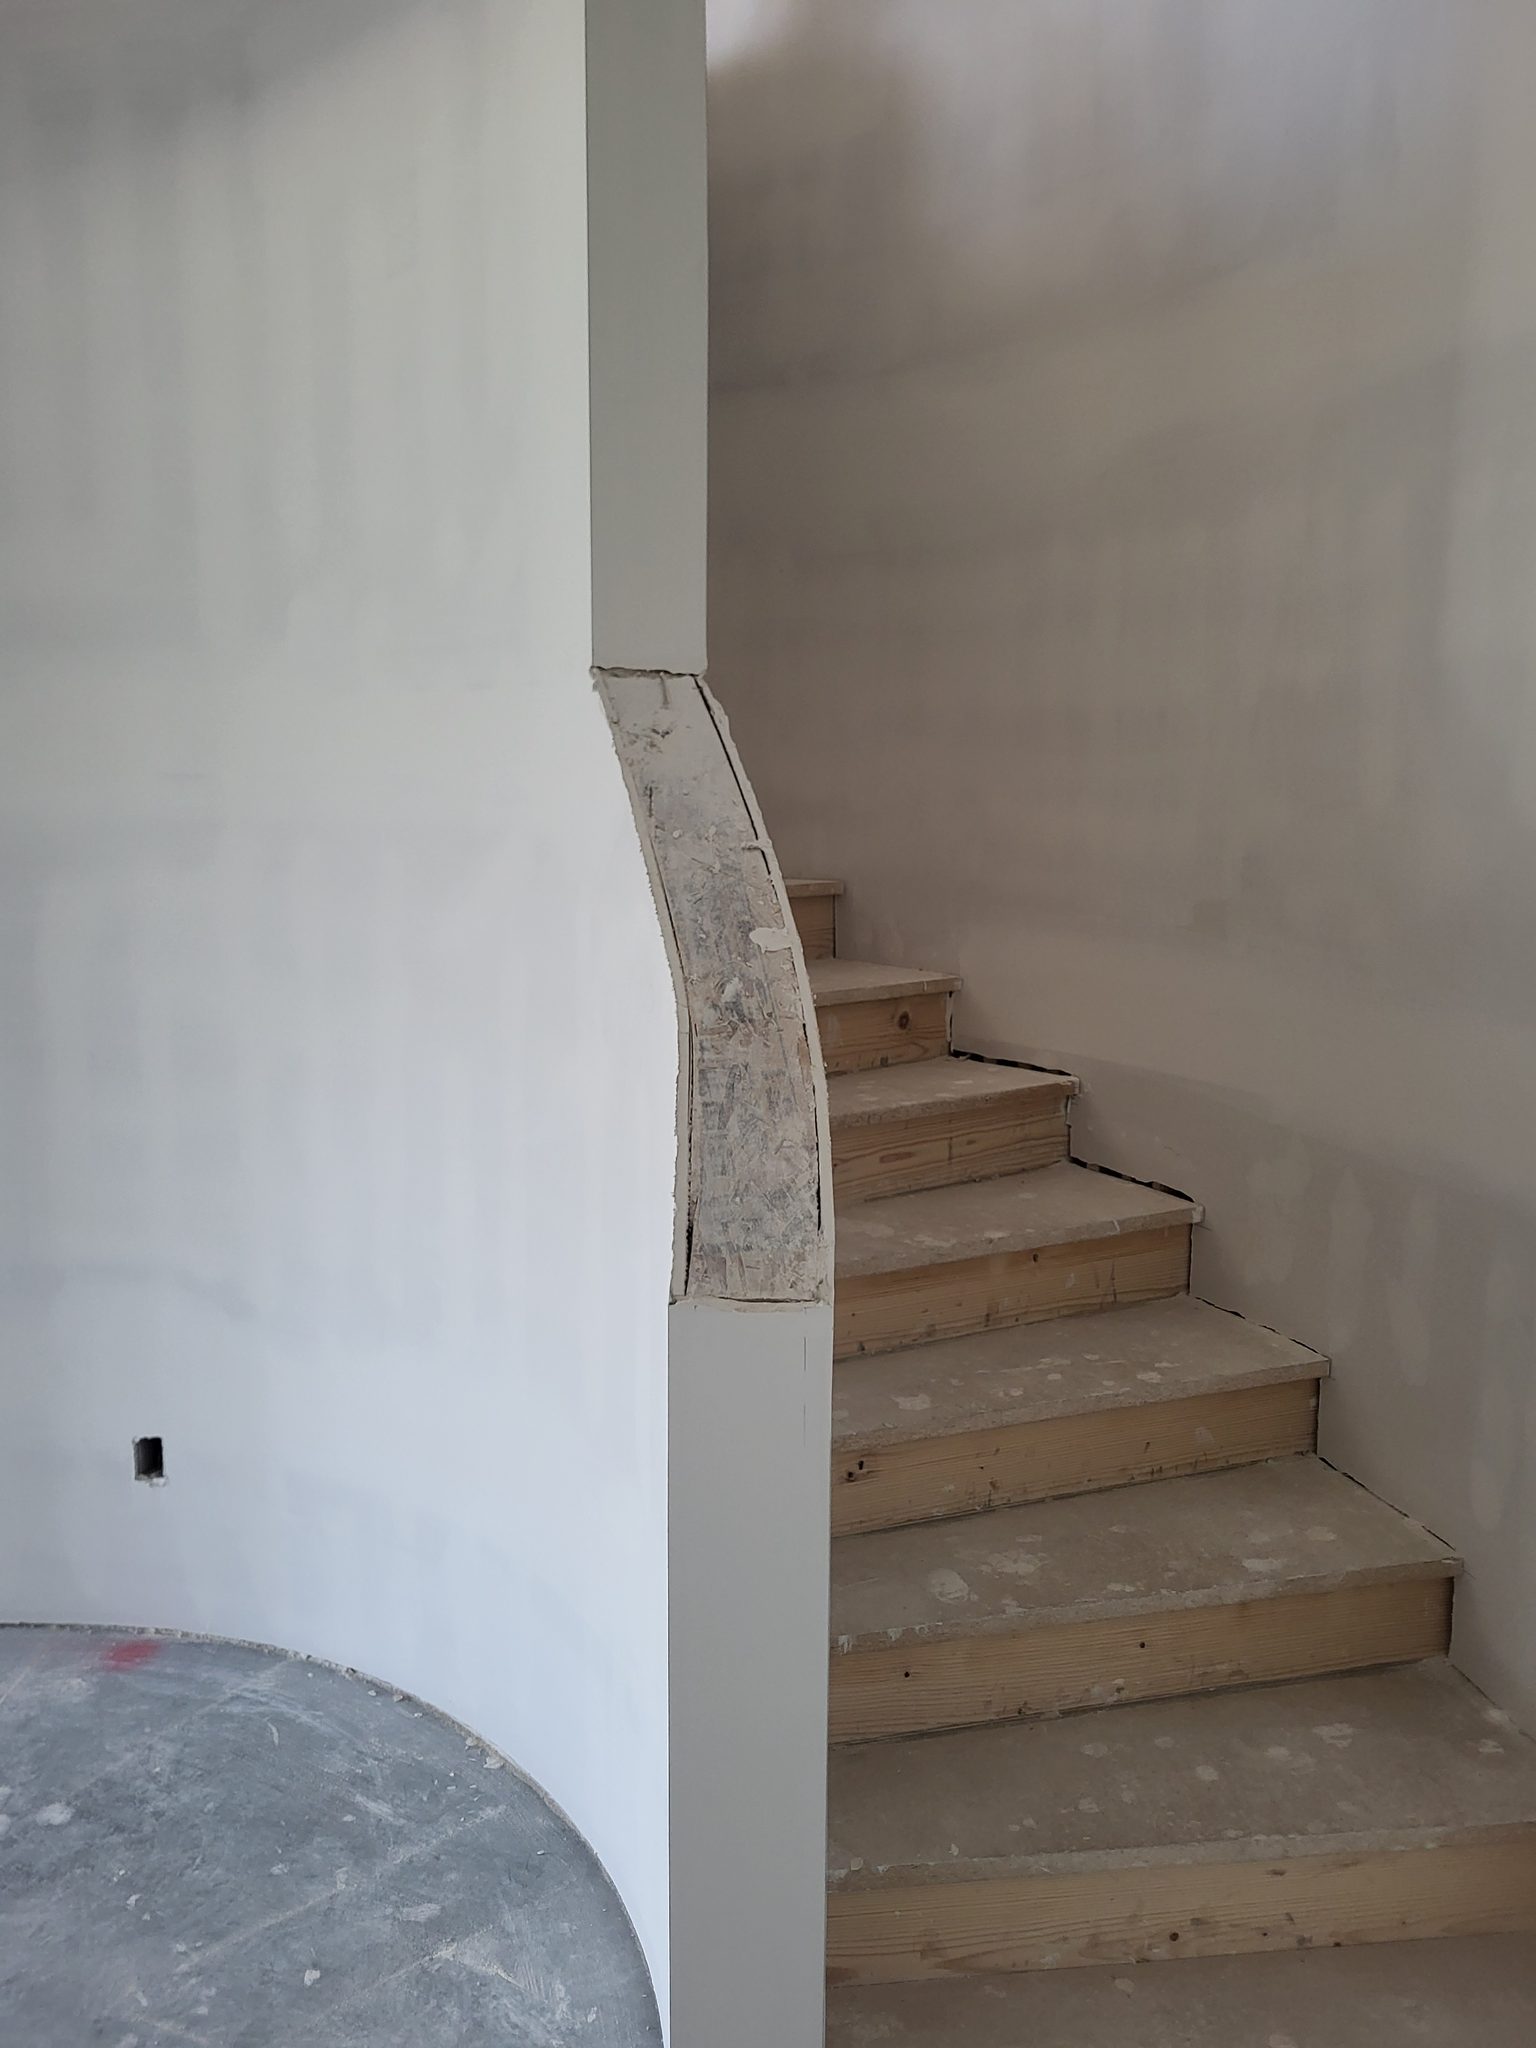
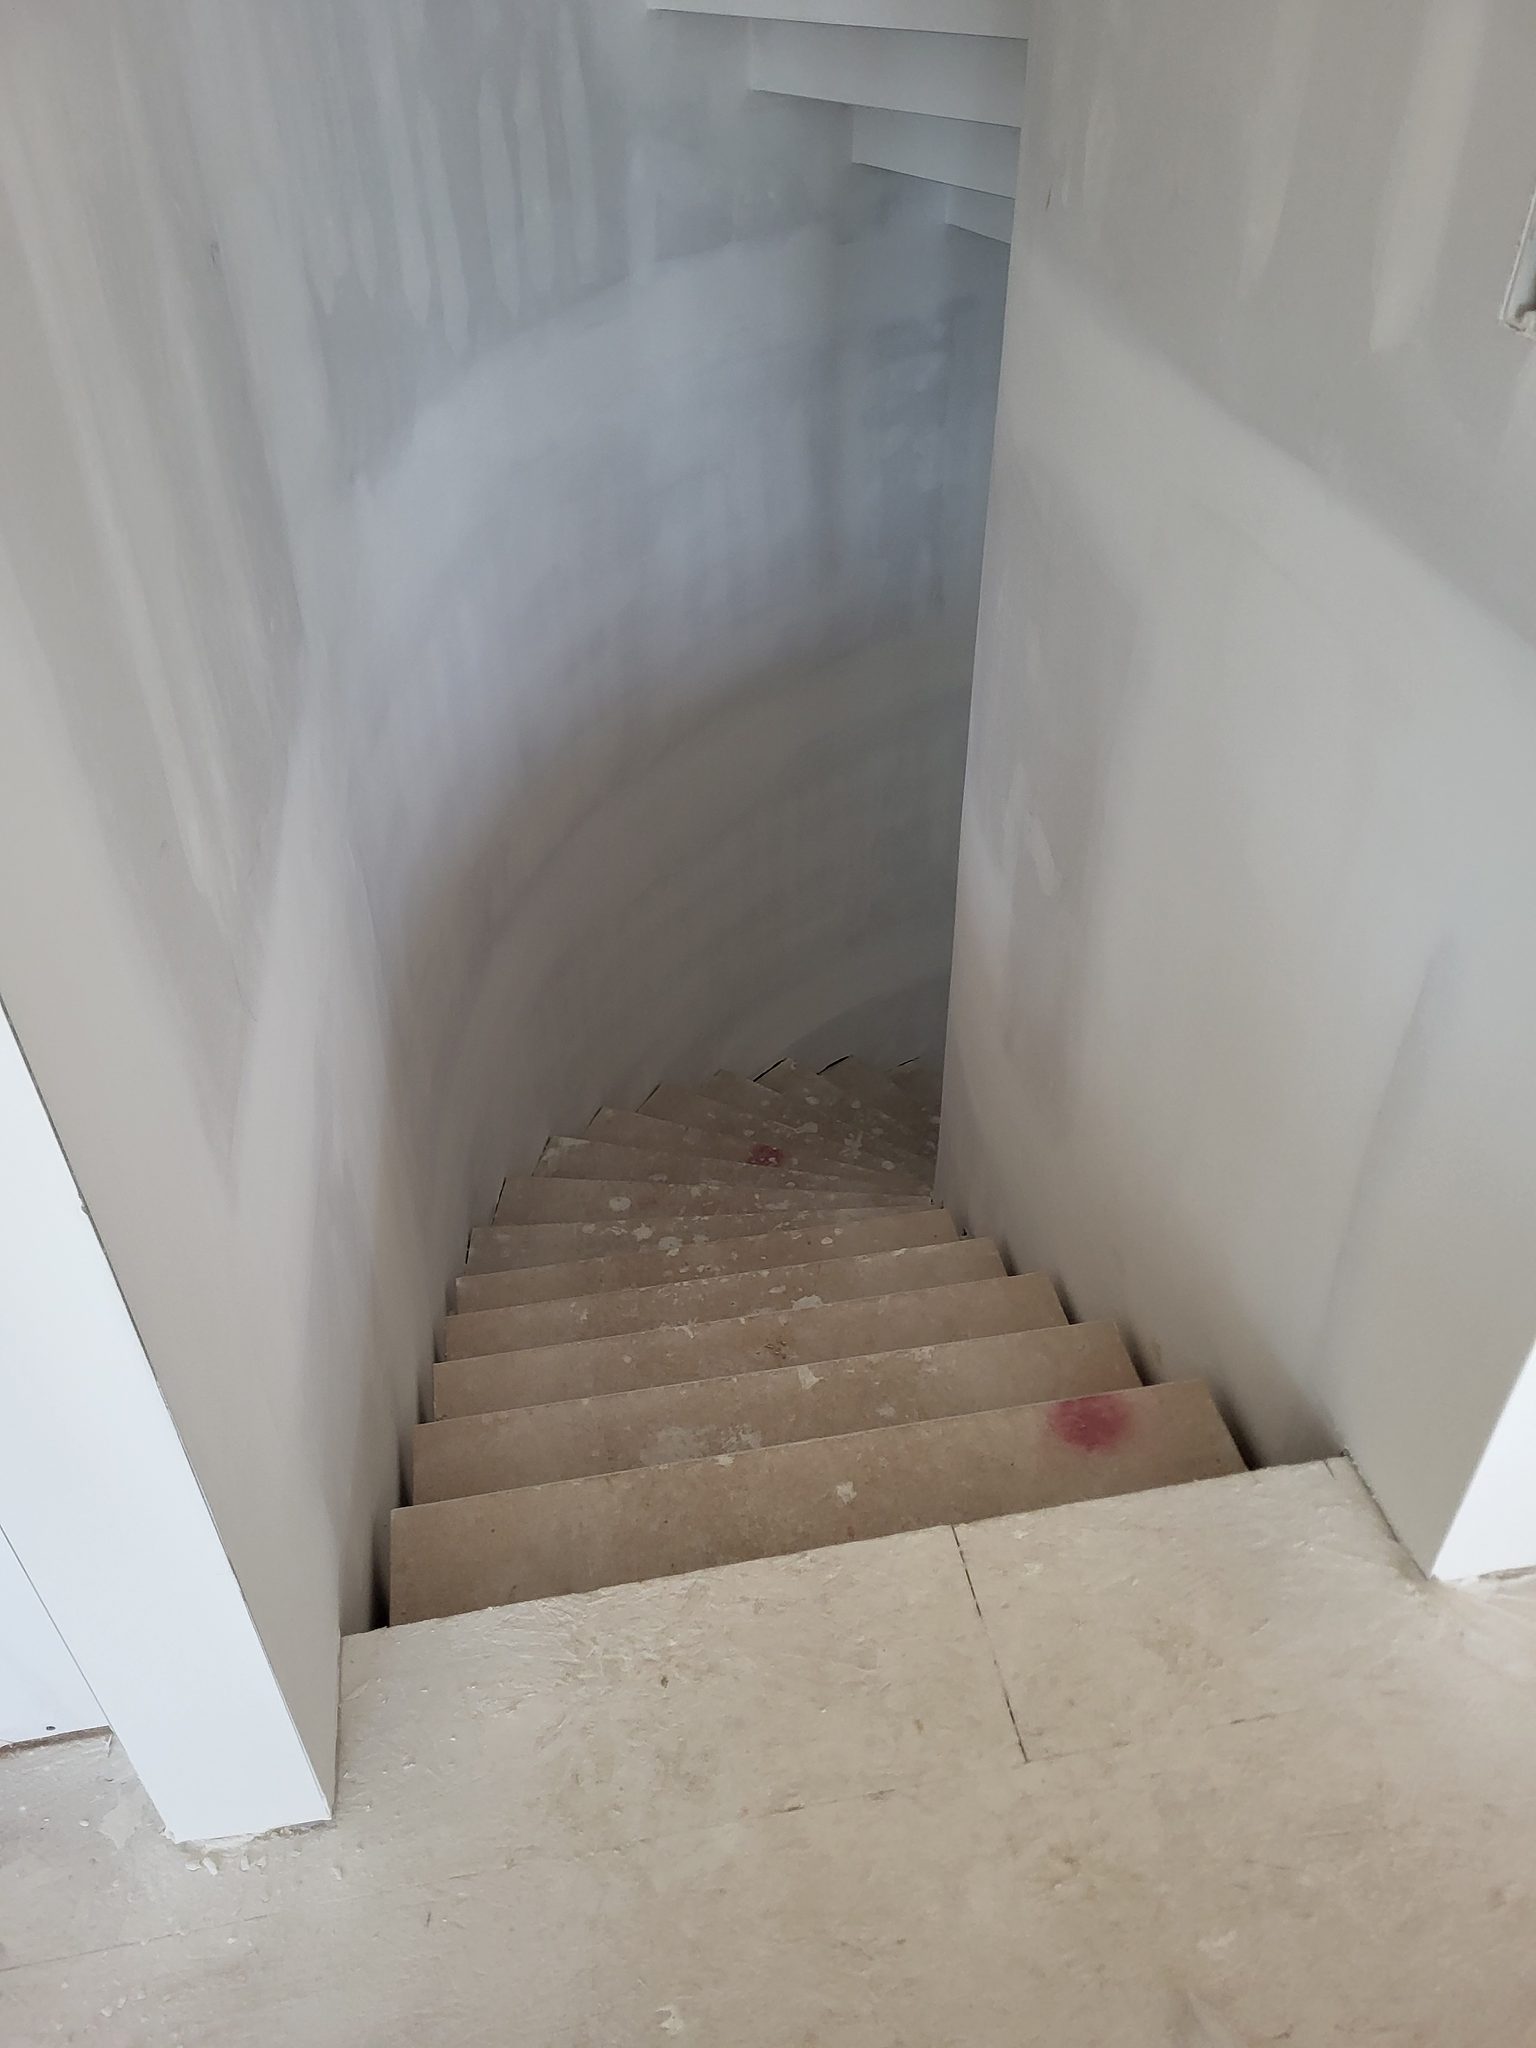
The following photos show examples of this type of work completed in the field. These serve as visual references for quality standards, proper installation techniques, and finished results.
Showing 6 of 6 photos