Skip to content
  • Home
  • Learn
  • Blog
  • Contact
  • About

How can we help you?

General Carpentry

2
  • Finish Carpentry Cheat Sheets and Printable References
  • How to Trim a House Start to Finish Like a Pro

Doors

13
  • How To Install an Exterior Finish Slab Like a Pro
  • How to Install an 8’0″ Solid Core Pre-Hung Interior Door
  • How to Install an 8’0″ Hollow Core Pre-Hung Interior Door
  • How to Install a 6’8″ Solid Core Pre-Hung Interior Door
  • How to Install a Pre-Hung Door Like a Pro
  • How to Install an Exterior Door the Right Way
  • How to Install a Cased Opening
  • Install a Pocket Door: 7 Pro Steps for a Perfect Finish
  • How to Install Bifold Doors
  • Adjust Exterior Door: 5 Essential Fixes That Actually Work
  • How to Install Barn Doors
  • How to Install Bypass Doors
  • How to Install an Interior Center-Opening or French Door

Closets

3
  • How to Build Basic Closet Shelves – Part 1 of 3 (Standards)
  • How to Build Basic Closet Shelves – Part 2 of 3 (Layout Design)
  • How to Build Basic Closet Shelves – Part 3 of 3 (Building)

Moldings

14
  • Interior Window Frame for Tall Openings (120″ and Above)
  • Interior Window Frame for Medium-Tall Openings (90″ to 119″)
  • How to Install an Interior Window Frame Like a Pro
  • Window Jamb Extension for Tall Windows (120″ and Above)
  • Window Jamb Extension for Medium-Tall Windows (90″ to 119″)
  • How to Install a Window Jamb Extension Like a Pro
  • How to Case Tall Windows (10 Feet and Above)
  • Window Casing for Medium-Tall Windows (90″ to 119″)
  • How to Build an Attic Access Cover Like a Pro
  • How to Install Baseboard Like a Pro
  • How to Install Exterior Door Casing on One Side Like a Pro
  • How to Install Base Shoe Like a Pro
  • How to Case a Window Like a Pro
  • How to Install a Door Jamb Extension Like a Pro

Stairs/Handrails

11
  • How to Build a Handrail for Metal Balusters Like a Pro
  • How to Install a Garage Step Handrail
  • How to Build Garage Steps with 3 Stringers and Closed Risers
  • How to Build Garage Steps with Closed Risers
  • How to Build Garage Steps with 3 Stringers (Open Risers)
  • How to Install Skirt Boards on a Staircase Like a Pro | Drop-In Method | 4 Easy Steps
  • How to Build a Wall-Mount Handrail Like a Pro
  • How to Mount a Handrail to the Wall Like a Pro
  • How To Install A Newel Post Like A Pro
  • Build Garage Steps with a Landing: 8 Easy Steps for Perfect Results
  • Build Garage Steps: 9-Step Expert Guide to Safe, Code-Compliant Stairs

Specialty

7
  • How to Install Shiplap on a 3-Sided Fireplace Under 10′
  • How to Install Shiplap, 0′ to 7′
  • How to Install Shiplap 4, Ceiling
  • How to Install Shiplap 3 side fireplace wrap above 15′
  • How to Install Shiplap 3 side fireplace wrap 10′-15′
  • How to Install Shiplap 3, 14’+
  • How to Install Shiplap 2, 7′ to 14′

Hardware

2
  • How to Install Bath Accessories
  • How to Install a Lockset on a Door Like a Pro | 4 Easy Steps
  • Home
  • Learn
  • Moldings
  • How to Case a Window Like a Pro
View Categories

How to Case a Window Like a Pro

Moldings #

Skill Level: Beginner (Level 1) #

Estimated Time: 20-30 Minutes Per Window #

Introduction #

Learning how to case a window is a fundamental skill in residential trim carpentry. Window casing is the trim that frames a window opening, covering the gap between the window jamb and the surrounding drywall. It serves both a functional and aesthetic purpose–hiding the rough framing and shims behind the wall while giving the window a clean, finished appearance. Properly installed window casing is one of the details that separates professional-quality finish work from amateur attempts.

In new construction, windows are typically cased after the drywall has been hung, taped, and has received at least a primer coat of paint. The jambs should be flush with the finished wall surface before casing begins. If the jambs are recessed behind the drywall, jamb extensions must be installed first to bring them flush. This is a critical prerequisite–casing over a jamb that isn’t flush will result in gaps, rocking, and joints that won’t stay tight.

Window casing uses many of the same skills as door casing–marking consistent reveal lines, cutting accurate mitered corners, and following proper nailing patterns. If you’ve already cased a door, you have a strong foundation to case a window using the same techniques. The key difference is that most windows use picture-frame style casing with mitered corners at all four sides, whereas doors typically have only three pieces of casing (two legs and a header) with the bottom meeting the floor.

This guide covers how to case a window using the standard picture-frame method. Stool-and-apron style windows, where a protruding sill (stool) sits at the bottom with an apron piece beneath it, are a different technique and will be covered in a separate guide. Picture-frame casing is the most common approach in modern residential construction and is the method you’ll use on the majority of windows you encounter.

📷 Photo Needed

Completed case a window — finished result showing professional quality

Window Height Variant Guides #

This guide covers the standard installation process for windows where the top of the opening is within standard reach (under 89″ from the finished floor). For taller openings, read this guide first for the complete process, then refer to the appropriate supplemental guide for height-specific modifications:

  • Medium-Tall (90″ to 119″) — Step stool or stepladder work, handling longer casing stock, solo positioning, and miter adjustments for openings 90″ to 119″ from the finished floor
  • Tall (120″ and Above) — Full stepladder, helper recommended, 12-14 foot stock, ladder safety protocols, and managing extra-long casing pieces for openings 120″+ from the finished floor

Before You Begin #

Before you case a window, confirm that the following prerequisites are in place.

Prerequisites #

  • Drywall is complete–hung, taped, mudded, and sanded
  • Walls have received at least a primer coat of paint
  • Window jambs are flush with the finished wall surface, or jamb extensions have been installed to bring them flush
  • Window operates properly–opens, closes, and locks without binding
  • Any shims around the window opening have been scored and snapped flush with the wall

What You Need To Know #

When you case a window, understanding reveals, miter joints, and installation order will help you achieve professional results on the first attempt.

  • The standard reveal is 3/16″ from the edge of the jamb. This small setback creates a shadow line and gives a more refined look than setting the casing flush with the jamb edge.
  • Picture-frame casing has four mitered corners–all cut at 45 degrees. Every piece gets a miter on both ends, and all four joints must be tight for the finished product to look professional.
  • Always start with the top piece (header casing), then install the side casings, and finish with the bottom piece (sill casing). This order allows you to work from the top down and fit each subsequent piece to the one above it.
  • Some builders prefer to install the sides first and then the top–either approach works, but be consistent throughout the project so every window looks the same.
  • If the jamb is proud of the wall (sticking out past the drywall) or the wall is proud of the jamb (drywall sticking out past the jamb), this must be addressed before casing. A proud jamb can be planed down; a proud wall may need to be scraped or sanded back at the opening.
  • Window casing should typically be the same profile as the door casing used throughout the house. Consistency in trim profiles is a hallmark of quality finish carpentry.

Tools Required #

Power Tools #

  • Miter saw with an 80-tooth fine finish blade (10″ or 12″)–clean cuts are essential for tight miters
  • 18-gauge brad nailer (pneumatic or cordless battery-powered)
  • Air compressor with hose (if using a pneumatic nailer)

Hand Tools #

  • Tape measure (16′ or 25′)
  • Sharp pencil for marking measurements and reveal lines
  • Combination square–used for marking consistent reveal lines along the jamb edge
  • Utility knife with fresh blade
  • Nail set (for driving any proud nail heads below the surface)
  • Small pry bar or flat bar (for removing any existing trim or adjusting pieces)

Supplies #

  • 18-gauge brad nails, 1-1/2″ to 2″ long (length depends on casing thickness and wall material)
  • Wood glue (yellow carpenter’s glue for mitered joints)
  • Wood putty or filler (color-matched if staining, paintable if painting)
  • Sandpaper, 220-grit (for smoothing filled nail holes)
  • Painter’s caulk (paintable latex caulk for sealing gaps between casing and wall)

Materials #

Window casing comes in a variety of profiles and materials. Choose the same profile used on your door casings for a consistent look throughout the home. Common options include:

  • MDF (Medium-Density Fiberboard) — Most affordable option, smooth surface takes paint beautifully, cannot be stained, not suitable for wet areas
  • Finger-Jointed Pine — Short pieces of pine joined together, pre-primed, excellent paint-grade option at a moderate price point
  • Poplar — Hardwood that machines well, good paint-grade choice, more durable than MDF or finger-jointed pine
  • Alder — Clear softwood with a warm tone, popular stain-grade choice for rustic or craftsman-style homes
  • Oak — Strong hardwood with prominent grain, classic stain-grade option, common in traditional-style homes
  • Maple — Fine-grained hardwood, takes stain and clear finishes well, used in higher-end applications

📷 Photo Needed

Tools and materials laid out for case a window — everything needed before starting

How to Case a Window Step by Step #

Step 1: Inspect the Window and Mark Reveal Lines #

The first step to case a window is inspecting the opening carefully. Run your hand along each jamb edge to confirm it’s flush with the drywall on both sides. Check that the window operates smoothly–open, close, and lock it. If something isn’t right, fix it now before the casing goes on.

Set your combination square to 3/16″ and use it as a guide to mark the reveal line along all four jamb edges. Hold the square body against the face of the jamb and draw a light pencil line along the blade. Mark the reveal on the top jamb, both side jambs, and the bottom jamb. These lines are your alignment reference for every piece of casing.

Make your pencil marks light–just visible enough to see while positioning the casing. Heavy pencil lines can show through paint and are difficult to remove once the casing is installed.

Pro Tip: Cut a small piece of cardboard to exactly 3/16″ wide and use it as a spacer between the jamb edge and the casing. This is faster than marking reveal lines on every jamb and gives you a consistent reveal without any pencil marks to deal with later.

📷 Photo Needed

Inspect the Window and Mark Reveal Lines — showing the key action and what the result should look like

Step 2: Measure and Cut the Header (Top Piece) #

When you case a window with picture-frame trim, the header comes first. Measure the distance between the reveal marks on the top jamb–this is your “short point” measurement (the inside edge of the casing). To get the full length of the header piece, add twice the width of your casing stock to this measurement. For example, if the reveal-to-reveal distance is 36″ and your casing is 2-1/4″ wide, your header will be 36″ + 2-1/4″ + 2-1/4″ = 40-1/2″ at the long points.

Set your miter saw to 45 degrees and cut a miter on each end of the header piece. Both miters should point outward–the long point of each miter is on the face side of the casing, and the short point is on the back. When held in position, the mitered ends should angle downward toward the side jambs.

Cut the header approximately 1/16″ longer than your measurement. This slight oversize ensures the miters will close tightly when the side casings push into them. A piece cut exactly to length–or worse, slightly short–will leave open miters that are very difficult to fix.

Pro Tip: Always make your first cut on the left end, then measure from that cut to mark and cut the right end. This eliminates compound measurement errors. If you measure the full length and try to cut both miters from a rough piece, any error in the first cut shifts your second cut.

📷 Photo Needed

Measure and Cut the Header (Top Piece) — showing the key action and what the result should look like

Step 3: Install the Header #

To case a window properly, the header must be positioned precisely. Hold the header piece in position with the back edge aligned to your reveal marks on the top jamb. Check that the mitered ends line up with the reveal marks on the side jambs. If the piece is slightly long, the miters will extend just past the side reveal marks–this is ideal and will compress to a tight joint when the sides go on.

Nail the header using 18-gauge brads. Place nails in two rows: one row into the jamb edge (about 3/8″ from the inside edge of the casing) and one row into the wall framing (about 3/8″ from the outside edge). Start nailing in the center of the piece and work outward toward the ends. Space nails every 12″ to 16″ along each row.

Do not nail within 2″ of the mitered ends yet. Leave the ends free so they can be adjusted when you install the side casings. Nailing the ends too early locks them in place and makes it impossible to fine-tune the miter joints.

📷 Photo Needed

Install the Header — showing the key action and what the result should look like

Step 4: Measure and Cut the Side Casings #

Measure from the point of the header’s miter (where the short point of the header meets the reveal line) straight down to the bottom reveal mark on the side jamb. This measurement is the short-point length of your side casing. If you are doing a picture-frame installation, this is the short-point-to-short-point measurement–both ends get miters.

Cut a 45-degree miter at the top of the side casing to match the header’s miter angle. The miter should angle inward so the long point is on the wall side and the short point is on the jamb side. For picture-frame style, cut a matching 45-degree miter at the bottom end that angles inward toward the bottom jamb. If you are installing a sill or stool at the bottom instead of picture-frame casing, make a square cut at the bottom.

Cut both side pieces at the same time and compare them. They should be identical in length. If the window opening is slightly out of square, you may need to adjust one side–measure each side independently rather than assuming they’re the same.

Pro Tip: Hold each side piece up in position before nailing to check the miter fit at the top. If the miter doesn’t close perfectly, adjust the angle on your saw by half a degree and re-cut. It’s better to sneak up on the perfect angle with test cuts than to install a poor-fitting joint and try to fix it with caulk.

📷 Photo Needed

Measure and Cut the Side Casings — showing the key action and what the result should look like

Step 5: Install the Side Casings #

When you case a window, glue strengthens every miter joint. Apply a thin bead of wood glue to the mitered end of the side casing before positioning it. Press the miter tightly against the header’s miter and align the back edge of the casing with the reveal marks on the side jamb. The glue strengthens the joint and helps prevent it from opening up as the wood moves with seasonal humidity changes.

Nail the side casing using the same two-row pattern: one row into the jamb edge, one row into the wall framing. Start from the top and work down, keeping the casing aligned with the reveal marks as you go. Space nails every 12″ to 16″.

Once the side casing is nailed along its length, cross-nail through the miter joint at the top corner. Drive one brad horizontally through the edge of the side casing into the end of the header, and one brad vertically through the edge of the header into the top of the side casing. This locks the miter closed and prevents it from opening. Now nail the ends of the header that you left free in Step 3.

Repeat for the other side casing.

📷 Photo Needed

Install the Side Casings — showing the key action and what the result should look like

Step 6: Measure and Cut the Bottom Casing (Sill Piece) #

For picture-frame style casing, the bottom piece is measured and cut exactly like the header. Measure the short-point distance between the bottom reveal marks on the side jambs, add twice the casing width, and cut 45-degree miters on both ends pointing outward. Again, cut the piece approximately 1/16″ long to ensure tight miter joints.

Apply wood glue to both mitered ends before positioning the bottom piece. Press the miters tightly against the bottom ends of the side casings and align the back edge with the reveal marks on the bottom jamb. Nail using the same two-row pattern, starting in the center and working outward. Cross-nail through both bottom miter joints just as you did at the top corners.

If you are installing a stool-and-apron style bottom instead of picture-frame casing, the process is different–the stool extends past the casing on both sides (called “horns”), and the apron is a flat piece nailed beneath the stool. That method is covered in a separate guide.

📷 Photo Needed

Measure and Cut the Bottom Casing (Sill Piece) — showing the key action and what the result should look like

Step 7: Finish and Detail #

After you case a window, detailing is what separates professional work from amateur attempts. Go back and inspect every joint and nail hole. Apply a small amount of wood glue to any miter that isn’t perfectly tight–work it into the joint with your finger, wipe away the excess with a damp cloth, and pin the joint closed with a brad if needed.

Fill all nail holes with wood putty. For paint-grade trim, use a lightweight spackling compound or paintable wood filler–it dries fast and sands easily. For stain-grade trim, use a color-matched wood putty that closely matches the species. Overfill each hole slightly so there’s material to sand flush after it dries.

After the filler has dried, sand each filled hole smooth with 220-grit sandpaper. Run your finger over each spot–if you can feel the patch, sand more. The goal is an invisible repair after paint or stain.

Run a bead of paintable caulk along the outside edge of the casing where it meets the wall on the top and both sides. This fills the small gap between the casing and drywall and creates a seamless paint line. Do not caulk the inside edge (casing to jamb)–this edge should sit tight against the jamb without a gap. If there is a gap on the inside, the casing wasn’t installed properly.

Pro Tip: Cut your caulk tube tip at a steep angle and keep the opening small–about 1/8″ diameter. A thin, controlled bead of caulk looks professional. A fat bead screams amateur. Smooth the caulk with a damp finger in one continuous stroke, wiping your finger on a damp rag after each pass.

📷 Photo Needed

Finish and Detail — showing the key action and what the result should look like

📷 Photo Needed

How to Case a Window Step by Step — photo illustrating this section

Quality Check After You Case a Window #

Before moving to the next window, verify your work against this checklist:

  • Reveal is consistent at 3/16″ on all four sides of the window
  • All four miter joints are tight with no visible gaps
  • Casing sits flat against the wall–no rocking or bowing
  • Casing sits tight against the jamb edge–no gaps on the inside edge
  • No gaps between casing pieces at any of the corners
  • All nail holes are filled and sanded smooth
  • Window still operates properly–opens, closes, and locks without binding against the casing
  • Casing profile matches the door casing used in the rest of the house

📷 Photo Needed

Completed case a window — close-up detail shots showing quality criteria being met

Troubleshooting #

Even when you case a window carefully, minor issues can arise. Here are the most common problems and how to fix them.

Miter Won’t Close Tight #

This is the most common issue when you case a window with picture-frame trim. If the miter joint has a gap on the face but is tight on the back, the saw angle is slightly less than 45 degrees. If it’s tight on the face but open on the back, the angle is slightly more than 45 degrees. Adjust your saw by half a degree and re-cut. If the joint is tight on one end but open on the other, the wall or jamb isn’t perfectly square–back-cut the miter slightly with a utility knife or block plane to allow the face edges to close.

Casing Rocks Against the Wall #

This usually means the wall surface isn’t flat at the window opening, or there’s a bump of drywall compound near the jamb edge. Hold a straight edge against the wall around the opening to find the high spot. Scrape or sand down any drywall compound bumps. If the wall is bowed, you may need to shim behind the casing to bring it into plane–use thin cedar shims and nail through them.

Reveal Not Consistent #

If the reveal varies from one side of the window to the other, the jamb isn’t perfectly straight or the casing wasn’t aligned carefully. Before nailing, double-check alignment at each nail location. If the jamb has a slight bow, you may need to split the difference–let the reveal vary slightly to keep the casing straight rather than following a bowed jamb and ending up with a wavy casing edge.

Miter Corner Opens After Nailing #

This happens when the nailing pulls the casing away from the miter joint. The fix is cross-nailing: drive a brad through the edge of one piece into the end grain of the adjoining piece. Use two cross-nails at each corner–one from each direction. Apply wood glue to the joint first, then cross-nail and wipe away any squeeze-out. On future installations, always cross-nail corners before nailing the ends of adjacent pieces to prevent this from happening.

Window Won’t Open After Casing Is Installed #

When you case a window too tightly, the casing or the nails can interfere with the window sash. Check that no nails were driven through the jamb into the window frame or sash. Verify that the casing isn’t overlapping the window stop or extending past the reveal into the window channel. If the casing is too tight to the window sash, carefully pry the casing away from the jamb, reposition it with a slightly wider reveal, and re-nail. Always test window operation before filling nail holes and caulking.

Related Guides #

For additional detail on window casing techniques and material selection, see this guide from Family Handyman on window trim installation.

  • How to Case an Exterior Door
  • How to Install Baseboard
  • How to Trim a House
  • How to Install a Door Jamb Extension

Reference Photos #

The following photos show examples of this type of work completed in the field. These serve as visual references for quality standards, proper installation techniques, and finished results.

Showing 67 of 67 photos

Built-in mudroom bench with open cubby storage compartments, painted white, ready for use.
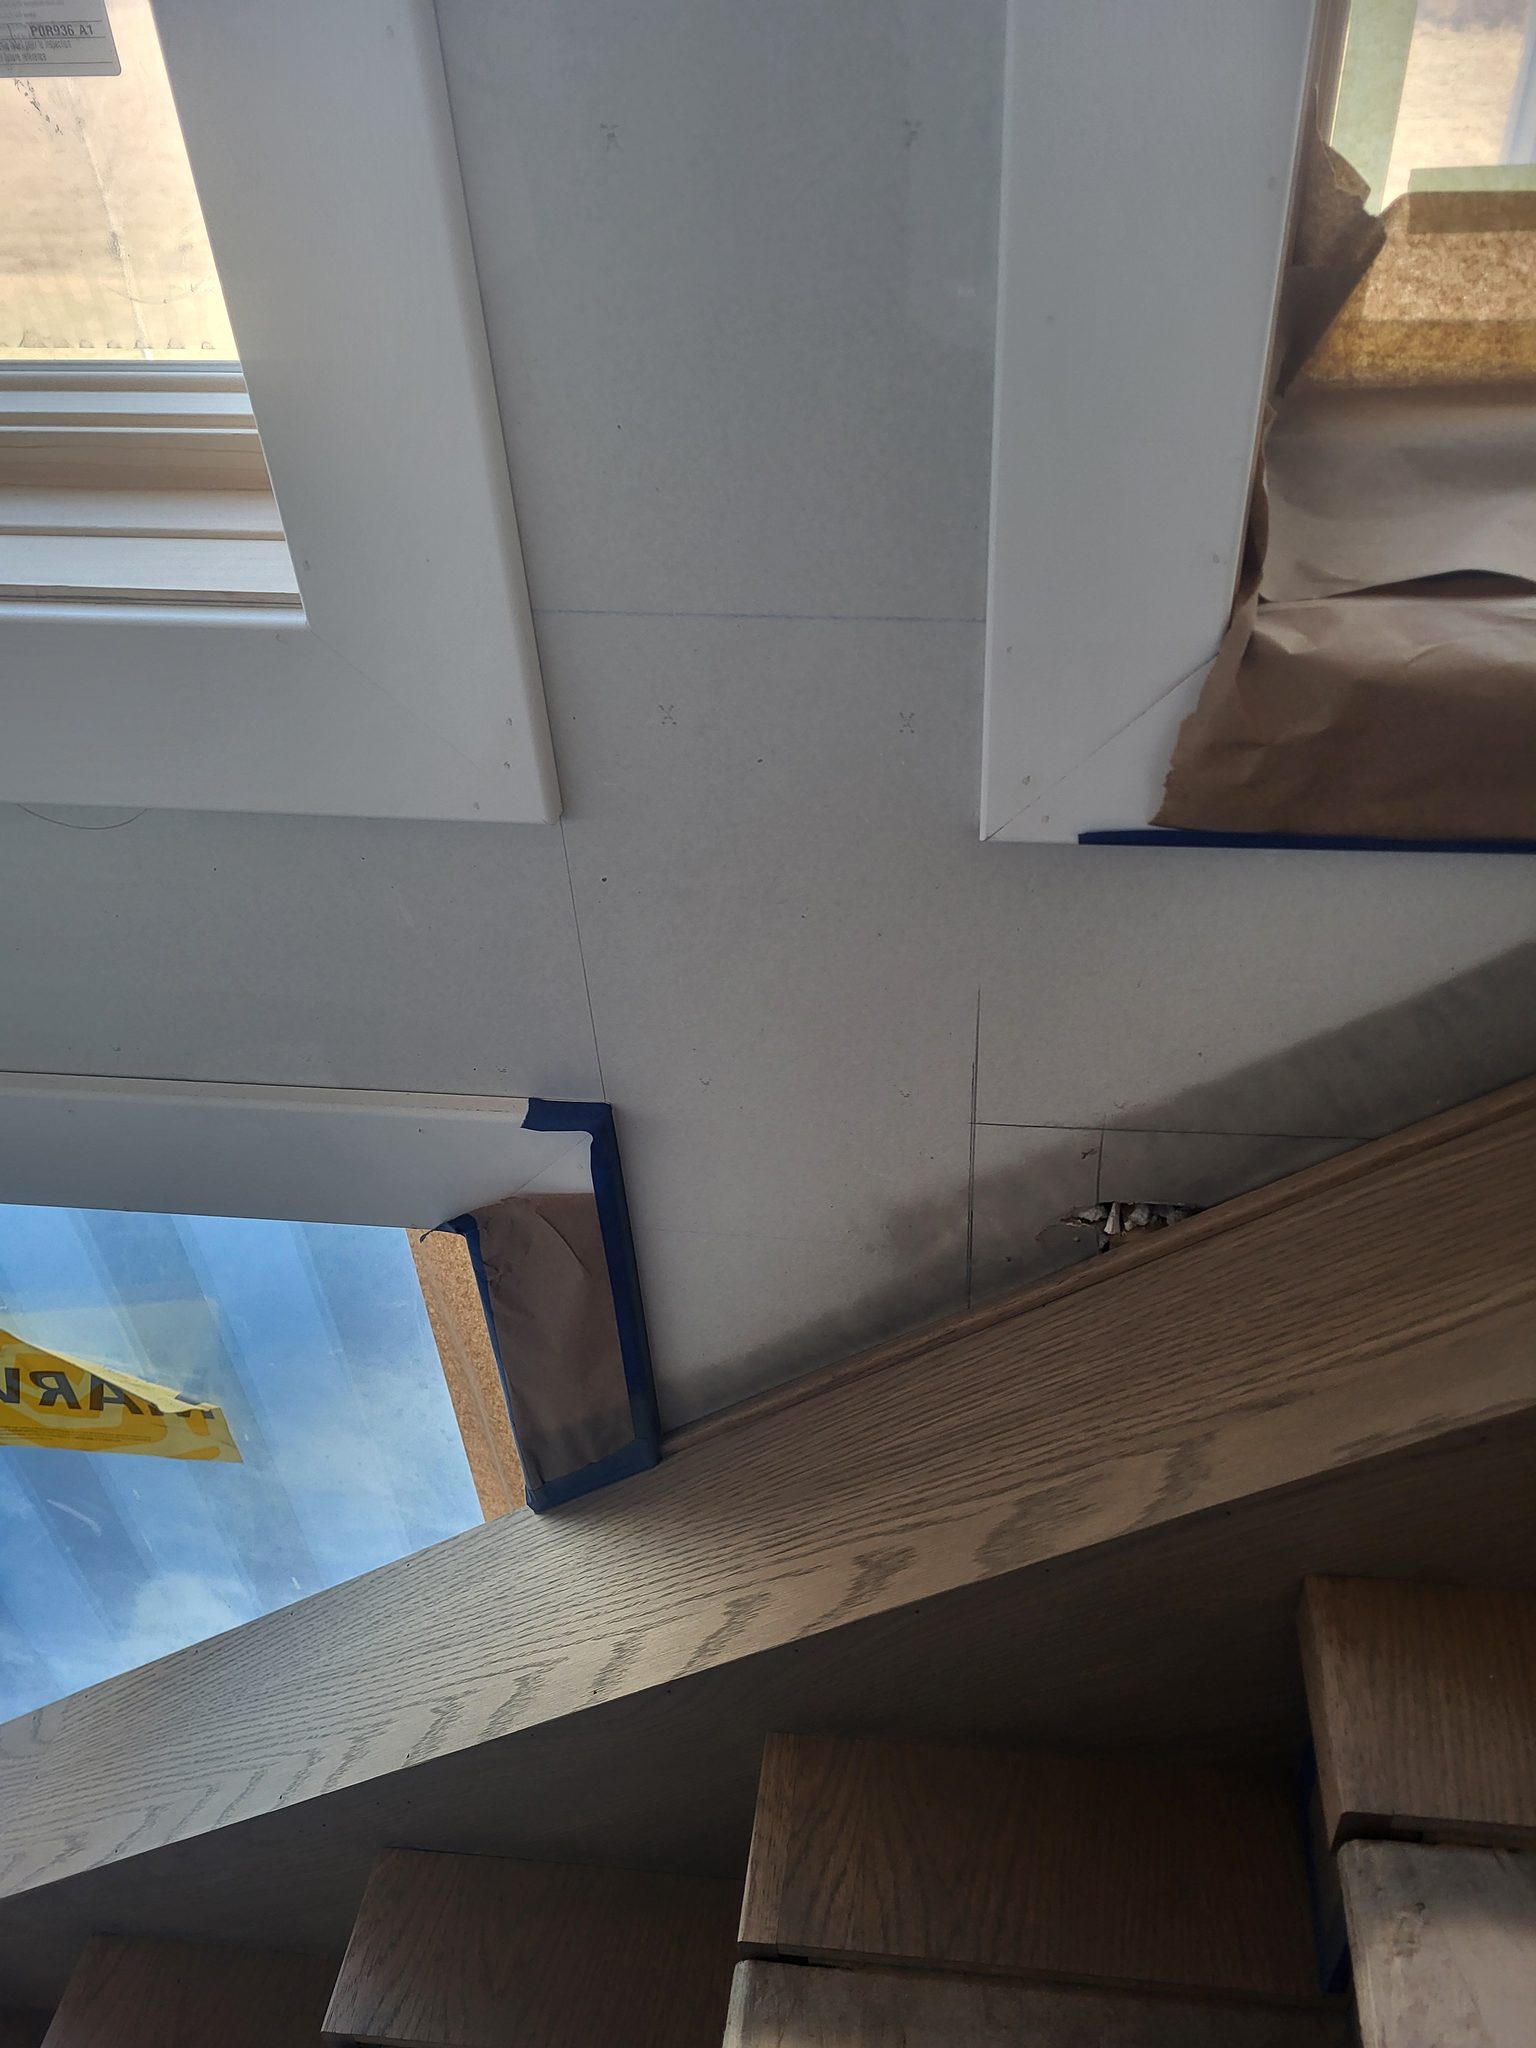
Rough drywall room with layout marks for upcoming trim or shelving installation.
Custom built-in bookcase with open shelving on both sides of window, raw wood and drywall ready for paint.
Raw wood window seat with countertop and open shelving above, unpainted finish.
Barn door track sections and connectors staged on floor before installation.
Painted bi-fold/bypass door frame with white casing and jamb, ready for door slabs to be hung.
Painted baseboard installed at floor level in corner with door casing detail visible.
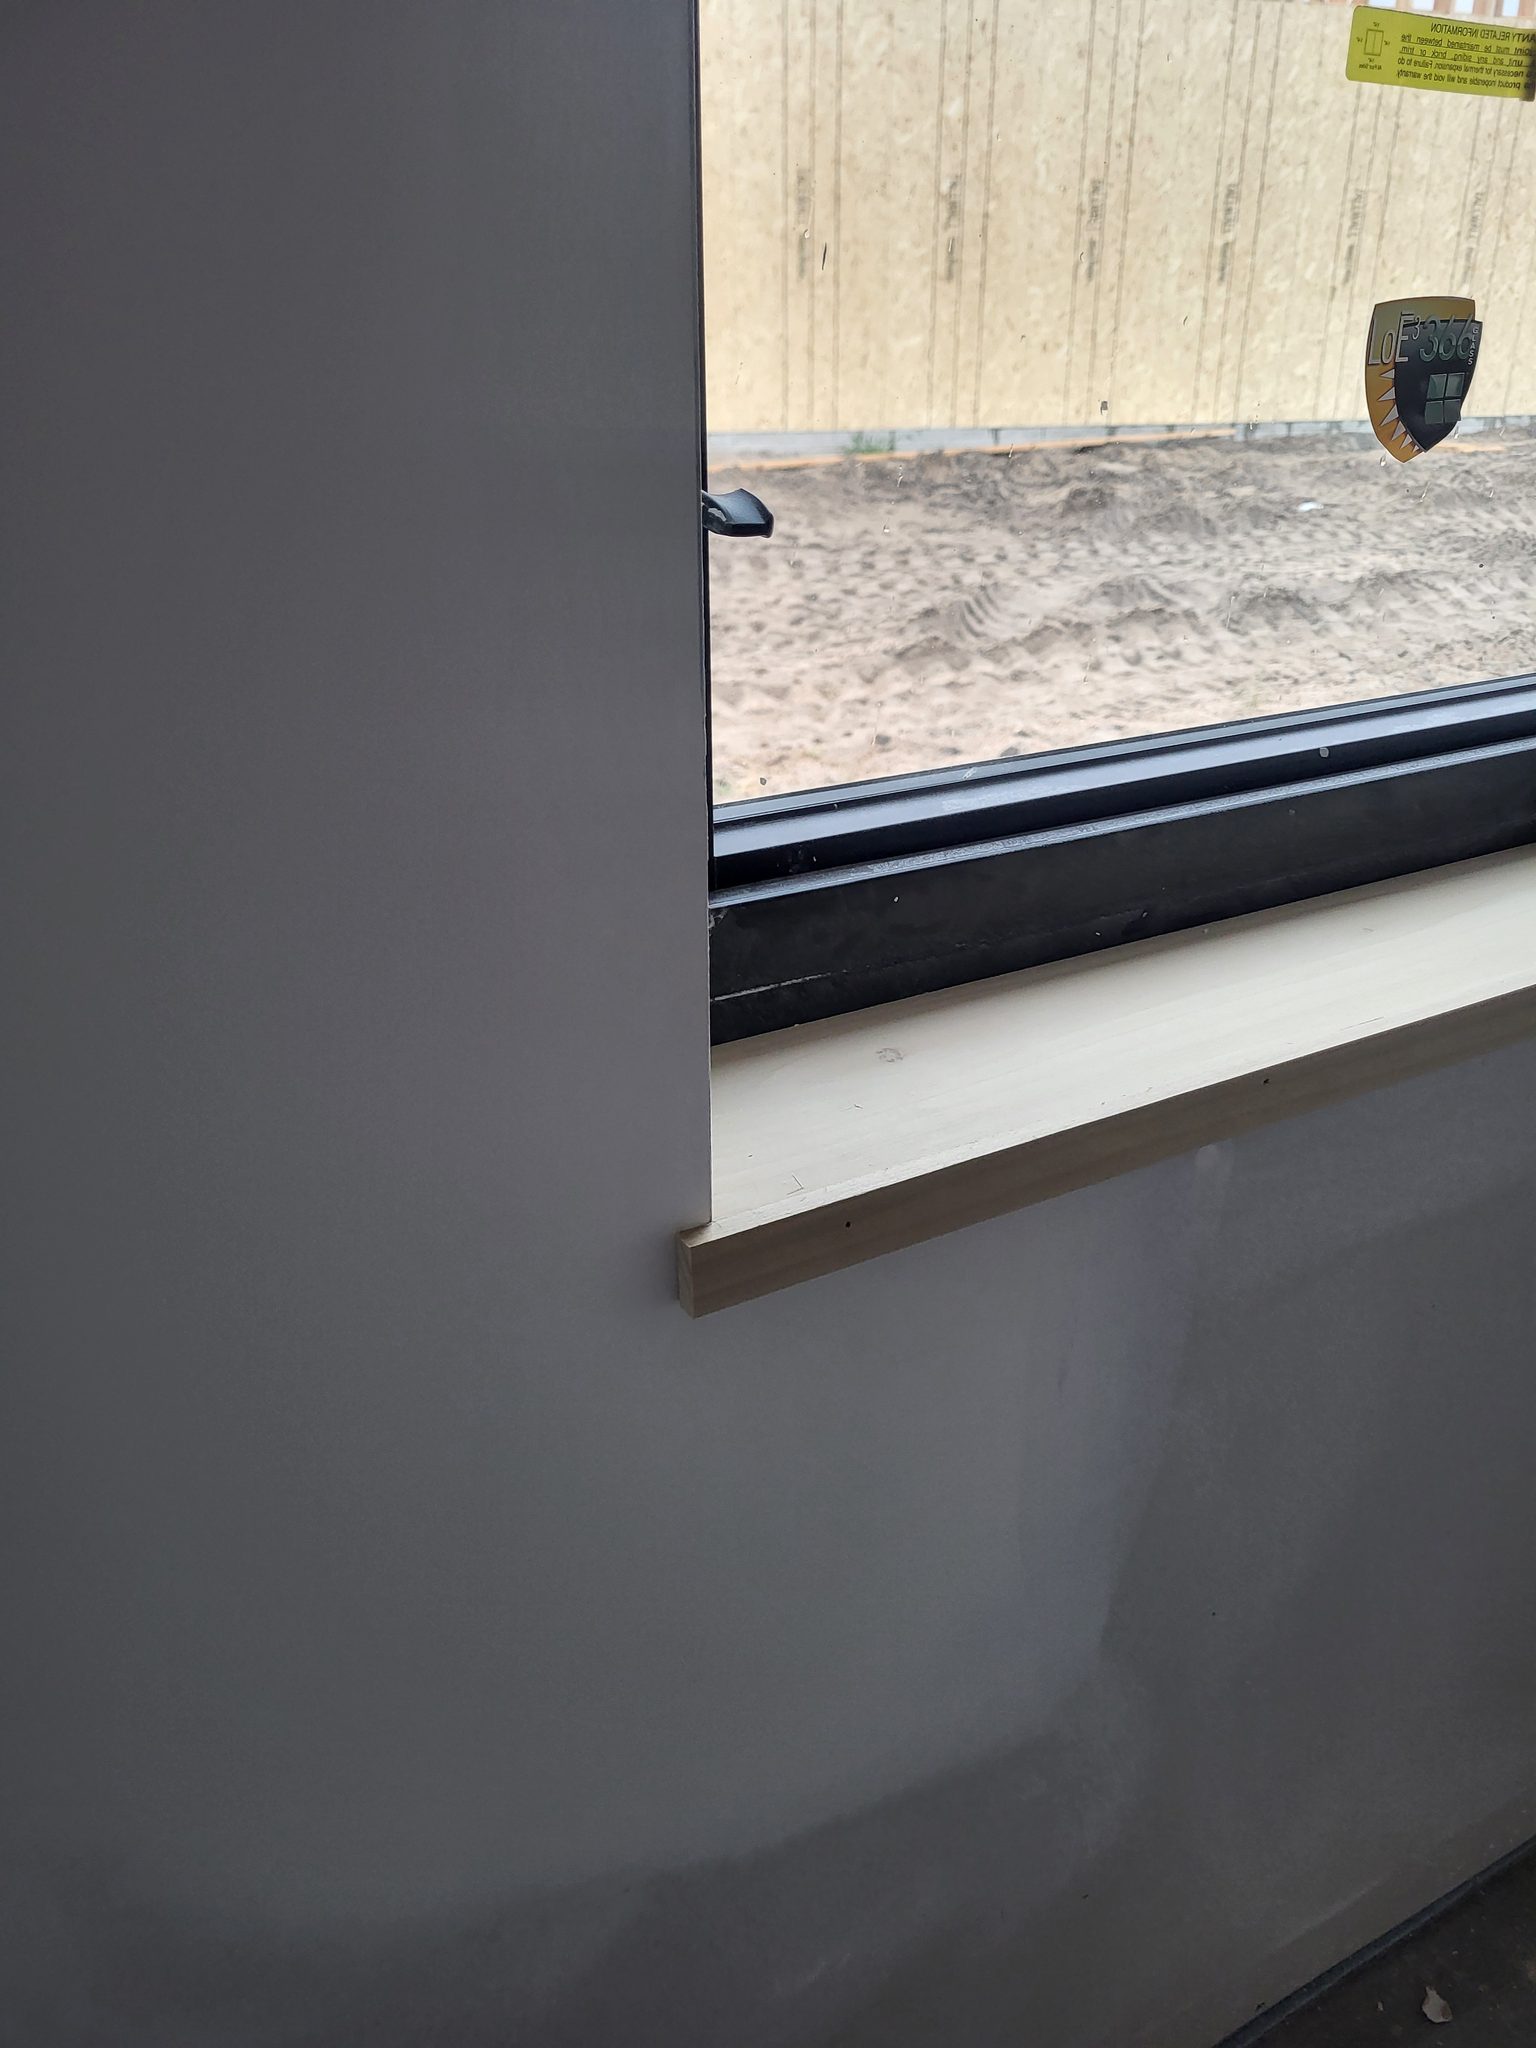
Finished wood window sill/stool installed at interior window opening with protective tape applied.
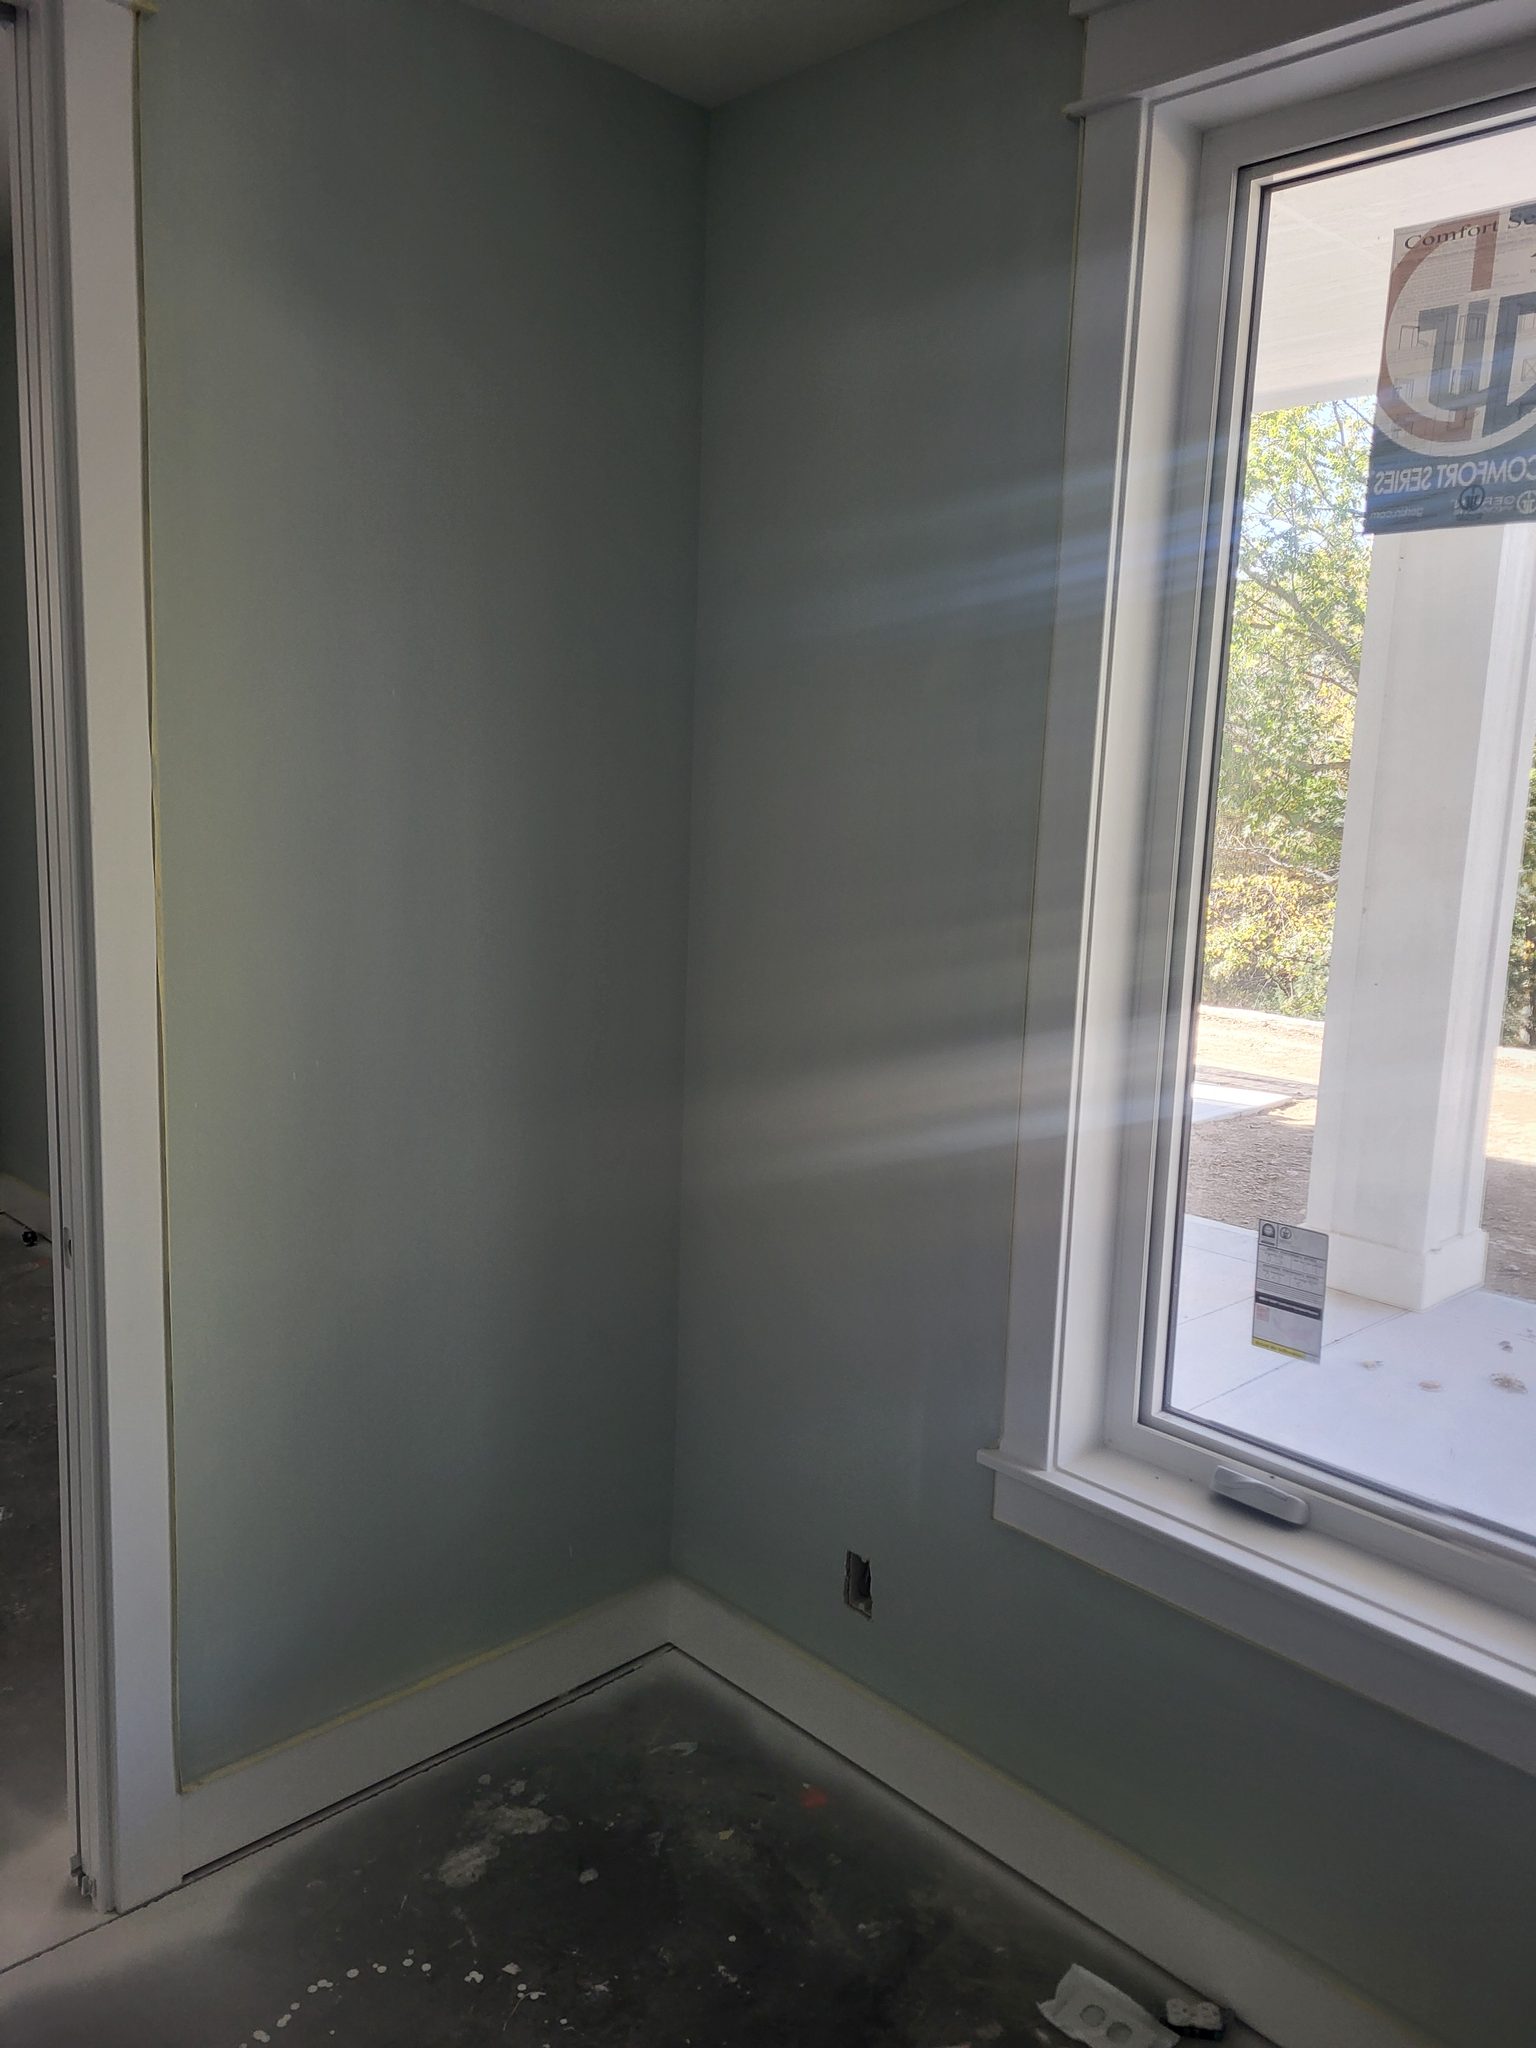
Interior room with rough window opening and electrical outlet, pre-trim stage.
Finished window casing with white trim and interior shutters installed at standard height.
Two interior doors installed in hallway with white primed and dark stained finishes, jambs and casing visible.
Arched-top exterior door with multi-pane glass and wood frame installed in opening with house wrap and temporary protection.
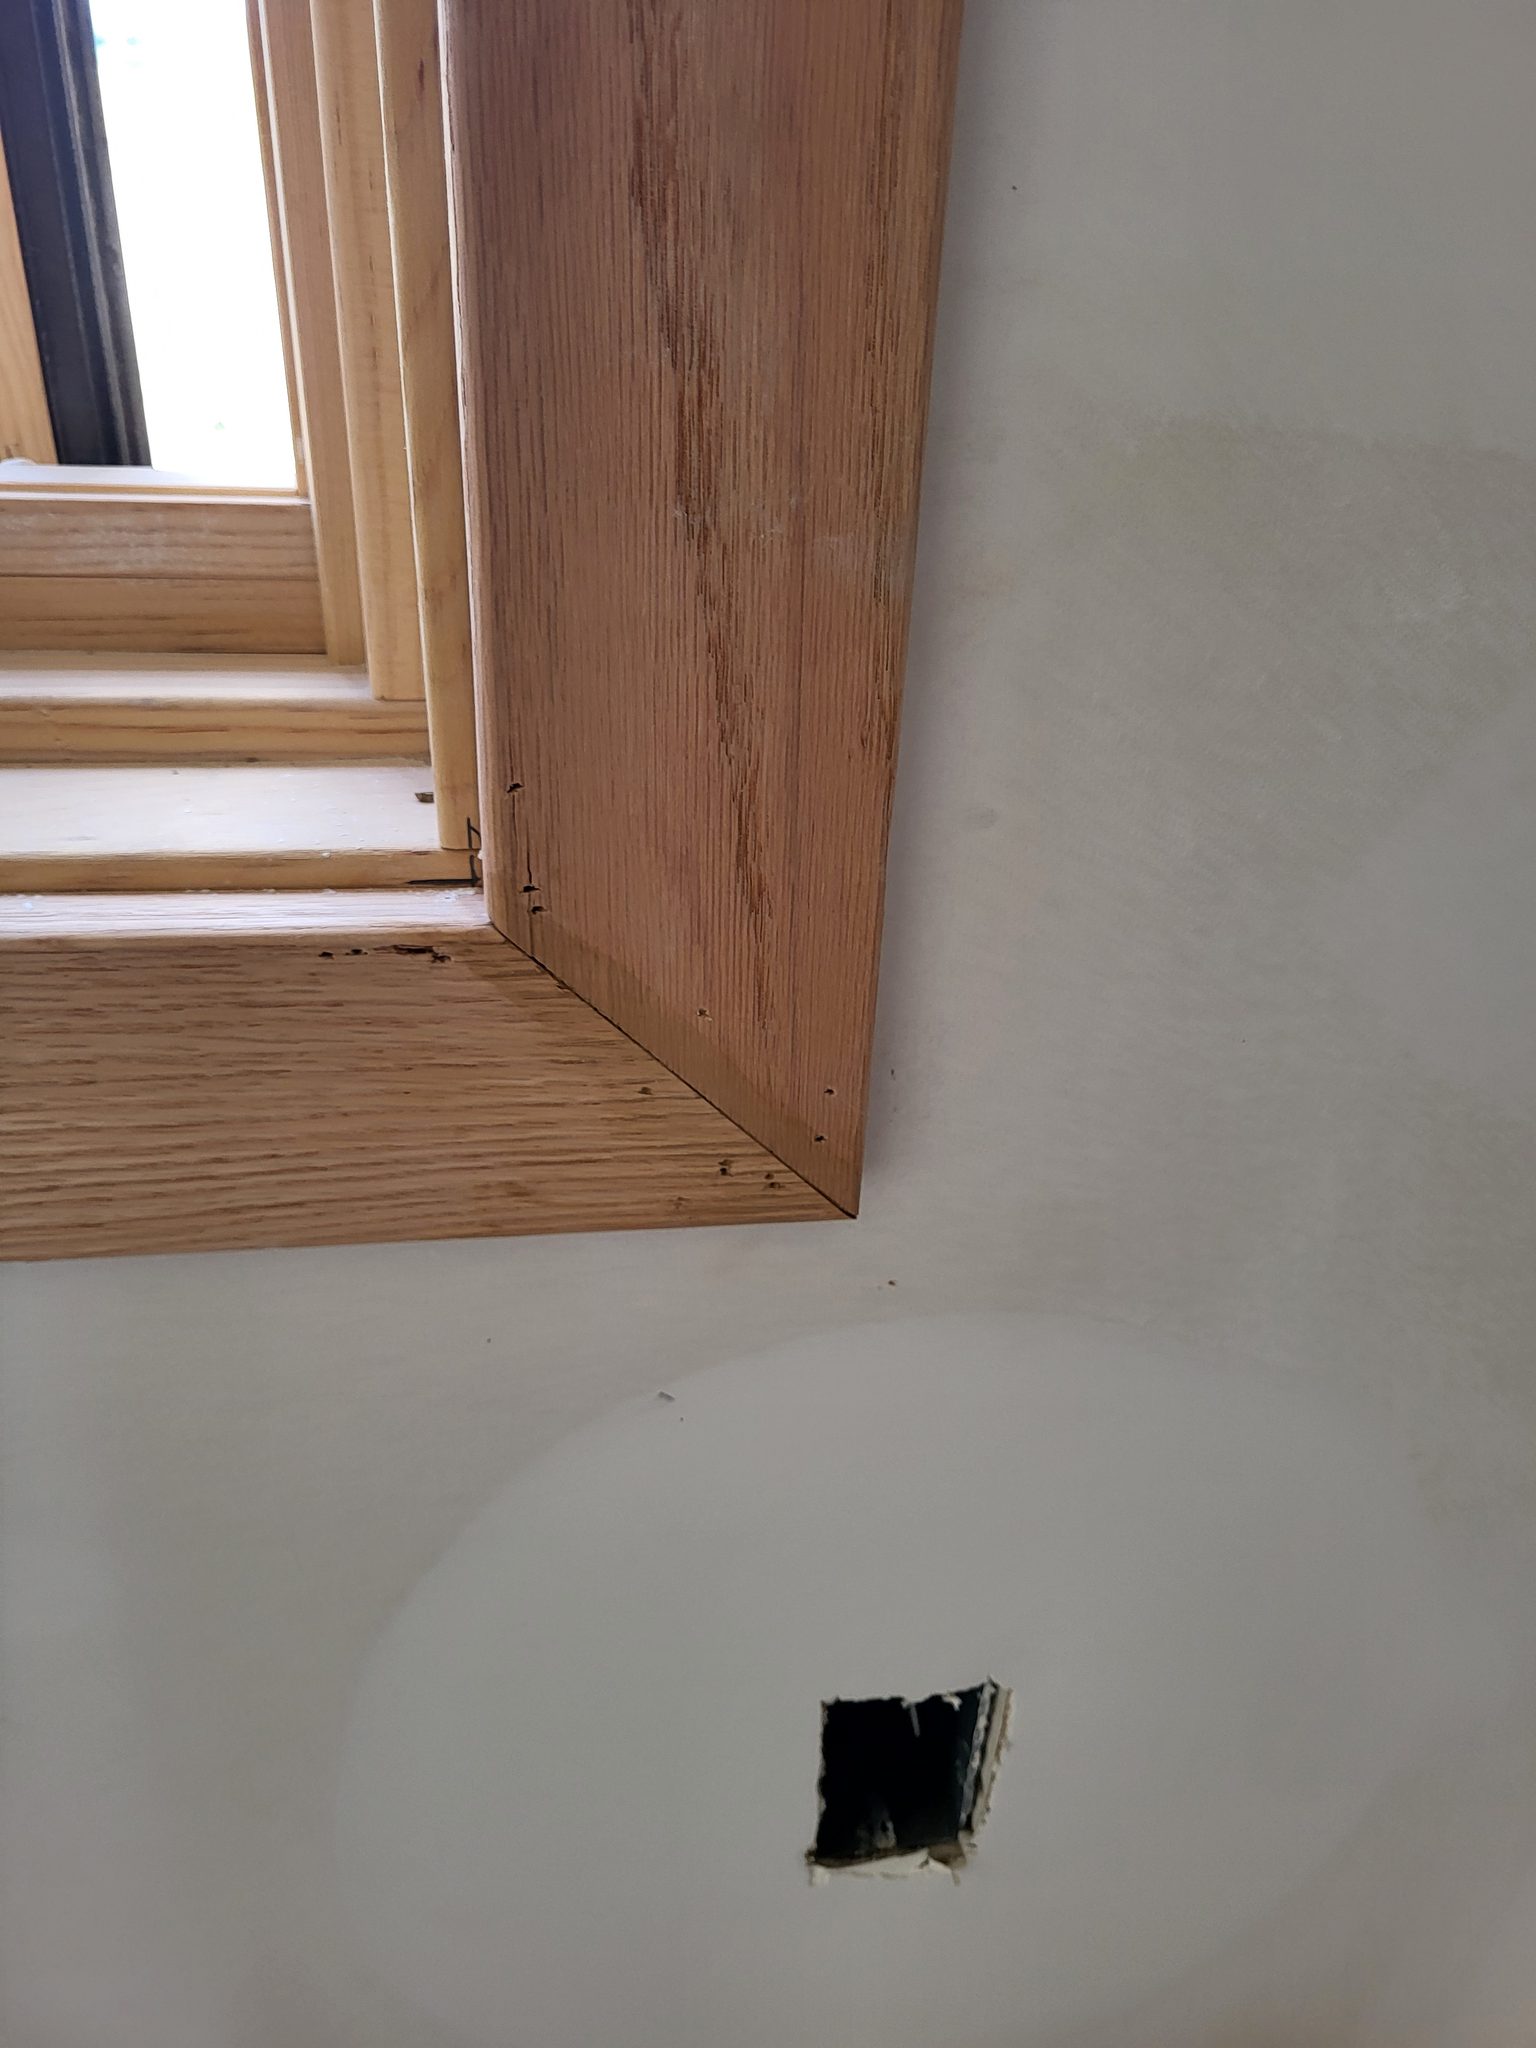
Window casing installed on raw wood jamb, ready for paint; drywall wall unfinished.
Arched-top exterior door slab with multi-pane glass installed during trim stage, raw wood finish, house wrap visible around opening.
Pair of tall exterior doors with finished wood frames and casing installed, glass panes in place, ready for hardware and final finishing.
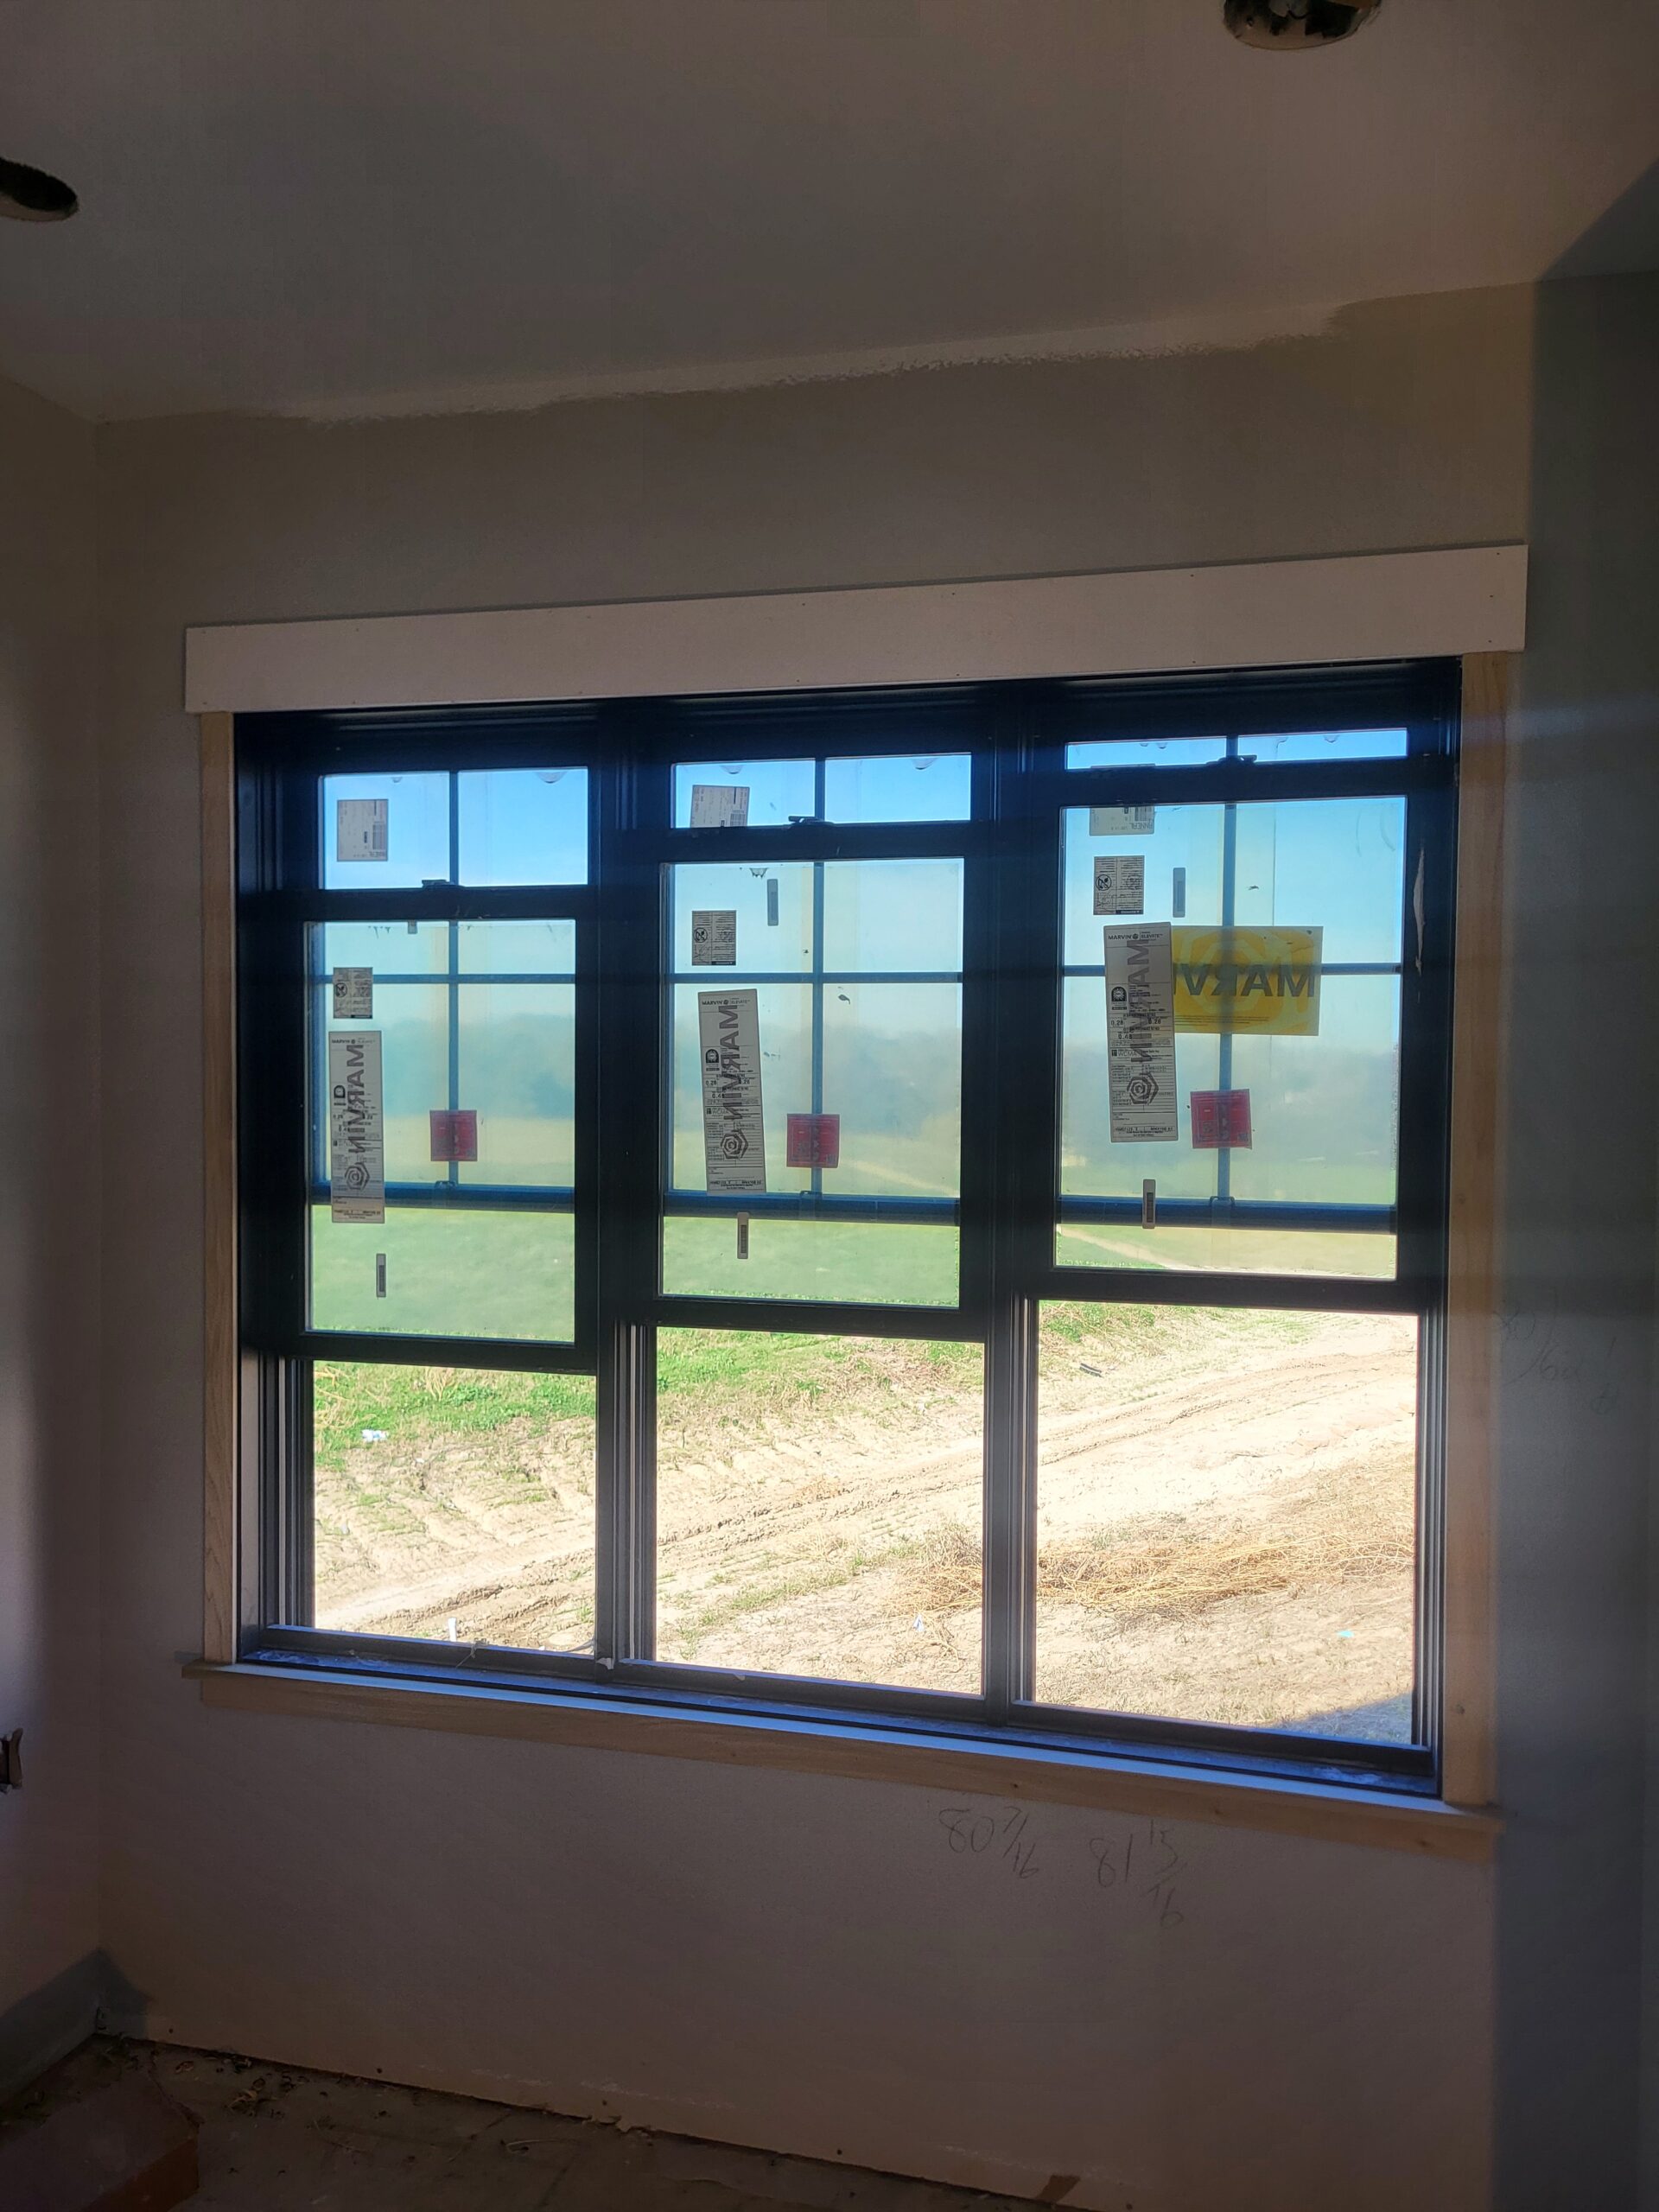
Three exterior windows with finished wood casing and protective labels, ready for paint.
Interior-side door casing on exterior opening, raw wood trim installed, unpainted.
Window casing installed with wood frame and four-pane glass, ready for paint.
Window jamb extensions installed with casing, raw wood finish ready for paint.
Pocket door jamb with recessed finger pull and mounting hardware holes, ready for paint.
Door jamb detail during trim installation showing raw wood edge and construction-phase conditions.
Finished wood casing and jamb installed on doorway opening with stained wood trim, ready for paint.
Raw wood window sill installed, pre-paint, with construction dust visible on surface.
Interior window sill installed at base of exterior window opening, raw wood finish ready for paint.
Door jamb extension strips installed on interior side of doorway, raw wood ready for paint.
Barn door frame with overhead track and 1x8 backer board installed, ready for door slab and hardware.
Barn door frame with overhead track and 1×8 backer board installed, ready for door slab and hardware.
Finished trim and casing installed around window and door openings, ready for paint.
Hallway with installed casing, baseboard, and arched door opening ready for paint.
Painted interior door jamb and casing detail at doorway opening.
Vertical wood mullion strip installed between two adjacent window units with white frames.
Window jamb extensions installed to bring jambs flush with thick wall; raw wood stain visible before painting.
Raw wood baseboard installed at wall-floor junction, ready for paint or stain.
Baseboard seam detail showing joint between two painted sections meeting at floor level. (Wrong Way)
Wrong Way
White painted window sill with bullnose edge installed at interior window opening.
Walk-in closet cased opening with natural wood jamb and casing, shelving and rods installed, ready for paint.
Painted door jamb and casing with protective tape applied during finish stage.
Window casing and jamb installed with painted trim and finished sill; window frame ready for glass or final details.
Finished wood window sill installed at interior window opening, raw wood ready for paint.
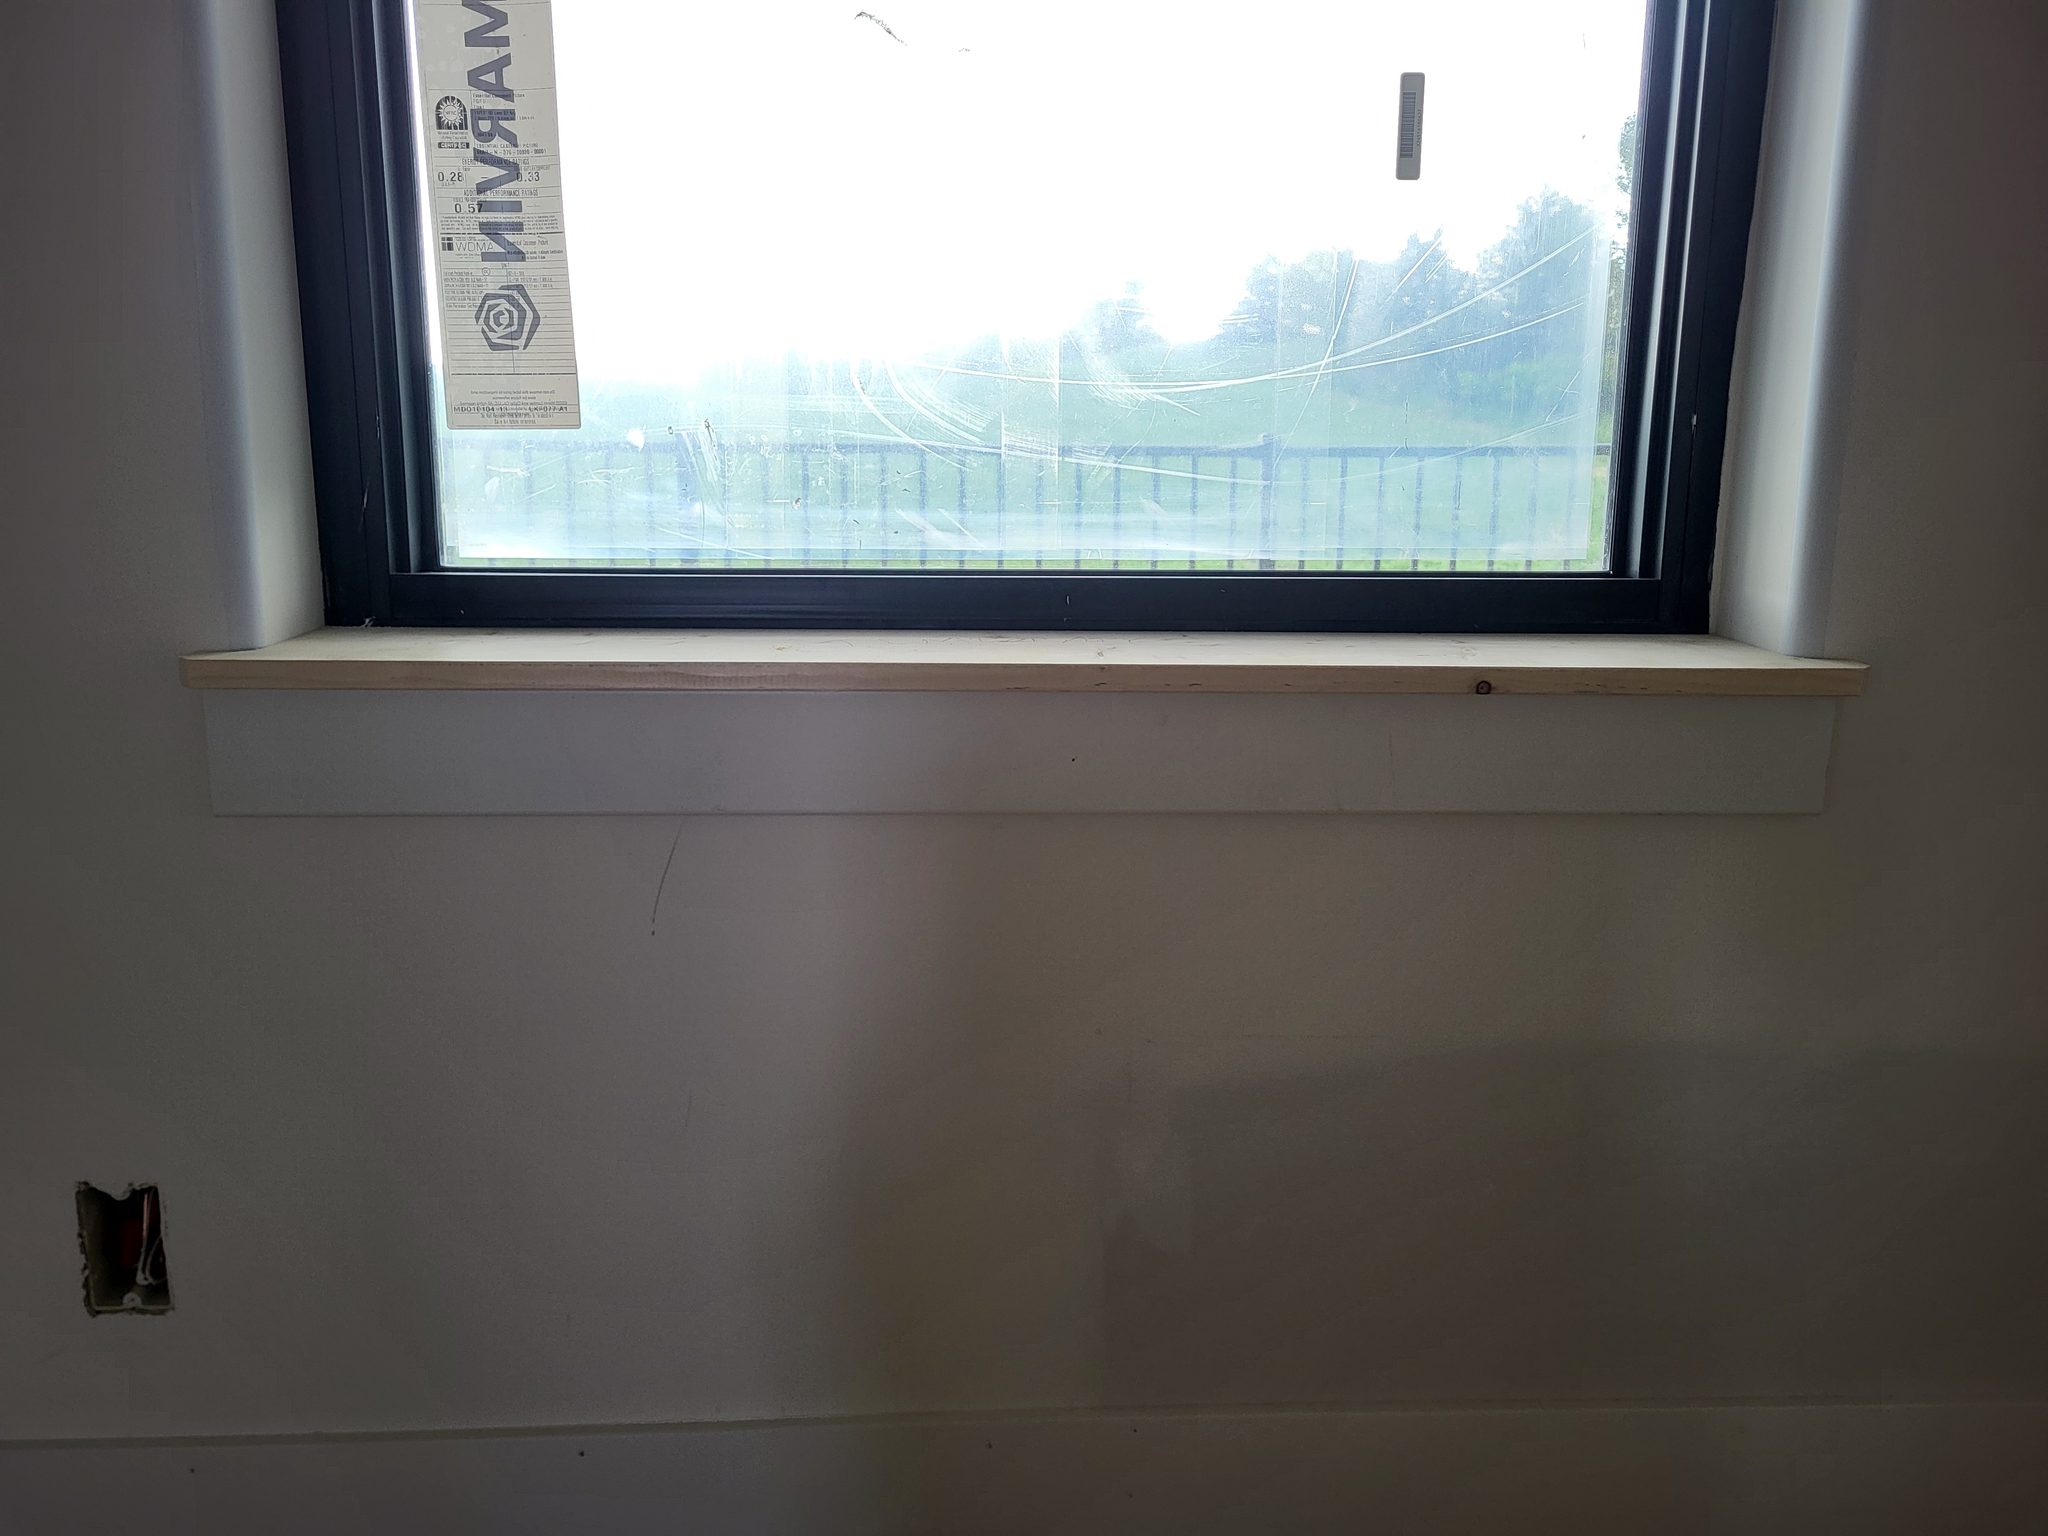
Wood window sill installed below exterior window frame, raw wood finish ready for paint.
Finished wood window sill installed at interior window opening, painted drywall surround.
Dark wood window sill/stool installed at interior window opening, raw wood finish ready for paint.
Finished wood window sill installed at interior window opening with black frame and white drywall surround.
Finished sunroom with six cased windows, dark wood trim, and installed horizontal blinds throughout.
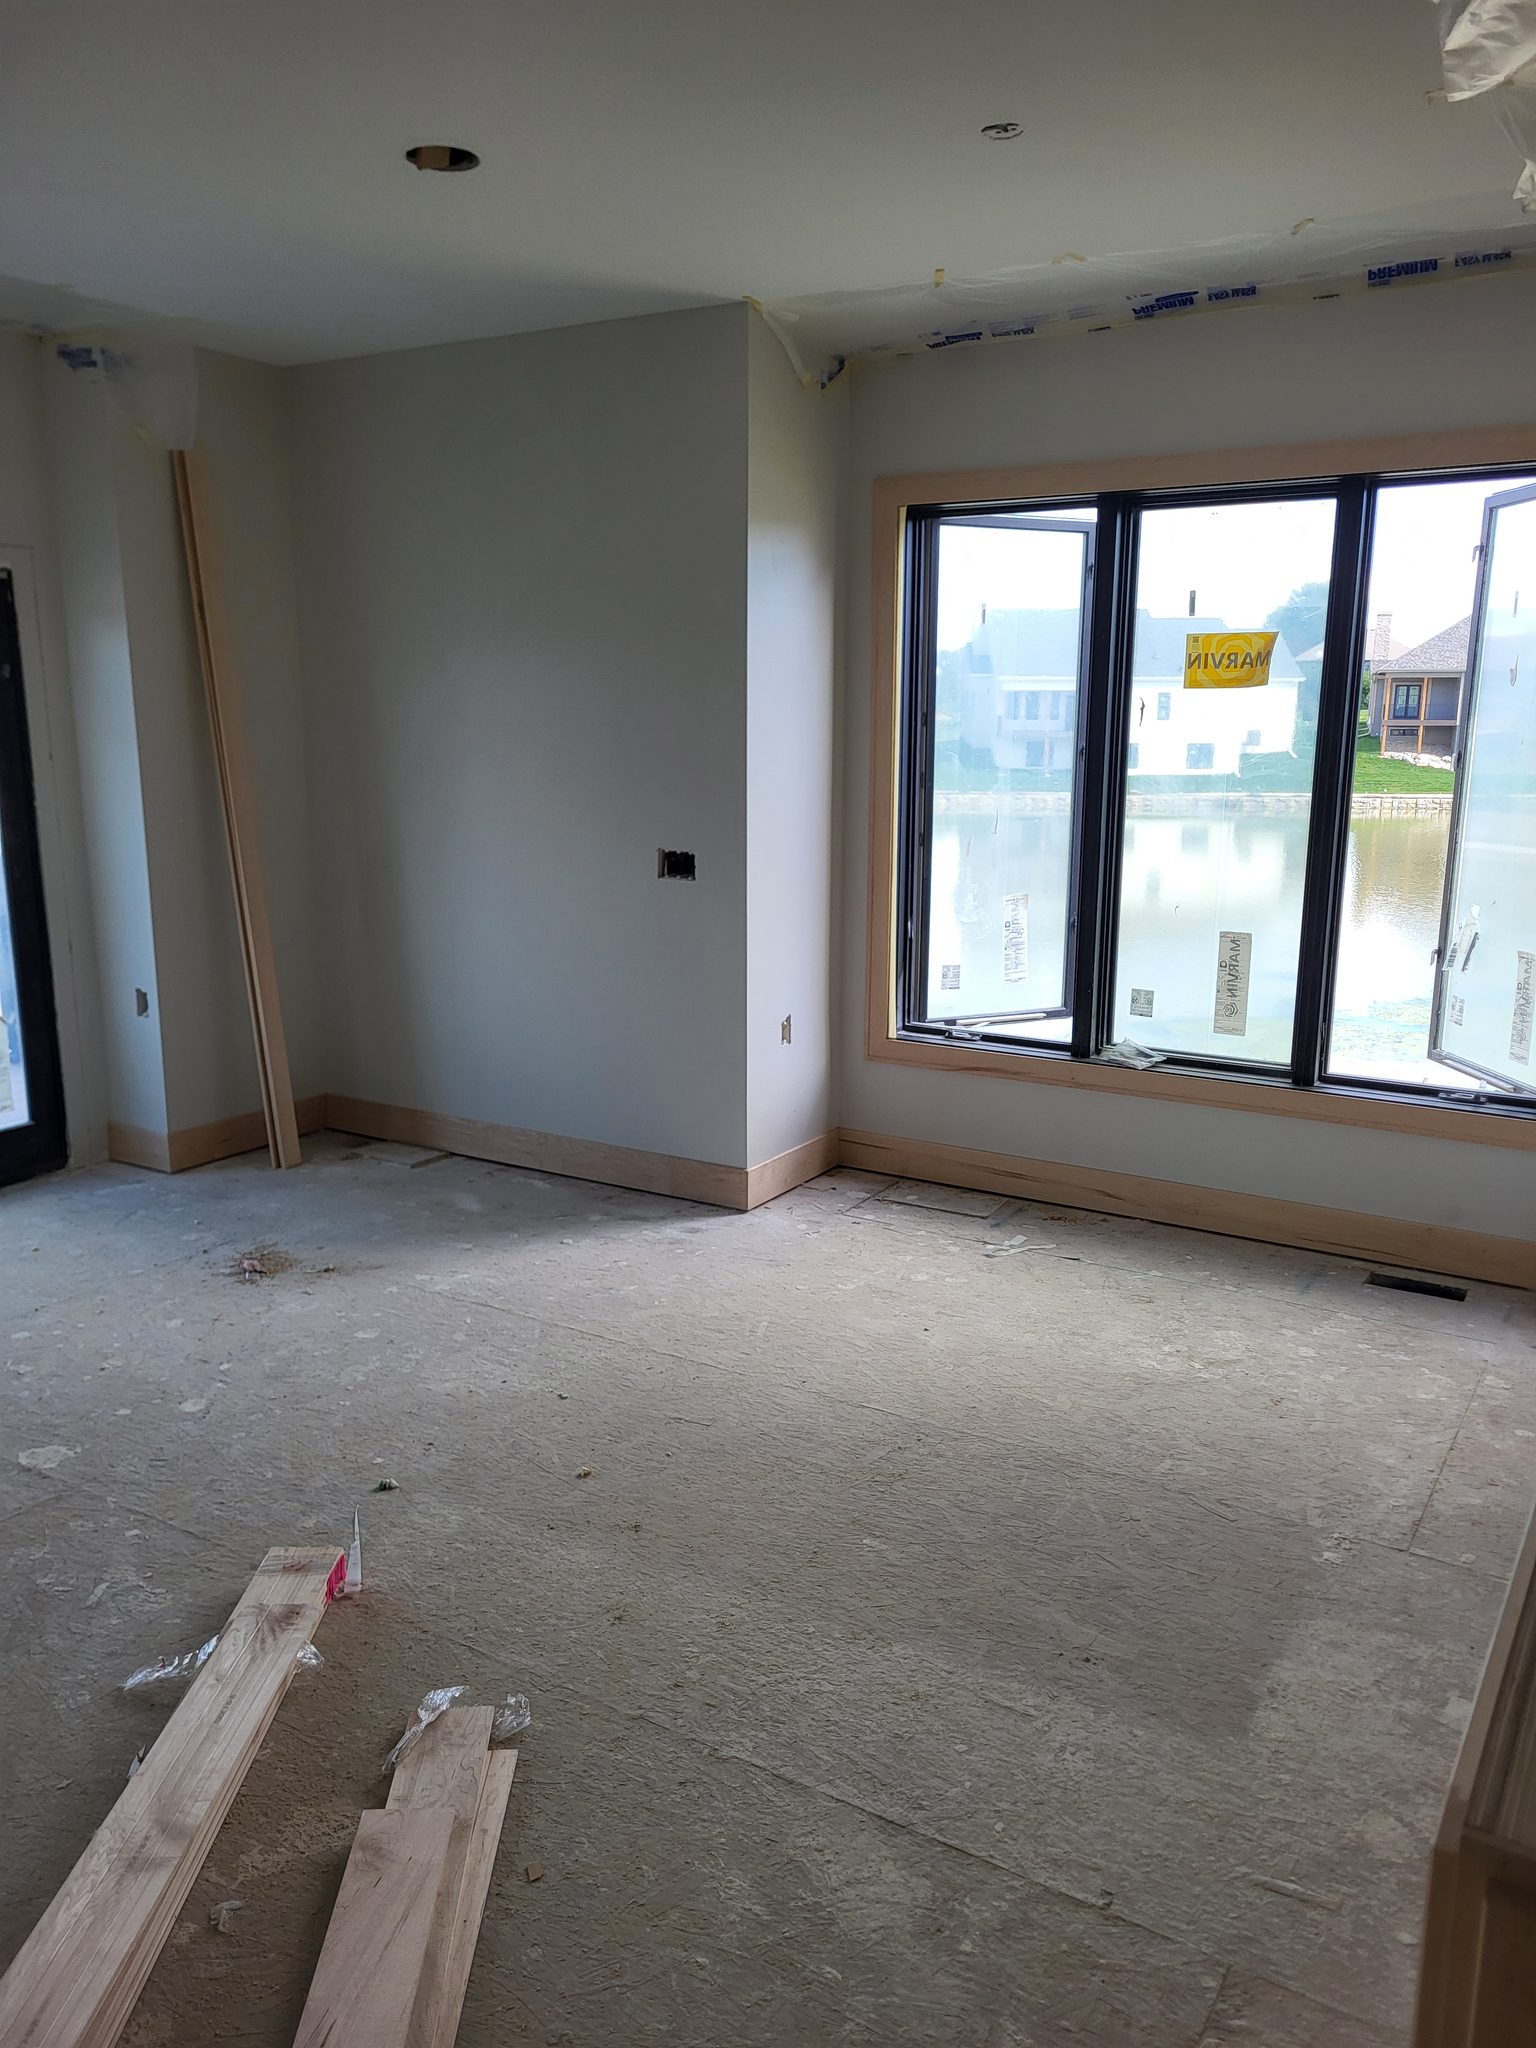
Interior room showing exterior door frame, cased opening, baseboard trim, and hardwood flooring during trim-out phase.
Black aluminum sliding patio door with white interior casing and jamb extensions installed in opening.
Primed hollow-core interior door installed with hinges and lockset prep, ready for paint.
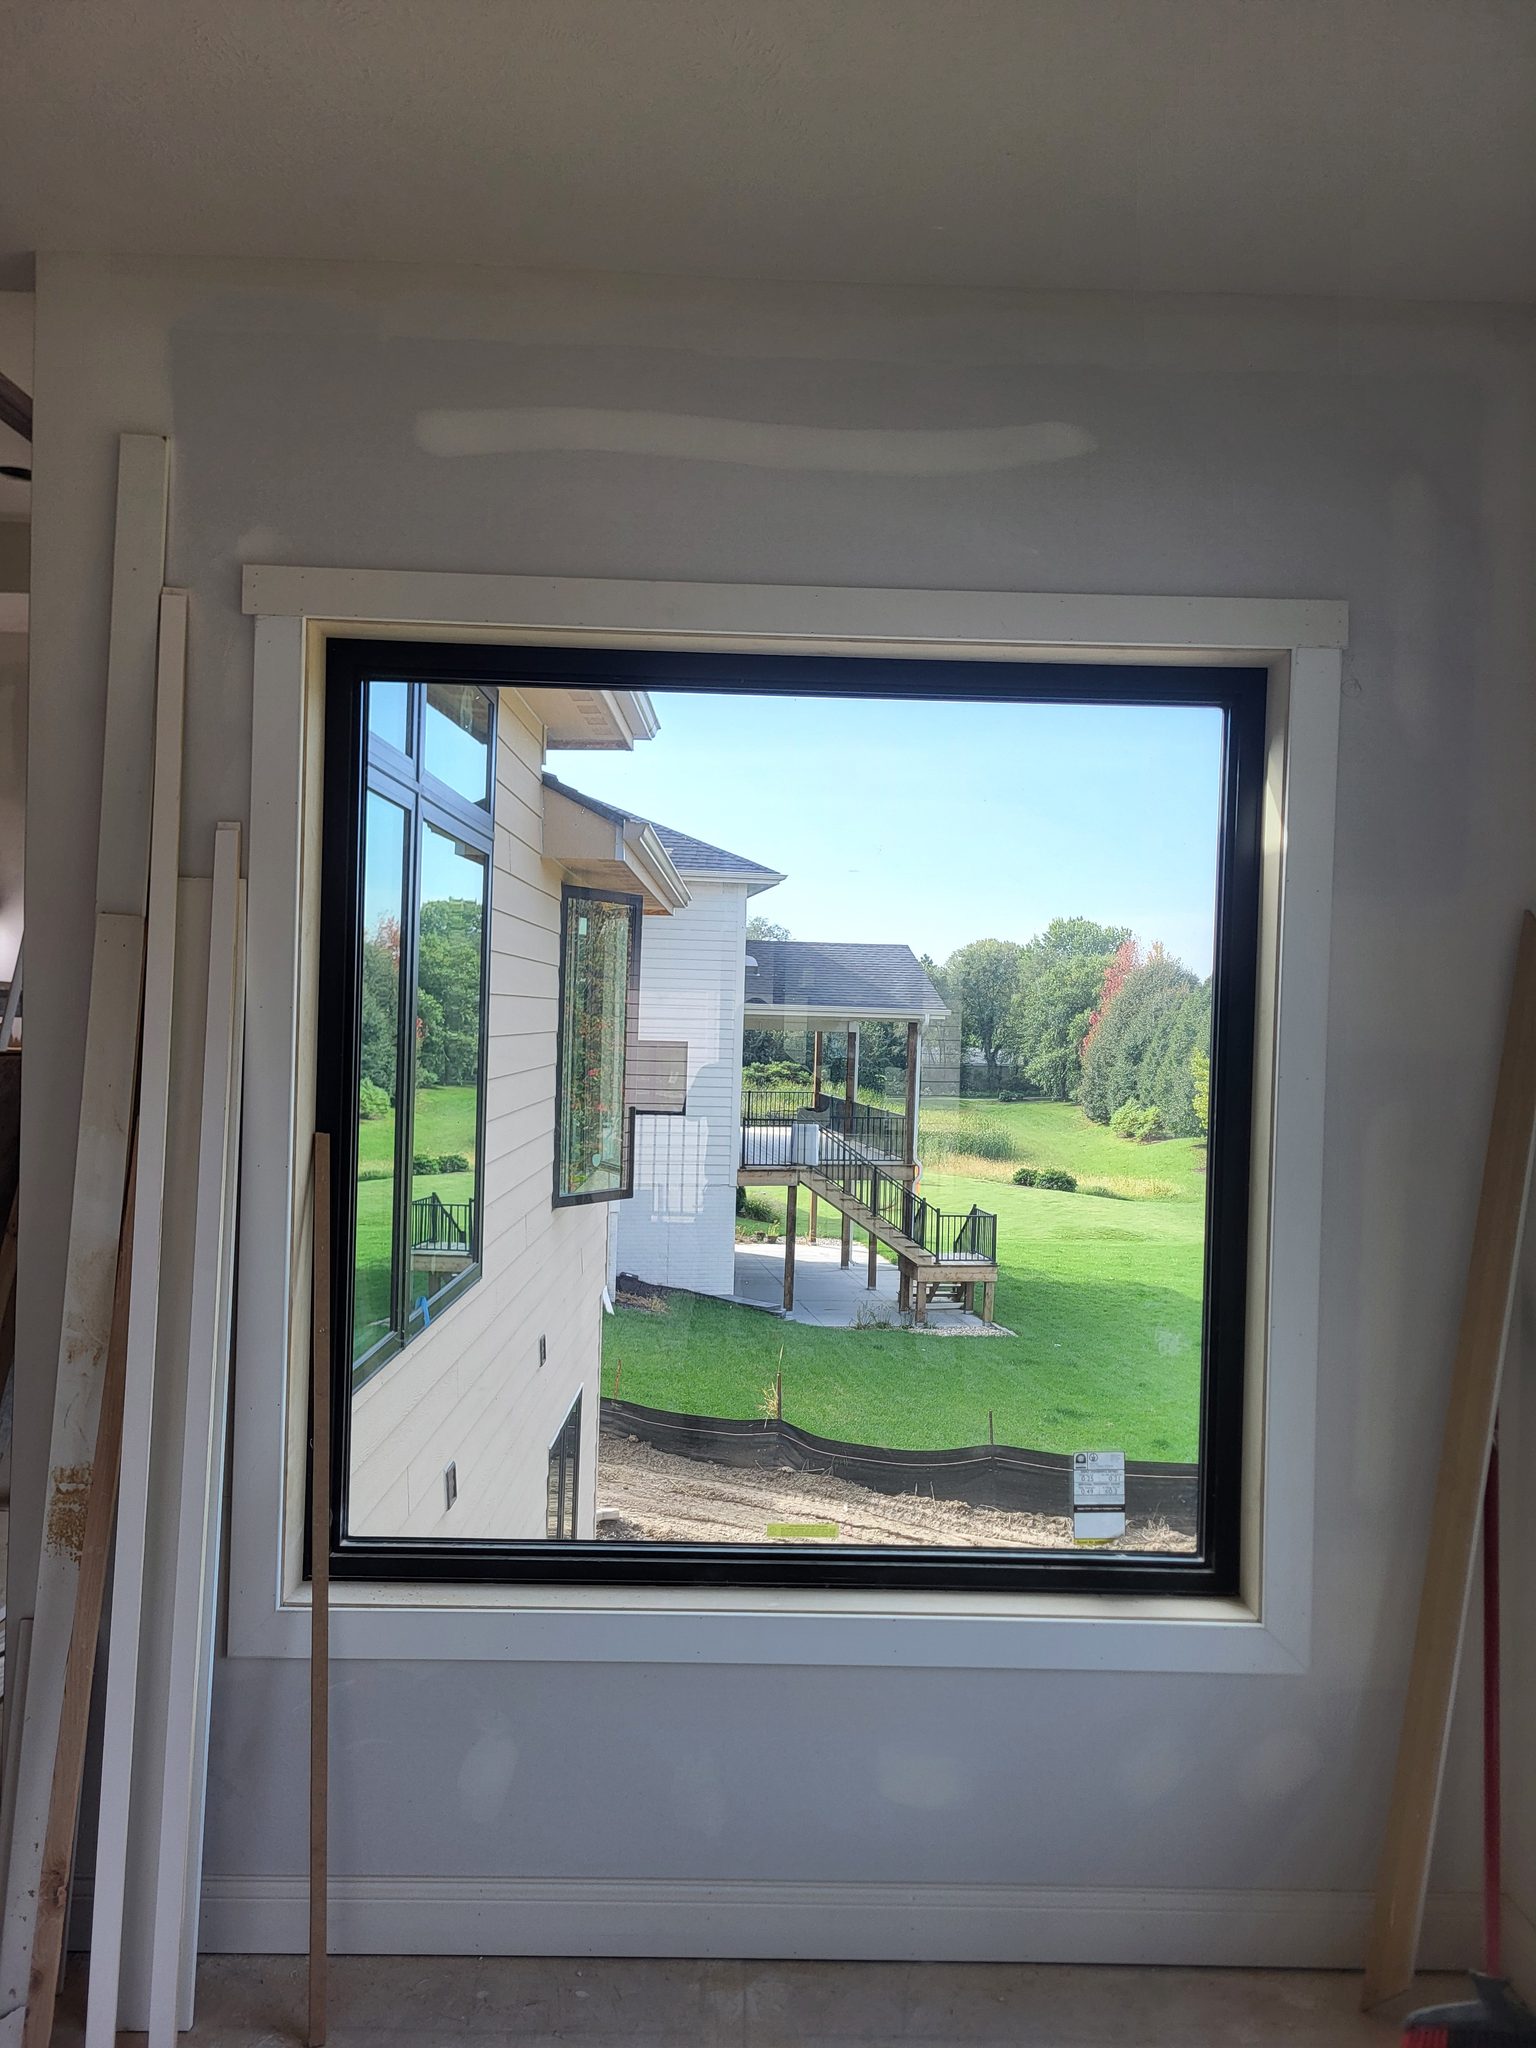
Fixed window with black frame and white casing installed in interior wall opening, ready for paint.
Large multi-pane window installed in rough opening with jamb extensions and drywall surround, pre-casing stage.
Bypass door slabs hung in finished frames with black hardware visible; ready for paint.
Painted white window casing installed on interior side of window frame, standard height.
Painted window casing on interior side, standard height with mitered corner detail.
Window jamb extension installed flush with finished wall, white casing trim visible on interior side.
Finished exterior door frame with painted casing, jamb, and weatherstrip installed.
Finished molding profile detail showing stained rail and painted trim intersection.
Large modern window installation with metal frame and mullions, interior trim complete and ready for paint.
Painted interior casing and jamb on one side of exterior door opening, standard 6'8" height.
Painted exterior door casing on interior side of jamb, white finish against dark wall.
Finished wood cased opening with stained jamb and mitered casing, no door slab—interior pass-through opening.
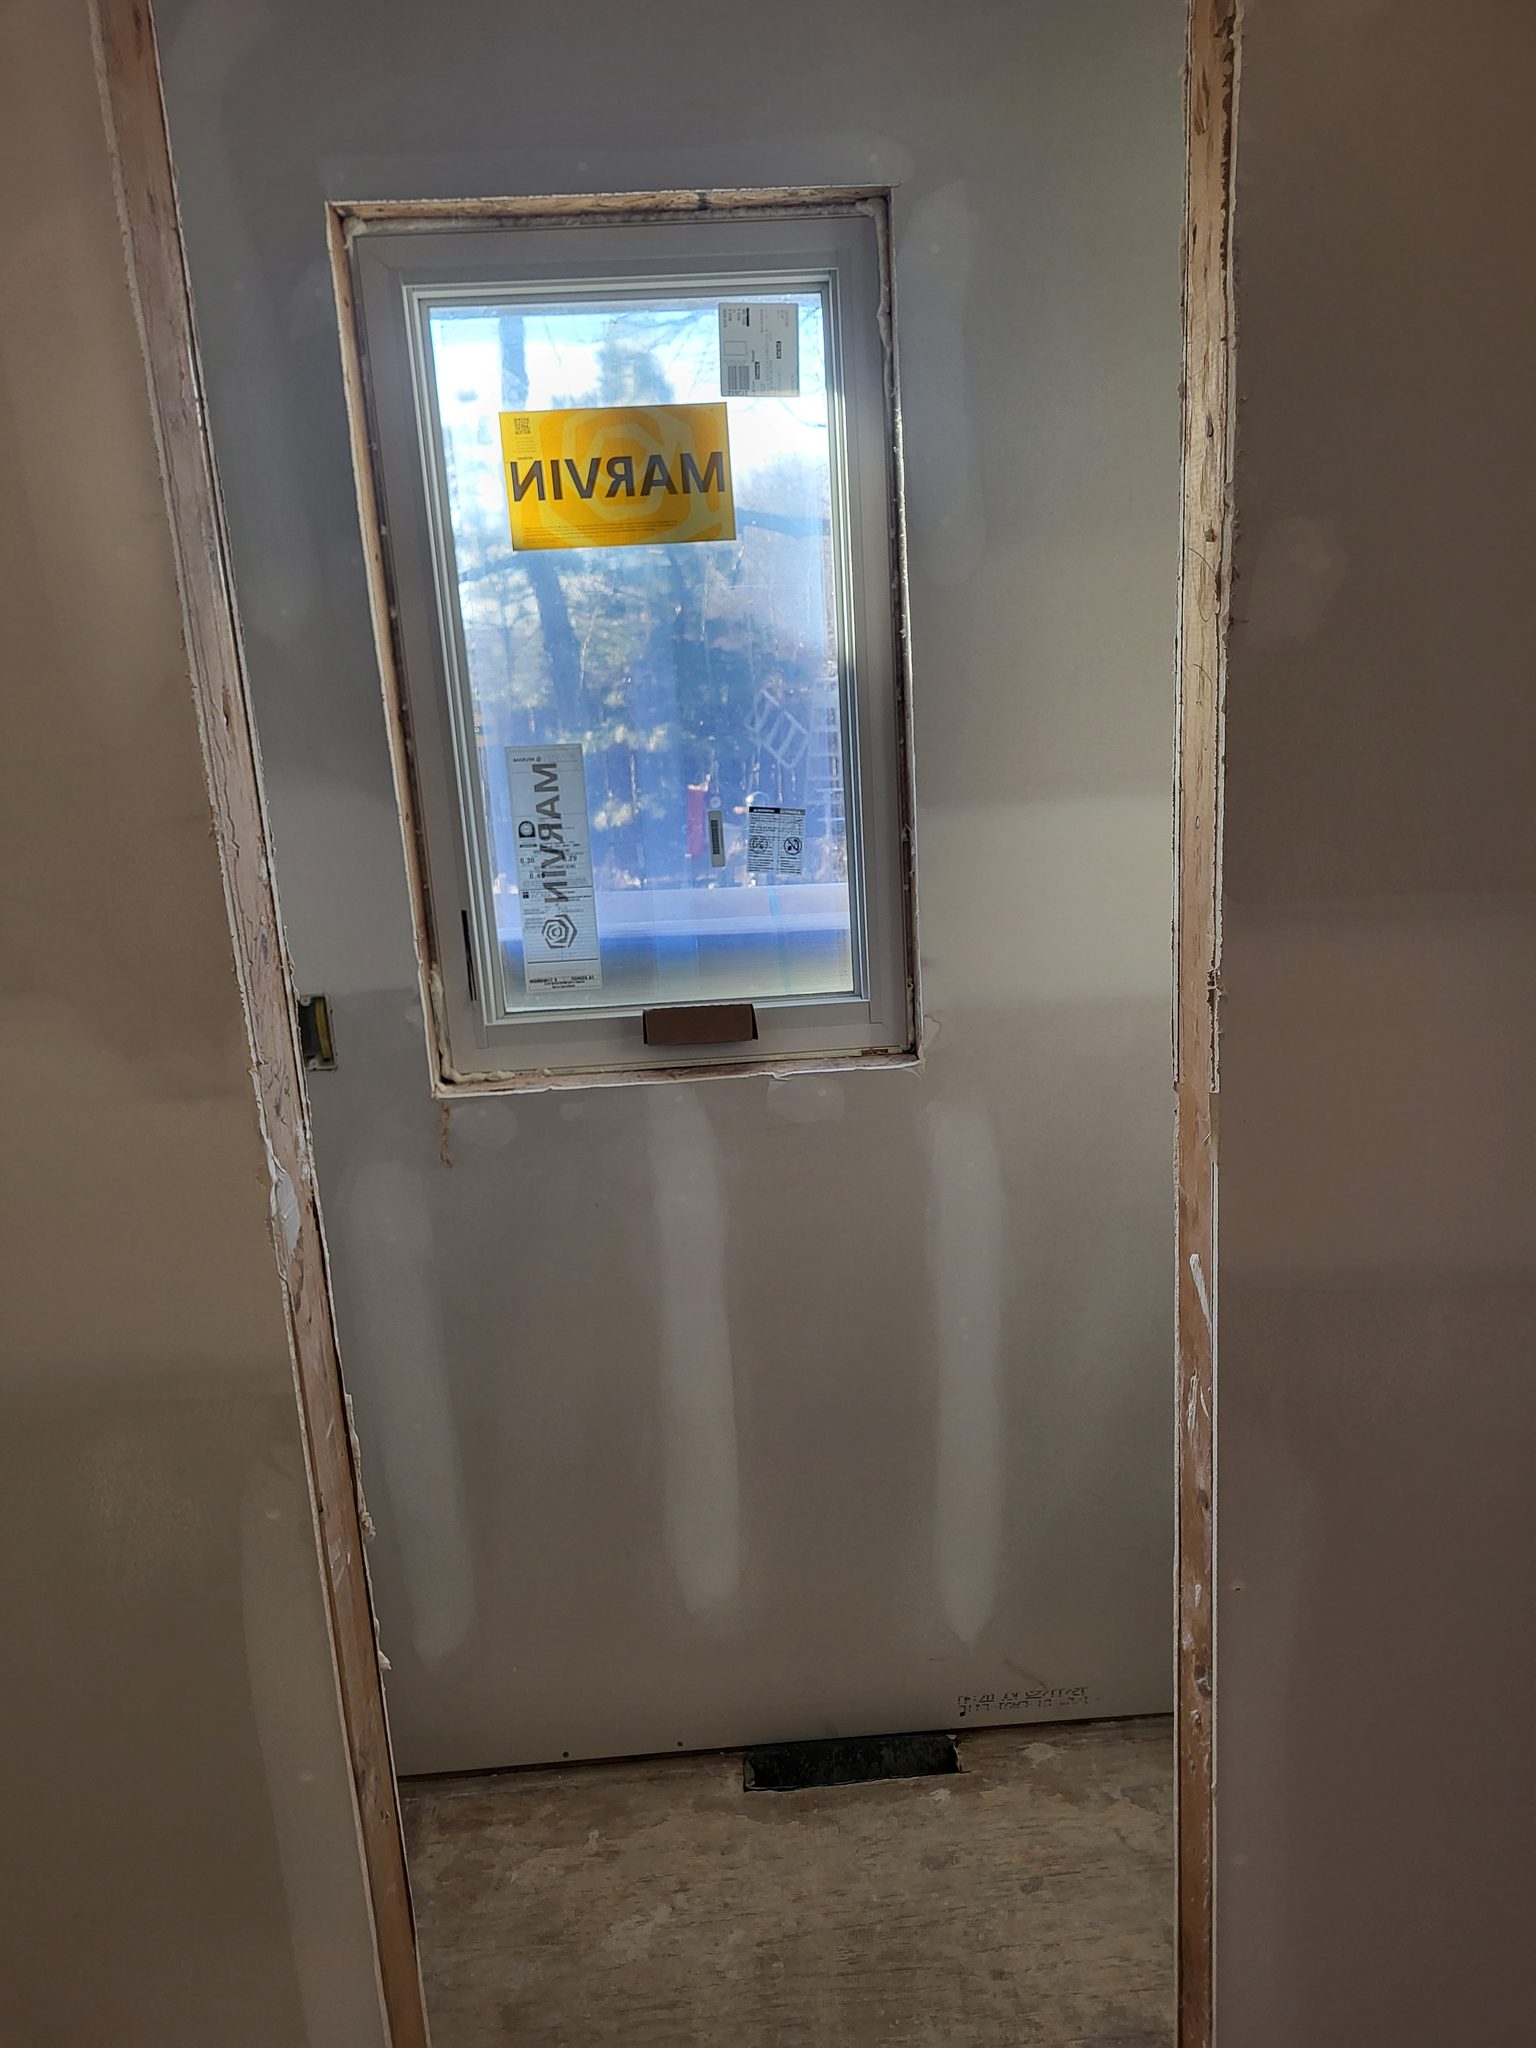
Window unit installed in rough opening with protective tape; framing and drywall visible around opening.
Large multi-pane window wall with dark wood frames and muntins installed in interior space, showing quality glazing and frame installation.
Painted white window casing installed around exterior window opening with mitered corners.
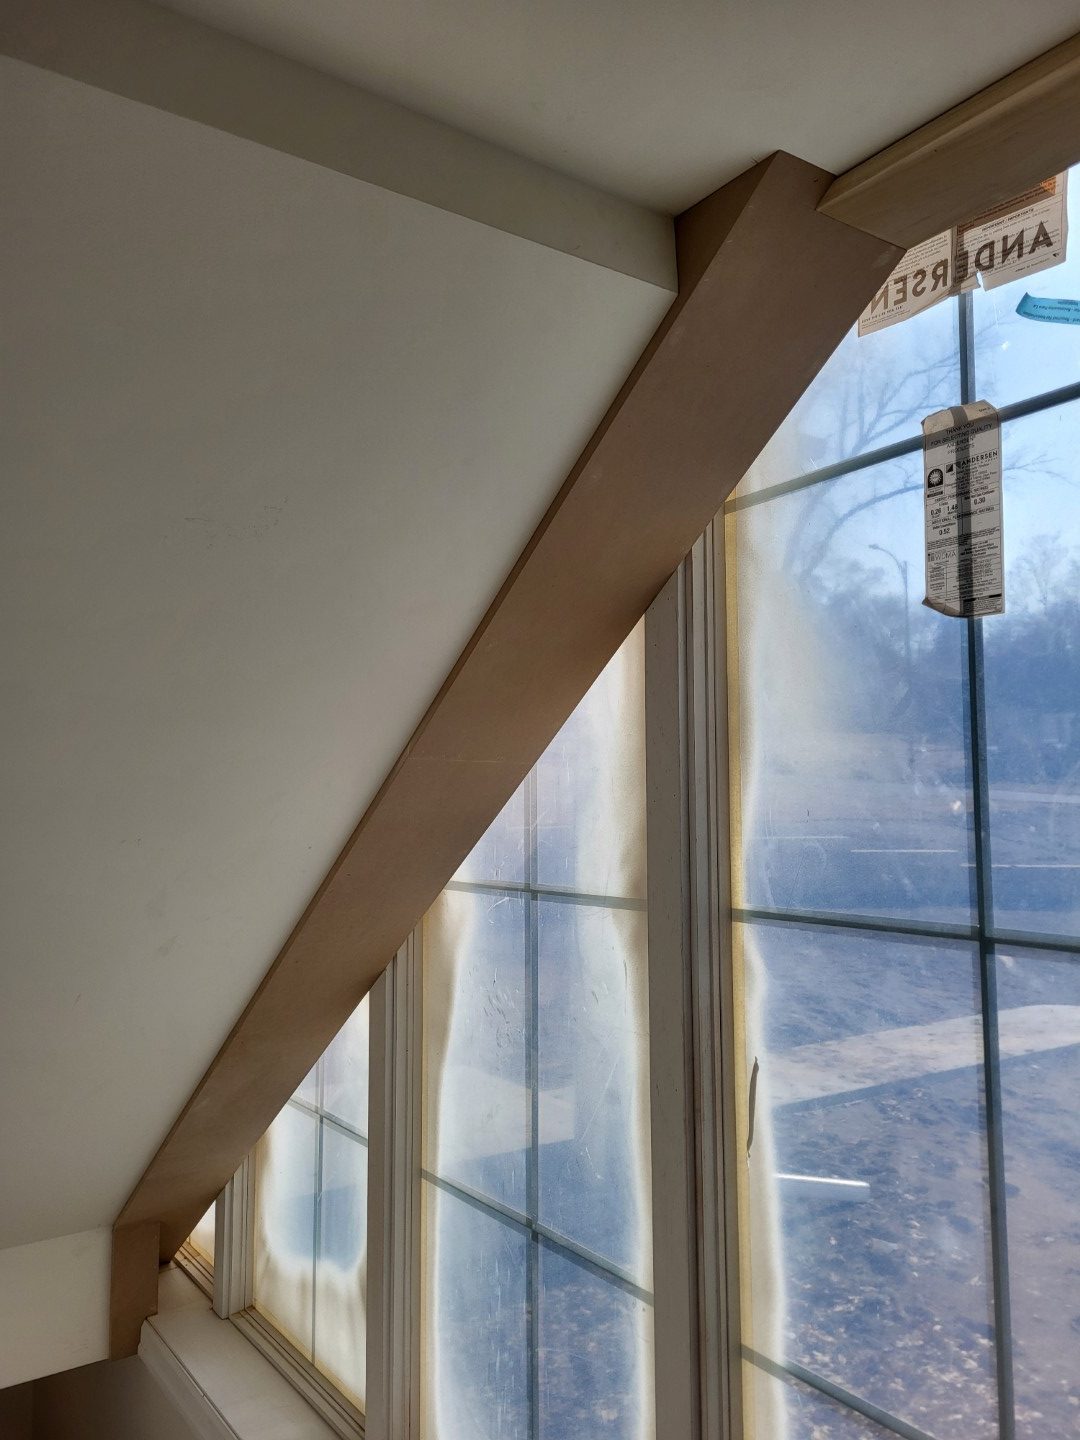
Finished wood handrail mounted to sloped ceiling beside window with paint complete.
Completed attic room with painted sloped ceiling beam, cased window opening, and finished trim details.
× ‹ ›
Core Guide, Level 1
What are your Feelings

Share This Article :

  • Facebook
  • X
  • LinkedIn
  • Pinterest
Still stuck? How can we help?

Still stuck? How can we help?

Updated on May 19, 2026
How to Install Base Shoe Like a ProHow to Install a Door Jamb Extension Like a Pro
Table of Contents
  • Moldings
    • Skill Level: Beginner (Level 1)
      • Estimated Time: 20-30 Minutes Per Window
  • Introduction
    • Window Height Variant Guides
  • Before You Begin
    • Prerequisites
    • What You Need To Know
  • Tools Required
    • Power Tools
    • Hand Tools
    • Supplies
    • Materials
  • How to Case a Window Step by Step
    • Step 1: Inspect the Window and Mark Reveal Lines
    • Step 2: Measure and Cut the Header (Top Piece)
    • Step 3: Install the Header
    • Step 4: Measure and Cut the Side Casings
    • Step 5: Install the Side Casings
    • Step 6: Measure and Cut the Bottom Casing (Sill Piece)
    • Step 7: Finish and Detail
  • Quality Check After You Case a Window
  • Troubleshooting
    • Miter Won’t Close Tight
    • Casing Rocks Against the Wall
    • Reveal Not Consistent
    • Miter Corner Opens After Nailing
    • Window Won’t Open After Casing Is Installed
  • Related Guides
  • Reference Photos

© 2026 Let's Build Stuff - WordPress Theme by Kadence WP

  • Home
  • Learn
  • Blog
  • Contact
  • About