Skip to content

Let's Build Stuff

  • Home
  • Start Here
  • Glossary
  • Learn
  • Blog
  • About
  • Contact
  • Browse the guides
Let's Build Stuff

How can we help you?

General Carpentry

4
  • How the Guide Library Is Organized
  • Difficulty Levels Explained: What Levels 1, 2, and 3 Mean
  • Finish Carpentry Cheat Sheets and Printable References
  • How to Trim a House, Start to Finish

Doors & Openings

20
  • Installing a Weather-Exposed Exterior Door: The Extra Steps
  • How to Install a Pocket Door Frame
  • How to Install an Exterior Finish Slab
  • How to Install an 8'0" Solid Core Pre-Hung Interior Door
  • How to Install an 8'0" Hollow Core Pre-Hung Interior Door
  • How to Install a 6'8" Solid Core Pre-Hung Interior Door
  • How to Finish a Bypass Door Install
  • How to Install 8'0" Bi-Fold or Bypass Door Slabs
  • How to Install 6'8" Bi-Fold or Bypass Door Slabs
  • How to Install an 8'0" Bi-Fold or Bypass Door Frame
  • How to Install a 6'8" Bi-Fold or Bypass Door Frame
  • How to Install a Pre-Hung Door
  • How to Install a House-to-Garage Door
  • How to Install a Cased Opening
  • How to Install a Pocket Door for a Perfect Finish
  • How to Install Bifold Doors
  • How to Adjust an Exterior Door
  • How to Install Barn Doors
  • How to Install Bypass Doors
  • How to Install an Interior Center-Opening or French Door

Closets

3
  • How to Build Basic Closet Shelves - Part 1 of 3 (Standards)
  • How to Build Basic Closet Shelves - Part 2 of 3 (Layout Design)
  • How to Build Basic Closet Shelves - Part 3 of 3 (Building)

Moldings

20
  • How to Install Baby Shoe at Stair Nosing
  • How to Build a Custom Decorative Header
  • How to Install a Window Seat or Sill
  • How to Install a Mullion Strip
  • Interior Window Frame for Tall Openings (120″ and Above)
  • Interior Window Frame for Medium-Tall Openings (90″ to 119″)
  • How to Install an Interior Window Frame
  • Window Jamb Extension for Tall Windows (120″ and Above)
  • Window Jamb Extension for Medium-Tall Windows (90″ to 119″)
  • How to Install a Window Jamb Extension Like a Pro
  • How to Case Tall Windows (10 Feet and Above)
  • Window Casing for Medium-Tall Windows (90″ to 119″)
  • How to Case One Side of an 8'0" Door
  • How to Case One Side of a 6'8" Door
  • How to Build an Attic Access Cover
  • How to Install Baseboard
  • How to Case One Side of an Exterior Door
  • How to Install Base Shoe
  • How to Case a Window
  • How to Install a Door Jamb Extension

Stairs/Handrails

11
  • How to Build a Handrail for Metal Balusters Like a Pro
  • How to Install a Garage Step Handrail
  • How to Build Garage Steps with 3 Stringers and Closed Risers
  • How to Build Garage Steps with Closed Risers
  • How to Build Garage Steps with 3 Stringers (Open Risers)
  • How to Install Stair Skirt Boards: Drop-In Method
  • How to Build a Wall-Mount Handrail
  • How to Mount a Handrail to the Wall
  • How to Install a Newel Post
  • How to Build Garage Steps with a Landing
  • How to Build Garage Steps: Safe, Code-Compliant Stairs

Specialty

7
  • How to Install Shiplap on a 3-Sided Fireplace Under 10'
  • How to Install Shiplap, 0' to 7'
  • How to Install Shiplap 4, Ceiling
  • How to Install Shiplap 3 side fireplace wrap above 15'
  • How to Install Shiplap 3 side fireplace wrap 10'-15'
  • How to Install Shiplap 3, 14'+
  • How to Install Shiplap 2, 7' to 14'

Hardware

2
  • How to Install Bath Accessories
  • How to Install a Lockset on a Door
  • Home
  • Learn
  • Moldings
  • How to Install a Mullion Strip
View Categories

How to Install a Mullion Strip

Moldings Skill Level: Beginner (Level 1) · Estimated Time: 20-30 Minutes Per Window

Introduction #

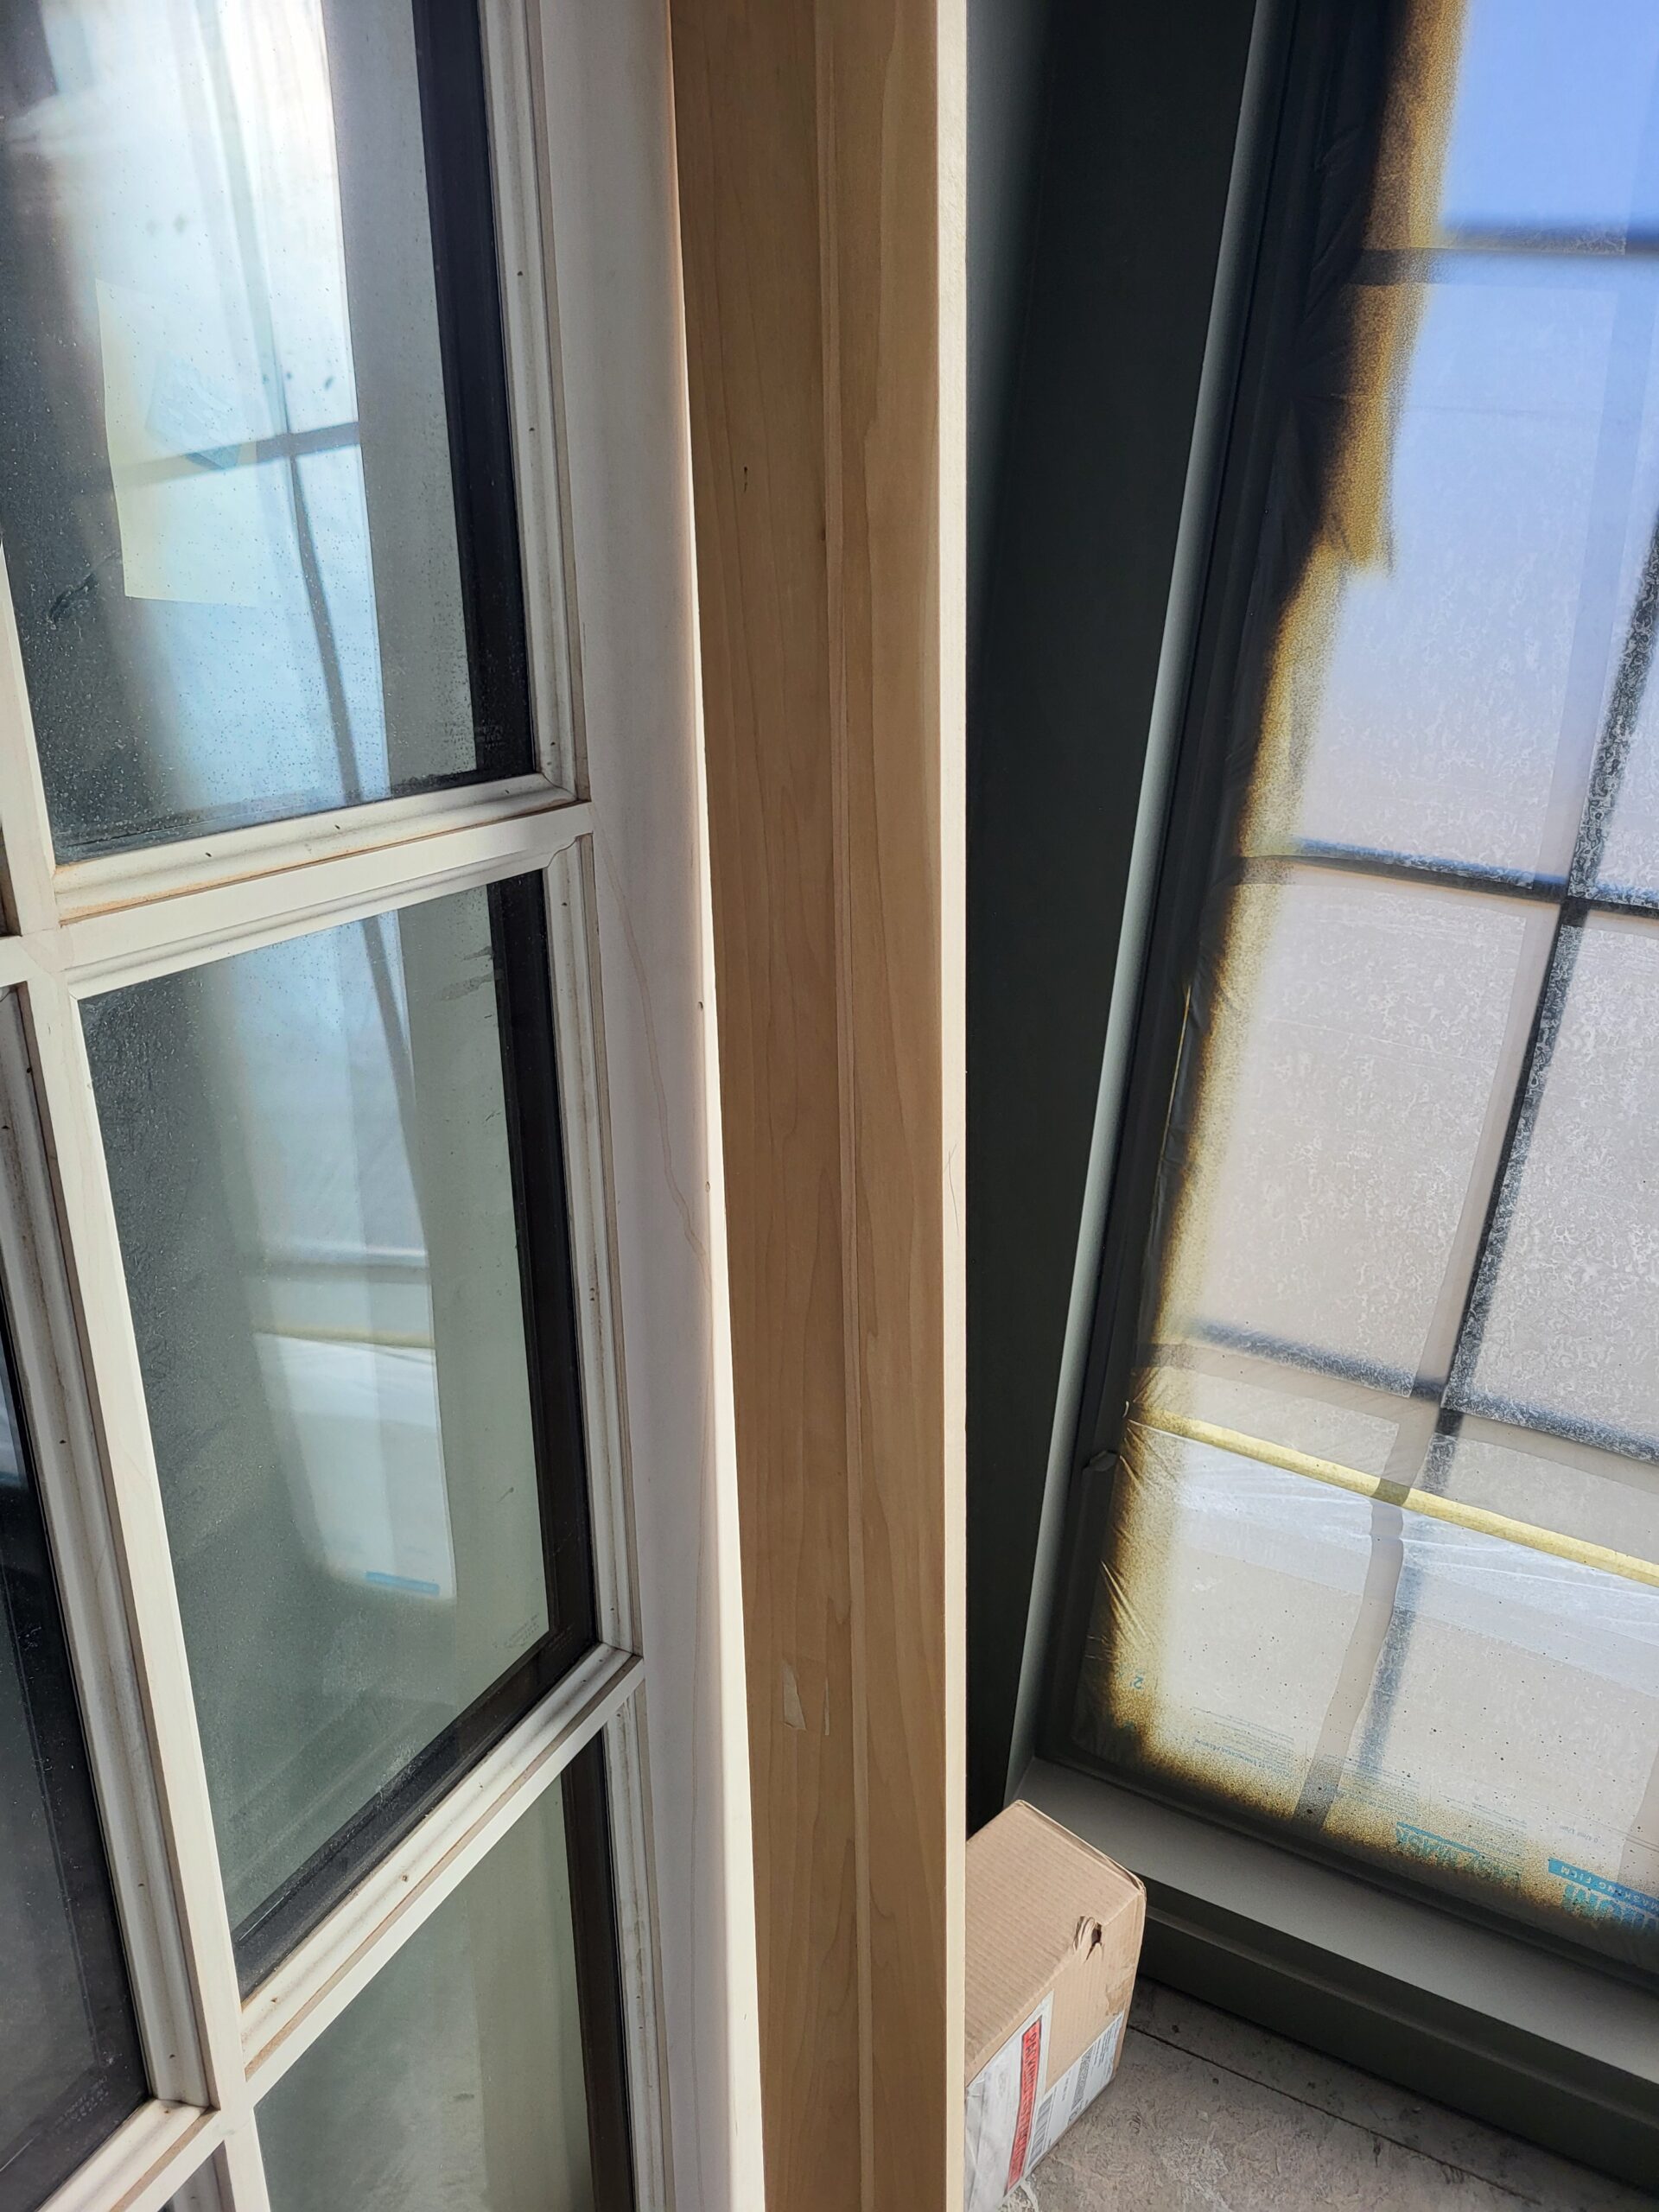
Installing mullion strips is a key step in finish carpentry, especially in projects where the aesthetic of divided light windows is desired. These strips give windows a classic, paneled look without the need for separate glass panes. Mullion strips are often installed in new construction or during remodeling projects to enhance architectural detail and add character to a space.

The single most important concept when installing mullion strips is precision. Accurate measurements and cuts ensure that the strips fit snugly and align perfectly with the window frame, creating a seamless look. This level of precision separates professional installations from amateur attempts, minimizing gaps and ensuring a clean, finished appearance.

Before You Begin #

Before you install mullion strips, confirm that the following prerequisites are complete.

Prerequisites #

  • Windows are installed and secured - if you haven't built out the interior window frame yet, do that first.
  • Drywall and painting are complete.
  • Window casing is installed - see our guide on how to case a window if that step is still pending.

What You Need To Know #

When you install mullion strips, understanding these core techniques will save you time and prevent callbacks.

  • Ensure mullion strips are cut to the exact width and height of the window panes.
  • Use a miter saw for precise 45-degree cuts on the ends of the strips.
  • Use a pin nailer to secure strips without splitting the material.

Tools #

  • Miter Saw - for precise angle cuts.
  • Pin Nailer - for securing strips without visible nails.
  • Measuring Tape - for accurate measurements.
  • Square - to ensure straight cuts.

Materials #

  • Mullion Strips - typically wood or composite, available at lumber suppliers.
  • Wood Glue - for additional bonding strength.
  • Finishing Nails or Pins - for securing strips.

Installation Steps #

Step 1. Measure and Cut Strips #

Measure the window panes to determine the length of each mullion strip. Use a miter saw to cut the strips to the required length, ensuring 45-degree angles on the ends for a perfect fit.

  • Measure twice, cut once to avoid waste.
  • Ensure cuts are clean and precise.

Step 2. Dry Fit the Strips #

Place the cut strips into the window frame to check fit. Adjust as necessary to ensure all pieces align perfectly.

  • Check for gaps and adjust cuts if needed.

Step 3. Apply Wood Glue #

Apply a thin line of wood glue along the edges of the strips where they will contact the window frame. This provides additional bonding strength.

  • Use a small brush to spread glue evenly.

Step 4. Secure Strips with Pin Nailer #

Using a pin nailer, secure the strips in place. Ensure nails are driven into the frame and not through the glass.

  • Use 23-gauge pins to minimize visibility.

Step 5. Final Adjustments and Cleanup #

Check all joints and seams for alignment. Clean any excess glue and ensure the strips are firmly attached.

  • Wipe away excess glue with a damp cloth.

Pro Tips #

Pro Tip: Use a clamp to hold strips in place while the glue sets for a more secure bond.

Pro Tip: Pre-drill holes for pins in hardwood strips to prevent splitting.

Common Mistakes #

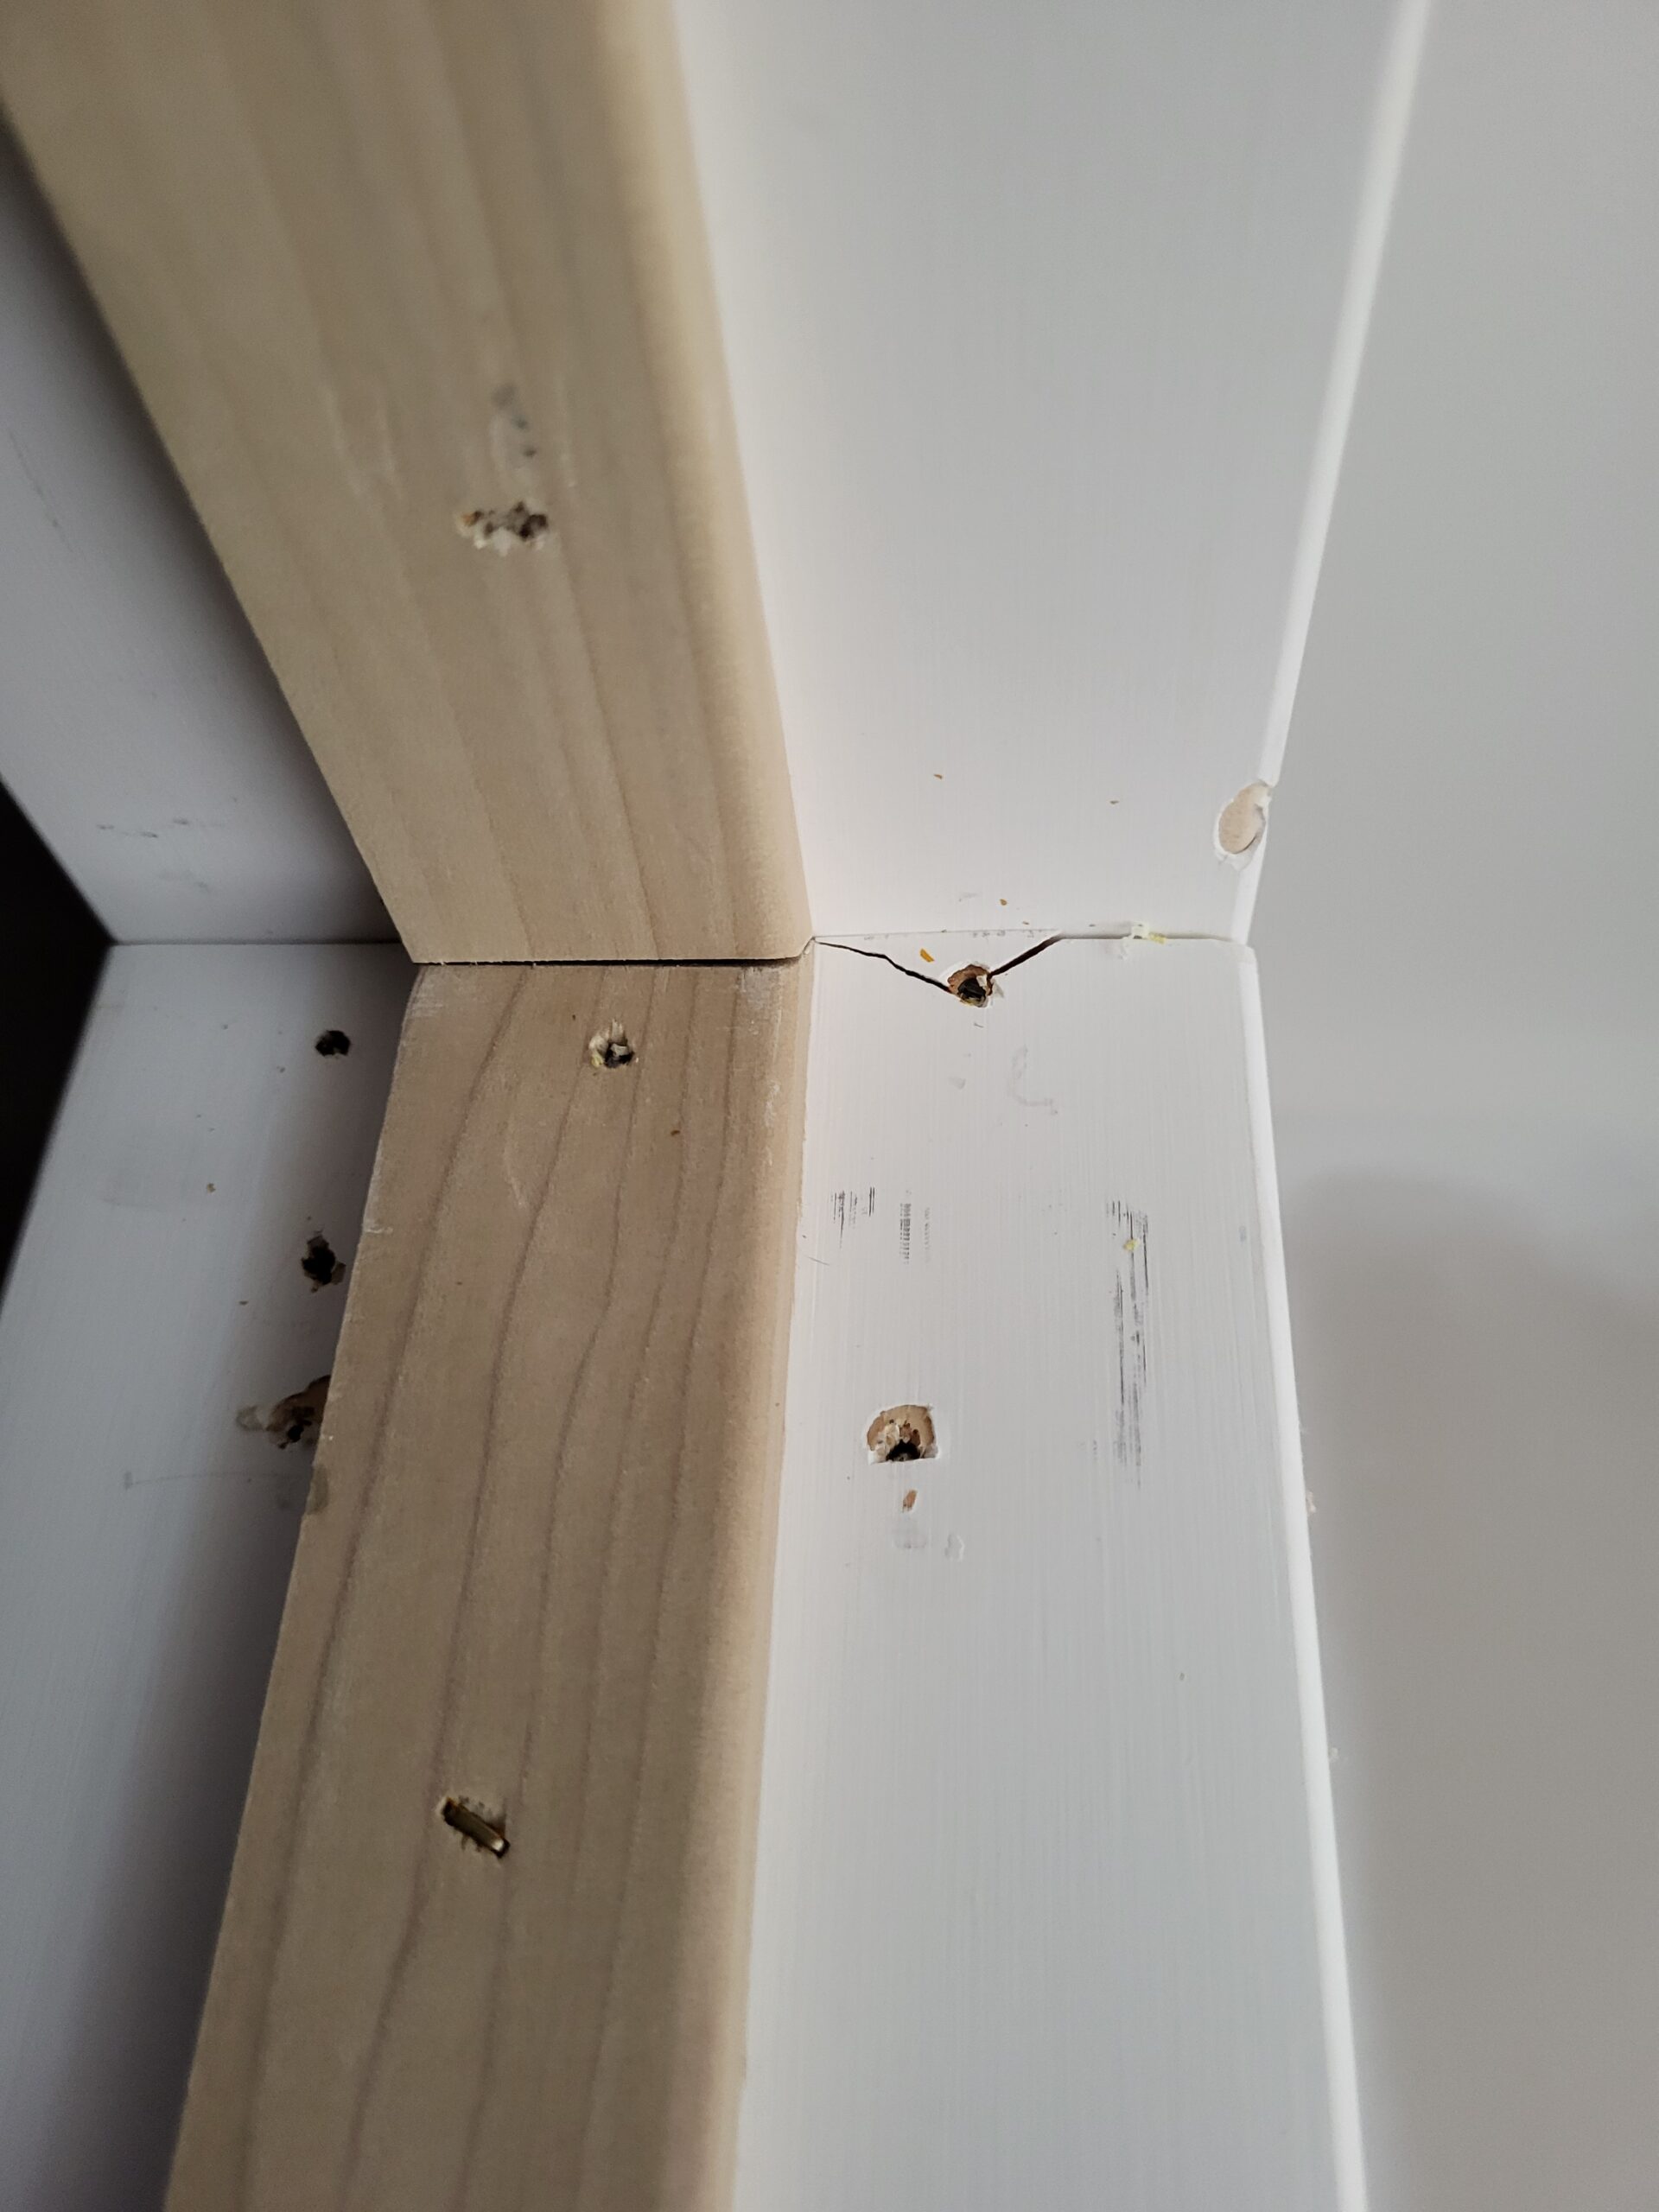
  • Mistake: Misaligned strips - Ensure all cuts are precise and angles are consistent.
  • Mistake: Visible nail holes - Use a pin nailer and drive pins fully below the surface.

QC / Punch Checklist #

  • Check for gaps between strips and window frame.
  • Ensure all strips are level and aligned.
  • Verify that all glue residue is cleaned up.
Level 1, Supplemental Guide
What are your Feelings

Share This Article :

  • Facebook
  • X
  • LinkedIn
  • Pinterest
Still stuck? How can we help?

Still stuck? How can we help?

Updated on August 3, 2026
How to Install a Window Seat or SillInterior Window Frame for Tall Openings (120″ and Above)

Leave a Reply Cancel reply

Your email address will not be published. Required fields are marked *

Table of Contents
  • Introduction
  • Before You Begin
    • Prerequisites
    • What You Need To Know
  • Tools
  • Materials
  • Installation Steps
    • Step 1. Measure and Cut Strips
    • Step 2. Dry Fit the Strips
    • Step 3. Apply Wood Glue
    • Step 4. Secure Strips with Pin Nailer
    • Step 5. Final Adjustments and Cleanup
  • Pro Tips
  • Common Mistakes
  • QC / Punch Checklist
Let's Build Stuff
  • Glossary
  • Learn
  • Blog
  • About
  • Contact
  • Affiliate Disclosure
  • Privacy Policy

© 2026 Let's Build Stuff - Interior Finish Carpentry Experts

  • Home
  • Start Here
  • Glossary
  • Learn
  • Blog
  • About
  • Contact
  • Browse the guides