On this page
Introduction #
Installing Luxury Vinyl Plank (LVP) flooring is a staple in modern construction, offering a balance of durability, aesthetics, and cost-effectiveness. This Old House has a general flooring library; this guide is our floating install, start to finish. LVP is particularly favored in high-traffic areas due to its water resistance and ability to mimic more expensive flooring types like hardwood or tile. Whether you're working on a new build or a remodel, integrating LVP into your flooring projects can enhance both the functionality and the visual appeal of the space.
The single most important concept to master when installing LVP is ensuring a flat, stable subfloor. This prevents issues like squeaks and uneven wear over time. Proper preparation and acclimation of the flooring material are crucial steps that separate professional installations from amateur attempts.
Before You Begin #
Before you install LVP flooring, confirm that the following prerequisites are complete.
Prerequisites #
- Drywall installation and painting are complete.
- Subfloor is secured and level; use screws every couple of feet on all joists.
- All plumbing and electrical rough-ins are finished.
What You Need To Know #
When you install LVP flooring, understanding these core techniques will save you time and prevent callbacks.
- Acclimate LVP for at least 24 hours in the installation environment.
- Use self-leveling underlayment for a flat subfloor.
- Ensure LVP is on-site before starting the job.
- Order an extra box of flooring for future repairs or warranty needs.
Tools #
- Utility Knife - for cutting LVP to size.
- Tapping block and pull bar - for closing the click-lock joints. We only do floating LVP, never glue-down, so there is no roller and no adhesive.
- Jigsaw - for intricate cuts around obstacles.
- Chalk Line - to maintain straight lines during installation.
- Rubber Mallet - to tap planks into place without damage.
Materials #
- LVP Flooring - ensure you have the correct type and amount.
- Underlayment - as specified by the flooring supplier.
- Shoe Molding - for finishing edges and transitions.
- Self-Leveling Compound - for subfloor preparation.
Installation Steps #
Step 1. Prepare the Subfloor #
Ensure the subfloor is clean, dry, and level. Use a self-leveling compound if necessary to address any uneven areas.
- Screw down any loose boards to eliminate squeaks.
- Check for and remove any protruding nails or screws.
Step 2. Acclimate the LVP #
Bring the LVP into the installation area and let it acclimate for at least 24 hours. This helps prevent expansion and contraction issues post-installation.
Step 3. Install Underlayment #
Lay down the underlayment as per manufacturer instructions, ensuring seams are tight and edges are taped down.
Step 4. Plan Your Layout #
Use a chalk line to establish a straight starting line, typically along the longest wall. Plan your plank layout to minimize waste and avoid narrow strips at the walls.
Step 5. Begin Laying Planks #
Start laying the planks along the chalk line, ensuring a snug fit by tapping them together with a rubber mallet.
- Stagger end joints by at least 6 inches for a natural look.
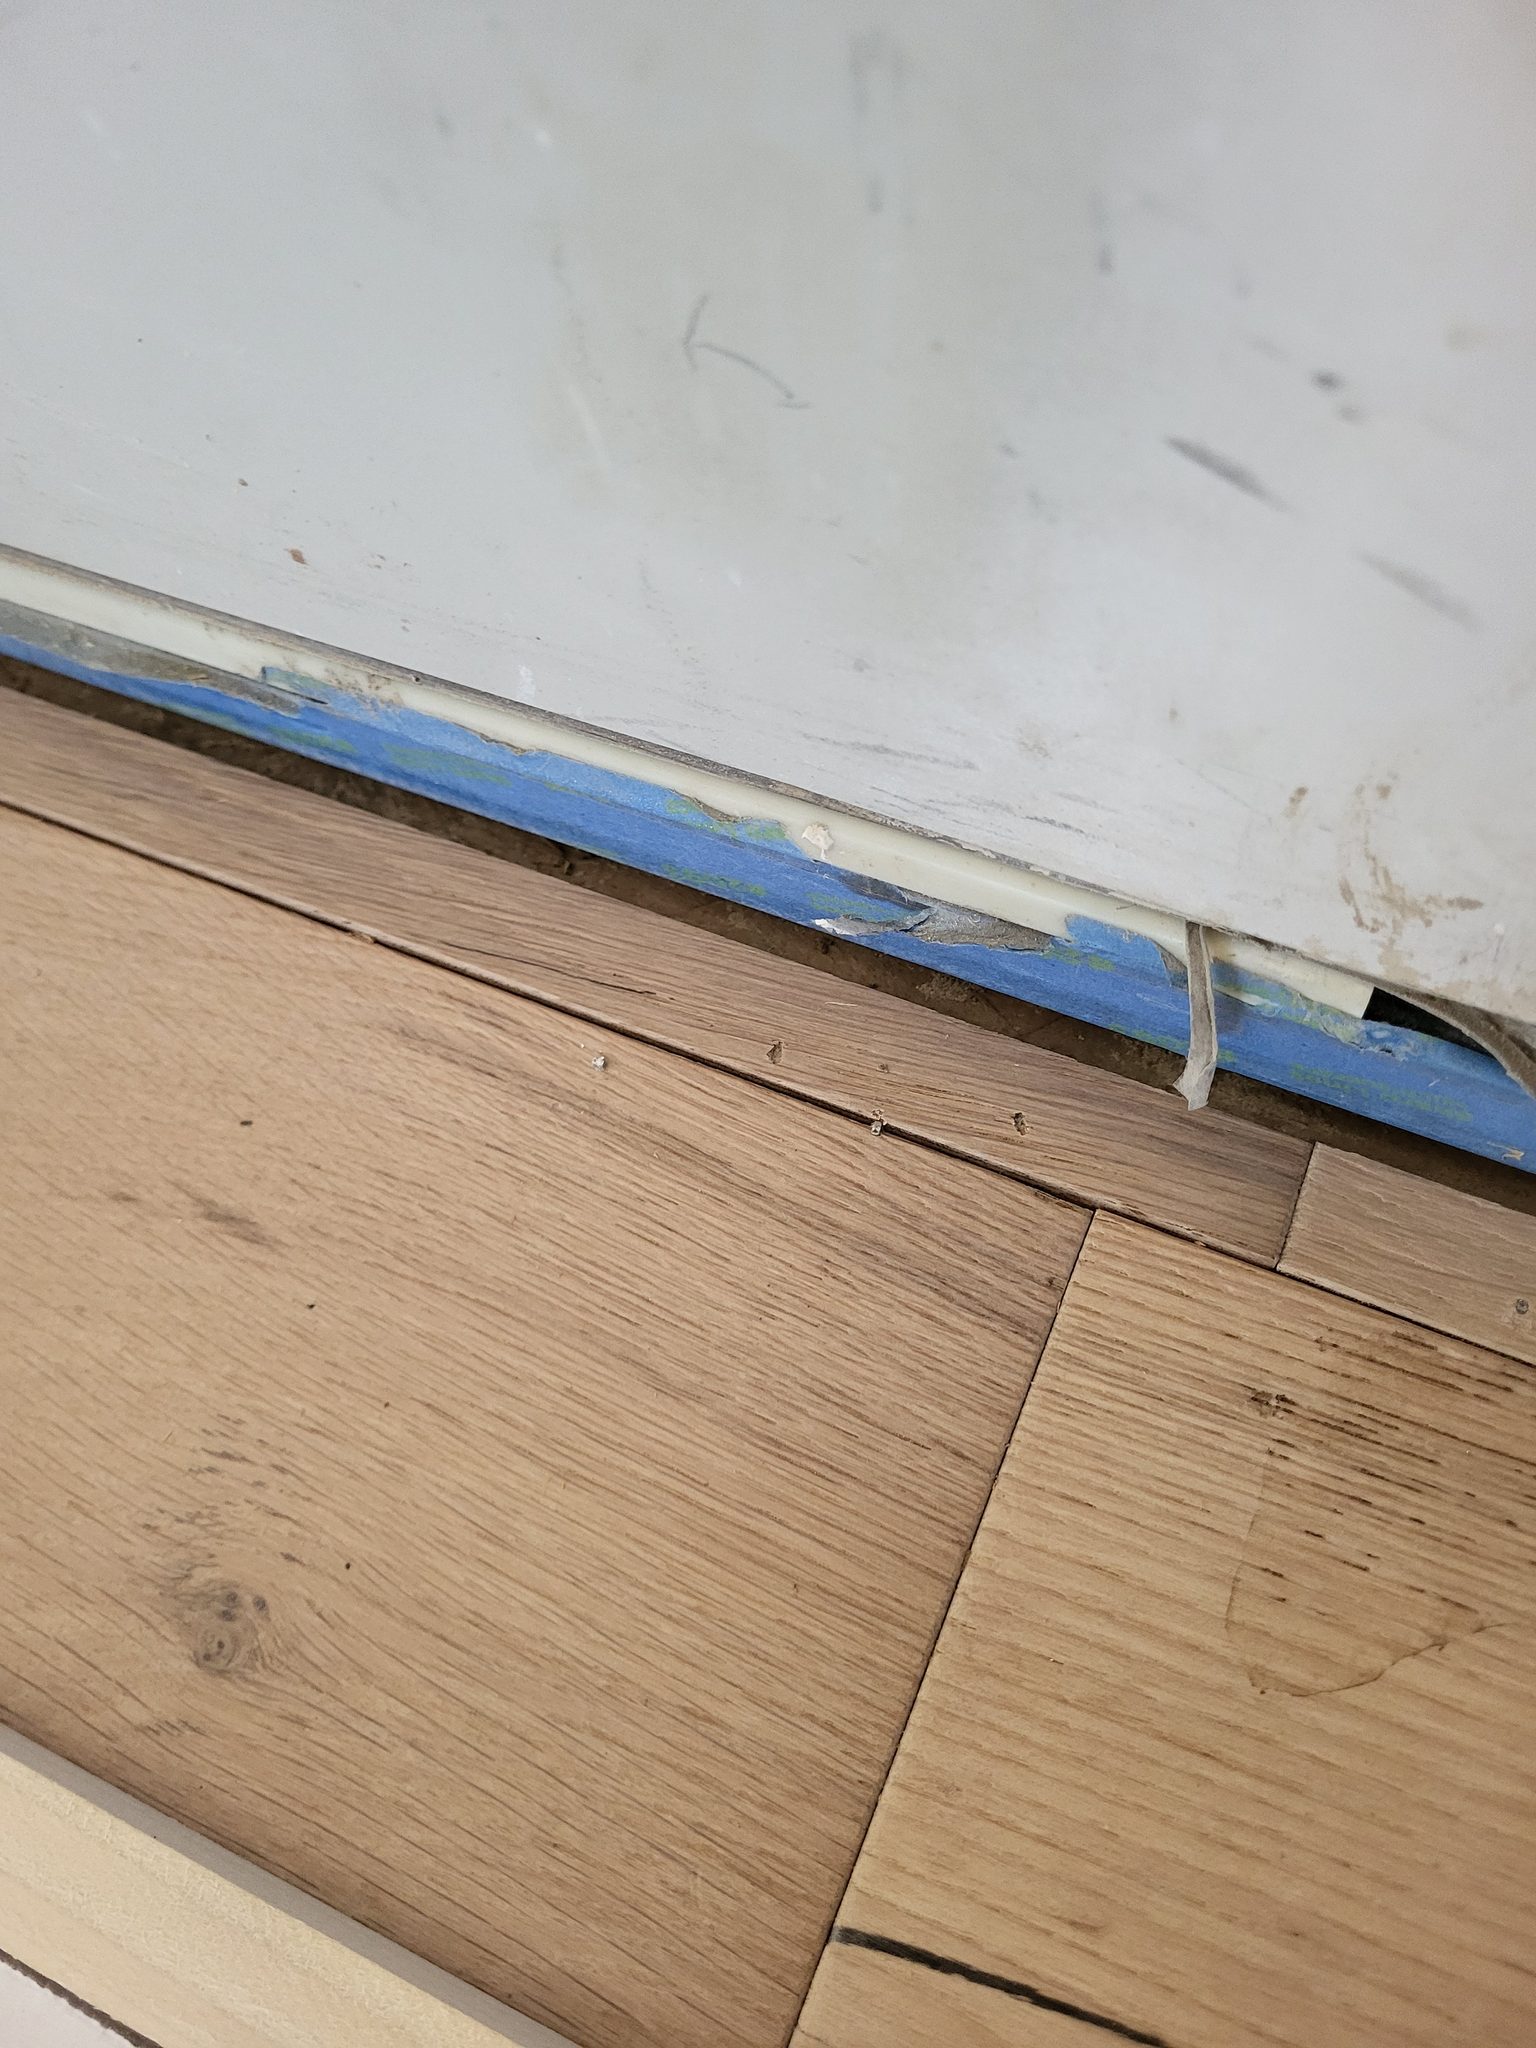
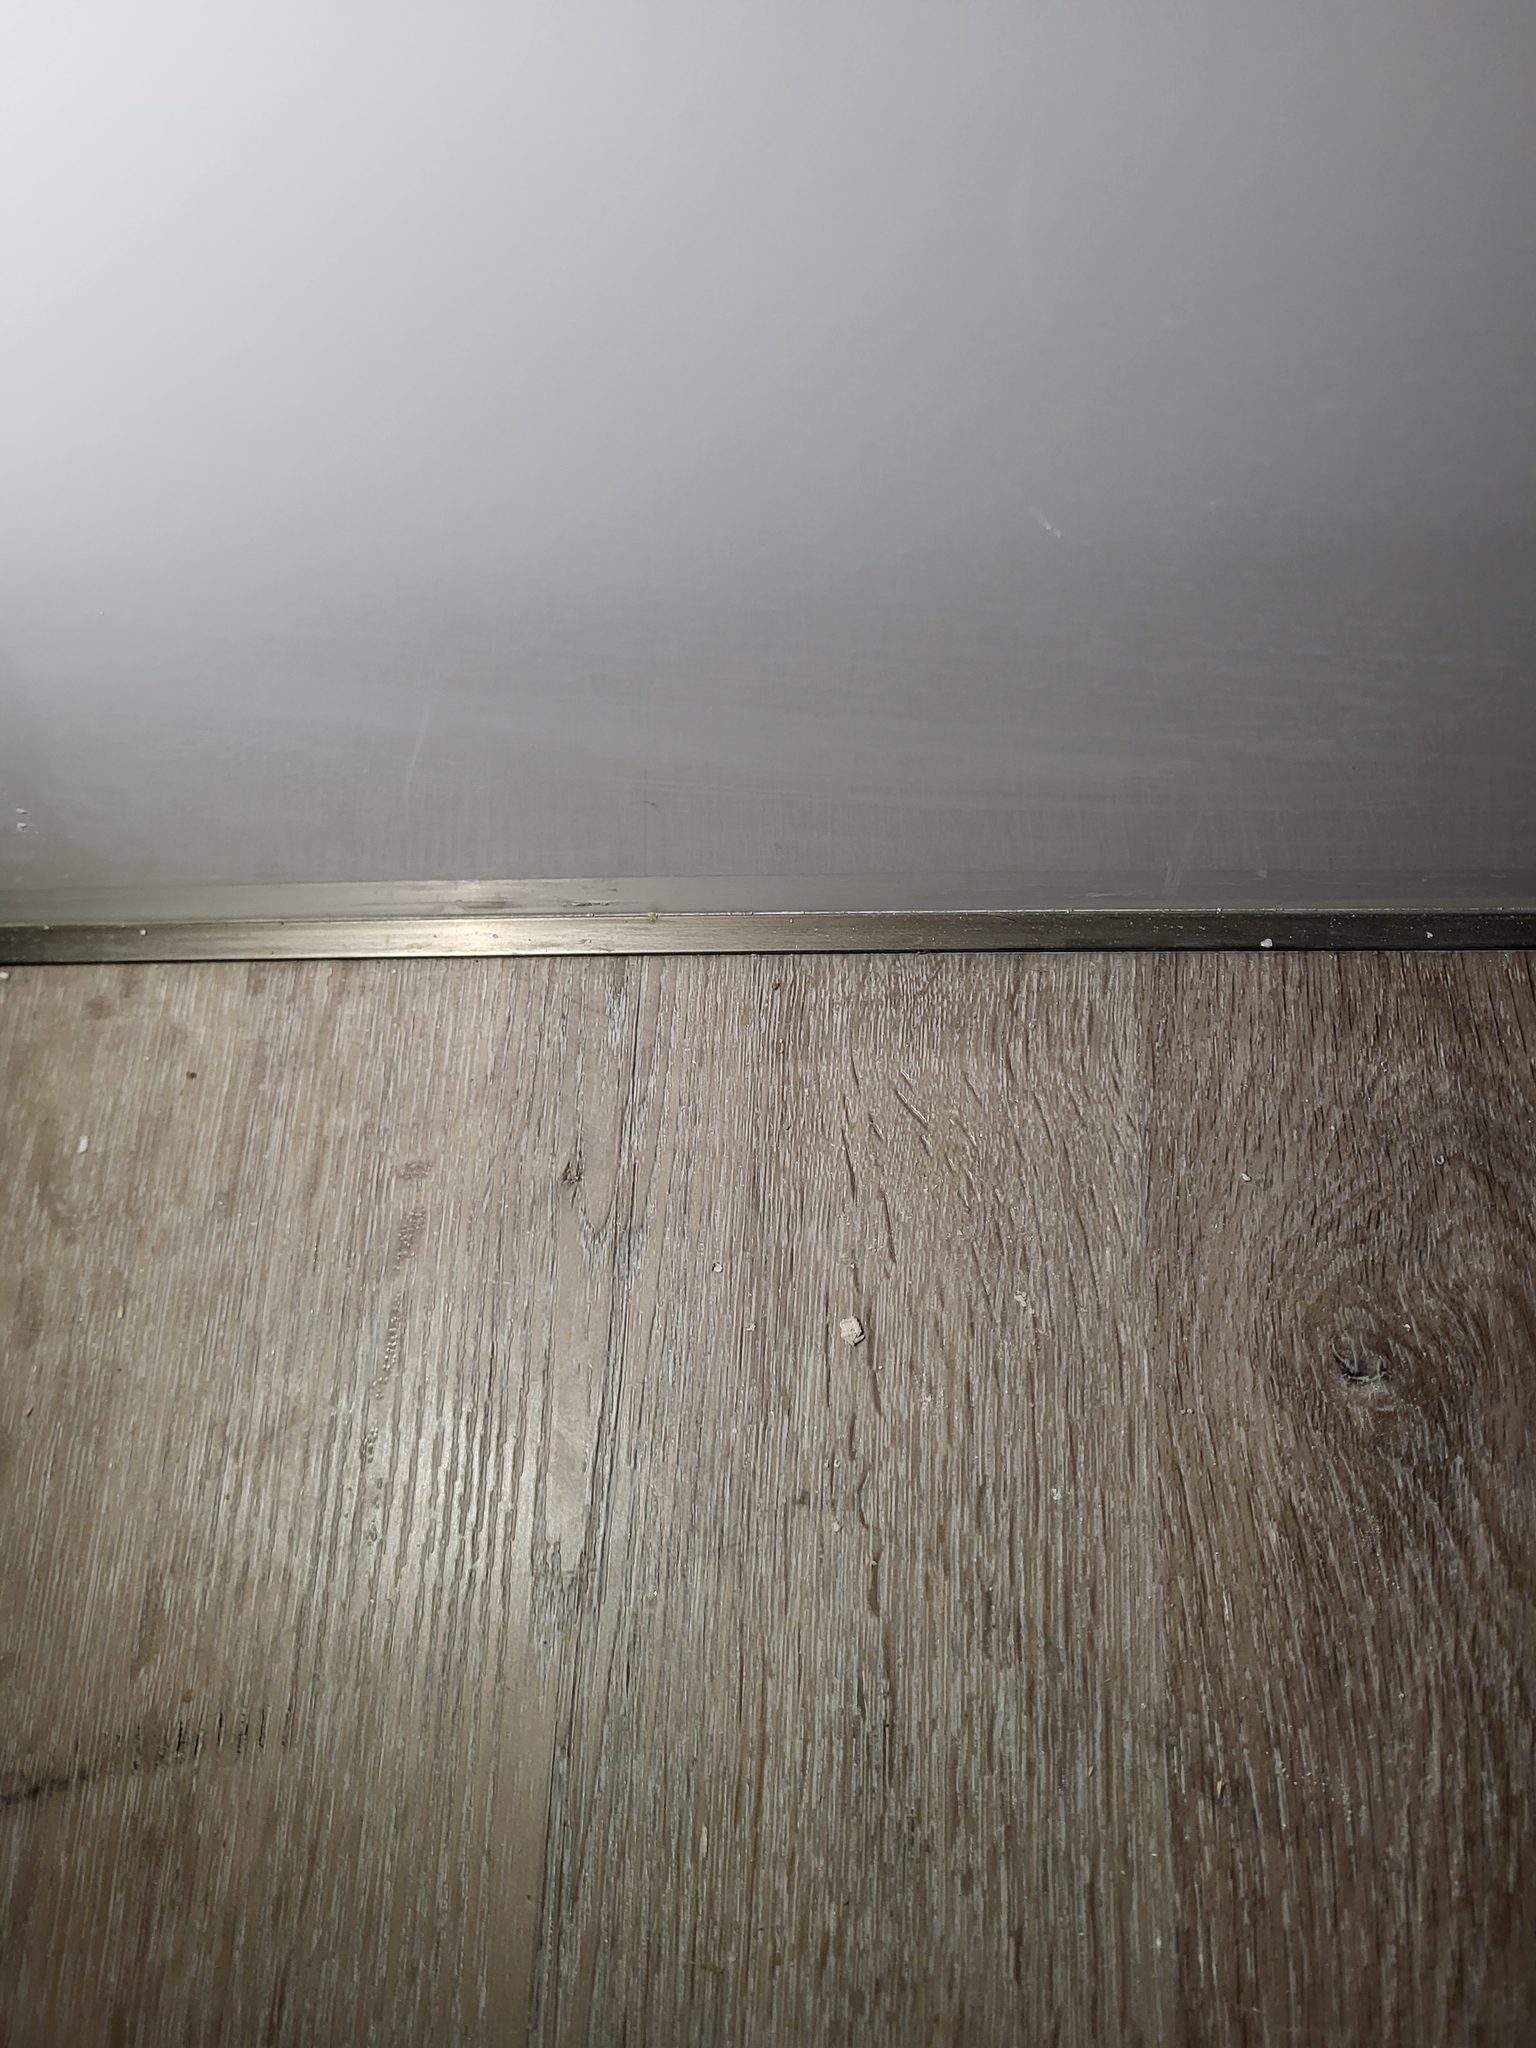
- Maintain a 1/4-inch expansion gap around the perimeter.
Step 6. Cut Planks to Fit #
Use a utility knife or jigsaw to cut planks to fit around obstacles and at the end of rows.
Step 7. Install Shoe Molding #
Shoe molding is a separate punchout step, not part of this trip; the method is in How to Install Base Shoe. Leave the shoe material full length and uncut for the painters to finish, then come back afterward to cut and nail it in to cover the expansion gaps.
Pro Tips #
Pro Tip: "No 1x8 on the railing for engineered, yes 1x8 for LVP."
Common Mistakes #
- Mistake: Skipping the acclimation step. This can lead to buckling or gapping as the flooring adjusts to the room's conditions.
- Mistake: Failing to secure the subfloor properly, leading to squeaks and movement underfoot.
- Mistake: Not maintaining an expansion gap, which can cause the flooring to warp or buckle.
QC / Punch Checklist #
- Verify all planks are securely locked together with no gaps.
- Check that the expansion gap is consistent around the room perimeter.
- Confirm shoe molding material is staged, full length and uncut, ready for the painters and punchout install.
- Confirm that all transitions to other flooring types are smooth and secure.
Related Guides #
- How to Install Base Shoe
- How to Install Baseboard
- Install Pre-Cut Shoe Molding, Nail Down
- How to Install Cabinets
- How to Install Decorative Wall Treatments
Reference Photos #
The following photos show examples of this type of work completed in the field. These serve as visual references for quality standards, proper installation techniques, and finished results.
Showing 2 of 2 photos