On this page
Introduction #
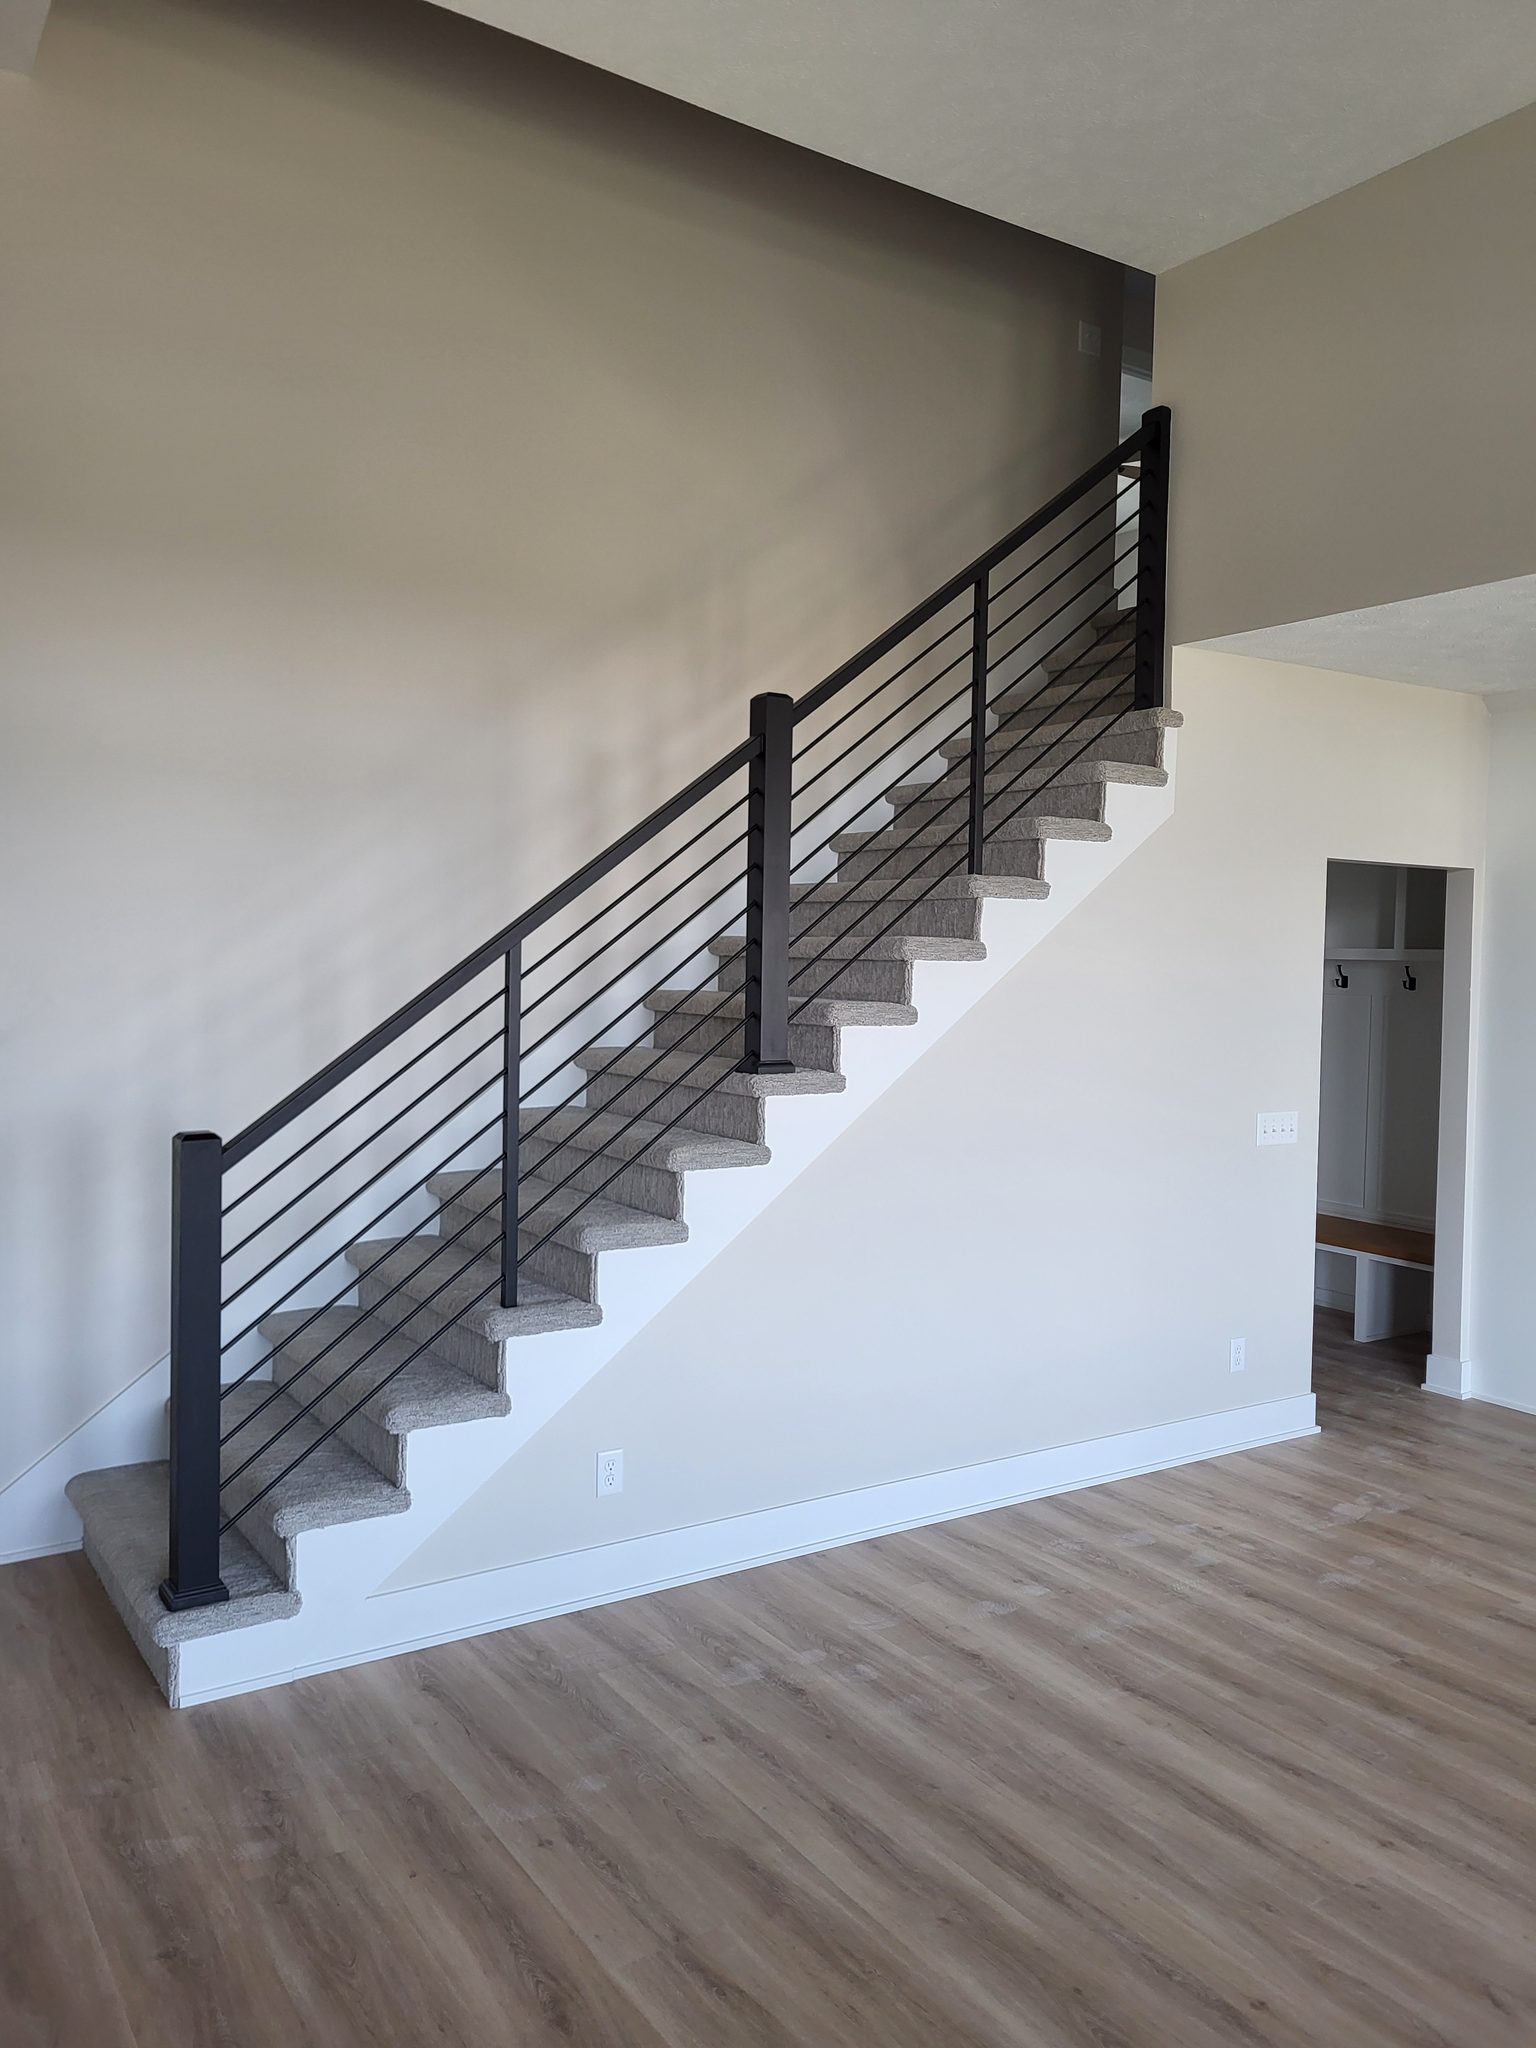
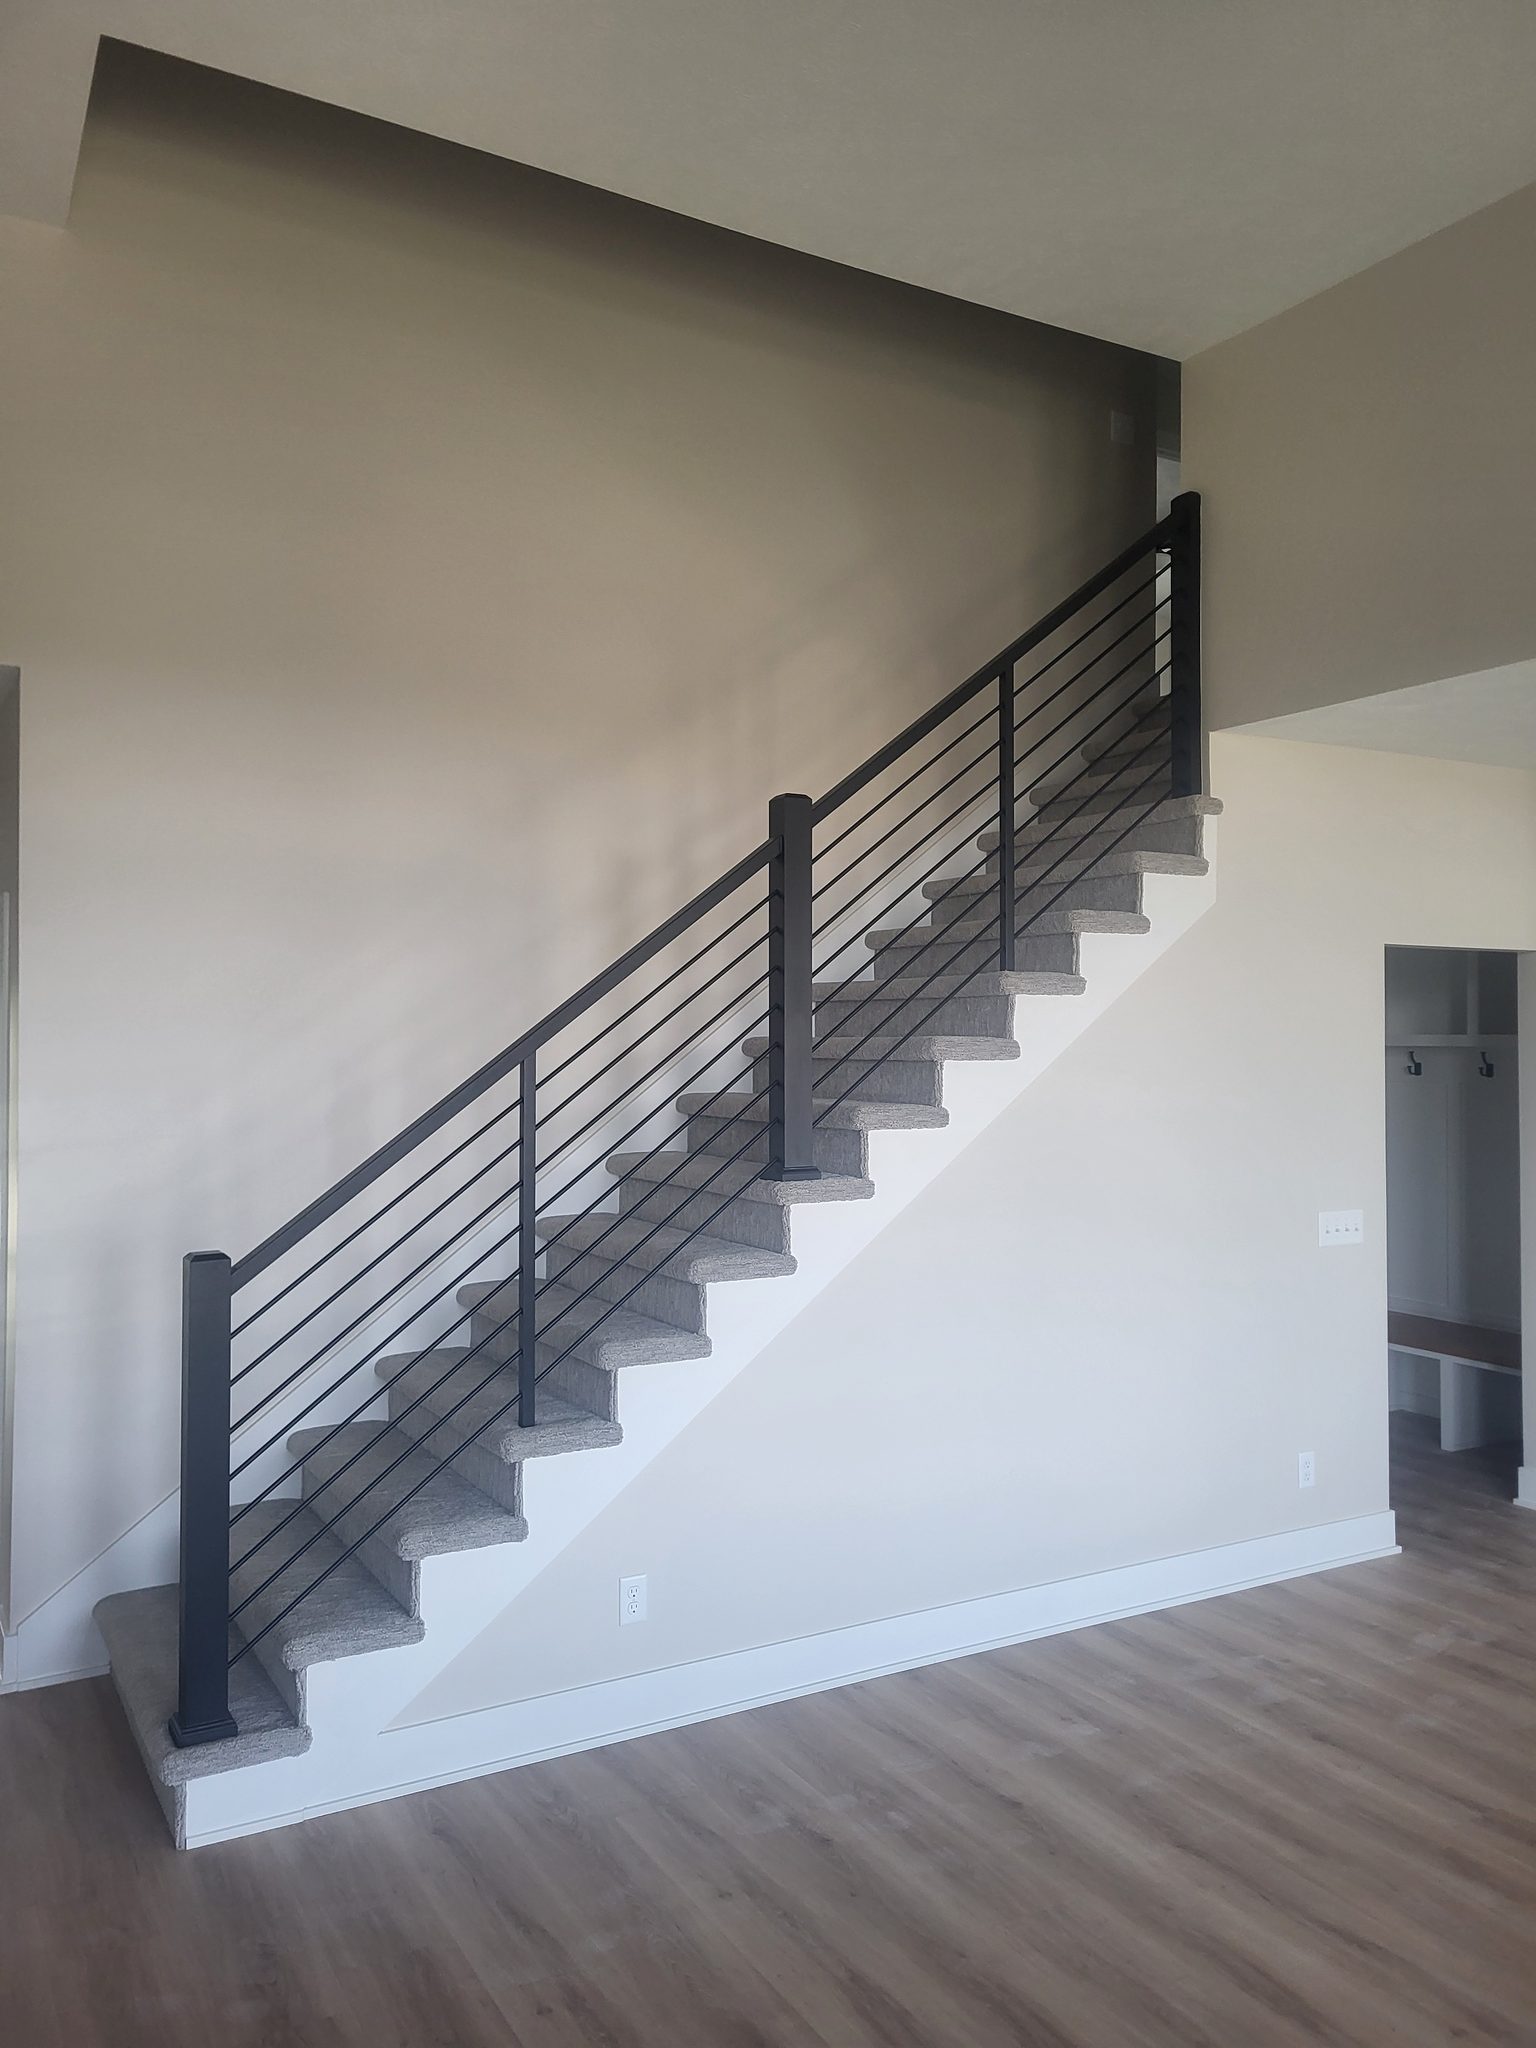
A horizontal bar railing is a guardrail built the same way as our standard baluster railing: horizontal bars fill the space between posts instead of vertical balusters. The posts, rail, and rail height do not change. That build is covered in How to Install Metal Balusters and is not repeated here. What is different: the bars go in as the posts are set, not after the rail is up, and the work is counted by linear foot of rail, not by bar count.
Installing the bars is a task that demands precision and attention to detail, and the 4 inch sphere rule for guard openings comes from IRC Chapter 3. The same rule governs bar spacing that governs baluster spacing: no opening between two bars, or between an end bar and a post, may pass a 4 inch sphere.
Before You Begin #
Prerequisites #
- Stair or landing framing is complete, and any treads or flooring the posts anchor into are finished.
- Bar spacing is worked out for the full run before any post is set, since posts and bars go in together, not in separate passes.
- All bars, posts, rail stock, and fasteners are on site and checked against the material list.
What You Need To Know #
- The rail is the same rail we build for metal balusters: 36-1/4 inches from the walking surface to the top. Only the infill changes.
- This job is counted by linear foot of rail, not by number of bars, so measure and record the run length.
Tools #
- Drill/Driver, for pre-drilling and driving fasteners at the post connections.
- Miter saw, for cutting bars to length.
- Laser Level, to keep bar and post layout marks aligned across the run.
- Torpedo level, to check each post and bar for plumb and level as you go.
- Tape measure, for the run length and all layout marks.
- Speed Square, to check each post square to the framing.
- Clamps, for holding a bar in position while the next post is set over it.
Materials #
- Horizontal bars, cut to length for the run.
- Silicone, for setting the bar ends in the drilled posts
- Post and rail material, per How to Install Metal Balusters.
- Fasteners for post-to-framing connections, the same as any newel post installation.
Installation Steps #
Step 1. Measure the Run and Lay Out Bar Spacing #
Measure the full run end to end and record the length in linear feet: this job is counted by linear foot of rail, not by bar count. Use that length to lay out bar spacing before any post goes in, holding to the 4 inch sphere rule at every post.
Step 2. Set the First Post #
Set and plumb the first post the same way as for a baluster rail, secured to the framing and solid before anything fastens to it. Do not set every post first and come back for the bars: they go in as the posts are set, not after the rail is up the way balusters do.
Step 3. Fit the Bars to the First Post #
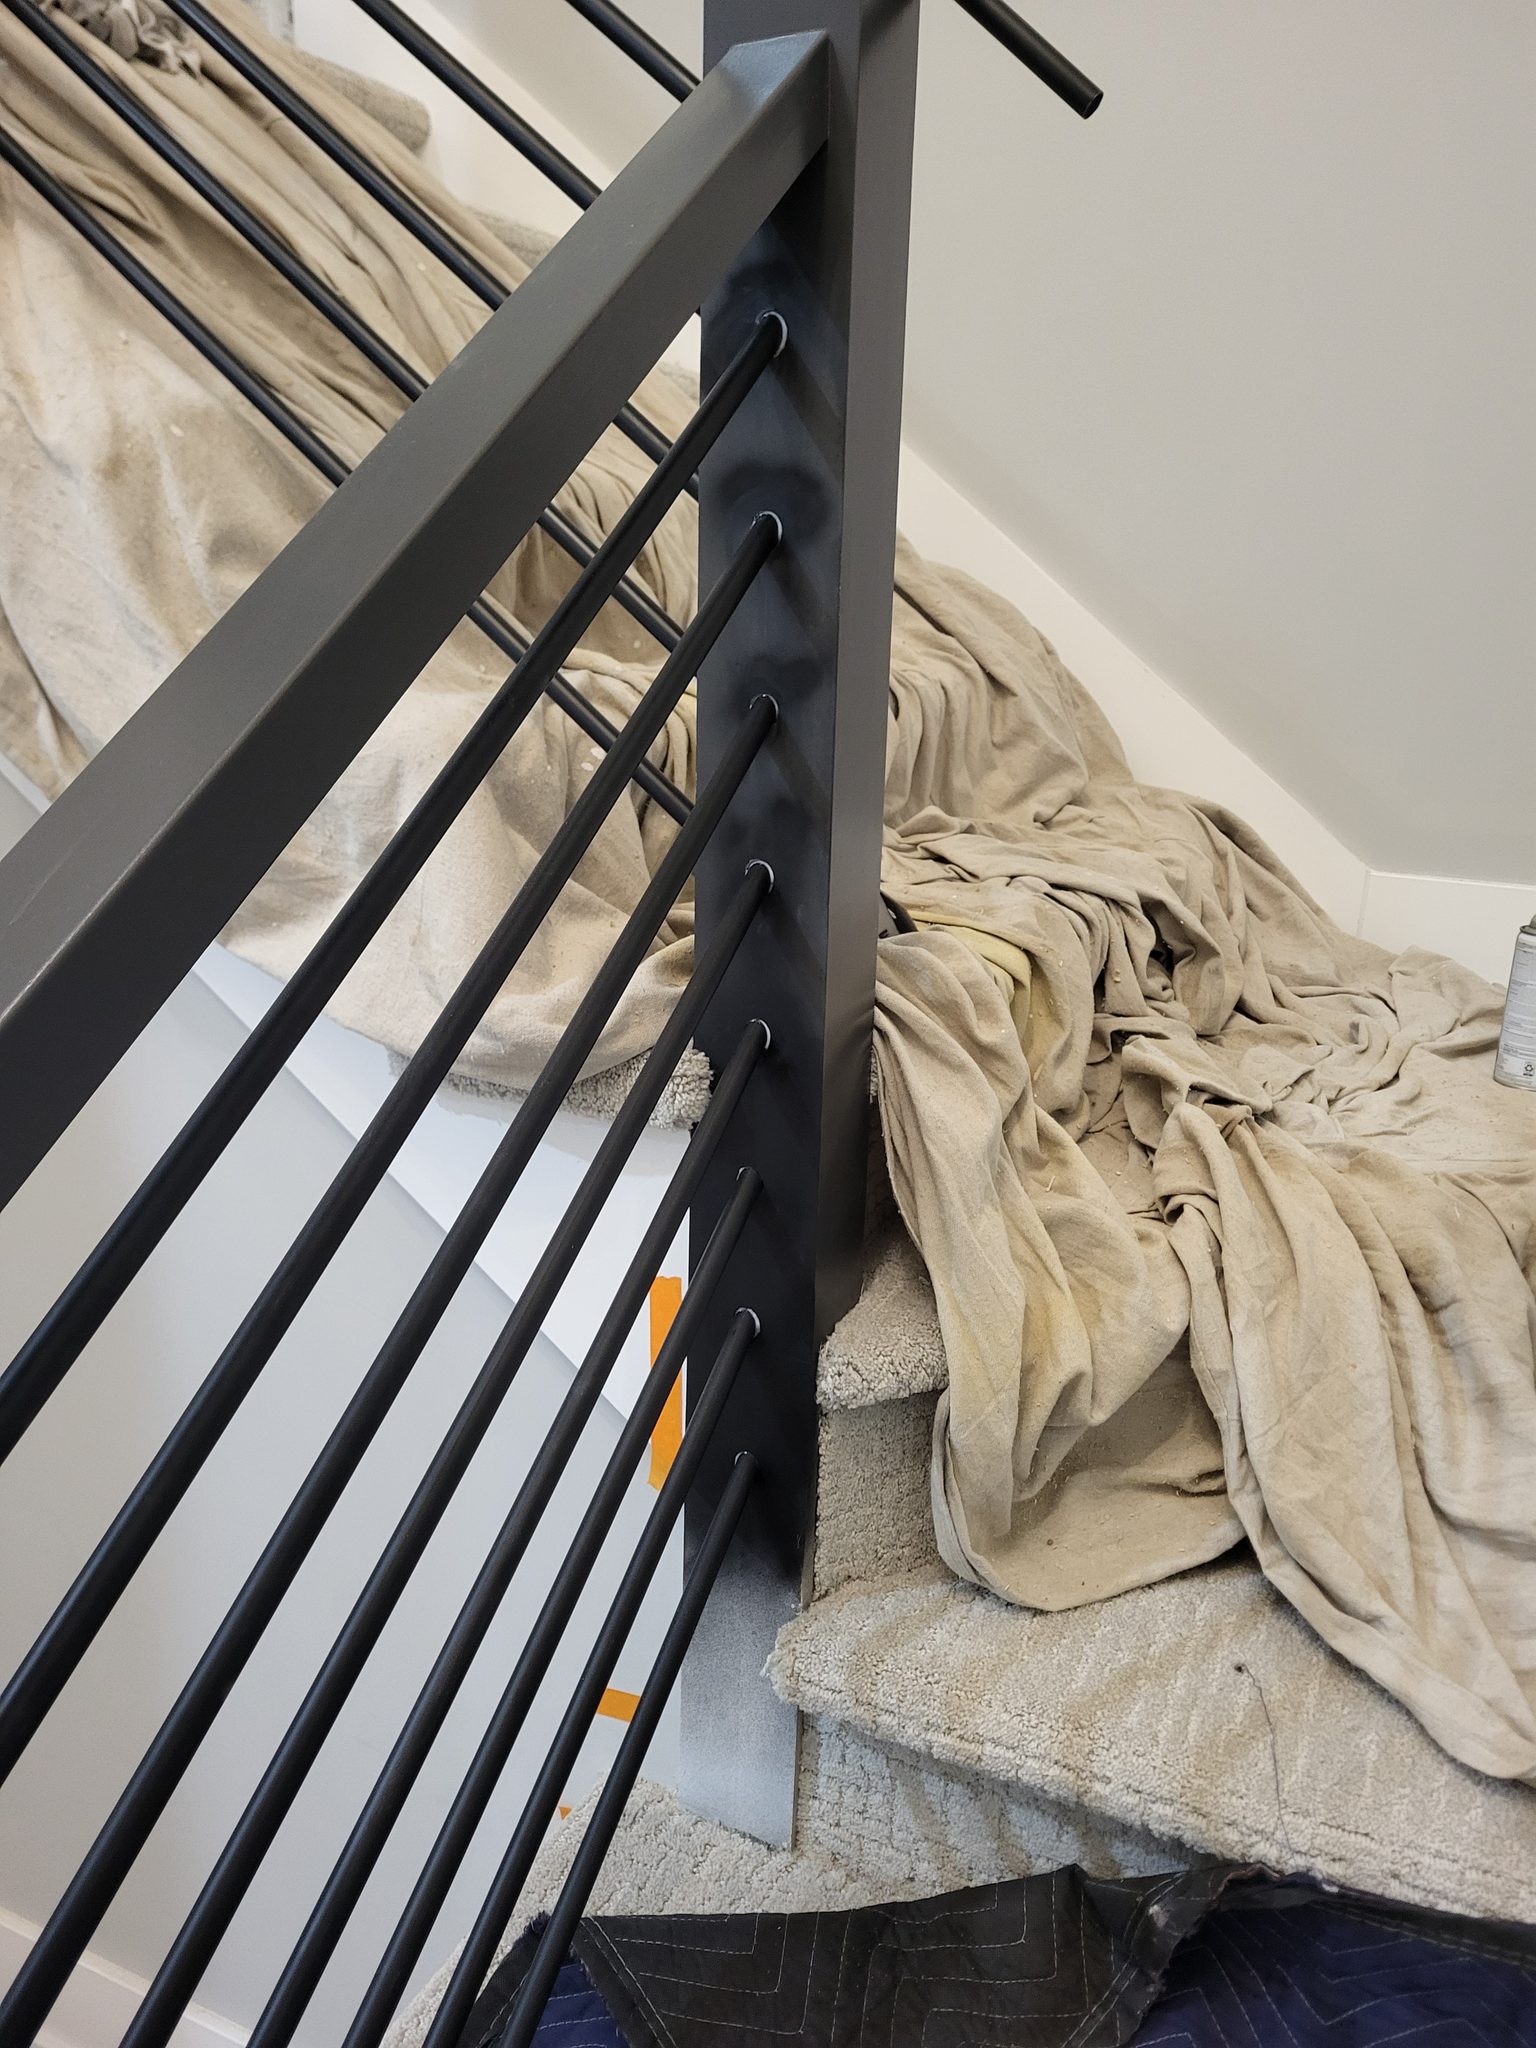
With the first post plumb and secured, fit the bar ends for that section into the post at your layout marks. Drill the post for each bar and set the bar end in silicone. Epoxy is the baluster method, where the joint carries structure; a horizontal bar end gets silicone. Check each bar for level before you move on.
Step 4. Set the Next Post, Capturing the Bars, and Repeat #
Position the next post over the free ends of the bars you just fitted, so it captures them as it goes in. Plumb and secure it, confirm the bars are level and on their marks, then repeat down the rest of the run: lay out, fit, capture. A post out of plumb, or bars fitted before the post ahead of it is secured, is much harder to fix once several sections are in.
Step 5. Install the Rail #
Once posts and bars are set, build and install the rail per How to Install Metal Balusters, same rail stock, same post connection, same 36-1/4 inch height to the top of rail. Nothing about the rail changes for this infill.
QC / Punch Checklist #
- Run length is measured and recorded in linear feet, not counted by number of bars.
- Every post is plumb and solid, with no movement when pushed.
- Bar spacing is even across the run; a 4 inch sphere cannot pass between any two bars or between an end bar and a post.
- Every bar is level with no play, and the rail is solid at 36-1/4 inches to the top with no flex at the post connections.
Related Guides #
- How to Build a Handrail for Metal Balusters Like a Pro
- How to Install a Newel Post
- How to Secure and Finish a Stair Baluster
- How to Install a Wood Wall Cap
- How to Install a False Tread Stair End Cap
Reference Photos #
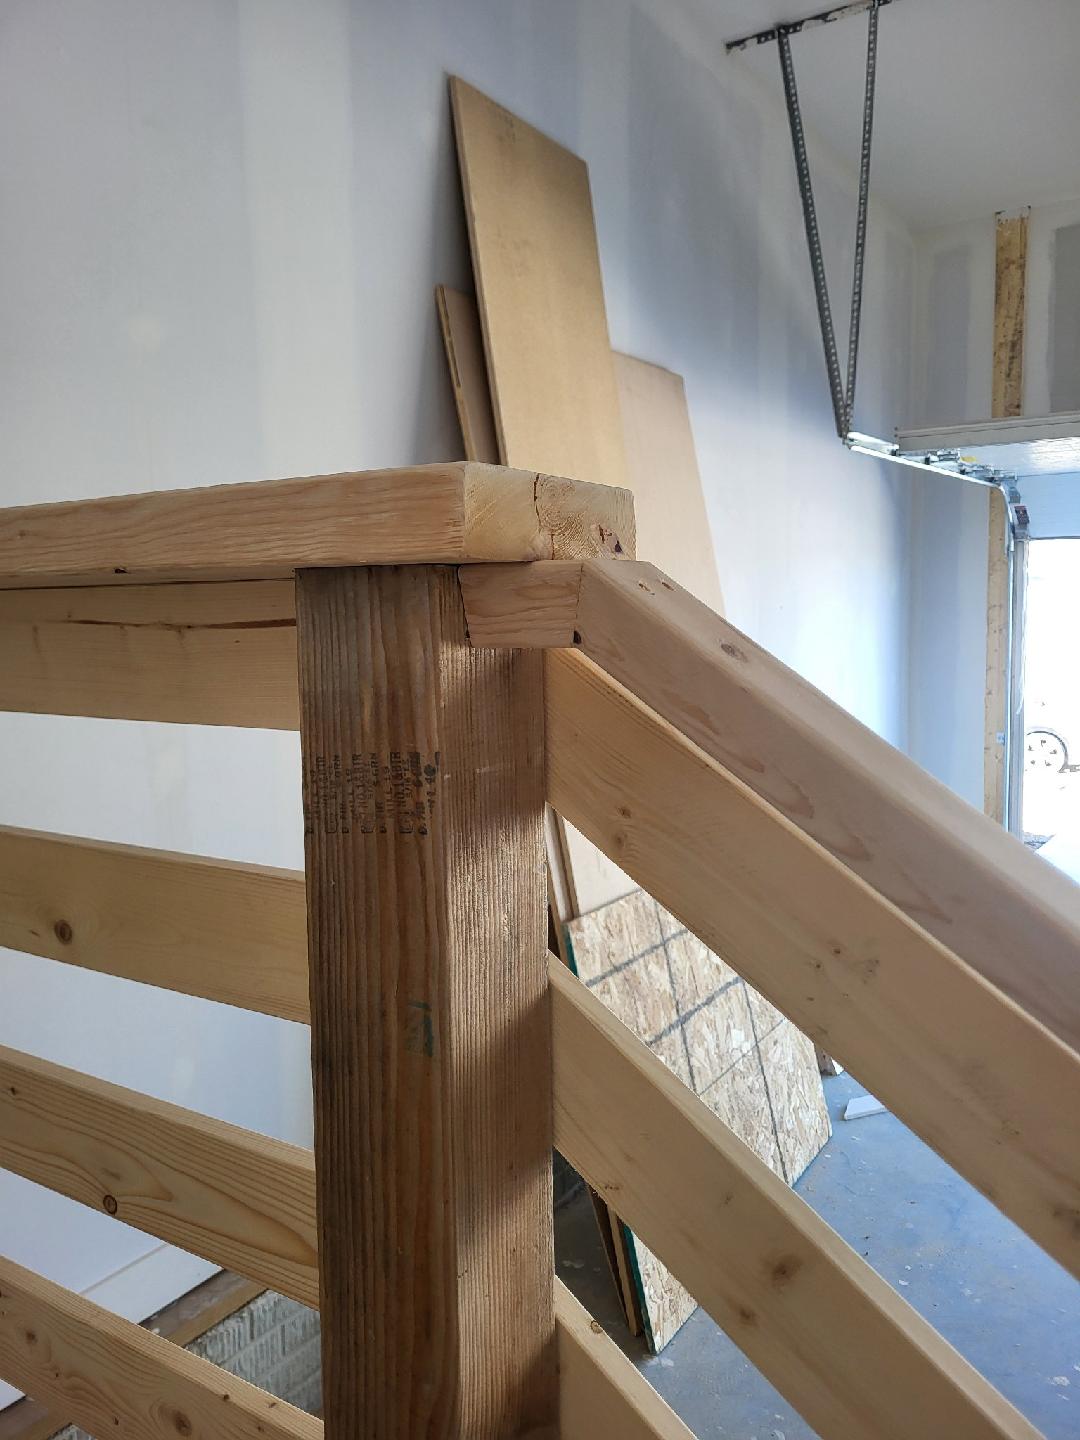
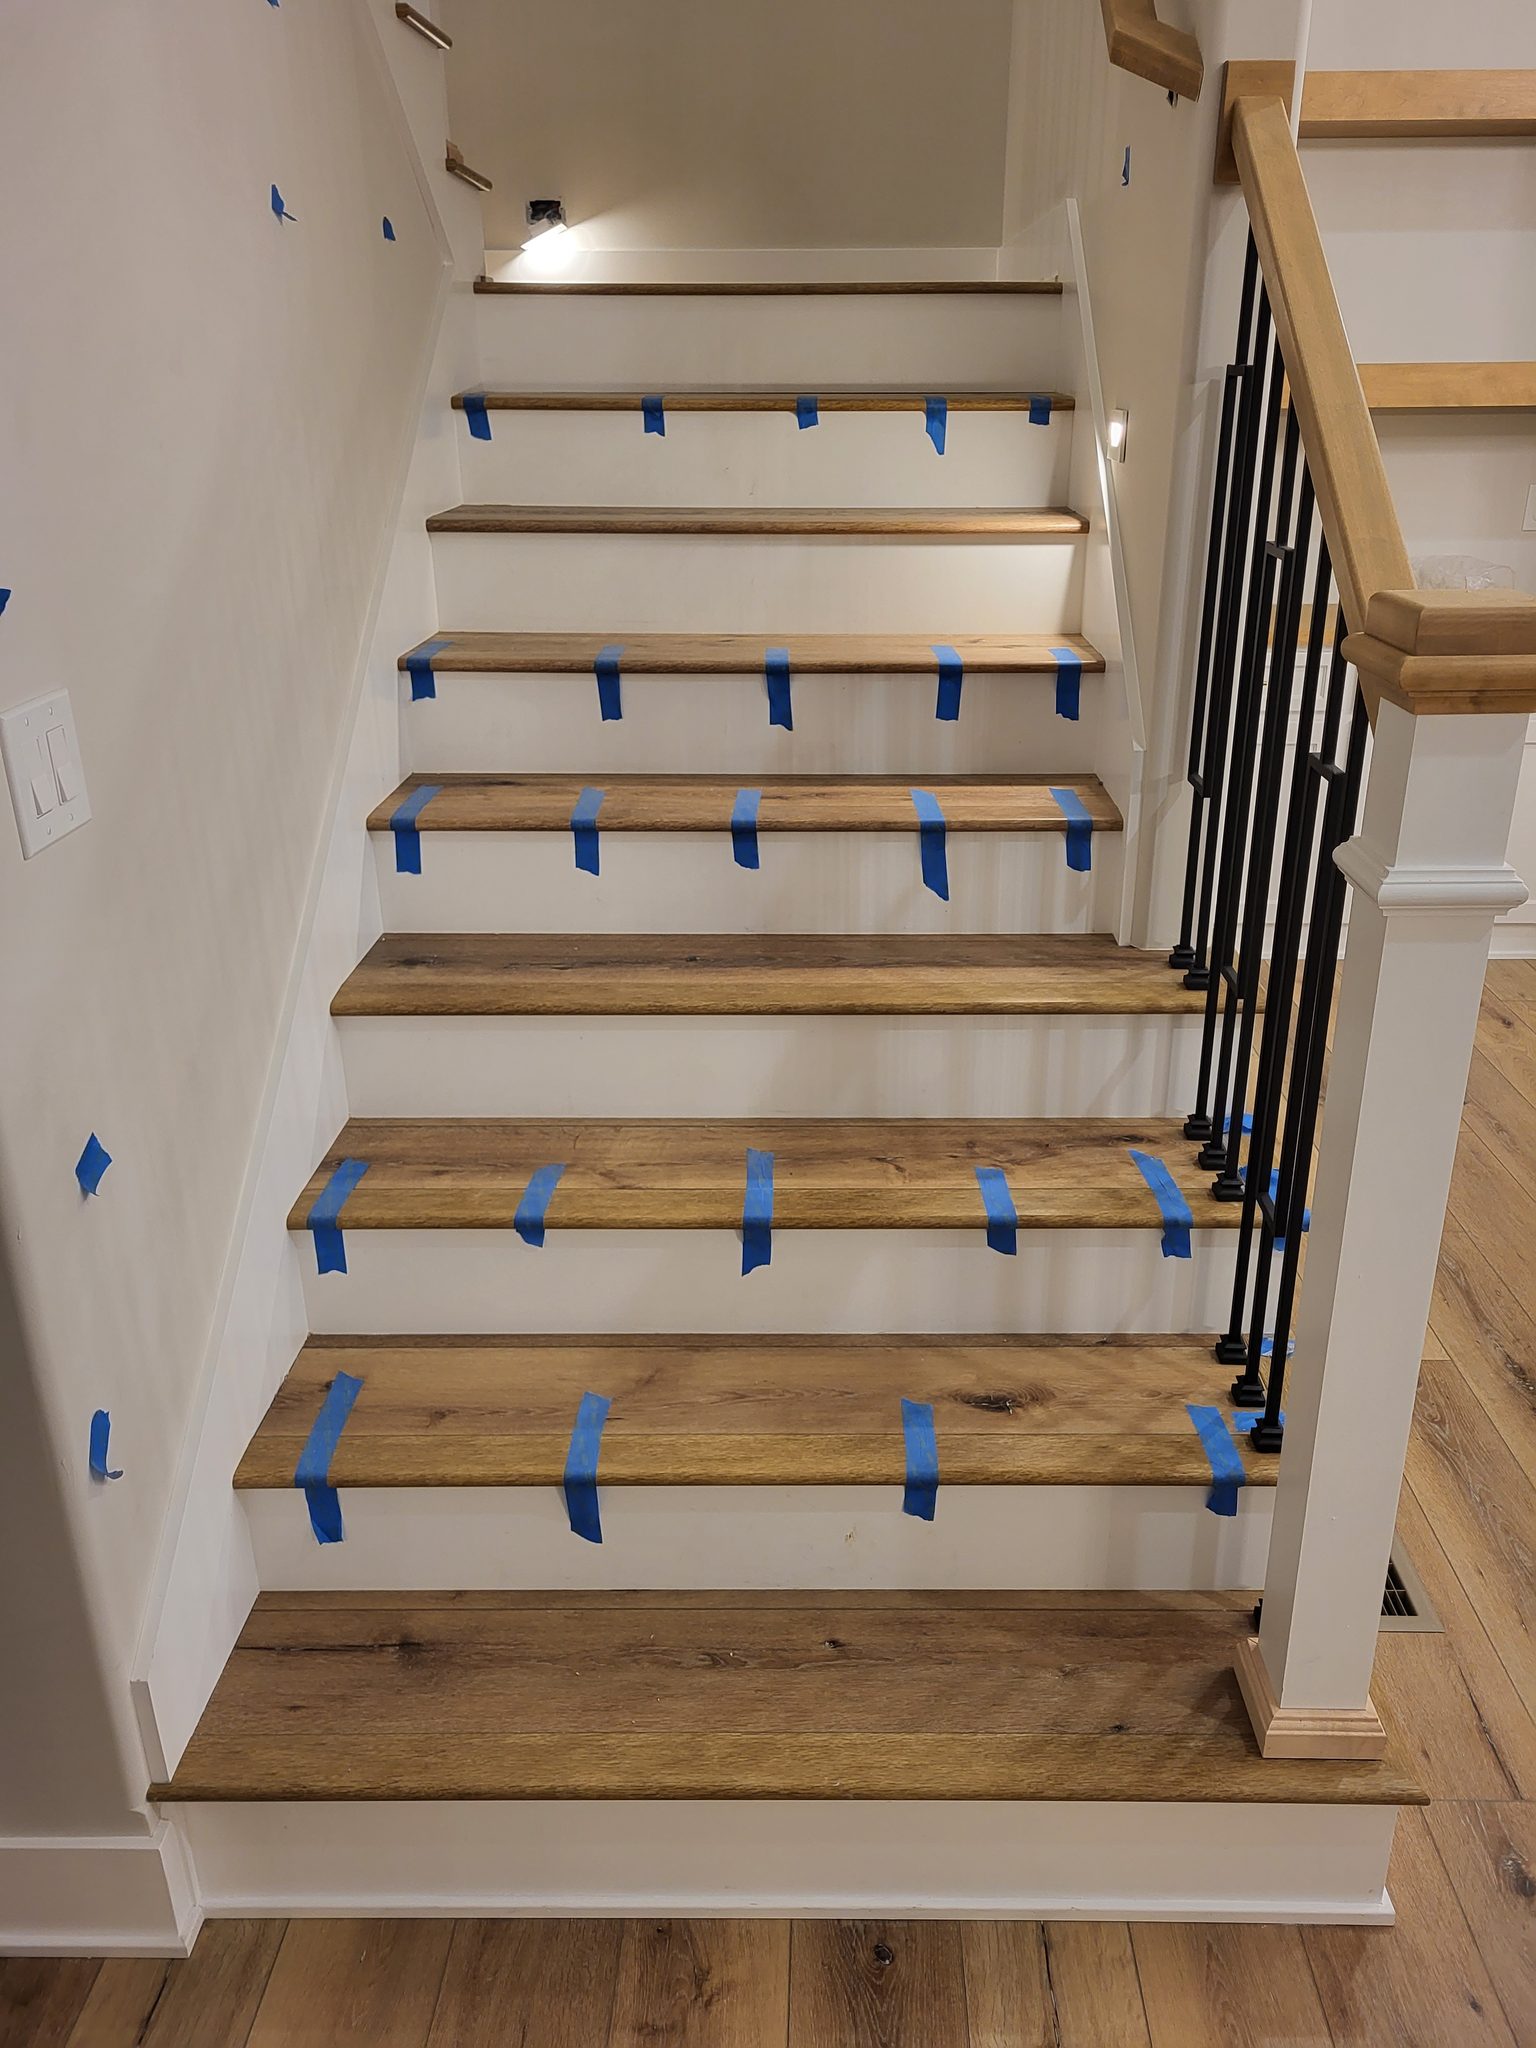
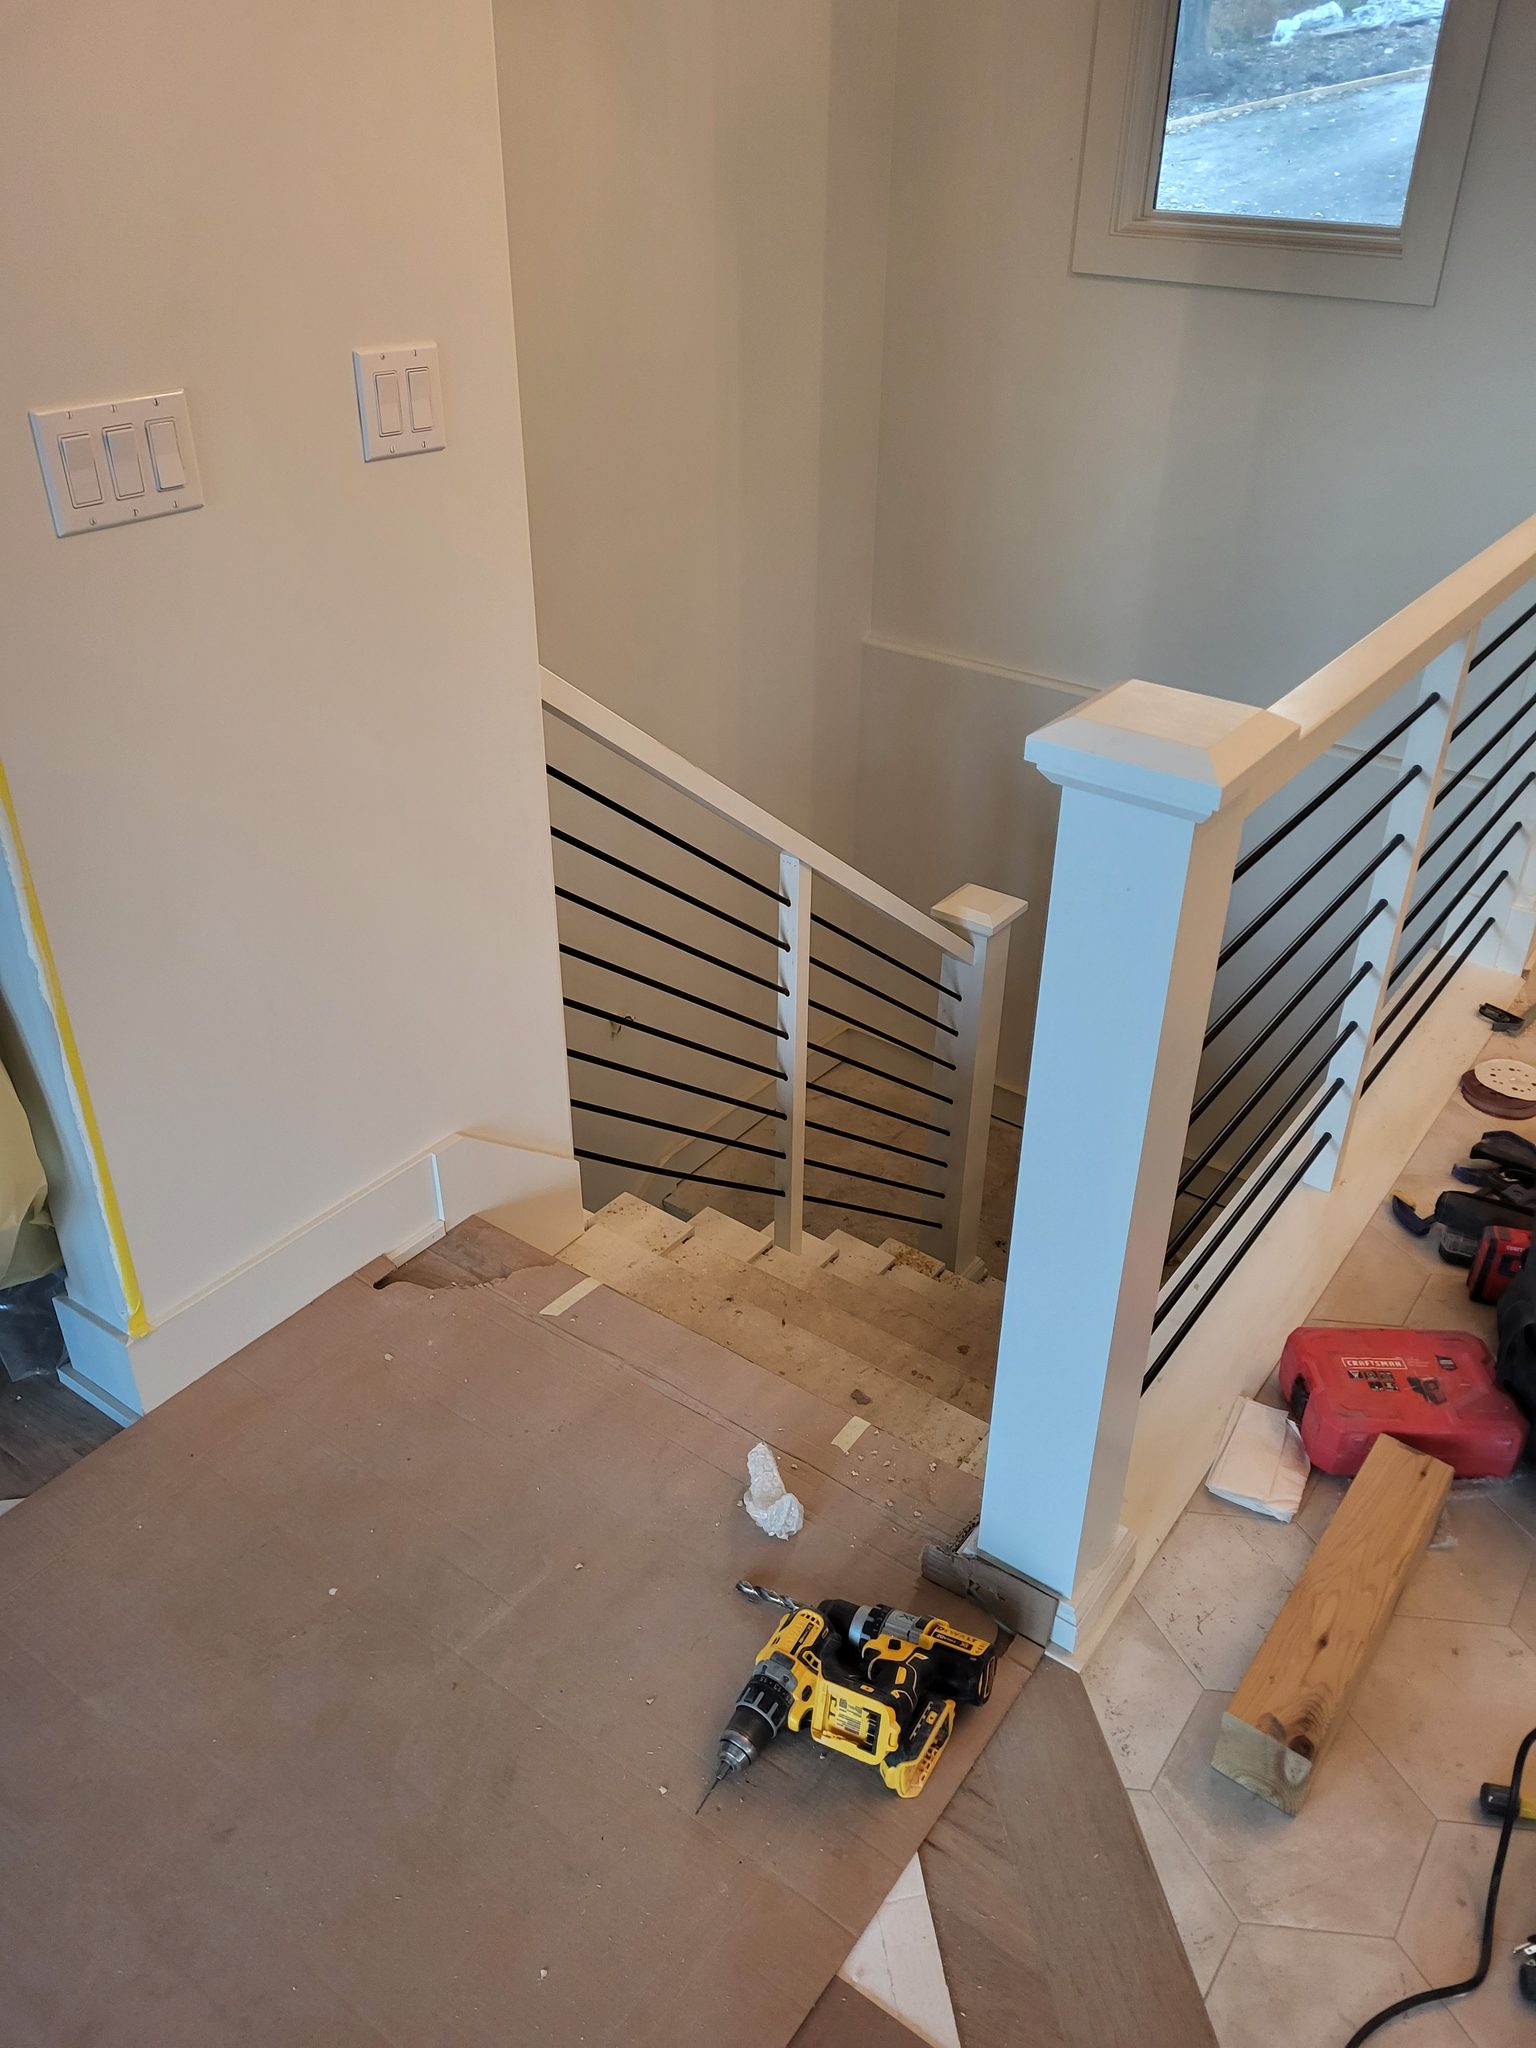
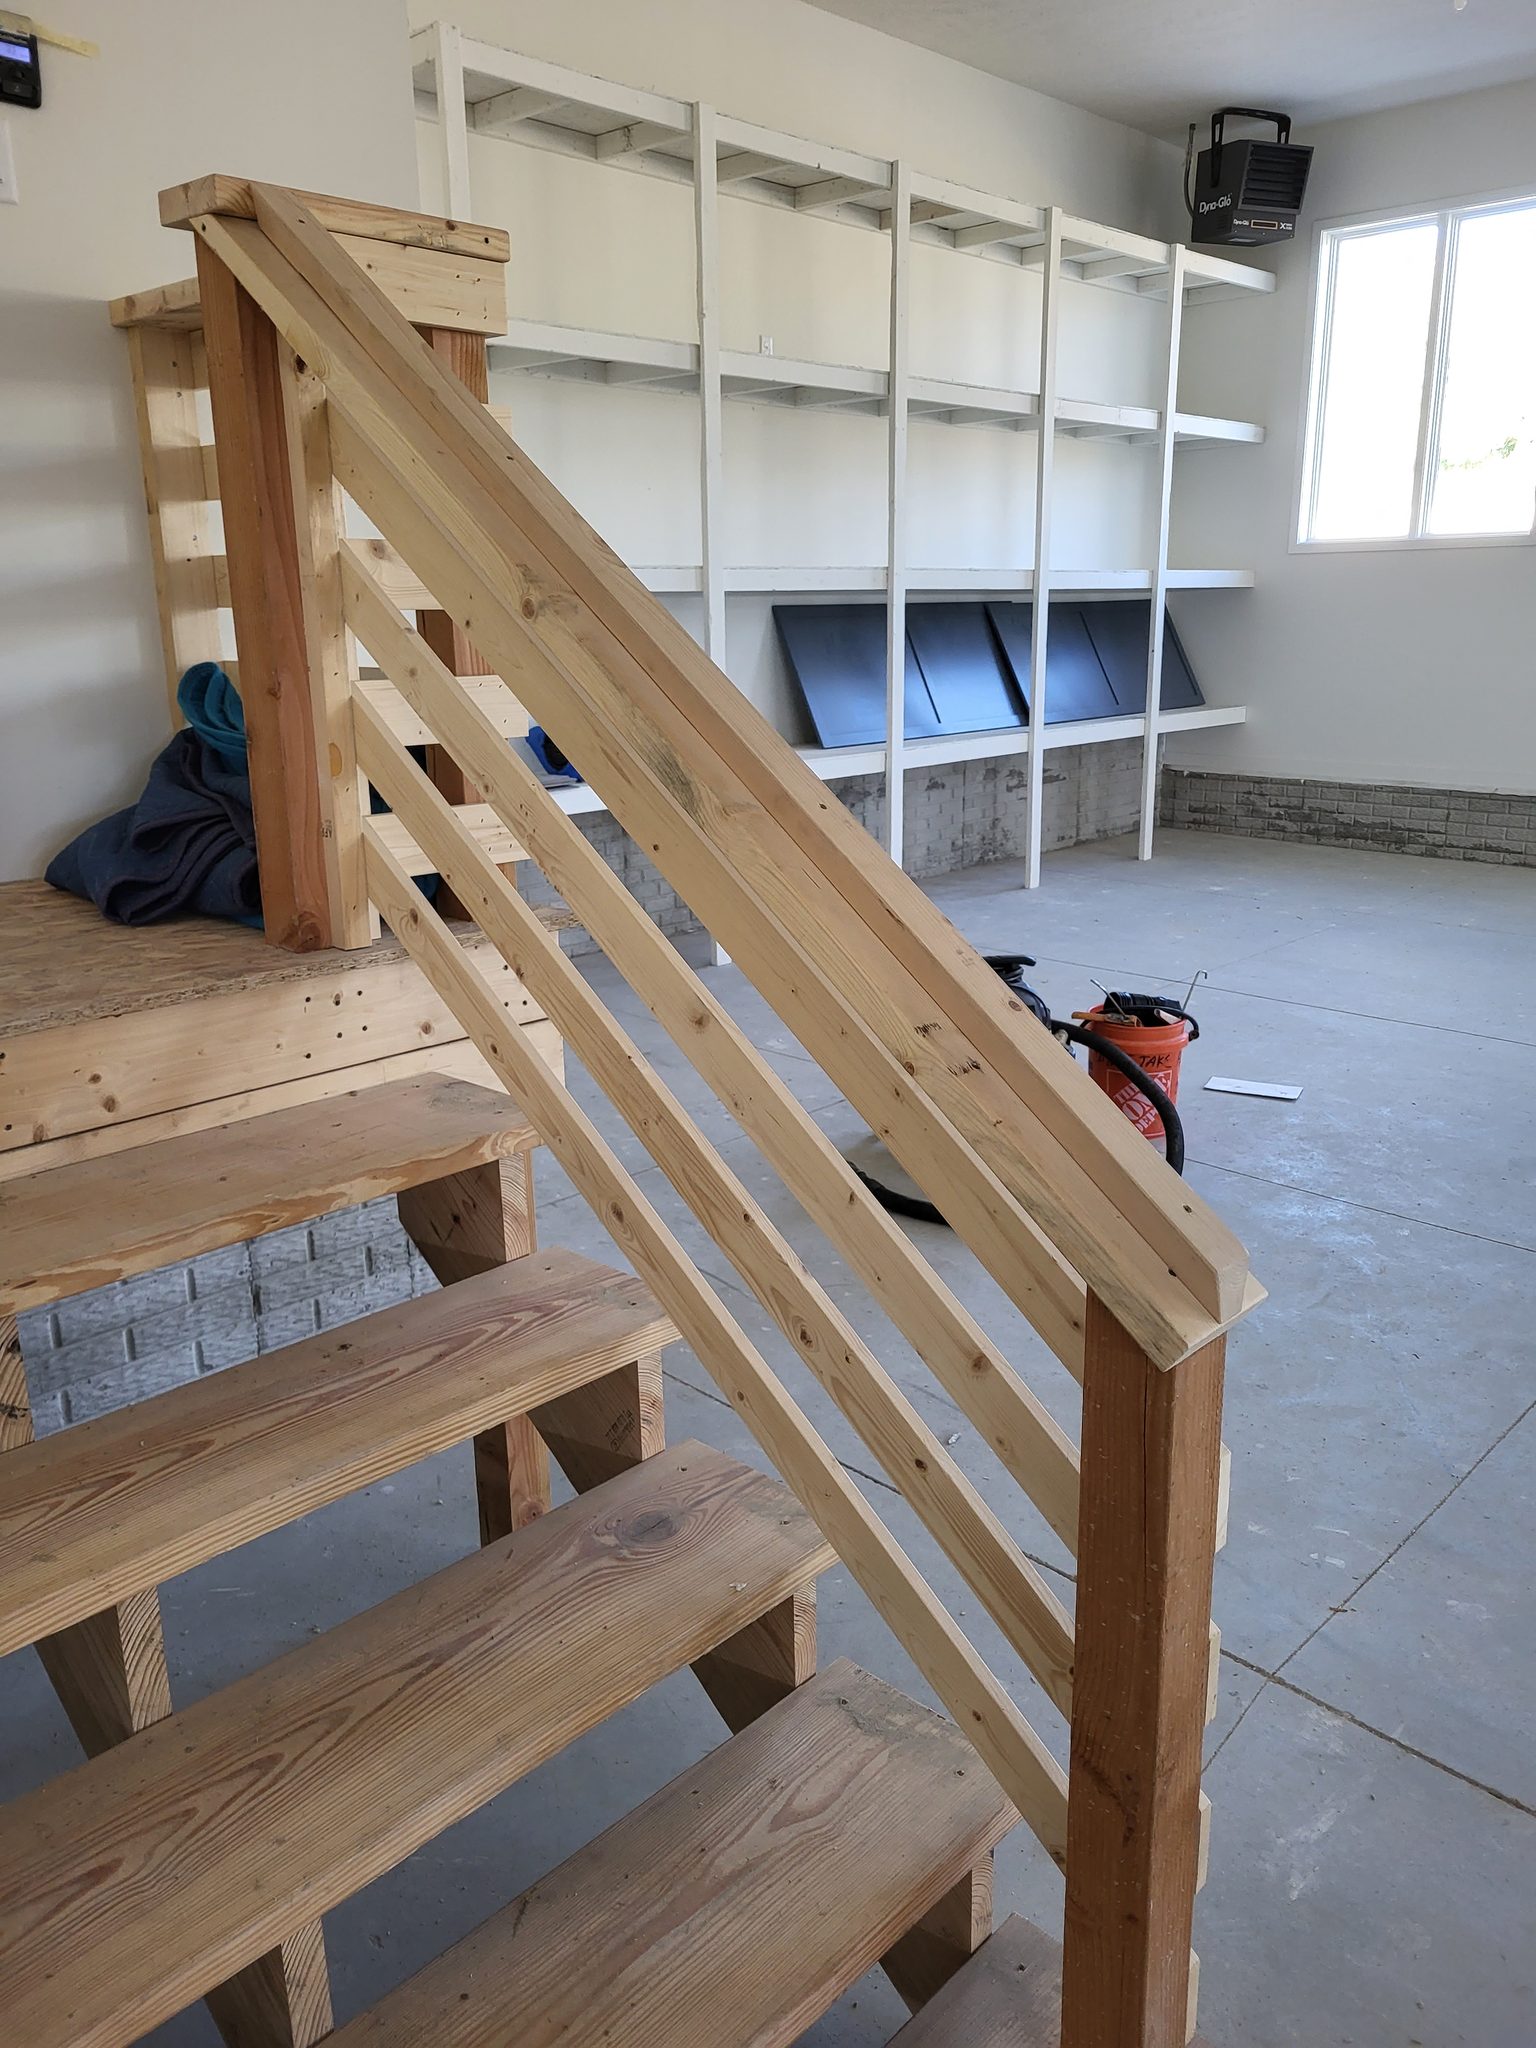
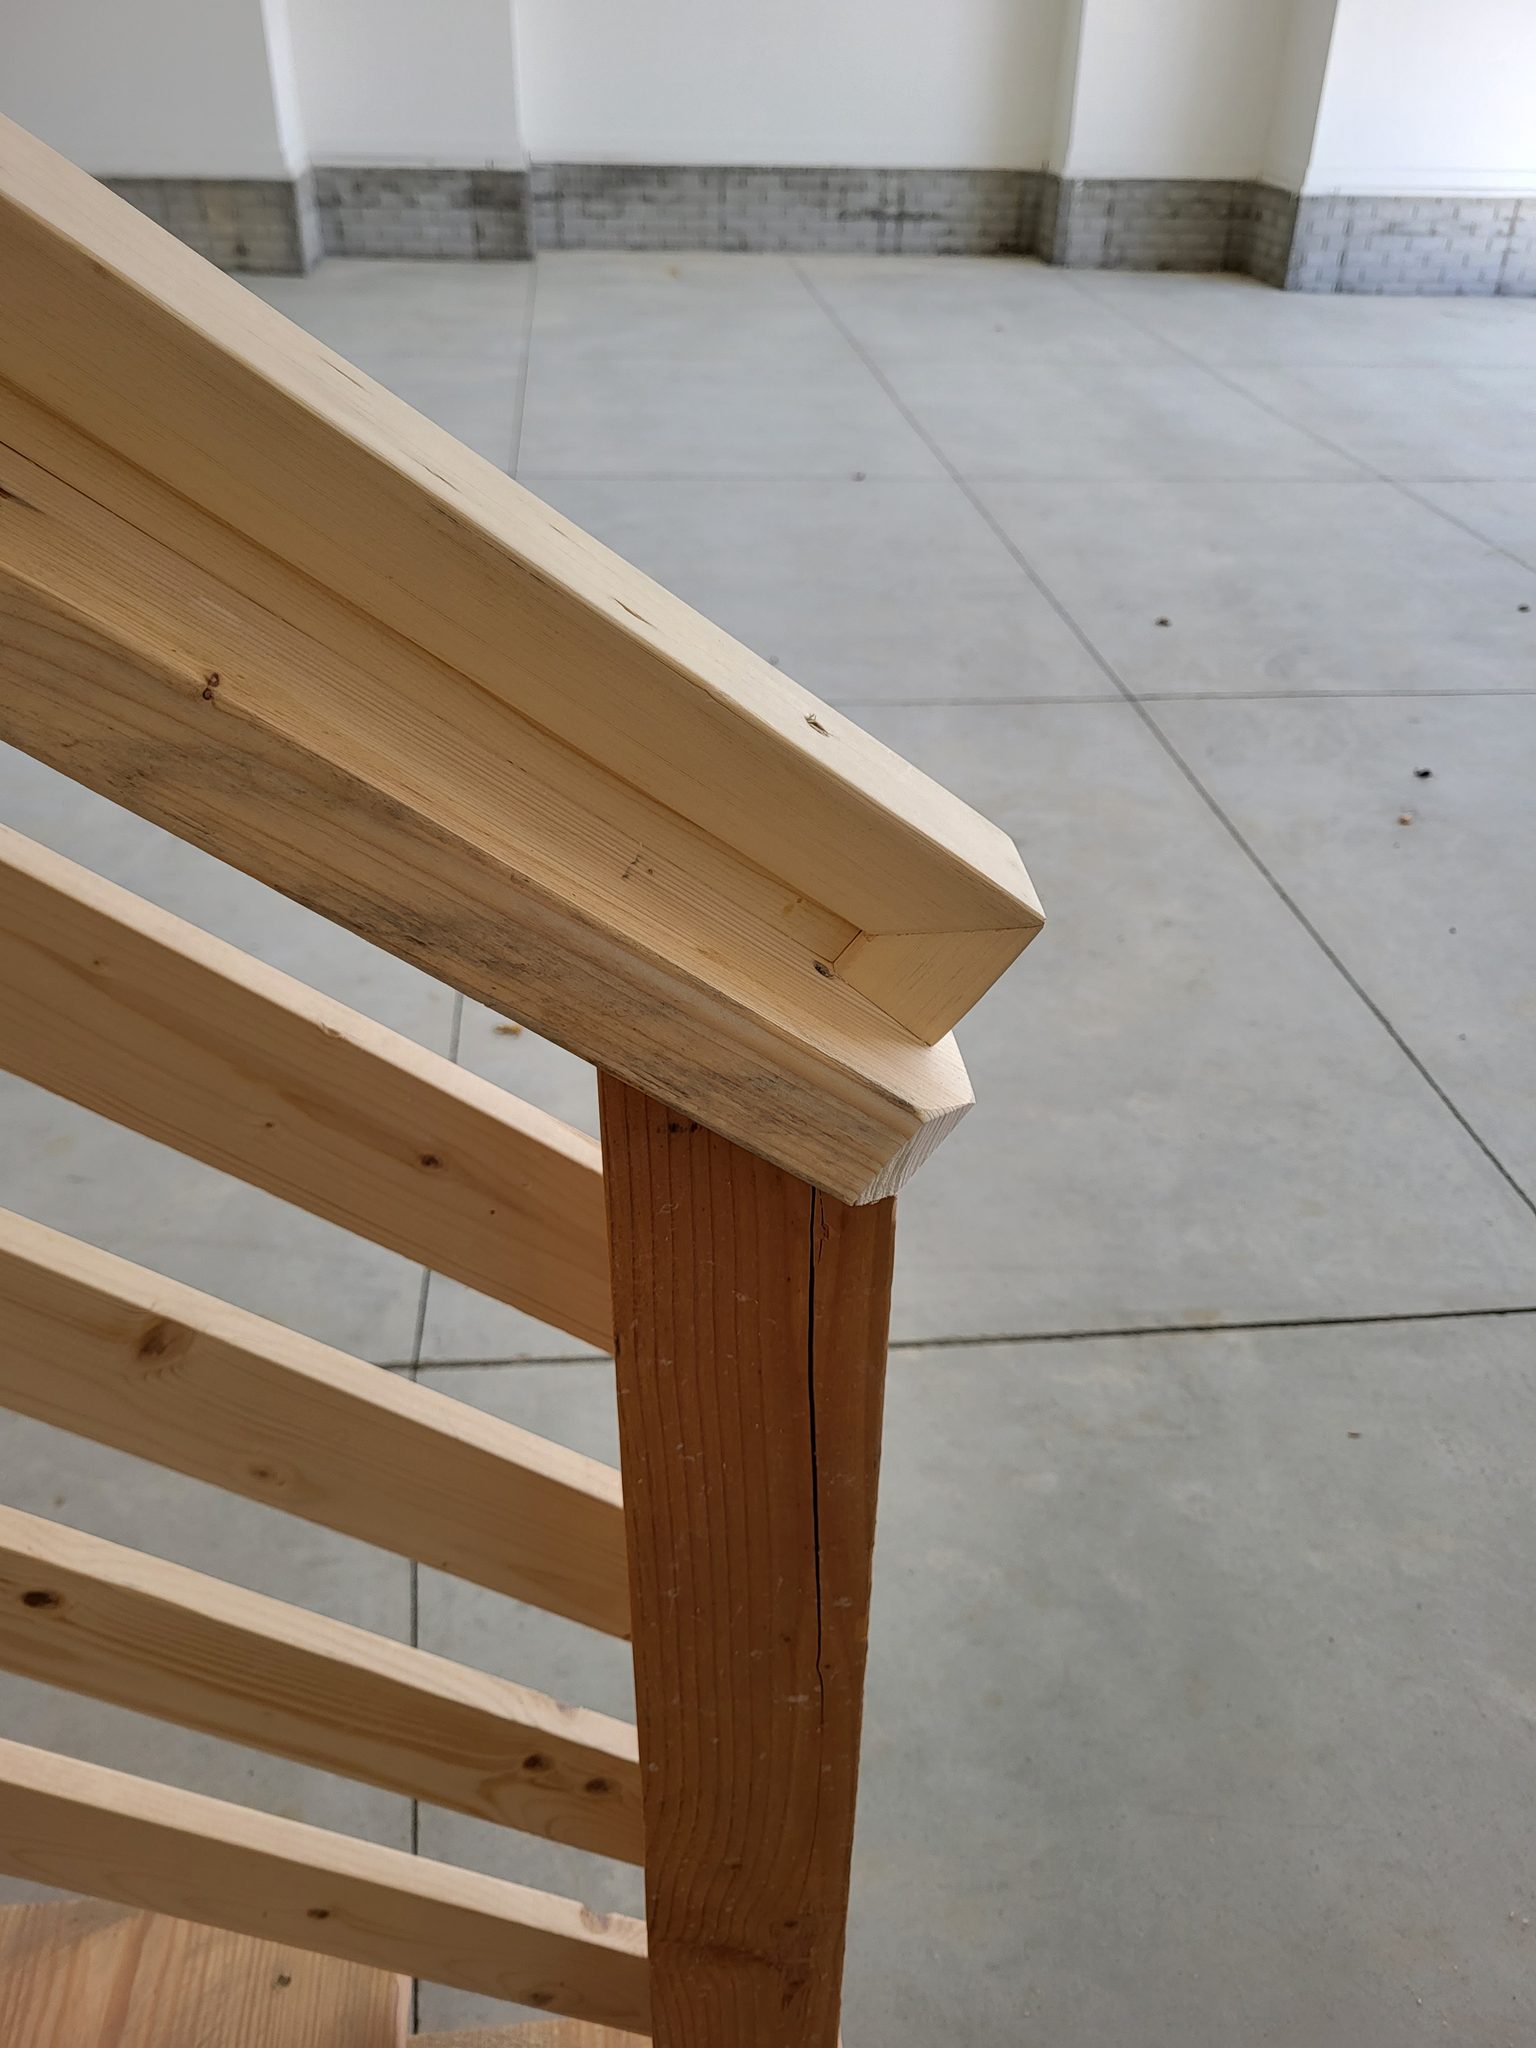
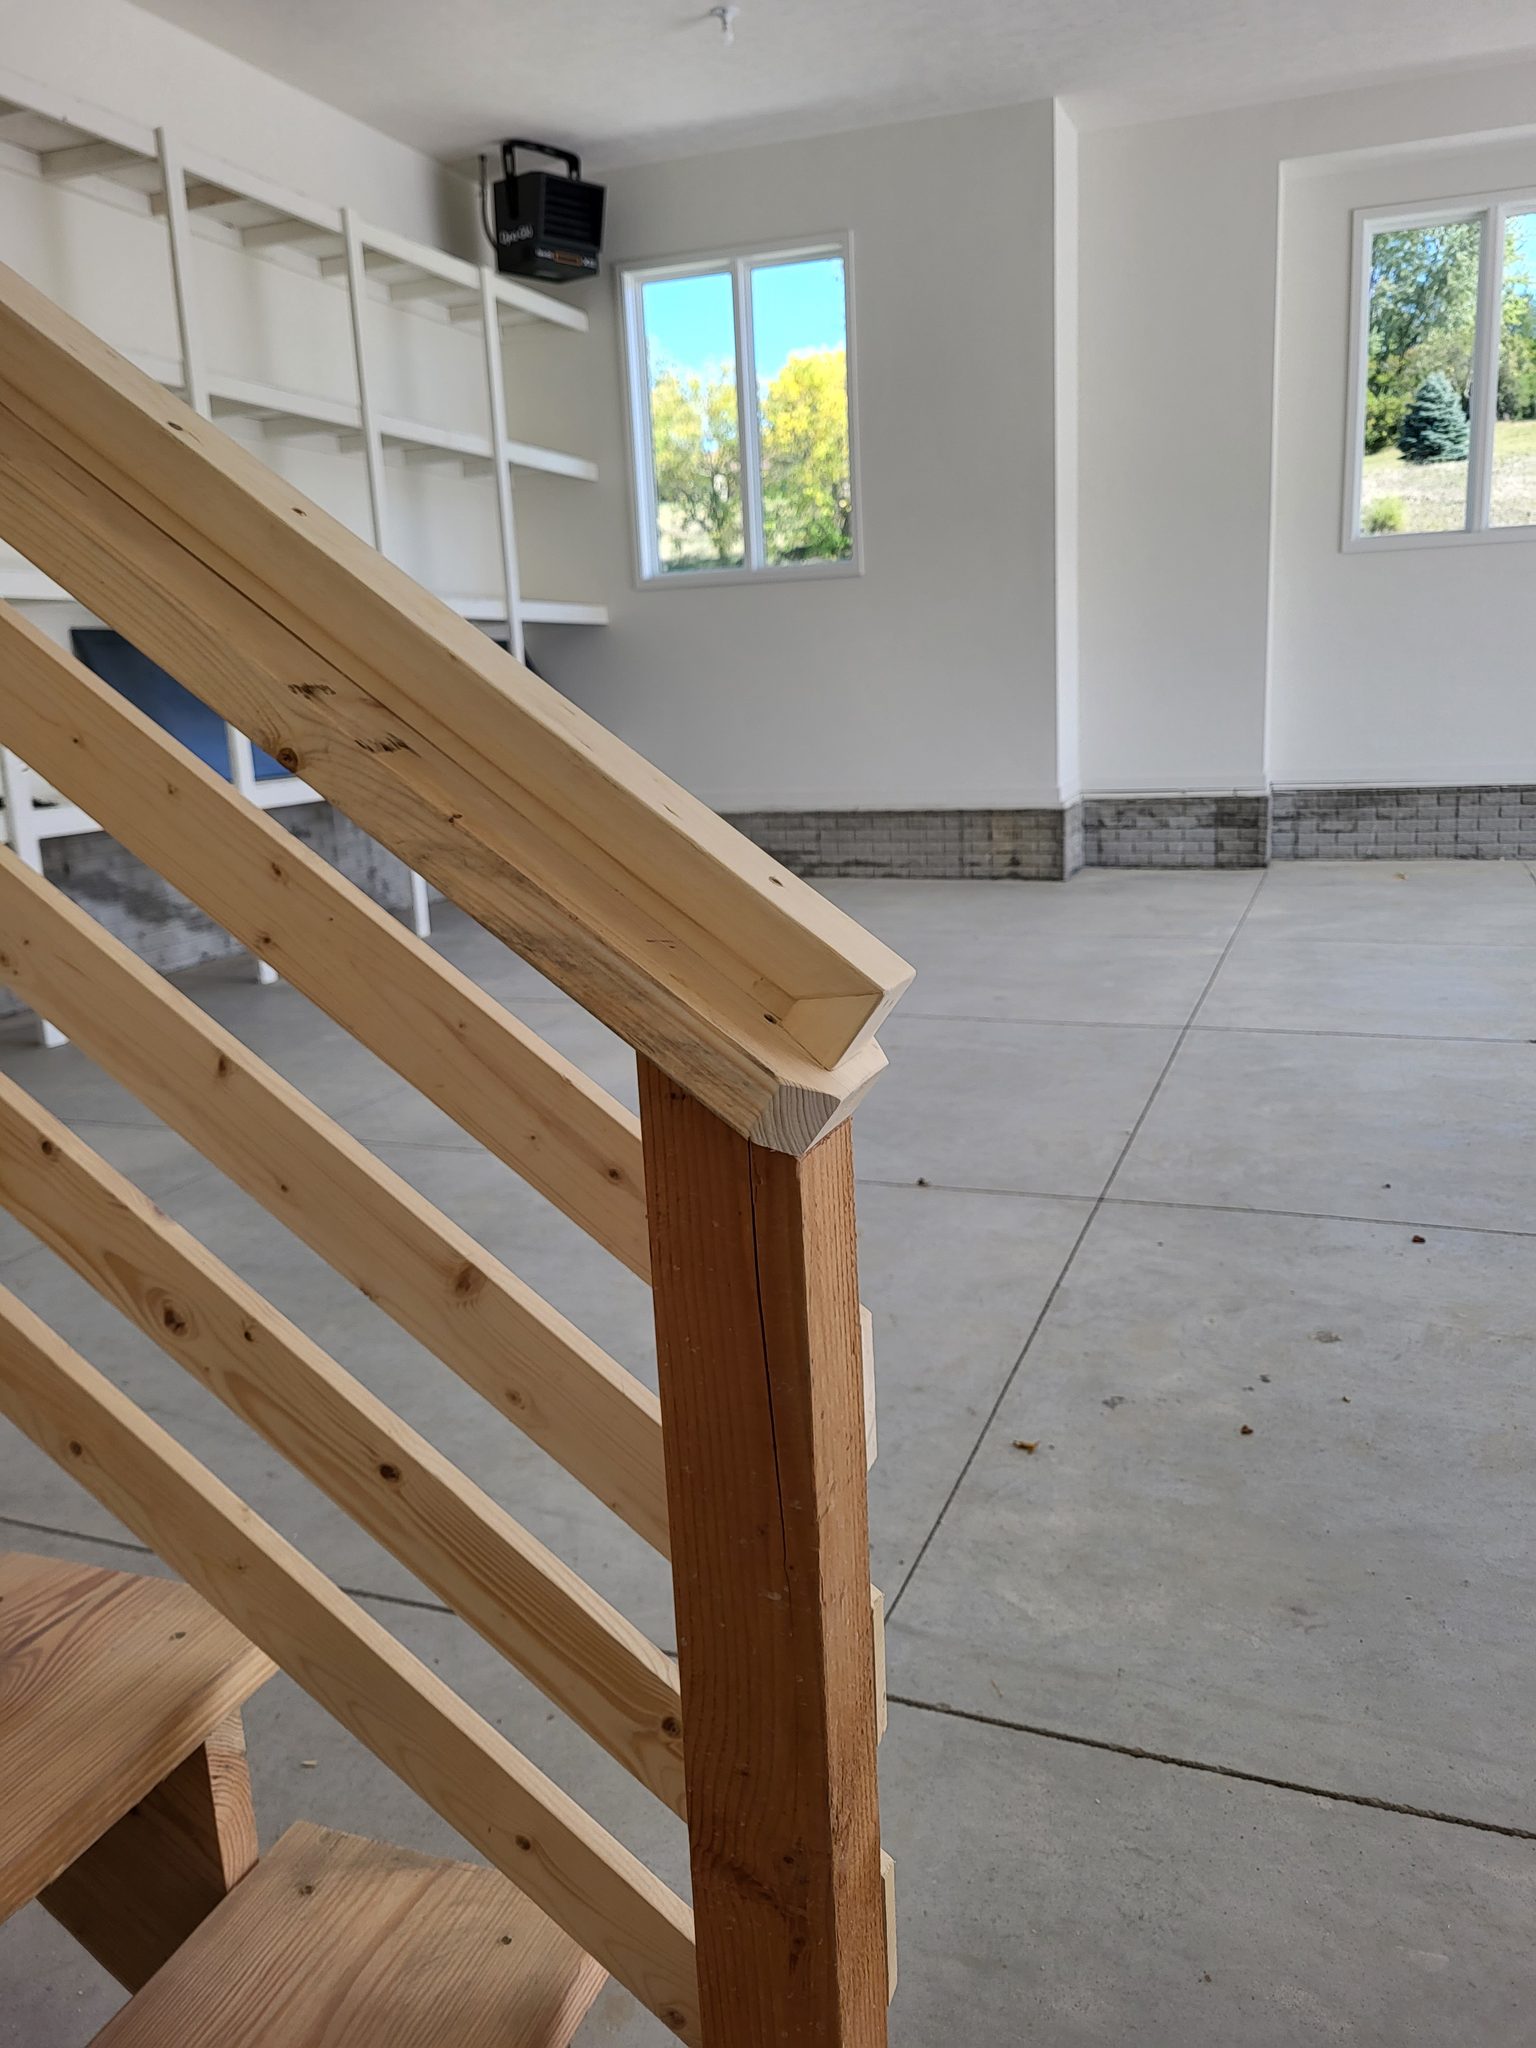
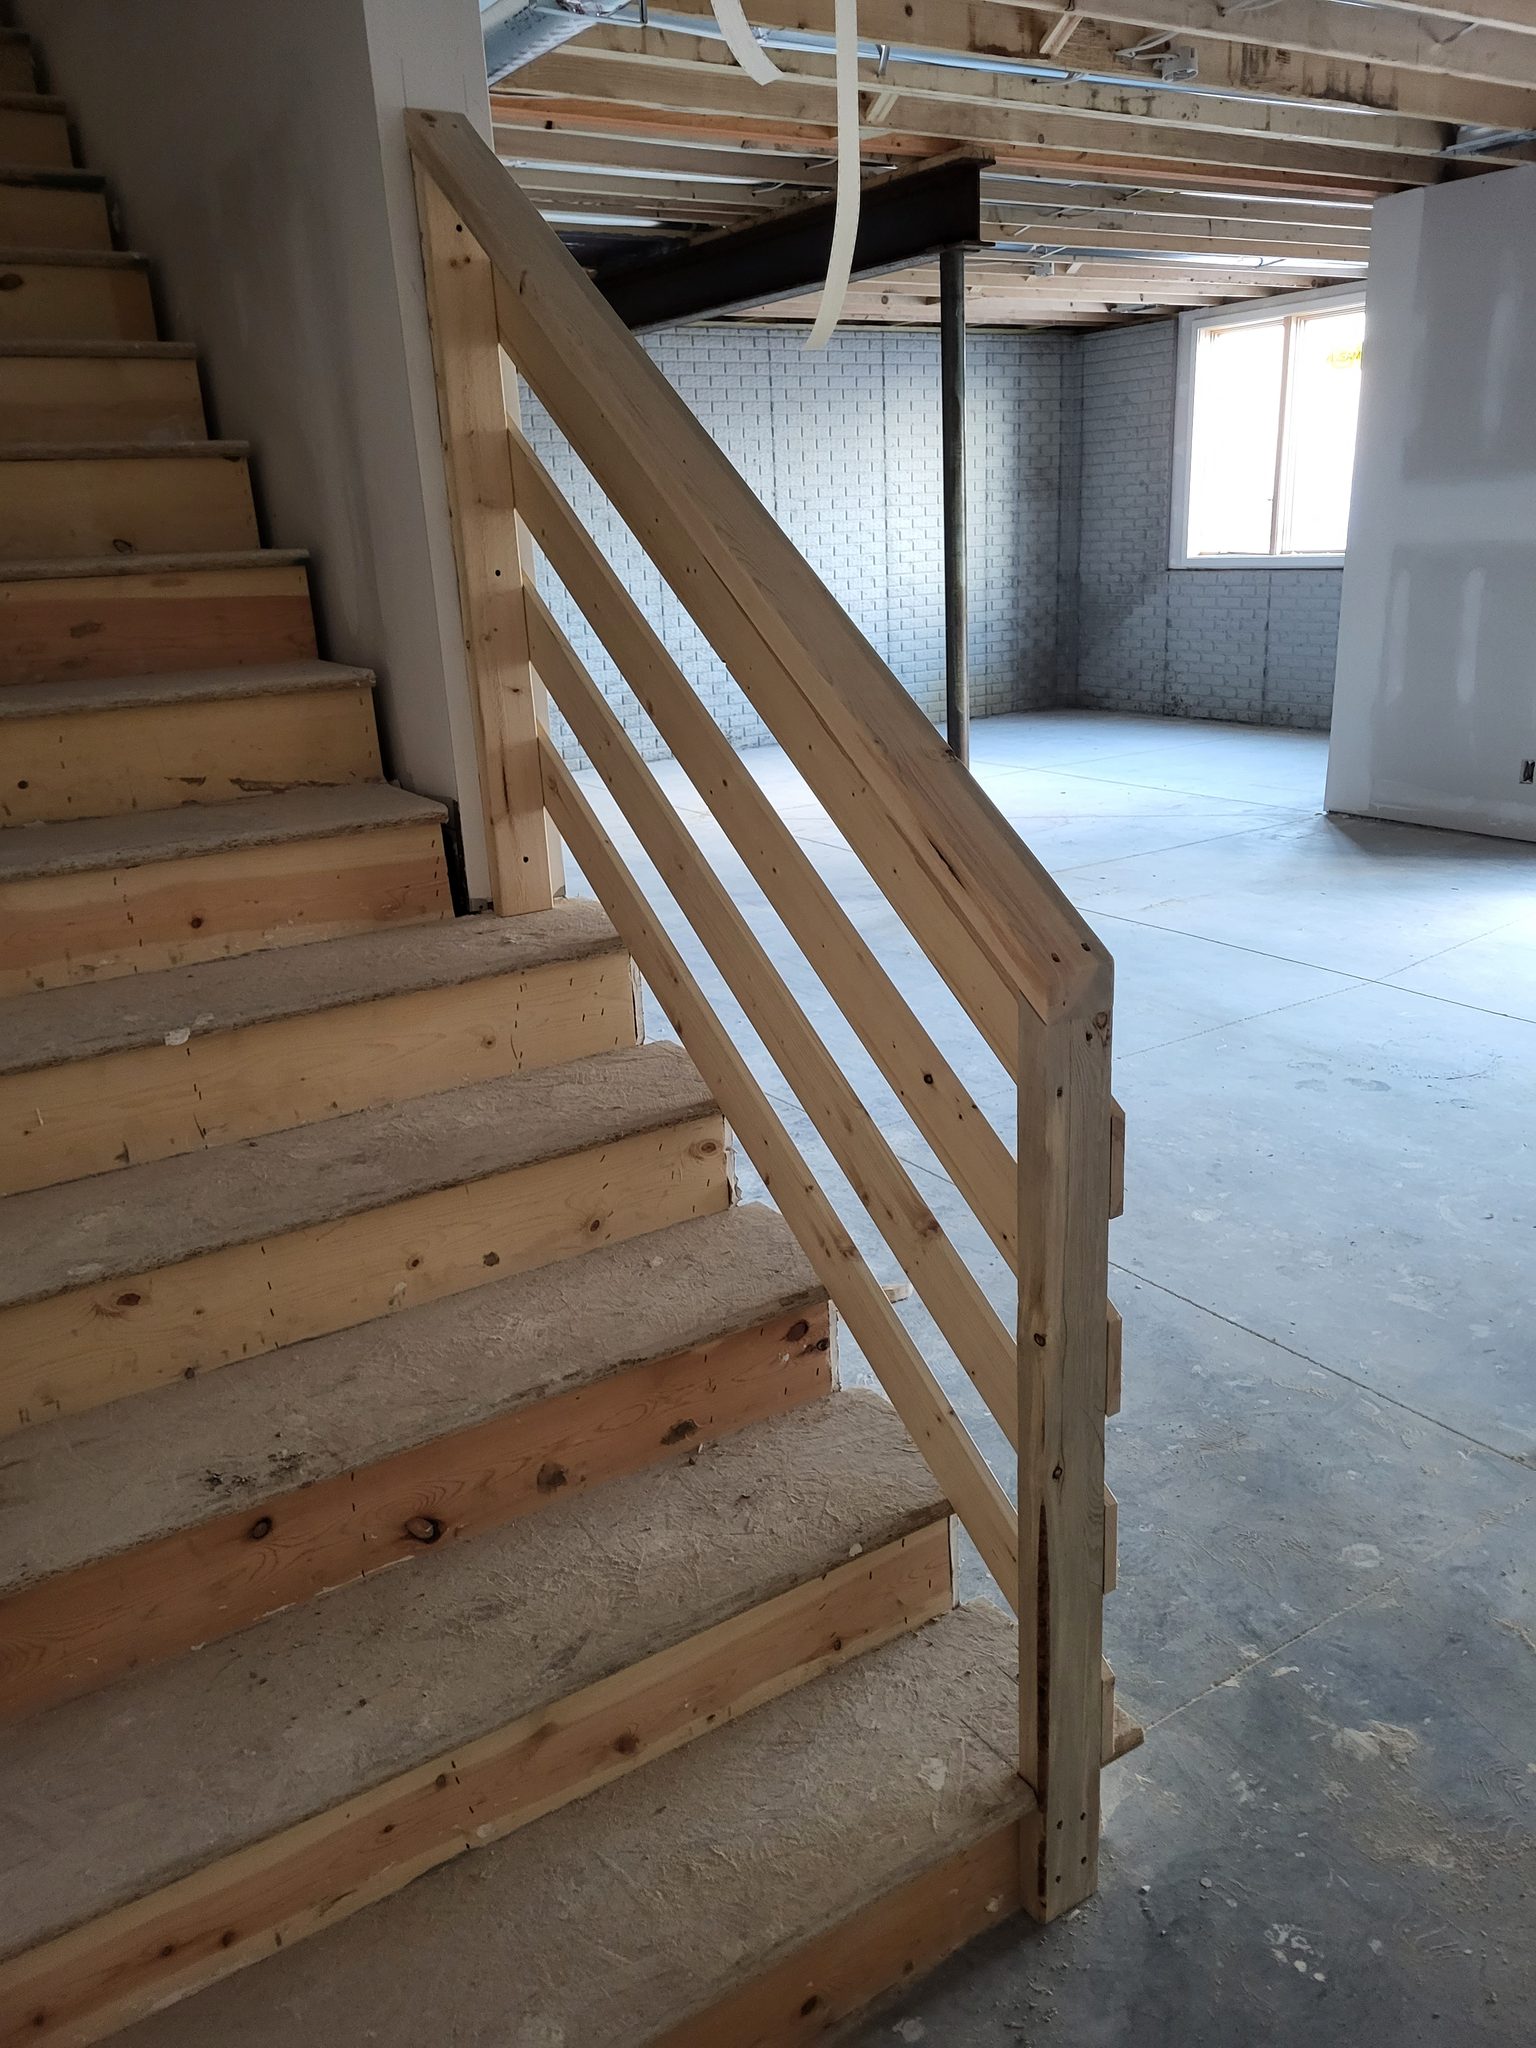
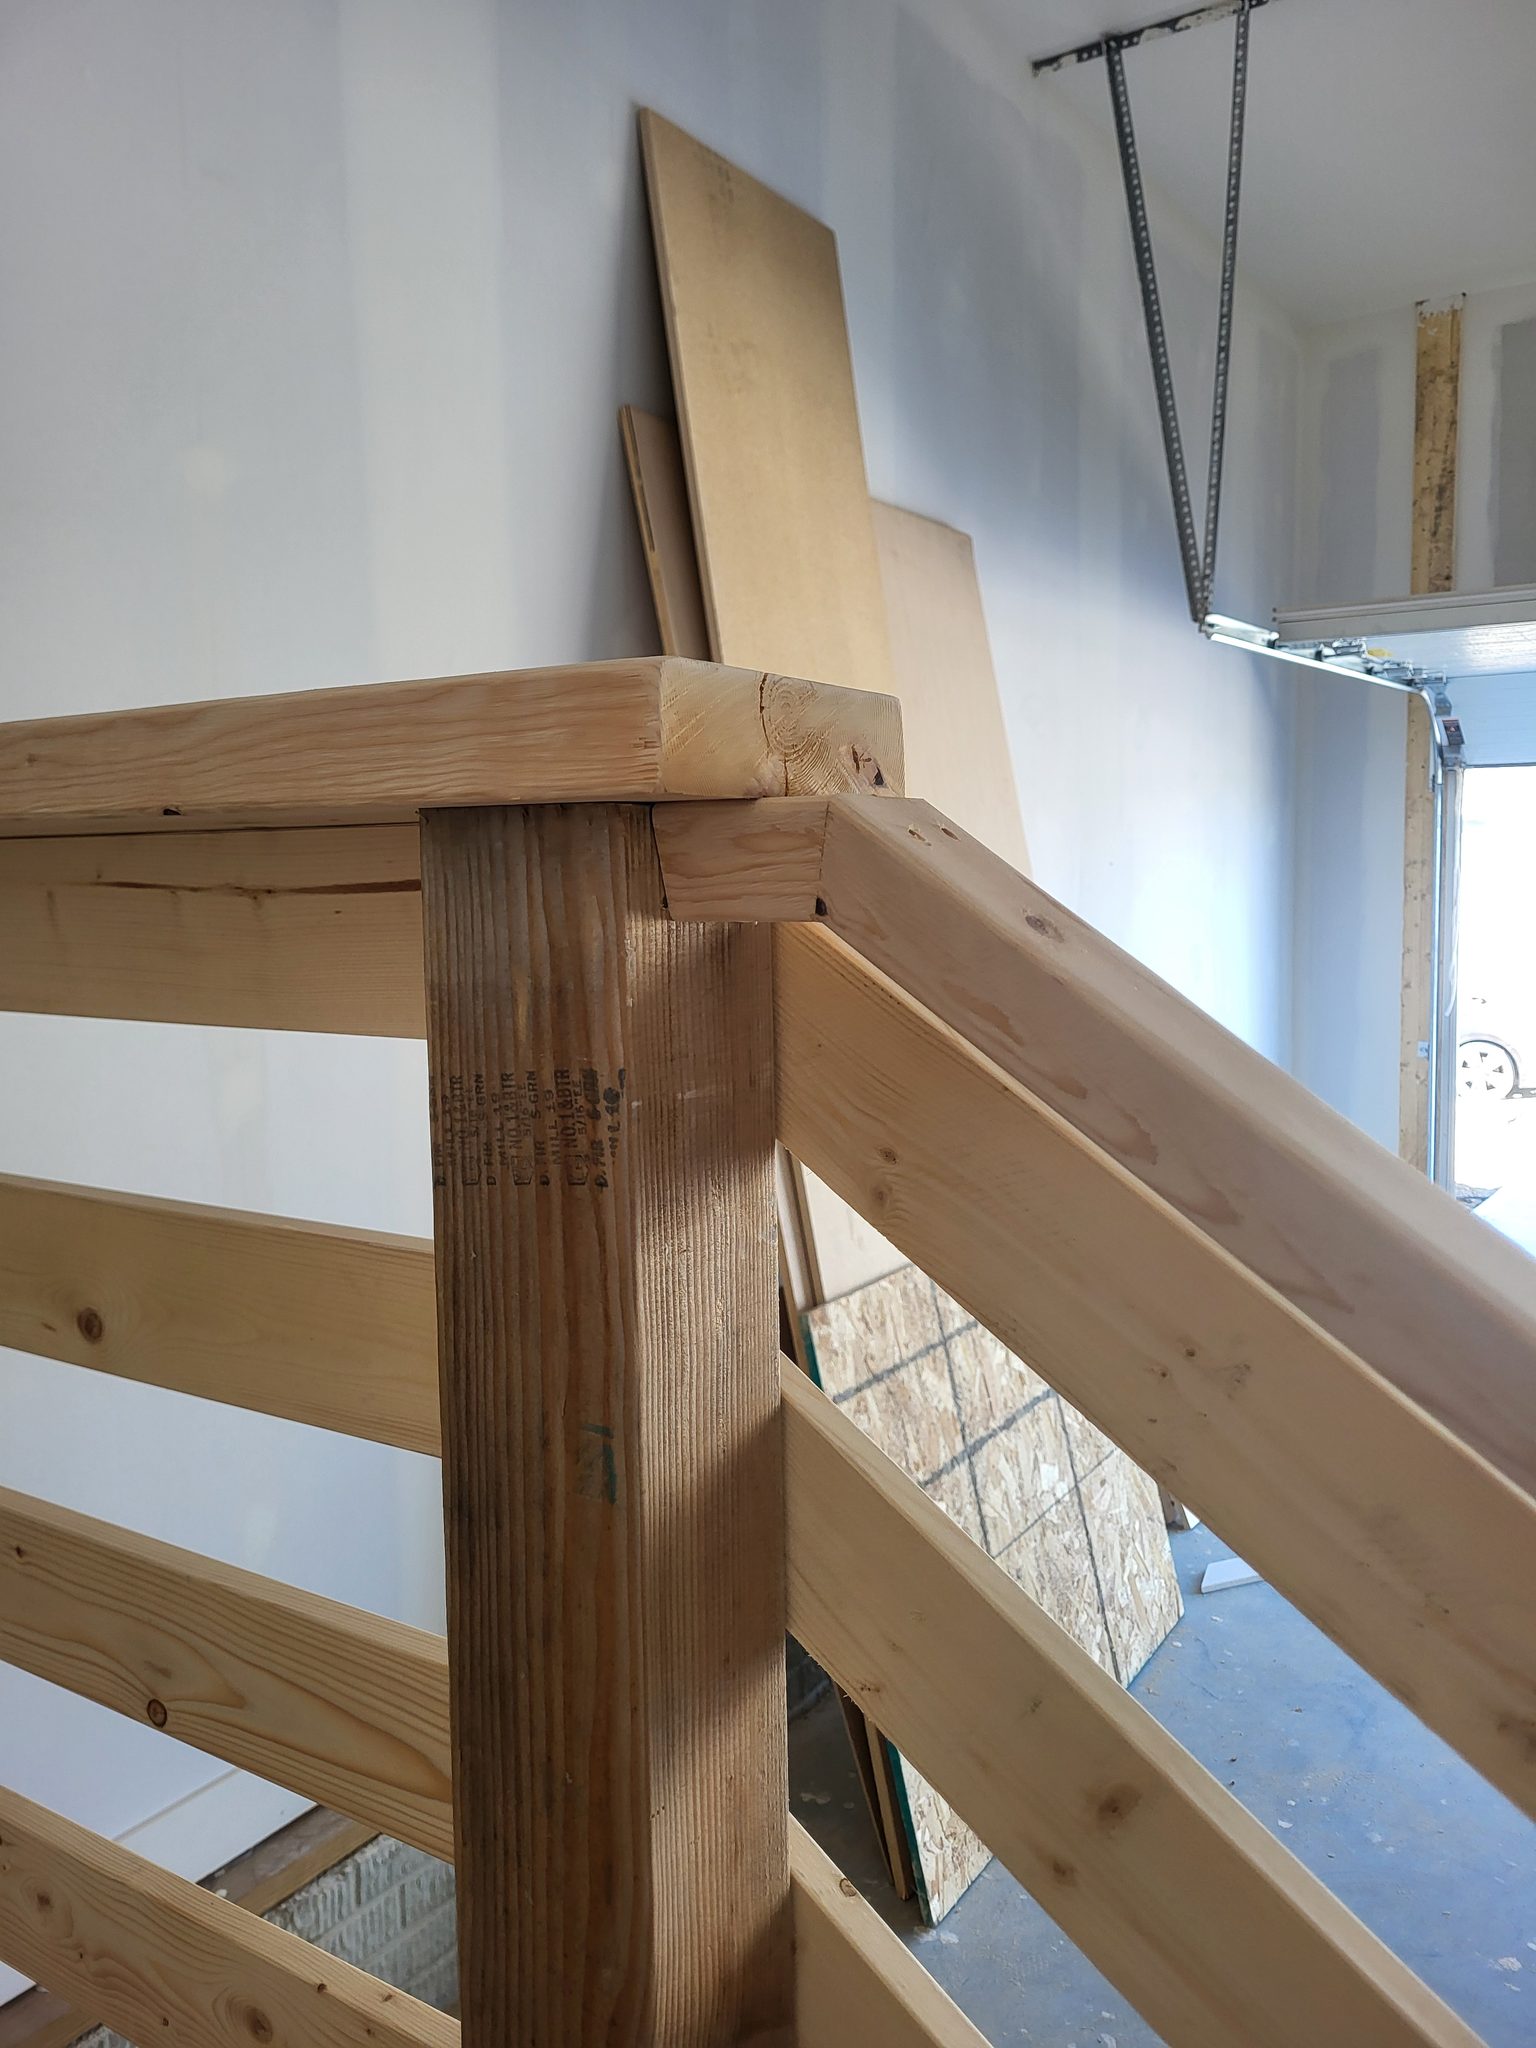
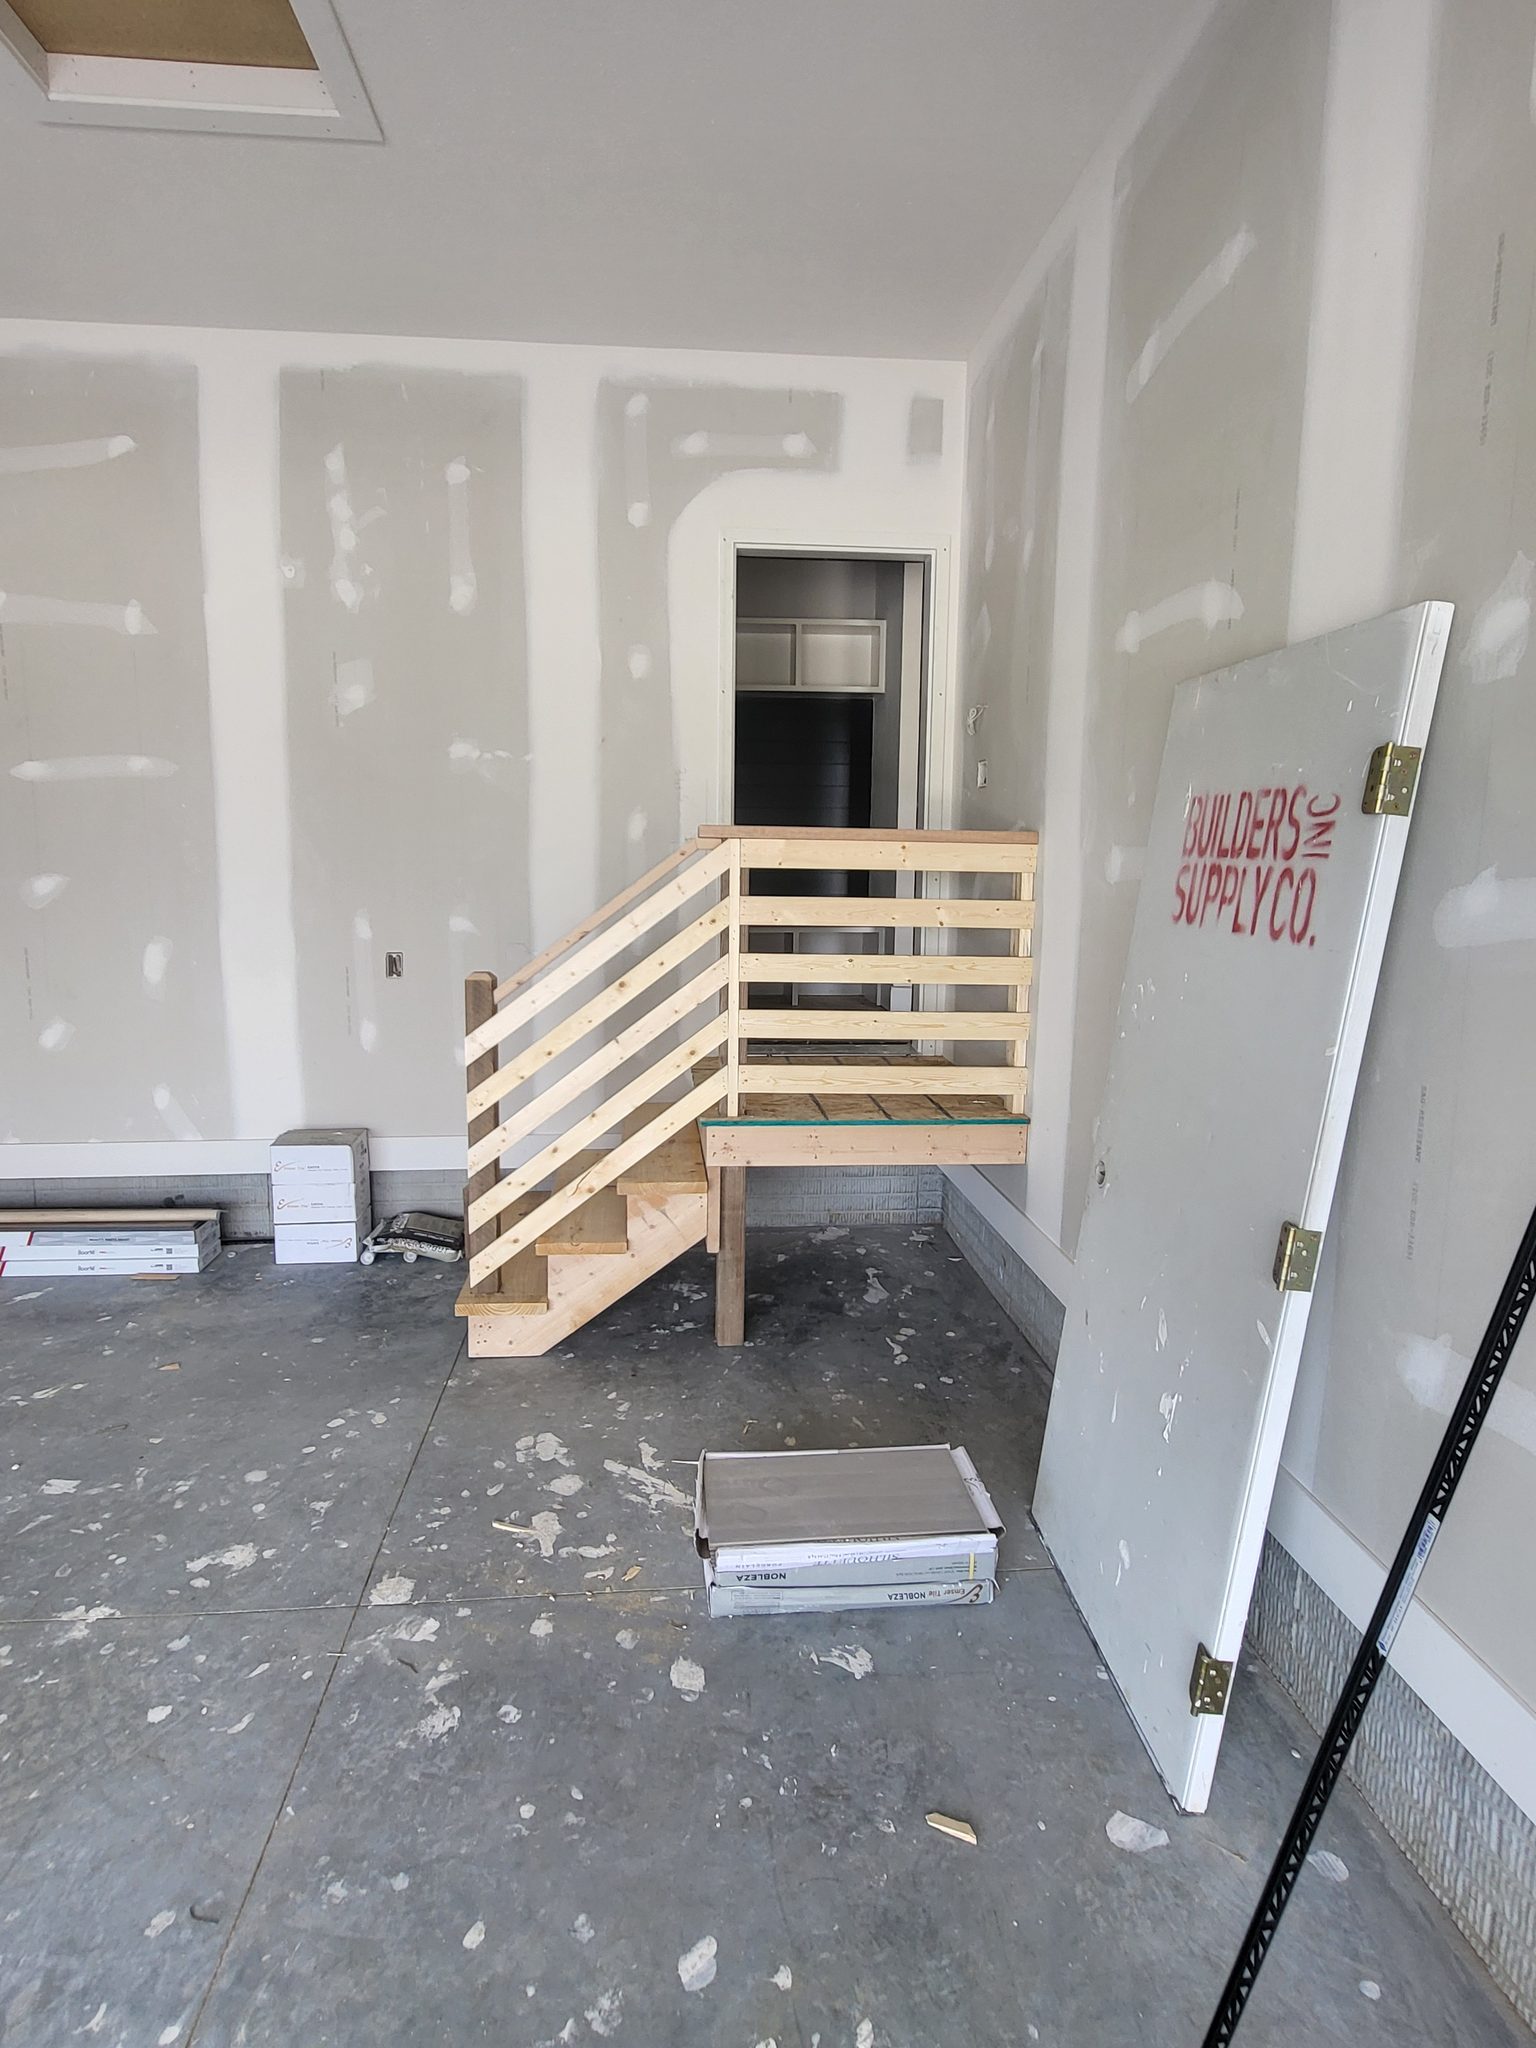
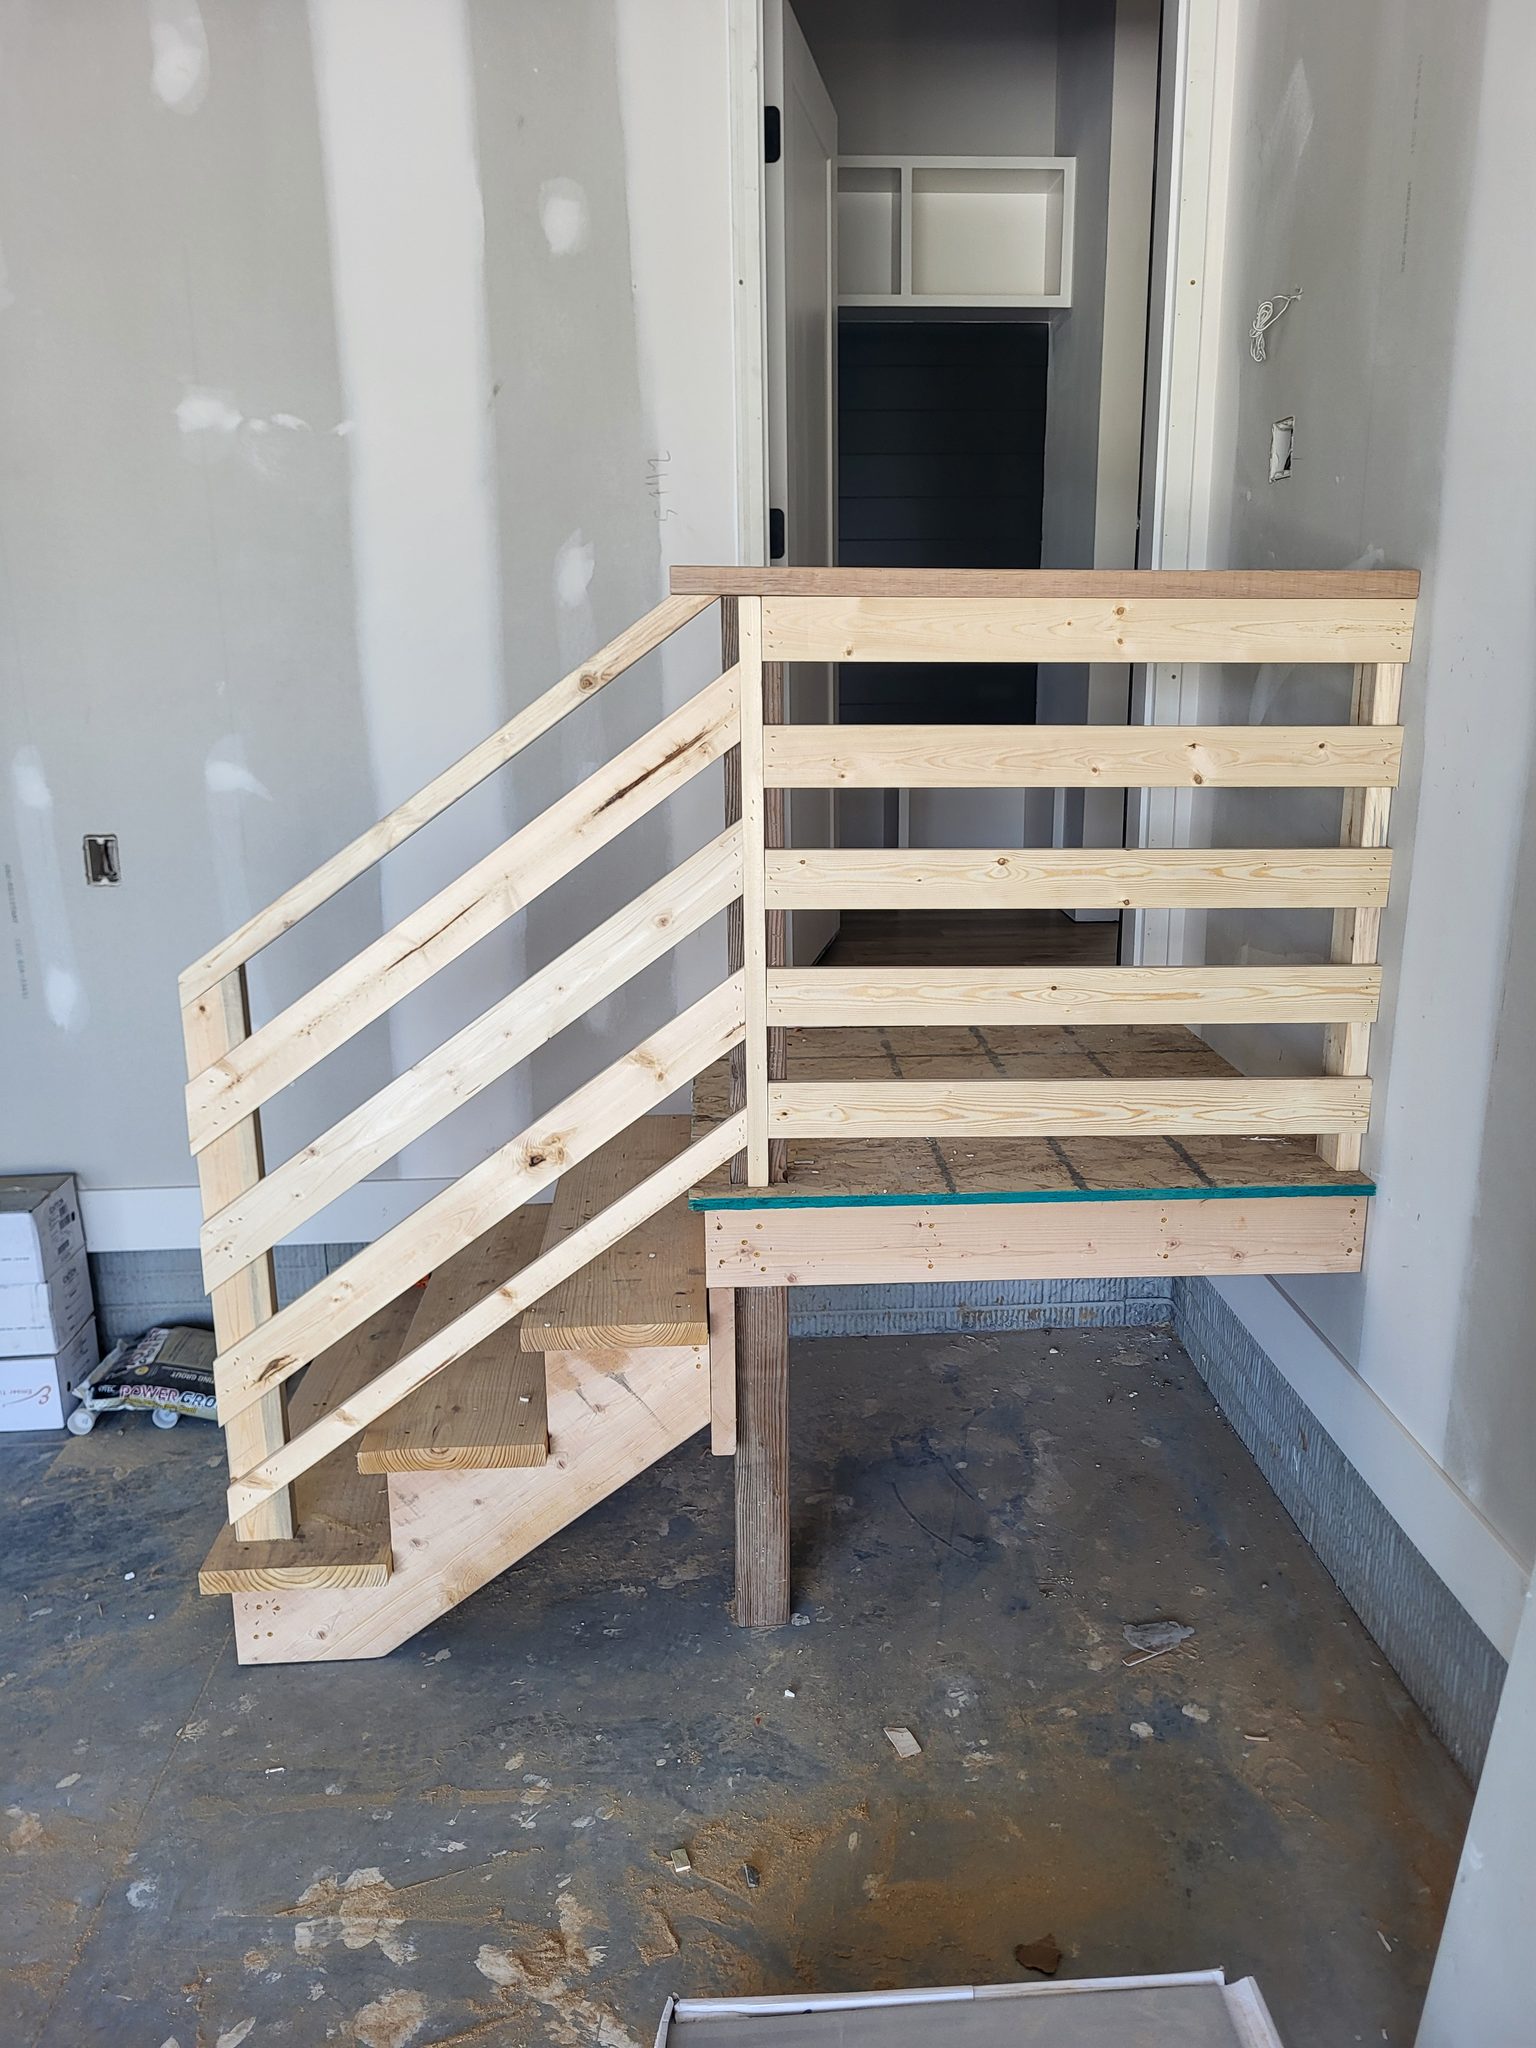
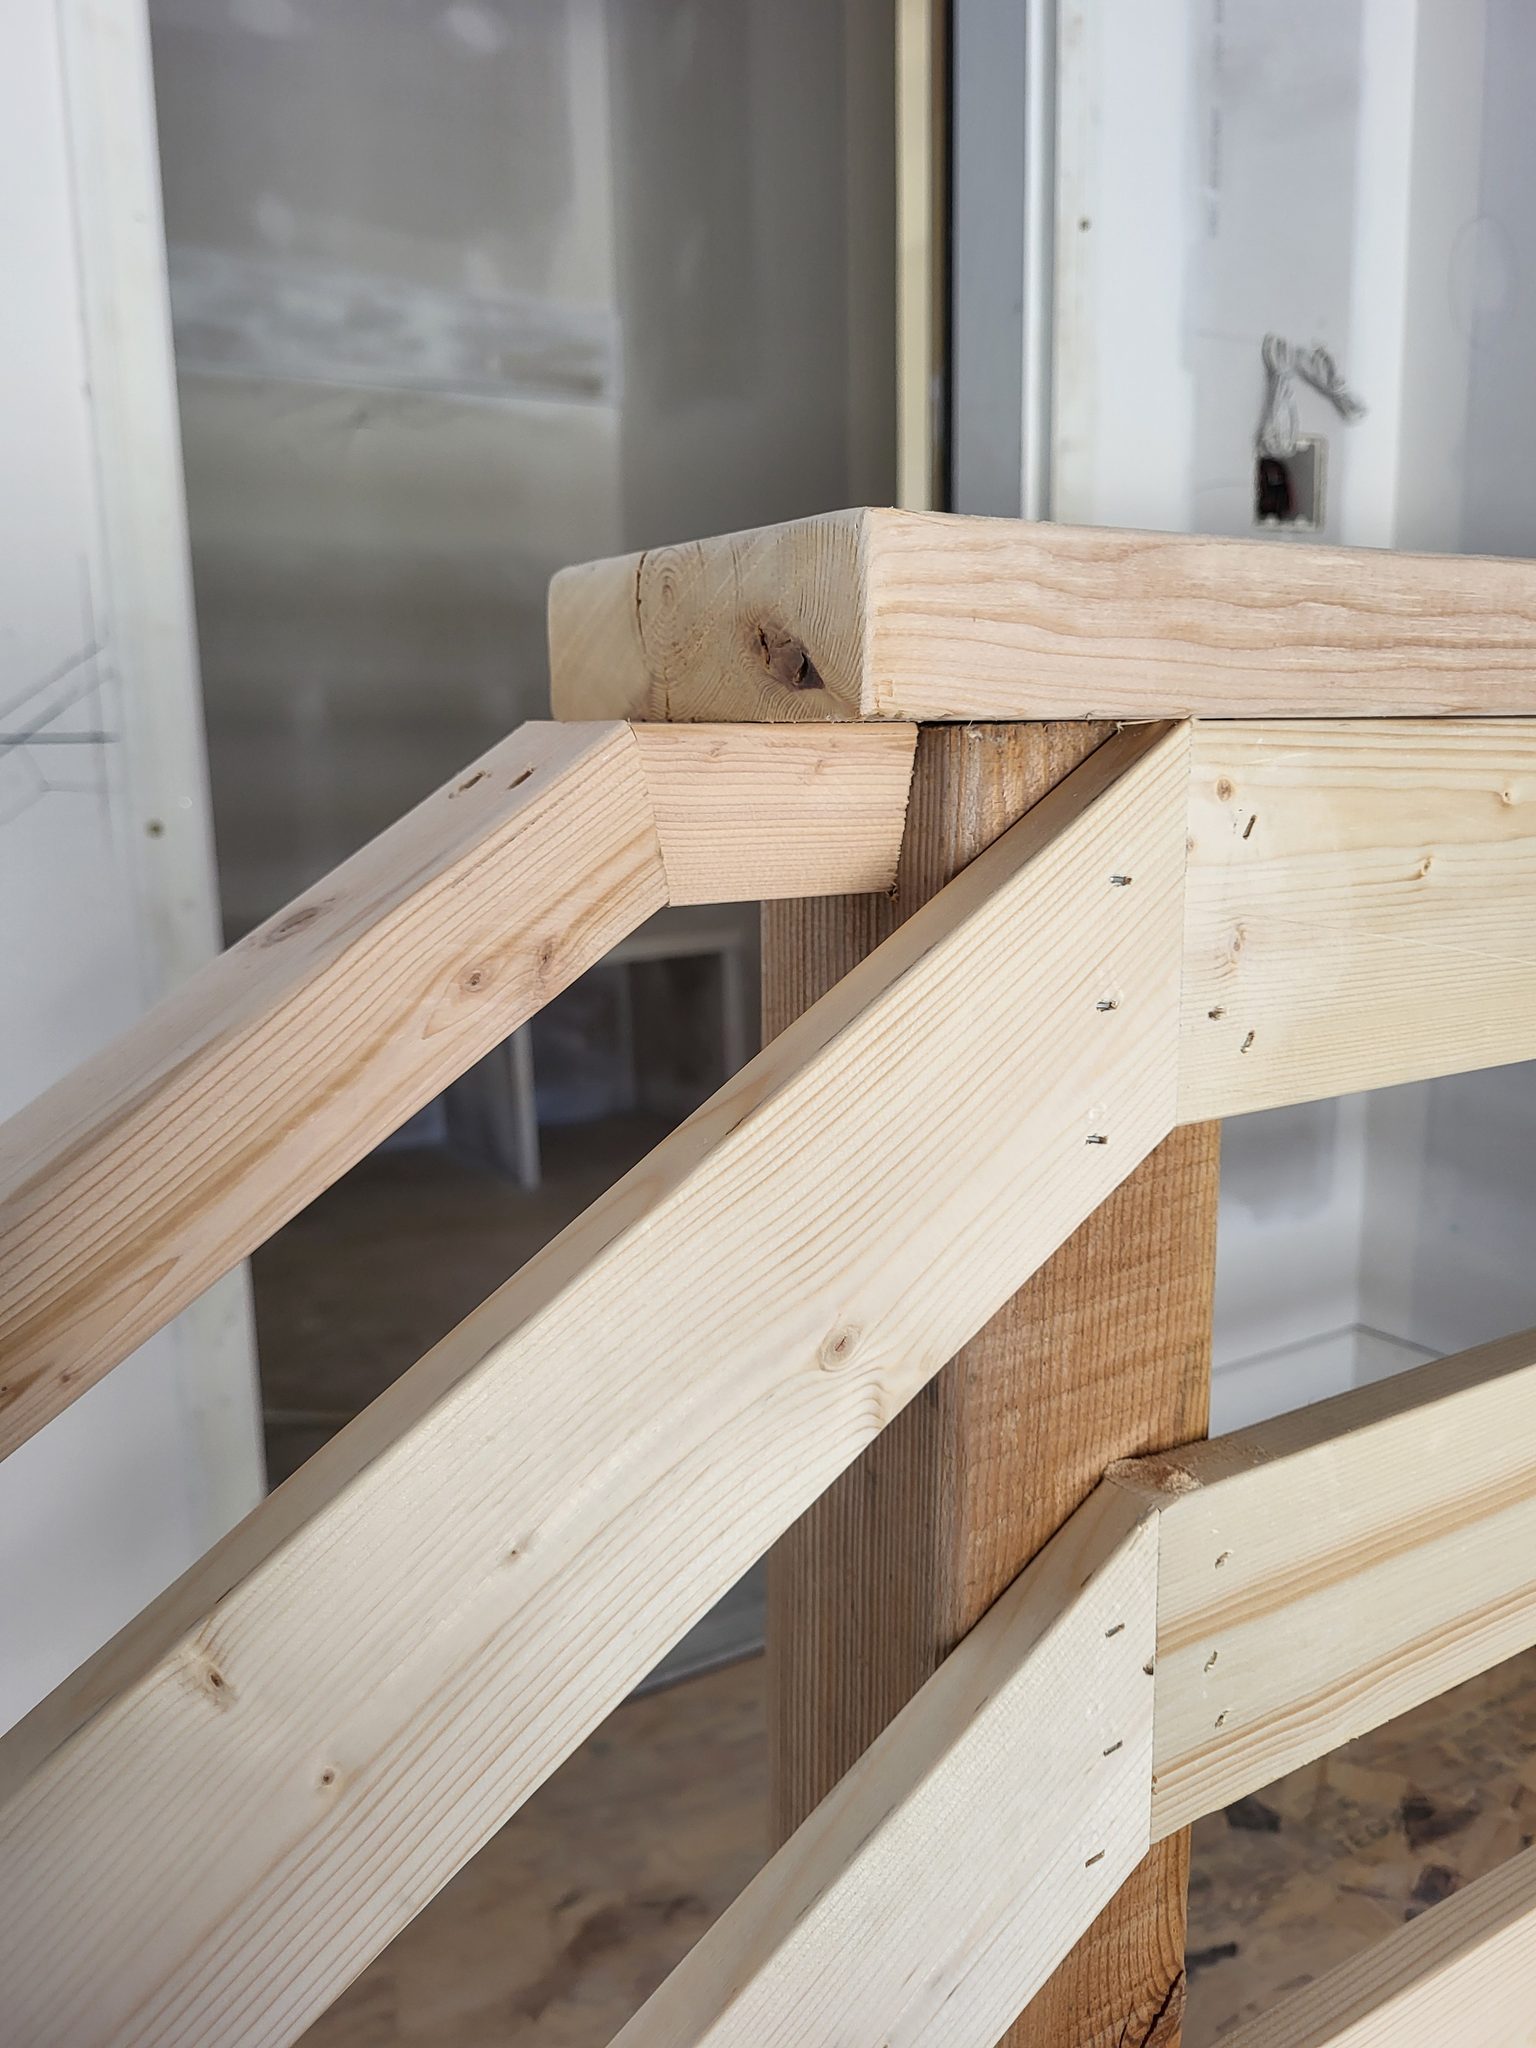
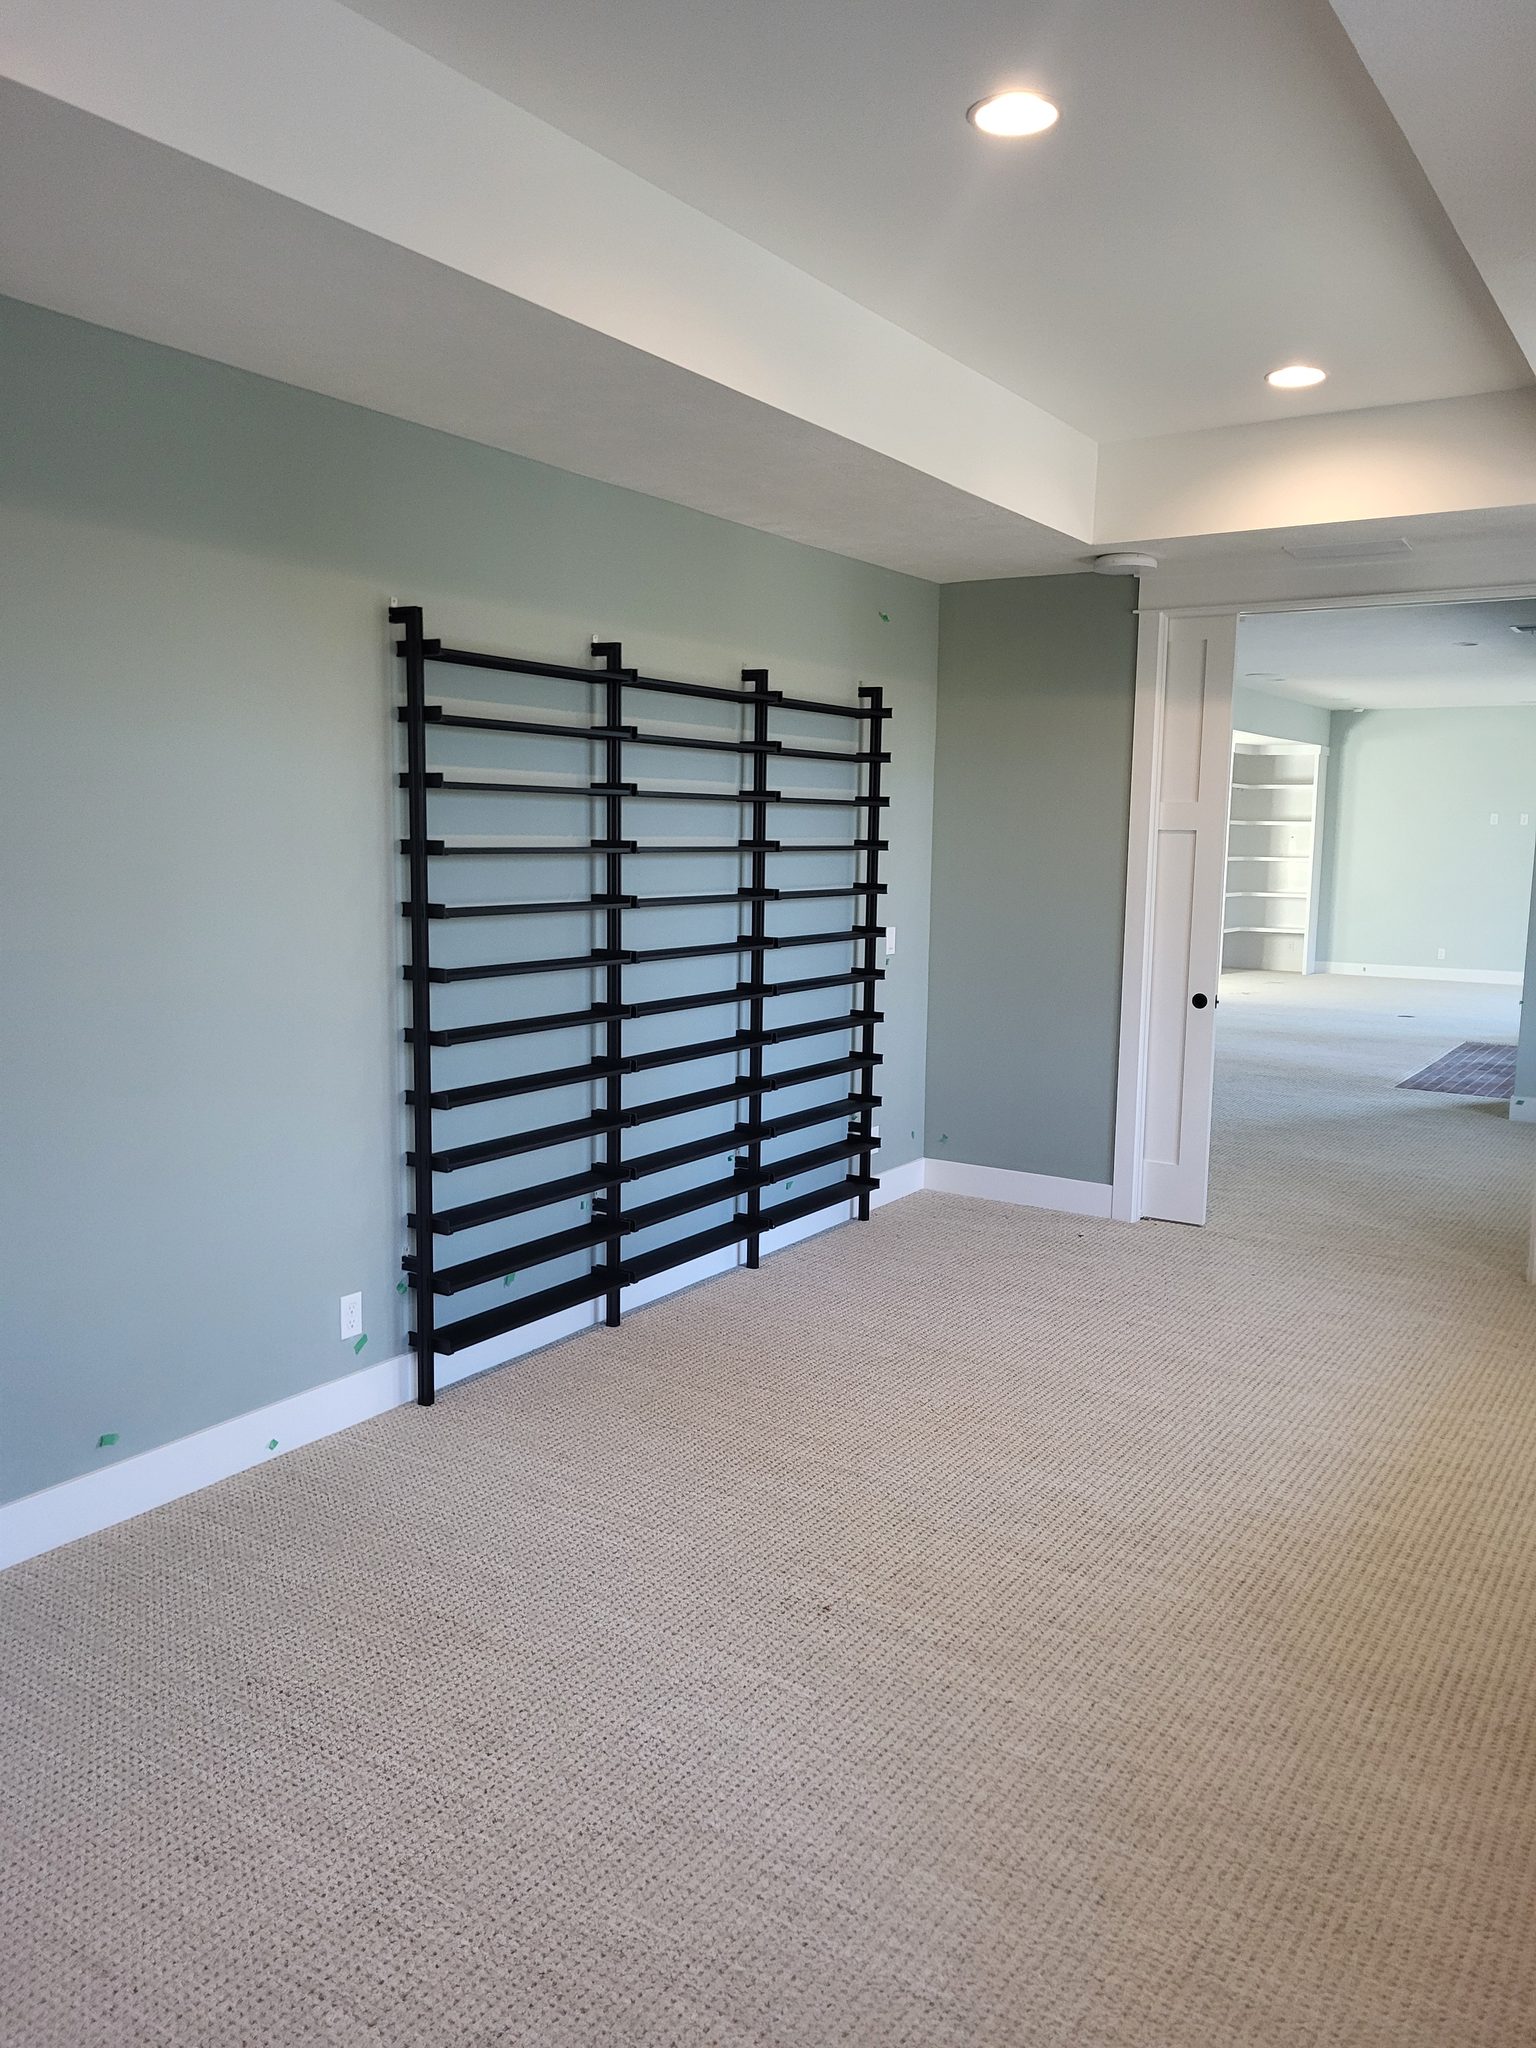
The following photos show examples of this type of work completed in the field. These serve as visual references for quality standards, proper installation techniques, and finished results.
Showing 15 of 15 photos