On this page
Introduction #
Most new homes use metal balusters now instead of wood ones. Balusters are the vertical rods that fill the gap under a handrail so nobody can fall through. Metal balusters look clean and modern next to a wood handrail and newel post (the thick post at the top and bottom of the rail run that anchors it). They also hold up better than wood over time - they don't break, warp, or lose their paint. But you have to install them right. That means careful layout, careful drilling, and knowing how the whole rail system works together.
This guide walks through building one full handrail section for metal balusters, from one post to the next. You will measure the rail, secure it to the newel posts, work out the baluster spacing, and drill the rail and the floor for each baluster. Installing and securing the balusters themselves is Phase 2, covered in a separate guide. This is not a beginner task. If you have never installed stair parts before, work next to an experienced carpenter for your first few runs. The tolerances are tight and any mistake will show.
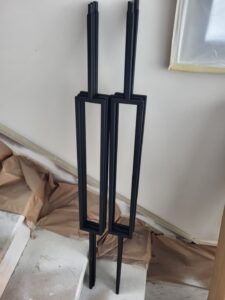
Metal balusters come in several styles - plain round, plain square, single twist, double twist, basket, and scroll. You install all of them the same way. The dimensions that matter are the baluster diameter (typically 1/2" round or 5/8" square) and the overall length. Your supplier should give you spec sheets with these measurements. Check them before you drill anything. No matter which style you use, even spacing between balusters is what makes the rail look like pro work instead of a DIY job.
The International Residential Code (IRC) sets the rule that drives everything here: the 4" sphere rule. A ball 4" across must not be able to pass through any opening in the railing. That means the clear gap between balusters (the actual open space, not the distance between their centers) has to be less than 4". In practice, we target 3.5" to 3.75" clear between balusters. That keeps us within code with room for small errors.
Before You Begin #
Prerequisites #
- Newel posts must be installed, plumb, and permanently secured. The rail attaches to the posts. If the posts aren't solid, the whole system will be shaky.
- Stair treads and any flooring on the landing or balcony must be finished. Balusters mount into these surfaces.
- Skirt boards or stringer trim (the finish trim that runs along the wall side of the stairs) should go in before the rail system, since the rail may line up off the skirt.
- All metal balusters, rail sections, and fittings should be on site and checked against the material list. Count everything.
- You need real stair experience for this job. You should already know: rake angles (the angle of the rail where it follows the stair slope), how to keep a baluster plumb even though the rail itself sits at an angle, and the difference between post-to-post and over-the-post rail systems (explained below).
What to Know #
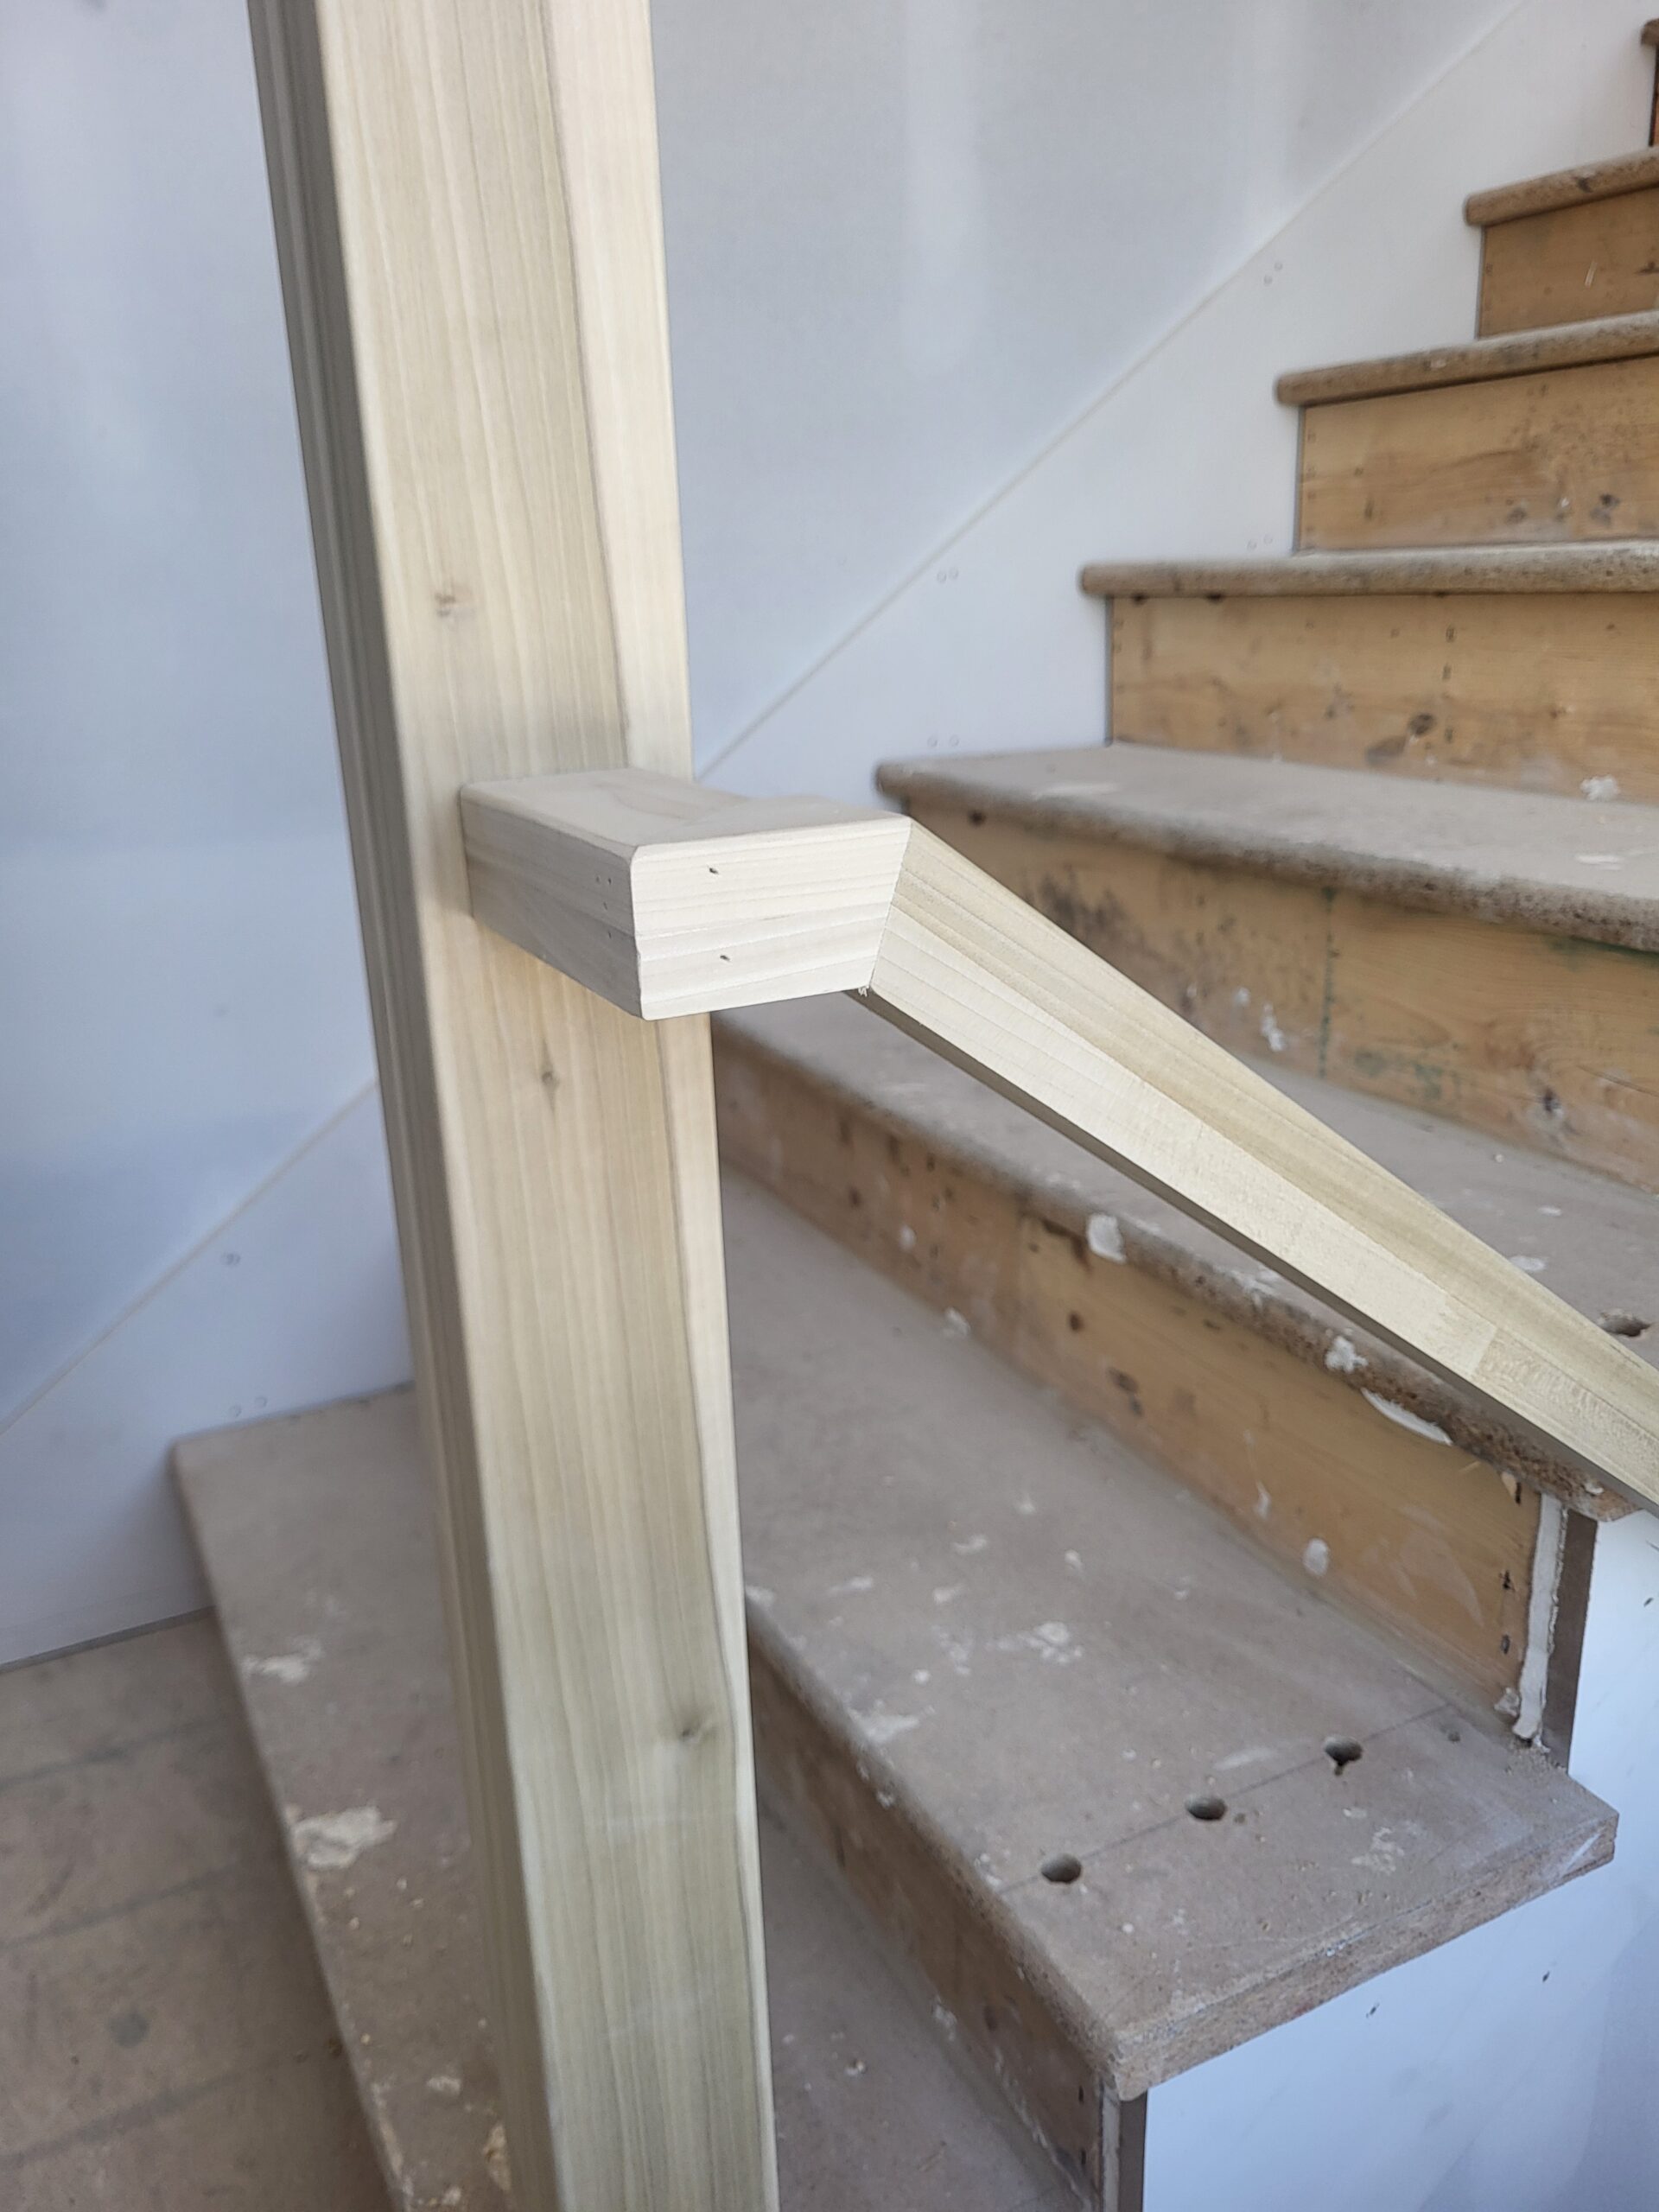
- This guide covers post-to-post rail systems, where the rail ends butt straight into the face of the newel posts. Over-the-post systems (where the rail runs over the top of the post instead of into its side) need different fittings, rail bolts, and techniques.
- Rail height at the nosing (the front edge of the tread that sticks out past the step below it) must be 36-1/4" above finished floor. On stairs, that 36-1/4" is measured at the nosing edge (the front edge of the tread). Check your local code for any different requirement.
- The rail is the structural backbone of the whole system. It has to hold up to a 200-pound concentrated load pushed from any direction at any point. That means solid connections to the newel posts, not just pin nails.
- Rail sections for rake runs (the angled sections that follow the stair) must be cut at the correct angle on both ends so they meet the newel posts flush. Measure the rake angle off your actual stair stringer - don't assume it matches a standard number.
Tools Needed #
Power Tools #
- Miter saw (10" or 12") - for cutting rail sections to length at the correct angle
- Cordless drill/driver - for pre-drilling pilot holes and driving screws
- Cordless impact driver - for driving 4" lag screws into newel posts for rail attachment
- Pin nailer (18-gauge) - for tacking rail to post
- Jigsaw or oscillating tool - for minor trim adjustments
Hand Tools #
- 1/2" spade bit - for drilling baluster holes in the rail bottom, just deep enough to seat the baluster snugly
- 3/4" spade bit - for starting baluster holes in the floor/tread, finished deep with a spiral/twist bit so you're not forced into a precise baluster cut
- Small twist drill bit, sized to the trim screw - for pre-drilling the rail-to-post trim screw holes at an angle
- 6-foot level - for checking rail height and baluster plumb
- Torpedo level - for checking individual baluster plumb
- Tape measure (25 ft) - for all layout measurements
- Combination square - for marking consistent spacing lines on floor and rail
- Pencil and marking crayon
- Wood glue - for rail-to-rail joints and reinforcing connections
- Small clamps - for holding rail sections during assembly
Supplies #
- 2-1/2" trim screws - two per rail-to-post connection, pre-drilled at an angle like a pocket screw, for 200-lb standoff strength (how hard you can push the rail outward before the connection gives)
- 18-gauge pin nails (1-3/4") - for tacking rail to posts
- Waterproof wood glue - for rail joints and post connections
- Painter's tape - for protecting finished surfaces during drilling
Materials #
- Handrail sections - wood profile rail (typically 6010, 6210, or a similar standard profile) in matching species. Length as measured post-to-post plus 2" for fitting.
- Metal balusters - quantity set by your spacing calculation (see Step 3). Order 5% extra for cuts and mistakes.
- Rail bolt hardware (if you're using rail-bolt connections instead of lag screws) - threaded bolt, star nut, and cover plug
Metal Balusters Installation Process #
Step 1: Measure and Cut the Rail #
The rail must fit exactly between the newel posts. Too long and it won't seat right. Too short and you'll have a visible gap. "Measure twice, cut once" is not just a saying on this task - it's survival.
Sub-Steps #
- Measure the distance between newel posts at the rail height, not at the floor. Posts may not sit perfectly parallel, so measure at the exact height where the rail will sit.
- For level runs (balcony or landing rails, where the rail sits flat instead of angled), the rail ends are cut square, at 90 degrees. Measure post face to post face.
- For rake runs (the sections that run along the stair slope), measure along the slope from post to post. Cut the rail ends at the rake angle, the same angle as the stair slope, typically between 30 and 38 degrees.
- To find the rake angle: hold a level against the stringer or skirt board and measure the angle with a protractor or digital angle finder. Or use rise-over-run (comparing how much the stair rises to how far it runs): if your stair rises 7-3/4" for every 10" of run, the angle is about 37.7 degrees.
- Mark and cut the rail on the miter saw. For rake cuts, set the miter saw angle to match the rake. Test-fit before you commit - hold the rail in position and check that both ends touch the posts cleanly.
- If you need to join multiple rail sections for a long run, cut the joining ends at matching angles so they meet tight. Glue and pin these joints.
Pro Tip: For post-to-post systems, cut the rail a little bit long instead of exactly to length or short. That extra length gives you room to true up the cut angle if a post is set slightly out of square, and still get a tight fit. This rail is unfinished - the painter finishes it after installation - so there is no finish to protect by forcing a tight cut. Get the posts plumb; the rail follows.
Step 2: Install the Rail on Newel Posts #
The rail-to-post connection is the most important joint in the whole system. It has to hold up to 200 pounds of force pushed at any point along the rail. Pin nails alone won't cut it here - you need real structural fasteners (screws or bolts that can actually carry that load, not just hold things in place while glue dries).
Sub-Steps #
- Position the rail between the posts at the correct height. The top of the rail sits at 36-1/4" above finished floor - on stairs, measured at the nosing edge (measure straight up from the nosing to the top of the rail).
- Tack the rail in place with the pin nailer. Drive 2 to 3 pins through the top or bottom of the rail into the post face at each end. This just holds the rail while you install the structural fasteners. The pins alone are NOT the final connection.
- Pre-drill for the trim screws: Pre-drill each hole at an angle, like a pocket screw, from the rail into the post - a bit sized to the trim screw, angled so the screw doesn't split the rail's end grain.
- Drive two 2-1/2" trim screws through the pre-drilled angled holes, into the post and rail, for the best grip.
- Put wood glue on the rail end before you seat it for good, for extra bond strength. Wipe off the excess right away.
- For rail-to-rail joints (where two rail sections meet in the middle of a run): glue both faces, pin nail with 4 to 6 pins, and add a rail bolt connector underneath if you can, for extra strength.
- Plug the lag screw holes on the post backside with matching wood plugs. Glue them in, then trim flush with a flush-cut saw or chisel.
Pro Tip: The 200-lb standoff test is real - inspectors will lean hard on the rail at final inspection. If your connection is only pins and glue, it WILL fail. The structural fasteners are not optional. Two 2-1/2" trim screws per post, pre-drilled at an angle, give you strength that beats code minimums and will hold for the life of the home.
Step 3: Calculate Baluster Spacing #
This is the math step most carpenters dread, but it's simple once you see the logic. The goal is balusters spaced evenly that still pass the 4" sphere rule.
Sub-Steps #
- Measure the clear distance between the two newel posts (inside face to inside face - the actual open gap, not center to center). Example: 52 inches.
- Work out your target on-center spacing (the distance from the center of one baluster to the center of the next). Code sets the ceiling: for 1/2" round balusters a 4" maximum clear opening puts the absolute limit at 4" + 0.5" = 4.5" on center. We do not build to that limit. Our target on a straight run is about 3-1/2" on center, deliberately tighter, so a straight section does not read visibly looser than the rake beside it, where three balusters per tread land at about 3-3/8" on center.
- Divide the post-to-post distance by the target spacing: 52" ÷ 3.5" = 14.9, so round up to 15 spaces. That means 15 spaces and 14 balusters - one fewer baluster than spaces, because the two posts act as the first and last element in the row.
- Work out the actual spacing: 52" ÷ 15 spaces = 3.47" on center, a hair under 3-1/2". The clear opening between balusters is 3.47" - 0.5" (baluster diameter) = about 2-15/16" clear. That passes the 4" sphere rule with room to spare, and it sits close enough to the rake spacing that the two runs look like they belong together.
- If the division doesn't land on a whole number, round the number of balusters up, never down. More balusters means smaller spacing, which always passes code. Example: if you get 14.9 spaces, round up to 15 spaces (14 balusters) and redo the math.
- For rake runs (stairs): put three balusters on every tread, about 3-3/8" center to center. Measured from the riser: 2-5/8", 6", and 9-3/8". To get the marks without doing the math by hand, including how far to shift the group when stair caps or a bigger nosing move it, use the baluster spacing calculator. It also works out straight runs between posts and checks them against the 4 inch sphere rule.
Pro Tip: Always check your math by test-laying the balusters on the floor before you drill. Mark the post positions, then mark each baluster center at your calculated spacing. Lay actual balusters on the marks and test the gaps with a 4" block, or better yet, a scrap piece of 2x4, which is 3.5" wide. A 4" sphere (a baseball is about 3", too small to prove anything - use a real 4" ball) should not fit between any two balusters. Check this before you drill a single hole.
Step 4: Mark and Drill Floor Holes #
Once you've worked out the spacing, mark the hole centers on the floor (or treads) first. The floor hole is the one that gets drilled big and deep, so it's the more forgiving of the two - it gives you room for the baluster's cut length, where the rail hole above it does not.
Sub-Steps #
- Using your calculated spacing, mark the center point for each baluster on the floor or tread. Measure from the inside face of one post, marking each increment as you go.
- For level runs (balcony or landing): mark a baseline along the rail centerline first, then mark each baluster center along that line.
- For rake runs (stairs): put three balusters on every tread. Measure from the riser (the vertical board at the back of the step): mark the first baluster center at 2-5/8", the second at 6", and the third at 9-3/8" - about 3-3/8" center to center.
- Using the 3/4" spade bit to start a clean, straight entry, then a spiral/twist bit to finish, drill each floor hole plumb, about 6" deep - as deep as you can go, so you're not forced into a precise baluster cut. Put a piece of tape on the bit as a depth stop.
- Place painter's tape over the drilling area before you drill, to cut down on splintering on finished hardwood floors.
- Clean all sawdust out of the holes with a shop vac or compressed air.
Pro Tip: Keep the drill perfectly plumb when drilling floor holes. Even a slight angle will make the baluster lean, and that's very hard to fix once the hole is drilled. Hold a torpedo level against the drill body, or better yet, use a drill press stand attachment. One crooked baluster in a row of twelve will stick out like a sore thumb.
Step 5: Mark and Drill Rail Holes #
The rail holes are the trickiest part. They need to line up with the floor holes, and the hole is drilled snug, just deep enough to seat the baluster, so there's no room to adjust here if the mark is off. Getting these right is what separates a clean installation from a sloppy one.
Sub-Steps #
- Transfer marks from floor to rail: Hold a torpedo level plumb and carry each floor mark straight up to the bottom of the rail. Mark the exact center on the rail's bottom groove. A plumb bob (a weight on a string that points straight down) works too - hang it from the mark on the rail and check that it lines up with the floor mark.
- If the rail isn't installed yet, you can instead lay it on sawhorses and mark the same spacing along its length, starting from the same reference point (the post face) you used for the floor marks.
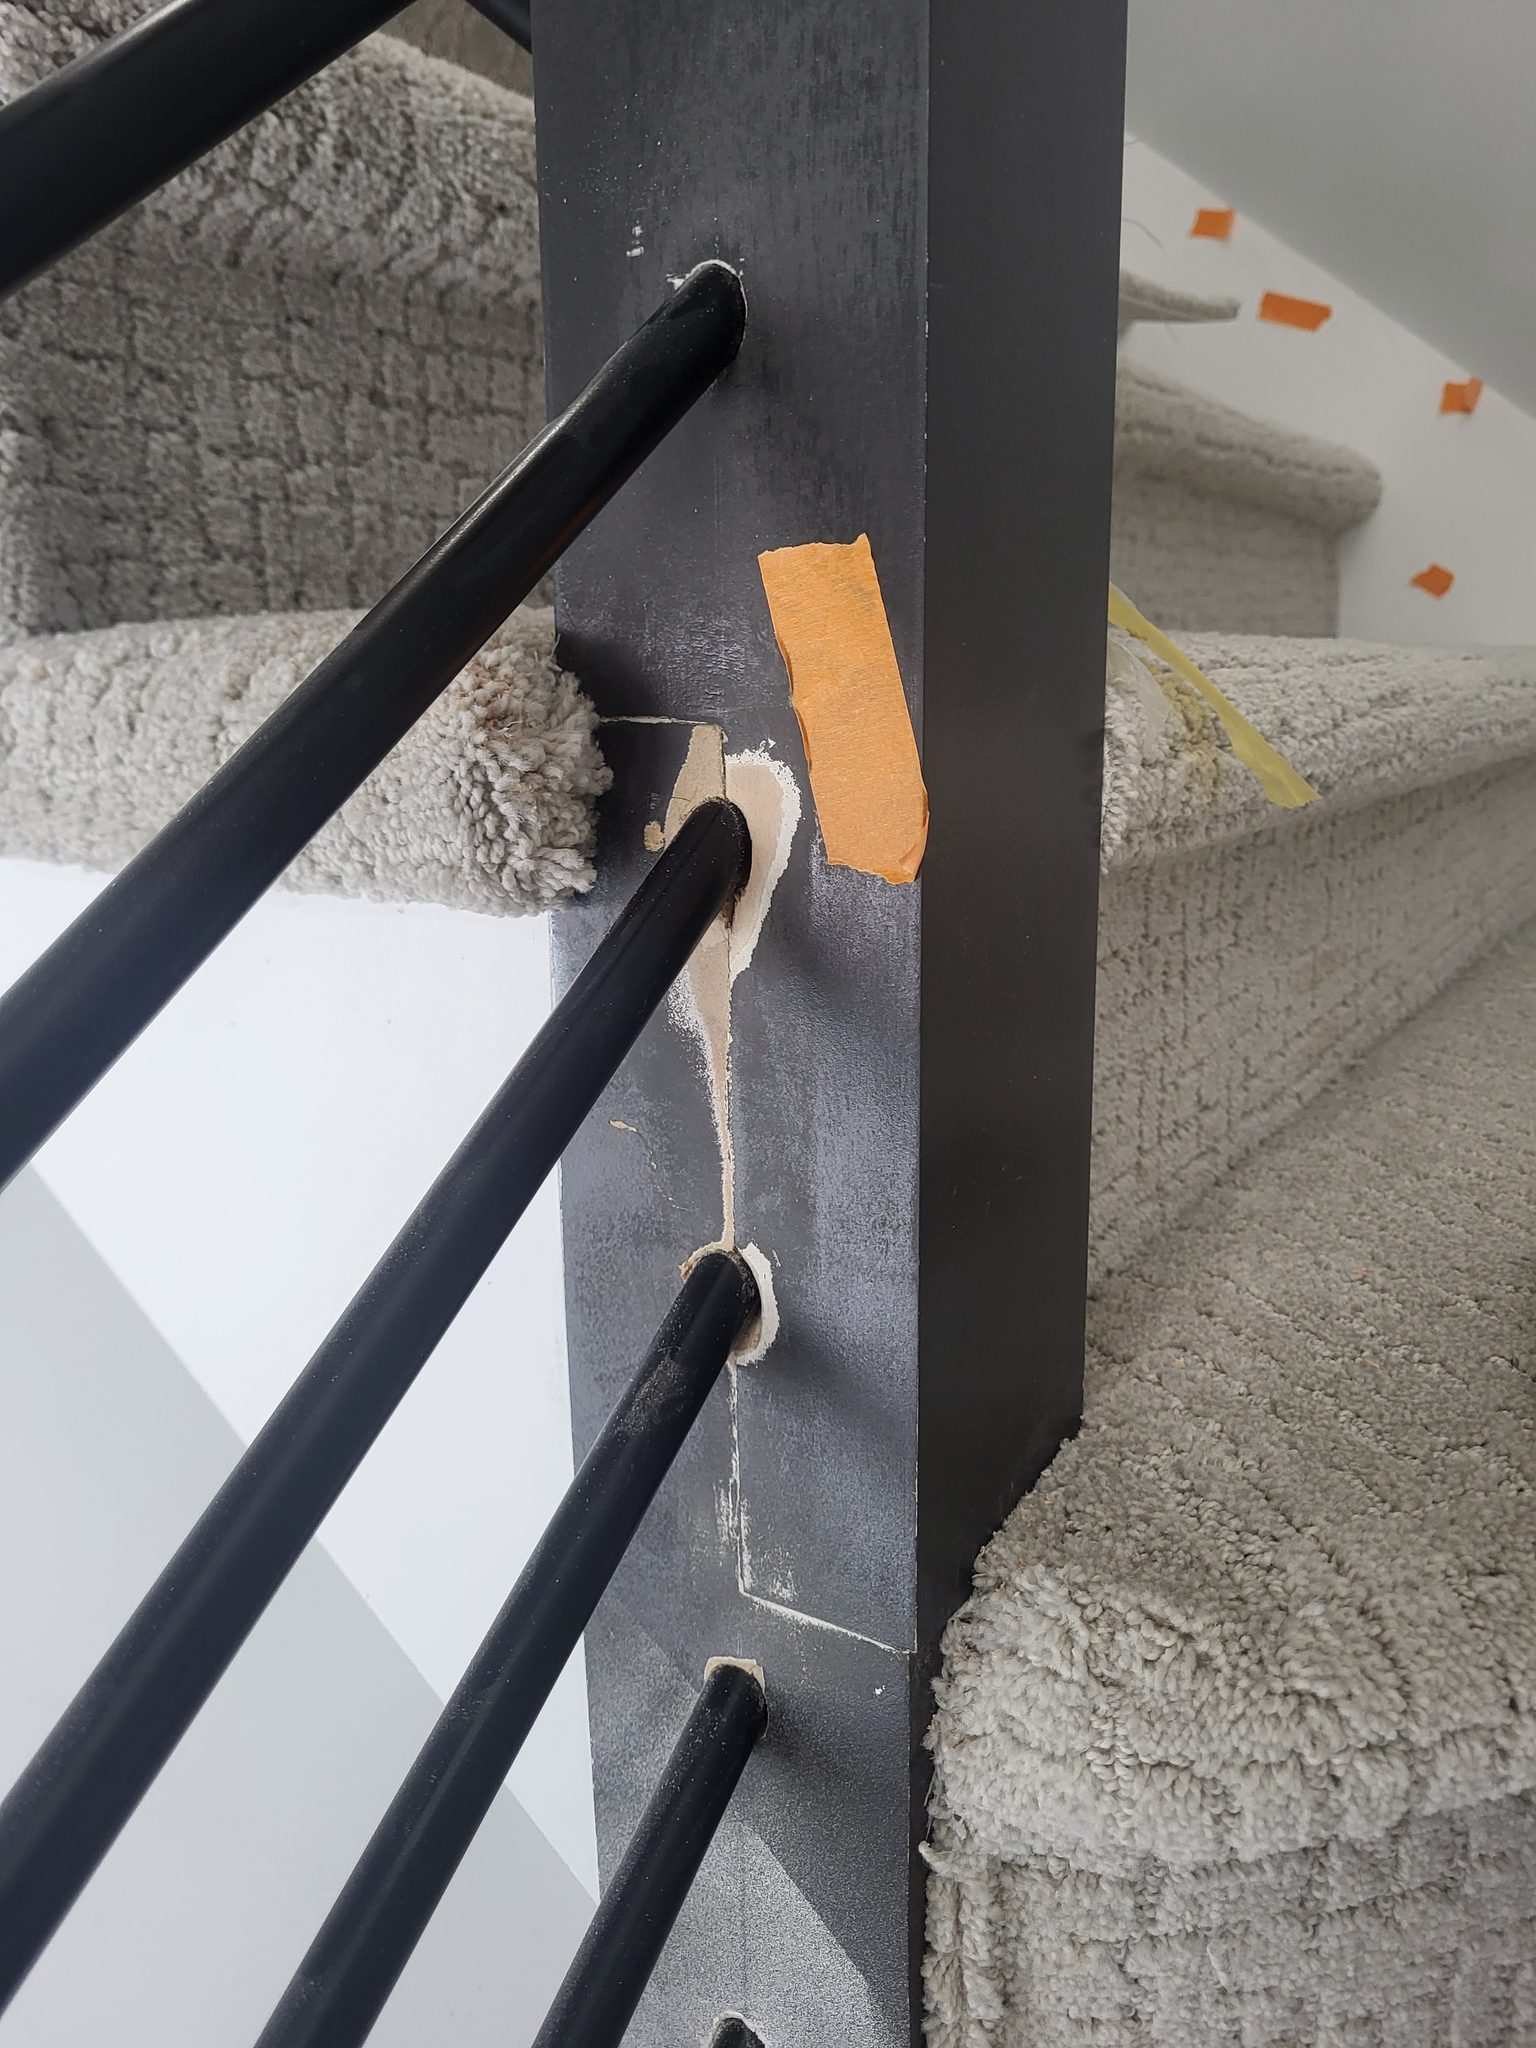
- Using the 1/2" spade bit, drill the rail holes from the bottom of the rail upward. The 1/2" hole is smaller than the 3/4" floor hole on purpose - it's meant to seat the baluster snugly, not give you room to adjust. Getting the mark right matters more here than it does on the floor.
- Drill depth: about 3/4" to 1" into the rail bottom. Deep enough to hold the baluster top securely, but not so deep that you weaken the rail.
- Clean all holes with a shop vac. Check that each hole is clean and the baluster slides in freely.
Pro Tip: The floor hole is bigger than the rail hole on purpose - the floor hole gives you room for the baluster's cut length, while the rail hole gives you a snug, precise seat. The baluster sits snug in the rail hole, which seats it, and goes deep into the floor hole, about 6", so a baluster cut a little long or short still works. Start both holes with the spade bit for a clean entry. Finish the floor hole deep with a spiral or twist bit. Never take the rail hole deep: a spade bit's point runs well ahead of the bore and will come through the top of the rail.
Step 6: Dry-Fit the Balusters and Check Plumb #
With all the holes drilled, set each baluster in its holes to check the fit before Phase 2. Take your time. Check every baluster for plumb, one at a time.
Sub-Steps #
- Put the baluster top into the rail hole first. Push it up into the 1/2" rail hole, which is sized to seat it snugly, far enough that the bottom clears the floor. Then drop the bottom into the 3/4" floor hole. The floor hole is the oversized one and it runs about 6" deep, so the baluster has room to drop into place.
- Adjust the baluster until it's perfectly plumb in both directions (side-to-side and front-to-back). Check it with a torpedo level held against the baluster shaft.
- Repeat for each baluster, working from one post toward the other.
Pro Tip: Dry-fit every third baluster first (1st, 4th, 7th, and so on), check them all for plumb, then fill in the ones in between. This gives you reference points across the run and catches any drift early. If you set them in order and find baluster #10 doesn't line up because small errors have added up, you'd have to pull everything back out. Working in thirds catches that problem at baluster #4 instead of #10.
Step 7: Final Adjustments and Inspection #
Once all balusters are set, step back and look at the whole assembly. Your eye is the best quality control tool you have. A gap or lean that doesn't show up on a level will jump out the moment you look down the row.
Sub-Steps #
- Sight down the run: Crouch at one post and look down the line of balusters toward the other post (sighting down the run means checking a straight line by eye from one end). All balusters should form a straight, even line. Any baluster that's out of line will show up right away.
- 4" sphere test: Take a 4" sphere (or a block cut to exactly 4" wide) and try to pass it between each pair of neighboring balusters, and between each end baluster and its newel post. It must NOT pass through anywhere.
- Grab test: Grip the rail and push firmly side to side. The rail should feel rock-solid with zero play. Any wobble means your post connections need more work.
- Set any proud pin nails (nail heads sitting above the surface) below the surface, and note any screw holes or finish damage on the punch list for the painter.
Pro Tip: The building inspector will do the 200-lb lean test - they'll grab the rail and push hard. Do this test yourself first. Stand at the midpoint of the longest rail section and push outward with your full weight. If the rail flexes or the posts shift at all, you need more structural fasteners before the inspector shows up. Better to find and fix it yourself than to fail an inspection.
Quality Check Criteria #
Run through this whole checklist before you call the rail system done. Building inspectors check every one of these items, and homeowners will live with any defects you leave behind.
- All balusters are plumb in both directions (side-to-side and front-to-back) when checked with a torpedo level
- Baluster spacing is consistent across the entire run - no visible variation when sighting down the line
- A 4" sphere cannot pass between any two balusters or between any baluster and a newel post
- Rail is solid at 200 lbs concentrated load - no wobble, no flex, no movement at post connections
- Rail height is 36-1/4" above finished floor, measured at the nosing edge on stairs (verify local code minimum)
- Rail joints are tight with no visible gaps, properly glued and pinned
Once the whole run passes this checklist, every baluster comes back out. Phase 2 cuts each one to length, then sets and secures it for good, normally after paint and before carpet (How to Secure and Finish a Stair Baluster).
Troubleshooting Metal Balusters Issues #
Problem: A baluster won't sit plumb - it leans to one side no matter how you adjust it.
Solution: The floor hole was drilled at an angle. The rail hole is only 1/2" and seats the baluster snugly, so it gives you almost nothing to correct with. If the lean is bigger than that, fill the floor hole with epoxy and a dowel plug, then re-drill it plumb once the epoxy cures.
Problem: The rail won't fit between the posts - it's slightly too long.
Solution: Take the rail back out and trim 1/32" to 1/16" off one end. Use a hand-held belt sander instead of the miter saw for this - it's hard to control such a tiny cut on the miter saw. Test-fit after each pass. Remember, it is better to leave the rail a hair long than to cut it short - a long rail still gives you room to true up the angle.
Problem: The balusters look unevenly spaced even though you marked them carefully.
Solution: The most common cause is a small measuring error that adds up across the run. Double-check your marks by measuring from BOTH posts (left to right, then right to left). The marks should meet in the middle. If they don't match, you have a measurement error on one end. Also check that your post faces are truly flat - a post that's twisted or has a slight bow will shift the reference point between rail height and floor level.
Problem: The rail feels wobbly even with the lag screws installed.
Solution: Check that the lag screws actually go into the rail, not into air or a gap. Pull one screw and check the depth - you need at least 2-1/2" into the rail's end grain. If the rail wood is splitting at the screw location (common in oak), pre-drill all the way through the rail with a 3/16" bit before driving the lag screw. Also check that the post itself is solid - a loose post will make even the best rail connection feel wobbly. Test the post on its own by pushing on it.
Problem: The 4" sphere test fails between the end baluster and the newel post.
Solution: This is the spot people miss most often in baluster spacing. The distance from the post face to the first baluster also has to be less than 4" clear. If you calculated spacing from the post center instead of its face, that first gap may be too big. Fix it by adding one more baluster near the post and adjusting the spacing across the whole run. It's better to have slightly tighter spacing throughout than one gap that fails inspection.
Problem: The rail mark and the floor mark do not line up when you transfer plumb.
Solution: Recheck with a level held flat against the actual rail face, not by eye. If the rail shifted slightly after the floor marks were laid out, every transfer downstream of it will be off. Fix the rail position before you drill, do not force a hole to match a bad mark.
Problem: The spade bit wanders when you start a hole and it comes out off plumb.
Solution: Start the hole at a slight angle to let the bit establish its own center, then bring the drill up to plumb once the bit bites into the material. Hold a level nearby as a visual reference on tricky holes.
A Straight, Even Rail #
Take your time on layout. Even spacing between balusters, plumb balusters, and a rail that looks level from across the room are what separate a professional installation from one that looks rushed. Double-check your spacing math before you drill the first hole. It's far easier to fix a mistake on paper than after the balusters are locked in for good.
Related Guides #
- How To Install a Newel Post -- Securing newel posts for structural strength before installing rails and balusters
- How To Install Stair Skirt Boards -- Fitting and installing skirt boards along the wall side of stairs
- How to Secure and Finish a Stair Baluster -- Phase 2: cutting, setting, and securing the balusters once the rail is painted
- How to Install Horizontal Bar Railing -- the Variant of this guide: same posts and rail, horizontal bars instead of balusters
Reference Photos #
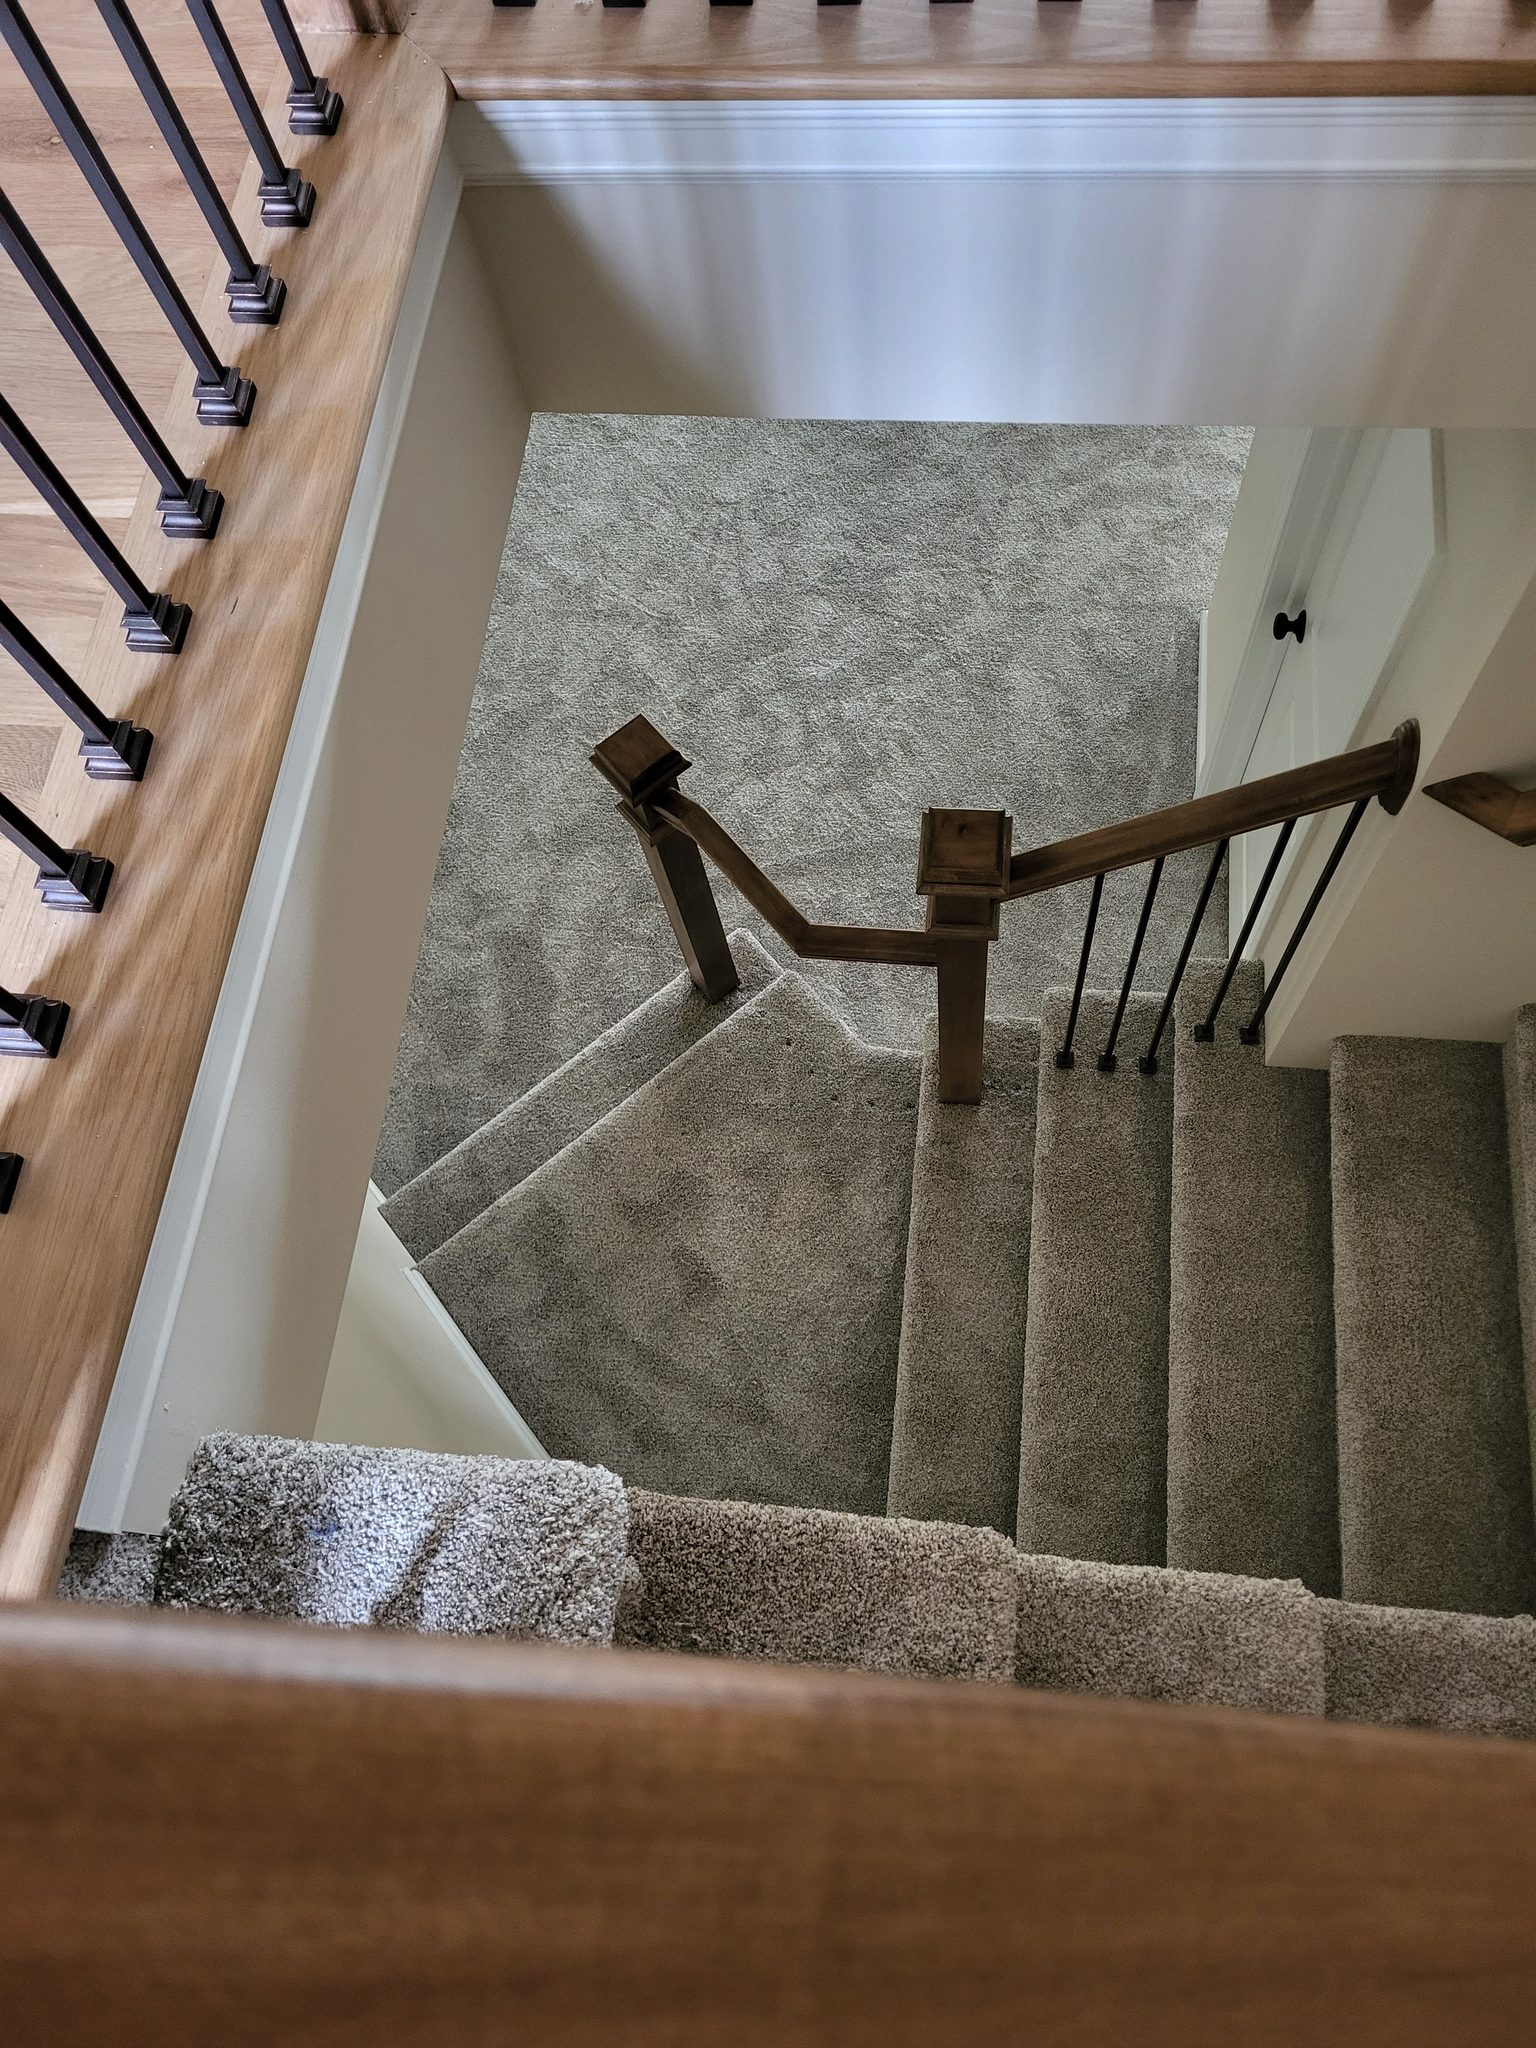
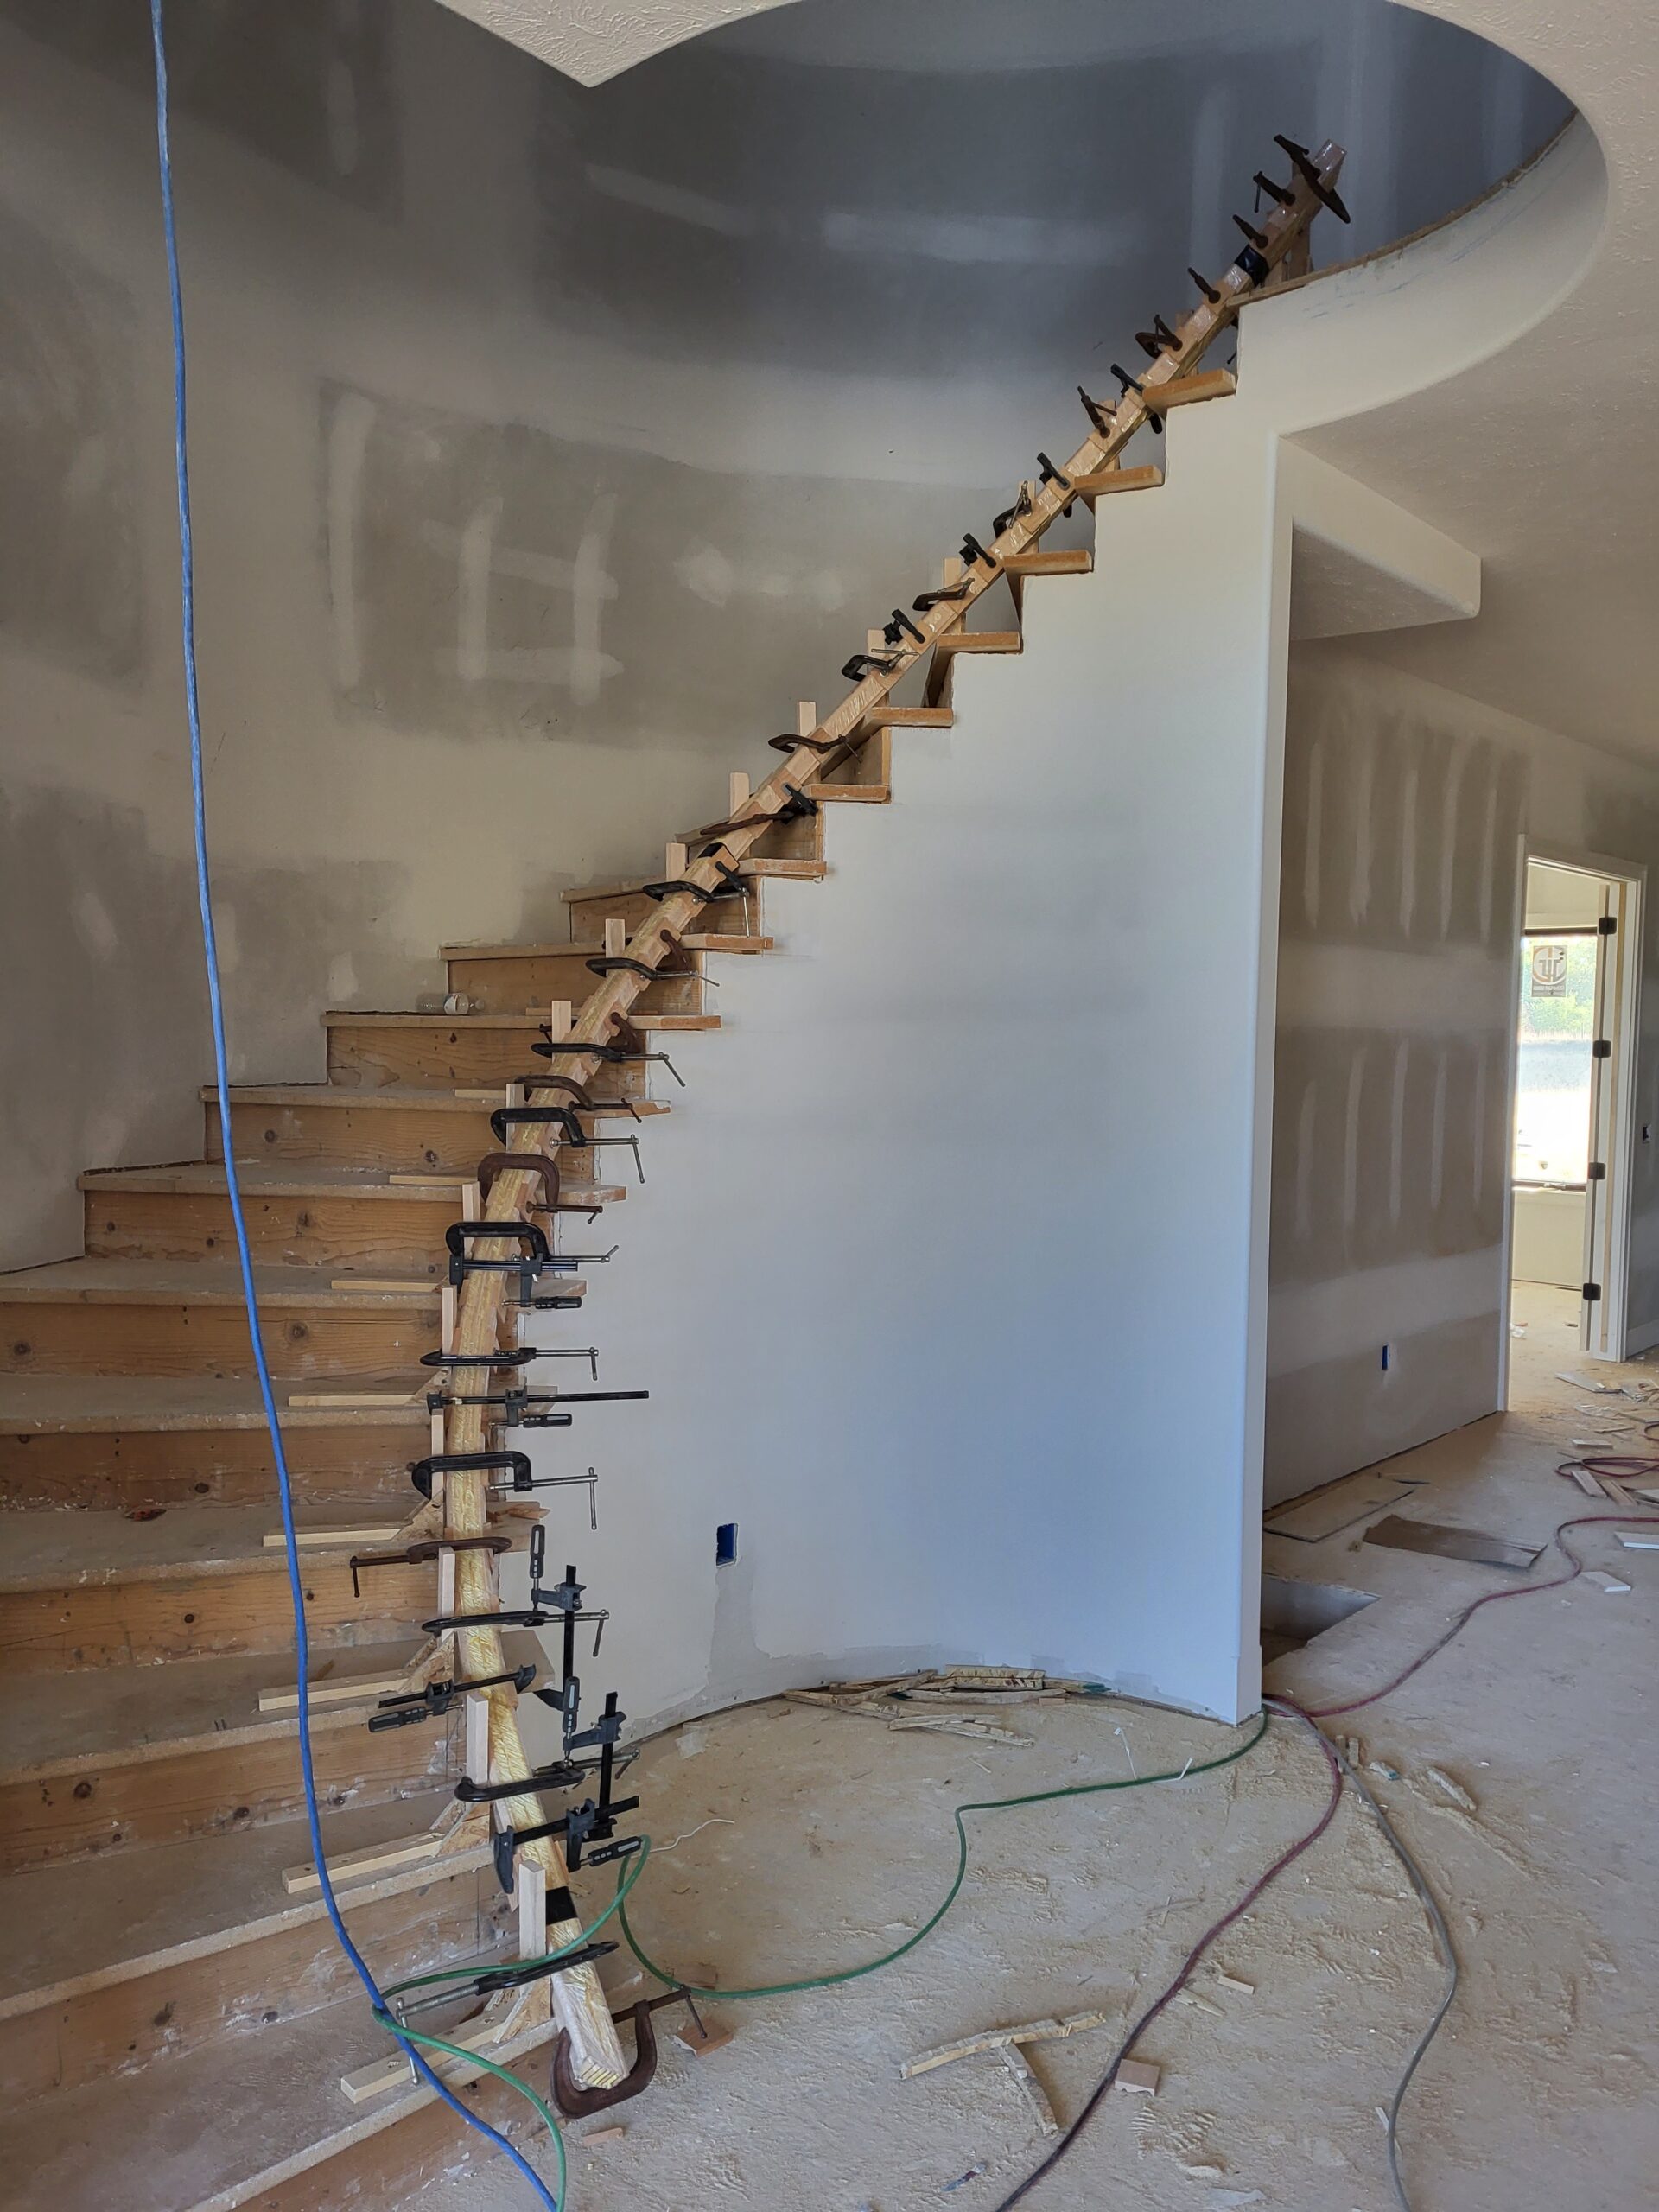
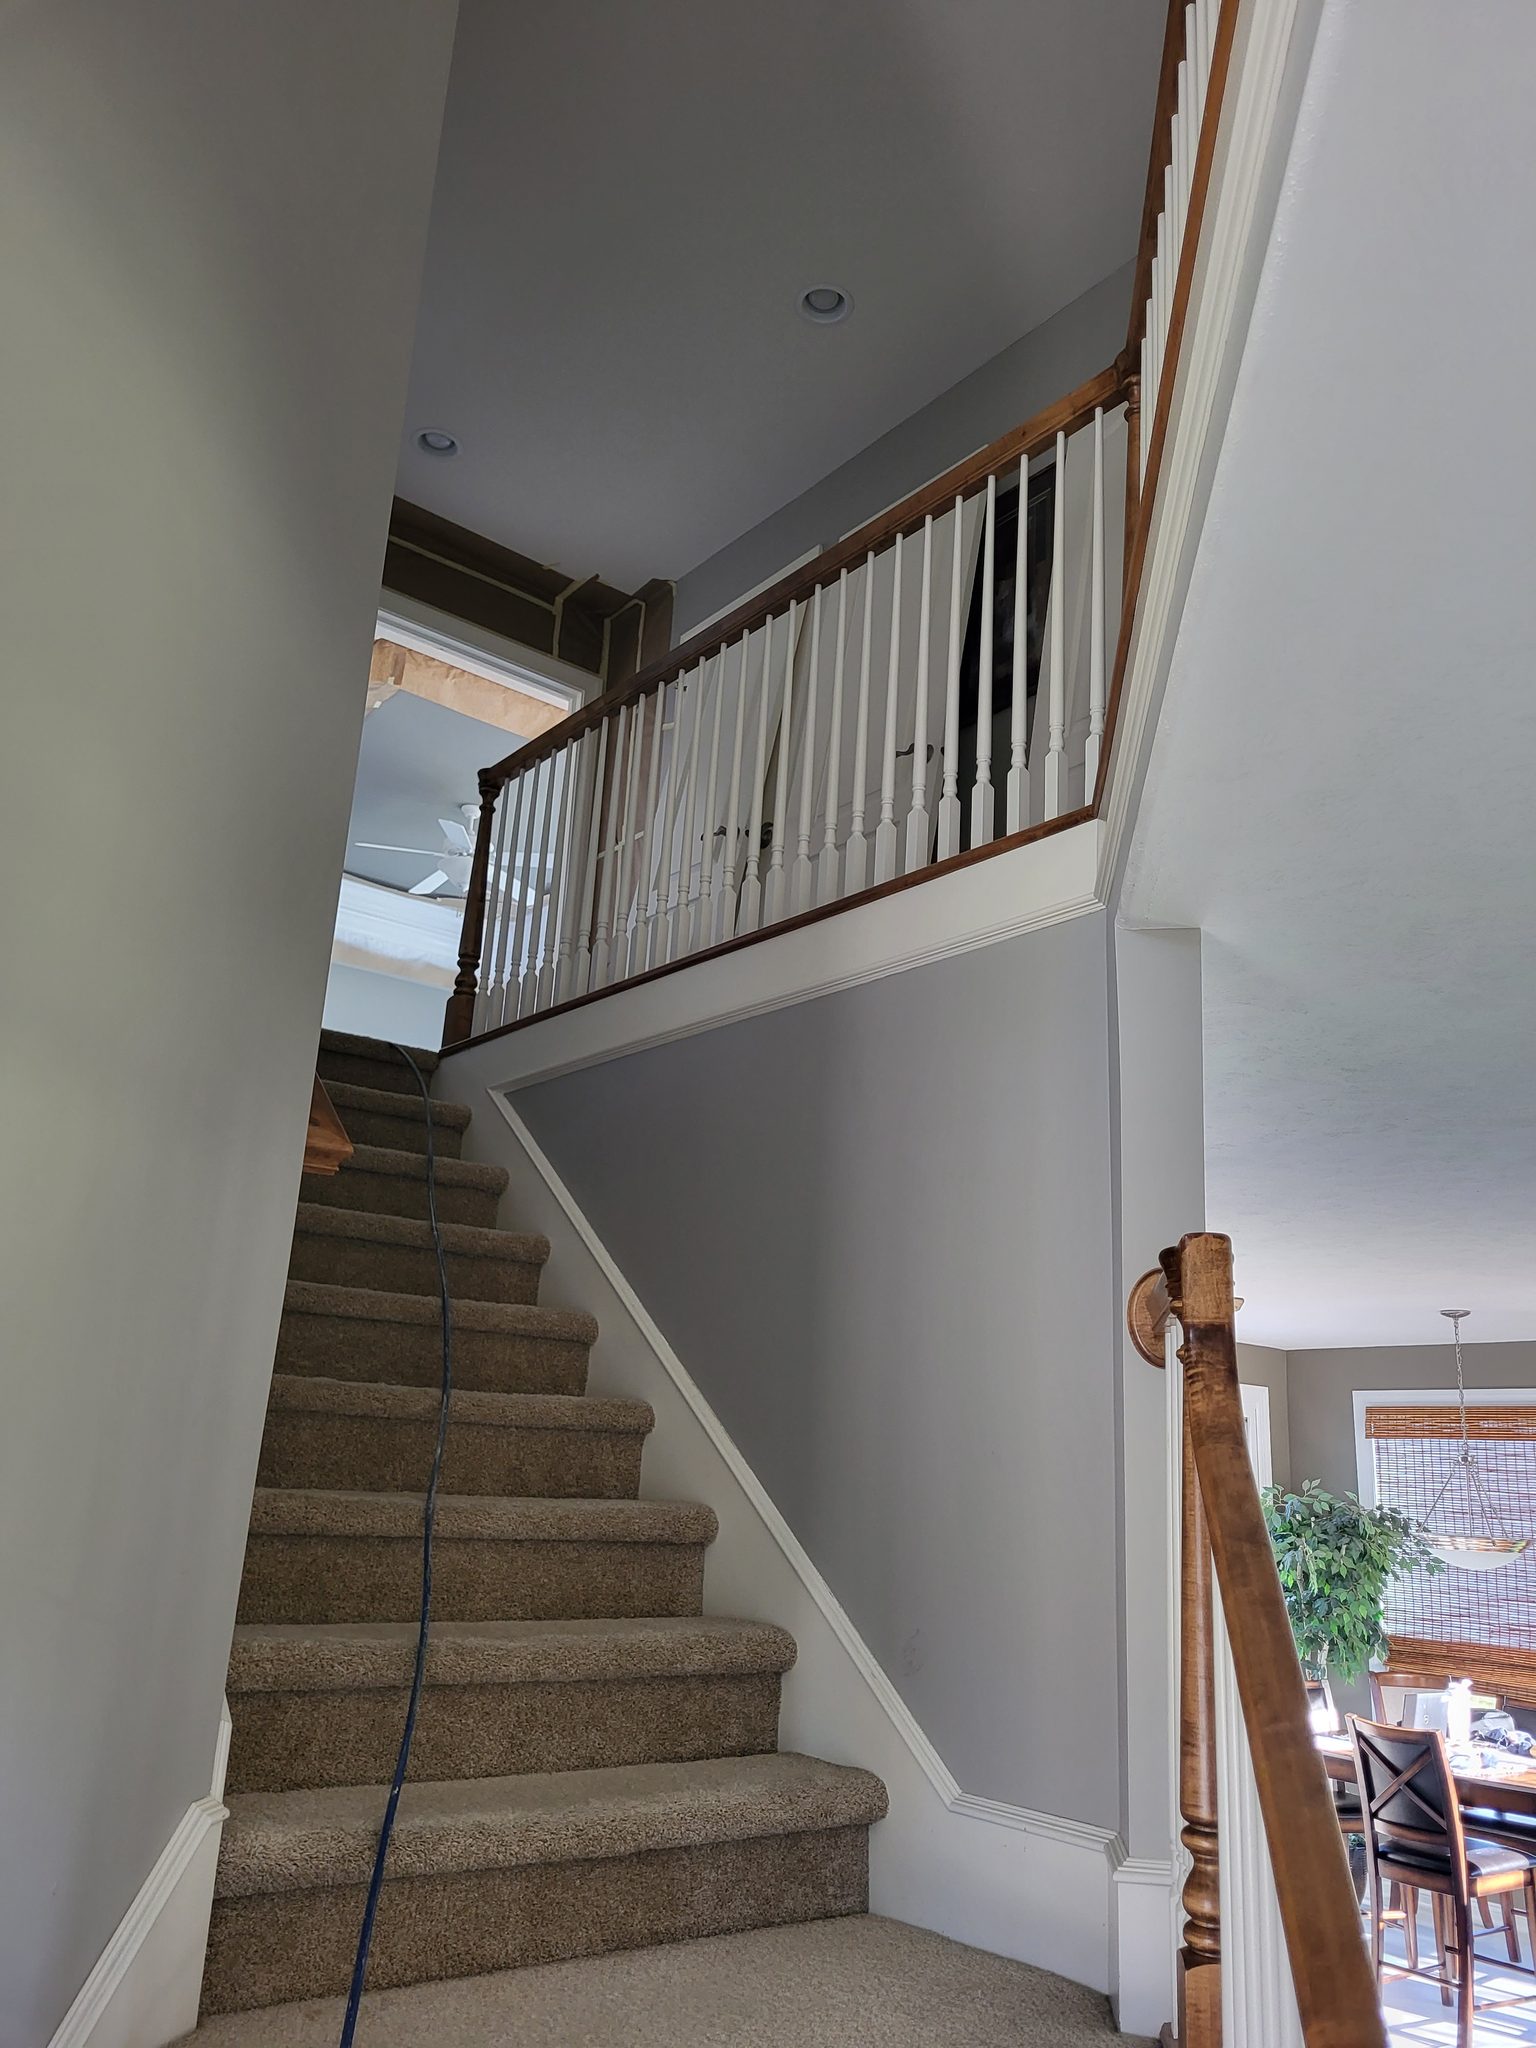
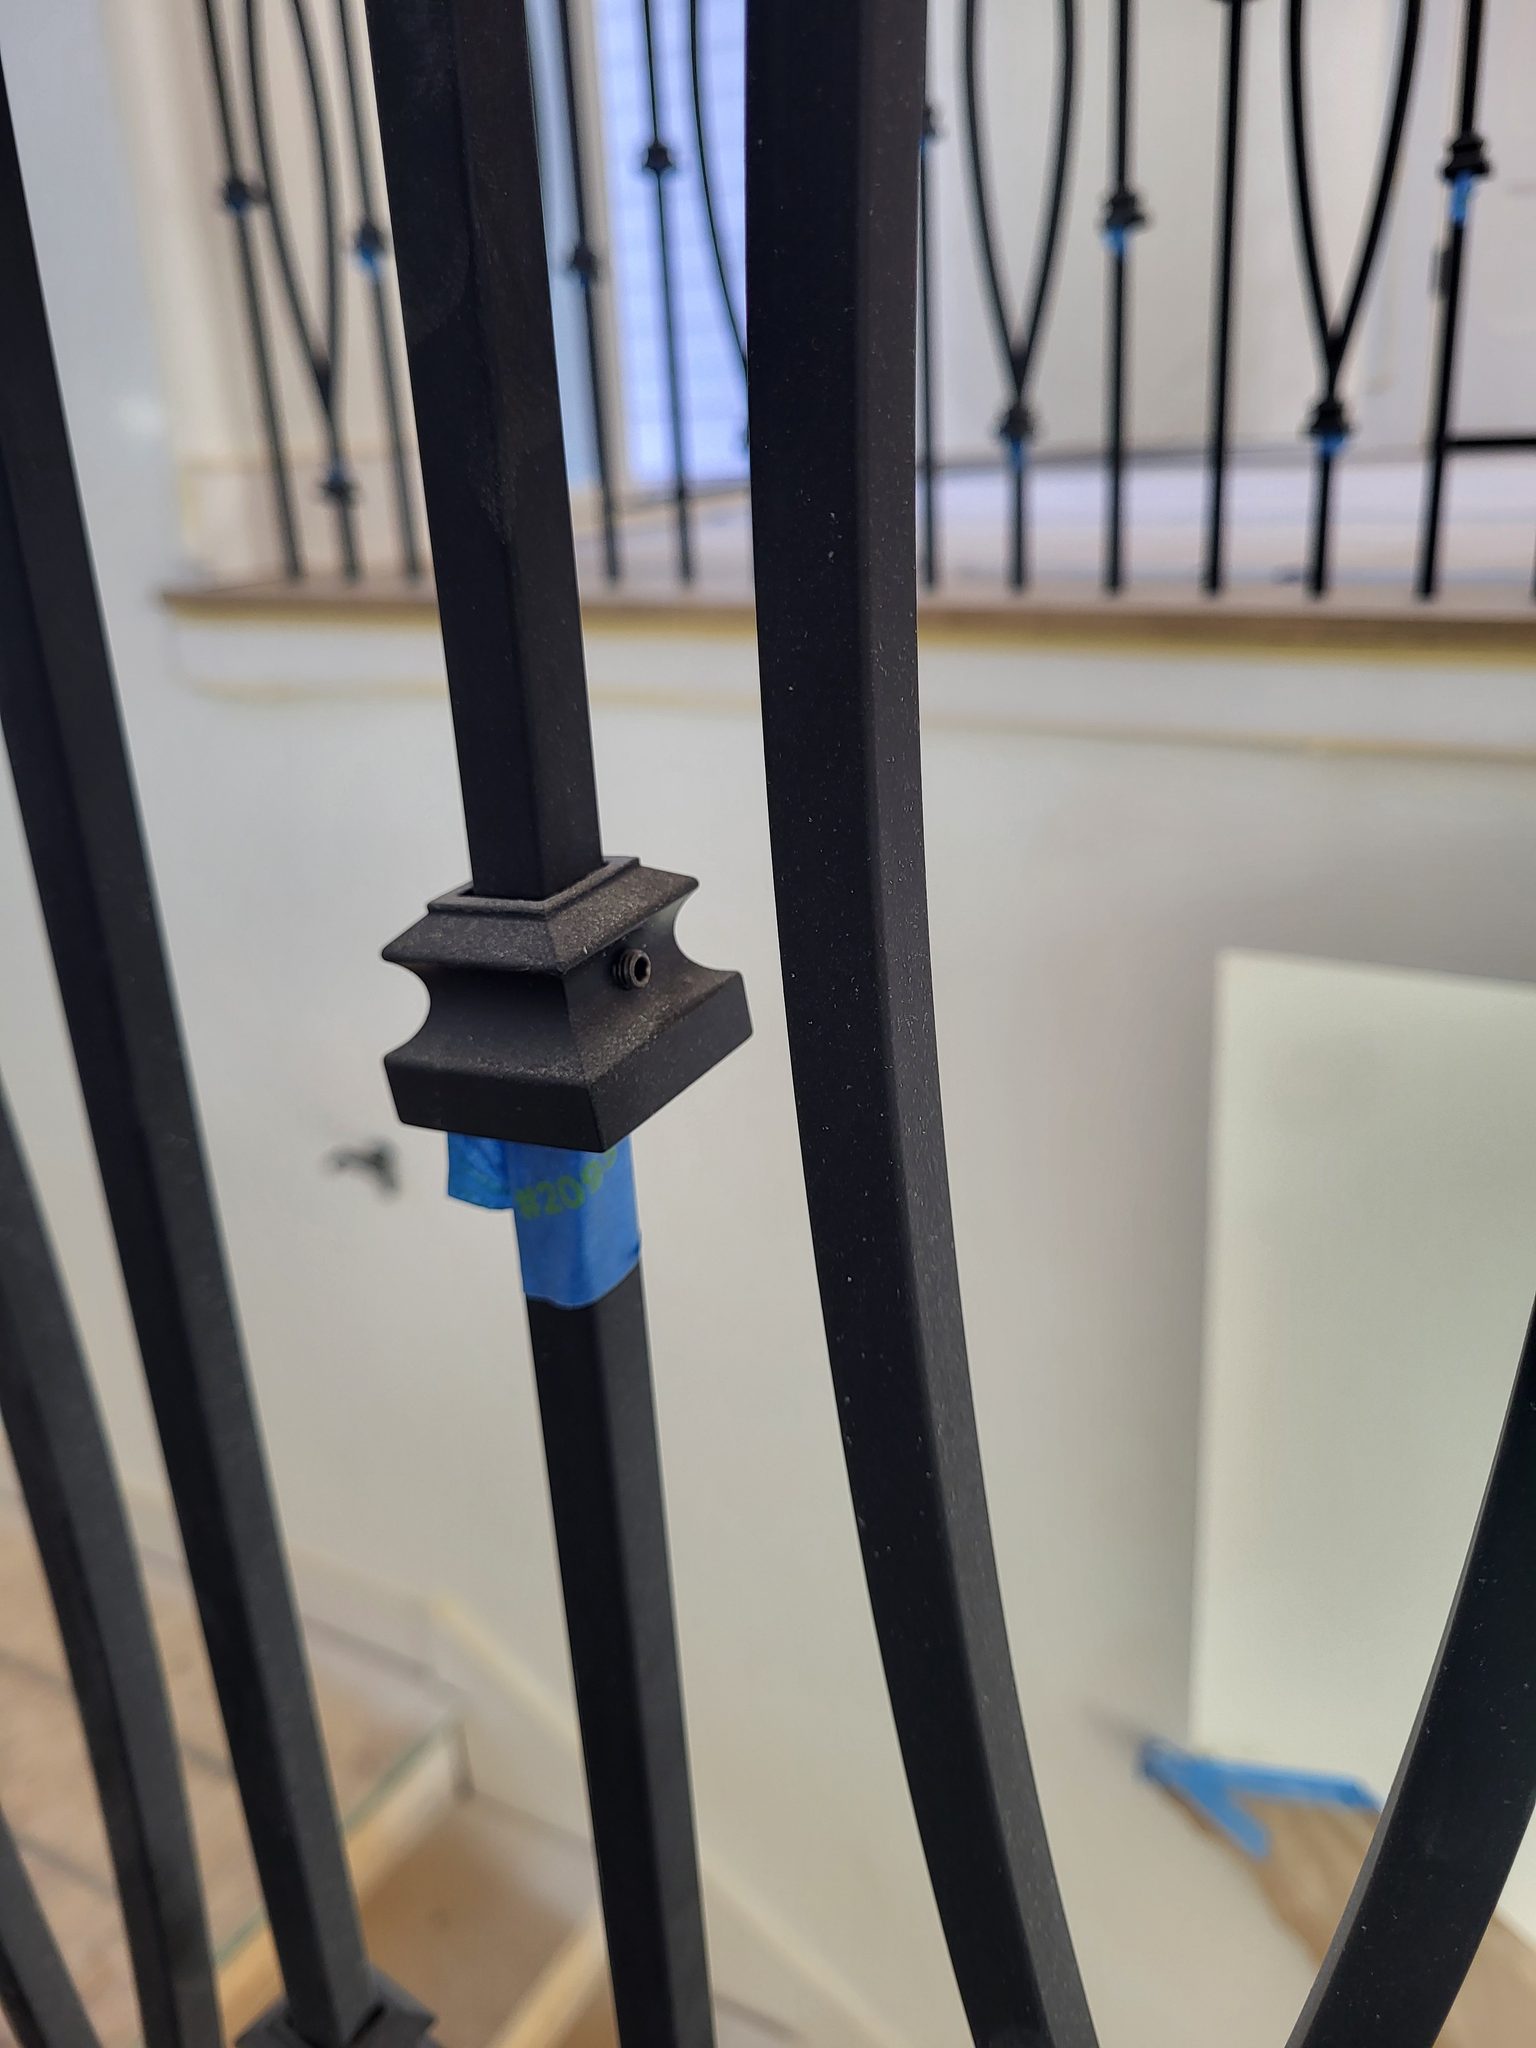
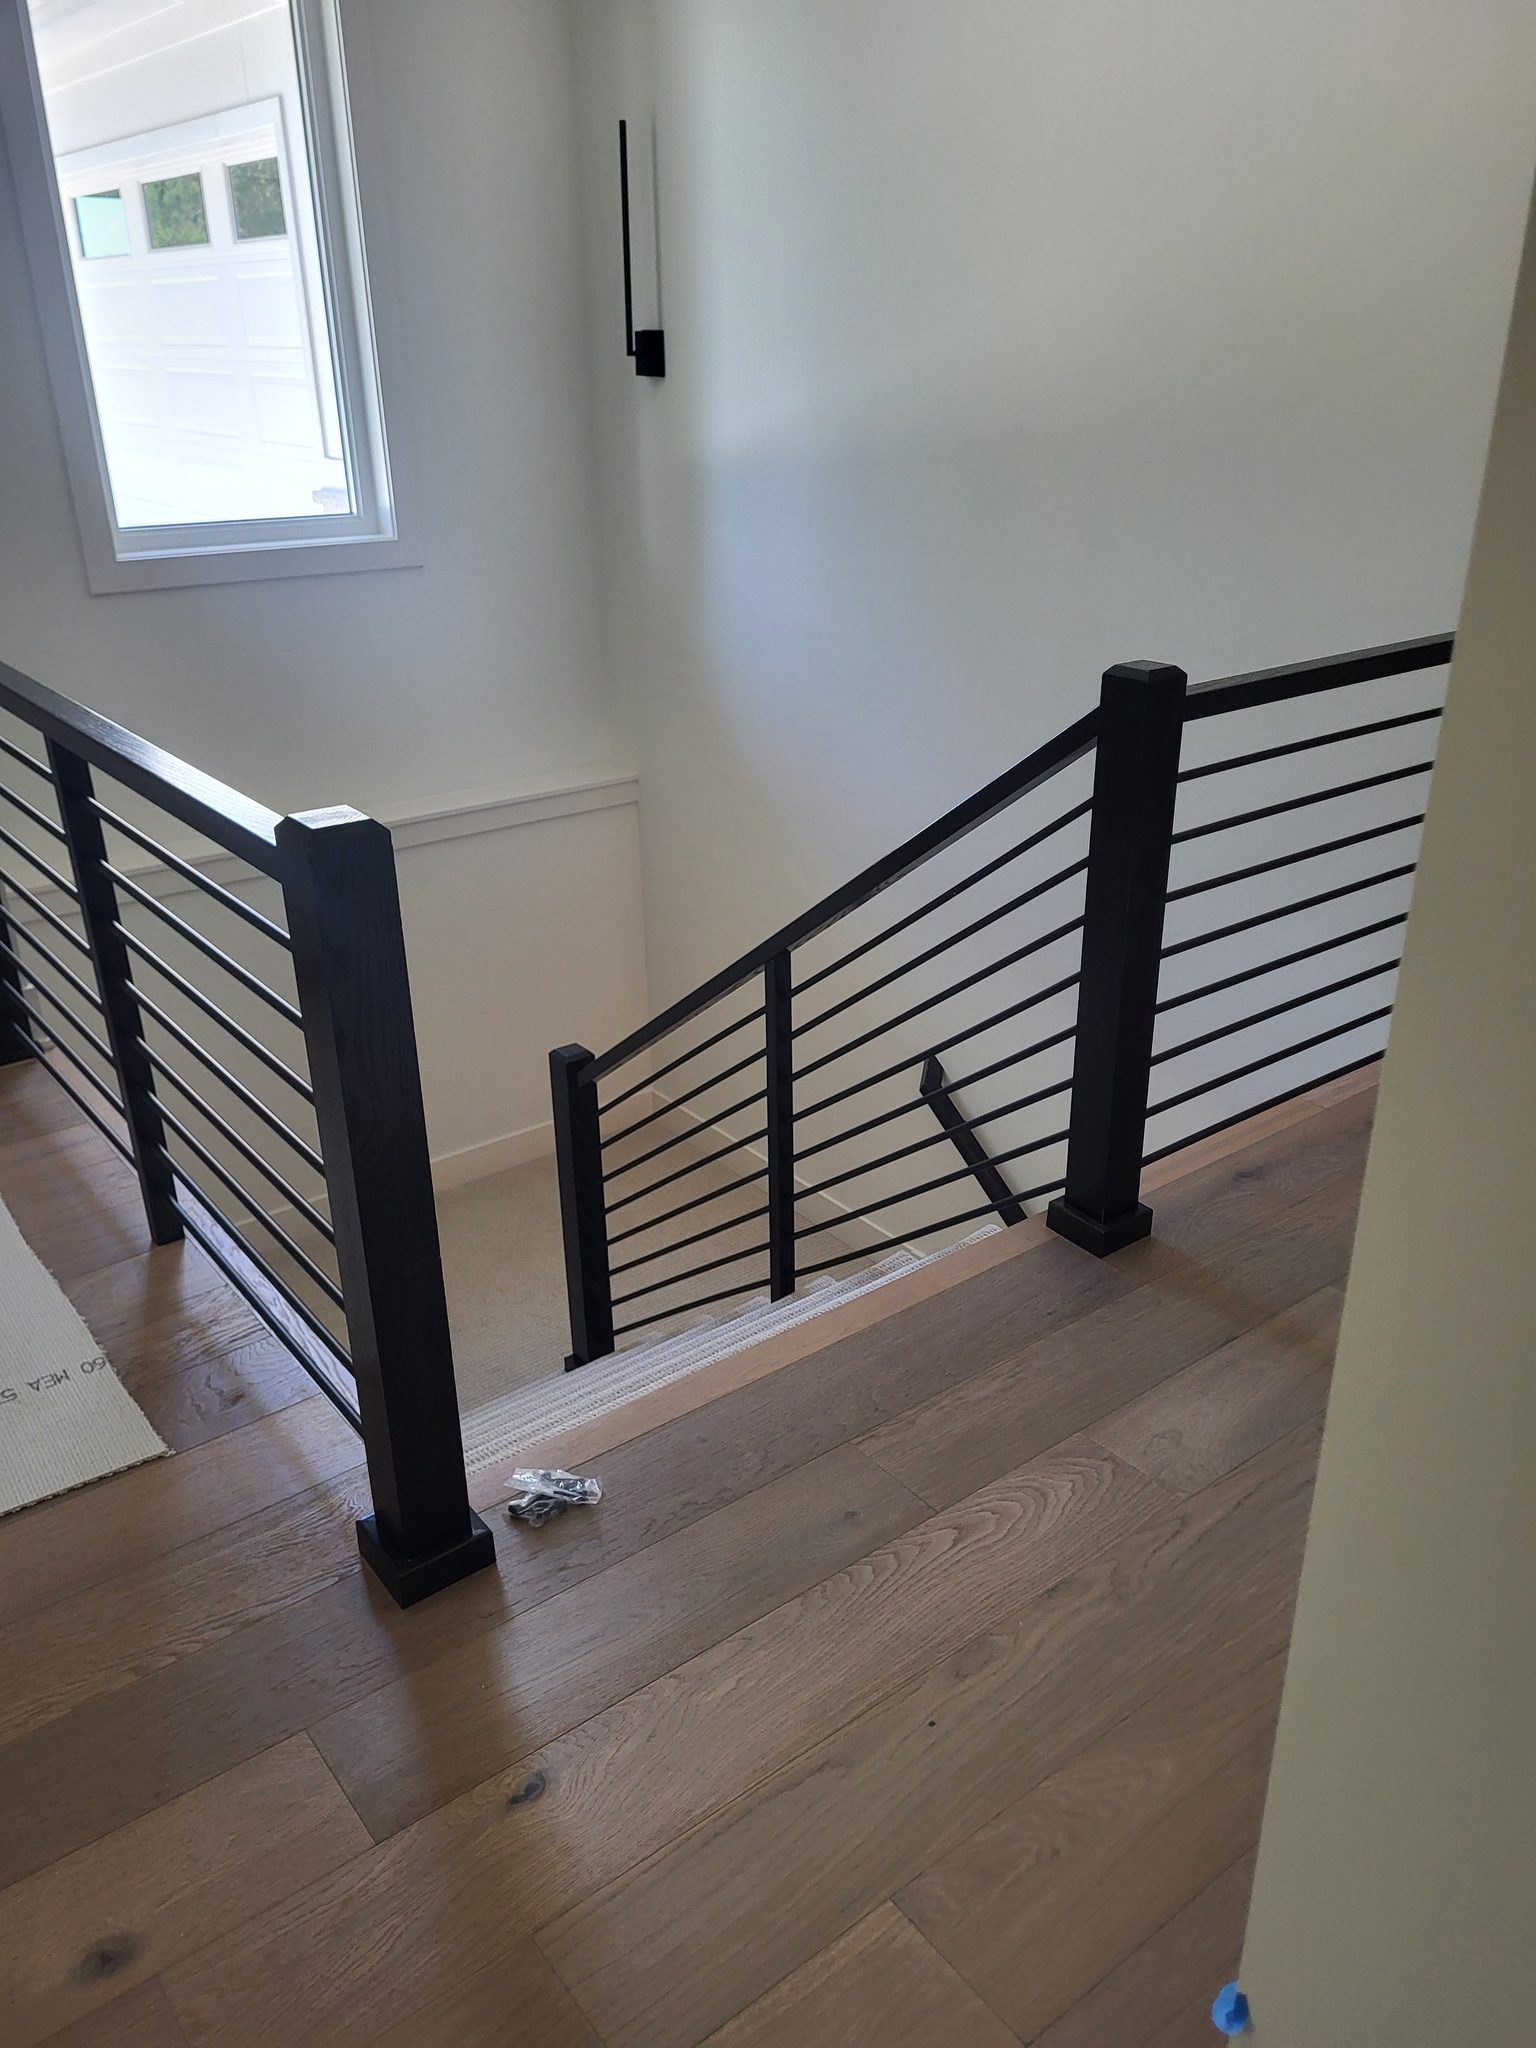
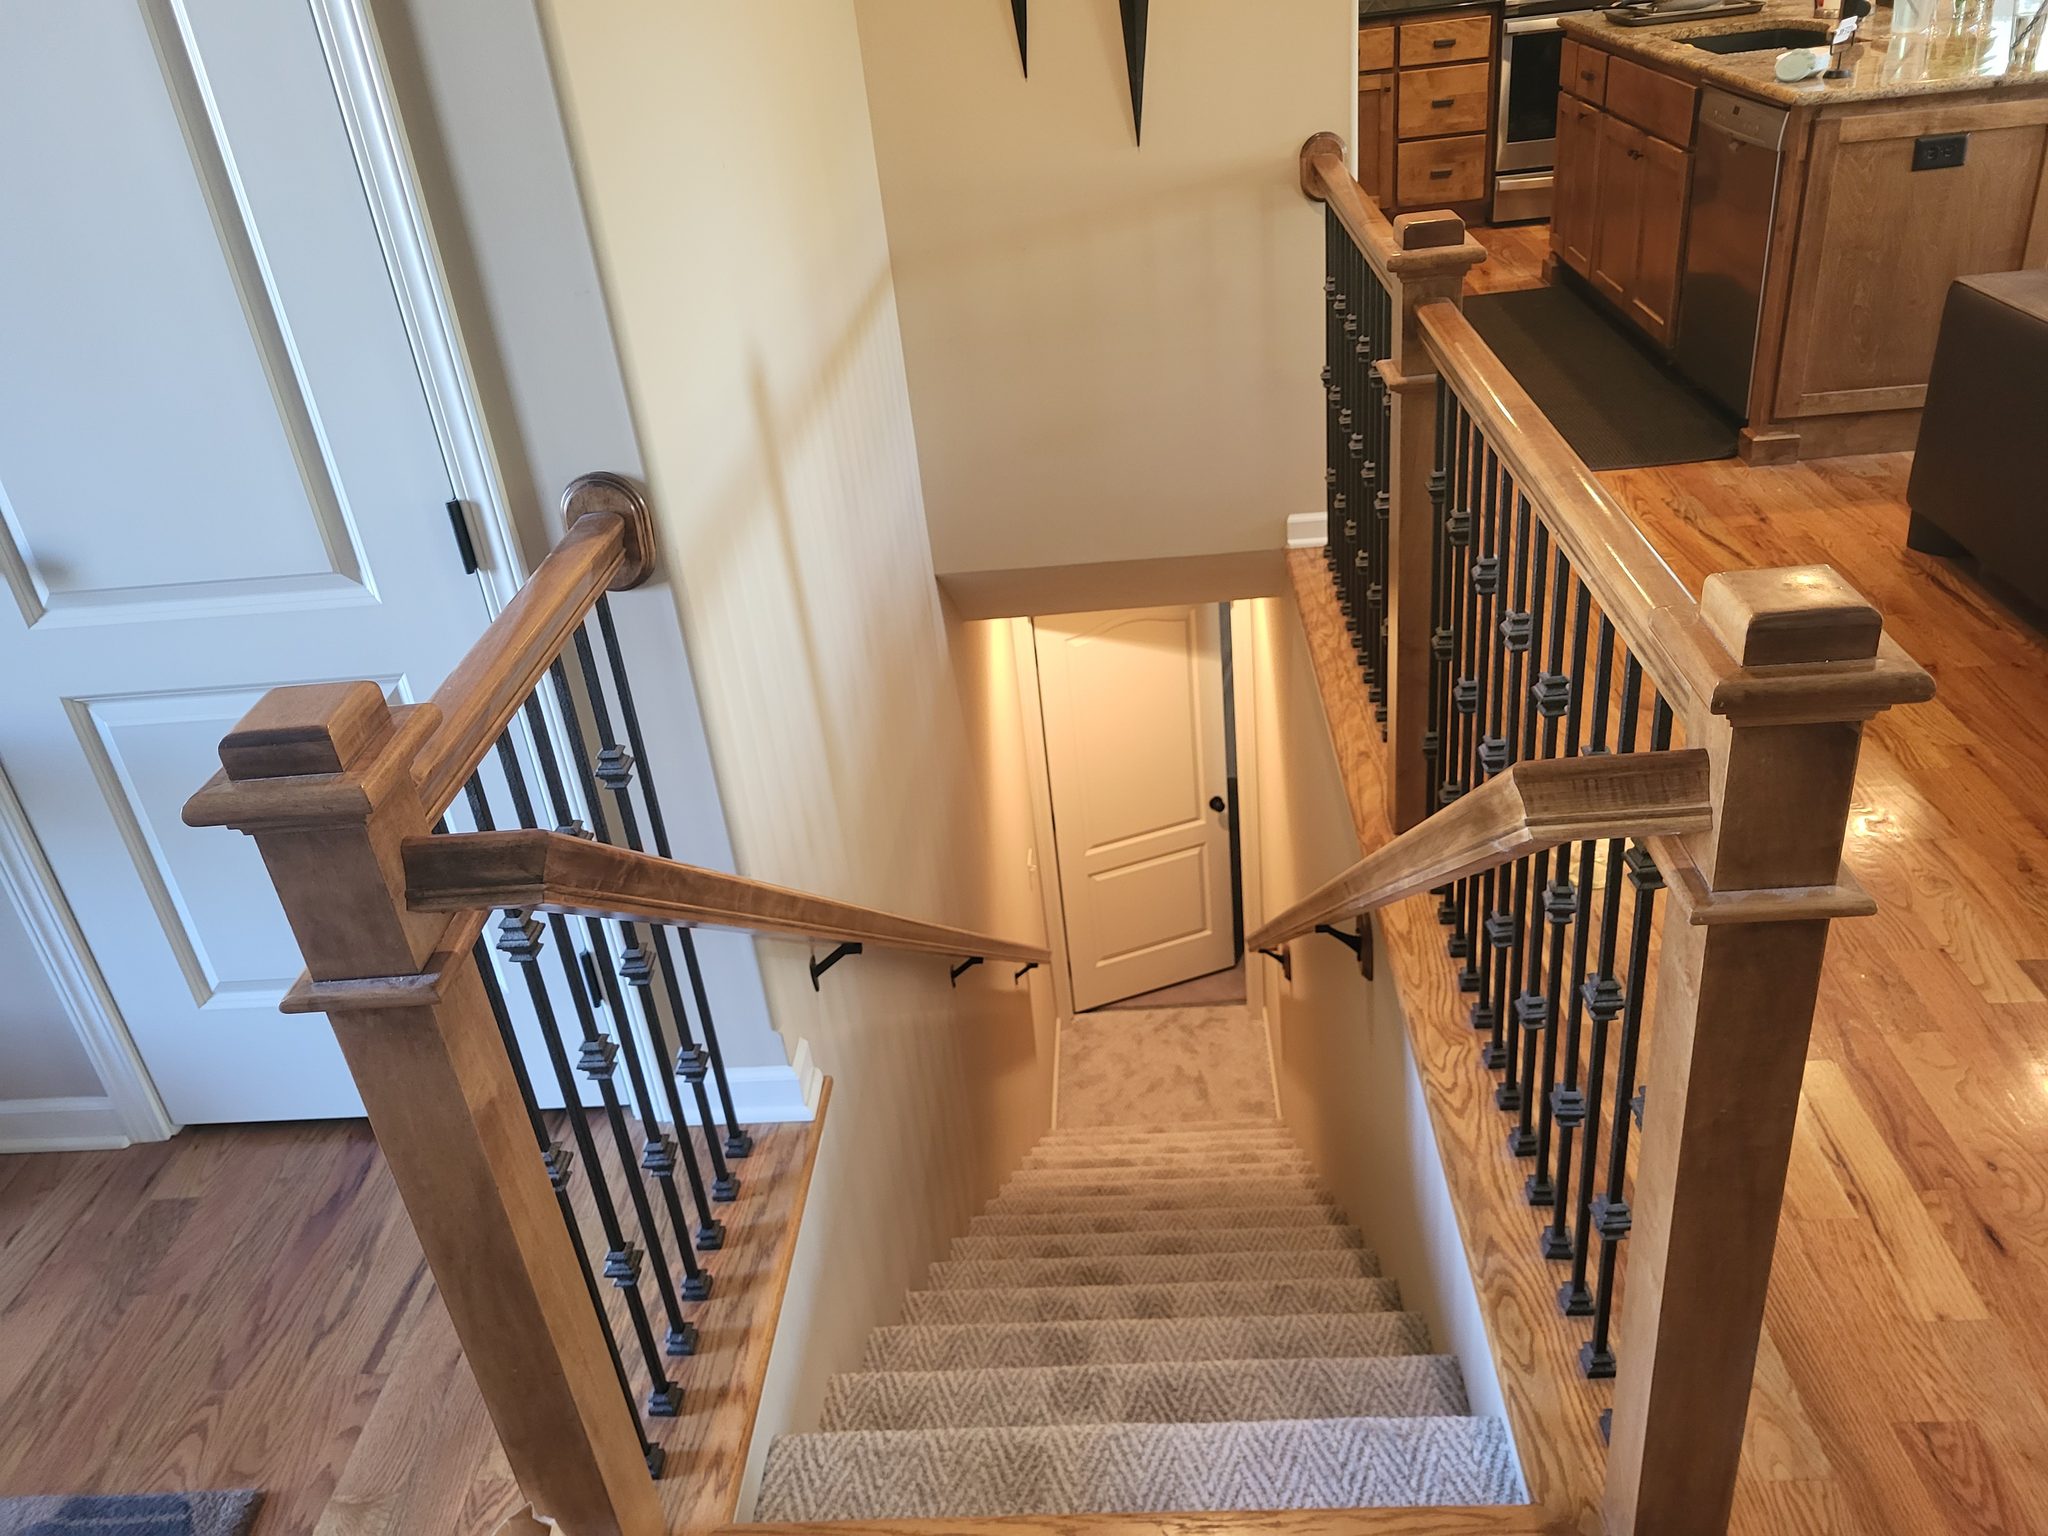
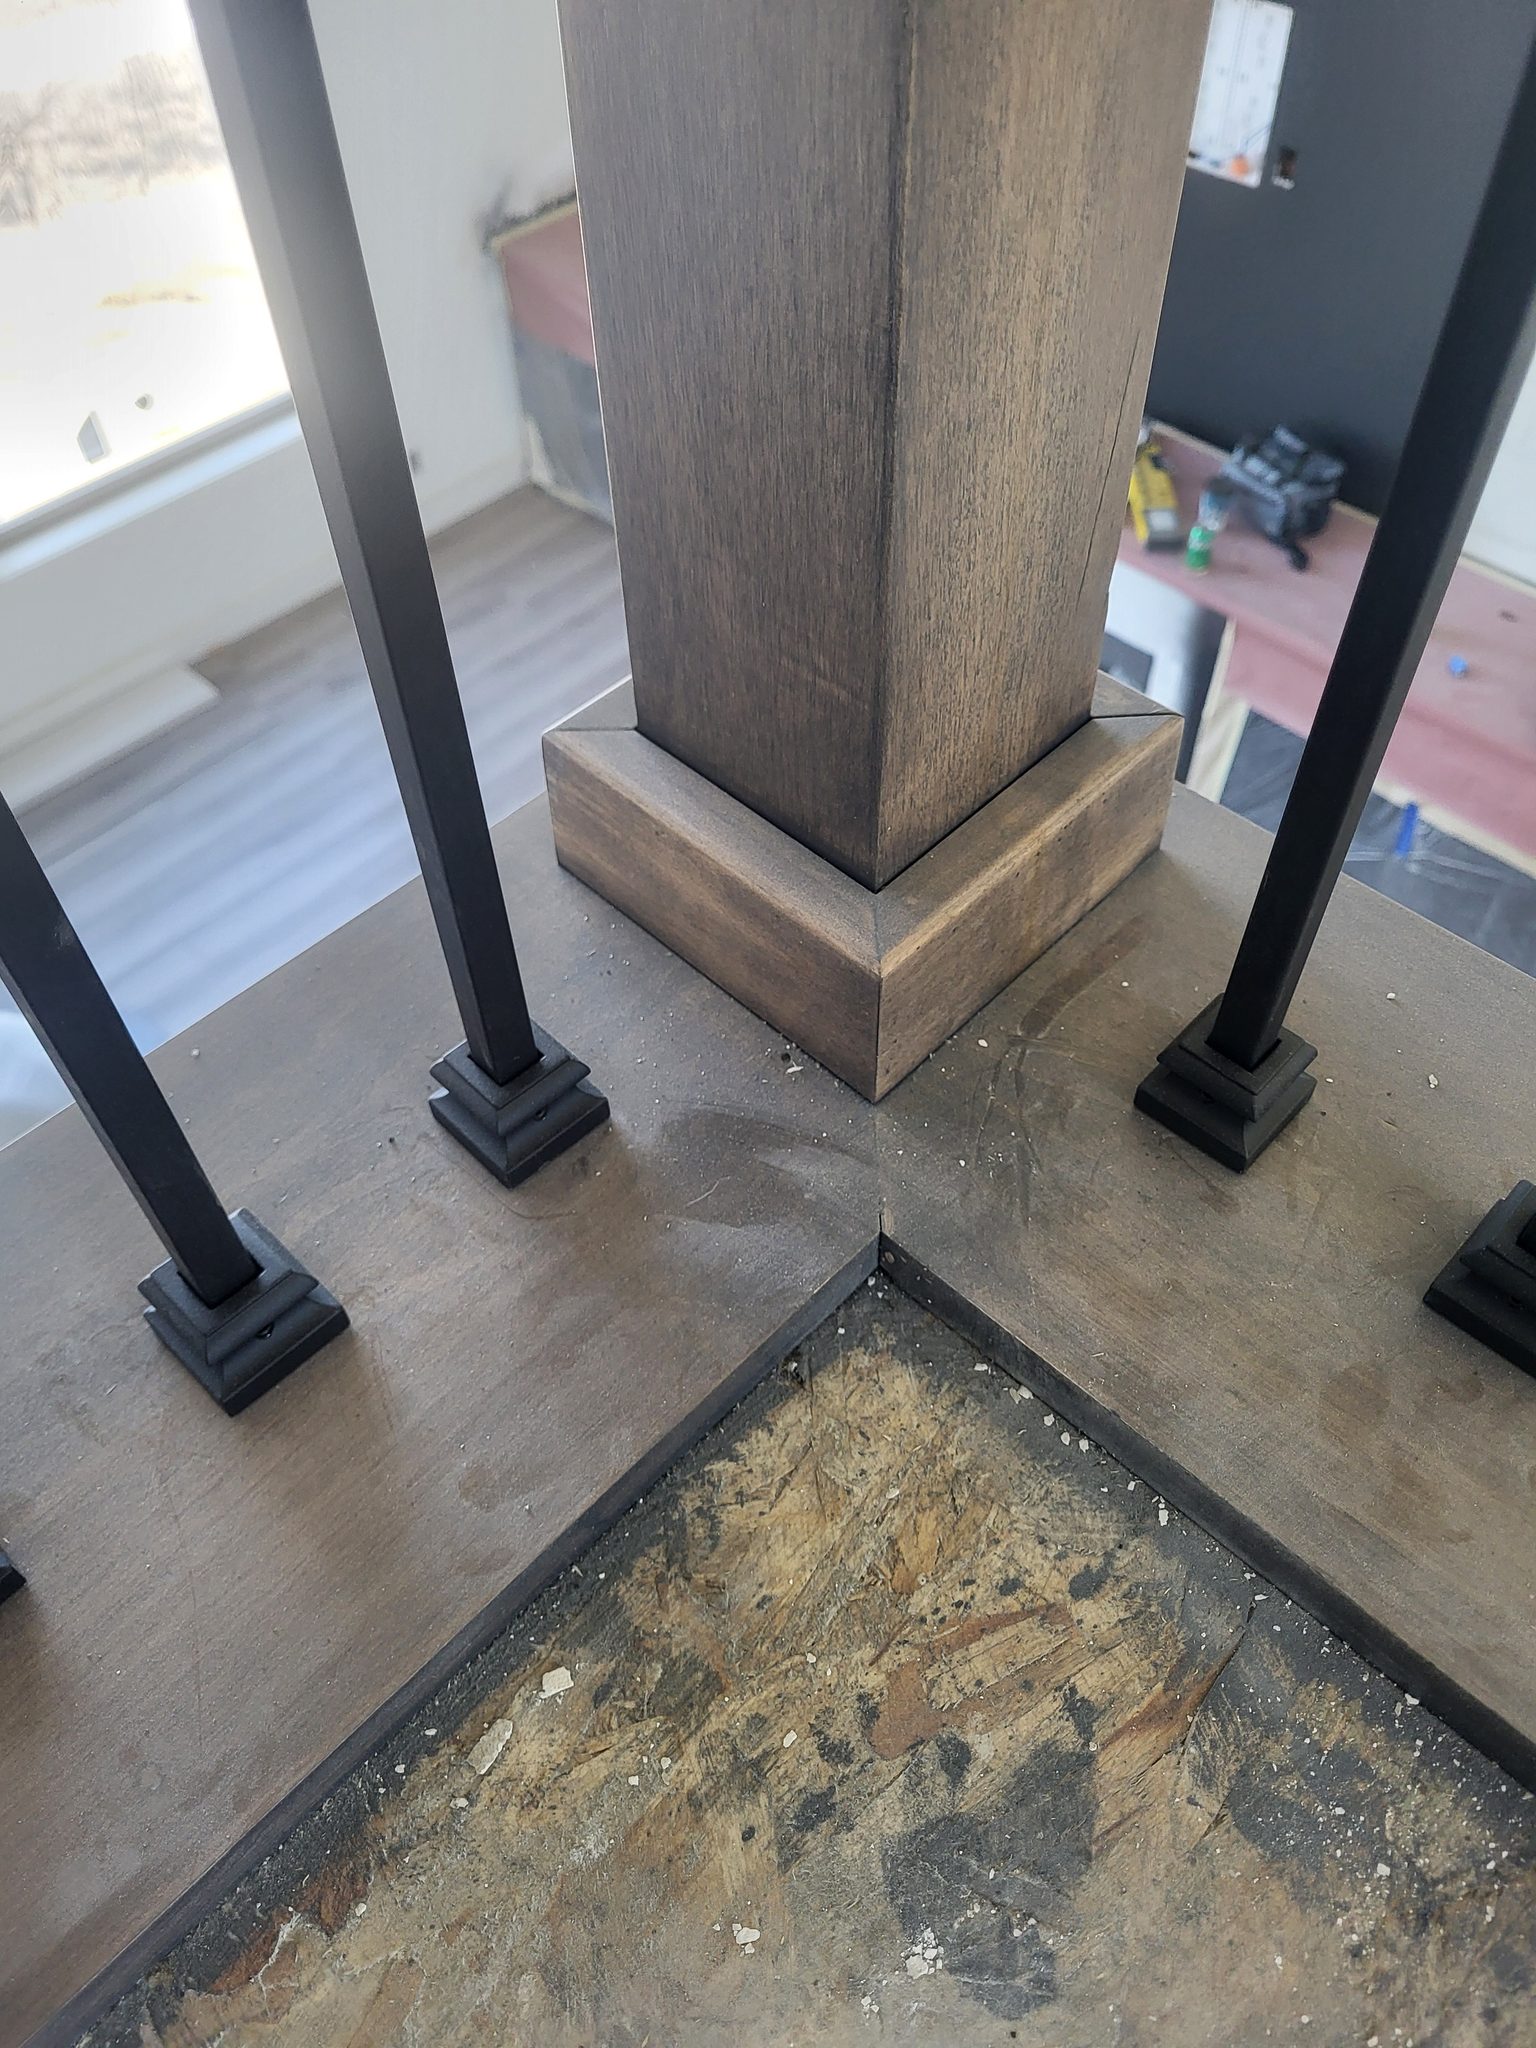
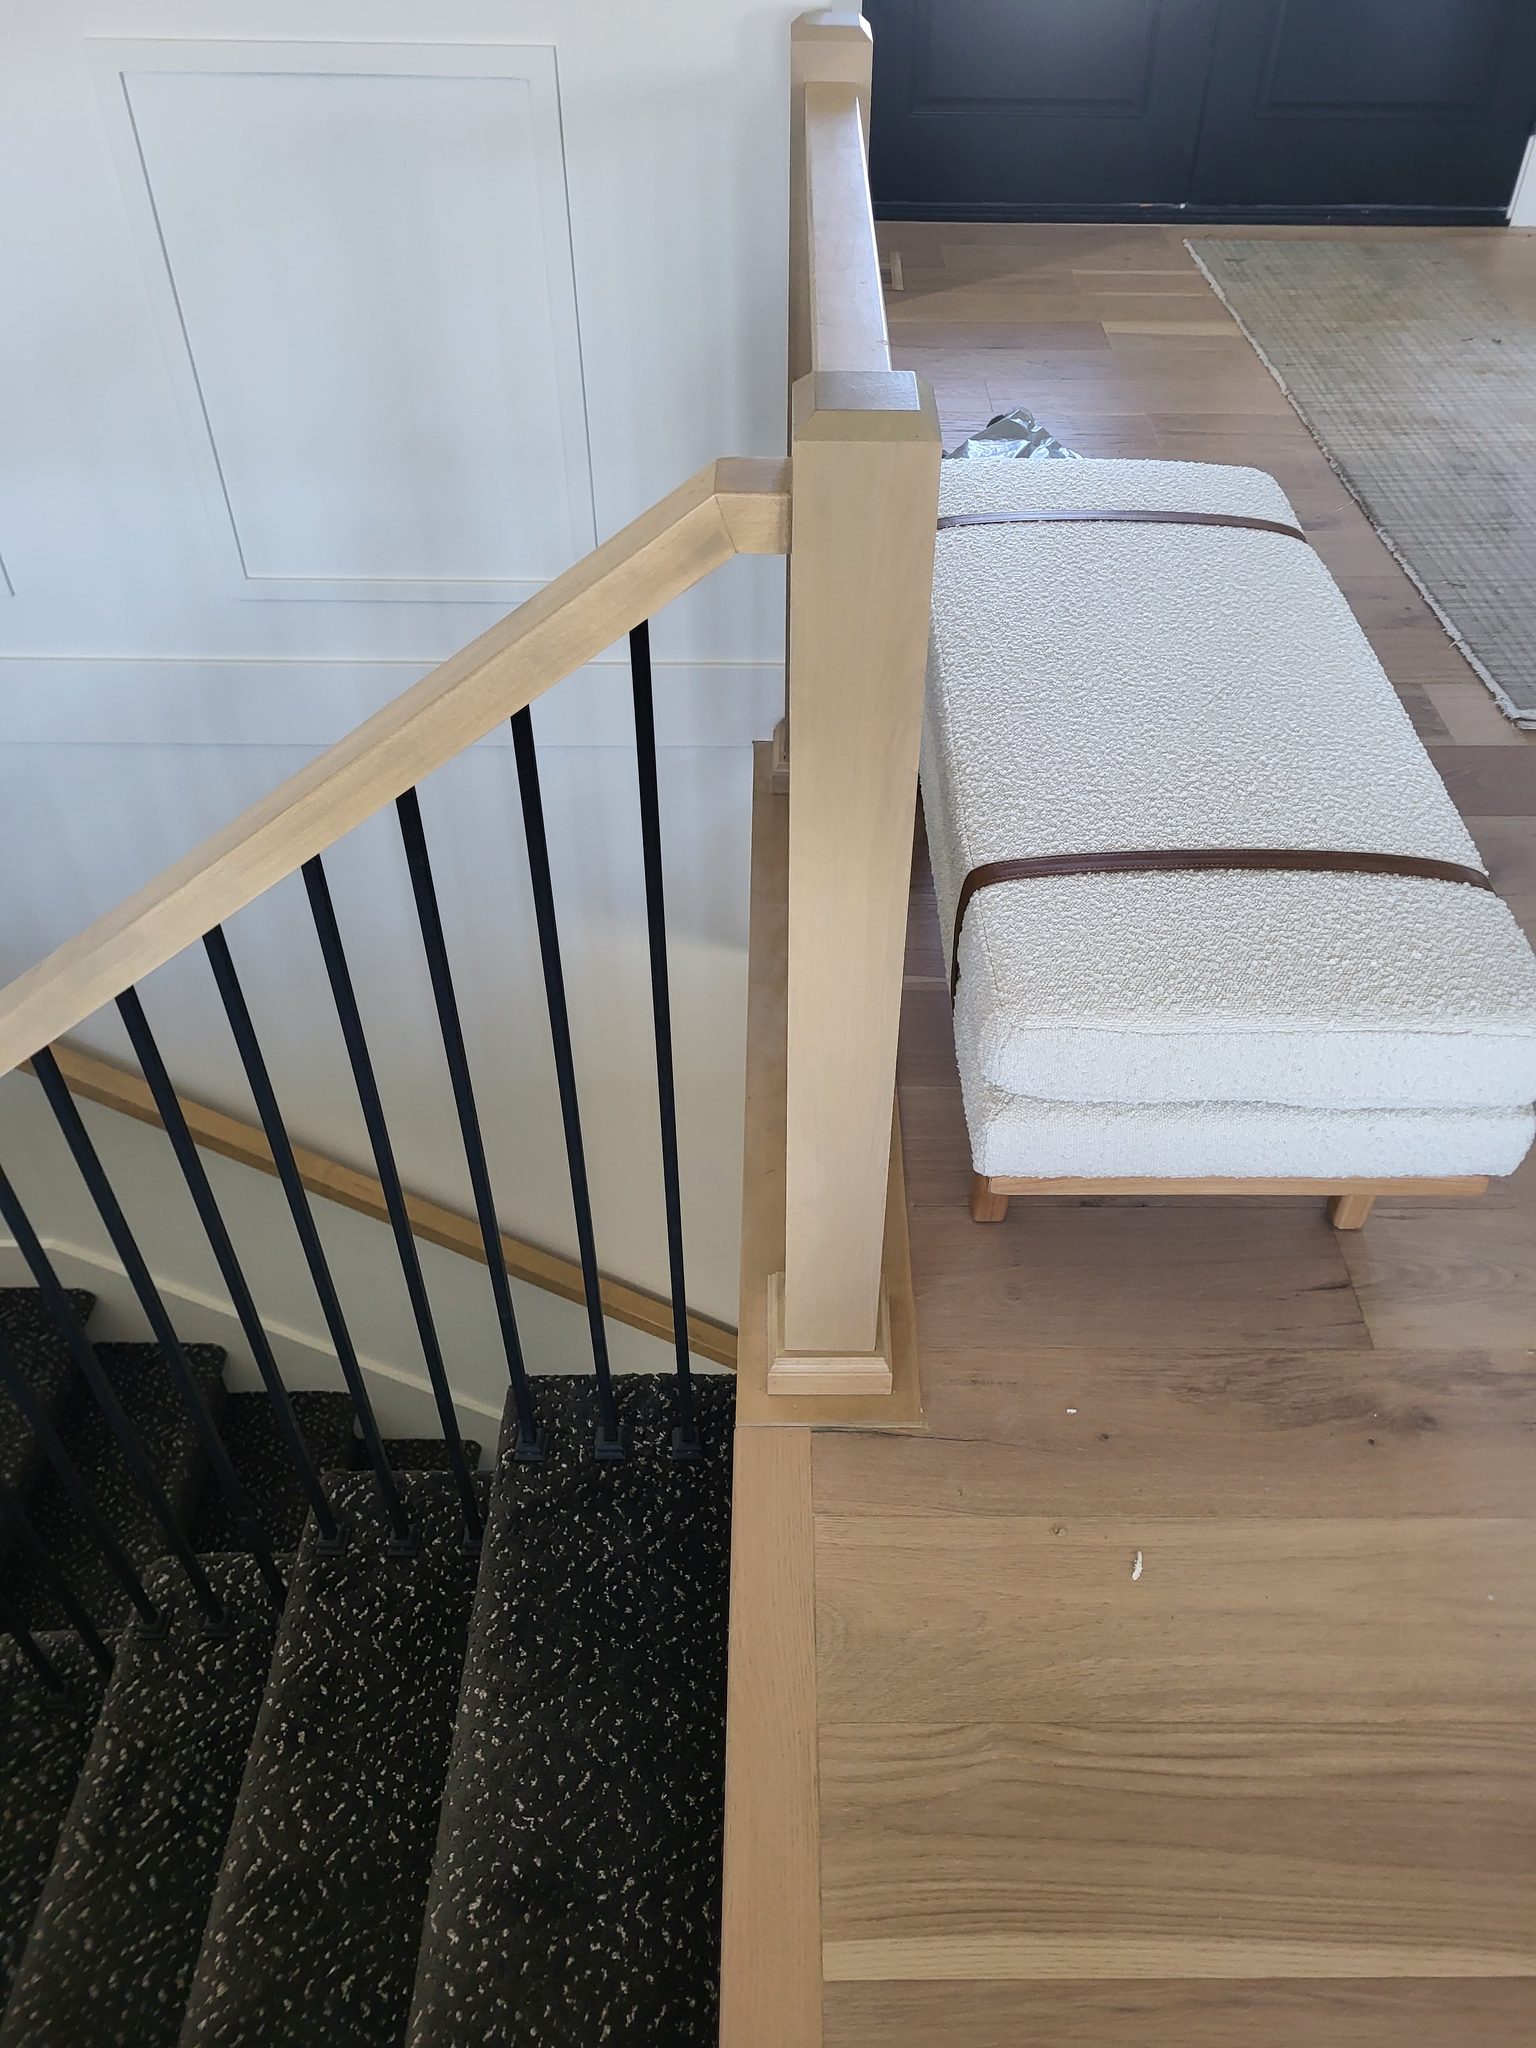
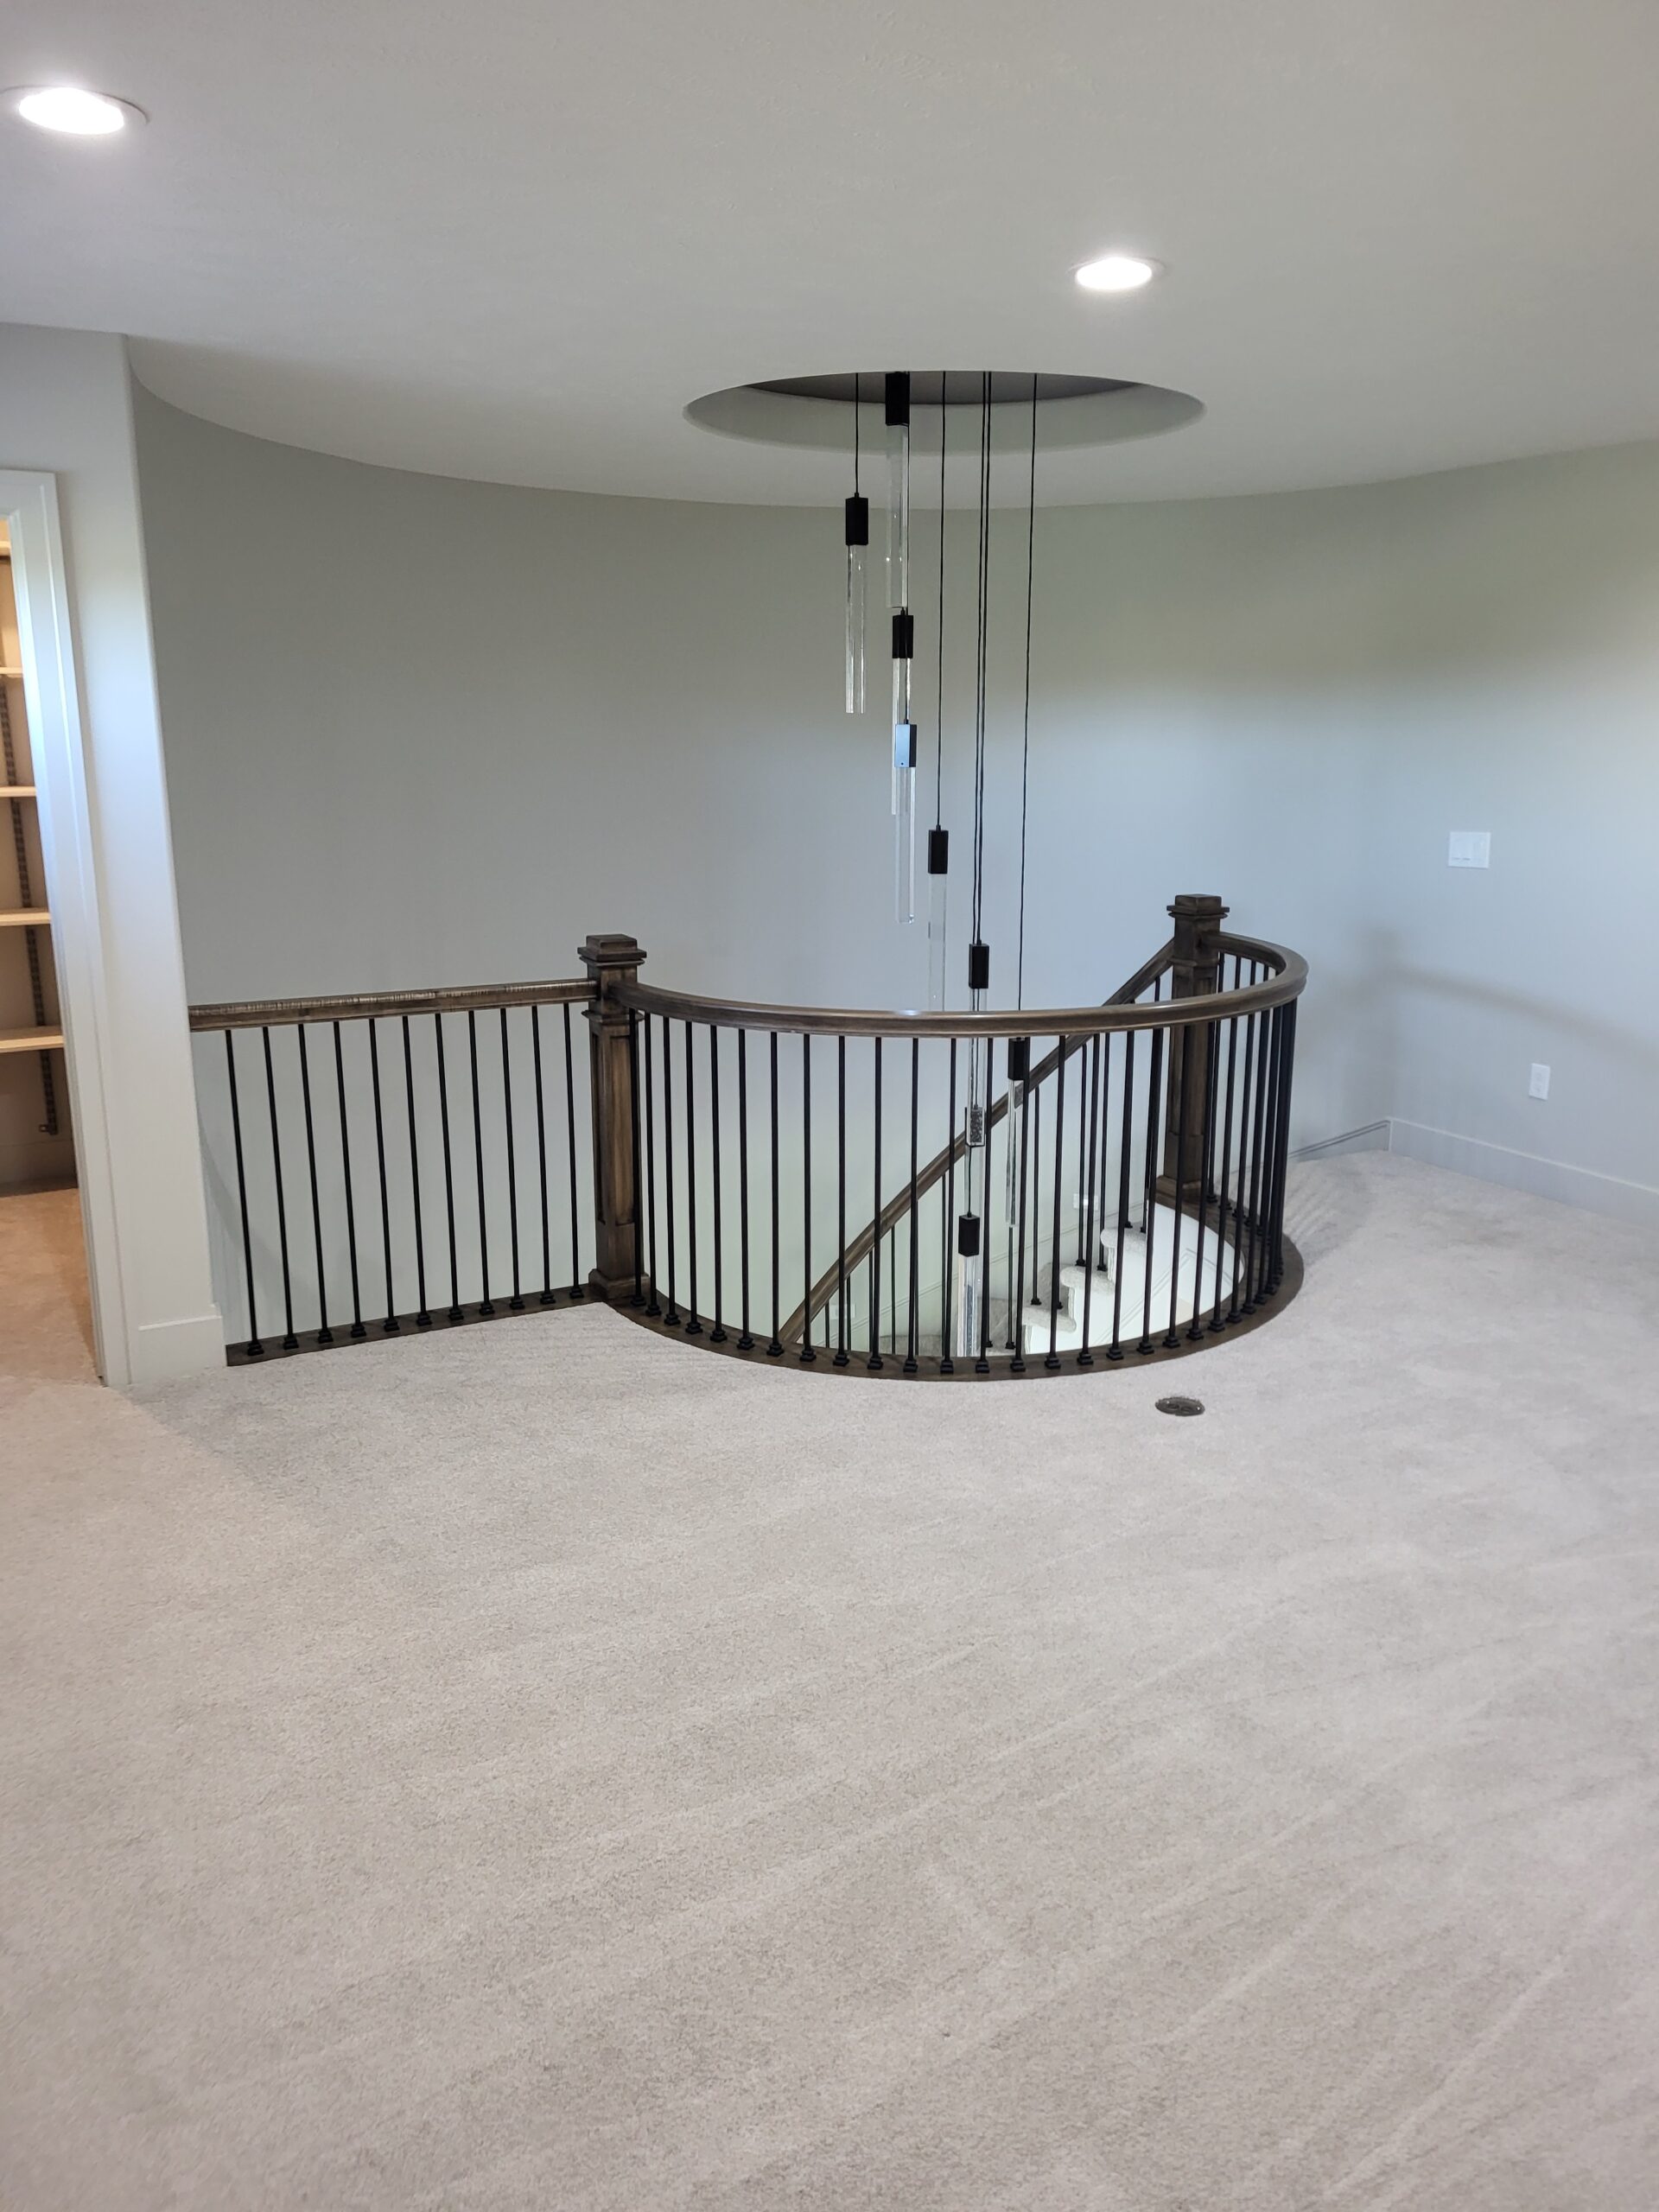
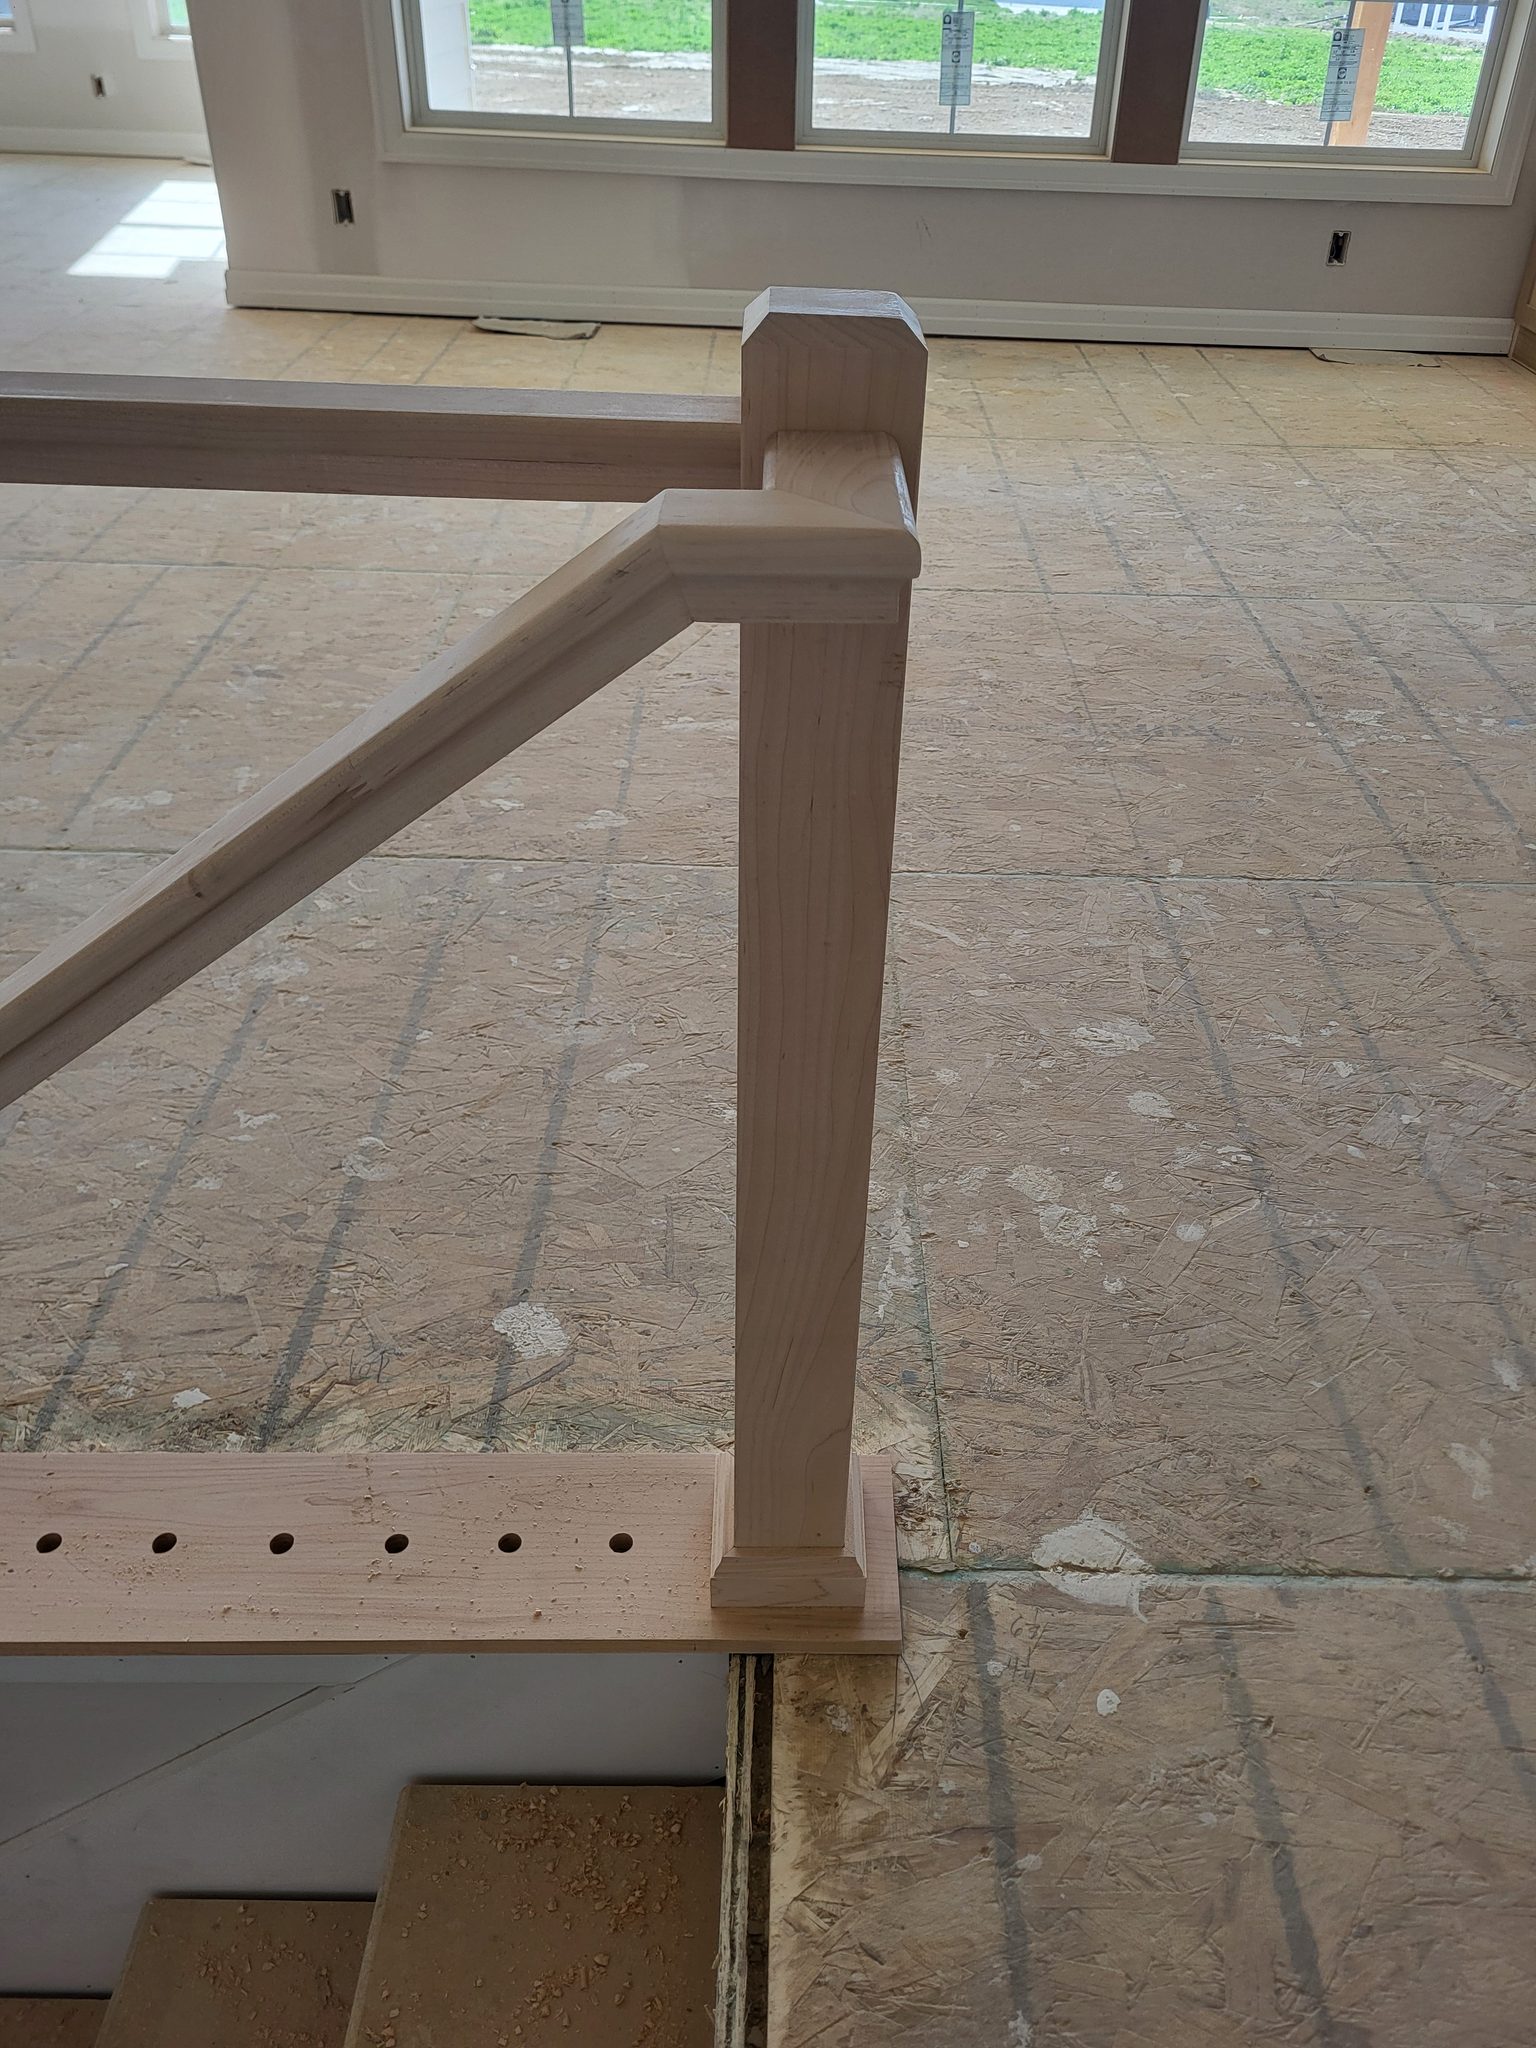
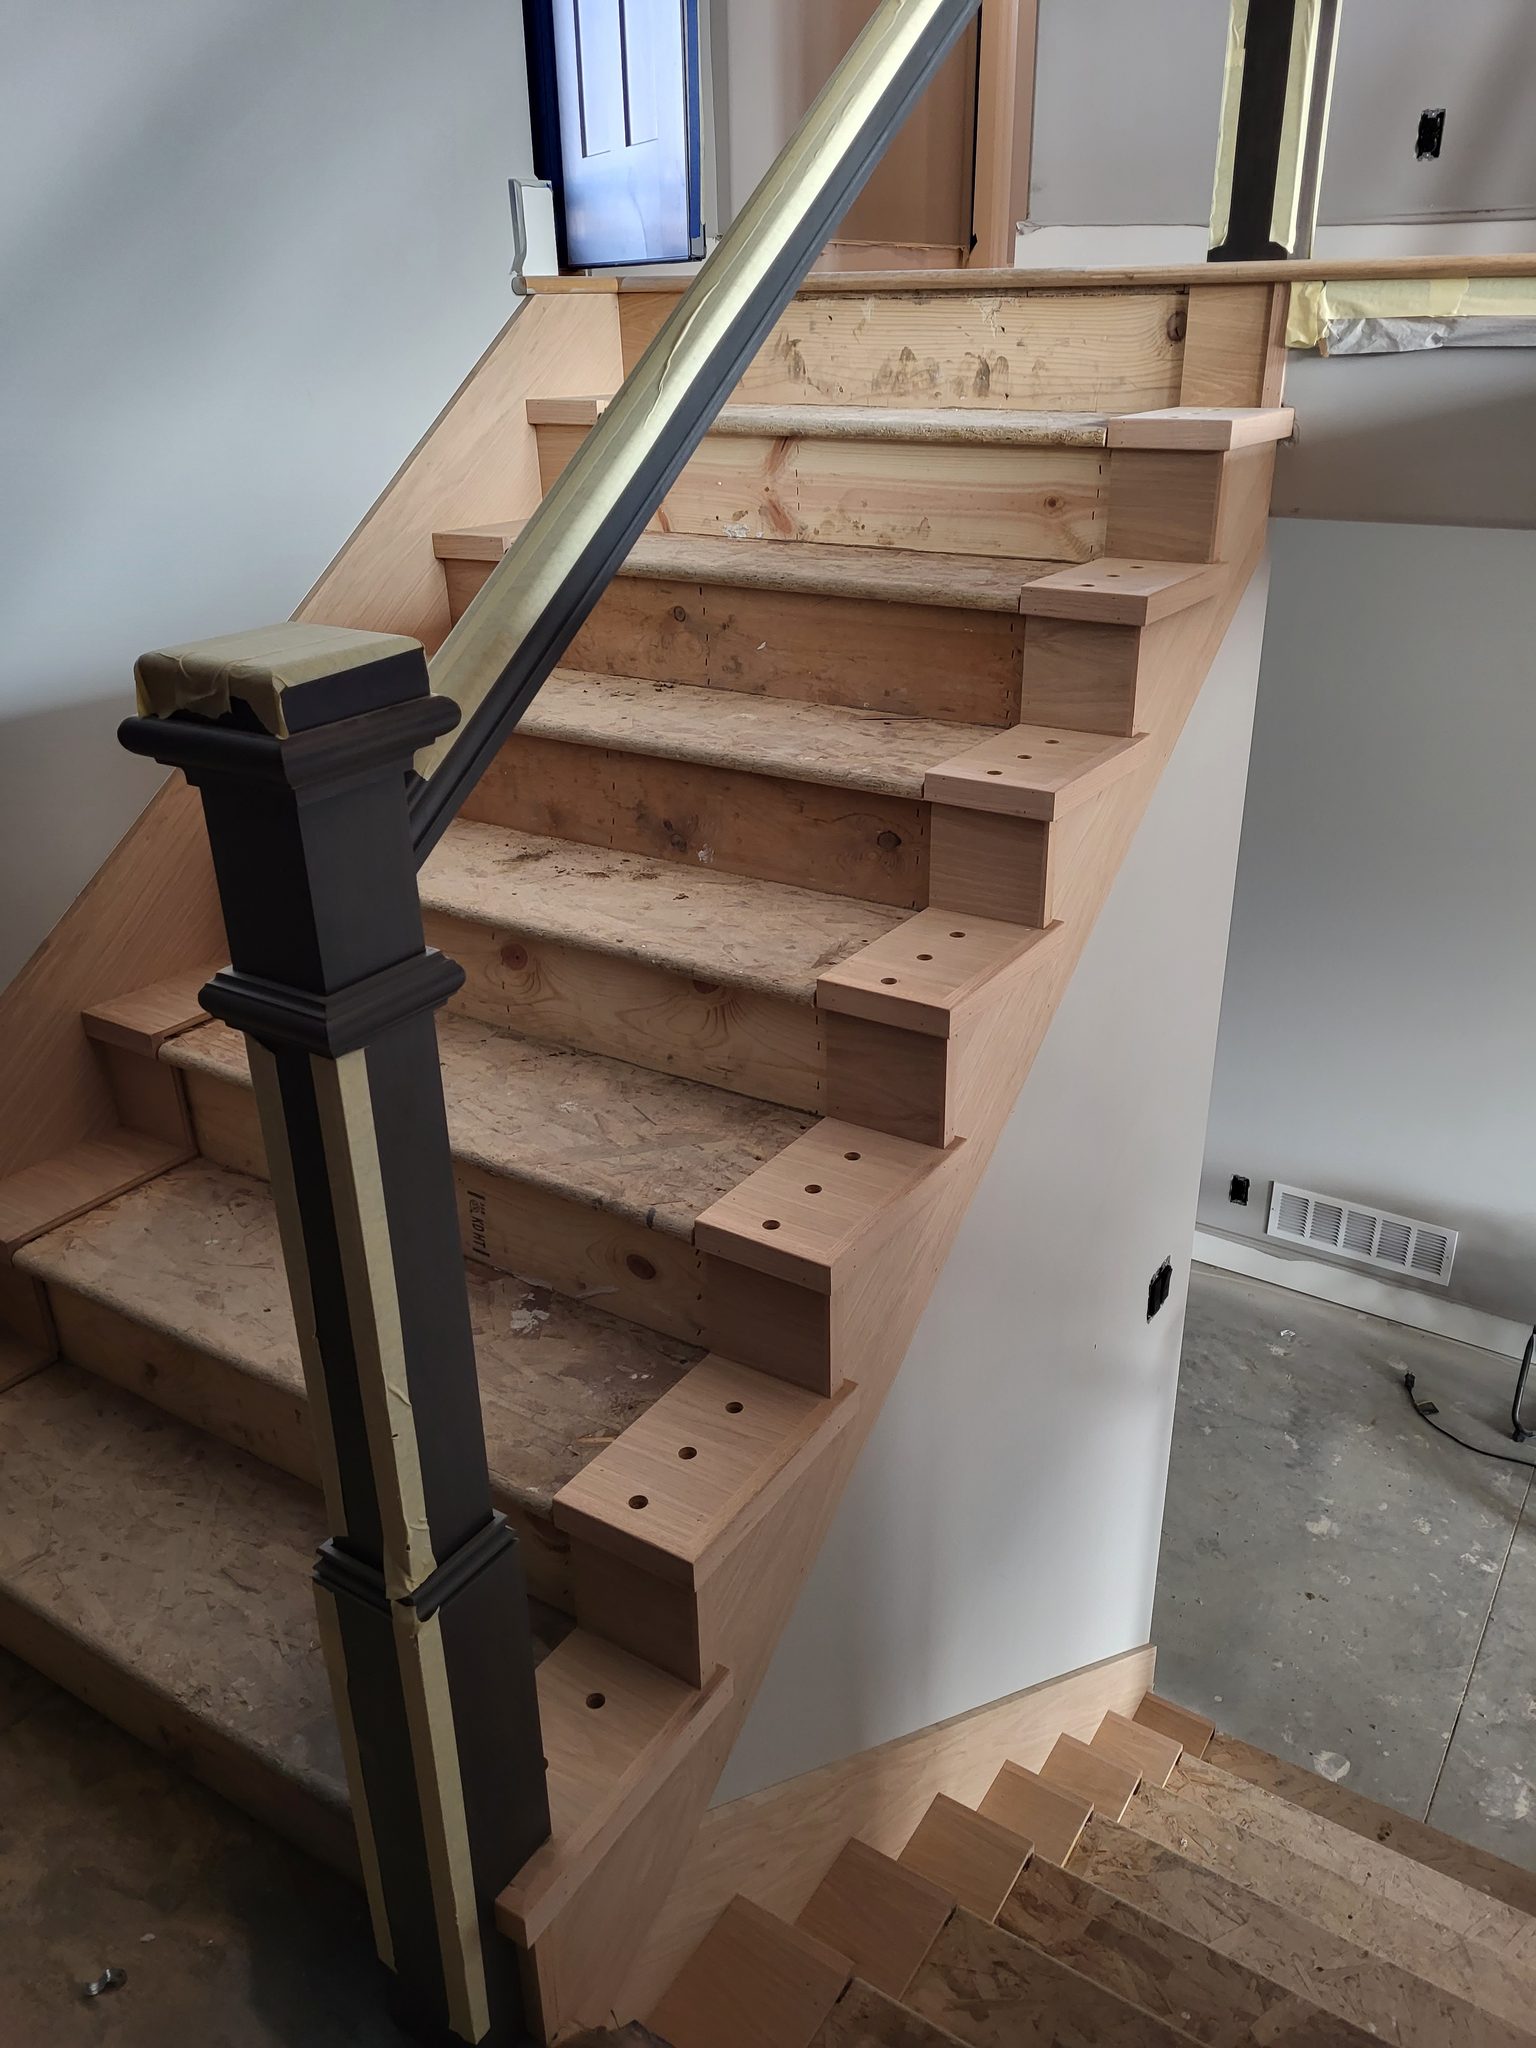
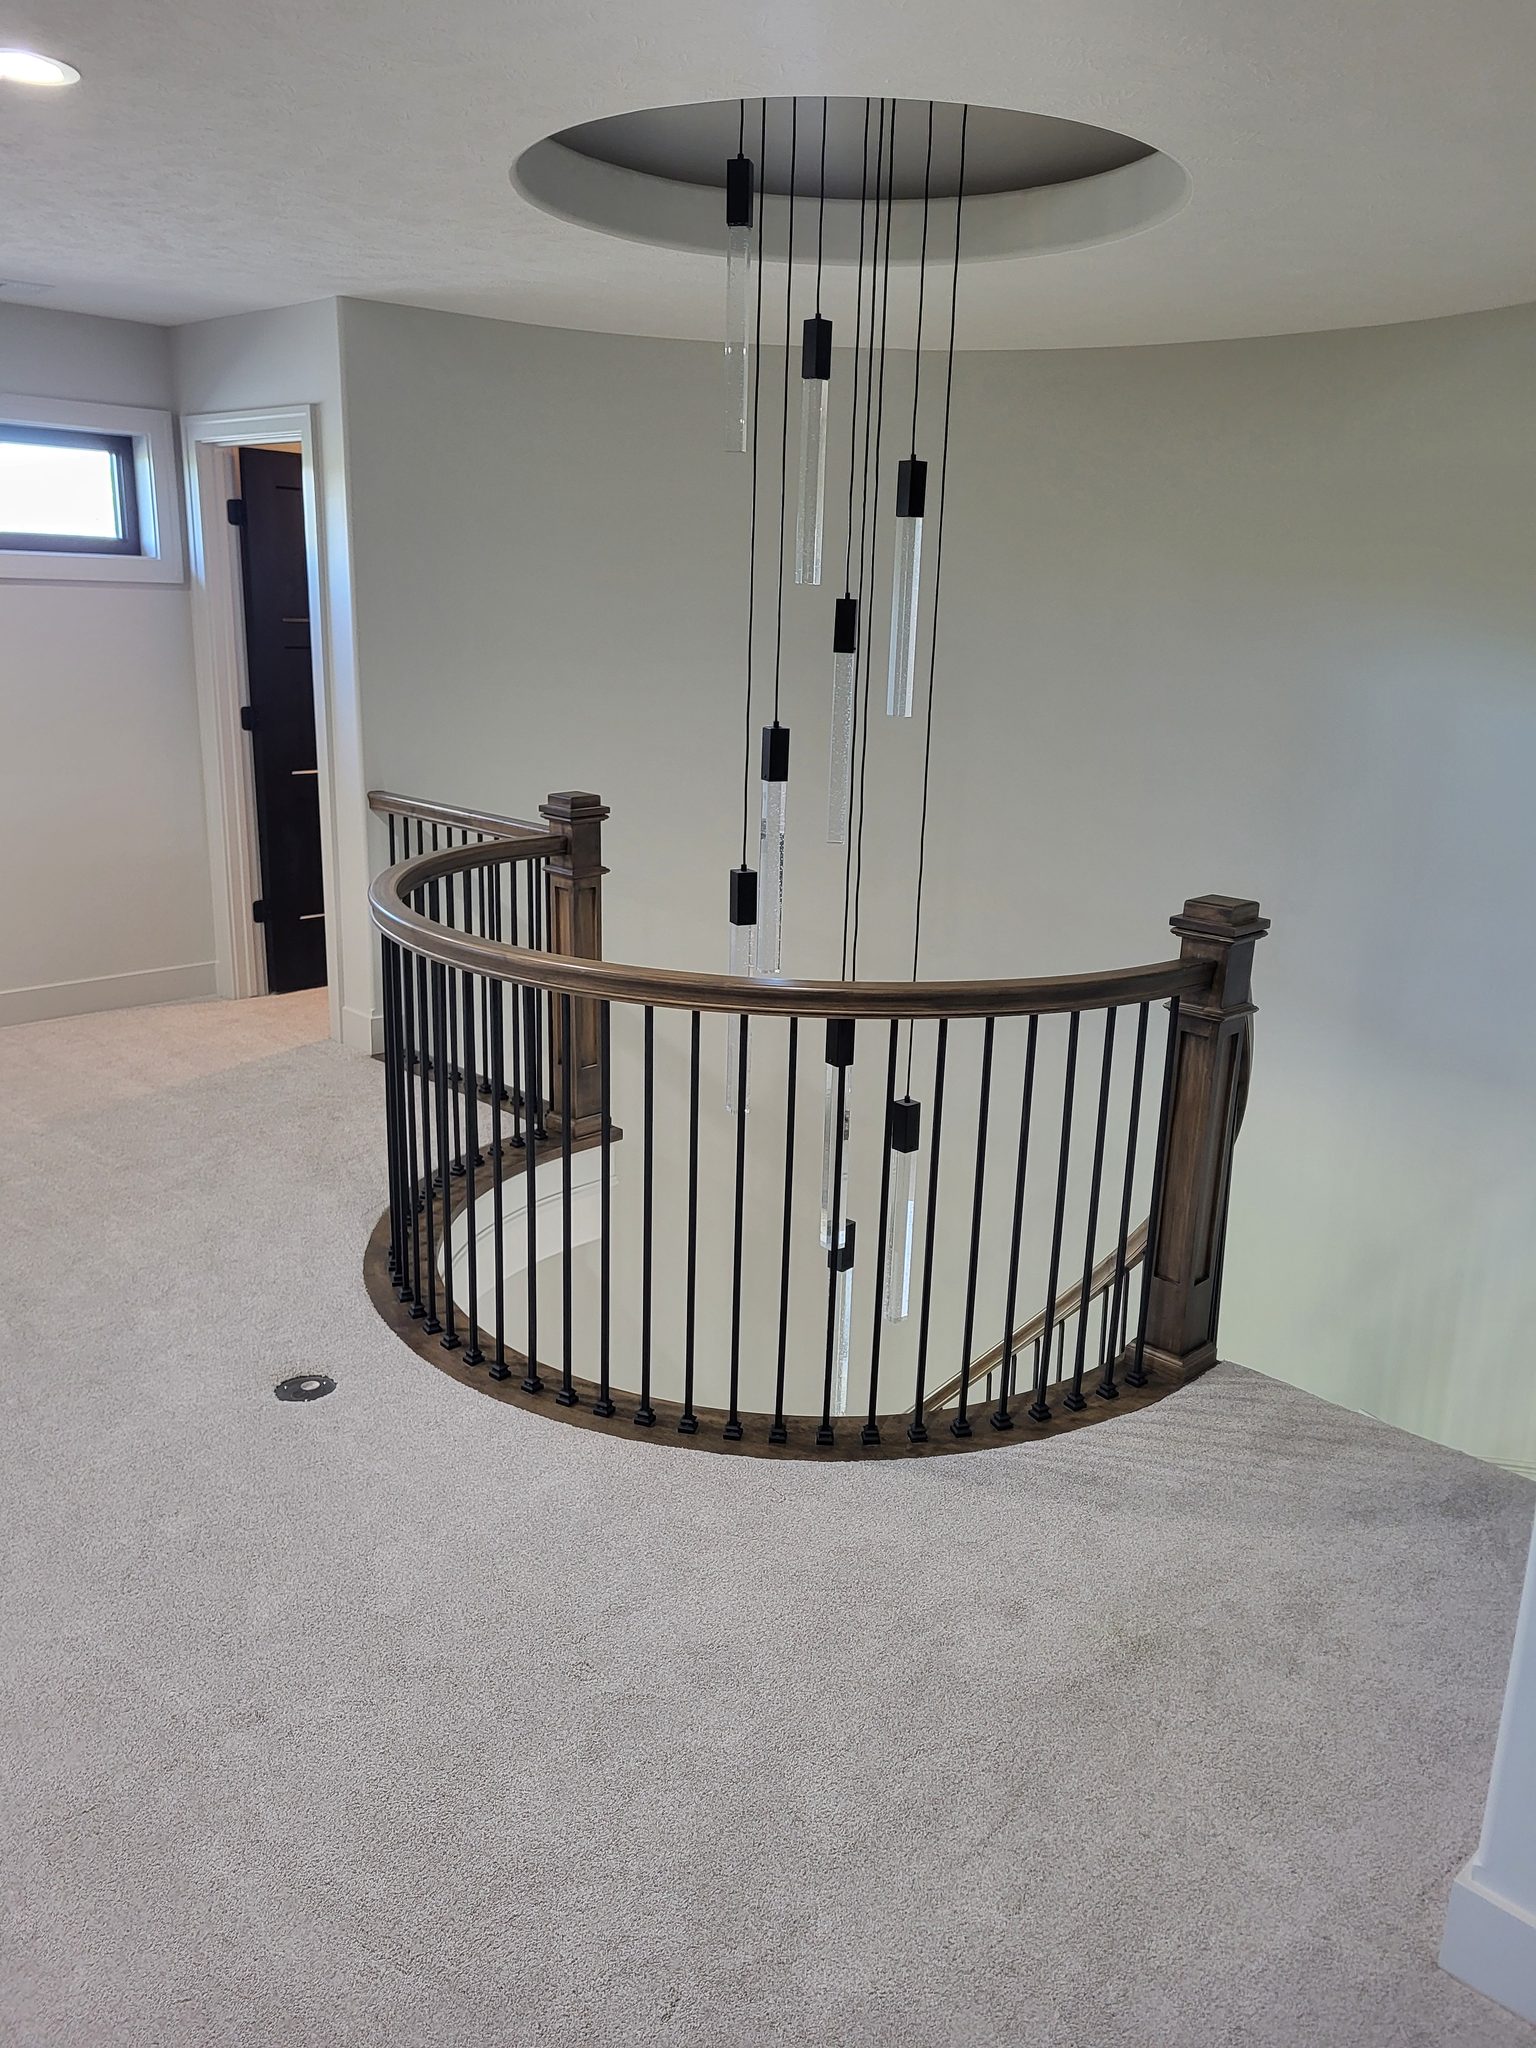
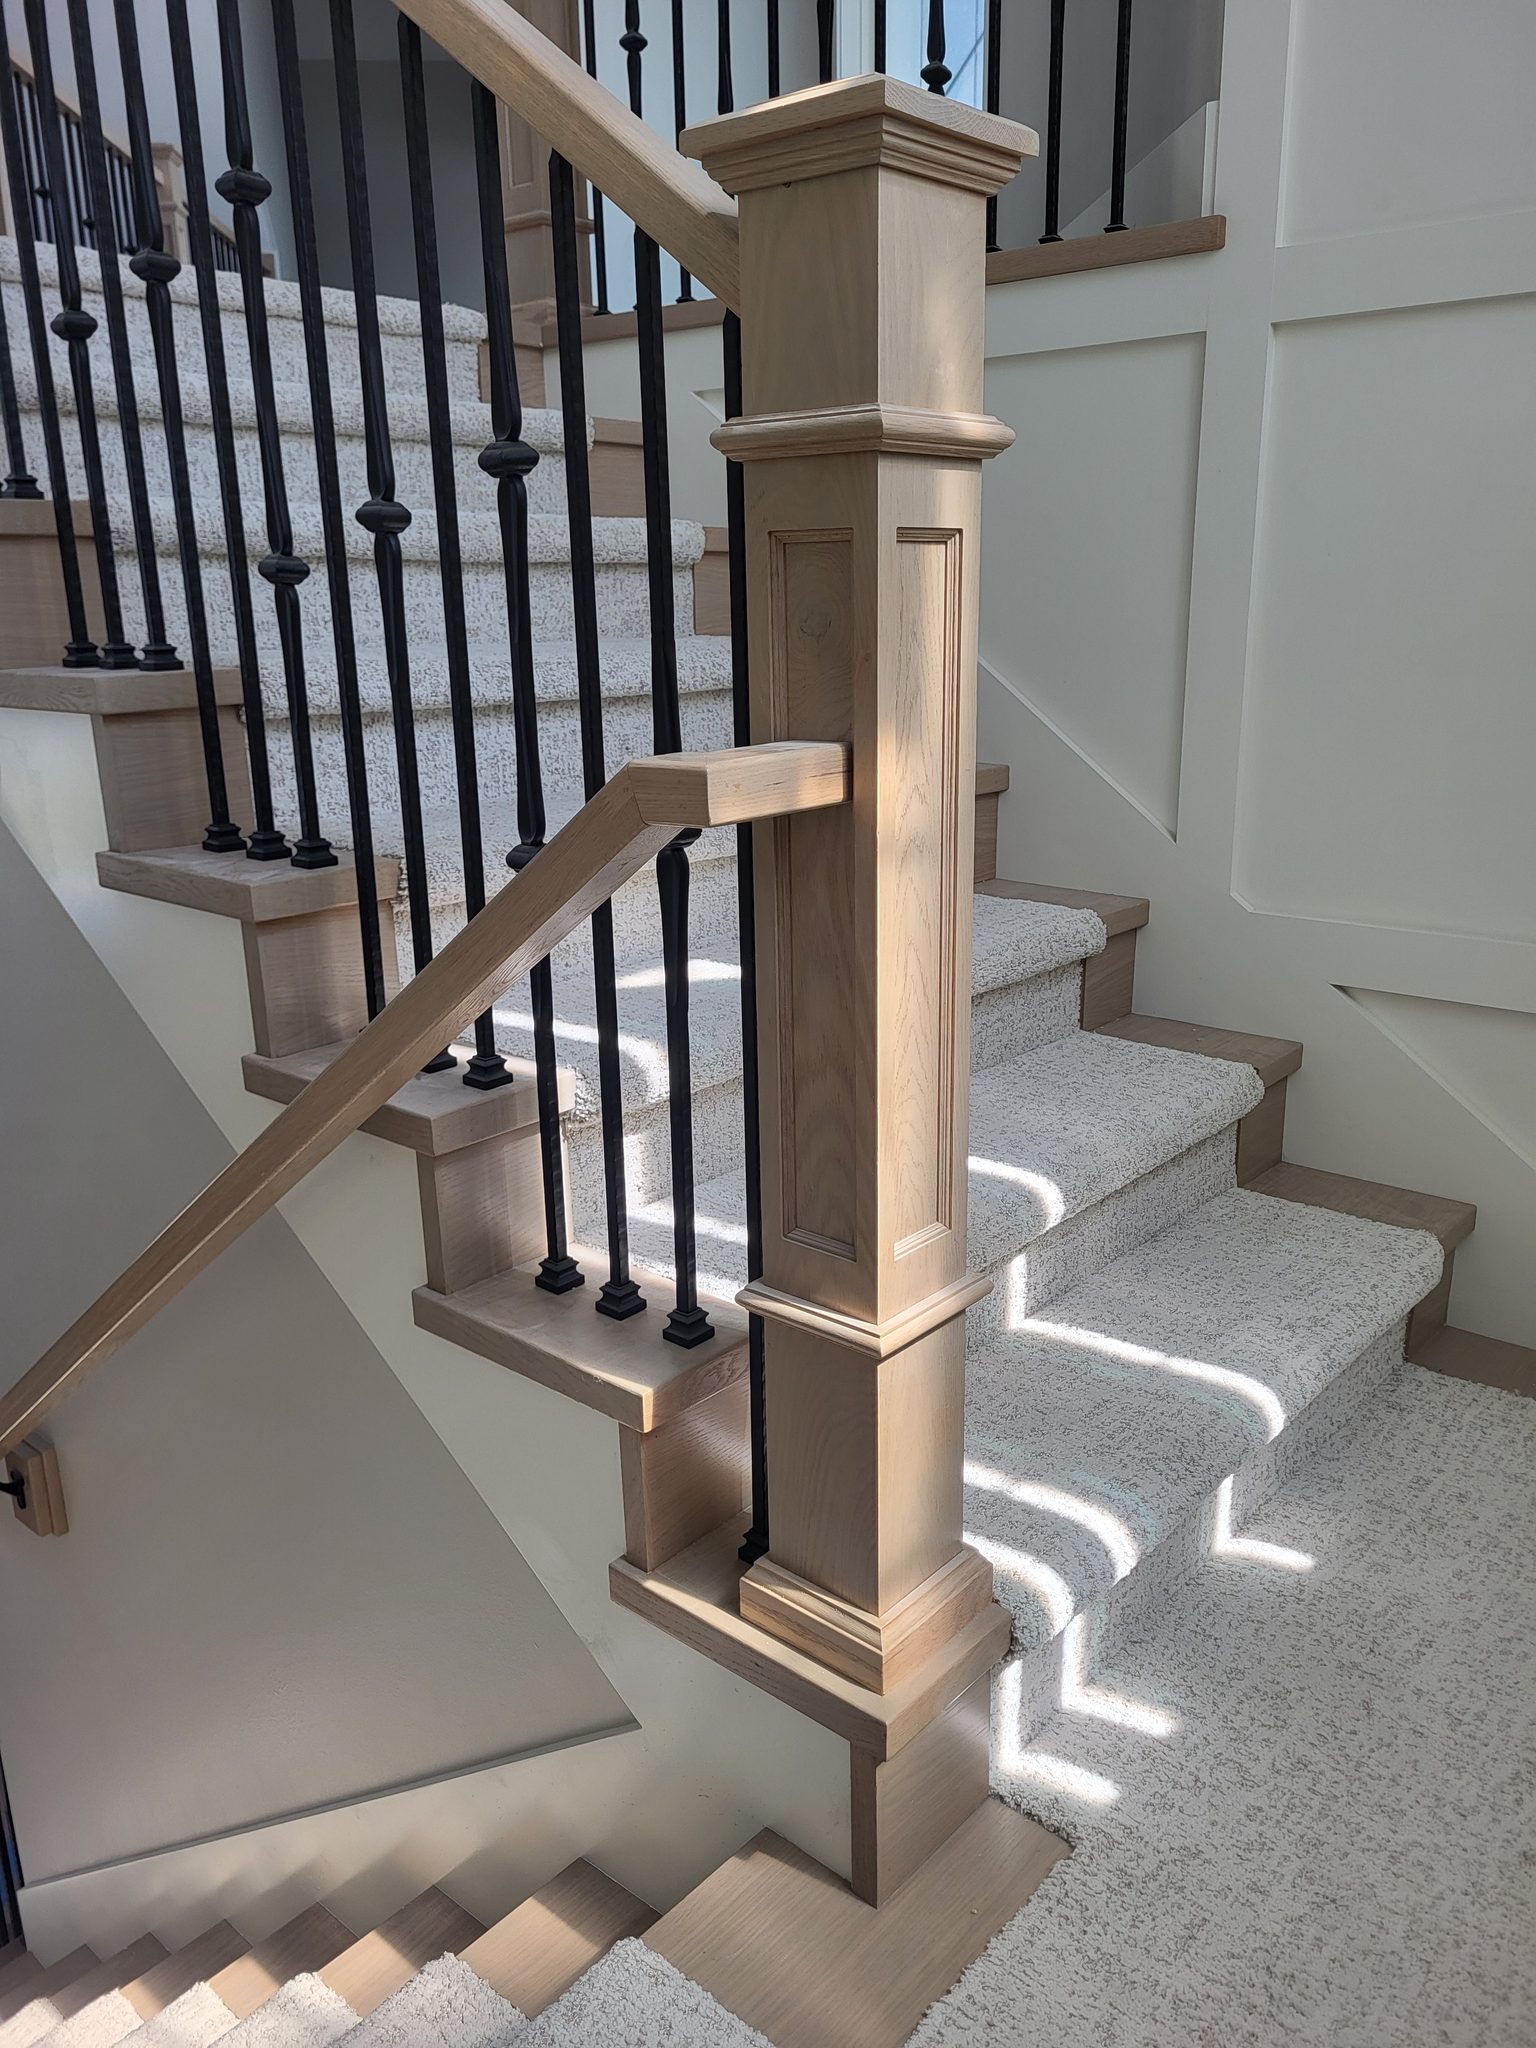
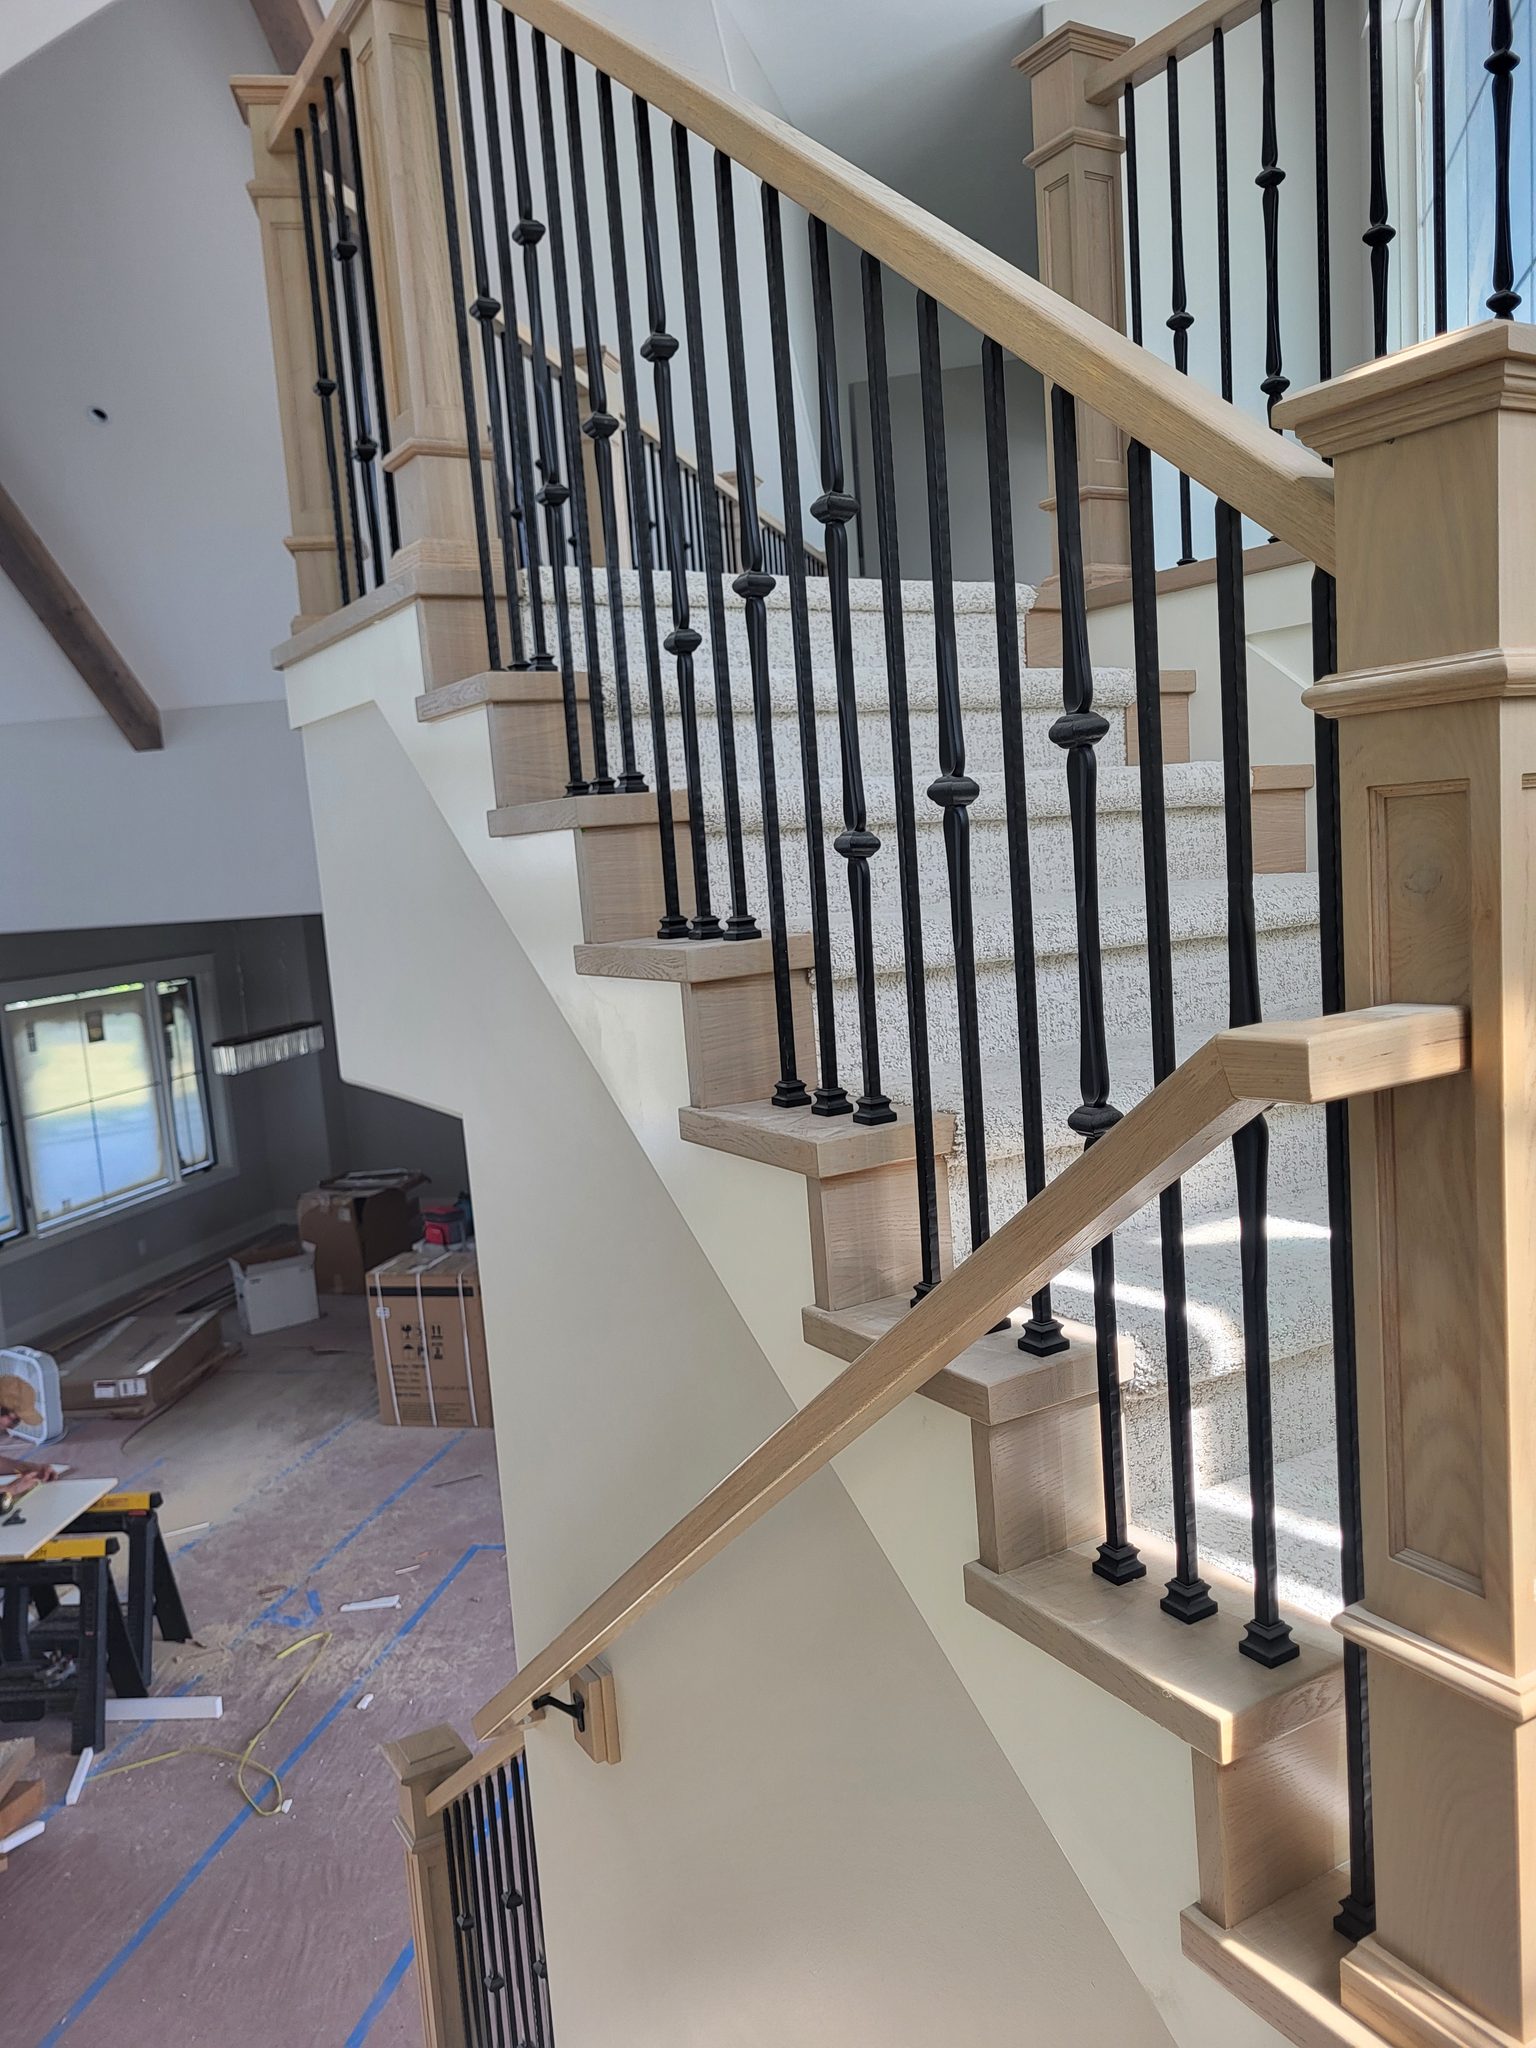
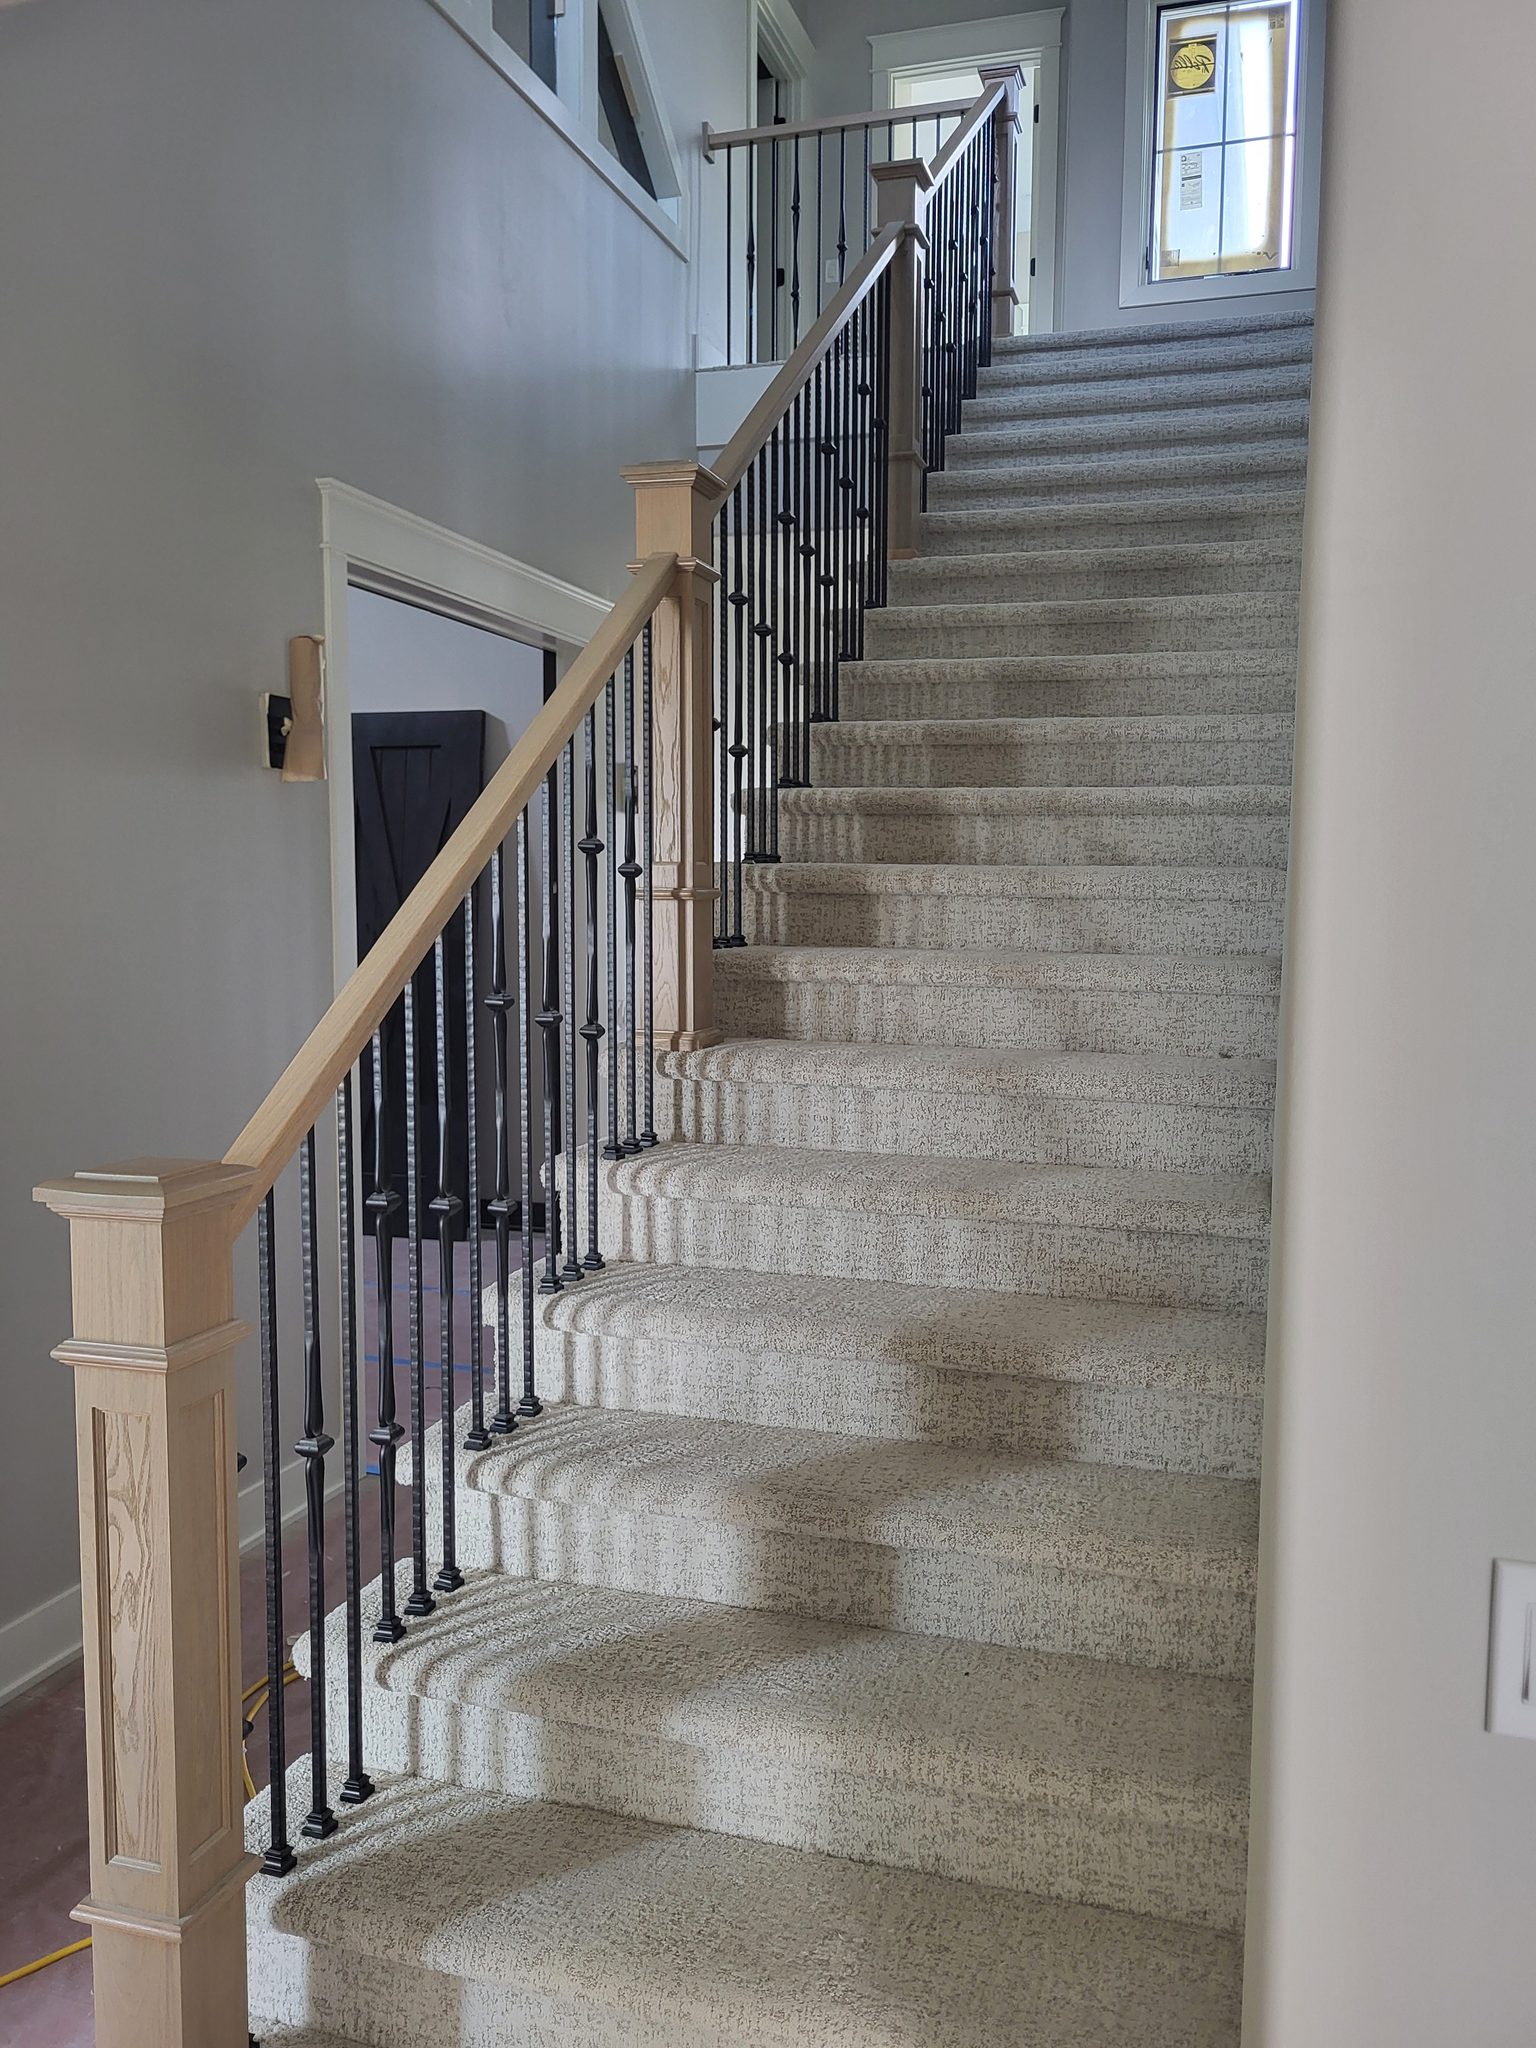
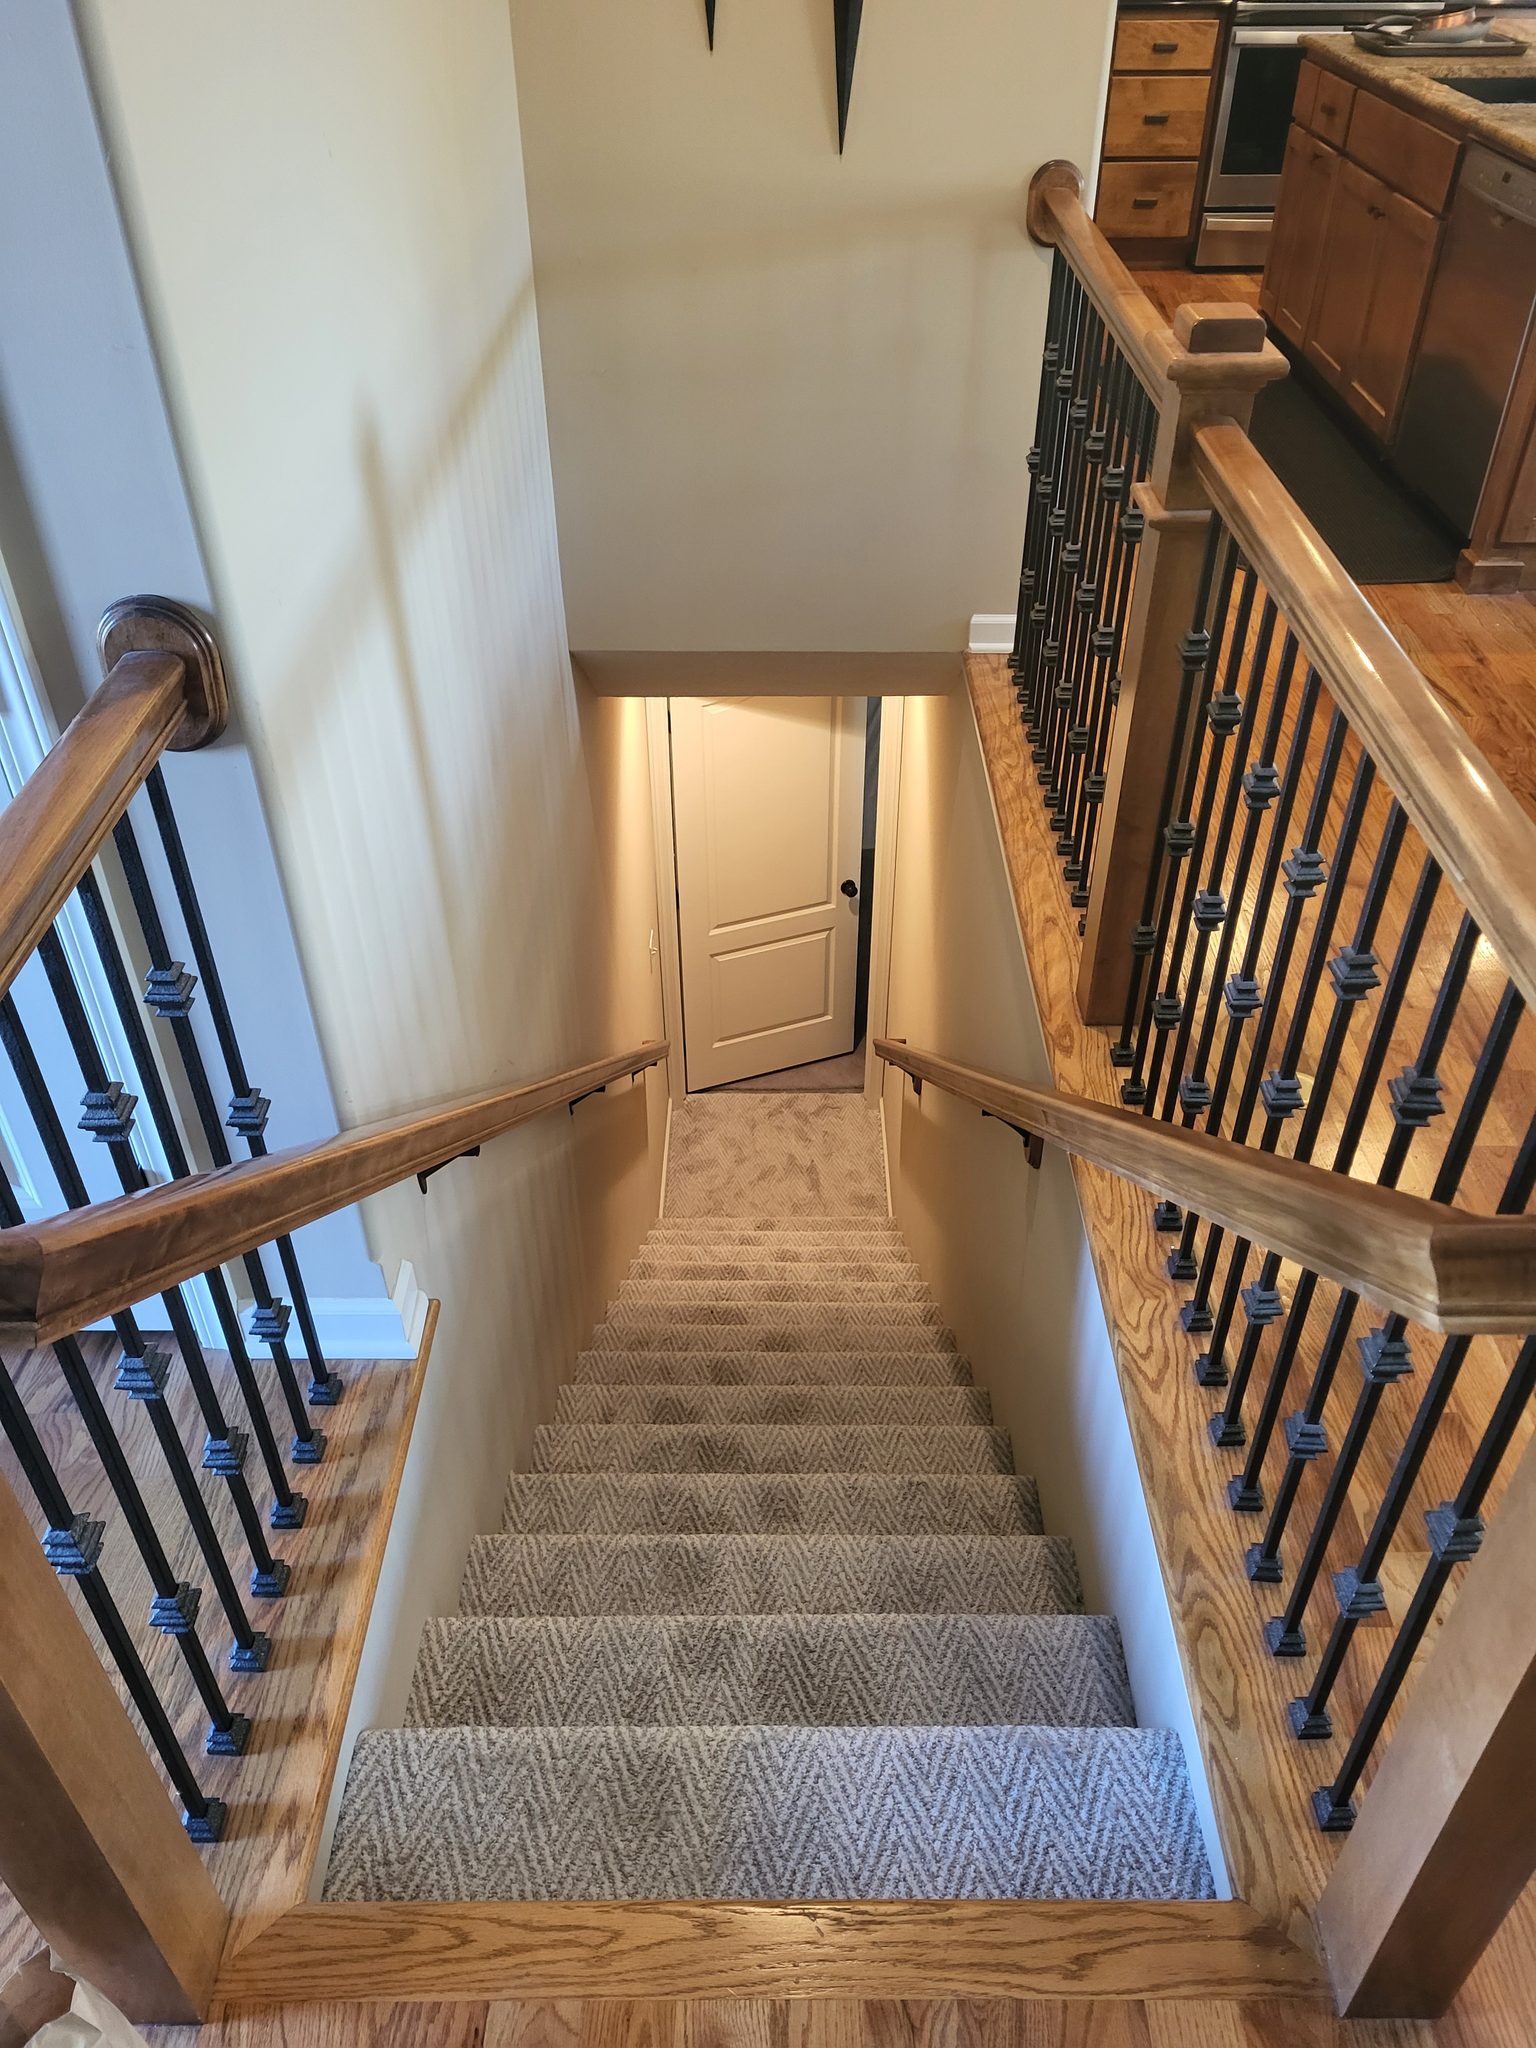
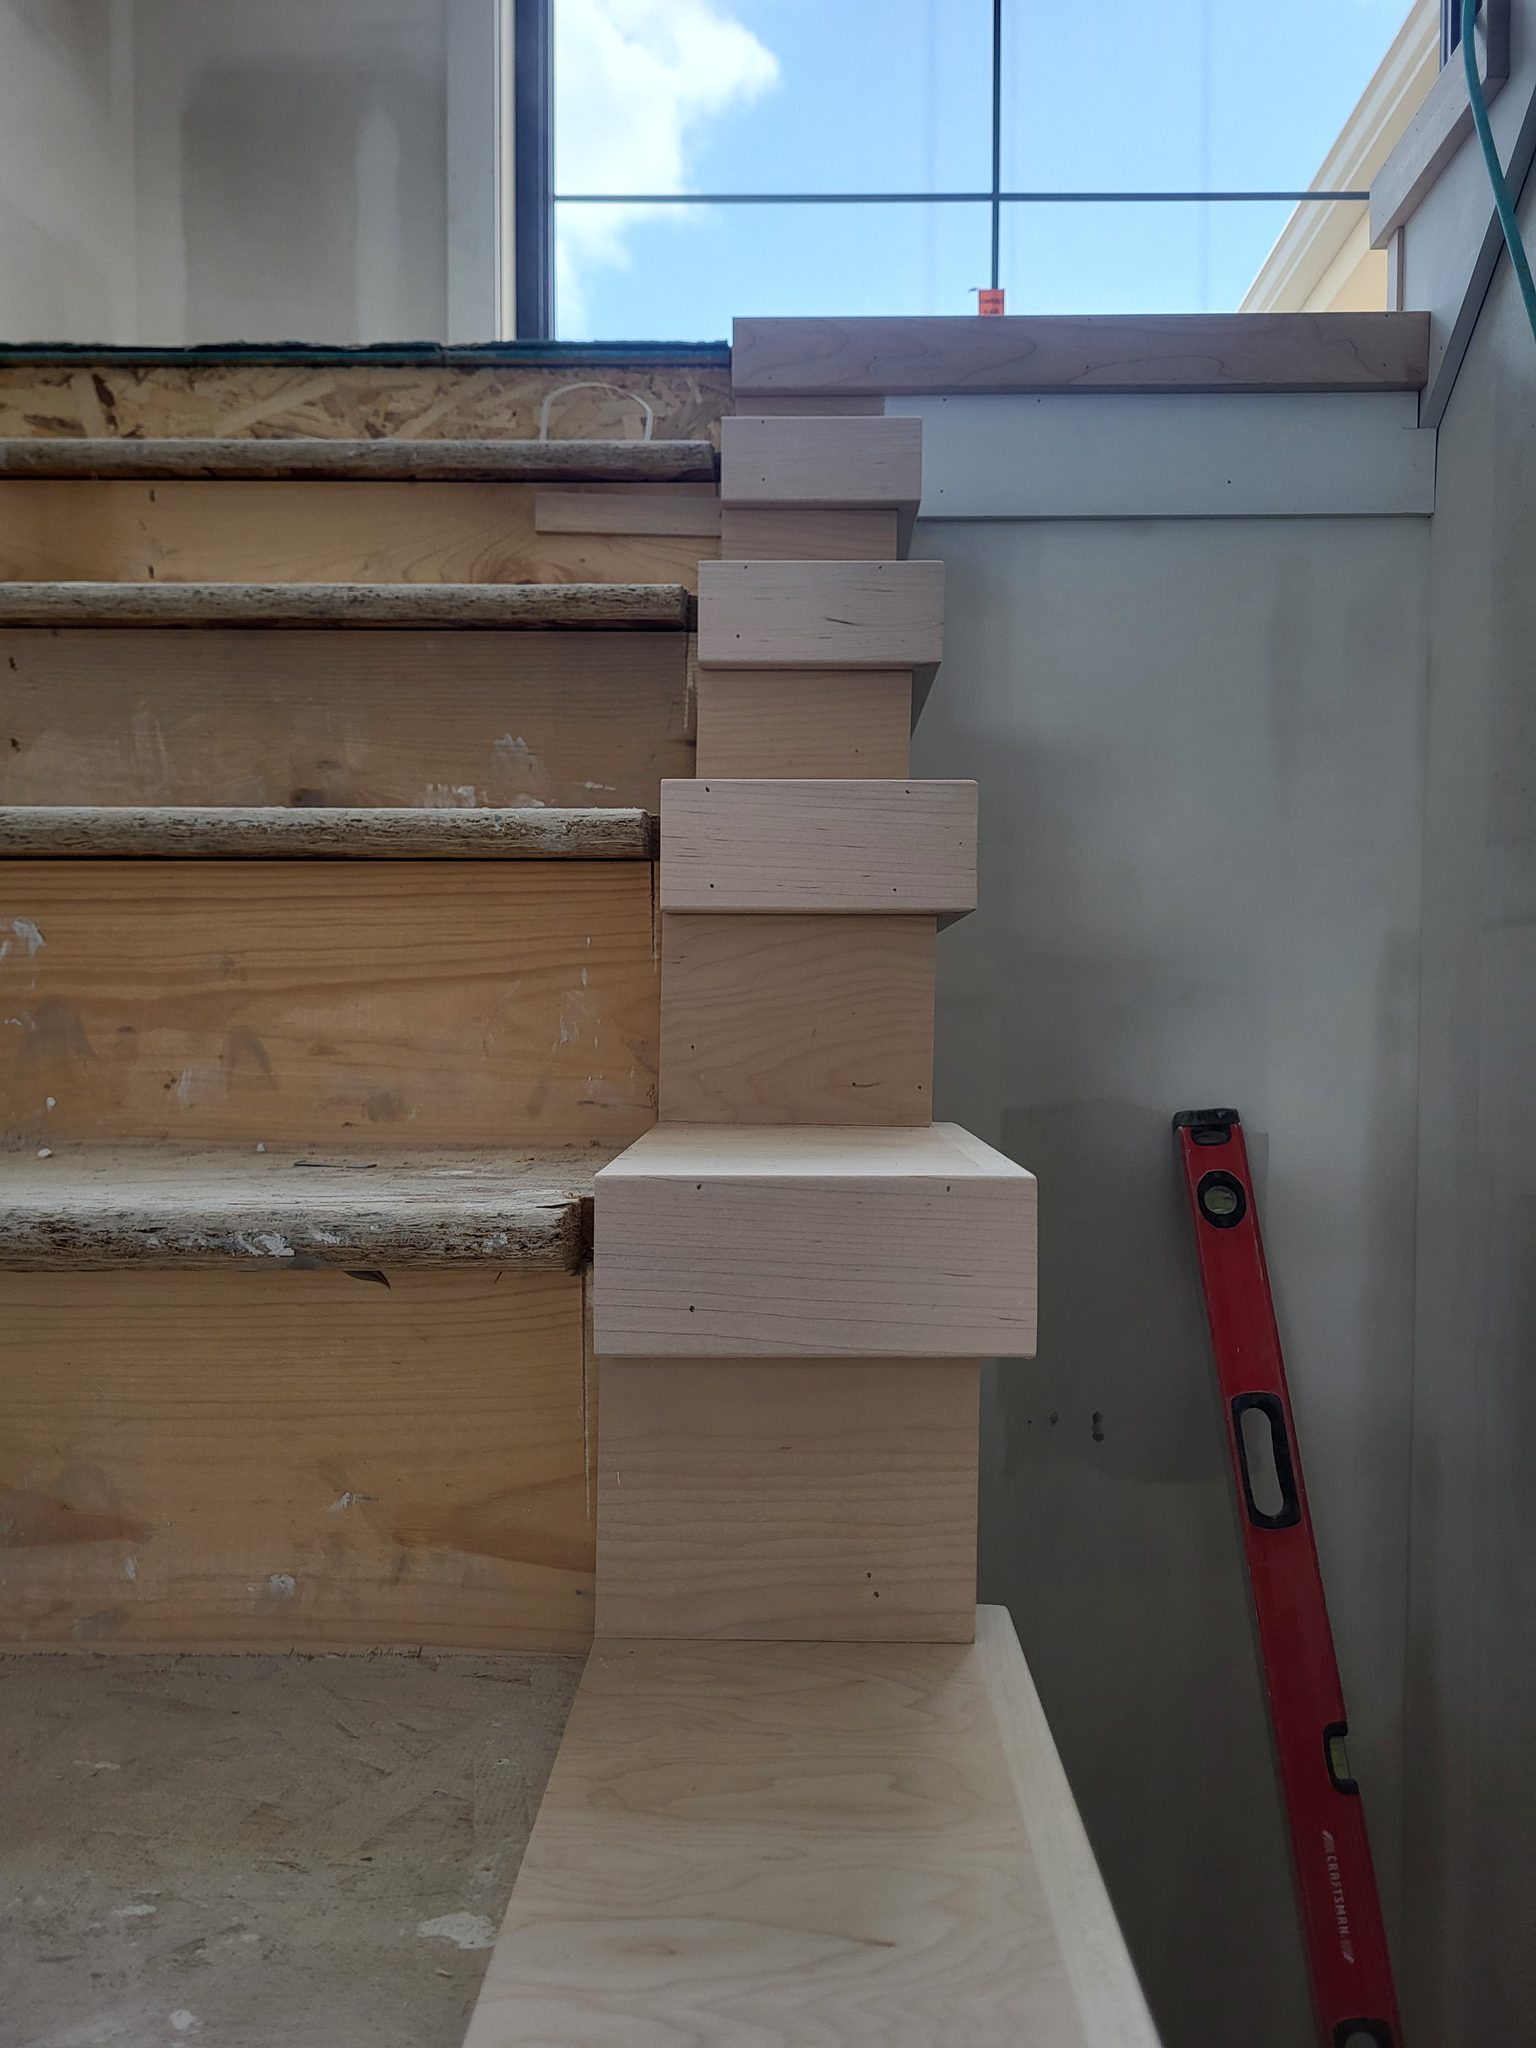
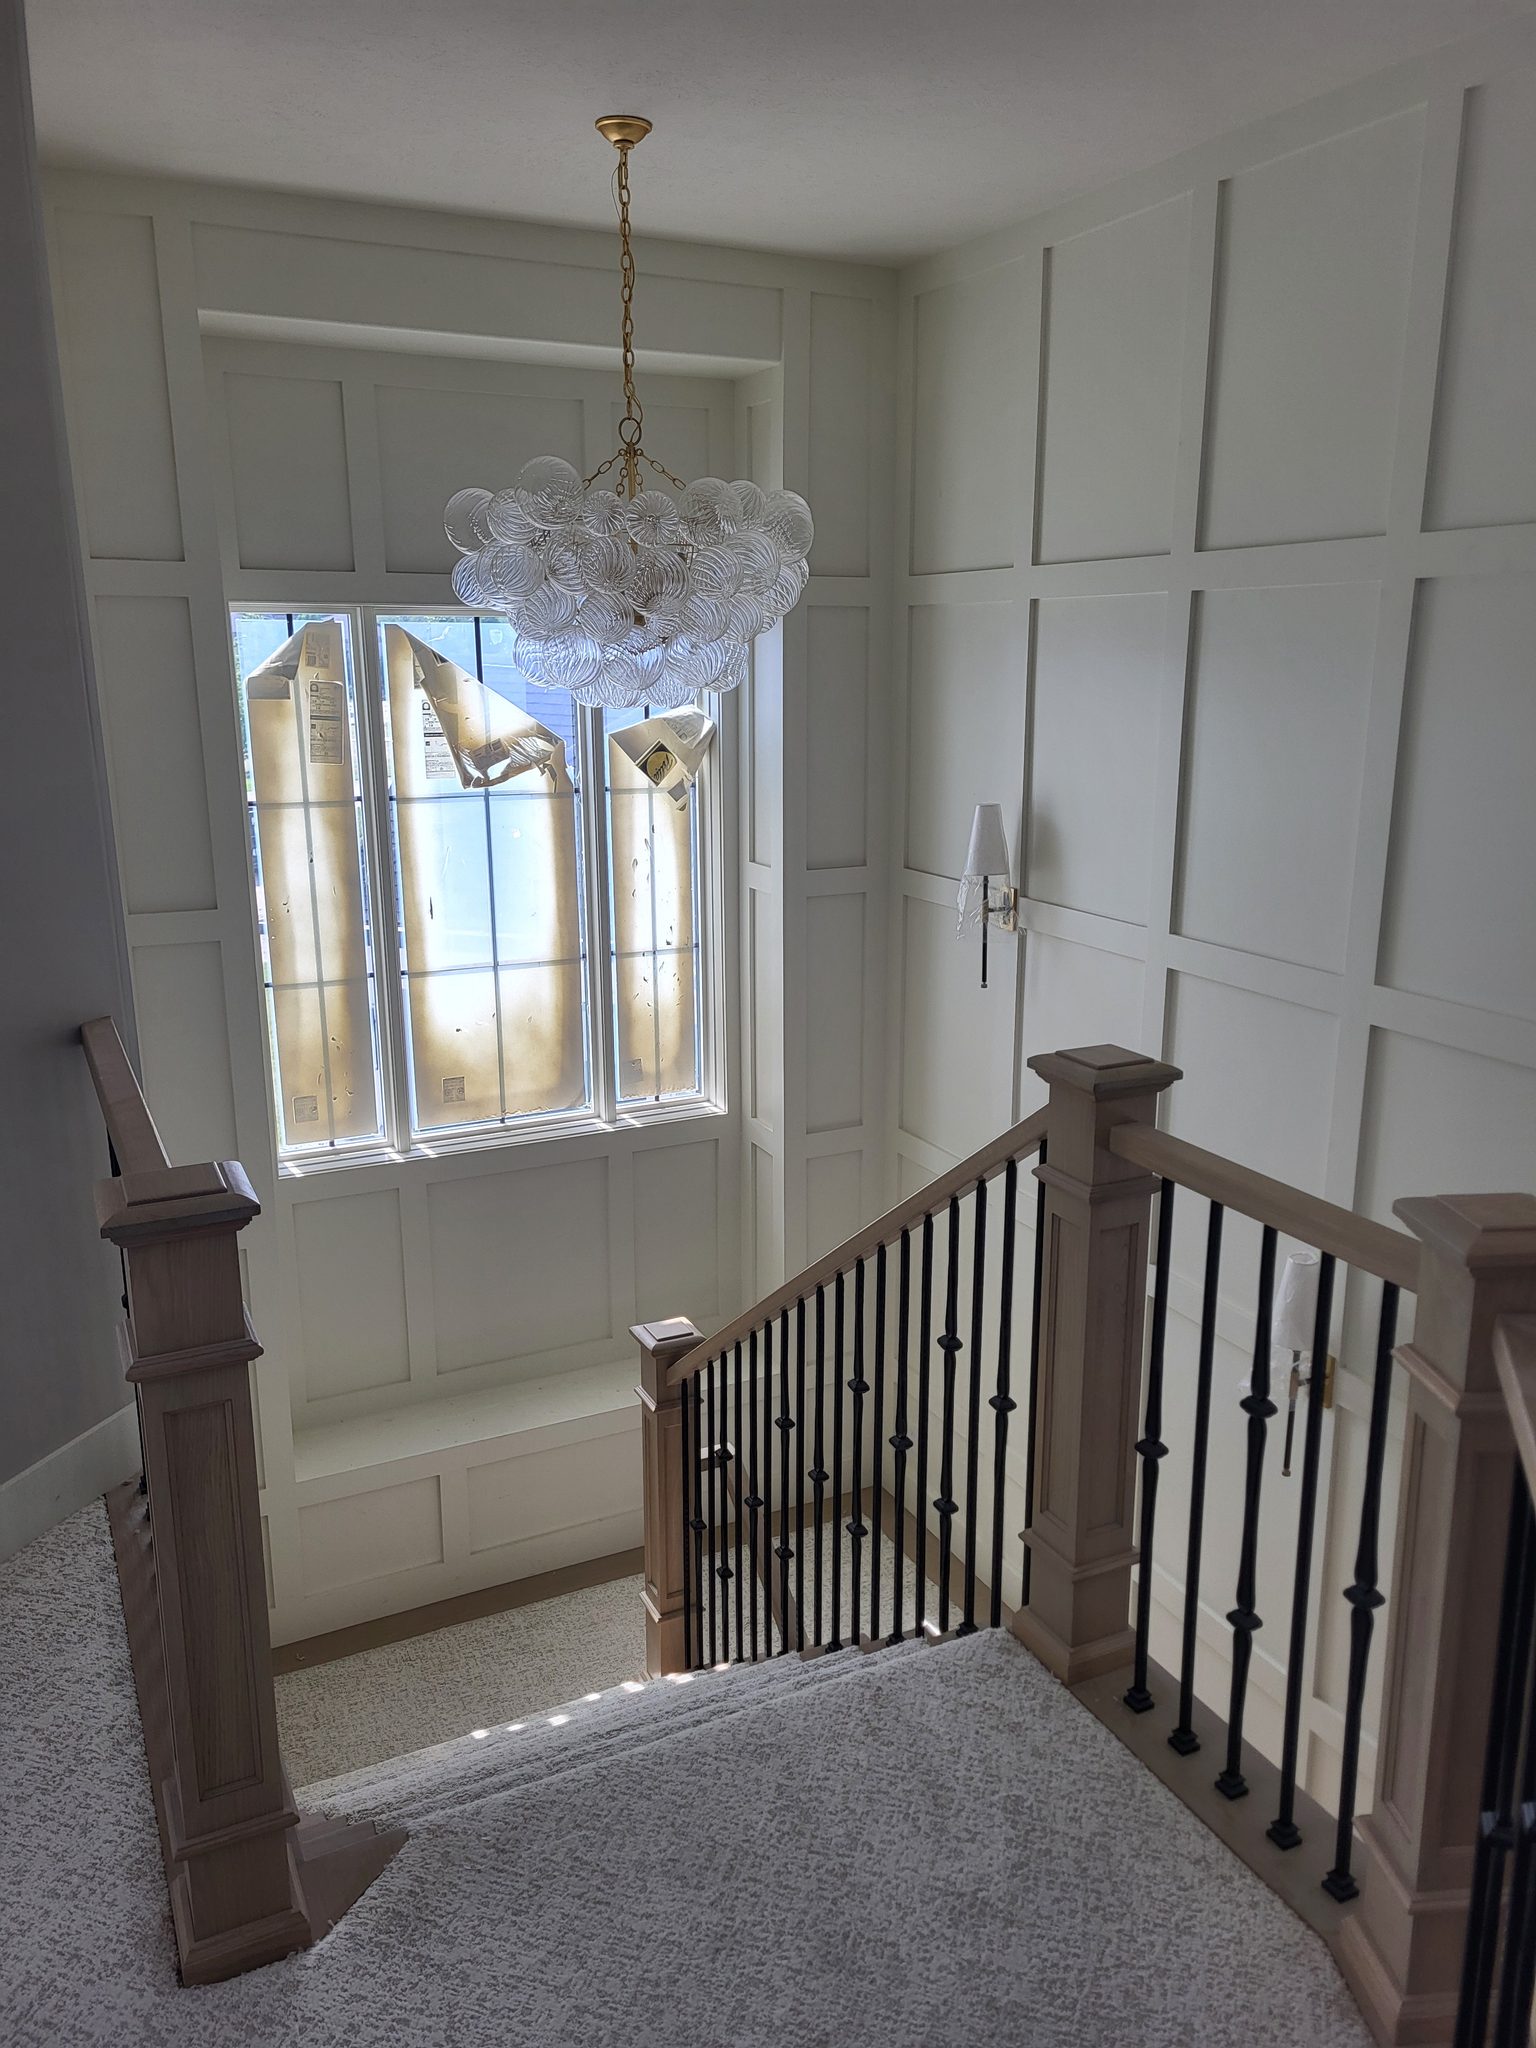
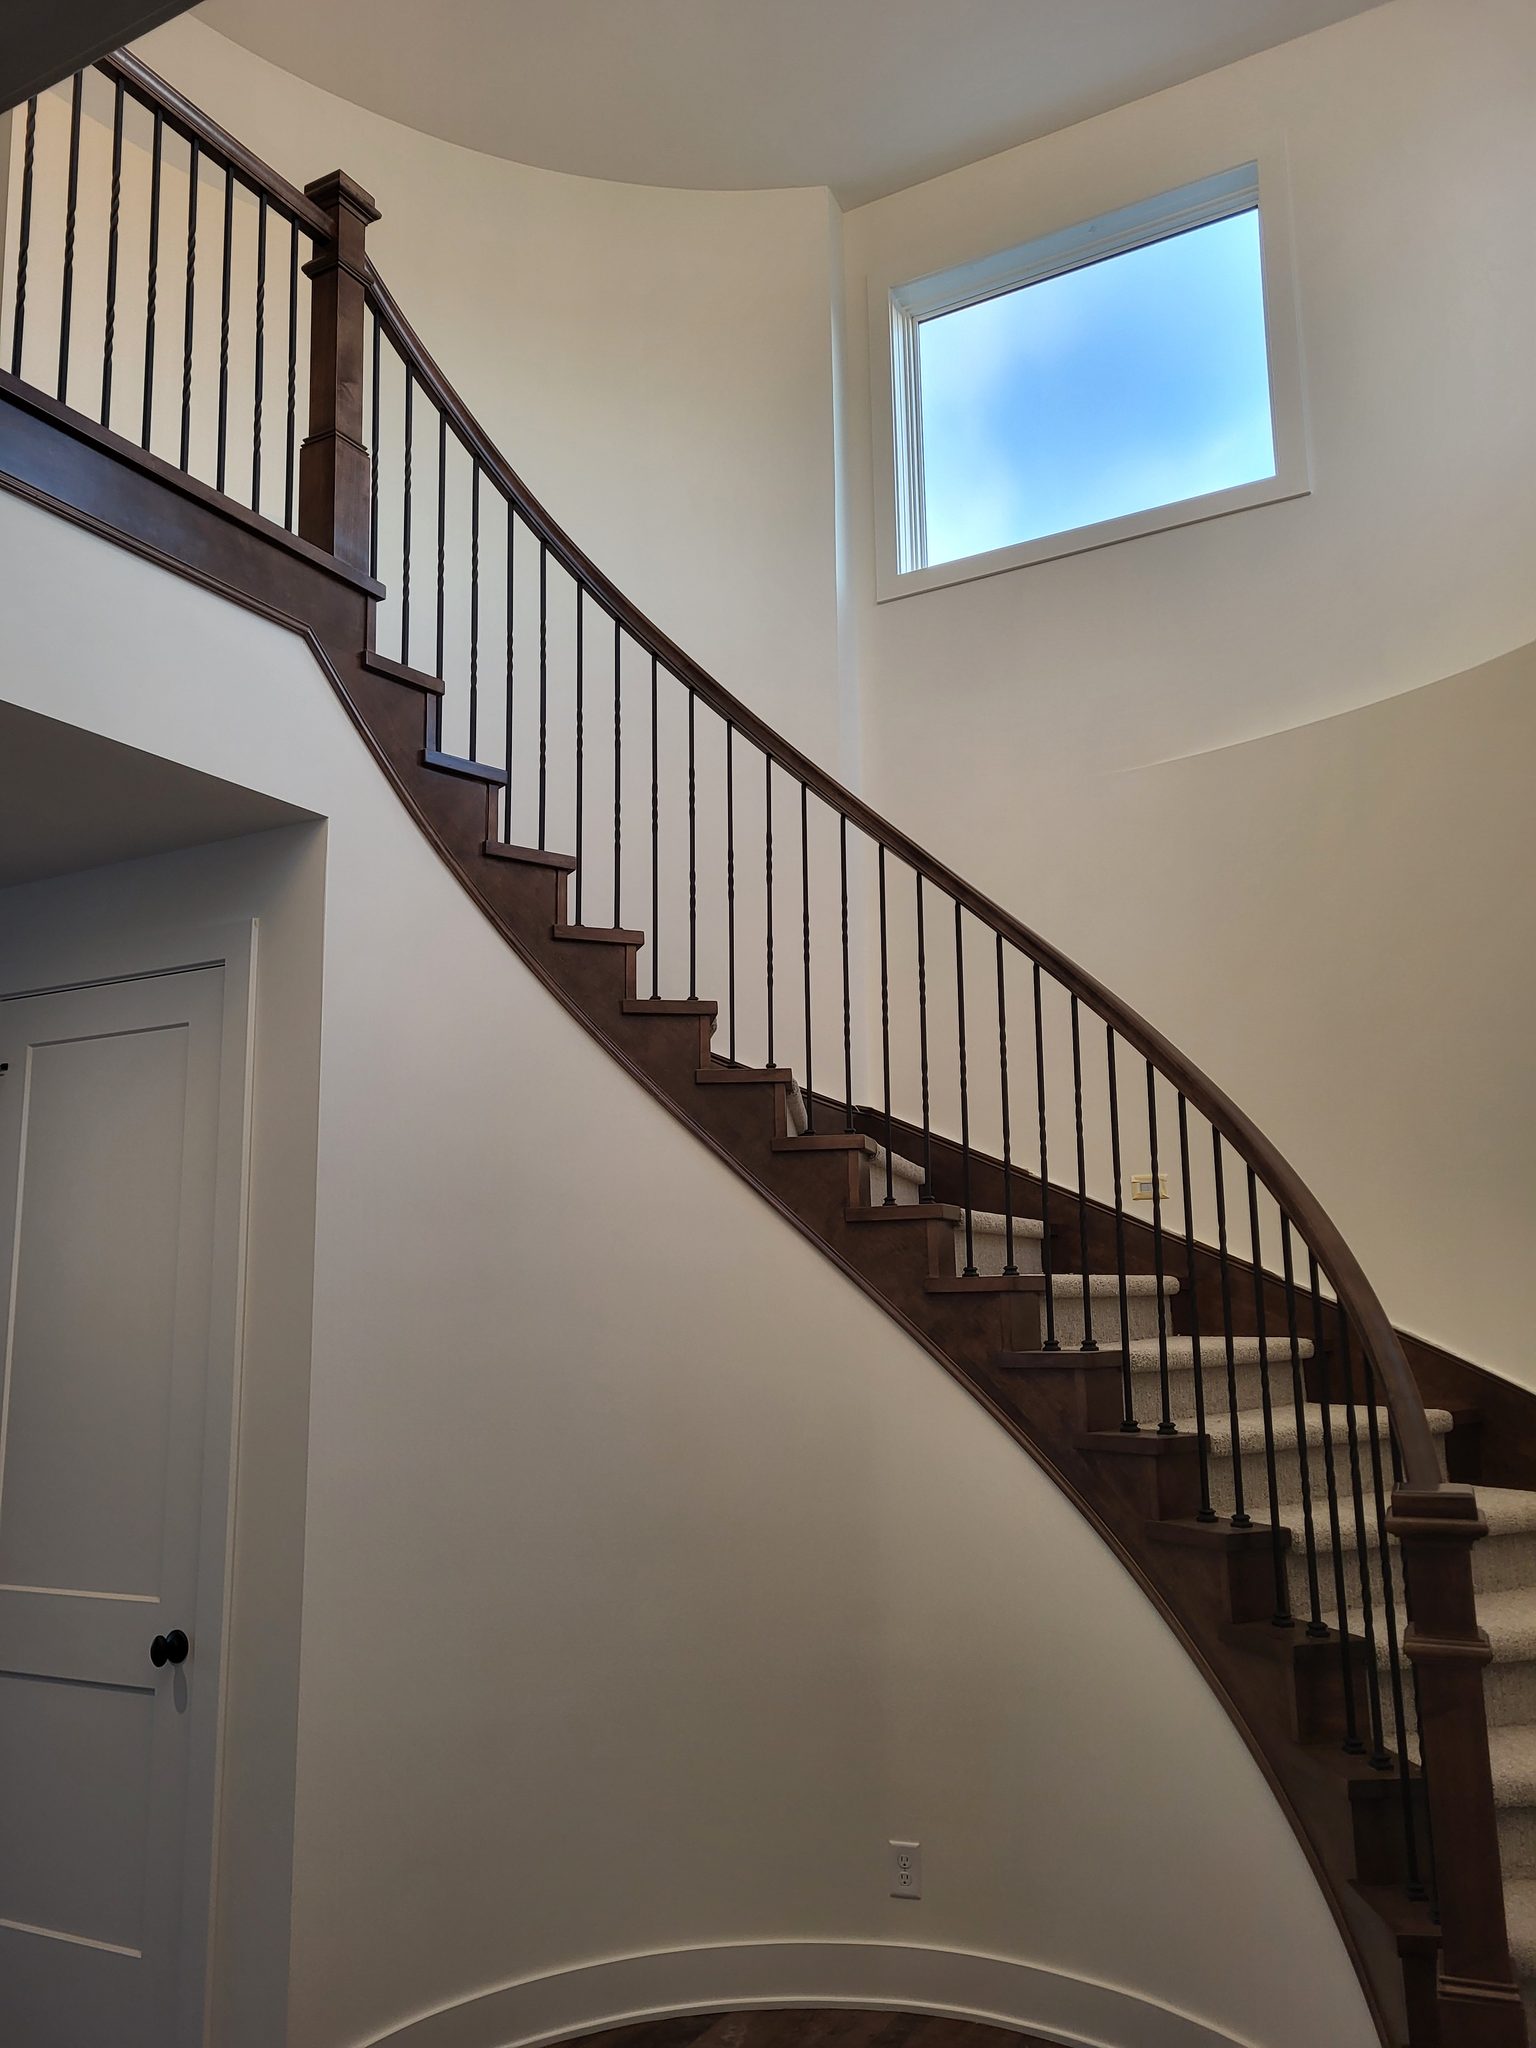
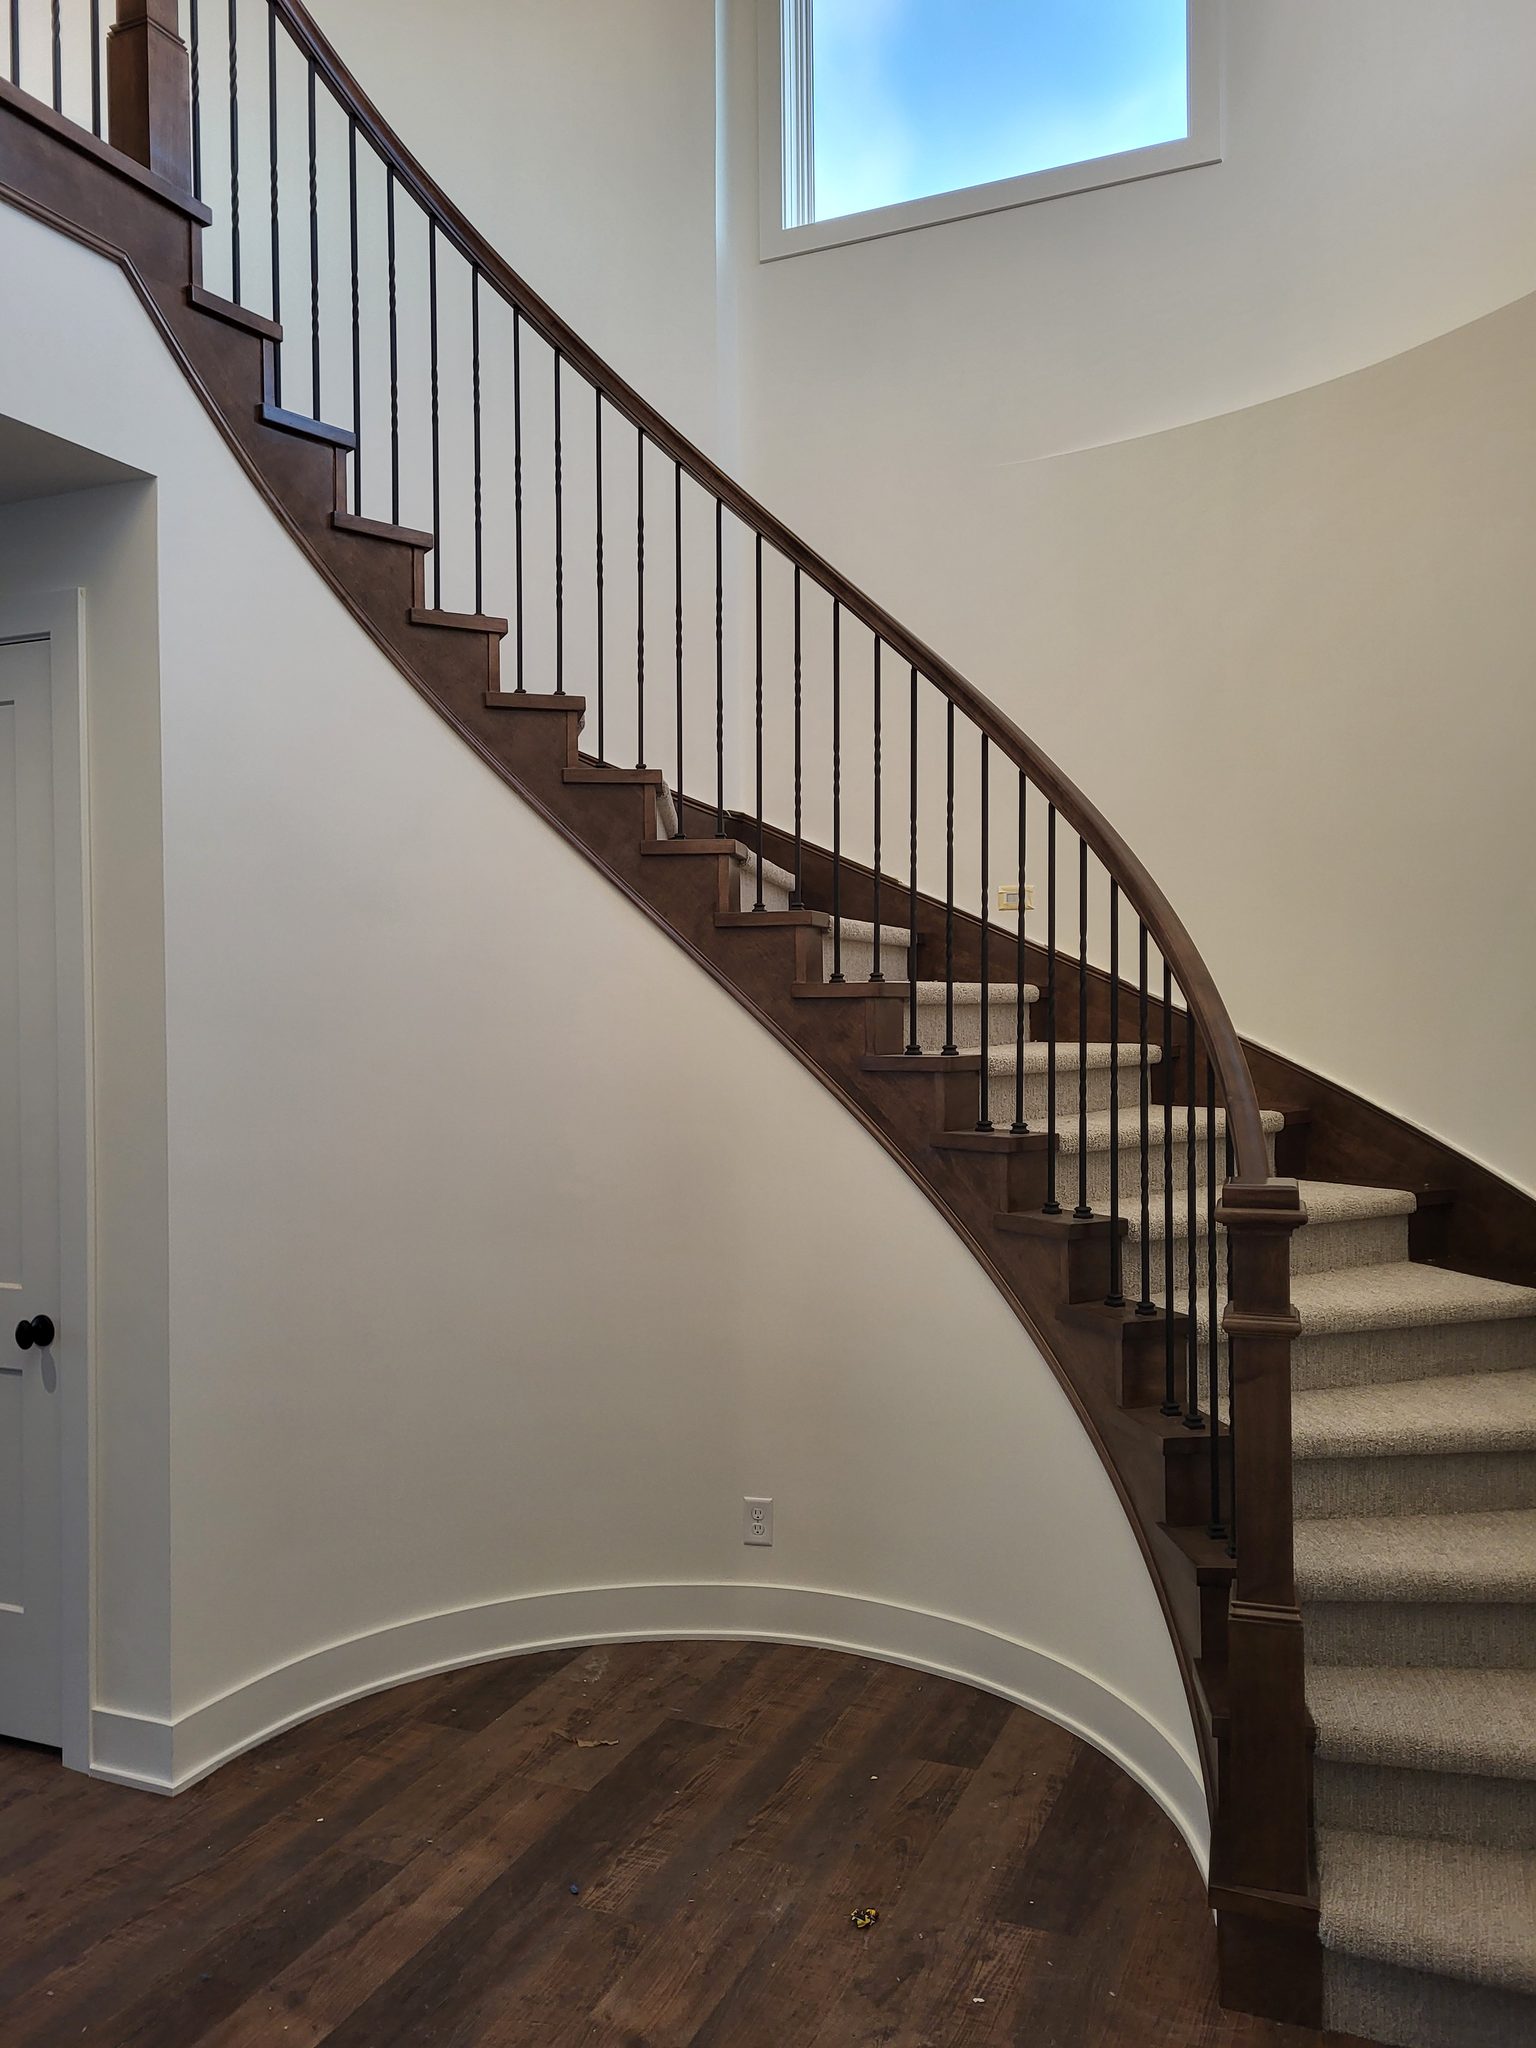
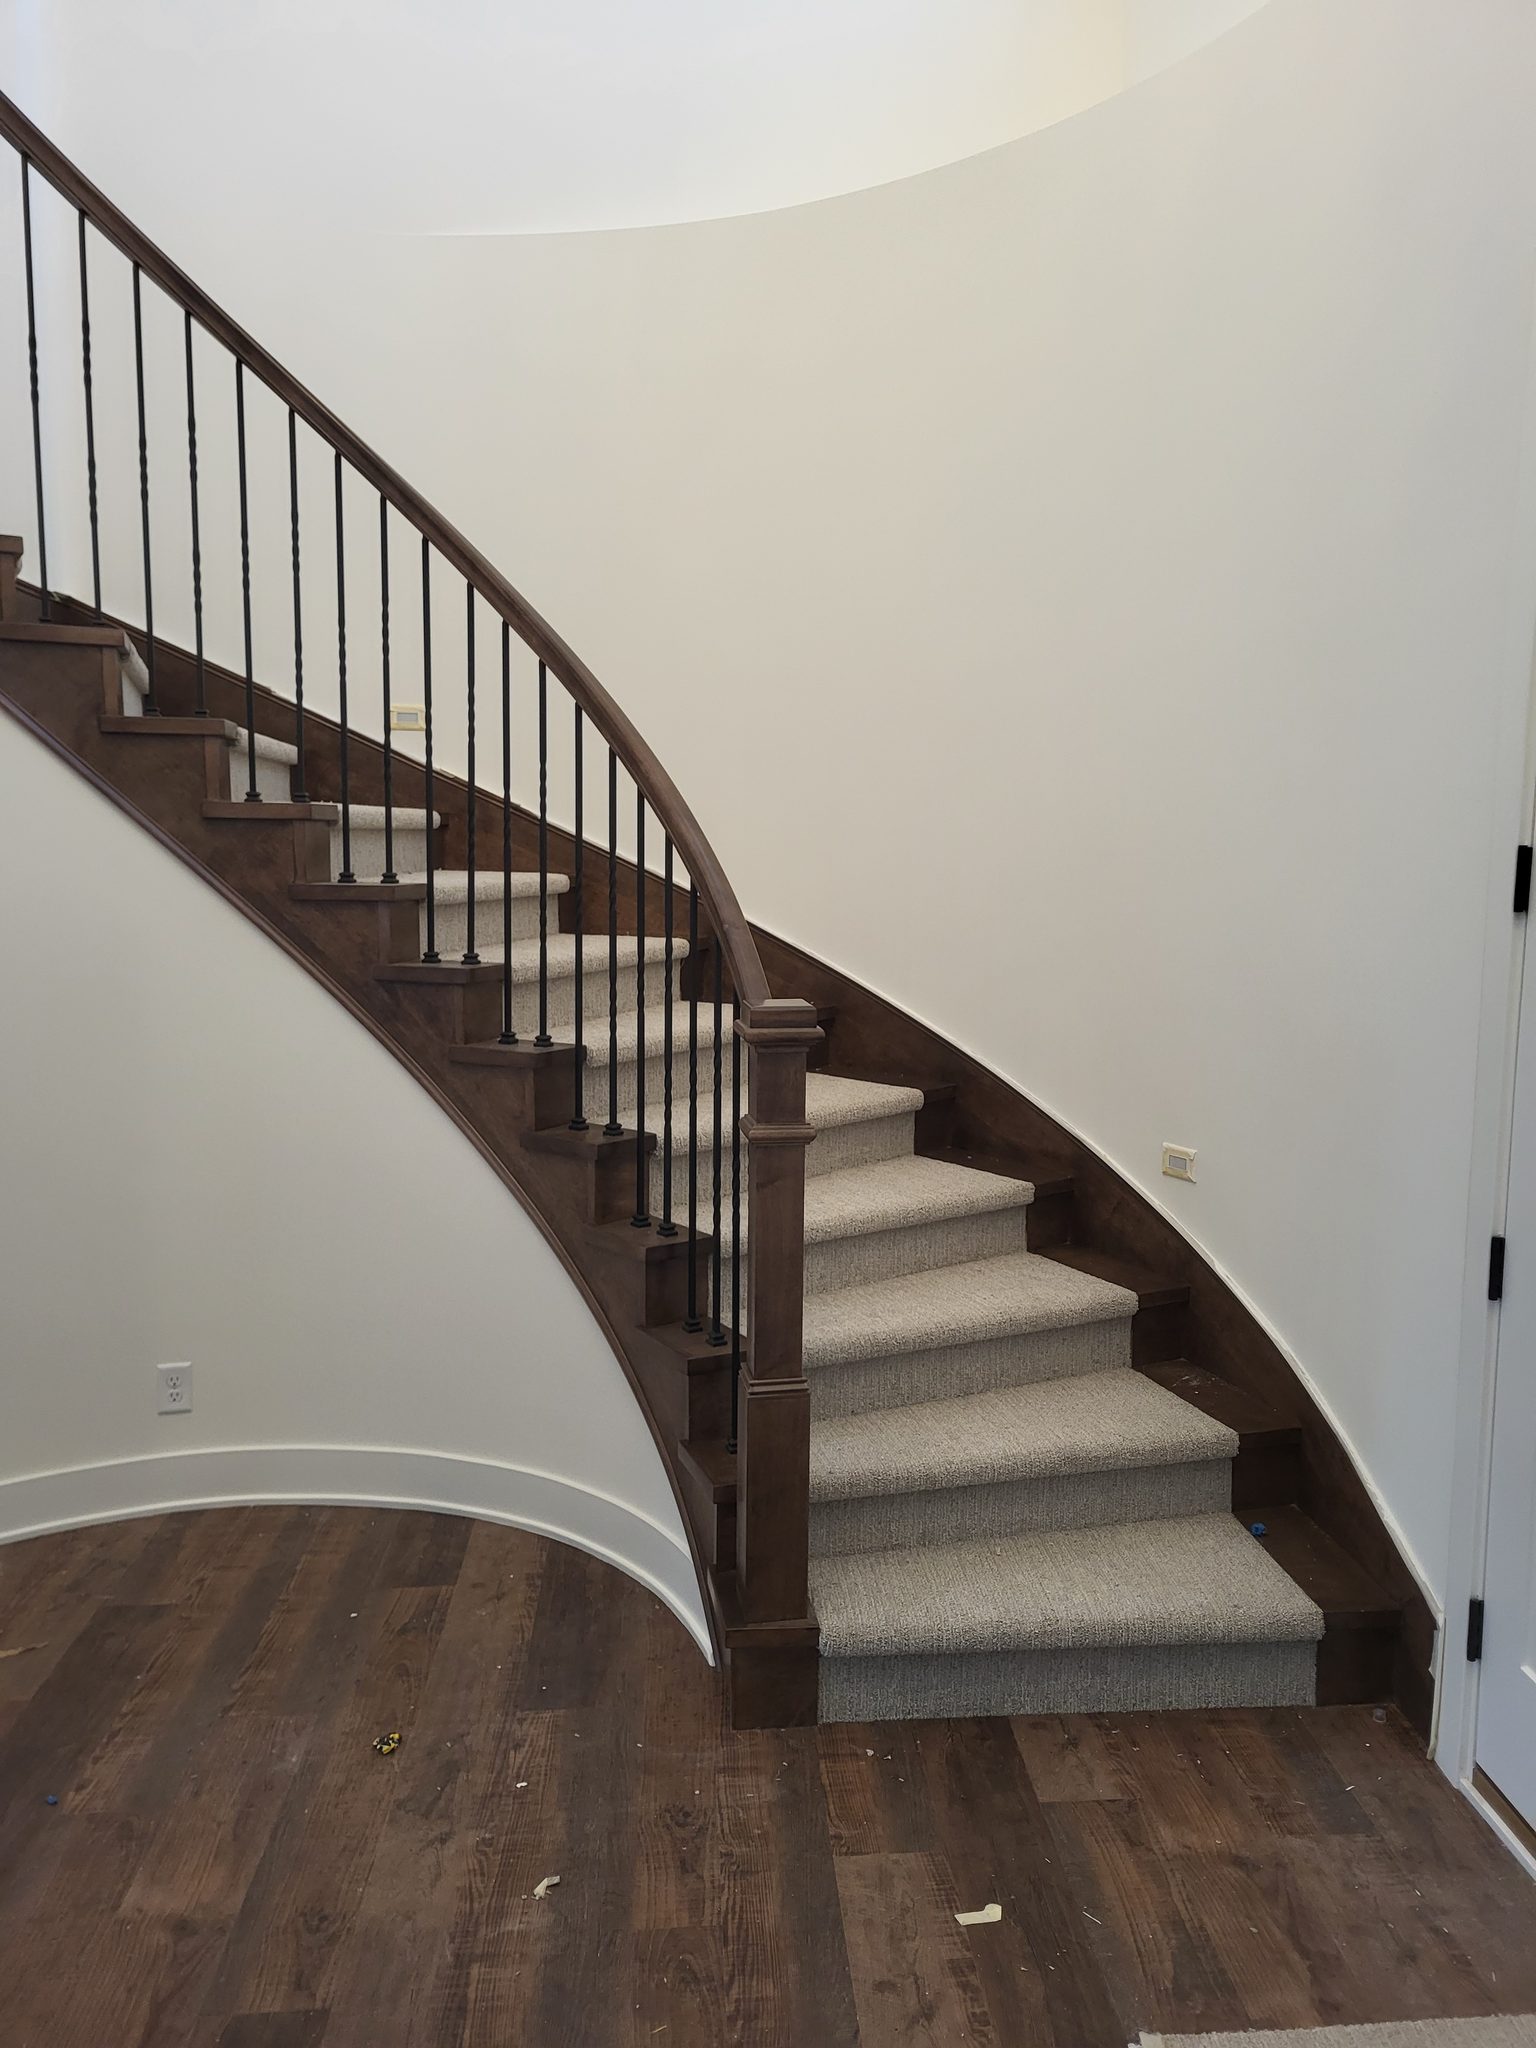
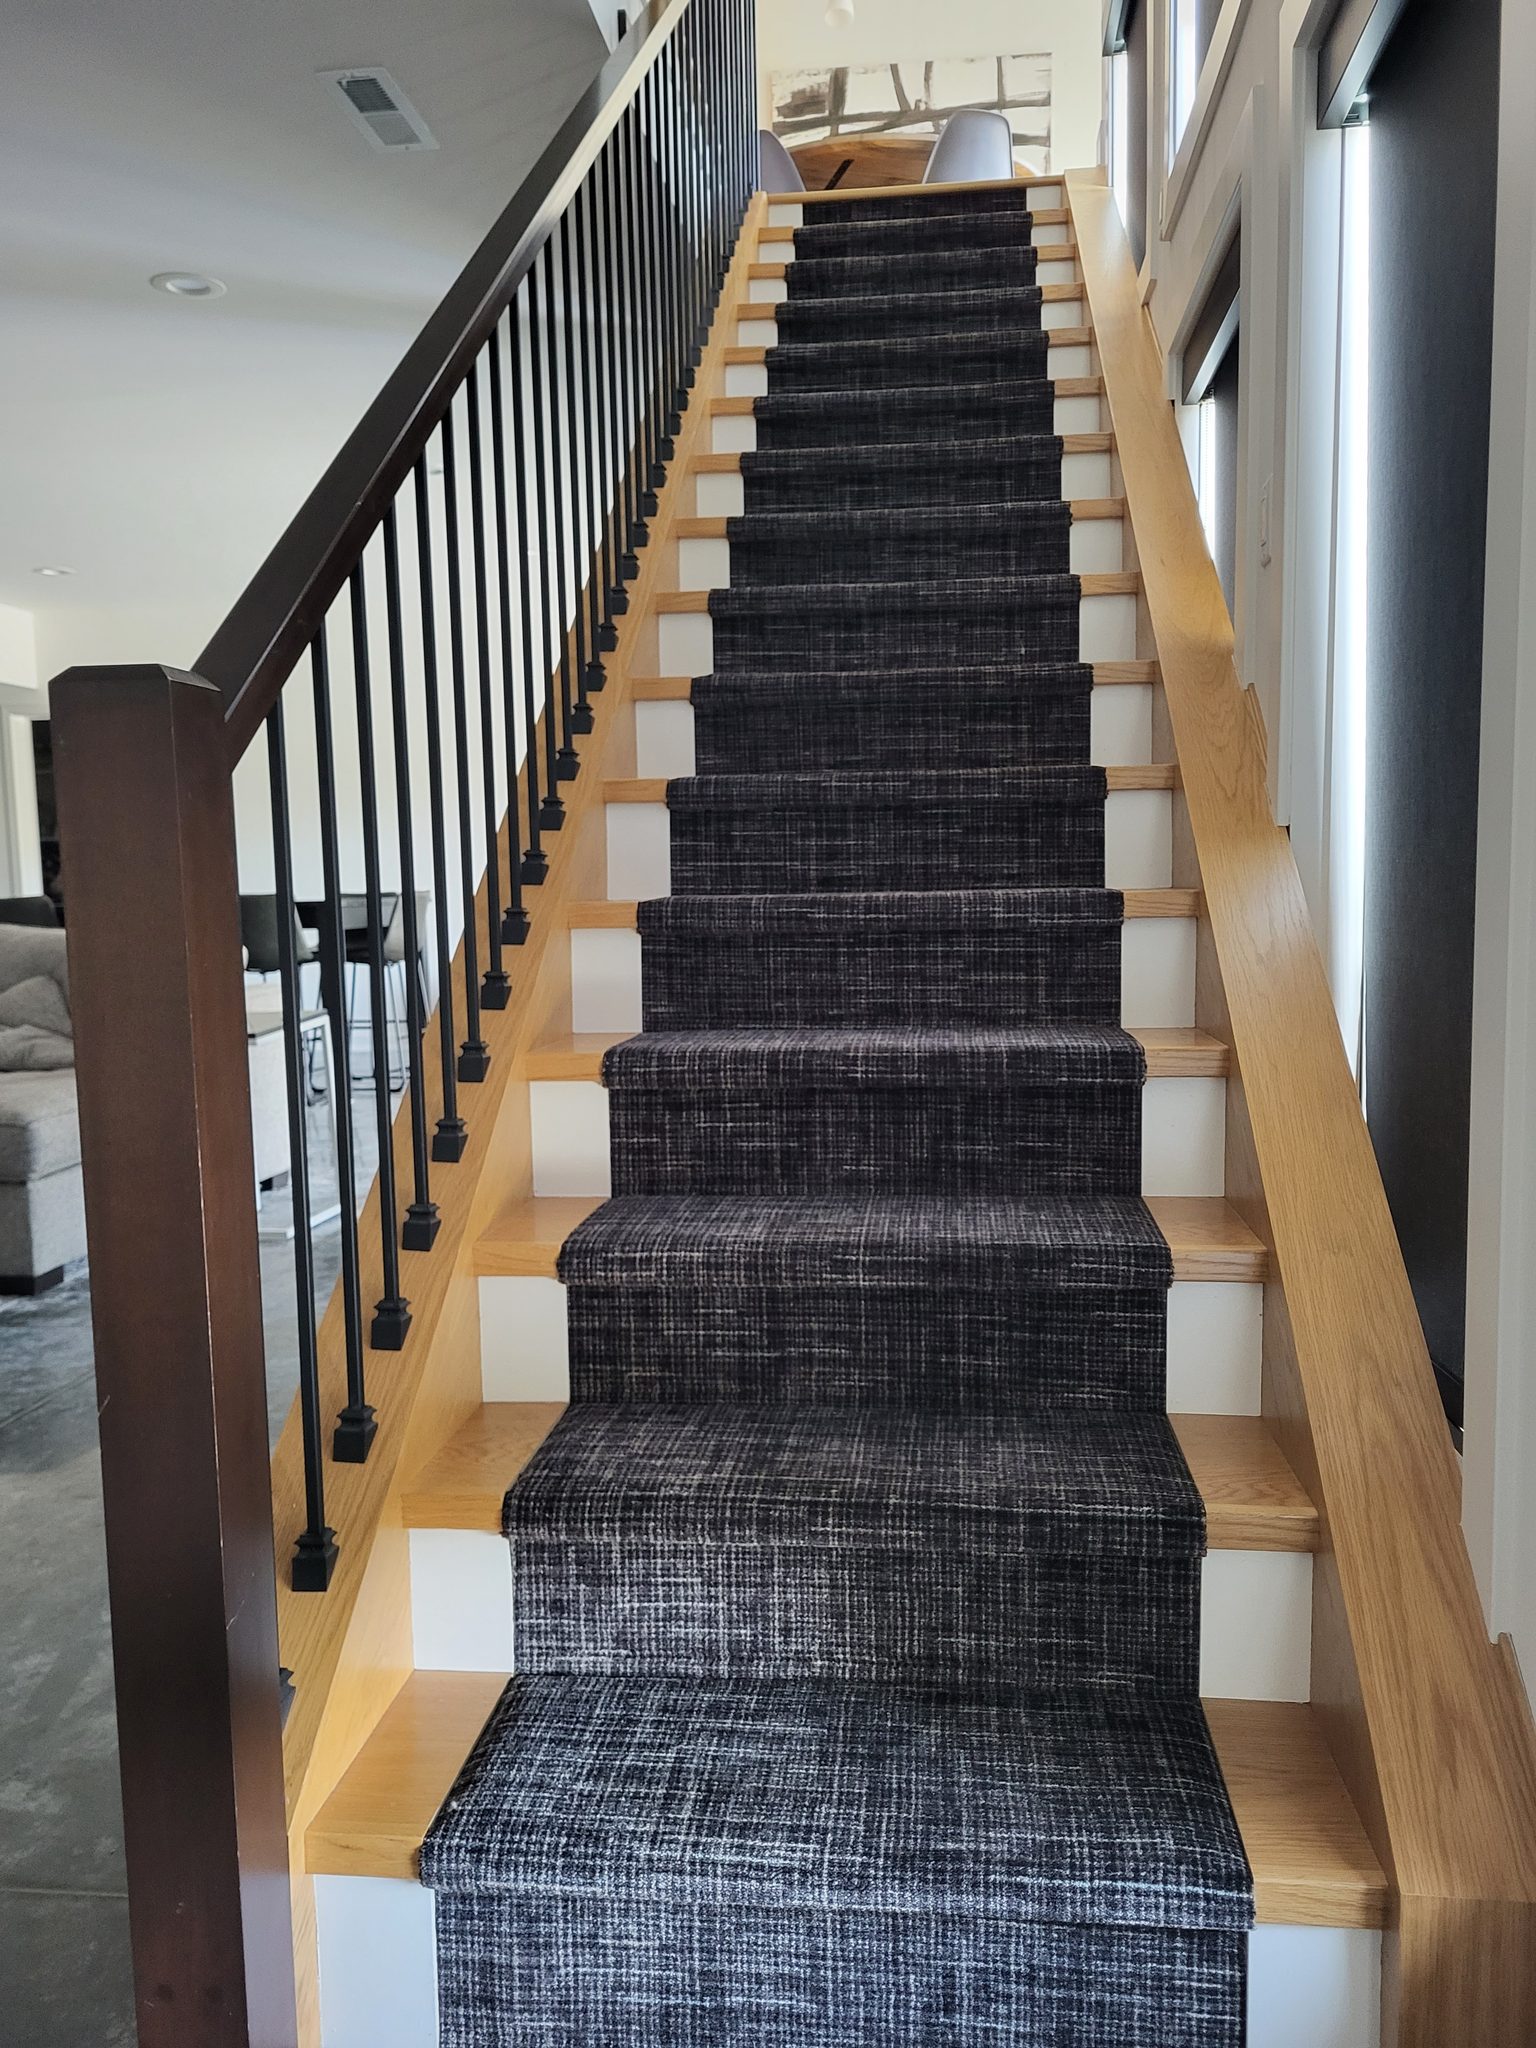
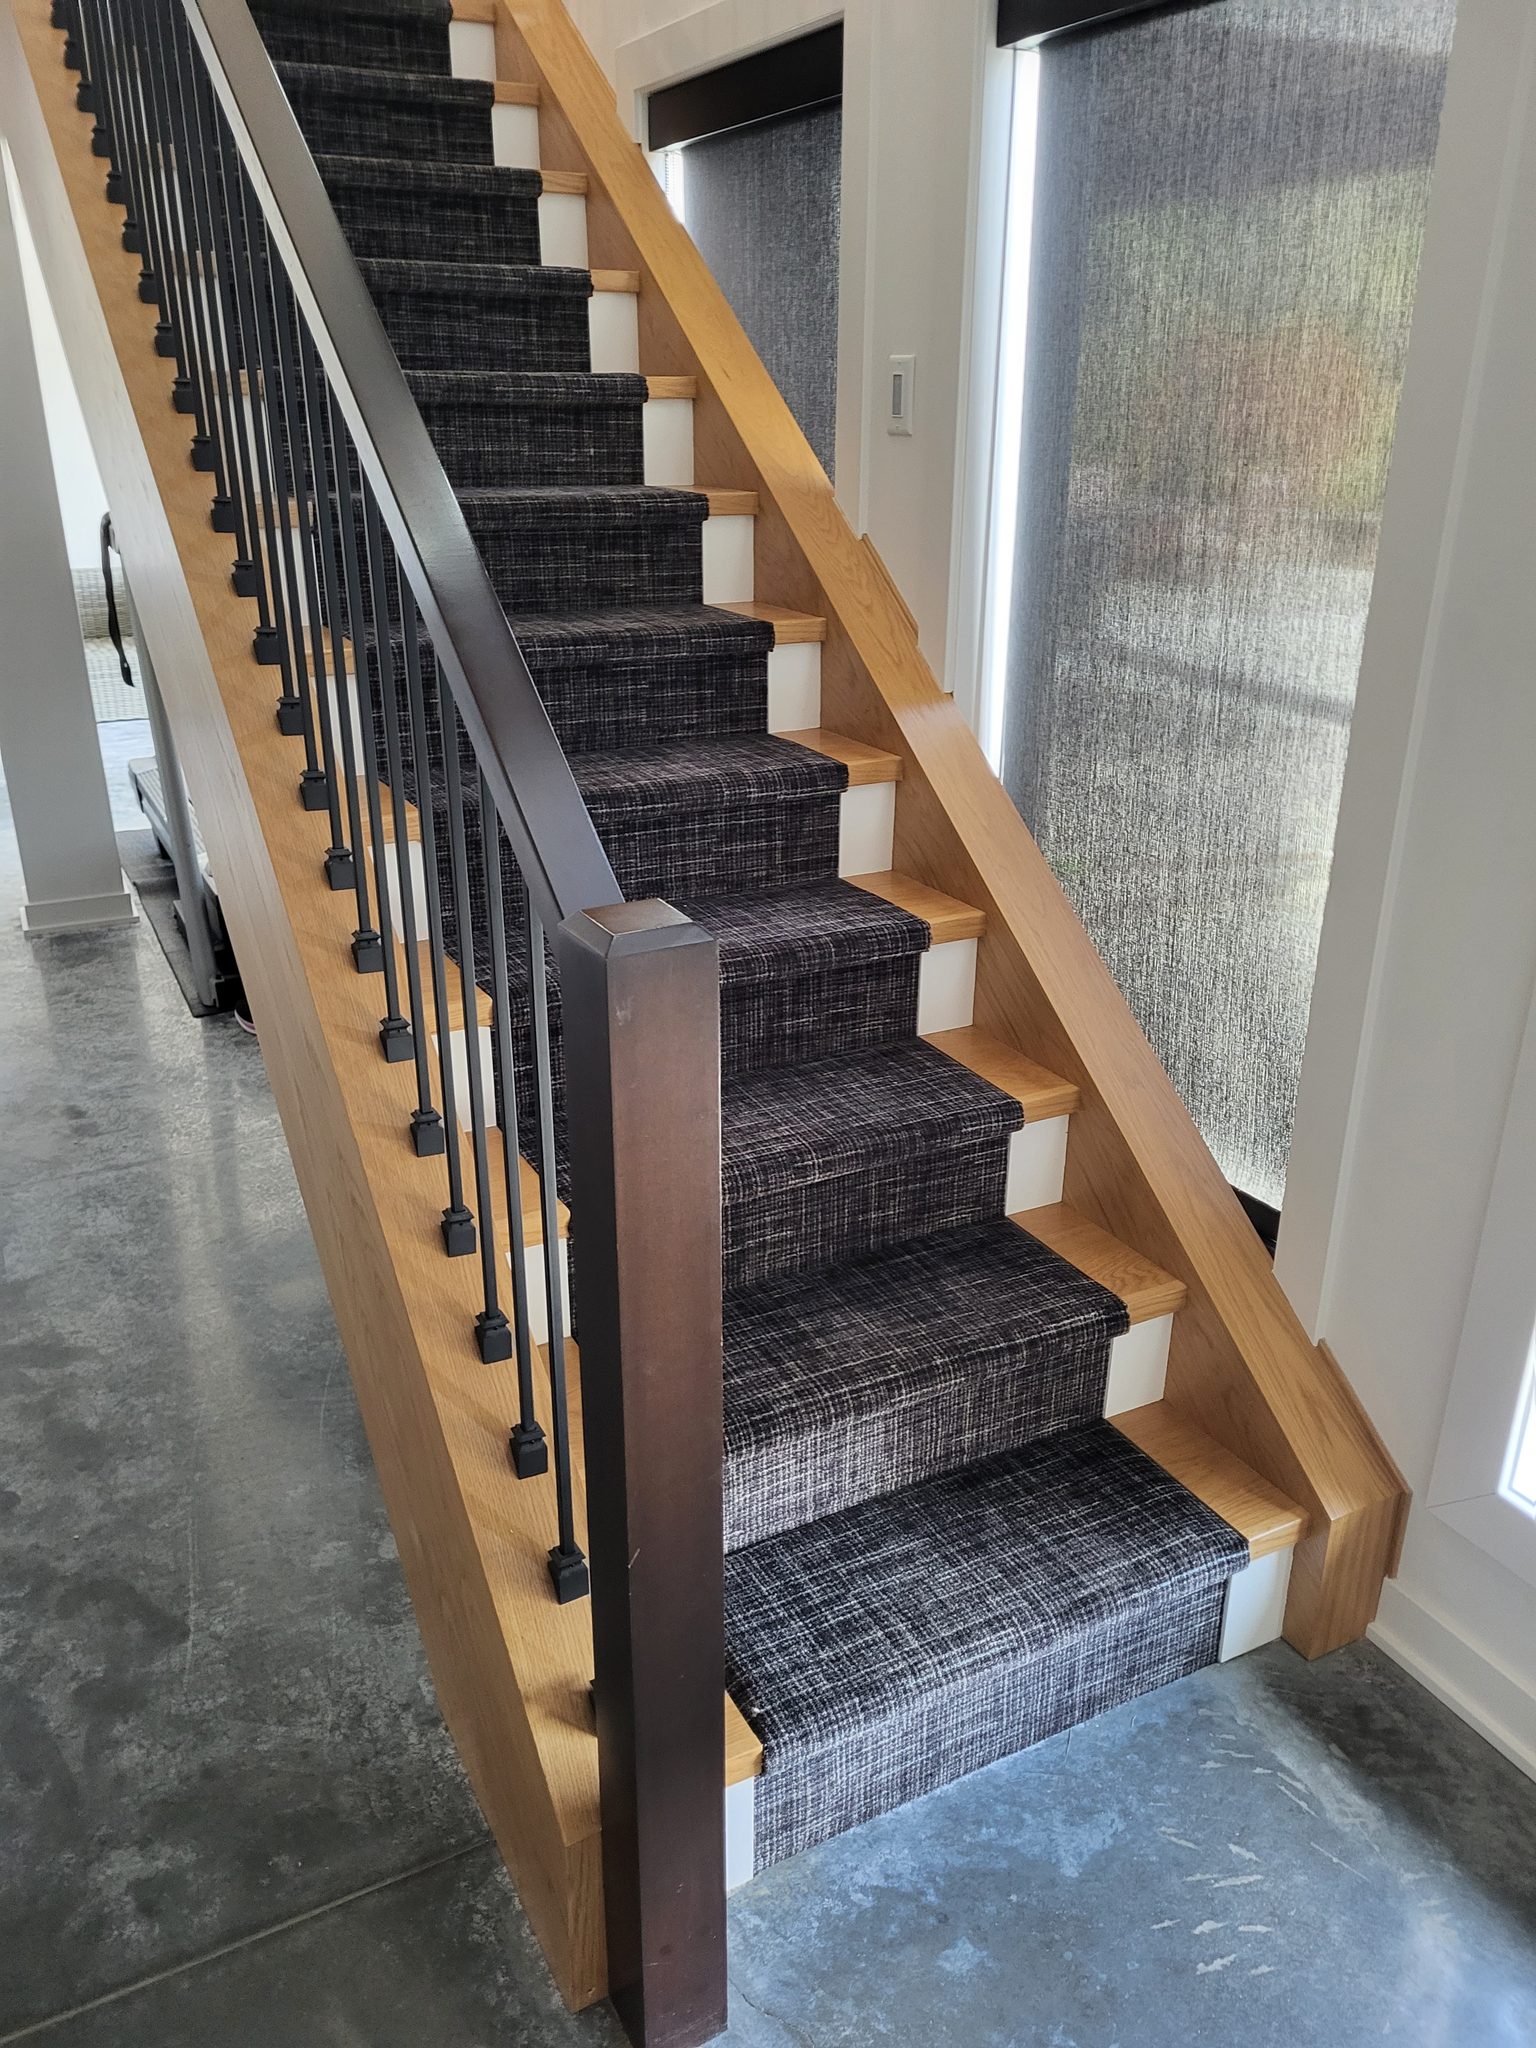
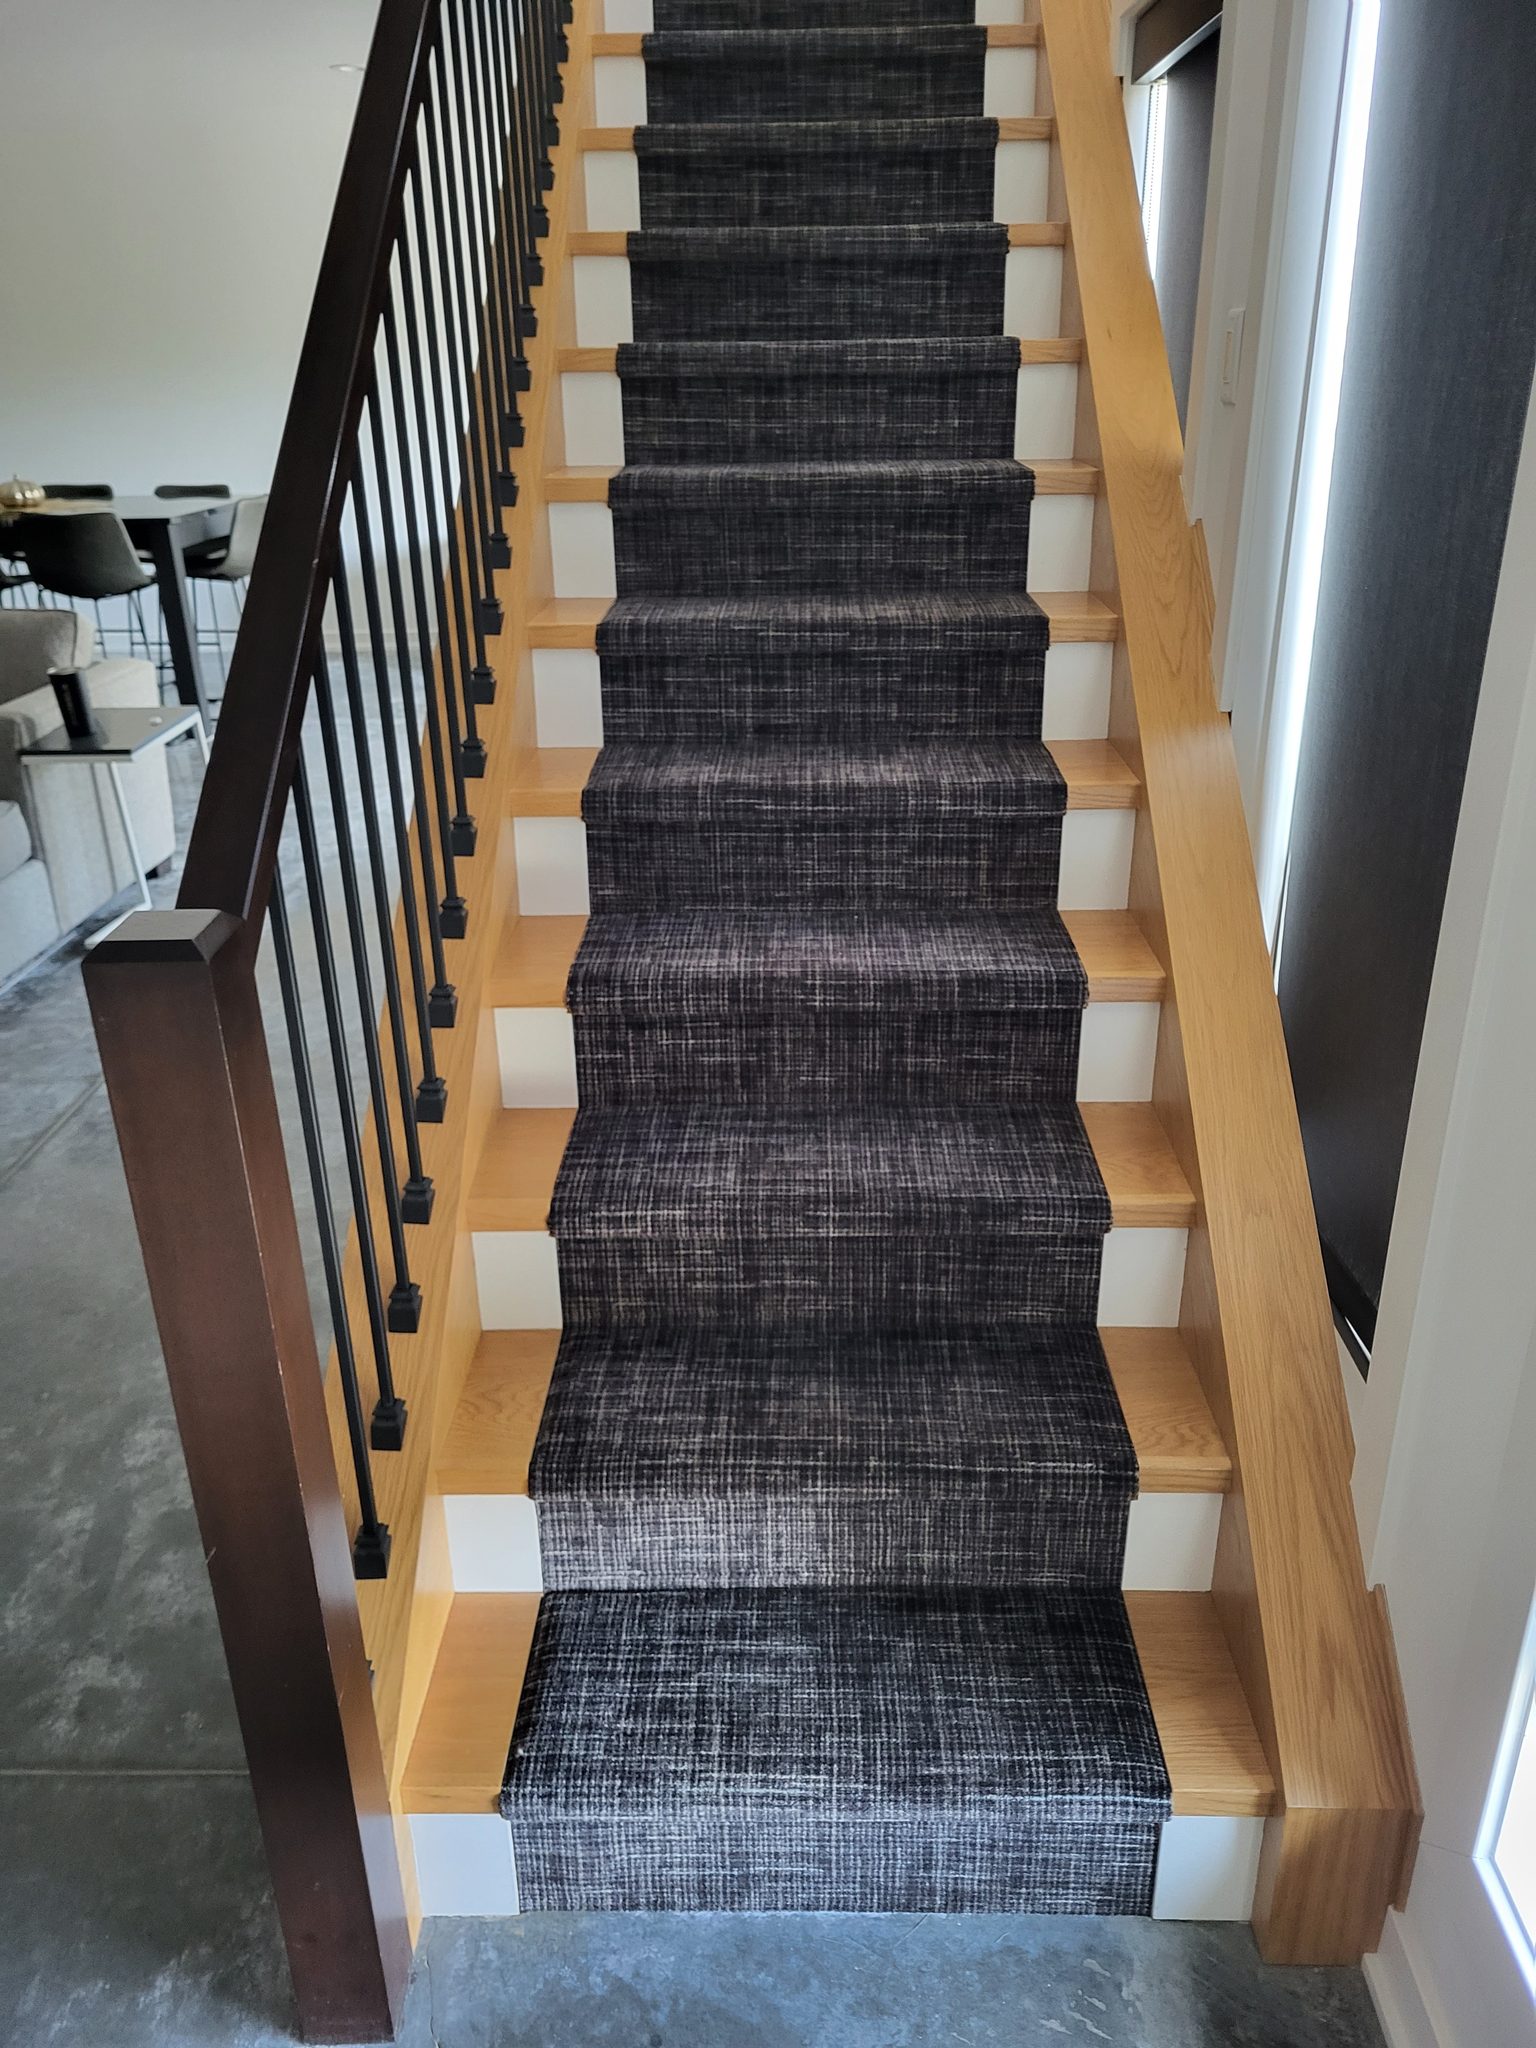
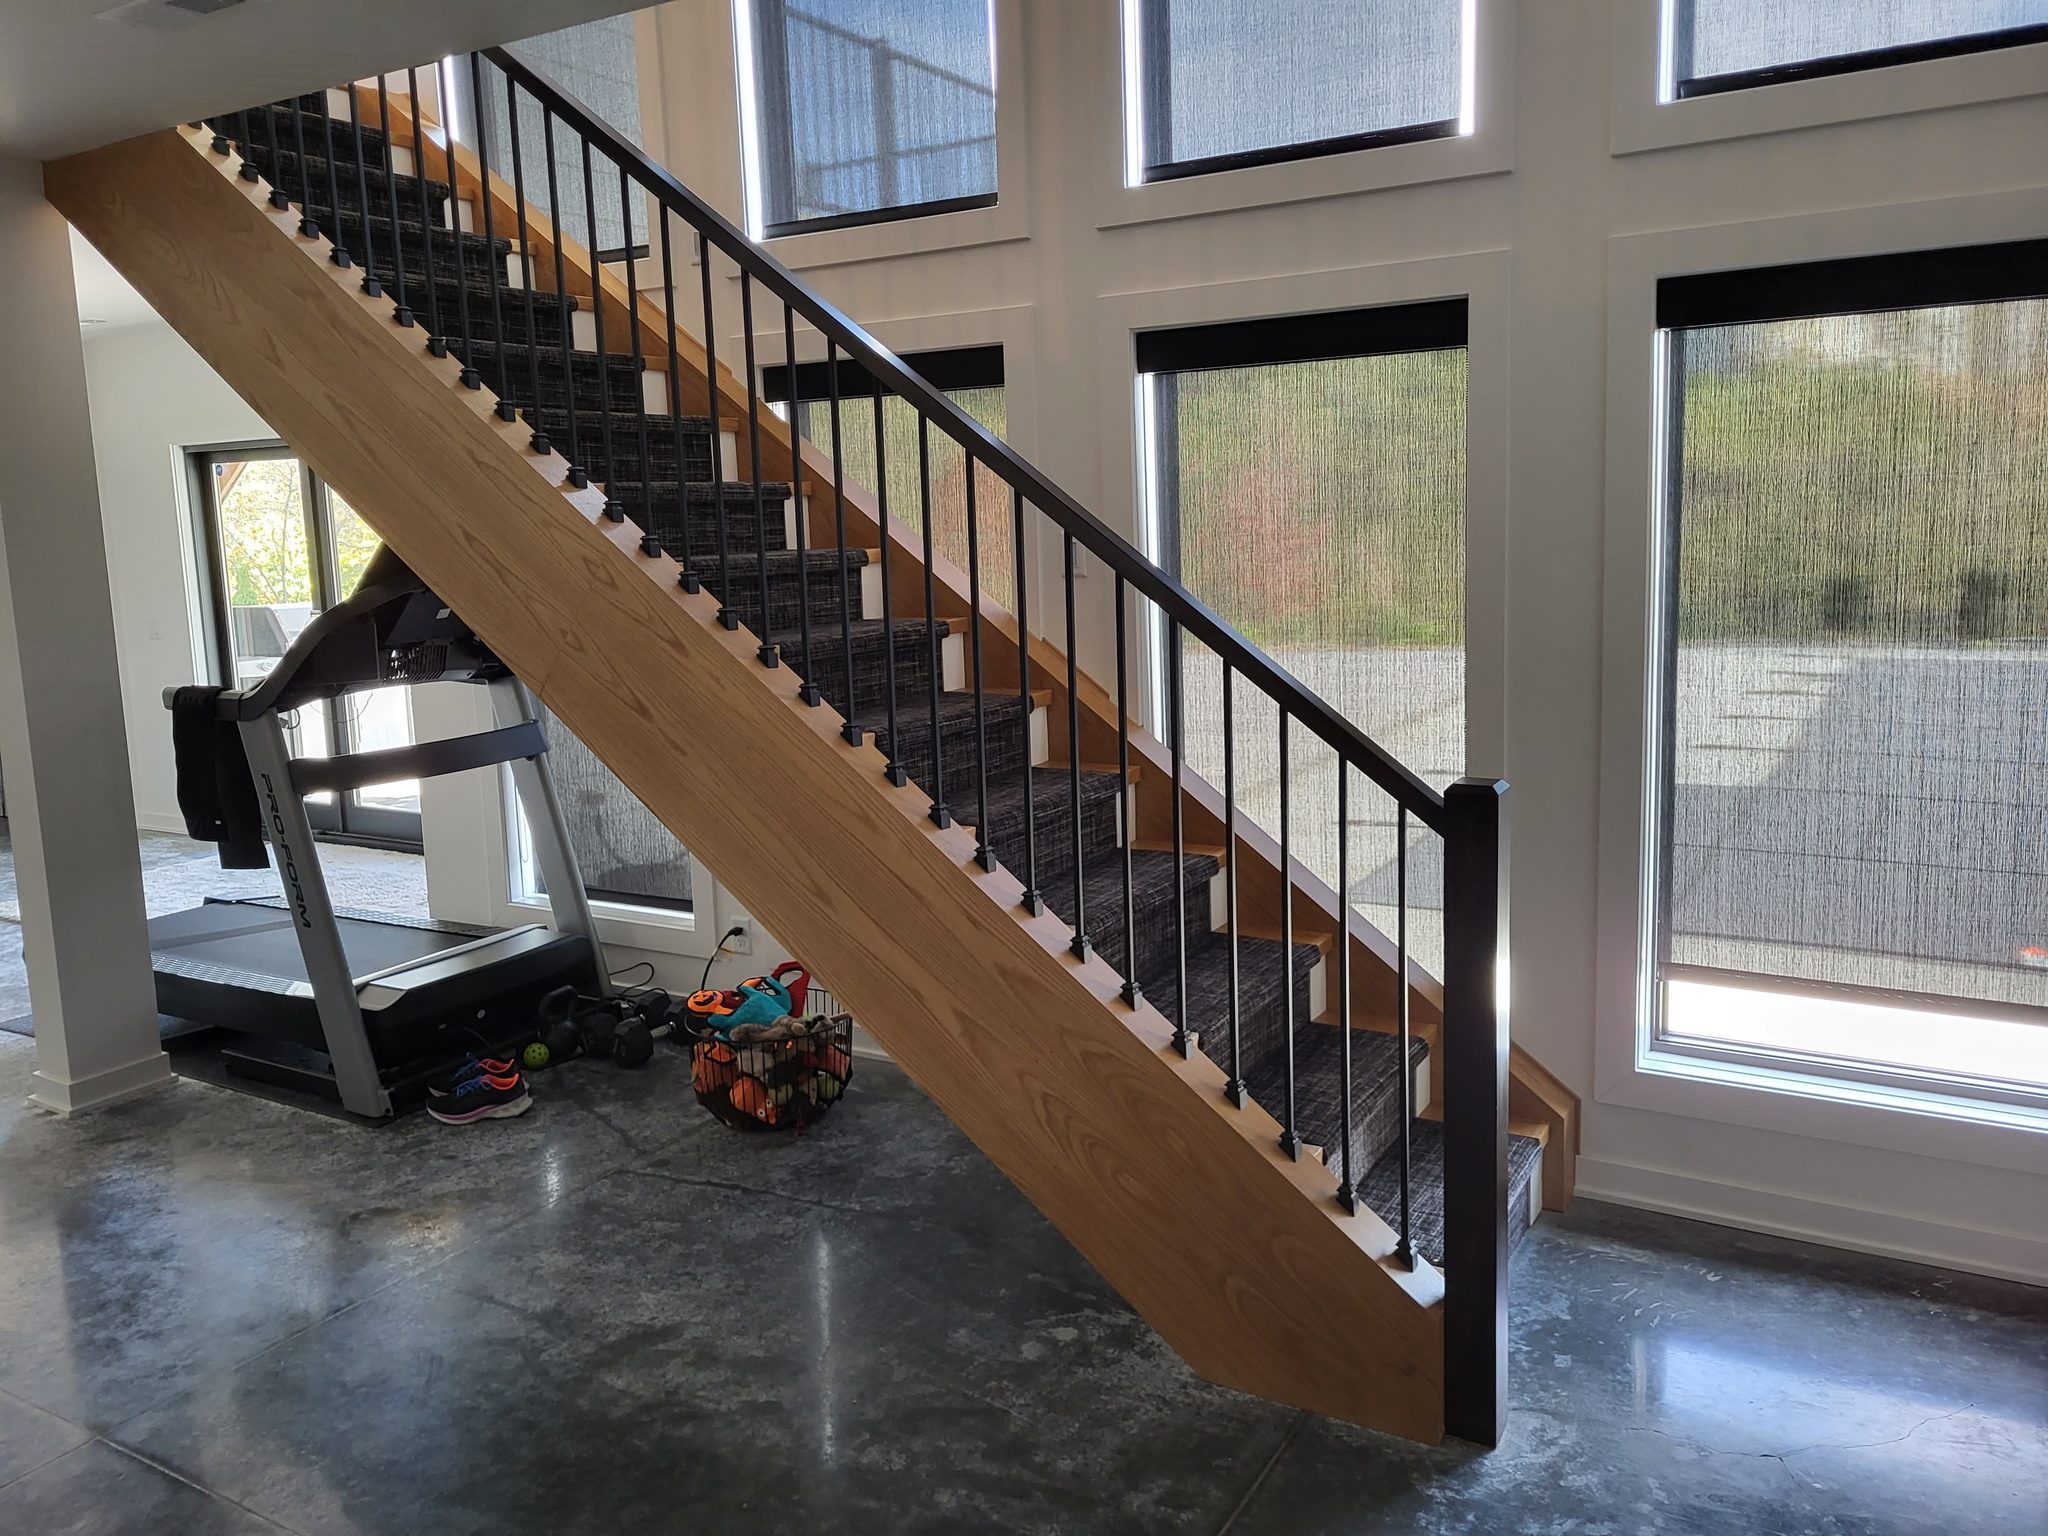
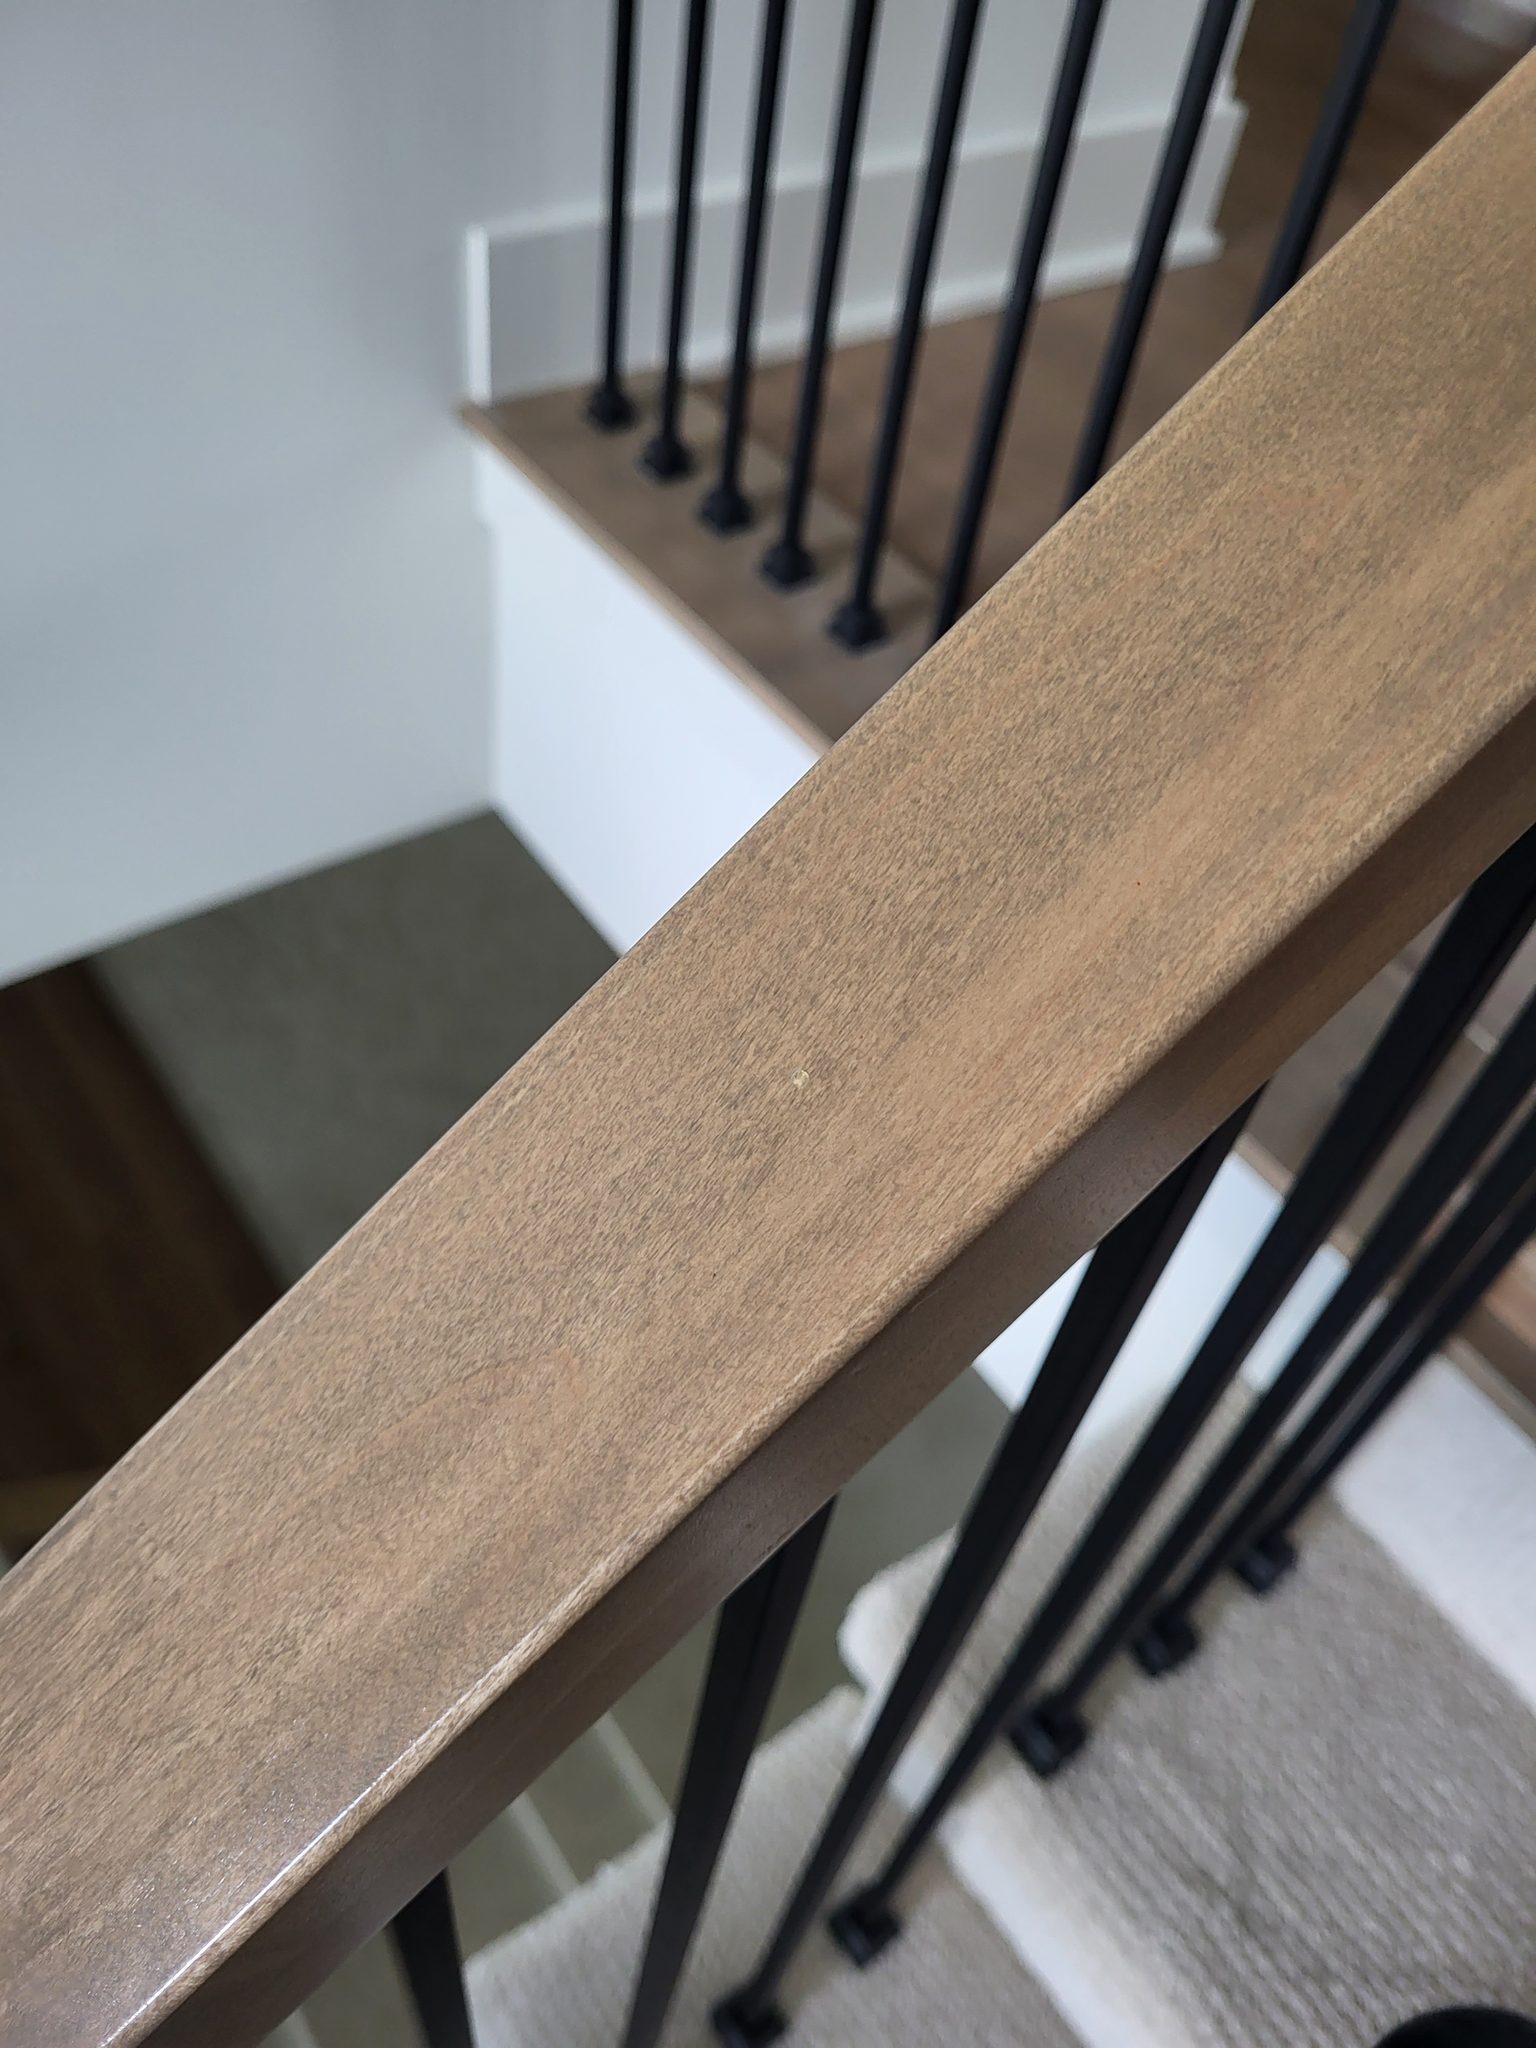
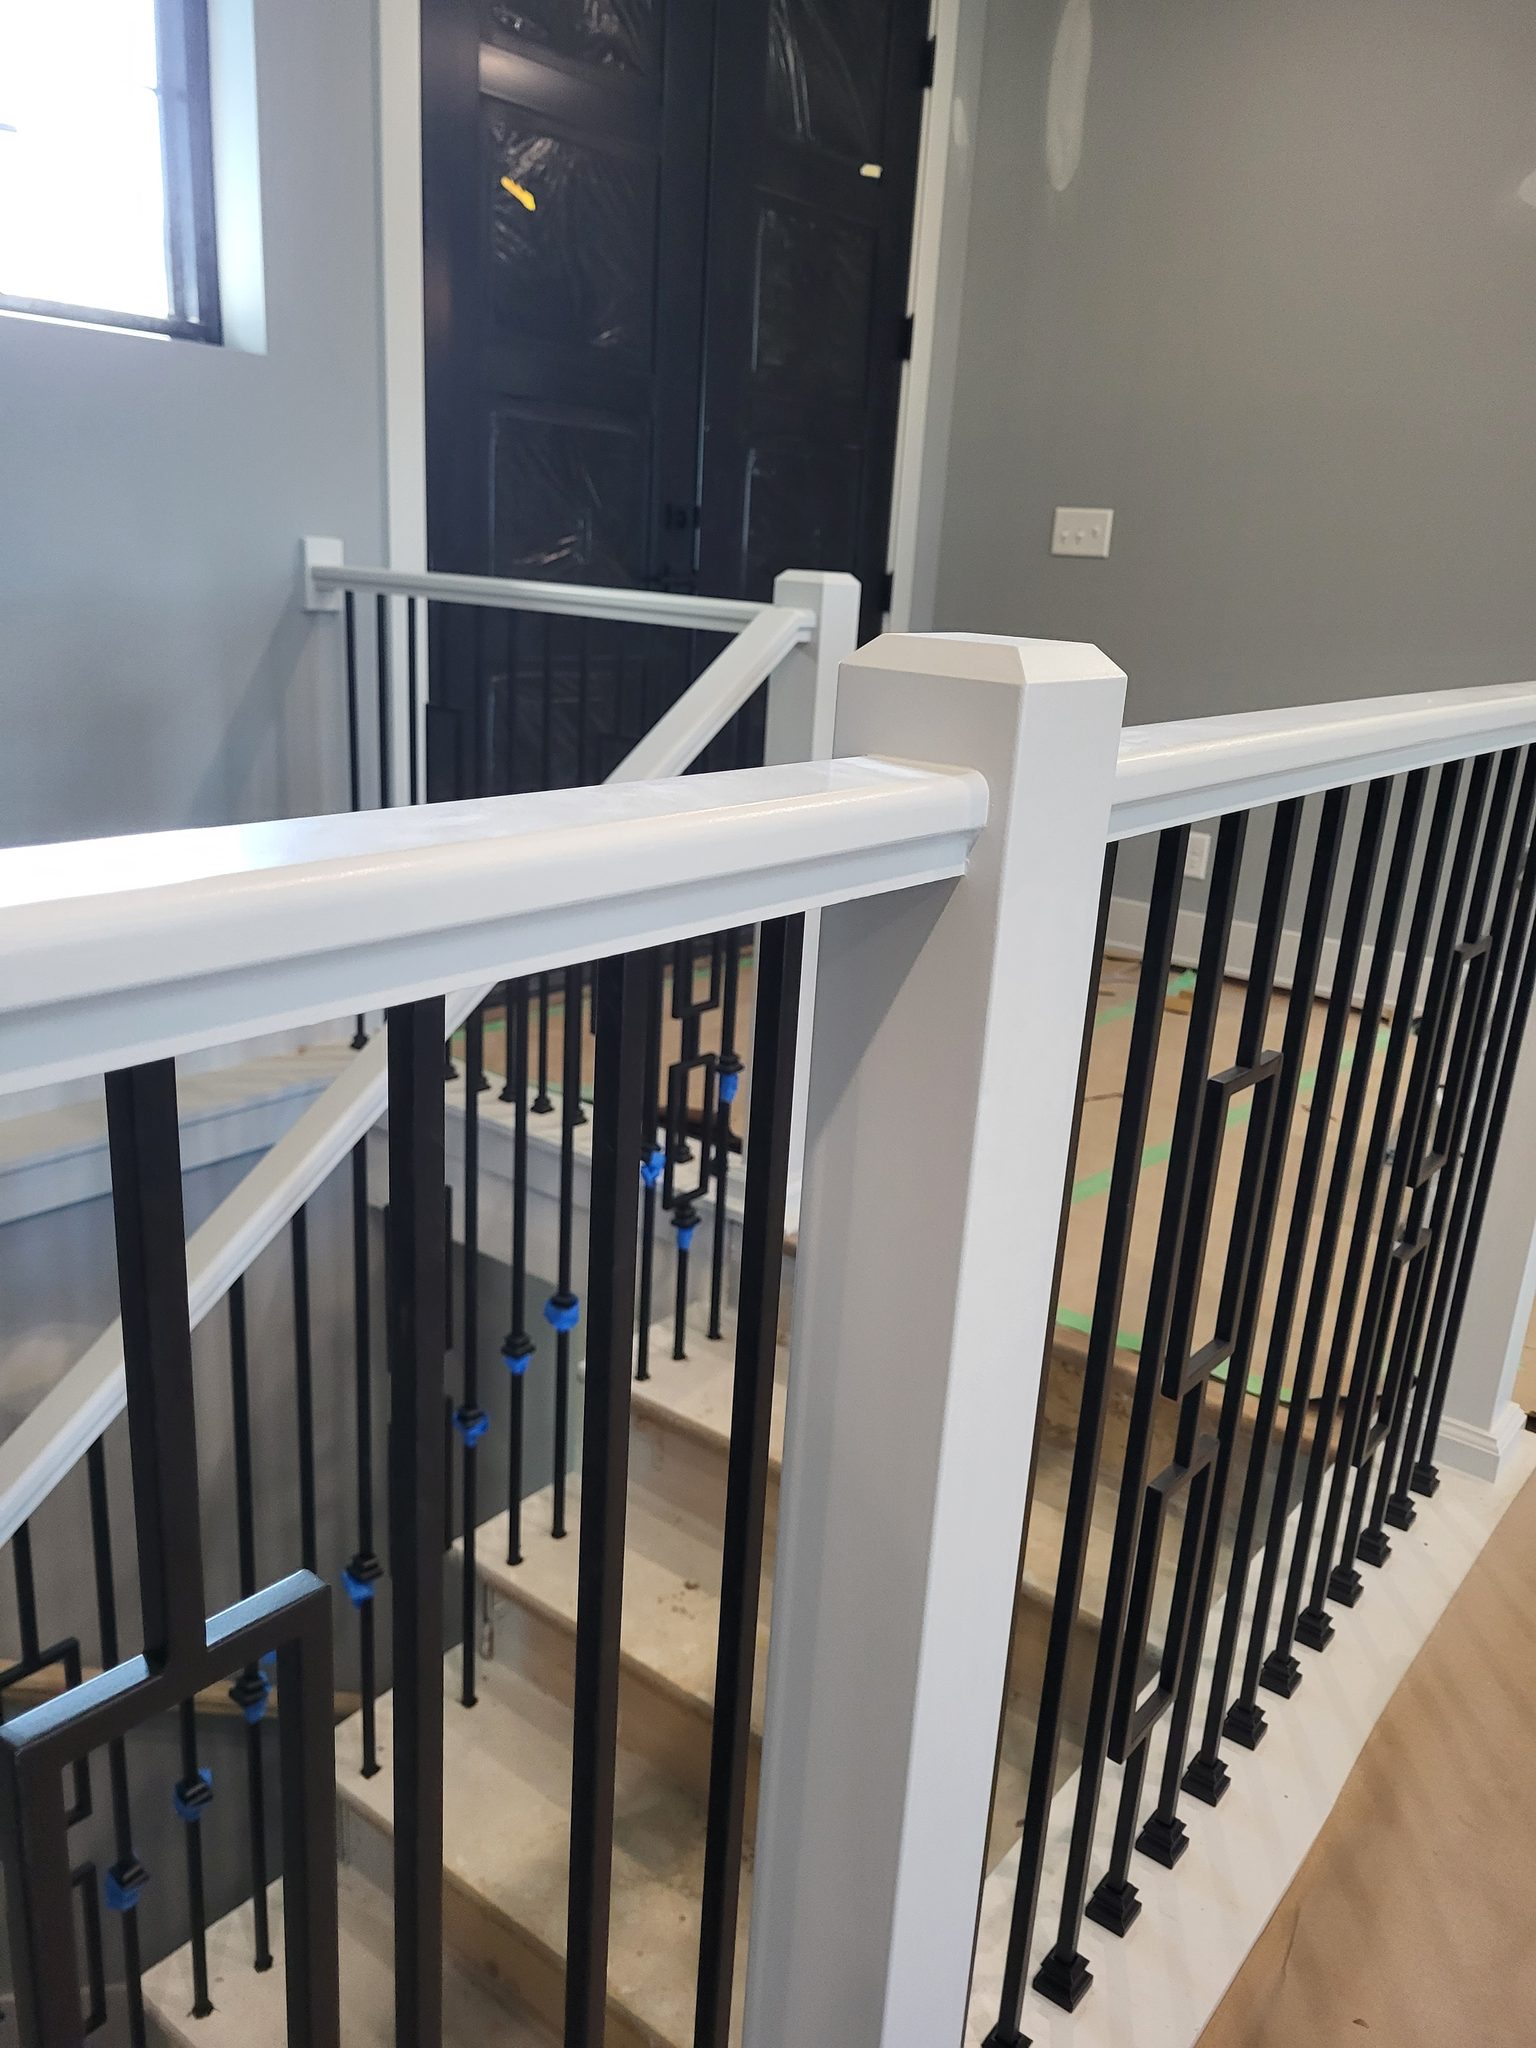
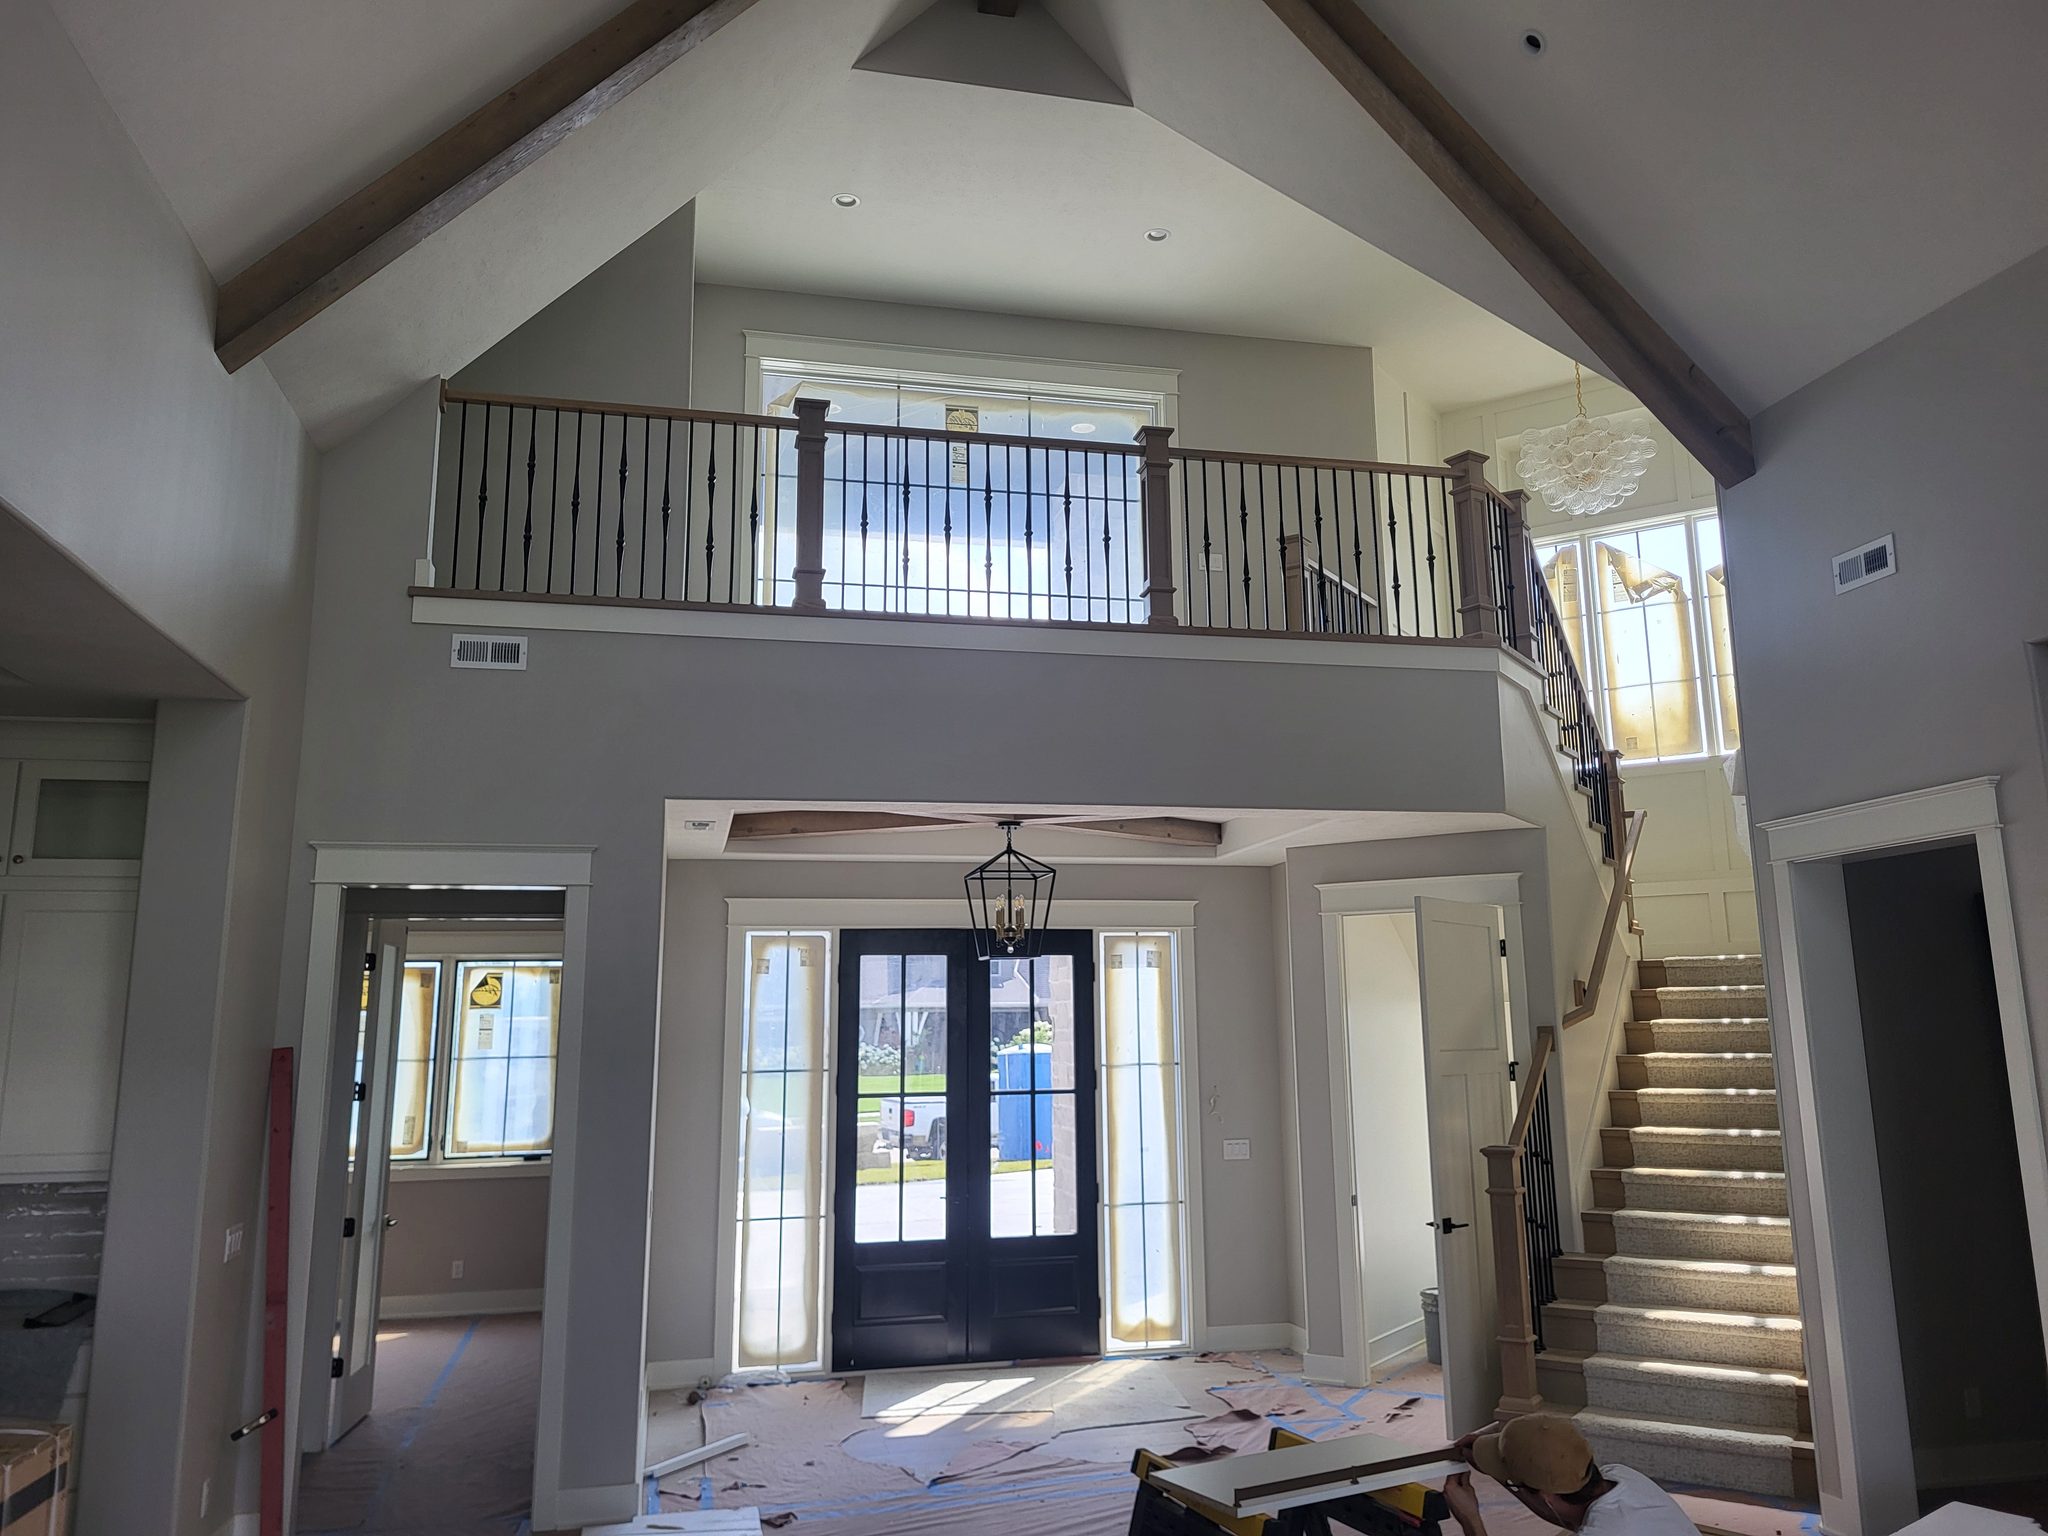
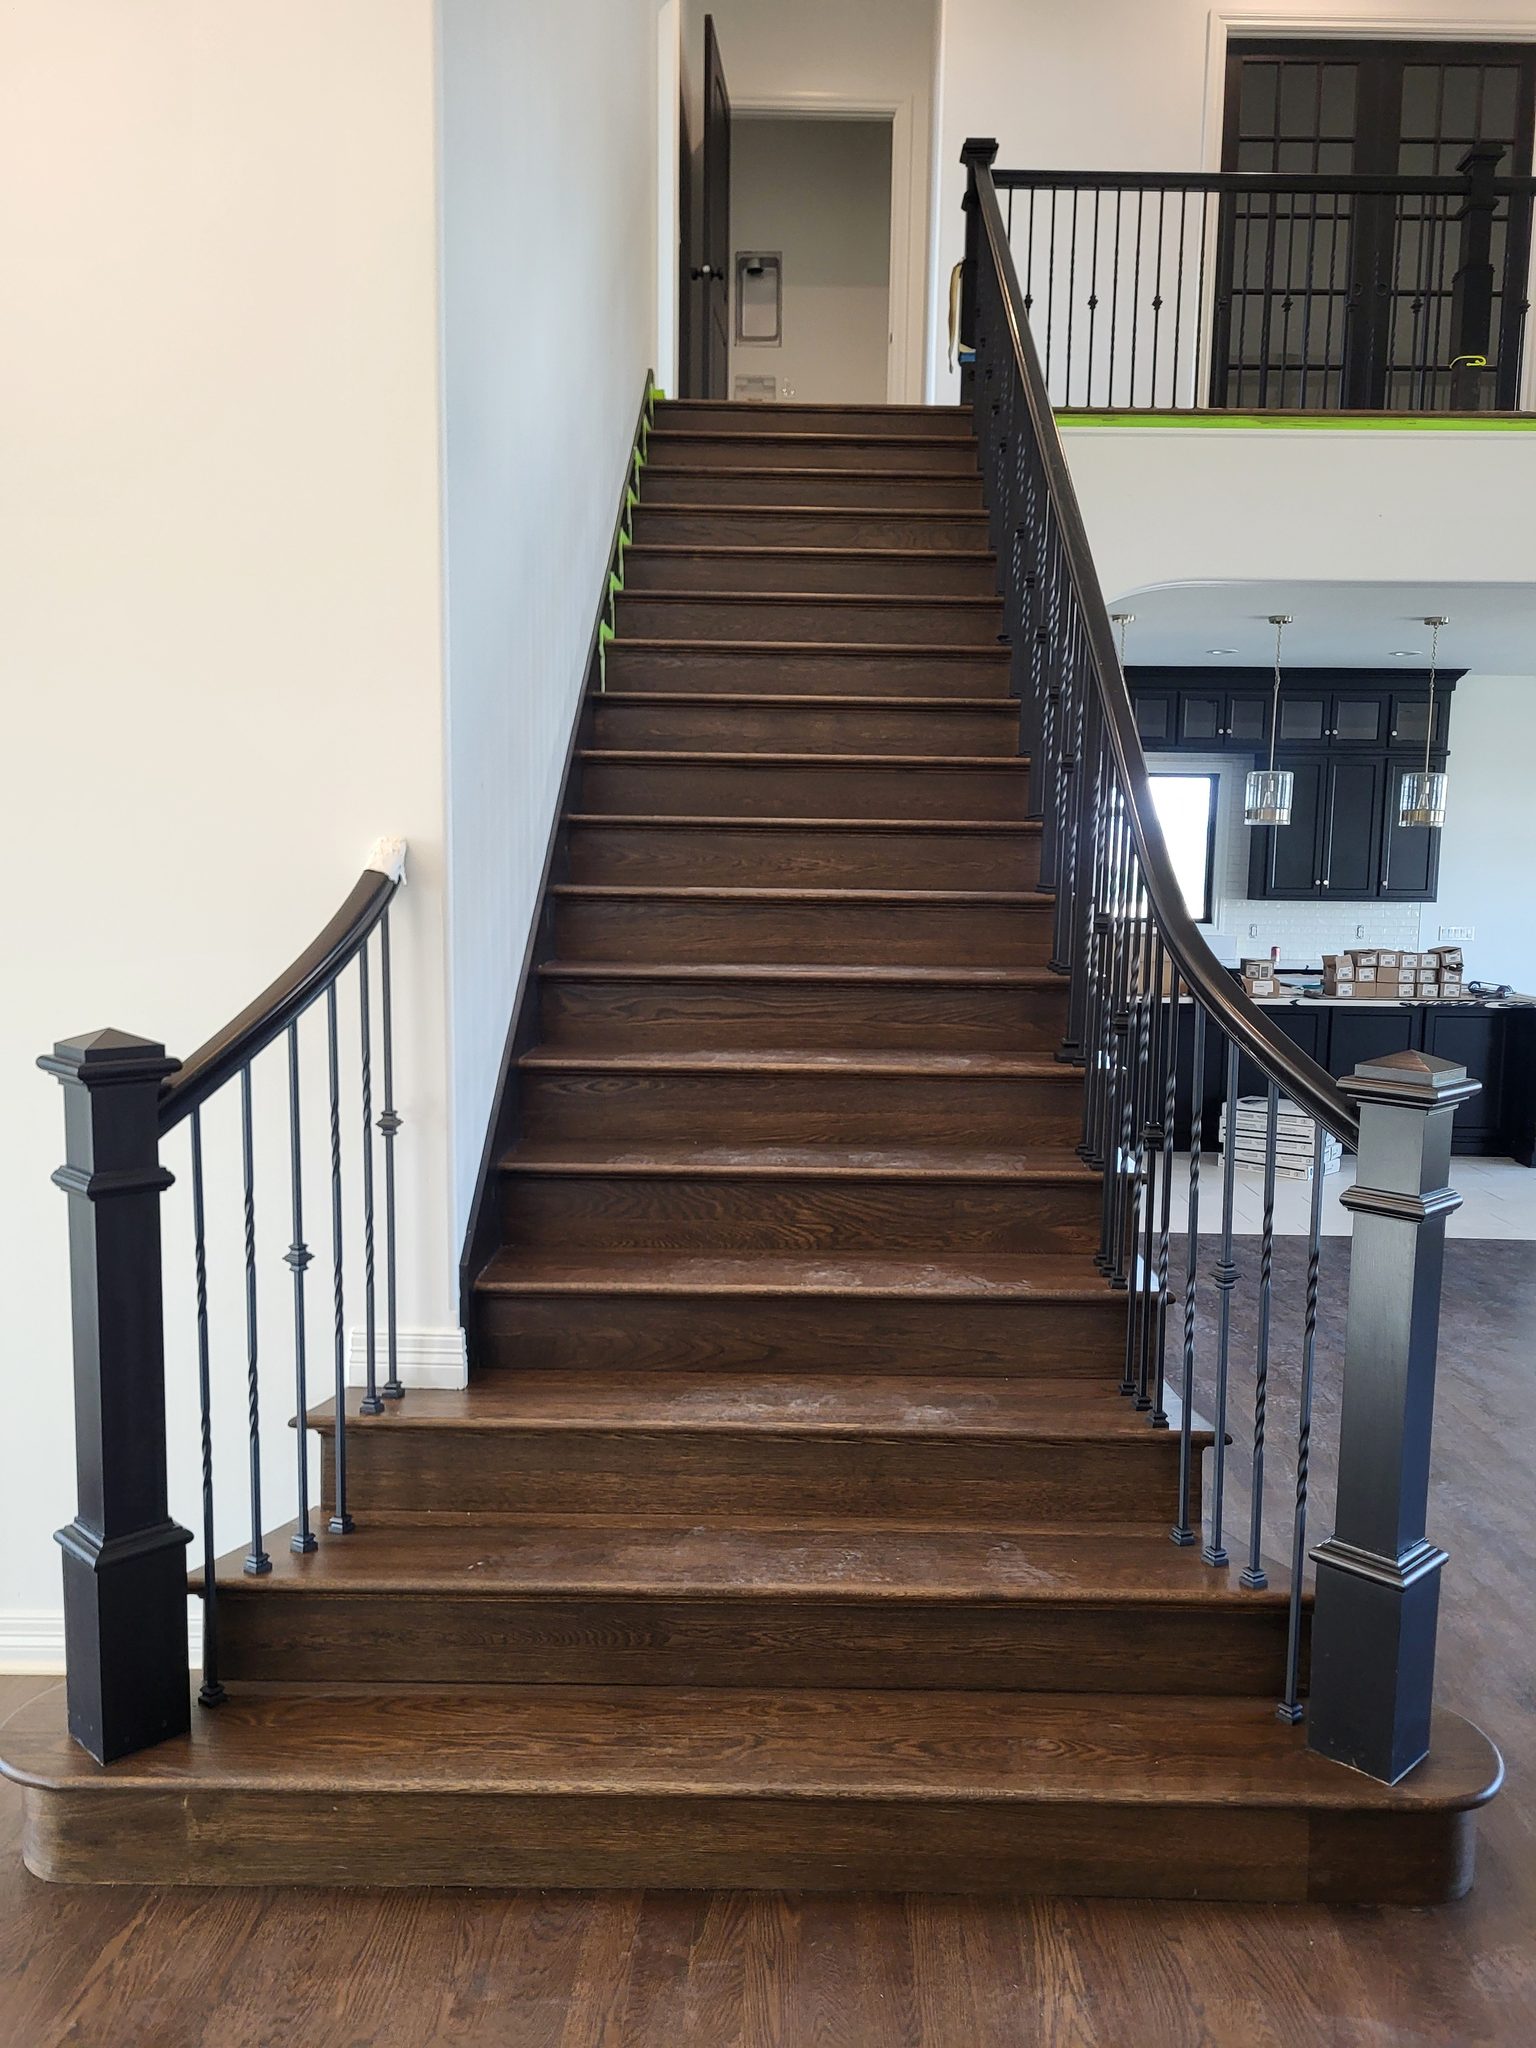
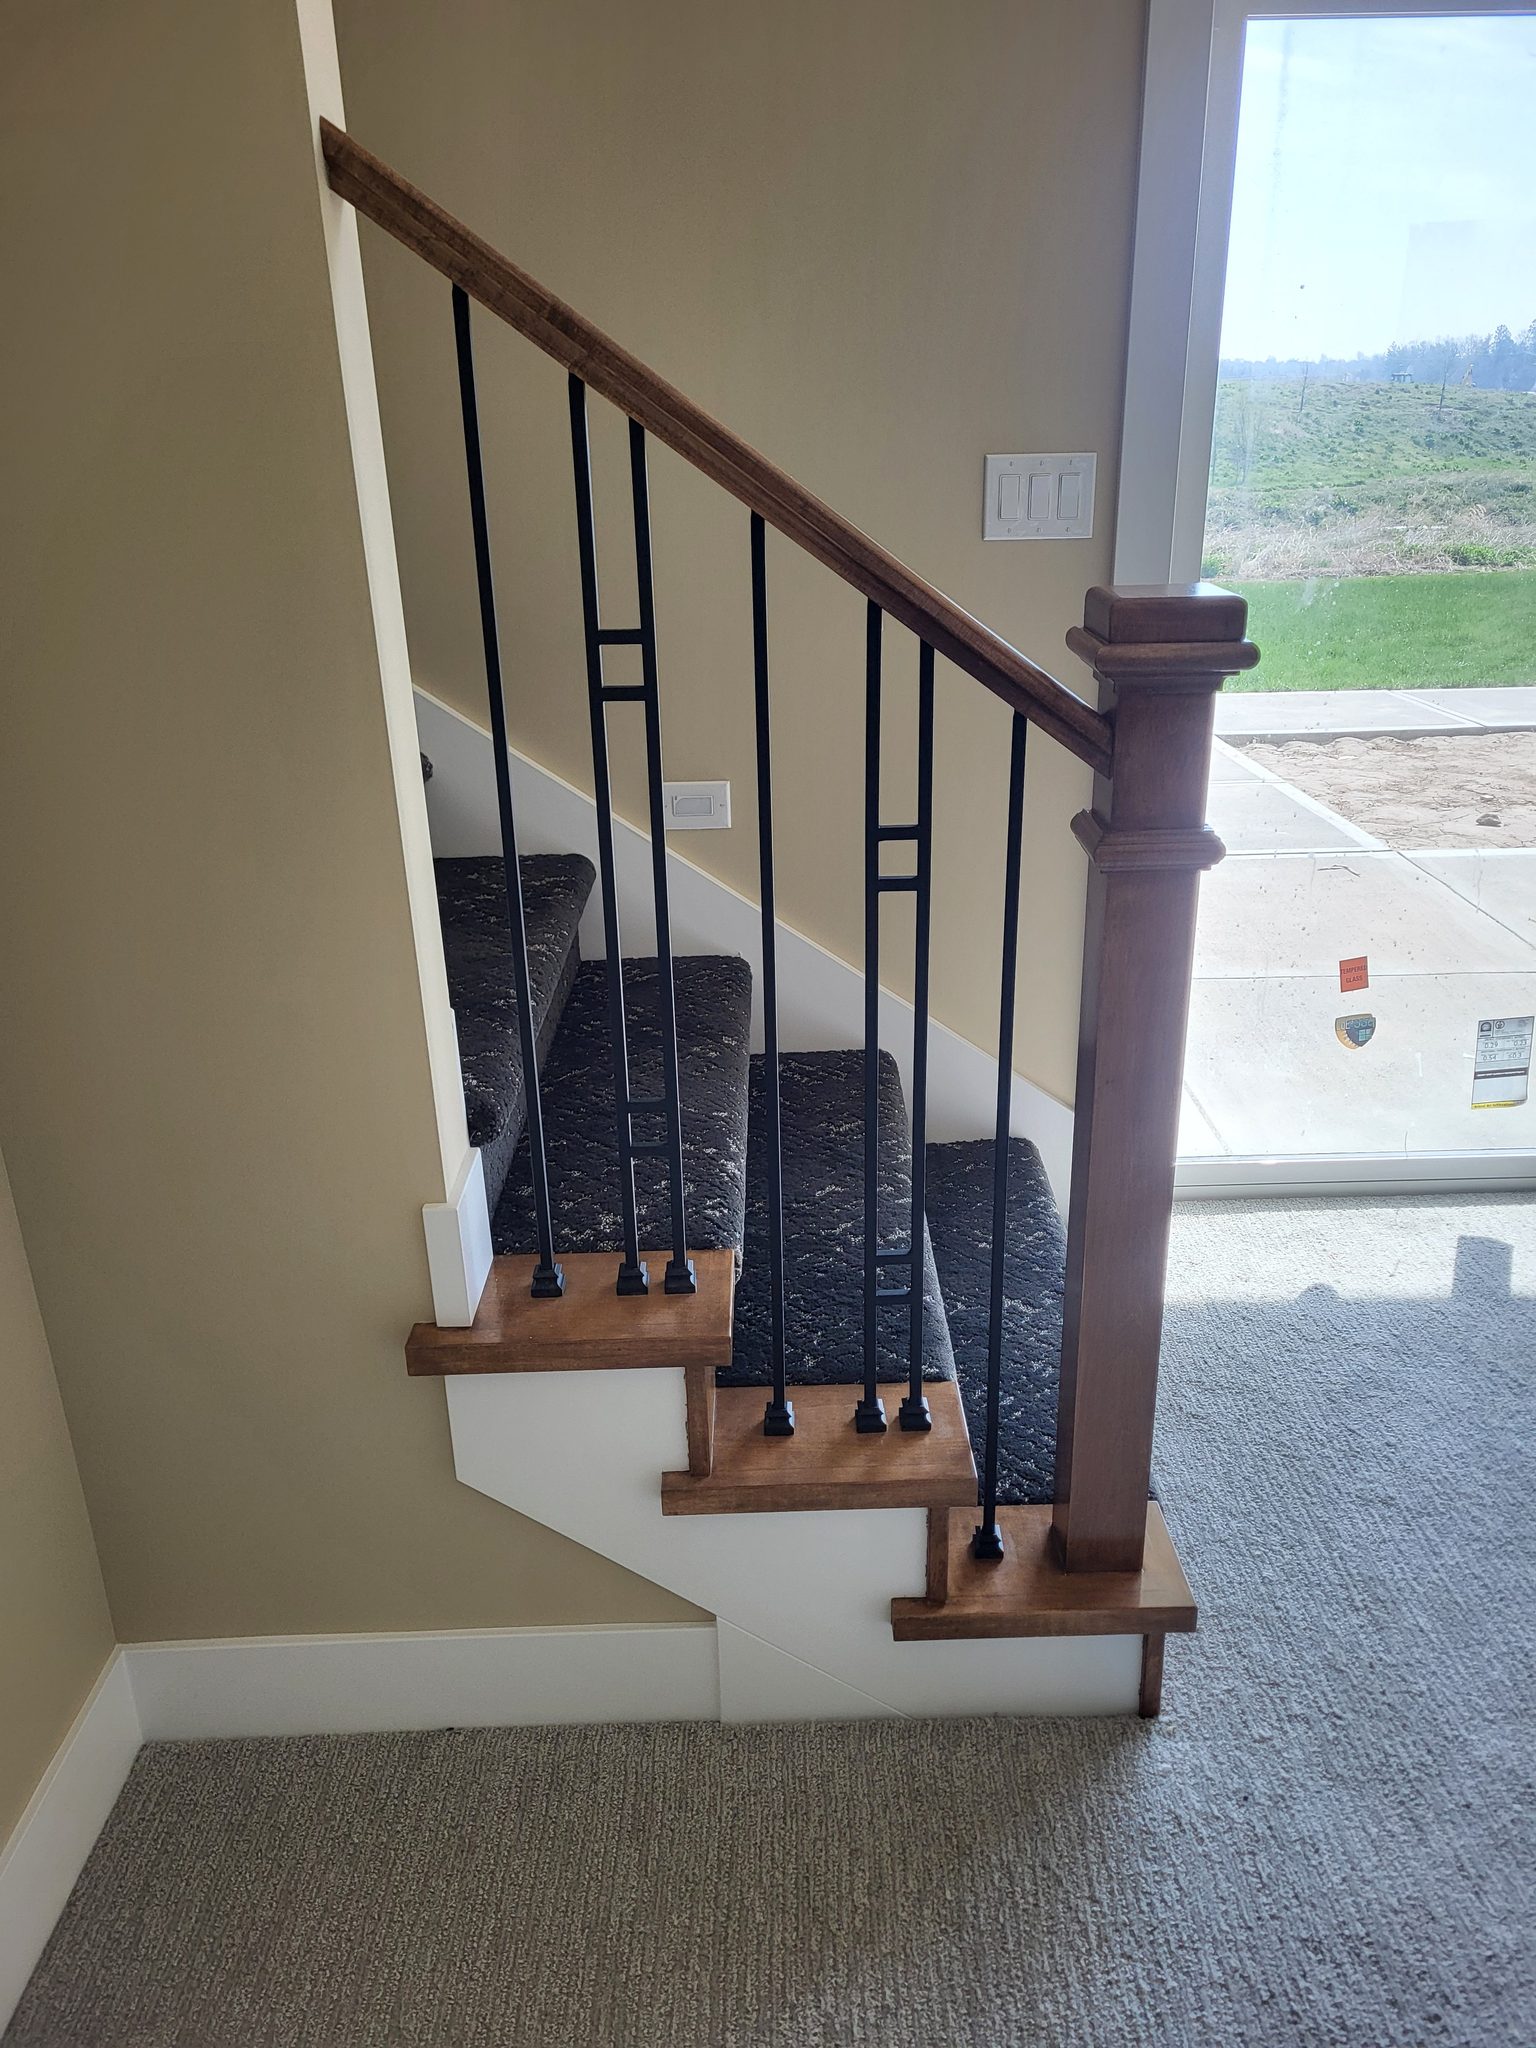
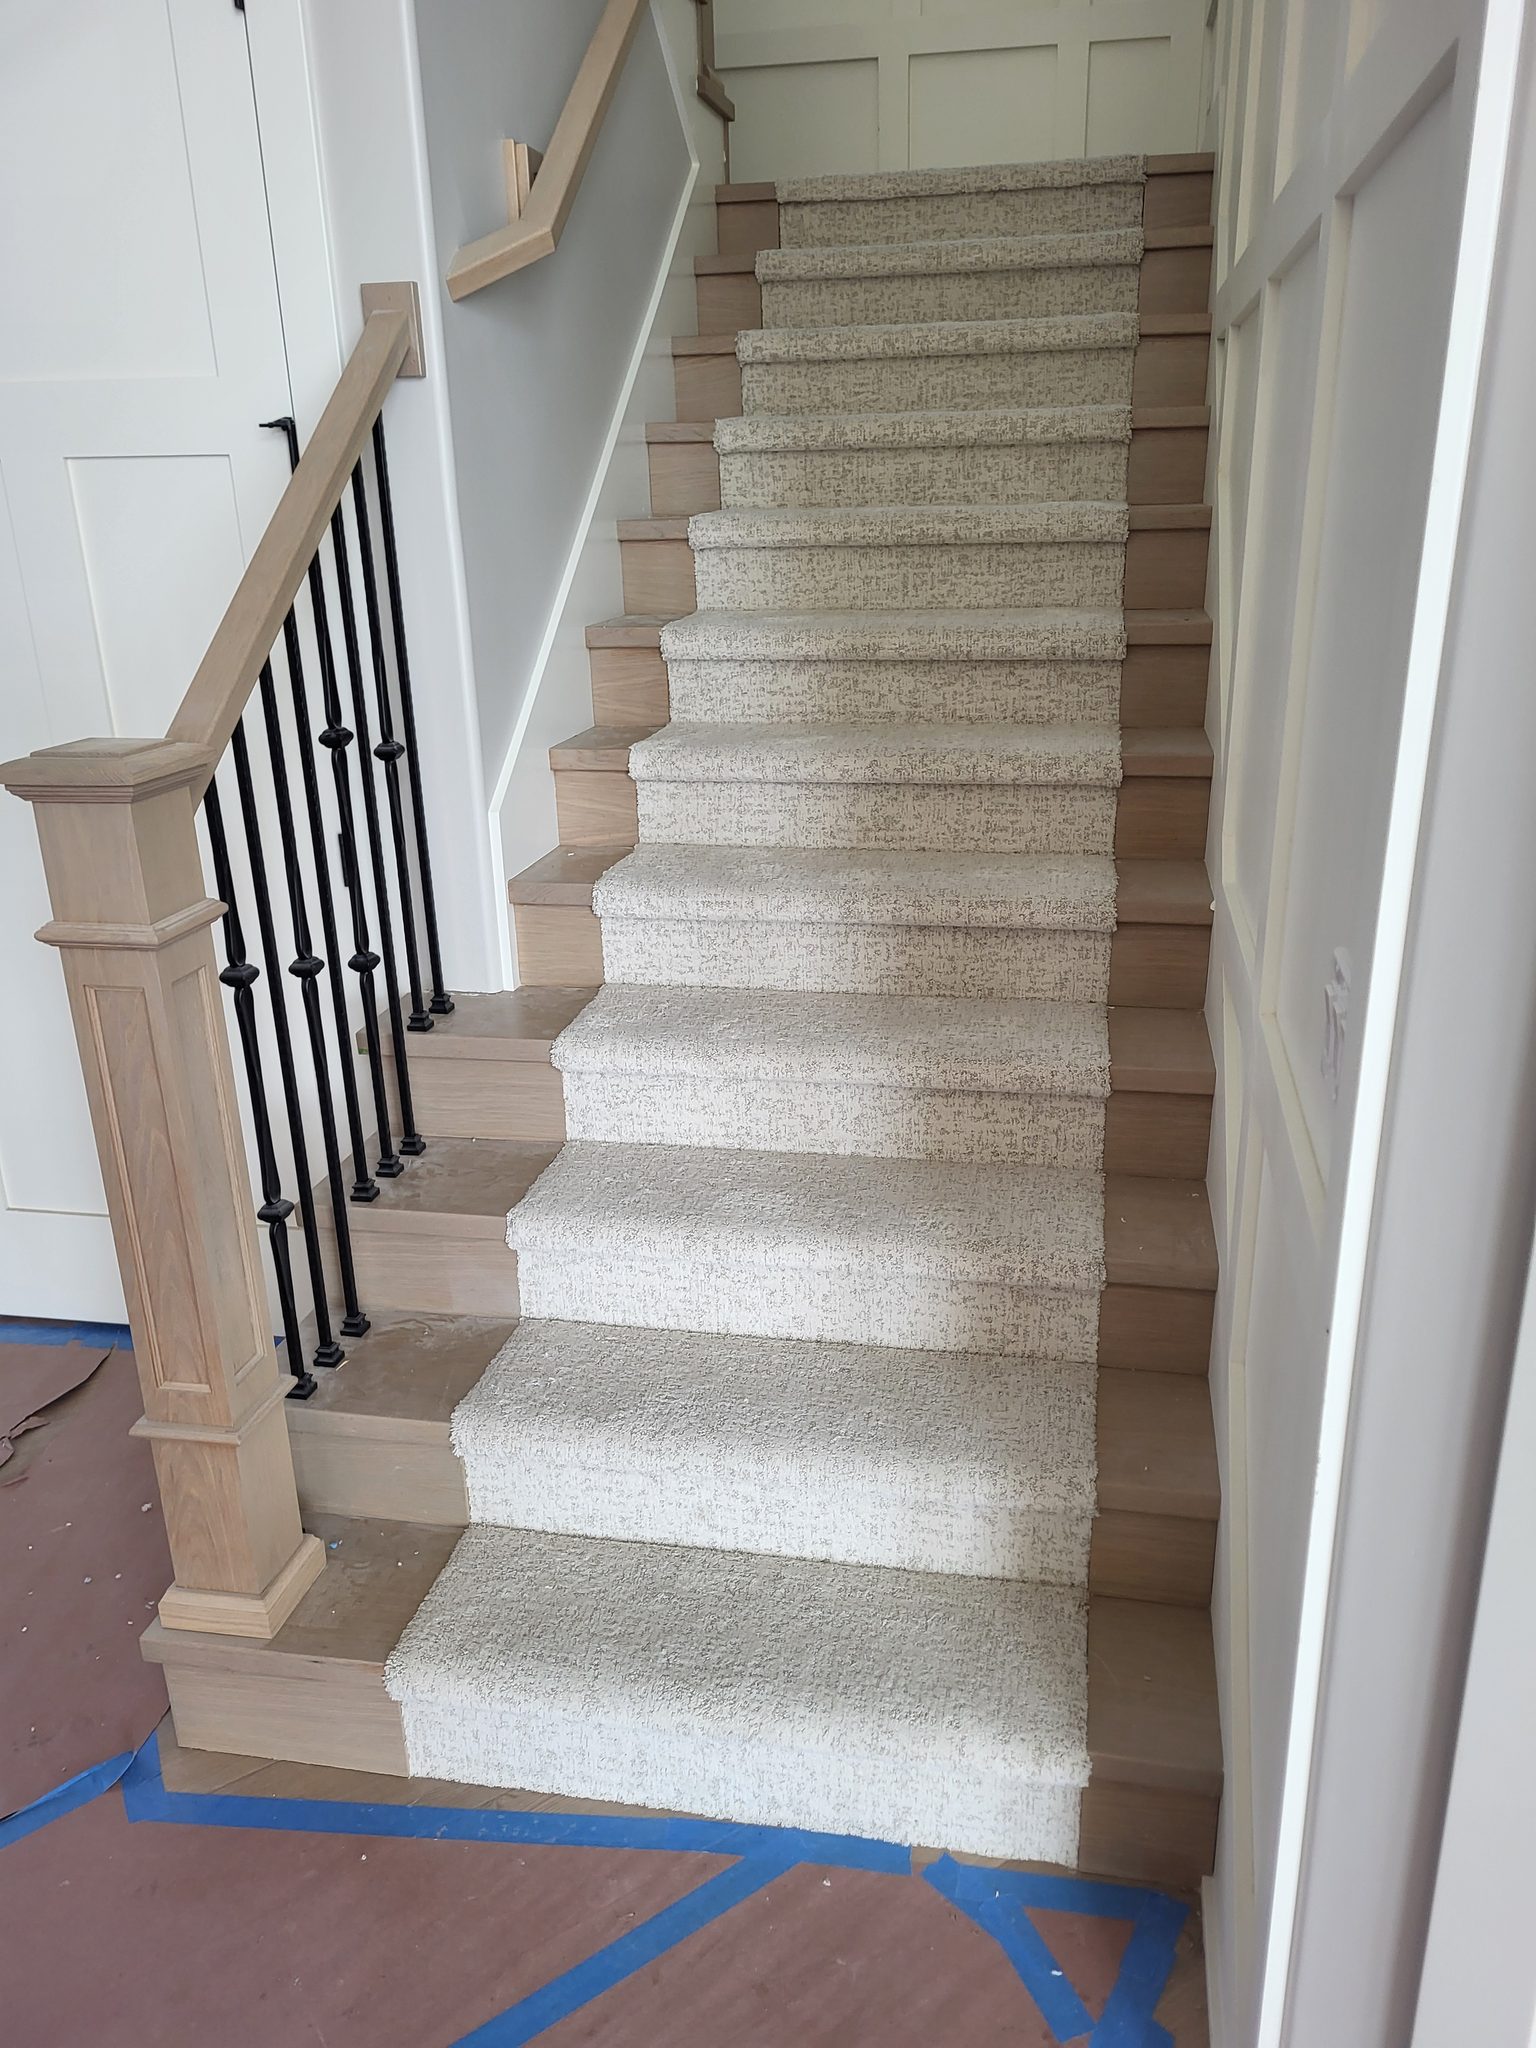
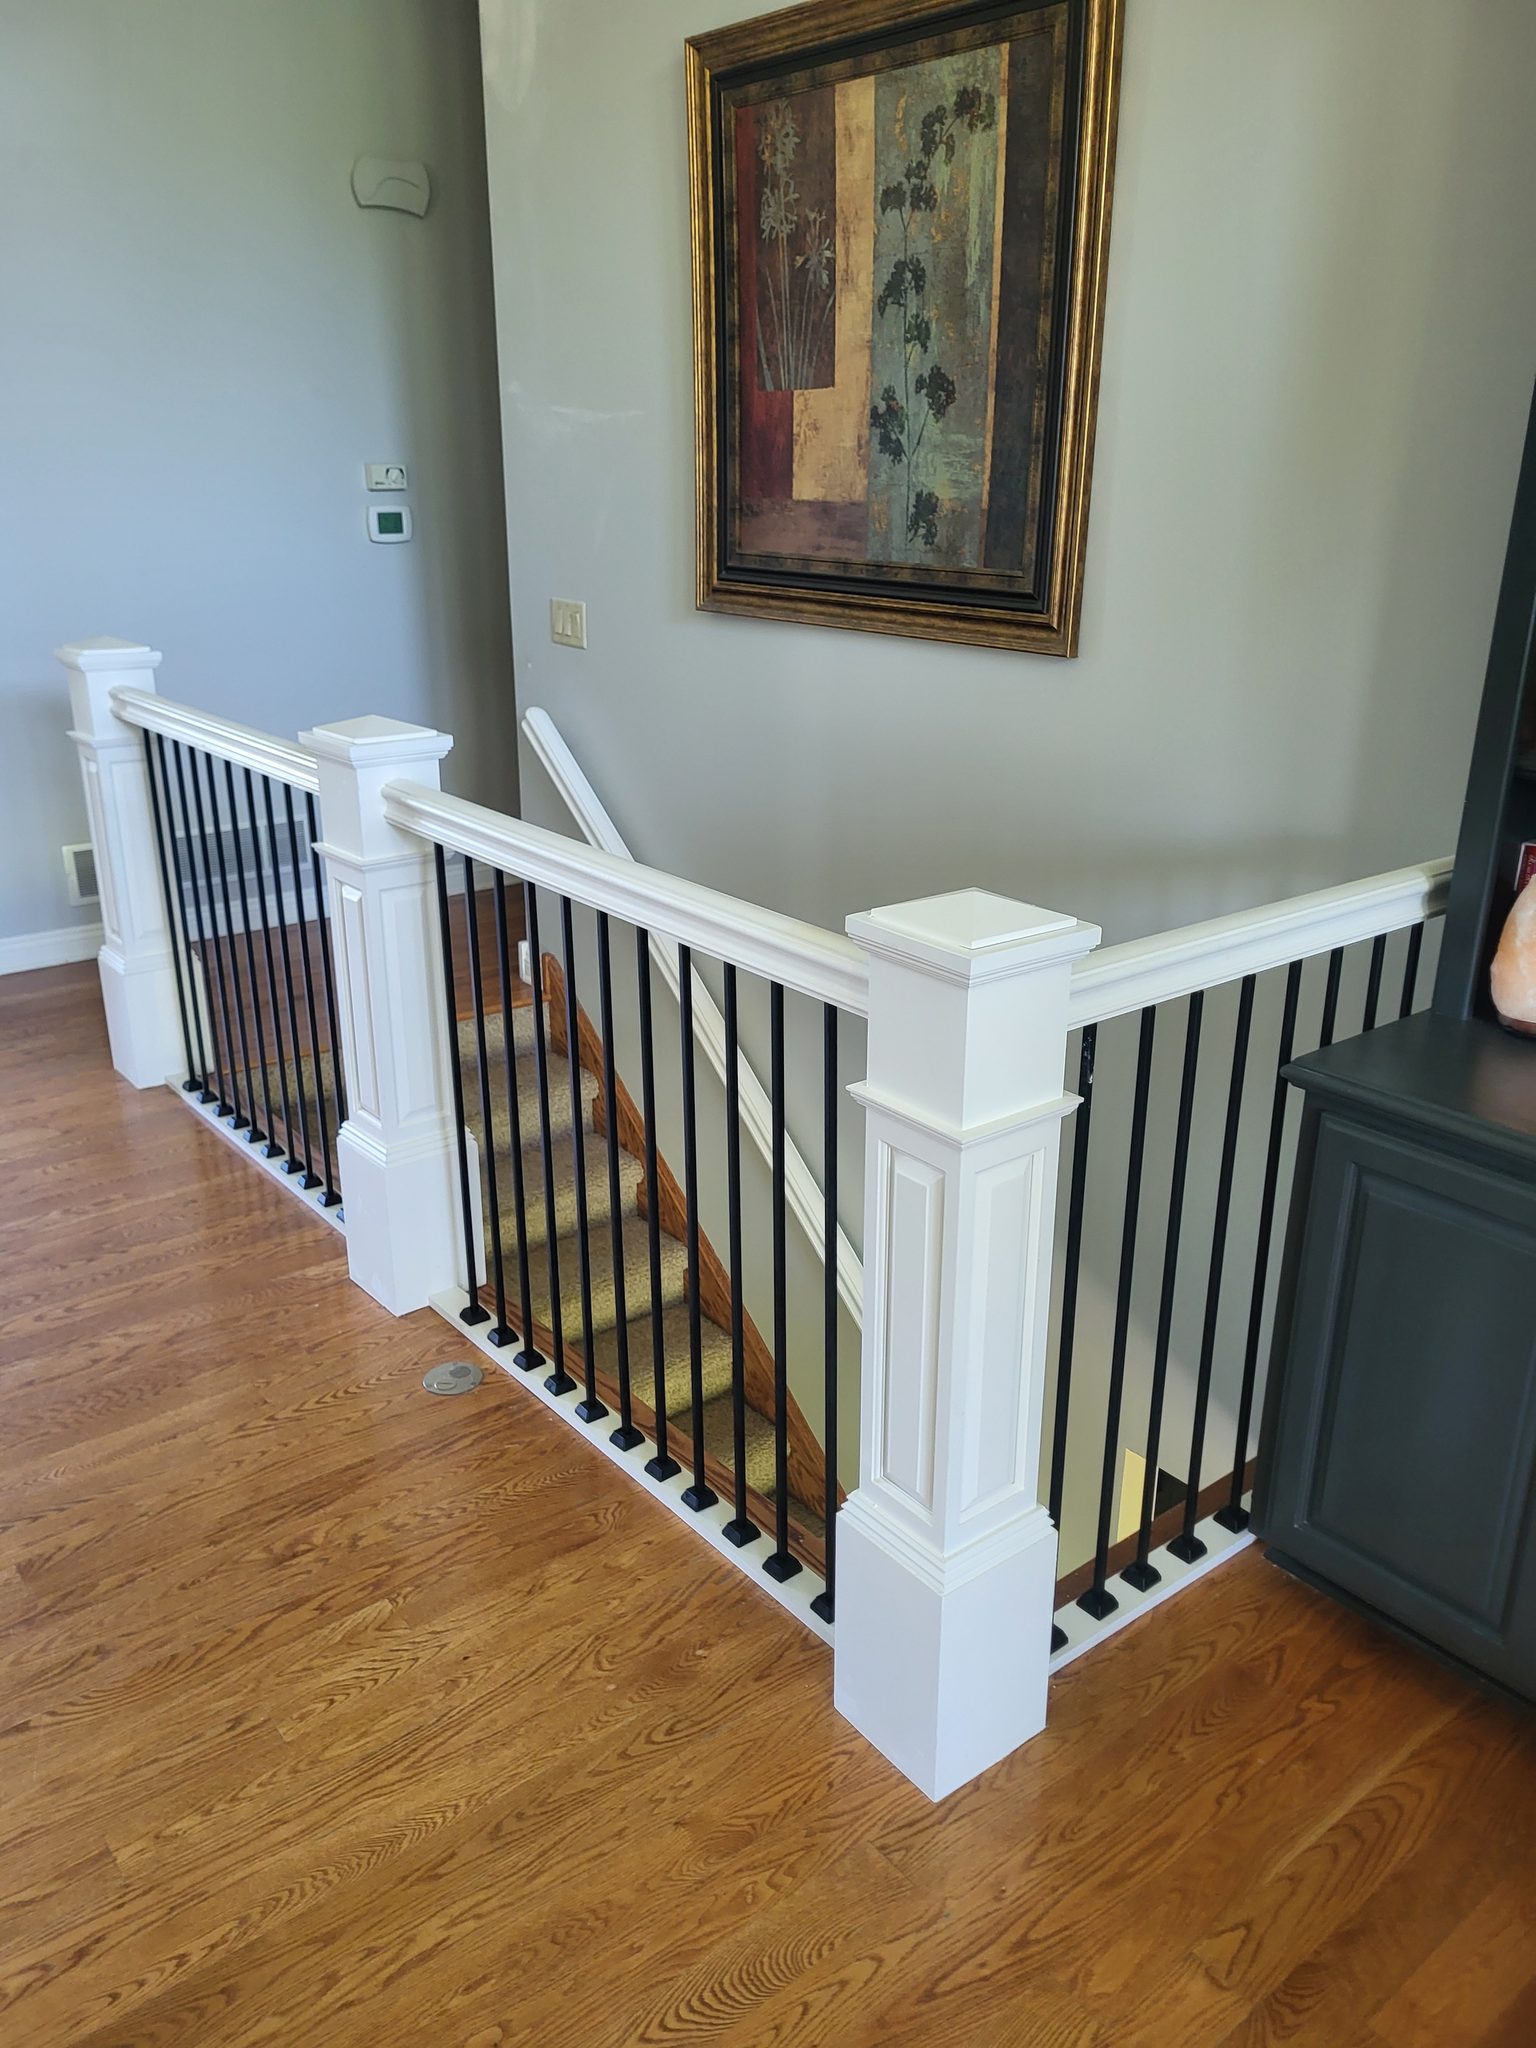
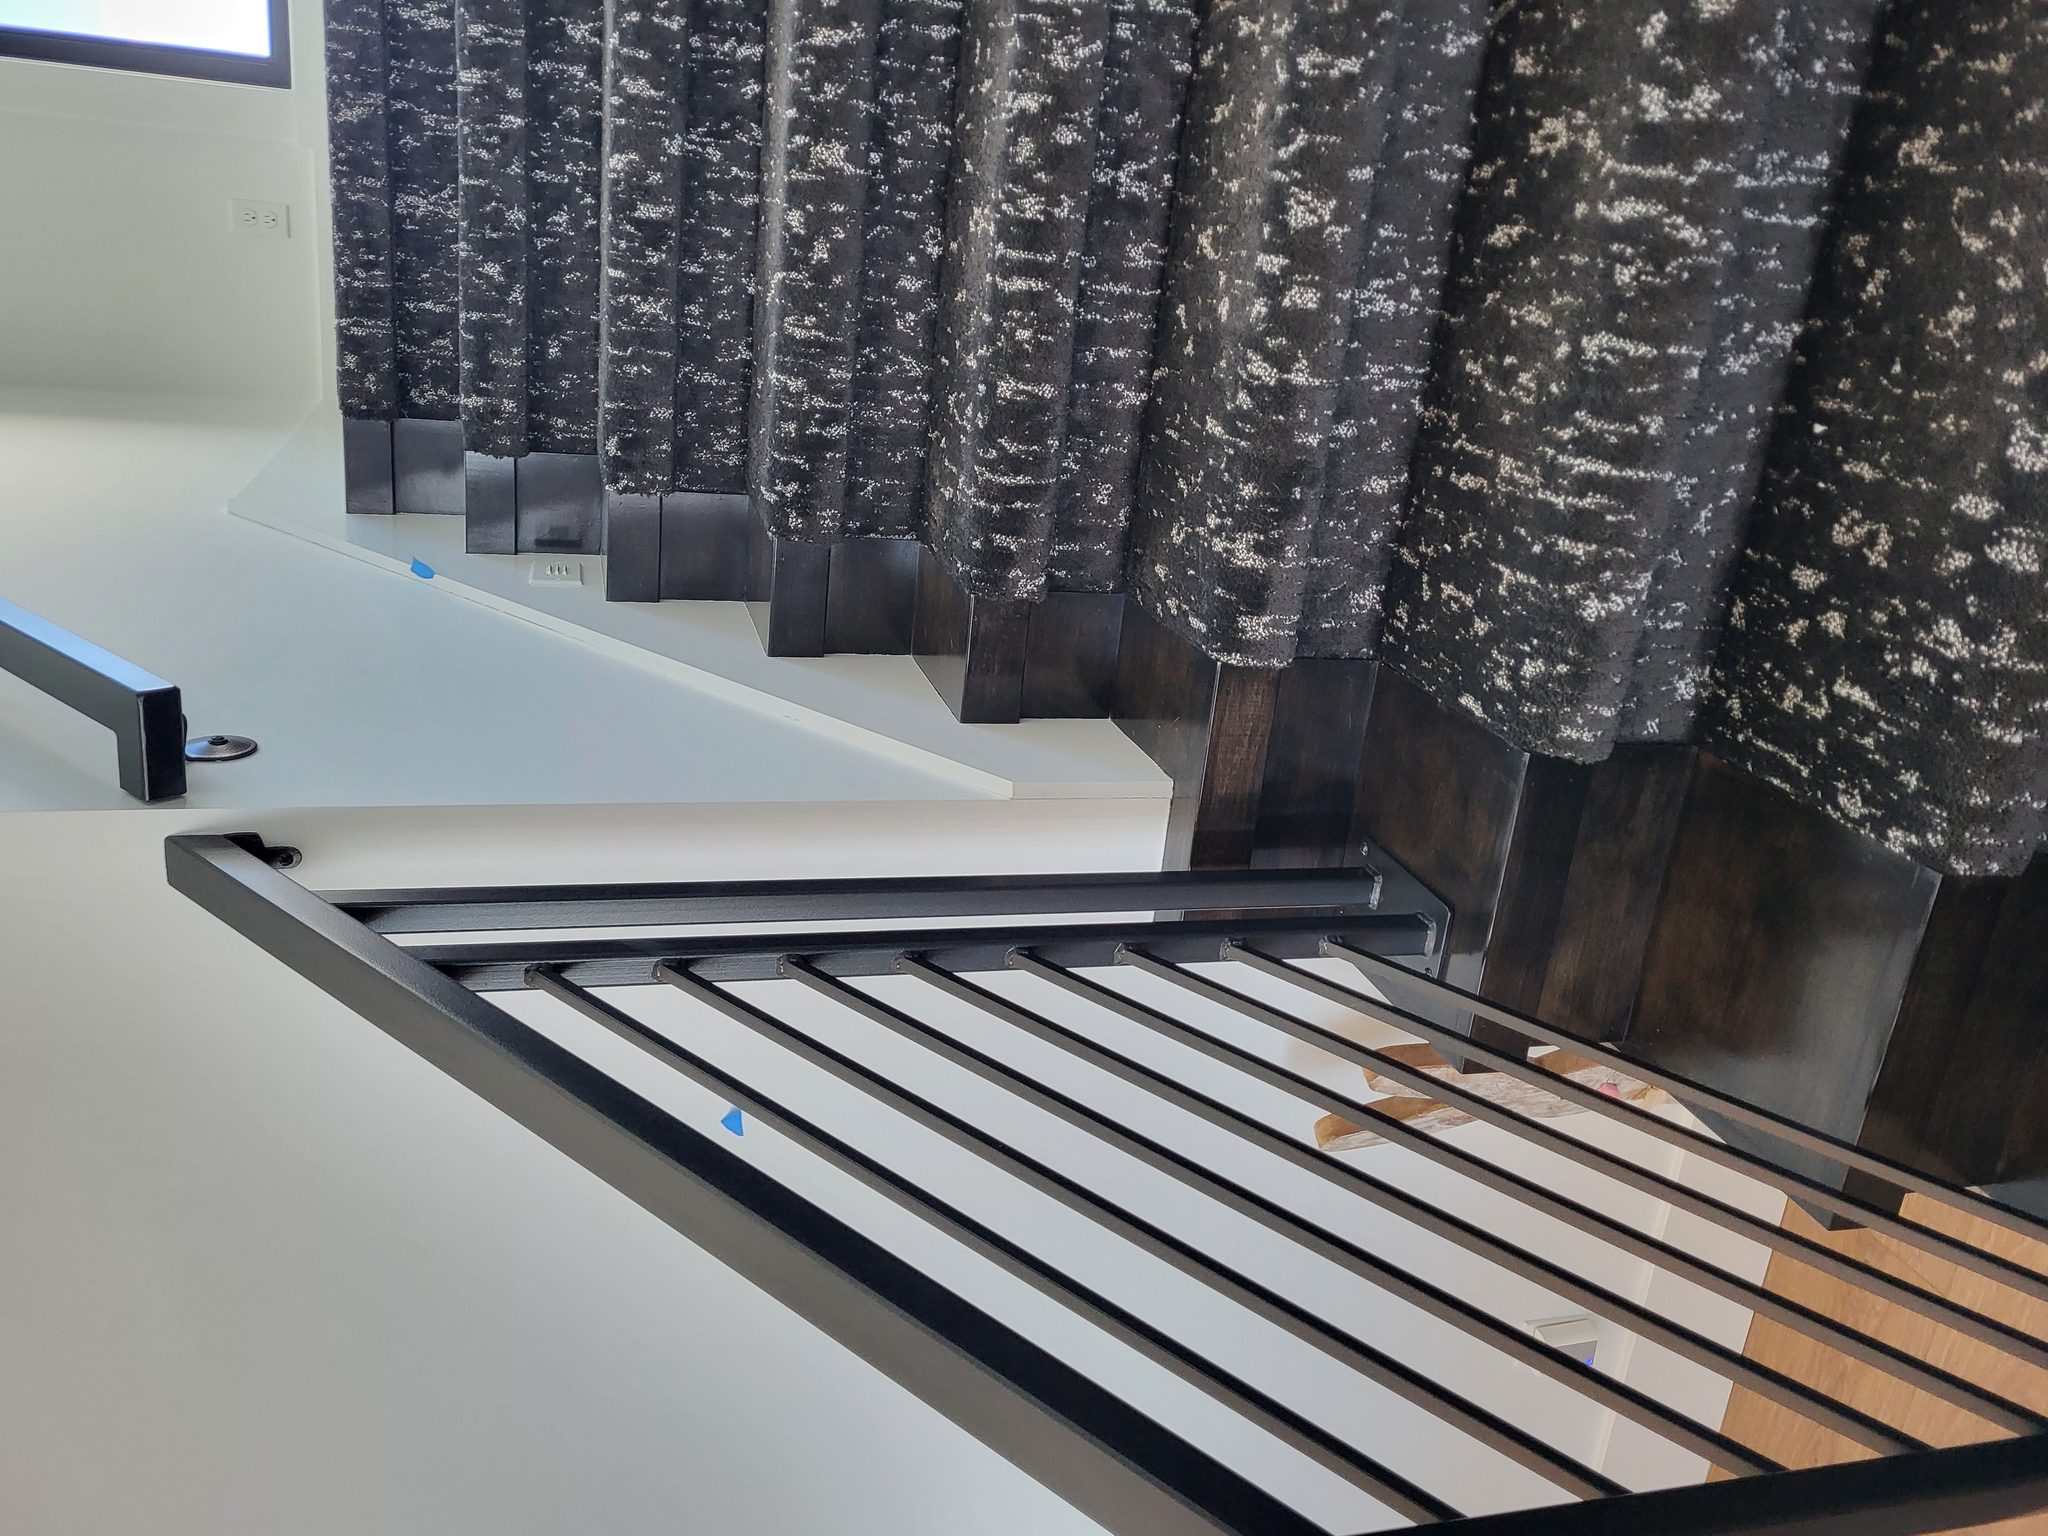
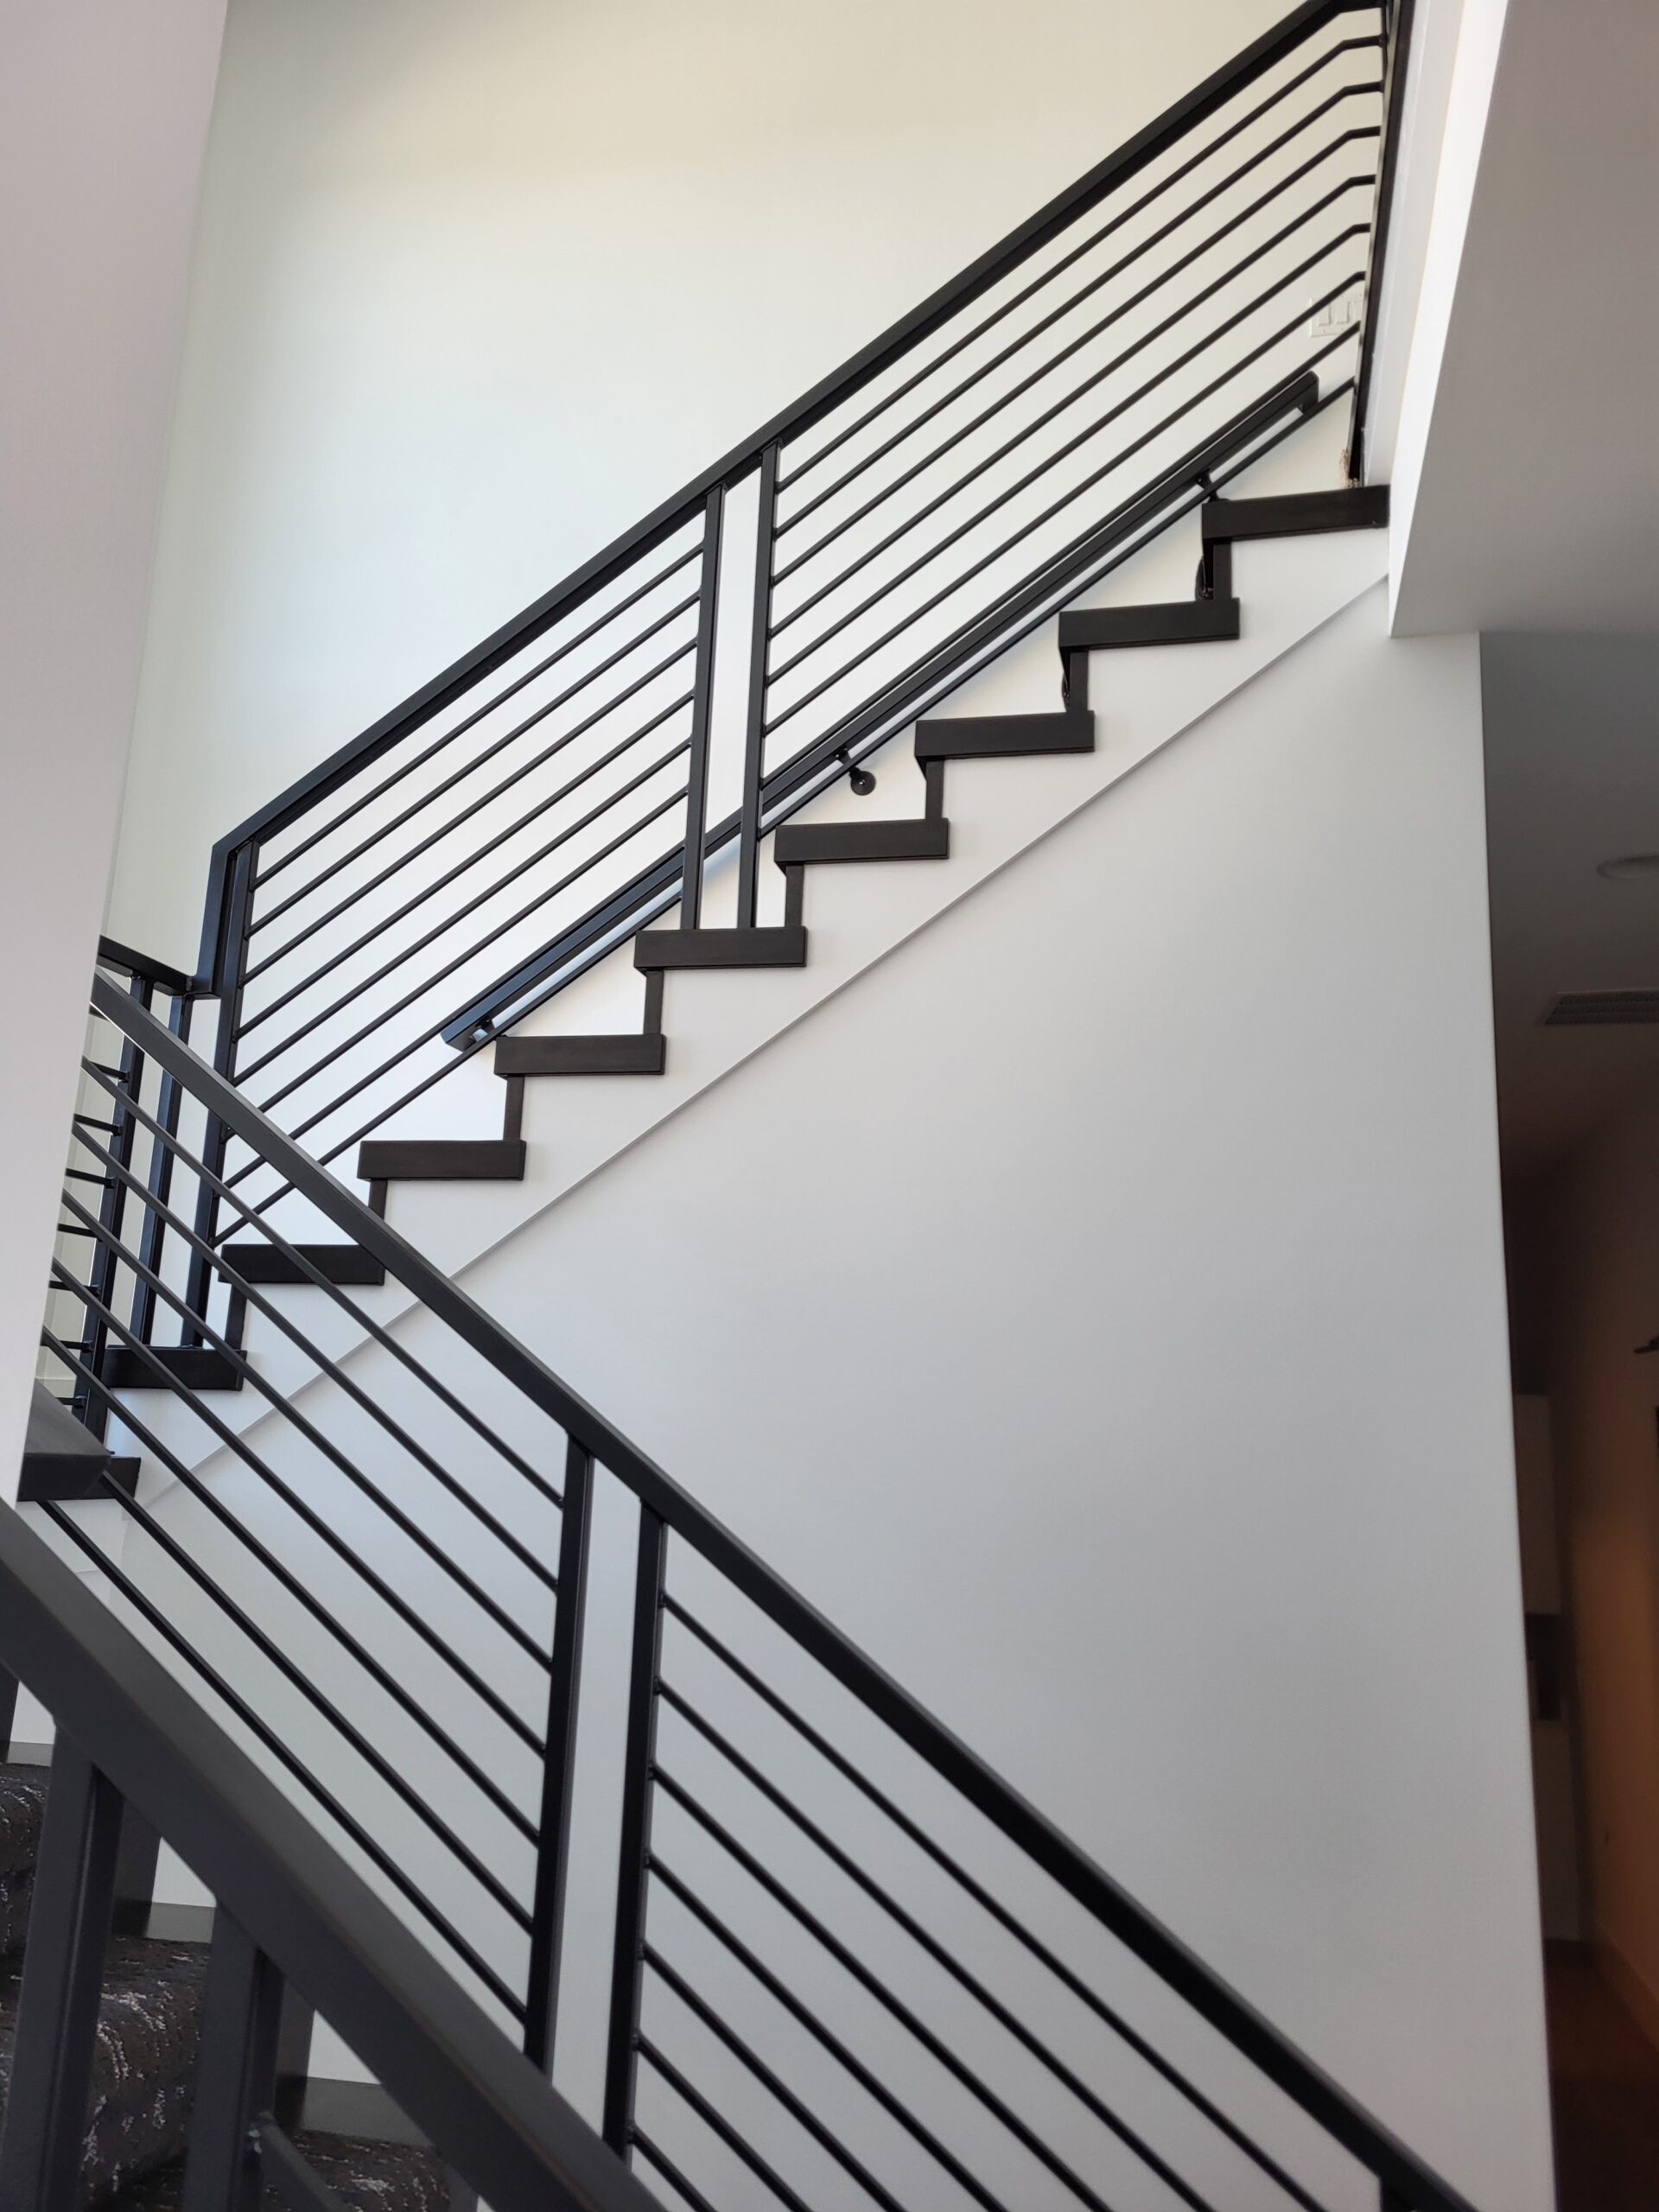
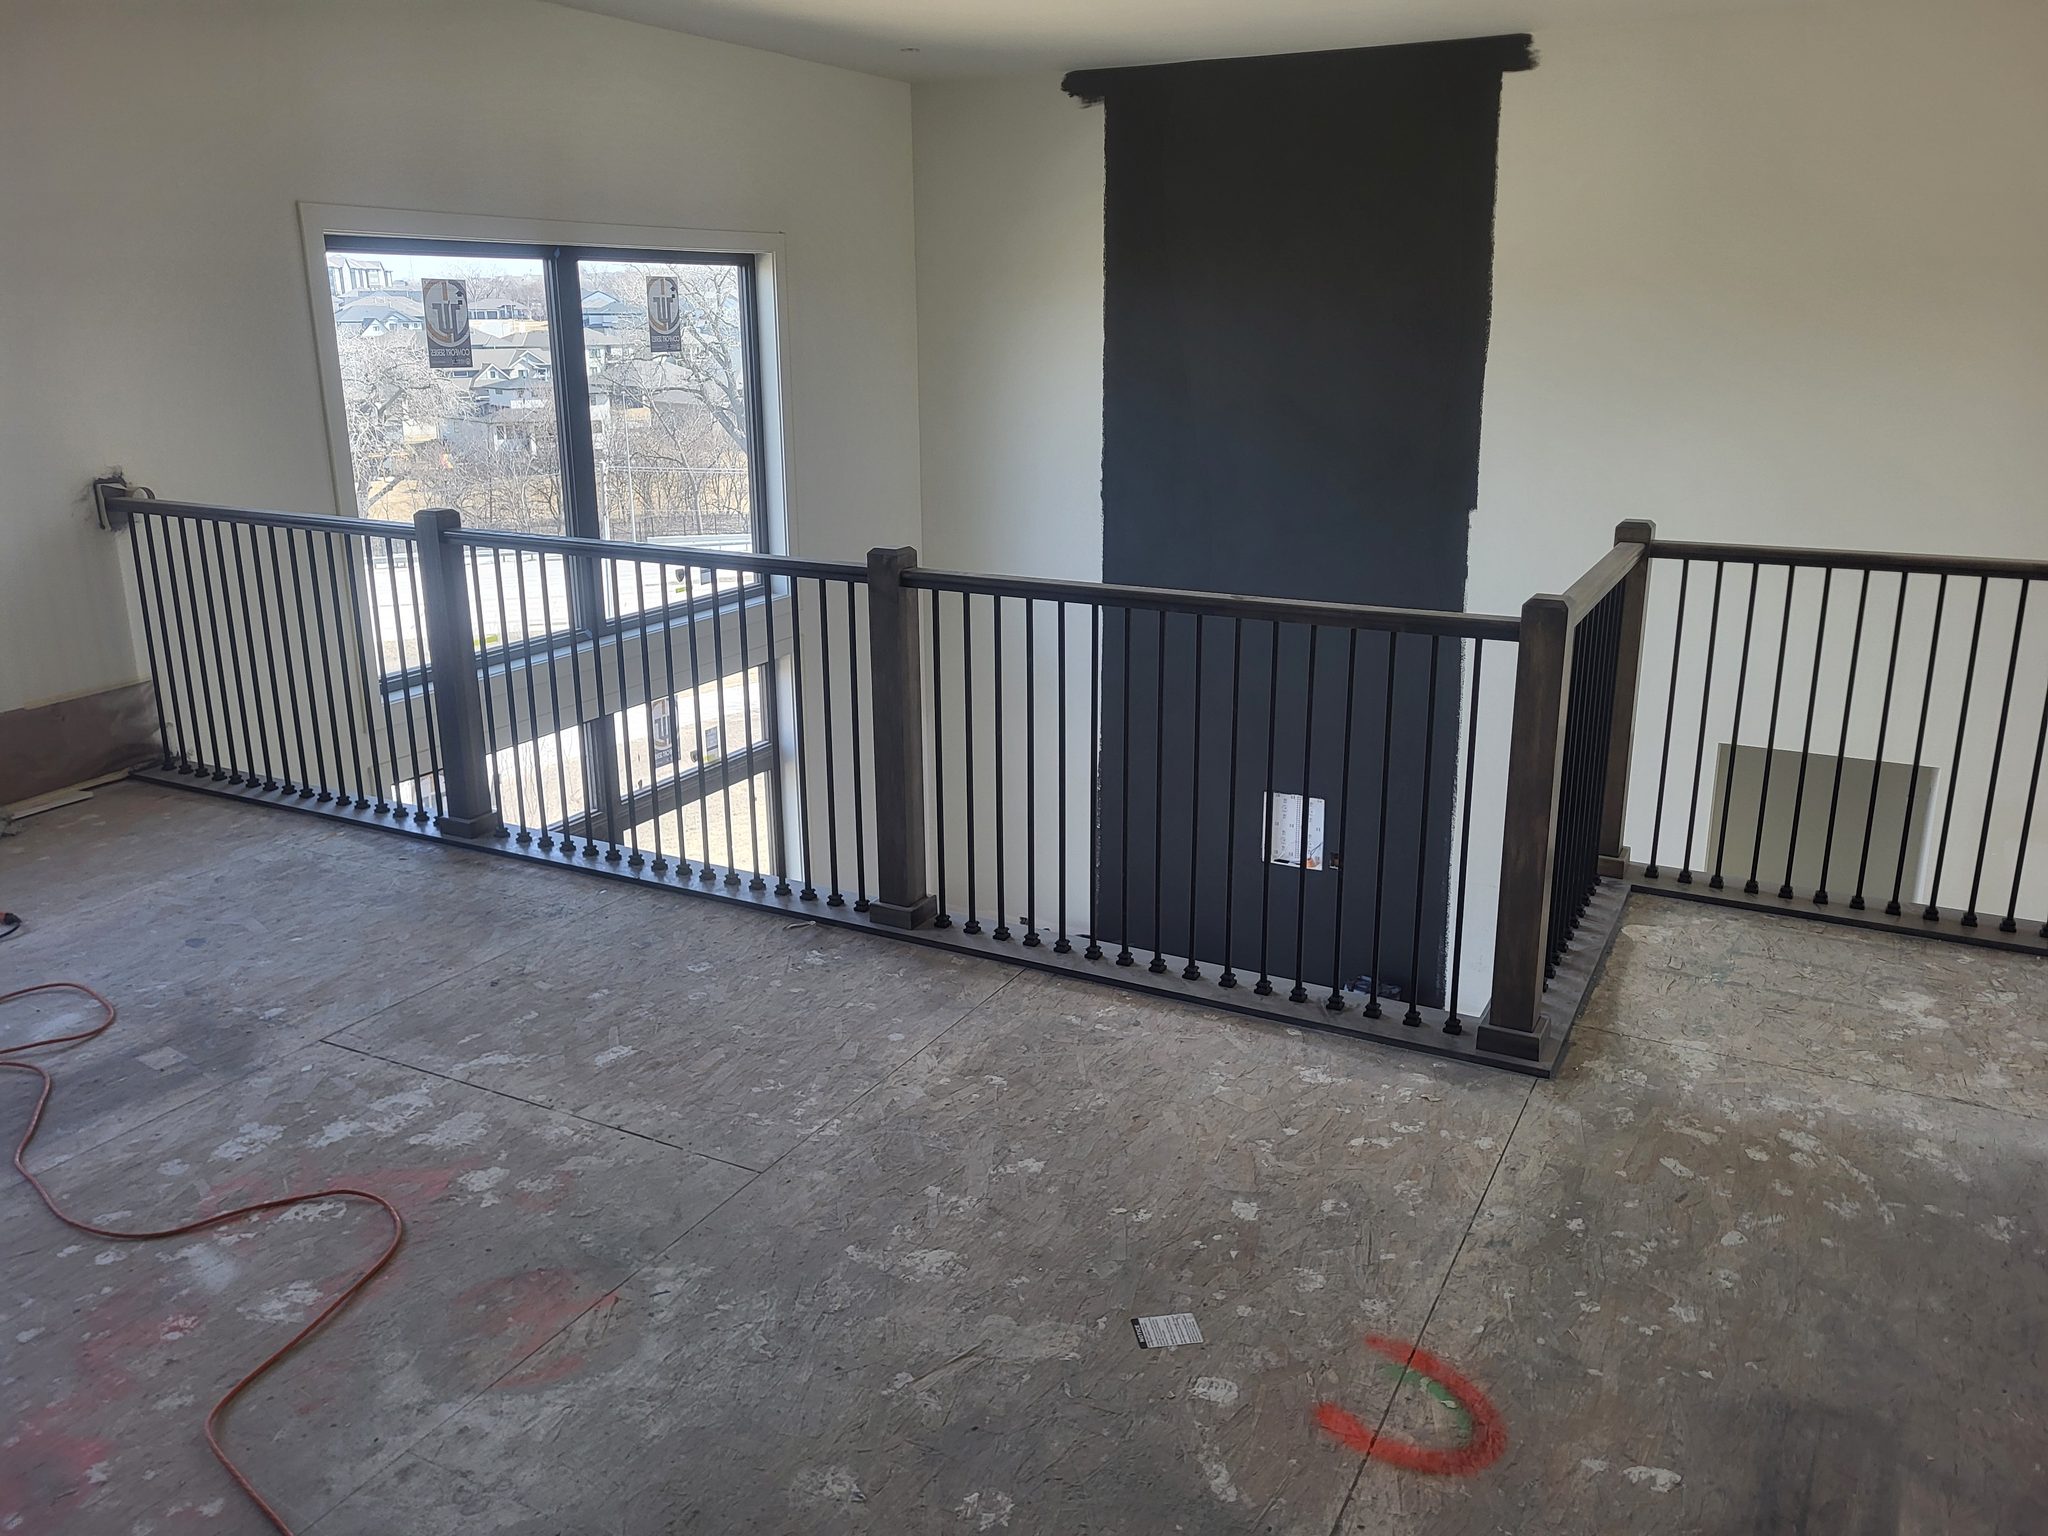
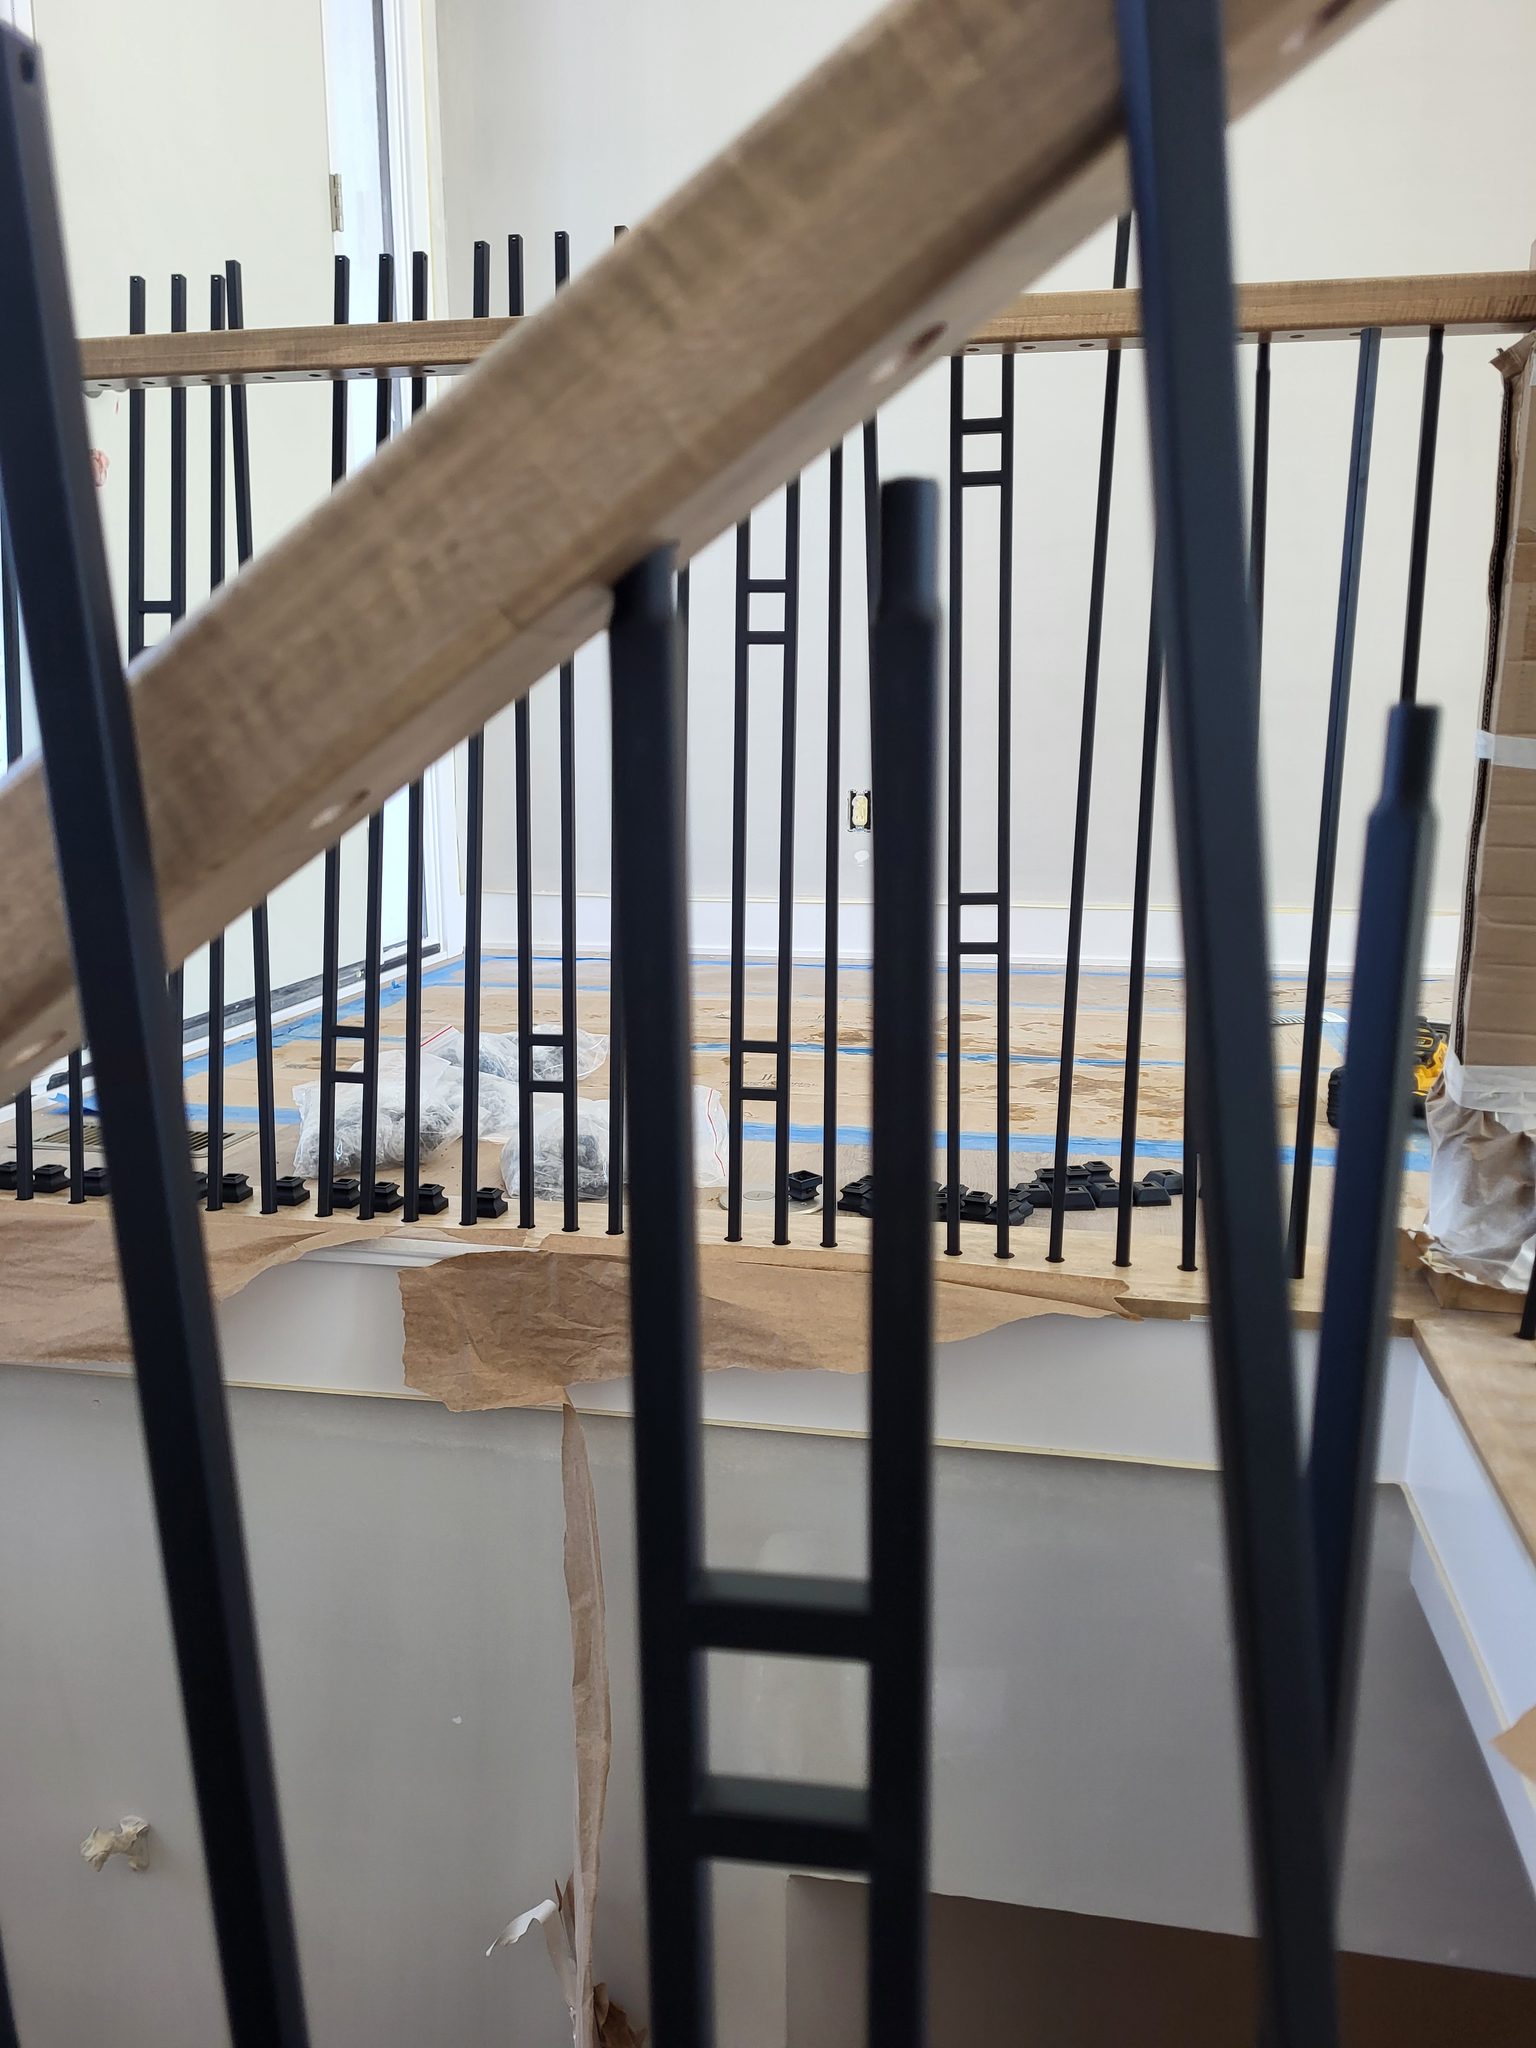
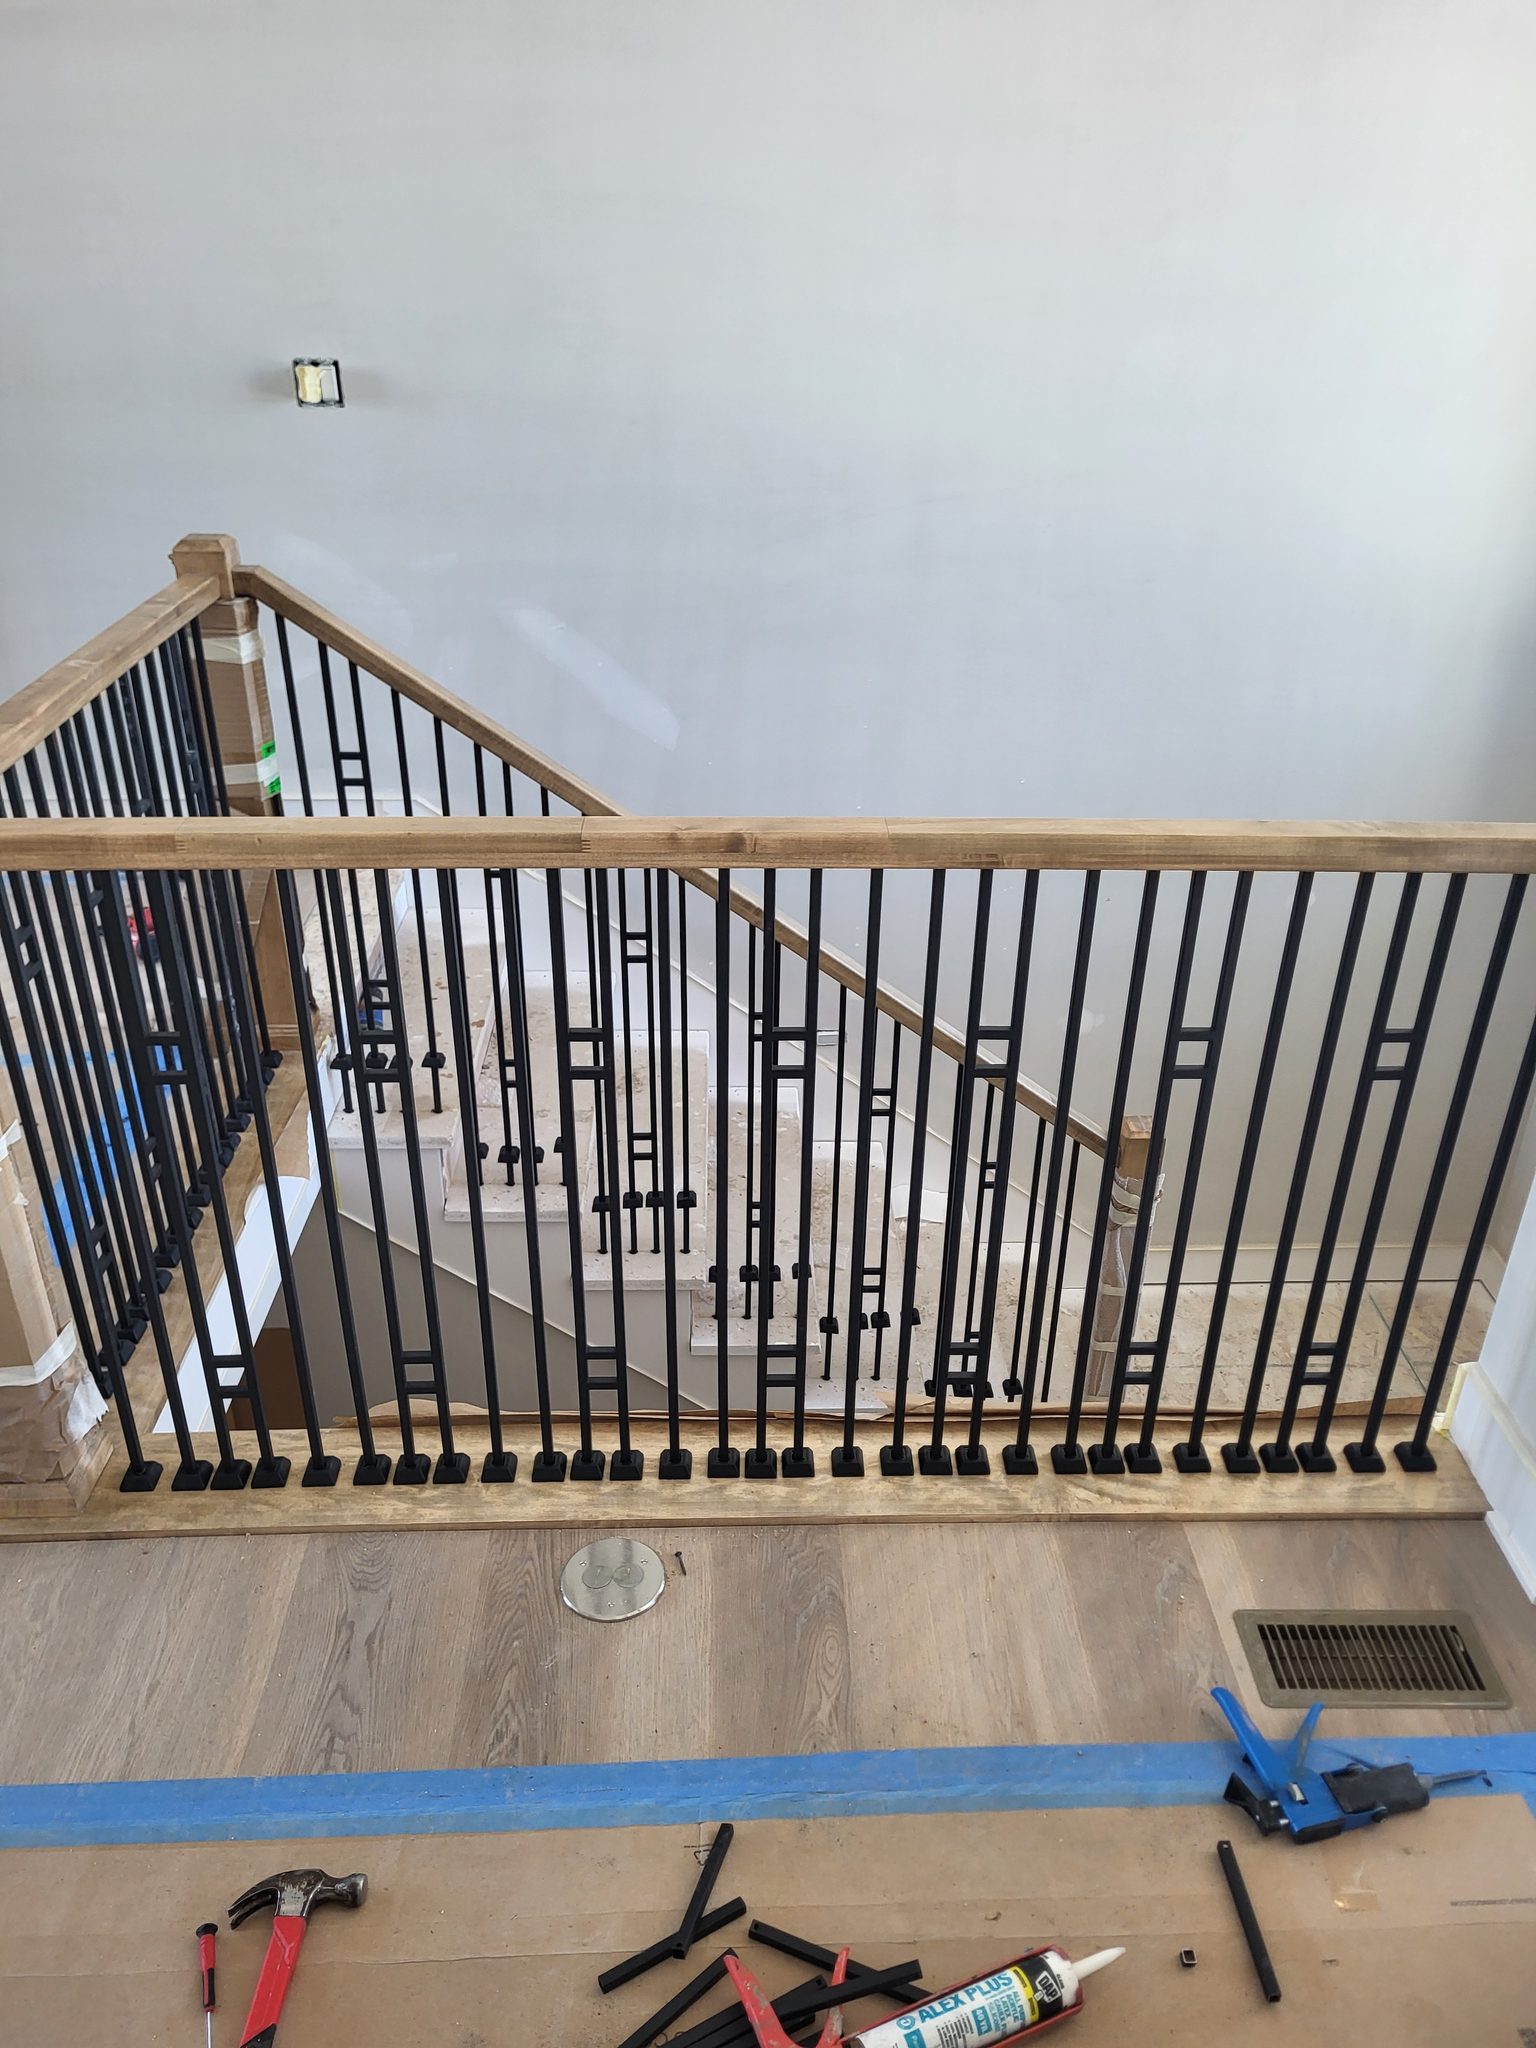
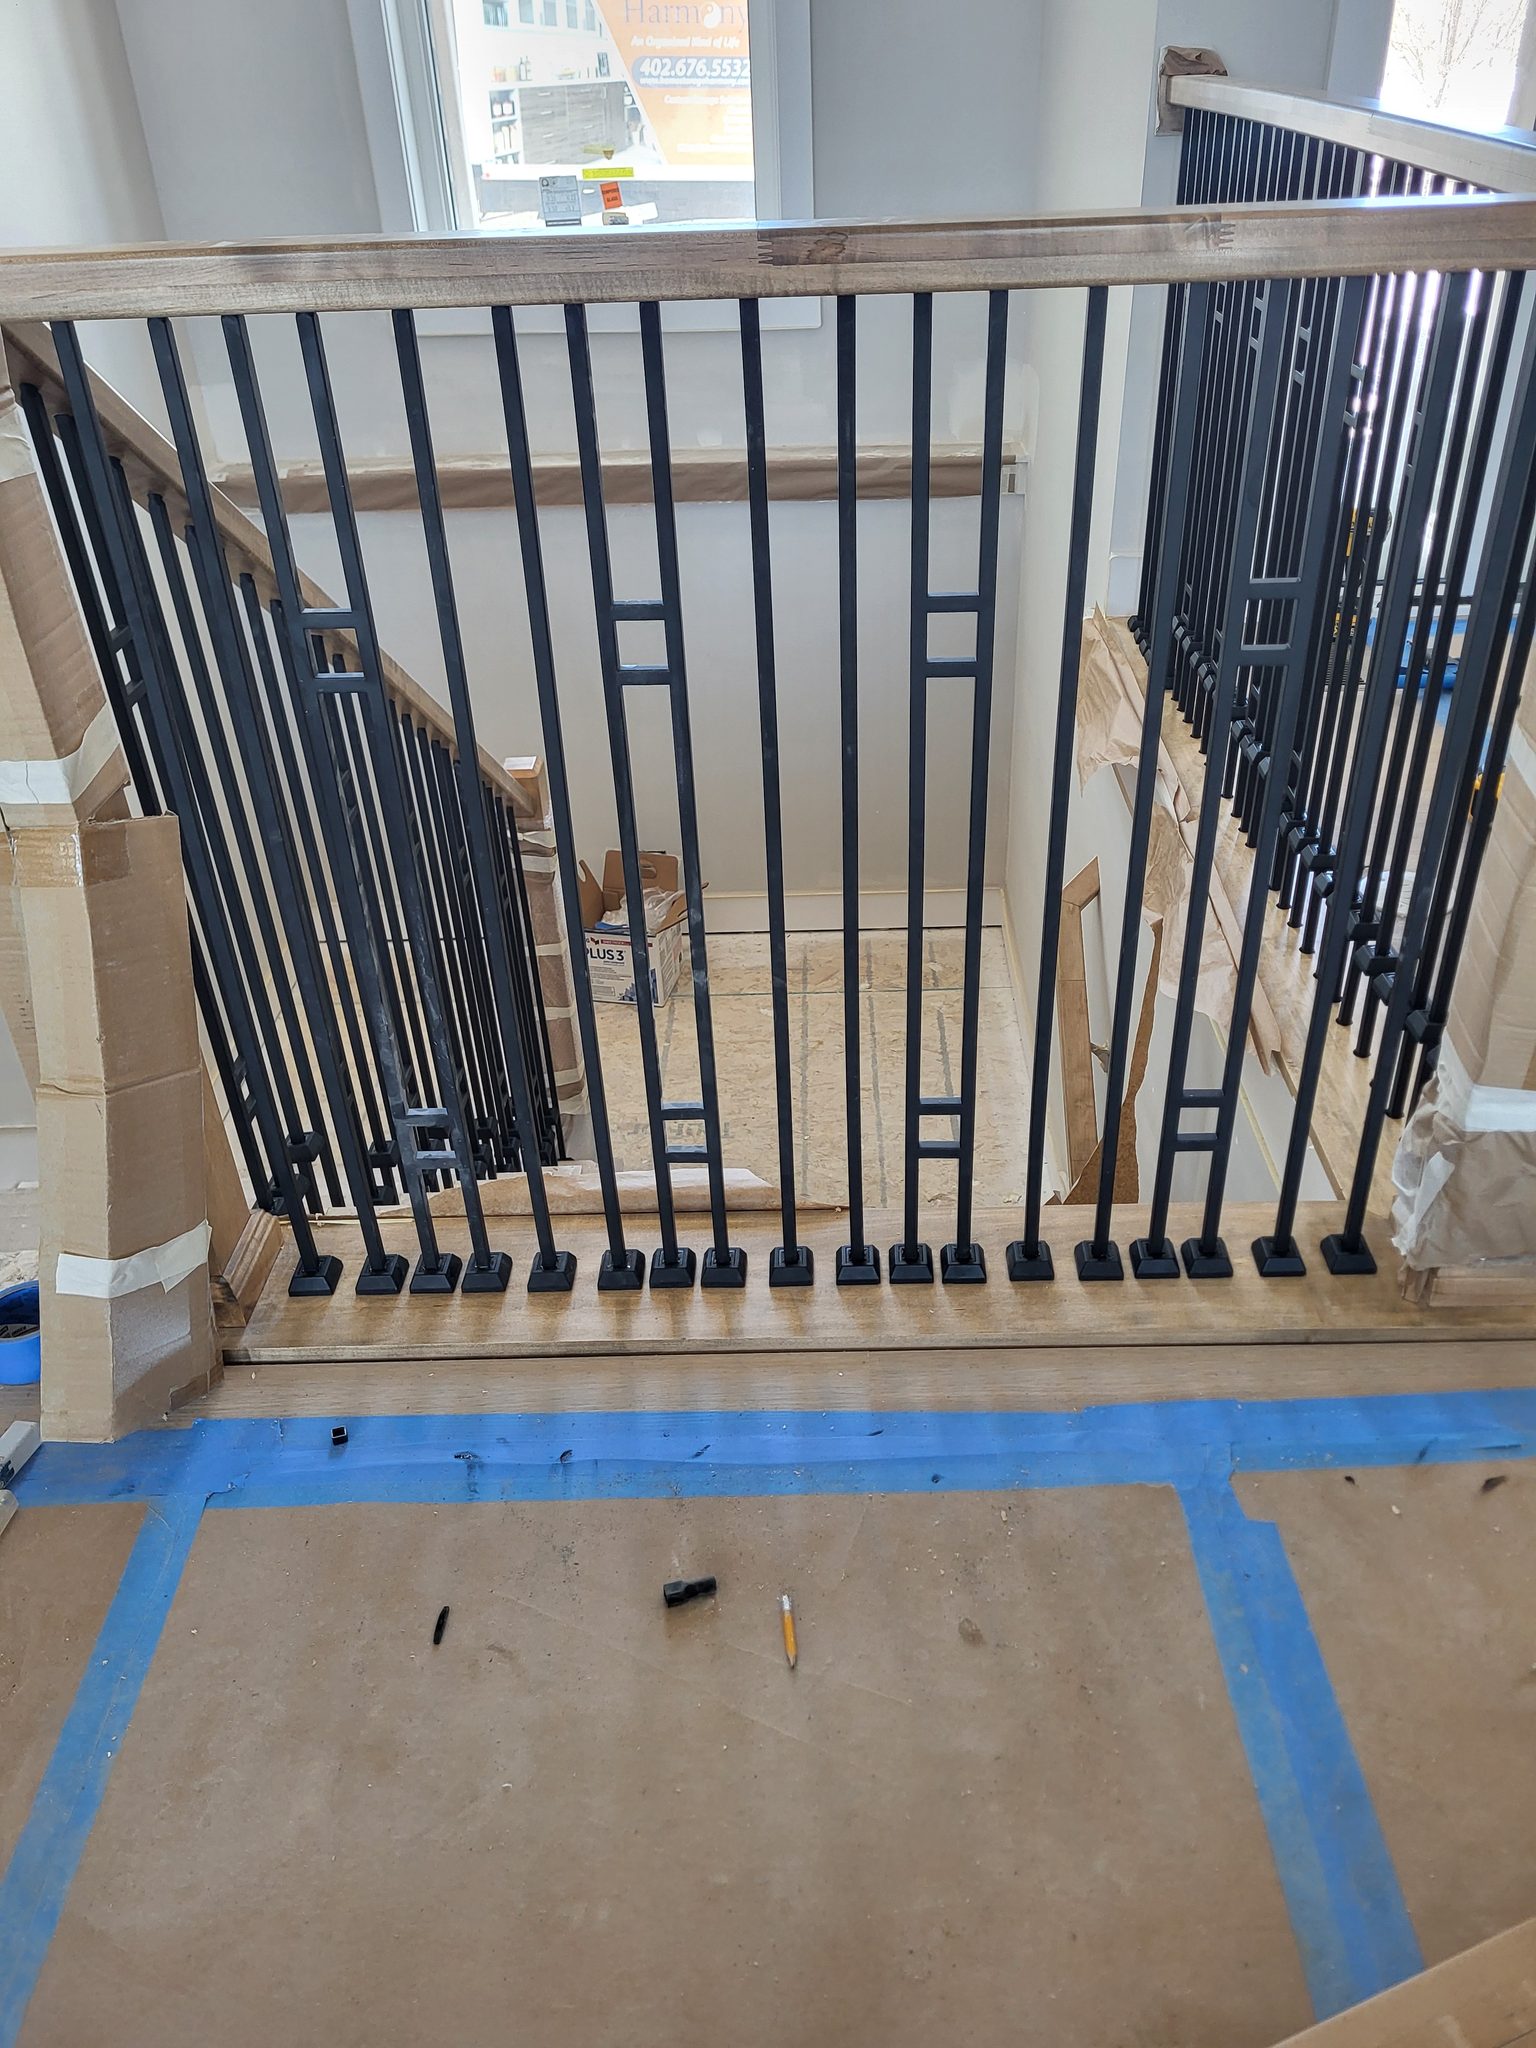
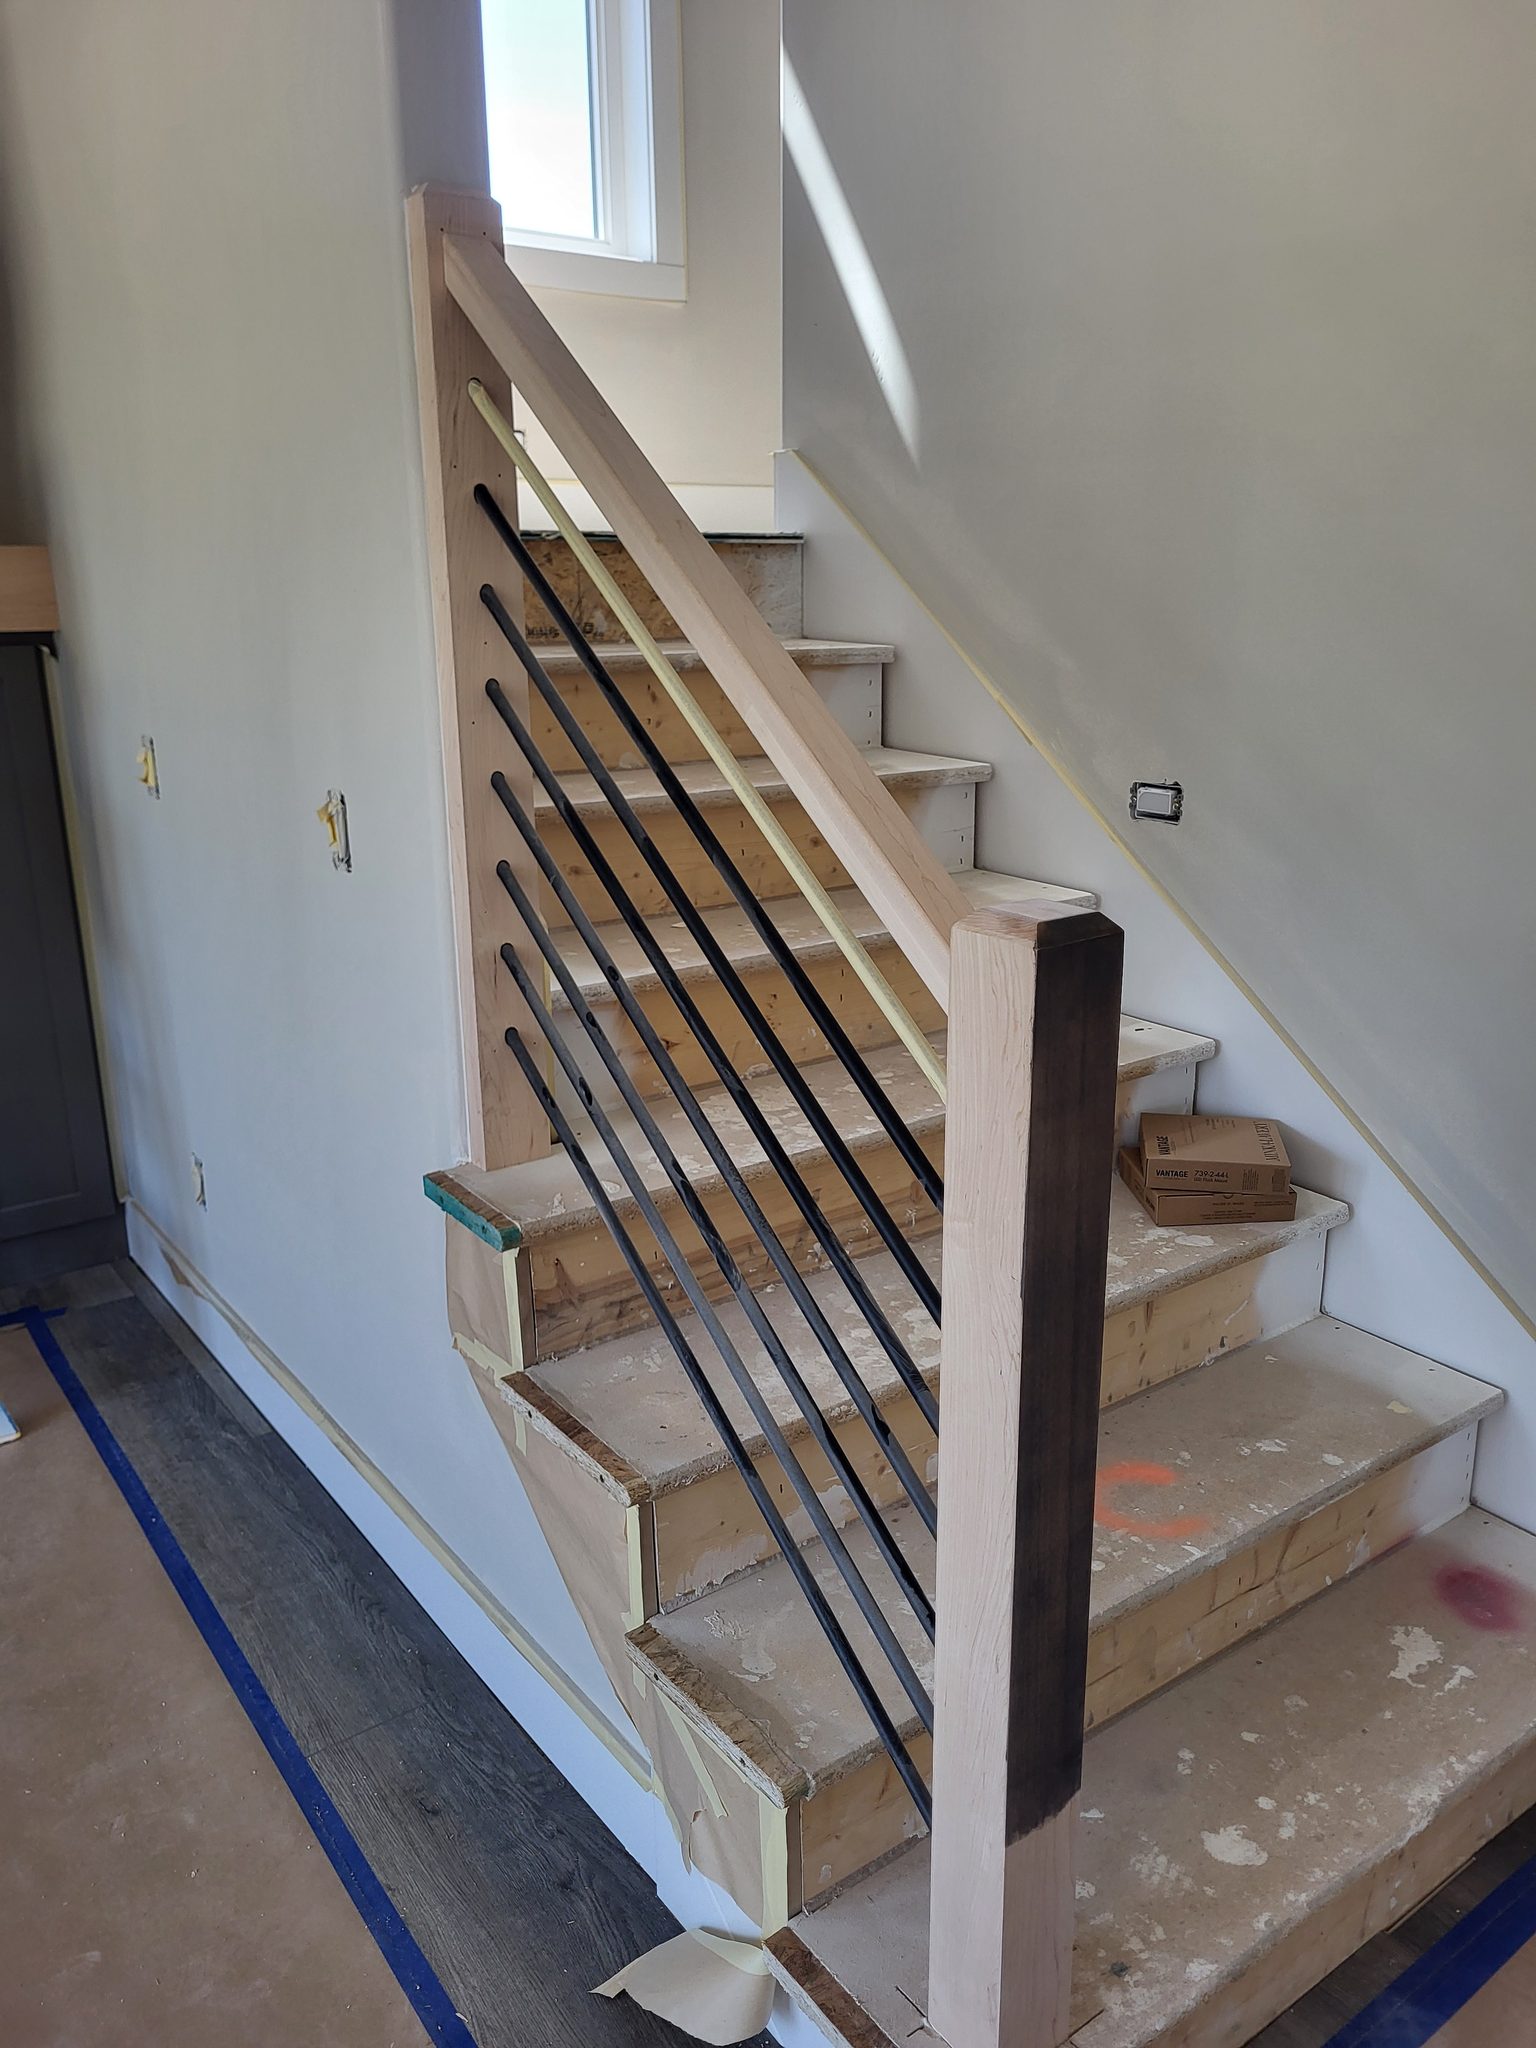
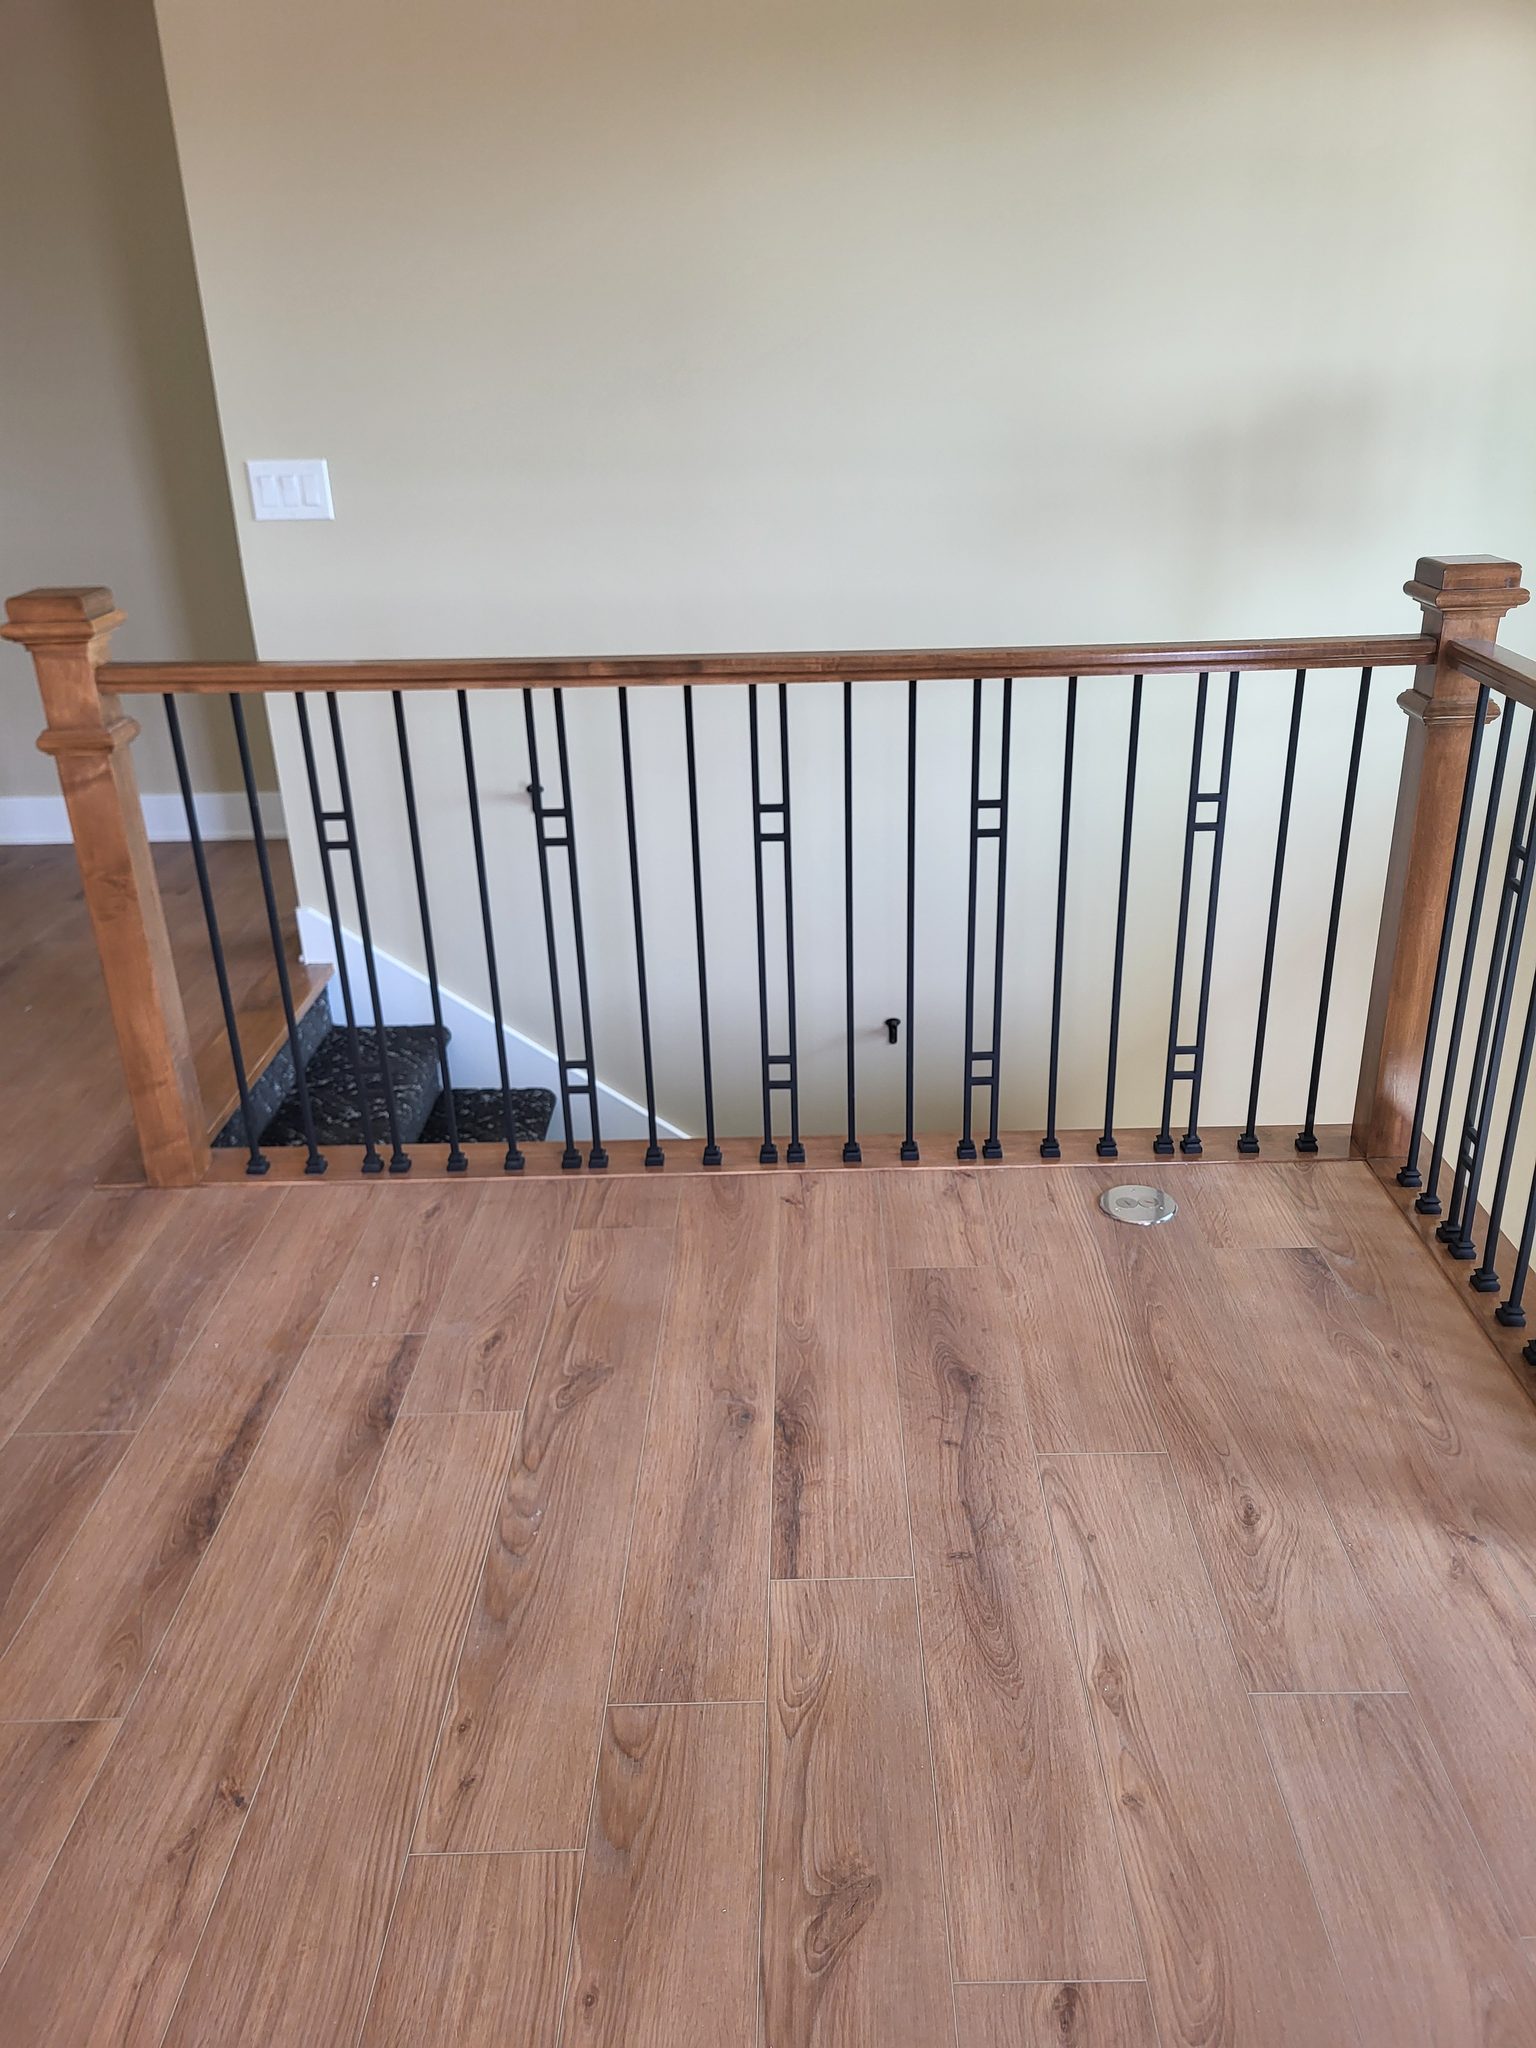
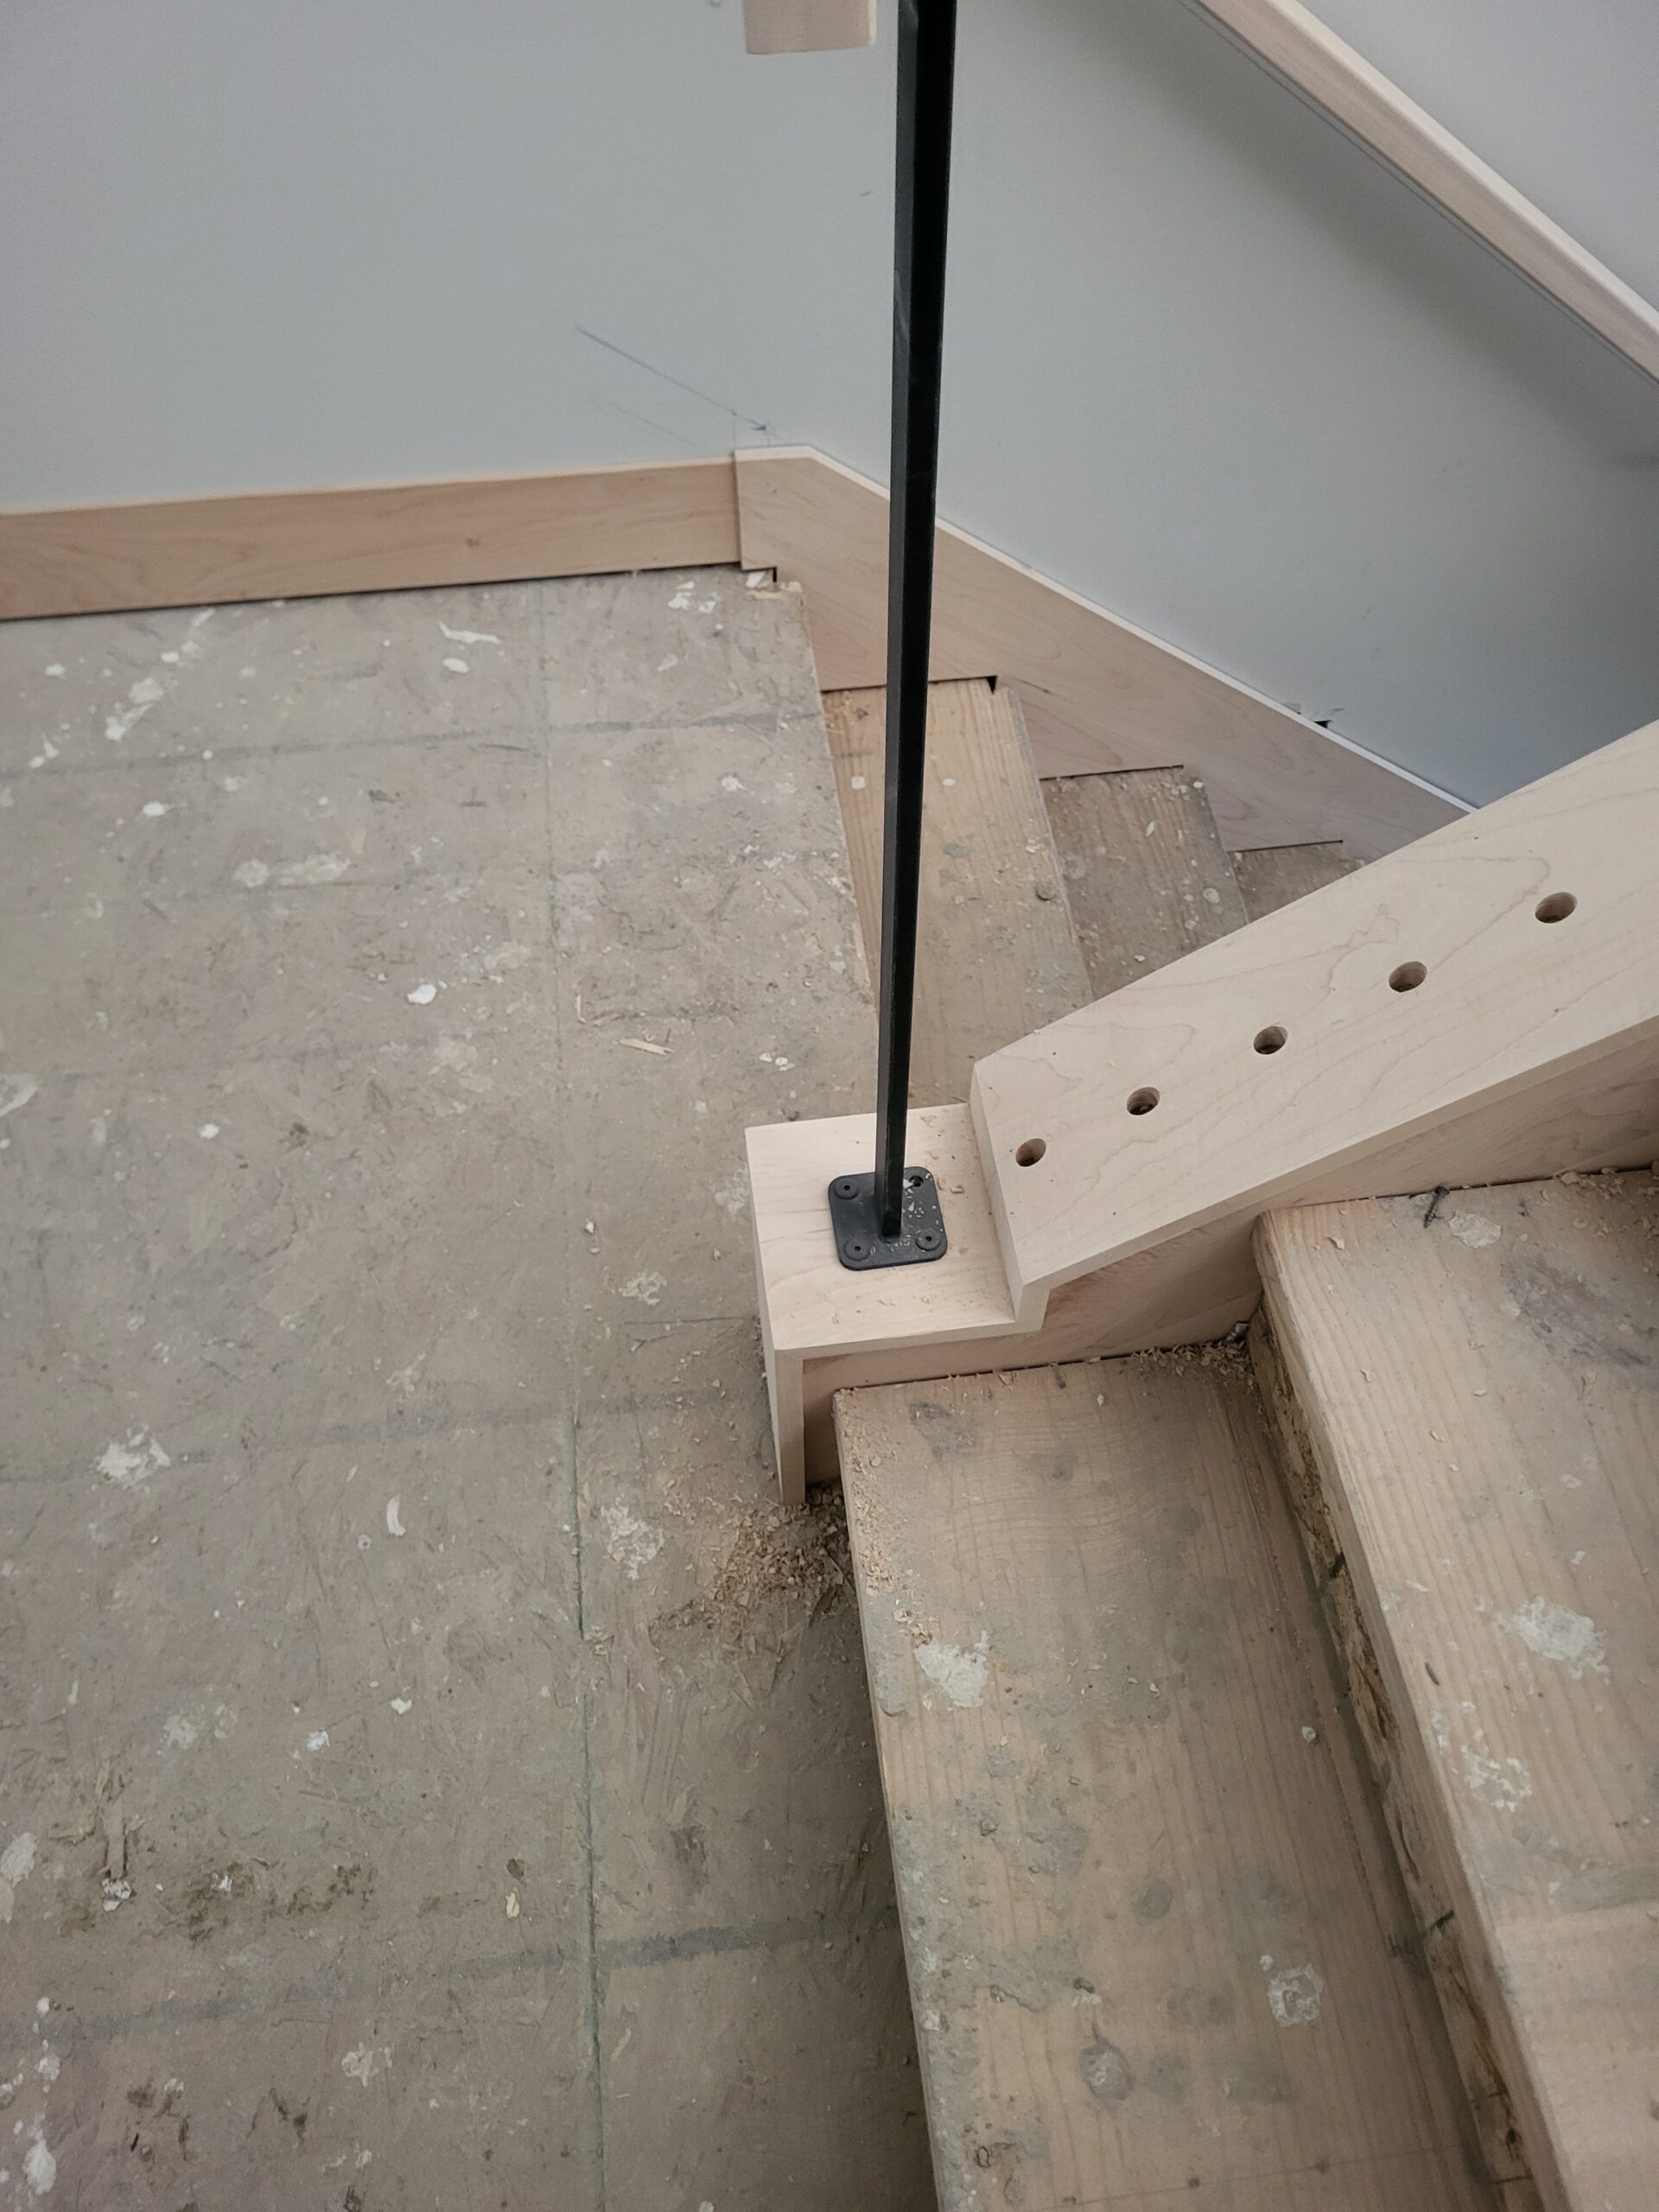
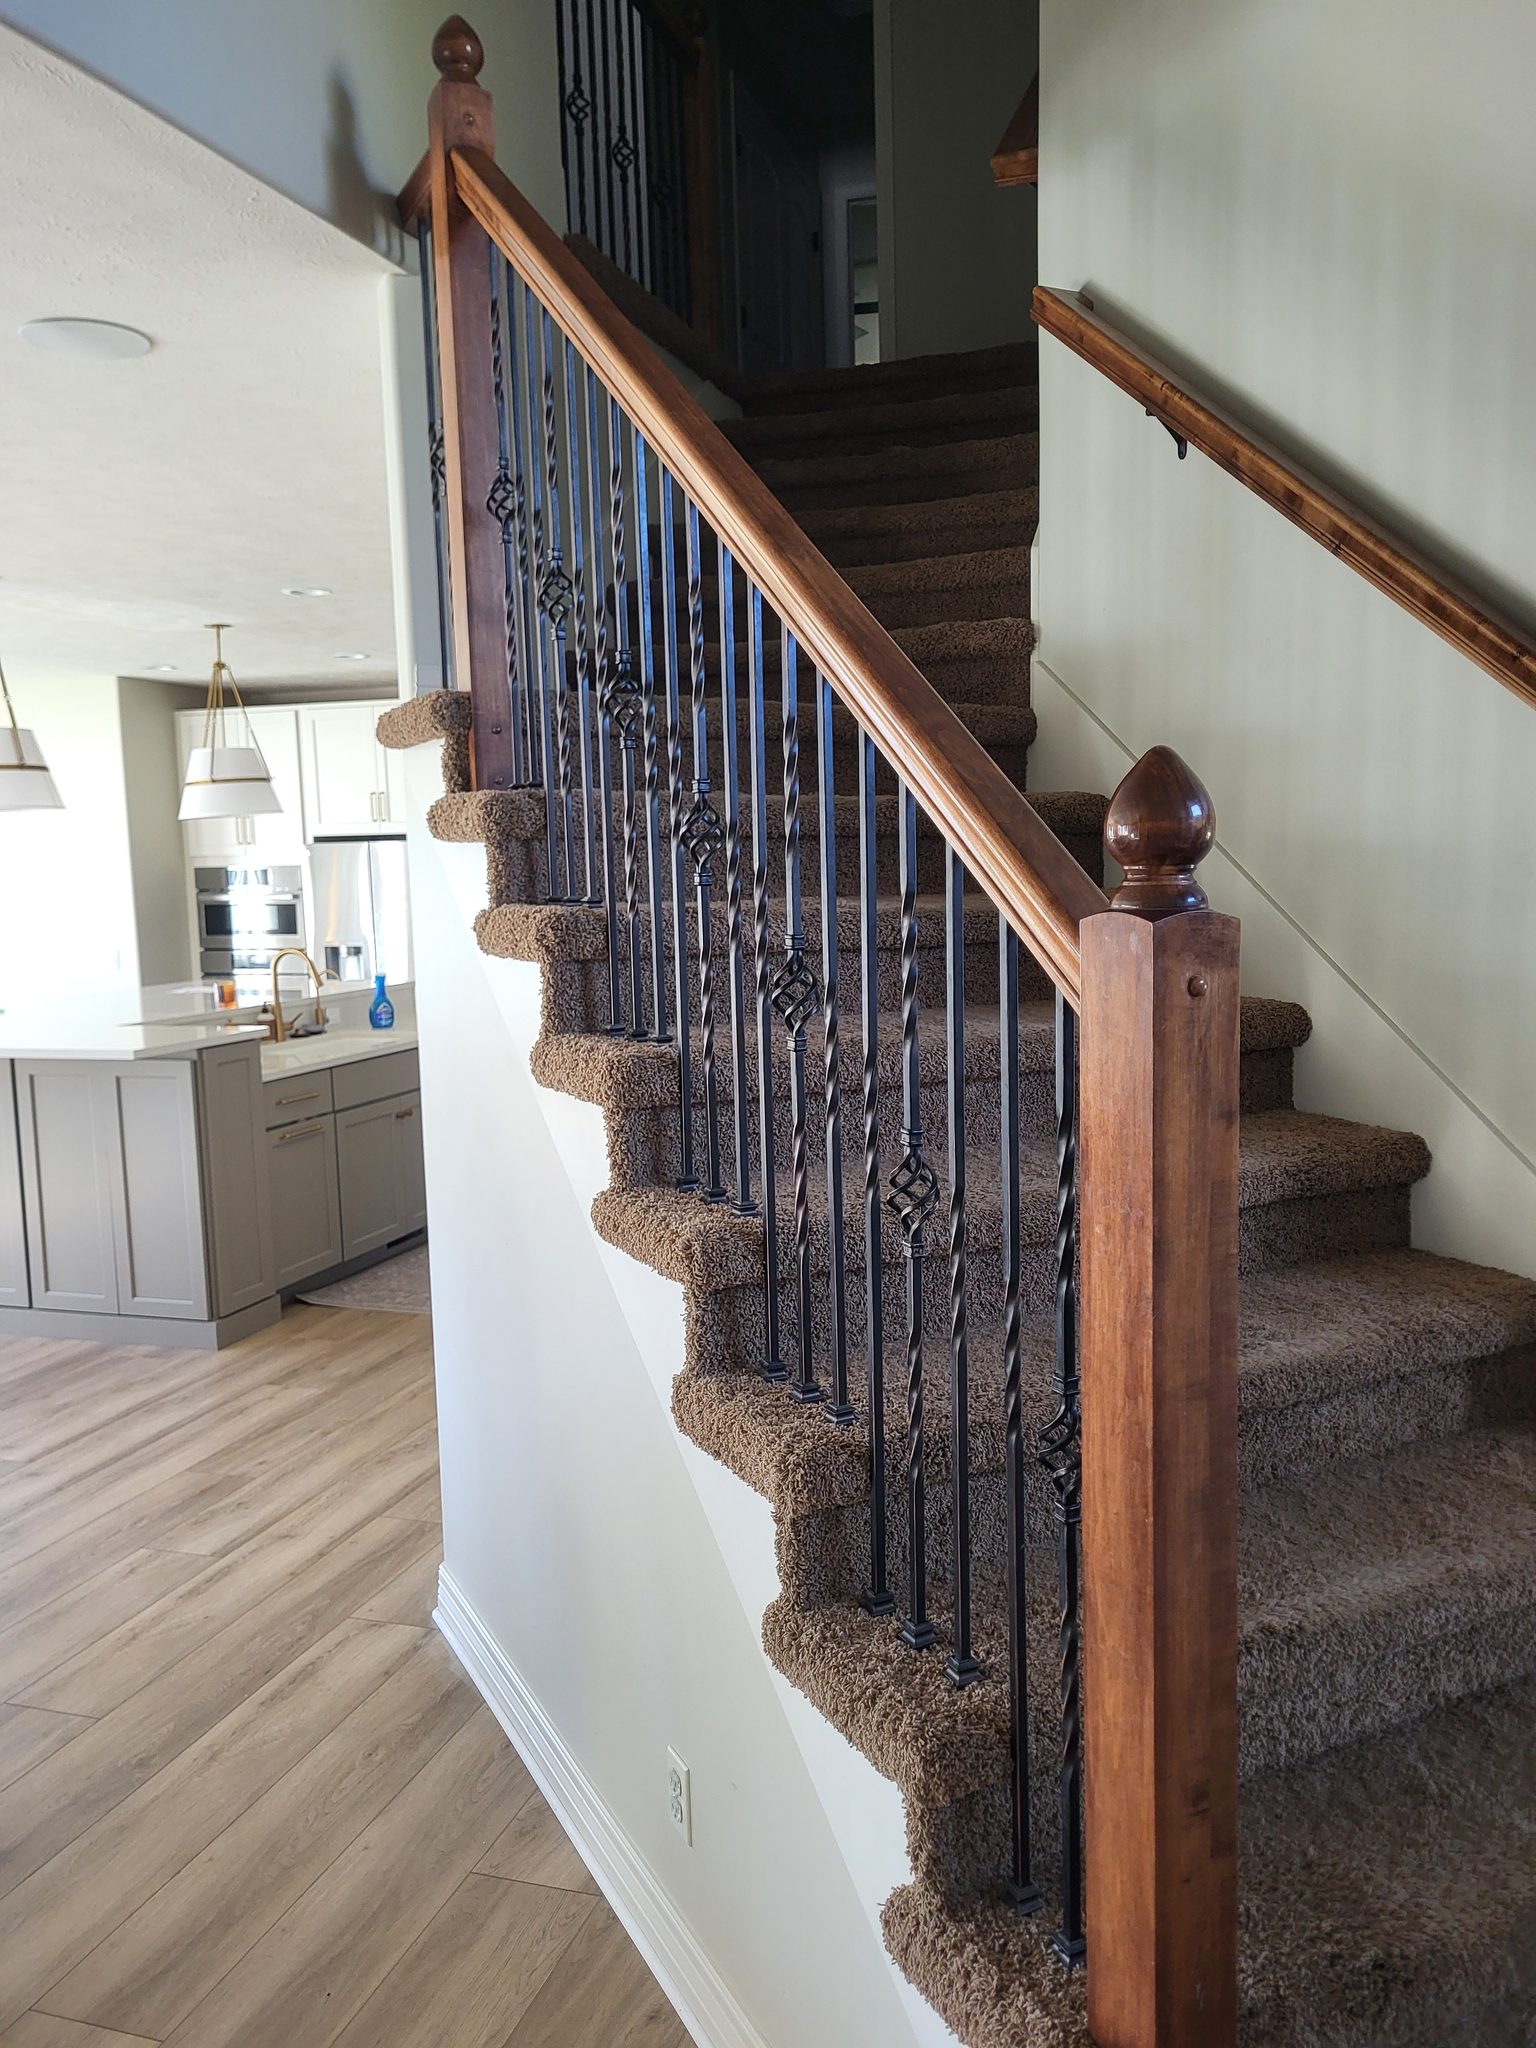
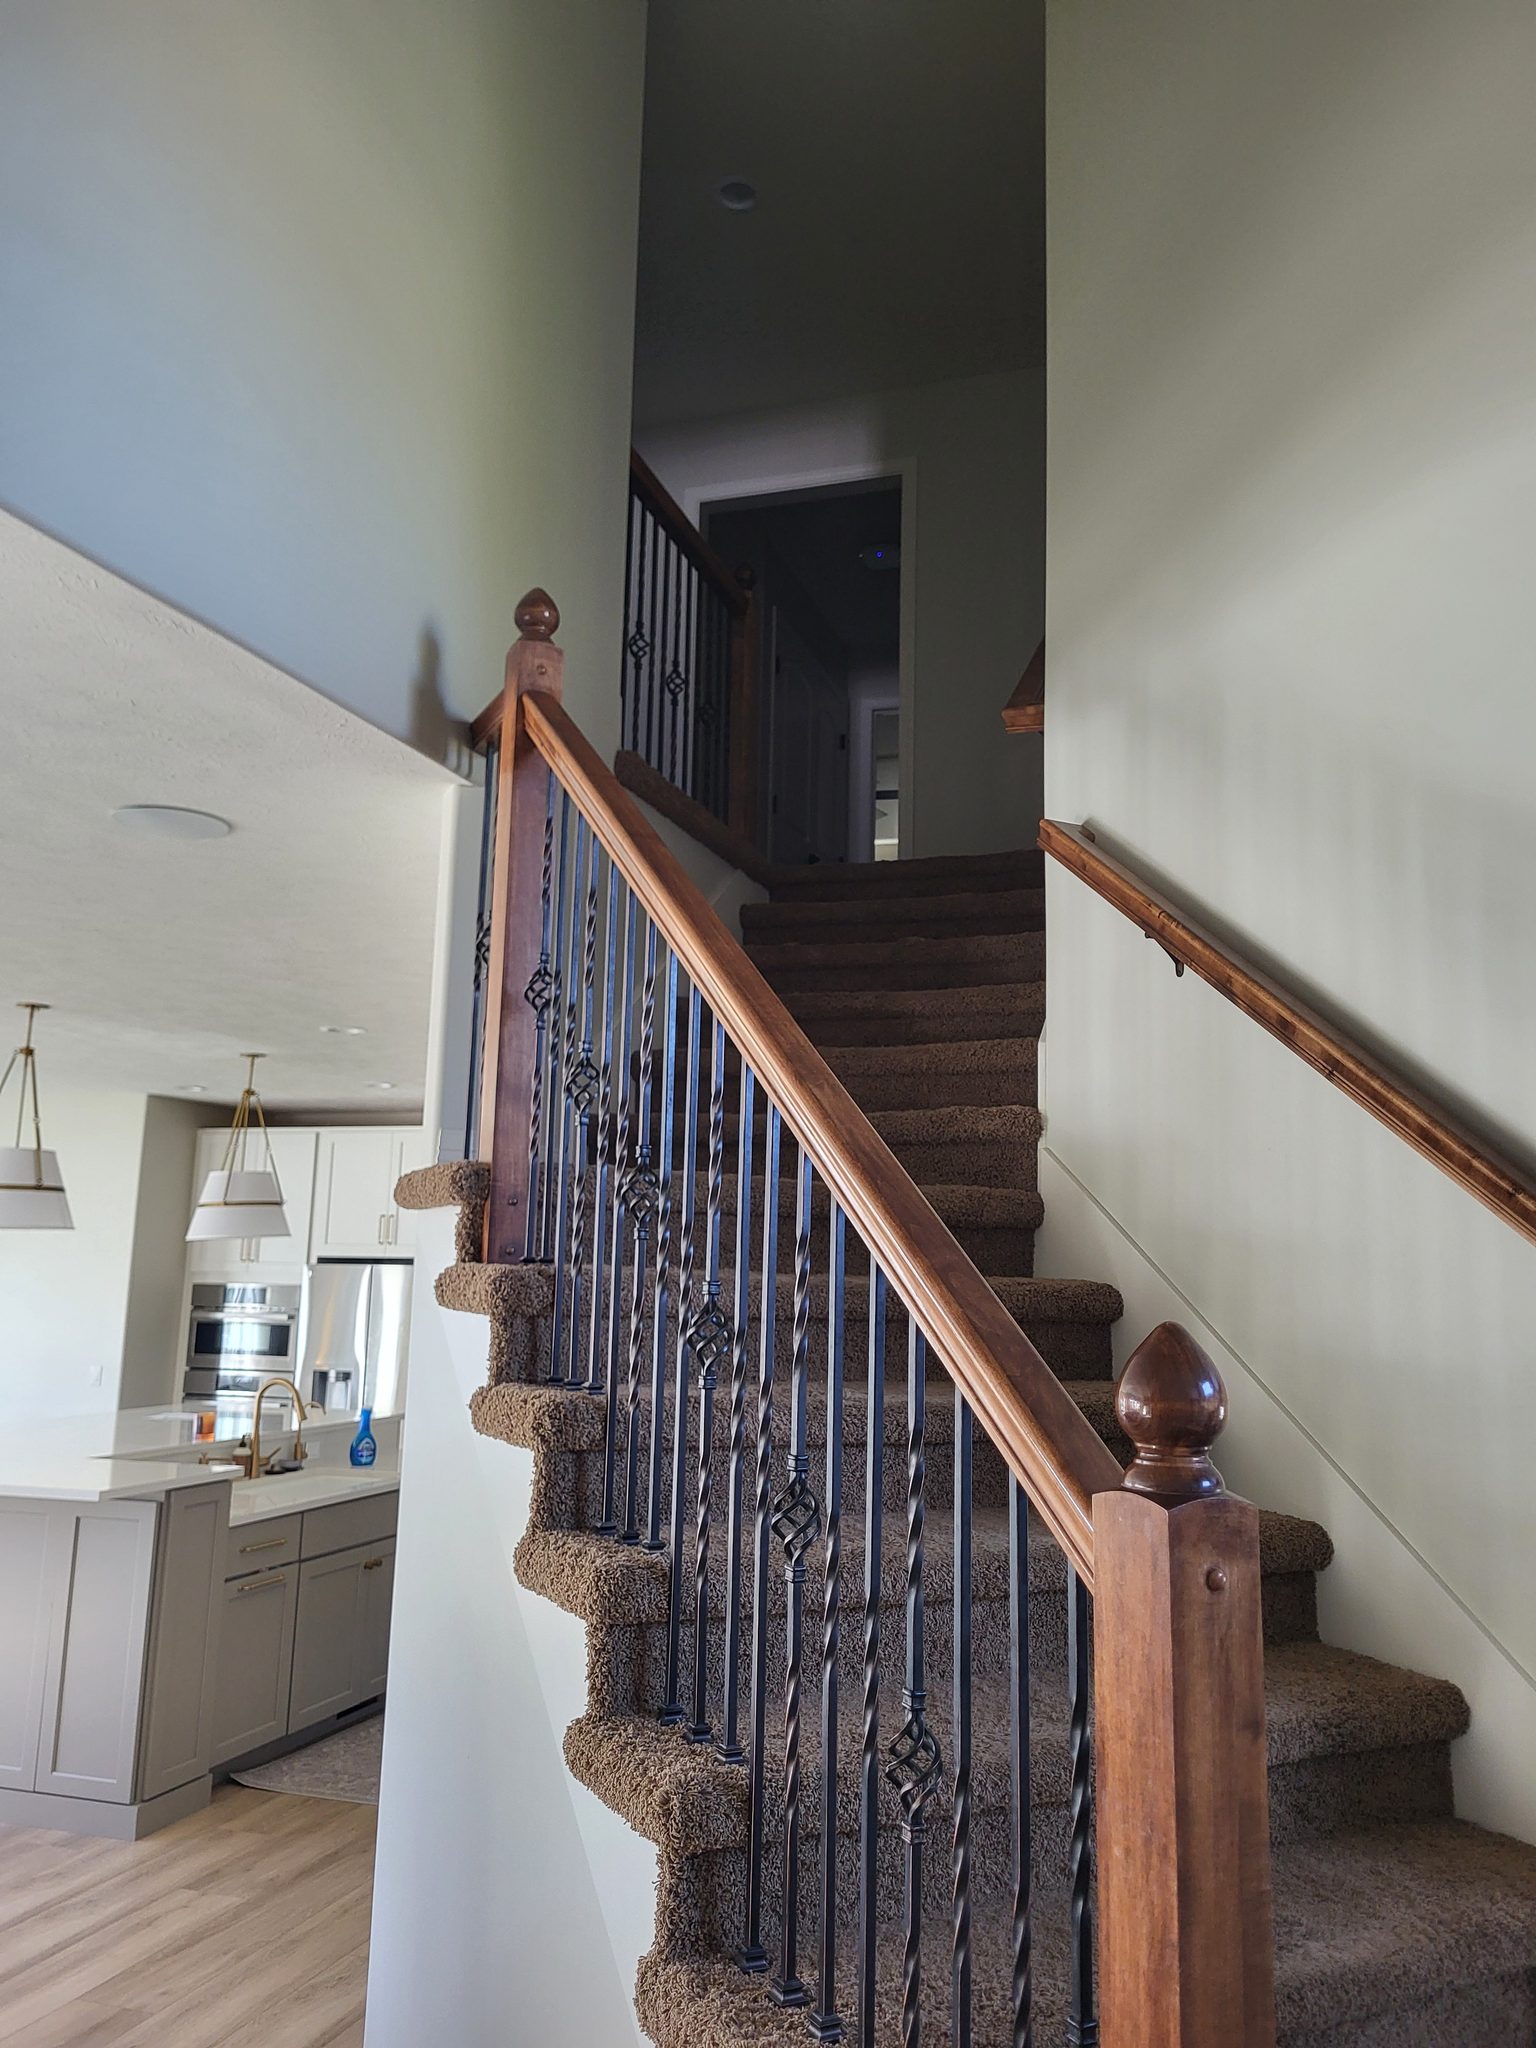
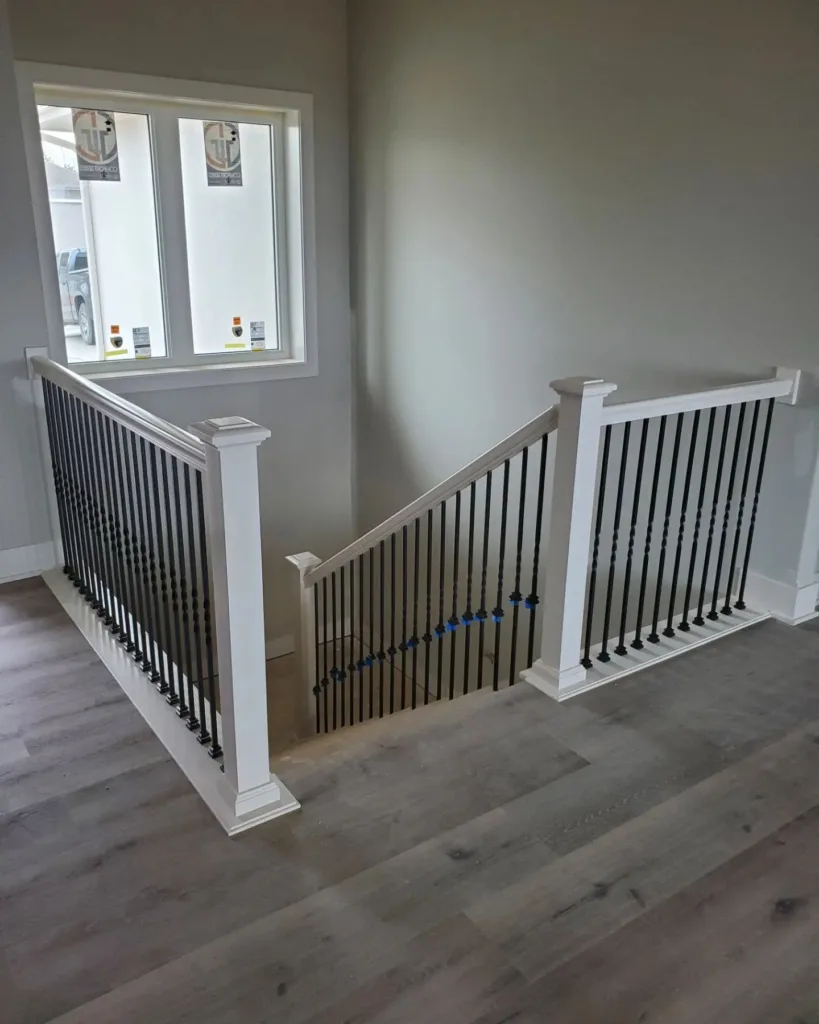
The following photos show examples of this type of work completed in the field. These serve as visual references for quality standards, proper installation techniques, and finished results.
Showing 47 of 47 photos