On this page
What Changes When Building Garage Steps with Closed Risers #
In an open riser stair, there’s a gap under each tread (the step you stand on) with nothing covering it. With closed risers, you close that gap by nailing a board across it. Here’s what changes when you do that:
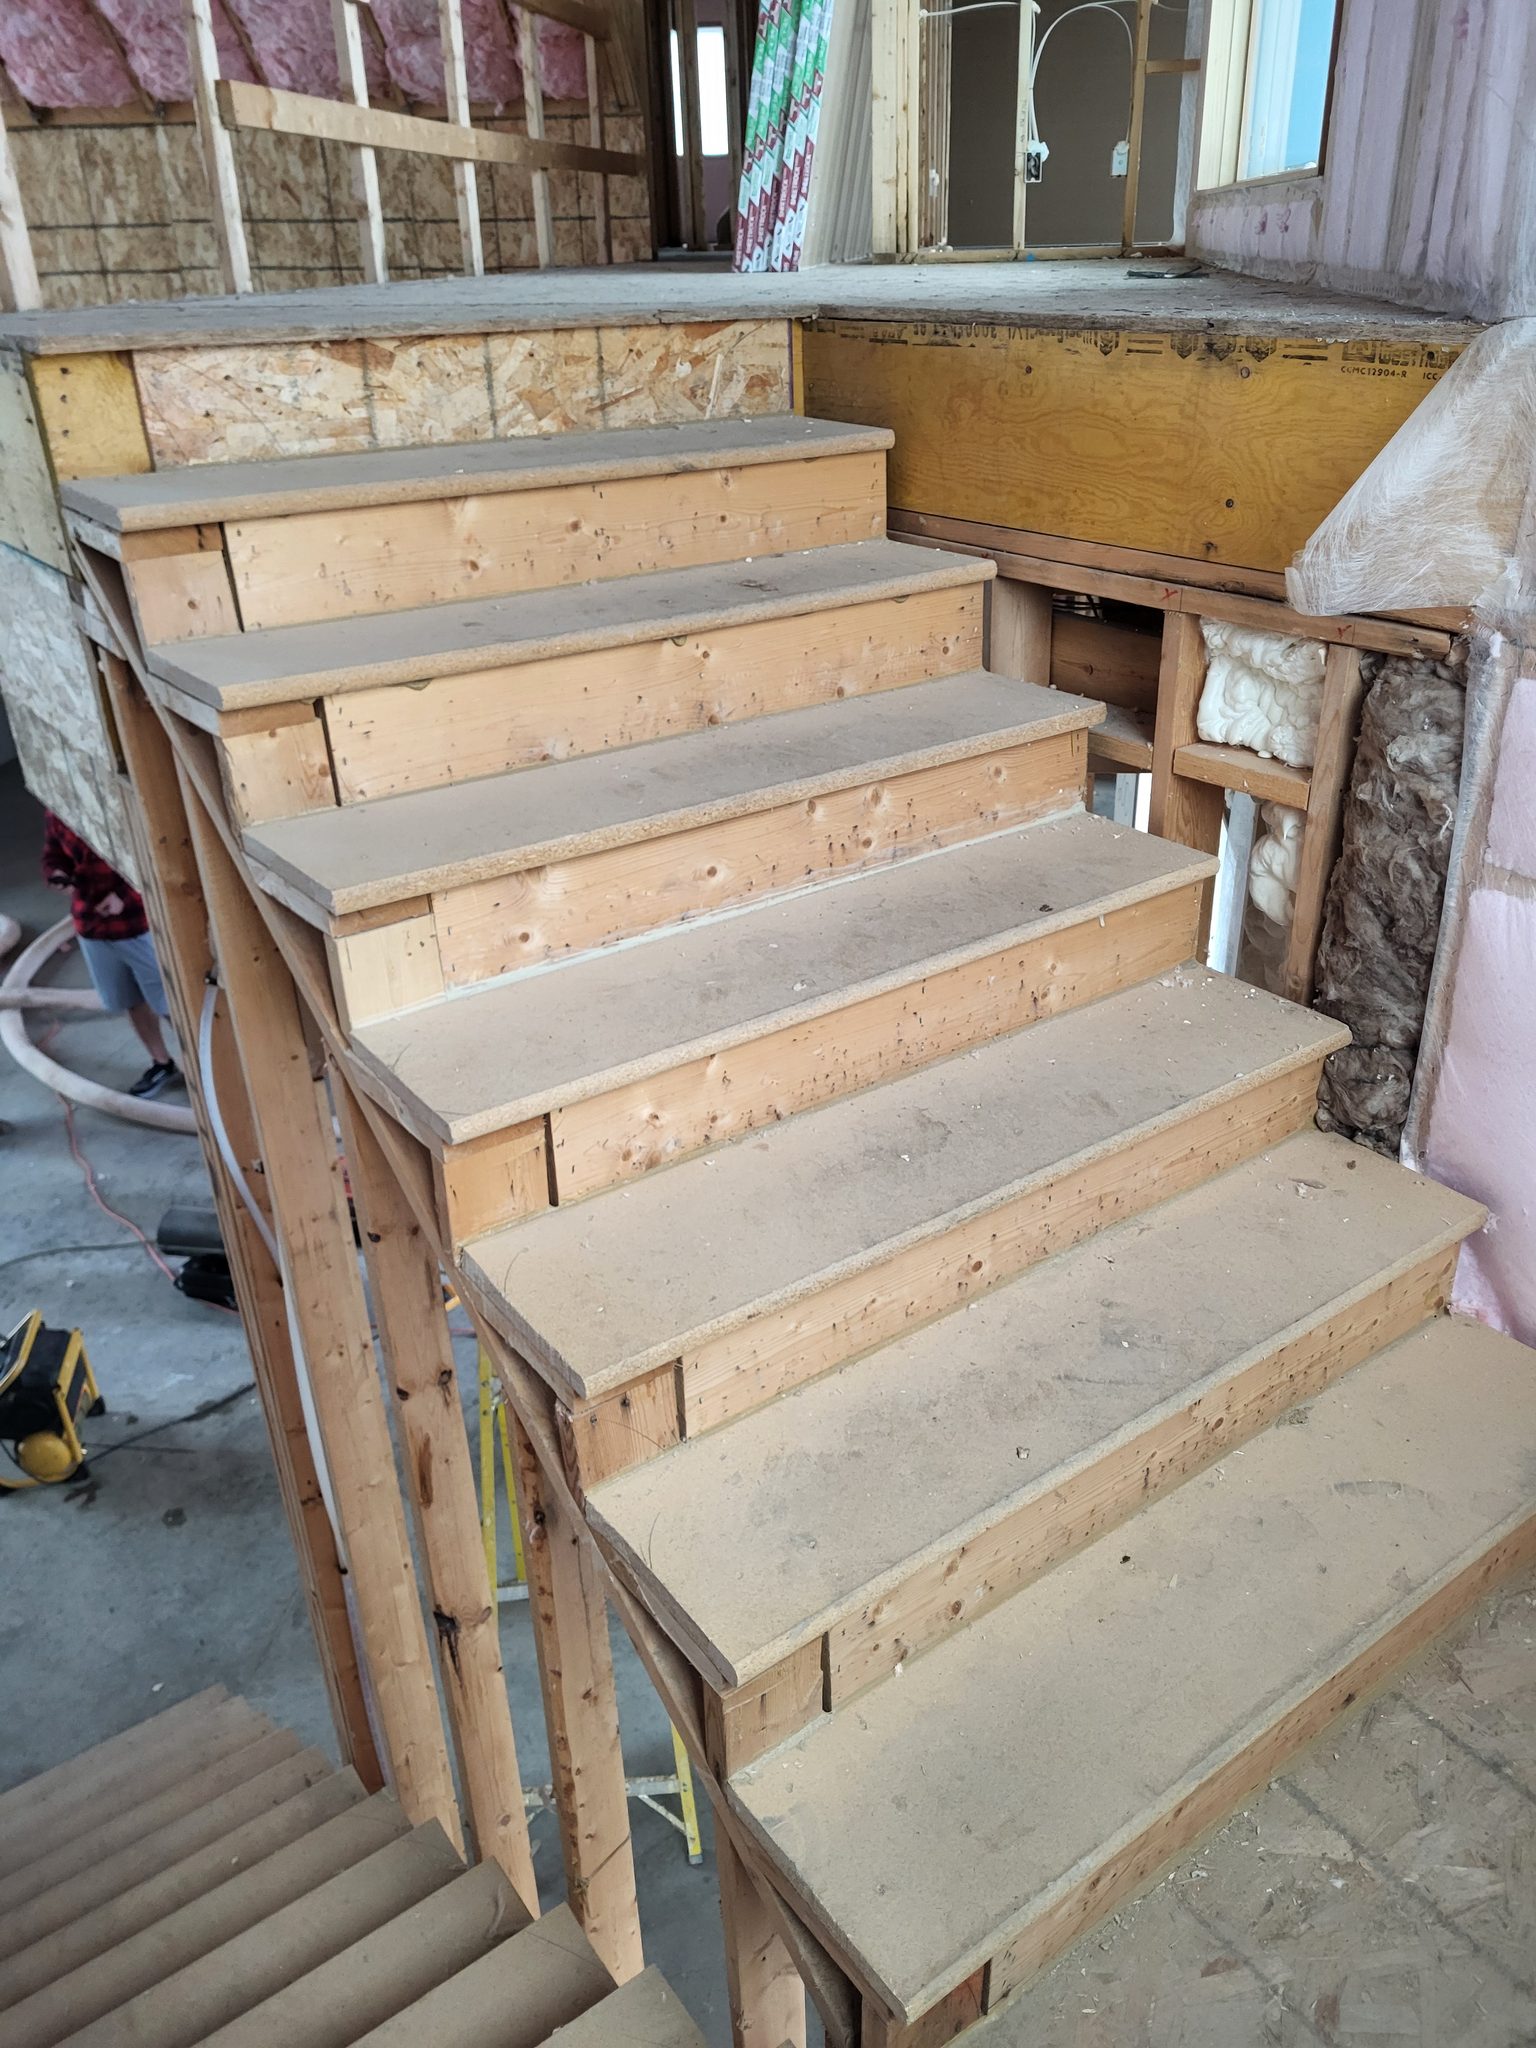
- Appearance: Looks cleaner and more finished. Common on stairs people will see, like a front entry
- Structural rigidity: Riser boards make the stringers (the angled boards the whole staircase is built on) stiffer side to side, so the stairs move less
- Safety: Prevents items (and pets, kids’ feet) from slipping through the gaps
- Gretna: Closed risers are required on steps of 4 or more risers, along with the full cattle chute rail on the open sides (no opening a 4″ ball passes through). That is how Gretna inspectors enforce it, not a written rule, so confirm with the inspector
- Build sequence: Work from the bottom up, a riser and then the tread above it. Each riser goes in after the tread below it (it gets stapled into the back of that tread) and before the tread above it (that tread overlaps its top edge)
- Material cost: You need more lumber for the riser boards, plus more adhesive and fasteners
Which guide do I need?
- Open risers up to 36 inches wide at the brick mold, 2 stringers, up to 30-1/2 inches of rise (1 to 4 risers): How to Build Garage Steps: Safe, Code-Compliant Stairs
- Closed risers for a finished, visible look, 2 stringers up to 48 inches wide: this guide
- Open risers 36 to 48 inches wide at the brick mold, 3 stringers: How to Build Garage Steps with 3 Stringers (Open Risers)
- Over 30-1/2 inches of rise, or a door that swings out over the steps: How to Build Garage Steps with a Landing
Additional Materials #
Beyond everything in the core guide materials list, you need:
- Riser boards: in a garage, 3/4″ particle board shelving is what we usually use. Riser boards fit between the stringers and carry no load, so they are not structural, though they stiffen the treads. Other options, based on the look you want:
- 1× pine: Paintable, looks like finish carpentry. Best for visible stairs
- 3/4″ plywood: Strongest option. Good if risers will take abuse
- 1/2″ plywood: Lightest and cheapest. Fine for garage/utility stairs
- Extra 3″ exterior-rated screws: 2 through the outside face of the stringer into each end of every riser board, the same way the back board goes on, plus 1-1/4″ staples to staple each riser into the back of the tread below it
- Extra construction adhesive: One bead per riser contact point
What’s Different: Step-by-Step #
Steps 1 through 6: No Changes #
Follow the core guide exactly for measuring total rise, laying out the stringers, cutting them, dry-fitting them, gluing the stringers to the slab, and setting and attaching the stringers (including the 2x4 back board that joins them). None of that changes for a closed riser build. The garage steps calculator does the riser math and the stringer numbers for you. Pick closed risers in it and it adds the riser boards to the material list and the drawings.
Step 7: Install Risers - New Step #
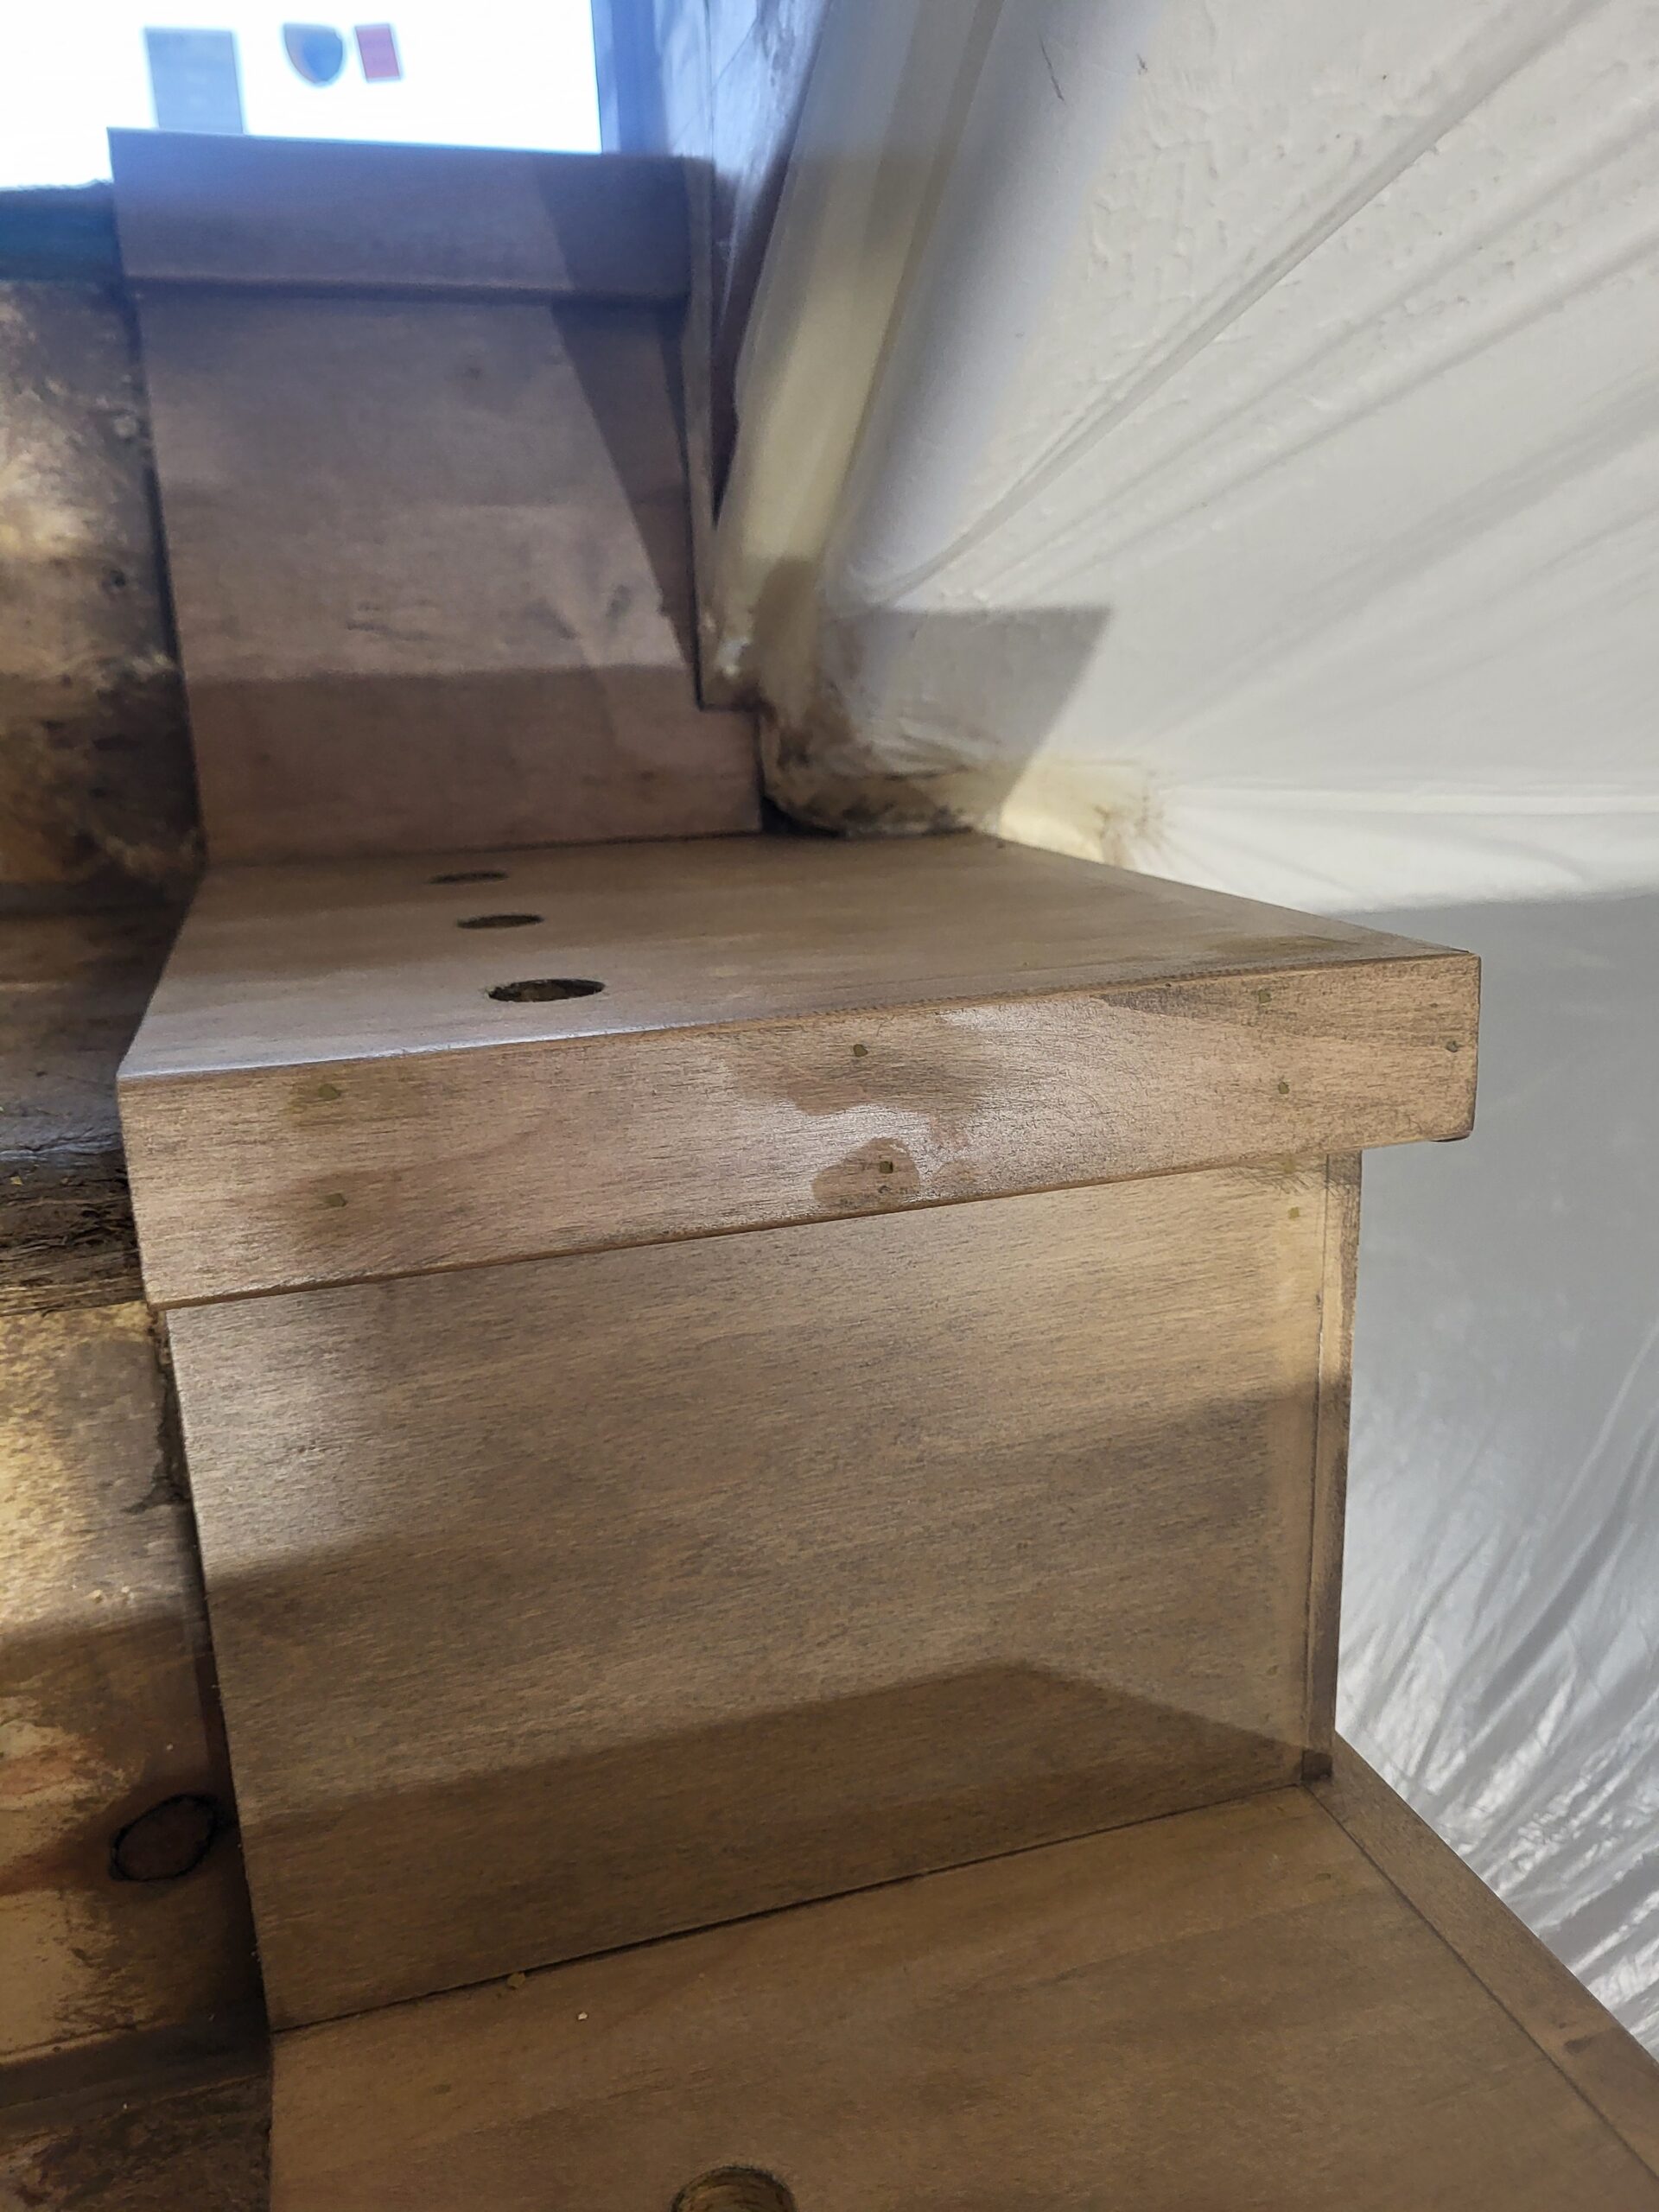
This is the key addition for closed risers. Work from the bottom up, alternating: a riser, then the tread above it, then the next riser. Each riser goes in after the tread below it, because it gets stapled into the back of that tread, and before the tread above it, because that tread overlaps the riser’s top edge. Glue everything.
Measure and cut:
- Measure the width between the inside faces of the two stringers at each riser location. Measure each one on its own - the width can vary by 1/8″ to 1/4″ from step to step
- Measure the height of each riser cut on the stringer. It should match your calculated riser height, but check it with a tape measure anyway
- Cut each riser board to fit snugly between the stringers. It sits in the pocket between them with its face flush with the riser cut, so each tread keeps its full 10″ on the stringer and its 1-1/4″ nosing. Do not face-mount riser boards across the front of the stringers, and do not put a board against the house
Install:
- Start with the bottom riser, then set the first tread (Step 8), then the next riser, and so on up the stairs
- Apply a bead of construction adhesive on both ends of the riser board, where it meets the stringers, and on the back edge of the tread below it. Glue everything
- Set the riser board between the stringers, its face flush with the riser cuts and its bottom edge level with the tread cut below it (on the slab for the bottom riser)
- Drive 2 of the 3″ exterior-rated screws through the outside face of each stringer into the end of the board, the same way the back board goes on. Then reach in behind the riser, before the next tread goes on, and staple it into the back edge of the tread below with 1-1/4″ staples. The bottom riser has no tread below it, so it gets the glue and screws only
- Check that it’s plumb (perfectly vertical, with no lean). Hold a level against the riser face to check it. If it’s leaning forward or back, adjust it before the adhesive sets
- Set the tread above it (Step 8), then repeat for the next riser, working from bottom to top
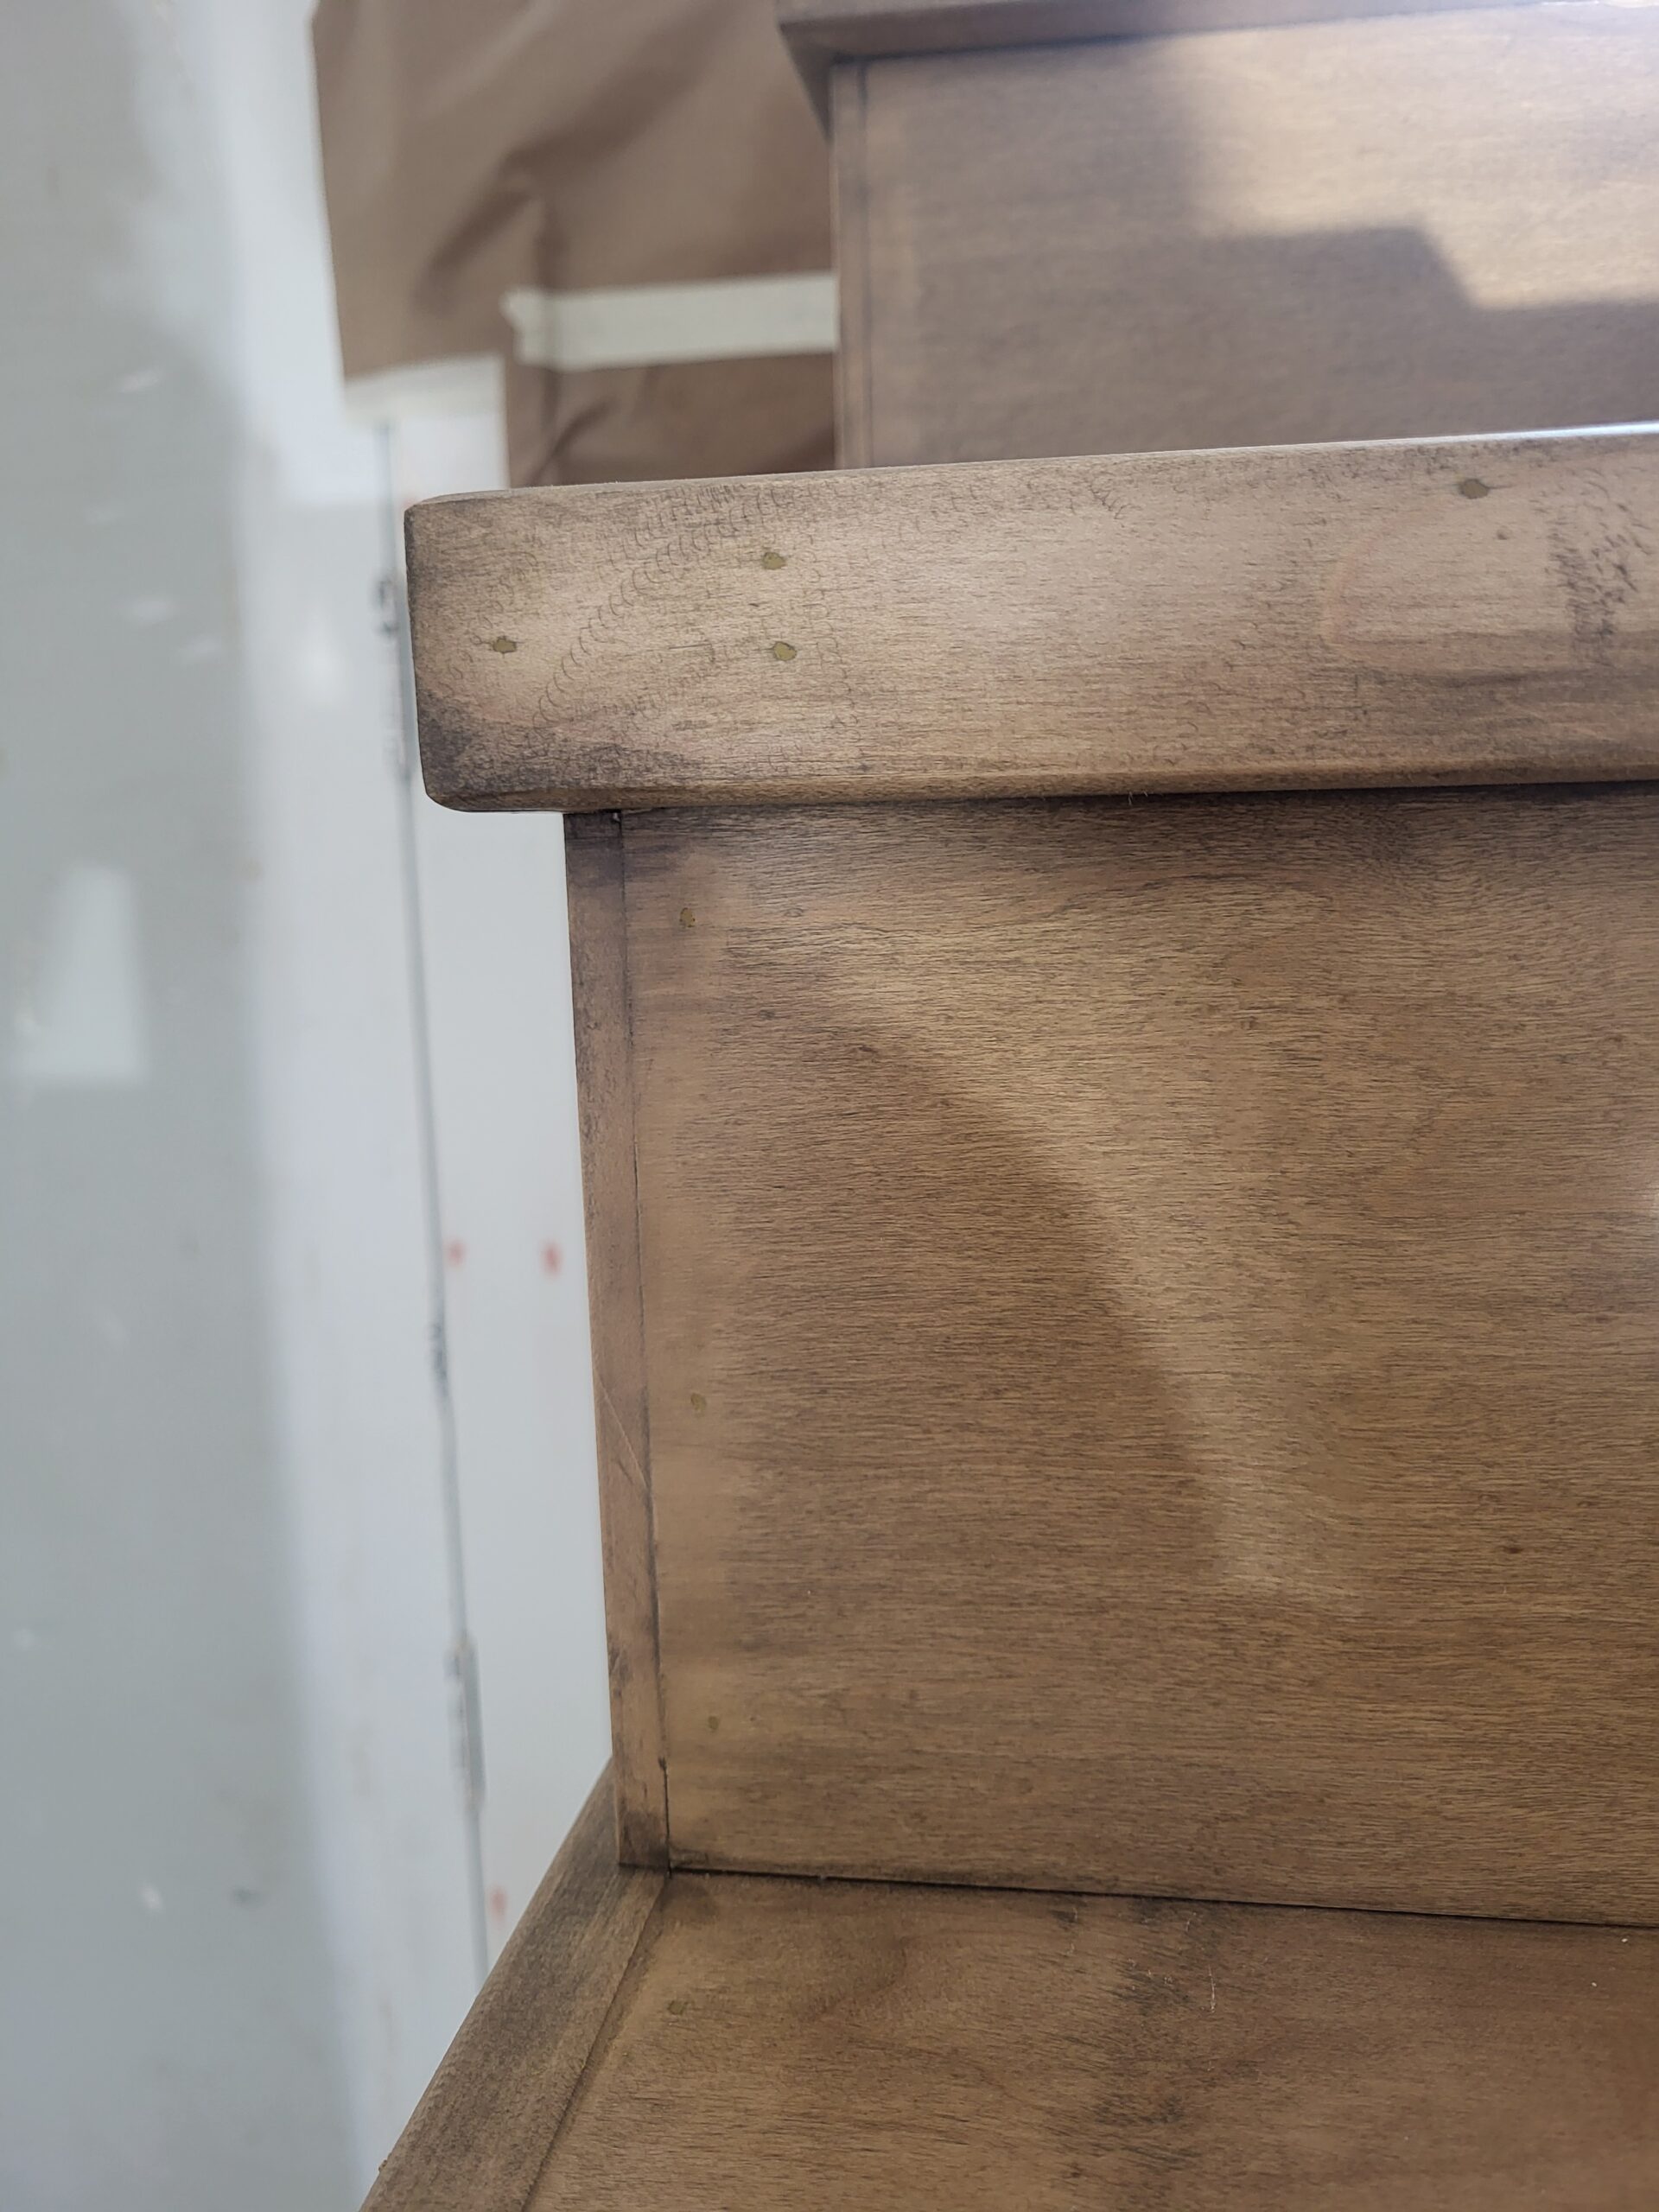
Critical tip: The top edge of each riser should be flush with the tread cut above it. The tread will sit on the stringer’s tread cut AND overlap this top edge. If the riser top is too high, the tread will rock. If too low, there’ll be a visible gap.
Step 8: Install Treads - Modified #
Set each tread as you go, right after the riser below it, following the core guide process for setting and screwing the treads, with two changes. Closed-riser treads are glued AND screwed: run a bead of construction adhesive on each stringer tread cut and on the top edge of the riser board before you set each tread. And:
- After screwing the tread to the stringers, also drive a screw or nail through the front of the tread, just behind the nosing, down into the top edge of the riser board below it
- This locks the tread-to-riser joint and eliminates squeaks
- Use 2 to 3 fasteners along that line, about 1-5/8″ back from the front edge, evenly spaced
- Pre-drill if using screws near the edge to prevent splitting
Step 9: Final Verification #
Follow the core guide verifications, plus:
- Check that every riser is plumb (vertical) by running a level down each one
- Look for gaps between riser boards and stringers. A visible gap is a fit problem: re-plane the stringer cut or re-scribe and re-trim the riser instead of leaving it for the painter to seal
- Verify that treads sit tight against riser top edges - no visible gaps from the front
Quality Check: Garage Steps with Closed Risers #
When building garage steps with closed risers, verify these items beyond the core guide quality checklist:
- All risers are plumb (vertical) - check with a level
- No gaps between riser boards and stringer riser cuts
- Riser top edges are flush with tread cuts above
- Treads overlap riser tops with no visible gap from the front
- Tread-to-riser joint screws are driven (back of tread into riser top)
- Riser material is consistent - same thickness on all risers
Troubleshooting Garage Steps with Closed Risers #
Gap between riser and stringer: If the riser board doesn’t sit flush, the stringer’s riser cut may not be perfectly straight. Sand or plane the stringer cut smooth, or scribe the riser board (trace the uneven edge onto the board so you can cut it to match) and trim it with a jigsaw. For small gaps under 1/8″, construction adhesive will fill the void. A bigger gap is a fit problem, not something to leave for the painter to seal, since a gap that size only gets more visible once it is painted. Fix it by re-planing the stringer cut, or by re-scribing and re-trimming the riser.
Riser bows outward: This happens with thinner material (1/2″ plywood) on taller risers. Fix it by adding a horizontal cleat behind the riser at mid-height, screwed between the stringers. Or upgrade to 3/4″ plywood or solid 1× boards.
Tread rocks on riser top edge: The riser top edge is too high. Remove the tread. Plane or sand the riser top edge down until it’s flush with the stringer tread cut. Re-check with a straight edge across both stringers and the riser top.
Riser splits when fastening: Pre-drill all fastener holes, especially near edges and ends. For 1/2″ plywood, use brad nails instead of screws to reduce splitting risk.
Closed risers take more time and material than open risers, but they block dust and small items from falling through the gaps. That is worth it when the garage doubles as a mudroom or sees daily foot traffic.
External Resources #
- IRC R311.7 - Stairway Code Requirements - residential building code for stairs, handrails, treads, and guardrails
All Garage Steps Guides #
- Build Garage Steps - Core guide - 2 stringers, open risers, up to 30-1/2 inches of rise (start here)
- Garage Steps with a Landing - Over 30-1/2 inches of rise, or a door that swings over the steps
- Garage Steps with 3 Stringers - Add a center stringer for open-riser stairs wider than 36″
- → You are here: Garage Steps with Closed Risers - Add riser boards for a finished look
- Garage Step Handrail - When and how to install a code-compliant handrail
Reference Photos #
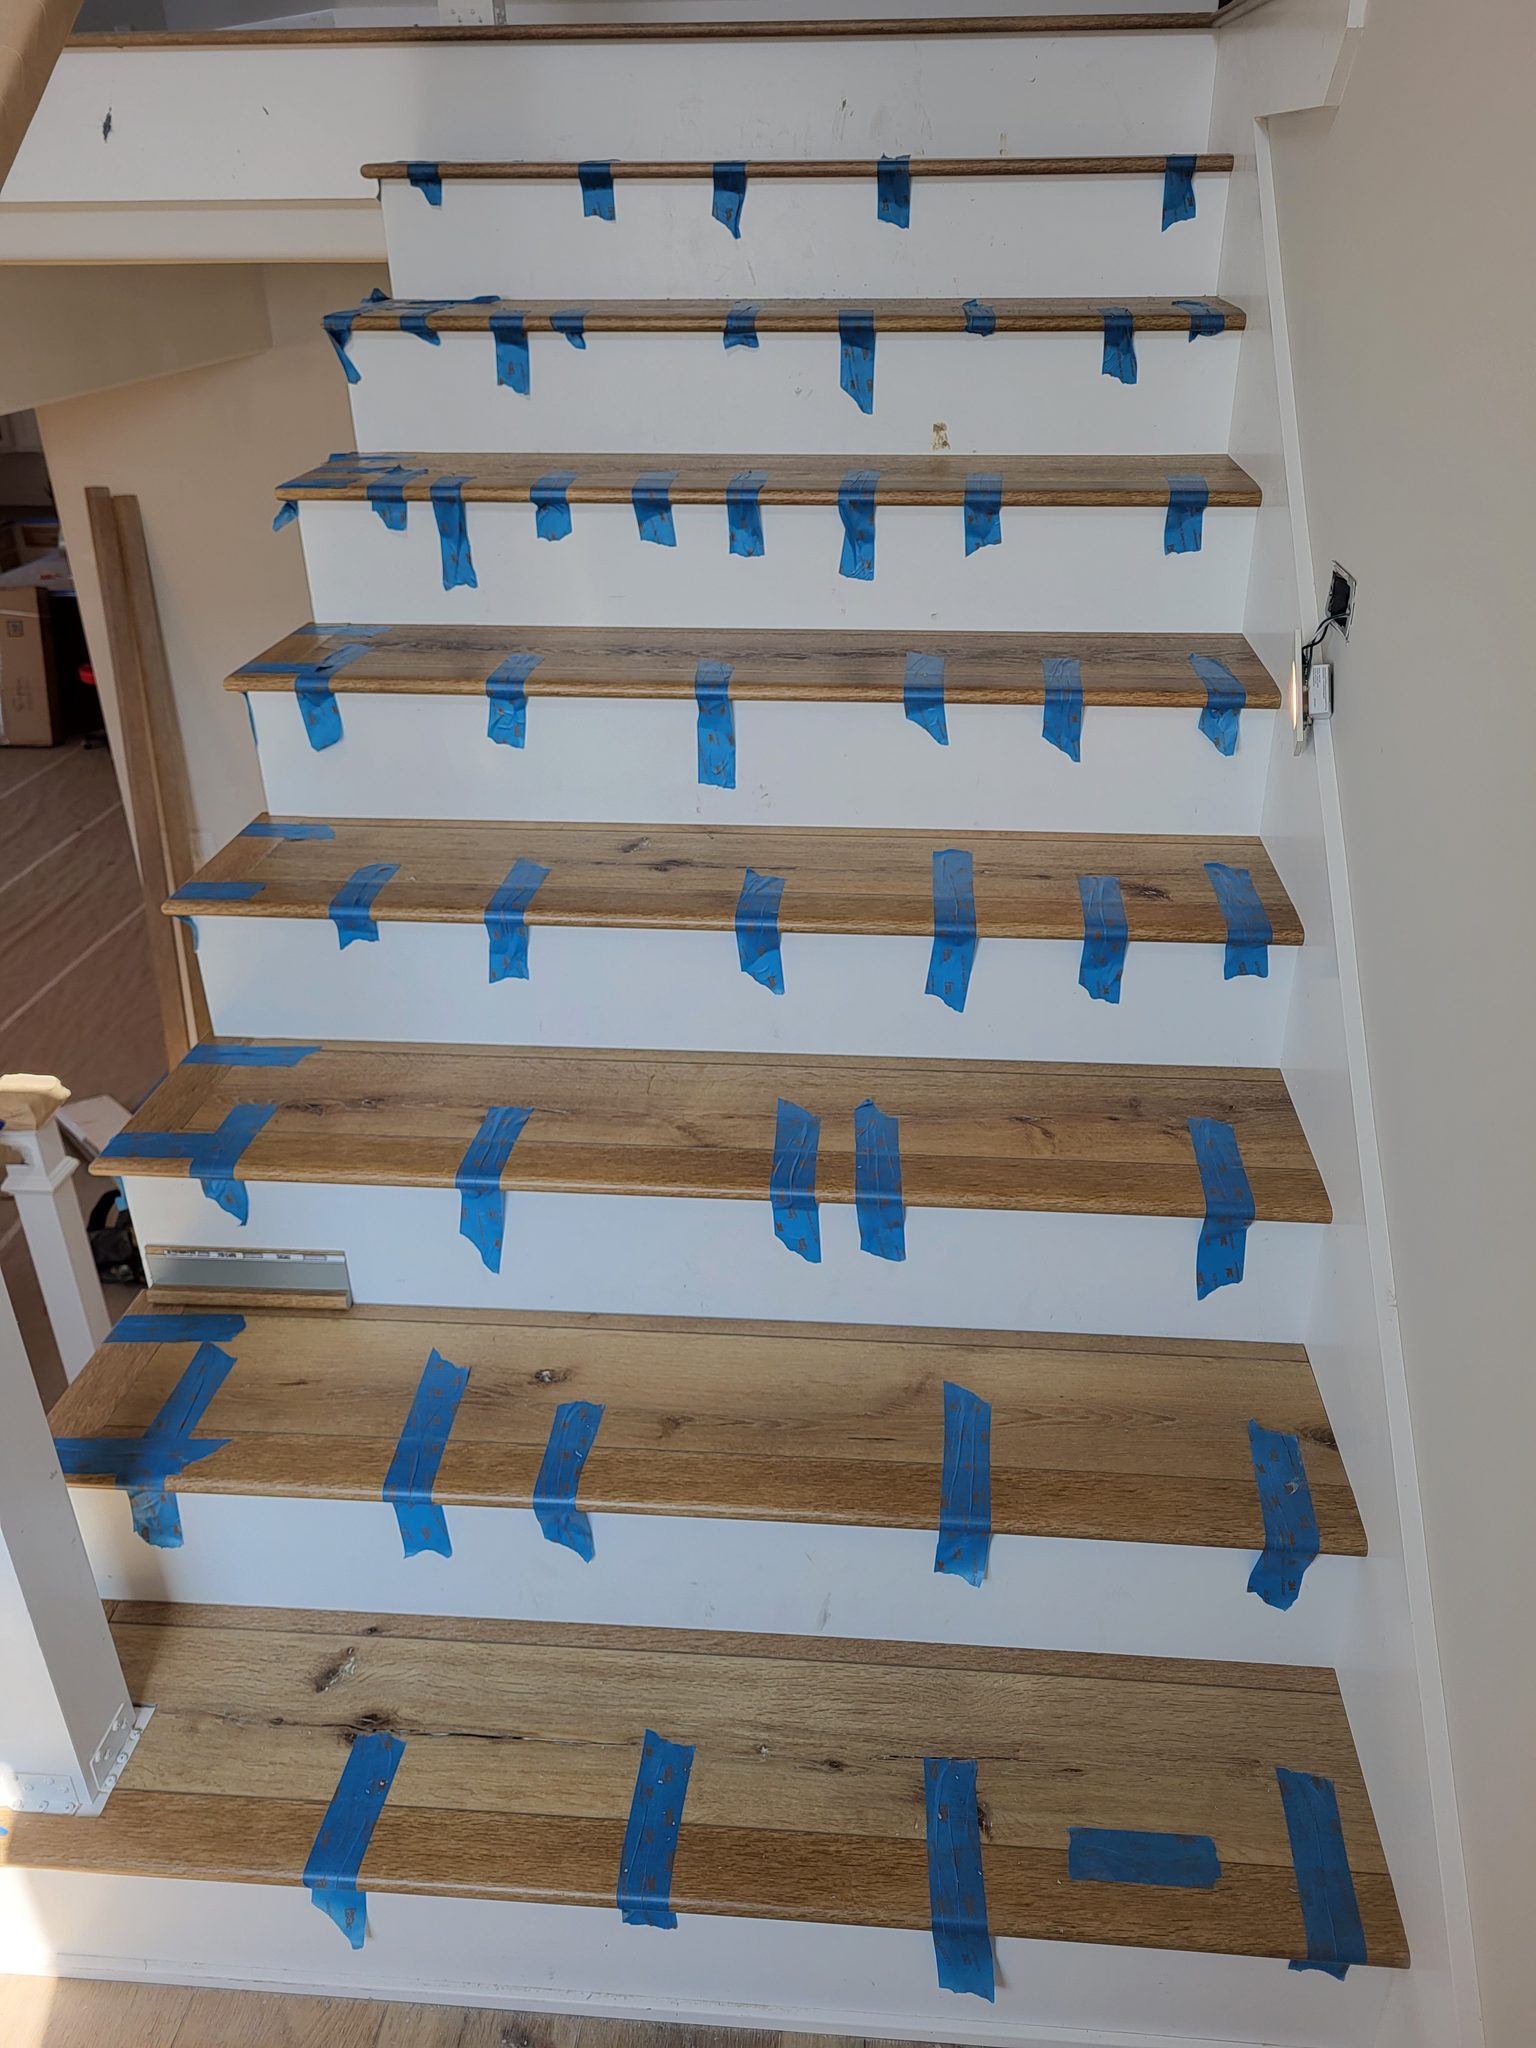
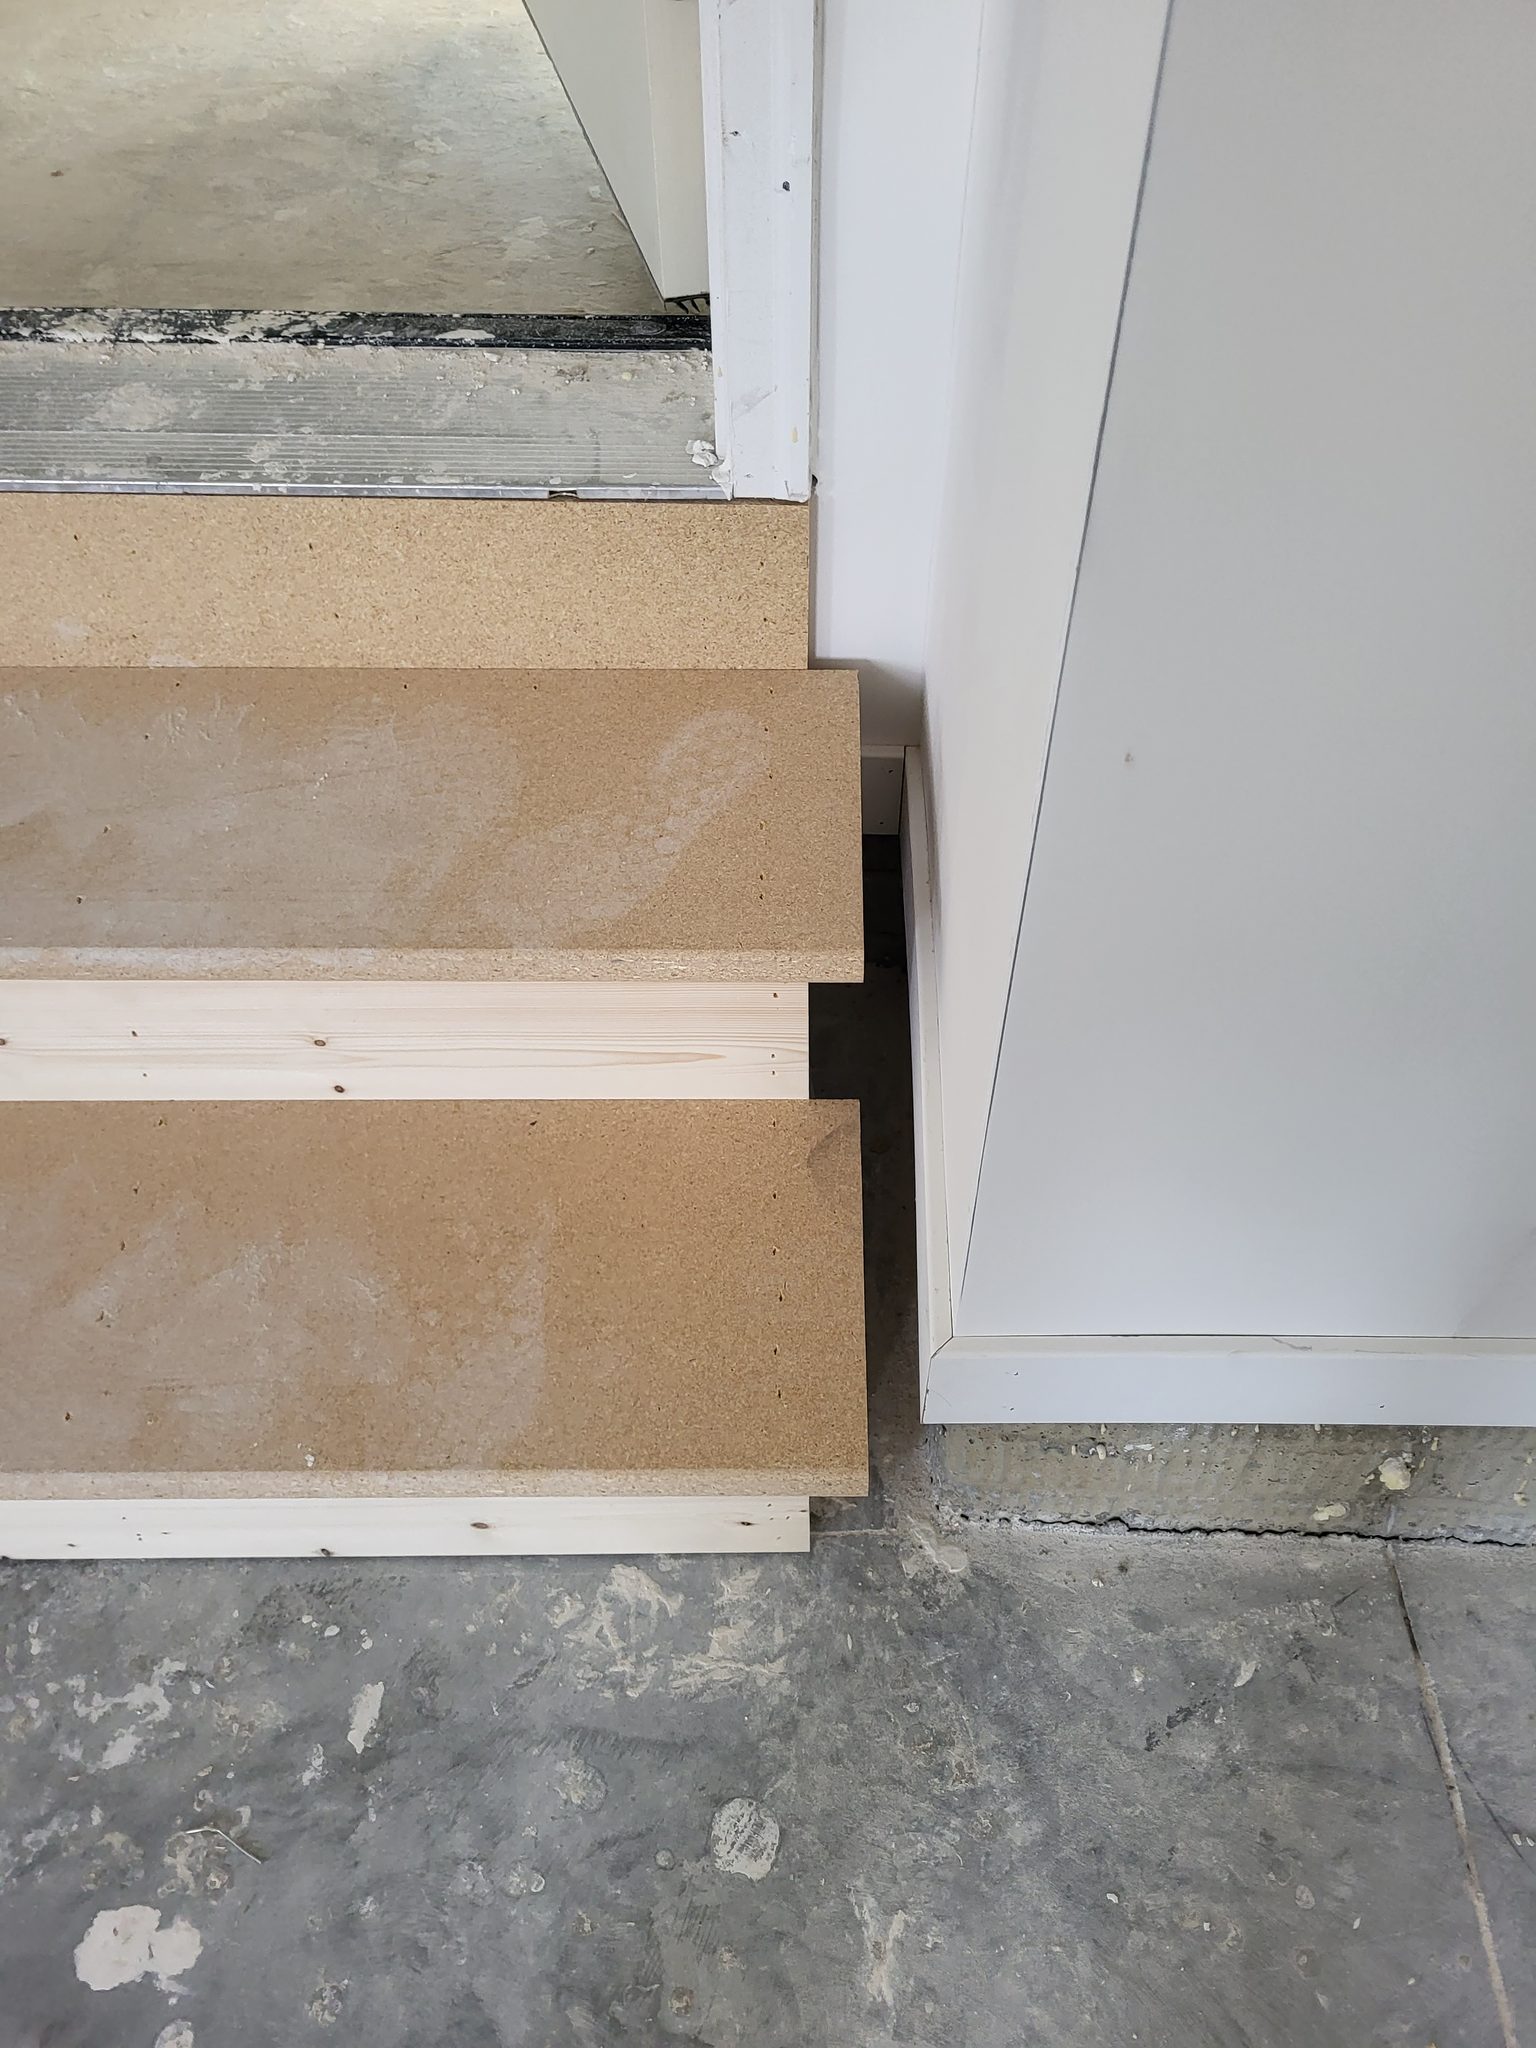
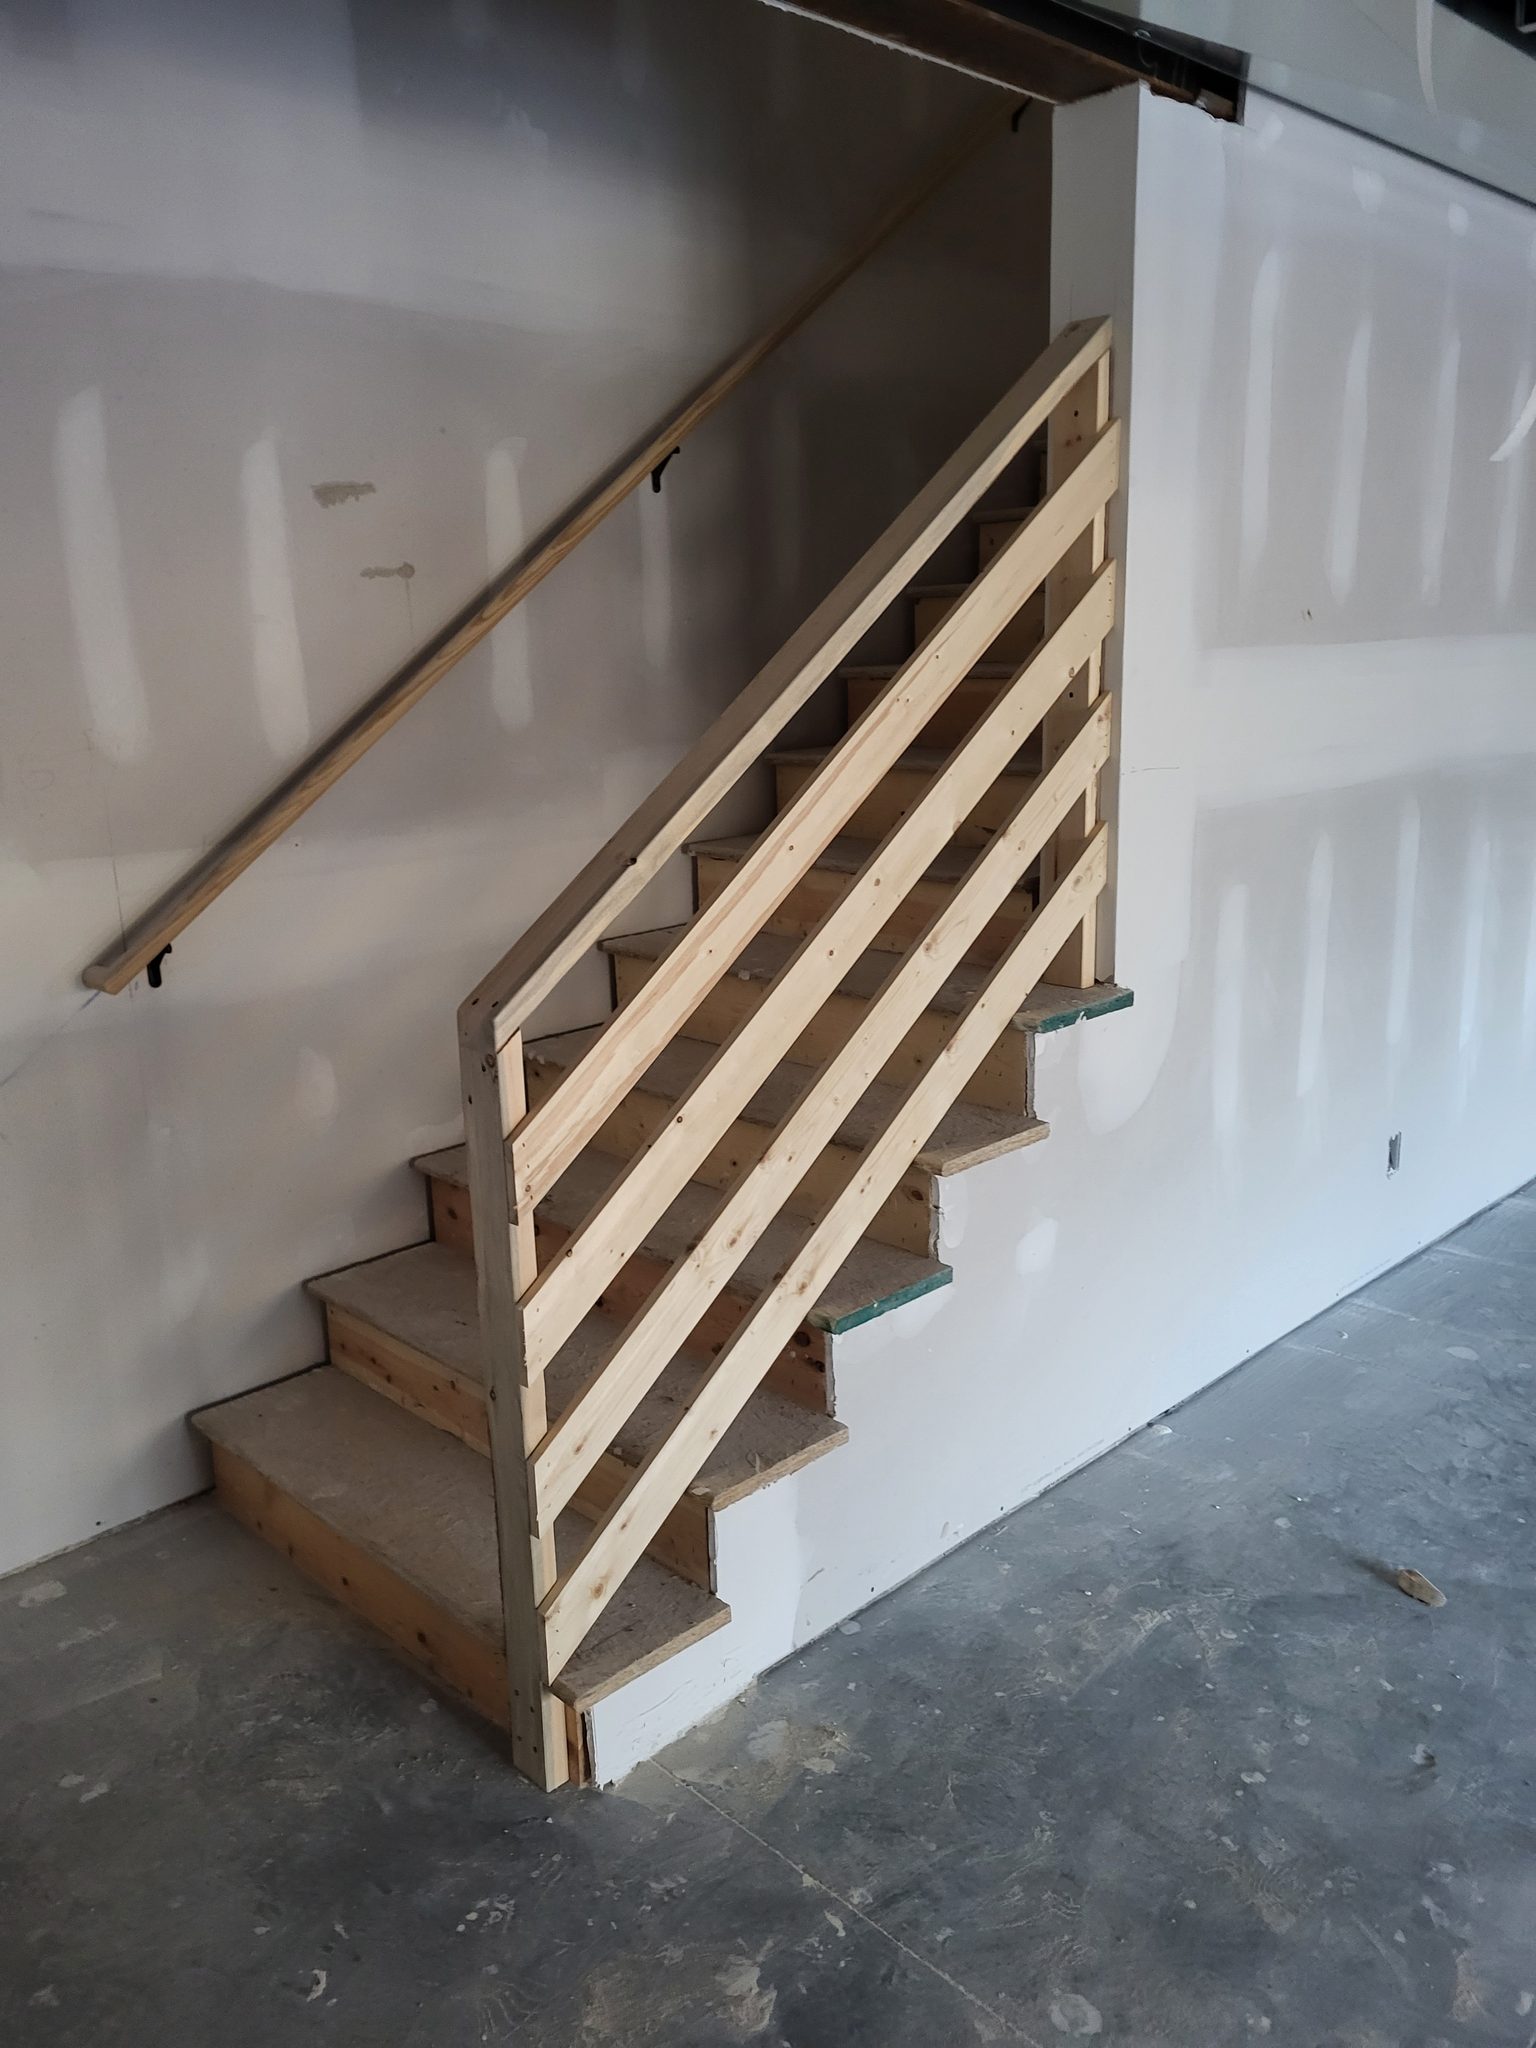
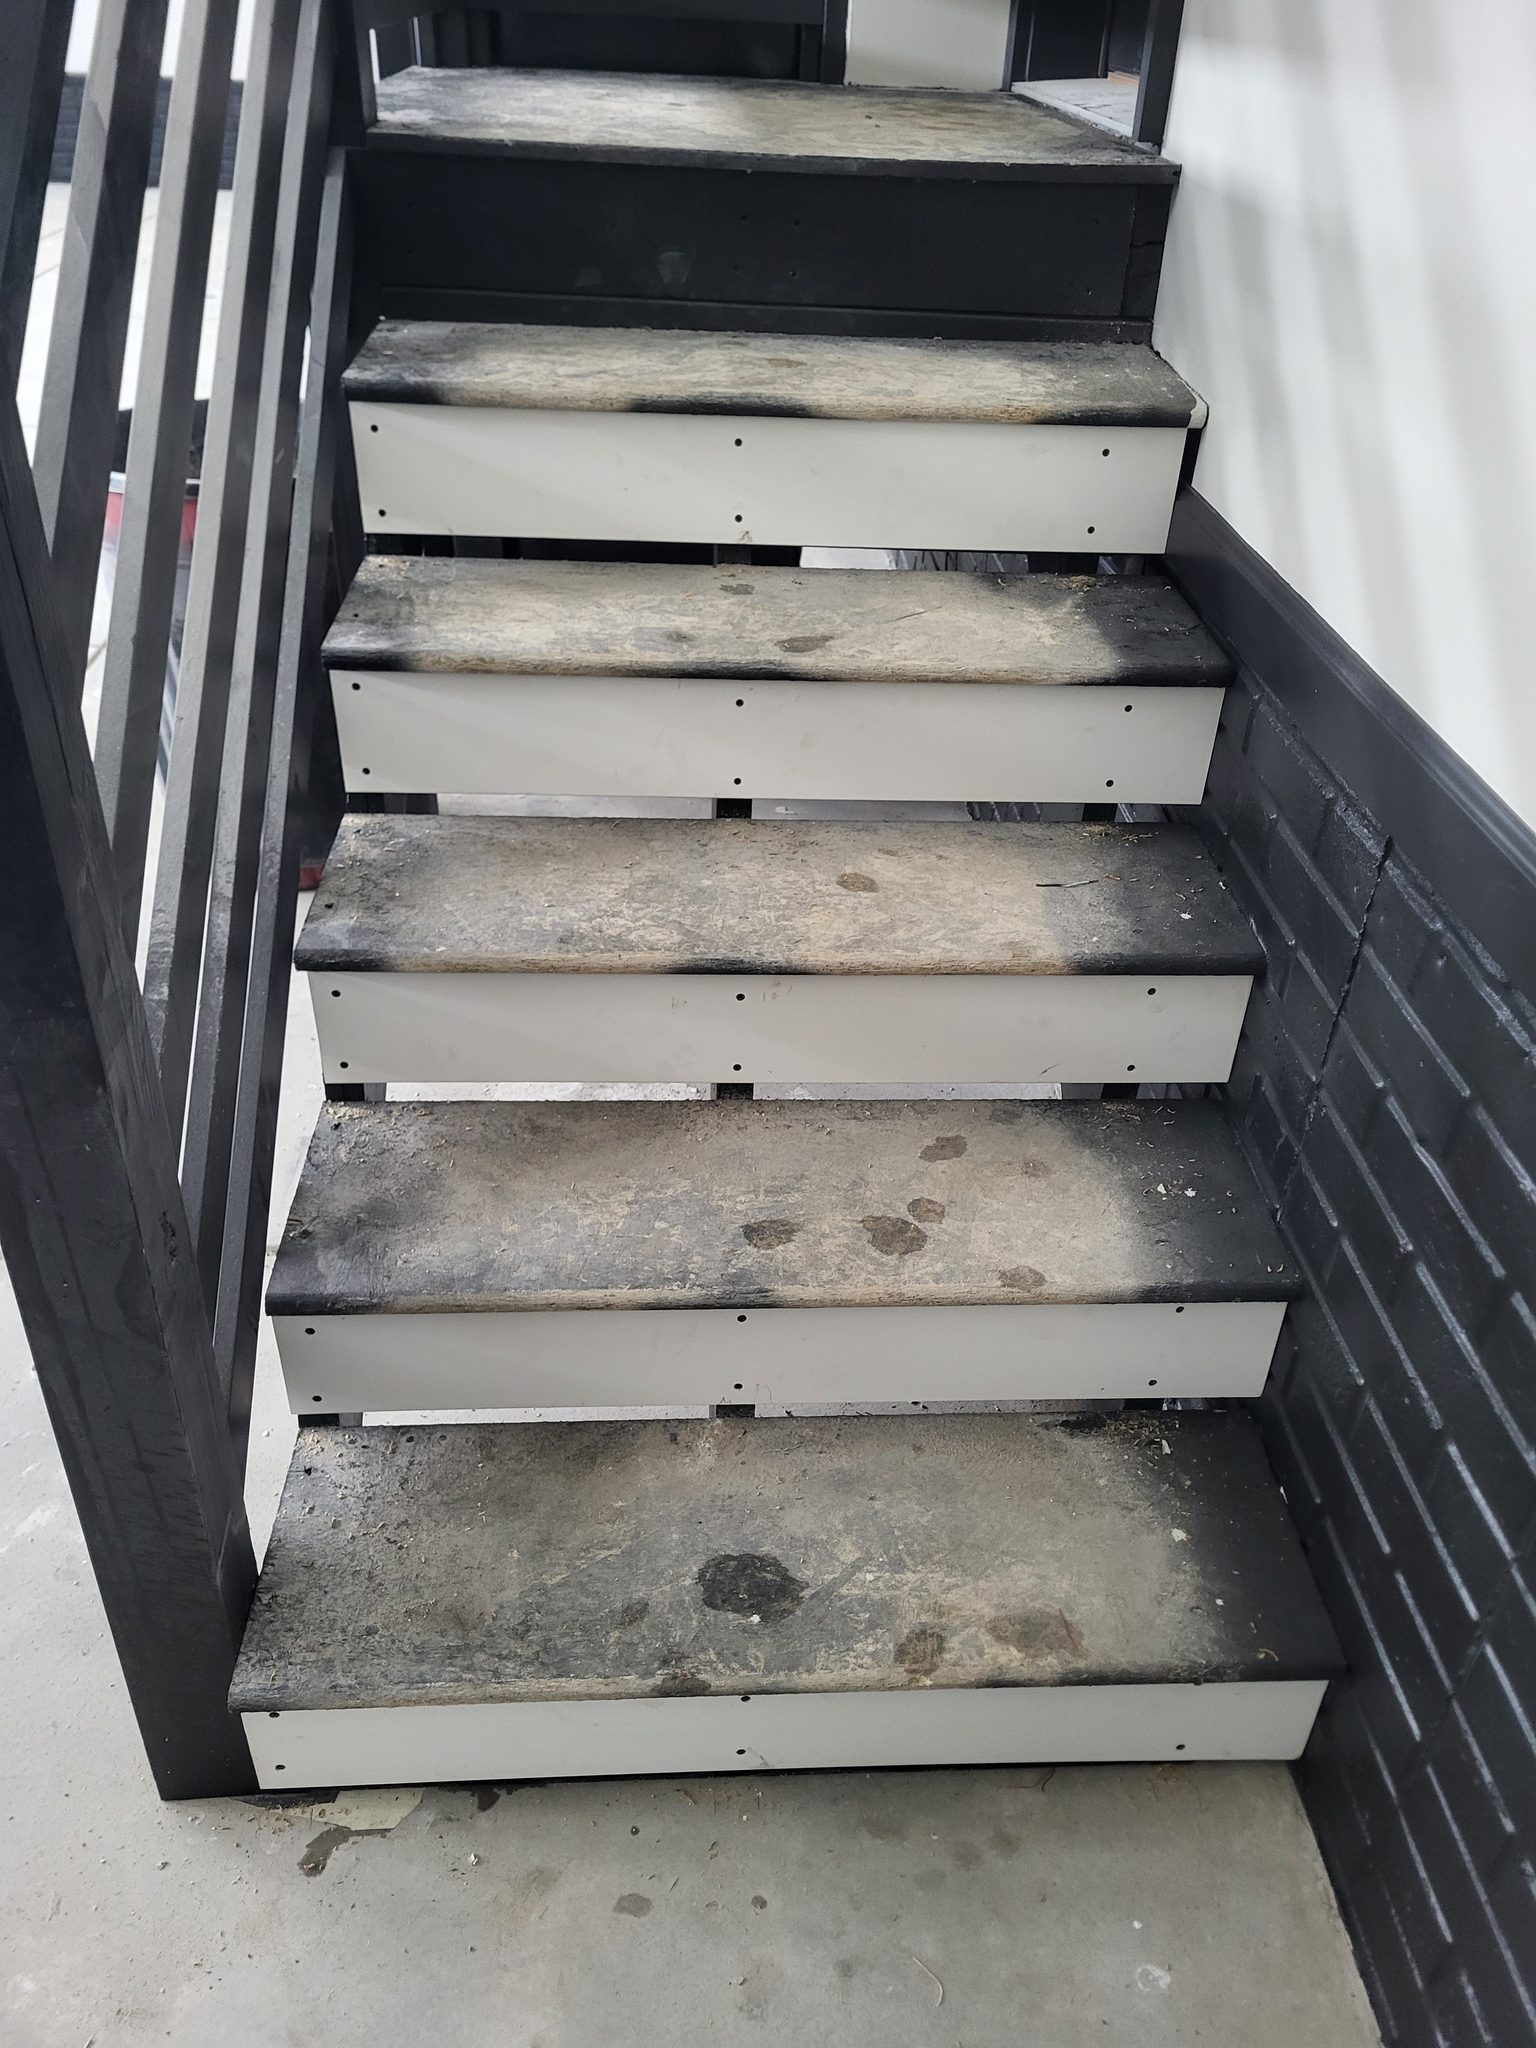
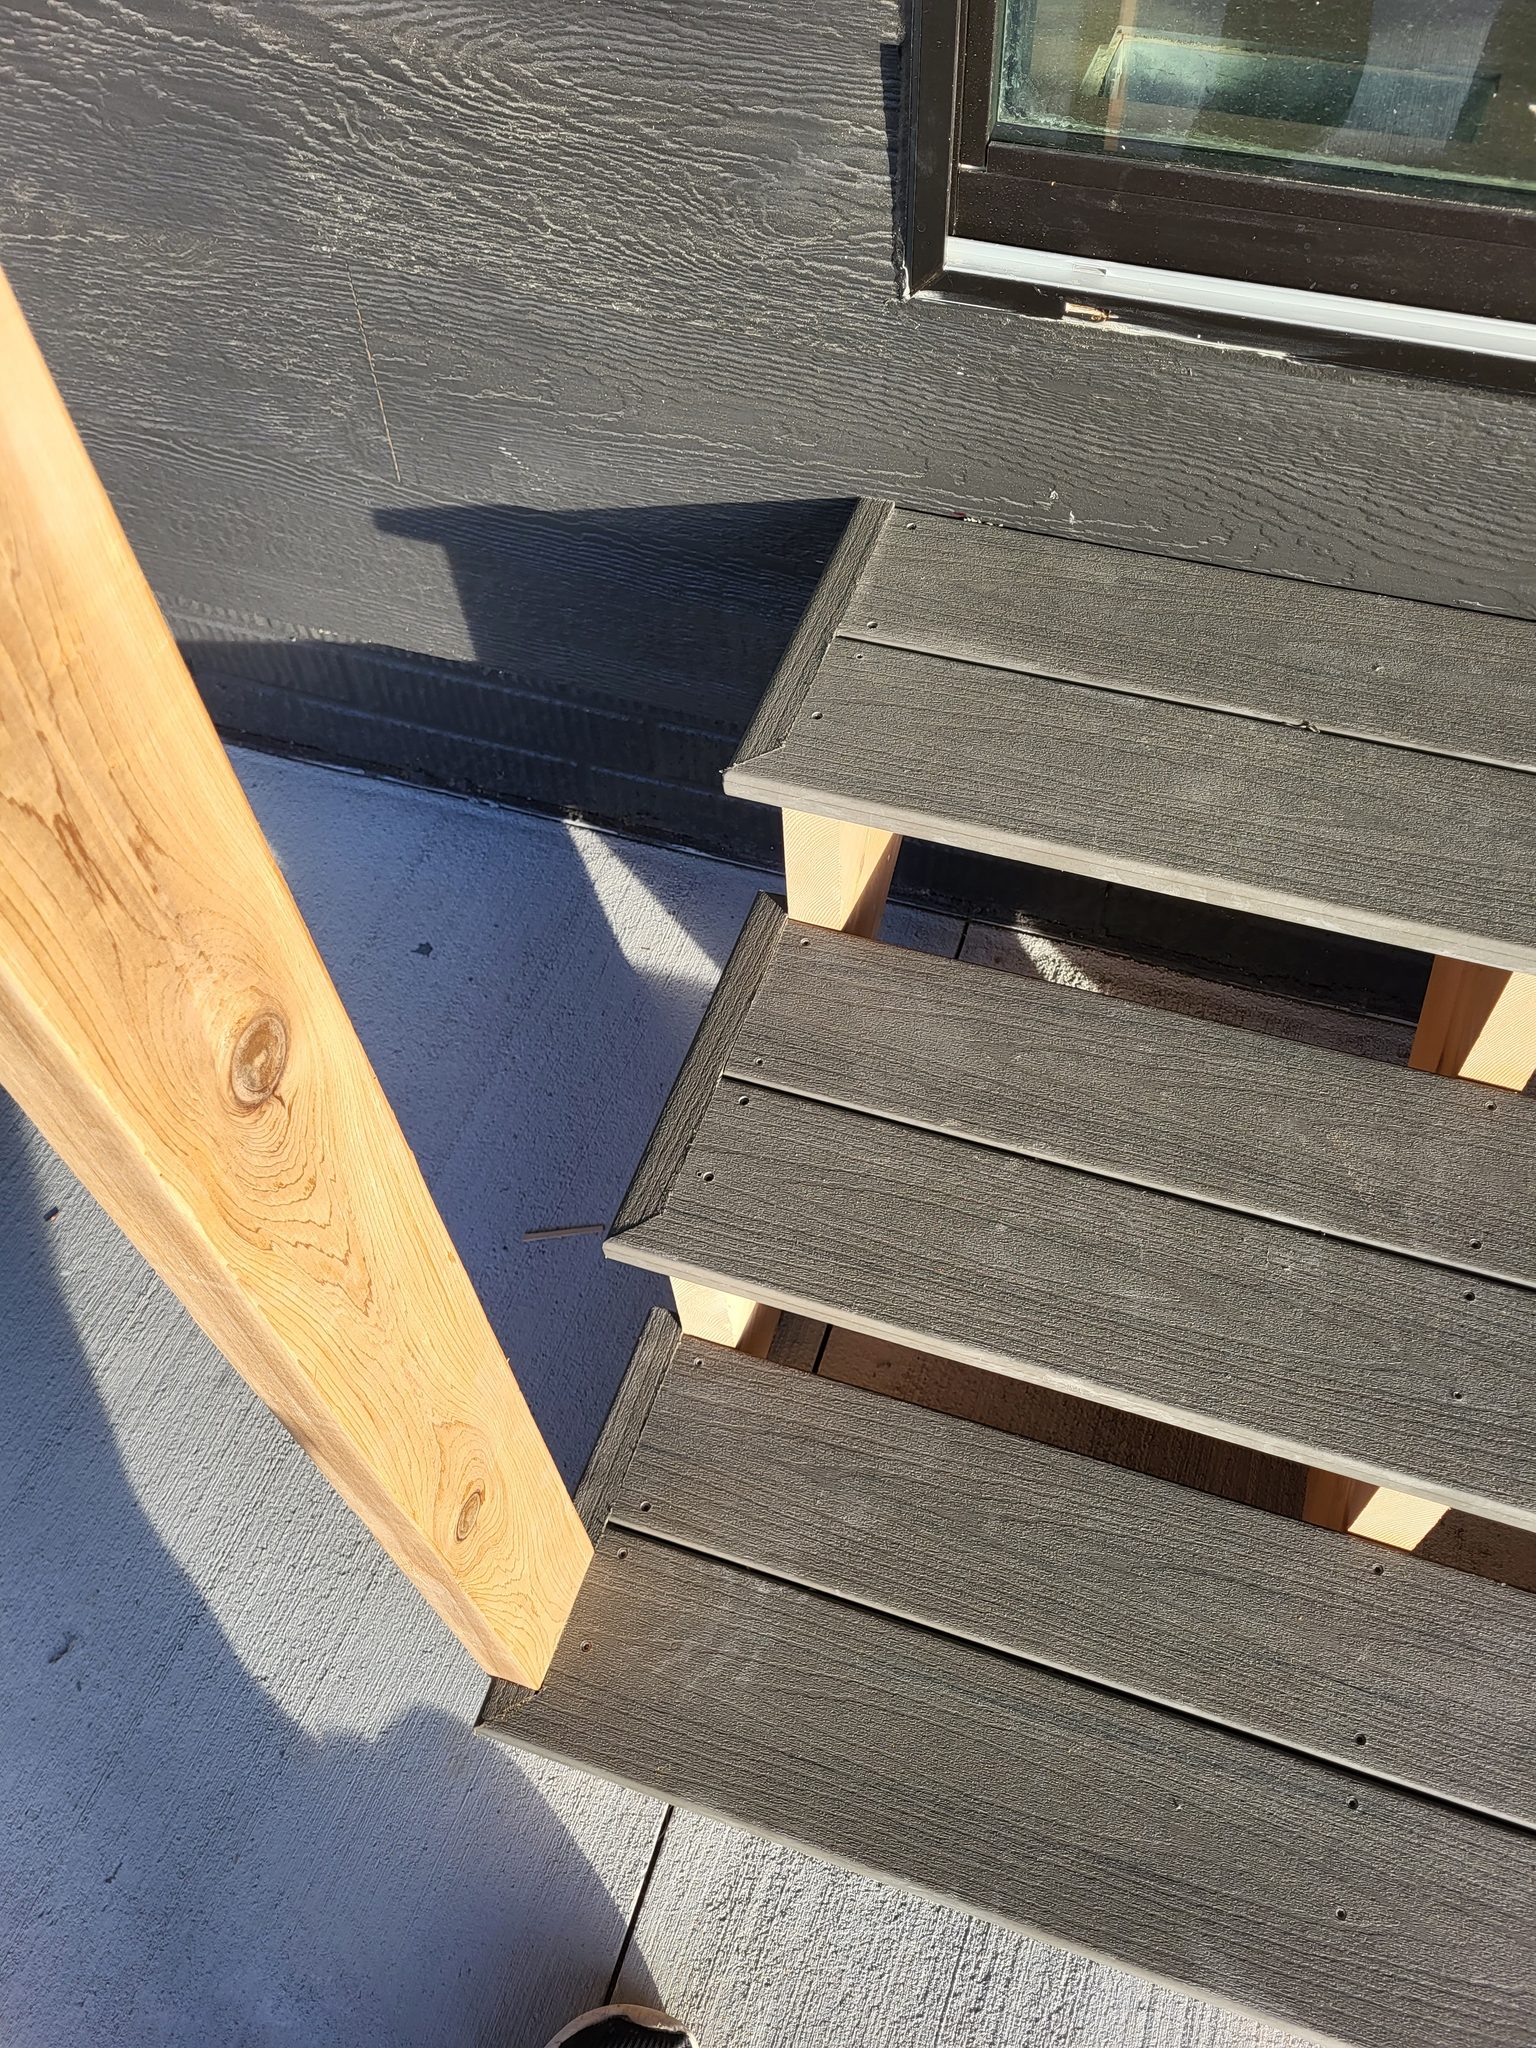
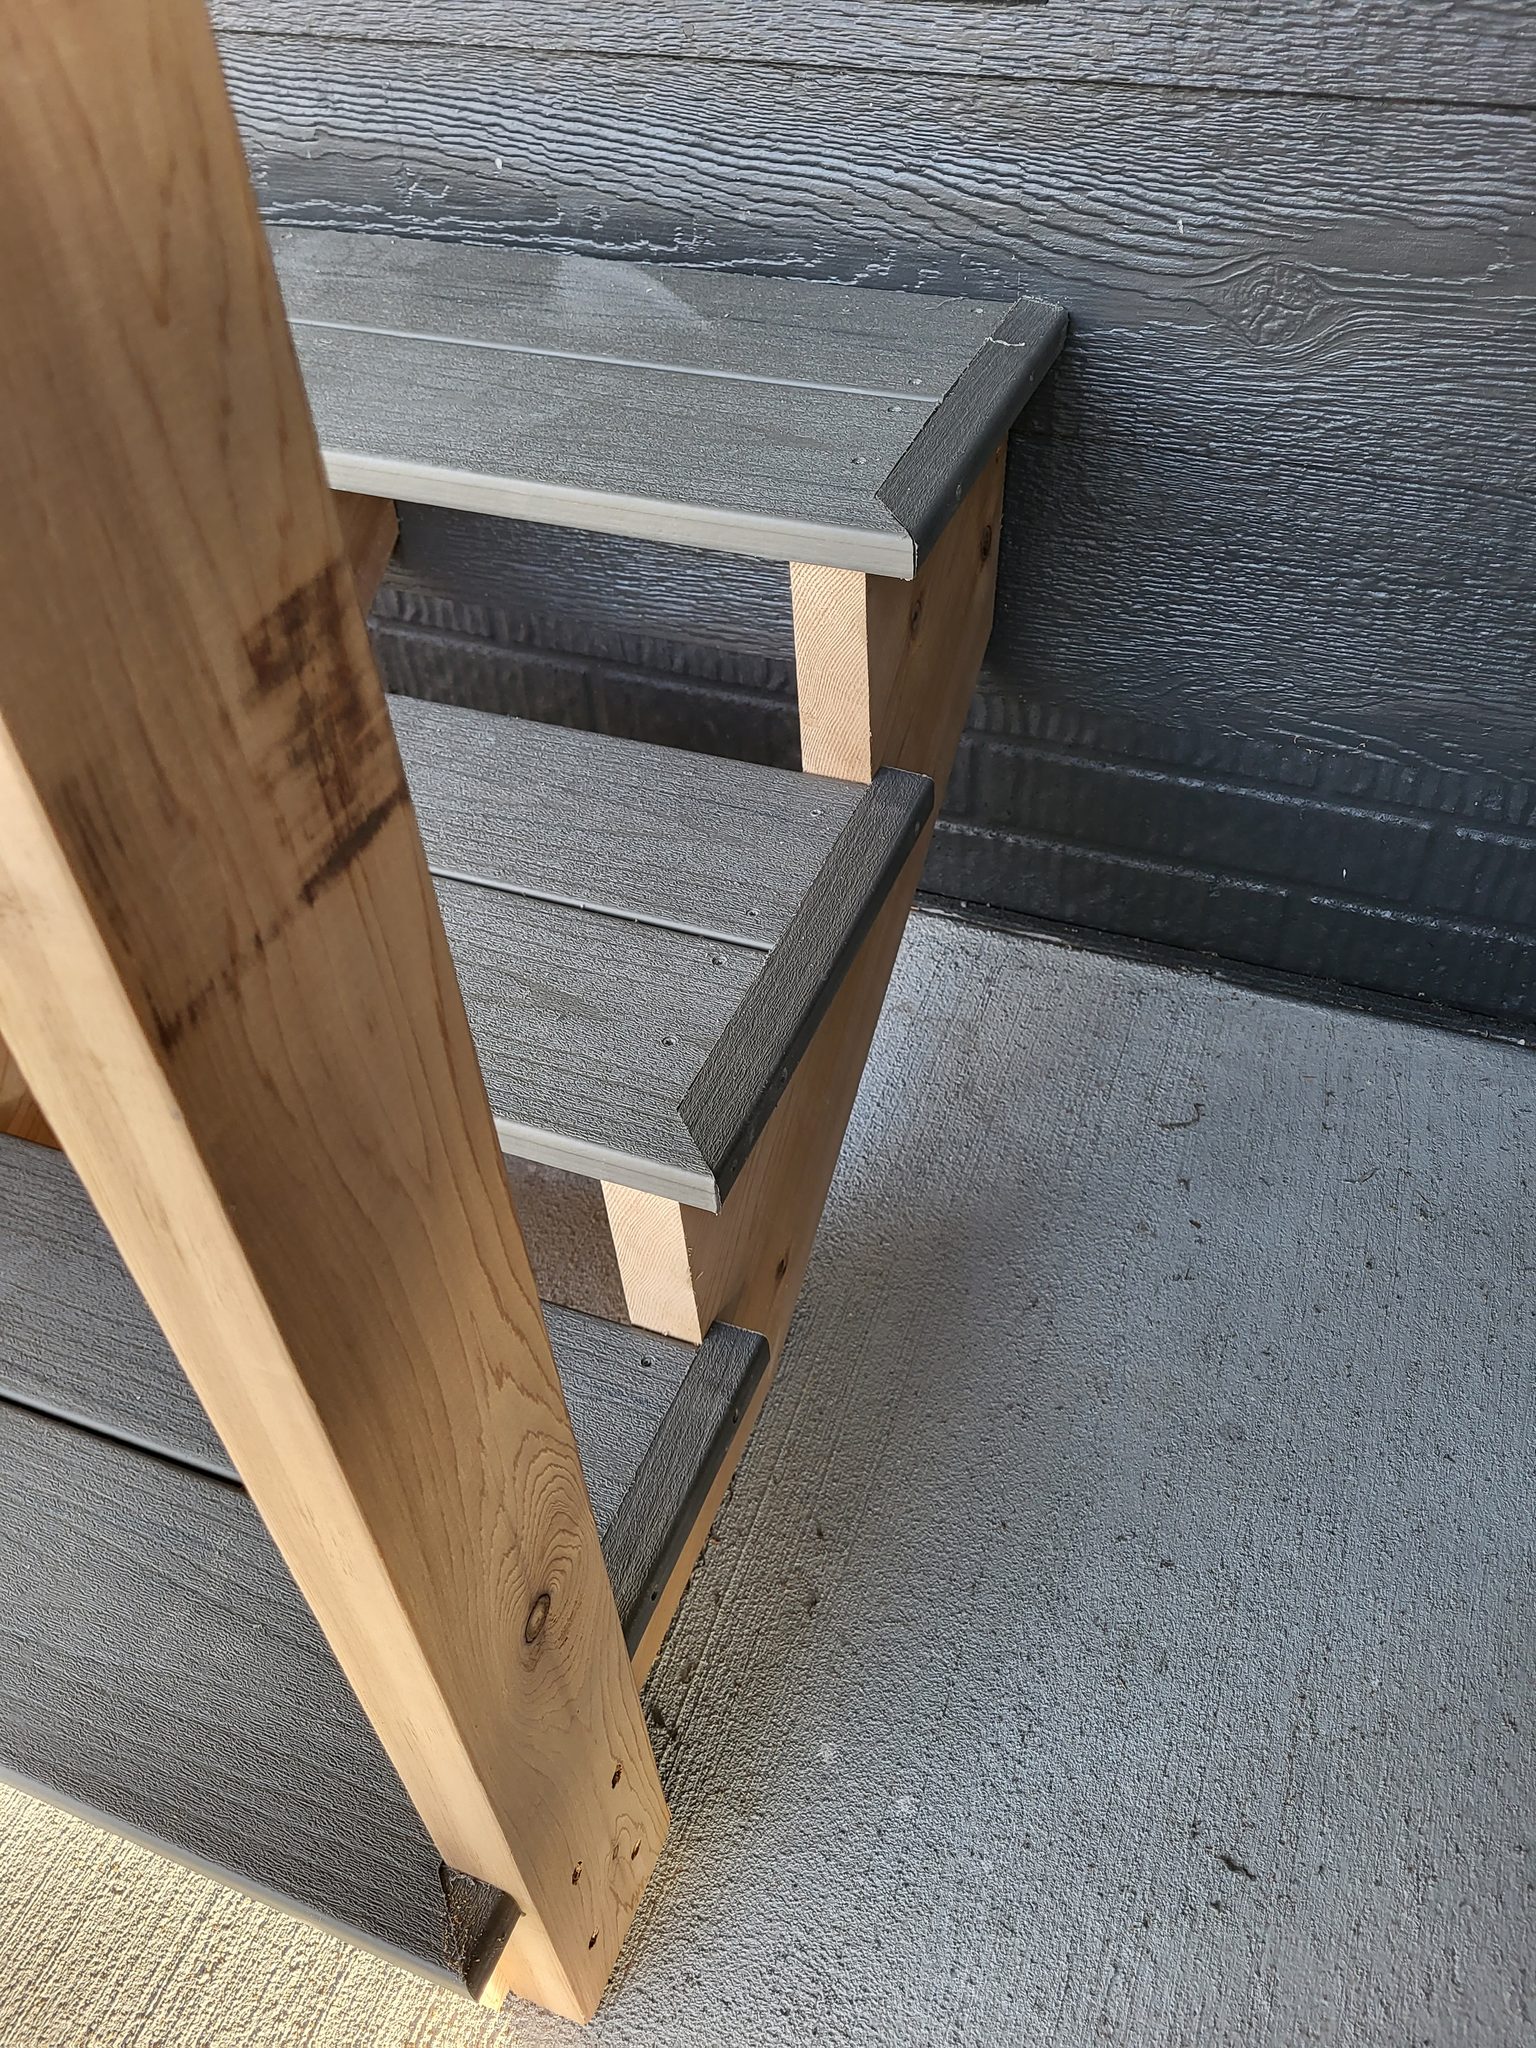
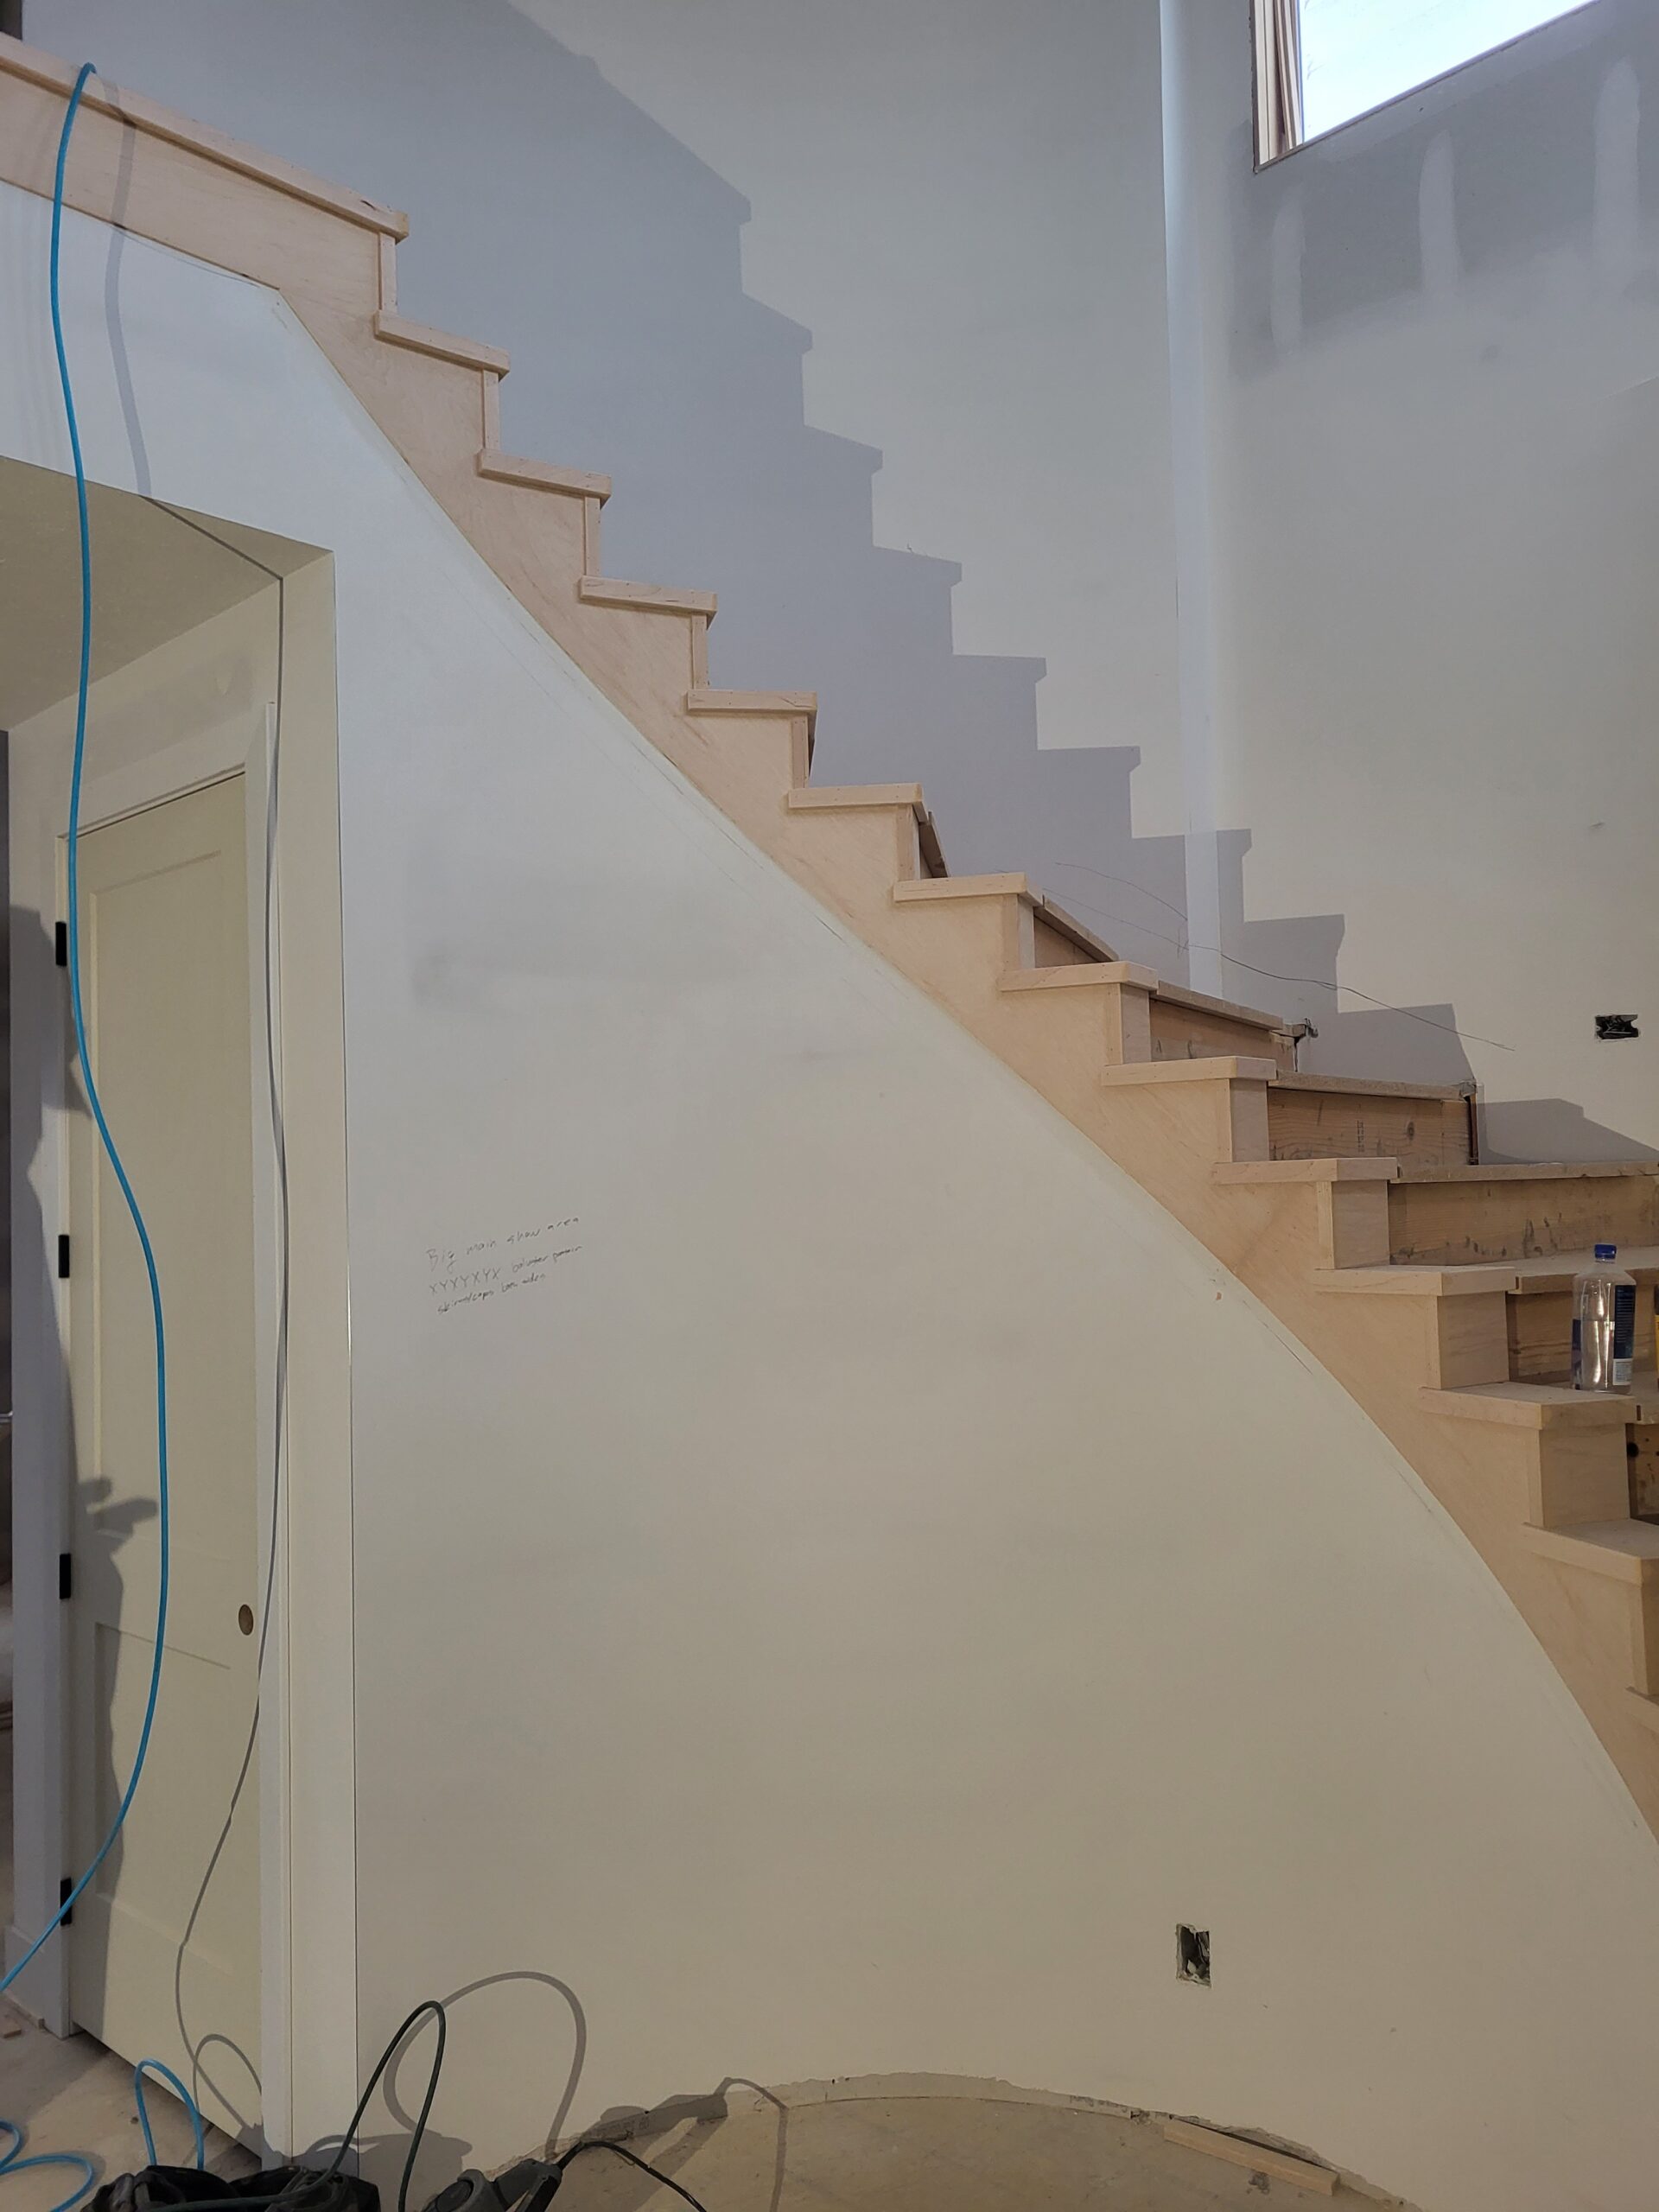
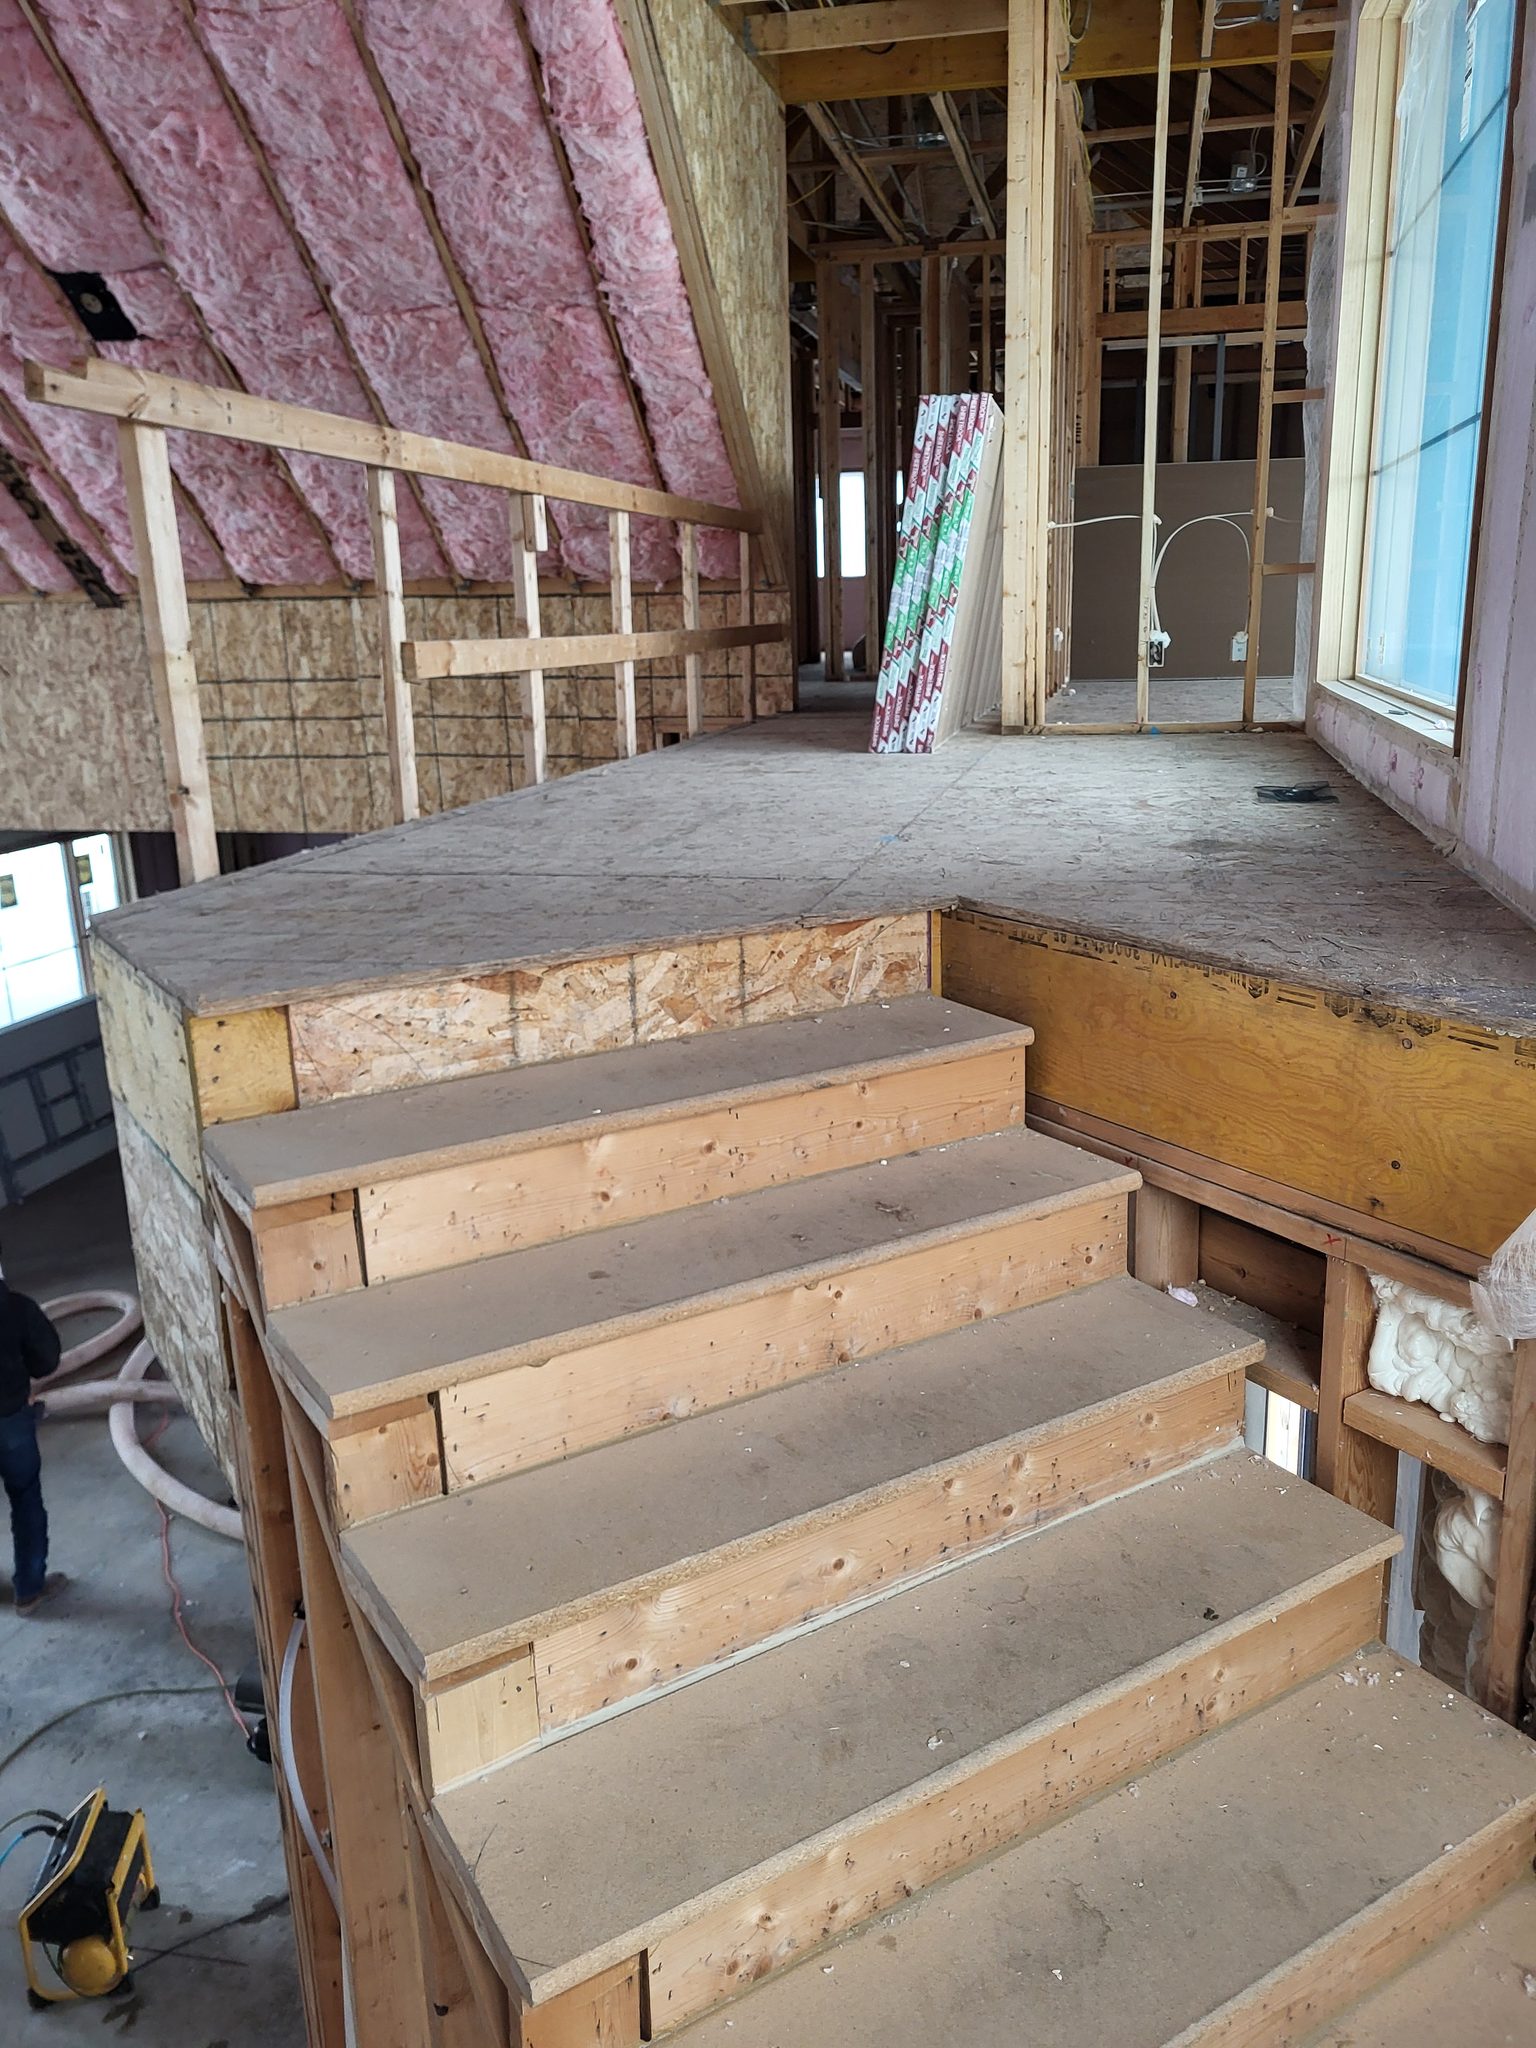
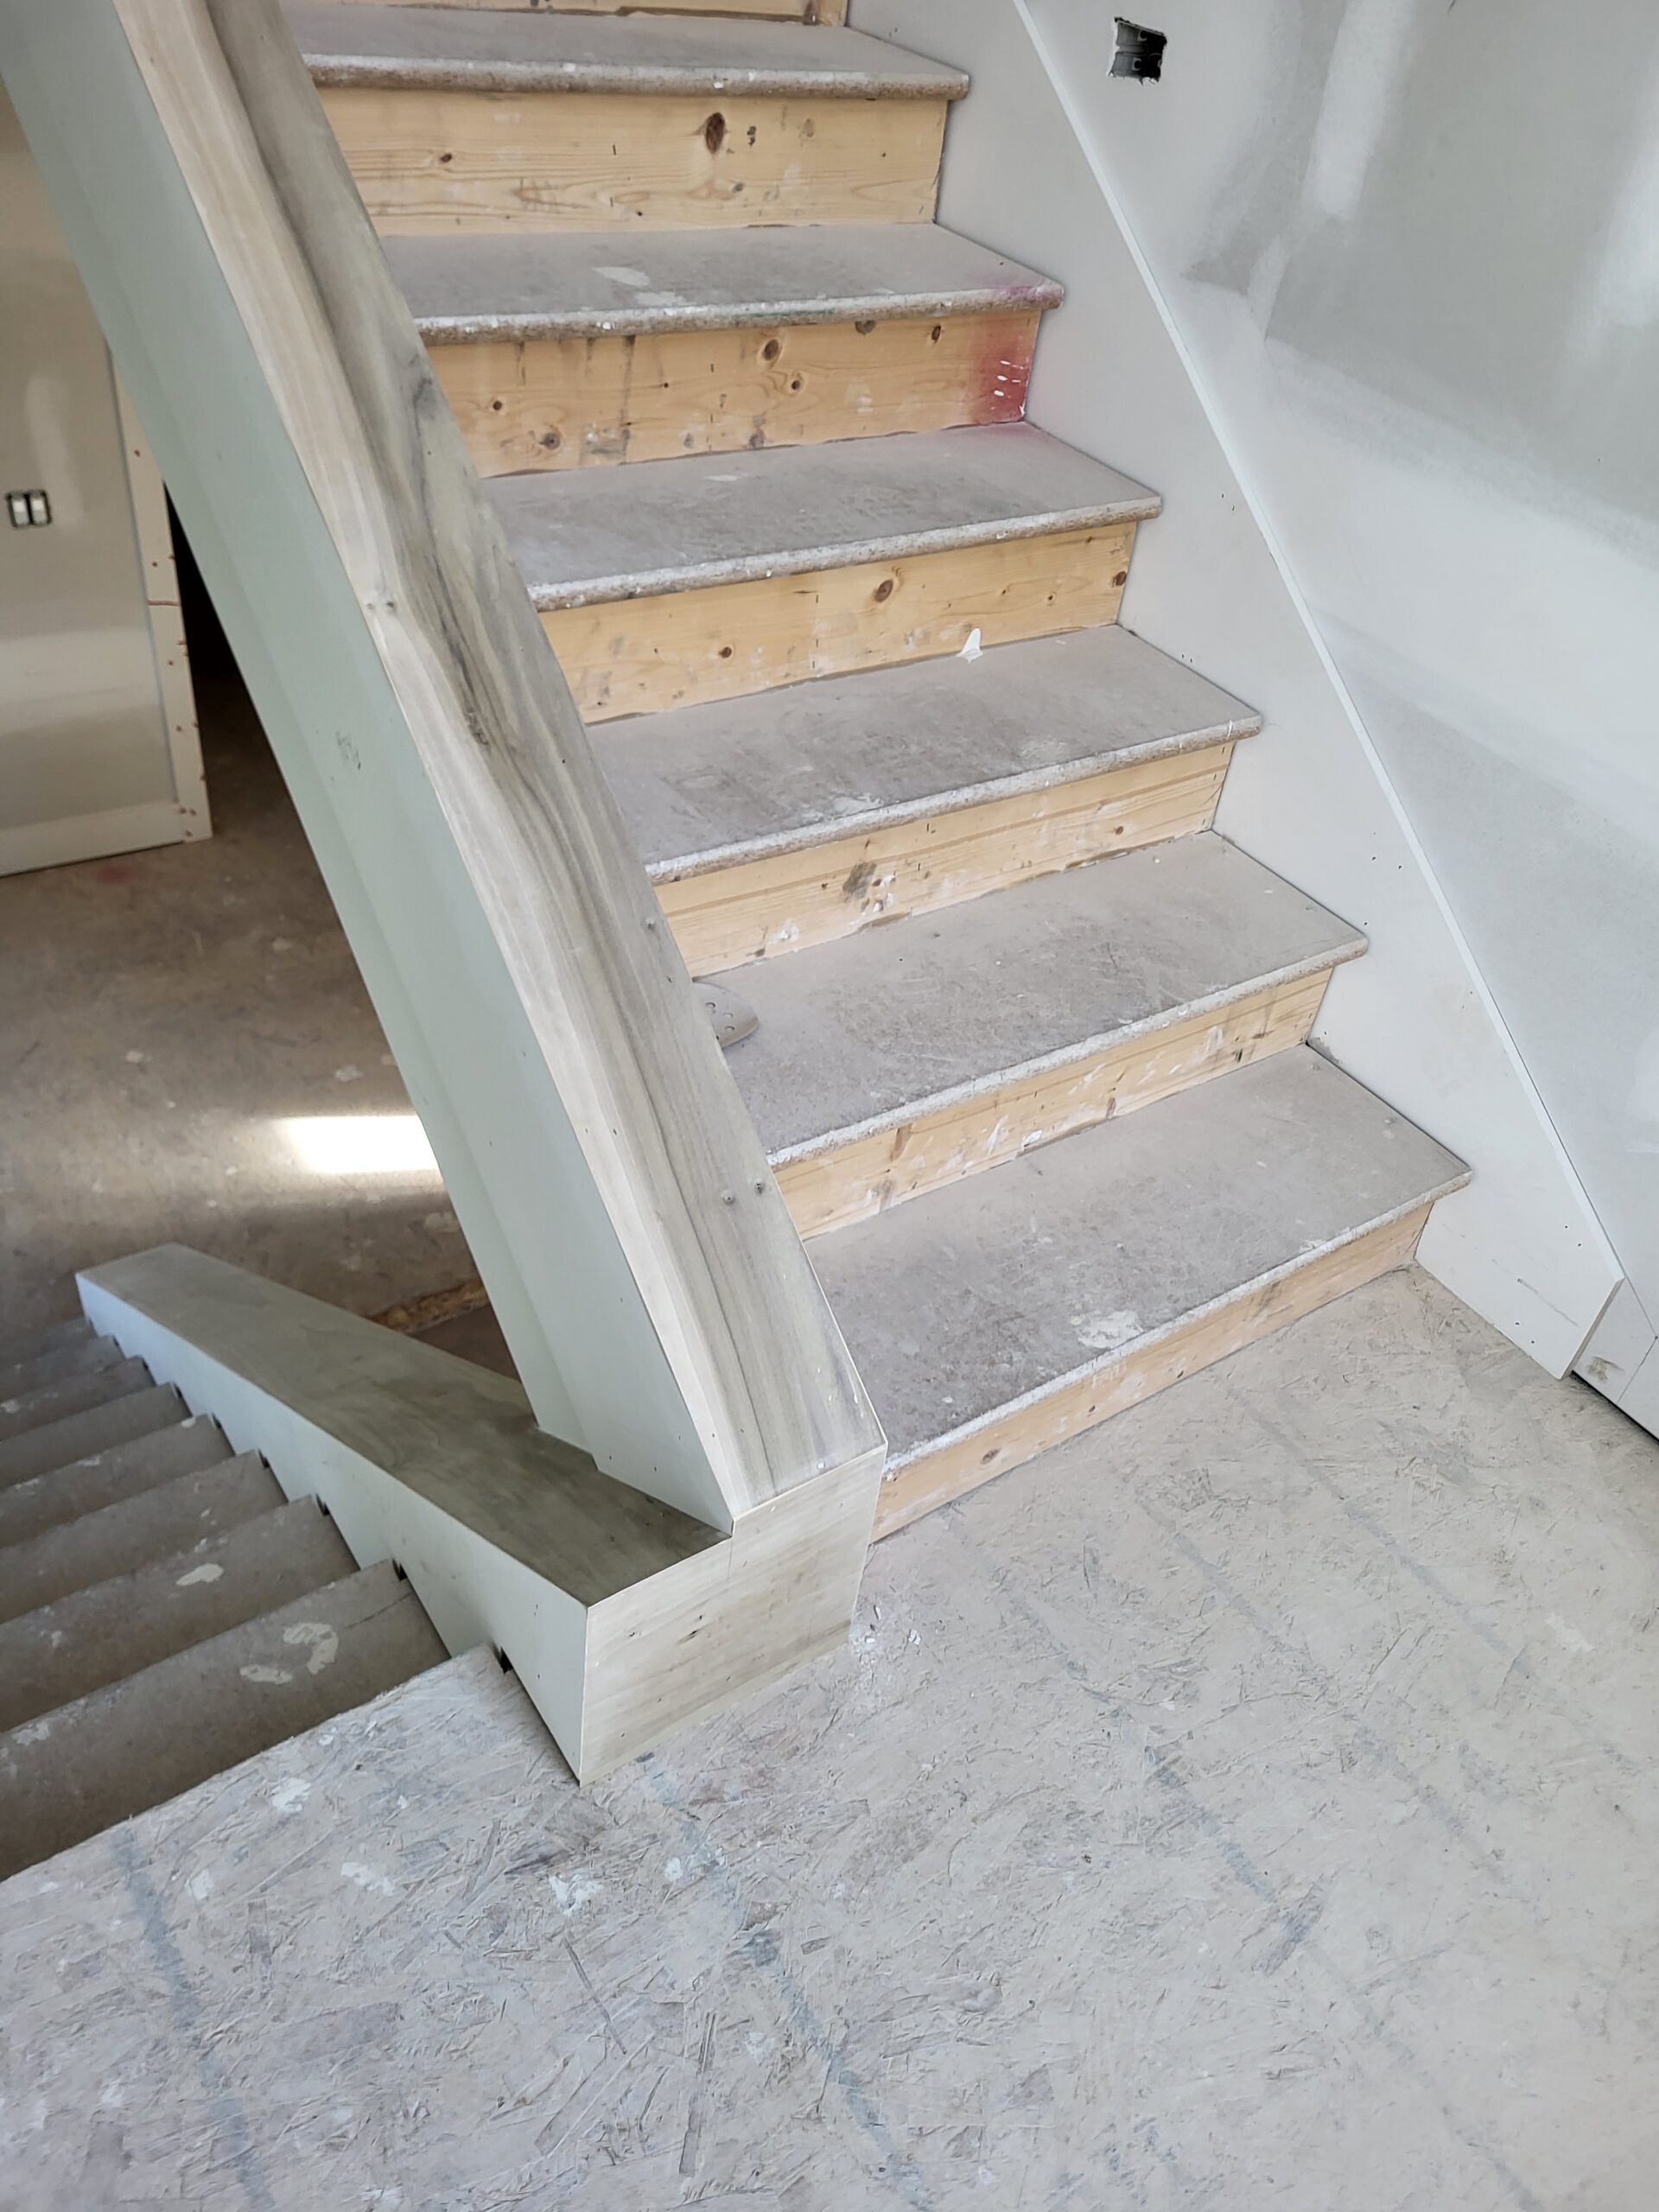
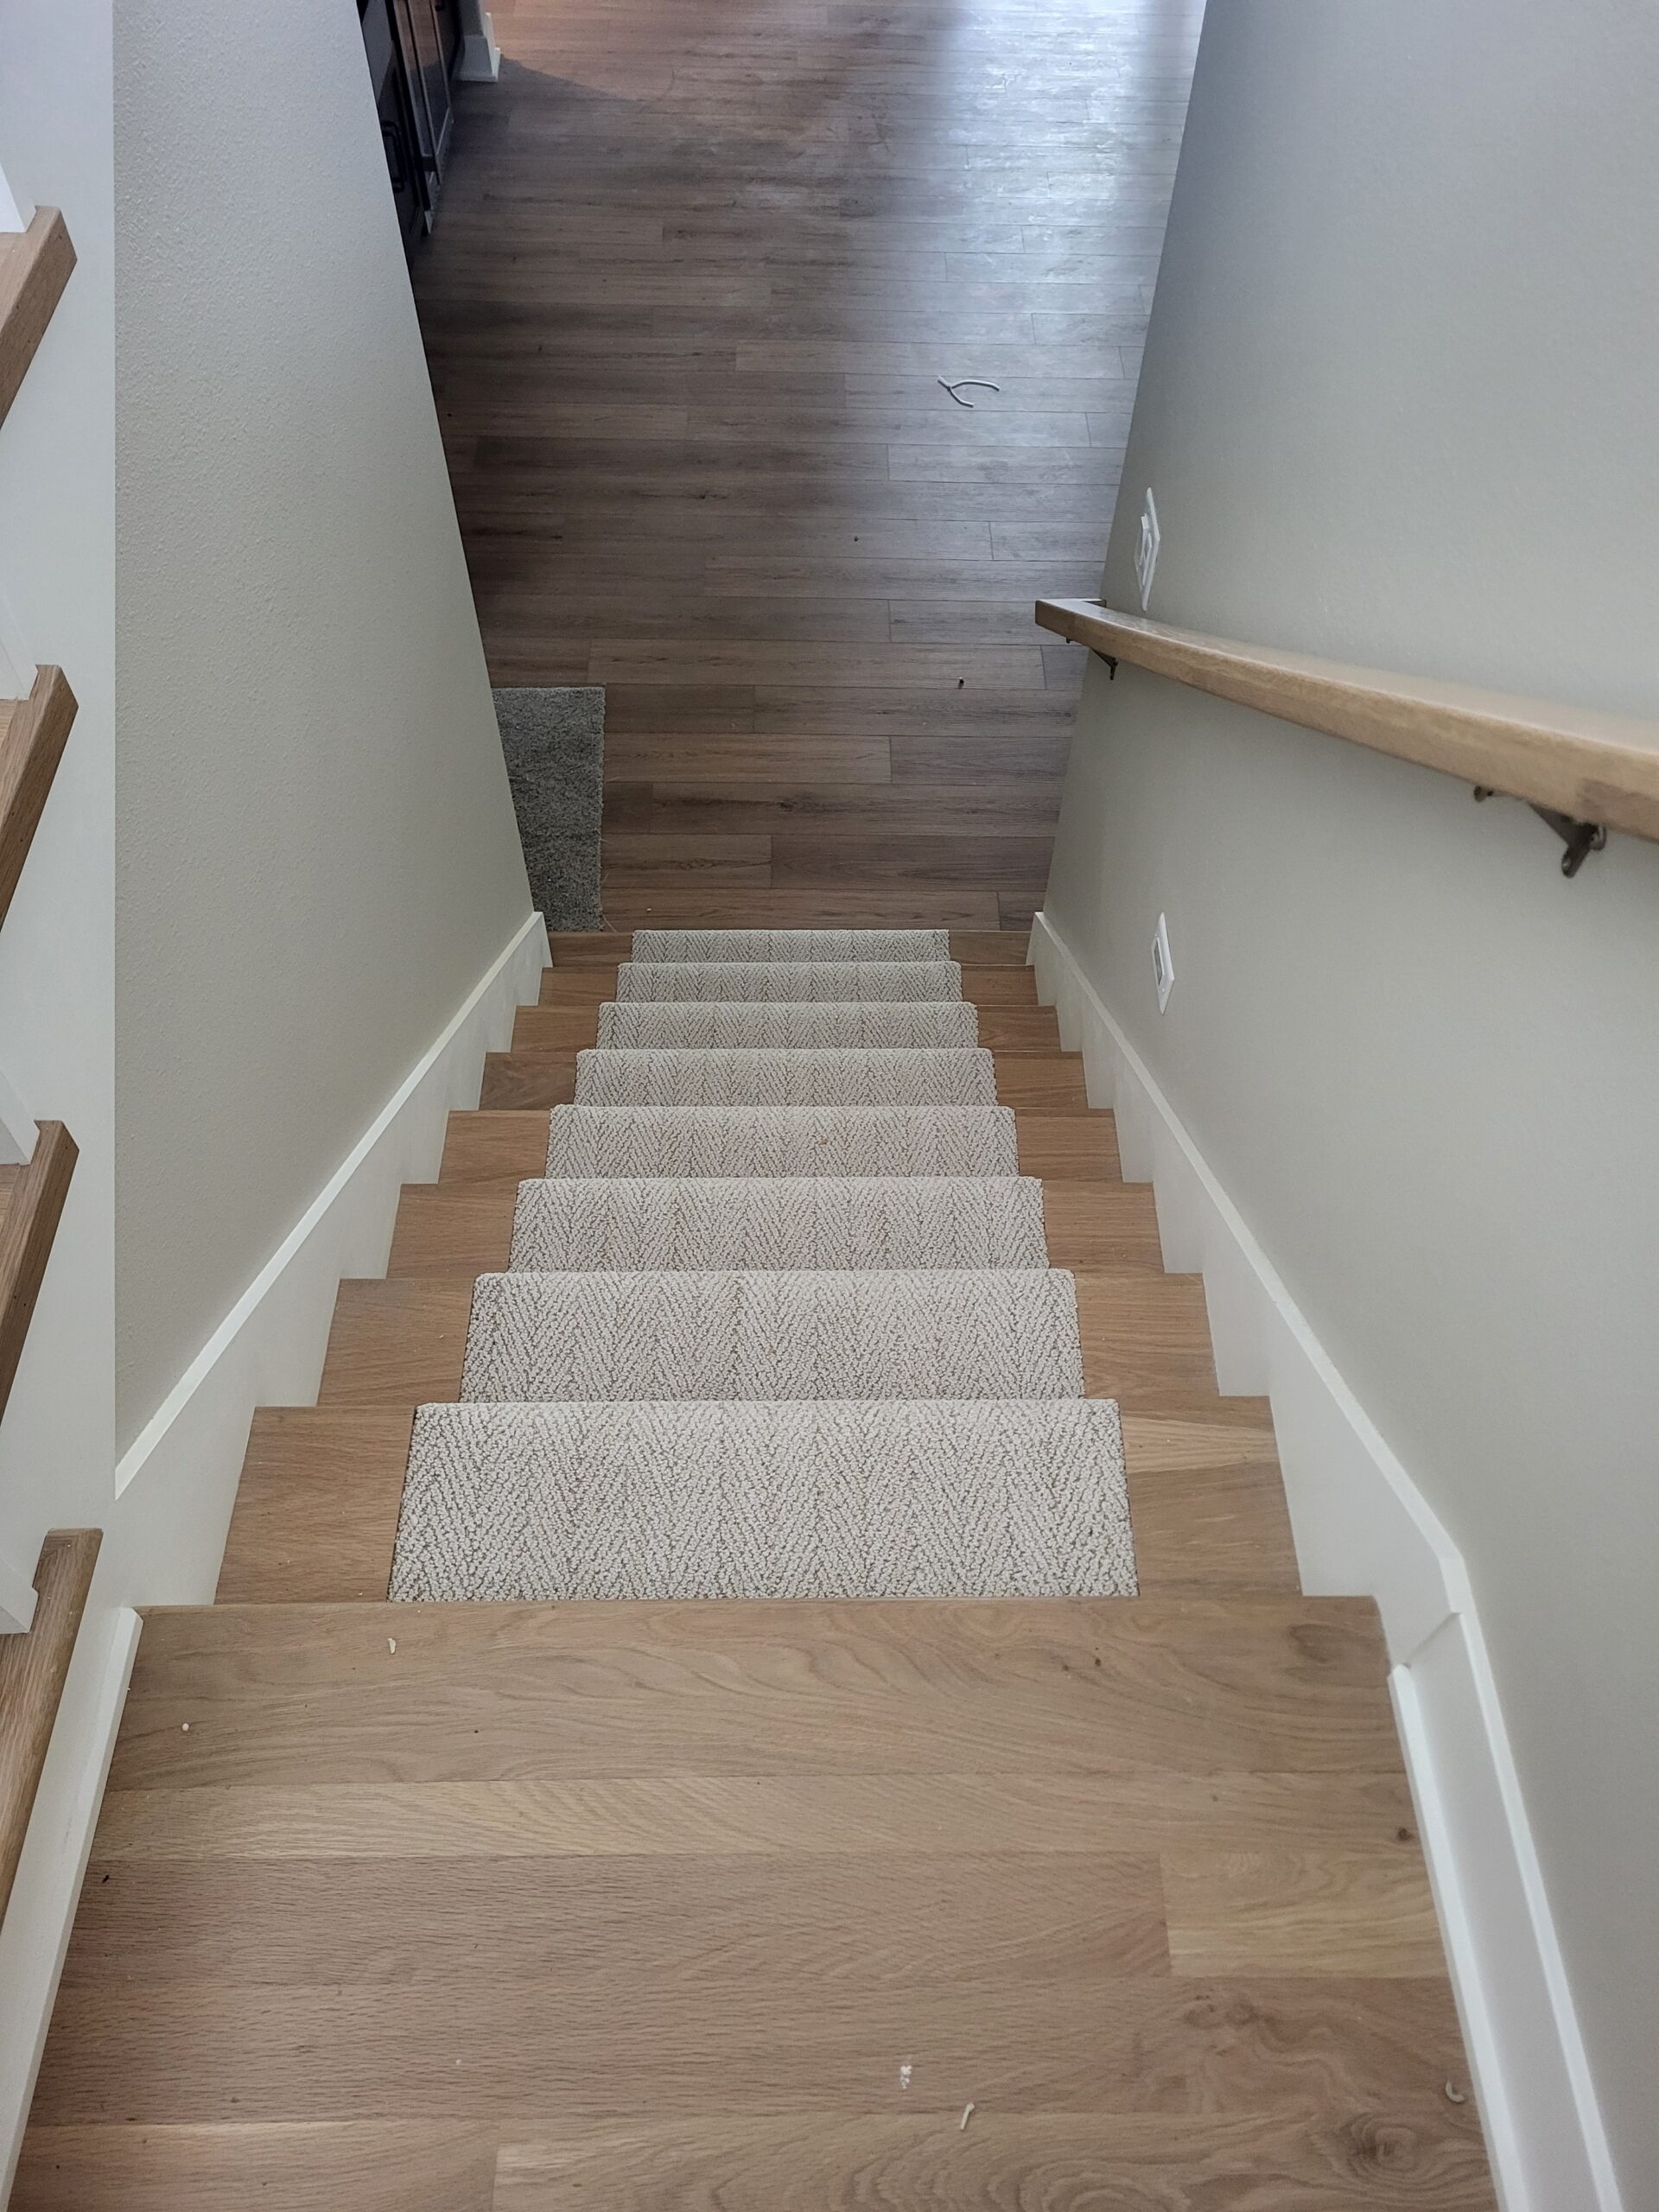
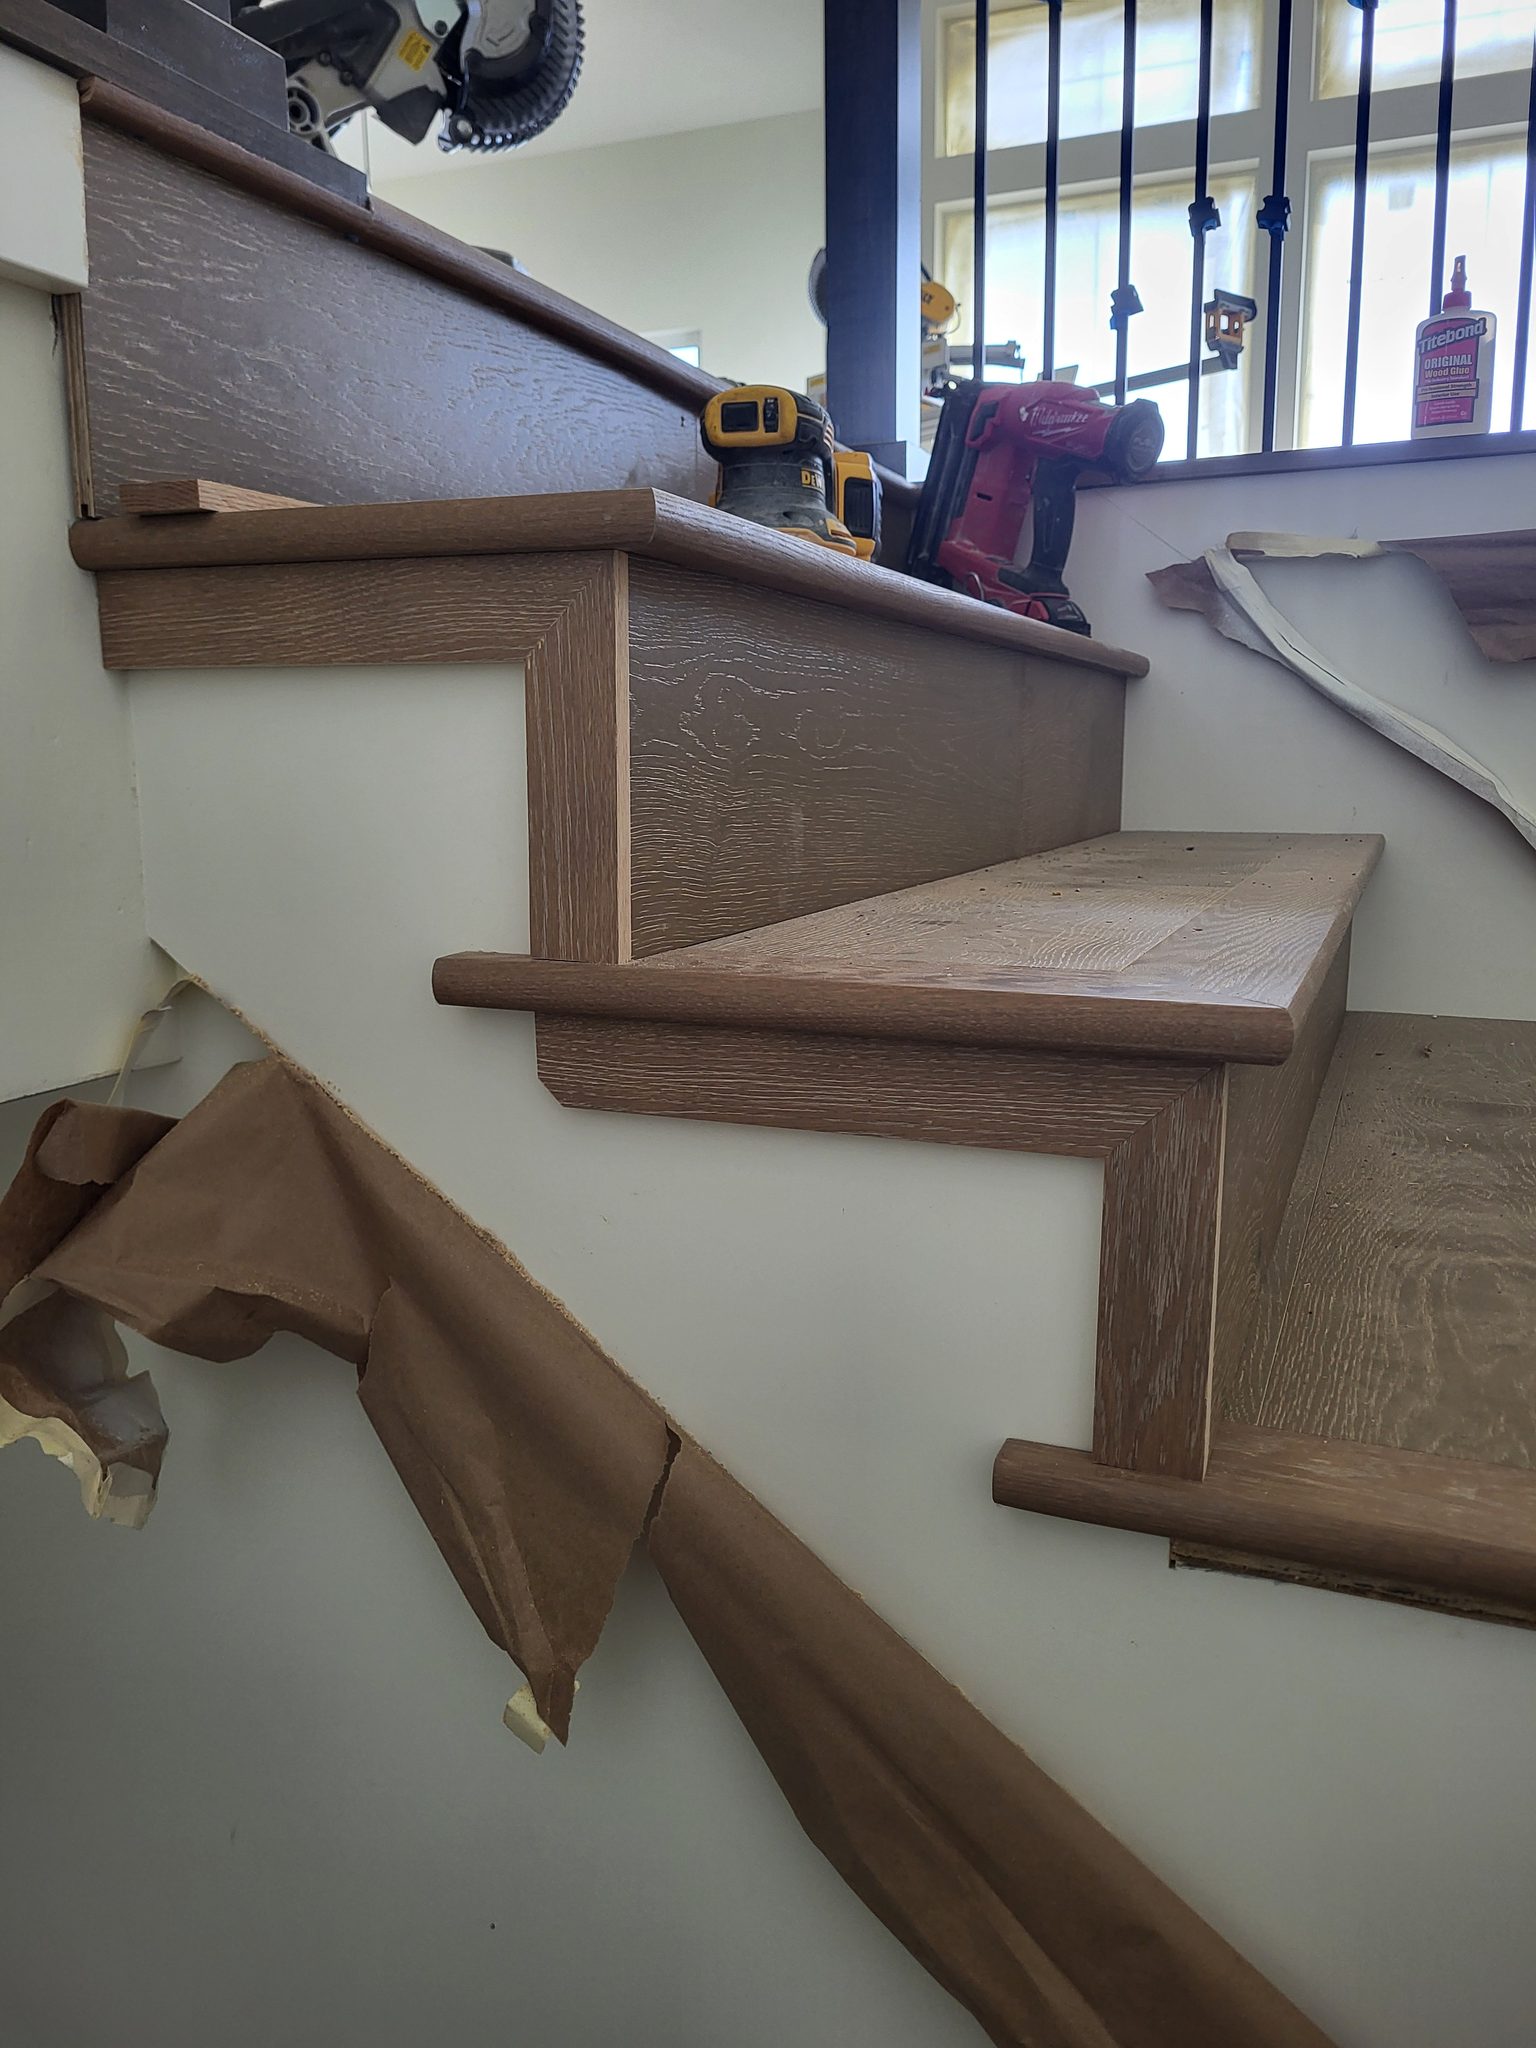
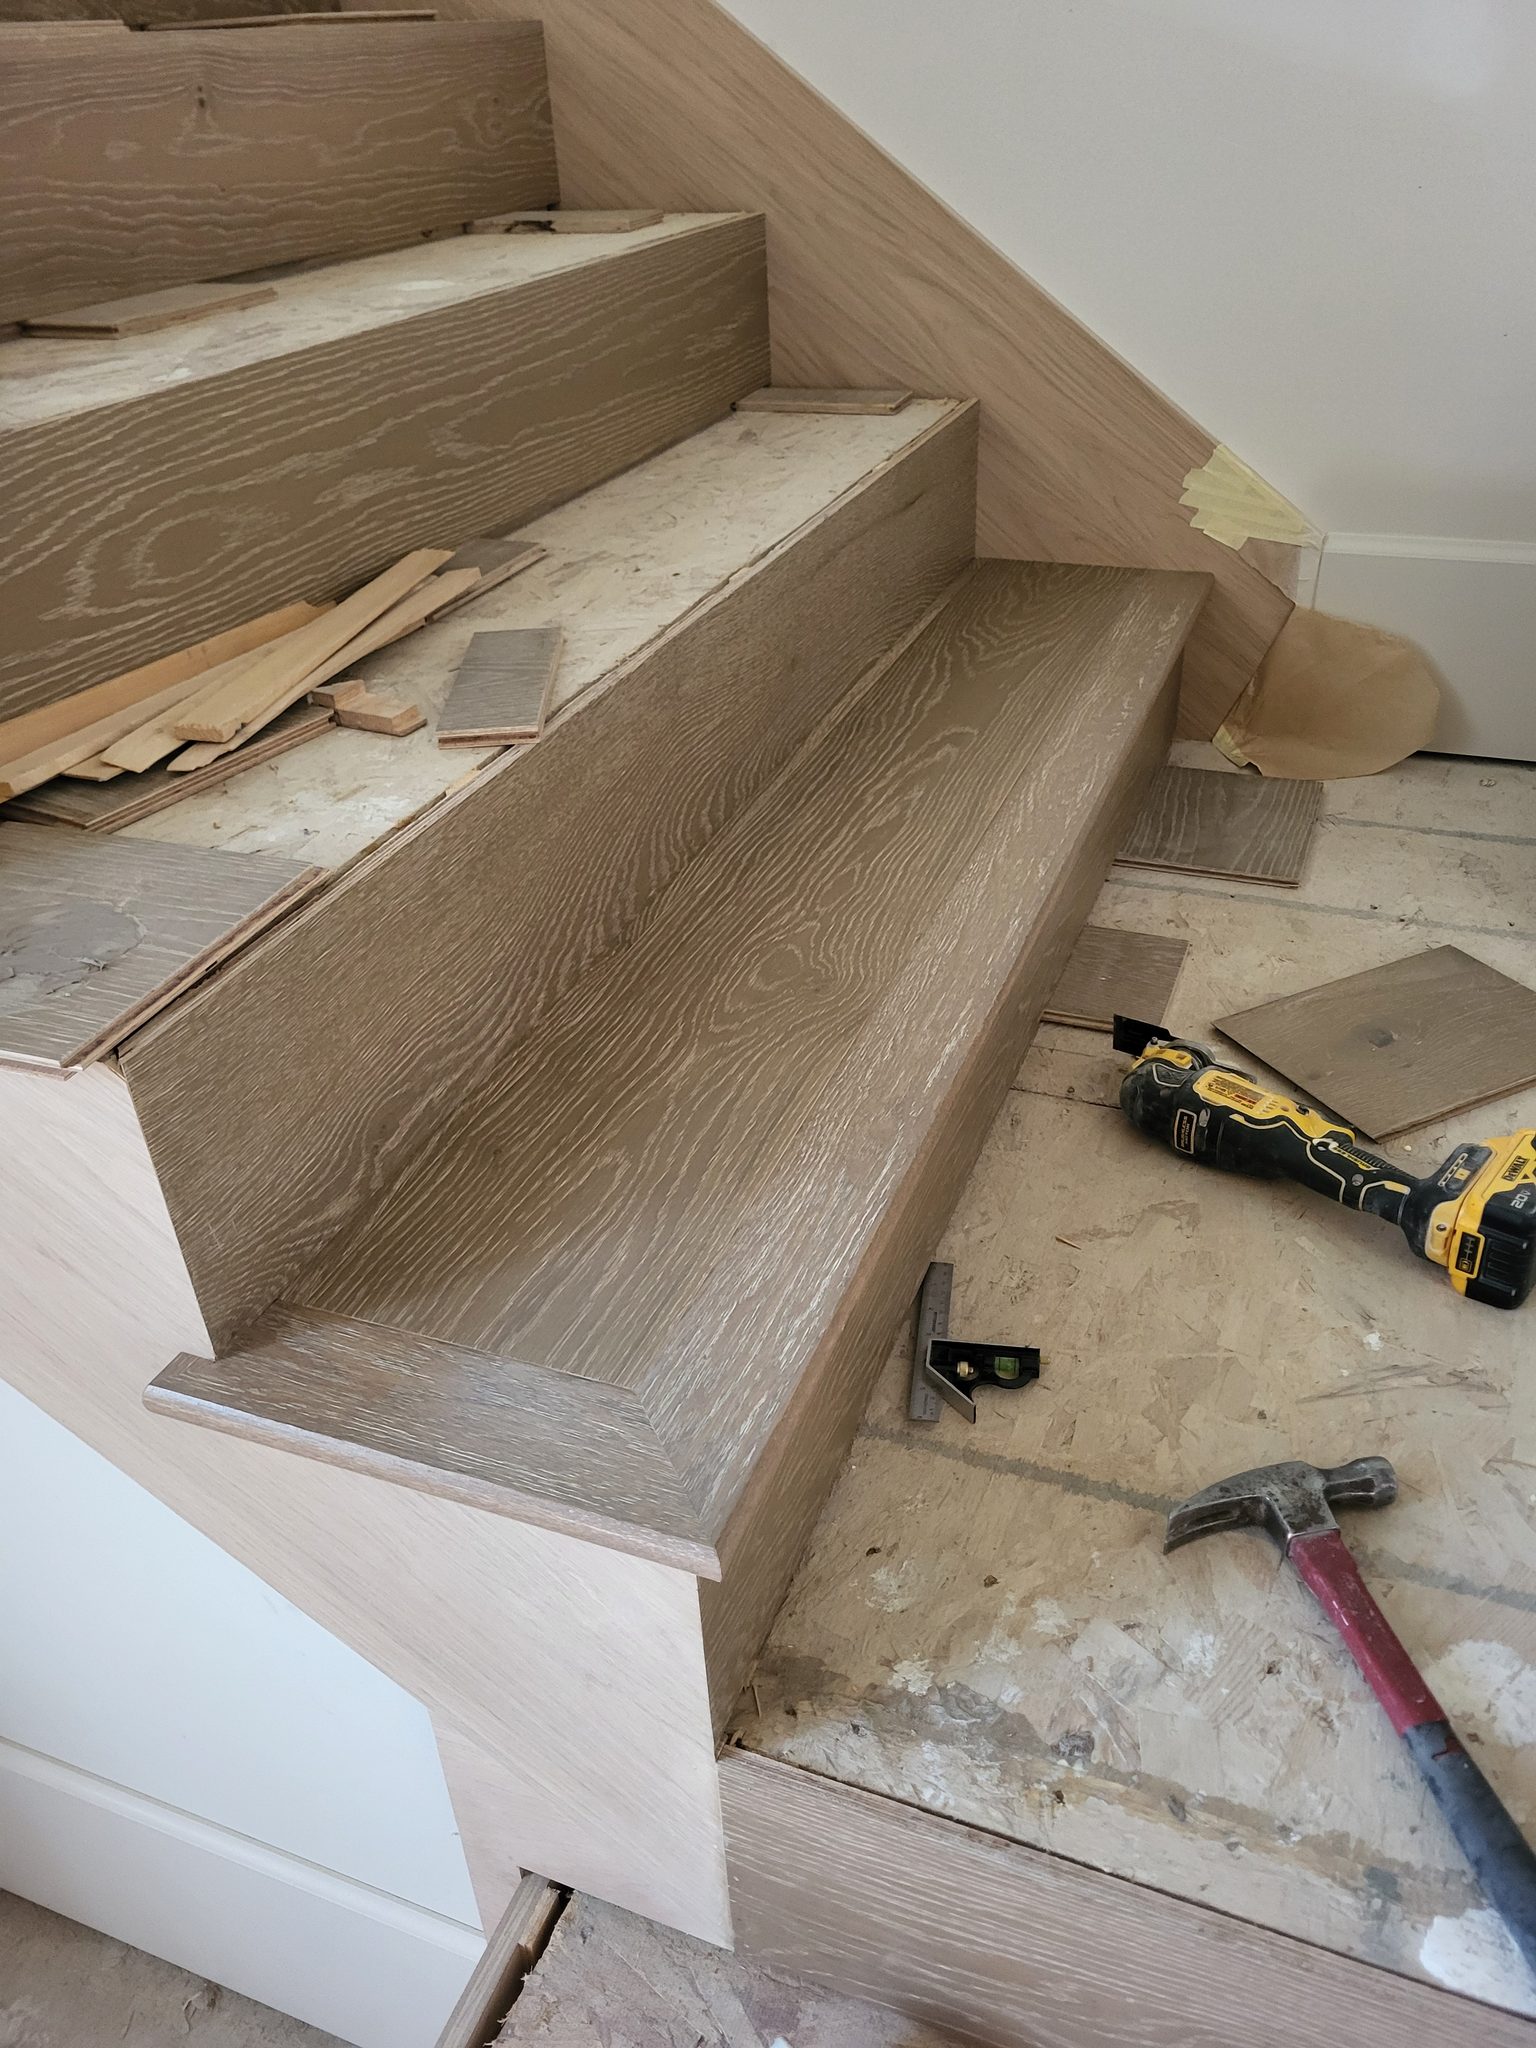
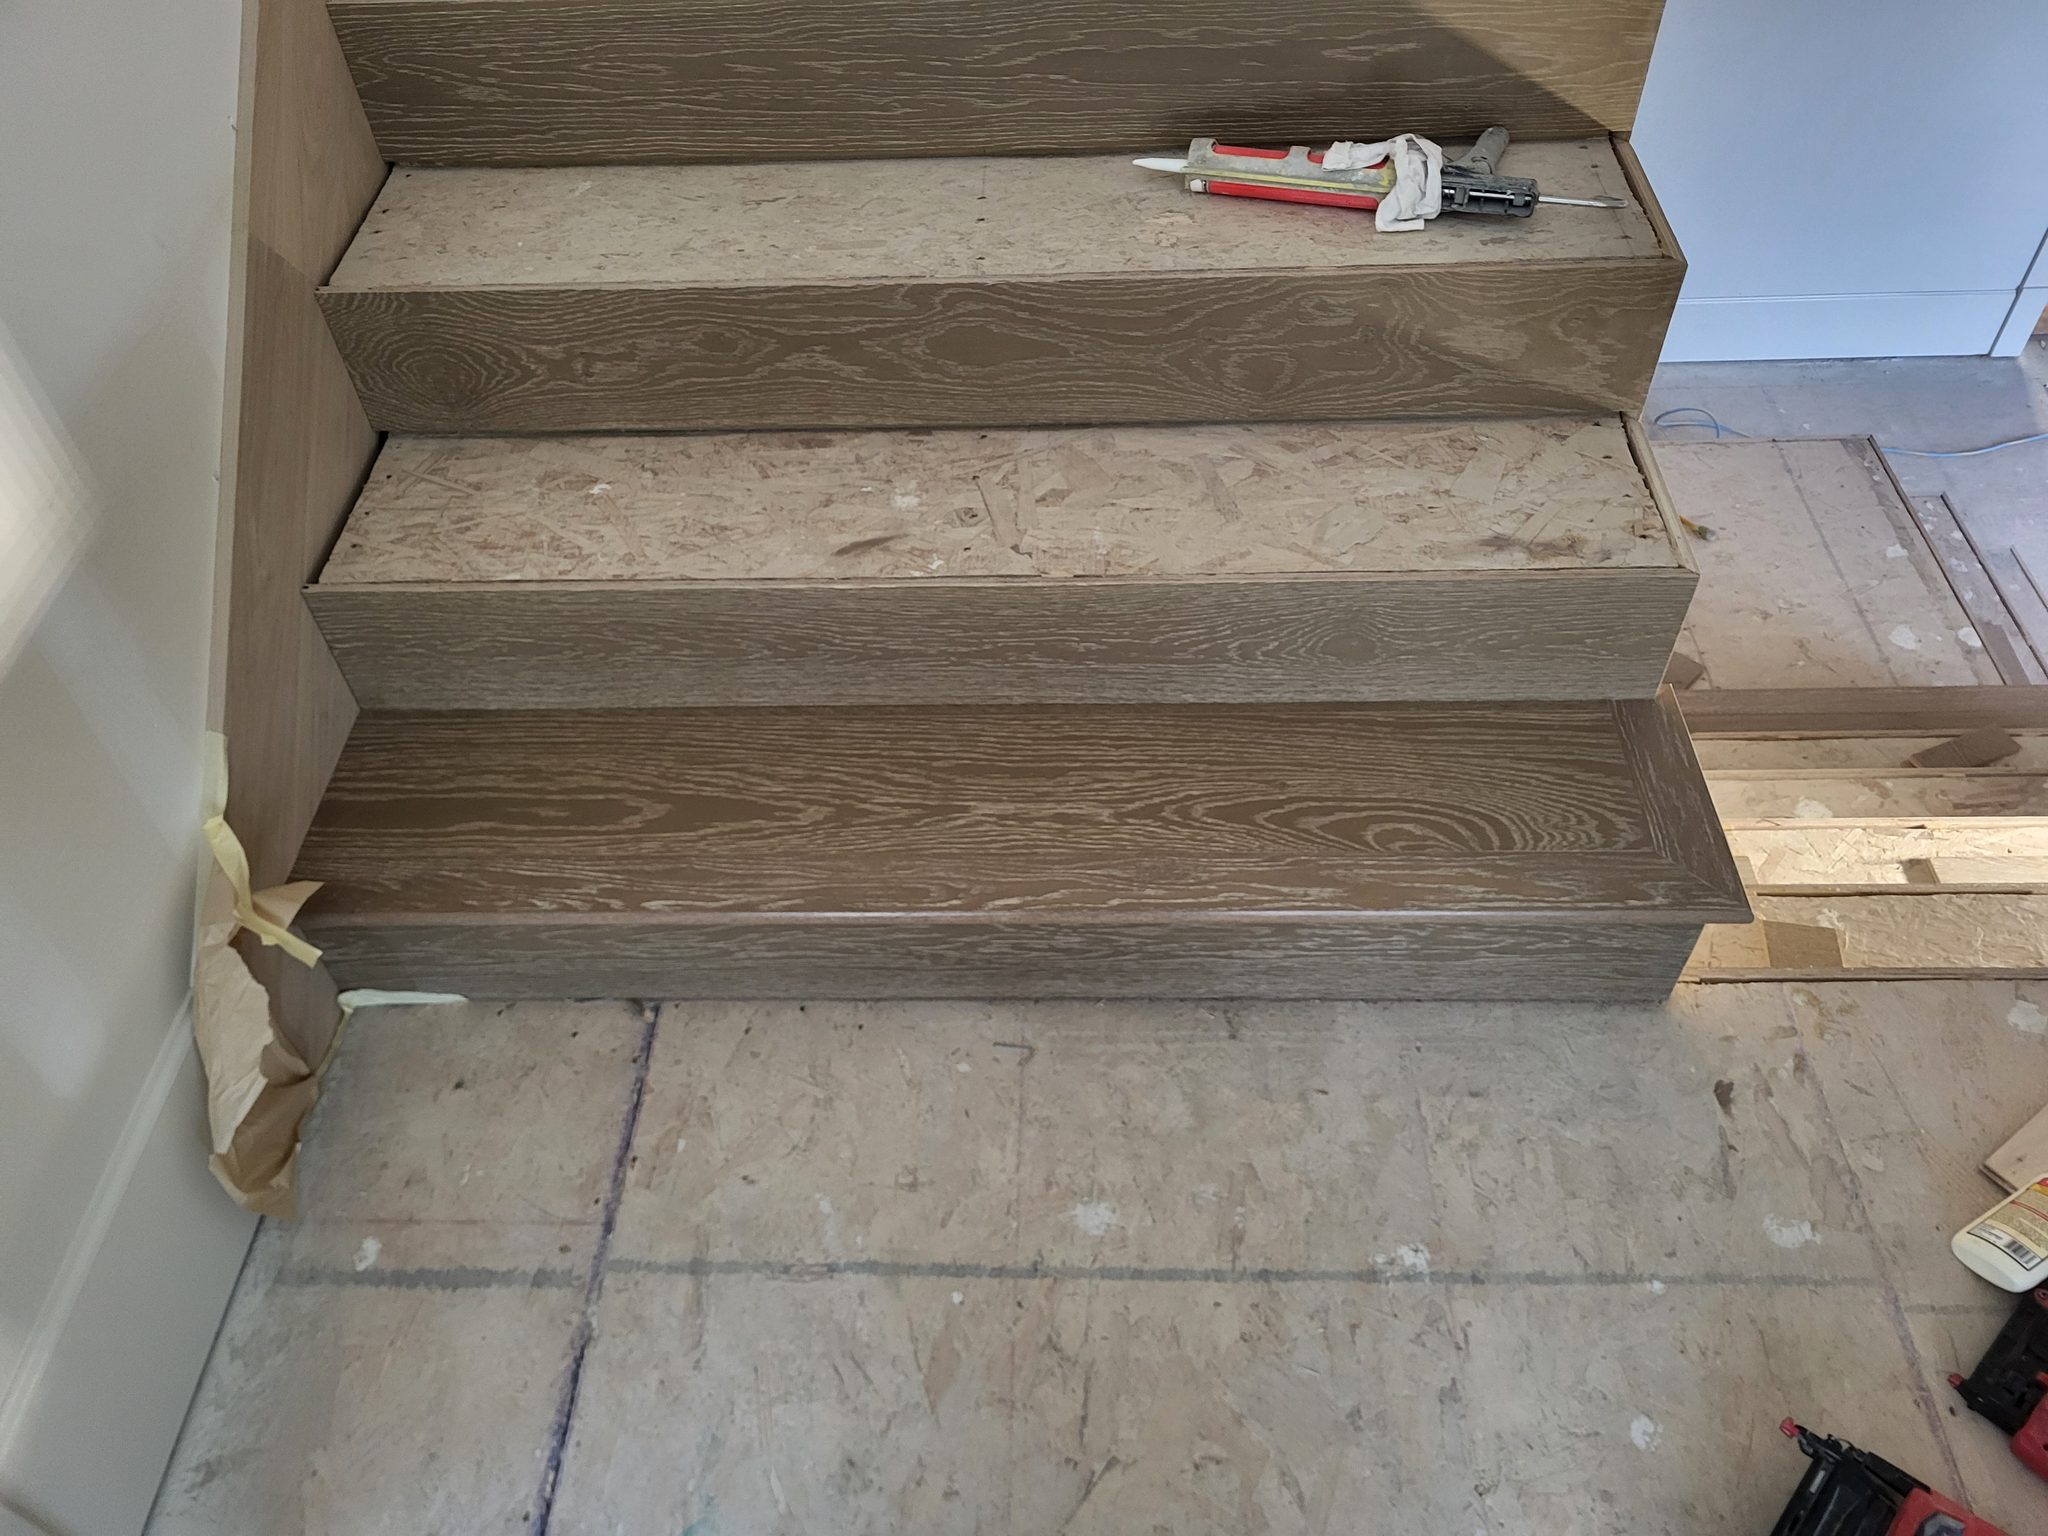
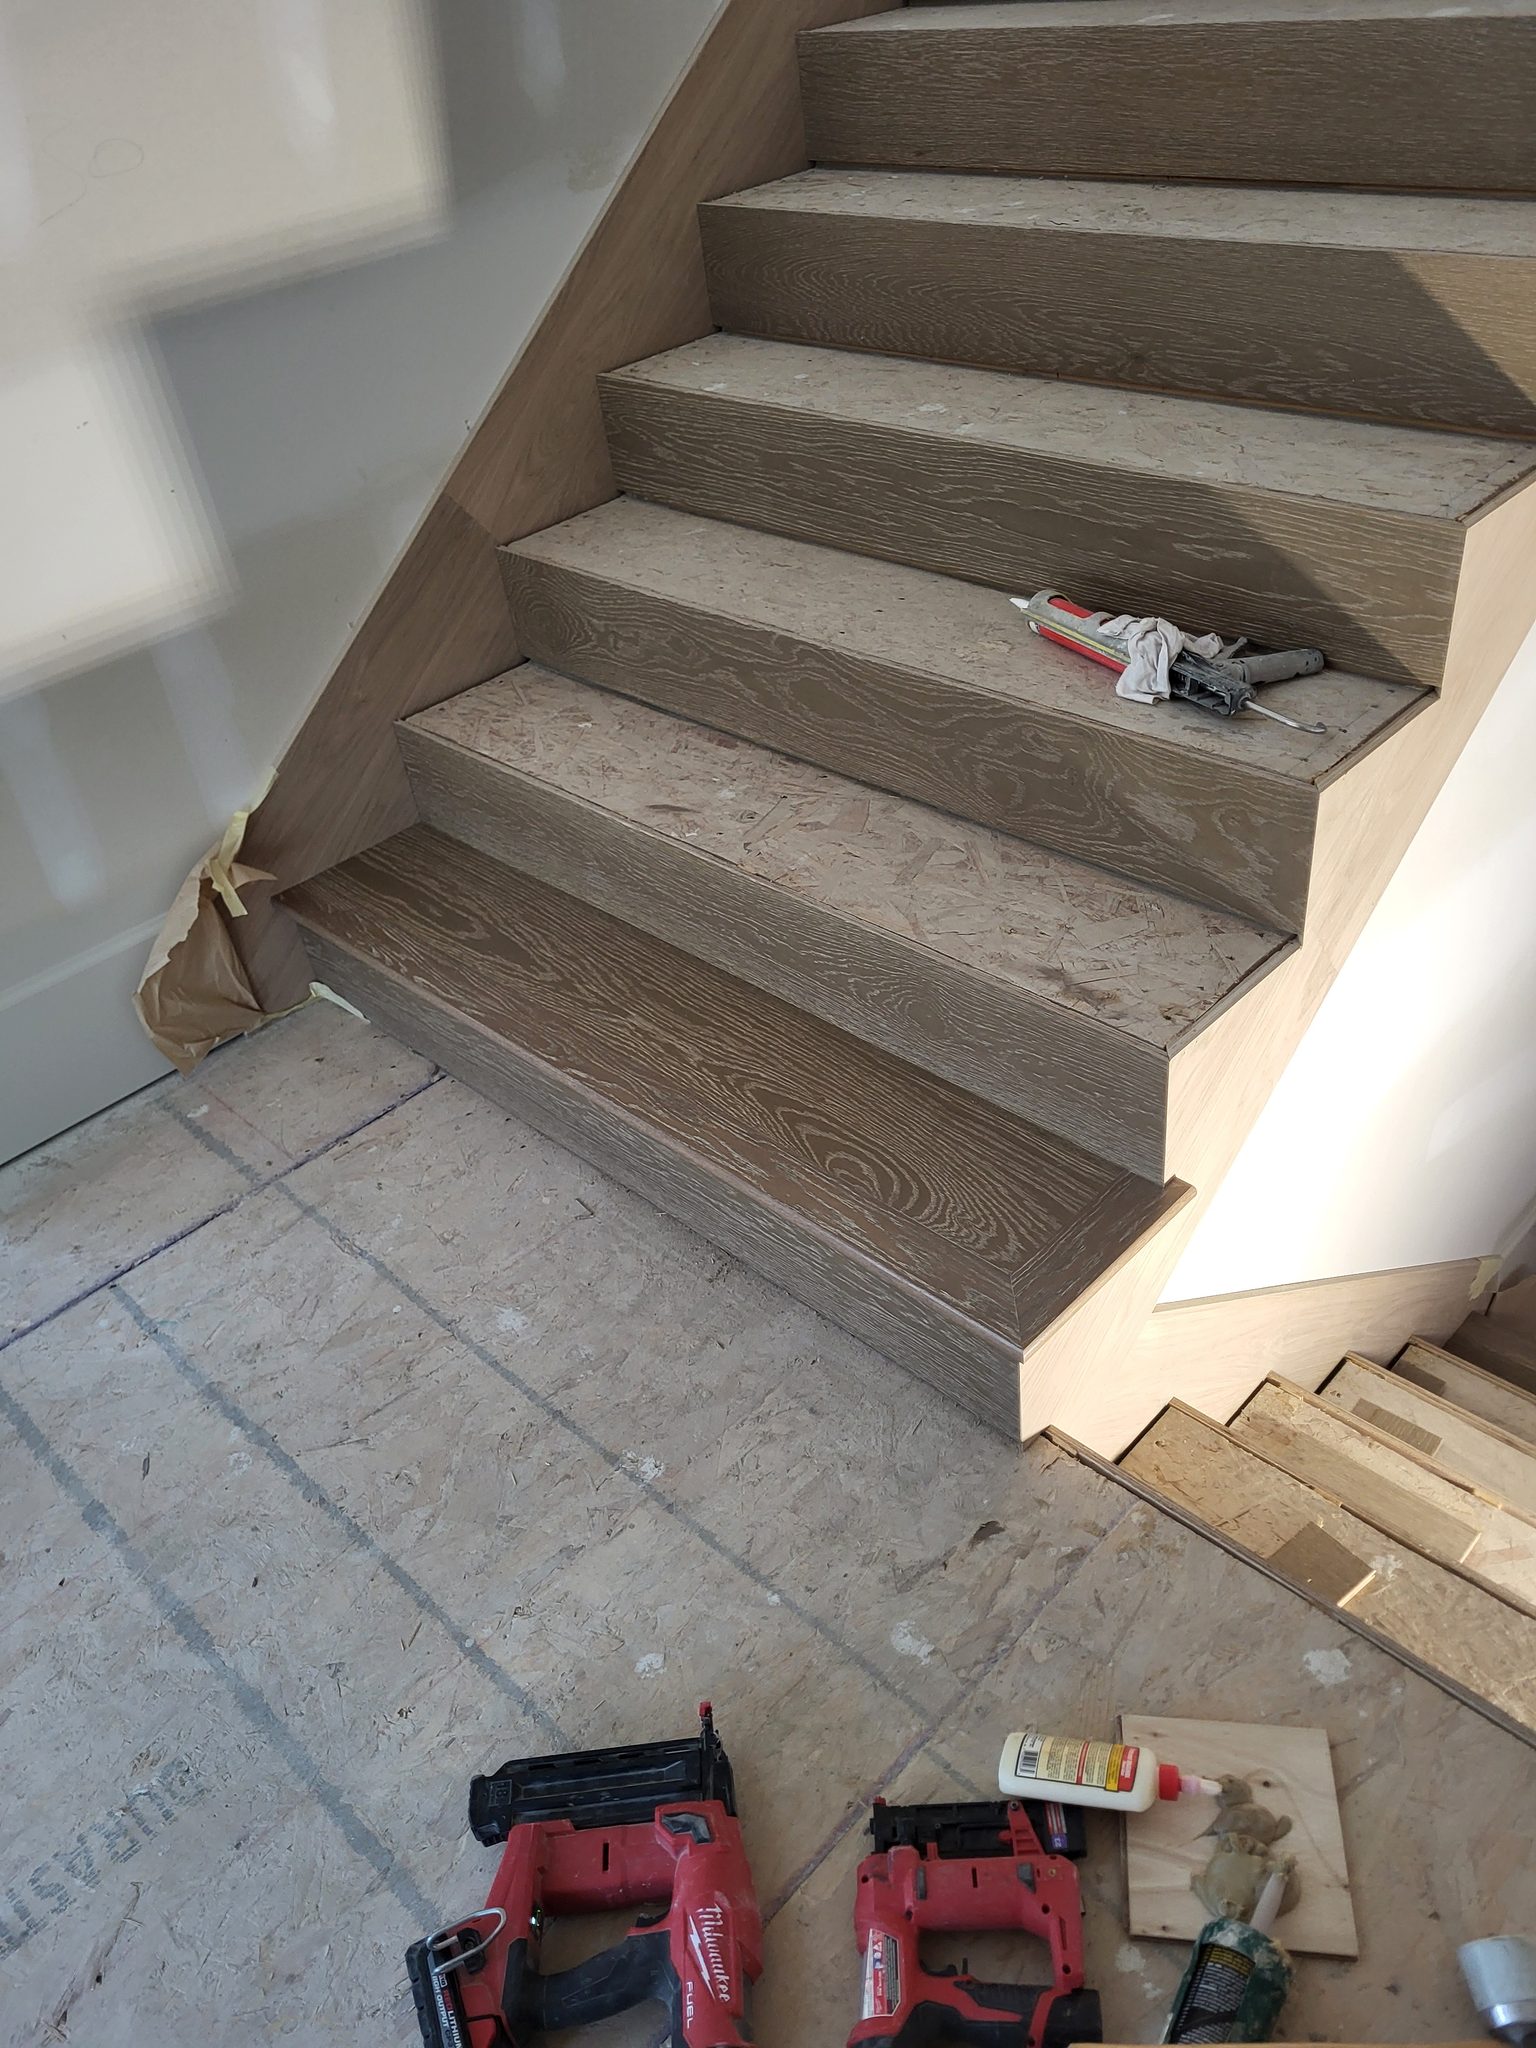
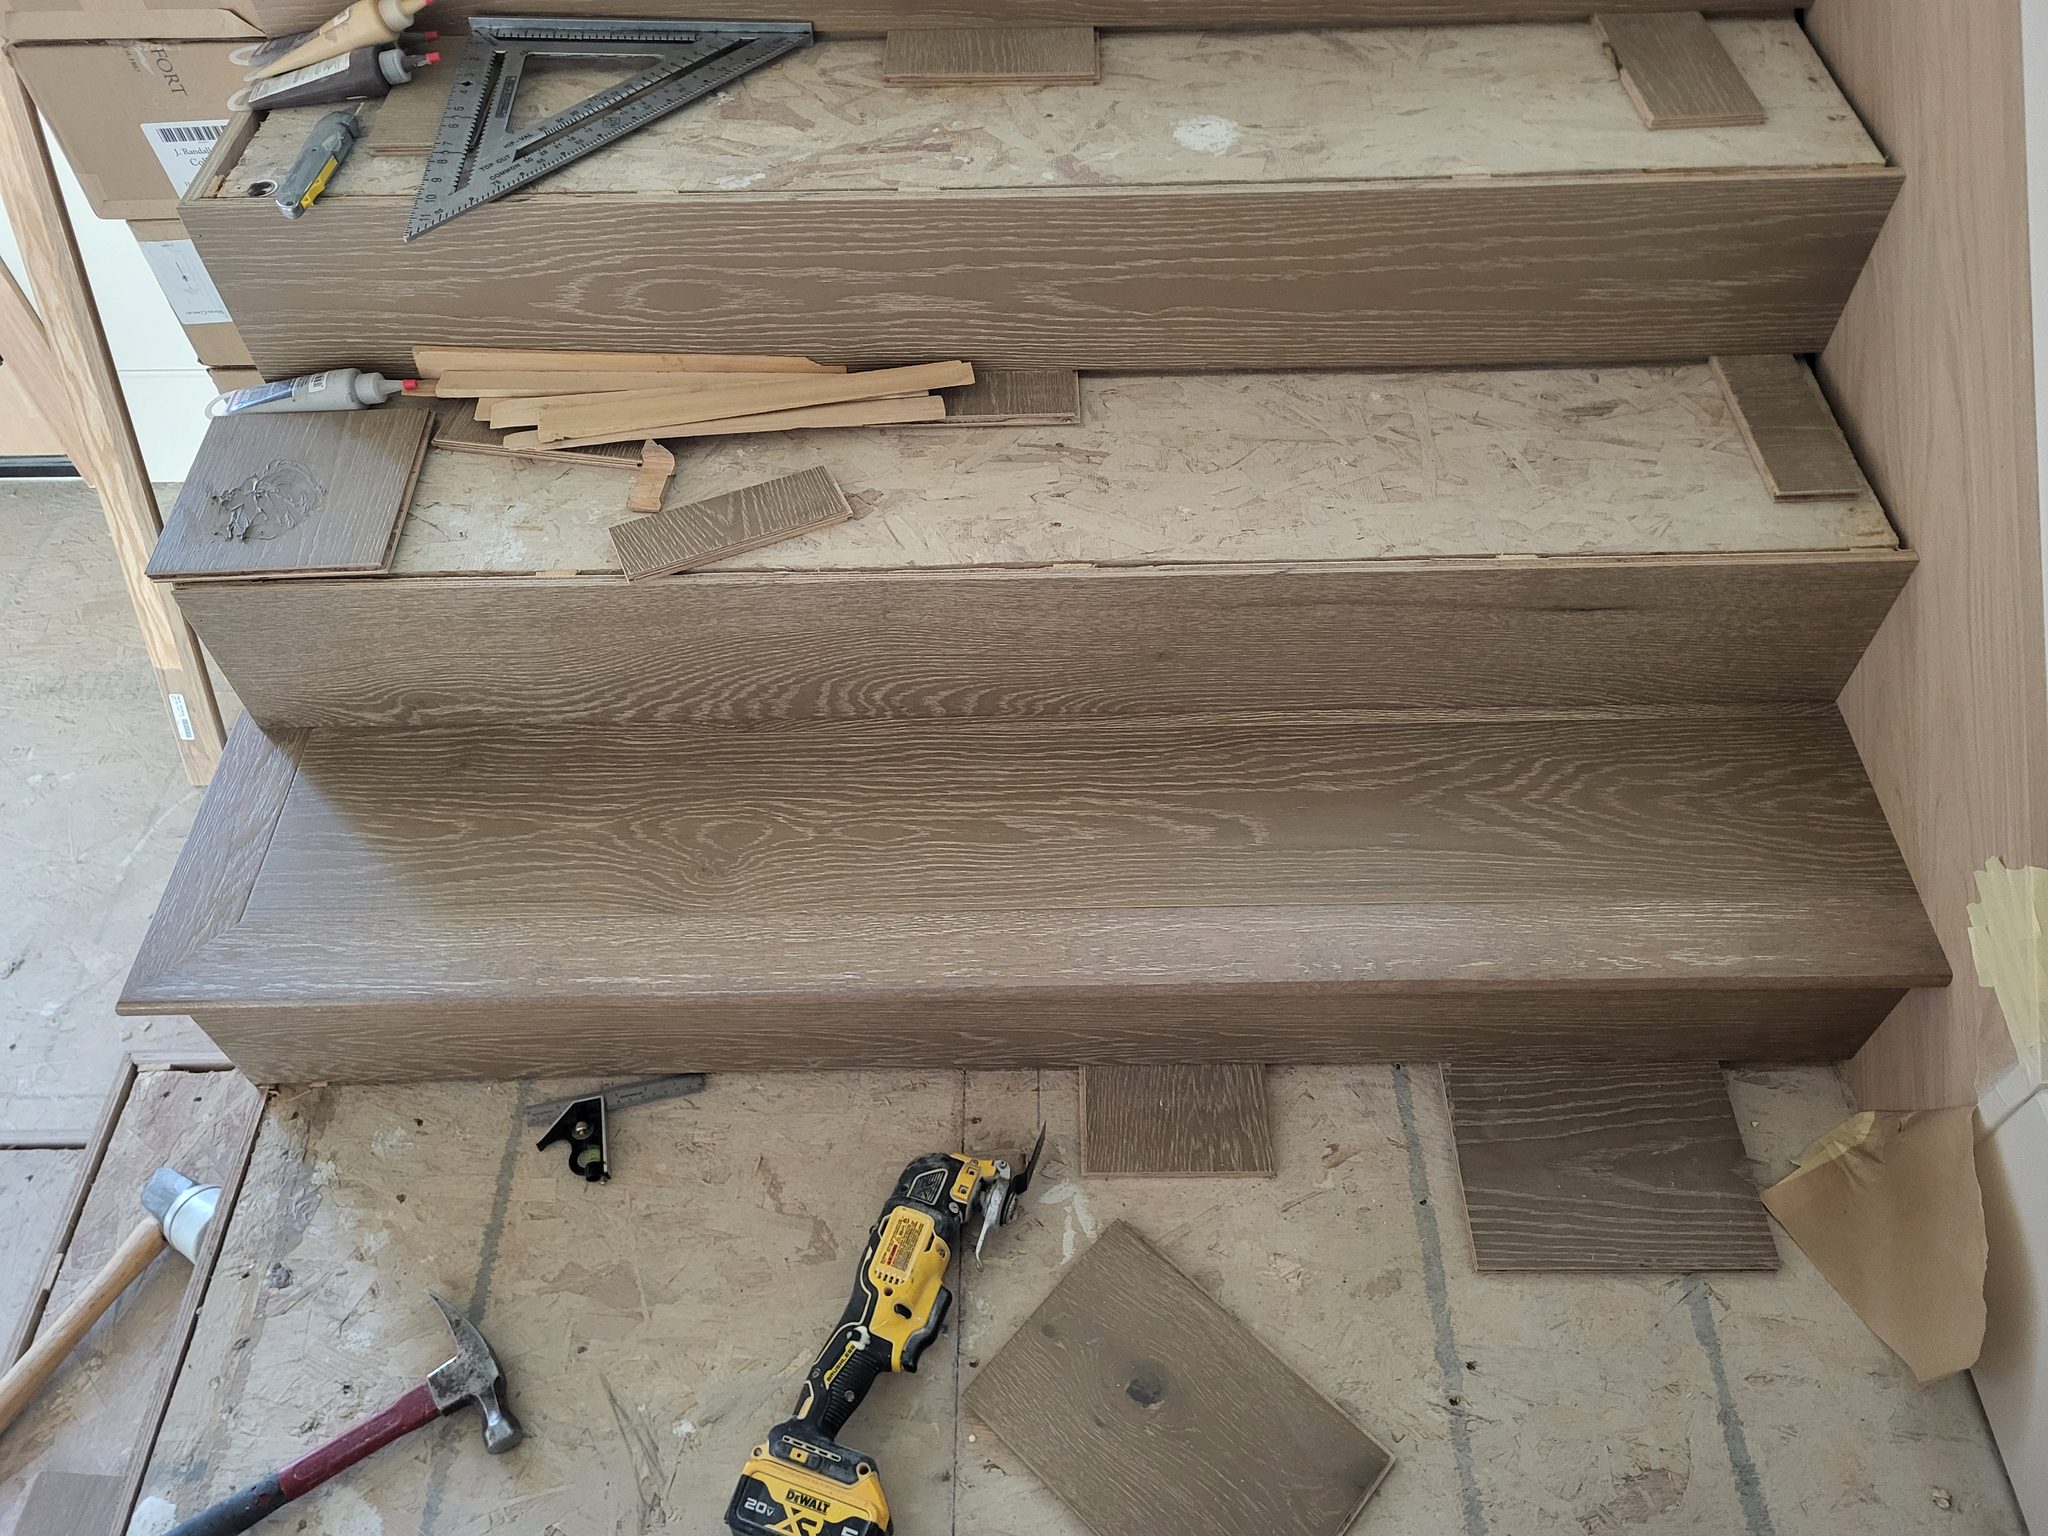
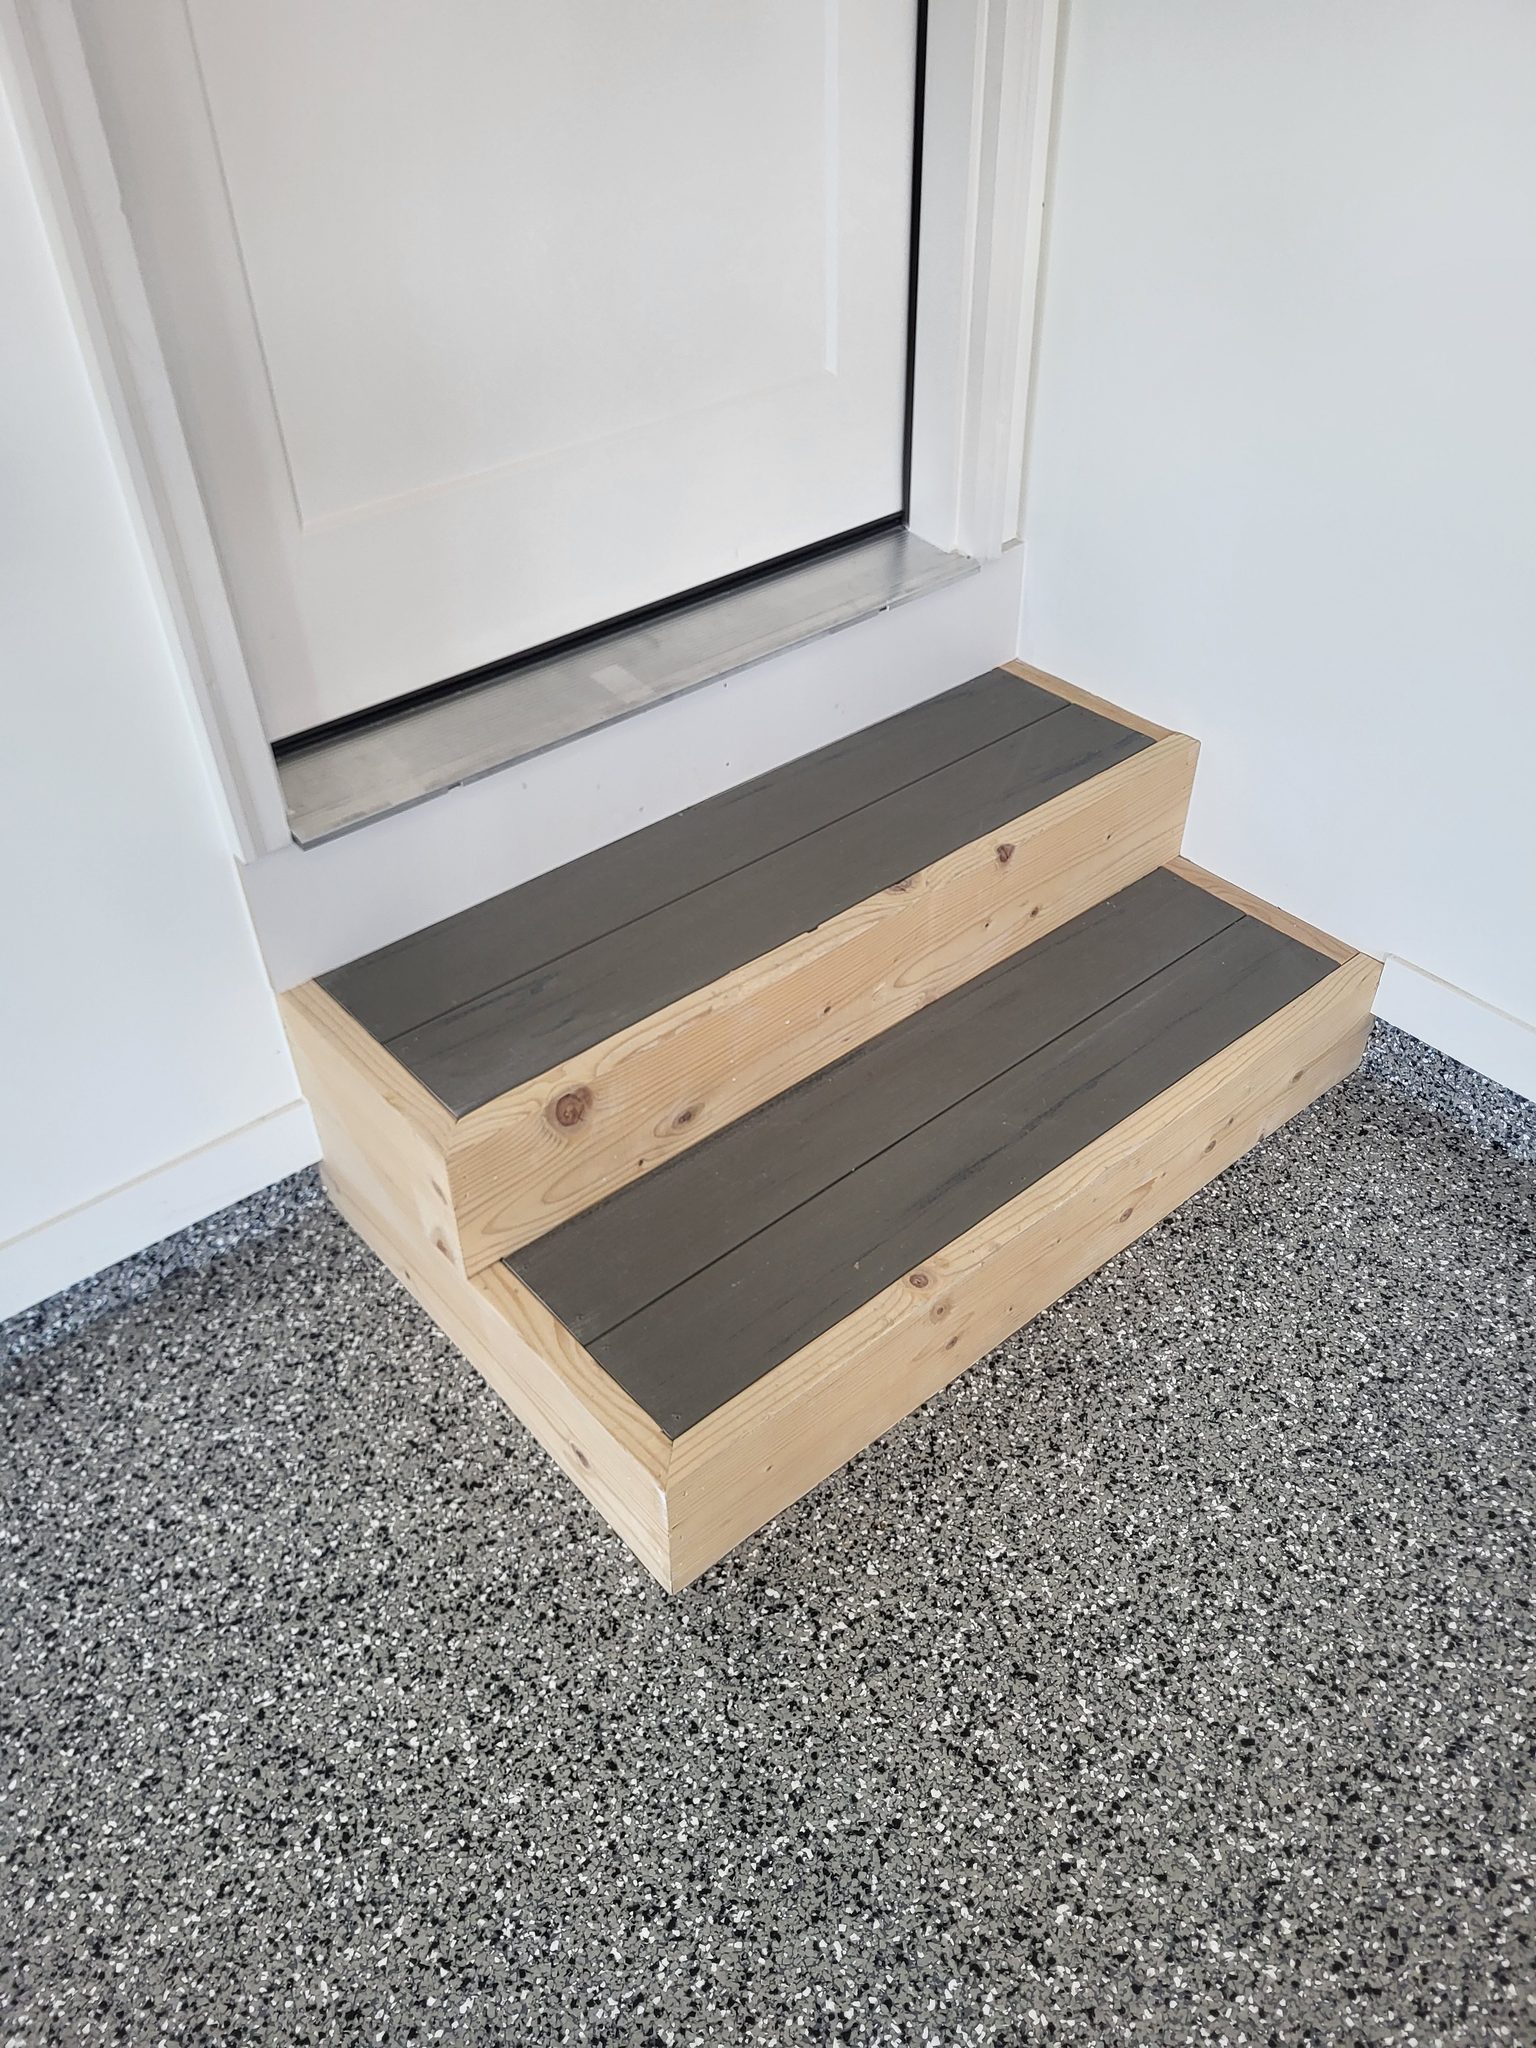
The following photos show examples of this type of work completed in the field. These serve as visual references for quality standards, proper installation techniques, and finished results.
Showing 19 of 19 photos