On this page
Introduction #
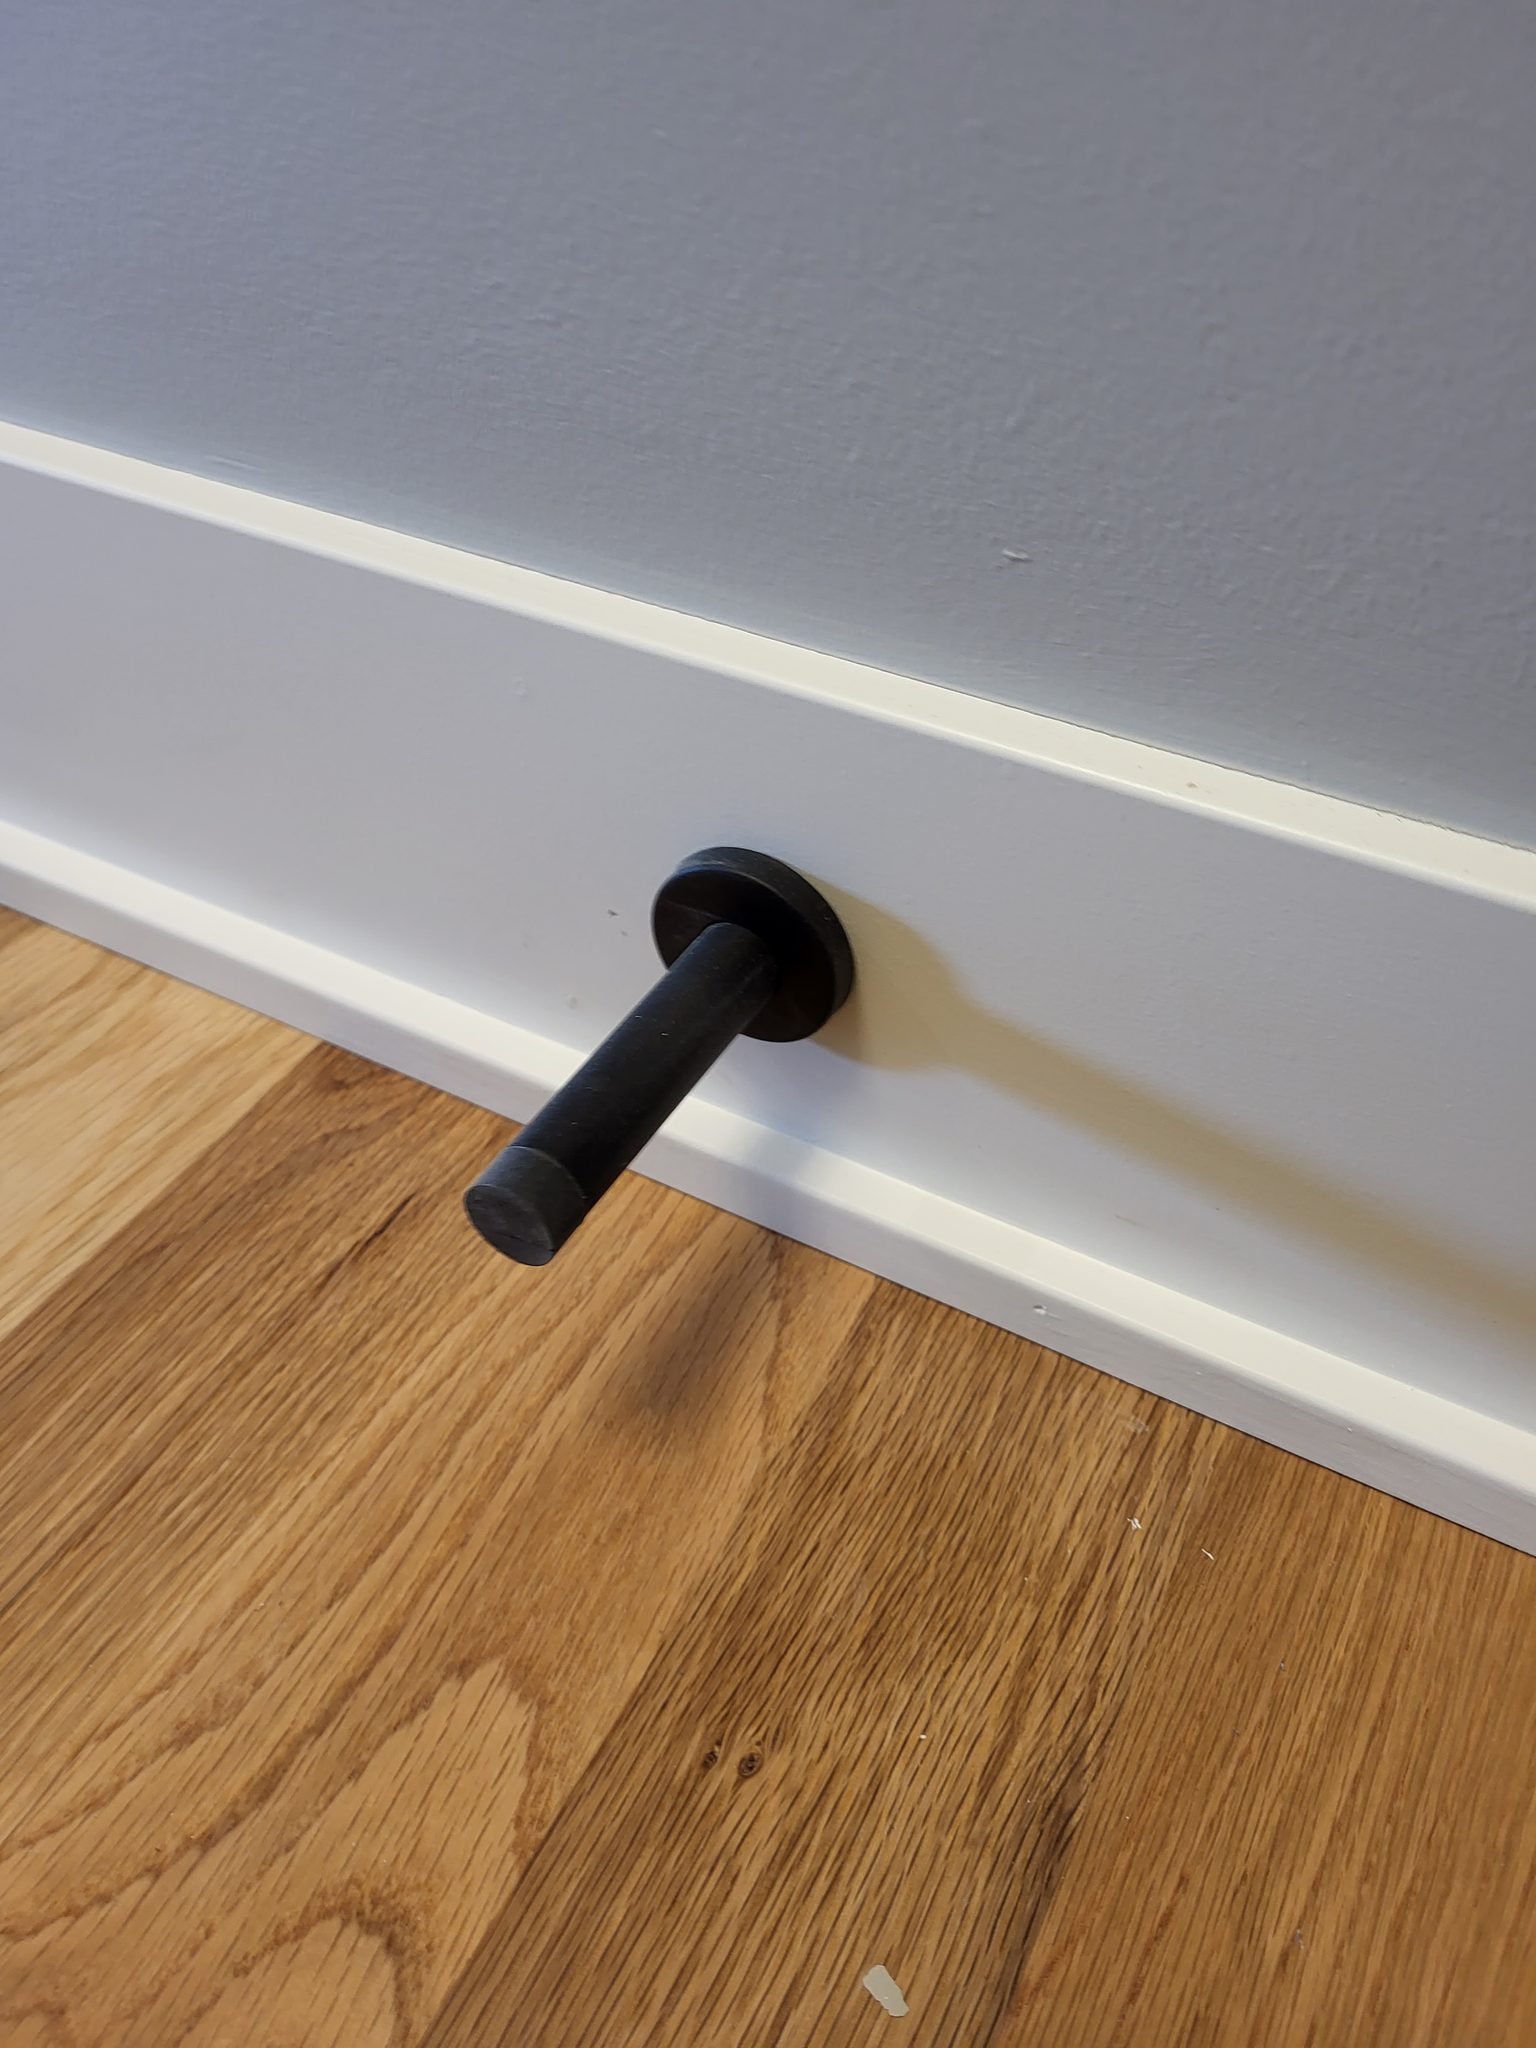
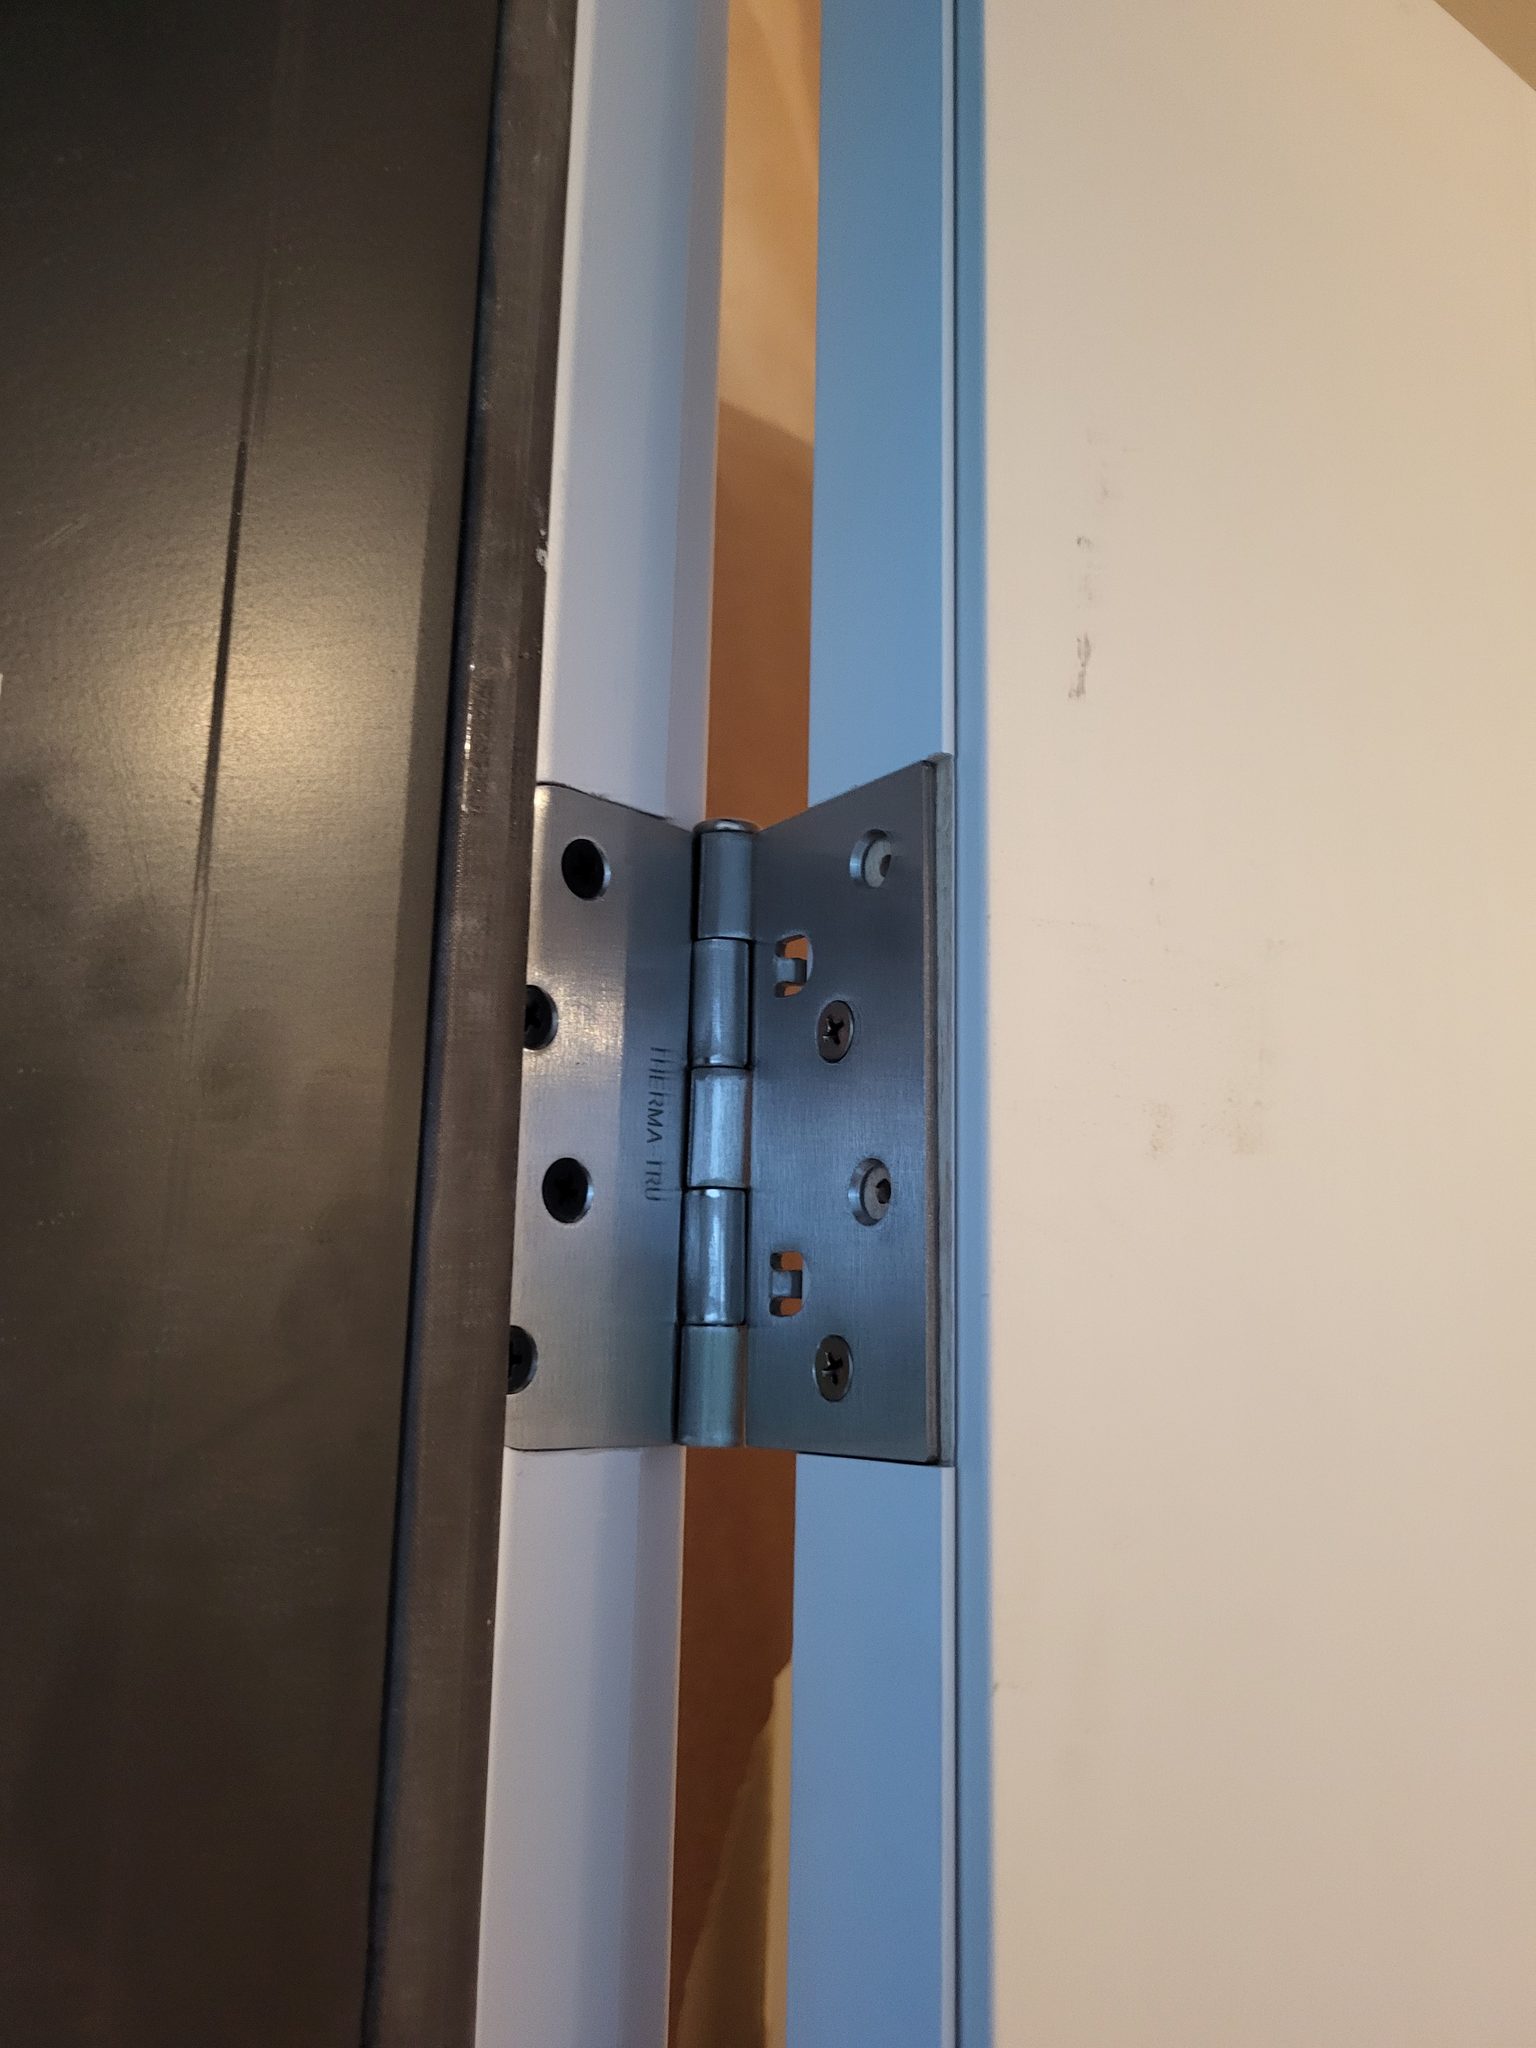
A door bump stops a door before the knob, lever, or the door itself can slam into a wall. This Old House covers door hardware for homeowners; this guide is how we pick and set every door bump on a house. There are two common types. A hinge-pin door stop threads onto the hinge pin between two of the hinge knuckles and doesn't touch the wall or floor at all. A base or wall-mounted stop has a rubber tip and screws into the baseboard or wall at the point the door or its hardware would otherwise hit. Both do the same job. Which one you use depends on the door's swing and what's actually behind the wall at that spot.
This is quick work, but it's easy to skip or place wrong under production pressure, and a missed bump stop turns into a wall repair callback later. Every door in the house gets one of these two types unless the swing genuinely can't reach anything to hit.
This task usually happens near the end of a job, during the same pass as hanging knobs, coat hooks, and other small hardware, once every door in the unit is finished and swinging correctly. Working room by room and checking every door's swing before moving on is faster than doubling back later to fix a wall that got dinged because a stop was never installed.
Before You Begin #
Prerequisites #
- Drywall and painting are complete
- Flooring is installed
- Doors are hung and swinging freely
What You Need To Know #
- A hinge-pin stop works well when there is no baseboard or wall surface in the right spot to catch a base-mounted stop
- A base or wall-mounted stop screws into the baseboard, a stud, or a stud-backed section of wall, wherever the door's swing would otherwise drive the knob into the surface. Never mount one into bare drywall with nothing behind it; it will pull loose the first time the door hits it hard
- Check the door's full swing before you pick a spot. Open it past 90 degrees and watch where the knob or the door edge actually tracks
- A heavier or taller door swinging with more force is worth backing up with two hinge stops, one at the top hinge and one at the bottom, instead of relying on a single point
- A front entry door sees the most traffic and the most force behind every swing, so it's worth using the larger or heavier-duty stop from the two options in the kit if the hardware line offers a choice
Tools Required #
Power Tools #
- Drill/driver, for pre-drilling and driving screws on a base or wall-mounted stop
Hand Tools #
- Screwdriver
- Pencil
Supplies #
- Mounting screws sized for the stop and the wall material
Materials #
- Door bump stops, hinge-pin style or base and wall-mounted with a rubber or vinyl tip, matched to the location
Installation Steps #
Step 1: Watch the Door's Swing #
Open the door slowly through its full range and note exactly where the knob, lever, or door edge would first contact the wall or floor. Decide whether a hinge-pin stop or a base-mounted stop fits the spot better. If there's solid wall backing right where the door swings to, a base stop works well. If the door swings past open baseboard or into a spot with nothing behind the drywall, a hinge-pin stop is the safer call.
Step 2: Install a Hinge-Pin Stop #
Remove the hinge pin partway, slide the stop's collar onto the pin, and reseat the pin. Test the door's swing. The stop should catch the door before the knob reaches the wall, without binding the hinge itself.
Step 3: Install a Base or Wall-Mounted Stop #
Mark the exact point on the baseboard or wall where the door's hardware would make contact. Pre-drill if the location is hardwood, tile, or a hard baseboard material, to avoid splitting it. Drive the mounting screw into solid backing, baseboard, cabinet, or a stud, never into bare drywall alone.
Step 4: Test the Installation #
Open and close the door several times at a normal pace, not just slowly. Confirm the stop catches the door before any hardware or the door edge reaches the wall, and that it doesn't rattle loose.
Pro Tips #
Pro Tip: Joel: "Put stops/bumps on doors (9 base stops, 9 hinge stops)." Every door gets one of the two types. Skip one and it becomes a wall repair callback later.
Pro Tip: Joel: "Hinge bumps on every door, bigger ones on the front entry door. One top, one bottom, on 8-foot doors." A taller door swinging with more force gets backed up by two hinge stops instead of one.
Close-Out #
Sweep up any drilling debris, and move to the next door. This is a fast, repeatable task once you know the swing pattern for each opening, so batch it across the whole unit or house rather than backtracking room by room.
Quality Check #
- Bump stop is installed and catches the door before it contacts the wall
- Stop is mounted into solid backing, not bare drywall
- Door swings freely and doesn't rattle or bind at the stop
- Correct stop type used for the location, hinge-pin where there's no wall backing, base-mounted where there is
Troubleshooting #
Door Still Hits the Wall #
The stop is positioned too late in the swing. Recheck exactly where contact happens and move the stop, or switch to the other stop type if the current one can't reach far enough into the swing.
Stop Pulls Loose #
Almost always means it was mounted into drywall with nothing behind it. Relocate to solid backing, or add a mounting block behind the drywall if the location can't move.
Hinge-Pin Stop Binds the Hinge #
The collar is seated too tight against the knuckle. Loosen it slightly and retest; it should slide freely on the pin while still catching the door.
Stop Looks Fine But the Wall Still Shows Marks #
A stop that catches the door only after it has already tapped the wall is set a hair too late in the swing. Move it slightly earlier in the arc, closer to the hinge side of the travel, so it makes contact before the knob does rather than at the same moment.
Related Guides #
Reference Photos #
The following photos show examples of this type of work completed in the field. These serve as visual references for quality standards, proper installation techniques, and finished results.
Showing 3 of 3 photos