On this page
Introduction #
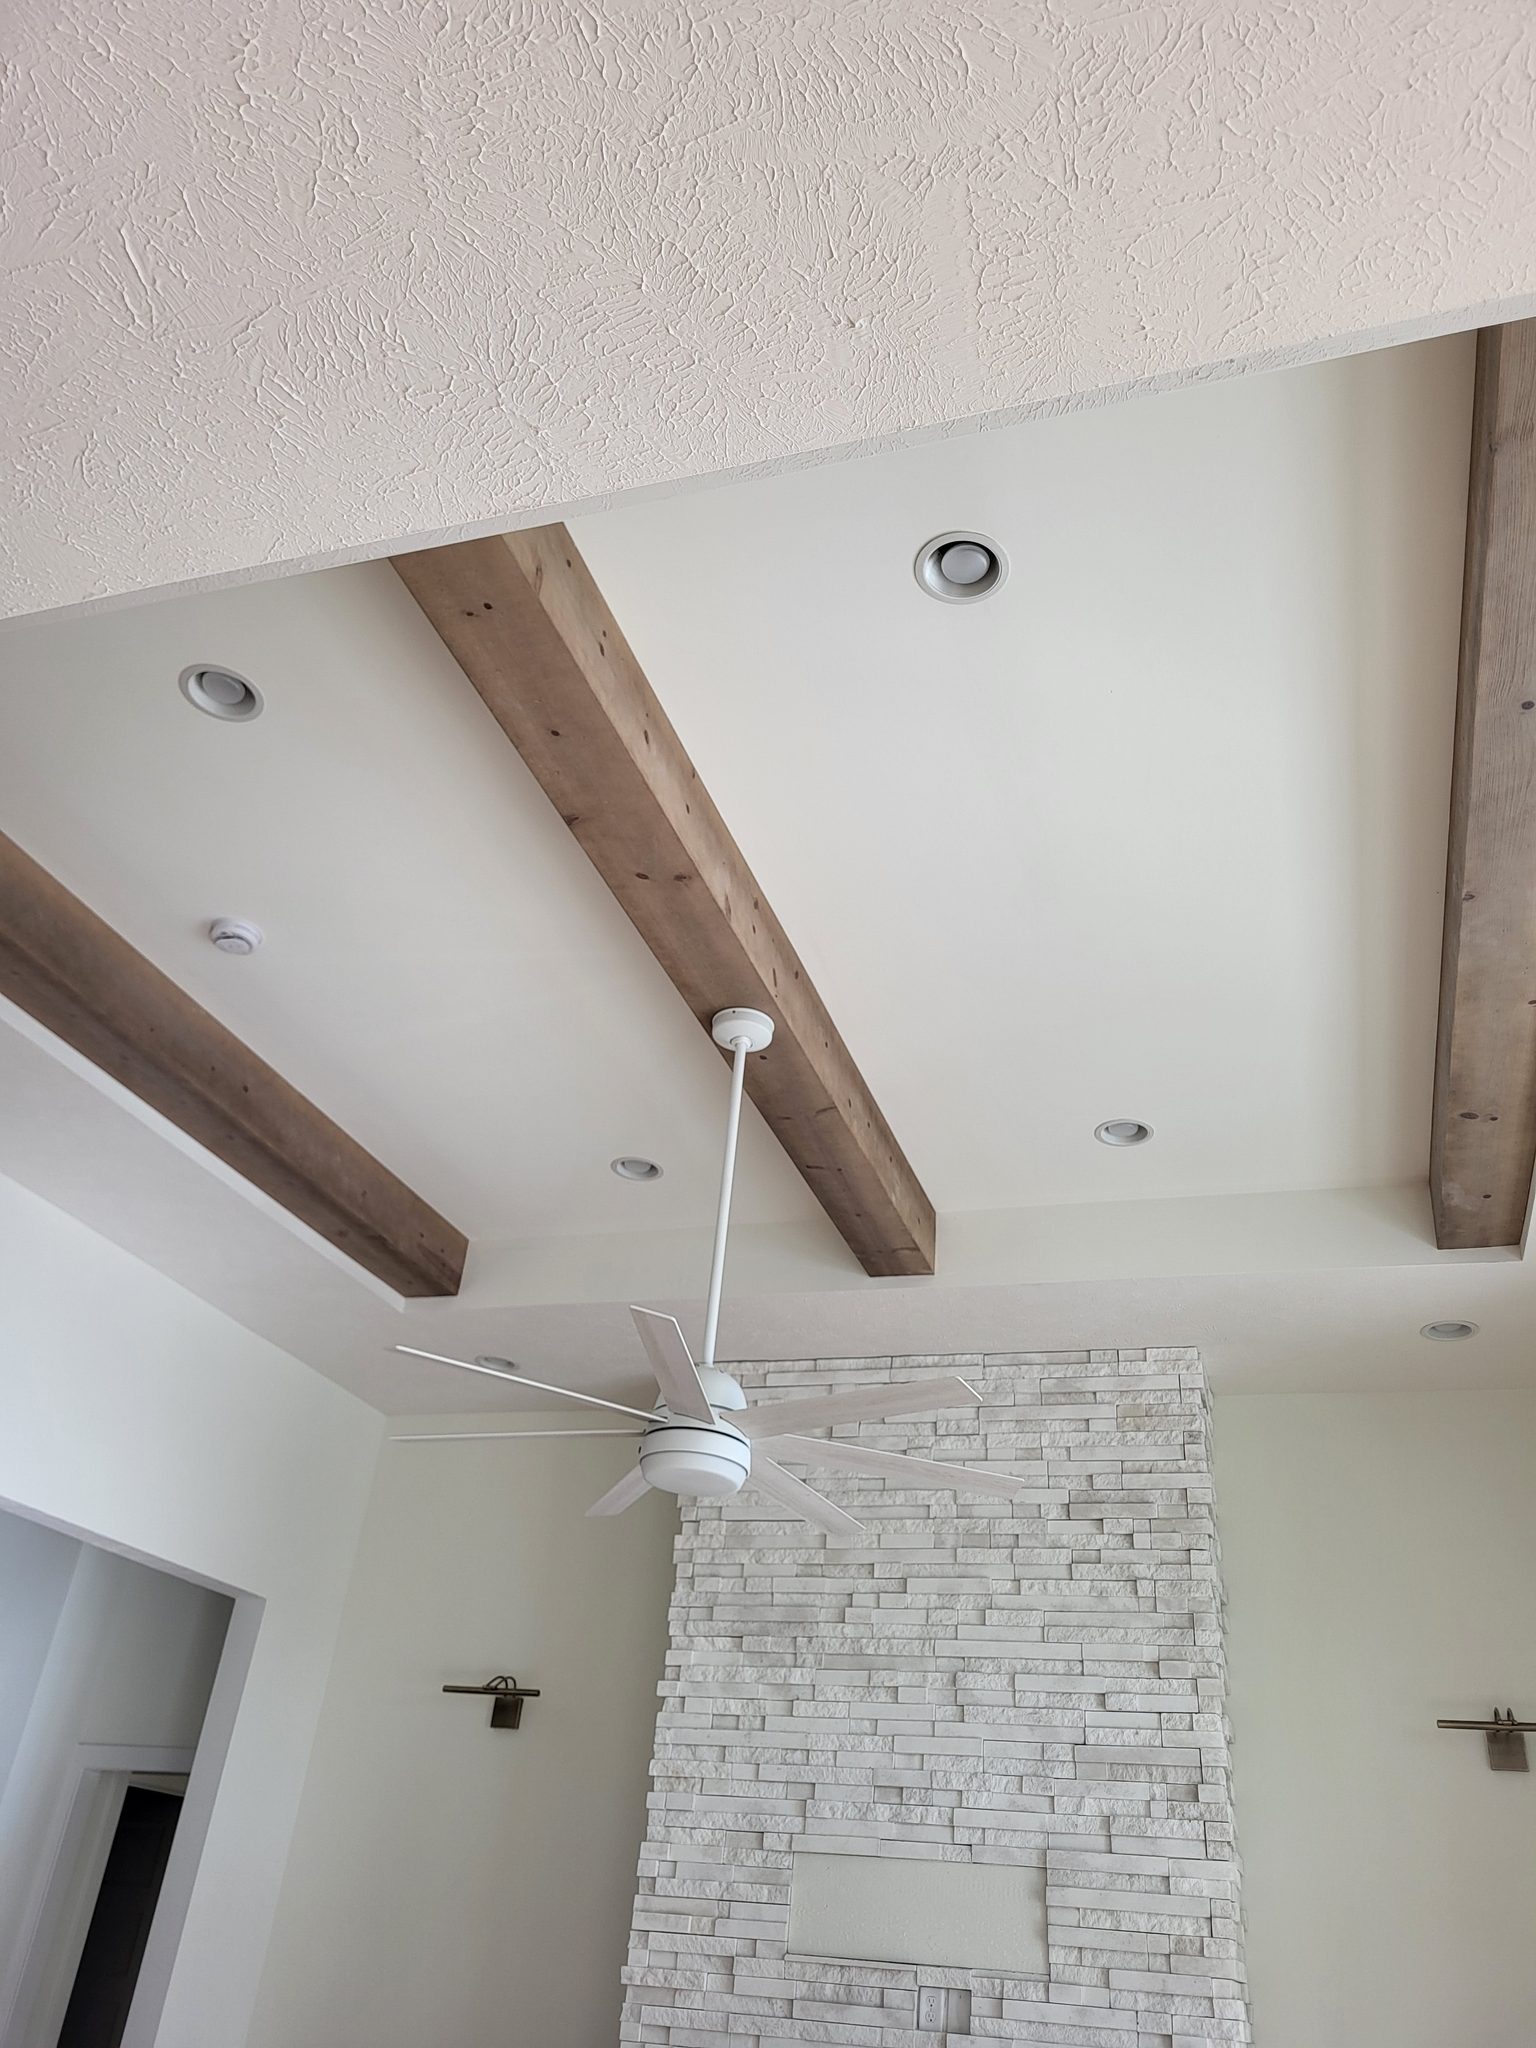
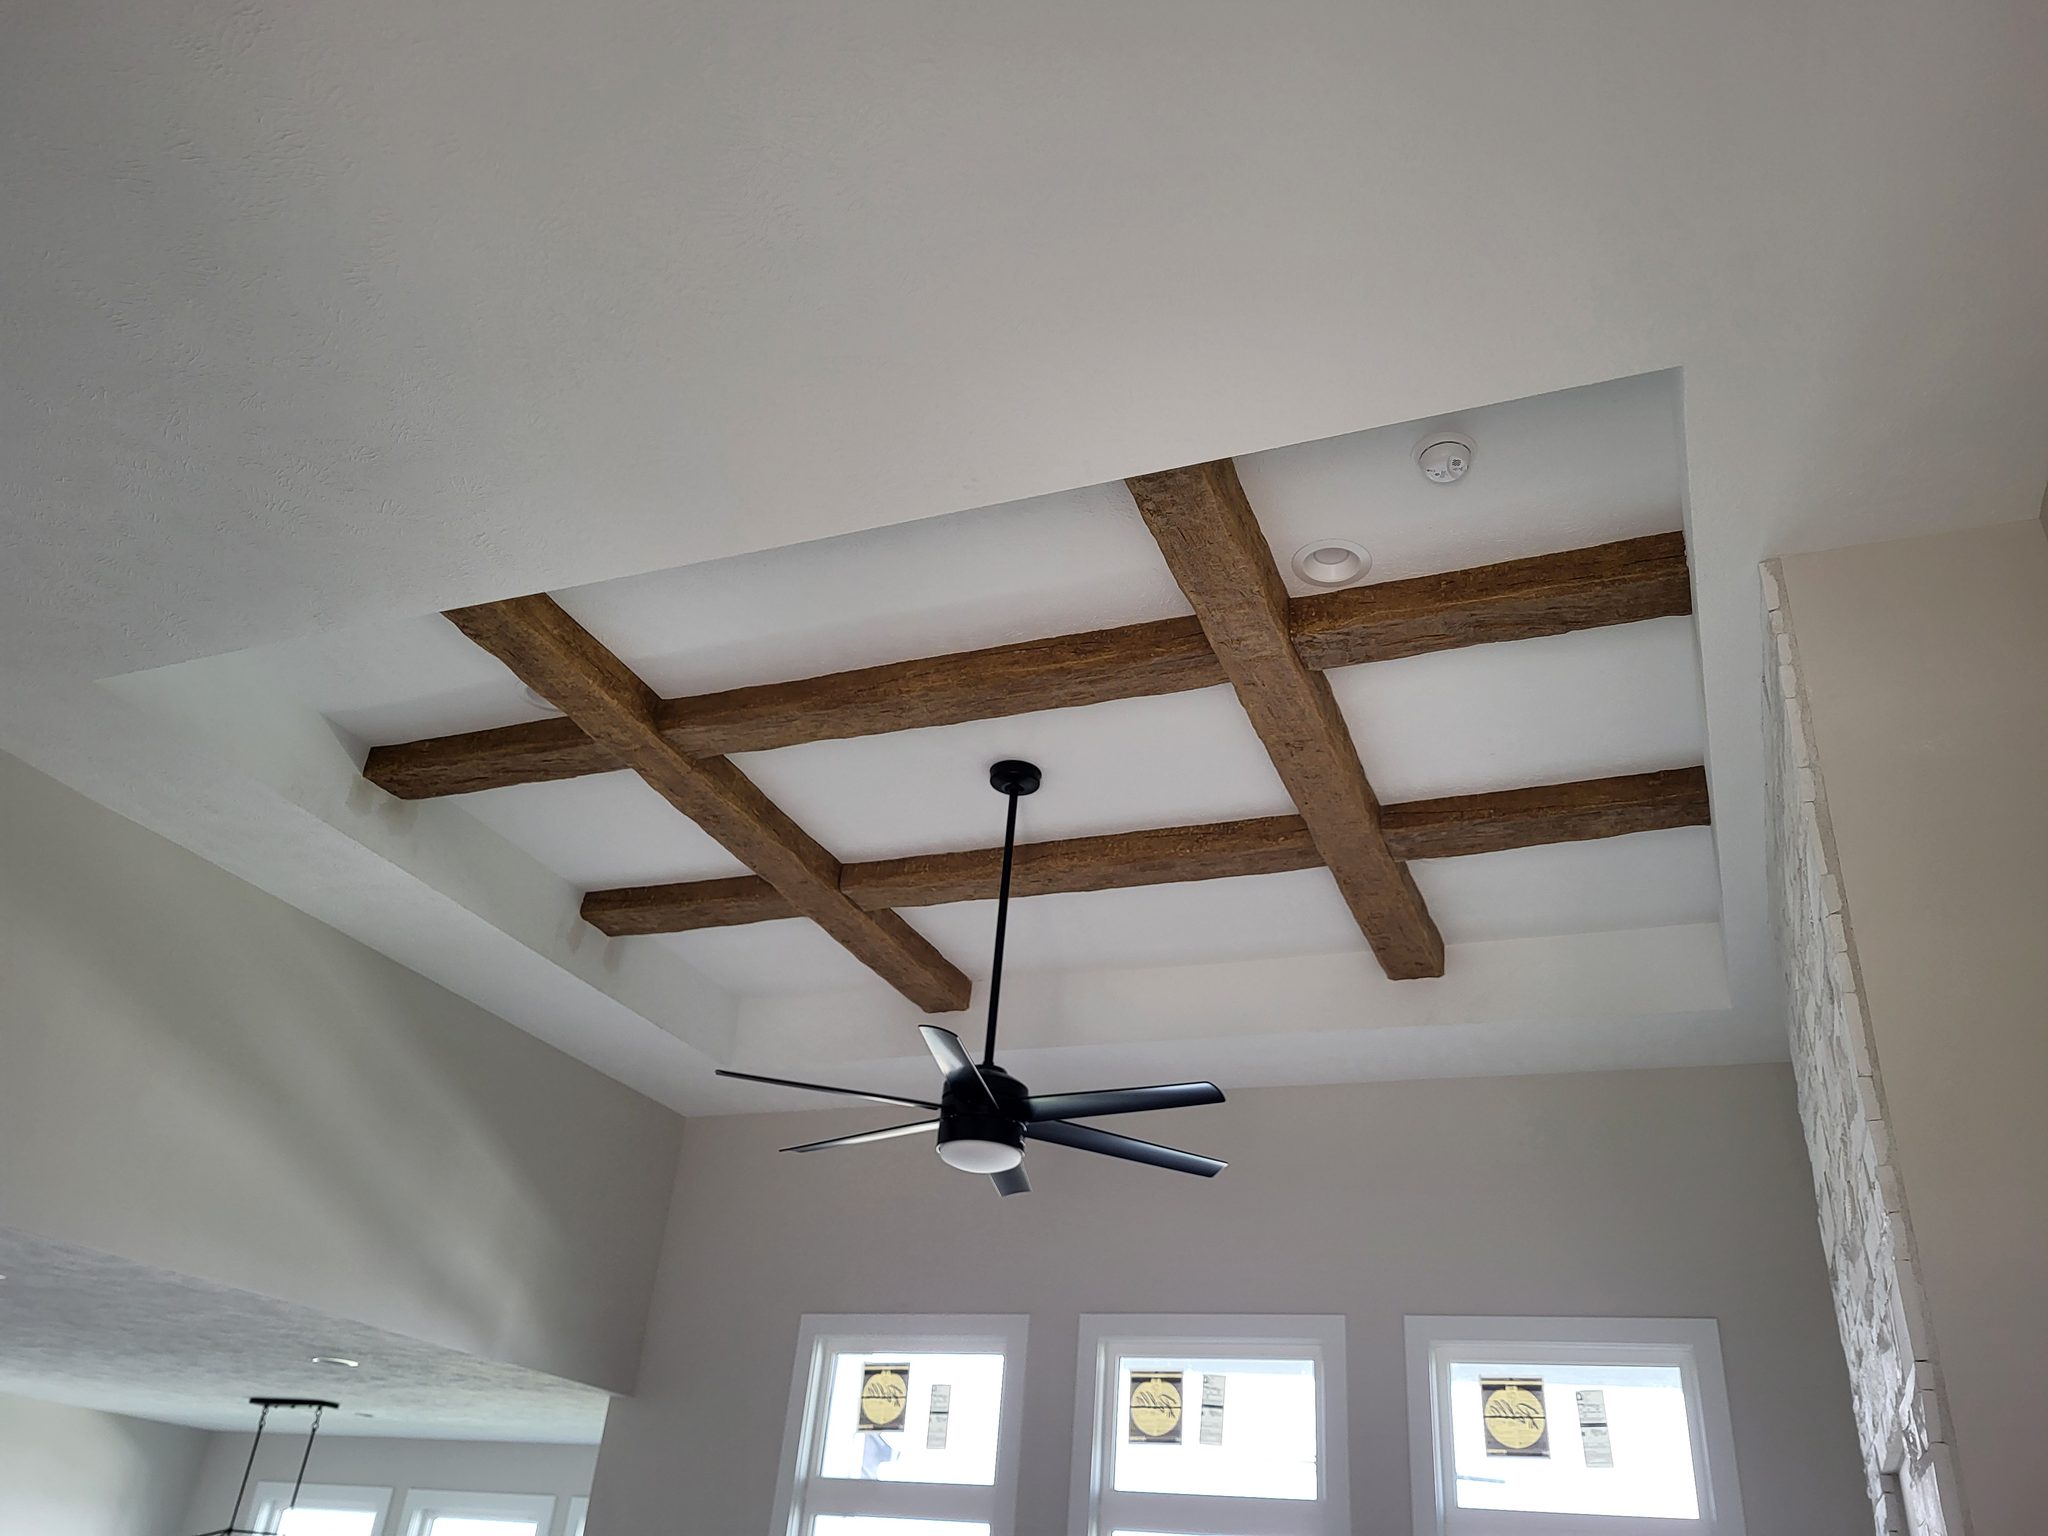
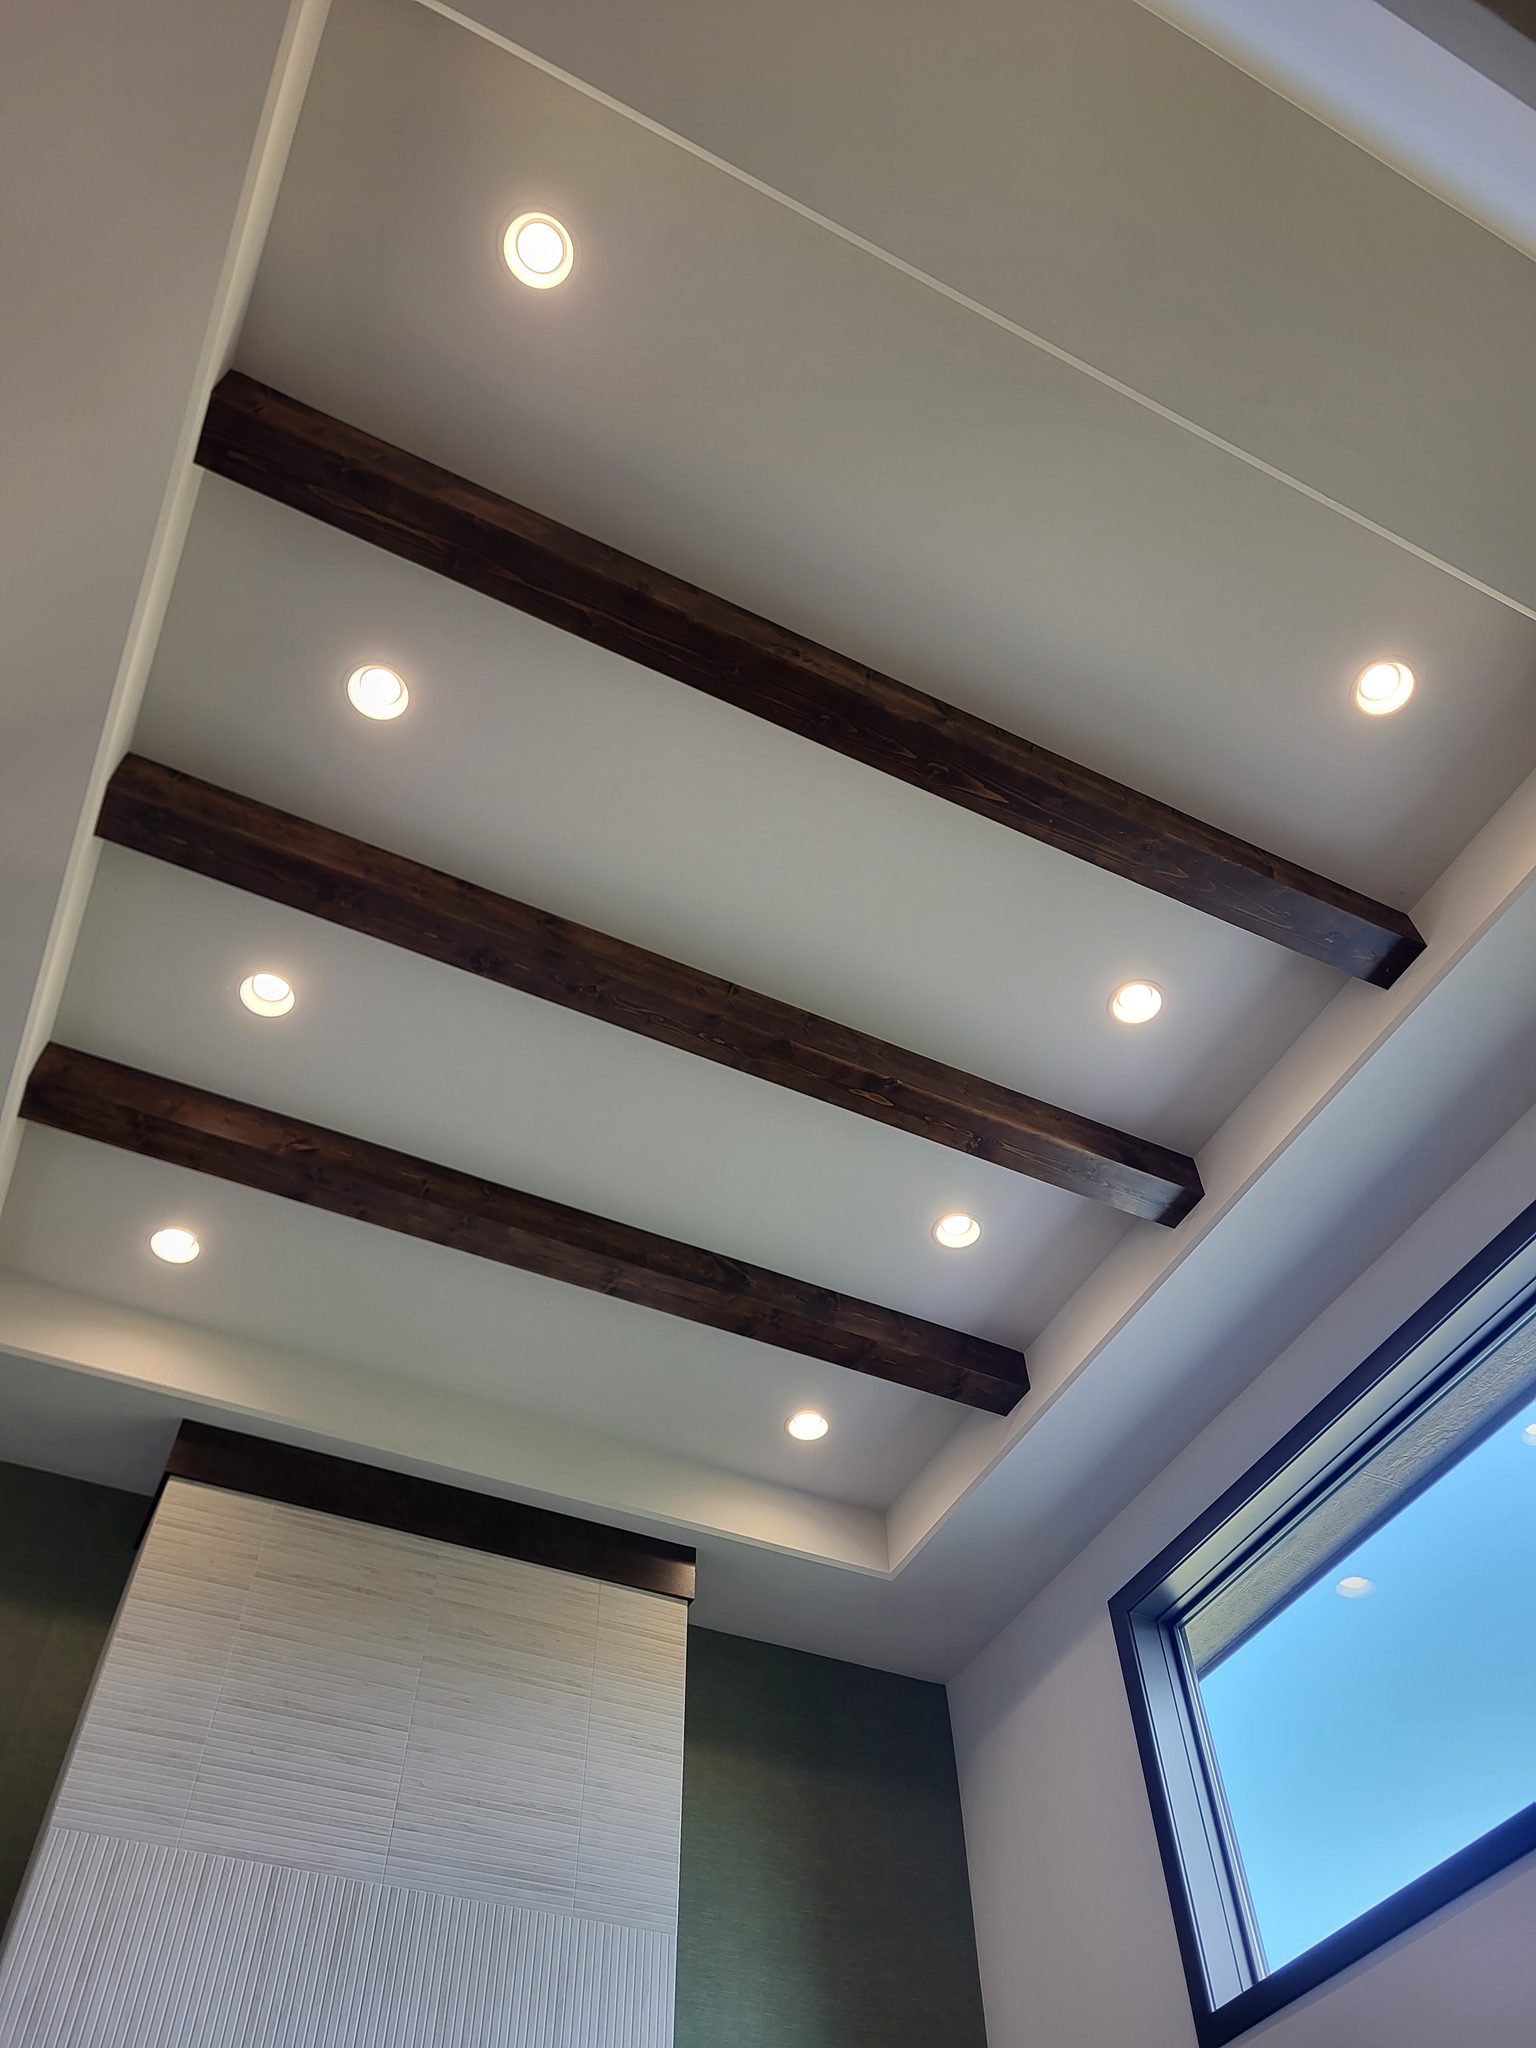
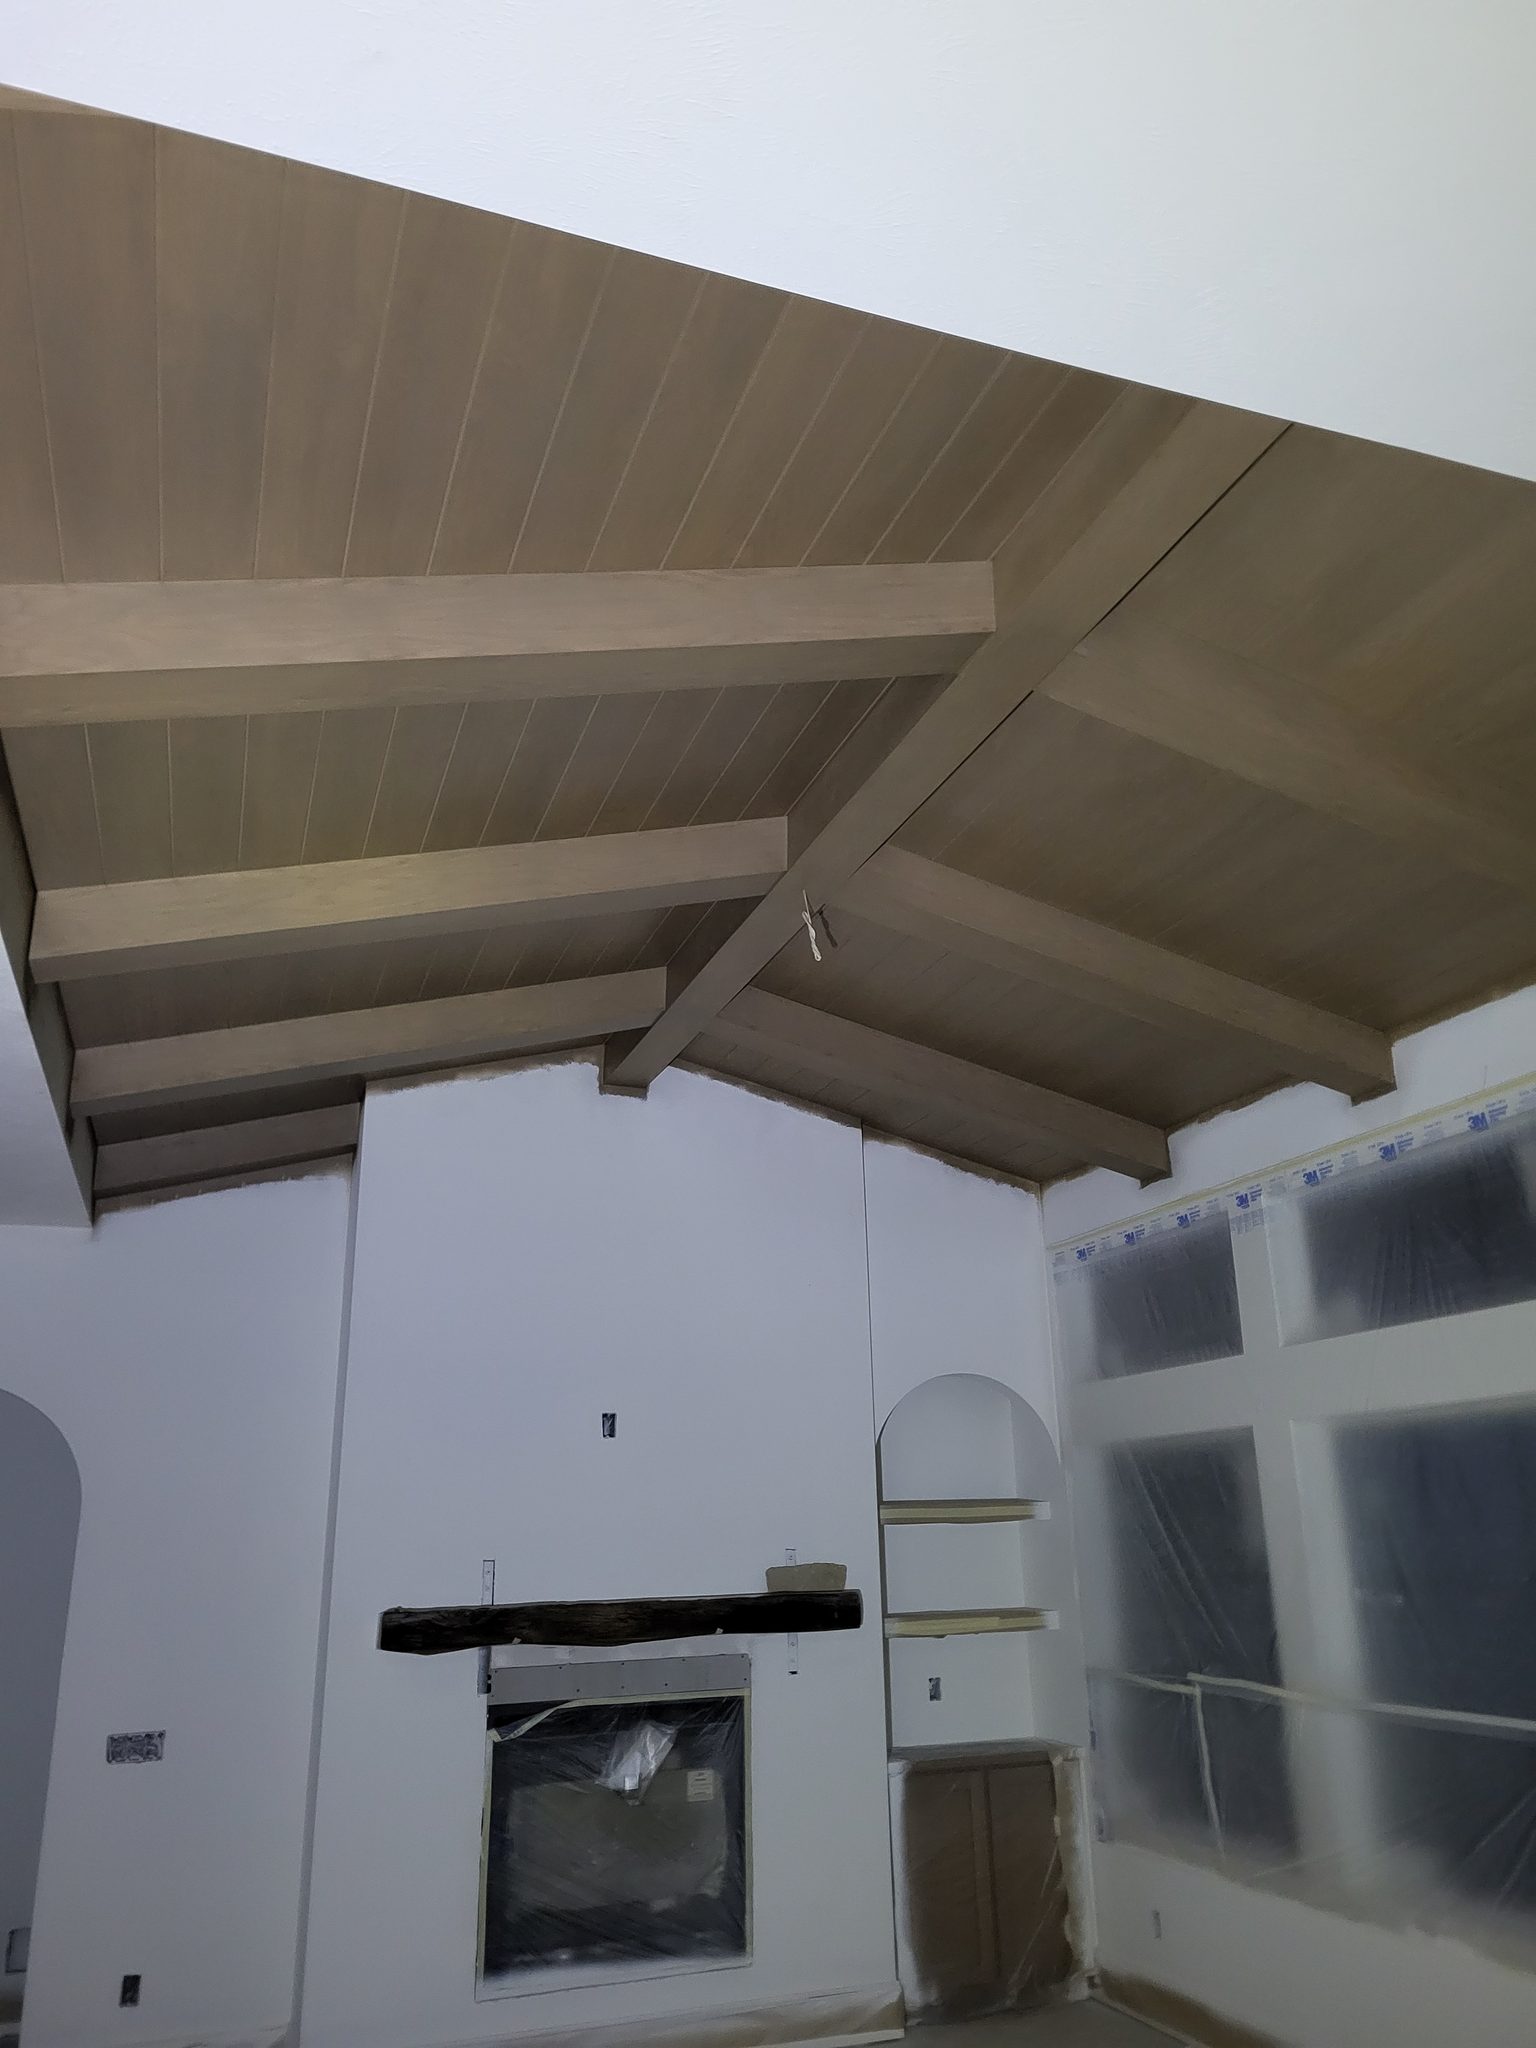
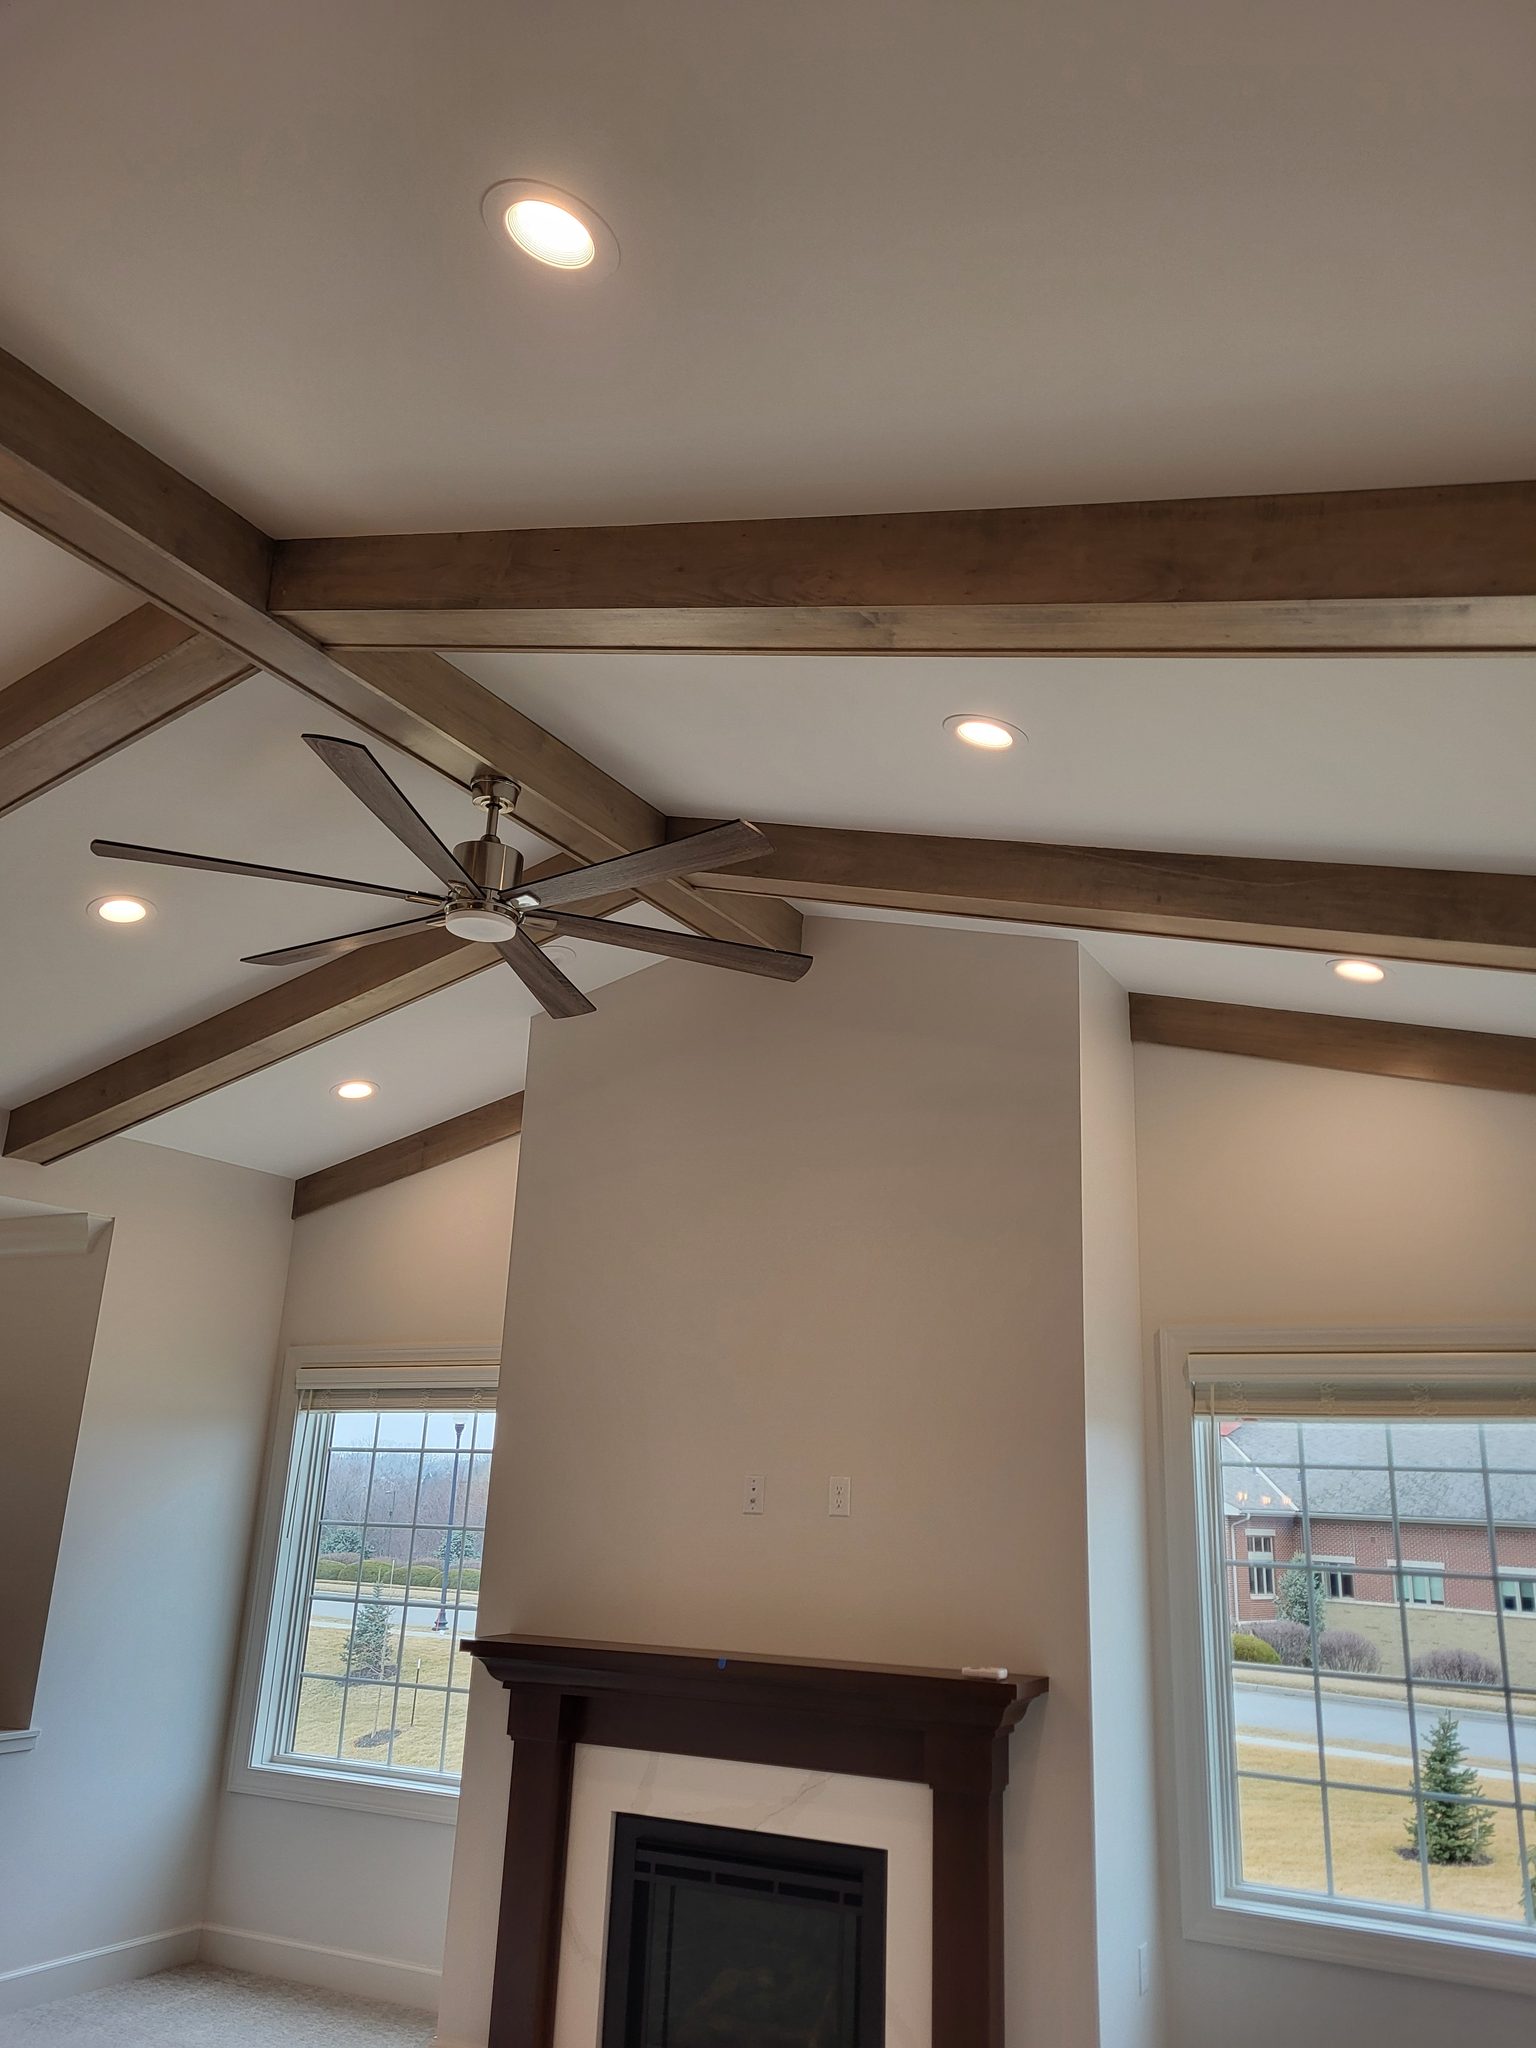
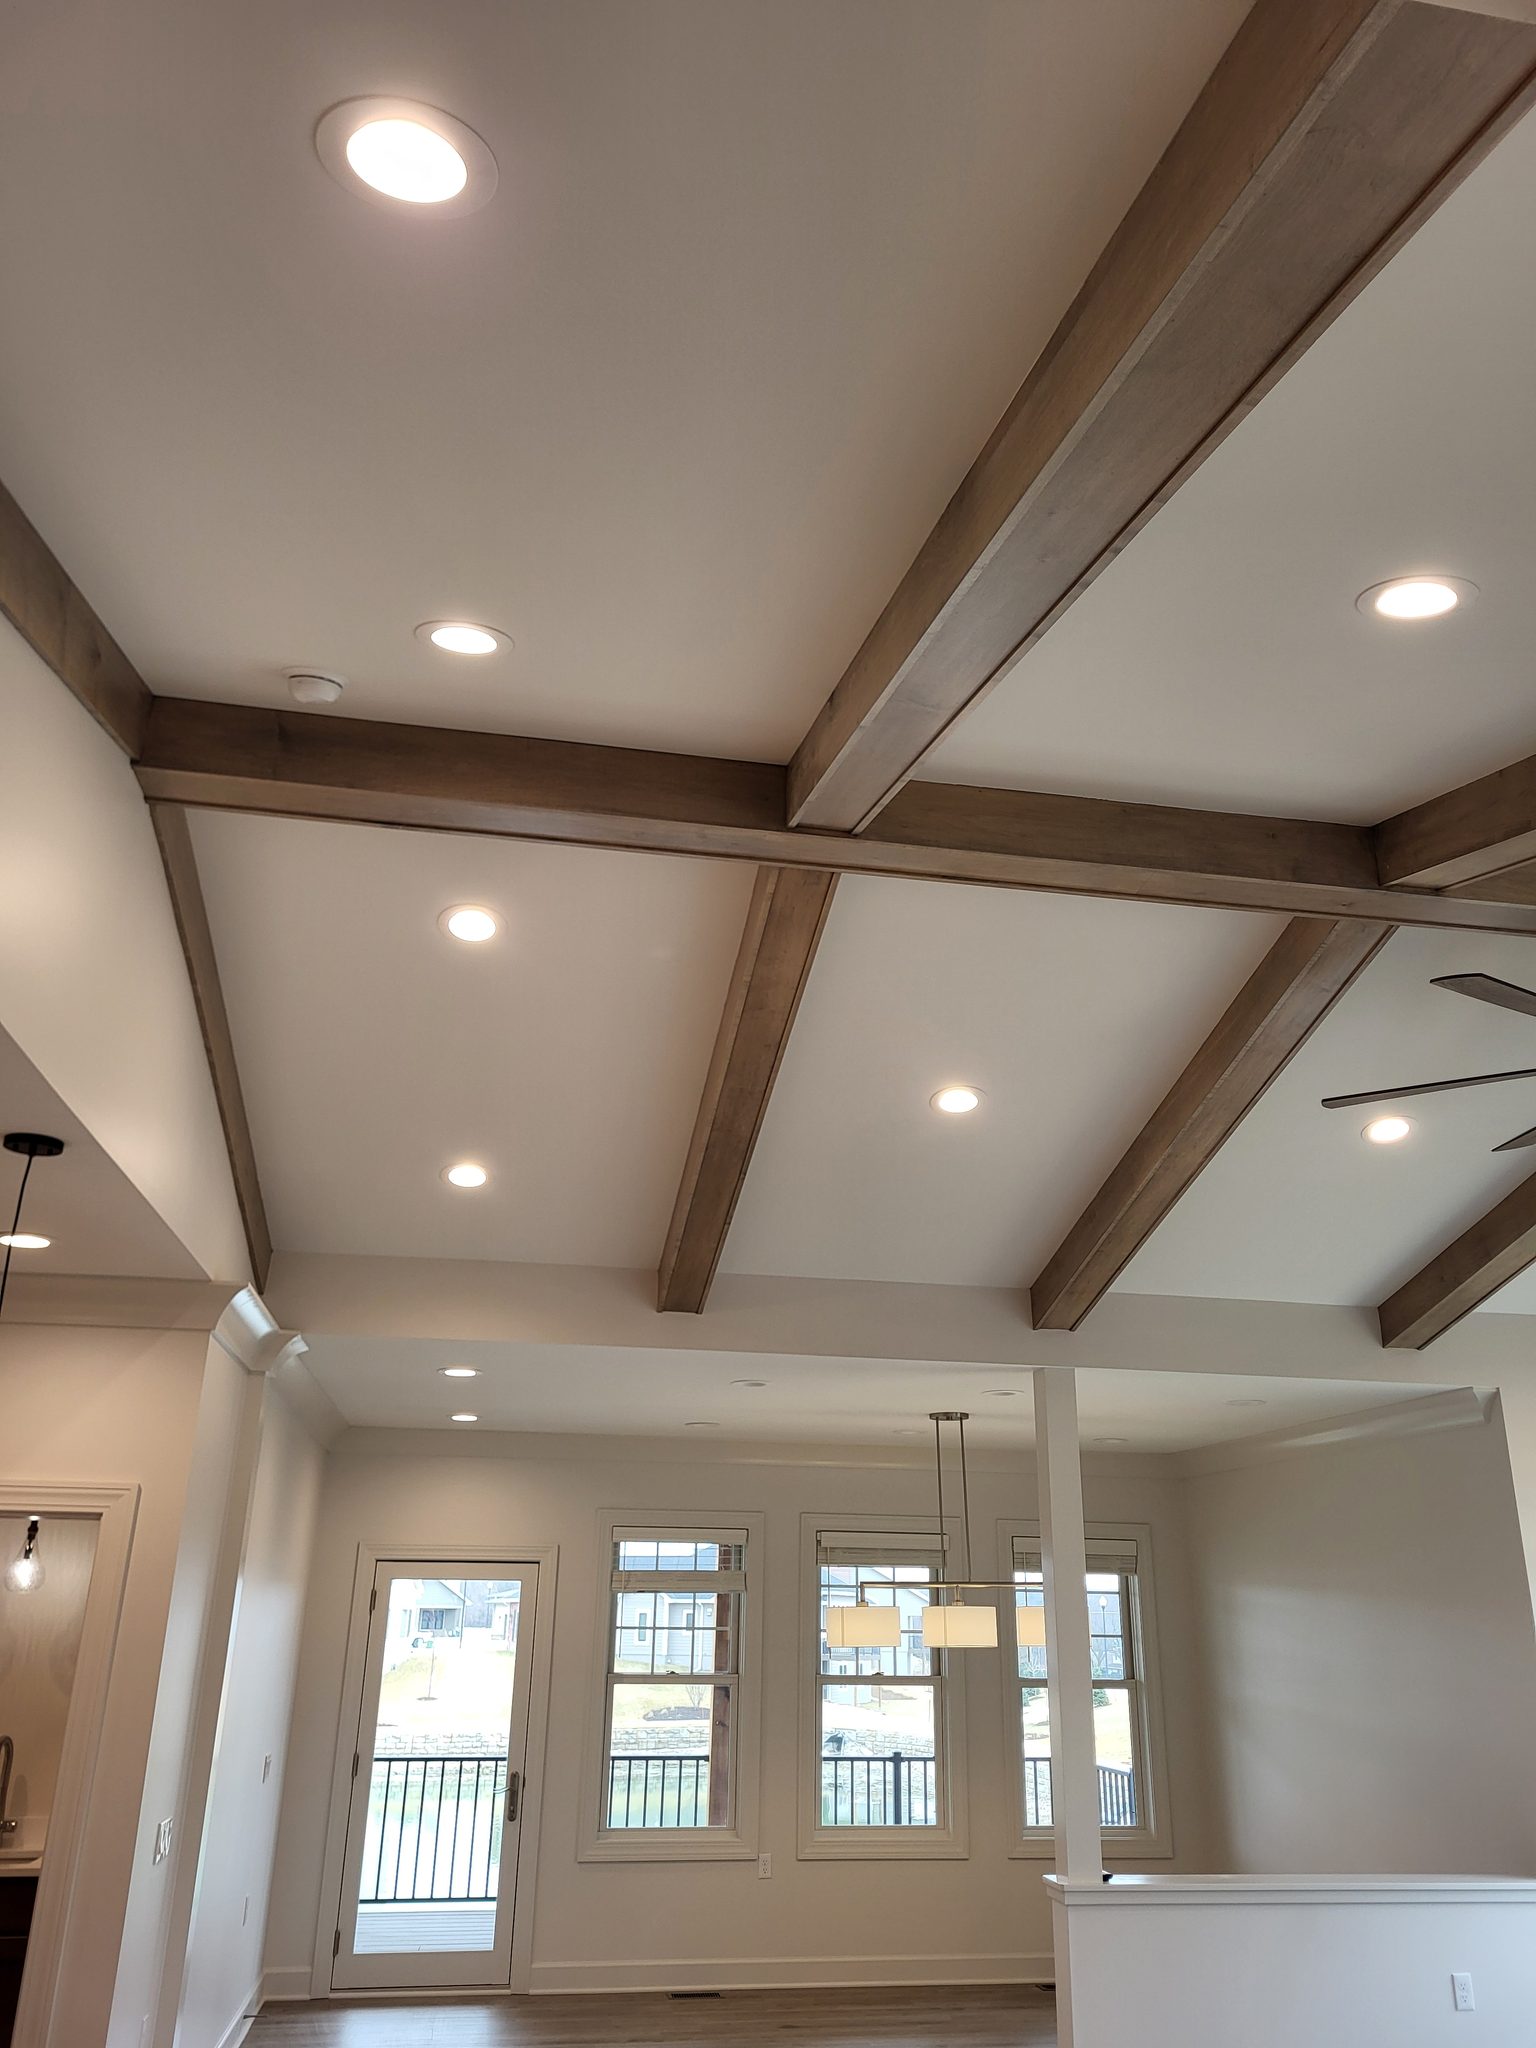
Installing ceiling beams is a high-impact way to add character to a room, especially in open-concept spaces like great rooms. This Old House has the design-side background; this guide is how we build and hang the box. In new construction they typically go up after drywall and paint, but before final trim and flooring.
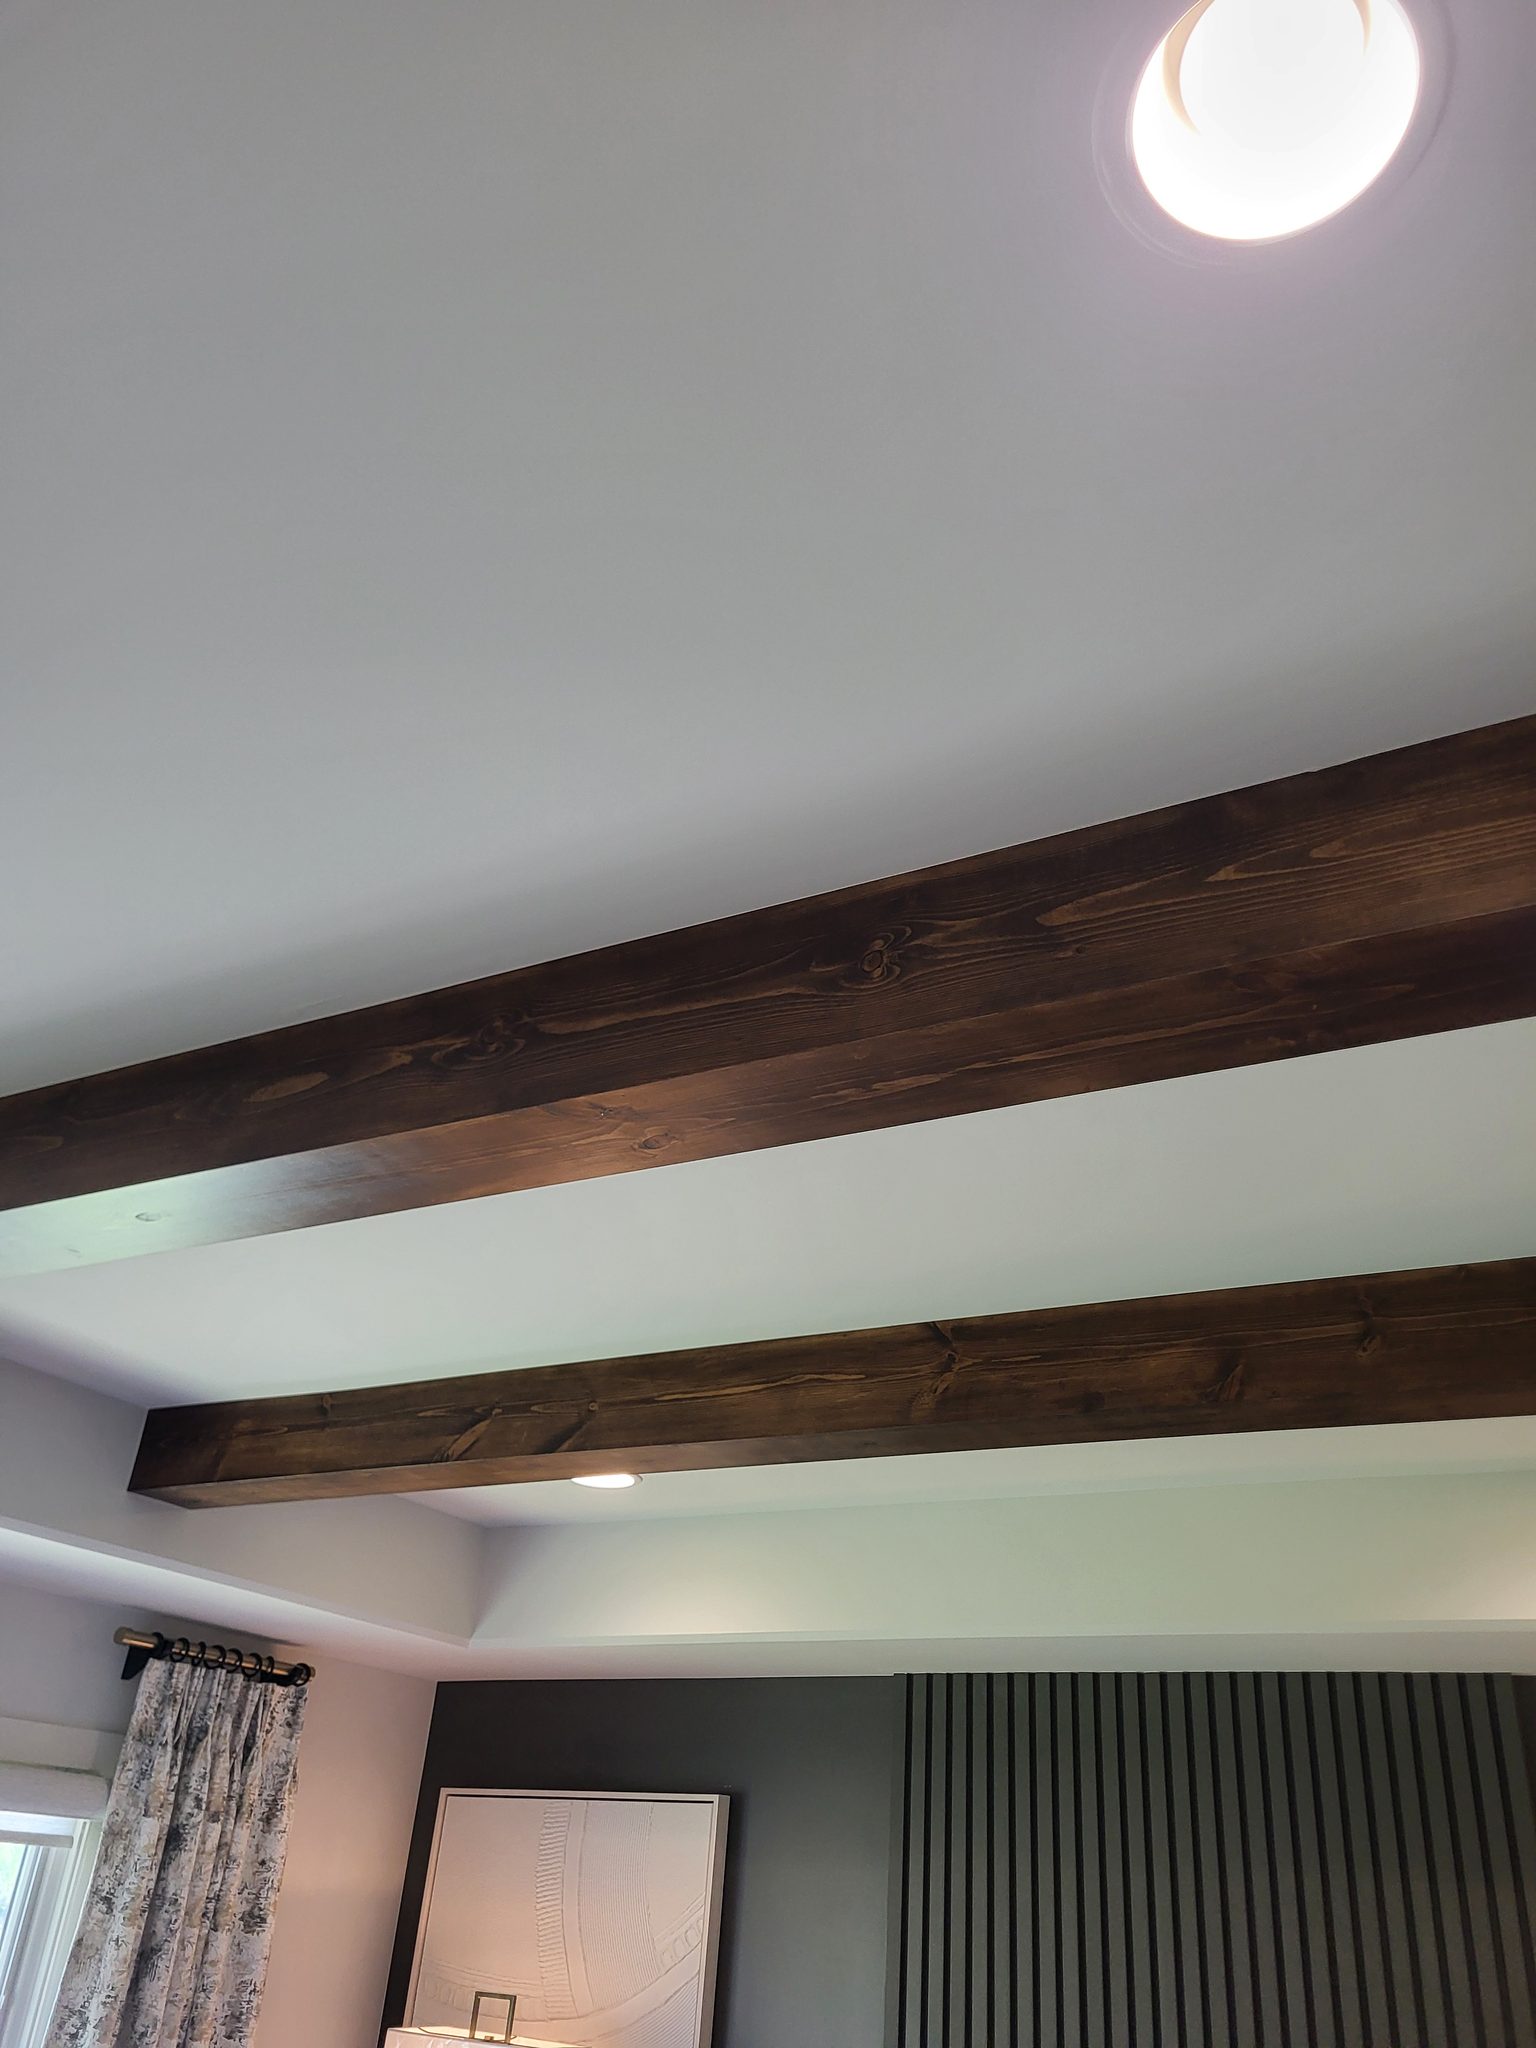
A finished beam looks like one solid piece of timber, but it isn't. It's a three-sided hollow box, built on site and hung over a cleat that's screwed straight into the ceiling framing. Building it this way keeps the weight down, lets the box run over wiring or ductwork without a fight, and lets every fastener land somewhere nobody will ever see it.
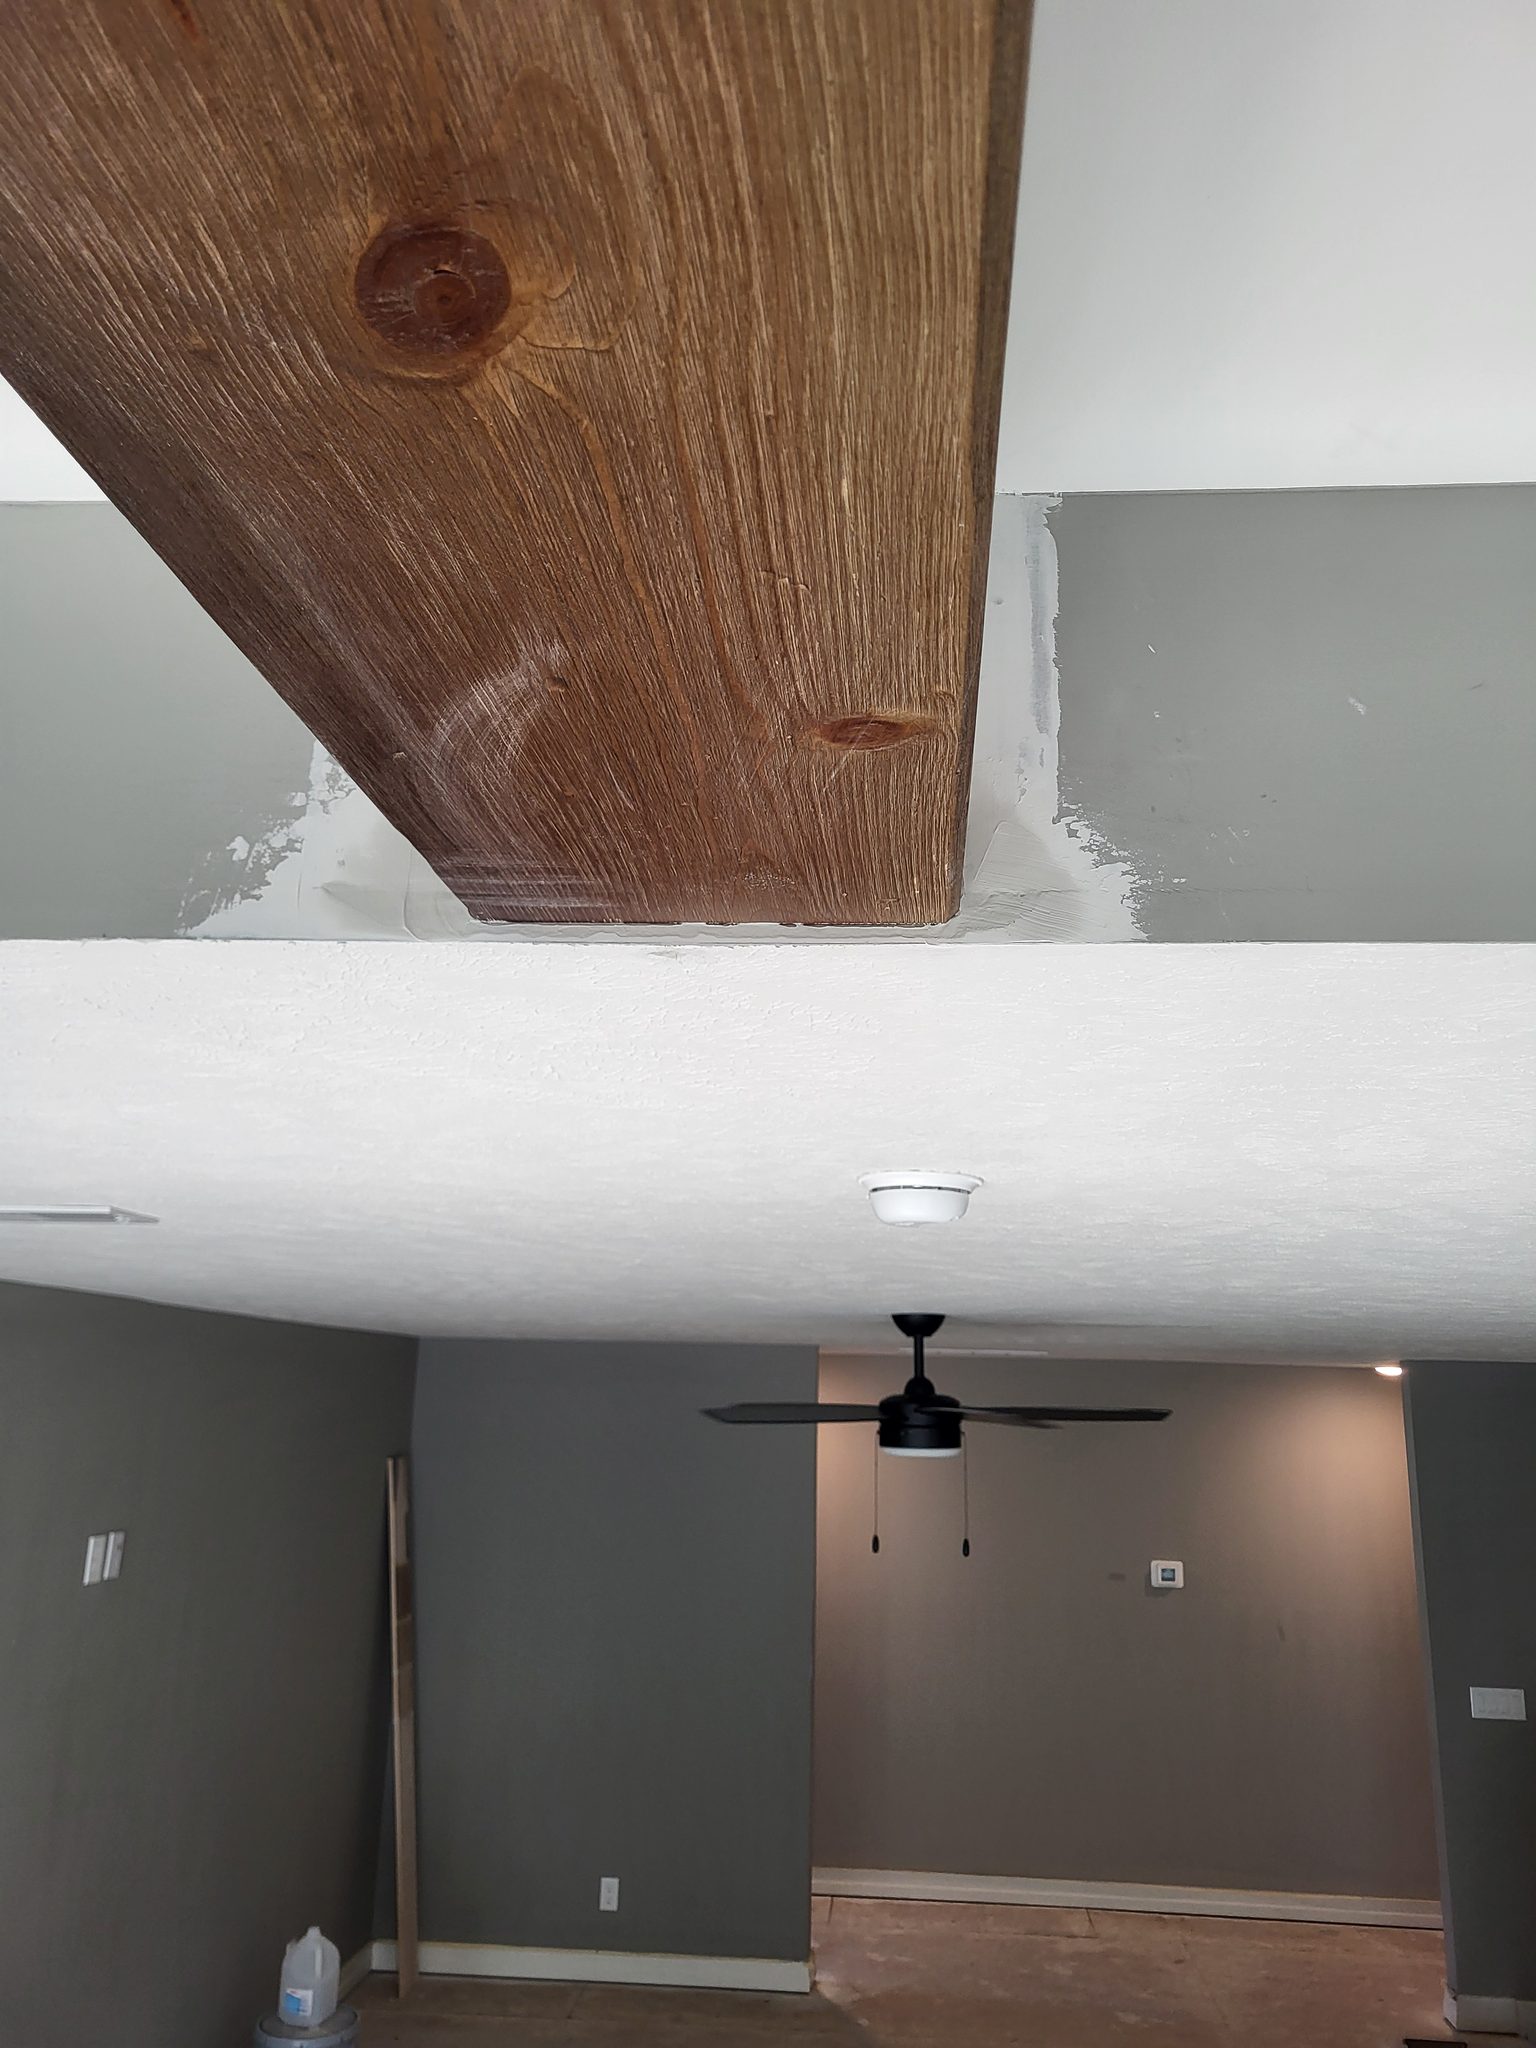
Species is clear pine or white oak. Cedar is almost never used here, even though it shows up in some old field notes. The three corners of the box come together one of three ways: mitered, rabbeted, or built with a recessed bottom edge. All three are acceptable; which one you use depends on the job. Whatever joint you pick, the standard on every beam is the same: no fastener ever shows on the finished piece.
Before You Begin #
Before you install ceiling beams, confirm that the following prerequisites are complete.
Prerequisites #
- Drywall installation and painting are complete.
- Electrical and HVAC rough-ins are finalized.
- Flooring installation is either complete or protected.
What You Need To Know #
Before you cut anything, understand what makes this method different from building a beam out of solid timber.
- The beam is a three-sided hollow box hung over a cleat, never a solid piece of timber.
- Species is clear pine or white oak. Almost never cedar.
- Corners are mitered, rabbeted, or built with a recessed bottom edge, chosen per job.
- No fastener should ever be visible on a finished beam: no timber screws, no washers, no screw head showing through.
Tools #
- Laser level - for laying out beam lines level and square across the room
- Chop saw - for square cuts on the box faces and the cleat
- Drill/driver - for screwing the cleat to the ceiling framing
- 18 gauge pin nailer - for nailing the box faces onto the cleat
- Stud finder - to locate ceiling framing before you commit to a layout
- Clamps - to hold the box together while the corner glue sets
Materials #
- Clear pine or white oak stock for the three beam faces
- Cleat, 2x6, screwed to the ceiling framing, that the three faces nail onto
- Screws, long enough to reach solid ceiling framing, for fastening the cleat
- 18 gauge pins, 1-3/4 inch, for fastening the box faces to the cleat
- PVA wood glue, for every corner joint
- Wood filler, for puttying the corner joints flush before sanding
Installation Steps #
Step 1. Lay Out Beams and Confirm Framing #
Use a laser level and a chalk line to mark where each beam will run and to keep the spacing even room to room. Before you cut anything, confirm what's actually above the drywall. Use a stud finder, or pre-drywall framing photos if you have them, to make sure the full length of every cleat run lands on solid framing, not just drywall. If a beam has to run parallel to the framing instead of across it, that run needs blocking up there before the cleat goes in, so catch that problem now, not after the box is built.
- Mark each beam centerline off the laser with the chalk line.
- Double-check measurements for symmetry before you cut a single piece.
- Every beam dies into a wall at both ends, scribed tight. There is no open end on a ceiling beam, so plan the length wall to wall.
Step 2. Build the Three-Sided Box #
Cut the beam faces to length on the chop saw, keeping every cut square so the joints close up tight. Join the three faces into a box using one of the three accepted corner methods: mitered, rabbeted, or a recessed bottom edge. Which one you use depends on the job, but pick one and hold it for the whole beam.
- Glue every corner with PVA wood glue, then putty and sand the joint flush. Wood-to-wood joints are our work, no exceptions. No caulk, anywhere on the beam.
- Clamp the box while the glue sets so the corners don't creep out of square.
Step 3. Cut the Cleat to Fit #
Rip the 2x6 cleat to the inside width of the box, so the three faces can nail onto it with no gap at the joint. Cut one cleat length per beam run.
Step 4. Screw the Cleat to the Ceiling #
Screw the cleat directly to the ceiling framing along your marked lines, using screws long enough to bite solid wood, not just drywall. The cleat is what actually carries the beam. Nothing gets glued to the ceiling, and nothing hangs on drywall alone.
- Check the cleat against the laser line before you drive a single screw.
Step 5. Hang and Nail the Box #
Lift the three-sided box up and over the cleat so it wraps the cleat on three sides, then nail through the faces into the cleat with 18 gauge 1-3/4 inch pins to hang it. Never timber screws. Never washers. No fastener of any kind should show on the finished beam.
- Check alignment against the laser line before you nail off the second face.
- Set every nail head so it disappears below the surface. A nail hole is painter scope, not ours to fill.
Step 6. Scribe the Ends to the Wall #
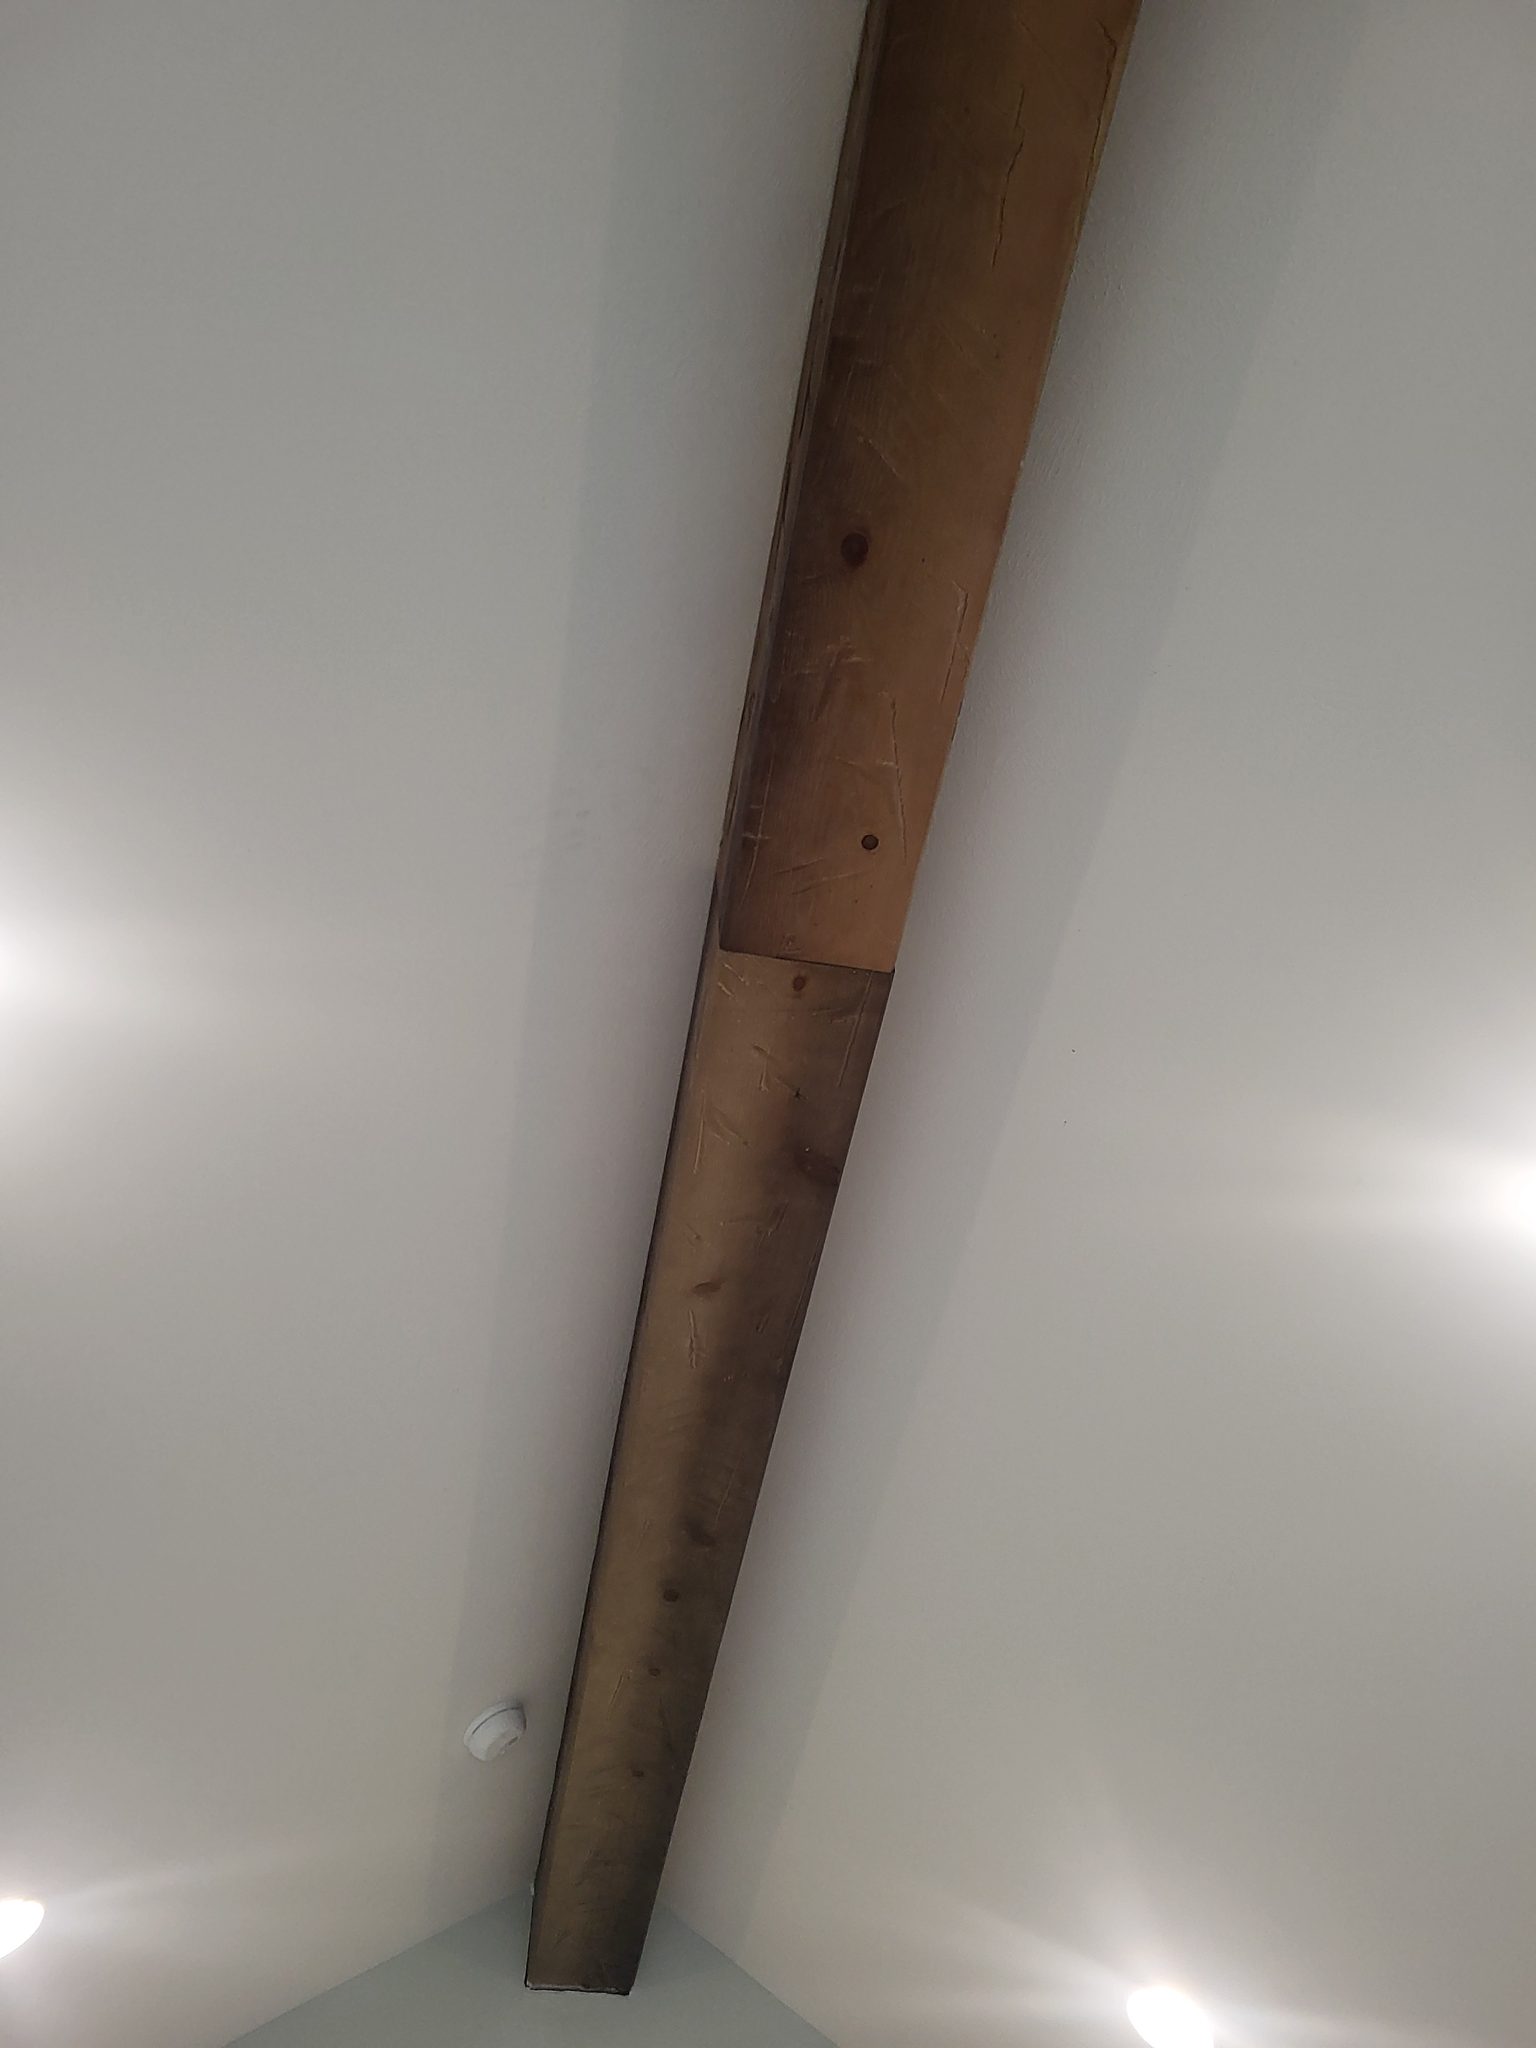
A beam never ends in the open; it dies into a wall at both ends, and drywall is never perfectly flat or plumb, so the end has to be scribed. Cut a short template piece at the same depth as the beam face, hold it to the wall where the beam lands, scribe the wall onto it and trim until it closes tight, then transfer that line to the real piece. The end has to close as cleanly as the corners: no visible fastener, no gap.
Pro Tips #
Pro Tip: "The flat ones are harder." Joel's right: a flat, low-profile beam gives you less depth to hide an uneven joint or a cleat that isn't dead level, so give those the extra few minutes.
Pro Tip: Run your full laser layout before you build a single box. It's a lot easier to adjust a chalk line than to shim or re-cut a beam after it's already glued, nailed, and hanging.
Common Mistakes #
- Mistake: Screwing or nailing the beam itself straight into the ceiling framing instead of building it around a cleat. It leaves visible fasteners and makes the beam hard to keep straight.
- Mistake: Using timber screws or washers to hang the beam. Both are visible hardware, and the house method rules them out entirely.
- Mistake: Building in cedar because it's on hand. Almost never the right call; use clear pine or white oak.
- Mistake: Skipping glue, putty, or sanding at a corner joint. Every wood-to-wood joint is ours to finish, no exceptions.
- Mistake: Screwing the cleat into drywall alone instead of solid framing. The cleat carries the whole beam; if it isn't anchored to framing, the beam won't stay anchored either.
QC / Punch Checklist #
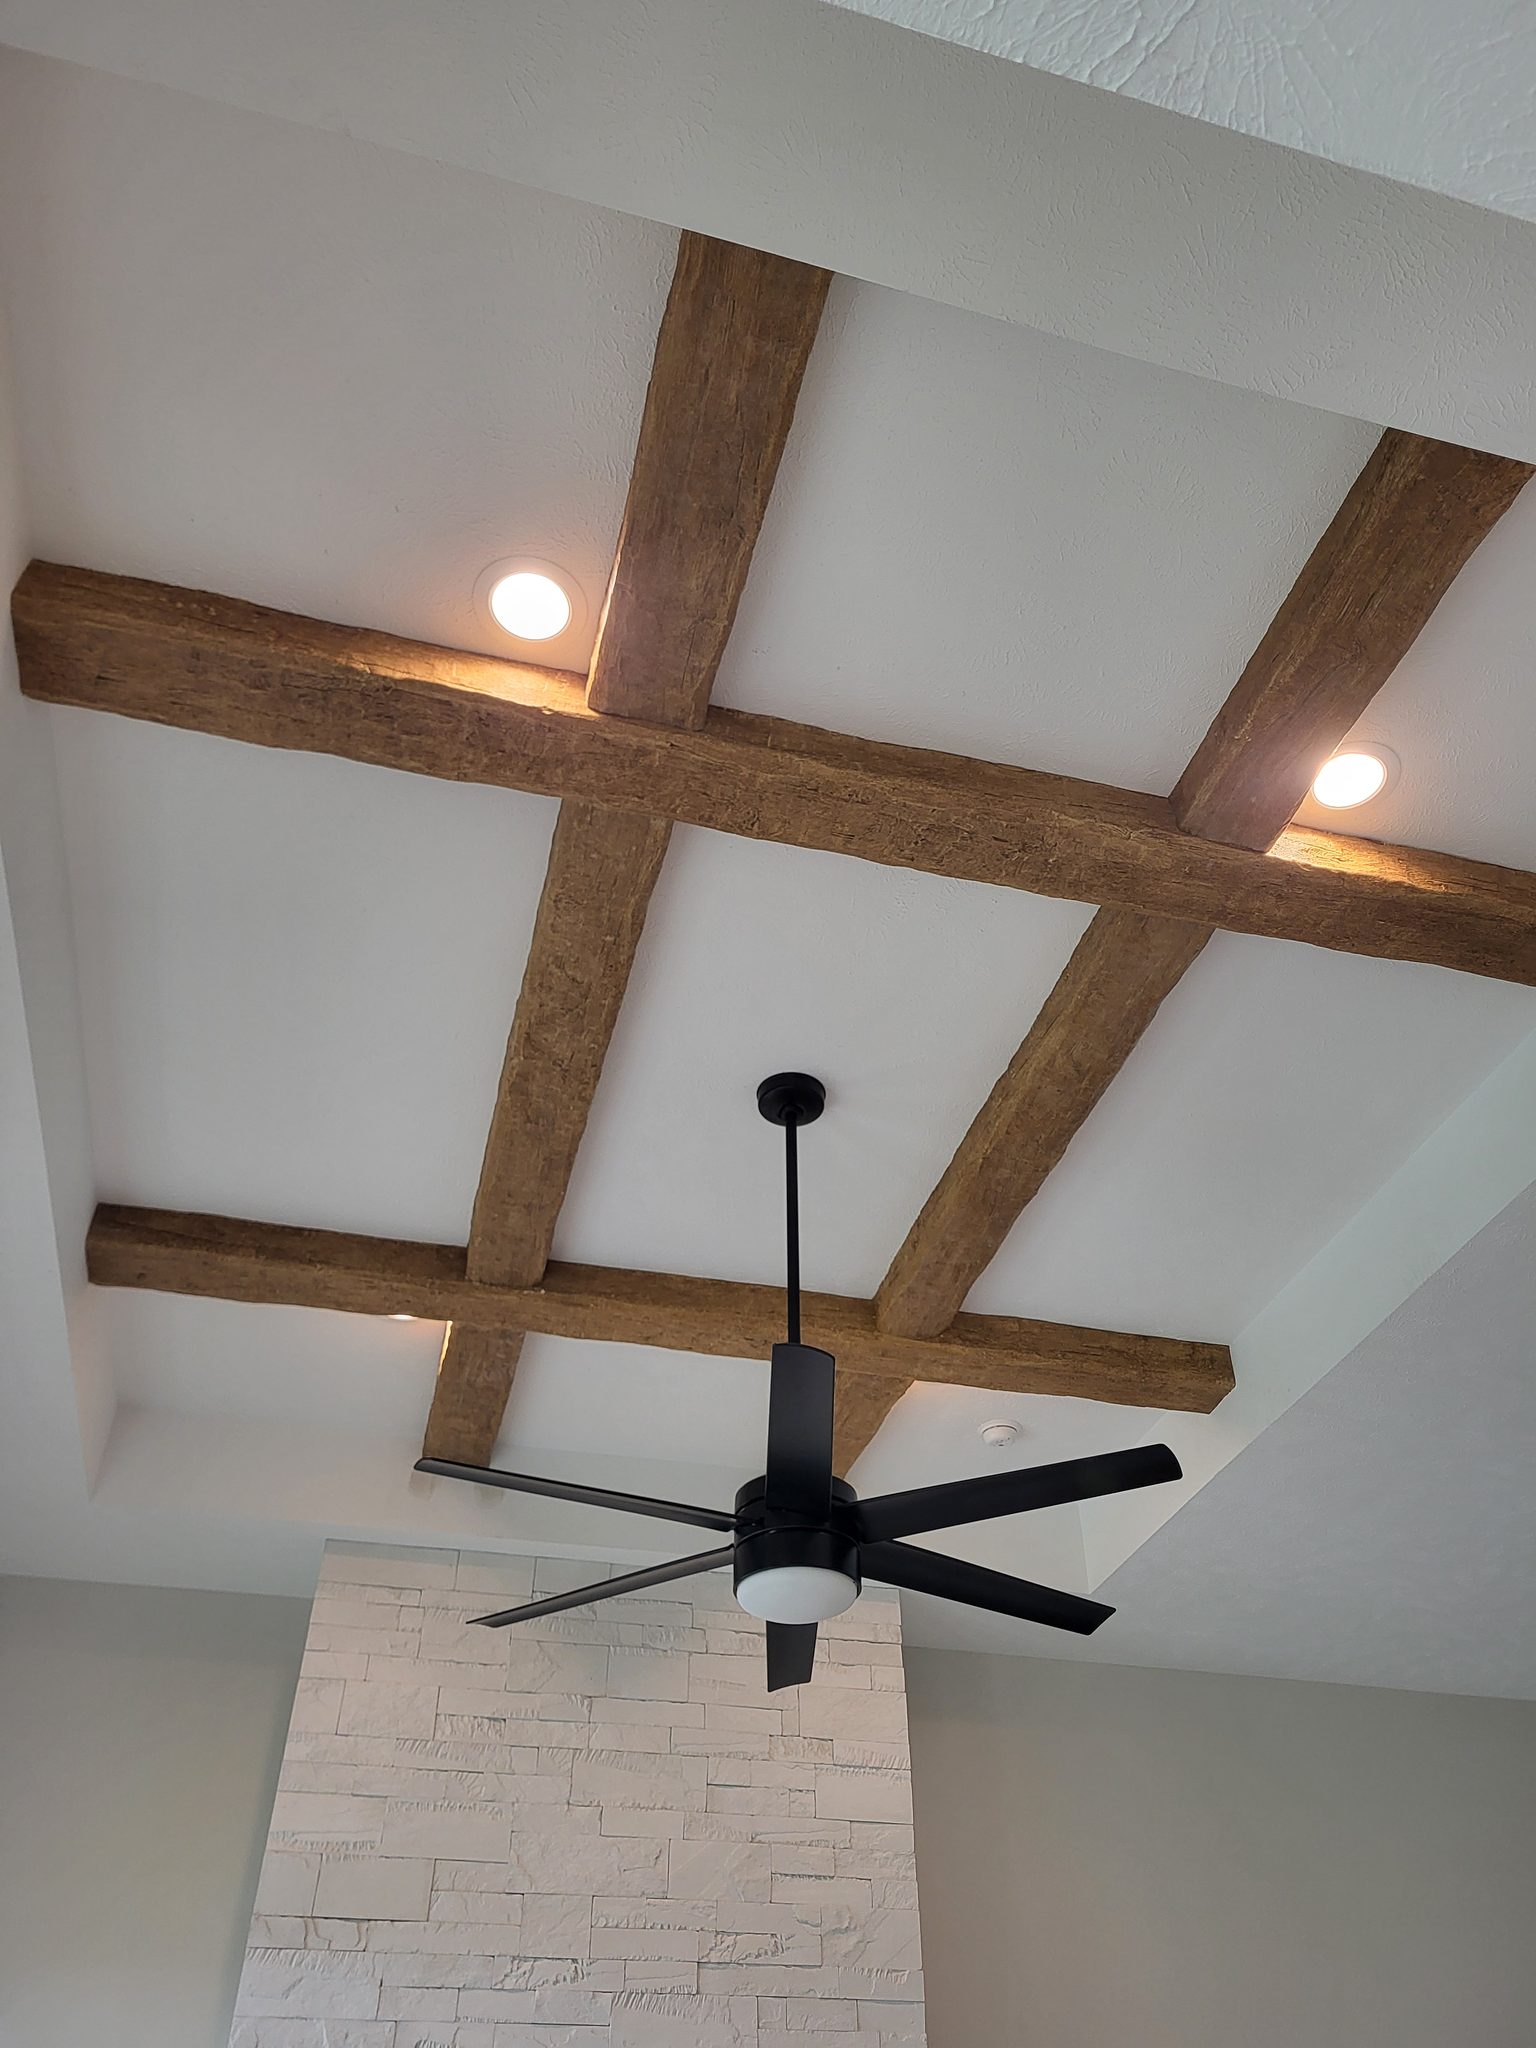
- Beam lines are straight, level, and evenly spaced room to room, matching the laser layout.
- No fastener is visible anywhere on a finished beam: no screw heads, no timber screws, no washers.
- Every corner joint is glued, puttied, and sanded flush; no caulk anywhere on the beam.
- The cleat is fully hidden inside the box, and the box sits tight to the ceiling with no gaps.
- Species and corner-joint method match what was specified for the job.
- Both ends of each beam are scribed tight to the wall, no gap, no visible fastener.
Related Guides #
- How to Install Shiplap on a 3-Sided Fireplace Under 10'
- How to Install Shiplap 4, Ceiling
- How to Build a Custom Decorative Header
- How to Hang a Mantel
Reference Photos #
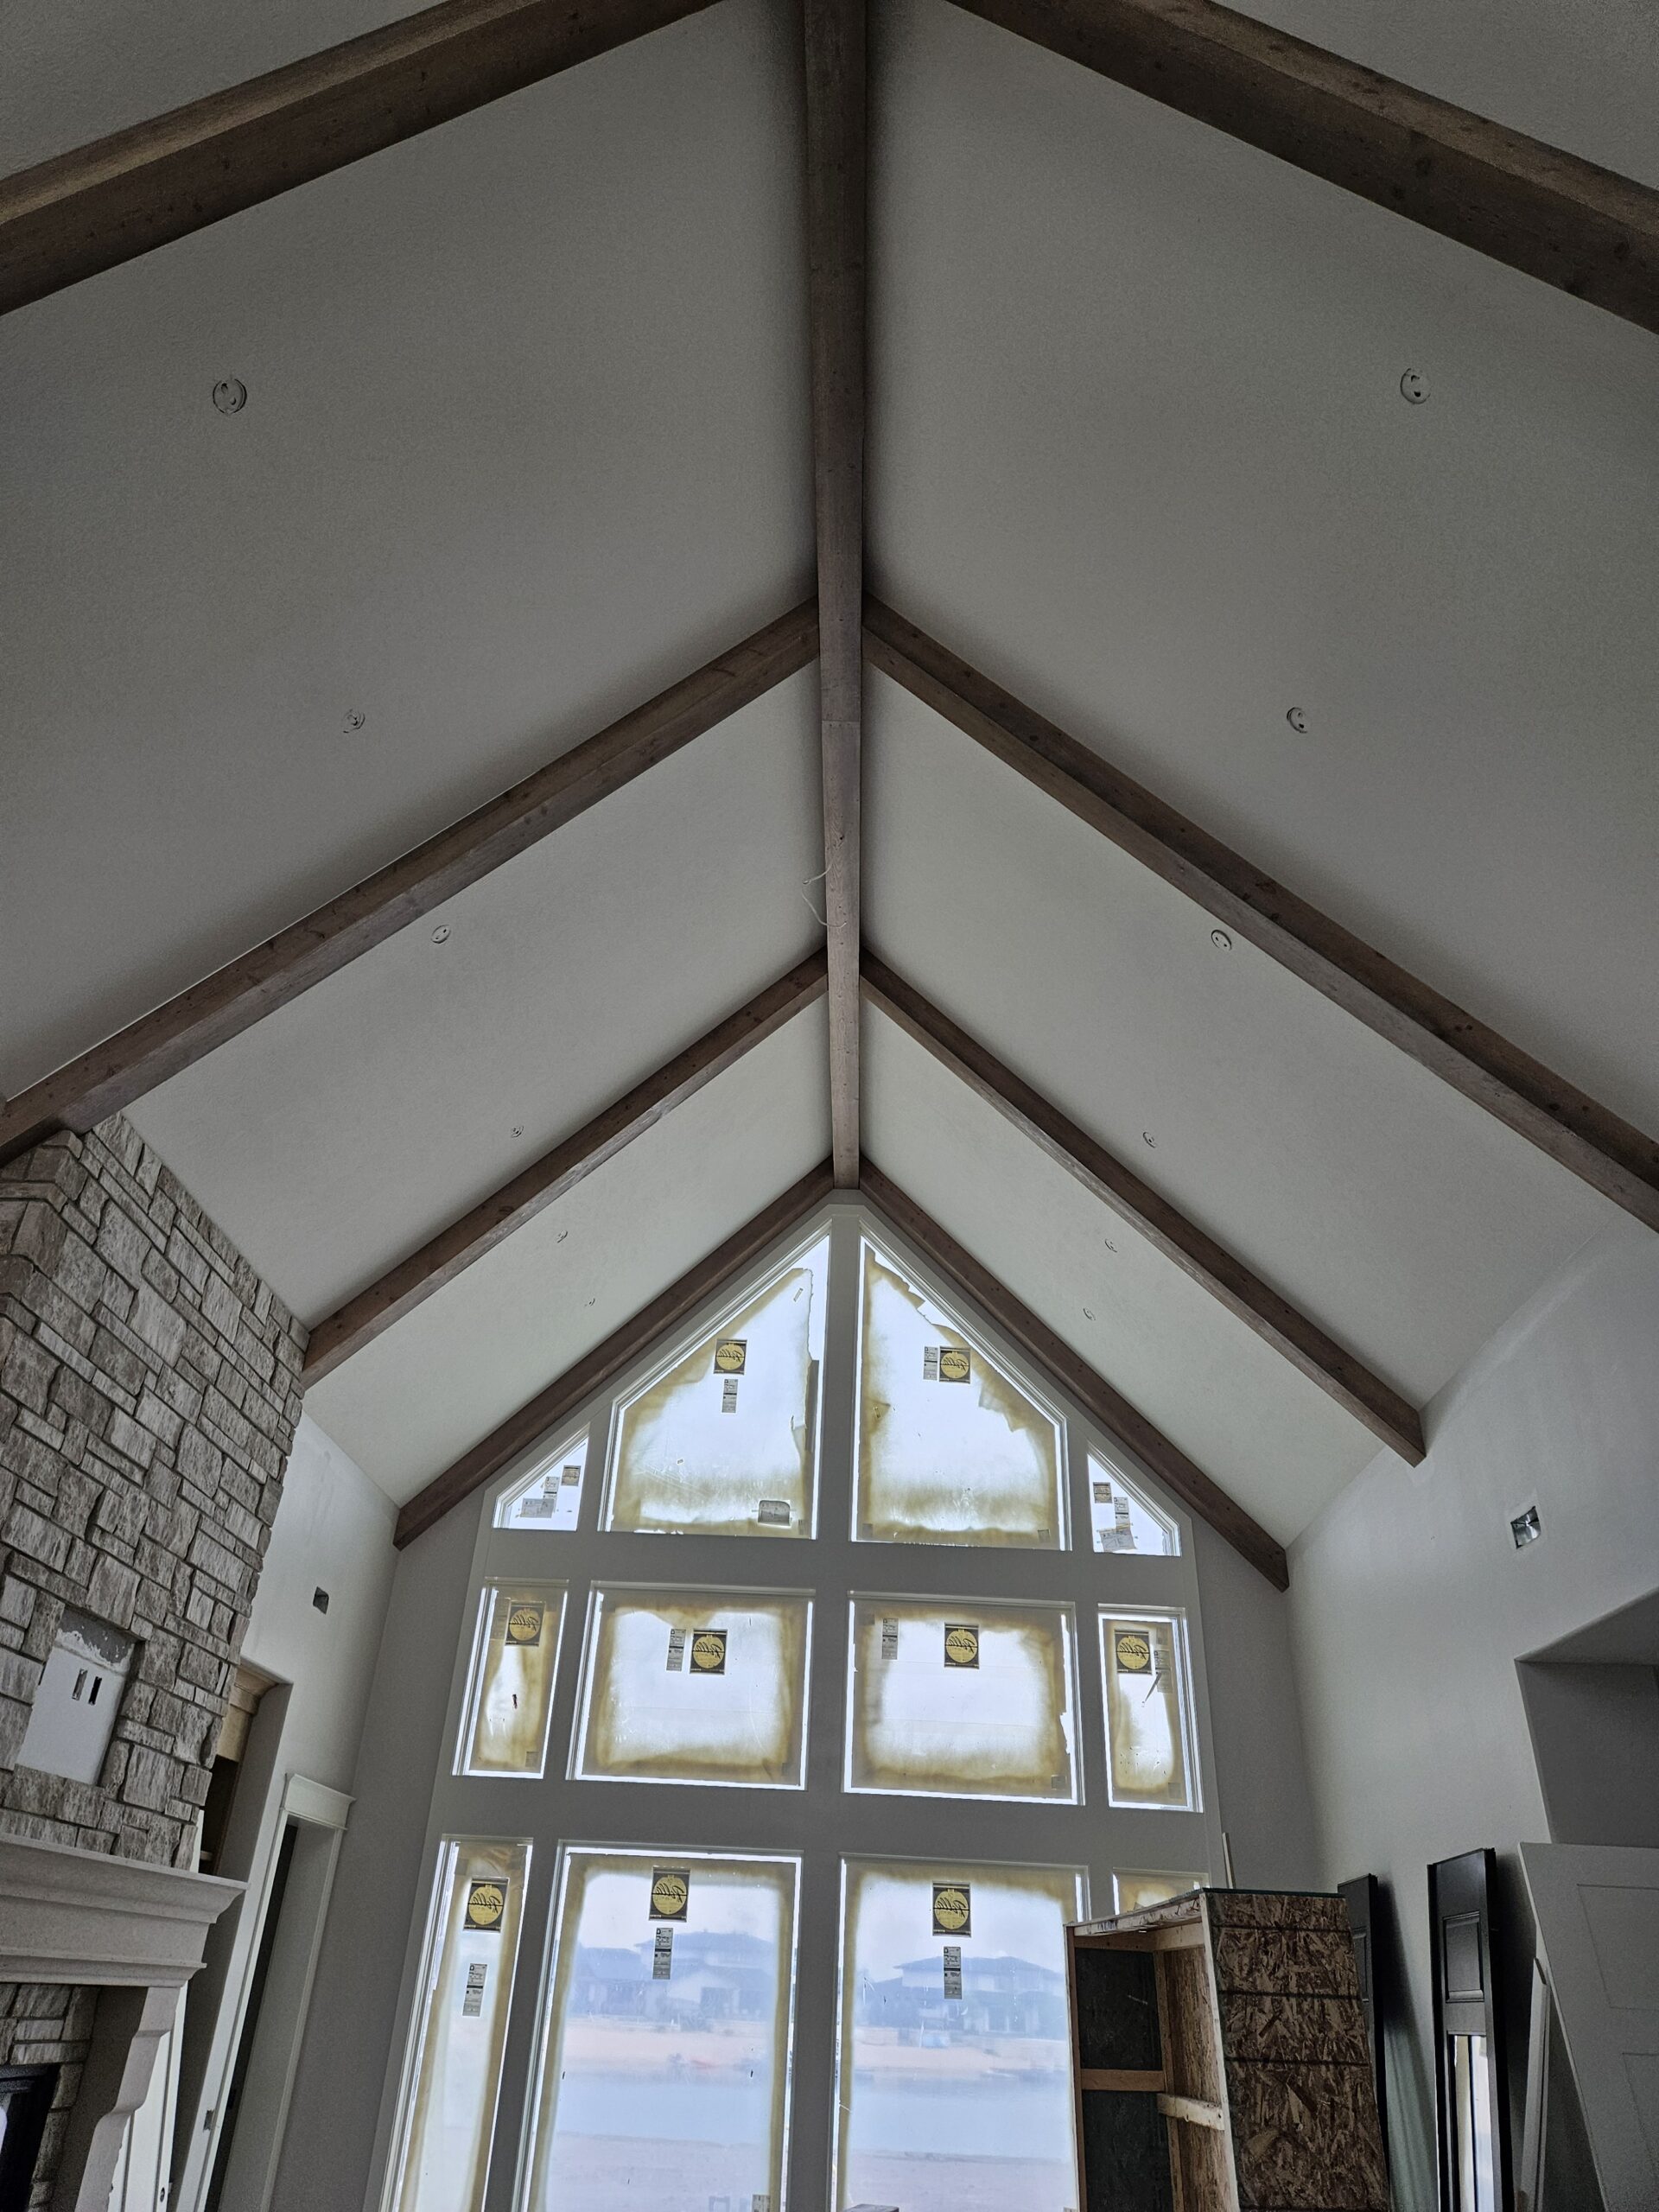
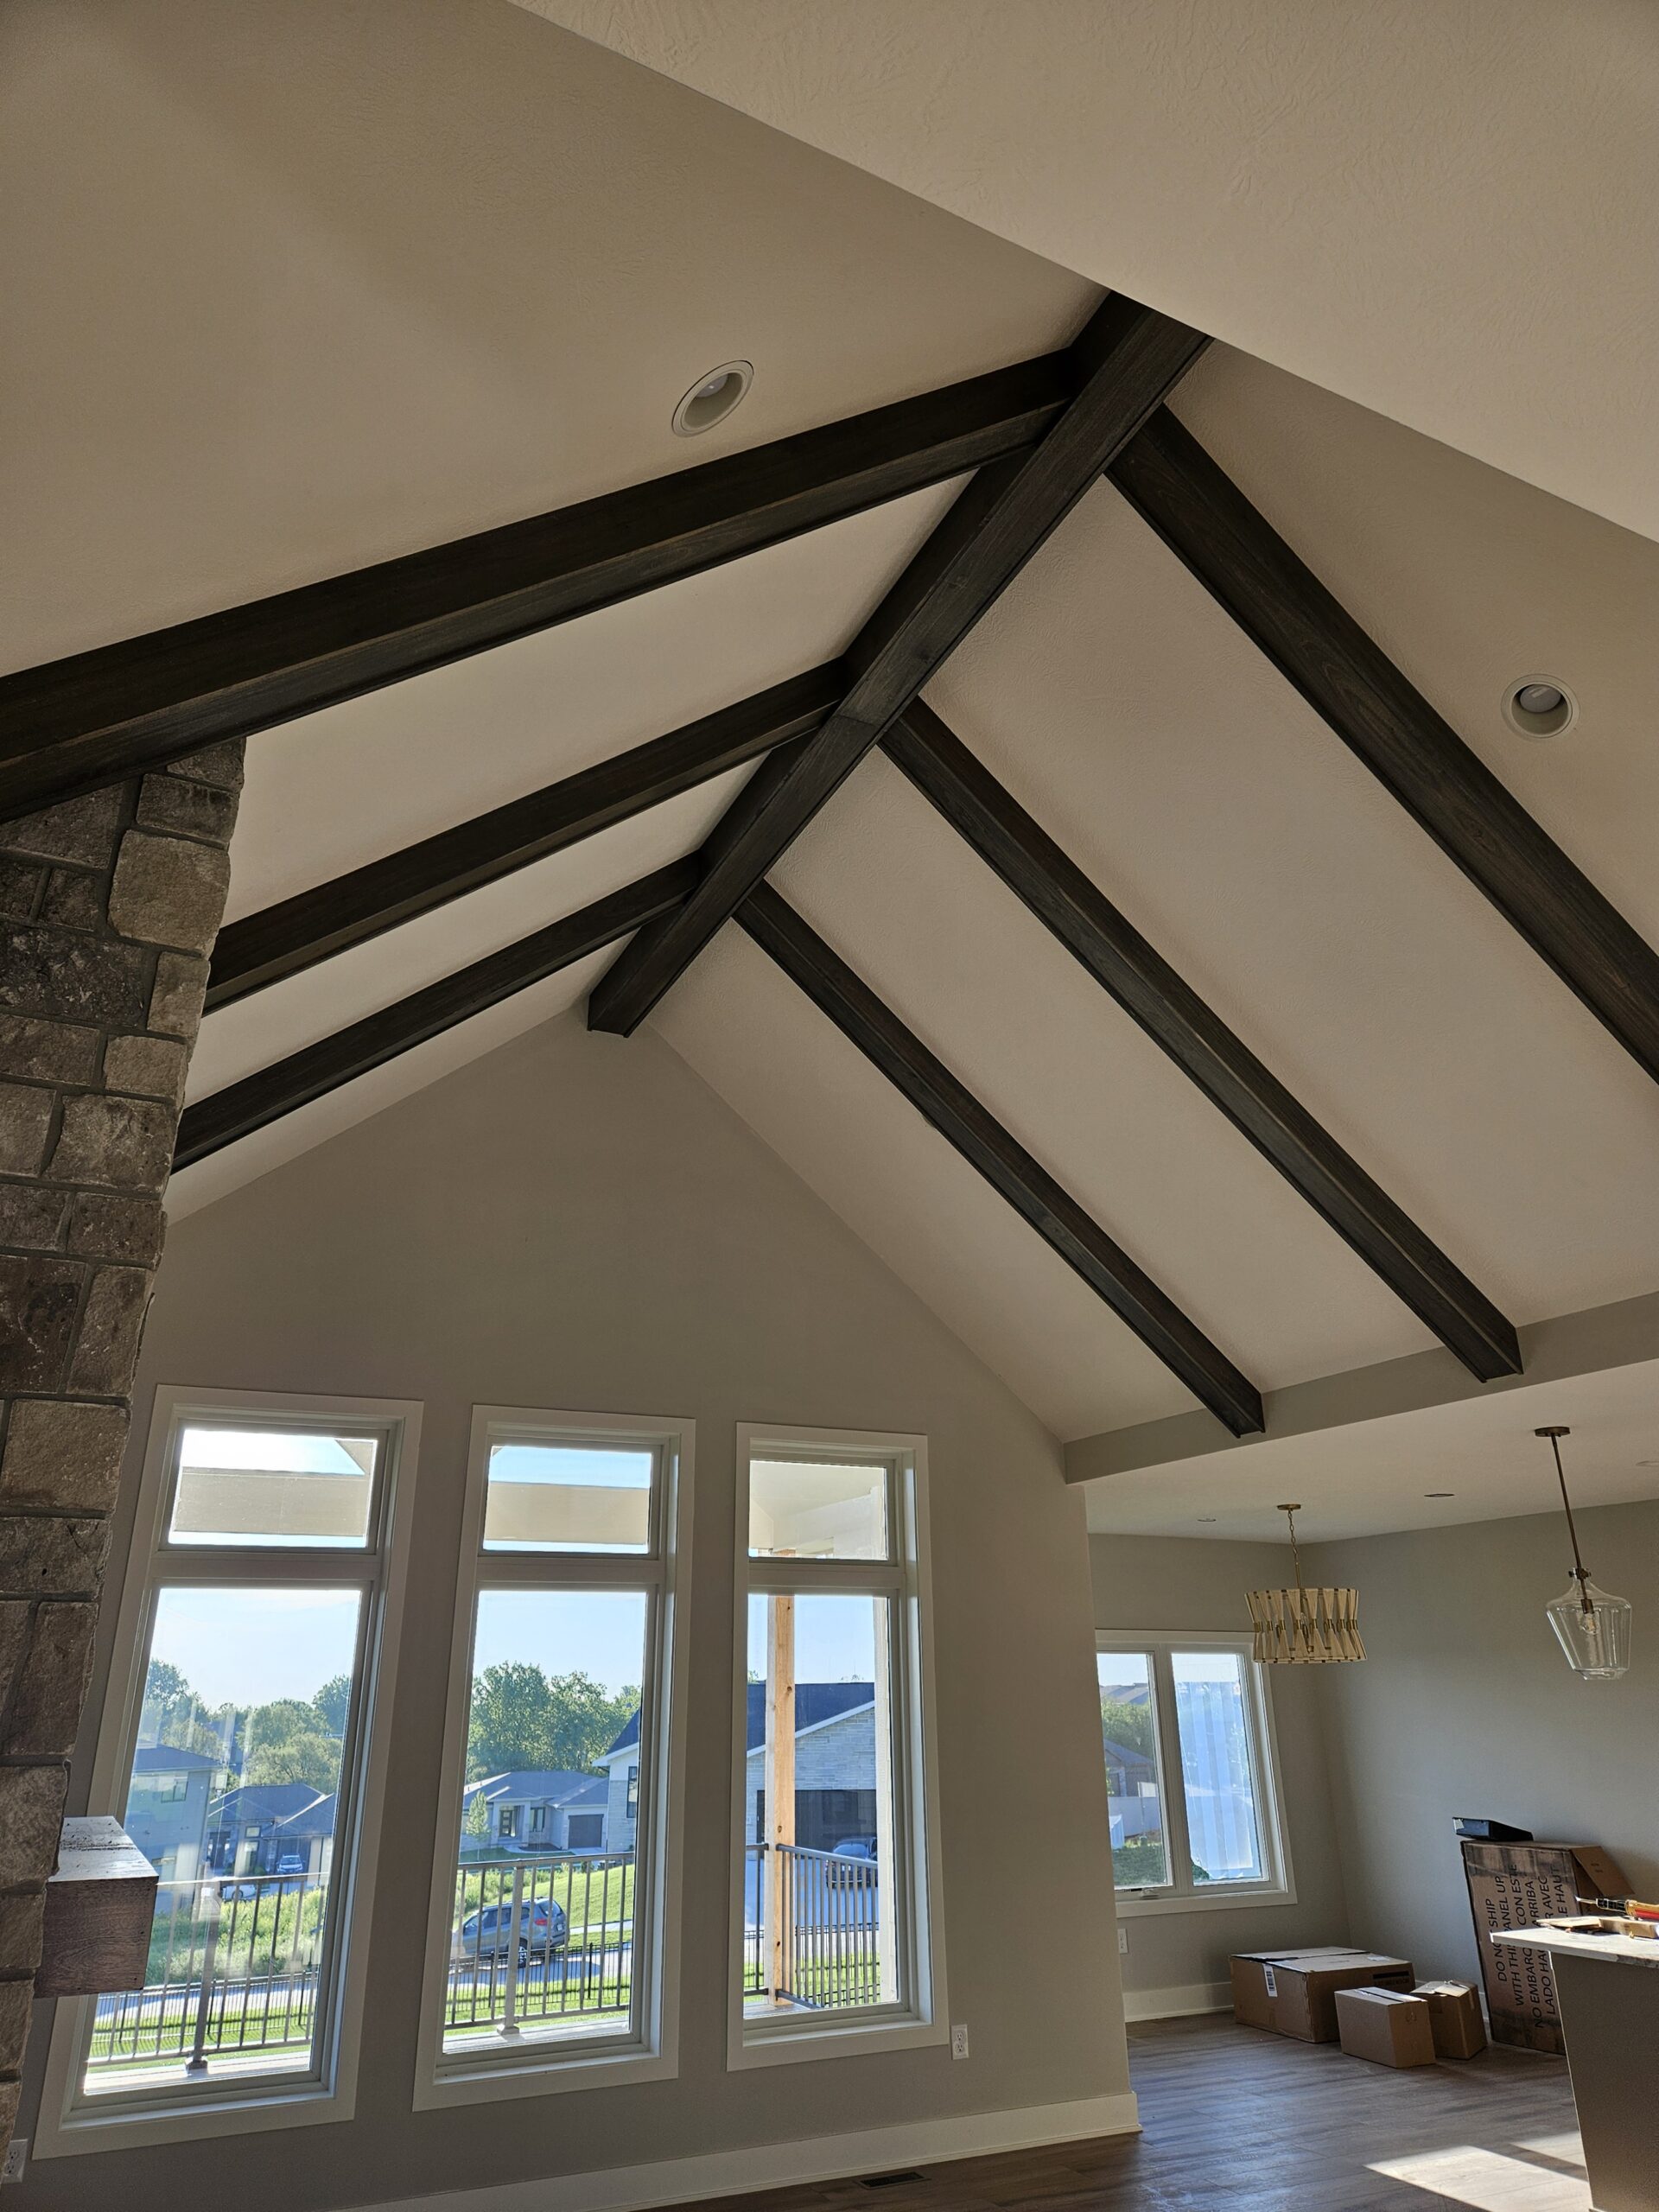
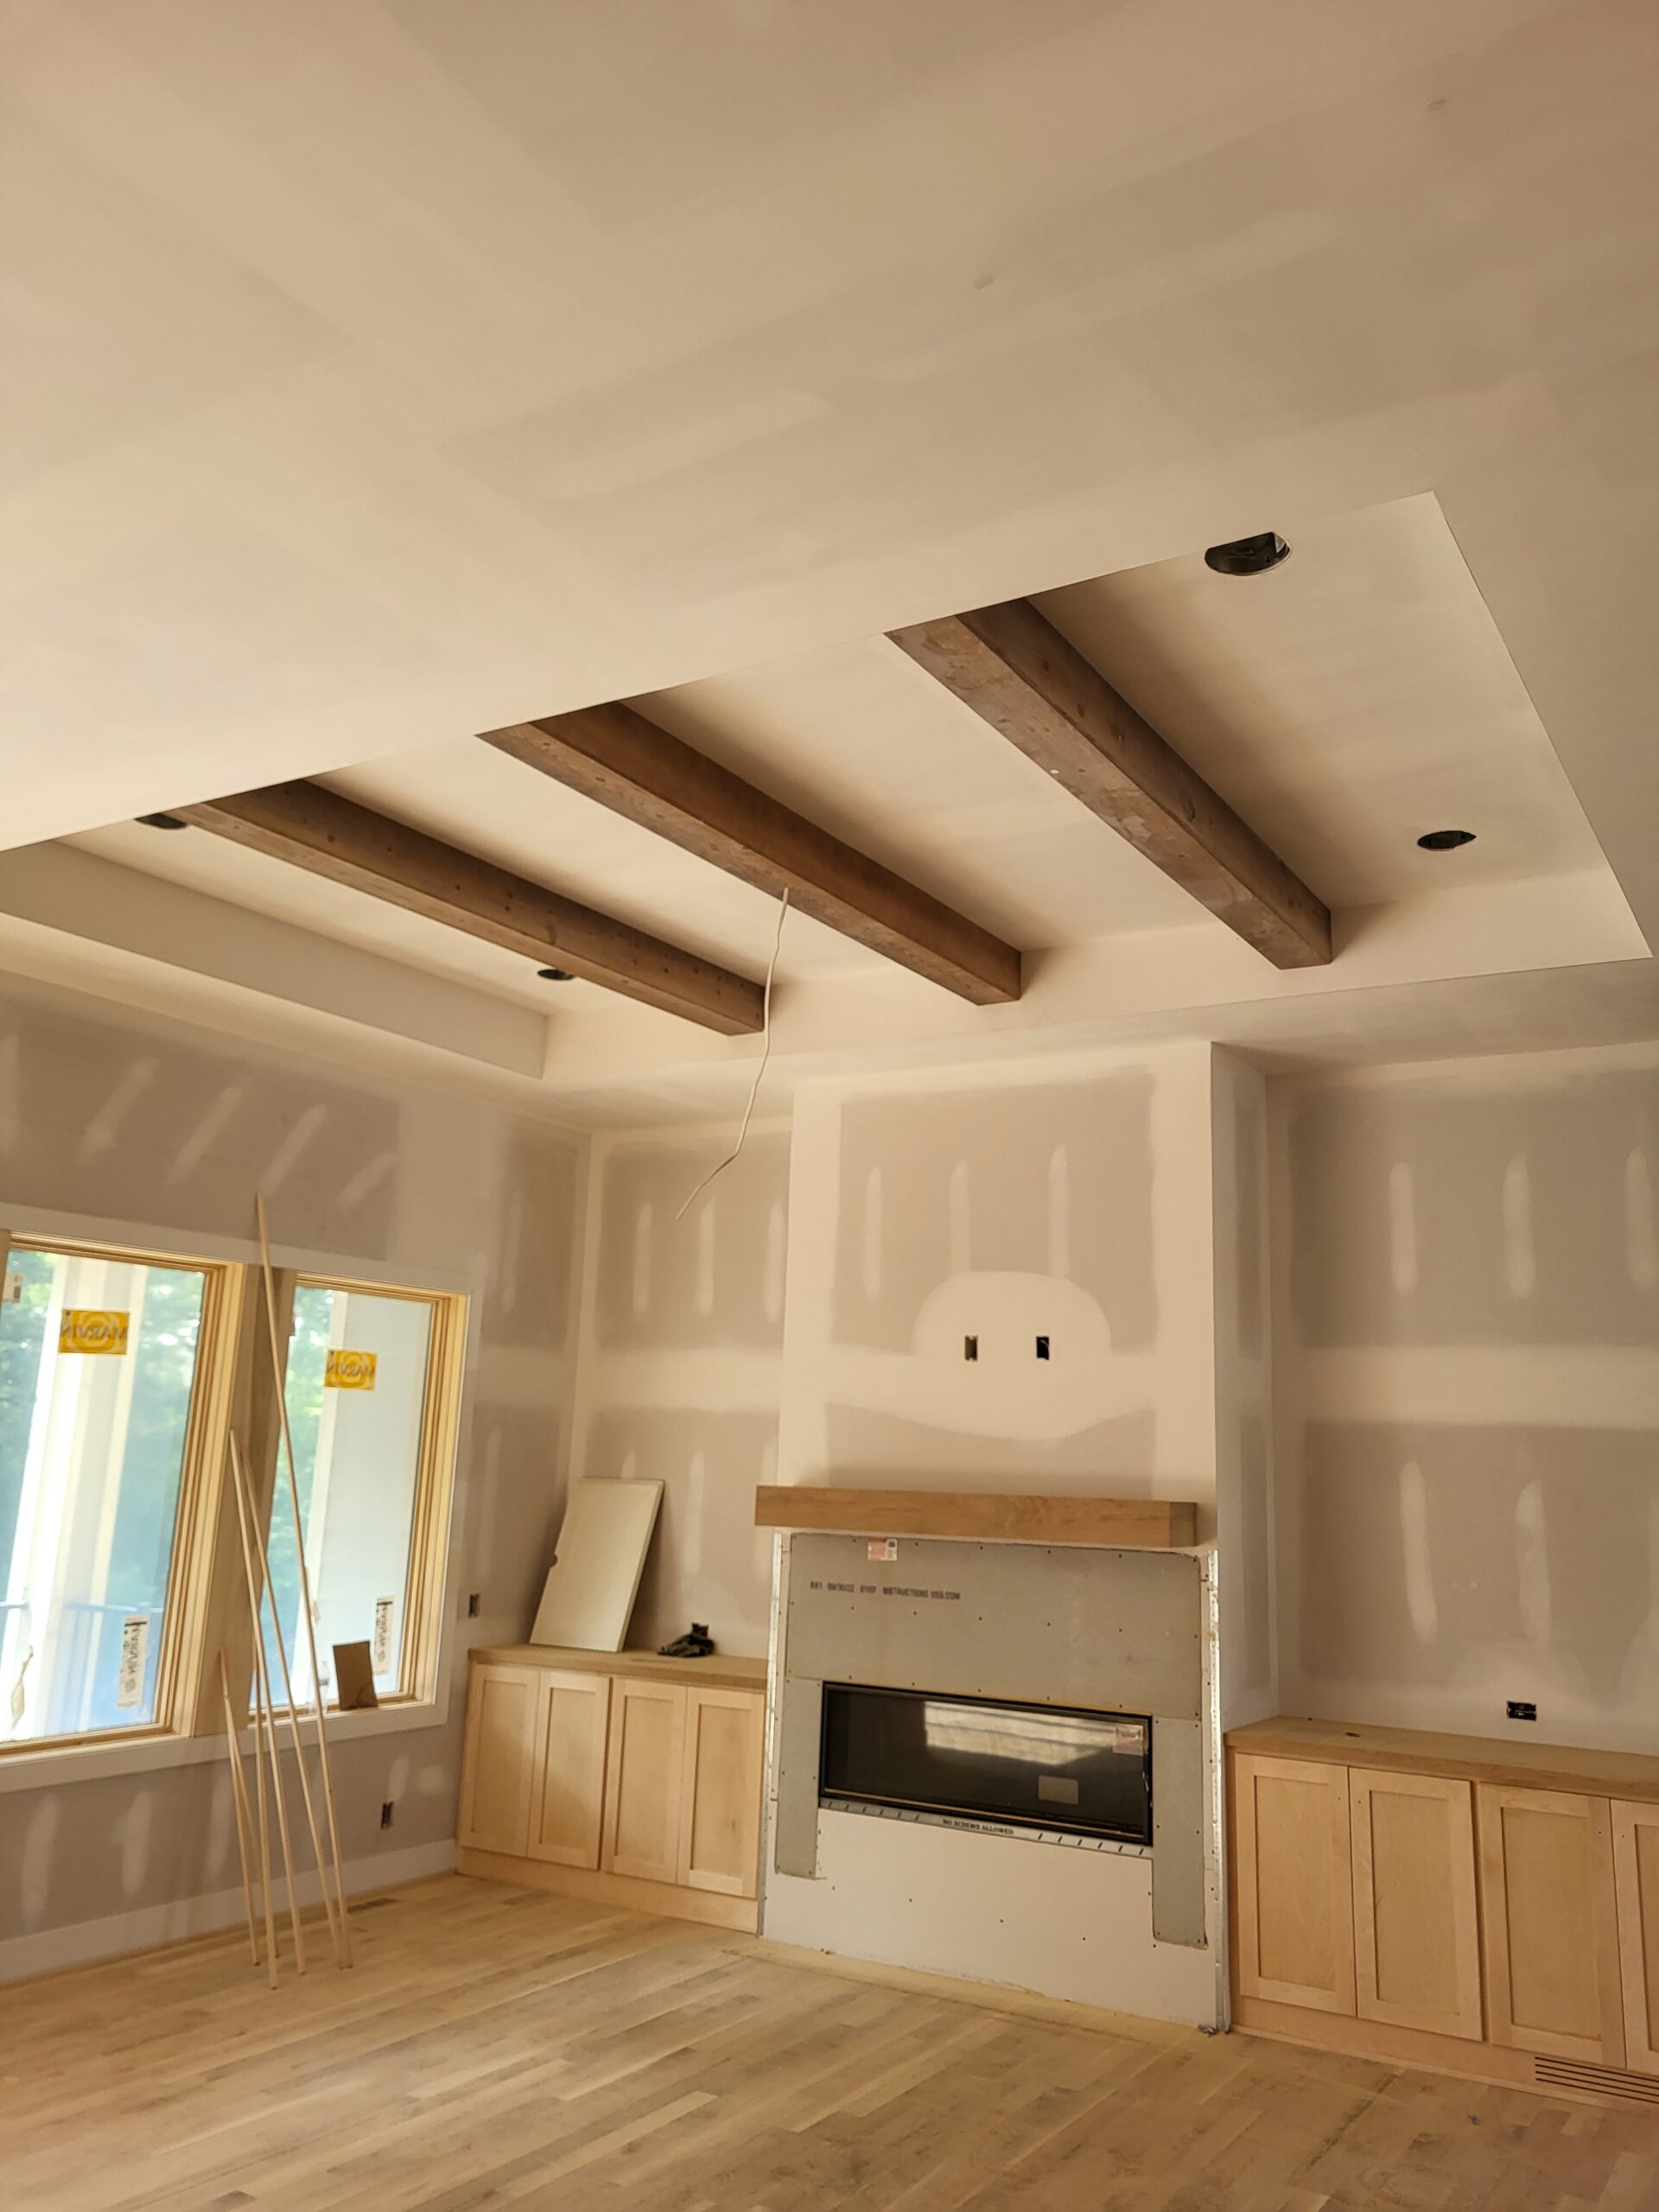
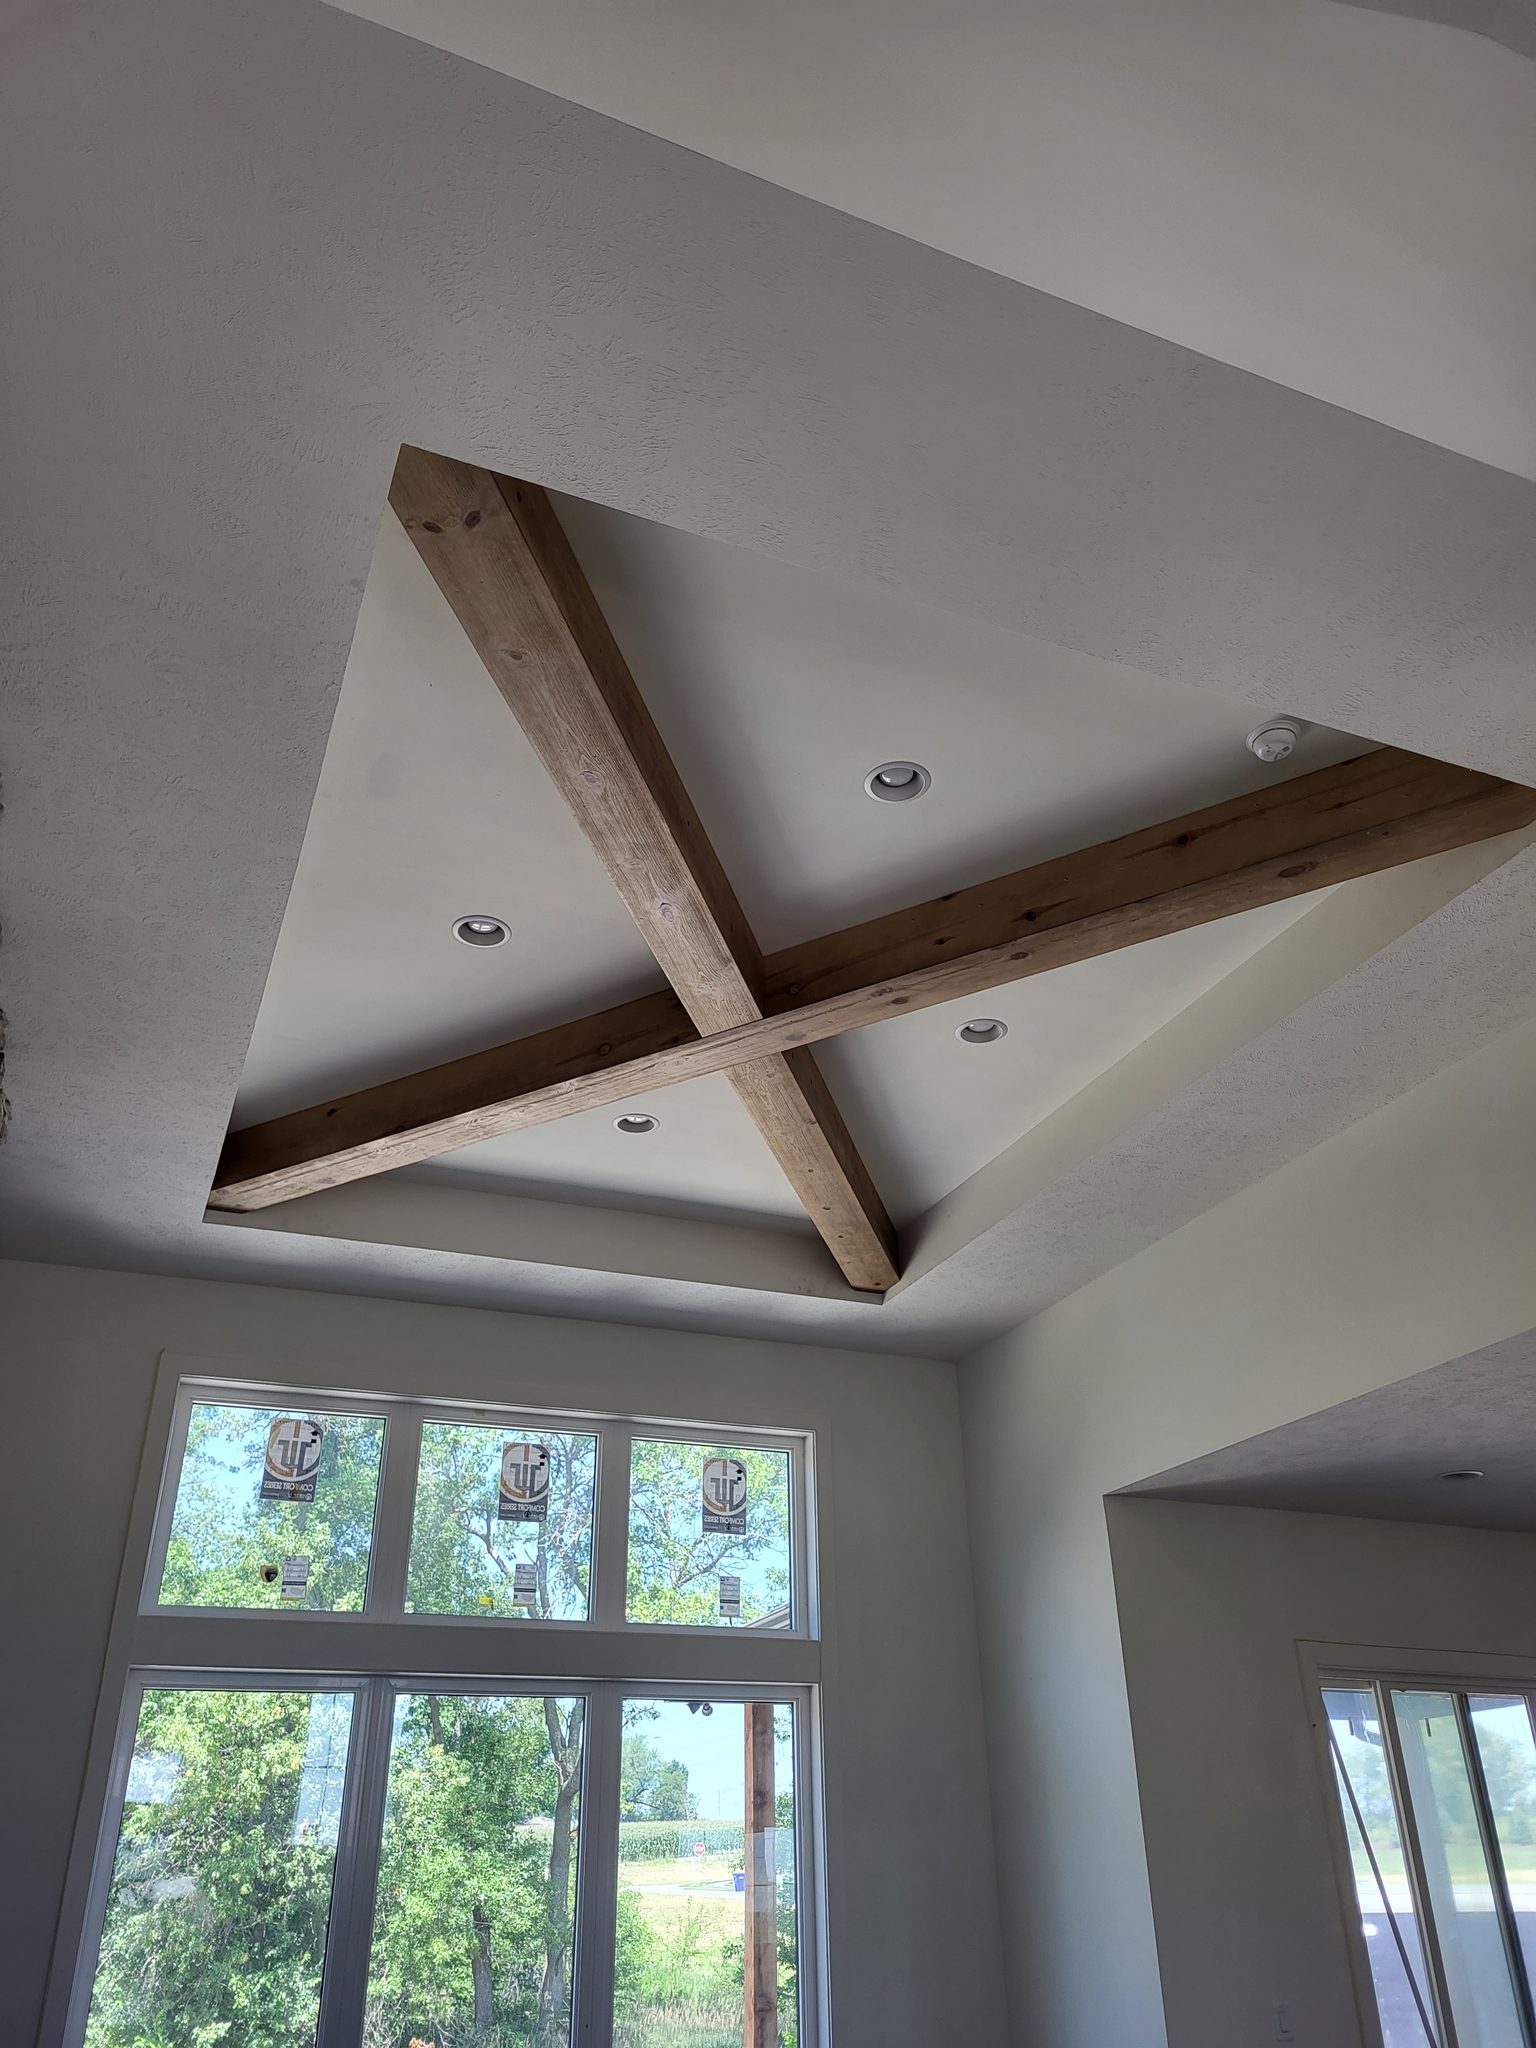
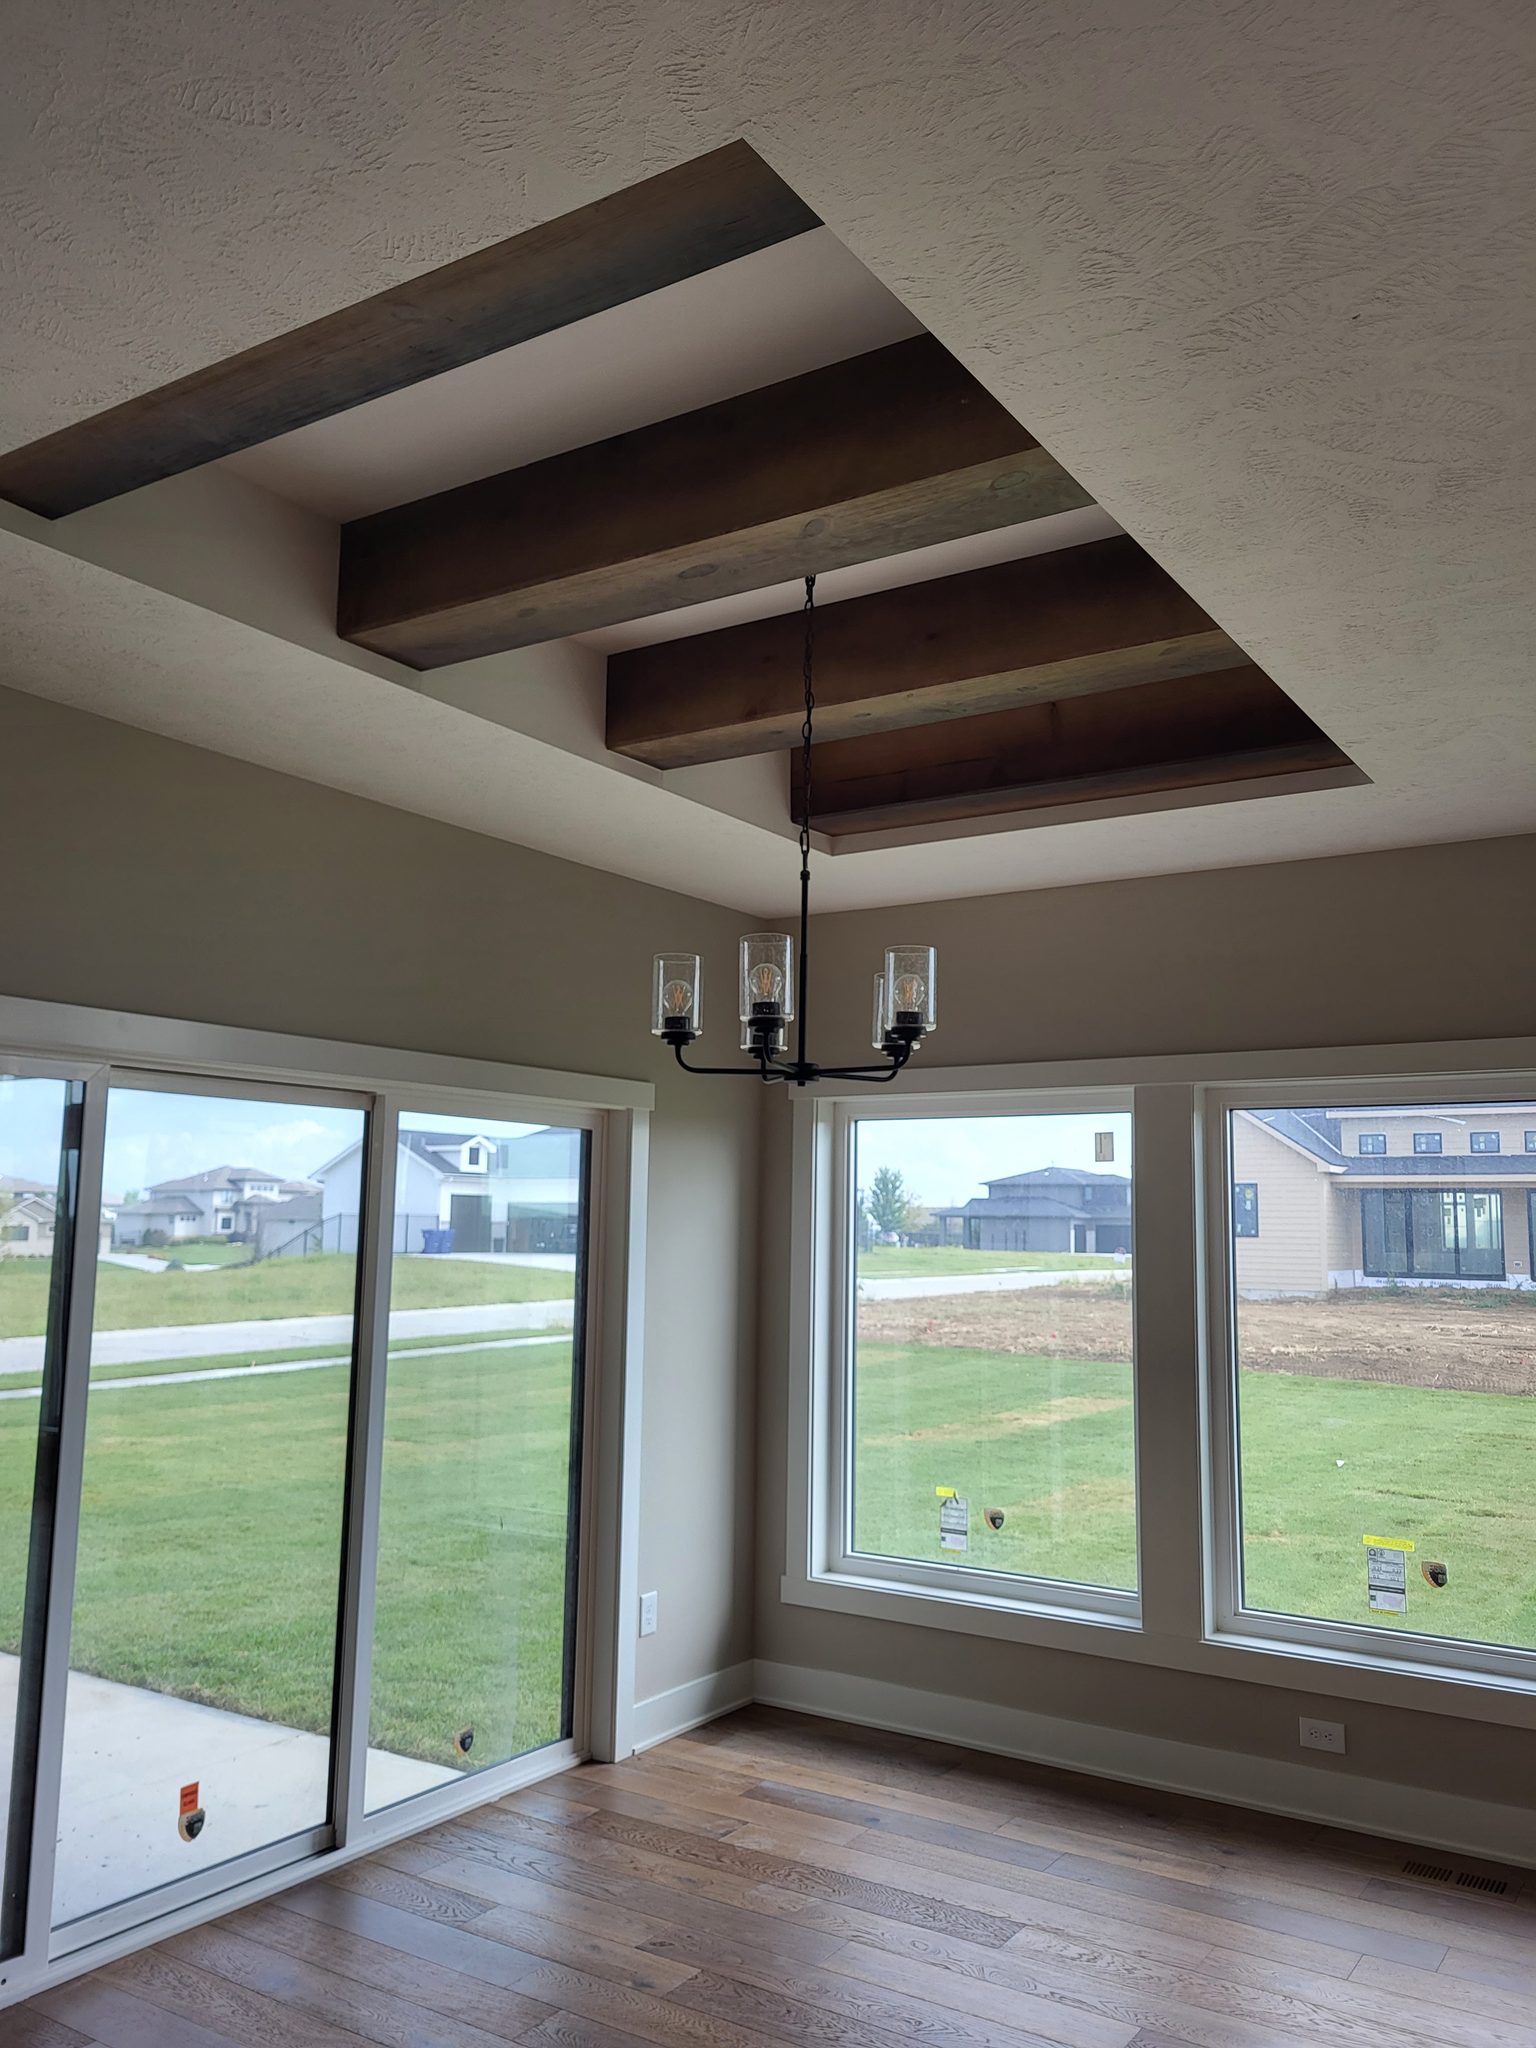
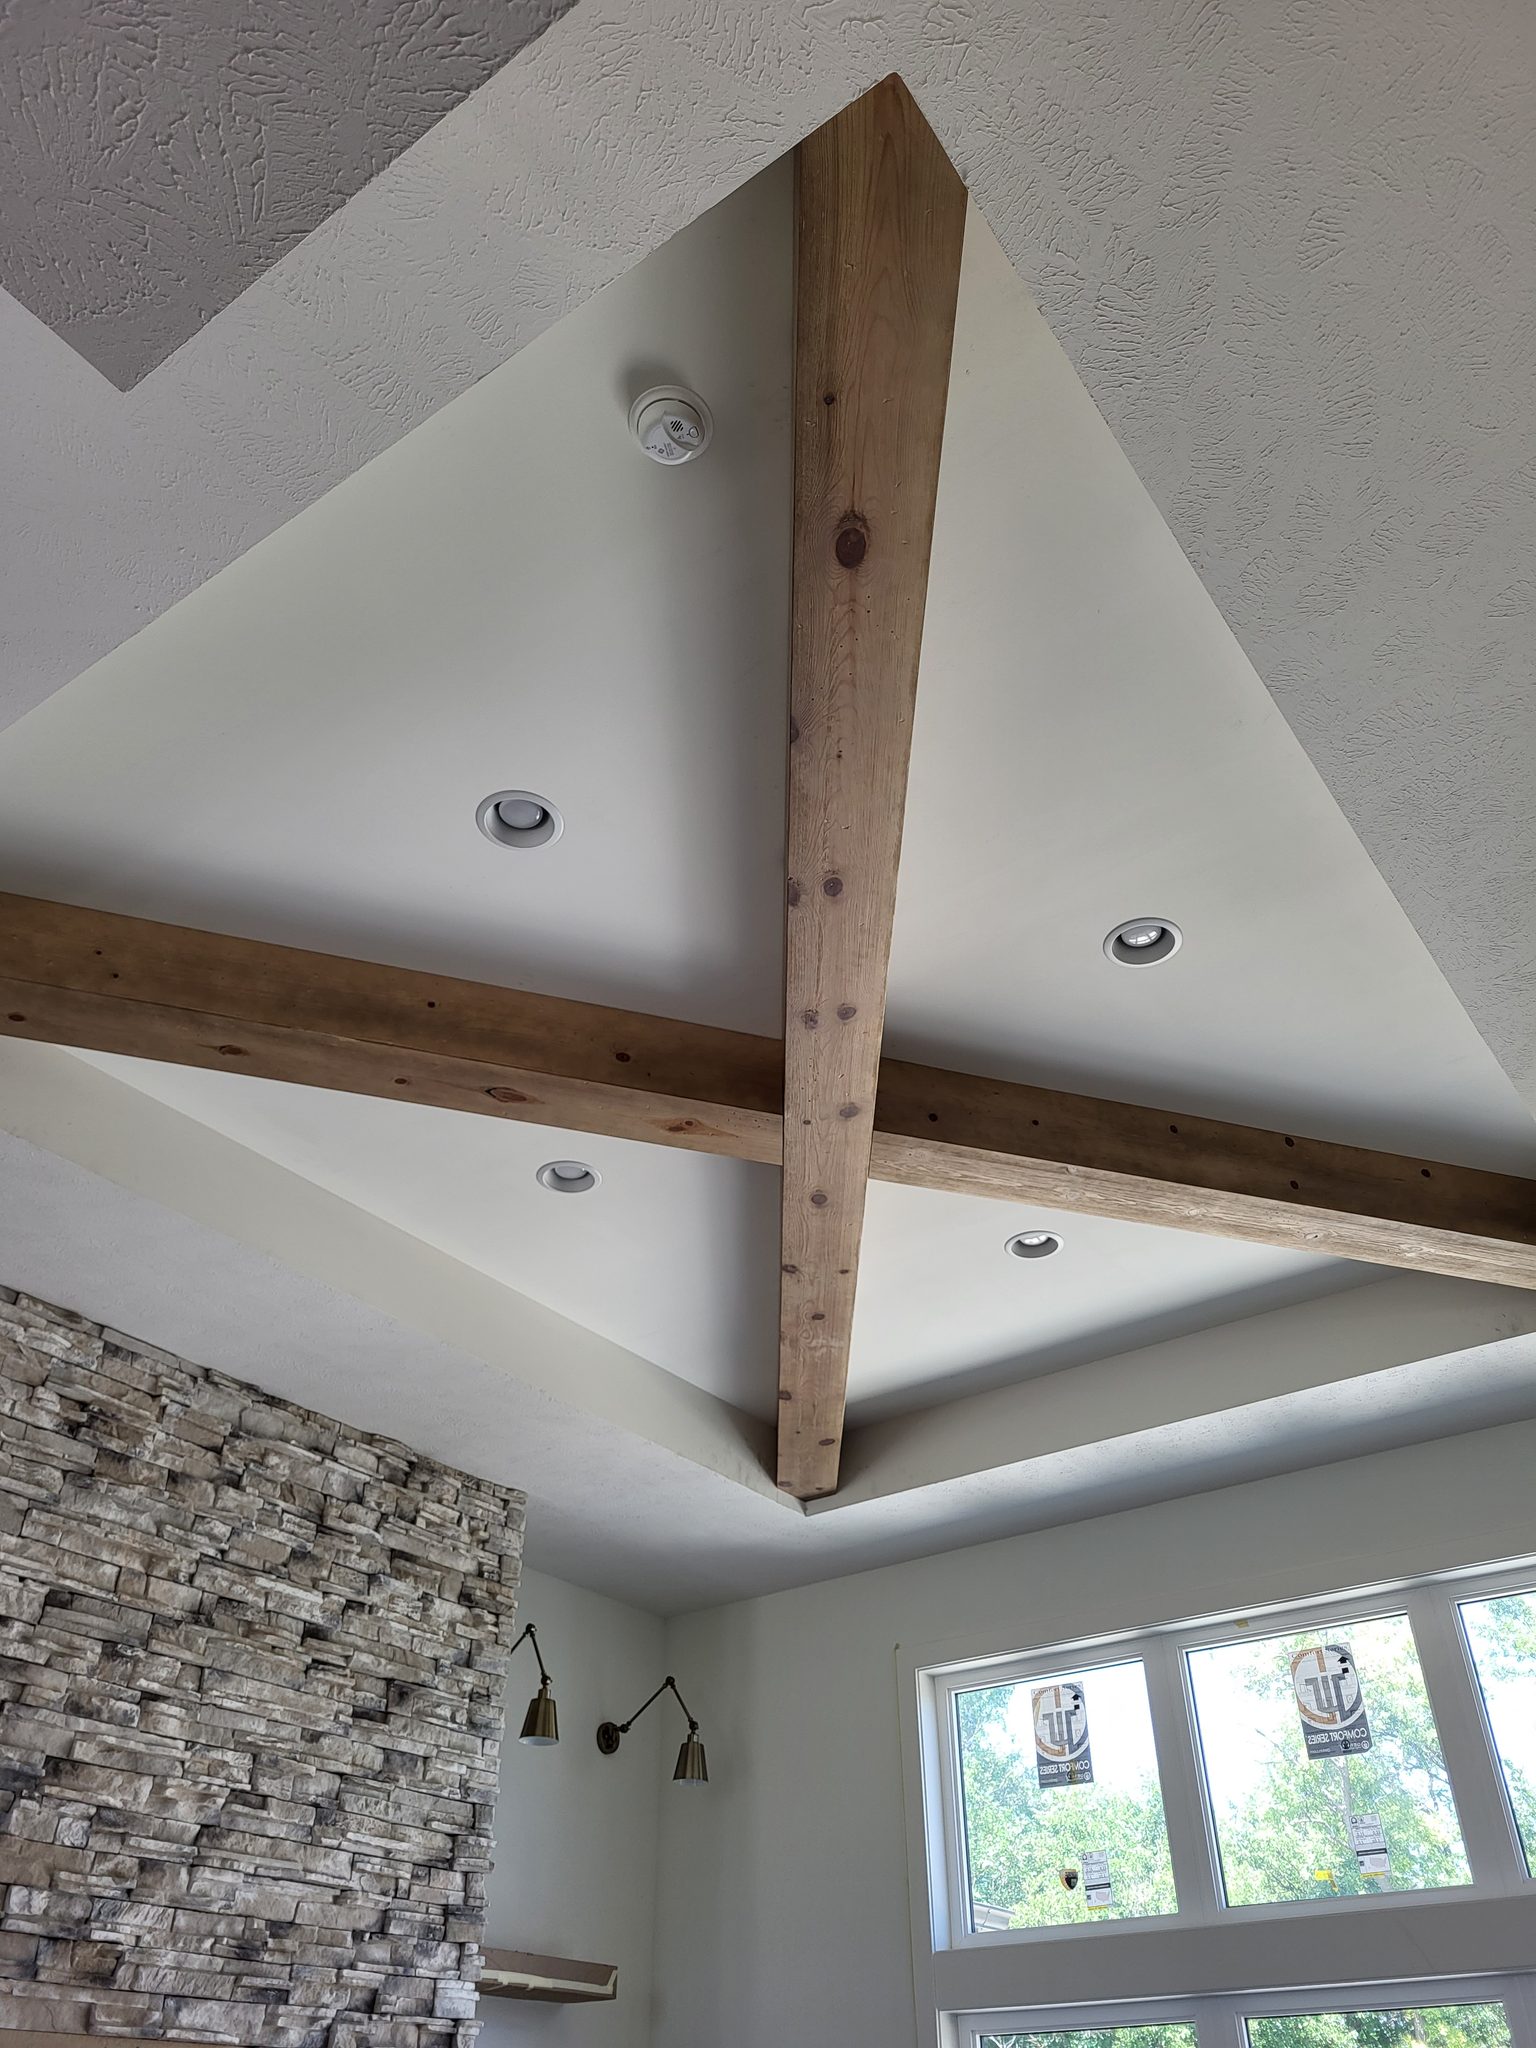
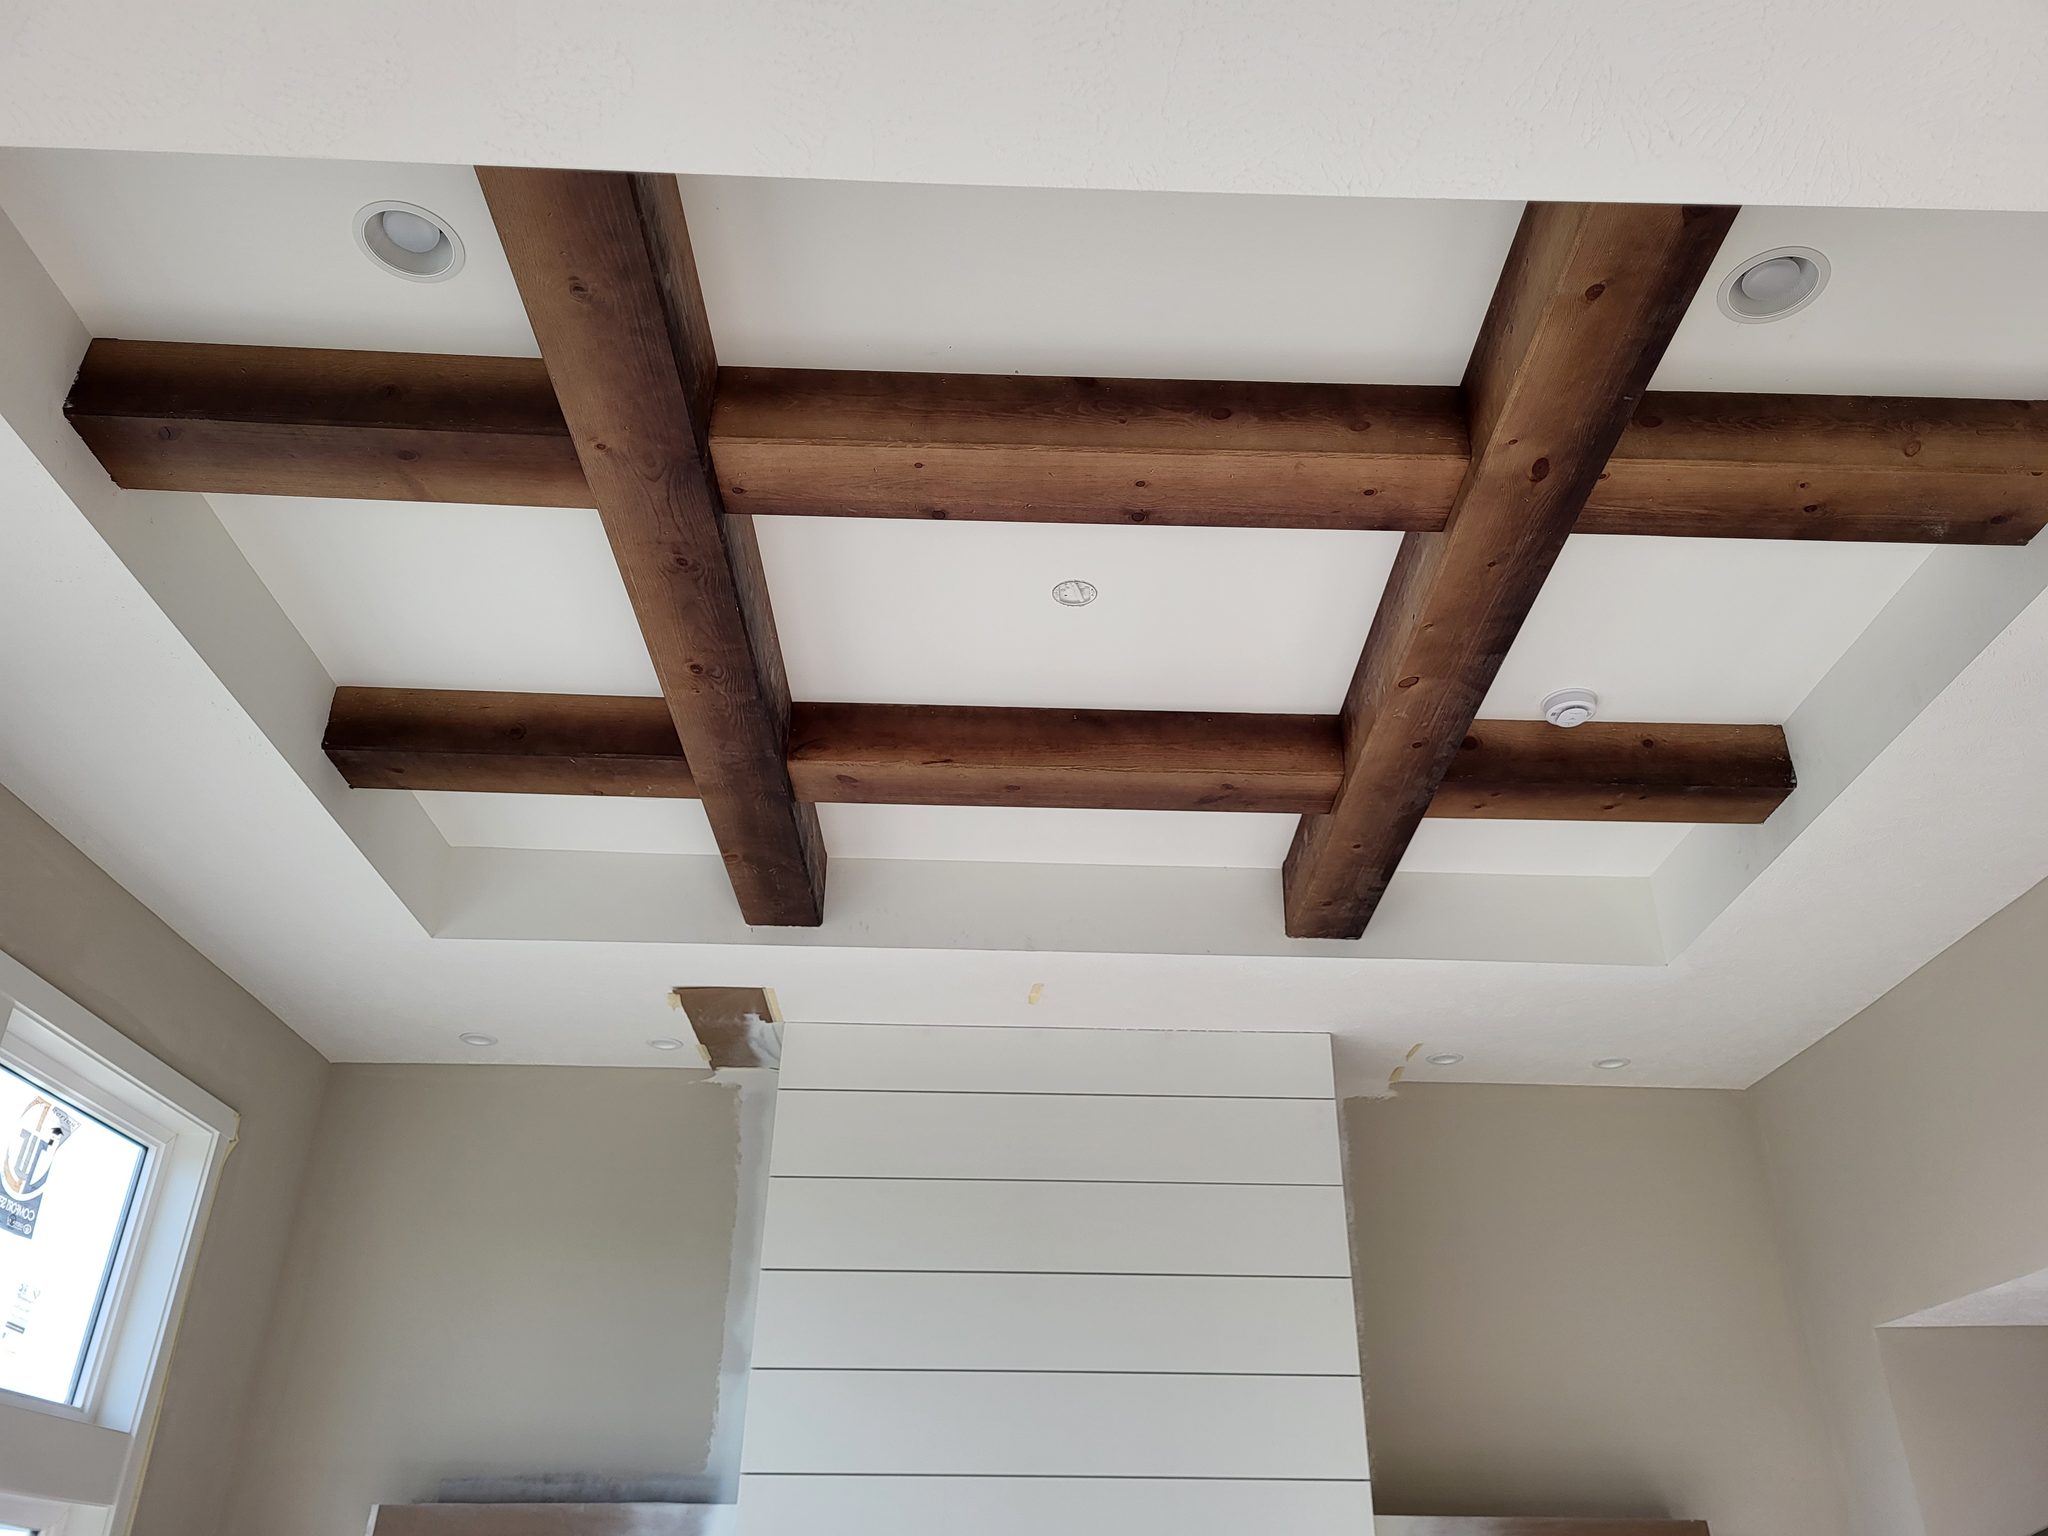
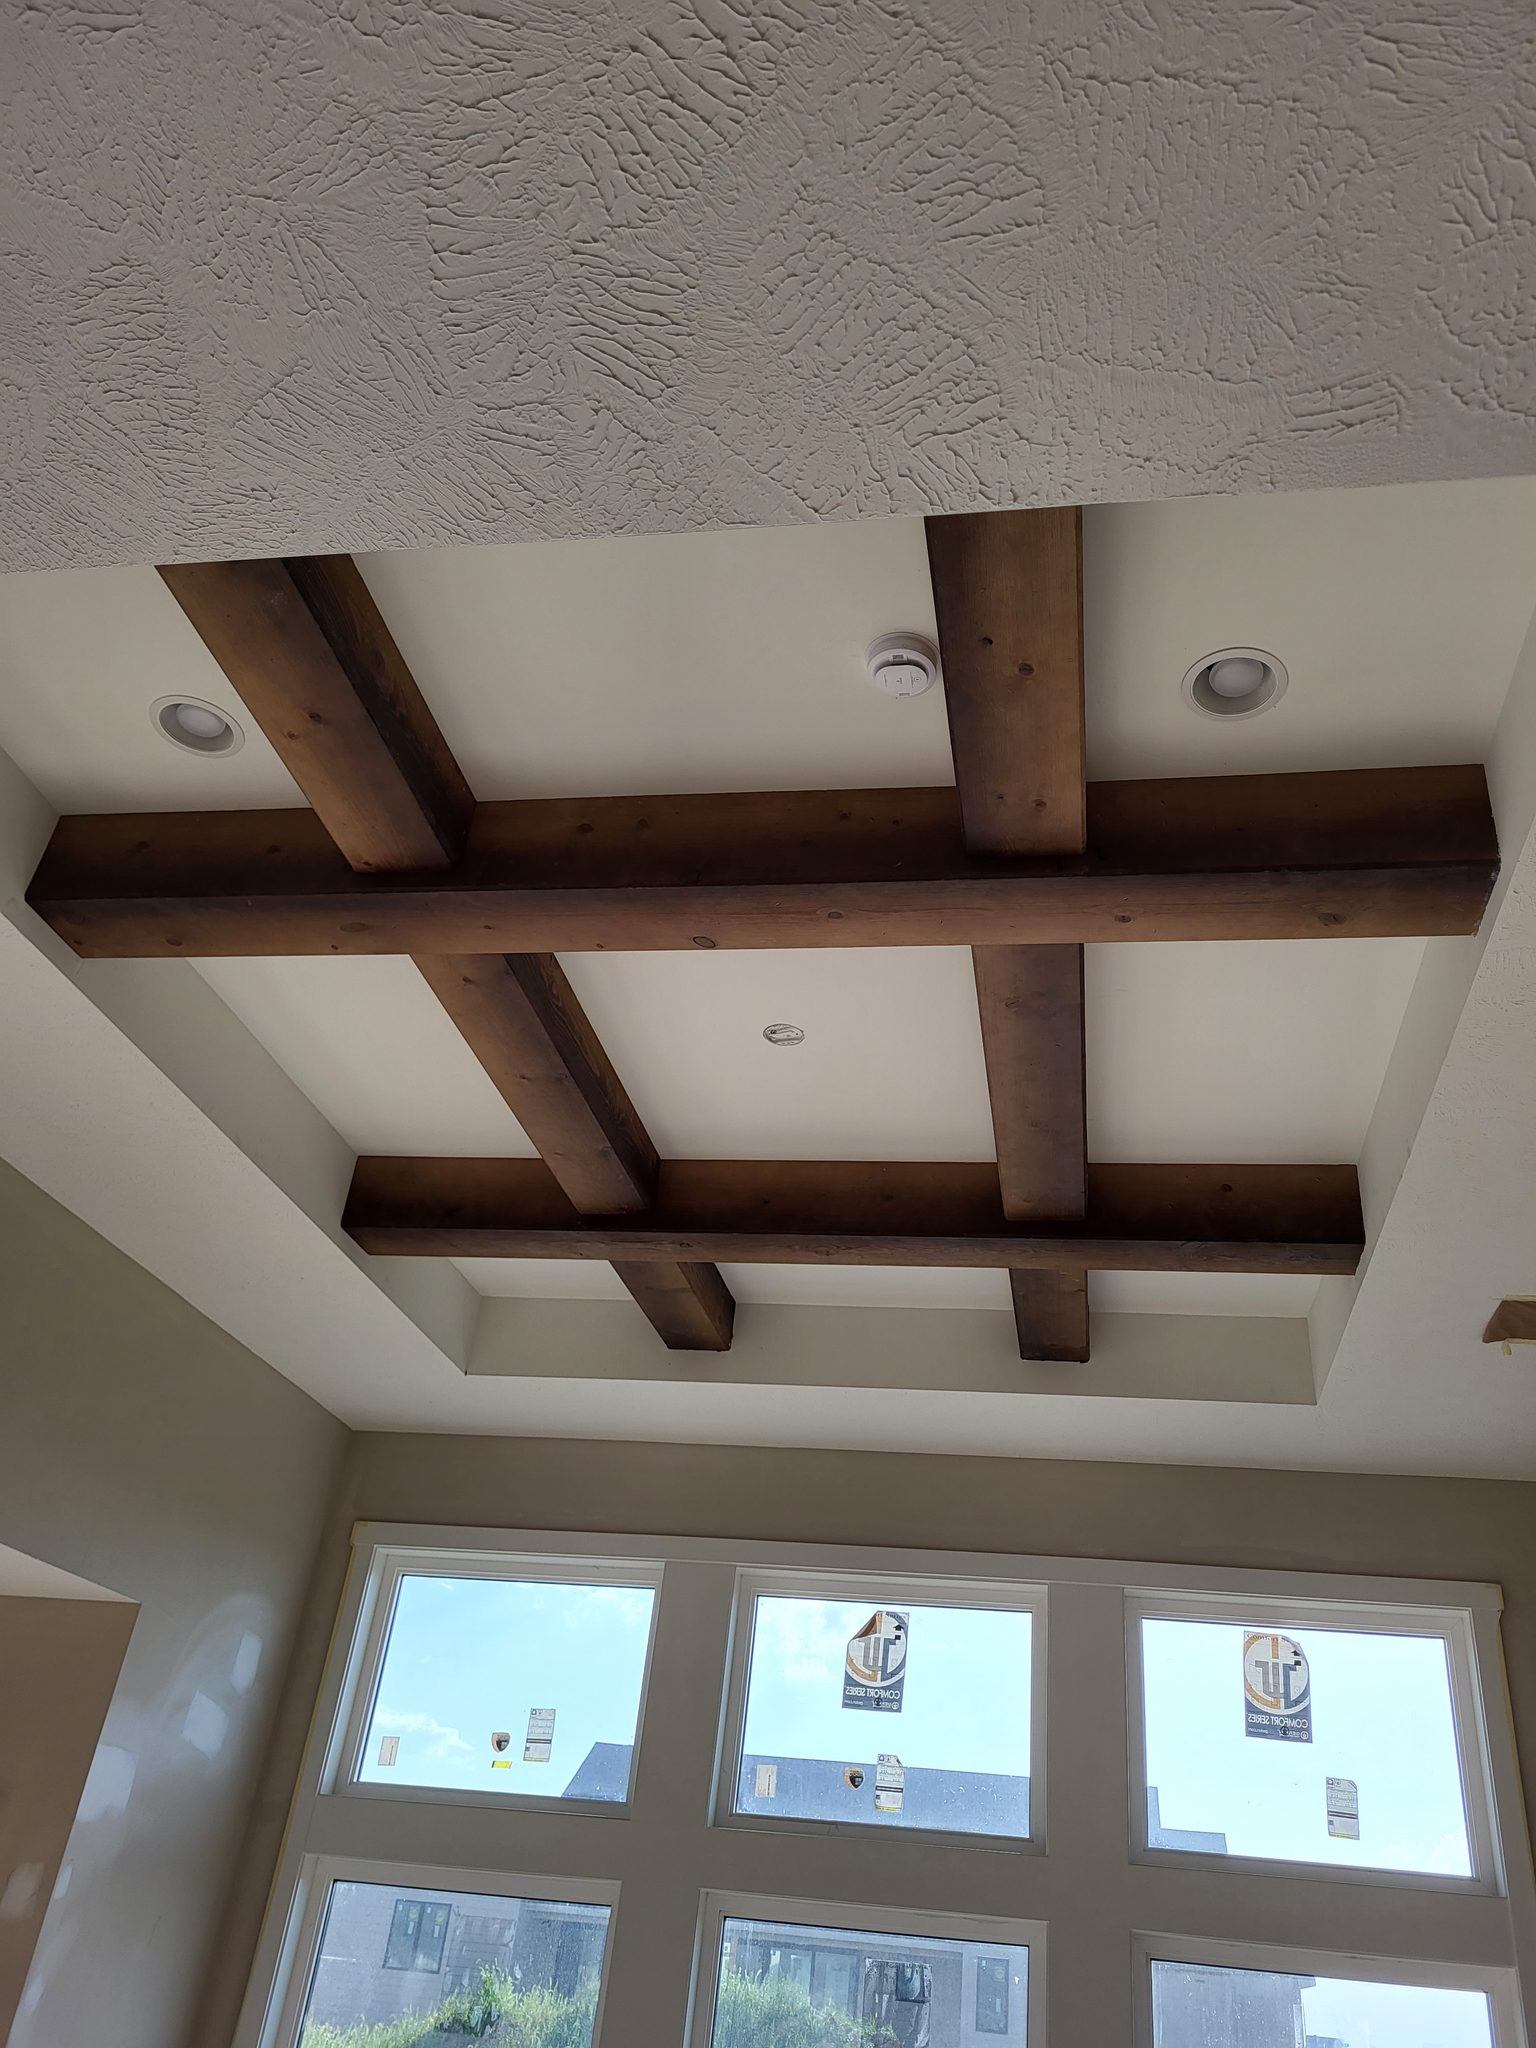
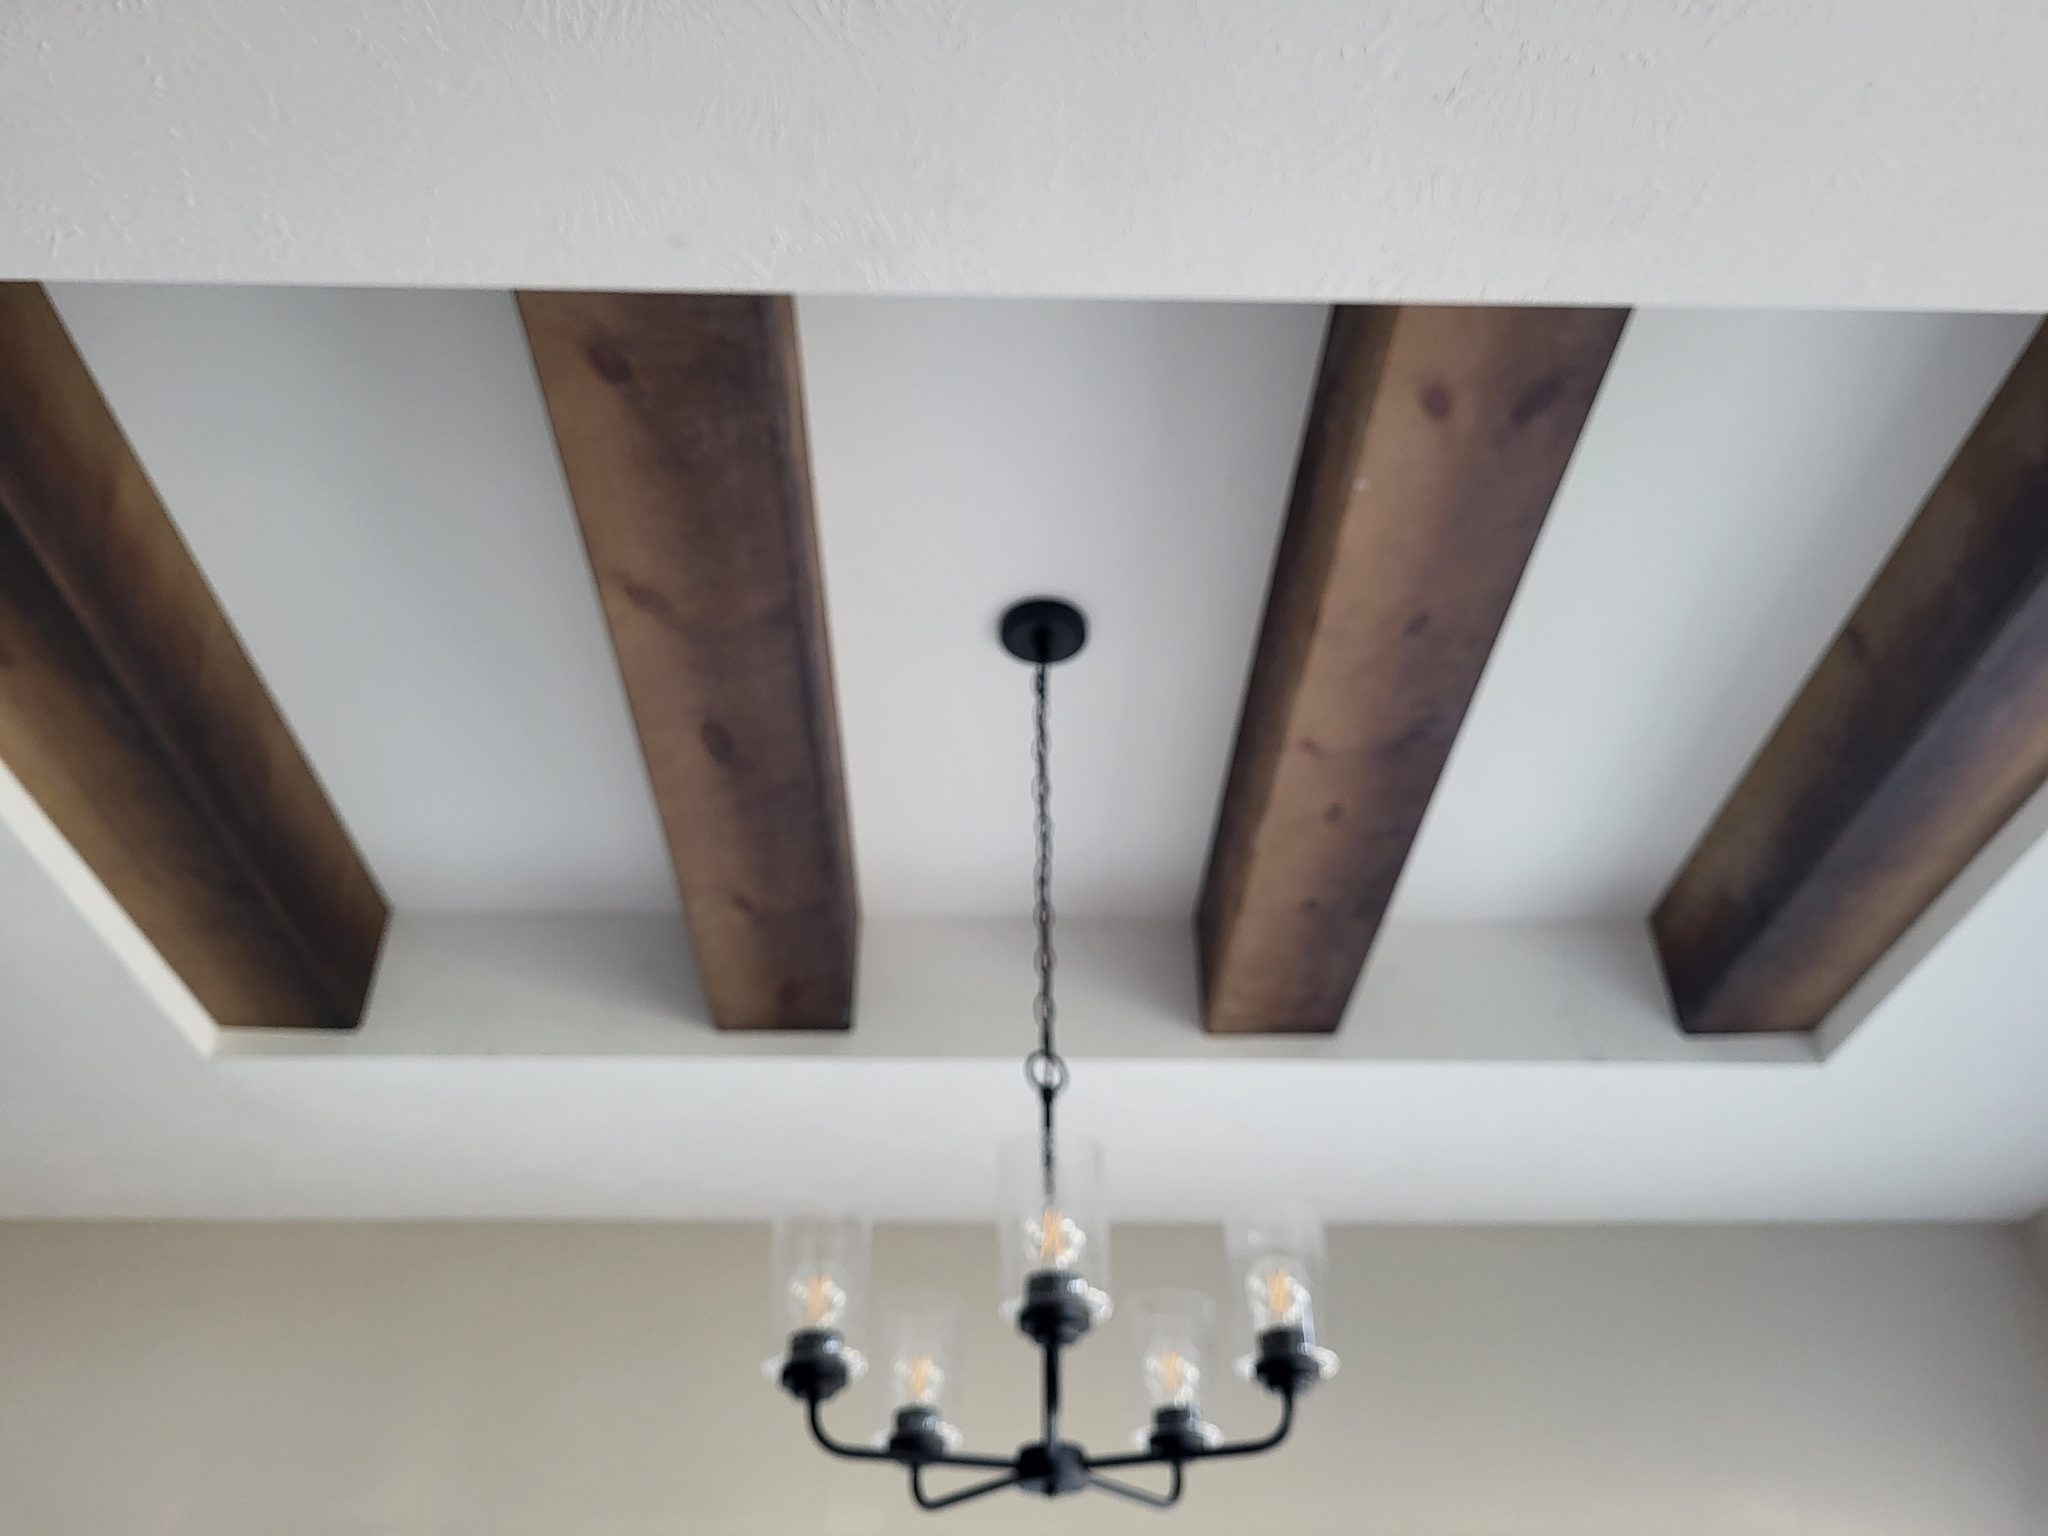
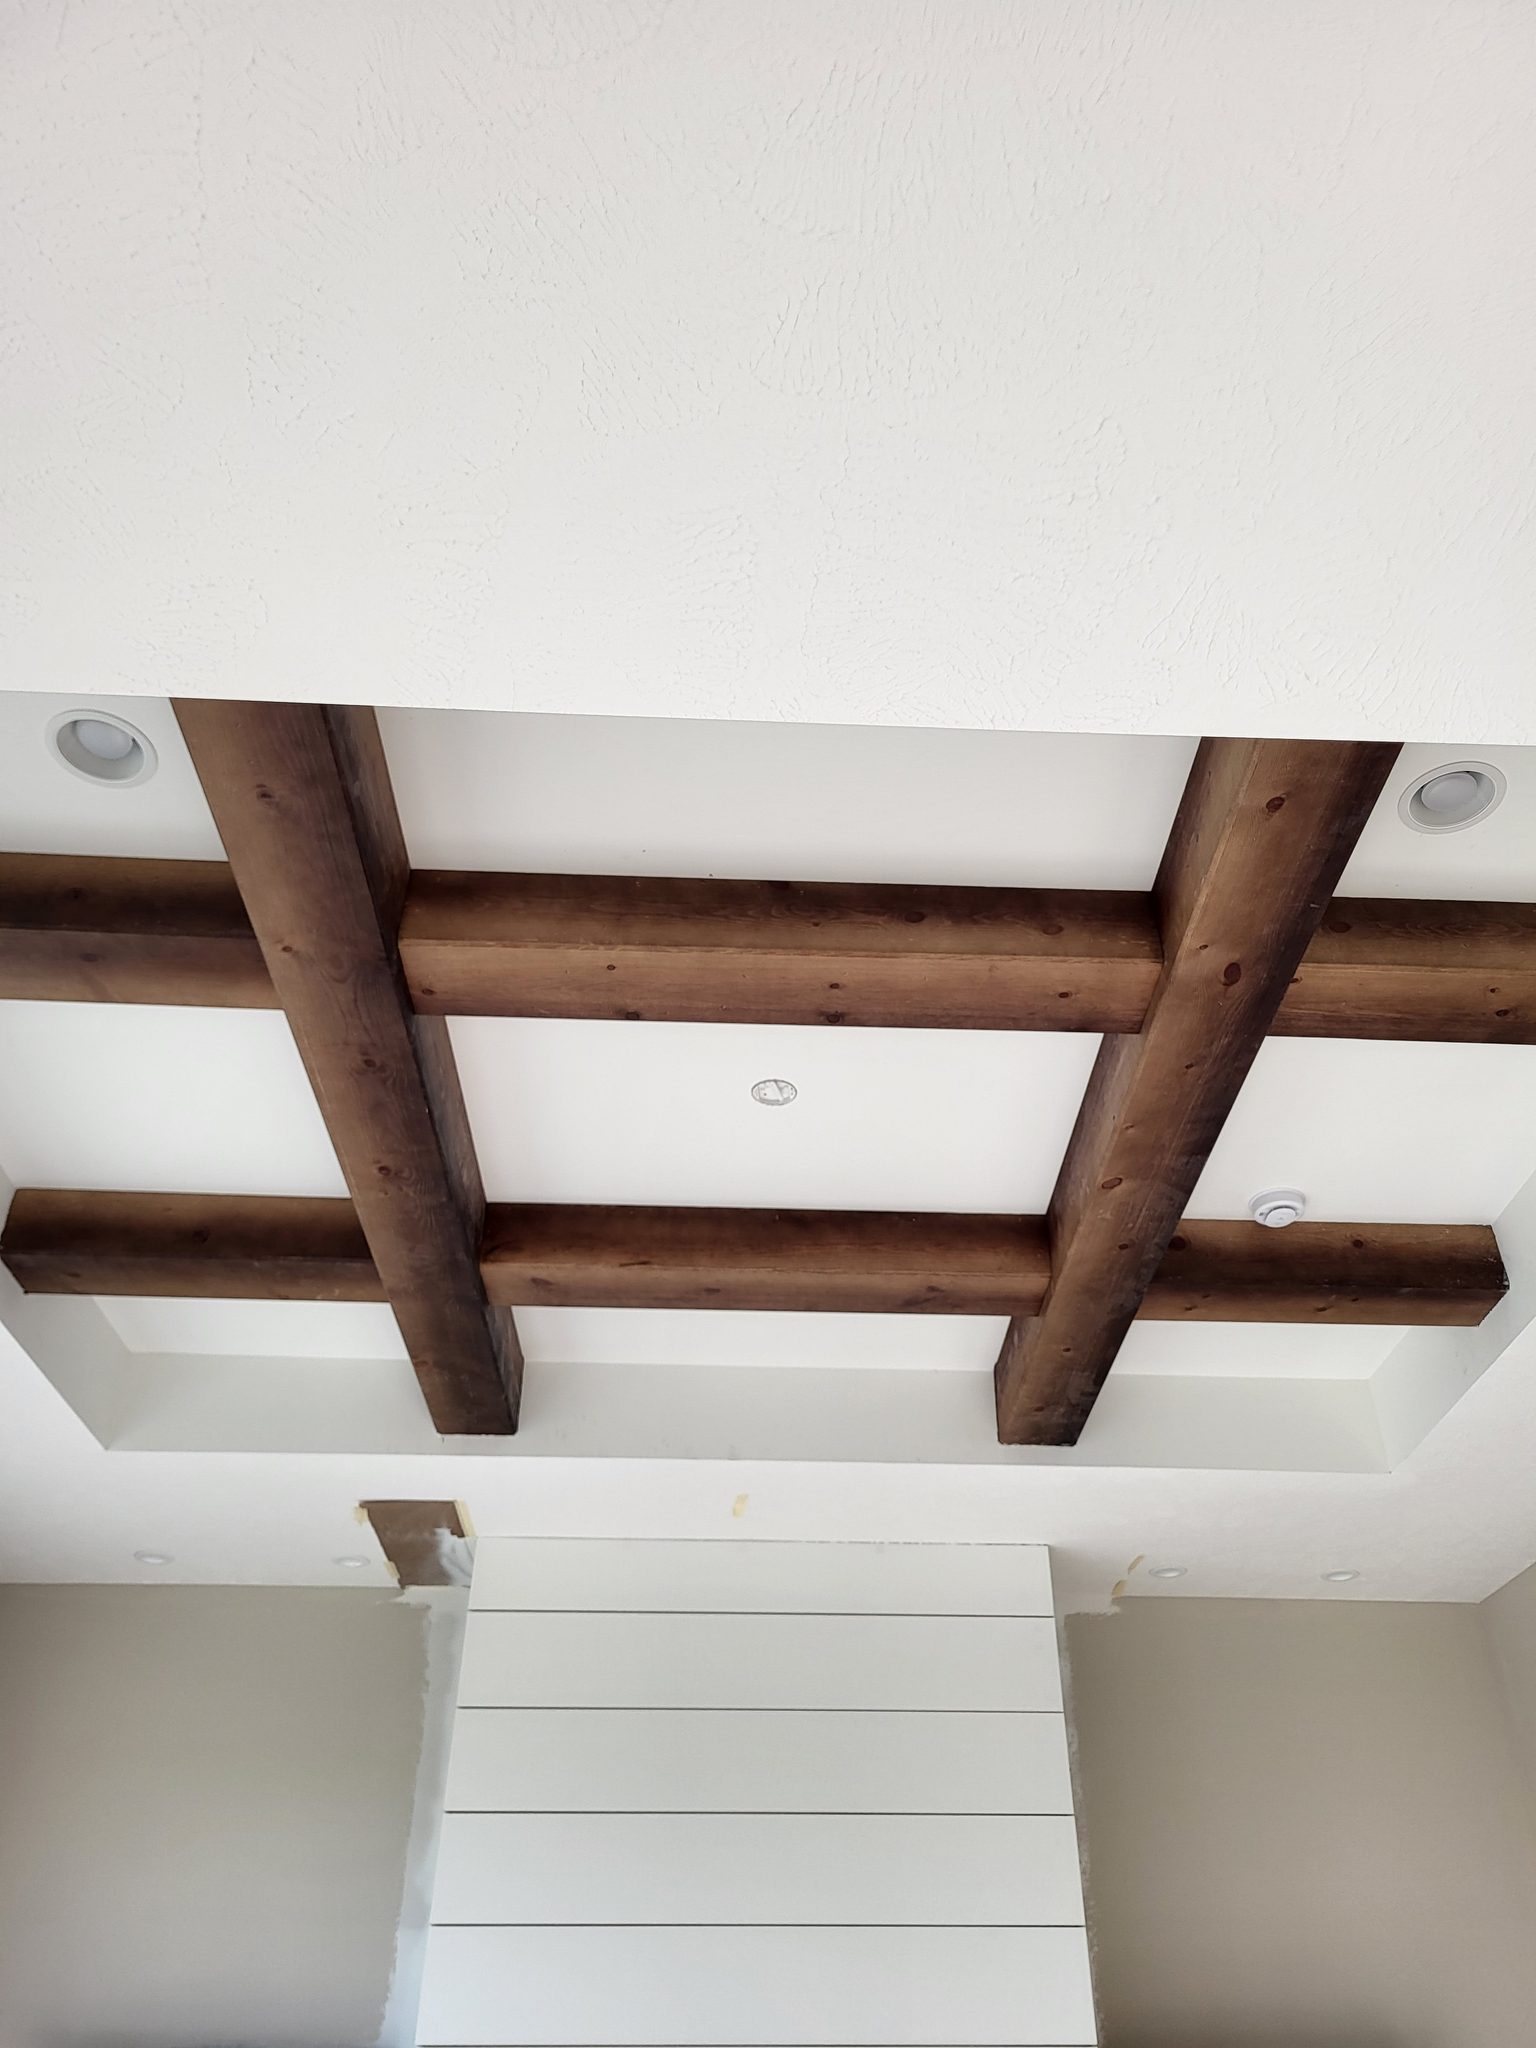
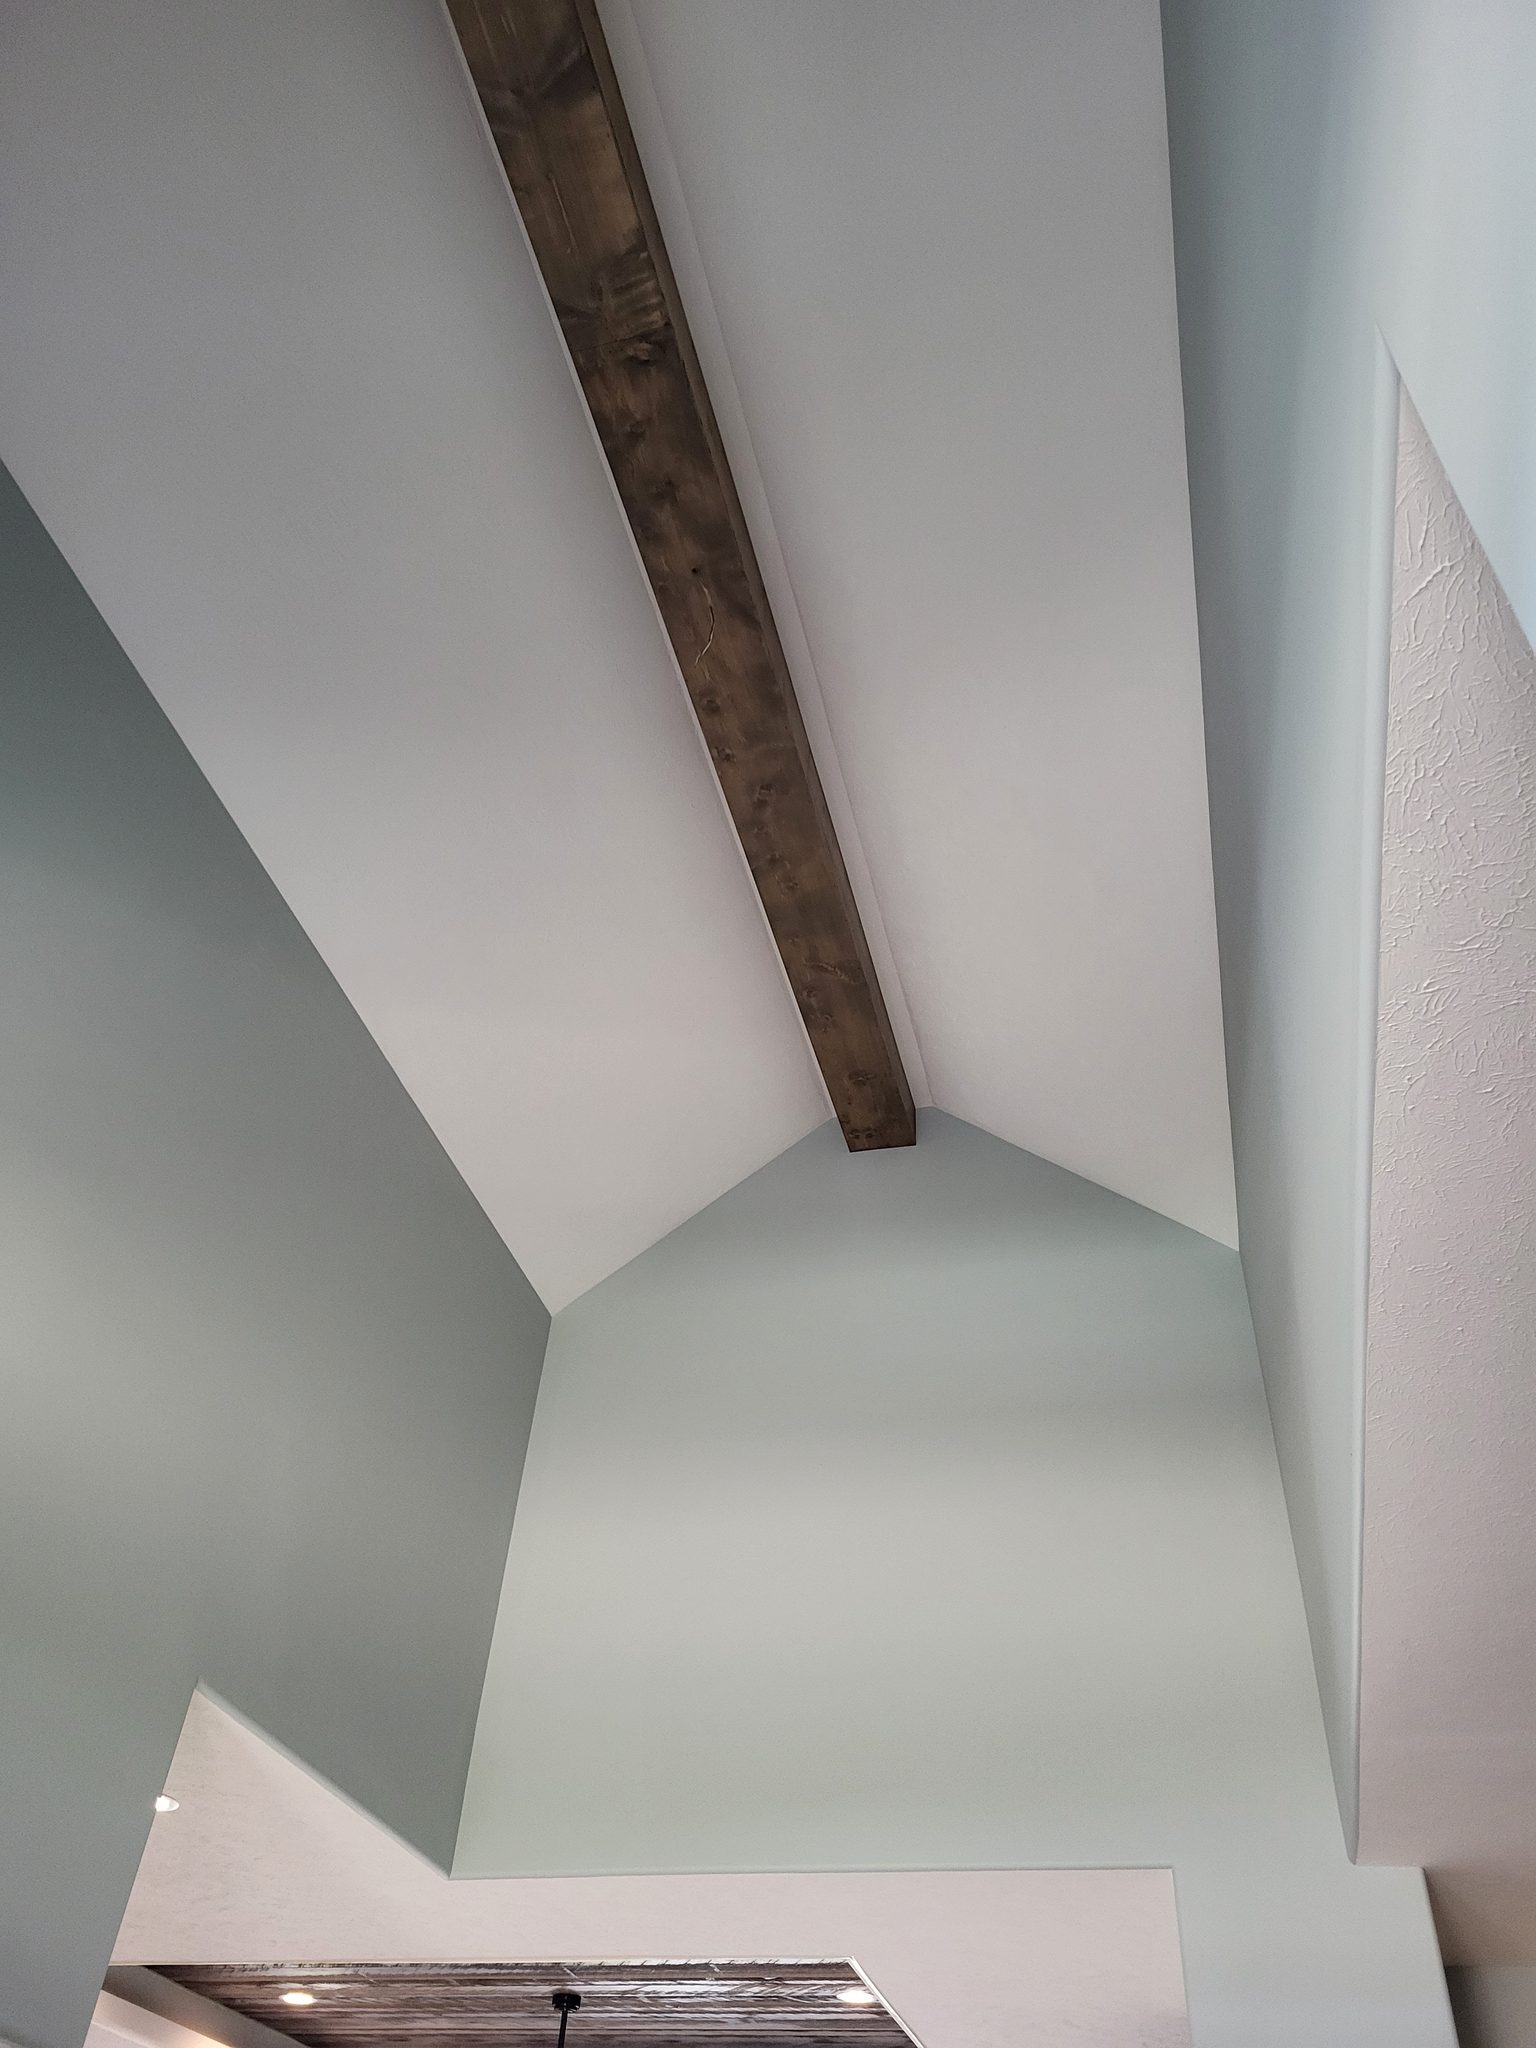
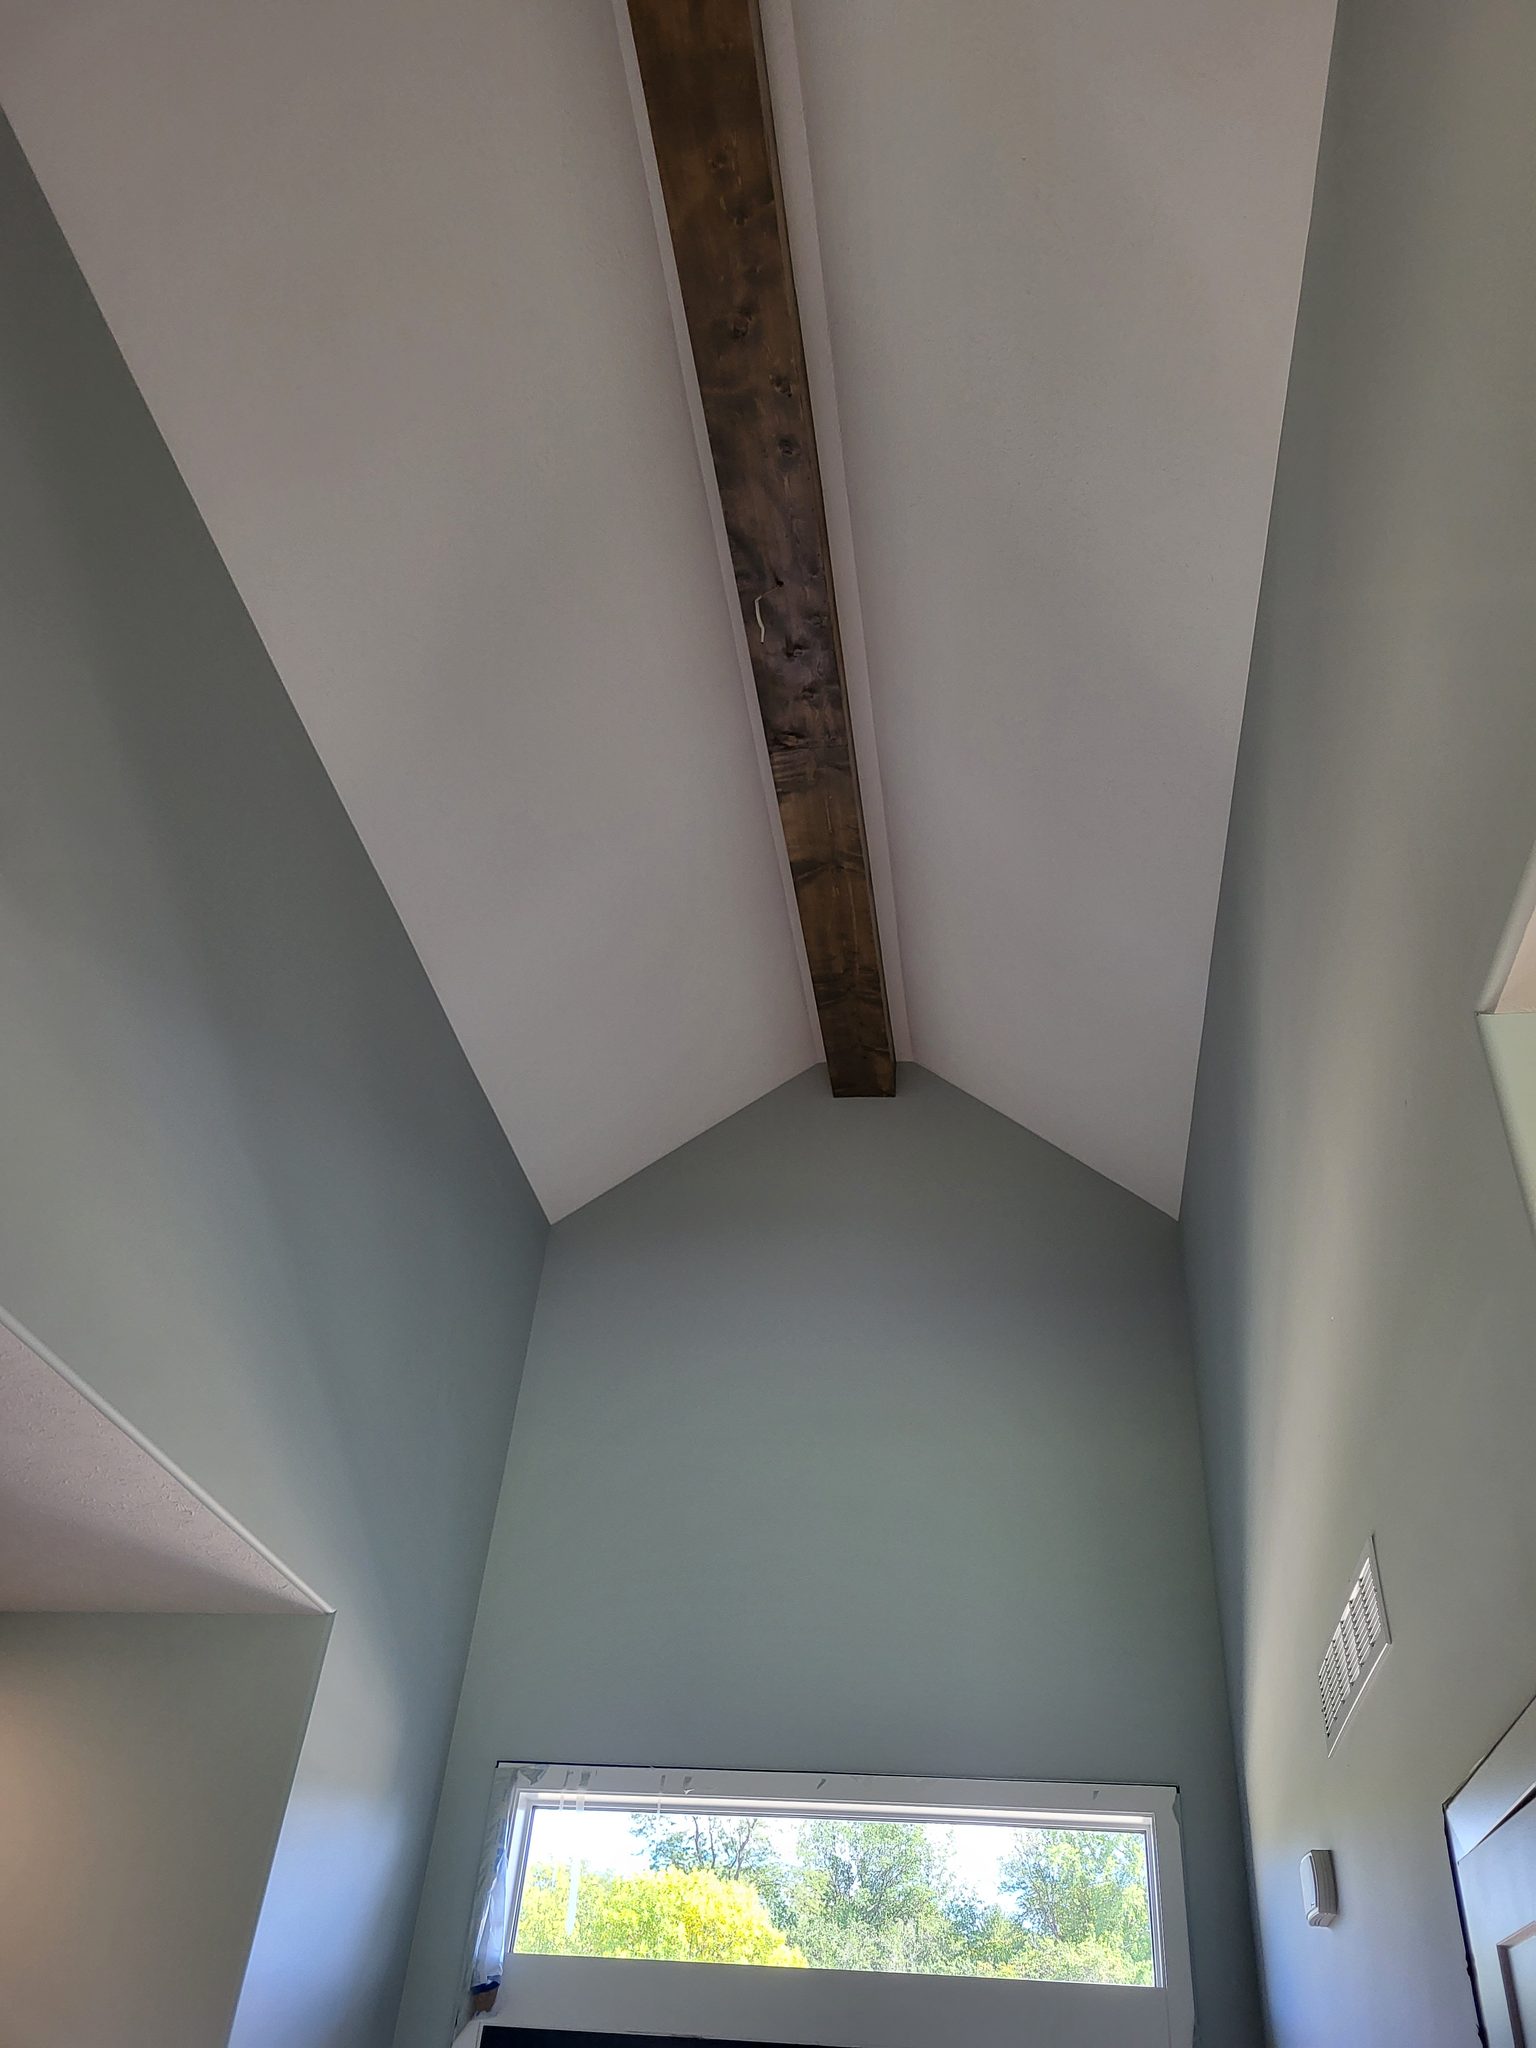
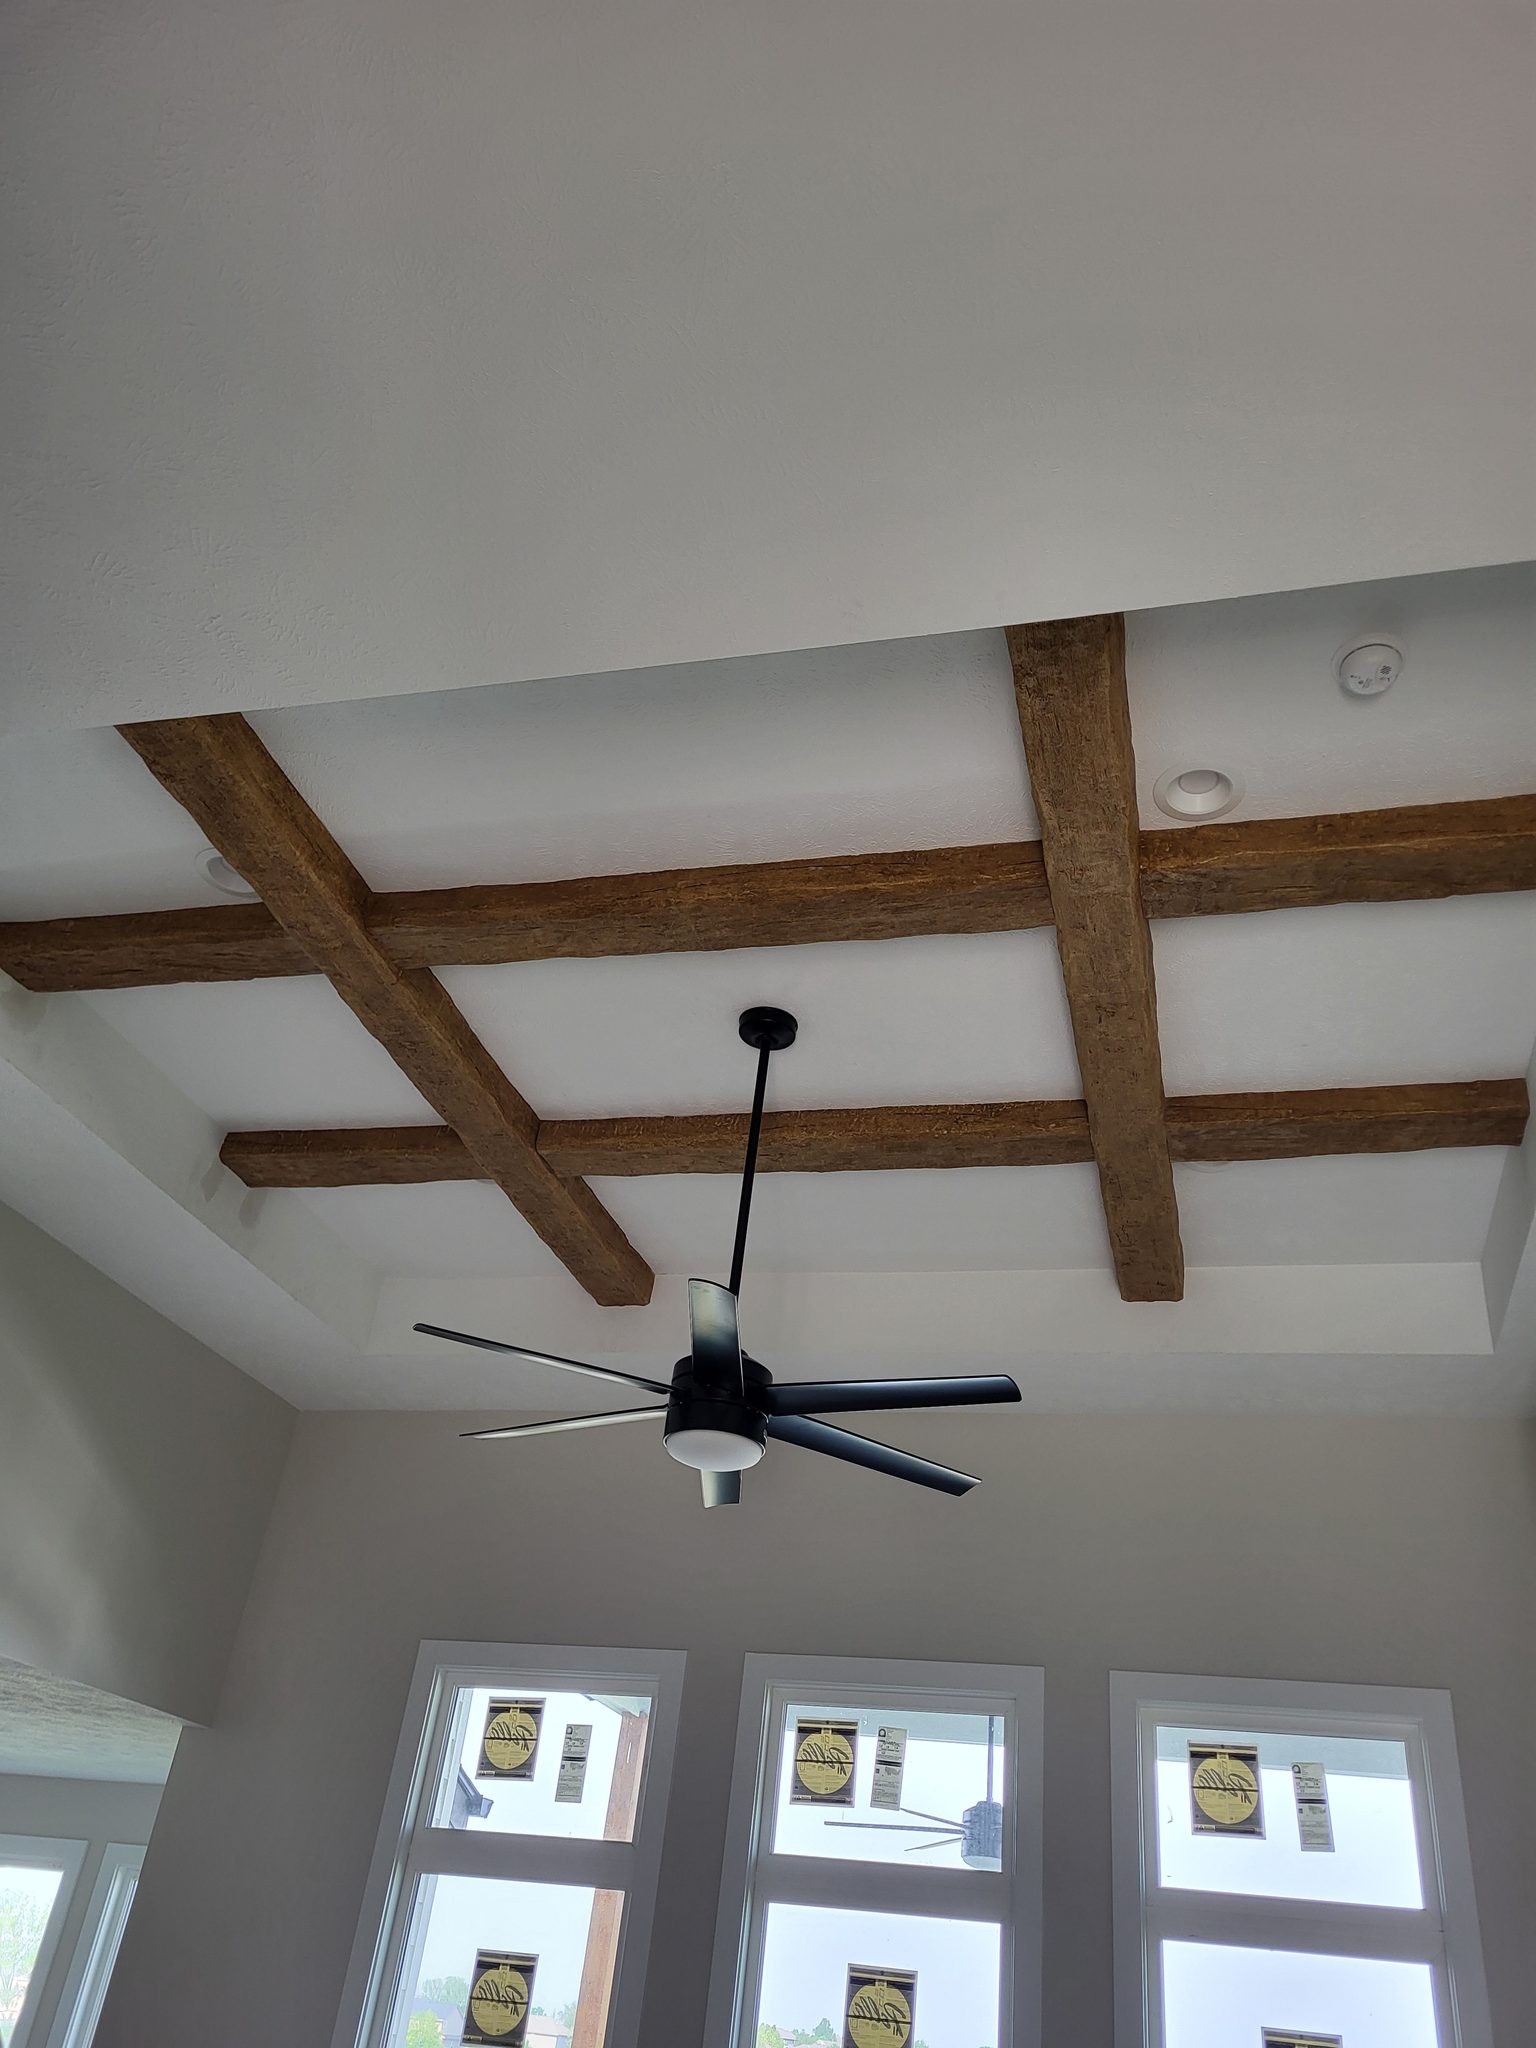
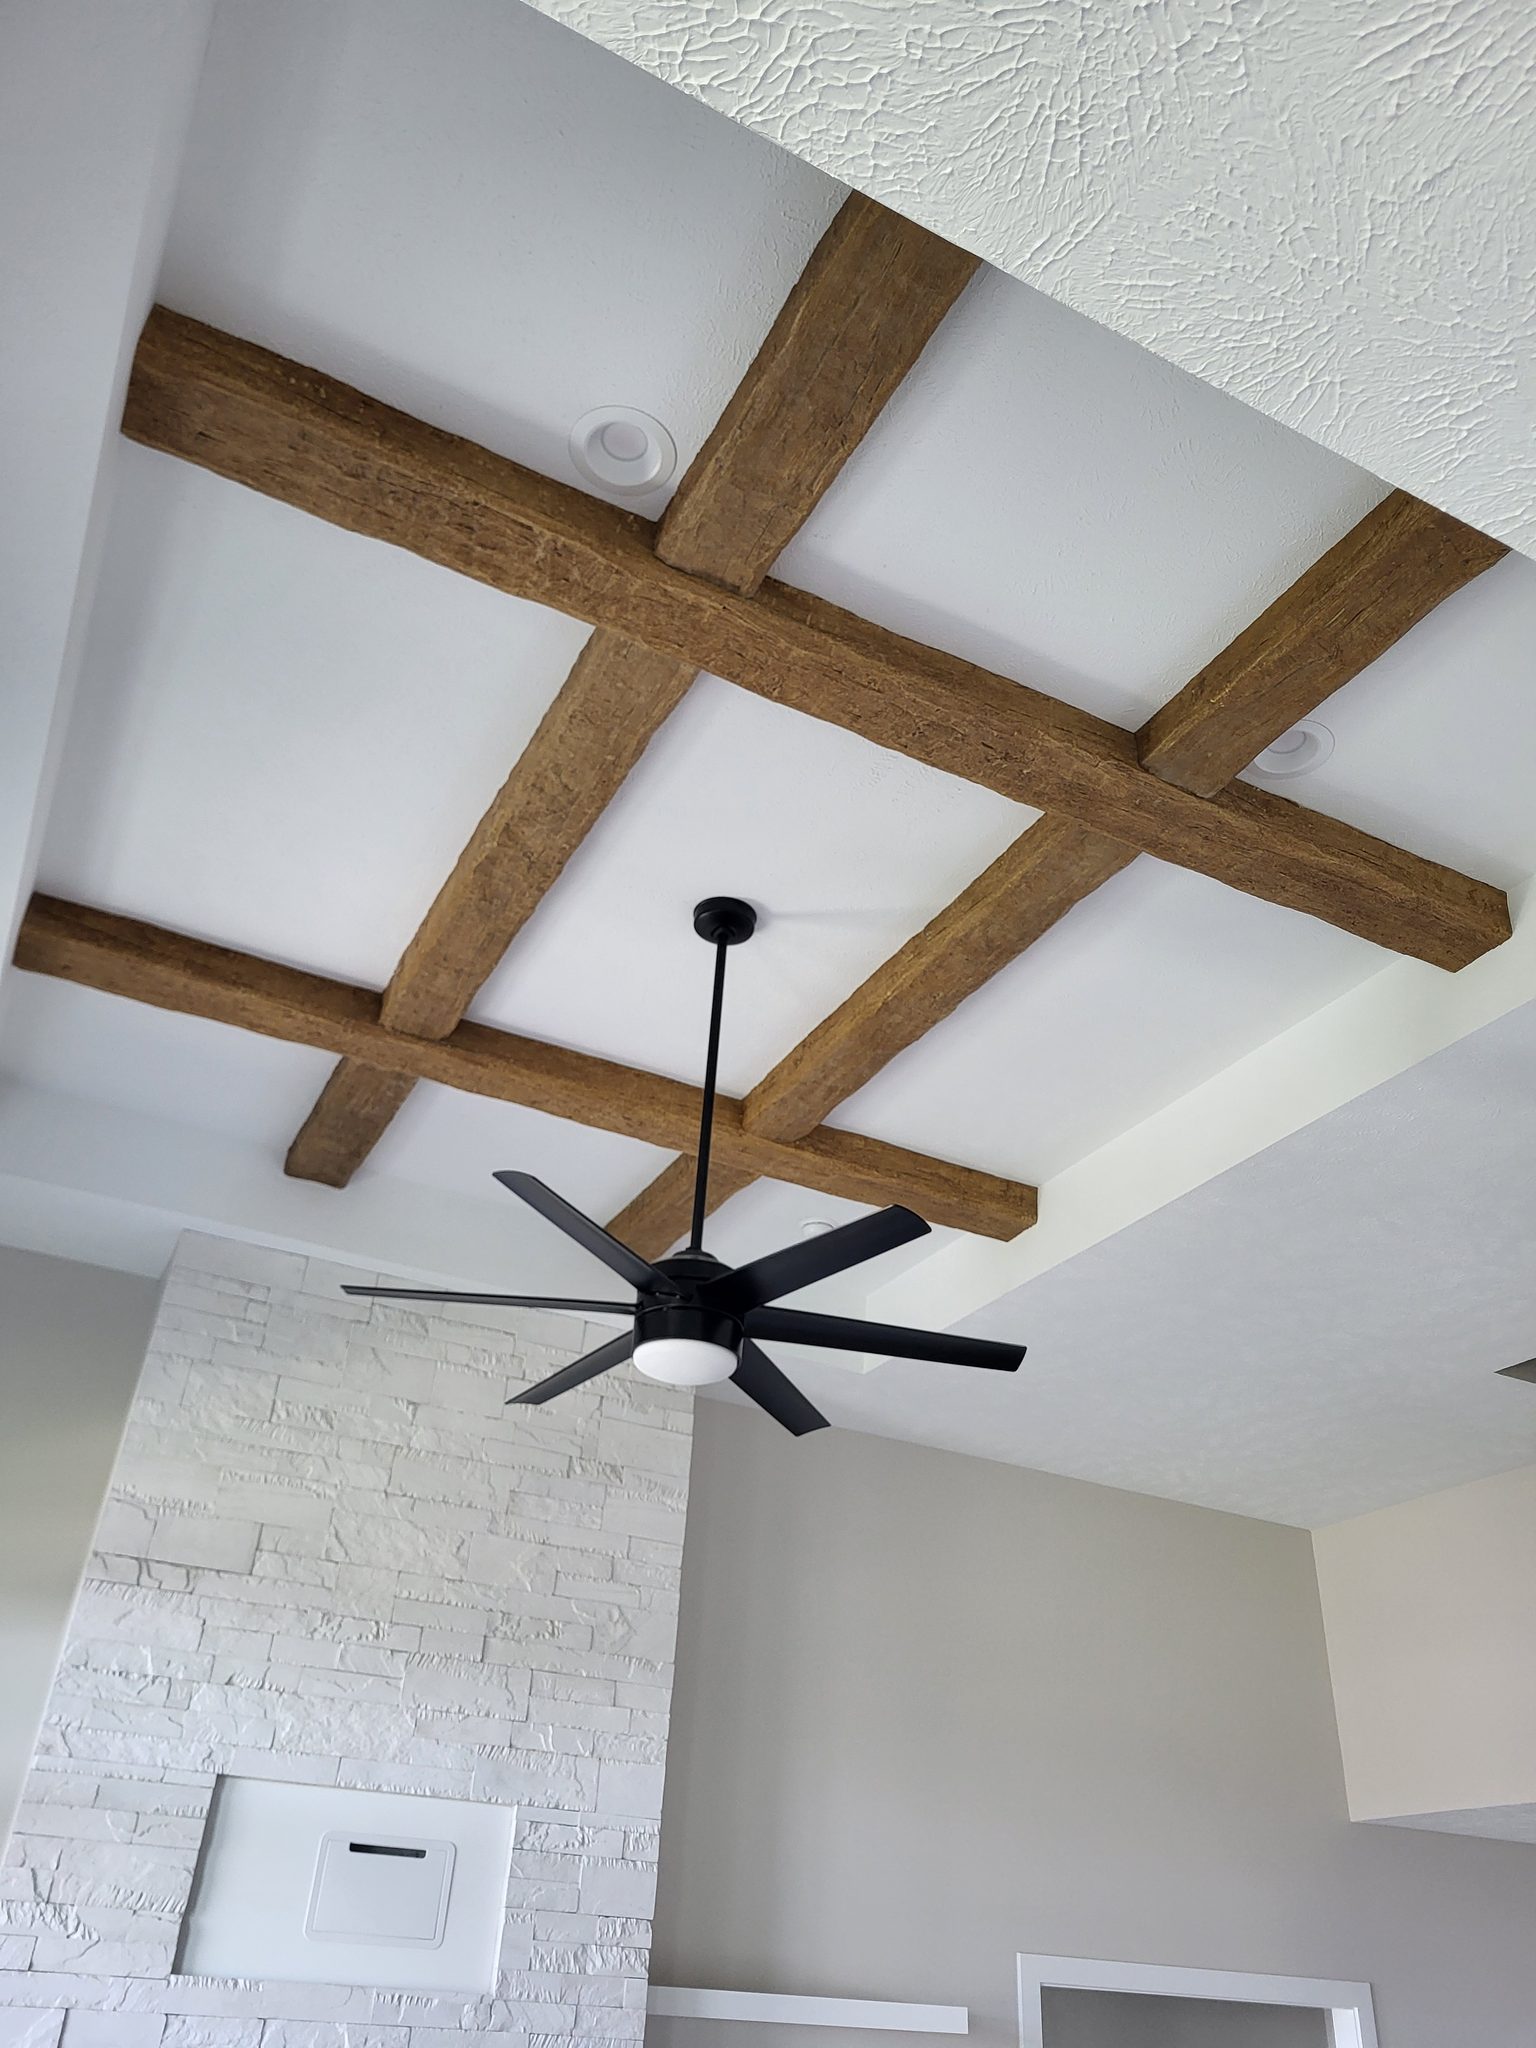
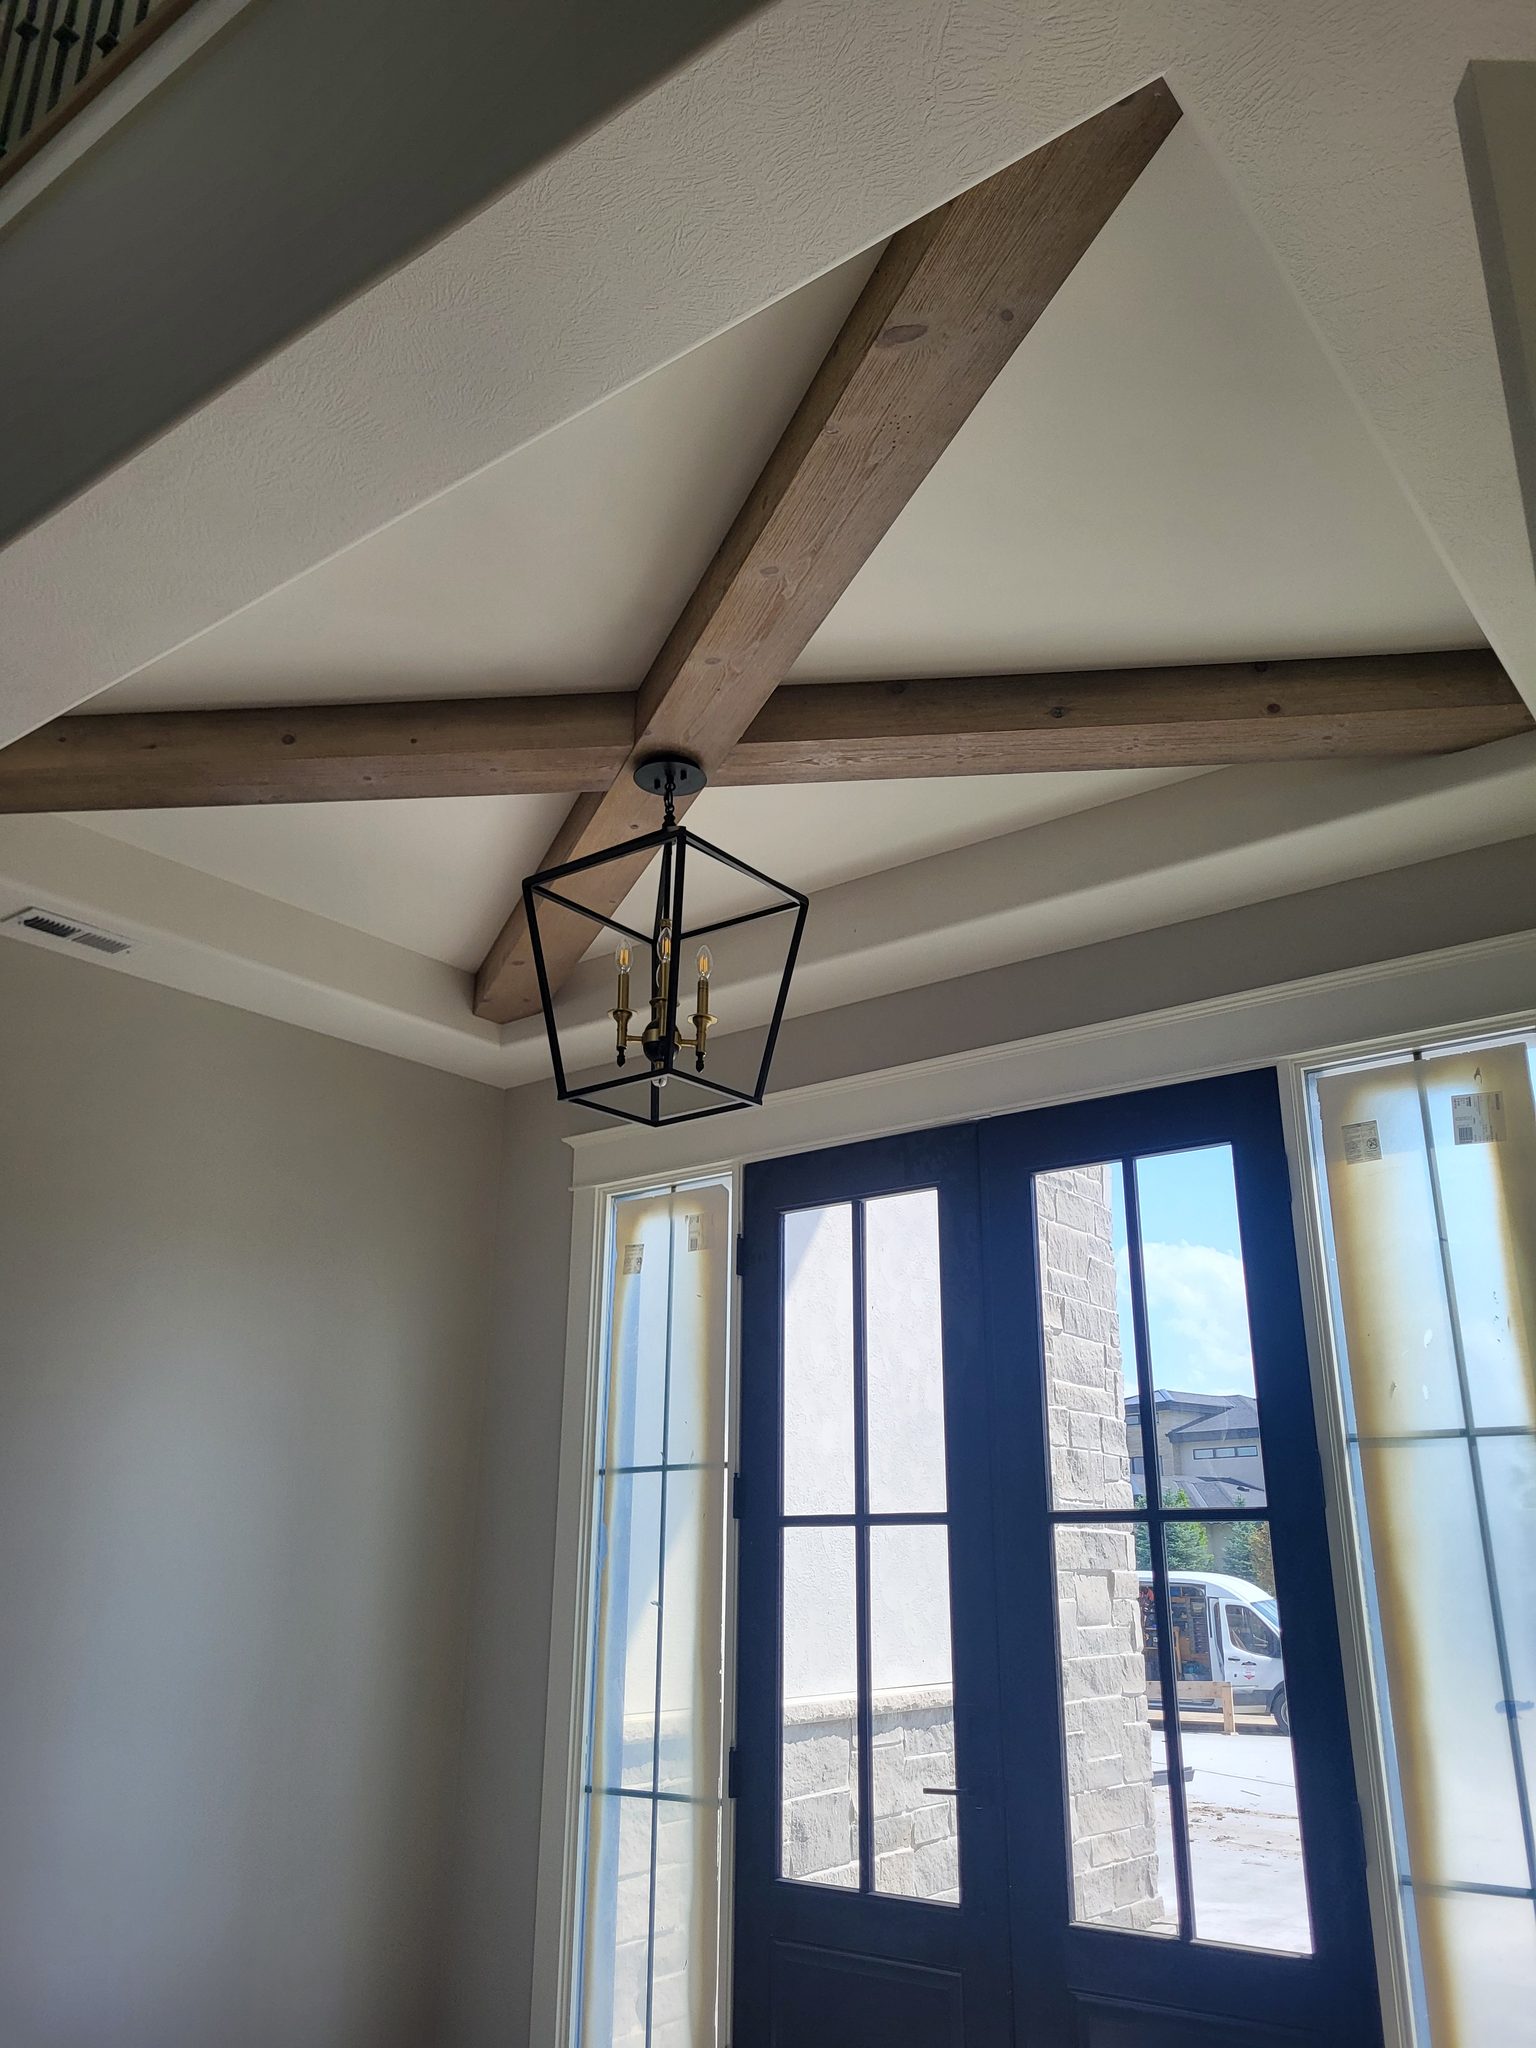
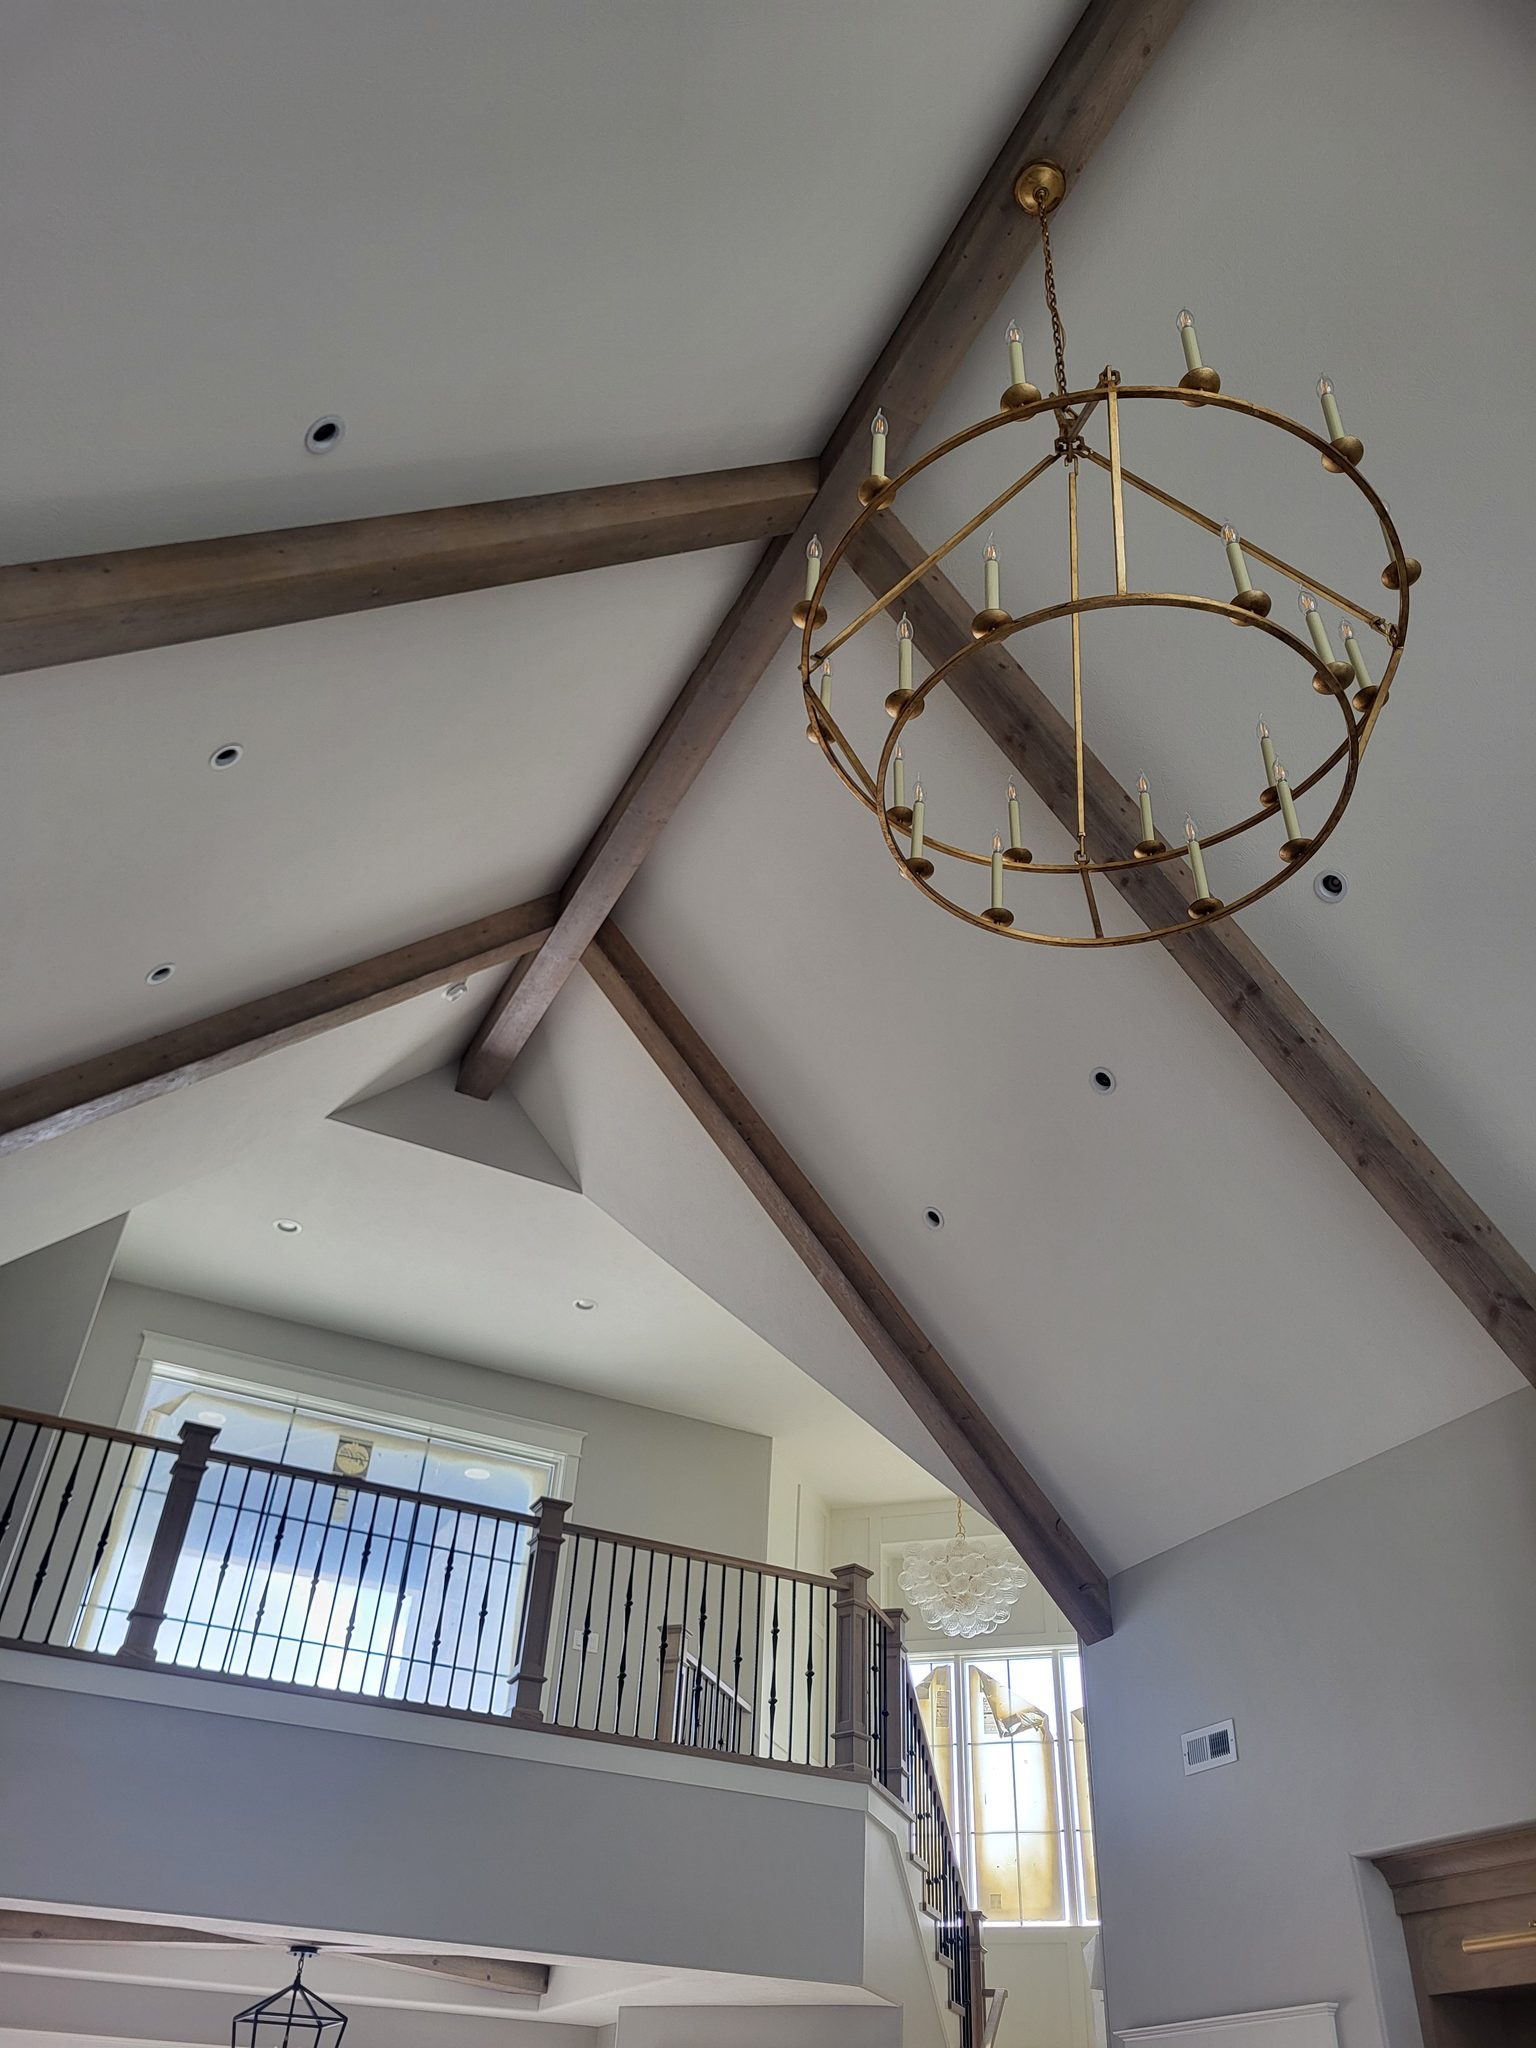
The following photos show examples of this type of work completed in the field. These serve as visual references for quality standards, proper installation techniques, and finished results.
Showing 26 of 26 photos