On this page
Introduction #
A decorative header is a built-up trim assembly you install above a door casing, window casing, or cased opening to dress up a plain opening. Instead of a flat piece of head casing capping the top, a decorative header adds a wider board, a crown or bed mold cap, and sometimes corner blocks on each side to make the opening a real architectural feature. You will see this most on formal entries, great-room openings, fireplace surrounds, and any opening the plans call out as an upgrade item.
There is no single "the" decorative header. The customer or the plans set the style: how far the header projects past the casing, whether it gets a crown cap or a flat build-up, and whether corner blocks are part of the detail. Your job is to build and hang whatever style is called out, to the same standard of tight joints and a consistent reveal you would use on any other casing work. Where the plans do not spell out a detail, confirm with the customer or GC before you cut, the same way you would for any specialty trim.
Before You Begin #
Prerequisites #
- The opening is already cased on both legs, with a consistent 3/16" reveal, before you start the header
- Drywall is complete and primed at the opening
- You know the header style called for: build-up height, cap profile, projection past the casing, and whether corner blocks are part of the detail
- Material is on hand and matches the grade of the casing below it (paint grade or stain grade)
What You Need To Know #
- A decorative header sits on top of the side casing legs. The bottom of the header assembly lands where the top of a standard head casing would, so the legs below it keep their 3/16" reveal all the way up
- Build the assembly, then hang it as one piece. Dry-fit every part on the bench first, glue and pin the pieces together, let the glue set, and install the finished assembly in one step. Trying to build it in place on a ladder wastes time and gives you worse joints
- The header should project past the outside edge of the casing evenly on both sides. Measure from the centerline of the opening so the two sides come out identical, and use the same setting on both legs
- Glue every miter and every wood-to-wood joint in the assembly, no exceptions. Where two pieces of the build-up meet and need to sit flush, glue, putty, and sand the joint
- Never cross-nail a miter. A tight, glued miter with the pieces pressed together holds better than a nail driven through the joint at an angle, and cross-nailing risks blowing out the corner on a delicate profile
Tools Required #
Power Tools #
- Miter saw: for the header board, the cap profile, and any mitered returns
- 18-gauge brad nailer: the main fastener for assembling and hanging the header
- 23-gauge pin nailer (optional): for delicate cap profiles or thin returns that could split under an 18-gauge brad
- Compressor, or a battery backup for the nailers if there is no power on-site yet
Hand Tools #
- Tape measure: for the opening width and the projection on each side
- Torpedo or 4-foot level: to check the header sits level across the top before you nail it off
- Combination square: to hold your reveal setting consistent from the casing into the header
- Coping saw or chisel set: for any inside corner returns on the cap profile
- Nail set: for any brads that do not sink flush
Supplies #
- Wood glue: for every miter and every wood-to-wood joint in the build-up
- 18-gauge brads, 1-1/4" to 1-3/4": matched to the thickness of the pieces you are joining
- Clamps or painter's tape: to hold the assembly together while the glue sets
Materials #
- Header board or flat stock, ripped to match the build-up height called for on the plans
- Crown or bed mold cap, matched to the casing profile below it
- Corner blocks, if the detail calls for them
- Paint-grade stock (poplar, MDF) or stain-grade stock matched to the casing species, per the job's finish grade
How to Build a Custom Decorative Header Step by Step #
Step 1: Confirm the Style and Measure the Opening #
Before you cut anything, confirm the header style against the plans or with the customer: overall build-up height, cap profile, how far it projects past the casing, and whether corner blocks are part of the detail. Then measure the opening at the top of the casing legs, outside edge to outside edge. This is your starting width before you add the projection on each side.
Step 2: Cut and Dry-Fit the Header Board #
Cut the flat header board to length, adding the projection you confirmed in Step 1 to each end. If the design uses corner blocks, cut the header board to land square against the inside edge of each block instead. Dry-fit the board across the top of the casing legs and check that the projection is even on both sides before you commit to the length.
Step 3: Cut and Assemble the Cap Profile #
Miter the cap profile to match the header board's length and any returns at the ends. If the cap wraps around the end of the header (a self-return), miter the return piece and glue it in place rather than leaving a raw end grain cut. Dry-fit the whole assembly, header board and cap together, before you reach for the glue.
Step 4: Glue and Assemble the Header #
Once the dry fit is tight, apply glue to every joint: the miters on the cap, any returns, and the seam where the cap meets the header board. Pin the assembly together with the 18-gauge nailer or the 23-gauge pin nailer on delicate returns. Use clamps or painter's tape to hold everything tight while the glue sets. Build the whole header as one unit on the bench or on sawhorses. Do not try to assemble it piece by piece on the wall.
Step 5: Hang the Header #
With the glue set, lift the assembled header into place on top of the casing legs. Check it is level across the top and that the reveal below it still reads consistent with the rest of the casing. Where the header lands on a stud or the framing above the opening, nail through the header board into the framing. Where it does not, glue and pin it to the top of the casing legs, and add a small glue block behind the header if it needs extra support away from the framing.
Step 6: Set Nails and Check the Joints #
Run your finger along every seam. Set any proud brads below the surface with the nail set. Check every miter and every wood-to-wood joint one more time: if a joint needs it, glue, putty, and sand it flush now, before you move to the next opening.
Pro Tips #
Pro Tip: Always cut the longest piece first. This allows you to use offcuts for smaller sections, minimizing waste and ensuring grain continuity.
Pro Tip: Use a backer board when cutting to prevent tear-out on the molding’s finished face.
Close-Out #
Clean up cutoffs and packaging from the cap and header stock as you finish each opening. Sweep the area, do not shop vac it, and take scraps straight to the trash. Stage any leftover header or cap stock with the rest of the casing material so it is easy to find if another opening on the job needs the same detail.
Quality Check #
- Header sits level across the top of the opening
- Projection past the casing is even on both sides
- The reveal on the casing legs below the header reads consistent with the rest of the house
- Every miter and return is tight, glued, and shows no gap
- Wood-to-wood joints in the build-up are glued, puttied, and sanded flush
- No cross-nailed miters anywhere in the assembly
- Every brad is set below the surface
- Header is solid when you press on it, no movement at the ends or at the cap
Troubleshooting #
Header rocks or does not sit tight to the wall #
This usually means the drywall or the top of the casing legs is not perfectly flat. Back-cut the header board slightly at the contact points so the front face lands tight, or add a shim behind the low spot before you nail it off. Do not force it flat with extra nails; you risk splitting a delicate cap profile.
Miter on the cap will not close #
Check the opening for square before you blame the cut. If the wall or the casing top is slightly out of square, adjust your miter angle a half degree at a time on a test piece before you recut the real one. A liberal bead of glue and a tight dry fit closes small gaps better than forcing a nail through the joint.
Projection is uneven side to side #
Always measure the projection from the centerline of the opening, not by eyeballing each side separately. If one side already reads wrong, remeasure from center and adjust that side alone rather than recutting both.
Related Guides #
- How to Install a Cased Opening
- How to Case a Window
- How to Trim a House, Start to Finish
- Make a Plinth Block
- How to Install a Transom Window Above a Door
Reference Photos #
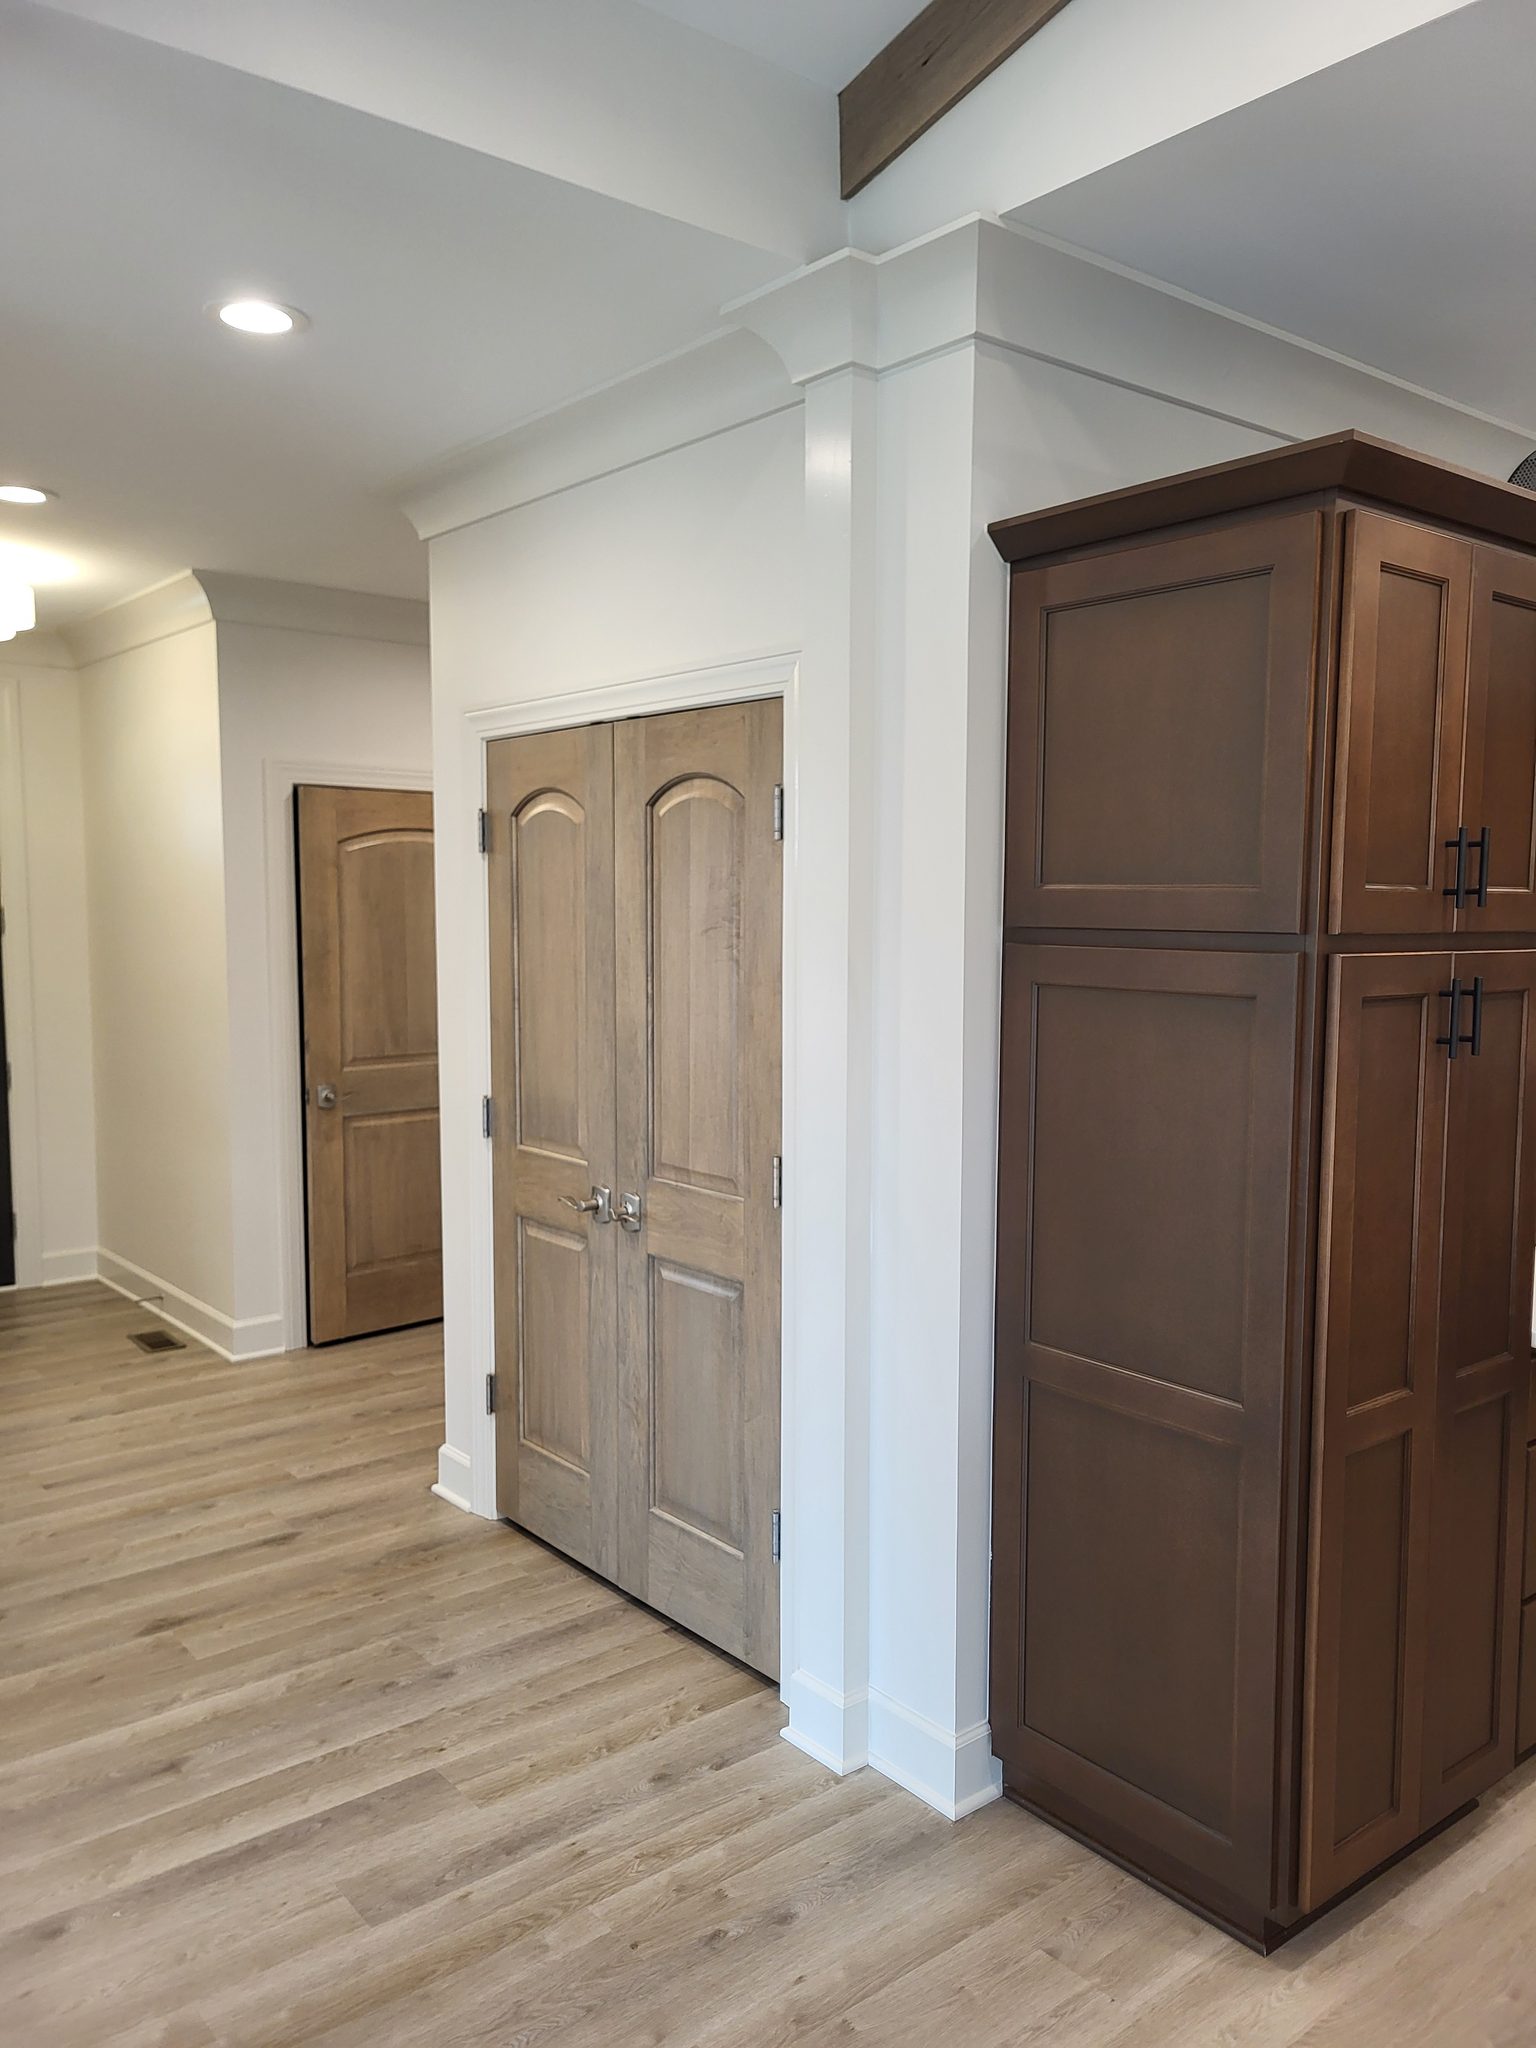
The following photos show examples of this type of work completed in the field. These serve as visual references for quality standards, proper installation techniques, and finished results.
Showing 1 of 1 photos