On this page
Introduction #
An 8’0″ hollow core pre-hung door is mostly a normal install. The one twist is the extra height. This is a supplemental guide for this eight-foot hollow core pre-hung door variant. The full step-by-step process is in our core guide: How to Install a Pre-Hung Door Like a Pro. Read that guide first. Everything below assumes you already know the standard process. It only covers what changes when the door is 16 inches taller.
Eight-foot doors are common in homes with 9-foot or 10-foot ceilings, in custom homes, and in commercial spaces. The slab is still hollow core, so it stays light and easy to handle. But the taller jamb brings its own challenges - ones you won’t see on a standard-height door.
An 8’0″ hollow core pre-hung door shows up most often in primary suites, great rooms, and homes with 9-foot or 10-foot ceilings, where the taller opening makes a statement. Whatever room it’s headed for, treat every door at this height the same way before you start. Verify the rough opening height first. Stage the door where you won’t have to carry it far through the house. Keep a step stool within reach before you climb up.
How Height Changes a Hollow Core Pre-Hung Door Install #
An 8-foot door unit stands approximately 97-98 inches tall (slab plus header jamb). The rough opening needs to be 98-100 inches tall, compared to ~82 inches for a standard 6’8″ door. For a hollow core pre-hung door at this height, that extra 16 inches changes a few things:
- You need a ladder or step stool. The top hinge sits at ~86-88 inches, and the header sits at 96+. You cannot reach the top hinge, the header shims (the thin wedges that hold the frame tight against the framing), or the top nailing points from the ground. A sturdy step stool or 4-foot stepladder is required. Follow the OSHA portable ladder safety guidelines.
- Your 4-foot level isn’t long enough. It covers less than half of an 8-foot jamb. You need a 6-foot level as your main tool for checking plumb (making sure the jamb stands perfectly vertical, with no lean) across the full length.
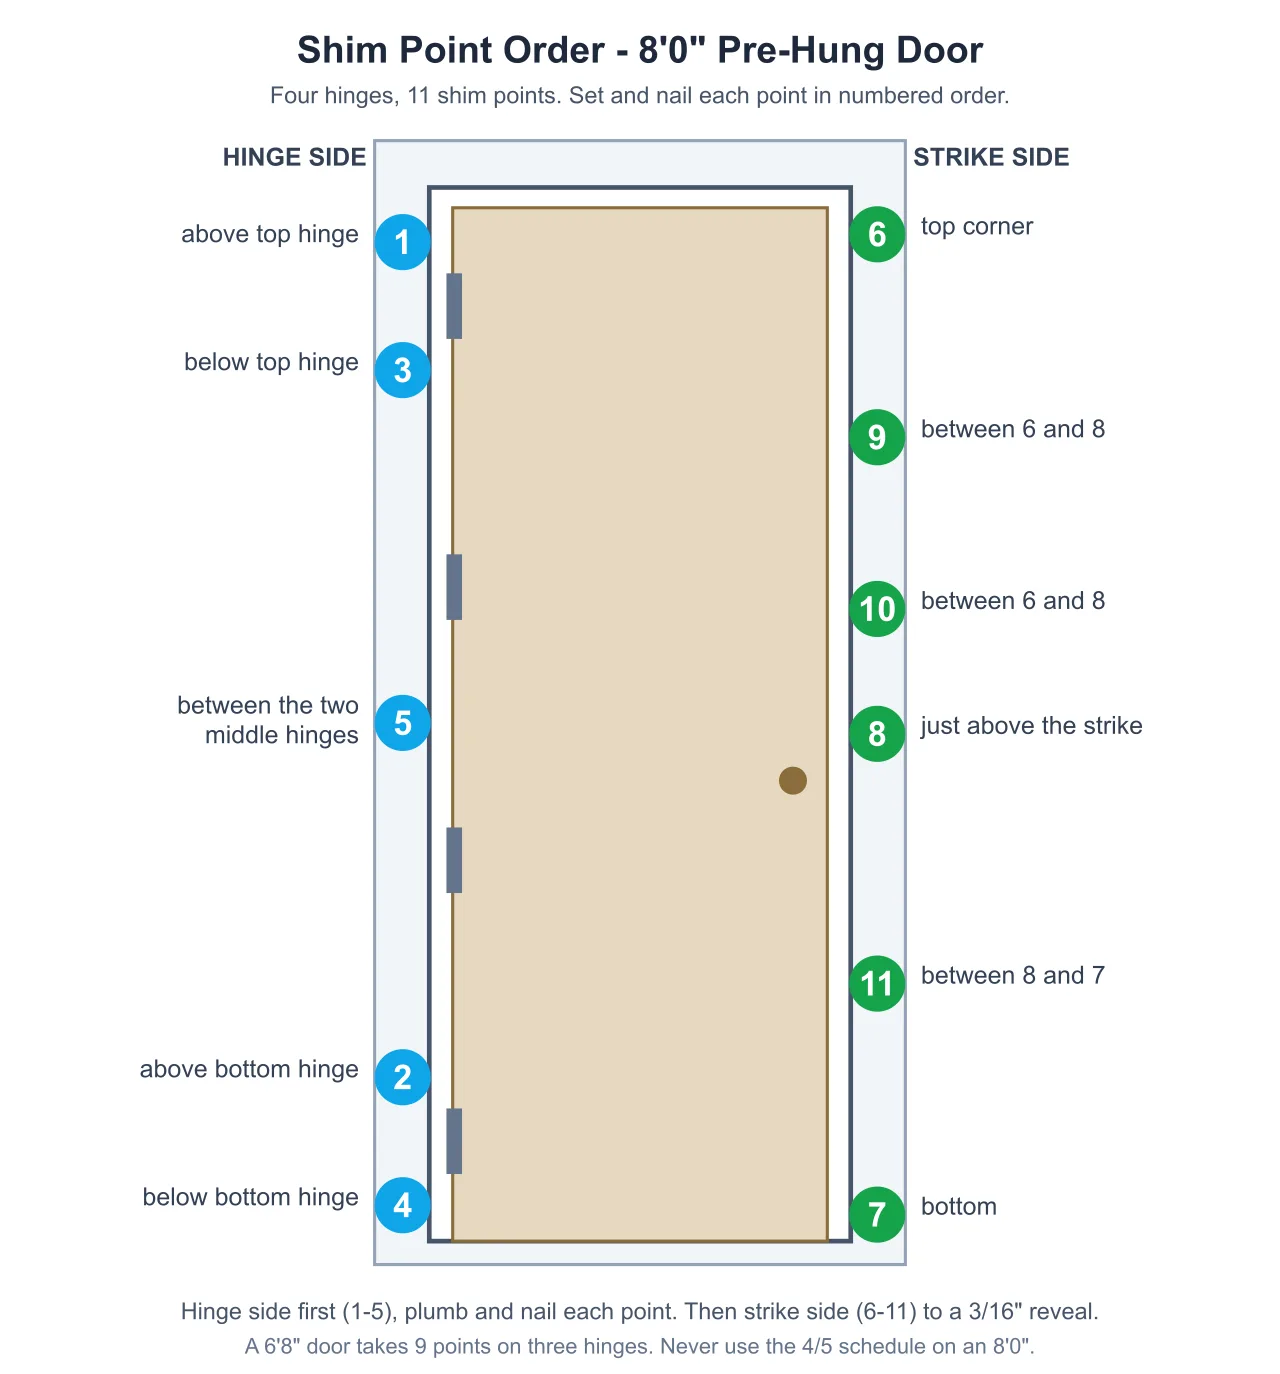
- More shim points are required. A 6’8″ door takes 9 shim points, 4 on the hinge side and 5 on the strike side (see core guide, Step 3). An 8’0″ jamb takes 11: 5 on the hinge side and 6 on the strike side, one more per side than the shorter door, to keep it from bowing.
- It’s heavier to handle. An 8’0″ hollow core slab weighs ~35-45 pounds (a 6’8″ slab weighs 25-35 pounds). One person can still handle it alone, but plan for the extra weight.
- Watch your headroom when you carry it. The unit is taller than most interior doorways, so you’ll need to tilt it to get through hallways. Watch for ceiling fans, light fixtures, and smoke detectors along the way.
Additional Tools #
Everything in the core guide tool list, plus:
- 6-foot level - Your main tool for checking plumb. The 4-foot level is still handy for spot-checking small sections and the header.
- Step stool or 4-foot stepladder - Must be sturdy enough to stand on while you nail overhead.
- Extra shim pairs - More shim points per door means you’ll use more shims. Bring extra.
Hollow Core Pre-Hung Door: What’s Different Step-by-Step #
Follow the core guide for the full process. Here is what changes for an 8-foot door:
Step 1: Verify the Rough Opening #
Use the same verification process, just with larger dimensions. Expect ~34″ wide by 98-100″ tall for a 2’8″ x 8’0″ door. Also check:
- Check the jack studs for plumb with the 6-foot level. An 8-foot jack stud has 16 more inches of length where it can drift out of plumb. A lean that’s barely annoying over 80 inches becomes obvious over 96 inches, and it takes more shimming to correct.
- Verify the header height against the plans. On production jobs, framers sometimes default to a 6’8″ rough opening unless told otherwise. Catch this now. You can’t install an 8-foot door in an 82-inch opening.
Step 2: Position the Door Unit #
Use the same positioning process. The biggest difference is getting the unit there: you’ll be tilting the 8-foot unit through existing 6’8″ doorways to reach the install location. A helper makes this much easier.
Step 3: Shim, Plumb, and Nail the Hinge Side - Key Differences #
This step needs the most adjustment on an 8-foot hollow core pre-hung door. Refer to the core guide Step 3 for the base shimming process, then apply these changes:
- Use 5 shim points on the hinge side. An 8’0″ door has four hinges, not three. Set them in this order: 1 above the top hinge, 2 above the bottom hinge, 3 below the top hinge, 4 below the bottom hinge, then 5 between the two middle hinges. That last one is the point a 6’8″ door does not have, and it is what keeps the long middle of the jamb from bowing.
- Use the 6-foot level as your main plumb check. Set it across as much of the jamb as you can, then move it down to check the rest.
- Sight down the full length of the jamb edge. This matters even more on 8-foot doors, since the longer jamb has more room to bow between shim points. If you see any waviness, a shim point needs adjusting.
- Nail as you go, same as the core guide. Shim, check plumb, then nail before moving to the next point. Hollow core doors get nailed only, the same as a 6’8″ hollow core door - skip the structural screw the core guide uses for solid core.
Pro Tip: Work from the top down. Set up the ladder, then shim and plumb the top section first. This is the most critical spot, since it’s where the door’s weight hangs. Nail it, then step down and work the middle and bottom to match. If you start at the bottom and work up, the top may not line up when you get there.
Step 4: Adjust the Strike Side #
Use the same margin-checking process (the margin is the even gap you can see running along the door). Use 6 shim points on the strike side: the top corner, the bottom, one just above the strike plate, two spaced through the long run between the top corner and the strike, and one between the strike and the bottom. The three at the bottom sit at the same heights as a 6’8″ door; the extra point goes in the long top run. The longer jamb needs full support to keep it from bowing. Sight down the full length of the strike-side margin - the longer run gives bowing more room to develop.
Step 5: Shim the Header if Needed #
Use the same header process: shimming it is still optional, and a butterfly nail at the top is still fine if the margin stays even. The only difference is reach. The header sits 16 inches higher than on a 6’8″ door, so you need the ladder up there too.
Step 6: Check Door Operation #
Run all the standard checks. The taller margin gives you more to look at, so use it. If the margin tapers from top to bottom, the hinge side is out of plumb. If it bows in the middle, add a shim point. Also check the floor gap against the flooring spec. An 8-foot door is less routine than a standard one, so double-check instead of assuming it’s right.
Step 7: Cut the Shims Flush #
Use the same method, multi-tool or score-and-snap, just with more shim points to trim: 11 instead of 9. You’ll need the ladder for the upper shims on both sides of the wall, since they sit well above eye level.
Quality Check - 8’0″ Additions #
After you finish the hollow core pre-hung door installation, run the full core guide quality checklist. Then verify:
- Plumb checked across the full 96+ inch jamb with a 6-foot level, not just a 4-foot level at one spot
- No bowing between shim points. Sight down the full length of both side jambs to check.
- 11 shim points total: 5 on the hinge side, 6 on the strike side
- Upper shims scored and snapped on both sides. They’re above eye level, so it’s easy to forget them.
Troubleshooting - 8’0″ Specific #
Jamb Bows Between Shim Points #
This is the most common issue on an 8-foot hollow core pre-hung door. The longer jamb flexes between shim points and bows inward or outward. Fix: pull the nails at the bowed section, add a shim point in the middle, adjust until it’s straight, then re-nail. Prevention: keep shim points no more than 16 inches apart.
Plumb Reading Changes Between Top and Bottom #
The jamb is twisted. The shims at the top are pushing it to a different front-to-back position than the shims at the bottom. Check plumb on the edge of the jamb (front to back) at both the top and the bottom. Adjust the shim depth until both ends line up in the same plane.
Door Rubs at the Top When Closing #
The header shims are pushing the header jamb down too far, or the rough opening header is sagging. Back off the header shims a little and re-nail. If the header itself is bowed, the framing needs attention.
Rough Opening Framed for 6’8″ #
This happens on production jobs. The opening is only 82 inches tall. Shims and trimming can’t fix this. The framing crew has to raise the header. Do not cut down the door slab. An 8-foot slab cut to 6’8″ will have the wrong proportions and the wrong hardware placement.
An 8-foot hollow core pre-hung door is a straightforward install that just takes more care, because of the height. The slab isn’t heavy, but every reach, every level reading, and every shim point sits higher off the floor. Keep the 6-foot level on the jamb instead of eyeballing it. Hit the extra shim points the taller jamb needs. Do that, and a door this size hangs just as true as its 6’8″ counterpart.
Skip the ladder discipline, and it will show: a bowed jamb, a plumb reading that changes from top to bottom, or a header that never quite lines up. Respect the height the way you’d respect the weight on a solid core door, and callbacks on this variant stay rare.
Related Guides #
- Core Guide: How to Install a Pre-Hung Door Like a Pro - Complete step-by-step process
- 6’8″ Solid Core - Standard height, heavier door: structural screws, slab removal, shimming for weight
- 8’0″ Solid Core - Tall and heavy: the most challenging interior door variant
- How to Case One Side of an 8'0" Door
- How to Install a Lockset on a Door
Reference Photos #
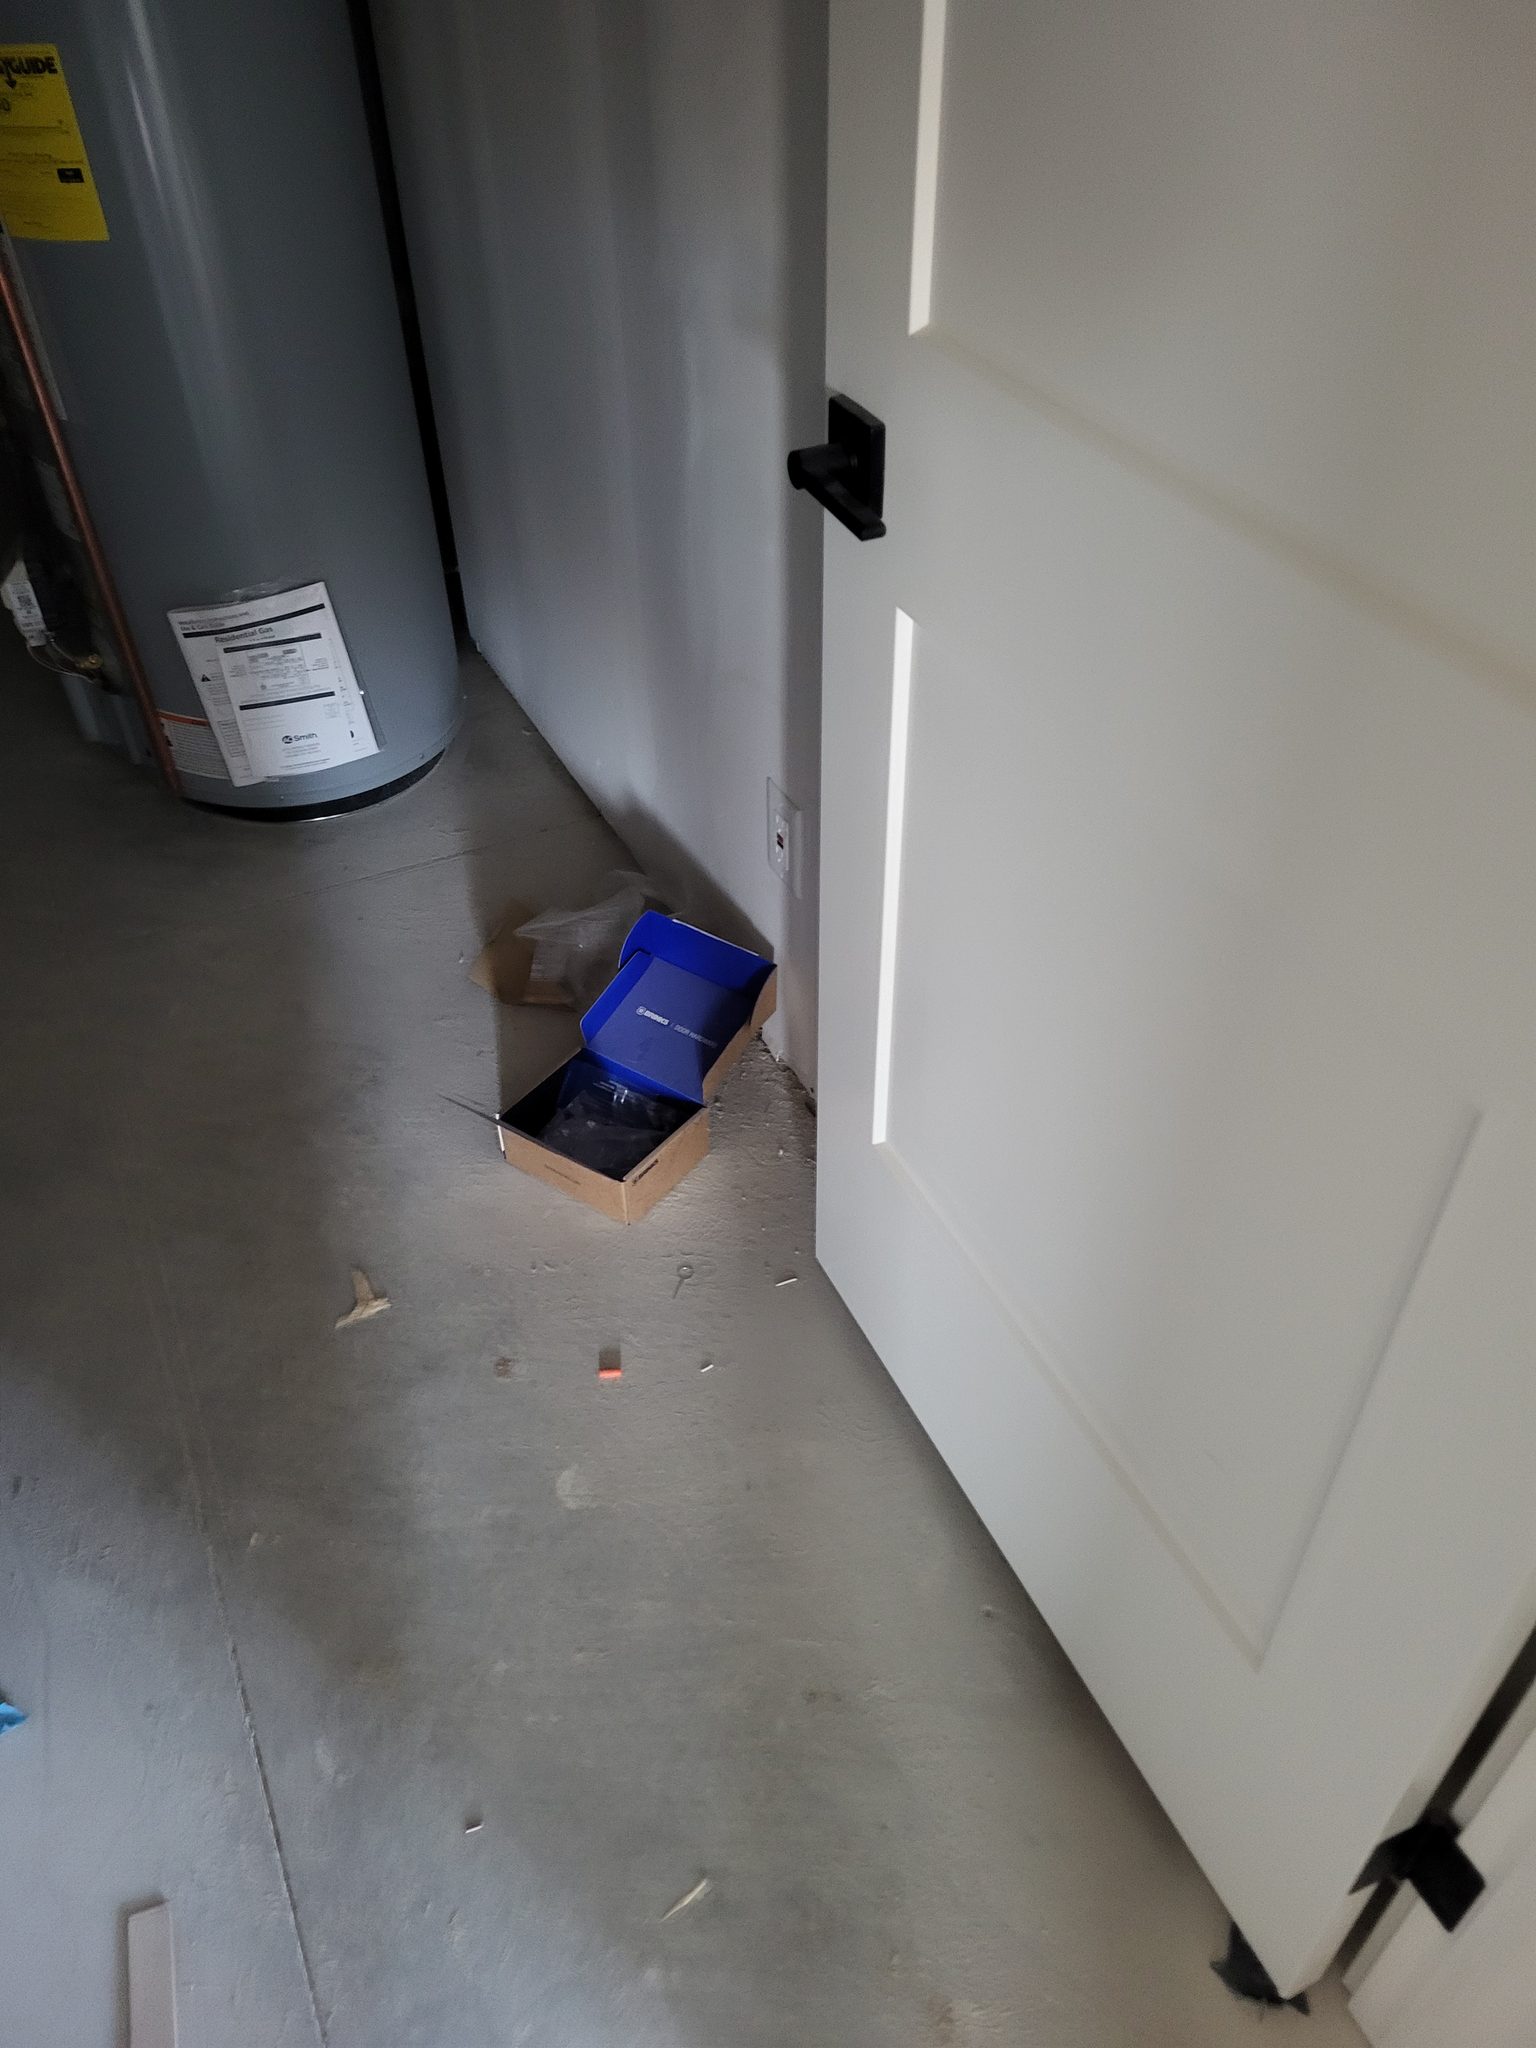
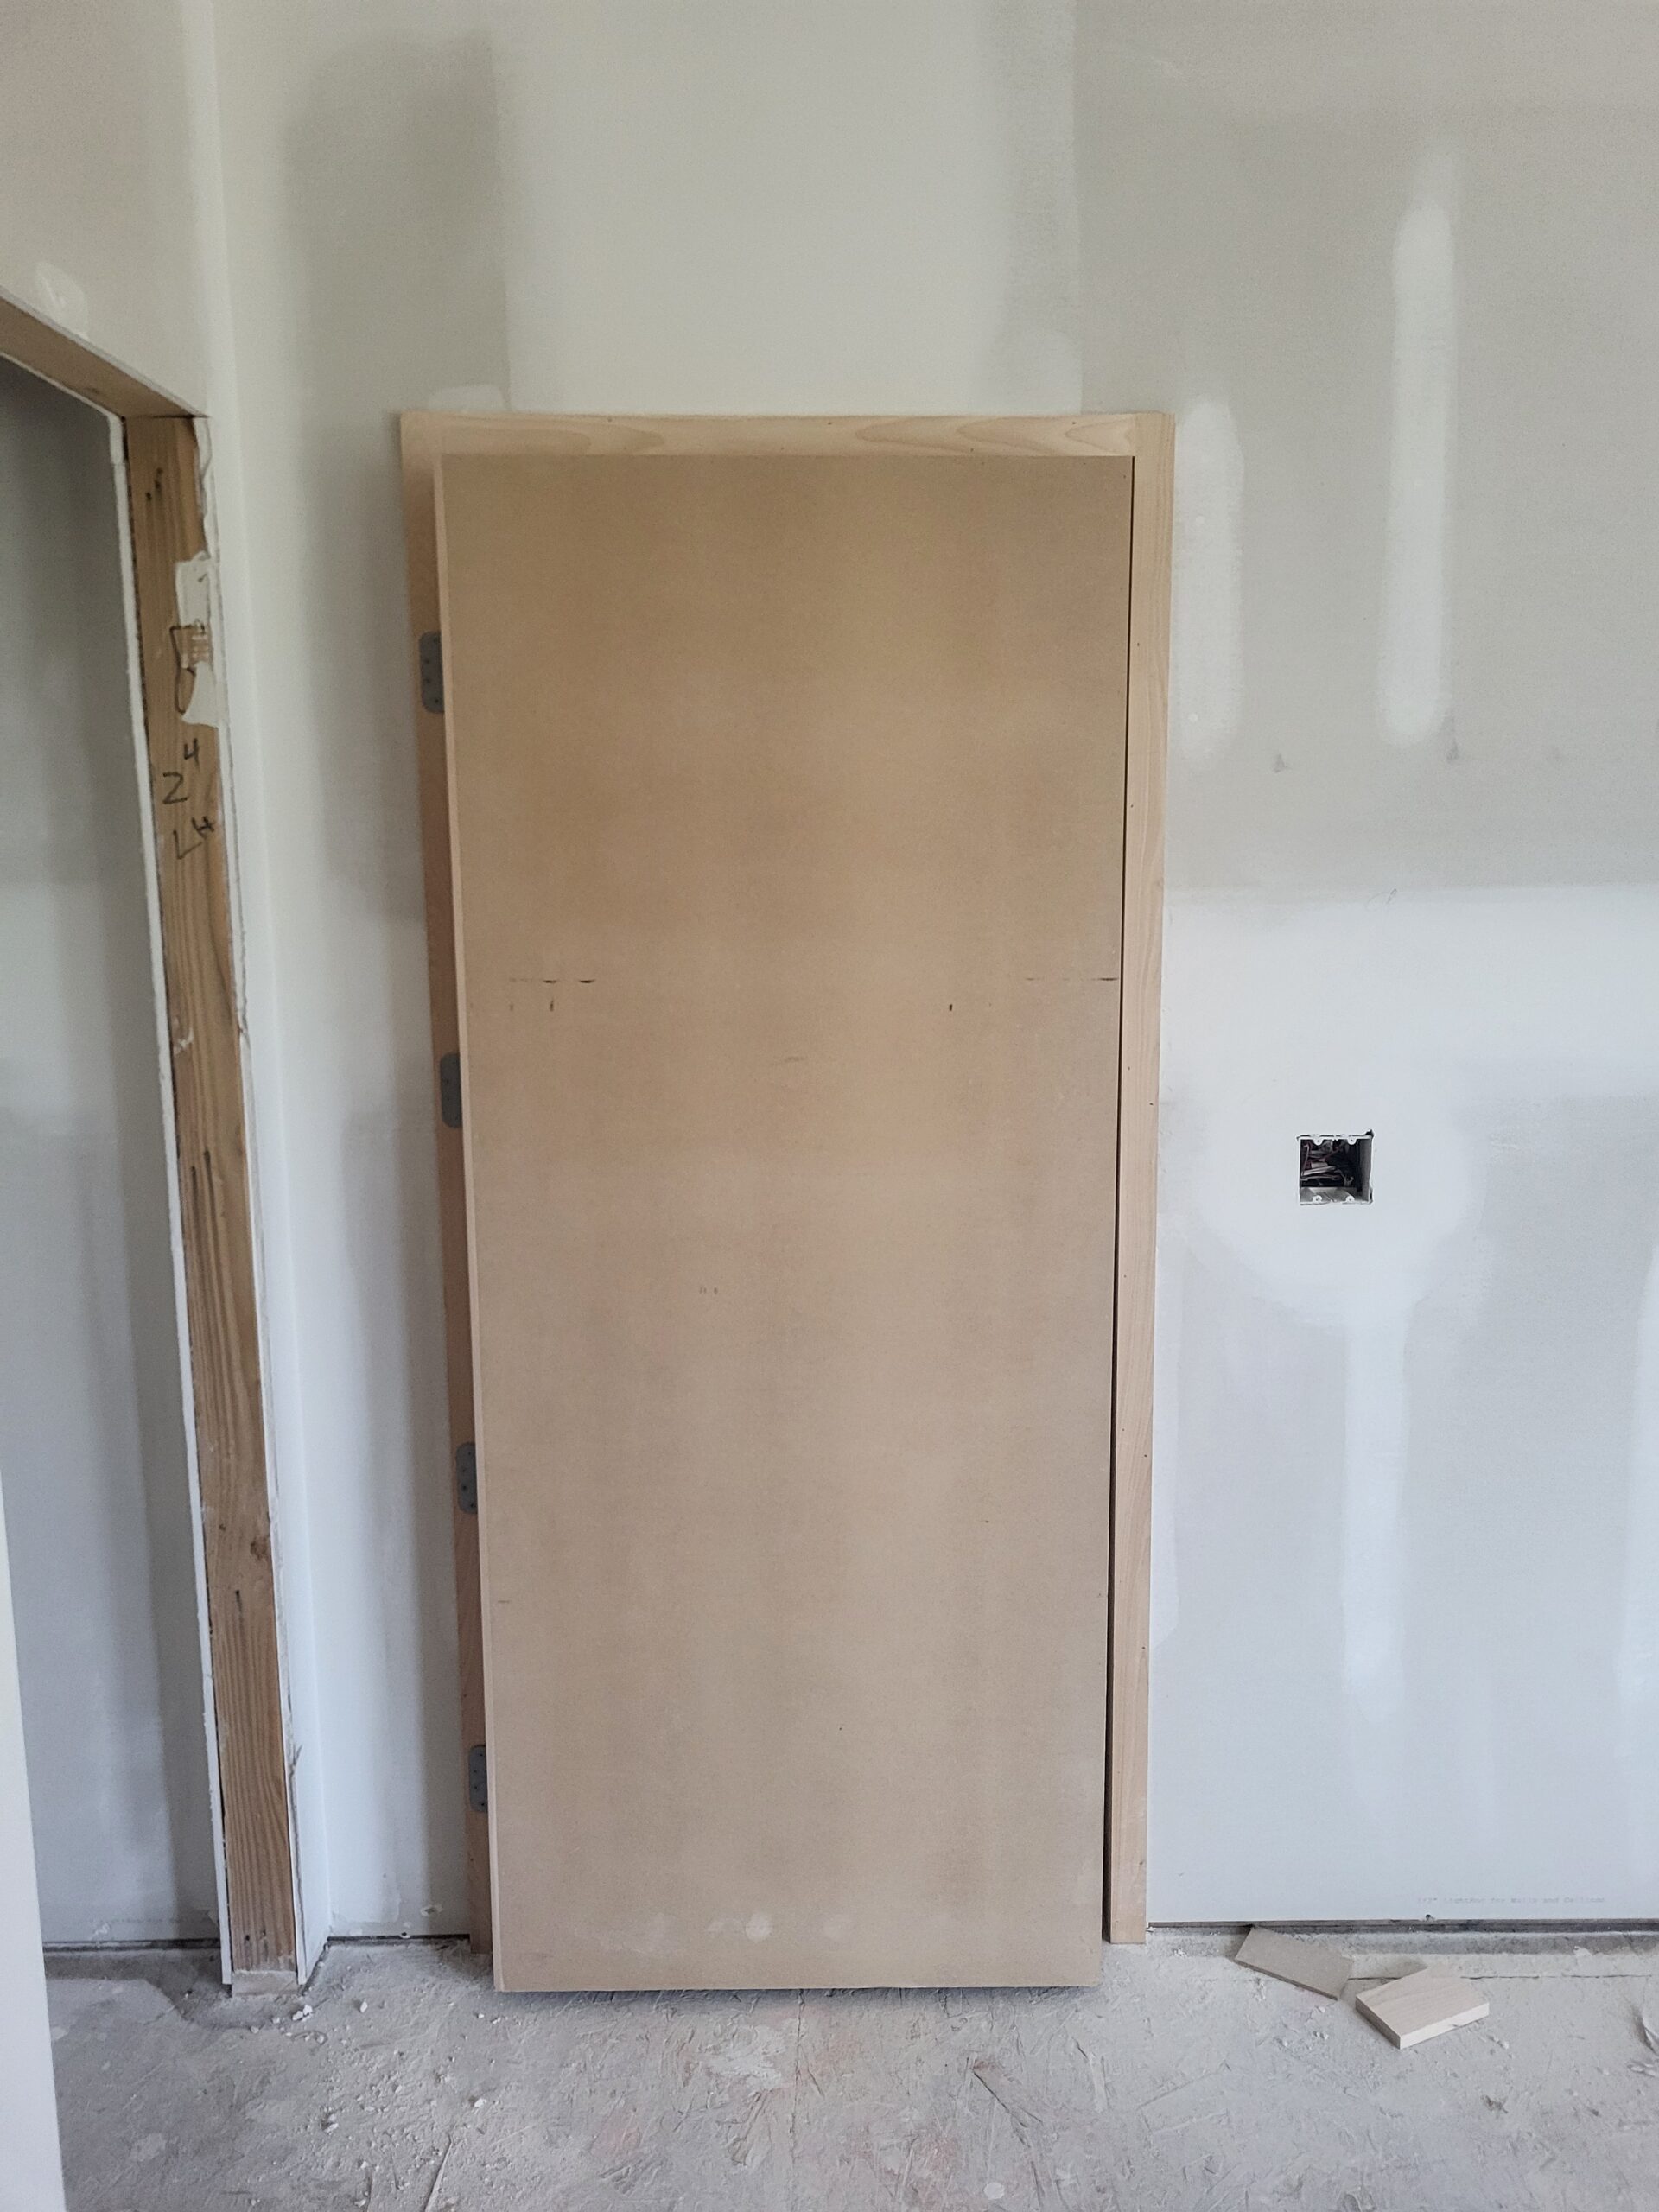
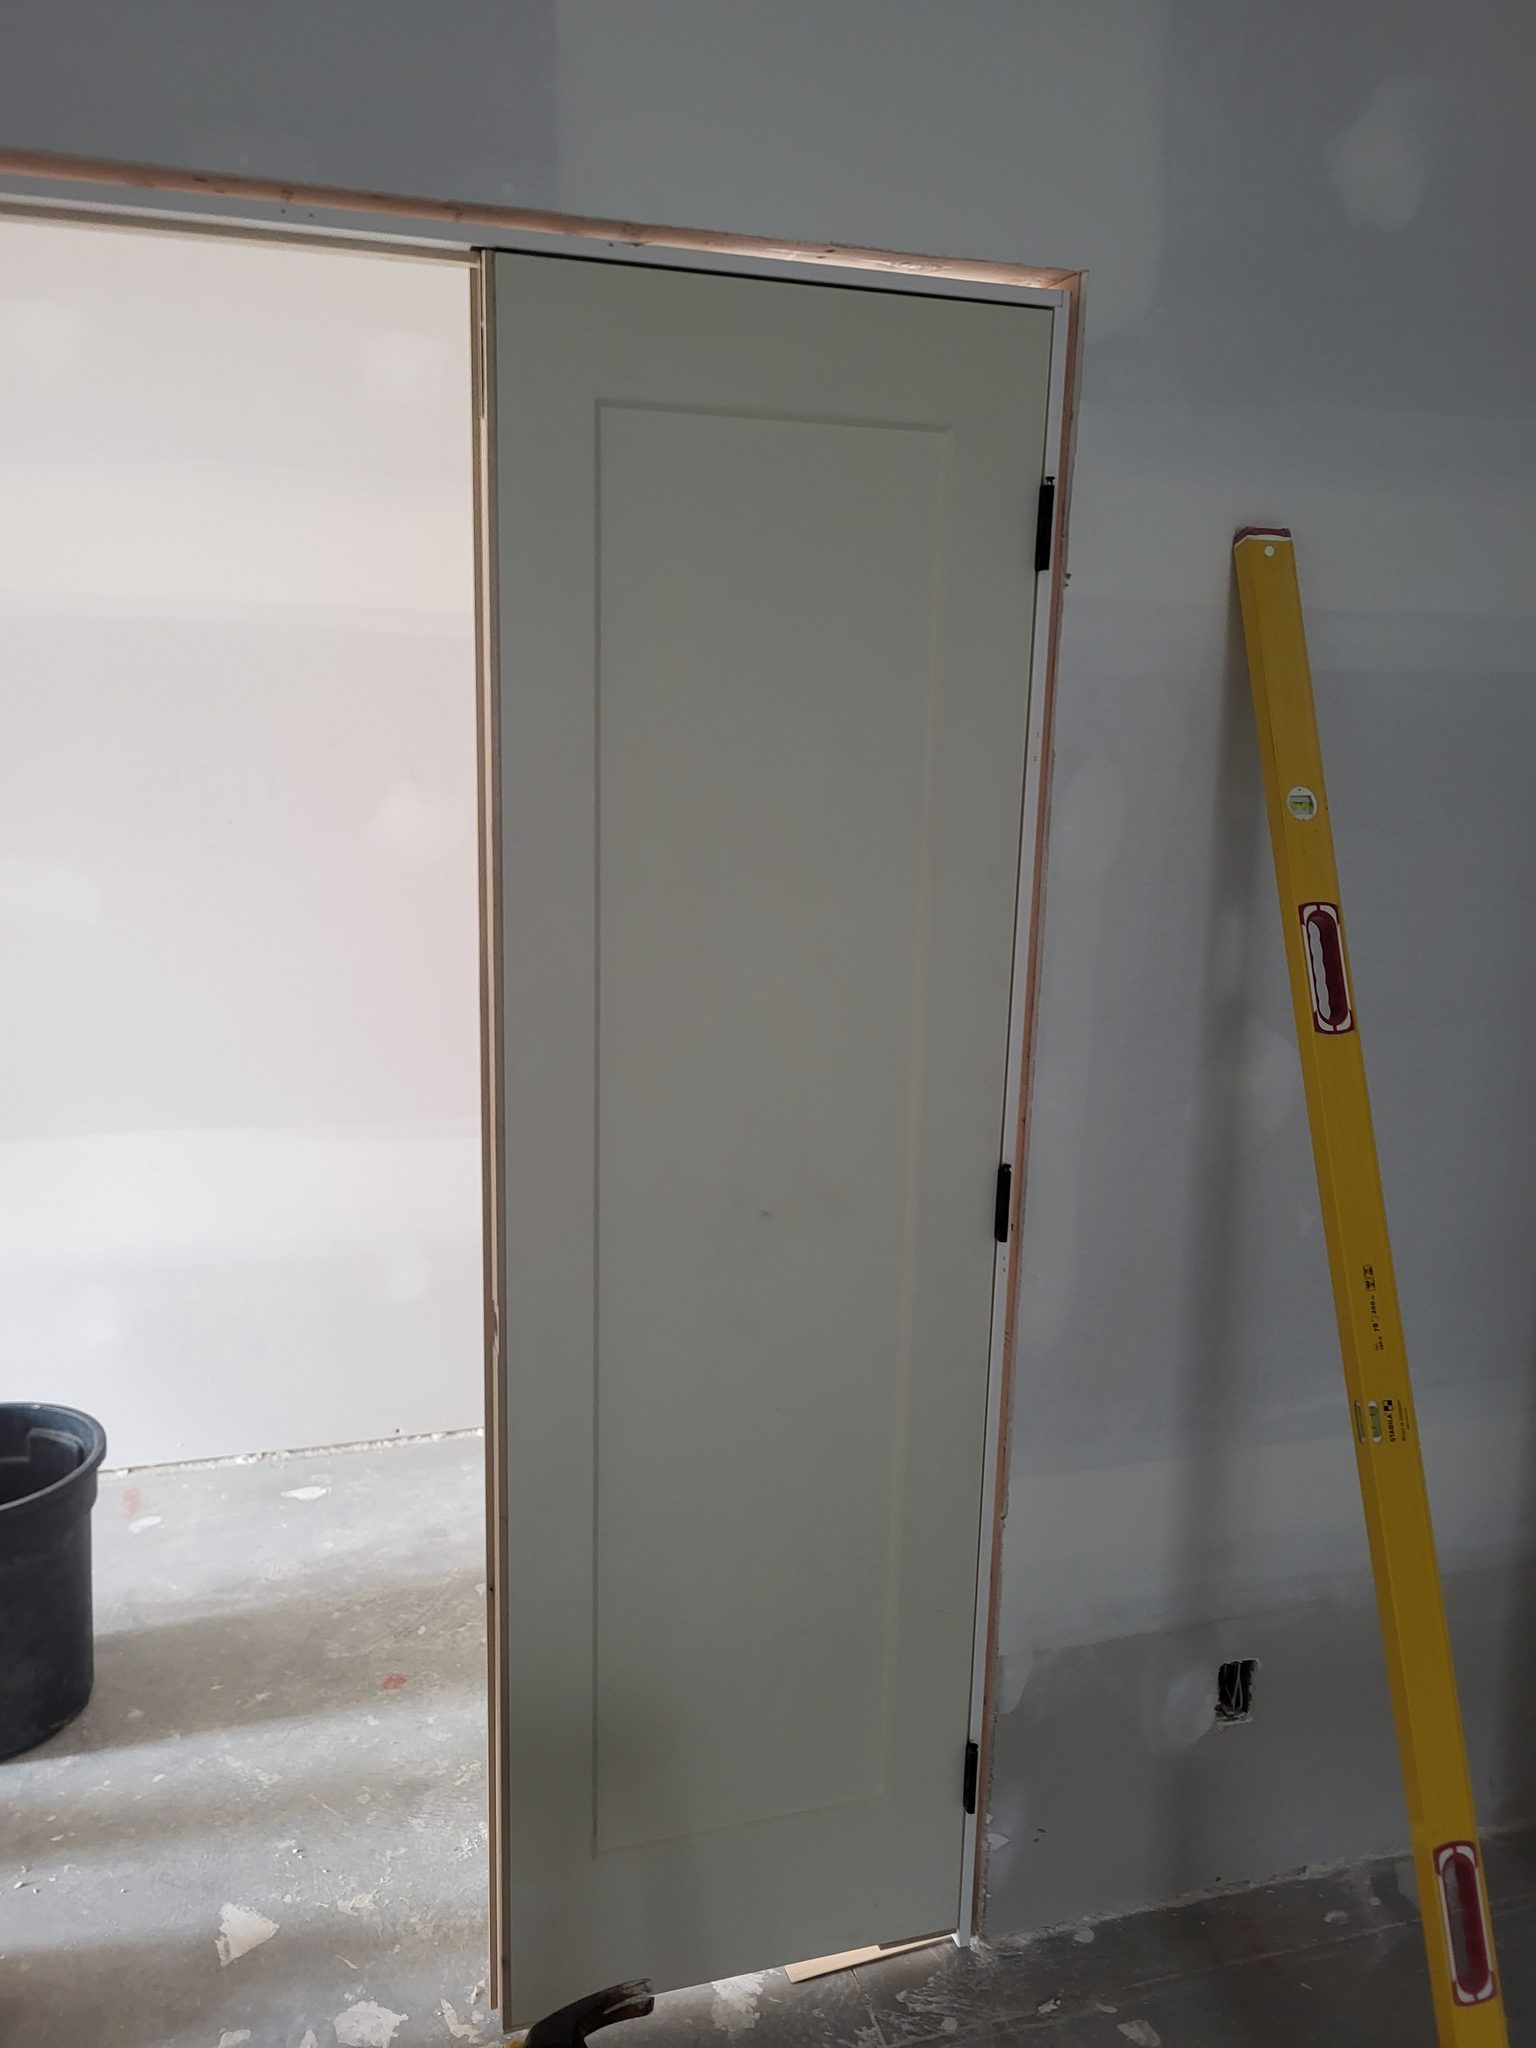
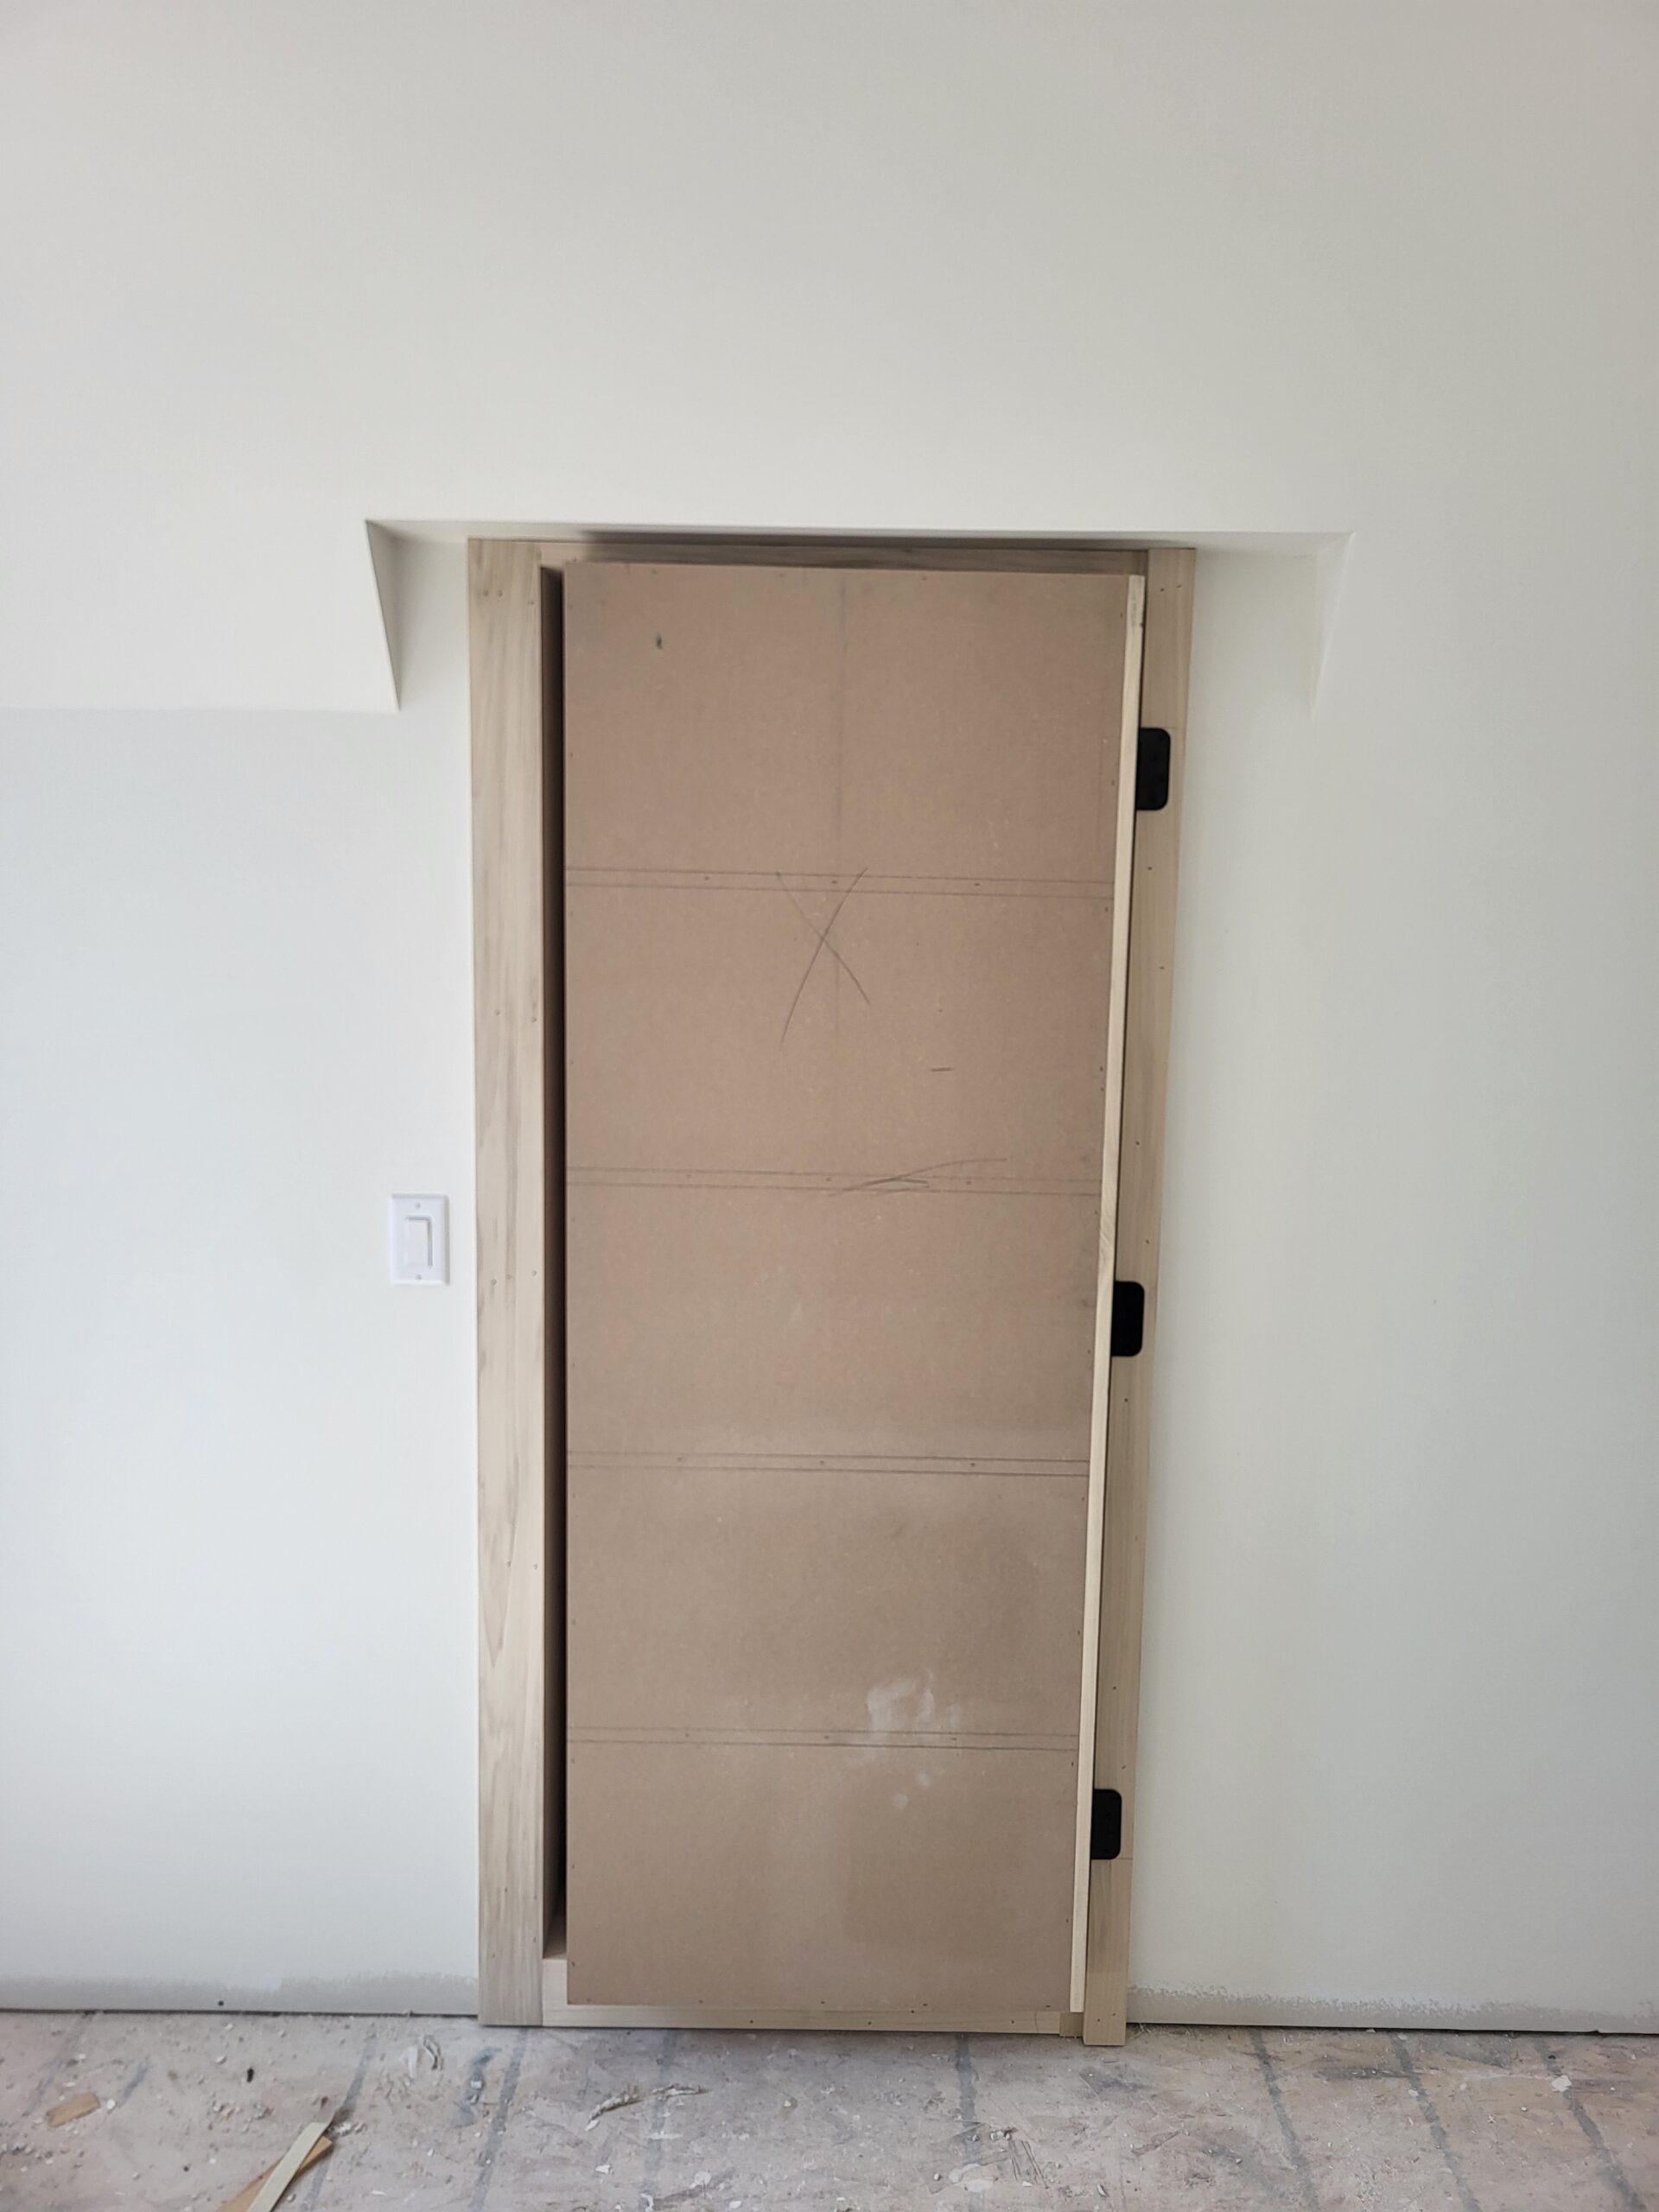
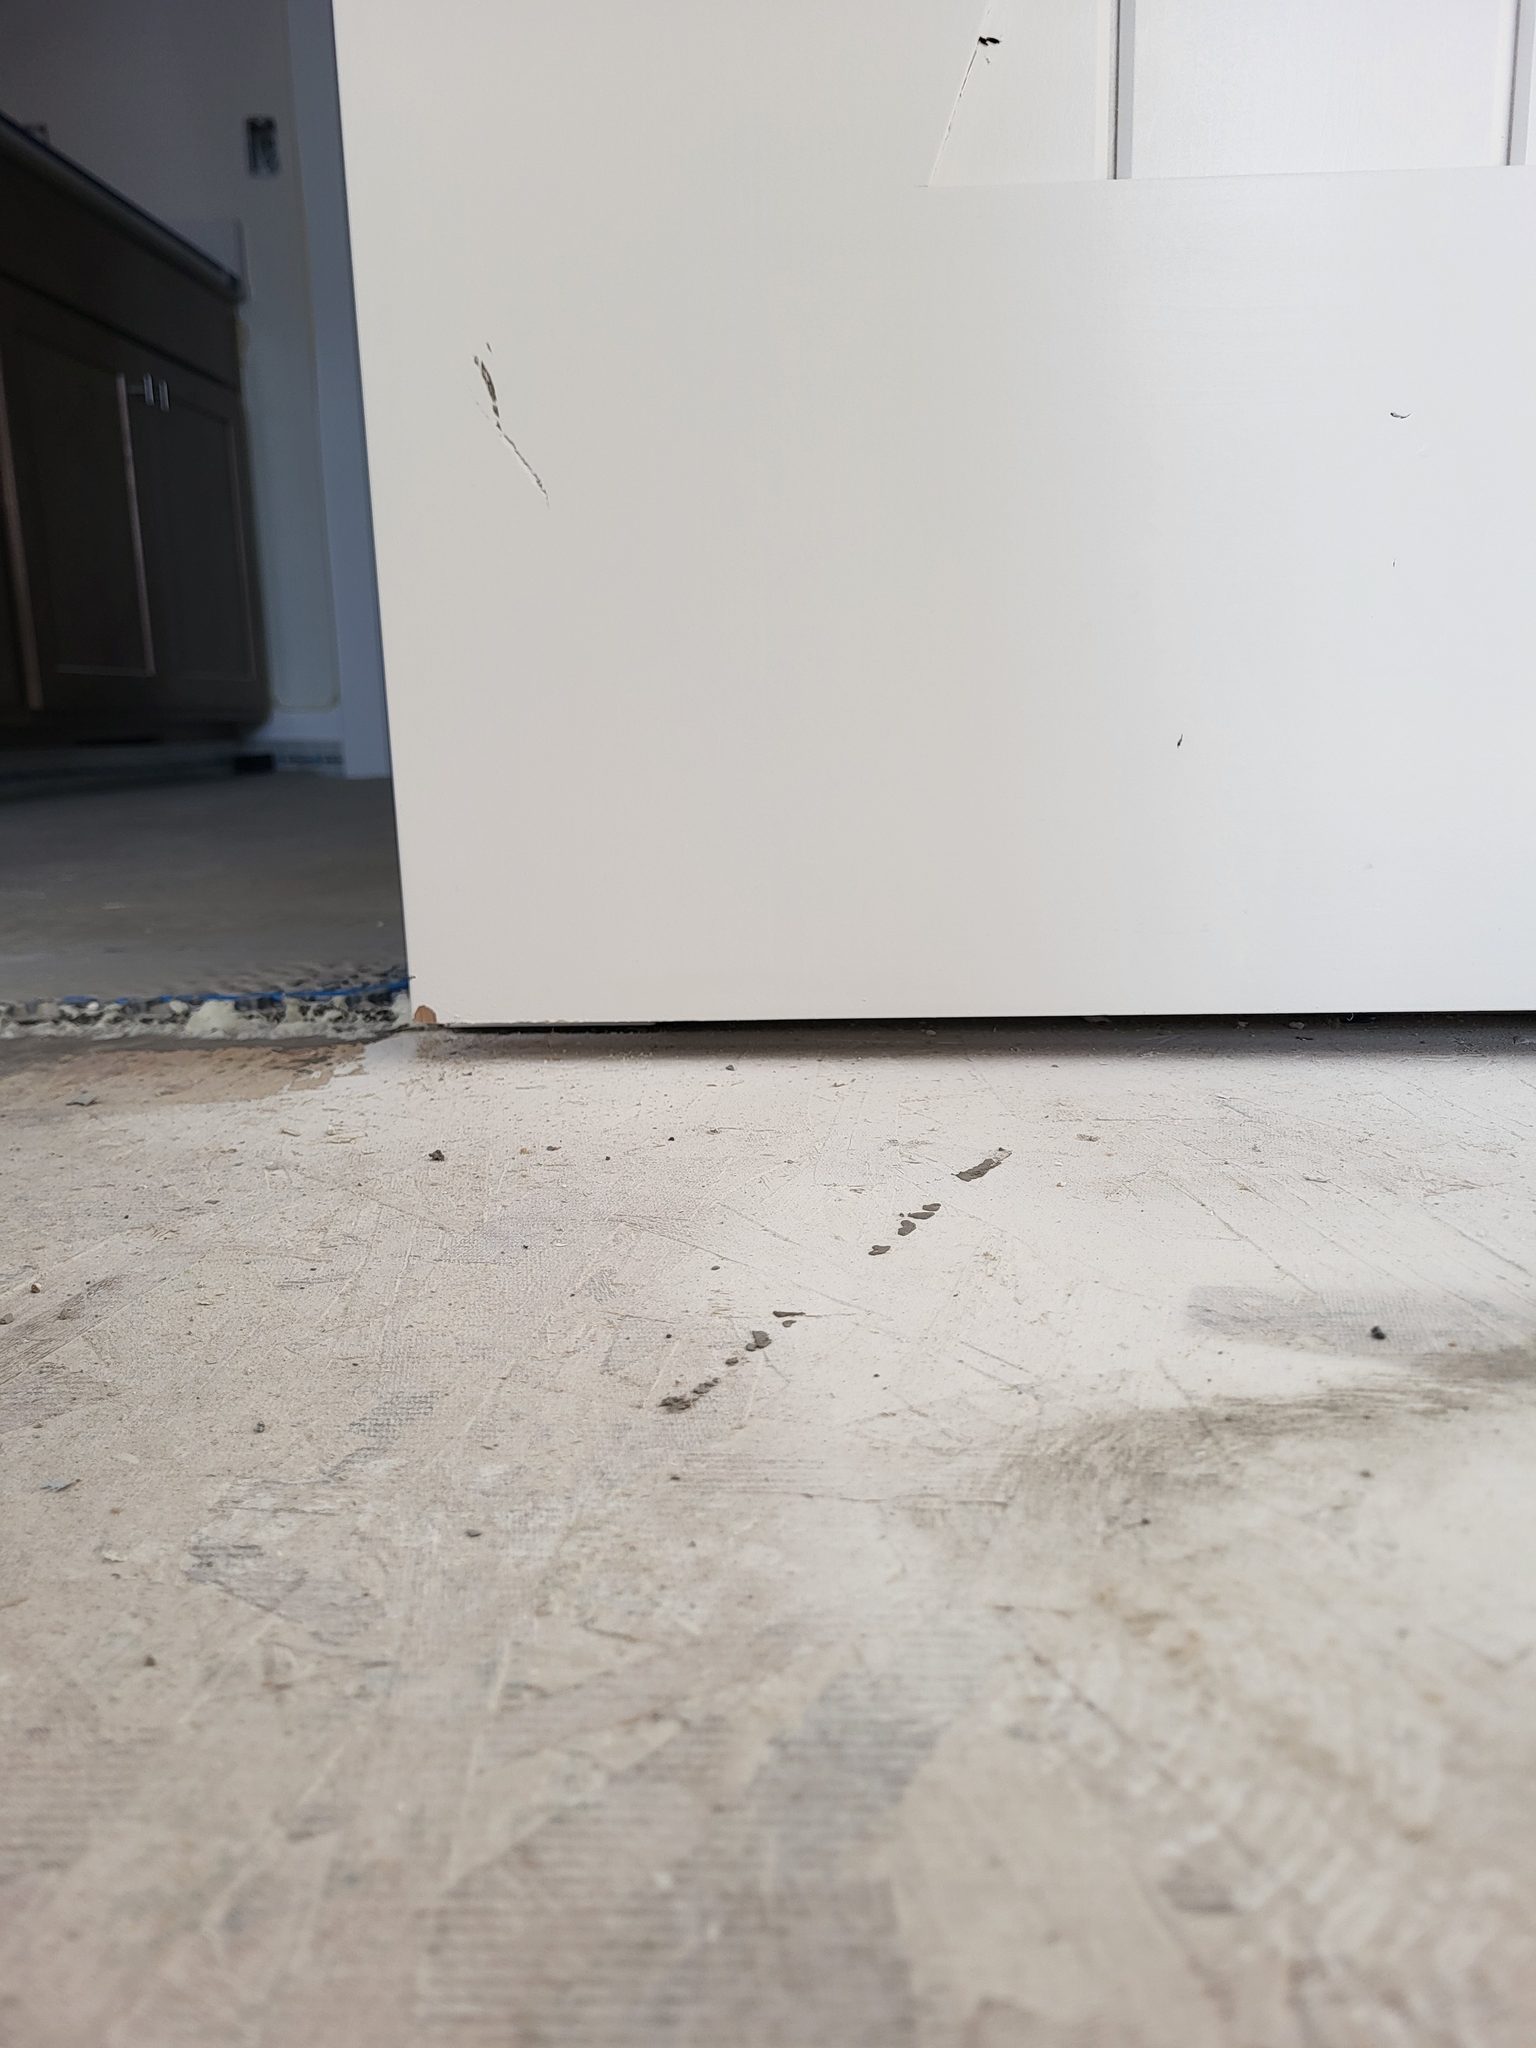
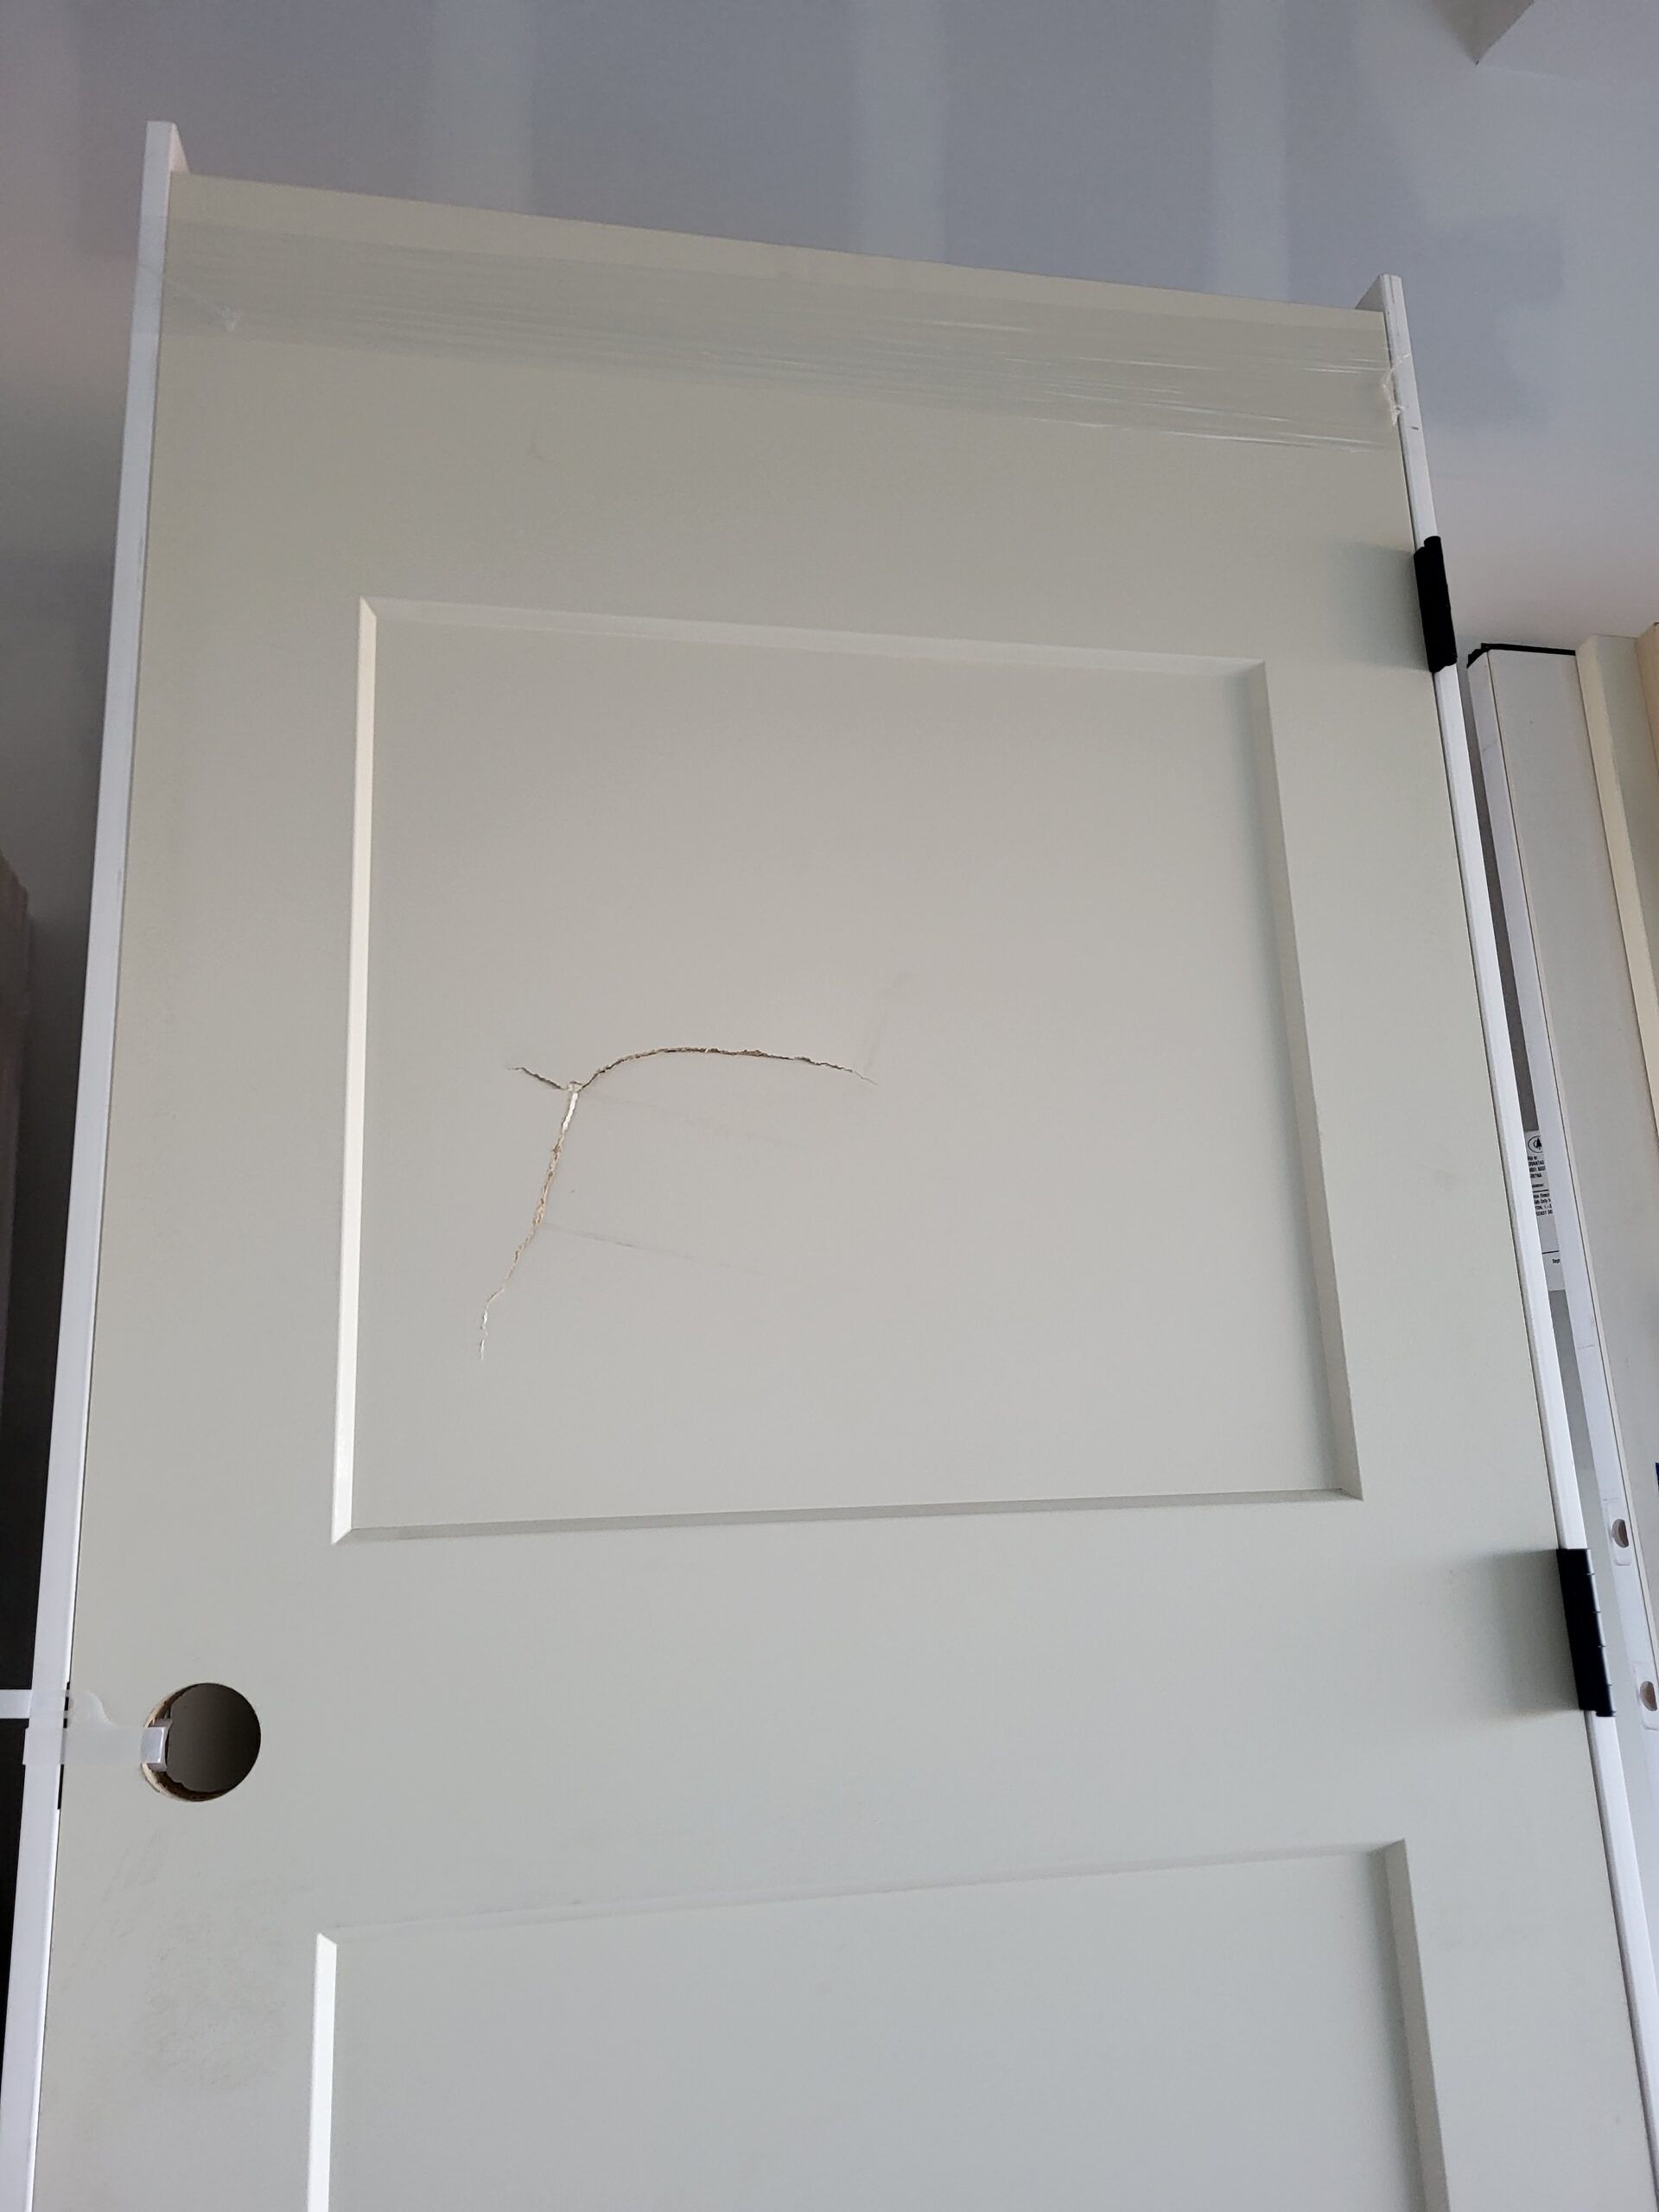
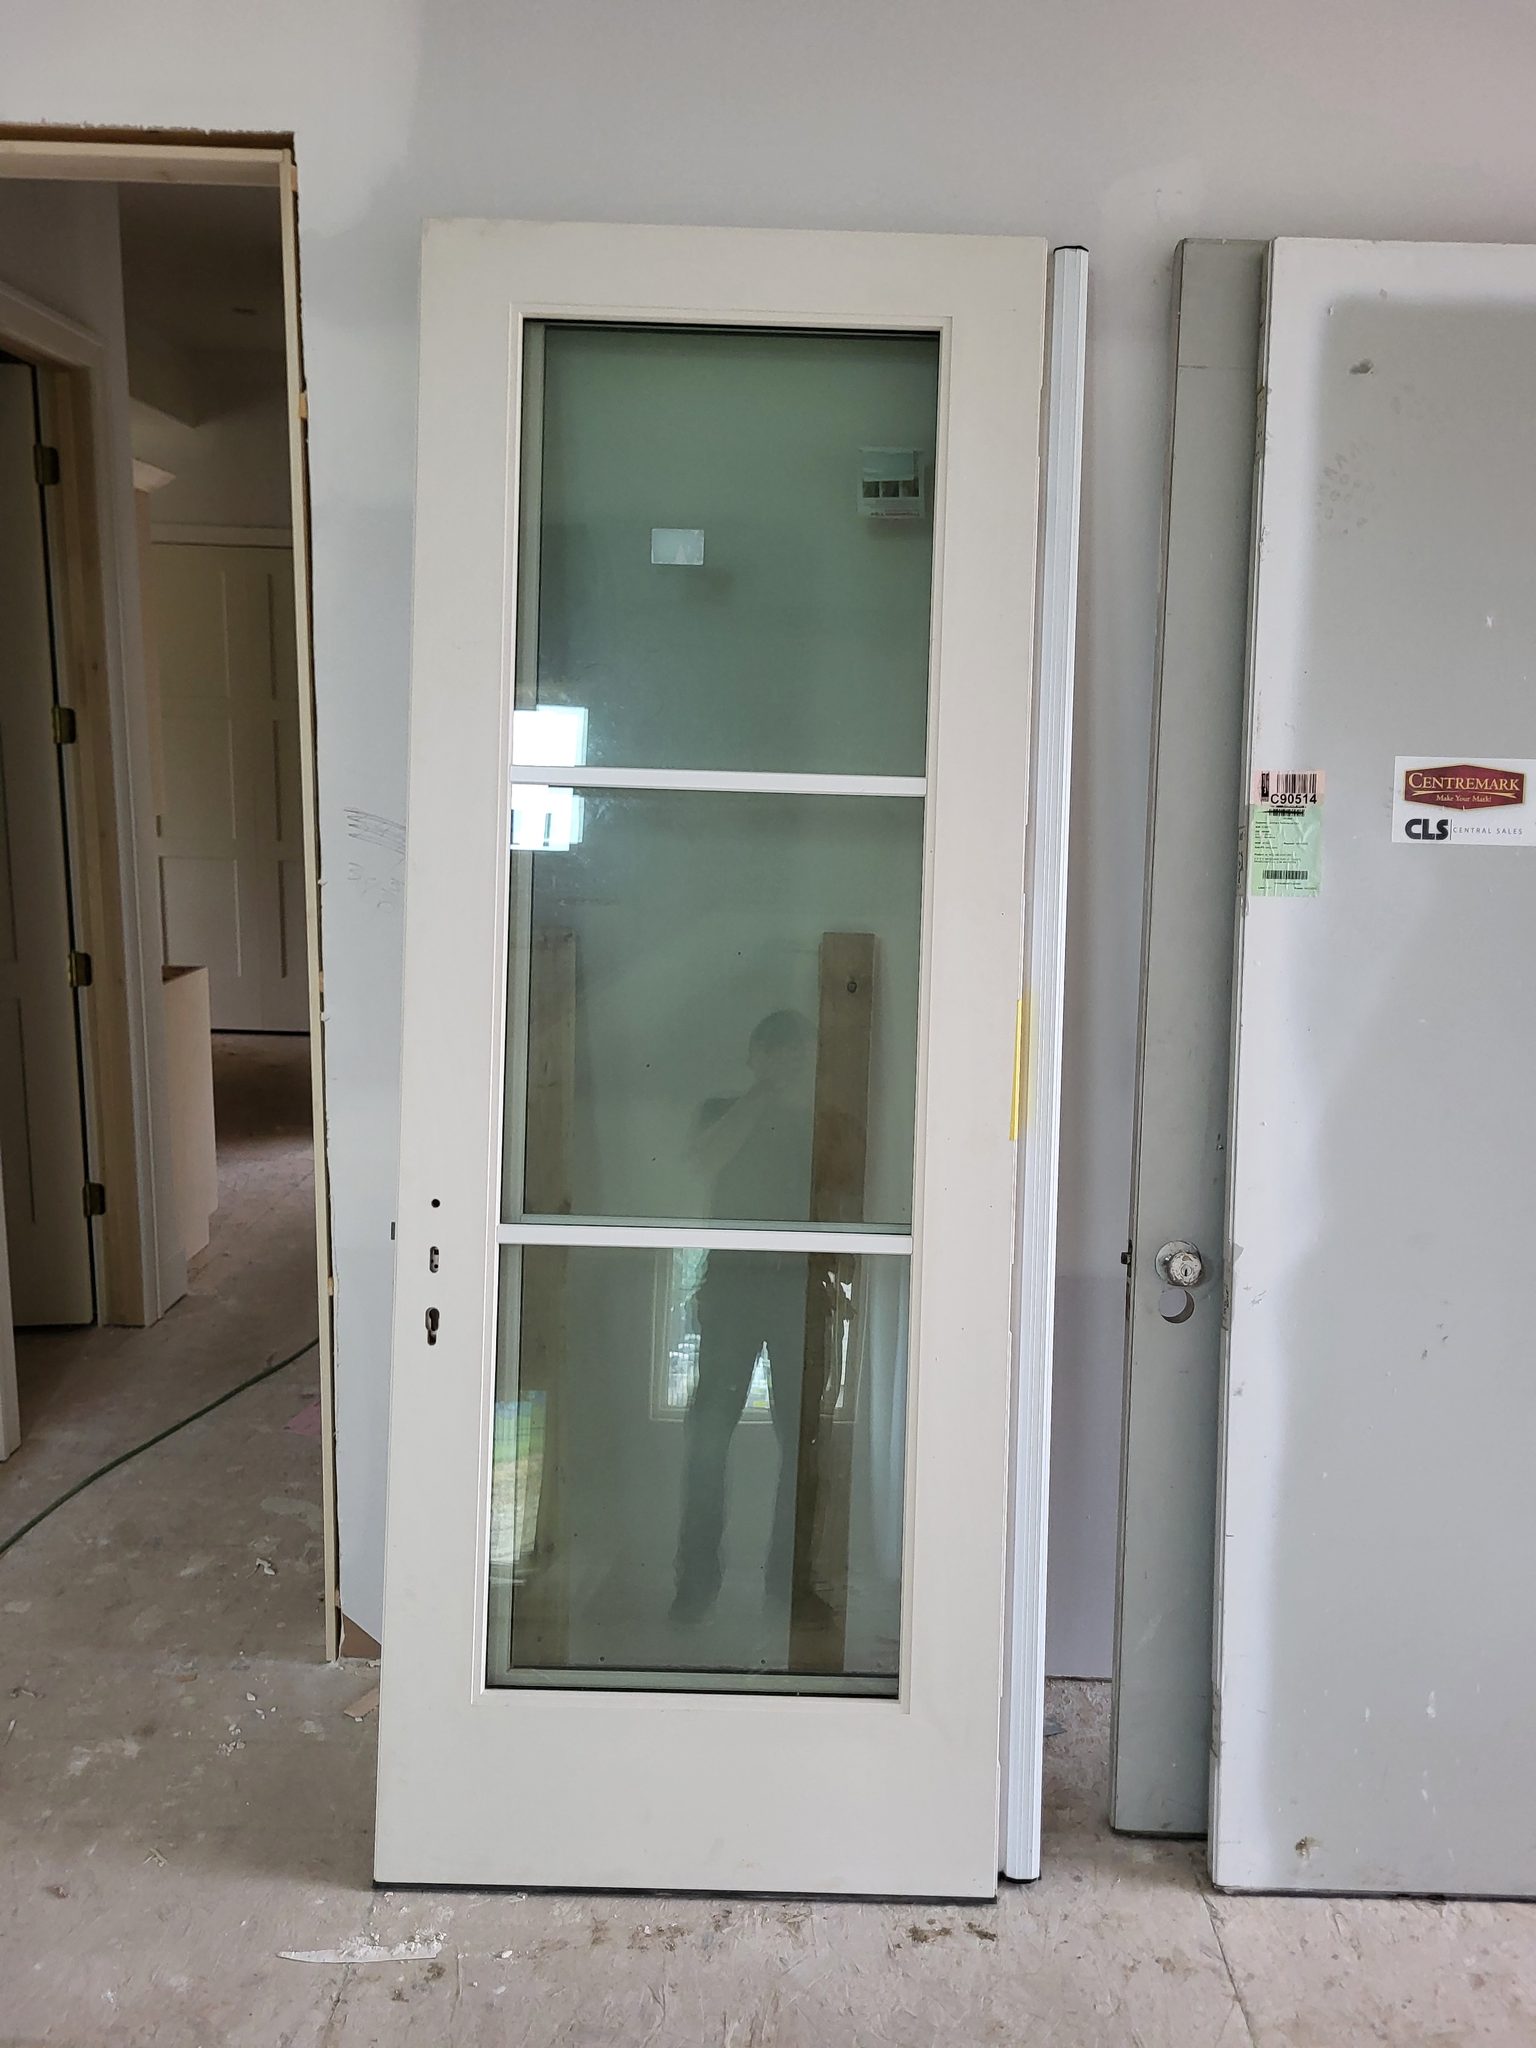
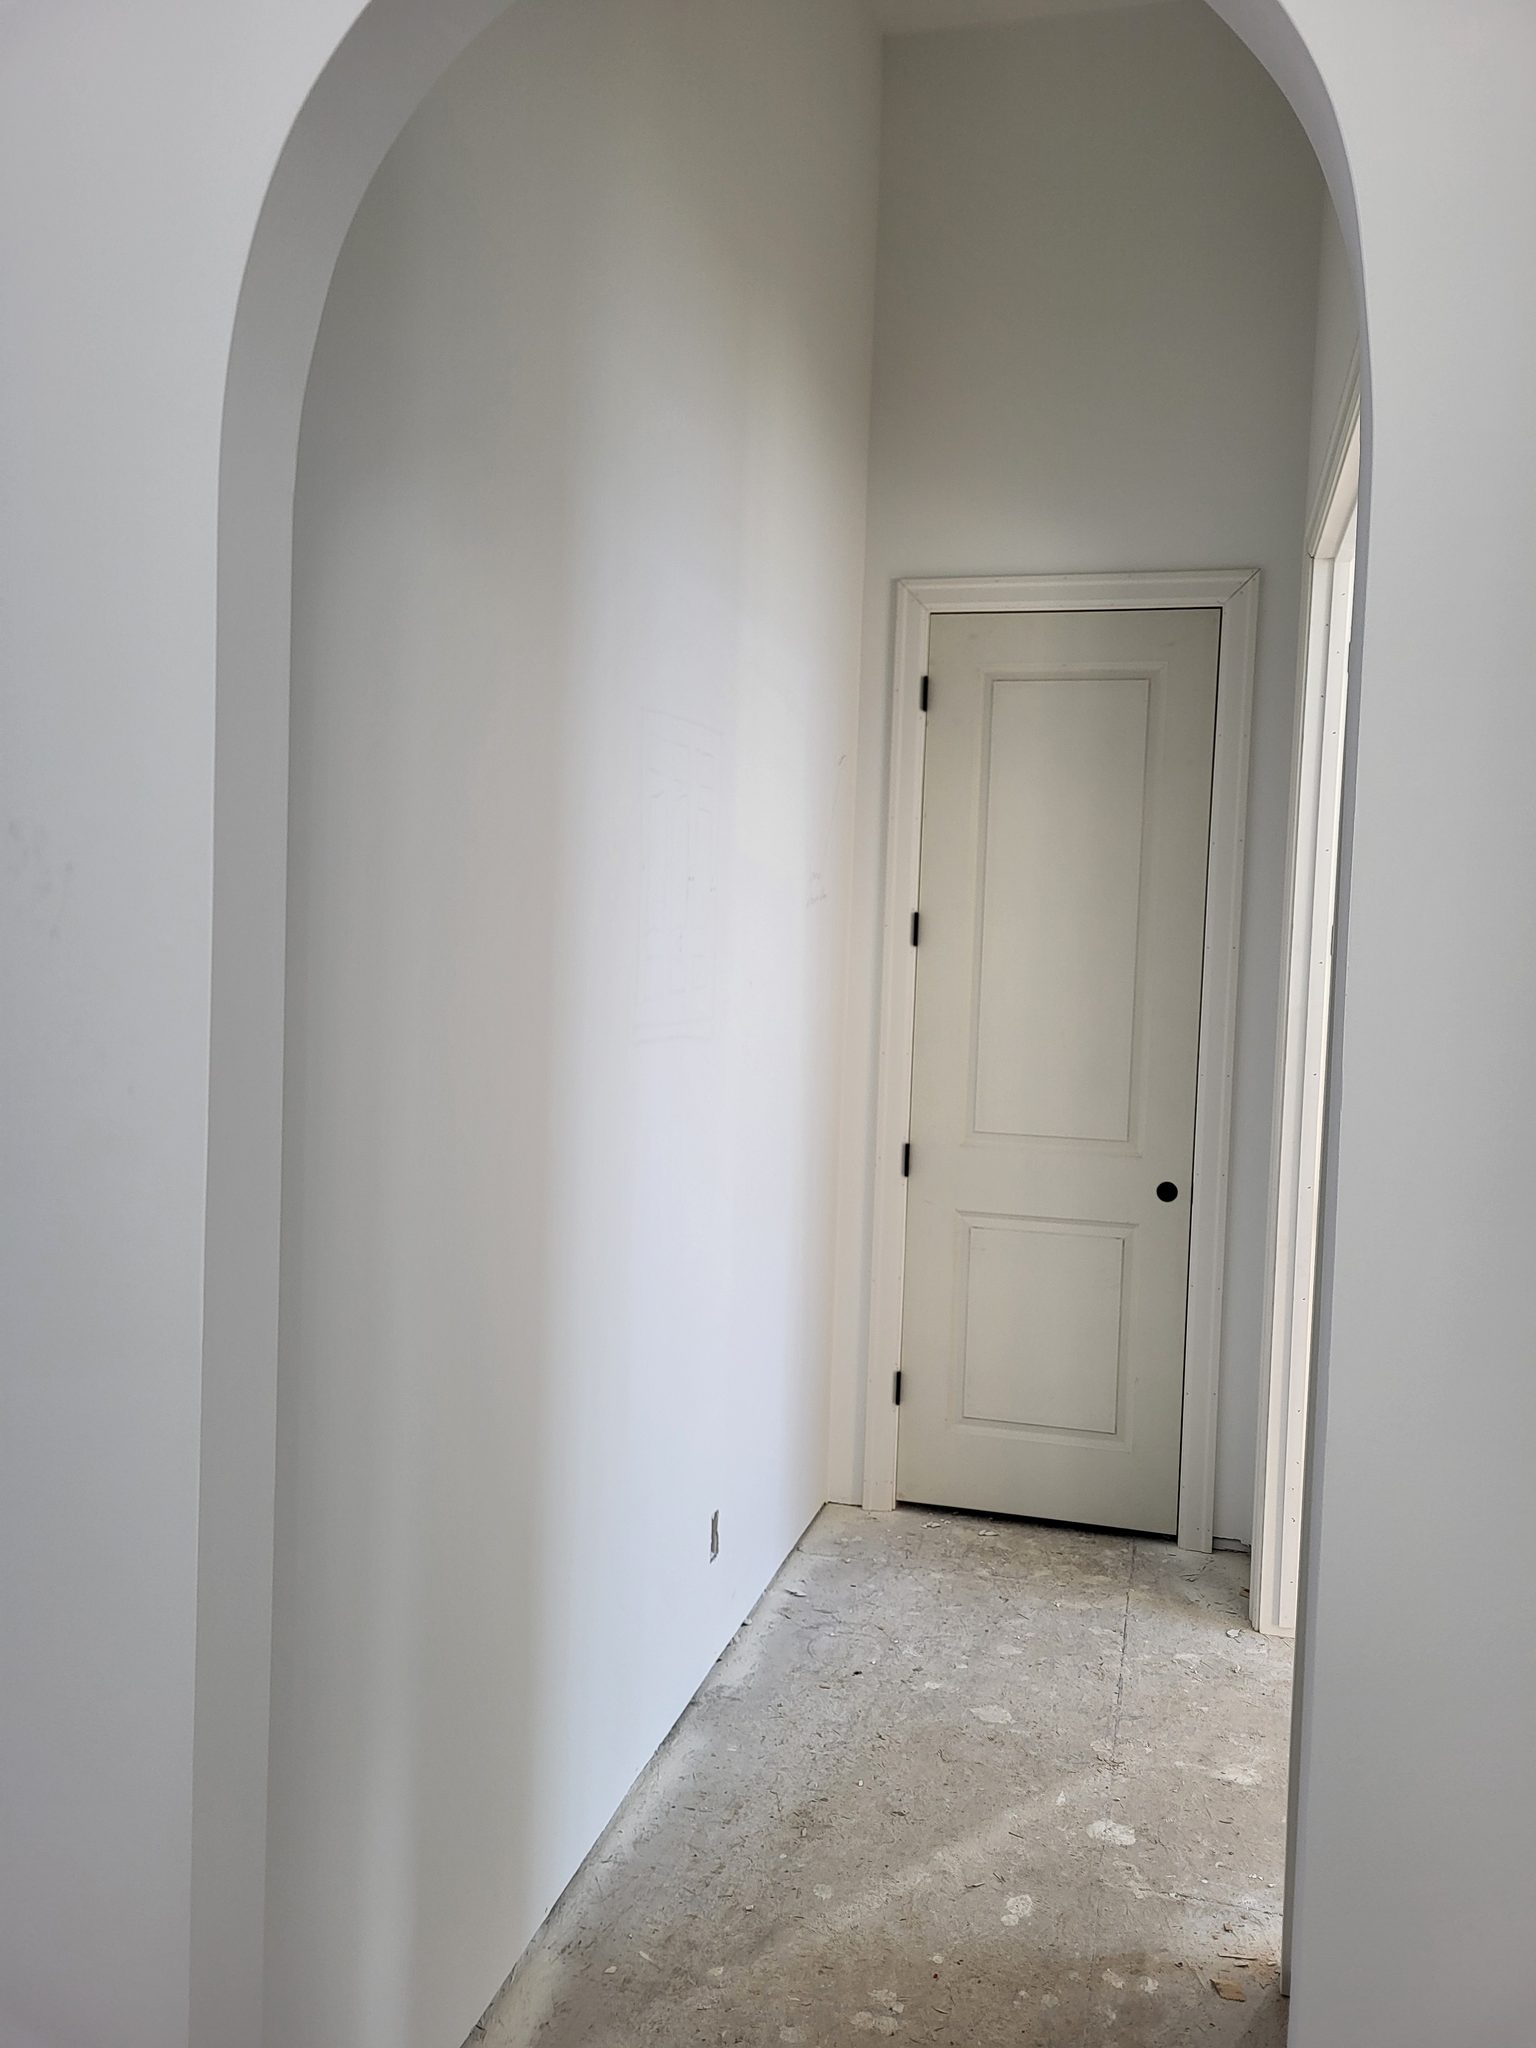
The following photos show examples of this type of work completed in the field. These serve as visual references for quality standards, proper installation techniques, and finished results.
Showing 8 of 8 photos