Skip to content

Let's Build Stuff

  • Home
  • Start Here
  • Glossary
  • Learn
  • Blog
  • About
  • Contact
  • Browse the guides
Let's Build Stuff

How can we help you?

Closets

7
  • Closet and Cabinet Trim Parts
  • How to Install a Wire Shelf in a Closet
  • How to Install Granite Support
  • How to Install a Closet Countertop Shelf
  • How to Build Basic Closet Shelves - Part 1 of 3 (Standards)
  • How to Build Basic Closet Shelves - Part 2 of 3 (Layout Design)
  • How to Build Basic Closet Shelves - Part 3 of 3 (Building)

Doors & Openings

29
  • Door and Window Parts
  • How to Install a Knock-Down Hollow Metal Frame
  • Installing a Weather-Exposed Exterior Door: The Extra Steps
  • How to Install a Pocket Door Frame
  • How to Install Door Blinds
  • How to Resize a Door Opening
  • How to Install a Welded Hollow Metal Frame
  • How to Install a Door Bump
  • How to Install an Exterior Finish Slab
  • How to Install an 8'0" Pocket Door
  • How to Install an 8'0" Solid Core Pre-Hung Interior Door
  • How to Install an 8'0" Hollow Core Pre-Hung Interior Door
  • How to Install a 6'8" Solid Core Pre-Hung Interior Door
  • How to Install a 6'8" Cased Opening
  • How to Finish a Bypass Door Install
  • How to Install 8'0" Bi-Fold or Bypass Door Slabs
  • How to Install 6'8" Bi-Fold or Bypass Door Slabs
  • How to Install an 8'0" Bi-Fold or Bypass Door Frame
  • How to Install a 6'8" Bi-Fold or Bypass Door Frame
  • How to Install an Apartment Entry Slab Door with a Sweep
  • How to Install a Pre-Hung Door
  • How to Install a House-to-Garage Door
  • How to Install a Cased Opening
  • How to Install a Pocket Door for a Perfect Finish
  • How to Install Bifold Doors
  • How to Adjust an Exterior Door
  • How to Install Barn Doors
  • How to Install Bypass Doors
  • How to Install an Interior Center-Opening or French Door

General Carpentry

13
  • Which Material and Profile Goes Where
  • Exterior Trim Materials
  • Framing and Treated Lumber for the Trim Carpenter
  • Lumber Sizing, Grading, and Milling
  • Sheet Goods and Engineered Materials
  • Wood Species Field Guide
  • Choosing Nail Guns and Air Tools for Finish Carpentry
  • How the Guide Library Is Organized
  • Difficulty Levels Explained: What Levels 1, 2, and 3 Mean
  • Carpenter Hand Tools: What to Buy for Your Own Bag
  • Finish Carpentry Cheat Sheets and Printable References
  • How to Set a Barn Door Floor Guide
  • How to Trim a House, Start to Finish

Hardware

10
  • How to Install a Peep Sight
  • How to Install Privacy Pocket Door Hardware
  • How to Install Cabinet Hardware
  • How to Install a Window Blind in an Apartment
  • How to Install a Shower Rod in an Apartment Unit
  • How to Install Self-Closing Hinges
  • How to Install a Coat Hook
  • How to Install Address Numbers Total
  • How to Install Bath Accessories
  • How to Install a Lockset on a Door

Miscellaneous

2
  • How to Install Stock Trim Material
  • How to Install a Fire Extinguisher Cabinet

Moldings

28
  • Wall Treatments and Fireplace Trim Vocabulary
  • Trim Profiles: Casing, Base, and the Molding Families
  • How to Case Ganged Windows
  • How to Install Baby Shoe at Stair Nosing
  • How to Build a Custom Decorative Header
  • How to Install Crown Molding
  • How to Install an Interior Window Sill or Stool
  • How to Install a Transom Window Above a Door
  • Install Pre-Cut Shoe Molding, Nail Down
  • Make a Plinth Block
  • Install a Plinth Block at the Base of Casing
  • How to Install a Mullion Strip
  • Interior Window Frame for Tall Openings (120″ and Above)
  • Interior Window Frame for Medium-Tall Openings (90″ to 119″)
  • How to Install an Interior Window Frame
  • Window Jamb Extension for Tall Windows (120″ and Above)
  • Window Jamb Extension for Medium-Tall Windows (90″ to 119″)
  • How to Install a Window Jamb Extension Like a Pro
  • How to Case Tall Windows (10 Feet and Above)
  • Window Casing for Medium-Tall Windows (90″ to 119″)
  • How to Case One Side of an 8'0" Door
  • How to Case One Side of a 6'8" Door
  • How to Build an Attic Access Cover
  • How to Install Baseboard
  • How to Case One Side of an Exterior Door
  • How to Install Base Shoe
  • How to Case a Window
  • How to Install a Door Jamb Extension

Specialty

21
  • How to Install Vertical Shiplap
  • How to Install Herringbone Shiplap
  • How to Install Diagonal Shiplap
  • How to Install Chevron Shiplap
  • How to Hang a Mantel
  • How to Install LVP Flooring
  • How to Build a Floating Shelf
  • How to Install Decorative Wall Treatments
  • How to Install Ceiling Beams
  • How to Install a Butcher Block Countertop
  • How to Install a Mirror
  • How to Install Cabinets
  • How to Install Shiplap on a 3-Sided Fireplace Under 10'
  • How to Install Shiplap, 0' to 7'
  • How to Install Shiplap on a Ceiling
  • How to Install Shiplap 3 side fireplace wrap above 15'
  • How to Install Shiplap 3 side fireplace wrap 10'-15'
  • How to Install Shiplap on Walls Over 14 Feet Wide
  • How to Install Shiplap on a Wall 7 to 14 Feet Wide
  • How to Install a Locker Bench with Hooks
  • How to Install a Locker Bench with Cubbies

Stairs/Handrails

21
  • Stair Parts and Railing Vocabulary
  • How to Install Horizontal Bar Railing
  • How to Build a Handrail for Metal Balusters Like a Pro
  • How to Install a Wood Wall Cap
  • How to Install Wood Nosing
  • How to Install a False Tread Stair End Cap
  • How to Install Notched Skirt Boards
  • How to Install a Handrail Fitting
  • How to Install a Handrail Bracket
  • How to Install a Garage Step Handrail
  • How to Build Garage Steps with Closed Risers
  • How to Build Garage Steps with 3 Stringers (Open Risers)
  • How to Install a Straight Stair Riser
  • How to Install a Mitered Stair Riser
  • How to Secure and Finish a Stair Baluster
  • How to Install Stair Skirt Boards: Drop-In Method
  • How to Build a Wall-Mount Handrail
  • How to Mount a Handrail to the Wall
  • How to Install a Newel Post
  • How to Build Garage Steps with a Landing
  • How to Build Garage Steps: Safe, Code-Compliant Stairs
  • Home
  • Learn
  • Stairs/Handrails
  • How to Install a False Tread Stair End Cap
View Categories

How to Install a False Tread Stair End Cap

0:00 / 9:35
  • View as Markdown Open this page as plain Markdown (opens in a new tab)
  • Open in ChatGPT Ask questions about this page (opens in a new tab)
  • Open in Claude Ask questions about this page (opens in a new tab)
  • Open in Google AI Studio Ask questions about this page (Google account required) (opens in a new tab)
On this page
IntroductionBefore You BeginPrerequisitesWhat You Need To KnowTools RequiredPower ToolsHand ToolsSuppliesMaterialsInstall a False Tread Stair End Cap: Step-by-StepStep 1: Measure the ConditionStep 2: Rough-Cut and Sketch the Cap ProfileStep 3: Dry-Fit and AdjustStep 4: Glue and InstallClose-OutQuality CheckTroubleshootingRelated Guides

Stairs/Handrails Skill Level: Advanced (Level 3) · Estimated Time: 45-75 minutes per end cap

Introduction #

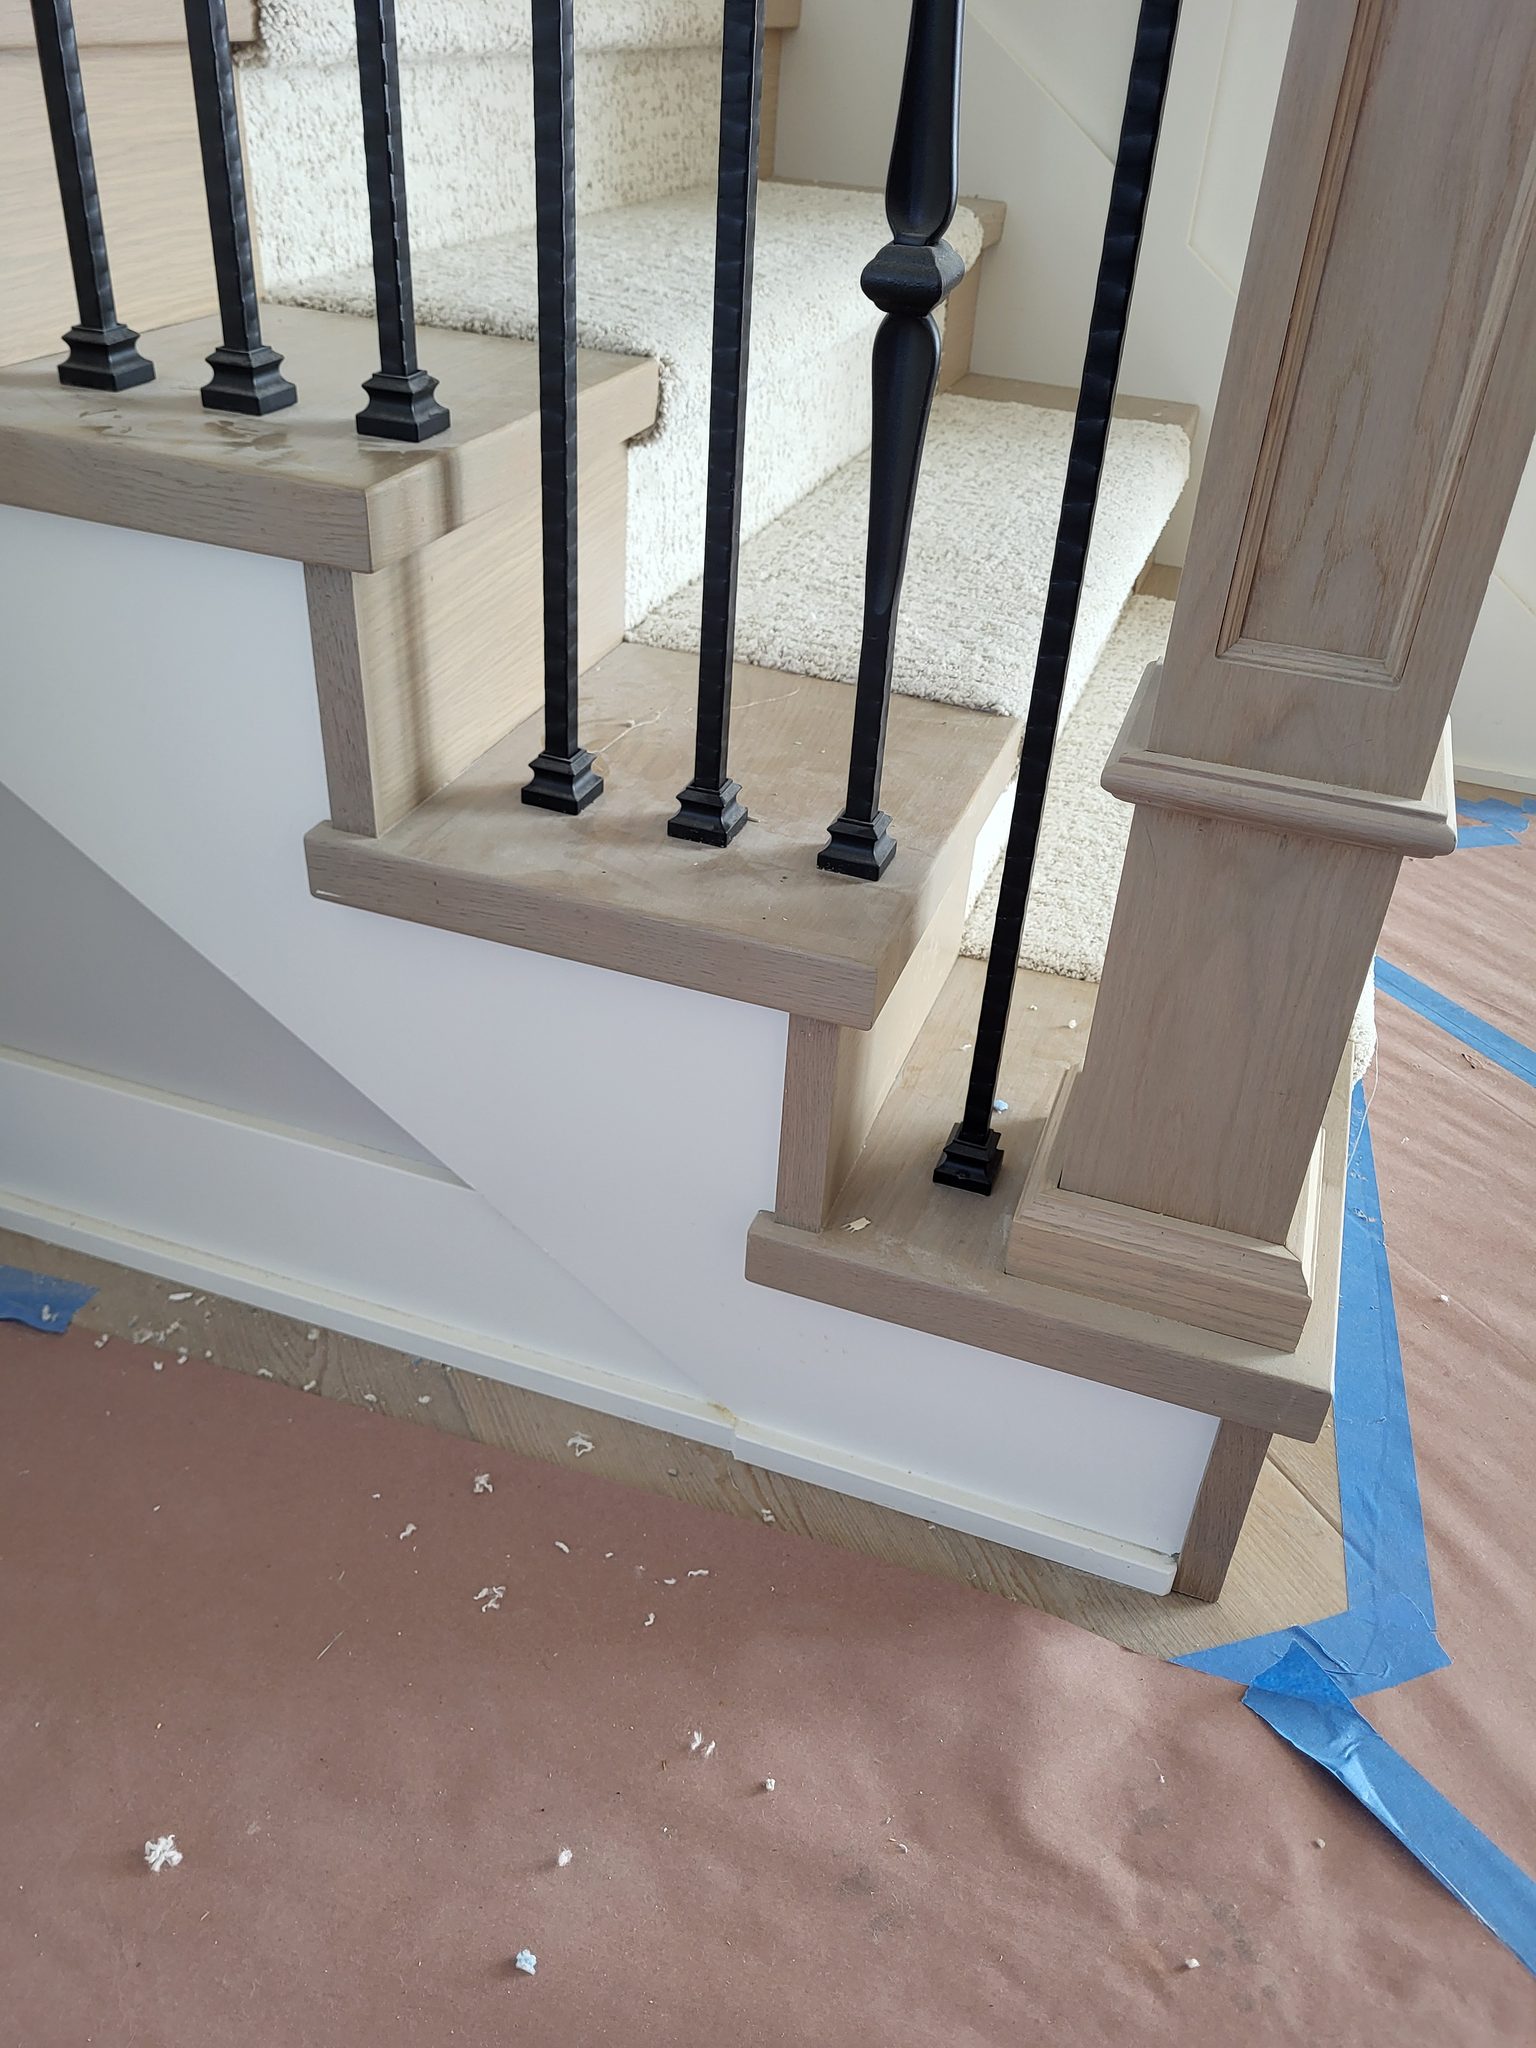
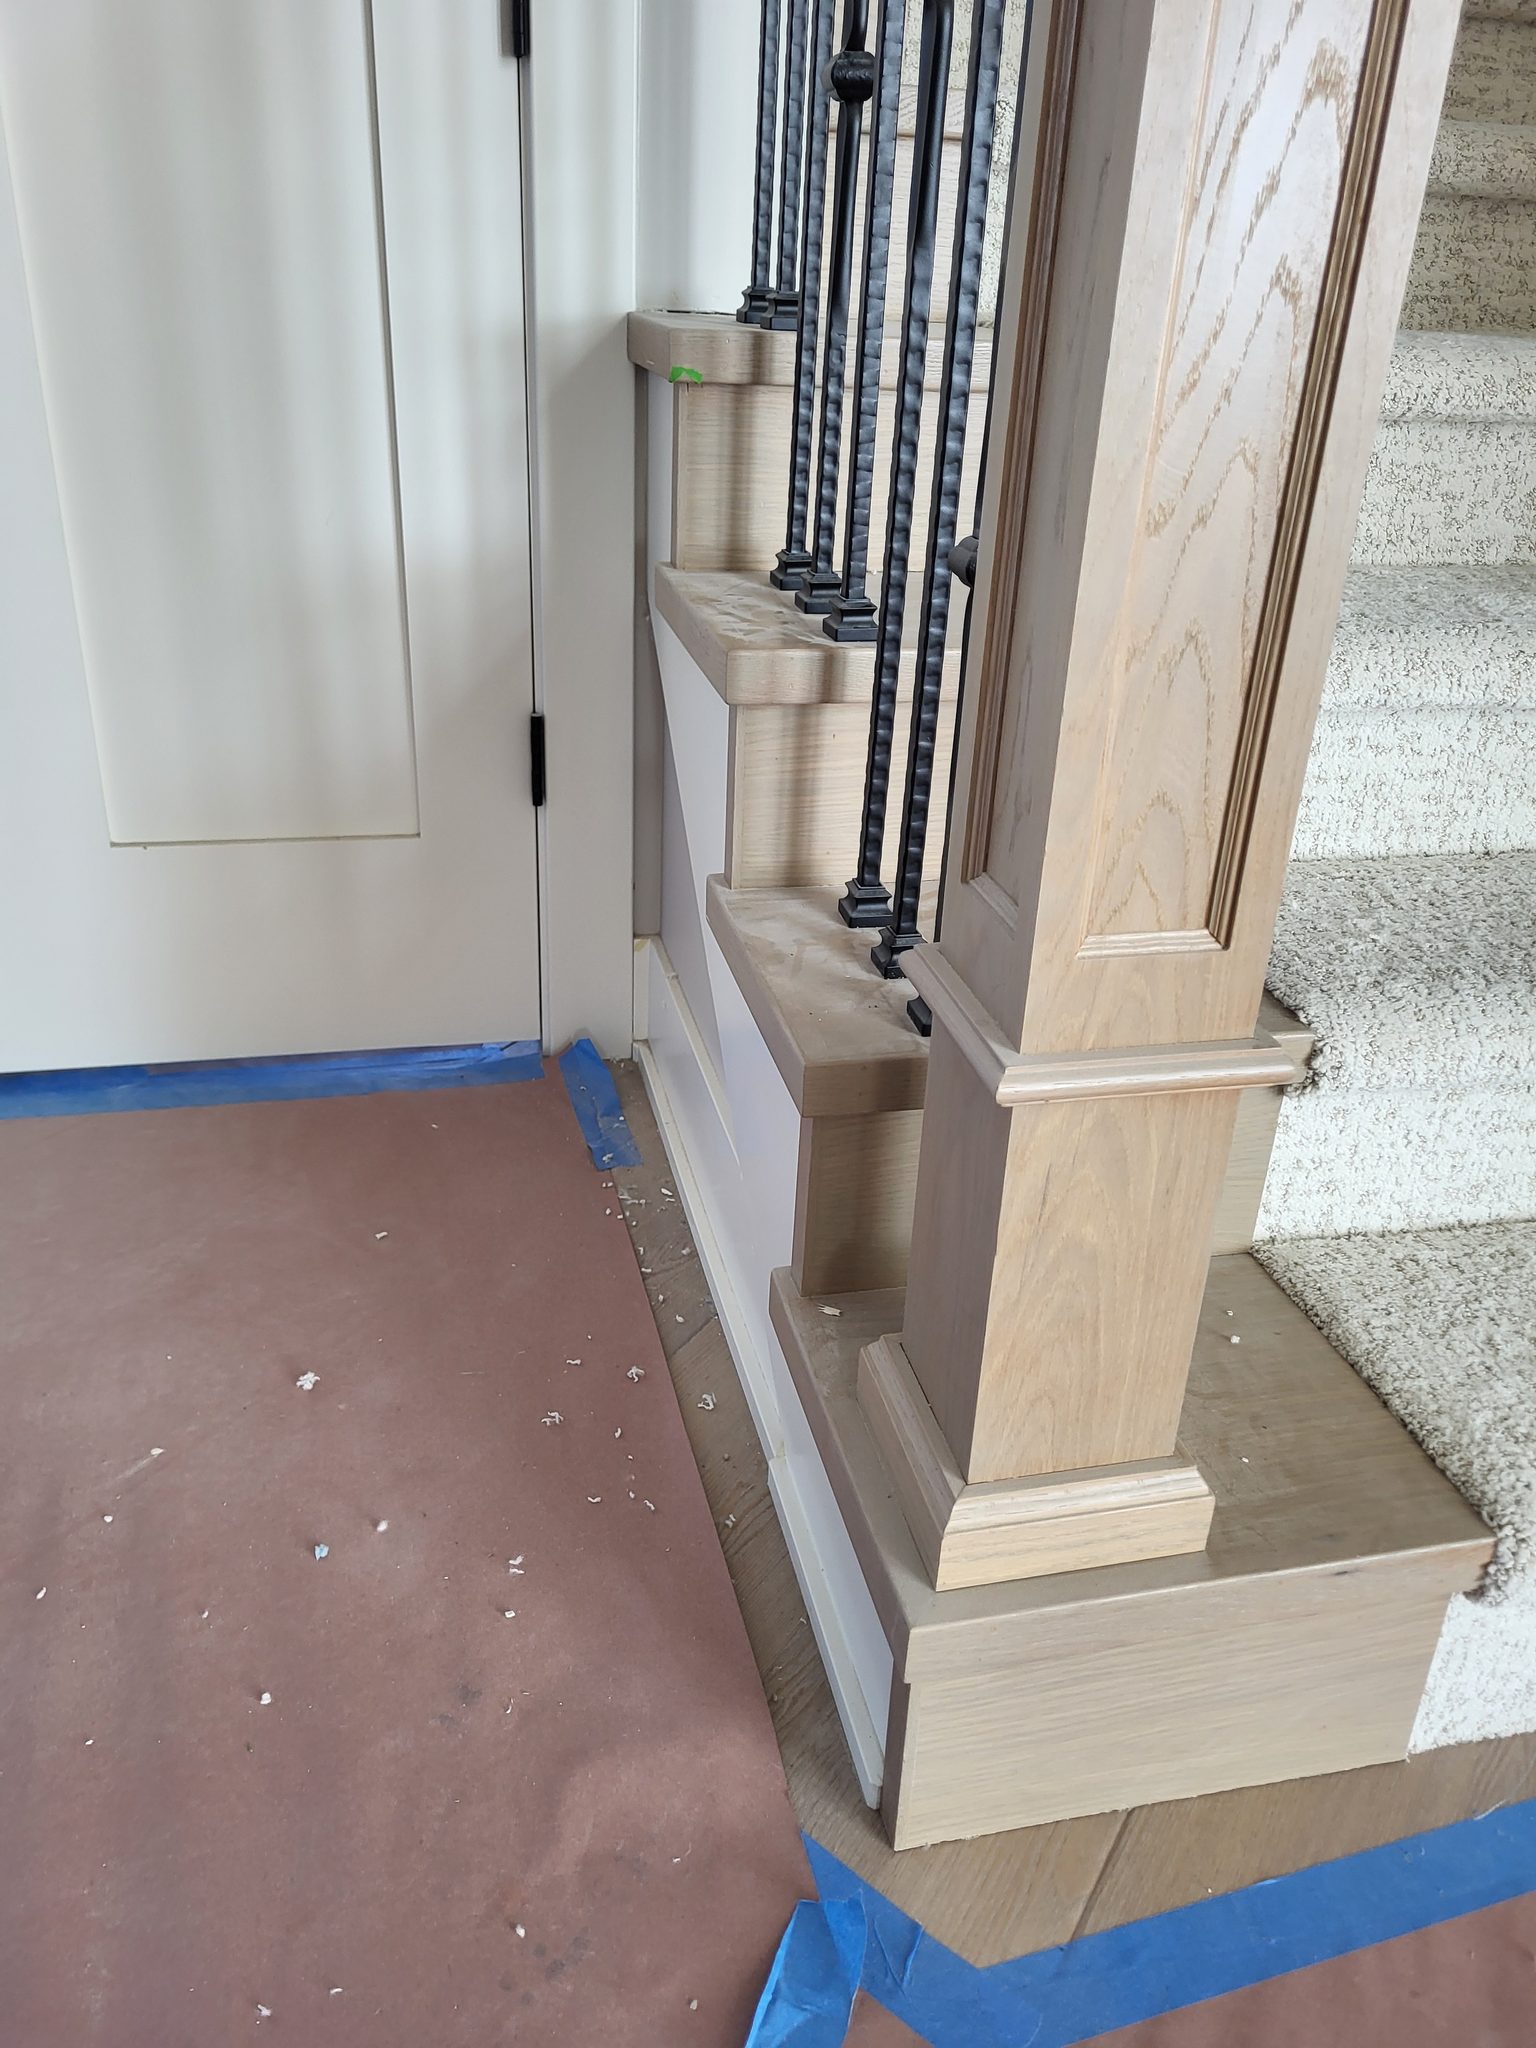
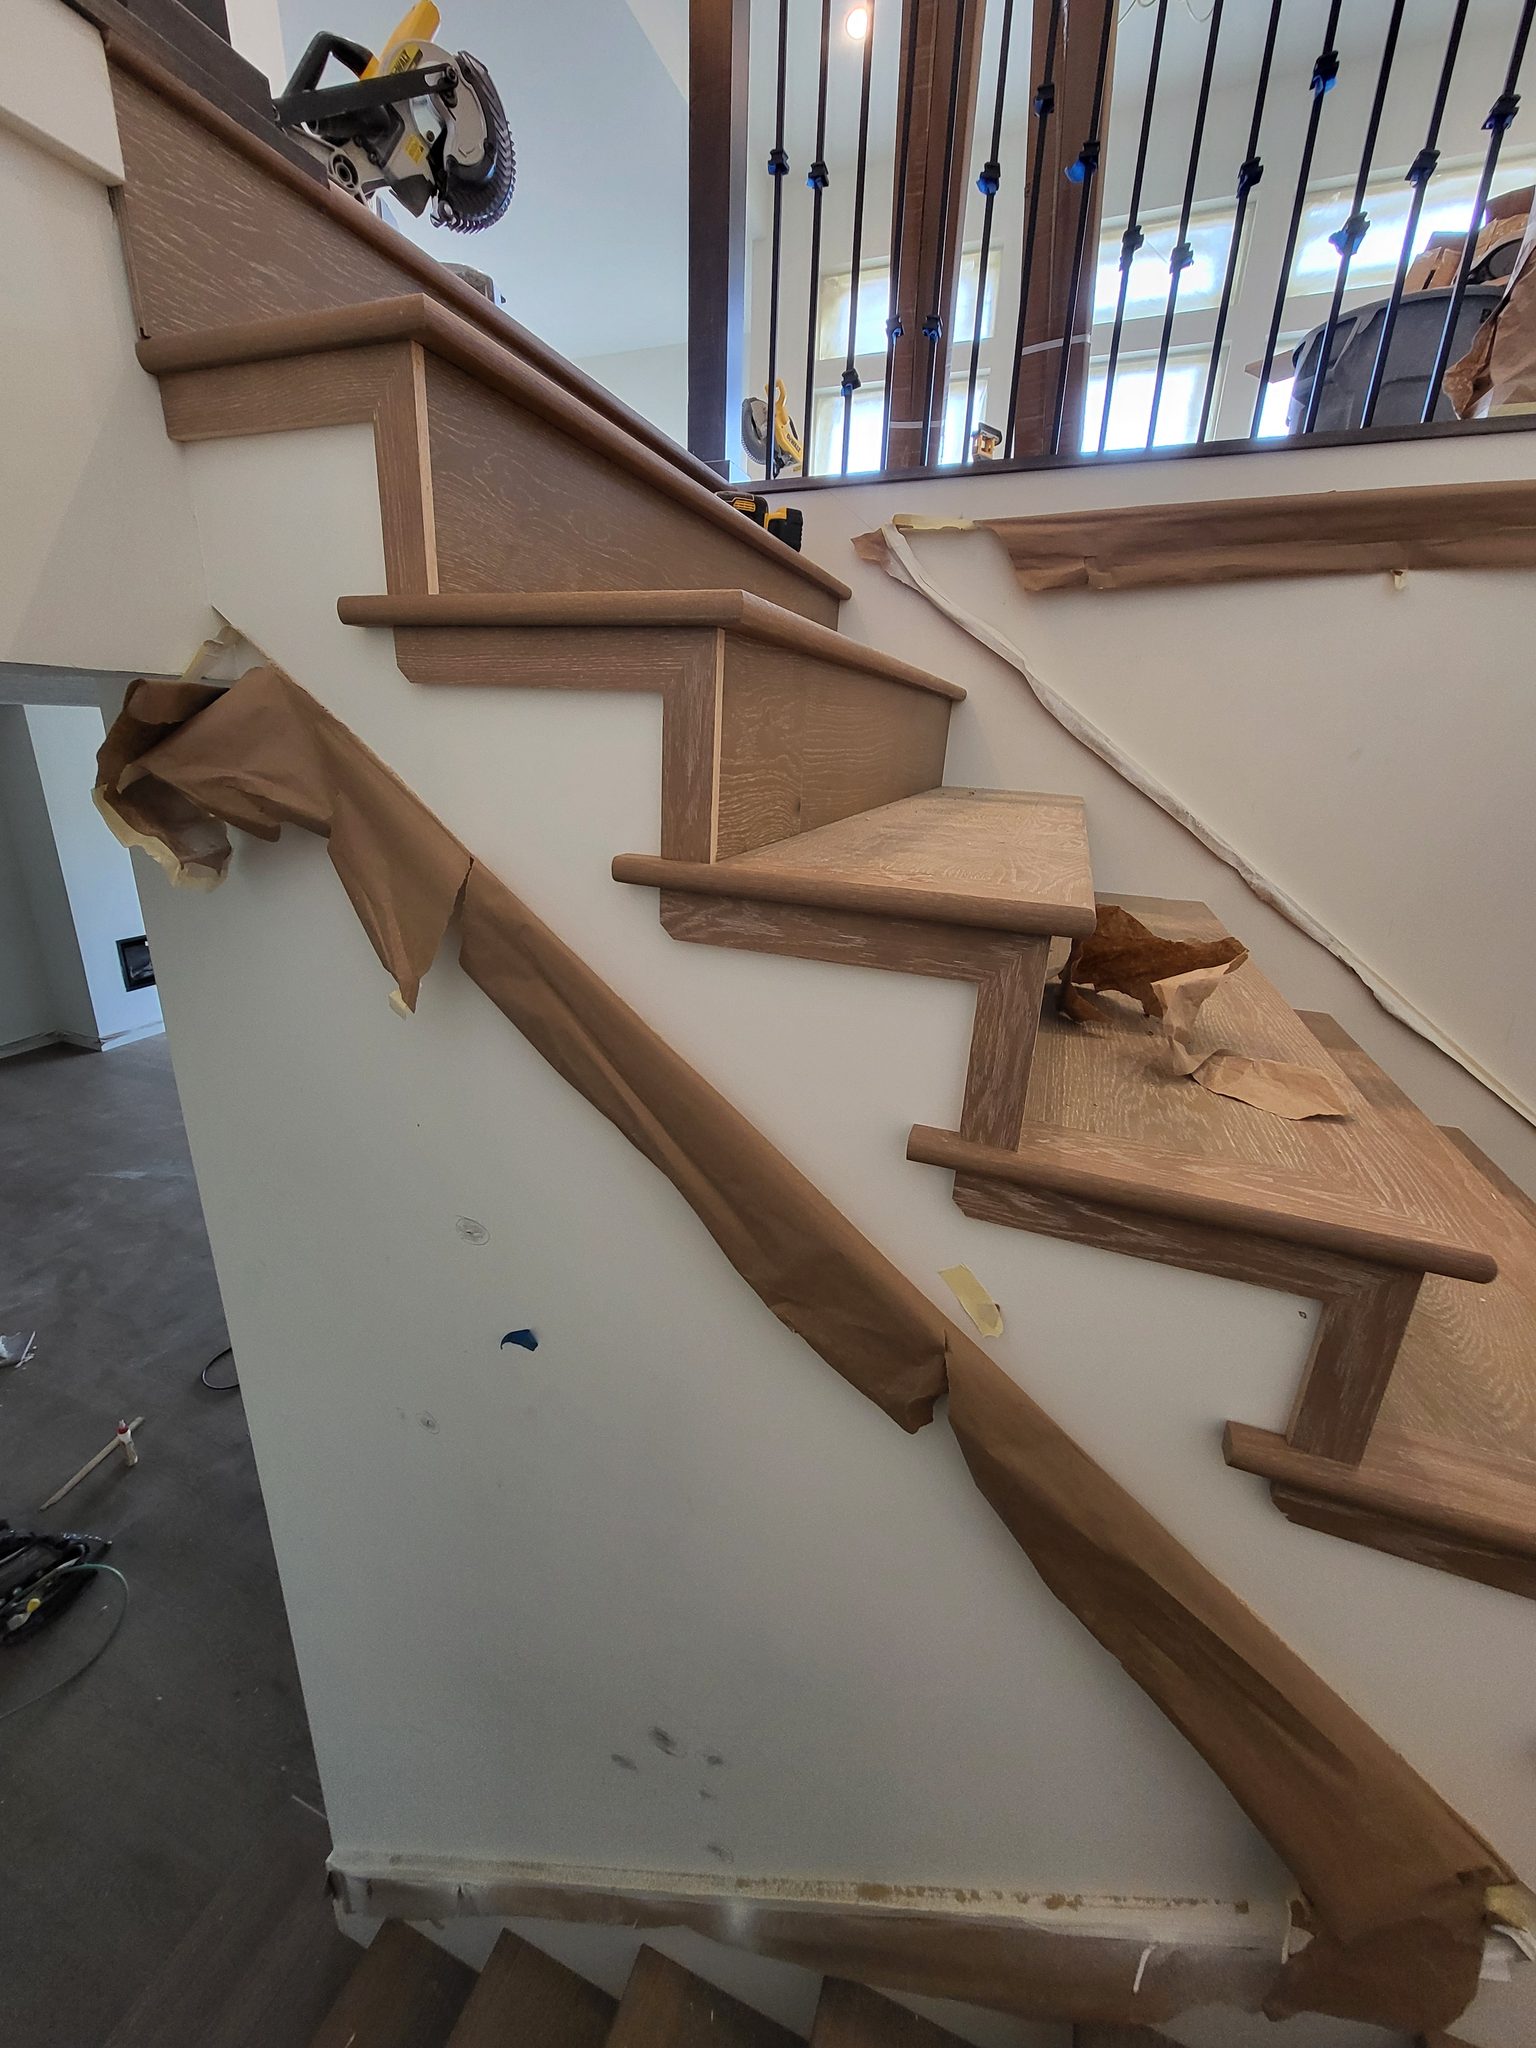
On an open staircase, one with an exposed side instead of a wall, the end of each tread and riser on that open side shows raw material: the stringer edge, plywood, or the cut end of the tread itself. A false tread stair end cap covers that with a finished piece shaped to look like the tread wraps around the corner, even though it is really an applied trim piece. The result reads as a solid, mitered corner from where anyone stands or walks past it. Open stairs like this are exactly where the International Residential Code (IRC) building planning chapter cares most, since guard and rise-and-run rules exist to protect that same exposed edge.

This guide covers the inside end cap: the condition where the open stringer meets a return, a knee wall, or the point where the stair transitions into an enclosed run, as opposed to a straight, fully open run's end cap. The technique is the same either way, cut a cap piece, fit it tight, glue and pin the joint, but the layout reference point differs because you are working against a return or a wall rather than open air on both faces.

This is closely related to the custom nosing work covered elsewhere in this family: when factory nosing does not fit a condition cleanly, you build a matching piece from solid stock and fit it by hand. A false tread end cap is that same instinct applied to the side of the step instead of the front edge.

Around the shop you will hear this piece called a stair cap, an end cap, or a false tread, they all mean the same thing. When we build caps on both sides of a staircase, the goal is for the whole run to read as solid wood treads with a carpet runner down the middle, without the cost of installing full wood treads across every step. The carpet covers the rough stair underneath, and the caps are what sell the look on the parts that show.

Inside versus outside should be obvious once you are looking at the stair. An inside cap sits against the wall side of the run. An outside cap sits on the open side, where the stair has no wall below it and needs a guardrail to protect the edge.

Before You Begin #

Prerequisites #

  • The stair treads, risers, and stringer are installed and secured at this location.
  • Drywall near the stair opening is complete, if the inside condition involves a wall or knee wall return.
  • You have identified exactly where the inside condition is on this run, the point where the open stringer meets a return, wall, or transition, versus a fully open straight-run end.

What You Need To Know #

  • Match the end cap material to the tread and nosing material on the job, typically the same species or paint-grade stock, so the wrap reads as one piece.
  • This is a wood-to-wood joint where the cap meets the tread and riser faces, glue it, and putty and sand it ourselves once it is installed. Nail holes on the cap face, where they exist, stay painter scope like anywhere else.
  • Dry-fit before any glue goes on. A false tread cap is a visible, load-bearing-looking corner, and a bad fit is obvious from across the room.
  • Use the level size the layout actually calls for. A torpedo level for checking the cap against the tread face is usually enough, this is not a piece that needs a long level.

Tools Required #

Power Tools #

  • miter saw
  • Jigsaw, for coping the cap around the tread and riser profile
  • Orbital sander
  • Air compressor
  • 18-gauge brad nailer

Hand Tools #

  • tape measure
  • Torpedo level
  • combination square
  • Pencil
  • Clamps

Supplies #

  • Wood glue
  • Wood putty, for the wood-to-wood joint
  • 120-grit sandpaper

Materials #

  • Solid stock for the end cap, matched to the tread and nosing material and thick enough to wrap the tread and riser profile cleanly, 1x4 is a common starting size for a custom-fit cap

Install a False Tread Stair End Cap: Step-by-Step #

Step 1: Measure the Condition #

Measure the tread depth, the riser height, and the exact point where the inside condition sits, the return, wall, or transition the cap needs to meet. Take these measurements at the actual step, not off a set of plans, field conditions rarely match a drawing exactly at this kind of detail.

Step 2: Rough-Cut and Sketch the Cap Profile #

Sketch the cap profile on a piece of scrap first, the tread depth, the riser height, and how the piece needs to turn the corner at the inside condition. Rough-cut the piece from your stock with the miter saw for the straight cuts and the jigsaw for any notch where the cap needs to wrap around the tread nosing or into a return.

Step 3: Dry-Fit and Adjust #

Set the rough-cut cap in position without fasteners. Check the fit against the tread face, the riser face, and the inside return point. Look for gaps, if anything is off by more than a hair, mark it and trim rather than forcing the piece into place. This step often takes more than one pass, that is normal, not a mistake.

Step 4: Glue and Install #

Once the dry fit is tight, apply glue to the wood-to-wood contact points, particularly where the cap meets the tread and riser faces at the inside corner. Set the cap in final position and pin it with the 18-gauge brad nailer into the tread and riser framing behind it, never into the finished floor or a walking surface. Wipe glue squeeze-out right away.

Close-Out #

Once the cap is nailed off, check the wood-to-wood joint at the inside corner under good light. Putty and sand that joint now, since it is our work to finish, not the painter's. Set any proud nails below the surface with a nail set. Sweep up shavings and offcuts before moving to the next end cap.

Quality Check #

  • End cap wraps the tread and riser cleanly with no visible gap at the inside corner
  • The wood-to-wood joint is puttied and sanded smooth to the touch
  • Cap material matches the species and finish of the surrounding tread and nosing
  • All nails are into tread or riser framing, none into the finished floor or walking surface
  • Nails are set below the surface, nothing proud

Troubleshooting #

Problem: The cap does not sit tight at the inside corner, there is a visible gap.

Solution: Re-check the actual angle of the return or wall at that point with a square rather than assuming it is a clean 90 degrees. Framing and drywall corners are often slightly out of square, and a cap cut to an assumed angle will show it.

Problem: The profile does not read as one continuous wrap once installed.

Solution: This usually comes from cutting the cap from a different piece of stock than the tread and nosing, even a slight profile or grain difference stands out on a detail this visible. Recut from an offcut of the same material used elsewhere on the run if at all possible.

Problem: The cap flexes or feels hollow when pressed.

Solution: Check that the nails are actually landing in solid tread or riser framing and not just catching the edge of it. A cap that is only tacked to open air behind it will feel soft even if it looks fine, add fasteners into confirmed solid material.

Related Guides #

  • How to Install Stair Skirt Boards: Drop-In Method - another stair trim detail that covers and finishes the open edge of a staircase.
  • How to Install Baby Shoe at Stair Nosing - a related nosing detail for stairs meeting hard-surface flooring.
  • How to Install Notched Skirt Boards

Reference Photos #

The following photos show examples of this type of work completed in the field. These serve as visual references for quality standards, proper installation techniques, and finished results.

Showing 24 of 24 photos
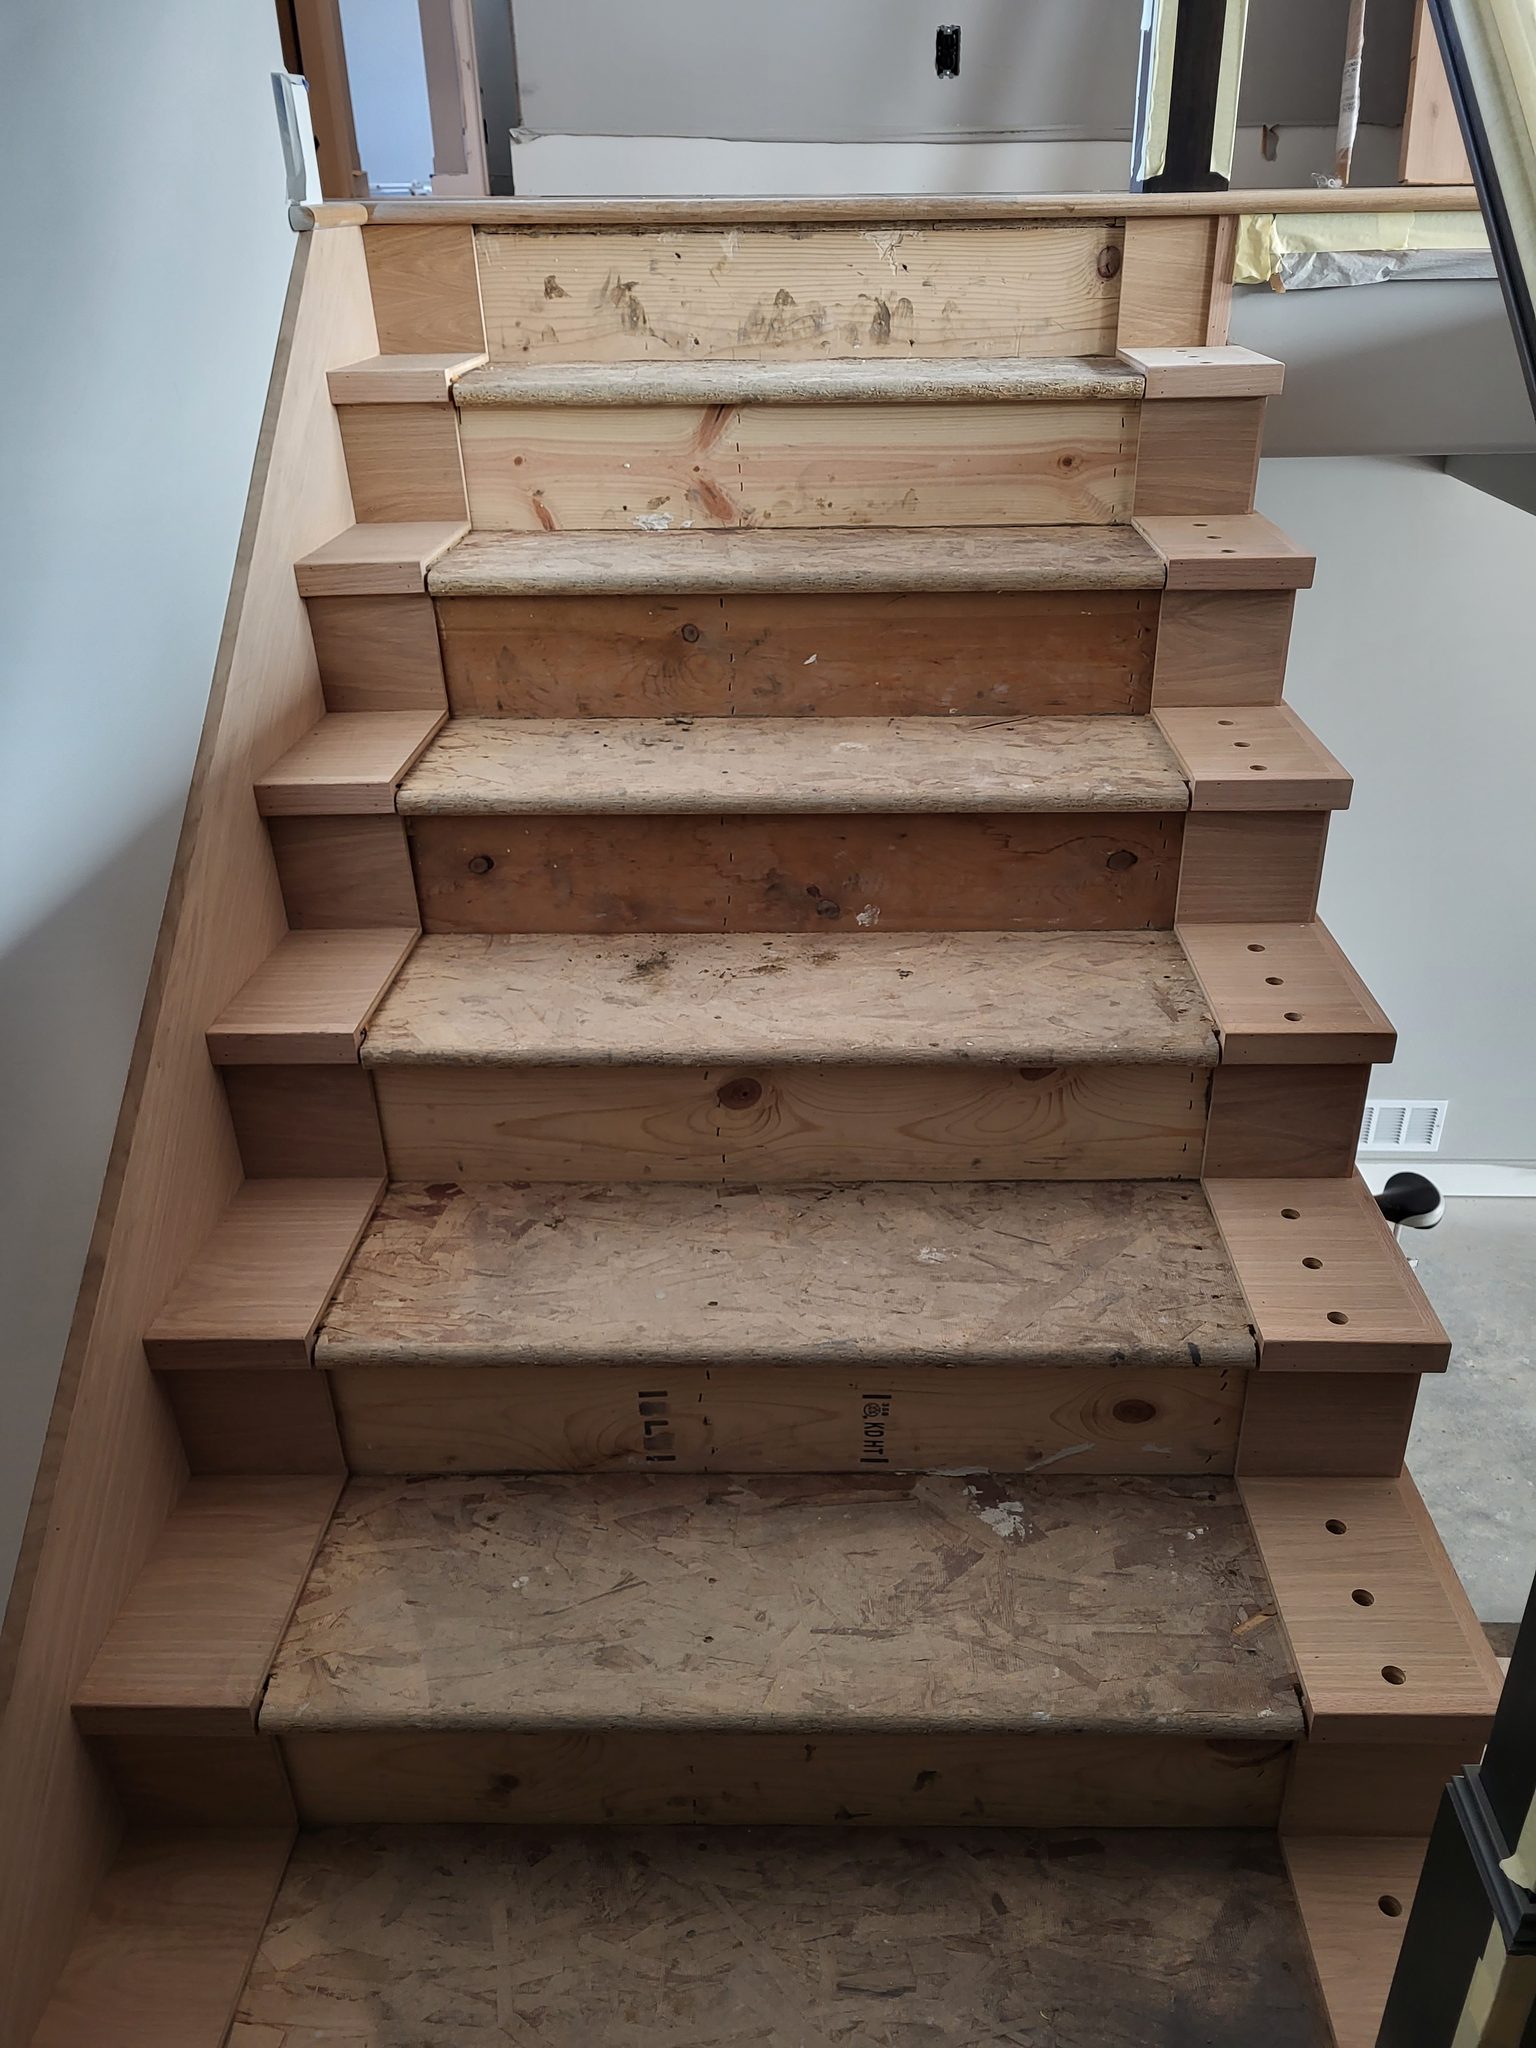
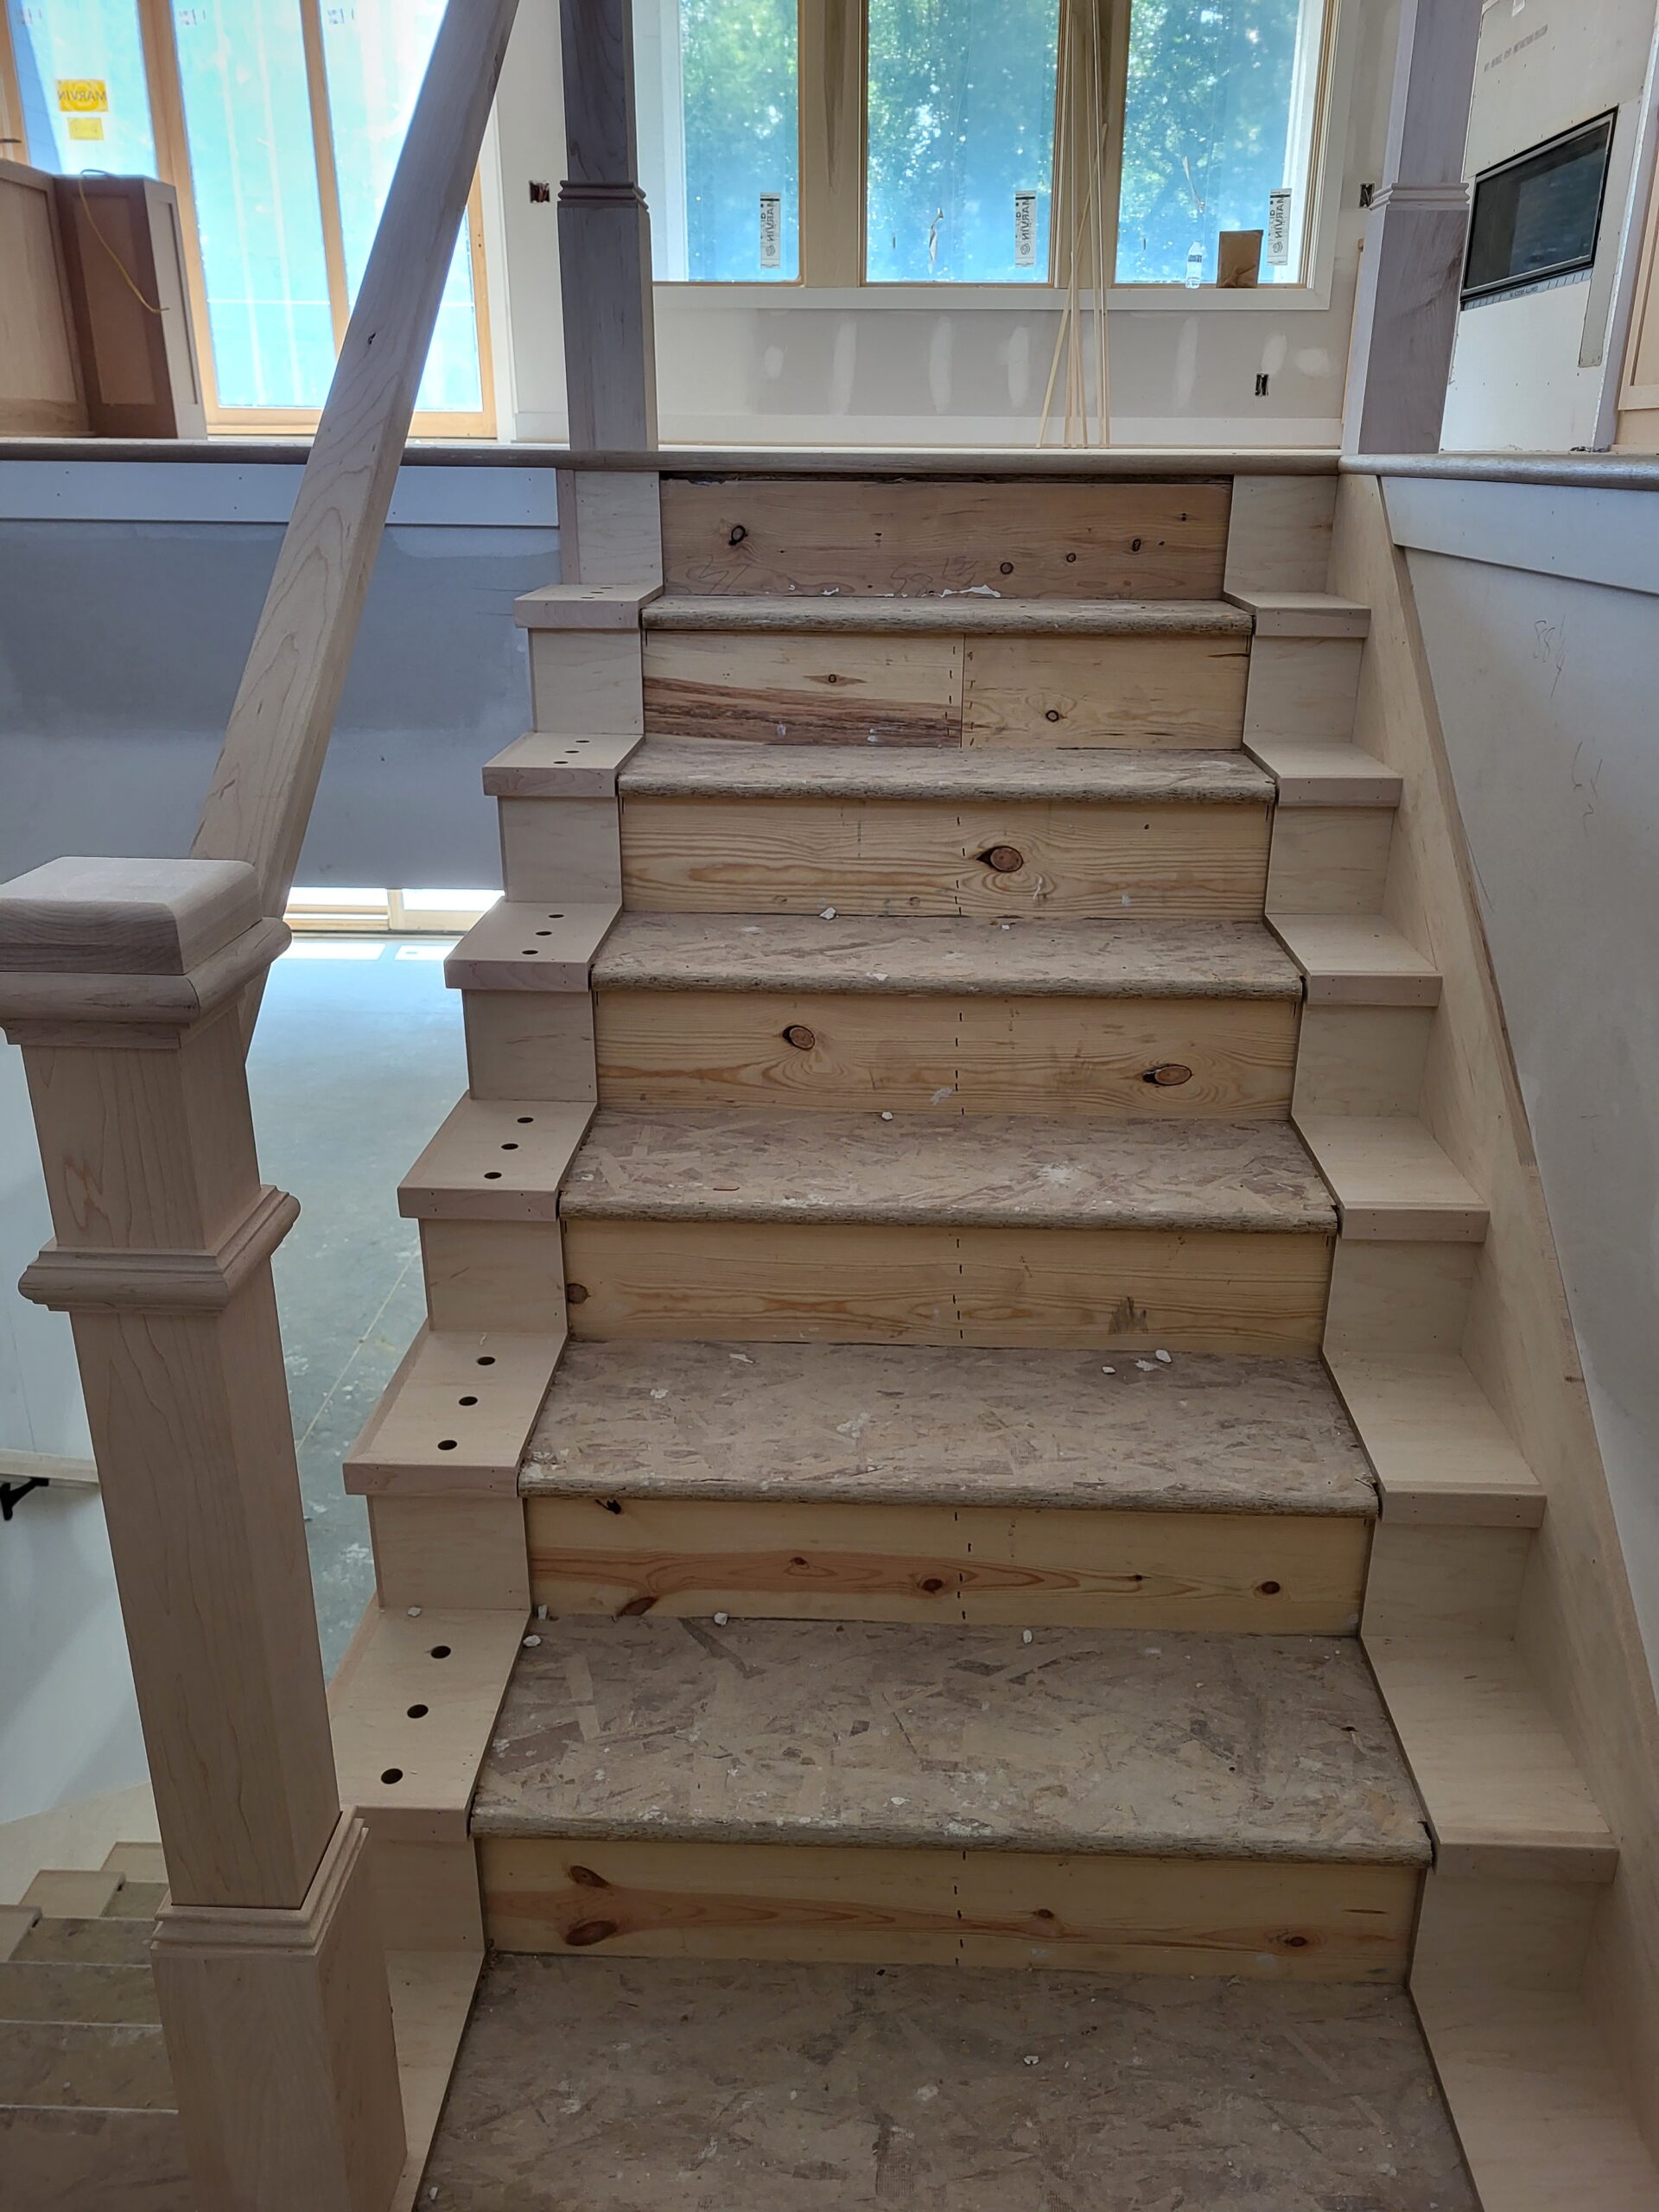
Raw wood stair stringer with stepped end cap blocks and a row of drilled holes, unfinished
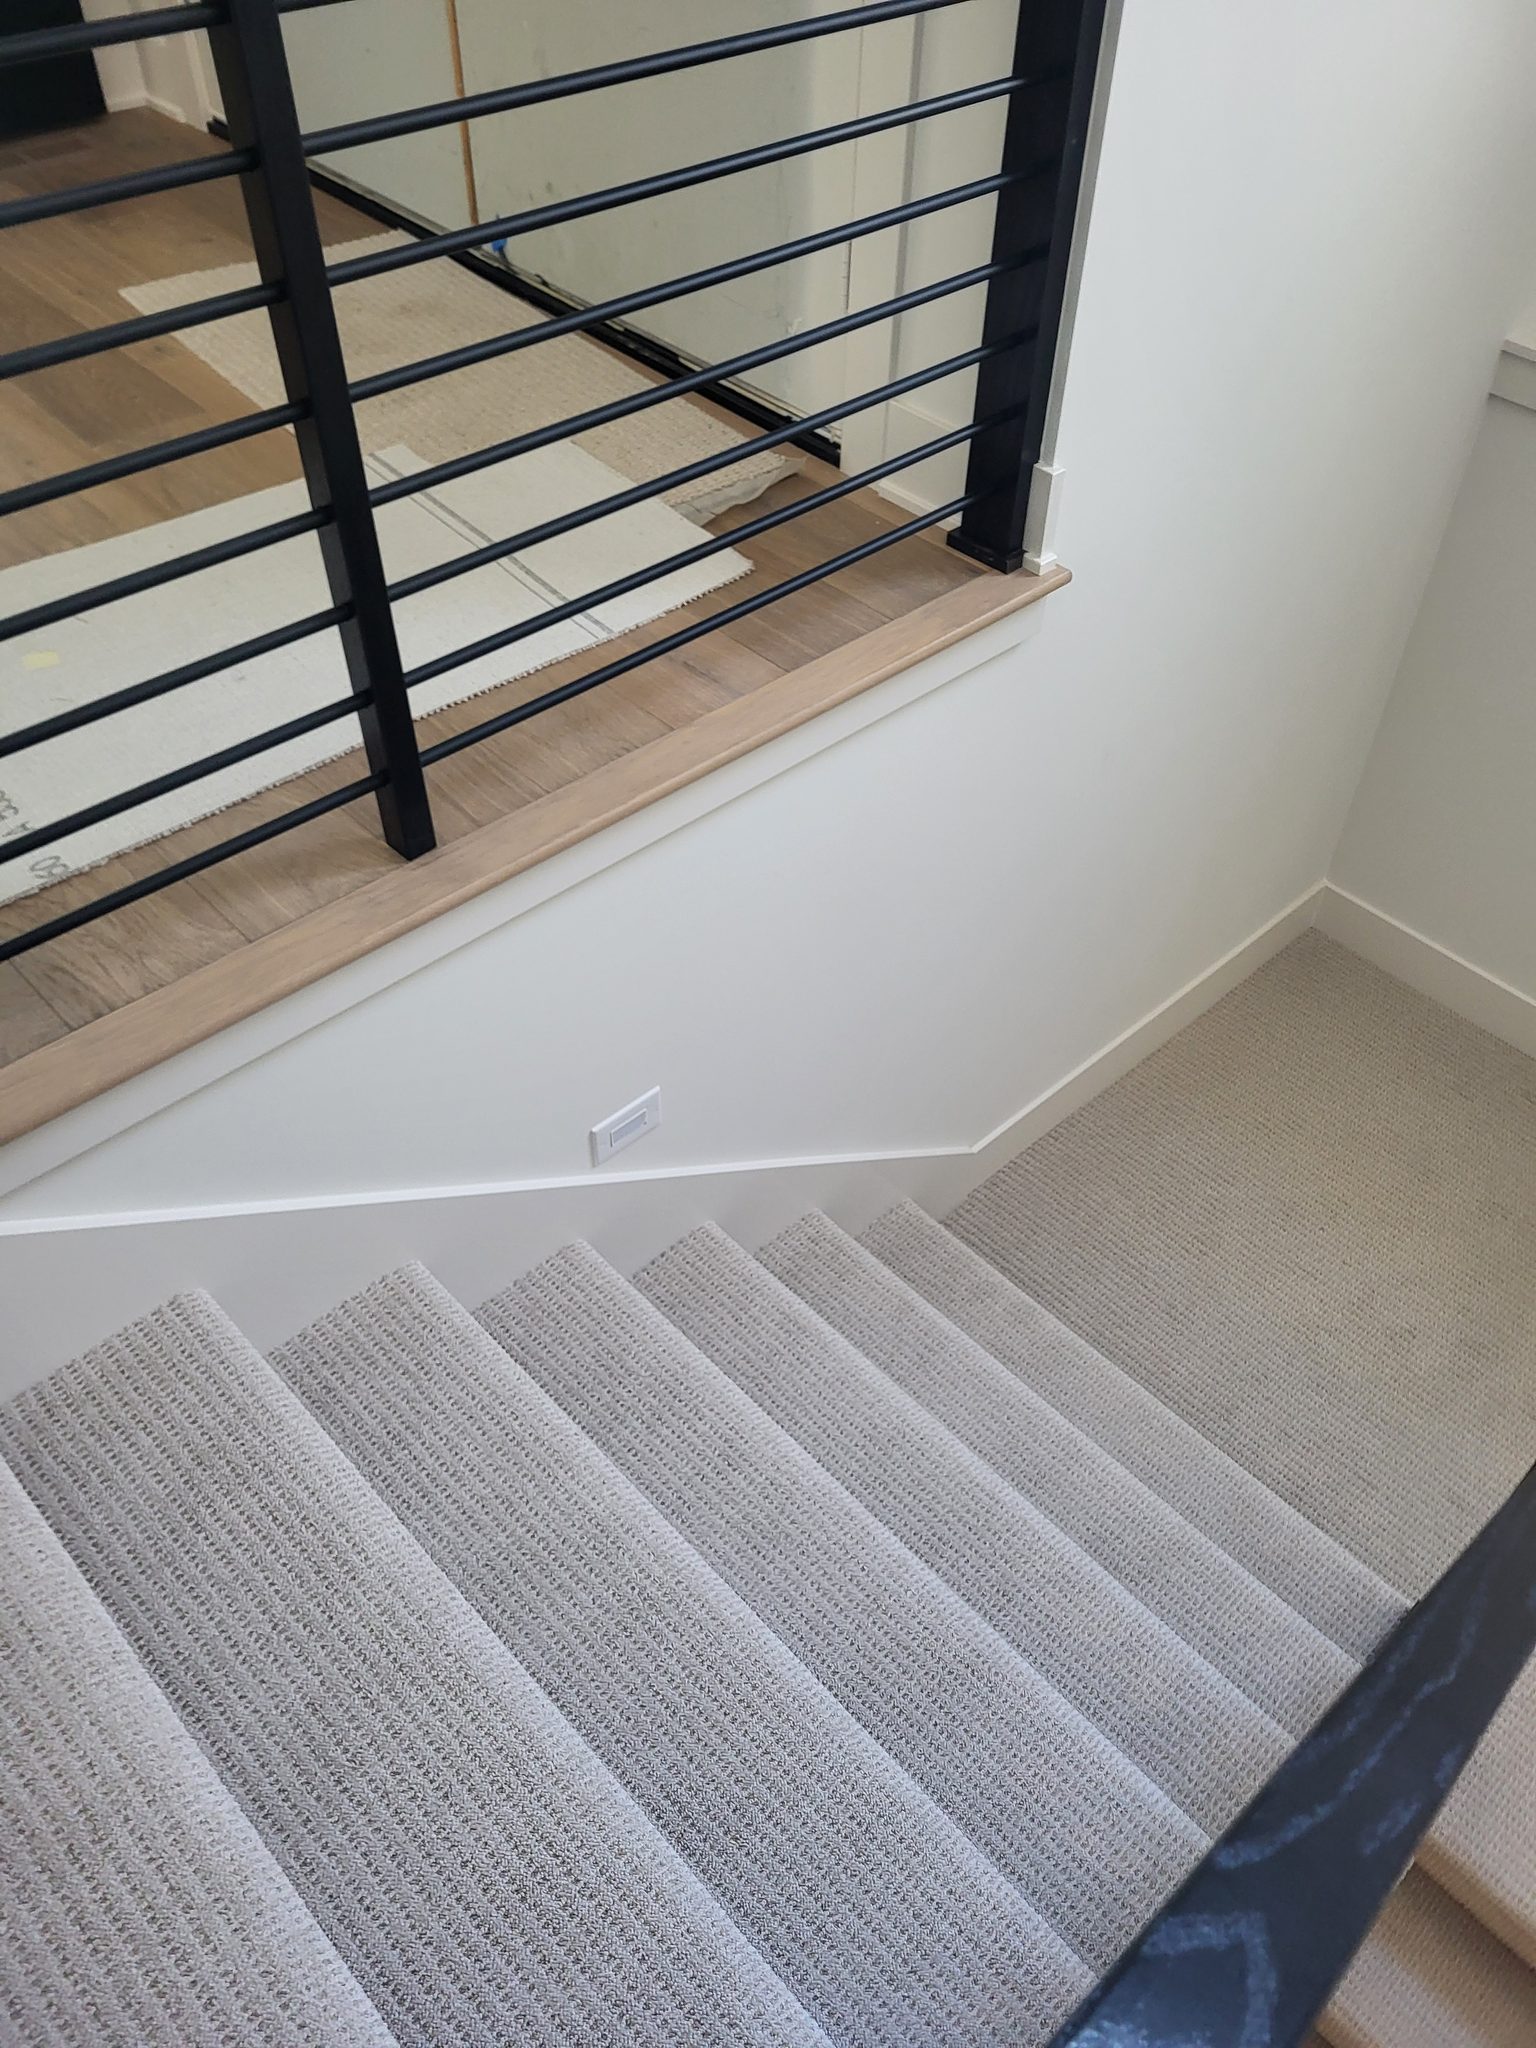
Black horizontal-rod railing on a wood capped half wall overlooking carpeted stairs.
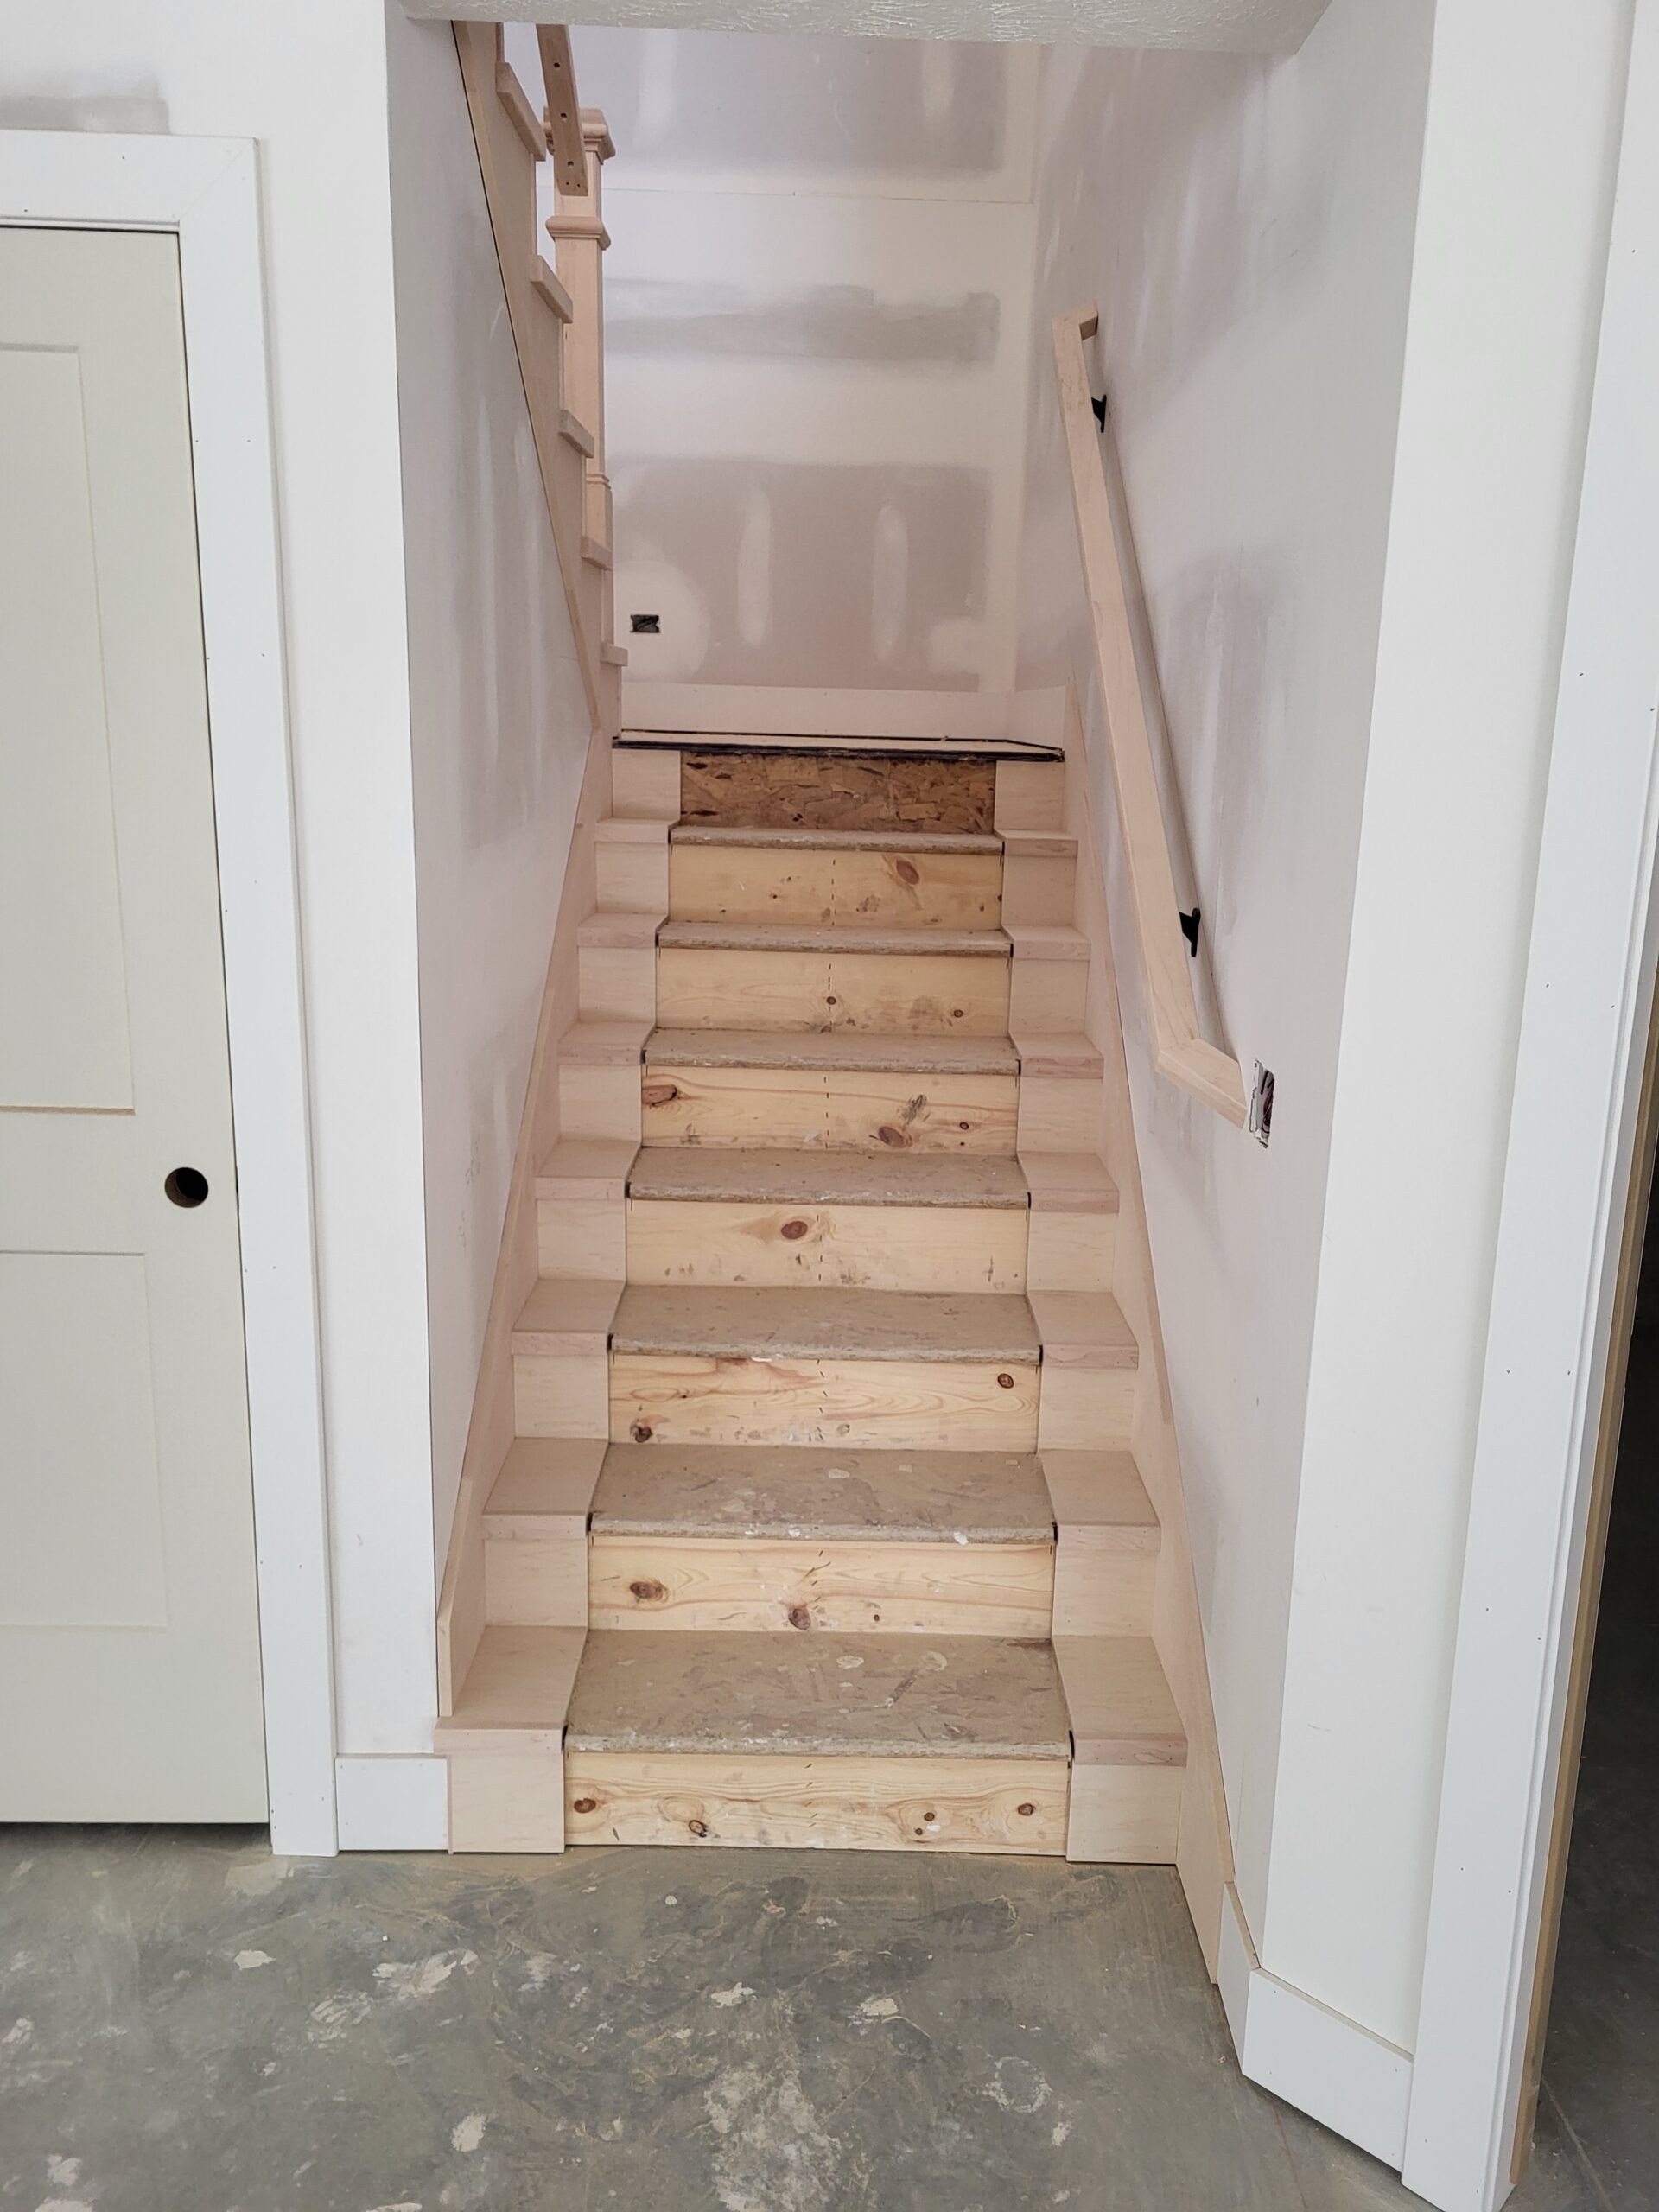
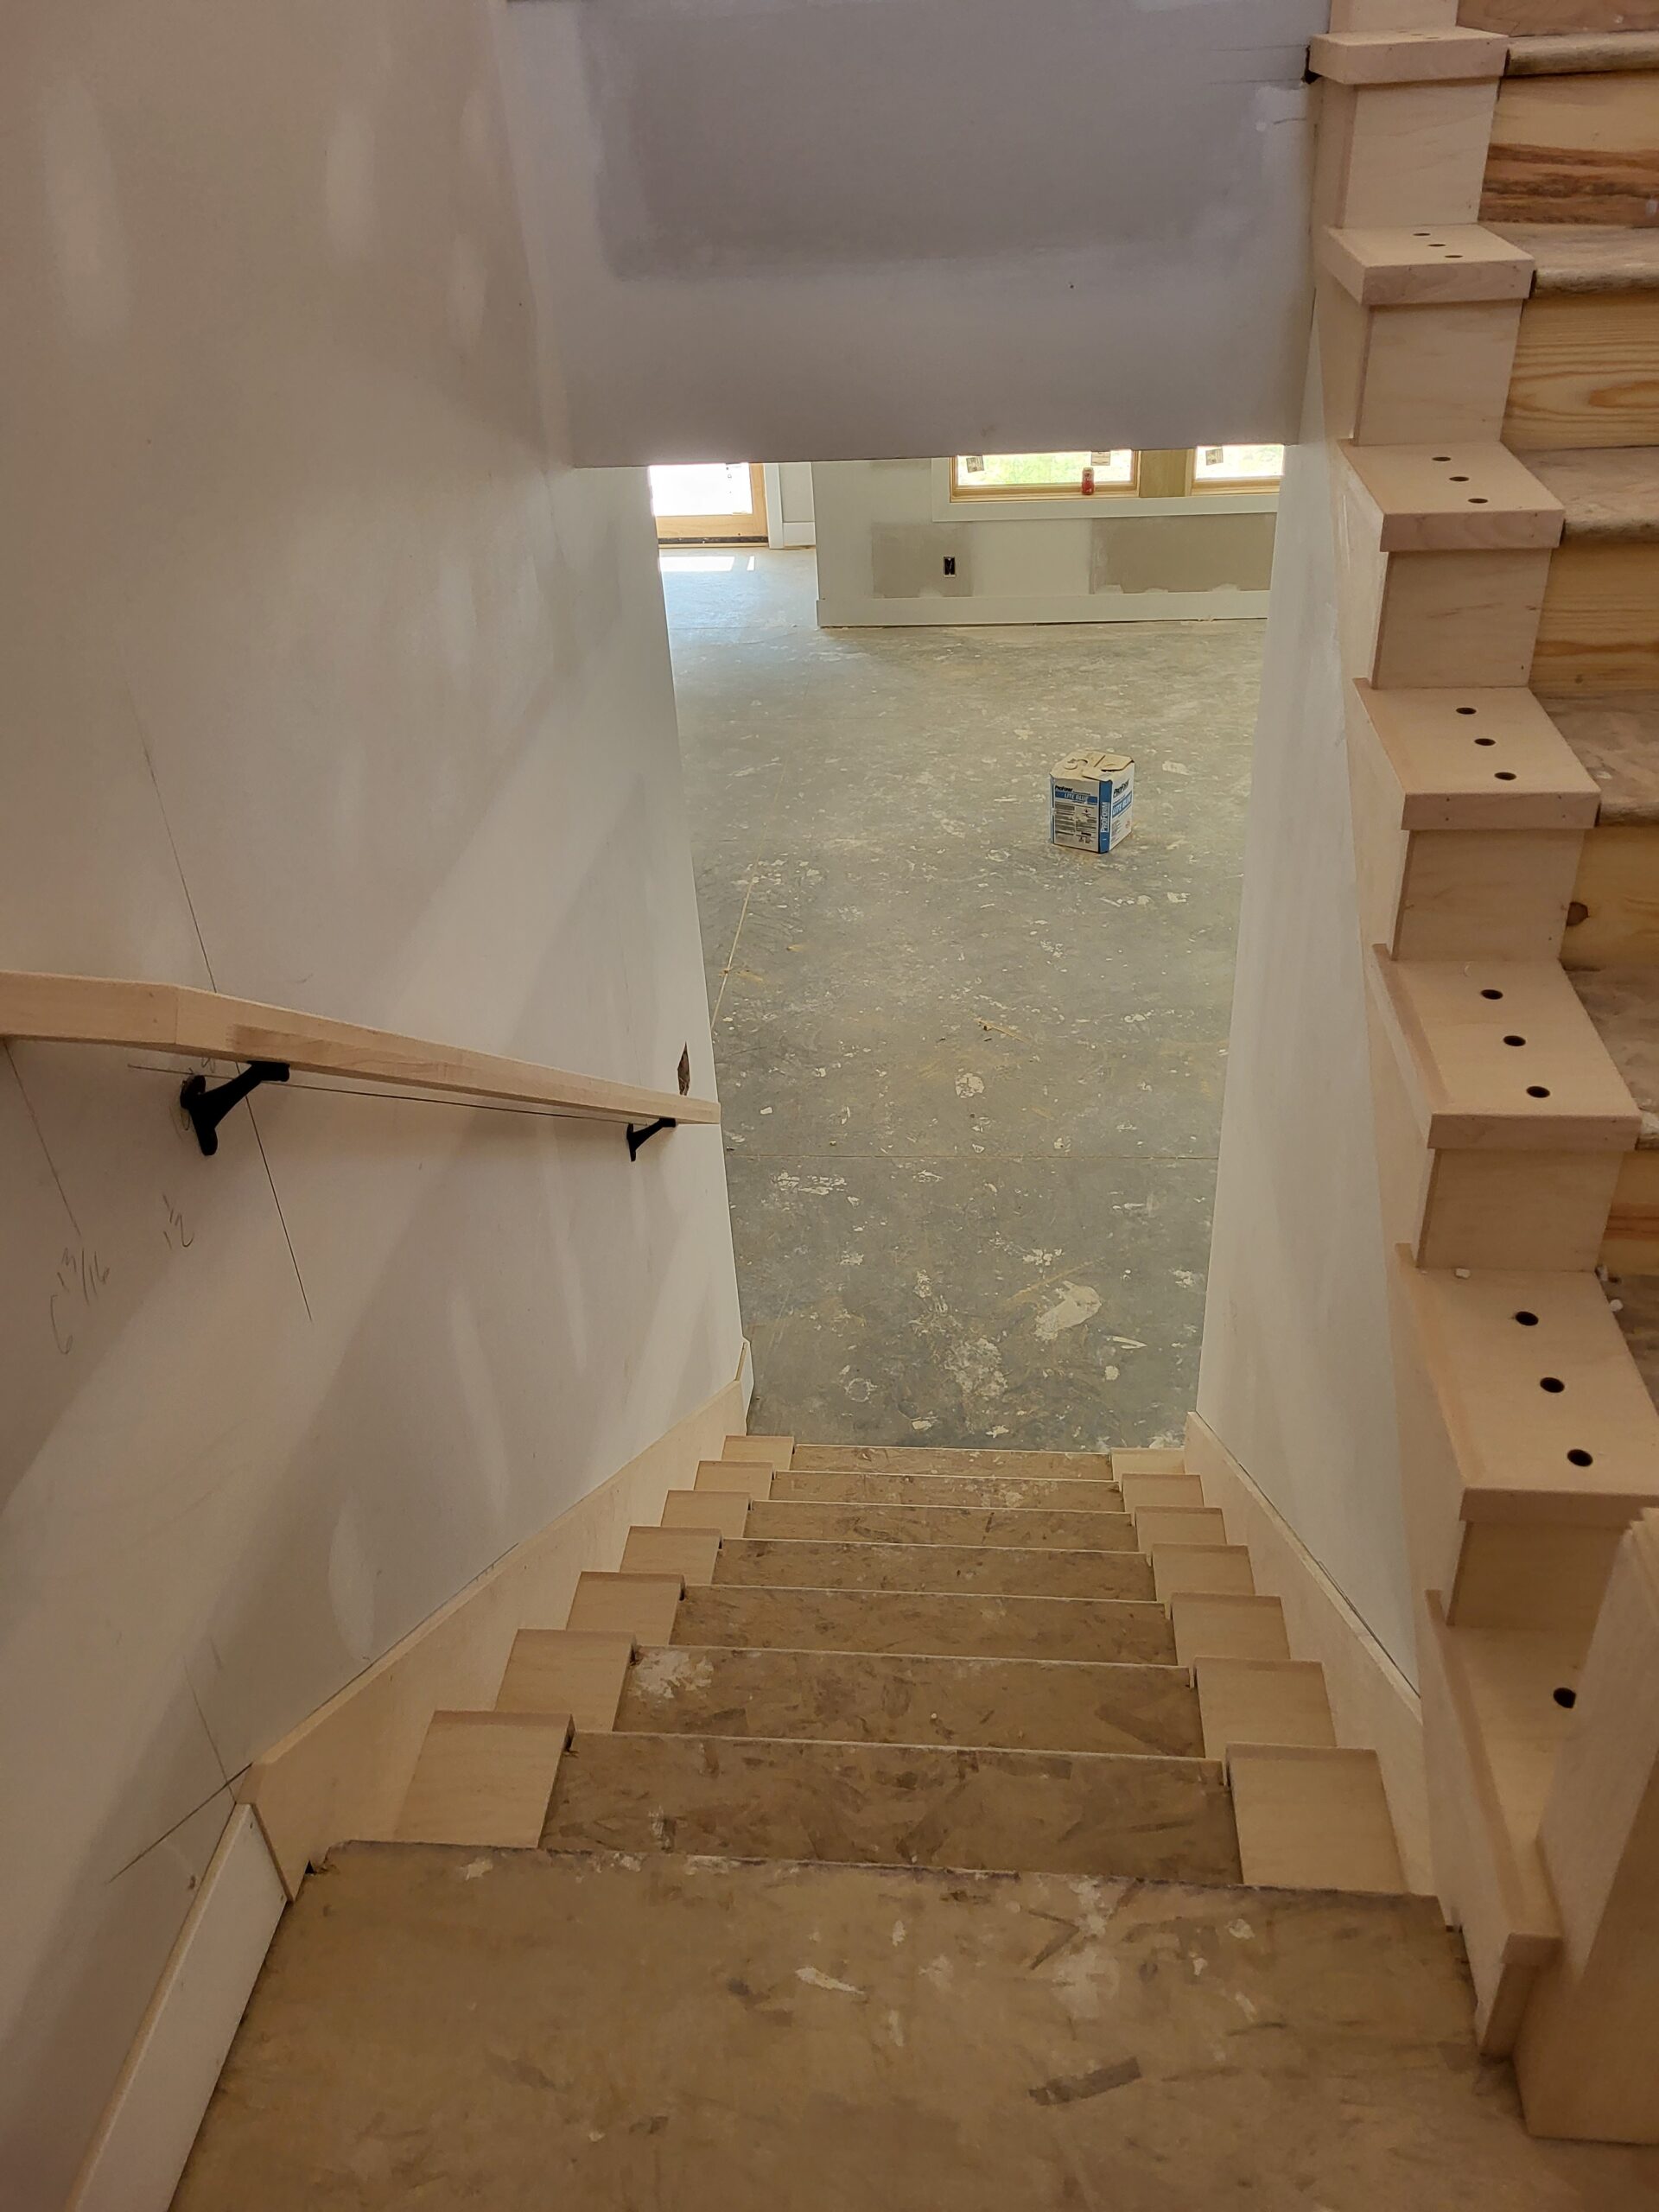
Interior stair with tread covers over pine risers, small end caps beside each tread and a wall handrail on black brackets
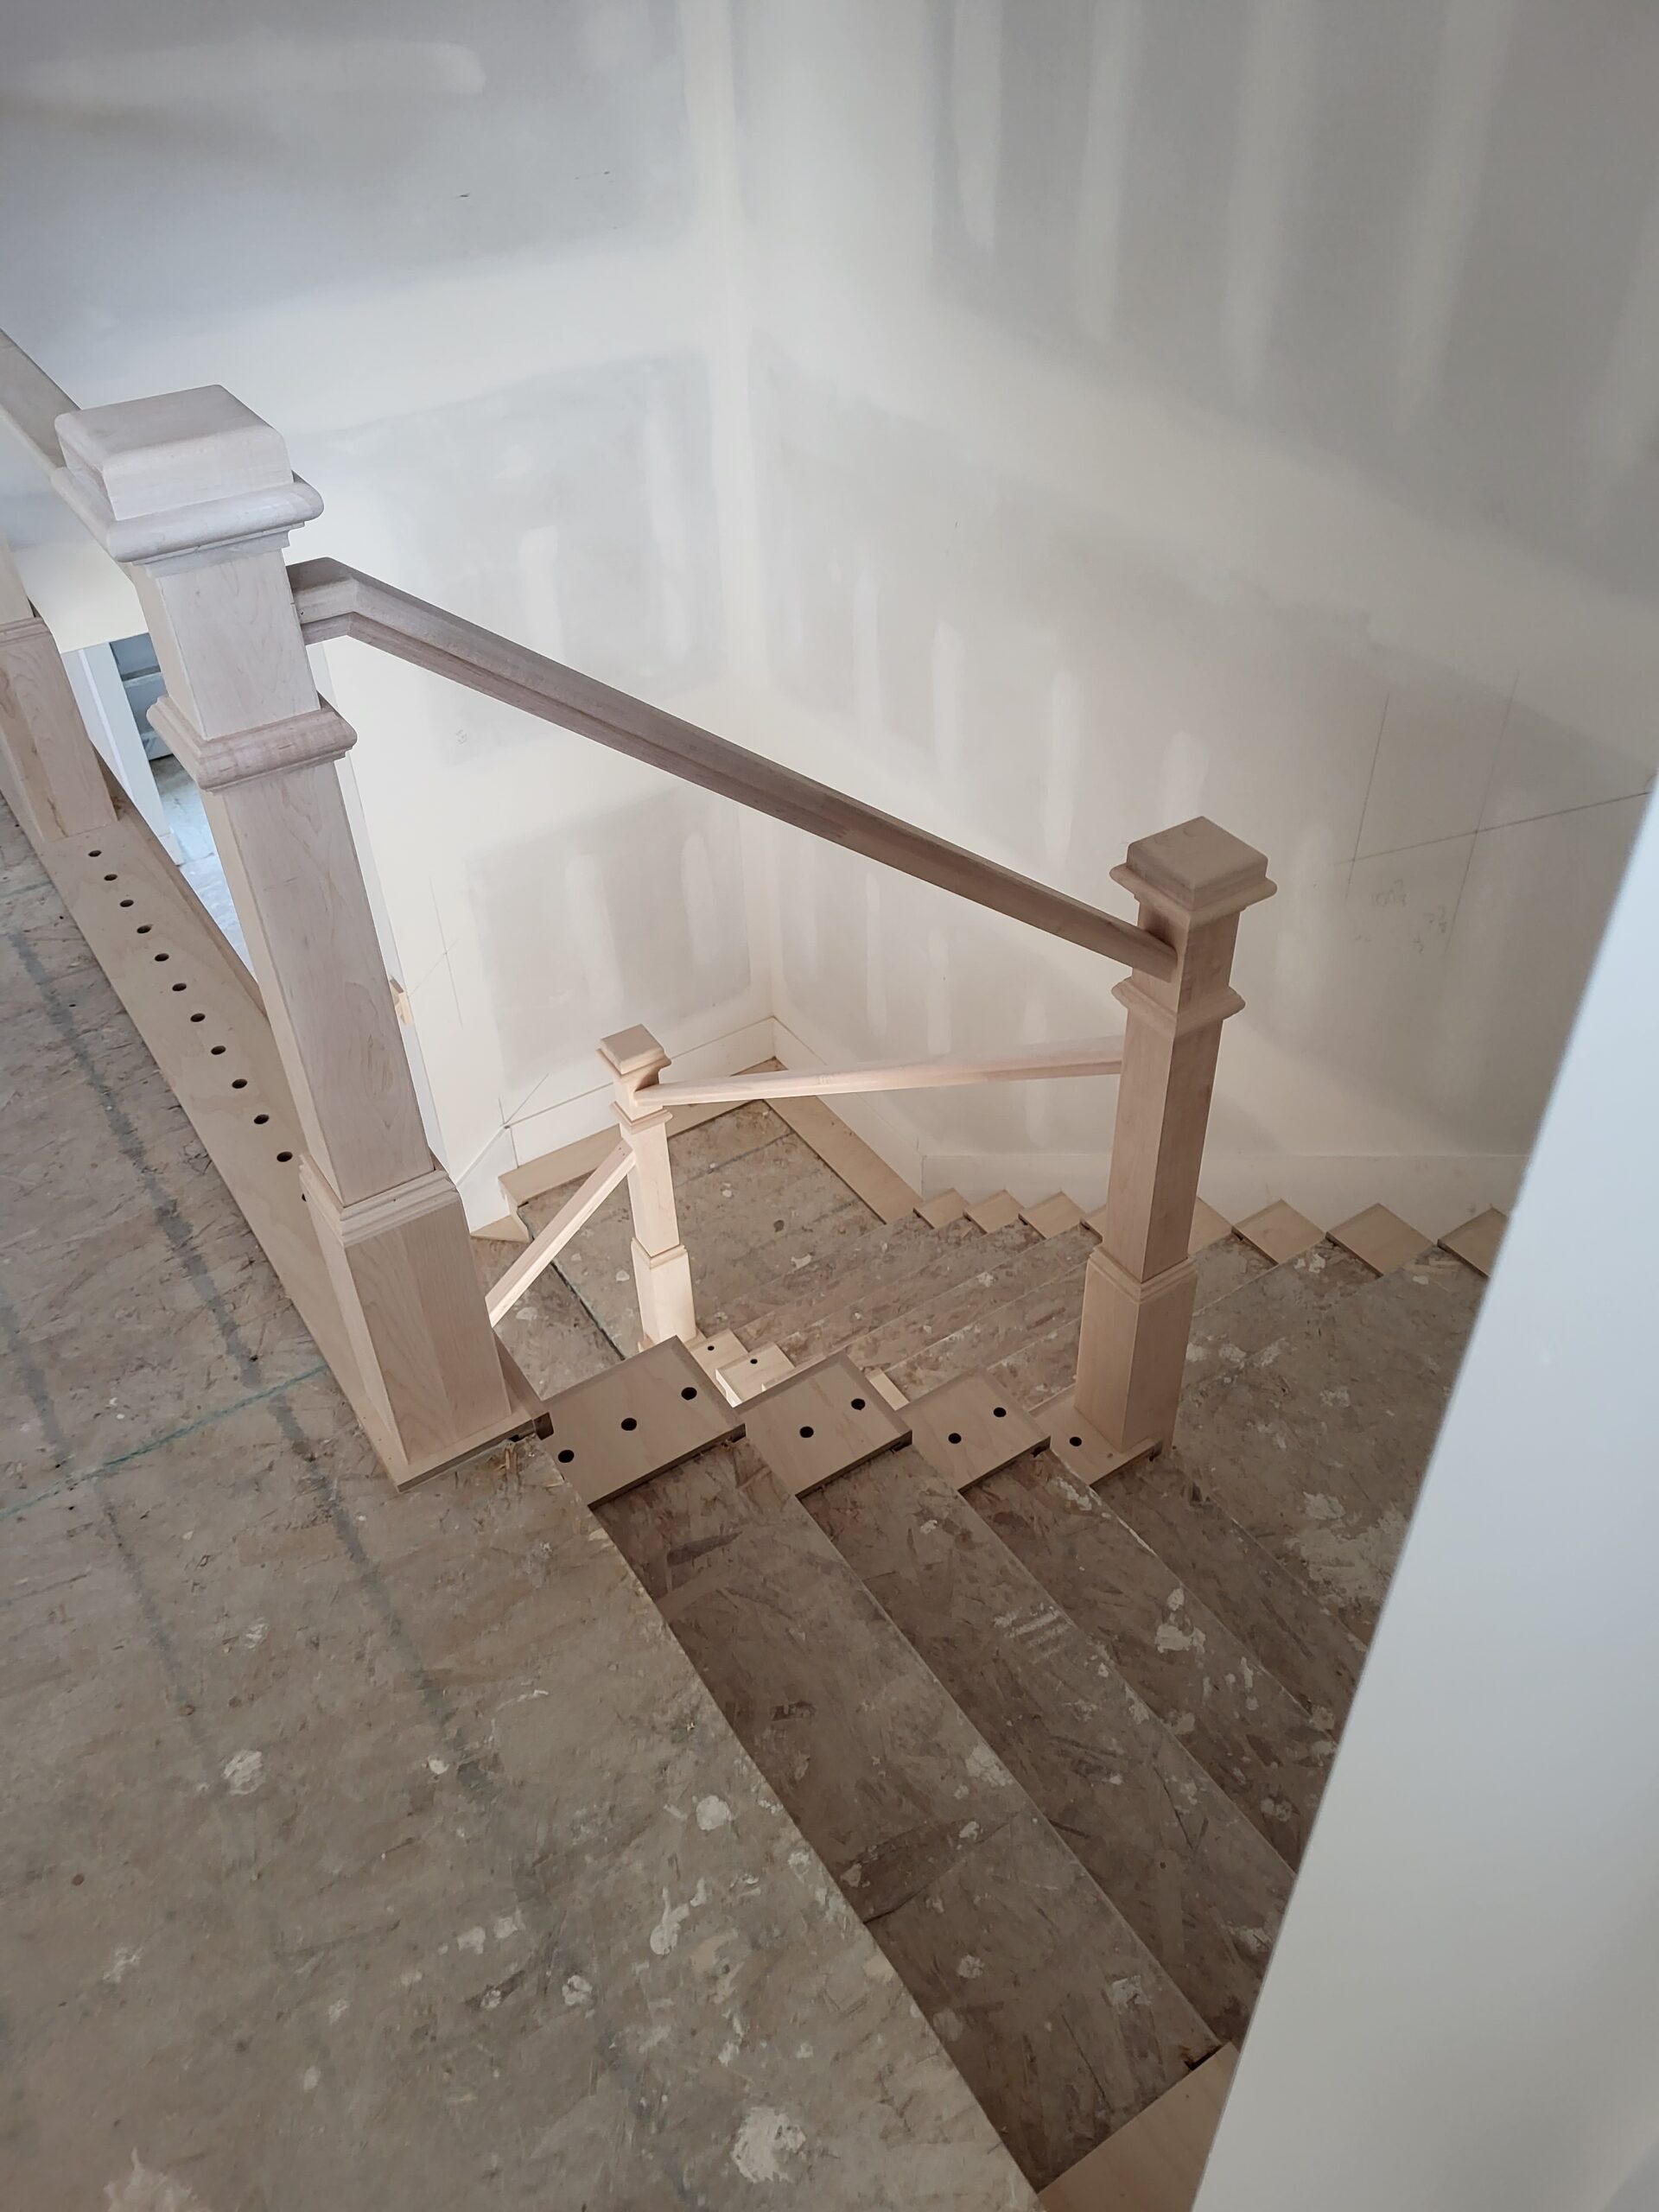
Wood newel posts and handrail installed at a stair landing with drilled baluster holes
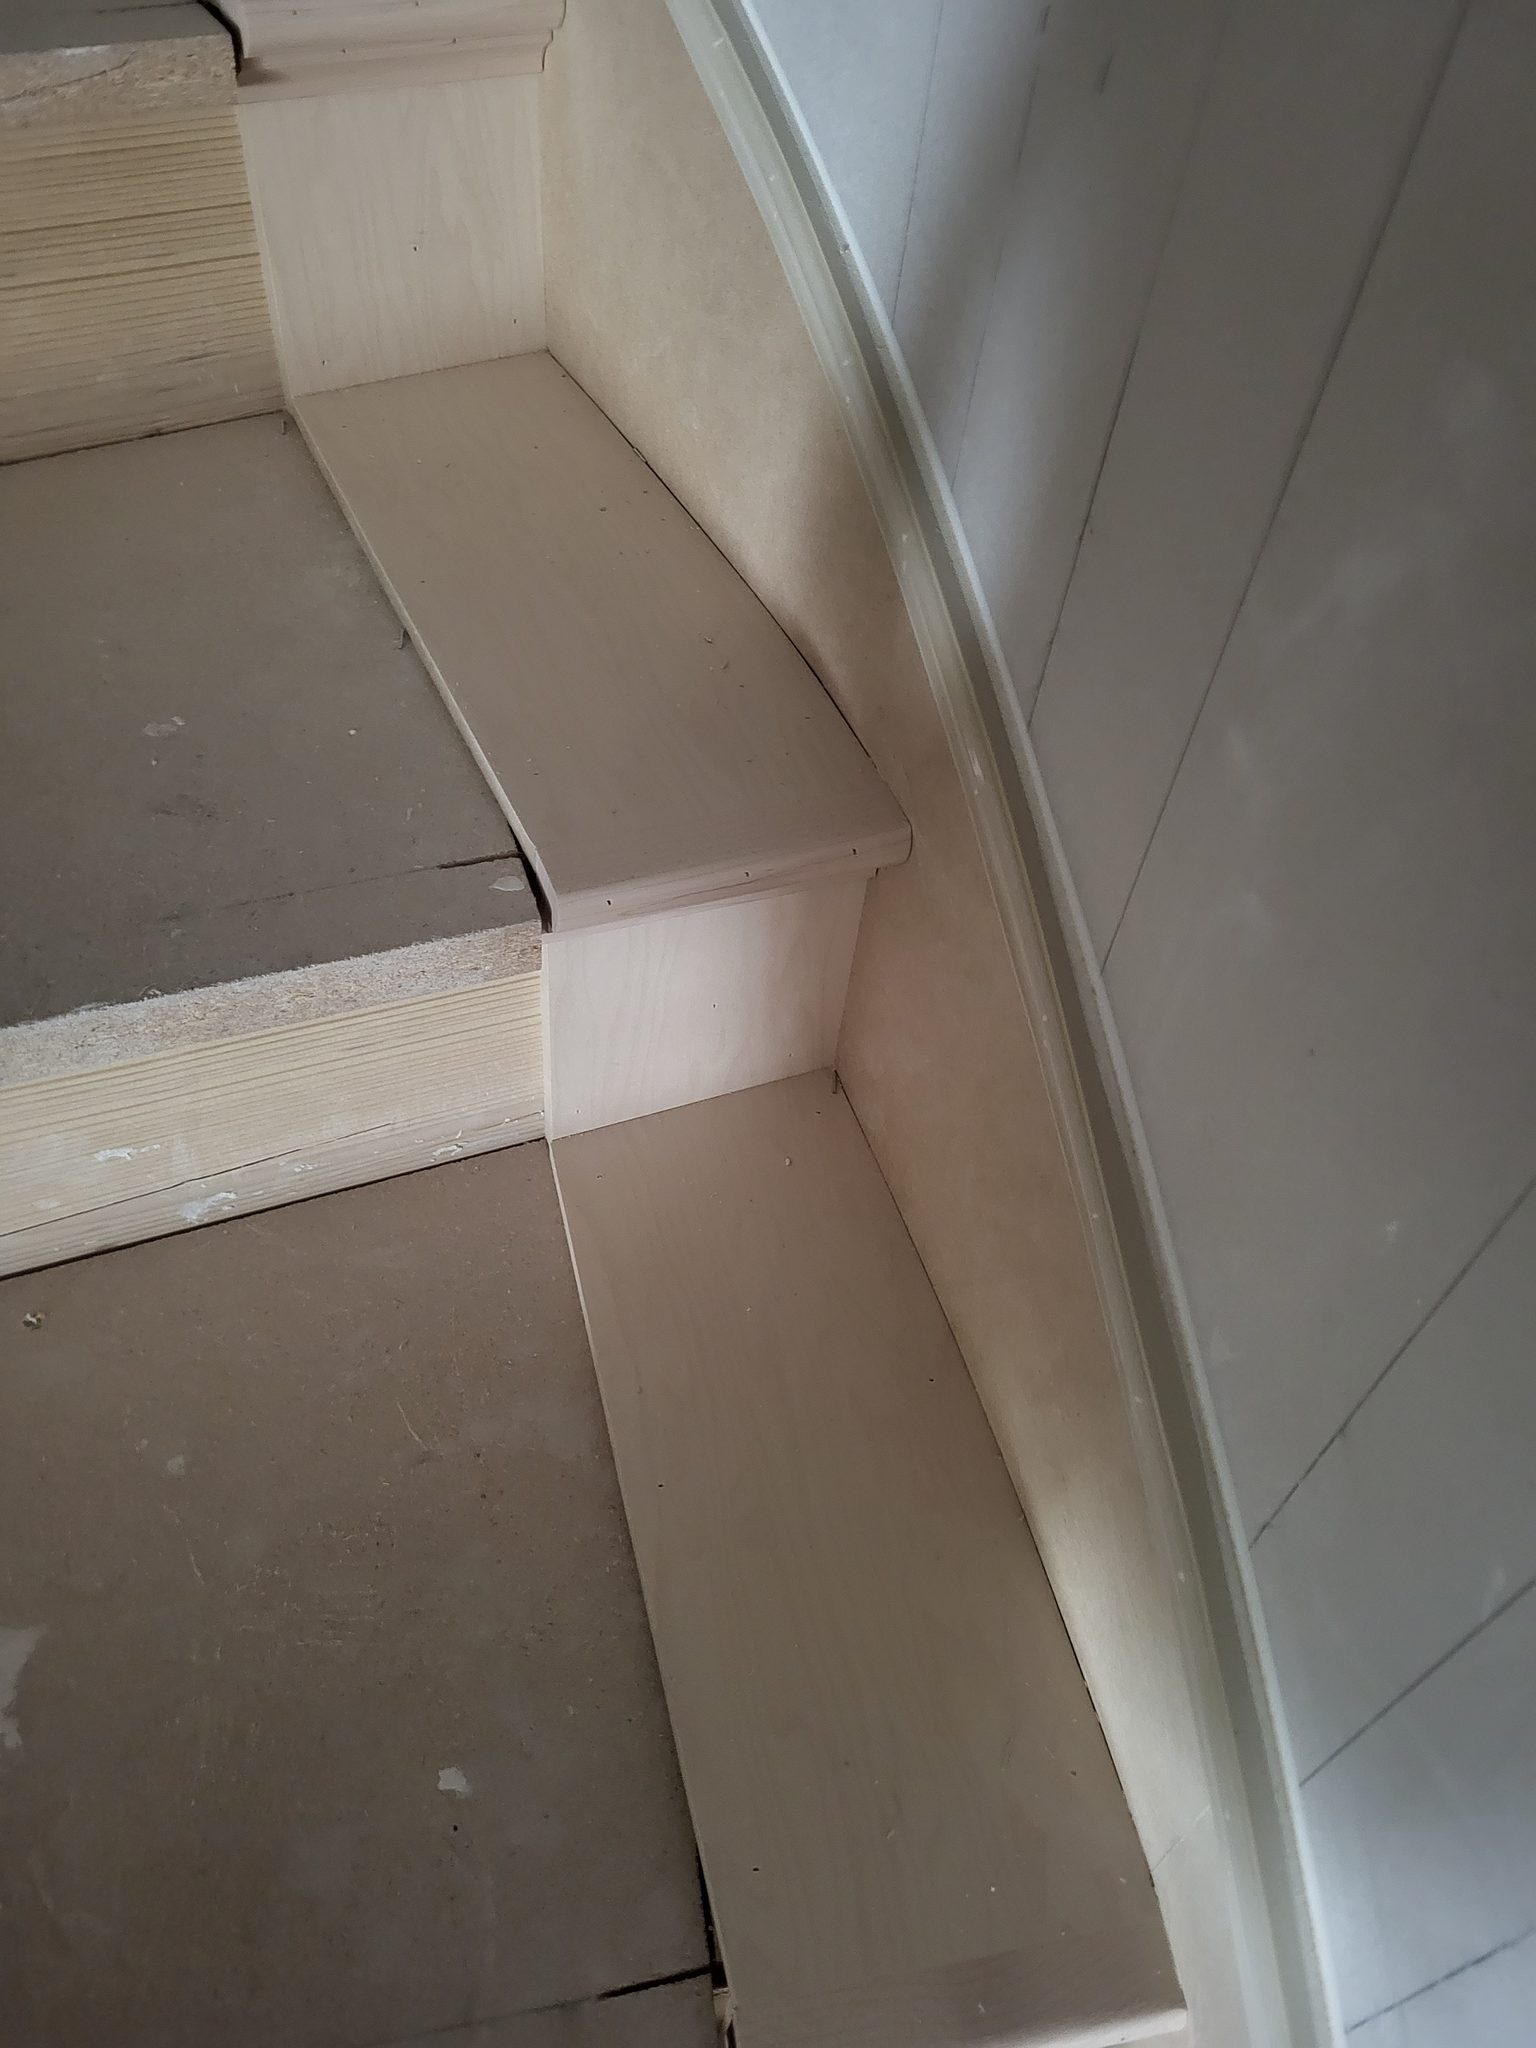
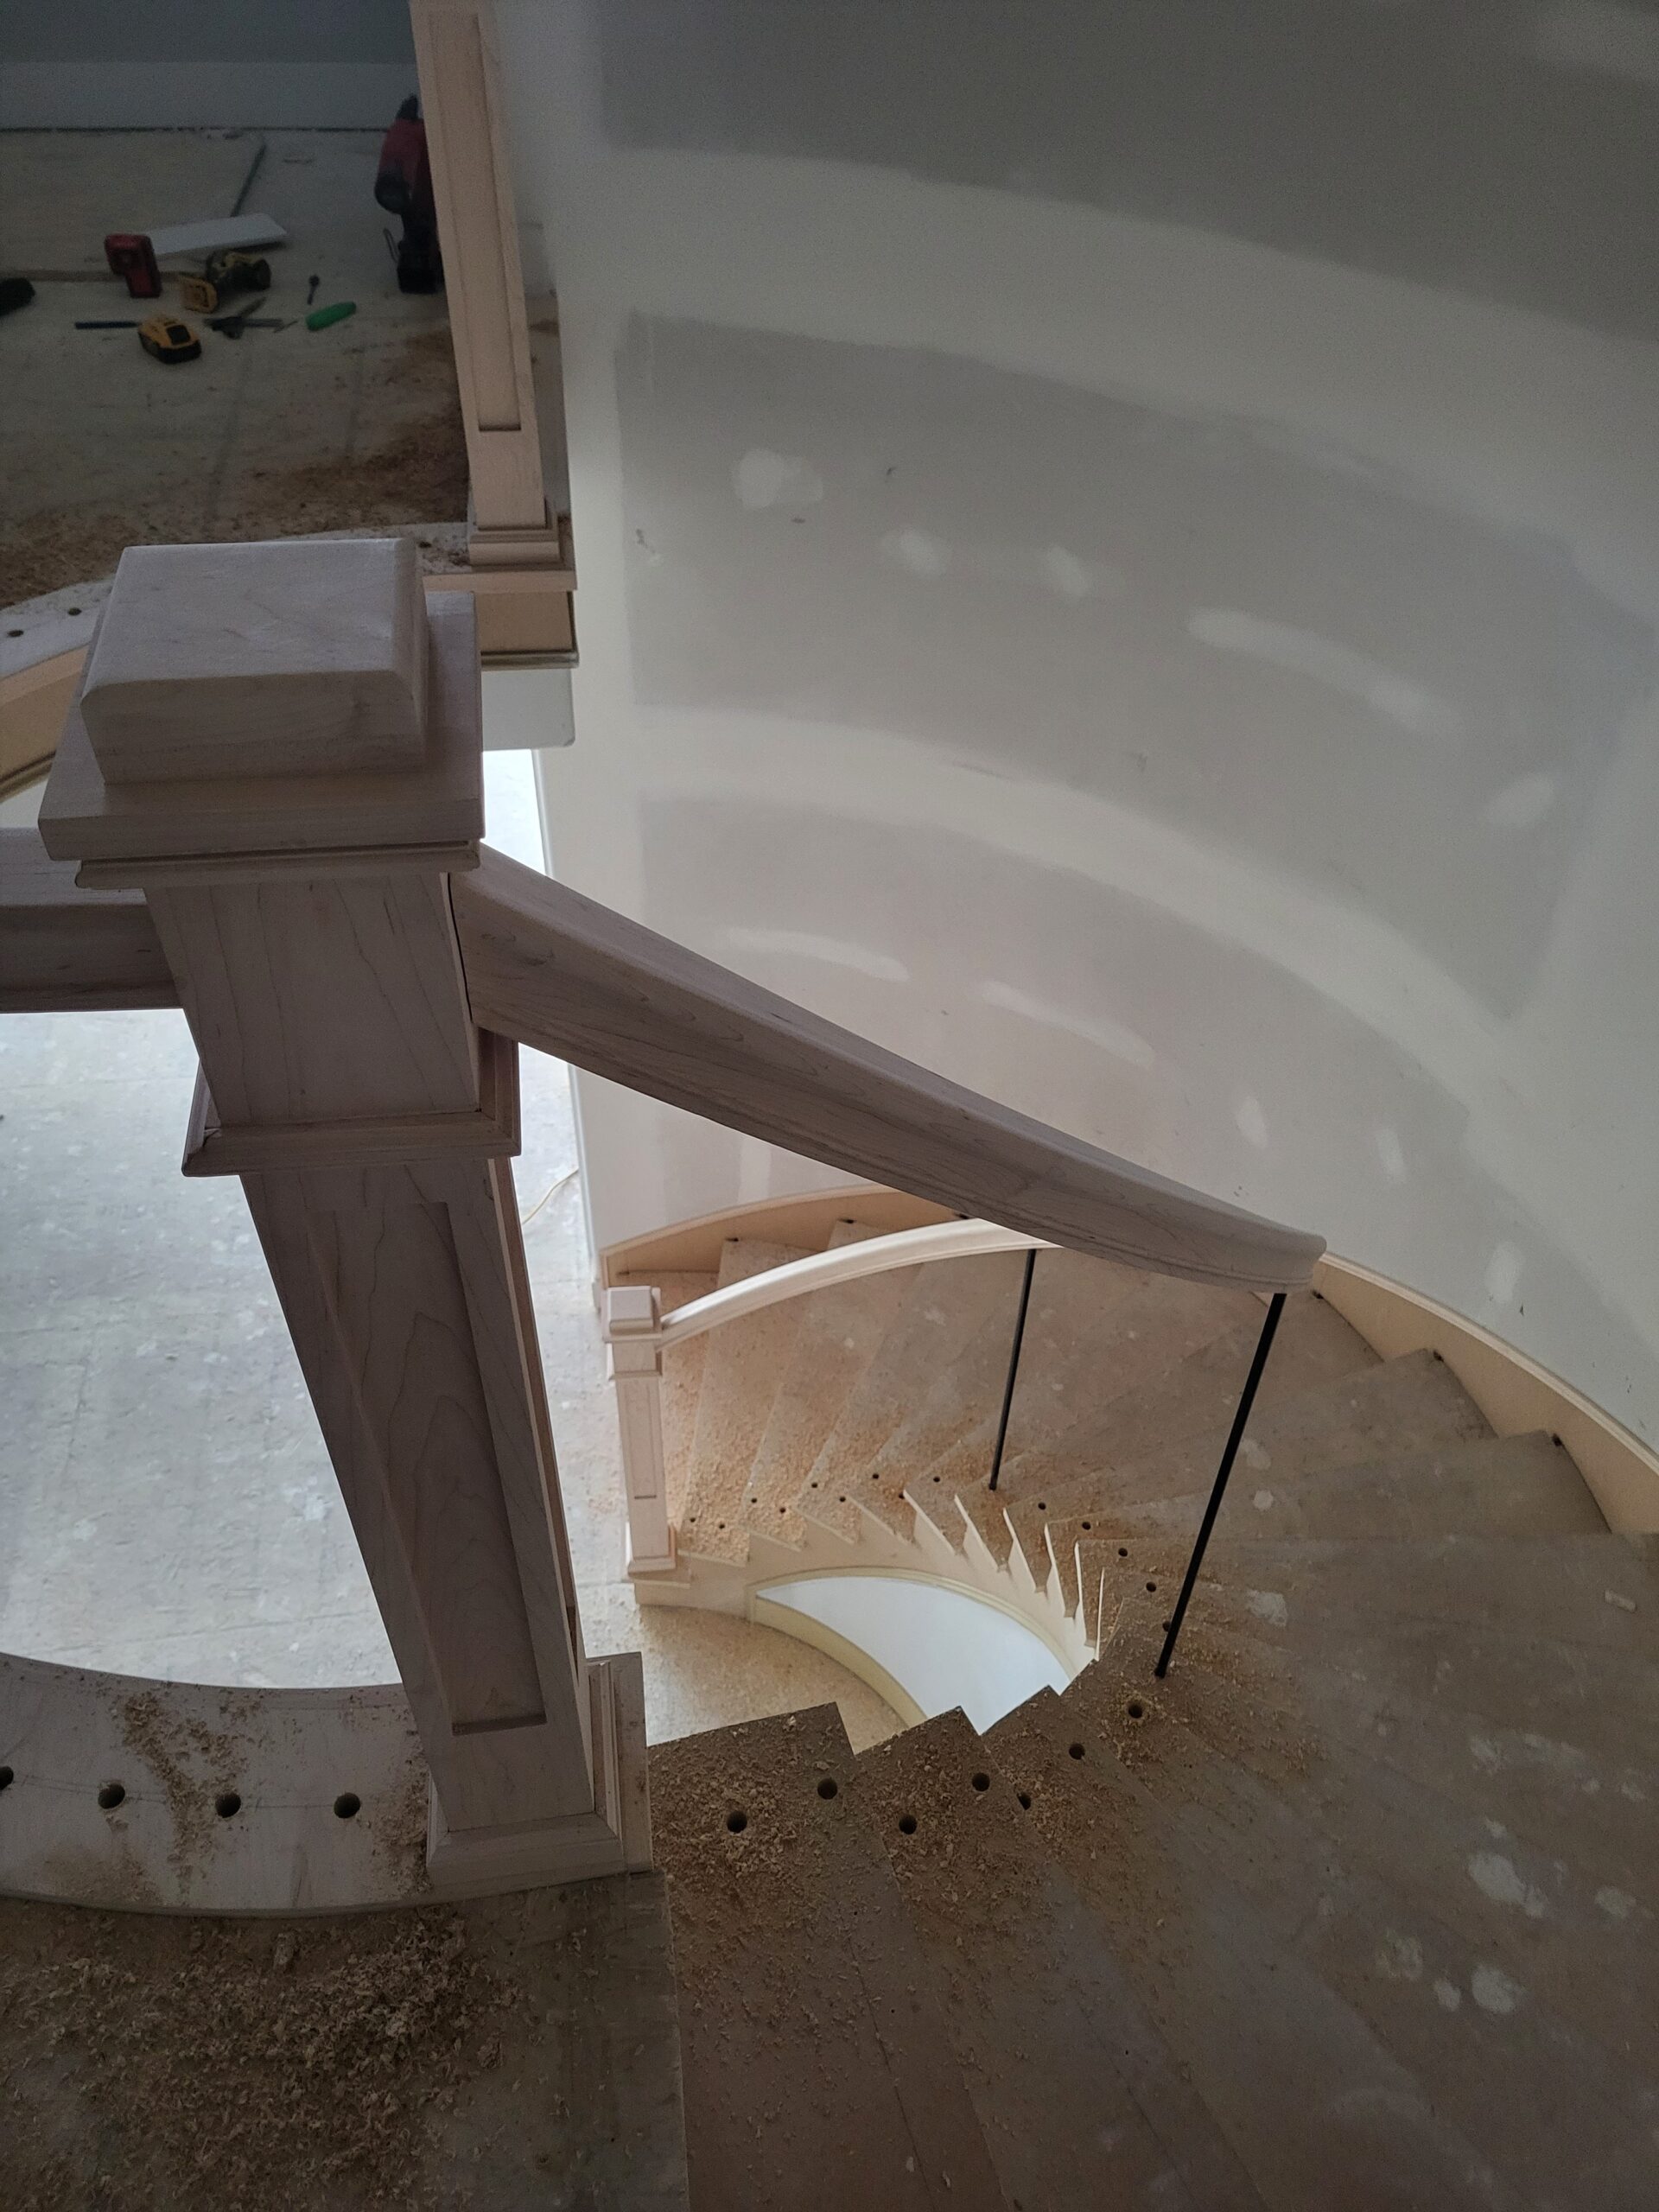
Unfinished curved stair tread with a rounded end cap return against a curved wall, ready for paint
Unfinished stair treads with curved wood end caps and drilled holes for balusters
Unfinished stair treads with curved wood end caps viewed down an open stairwell
Stairs under construction, OSB treads with a drilled baluster stringer and a newel post test fit at the top.
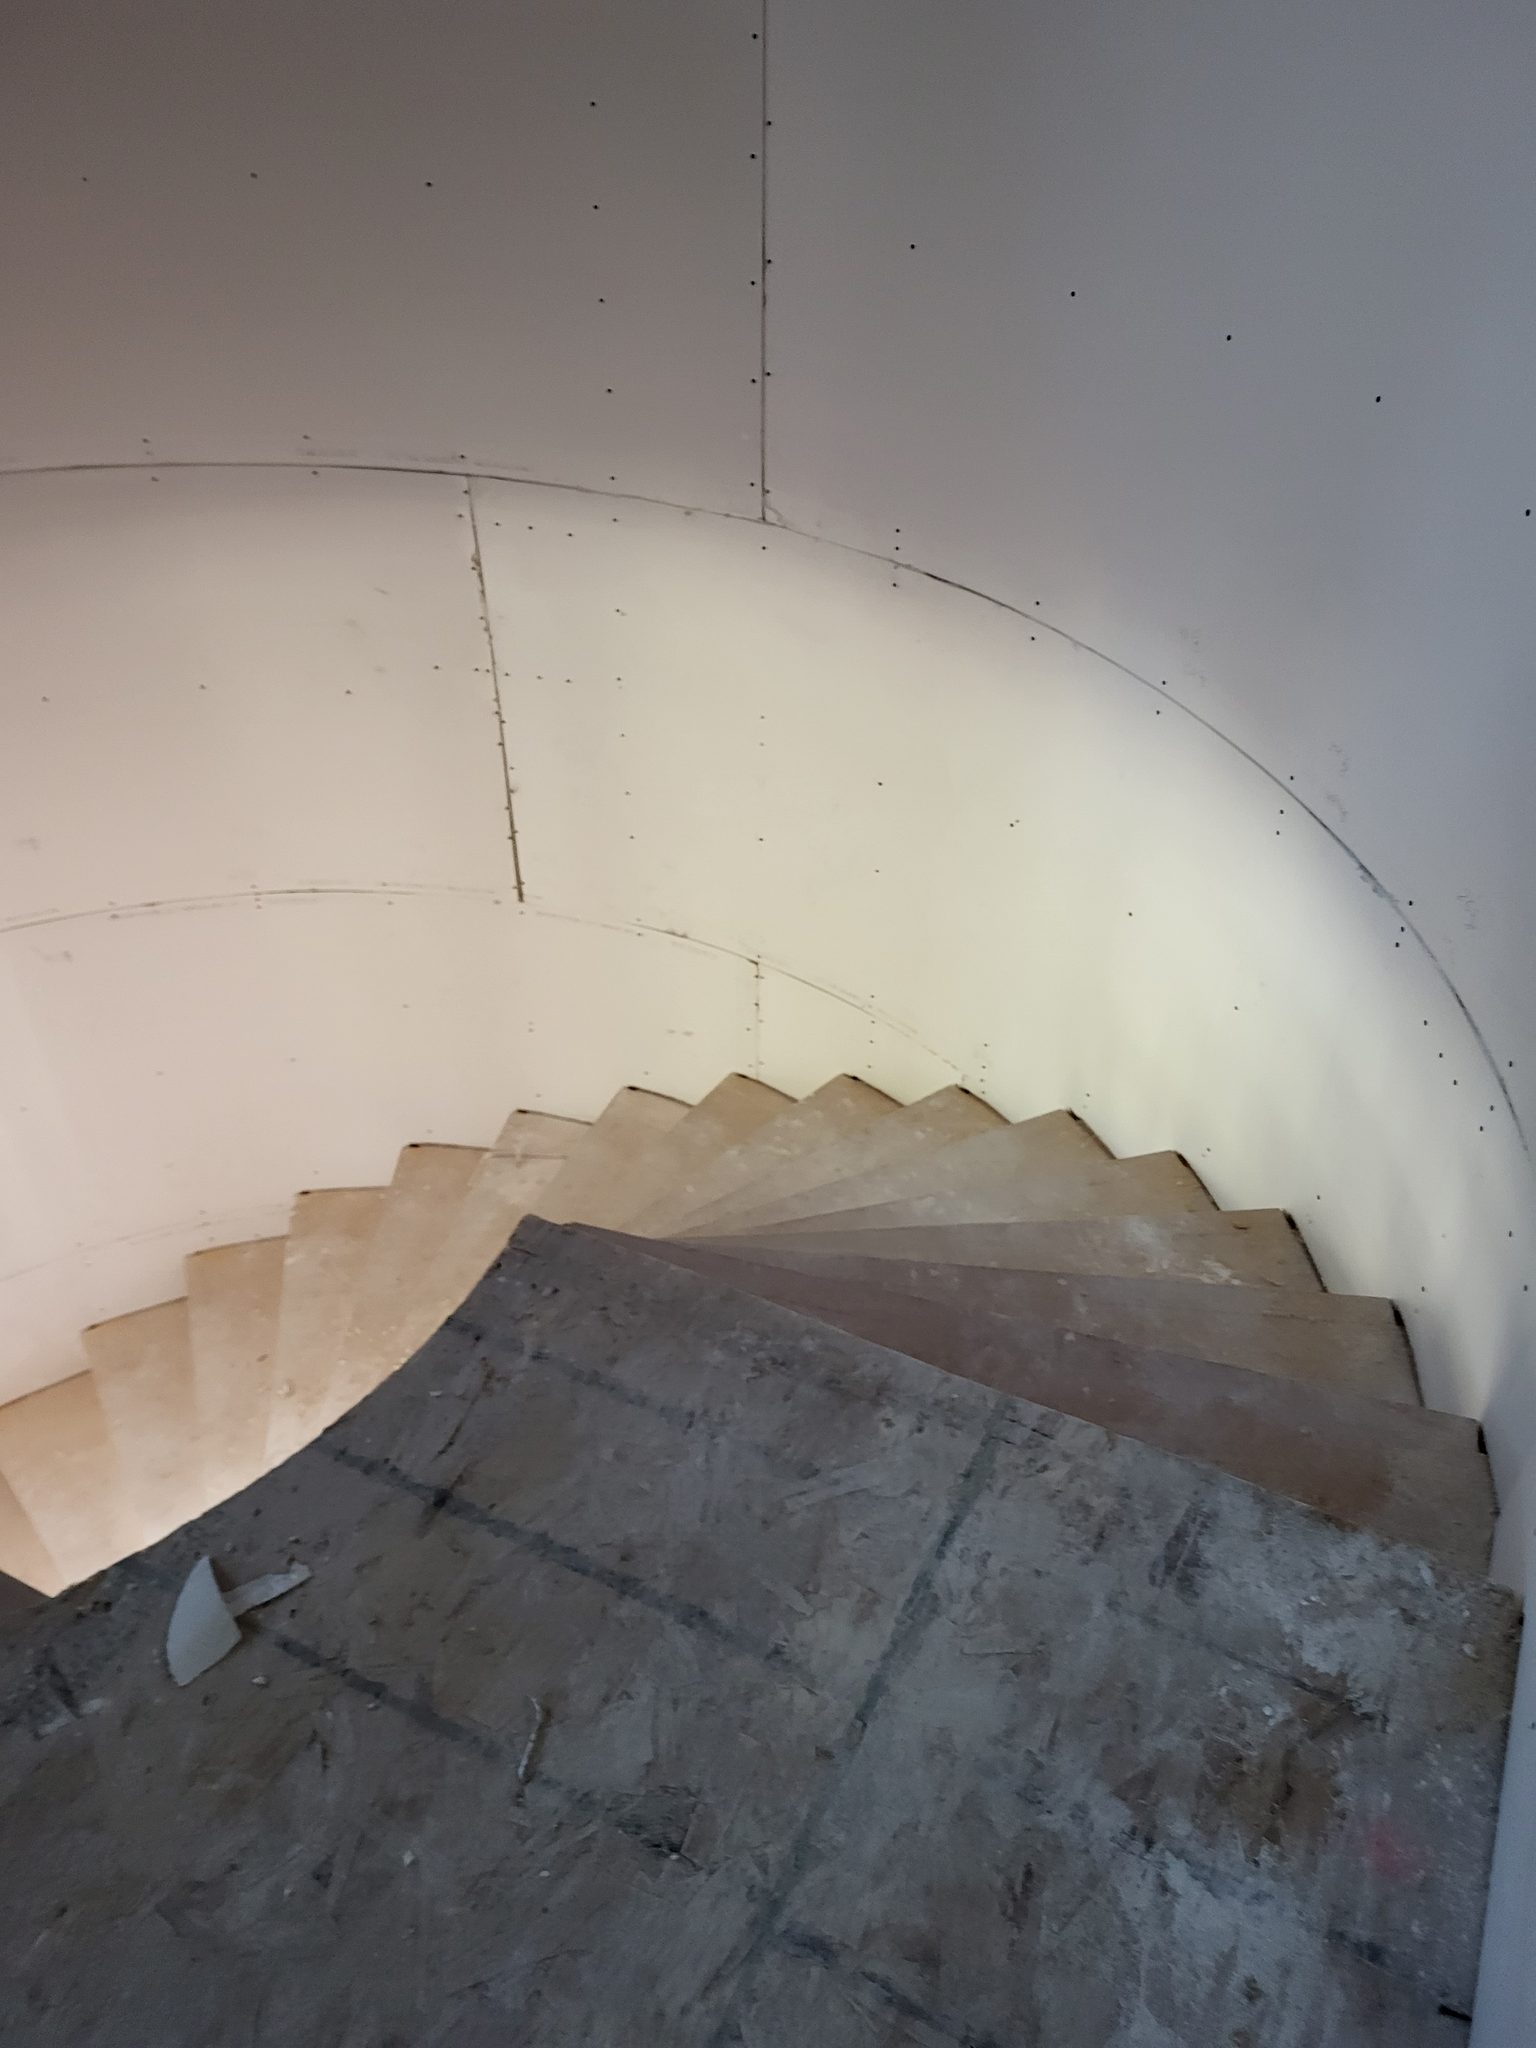
Curved staircase with unfinished treads and bare drywall walls, before any trim installed
Unfinished curved staircase with a wood newel post and handrail above curved wood treads
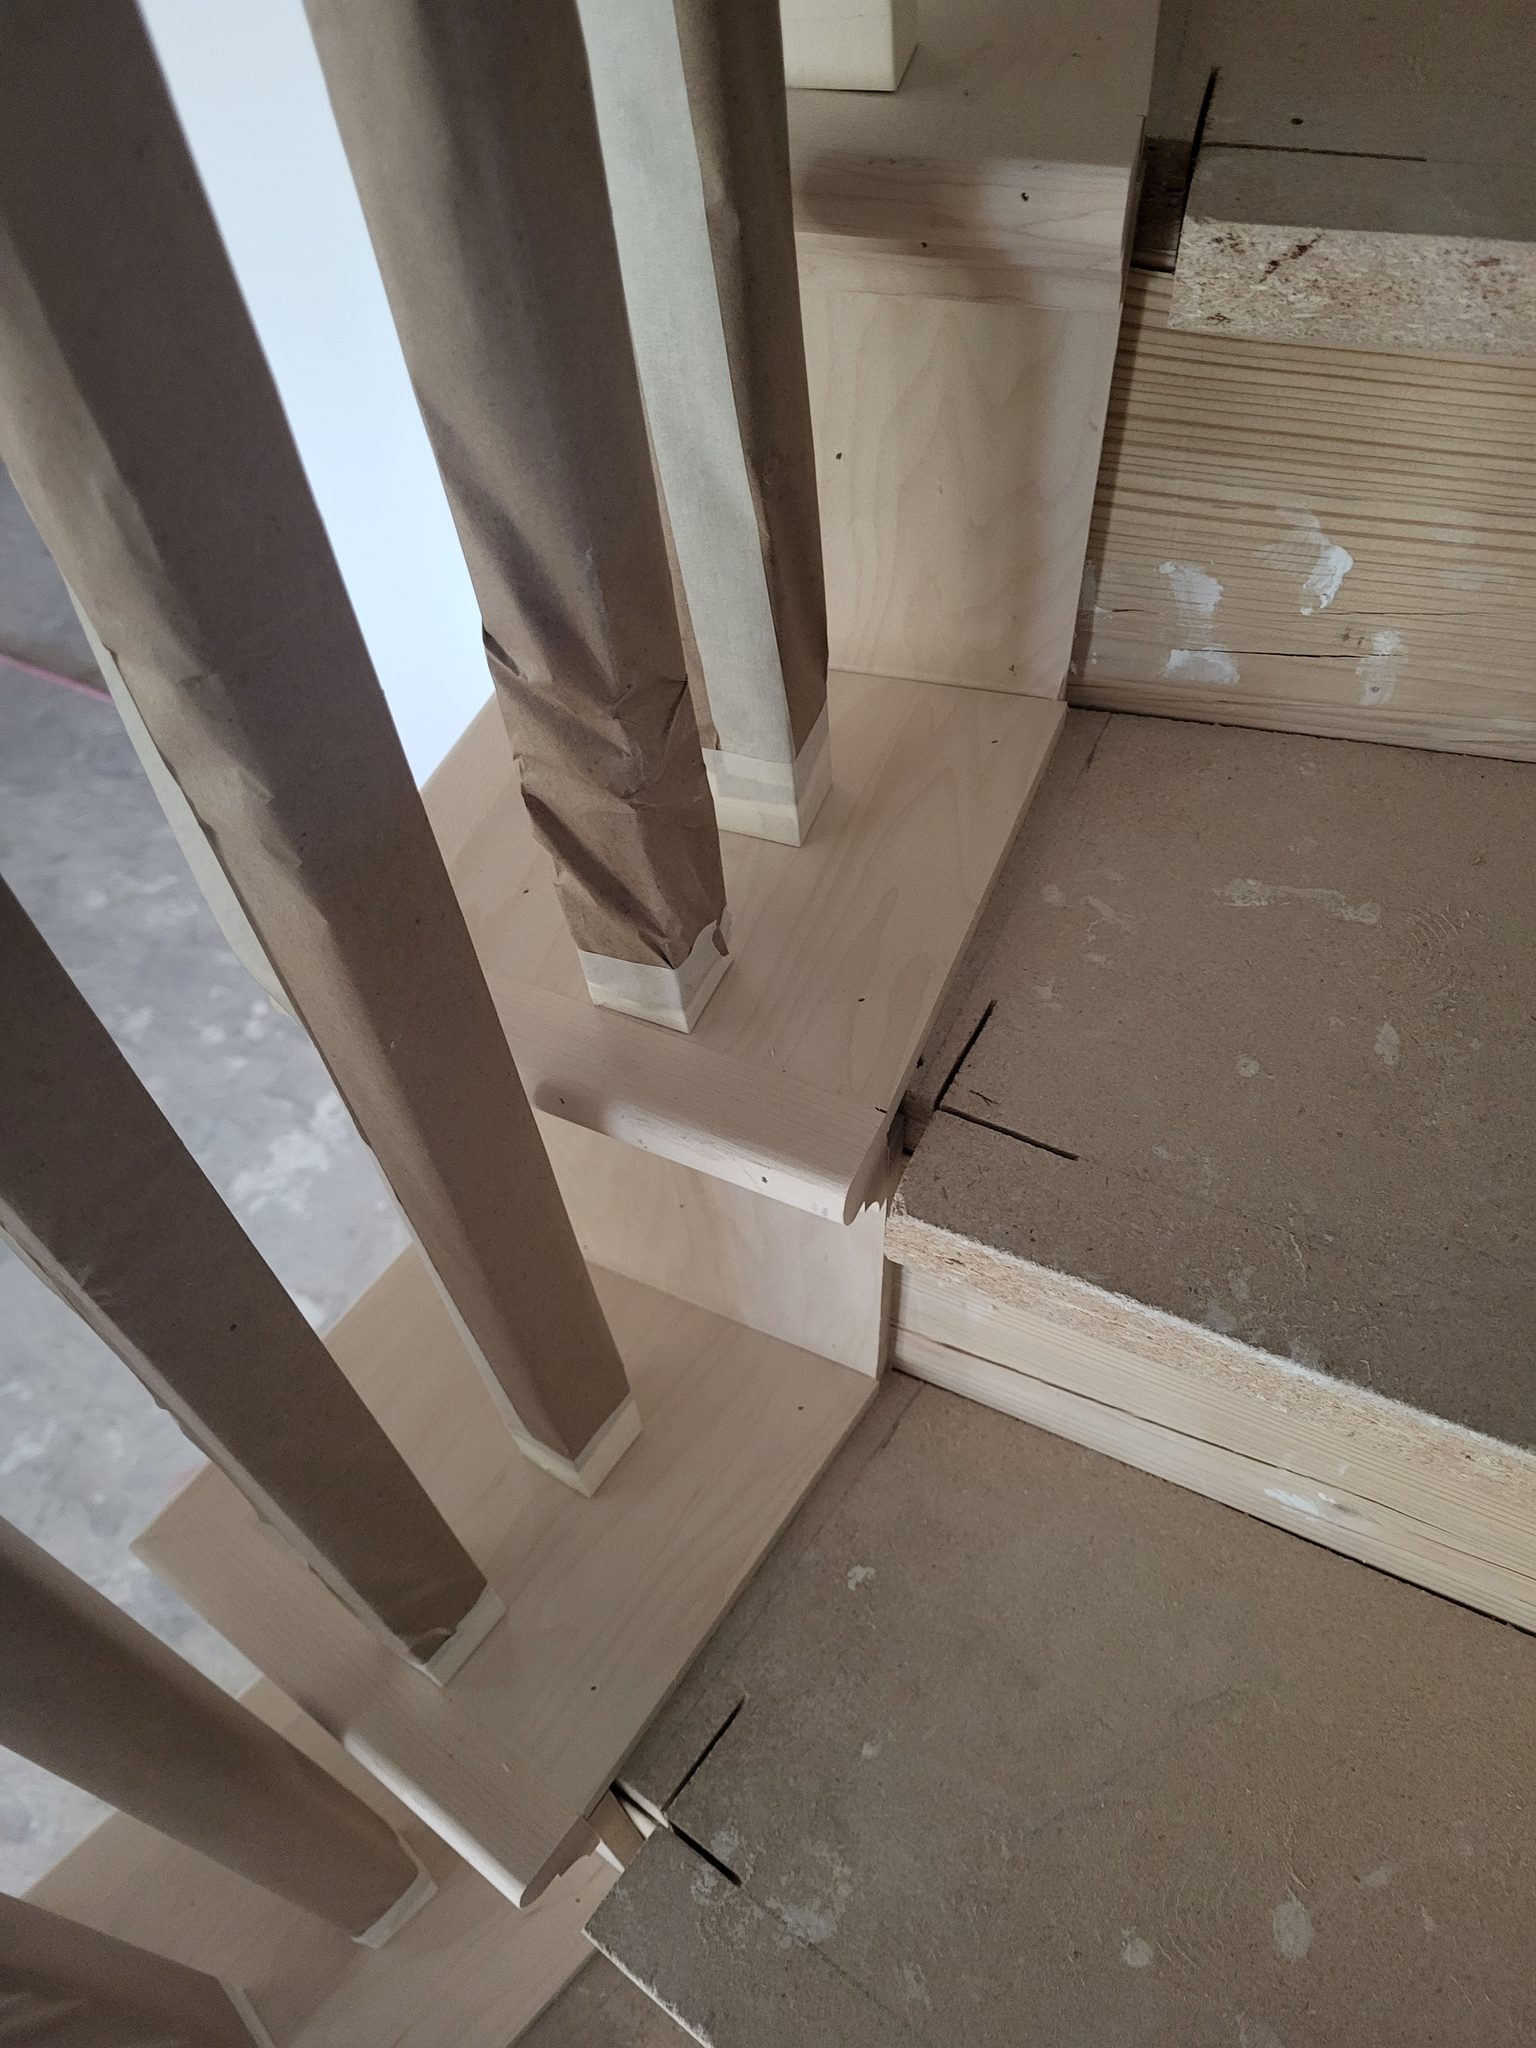
Paper wrapped balusters and a mitered trim joint at a stair corner, protected during construction
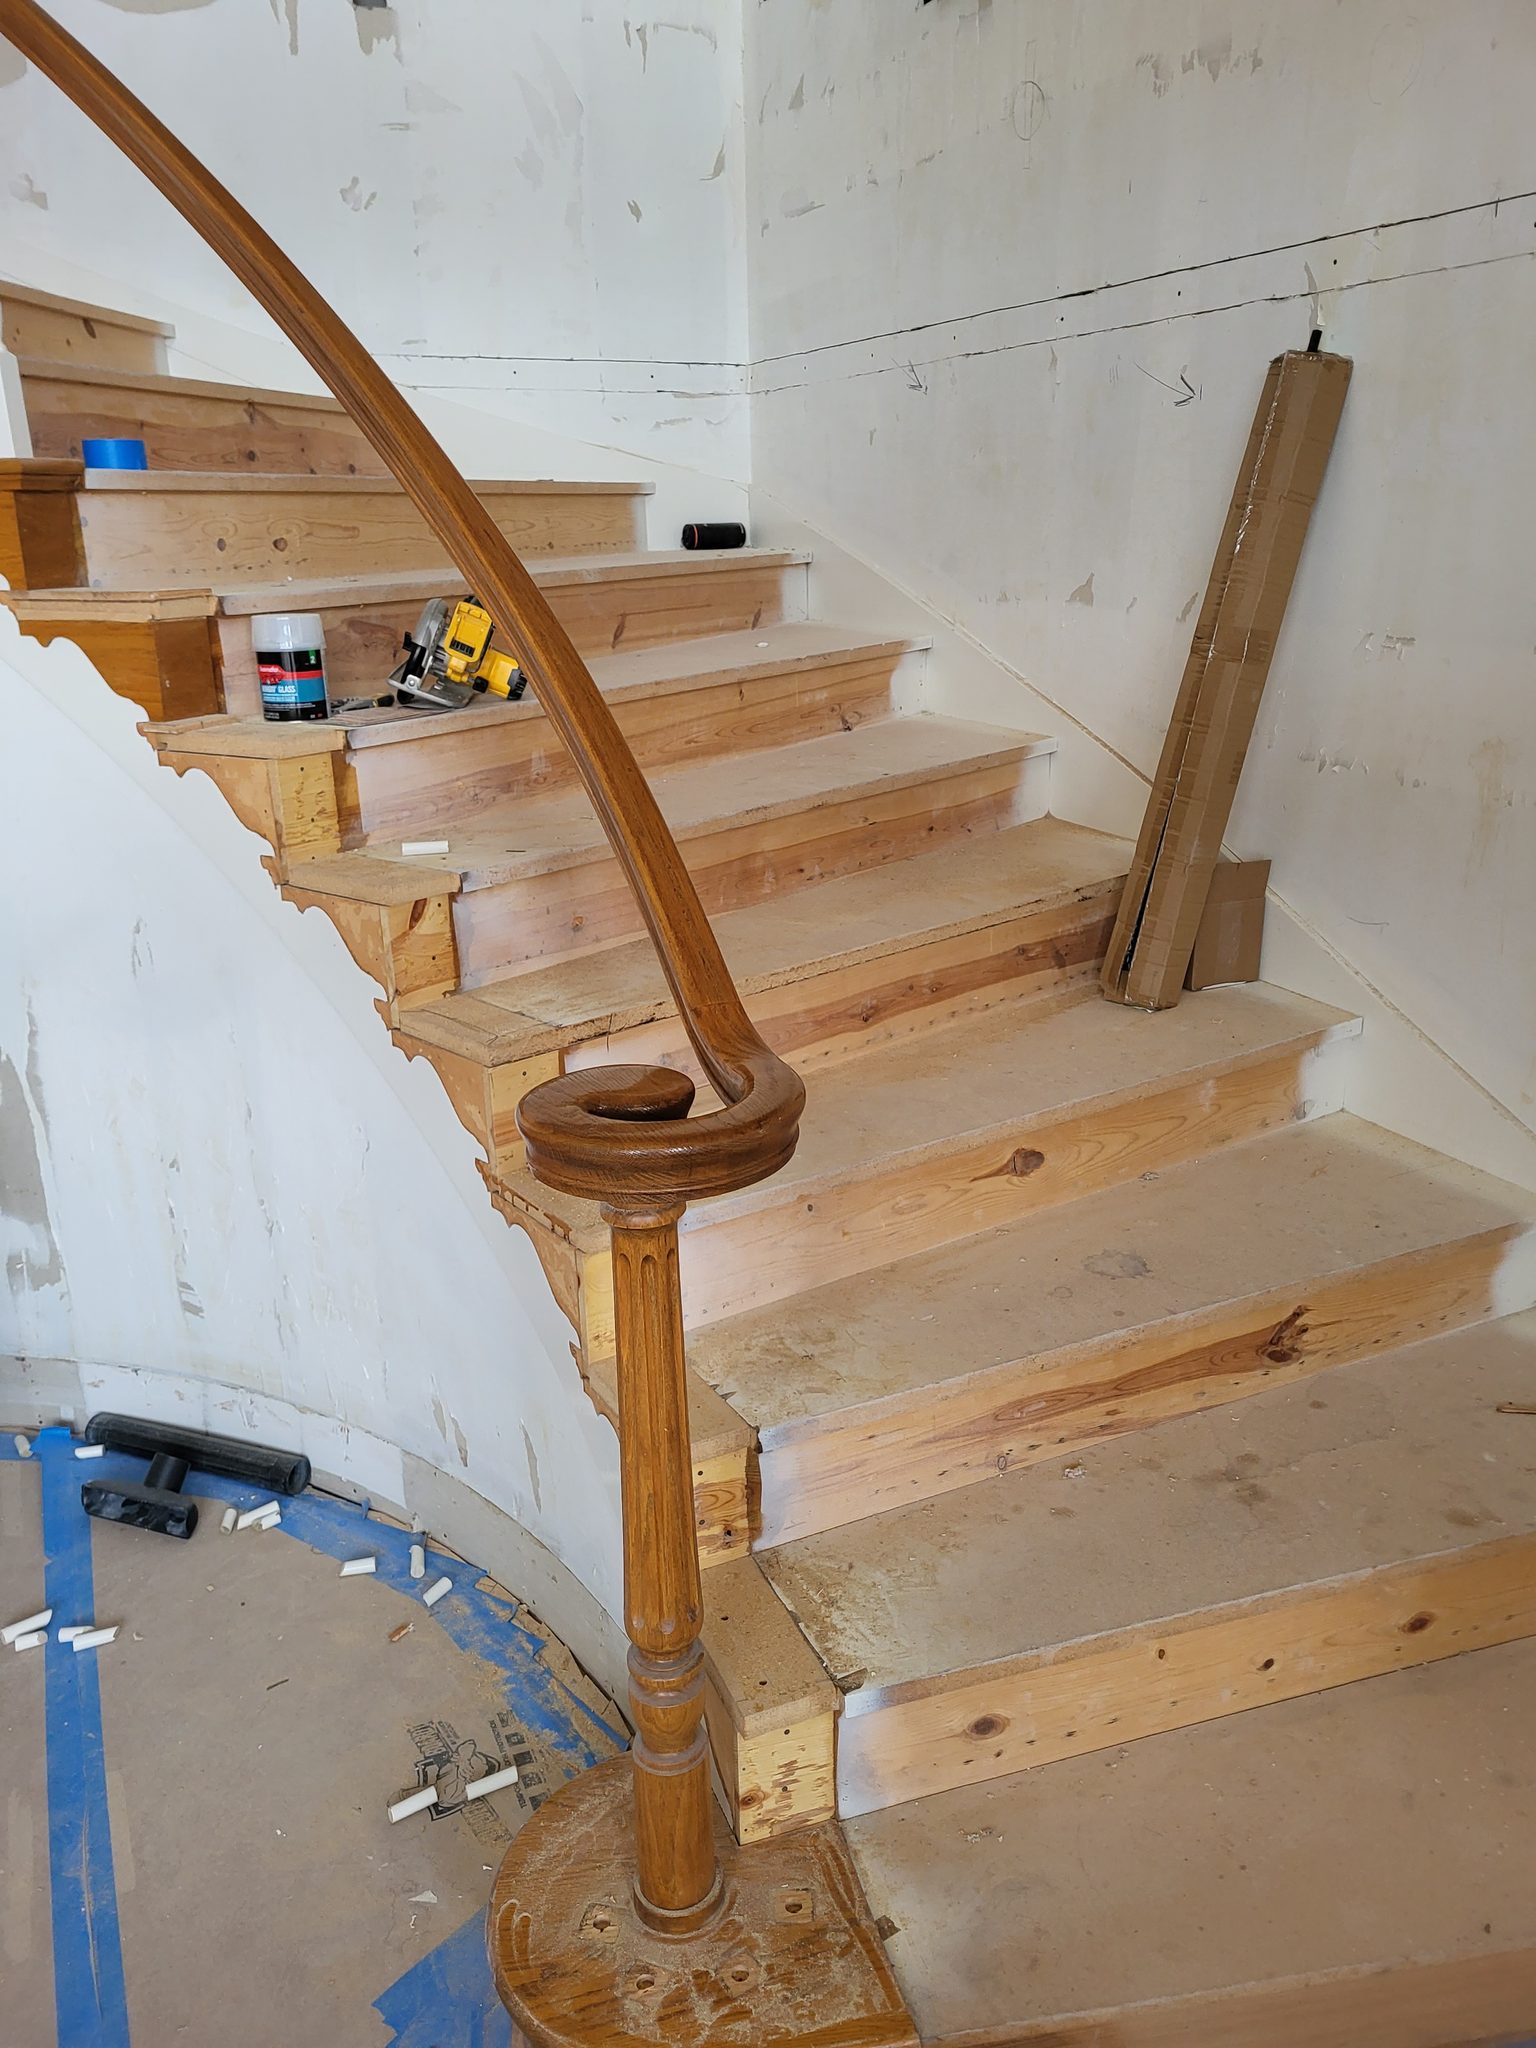
Curved staircase with a scalloped open stringer, turned newel post volute, and unfinished wood treads.
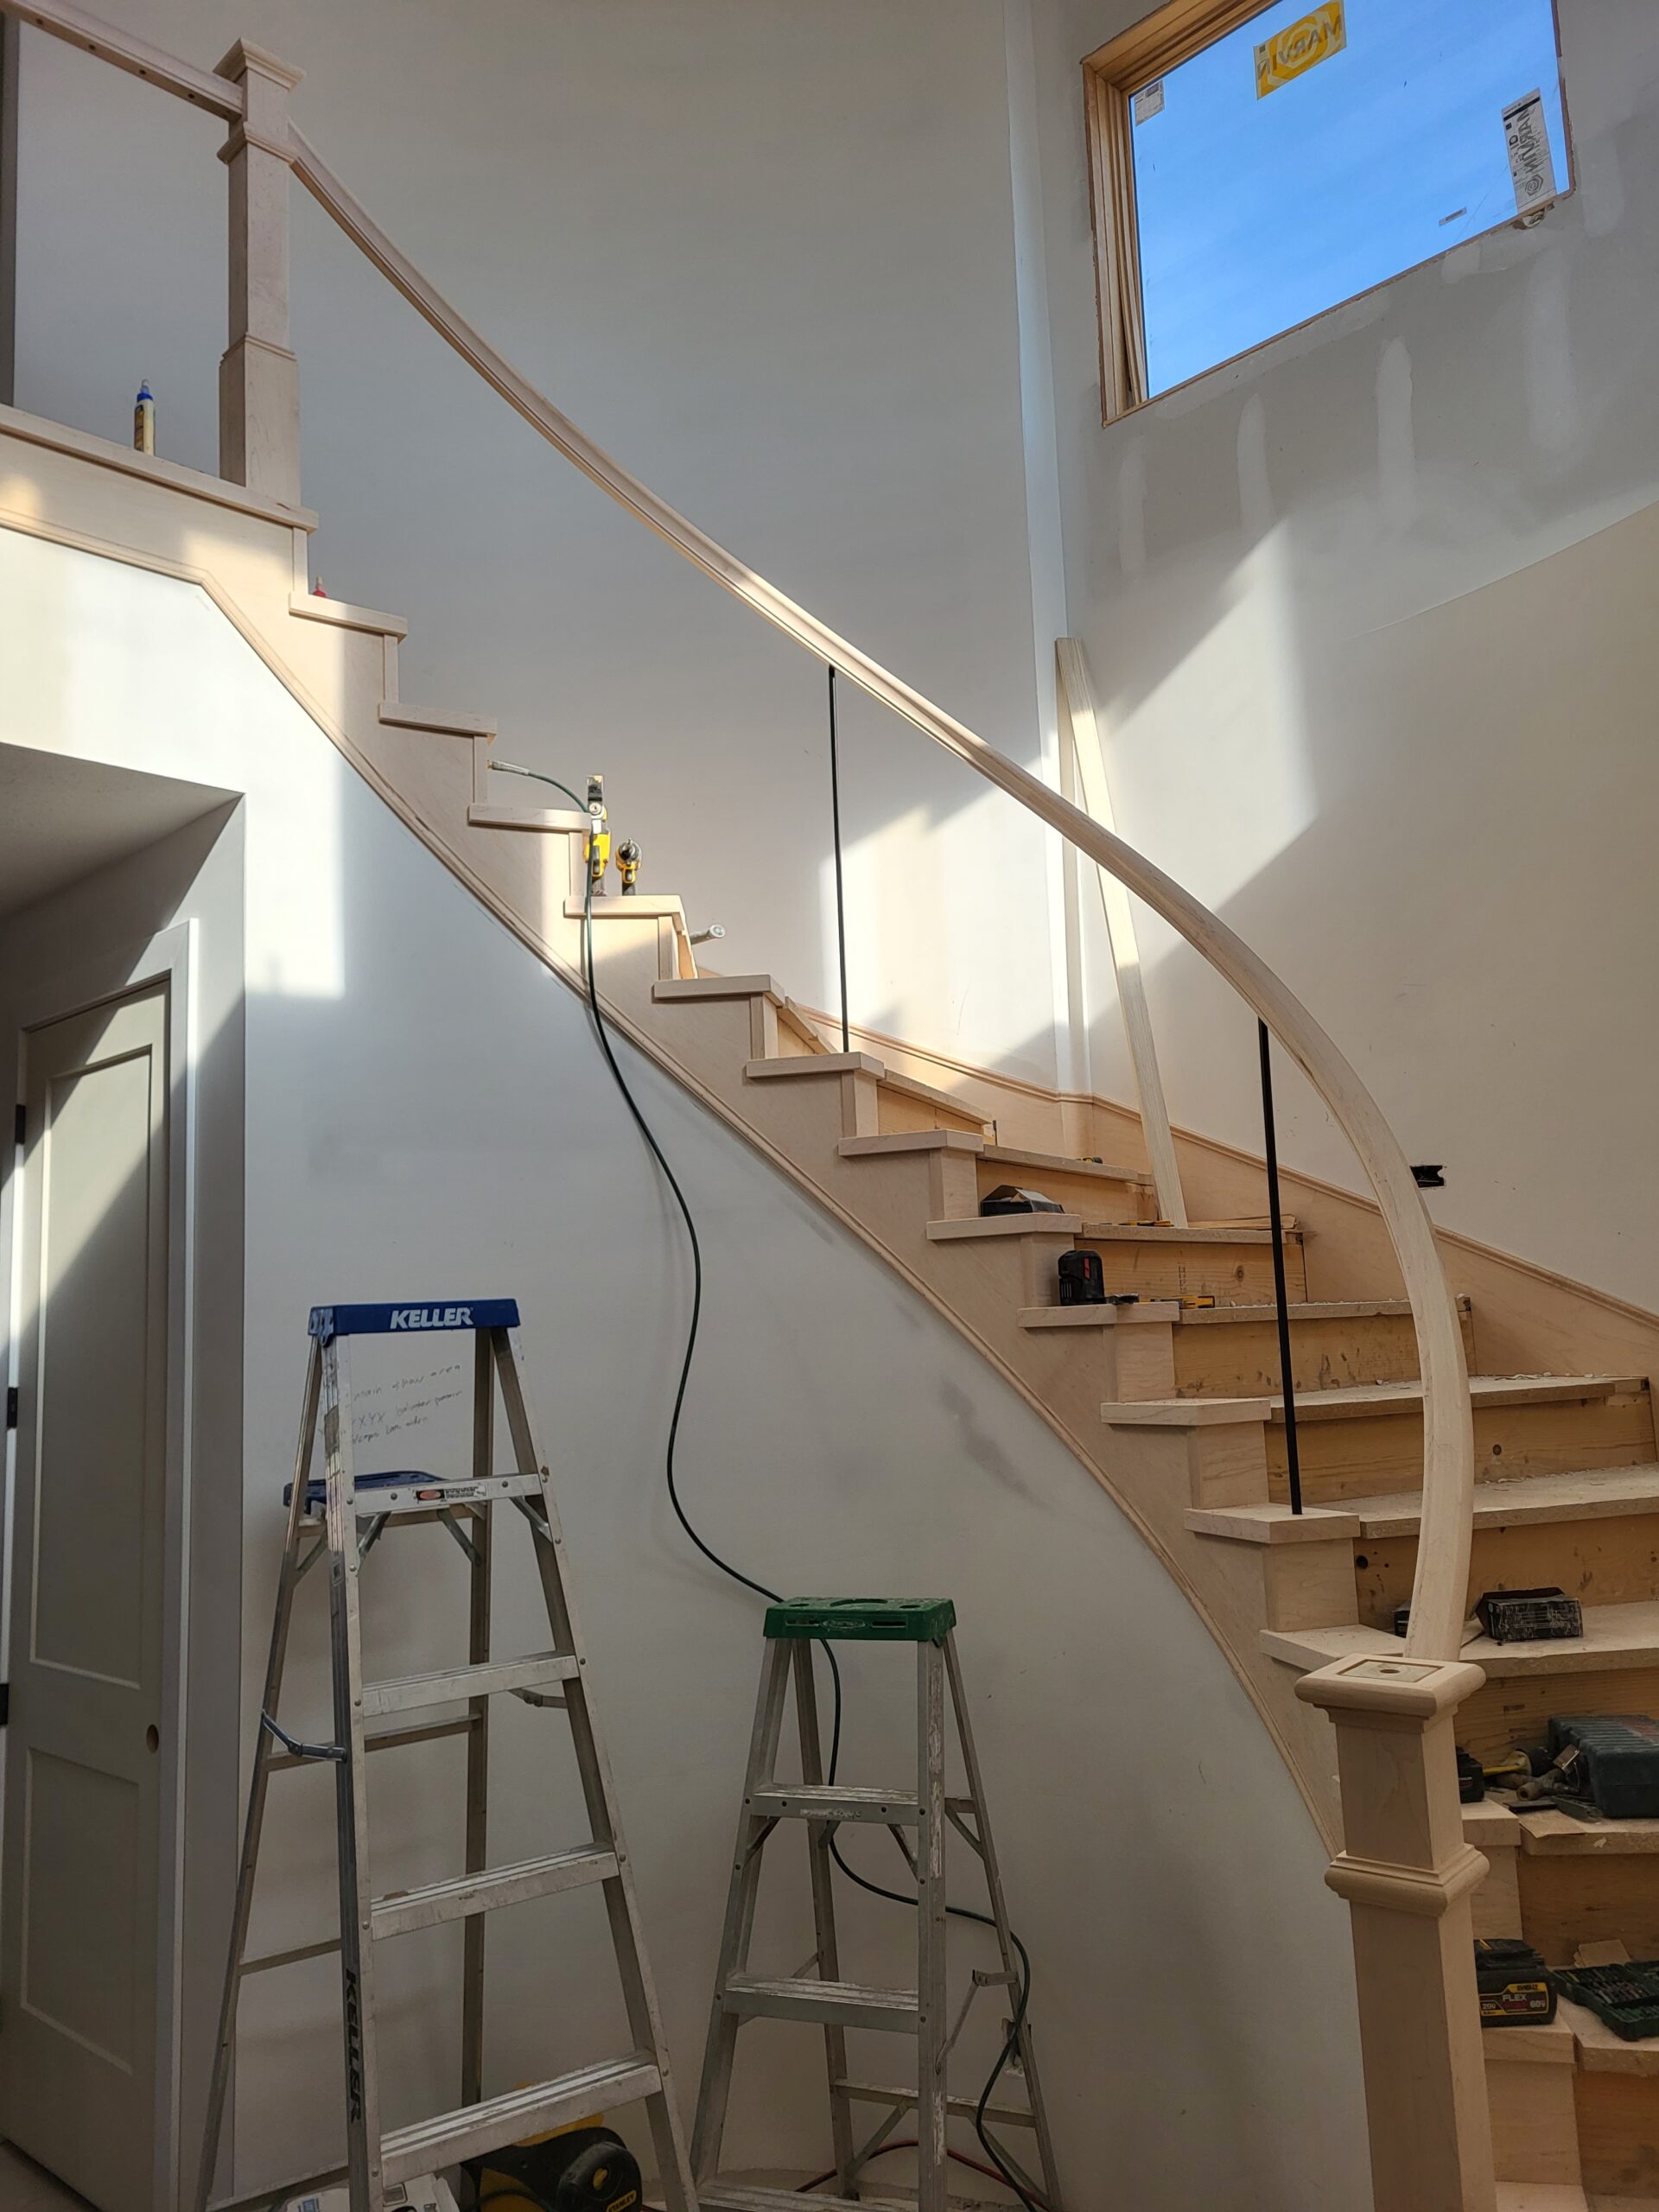
Curved staircase with treads, risers, handrail, and newel posts installed, unfinished wood ready for paint
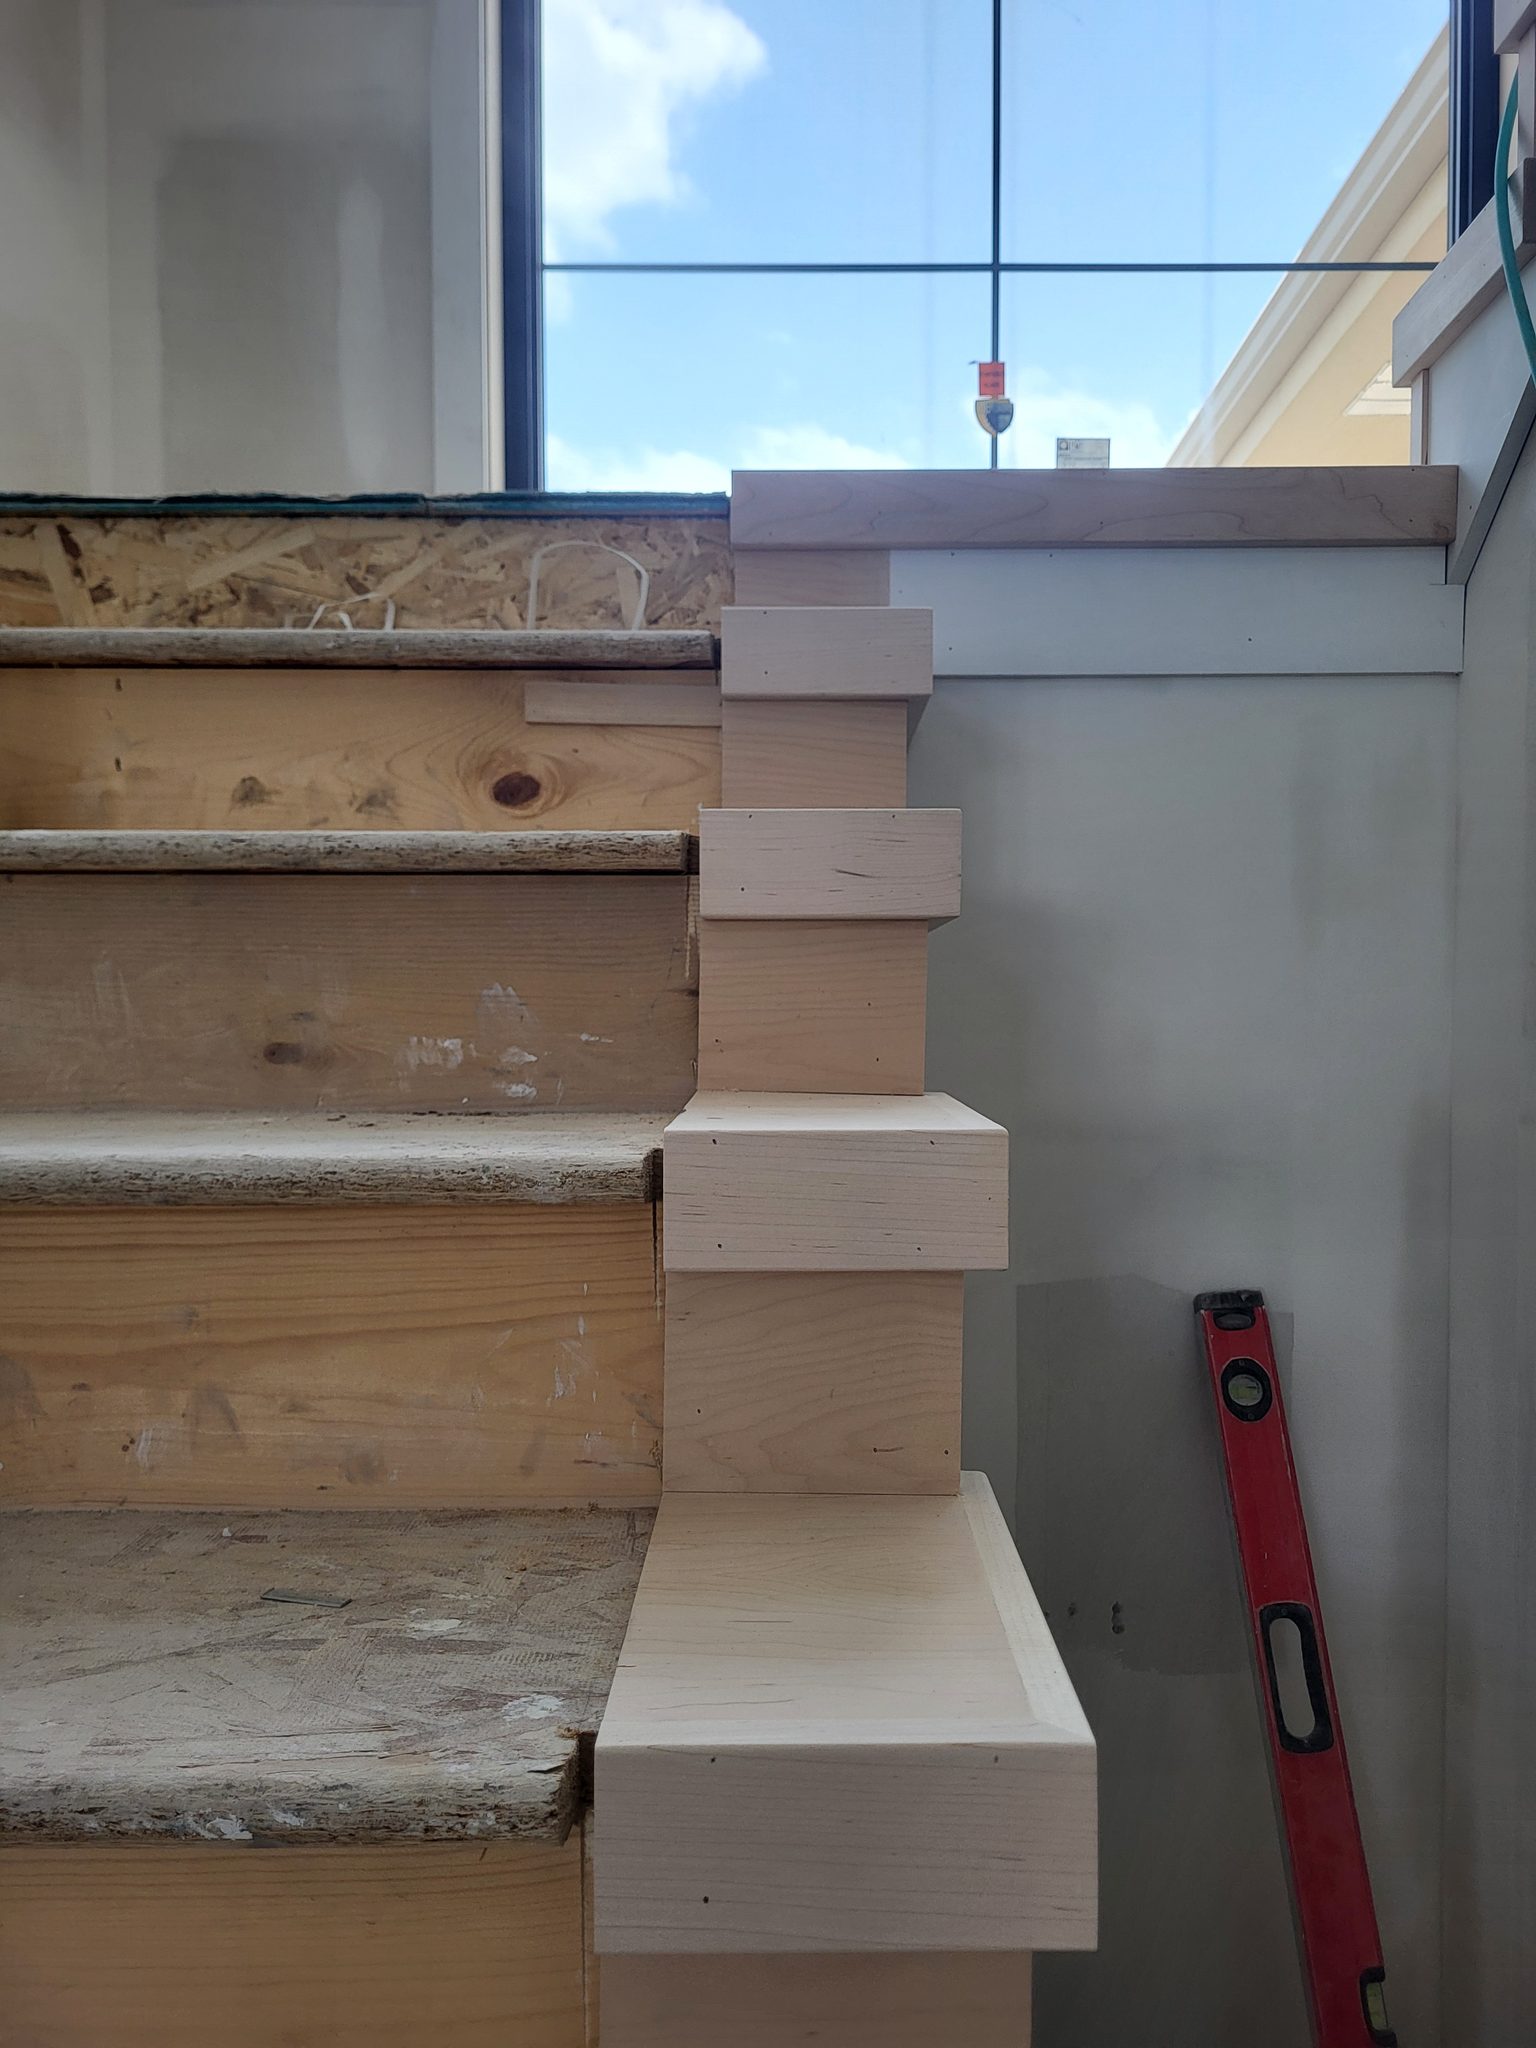
Stacked wood blocking at a stair stringer end beside a window, framing stage for a false tread cap.
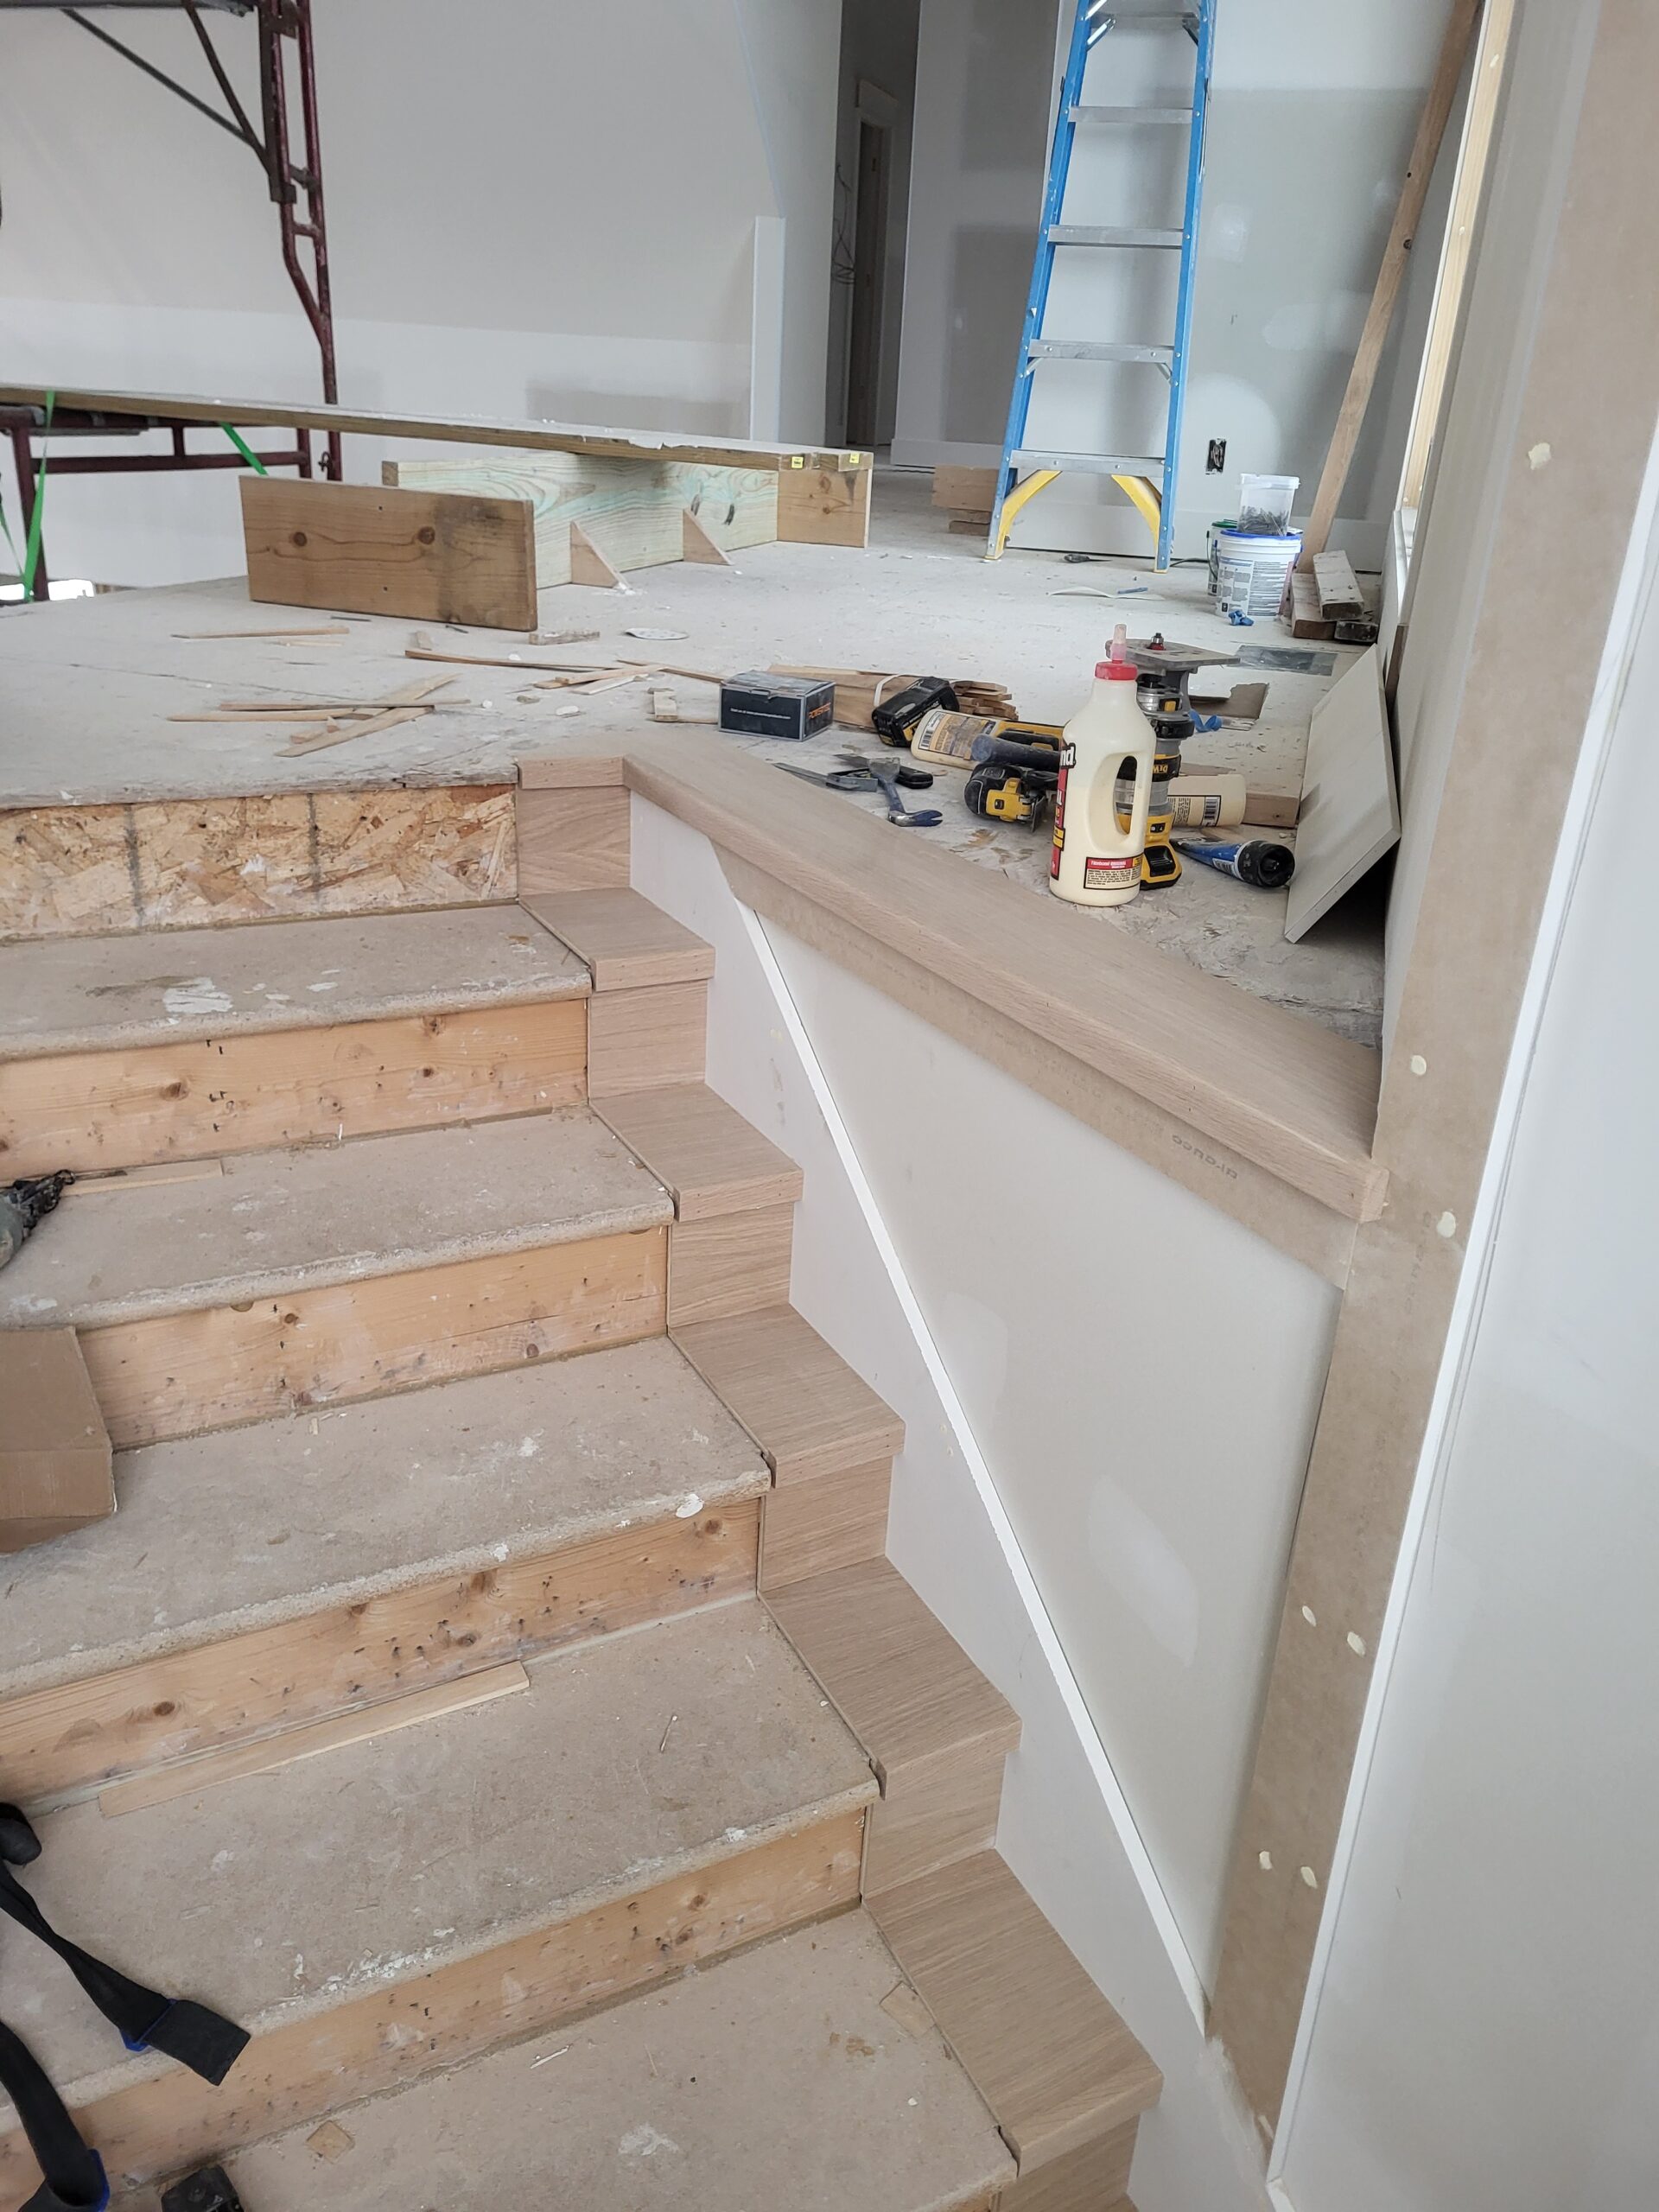
Unfinished wood stepped cap trim installed atop a stair knee wall, ready for finishing
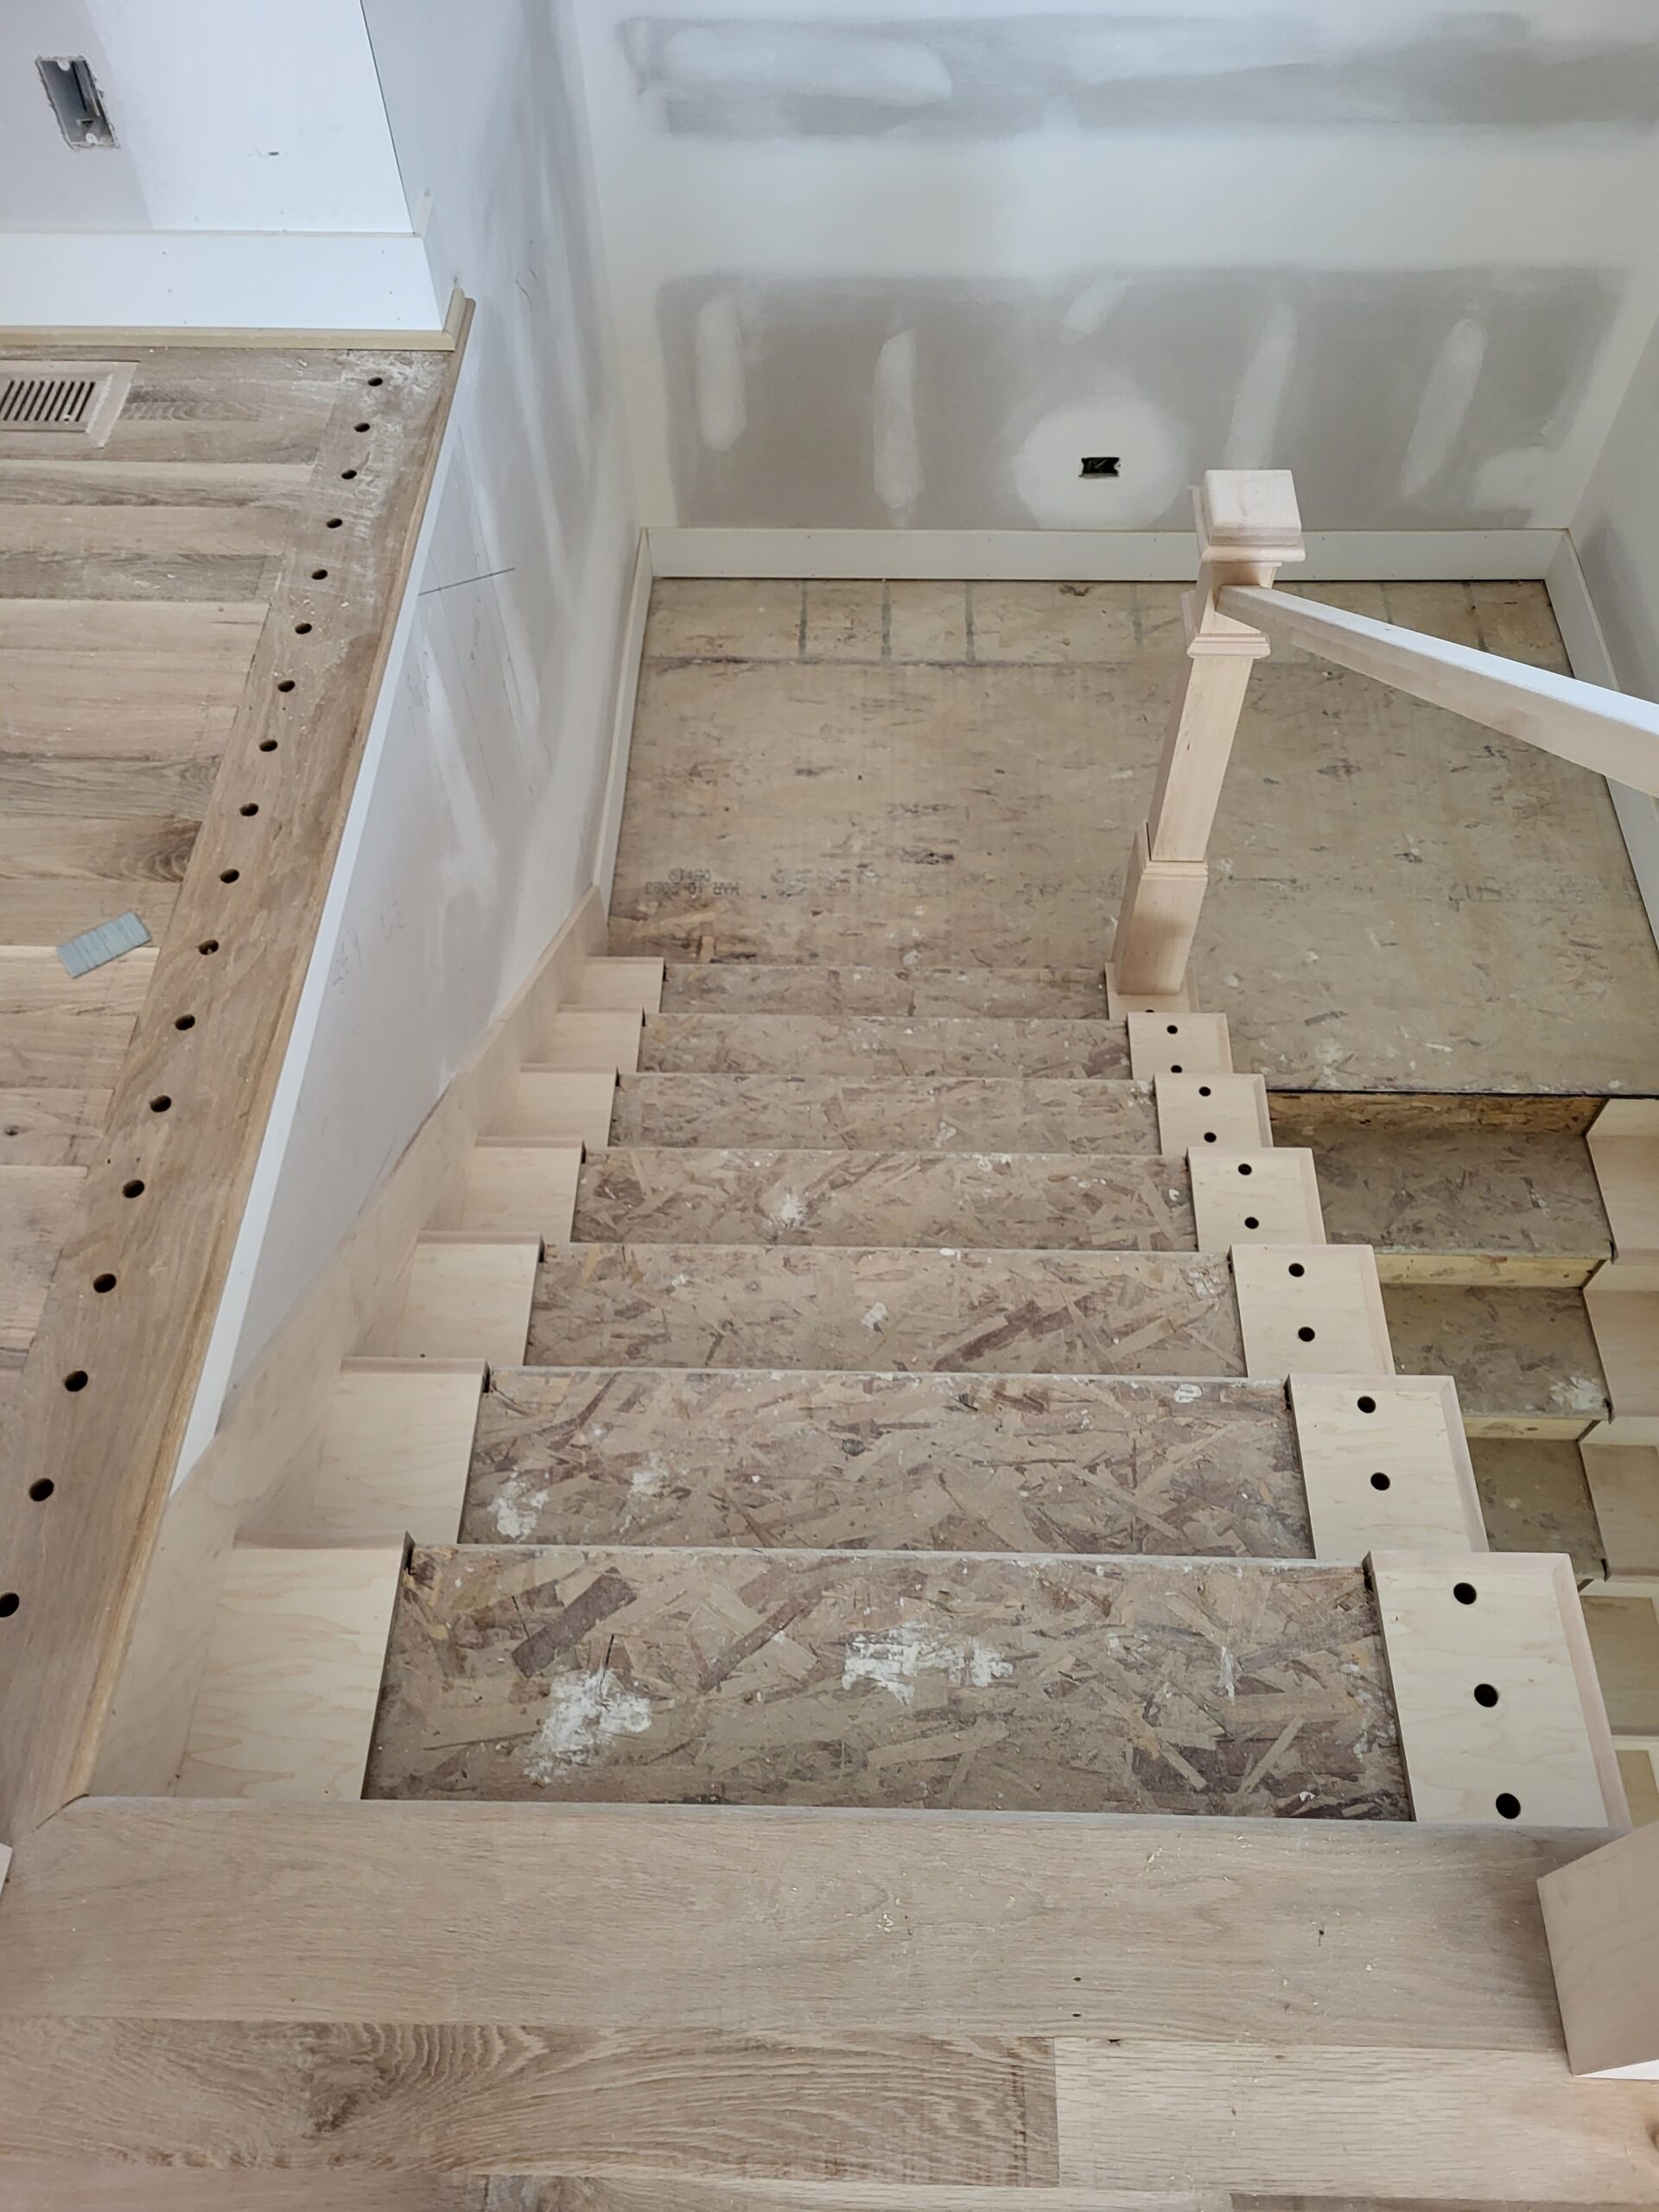
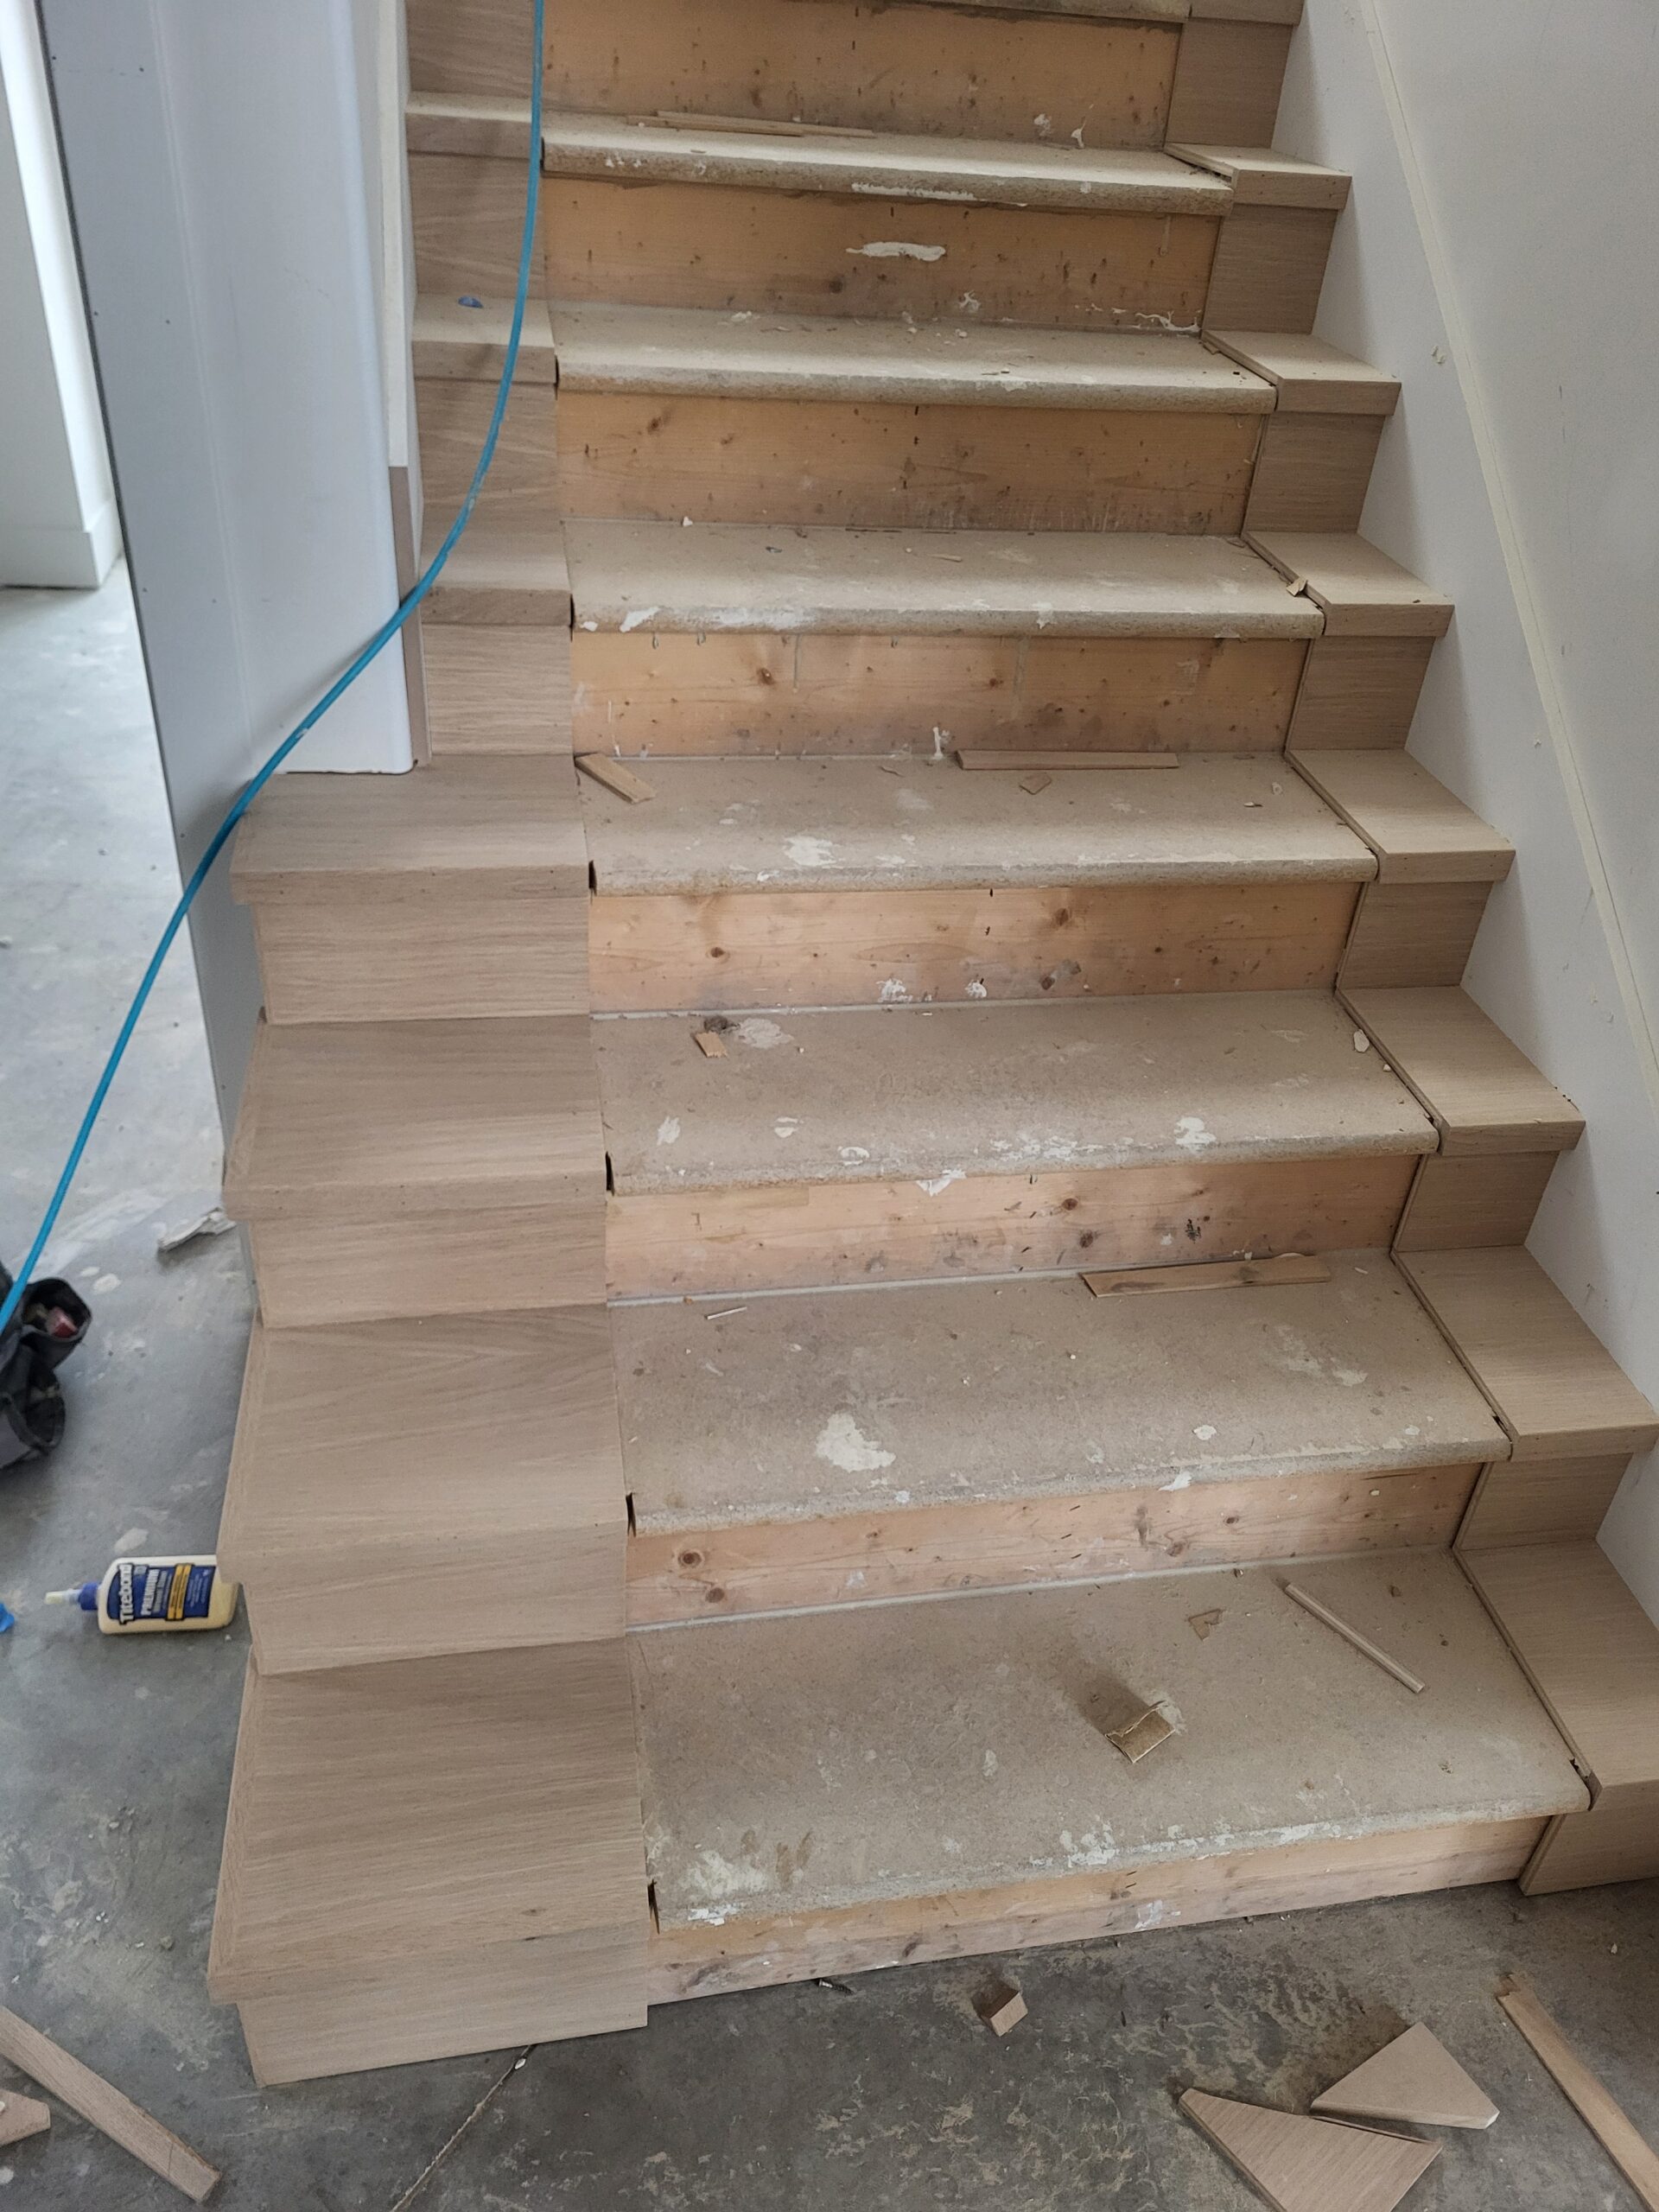
Interior stair with particleboard covered treads and oak end caps being fitted to the open left side
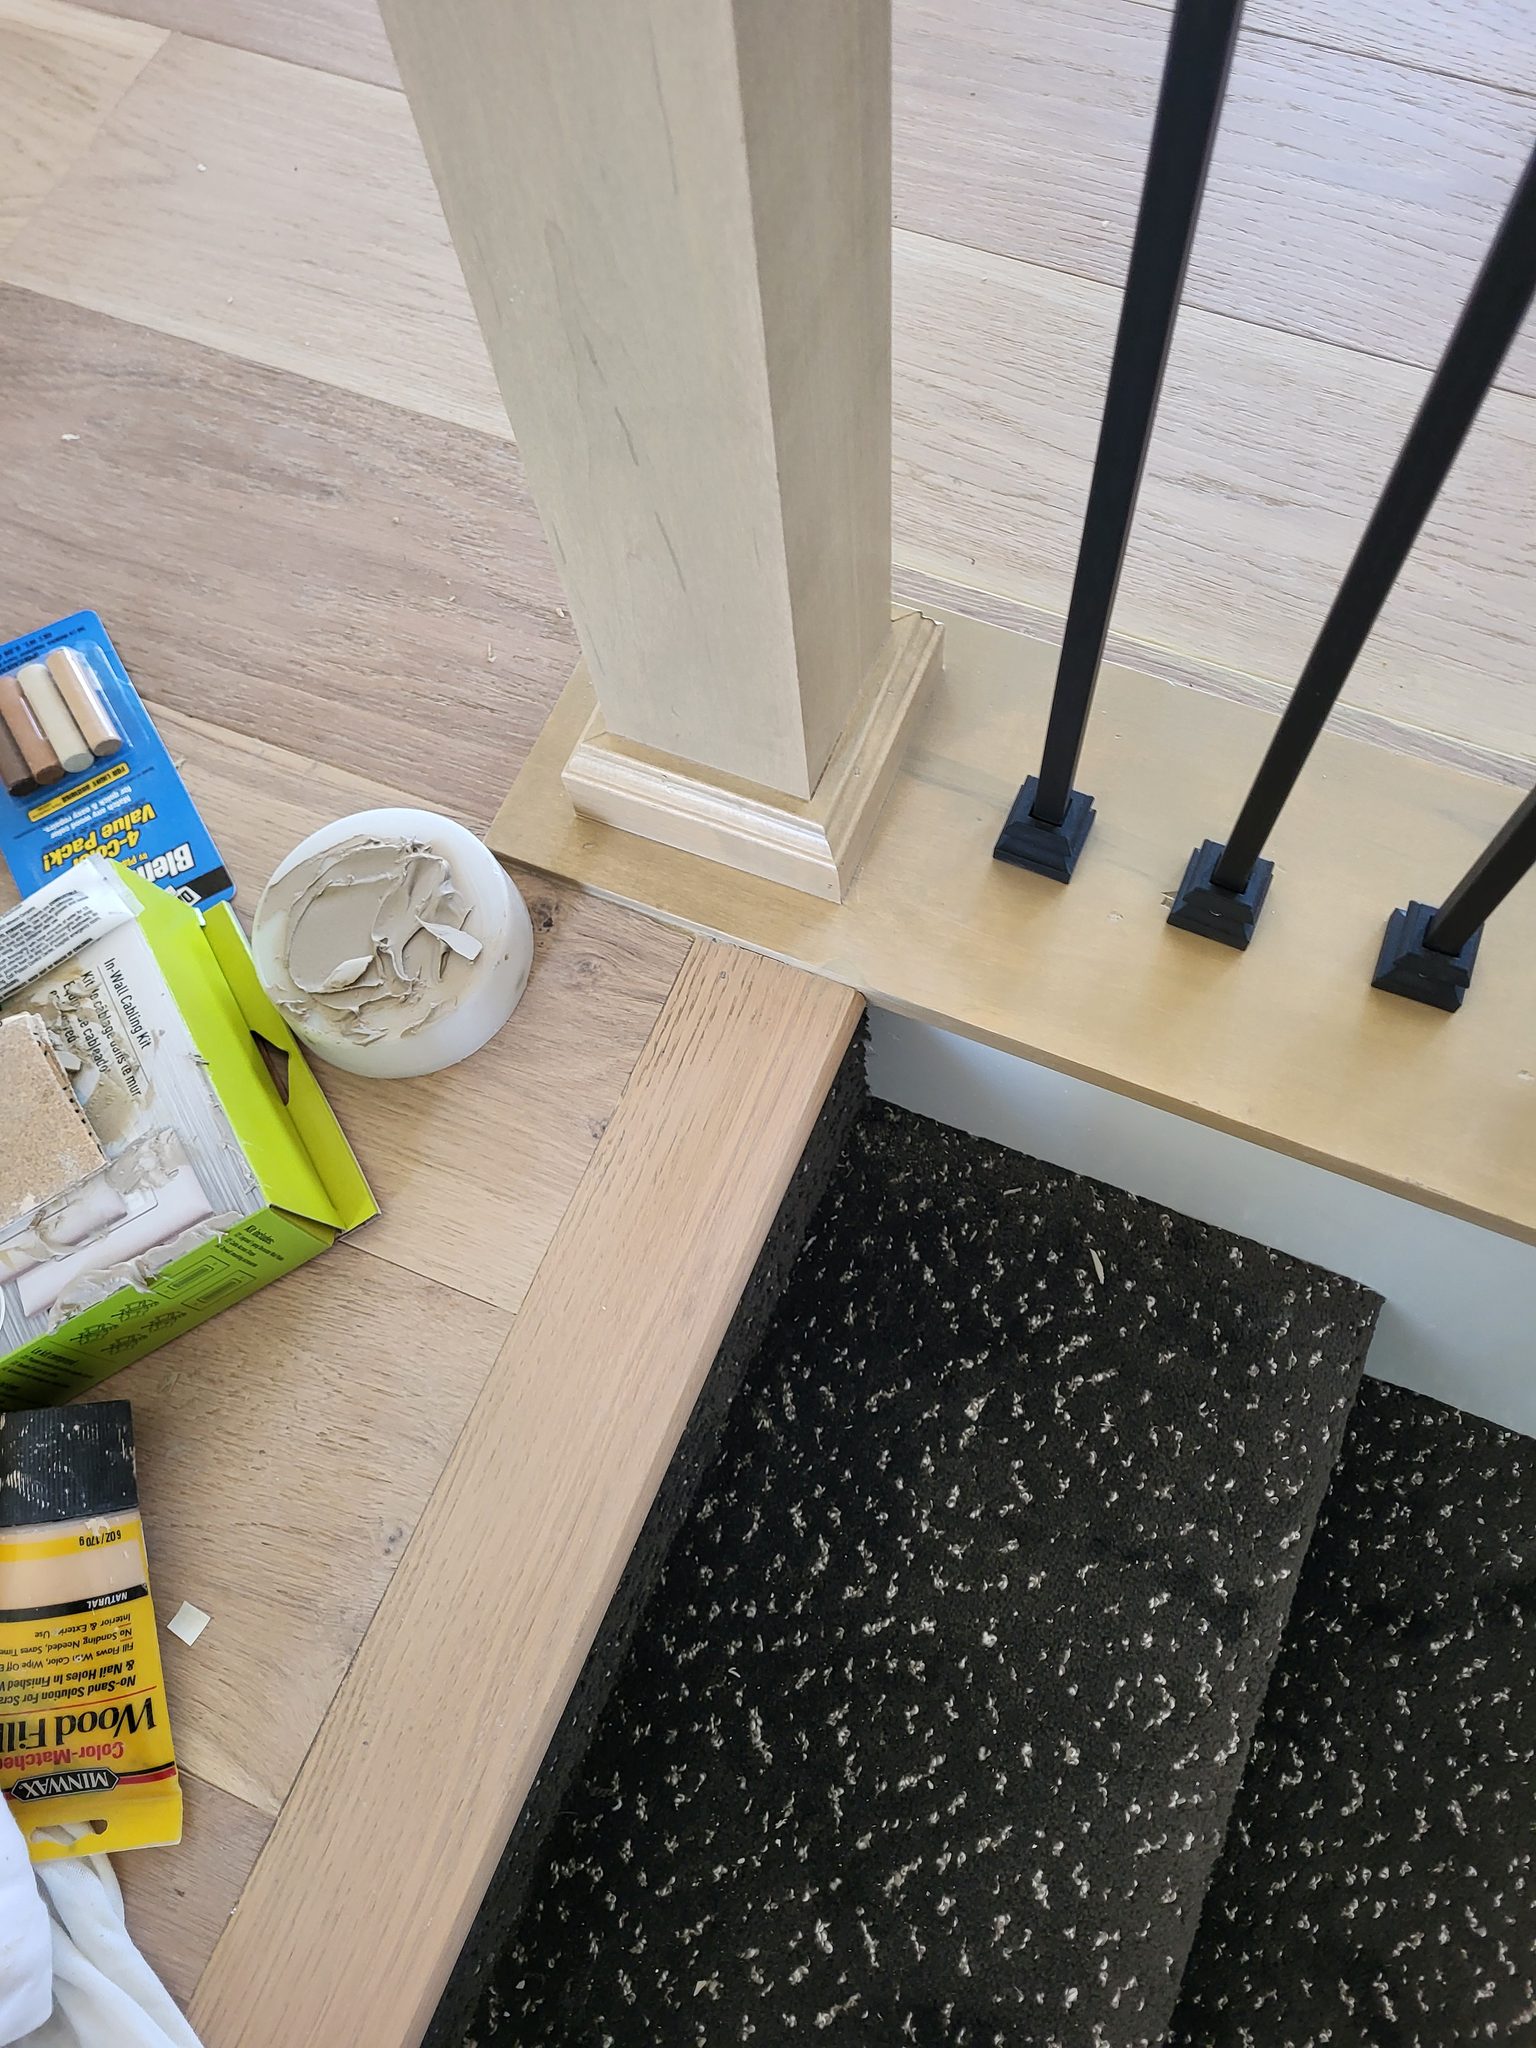
Iron stair balusters mounted in black bases on a wood cap, with wood filler staged nearby.
Wood stair tread end caps with a wrapped return, black iron balusters set in, paper protected floor
Stepped wood cap trim atop a stair knee wall beside a newel post with iron balusters
Stained wood stair treads with mitered end returns, protective paper taped along the stringer
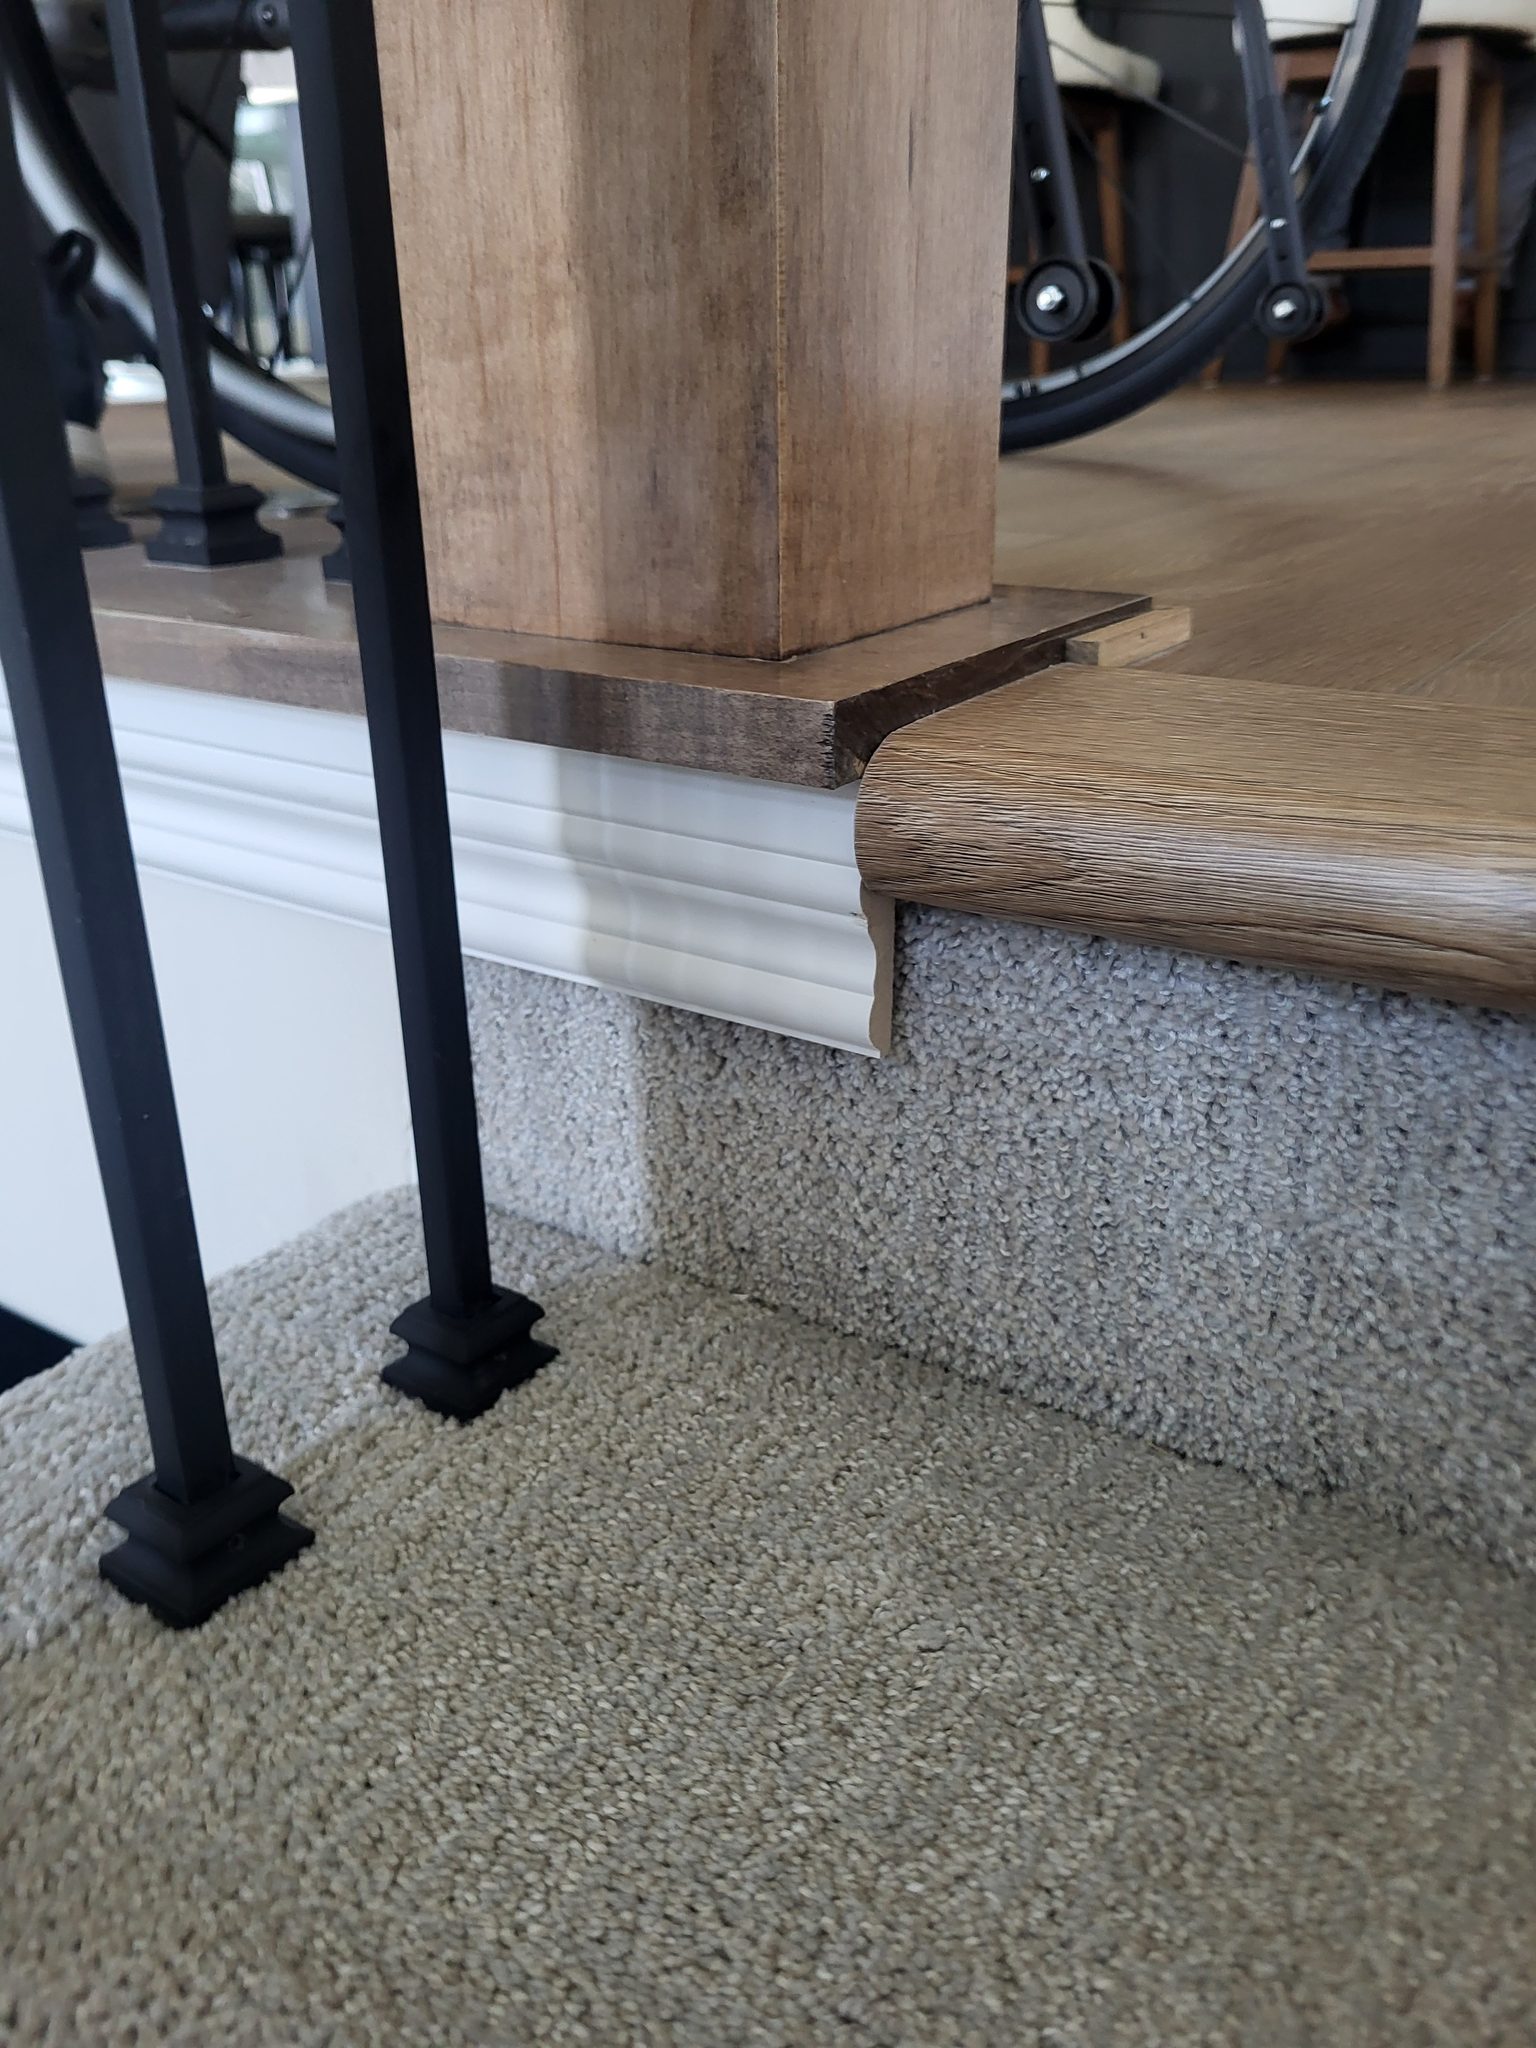
Wood nosing cap wrapping a stair newel post base where flooring meets carpeted treads
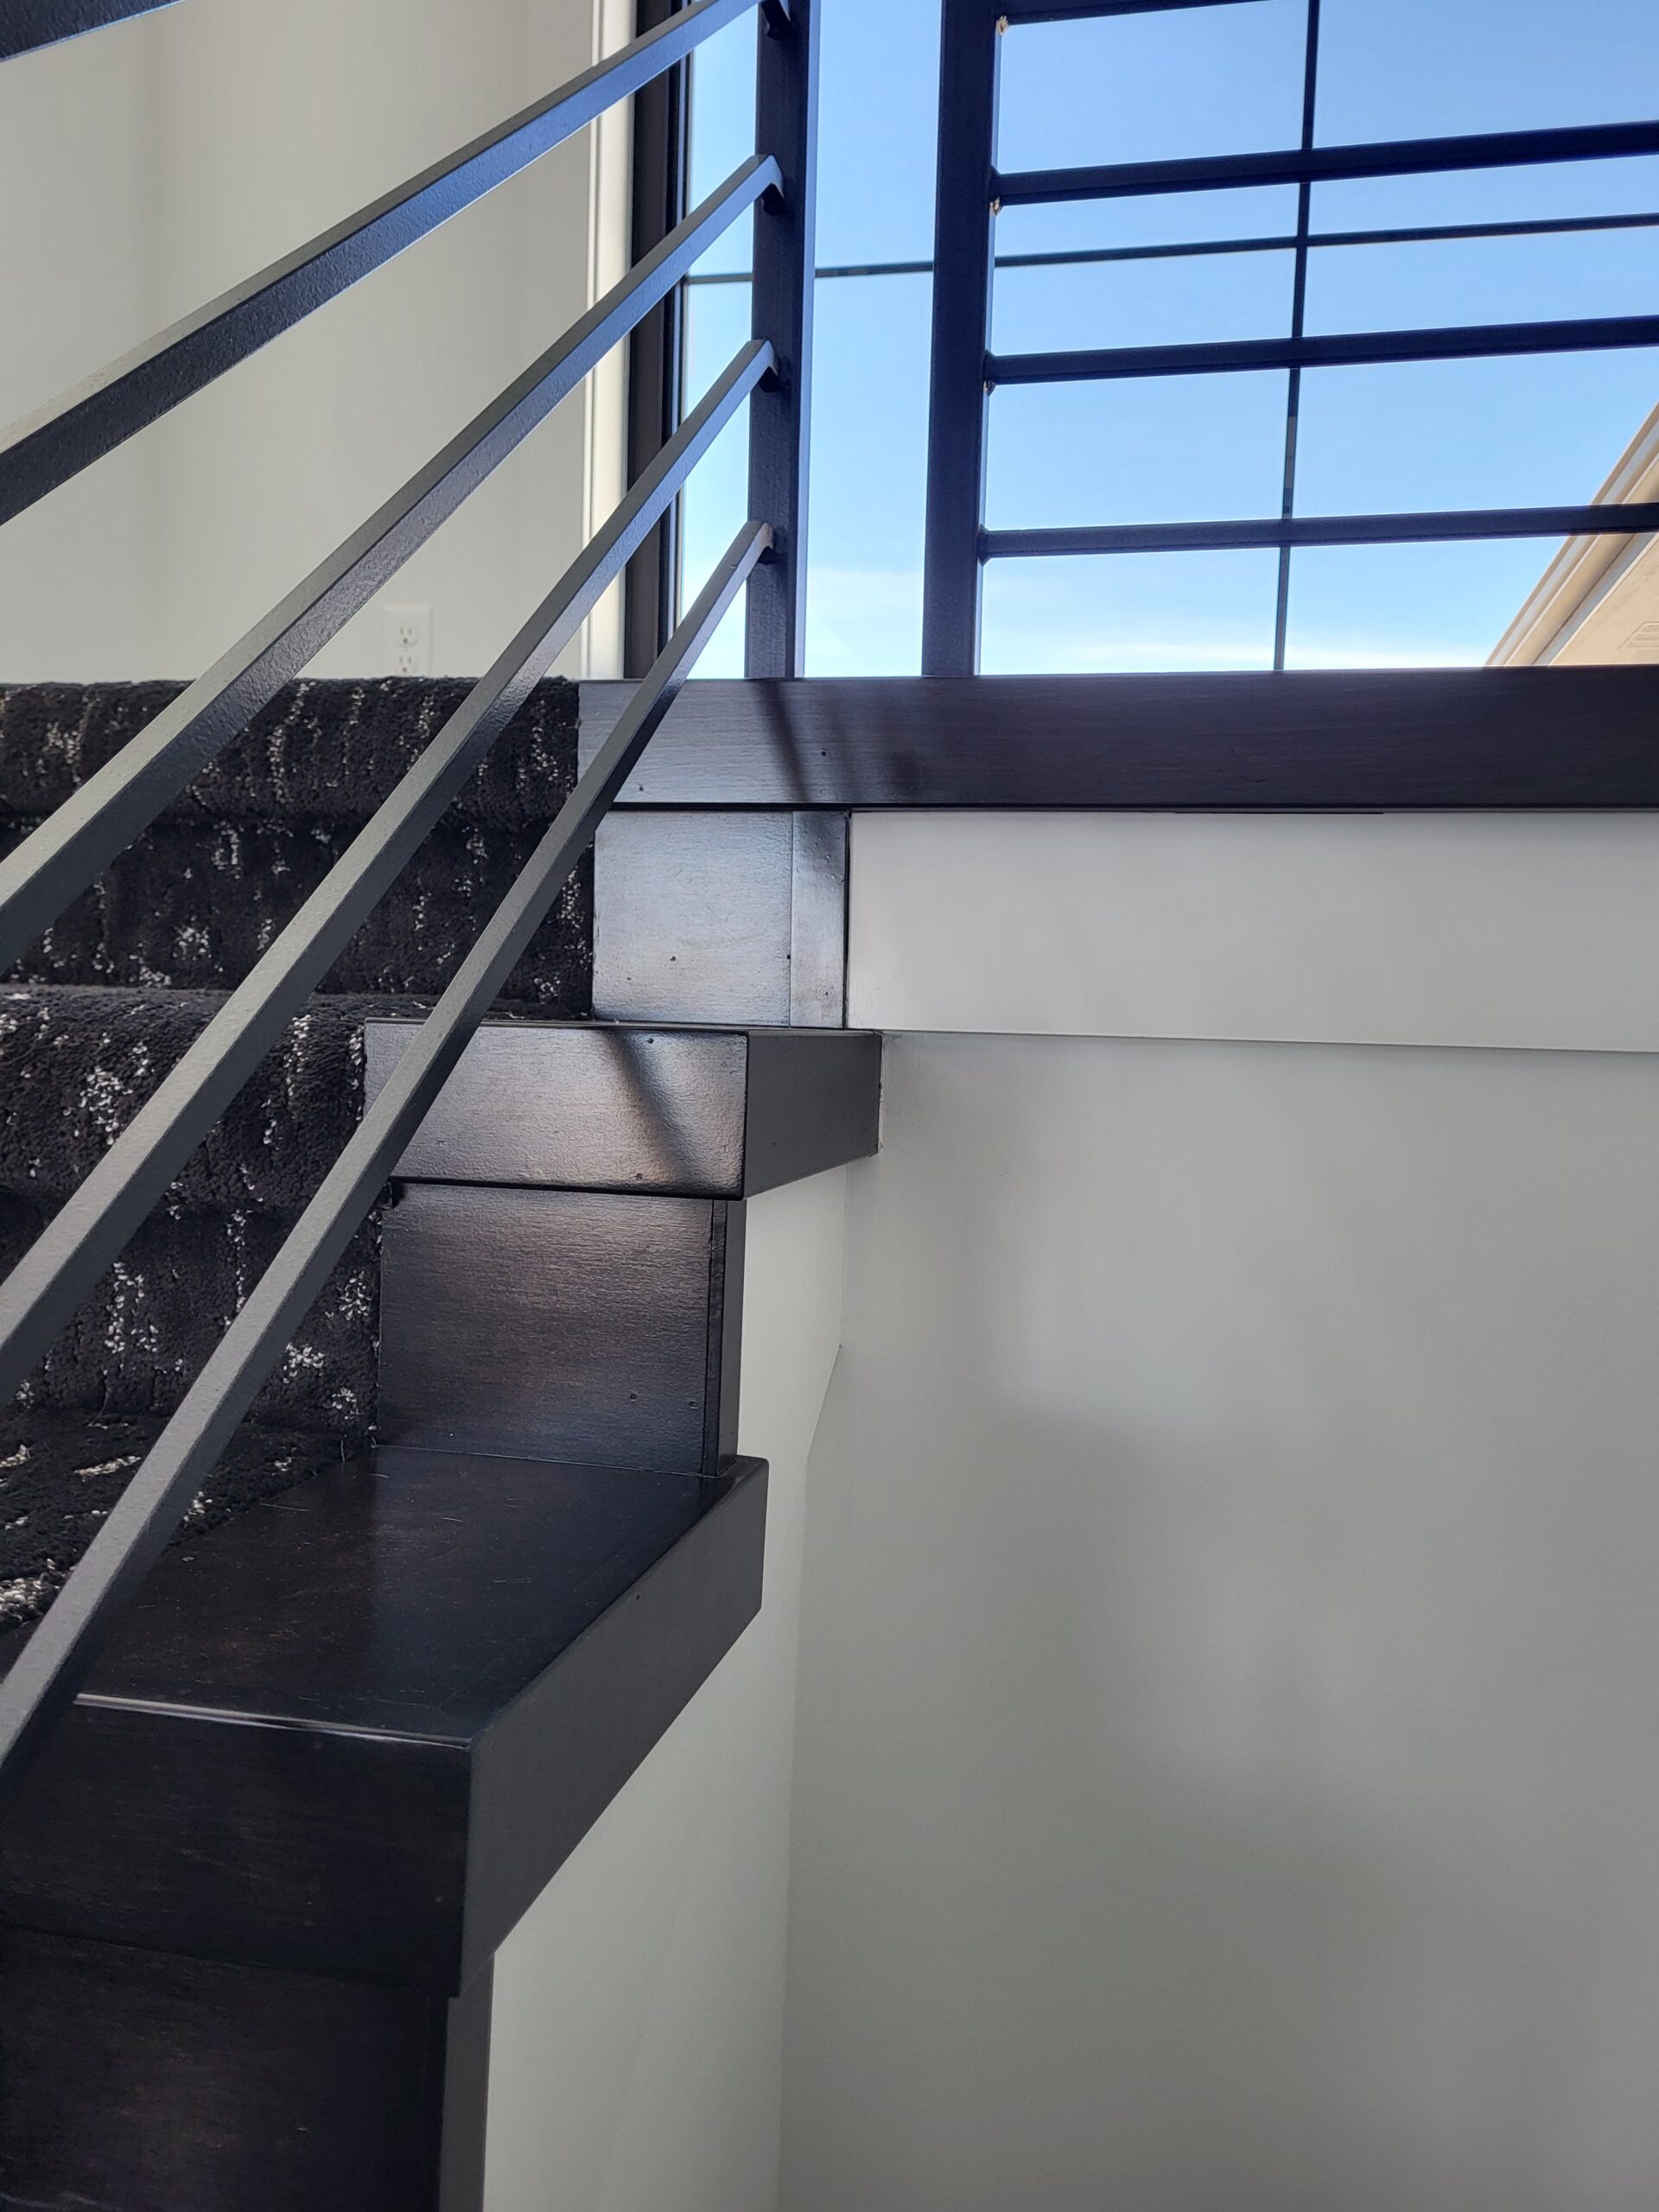
Dark stained wood stair tread end caps beside a black metal horizontal bar railing
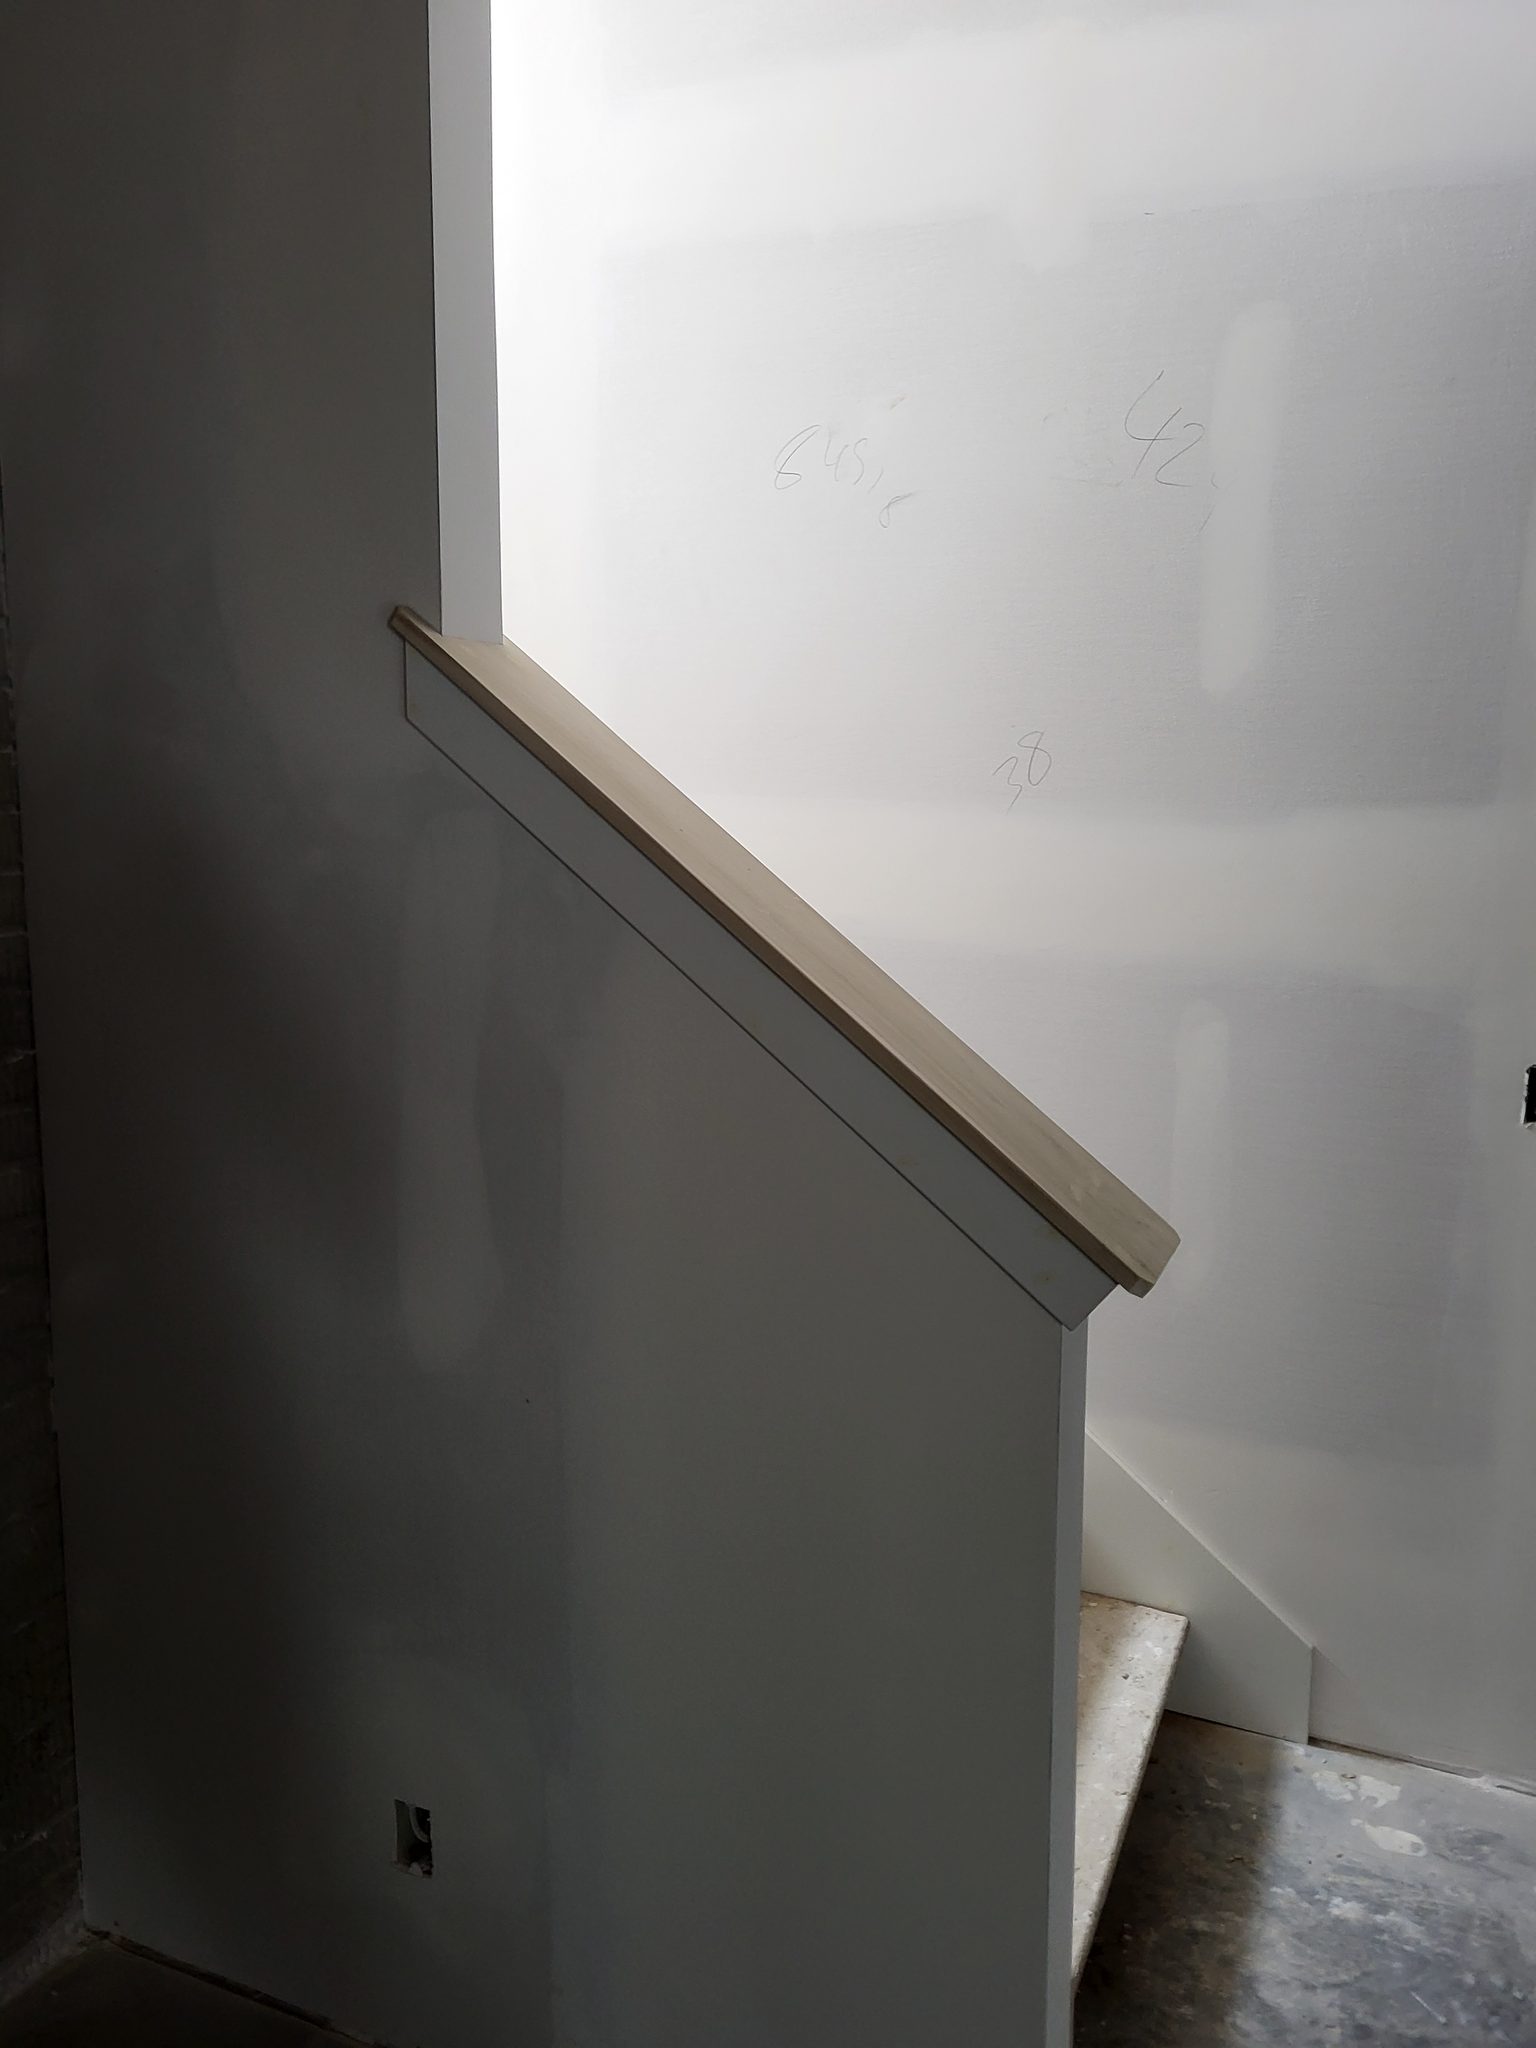
Wood cap on a painted charcoal knee wall at a stairway opening, with bare drywall beyond.
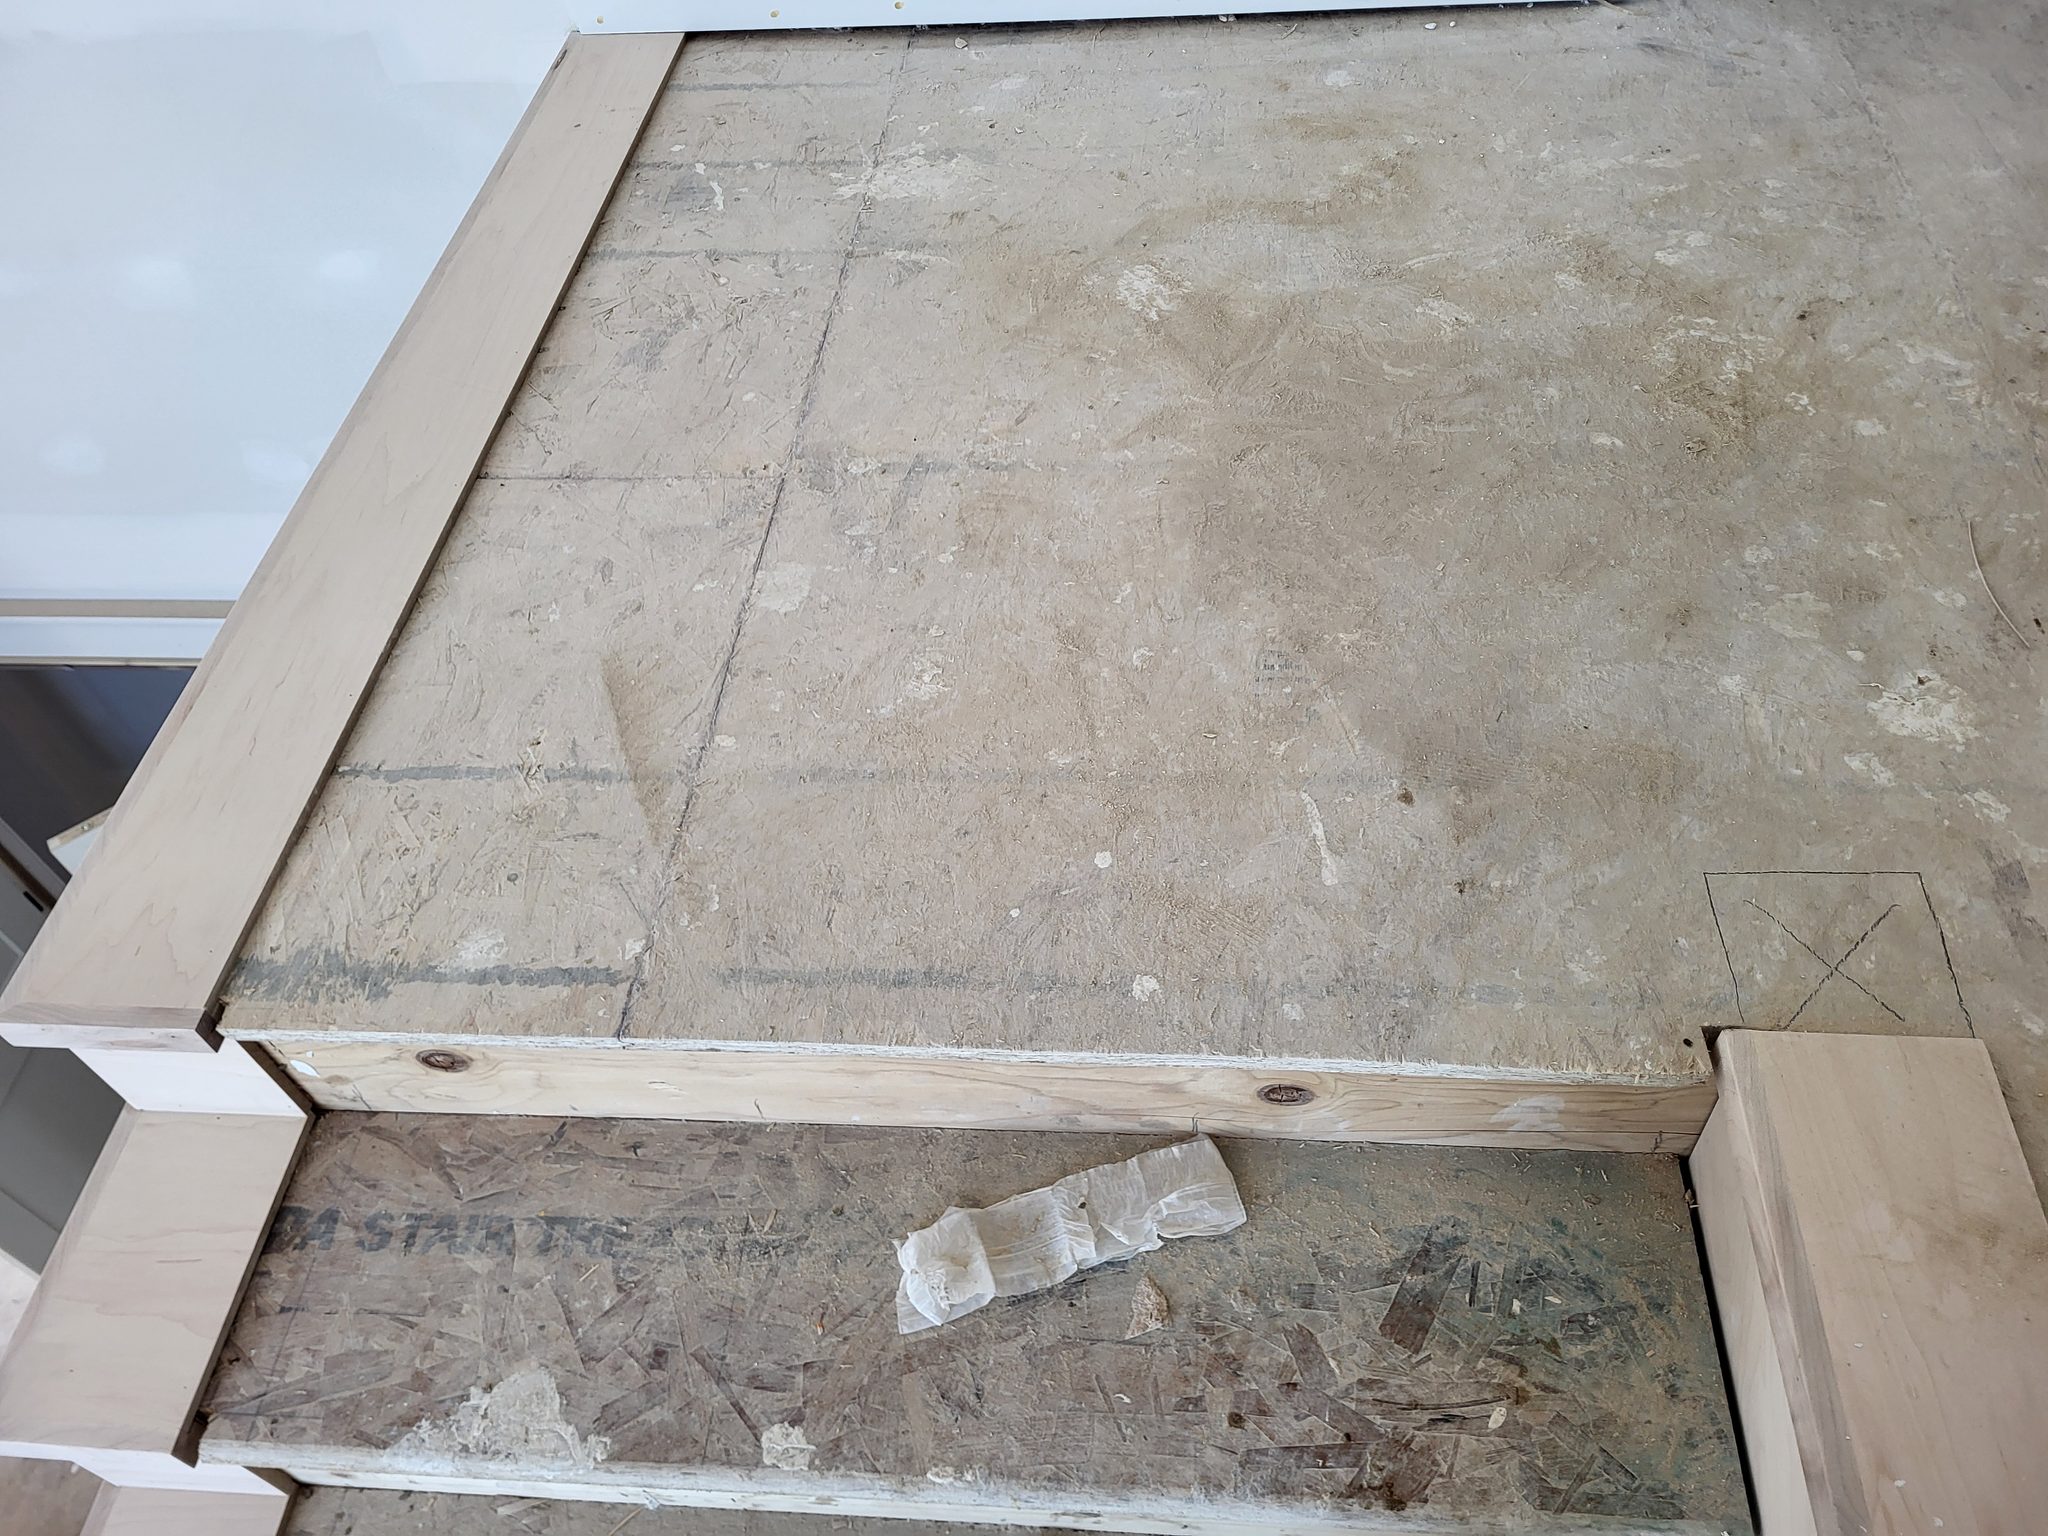
Raw wood frame with visible fasteners and seams, pre-finish stage.
× ‹ ›

Written by David Hospodka, Sun’s Up Construction

David Hospodka learned finish carpentry from his father, alongside his brother Joel, and worked his way through college trimming houses. He then spent about ten years as a railroad bridge engineer, handling design, construction, maintenance and project management. He came back to finish carpentry full time in 2017.

About Let’s Build Stuff

Core Guide, Level 3
What are your Feelings

Share This Article :

  • Facebook
  • X
  • LinkedIn
  • Pinterest
Still stuck? How can we help?

Still stuck? How can we help?

Updated on October 2, 2026
How to Install Wood NosingHow to Install Notched Skirt Boards

Leave a Reply Cancel reply

Your email address will not be published. Required fields are marked *

Table of Contents
  • Introduction
  • Before You Begin
    • Prerequisites
    • What You Need To Know
  • Tools Required
    • Power Tools
    • Hand Tools
    • Supplies
    • Materials
  • Install a False Tread Stair End Cap: Step-by-Step
    • Step 1: Measure the Condition
    • Step 2: Rough-Cut and Sketch the Cap Profile
    • Step 3: Dry-Fit and Adjust
    • Step 4: Glue and Install
  • Close-Out
  • Quality Check
  • Troubleshooting
  • Related Guides
  • Reference Photos
Let's Build Stuff
  • Glossary
  • Learn
  • Blog
  • About
  • Contact
  • Affiliate Disclosure
  • Privacy Policy

© 2026 Let's Build Stuff - Interior Finish Carpentry Experts

  • Home
  • Start Here
  • Glossary
  • Learn
  • Blog
  • About
  • Contact
  • Browse the guides