Skip to content

Let's Build Stuff

  • Home
  • Start Here
  • Glossary
  • Learn
  • Blog
  • About
  • Contact
  • Browse the guides
Let's Build Stuff

How can we help you?

General Carpentry

4
  • How the Guide Library Is Organized
  • Difficulty Levels Explained: What Levels 1, 2, and 3 Mean
  • Finish Carpentry Cheat Sheets and Printable References
  • How to Trim a House, Start to Finish

Doors & Openings

20
  • Installing a Weather-Exposed Exterior Door: The Extra Steps
  • How to Install a Pocket Door Frame
  • How to Install an Exterior Finish Slab
  • How to Install an 8'0" Solid Core Pre-Hung Interior Door
  • How to Install an 8'0" Hollow Core Pre-Hung Interior Door
  • How to Install a 6'8" Solid Core Pre-Hung Interior Door
  • How to Finish a Bypass Door Install
  • How to Install 8'0" Bi-Fold or Bypass Door Slabs
  • How to Install 6'8" Bi-Fold or Bypass Door Slabs
  • How to Install an 8'0" Bi-Fold or Bypass Door Frame
  • How to Install a 6'8" Bi-Fold or Bypass Door Frame
  • How to Install a Pre-Hung Door
  • How to Install a House-to-Garage Door
  • How to Install a Cased Opening
  • How to Install a Pocket Door for a Perfect Finish
  • How to Install Bifold Doors
  • How to Adjust an Exterior Door
  • How to Install Barn Doors
  • How to Install Bypass Doors
  • How to Install an Interior Center-Opening or French Door

Closets

3
  • How to Build Basic Closet Shelves - Part 1 of 3 (Standards)
  • How to Build Basic Closet Shelves - Part 2 of 3 (Layout Design)
  • How to Build Basic Closet Shelves - Part 3 of 3 (Building)

Moldings

20
  • How to Install Baby Shoe at Stair Nosing
  • How to Build a Custom Decorative Header
  • How to Install a Window Seat or Sill
  • How to Install a Mullion Strip
  • Interior Window Frame for Tall Openings (120″ and Above)
  • Interior Window Frame for Medium-Tall Openings (90″ to 119″)
  • How to Install an Interior Window Frame
  • Window Jamb Extension for Tall Windows (120″ and Above)
  • Window Jamb Extension for Medium-Tall Windows (90″ to 119″)
  • How to Install a Window Jamb Extension Like a Pro
  • How to Case Tall Windows (10 Feet and Above)
  • Window Casing for Medium-Tall Windows (90″ to 119″)
  • How to Case One Side of an 8'0" Door
  • How to Case One Side of a 6'8" Door
  • How to Build an Attic Access Cover
  • How to Install Baseboard
  • How to Case One Side of an Exterior Door
  • How to Install Base Shoe
  • How to Case a Window
  • How to Install a Door Jamb Extension

Stairs/Handrails

11
  • How to Build a Handrail for Metal Balusters Like a Pro
  • How to Install a Garage Step Handrail
  • How to Build Garage Steps with 3 Stringers and Closed Risers
  • How to Build Garage Steps with Closed Risers
  • How to Build Garage Steps with 3 Stringers (Open Risers)
  • How to Install Stair Skirt Boards: Drop-In Method
  • How to Build a Wall-Mount Handrail
  • How to Mount a Handrail to the Wall
  • How to Install a Newel Post
  • How to Build Garage Steps with a Landing
  • How to Build Garage Steps: Safe, Code-Compliant Stairs

Specialty

7
  • How to Install Shiplap on a 3-Sided Fireplace Under 10'
  • How to Install Shiplap, 0' to 7'
  • How to Install Shiplap 4, Ceiling
  • How to Install Shiplap 3 side fireplace wrap above 15'
  • How to Install Shiplap 3 side fireplace wrap 10'-15'
  • How to Install Shiplap 3, 14'+
  • How to Install Shiplap 2, 7' to 14'

Hardware

2
  • How to Install Bath Accessories
  • How to Install a Lockset on a Door
  • Home
  • Learn
  • Doors & Openings
  • How to Install a Cased Opening
View Categories

How to Install a Cased Opening

Doors & Openings Skill Level: Beginner (Level 1) · Estimated Time: 30-60 Minutes

Introduction #

A cased opening is a doorway or pass-through with no door in it. You trim both sides of the opening with casing (trim molding) to give it a clean, finished look. There is no door, no hinges, and no hardware. The goal is to make the opening look planned and finished, not like something got left undone.

You'll see cased openings between living rooms and dining rooms, between kitchens and breakfast nooks, or in hallways where a door isn't needed but you still want a clear break between spaces. They separate rooms visually while keeping the space open and connected.

A professional cased opening comes down to three things. First, a consistent reveal - the strip of jamb that shows between the wall and the casing. Second, tight miter joints - the angled corner cuts where two pieces of casing meet. Third, clean, straight jamb boards (if the opening uses them) or drywall returns (drywall wrapped around the inside of the opening instead of a jamb). Take your time on the layout and the measuring. Once everything is set up right, the install itself is straightforward.

Before You Begin #

Prerequisites #

  • Opening is fully framed: the header (the horizontal beam across the top of the opening), jack studs (the short studs that hold the header up), and king studs (the full-height studs on the outside of the jacks) are all in place
  • Drywall is complete on both sides of the opening
  • Casing material has been selected to match the rest of the house
  • Flooring is installed (or you know the finished floor height)
  • Family Handyman: Casing and Trim Installation - External resource with additional techniques for installing casing and trim around openings

What You Need To Know #

Some cased openings get a jamb: 1x material (a category of dimensional lumber) that wraps the inside of the opening from one side of the wall to the other. Other cased openings are just drywall returns with corner bead (the strip that caps and squares off a drywall corner). On those, the drywall wraps around the inside of the opening and the casing goes directly against the drywall edge. Know which style your job calls for before you start.

If you're using a jamb, the jamb width has to match the wall thickness exactly. Measure the wall thickness carefully. It can vary from one spot to another, especially in older homes. Casing goes on the same way as door casing, with a consistent reveal (typically 3/16″ to 1/4″) from the edge of the jamb to the inside edge of the casing.

Tools Required #

Power Tools #

  • Miter saw
  • 18-gauge brad nailer
  • Table saw (if ripping jamb material to width)

Hand Tools #

  • Tape measure
  • Pencil
  • Square
  • Utility knife
  • Level (4-foot preferred)

Supplies #

  • 18-gauge brad nails (1-1/2″ and 2″)
  • Wood glue

Materials #

  • Jamb material - 1x pine or MDF, ripped to match wall thickness
  • Casing - profile to match the rest of the house
  • Header piece (if doing a decorative head casing)

Cased Opening Installation Process #

Step 1: Measure the Opening #

Start by measuring the width and height of the rough opening. Measure the width at the top, middle, and bottom. Measure the height on both sides. Record the smallest measurement for each - that's the number you'll work to.

Check the opening for square by measuring diagonally, corner to corner. If the two diagonal measurements are within 1/8″ of each other, the opening is square enough. If they're not, note which direction it's off. You may need to adjust your jamb or casing to make up for it.

Measure the wall thickness at several points around the opening: top, bottom, and both sides. Walls aren't always consistent, especially in older homes or where different framers worked. Record all your measurements so you can rip (cut to width on the table saw) your jamb material to the right size.

Step 2: Install Jamb Material (If Required) #

If your cased opening calls for a jamb, rip your 1x stock (pine or MDF) down to the wall thickness. The jamb needs to sit perfectly flush with the drywall on both sides of the wall. That means it can't stick out past the drywall (proud) or sit back behind it (recessed).

Install the head jamb (the top piece) first. Cut it to the width of the opening, set it in place, check it for level, and shim it as needed. A shim is a thin, tapered wood wedge you tap in behind the jamb to fine-tune the gap and hold it straight. Nail through the jamb into the header framing with 2″ brad nails or finish nails.

Next, install the side jambs. Cut them to fit snugly between the floor and the underside of the head jamb. Check each one for plumb with your level. Shim behind the jamb at the nail points to keep it straight, then nail through the jamb and shims into the jack studs.

After all three jamb pieces are in, double-check that the jamb faces are flush with the drywall on both sides. Run your hand across the spot where drywall meets jamb. You shouldn't feel a lip or a gap.

Pro Tip: If the wall thickness varies (common in older homes), rip the jamb to the WIDEST measurement. Then plane or sand the narrower spots flush with the drywall. A proud jamb (sticking out past the drywall) can always be sanded down. A recessed jamb (set back behind the drywall) leaves a visible gap under the casing that's much harder to fix.

Step 3: Install Head Casing #

Always start with the head casing (the top piece). This is the same order you use for door casing: top first, then sides.

For a butt joint (where the side casing's flat end butts straight into the bottom of the head casing, with no angled cut), cut the head casing square on both ends. Its length equals the width of the opening, plus the casing width on each side, plus the reveal on each side. For example: if your opening is 36″ wide, your casing is 3-1/2″ wide, and your reveal is 3/16″, the head casing length is 36″ + 3-1/2″ + 3-1/2″ + 3/16″ + 3/16″ = 43-3/8″.

For mitered casing, cut 45-degree miters on both ends of the head piece. Position the casing with a consistent reveal (3/16″ to 1/4″) from the edge of the jamb. Set a combination square (a square with a sliding, lockable ruler) to your reveal distance and use it as a guide. Run it along the jamb edge and keep the casing lined up with it.

Nail the head casing in place with 18-gauge brad nails. Space the nails every 12-16 inches, and drive them through the casing into the framing behind the drywall.

Step 4: Install Side Casing #

Measure from the finished floor up to the bottom edge of the head casing (for butt joints), or up to the short point of the miter (the shorter corner of the angled cut) on the head casing (for mitered joints). Cut your side pieces to length.

Hold each side piece in position, keeping the same reveal you used on the head casing. The reveal should stay consistent all the way around. That consistency is what makes the finished product look professional. Nail it in place with 18-gauge brads.

Repeat on the other side of the wall. A cased opening gets casing on BOTH sides - that's 4 side pieces and 2 head pieces, 6 casing pieces total (or 8 if you count each piece individually: 2 head pieces and 4 side pieces across both sides).

Pro Tip: For cased openings, you're installing casing on BOTH sides of the wall - that's 6 to 8 pieces total, depending on how you count them. Cut all matching pieces at the same time so they come out consistent. If you cut both head pieces together, and all four side pieces together, you avoid small measurement differences that show up once you see both sides of the opening at once.

Step 5: Tighten, Set, and Clean #

Once all the casing is nailed, walk both sides of the opening and close it out.

  • Check every miter joint. If one has opened slightly, work glue into the joint, press it closed, and pin it with a brad driven across the joint at an angle. Wipe off the squeeze-out (the extra glue that oozes out when you press the joint together) while it's still wet.
  • Set every brad below the surface with a nail set. Run your hand over the casing to check, instead of just eyeballing it.
  • Confirm the reveal is even on both sides of the opening and the casing sits tight to the jamb.
  • Sweep the opening and collect your cutoffs.

Filling the fastener holes and sealing the casing-to-wall joint is the painter's job. He'll fill and coat the whole opening in one pass. Your hand-off is tight joints, an even reveal, fasteners set below the surface, and a clean floor. Once you have that, the opening is ready for him.

Cased Opening Quality Check #

  • Jamb flush with drywall on both sides
  • Consistent reveal on all casing pieces
  • Miters/joints tight with no gaps
  • Casing level and plumb
  • Both sides of opening match
  • Every brad set below the surface
  • Glue cleaned off every joint, no dried squeeze-out

Troubleshooting #

Casing doesn’t sit flat against the wall #

The wall may be bowed or uneven. Place a straightedge (a long, perfectly flat board) against the wall around the opening to find the high and low spots. Shim behind the casing at the nail points to bring it out to meet the high spots. Leave the small gaps at the low spots for the finish trade (the painter) to seal. Forcing the casing tight against a bowed wall makes the casing bow too, and that looks far worse than a hairline gap.

Jamb wider or narrower than the wall #

Re-measure the wall thickness and re-rip the jamb material. If the jamb is only slightly proud (sticking out past the drywall), you can sand or plane it flush. If it's recessed, you'll need to pull it out and rip a wider piece. There's no good way to shim a jamb that's too narrow. It has to be the right width.

Miter joints opening up #

Wood moves as humidity changes, and miter joints are the first place that shows. Apply wood glue into the joint, press it closed, and pin it with a brad nail driven across the joint (from one piece into the other) to lock it together. If the joint still will not close, re-cut it. A miter that has to be filled to look closed will just open again as the house moves.

Reveal is inconsistent #

An inconsistent reveal usually means the jamb isn't straight. Remove the casing, hold a straightedge against the jamb, and look for bows or twists. Add shims behind the jamb wherever it's recessed, then re-nail it. Once the jamb is straight, reinstall the casing with a consistent reveal, using a combination square as your guide.

Related Guides #

  • How to Case a Window
  • How to Install a Pre-Hung Door
  • Finish Trim Carpentry

Reference Photos #

The following photos show examples of this type of work completed in the field. These serve as visual references for quality standards, proper installation techniques, and finished results.

Showing 14 of 14 photos

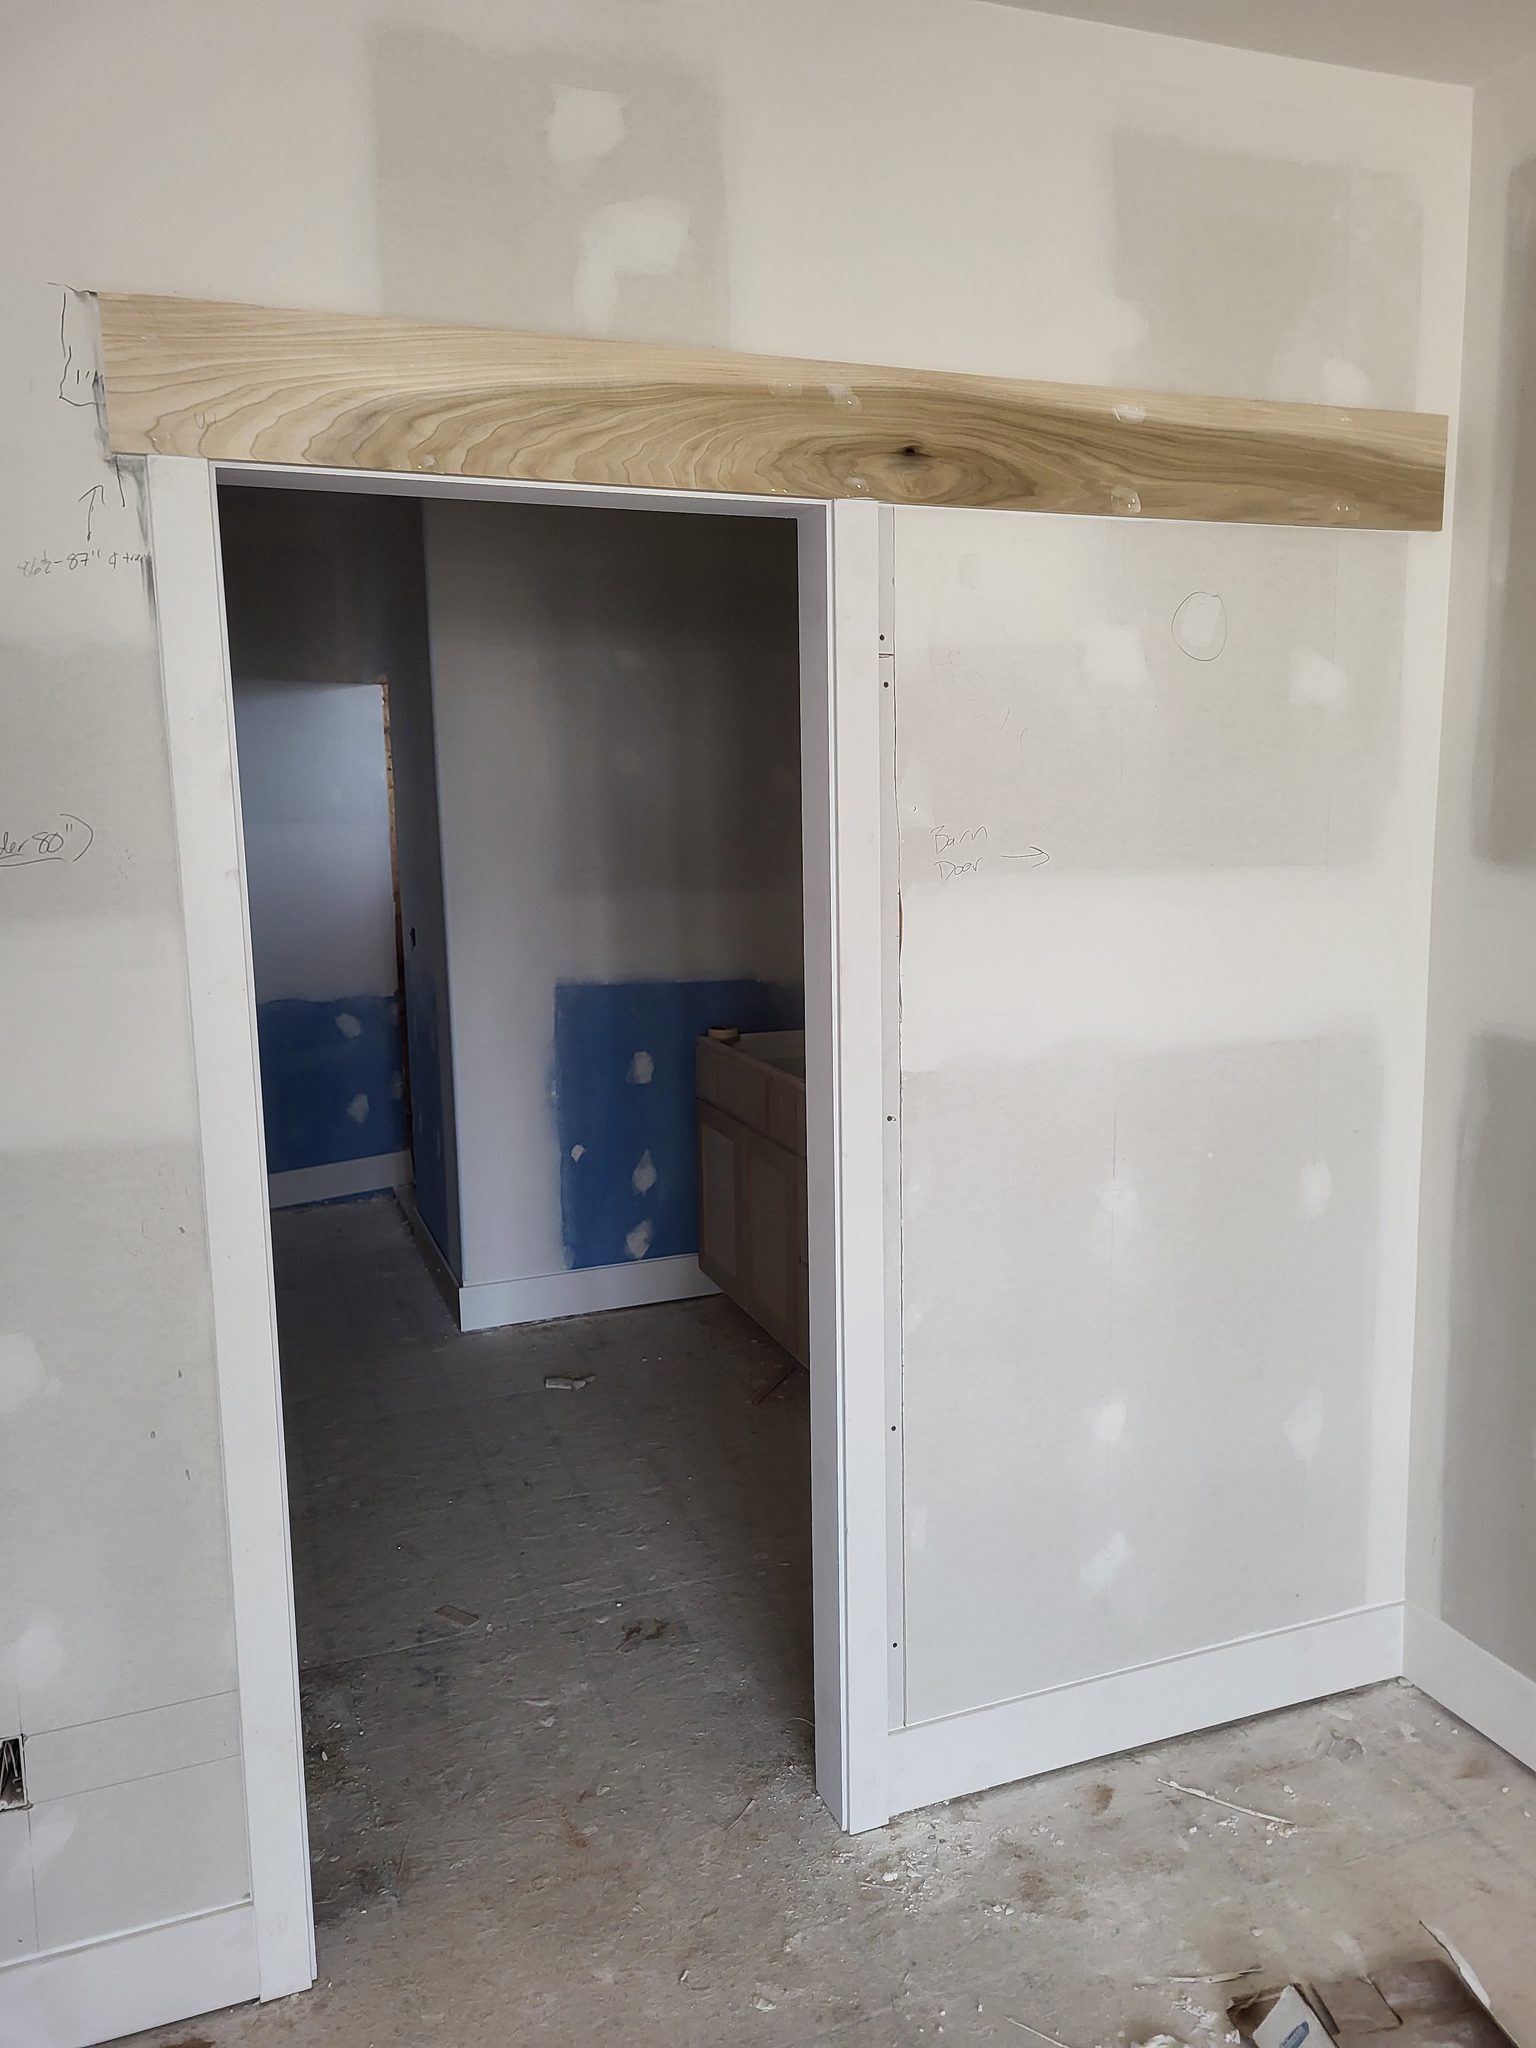
Open doorway with raw wood jamb ready for casing installation; drywall mudded but not finished.
Finished doorway opening with white casing and raw wood header beam, ready for paint.
Painted interior door slab meeting LVP flooring at the base.
Finished cased opening with white painted jamb and trim, no door slab installed.
Painted white baseboard installed at floor line with LVP flooring, clean finish.
White painted door jamb and casing meeting LVP flooring with clean transition detail.
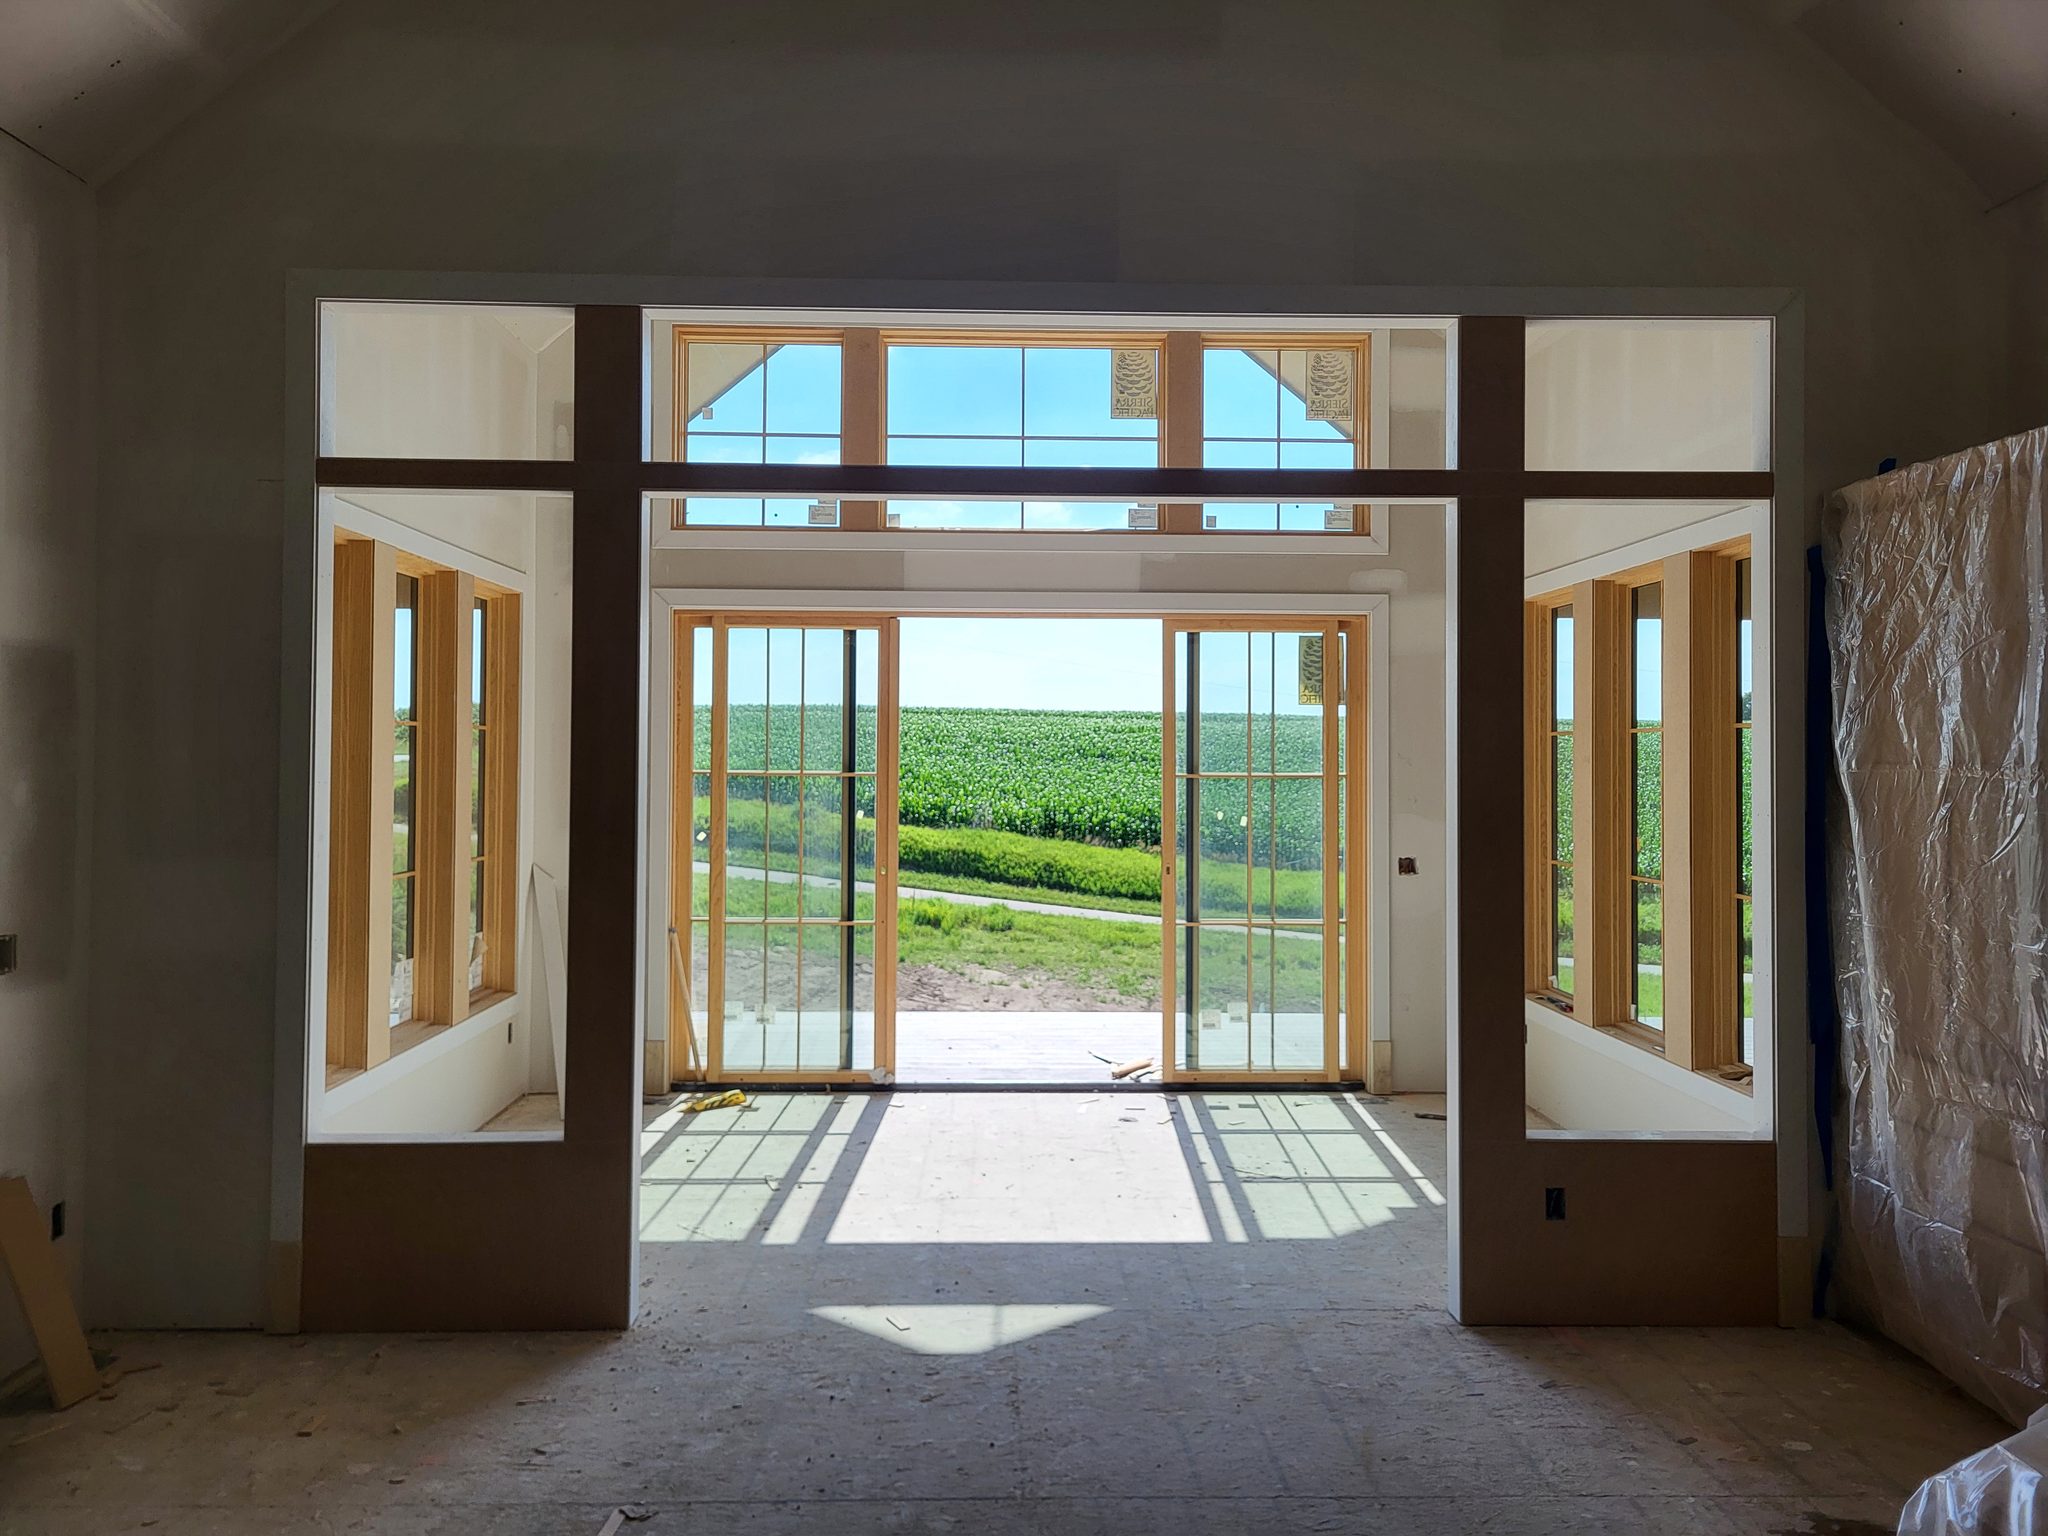
Installed 8-foot arched exterior door with multi-pane glass and wood lower panel, ready for paint.
Drilled hole in stair tread with metal insert ready for iron baluster installation.
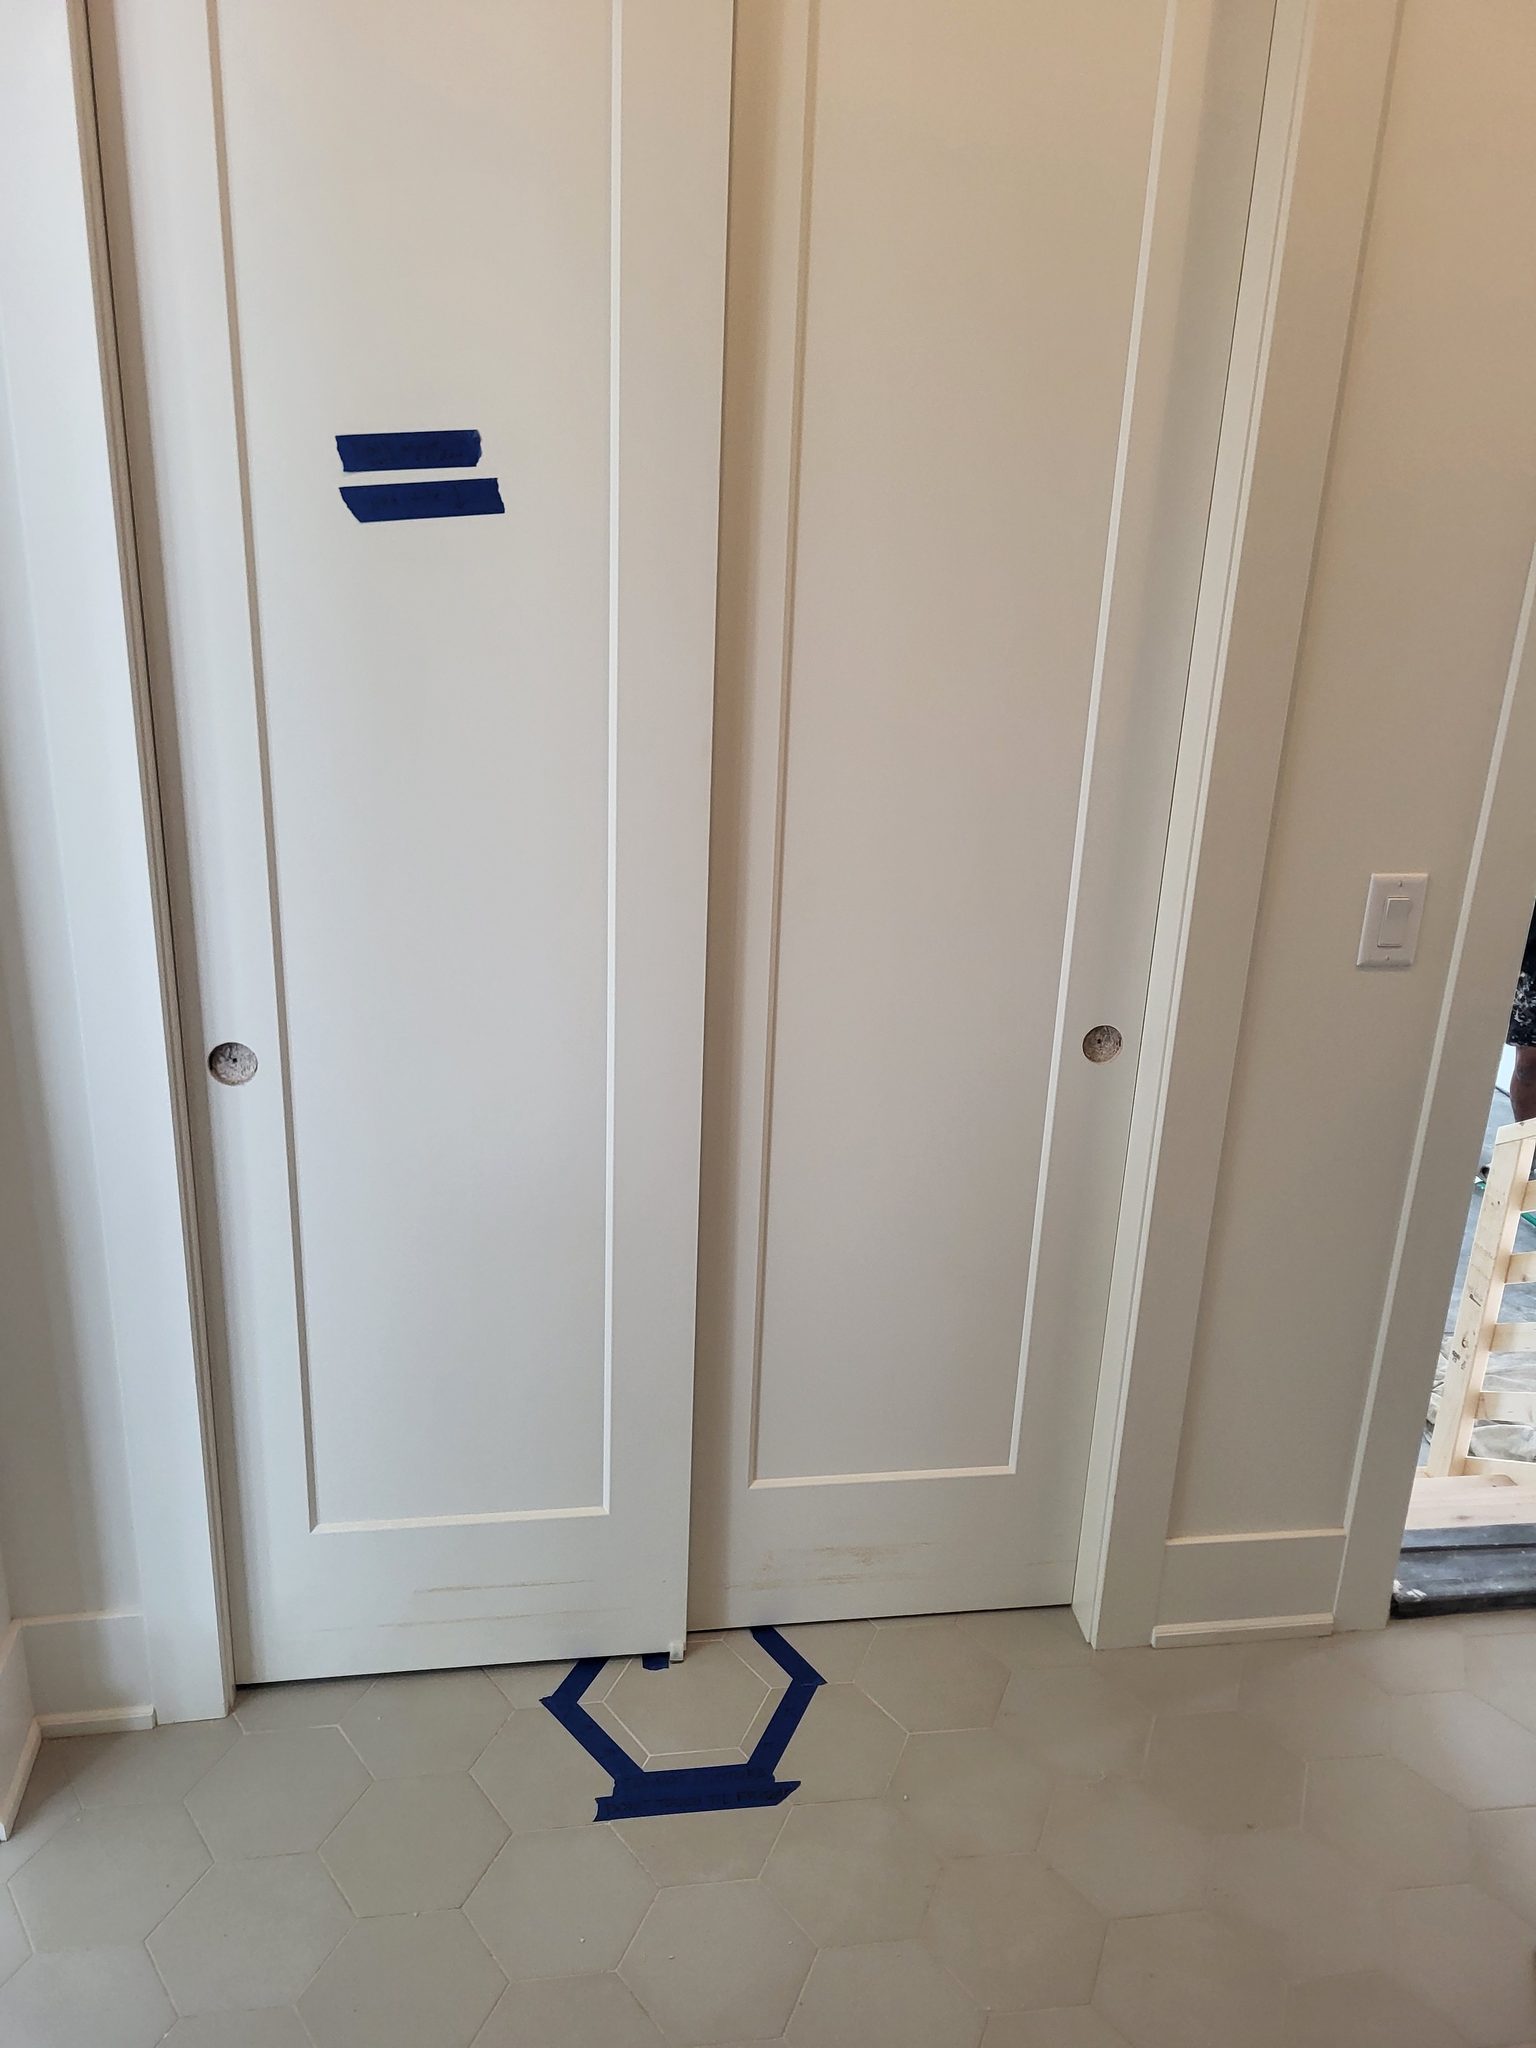
Painted hollow-core interior doors installed with locksets and casing in finished space.
Pocket door opening with painted jamb and recessed finger pull hardware installed.
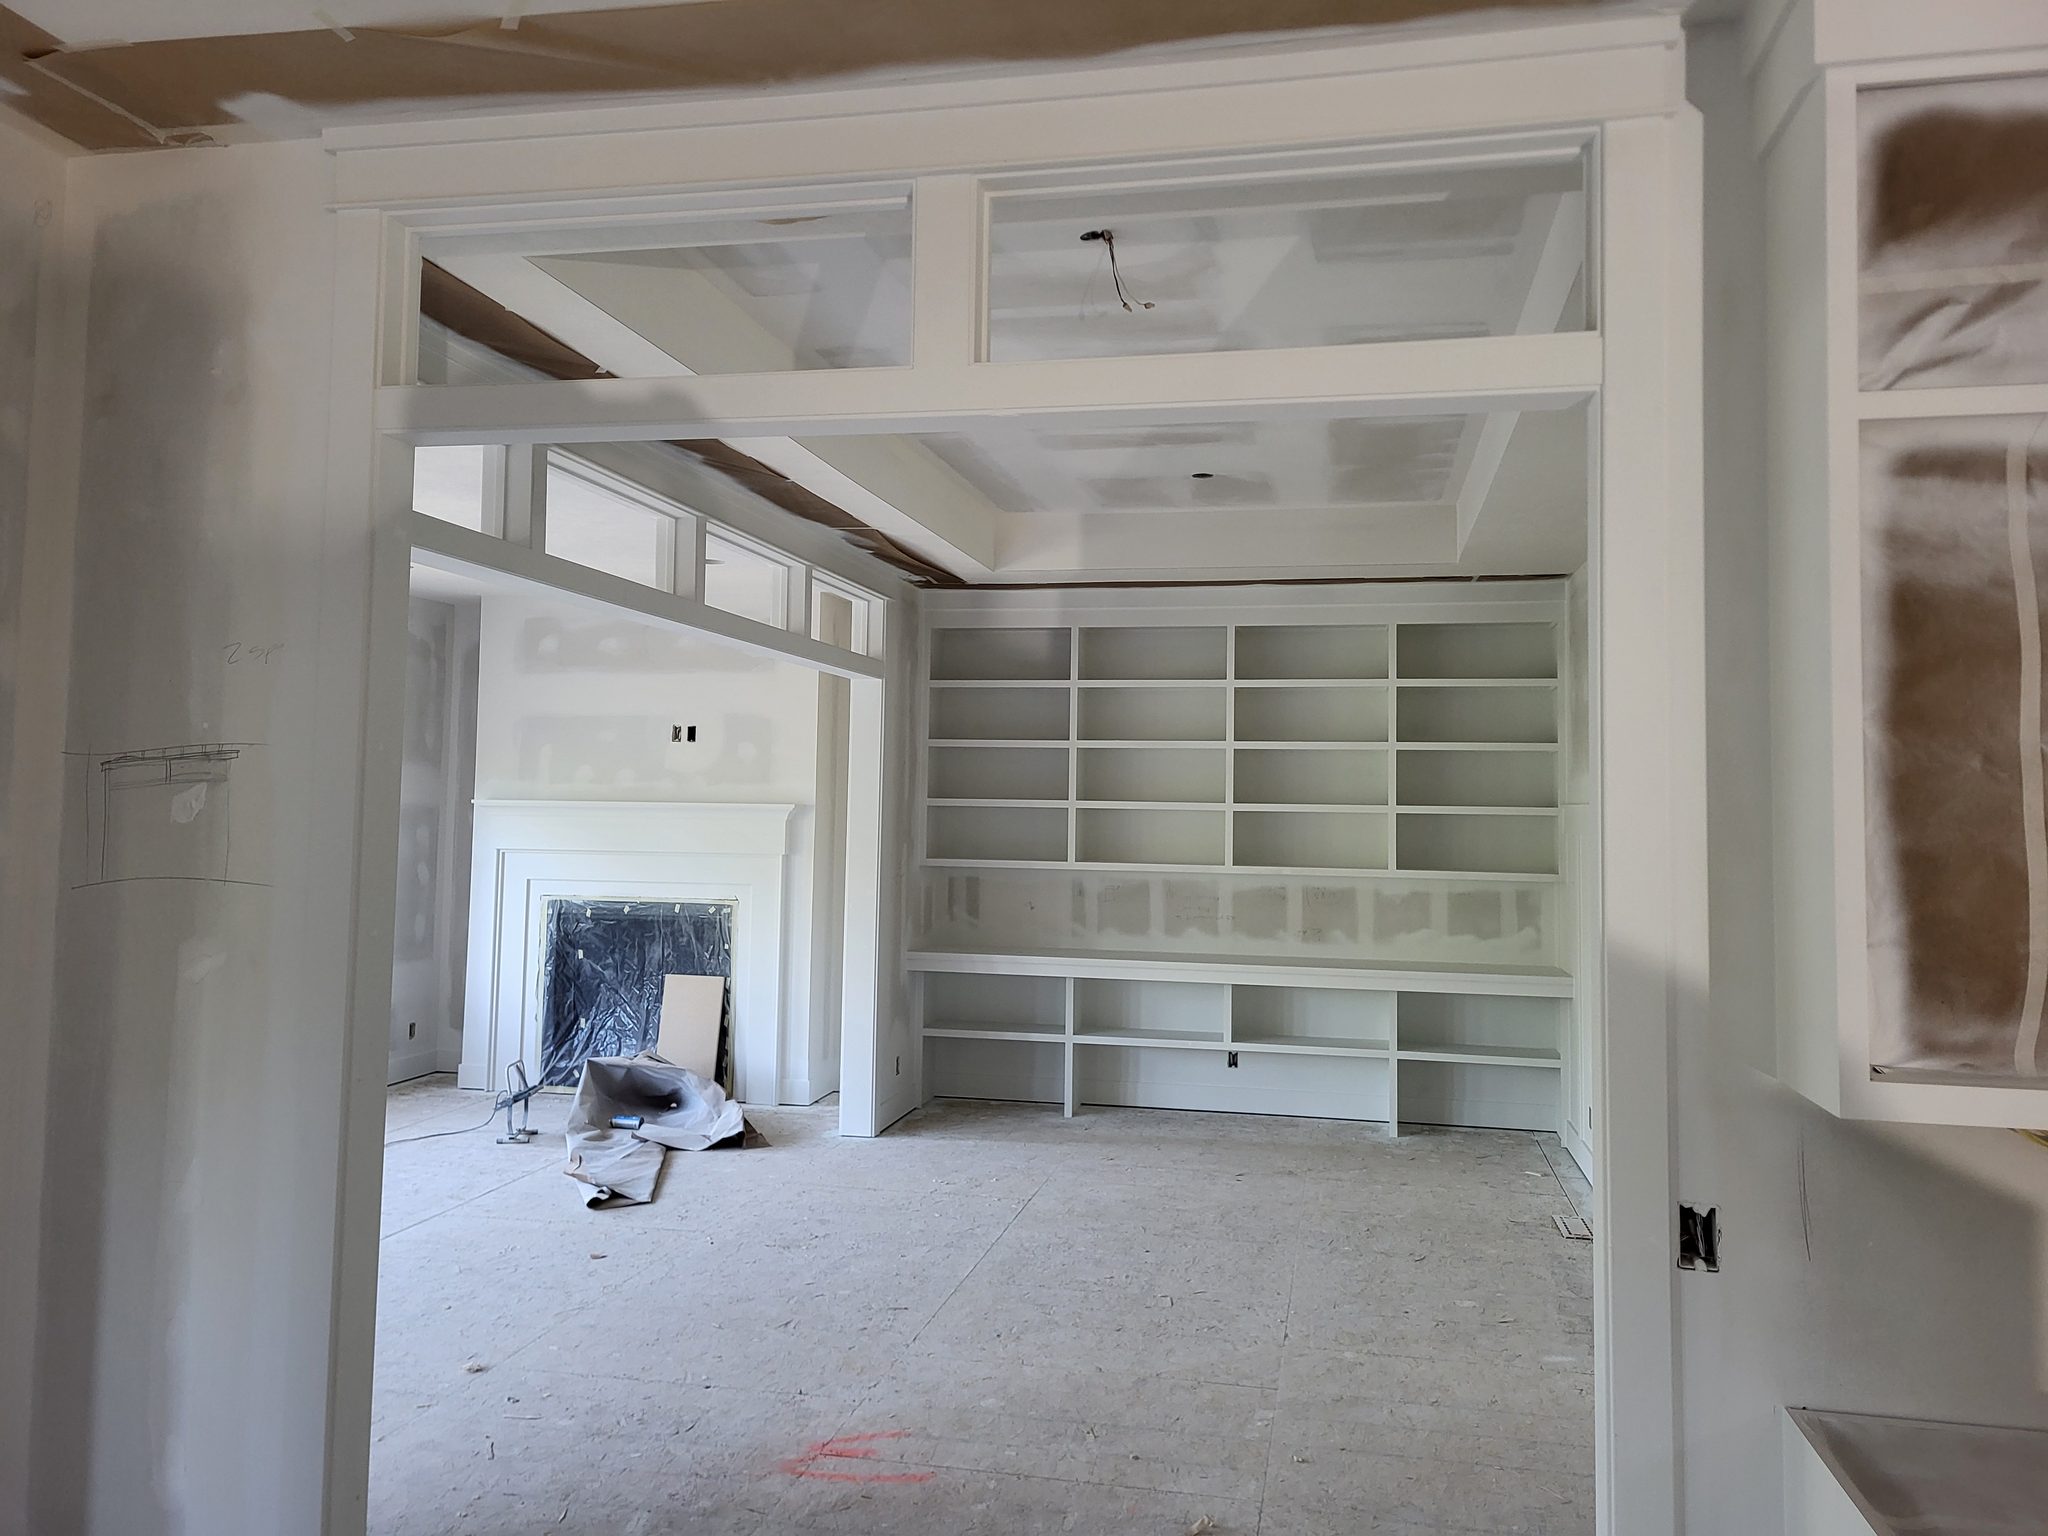
Painted cased opening with jamb and trim both sides, no door slab—pass-through entry.
Painted casing or trim with water damage and discoloration marks—quality issue requiring inspection. (Wrong Way)
Wrong Way
Painted interior door casing and jamb installed at standard height with white finish.
Painted cased opening with white trim and jamb, no door slab—pass-through between rooms.
× ‹ ›
Level 1
What are your Feelings

Share This Article :

  • Facebook
  • X
  • LinkedIn
  • Pinterest
Still stuck? How can we help?

Still stuck? How can we help?

Updated on August 22, 2026
How to Install a House-to-Garage DoorHow to Install a Pocket Door for a Perfect Finish

Leave a Reply Cancel reply

Your email address will not be published. Required fields are marked *

Table of Contents
  • Introduction
  • Before You Begin
    • Prerequisites
    • What You Need To Know
  • Tools Required
    • Power Tools
    • Hand Tools
    • Supplies
    • Materials
  • Cased Opening Installation Process
    • Step 1: Measure the Opening
    • Step 2: Install Jamb Material (If Required)
    • Step 3: Install Head Casing
    • Step 4: Install Side Casing
    • Step 5: Tighten, Set, and Clean
  • Cased Opening Quality Check
  • Troubleshooting
    • Casing doesn’t sit flat against the wall
    • Jamb wider or narrower than the wall
    • Miter joints opening up
    • Reveal is inconsistent
  • Related Guides
  • Reference Photos
Let's Build Stuff
  • Glossary
  • Learn
  • Blog
  • About
  • Contact
  • Affiliate Disclosure
  • Privacy Policy

© 2026 Let's Build Stuff - Interior Finish Carpentry Experts

  • Home
  • Start Here
  • Glossary
  • Learn
  • Blog
  • About
  • Contact
  • Browse the guides