
General Carpentry #
Skill Level: Intermediate (Level 2) #
Estimated Time: 6-12 Hours per Wall #
Introduction #
Additionally, this is a supplemental guide for walls 14 feet and wider — great rooms, open-concept living areas, and commercial spaces where wall spans far exceed standard board lengths. The complete process to install shiplap is covered in our core guide: How to Install Shiplap, 0′ to 7′, and joint management for mid-range walls is covered in How to Install Shiplap 2, 7′ to 14′. Read both guides first. Everything below focuses only on what changes when wall width exceeds 14 feet and each course requires two or more butt joints.
Furthermore, walls this wide introduce challenges that shorter walls don’t have: multiple joints per course, scaffolding requirements for the upper reaches, visual scale issues where small errors become magnified, and material logistics. The fundamentals remain the same, but the planning and execution precision need to step up.
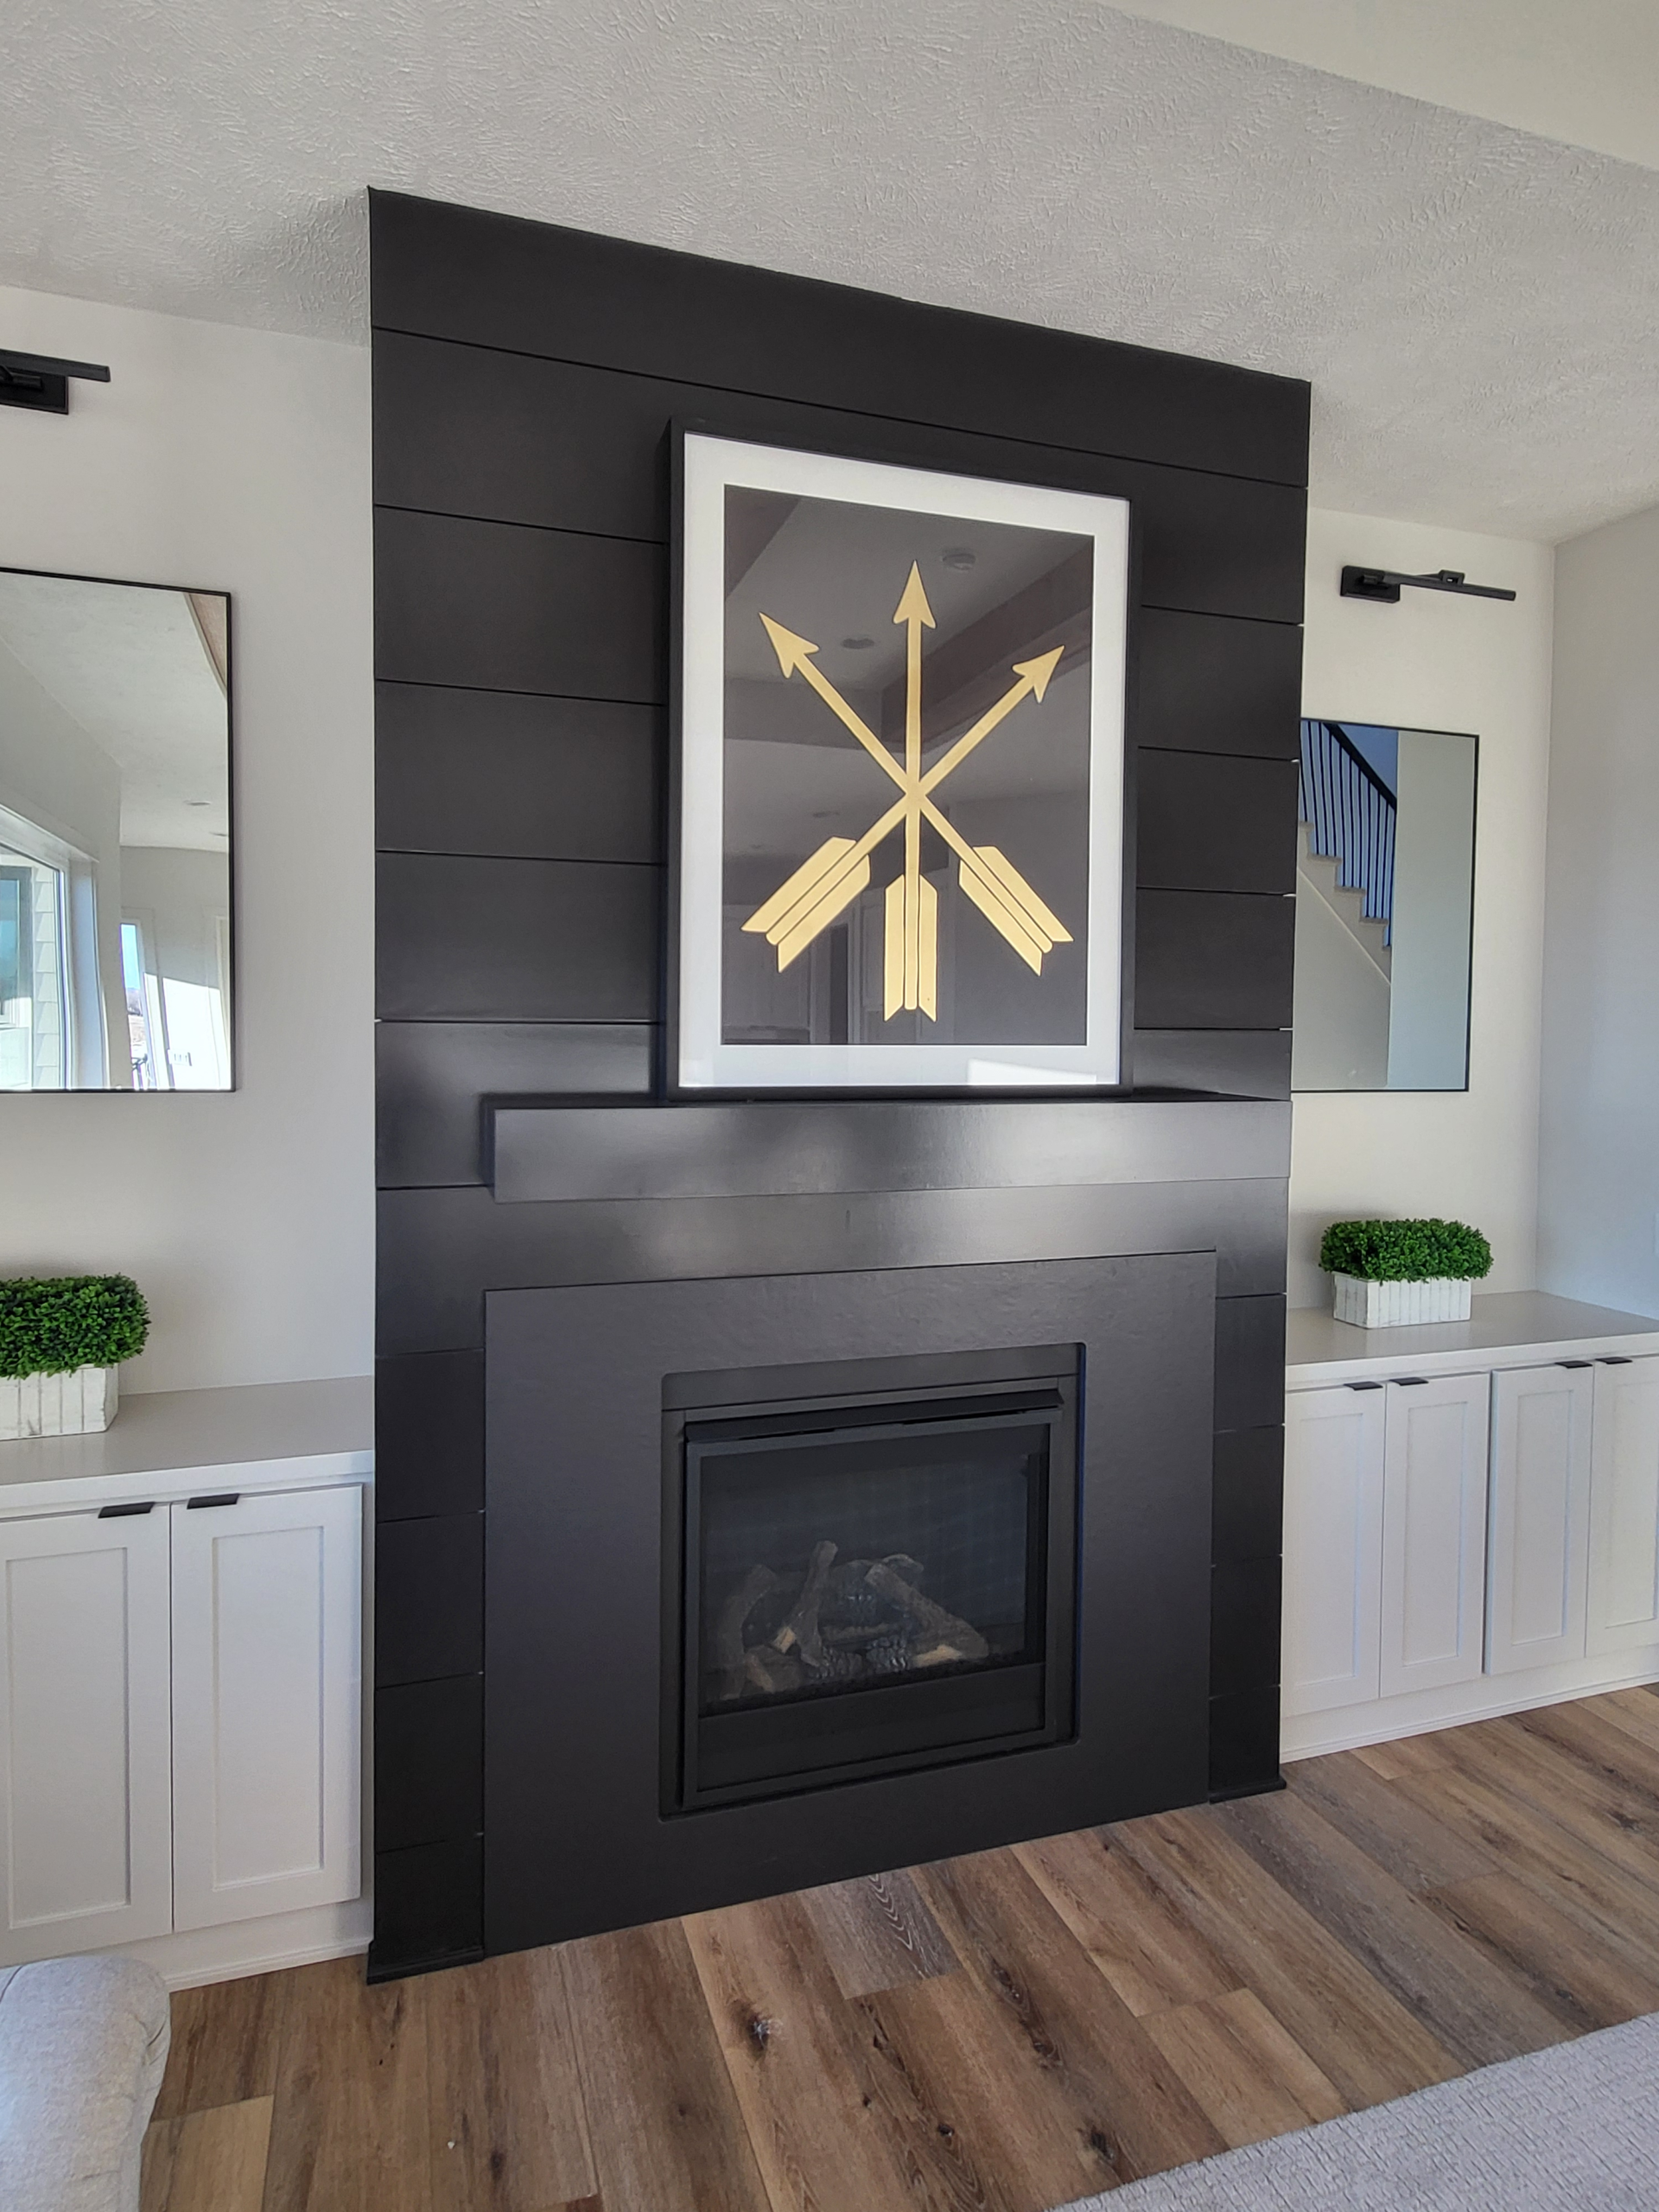
📷 Photo Needed
Install shiplap great room — wide wall 16-20 feet showing completed shiplap with multiple staggered joints
What Changes When You Install Shiplap on Walls Over 14 Feet #
- Multiple joints per course. A 16-foot wall with 8-foot boards has two joints per course. A 20-foot wall may have three. Managing stagger across multiple joints is exponentially more complex.
- Scaffolding replaces ladders. You can’t safely work 10 feet off the floor from a stepladder while holding a full-length board. Rolling scaffolding or a plank-and-bracket system is mandatory for the upper half of tall-wall installations.
- Board sourcing matters more. Longer boards (10′, 12′, or even 16′) dramatically reduce joint count. A 16-foot wall with 16-foot boards has zero joints — but those boards are heavier, harder to transport, and cost more. Weigh the tradeoff.
- Level drift is amplified. Over 14+ feet, even 1/16″ per course drift becomes noticeable. Check level every 2-3 courses with the longest level you have.
- Two-person job minimum. Solo installation is impractical at this scale. One person holds and positions while the other nails.
- Material staging is critical. Stack boards near the wall, sorted by length. Having to walk across a 20-foot room for every board wastes enormous time.
Additional Tools and Materials for Large-Scale Walls #
Moreover, everything in the core guide tool list and the 7-14 foot supplement, plus:
- Rolling scaffolding — adjustable height, at least 5 feet of platform width. Multi-level scaffold for walls over 12 feet tall.
- 6-foot or 8-foot level — a 4-foot level covers less than a third of the wall. Longer levels catch drift that short levels miss.
- Laser level (preferred) — projects a reference line across the full wall width. More accurate than any hand-held level at this scale.
- Board lifter or support T-bracket — for holding long boards in position while you nail. Commercial board lifters support one end hands-free.
- Extra material (15-20% overage) — more joints mean more cuts and more waste. Order accordingly.
📷 Photo Needed
Rolling scaffolding set up against a large wall for upper-level shiplap installation
Multi-Joint Stagger Planning for Wide Walls #
However, with two or more joints per course, the stagger rules from the 7-14 foot guide need to extend to cover multiple joint positions:
The Zone System #
Divide the wall into visual zones (roughly every 4-5 feet). Each course’s joints should land in different zones than the course above and below it. If Course 1 has joints in zones 2 and 4, Course 2 should have joints in zones 1 and 3 (or zone 3 only if using longer boards). No two vertically adjacent joints should share a zone.
Three-Board Layout #
For a wall requiring three boards per course (e.g., 20 feet with 8-foot boards): start the first course with a full board, then a full board, then the remainder. Start the second course with a half board, creating a brick-like stagger. Alternate the starting board length across courses so joints cascade across the wall rather than stacking.
Pro Tip: Map out joints for the first 6-8 courses on paper before cutting. Label each board with its position (Course 1, Board A / Course 1, Board B / etc.). Once the pattern is established, it repeats predictably for the remaining courses. This planning is worth 30 minutes because wide walls make bad stagger extremely obvious — it looks like a zipper running up the wall.
What’s Different Step-by-Step #
Follow the core guide for your chosen orientation. The modifications below apply primarily to horizontal installations (the most common for great rooms).
Step 1 (Layout) — Add Zone-Based Joint Planning #
Same layout process. In addition to course count and row balancing, create a full joint stagger map using the zone system described above. Mark zones on the wall with chalk. Verify every planned joint lands on a stud — on wide walls this occasionally means adjusting board lengths by a few inches to hit the nearest stud.
Steps 2-4 (Installation) — Scaffolding and Team Coordination #
Same installation process, but:
- Use scaffolding for any course you can’t comfortably reach from the floor. Reaching up with an extended arm to position boards overhead leads to inconsistent nailing and fatigue.
- Work in pairs. One person positions and holds the board while the other checks level and nails. On 16’+ boards, you may need a third support point (cleat, board lifter, or additional person).
- Check level every 2-3 courses with a laser level or the longest hand level available. Set the laser at the top edge of the course and verify across the full width.
- Tighten joints immediately. Apply lateral pressure pushing each board tight against its neighbor at joints before nailing. On long runs, the board’s own weight can cause it to settle and pull away from the joint before you nail it.
Step 5 (Finish) — Extra Attention at Joints #
More joints mean more nail holes to fill and more end-grain cuts to touch up with paint or stain. Budget extra time for finishing — a 20-foot wall may have 15-20 joints total, each needing 4 nail holes filled. Apply finishing compound in a consistent color so filled joints don’t stand out.
Herringbone and Chevron on Wide Walls #
Angled patterns on walls over 14 feet are substantially more difficult than on smaller walls. Additional considerations:
- Plywood backer seams. You’ll need 3-4 sheets side by side. Offset seams and screw into every stud. Tape seams with mesh tape to prevent telegraphing through shiplap.
- Center line placement. On a 20-foot wall, consider whether the pattern’s center should align with the geometric center of the wall or the visual center of the room (they may differ due to furniture placement). Stand where the viewer will stand and assess.
- Waste factor increases to 35-45% for herringbone and 40-50% for chevron on wide walls. The edge trim cuts become progressively more wasteful as the pattern extends.
Material Planning for Wide Walls #
Walls over 14 feet require more careful material calculation than smaller projects. Start by measuring the total square footage, then add 15-20% for waste. The waste factor increases with wall width because more cuts generate more unusable offcuts.
Order all boards from a single lot or production run. On a wall this large, color and grain variations between lots become noticeable. If your supplier can’t provide enough from one lot, request boards from consecutive lots and shuffle them during installation to distribute any variation evenly across the wall.
For walls requiring butt joints, calculate board lengths against stud spacing before ordering. If your studs are on 16-inch centers and the wall is 18 feet, you’ll need boards that can be cut to land joints on studs while maintaining the stagger pattern. Pre-planning board lengths reduces waste and speeds up installation. Stage cut boards near the wall, labeled by course number, so you’re not measuring and cutting on the fly.
Quality Check — Additions for Walls Over 14 Feet #
Complete the full core guide quality checklist and the 7-14 foot checklist additions, then verify:
- ✅ Joint stagger follows zone system — no vertically adjacent joints in the same zone
- ✅ Level checked with laser or 6’+ level across full wall width — consistent within 1/16″ over any 8-foot span
- ✅ All boards are tight at joints — no gaps visible from 6 feet back
- ✅ Scaffolding marks or dents cleaned up (touch up any scuffs where scaffold contacted wall)
- ✅ For herringbone/chevron: plywood seams not telegraphing through shiplap surface
Troubleshooting — Very Wide Wall Issues #
Boards bowing between supports on long spans #
Long boards can develop a visible bow between nailing points, especially in humid conditions. Fix by adding a mid-span nail if a stud is available, or applying construction adhesive behind the board to hold it flat. If the bow is severe, the board may be warped — replace it. When working with boards over 10 feet, be extra selective about board straightness.
Courses drifting out of level across the full width #
Small errors compound more visibly on wide walls. If you discover drift, do NOT correct it in one course — that creates a visible kink. Spread the correction over 3-4 courses by slightly adjusting the reveal spacing (wider reveal on the high side, tighter on the low side). The gradual correction will be invisible.
Material color variation between boards #
Large orders often include boards from different production runs with subtle color/grain differences. Shuffle boards from different bundles so variations distribute evenly across the wall rather than creating distinct bands. Pre-finishing all boards with consistent stain or paint eliminates this issue entirely.
Helpful Resources #
The OSHA Scaffolding Standards provide safety guidelines for working at height — critical for projects on tall walls in great rooms.
Related Guides #
- Core Guide: How to Install Shiplap, 0′ to 7′ — Complete installation process for all four orientations
- How to Install Shiplap 2, 7′ to 14′ — Joint management and stagger planning for mid-range walls
- How to Install Shiplap 4, Ceiling — Overhead installation techniques
- How to Install Shiplap on a 3-Sided Fireplace — Fireplace wraps with mitered corners


