
General Carpentry #
Skill Level: Intermediate to Advanced (Level 2-3) #
Estimated Time: 6-10 Hours per Room (varies by ceiling size) #
Introduction #
Additionally, this is a supplemental guide for installing a shiplap ceiling — boards mounted overhead on a flat or vaulted ceiling surface. The core board-handling, nailing, and finishing techniques are covered in our core guide: How to Install Shiplap, 0′ to 7′. Read that guide first. Everything below assumes you know the wall installation process and focuses only on what changes when you rotate the work surface from vertical to horizontal overhead.
A shiplap ceiling transforms a room. It draws the eye up, adds texture and warmth, and makes flat drywall ceilings feel intentional rather than blank. The installation uses the same boards, nails, and joints — but gravity works against you at every step. Boards must be held overhead while nailing, adhesive is your new best friend, and material staging becomes a logistics challenge. Every step takes longer on a ceiling than on a wall. Plan for roughly double the time per square foot compared to wall installation.
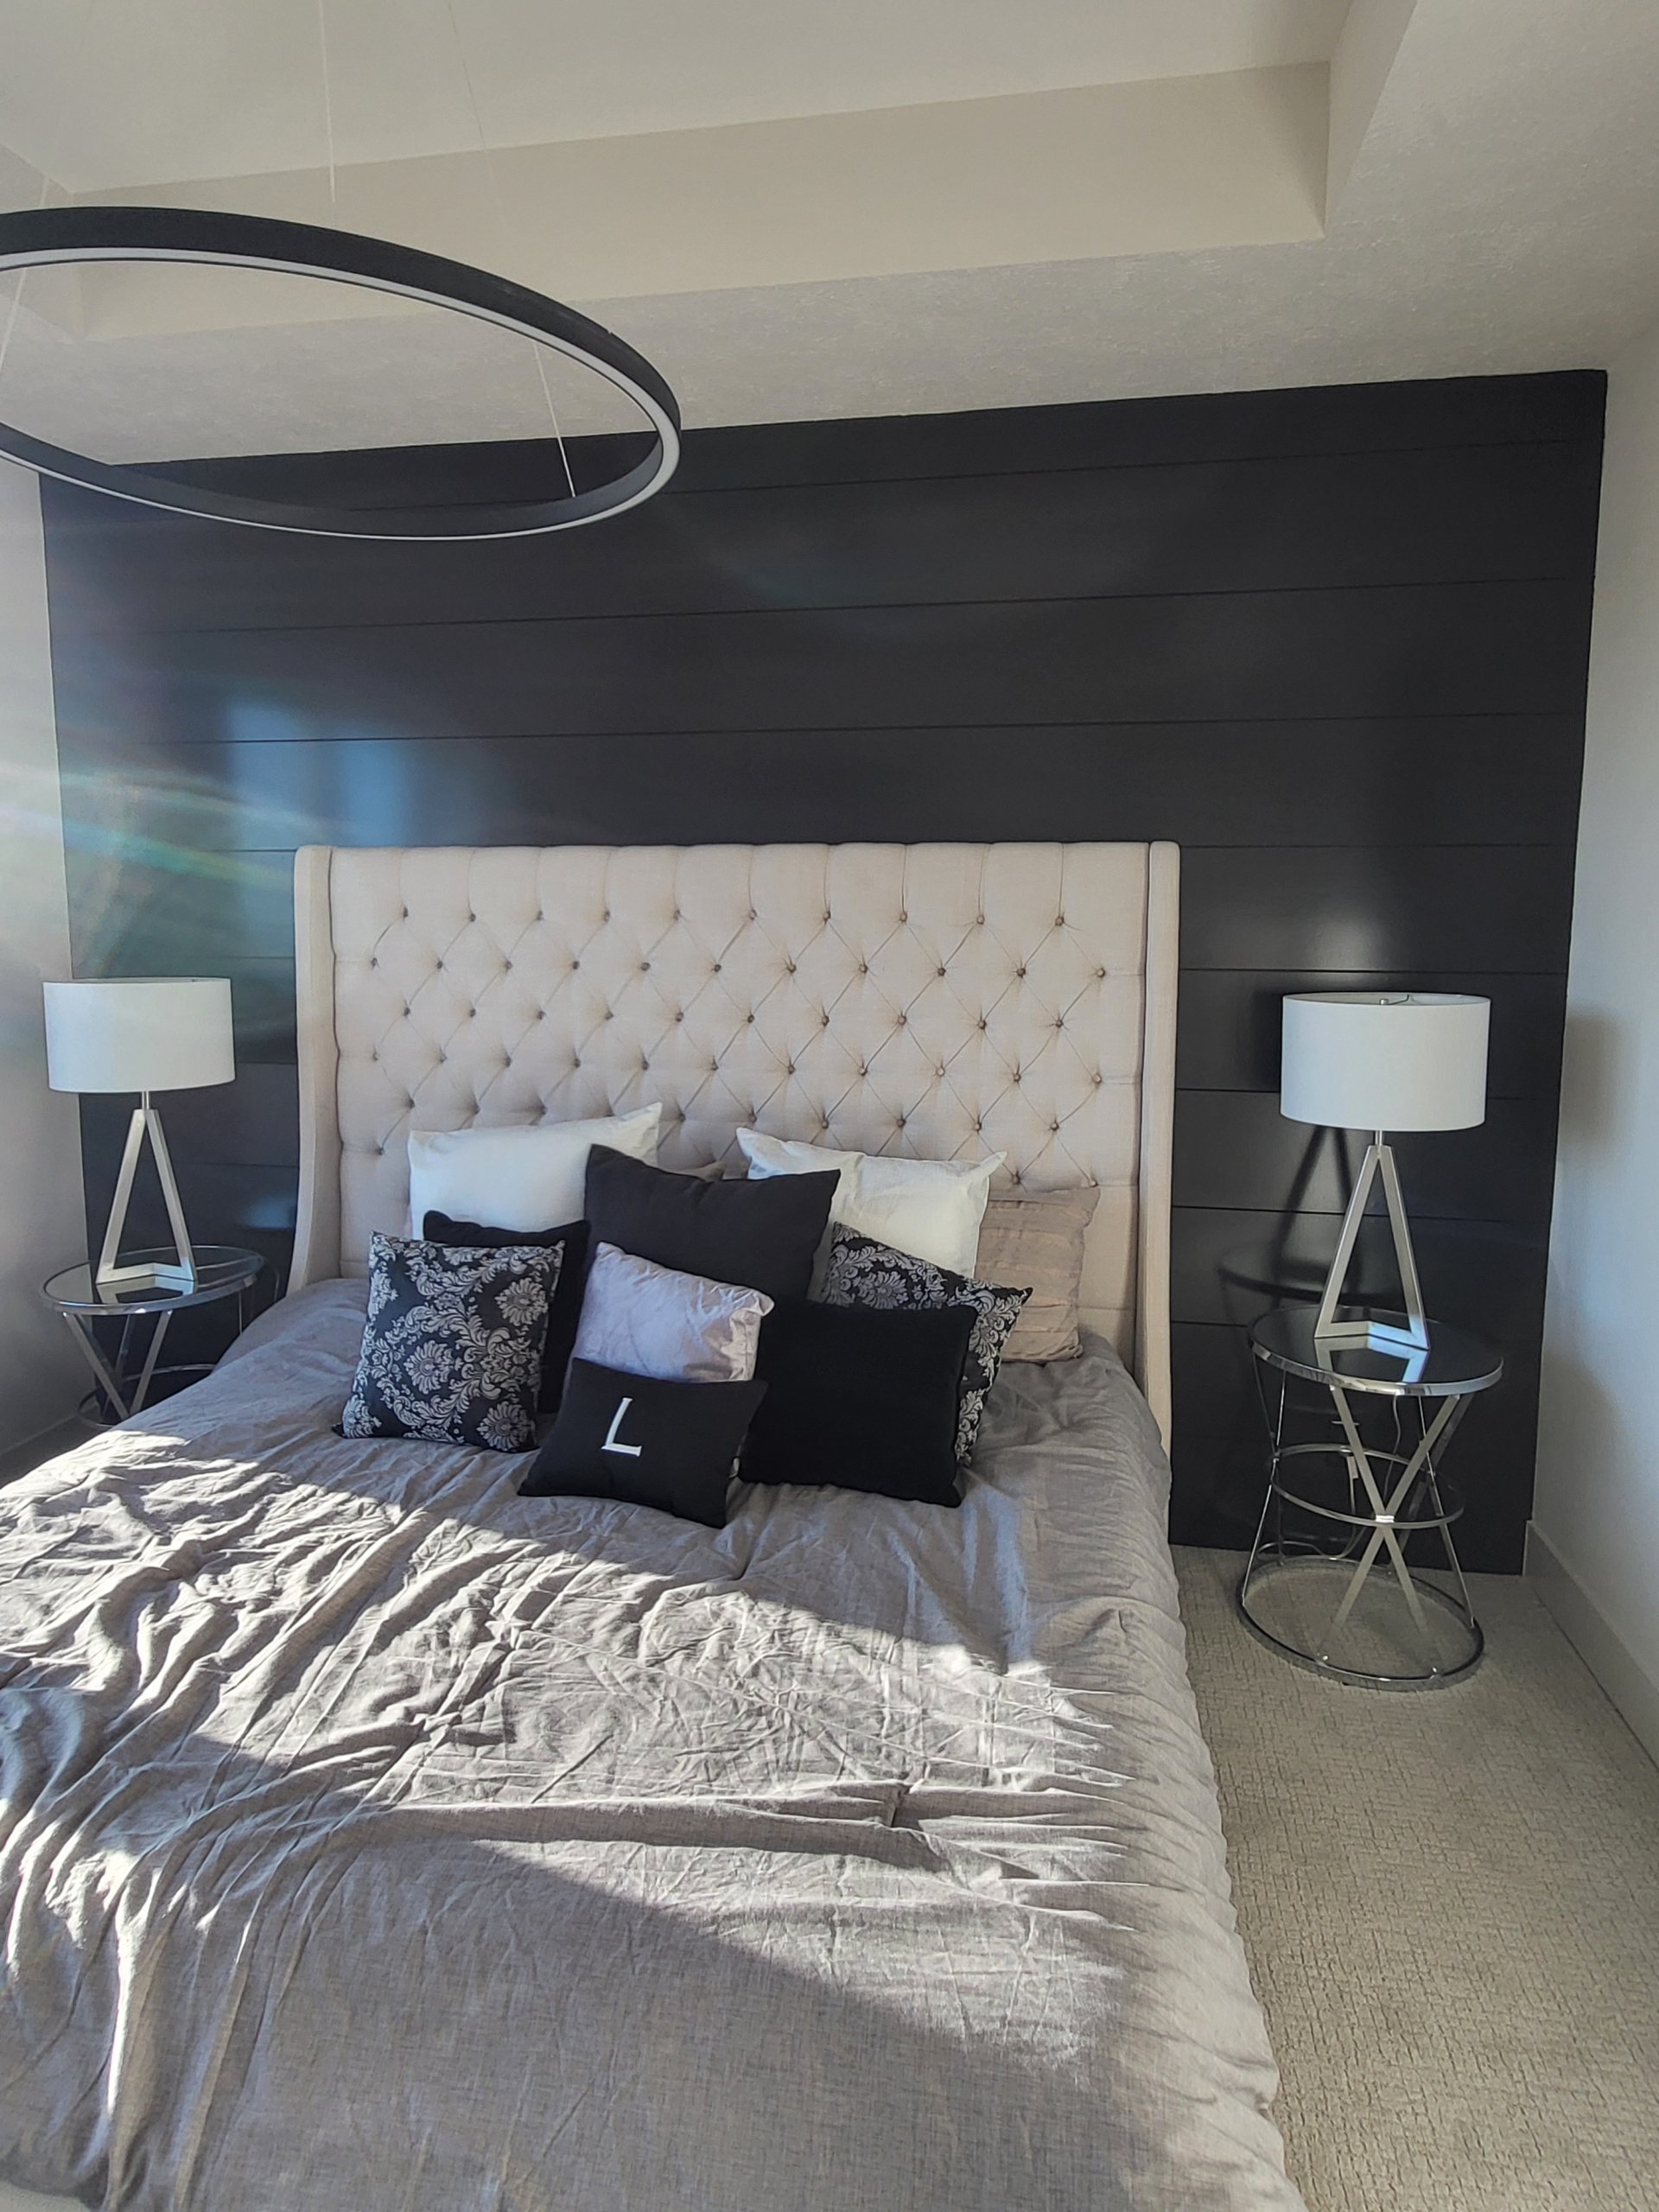
📷 Photo Needed
Completed shiplap ceiling in a living room or bedroom — showing clean board lines and finished look
What Changes for a Shiplap Ceiling Installation #
- Gravity is your enemy. Boards want to fall while you position and nail them. Construction adhesive on every board is mandatory — not optional. The adhesive holds the board in place while you set the first nails.
- Nailing into joists, not studs. Ceiling joists run on 16″ or 24″ centers, same as wall studs, but they’re harder to find through drywall. Use a stud finder rated for ceiling use (some models struggle with overhead scanning).
- Board direction planning. Boards typically run perpendicular to the joists for reliable nailing. If you want boards parallel to joists, you’ll need furring strips — same concept as vertical wall installation.
- Two-person job minimum. One person cannot hold a full-length board against the ceiling, check alignment, and nail simultaneously. This is a mandatory two-person operation.
- Scaffolding, not ladders. You need a stable platform you can walk along while holding a board overhead. Rolling scaffolding at a height that puts the ceiling within arm’s reach is ideal. Stepladders are inadequate and unsafe for overhead work.
- Physical fatigue is real. Overhead work is the most tiring orientation in carpentry. Arms fatigue faster, neck strain is constant, and debris falls in your face. Take breaks every 30-45 minutes.
Additional Tools and Materials for a Shiplap Ceiling #
Furthermore, everything in the core guide tool list, plus:
- Construction adhesive (mandatory) — heavy-duty polyurethane type (PL Premium or equivalent). Apply a continuous bead on the back of every board. This is not optional for overhead work.
- Rolling scaffolding or plank-and-bracket system — must allow you to stand with the ceiling at chest to shoulder height. If the ceiling is 8 feet, standard 2-foot scaffolding works. For higher ceilings, adjust accordingly.
- Safety glasses — debris and sawdust fall directly onto you during overhead cutting and nailing. Mandatory, not optional.
- T-prop (dead man brace) — a 2×4 cut to ceiling height with a perpendicular top piece. Wedge this under a board to hold it against the ceiling while you’re nailing. Cuts your helper’s holding time in half.
- Longer brad nails (2″ minimum) — boards must penetrate through drywall (1/2″) and into the joist. Standard 1.5″ brads don’t leave enough grip in the joist for overhead work.
📷 Photo Needed
T-prop (dead man brace) holding a shiplap board against the ceiling while installer nails it
Ceiling-Specific Preparation #
Finding and Marking Joists #
Moreover, before any boards go up, locate every ceiling joist. Use a stud finder calibrated for ceiling depth (some have a “deep scan” mode). Mark joist locations on the ceiling with chalk lines running the full length of the room. These lines will be covered by boards, so use bold marks. If joist spacing is irregular (common in older homes), measure and mark each one individually.
However, confirm joist direction by checking from the attic if accessible, or by using a long nail driven through the drywall to probe in two directions. Joists typically run perpendicular to the ridge in vaulted ceilings and perpendicular to the longer wall span in flat ceilings.
Board Direction Decision #
Perpendicular to joists (preferred): Every board crosses multiple joists, giving you reliable nailing points every 16-24″. This is the easiest and most secure overhead installation method.
Parallel to joists: Boards run the same direction as joists. You can only nail where a board happens to cross a joist — which might be nowhere for most of the board’s length. If you want this direction, install perpendicular furring strips (1×3 or 1×4) screwed through the drywall into joists at 16″ spacing first. Then nail boards into the furring strips.
Pro Tip: Aesthetically, ceiling boards usually look best running the shorter dimension of the room — this makes the room feel wider. In narrow hallways or galley kitchens, run boards lengthwise to elongate the space. The best direction for looks is often perpendicular to joists and perpendicular to the main window wall.
Lighting and Fixture Planning #
Consequently, mark all light fixture, vent, and speaker locations before starting. Cut openings in boards as you reach them — same technique as outlet cuts in the core guide. For recessed lights, verify the shiplap thickness (3/4″) doesn’t interfere with the recessed housing depth. Some housings need shallower trim rings when boards add depth over drywall.
What’s Different Step-by-Step #
Additionally, follow the core guide horizontal installation steps. The modifications below address overhead-specific challenges.
Step 1 (Layout) — Start from the Most Visible Wall #
Same course-count calculation as wall installation, but use the ceiling width (wall-to-wall distance) instead of wall height. The first board should go along the most visible wall — typically the wall you see when entering the room. The last board (which may be ripped to width) should be along the least visible wall, often behind a door swing.
Step 2 (First Board) — Adhesive + Nails + Helper #
Apply a continuous S-bead of construction adhesive on the back of the board. Have your helper lift one end while you lift the other. Press the board tight against the ceiling along the starting wall. Use a T-prop to hold the board while you nail. Nail into every joist with 2″ brads — two nails per joist crossing. The first board must be perfectly straight along the wall. Any bow or drift in this board cascades across the entire ceiling.
📷 Photo Needed
First shiplap ceiling board being installed — two people holding board against ceiling, adhesive visible, nail gun nailing into joist
Step 3 (Build Out) — Controlled Pace #
Same course-by-course process. Key overhead differences:
- Adhesive on every board. No exceptions. The adhesive provides 50%+ of the holding force on a ceiling. Nails alone will eventually fail on overhead installations, especially with seasonal wood movement.
- Engage the lap joint while the board is overhead. This is the trickiest part. Tip the board’s grooved edge into the tongue of the previous board first, then swing the board flat against the ceiling. Having a helper push the lap joint closed while you nail is easier than trying to do both.
- Check alignment every 3 boards by measuring from the starting wall to the leading edge of the current board at both ends. If the measurements differ, the boards are drifting. Correct by slightly adjusting the reveal width over the next 2-3 boards.
- Pace yourself. Overhead shiplap ceiling installation is exhausting. 8-10 boards per hour is a realistic pace for two people. Rushing leads to missed nails, unengaged lap joints, and boards that fall before adhesive sets.
Step 4 (Fixtures) — Cut Before Lifting #
For light fixtures, vents, and speakers: measure the position, mark and cut the board on the floor (or on your scaffolding deck), THEN lift and install. Cutting overhead with a jigsaw is dangerous, messy, and imprecise. Always cut boards at a comfortable working height and dry-fit them by holding them up before applying adhesive.
Step 5 (Last Board) — Rip and Scribe #
The last board almost certainly needs ripping. Measure the remaining gap at multiple points — ceilings are rarely perfectly square. If the gap varies by more than 1/4″, scribe the board to follow the wall contour. Rip on a table saw, then install with adhesive and face-nail since you can’t access the tongue side. Cover the edge with crown molding or a flat trim piece.
Vaulted Ceiling Considerations #
Vaulted (cathedral) ceilings add another level of complexity to a shiplap ceiling project:
- Height. The peak of a vaulted ceiling may be 12-16 feet. Full scaffolding systems are required — not just rolling platforms.
- Angles. Boards meet at the ridge (where two angled planes meet). This seam can be covered with a ridge beam trim piece, or boards can be mitered to meet — mitering is much harder on a ceiling than on a wall.
- Board lengths. On vaulted ceilings, each board may be a different length (shorter at the peak, longer at the eaves). Measure and cut each board individually.
- Gravity is worse. The steeper the vault, the more the boards want to slide down before adhesive sets. Use T-props at multiple points along each board and allow adhesive 5-10 minutes of set time before removing supports.
Quality Check — Overhead Additions #
Complete the full core guide quality checklist, then verify:
- ✅ All boards firmly attached — push test on each board (no flex or give)
- ✅ No adhesive squeeze-out visible between board reveals
- ✅ All light fixture, vent, and speaker cutouts clean and centered
- ✅ Boards aligned parallel to starting wall across full ceiling width
- ✅ No sagging boards (check by sighting along the ceiling from floor level)
- ✅ Edge trim or crown molding installed at all wall-to-ceiling transitions
Troubleshooting — Overhead Issues #
Board falls after nailing #
Nails missed the joist. Pull the board down, verify joist location (probe with a nail if needed), reapply adhesive, and re-nail into confirmed joists. Every brad must hit solid wood on a shiplap ceiling — a nail in drywall only is useless against gravity.
Adhesive dripping through reveals #
Too much adhesive, or the wrong type. Use a polyurethane construction adhesive (thick, non-drip formula). Apply in an S-pattern centered on the board — keep adhesive at least 1″ from all board edges. If adhesive has already dripped, let it cure fully (24 hours), then scrape off with a putty knife. Cleaning wet adhesive smears it worse.
Boards bowing downward between joists #
The adhesive isn’t providing enough additional hold between nailing points. On shiplap ceiling installations with 24″ joist spacing, boards can sag slightly between joists over time. Fix by adding a nail or screw at the mid-point (through the drywall) or by using a heavier adhesive application. Prevention: where possible, use T-props to push boards flush until adhesive cures.
Lap joints not engaging properly overhead #
Boards are tight against the ceiling but the tongue-and-groove or lap joint isn’t fully seated. The board needs to slide laterally into the joint, not just press up. Technique: hold the board at a slight angle with the grooved edge in the tongue, then swing the board flat against the ceiling while pushing it sideways to close the joint. A rubber mallet tap along the edge (through a scrap block) can help seat stubborn joints.
Helpful Resources #
The Family Handyman tongue-and-groove ceiling guide covers similar overhead techniques that apply directly to overhead board work.
Related Guides #
- Core Guide: How to Install Shiplap, 0′ to 7′ — Complete installation process for all four wall orientations
- How to Install Shiplap 2, 7′ to 14′ — Joint management for longer wall spans
- How to Install Shiplap 3, 14’+ — Scaffolding and multi-joint planning for great rooms
- How to Install Shiplap on a 3-Sided Fireplace — Fireplace wraps with mitered corners


