Category - Hardware #
Skill Level - 1 #
Estimated Time - 15-20 minutes per door #
Installing a lockset is one of the most useful hardware skills in trim carpentry. A lockset is any door hardware that mounts through the round holes drilled in a door, called bores. Doorknobs, lever handles, dummy knobs, deadbolts, and privacy locks are all types of locksets. This guide covers all of them, whether you’re setting plain passage hardware on a closet door or a keyed entrance set on an exterior door.
Installing a lockset is one of the last jobs in the punchout phase, the final round of finish work before a new home is done. Every door needs to open, close, and lock right. The job looks simple, but doing it well takes attention to detail and the right technique so it holds up for years.
Punchout is where the job goes from under construction to finished, and every detail shows. A tight, well-installed lockset makes the house look and feel well built. When doors latch smoothly and locks turn without effort, homeowners notice the quality.
A lockset is made of a few parts working together: the handles or knobs, the latch, the strike plate (the metal plate on the door frame that the latch clicks into), and the lock itself. Every part has to sit right and get fastened tight for the lockset to work properly. Once you know how the pieces fit together, the install goes fast.
This guide walks you through installing a lockset on a pre-hung door in new construction. Follow these steps and every lockset will operate smoothly, latch securely, and give homeowners the security and convenience they expect. The steps are the same whether you’re installing a privacy lockset for a bedroom or bathroom, or a passage lockset for a hallway or closet.
Before You Begin #
Before you install a lockset, confirm the door and frame prep is complete.
Prerequisites #
- Door must be hung and plumb
- The bores for the lockset must be pre-drilled: a standard 2⅛” bore through the door face for the knob, and a 1″ bore into the door edge for the latch
- Door frame must be installed with the strike plate mortise (the shallow pocket cut into the frame for the strike plate) already cut
- Verify door swing direction before starting
- Confirm the lockset type matches the door’s job (privacy vs. passage vs. entrance)
What to Know #
Knowing the different lockset types helps you pick the right hardware for each door.
- Privacy locksets have a locking mechanism, used on bedrooms and bathrooms
- Passage locksets have no lock, used on hallways and closets
- Entrance locksets have keyed cylinders, used on exterior doors
- Dummy locksets (also called dummy knobs or pulls) are non-functional. They’re decorative hardware for fixed doors or closets that don’t need to latch
- Most residential locksets come pre-assembled and ready to install
- The backset (the distance from the door edge to the center of the bore) is usually 2⅜” on interior doors
- Verify all hardware finishes match throughout the home
Tools Needed #
- Impact driver with Phillips head bit
- Drill with ⅛” bit (for strike plate pilot holes if needed)
- Phillips head screwdriver
- Flat-head screwdriver
- Hammer
- Pencil
Materials #
- Lockset (complete with all hardware and screws)
- Strike plate (usually included with lockset)
How to Install a Lockset Step by Step #
Step 1: Prepare and Inspect the Lockset #
Start by getting organized. Taking a minute to lay out and check the parts prevents delays and keeps you from missing a piece later.
Unbox and Organize #
- Unbox the lockset: Carefully open the packaging and remove all the components
- Lay out all parts: Organize them on a clean surface where you can see everything
- Verify contents: Check against the instruction sheet to make sure all parts are there:
- Exterior and interior handles or knobs
- Latch mechanism
- Strike plate
- Mounting screws (various lengths)
- Latch plate or collar
- Any locking parts (privacy button, thumb turn, etc.)
Inspect the Door Preparation #
- Check the edge bore: Look at the 1″ hole in the door edge where the latch installs
- Identify the mortise type: The mortise is the shallow rectangular pocket cut into the door edge that holds the latch plate. Check whether yours is cut square or with a rounded corner (⅛” radius)
- Verify bore alignment: Make sure the edge bore meets the 2⅛” knob bore at the correct depth
- Check for damage: Look for chips, cracks, or rough edges around the bore holes
Pro Tip: If the door edge isn’t mortised for a latch plate, use the latch collar (a tube-shaped sleeve) instead of a flat plate. Most modern pre-hung doors come pre-mortised, but builder-grade doors sometimes use collars for a faster install.
Step 2: Install the Latch Mechanism #
The latch has to seat properly. It’s the heart of the lockset and what actually holds the door closed. Getting it right the first time means smooth operation and no sticking or misalignment down the road.
Insert the Latch #
- Orient the latch correctly: The latch has a beveled side (cut at an angle) that must face the door frame, the direction the door swings shut. The bevel lets the door close smoothly and self-latch
- Check the backset: Make sure the latch matches your door’s backset (typically 2⅜” on interior doors)
- Insert into the bore hole: Slide the latch into the edge bore, feeding it in until the plate or collar sits flush against the door edge
- Verify square operation: The latch has a square spindle hole where the spindle (the square metal rod that connects the two handles) will pass through. Make sure this square hole is oriented horizontally, parallel to the floor
Secure the Latch Plate or Collar #
- Position the plate: If your door is mortised, fit the rectangular latch plate into the mortise so it sits flush with the door edge
- Or install the collar: If using a collar, slide the tube-shaped sleeve over the latch body until it’s flush with the door edge
- Mark screw holes: Use a pencil to mark the screw hole locations if they aren’t pre-drilled
- Pre-drill if necessary: Use the ⅛” drill bit to create pilot holes at the marked spots. This keeps the wood from splitting
- Drive screws: Insert the provided screws and tighten with your Phillips head screwdriver or impact driver
- Check flush fit: The latch plate or collar should sit perfectly flush with the door edge, no gaps or raised edges
- Test latch operation: Press the latch in with your finger. It should spring back smoothly and firmly
Common Mistake to Avoid: Installing the latch with the bevel facing the wrong direction is a frequent error. Remember: the bevel faces the strike plate side. If it goes in backward, the door won’t latch properly.
With the latch installed and operating smoothly, you’re ready to install the handles or knobs.
Step 3: Install the Lockset Handles #
Handle installation finishes the visible part of the hardware. Mounting the handles properly keeps the knobs or levers operating smoothly, feeling solid, and staying aligned over time.
Position the Exterior Handle #
- Identify handle orientation: The exterior side usually has the keyhole or a decorative trim plate (called a rose). The interior side usually has the privacy button or thumb turn
- Insert the exterior handle: Feed the spindle through the latch from the exterior side of the door
- Check screw posts: Most locksets have threaded posts that extend from the exterior handle through to the interior side. Make sure these line up with the holes in the interior handle
- Verify lock orientation: On privacy locksets, make sure the lock is positioned correctly for the door’s function (the lock side typically faces the interior)
Attach the Interior Handle #
- Align the interior handle: Position it so it captures the spindle and lines up with the screw posts from the exterior handle
- Start mounting screws: Insert the longer mounting screws (usually 2-3 inches) through the interior handle into the threaded posts
- Hand-tighten first: Thread the screws by hand at first. This keeps them aligned and prevents cross-threading
- Alternate screw tightening: Tighten the screws in a crossing pattern, like lug nuts on a wheel, for even pressure and proper seating
- Use moderate torque: Tighten firmly but don’t overtighten. Too much force can strip the threads or crack the handle base
Test Handle Operation #
- Operate both handles: Turn both handles. They should move smoothly without binding or resistance
- Check latch movement: As you turn the handle, the latch should retract fully and spring back when released
- Test the lock: On privacy locksets, test the privacy button or thumb turn. It should lock and unlock smoothly
- Verify handle return: Handles should spring back to horizontal when released
- Check for wobble: There should be minimal play or wobble in the handles when they’re installed correctly
Pro Tip: If a handle feels stiff or binds, slightly loosen the mounting screws and check alignment. Sometimes the handles just need a small adjustment to operate smoothly. Don’t force it, proper alignment is what fixes it.
With the lockset installed and operating smoothly, the final step is installing the strike plate on the door frame.
Step 4: Install the Strike Plate #
The strike plate is the last piece: the metal plate on the door frame that receives the latch when the door closes. Getting it right is critical for secure latching and keeps the door from rattling or binding. In most new construction, the door frame comes pre-mortised for the strike plate, which makes this step straightforward.
Locate and Position #
- Close the door: Gently close the door to see where the latch contacts the frame
- Mark the strike location: The latch should line up with the pre-mortised area on the door frame jamb
- Inspect the mortise: Check that the mortise depth matches the strike plate thickness. The plate should sit flush with the jamb surface
- Position the strike plate: Place it in the mortise so the rectangular cutout lines up with where the latch will enter
Secure the Strike Plate #
- Check screw hole alignment: Verify the screw holes in the strike plate line up with the pre-drilled holes in the frame
- Pre-drill if needed: If holes aren’t pre-drilled, use a ⅛” bit to create pilot holes at each screw location
- Insert screws: Drive the provided screws through the strike plate into the door frame
- Tighten firmly: The strike plate should sit completely flush with no gaps
- Verify flush installation: Run your finger across the strike plate and frame. They should be perfectly even
Test and Adjust Latching #
- Close the door slowly: Watch how the latch engages with the strike plate opening
- Check latch engagement: The latch should fully enter the strike plate opening and hold the door securely
- Test for rattling: Shake the door handle gently when latched. There should be no rattle or movement
- Operate the handle: Open and close the door several times, testing the latch each time
- Listen for smooth operation: The latch should engage and disengage quietly and smoothly
If the door doesn’t latch properly:
- Latch too high or low: Loosen the strike plate screws slightly and shift the plate up or down within the mortise
- Latch doesn’t reach: Check that the door is closing properly and isn’t binding. It may need a hinge adjustment
- Latch catches on the edge: The strike plate opening might need slight filing for clearance
- Door rattles when latched: Move the strike plate closer to the door stop, or add a weatherstrip shim
With the strike plate installed and the door latching smoothly, your lockset installation is done. The door should open and close effortlessly while latching securely.
Quality Check After You Install a Lockset #
Your lockset installation meets professional standards when every item below checks out:
- Handles or knobs operate smoothly without binding or sticking
- Latch retracts fully when the handle is turned and returns when released
- Door latches securely when closed, no rattling or loose movement
- Strike plate sits perfectly flush with the door frame surface
- All screws are tight but not over-tightened or stripped
- The lock operates smoothly (on privacy locksets)
- Handles return to horizontal when released
- No visible gaps between lockset parts and the door surface
- Hardware finish is clean and free of scratches or damage
- Door closes and latches with minimal effort
Troubleshooting Common Issues #
Even a by-the-book install can run into minor issues. Here are the most common problems and how to fix them.
Problem: Handle feels loose or wobbles
Solution: Tighten the mounting screws on the interior handle. If it’s still loose, check that the screw posts are threaded properly into the interior handle base.
Problem: Latch doesn’t retract fully when the handle is turned
Solution: Loosen the lockset slightly and check the alignment. The spindle may not be fully engaged with both handles and the latch.
Problem: Door won’t latch, the latch hits the frame instead of the strike plate opening
Solution: Adjust the strike plate position by loosening the screws and shifting it within the mortise. You may need to move it up, down, left, or right for proper alignment.
Problem: Privacy lock won’t lock or unlock smoothly
Solution: The lock may be binding from over-tightened mounting screws. Slightly loosen the interior handle screws and retest.
Problem: Door rattles when latched
Solution: Either move the strike plate closer to the door stop, or adjust the door hinges to bring the door closer to the frame.
Problem: Latch plate or collar doesn’t sit flush with the door edge
Solution: The mortise may be too shallow. Carefully deepen it with a chisel, or switch to a latch collar instead of a plate.
Problem: Handles don’t spring back to horizontal
Solution: The internal spring may be faulty. Check the manufacturer’s warranty and consider replacing the lockset if it’s defective.
Maintenance Tips #
- Periodic cleaning: Wipe handles with a damp cloth and dry immediately to protect the finish
- Lubrication: Apply a small amount of graphite lubricant to the latch once a year if it gets stiff
- Screw check: Check mounting screws once a year and tighten if needed. Normal use can loosen them over time
- Avoid harsh cleaners: Don’t use abrasive cleaners on decorative finishes. They can damage the protective coating
Related Guides #
Looking for more hardware installation guides? Check out these related resources. For more detail on lockset types and mechanisms, see this guide from Schlage on lockset installation.
- How to Install Bath Accessories
- How to Install a Pre-Hung Door
- How to Install Exterior Door Casing
- How to Install Bifold Doors
Follow these steps and every door in the home will operate smoothly and lock the way homeowners expect. A clean lockset install during punchout is a small detail that shows in the overall quality of the job.
Reference Photos #
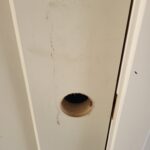
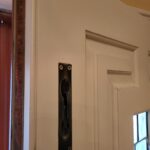
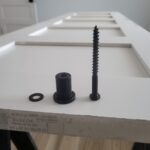
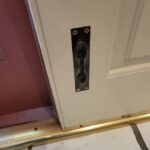
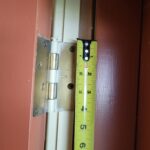
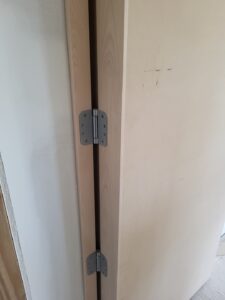
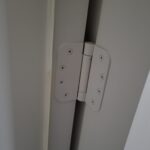
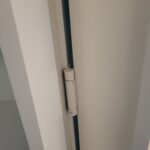
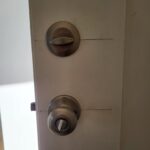
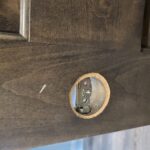
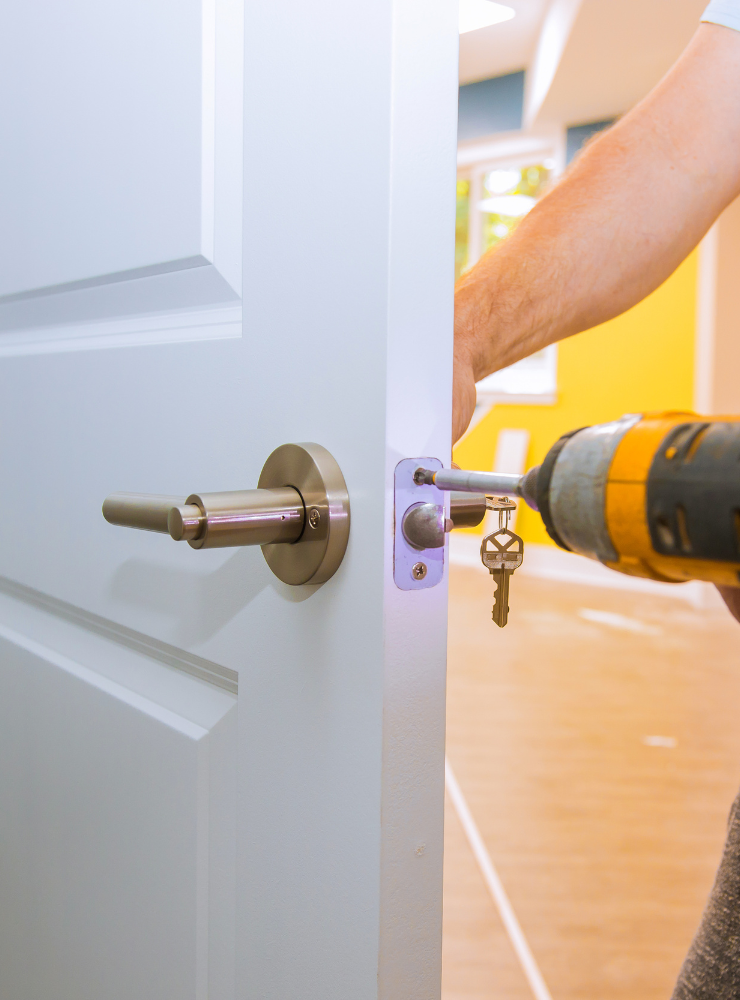
The following photos show examples of this type of work completed in the field. These serve as visual references for quality standards, proper installation techniques, and finished results.
Showing 13 of 13 photos