On this page
Introduction #
In new construction and remodels, installing bi-fold or bypass door frames is a common task that requires precision and attention to detail. These door systems are popular for closets and pantries, providing efficient use of space while maintaining accessibility. The single most important concept in installing these frames is ensuring that the track and guide systems are perfectly aligned for smooth operation. Misalignment can lead to binding doors and callbacks, which can be costly in both time and money.
Bi-fold and bypass doors each have their own unique installation nuances. Bi-fold doors typically require more attention to the alignment of the pivot and track, while bypass doors need precise floor guide installation to prevent wobbling. Understanding these differences and applying the correct techniques will ensure a professional finish that stands up to daily use.
6'8" (80 inches) is the standard closet door height in almost every production framed house. Which hardware you use, bi-fold or bypass, depends on the opening width, not the height. A single bi-fold covers openings up to about 3 feet wide. A double bi-fold handles openings from 4 to 6 feet. Bypass doors take over from there and work well on openings 4 feet and wider.
Which guide do I need?
- Bypass sliding doors, full install: How to Install Bypass Doors
- Bypass finish install from a finished opening: How to Finish a Bypass Door Install
- Bifold folding doors, full install: How to Install Bifold Doors
- 6 foot 8 inch opening, track, guides and hanging: this guide
- 8 foot opening, rough frame only: How to Install an 8'0" Bi-Fold or Bypass Door Frame
- 6 foot 8 inch door slabs, hanging and fixes: How to Install 6'8" Bi-Fold or Bypass Door Slabs
- 8 foot door slabs, bifold or bypass: How to Install 8'0" Bi-Fold or Bypass Door Slabs
Before You Begin #
Before you install the door frame, confirm that the following prerequisites are complete.
Prerequisites #
- Drywall is complete and painted
- Flooring is installed
- Rough openings are framed and sized correctly
What You Need To Know #
When you install the door frame, understanding these core techniques will save you time and prevent callbacks.
- Ensure the track is level and plumb to avoid door binding
- Use a 2 1/4 inch hole saw for bypass cups to ensure proper fit
- For bi-folds, install knobs on the inside panels for ease of use
- Bi-fold doors fold flat against the side of the opening and do not swing into the room. Bypass doors slide side to side and always leave part of the opening covered by one panel.
Tools #
- Level - for ensuring the track is perfectly horizontal
- Drill/Driver - for securing tracks and guides
- 2 1/4 inch Hole Saw - for bypass cup installation
- Measuring Tape - for accurate measurements
- Hammer - for adjusting and securing components
- Hacksaw - for trimming the track to length if needed
Materials #
- Door Frame Kit - includes track, guides, and necessary hardware
- Bypass Puck Handles - for bypass door operation
- Bi-Fold Knobs - for bi-fold door operation
- Closet Rods - for additional closet functionality
- Closet Pole Sockets - for securing closet rods
Installation Steps #
Step 1. Prepare the Opening #
Ensure the rough opening is correctly sized and the drywall is finished. Check that the floor is level and the opening is square.
- Verify dimensions against the door frame kit specifications
- Adjust framing as necessary to achieve a square opening
Step 2. Install the Track #
Secure the track to the header using the provided hardware. Ensure it is level to prevent door binding.
Cut the track to the opening width if it runs long. File off any burrs from the cut end, then sweep up the sawdust.
- Use a level to confirm the track is horizontal
- Screw the track into the header at the recommended intervals
Step 3. Mount the Floor Guides #
Install floor guides for bypass doors to ensure smooth operation. These should be aligned with the track above.
- Position guides according to the manufacturer's instructions
- Secure guides to the floor using screws
Step 4. Hang the Doors #
Attach the doors to the track. For bi-fold doors, ensure the pivot points are secure and aligned.
- Lift doors into place and secure them to the track
- For bi-fold doors, mount the bottom pivot bracket to the floor or jamb on the pivot side. Center it so the door sits correctly when closed.
- Adjust pivots and guides for smooth operation
Step 5. Install Handles and Knobs #
Attach handles to bypass doors and knobs to bi-fold doors for functionality.
- Use the appropriate hardware for each door type
- Ensure handles and knobs are securely fastened
Step 6. Final Adjustments #
Check the operation of the doors and make any necessary adjustments to ensure smooth and quiet operation.
- Adjust track alignment if doors bind
- Tighten any loose screws or hardware
Pro Tips #
Pro Tip: "Hang bypass slabs, install guides, install cups." This ensures smooth operation and prevents future adjustments.
Pro Tip: "Hang bifolds, install knobs." Proper knob placement is crucial for ease of use.
Pro Tip: Use a 2 1/4 inch hole saw for bypass cups to ensure proper fit in predrilled holes.
Common Mistakes #
- Mistake: Misaligned tracks cause door binding. Fix: Use a level during installation to ensure proper alignment.
- Mistake: Incorrect handle placement on bi-fold doors. Fix: Install knobs on the inside panels for proper functionality.
- Mistake: Skipping floor guides on bypass doors. Fix: Always install guides to prevent door wobbling.
QC / Punch Checklist #
- Verify that all doors operate smoothly without binding
- Check that all hardware, including handles and knobs, is securely installed
- Ensure floor guides are properly aligned and secured
Related Guides #
- How to Install an 8'0" Bi-Fold or Bypass Door Frame
- How to Install 6'8" Bi-Fold or Bypass Door Slabs
Reference Photos #
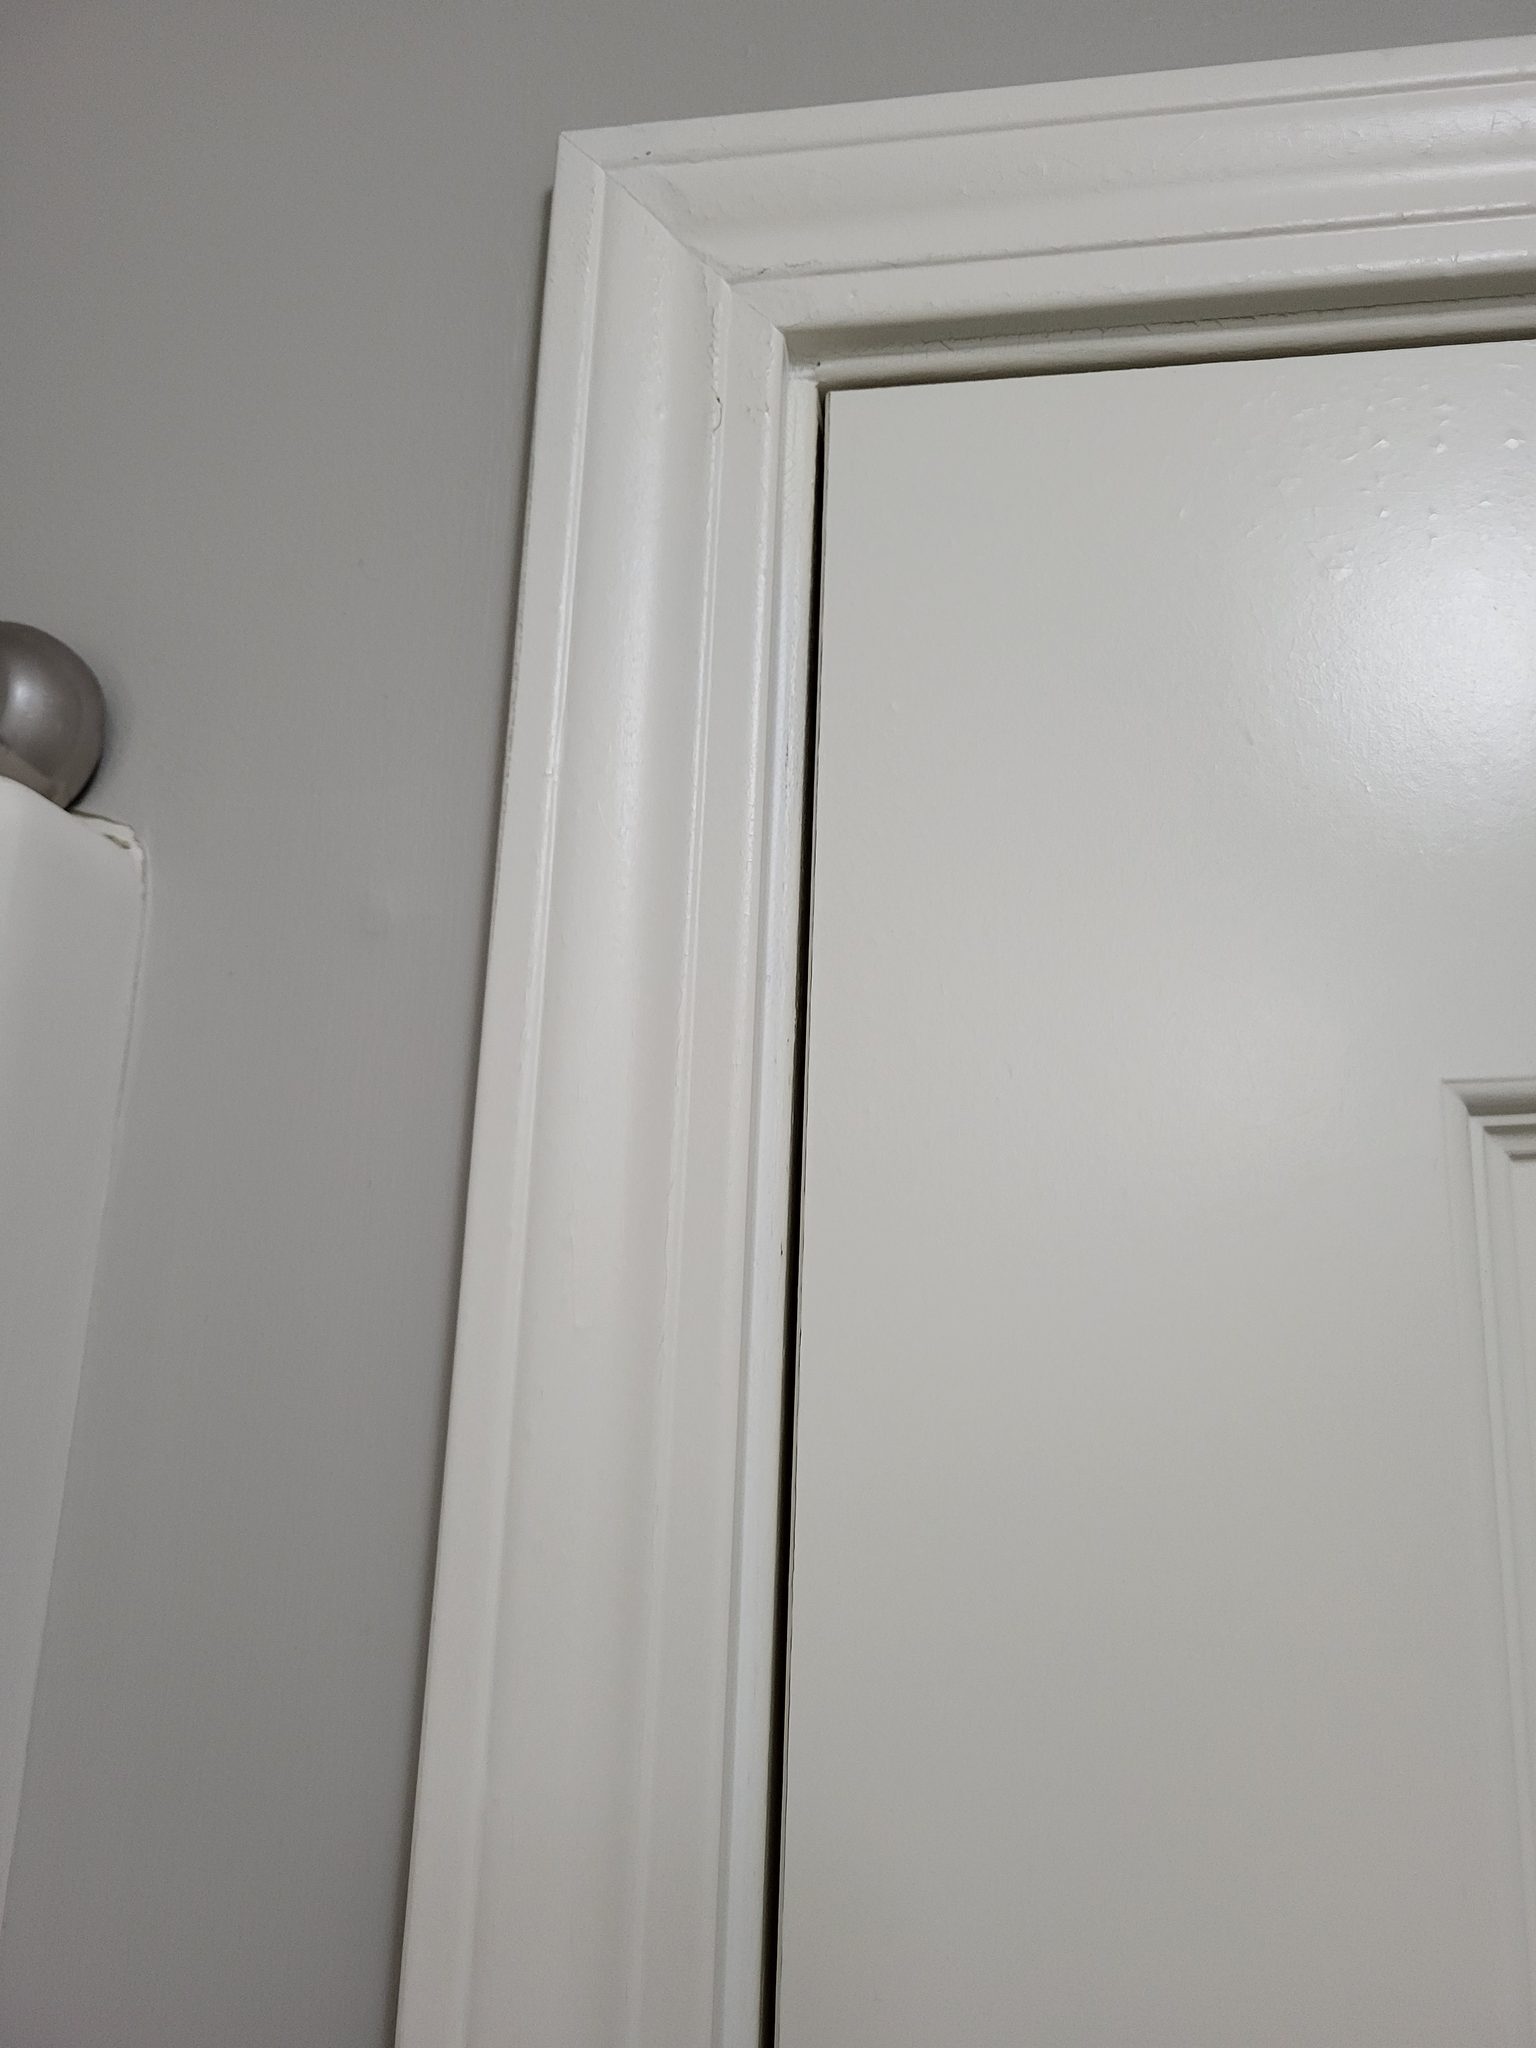
The following photos show examples of this type of work completed in the field. These serve as visual references for quality standards, proper installation techniques, and finished results.
Showing 1 of 1 photos