On this page
Introduction #
Installing bi-fold or bypass door slabs is a common task in new construction and remodels, providing functional and aesthetic solutions for closets and small spaces. These doors are often preferred for their space-saving design and ease of use. In a production environment, the key is to maintain a balance between speed and precision to avoid costly callbacks.
The single most important concept in installing these doors is ensuring smooth operation. This involves precise alignment of the tracks and proper installation of the hardware, which can make the difference between a professional job and one that leads to customer dissatisfaction. Understanding the nuances of hanging these doors will help you achieve consistent, high-quality results.
Which guide do I need?
- Bypass sliding doors, full install: How to Install Bypass Doors
- Bypass finish install from a finished opening: How to Finish a Bypass Door Install
- Bifold folding doors, full install: How to Install Bifold Doors
- 6 foot 8 inch opening, track, guides and hanging: How to Install a 6'8" Bi-Fold or Bypass Door Frame
- 8 foot opening, rough frame only: How to Install an 8'0" Bi-Fold or Bypass Door Frame
- 6 foot 8 inch door slabs, hanging and fixes: this guide
- 8 foot door slabs, bifold or bypass: How to Install 8'0" Bi-Fold or Bypass Door Slabs
Before You Begin #
Before you install the door slabs, confirm that the following prerequisites are complete.
Prerequisites #
- Drywall installation complete
- Flooring installed and finished
- Trim and casing in place
What You Need To Know #
When you install these doors, understanding these core techniques will save you time and prevent callbacks.
- Ensure tracks are level and aligned for smooth door operation
- Use the correct size slabs and ensure hardware is complete before starting
- Measure accurately to avoid cutting errors
- Standard bottom clearance for either system is 3/4 inch to 1 inch between the door and the finished floor.
Tools #
- Drill - for installing hardware and drilling cups
- Level - to ensure tracks are perfectly horizontal
- Measuring tape - for precise measurements
- 2 1/4 inch hole saw - for drilling bypass cups
Materials #
- Bypass or bi-fold door slabs - ensure correct size and style
- Track and hardware kit - typically supplied with the door
- Bypass puck handles - for easy operation
- Spray foam - optional for sealing gaps
Installation Steps #
Step 1. Measure and Cut Door Slabs #
Measure the opening and cut the door slabs to fit, ensuring a consistent reveal on all sides.
- Use a circular saw for clean cuts
- Double-check measurements before cutting
Step 2. Install the Track #
Mount the track securely to the header, ensuring it is level and aligned with the opening.
- Use a level to verify horizontal alignment
- Secure with screws provided in the hardware kit
Step 3. Hang the Door Slabs #
Attach the door slabs to the track using the provided hardware, ensuring smooth operation.
For a bi-fold, install the pivot pins at the top and bottom of the pivot-side panel and the roller guide pin on the opposite panel. Then hang the door on the track. For a bypass, clip the roller hangers to the top edge of each panel, about 2 inches in from each end. Hang the back panel first, then the front panel.
- Check for any obstructions that may impede movement
- Adjust the hangers as needed for alignment
Step 4. Install Guides and Stops #
Install floor guides and stops to ensure the doors stay aligned and operate smoothly.
- Position guides according to the manufacturer's instructions
- Secure stops to prevent over-travel
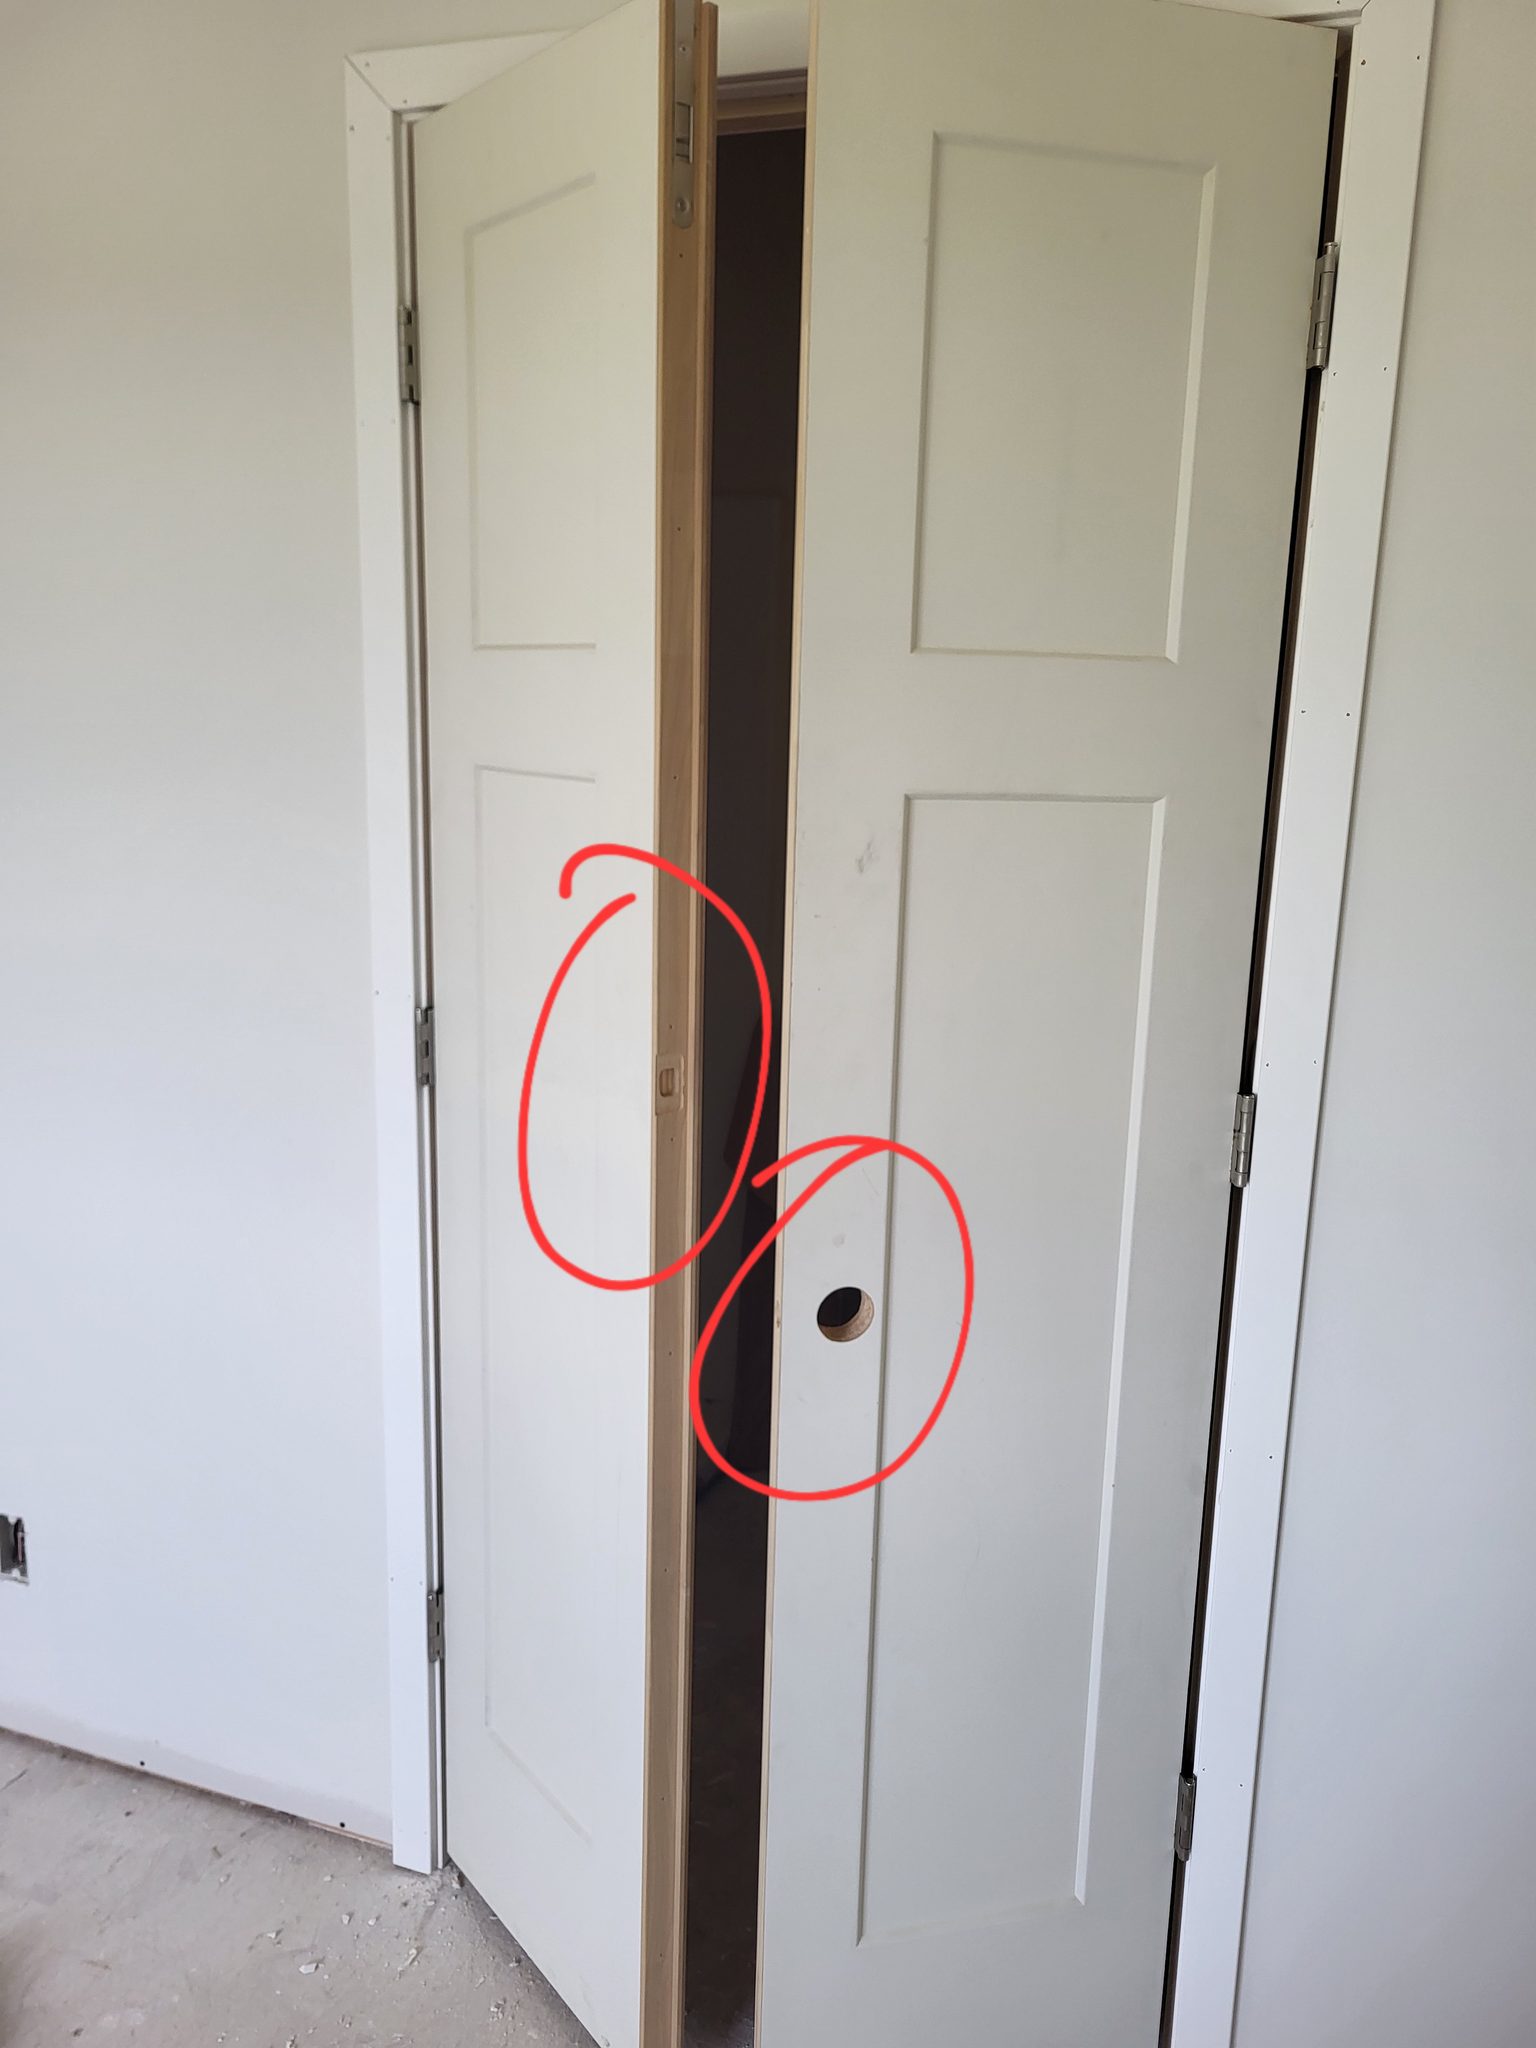
Step 5. Drill and Install Bypass Cups #
Use a 2 1/4 inch hole saw to drill for bypass cups, ensuring a snug fit. If you're setting up a bypass system from scratch rather than swapping slabs, our installing bypass doors guide covers the full track and hardware layout.
- Drill carefully to avoid splintering
- Install cups flush with the door surface
Step 6. Install Handles #
Attach handles to the inside panels of the doors for easy access. For the complete bi-fold hardware setup, from hinges to track, see our installing bi-fold doors guide.
- Ensure handles are aligned with each other
- Avoid using plastic handles unless specified
- Install the knobs, pulls, or finger pulls at a comfortable height, typically 36 inches from the floor.
Pro Tips #
Pro Tip: "Hang bypass slabs, install guides, install cups." - Joel
Pro Tip: Use the correct strike plates for entry doors to avoid installation issues.
Pro Tip: "Inside. Who did it?" - Joel, on installing bi-fold handles on the inside panels.
Common Mistakes #
- Mistake: Misaligned tracks can cause doors to bind. Always check alignment with a level.
- Mistake: Incorrect hardware installation can lead to operational issues. Verify all components are present and correctly installed.
- Mistake: Cutting doors too short. Double-check measurements before making cuts.
- Mistake: Door won't move freely. Check that the rollers or pivot pins are fully seated. Make sure nothing blocks the track or channel. On a bi-fold, an overtightened hinge screw between panels can also cause this.
- Mistake: Door drags on the floor. Raise the roller or pivot pin height using the adjustment hardware. If you run out of adjustment range, the panel needs to be trimmed.
QC / Punch Checklist #
- Verify doors open and close smoothly without binding
- Ensure handles are securely attached and aligned
- Check that all guides and stops are installed and functioning
- Confirm that the track is level and securely fastened
Related Guides #
Reference Photos #
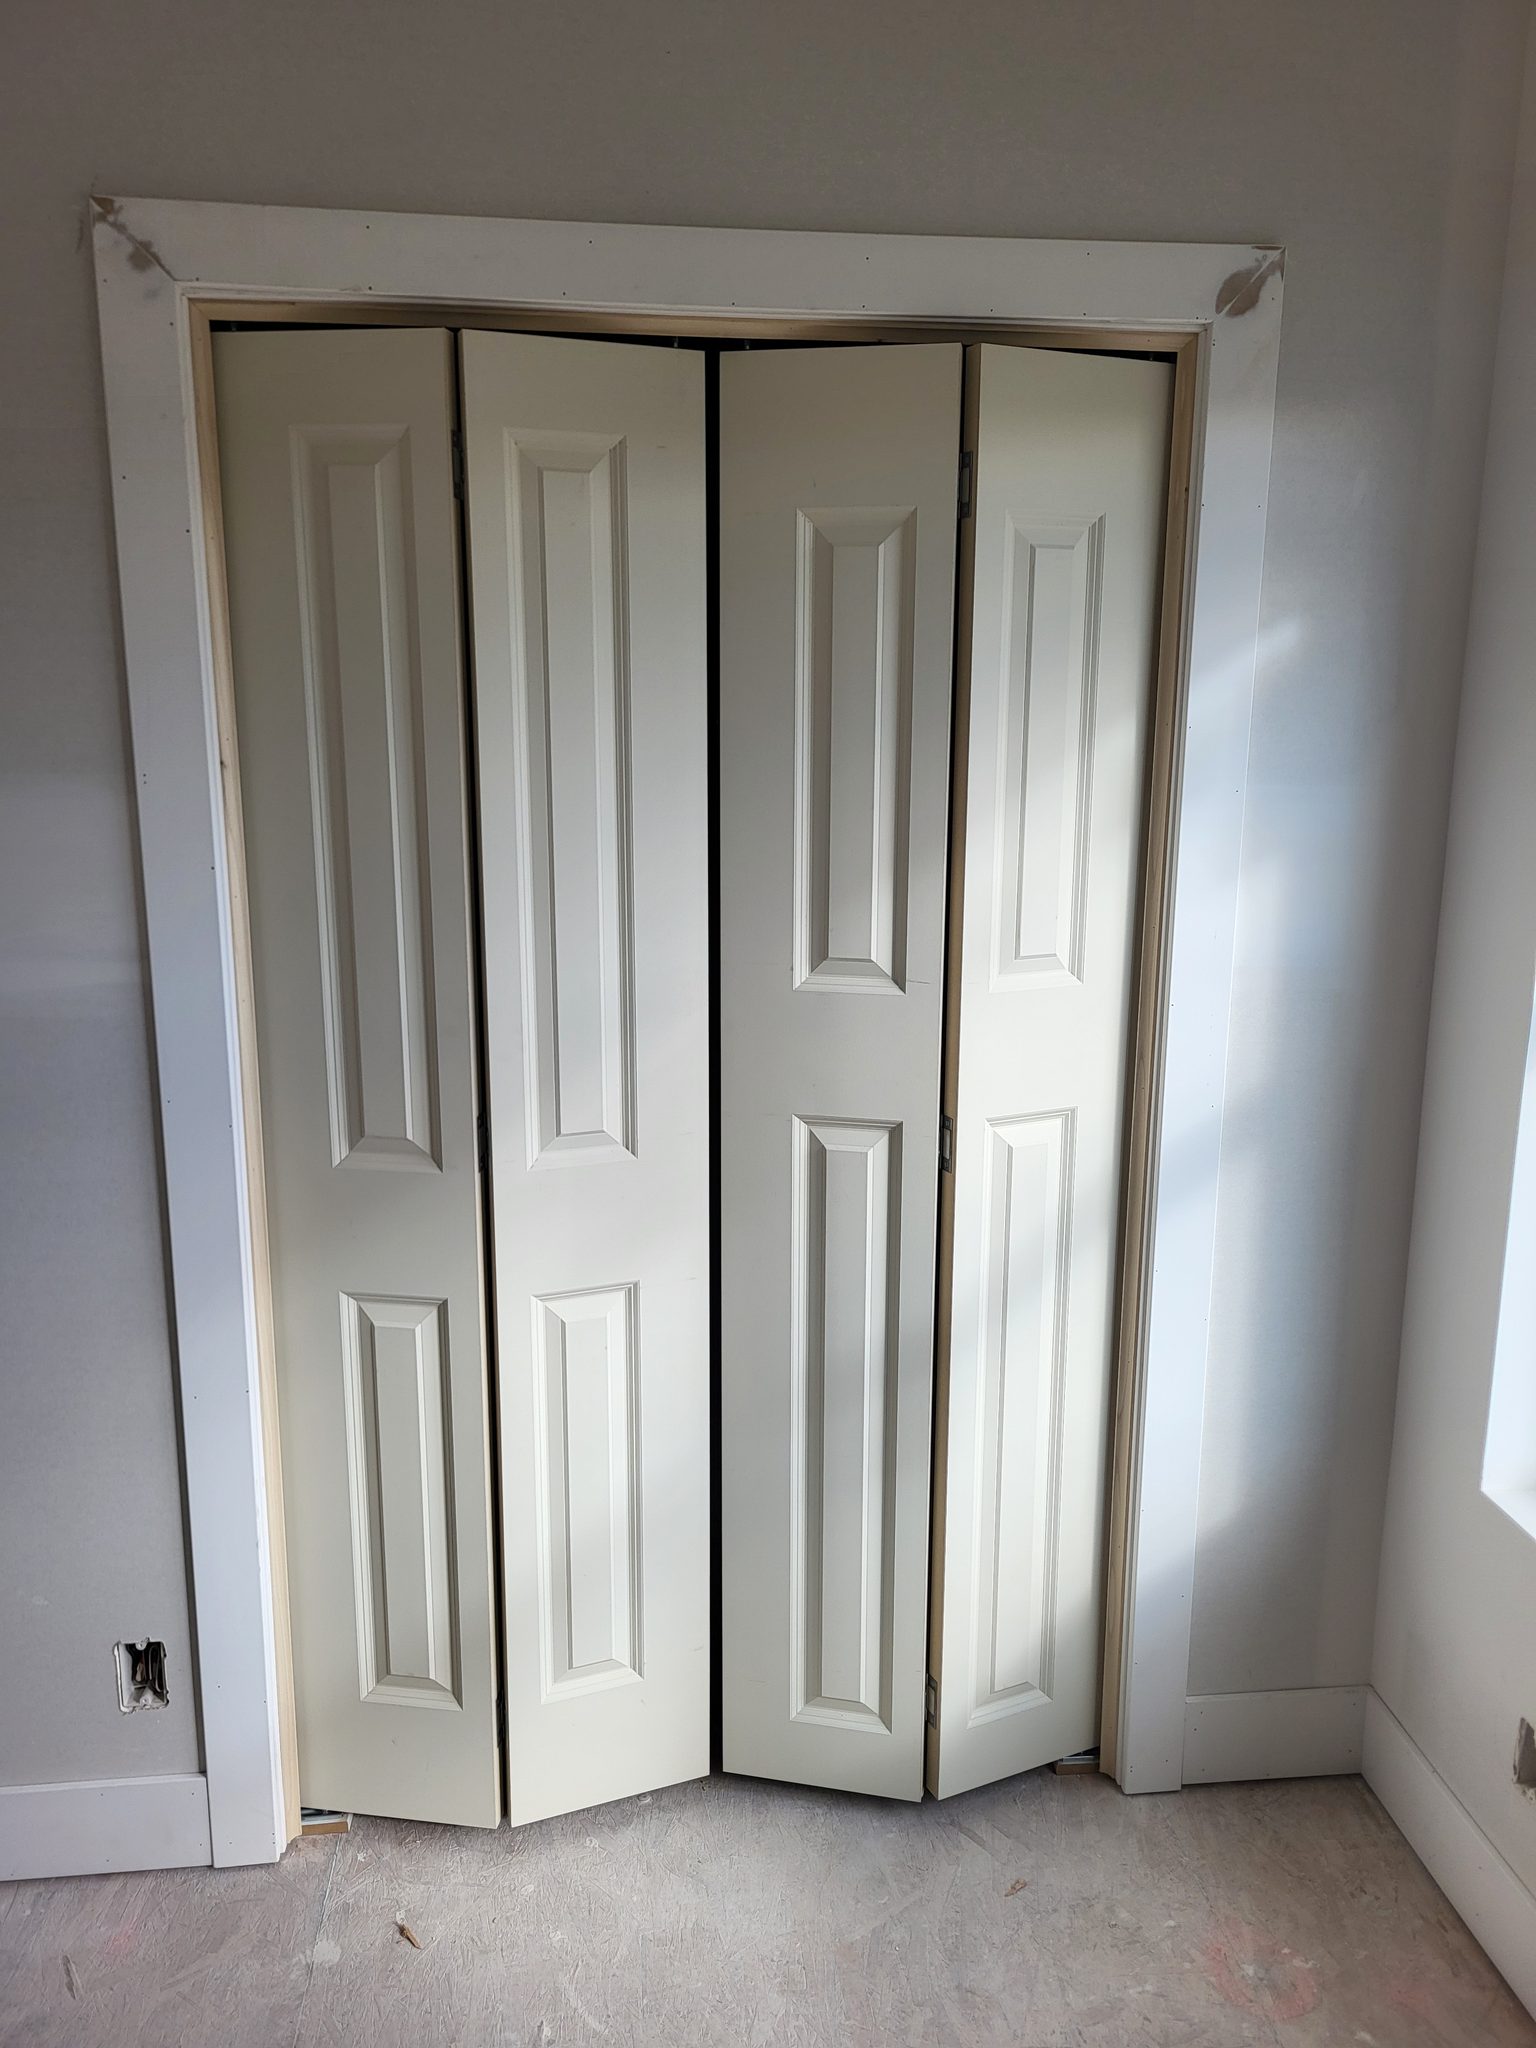
The following photos show examples of this type of work completed in the field. These serve as visual references for quality standards, proper installation techniques, and finished results.
Showing 2 of 2 photos