Skip to content

Let's Build Stuff

  • Home
  • Start Here
  • Glossary
  • Learn
  • Blog
  • About
  • Contact
  • Browse the guides
Let's Build Stuff

How can we help you?

General Carpentry

4
  • How the Guide Library Is Organized
  • Difficulty Levels Explained: What Levels 1, 2, and 3 Mean
  • Finish Carpentry Cheat Sheets and Printable References
  • How to Trim a House, Start to Finish

Doors & Openings

20
  • Installing a Weather-Exposed Exterior Door: The Extra Steps
  • How to Install a Pocket Door Frame
  • How to Install an Exterior Finish Slab
  • How to Install an 8'0" Solid Core Pre-Hung Interior Door
  • How to Install an 8'0" Hollow Core Pre-Hung Interior Door
  • How to Install a 6'8" Solid Core Pre-Hung Interior Door
  • How to Finish a Bypass Door Install
  • How to Install 8'0" Bi-Fold or Bypass Door Slabs
  • How to Install 6'8" Bi-Fold or Bypass Door Slabs
  • How to Install an 8'0" Bi-Fold or Bypass Door Frame
  • How to Install a 6'8" Bi-Fold or Bypass Door Frame
  • How to Install a Pre-Hung Door
  • How to Install a House-to-Garage Door
  • How to Install a Cased Opening
  • How to Install a Pocket Door for a Perfect Finish
  • How to Install Bifold Doors
  • How to Adjust an Exterior Door
  • How to Install Barn Doors
  • How to Install Bypass Doors
  • How to Install an Interior Center-Opening or French Door

Closets

3
  • How to Build Basic Closet Shelves - Part 1 of 3 (Standards)
  • How to Build Basic Closet Shelves - Part 2 of 3 (Layout Design)
  • How to Build Basic Closet Shelves - Part 3 of 3 (Building)

Moldings

20
  • How to Install Baby Shoe at Stair Nosing
  • How to Build a Custom Decorative Header
  • How to Install a Window Seat or Sill
  • How to Install a Mullion Strip
  • Interior Window Frame for Tall Openings (120″ and Above)
  • Interior Window Frame for Medium-Tall Openings (90″ to 119″)
  • How to Install an Interior Window Frame
  • Window Jamb Extension for Tall Windows (120″ and Above)
  • Window Jamb Extension for Medium-Tall Windows (90″ to 119″)
  • How to Install a Window Jamb Extension Like a Pro
  • How to Case Tall Windows (10 Feet and Above)
  • Window Casing for Medium-Tall Windows (90″ to 119″)
  • How to Case One Side of an 8'0" Door
  • How to Case One Side of a 6'8" Door
  • How to Build an Attic Access Cover
  • How to Install Baseboard
  • How to Case One Side of an Exterior Door
  • How to Install Base Shoe
  • How to Case a Window
  • How to Install a Door Jamb Extension

Stairs/Handrails

11
  • How to Build a Handrail for Metal Balusters Like a Pro
  • How to Install a Garage Step Handrail
  • How to Build Garage Steps with 3 Stringers and Closed Risers
  • How to Build Garage Steps with Closed Risers
  • How to Build Garage Steps with 3 Stringers (Open Risers)
  • How to Install Stair Skirt Boards: Drop-In Method
  • How to Build a Wall-Mount Handrail
  • How to Mount a Handrail to the Wall
  • How to Install a Newel Post
  • How to Build Garage Steps with a Landing
  • How to Build Garage Steps: Safe, Code-Compliant Stairs

Specialty

7
  • How to Install Shiplap on a 3-Sided Fireplace Under 10'
  • How to Install Shiplap, 0' to 7'
  • How to Install Shiplap 4, Ceiling
  • How to Install Shiplap 3 side fireplace wrap above 15'
  • How to Install Shiplap 3 side fireplace wrap 10'-15'
  • How to Install Shiplap 3, 14'+
  • How to Install Shiplap 2, 7' to 14'

Hardware

2
  • How to Install Bath Accessories
  • How to Install a Lockset on a Door
  • Home
  • Learn
  • Moldings
  • How to Case One Side of a 6'8" Door
View Categories

How to Case One Side of a 6'8" Door

Moldings Skill Level: Beginner (Level 1) · Estimated Time: 30-45 Minutes Per Door

Introduction #

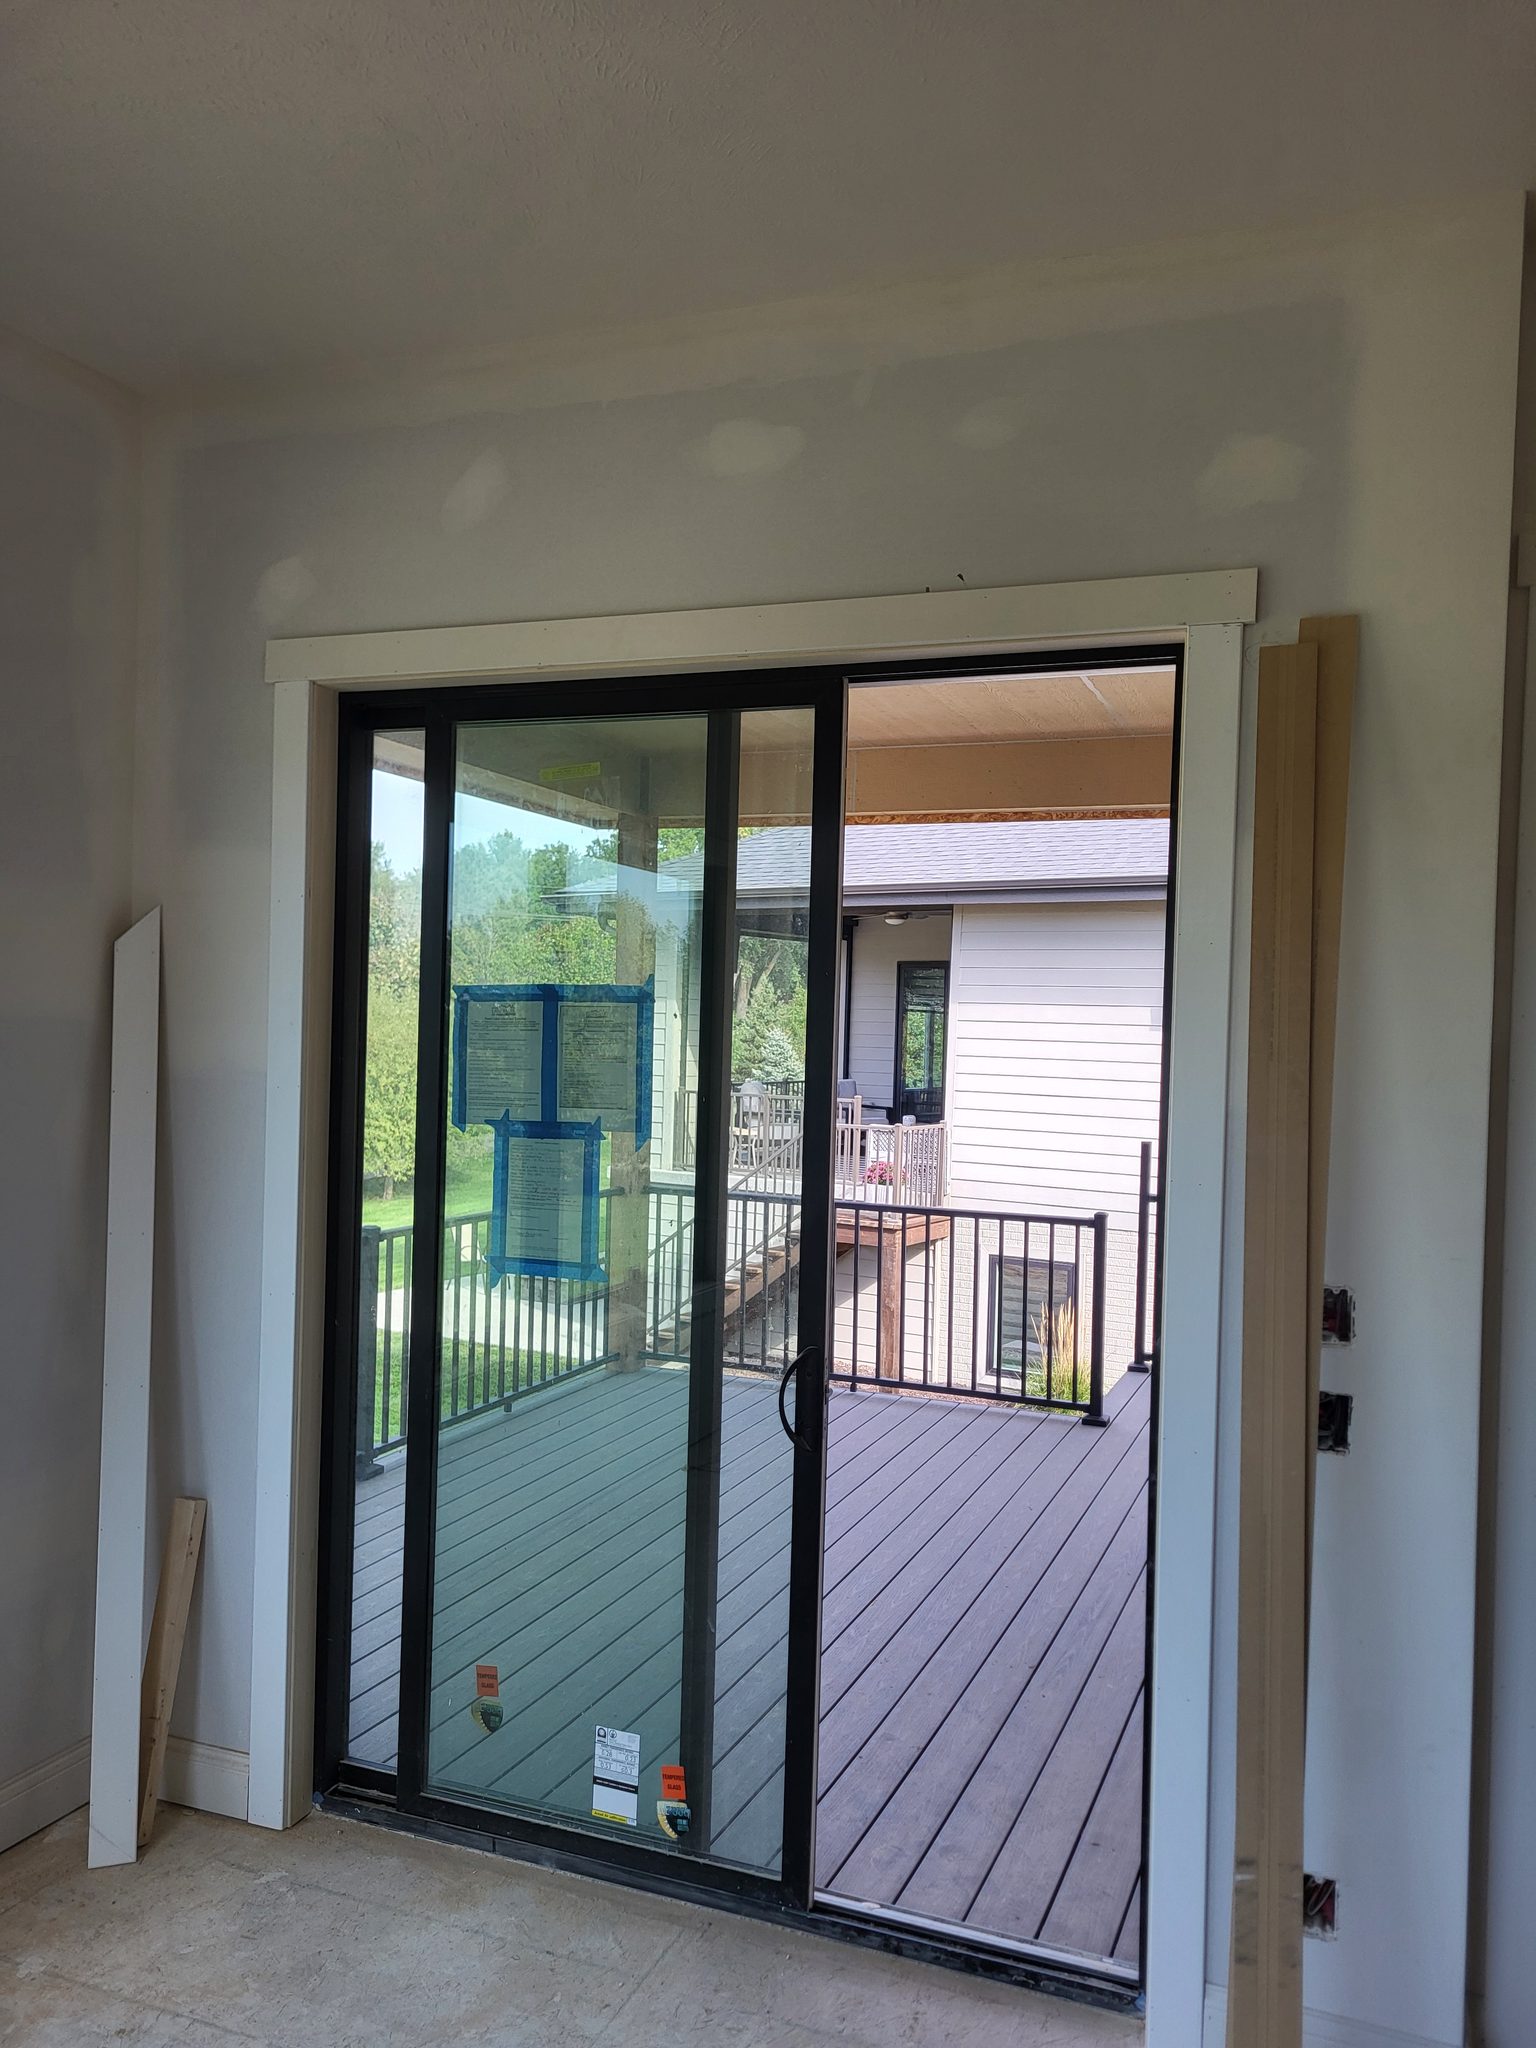
Casing one side of a 6'8" door is a fundamental task in finish carpentry, often required in new construction and remodel projects. This task is typically performed after the door has been hung, and it involves installing trim to cover the gap between the door jamb (the frame the door hangs in) and the wall. The casing not only enhances the aesthetic appeal of the door but also provides a finished look that complements the rest of the interior trim work. This guide covers an interior door; if you're working on an exterior door instead, see our guide on installing exterior door casing, since the materials and clearances are different.

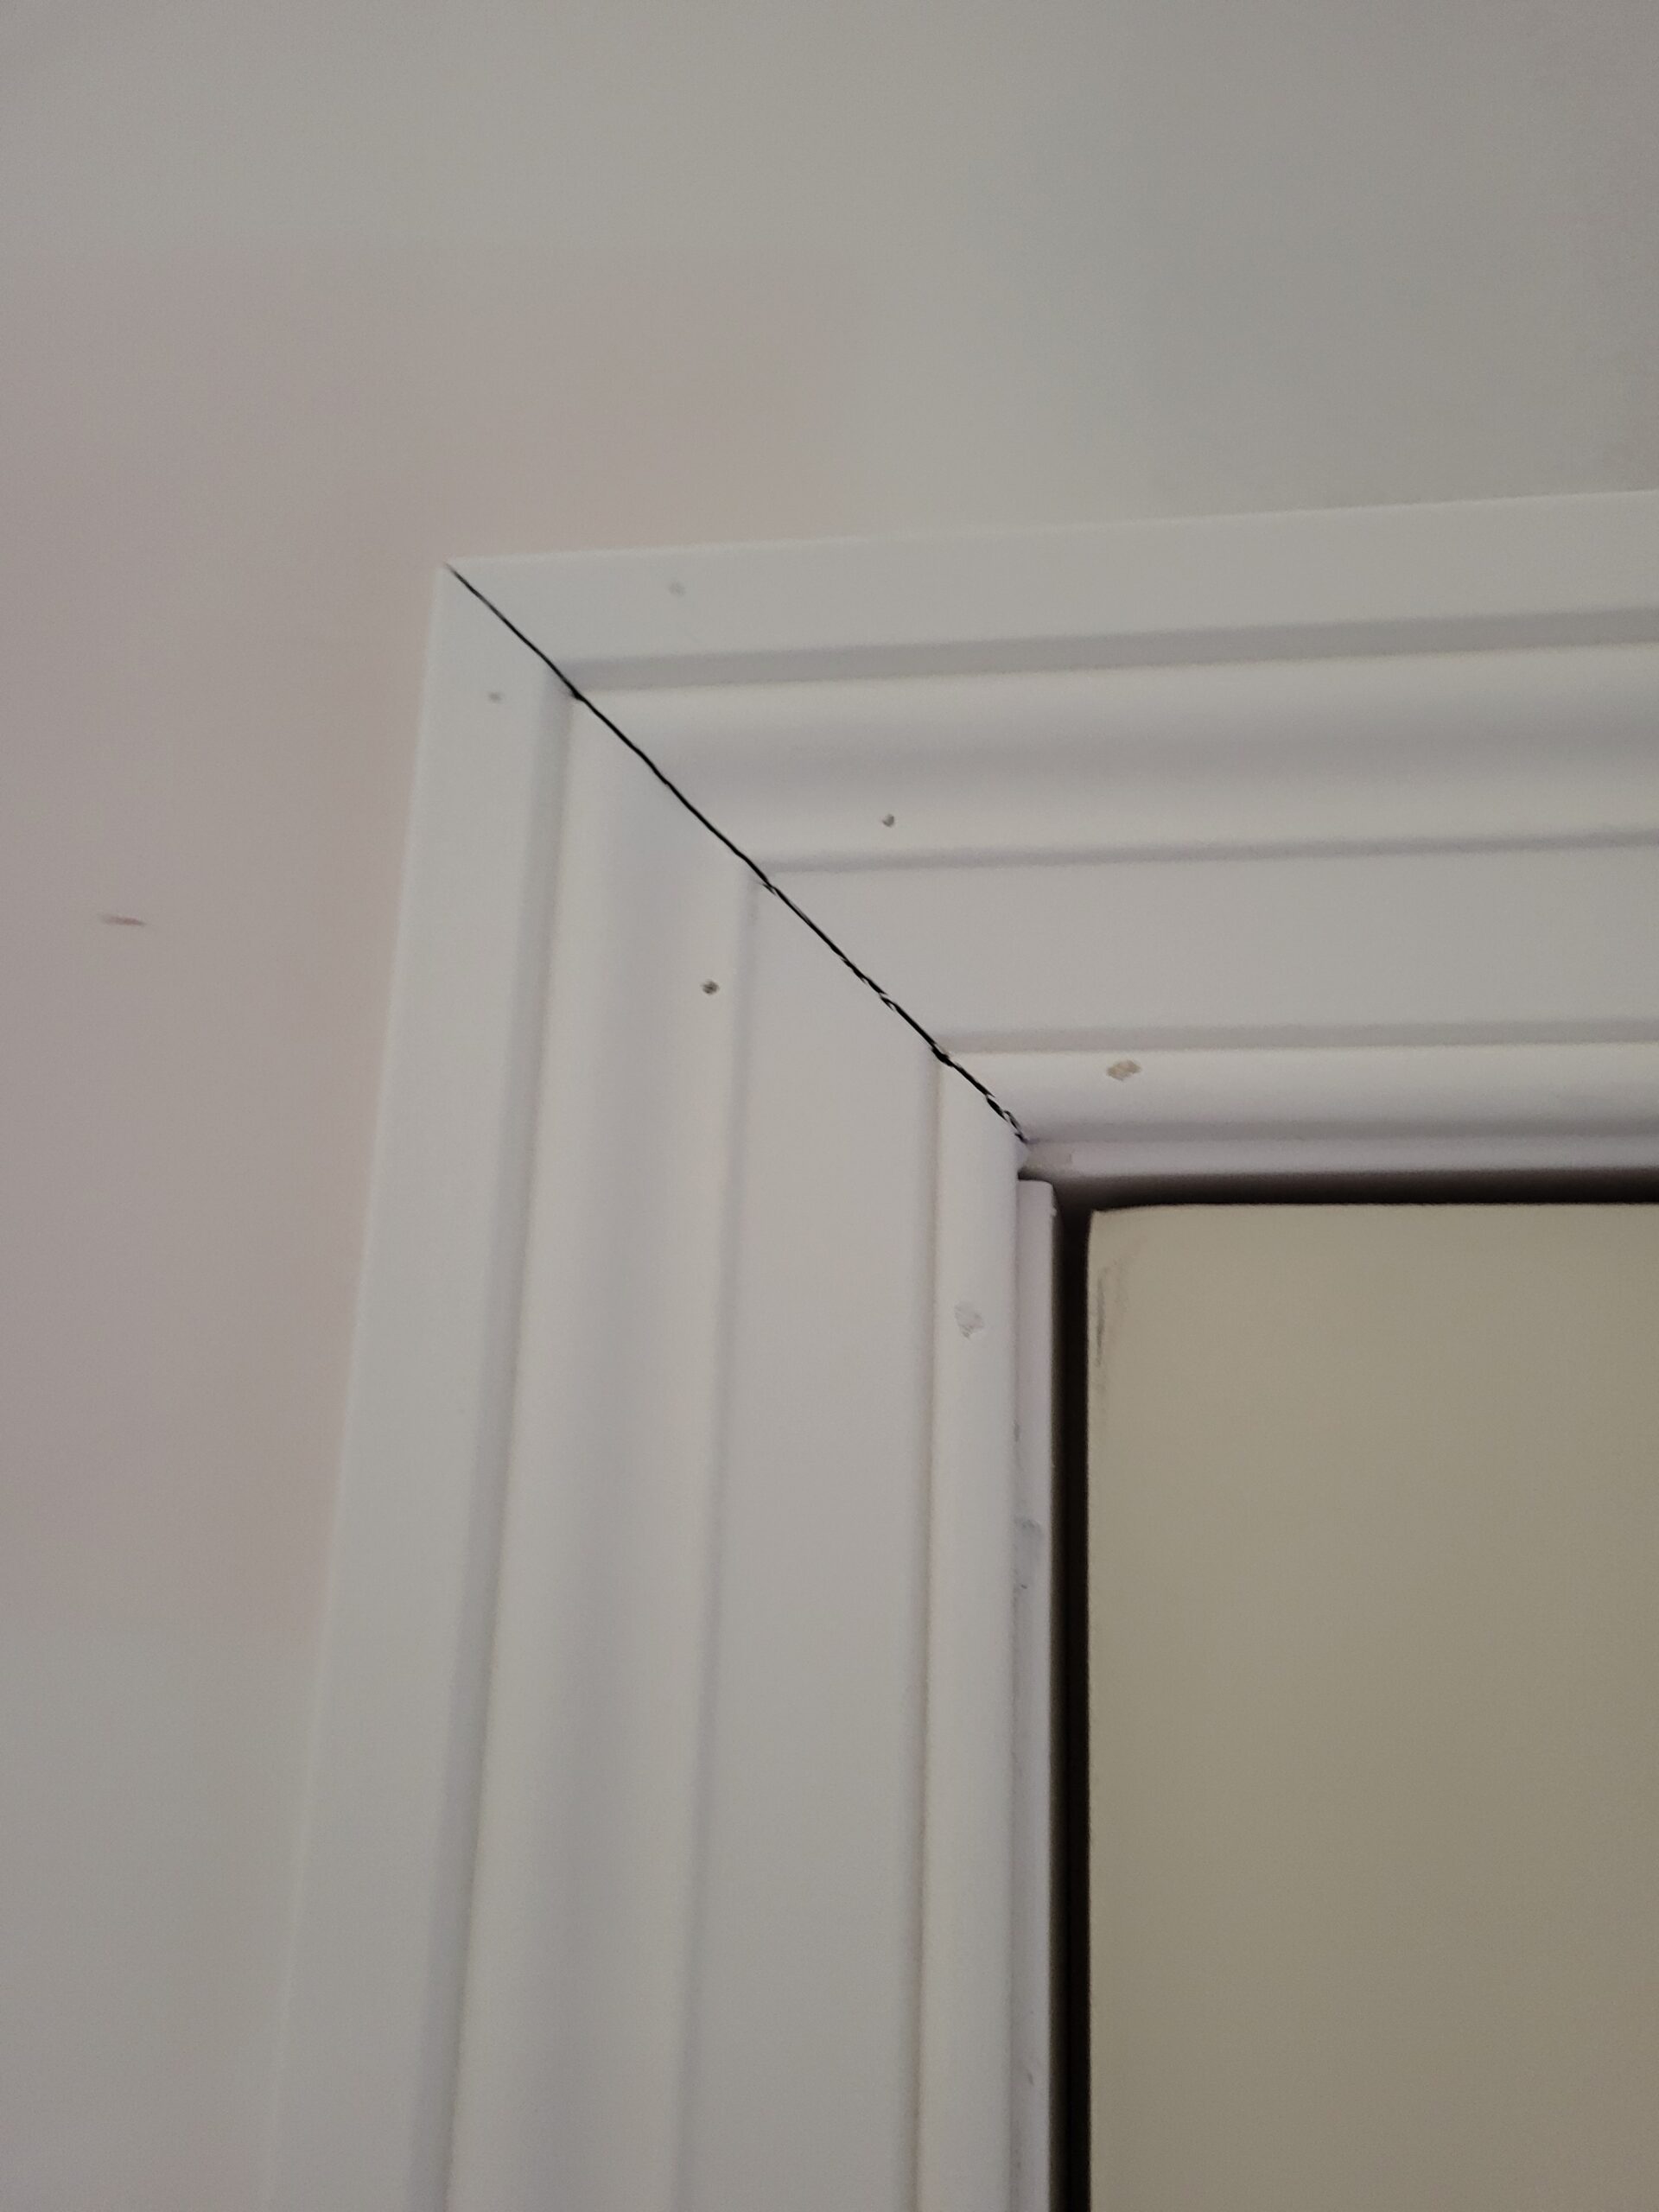
In a production environment, speed and consistency are key. The single most important concept to master when casing a door is achieving tight, clean miters (the 45-degree corner joints where two casing pieces meet) at the corners. This is what separates a professional finish from an amateur one. Proper alignment and a snug fit prevent gaps that can lead to callbacks and ensure a seamless transition between the door and the wall.

Before You Begin #

Before you case the door, confirm that the following prerequisites are complete. If you're trimming a doorway with no door at all, use our cased opening guide instead, since the layout works a little differently without a jamb to reference.

Prerequisites #

  • Door is properly hung and swings correctly
  • Drywall is finished and painted
  • Flooring is installed

What You Need To Know #

When you case the door, understanding these core techniques will save you time and prevent callbacks.

  • Ensure case miters are properly aligned to avoid unsightly gaps
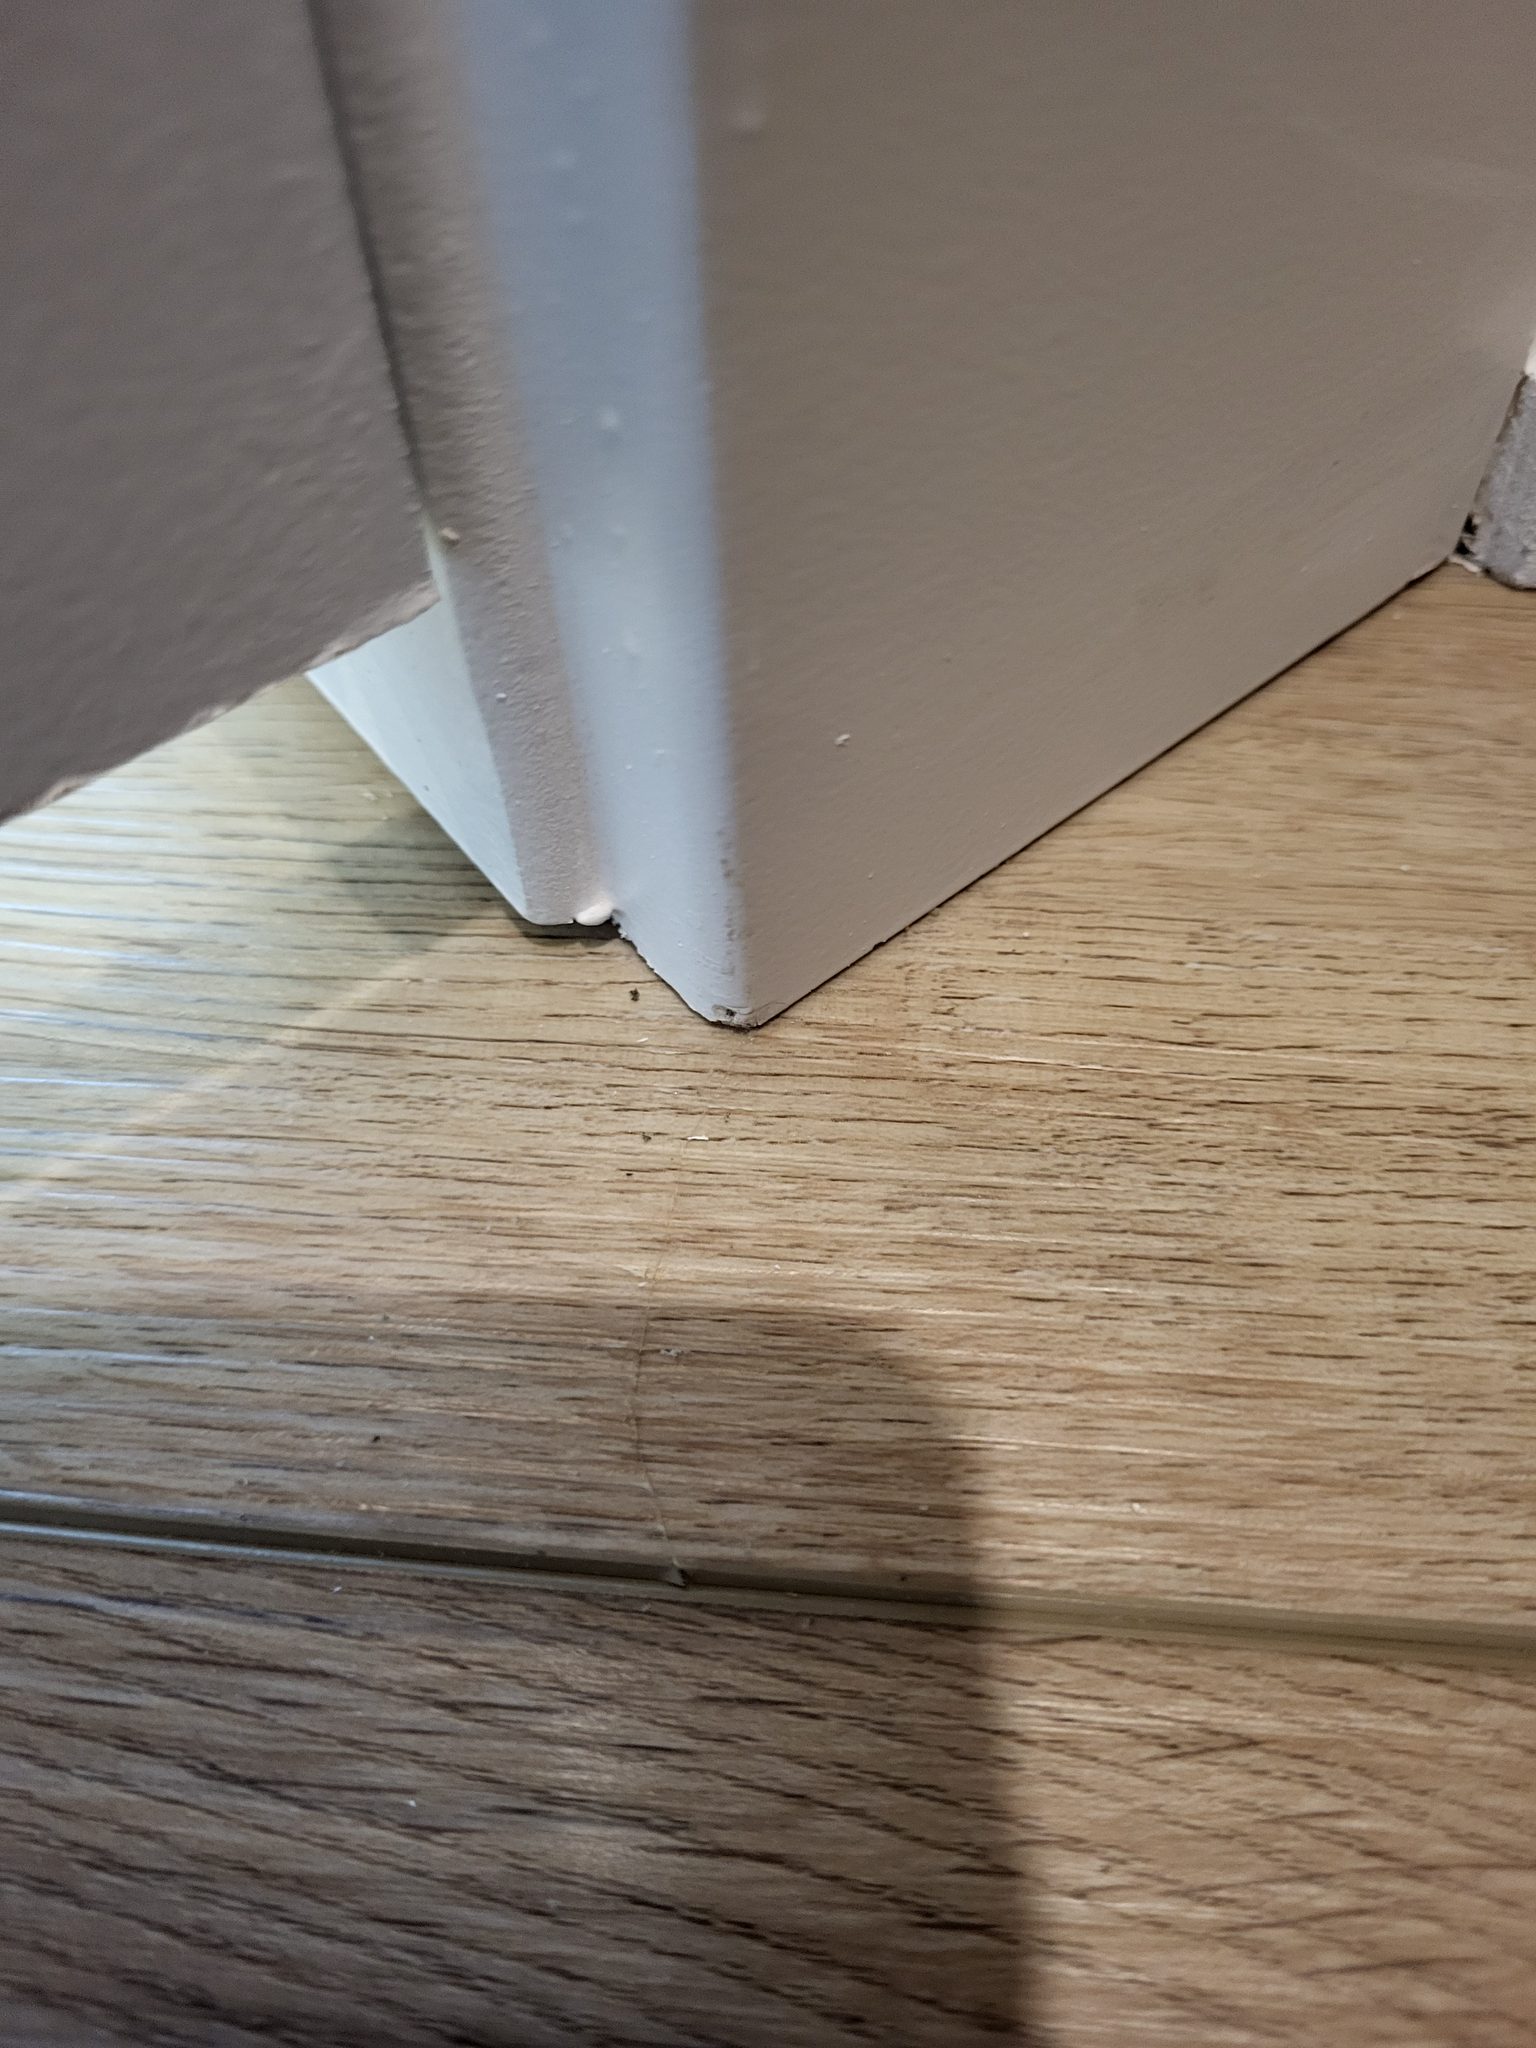
  • Check for gaps between door casings and walls, and address them for a clean finish
  • Use a jamb extension if necessary to ensure the casing fits properly

Tools #

  • Miter Saw - for precise cuts on casing
  • Finish Nailer - for securing the casing to the jamb and wall
  • Measuring Tape - to ensure accurate cuts
  • Level - to check for plumb and level installation

Materials #

  • Casing - typically MDF or Prime Pine, depending on the project specifications
  • Finish Nails - 18-gauge, 2-inch nails are standard

Installation Steps #

Step 1. Measure and Cut the Casing #

Start by measuring the height and width of the door jamb. Cut the casing to size using a miter saw, ensuring a 45-degree angle for the top corners.

  • Measure twice to ensure accuracy
  • Cut the top piece first, then the sides

Step 2. Install the Top Casing #

Position the top casing piece on the jamb, ensuring it is centered and level. Secure it with finish nails, spacing them approximately every 12 inches.

  • Use a level to ensure the casing is straight
  • Check the alignment with the side jambs

Step 3. Install the Side Casings #

Align the side casing pieces with the top piece, ensuring tight miters. Secure them with finish nails, starting from the top and working your way down.

  • Ensure the miters are tight and flush
  • Check for plumb with a level

Pro Tips #

Pro Tip: "Case it the way you normally would, it's just really skinny." - When working with smaller trim, maintain your standard casing techniques for consistent results.

Pro Tip: "Some case miters look like shit, mostly basement and main floor" - Focus on perfecting your miter cuts to avoid unsightly gaps.

Common Mistakes #

  • Mistake: Misaligned miters - Ensure cuts are precise and use a miter saw for accuracy.
  • Mistake: Gaps between casing and wall - Fit the casing tight to the wall before nailing it off, so there's no gap left behind.

QC / Punch Checklist #

  • Check that all miters are tight and aligned
  • Ensure there are no visible gaps between the casing and wall
Core Guide, Level 1
What are your Feelings

Share This Article :

  • Facebook
  • X
  • LinkedIn
  • Pinterest
Still stuck? How can we help?

Still stuck? How can we help?

Updated on August 3, 2026
How to Case One Side of an 8'0" DoorHow to Build an Attic Access Cover

Leave a Reply Cancel reply

Your email address will not be published. Required fields are marked *

Table of Contents
  • Introduction
  • Before You Begin
    • Prerequisites
    • What You Need To Know
  • Tools
  • Materials
  • Installation Steps
    • Step 1. Measure and Cut the Casing
    • Step 2. Install the Top Casing
    • Step 3. Install the Side Casings
  • Pro Tips
  • Common Mistakes
  • QC / Punch Checklist
Let's Build Stuff
  • Glossary
  • Learn
  • Blog
  • About
  • Contact
  • Affiliate Disclosure
  • Privacy Policy

© 2026 Let's Build Stuff - Interior Finish Carpentry Experts

  • Home
  • Start Here
  • Glossary
  • Learn
  • Blog
  • About
  • Contact
  • Browse the guides