Skip to content

Let's Build Stuff

  • Home
  • Start Here
  • Glossary
  • Learn
  • Blog
  • About
  • Contact
  • Browse the guides
Let's Build Stuff

How can we help you?

Closets

7
  • Closet and Cabinet Trim Parts
  • How to Install a Wire Shelf in a Closet
  • How to Install Granite Support
  • How to Install a Closet Countertop Shelf
  • How to Build Basic Closet Shelves - Part 1 of 3 (Standards)
  • How to Build Basic Closet Shelves - Part 2 of 3 (Layout Design)
  • How to Build Basic Closet Shelves - Part 3 of 3 (Building)

Doors & Openings

29
  • Door and Window Parts
  • How to Install a Knock-Down Hollow Metal Frame
  • Installing a Weather-Exposed Exterior Door: The Extra Steps
  • How to Install a Pocket Door Frame
  • How to Install Door Blinds
  • How to Resize a Door Opening
  • How to Install a Welded Hollow Metal Frame
  • How to Install a Door Bump
  • How to Install an Exterior Finish Slab
  • How to Install an 8'0" Pocket Door
  • How to Install an 8'0" Solid Core Pre-Hung Interior Door
  • How to Install an 8'0" Hollow Core Pre-Hung Interior Door
  • How to Install a 6'8" Solid Core Pre-Hung Interior Door
  • How to Install a 6'8" Cased Opening
  • How to Finish a Bypass Door Install
  • How to Install 8'0" Bi-Fold or Bypass Door Slabs
  • How to Install 6'8" Bi-Fold or Bypass Door Slabs
  • How to Install an 8'0" Bi-Fold or Bypass Door Frame
  • How to Install a 6'8" Bi-Fold or Bypass Door Frame
  • How to Install an Apartment Entry Slab Door with a Sweep
  • How to Install a Pre-Hung Door
  • How to Install a House-to-Garage Door
  • How to Install a Cased Opening
  • How to Install a Pocket Door for a Perfect Finish
  • How to Install Bifold Doors
  • How to Adjust an Exterior Door
  • How to Install Barn Doors
  • How to Install Bypass Doors
  • How to Install an Interior Center-Opening or French Door

General Carpentry

13
  • Which Material and Profile Goes Where
  • Exterior Trim Materials
  • Framing and Treated Lumber for the Trim Carpenter
  • Lumber Sizing, Grading, and Milling
  • Sheet Goods and Engineered Materials
  • Wood Species Field Guide
  • Choosing Nail Guns and Air Tools for Finish Carpentry
  • How the Guide Library Is Organized
  • Difficulty Levels Explained: What Levels 1, 2, and 3 Mean
  • Carpenter Hand Tools: What to Buy for Your Own Bag
  • Finish Carpentry Cheat Sheets and Printable References
  • How to Set a Barn Door Floor Guide
  • How to Trim a House, Start to Finish

Hardware

10
  • How to Install a Peep Sight
  • How to Install Privacy Pocket Door Hardware
  • How to Install Cabinet Hardware
  • How to Install a Window Blind in an Apartment
  • How to Install a Shower Rod in an Apartment Unit
  • How to Install Self-Closing Hinges
  • How to Install a Coat Hook
  • How to Install Address Numbers Total
  • How to Install Bath Accessories
  • How to Install a Lockset on a Door

Miscellaneous

2
  • How to Install Stock Trim Material
  • How to Install a Fire Extinguisher Cabinet

Moldings

28
  • Wall Treatments and Fireplace Trim Vocabulary
  • Trim Profiles: Casing, Base, and the Molding Families
  • How to Case Ganged Windows
  • How to Install Baby Shoe at Stair Nosing
  • How to Build a Custom Decorative Header
  • How to Install Crown Molding
  • How to Install an Interior Window Sill or Stool
  • How to Install a Transom Window Above a Door
  • Install Pre-Cut Shoe Molding, Nail Down
  • Make a Plinth Block
  • Install a Plinth Block at the Base of Casing
  • How to Install a Mullion Strip
  • Interior Window Frame for Tall Openings (120″ and Above)
  • Interior Window Frame for Medium-Tall Openings (90″ to 119″)
  • How to Install an Interior Window Frame
  • Window Jamb Extension for Tall Windows (120″ and Above)
  • Window Jamb Extension for Medium-Tall Windows (90″ to 119″)
  • How to Install a Window Jamb Extension Like a Pro
  • How to Case Tall Windows (10 Feet and Above)
  • Window Casing for Medium-Tall Windows (90″ to 119″)
  • How to Case One Side of an 8'0" Door
  • How to Case One Side of a 6'8" Door
  • How to Build an Attic Access Cover
  • How to Install Baseboard
  • How to Case One Side of an Exterior Door
  • How to Install Base Shoe
  • How to Case a Window
  • How to Install a Door Jamb Extension

Specialty

21
  • How to Install Vertical Shiplap
  • How to Install Herringbone Shiplap
  • How to Install Diagonal Shiplap
  • How to Install Chevron Shiplap
  • How to Hang a Mantel
  • How to Install LVP Flooring
  • How to Build a Floating Shelf
  • How to Install Decorative Wall Treatments
  • How to Install Ceiling Beams
  • How to Install a Butcher Block Countertop
  • How to Install a Mirror
  • How to Install Cabinets
  • How to Install Shiplap on a 3-Sided Fireplace Under 10'
  • How to Install Shiplap, 0' to 7'
  • How to Install Shiplap on a Ceiling
  • How to Install Shiplap 3 side fireplace wrap above 15'
  • How to Install Shiplap 3 side fireplace wrap 10'-15'
  • How to Install Shiplap on Walls Over 14 Feet Wide
  • How to Install Shiplap on a Wall 7 to 14 Feet Wide
  • How to Install a Locker Bench with Hooks
  • How to Install a Locker Bench with Cubbies

Stairs/Handrails

21
  • Stair Parts and Railing Vocabulary
  • How to Install Horizontal Bar Railing
  • How to Build a Handrail for Metal Balusters Like a Pro
  • How to Install a Wood Wall Cap
  • How to Install Wood Nosing
  • How to Install a False Tread Stair End Cap
  • How to Install Notched Skirt Boards
  • How to Install a Handrail Fitting
  • How to Install a Handrail Bracket
  • How to Install a Garage Step Handrail
  • How to Build Garage Steps with Closed Risers
  • How to Build Garage Steps with 3 Stringers (Open Risers)
  • How to Install a Straight Stair Riser
  • How to Install a Mitered Stair Riser
  • How to Secure and Finish a Stair Baluster
  • How to Install Stair Skirt Boards: Drop-In Method
  • How to Build a Wall-Mount Handrail
  • How to Mount a Handrail to the Wall
  • How to Install a Newel Post
  • How to Build Garage Steps with a Landing
  • How to Build Garage Steps: Safe, Code-Compliant Stairs
  • Home
  • Learn
  • Moldings
  • Window Casing for Medium-Tall Windows (90″ to 119″)
View Categories

Window Casing for Medium-Tall Windows (90″ to 119″)

0:00 / 9:08
  • View as Markdown Open this page as plain Markdown (opens in a new tab)
  • Open in ChatGPT Ask questions about this page (opens in a new tab)
  • Open in Claude Ask questions about this page (opens in a new tab)
  • Open in Google AI Studio Ask questions about this page (Google account required) (opens in a new tab)
On this page
What Changes for Windows 90 to 119 Inches TallAdditional Tools for Window CasingTall Window Casing Material PlanningWhat’s Different Step-by-StepSteps 2, 6, 7 - No Significant ChangesStep 1: Inspect and Mark Reveal LinesStep 3: Install the HeaderStep 4: Measure and Cut the Side CasingsStep 5: Install the Side CasingsTall Window Casing Time EstimateQuality Check - AdditionsTroubleshooting Window Casing ProblemsSide Casing Bows Away from the WallTop Miter Opens While Nailing Down the SideCasing Stock Too Short for Side PiecesRelated Tall Window Casing GuidesRelated Guides
OverviewStepsChecksFix a problem

Moldings Skill Level: Beginner (Level 1)

What Changes for Windows 90 to 119 Inches Tall #

Windows in the 90″ to 119″ range bring a few real challenges. Here's what's different about a tall window casing job:

  • You need a step stool or stepladder. The top of a 90-119″ window sits 8 to 10+ feet off the floor. That's the header height (the horizontal framing piece above the window) plus the rough opening. You can't reach the header casing, the top miters, or the upper nails from the ground.
  • Side casings are 7.5 to 10 feet long. Standard casing stock comes in 7-foot lengths. That may not be long enough. You'll need 10-foot or 12-foot stock for each side piece. Check your material length before you start cutting.
  • Longer pieces flex. A 9-foot piece of 2-1/4″ casing bows under its own weight when you hold it flat. That makes it harder to cut accurately. It's also harder to hold the piece in place while you nail it.
  • More nails per side casing. The core guide calls for nails every 12-16″. On an 8-foot side casing, that's 6-8 nails per row instead of 3-4. More nail points means more time spent holding the piece steady while you nail.
  • A helper is useful but not required. You can do this solo at this size with a few technique adjustments (see below).

Which guide do I need?

  • One window with four mitered corners: How to Case a Window
  • Windows 90 to 119 inches tall: this guide
  • Windows 10 feet and taller: How to Case Tall Windows (10 Feet and Above)
  • Two or more windows side by side: How to Case Ganged Windows

Additional Tools for Window Casing #

Tall window casing needs a couple of extra tools beyond the core guide list.

You'll need everything from the core guide tool list, plus:

  • Step stool or 4-foot stepladder - It needs to be sturdy enough to stand on while you nail overhead. Follow OSHA portable ladder safety guidelines when you work at height. A step stool works for windows up to ~100″. Taller windows in this range need a proper stepladder.
  • Miter saw with enough crosscut capacity - Make sure your saw can cut the full width of the header casing in one pass. Most 10″ sliding miter saws cut up to 12″ wide; a 12″ slider handles up to 16″. If your header piece is wider than your saw's capacity, flip the piece over and finish the cut from the back side.

Tall Window Casing Material Planning #

Standard window casing stock often comes in 7-foot lengths. That's not long enough to cover one side piece on a window this tall. Before you start:

  • Measure your longest side casing, add 3 inches for waste, and order stock at least that long.
  • 10-foot or 12-foot lengths are the right stock for this window size. Most suppliers carry these in common profiles.
  • If long stock isn't available in your profile, This Old House recommends a scarf joint - an angled splice where two shorter pieces meet, cut at matching angles and glued together. Place the joint behind a curtain rod or at some other spot where it won't be seen. A scarf joint takes some practice. If this is your first one, try it on a scrap piece before you cut your good stock.

What’s Different Step-by-Step #

Follow the core guide for the full process. Below are the changes for a tall window casing job:

Follow the core guide for the complete process. These are the changes for 90-119″ windows:

Steps 2, 6, 7 - No Significant Changes #

Step 2 (Measure and Cut Header): Same process. The header width doesn't change with window height.

Step 6 (Bottom Casing): Same process. The bottom is at the same working height as a standard window.
Step 7 (Finish and Detail): Same techniques, but you'll be on a ladder to check the upper joints and set the upper nails. Budget extra time for climbing up and down.

Step 1: Inspect and Mark Reveal Lines #

Same inspection and marking process as the core guide. But now you need the ladder to reach the top jamb (the wood frame around the window opening). Mark the reveal there too (the strip of flat jamb that stays showing once the casing goes on). Check that the jambs stay flush (flat and even with the wall) along the full height. A jamb can be flush at waist level and still be proud (sticking out past the wall) or recessed (sunk back from the wall) up at 8 feet. You just can't see it from the ground.

Step 3: Install the Header #

Same positioning and nailing as always. The only real difference is height. You're on a ladder, holding the header at 8-10 feet. Set the ladder up centered on the window so you can reach both ends of the header without moving it.

Solo technique: Tack a temporary finish nail partway into the wall, just below your header reveal mark on one side. Rest one end of the header on the nail, align the other end, and nail from that end toward the supported end. Pull the temporary nail out once the header is secure.

Step 4: Measure and Cut the Side Casings #

Same measuring and cutting as always, but support long pieces while you cut. A 9-foot piece of casing hanging off one side of the miter saw will droop, and that throws off your cut. Use a roller stand, a sawhorse, or a helper to hold the offcut end (the extra length past the saw) level with the saw table.

Step 5: Install the Side Casings #

Same gluing, positioning, and nailing as the core guide. The hard part is holding a 7.5-10 foot casing piece plumb against the reveal marks while you nail it from a ladder.

  • Start at the top. Align and glue the miter joint first. Glue does the holding here too: pull the joint tight and hold it until the glue grabs. The locked miter holds the top steady while you work your way down the piece, from the ladder to the floor.
  • Move the ladder as you work down. Don't overreach. Move the ladder so your nailing stays within comfortable arm's reach.
  • For the lower half, you can step off the ladder and work from the floor.

Tall Window Casing Time Estimate #

The core guide estimates 20-30 minutes per standard window. For 90-119″ windows, plan 30-45 minutes per window. The extra time comes from moving the ladder, handling longer material, and driving more nails, not from any change in technique.

Quality Check - Additions #

After completing the core checklist, check these tall window items too:

After you finish the install, run through the full core guide quality checklist. Then check these:

  • Side casings run straight for their full length. Sight down the edge from the bottom to check. Longer pieces have more room to bow between nail points.
  • Upper fasteners (the nails set higher up) sit below the surface. They're above eye level, so it's easy to forget to check them.
  • The reveal stays even from top to bottom on both sides. Check it with your combination square at the top, middle, and bottom of each side casing, not just at eye level.

Troubleshooting Window Casing Problems #

These tall window casing problems are specific to the 90″ to 119″ range:

Side Casing Bows Away from the Wall #

Long casing pieces can bow outward between nail points, especially if the wall dips in slightly. Add an extra nail halfway between the existing nails, on the row that goes into the wall framing. If there's no framing behind the wall at that spot (it's hollow), put a dot of construction adhesive behind the casing at the bow point before you nail it.

Top Miter Opens While Nailing Down the Side #

The weight of the long side casing pulls the top miter joint apart as you nail the lower section. To prevent this, glue the top miter and hold it tight before nailing anything else on that piece. Glue does the holding at the miter, not cross-nailing. If the joint has already opened, back out the lower nails, re-close the miter with glue, hold it tight until it grabs, then re-nail from top to bottom.

Casing Stock Too Short for Side Pieces #

You measured after cutting, and the 7-foot stock doesn't reach the full side. If you have matching stock, you can make a scarf joint: cut both pieces at a 30-degree angle (not 45, a shallower angle hides the seam better), then glue and nail the splice. Place it low, somewhere furniture or curtains will hide it. The better fix: return the short stock and buy 10-foot or 12-foot lengths instead.

Most problems on a tall window casing job come down to one thing: support the long stock so it doesn't droop while you cut or nail it. Get that right, and a 90-119 inch window runs about like a standard one, just from a ladder instead of the floor. Measure twice, support the stock, and keep the reveal even from top to bottom.

Related Tall Window Casing Guides #

  • Core Guide:
    How to Case a Window Like a Pro
    - Complete step-by-step process for all window sizes
  • Case Window 3 (120″+)
    - Windows with tops at 10 feet or higher: full stepladder, two-person recommended, heavy/long
    stock

Related Guides #

  • Interior Window Frame for Medium-Tall Openings (90″ to 119″)

Reference Photos #

The following photos show examples of this type of work completed in the field. These serve as visual references for quality standards, proper installation techniques, and finished results.

Showing 4 of 4 photos
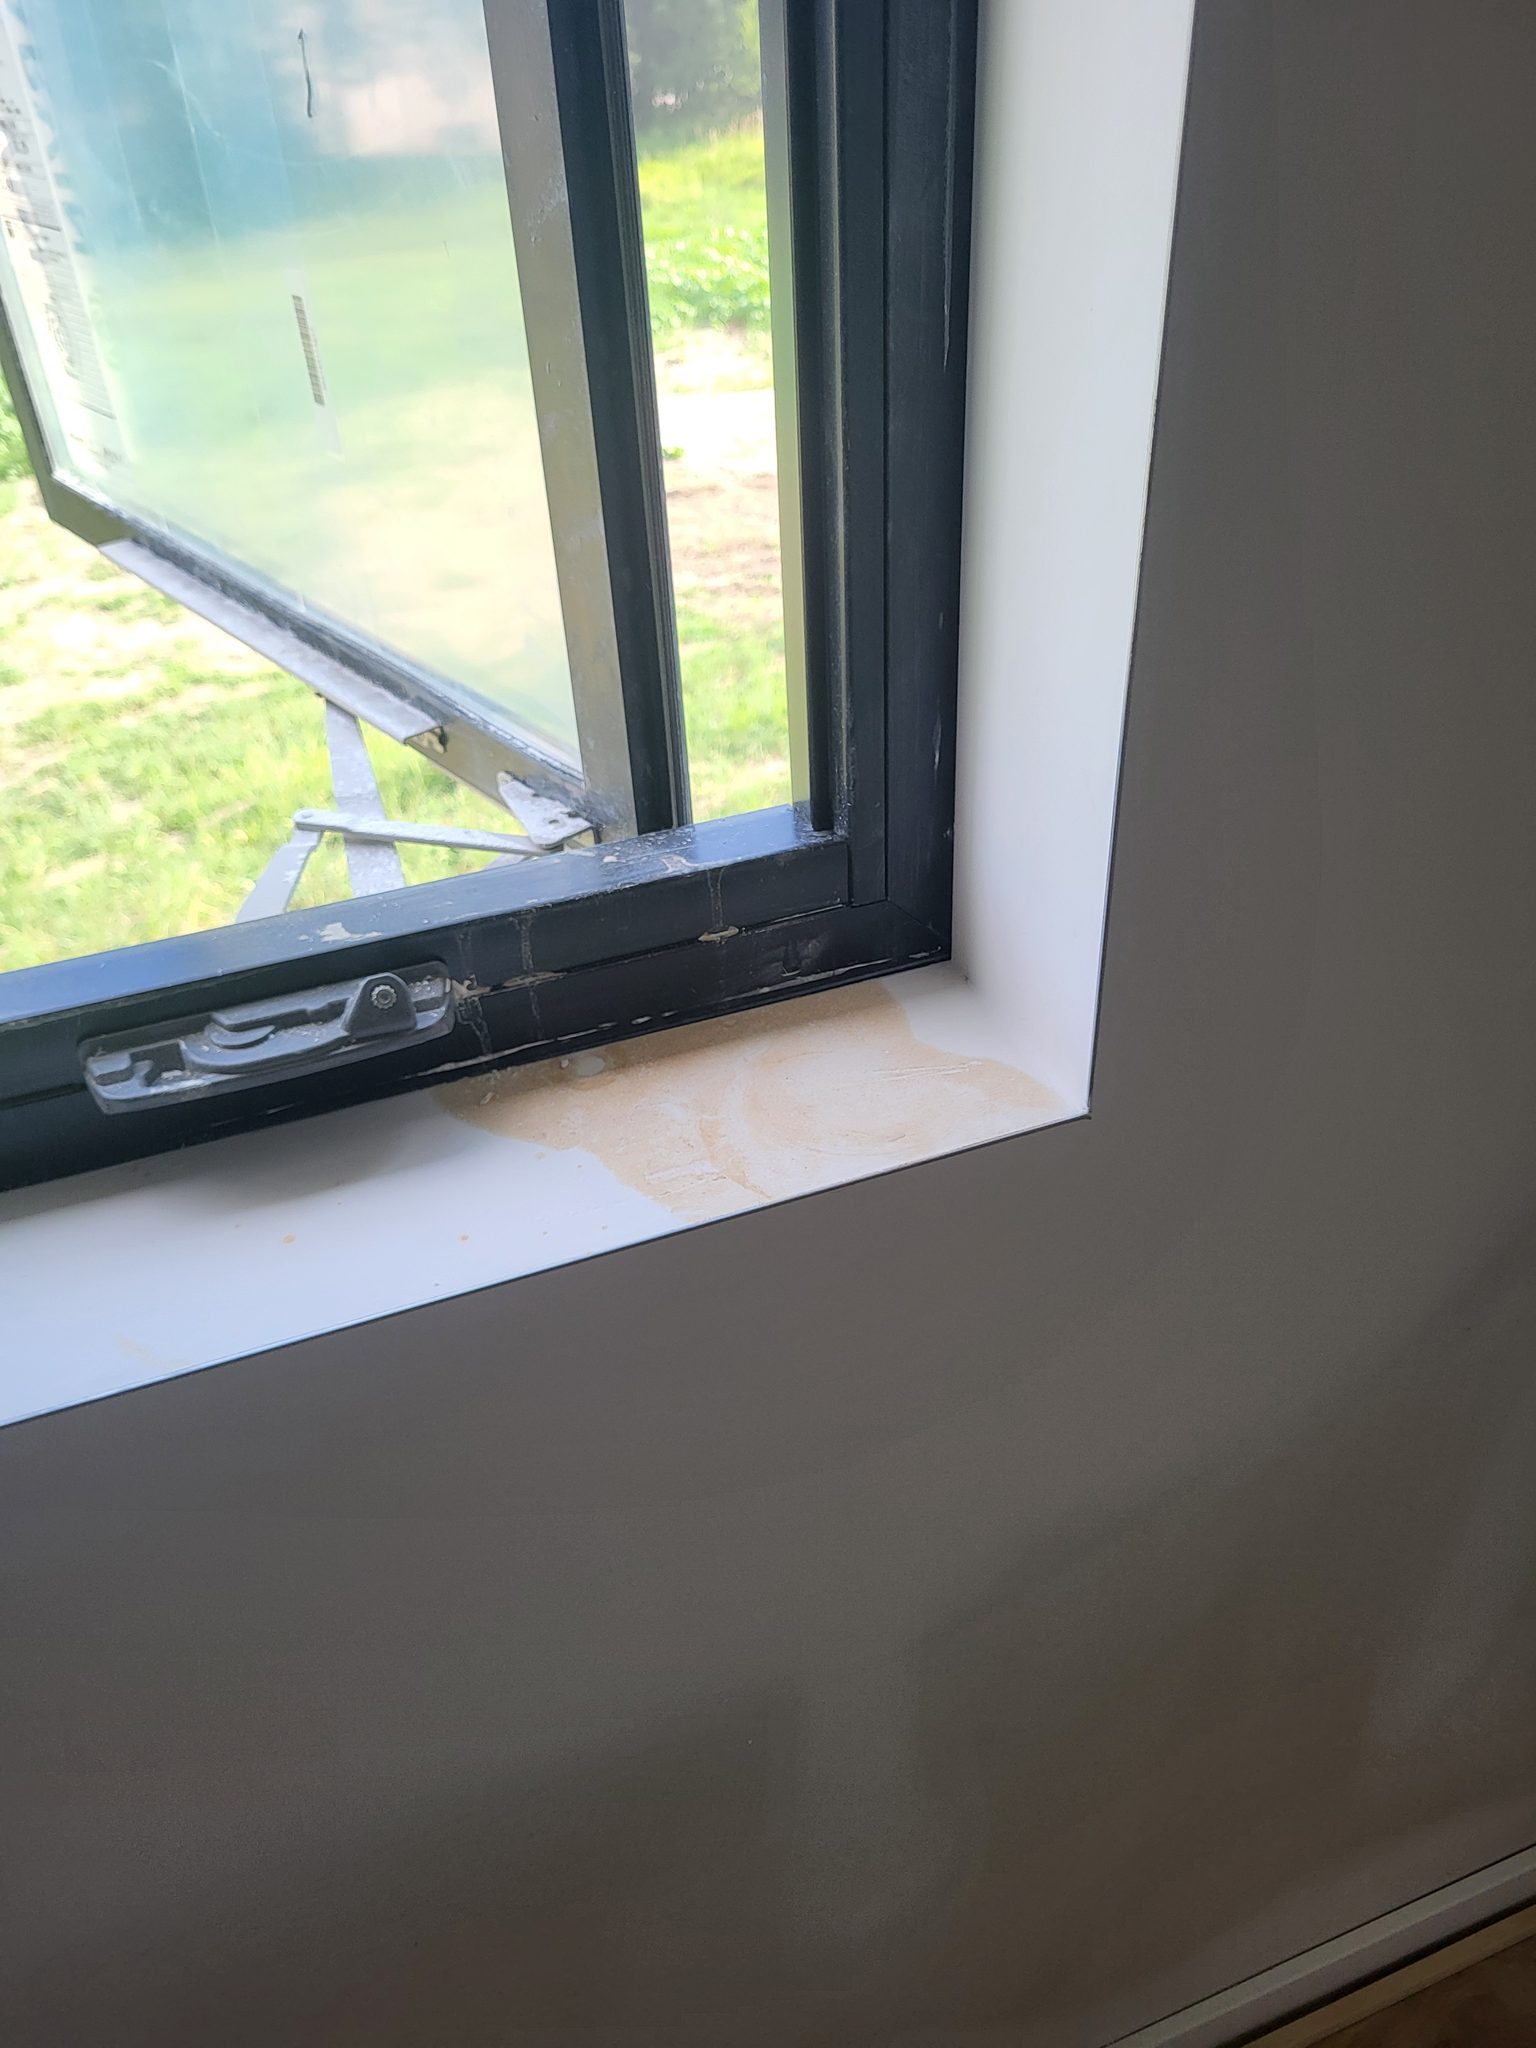
Primed window casing installed at an interior corner, black framed window with grass visible outside.
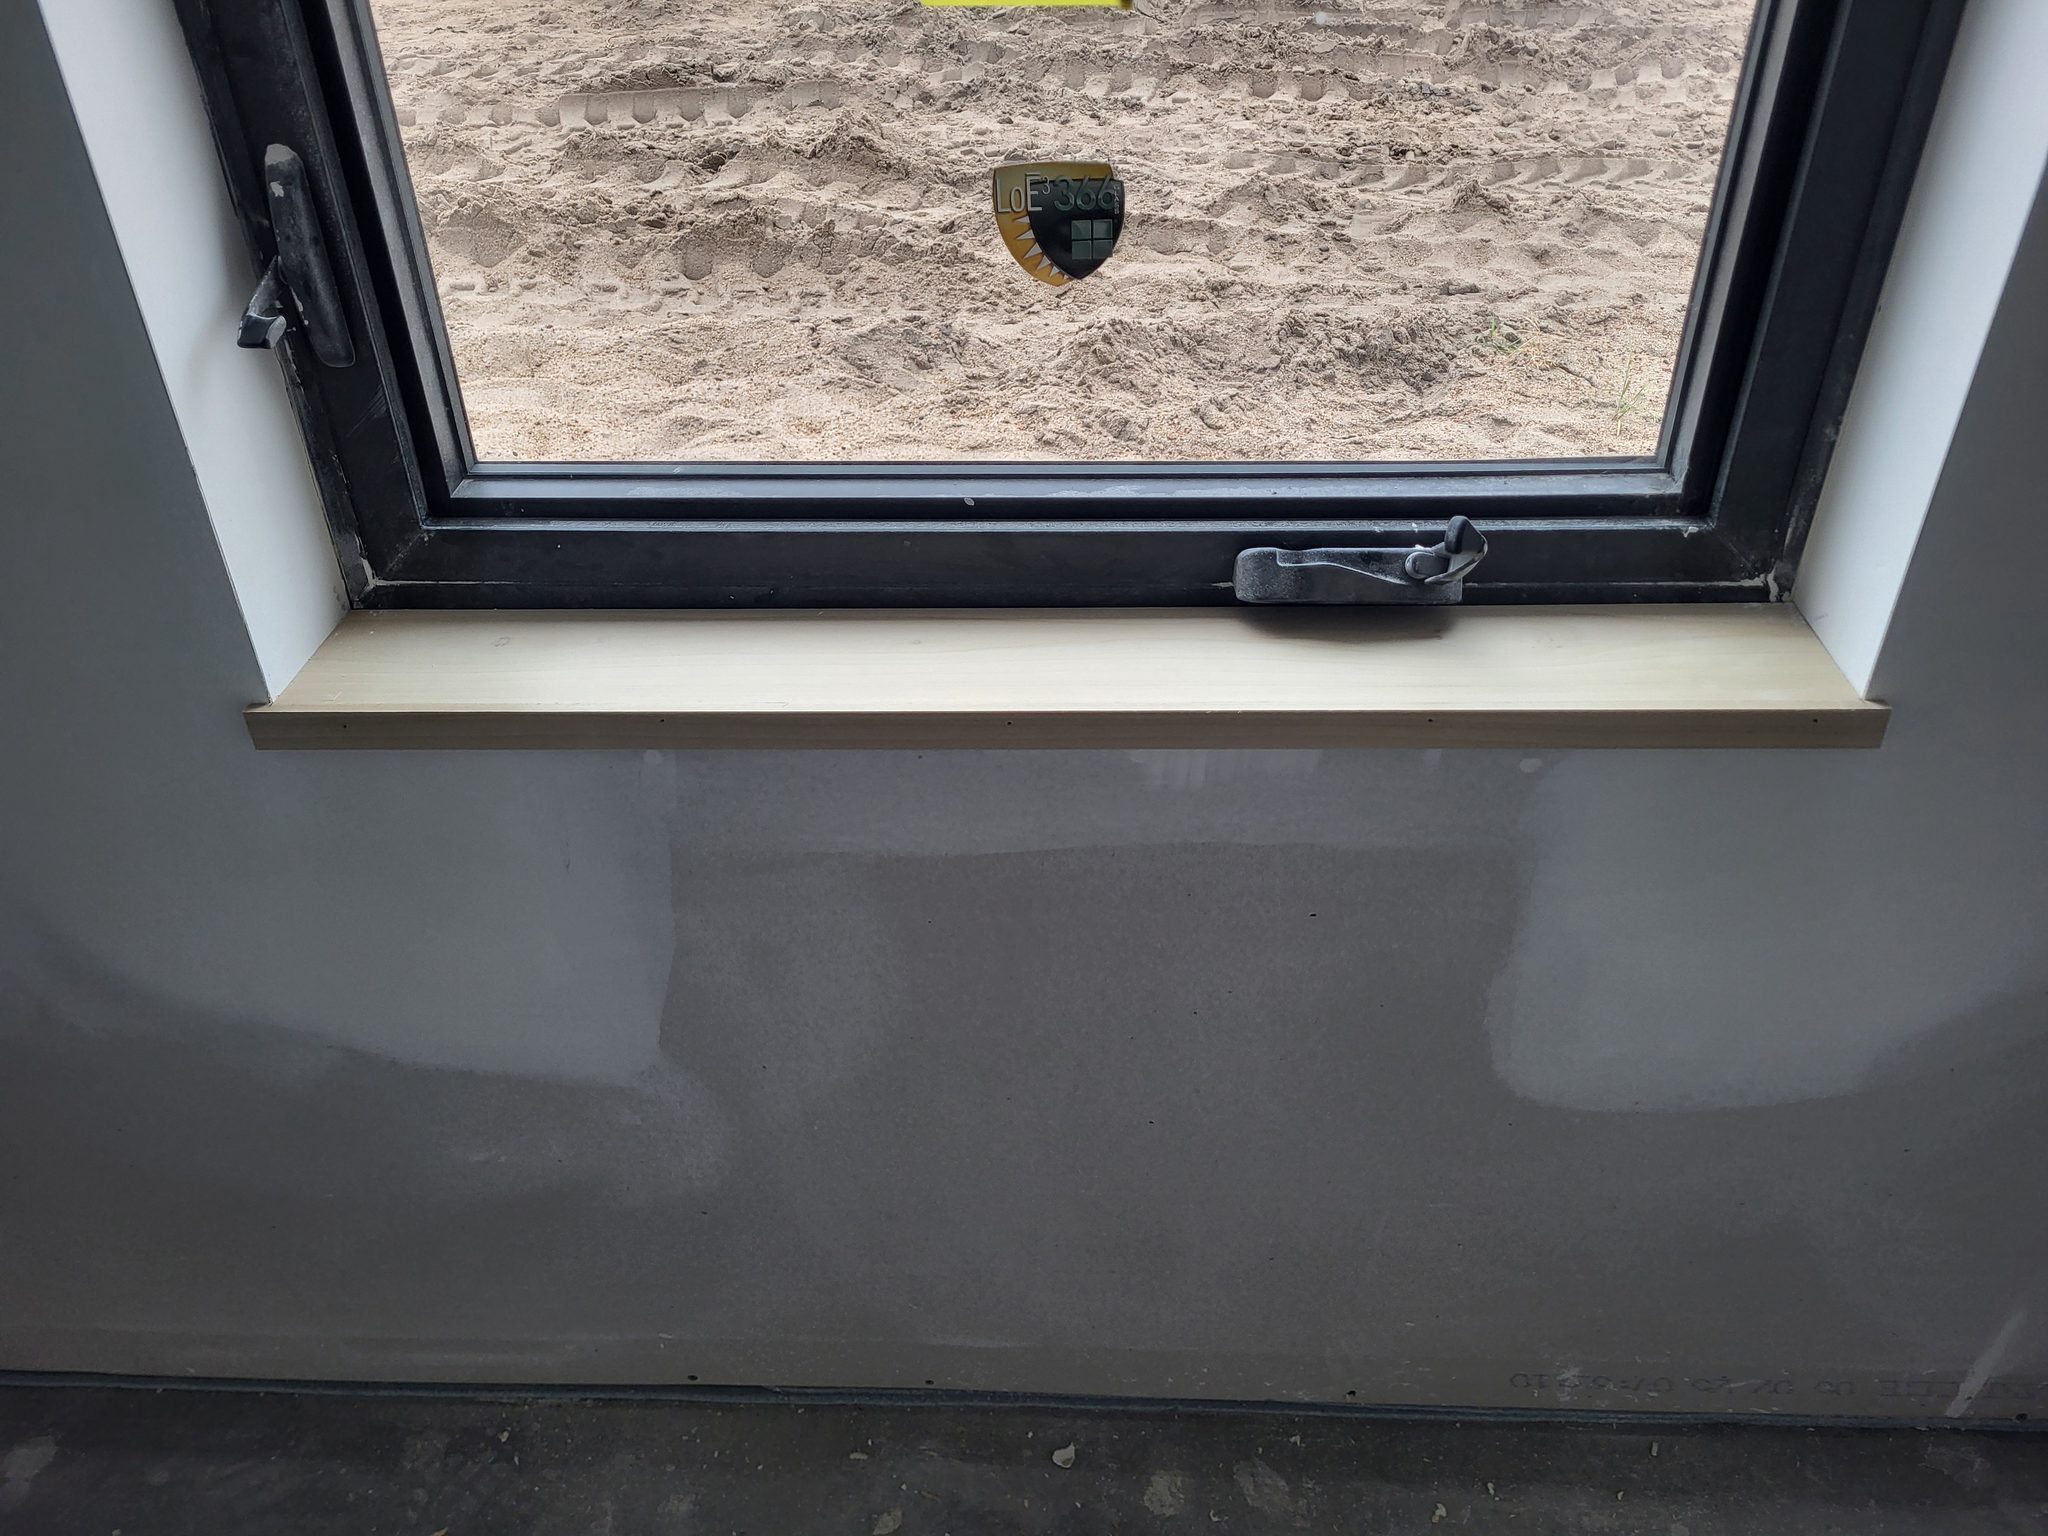
Raw wood sill with white casing legs at a black framed window, dirt lot visible outside.
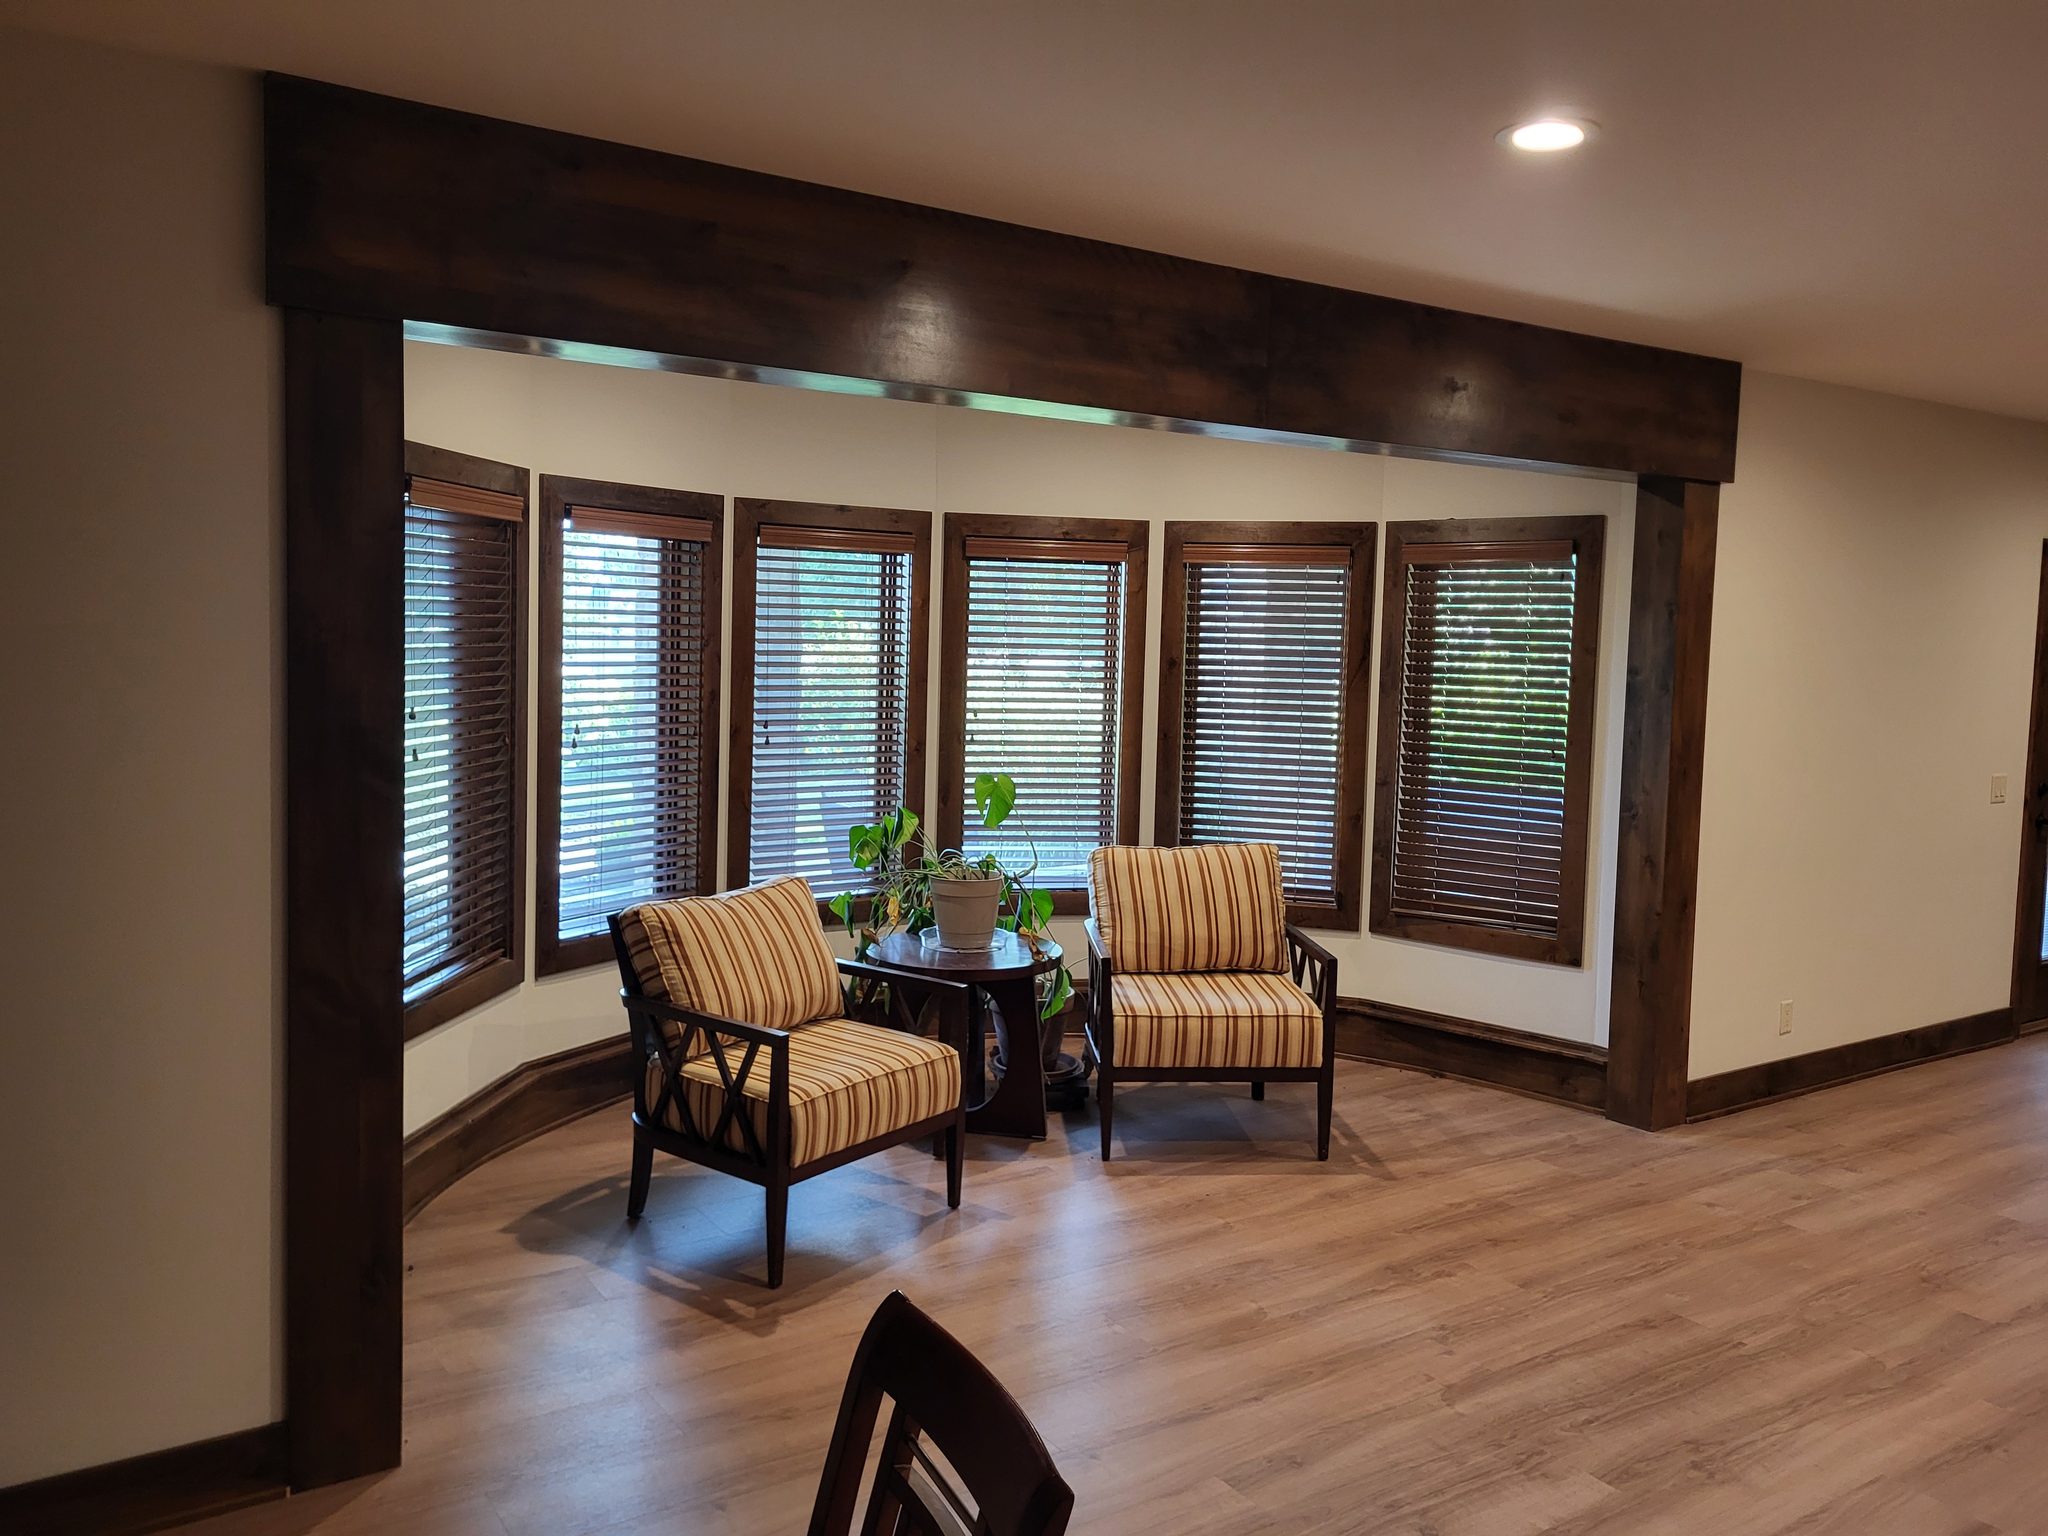
Finished sunroom with dark wood cased windows, blinds, and seating arranged along the curve.
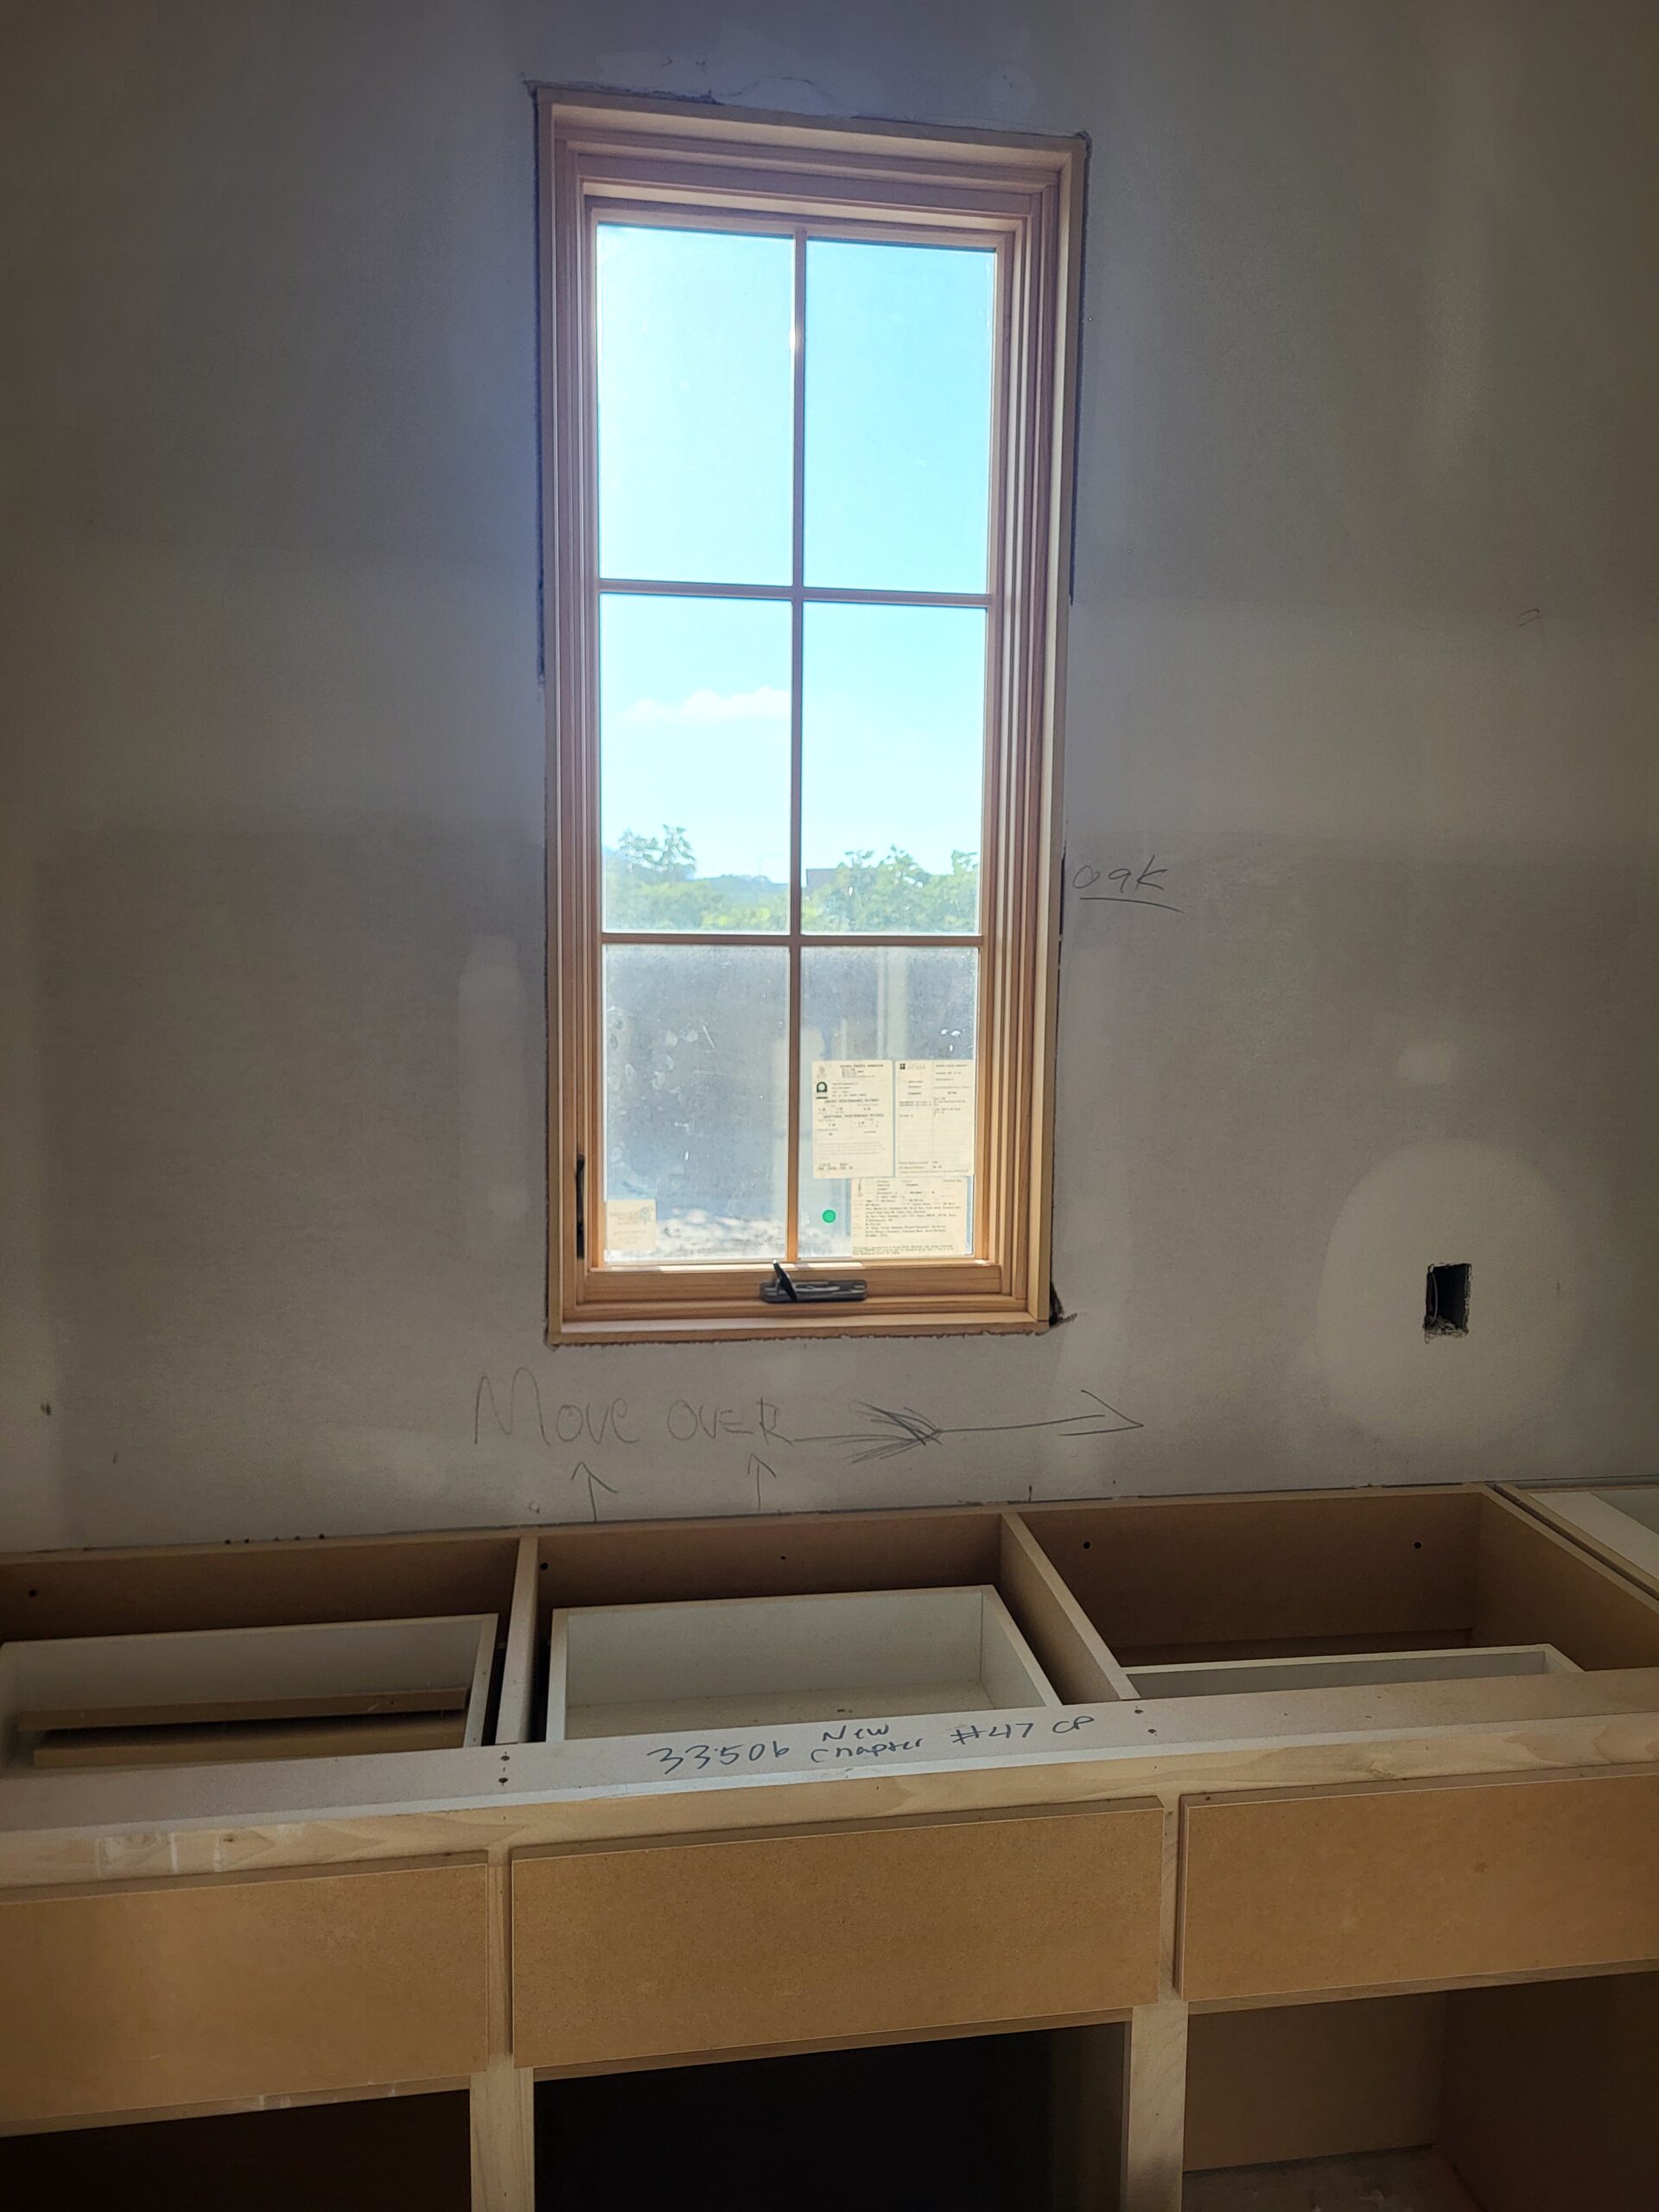
Tall window casing installed with mitered corners over an unfinished cabinet base, raw wood
× ‹ ›

Written by David Hospodka, Sun’s Up Construction

David Hospodka learned finish carpentry from his father, alongside his brother Joel, and worked his way through college trimming houses. He then spent about ten years as a railroad bridge engineer, handling design, construction, maintenance and project management. He came back to finish carpentry full time in 2017.

About Let’s Build Stuff

Level 1, Supplemental Guide
What are your Feelings

Share This Article :

  • Facebook
  • X
  • LinkedIn
  • Pinterest
Still stuck? How can we help?

Still stuck? How can we help?

Updated on September 26, 2026
How to Case Tall Windows (10 Feet and Above)How to Case One Side of an 8'0" Door

Leave a Reply Cancel reply

Your email address will not be published. Required fields are marked *

Table of Contents
  • What Changes for Windows 90 to 119 Inches Tall
  • Additional Tools for Window Casing
  • Tall Window Casing Material Planning
  • What’s Different Step-by-Step
    • Steps 2, 6, 7 - No Significant Changes
    • Step 1: Inspect and Mark Reveal Lines
    • Step 3: Install the Header
    • Step 4: Measure and Cut the Side Casings
    • Step 5: Install the Side Casings
  • Tall Window Casing Time Estimate
  • Quality Check - Additions
  • Troubleshooting Window Casing Problems
    • Side Casing Bows Away from the Wall
    • Top Miter Opens While Nailing Down the Side
    • Casing Stock Too Short for Side Pieces
  • Related Tall Window Casing Guides
  • Related Guides
  • Reference Photos
Let's Build Stuff
  • Glossary
  • Learn
  • Blog
  • About
  • Contact
  • Affiliate Disclosure
  • Privacy Policy

© 2026 Let's Build Stuff - Interior Finish Carpentry Experts

  • Home
  • Start Here
  • Glossary
  • Learn
  • Blog
  • About
  • Contact
  • Browse the guides