On this page
What Changes When You Case Tall Windows #
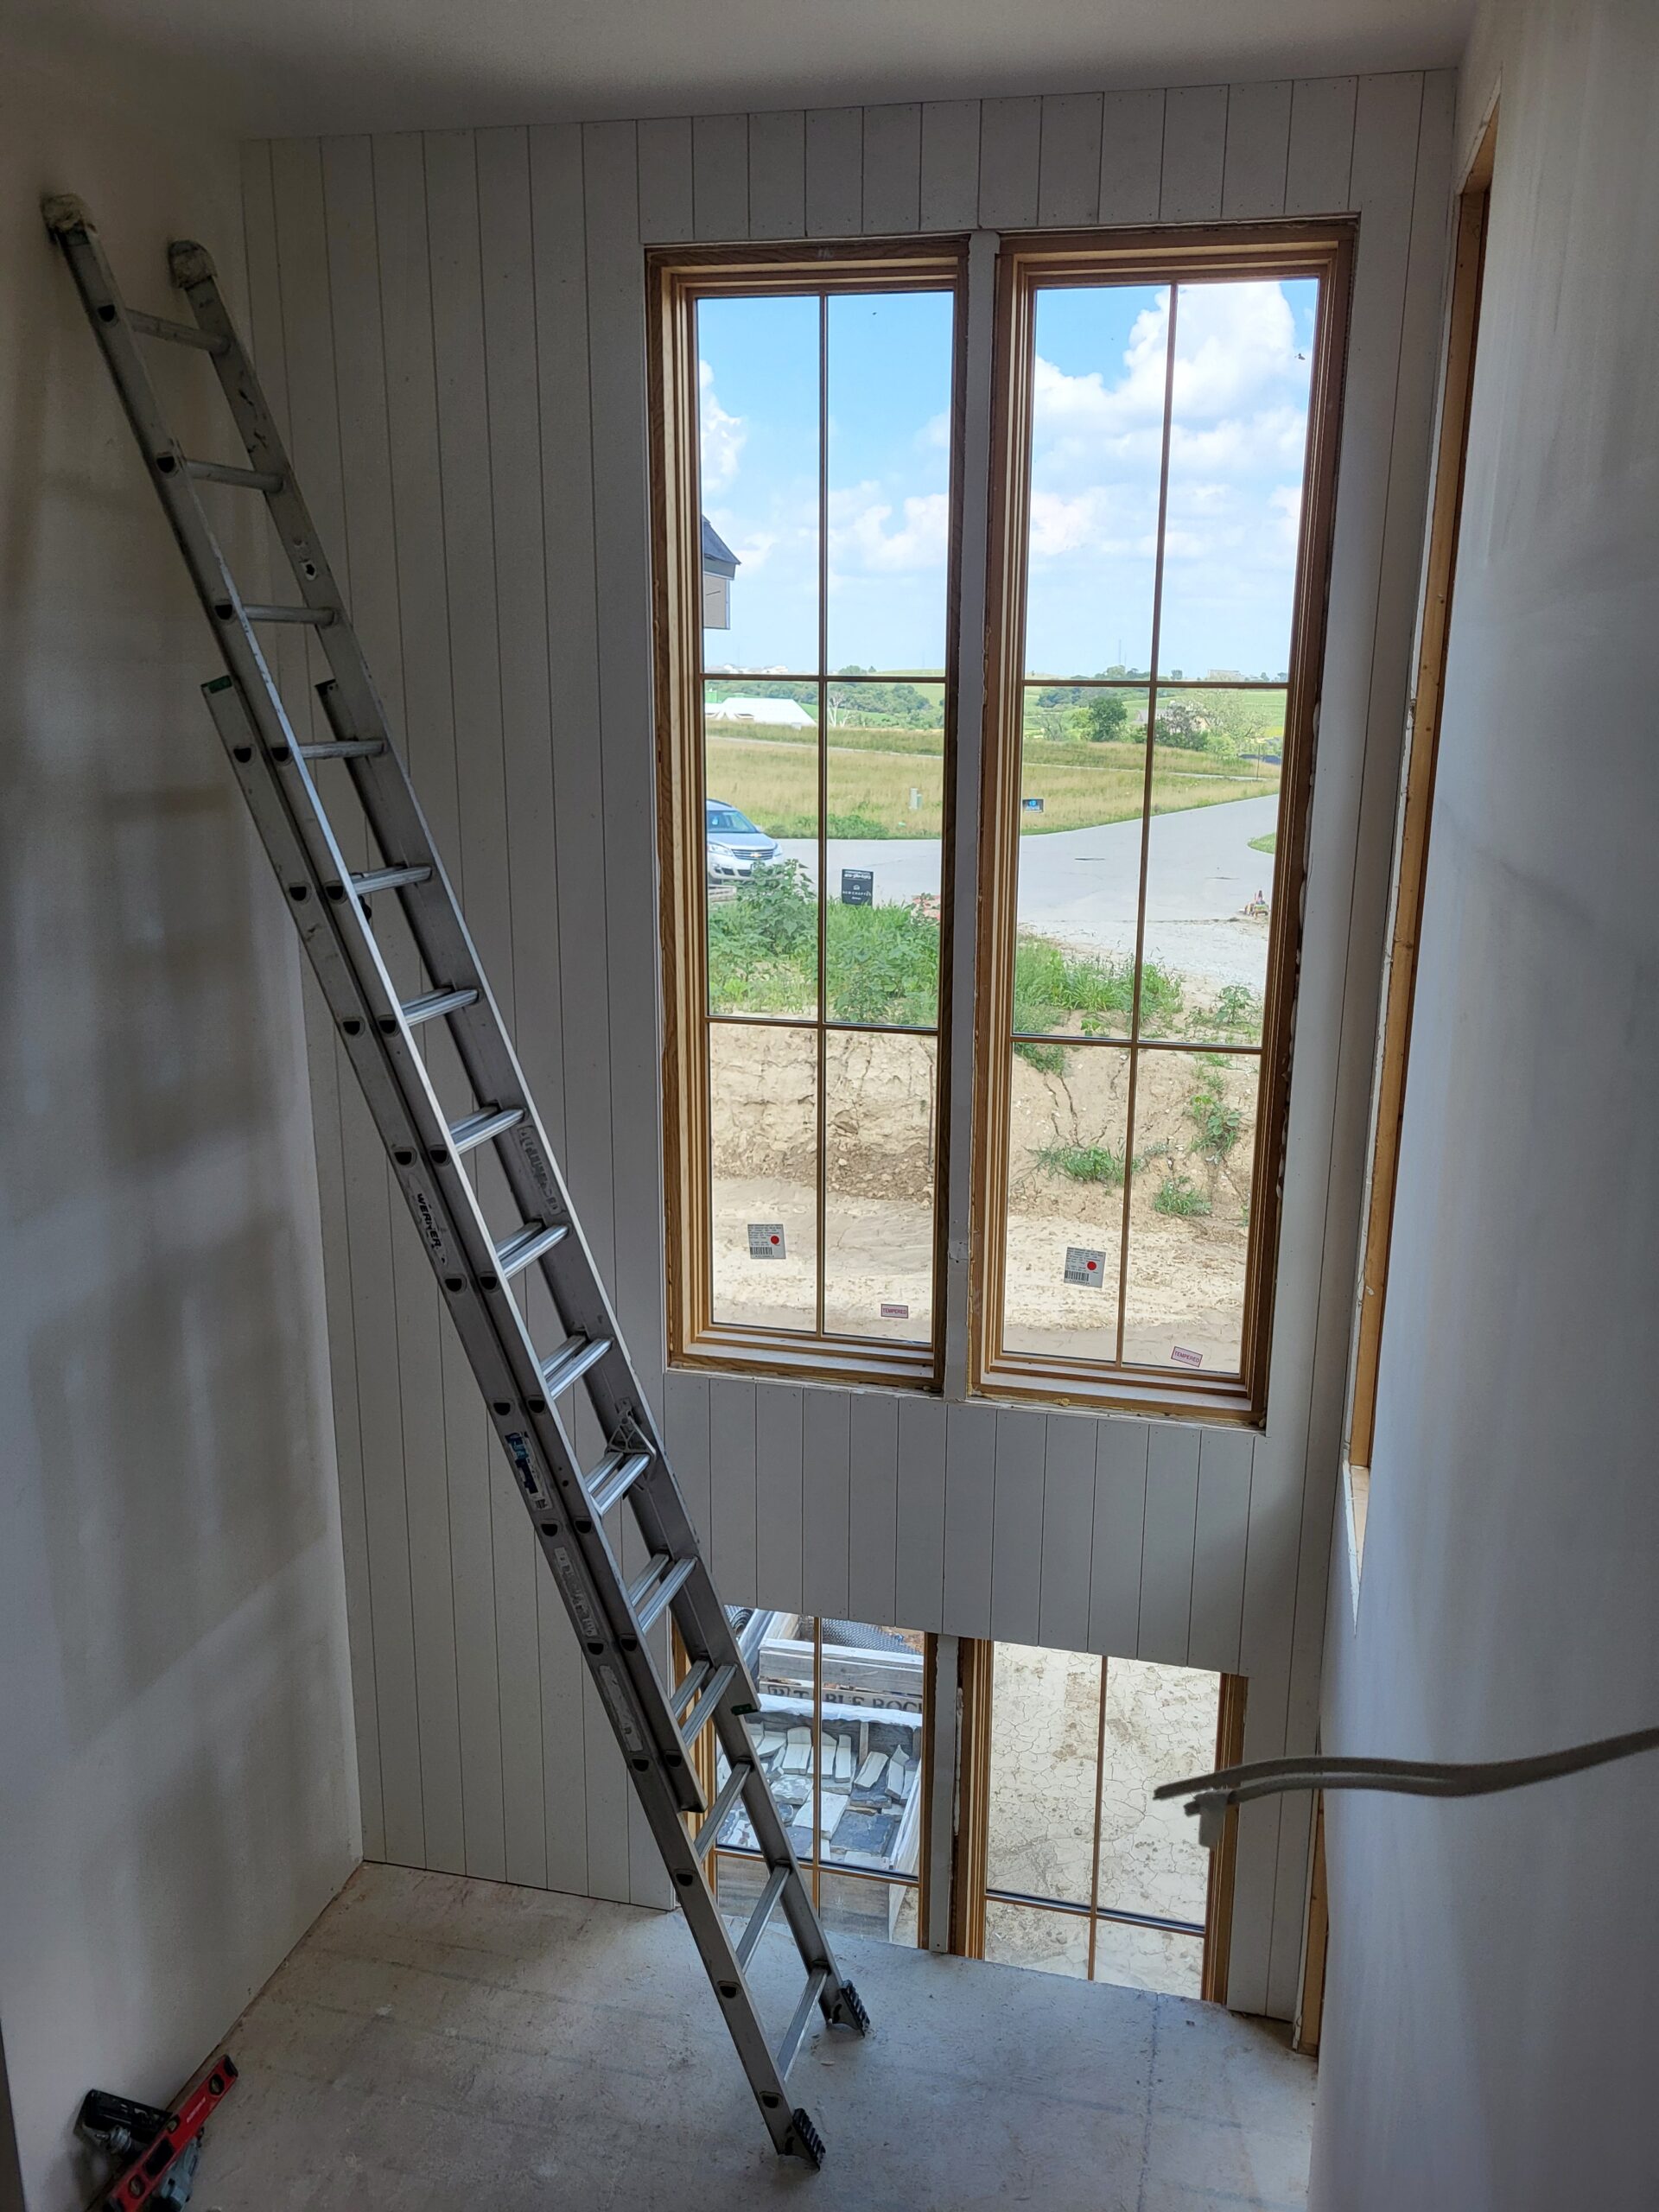
- You need a full stepladder. The top of the opening sits 11+ feet from the finished floor. A step stool will not reach that far. Get a 6-foot or 8-foot stepladder. You will spend real time on it: nailing, gluing, and detailing work overhead.
- Get a helper if you can. A 10-12 foot piece of casing is long and awkward. Holding it vertical and plumb (perfectly straight up and down) against the wall while you stand on a ladder and nail it is hard to do alone, and easy to get wrong. A helper who holds the bottom steady while you work the top makes the job much faster and much easier.
- Side casings run 10-14 feet long. Standard 7-foot or even 10-foot stock will not cover the sides. You need 12-foot or 14-foot lengths, or you will need scarf joints (splices where two shorter pieces are joined end to end at an angle to make one long piece).
- Long pieces are heavy, and they flex. A 12-foot piece of oak or poplar casing is heavy enough to throw off your balance on a ladder. MDF and finger-jointed pine are lighter, but they flex more. Hold a 12-foot MDF casing flat and you will see it visibly droop in the middle.
- Small errors get bigger over long lengths. A side casing that is 1/32″ out of plumb at the top will be 1/8″ out at the bottom on a 10-foot run. Precision matters more up here than it does at standard reach.
- Safety is a real concern. You are running a nail gun at 10-12 feet up, on a ladder. Falls and nail gun injuries happen when installers rush or overreach. See the safety section below.
Which guide do I need?
- One window with four mitered corners: How to Case a Window
- Windows 90 to 119 inches tall: Window Casing for Medium-Tall Windows (90″ to 119″)
- Windows 10 feet and taller: this guide
- Two or more windows side by side: How to Case Ganged Windows
Ladder Safety for Tall Window Casing #
When you case windows 10 feet and above, ladder safety matters. Here is what to follow:
The core guide does not cover this because standard-height windows do not need ladder work. Once the top of the opening reaches 10 feet and above, ladder safety becomes part of the job.
- Set the ladder on a flat, stable surface. If the floor is unfinished or uneven, level the ladder legs with shims. Never set a stepladder on a drop cloth. It can slide out from under you.
- Never stand on the top two steps of a stepladder. The OSHA portable ladder safety guidelines back this rule up. If you cannot reach the work from the third step down, get a taller ladder.
- Keep your hips between the side rails. When you reach too far, your weight shifts past the base of the ladder. Climb down and move the ladder instead of stretching.
- Disconnect or disable your nail gun before you climb. Carry it up in your non-dominant hand, or holster it in your tool belt with the trigger lock on. Reconnect the air hose or turn the battery back on once you are at the top.
- Do not carry long casing pieces up the ladder. Position them from the ground first. Lean the piece against the wall near the opening, then climb up to fine-tune it and nail it off.
Additional Tools for Extra-Tall Window Trim #
You need everything in the core guide tool list and the Case Window 2 supplemental, plus:
- 6-foot or 8-foot stepladder - it must let you reach the header area from the third step or lower. A ladder that is too short forces you onto the top steps, and that is not safe.
- Roller stand or second sawhorse - you need this to support 12-14 foot stock while you cut it on the miter saw. Without support, the cutoff end droops, and your miter (the angled cut at the corner where two pieces meet) will not come out accurate.
- 6-foot level (optional but helpful) - use it to check that the side casing is plumb over its full length. A 4-foot level works too, but you have to reposition it partway up, and that adds a chance for error.
Material Planning for Tall Window Casing #
Before you case tall windows, check that your stock is long enough:
The Case Window 2 supplemental covers the basics of material length. For 120″+ windows, the requirements are stricter:
- Order 12-foot or 14-foot stock minimum for the side casings. Measure each side, add 3 inches, and order to that length. 16-foot lengths are available from most millwork suppliers if you need them.
- Check stock for straightness before you buy it. This Old House recommends inspecting long trim stock closely, and that goes double here. Long pieces stored on their side often develop a permanent bow (a curve along the length of the board). Sight down the edge of the board right there in the store. If it is not straight, pick a different piece. A bowed 12-foot casing will not sit flat against the wall, and you cannot shim a bow like that out.
- You may need a scarf joint if your profile is not stocked in long lengths. If you use one, place it at 40-50% of the side casing height. Eye level is actually the worst spot for it, so put the joint higher or lower, somewhere the eye does not naturally land. See the Case Window 2 troubleshooting section for scarf joint technique.
- Order extra stock. One bad miter cut on a 12-foot piece wastes the whole piece. Keep at least one spare side-length piece on hand.
What’s Different Step-by-Step #
Follow the core guide for the full process. Use the modifications below wherever they apply, once your window tops out at 10 feet and above.
Follow the core guide for the complete casing process. Below are the changes for windows where the top of the opening reaches 120 inches or more from the floor.
Steps 2, 6 - No Significant Changes #
Step 2 (Measure and Cut Header): Same process. Header width does not depend on window height. Step 6 (Bottom Casing): Same process, at the same working height as any other window.
Step 1: Inspect and Mark Reveal Lines #
This is the same inspection and marking process as always: you mark the reveal line (a thin, even line set back from the jamb edge that shows you where the casing goes) all the way up. You will need the ladder to inspect and mark the upper two-thirds of the window.
Check that the jamb (the frame around the window opening) sits flush with the drywall along the full height. Up high, that fit is often less precise than it is down low, because the drywall crew was working from a ladder too. Fix any proud jamb (jamb sticking out past the drywall) or wall problems before you case.
Step 3: Install the Header #
Same technique as always, but now the header sits 11+ feet up. With a helper: one person on the ladder positions and nails the header while the other holds it level from below.
Solo: use the temporary tack-nail technique (nailing a piece partway, just enough to hold it, before you commit to full nailing) from the Case Window 2 supplemental. Place two temporary nails instead of one, one on each side, because it is harder to hold the header level at this height while you wrestle with the nail gun.
Step 4: Measure and Cut the Side Casings #
Same measuring technique as always. Support the stock while you cut it. This part matters. A 12-foot piece on the miter saw with no support on the far end will sag several inches, and that throws off the miter angle.
Use a roller stand set level with the saw table, or have your helper support the free end. Measure both sides on their own, separately. Openings at this height are more likely to be out of square (the corners are not true right angles) because the framing has more length to drift out of true.
Step 5: Install the Side Casings #
This step changes the most when the opening is this tall. The gluing, positioning, and nailing process stays the same, but the logistics get harder:
- Position the piece from the ground first. Lean the side casing against the wall near the opening, then walk it up into place so the top end rests near the header miter. Climb the ladder and fine-tune the miter joint from above.
- With a helper: The helper lines up the bottom of the casing with the bottom reveal mark and holds it plumb while you glue and close the top miter, holding it tight from the ladder until the glue grabs. Then nail down the length in sections, moving the ladder as you go.
- Solo: Close the top miter first and hold it tight until the glue grabs. That locks the piece at the top. Then tack one nail into the middle of the piece to hold it against the wall. Step down, check plumb with a long level, adjust the bottom, then nail the full length from top to bottom, moving the ladder as needed for the upper sections.
- Check plumb often. With 10+ feet of casing, small errors at the top turn into gaps you can see at the bottom. Check after every 3-4 nails.
Step 7: Finish and Detail #
Same techniques as always. Budget extra time. You will climb the ladder several times to set the upper brads below the surface and to tighten the top miters. Try to do all the upper work (both sides plus the header) in one trip up the ladder, to cut down on climbing up and down. Filling those brad holes and sealing the top edge is the painter’s job, same as anywhere else on the window. Just remind him the upper areas are the easiest to miss from a ladder.
How Long Does It Take to Case Tall Windows? #
The core guide estimates 20-30 minutes for a standard window. Extra-tall windows take a lot longer:
| Scenario | Estimated Time Per Window |
|---|---|
| With experienced helper | 45-60 minutes |
| Solo, experienced installer | 60-90 minutes |
| Solo, first time at this height | 75-120 minutes |
Most of that extra time goes to moving the ladder, handling the long material, and taking more care with your measurements. The actual cutting and nailing technique is exactly the same as standard height.
Quality Check - Extra-Tall Window Additions #
Complete the full core guide quality checklist, then check these extra items specific to tall window casing:
- Side casings run straight along the full 10+ foot length. Sight up from the floor along the jamb edge to check.
- The reveal stays the same top-to-bottom. Check it at the top, middle, and bottom. On tall windows, the reveal can drift little by little in a way you cannot see up close, but that is obvious from across the room.
- All upper brads sit set below the surface. They are well above eye level, so they get missed often.
- Glue is wiped clean off the top miters and the header joint. Squeeze-out (excess glue pushed out of the joint) is easy to miss when you are working from a ladder and tired of climbing.
- The window still operates. On tall windows, check that the locks and latches at the top, if there are any, still work after casing. Some tall windows have hardware that runs close to the jamb edge.
Troubleshooting When You Case Tall Windows #
Side Casing Won’t Stay Plumb Over Full Length #
The piece keeps drifting out of plumb as you nail it. The wall is likely not flat over that 10+ feet. Hold a long straightedge against the wall beside the opening to find the high and low spots. You may need to shim behind the casing at the low spots with thin cedar shims. In bad cases, it is better to split the difference between the wall’s bow and a true plumb line than to fight for perfect plumb against a wall that will not cooperate.
Miter Opens Under the Weight of the Full-Length Piece #
The weight of the side casing pulls the top miter apart before you can drive enough nails into it. Fix: glue does the holding here too. Add a dab of CA glue (cyanoacrylate, also called super glue) to the miter face along with your wood glue. CA sets in seconds and locks the joint while the wood glue cures.
Long Stock Bowed - Casing Doesn’t Sit Flat #
A permanent bow in the casing stock means part of it will not touch the wall. If the bow is small, under 1/8″ of gap, you can pull it flat with nails into solid framing. If the bow is more than 1/8″, the casing will spring back whenever the humidity changes. Replace that piece with straight stock instead. Check all long stock for bow before you cut it. Once it is mitered, you are committed to that piece.
Can’t Reach the Work Safely #
If you are stretching, standing on the top ladder steps, or leaning past the side rails, stop. You need a taller ladder, or a different setup. For very tall windows (14-16 feet), consider a platform setup instead of a single stepladder: two stepladders with a scaffold plank between them. That gives you a stable, wide platform at the working height, and it lets you work up there without cutting corners on safety.
Once you have worked through the ladder logistics a few times, you will case tall windows with the same confidence you bring to standard-height trim. The miters, the reveal, and the nailing pattern never change, only the setup around them does. Crews who case tall windows on a regular basis treat the extra time as a normal part of the job, not a step to rush through.
Related Guides #
- Core Guide: How to Case a Window Like a Pro - Complete step-by-step process for all window sizes
- Case Window 2 (90″ to 119″) - Windows with tops at 90″-119″: step stool, longer stock, solo techniques
- Interior Window Frame for Tall Openings (120″ and Above)
Reference Photos #
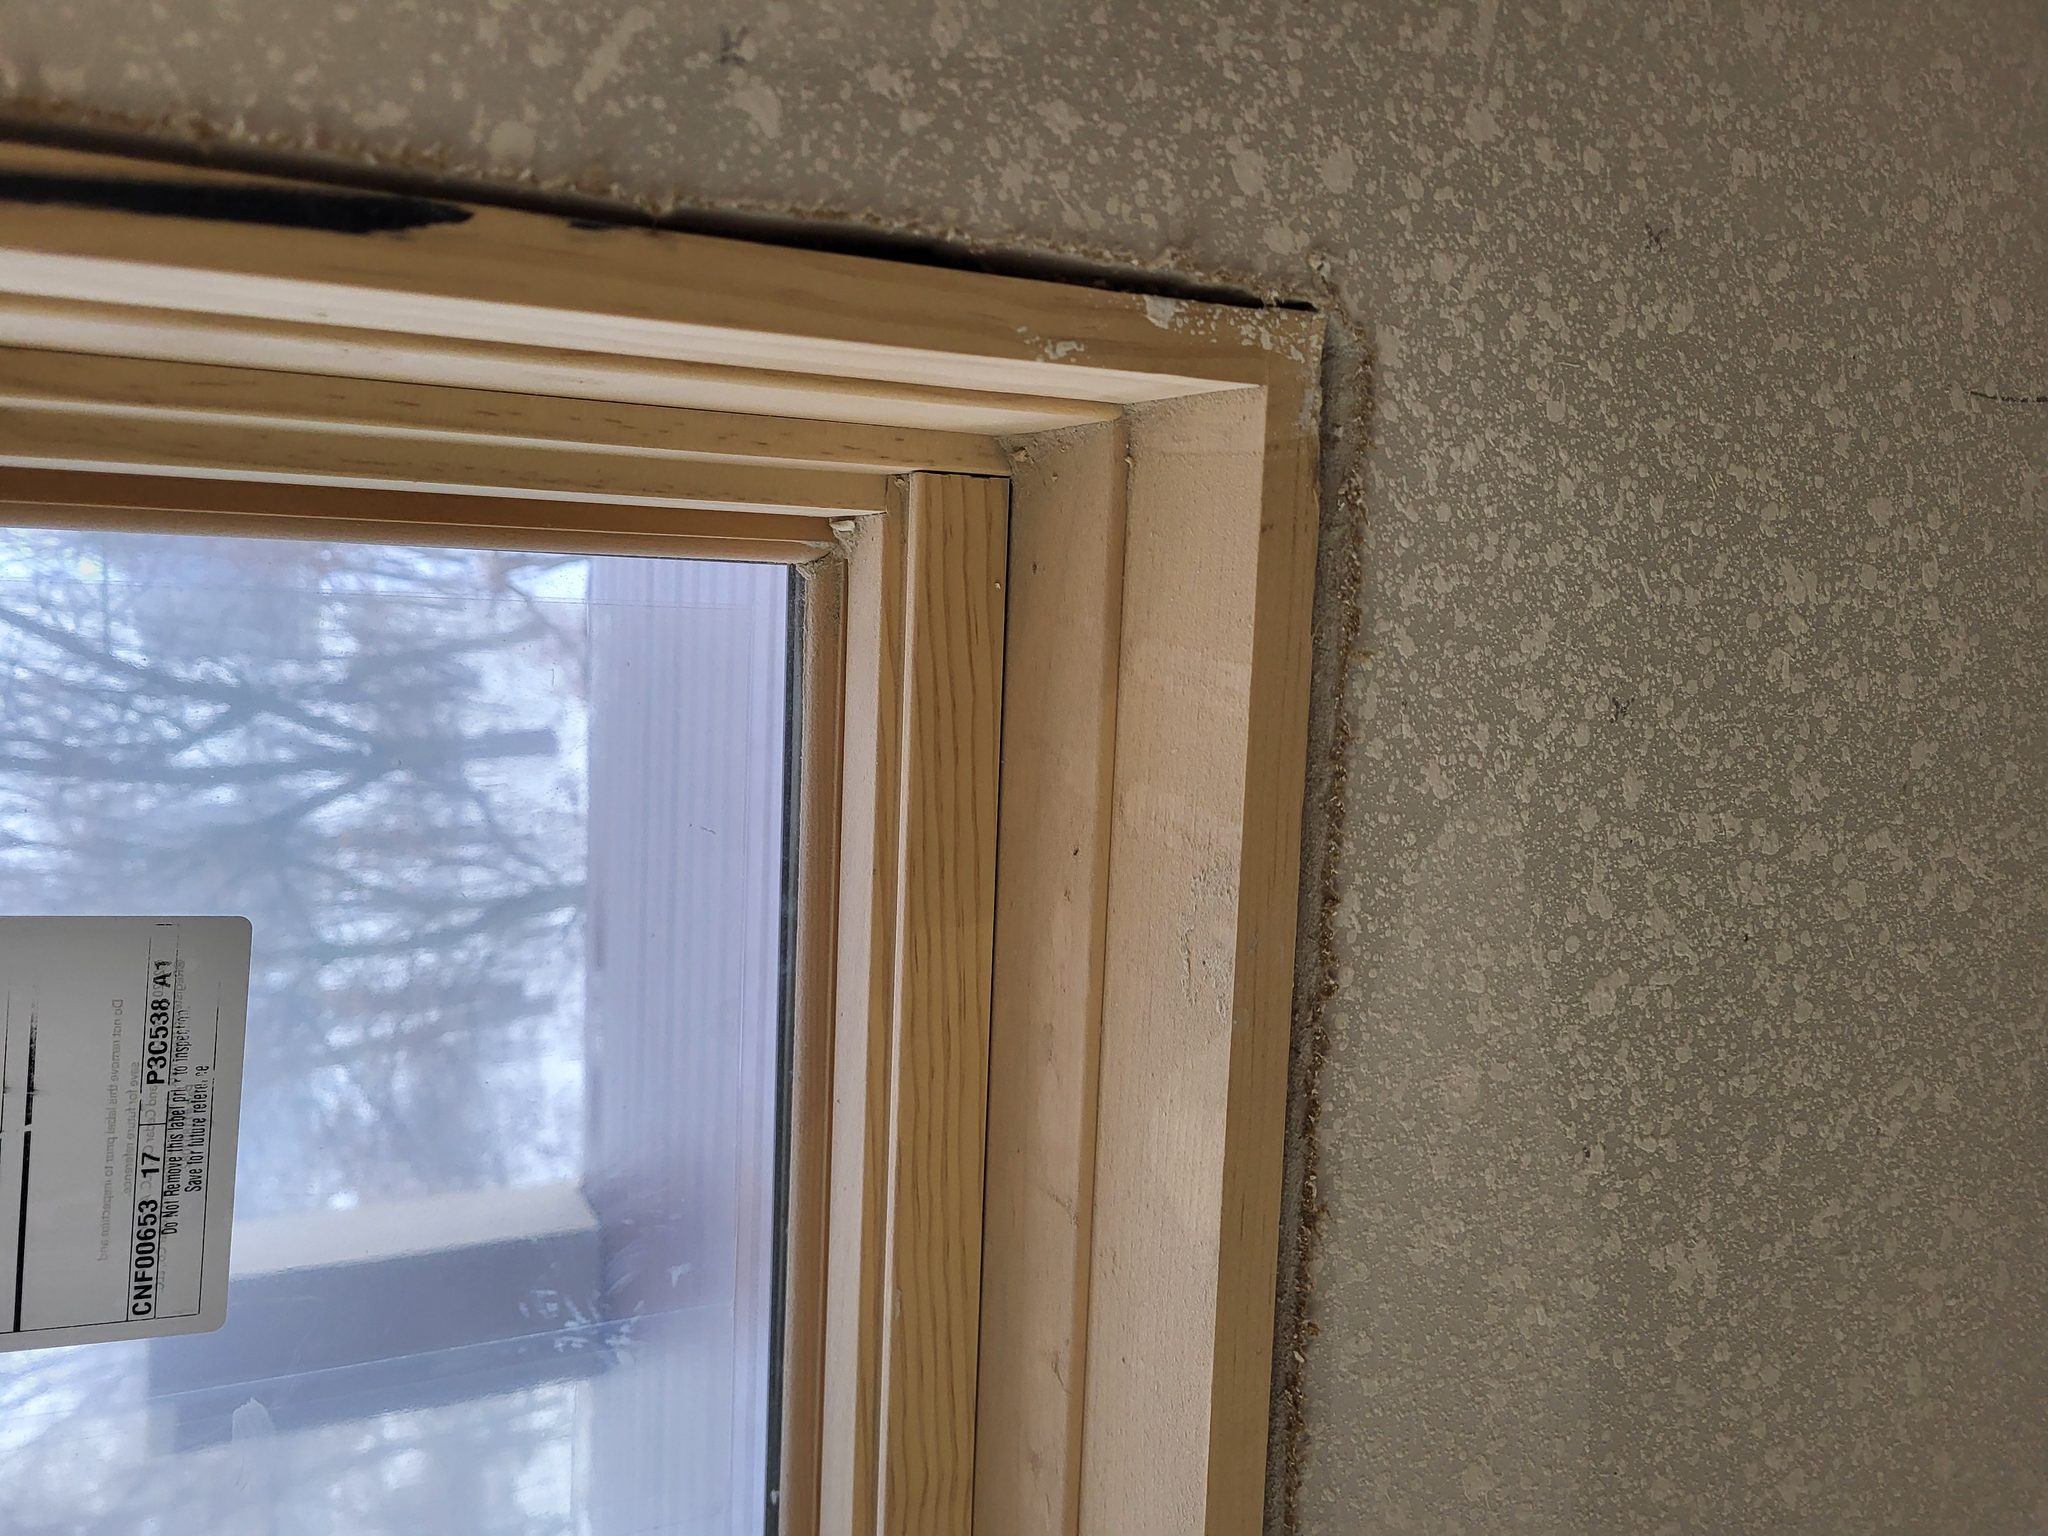
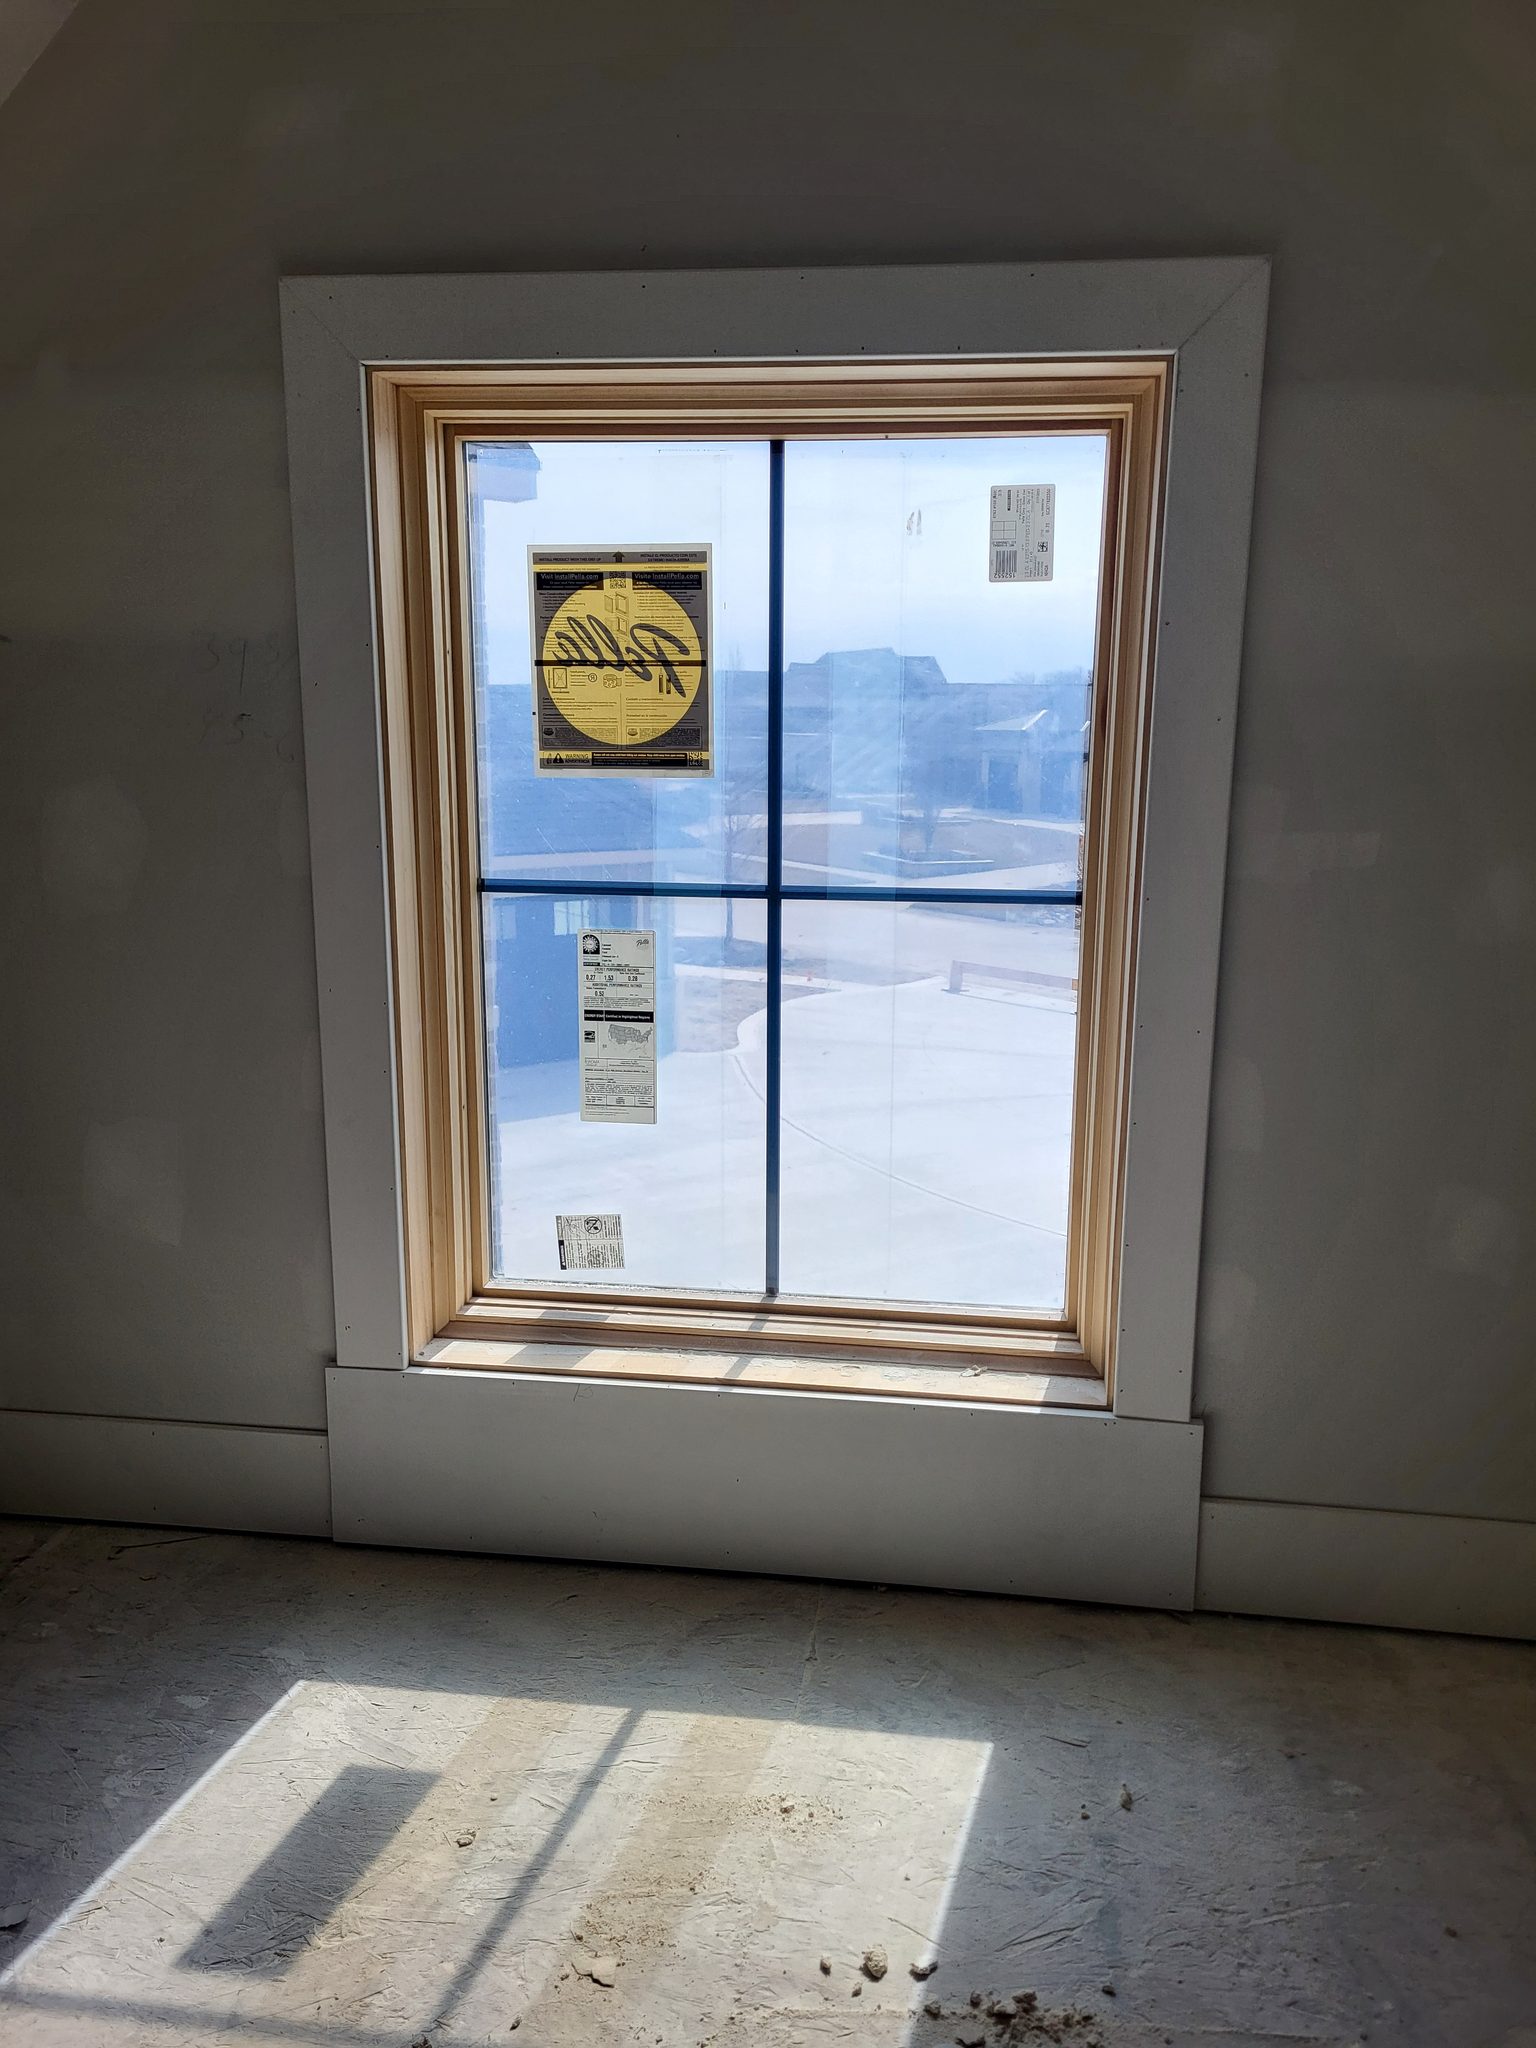
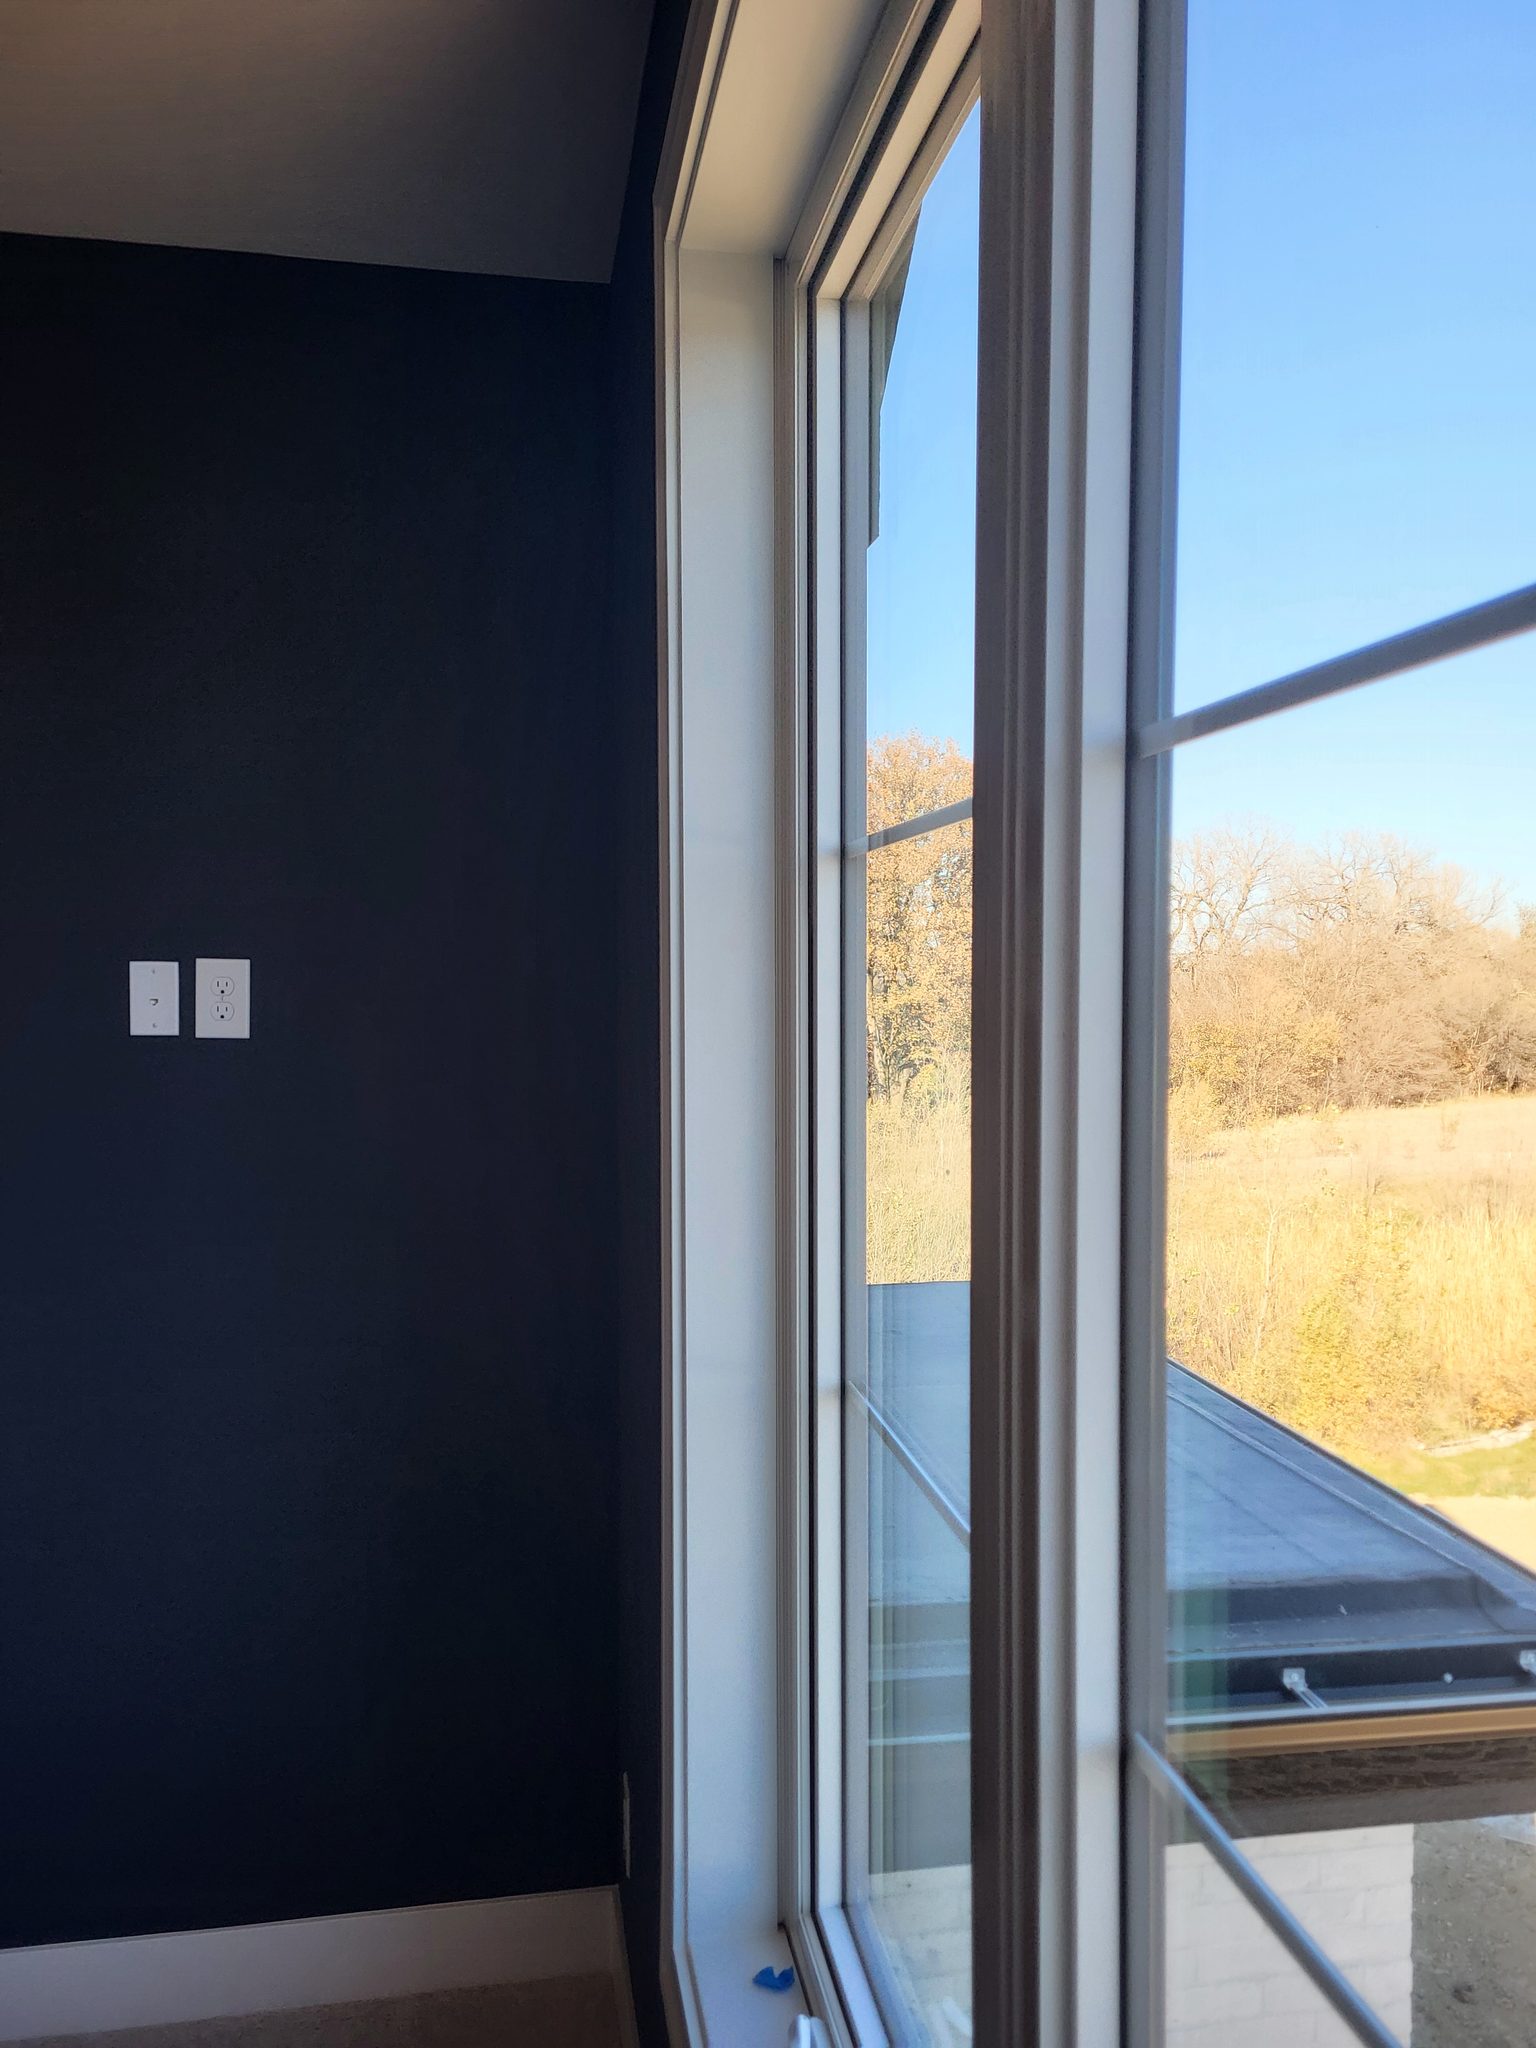
The following photos show examples of this type of work completed in the field. These serve as visual references for quality standards, proper installation techniques, and finished results.
Showing 6 of 6 photos