On this page
Introduction #
A coat hook is one of the smallest hardware items on a punch list, but a loose one is one of the fastest ways to earn a callback. Coat hooks show up in entries, mudrooms, and closets, and every one of them takes real pulling force each time someone grabs a coat off it, not just a light hang.
The job comes down to two things: finding solid backing behind the wall, and keeping the hook level with its neighbors when you are installing more than one. Get those two right and the hook holds for the life of the unit. General technique for wall-mounted hardware like this is covered well by Family Handyman, and it lines up with what we do here.
Before You Begin #
Prerequisites #
- Walls are painted and finish work in the area is complete
- Hook locations and layout confirmed against the plan or the customer’s preference
- Wall type identified (drywall over stud, or drywall with nothing solid behind it) so you know what you are driving into
What You Need To Know #
- Coat hooks go in during punch-out, after paint, the same as other wall-mounted hardware. Installing one earlier just means the painter has to work around it.
- A single hook landing on a stud takes a screw straight into the framing. A hook that has to land between studs needs a wall anchor rated for real pulling force, not the light plastic anchor that ships loose in some kits.
- A coat hook sees the same kind of load as a towel bar: a short, hard pull every time someone grabs it, not a steady light weight. Size the anchor for that pulling force, not for the hook’s own weight.
- There is no single documented house standard for coat hook mounting height or hook-to-hook spacing. Confirm the height and spacing called for on this job before you drill.
Tools Required #
Power Tools #
- Cordless drill/driver
- Stud finder
Hand Tools #
- Tape measure
- Pencil
- Torpedo level
- Screwdriver (for hand-tightening a decorative screw cap, if the hook has one)
Supplies #
- Wall anchors rated for pulling force (for hooks not landing on a stud)
- Mounting screws (usually provided with the hook)
Materials #
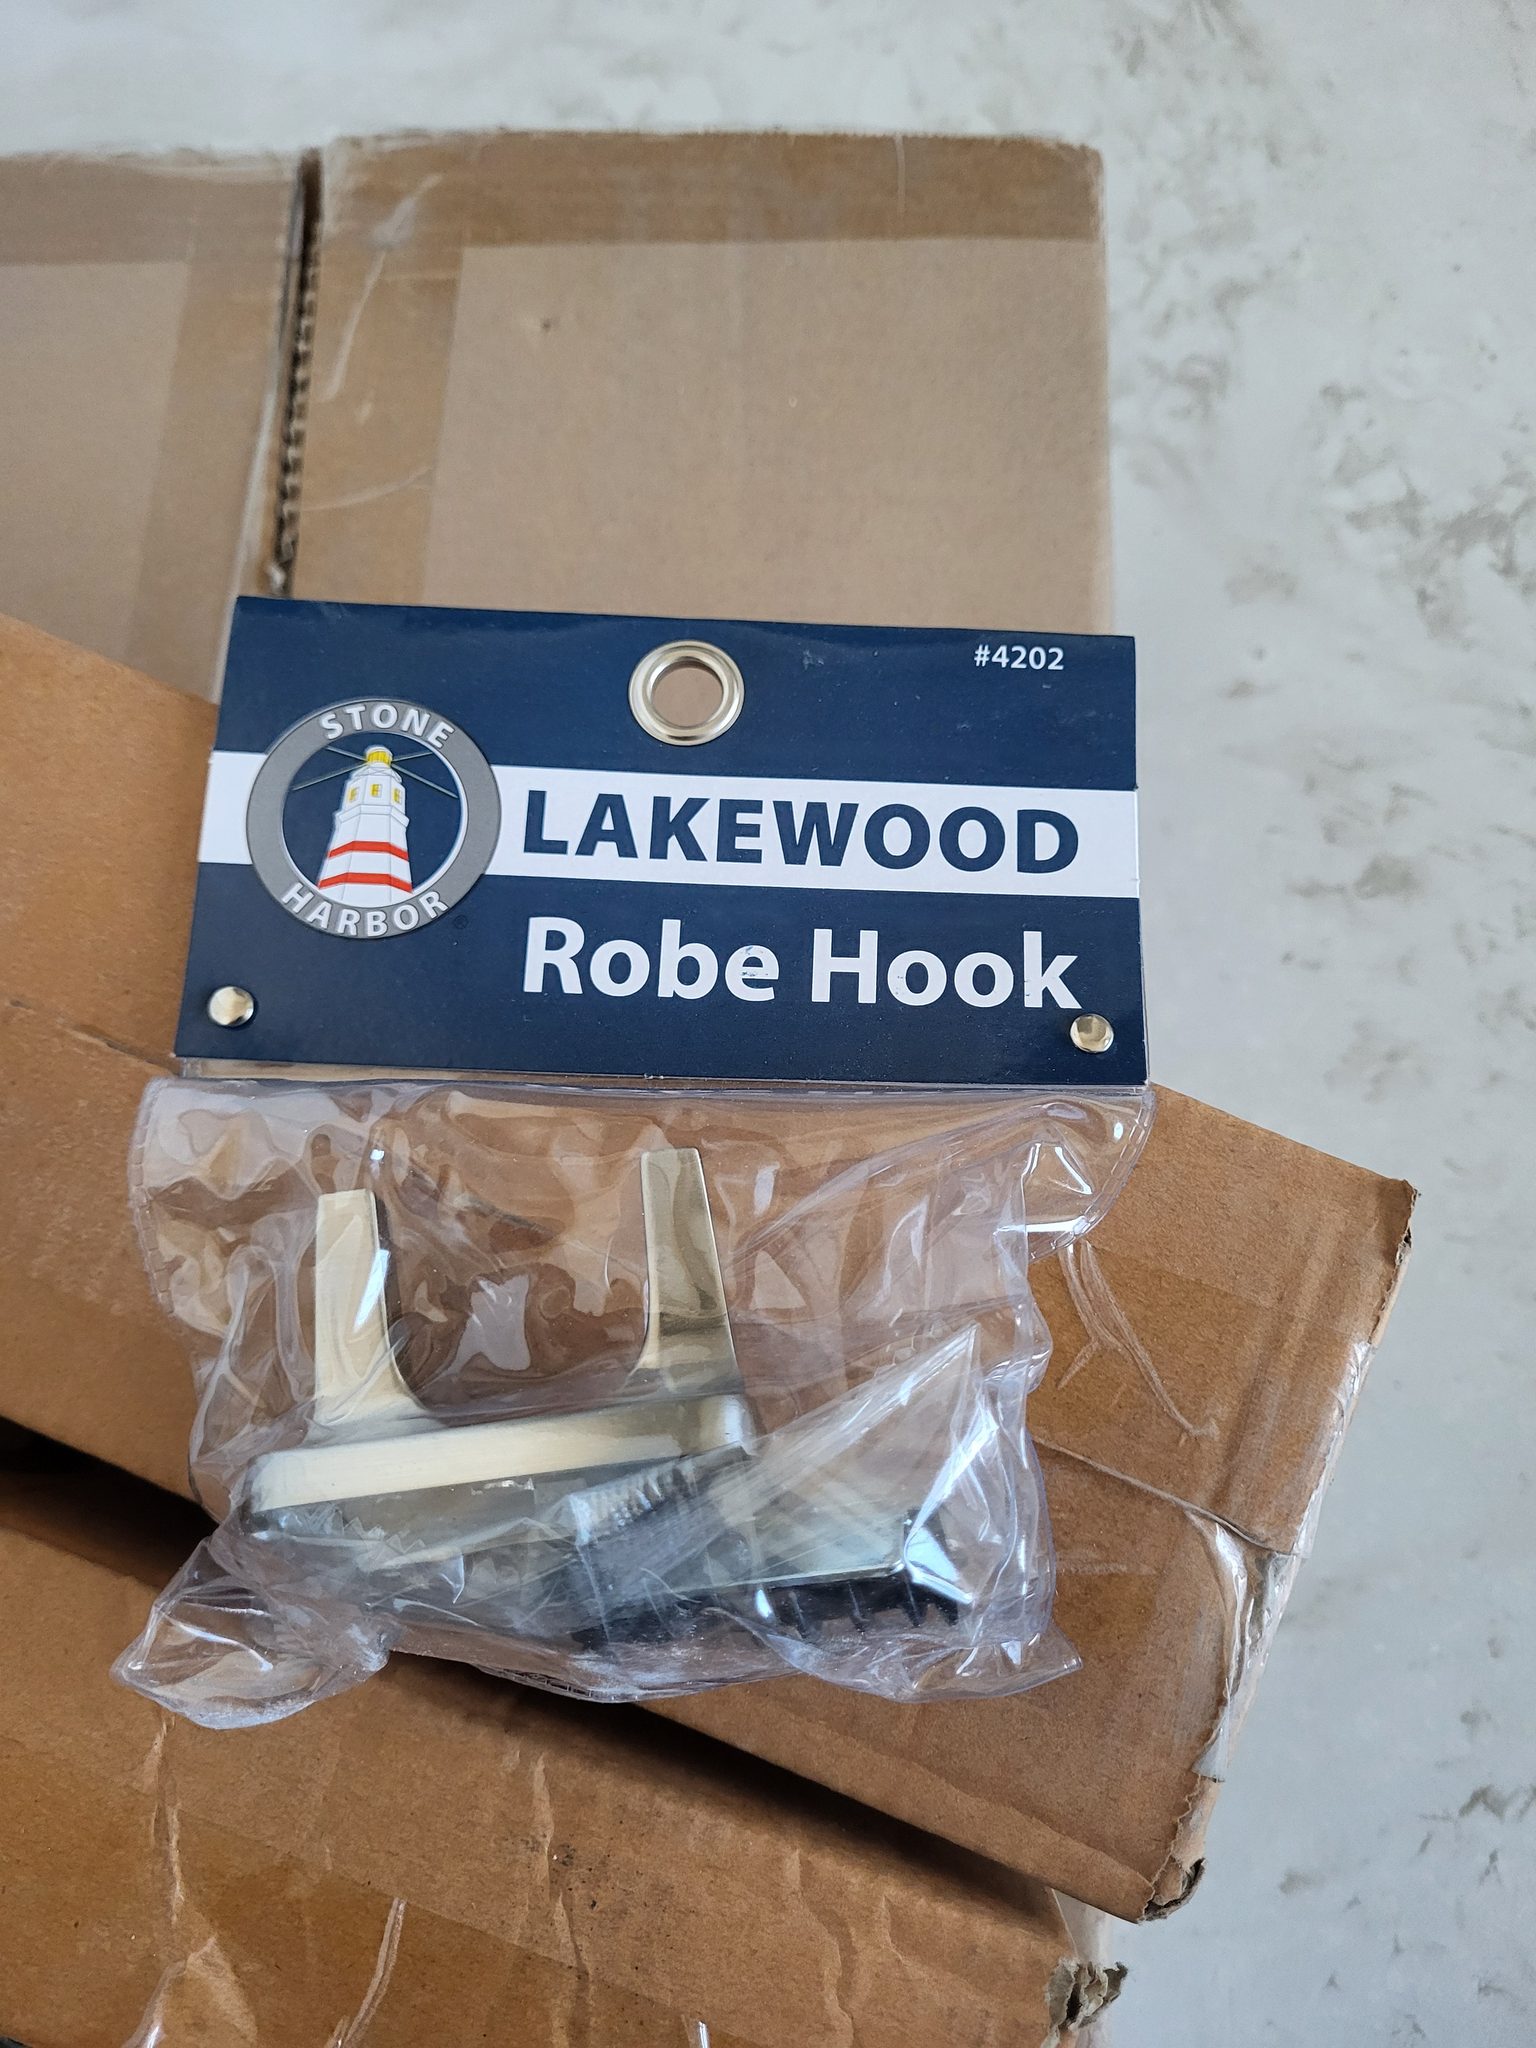
- Coat hook(s) with mounting plate or backplate
Install a Coat Hook: Step-by-Step Process #
Step 1: Mark the Location #
Measure and mark the hook’s center point. If you are installing more than one hook in a row, mark all of them before you drill any of them, and check the marks against each other with a level rather than eyeballing it.
- Hold the hook up to the wall before marking to confirm the backplate shape and screw hole spacing
- Mark lightly with a pencil so the mark wipes off the painted wall
- Step back and look at the row from a few feet away before you commit to the marks
Step 2: Find Your Backing #
Run the stud finder across each marked location. If a stud lines up with the hole, plan your screw straight into it. If it does not, mark it and plan on an anchor instead. Do not chase the stud by shifting the whole hook off its planned location.
Step 3: Drill and Set the Anchor (If Needed) #
If you are landing in a stud, skip ahead and drive straight into the wood. If you are using an anchor, drill a pilot hole sized to the anchor, seat the anchor flush with the wall, and do not overdrive it. A cracked anchor holds less than no anchor at all.
Step 4: Mount the Hook #
Drive the mounting screws through the backplate into the stud or anchor. Snug them evenly instead of cranking one down first. An uneven pull can rack a decorative backplate off square before the second screw ever goes in.
Step 5: Test the Hold #
Hang real weight on the hook and pull down and out, the direction a coat actually loads it. A hook that flexes or a backplate that shifts even slightly needs a bigger anchor or a relocation onto a stud, not just tighter screws.
Close-Out #
Wipe down the hook and the surrounding wall, and sweep up any drilling dust or anchor debris. Confirm every hook in the row reads level to the eye from a normal viewing distance, not just on the level itself.
Quality Check #
- Hook is mounted level and matches the height of its neighbors
- Backplate sits flush against the wall with no gap or rock
- Mounting hardware is tight with no wobble under a firm pull
- At least one fastener lands in a stud, or the anchor is rated for pulling force
- No cracked drywall or anchor damage visible around the mounting holes
- Finish on the hook is clean and undamaged
Troubleshooting #
Hook wobbles or pulls away from the wall #
The anchor is undersized for the load. Remove the hook, patch the hole, and relocate slightly to hit a stud if you can. If you cannot, step up to a heavier-duty anchor rated for real pulling force.
Hook sits crooked next to its neighbor #
Recheck your marks with a level rather than the tape measure alone. Walls and floors are not always a reliable reference. Loosen the screws, shift the backplate, and re-tighten.
Screw will not tighten (anchor spins in the wall) #
The anchor lost its grip in the drywall. Remove it, move over slightly, and set a fresh anchor. Do not try to reuse a hole that has already stripped out.
Related Guides #
- How to Install Bath Accessories
- How to Install a Lockset on a Door
- How to Install Cabinet Hardware
- How to Install Address Numbers Total
Reference Photos #
The following photos show examples of this type of work completed in the field. These serve as visual references for quality standards, proper installation techniques, and finished results.
Showing 1 of 1 photos