On this page
Introduction #
A 6’8″ solid core pre-hung door is the most common heavy interior door you’ll install. This is a supplemental guide for this solid core pre-hung door variant. The complete step-by-step installation process is covered in our core guide: How to Install a Pre-Hung Door Like a Pro. Read that guide first. Everything below assumes you already know the standard process. It only covers what changes when the door slab is a lot heavier.
Solid core doors get used in bedrooms, bathrooms, home offices, and mechanical rooms because they deaden sound better than hollow core. Commercial buildings and multi-family units use them too, wherever code calls for fire-rating or extra durability. The core material varies. It might be MDF, particleboard, stave lumber (solid wood strips glued together), or a mineral core for fire-rated doors. But from an installation standpoint, the difference that matters is always the same: it’s heavy.
This solid core door shows up on plenty of production jobs, for the same reasons listed above. Whatever the reason it landed on your cut list, treat it the same way on delivery day: stage it flat near the opening, don’t stack anything on top of it, and don’t leave it leaning unsupported against drywall.
Solid Core Pre-Hung Door Weight Difference #
A standard 6’8″ hollow core door (2’8″ width) weighs 25-35 pounds. A solid core door in the same size weighs 50-70 pounds. A wider 3’0″ solid core can push 75 pounds. That extra weight changes the job in a few ways:
- You can’t hold the door steady with one hand while you shim (wedge thin, tapered pieces of wood behind the jamb to make it plumb) with the other
- The hinges carry a lot more stress, especially the top hinge
- Shims need to fit tighter, because any small gap gets worse under the heavier load
- The factory shipping brace is holding real weight, so don’t remove it early
- On production jobs, stage solid core doors at their openings before you start, so you’re not carrying 65-pound units across the jobsite all day. OSHA ergonomic guidelines call for limiting repetitive heavy lifting like this
Additional Materials #
Same tool kit as the core guide, but you’ll need more of certain items:
- #9 x 3″ wood screw - One screw, through the top hinge into the framing, same policy as the Standard guide. See Step 3 for how to drive it.
- Construction adhesive - The core guide lists this as optional. For solid core, we recommend using it on all hinge-side shim points for long-term stability.
- Hinge pin punch (a thin punch tool sized for hinge pins) or nail set + hammer - Only needed if you remove the slab from the hinges (see below).
Should You Remove the Door From the Hinges? #
With hollow core, you install the entire pre-hung unit as one piece. With a solid core pre-hung door, you may want to remove the slab first.
Remove the slab if: it weighs over 60 lbs, you’re working alone, the rough opening needs lots of shimming, or you’re fatigued from carrying doors upstairs.
Keep it attached if: it’s on the lighter end (45-50 lbs), you have a helper, or the rough opening is well-framed and you expect a quick install.
How to Remove and Rehang the Slab #
Removing: Lean or lay the unit flat. Drive out the bottom hinge pin first (nail set + hammer, tap upward), then middle, then top. Taking the bottom pin out first keeps the slab from pivoting off the top hinge unexpectedly. Lean the slab against a wall with the bottom kicked out 6-8 inches. Keep the pins in order (top, middle, bottom), because factory hinges are sometimes fit-specific, meaning each pin is matched to its own hinge and may not swap with another.
Rehanging (after the jamb is plumbed, shimmed, and nailed): Align the knuckles (the interlocking rings of the hinge that the pin slides through) and install the top hinge pin first. Once it’s in, the door hangs on its own, and you can work the remaining pins without holding the full weight. If you’re working solo, use shims or a flat pry bar under the slab bottom as a makeshift door jack (something to lift and hold the door at the right height) to bring it to alignment height.
Solid Core Pre-Hung Door: What’s Different Step-by-Step #
Follow the core guide for the full process. These are the solid-core-specific modifications at each step:
Steps 1, 2, 4, 5, 7 - No Significant Changes #
The rough opening size, how you position the door, strike-side adjustment, header shimming, and trimming the shims are all the same as hollow core. One note: when you check the strike-side margin (the gap along the edge where the door meets the jamb) in Step 4, close the solid core door gently and let it rest against the stop. Because it’s heavier, it’s hard to hold partway closed. It wants to swing all the way open or all the way shut.
Step 3: Shim, Plumb, and Nail the Hinge Side #
Same shim-and-nail process as the Standard guide, one shim point at a time, but execute it tighter. The extra weight pulls on the hinge-side jamb and can turn one loose point into a lean.
- Slide opposing shim pairs together firmly at all four points. Any looseness here shows up directly as jamb movement once the door is under load.
- If you’re shimming an empty jamb (slab removed), remember the 60+ pound slab will try to shift things when you rehang it. Shim extra tight.
- If you’re using construction adhesive, apply a bead to the framing side of each shim pair before positioning it. It won’t set immediately, so you can still adjust.
- On the top hinge only, swap the factory screw for the #9 x 3″ wood screw - same policy as the Standard guide. Nothing else on this door gets a structural screw; hollow core doors get nailed only, no screw at all. That’s the one place hollow and solid core diverge here.
- Drive slowly. The screw can pull the jamb toward the framing if you overdrive it. Stop once the hinge leaf (the flat metal plate the screw passes through) sits snug, and check that the jamb is still plumb (perfectly vertical) once it’s in.
Why this matters: Factory hinge screws are typically #8 x 3/4″. They hold the hinge to the jamb, but they don’t reach the framing behind it. That’s fine for a 30-pound hollow core door. On a 60-pound solid core door, that one long screw at the top hinge is what keeps it from sagging and losing its latch within six months.
Step 6: Check Door Operation #
Run all the standard checks from the core guide, plus:
- The plumb test tells you more with a heavy door. If it drifts at all, the hinge side is not plumb. Hollow core doors can drift a little from air currents; solid core doors can’t.
- Check latch engagement carefully. The extra weight means the door closes with more force against the strike plate, so even slight misalignment that hollow core would tolerate can cause problems here.
- Open and close the door 10 times. Repeated cycling can reveal shim points that are just barely holding. If anything feels looser by the 10th cycle, check it.
Quality Check - Solid Core Additions #
After finishing your solid core pre-hung door installation, complete the full core guide quality checklist, then verify:
- The #9 x 3″ screw is installed in the top hinge - no other hinge needs one
- All shim points are tight, with no play. Push on the jamb at each point to check.
- The door doesn’t slam shut on its own (a sign the hinge side isn’t plumb) and doesn’t need a push to latch (a sign the strike plate is out of alignment)
- The bottom of the jamb legs (the two vertical side pieces of the door frame) isn’t compressing or splitting under the load
Troubleshooting - Solid Core Specific #
Door Sags Over Time (Top Corner Drops) #
The latch-side top corner drops, and the margin gets wider at the top of the strike side. This is classic hinge sag, and it’s almost always caused by a missing or under-driven top-hinge screw. This Old House covers the same fix for sagging doors. Fix: remove the door, install (or re-drive) the #9 x 3″ screw in the top hinge, check that it’s plumb again, then rehang it.
Shims Work Loose After Installation #
The margin changes, or the door doesn’t operate as smoothly, weeks after you install it. The heavy door’s repeated use loosened shims that were only just holding. Fix: remove the casing, re-shim with construction adhesive, and re-nail. Prevention: use adhesive on every hinge-side shim point from the start.
Hinge Pins Difficult to Remove or Reinstall #
Solid core hinges carry more load, so the knuckles are under more compression, which makes the pins harder to move. Drive pins out from the bottom end, not the decorative button end at the top. When you reinstall, align the knuckles precisely. Even a slight misalignment will bind under this much load. Lifting the slab slightly with a shim under the bottom edge can take enough weight off the pin so it slides in easier.
Jamb Material Compresses at Hinge Locations #
Finger-jointed pine or MDF jambs can compress at the hinge mortise under solid core weight, especially at the top hinge. If the hinge leaf sinks into the jamb, or the edges of the mortise crumble, the jamb can’t support the slab’s weight. This is a manufacturer defect. Fix: replace the jamb, or reinforce the mortise with a hardwood dutchman (a thin hardwood patch, glued in, that spreads out the load).
Solid core doors reward patience more than almost any other interior door. Skip a structural screw or leave a shim loose, and it will show up within months: the top corner drops, the margin opens up, and the door stops latching clean. Give it the extra ten minutes it needs over hollow core - the top-hinge structural screw, tight shims through final nailing - and it will hold true for years. Treat every solid core door like the two-person lift it is until you’ve actually weighed it, and callbacks on this variant stay rare.
Related Guides #
- Core Guide: How to Install a Pre-Hung Door Like a Pro - Complete step-by-step process
- 8’0″ Hollow Core - Tall door, standard weight: ladder work, longer levels, additional shim points
- 8’0″ Solid Core - Tall and heavy: the most challenging interior door variant
- How to Case One Side of a 6'8" Door
- How to Install a Lockset on a Door
- How to Install a Door Bump
Reference Photos #
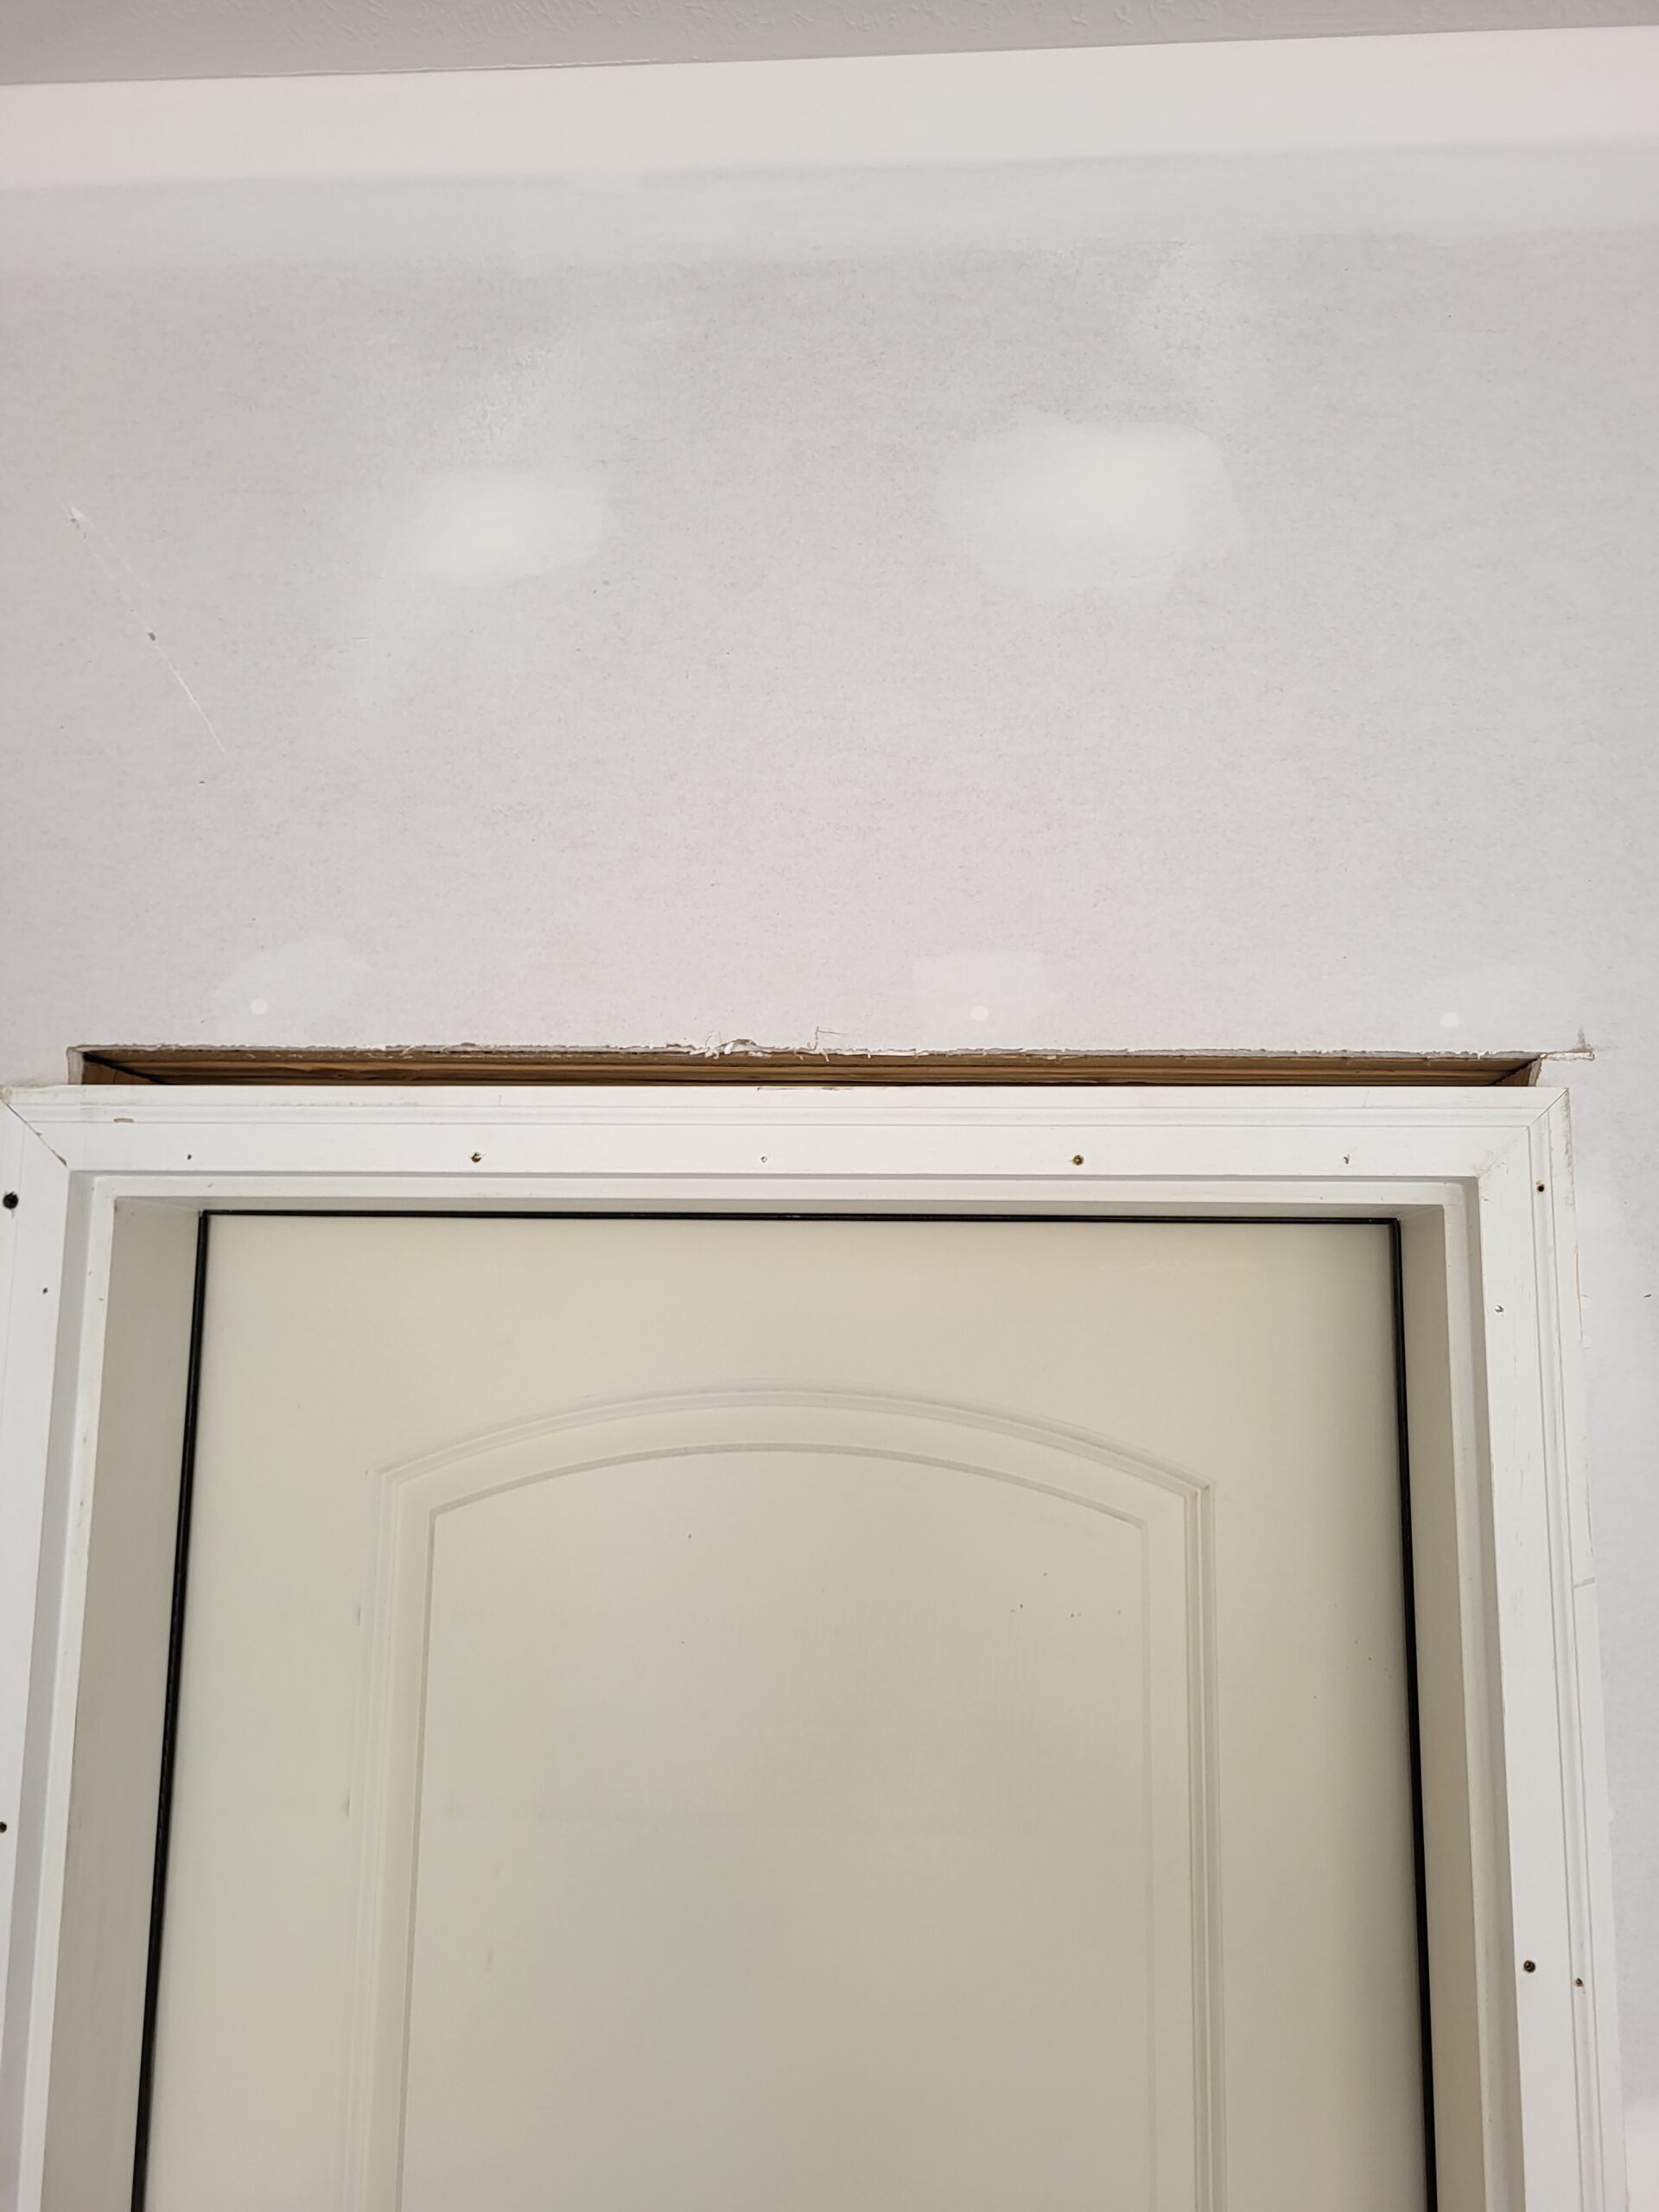
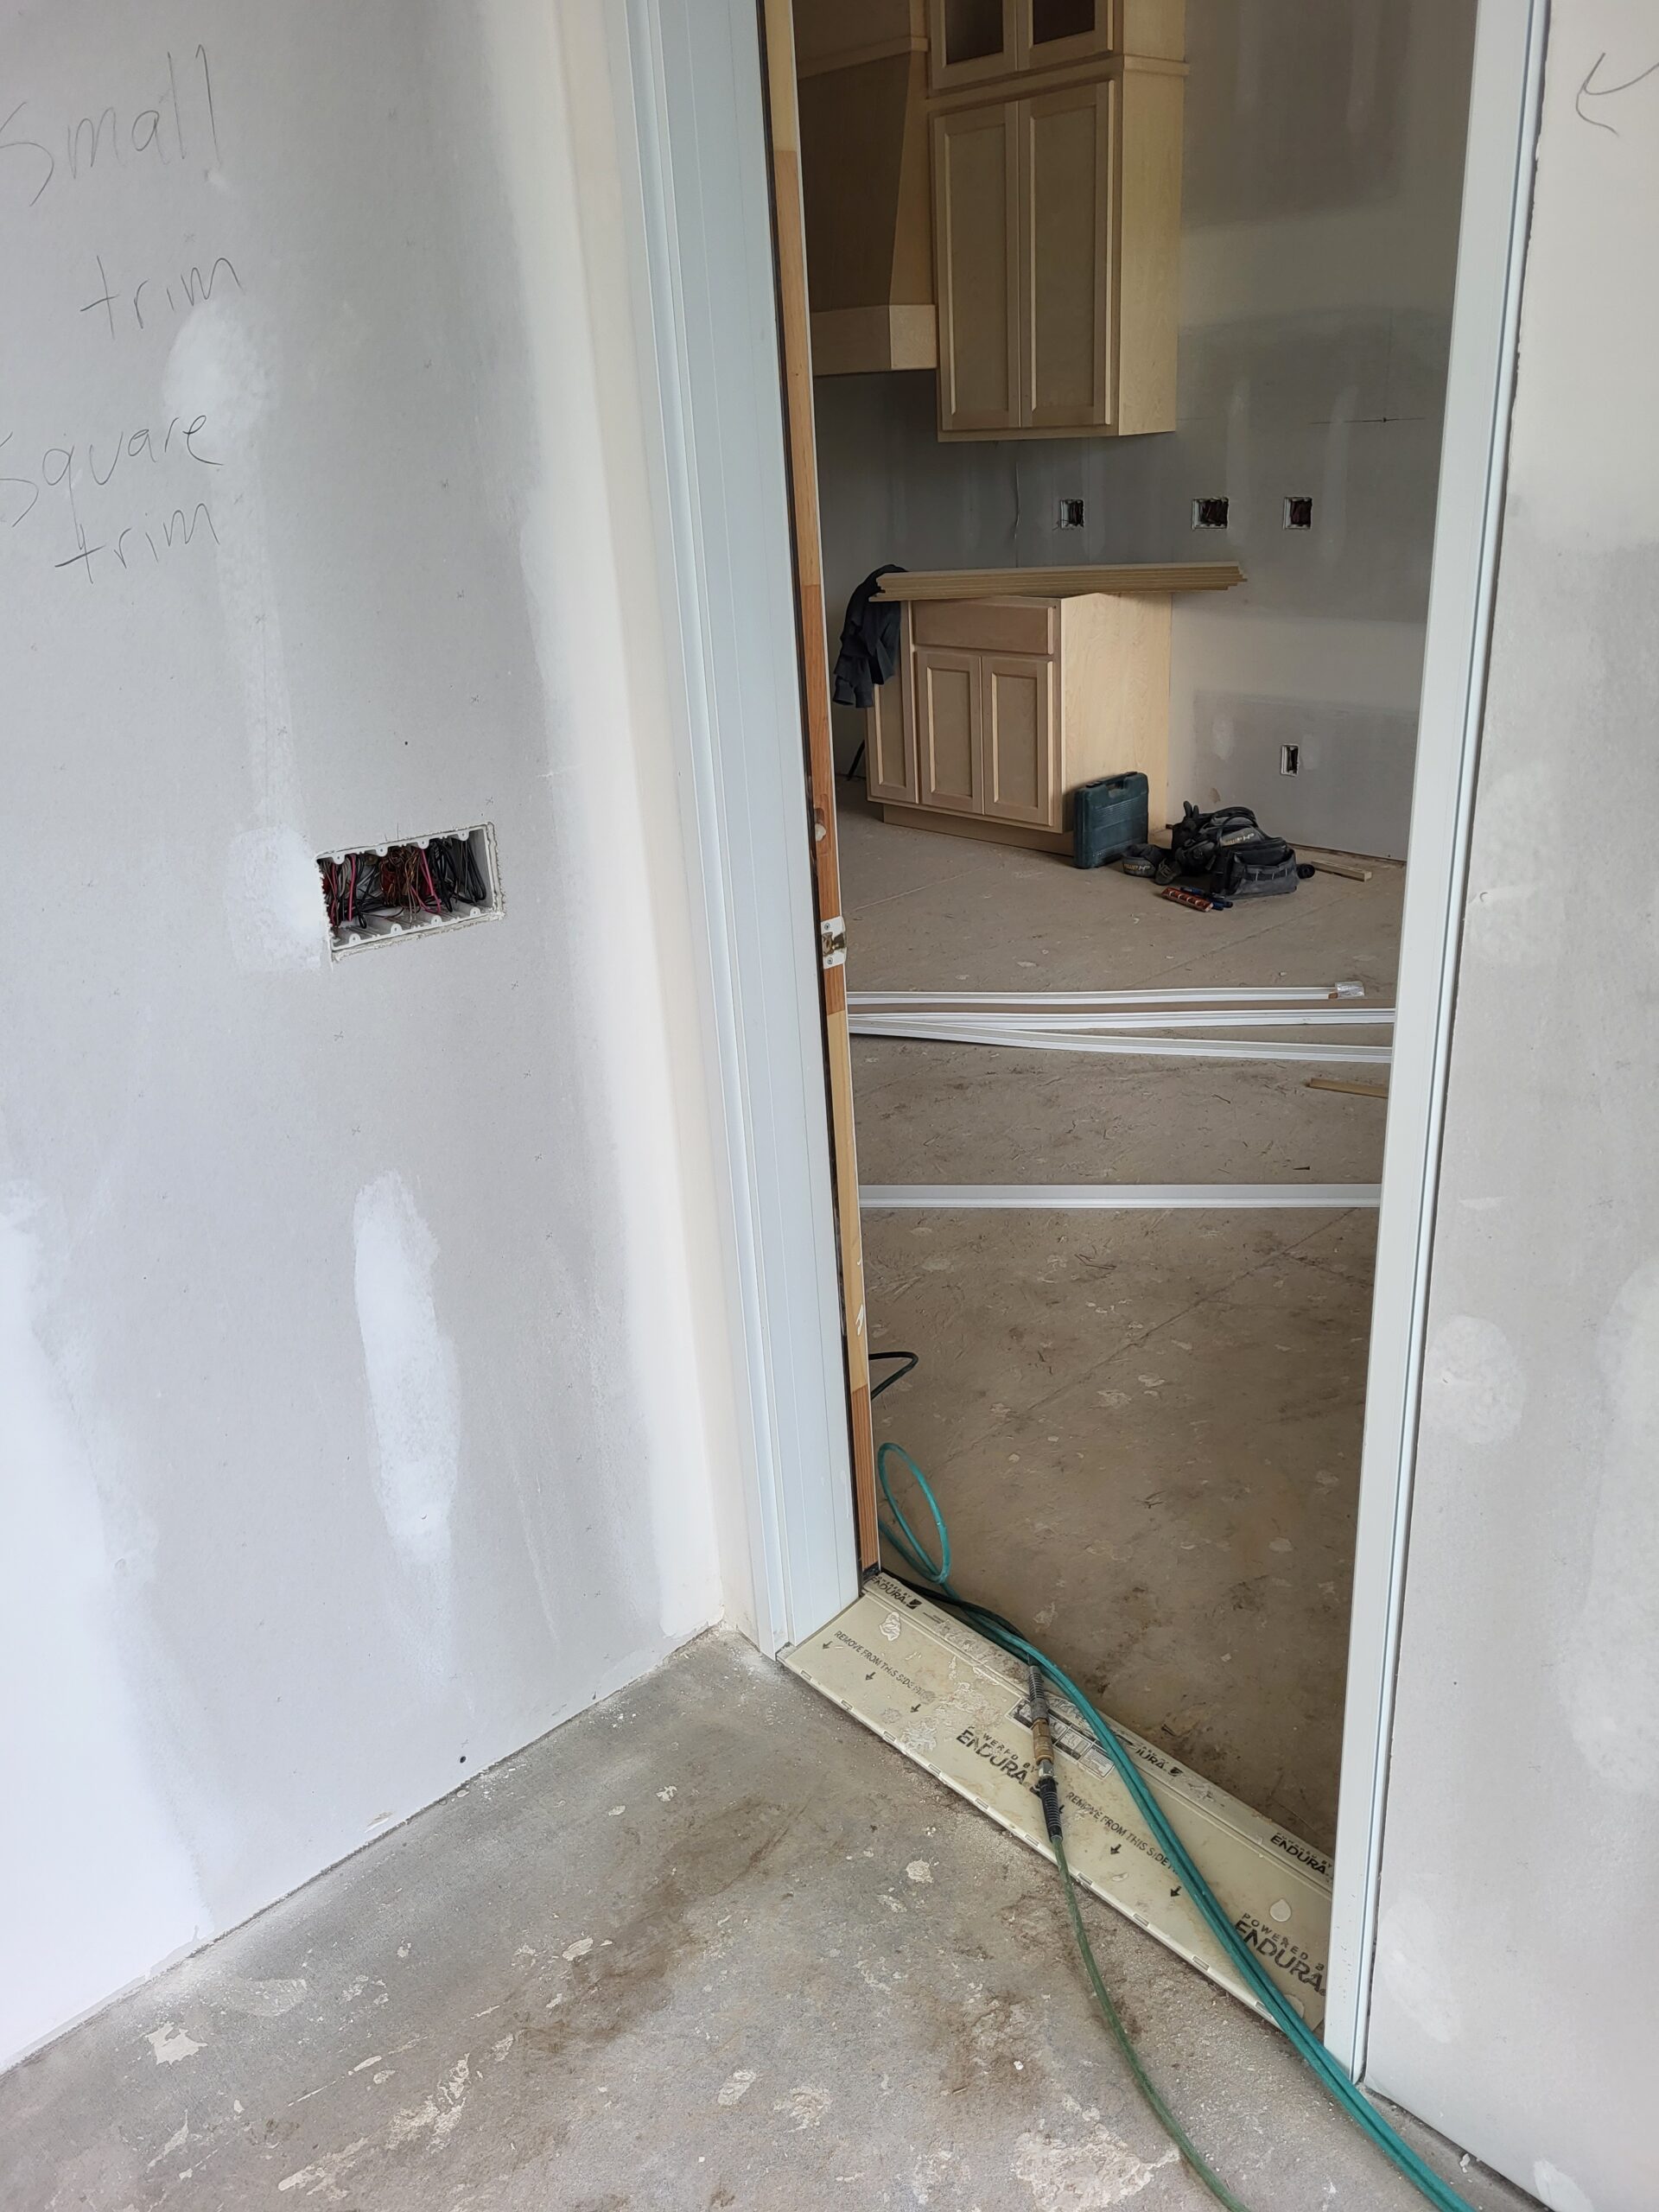
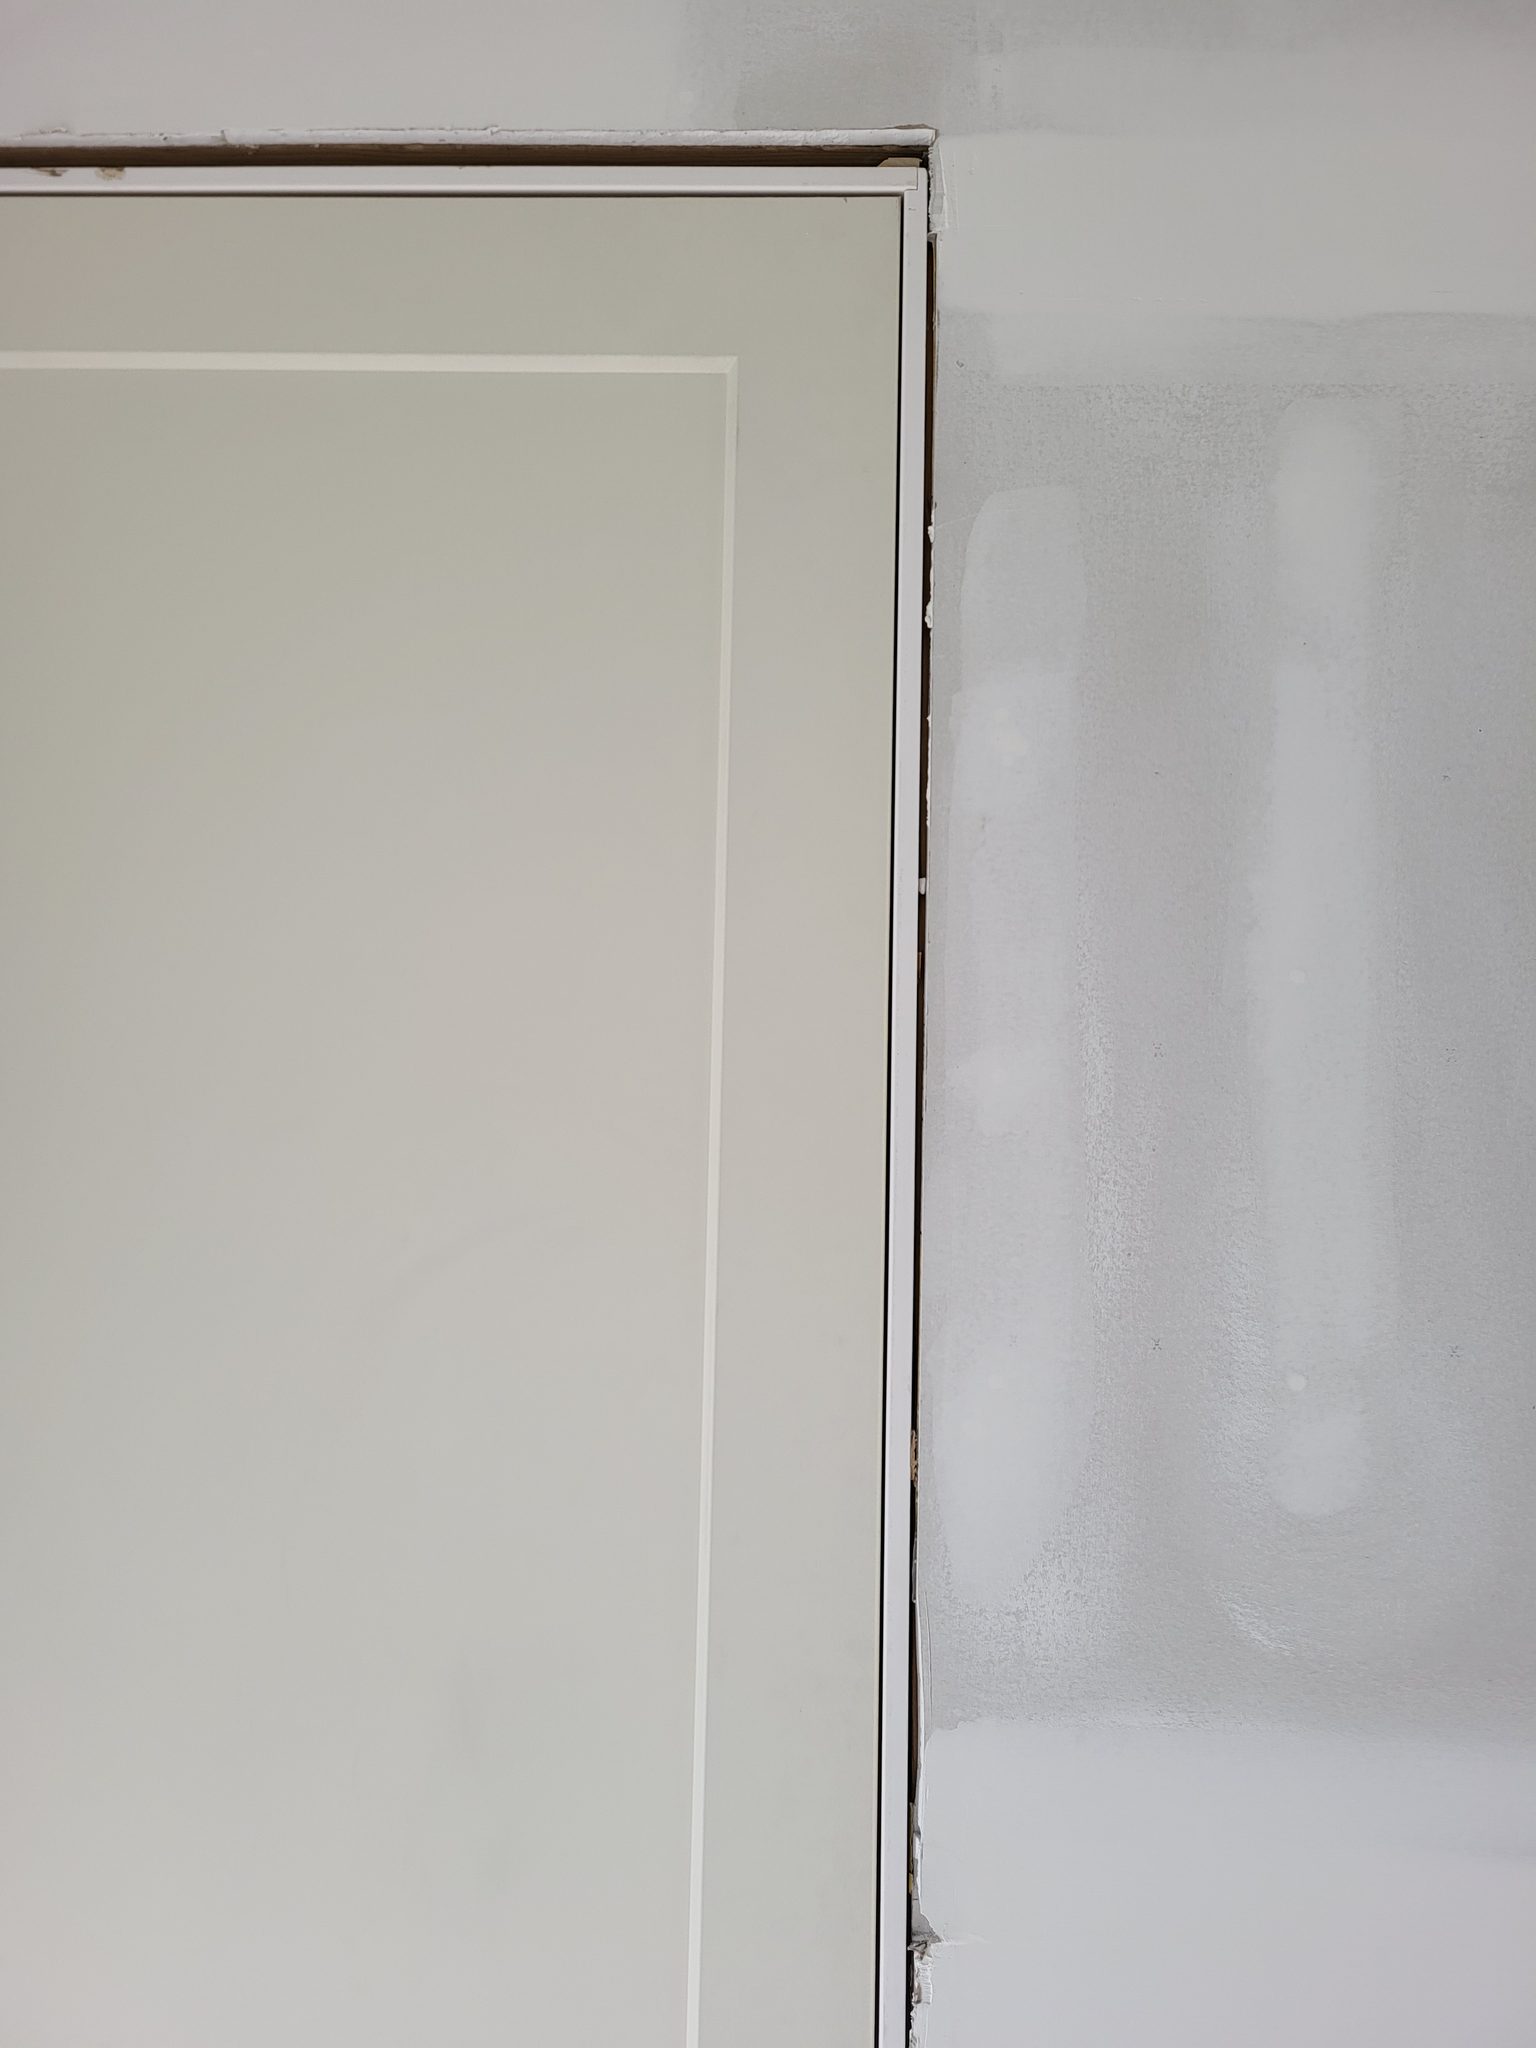
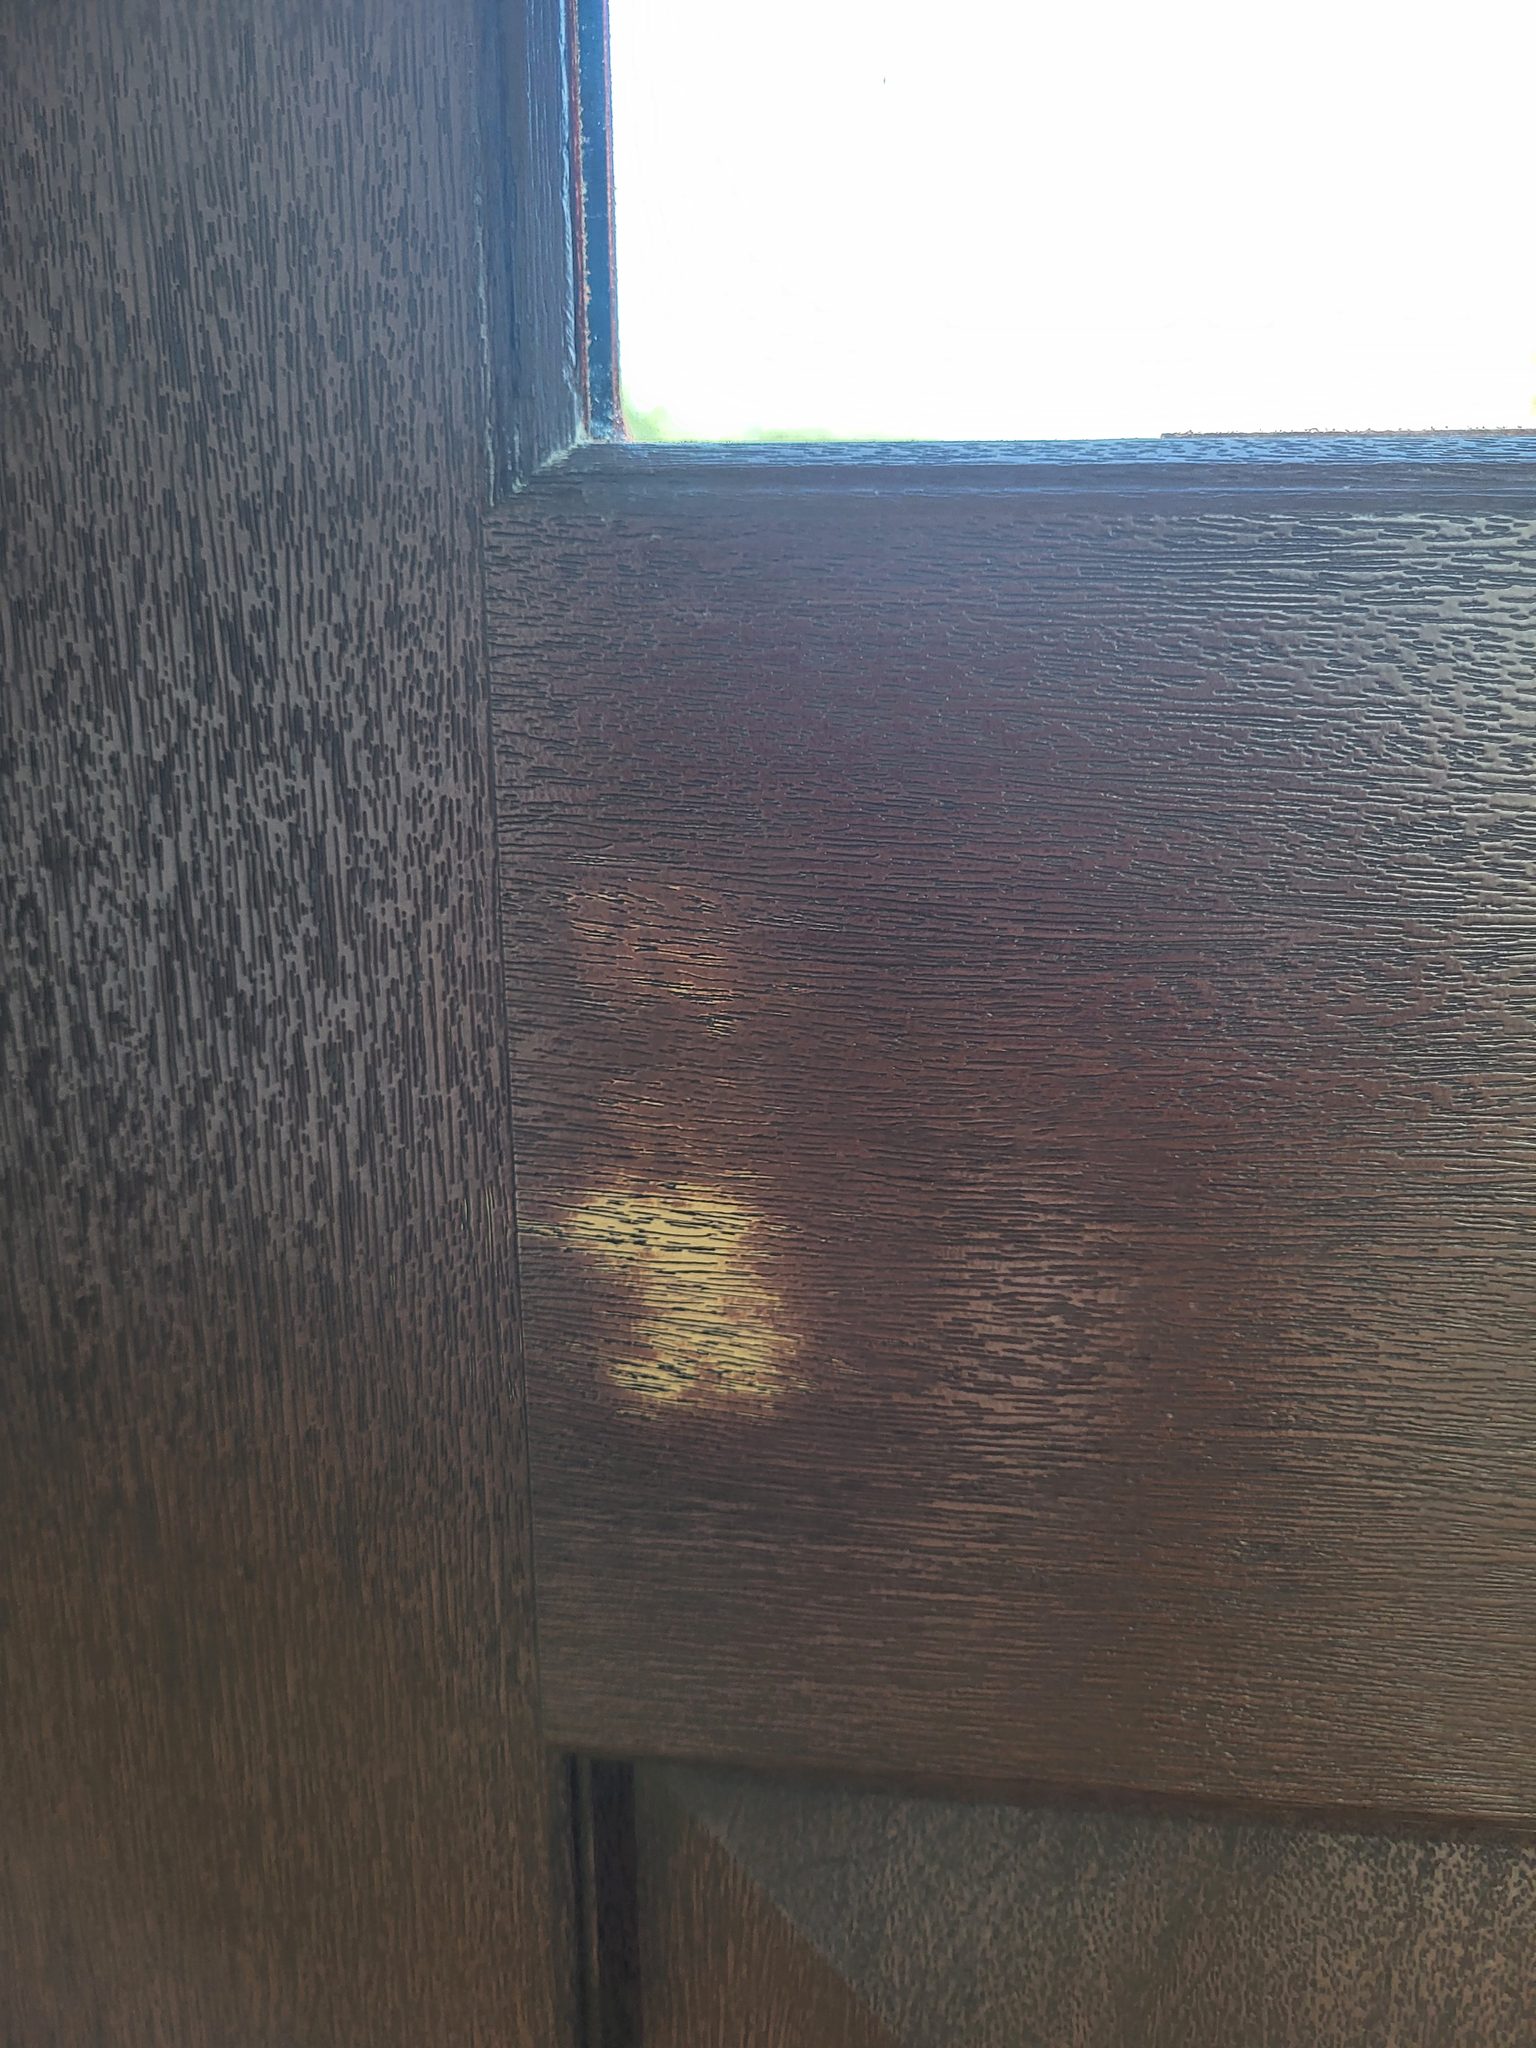
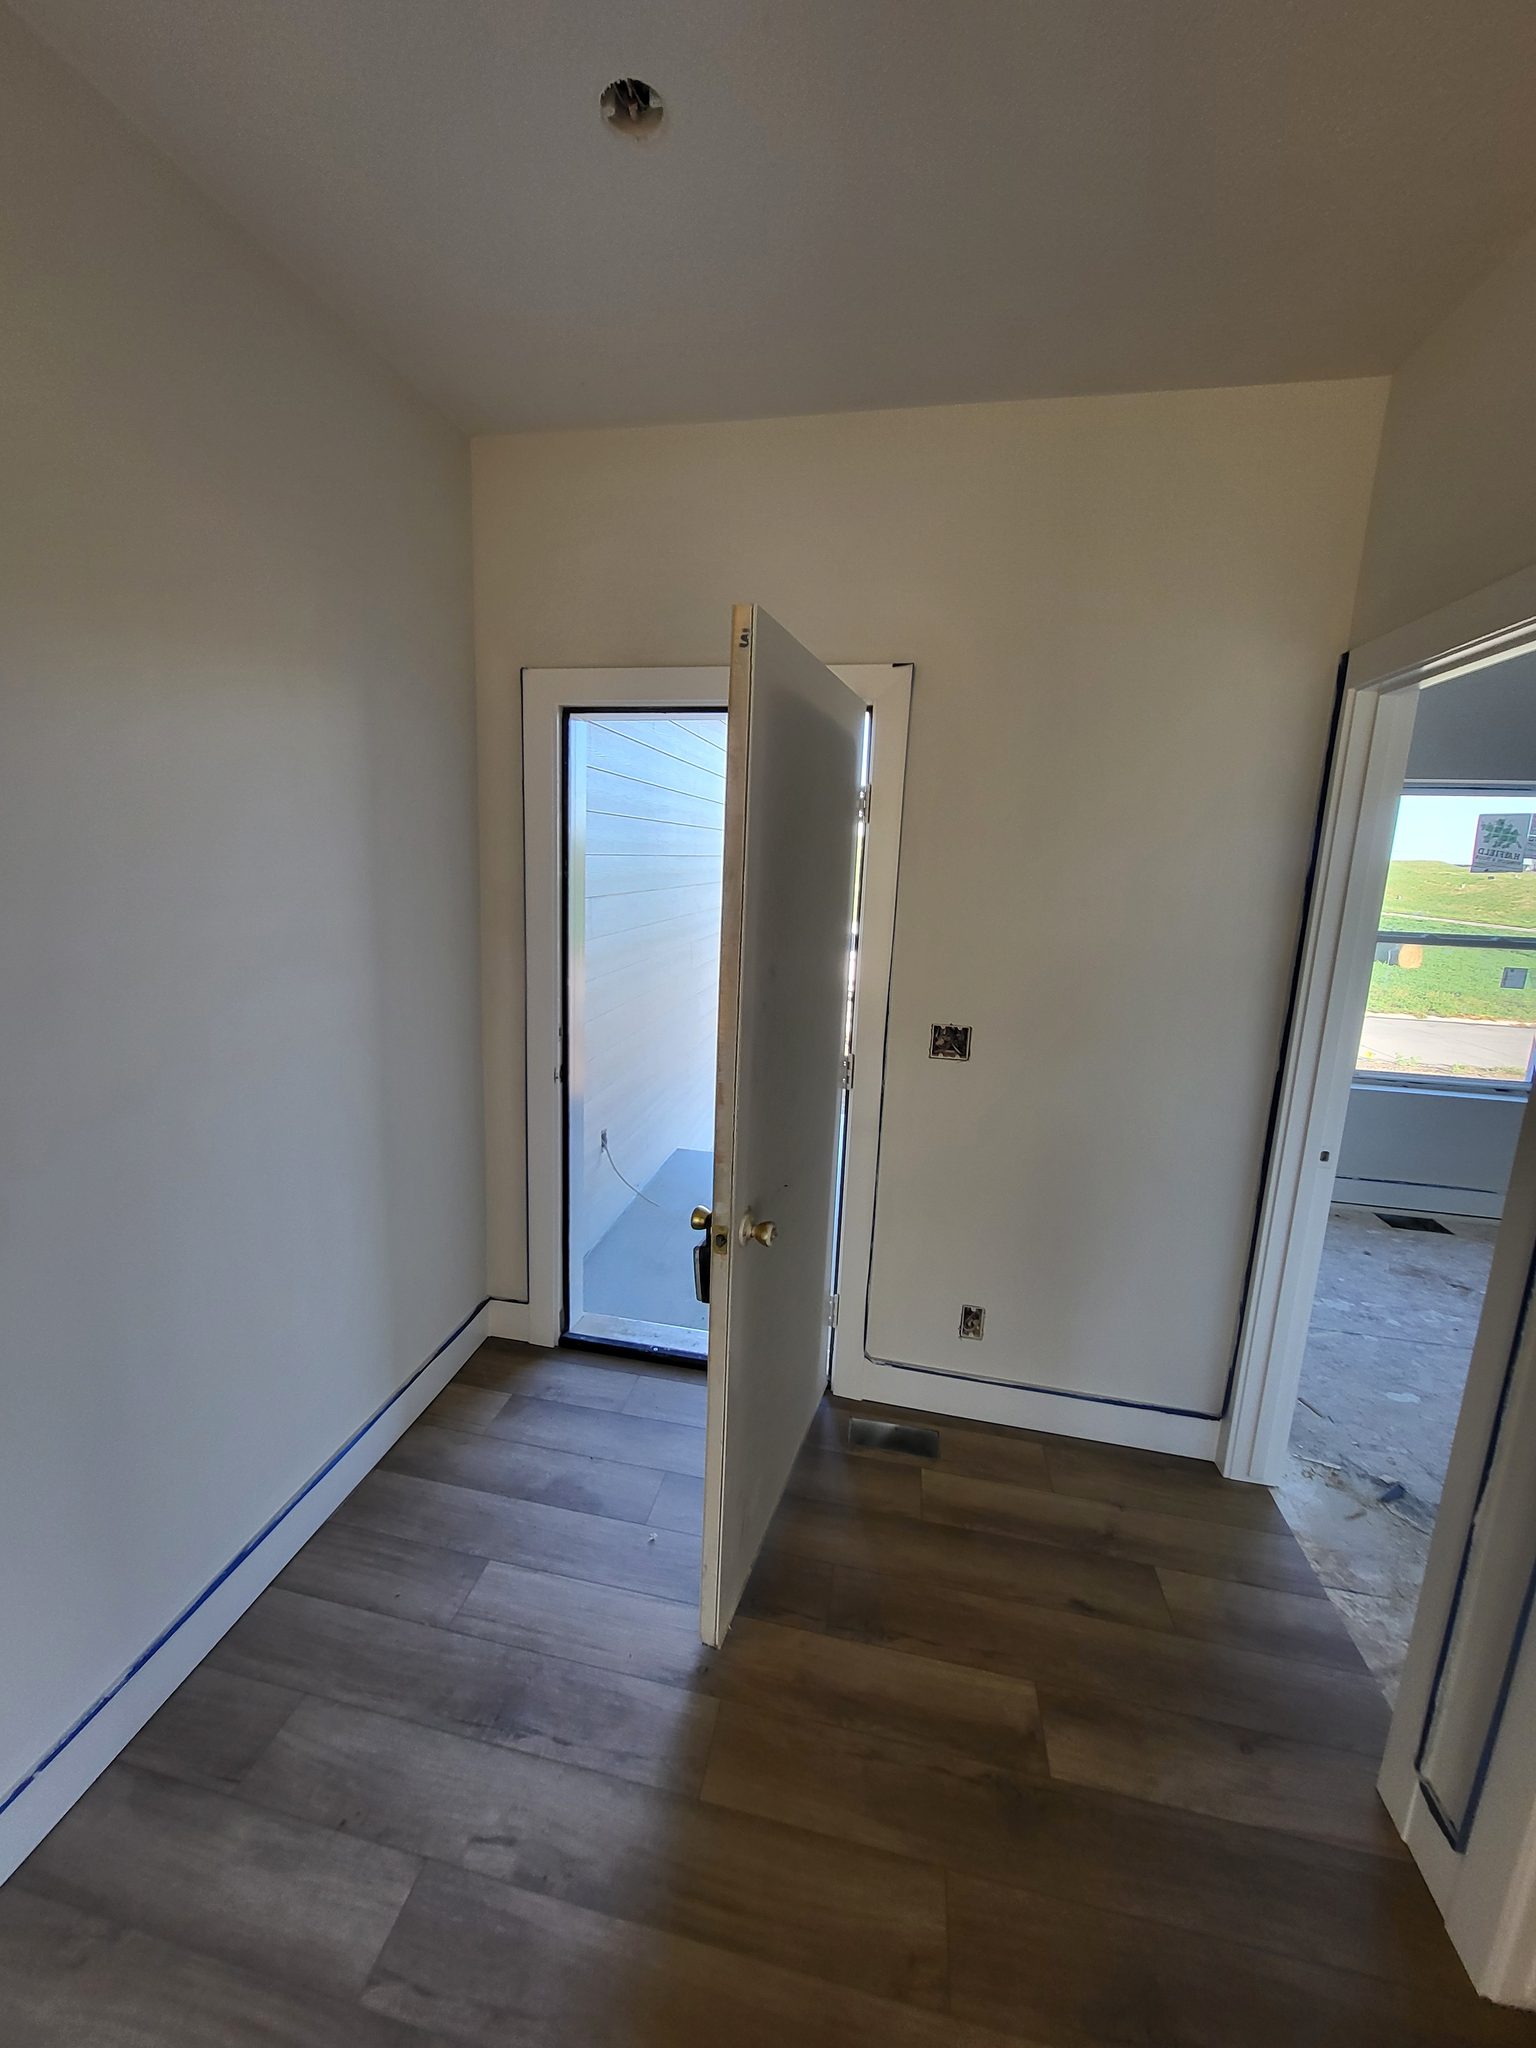
The following photos show examples of this type of work completed in the field. These serve as visual references for quality standards, proper installation techniques, and finished results.
Showing 6 of 6 photos