On this page
Introduction #
Installing mullion strips is a key step in finish carpentry, especially in projects where the aesthetic of divided light windows is desired. These strips give windows a classic, paneled look without the need for separate glass panes. Mullion strips are often installed in new construction or during remodeling projects to enhance architectural detail and add character to a space.
The single most important concept when installing mullion strips is precision. Accurate measurements and cuts ensure that the strips fit snugly and align perfectly with the window frame, creating a seamless look. This level of precision separates professional installations from amateur attempts, minimizing gaps and ensuring a clean, finished appearance.
Before You Begin #
Before you install mullion strips, confirm that the following prerequisites are complete.
Prerequisites #
- Windows are installed and secured - if you haven't built out the interior window frame yet, do that first.
- Drywall and painting are complete.
- Window casing is installed - see our guide on how to case a window if that step is still pending.
What You Need To Know #
When you install mullion strips, understanding these core techniques will save you time and prevent callbacks.
- Ensure mullion strips are cut to the exact width and height of the window panes.
- Use a miter saw for precise 45-degree cuts on the ends of the strips.
- Use a pin nailer to secure strips without splitting the material.
Tools #
- Miter Saw - for precise angle cuts.
- Pin Nailer - for securing strips without visible nails.
- Measuring Tape - for accurate measurements.
- Square - to ensure straight cuts.
Materials #
- Mullion Strips - typically wood or composite, available at lumber suppliers.
- Wood Glue - for additional bonding strength.
- Finishing Nails or Pins - for securing strips.
Installation Steps #
Step 1. Measure and Cut Strips #
Measure the window panes to determine the length of each mullion strip. Use a miter saw to cut the strips to the required length, ensuring 45-degree angles on the ends for a perfect fit.
- Measure twice, cut once to avoid waste.
- Ensure cuts are clean and precise.
Step 2. Dry Fit the Strips #
Place the cut strips into the window frame to check fit. Adjust as necessary to ensure all pieces align perfectly.
- Check for gaps and adjust cuts if needed.
Step 3. Apply Wood Glue #
Apply a thin line of wood glue along the edges of the strips where they will contact the window frame. This provides additional bonding strength.
- Use a small brush to spread glue evenly.
Step 4. Secure Strips with Pin Nailer #
Using a pin nailer, secure the strips in place. Ensure nails are driven into the frame and not through the glass.
- Use 23-gauge pins to minimize visibility.
Step 5. Final Adjustments and Cleanup #
Check all joints and seams for alignment. Clean any excess glue and ensure the strips are firmly attached.
- Wipe away excess glue with a damp cloth.
Pro Tips #
Pro Tip: Use a clamp to hold strips in place while the glue sets for a more secure bond.
Pro Tip: Pre-drill holes for pins in hardwood strips to prevent splitting.
Common Mistakes #
- Mistake: Misaligned strips - Ensure all cuts are precise and angles are consistent.
- Mistake: Visible nail holes - Use a pin nailer and drive pins fully below the surface.
QC / Punch Checklist #
- Check for gaps between strips and window frame.
- Ensure all strips are level and aligned.
- Verify that all glue residue is cleaned up.
Related Guides #
- Interior Window Frame for Medium-Tall Openings (90″ to 119″)
- Interior Window Frame for Tall Openings (120″ and Above)
- How to Install a Transom Window Above a Door
Reference Photos #
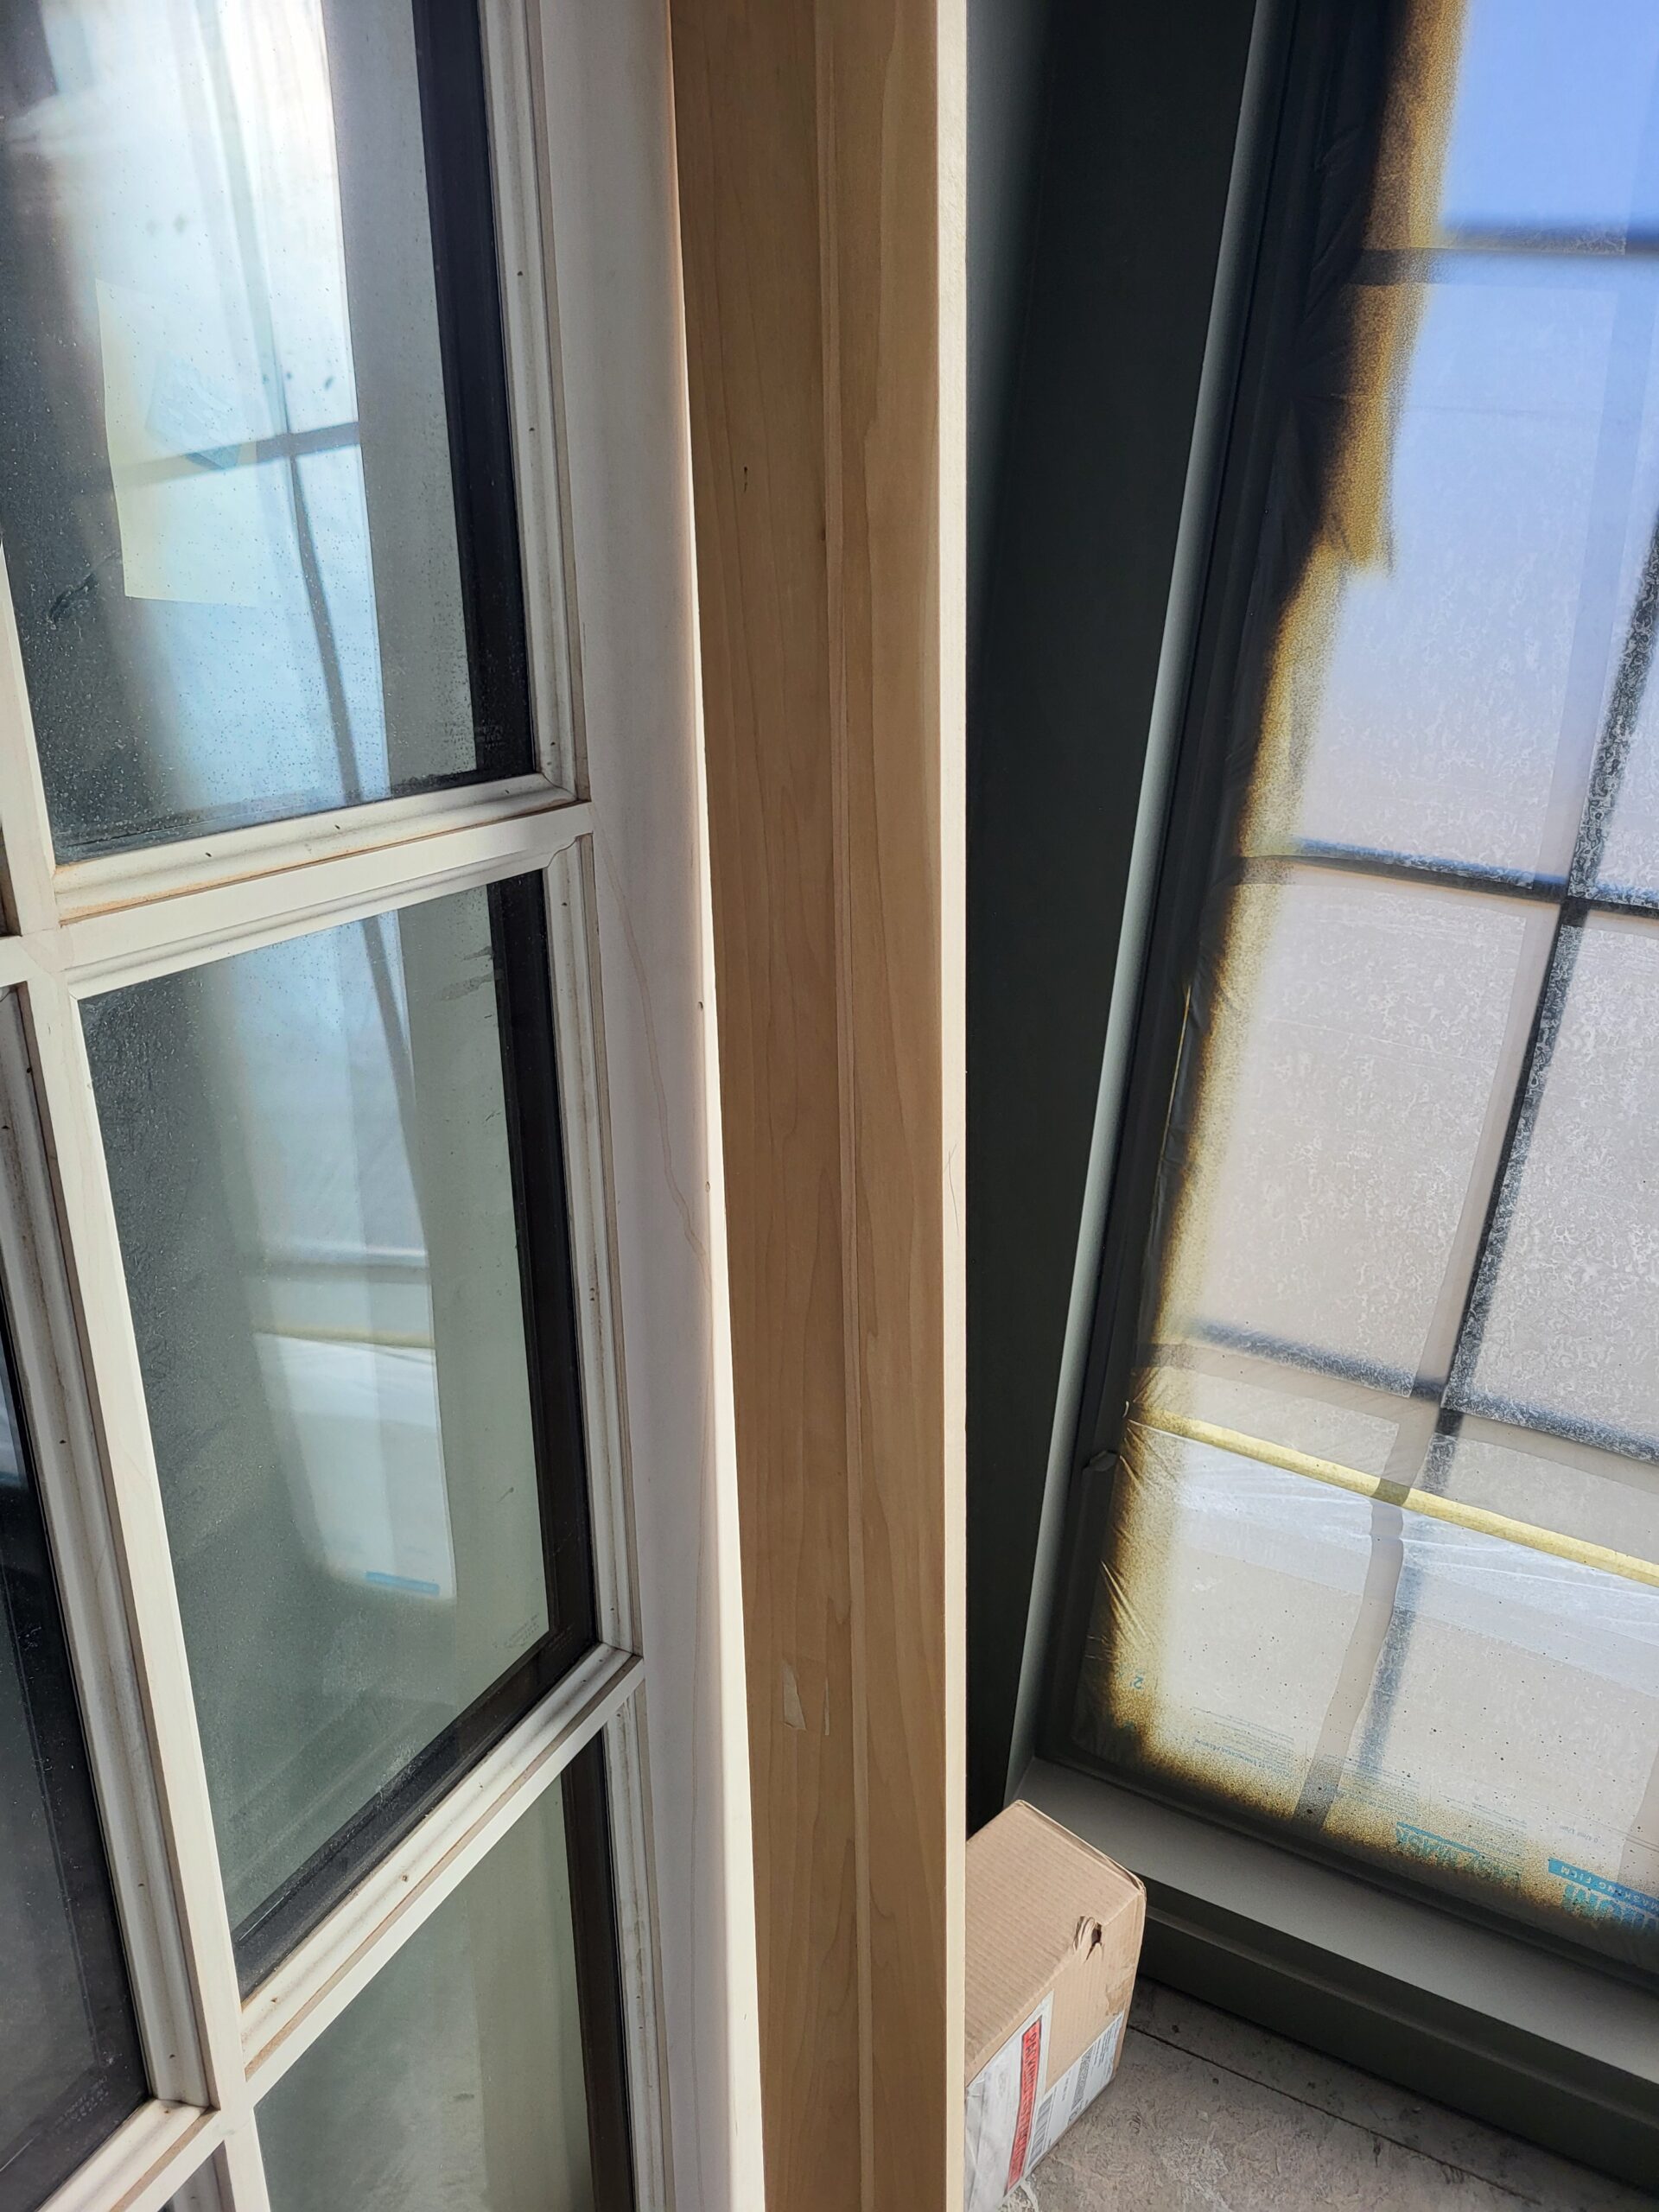
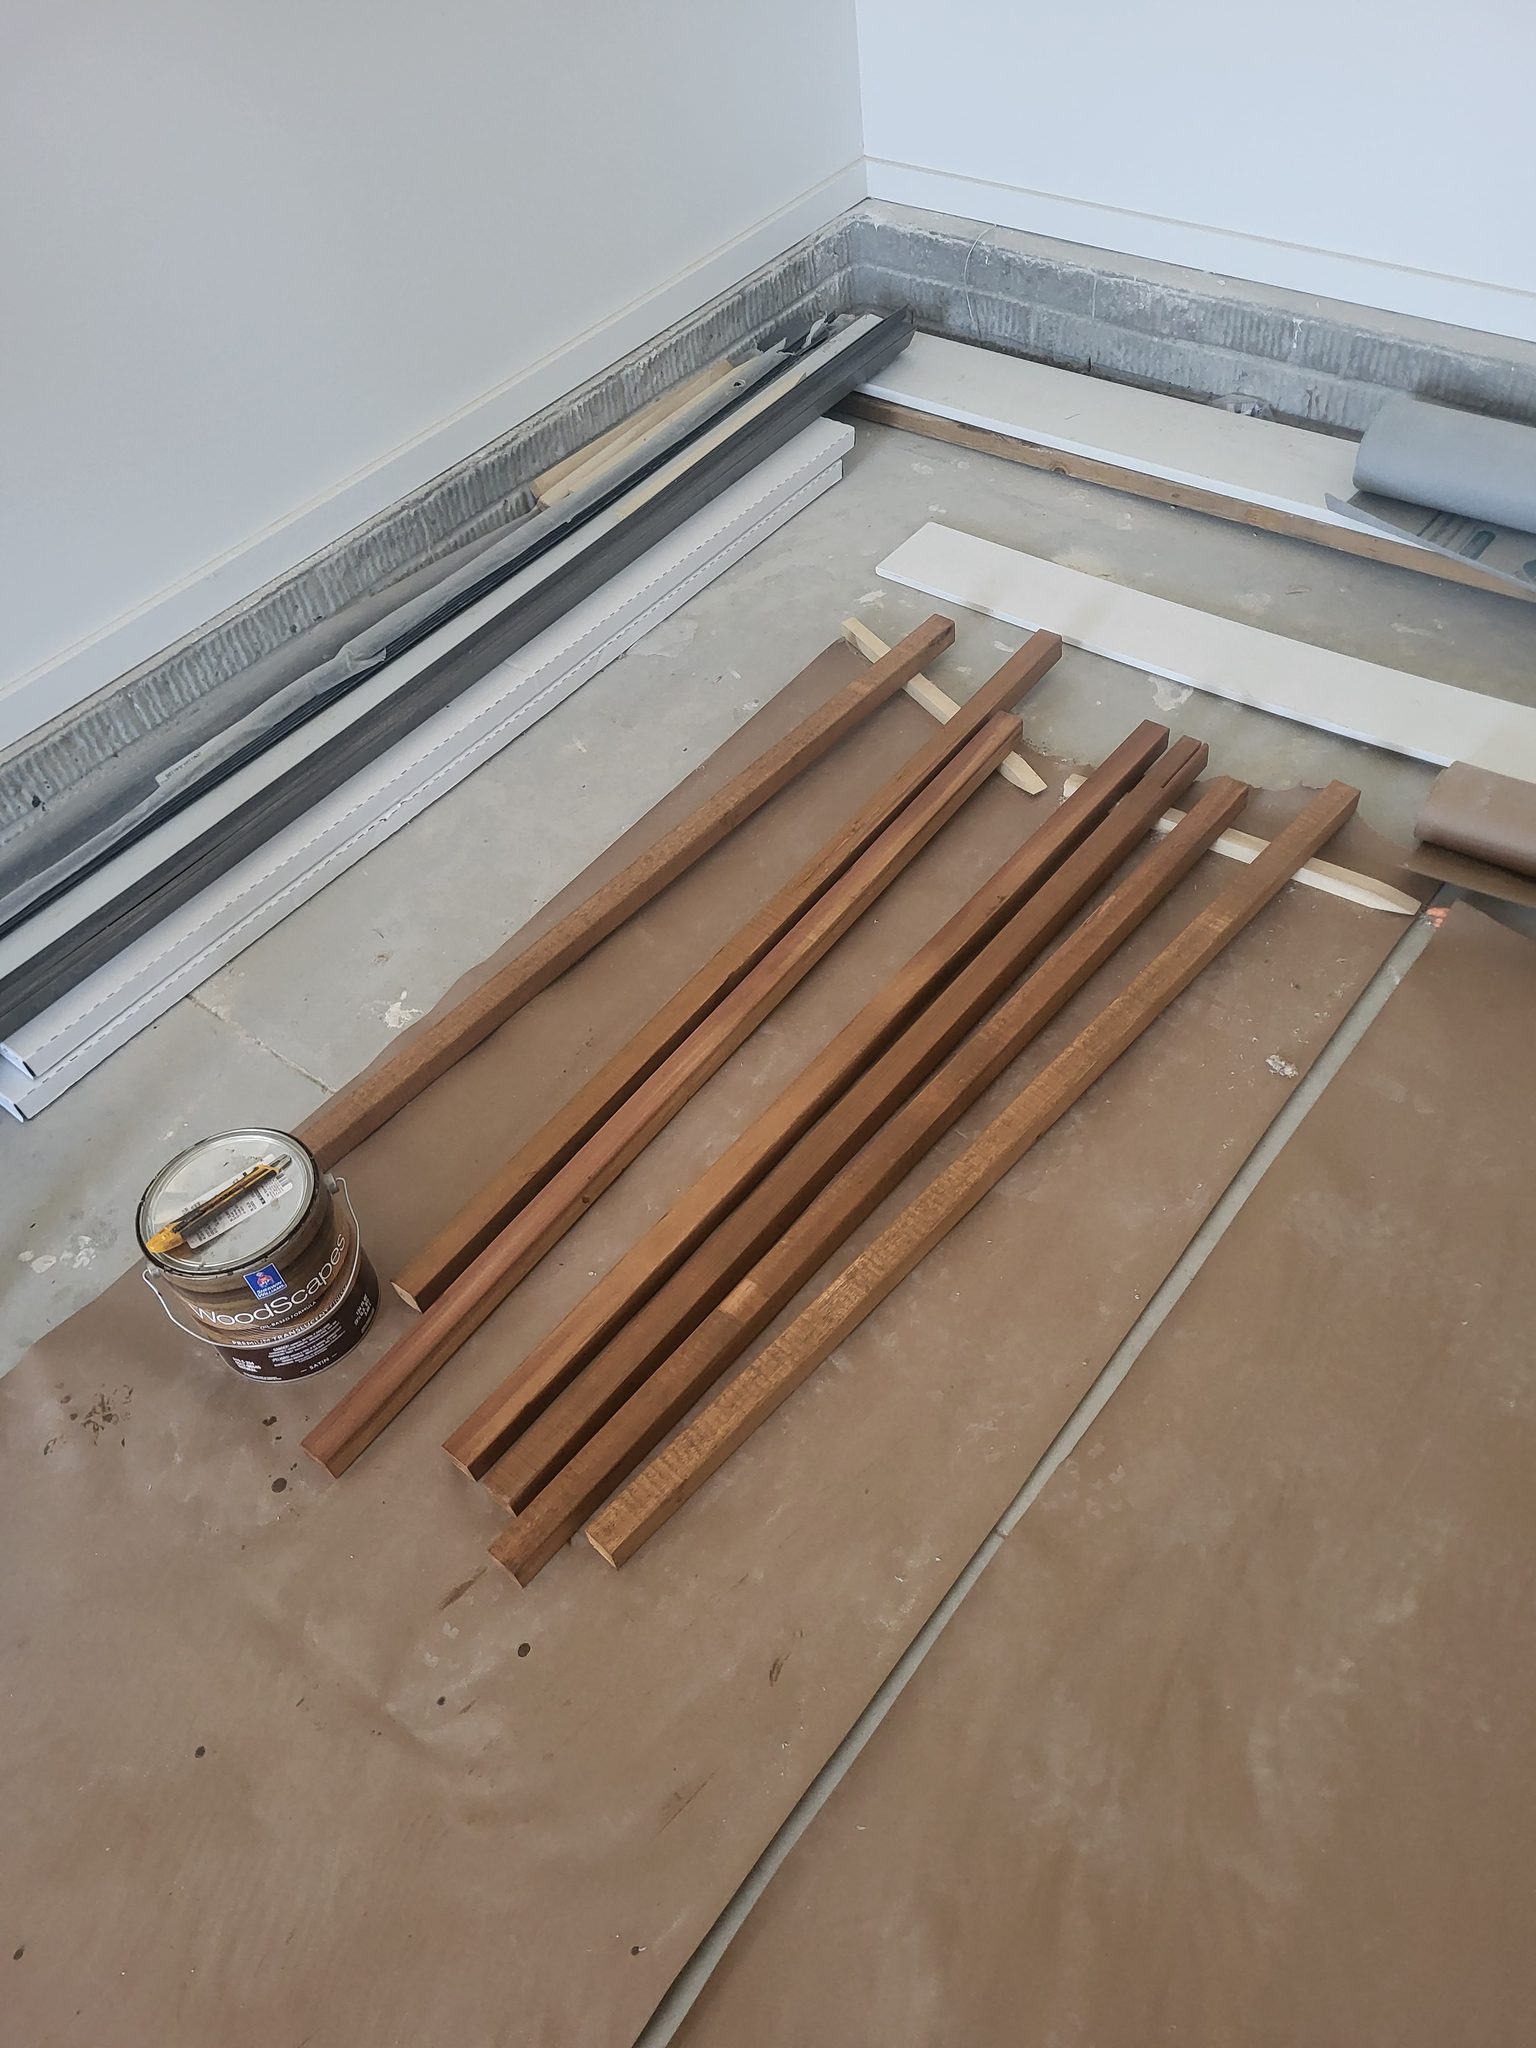
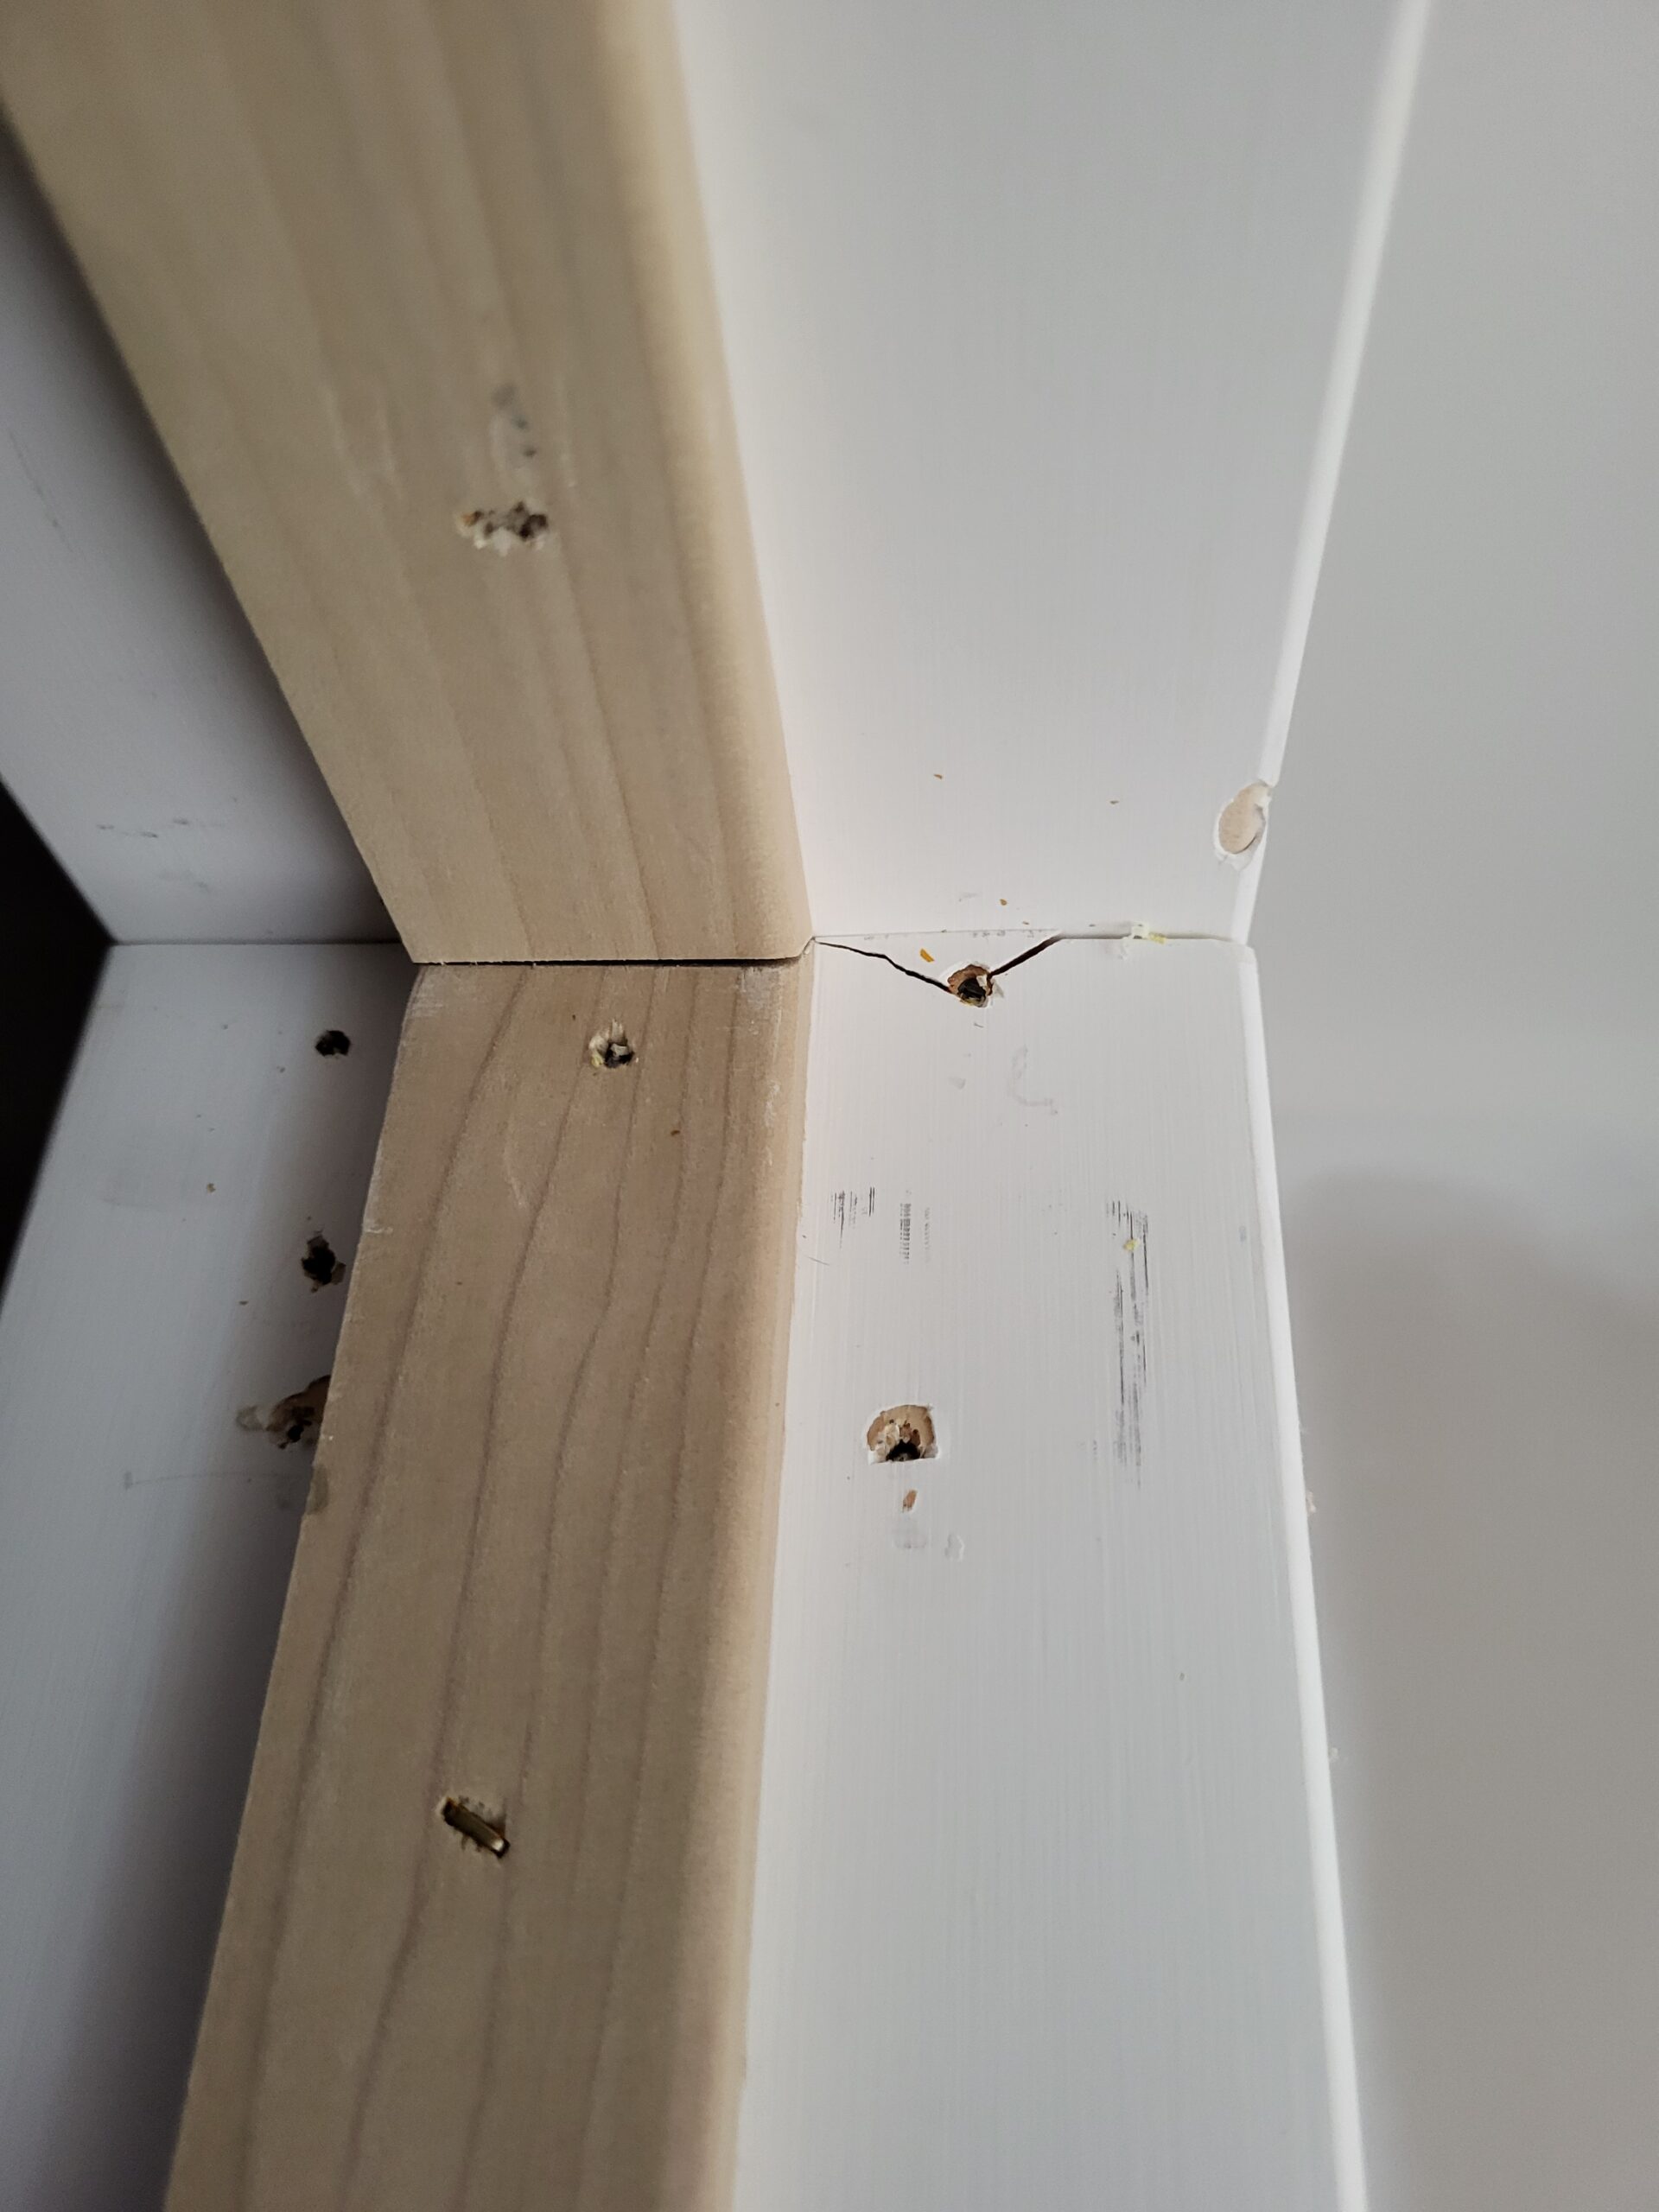
The following photos show examples of this type of work completed in the field. These serve as visual references for quality standards, proper installation techniques, and finished results.
Showing 3 of 3 photos