On this page
Introduction #
This is a supplemental guide for shiplap fireplace wraps 10 to 15 feet tall. These are floor-to-ceiling or floor-to-mantel installations, where the 3-sided surround covers a large part of the room. The full installation process is covered in our core guide: How to Install Shiplap on a 3-Sided Fireplace Under 10′. Read that guide first. This guide only covers what changes once the surround gets taller than 10 feet. It assumes you already know the mitered corner (the angled cut where two boards meet at a corner instead of overlapping), how to work course-by-course (one horizontal row of boards at a time), and the heat-clearance rules (the safe gap required between the wood and the firebox, the opening where the fire burns).
At this size, the shiplap surround becomes one of the biggest features in the room, not just a small accent. Longer boards on the front face mean you will need butt joints (spots where two board ends meet flush, instead of an angled miter cut). The under-10-foot guide does not cover butt joints. The extra height also often means you will install shiplap above the mantel shelf, not just below it. Every mistake shows more, because the surround is what people look at first.
On most jobs, a fireplace this size is the one feature a homeowner walks new guests over to first. A fireplace between 10 and 15 feet tall reads as one continuous surface from across the room. That means small problems, like boards that do not line up evenly or corners that are not tight, stand out a lot more than they would on a smaller surround. Walk the room with the customer before you start. Agree on where the mantel break falls and how the surround will look from the main seating area.
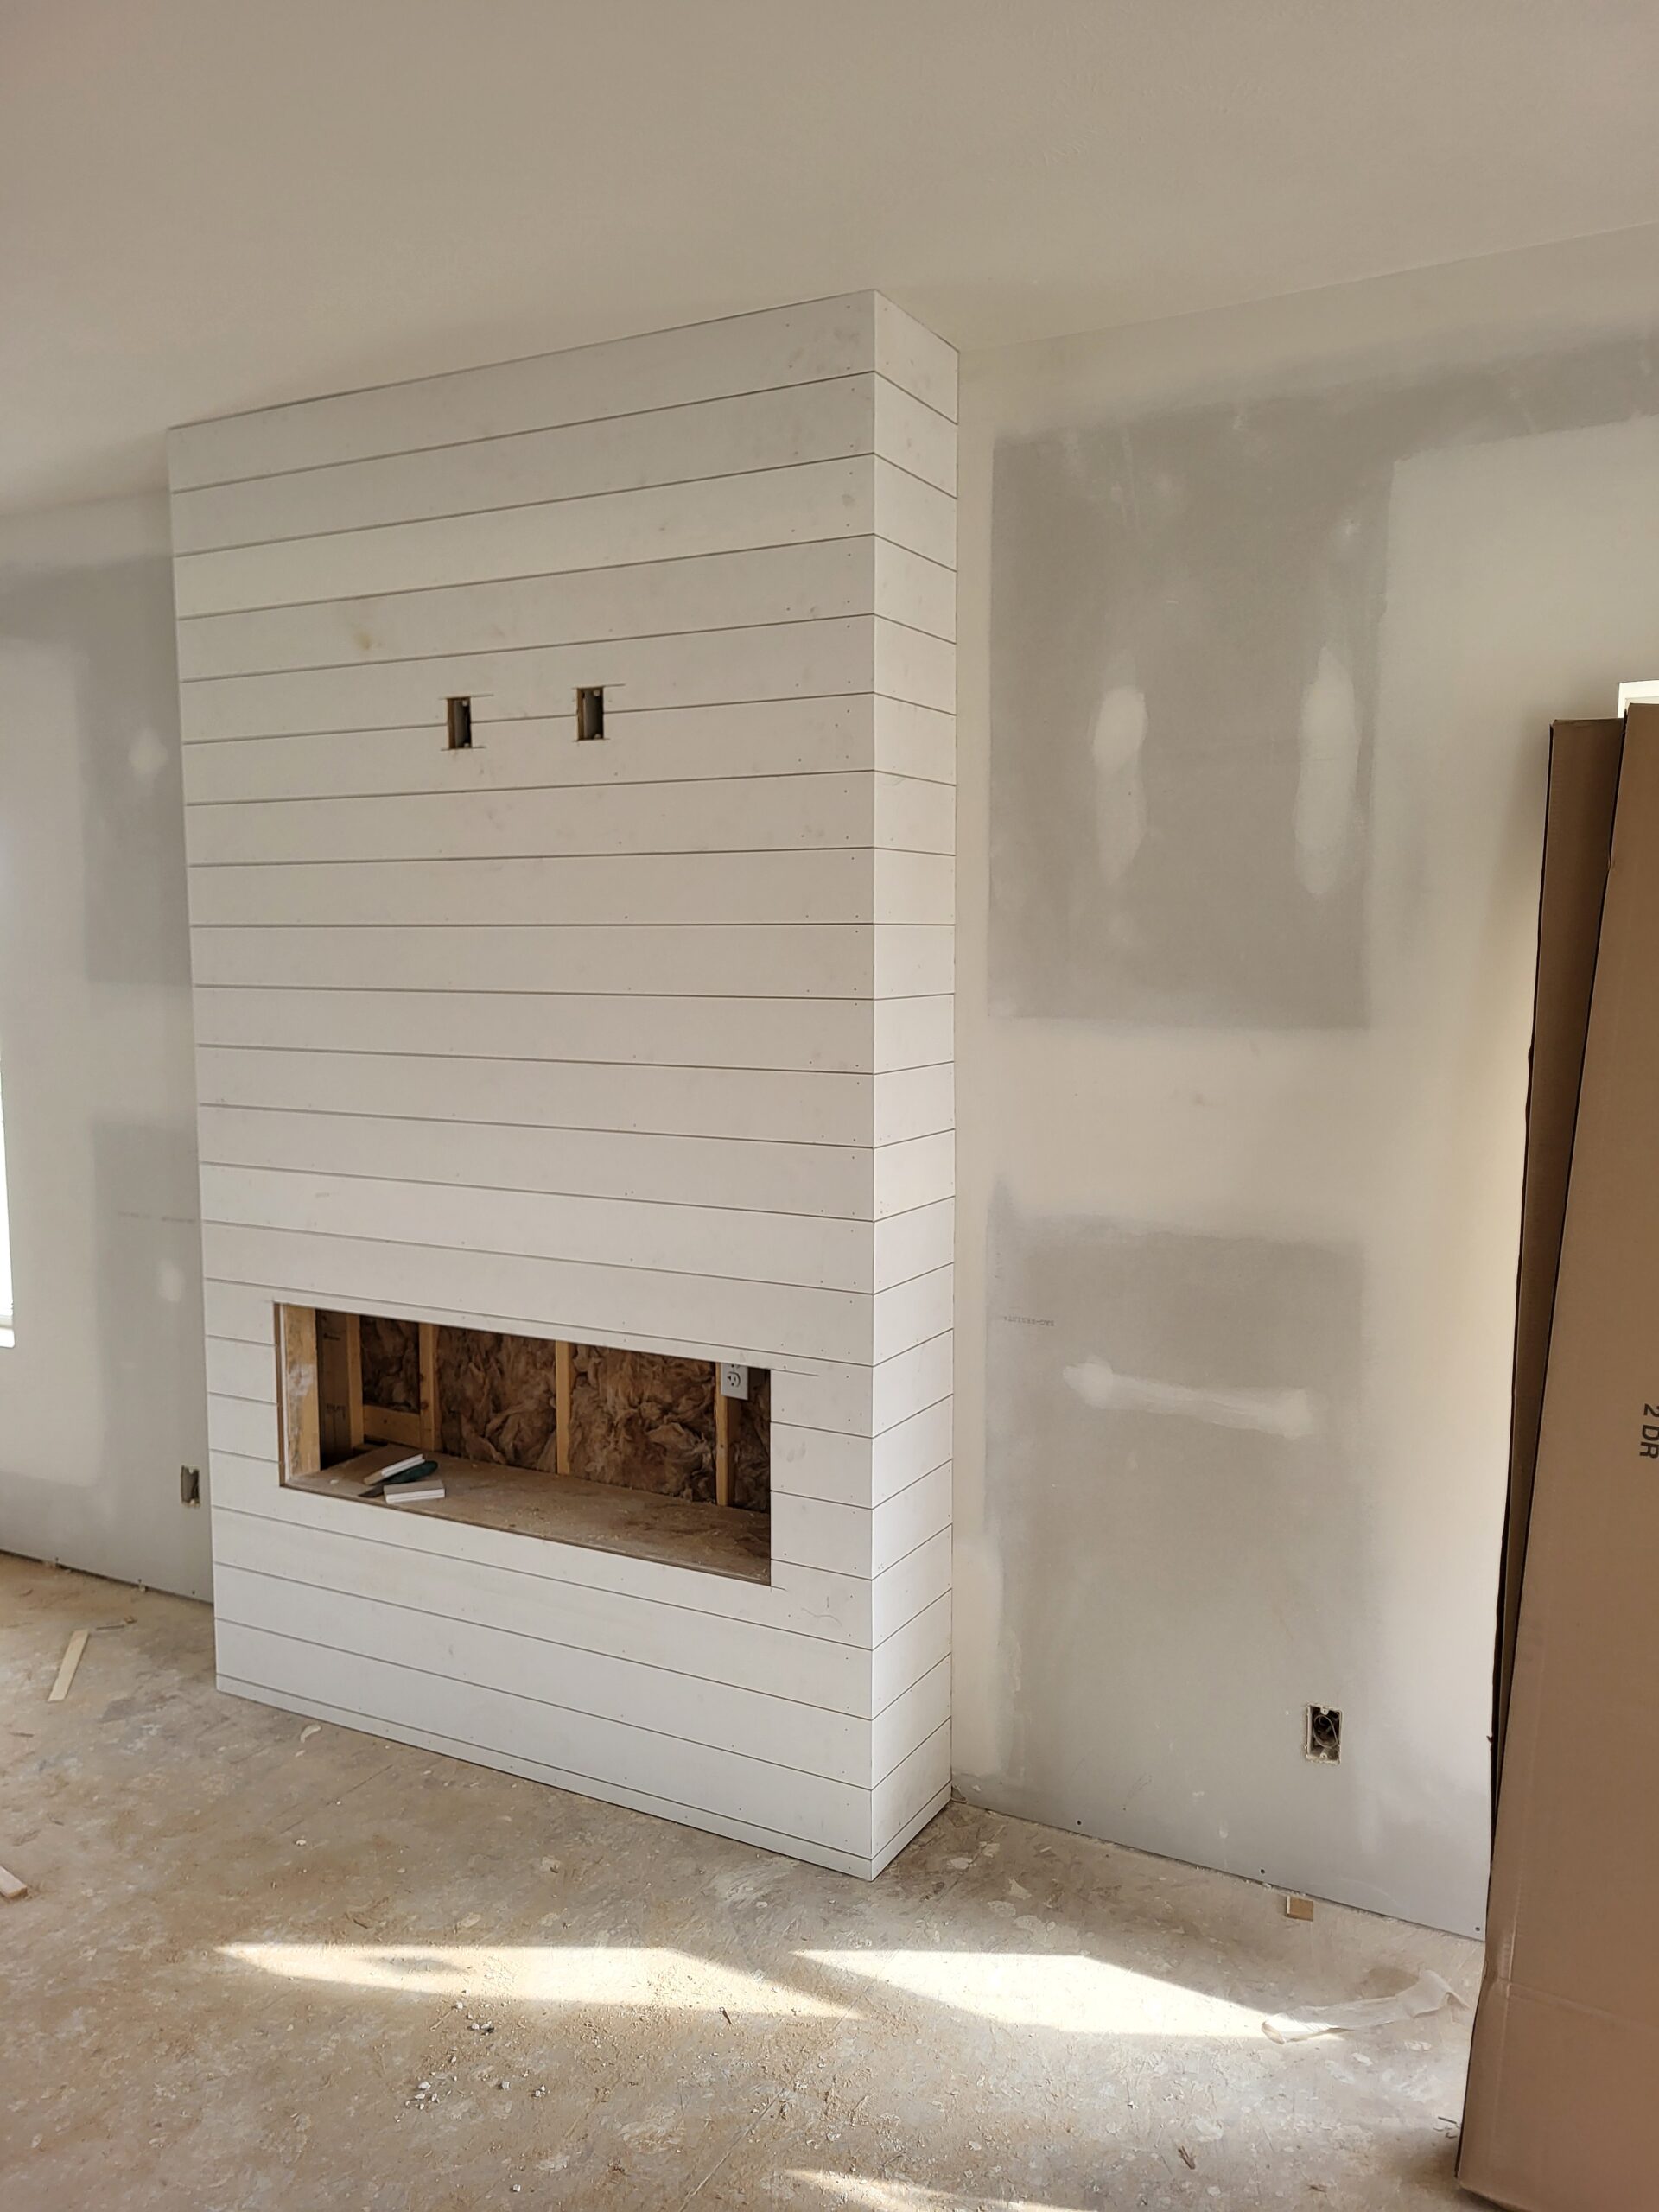
Which guide do I need?
- Fireplace surrounds under 10 feet tall: How to Install Shiplap on a 3-Sided Fireplace Under 10'
- Fireplace surrounds 10 to 15 feet tall: this guide
- Fireplace surrounds over 15 feet tall: How to Install Shiplap 3 side fireplace wrap above 15'
What Changes for a 10 to 15 Foot Shiplap Fireplace #
- Butt joints appear on the front face. If the front face is longer than your boards (usually 8 feet), you will need butt joints. Follow the 7-14 foot joint management guide for how to stagger the joints (offset them row to row so they do not line up) and how to nail them. On a fireplace, joint placement must also stay clear of the firebox opening area. Keep all joints at least 12″ from the firebox edges.
- Side returns are deeper. Side returns are the shorter sections of the surround that run from the front face back to the wall on each side. Wider surrounds usually have deeper side returns (24-48″ instead of 12-24″). Longer side-return boards put more weight on the mitered corner joint, which puts it under more stress.
- Mantel becomes a mid-wall break. On large surrounds, the mantel usually runs from near one corner to the other. This splits the job into two separate installations, shiplap below the mantel and shiplap above it, and both must line up at the mitered corners.
- More courses = more mitered corners. A 10-foot-tall surround with 5.5″ board exposure (how much of each board’s face shows once it is installed) has roughly 22 courses. That is 44 mitered corner cuts, two corners per course. Your miter saw angle must be exactly right for every single cut.
- Scaffolding required for upper section. Stepladders are not safe or stable enough for the upper half of a 10-15 foot tall shiplap fireplace installation. Use rolling scaffolding or a stable plank-and-bracket system.
Additional Tools for Large Wraps #
You will need everything in the fireplace core guide tool list, plus:
- Rolling scaffolding - for courses above comfortable reach height
- Digital angle gauge - after 40+ mitered cuts, miter saw calibration can drift. Check the saw angle every 10 cuts.
- Extra wood glue and brads - more corners and joints = more fasteners. A 12-foot surround uses 40-50% more than a 6-foot one.
- Laser level - for checking that courses line up across the wider front face, especially above and below the mantel shelf
Mantel Integration at Scale #
On surrounds under 10 feet, the mantel is often just a simple shelf that boards stop at, above and below. At 10-15 feet tall, the mantel becomes both a structural piece, since it needs solid support, and the visual centerpiece of the room. That means it needs careful planning:
Below the Mantel #
Install shiplap from the floor up to the mantel shelf height. The top row below the mantel will likely need ripping (cutting the board narrower, lengthwise, so it fits) to reach the mantel edge exactly. Plan this carefully. The mantel edge acts as a hard stop, so a thin sliver of board here is very visible. Ideally, the top row should be at least half the board’s width.
Mantel Shelf Installation #
The mantel must attach to blocking (solid wood framed in behind the wall surface, between the studs, to anchor something heavy) behind the shiplap, not to the shiplap boards themselves. Check where the blocking is before you install any boards. If the blocking was not planned ahead of time, you may need to cut openings in the shiplap, add blocking to the studs, and patch the shiplap around the mantel brackets. At this scale, the mantel may weigh 50-70 pounds, so it needs serious structural support.
Above the Mantel #
Continue the shiplap installation above the mantel, up to the ceiling (or to whatever height the surround ends at). The first board above the mantel must line up exactly with the course below the mantel, at both mitered corners. Use a laser level or a long spirit level to check the alignment before you nail anything.
Pro Tip: Dry-fit the first board above the mantel (set it in place without nailing, just to check the fit) on both the front face and both side returns before you nail anything. Check that the mitered corners still meet cleanly. The mantel shelf can push the substrate (the wall surface the boards attach to) out slightly, which changes the corner angle. Adjust your miter angle if you need to.
What’s Different Step-by-Step #
Follow the fireplace core guide steps. Here is what changes for 10-15 foot spans:
Step 1 (Layout) - Two-Zone Planning #
Use the same layout process, but plan for two zones: below the mantel and above it. Each zone gets its own course count and its own row-balancing math (working out how to space the rows evenly). The first board below the mantel and the first board above the mantel are both “first course” boards. Both need to be perfectly level.
Step 2-3 (Installation and Corners) - Same Process, More Precision #
Use the same mitered corner process. At this scale, you will be making a lot more miter cuts, so:
- Check saw angle every 10 cuts with a digital angle gauge. Vibration from repeated cuts can drift the detent (the mechanical stop that locks the saw at a set angle) over dozens of cuts.
- Batch-cut miters. Cut all the front-face boards for 3-4 courses at once, then cut all the side returns. This keeps your cuts more consistent than switching back and forth between front and side cuts.
- Glue and pin every miter joint. At this scale, skipping the glue, or gluing without pinning, will cause corners to open up over time.
Steps 4-7 (Upper Work and Finish) - Add Scaffolding #
Use the same process. Use scaffolding for all courses above comfortable reach. Do not lean off a ladder to reach the far side of a wide surround. It is unsafe, and it produces sloppy work.
Quality Check - Large Surround Additions #
Complete the full fireplace core guide quality checklist, then check:
- Courses above and below mantel align at mitered corners
- No butt joints within 12″ of firebox opening edges
- Mantel is solidly attached to blocking behind shiplap (not just to shiplap)
- All 44+ mitered corners are consistently tight (no open joints)
- Butt joints on front face staggered per the 7-14 foot guide rules
Troubleshooting - Large Surround Issues #
Miter angles drifting after many cuts #
The saw’s detent has shifted from vibration built up over dozens of cuts. Stop. Recalibrate with a digital angle gauge and test the setting on a scrap piece. If the last few miters you installed have gaps, pull those boards and re-cut them now that the saw is back in calibration. Do not just fill a gap to make it look closed. It will open again once the surround gets bumped or settles. To prevent this, re-check the saw angle every 10 cuts on a large surround project.
Courses above mantel don’t align with courses below #
The mantel shelf or its blocking pushed the substrate out, which throws off the flat surface the boards sit against. Remove the first board above the mantel, check that the substrate is flat, and shim as needed. The board must line up flush with the boards below the mantel, when you sight down the wall from the side. At this scale, installations do not forgive mistakes. Misalignment at the mantel is the most visible error you can make.
Side return boards pulling mitered corners open #
Deeper side returns (24″+) put more leverage on the miter joint. The weight of the board pulls the joint open at the corner. Fix it by running construction adhesive along the full length of the side-return board, and by pinning the miter with 3-4 brads through both faces of the corner. On deep returns, also add a nail at the middle of the board into the substrate, to take some of the load off the corner joint.
Helpful Resources #
The guide to shiplap fireplace wraps above 15 feet covers layout and structural factors for the largest shiplap fireplace projects.
Safety Considerations for Mid-Size Surrounds #
Working on a shiplap fireplace between 10 and 15 feet needs specific safety precautions. Always check that your shiplap material meets local fire code rules for how close it can sit to the firebox. Most building codes require non-combustible material within a certain distance of the firebox opening. Check with your local building department before you buy materials.
Wear the right personal protective equipment when cutting boards at height. Set your stepladder on a level surface, and never overreach from the top step. If the surround goes above 10 feet, use a small scaffold platform instead of a ladder. It gives you a stable working surface and it is less tiring during the upper courses.
Treat a fireplace this size as a full day of focused work, not a quick afternoon add-on. Crews who rush at this scale tend to lose corner-to-corner alignment somewhere in the middle courses. Fixing it after the fact costs more time than building it right the first time. Before you break down your setup, stand at the main seating area and look at the whole surround one more time. That is the view your customer will see every day.
Related Shiplap Fireplace Guides #
- Core Guide: How to Install Shiplap on a 3-Sided Fireplace Under 10′ - Complete fireplace installation process with mitered corners
- How to Install Shiplap 3 Side Fireplace Wrap Above 15′ - Extreme-scale fireplace wraps with full scaffolding and extended planning
- Wall Guide: How to Install Shiplap, 0′ to 7′ - Core shiplap installation for all orientations
- How to Install Shiplap 2, 7′ to 14′ - Joint management for longer wall spans


