On this page
Introduction #
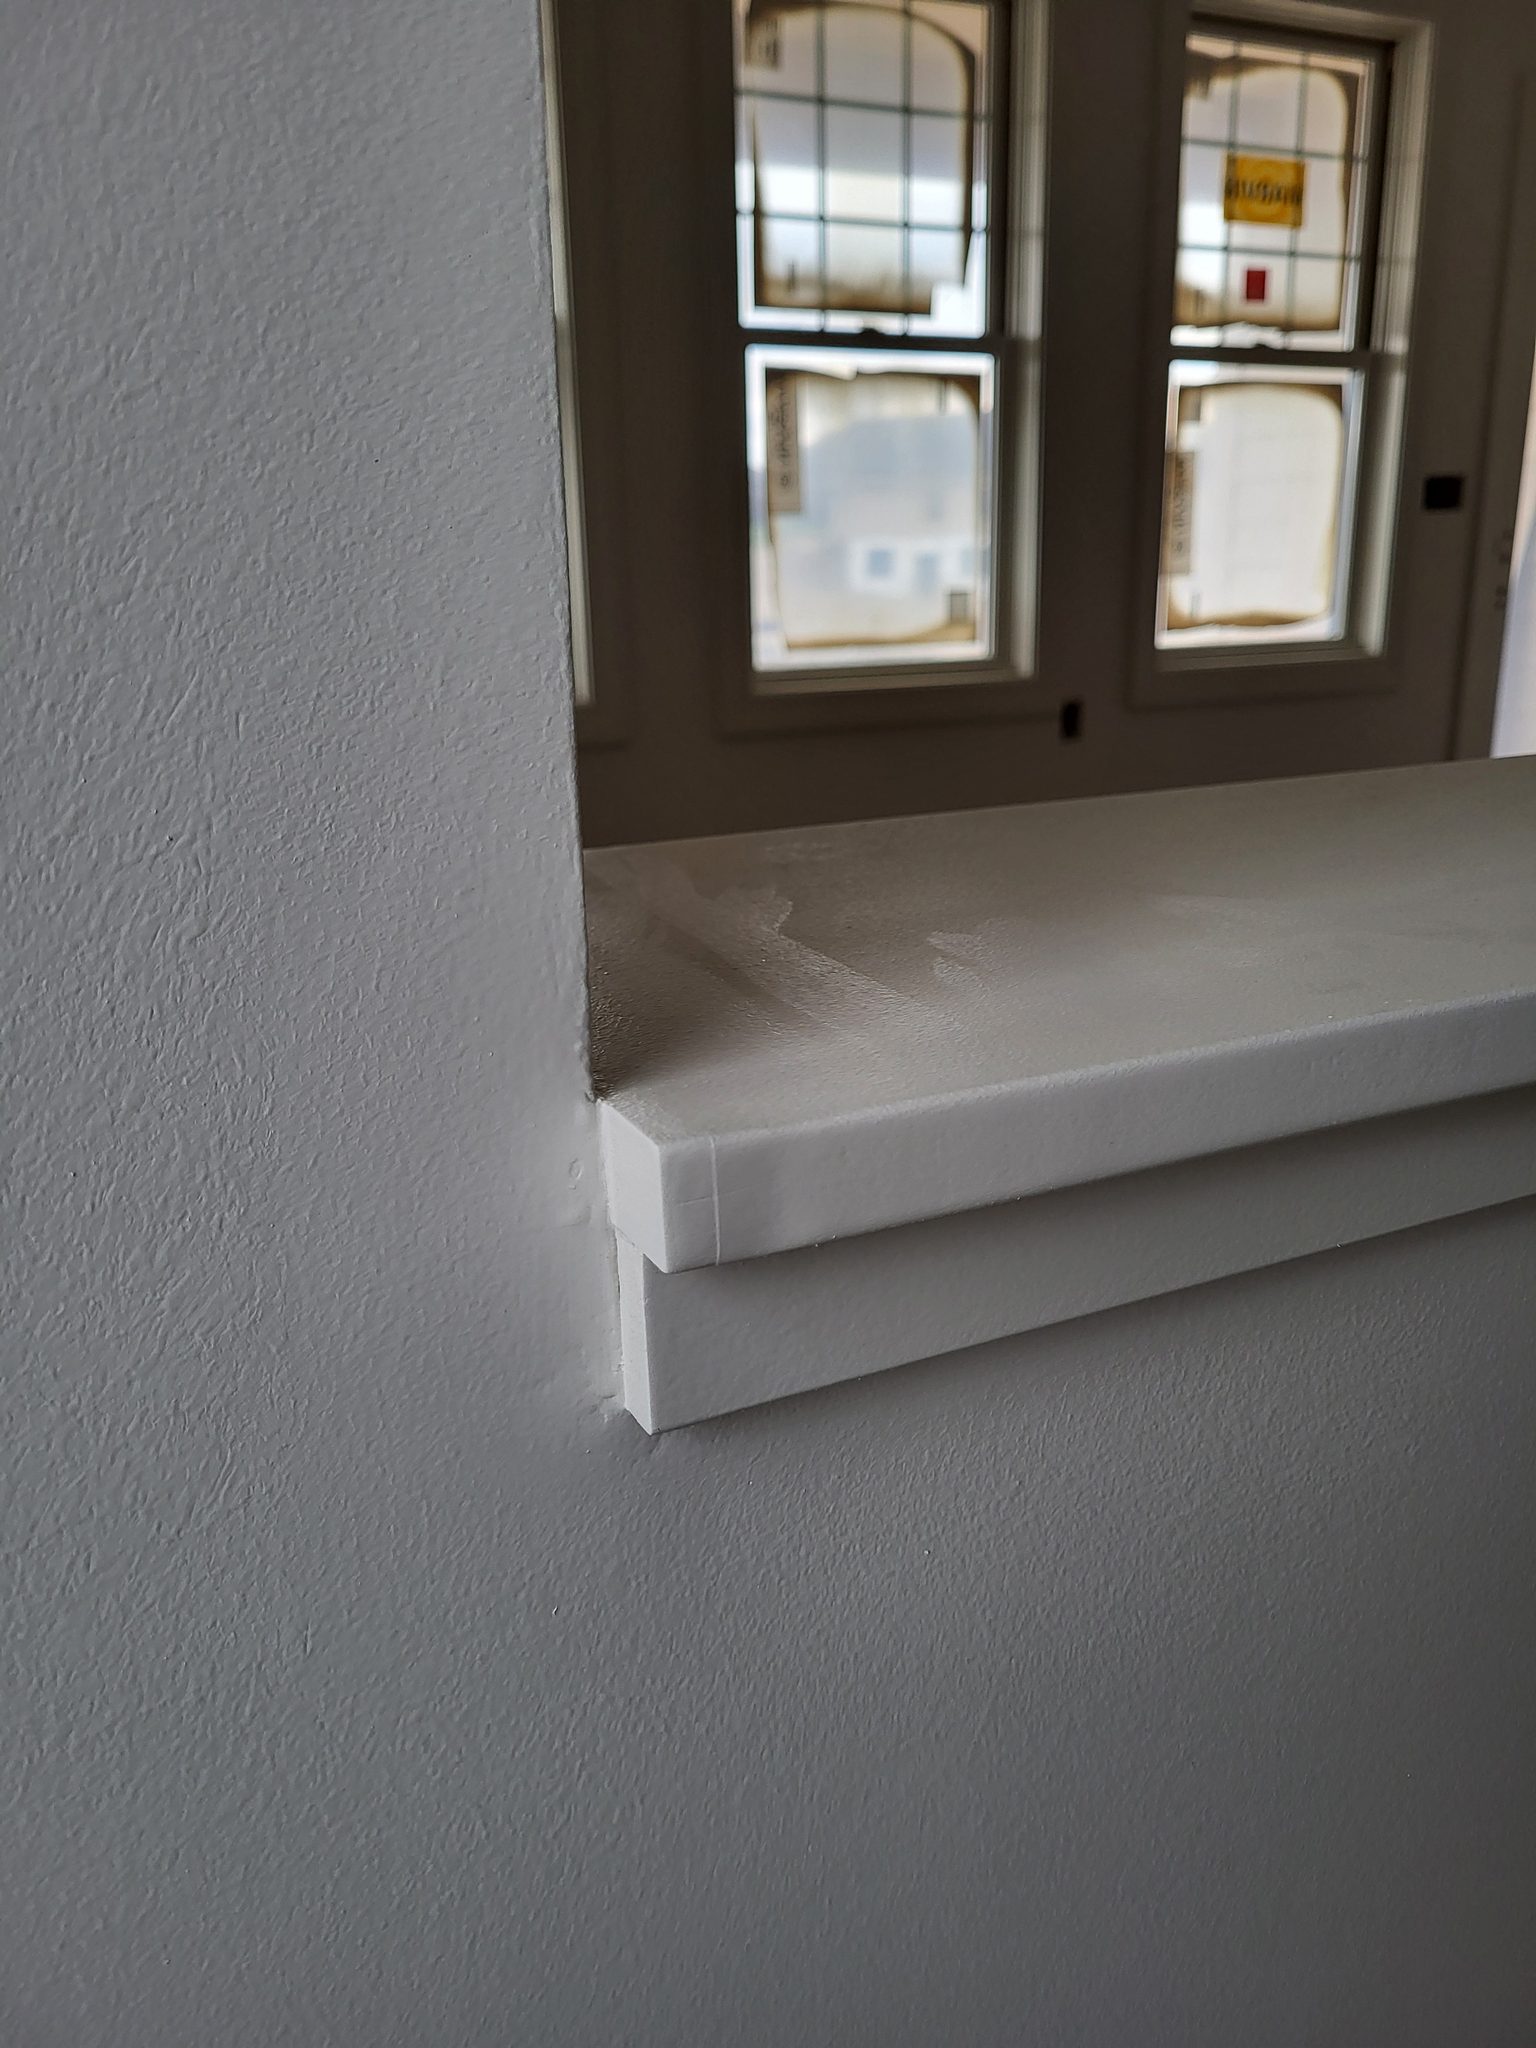
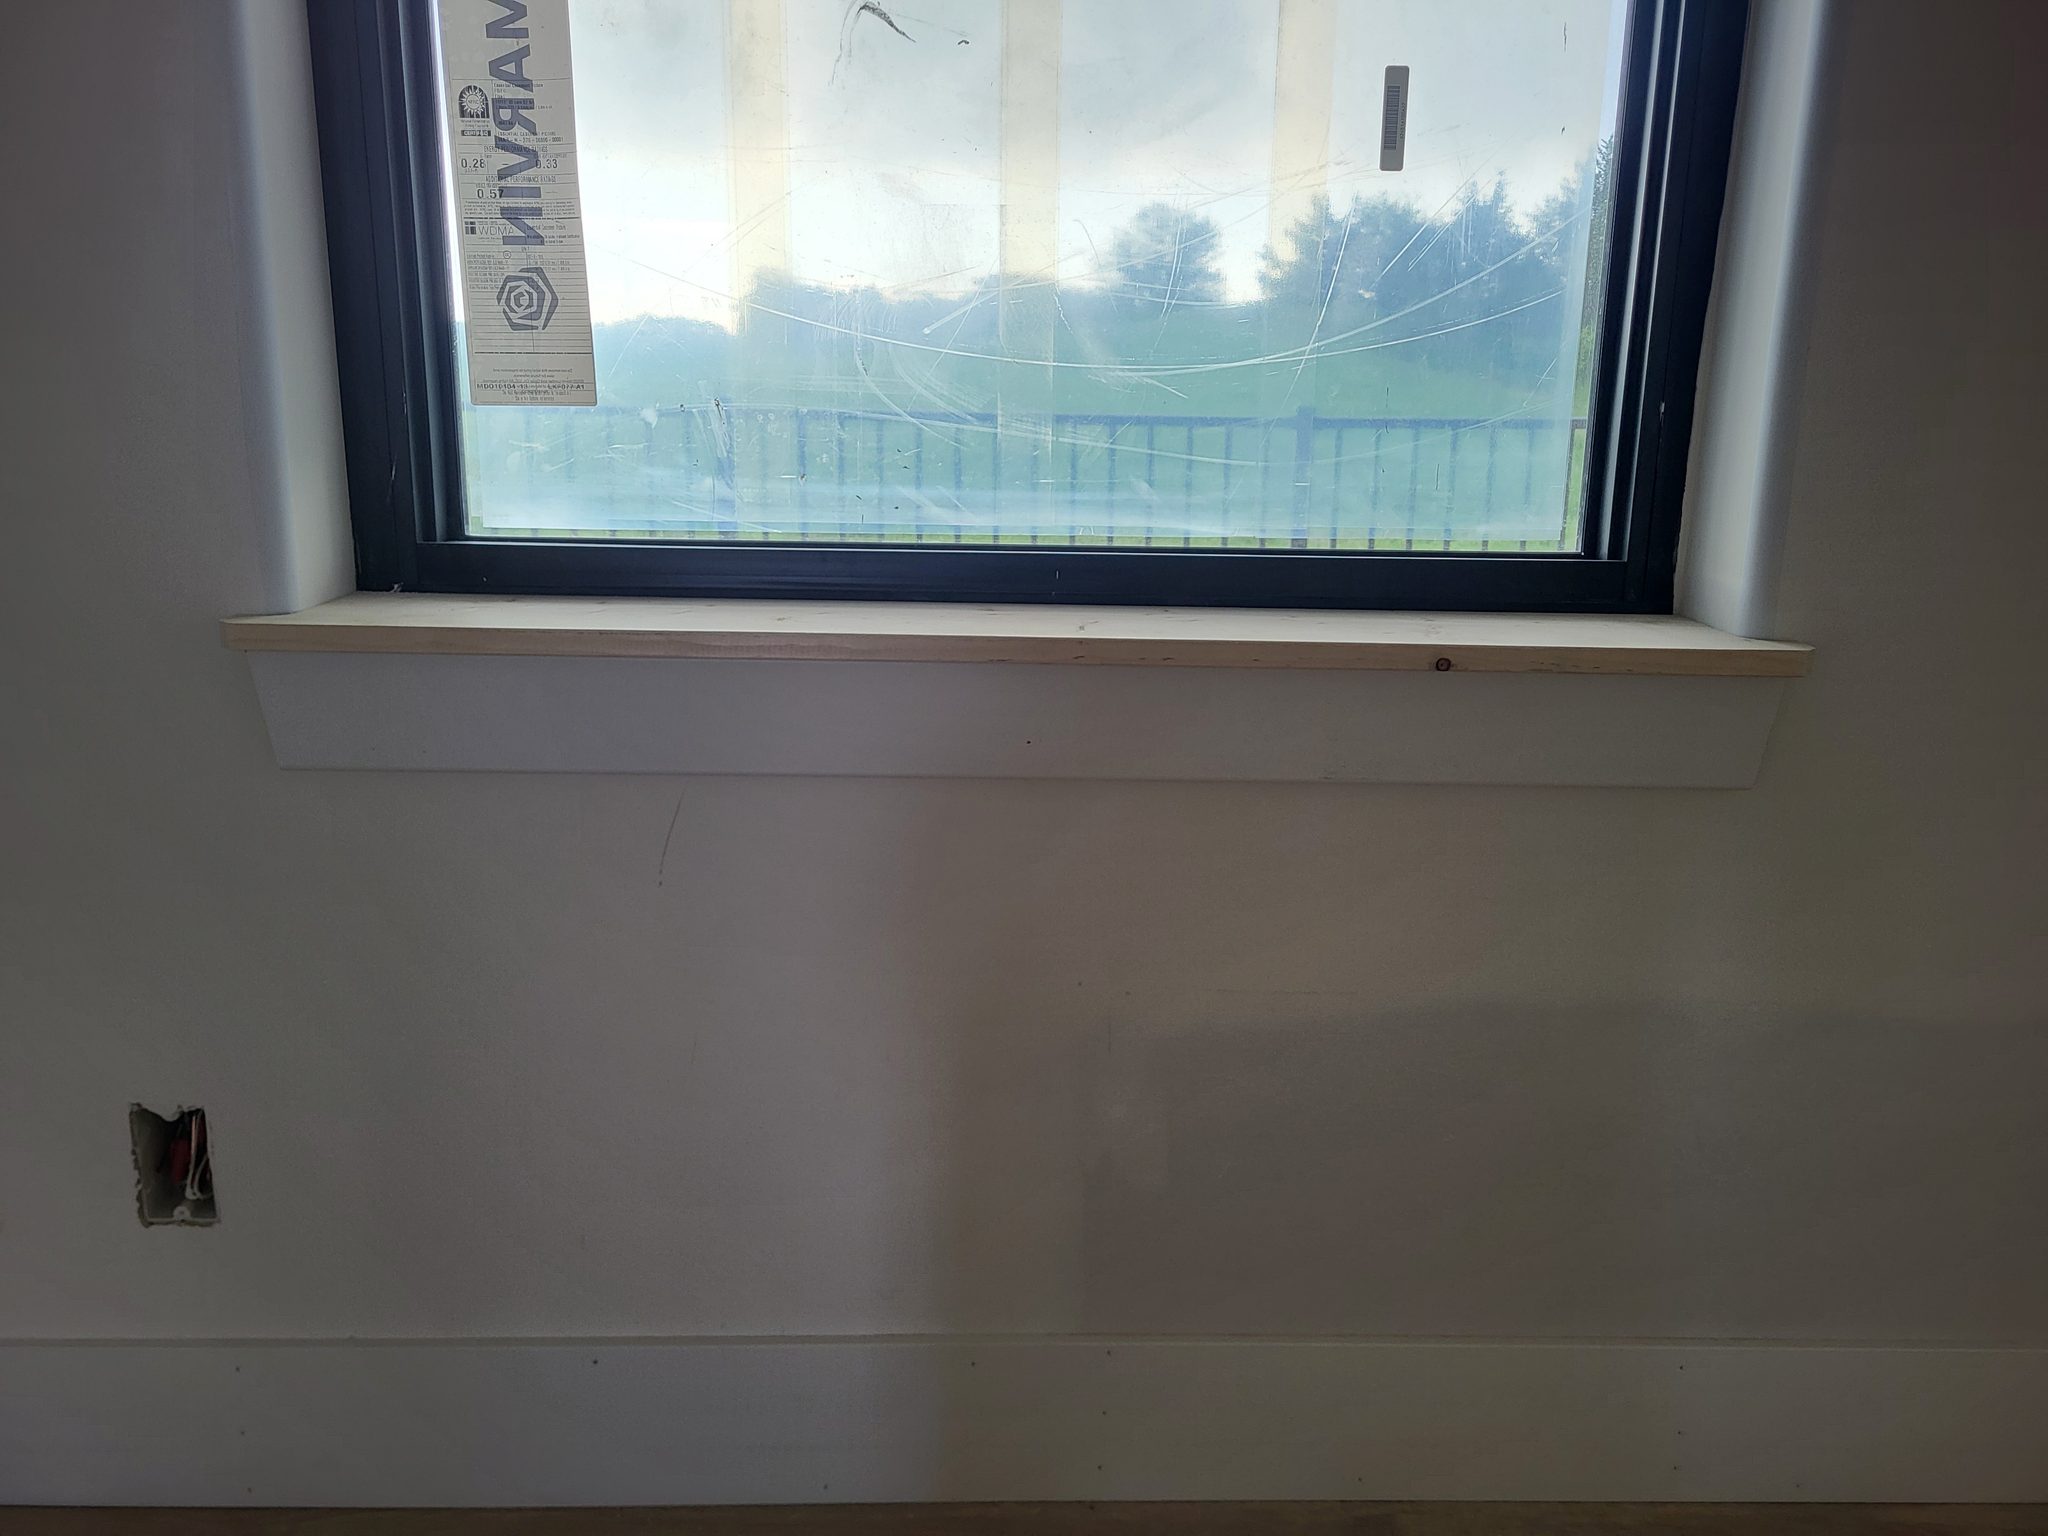
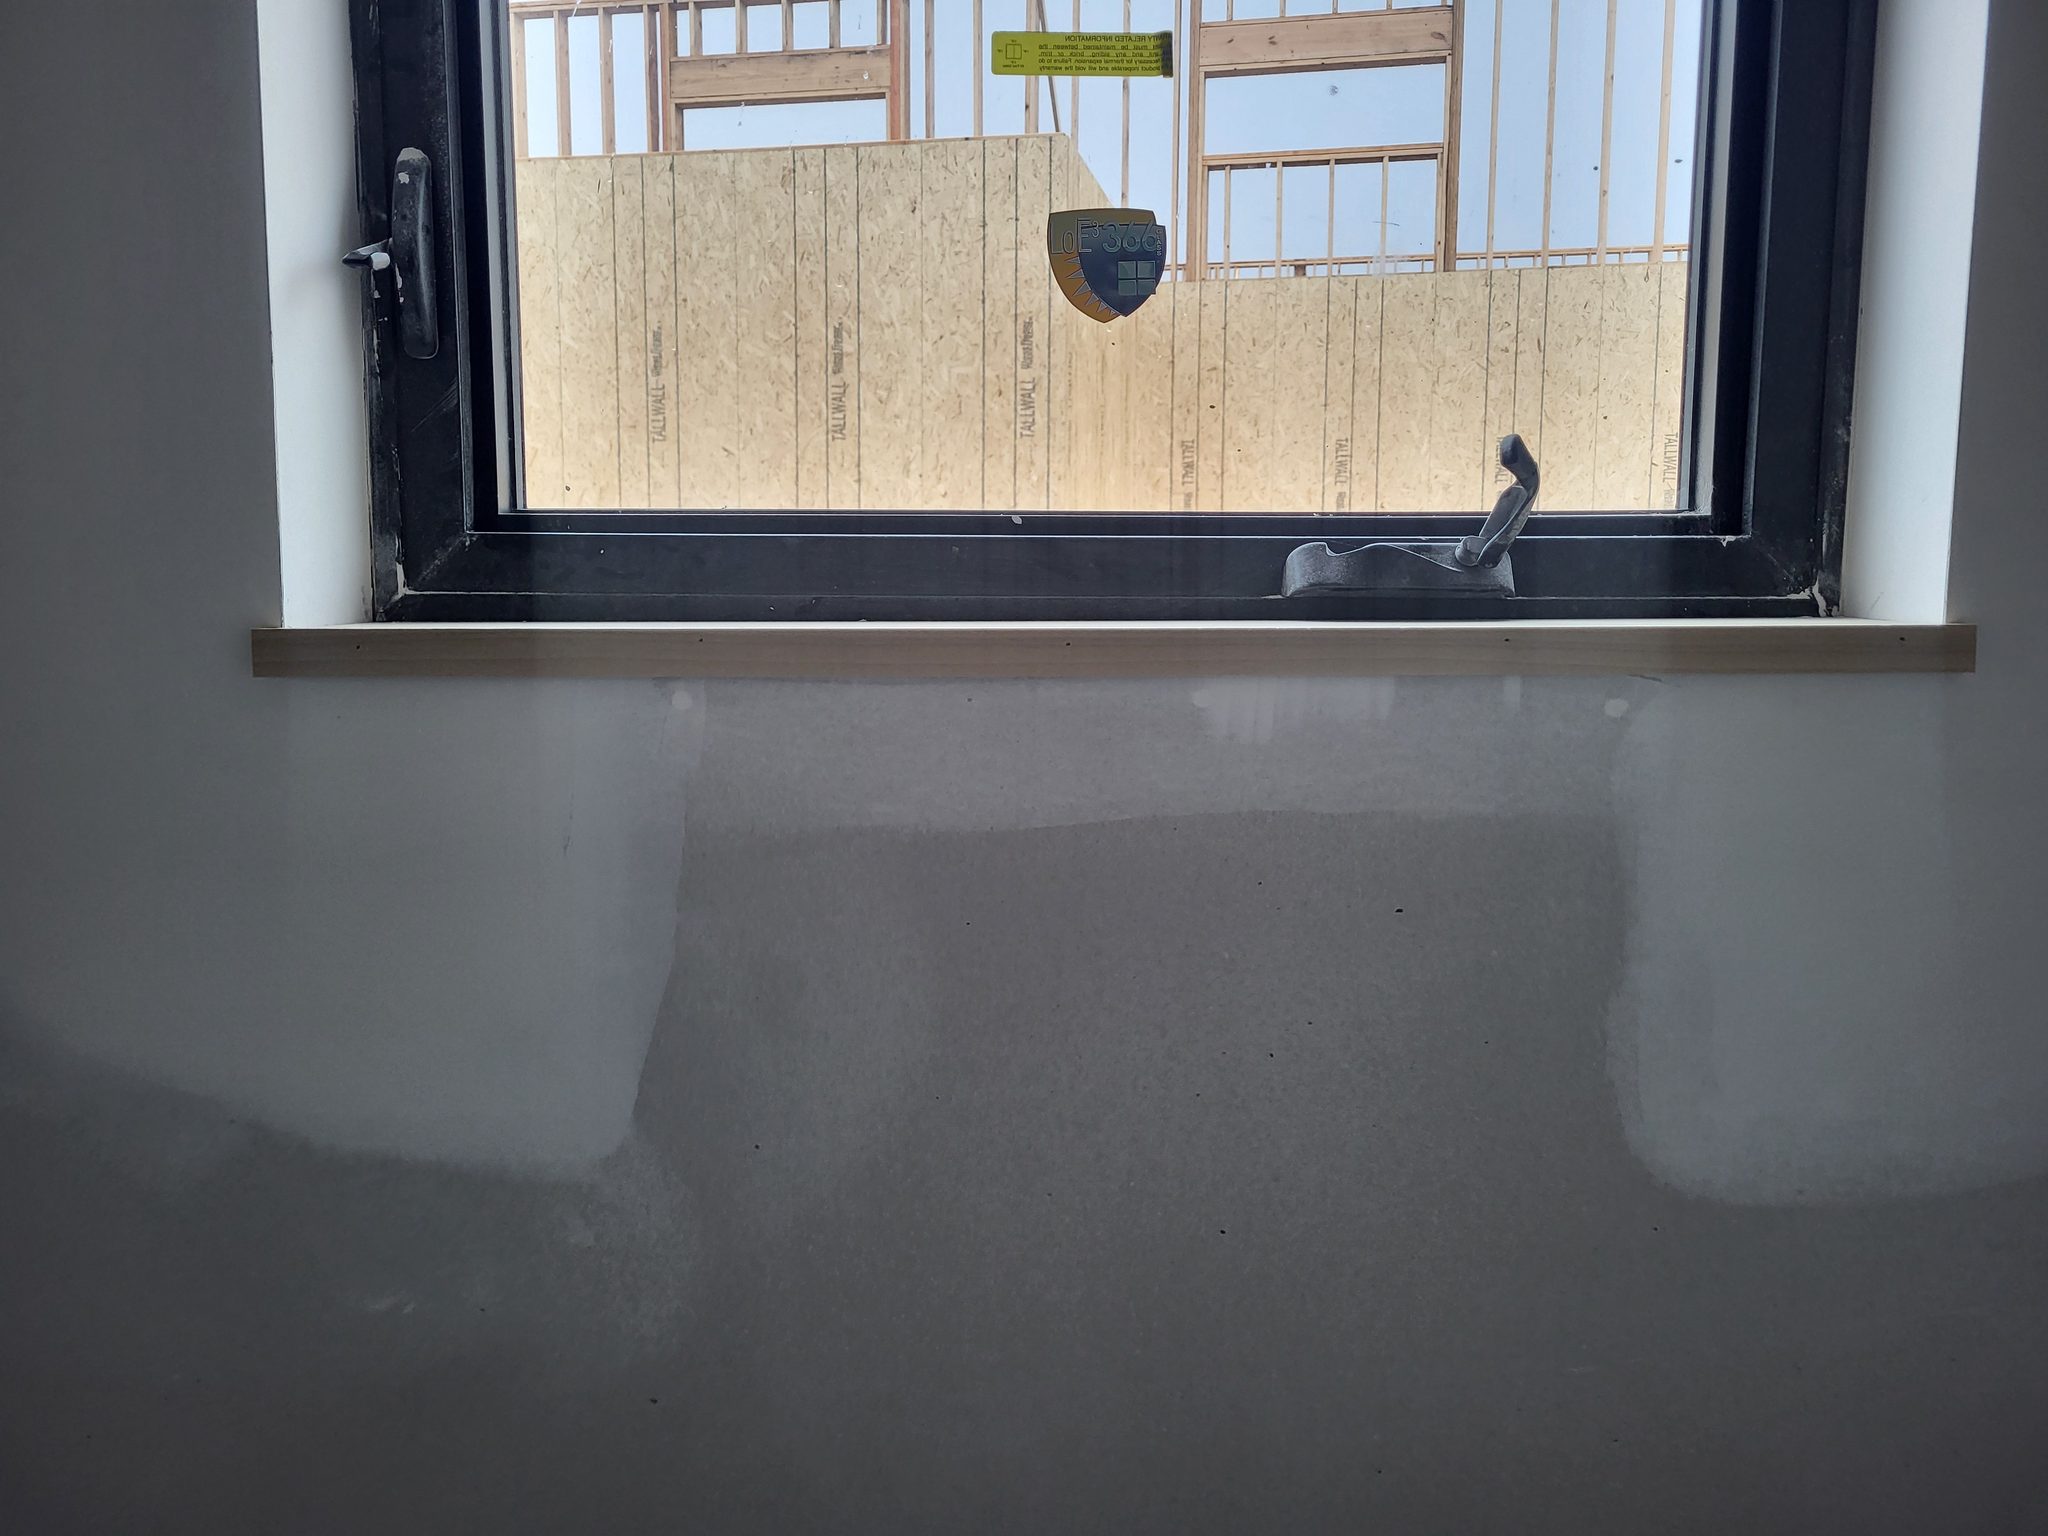
This guide covers the interior wood ledge at the bottom of a window, commonly called a stool or interior sill. Some trim styles include an apron, the trim board below it.
The single most important concept in achieving professional results is ensuring all surfaces are level and square. This attention to detail prevents gaps and misalignments that can lead to callbacks. A precise fit not only looks clean but also withstands seasonal changes in humidity and temperature.
Before You Begin #
Before you install an interior window sill or stool, confirm that the following prerequisites are complete.
Prerequisites #
- Drywall is complete and painted.
- Window trim and casing are installed - see our window casing guide if that step is not done yet.
- Flooring is in place if applicable.
What You Need To Know #
When you install an interior window sill or stool, understanding these core techniques will save you time and prevent callbacks. If the window still needs a jamb extension to bring the jambs flush with the finished wall, do that first since it changes your sill depth measurement.
- Ensure the window frame is square and level before beginning.
- Account for expansion gaps, especially with wooden materials.
- Where casing meets the jamb, keep the reveal at 3/16 inch.
Tools #
- Miter Saw - for precise cuts on trim and sill components.
- Level - to ensure surfaces are even.
- Brad Nailer - for securing trim and sill components.
- Measuring Tape - for accurate measurements.
- Chisel - for fine adjustments and fitting.
Materials #
- Window Sill Stock - typically 1x6 or 1x8, depending on window size.
- Trim Molding - matching the room’s existing trim style.
- Wood Glue - for securing joints and seams.
- Finishing Nails - typically 15-gauge.
Installation Steps #
Step 1. Measure and Cut the Sill #
Measure the width of the window opening and cut the sill stock to fit.
- Check for square and adjust as necessary.
- Dry fit the sill to ensure a snug fit.
Step 2. Secure the Sill #
Apply wood glue to the bottom of the sill and position it in place. Use a level to ensure it is even.
- Secure with finishing nails, spacing them 12 inches apart.
- Wipe away any excess glue.
Step 3. Add Trim or an Apron Where Used #
Where the window design includes an apron or other trim below the sill, cut and install it to match the existing room trim.
- Use a miter saw for precise corner cuts.
- Secure with brad nails, ensuring a consistent reveal.
Pro Tips #
Pro Tip: Use a piece of scrap wood as a spacer to maintain a consistent casing-to-jamb reveal.
Pro Tip: Pre-drill nail holes to prevent splitting, especially in hardwoods.
Common Mistakes #
- Mistake: Not checking for level - leads to a crooked sill.
- Mistake: Skipping the dry fit - can result in poor alignment and gaps.
QC / Punch Checklist #
- Sill is level and secure.
- Trim is flush with consistent reveals.
Related Guides #
Reference Photos #
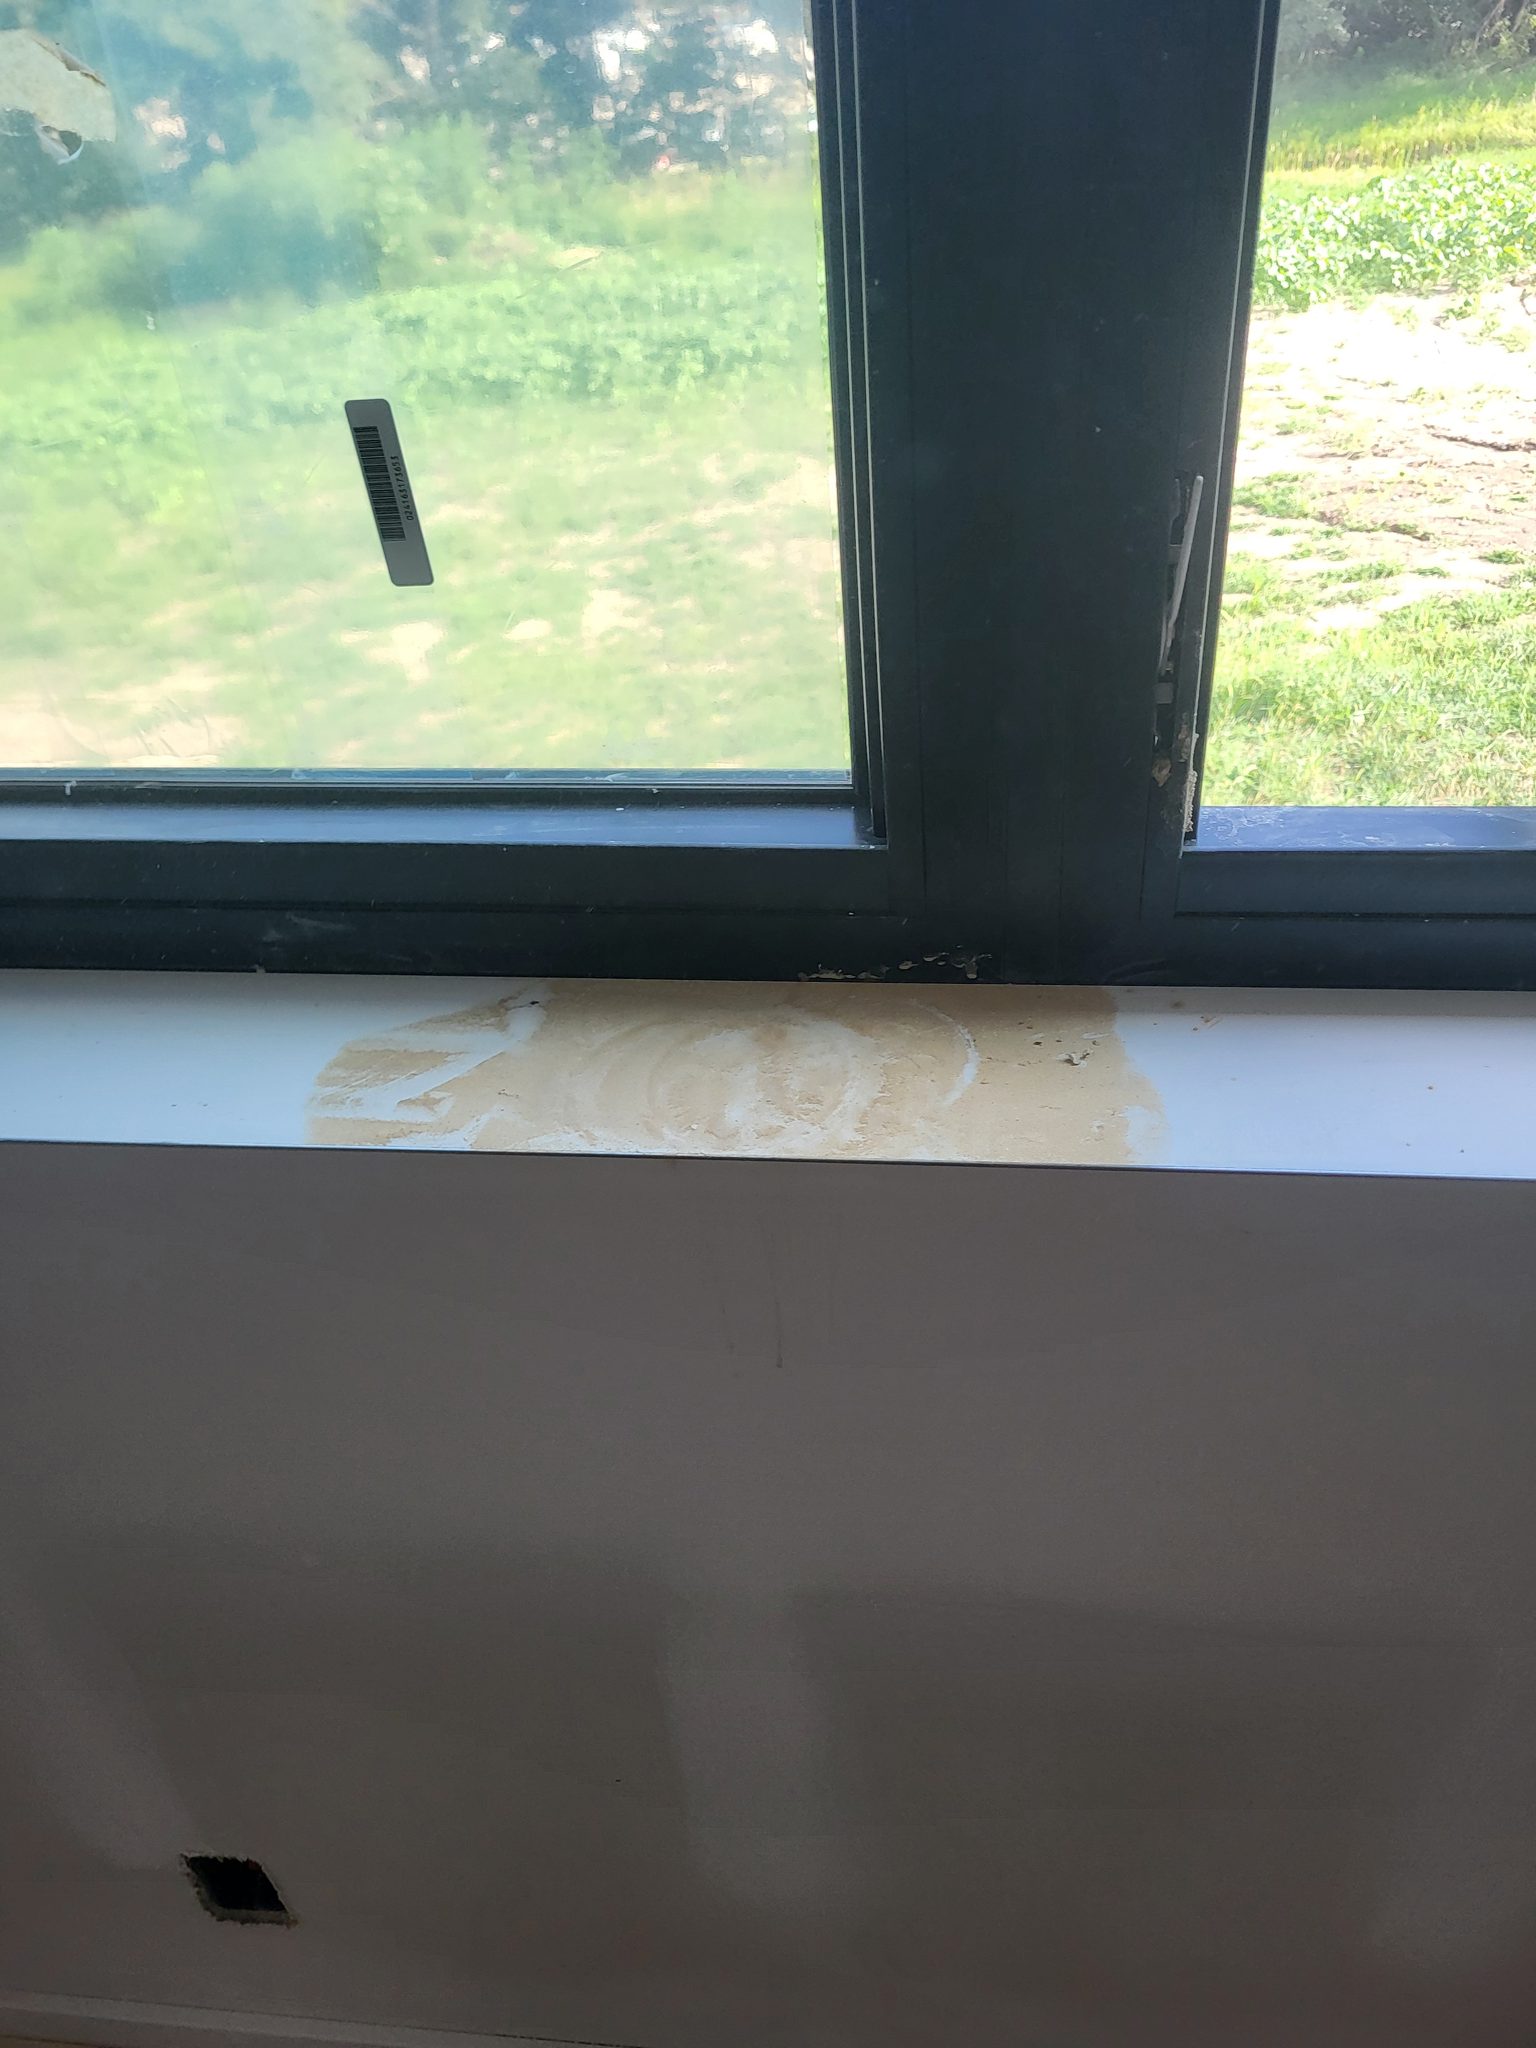
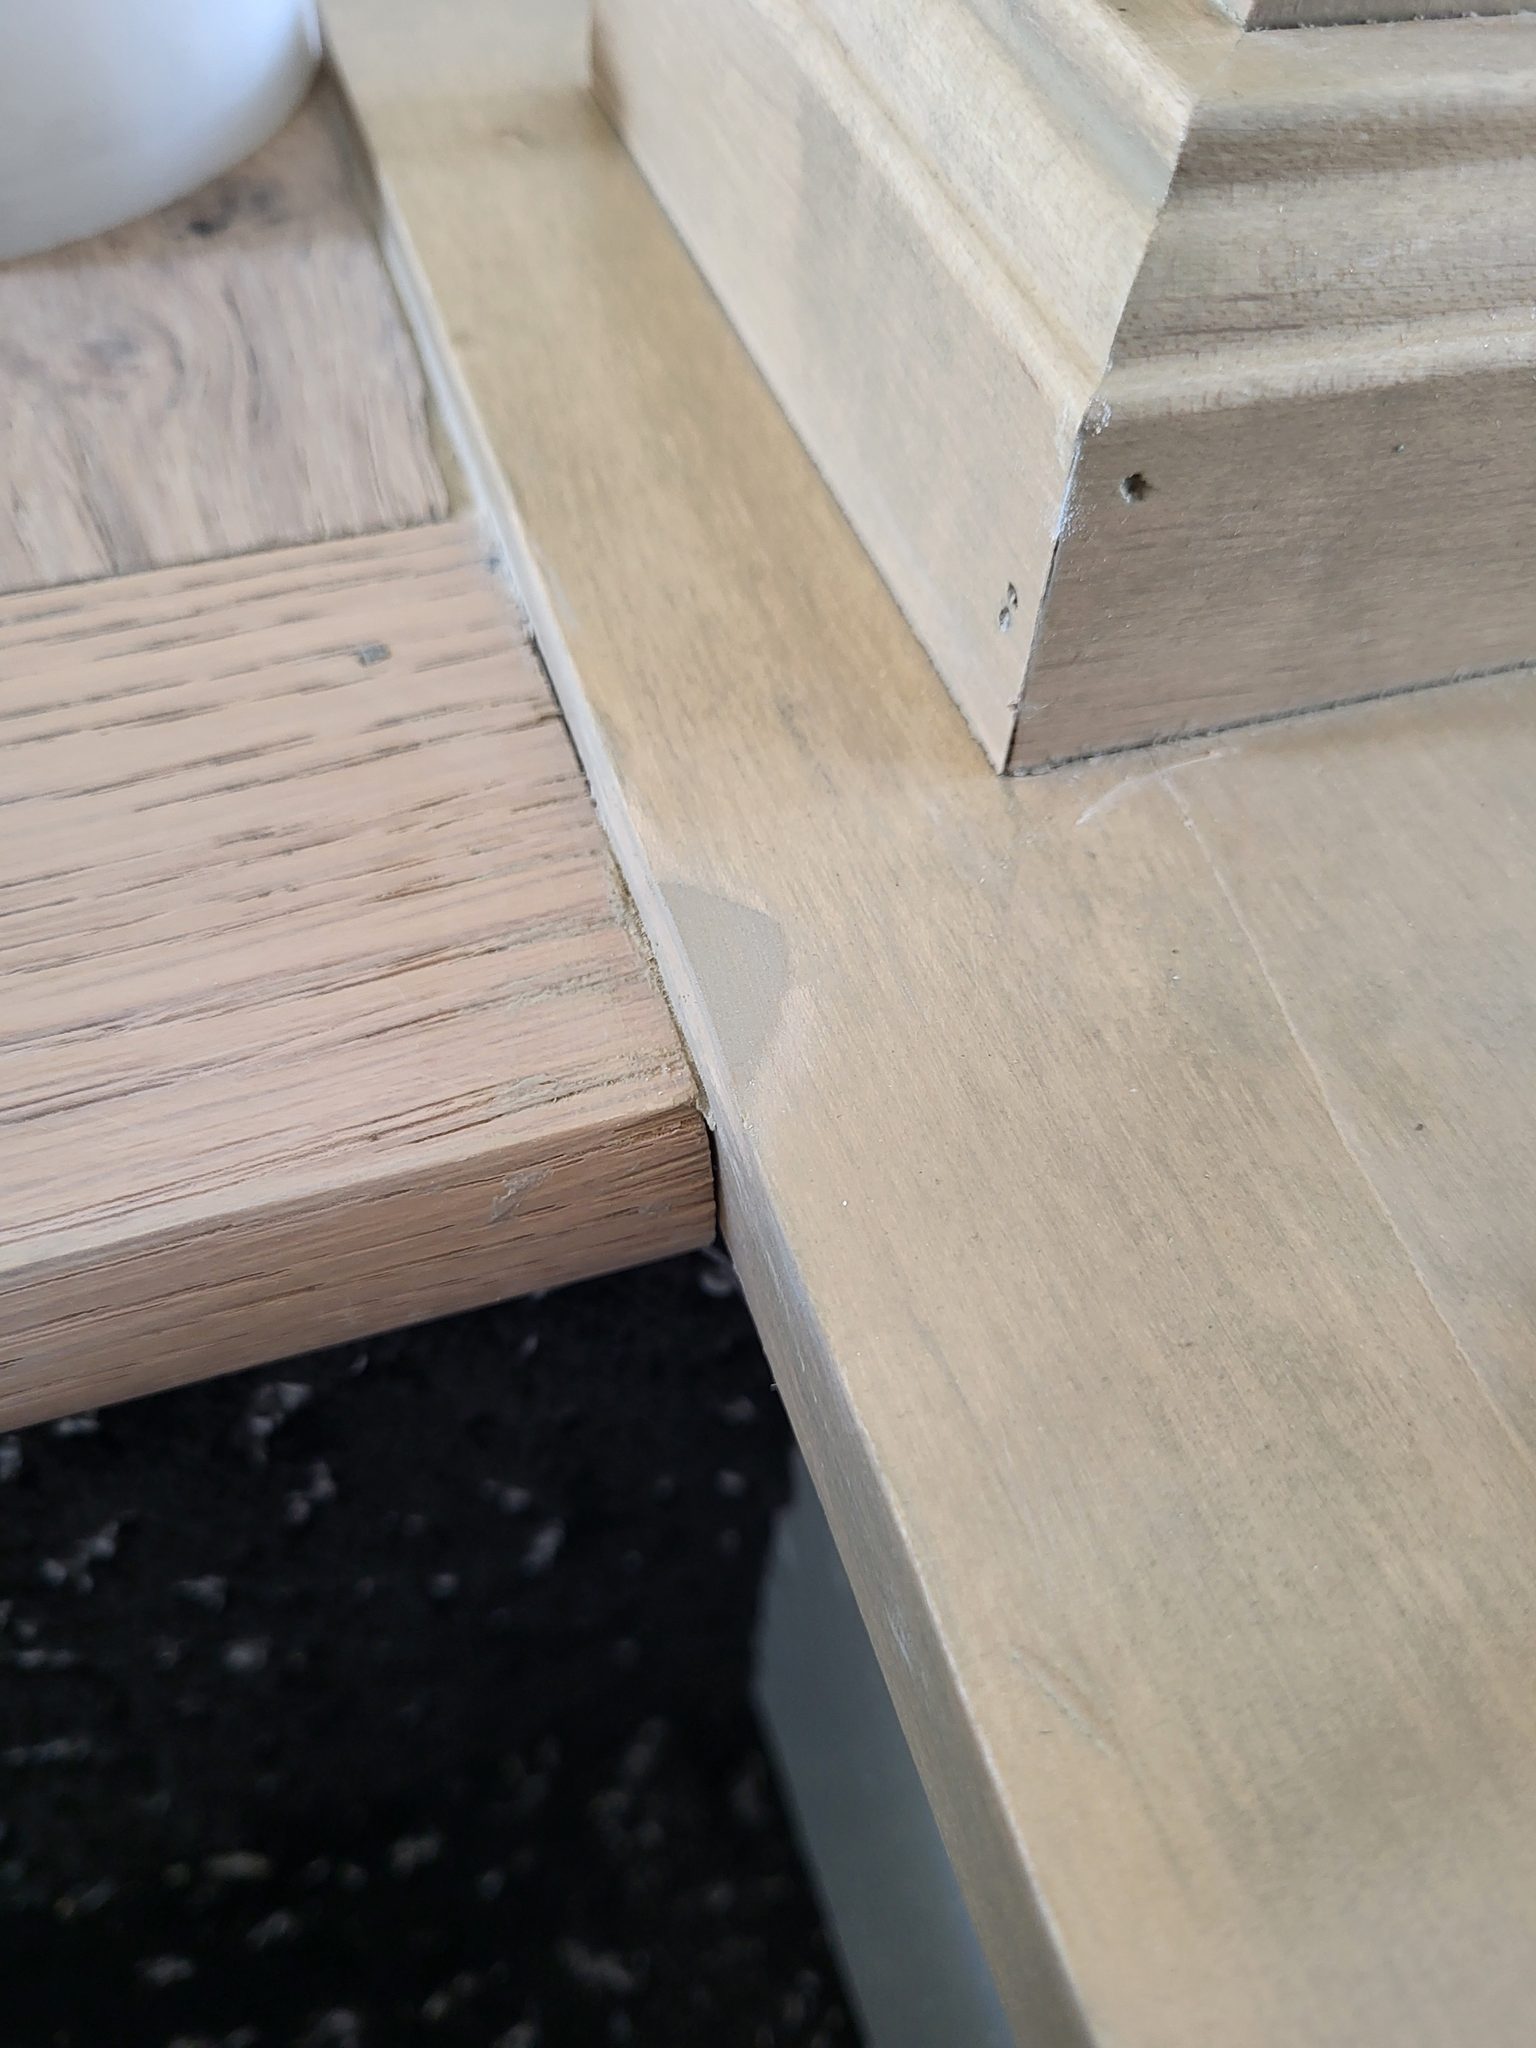
The following photos show examples of this type of work completed in the field. These serve as visual references for quality standards, proper installation techniques, and finished results.
Showing 5 of 5 photos