On this page
Introduction #
Installing a butcher block countertop is a rewarding task that adds warmth and character to any kitchen or workspace. This Old House covers the homeowner side of kitchen tops; this guide is our set-and-screw method. As a finish carpenter, your role in this process is crucial for achieving a seamless and professional look. Butcher block countertops are popular in both new-construction and remodel projects due to their durability and aesthetic appeal. The single most important concept to keep in mind is ensuring a precise fit and secure attachment, which will prevent future movement and potential damage.
In a typical workflow, butcher block installation comes after the cabinets are set and before the backsplash is installed. This sequence allows for precise fitting and alignment with other kitchen elements. The key to a professional result is holding a consistent overhang and ensuring the wood is acclimated to the environment to prevent warping.
Before You Begin #
Before you install the butcher block countertop, confirm that the following prerequisites are complete.
Prerequisites #
- Cabinets are fully installed and level.
- Plumbing rough-in is complete.
- Appliances are in place for accurate fitting.
What You Need To Know #
When you install a butcher block countertop, understanding these core techniques will save you time and prevent callbacks.
- Acclimate the butcher block to the room for at least 72 hours to prevent warping.
- The front overhang past the cabinet face is at least 1 inch, typically 1-1/4 inch, matching the countertop overhang the job is using. A countertop has an overhang, not a reveal.
Tools #
- Circular saw with fine-tooth blade - for cutting the butcher block to size.
- Router with a round-over bit - to smooth edges.
- Drill/driver - for securing the countertop to cabinets.
- Clamps - to hold the countertop in place during installation.
Materials #
- Butcher block countertop - typically 1.5" to 2" thick, sourced from a reputable supplier.
- Wood screws - #8 x 1.25" for securing the countertop.
Installation Steps #
Step 1. Measure and Cut #
Measure the dimensions of the countertop area, accounting for any overhangs. Cut the butcher block to size using a circular saw with a fine-tooth blade.
- Ensure cuts are straight and square to fit precisely.
- Use a straight edge as a guide for the saw.
Step 2. Dry Fit the Countertop #
Place the cut butcher block on the cabinets to check the fit. Adjust as necessary to ensure a snug fit at the walls and a consistent overhang at the front.
- Check for level and adjust cabinet shims if needed.
- Verify that all edges align with walls and appliances.
Step 3. Secure the Countertop #
Set the countertop on the cabinets, already cut to fit. Screw it up from underneath through the cabinet's corner braces or stretchers into the top. No glue is needed for this attachment.
- Pre-drill holes to prevent splitting.
- Space screws approximately 12" apart along the perimeter.
Step 4. Finish the Edges #
Use a router with a round-over bit to smooth the edges of the countertop.
- Work in the direction of the wood grain to avoid tear-out.
Pro Tips #
Common Mistakes #
- Mistake: Failing to acclimate the wood can lead to warping. Always allow the butcher block to adjust to the room's humidity and temperature before installation.
- Mistake: Incorrect screw placement can cause splitting. Pre-drill holes and use the correct screw size to avoid this issue.
QC / Punch Checklist #
- Check for level and ensure no gaps between the countertop and cabinets.
- Verify that the routed edges are clean and consistent, with no tear-out.
Related Guides #
- How to Install a Closet Countertop Shelf
- How to Install Granite Support
- How to Install Base Shoe
- How to Install Cabinet Hardware
Reference Photos #
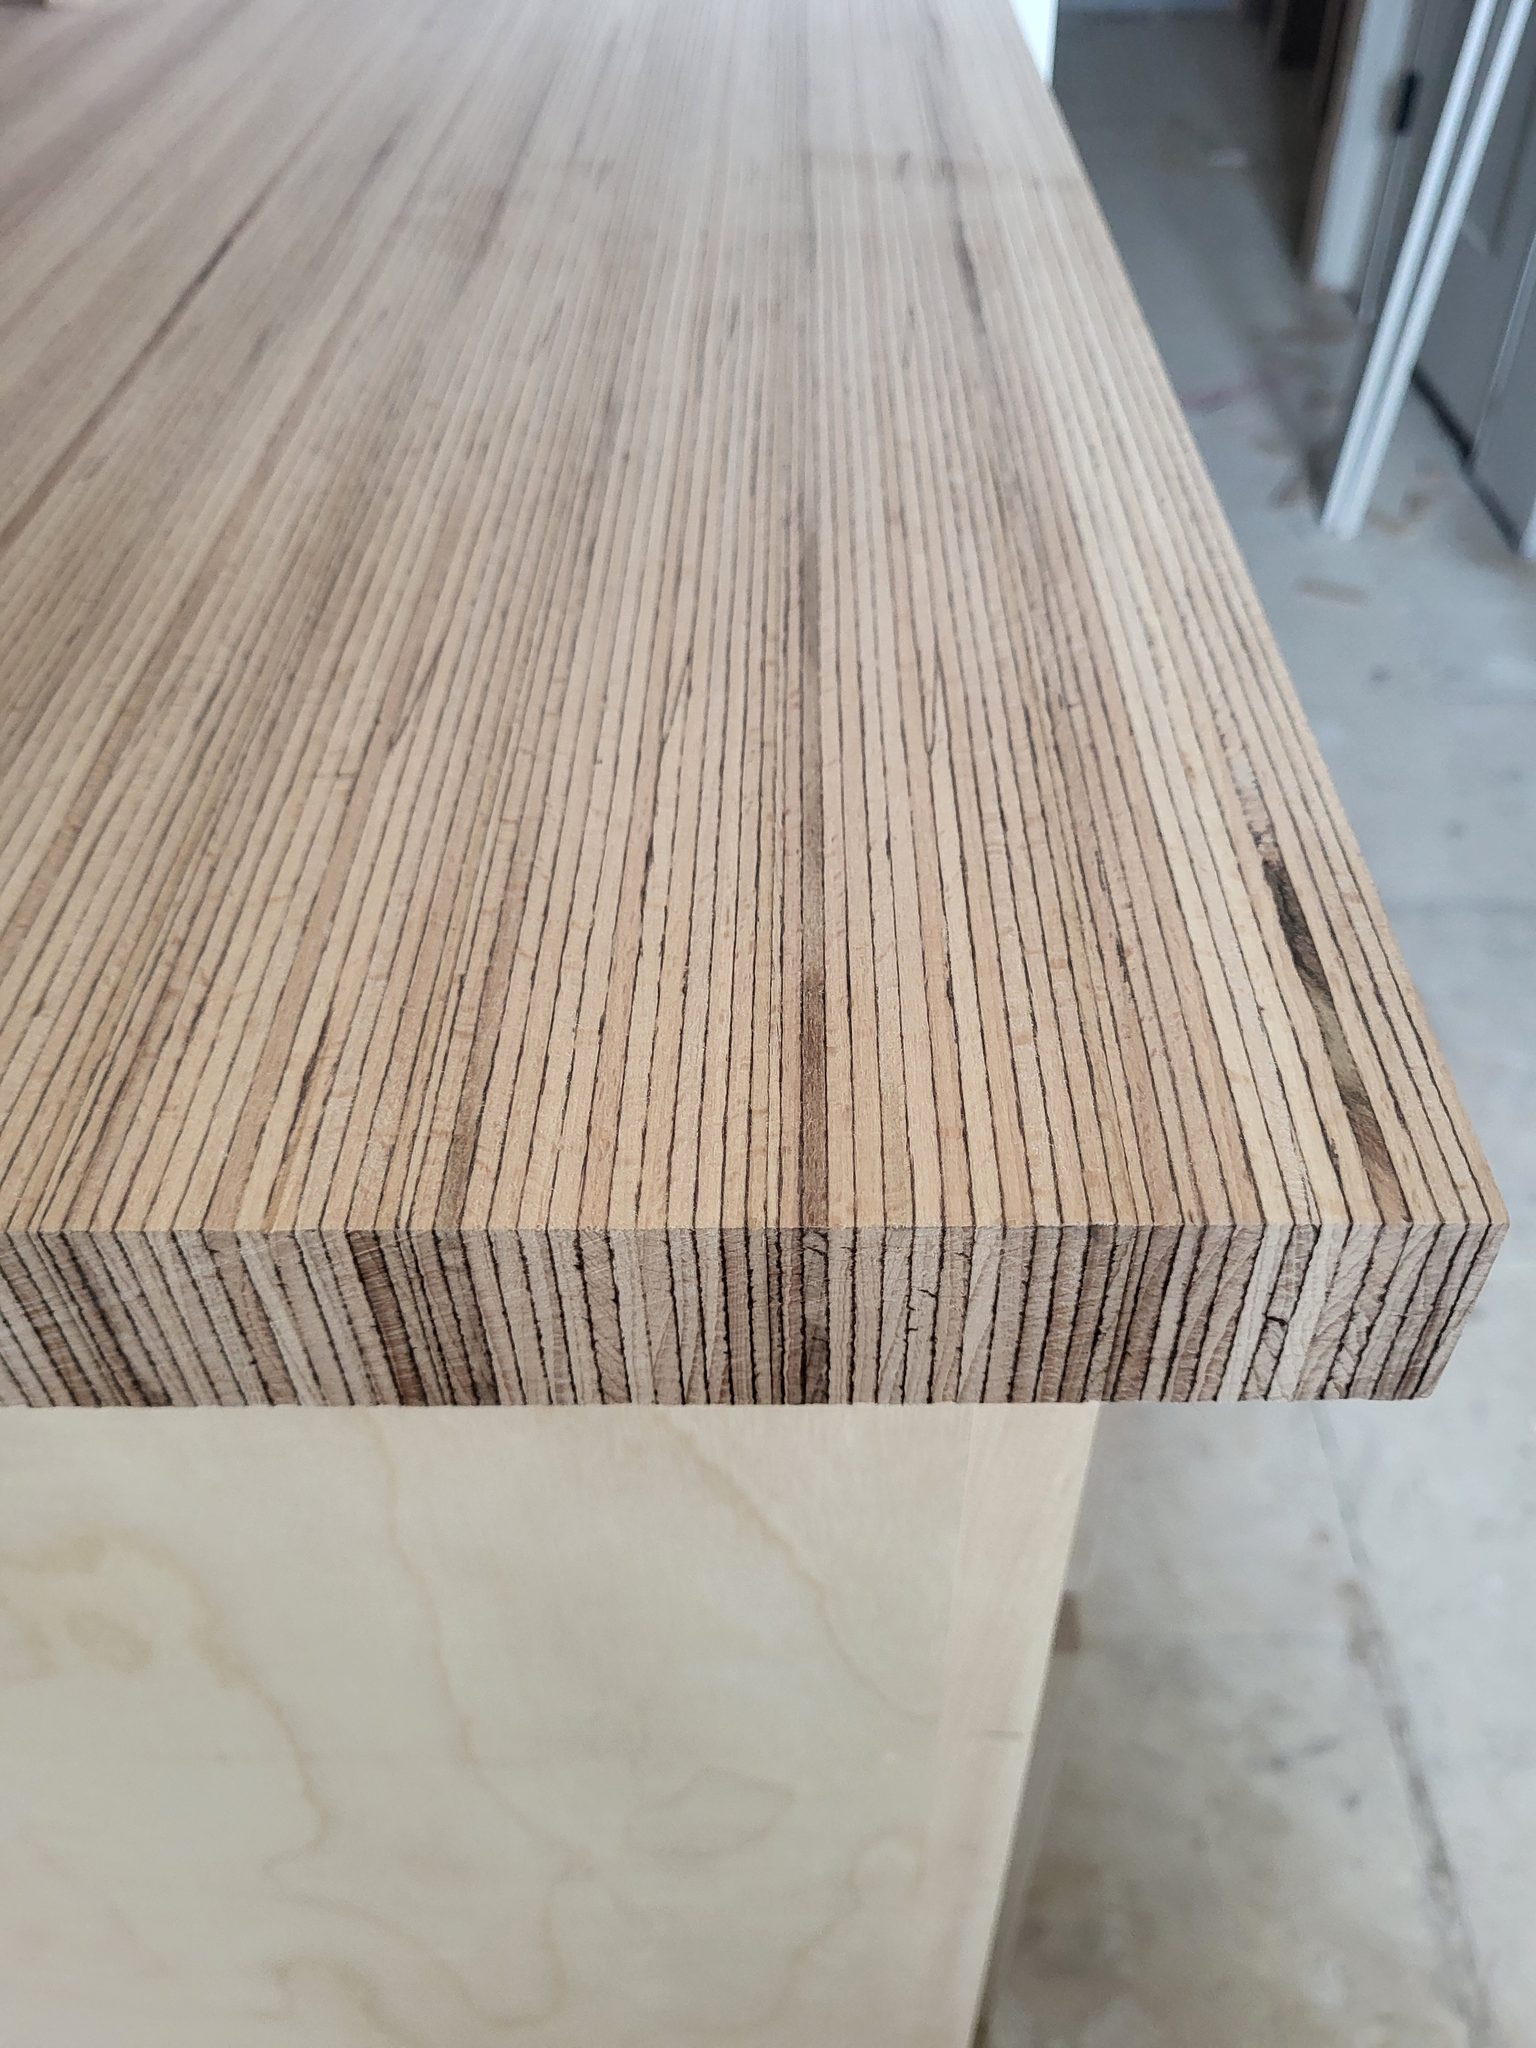
The following photos show examples of this type of work completed in the field. These serve as visual references for quality standards, proper installation techniques, and finished results.
Showing 1 of 1 photos