Skip to content

Let's Build Stuff

  • Home
  • Start Here
  • Glossary
  • Learn
  • Blog
  • About
  • Contact
  • Browse the guides
Let's Build Stuff

How can we help you?

Closets

7
  • Closet and Cabinet Trim Parts
  • How to Install a Wire Shelf in a Closet
  • How to Install Granite Support
  • How to Install a Closet Countertop Shelf
  • How to Build Basic Closet Shelves - Part 1 of 3 (Standards)
  • How to Build Basic Closet Shelves - Part 2 of 3 (Layout Design)
  • How to Build Basic Closet Shelves - Part 3 of 3 (Building)

Doors & Openings

29
  • Door and Window Parts
  • How to Install a Knock-Down Hollow Metal Frame
  • Installing a Weather-Exposed Exterior Door: The Extra Steps
  • How to Install a Pocket Door Frame
  • How to Install Door Blinds
  • How to Resize a Door Opening
  • How to Install a Welded Hollow Metal Frame
  • How to Install a Door Bump
  • How to Install an Exterior Finish Slab
  • How to Install an 8'0" Pocket Door
  • How to Install an 8'0" Solid Core Pre-Hung Interior Door
  • How to Install an 8'0" Hollow Core Pre-Hung Interior Door
  • How to Install a 6'8" Solid Core Pre-Hung Interior Door
  • How to Install a 6'8" Cased Opening
  • How to Finish a Bypass Door Install
  • How to Install 8'0" Bi-Fold or Bypass Door Slabs
  • How to Install 6'8" Bi-Fold or Bypass Door Slabs
  • How to Install an 8'0" Bi-Fold or Bypass Door Frame
  • How to Install a 6'8" Bi-Fold or Bypass Door Frame
  • How to Install an Apartment Entry Slab Door with a Sweep
  • How to Install a Pre-Hung Door
  • How to Install a House-to-Garage Door
  • How to Install a Cased Opening
  • How to Install a Pocket Door for a Perfect Finish
  • How to Install Bifold Doors
  • How to Adjust an Exterior Door
  • How to Install Barn Doors
  • How to Install Bypass Doors
  • How to Install an Interior Center-Opening or French Door

General Carpentry

13
  • Which Material and Profile Goes Where
  • Exterior Trim Materials
  • Framing and Treated Lumber for the Trim Carpenter
  • Lumber Sizing, Grading, and Milling
  • Sheet Goods and Engineered Materials
  • Wood Species Field Guide
  • Choosing Nail Guns and Air Tools for Finish Carpentry
  • How the Guide Library Is Organized
  • Difficulty Levels Explained: What Levels 1, 2, and 3 Mean
  • Carpenter Hand Tools: What to Buy for Your Own Bag
  • Finish Carpentry Cheat Sheets and Printable References
  • How to Set a Barn Door Floor Guide
  • How to Trim a House, Start to Finish

Hardware

10
  • How to Install a Peep Sight
  • How to Install Privacy Pocket Door Hardware
  • How to Install Cabinet Hardware
  • How to Install a Window Blind in an Apartment
  • How to Install a Shower Rod in an Apartment Unit
  • How to Install Self-Closing Hinges
  • How to Install a Coat Hook
  • How to Install Address Numbers Total
  • How to Install Bath Accessories
  • How to Install a Lockset on a Door

Miscellaneous

2
  • How to Install Stock Trim Material
  • How to Install a Fire Extinguisher Cabinet

Moldings

28
  • Wall Treatments and Fireplace Trim Vocabulary
  • Trim Profiles: Casing, Base, and the Molding Families
  • How to Case Ganged Windows
  • How to Install Baby Shoe at Stair Nosing
  • How to Build a Custom Decorative Header
  • How to Install Crown Molding
  • How to Install an Interior Window Sill or Stool
  • How to Install a Transom Window Above a Door
  • Install Pre-Cut Shoe Molding, Nail Down
  • Make a Plinth Block
  • Install a Plinth Block at the Base of Casing
  • How to Install a Mullion Strip
  • Interior Window Frame for Tall Openings (120″ and Above)
  • Interior Window Frame for Medium-Tall Openings (90″ to 119″)
  • How to Install an Interior Window Frame
  • Window Jamb Extension for Tall Windows (120″ and Above)
  • Window Jamb Extension for Medium-Tall Windows (90″ to 119″)
  • How to Install a Window Jamb Extension Like a Pro
  • How to Case Tall Windows (10 Feet and Above)
  • Window Casing for Medium-Tall Windows (90″ to 119″)
  • How to Case One Side of an 8'0" Door
  • How to Case One Side of a 6'8" Door
  • How to Build an Attic Access Cover
  • How to Install Baseboard
  • How to Case One Side of an Exterior Door
  • How to Install Base Shoe
  • How to Case a Window
  • How to Install a Door Jamb Extension

Specialty

21
  • How to Install Vertical Shiplap
  • How to Install Herringbone Shiplap
  • How to Install Diagonal Shiplap
  • How to Install Chevron Shiplap
  • How to Hang a Mantel
  • How to Install LVP Flooring
  • How to Build a Floating Shelf
  • How to Install Decorative Wall Treatments
  • How to Install Ceiling Beams
  • How to Install a Butcher Block Countertop
  • How to Install a Mirror
  • How to Install Cabinets
  • How to Install Shiplap on a 3-Sided Fireplace Under 10'
  • How to Install Shiplap, 0' to 7'
  • How to Install Shiplap on a Ceiling
  • How to Install Shiplap 3 side fireplace wrap above 15'
  • How to Install Shiplap 3 side fireplace wrap 10'-15'
  • How to Install Shiplap on Walls Over 14 Feet Wide
  • How to Install Shiplap on a Wall 7 to 14 Feet Wide
  • How to Install a Locker Bench with Hooks
  • How to Install a Locker Bench with Cubbies

Stairs/Handrails

21
  • Stair Parts and Railing Vocabulary
  • How to Install Horizontal Bar Railing
  • How to Build a Handrail for Metal Balusters Like a Pro
  • How to Install a Wood Wall Cap
  • How to Install Wood Nosing
  • How to Install a False Tread Stair End Cap
  • How to Install Notched Skirt Boards
  • How to Install a Handrail Fitting
  • How to Install a Handrail Bracket
  • How to Install a Garage Step Handrail
  • How to Build Garage Steps with Closed Risers
  • How to Build Garage Steps with 3 Stringers (Open Risers)
  • How to Install a Straight Stair Riser
  • How to Install a Mitered Stair Riser
  • How to Secure and Finish a Stair Baluster
  • How to Install Stair Skirt Boards: Drop-In Method
  • How to Build a Wall-Mount Handrail
  • How to Mount a Handrail to the Wall
  • How to Install a Newel Post
  • How to Build Garage Steps with a Landing
  • How to Build Garage Steps: Safe, Code-Compliant Stairs
  • Home
  • Learn
  • Specialty
  • How to Install Ceiling Beams
View Categories

How to Install Ceiling Beams

0:00 / 9:54
  • View as Markdown Open this page as plain Markdown (opens in a new tab)
  • Open in ChatGPT Ask questions about this page (opens in a new tab)
  • Open in Claude Ask questions about this page (opens in a new tab)
  • Open in Google AI Studio Ask questions about this page (Google account required) (opens in a new tab)
On this page
IntroductionBefore You BeginPrerequisitesWhat You Need To KnowToolsMaterialsInstallation StepsStep 1. Lay Out Beams and Confirm FramingStep 2. Build the Three-Sided BoxStep 3. Cut the Cleat to FitStep 4. Screw the Cleat to the CeilingStep 5. Hang and Nail the BoxStep 6. Scribe the Ends to the WallPro TipsCommon MistakesQC / Punch ChecklistRelated Guides

Specialty Skill Level: Advanced (Level 3) · Estimated Time: 120-180 Minutes Per Beam

Introduction #

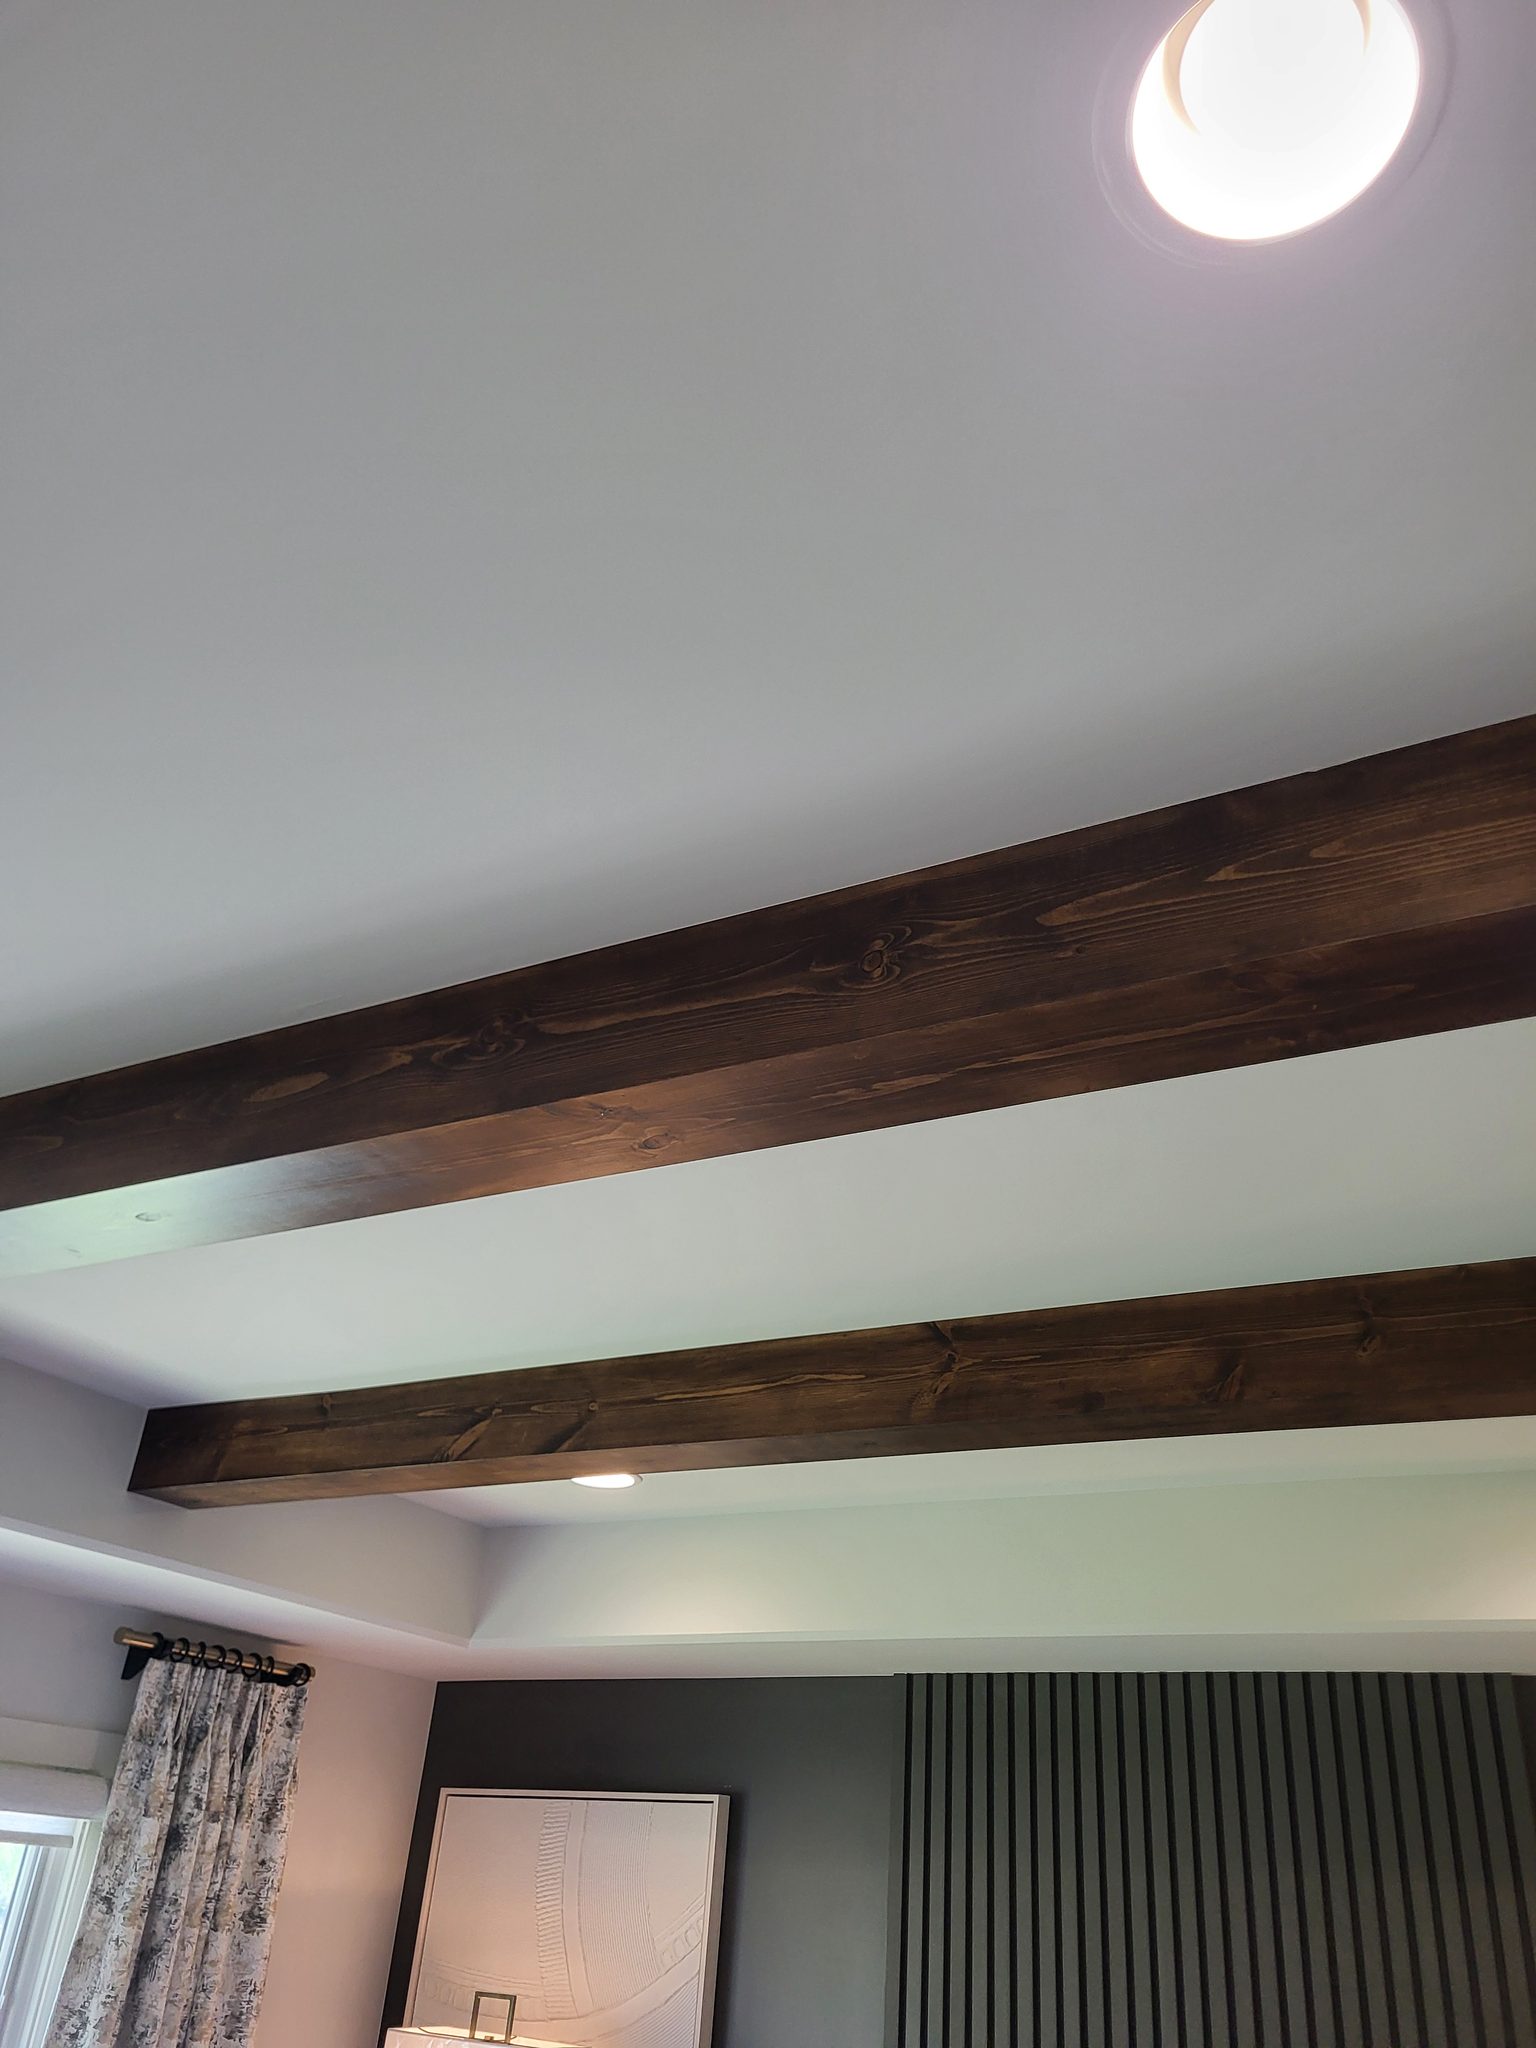
Installing ceiling beams is a high-impact way to add character to a room, especially in open-concept spaces like great rooms. This Old House has the design-side background; this guide is how we build and hang the box. In new construction they typically go up after drywall and paint, but before final trim and flooring.

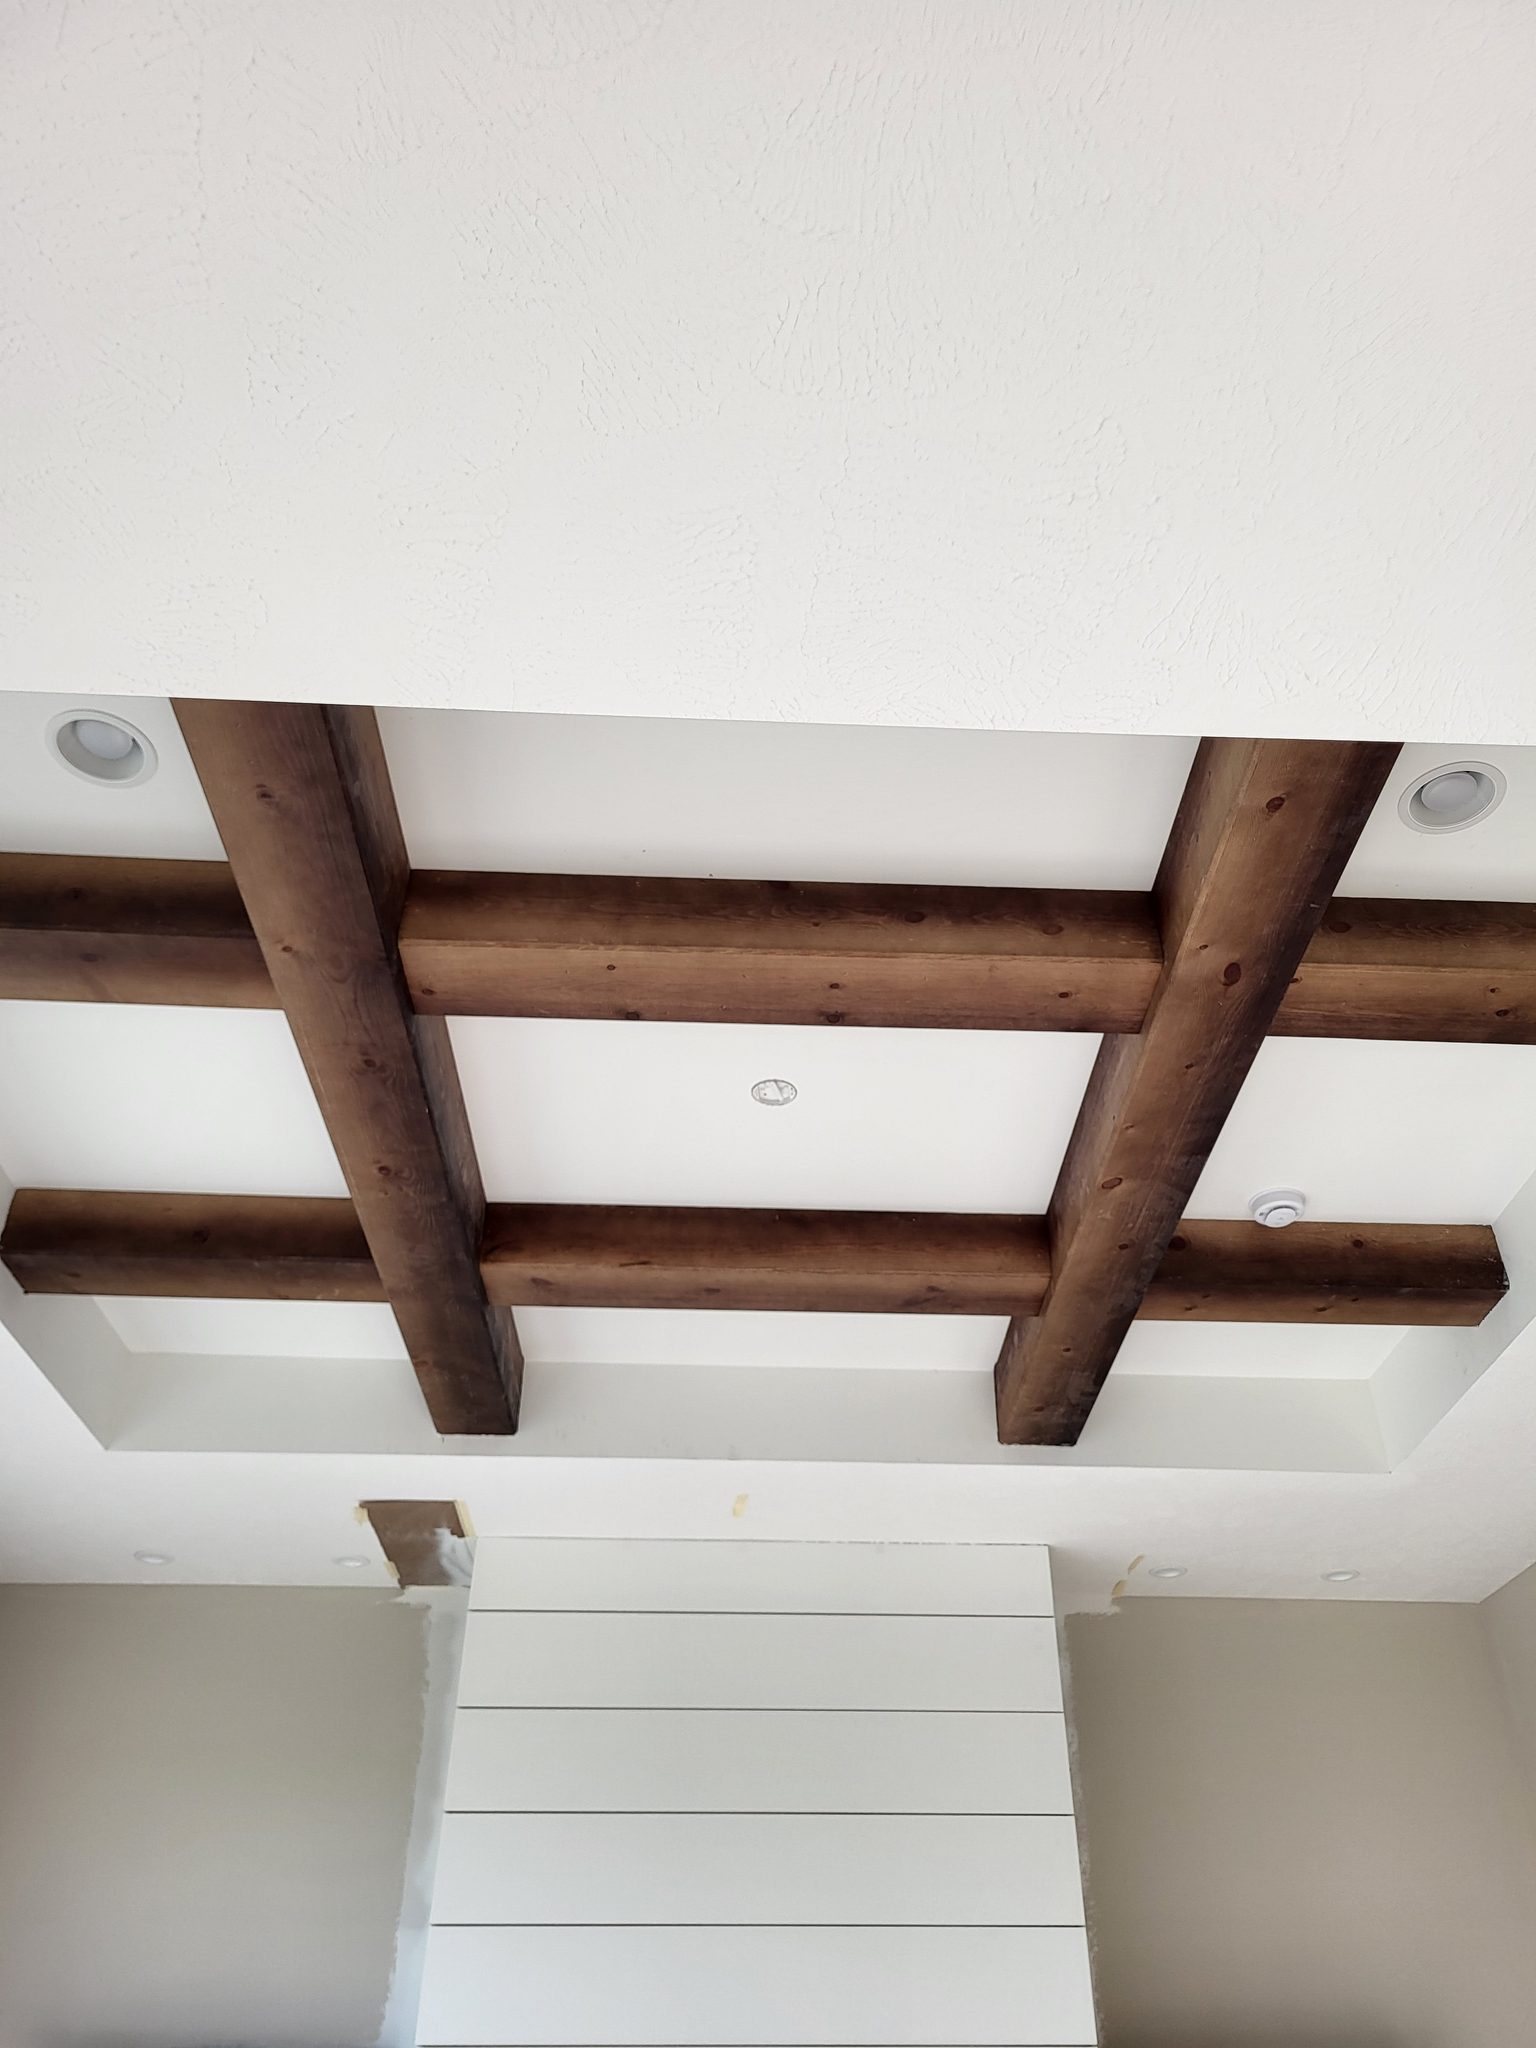
A finished beam looks like one solid piece of timber, but it isn't. It's a three-sided hollow box, built on site and hung over a cleat that's screwed straight into the ceiling framing. Building it this way keeps the weight down, lets the box run over wiring or ductwork without a fight, and lets every fastener land somewhere nobody will ever see it.

Species is clear pine or white oak. Cedar is almost never used here, even though it shows up in some old field notes. The three corners of the box come together one of three ways: mitered, rabbeted, or built with a recessed bottom edge. All three are acceptable; which one you use depends on the job. Whatever joint you pick, the standard on every beam is the same: no fastener ever shows on the finished piece.

Before You Begin #

Before you install ceiling beams, confirm that the following prerequisites are complete.

Prerequisites #

  • Drywall installation and painting are complete.
  • Electrical and HVAC rough-ins are finalized.
  • Flooring installation is either complete or protected.

What You Need To Know #

Before you cut anything, understand what makes this method different from building a beam out of solid timber.

  • The beam is a three-sided hollow box hung over a cleat, never a solid piece of timber.
  • Species is clear pine or white oak. Almost never cedar.
  • Corners are mitered, rabbeted, or built with a recessed bottom edge, chosen per job.
  • No fastener should ever be visible on a finished beam: no timber screws, no washers, no screw head showing through.

Tools #

  • Laser level - for laying out beam lines level and square across the room
  • Chop saw - for square cuts on the box faces and the cleat
  • Drill/driver - for screwing the cleat to the ceiling framing
  • 18 gauge pin nailer - for nailing the box faces onto the cleat
  • Stud finder - to locate ceiling framing before you commit to a layout
  • Clamps - to hold the box together while the corner glue sets

Materials #

  • Clear pine or white oak stock for the three beam faces
  • Cleat, 2x6, screwed to the ceiling framing, that the three faces nail onto
  • Screws, long enough to reach solid ceiling framing, for fastening the cleat
  • 18 gauge pins, 1-3/4 inch, for fastening the box faces to the cleat
  • PVA wood glue, for every corner joint
  • Wood filler, for puttying the corner joints flush before sanding

Installation Steps #

Step 1. Lay Out Beams and Confirm Framing #

Use a laser level and a chalk line to mark where each beam will run and to keep the spacing even room to room. Before you cut anything, confirm what's actually above the drywall. Use a stud finder, or pre-drywall framing photos if you have them, to make sure the full length of every cleat run lands on solid framing, not just drywall. If a beam has to run parallel to the framing instead of across it, that run needs blocking up there before the cleat goes in, so catch that problem now, not after the box is built.

  • Mark each beam centerline off the laser with the chalk line.
  • Double-check measurements for symmetry before you cut a single piece.
  • Every beam dies into a wall at both ends, scribed tight. There is no open end on a ceiling beam, so plan the length wall to wall.

Step 2. Build the Three-Sided Box #

Cut the beam faces to length on the chop saw, keeping every cut square so the joints close up tight. Join the three faces into a box using one of the three accepted corner methods: mitered, rabbeted, or a recessed bottom edge. Which one you use depends on the job, but pick one and hold it for the whole beam.

  • Glue every corner with PVA wood glue, then putty and sand the joint flush. Wood-to-wood joints are our work, no exceptions. No caulk, anywhere on the beam.
  • Clamp the box while the glue sets so the corners don't creep out of square.

Step 3. Cut the Cleat to Fit #

Rip the 2x6 cleat to the inside width of the box, so the three faces can nail onto it with no gap at the joint. Cut one cleat length per beam run.

Step 4. Screw the Cleat to the Ceiling #

Screw the cleat directly to the ceiling framing along your marked lines, using screws long enough to bite solid wood, not just drywall. The cleat is what actually carries the beam. Nothing gets glued to the ceiling, and nothing hangs on drywall alone.

  • Check the cleat against the laser line before you drive a single screw.

Step 5. Hang and Nail the Box #

Lift the three-sided box up and over the cleat so it wraps the cleat on three sides, then nail through the faces into the cleat with 18 gauge 1-3/4 inch pins to hang it. Never timber screws. Never washers. No fastener of any kind should show on the finished beam.

  • Check alignment against the laser line before you nail off the second face.
  • Set every nail head so it disappears below the surface. A nail hole is painter scope, not ours to fill.

Step 6. Scribe the Ends to the Wall #

A beam never ends in the open; it dies into a wall at both ends, and drywall is never perfectly flat or plumb, so the end has to be scribed. Cut a short template piece at the same depth as the beam face, hold it to the wall where the beam lands, scribe the wall onto it and trim until it closes tight, then transfer that line to the real piece. The end has to close as cleanly as the corners: no visible fastener, no gap.

Pro Tips #

Pro Tip: "The flat ones are harder." Joel's right: a flat, low-profile beam gives you less depth to hide an uneven joint or a cleat that isn't dead level, so give those the extra few minutes.

Pro Tip: Run your full laser layout before you build a single box. It's a lot easier to adjust a chalk line than to shim or re-cut a beam after it's already glued, nailed, and hanging.

Common Mistakes #

  • Mistake: Screwing or nailing the beam itself straight into the ceiling framing instead of building it around a cleat. It leaves visible fasteners and makes the beam hard to keep straight.
  • Mistake: Using timber screws or washers to hang the beam. Both are visible hardware, and the house method rules them out entirely.
  • Mistake: Building in cedar because it's on hand. Almost never the right call; use clear pine or white oak.
  • Mistake: Skipping glue, putty, or sanding at a corner joint. Every wood-to-wood joint is ours to finish, no exceptions.
  • Mistake: Screwing the cleat into drywall alone instead of solid framing. The cleat carries the whole beam; if it isn't anchored to framing, the beam won't stay anchored either.

QC / Punch Checklist #

  • Beam lines are straight, level, and evenly spaced room to room, matching the laser layout.
  • No fastener is visible anywhere on a finished beam: no screw heads, no timber screws, no washers.
  • Every corner joint is glued, puttied, and sanded flush; no caulk anywhere on the beam.
  • The cleat is fully hidden inside the box, and the box sits tight to the ceiling with no gaps.
  • Species and corner-joint method match what was specified for the job.
  • Both ends of each beam are scribed tight to the wall, no gap, no visible fastener.

Related Guides #

  • How to Install Shiplap on a 3-Sided Fireplace Under 10'
  • How to Install Shiplap 4, Ceiling
  • How to Build a Custom Decorative Header
  • How to Hang a Mantel

Reference Photos #

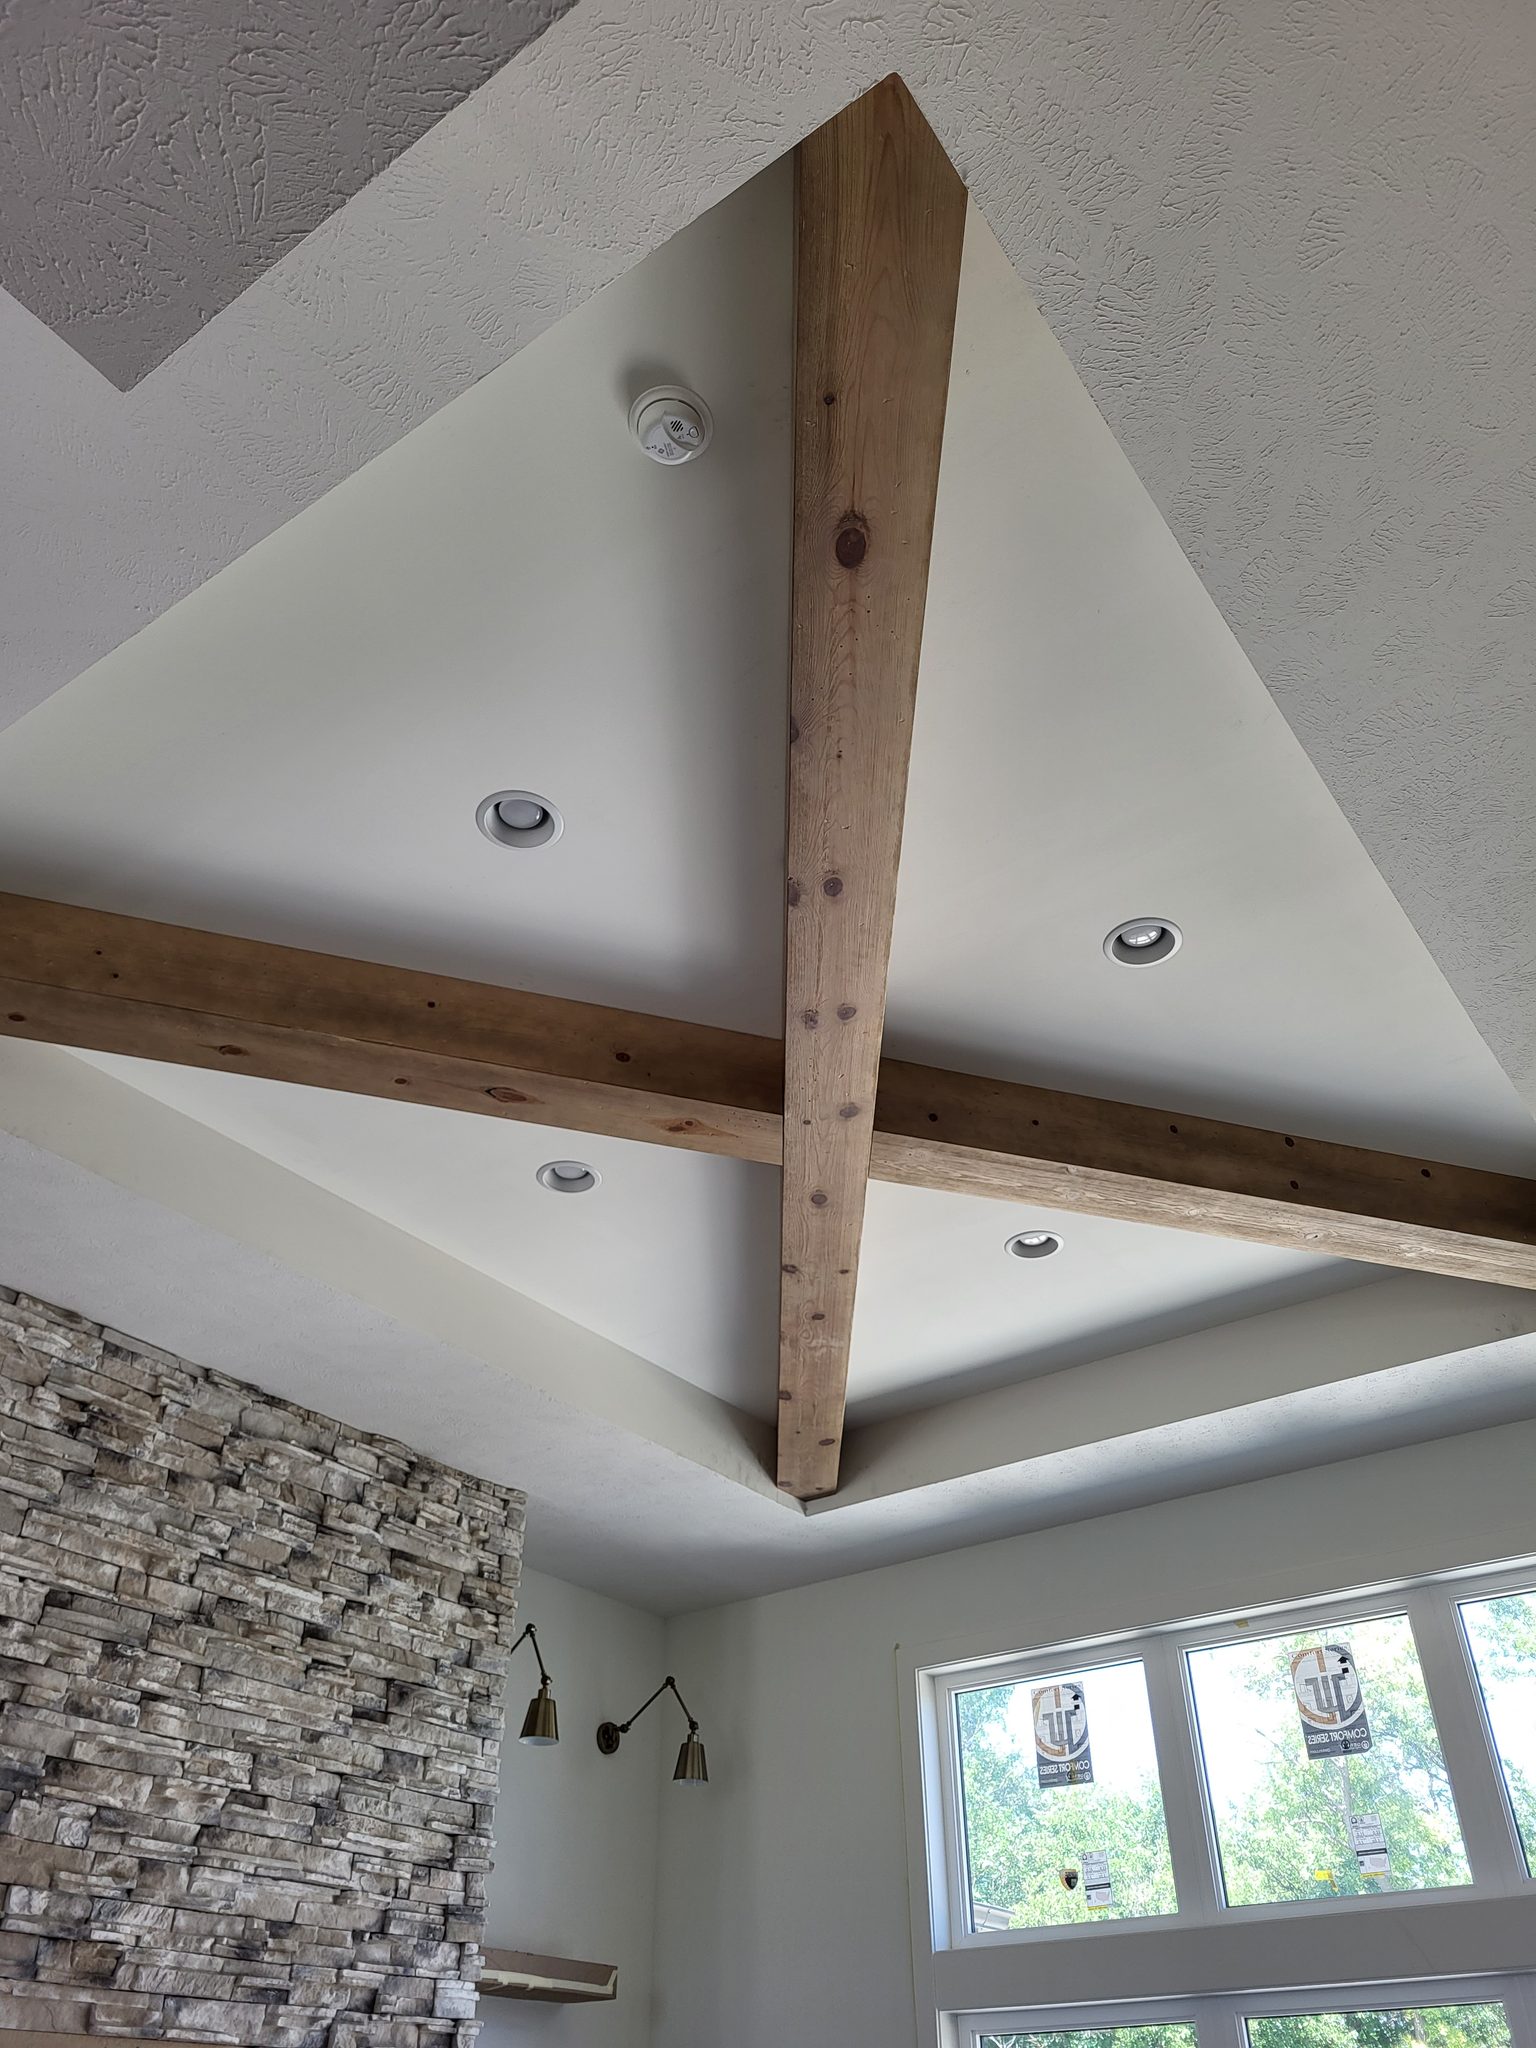
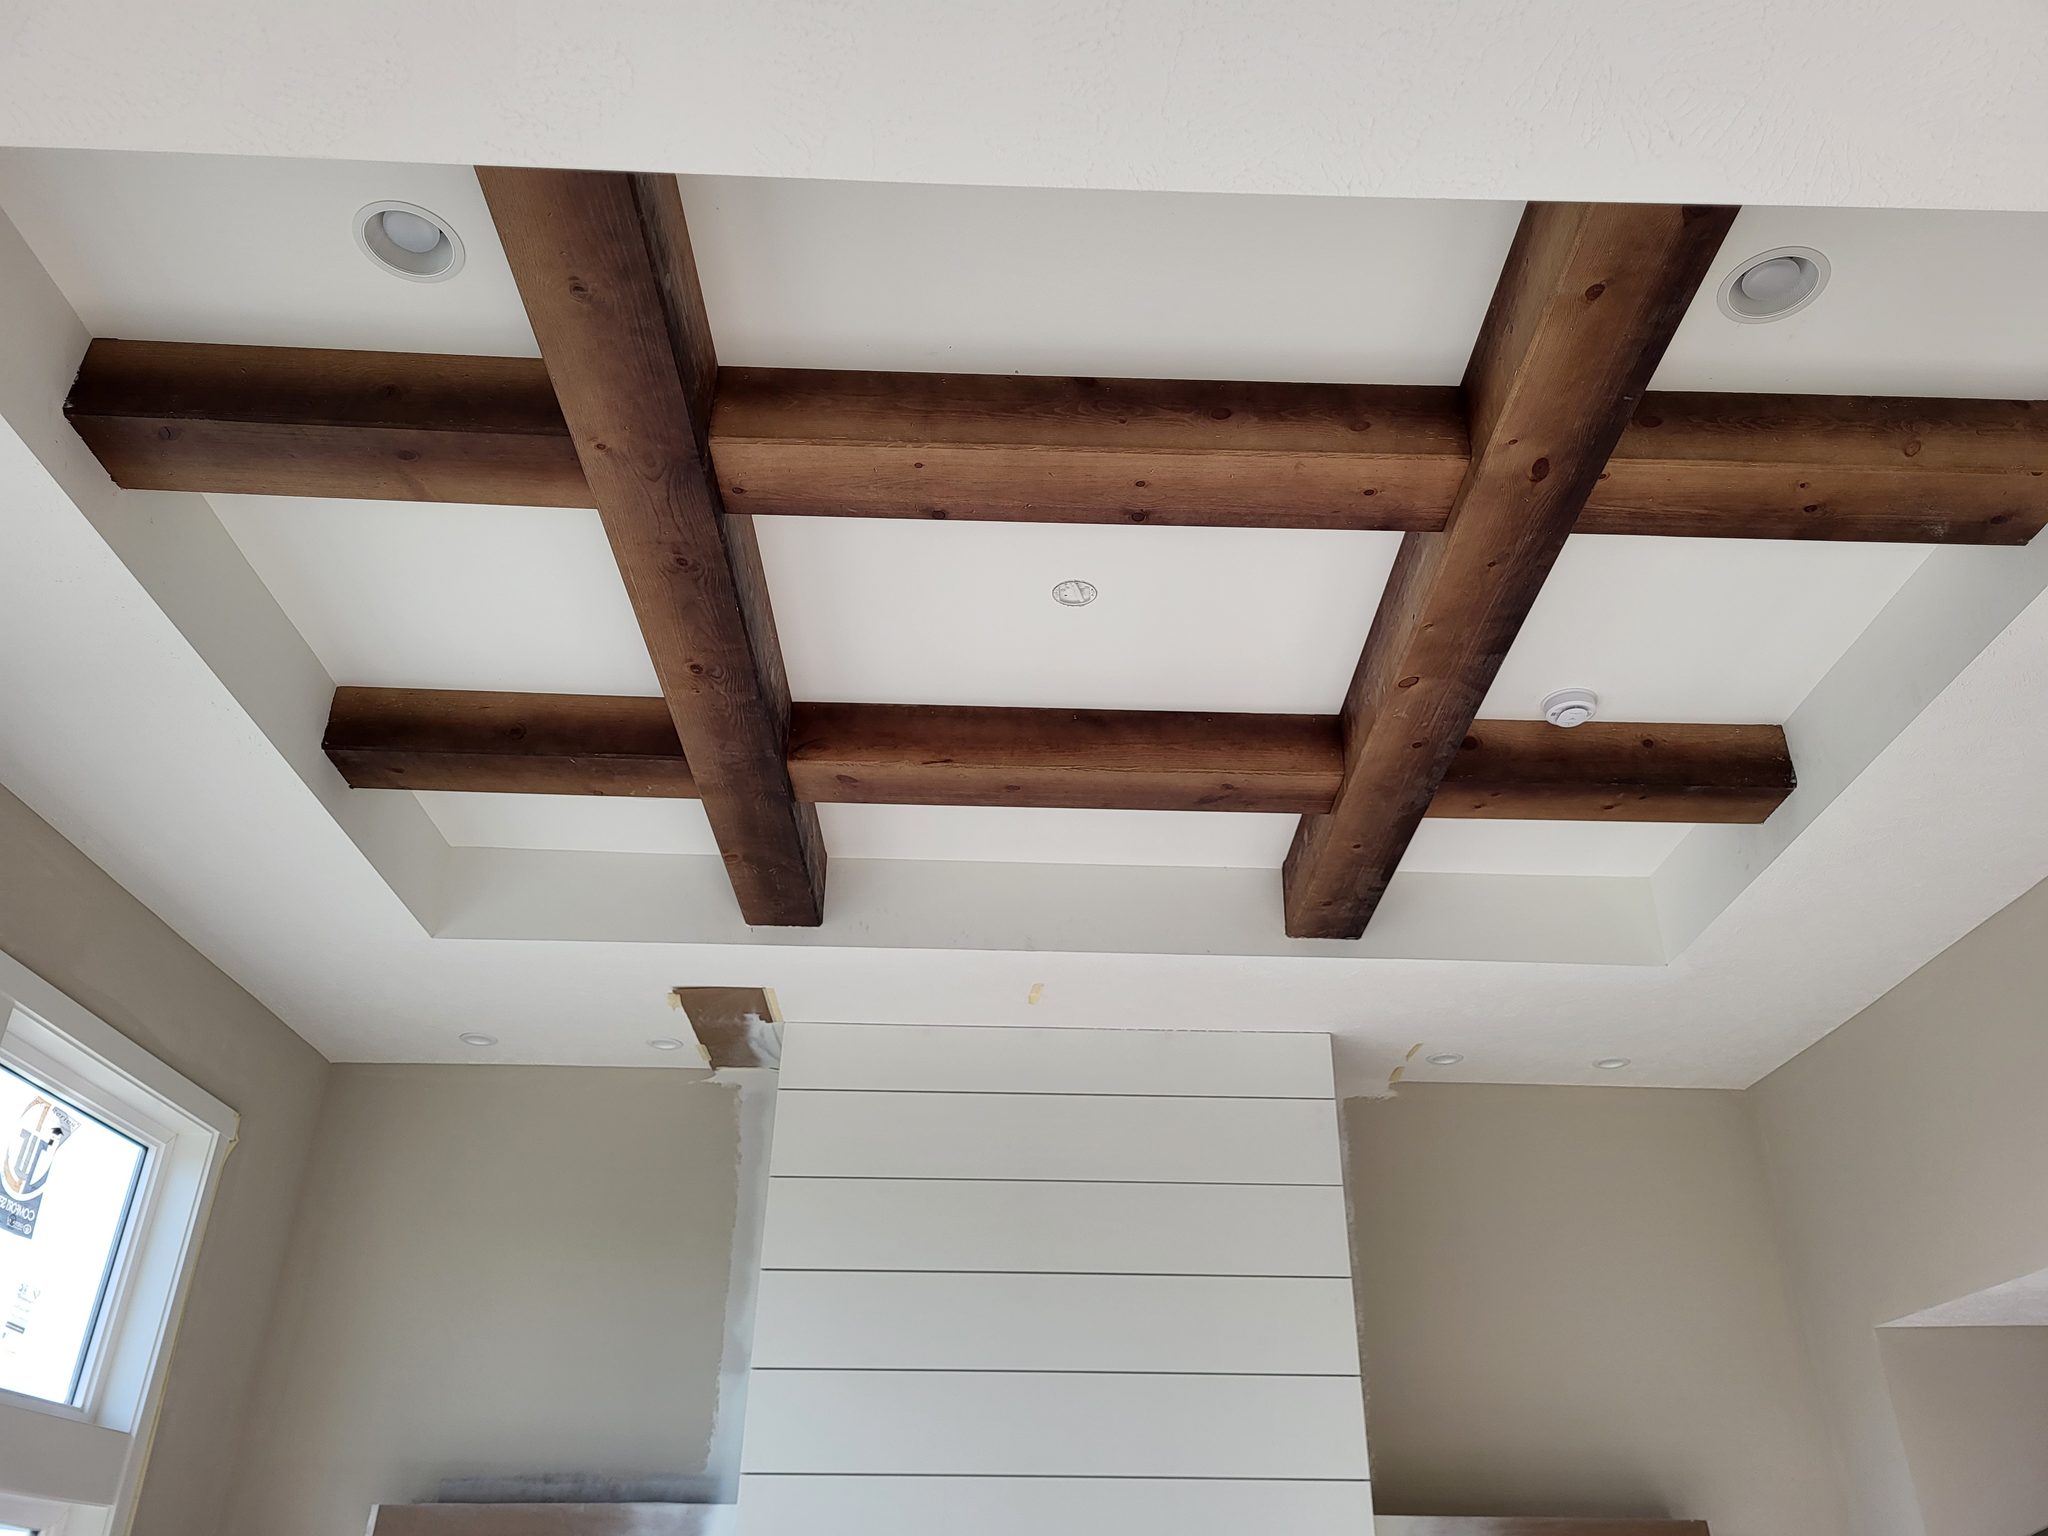
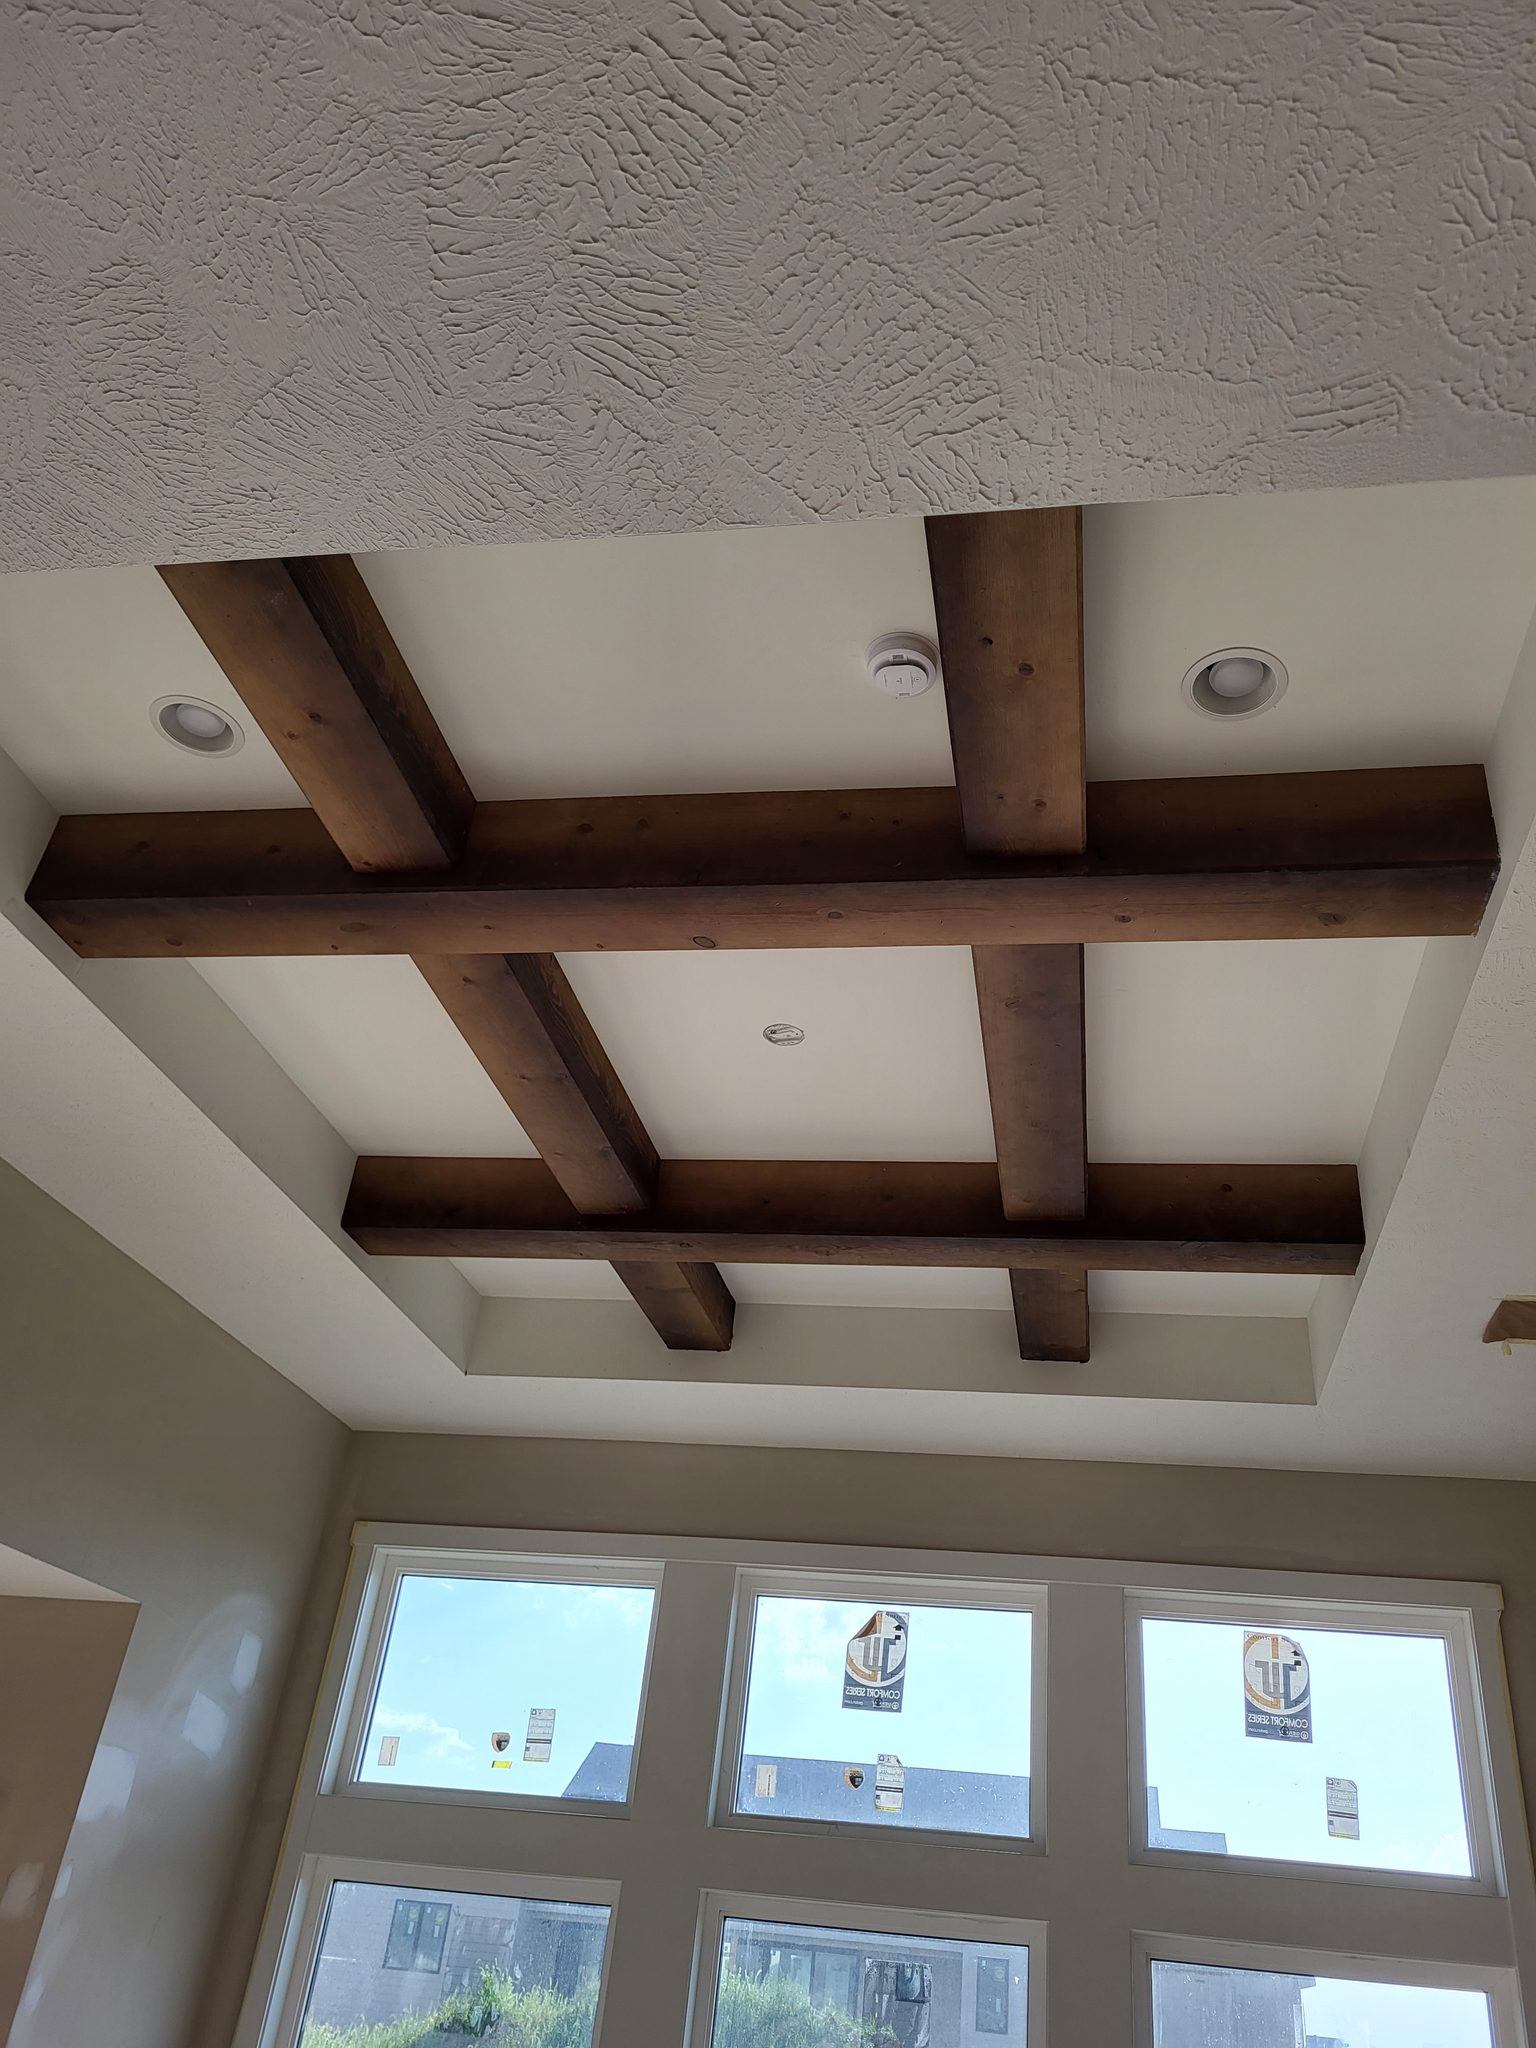
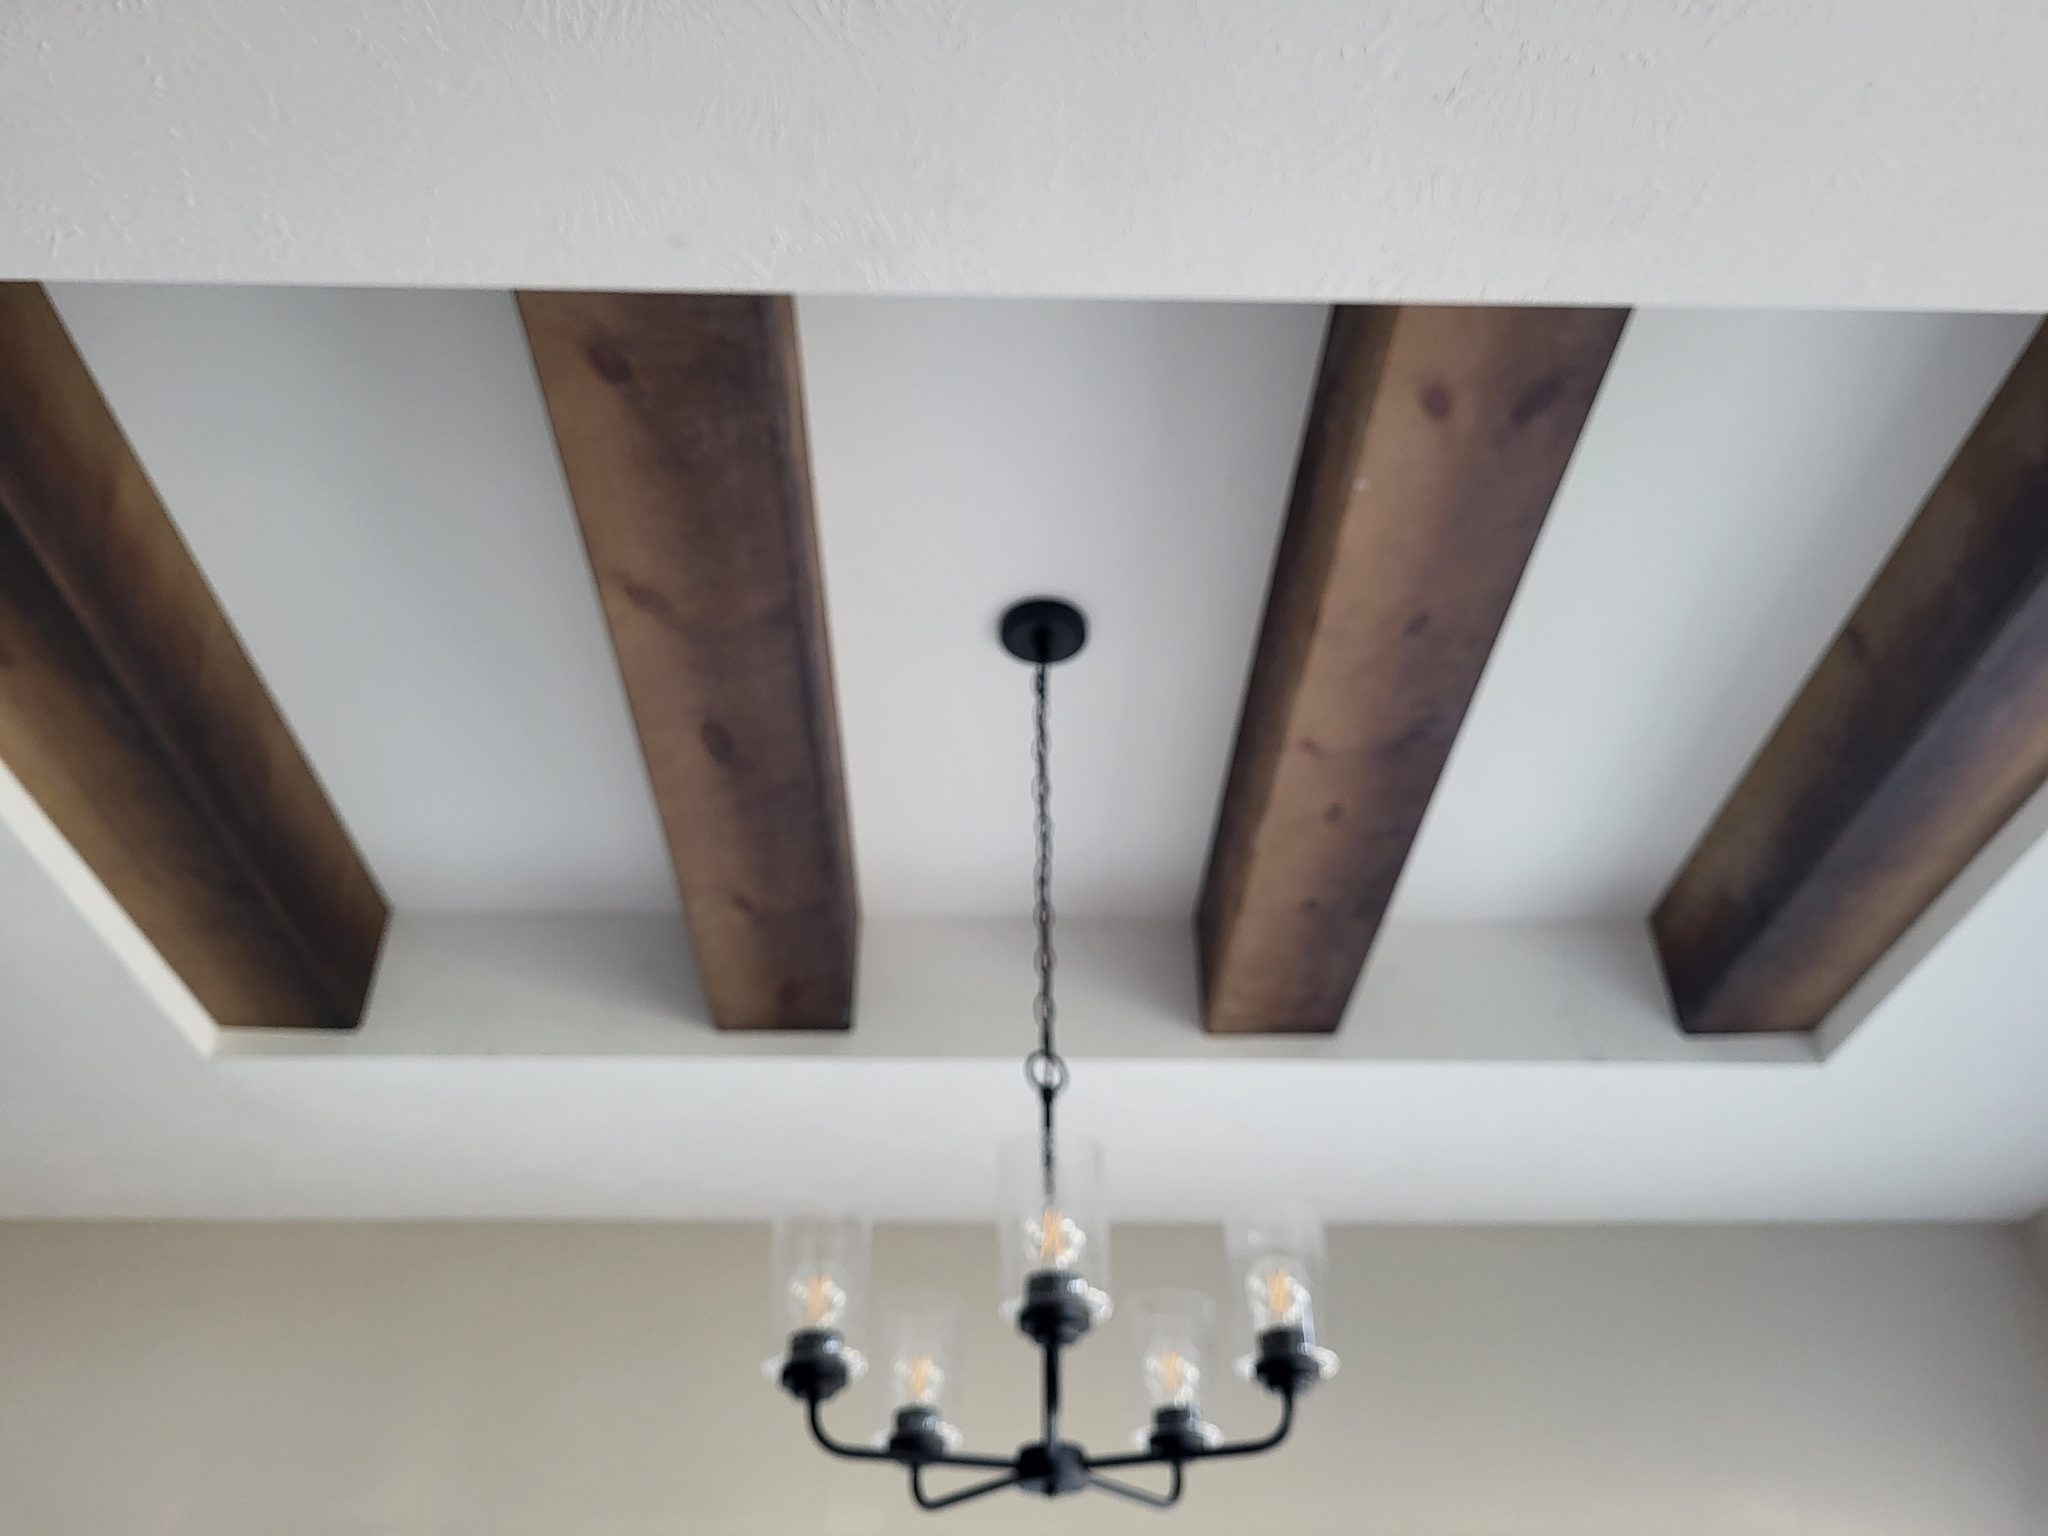
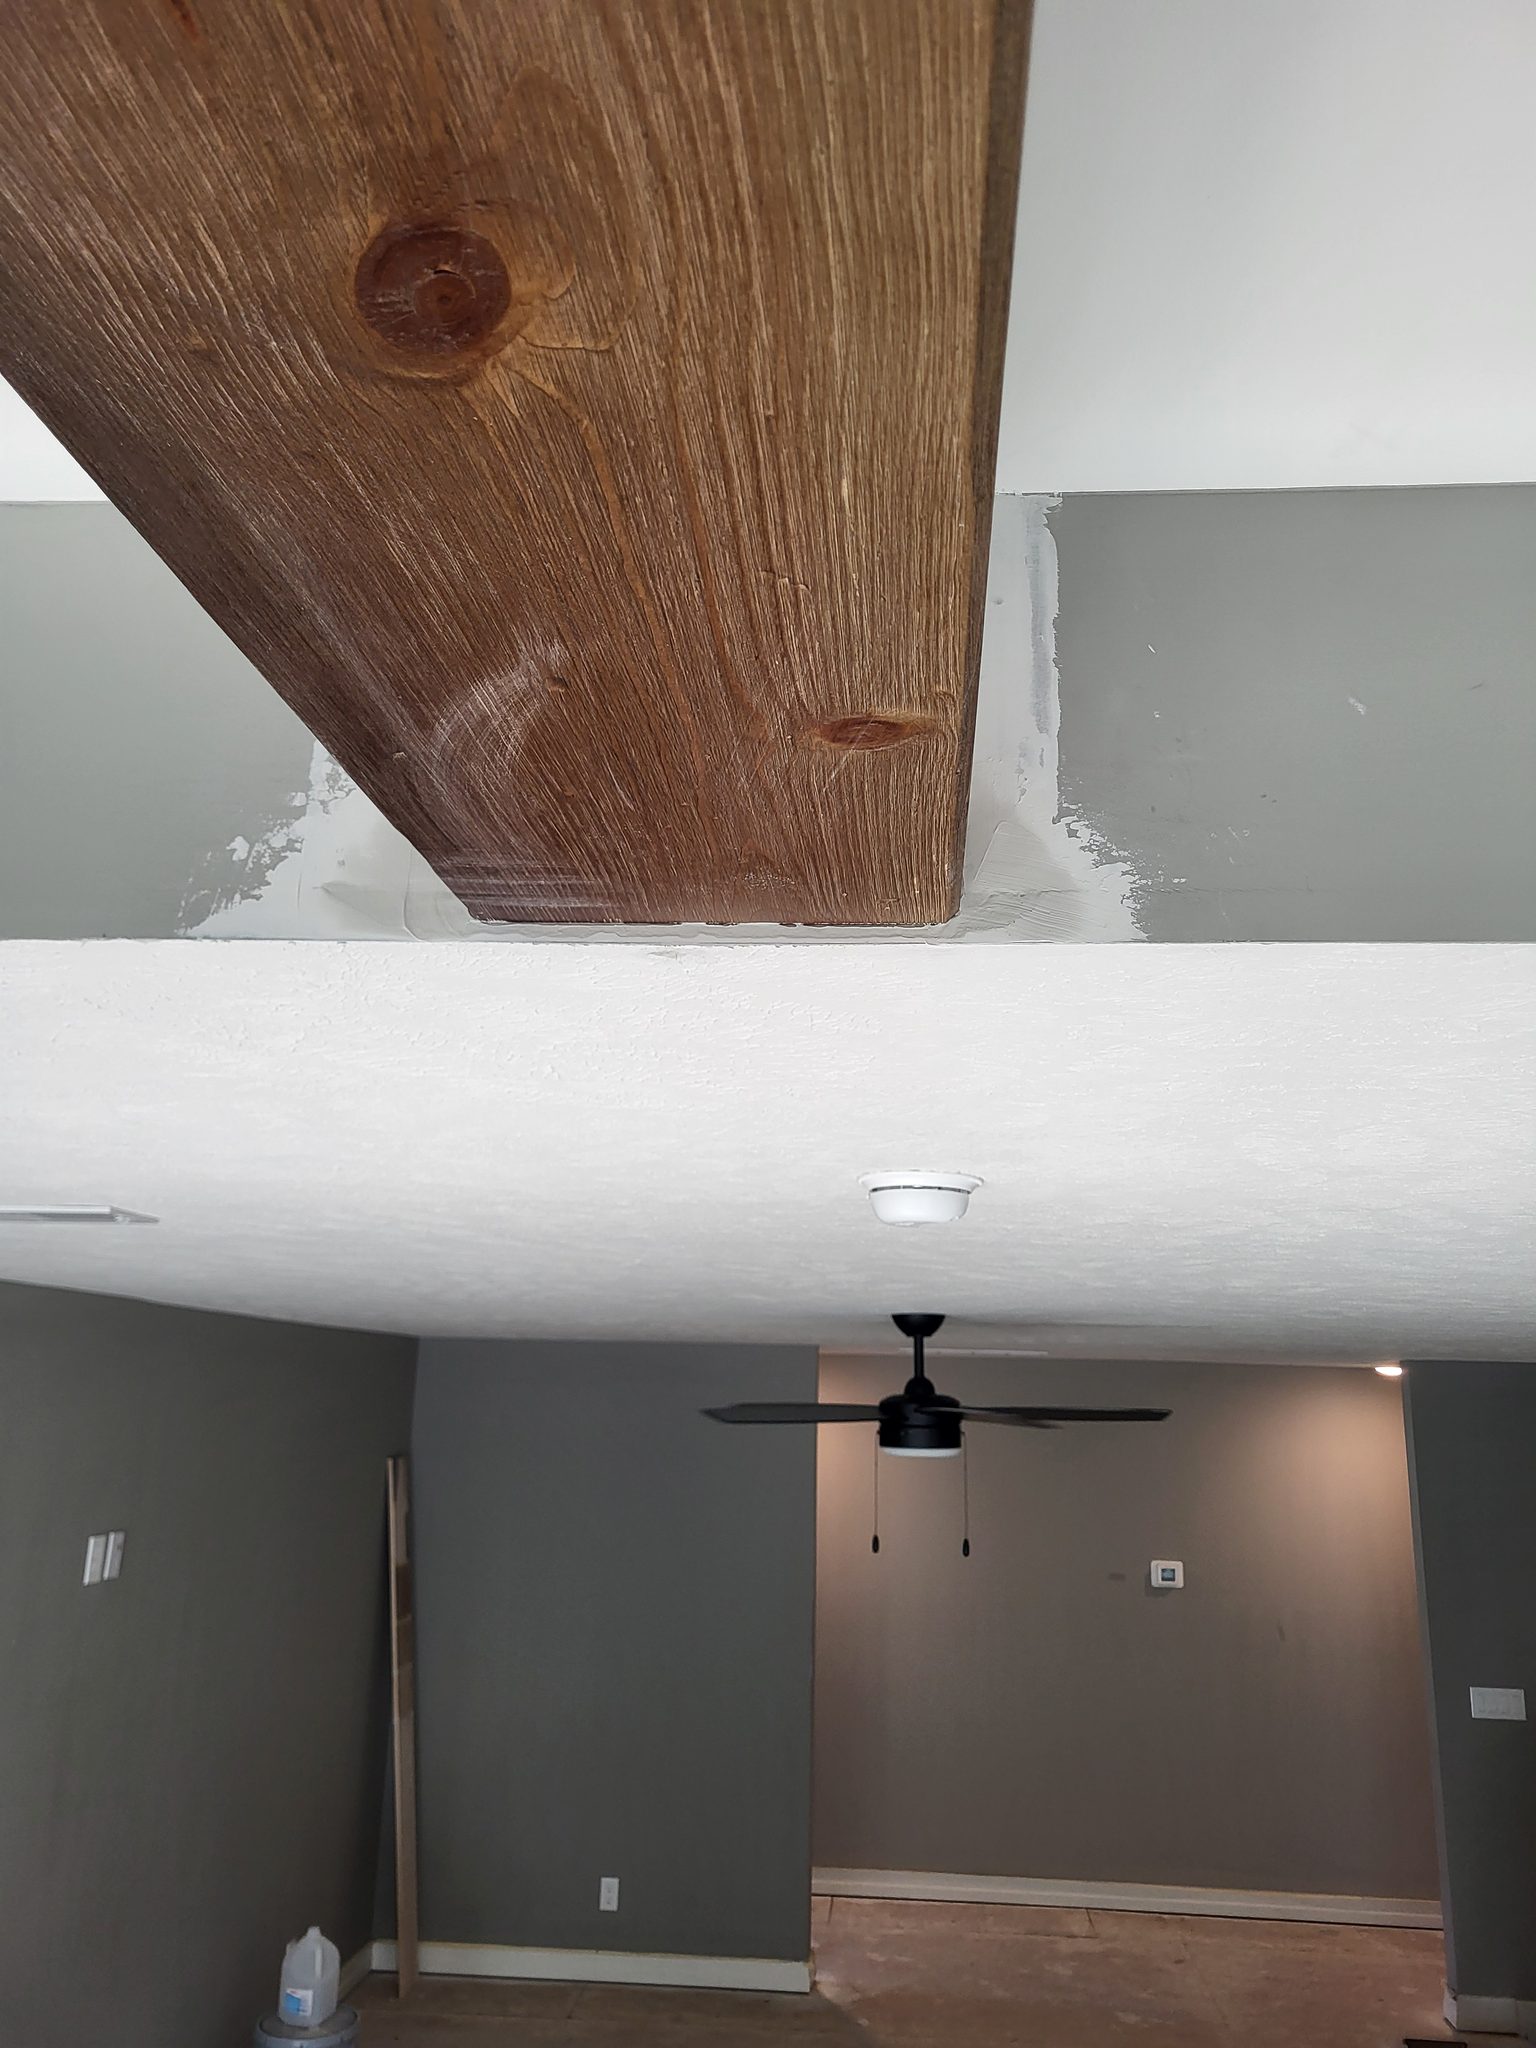
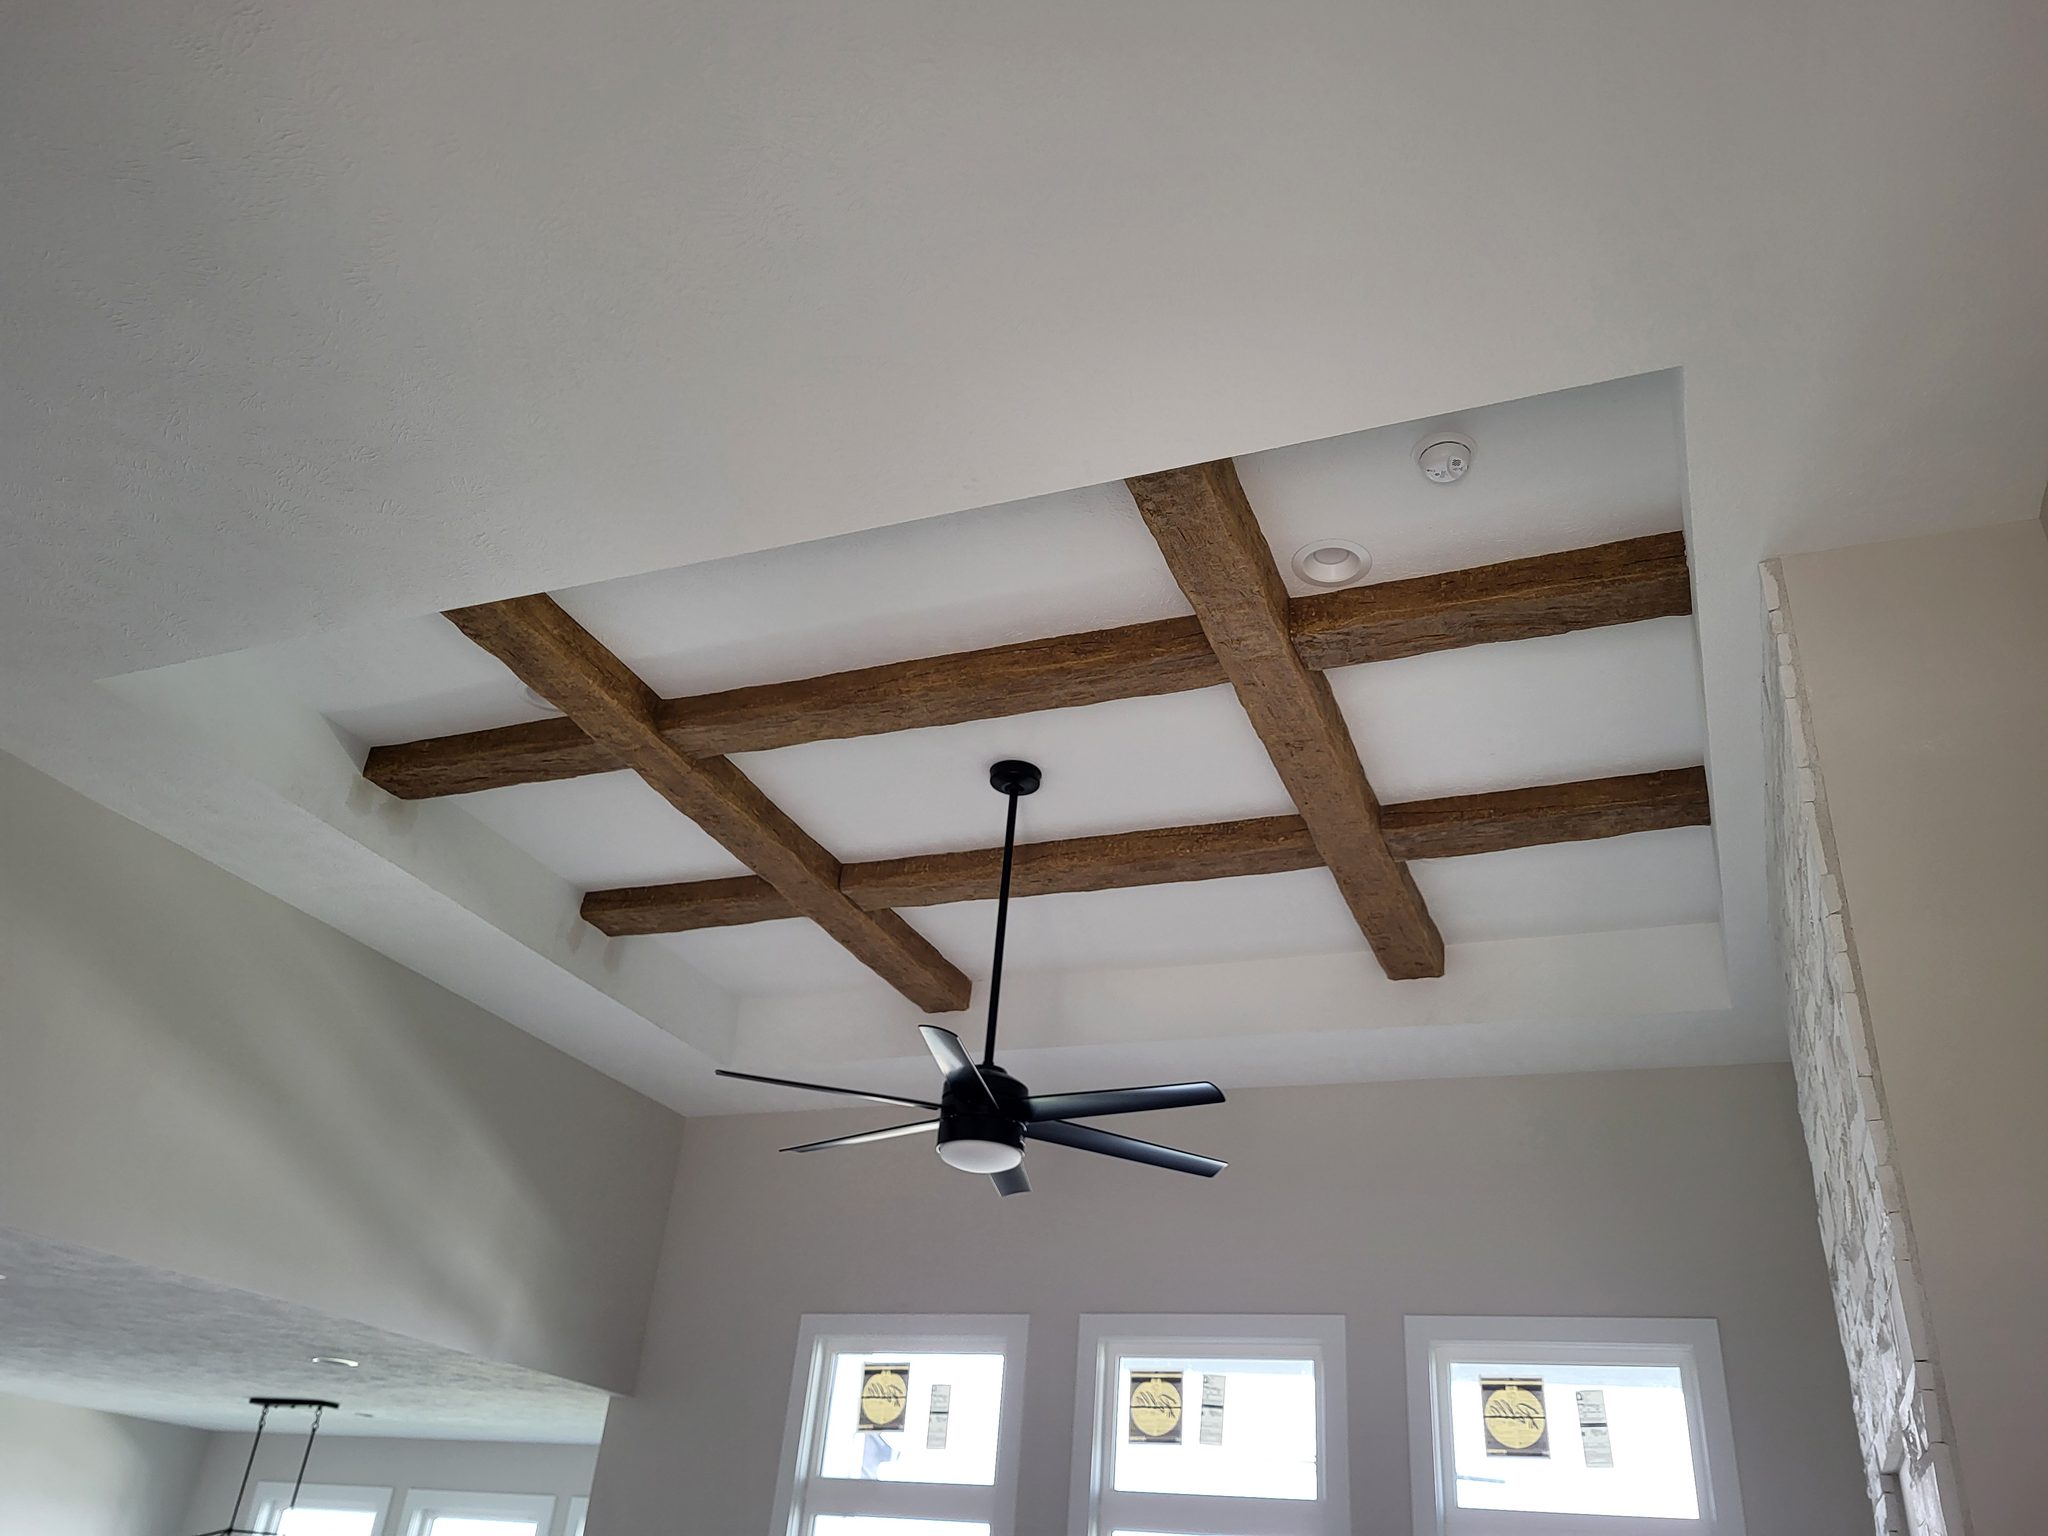
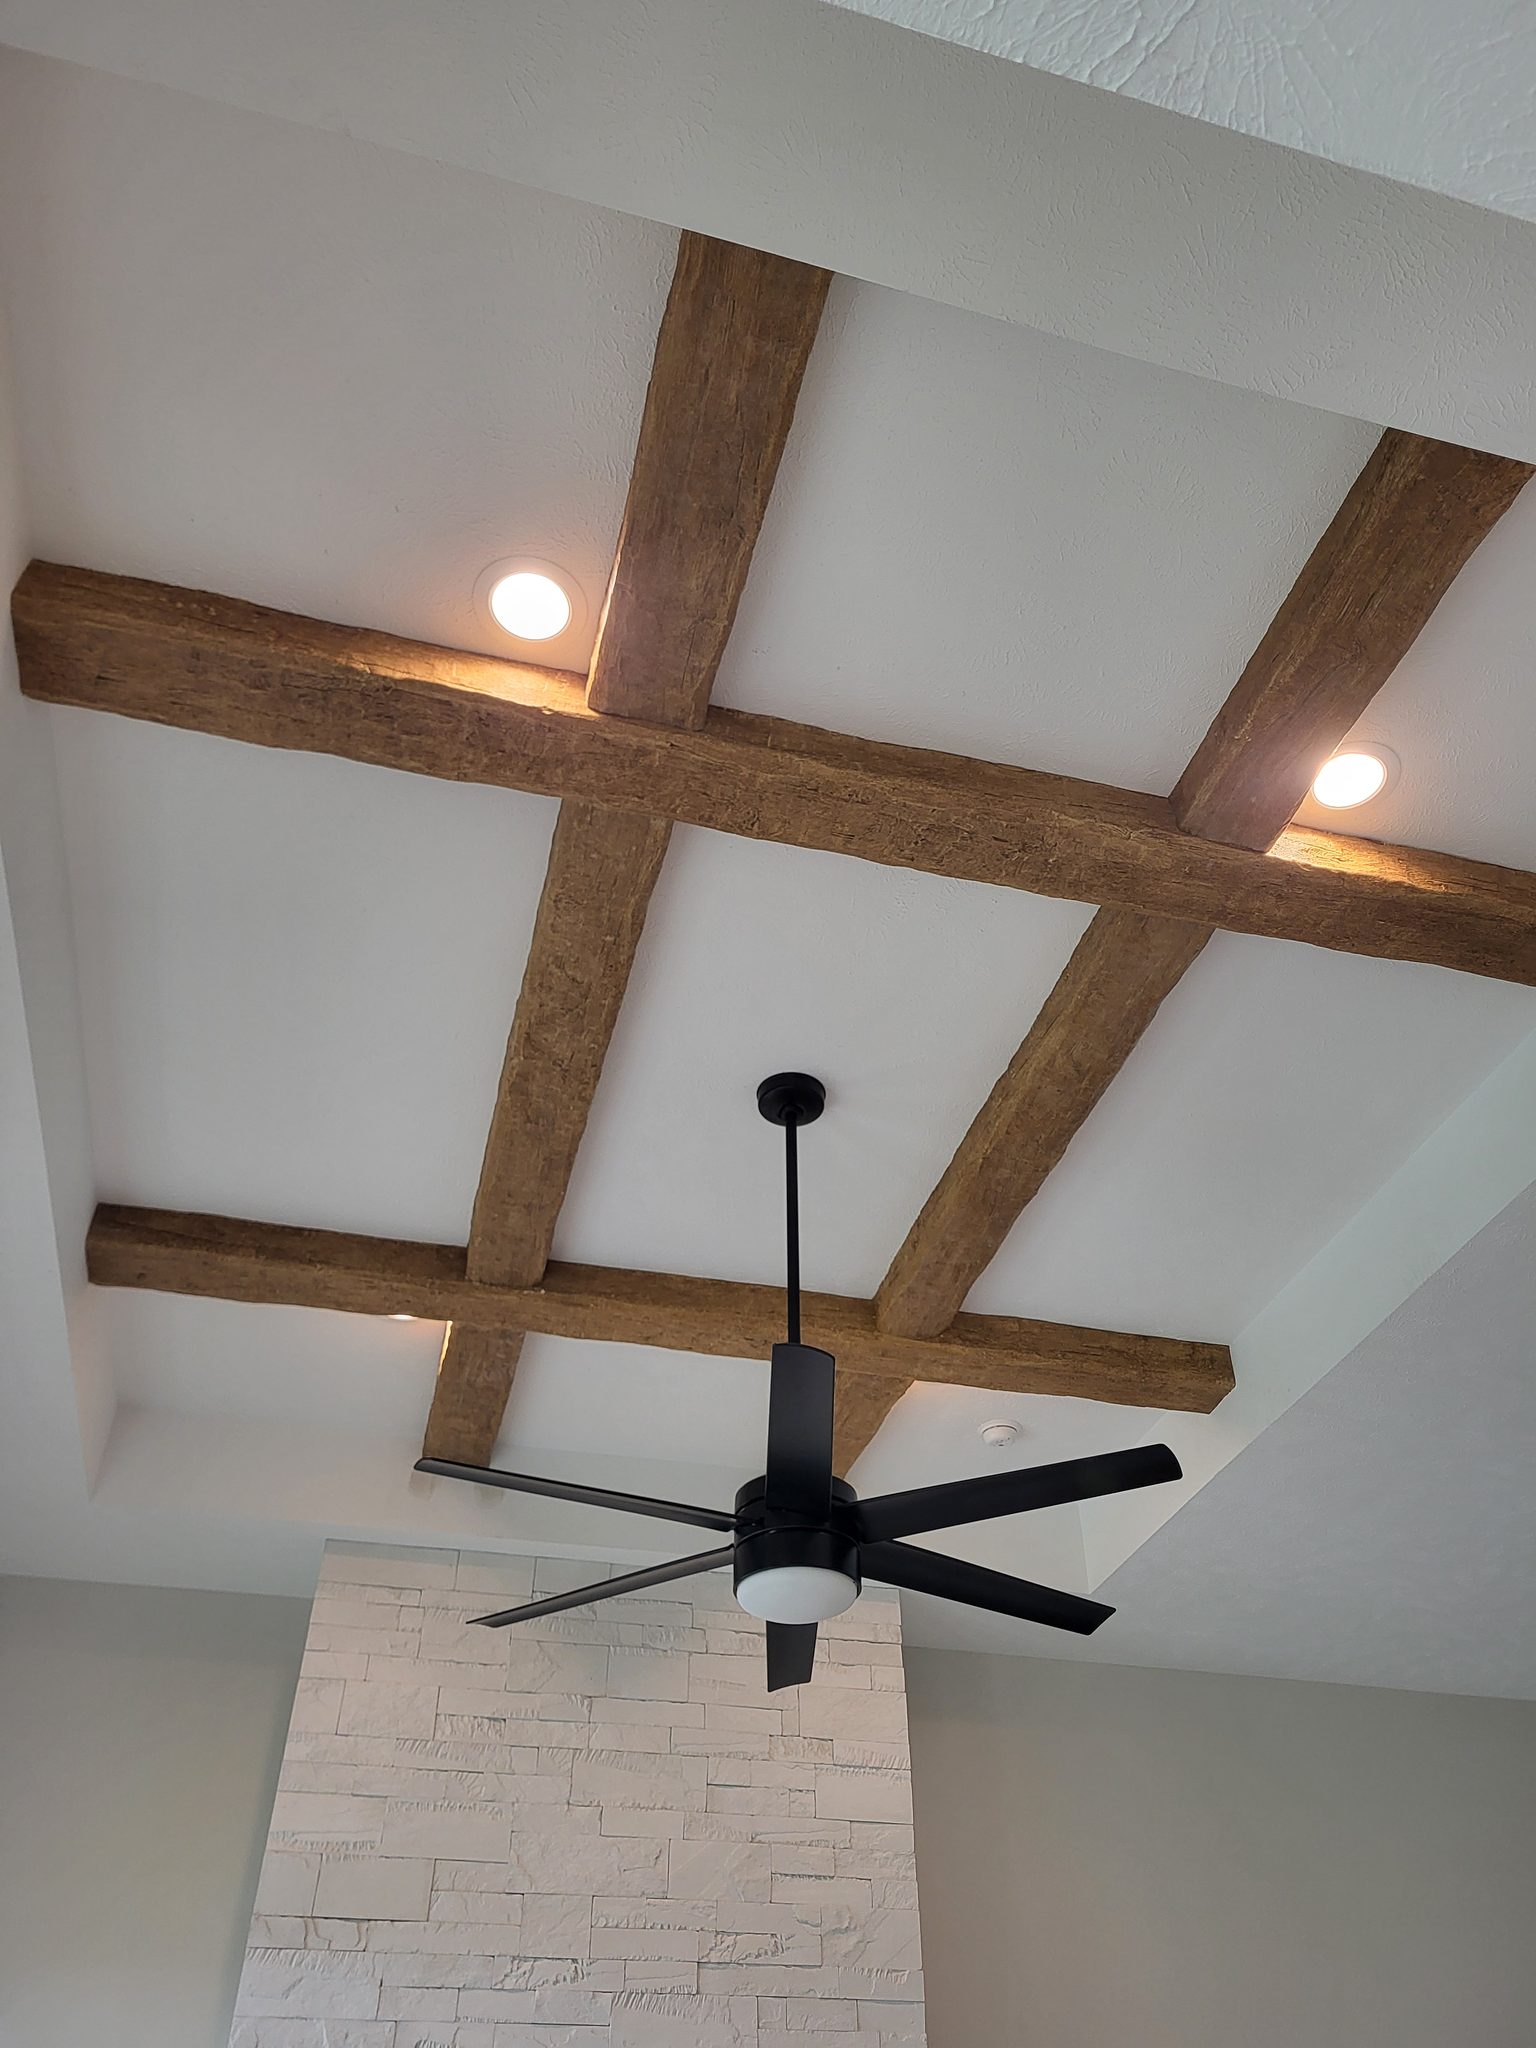
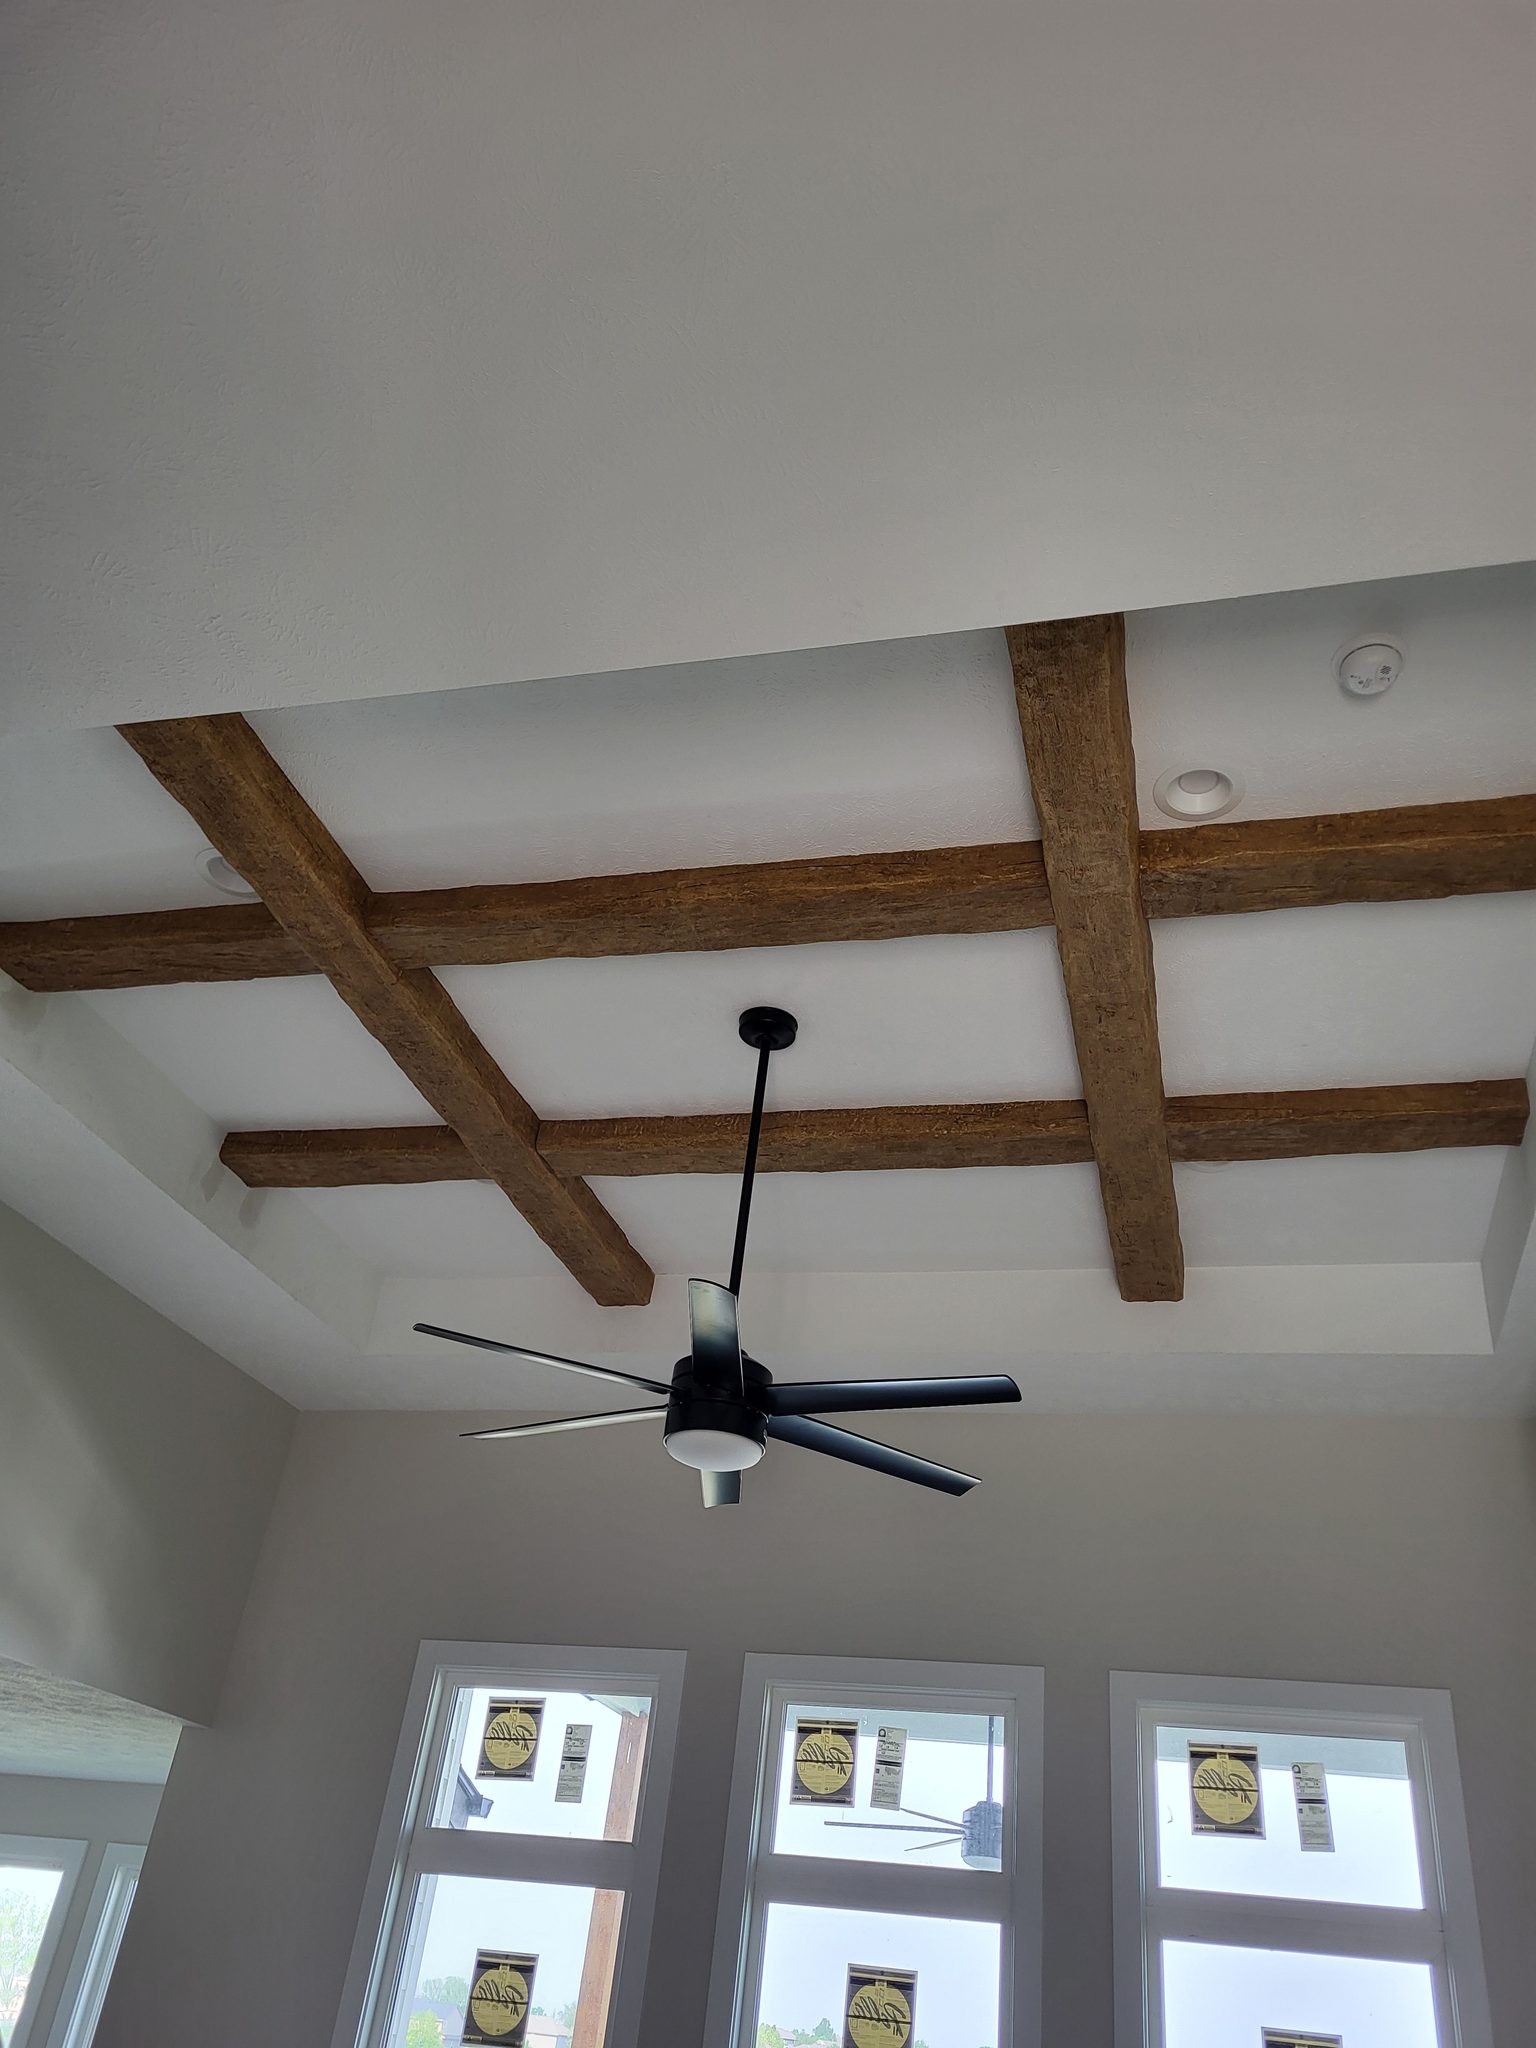
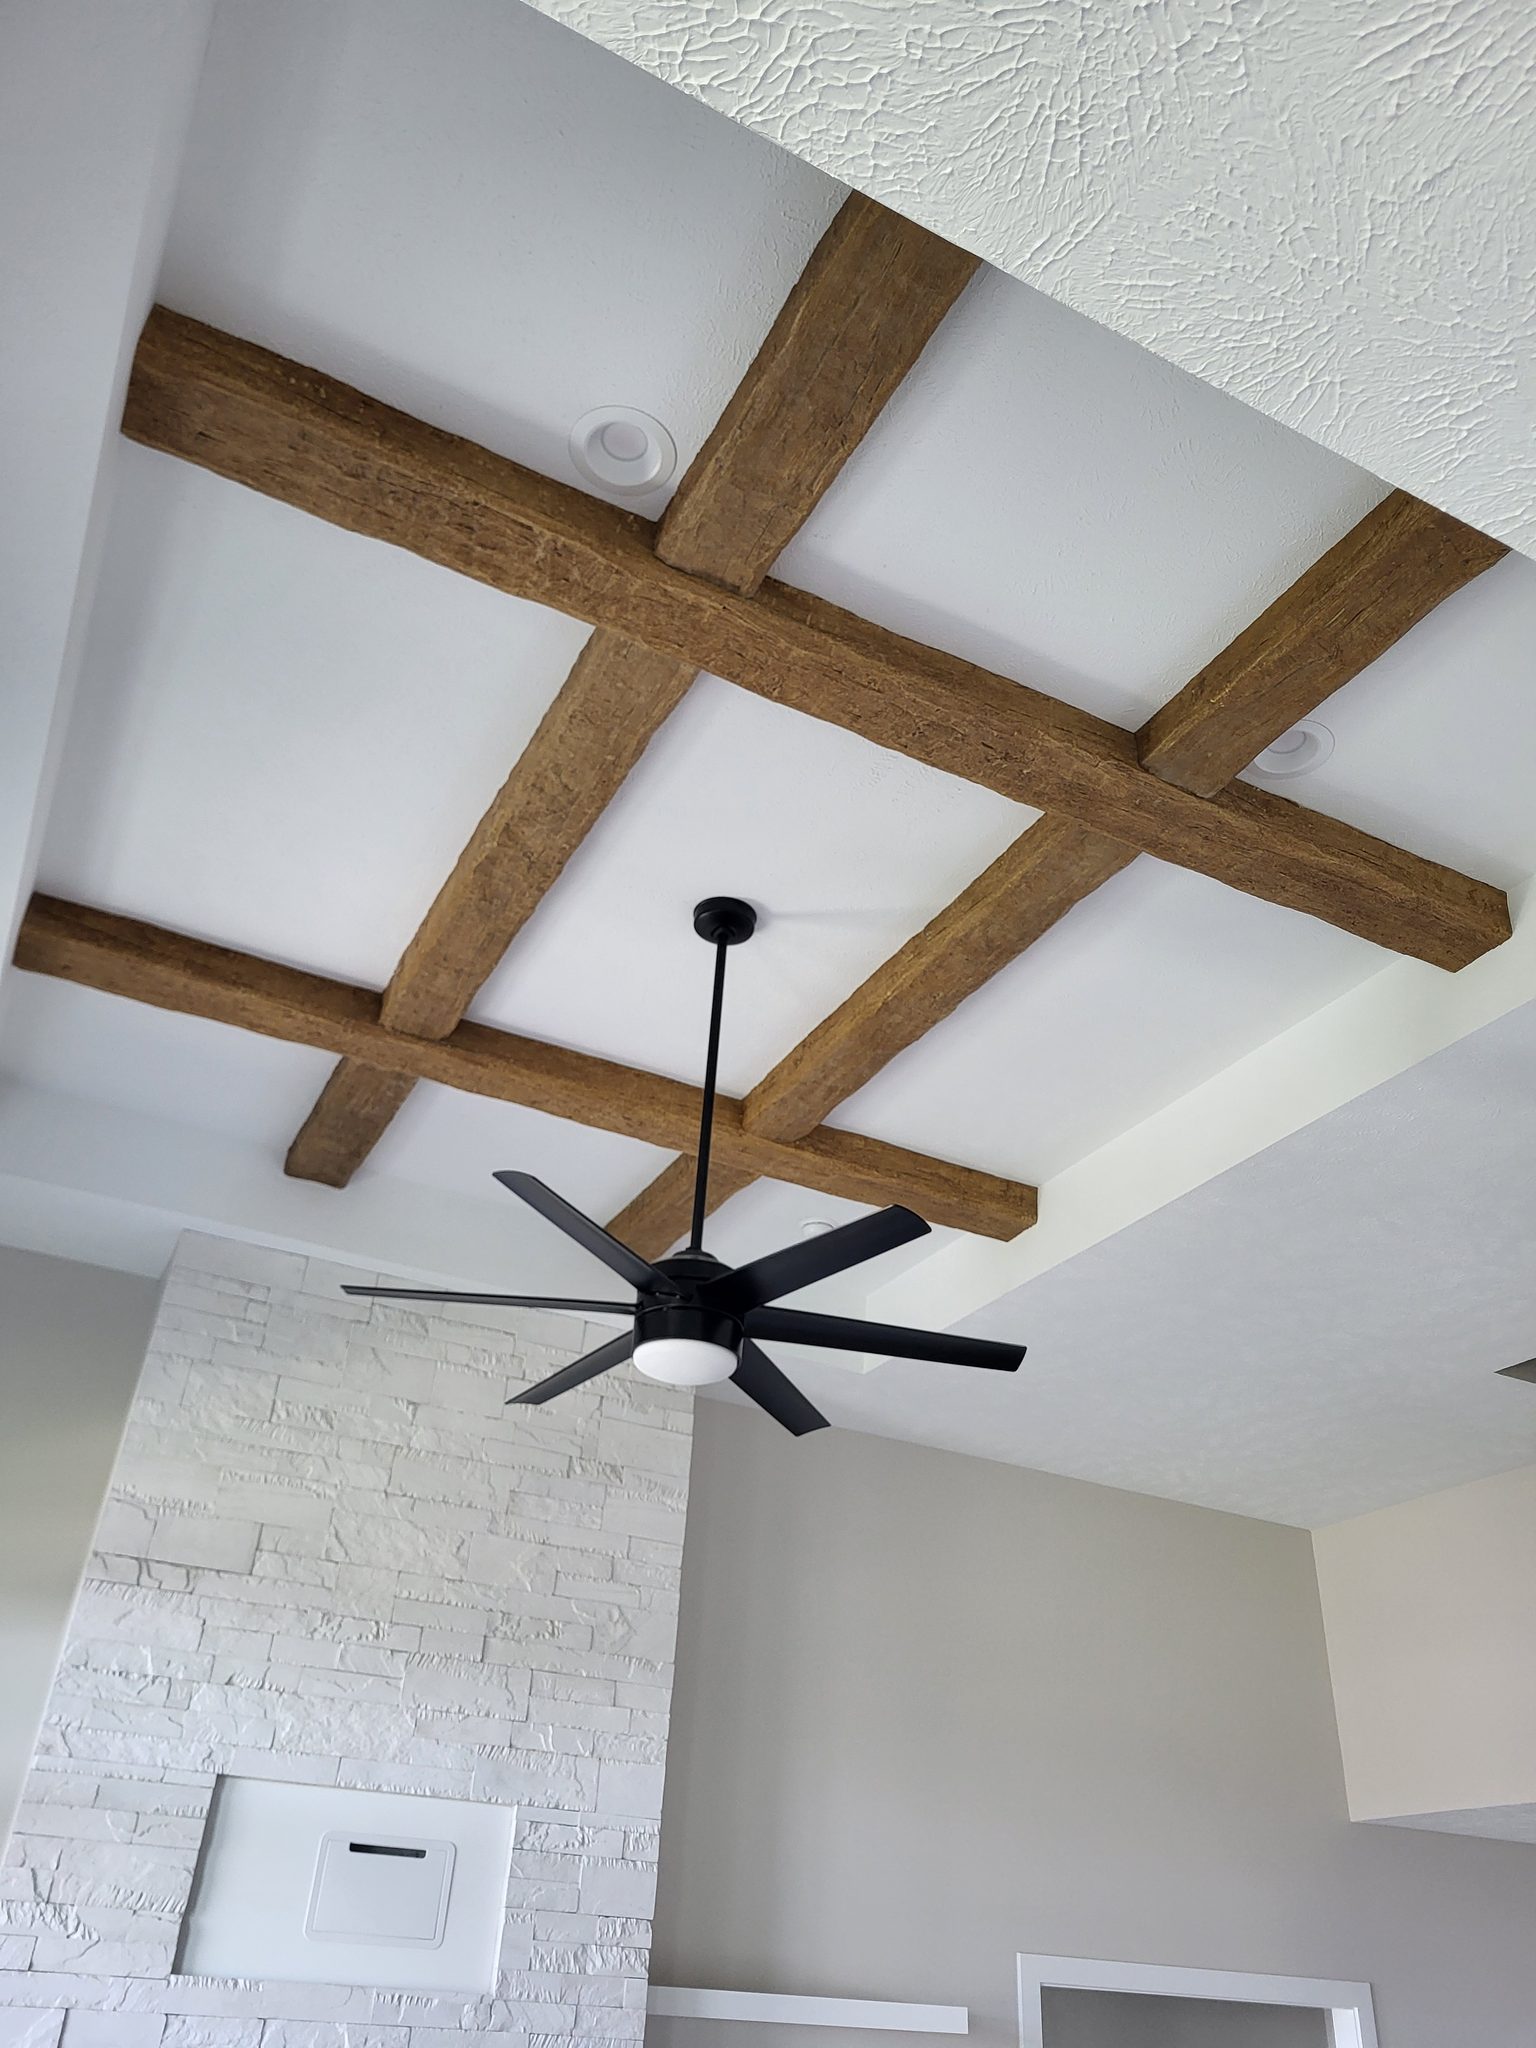
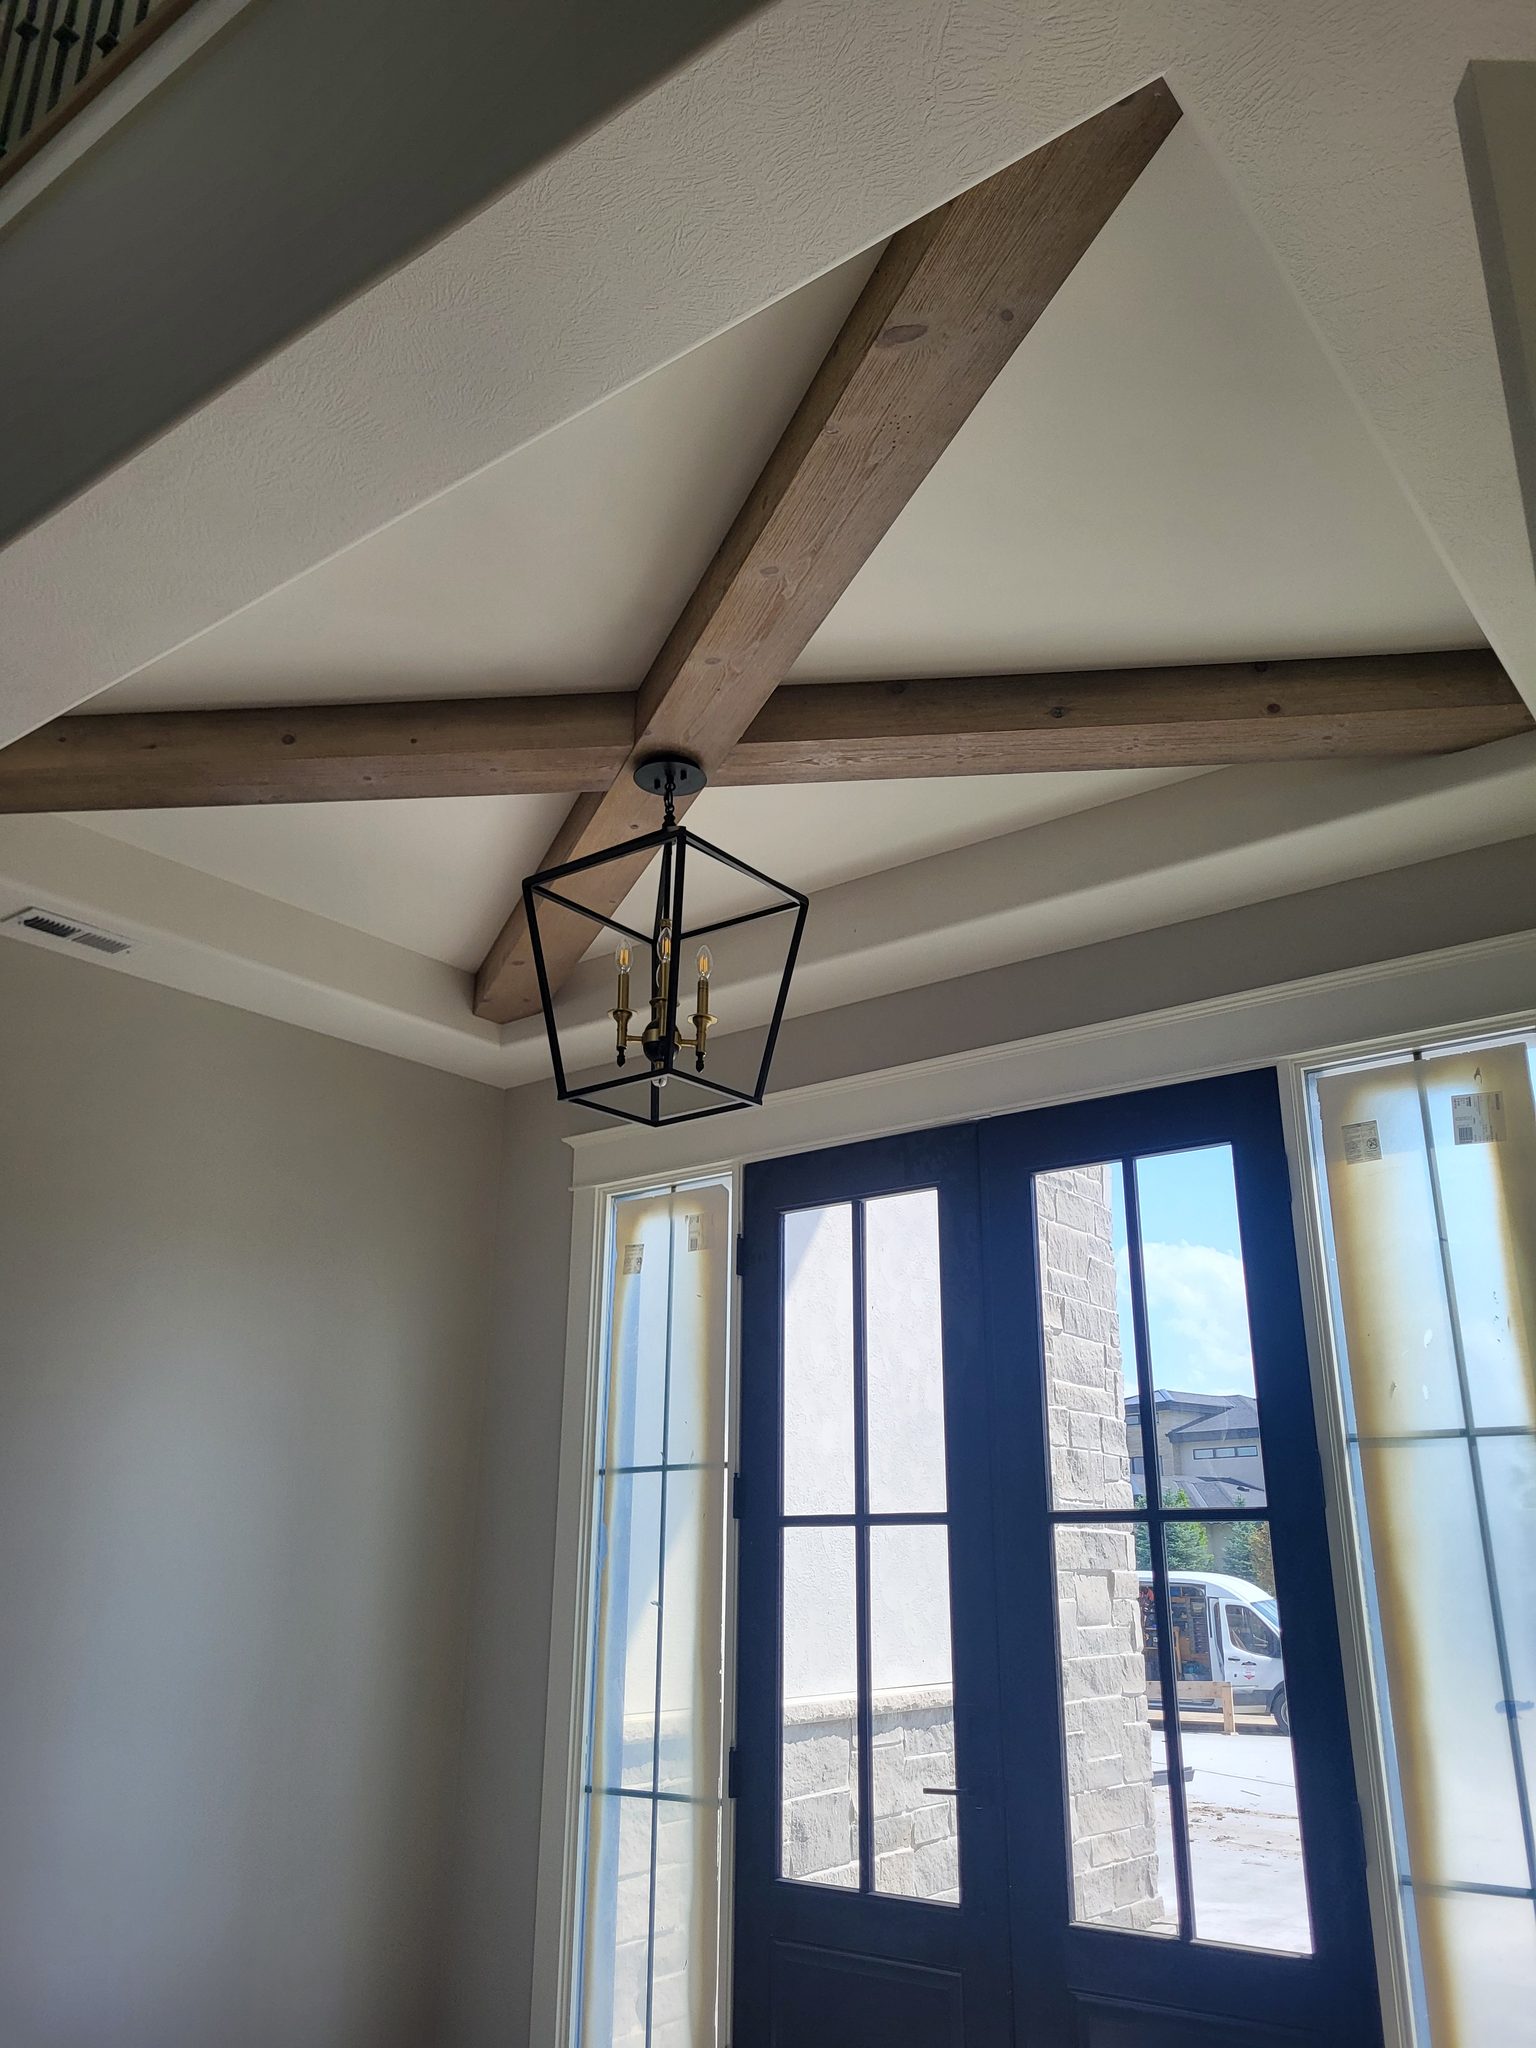
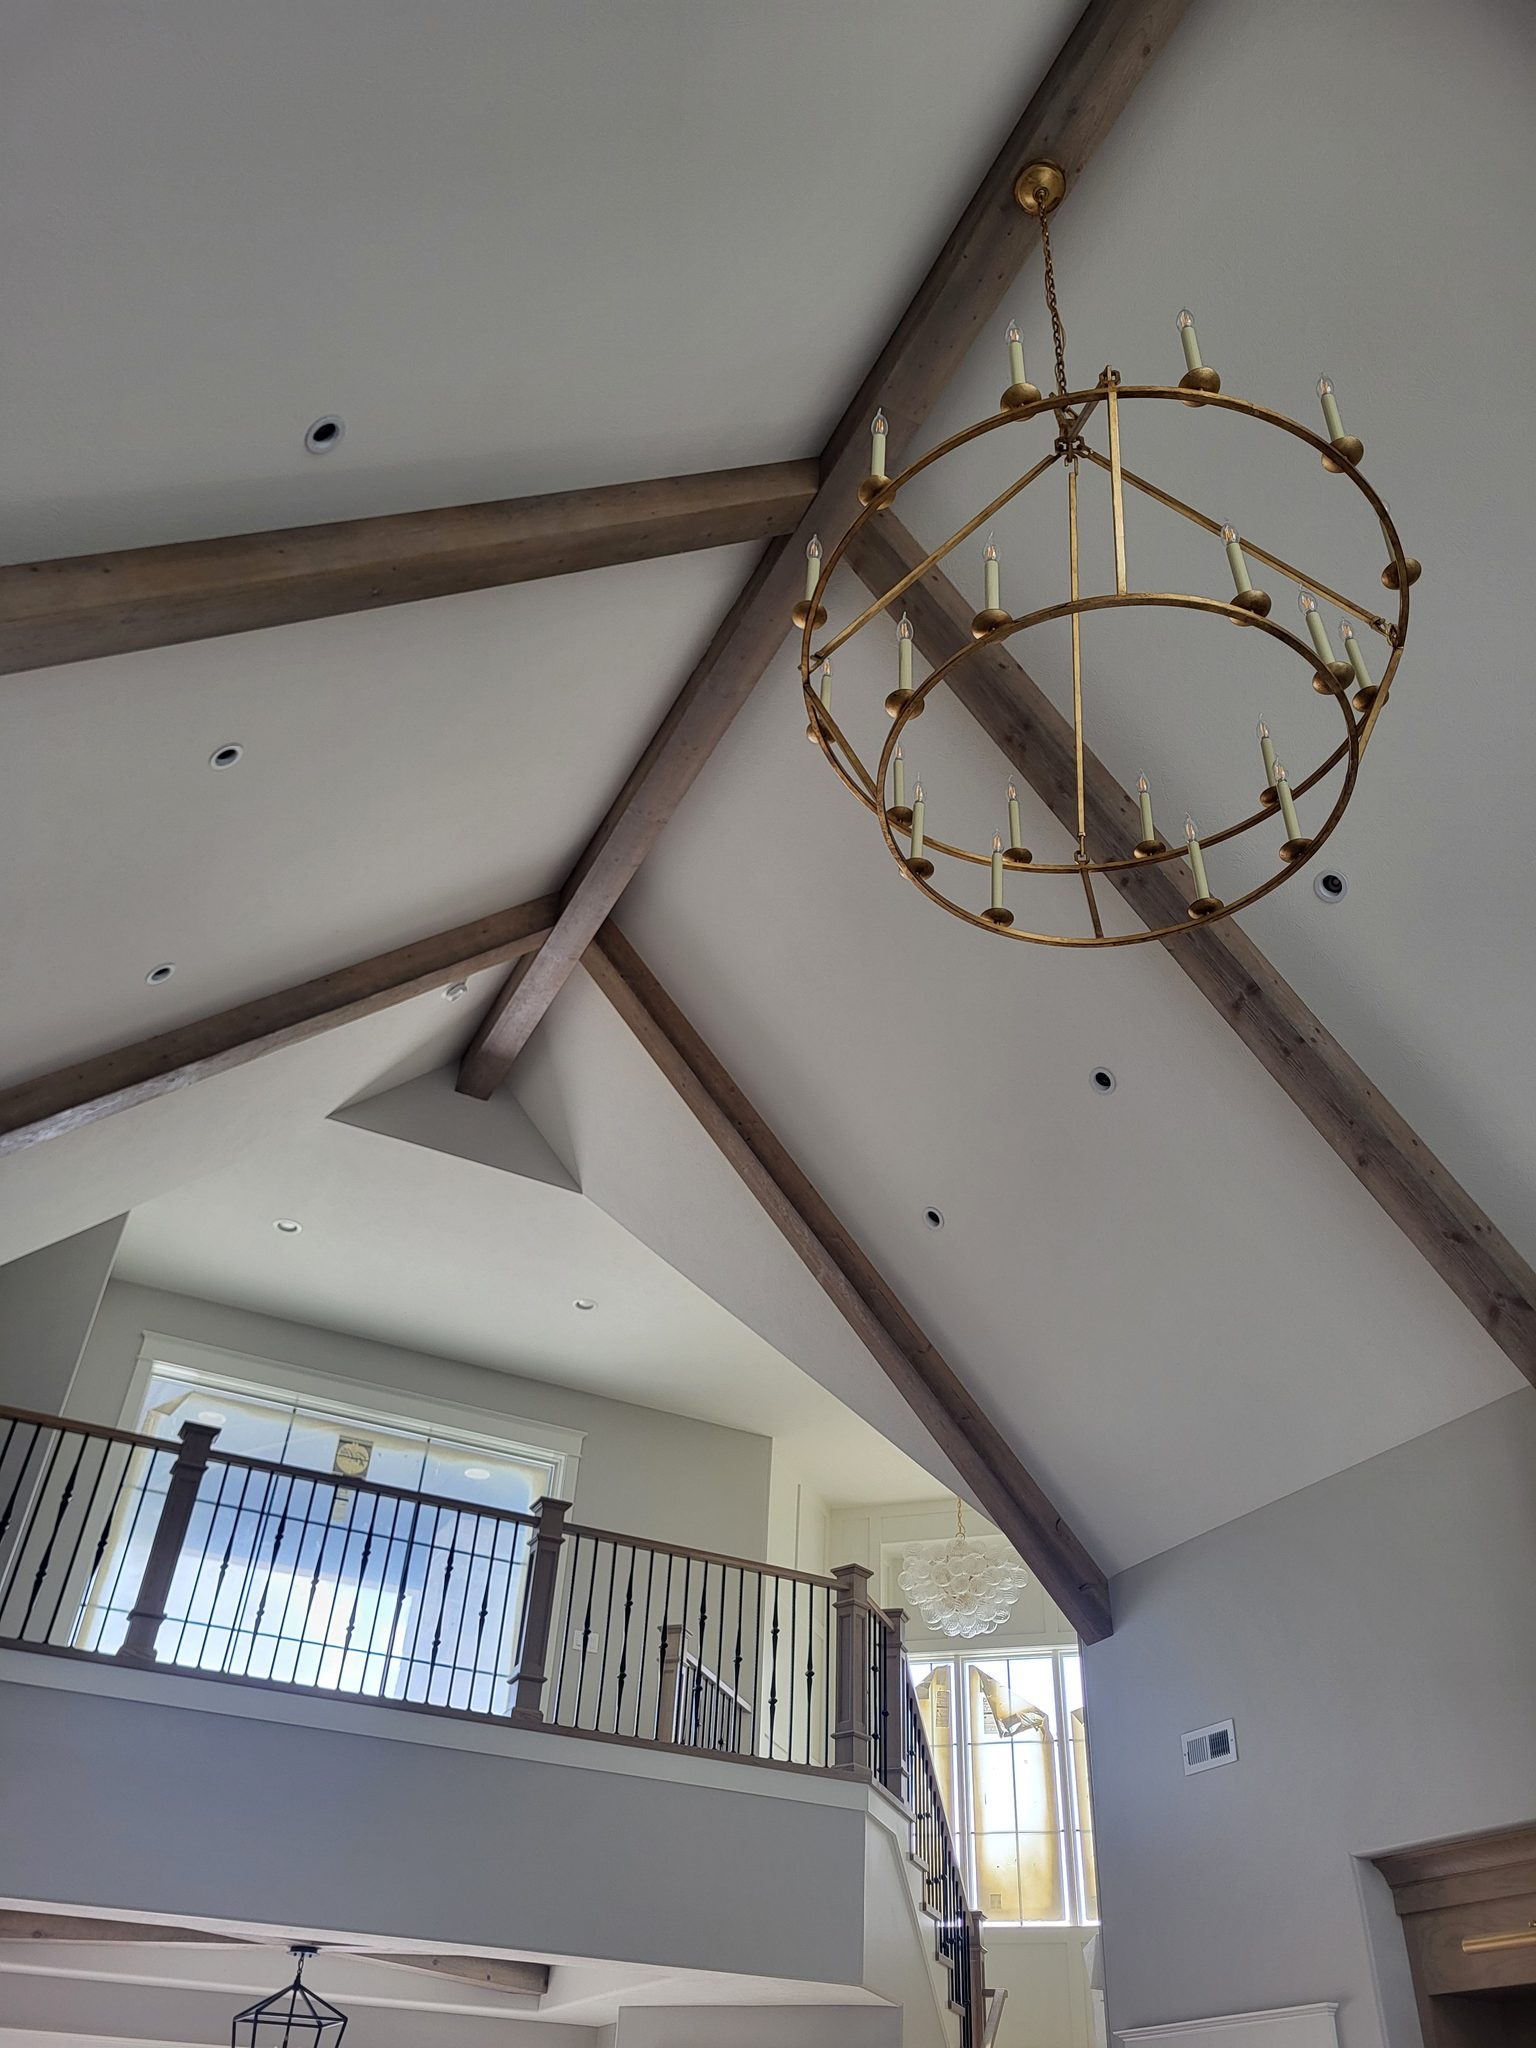
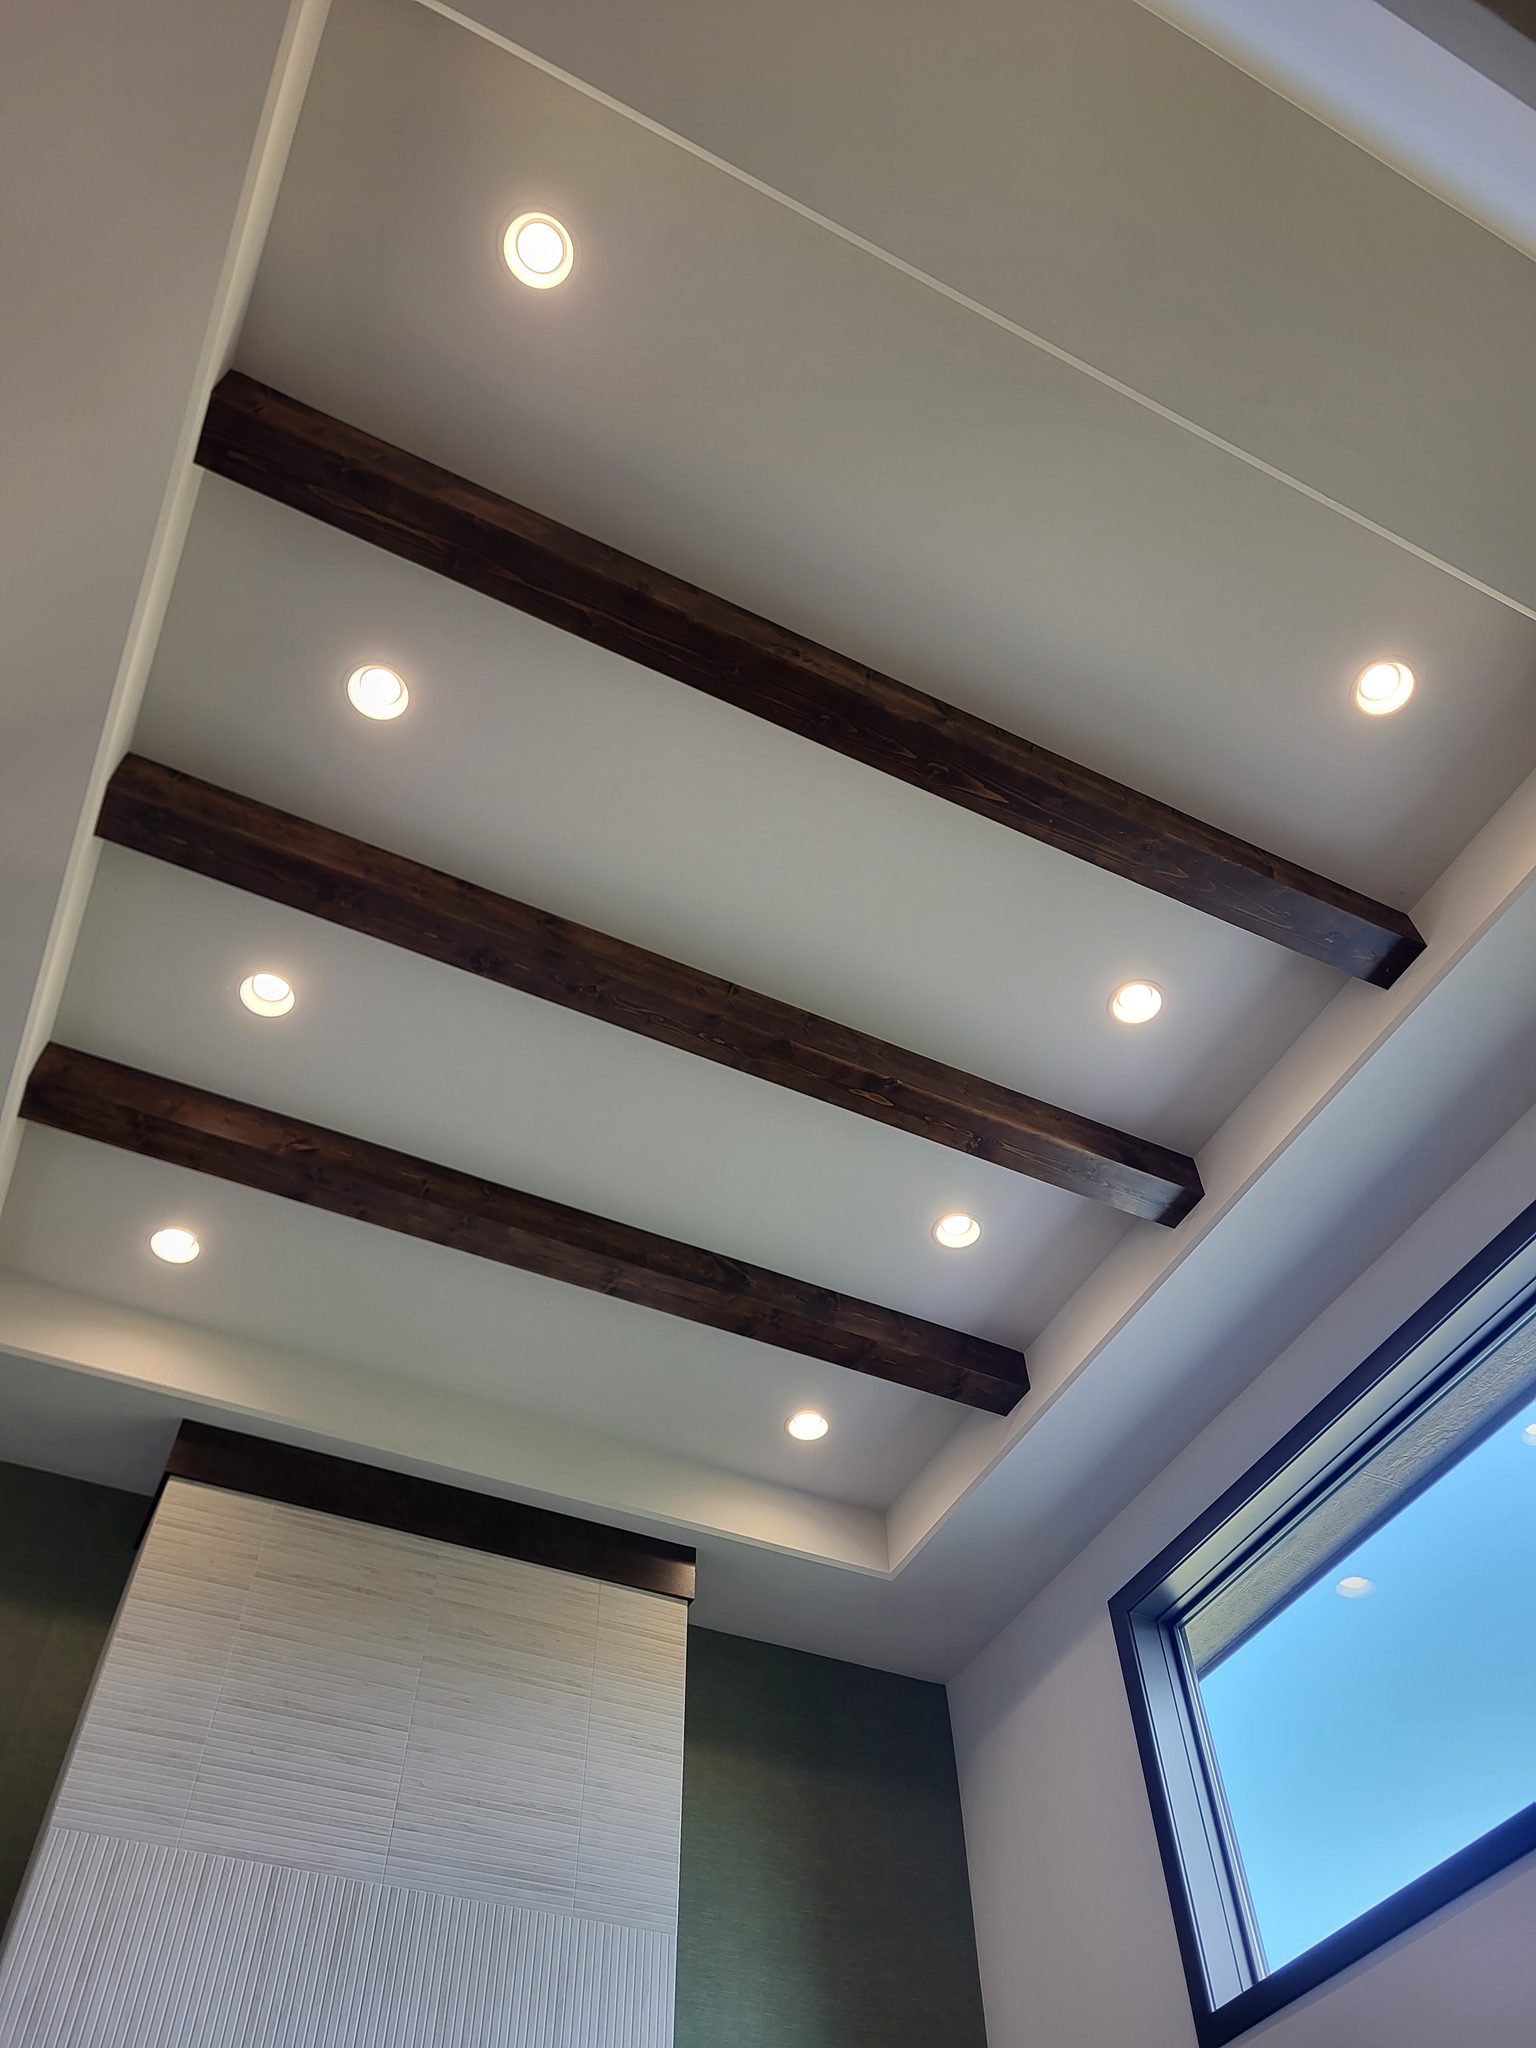
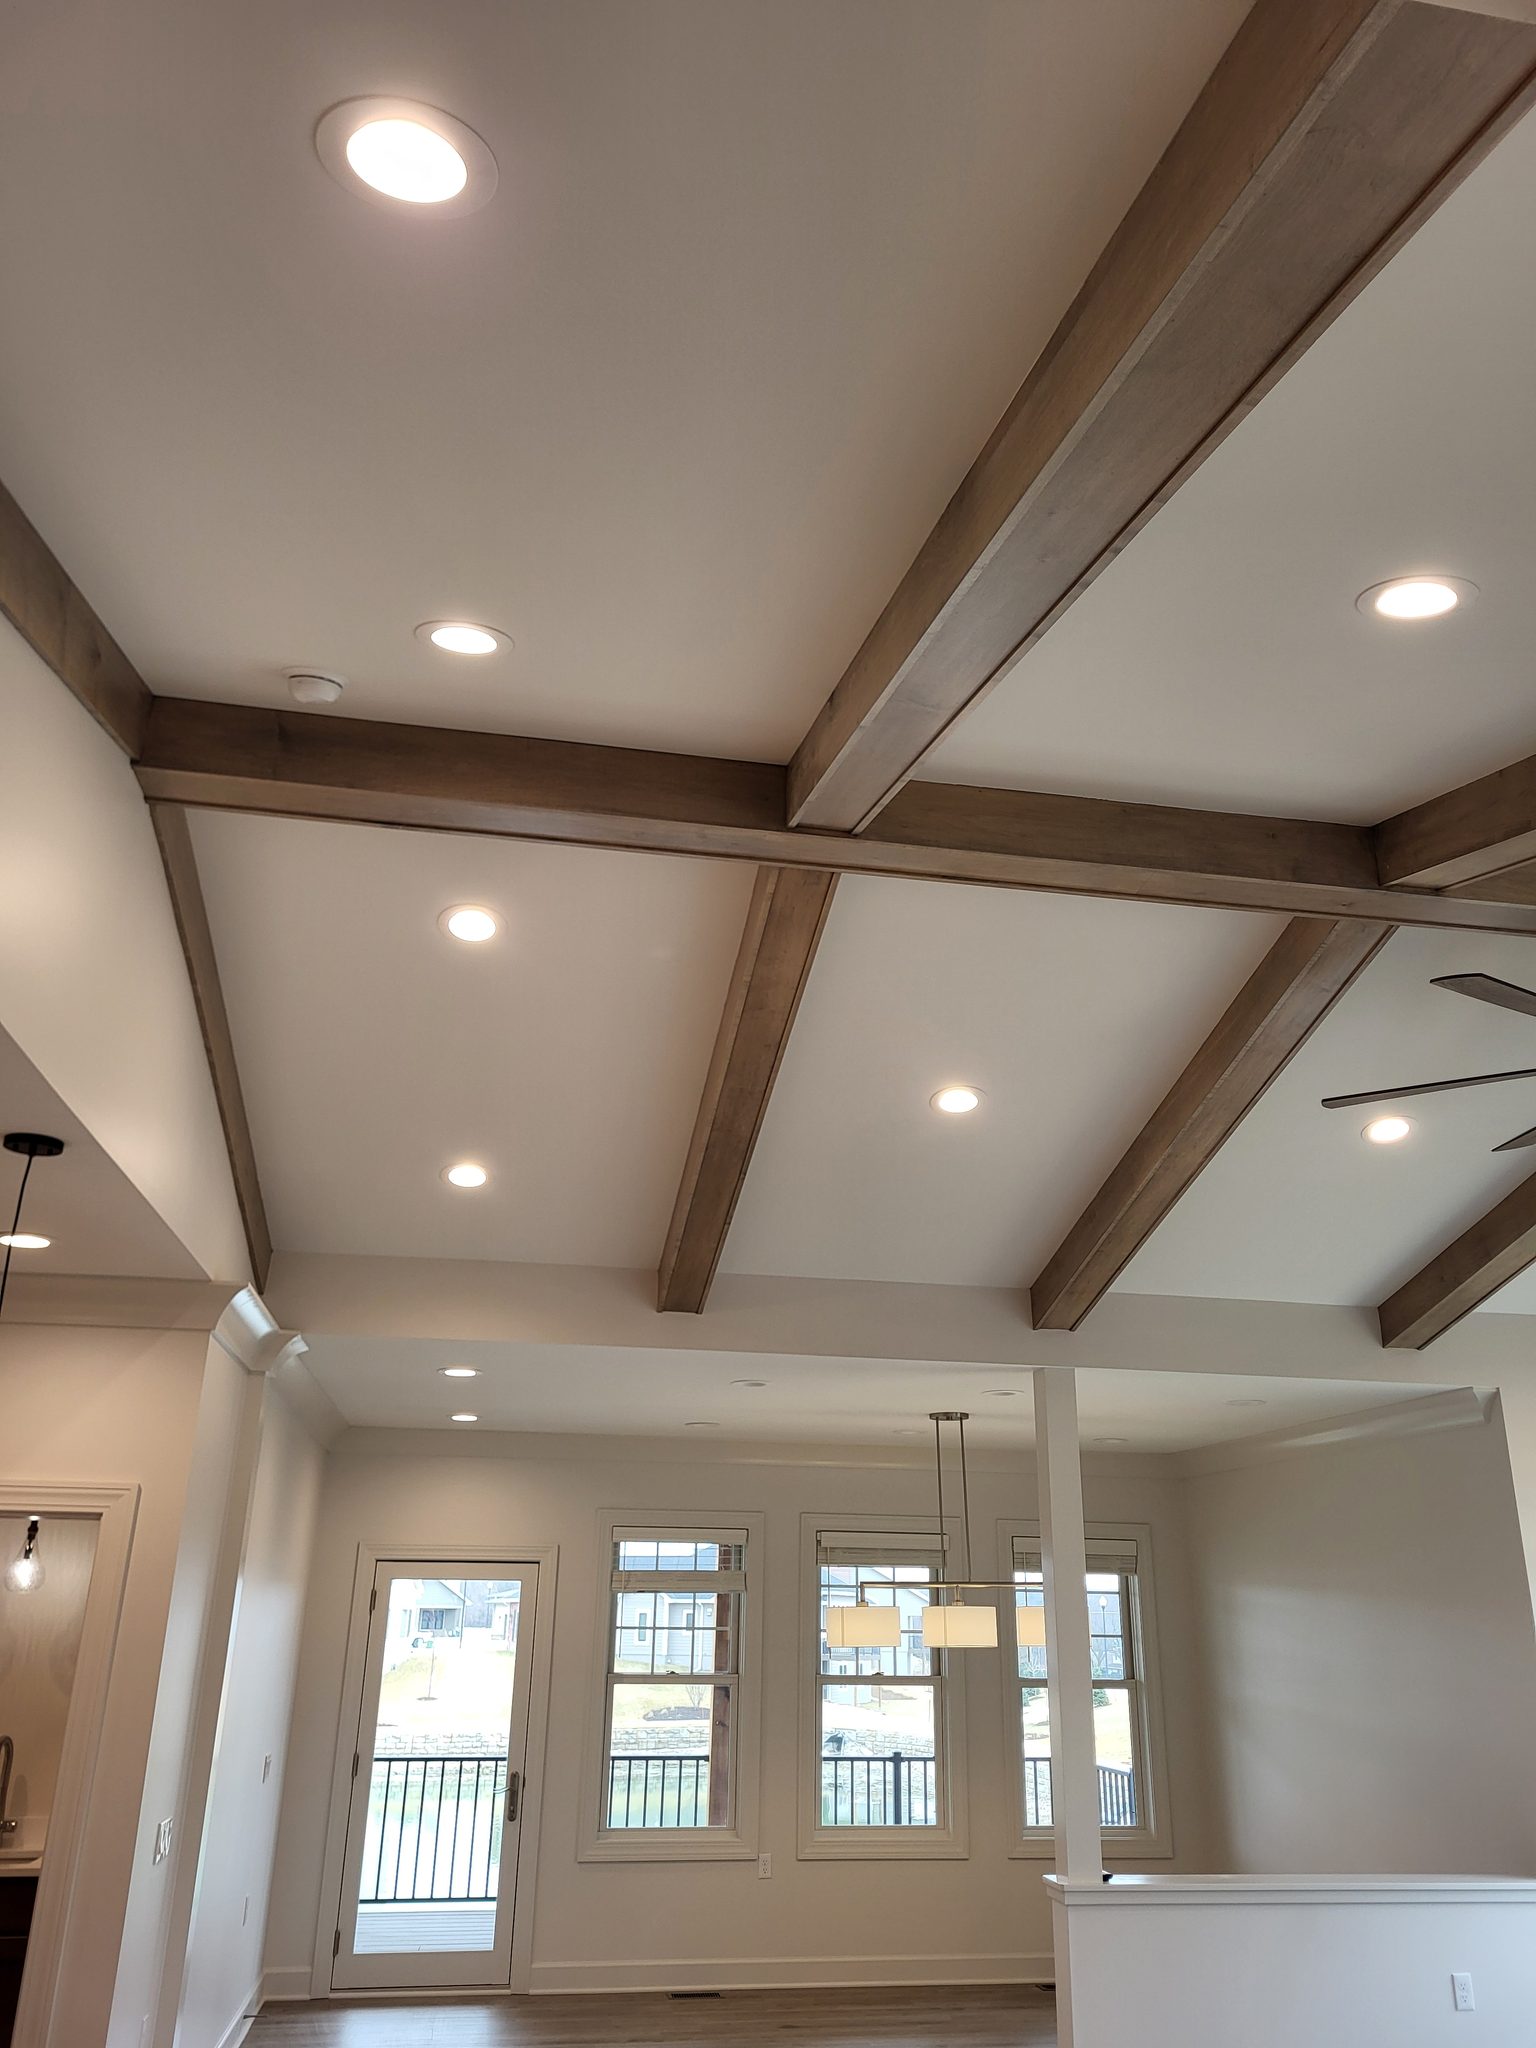
The following photos show examples of this type of work completed in the field. These serve as visual references for quality standards, proper installation techniques, and finished results.

Showing 26 of 26 photos
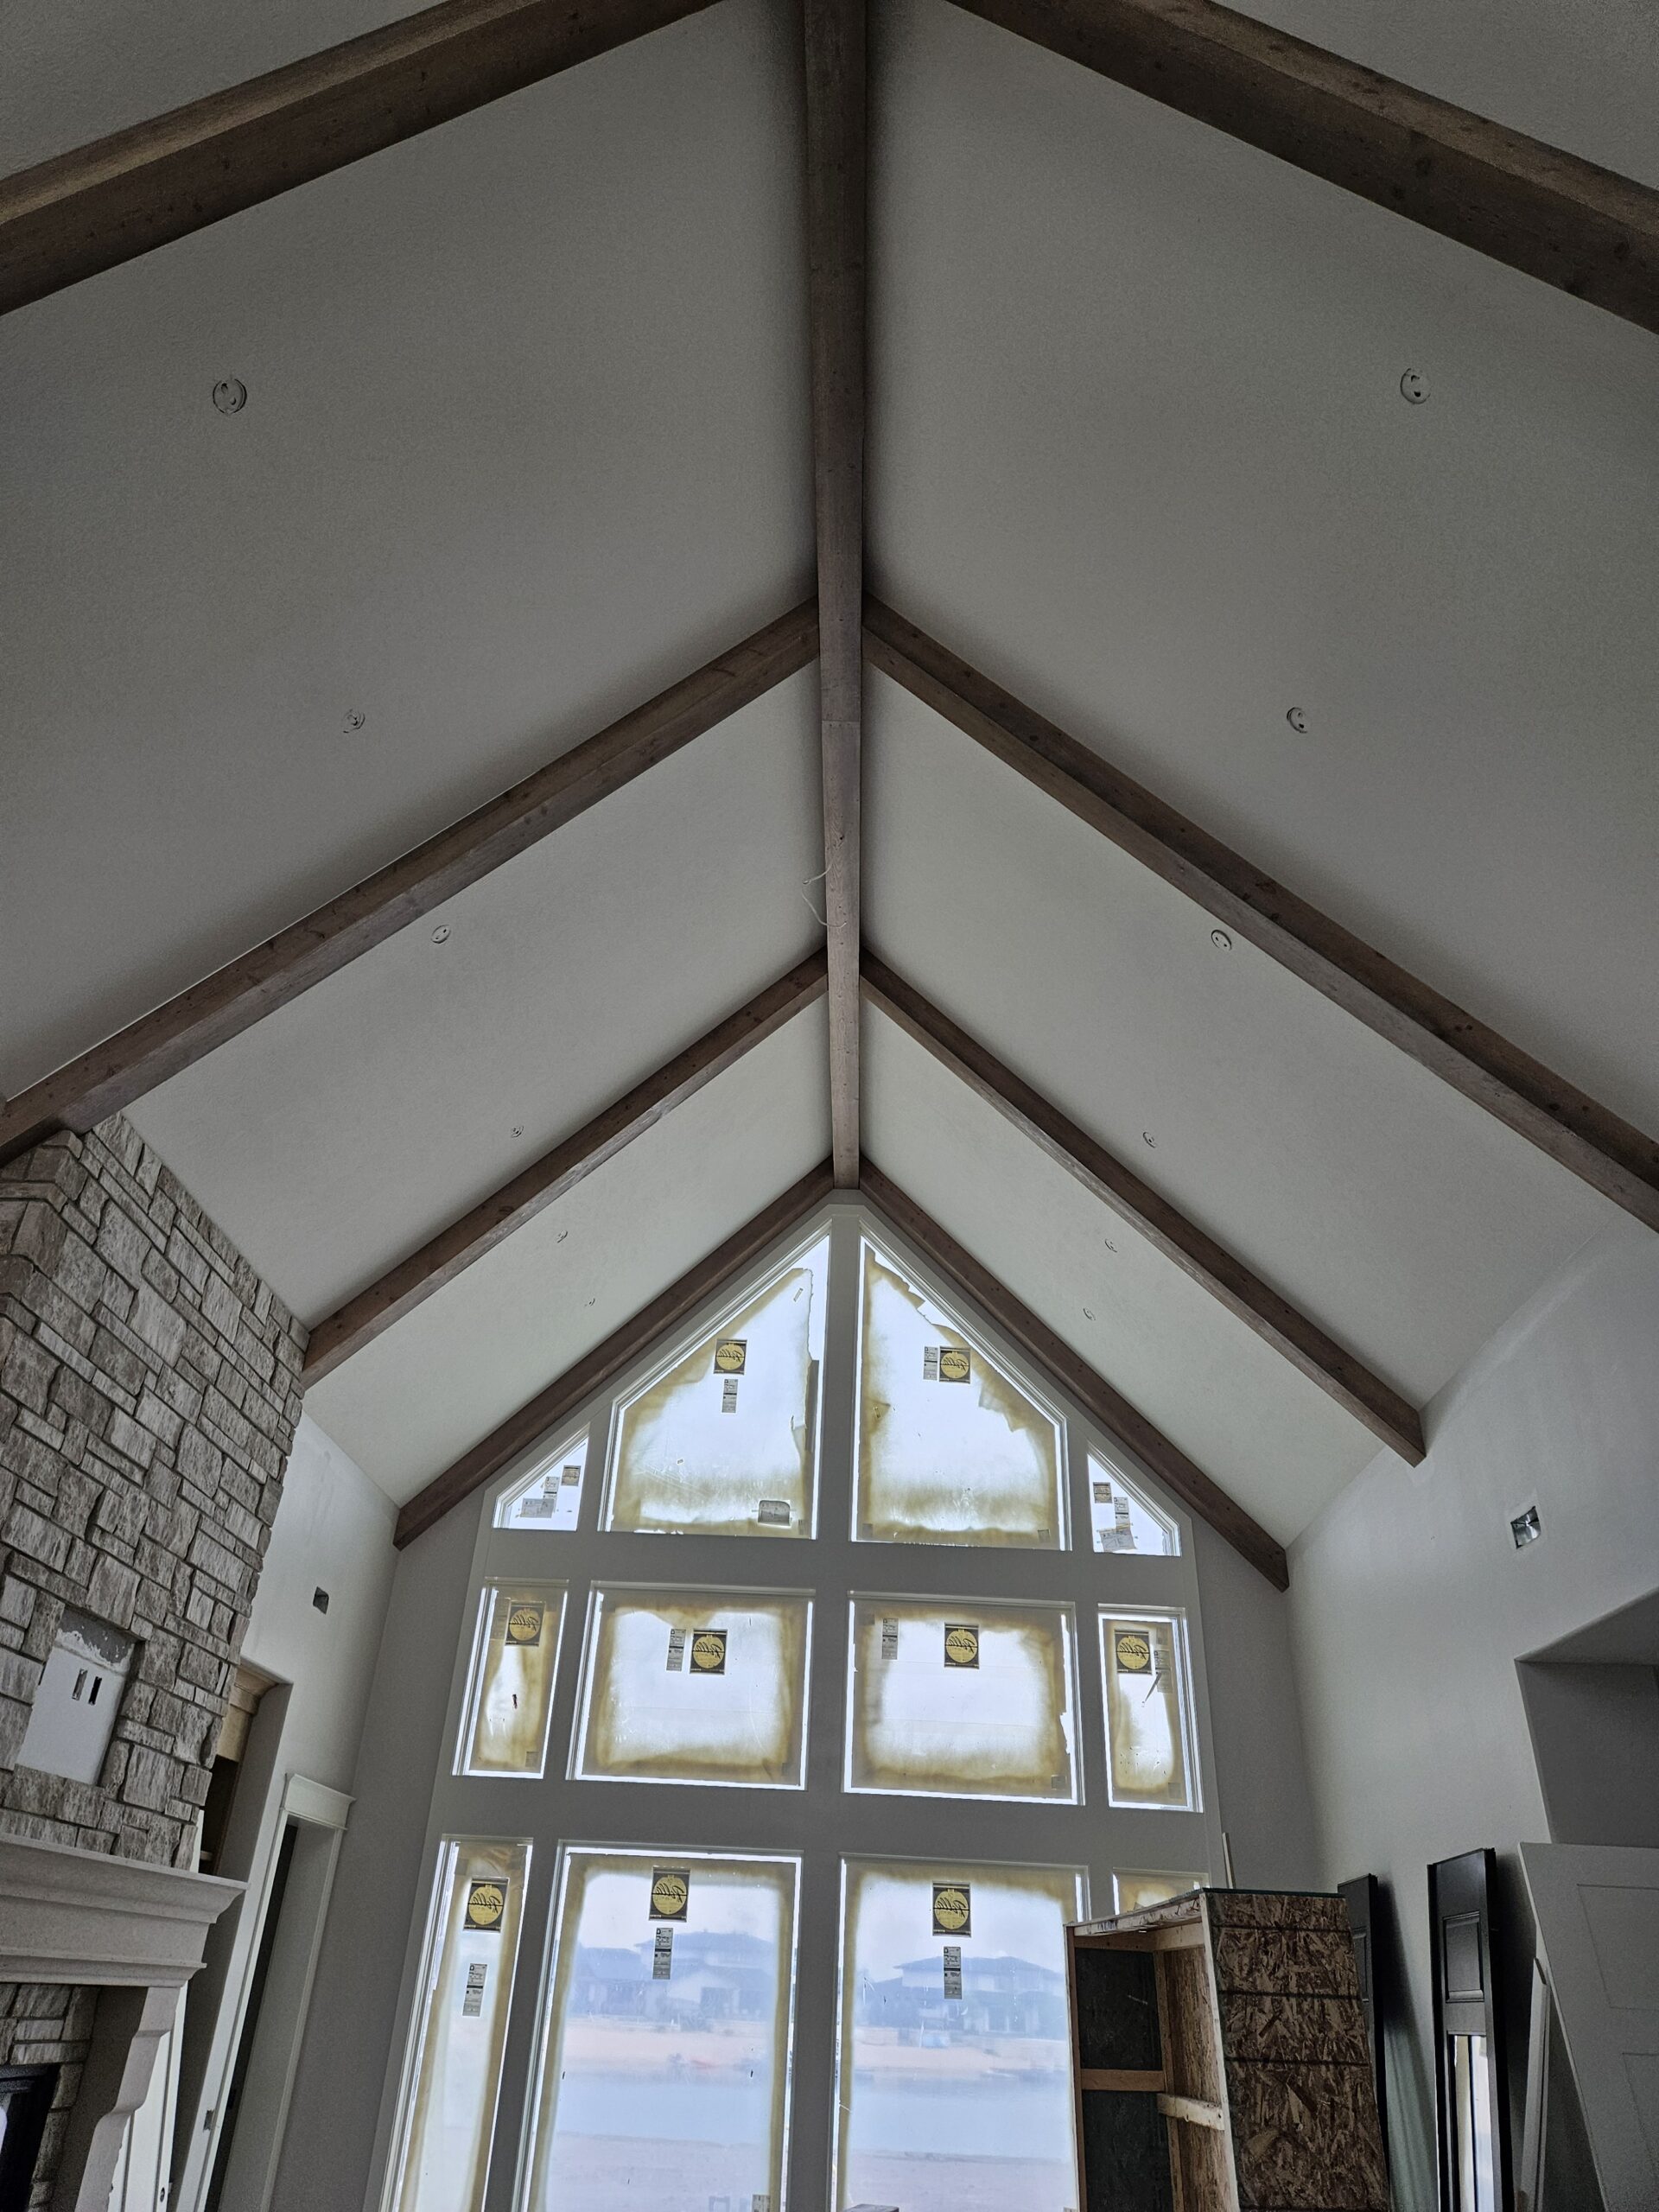
Painted vaulted ceiling peak above a tall multi pane window wall and stone fireplace column
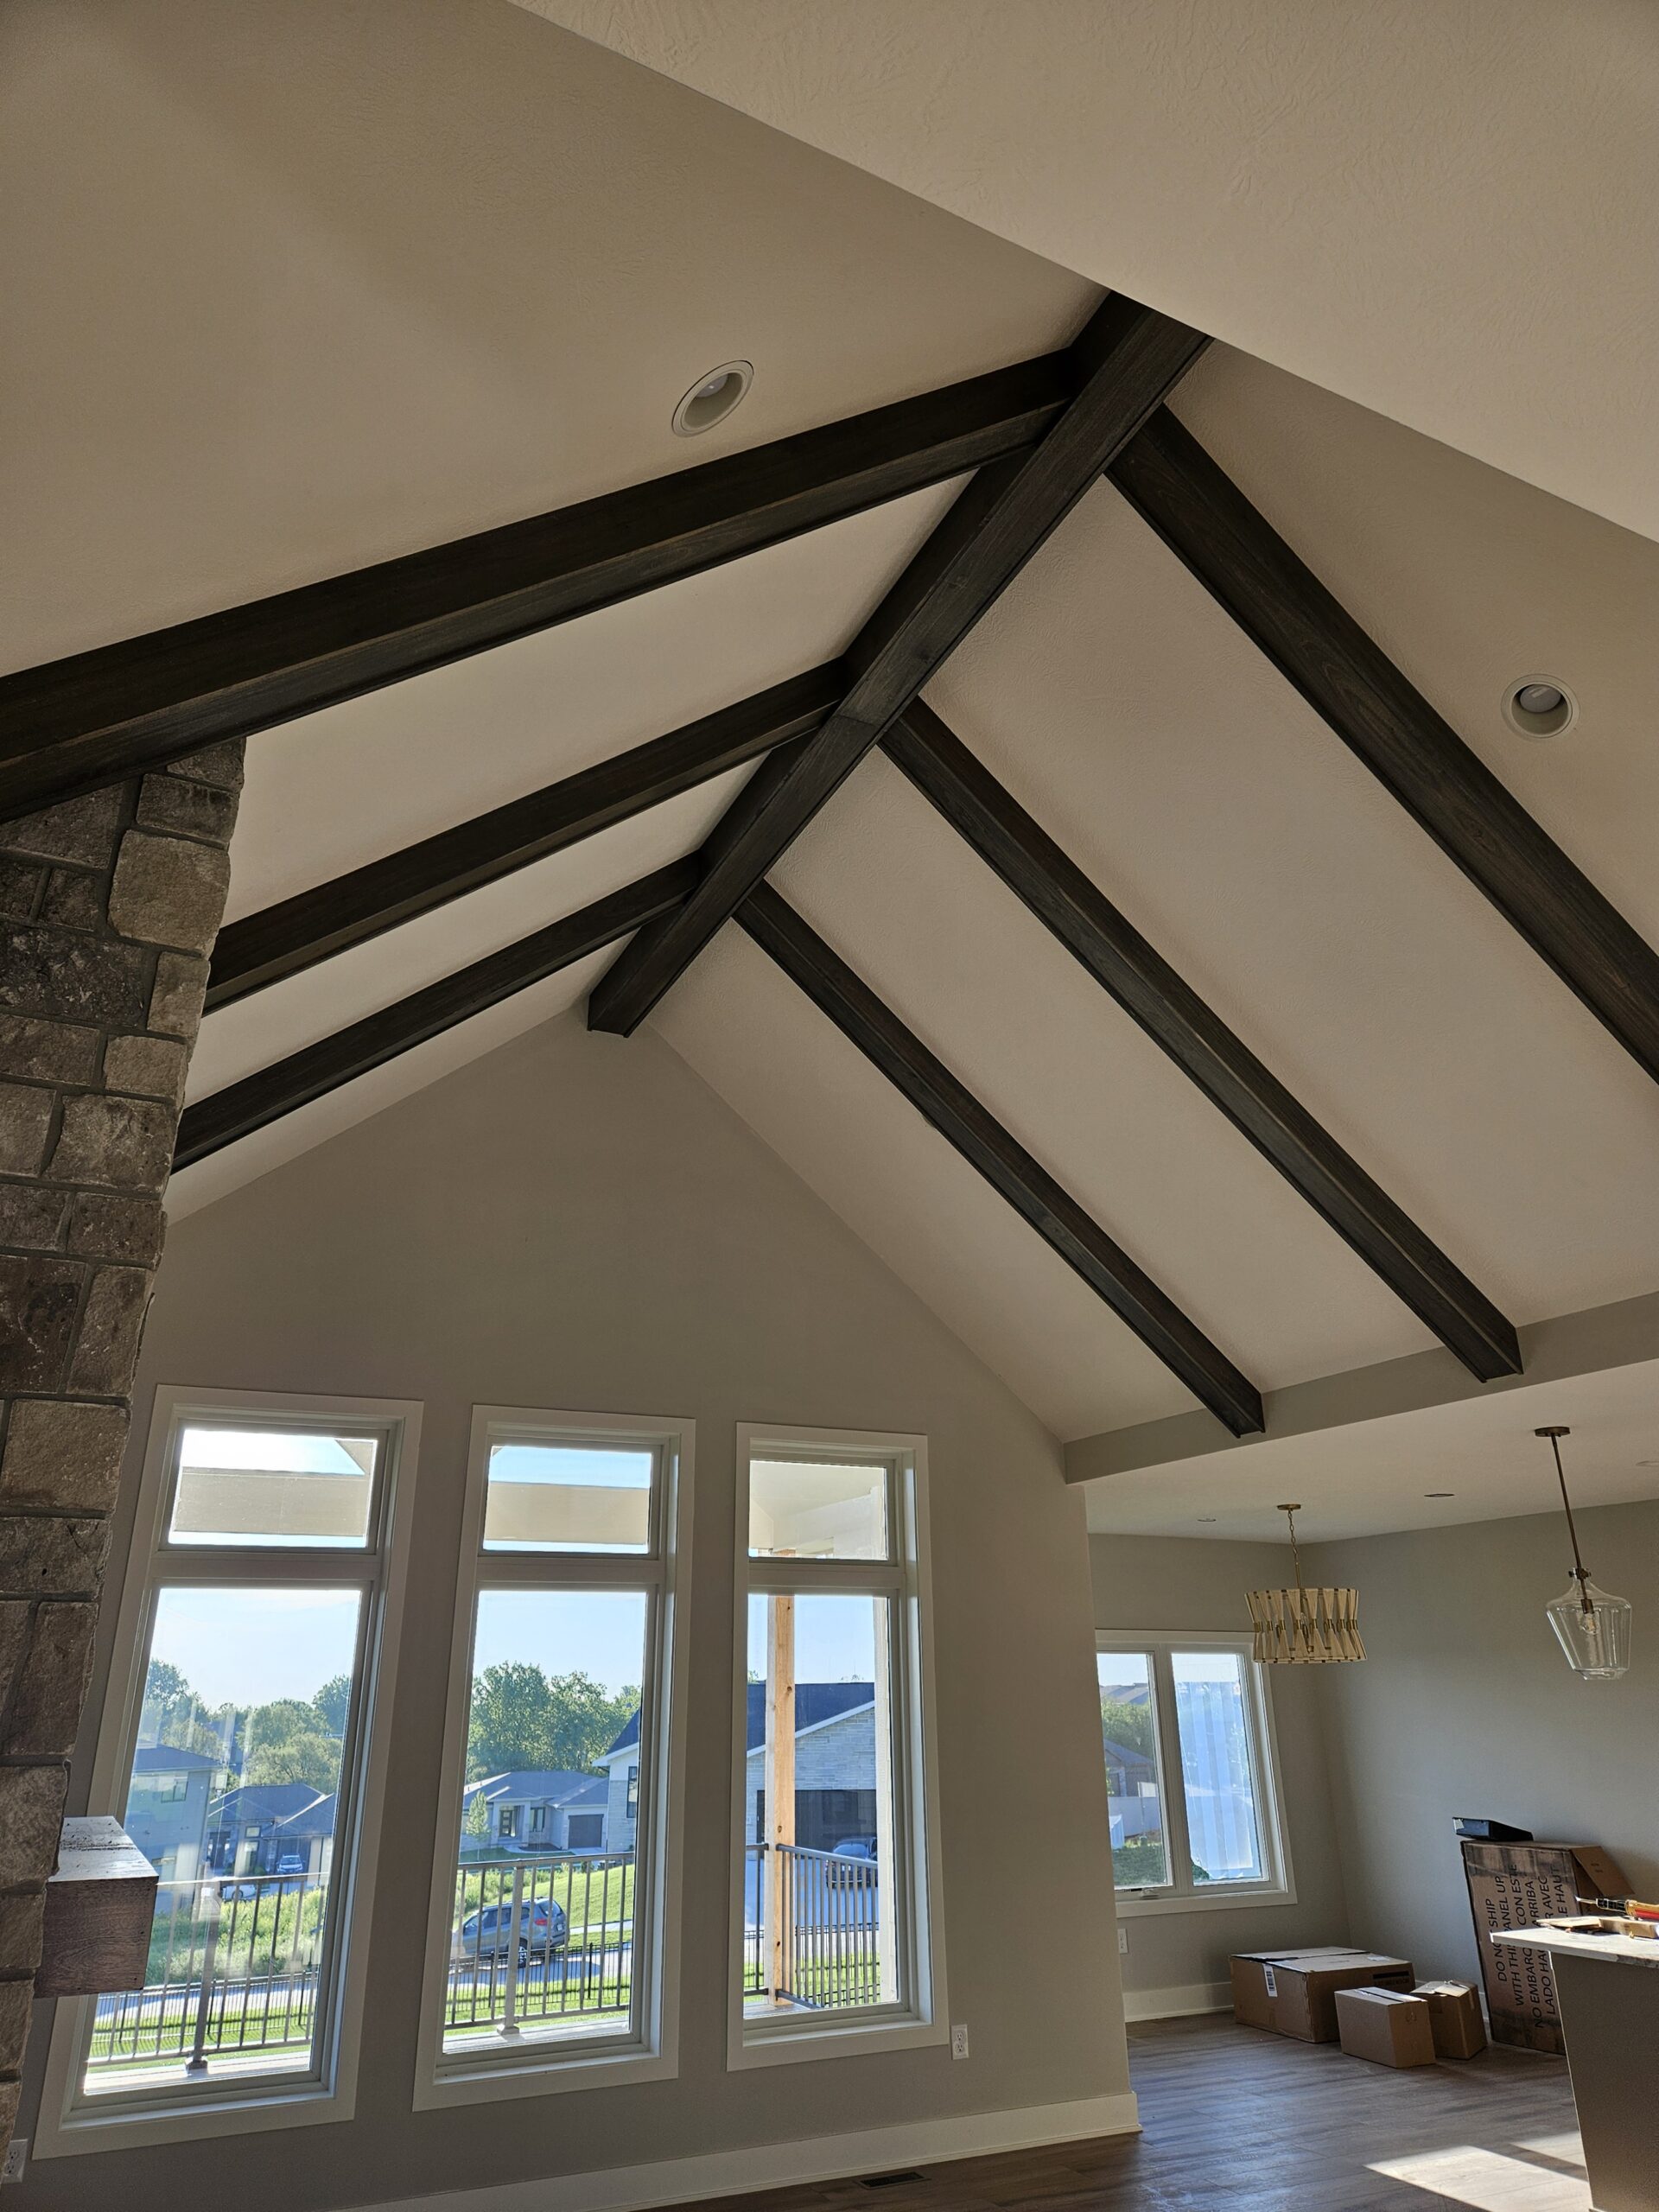
Dark stained wood beams follow the vaulted roofline to a stone chimney and tall windows
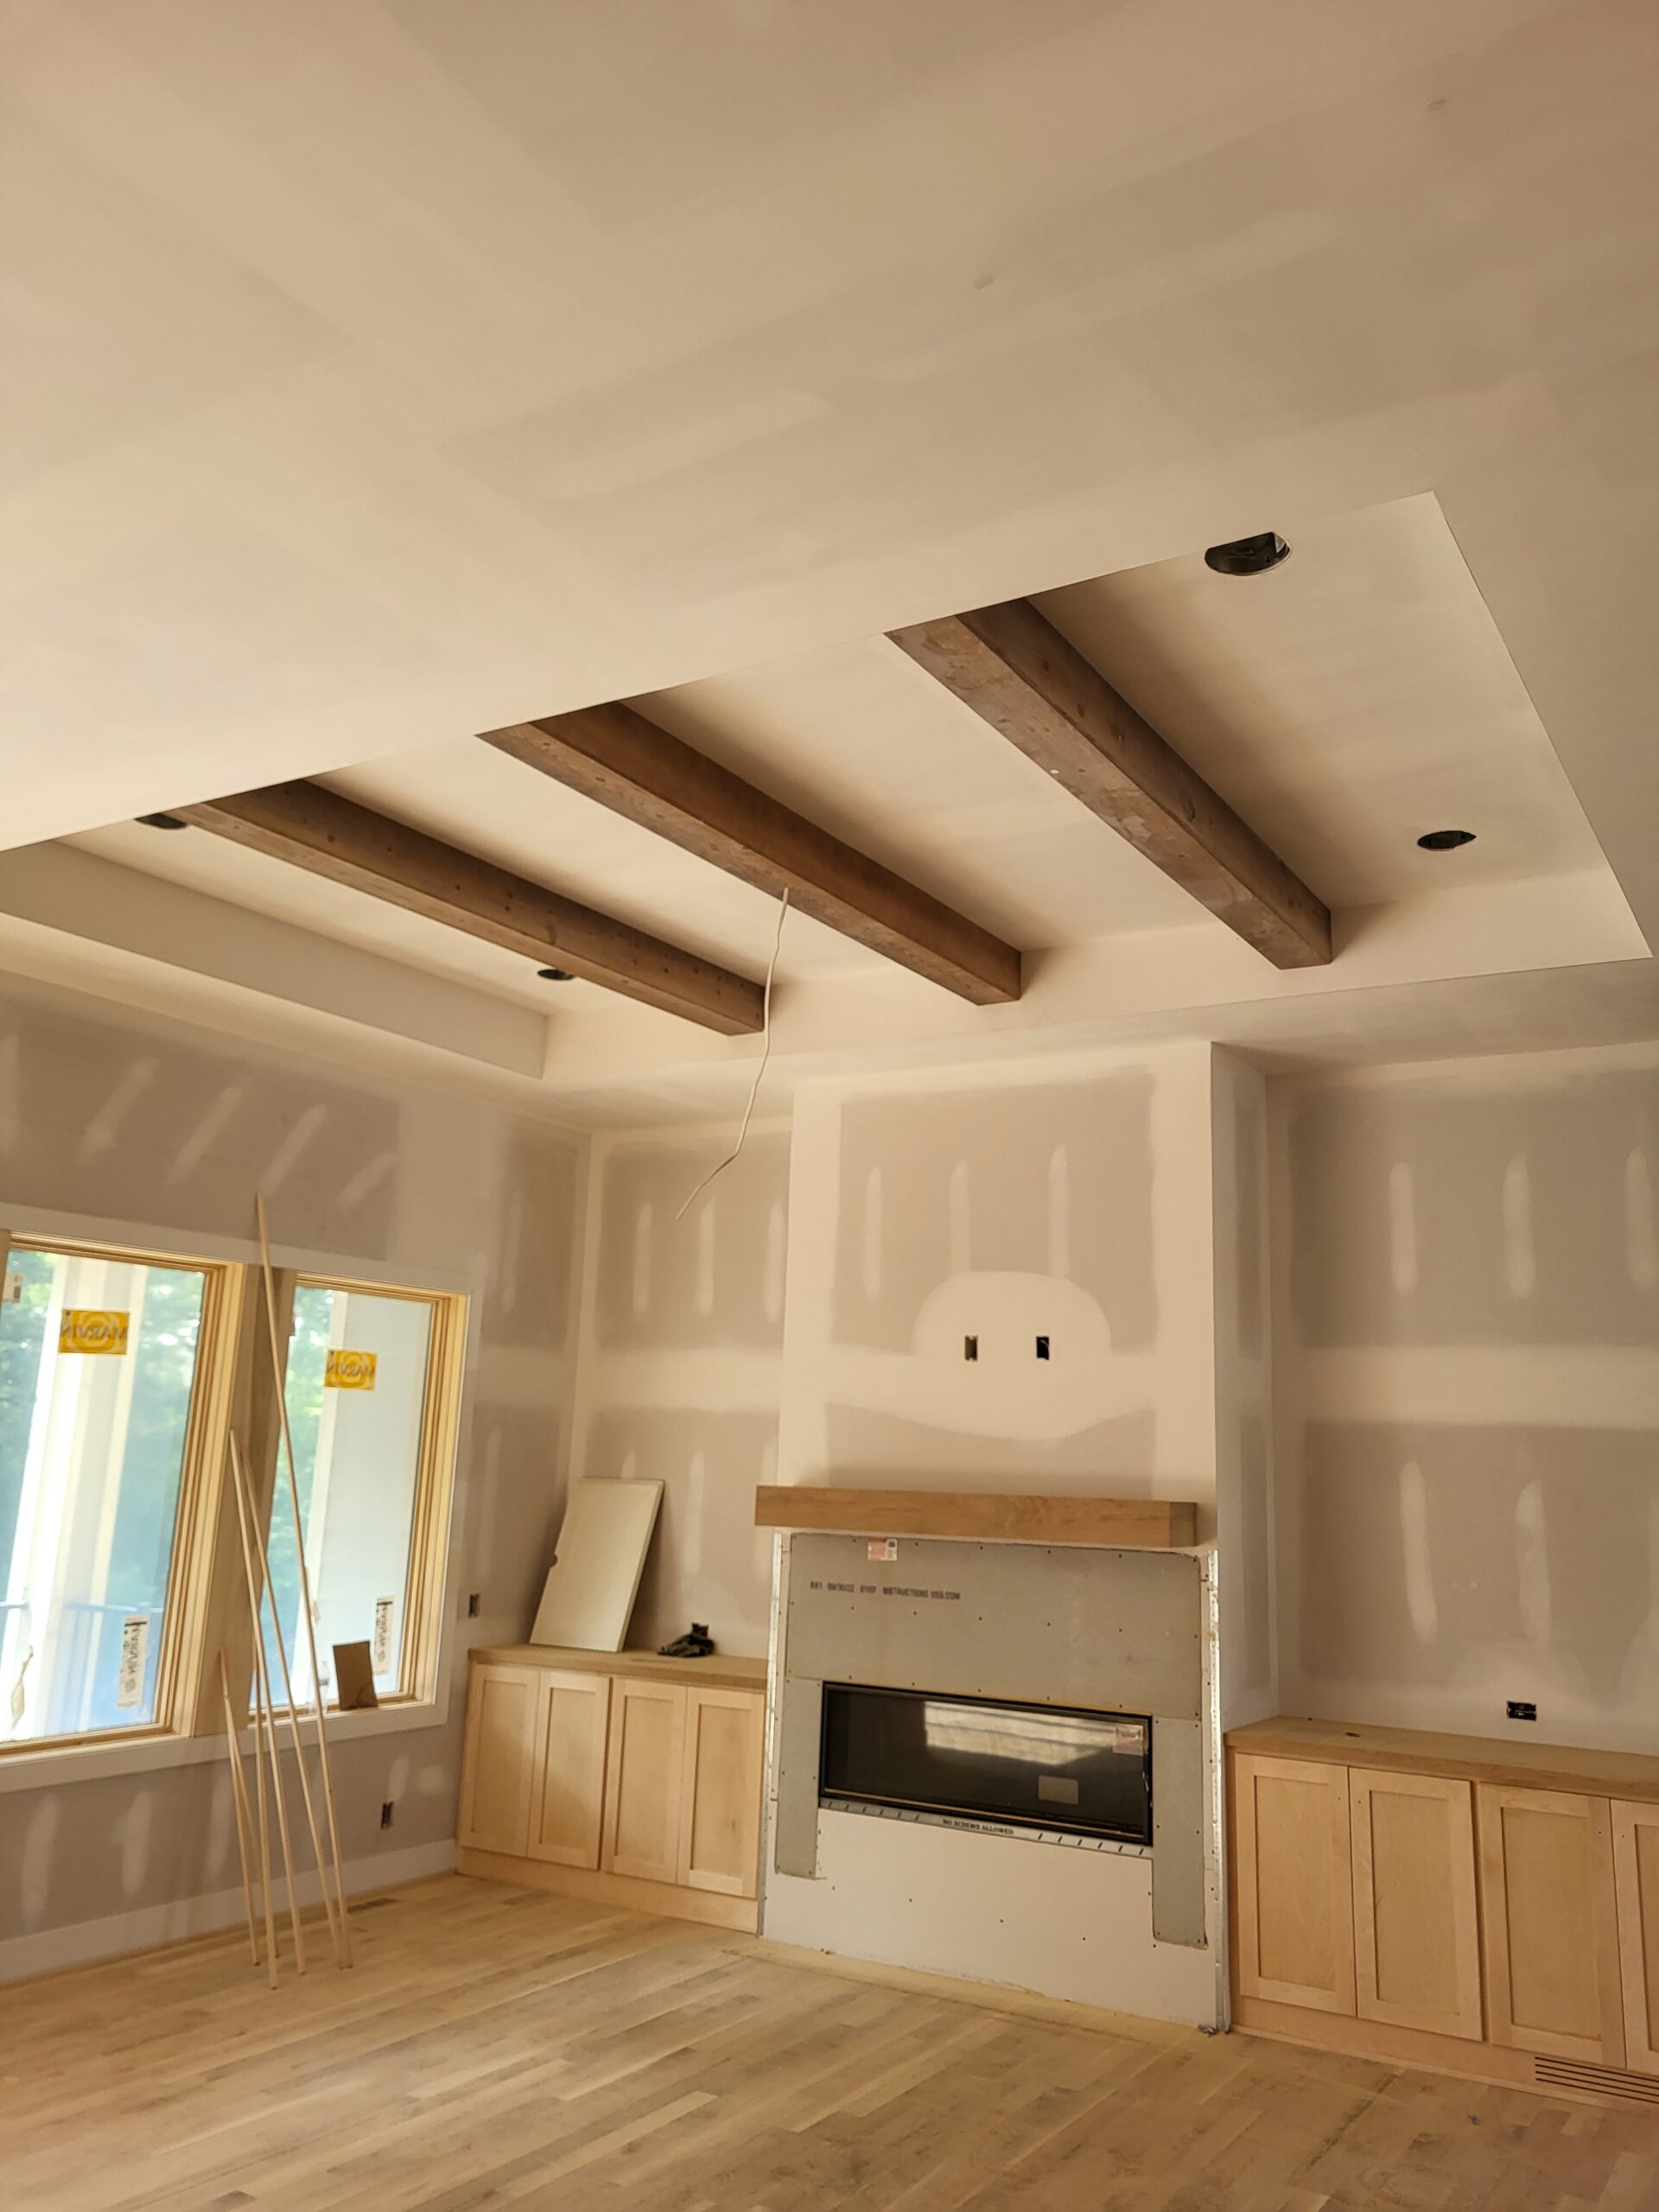
Painted wood ceiling beams over an unfinished room with a fireplace and bare oak flooring
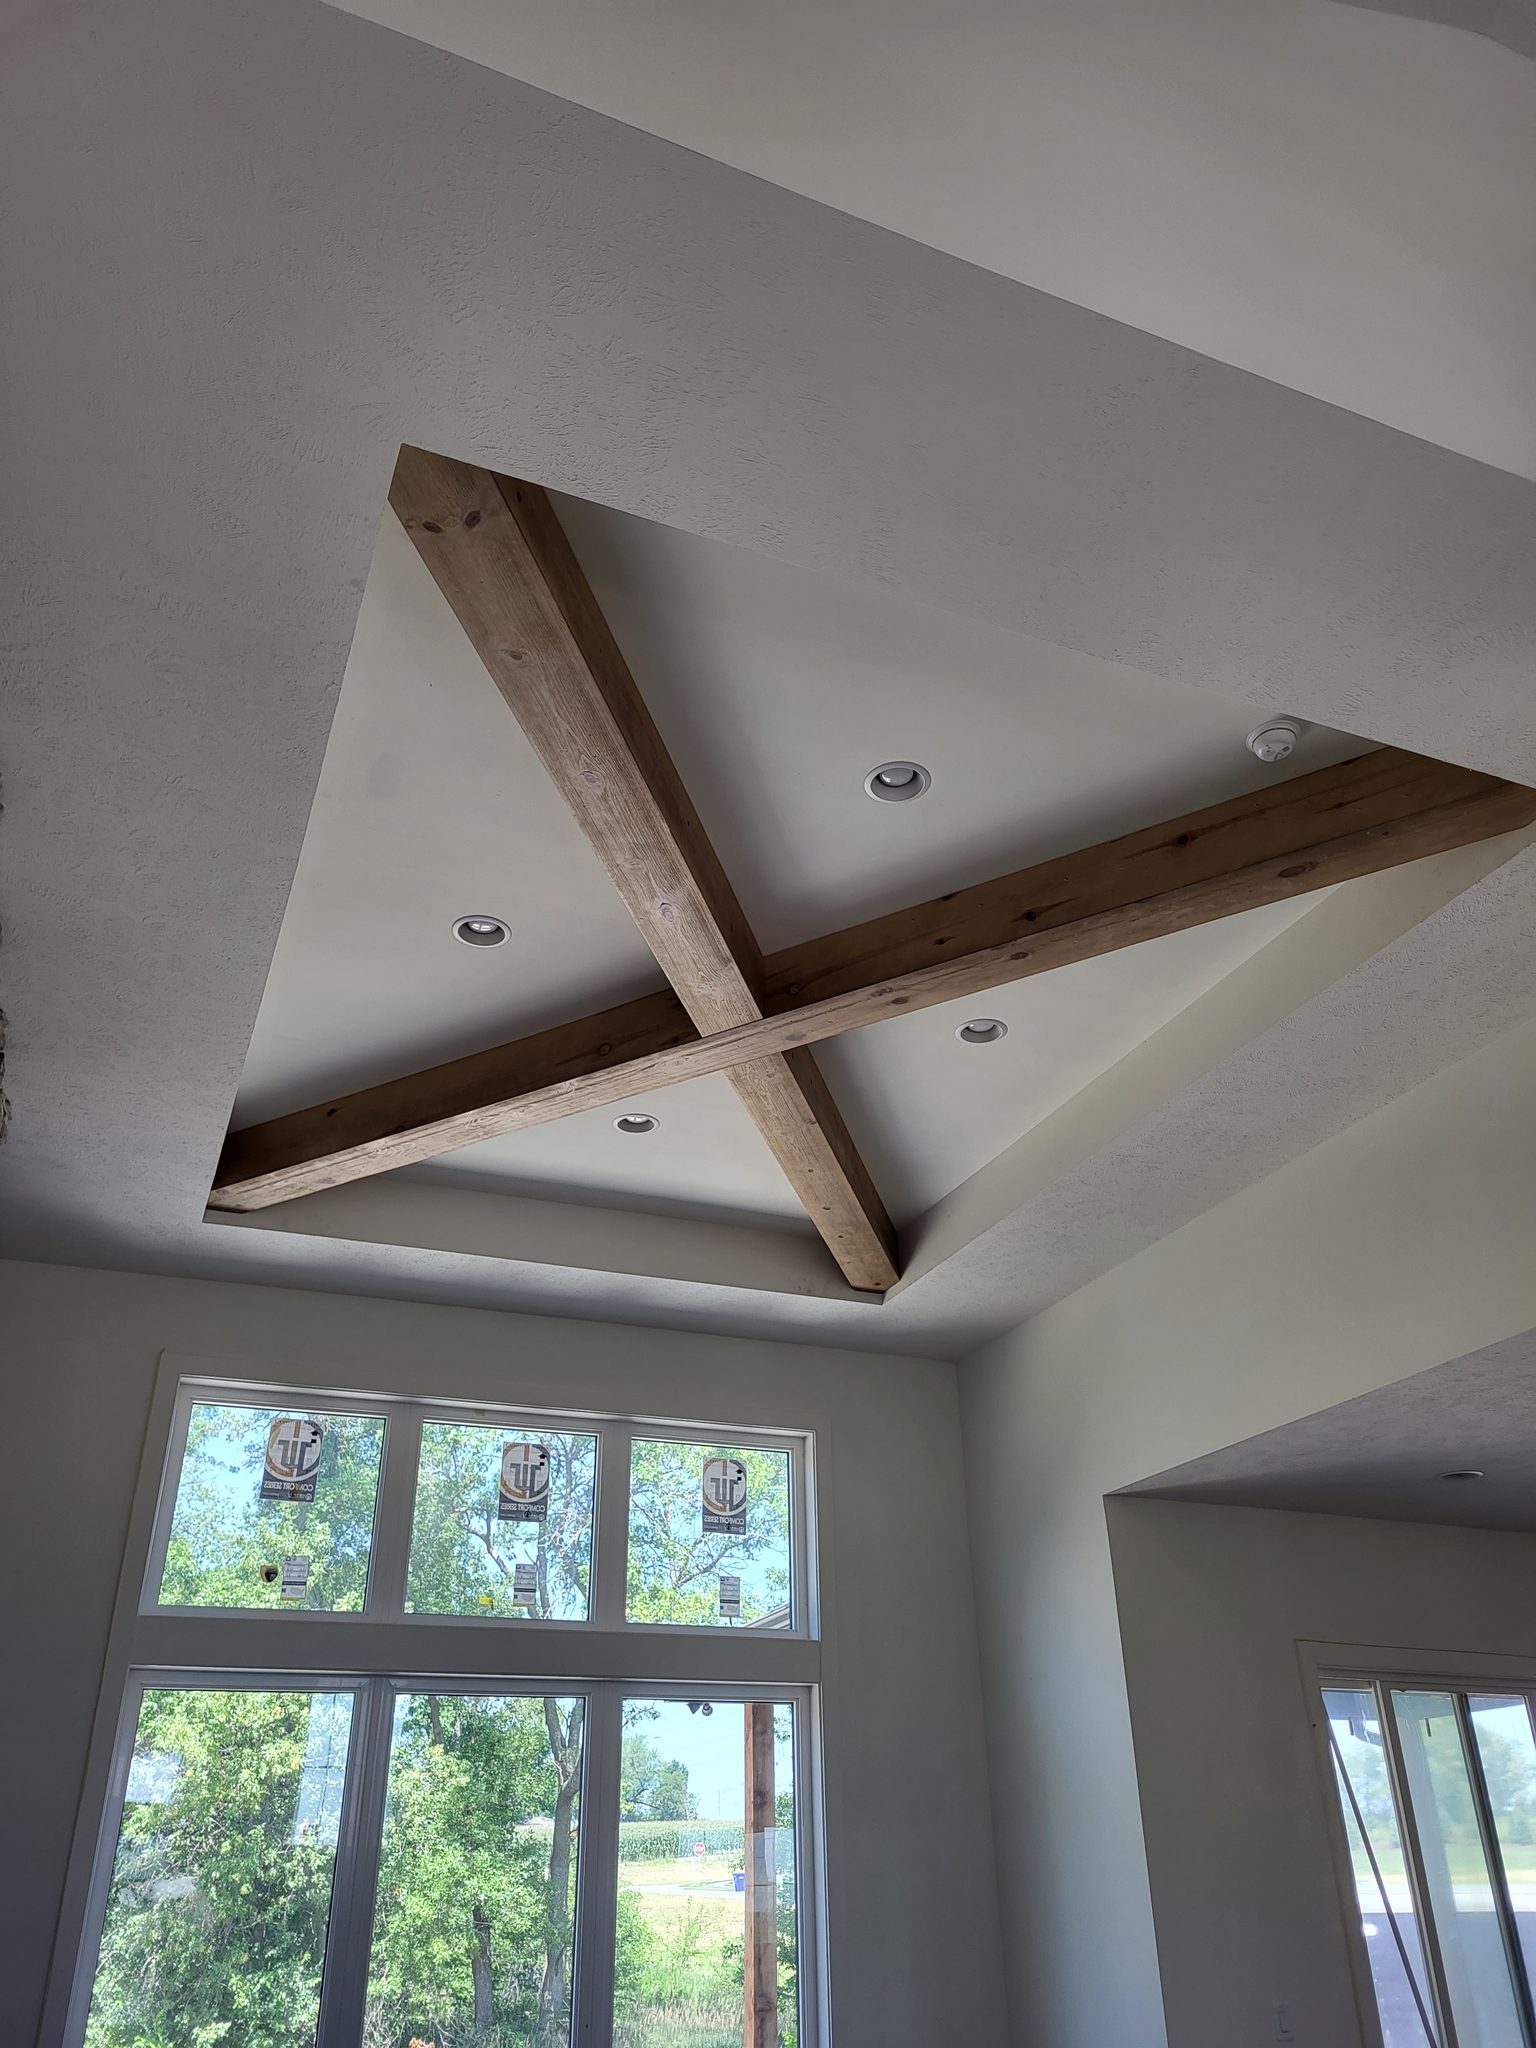
Unfinished wood ceiling beams crossing in an X pattern above a vaulted window wall
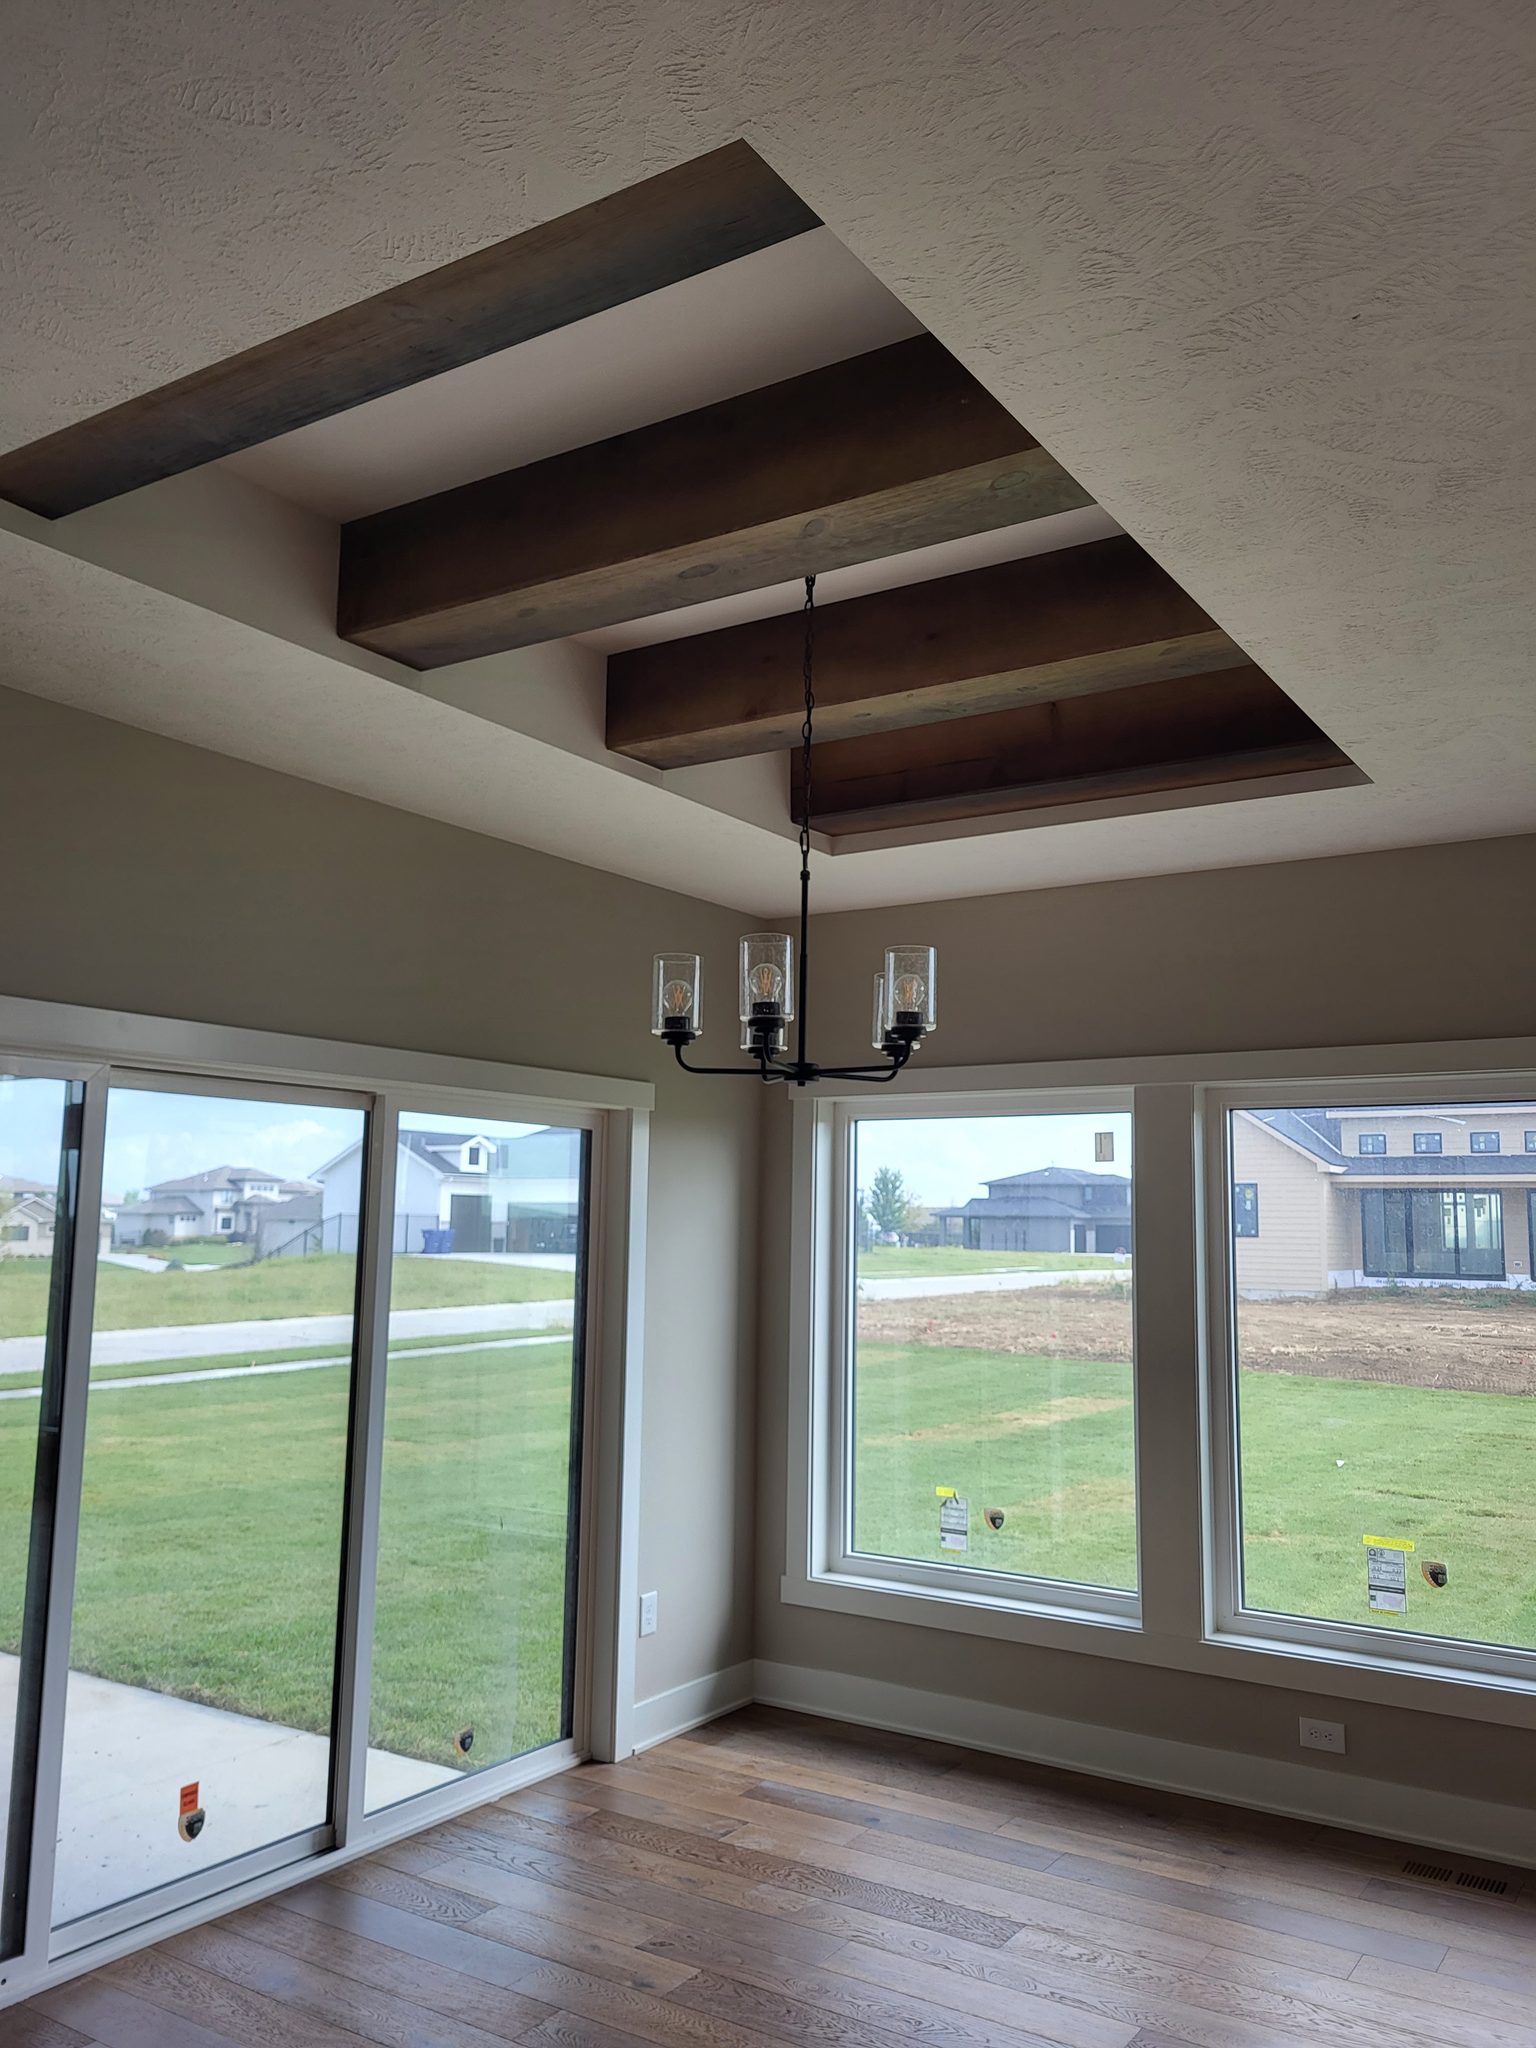
Dark stained wood beams forming a coffered tray ceiling above a chandelier and patio doors
Unfinished wood ceiling beams crossing in an X pattern above a stone accent wall
Dark stained boxed ceiling beams forming a grid above a shiplap clad stairwell wall
Dark stained boxed ceiling beams forming a grid below a textured upper ceiling with windows
Dark stained parallel wood ceiling beams with a black chandelier hanging between them
Dark stained ceiling beams crossing in a grid above a shiplap accent wall
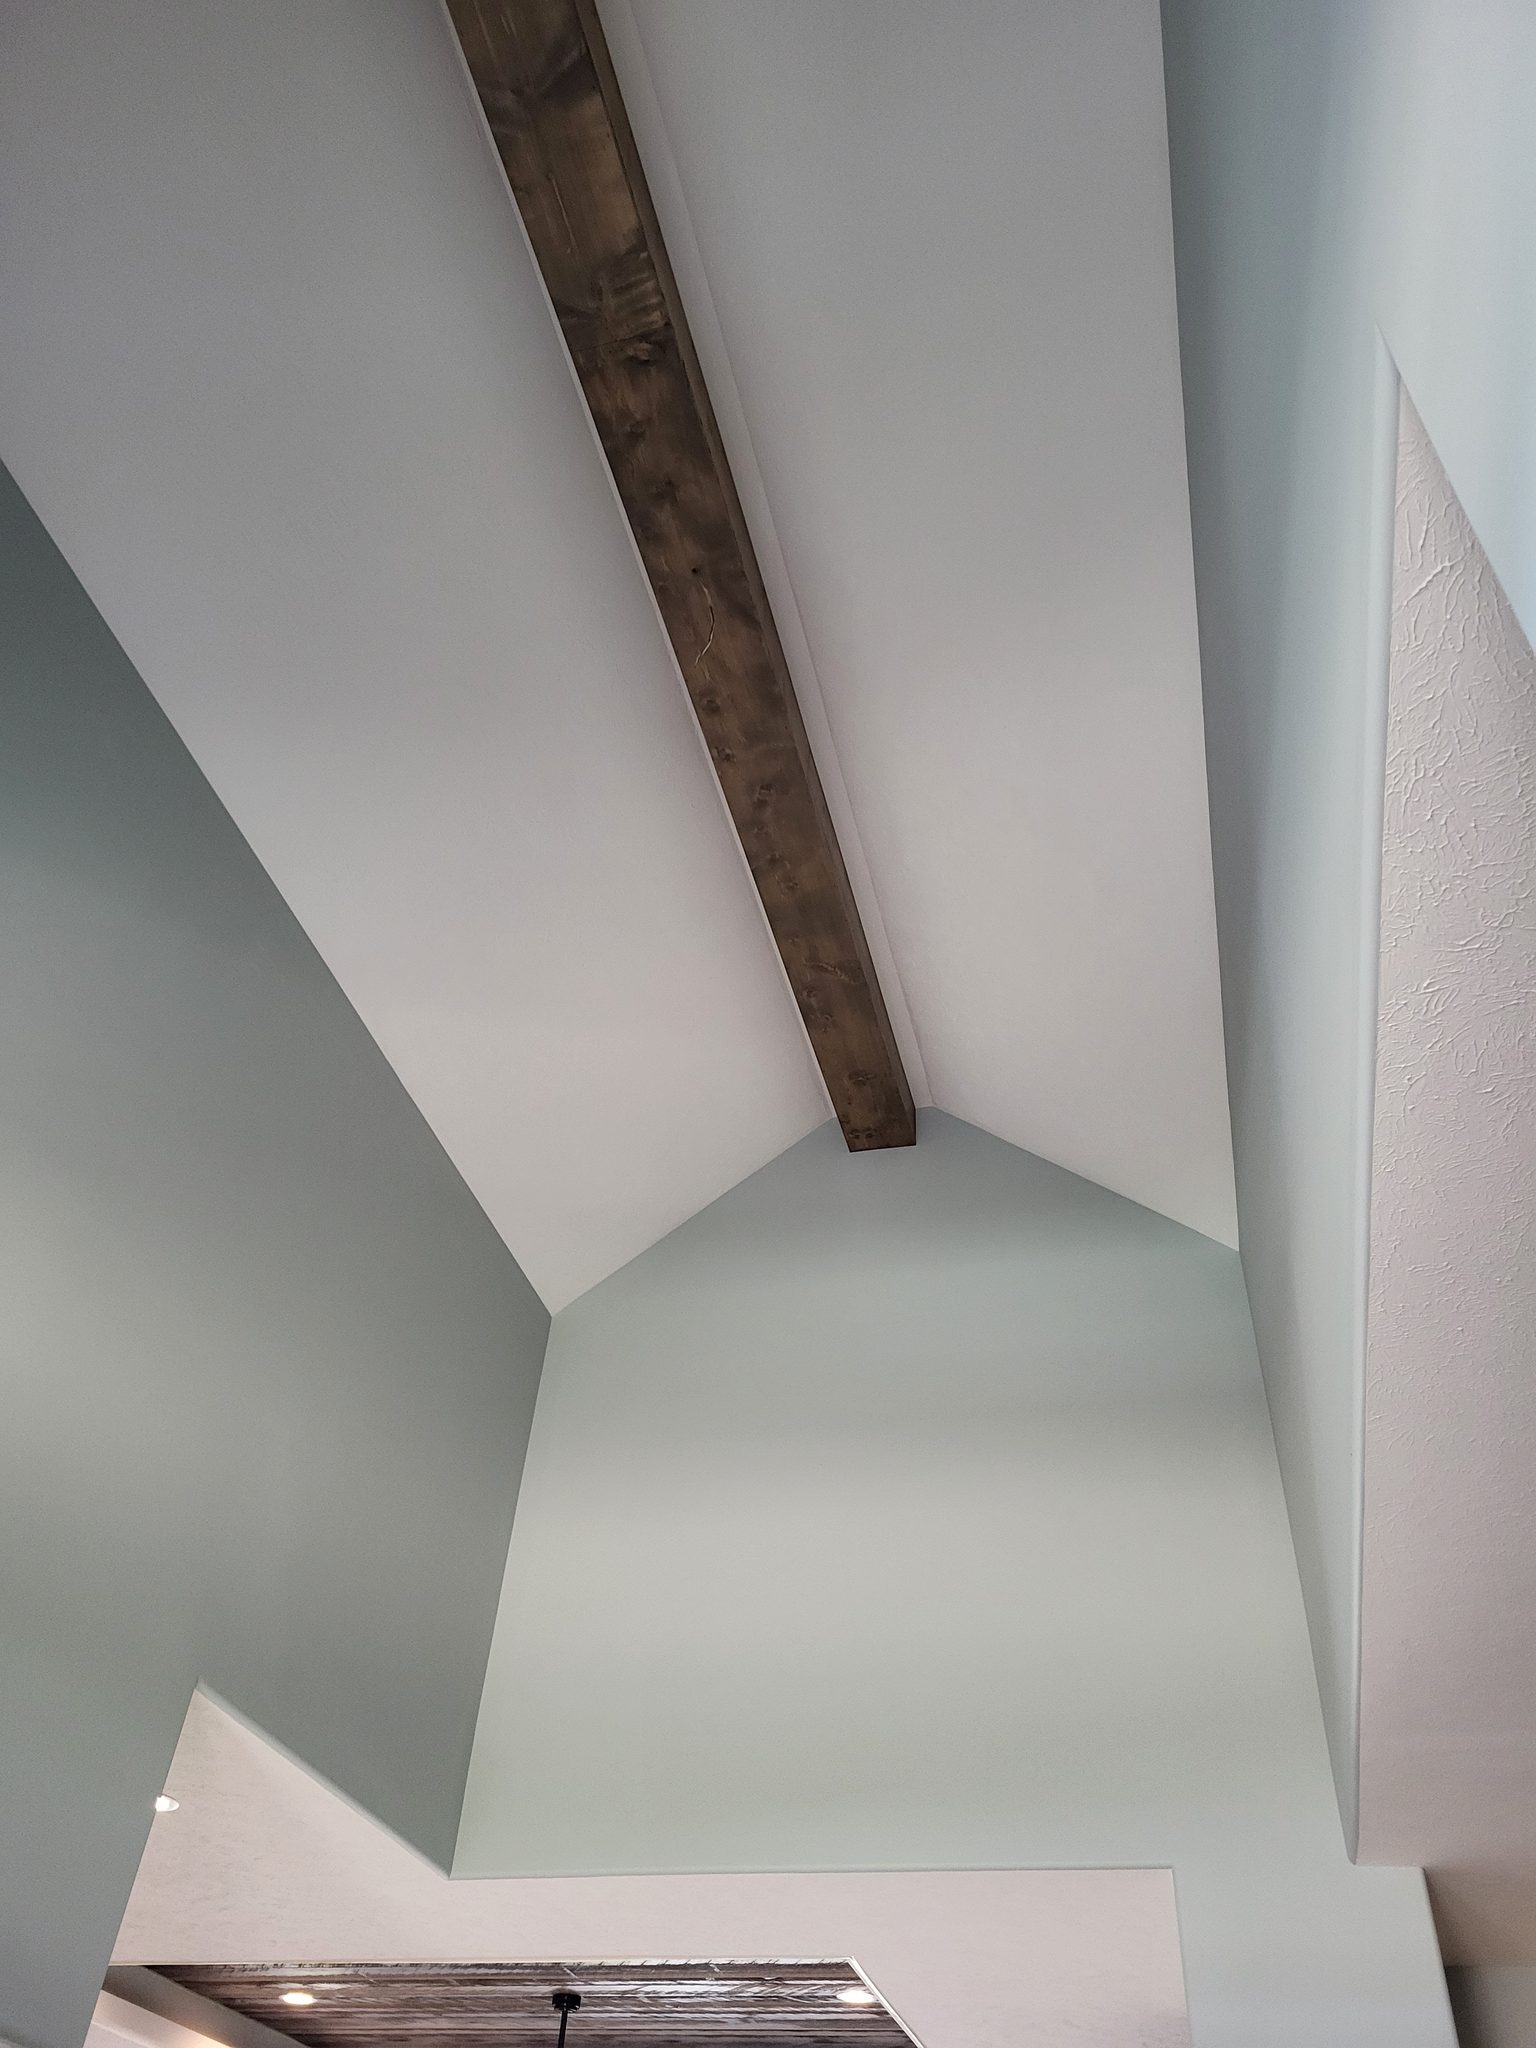
Dark stained wood beam running along a vaulted ceiling slope in a painted blue gray nook
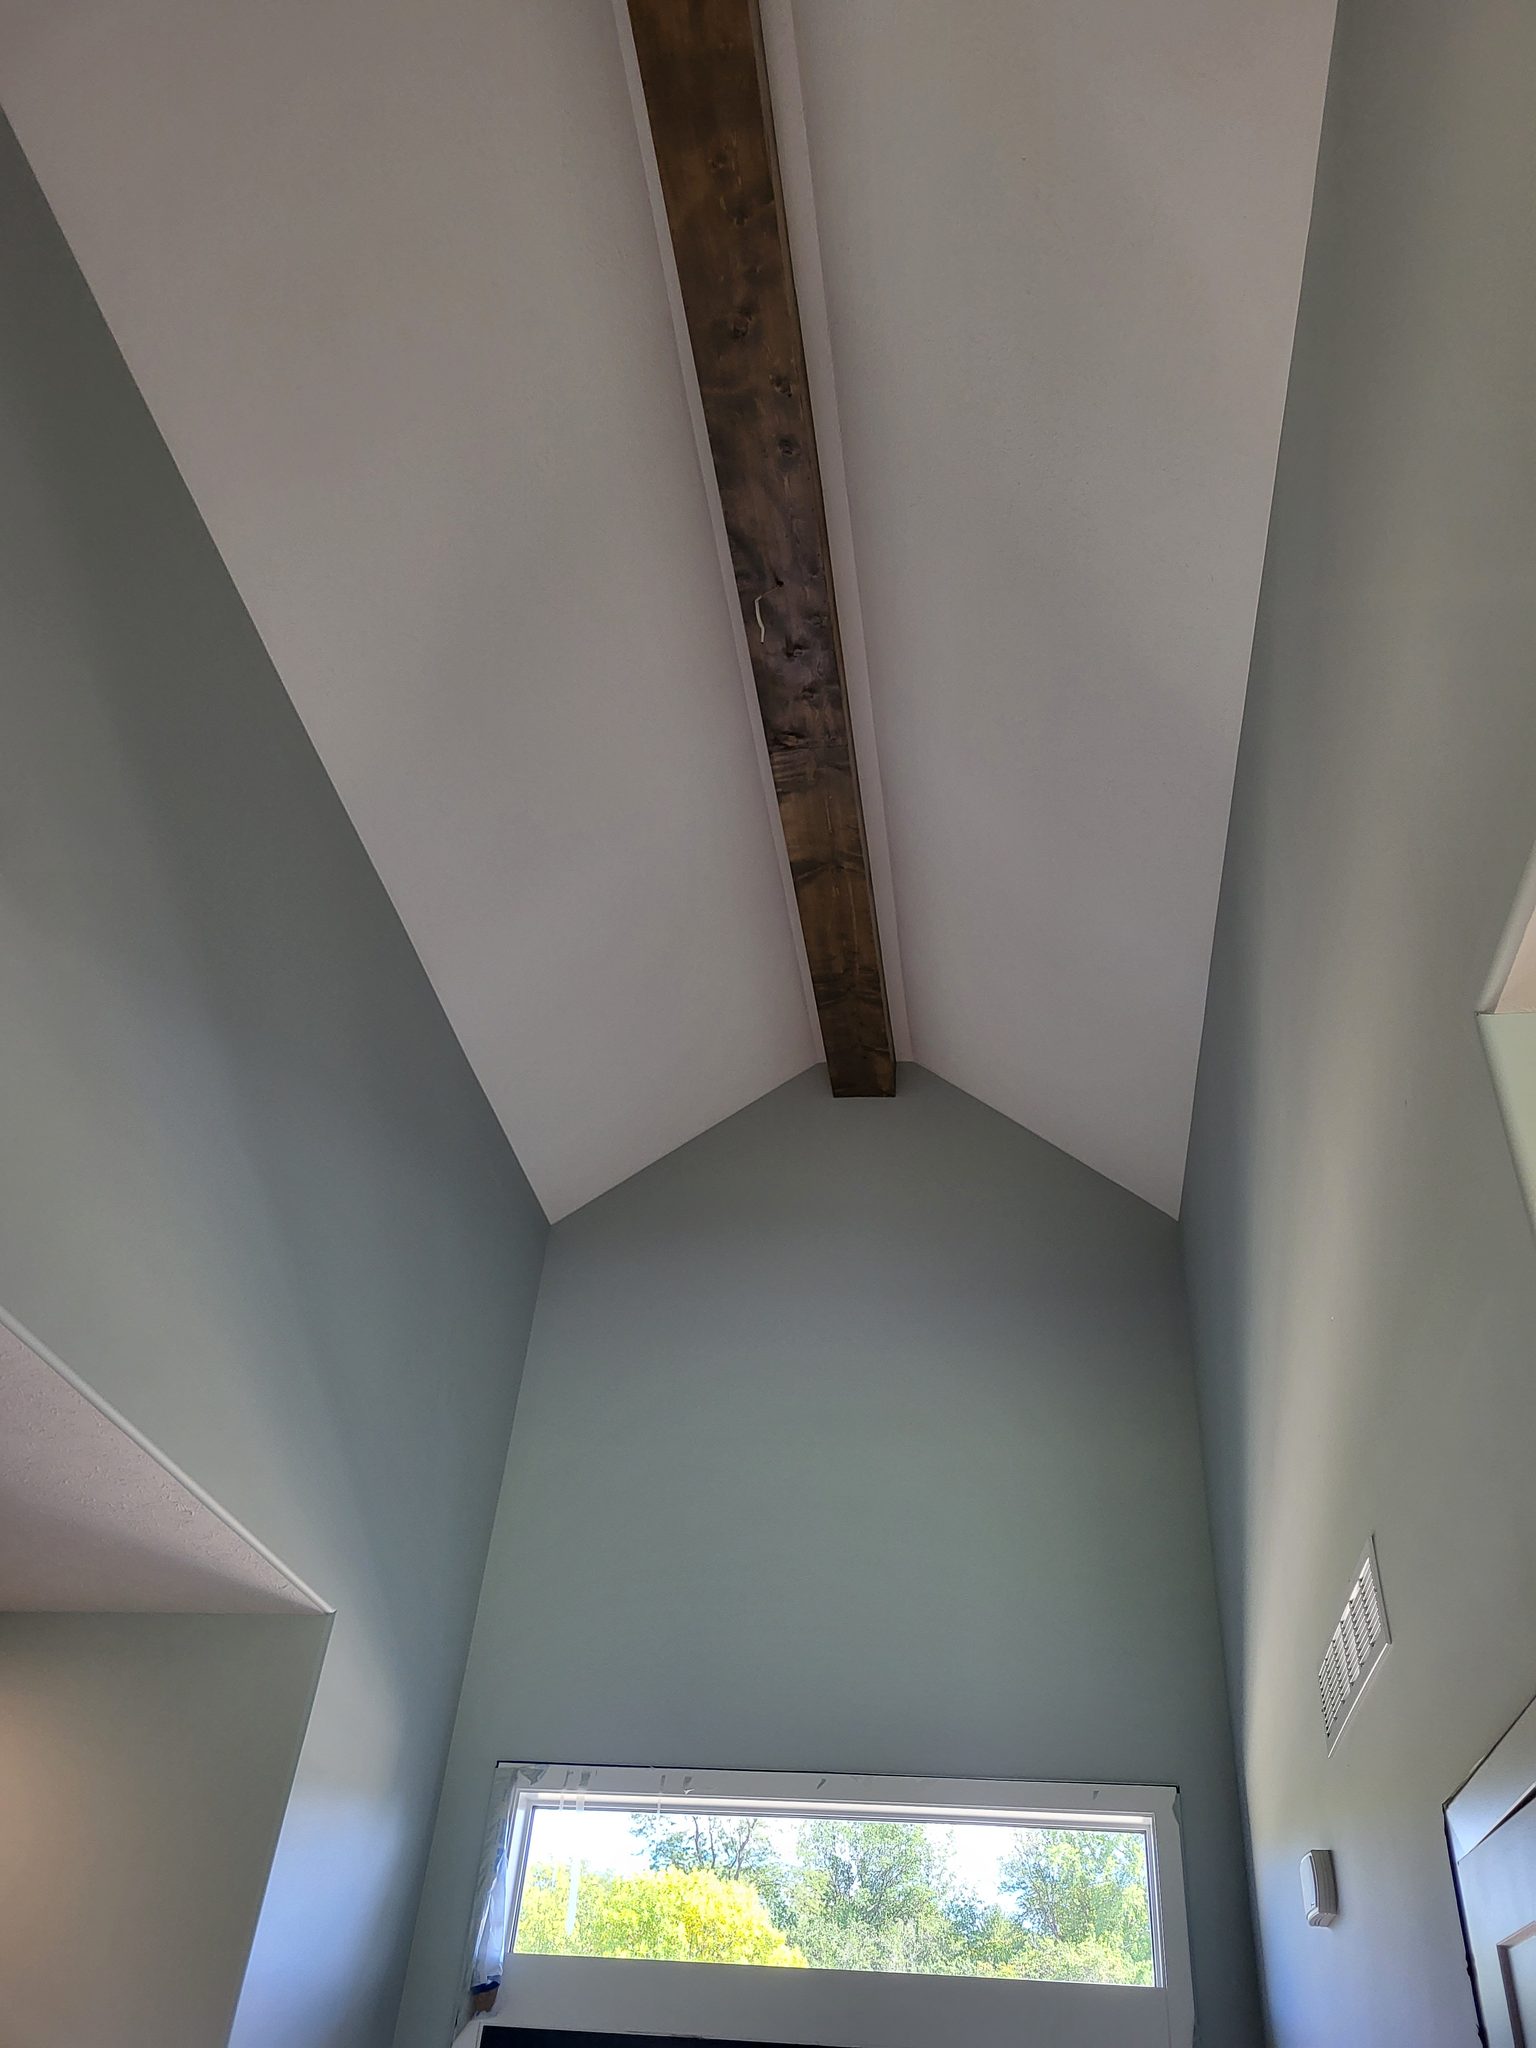
Wood beam running along the peak of a tall vaulted ceiling above a single window
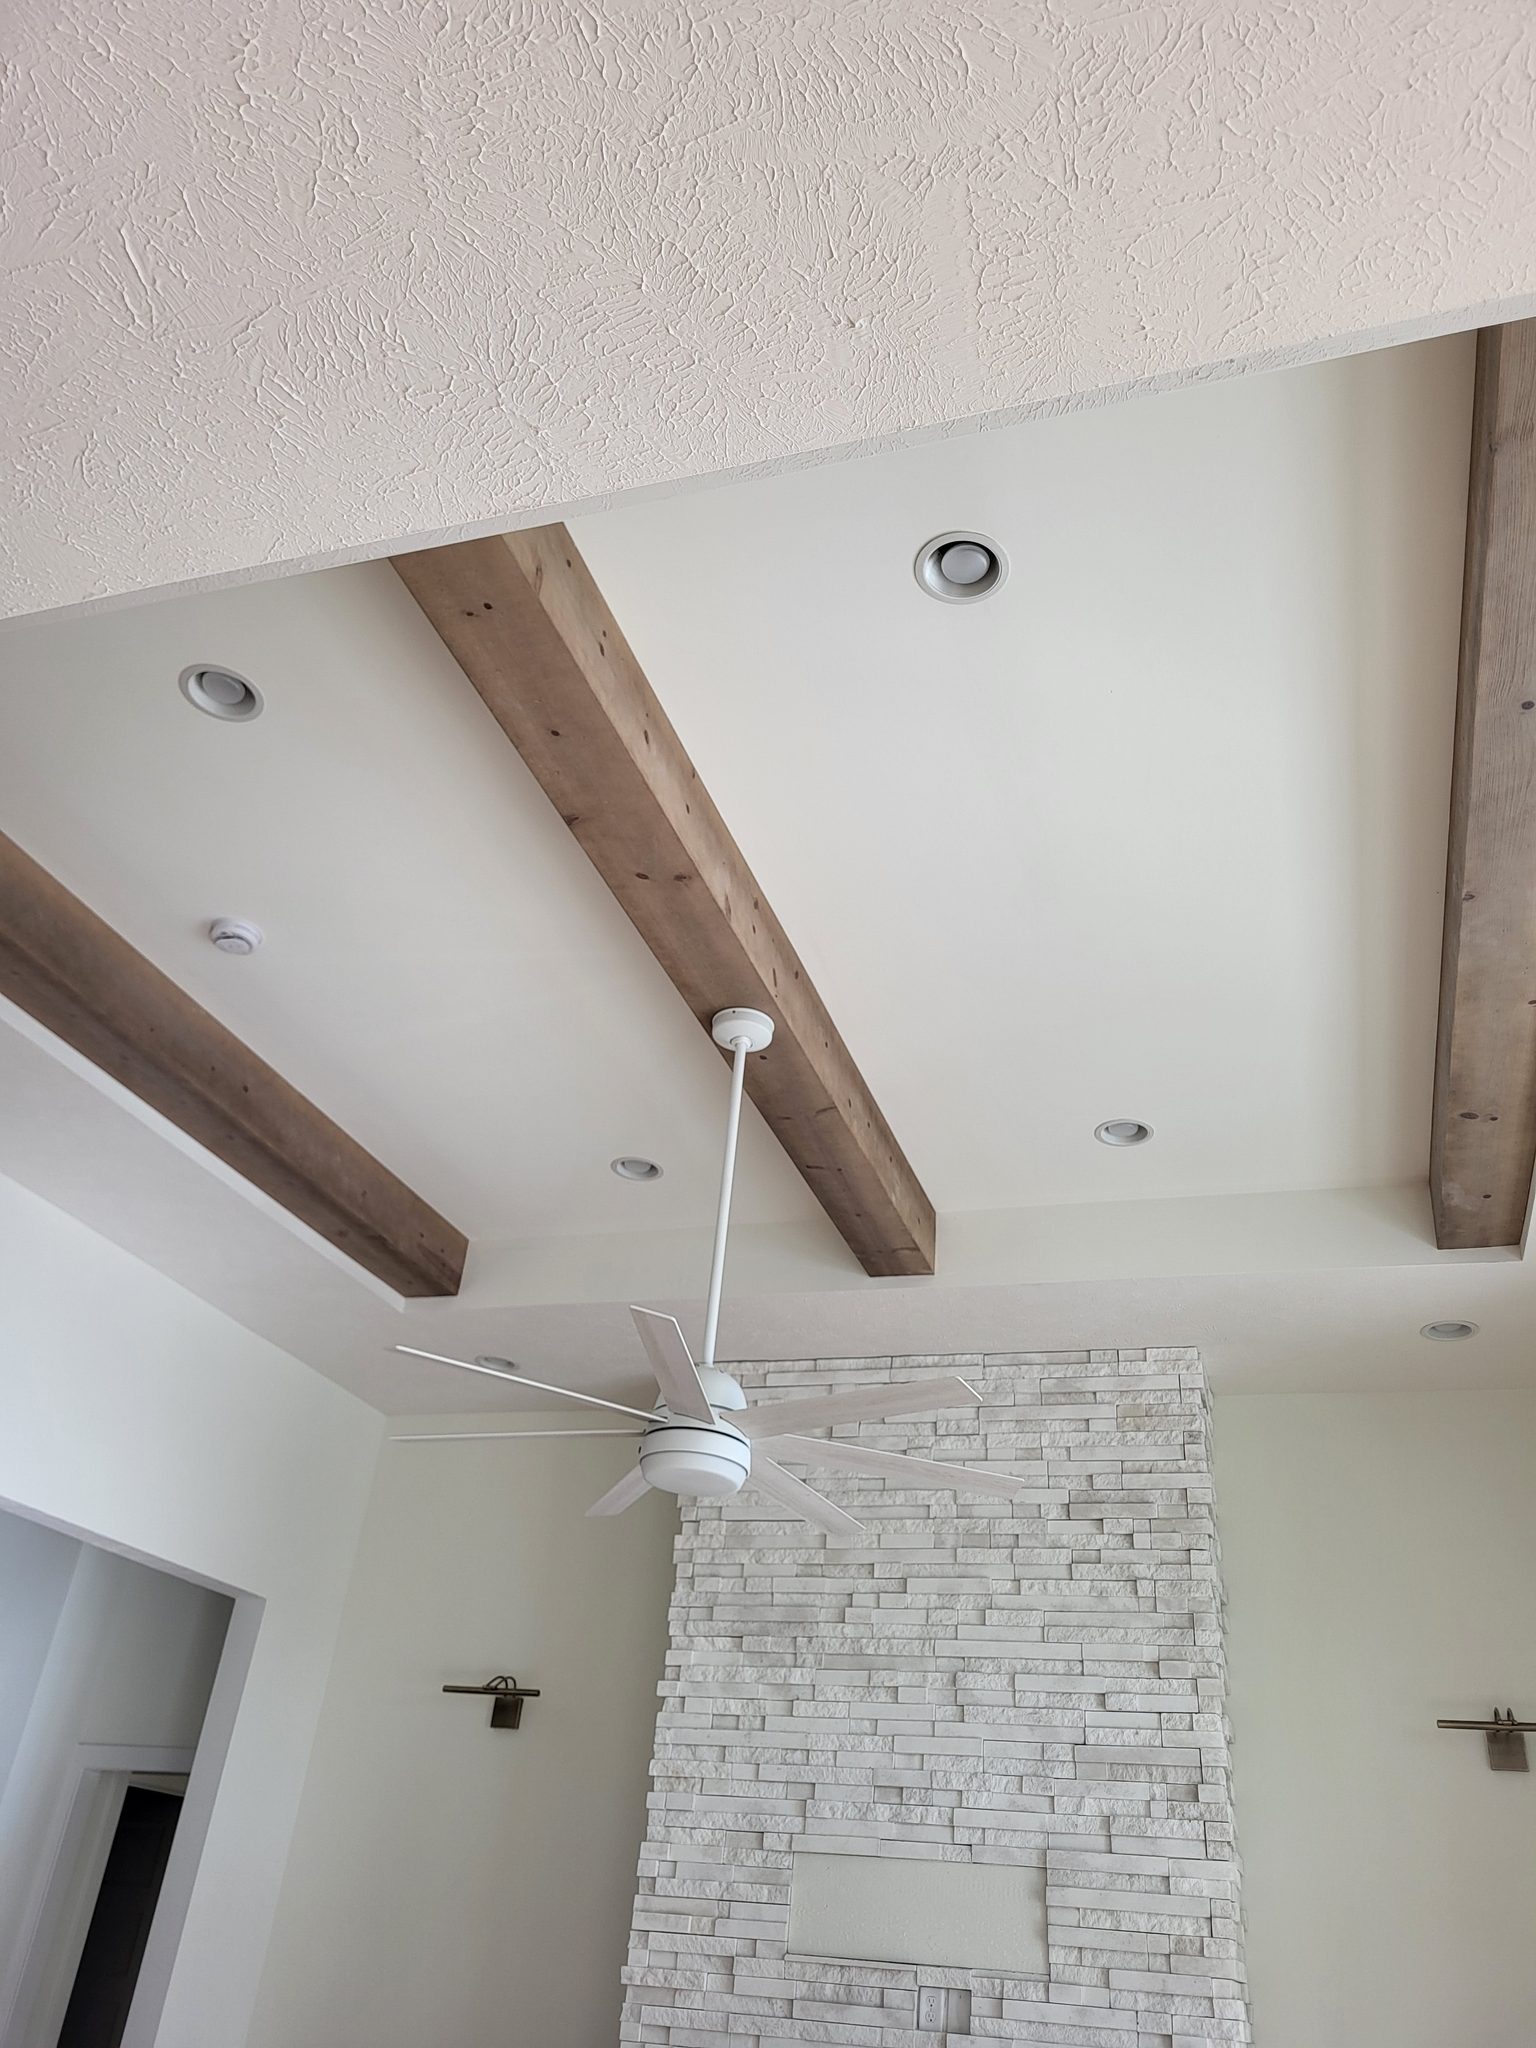
Dark stained wood beam on a flat ceiling with a fan and a stone fireplace column
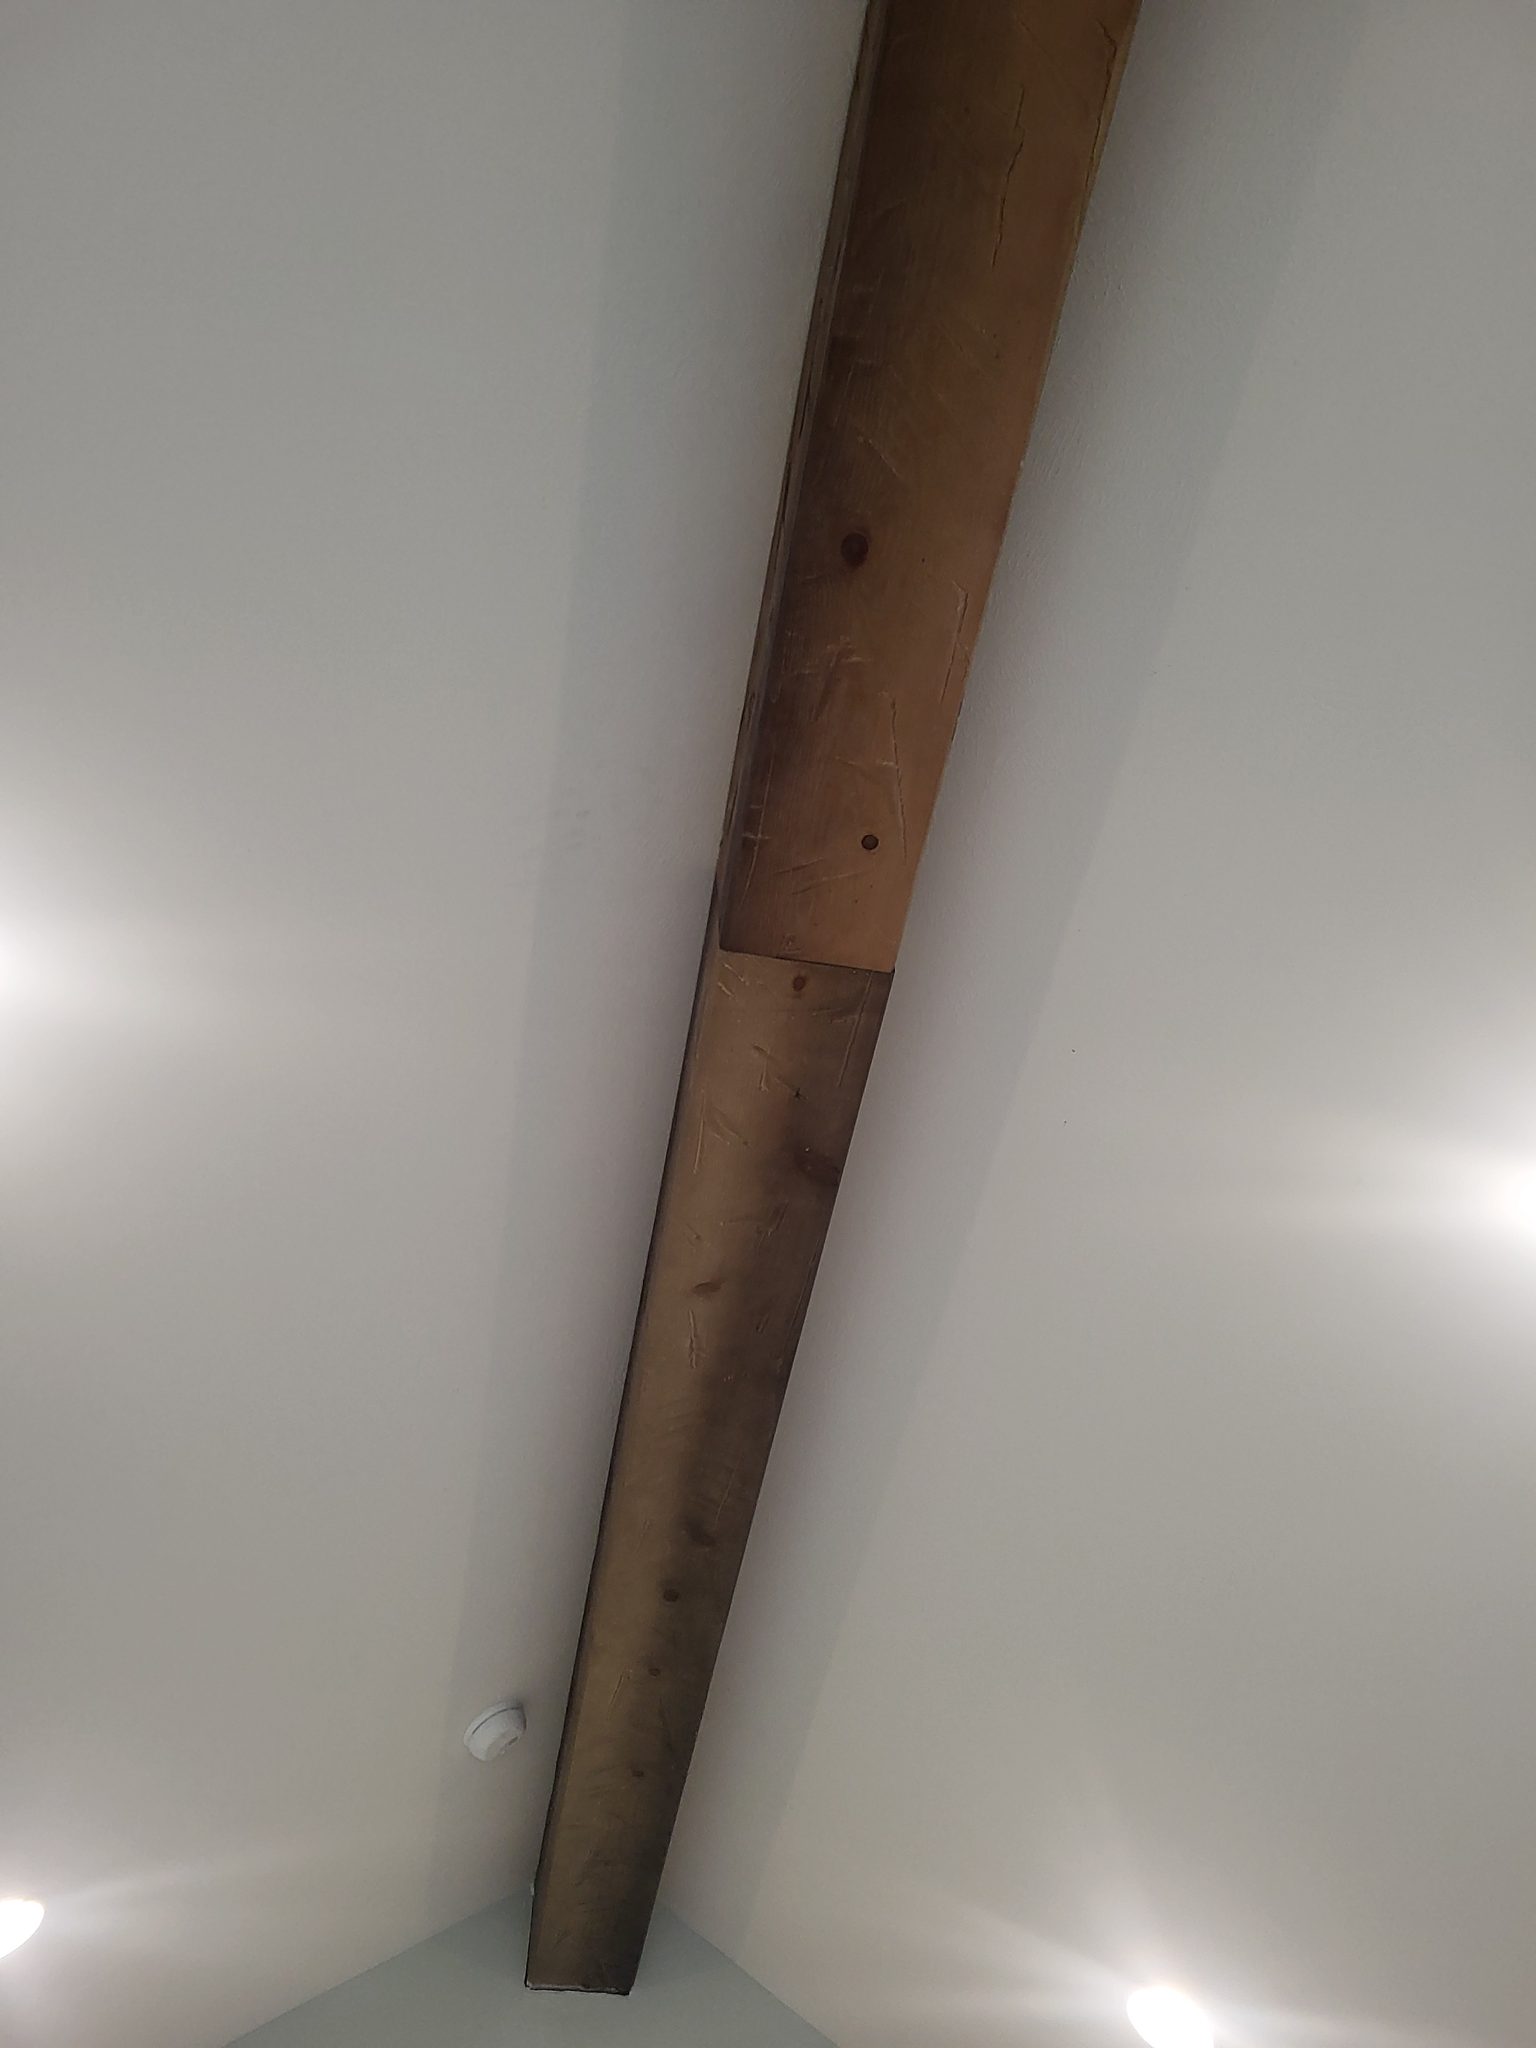
Unfinished raw wood beam end exposed at a wall opening above a ceiling fan
Dark stained ceiling beams crossing in a grid within a tray ceiling above windows
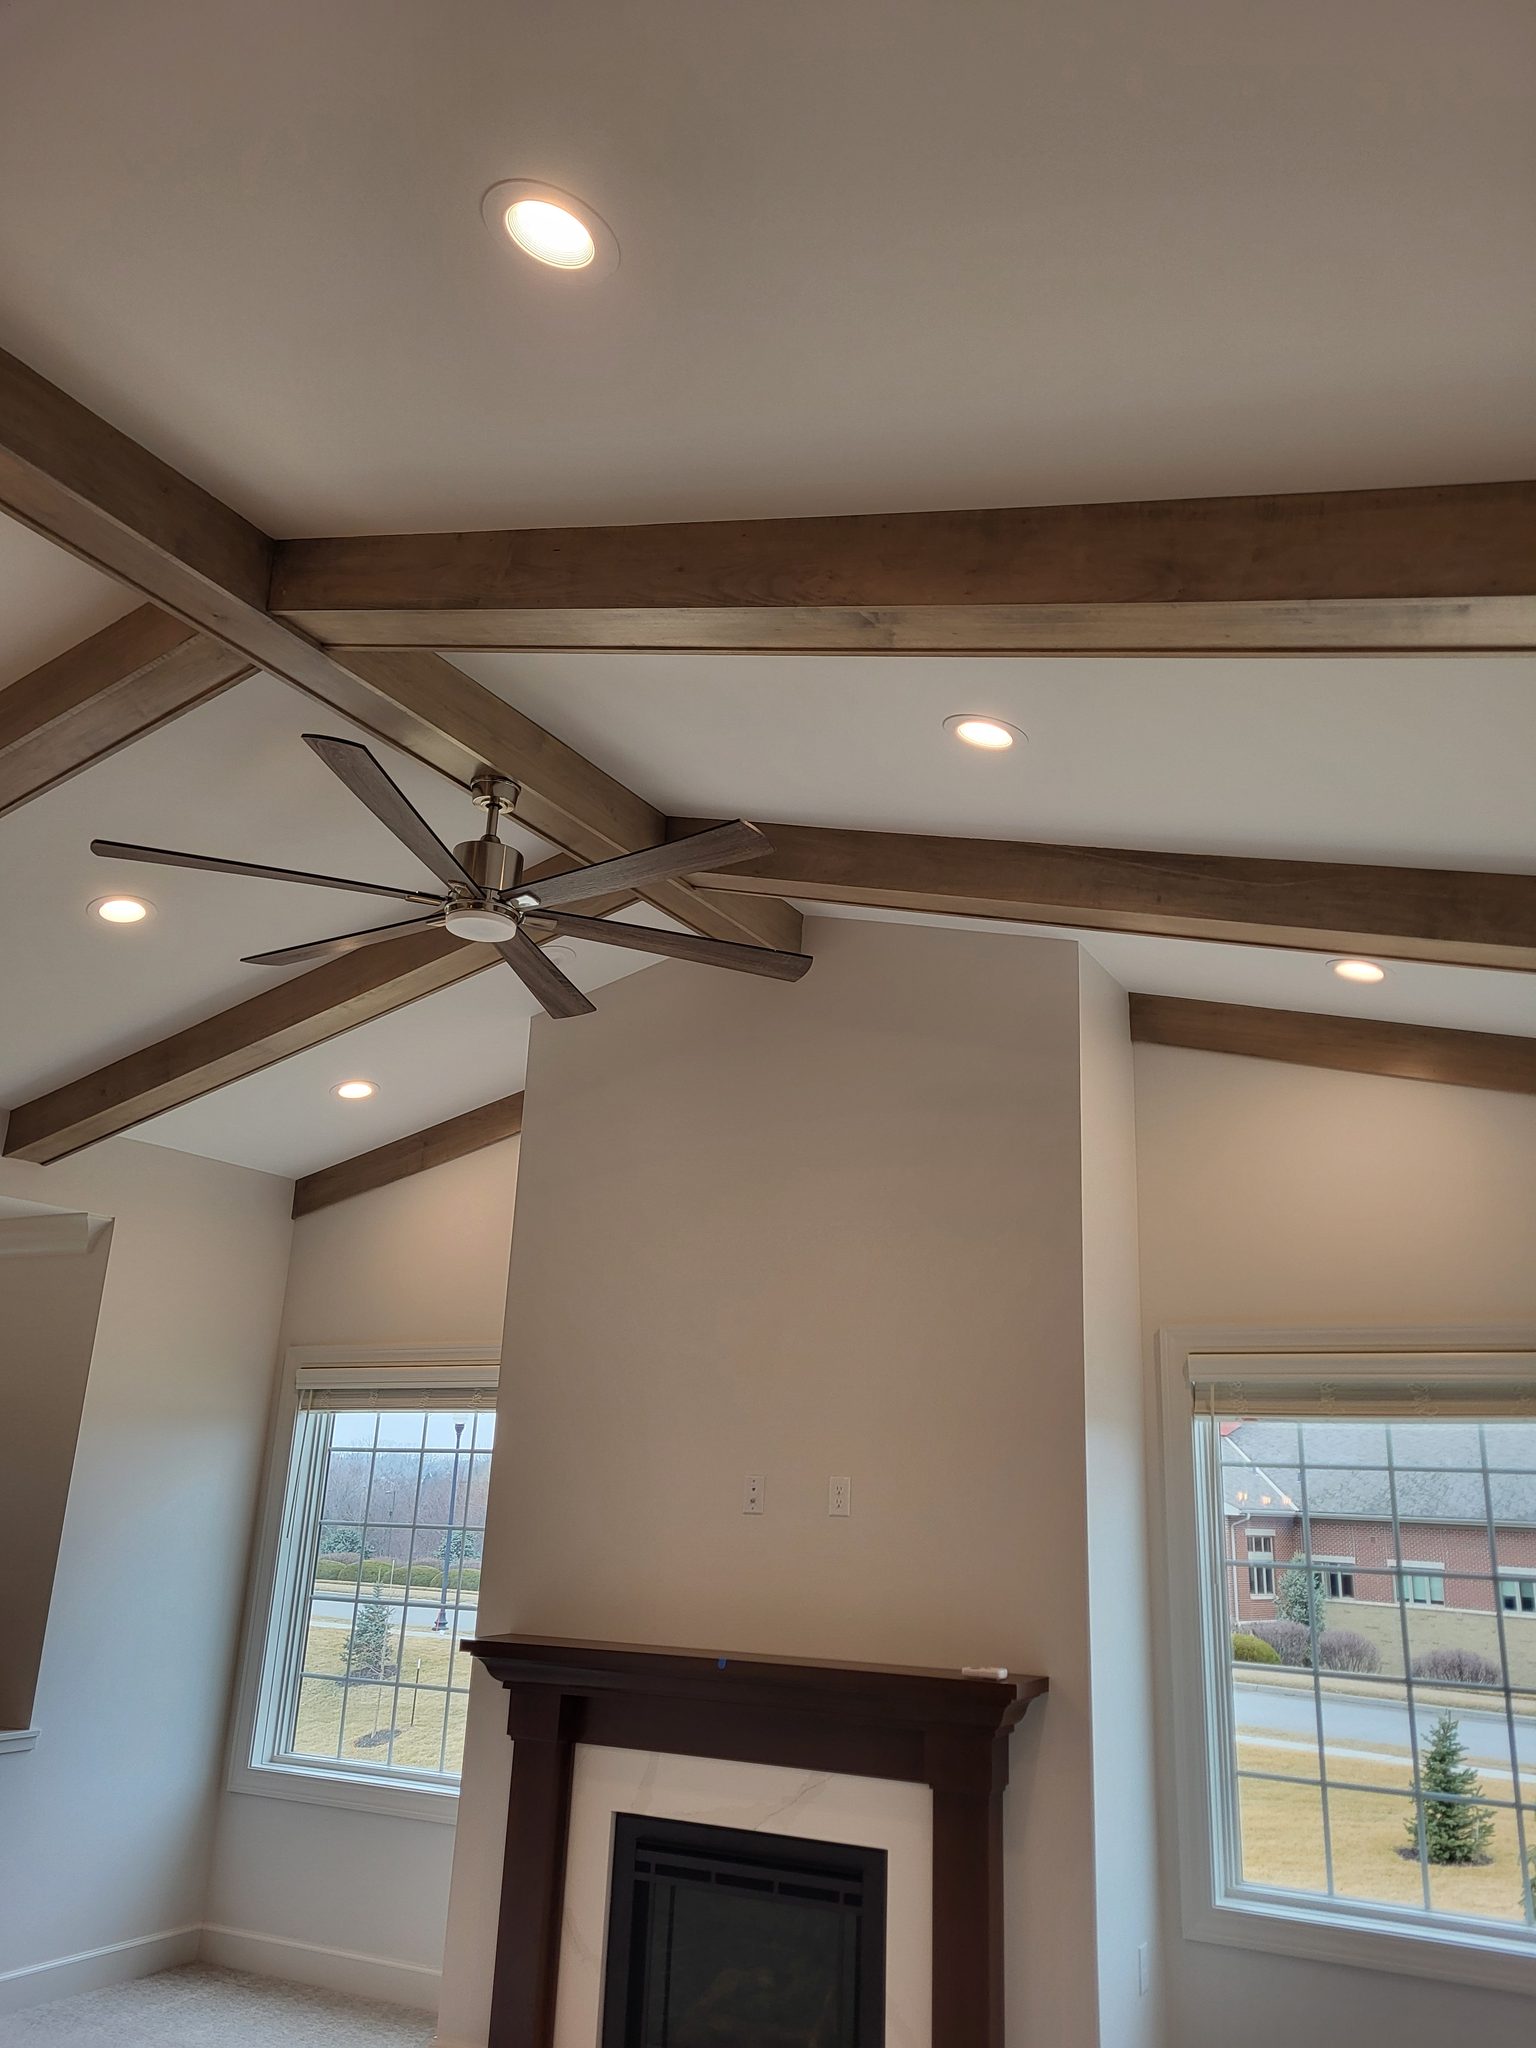
Dark stained wood beams crossing in an X pattern above a fan and stone fireplace column
Dark stained ceiling beams in a grid above a ceiling fan and a row of windows
Dark stained wood ceiling beams crossing in an X pattern above a fan and stone fireplace
Dark stained wood beam crossing a vaulted entry ceiling above a lantern pendant and glass door
Dark stained wood beams meeting at the peak of a vaulted ceiling above a chandelier and balcony
Dark stained parallel ceiling beams on a sloped section above a textured accent wall
Dark stained wood beam on a sloped bedroom ceiling near a round light fixture
Dark stained wood beam spanning a vaulted ceiling at a dramatic diagonal angle
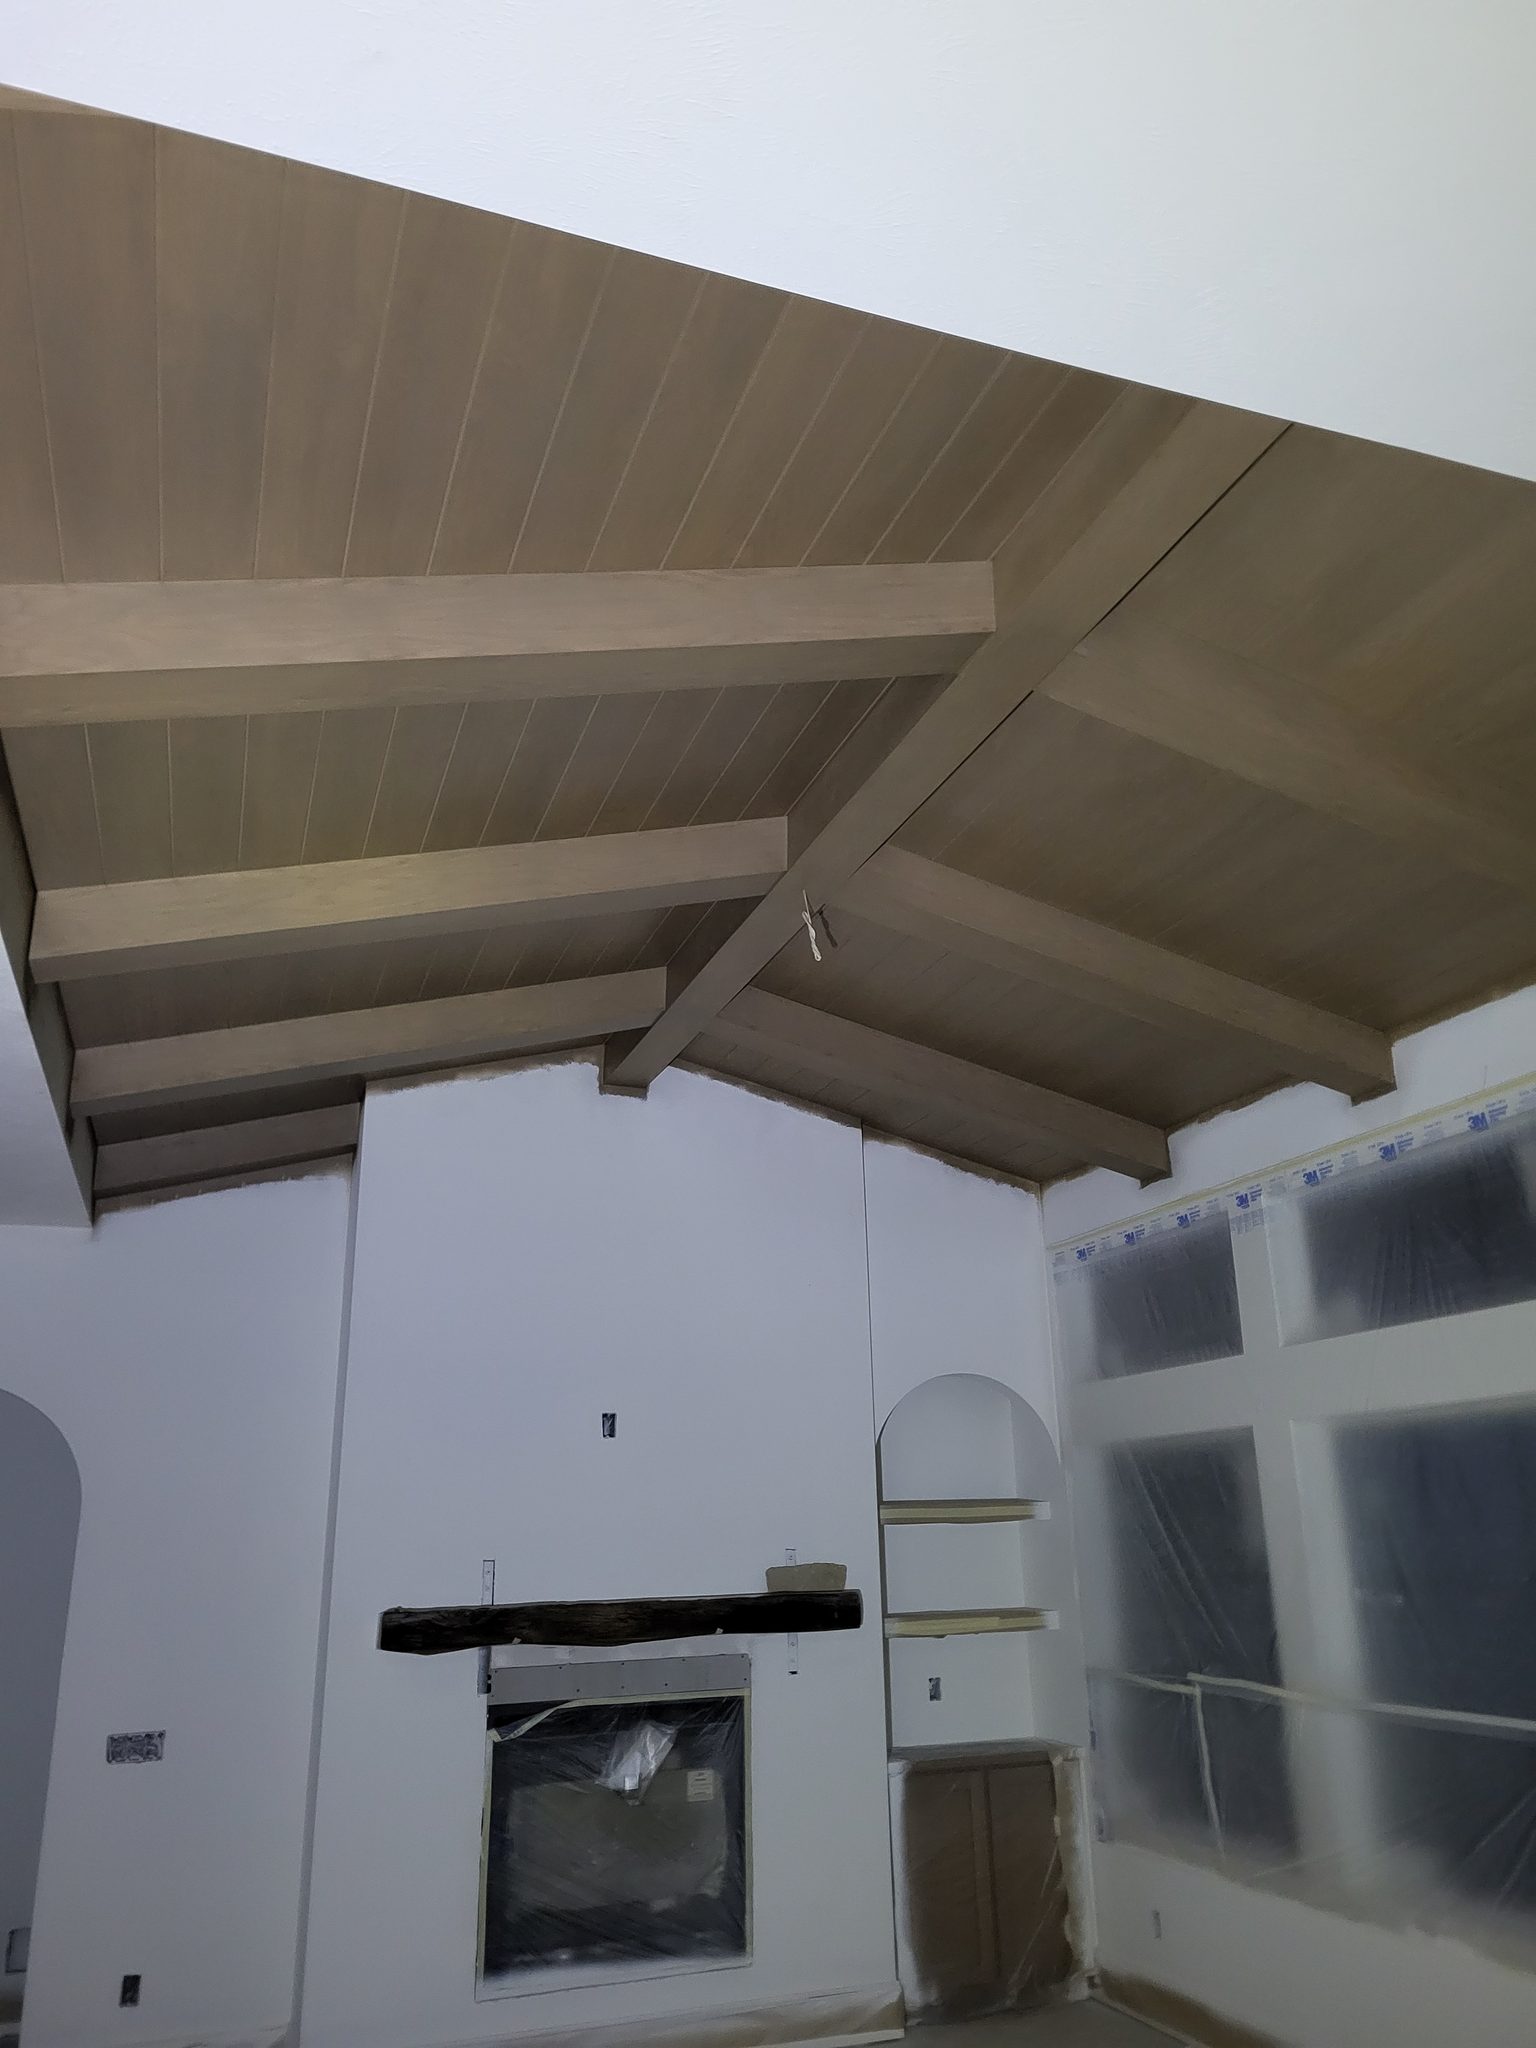
Wood plank vaulted ceiling with parallel beams over an unfinished room with plastic covered windows
Dark stained wood beams over a stone fireplace with a wood mantel and ceiling fan
Dark stained ceiling beams forming a grid above a vaulted area with French doors
× ‹ ›

Written by David Hospodka, Sun’s Up Construction

David Hospodka learned finish carpentry from his father, alongside his brother Joel, and worked his way through college trimming houses. He then spent about ten years as a railroad bridge engineer, handling design, construction, maintenance and project management. He came back to finish carpentry full time in 2017.

About Let’s Build Stuff

Level 3
What are your Feelings

Share This Article :

  • Facebook
  • X
  • LinkedIn
  • Pinterest
Still stuck? How can we help?

Still stuck? How can we help?

Updated on September 26, 2026
How to Install Decorative Wall TreatmentsHow to Install a Butcher Block Countertop

Leave a Reply Cancel reply

Your email address will not be published. Required fields are marked *

Table of Contents
  • Introduction
  • Before You Begin
    • Prerequisites
    • What You Need To Know
  • Tools
  • Materials
  • Installation Steps
    • Step 1. Lay Out Beams and Confirm Framing
    • Step 2. Build the Three-Sided Box
    • Step 3. Cut the Cleat to Fit
    • Step 4. Screw the Cleat to the Ceiling
    • Step 5. Hang and Nail the Box
    • Step 6. Scribe the Ends to the Wall
  • Pro Tips
  • Common Mistakes
  • QC / Punch Checklist
  • Related Guides
  • Reference Photos
Let's Build Stuff
  • Glossary
  • Learn
  • Blog
  • About
  • Contact
  • Affiliate Disclosure
  • Privacy Policy

© 2026 Let's Build Stuff - Interior Finish Carpentry Experts

  • Home
  • Start Here
  • Glossary
  • Learn
  • Blog
  • About
  • Contact
  • Browse the guides