On this page
Introduction #
A floating shelf should read as a single clean board with nothing holding it up. This Old House covers the homeowner version; this guide is how we build ours in the shop and hang it. The way we get that look is to build the shelf ourselves as a hollow box on site. A cleat carries the load into the studs, and a birch box slides over the cleat to hide it completely. There is no exposed hardware and nothing riding on a drywall anchor.
The standard box is 11-1/4 inches deep and 3 inches tall. That 3 inches is a 1-1/2 inch cleat sandwiched between a 3/4 inch top skin and a 3/4 inch bottom skin, so the numbers only add up if every piece is cut to spec. Width is not standard: cut it to fit the wall opening, or to whatever number the customer gave you.
The top and bottom skins are plywood or MDF; the front is solid hardwood, birch per shop standard, because that is the edge everyone sees. Every wood-to-wood joint on the box is ours to glue, fill, and sand flush. Staining, painting, and finishing are not our scope, so confirm below who is handling that before you start cutting.
Before You Begin #
Before you build, confirm that the following prerequisites are complete.
Prerequisites #
- Drywall is complete and painted.
- All electrical and plumbing rough-ins are finalized.
- Painters finish the shelf after we install it. We are carpenters; we never stain, paint or finish.
What You Need To Know #
When you build, understanding these core techniques will save you time and prevent callbacks.
- Use a stud finder to locate every stud the cleat will cross. The cleat carries the full load, not the wall.
- Confirm the width before you cut: measure the wall opening, or use the number the customer gave you.
- Get the cleat level before you drive a single screw. The box only reads as straight as that line.
Tools #
- Stud Finder - to locate every stud the cleat will cross
- Level - to set the cleat and check the finished box
- Table saw or track saw - for ripping the cleat and cutting the box parts to width and depth
- Drill/Driver - for fastening the cleat to the studs
- 18 gauge pin nailer - for the skins into the cleat and the box joints
- Clamps - to hold the box square while the glue sets
- Measuring Tape - for accurate cuts and layout
- Carpenter's Pencil - for marking stud locations and cut lines
- Putty knife and sandpaper - for filling and sanding the wood-to-wood joints
Materials #
- Plywood or MDF, 3/4 inch, for the top and bottom skins, cut to width by 11-1/4 inch depth
- Wall cleat, 1-1/2 inch thick, cut to width: a ripped 2x, or built up from the same 3/4 inch sheet stock as the skins with the plies standing vertical. Never drive the wall screws through the plies.
- Front and end pieces, solid hardwood (birch per shop standard), cut to close the box
- Wood glue, for the box joints and the cleat assembly
- Wood filler, for the wood-to-wood joints
- Cabinet screws for the cleat, #8 x 2-1/2 inch or #10 x 3 inch; 3 inch coarse drywall screws or 3 inch deck screws are fine, whatever is on hand
- 18 gauge 1-3/4 inch pins, for the skins into the cleat and for the box joints
Installation Steps #
Step 1. Confirm the Width and Cut the Parts #
Measure the wall opening, or use the width the customer specified, and cut every piece to that length: the wall cleat, the top skin, the bottom skin, and the front and end pieces. Rip the top and bottom skins to 11-1/4 inches deep on the table saw so the finished box lands at the standard depth.
Step 2. Mount the Wall Cleat #
Run the stud finder across the layout and mark the center of every stud in the run. Scribe a level line for the top edge of the cleat, hold the cleat to that line, and fasten it into every stud it crosses. Any screw long enough to reach solid stud works, since nothing shows once the box is on. Cabinet screws are best, #8 by 2-1/2 inch or #10 by 3 inch; 3 inch coarse drywall screws or 3 inch deck screws do the job too, whatever is on hand. If the cleat is built up from 3/4 inch stock, keep the screws out of the plies. The cleat is doing all the structural work here, so do not skip a stud even if it lands close to the end. Check the cleat for level again once it is fully fastened.
Step 3. Build the Shelf Box #
Off the wall, assemble the top skin, bottom skin, and the front and end pieces into a hollow box with the back left open. The open back is what slides over the mounted cleat, so dry-fit the box against a cutoff of the actual cleat stock before you commit to glue. Glue every joint where the front and end pieces meet the skins and pin them with 18 gauge 1-3/4 inch pins, our standard length. Let the glue set fully before you move the box.
Step 4. Slide the Box On and Lock It Down #
Slide the finished box over the cleat until it sits flush to the wall, and check it for level along the front edge. Nail the top and bottom skins into the cleat with 18 gauge 1-3/4 inch pins along the full length of the cleat. That is what holds the shelf on, so do not skimp on the pins. Confirm the box has not shifted before you let go.
Step 5. Fill, Glue, and Sand the Joints #
Every wood-to-wood joint on the box, the corners where the front and end pieces meet the top and bottom skins, gets glued, filled with wood putty, and sanded flush. Do not stain, finish, or caulk any joint; that is not our scope. Leave the surface ready for the painters. They finish every shelf; we never do.
Pro Tips #
Pro Tip: Use a level with a laser line when you are marking cleats for a run of shelves. It keeps every cleat on the same plane without re-checking each one by hand.
Pro Tip: Dry-fit the box on a cutoff of the actual cleat stock before glue-up. A box that has to be forced on will not slide the last few inches once glue squeeze-out swells the joint.
Common Mistakes #
- Mistake: Skipping a stud because the layout does not line up. The cleat is the only thing holding the shelf, so every stud in the run gets a fastener.
- Mistake: Cutting the box to a rough width and trimming it after assembly. Cut every part to the confirmed width first; trimming an assembled box reopens the wood-to-wood joints you already filled and sanded.
- Mistake: Building the box before the cleat is checked for level. Mount and level the cleat first; a box hung off an out-of-level cleat reads crooked the full length of the shelf.
QC / Punch Checklist #
- Cleat is fastened into every stud in the run and reads level.
- Box slides on flush to the wall, with no visible gap along the back.
- Box reads level and does not rock or shift when pushed on the front edge.
- Every wood-to-wood joint is glued, filled, and sanded flush; no stain, finish, or caulk applied.
Related Guides #
- How to Install a Locker Bench with Cubbies
- How to Install a Closet Countertop Shelf
- How to Install a Wire Shelf in a Closet
- How to Hang a Mantel
Reference Photos #
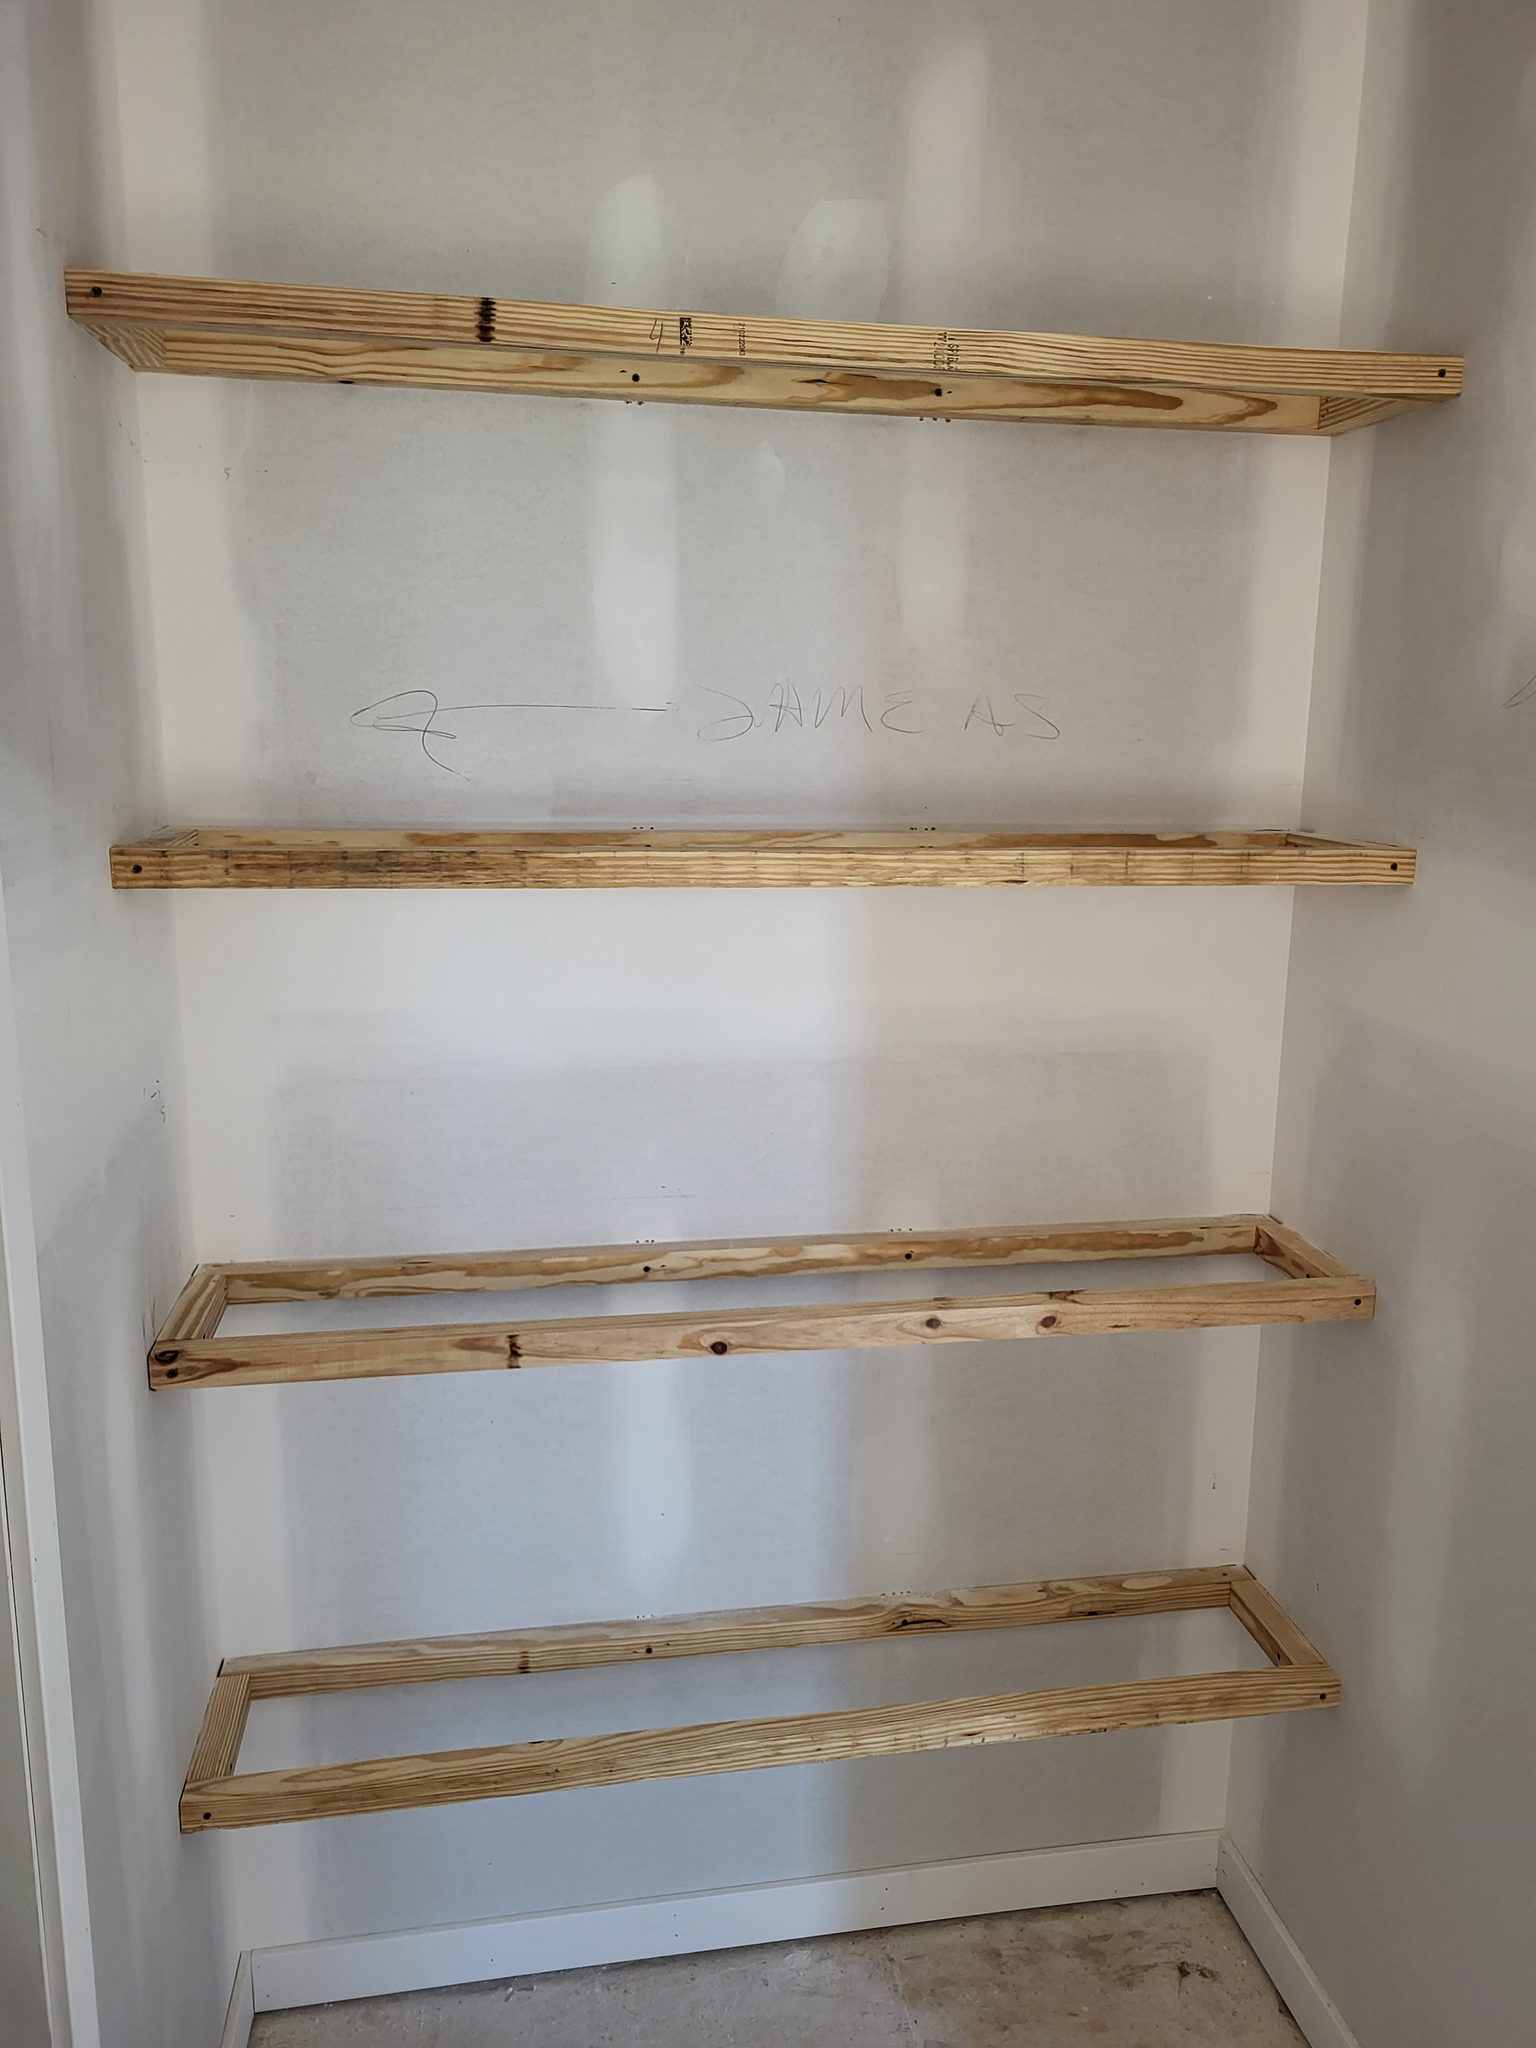
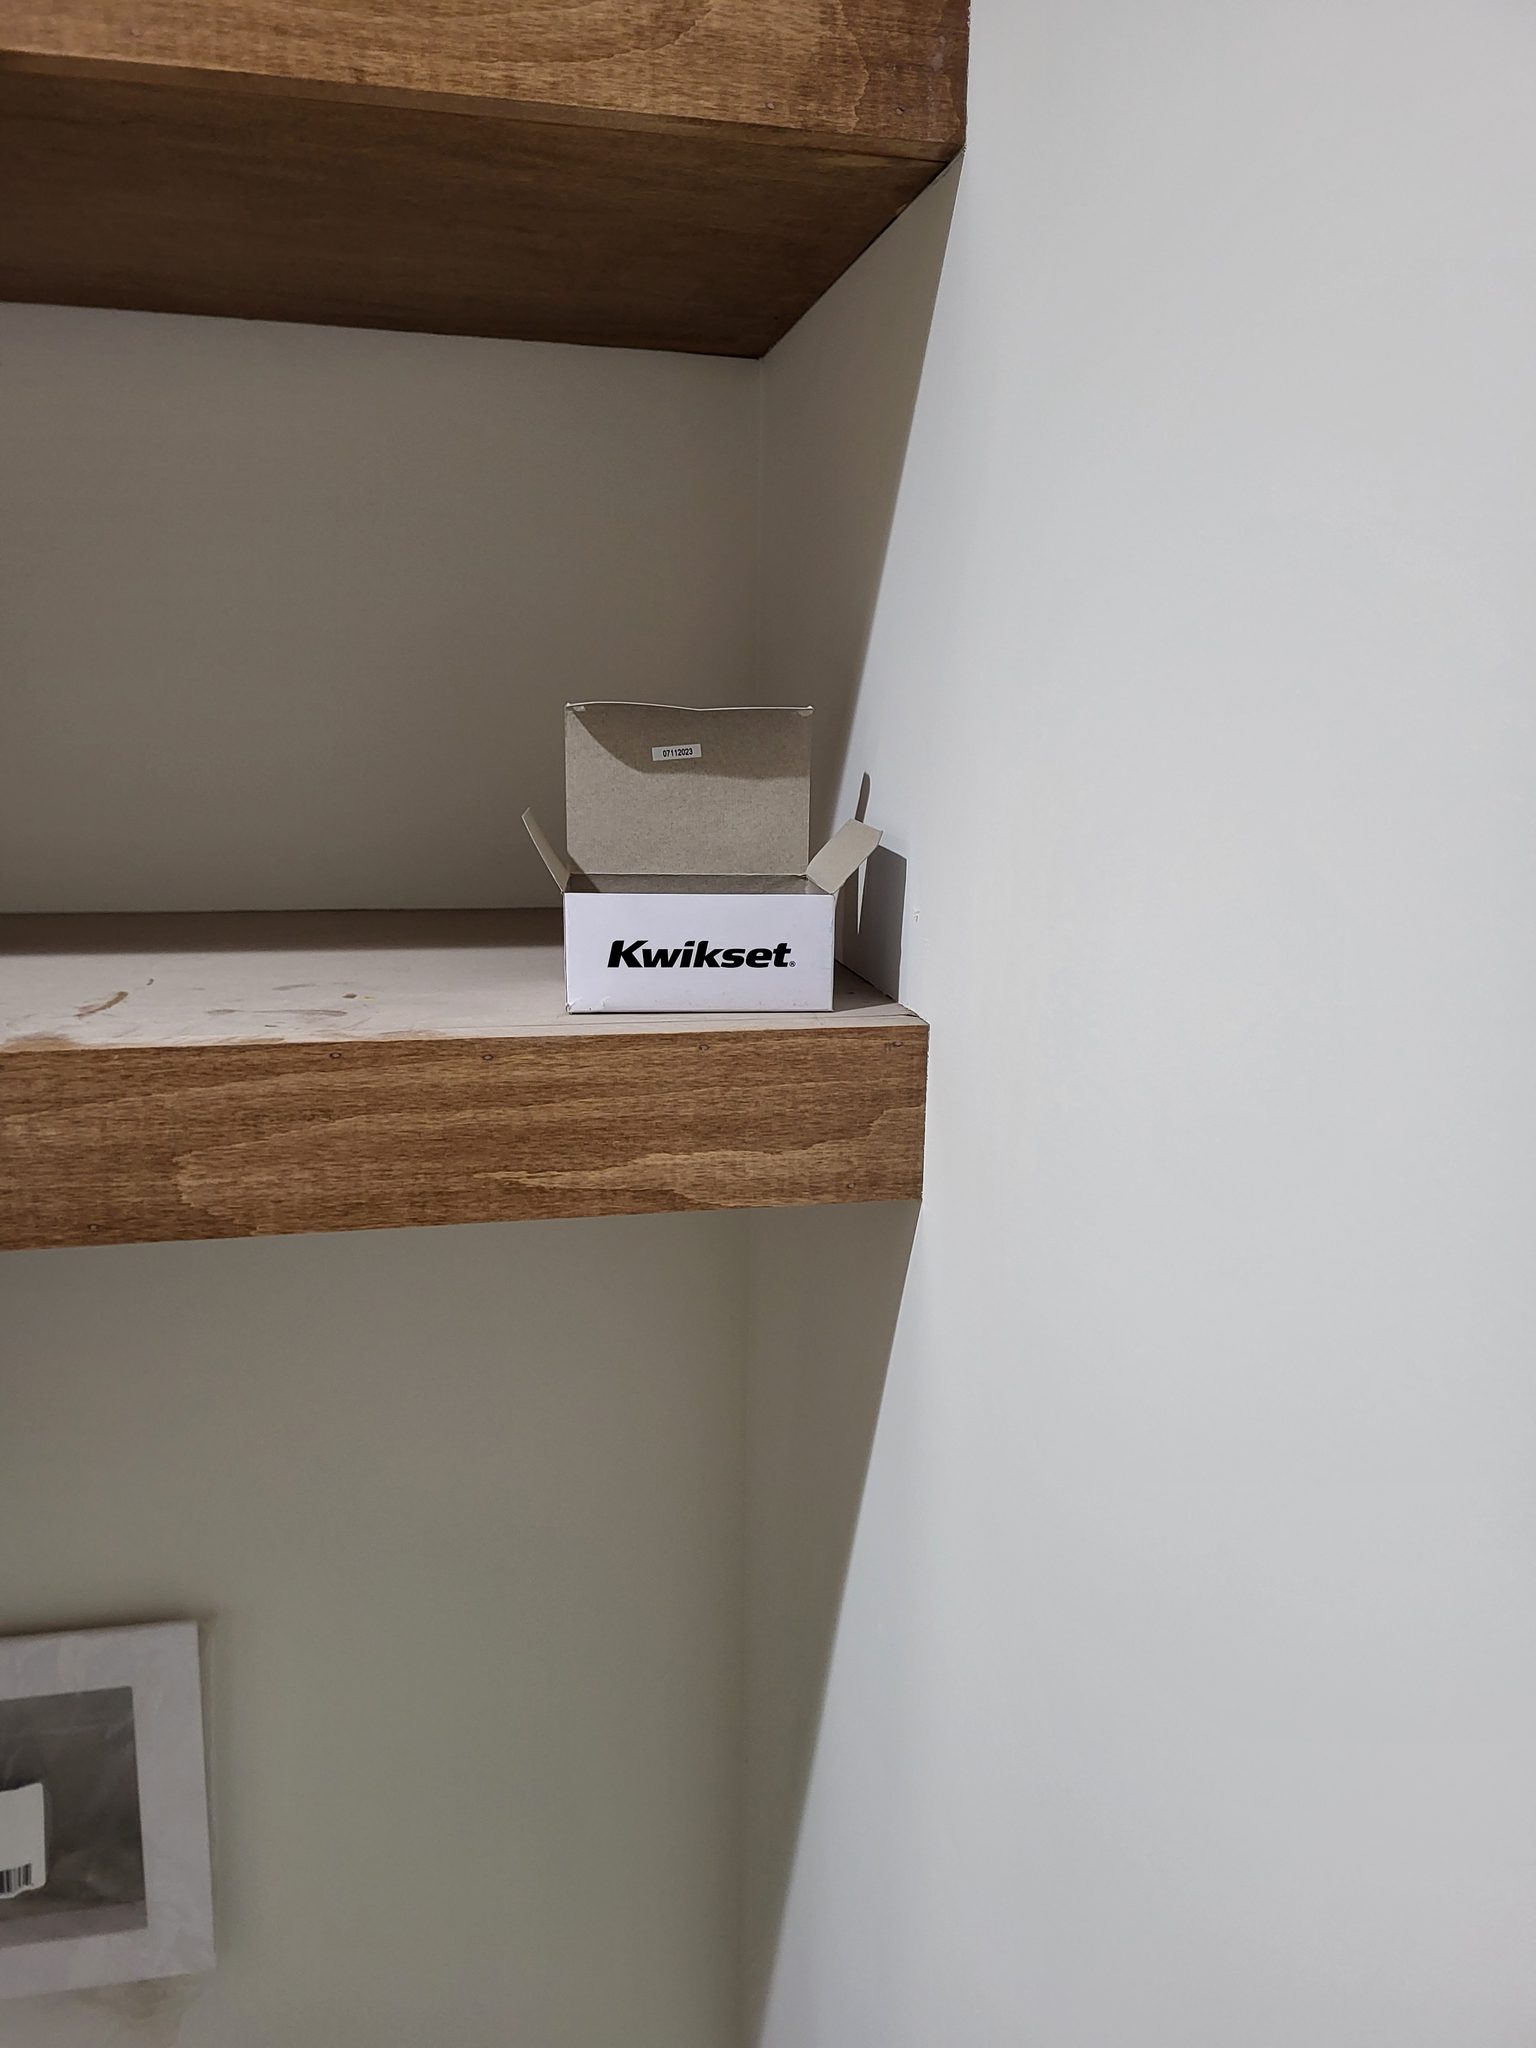
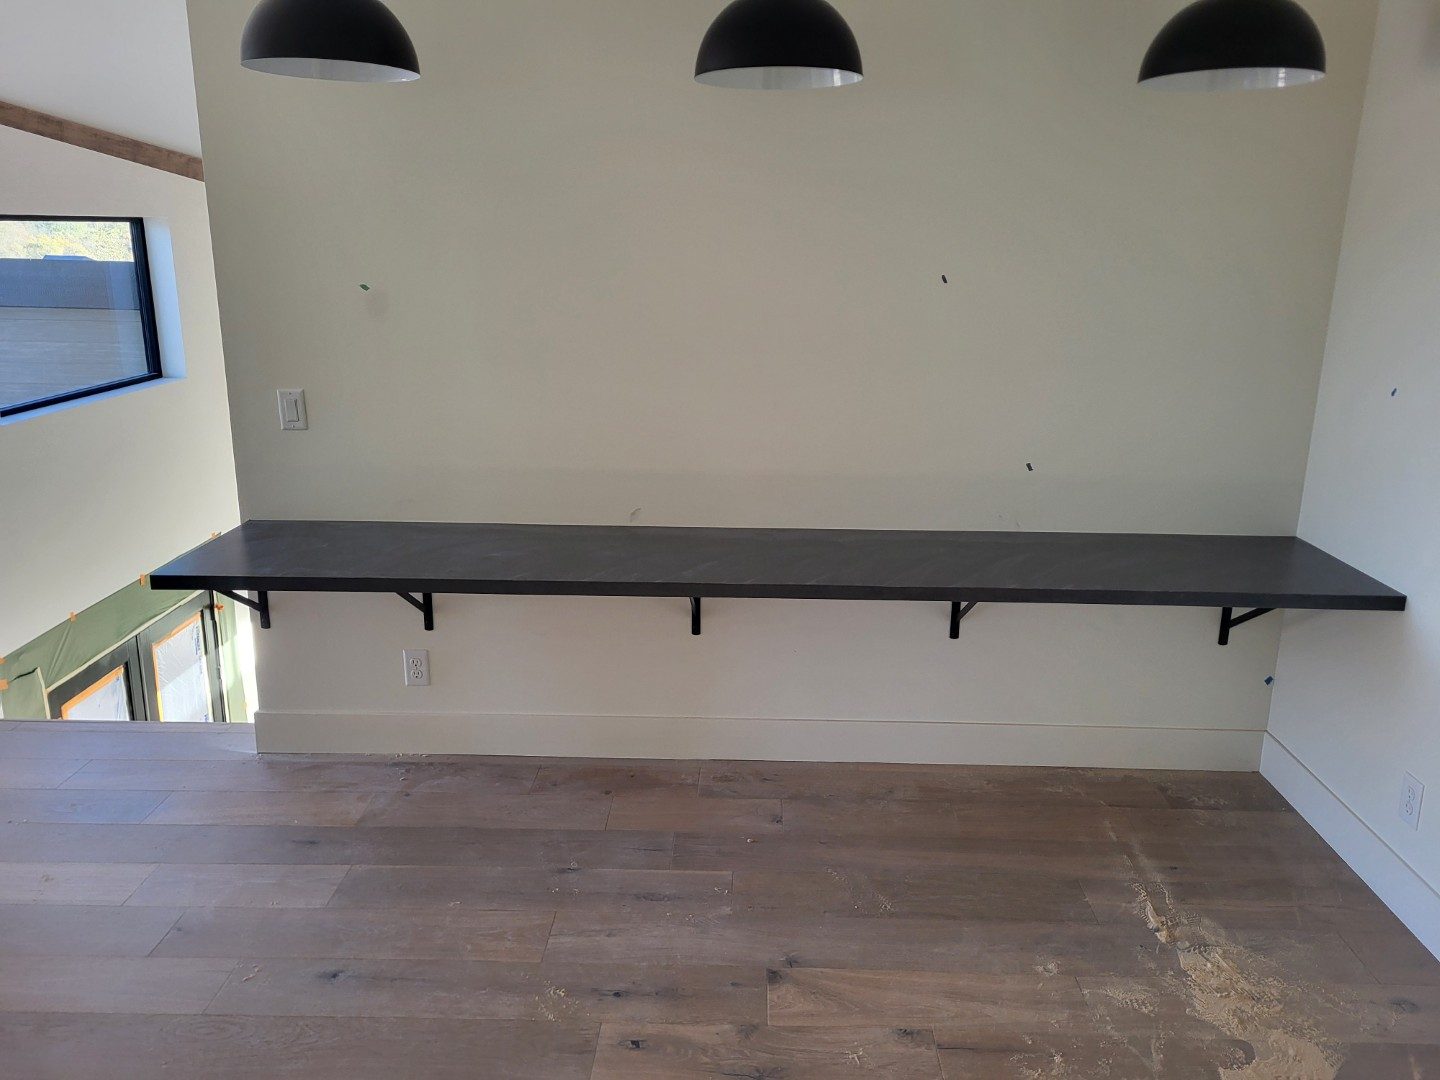
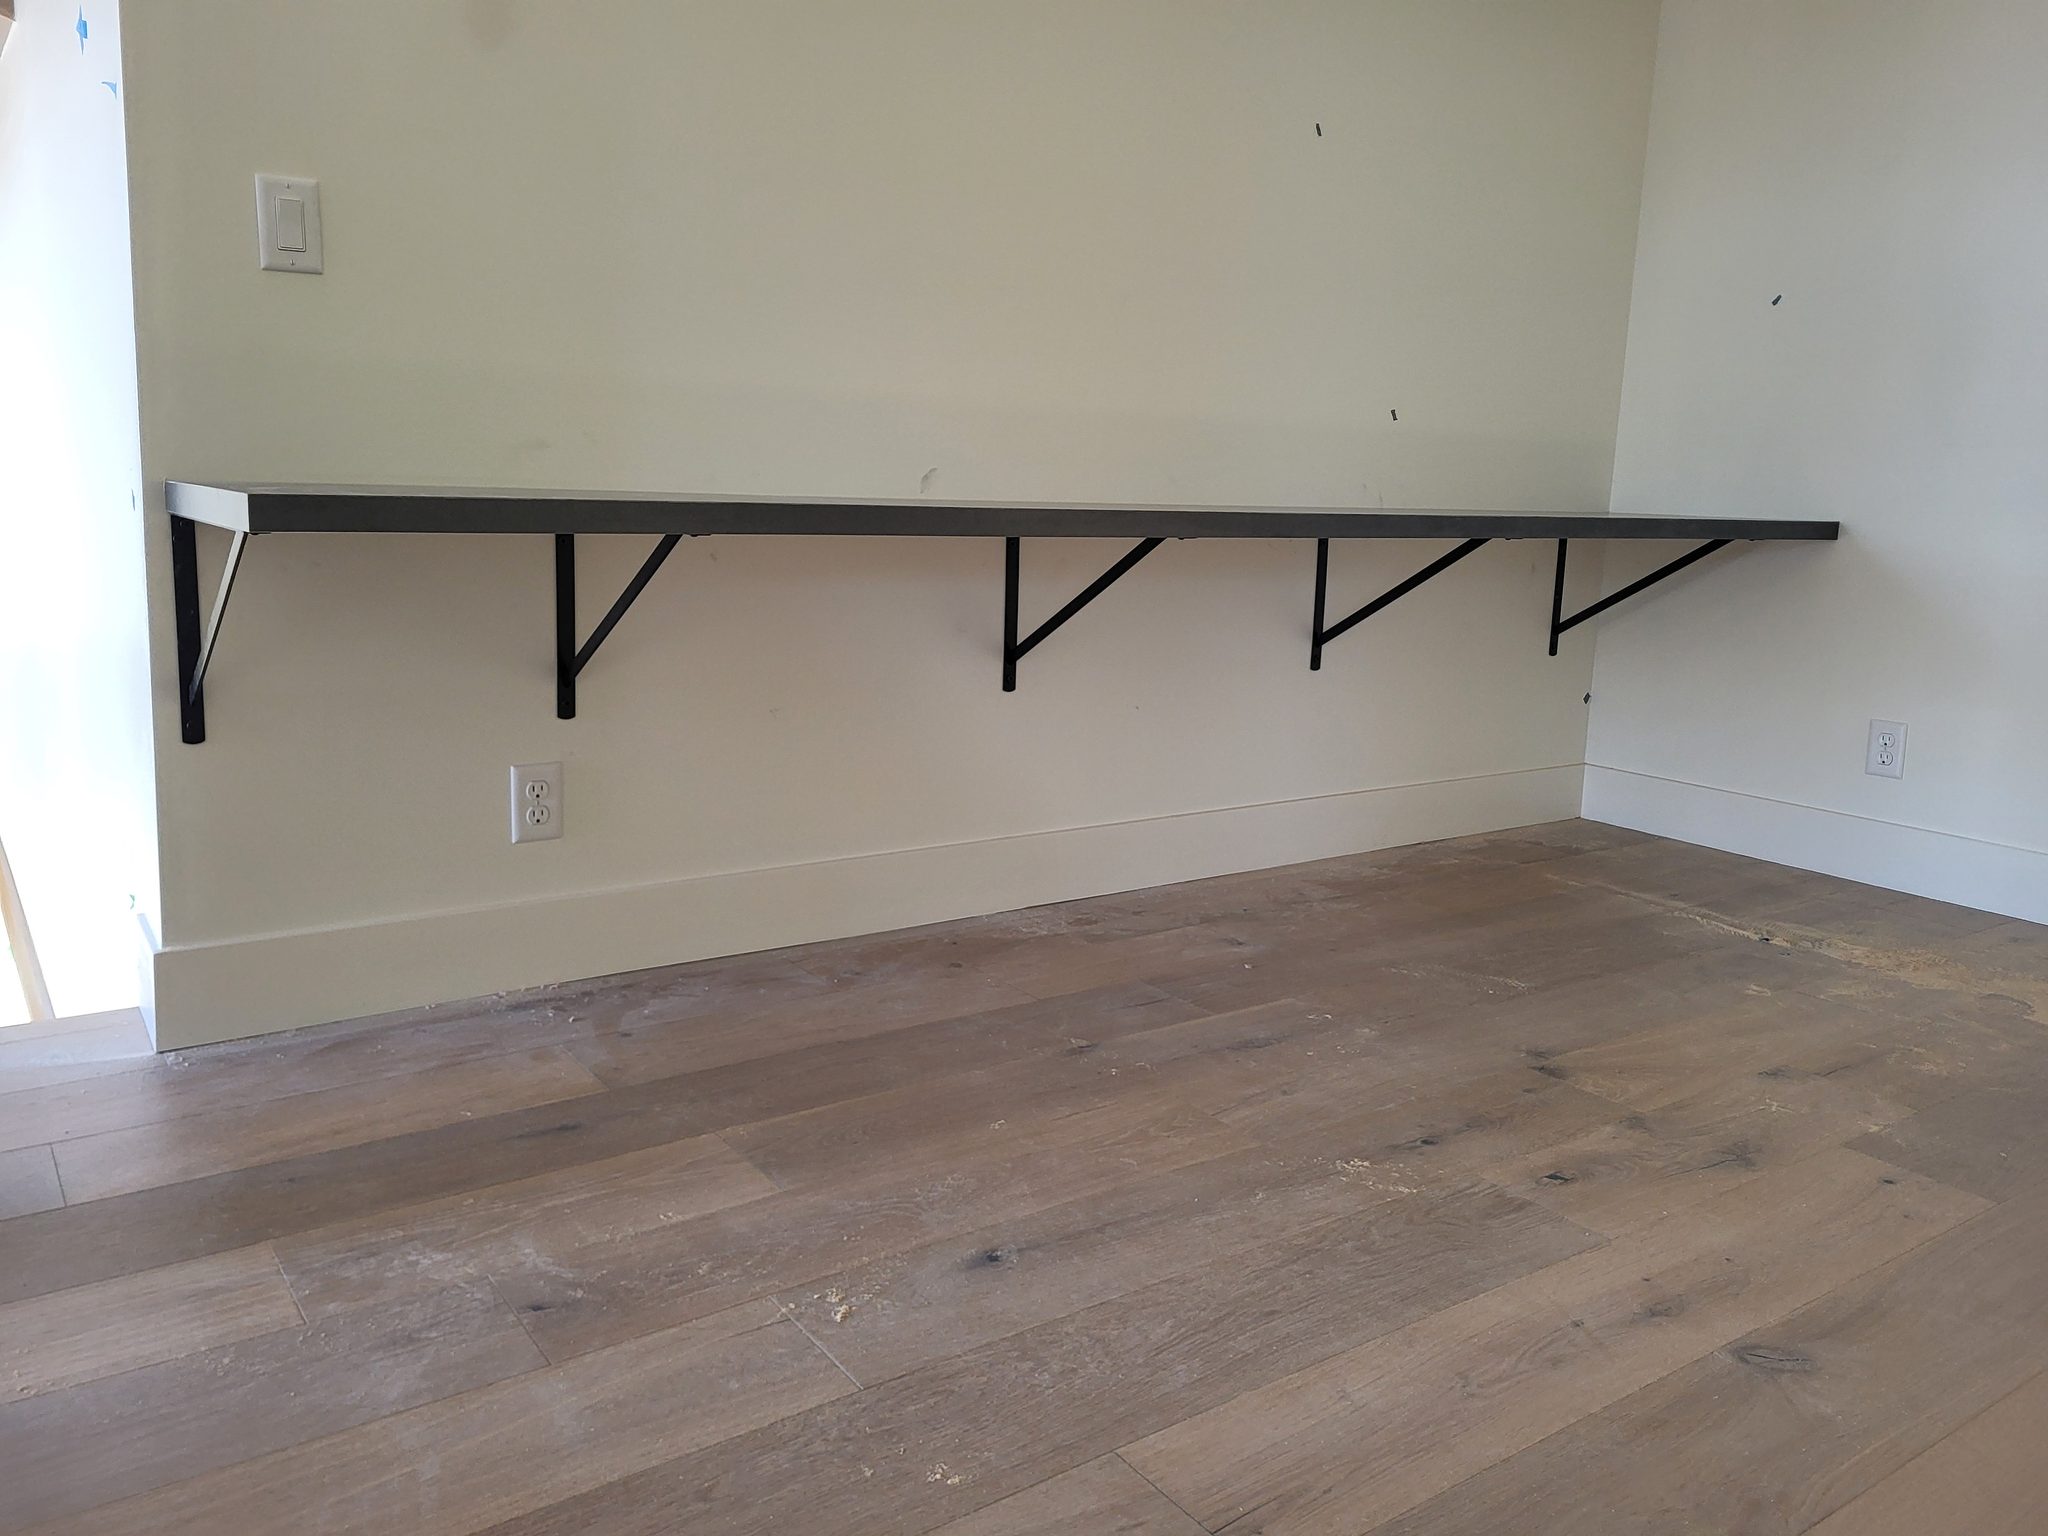
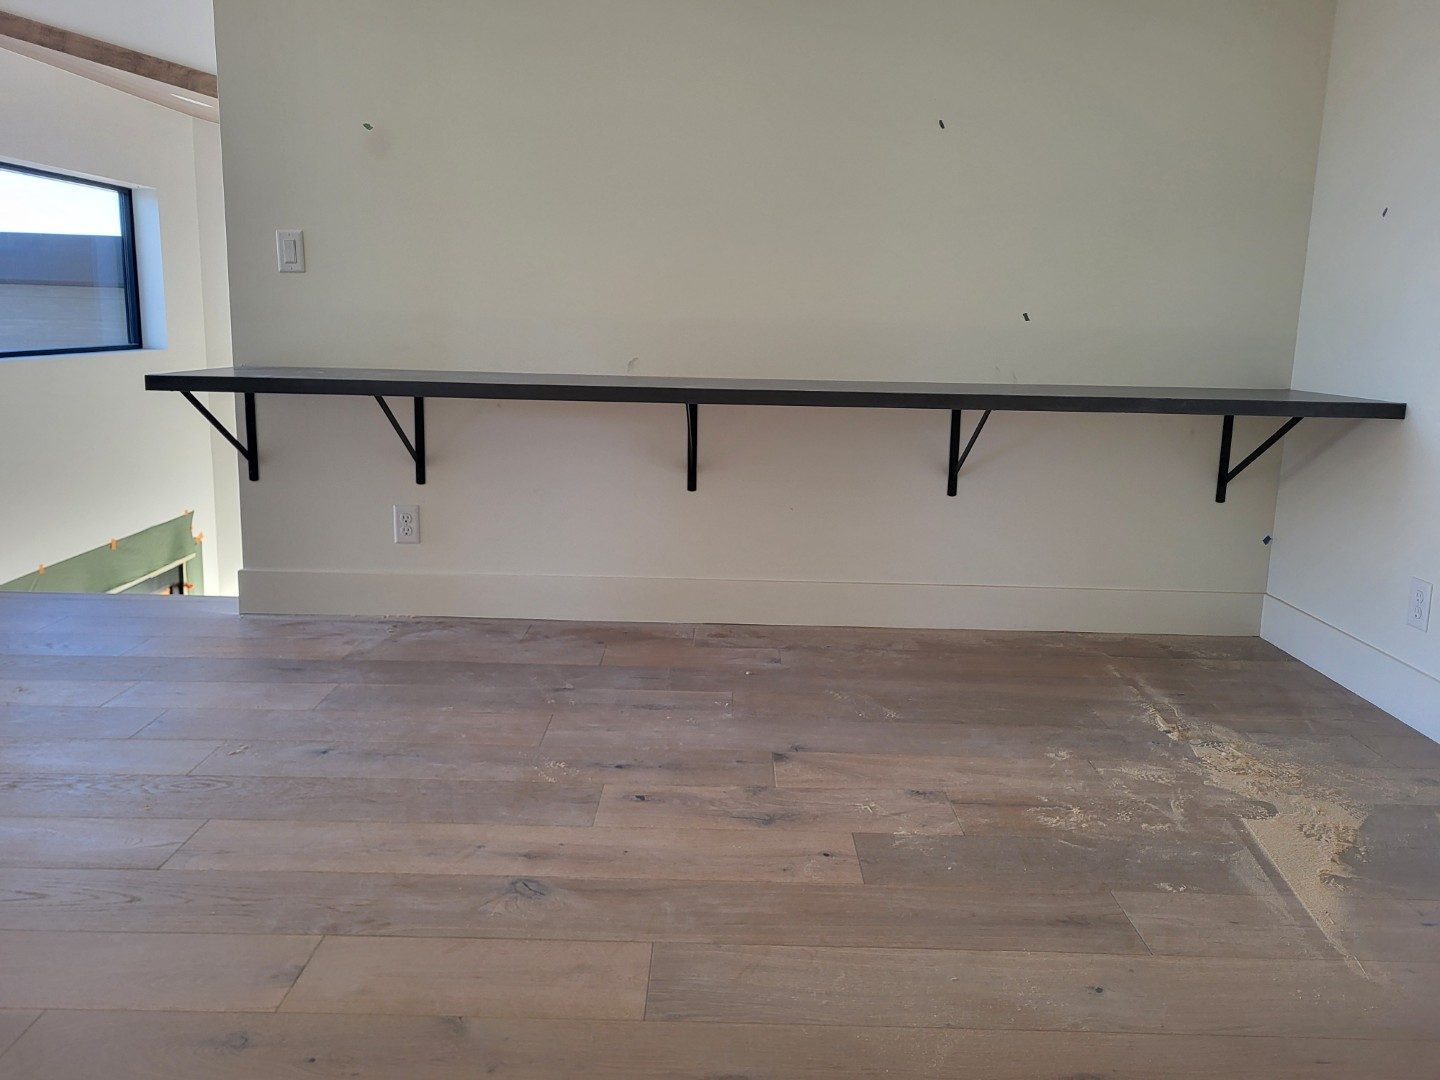
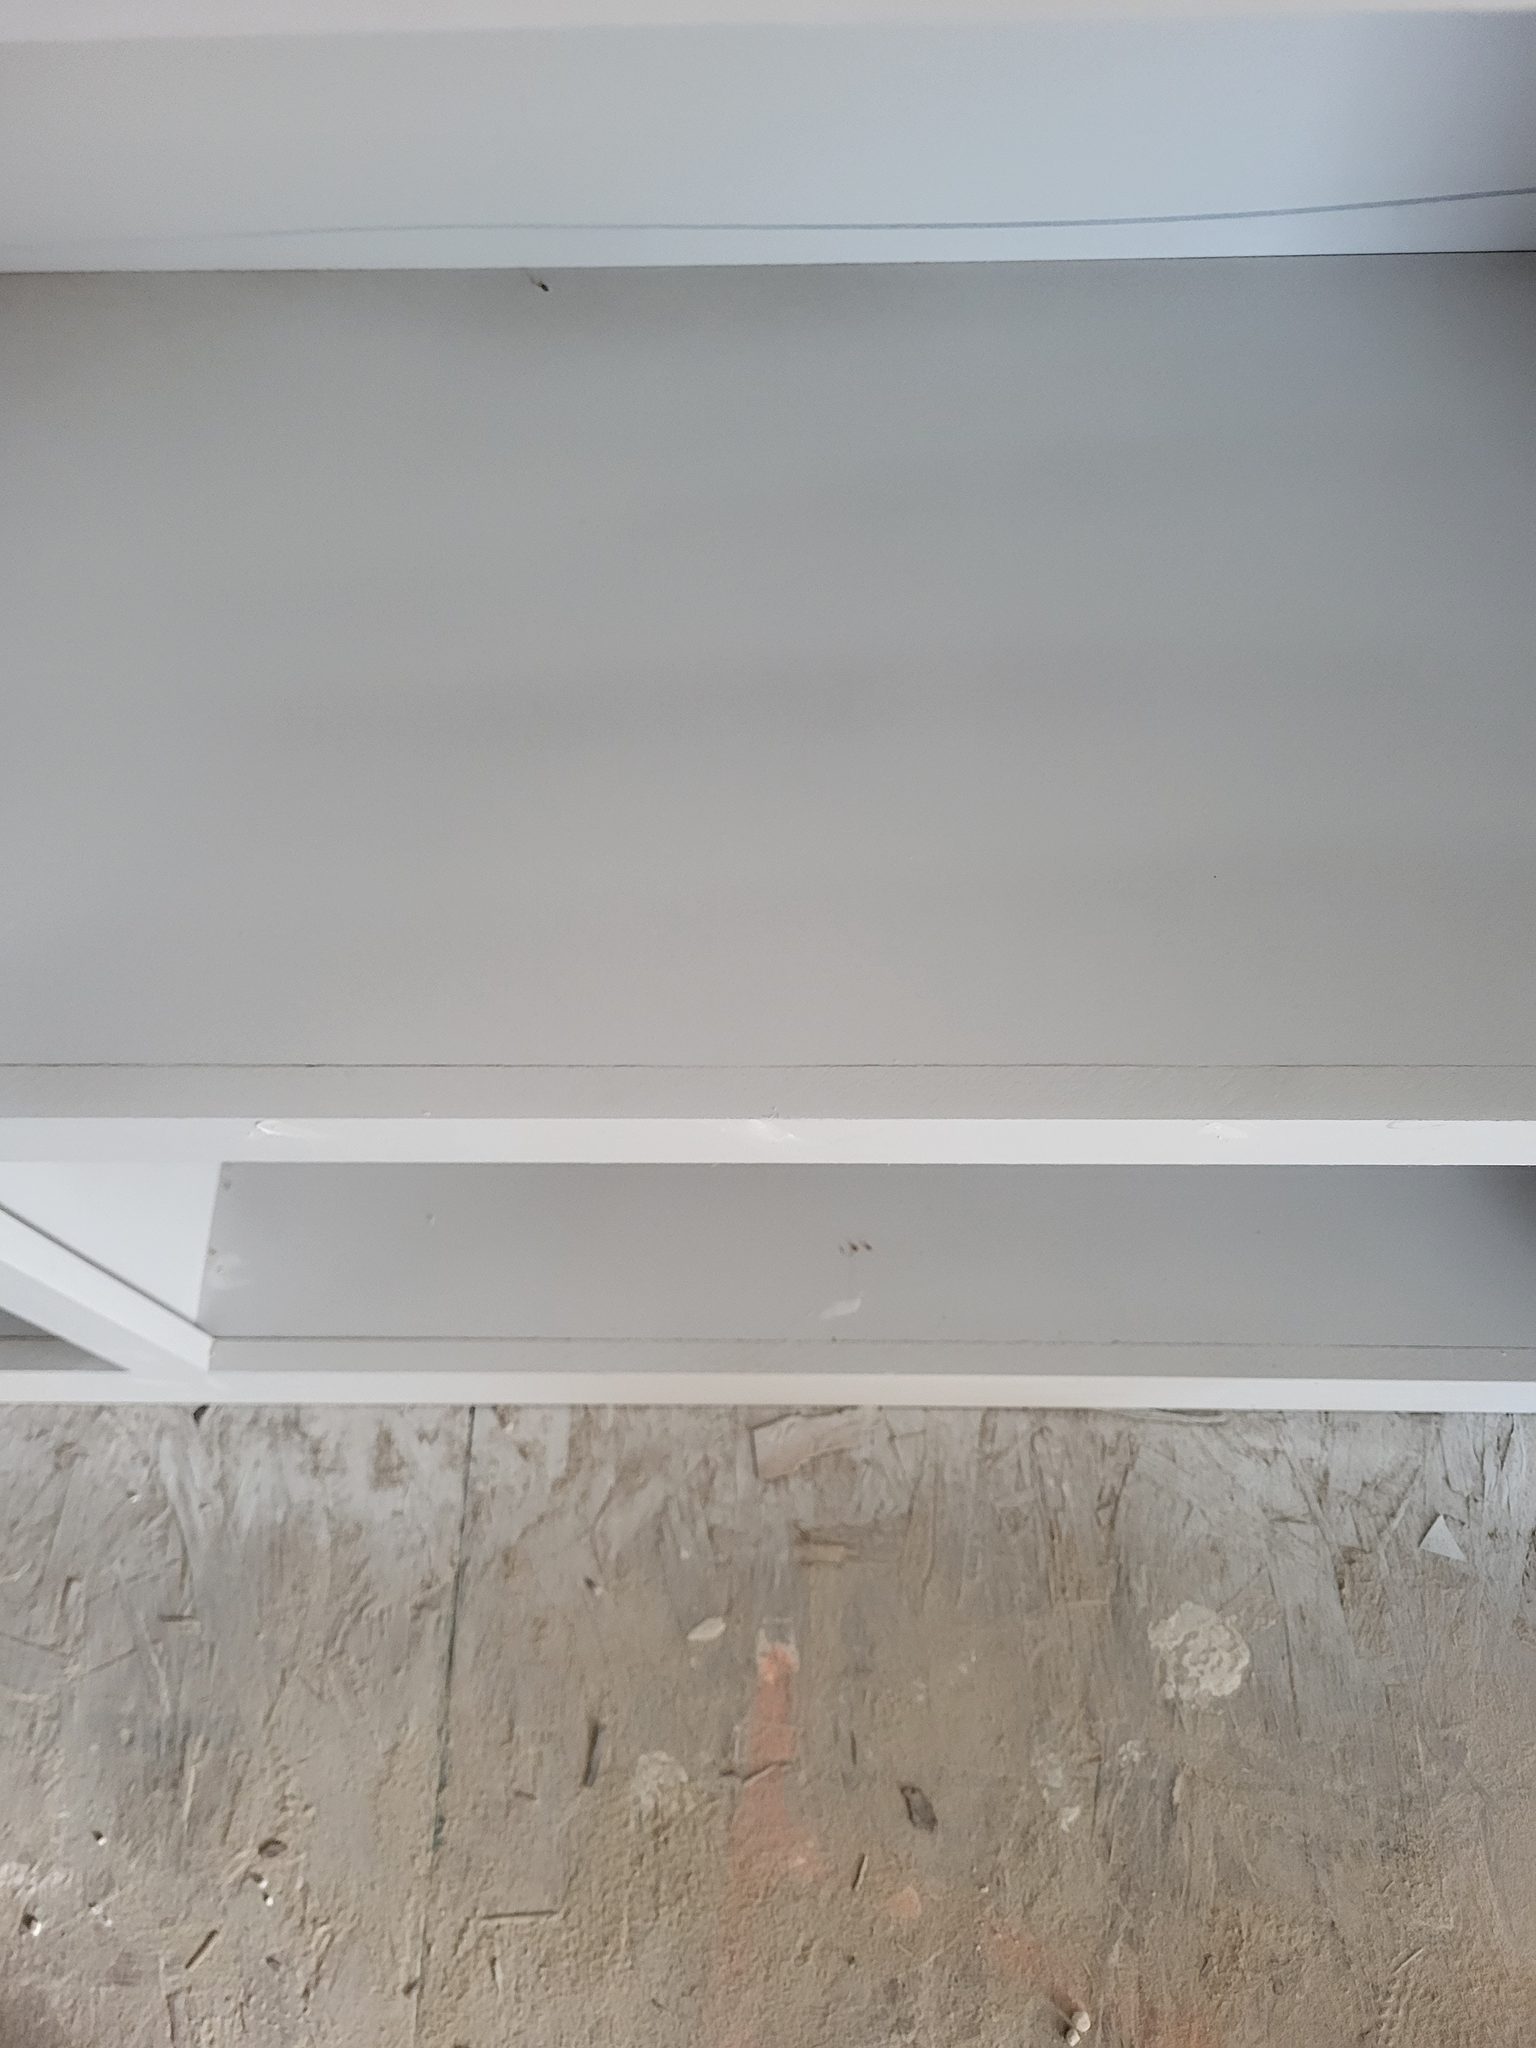
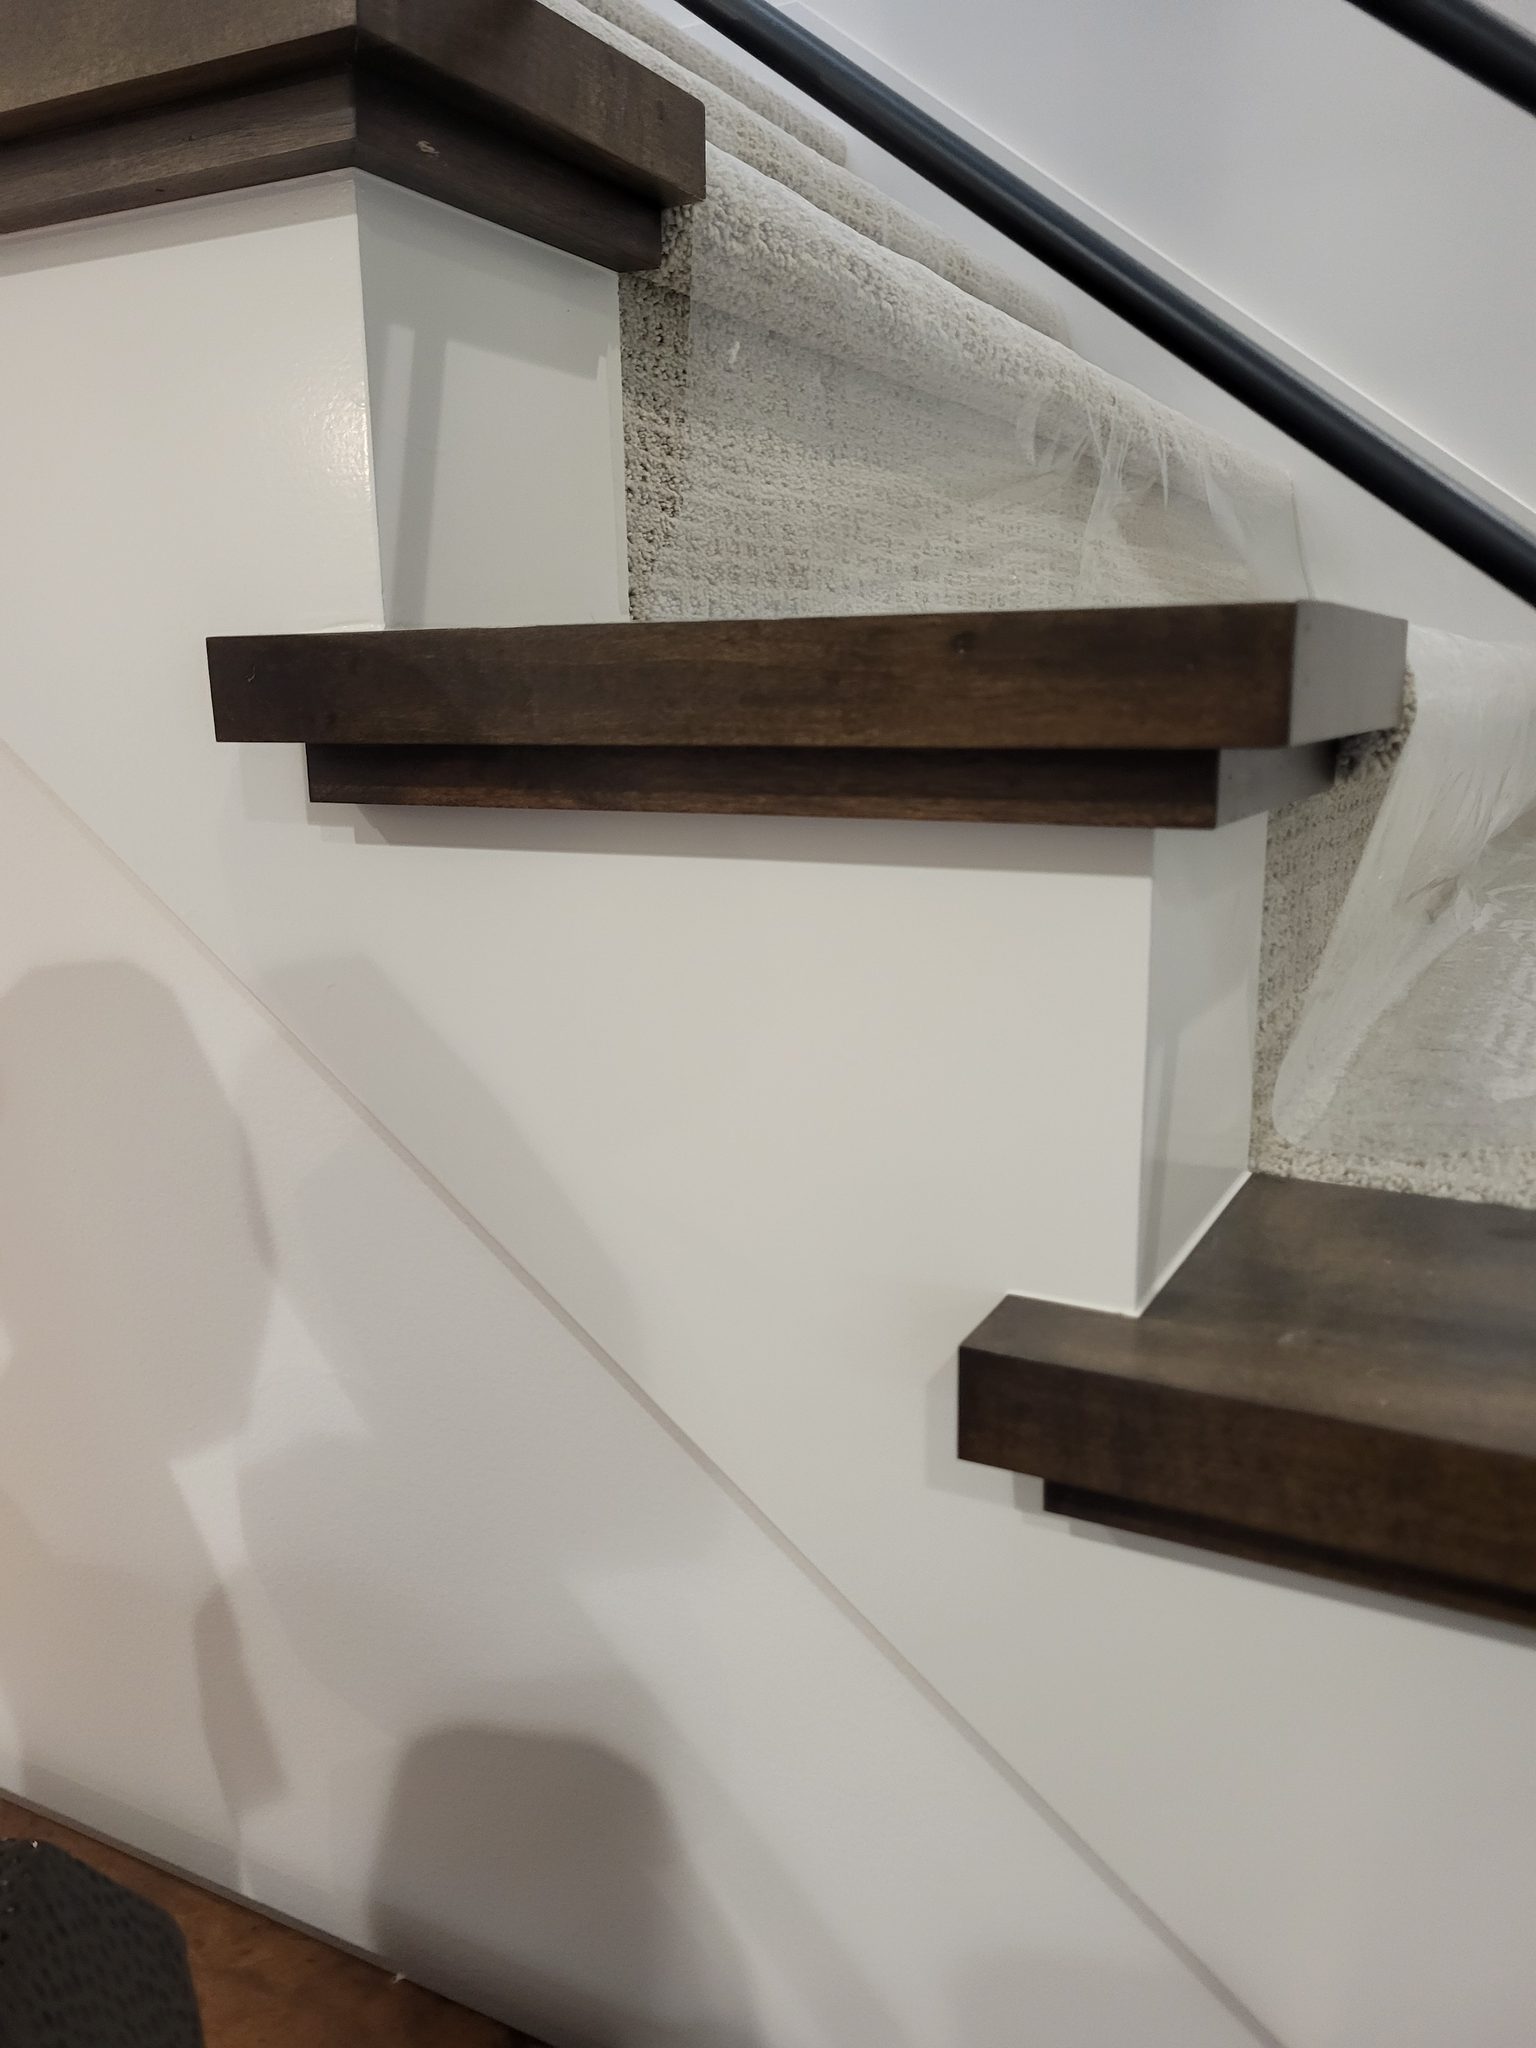
The following photos show examples of this type of work completed in the field. These serve as visual references for quality standards, proper installation techniques, and finished results.
Showing 7 of 7 photos