On this page
Introduction #
Learning how to install baseboard teaches you the core skills of finish carpentry. Inside corners, outside corners, splices (two pieces joined end to end), nailing patterns, and imperfect walls and floors - it’s all here. Master baseboard installation and the rest of finish carpentry gets easier.
What separates a professional result when you install baseboard isn’t speed or exotic materials - it’s the joints. Tight inside corners that don’t open up when the house shifts. Outside miters that stay closed through seasonal humidity changes. Splices that are invisible even on close inspection. These results come from specific techniques, not talent.
The single most important technique in this guide is cutting outside miters at 46.5 degrees instead of 45. Outside miters are the angled cuts where two pieces meet at an outside corner, and this isn’t a typo. Walls are almost never perfectly square. Even when they are, the slight over-cut creates a joint where the front edges meet first. That produces a visibly tighter line. It’s a small change that makes every outside corner look professional.
Whether you install baseboard in a single room or an entire house, the workflow is the same. Prep the work area, plan your cuts, work systematically wall by wall, and save the glue-up and close-out for the end. Let’s get into it.
Before You Begin #
Before you install baseboard, confirm that the following prerequisites are complete.
Prerequisites #
- Drywall complete - taped, mudded, and sanded (at minimum first coat of paint applied)
- Door and window casings installed (baseboard butts into casing)
- Flooring installed or exact finished floor height known (for new construction rough-in)
- All electrical outlet boxes at correct height and trimmed out
- HVAC registers and returns at floor level installed or locations known
- Stud locations marked on the floor or identified with a stud finder
What You Need To Know #
When you install baseboard, understanding these core techniques will save you time and prevent callbacks.
- Cope inside corners (don’t miter them) for paint-grade work. A cope is a cut where you saw the end of one piece to follow the exact profile of the piece it meets, instead of just angling the two ends together. Coped joints stay tight as the house settles; mitered inside corners can open up
- For paint-grade baseboard in new construction, mitered inside corners (both pieces cut at 45 degrees to meet in a point) are an acceptable shortcut, but a coped joint stays tight as the house moves while a mitered one can open up
- Outside miters should be cut at 46.5 degrees, not 45 - the extra degree ensures the front faces meet tightly
- Splices (where two pieces join end to end to continue a run) should always fall over a stud, the framing behind the wall, so both pieces have something solid to nail into
- Leave a small gap between the bottom of the baseboard and the floor - carpet tucks under it, hard flooring needs room to expand, and a strip of base shoe molding covers whatever gap is left
- Nail into every stud with two nails - one near the top of the baseboard, one near the bottom
Tools Required #
Power Tools #
- Miter saw (10-12 inch sliding compound) with 80-tooth finish blade
- 18-gauge brad nailer (primary nailing tool for baseboard)
- 15-gauge finish nailer (for thick or heavy baseboard styles)
- Air compressor (if using pneumatic - air powered - nail guns)
- Cordless drill/driver (for any screw-down situations near corners)
Hand Tools #
- Tape measure (25-foot)
- Coping saw with fine-tooth blade
- Pencil
- Utility knife
- Nail sets (for tapping down any nails sitting proud, meaning a little raised above the surface)
- Small flat pry bar (for adjusting piece position, removing mistakes)
- Stud finder
- Combination square
Supplies #
- 18-gauge brad nails (1-1/2 inch to 2 inch depending on baseboard thickness)
- Wood glue (for outside miters and splices)
- Construction adhesive (optional - for bowed walls)
Materials #
- MDF baseboard - Most common for paint-grade work. Smooth and consistent with no wood grain to show through the paint. Less expensive. Cannot be used in wet areas because it swells with moisture
- Poplar baseboard - A premium paint-grade hardwood. More durable than MDF. Resists dents and moisture better. Takes paint beautifully
- Alder baseboard - A popular stain-grade option with a warm tone. Softer than oak but harder than pine. Takes stain evenly
- Oak baseboard - A traditional stain-grade choice. Very durable with a prominent grain pattern. Available in red and white oak. It splits more easily than other species, so always pre-drill near the ends
- Maple baseboard - Hard and fine-grained. Excellent for a clear coat or light stains. Premium price
How to Install Baseboard Step by Step #
Step 1: Prep the Work Area and Plan Your Layout #
The first step when you install baseboard is prep. Walk the room and note every condition you’ll run into. That includes inside corners, outside corners, door casings to butt against, HVAC registers to work around, and any wall irregularities you’ll need to fix.
Inspect and Prepare #
- Verify all walls are clean, sanded, and have at least a primer coat. Baseboard installed over dusty drywall won’t stick well if you need to use adhesive later
- Check the walls for bows by holding a straightedge (a long flat tool for checking for high and low spots) against them horizontally. Note any spot where the wall bows in or out more than 1/4 inch - you’ll need to address it during installation
- Mark stud locations along the bottom of the wall using a stud finder. Make small pencil marks just above where the top of the baseboard will sit, or mark them on the floor
- Plan your splice locations. On walls longer than your baseboard stock length (usually 12 or 16 feet), you’ll need a splice - plan it to fall over a stud, and stagger splice locations if more than one wall needs one
- Stage your material in the room. Sort it by length, and let it acclimate for at least 24 hours if possible
Pro Tip #
Start your installation sequence on the wall across from the entry door. The first piece on each wall gets a square-cut end that butts into the corner. Every piece after that copes into the piece before it. By starting across from the entry, any imperfect joints end up in the least visible spots in the room.
Step 2: Measure and Cut - Inside Corners #
Inside corners are the most common joint when you install baseboard. The first piece on each wall runs full length with a square cut that butts into the corner. The adjoining piece is the one that gets the cope cut (or miter, for paint-grade).
Coping Method (Recommended) #
- Measure the wall length from corner to corner (or corner to door casing)
- For the first piece: cut square on both ends, or square on one end and coped on the other if it meets another baseboard piece
- For the coped piece, cut an inside 45-degree miter on the end that meets the corner. This exposes the profile, meaning the outline of the molding’s face shape, so you have a line to cut along
- Using the coping saw, cut along the exposed profile line at a back-bevel angle (tilt the saw about 5-10 degrees toward the back of the piece)
- The coped end should fit snugly over the face of the first (square-cut) piece, following its profile exactly
- Test-fit before nailing - trim any high spots with a utility knife or round file
Mitered Inside Corners (Paint-Grade Alternative) #
- For paint-grade work in new construction, 45-degree mitered inside corners are acceptable
- Cut both pieces at 45 degrees so they meet at the corner
- Cut them tight, because a mitered inside corner has nothing hiding it
- Keep in mind that mitered inside corners can open up over time as the house settles. That’s exactly why a coped joint is worth the extra minute
Pro Tip #
When you cope a joint, most of your effort goes into the curved parts of the profile. The flat sections are easy - they’re just straight cuts. Spend your time getting the curves right. A round needle file is great for cleaning up the curved cope on profile shapes with coves and rounds (concave and convex curve details).
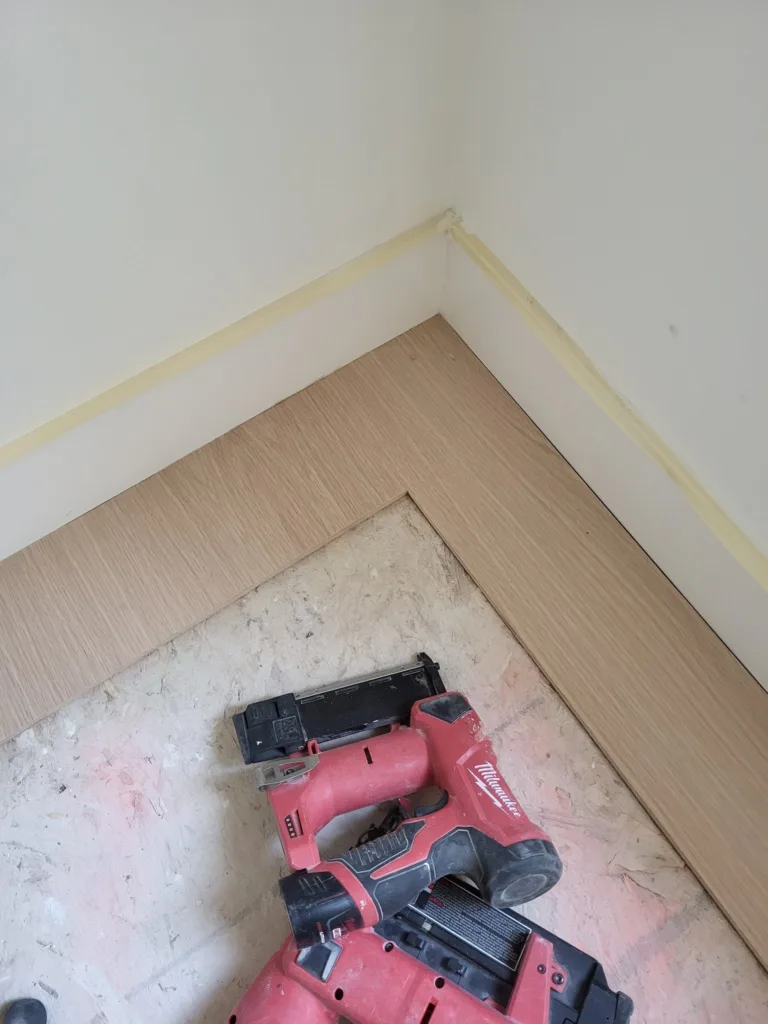
Step 3: Outside Corners - The 46.5-Degree Technique #
This is the single most valuable technique when you install baseboard. Every carpentry school teaches you to cut outside miters at 45 degrees. That works in theory - when walls are perfectly square. In practice, they rarely are, and even when they are, a 45-degree cut leaves a hairline gap at the front face of the joint. The fix is simple: cut at 46.5 degrees instead.
Why 46.5 Degrees Works #
- The extra 1.5 degrees creates a slight over-cut on each piece
- When the two pieces meet at the corner, the front edges contact first - this is what your eye sees
- Any gap from the over-cut is pushed to the back of the joint, hidden against the wall
- The result is a joint that looks tighter from the front than a mathematically perfect 45-degree cut
Cutting the Joint #
- Set your miter saw to 46.5 degrees. Most saws have a detent (a locking notch) at 45 degrees, so you’ll need to go slightly past it
- Cut the left piece with the miter angled one direction, and the right piece with it angled the other. The two cuts are mirror images of each other
- Dry-fit (hold the pieces in place without nailing) both pieces at the corner before nailing - the front edges should meet tightly with a slight gap visible at the back
- Apply wood glue to both miter faces before final assembly
- Nail both pieces to the wall near the corner. Then drive one more nail through the miter joint itself, from one piece into the other, to lock the joint together
Pro Tip #
Always glue outside miters. Wood movement from humidity changes will try to open these joints over time. Glue alone creates that mechanical bond: a liberal bead on both faces, pulled tight, resists this movement without a cross-nail. Apply glue to both faces, press them together, and nail. Wipe off any squeeze-out (the glue that oozes out of the joint) with a damp cloth right away. If you let glue dry on the surface, it will show through the paint.
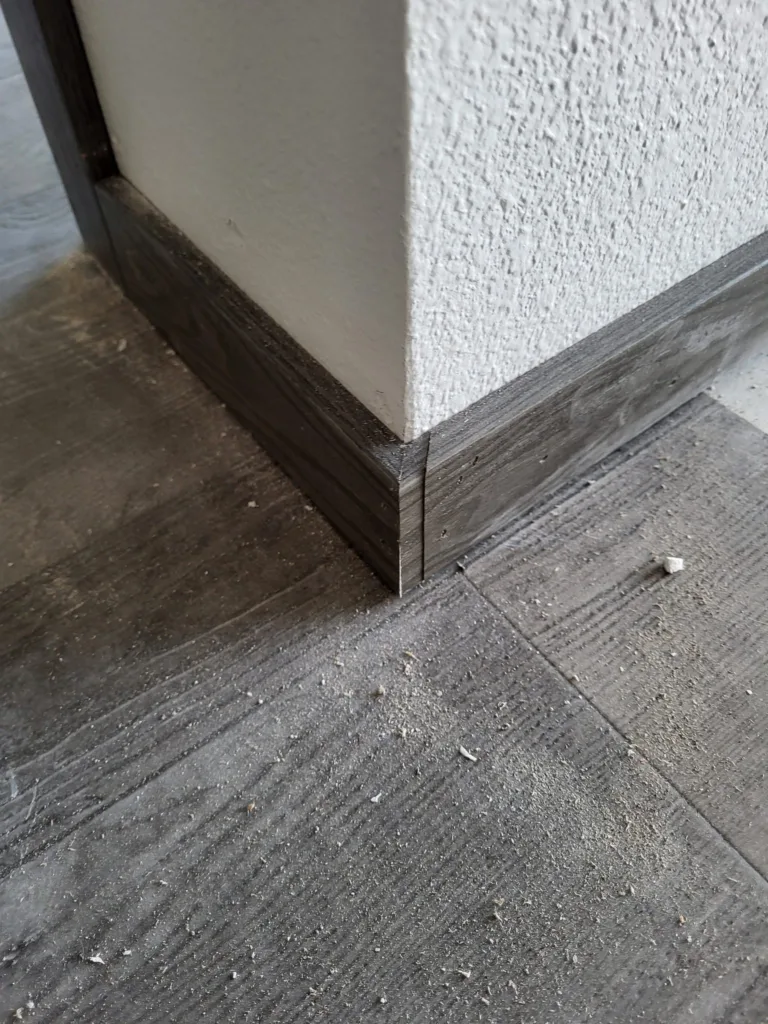
Step 4: Splices - Scarf Joints Over Studs #
When you install baseboard on a wall longer than your stock length, you need a splice. The correct splice for baseboard is a scarf joint: two overlapping 45-degree cuts that create a long, thin seam. That seam is far less visible than a butt joint, which is just two flat, square-cut ends pushed together.
Cutting and Placing Scarf Joints #
- The splice must fall over a stud - both pieces need nailing support at the joint
- Cut the first piece with a 45-degree angle so the face is the longer side (the cut slopes back toward the wall)
- Cut the second piece with a matching 45-degree angle so it overlaps and the joint is smooth to the touch
- Apply wood glue to both scarf faces
- Nail the first piece, then press the second piece over it and nail through both into the stud
Critical Warning: Don’t Make Splices Too Tight #
This is a mistake even experienced carpenters make. If you force a splice joint too tight, really cranking the pieces together, the baseboard will bow away from the wall at the splice point. That happens when humidity rises and the material expands. Cut the joint so it’s snug but not under compression - the glue seals it, not pressure.
Pro Tip #
If you’re doing a whole house, plan your splice locations before you start cutting. Stagger them - don’t put splices on opposing walls at the same relative position. A visible pattern of splice locations looks amateurish even when the individual joints are well-executed.
Step 5: Installation - Nailing Pattern and Technique #
With your pieces cut and dry-fitted, it’s time to install baseboard by nailing. The nailing pattern is specific and important. It determines how well the baseboard follows the shape of the wall, and whether it stays put over time.
Positioning the Baseboard #
- Hold the baseboard in position against the wall with the bottom edge slightly above the floor - an 1/8-inch gap is standard
- For carpet installations: leave a 3/8-inch gap; the carpet tucks under the baseboard
- For hard flooring (wood, tile, LVP - luxury vinyl plank): leave an 1/8-inch gap; base shoe molding covers it and allows for flooring expansion
- Press the baseboard flat against the wall before nailing. If the wall bows, start nailing at the stud closest to where the baseboard already contacts the wall, then work outward from there
Nailing Technique #
- At every stud, drive two 18-gauge brad nails: one near the top of the baseboard, into the stud, and one near the bottom, into the bottom plate (the horizontal framing board that runs along the base of the wall)
- Between studs: drive one nail into the bottom plate to hold the baseboard tight against the wall and prevent bowing at the bottom edge
- For baseboard taller than 5-1/4 inches or thicker profiles: use 15-gauge finish nails instead of 18-gauge brads for better holding power
- Nail angle: drive nails slightly downward (about 10 degrees) at the top to pull the baseboard tight against the wall
- For bowed walls: use construction adhesive in addition to nails on the worst sections; clamp or brace until adhesive sets if necessary
Pro Tip #
The nail between studs, into the bottom plate, is the one most carpenters skip. Don’t skip it. Without it, the bottom edge of the baseboard bows outward between studs, creating a visible shadow line that screams “amateur work.” This single extra nail in each bay (the gap between two studs) makes a dramatic difference in how the finished product looks.
Step 6: Close Out the Room #
Once a wall’s run (its full length of installed baseboard) is nailed, close it out before you move on. This takes just a few minutes per room, and it is what the painter actually needs from you next.
Close-Out Sequence #
- Verify every outside miter and splice actually got glue. If you missed one, pry the joint open carefully with a thin scraper, apply glue, reclose it and re-nail.
- Wipe any glue squeeze-out while it is still wet. Dried glue leaves a hard spot that shows through the finish and has to be scraped back off.
- Set any proud brads below the surface with a nail set. Run your hand along the top edge and the face rather than eyeballing it, because your fingers find what your eye slides past.
- Check the joints one last time: coped corners closed, outside miters tight at the front edge, splices flush to the touch.
- Sweep the room and collect your cutoffs.
Where Our Scope Ends #
Filling the fastener holes, sealing the seam where the top edge meets the wall, and any sanding or finish work belong to the painter. That is a scope line, not a shortcut. He fills and coats the whole room in one pass with one set of materials. Holes that get spot-filled ahead of him tend to flash differently (show a slightly different sheen) under the finish coat. They end up getting reworked anyway.
What he needs from us is entirely within our control. That means joints closed tight, baseboard flat to the wall, fasteners set below the surface, glue cleaned while it was wet, and a swept floor.
Step 7: Efficient Batch Cutting Technique #
When you install baseboard throughout an entire house, efficiency matters. Batch cutting means measuring multiple pieces, then cutting all of them at the saw in one session. It dramatically cuts down your trips back and forth between the saw and the installation area.
The Batch Process #
- Measure all walls in one room and write dimensions on painter’s tape - note which end gets what cut (square, cope, miter left, miter right)
- Group similar cuts: all left miters together, all right miters together, all square cuts together
- Go to the saw once and cut the entire room’s worth of baseboard
- Label each piece with the room and wall it belongs to (pencil on the back)
- Install the complete room, then measure and batch-cut the next room
Pro Tip #
Don’t batch-cut the entire house at once. Walls that measure the same can differ by 1/16 to 1/8 inch, and a batch measurement error multiplies room by room. One room at a time keeps mistakes contained and correctable. Your cuts will also improve as you work through the house and dial in your saw and technique.
Quality Check After You Install Baseboard #
Walk the room at standing height, then get down on your knees and inspect every joint at eye level. Problems that are invisible from 5 feet away become obvious at 2 feet - and that’s where your client will be looking.
- All inside corners are tight with no visible gaps - coped joints should show no daylight
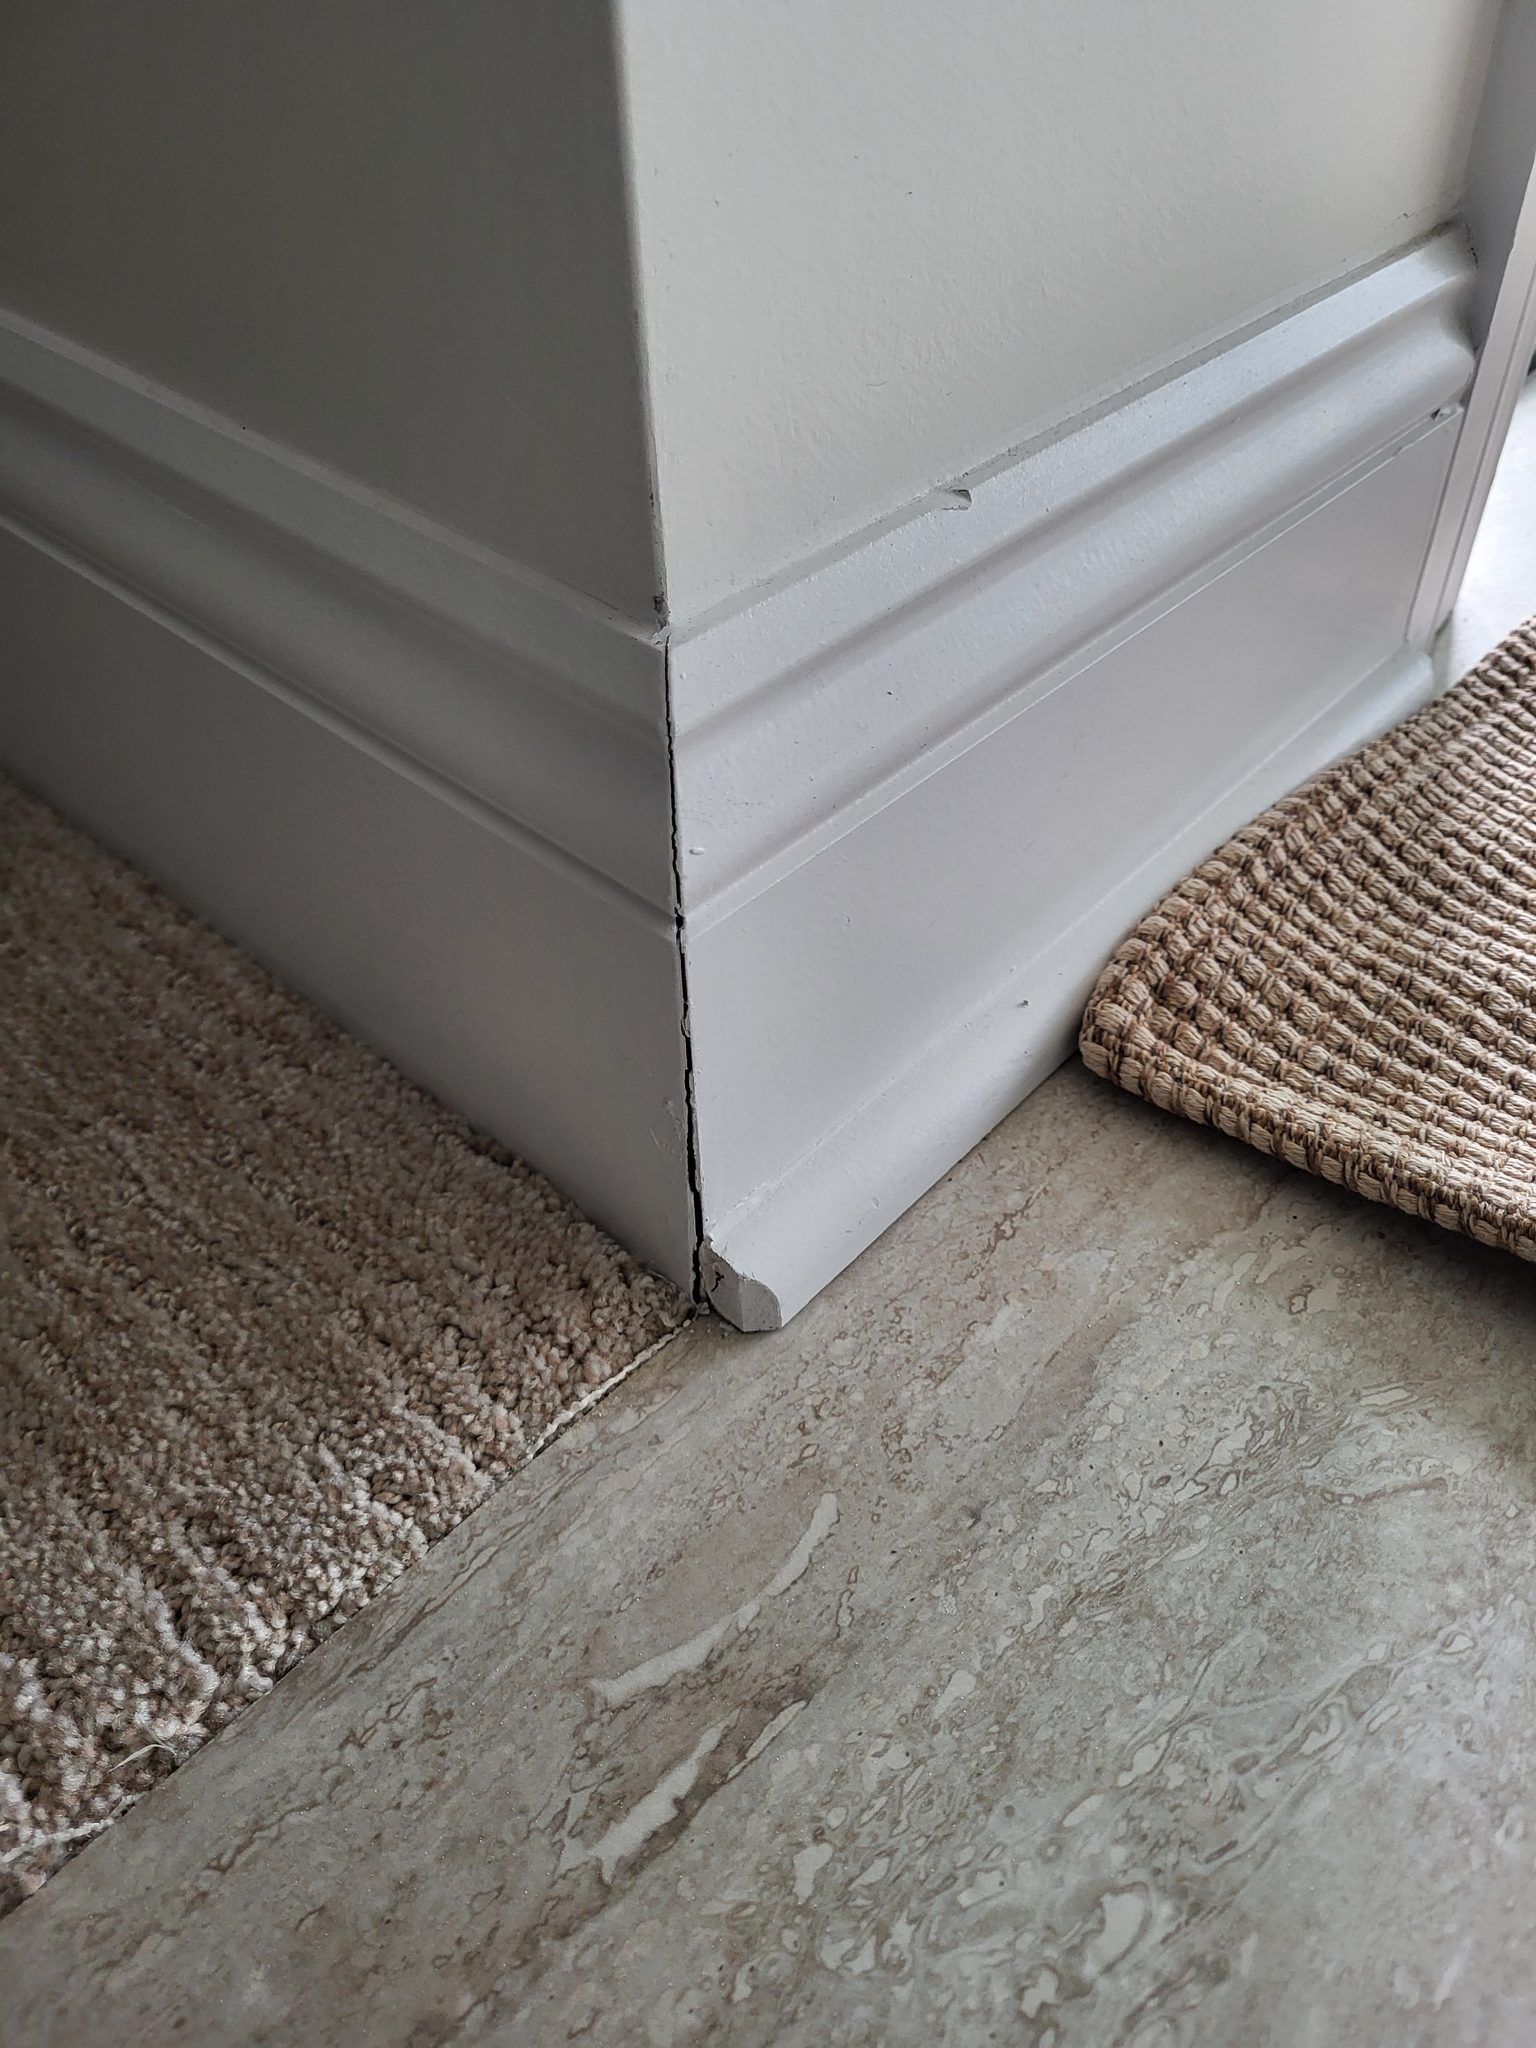
- All outside miters are tight at the front edge - front faces meet cleanly with no step or gap
- All splices are smooth to the touch - run your finger across each one; you shouldn’t feel a ridge or step
- Baseboard sits flat against the walls, with no visible bowing or gaps larger than 1/16 inch
- Every brad is set below the surface, nothing proud when you run a hand along the run
- Glue is cleaned off every miter and splice, no dried squeeze-out left on the face
- Outside miters and splices are glued - press on each joint to verify it’s bonded solid
- Baseboard butts cleanly against all door and window casings with no gap or overlap
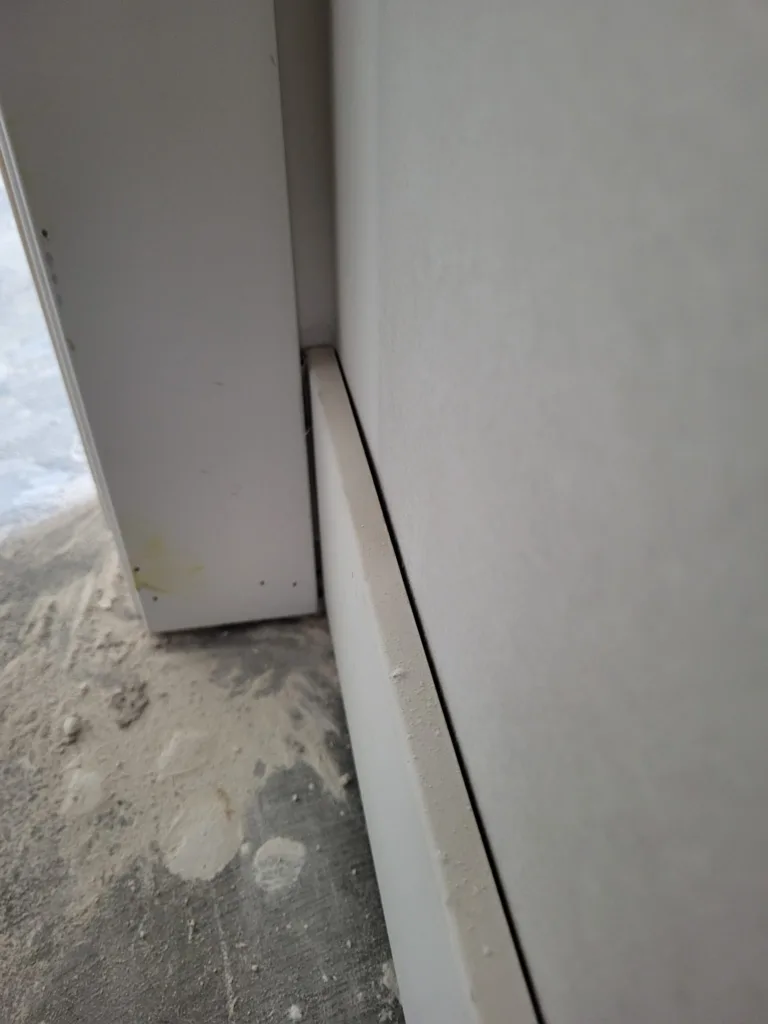
Troubleshooting #
Even when you install baseboard carefully, minor issues can arise. Here are the most common problems and how to fix them.
Problem: Inside Corner Has a Gap - Coped Joint Doesn’t Fit Tight #
Solution: The most common cause is not enough back-bevel on the cope cut. The back of the coped profile must be relieved, meaning cut away, so only the front edge touches the piece it’s joining (the mating piece). Re-cut the cope with the coping saw tilted further toward the back of the material, about 10 degrees. Test-fit it, and pare down any remaining high spots with a utility knife.
Problem: Outside Miter Has a Gap at the Front Edge #
Solution: This is the most common joint issue when you install baseboard on outside corners. Your cut angle is at 45 degrees or less. Increase to 46.5 degrees. If the corner itself is significantly out of square, measure the actual corner angle with a digital angle finder. Then split the difference between the two pieces. For example, if the corner measures 88 degrees, cut each piece at 44 + 1.5 = 45.5 degrees. Re-cut both pieces.
Problem: Baseboard Bows Away From Wall Between Studs #
Solution: The wall itself may bow inward, creating the gap. First, try adding more nails into the bottom plate between the studs. If that doesn’t close the gap, apply construction adhesive to the back of the baseboard. Then brace it tight until the adhesive cures, using a 2×4 spacer cut to fit between the baseboard and the opposite wall. As a last resort, shim behind the baseboard at the worst gaps.
Problem: Splice Joint Bows the Baseboard Off the Wall #
Solution: The splice was cut too tight. The two pieces are compressed against each other, and the pressure pushes both away from the wall. Remove the second piece, trim 1/32 to 1/16 inch off the scarf joint end, re-glue, and re-install. The joint should be snug but not forced.
Problem: MDF Baseboard Swelled at the Bottom Edge #
Solution: MDF absorbs moisture from below - usually from concrete slabs, wet-mopping before the sealant cures, or high humidity. The damaged section must be replaced. Never use MDF baseboard in bathrooms, laundry rooms, or below-grade spaces.
Problem: Nail Gun Blows Through the Baseboard Face #
Solution: Your nail is too long for the baseboard thickness, or you’re hitting a stud at an angle that redirects the nail outward. Switch to shorter nails (1-1/2 inch for standard 9/16-inch thick baseboard) and ensure you’re driving straight into the wall, not angled. For thin MDF profiles, 1-1/4 inch brads may be more appropriate.
Related Guides #
For additional detail on baseboard techniques and material selection, see this guide from our base shoe article.
- How to Install Base Shoe Molding - The finishing touch that covers the gap between baseboard and floor
- How to Case a Window - Window casing installation that your baseboard butts into
- How to Trim a House Start to Finish - The complete trim-out workflow including baseboard sequencing
- How to Install Exterior Door Casing - Door casing techniques that apply to baseboard transitions at doorways
- How to Install Crown Molding
- How to Install Decorative Wall Treatments
- Which Material and Profile Goes Where
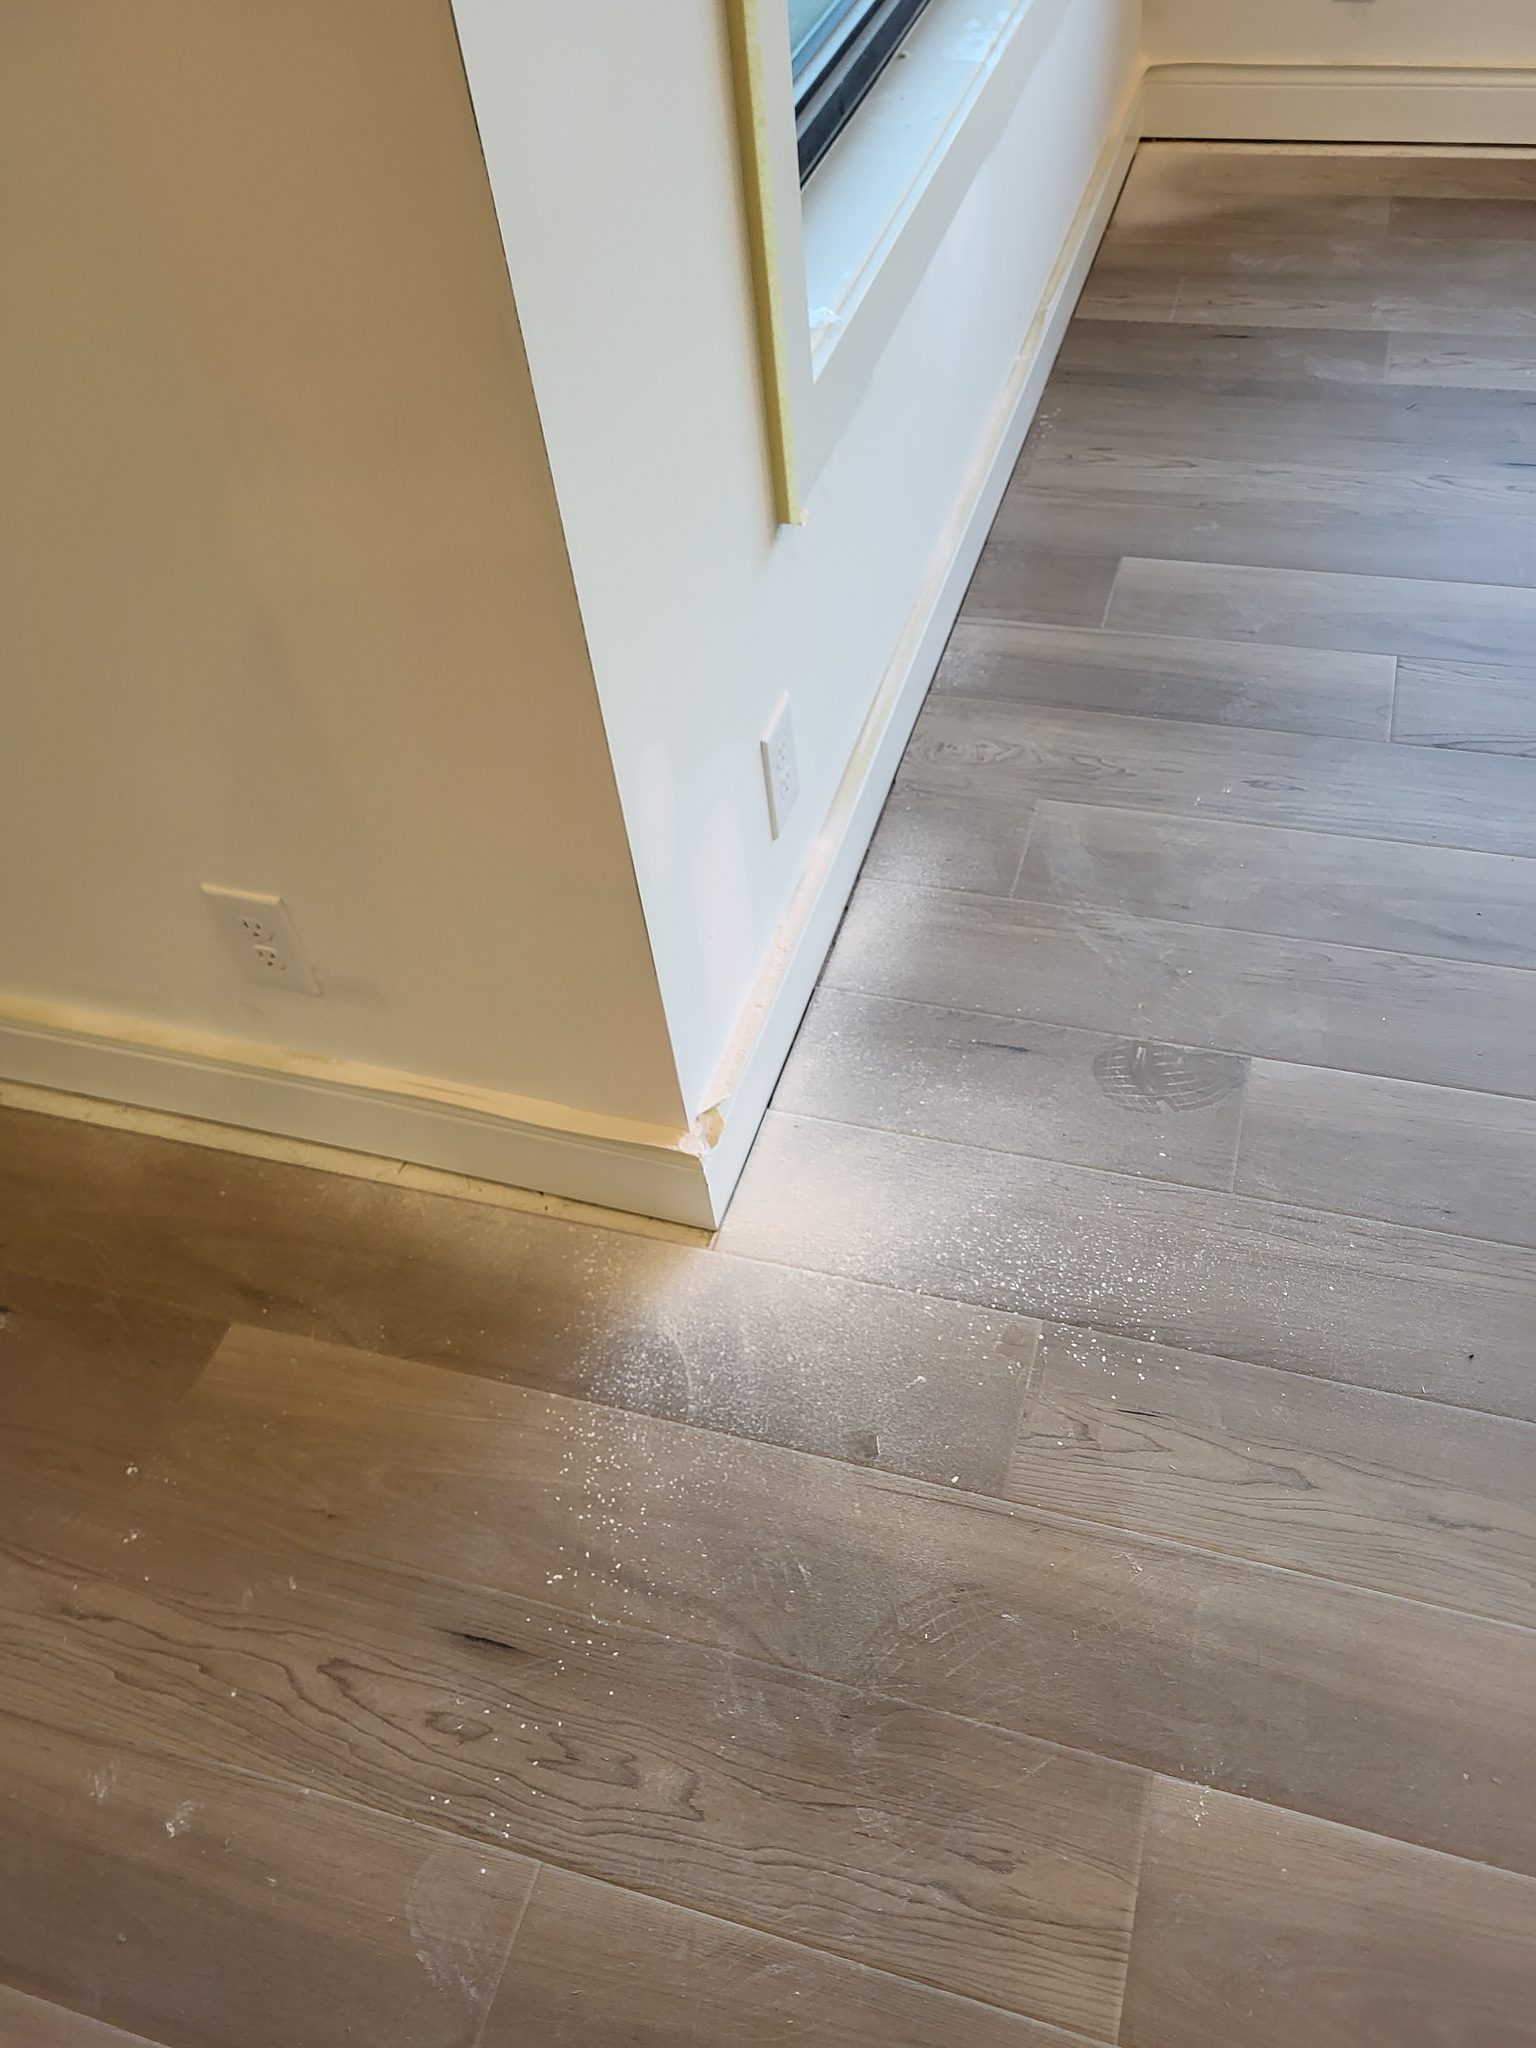
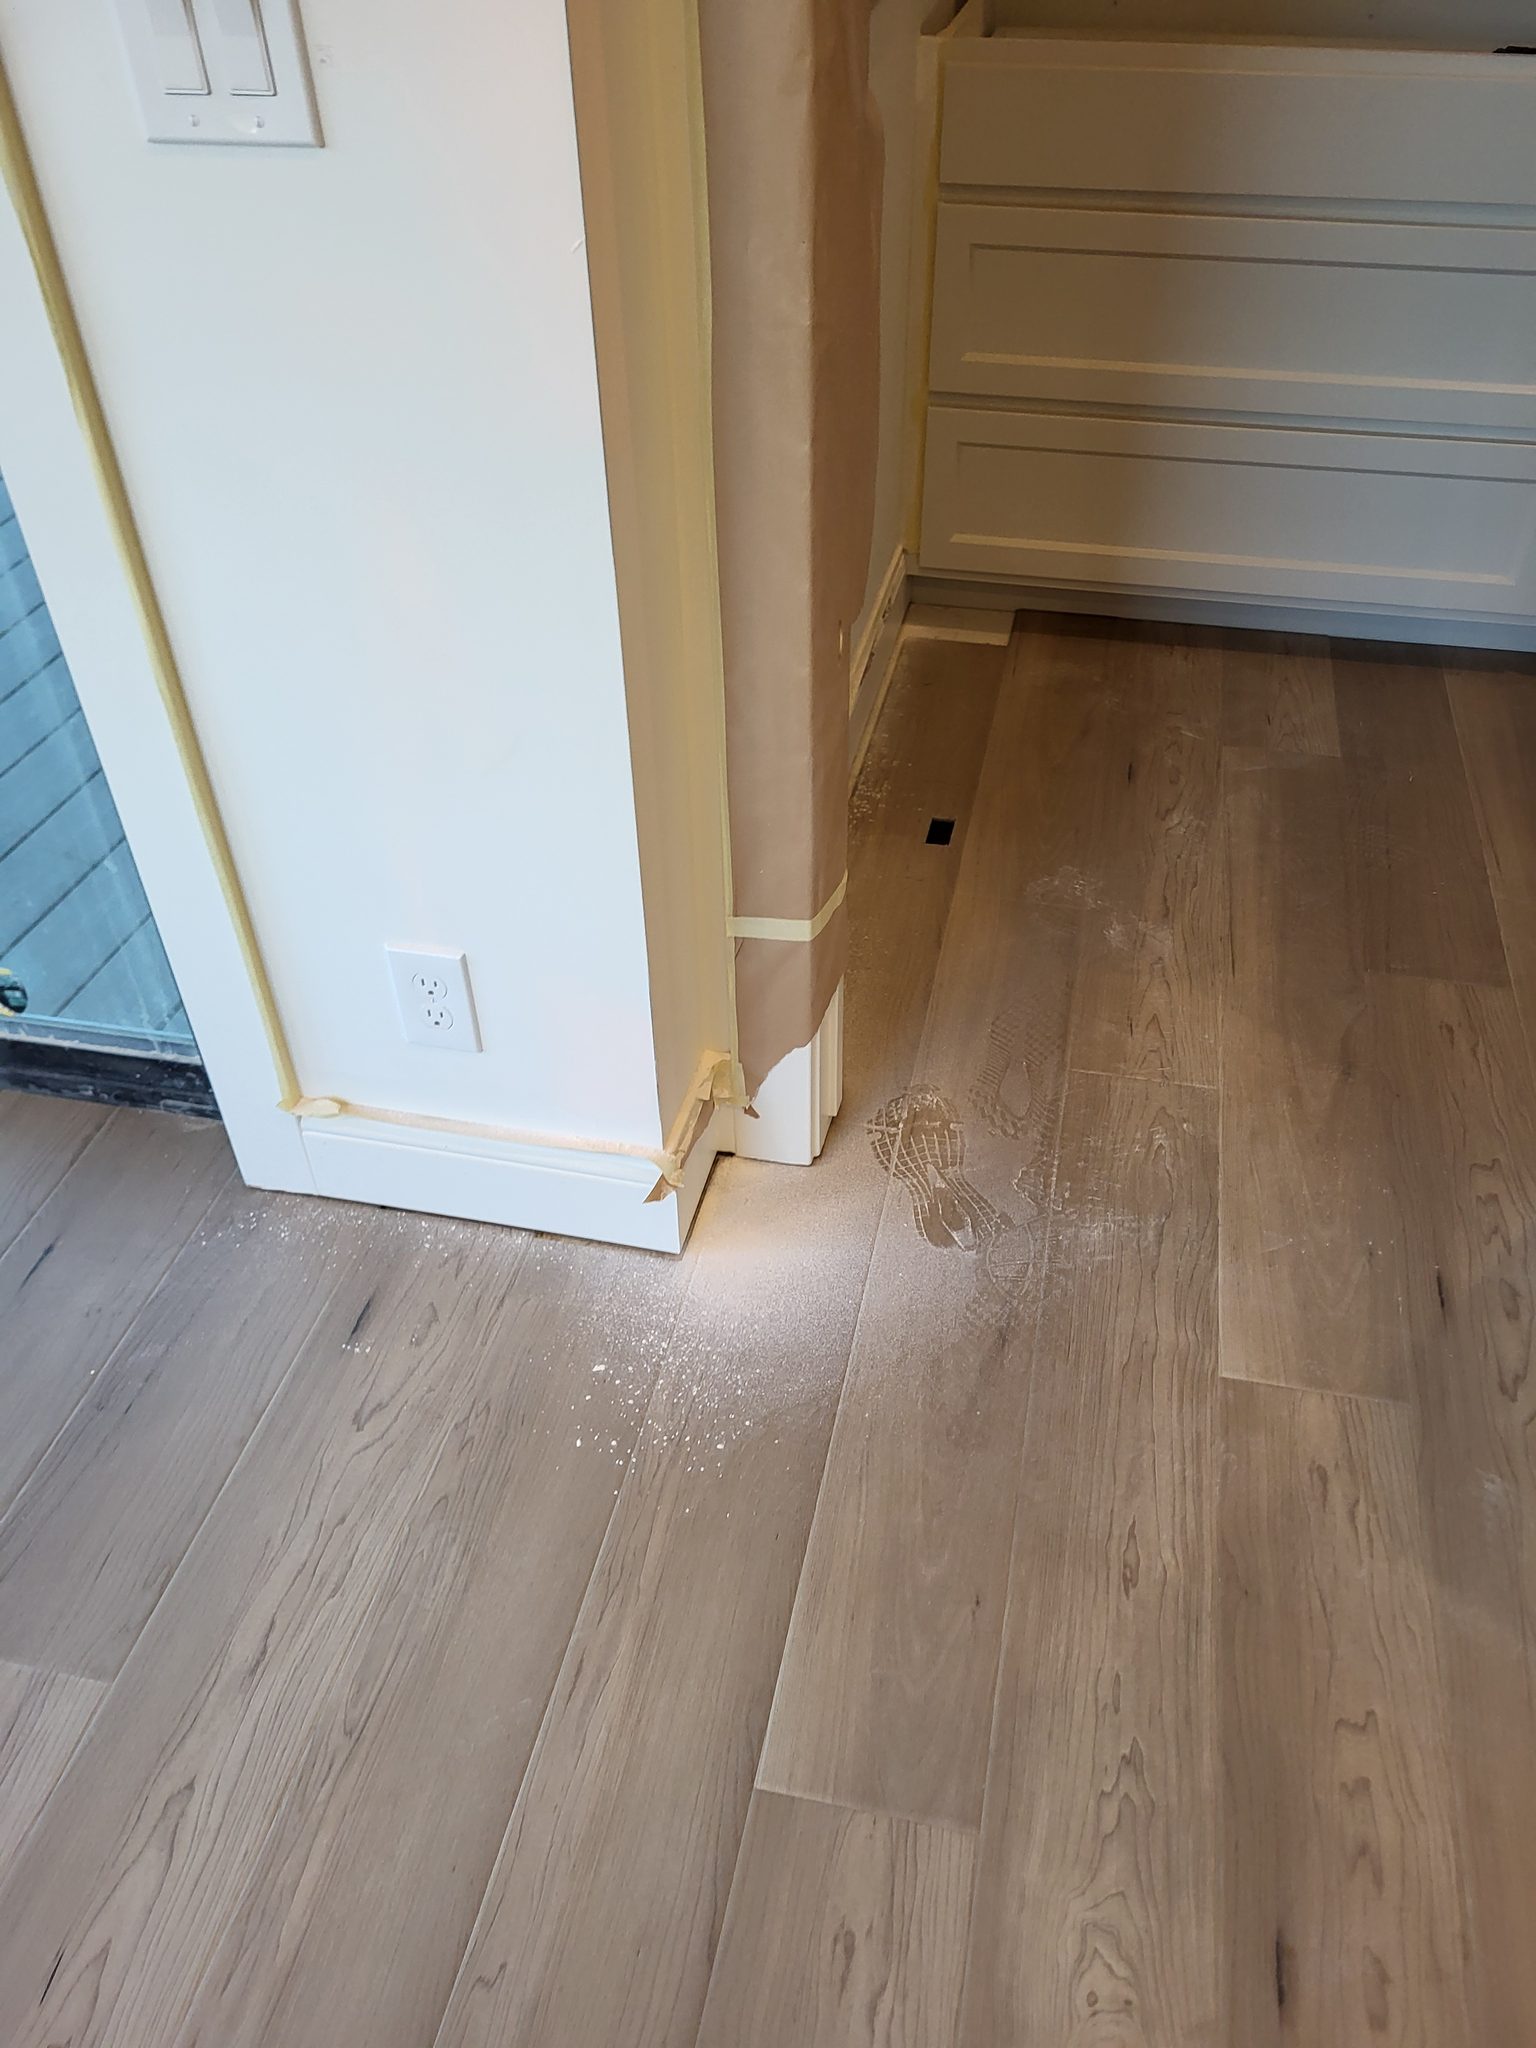
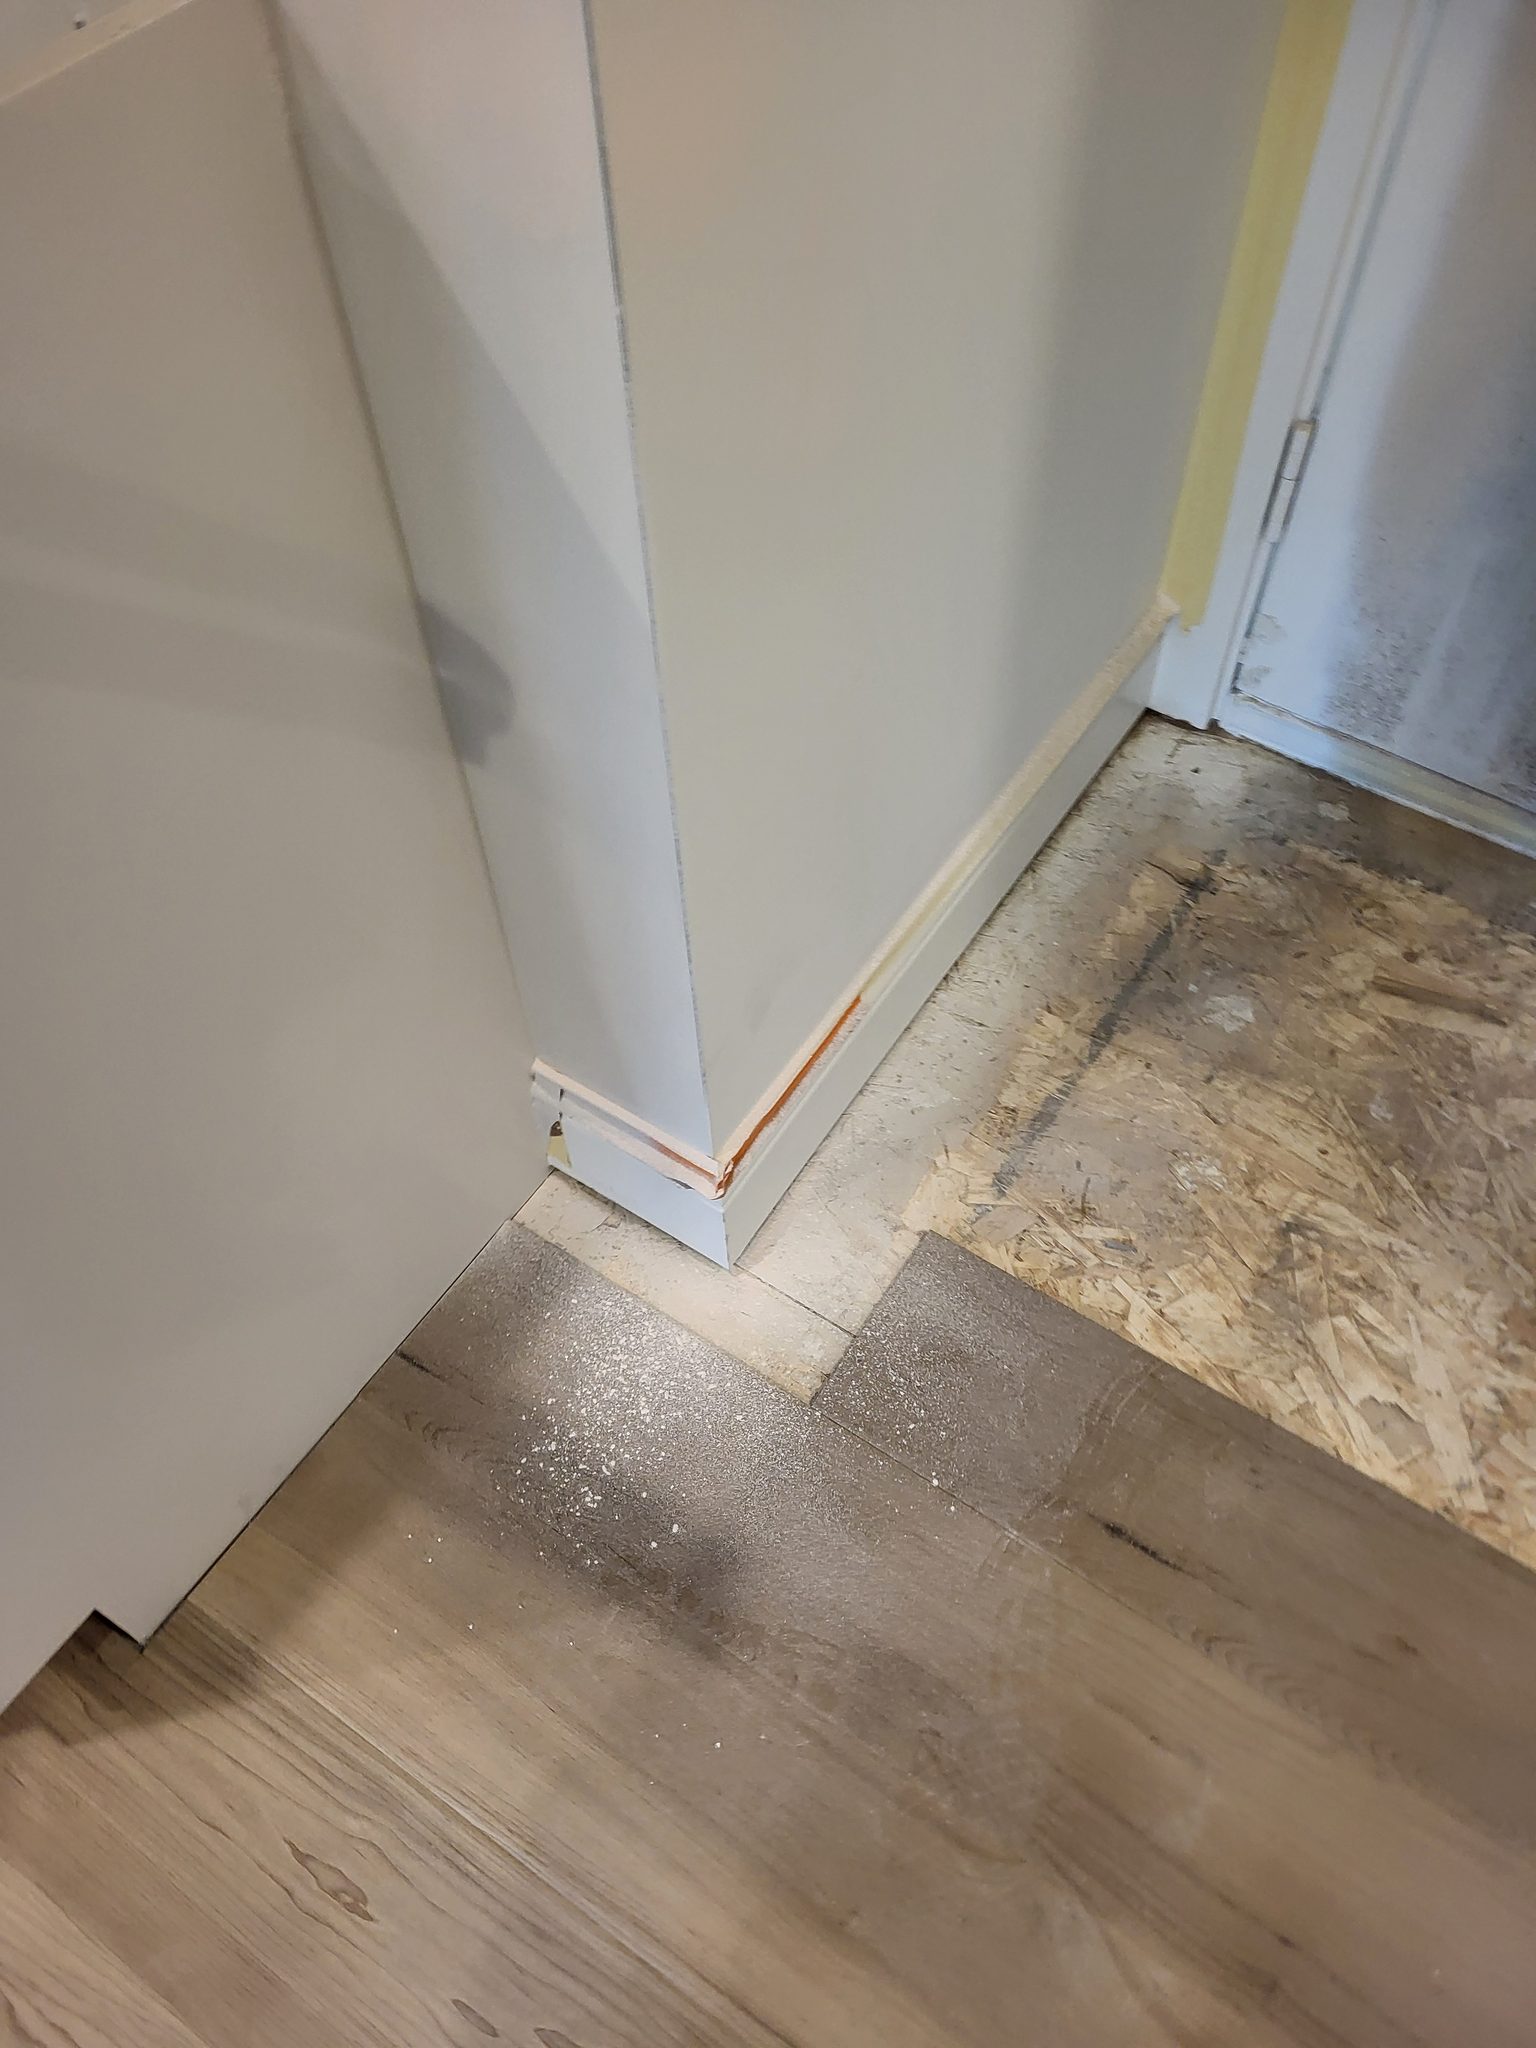
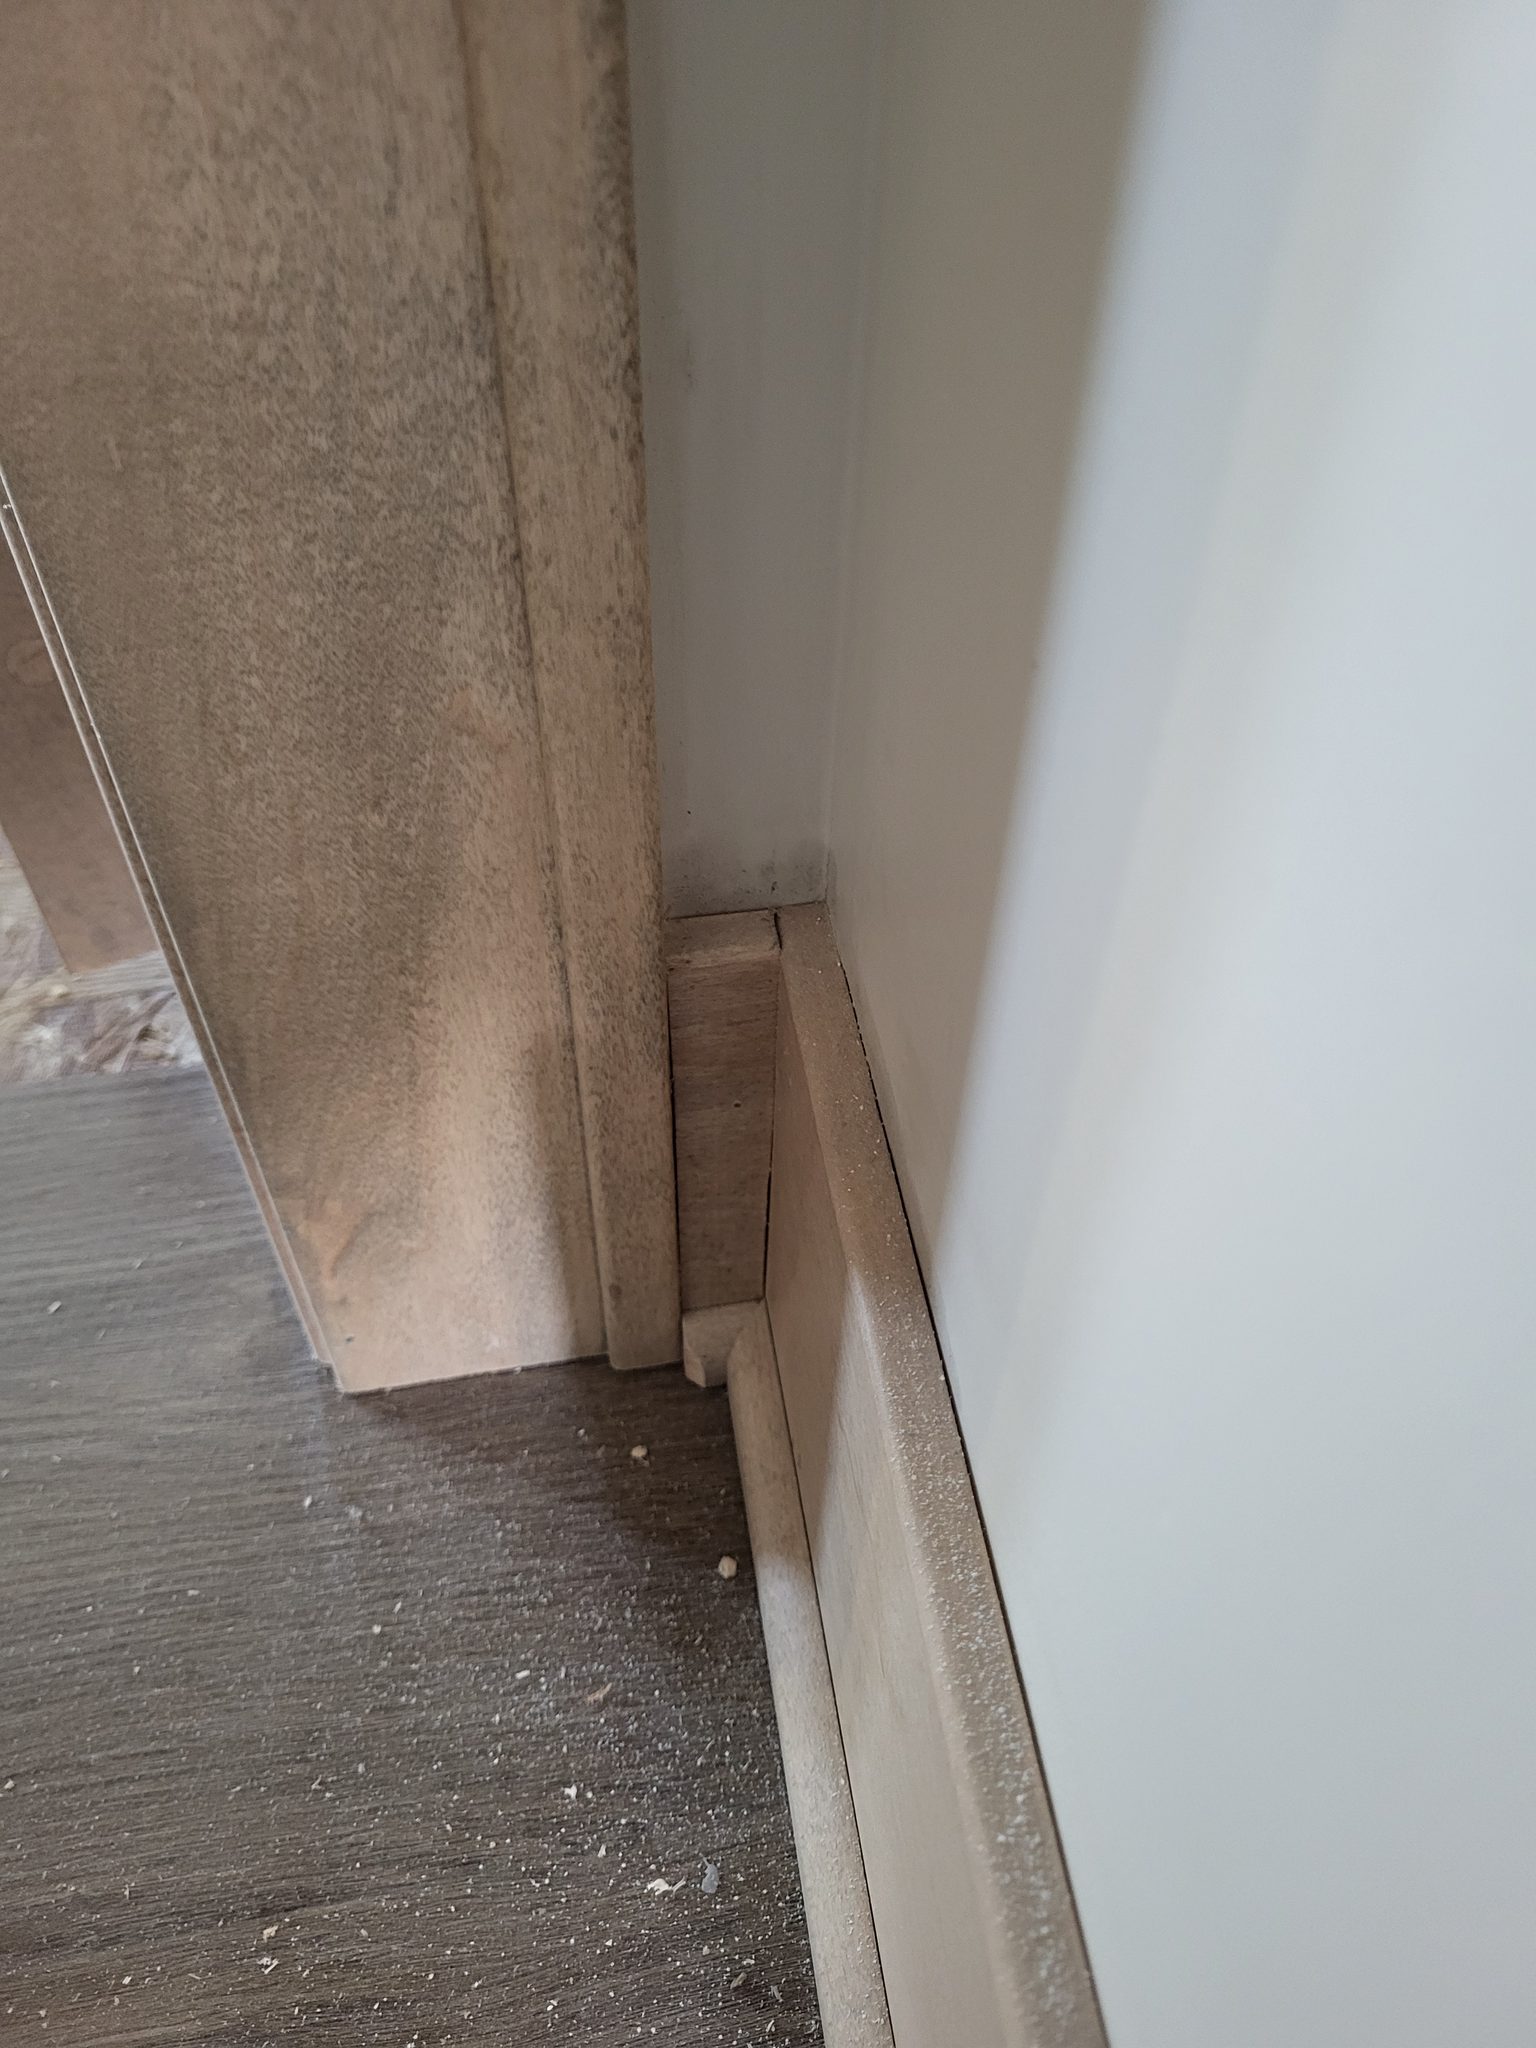
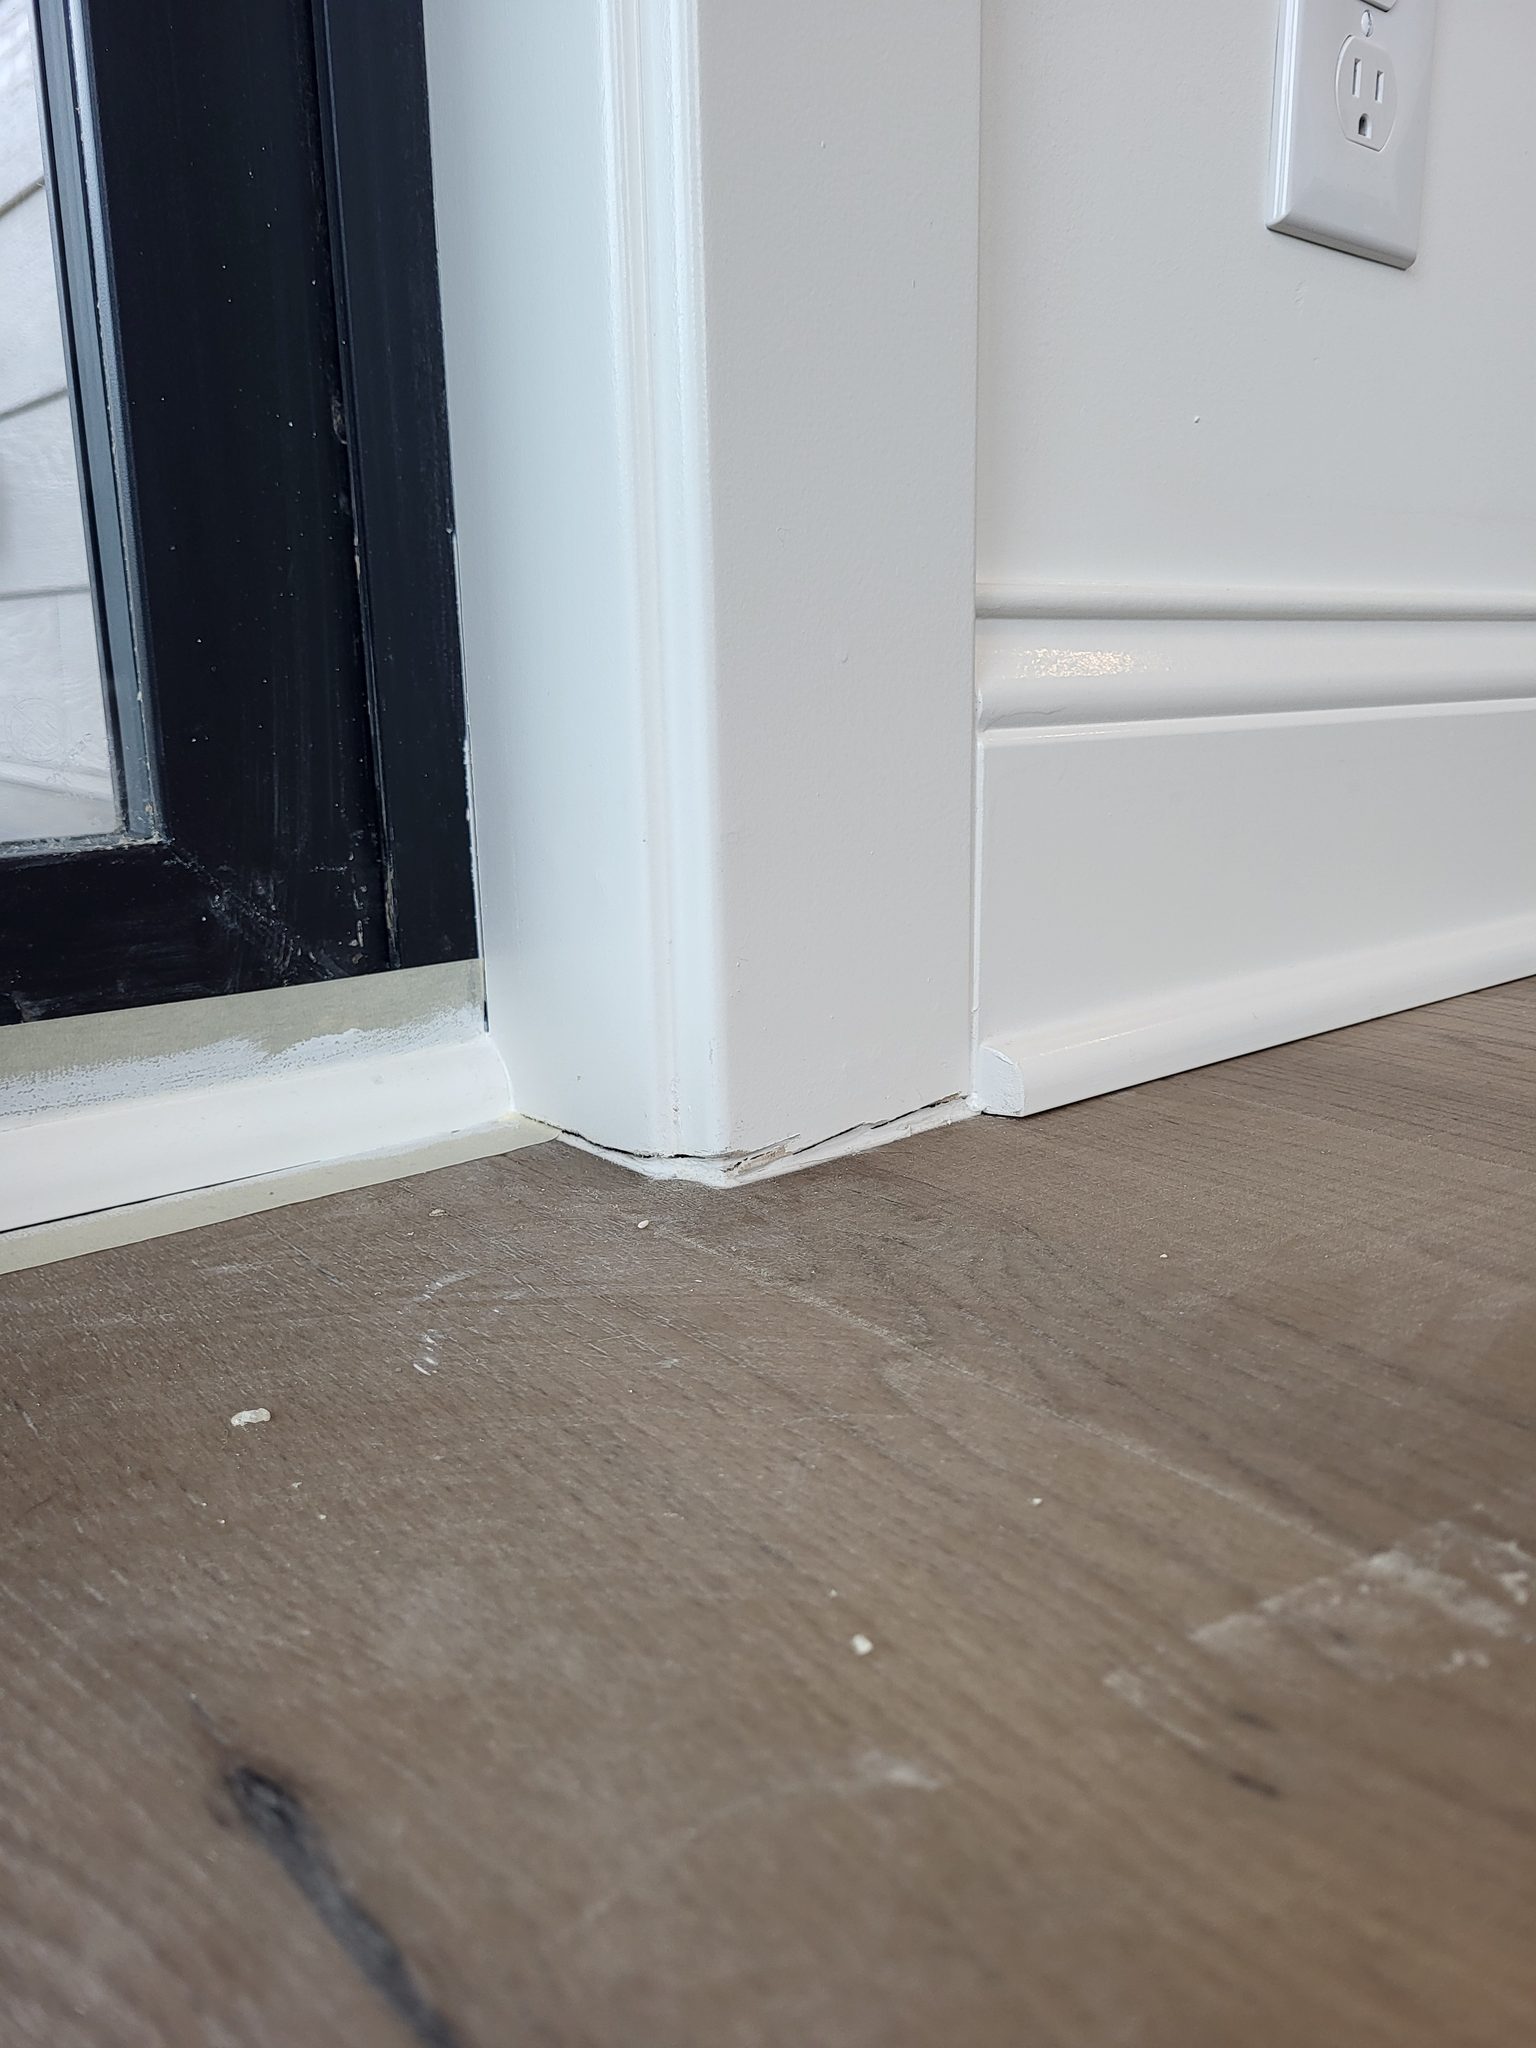
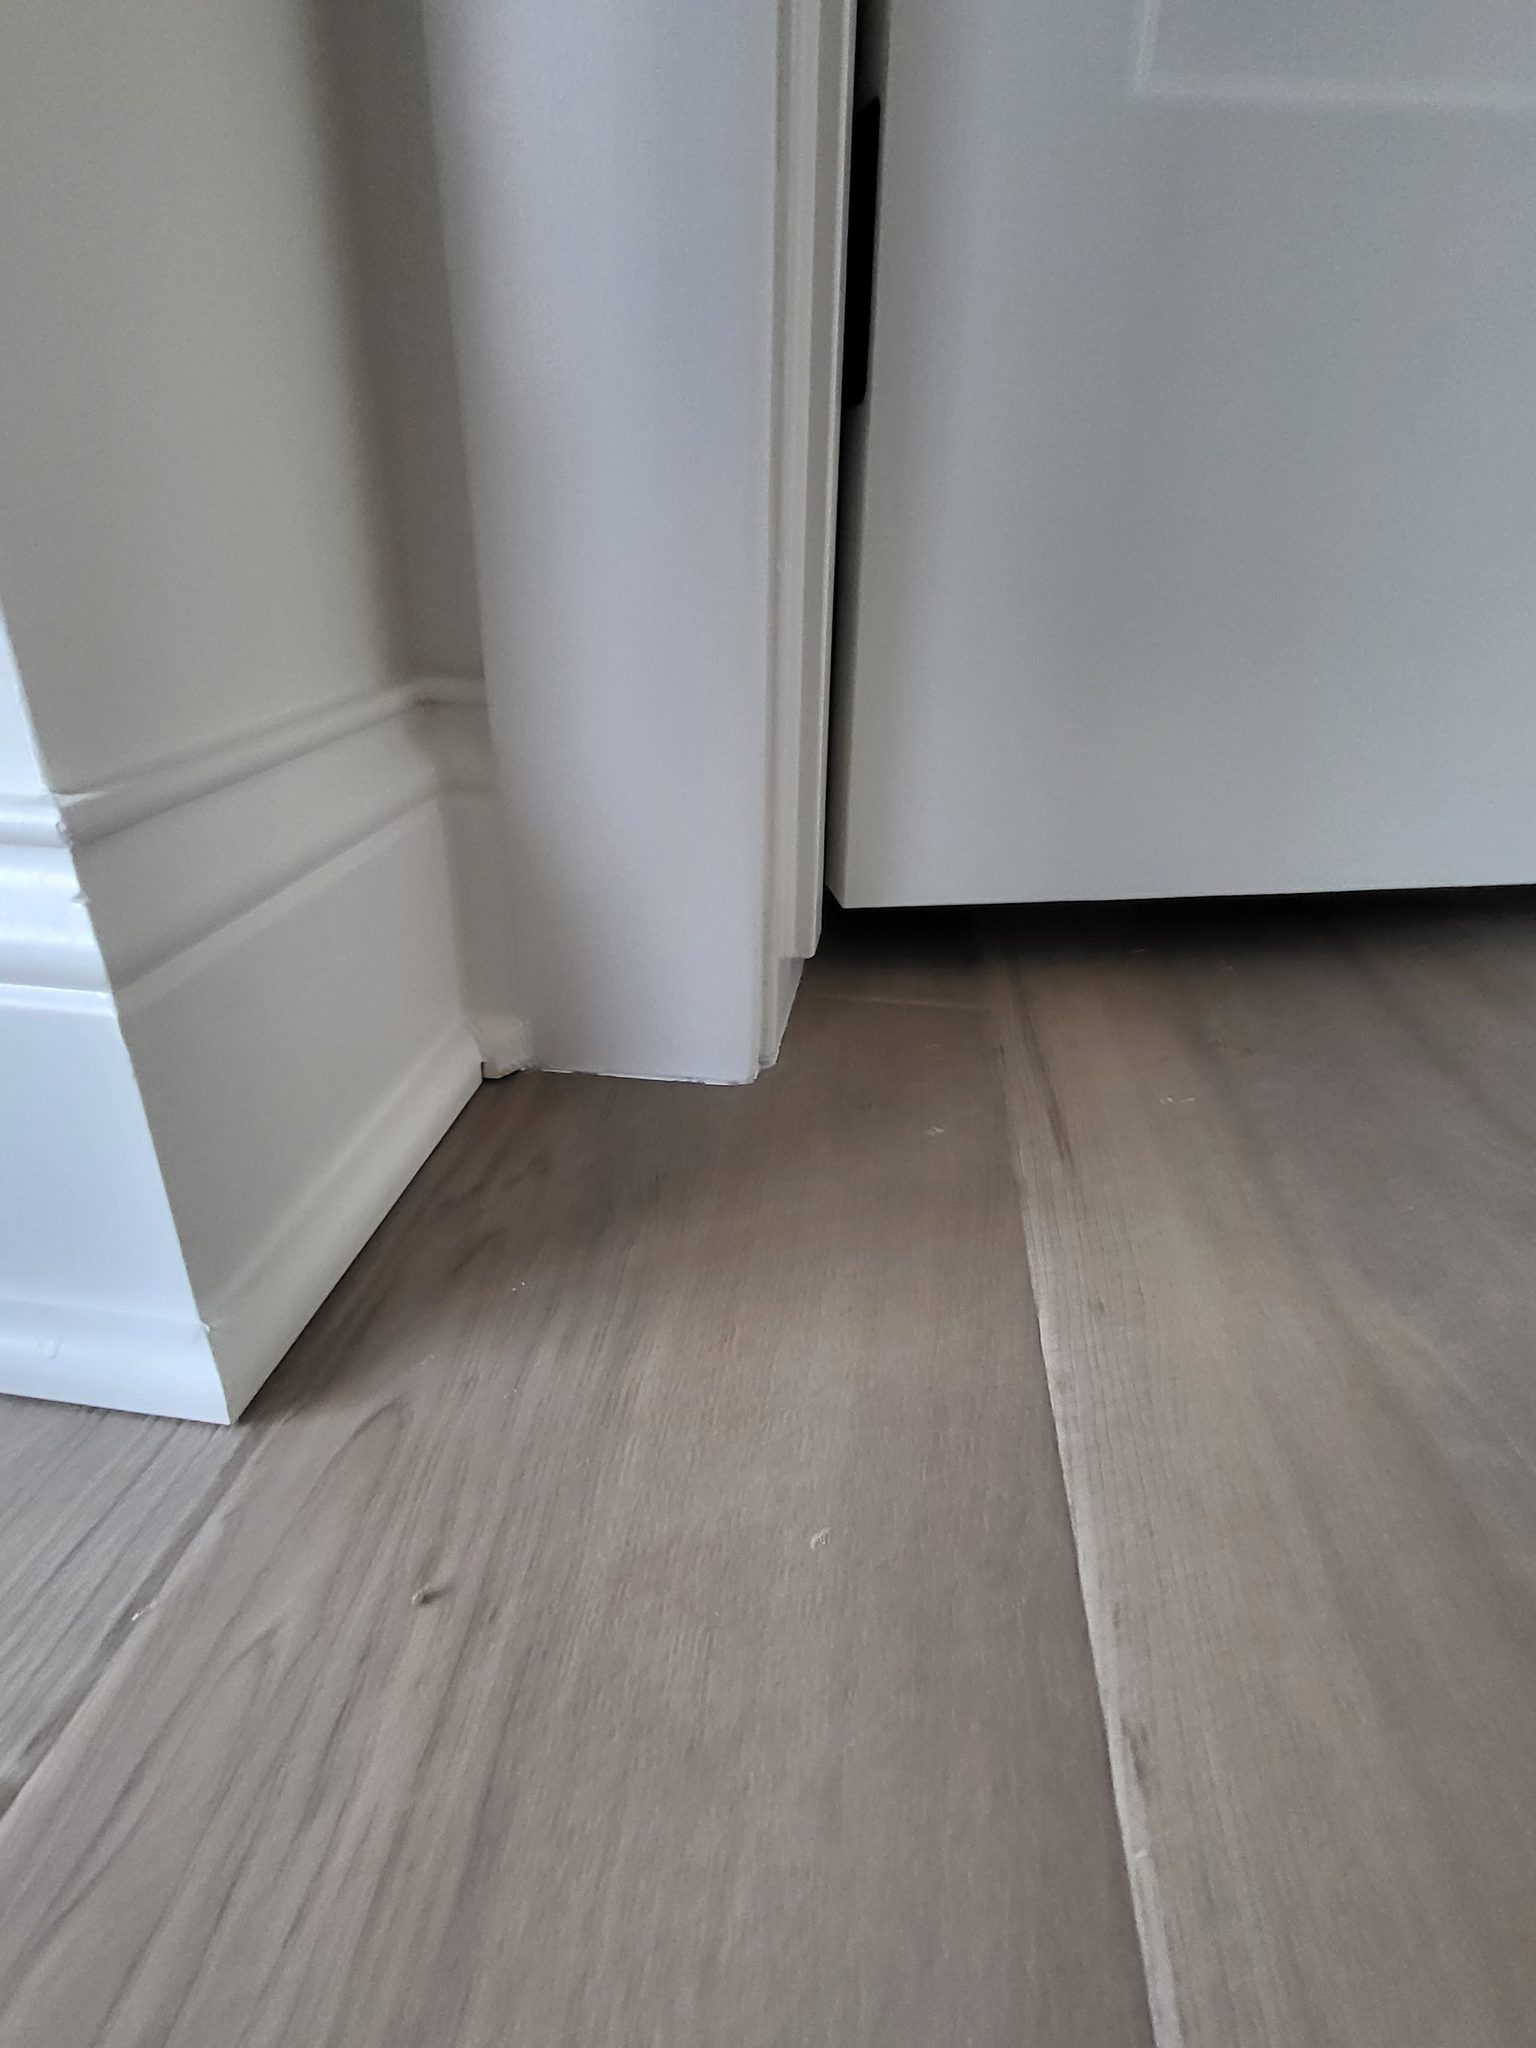
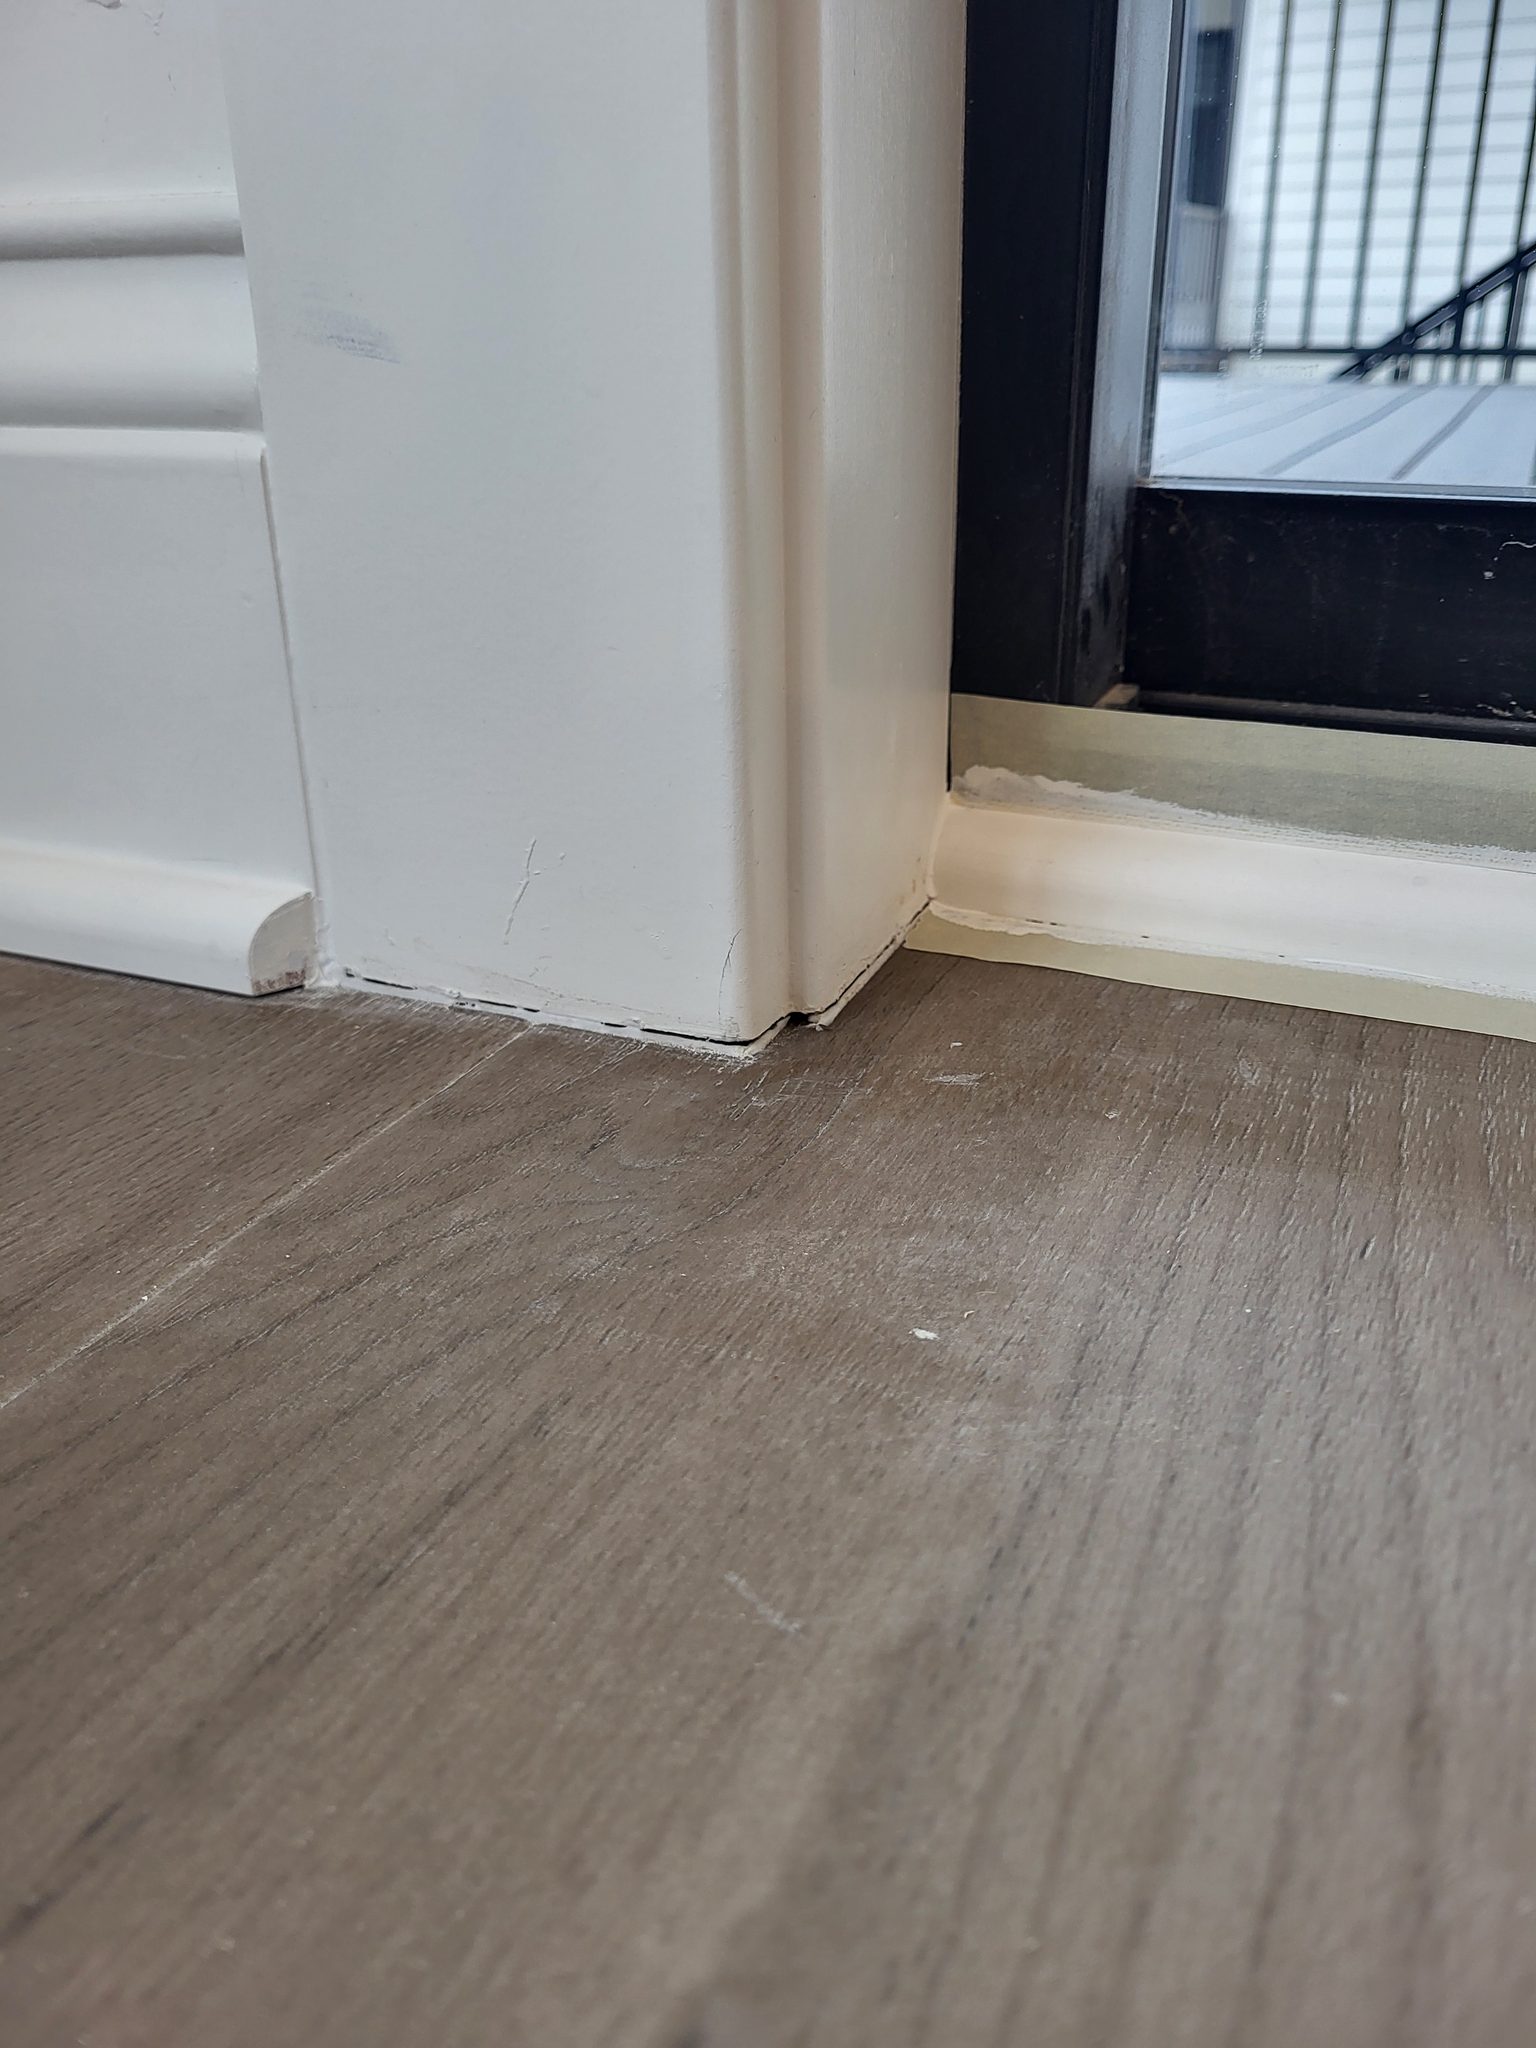
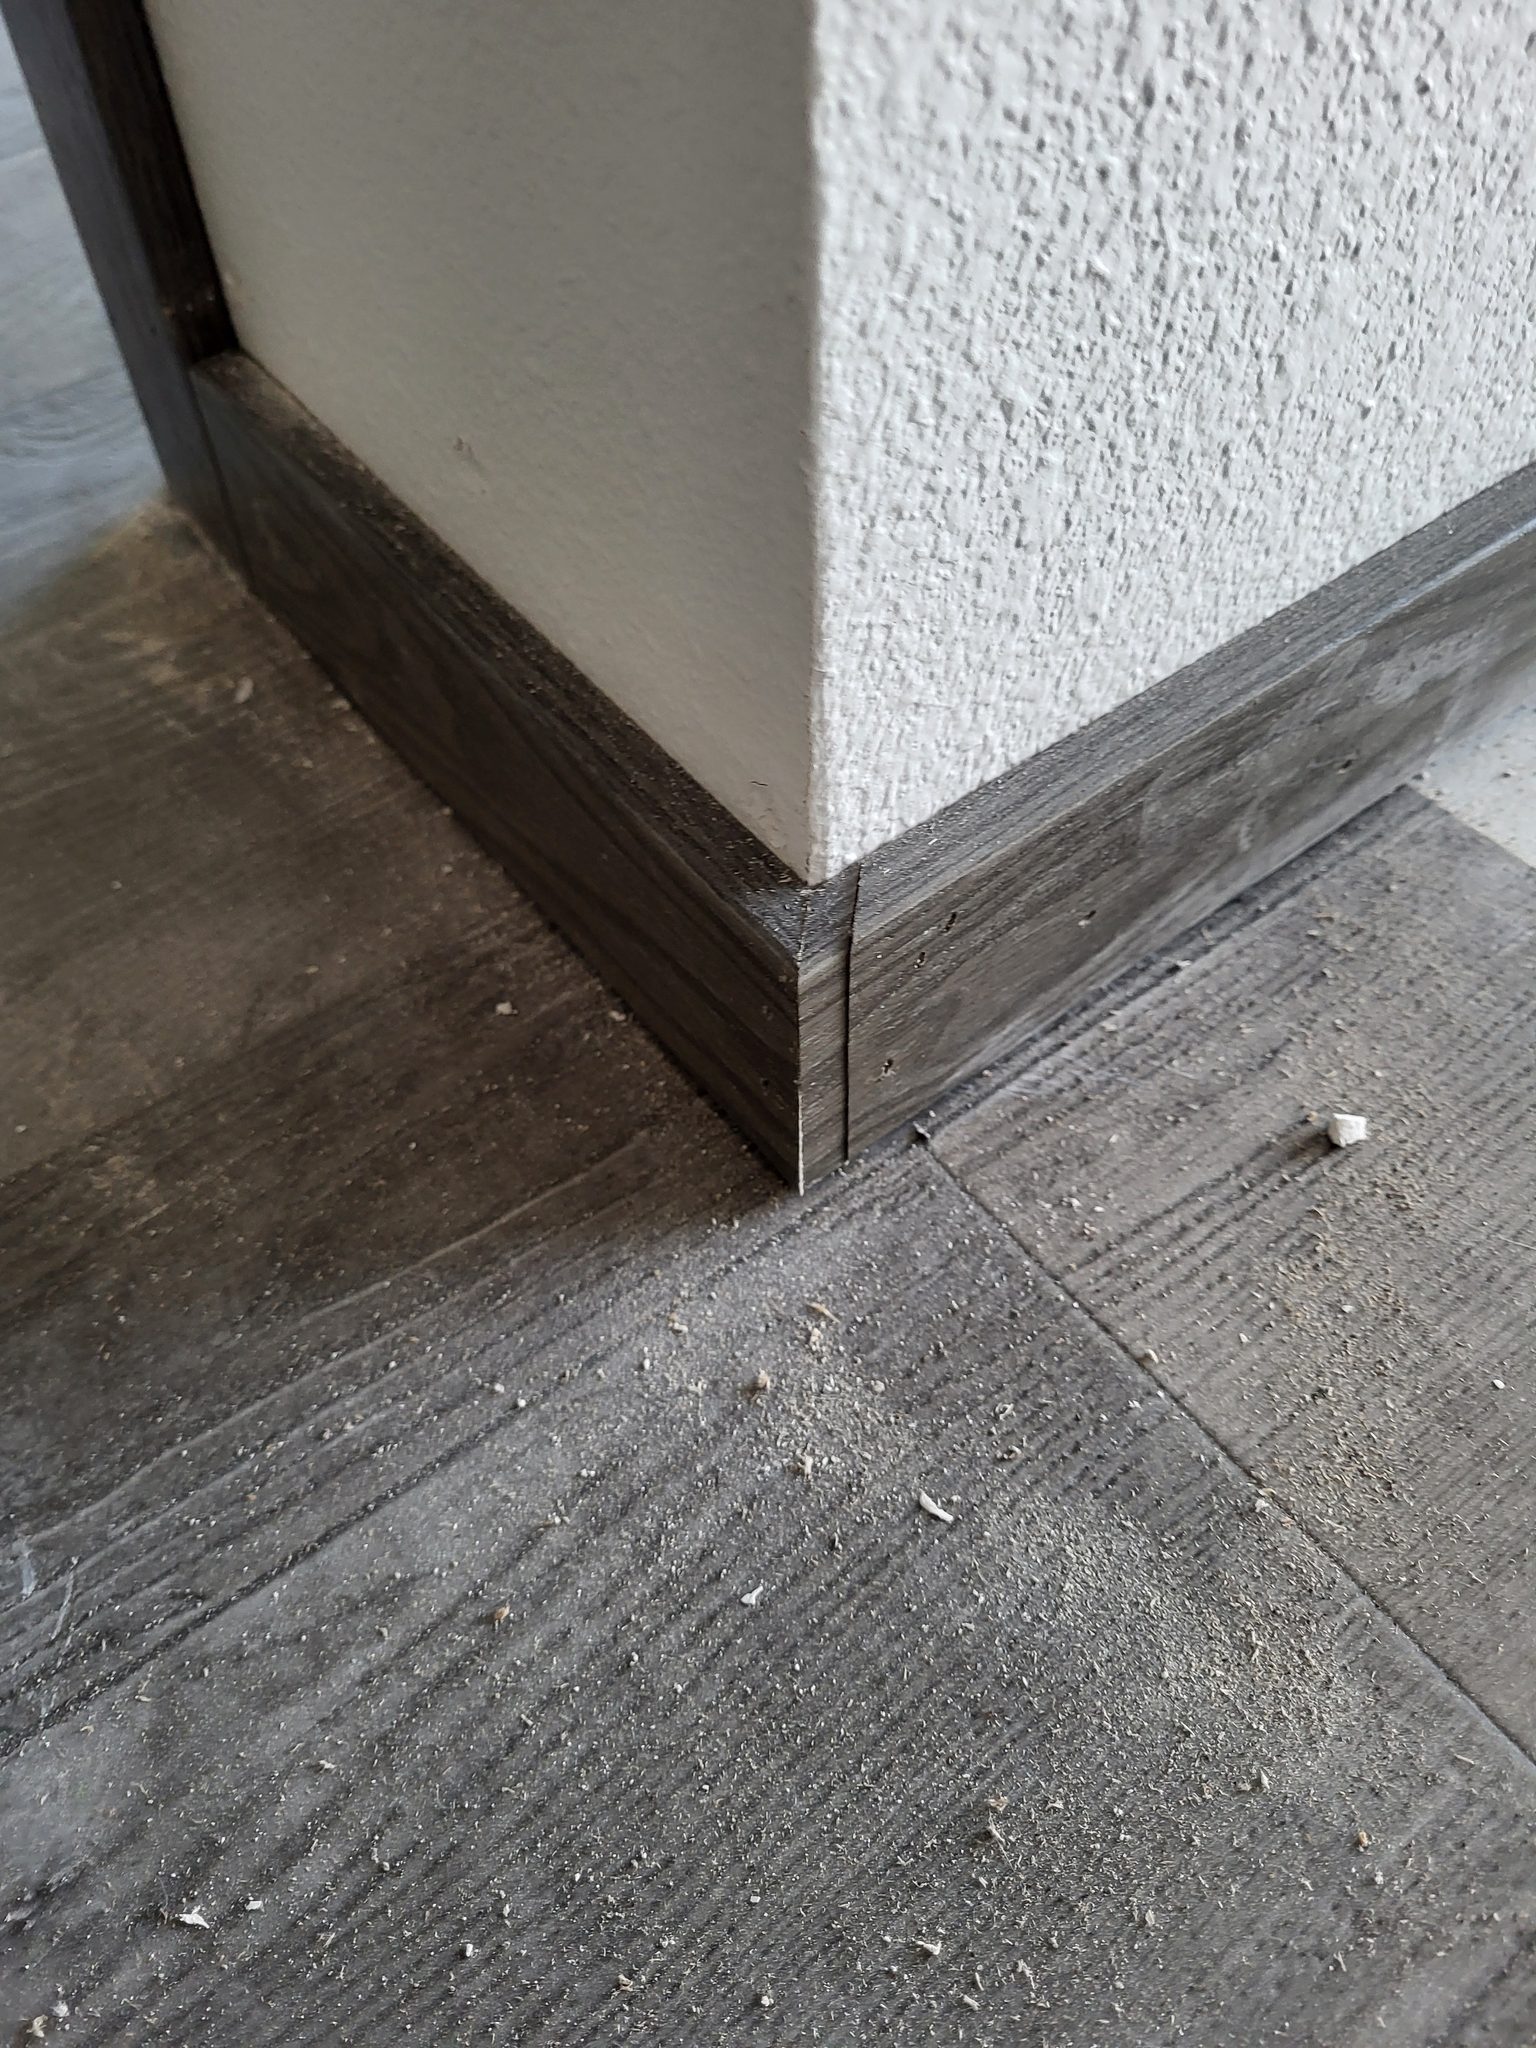
Reference Photos #
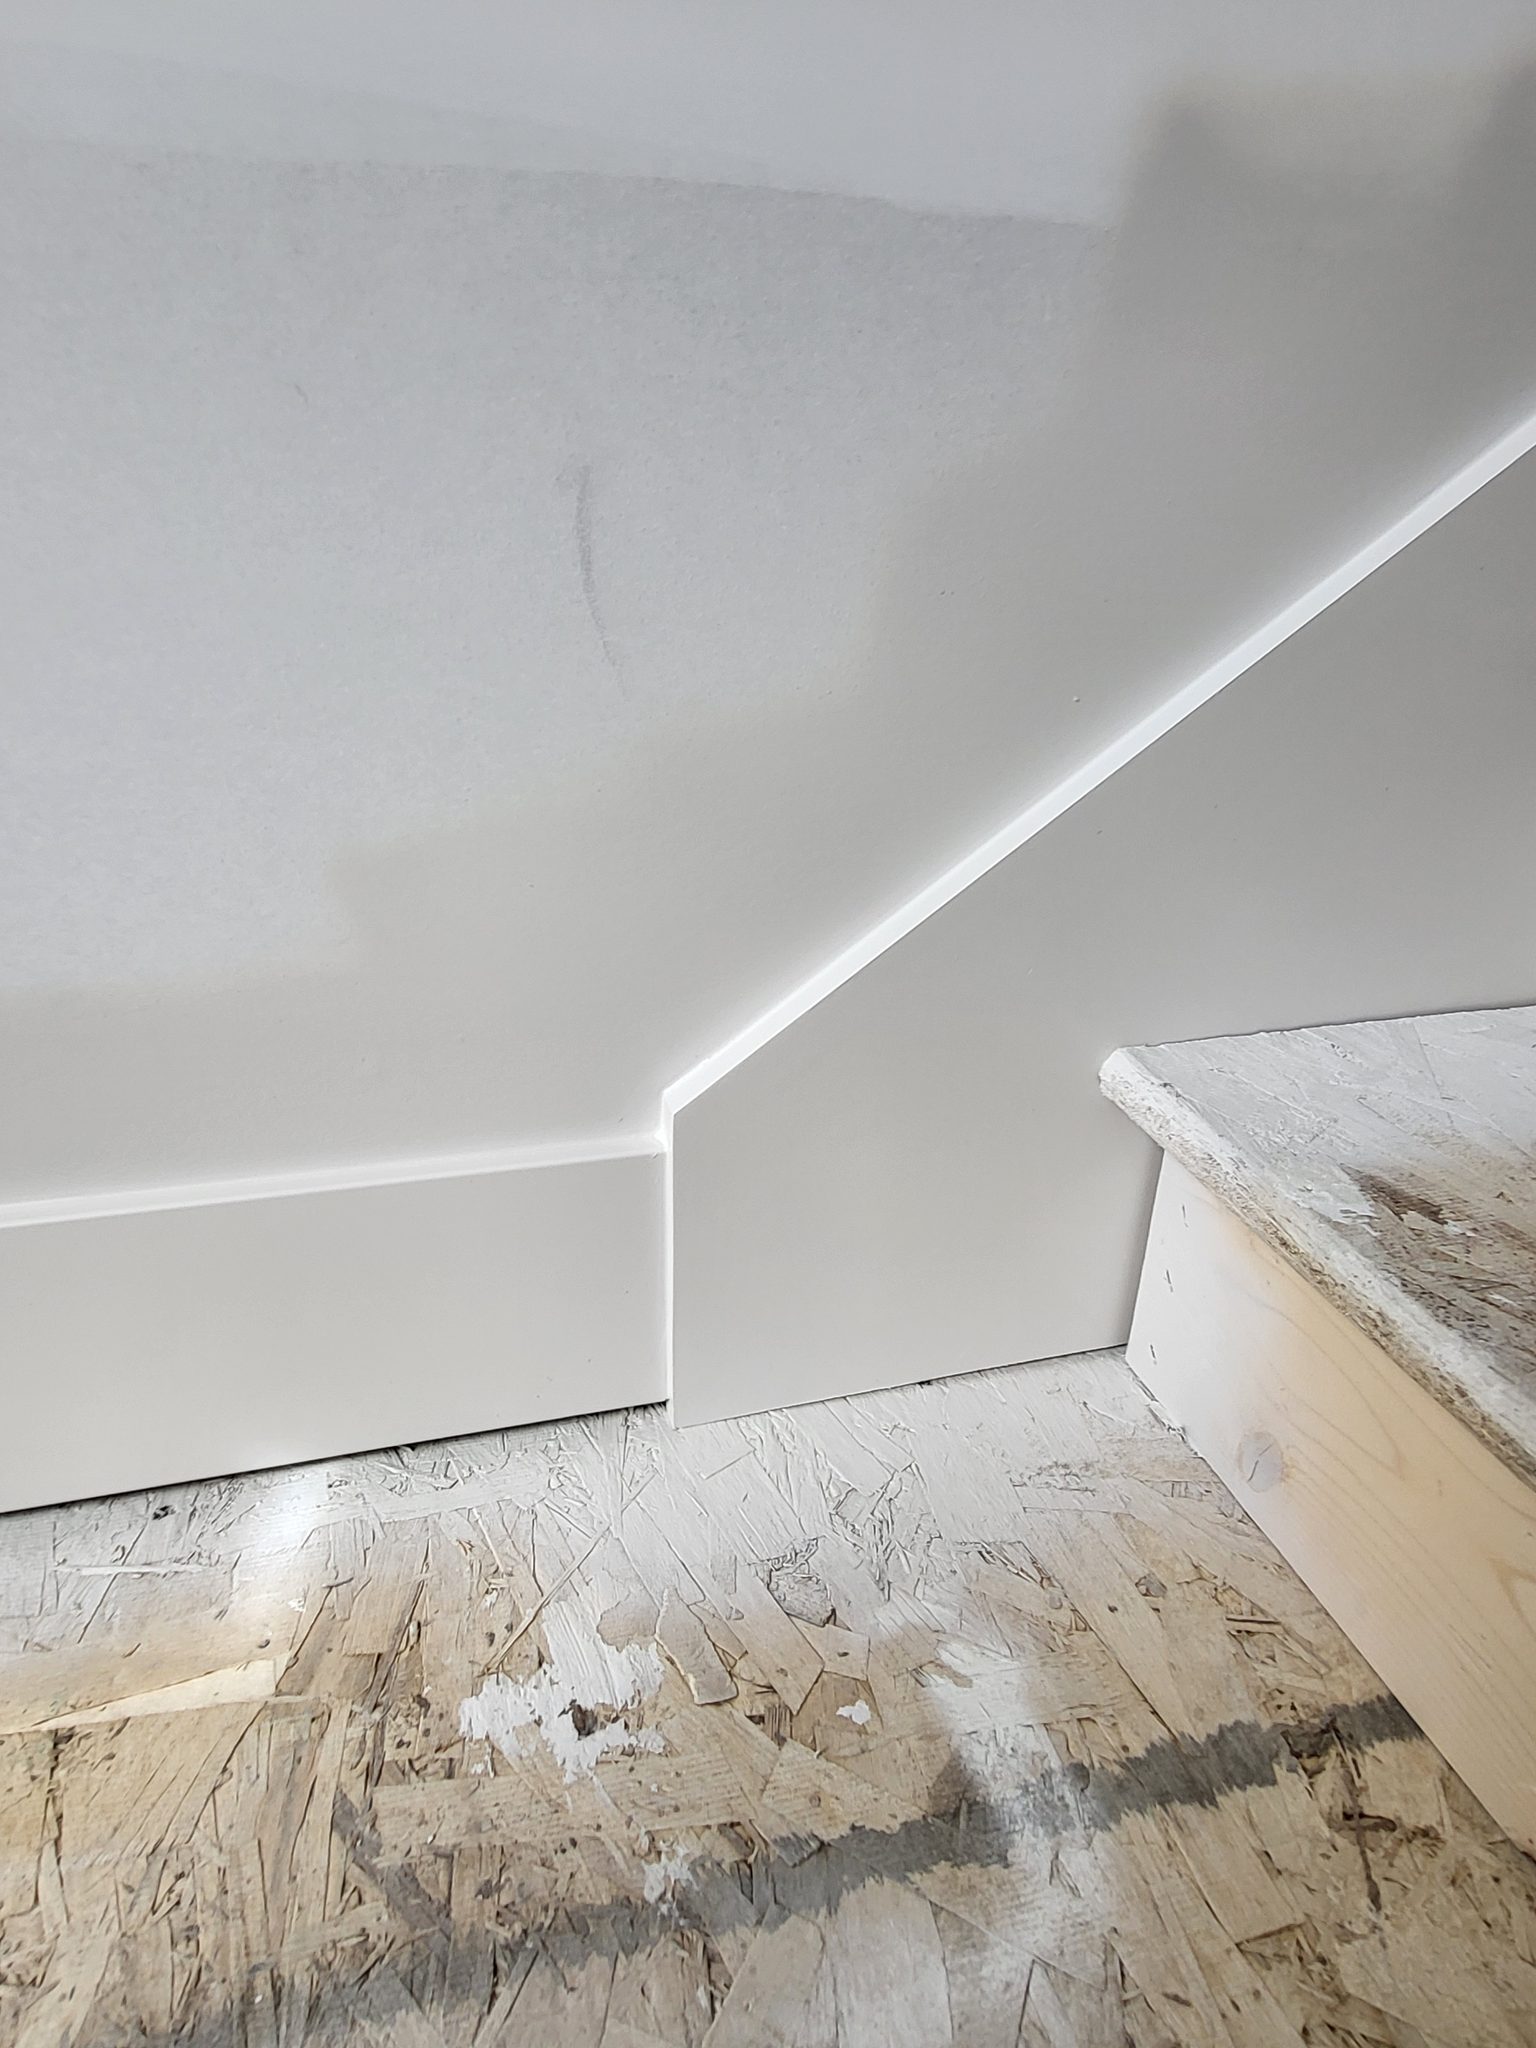
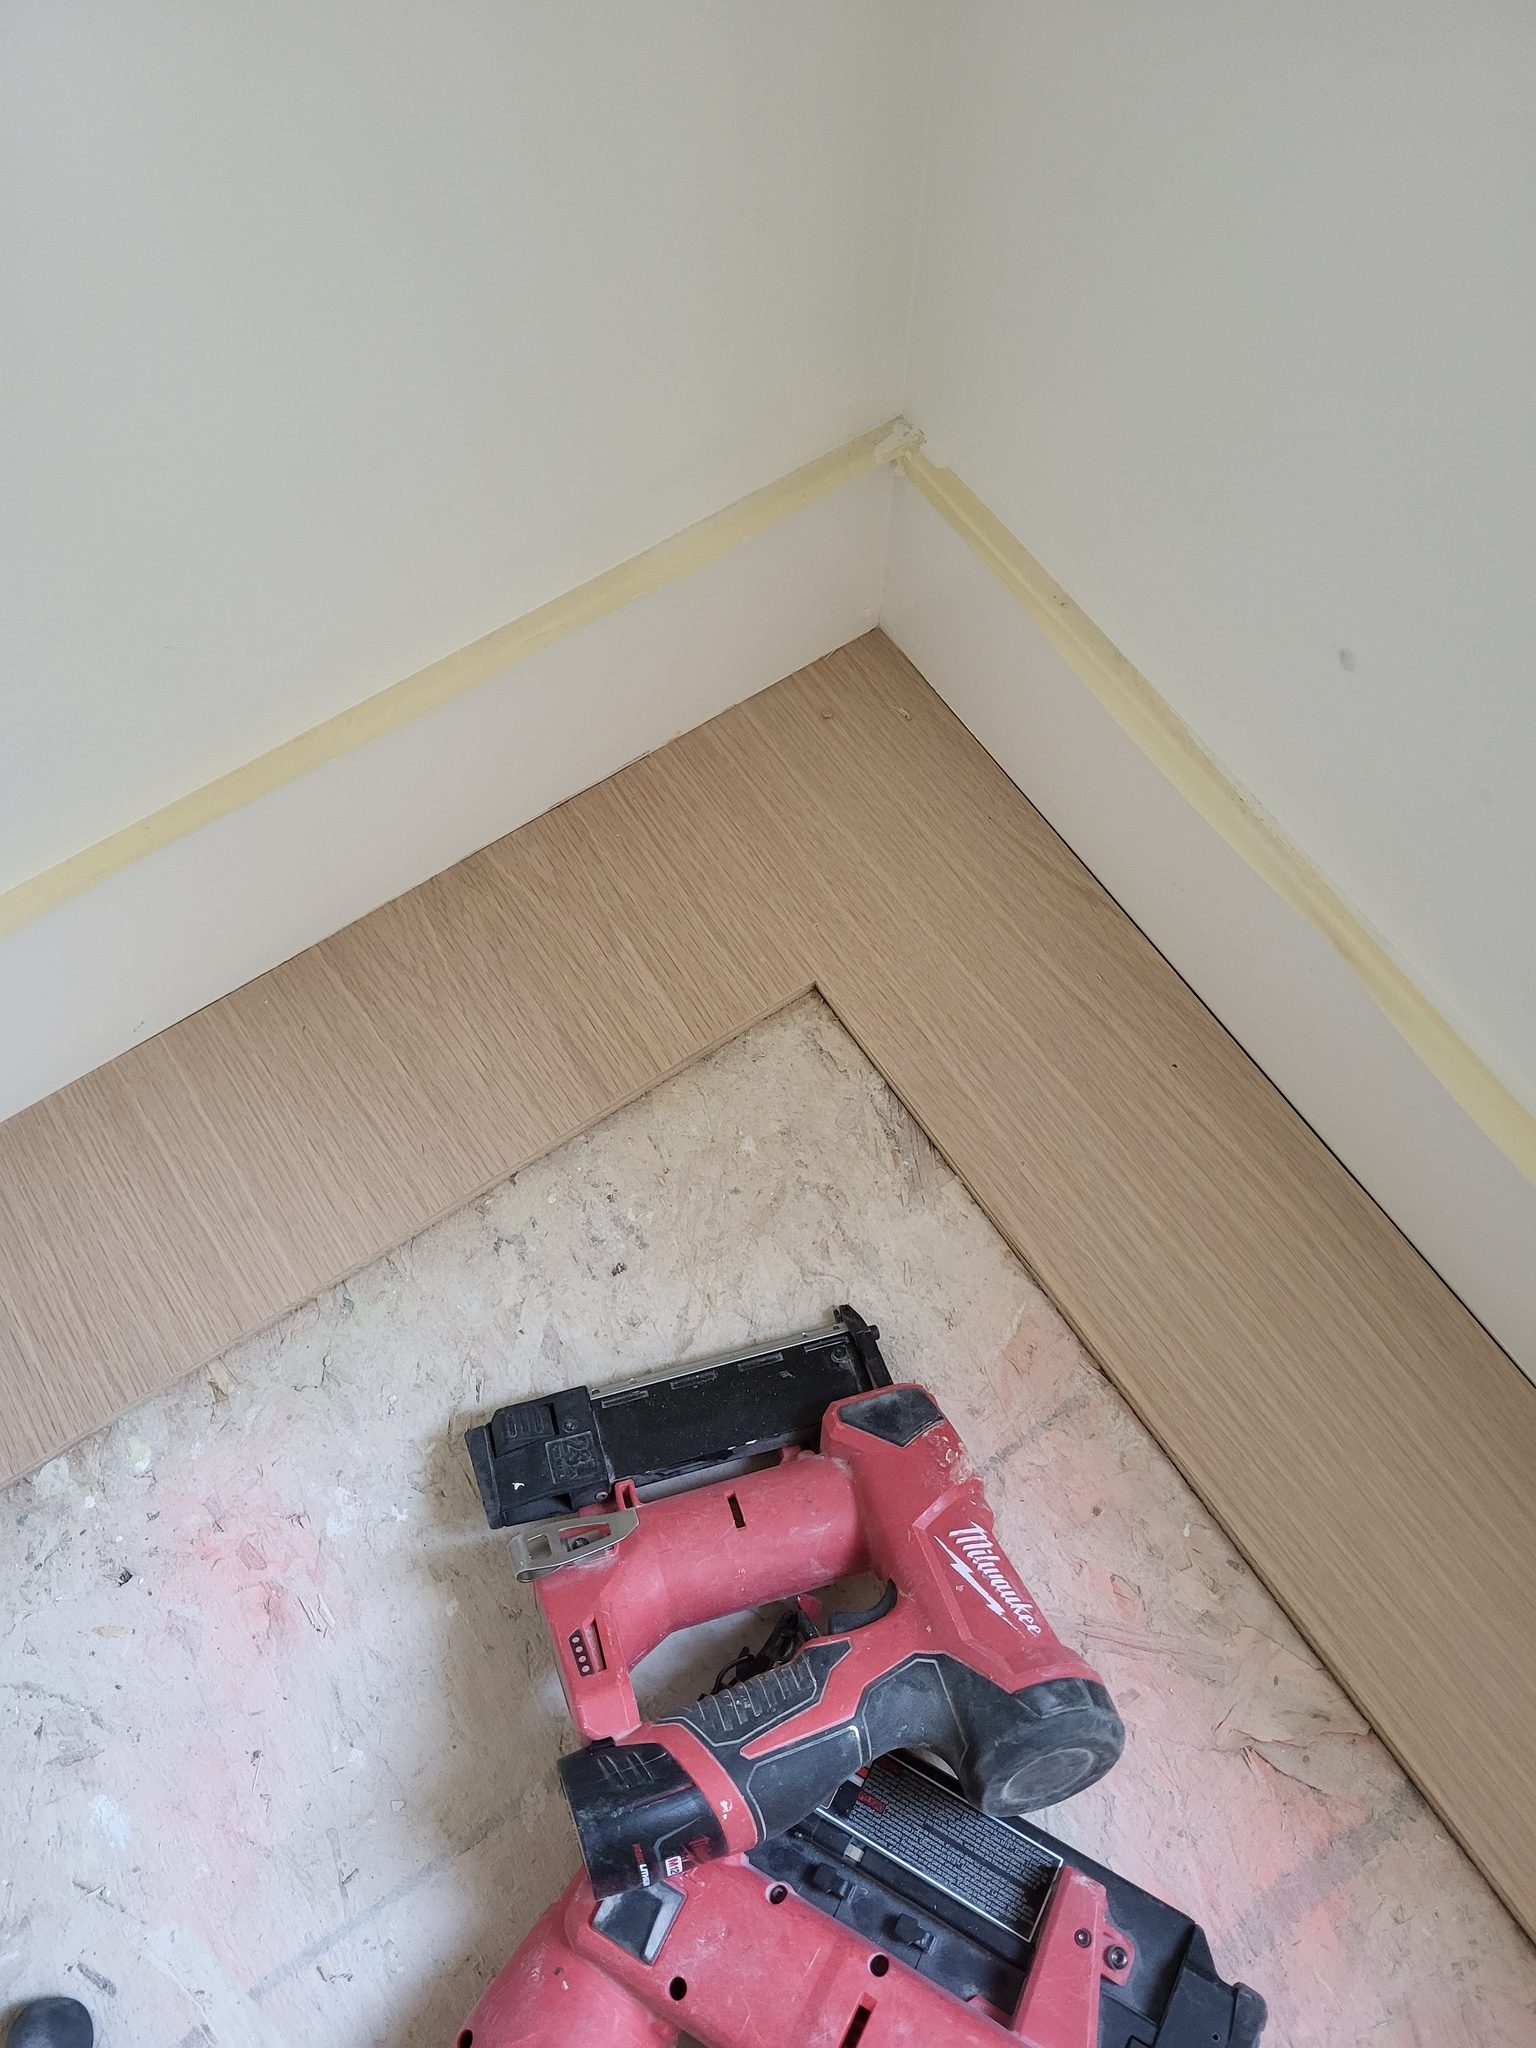
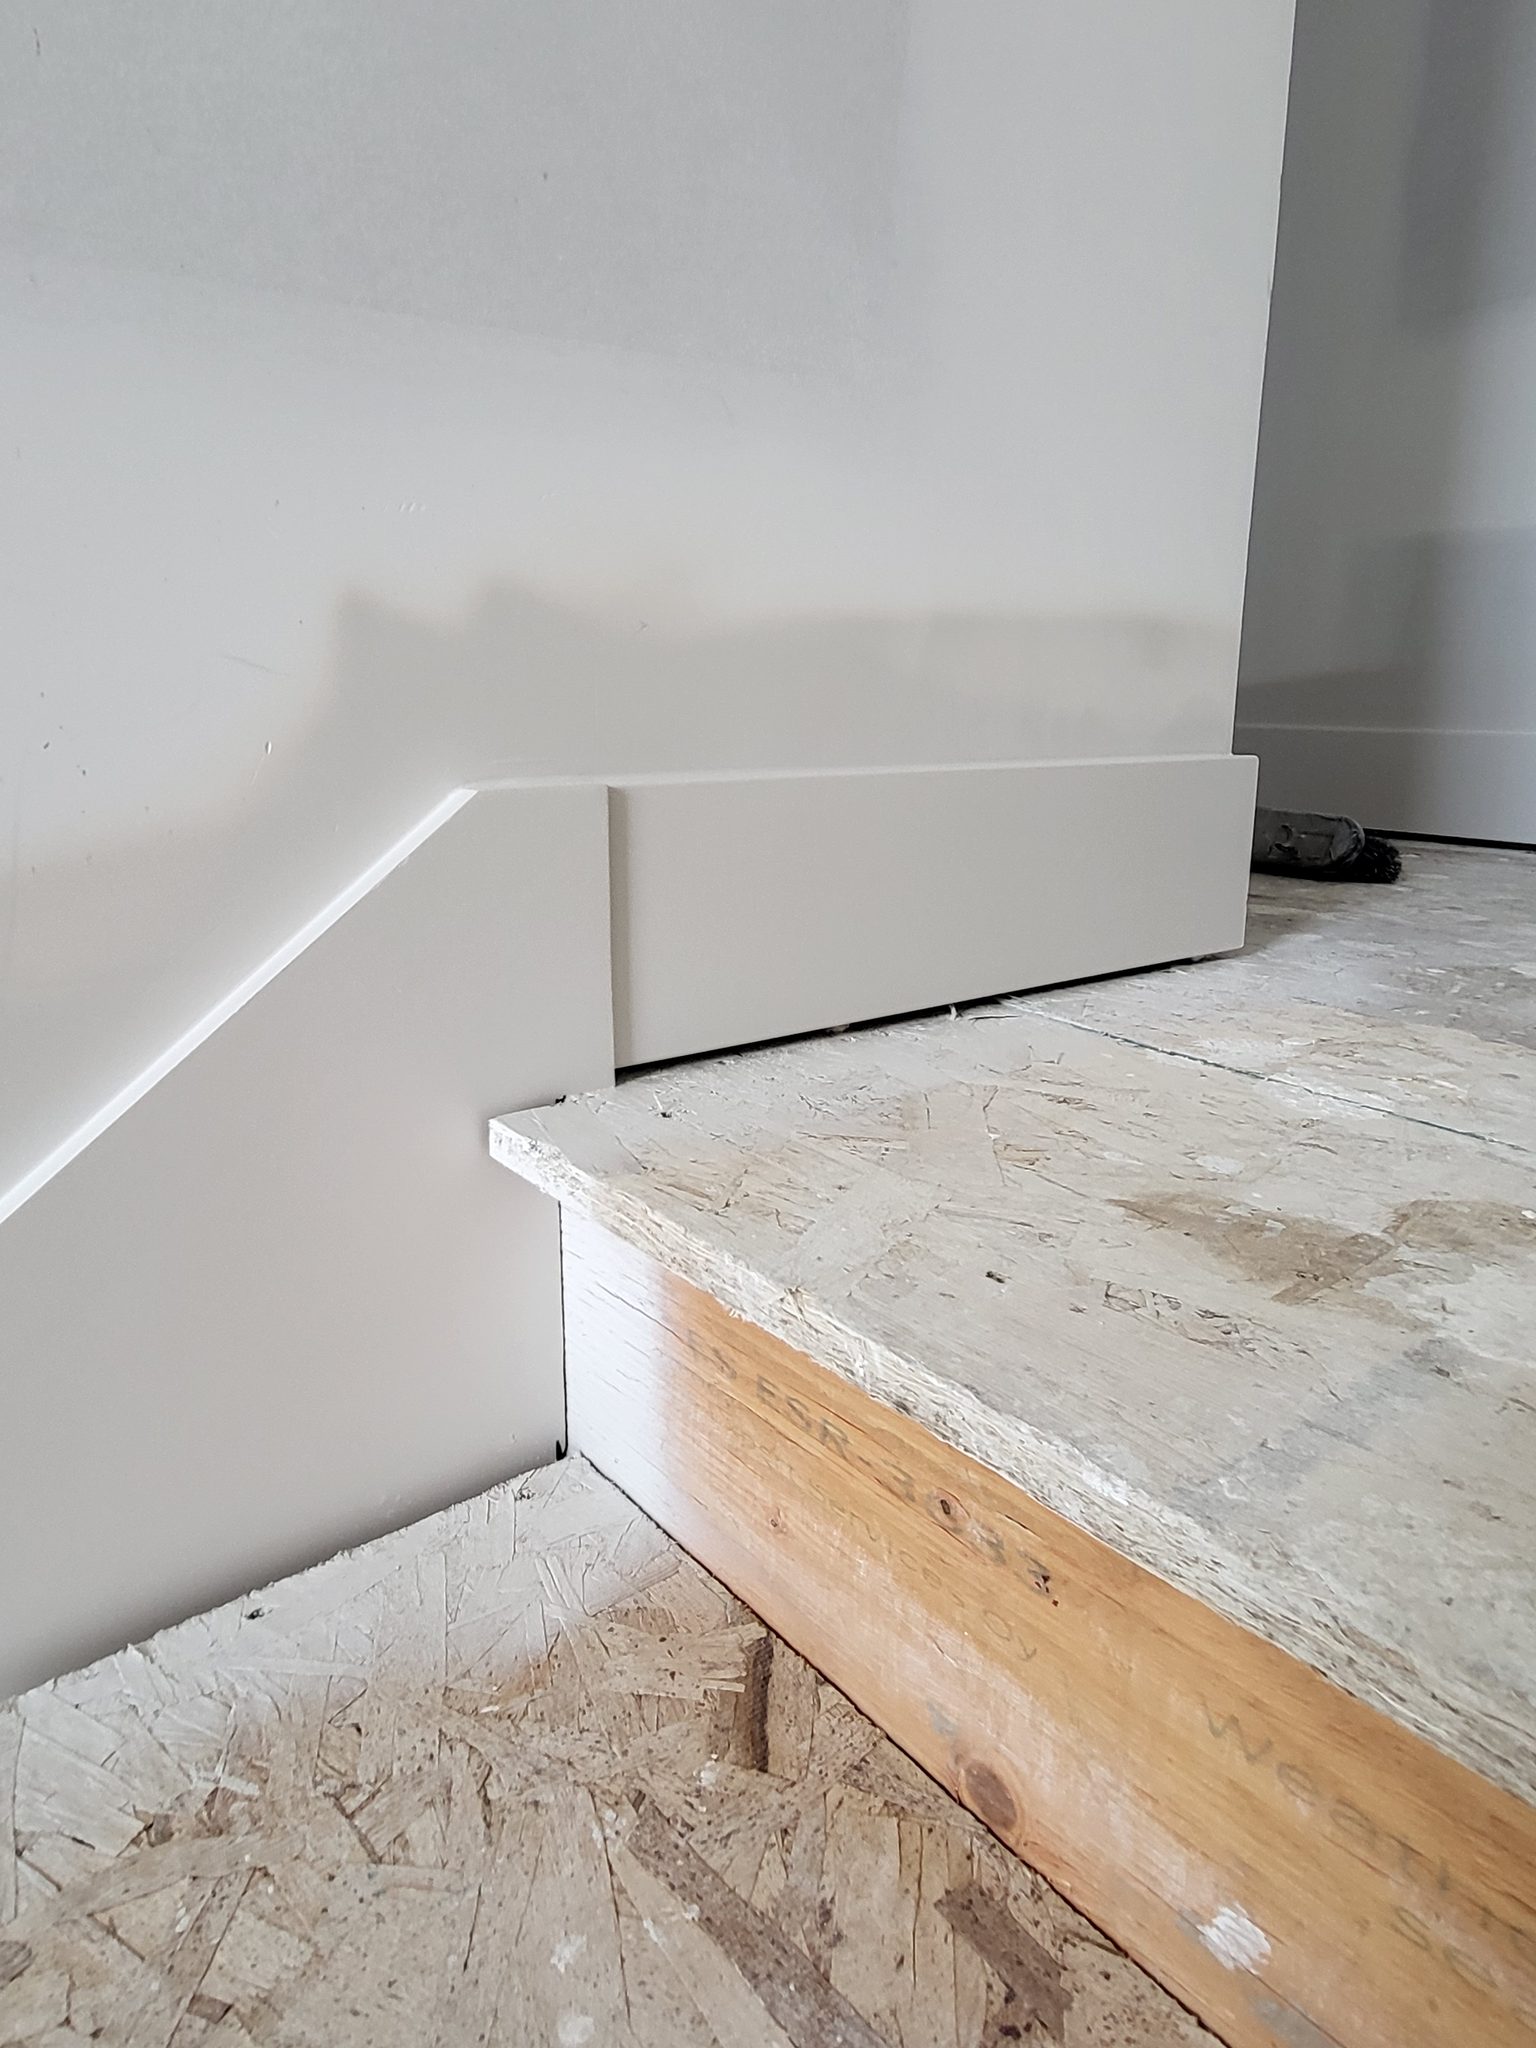
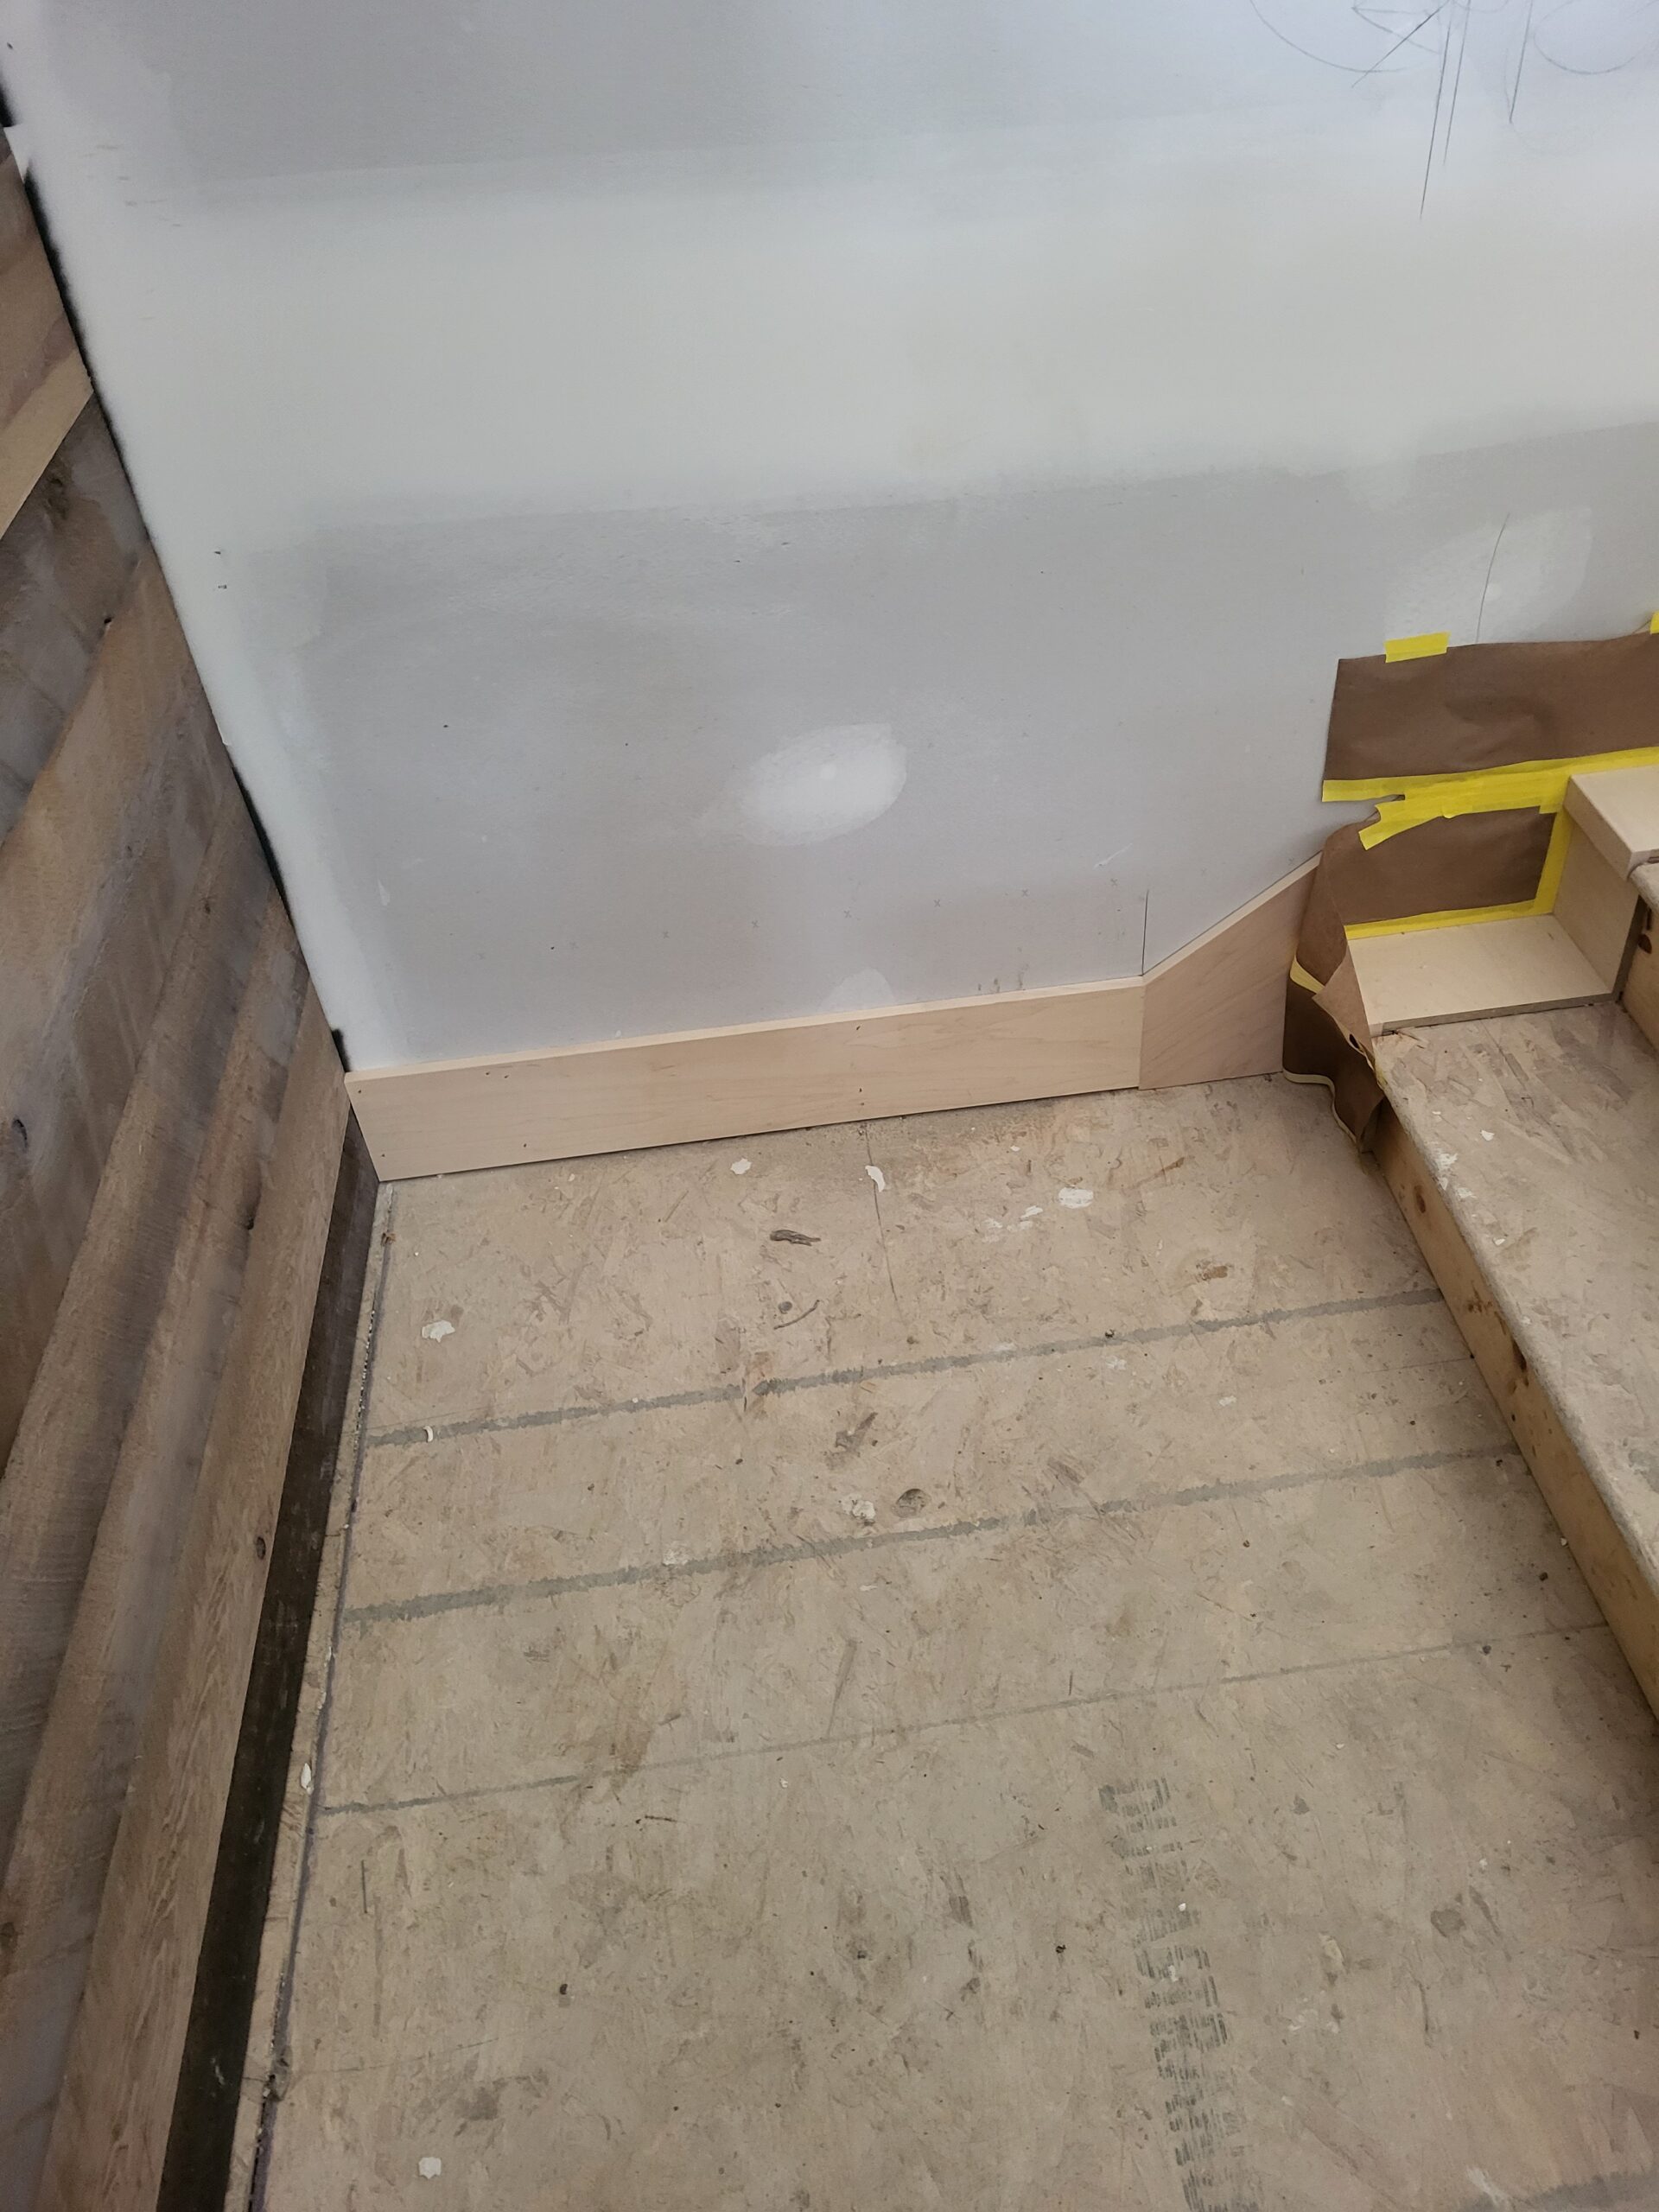
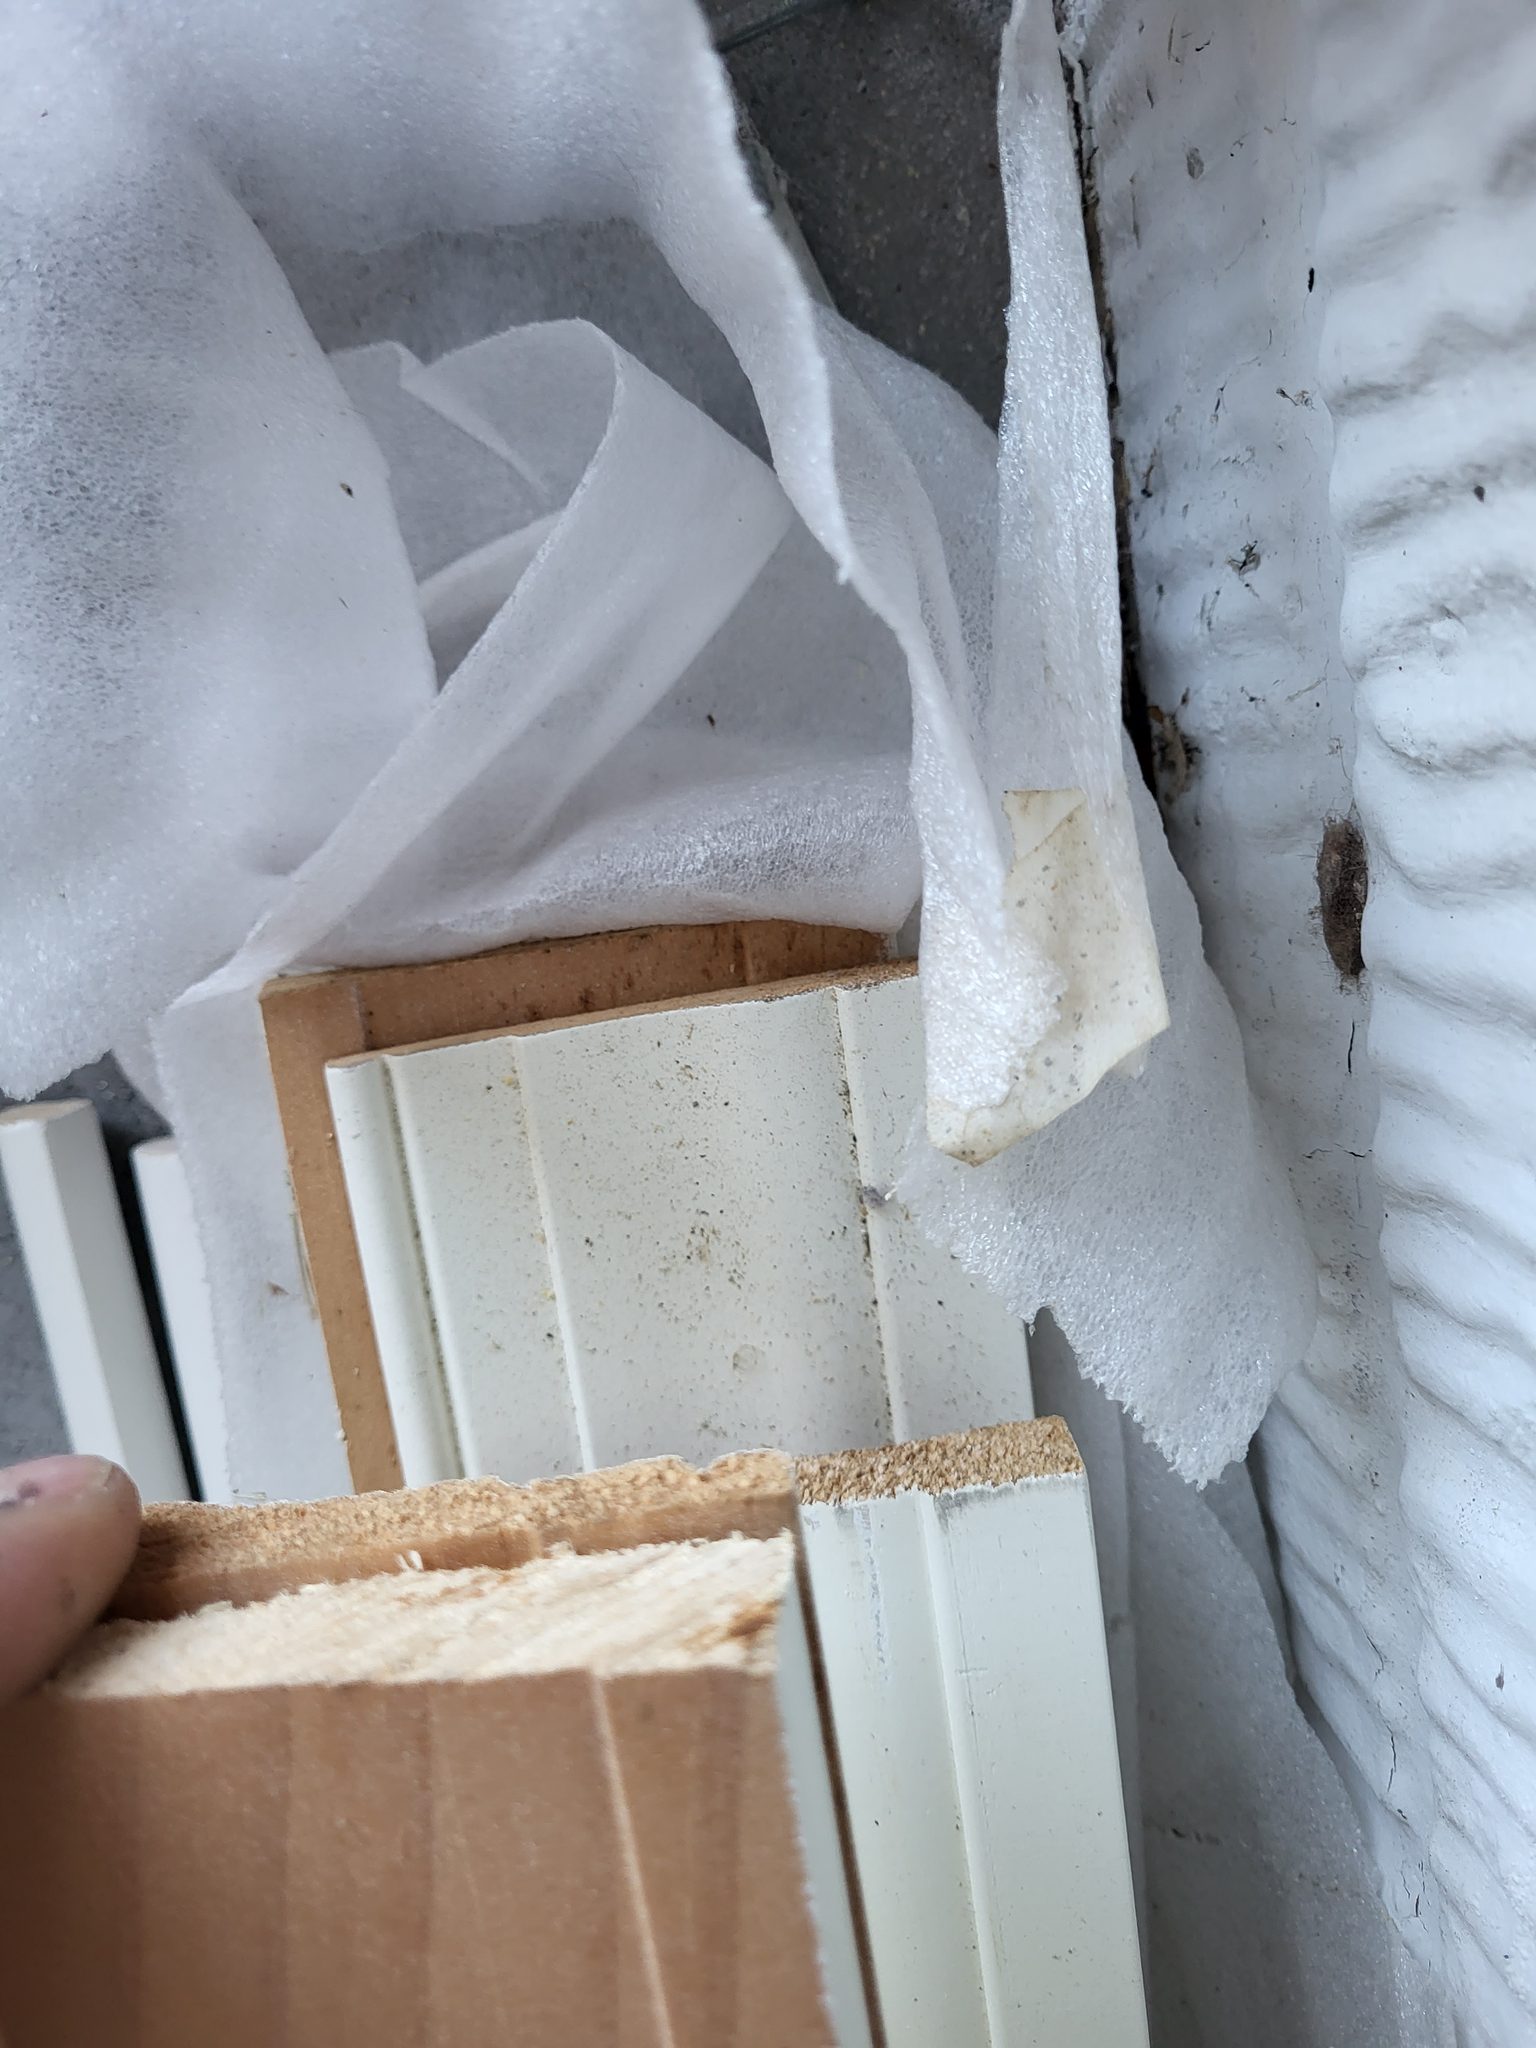
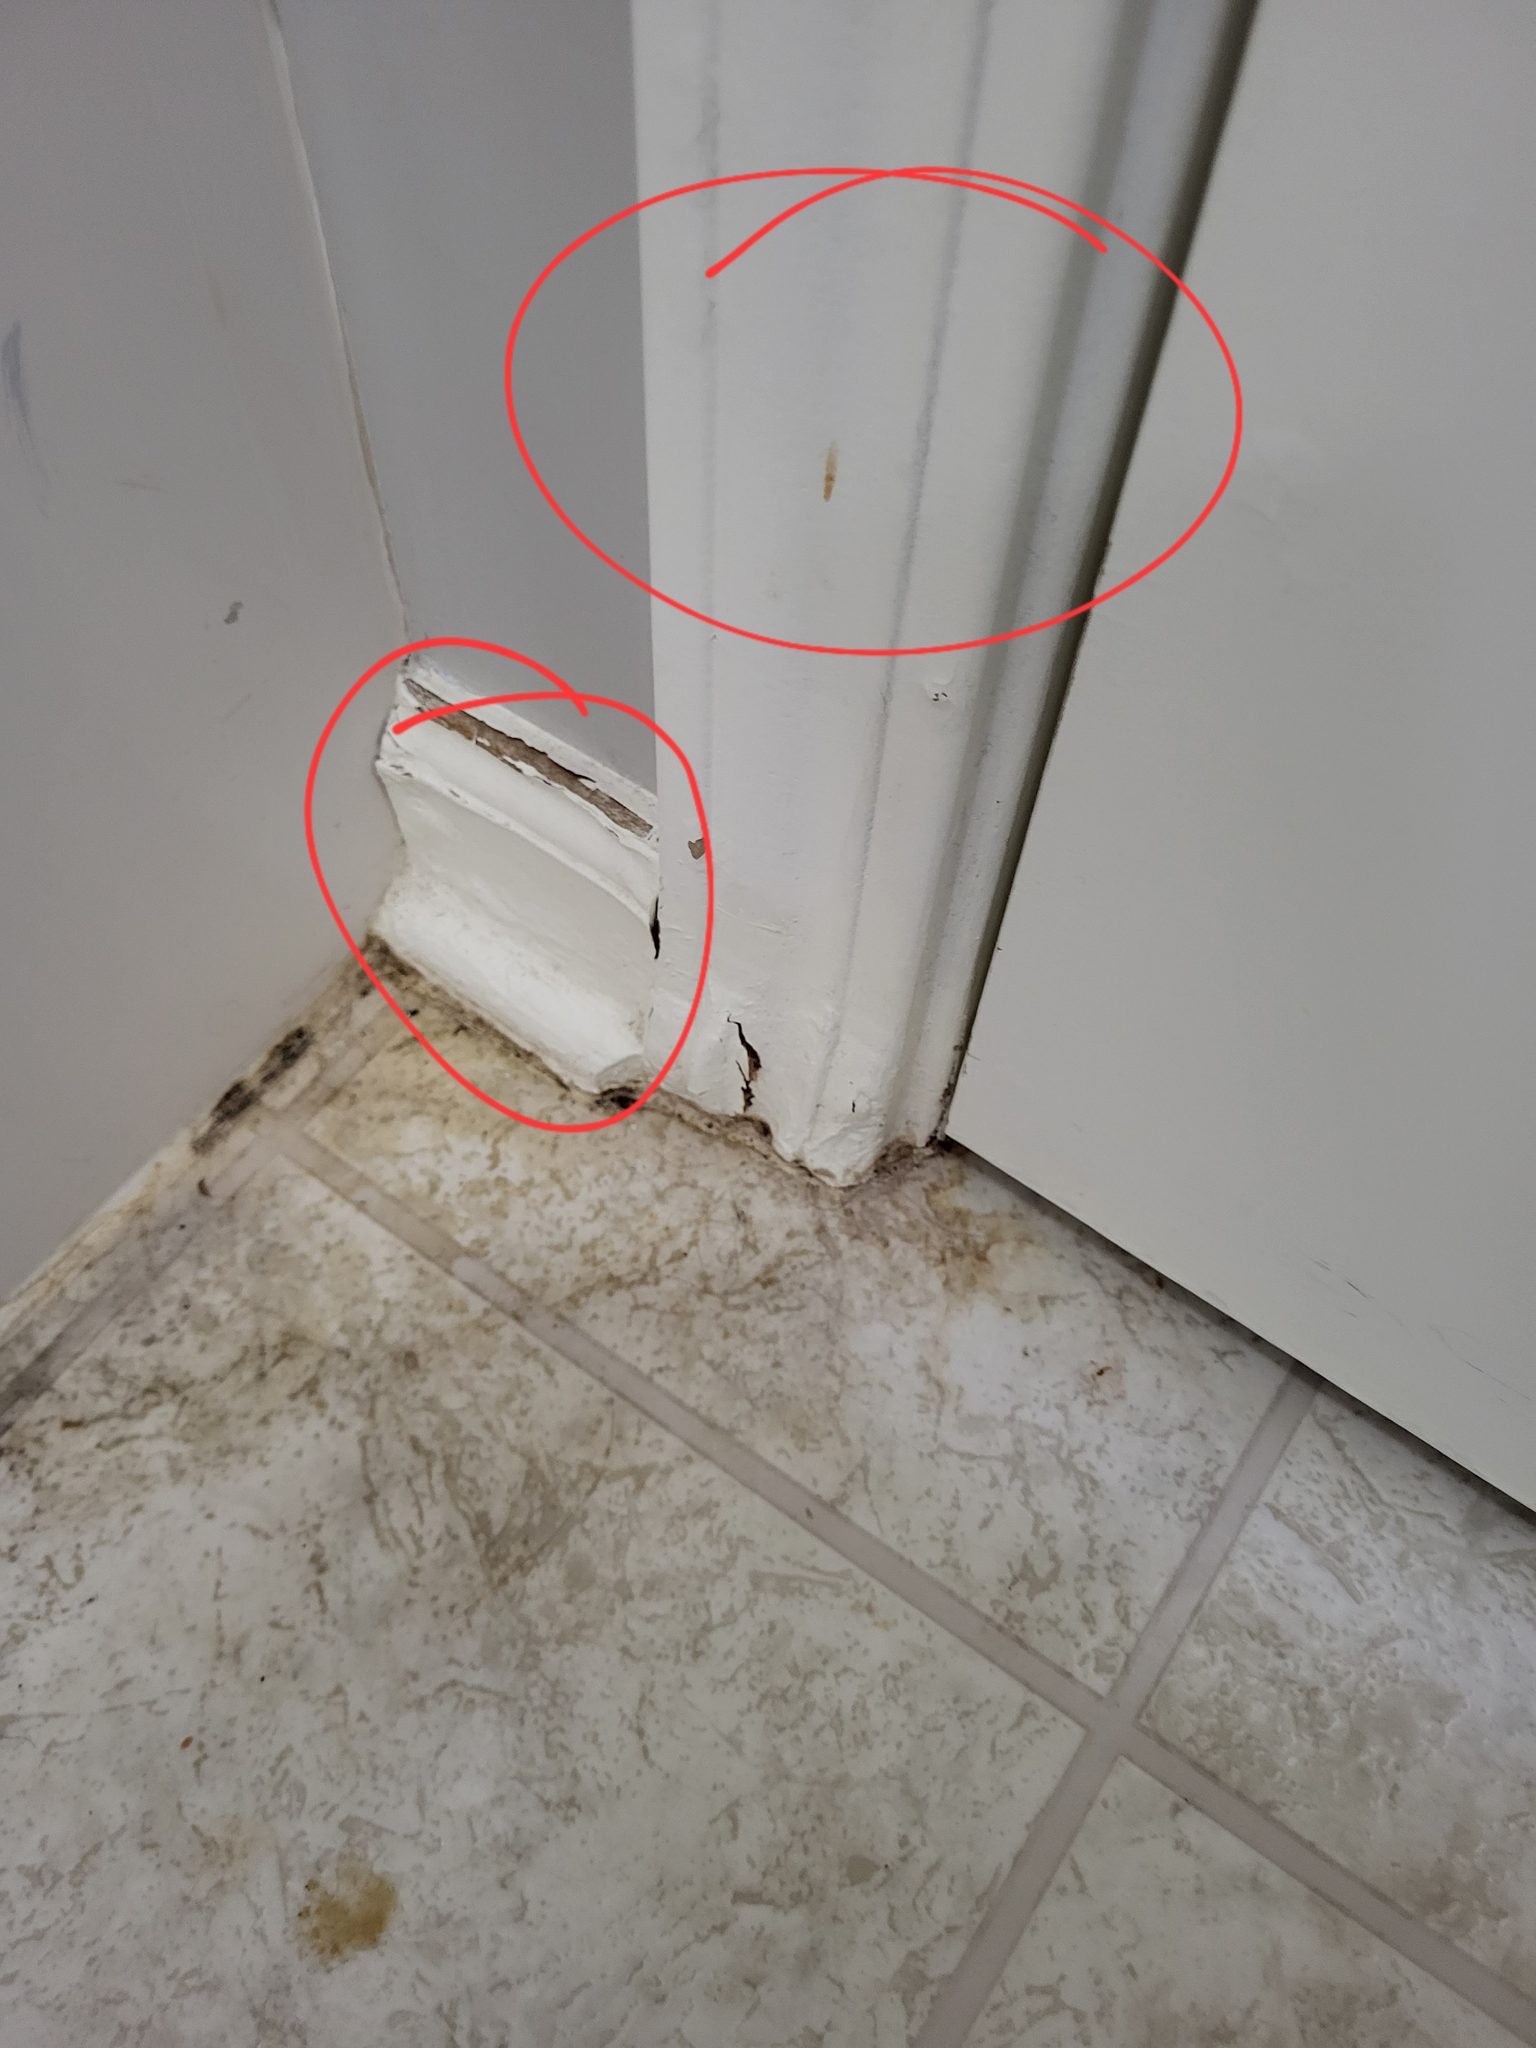
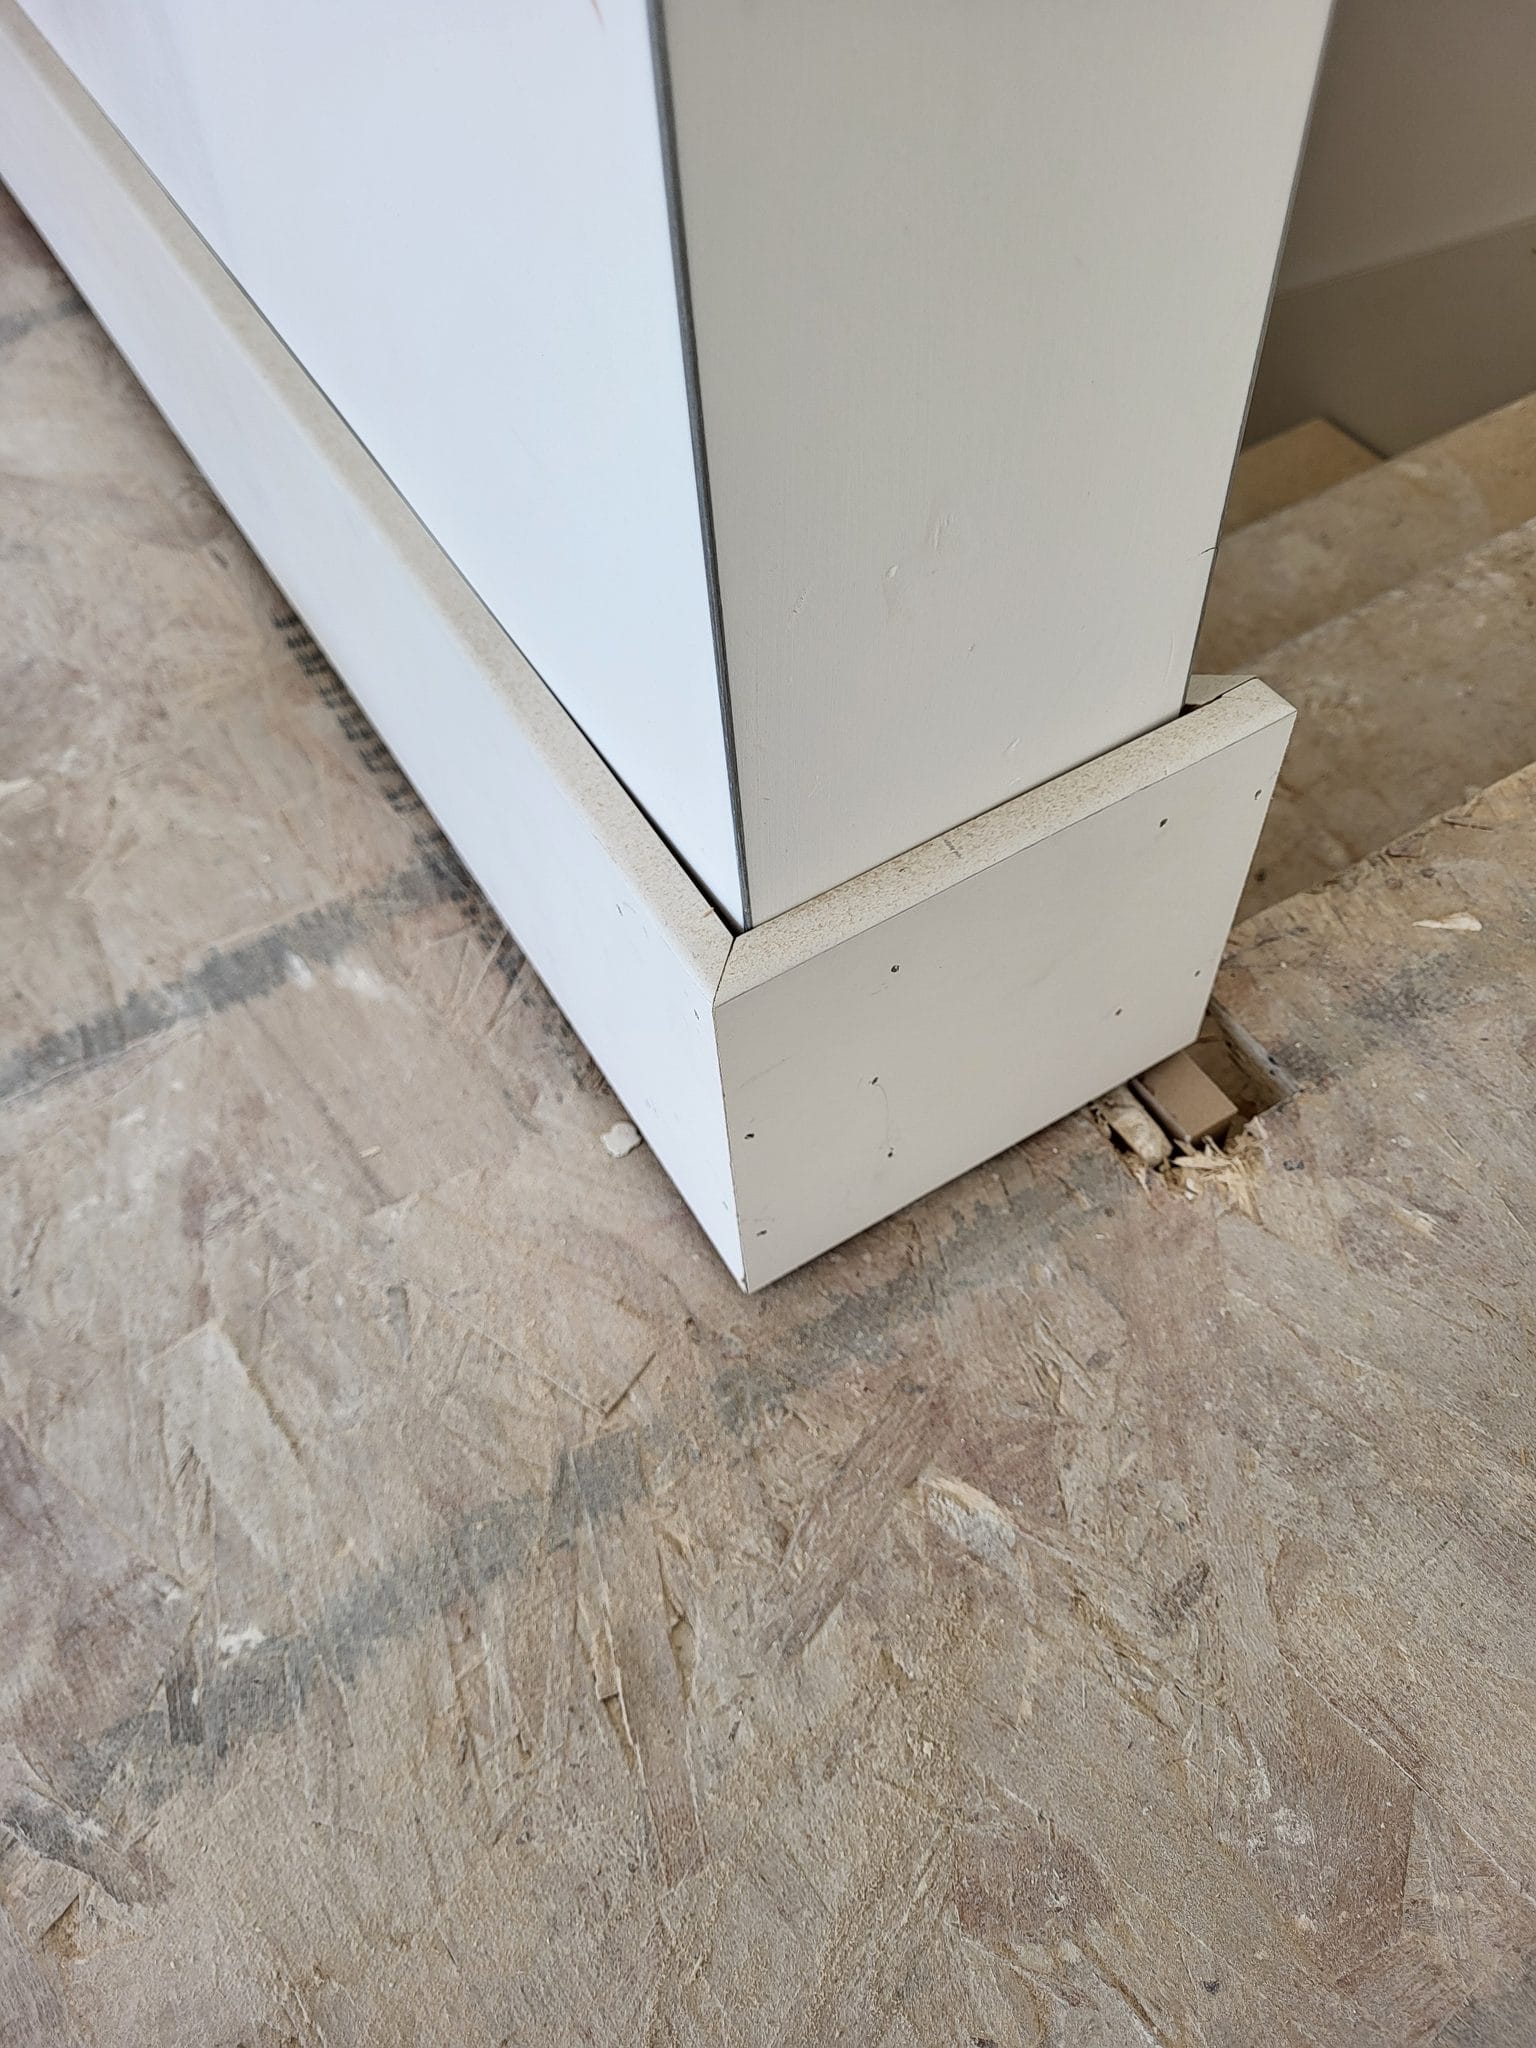
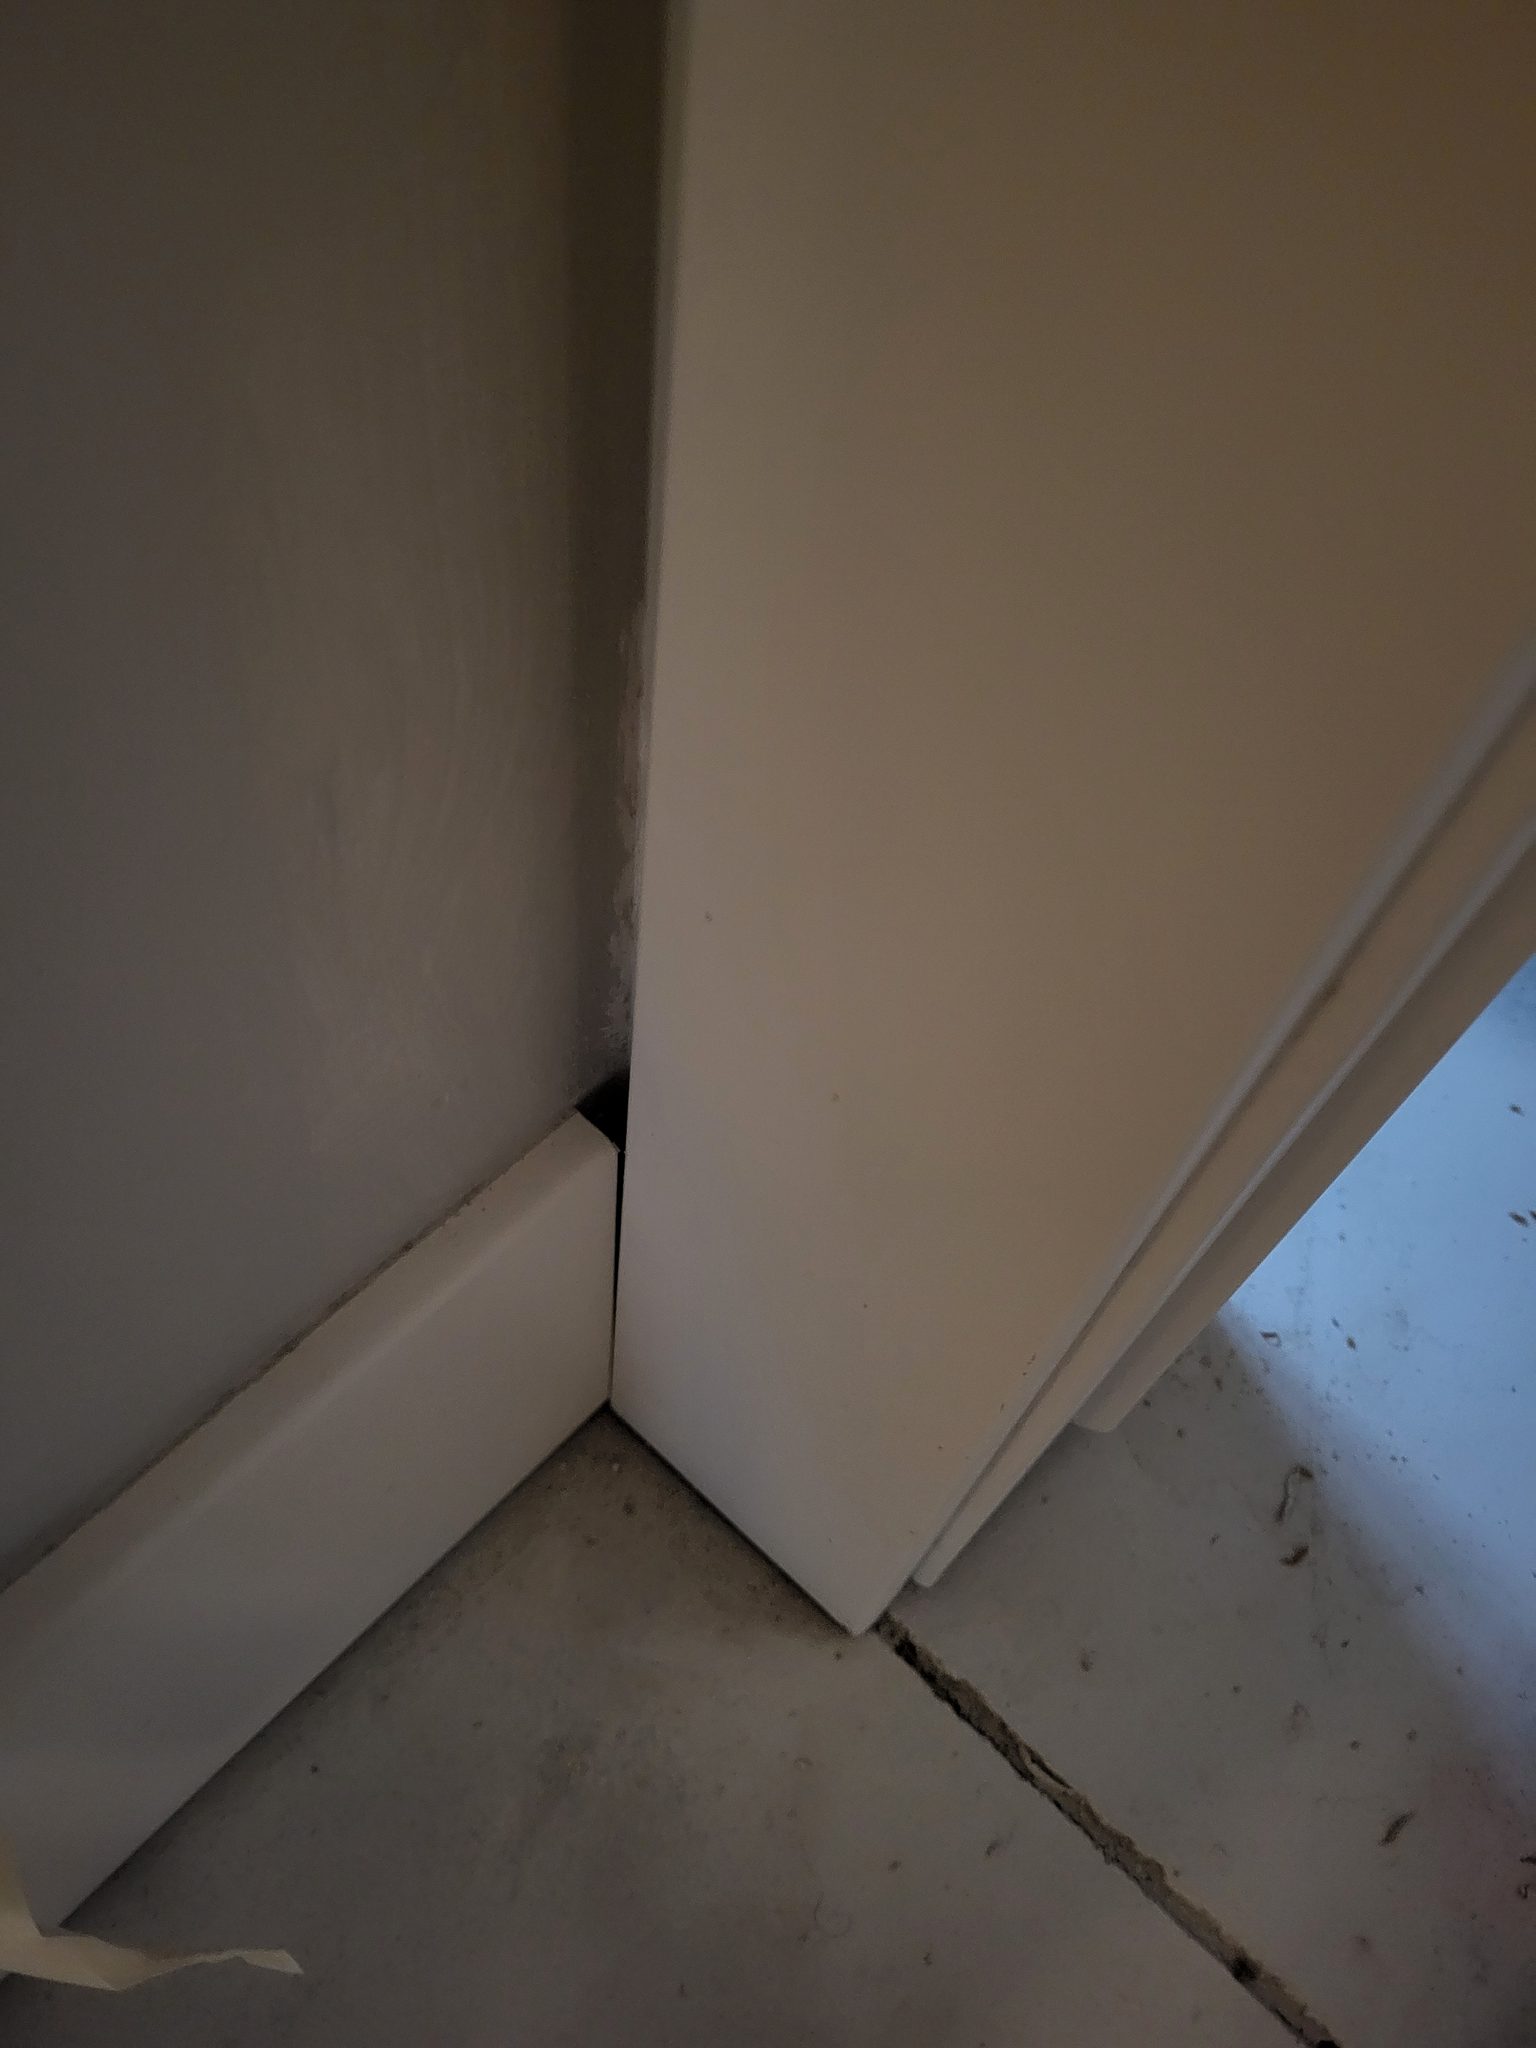
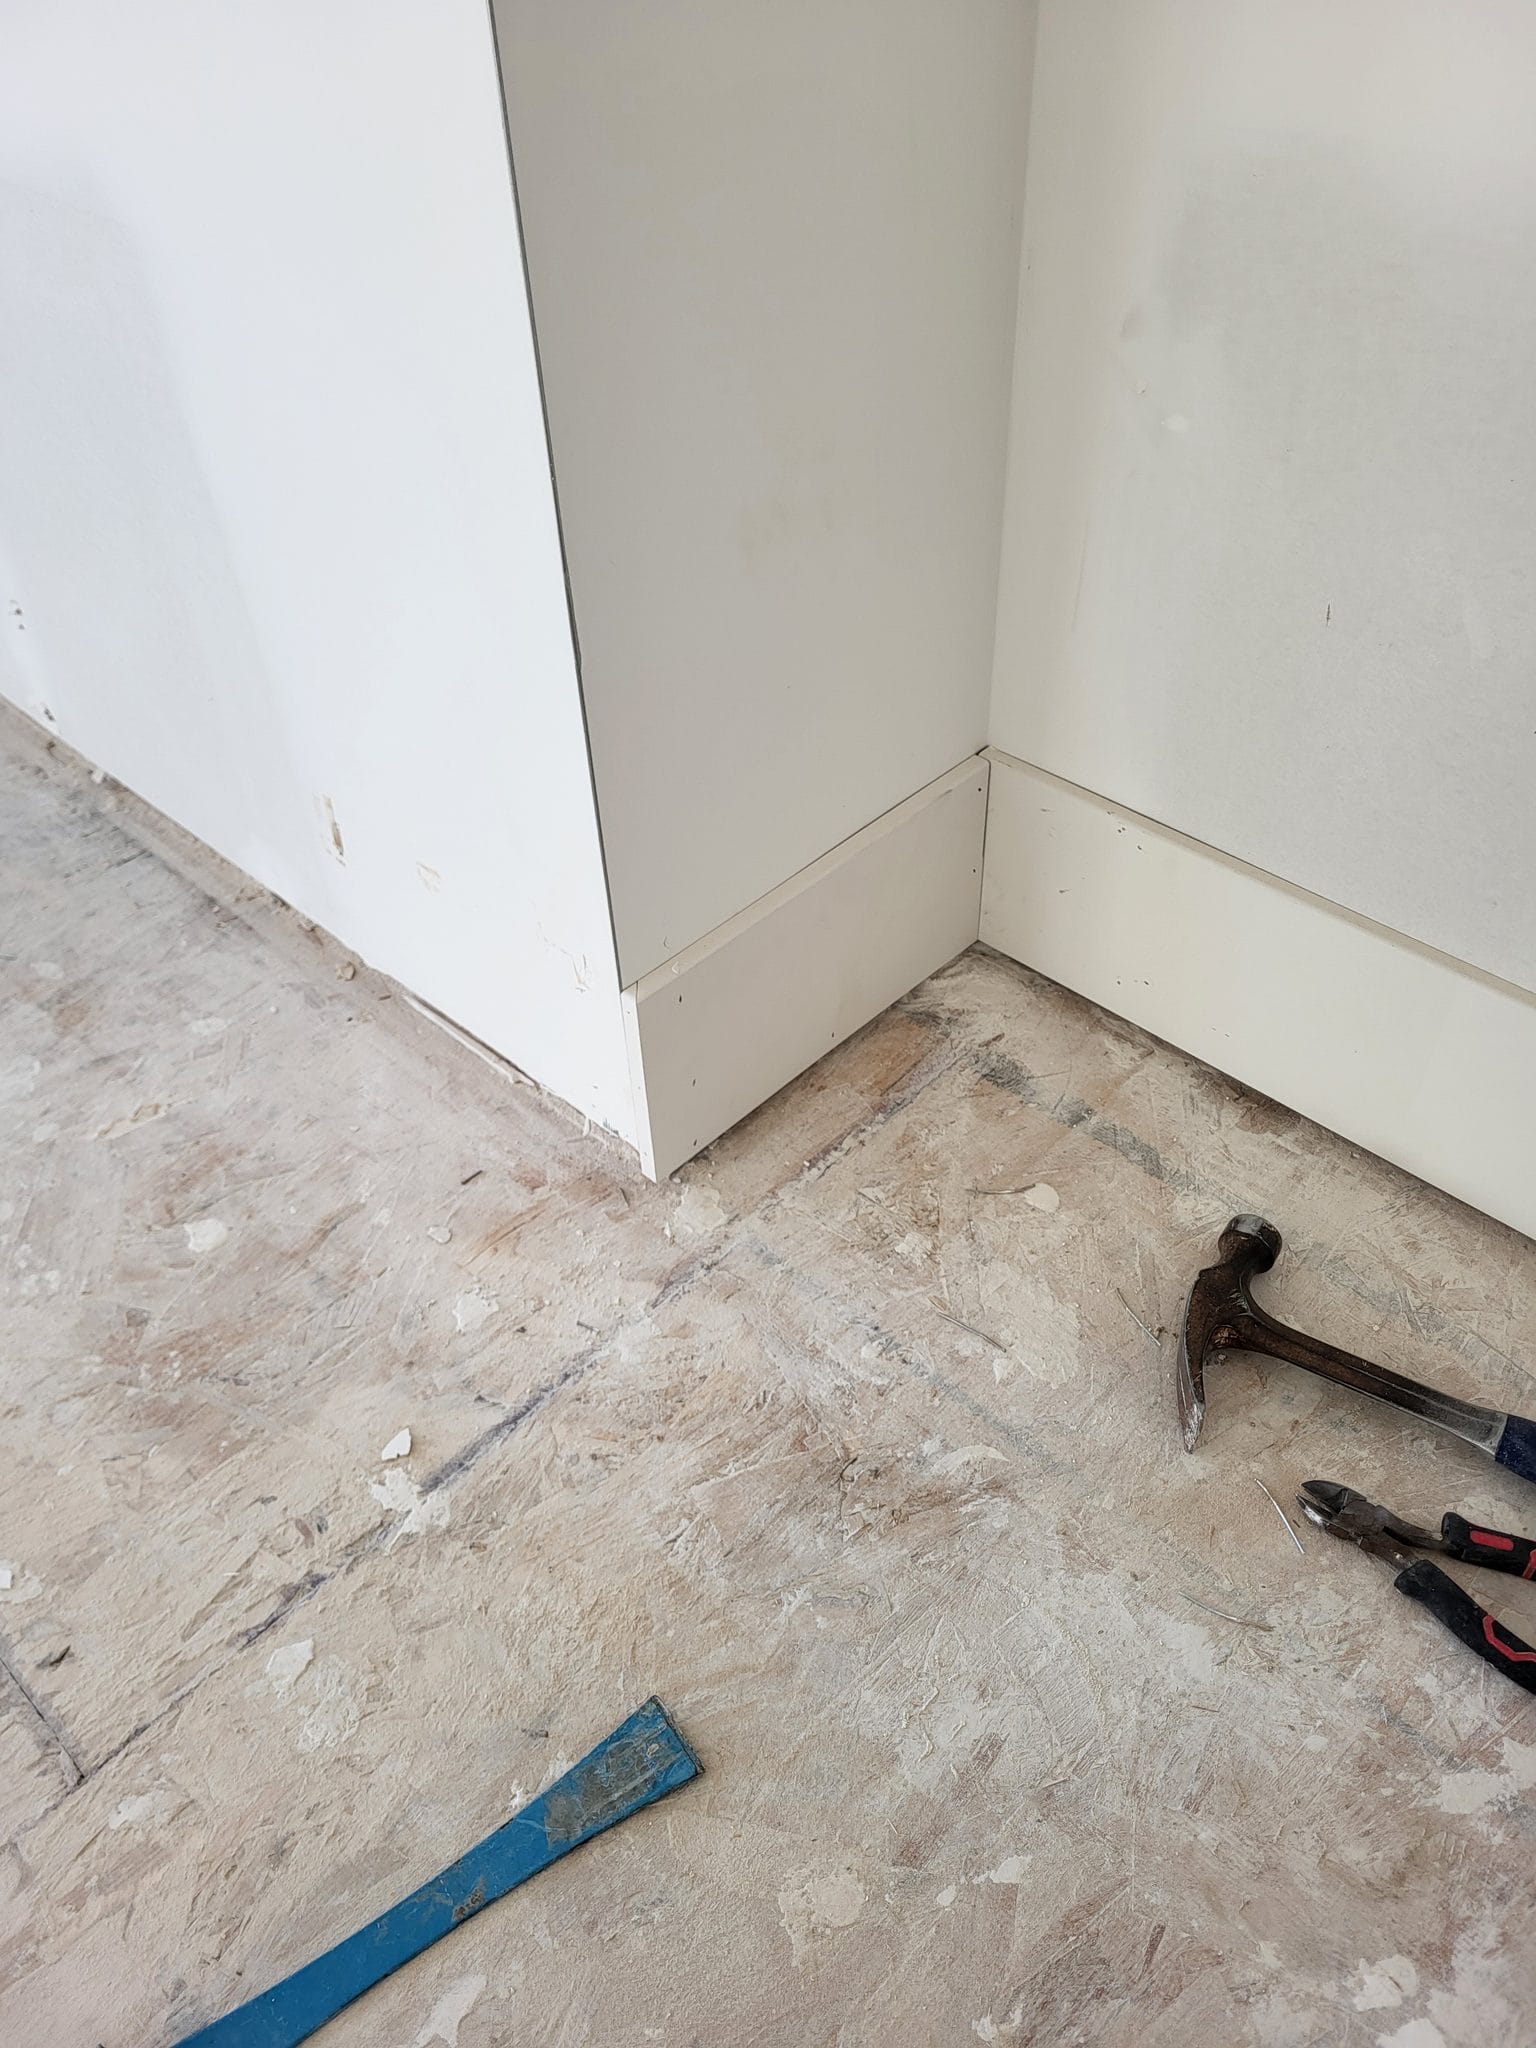
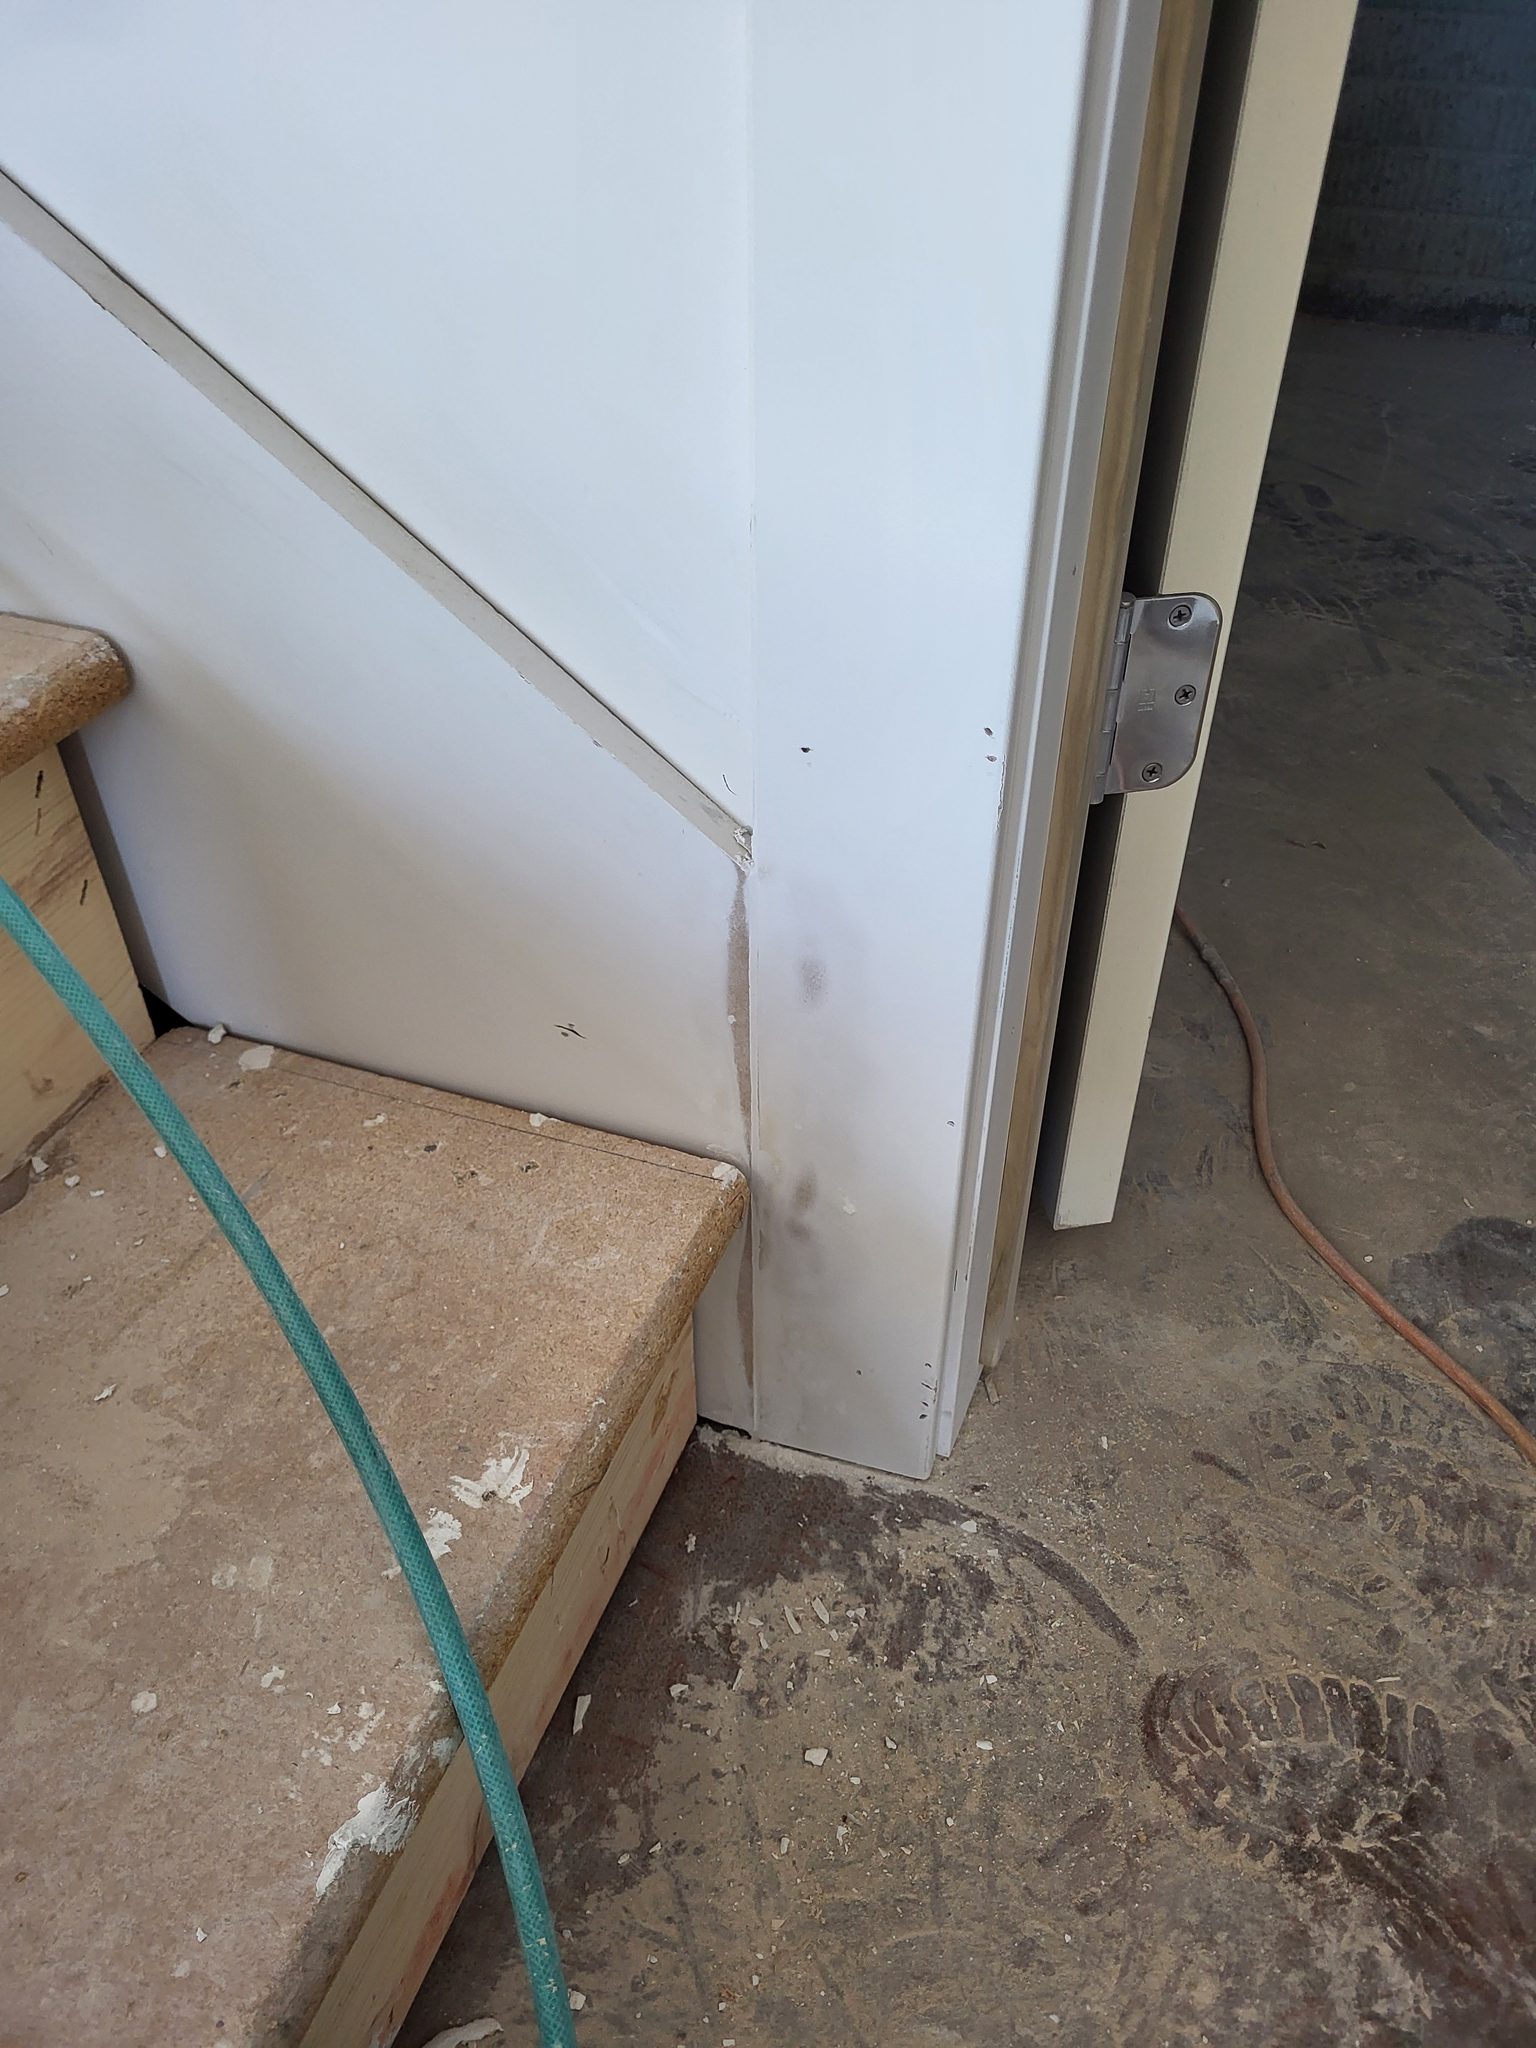
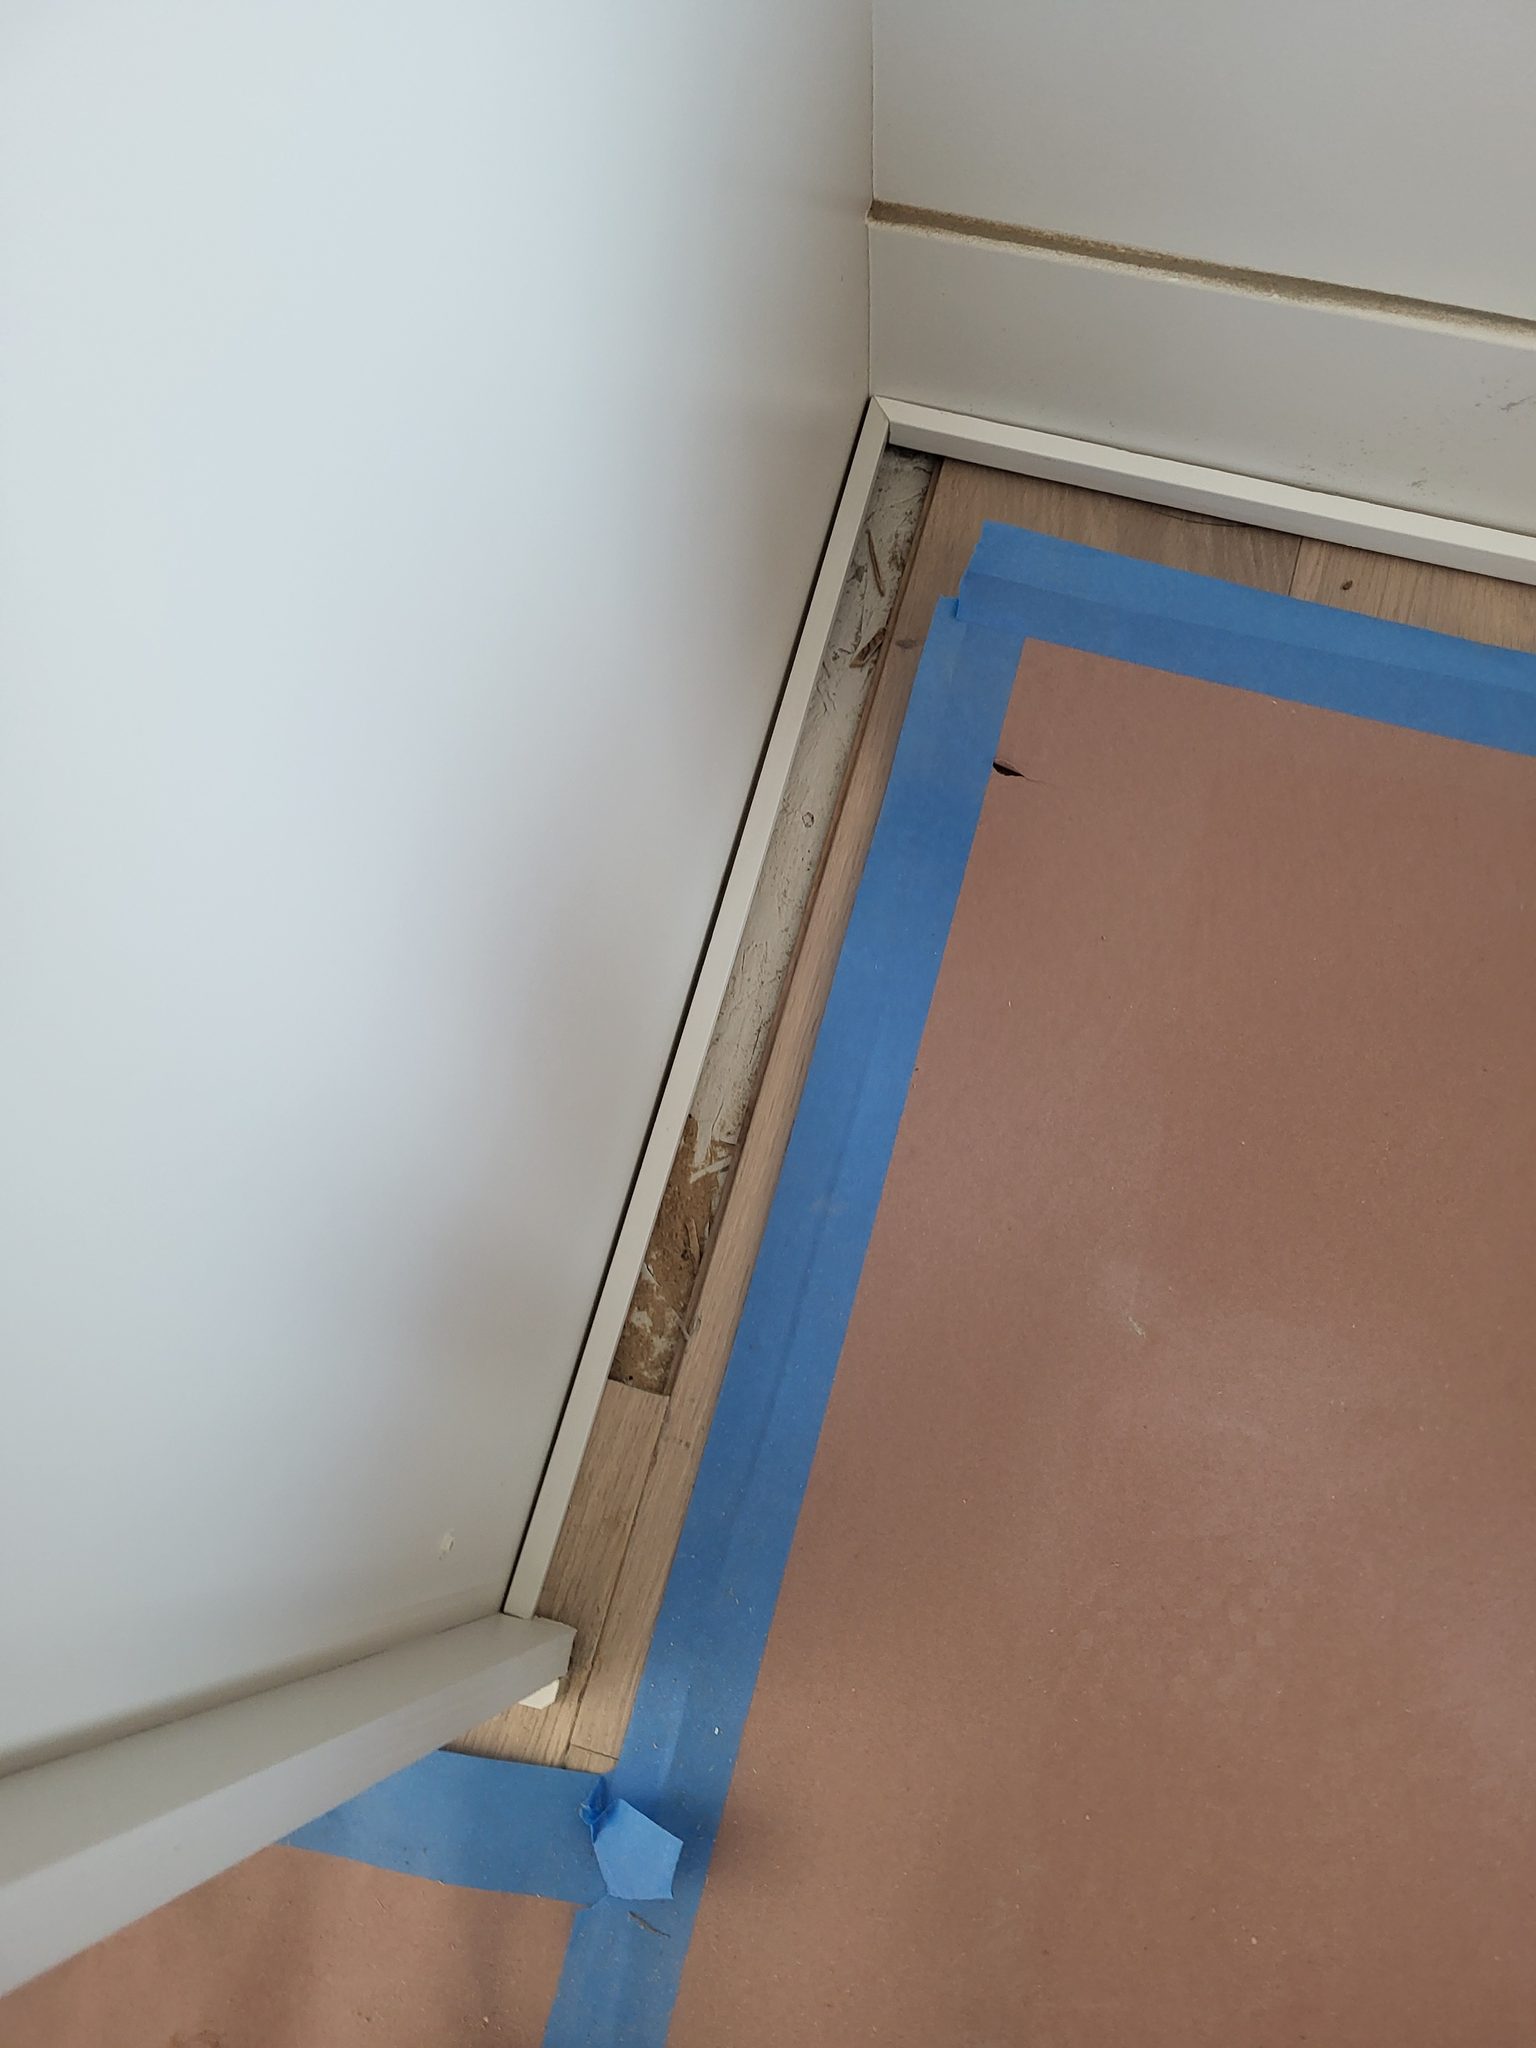
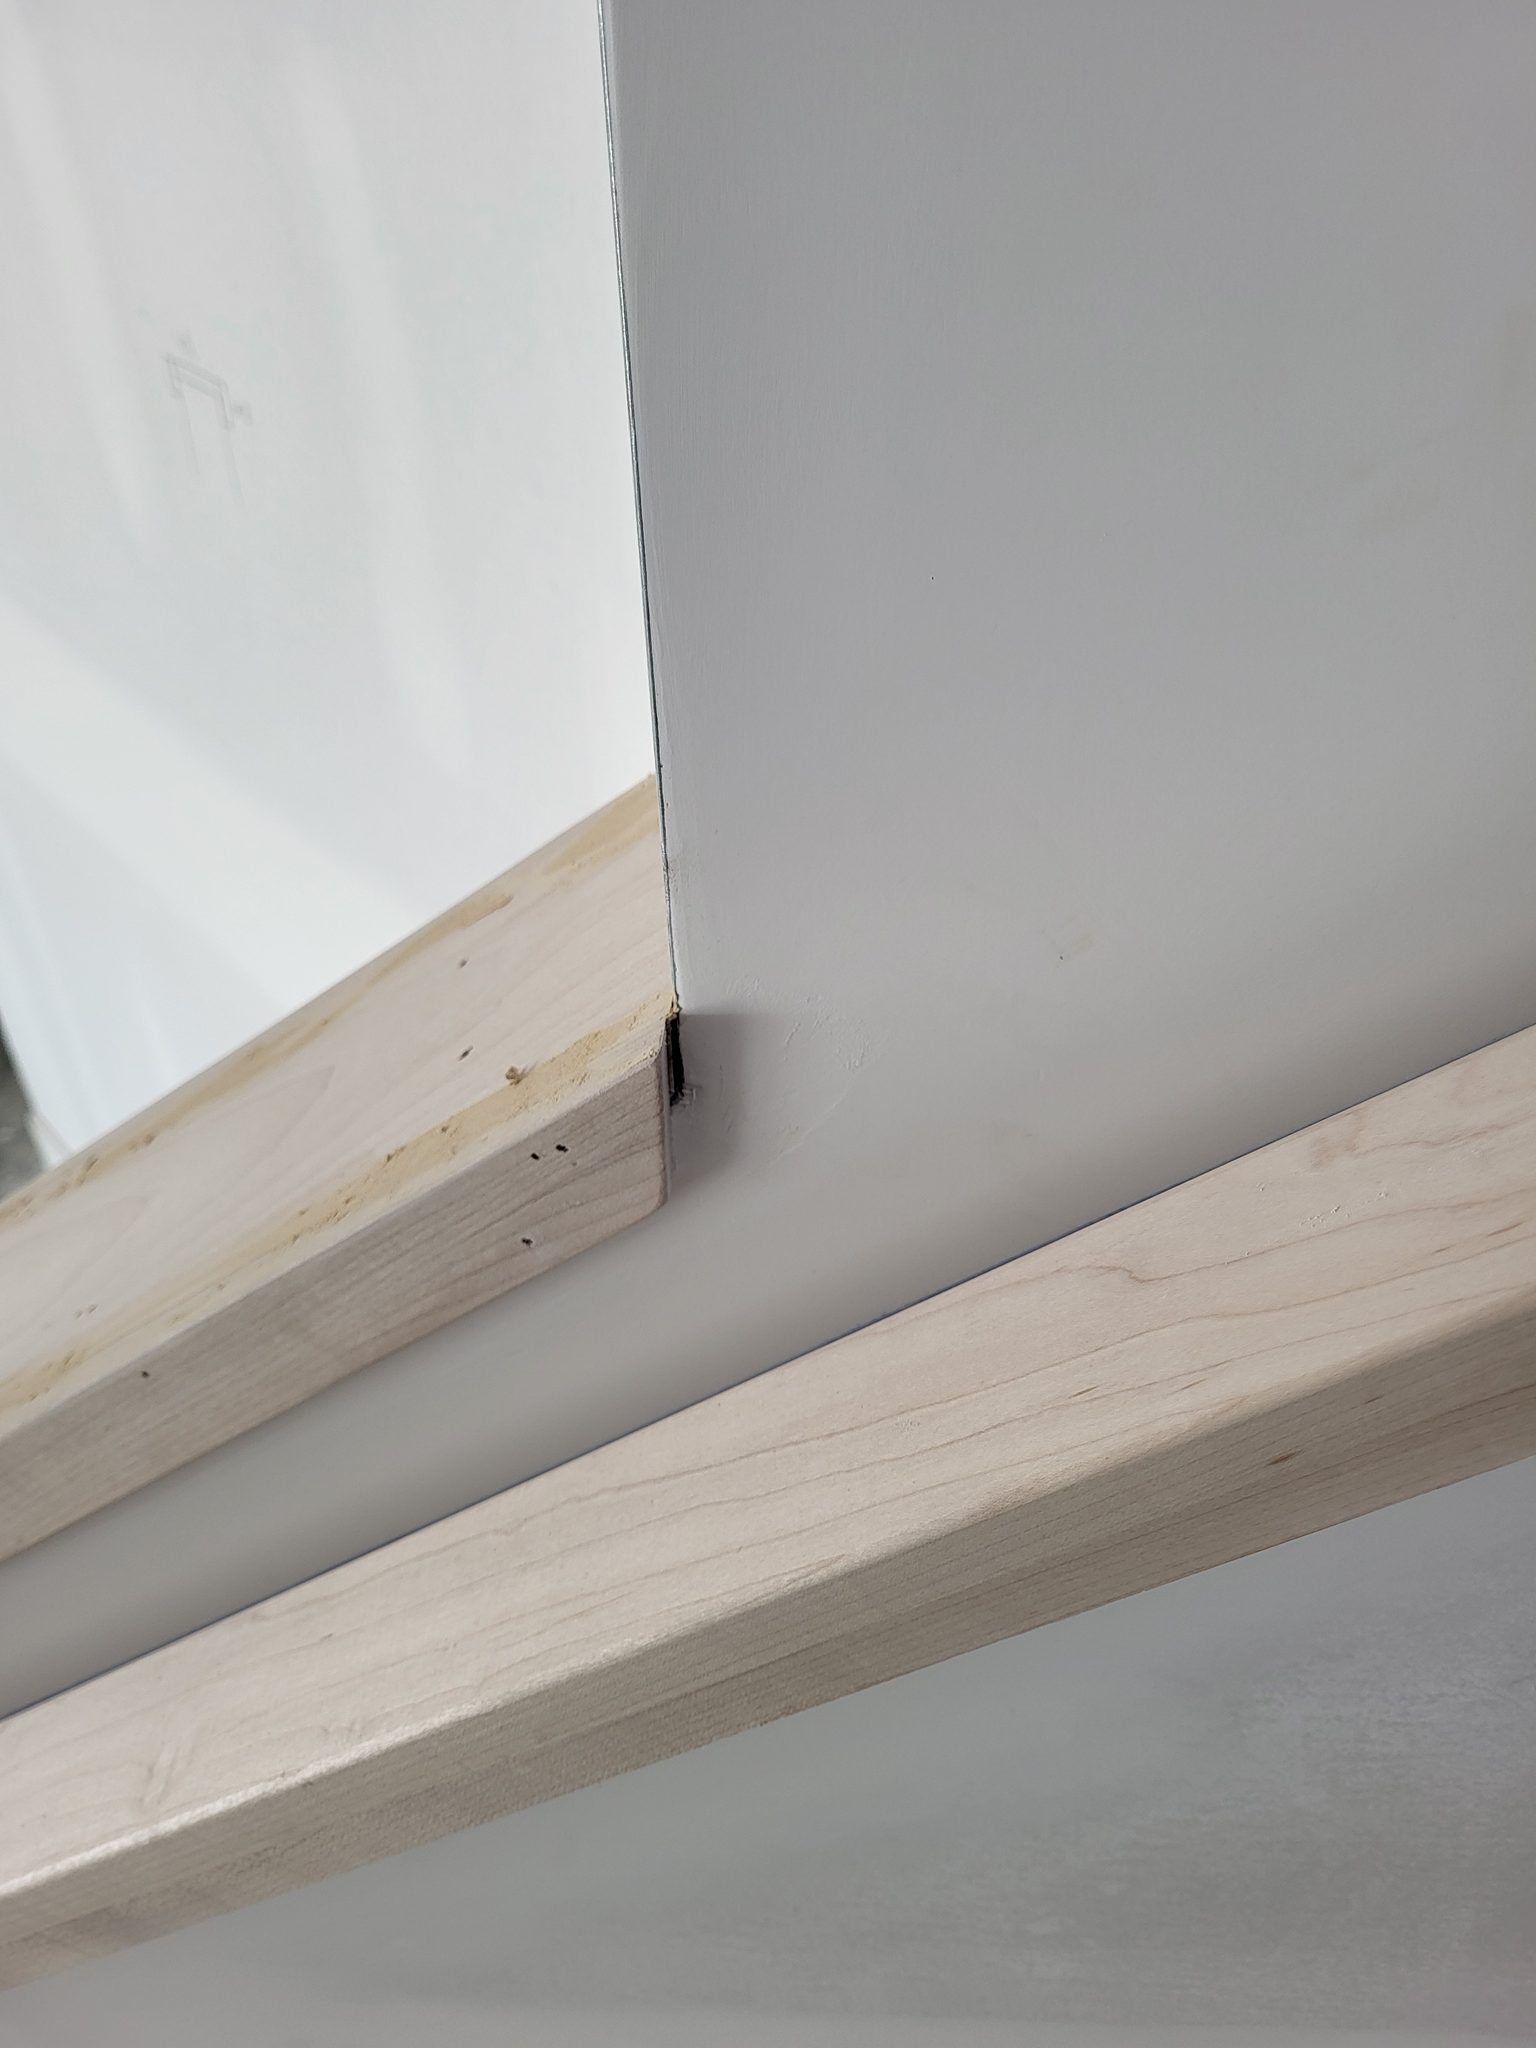
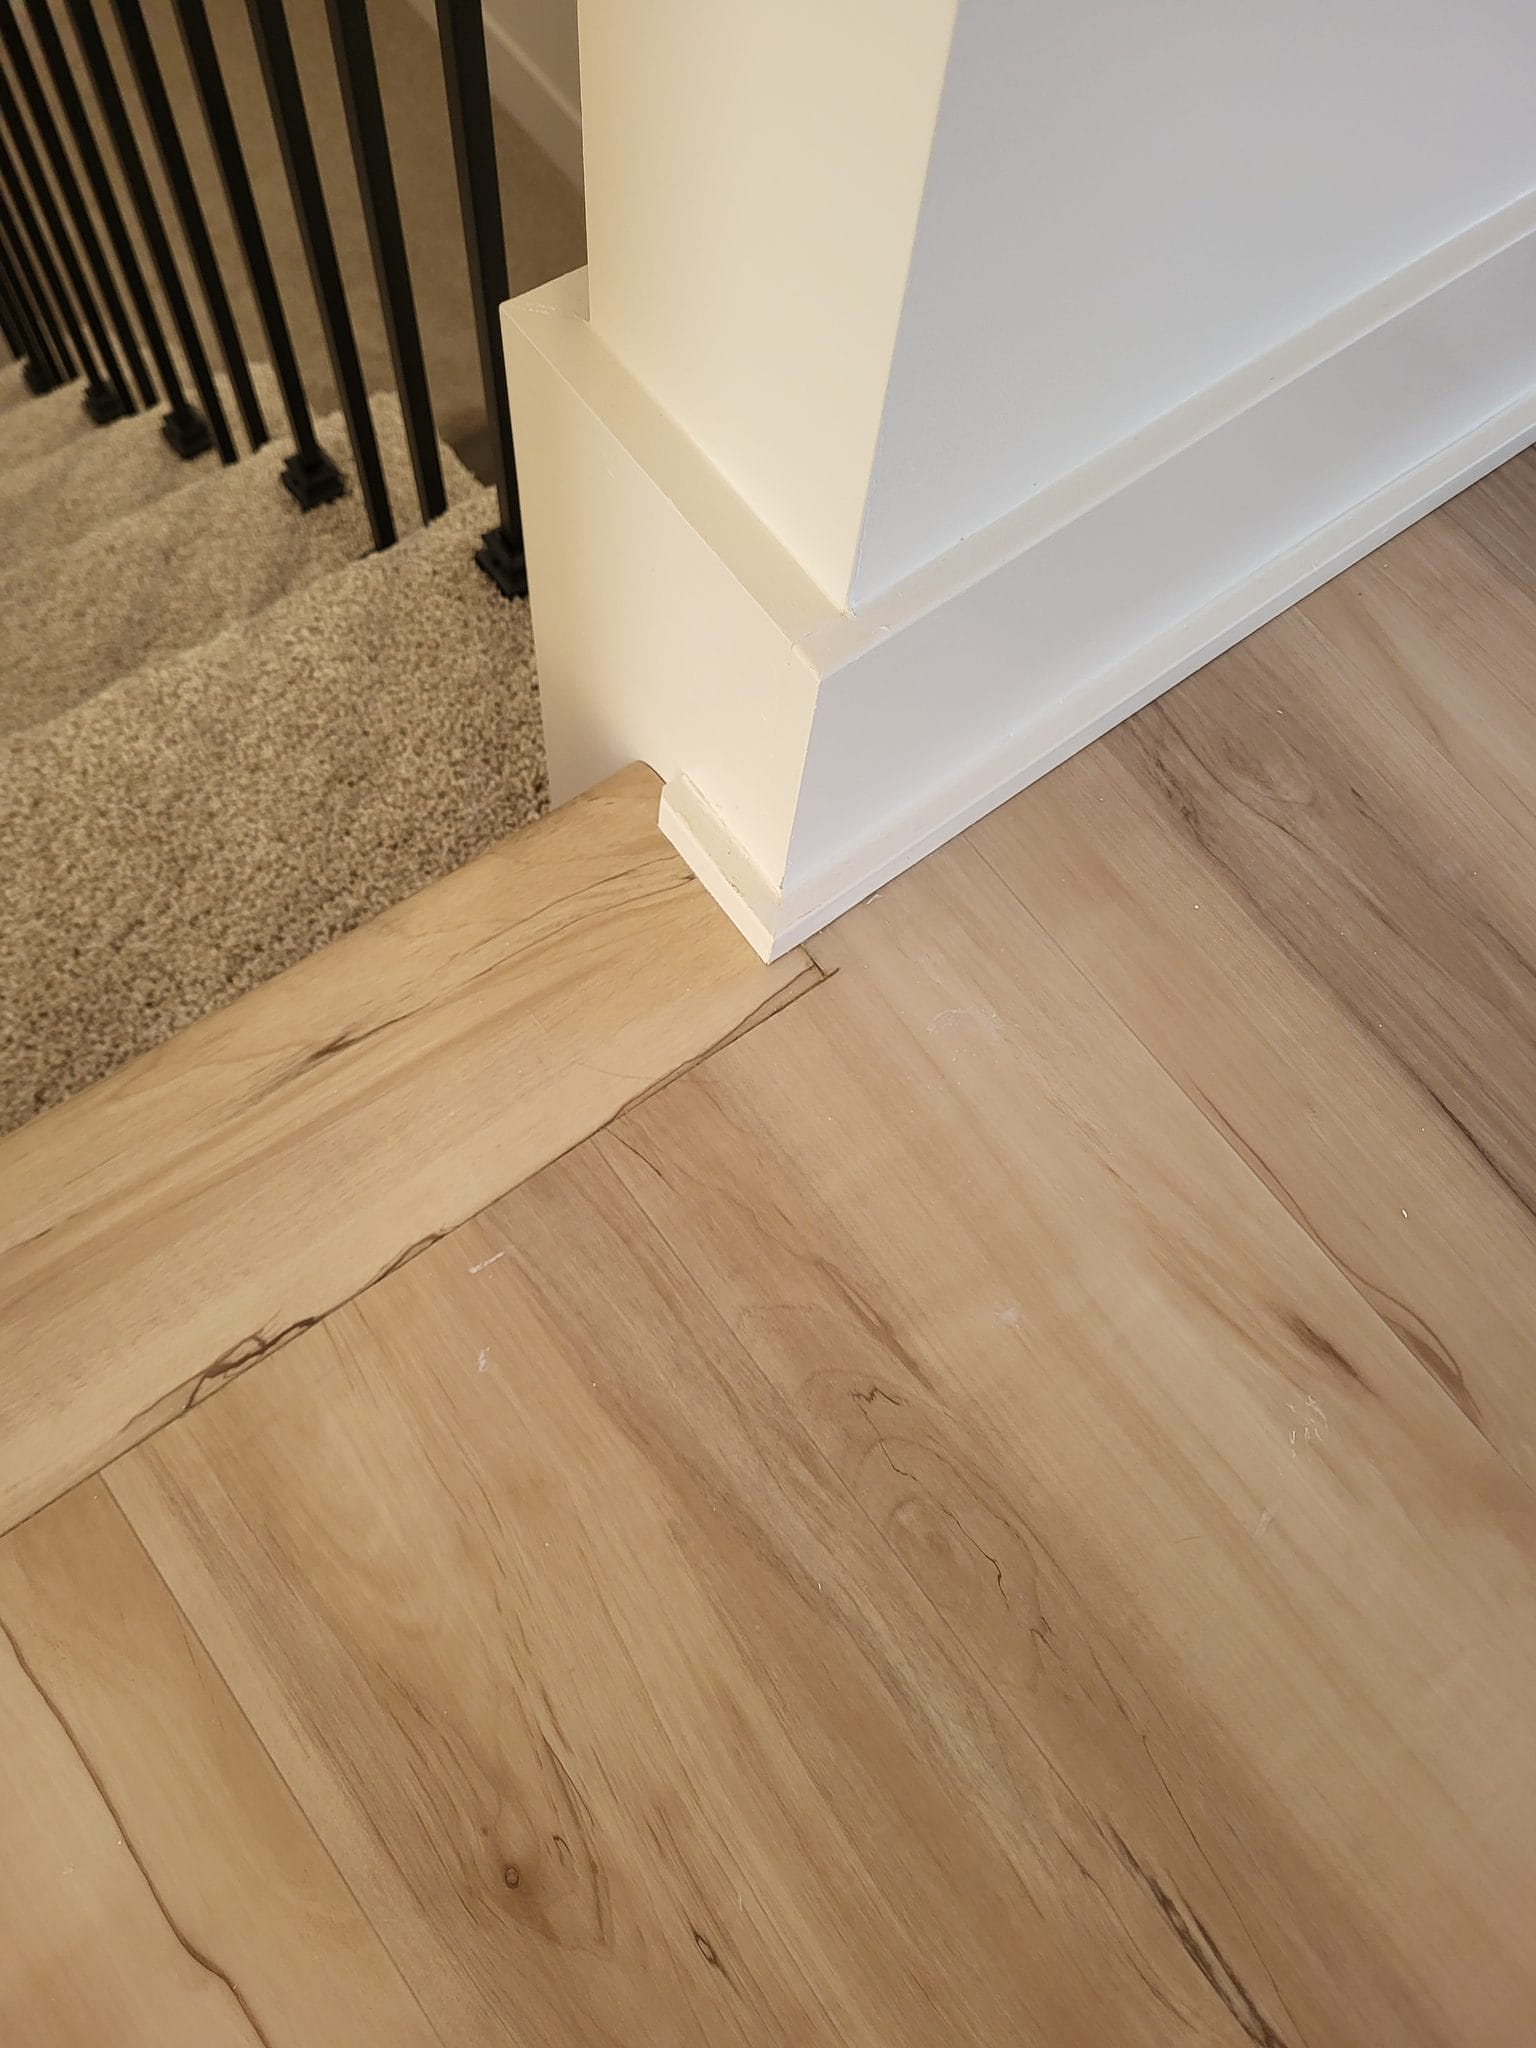
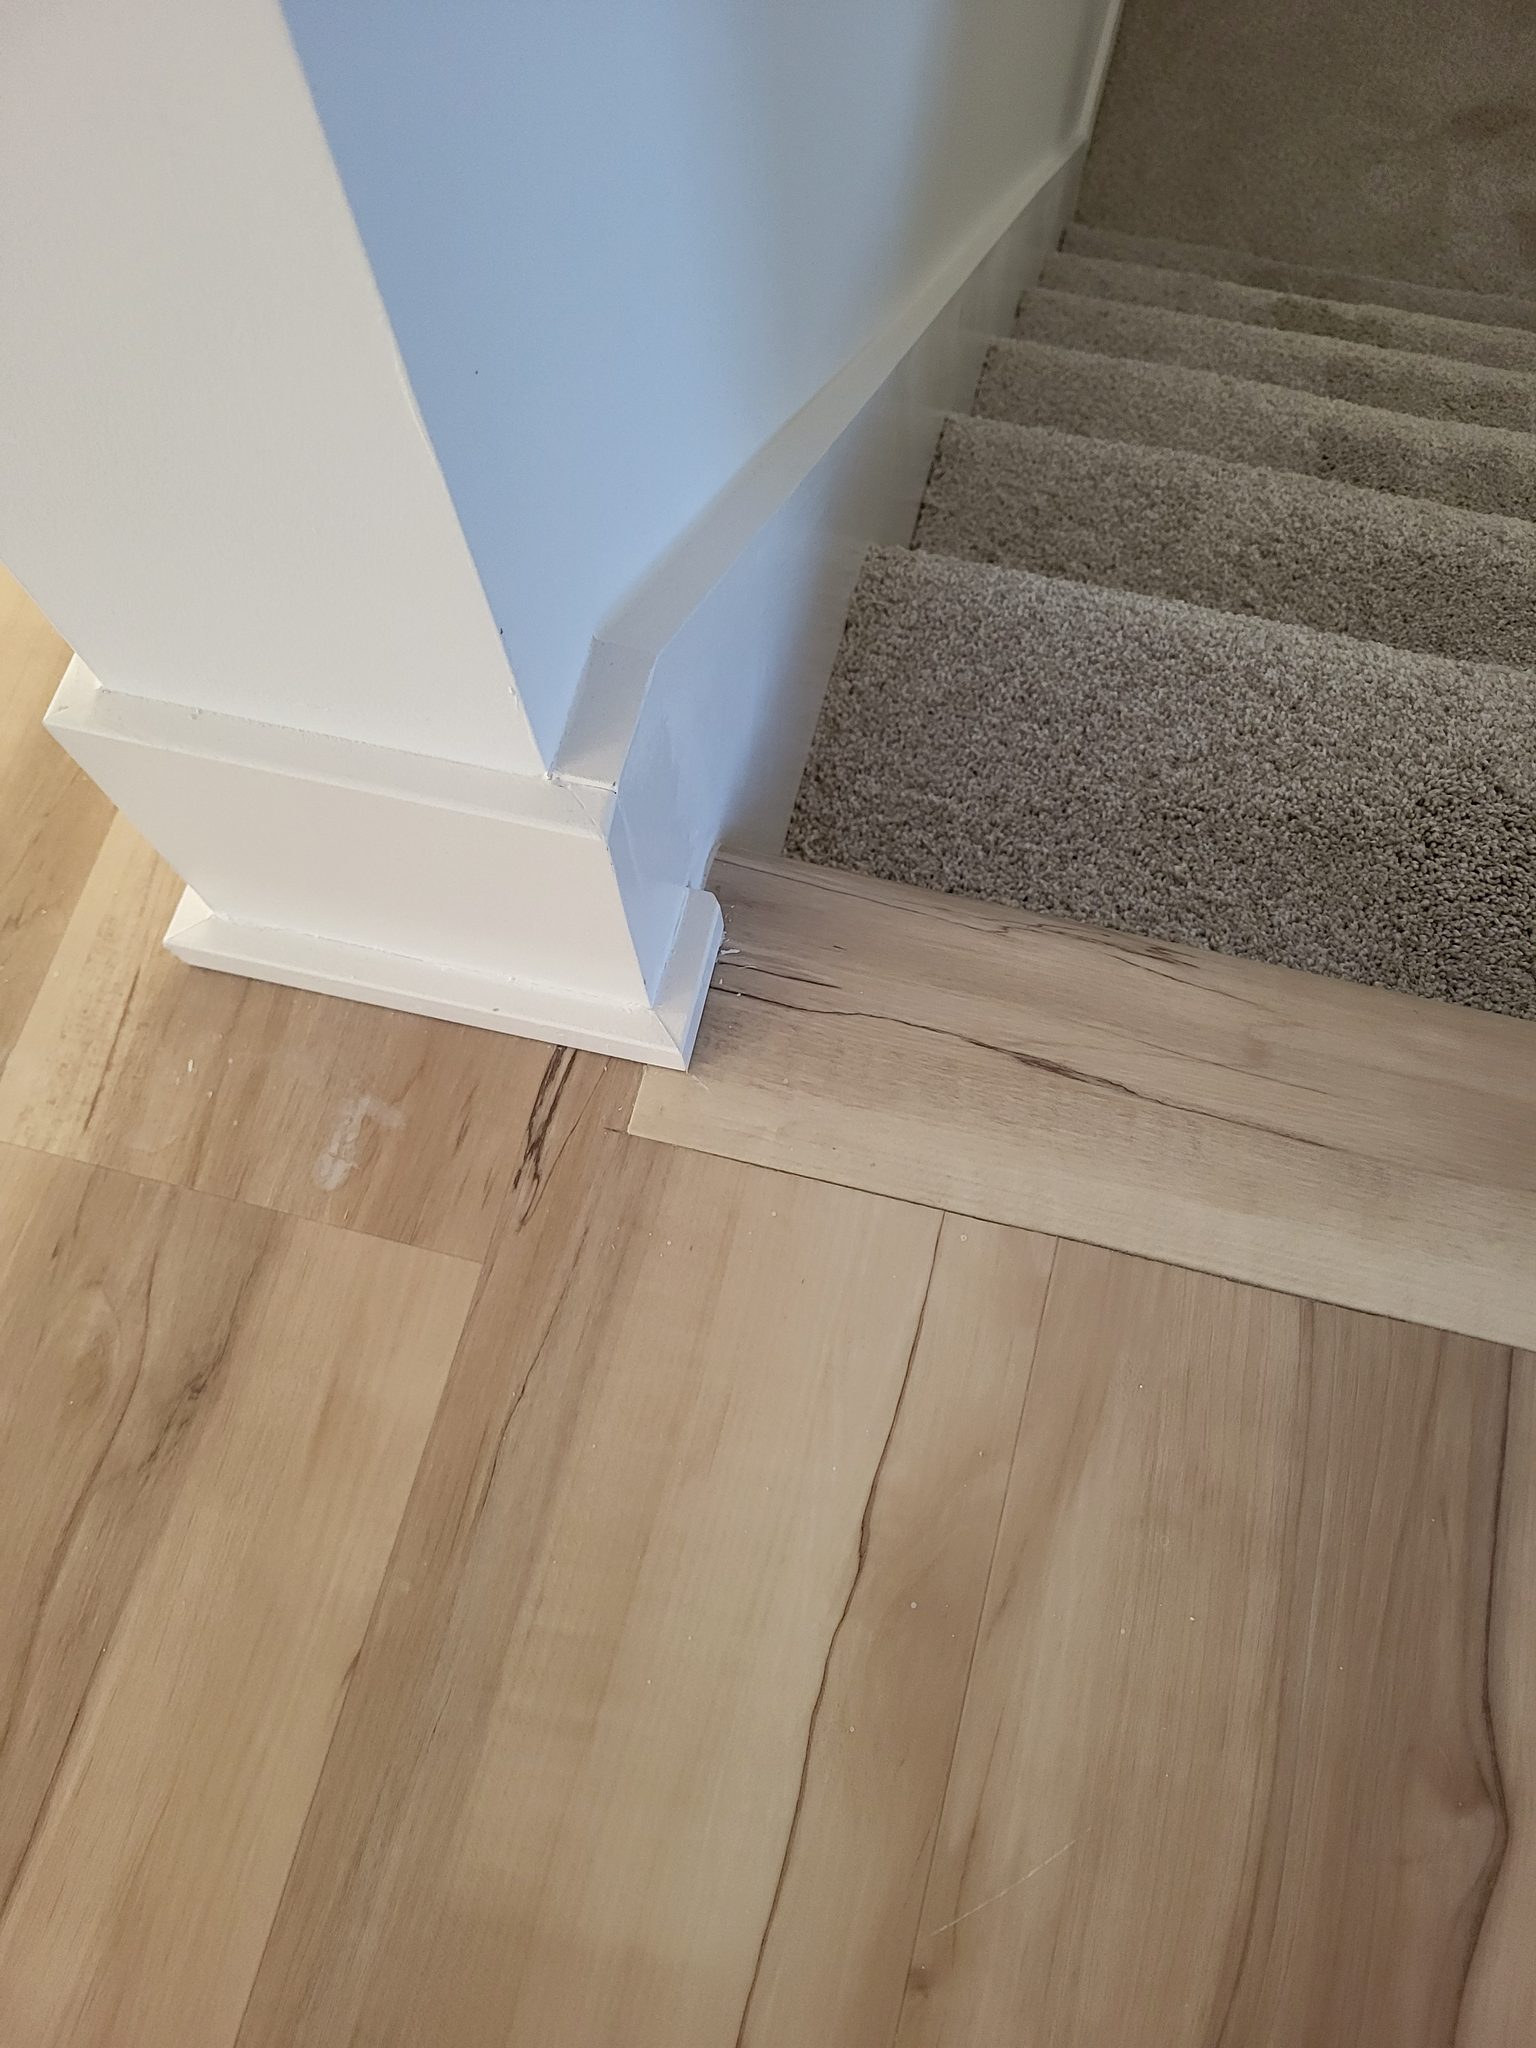
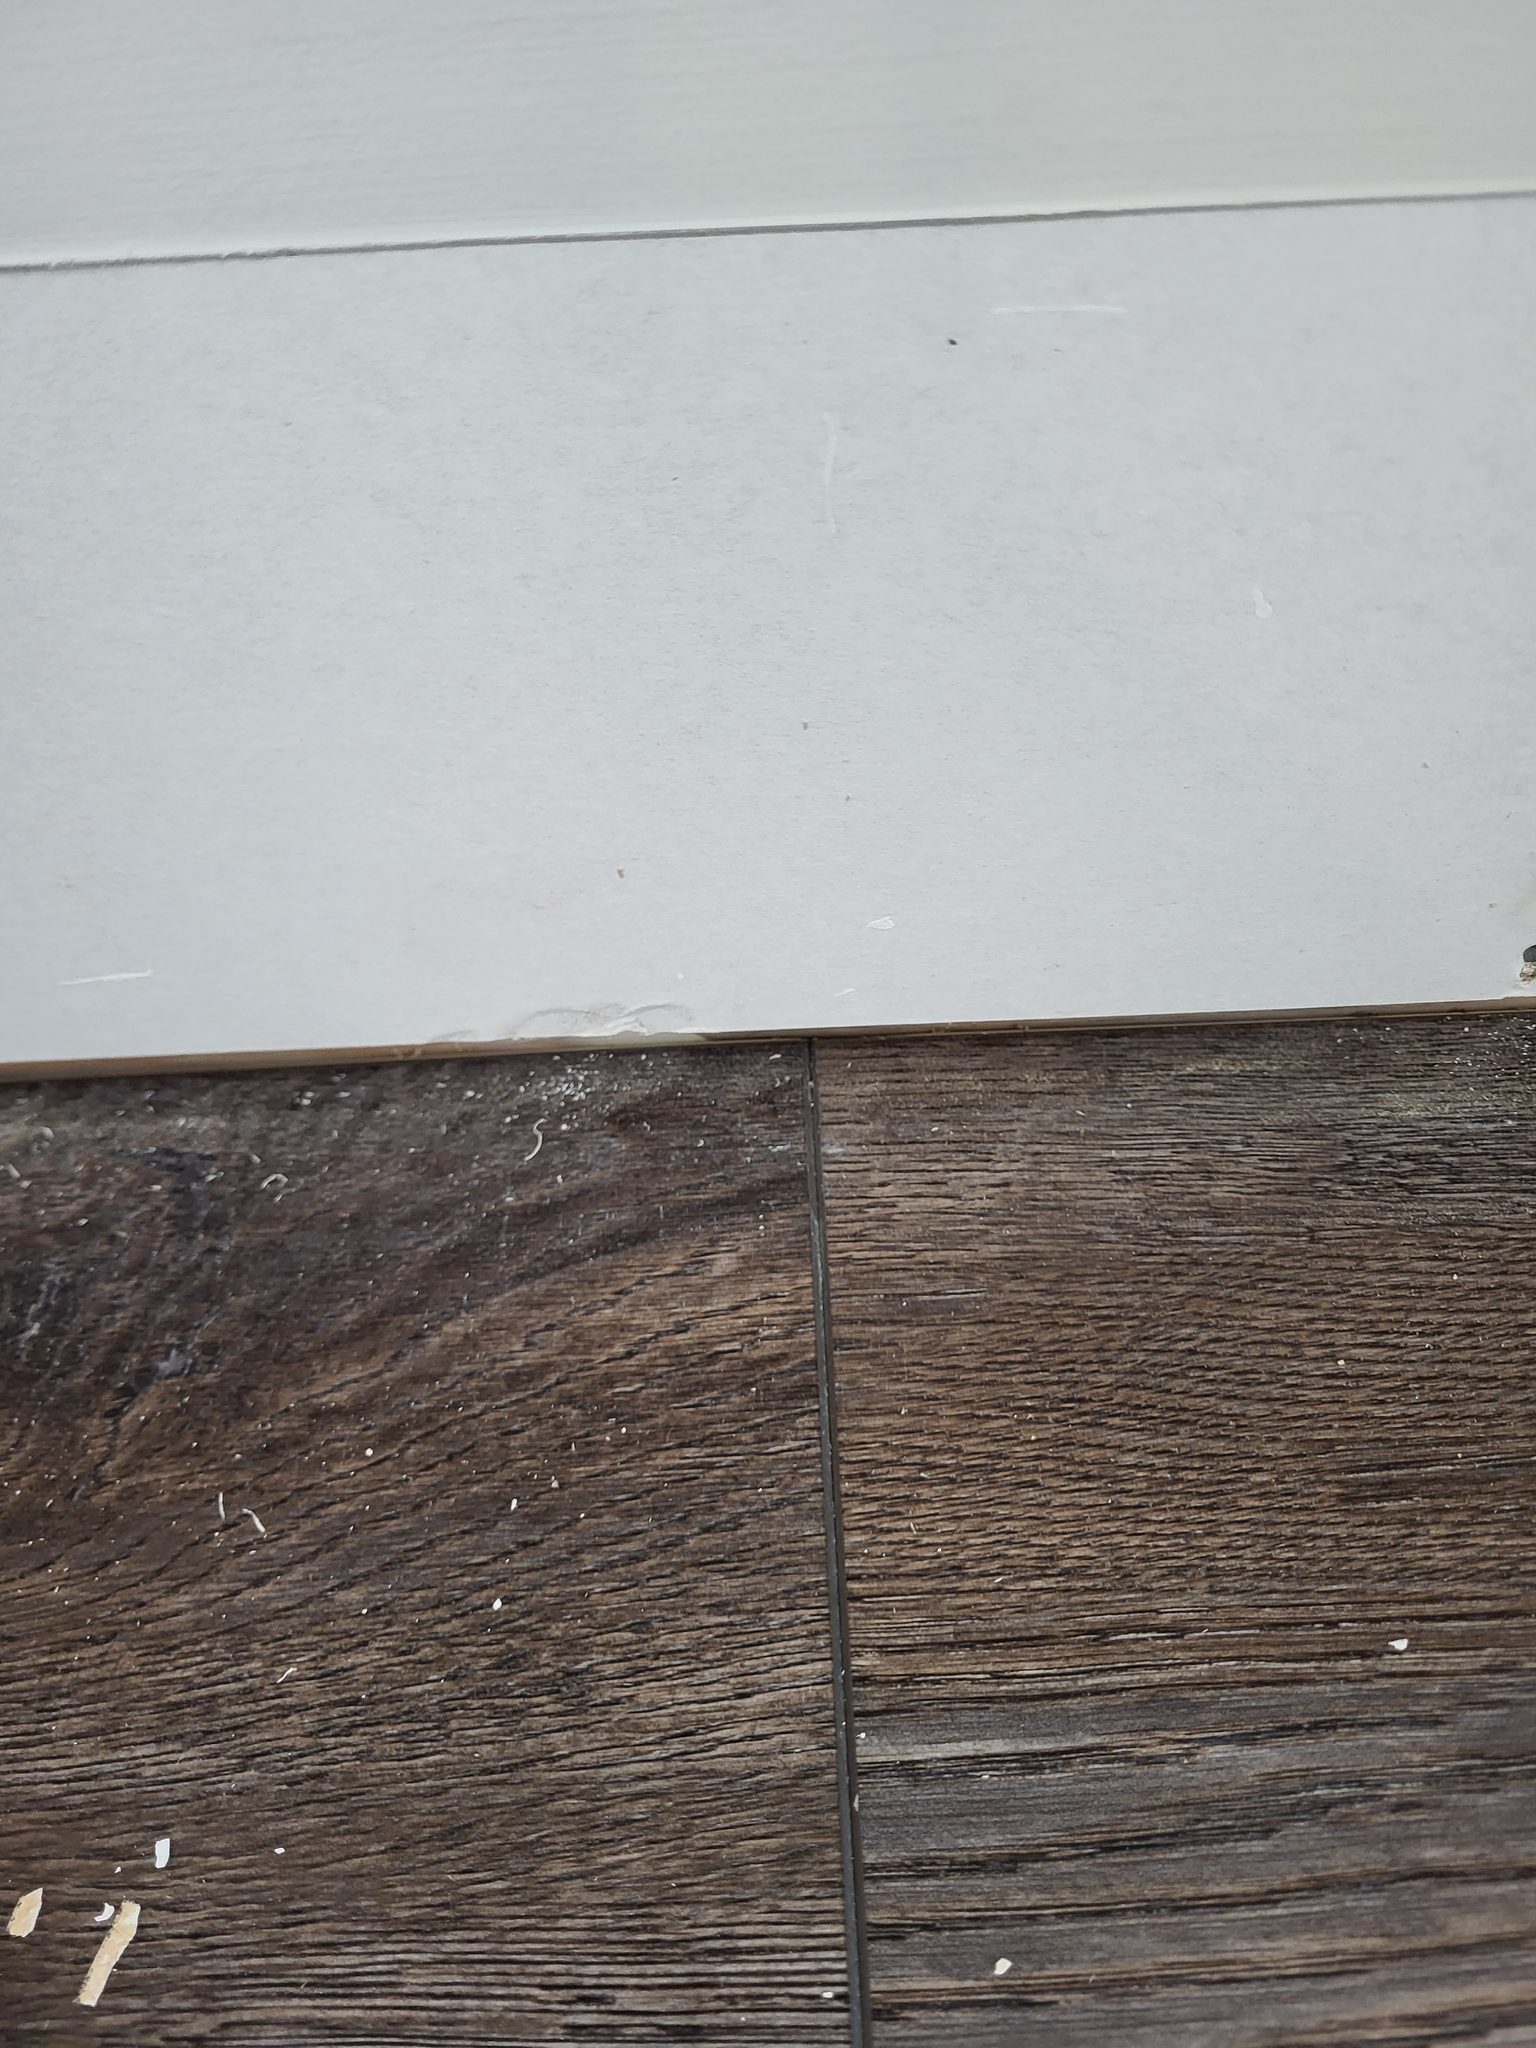
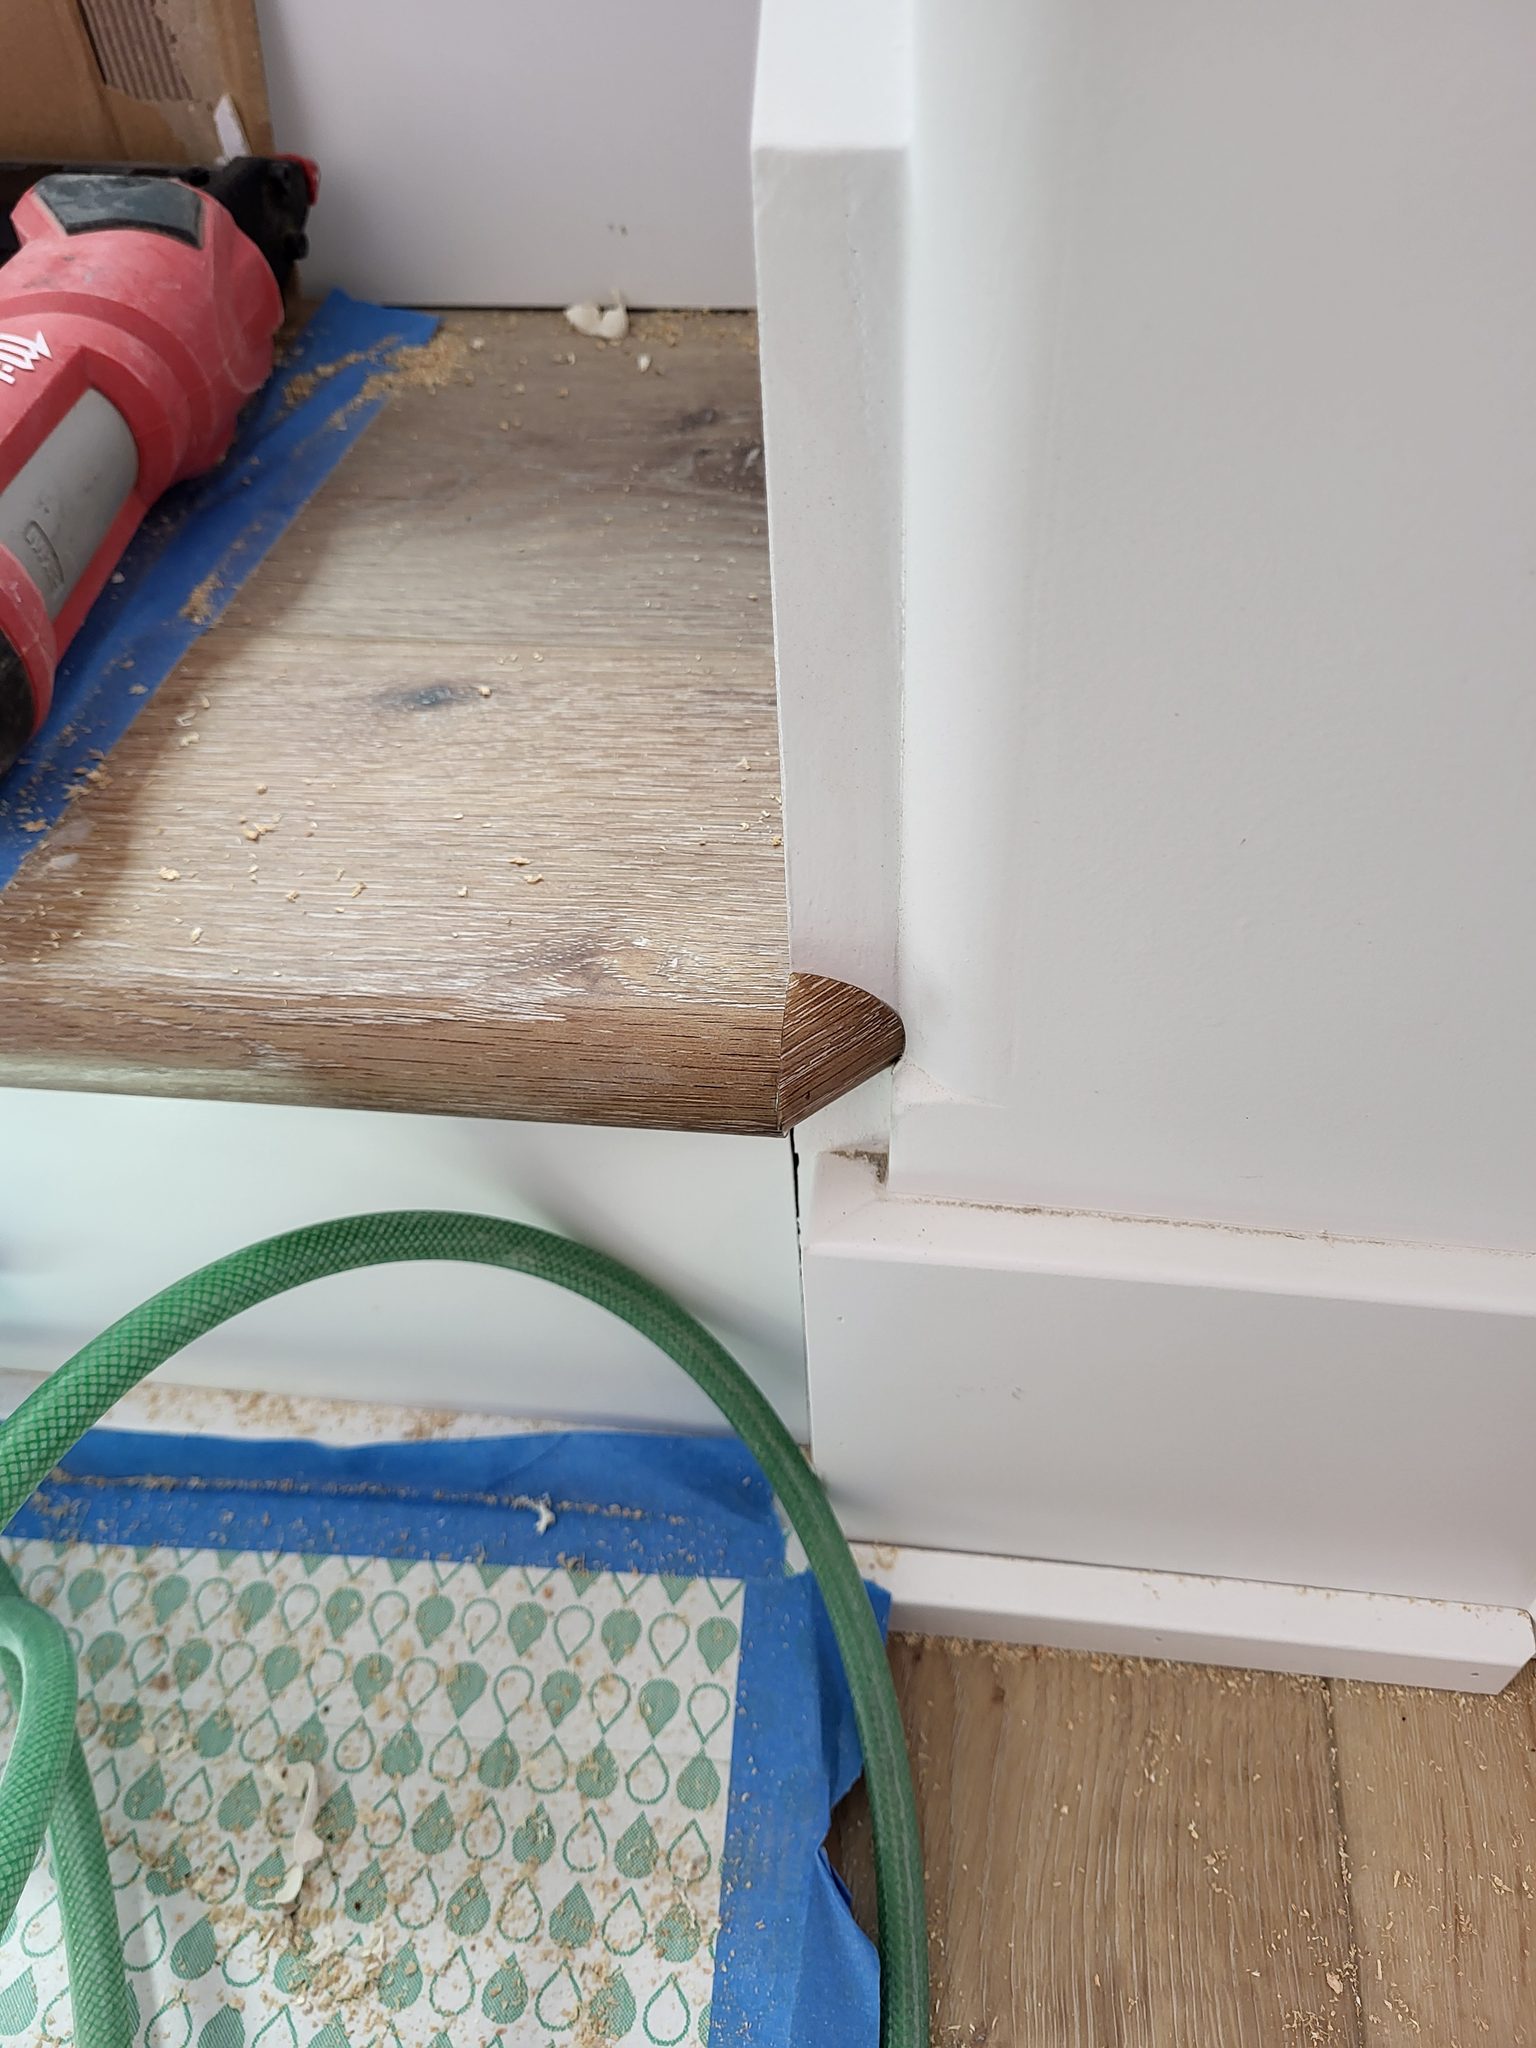
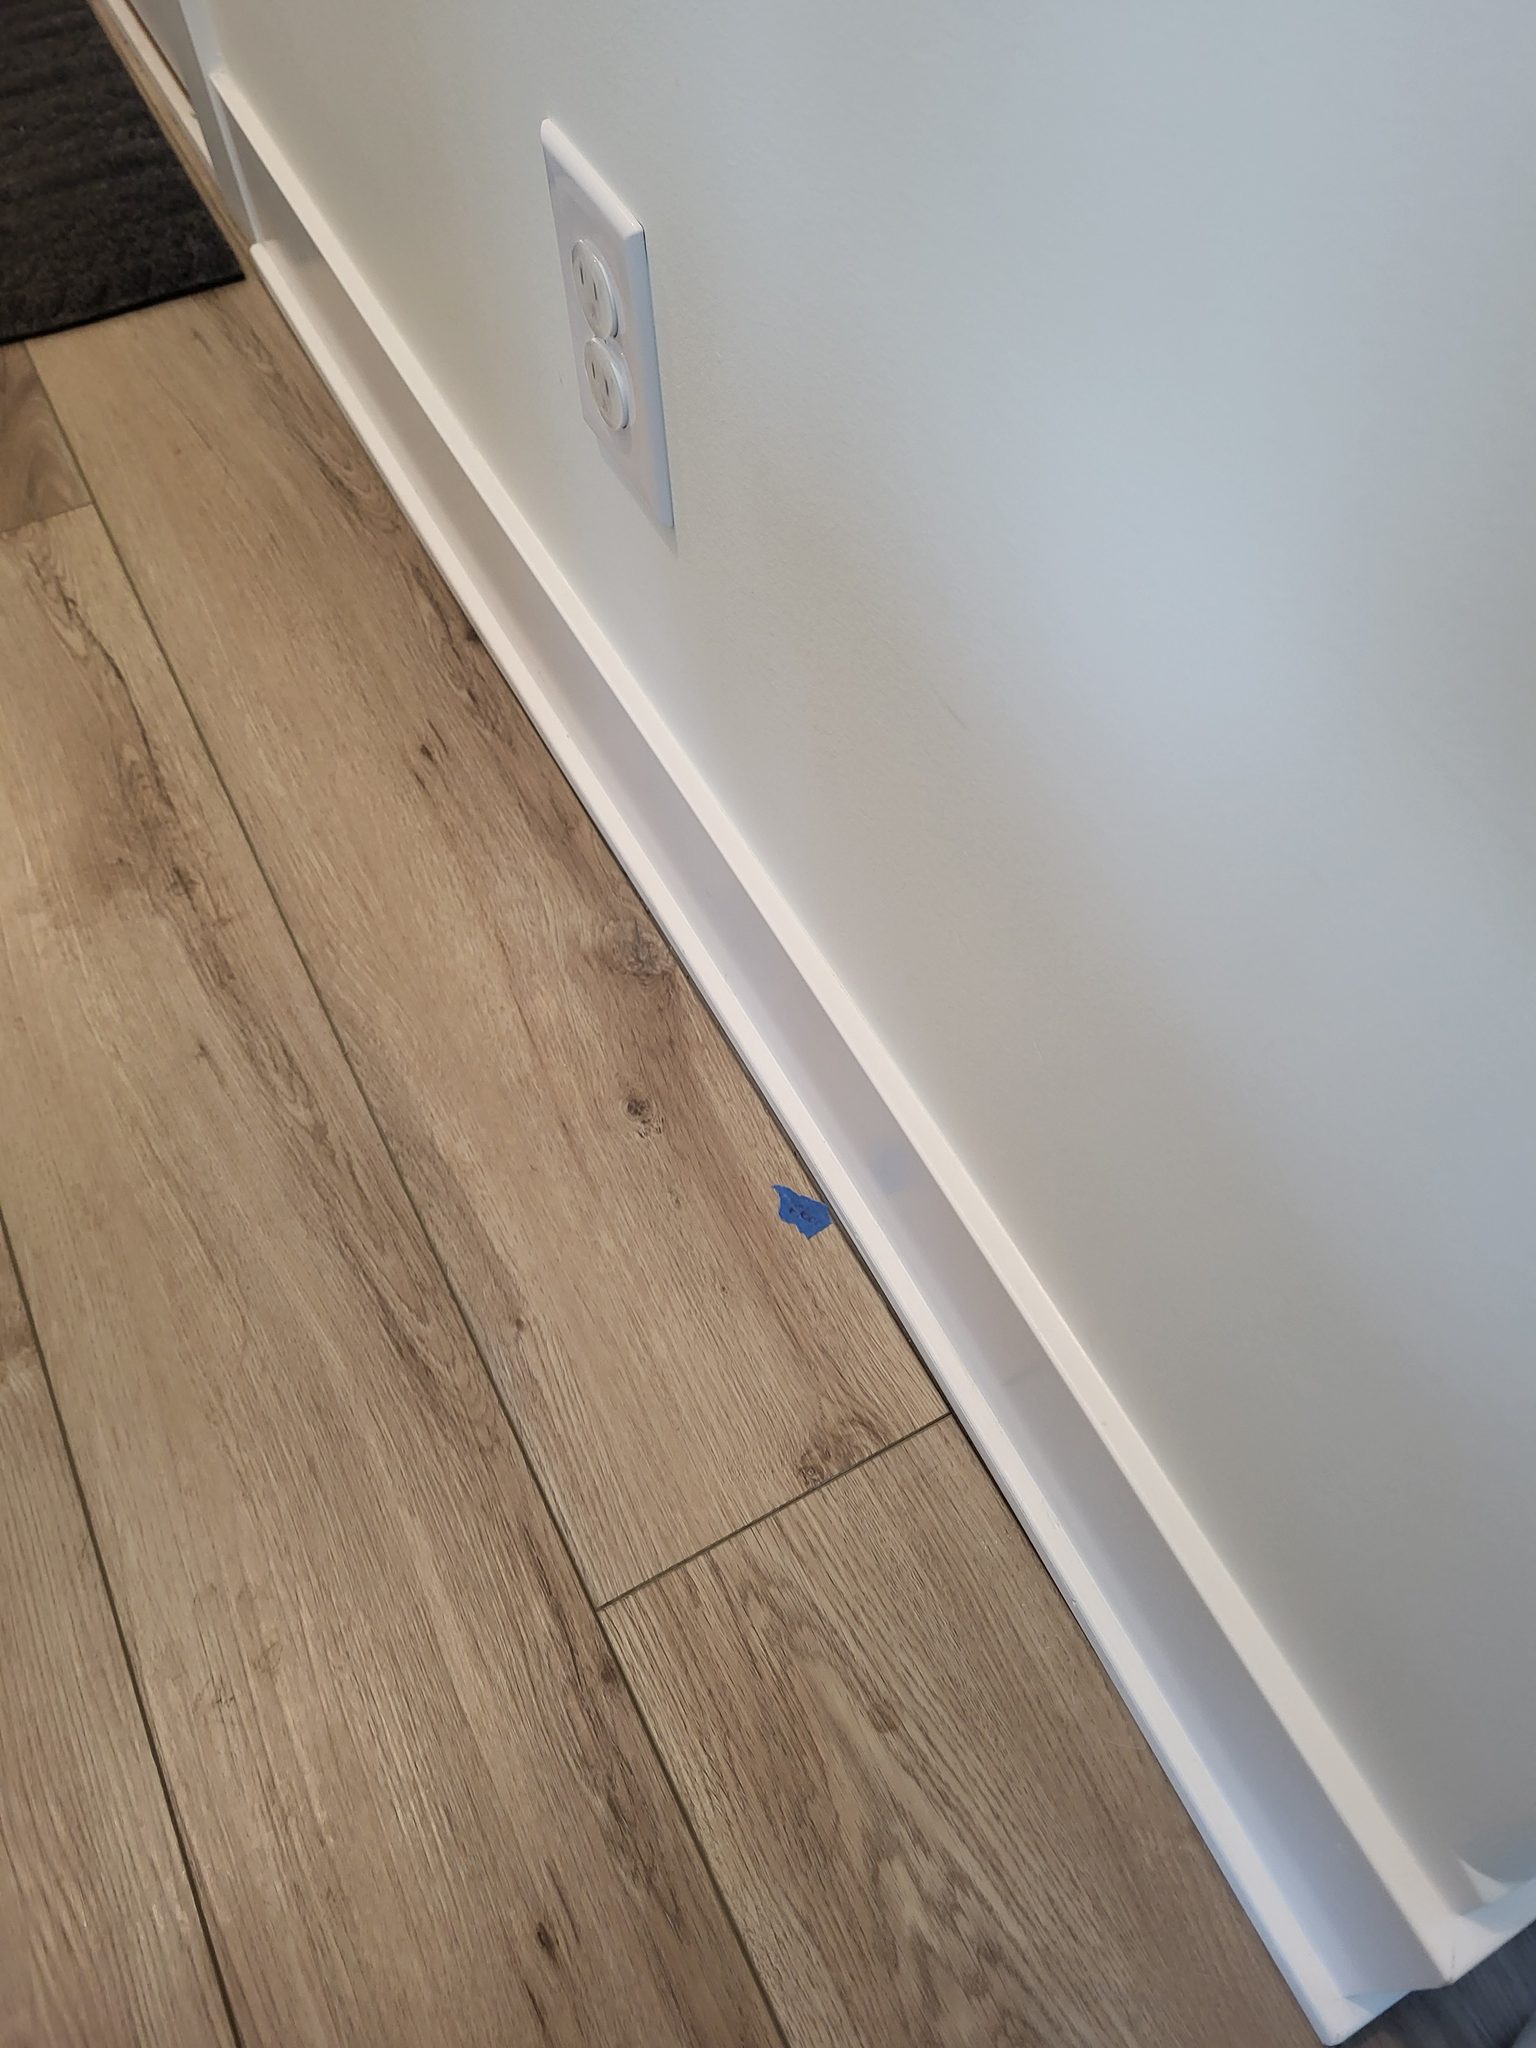
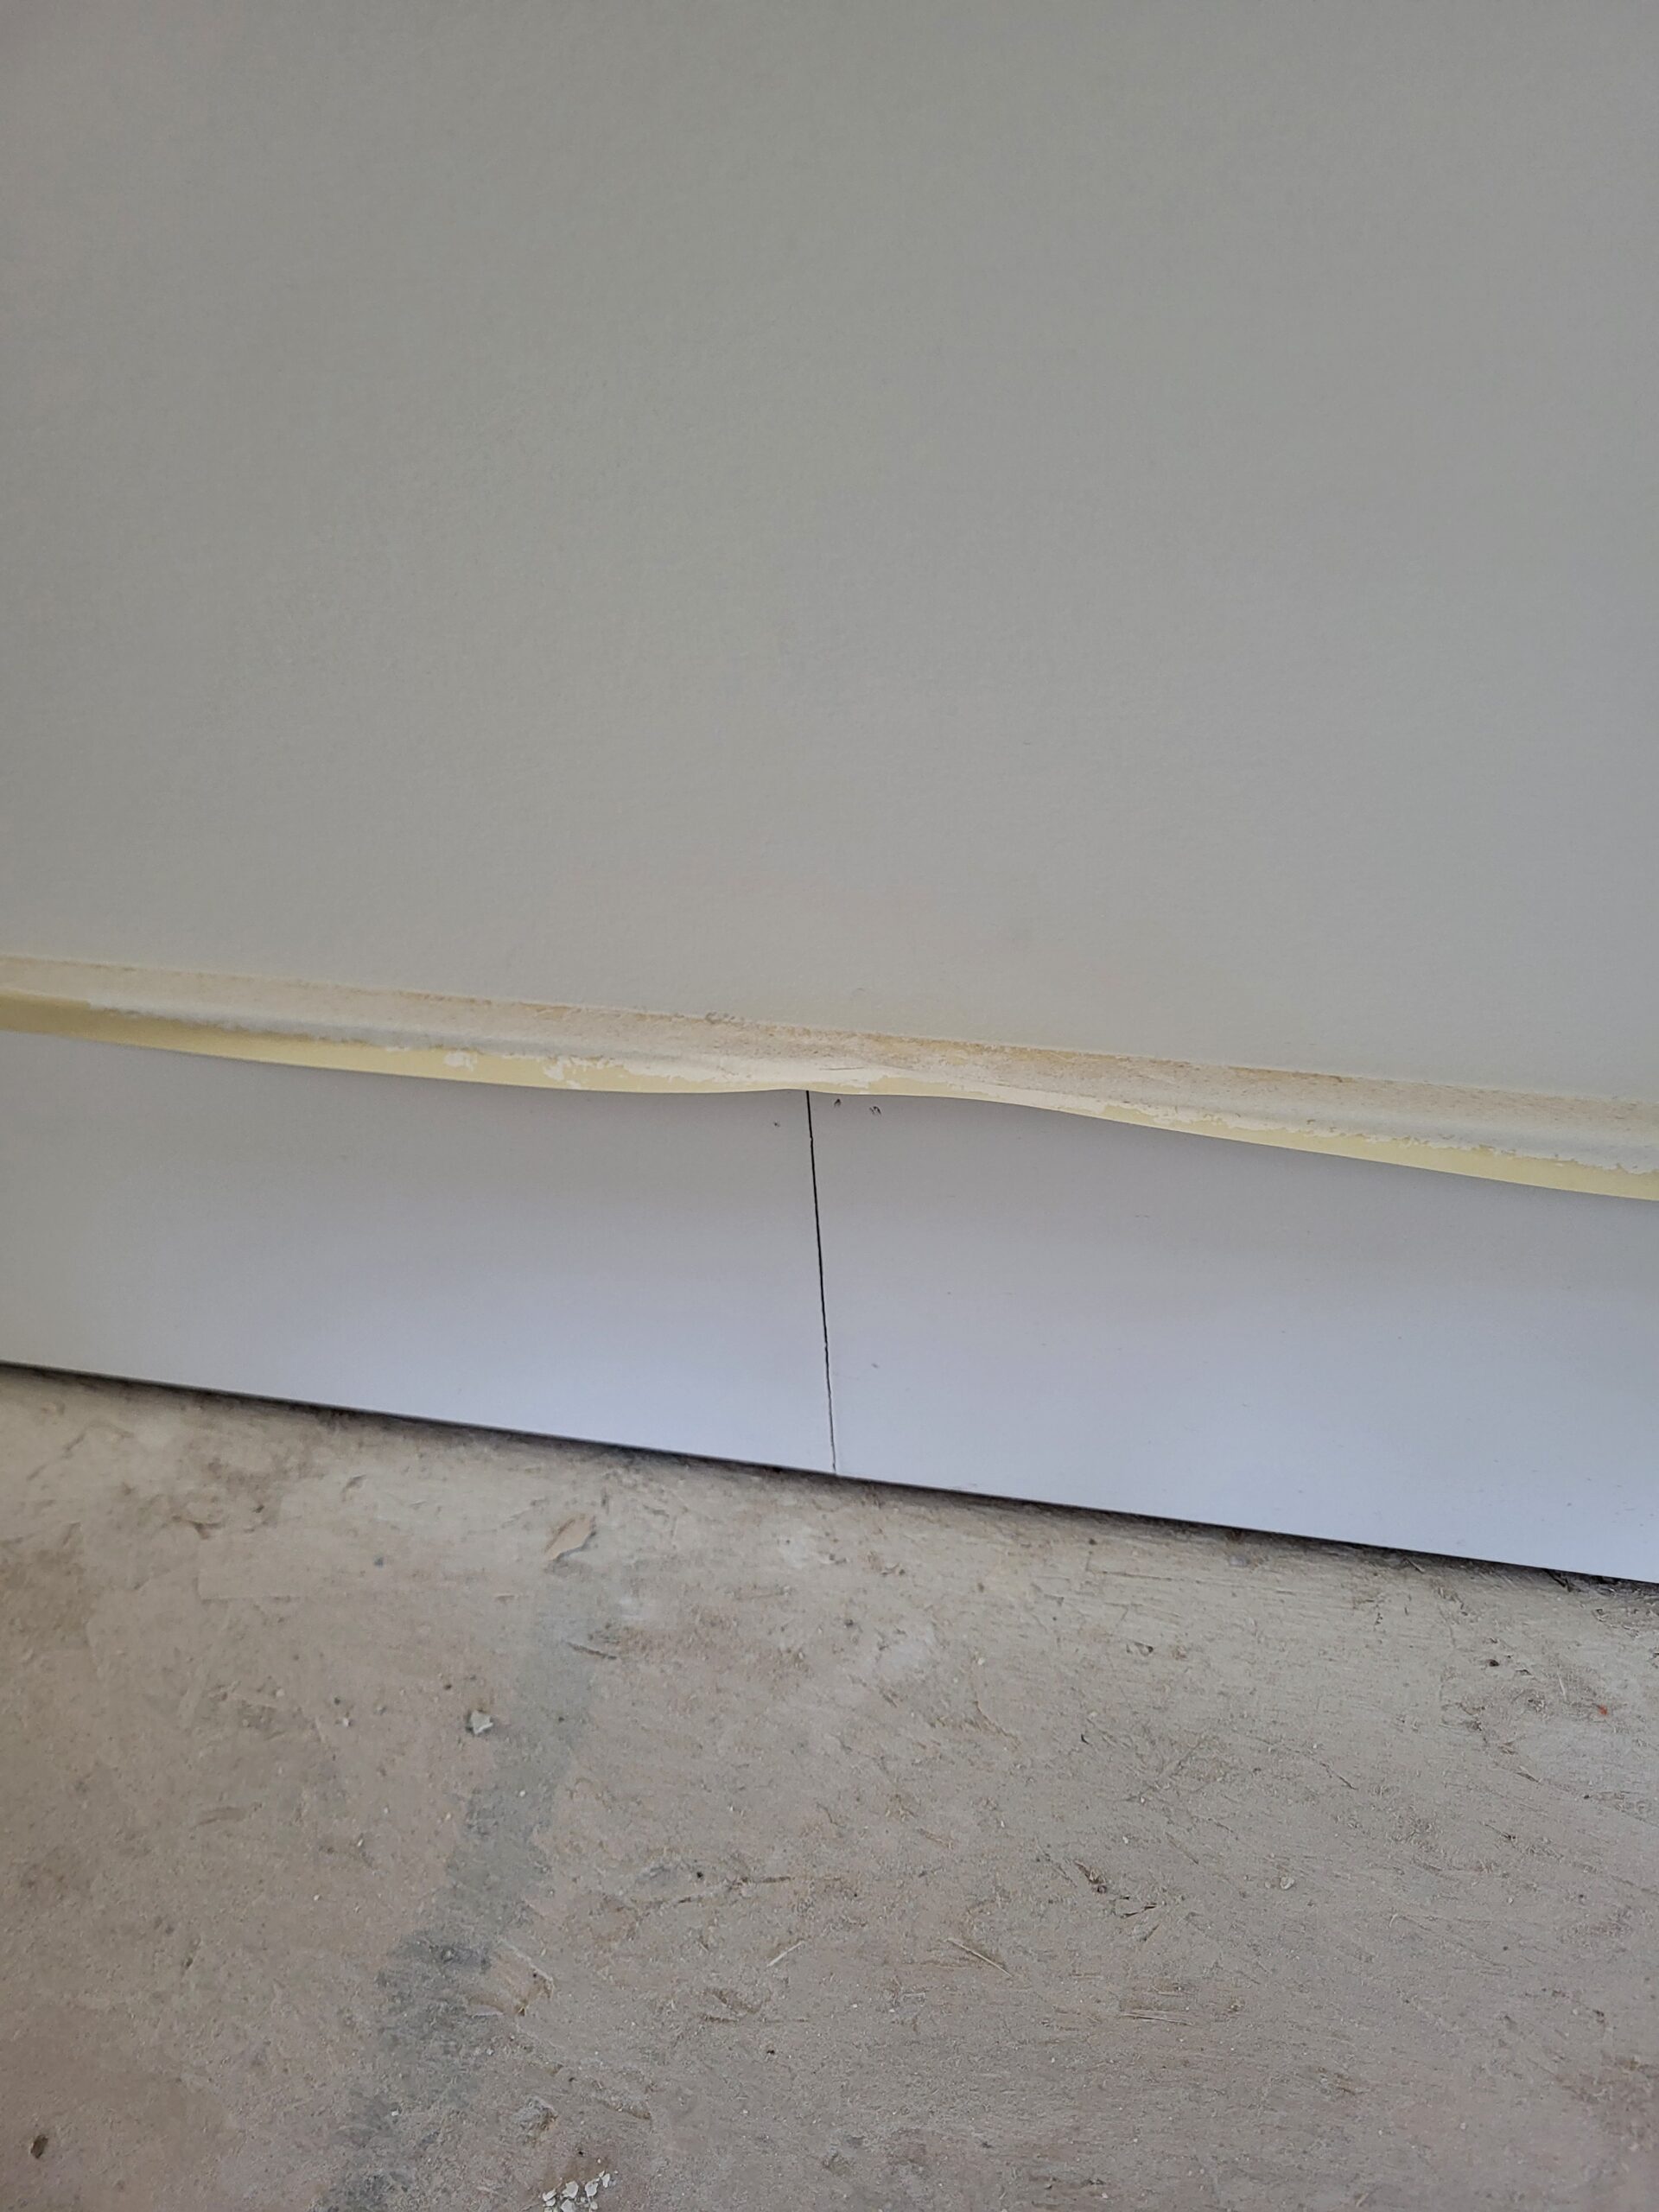
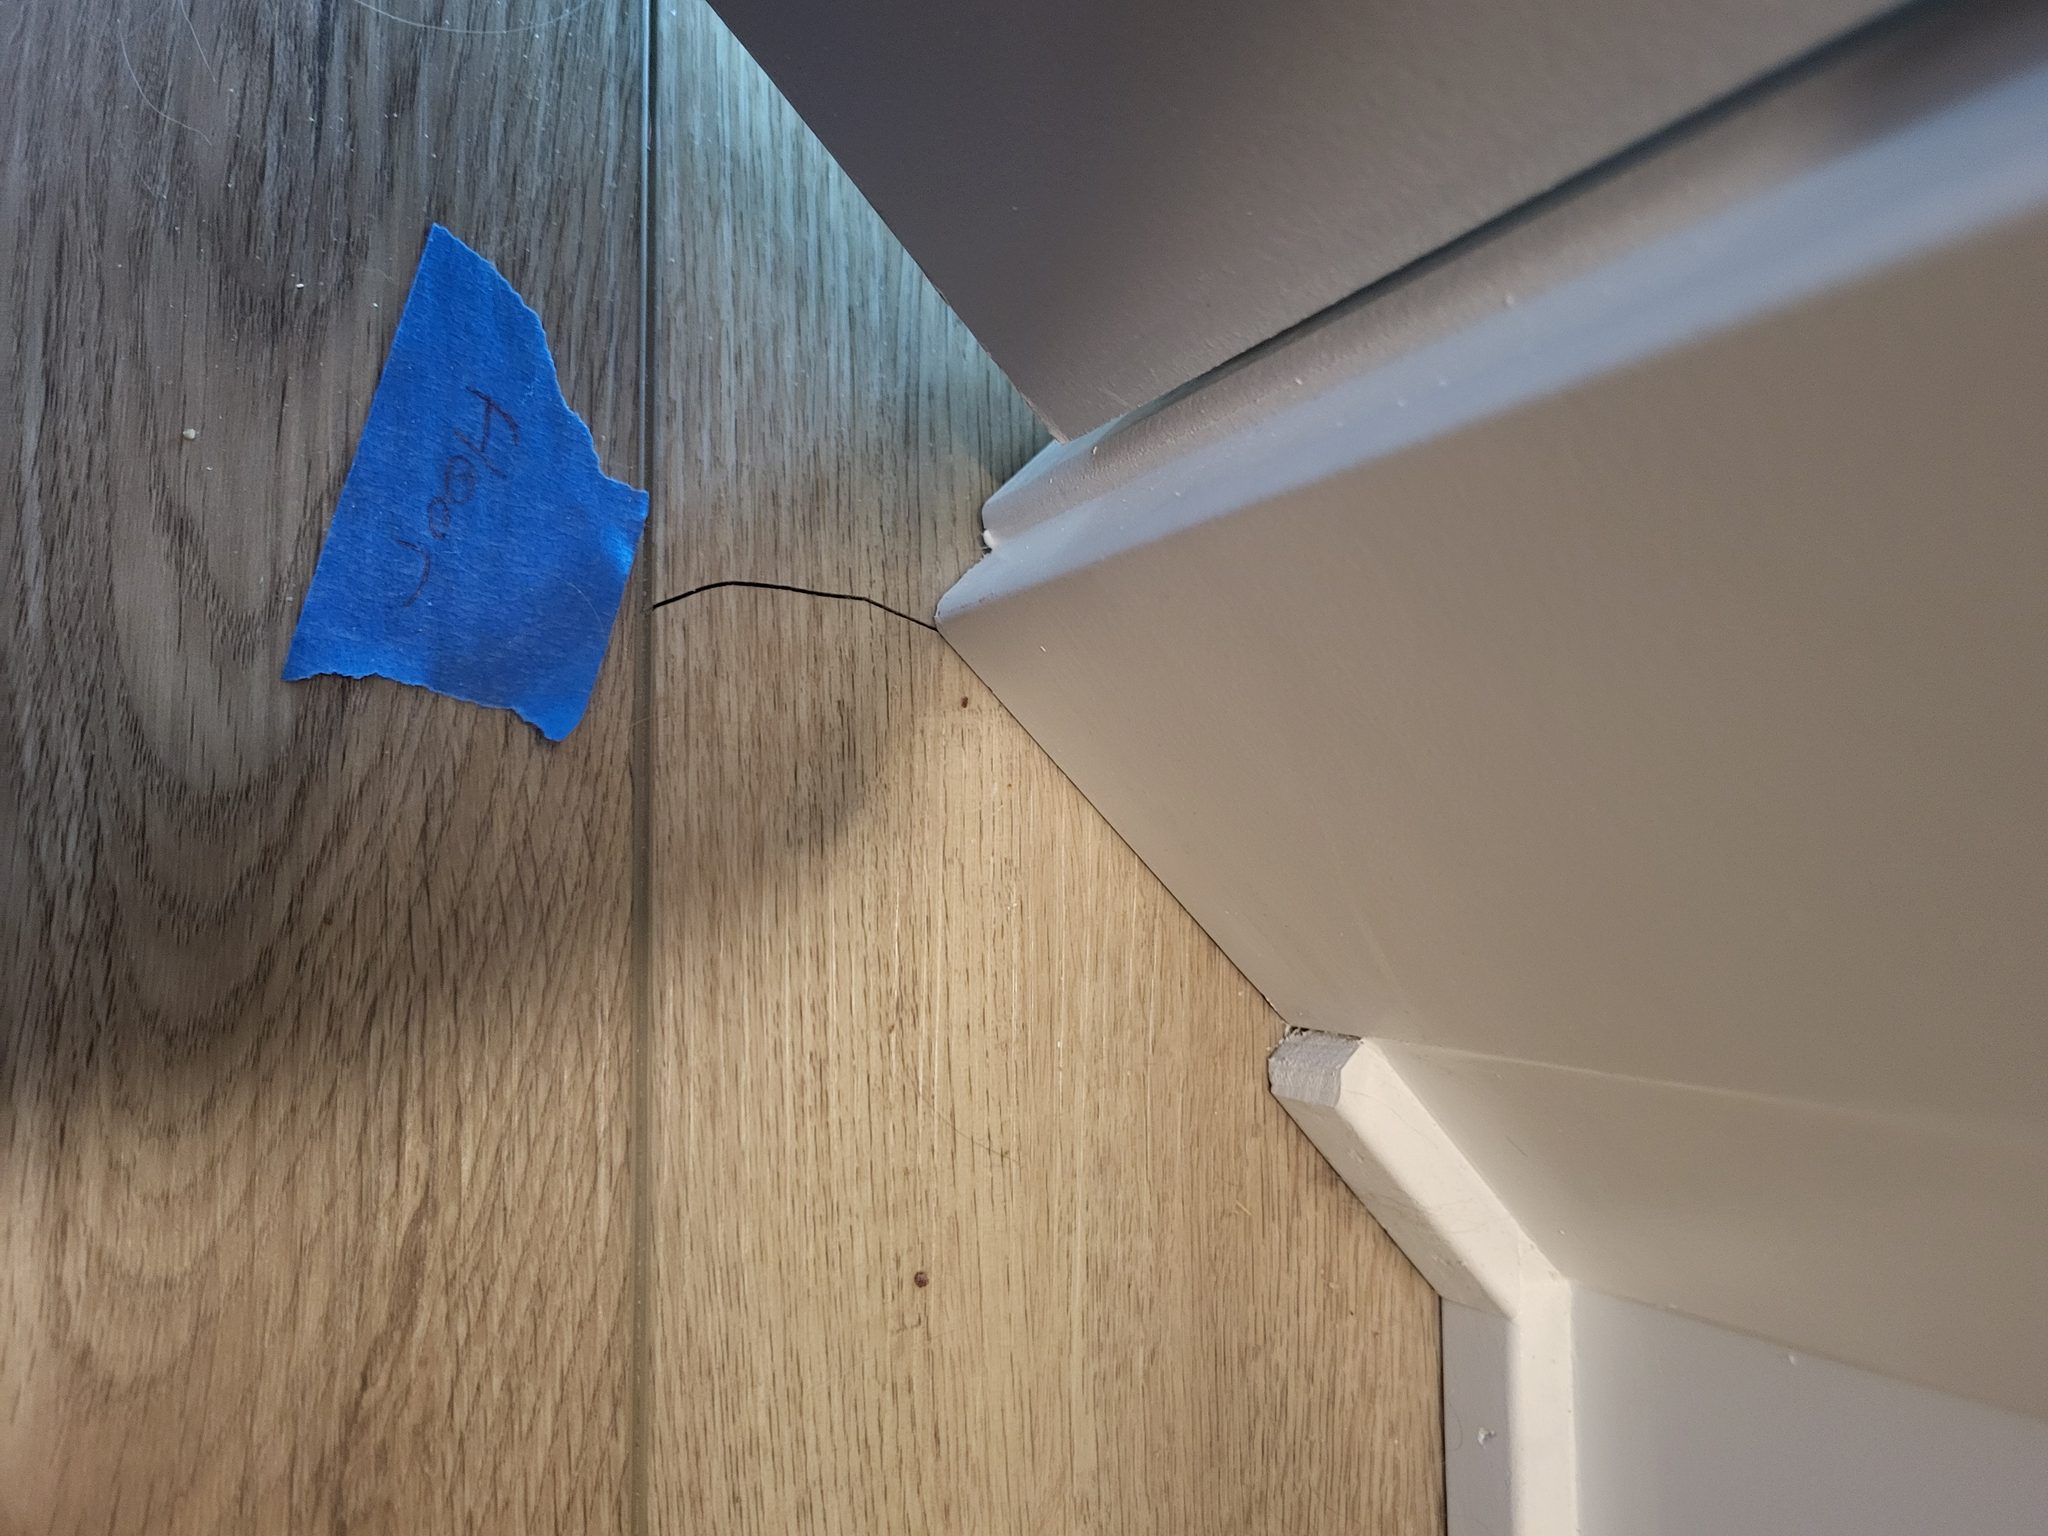
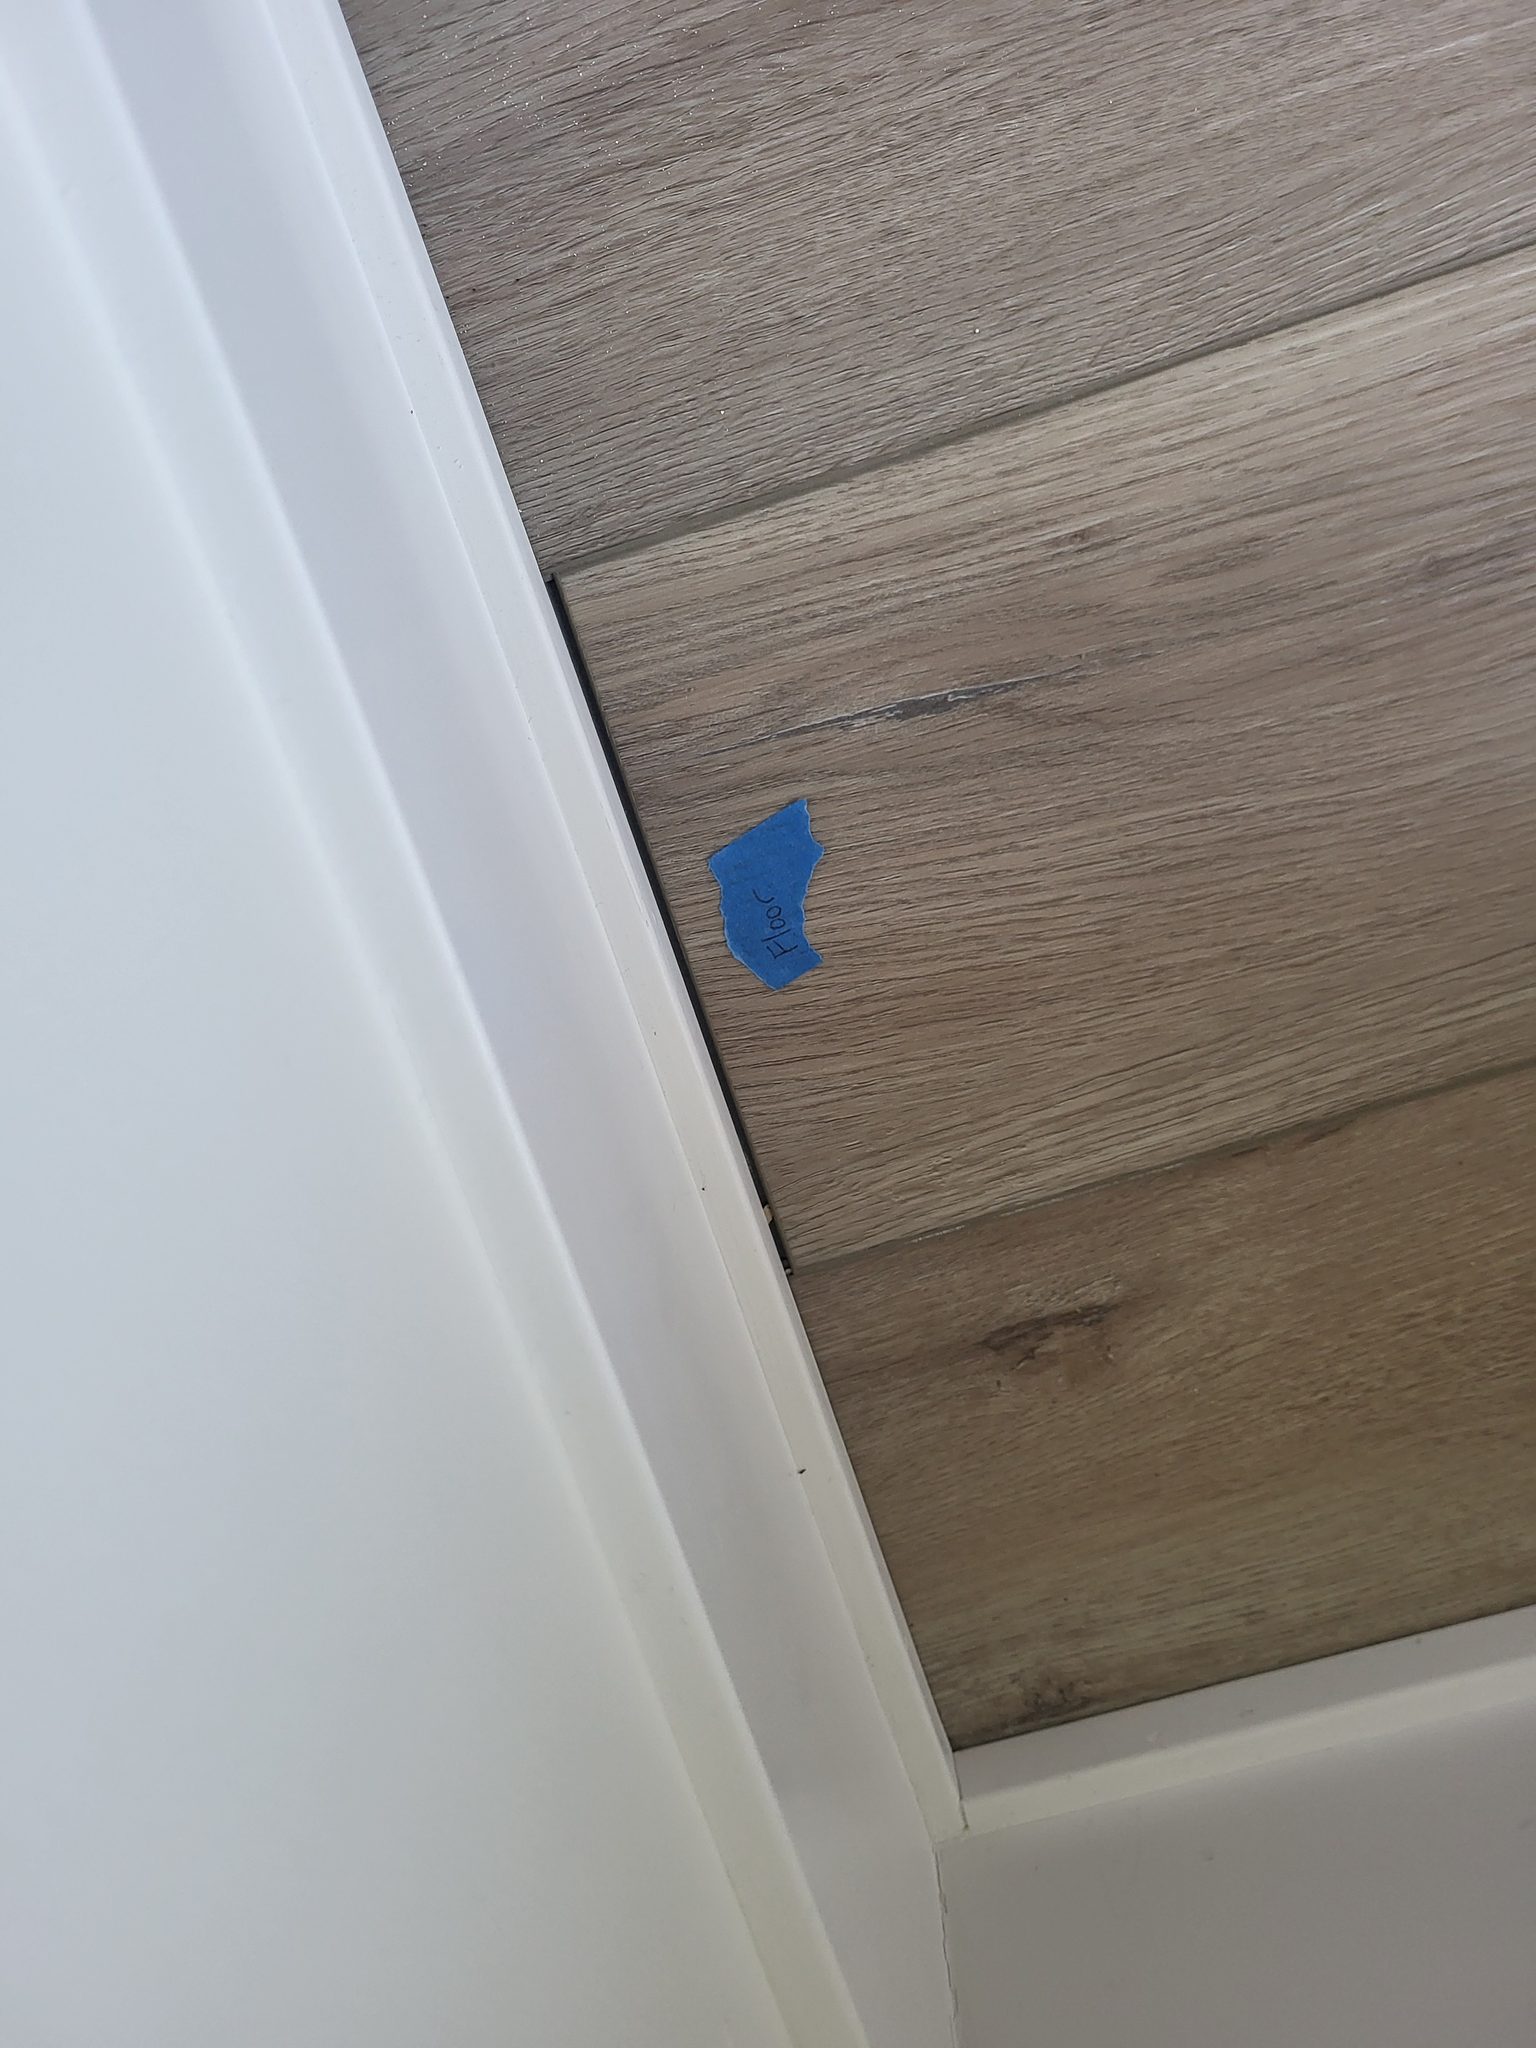
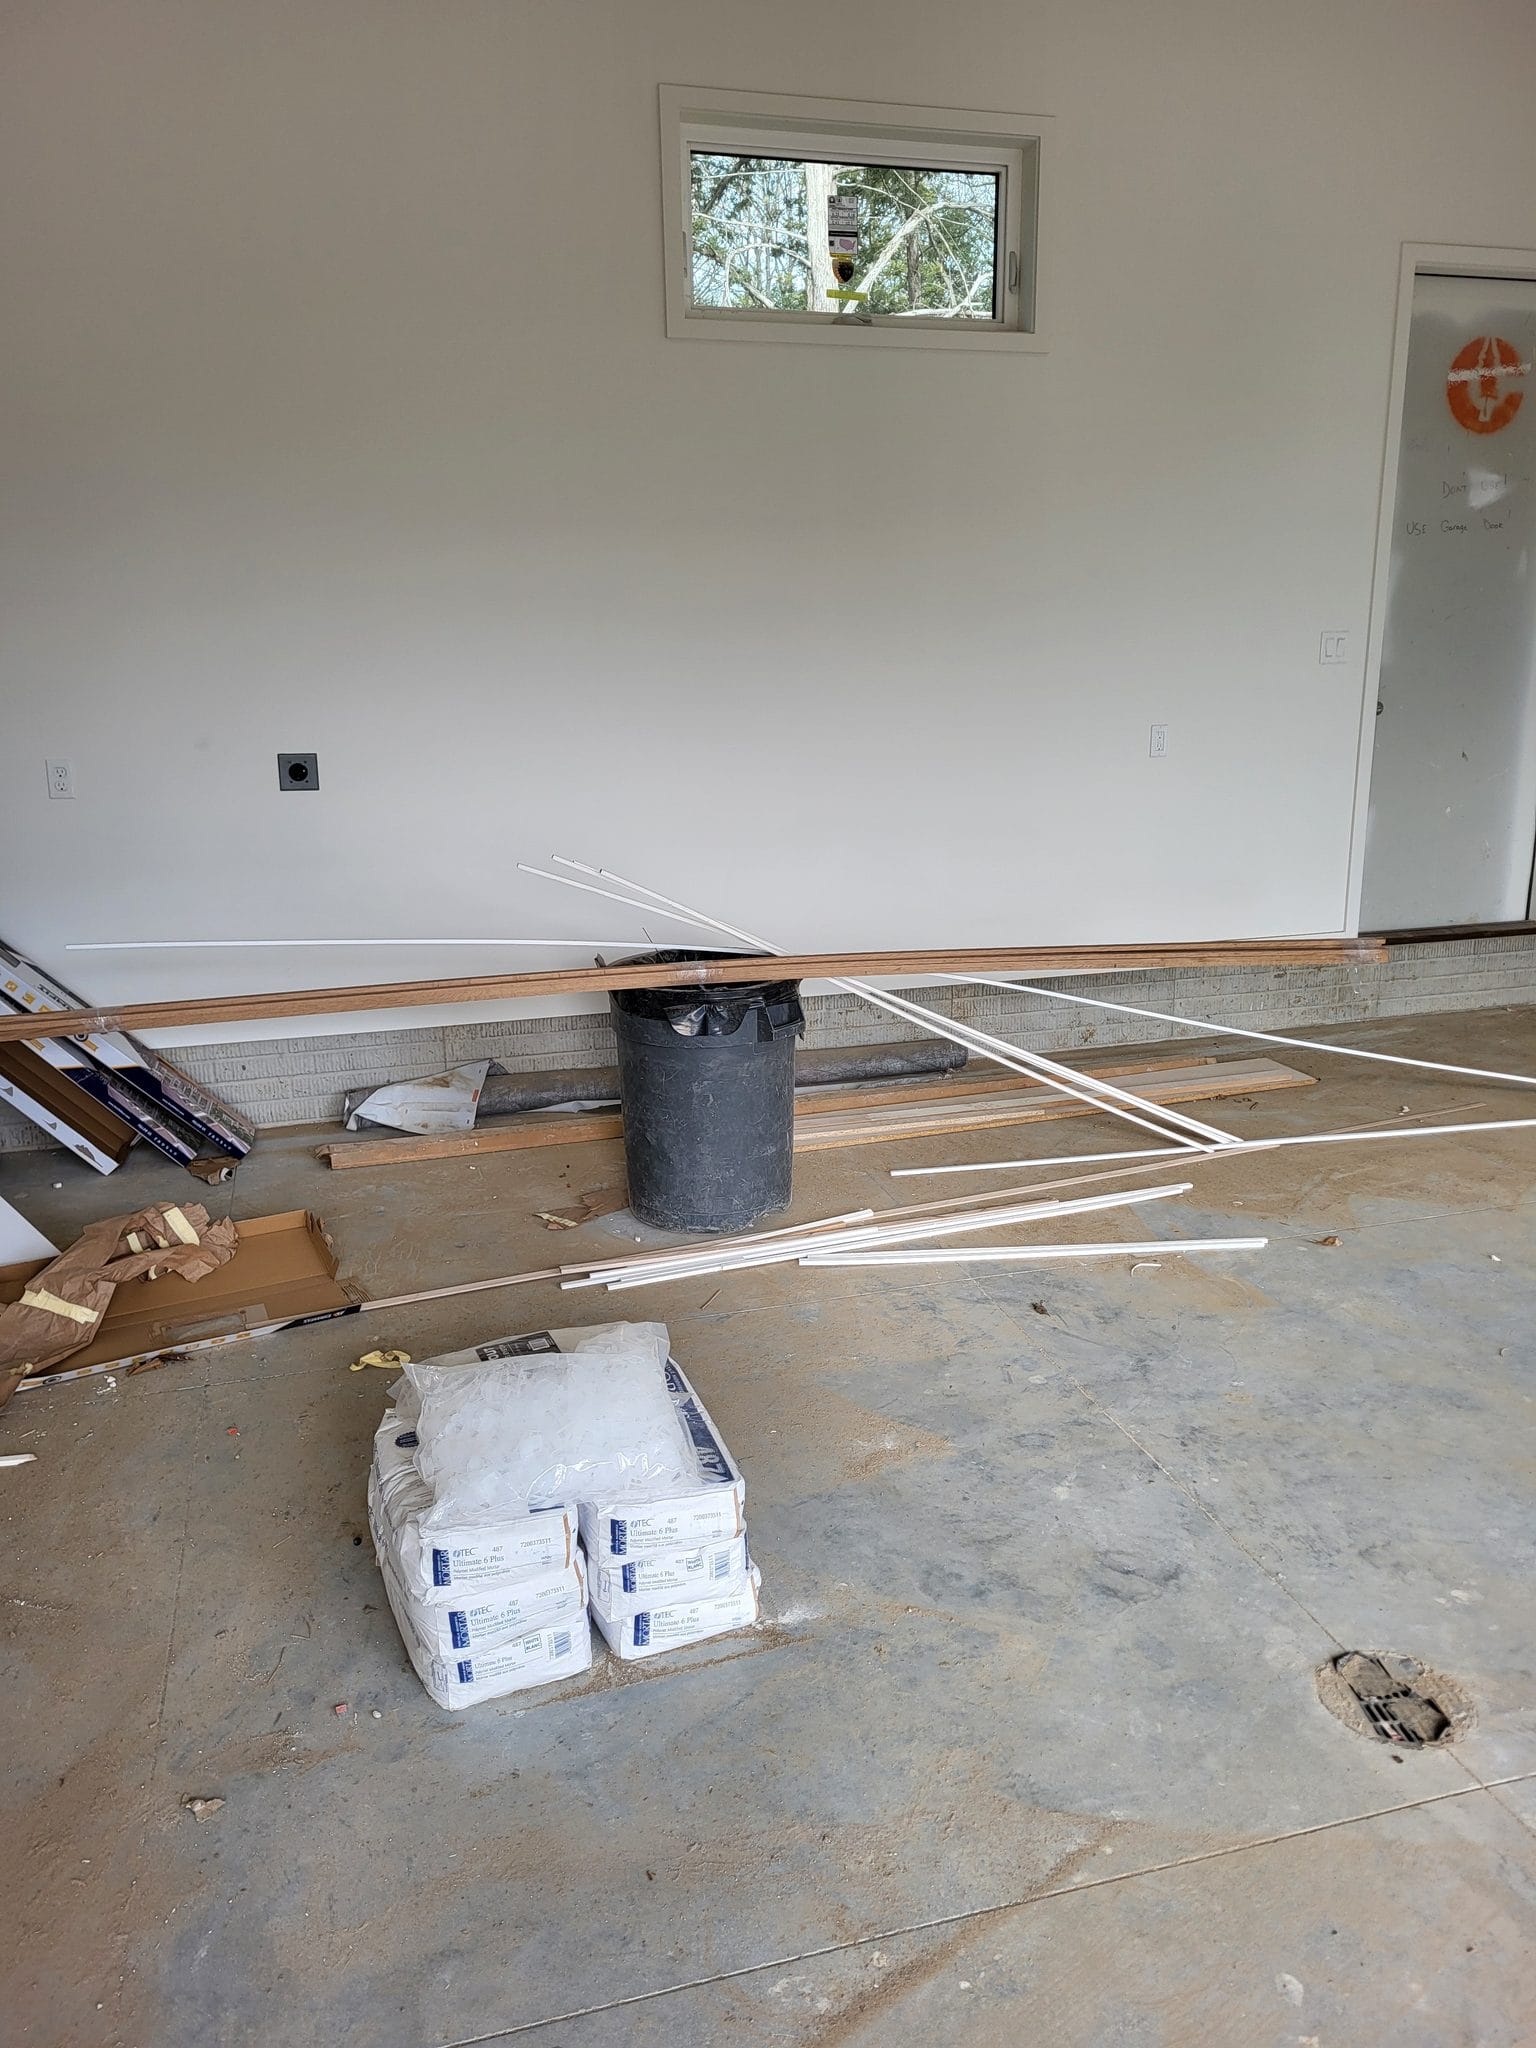
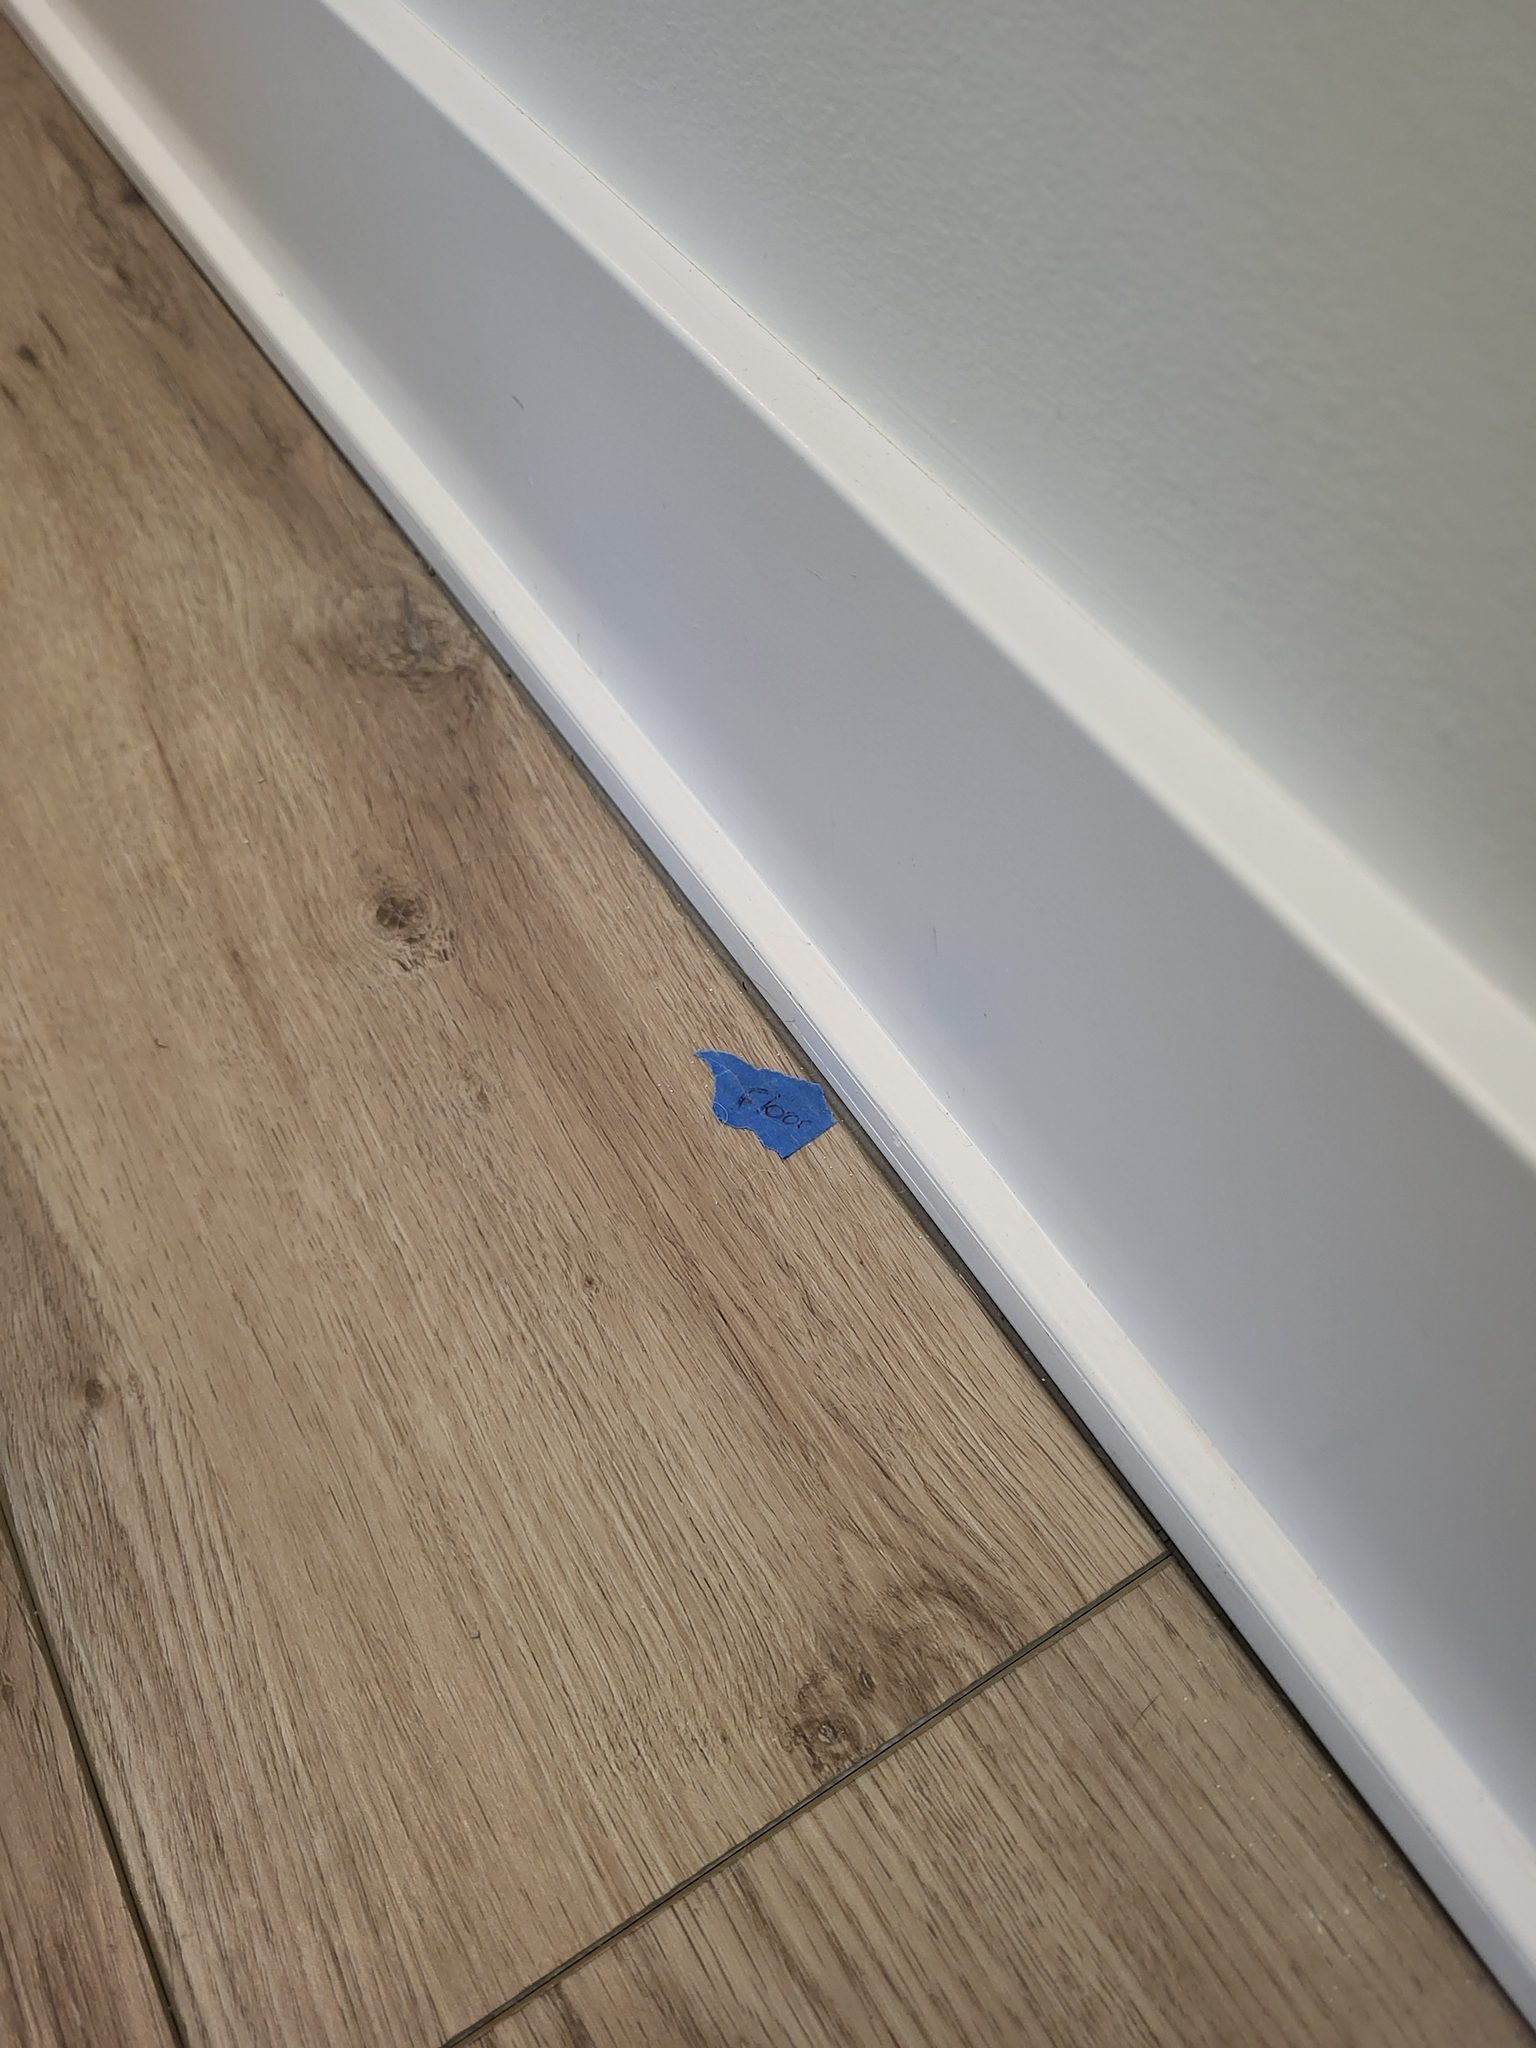
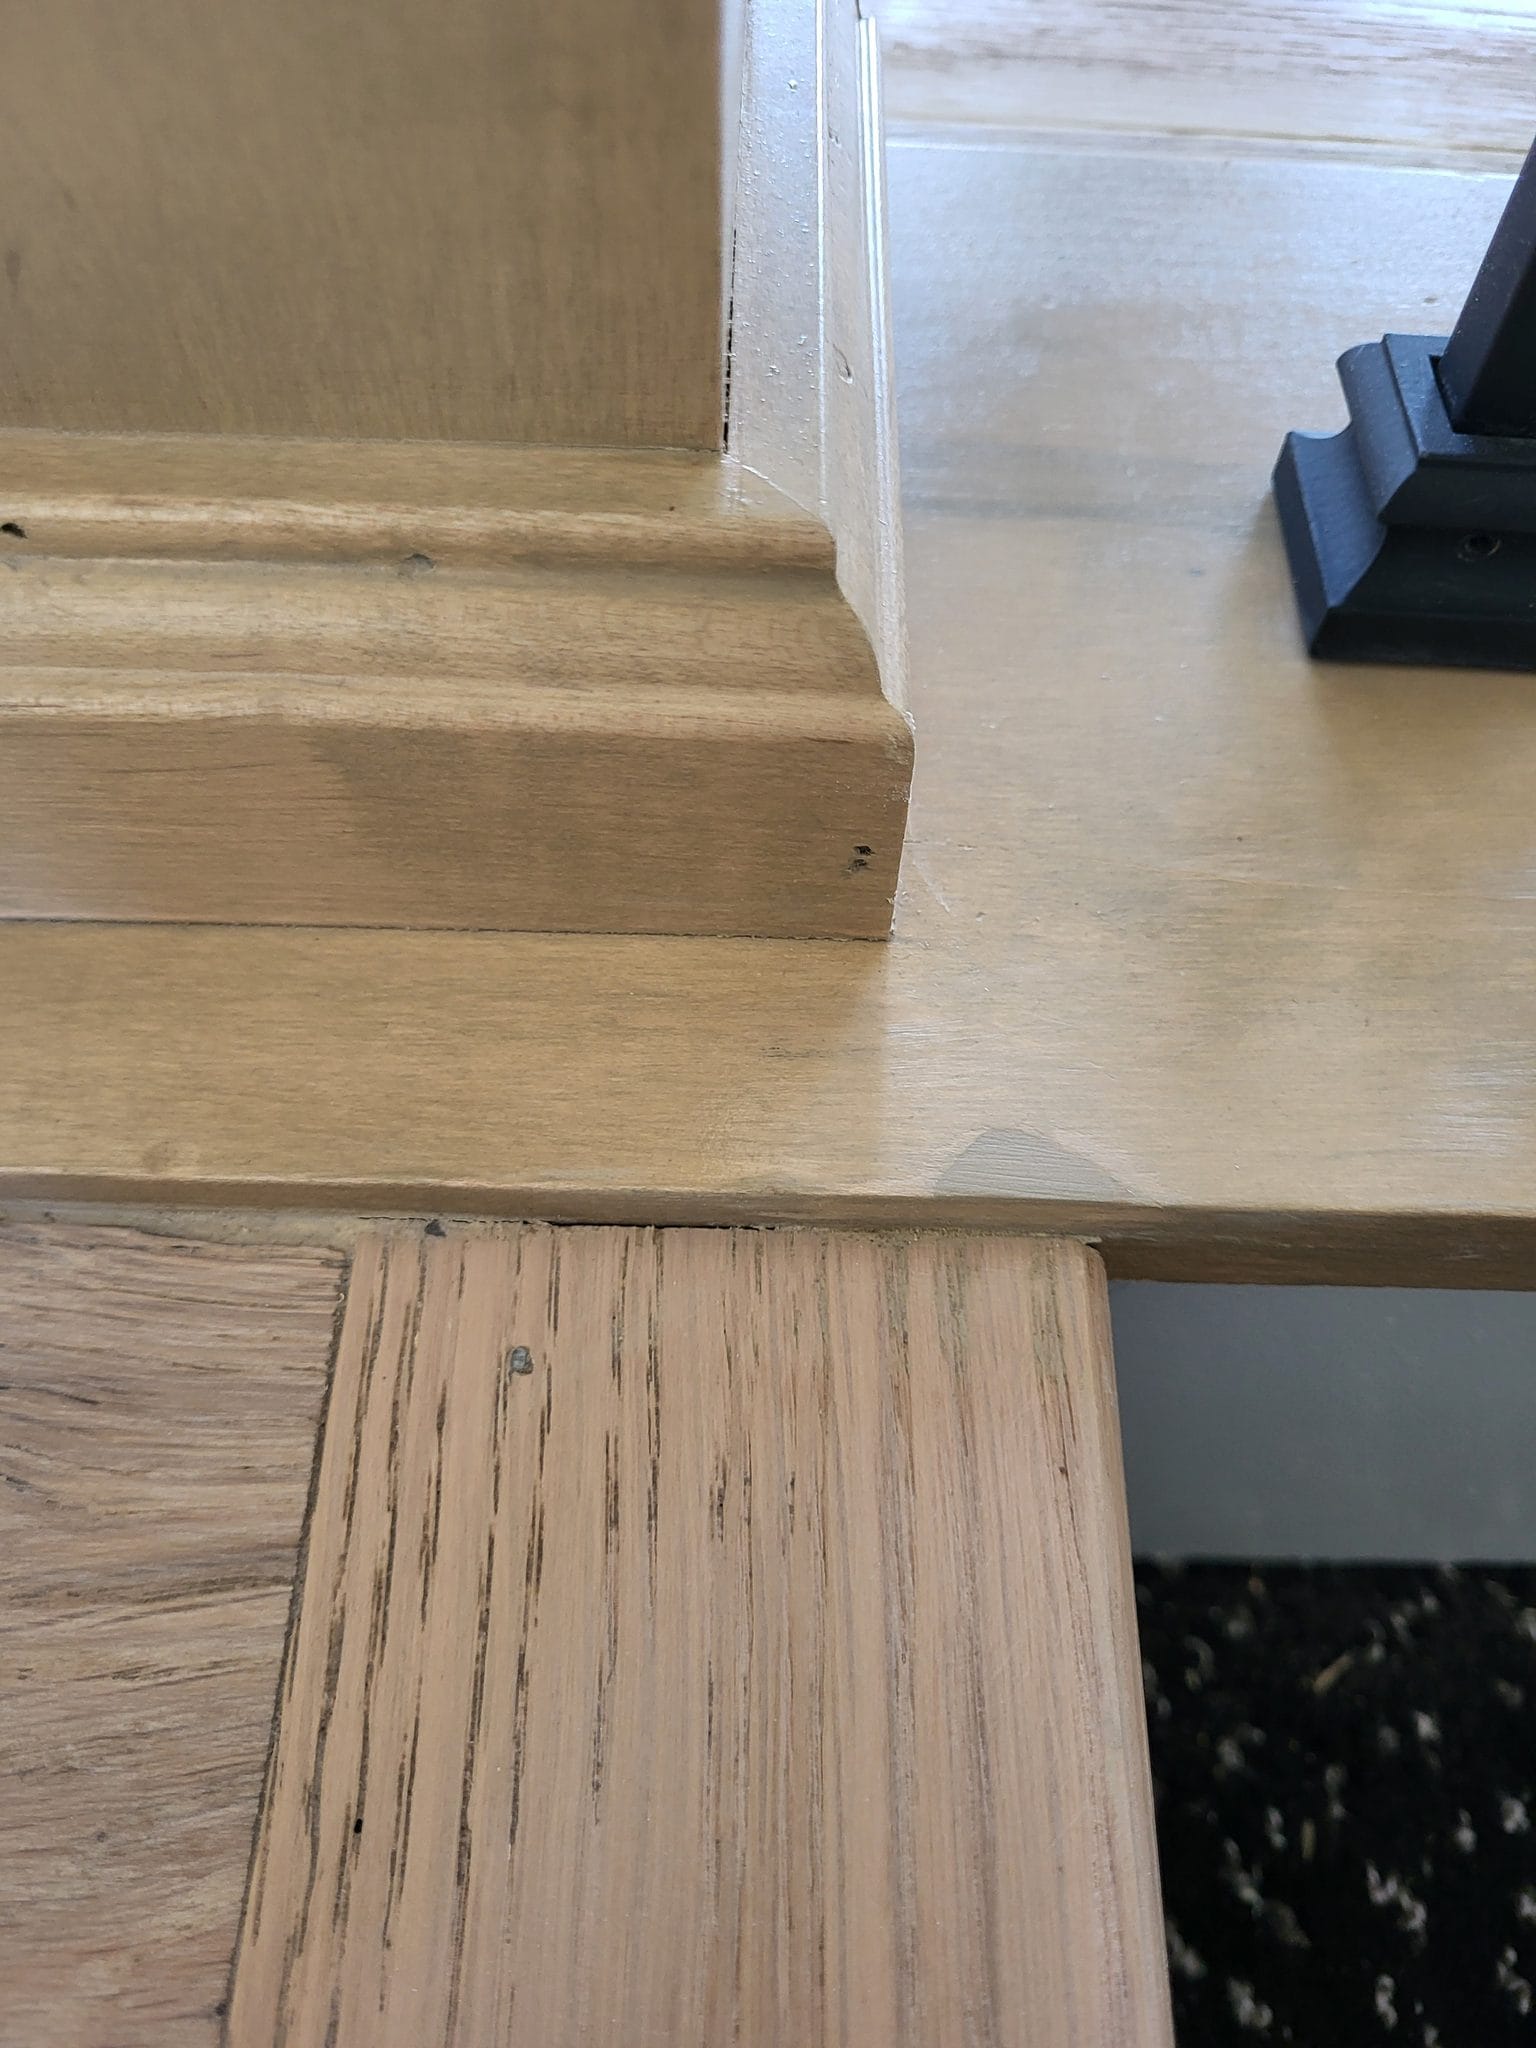
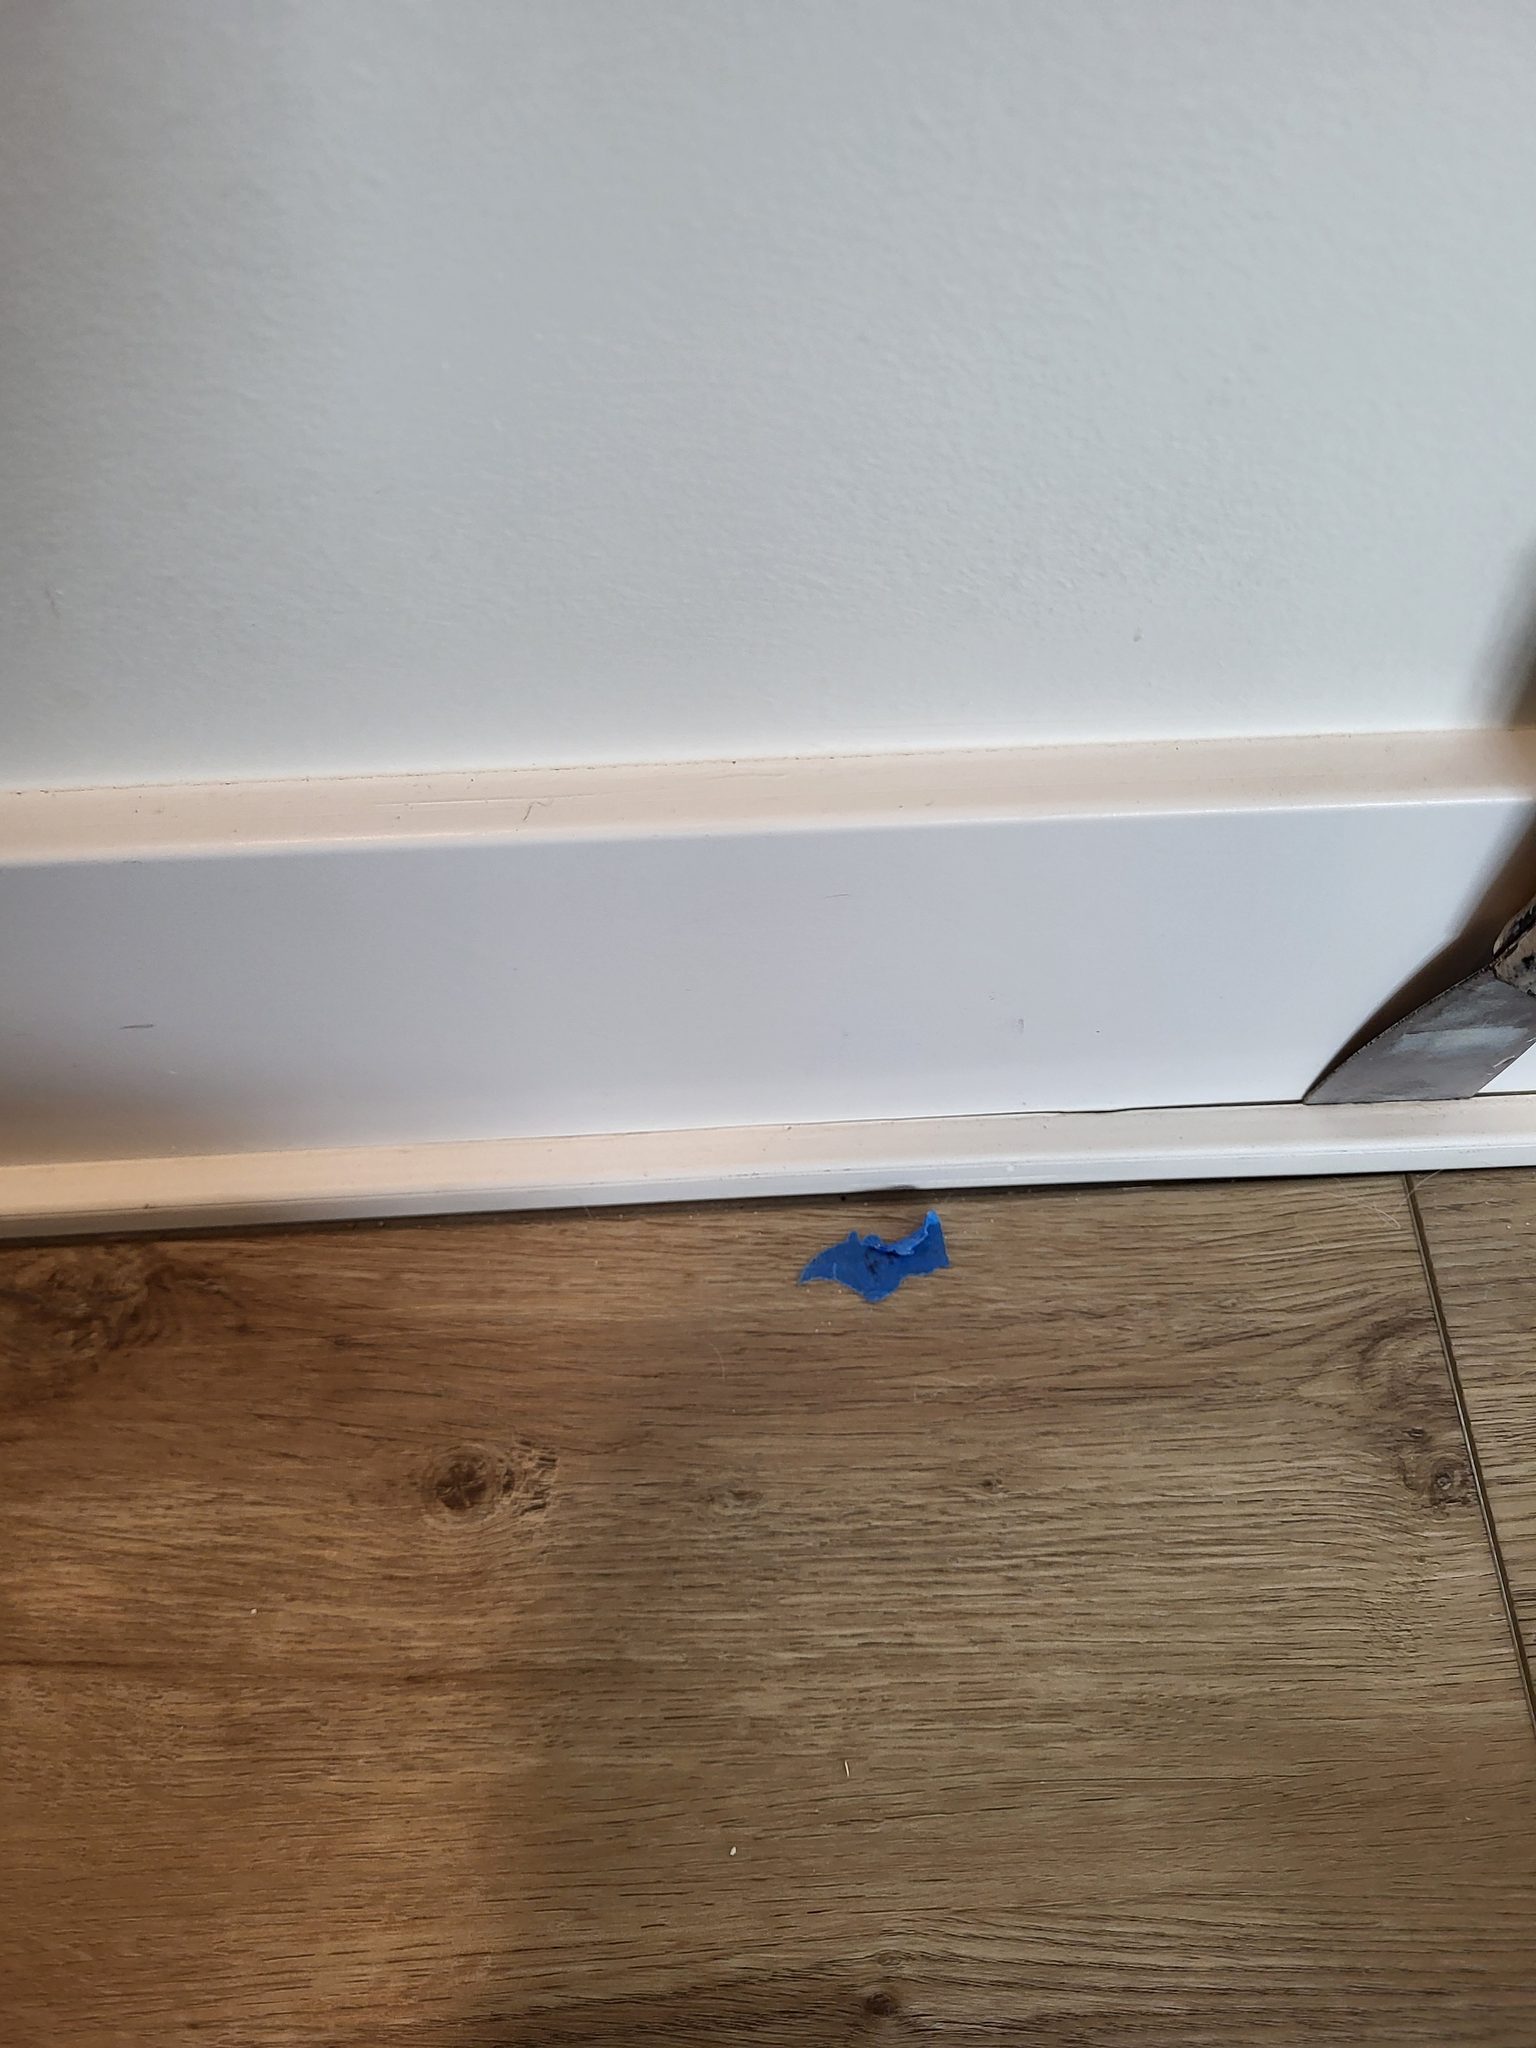
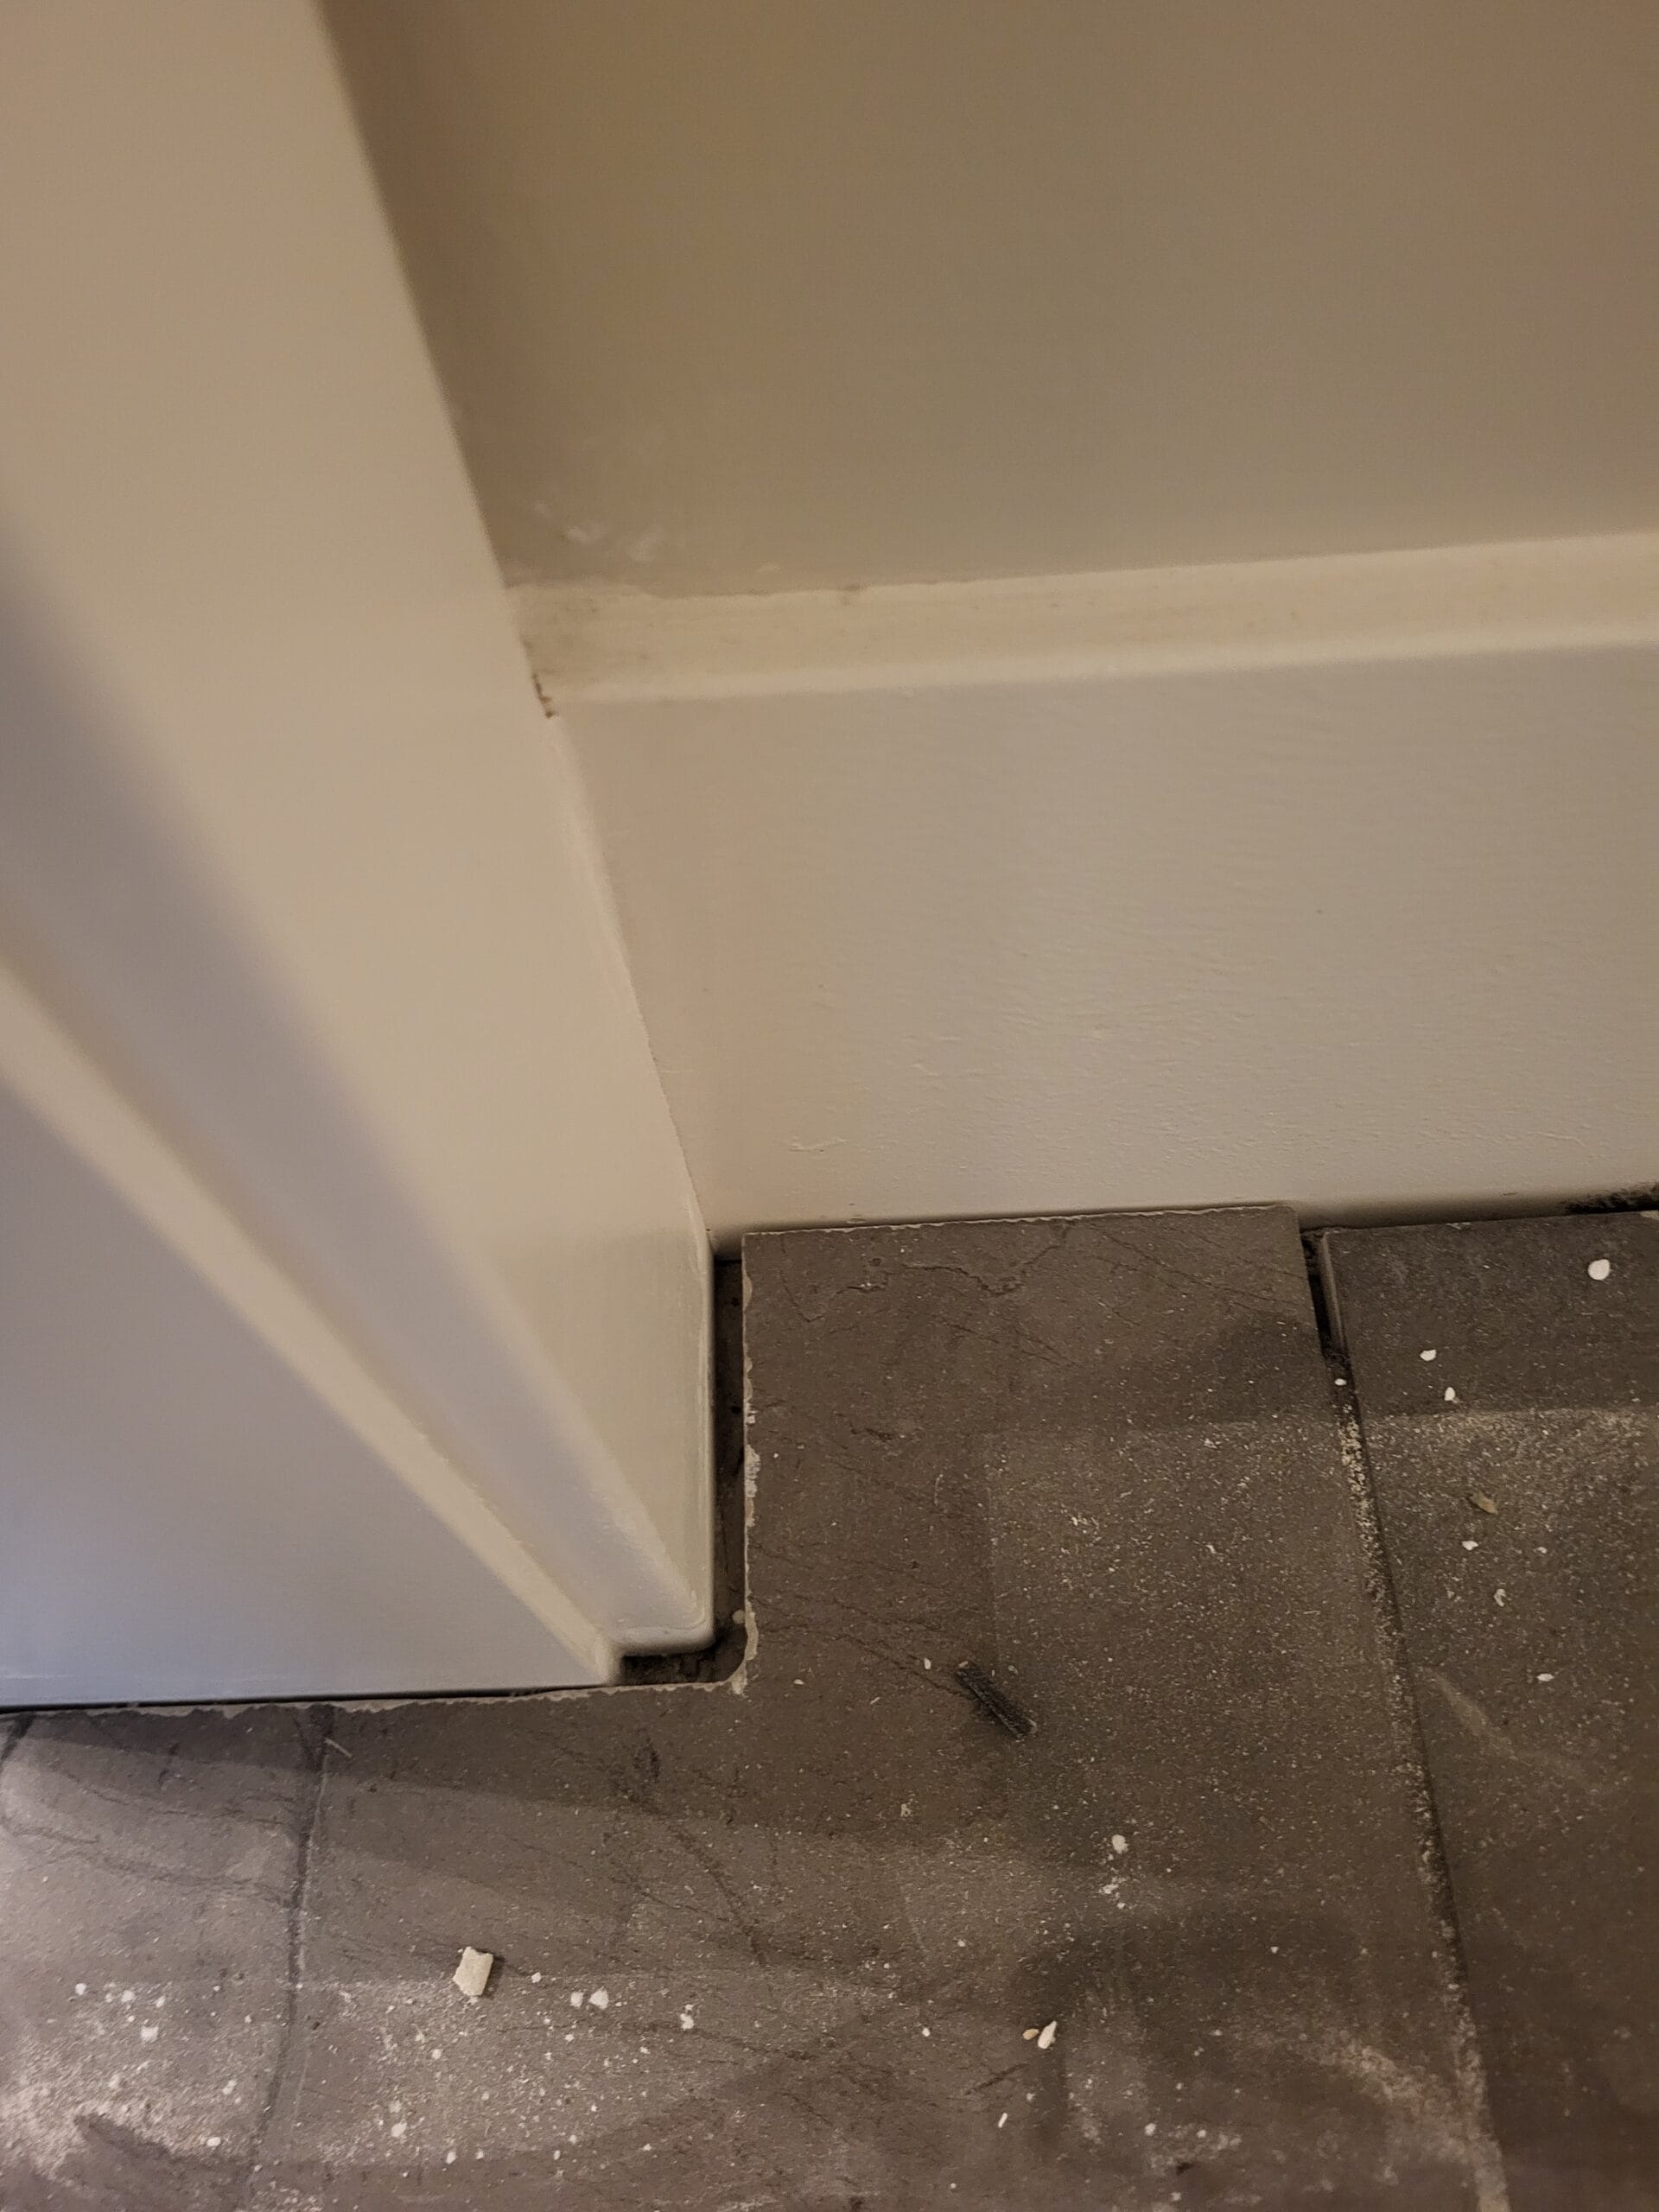
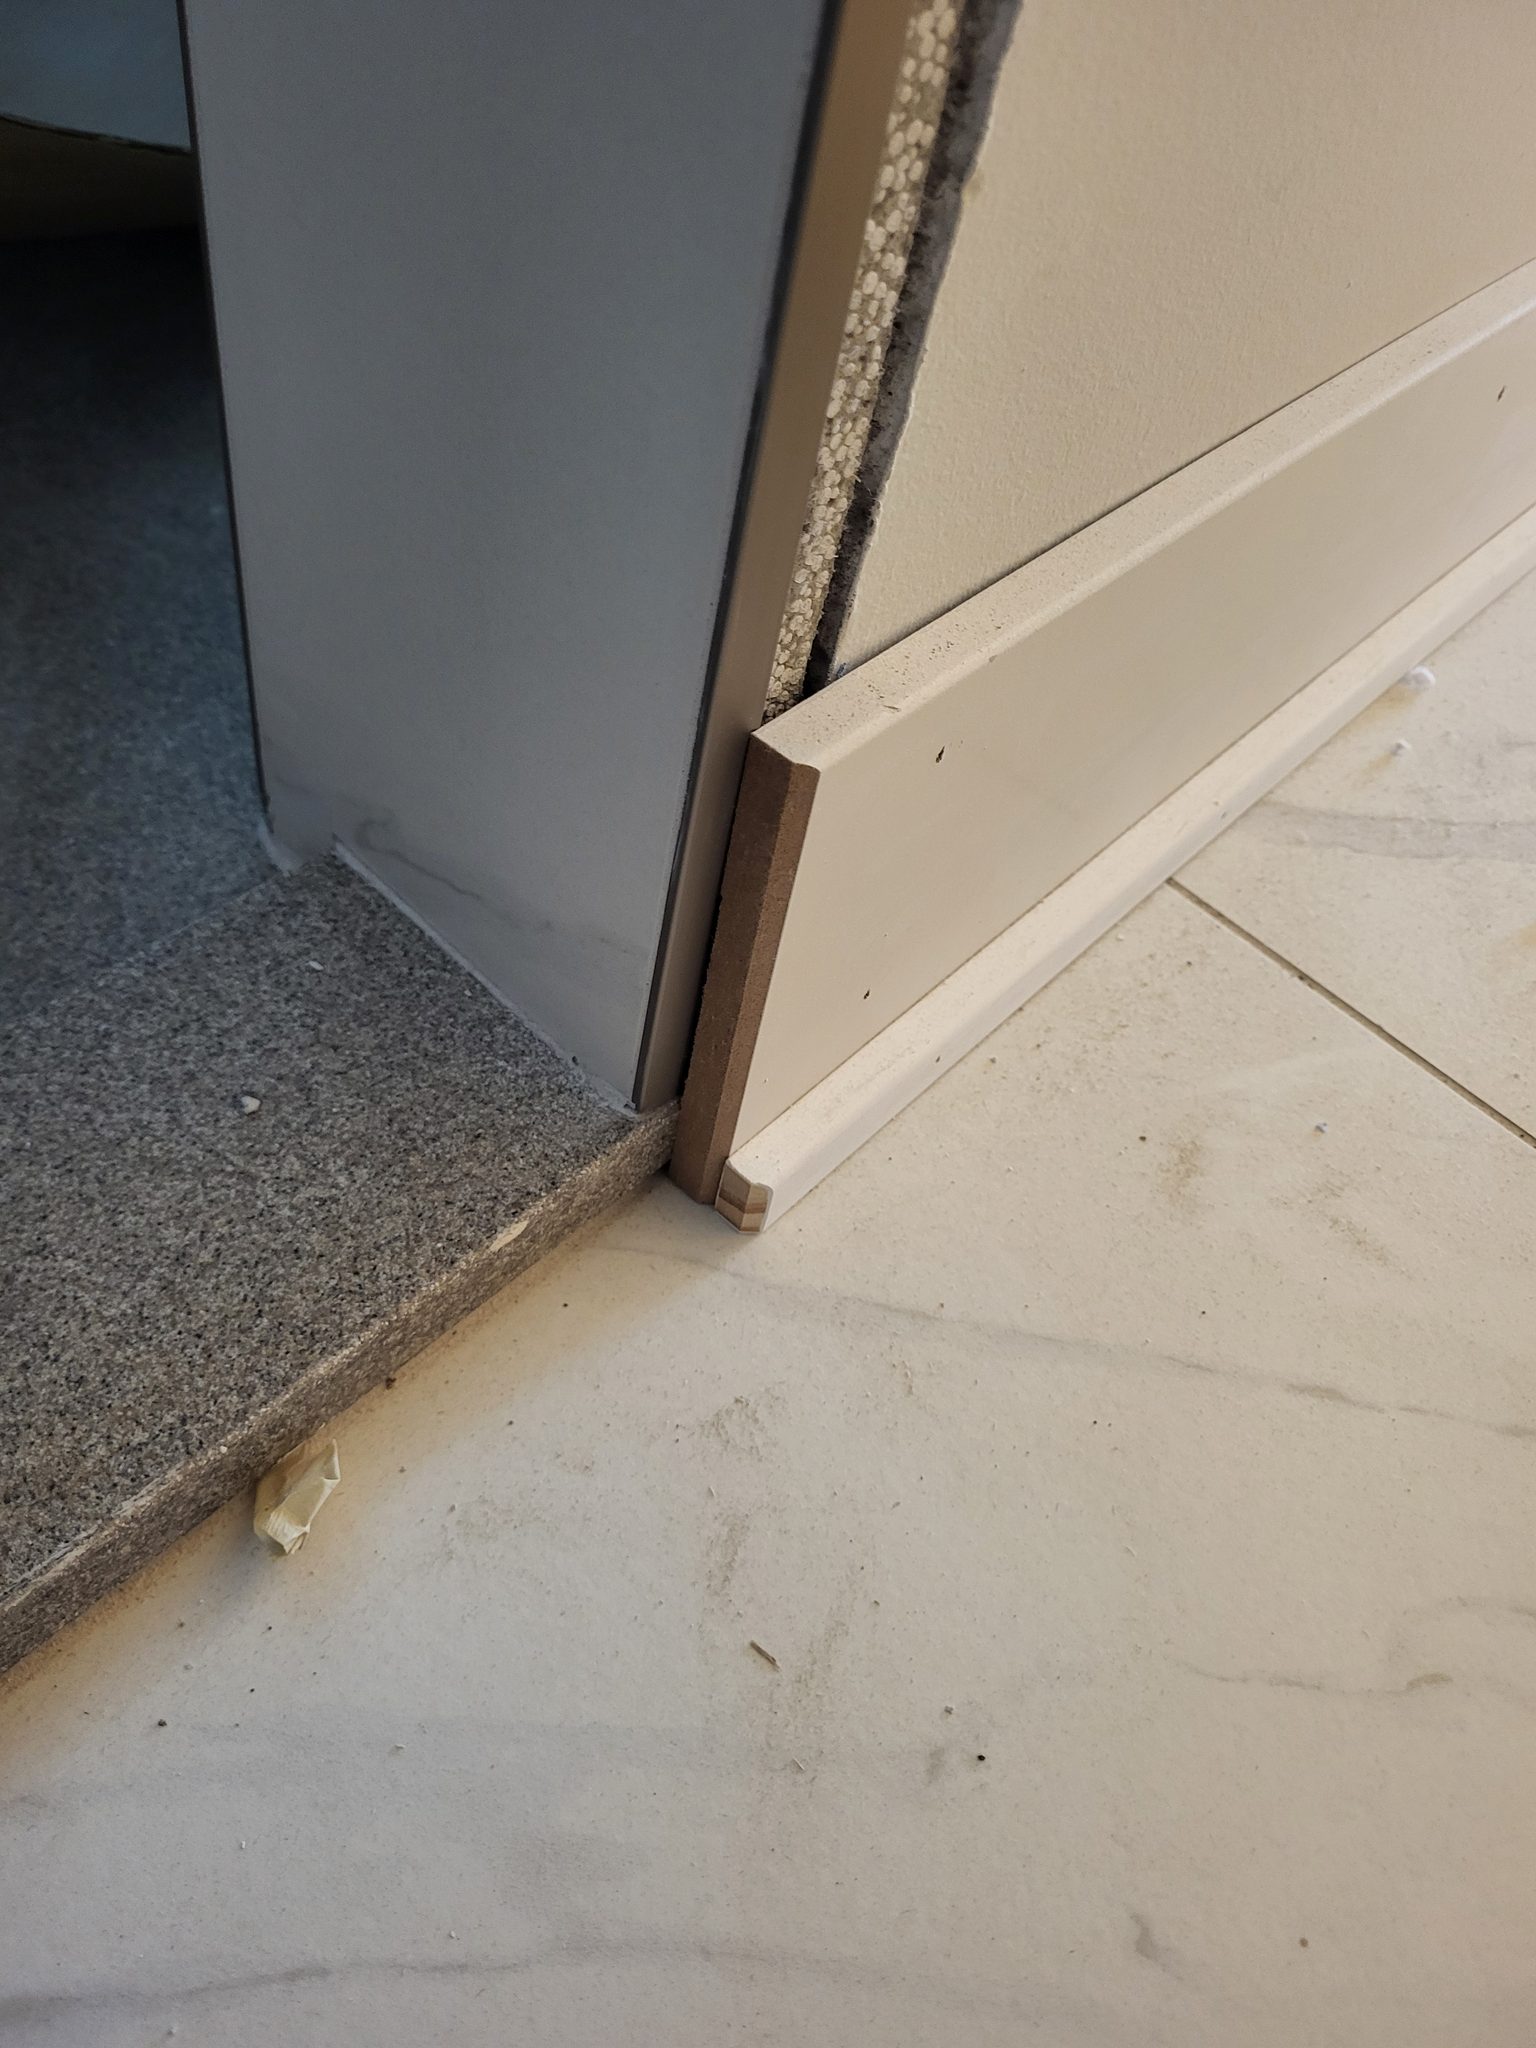
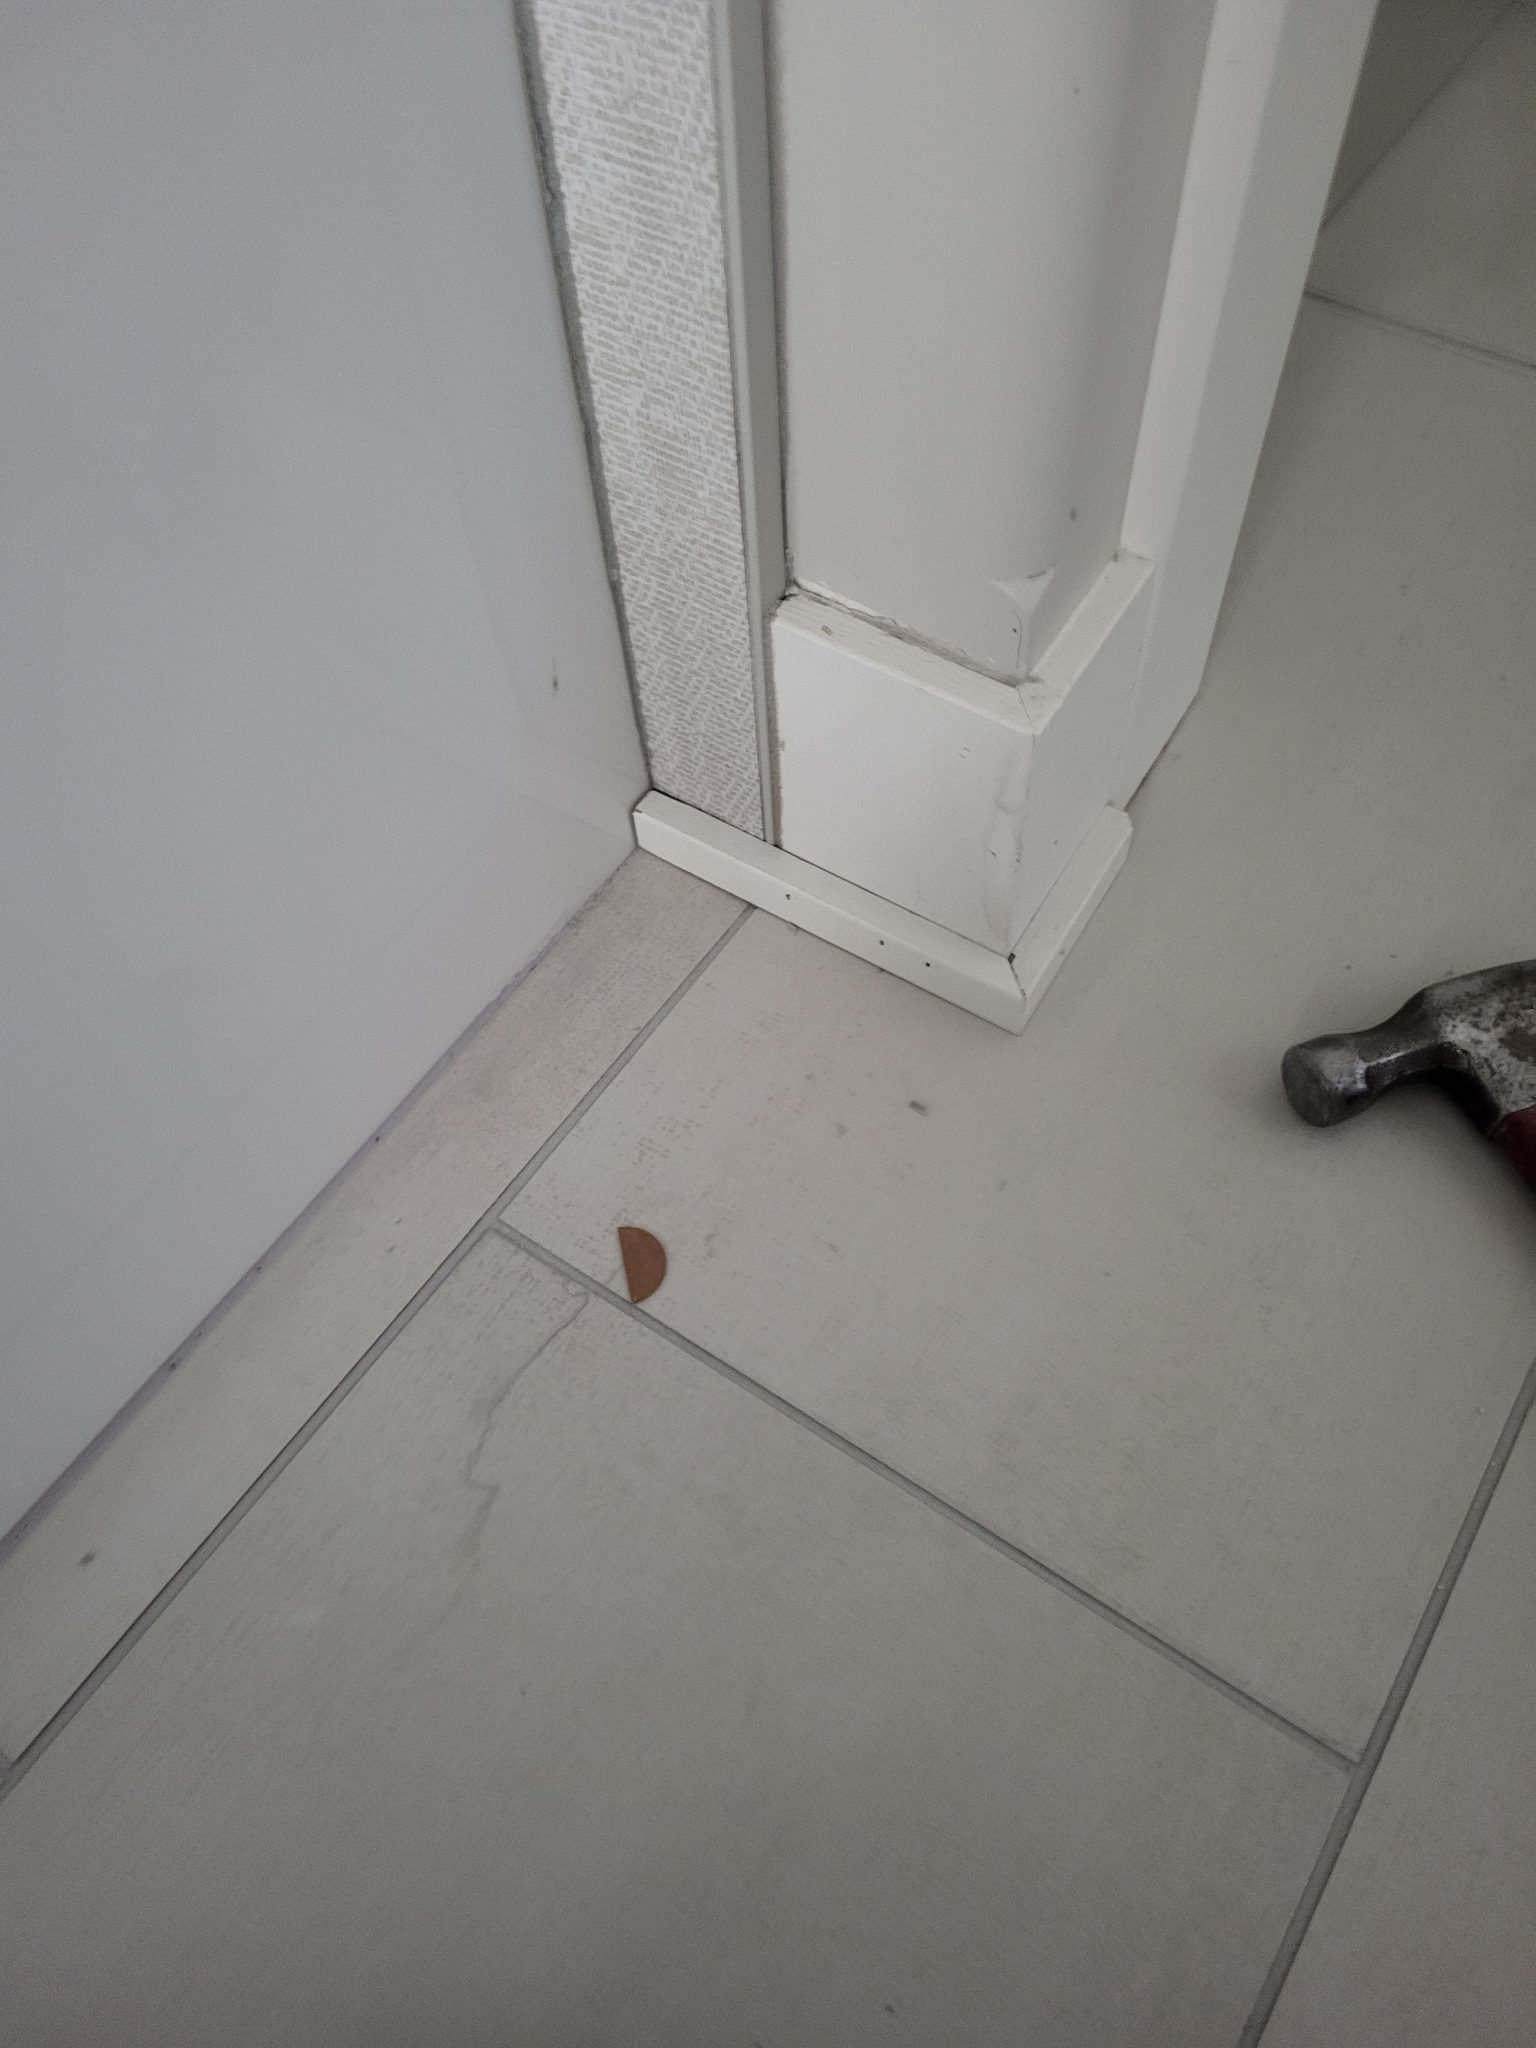
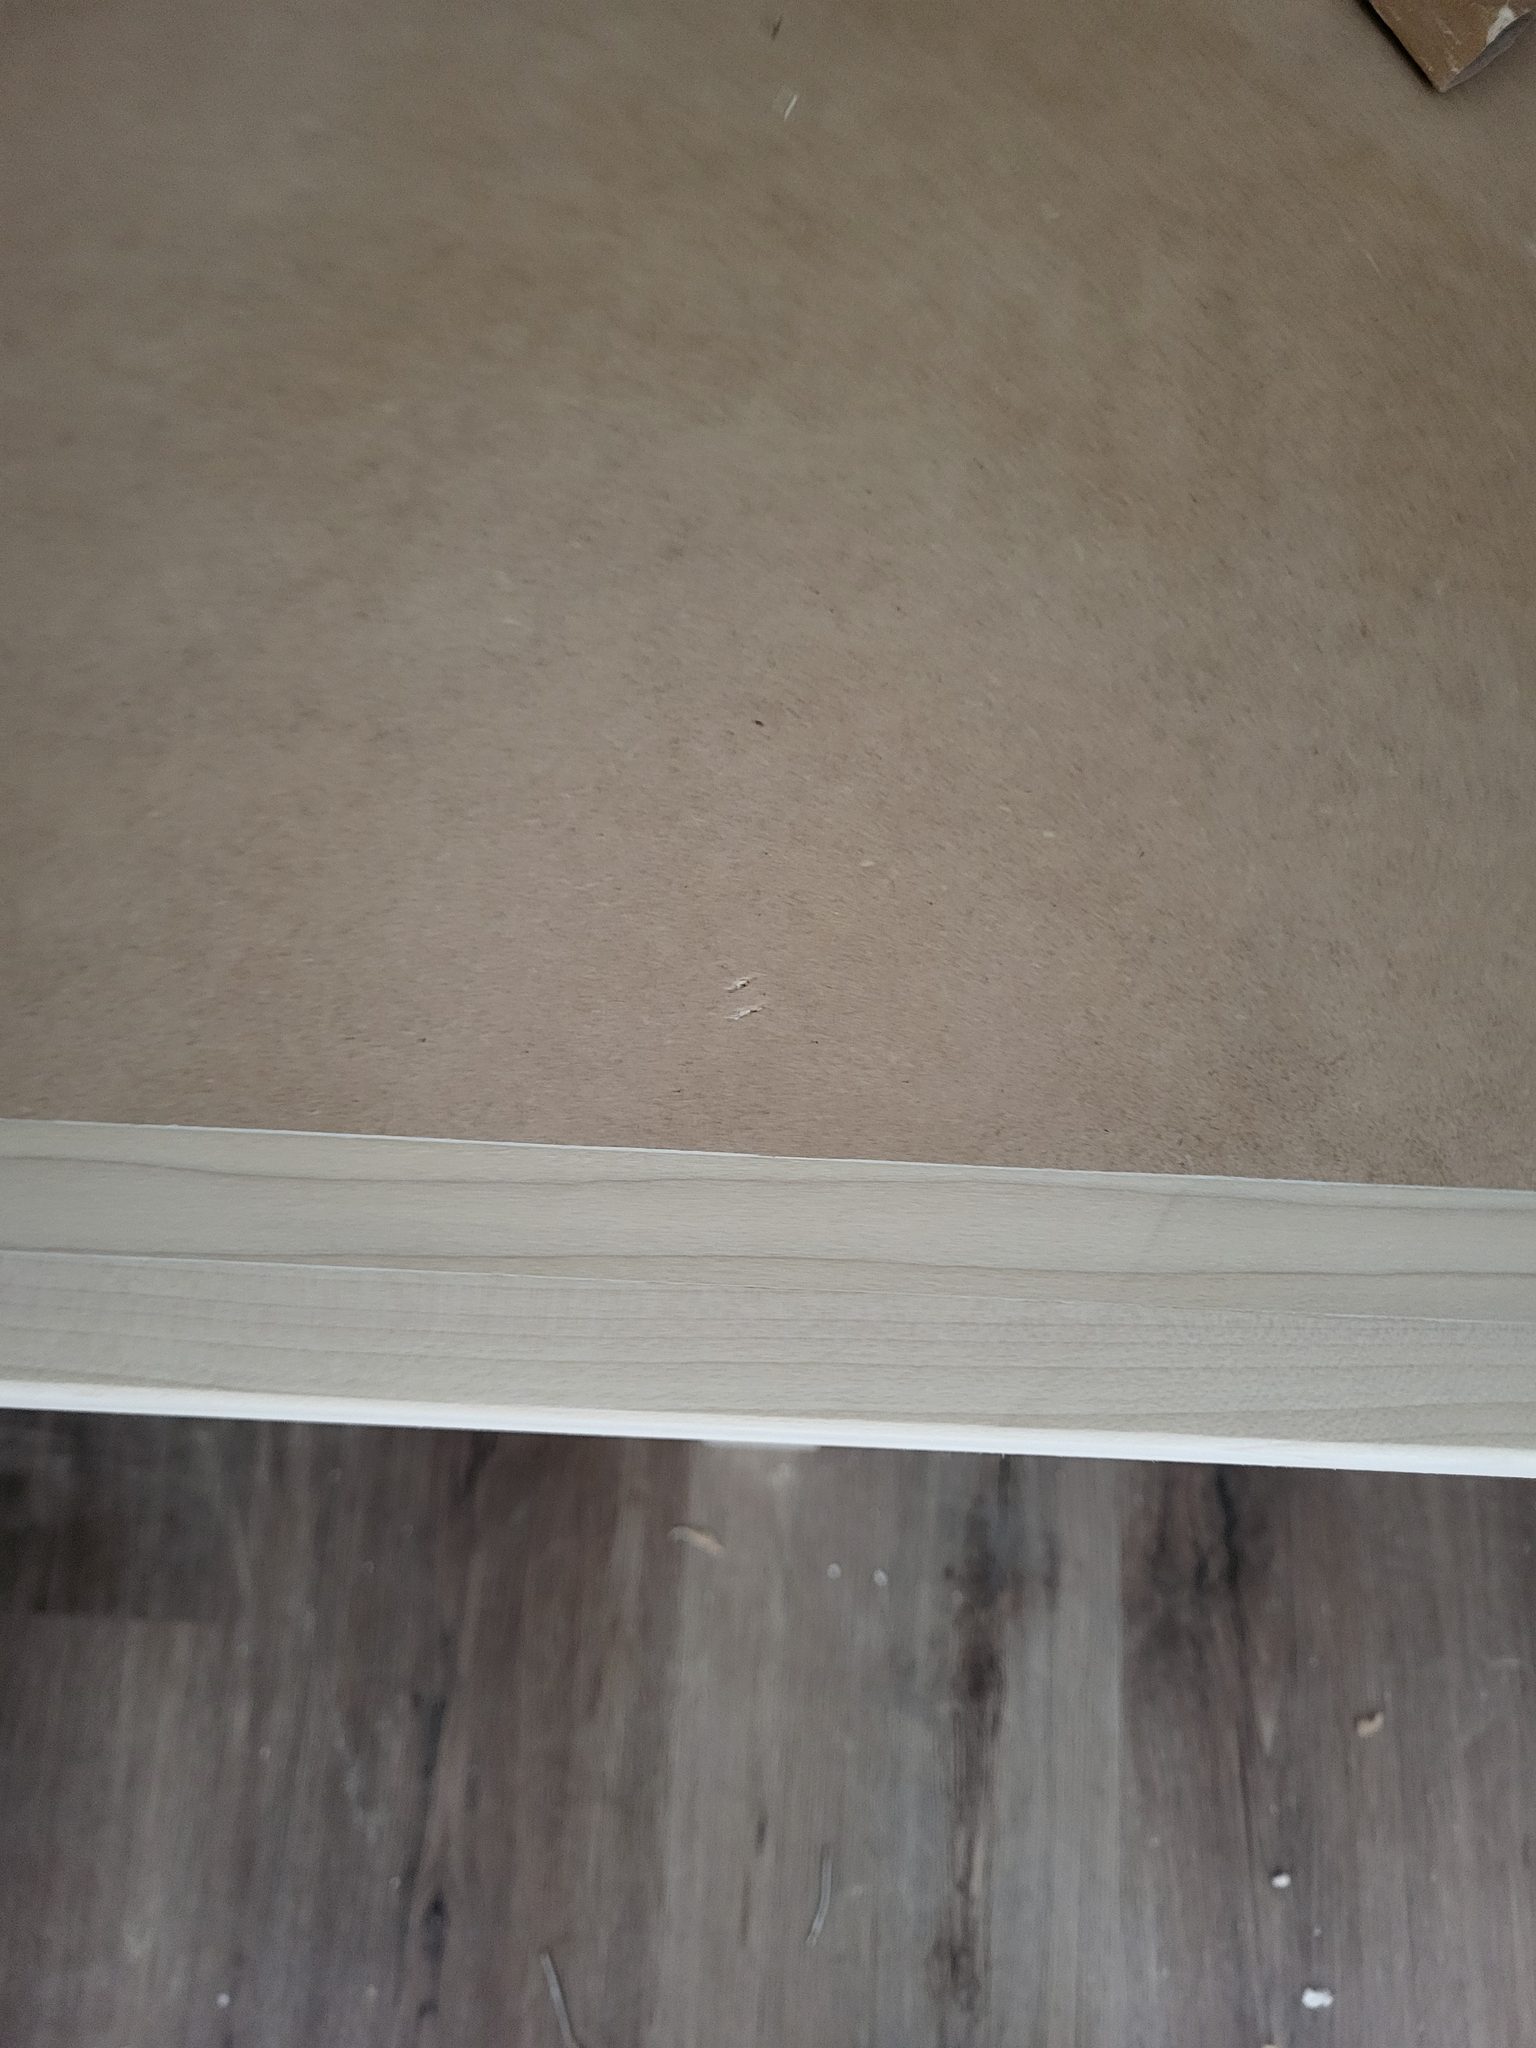
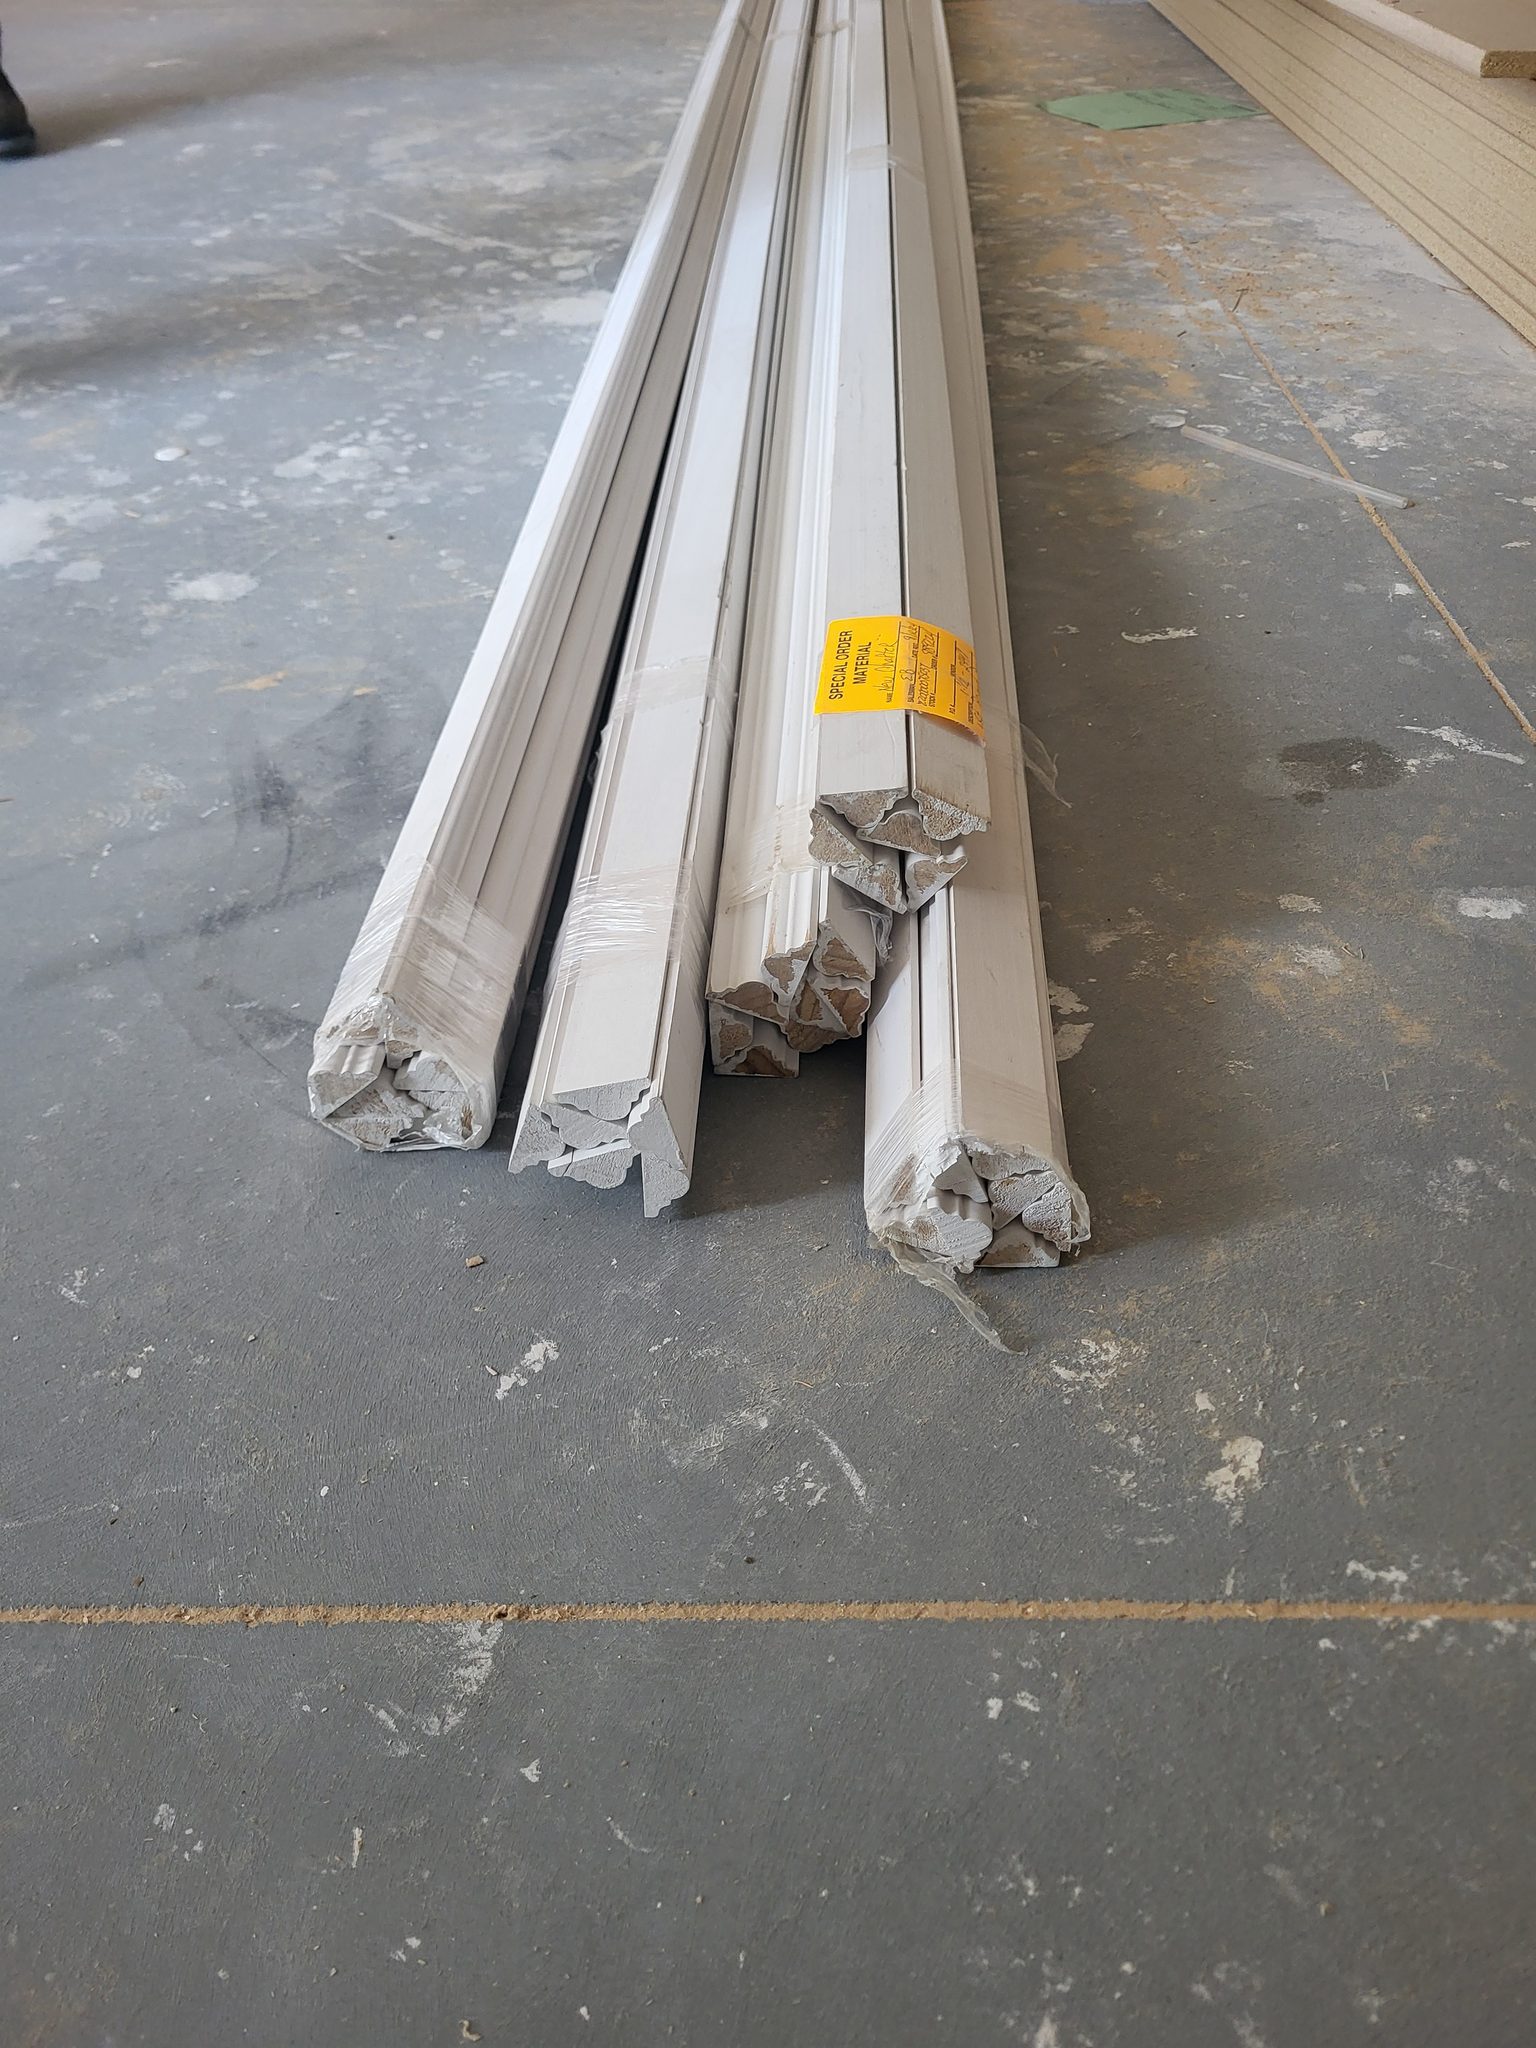
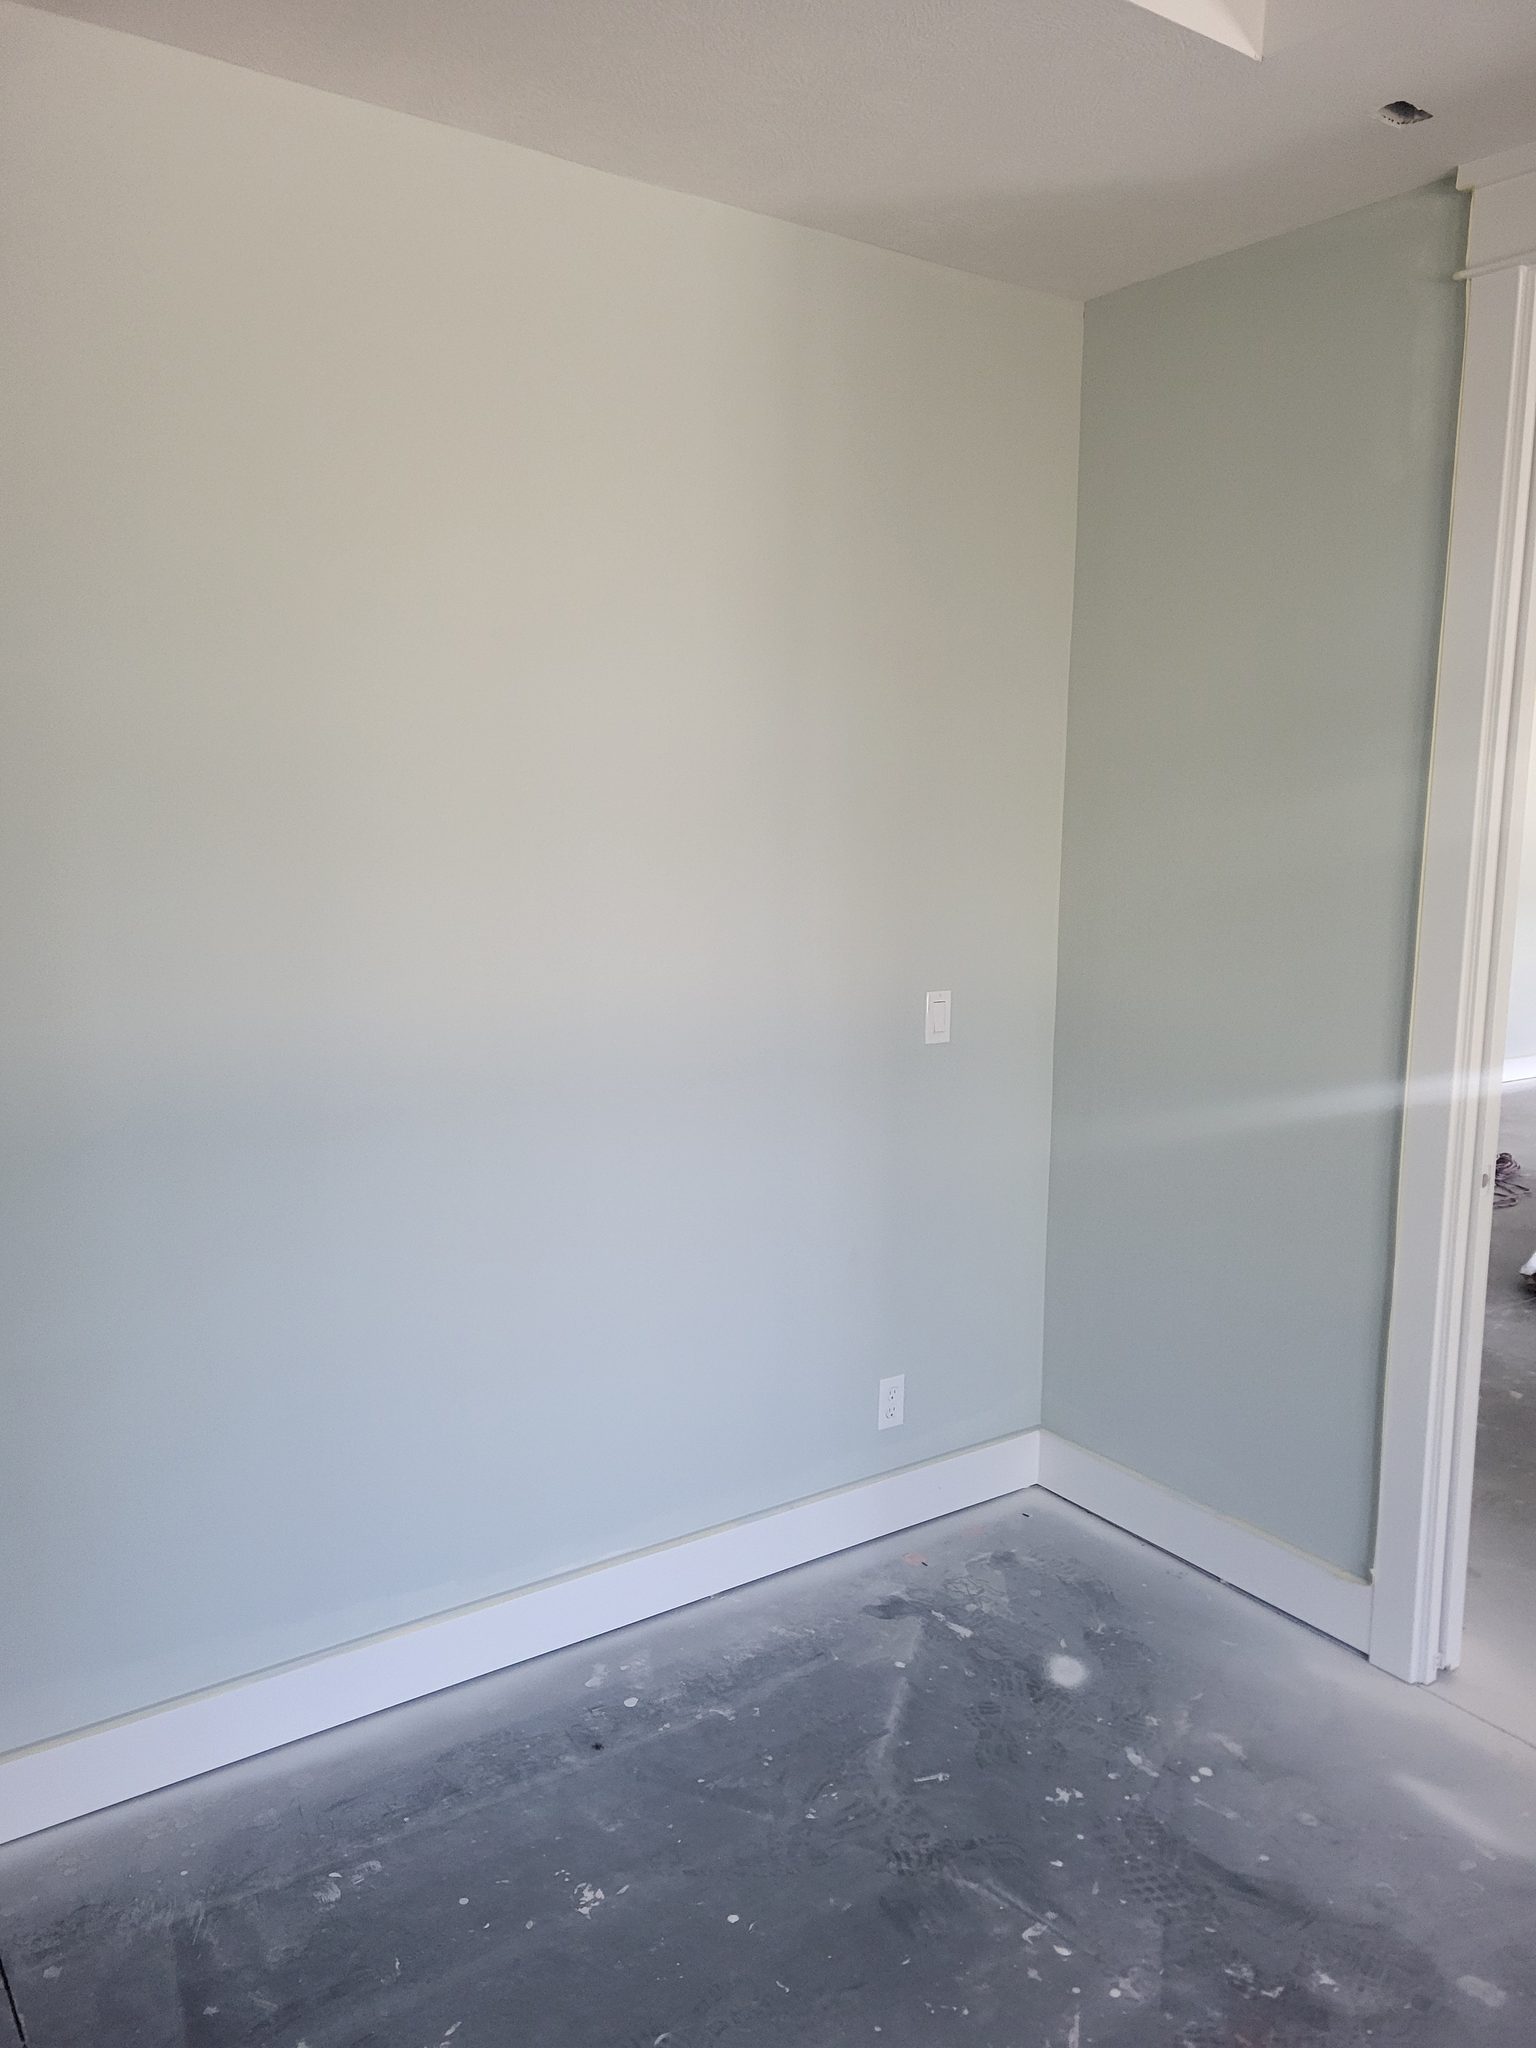
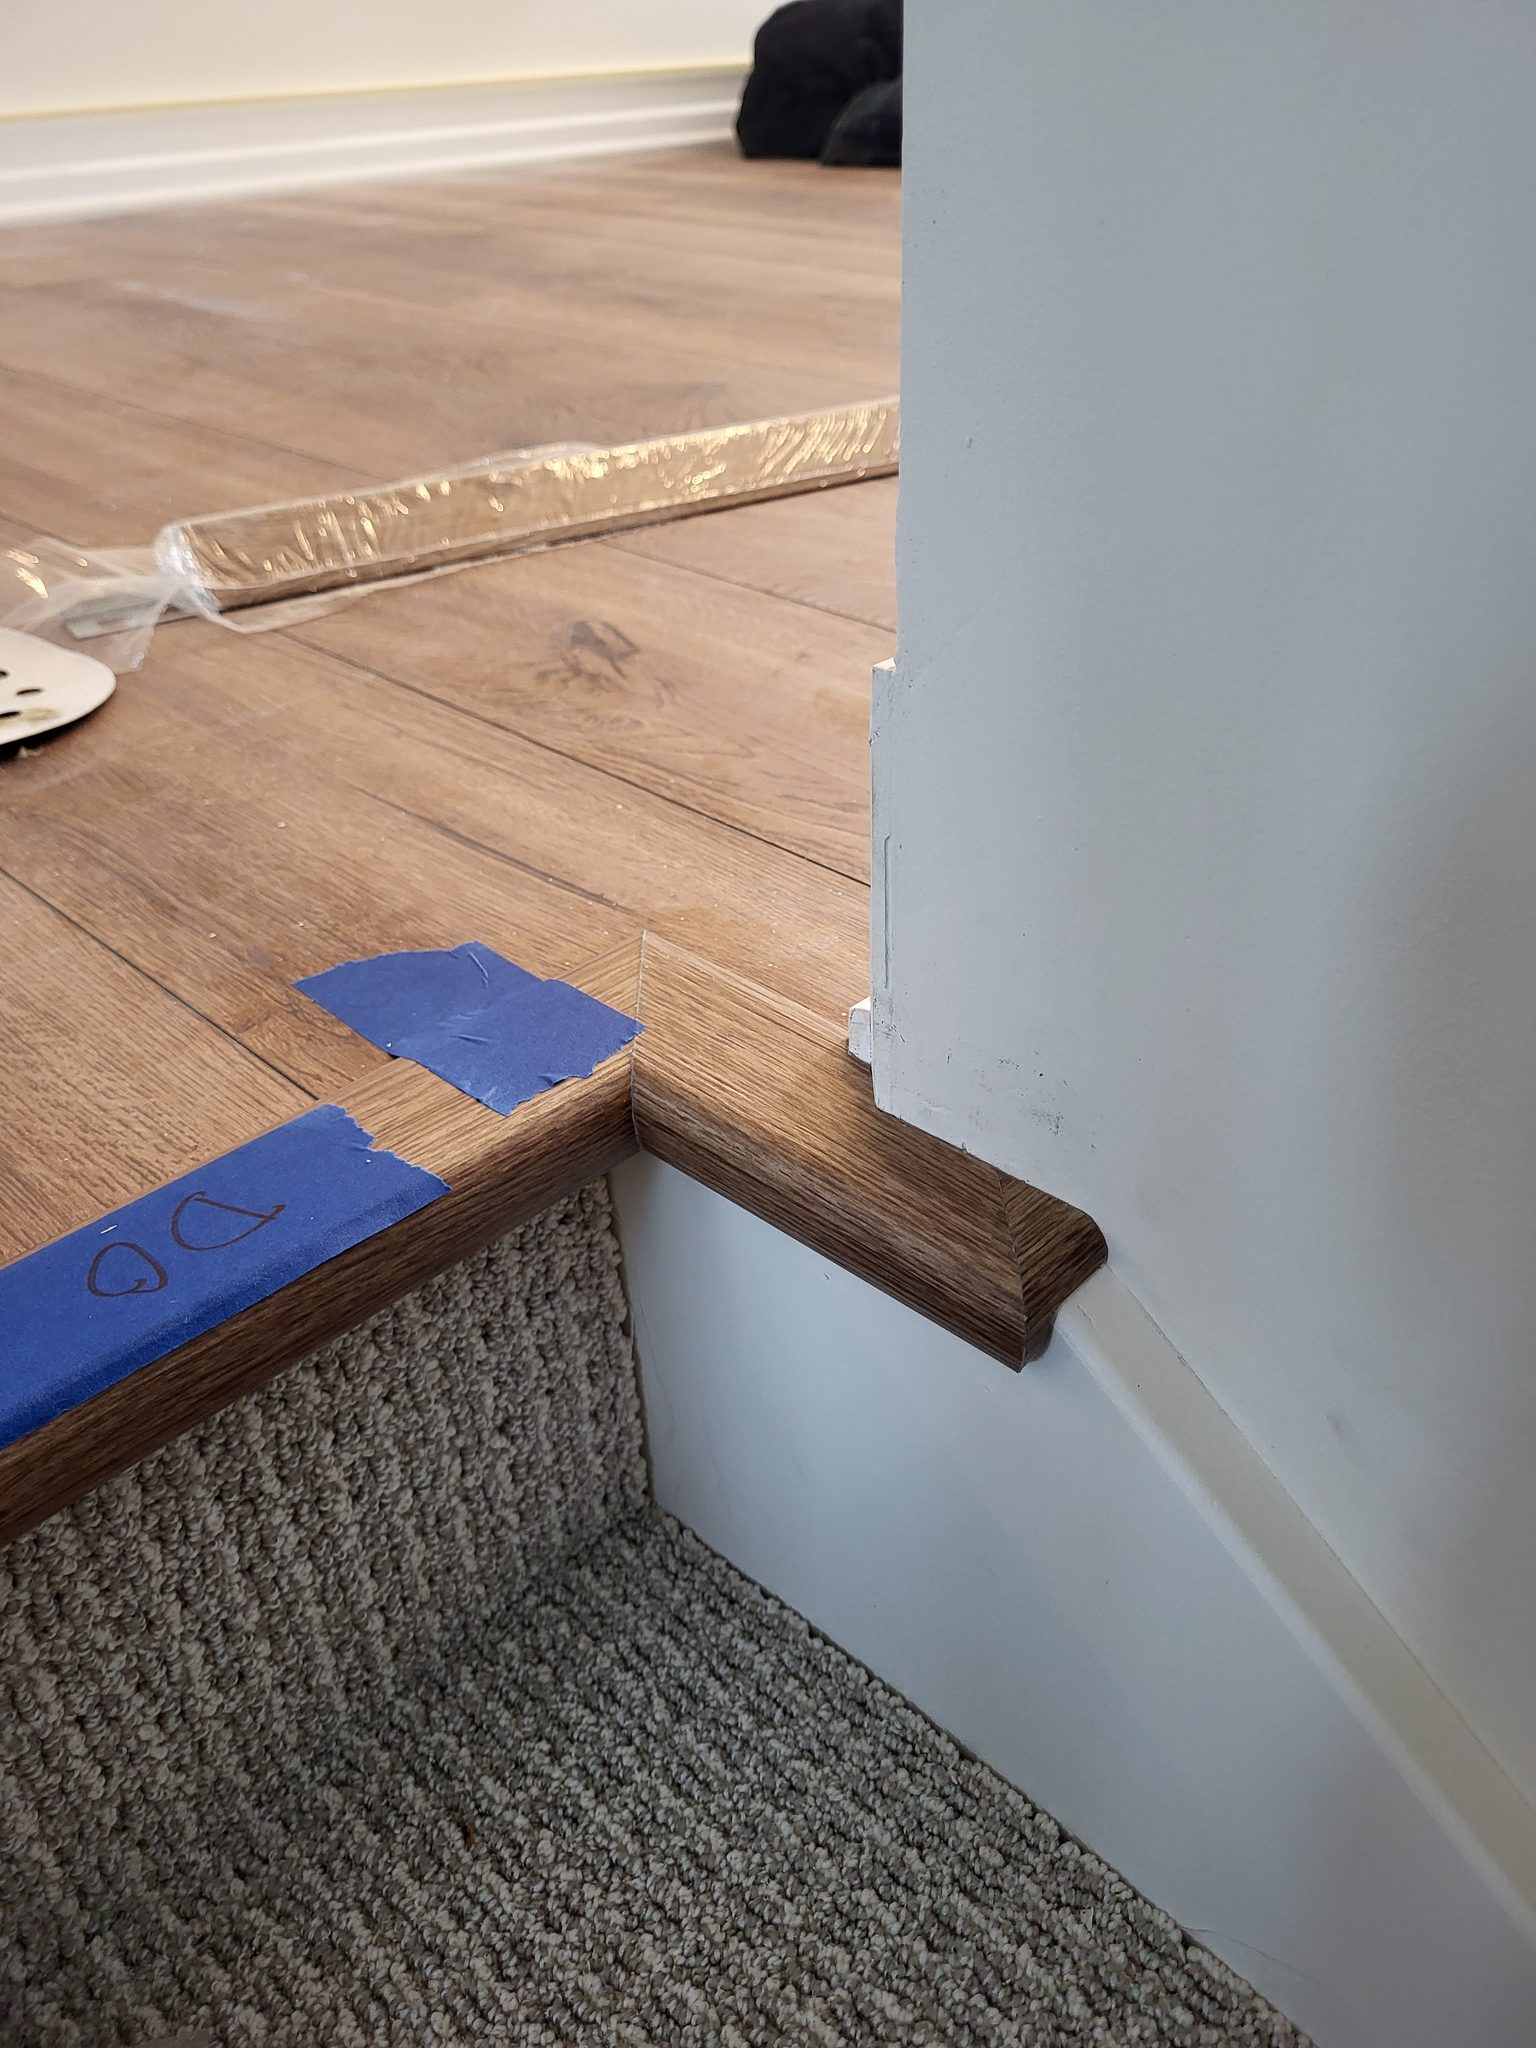
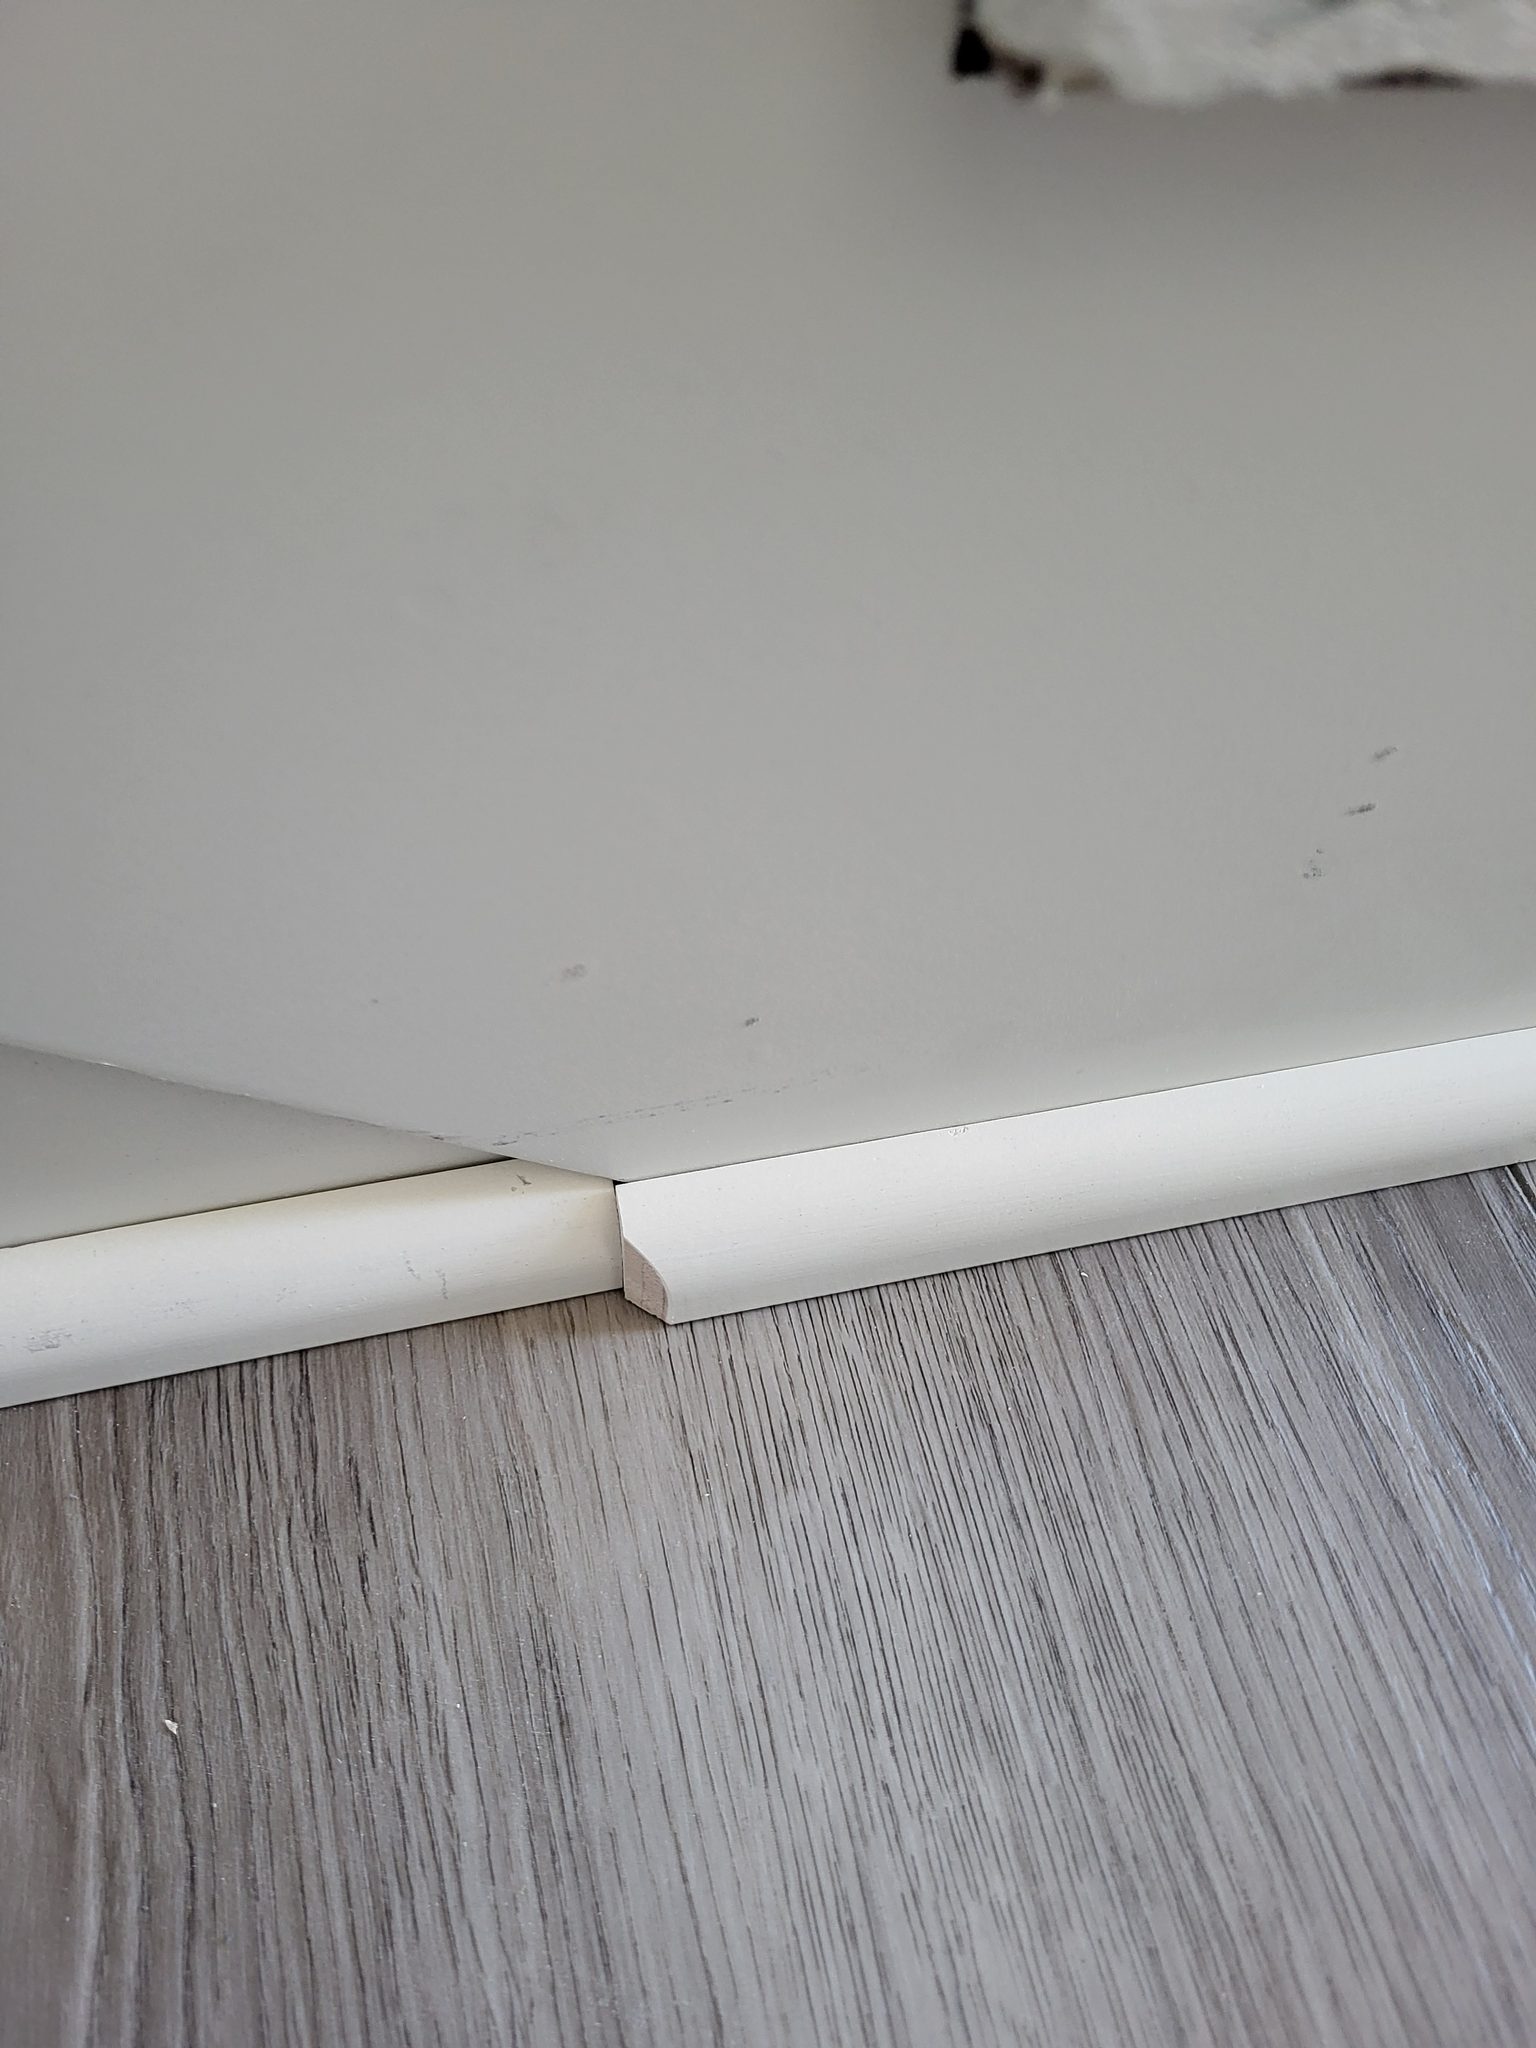
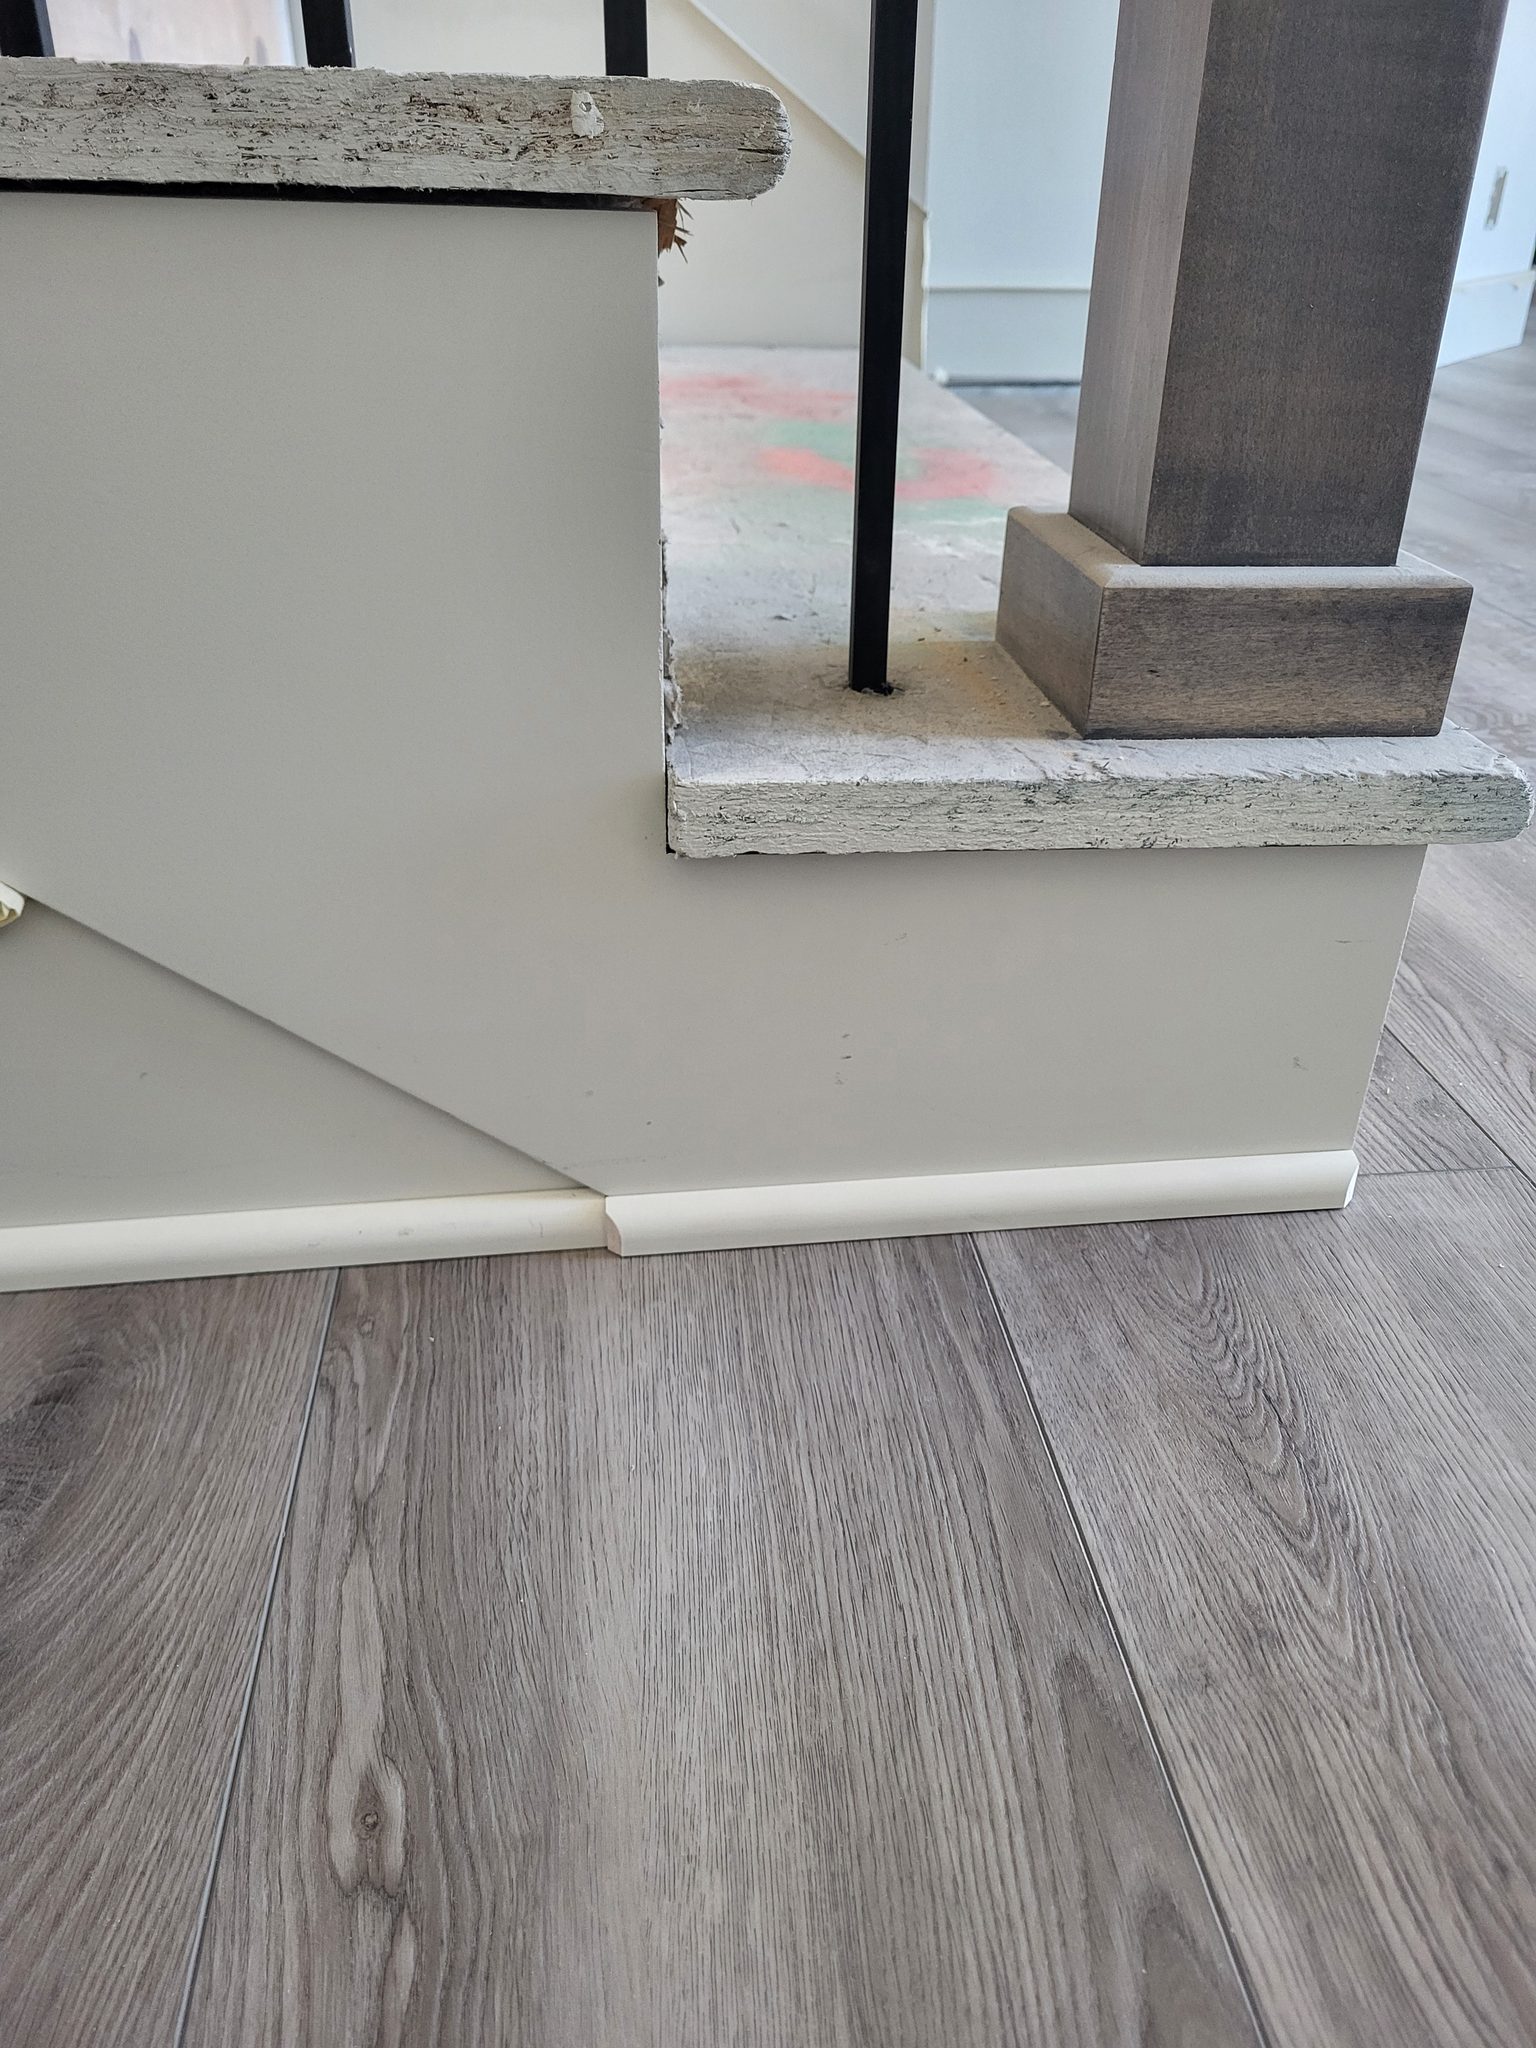
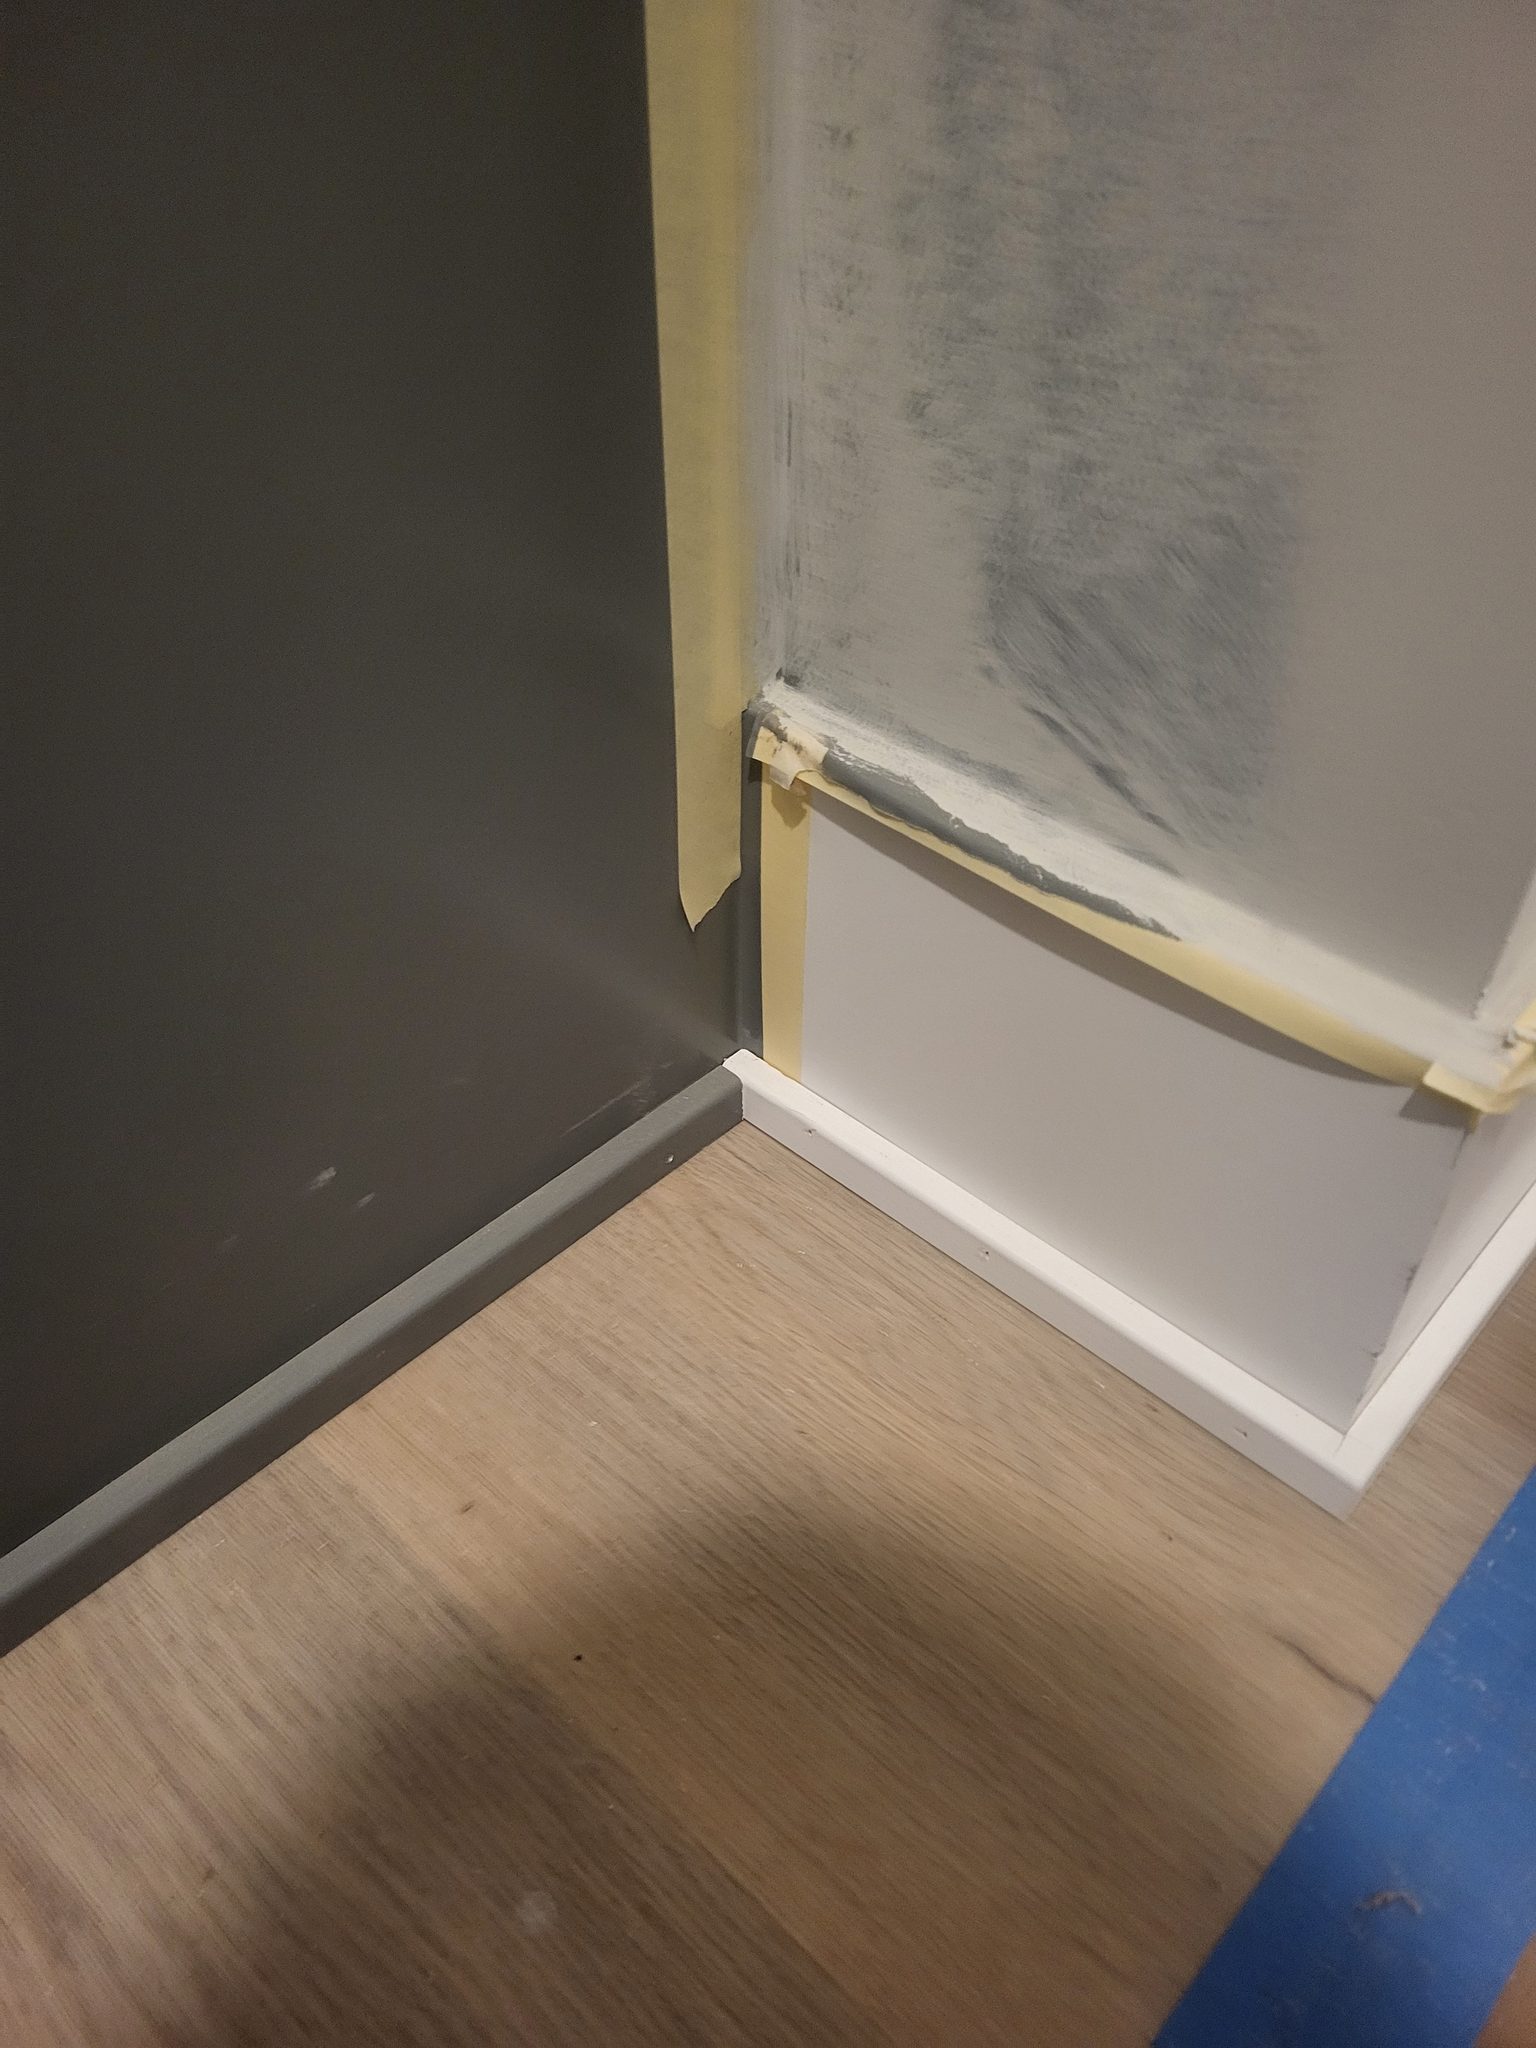
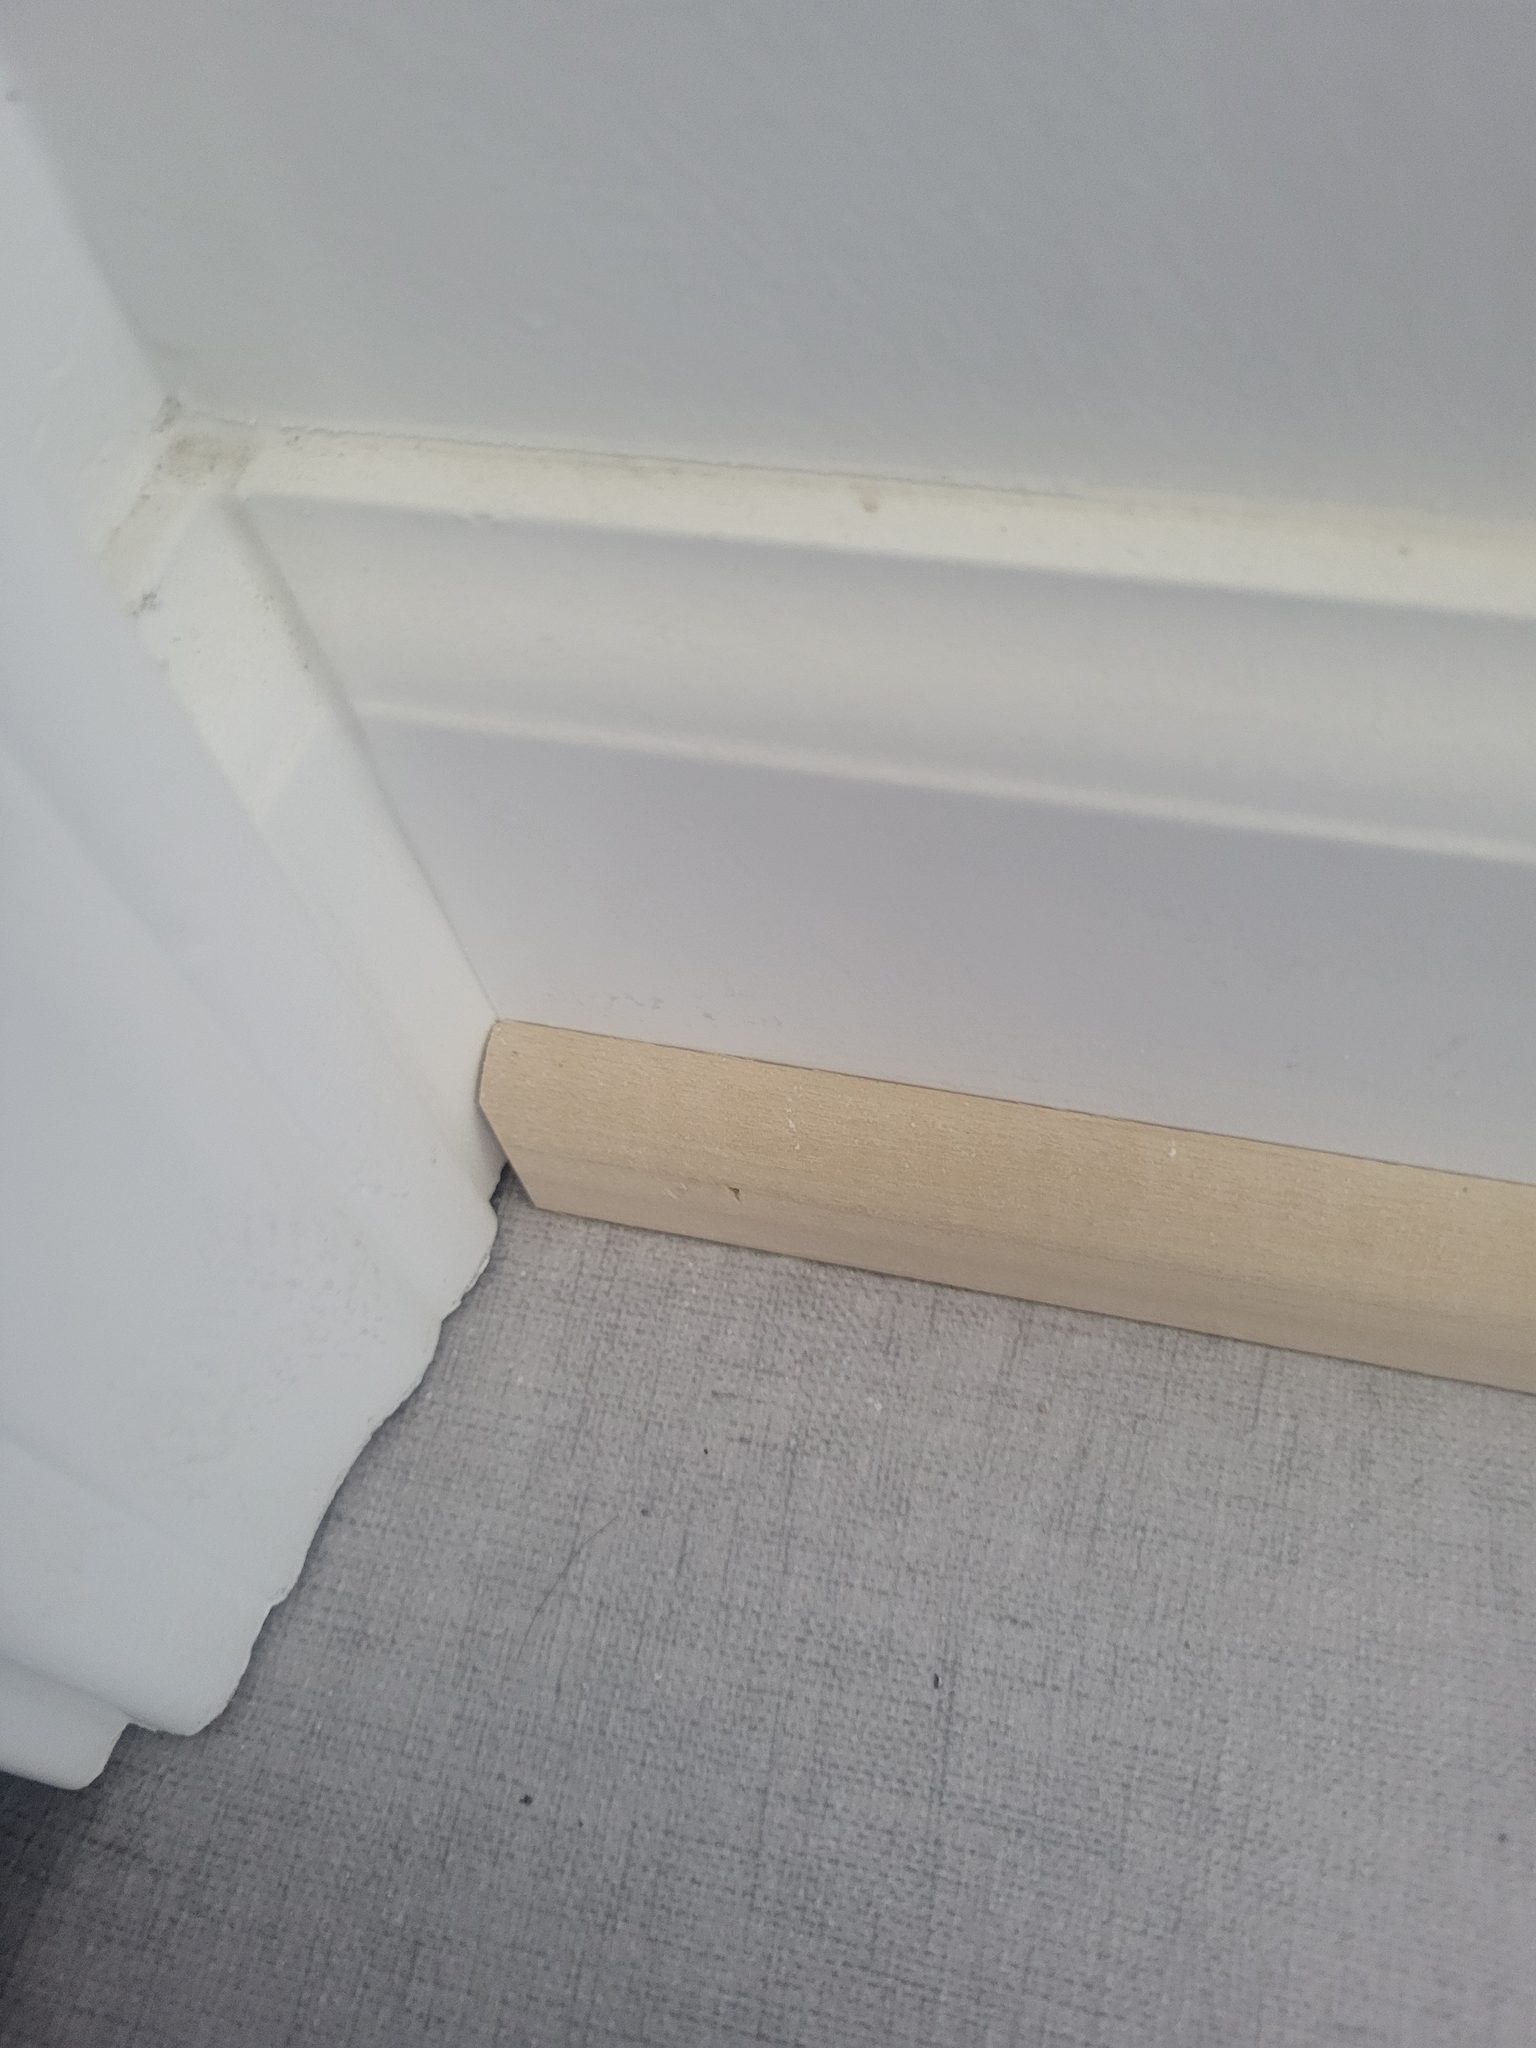
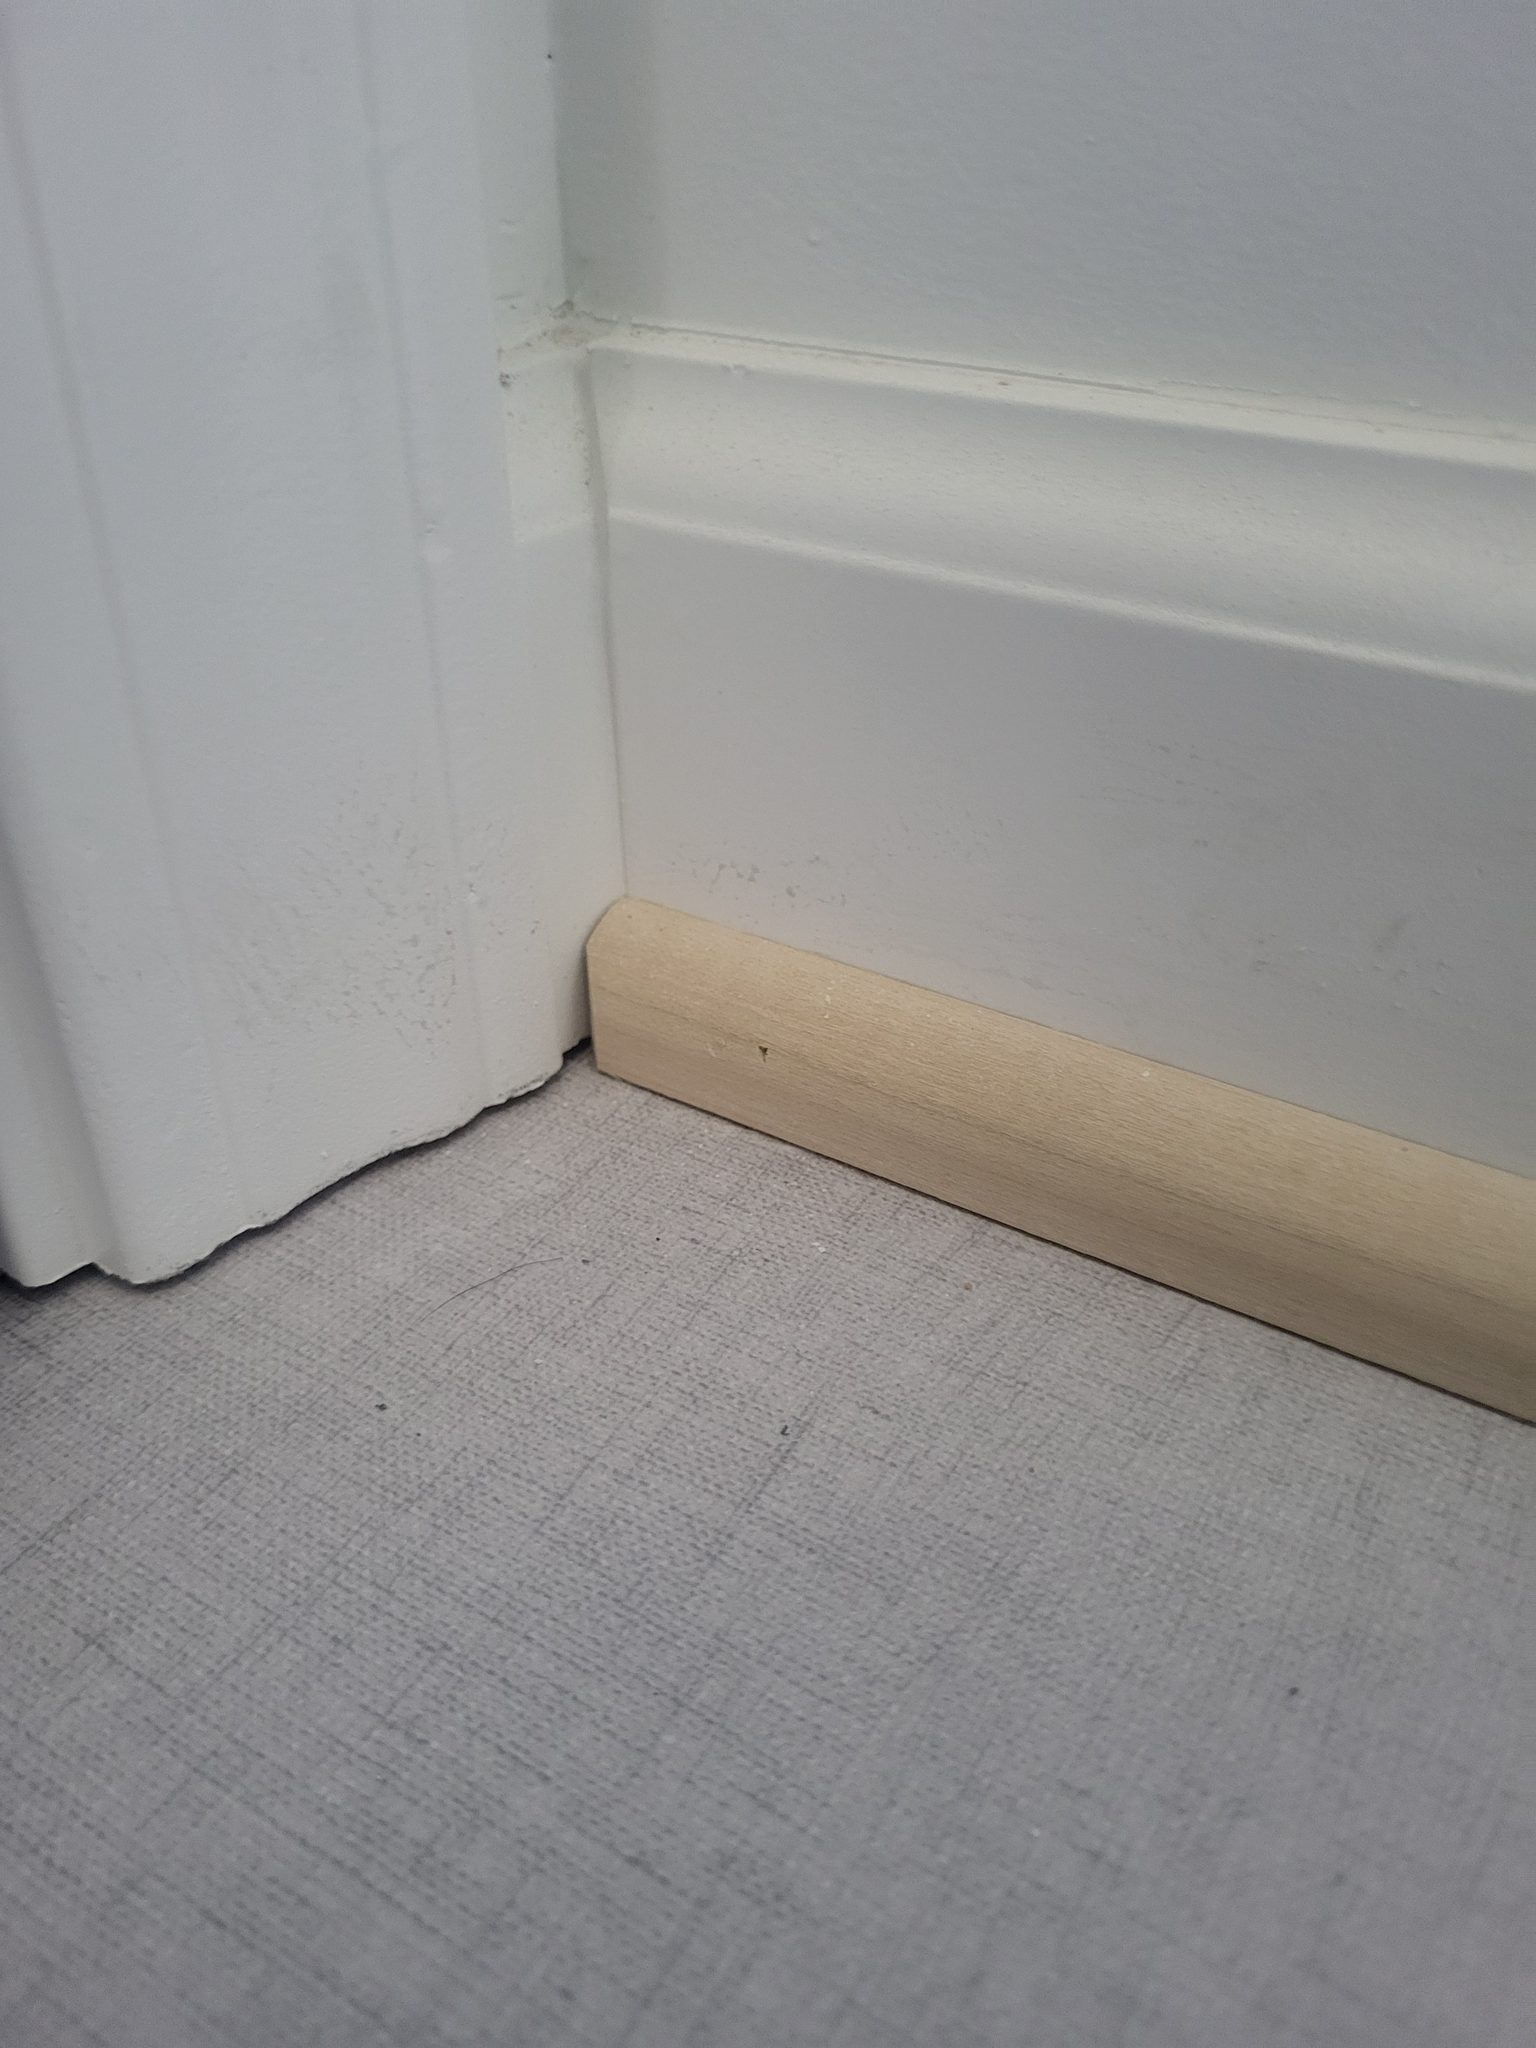
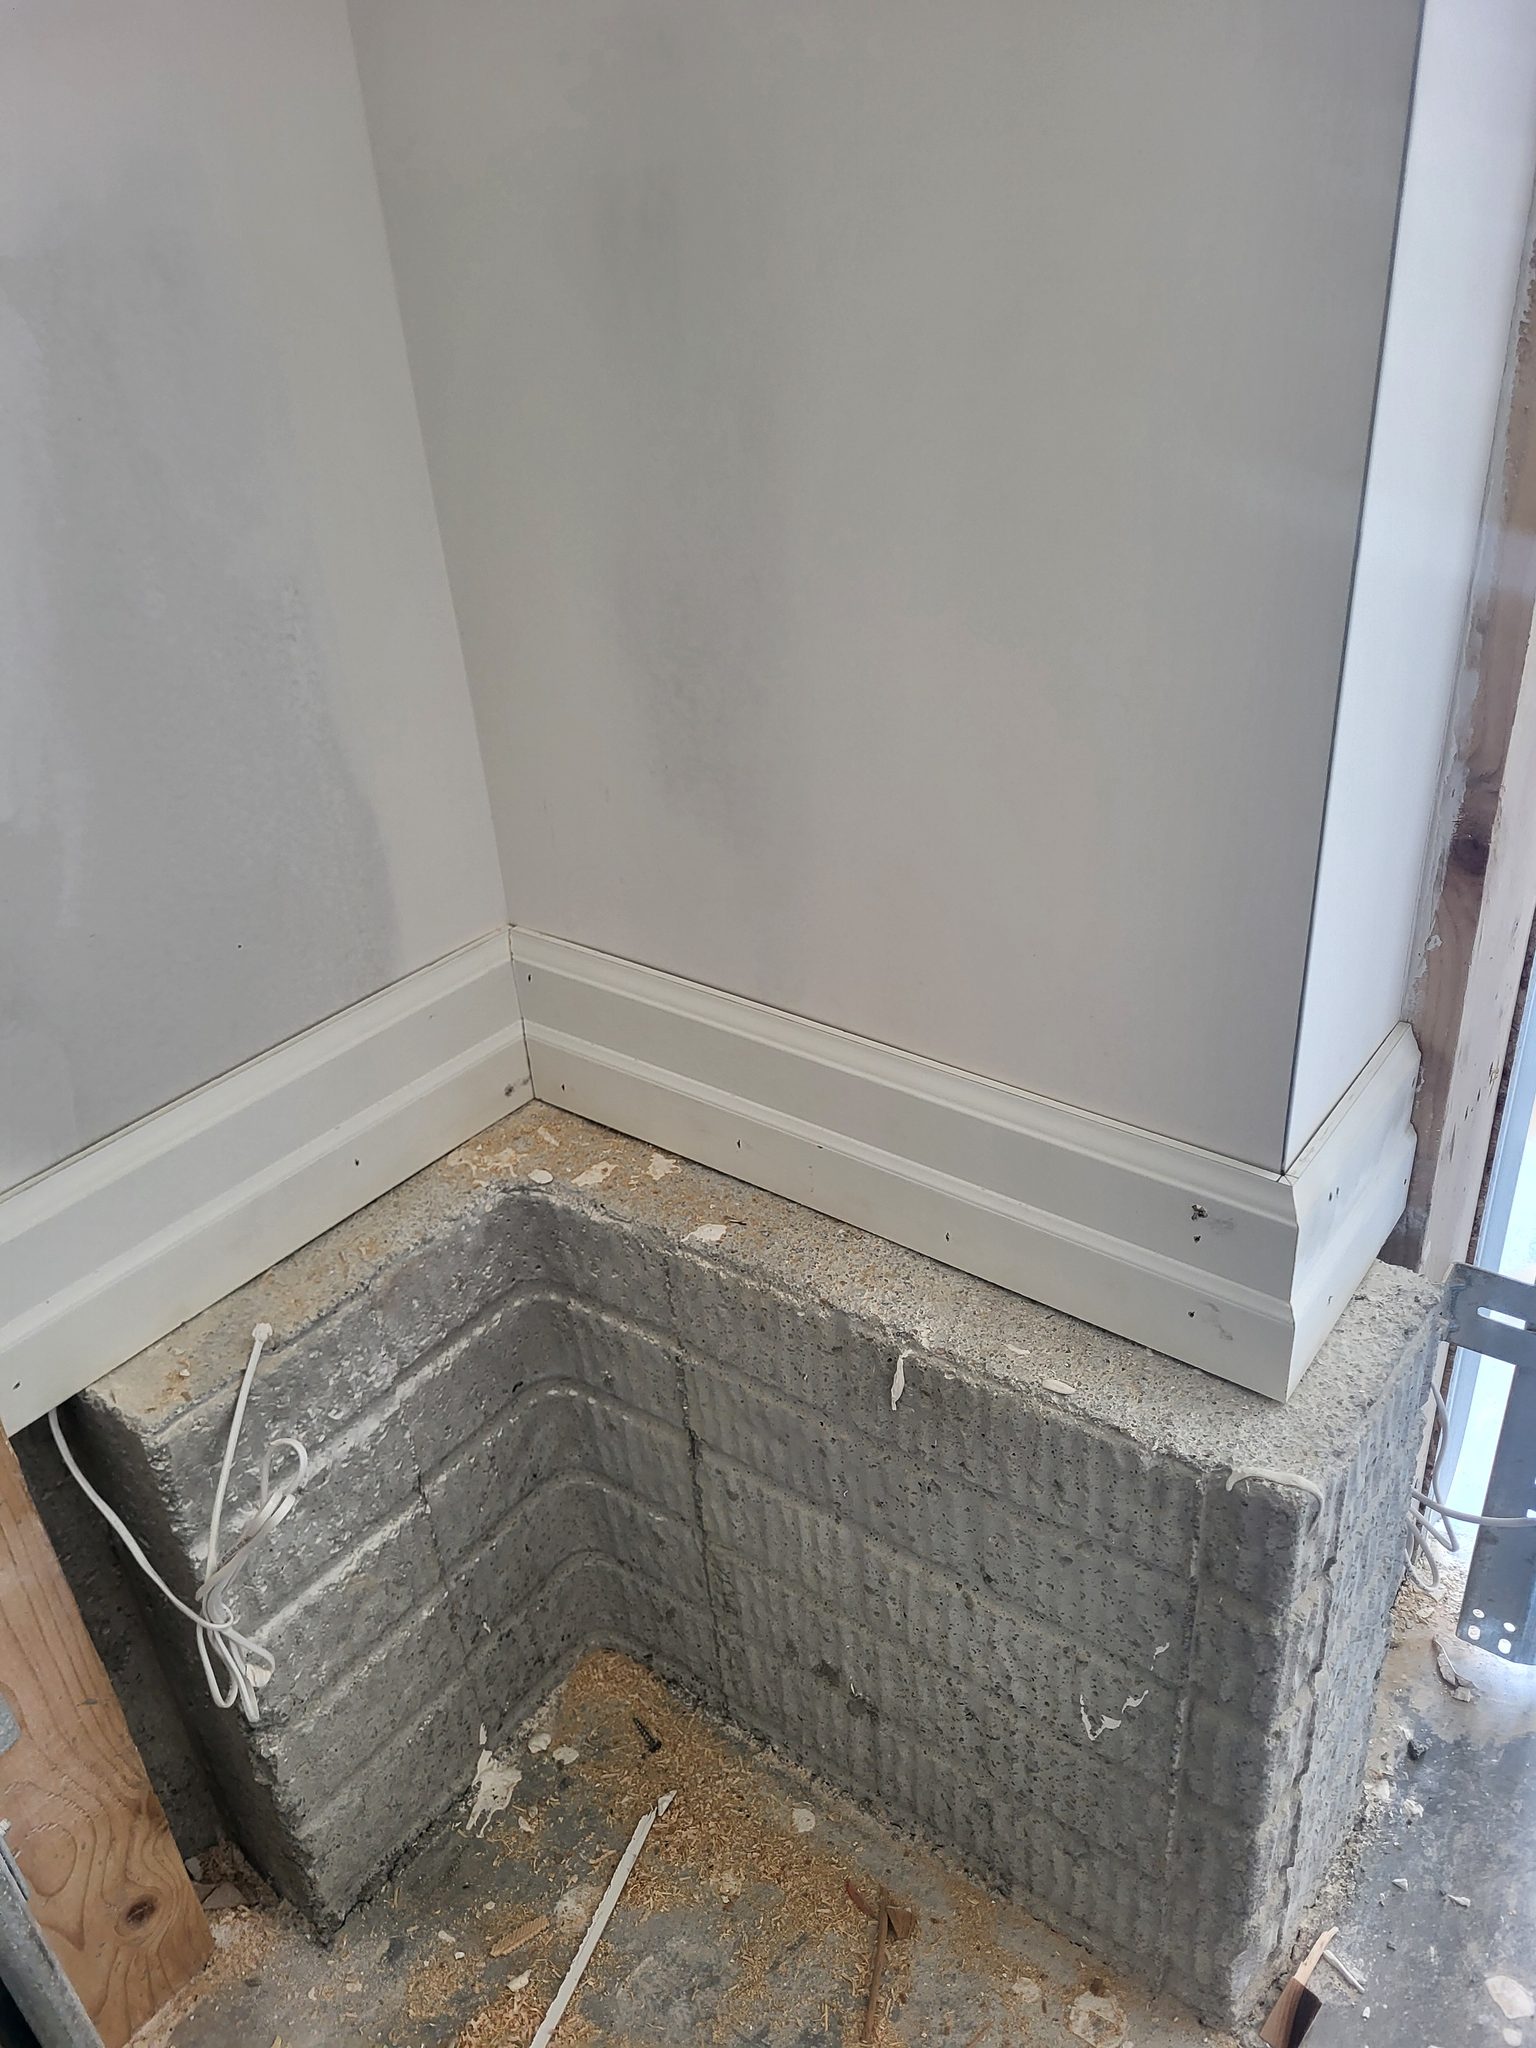
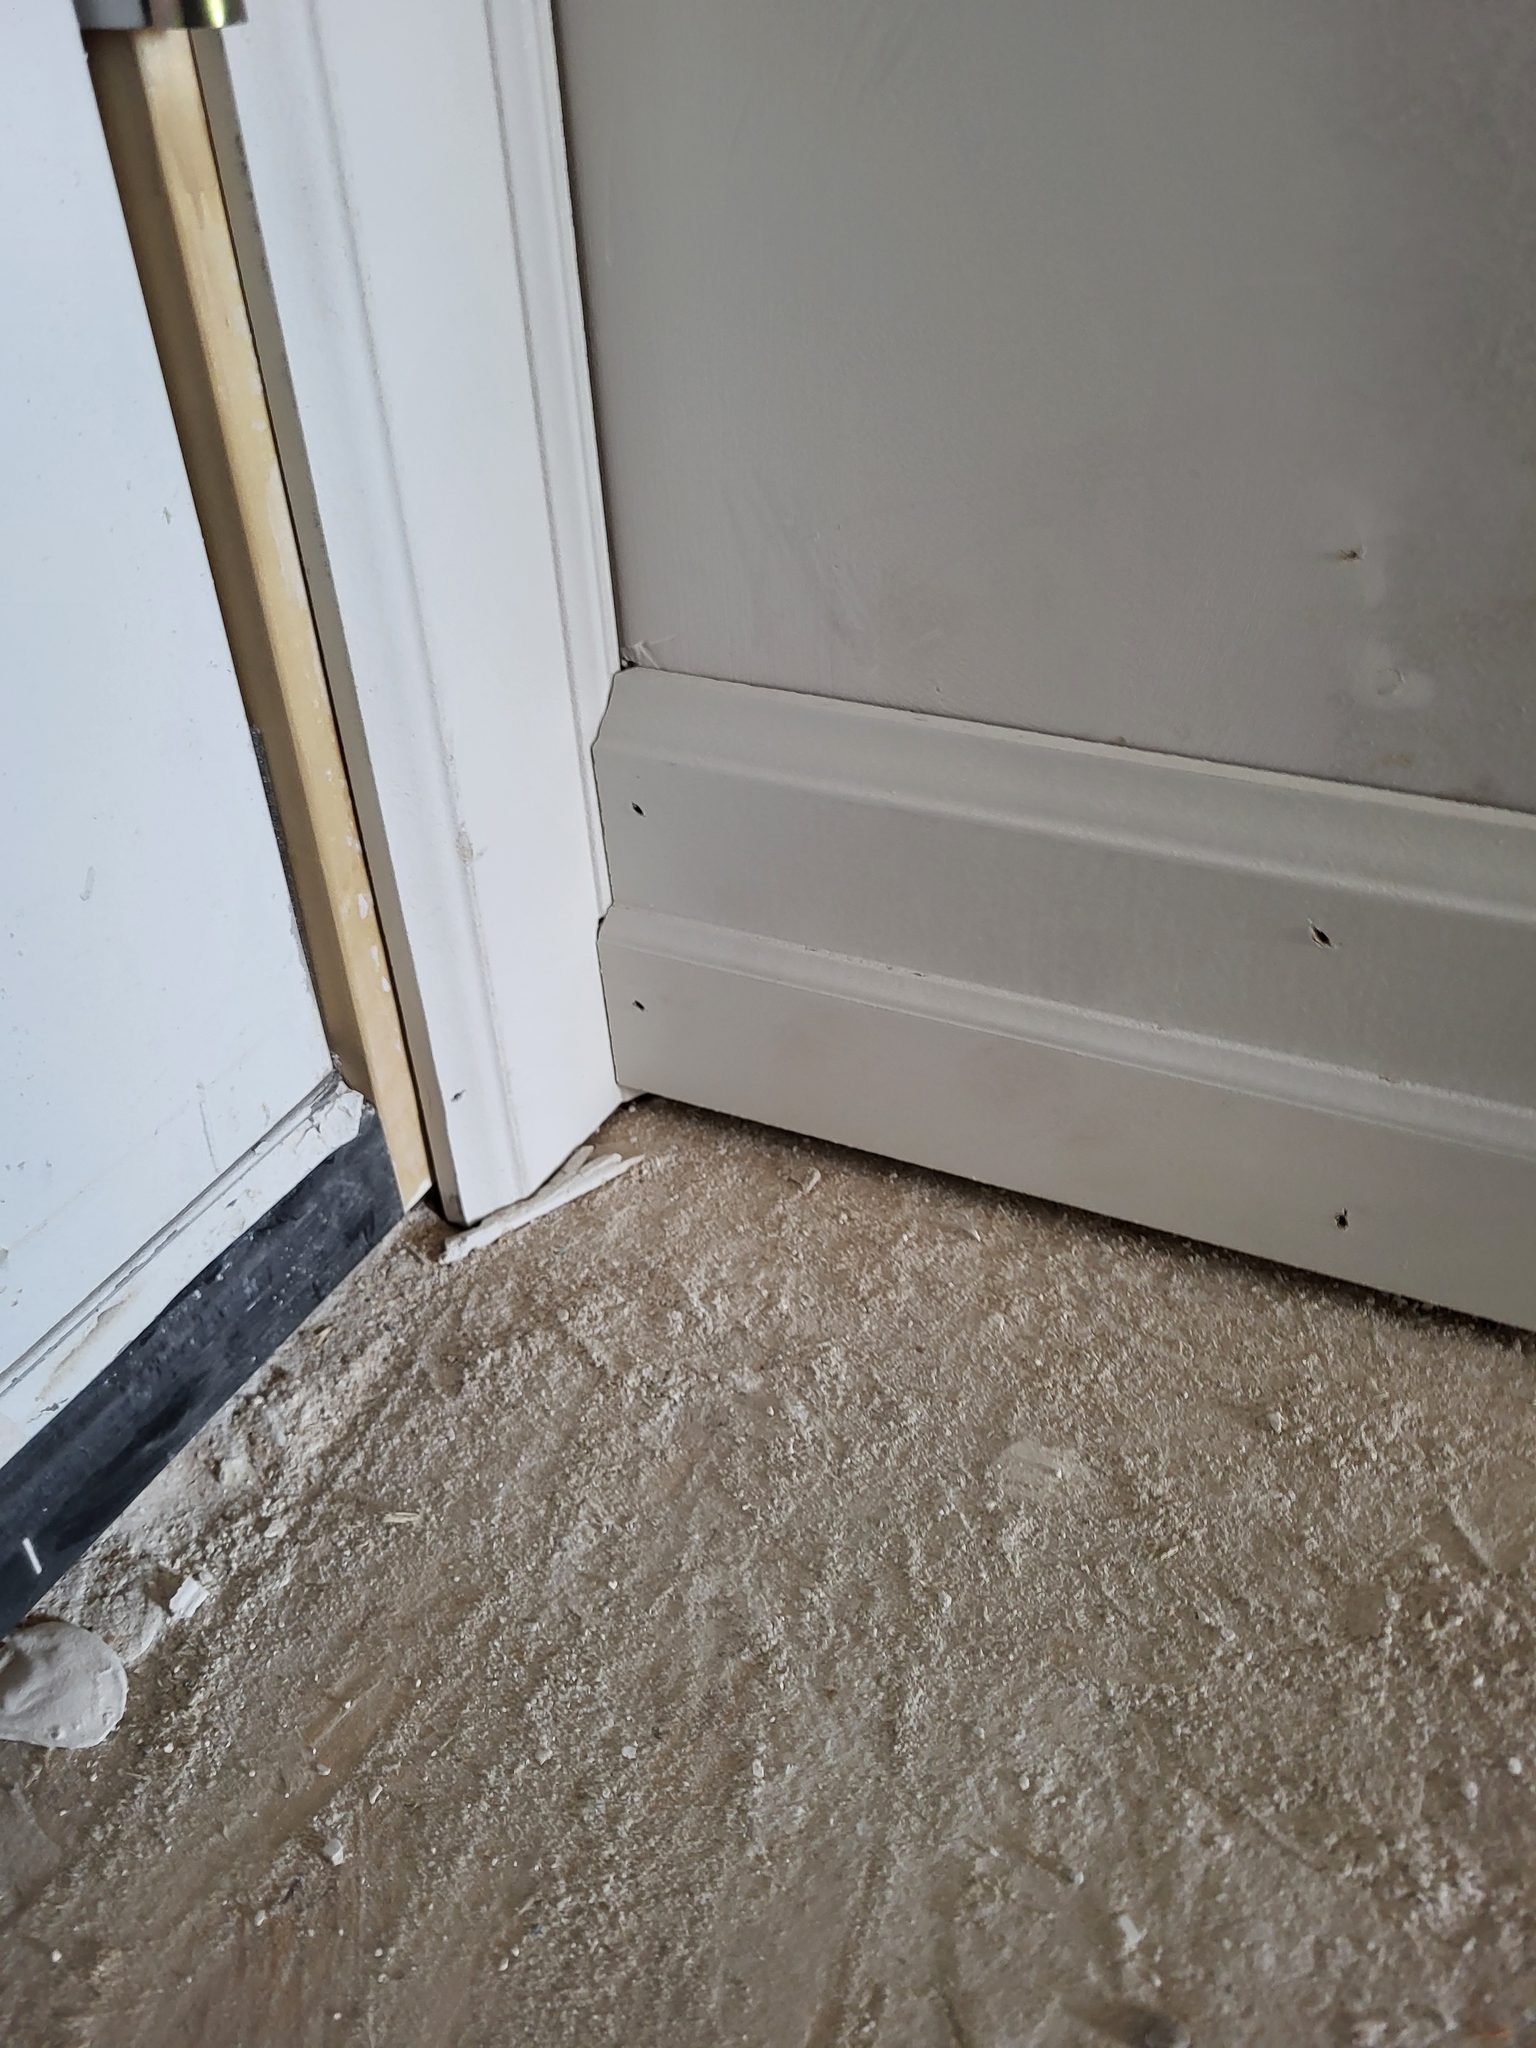
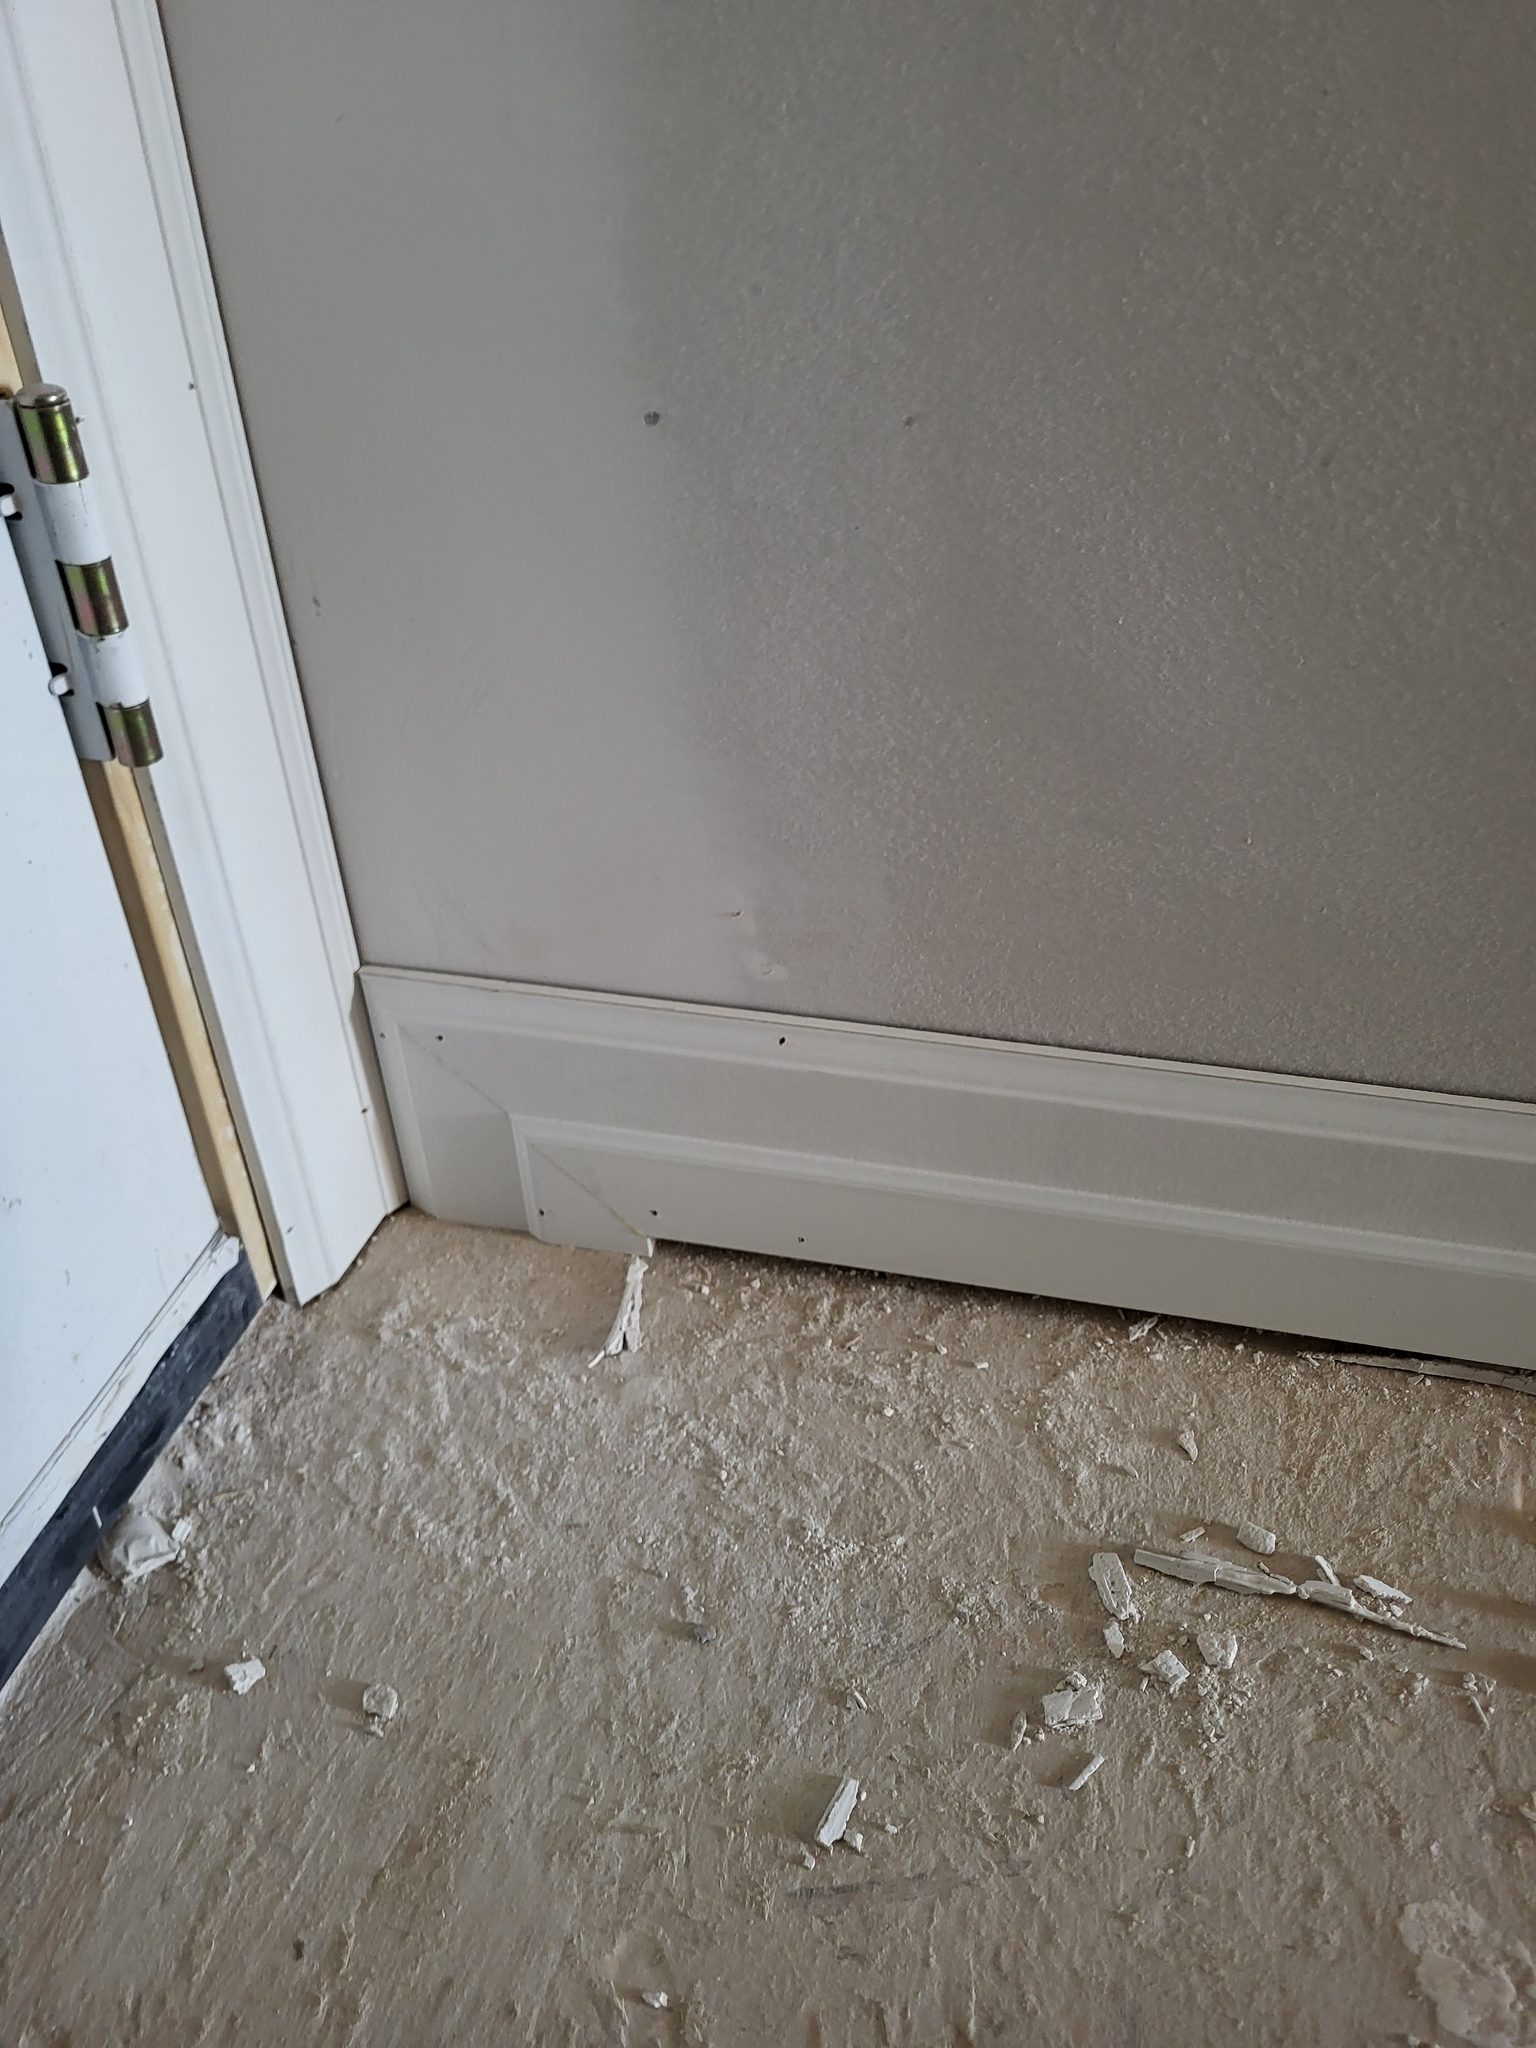
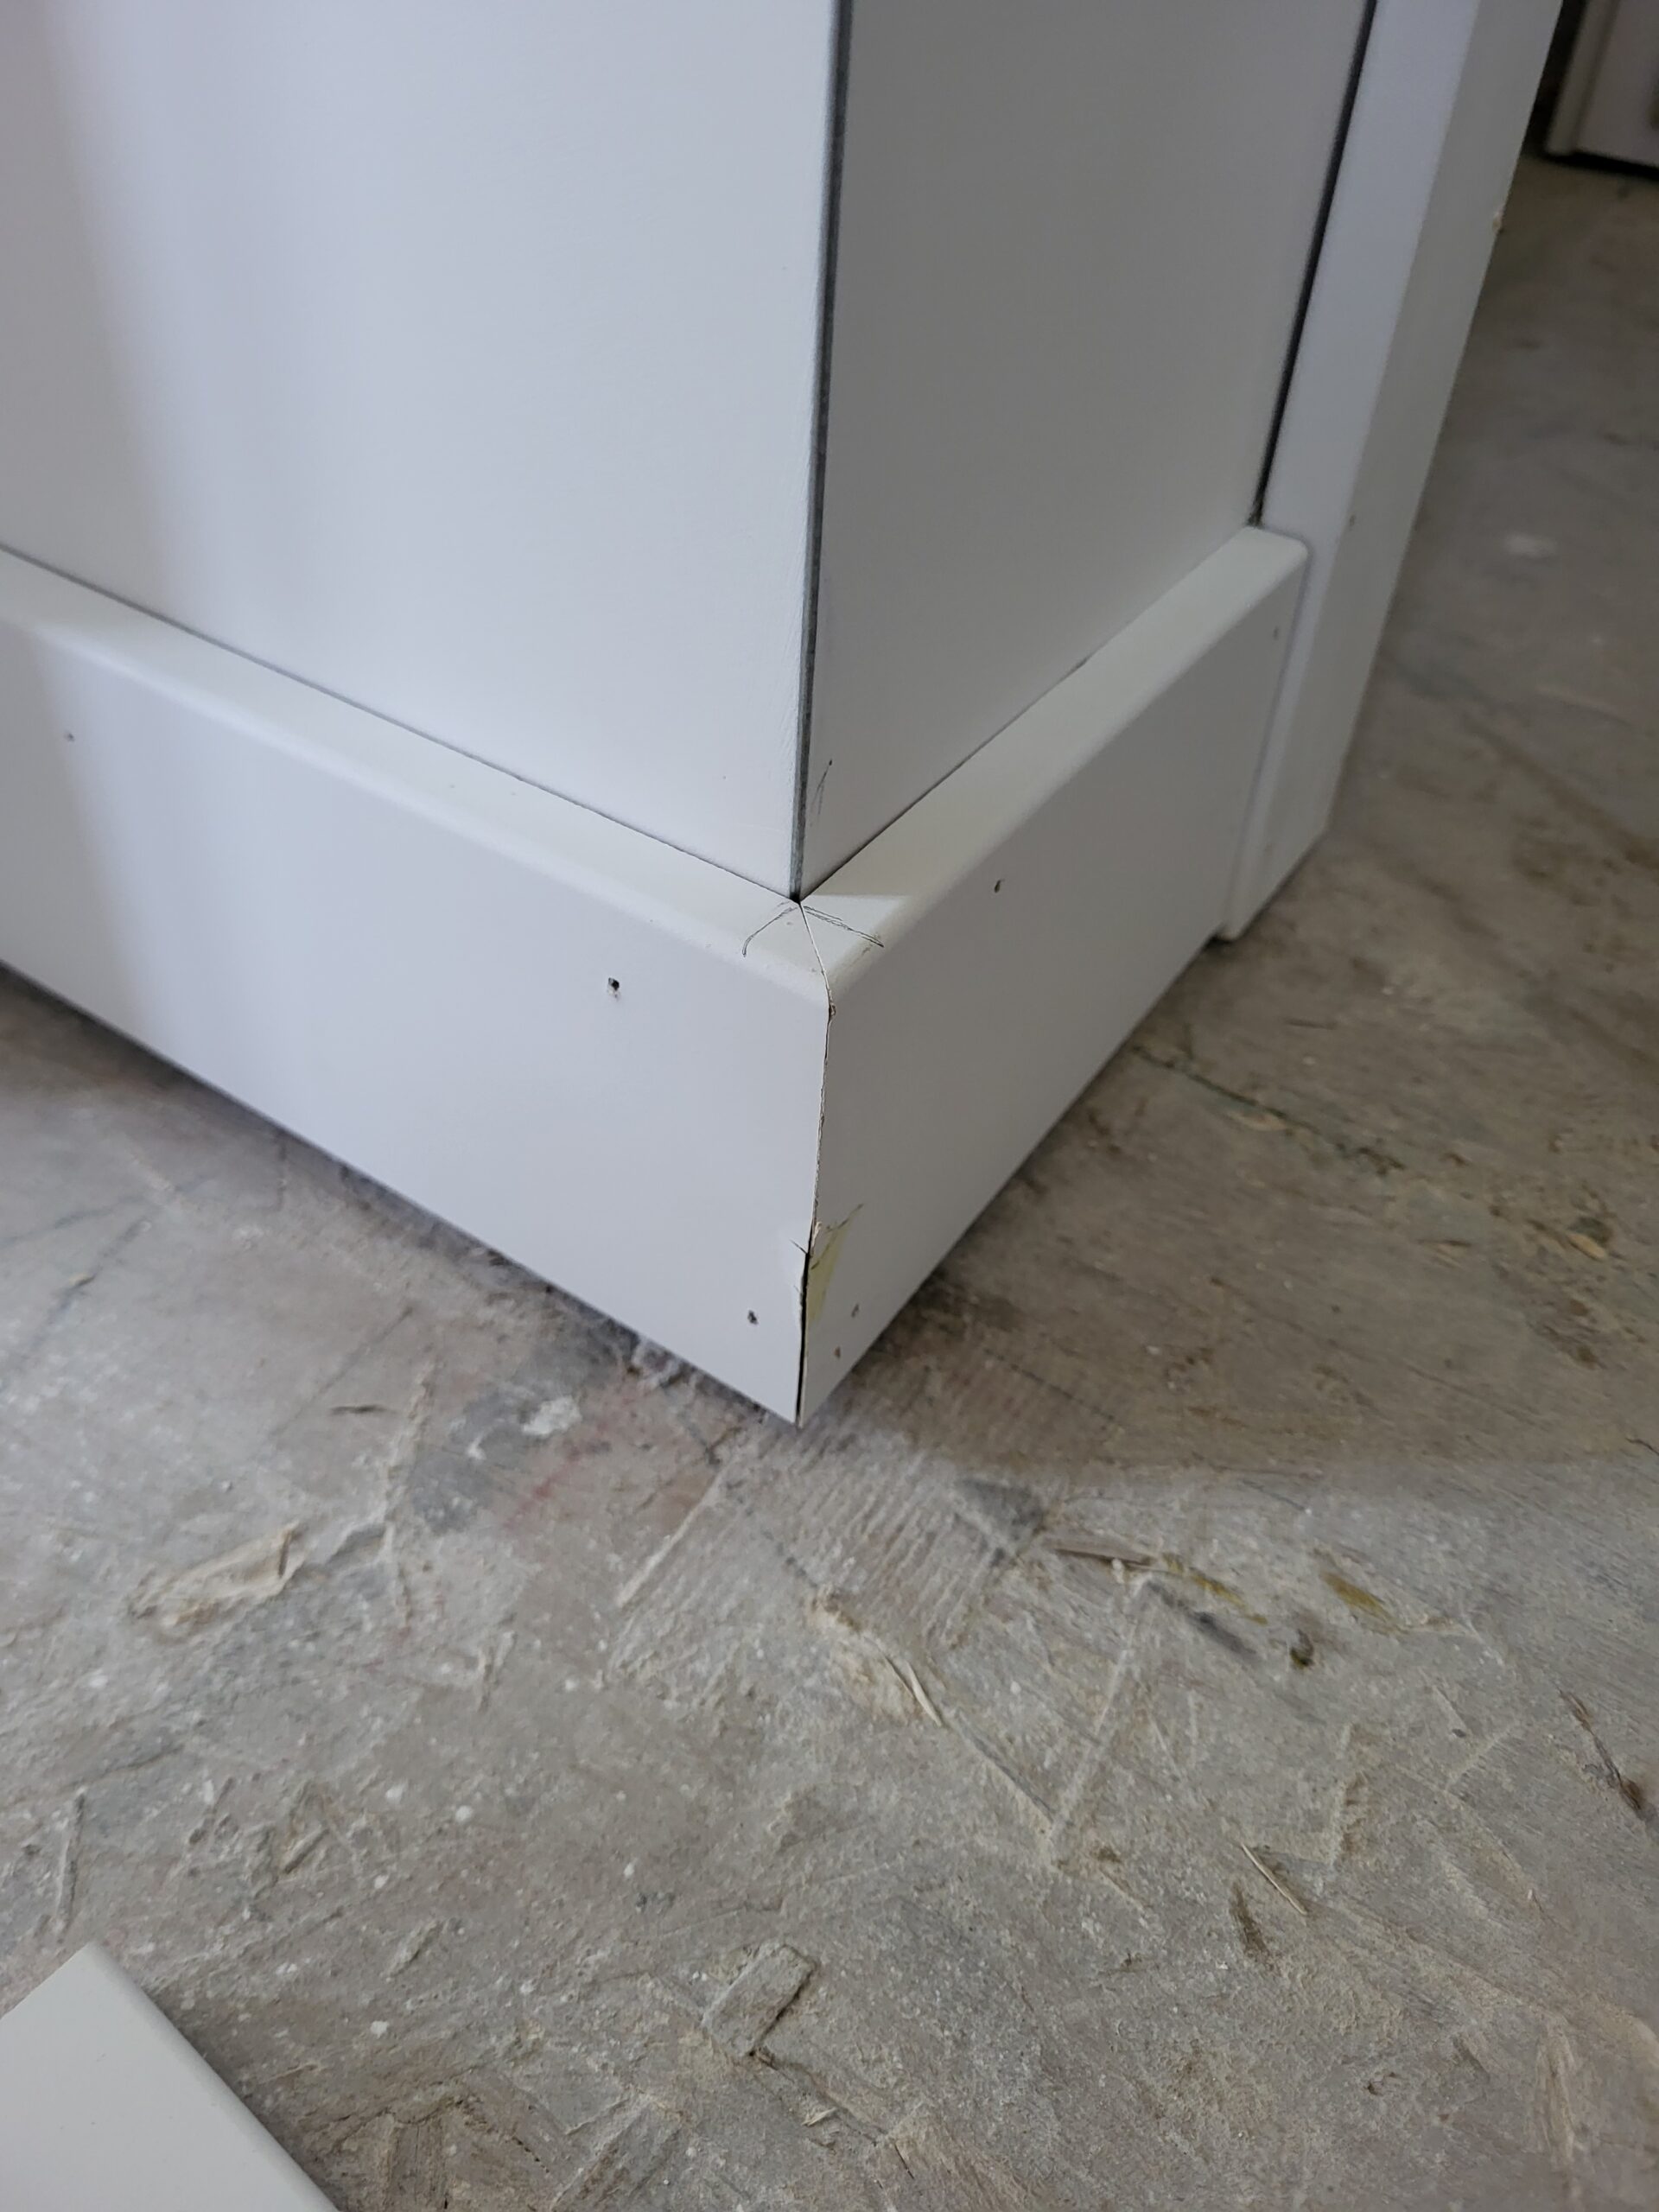
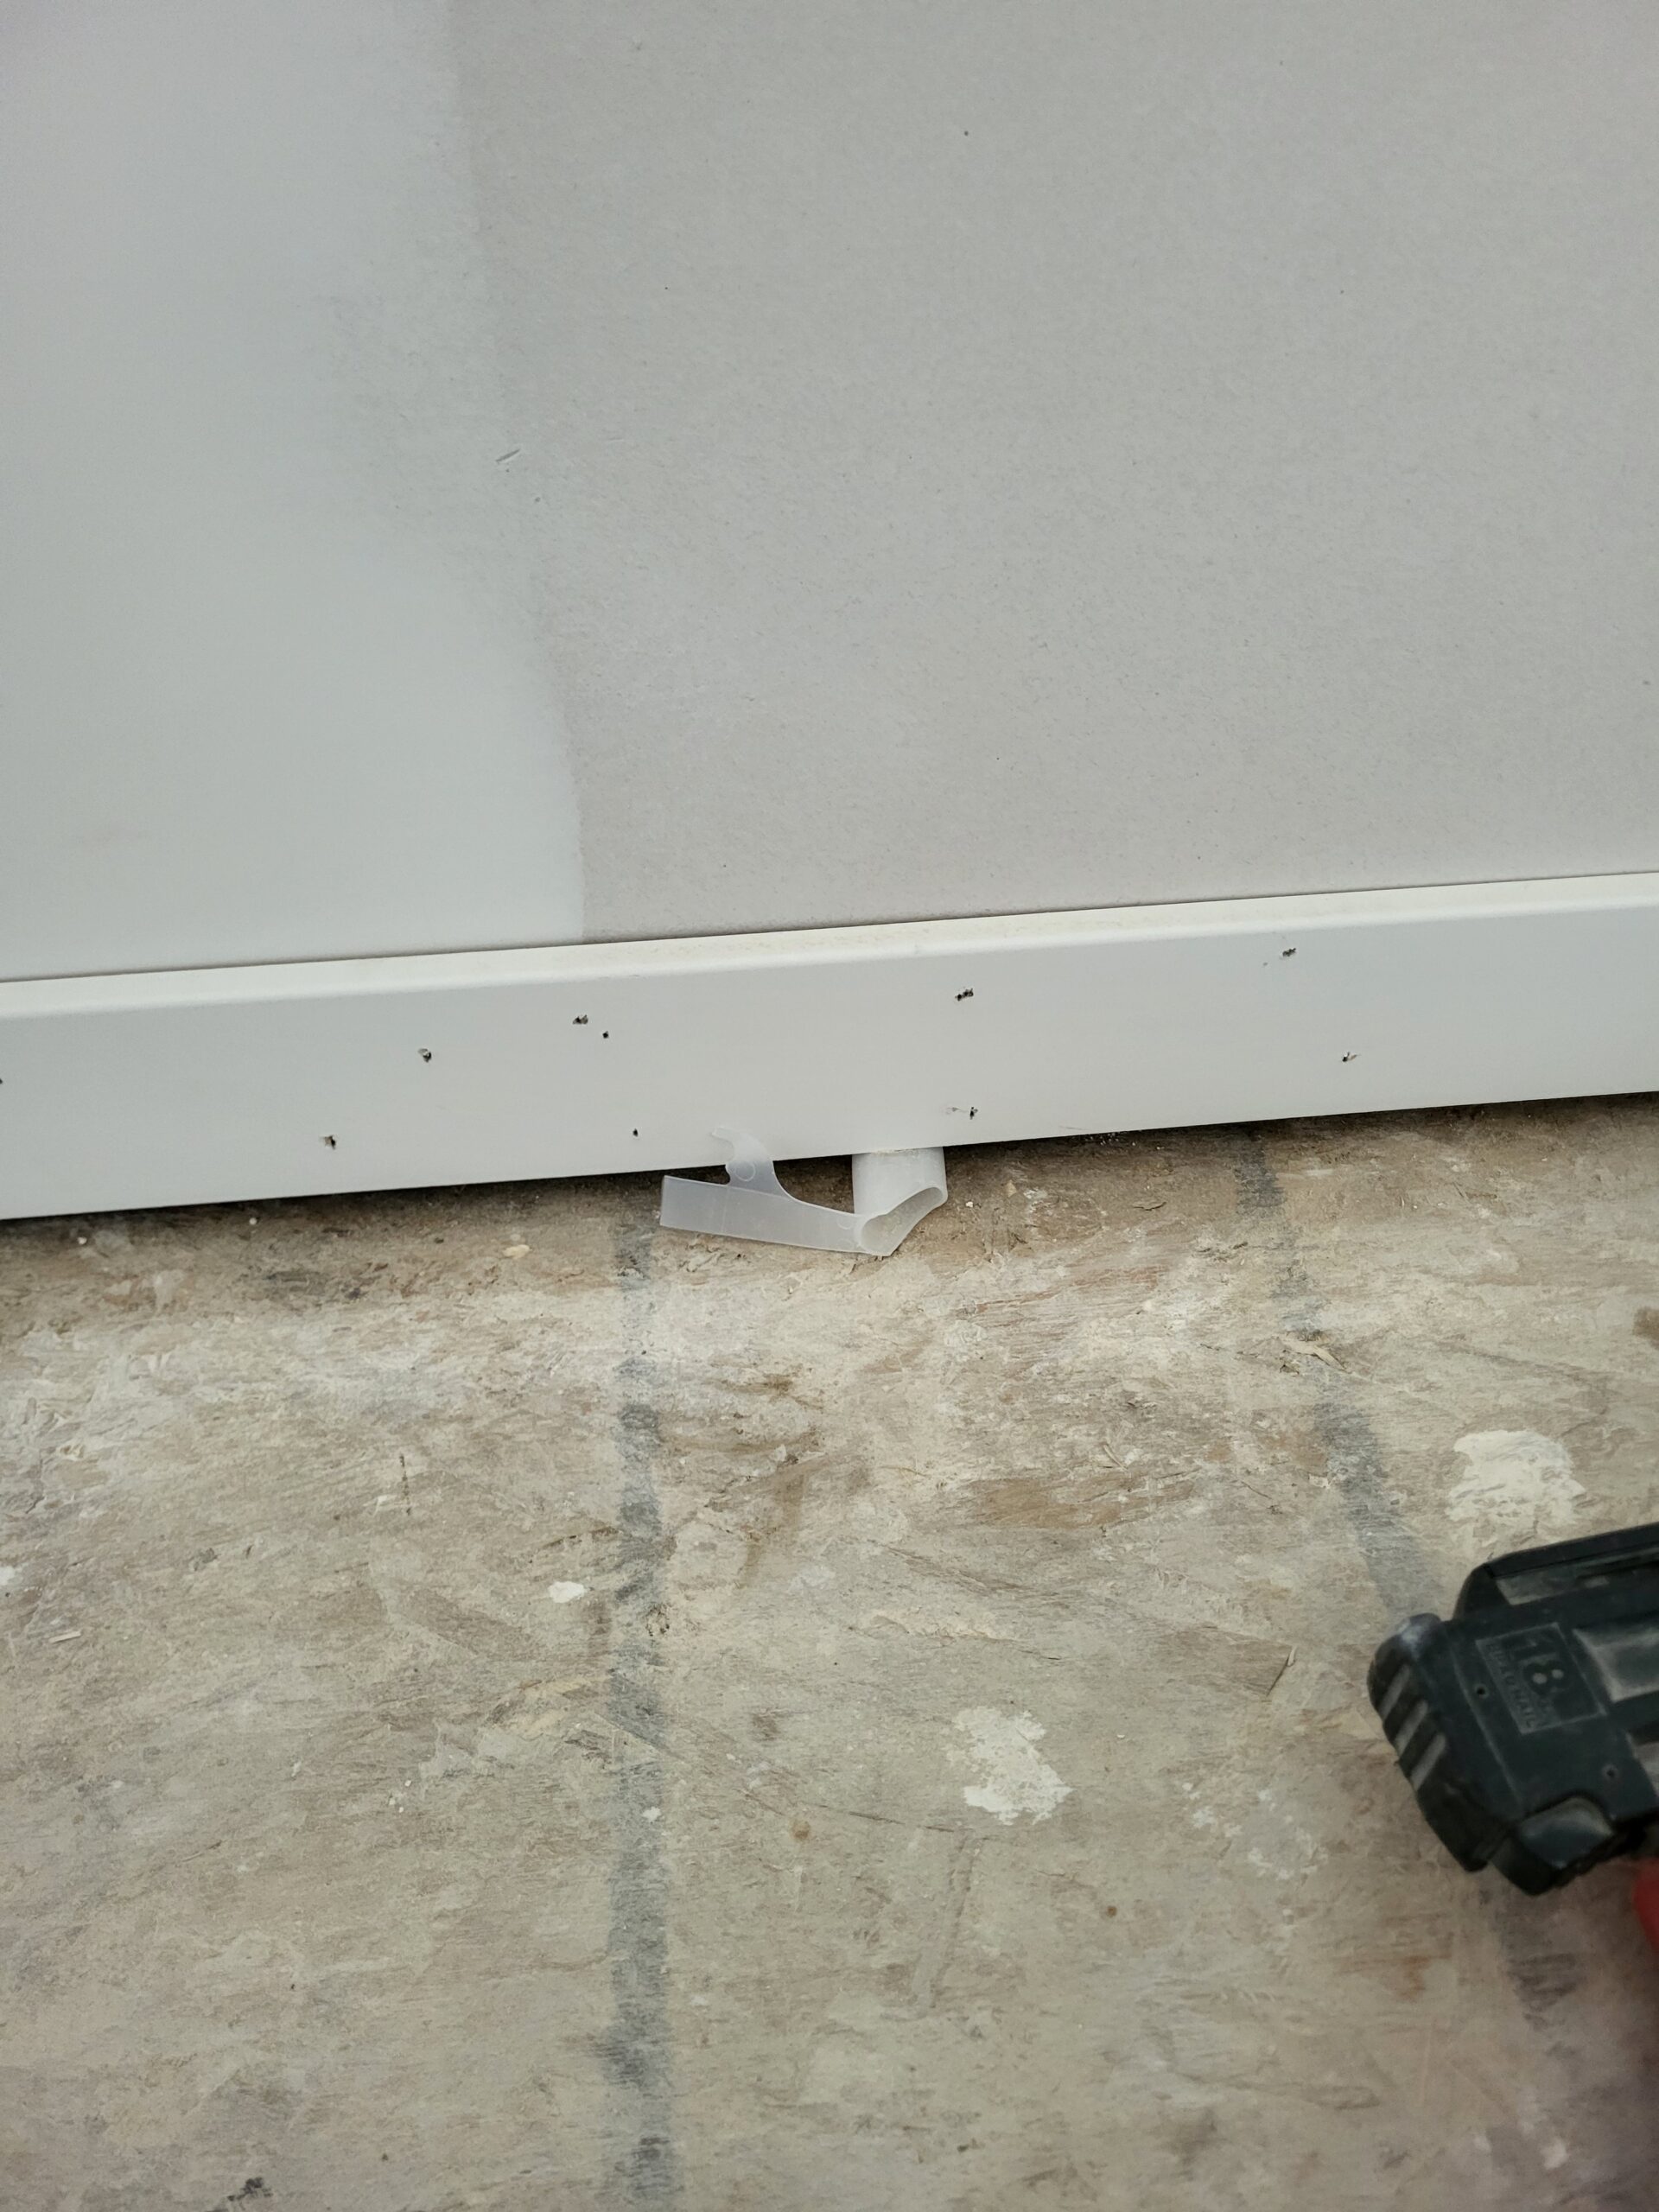
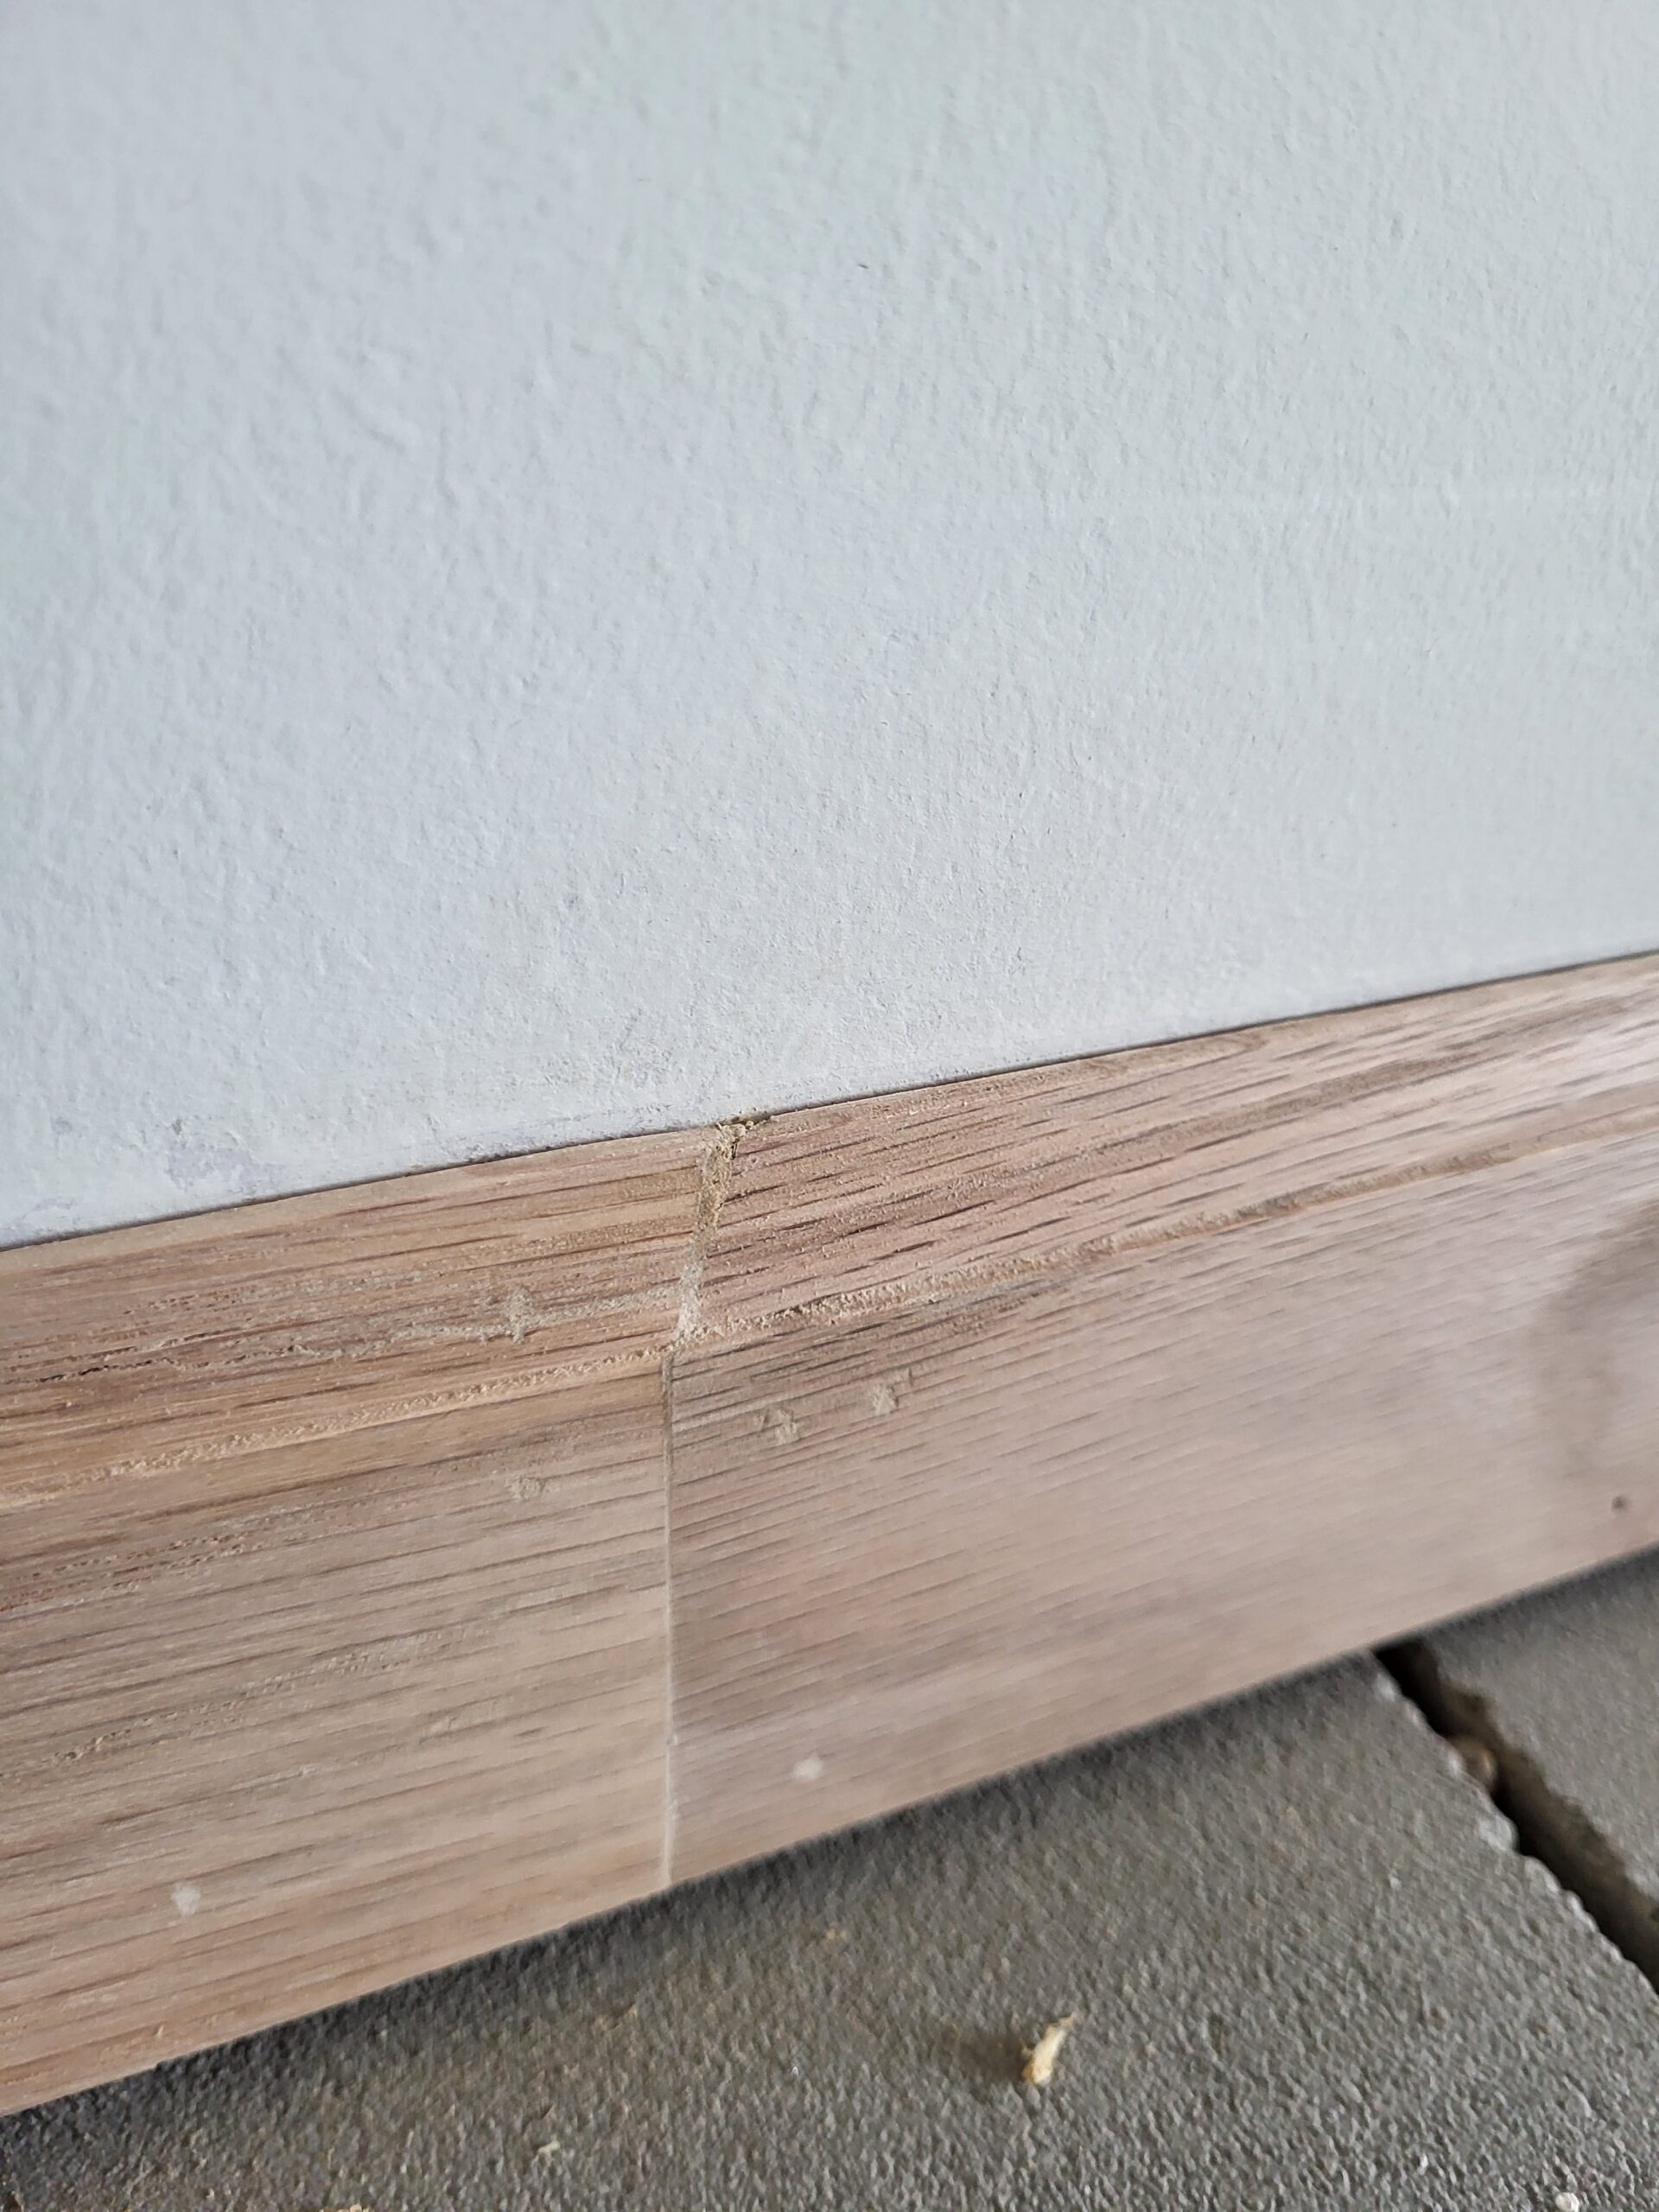
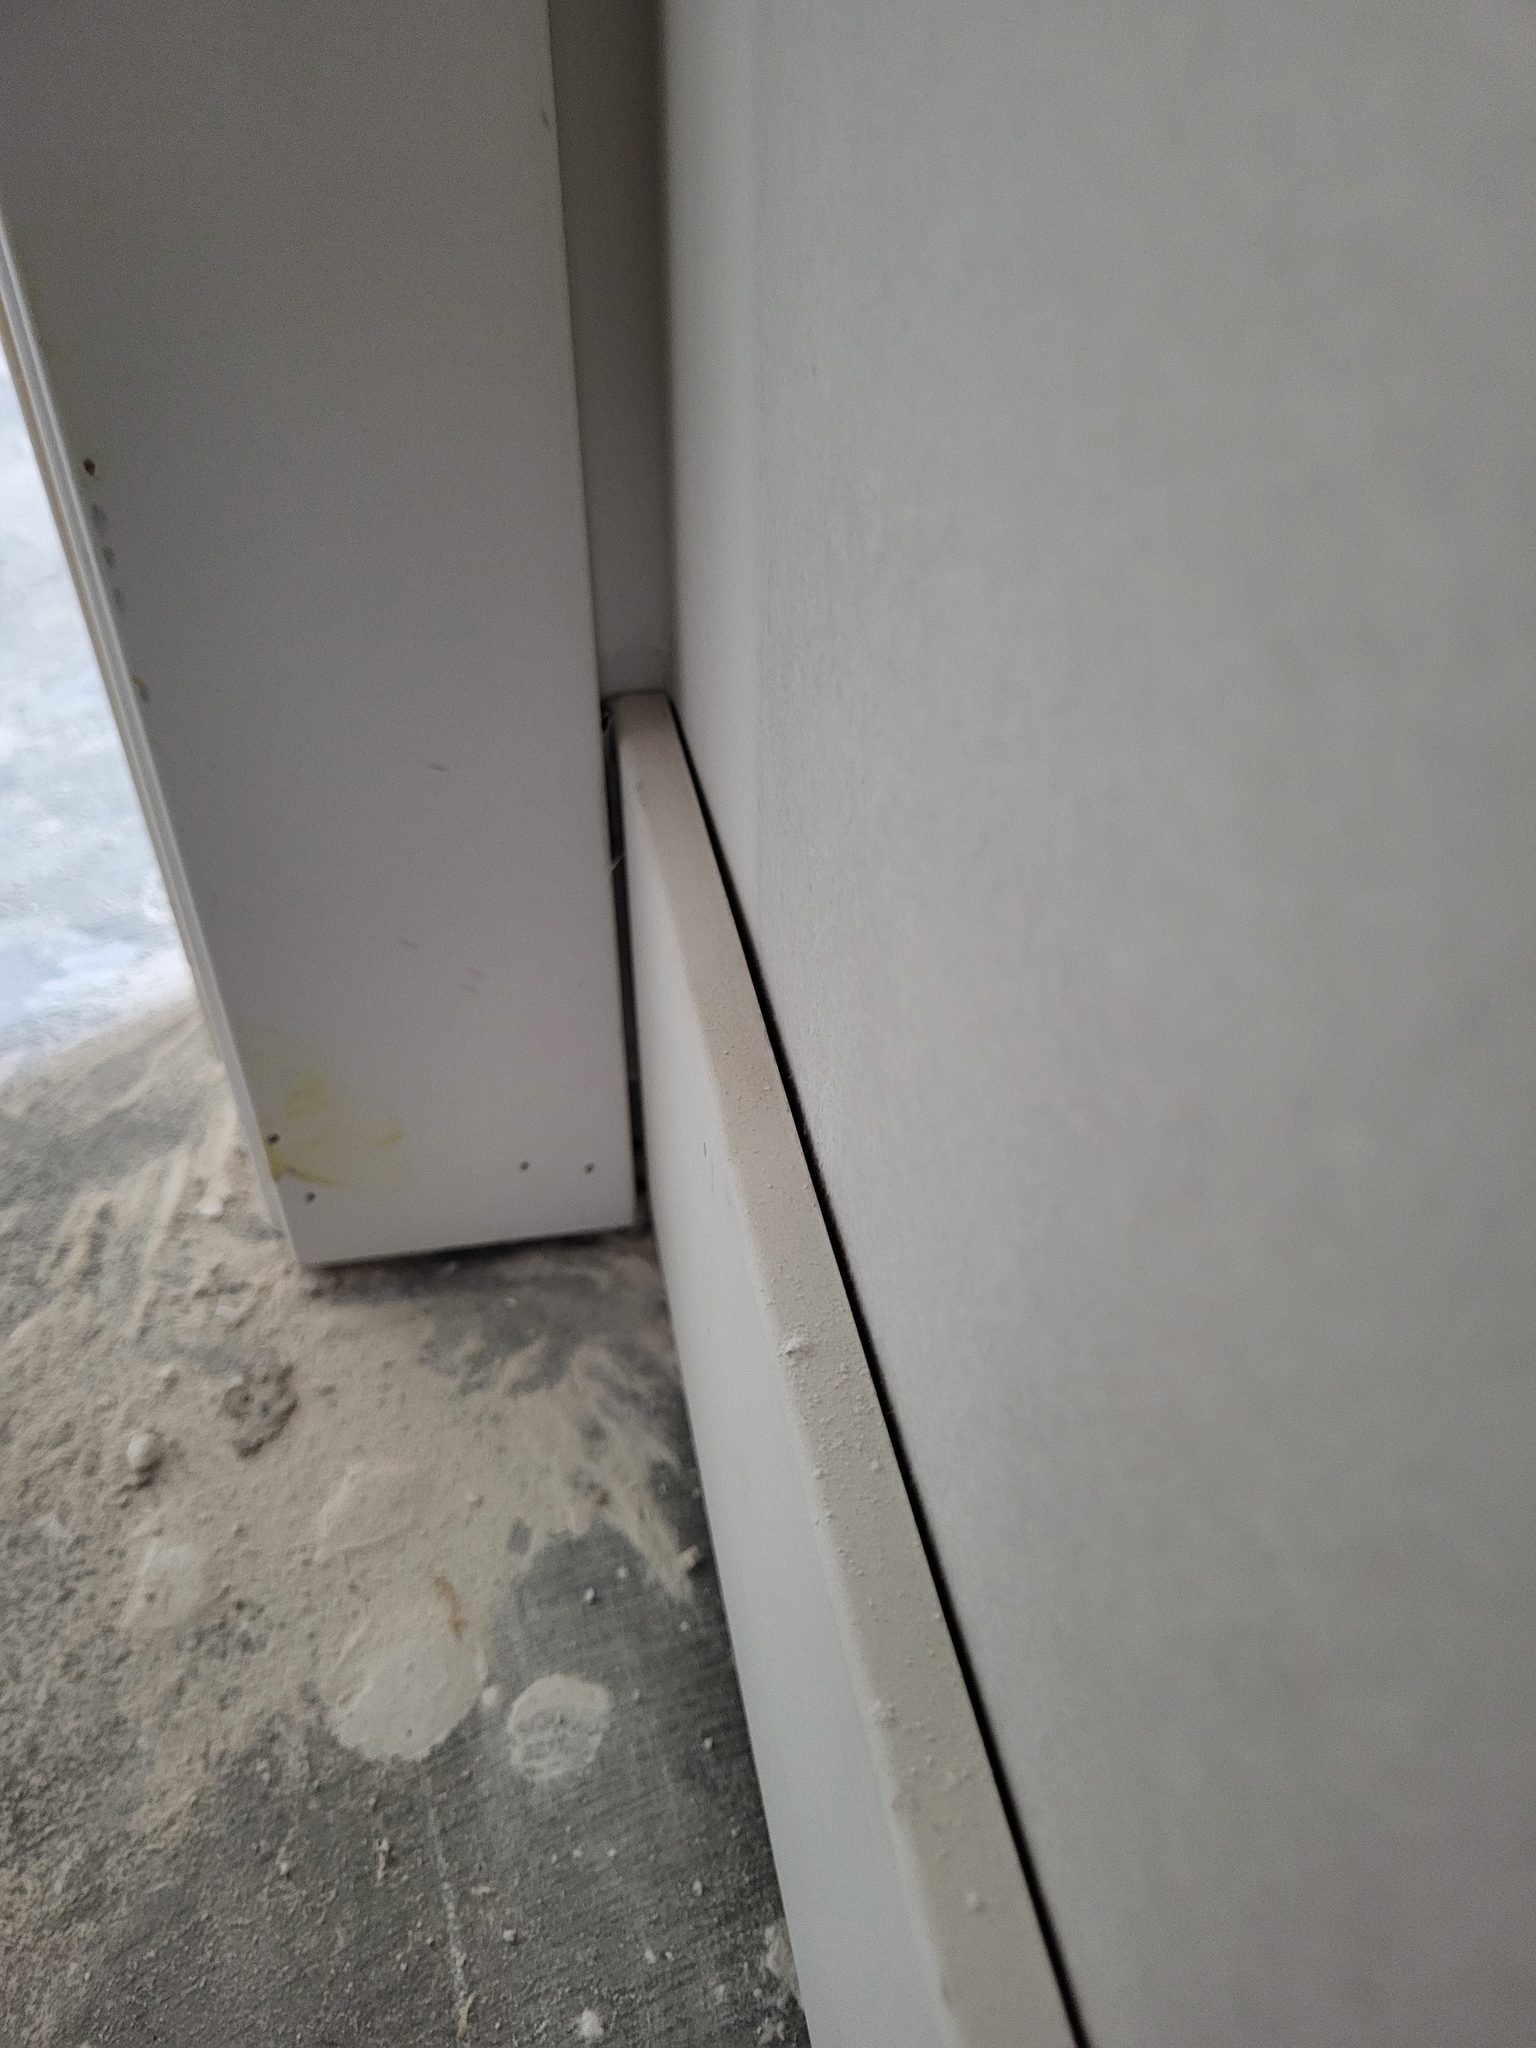
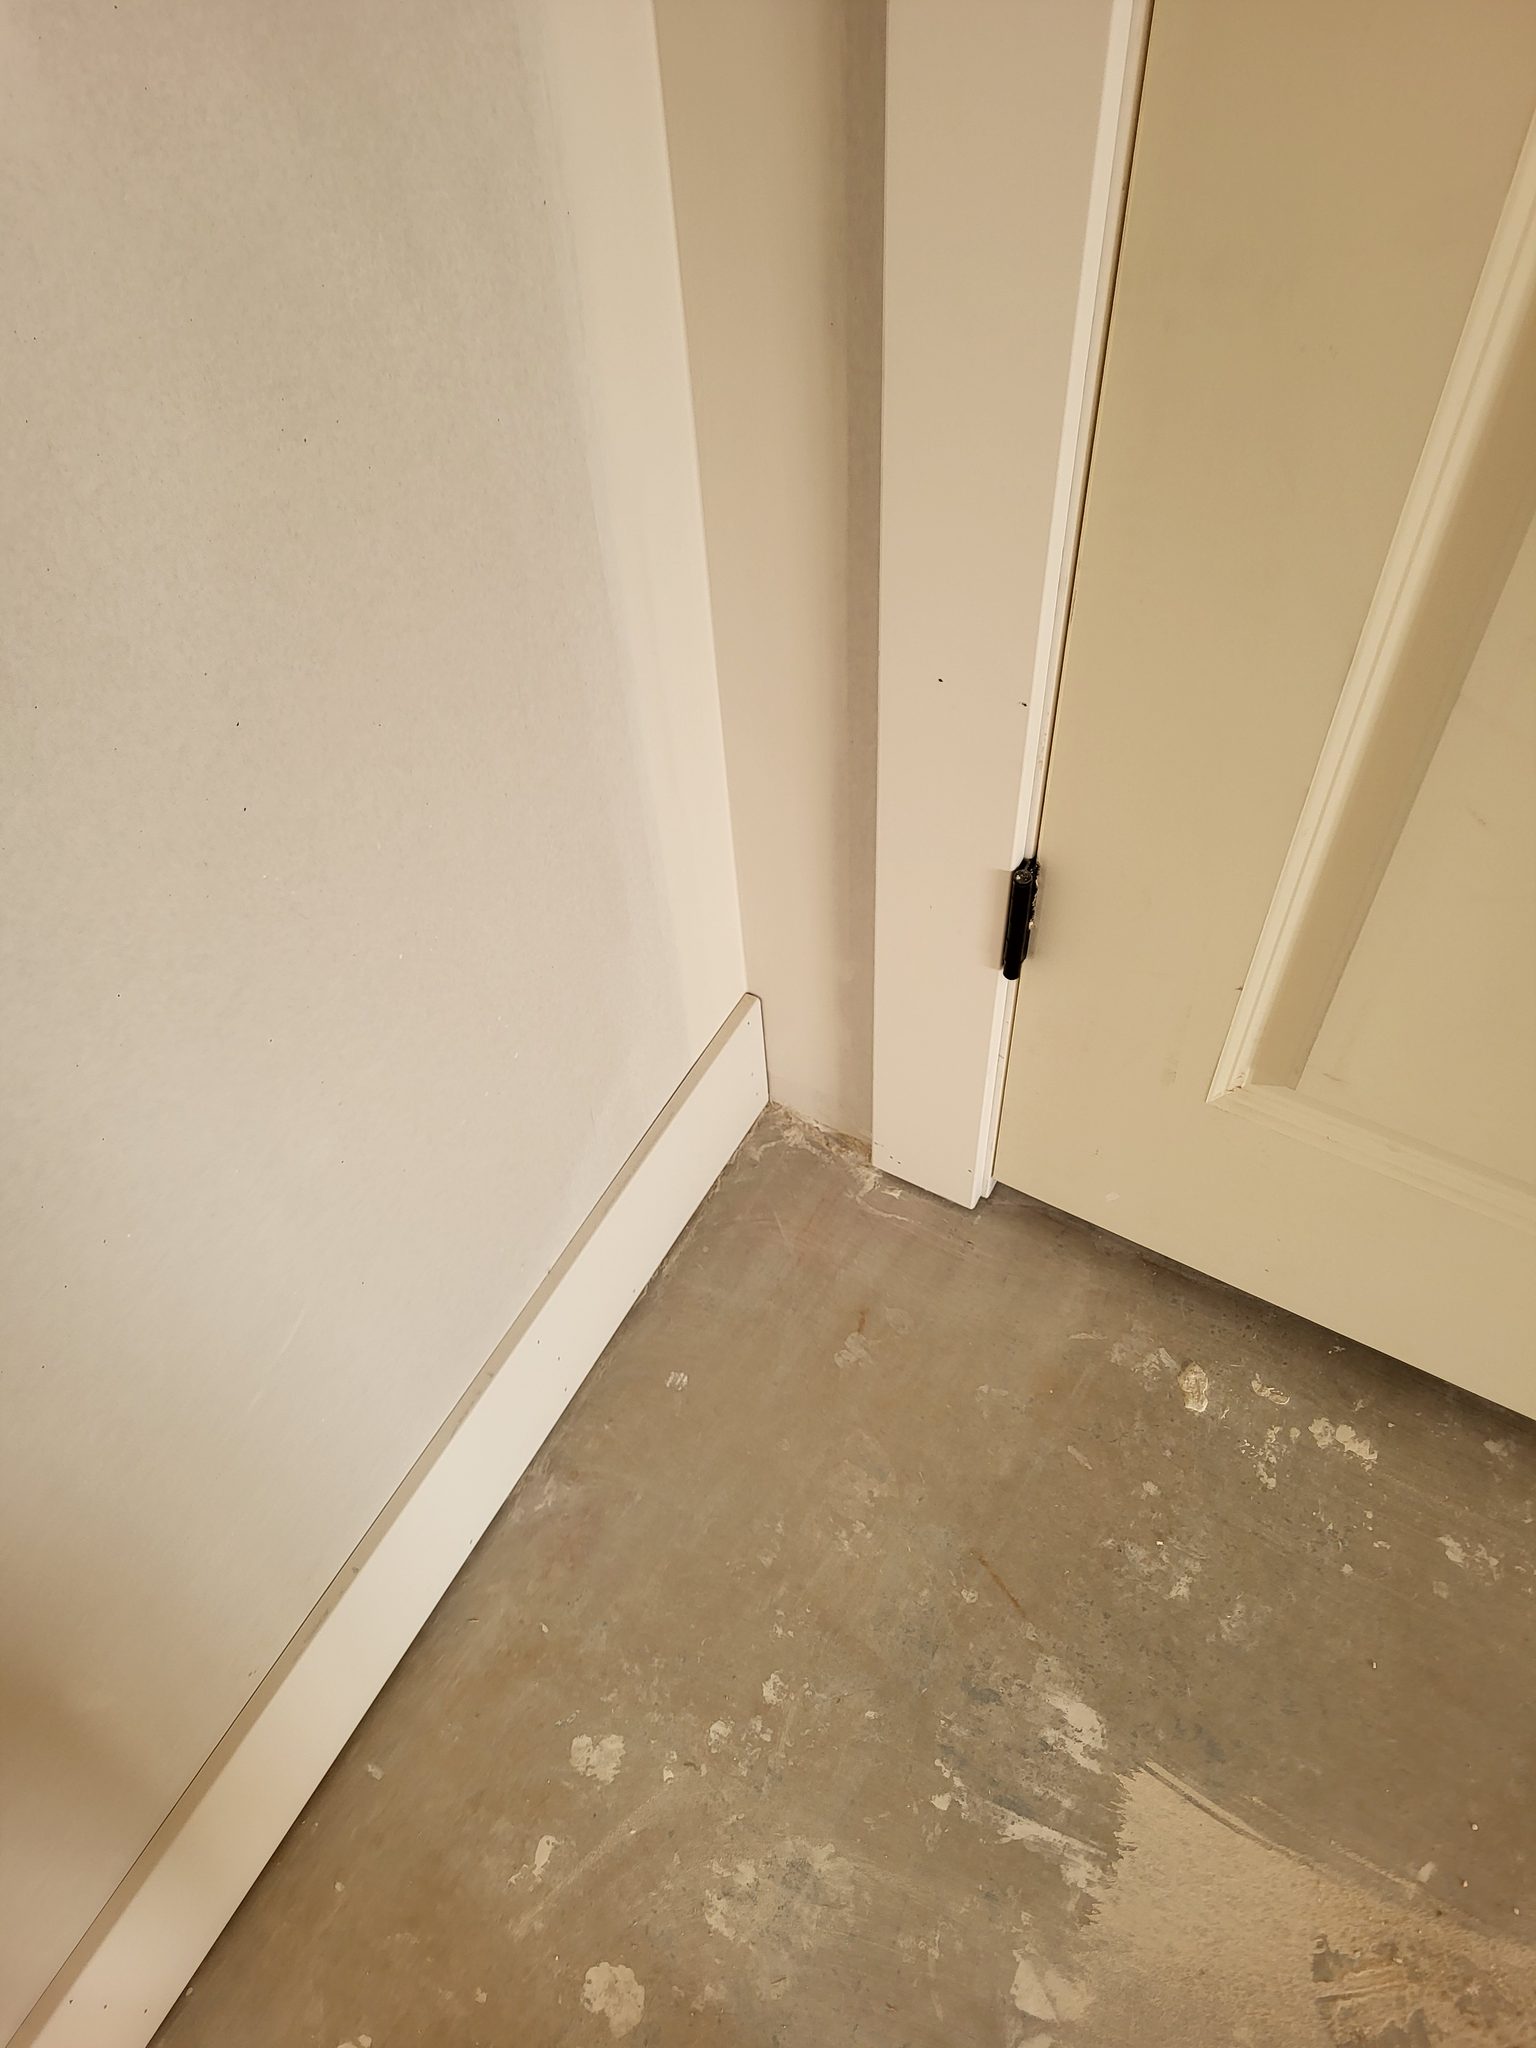
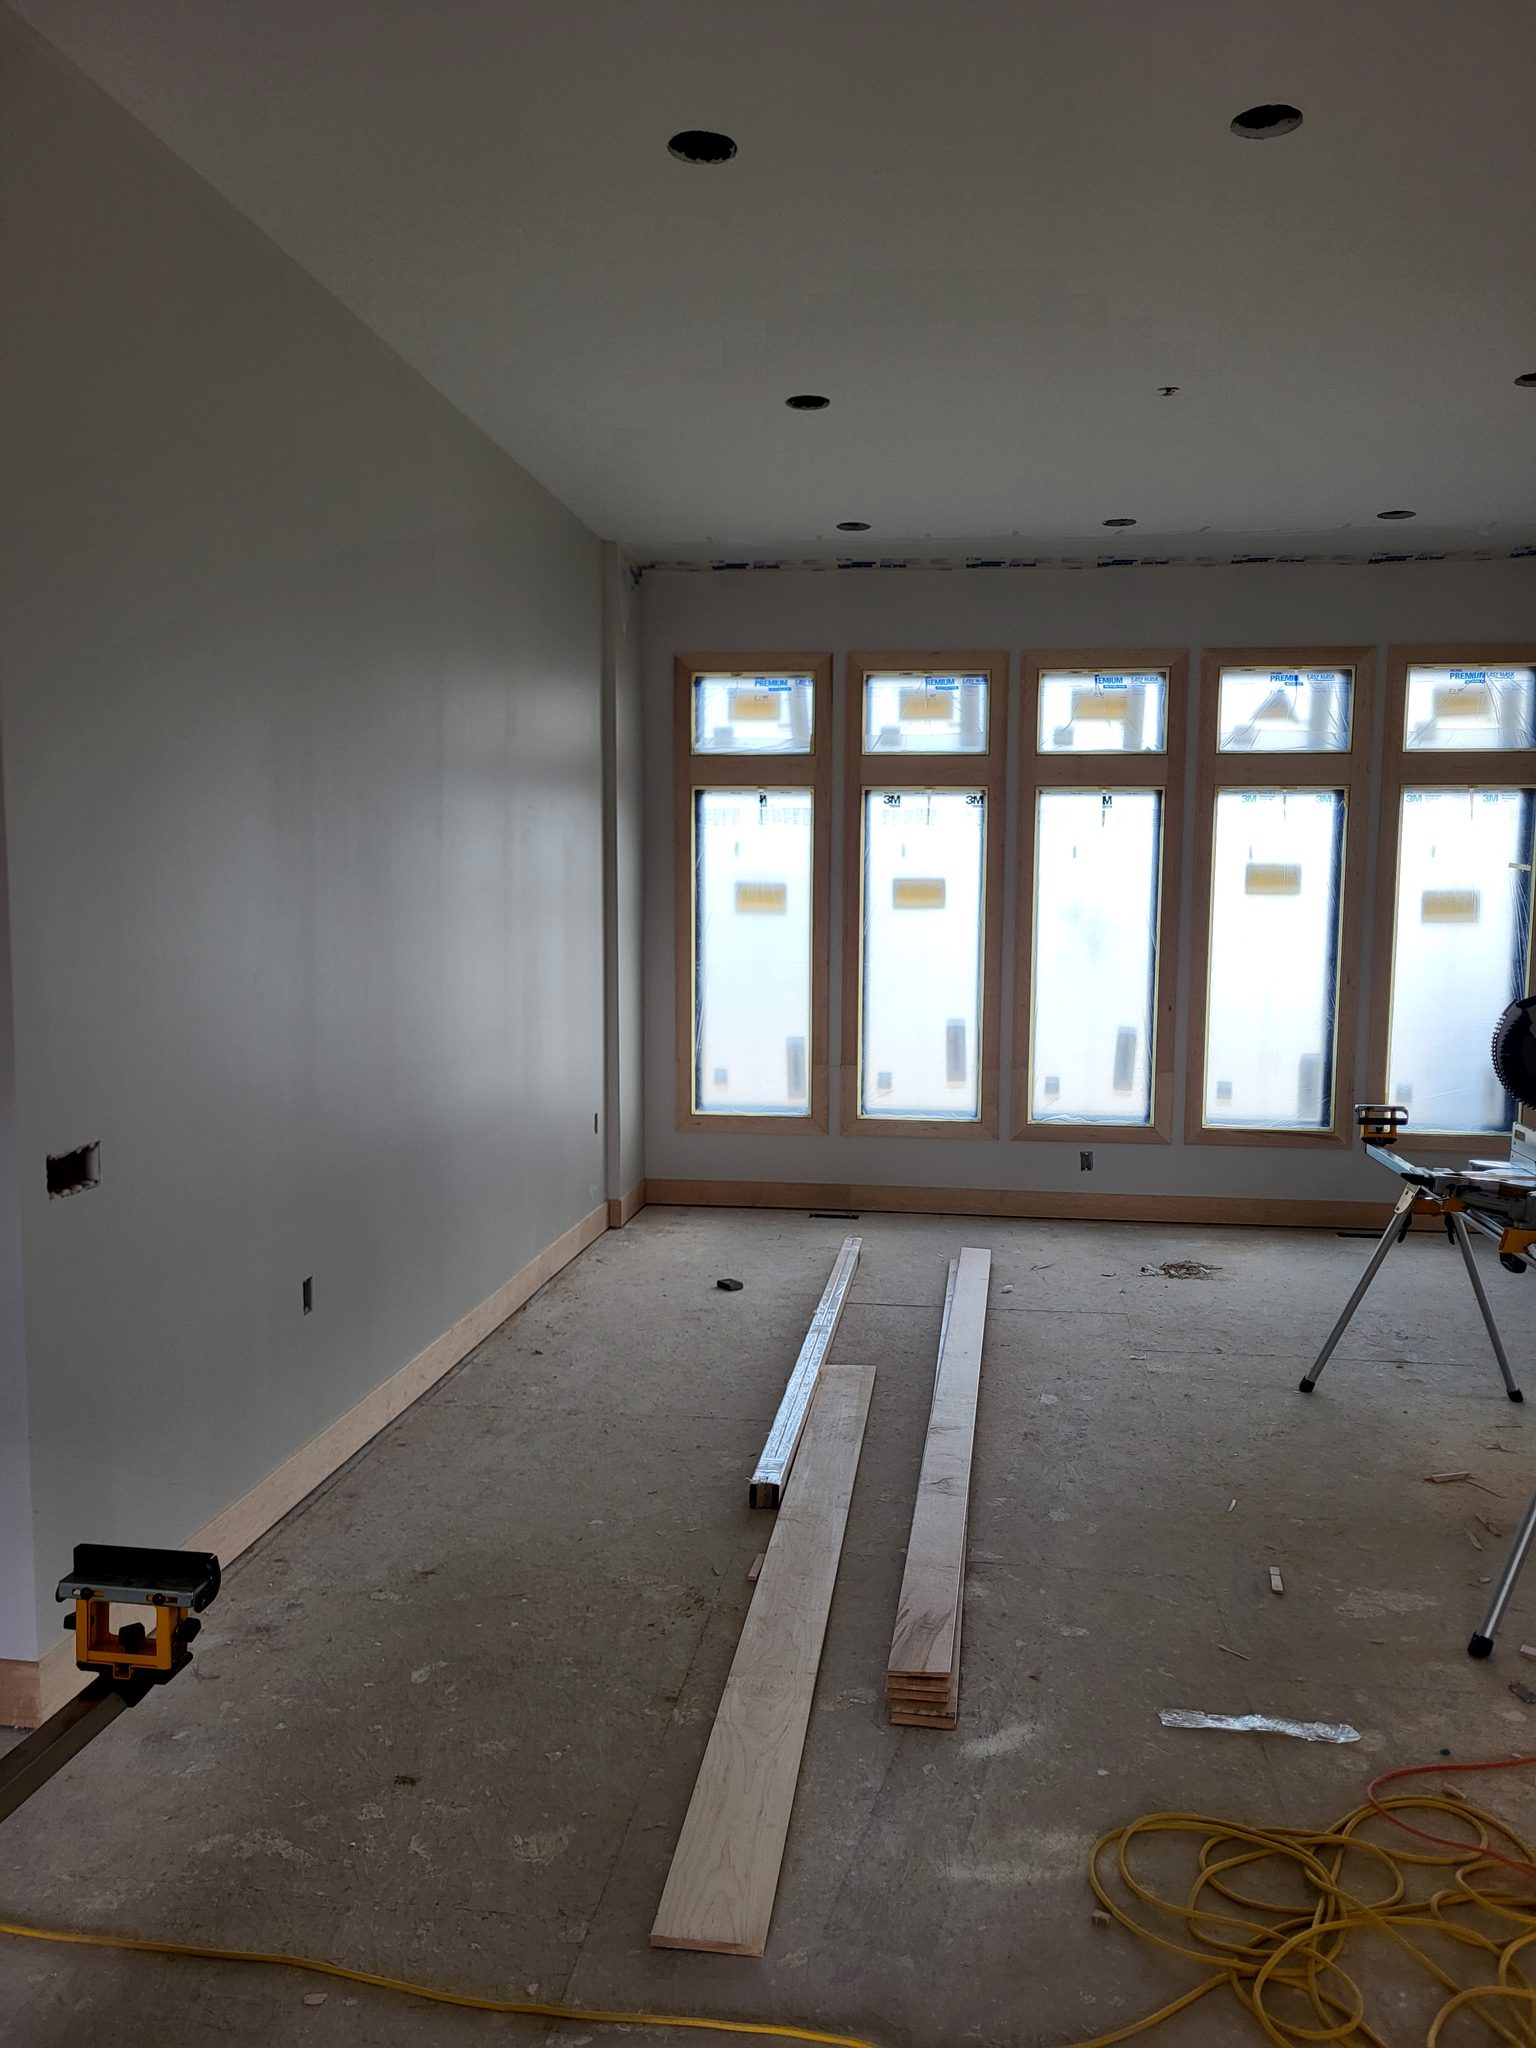
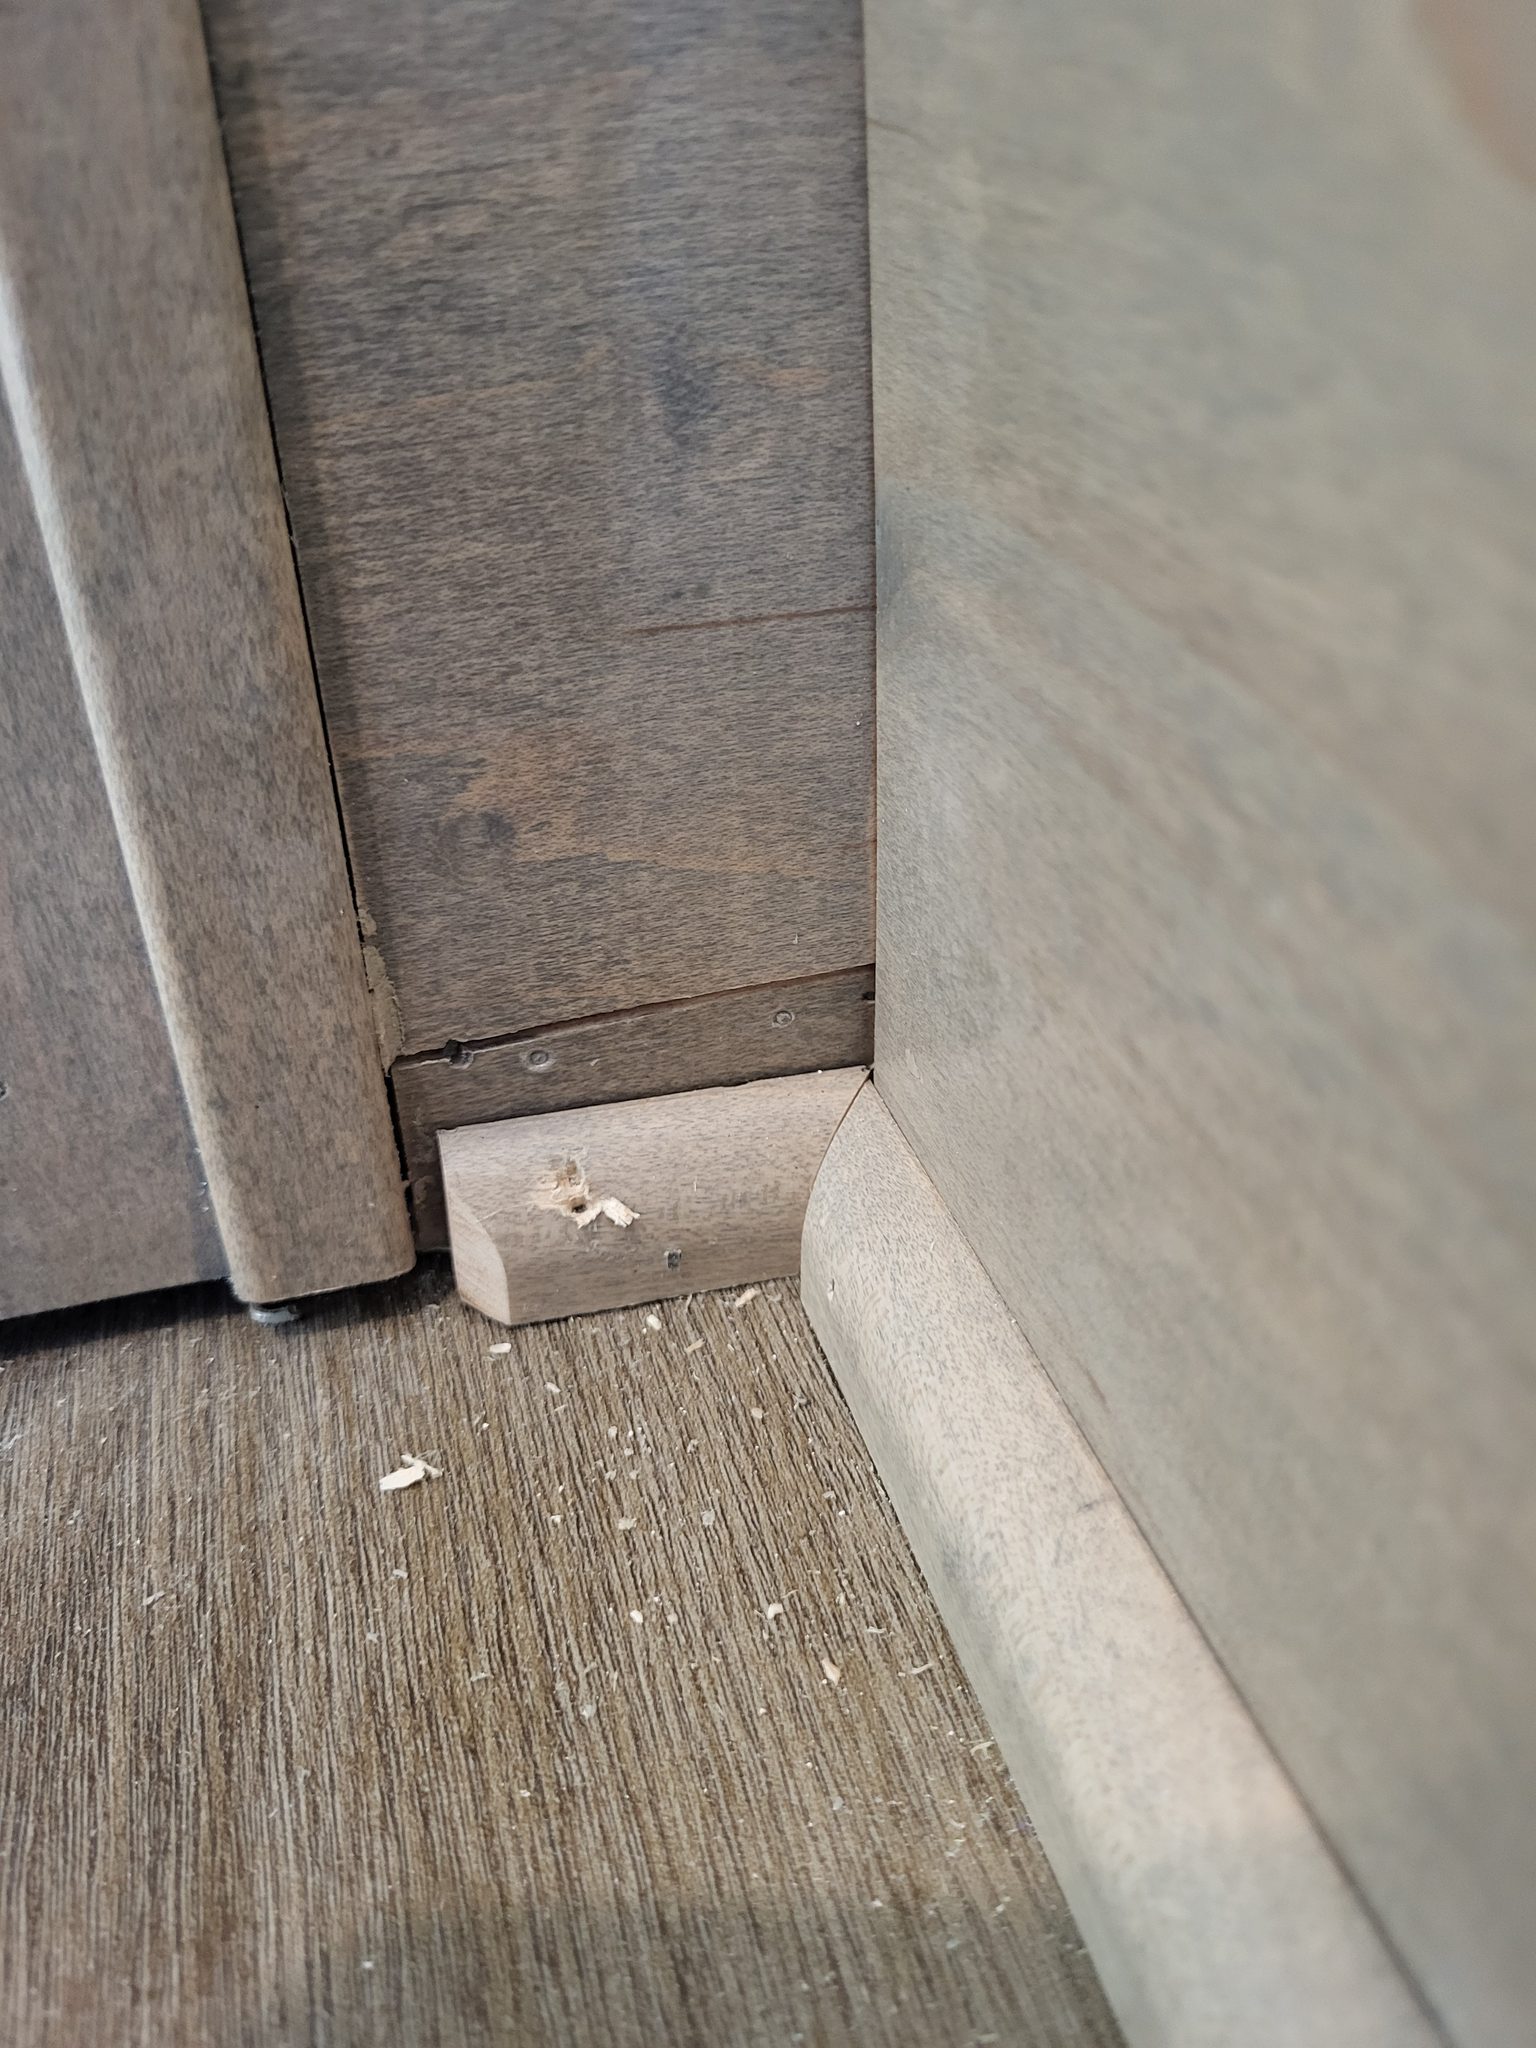
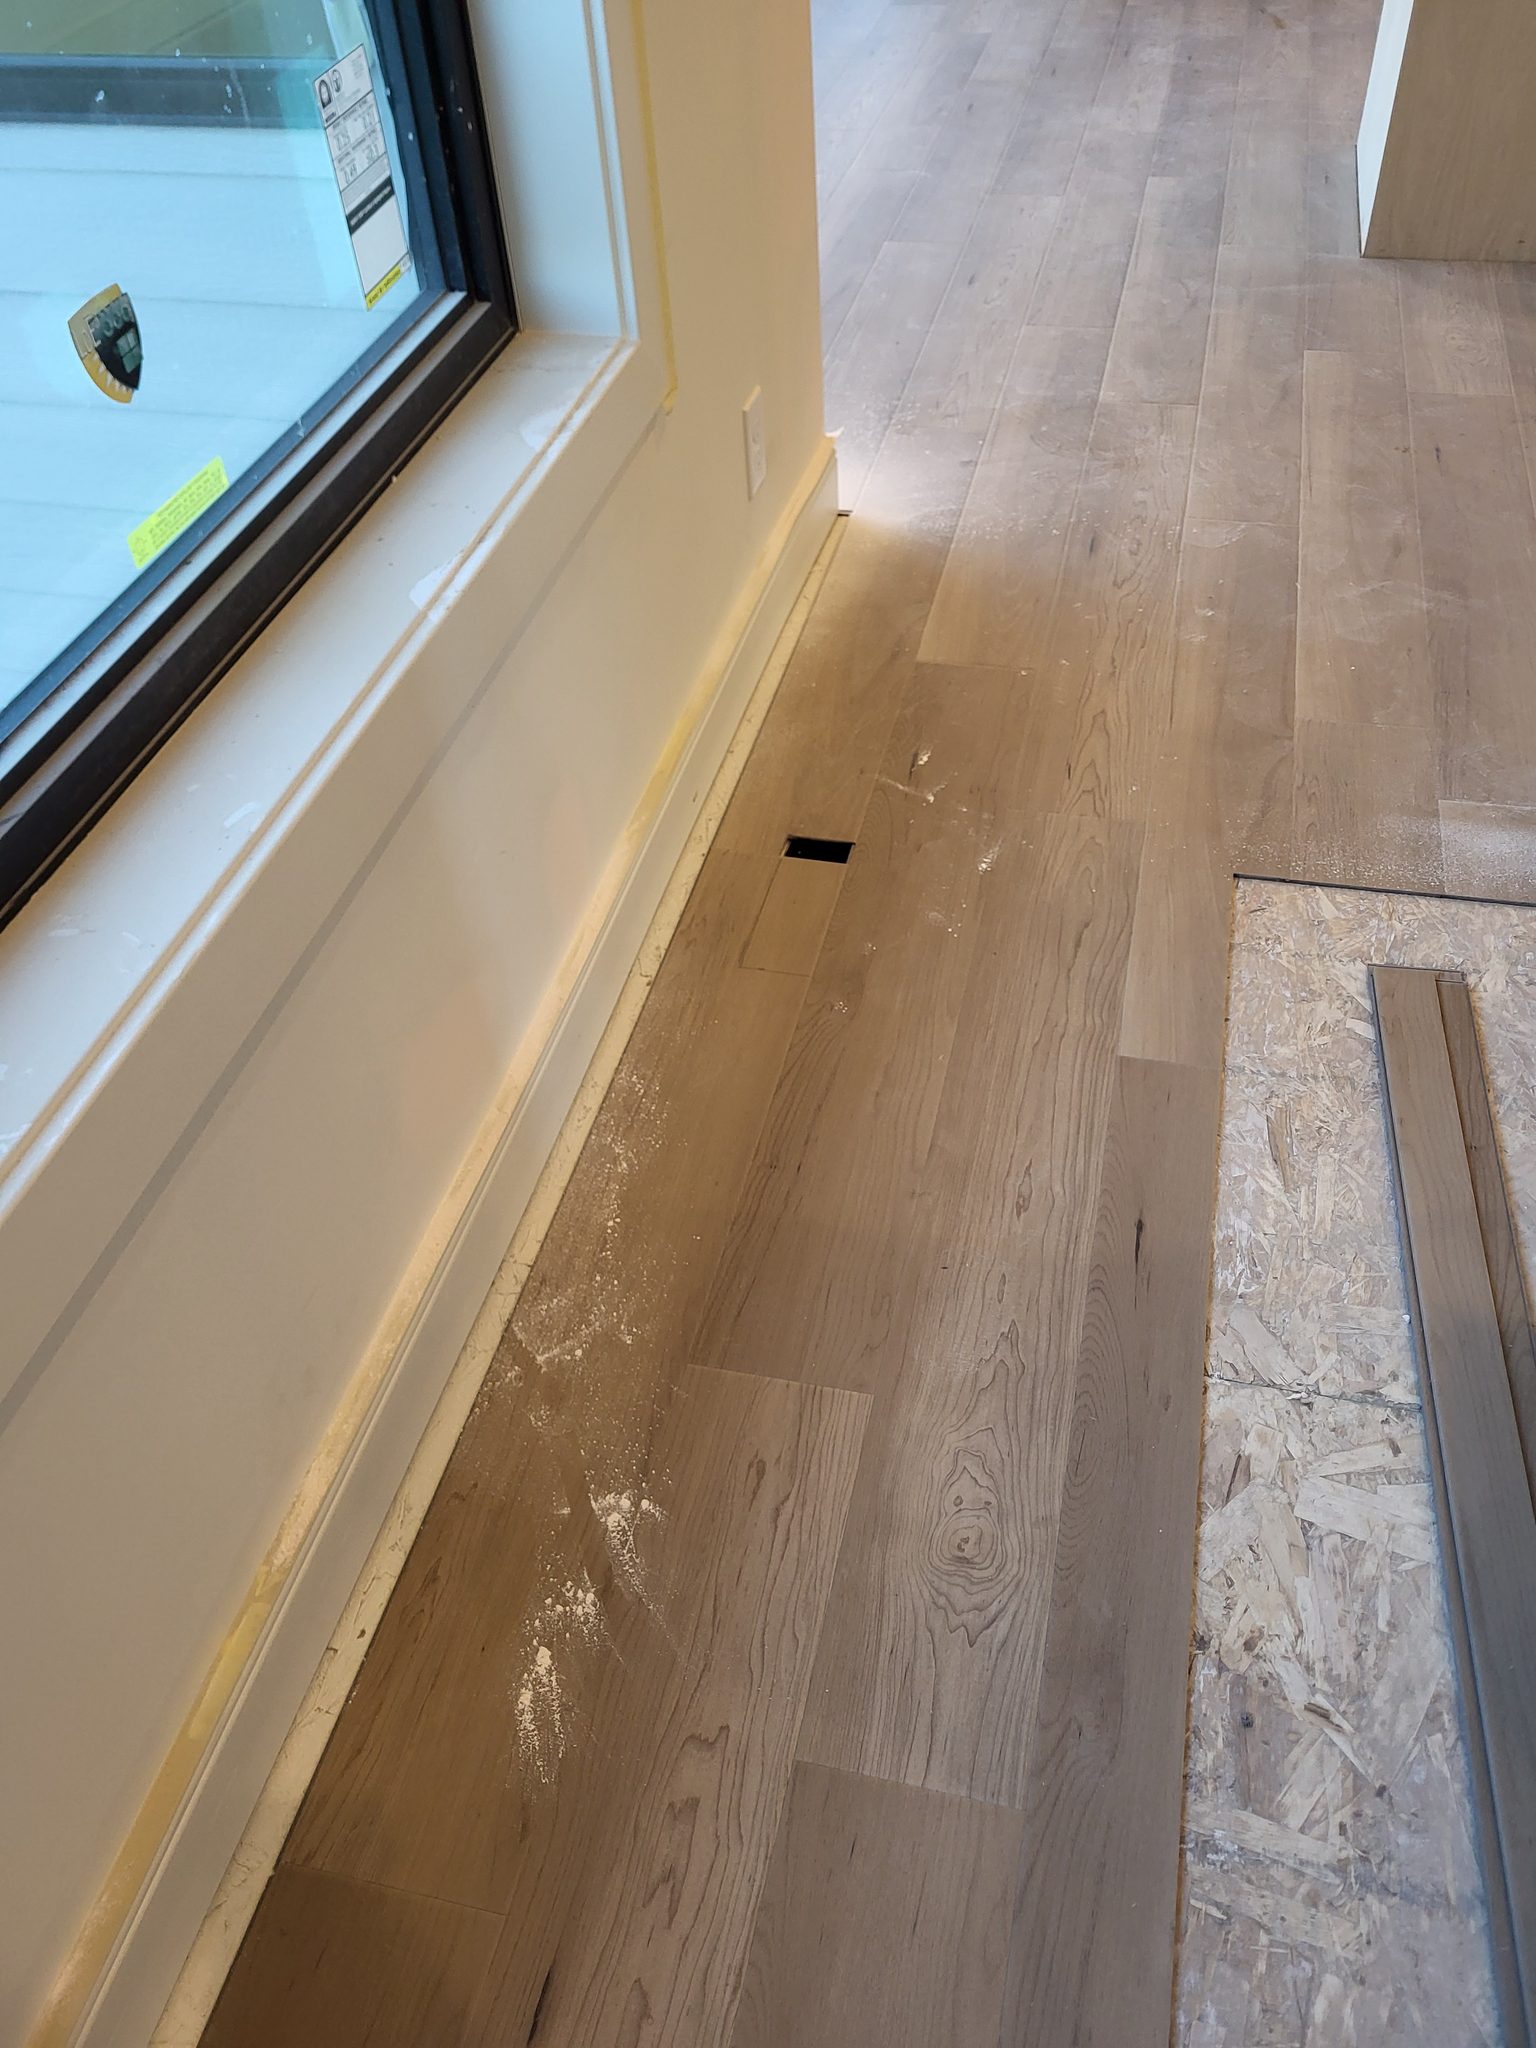
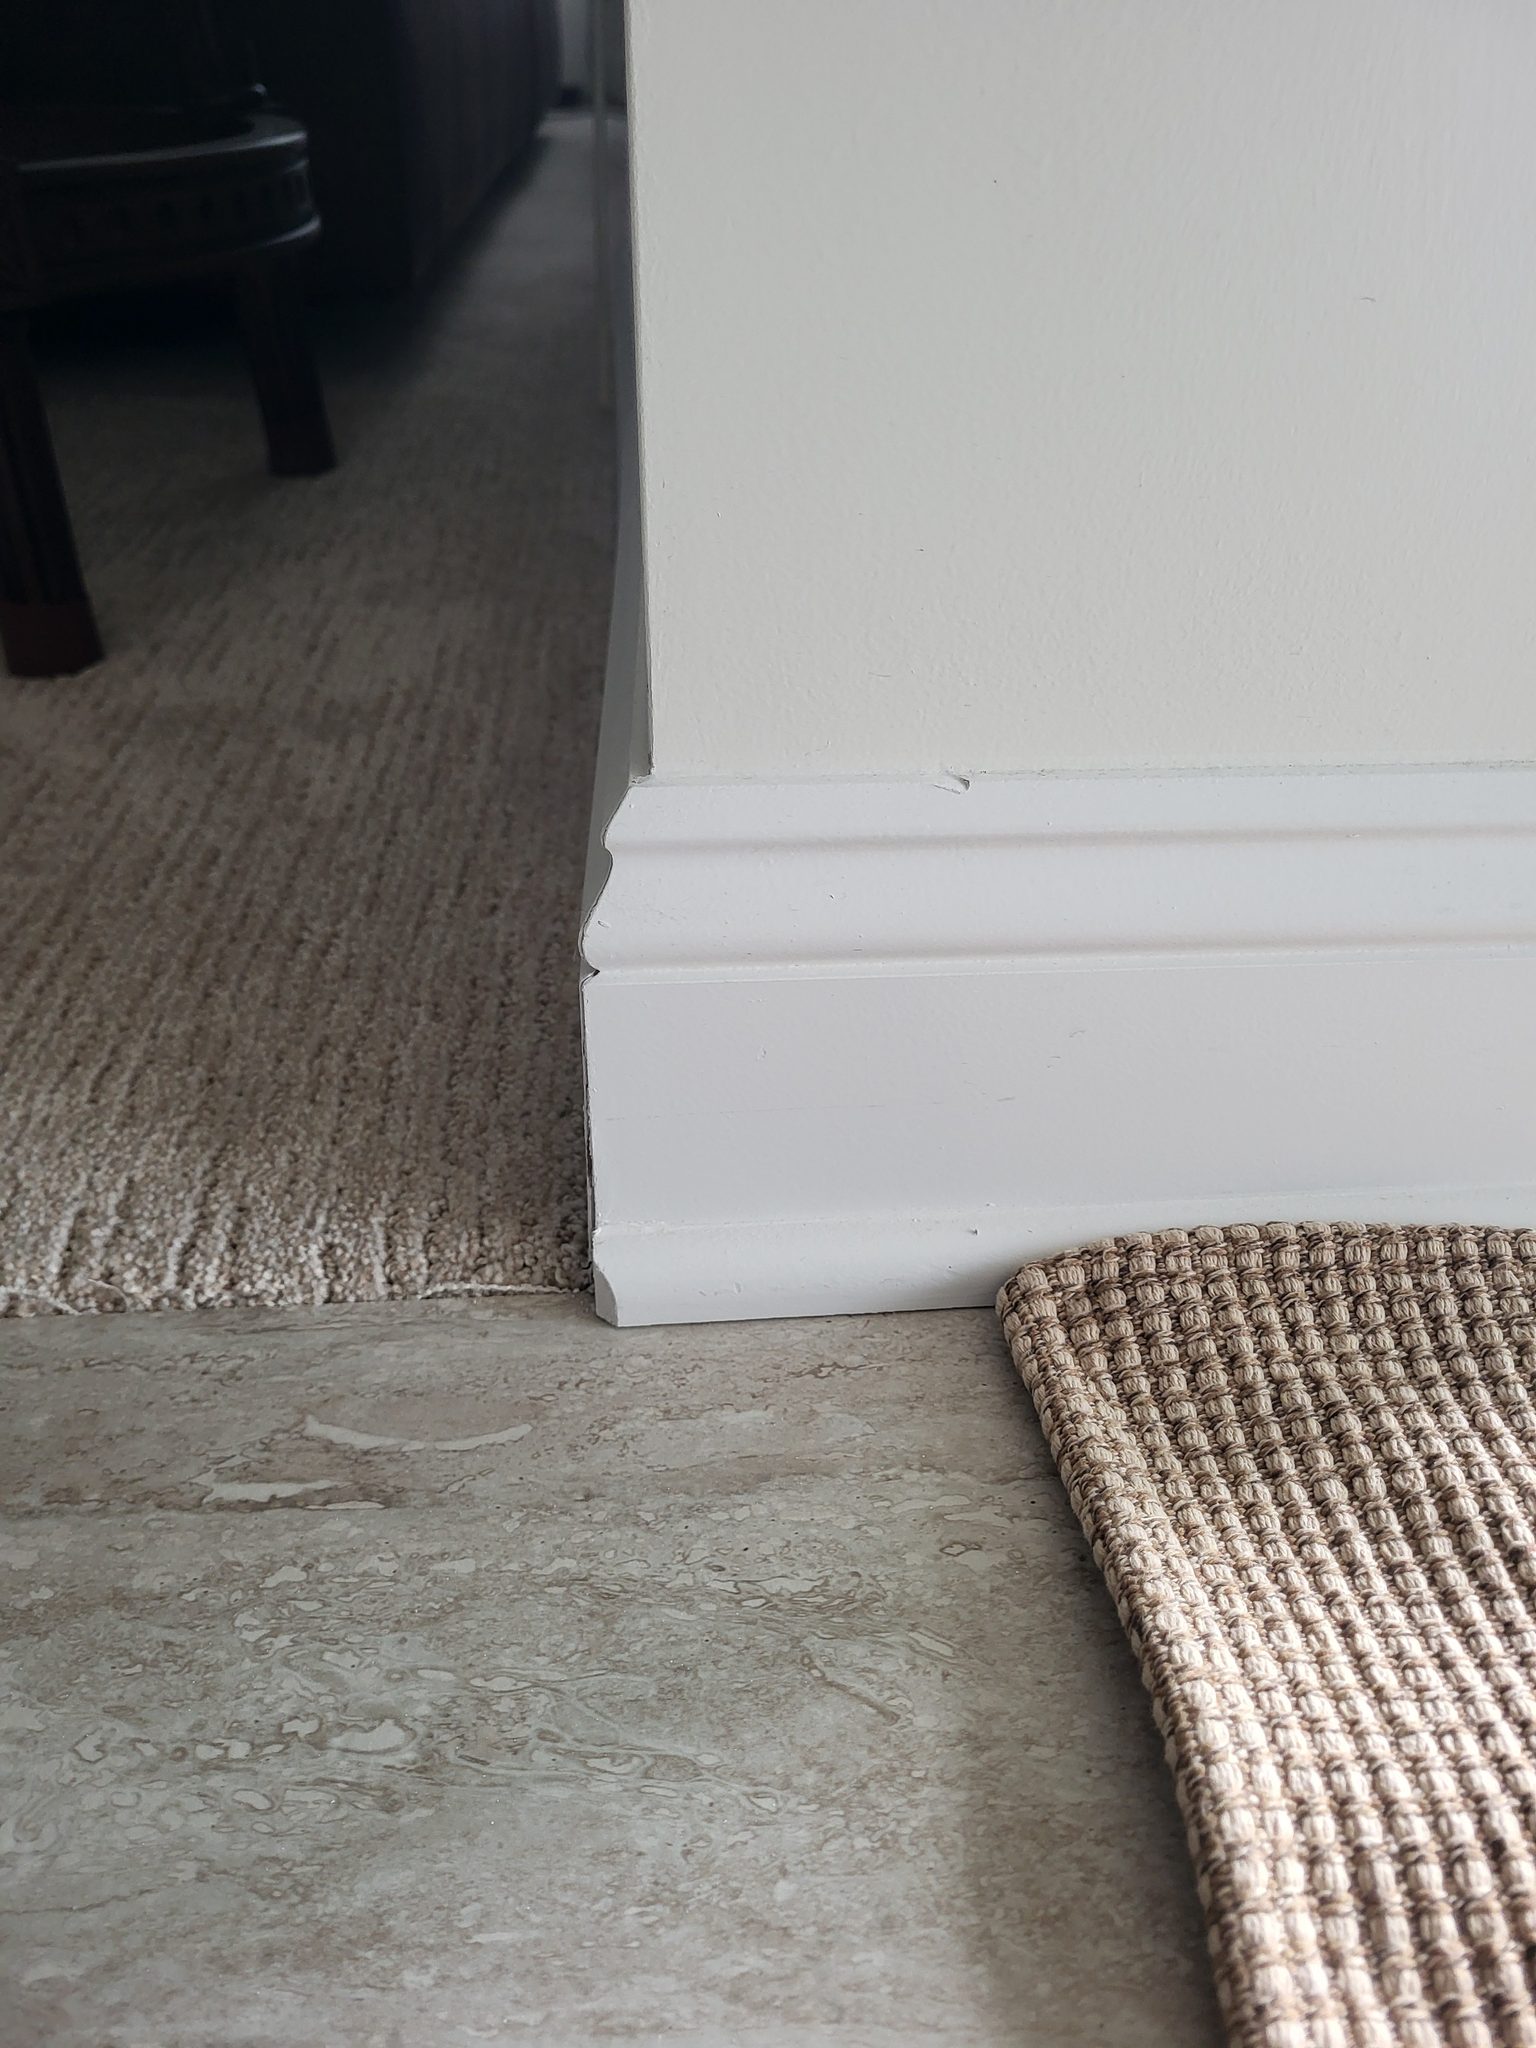
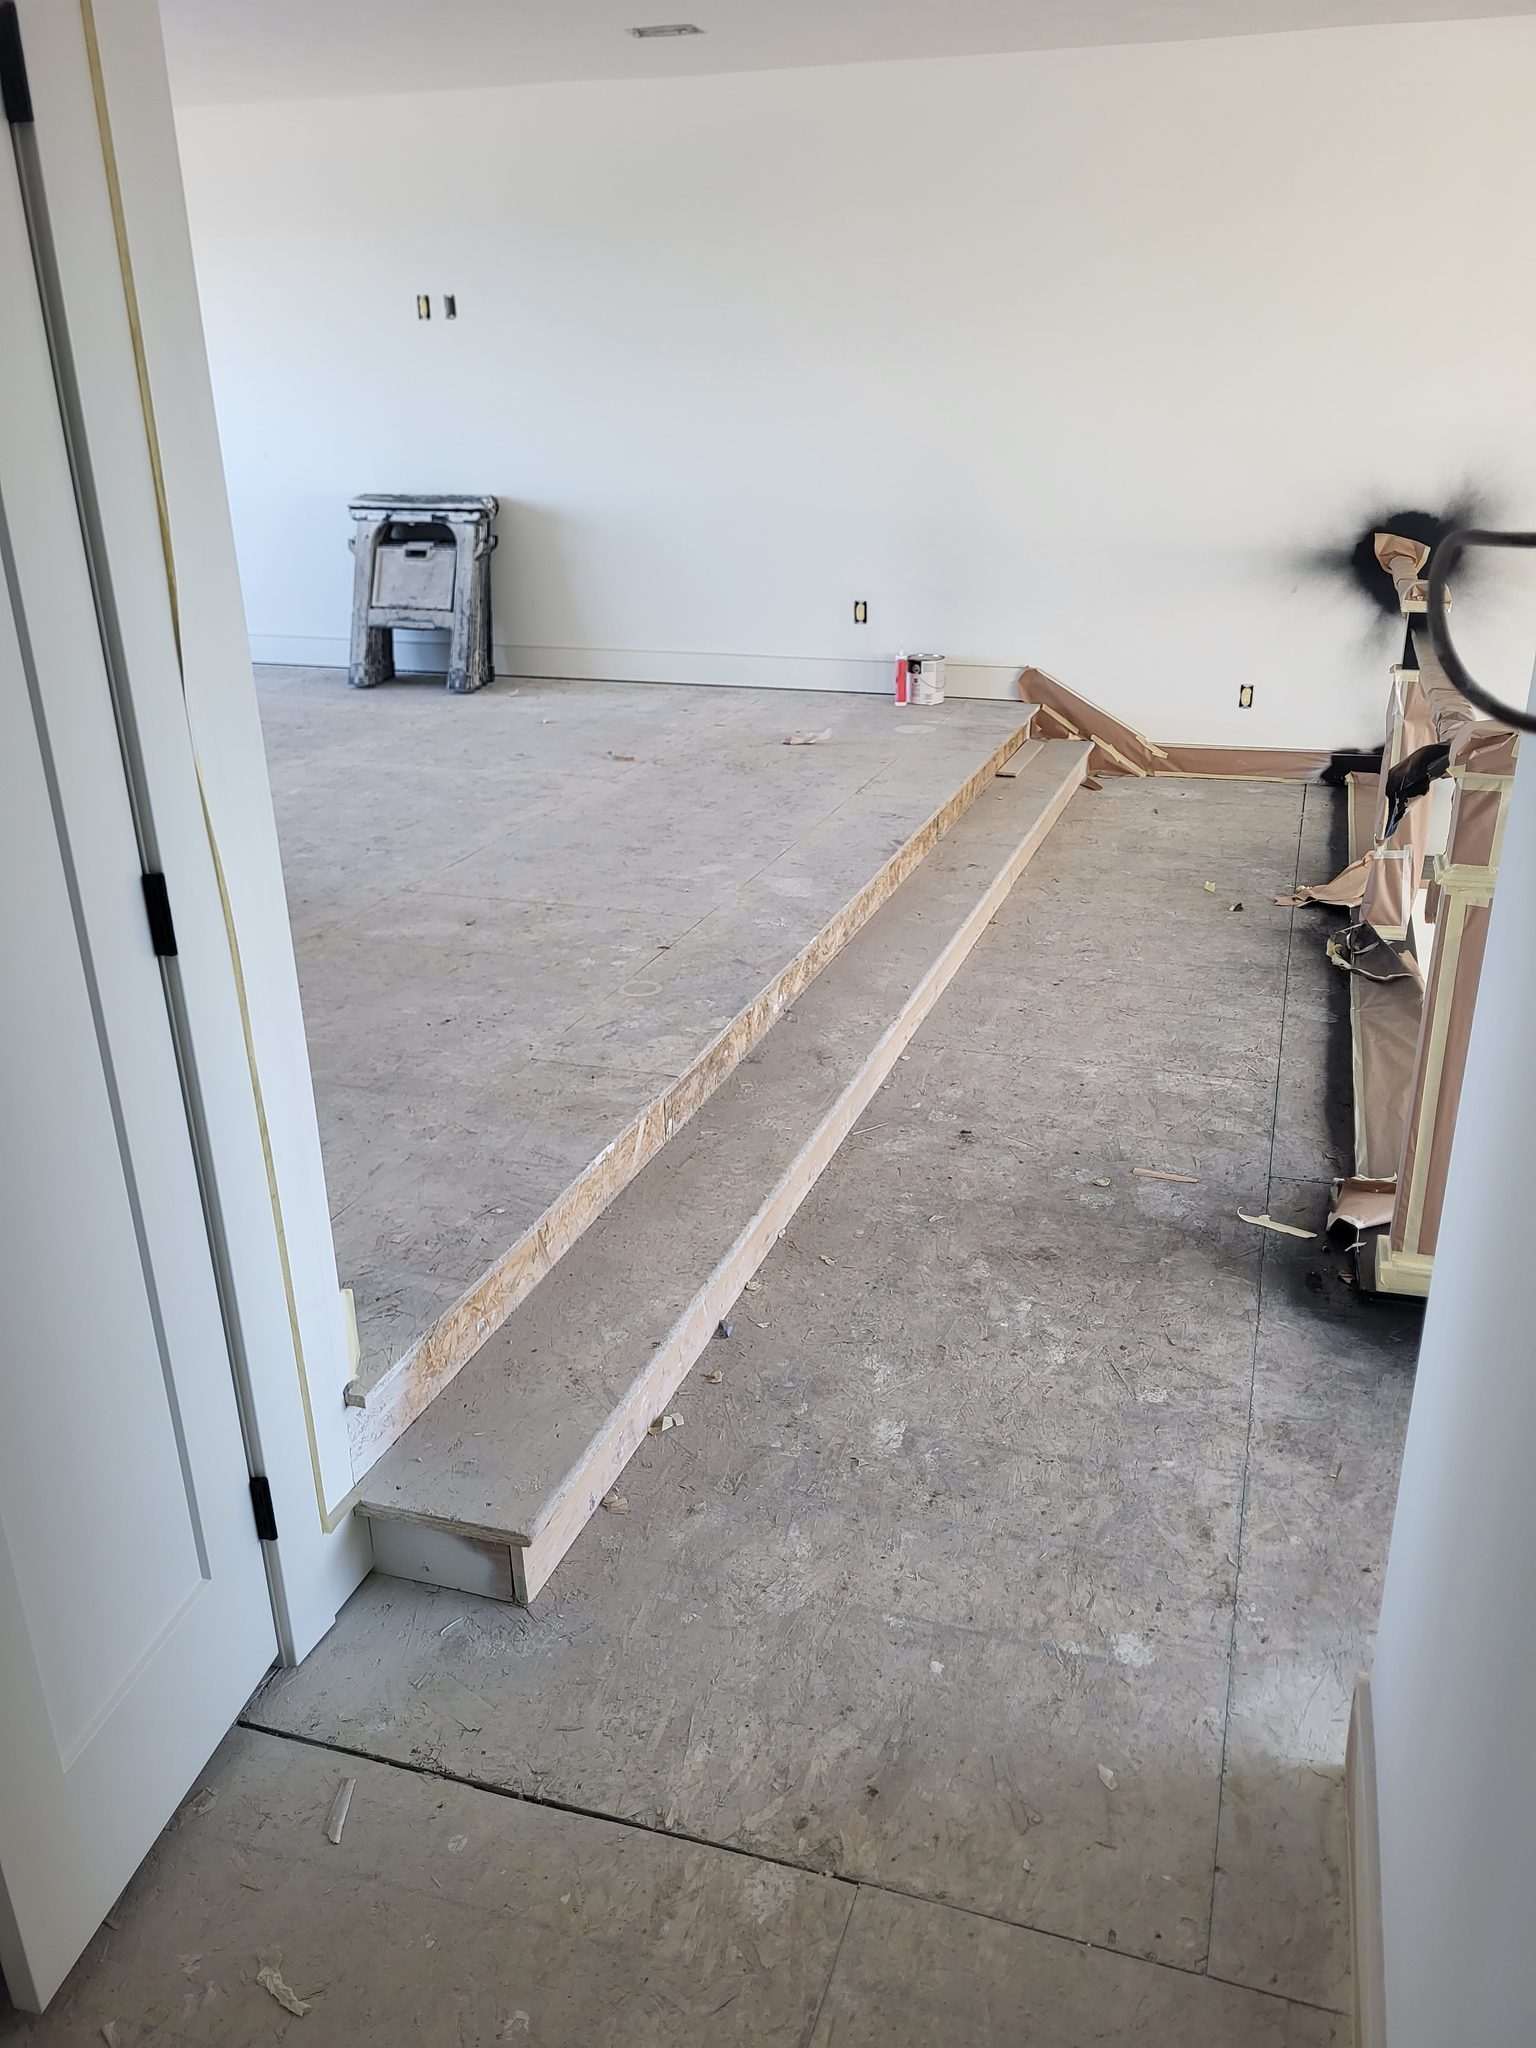
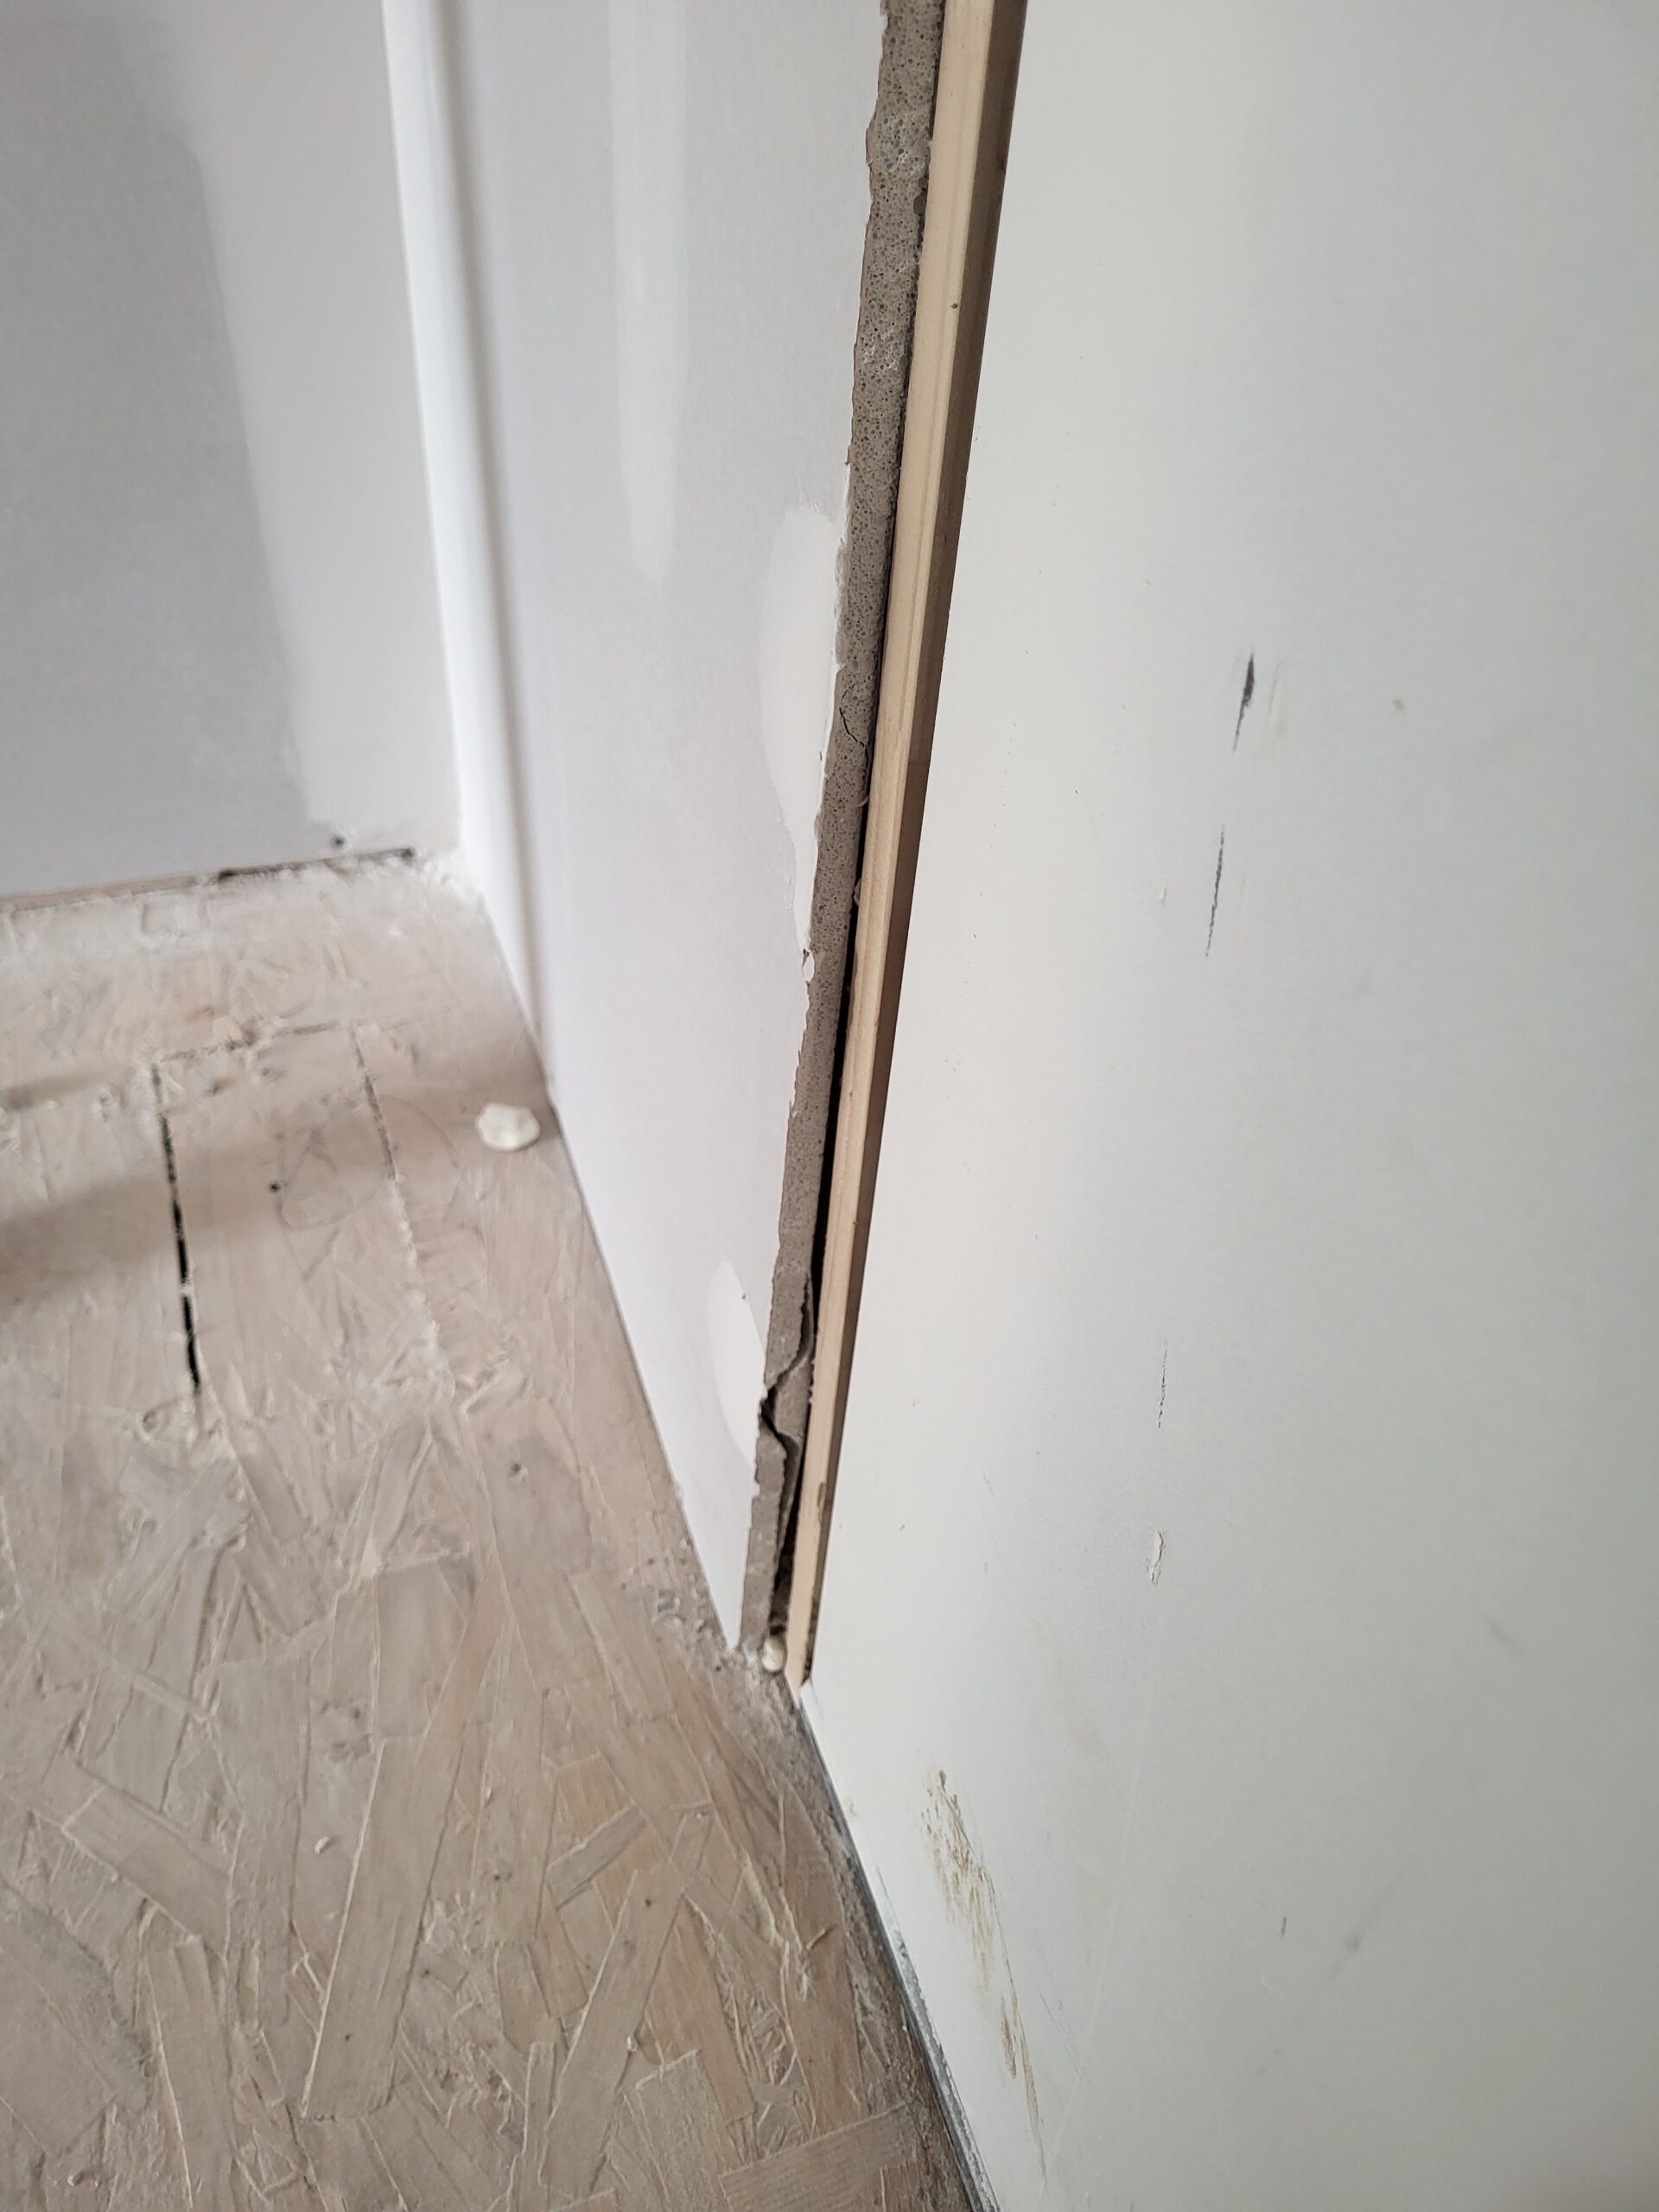
The following photos show examples of this type of work completed in the field. These serve as visual references for quality standards, proper installation techniques, and finished results.
Showing 60 of 60 photos