Skip to content

Let's Build Stuff

  • Home
  • Start Here
  • Glossary
  • Learn
  • Blog
  • About
  • Contact
  • Browse the guides
Let's Build Stuff

How can we help you?

General Carpentry

4
  • How the Guide Library Is Organized
  • Difficulty Levels Explained: What Levels 1, 2, and 3 Mean
  • Finish Carpentry Cheat Sheets and Printable References
  • How to Trim a House, Start to Finish

Doors & Openings

20
  • Installing a Weather-Exposed Exterior Door: The Extra Steps
  • How to Install a Pocket Door Frame
  • How to Install an Exterior Finish Slab
  • How to Install an 8'0" Solid Core Pre-Hung Interior Door
  • How to Install an 8'0" Hollow Core Pre-Hung Interior Door
  • How to Install a 6'8" Solid Core Pre-Hung Interior Door
  • How to Finish a Bypass Door Install
  • How to Install 8'0" Bi-Fold or Bypass Door Slabs
  • How to Install 6'8" Bi-Fold or Bypass Door Slabs
  • How to Install an 8'0" Bi-Fold or Bypass Door Frame
  • How to Install a 6'8" Bi-Fold or Bypass Door Frame
  • How to Install a Pre-Hung Door
  • How to Install a House-to-Garage Door
  • How to Install a Cased Opening
  • How to Install a Pocket Door for a Perfect Finish
  • How to Install Bifold Doors
  • How to Adjust an Exterior Door
  • How to Install Barn Doors
  • How to Install Bypass Doors
  • How to Install an Interior Center-Opening or French Door

Closets

3
  • How to Build Basic Closet Shelves - Part 1 of 3 (Standards)
  • How to Build Basic Closet Shelves - Part 2 of 3 (Layout Design)
  • How to Build Basic Closet Shelves - Part 3 of 3 (Building)

Moldings

20
  • How to Install Baby Shoe at Stair Nosing
  • How to Build a Custom Decorative Header
  • How to Install a Window Seat or Sill
  • How to Install a Mullion Strip
  • Interior Window Frame for Tall Openings (120″ and Above)
  • Interior Window Frame for Medium-Tall Openings (90″ to 119″)
  • How to Install an Interior Window Frame
  • Window Jamb Extension for Tall Windows (120″ and Above)
  • Window Jamb Extension for Medium-Tall Windows (90″ to 119″)
  • How to Install a Window Jamb Extension Like a Pro
  • How to Case Tall Windows (10 Feet and Above)
  • Window Casing for Medium-Tall Windows (90″ to 119″)
  • How to Case One Side of an 8'0" Door
  • How to Case One Side of a 6'8" Door
  • How to Build an Attic Access Cover
  • How to Install Baseboard
  • How to Case One Side of an Exterior Door
  • How to Install Base Shoe
  • How to Case a Window
  • How to Install a Door Jamb Extension

Stairs/Handrails

11
  • How to Build a Handrail for Metal Balusters Like a Pro
  • How to Install a Garage Step Handrail
  • How to Build Garage Steps with 3 Stringers and Closed Risers
  • How to Build Garage Steps with Closed Risers
  • How to Build Garage Steps with 3 Stringers (Open Risers)
  • How to Install Stair Skirt Boards: Drop-In Method
  • How to Build a Wall-Mount Handrail
  • How to Mount a Handrail to the Wall
  • How to Install a Newel Post
  • How to Build Garage Steps with a Landing
  • How to Build Garage Steps: Safe, Code-Compliant Stairs

Specialty

7
  • How to Install Shiplap on a 3-Sided Fireplace Under 10'
  • How to Install Shiplap, 0' to 7'
  • How to Install Shiplap 4, Ceiling
  • How to Install Shiplap 3 side fireplace wrap above 15'
  • How to Install Shiplap 3 side fireplace wrap 10'-15'
  • How to Install Shiplap 3, 14'+
  • How to Install Shiplap 2, 7' to 14'

Hardware

2
  • How to Install Bath Accessories
  • How to Install a Lockset on a Door
  • Home
  • Learn
  • Closets
  • How to Build Basic Closet Shelves - Part 3 of 3 (Building)
View Categories

How to Build Basic Closet Shelves - Part 3 of 3 (Building)

Closets Skill Level: Intermediate (Level 2) · Estimated Time: 2-4 Hours Per Closet

Introduction #

This is the hands-on guide. Here you build closet shelves from start to finish - Part 3 of our closet shelving series. If you’ve followed along from the beginning, you already know the industry standards for shelf heights, rod placements, and material specs (Part 1). You’ve also made a layout plan for every closet in the house (Part 2). Now it’s time to pick up your tools and build.

This guide walks you through the whole installation: prepping the closet, installing cleats (the strips of wood fastened to the wall that hold up each shelf), cutting and setting the shelves, hanging the rods, and adding support brackets. Each step covers the exact fasteners, techniques, and pro tips you need. Follow them and you get a closet that looks clean and solid. Skip them and the shelves sag, squeak, or fall apart within a year.

Closet shelving is one of the most repeated tasks in finish carpentry. A typical new house might have eight to twelve closets. That repetition works in your favor. Once you dial in your process on the first closet, you can move fast through the rest of the house and keep the quality consistent in every room. The key is building a routine and sticking to it.

Before you begin, make sure you have your finished layout plan from Part 2 and all your materials on site. Building without a plan wastes material, gives you shelves at different heights, and leads to callbacks. Take the time to set up right, and the install will go fast and smooth.

Series Overview #

This guide is Part 3 of a three-part series on building closet shelves in new construction:

  • Part 1 - Standards: Industry measurements, rod heights, shelf spacing, and material specifications
  • Part 2 - Layout Design: Planning and designing layouts for every closet type
  • Part 3 - Building (You Are Here): Step-by-step construction, cutting, installation, and finishing

Before You Begin #

Prerequisites #

  • Drywall is complete and finished. All closet walls must be fully drywalled, taped, and sanded before you build closet shelves. You need solid, flat walls to attach cleats and set shelves against.
  • Closet layout plan from Part 2 is finalized. You should have a written or drawn plan for every closet in the house that shows shelf heights, rod locations, section widths, and material depths. Do not start building without this plan.
  • All materials are on site. Particle board shelving, MDF (medium-density fiberboard, a manufactured wood panel) or pine cleats, round rods, support brackets, fasteners, and glue should all be staged and ready. Running to the supply house in the middle of a job kills your momentum.
  • Stud locations are marked. Use a stud finder to find and mark every stud in each closet before you start cutting cleats. Cleats have to be fastened into studs - they carry the full weight of the shelf and everything stored on it.

What You Need To Know #

  • Cleats carry all the weight - they must hit studs. The cleat is what holds up the whole shelf. A cleat fastened only into drywall will pull out once it’s loaded. Every cleat must be nailed or screwed into at least two studs. No exceptions.
  • Level is critical. A shelf that’s out of level sticks out right away and looks sloppy. Check every cleat with a 4-foot level before nailing it off. It takes 10 seconds to check and saves you from tearing it out and redoing it later.
  • Particle board dulls blades fast. The resin and glue in particle board shelving is hard on saw blades. Family Handyman recommends fine-tooth blades for clean cuts. Use a fine-tooth blade (60+ teeth for a miter saw, 80+ for a table saw) and expect to change or sharpen blades more often than you would cutting solid wood.
  • Work top-down. Install the highest shelves and cleats first, then work your way down. This keeps you from bumping or damaging lower shelves while you reach overhead. It’s also easier to measure down from a reference point than up from the floor, since floors are rarely perfectly level.

Tools Required #

Power Tools #

  • Miter saw - For cutting cleats and rods to length. A 10″ or 12″ sliding compound miter saw handles all standard cleat and rod cuts.
  • Circular saw or table saw - For cutting particle board shelving to width or length. A table saw gives straighter cuts, but a circular saw with a straightedge guide works well on site.
  • 16-gauge finish nailer - For attaching cleats to studs. The 16-gauge nail has enough holding power to hold the cleats under load. This is your main tool for any connection that carries weight.
  • 18-gauge brad nailer - For tacking shelves to cleats and for lighter trim work. The 18-gauge nail holds shelves in place without splitting thin material.
  • Drill/driver - For driving screws when you need extra holding power, like installing brackets or reinforcing cleats in high-load spots.

Hand Tools #

  • Tape measure - 25-foot minimum. You’ll be measuring constantly - closet dimensions, shelf lengths, cleat positions, rod lengths.
  • 4-foot level - Essential for checking every cleat before nailing. A shorter level won’t span enough of the cleat to give you an accurate read.
  • Pencil - For marking stud locations, shelf heights, and cut lines. Keep several sharpened pencils in your pouch.
  • Chalk line - For snapping long, straight reference lines across walls for cleat placement. Especially useful in walk-in closets with long walls.
  • Stud finder - Electronic stud finder for locating framing behind drywall. Verify with a nail or small drill bit if you’re unsure.
  • Utility knife - For scoring particle board edges, trimming material, and general cleanup tasks.
  • Framing square - For checking corners and marking square cuts on shelving material.

Supplies #

  • 16-gauge finish nails, 2-1/2″ - For attaching cleats to studs. The extra length ensures the nail passes through the cleat and drywall and bites firmly into the stud.
  • 18-gauge brad nails, 1-3/4″ - For tacking shelves to cleats. Short enough to avoid poking through the top of the shelf, long enough to hold.
  • 18-gauge staples, 1-1/4″ - Alternative fastener for securing shelf edges or attaching thin material.
  • Wood glue - For reinforcing joints where cleats meet in corners or where extra holding power is needed.
  • Sandpaper (120 grit) - For smoothing rough edges on cut particle board. Particle board edges chip and splinter - a quick sanding pass makes it safe and clean.

Materials #

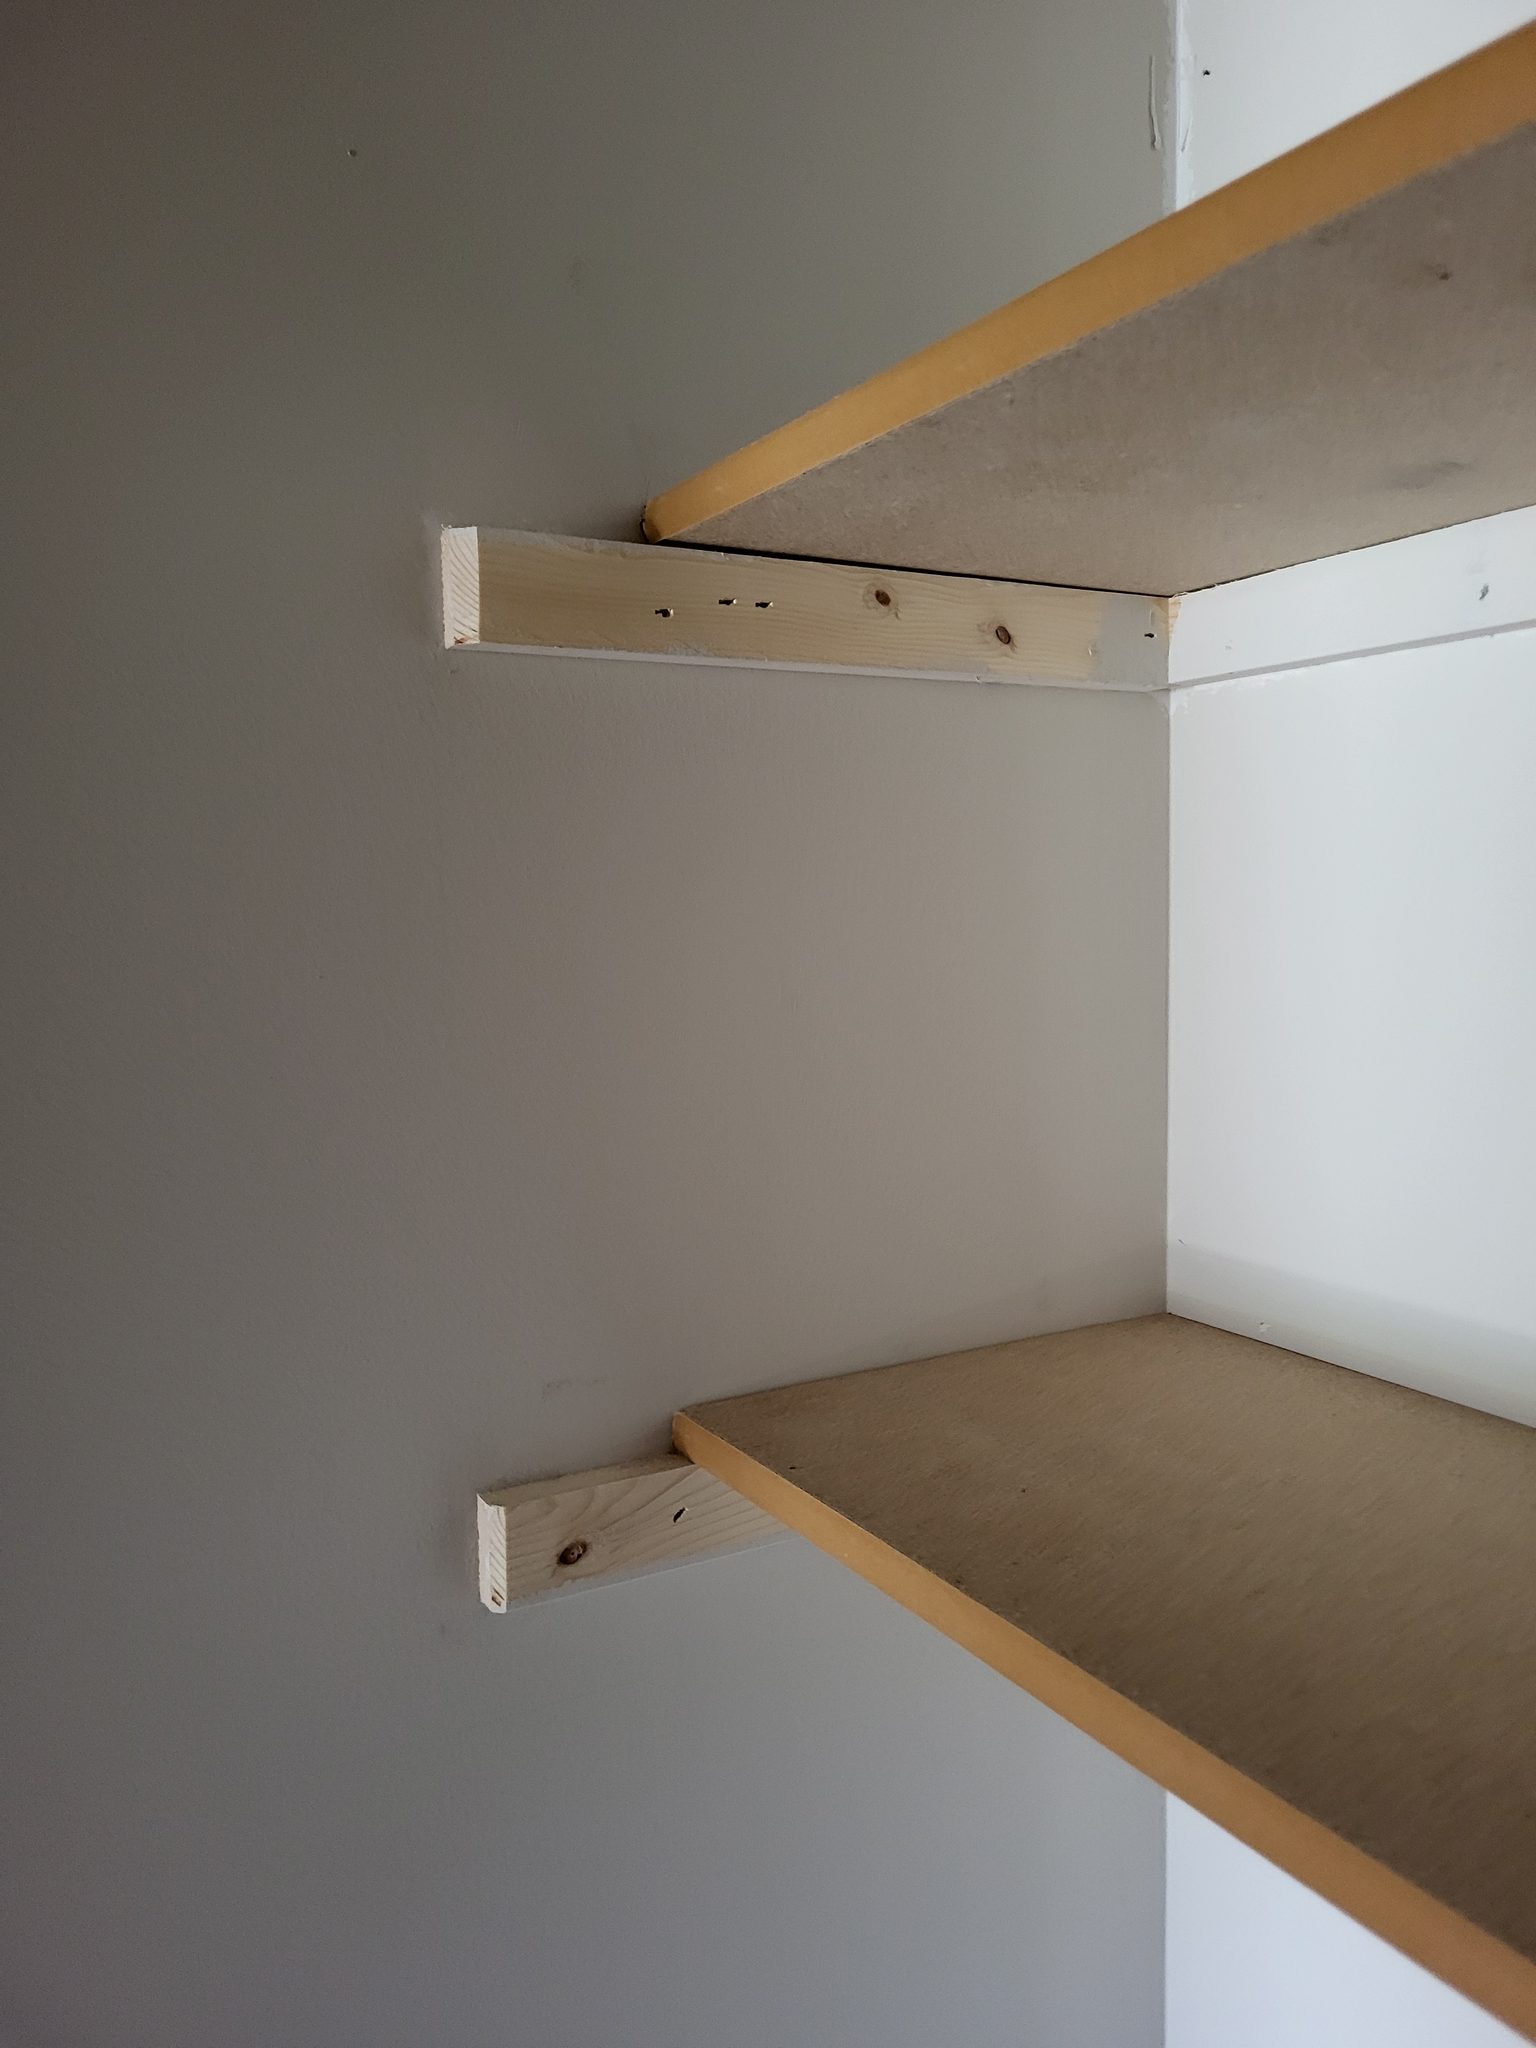
  • 3/4″ particle board shelving - Available in 12″, 16″, and 24″ depths. Use 12″ for standard reach-in closets, 16″ for linen closets and deeper shelves, and 24″ for walk-in closets and specialty storage areas. Pre-finished (white melamine, a hard plastic coating baked onto the particle board) is standard for new construction.
  • 1×4 MDF or pine cleats - Used in rod sections where the cleat also serves as the rod support. The 1×4 gives you a wide enough surface to notch for the rod while still supporting the shelf above. Use MDF for paint-grade closets and pine where stain-grade is called for.
  • 1×2 MDF or pine cleats - Used in shelf-only sections where no rod is needed (such as linen closet shelves or upper shelves in a shelf stack). The 1×2 is less visible and supports a shelf just as well without a rod.
  • 1-1/4″ round wood rods - Standard closet rod for hanging clothes. Available in 6-foot and 8-foot lengths. Hardwood rods are stronger than softwood - use hardwood for any span (the distance the rod covers with nothing holding it up in the middle) over 30″.
  • Support brackets - Metal shelf brackets or wood partitions used for any shelf span over 36″. Center the support to divide long spans into two shorter sections. Without support, particle board will sag under load over time.

How to Build Closet Shelves Step by Step #

Step 1: Prep the Closet #

Before you build closet shelves in any closet, take 10 minutes to prep the space properly. This step prevents mistakes that waste time and material later.

  • Verify stud locations. Run your stud finder across every wall where a cleat goes. Mark each stud with a pencil at the height where the cleat will sit. Double-check by probing with a finish nail - stud finders can give false readings near electrical boxes, metal corner bead (the metal strip that reinforces drywall at outside corners), or plumbing.
  • Mark shelf heights from the floor. Using your layout plan from Part 2, measure up from the floor and mark the top-of-cleat position for every shelf and rod in the closet. Mark on both side walls and the back wall so you have marks on all three walls to check your work as you go.
  • Snap chalk lines for cleat placement. Connect your marks with a chalk line to make one long, level line for each cleat. This is faster and more accurate than holding a level and drawing a pencil line, especially on long walls. Use blue chalk - red chalk stains and can bleed through paint.
  • Clear the closet floor. Remove any debris, drywall scraps, or tools from the closet floor. You need a clean workspace to set up your level and move freely. Stack your pre-cut material outside the closet in the order you’ll need it.

Step 2: Install Cleats #

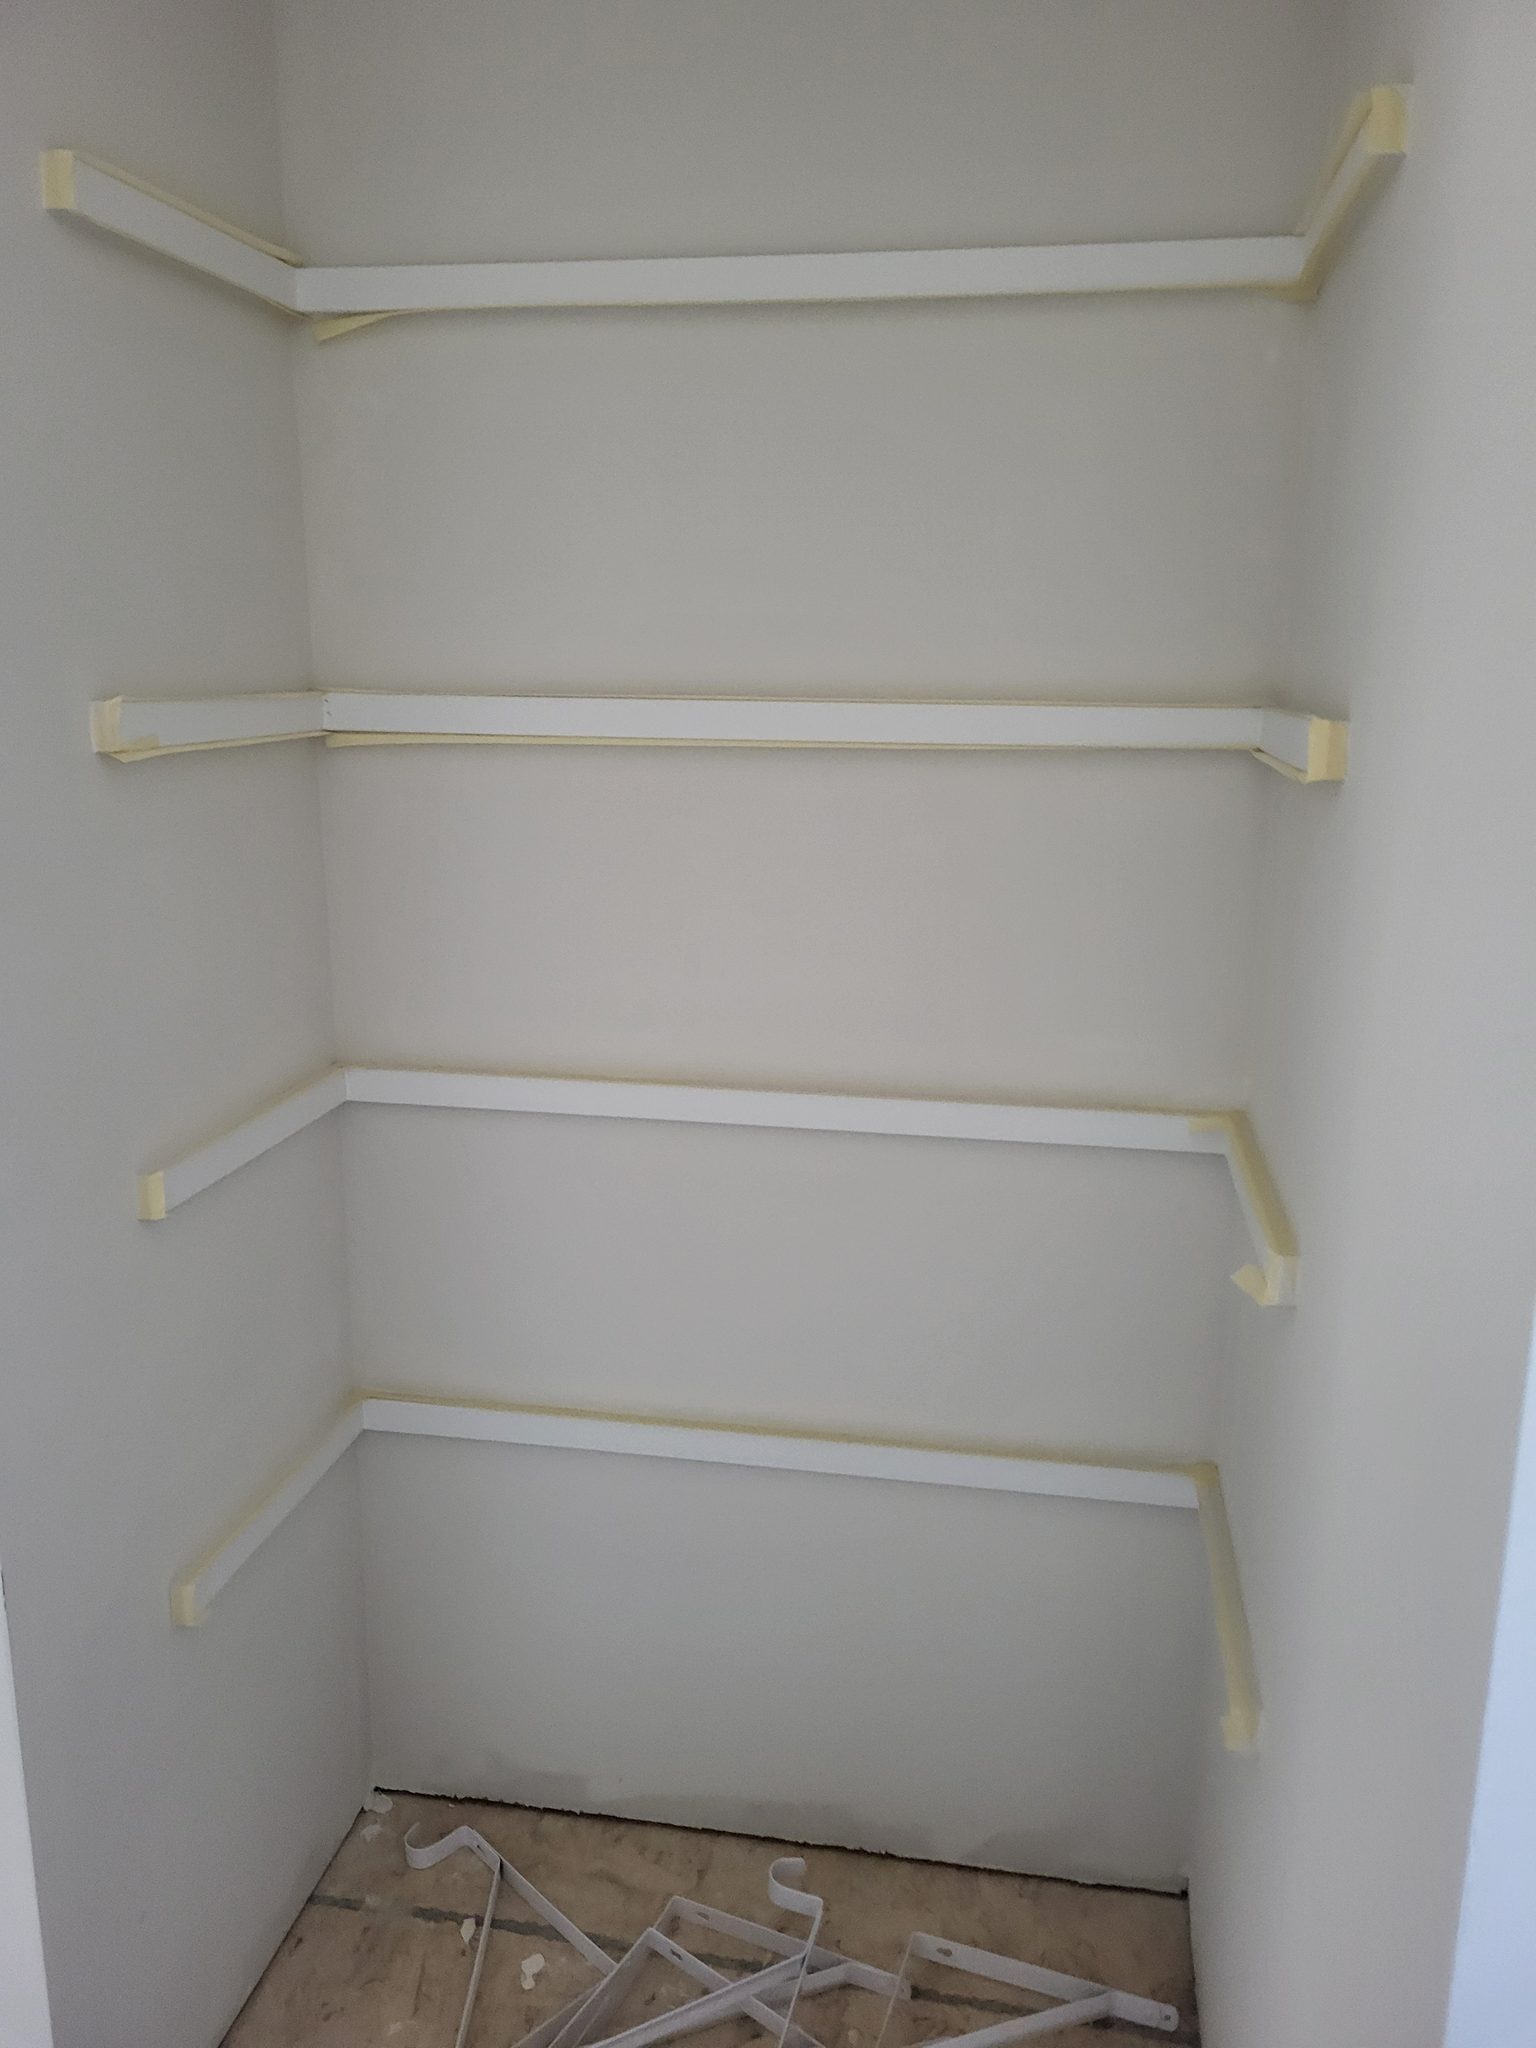
Installing cleats is the most important step. Every shelf and rod rests on them, and they carry the full weight of everything stored in the closet. Take your time here - a level, well-secured cleat makes everything else easy.

  • Cut cleats to length. Measure each wall individually and cut the cleat to fit snugly. Walls in the same closet are often different lengths, so don’t assume the back wall cleat and the side wall cleats are the same. Cut on a miter saw for clean, square ends.
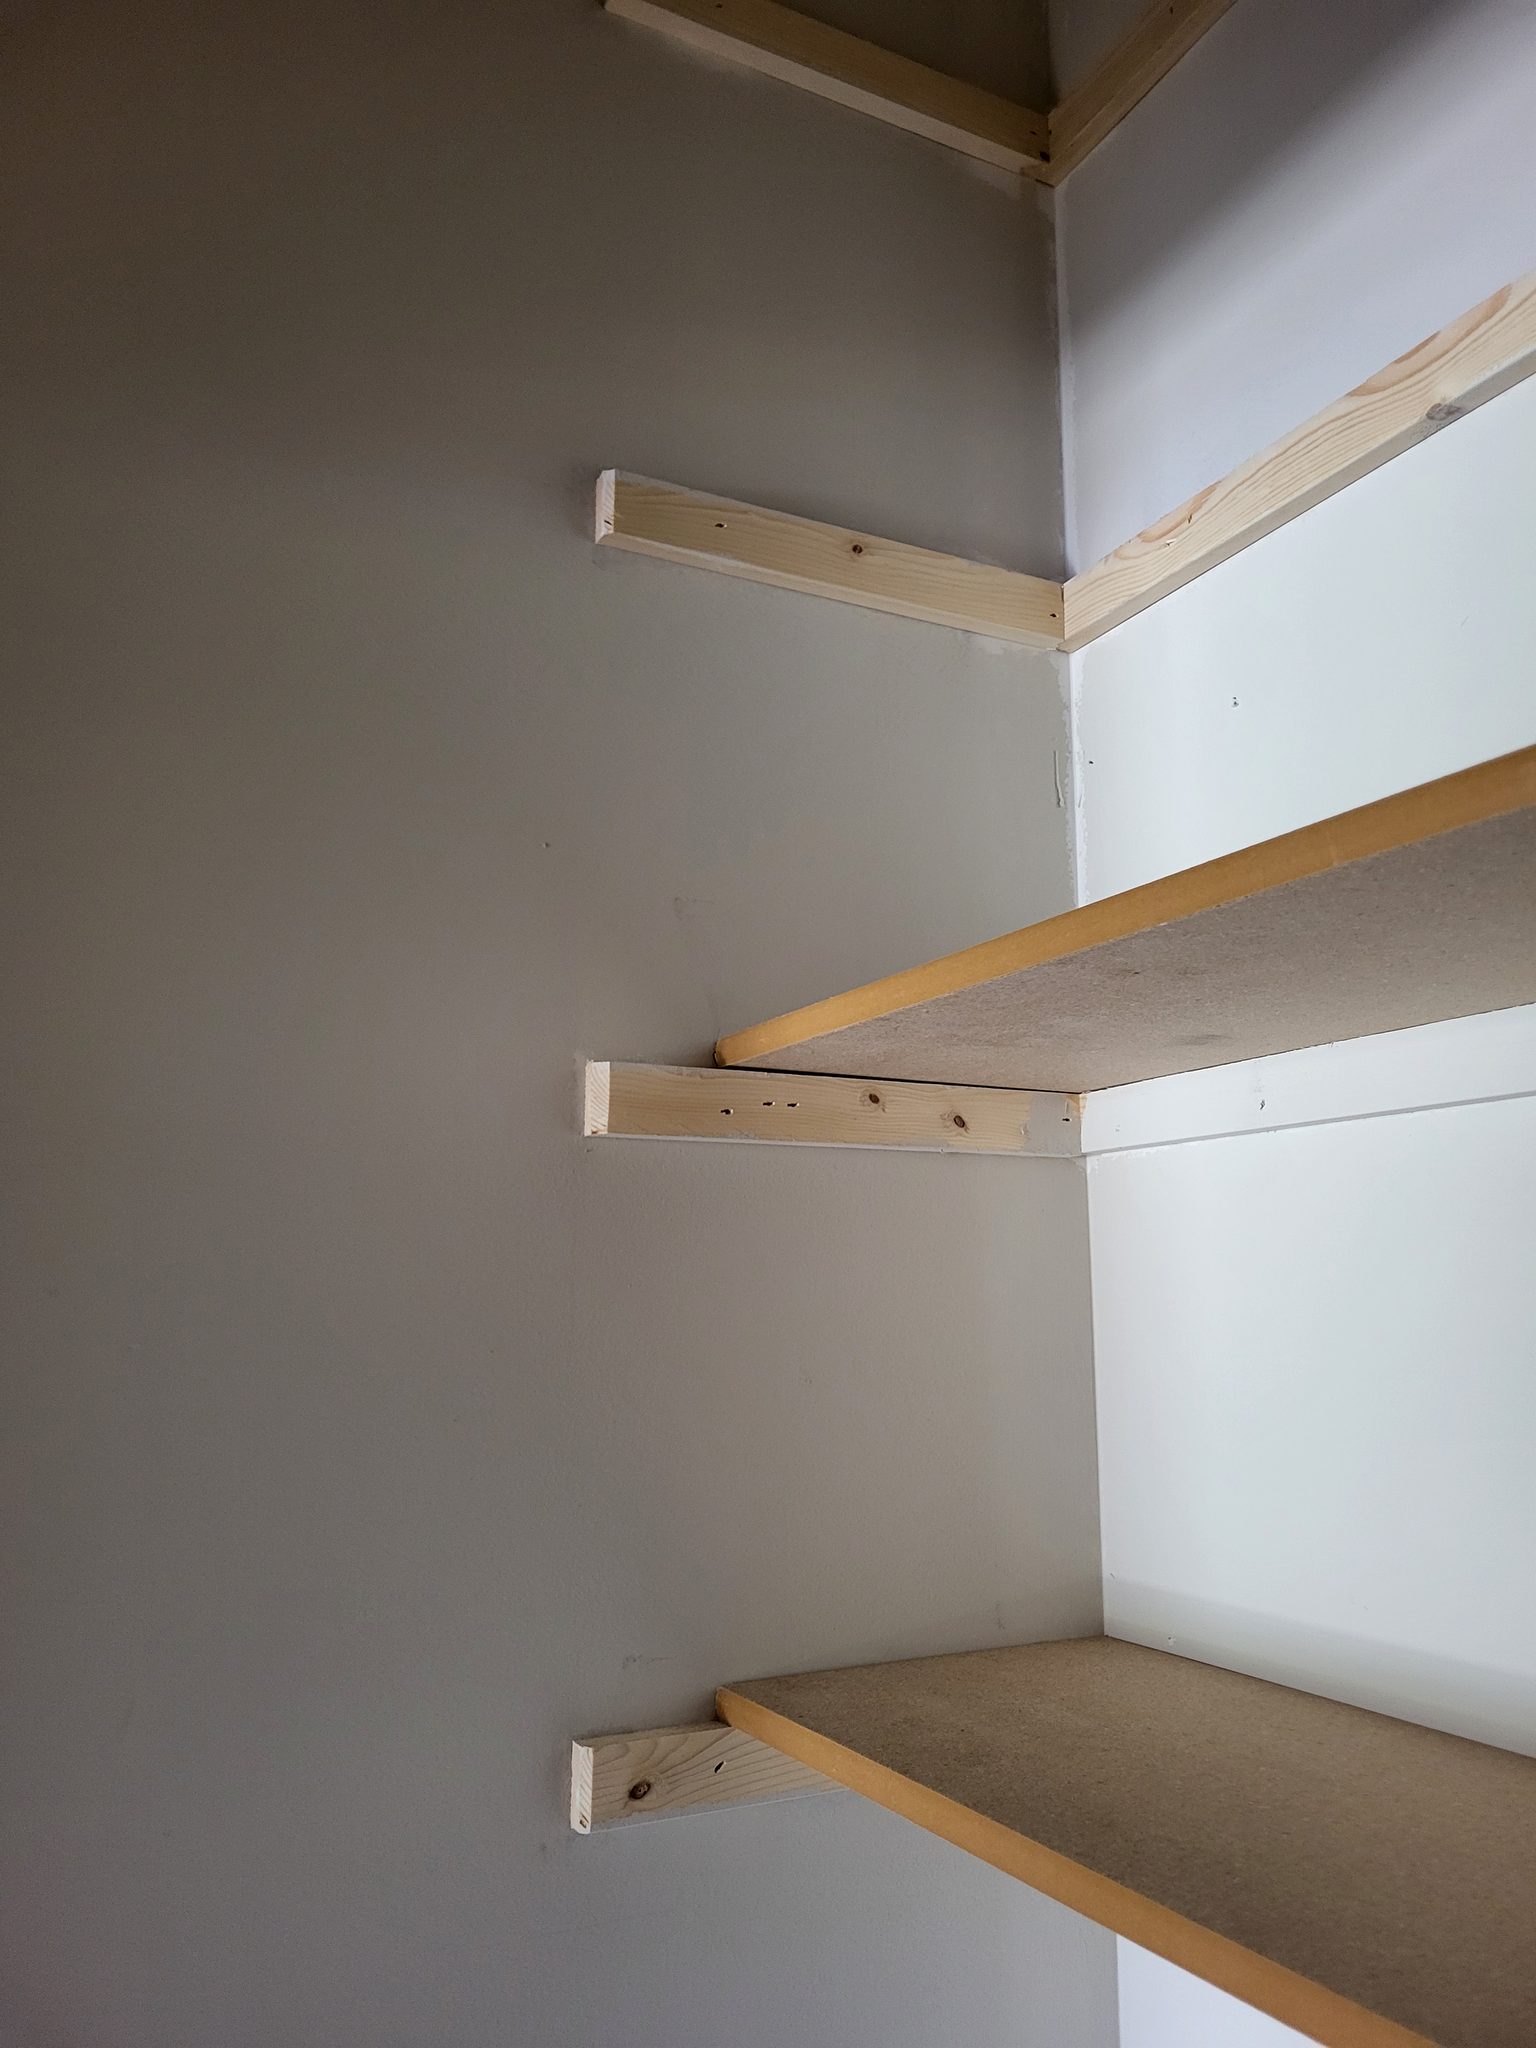
  • Nail to studs with 16-gauge 2-1/2″ nails. Position the cleat on your chalk line and drive two nails at every stud location. Two nails per stud keep the cleat from twisting. The 2-1/2″ nail passes through the cleat (3/4″), the drywall (1/2″), and sinks 1-1/4″ into the stud - more than enough for a solid connection.
  • Level each cleat before nailing off. Hold the cleat on your chalk line, check it with a 4-foot level, then nail one end. Check level again, then nail the other end. Finally, nail the studs in between. If a cleat is off level, pull the nails and reposition it. Don’t shim it (wedge a thin strip of wood behind it to fake level) or force the shelf to make up the difference.
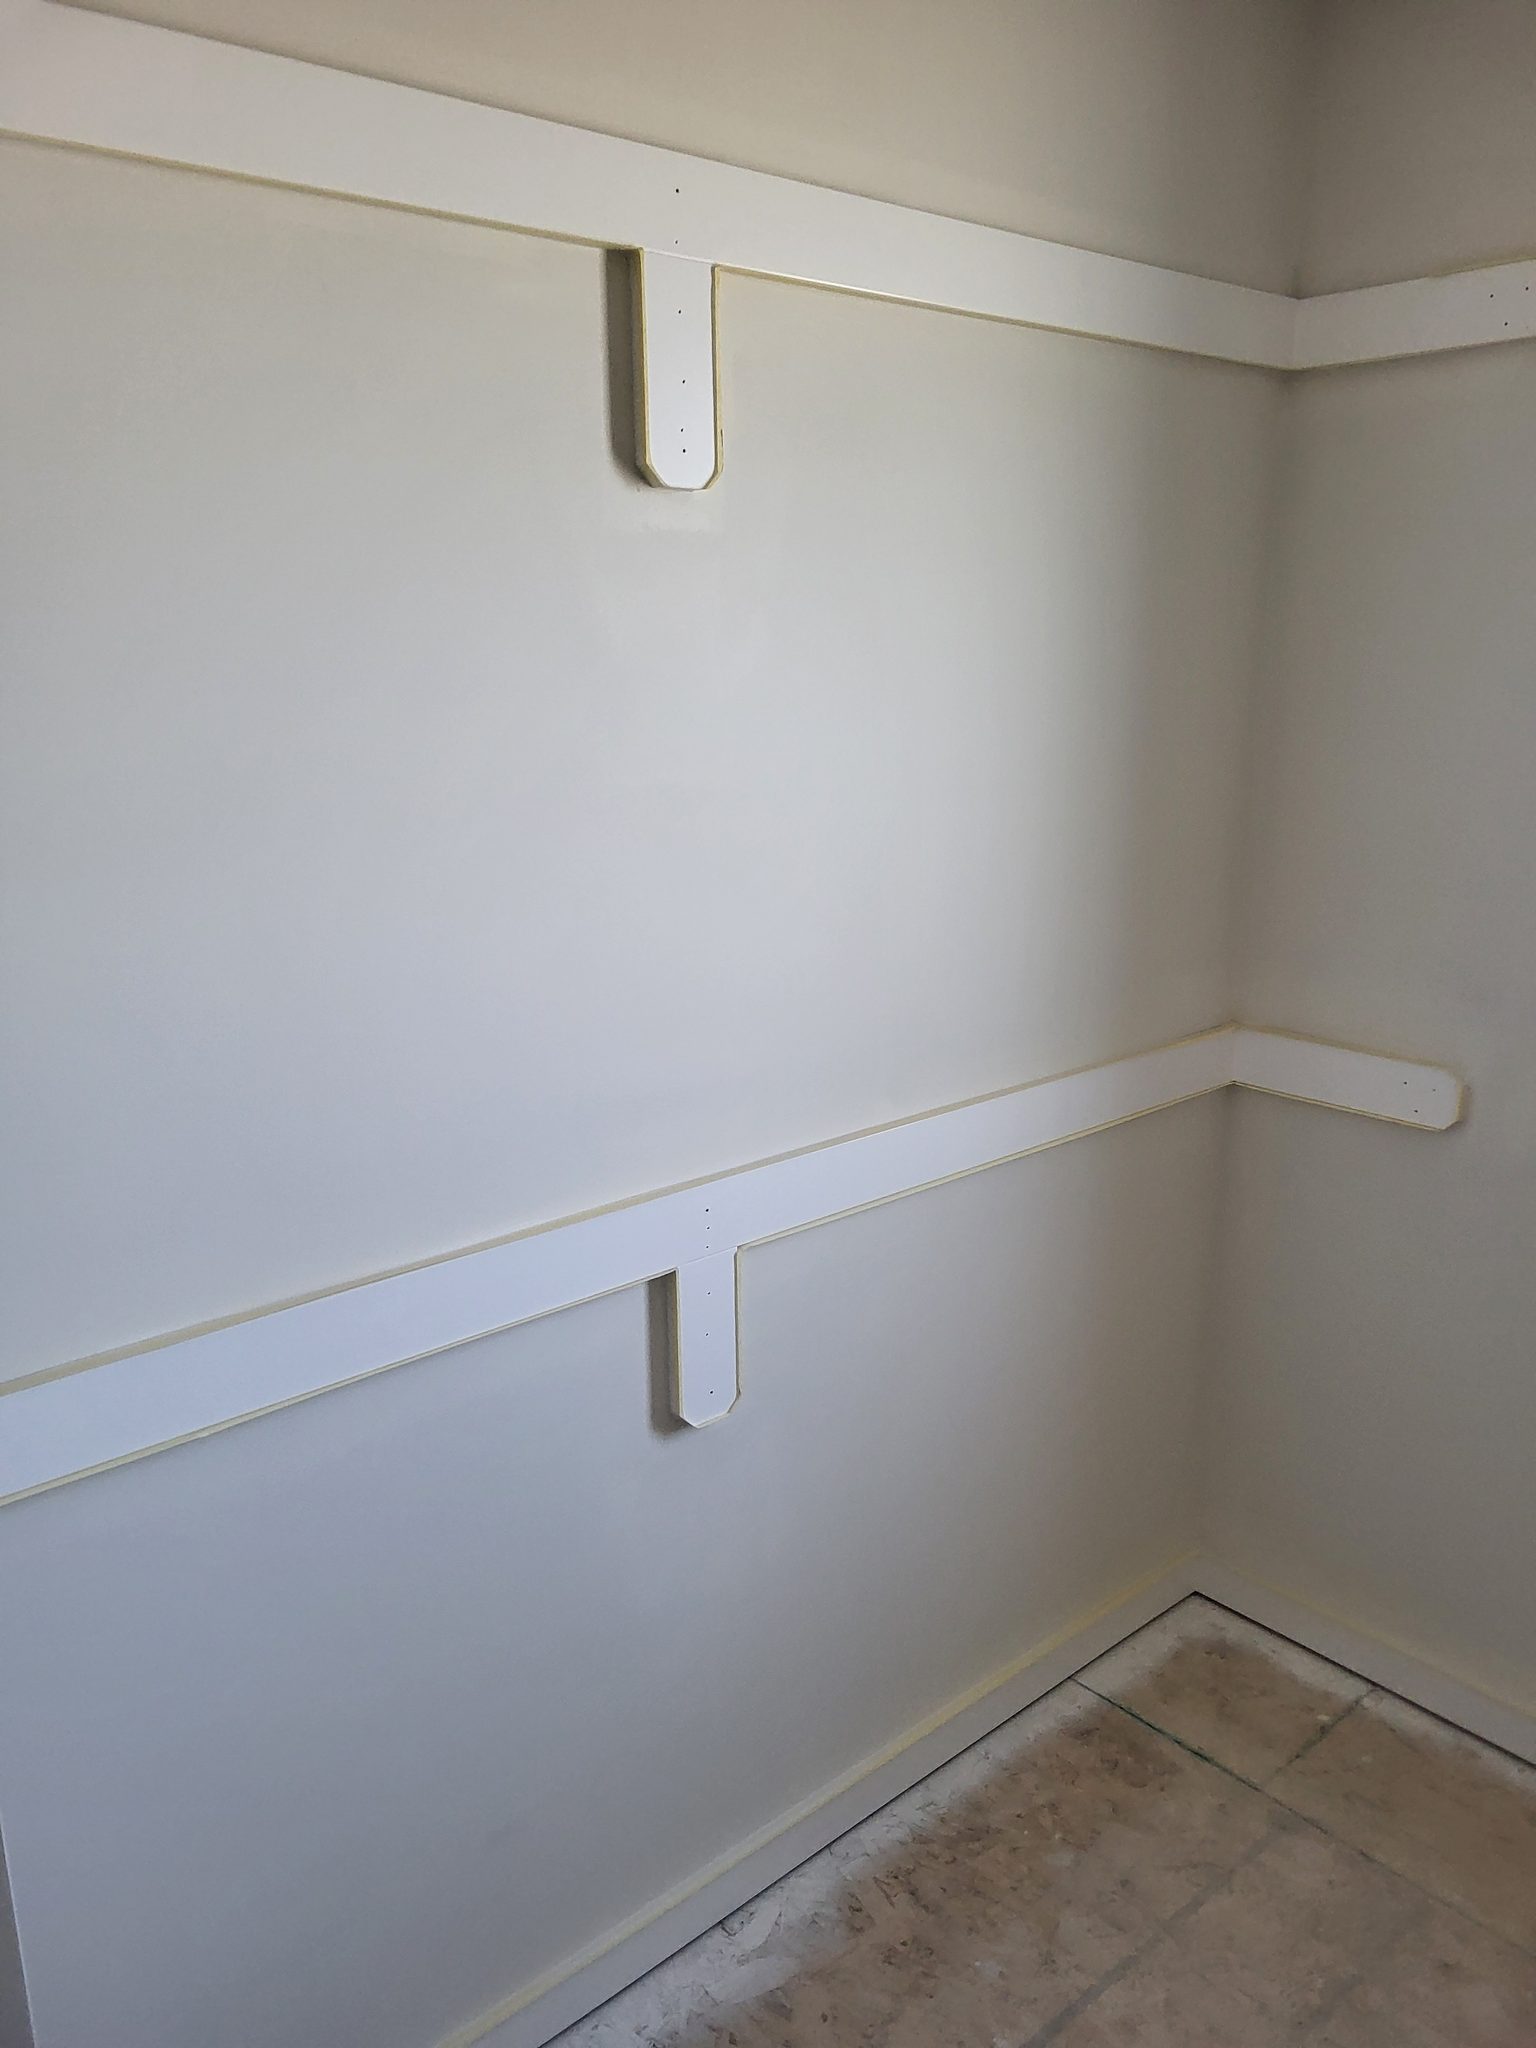
  • Use 1×4 for rod sections and 1×2 for shelf-only sections. The 1×4 cleat gives you enough width to notch for the closet rod. The 1×2 works fine where you’re just supporting a shelf with no rod. Using the narrower cleat in shelf-only areas looks cleaner and uses less material.
  • Butt cleats tight into corners. Where a side wall cleat meets the back wall cleat, push them tightly together so there’s no gap. The shelf rests across both cleats at the corner, and a gap creates a weak spot where the shelf can sag. Add a small bead of wood glue at the joint for extra strength.

Pro Tip: When installing cleats in a standard reach-in closet, start with the back wall cleat, then install the two side wall cleats. This way the side cleats butt against the back cleat and you can check that all three are at the same height by laying your level across the corner joints.

Step 3: Cut Shelves to Fit #

With all cleats installed, you’re ready to cut the shelves. The key rule is simple: measure each shelf on its own. Walls are never perfectly square or parallel. A shelf cut to one measurement will end up too long on one end or too short on the other.

  • Measure each shelf individually. Measure the wall-to-wall distance at the front of the cleat (where the shelf edge will sit) and at the back wall. If the two measurements differ, use the shorter measurement and subtract 1/8″ for clearance. A shelf that’s too tight will bow or crack the drywall corners.
  • Cut particle board with a fine-tooth blade. Use a blade with 60 or more teeth to reduce chipping on the melamine surface. Cut with the finished (white) side facing up on a table saw or facing down on a circular saw - the blade teeth exit on the top of a table saw cut and the bottom of a circular saw cut, so the exit side gets the chipping.
  • Test fit before installing. Slide the cut shelf into position on the cleats and check the fit. It should sit flat on all cleats, fit snugly wall-to-wall with a small gap (1/16″ to 1/8″ per side), and not rock or bow. If it’s too tight, trim a little off one end. If it’s too loose, cut a new shelf - a shelf with large gaps looks sloppy.
  • Sand cut edges. Run 120-grit sandpaper along all cut edges of the particle board to remove splinters and rough spots. The factory edges are smooth, but your cut edges will be raw particle board. A quick sanding pass takes 15 seconds and makes the shelf safe to handle.

Pro Tip: Score the melamine surface along your cut line with a utility knife before sawing. This breaks the melamine coating cleanly and dramatically reduces chipping, even with a standard blade. Score both sides if you’re cutting on a table saw.

Step 4: Install Shelves #

Setting the shelves is the fastest part of the job, especially with level cleats and shelves cut to fit. This is where all your prep work pays off.

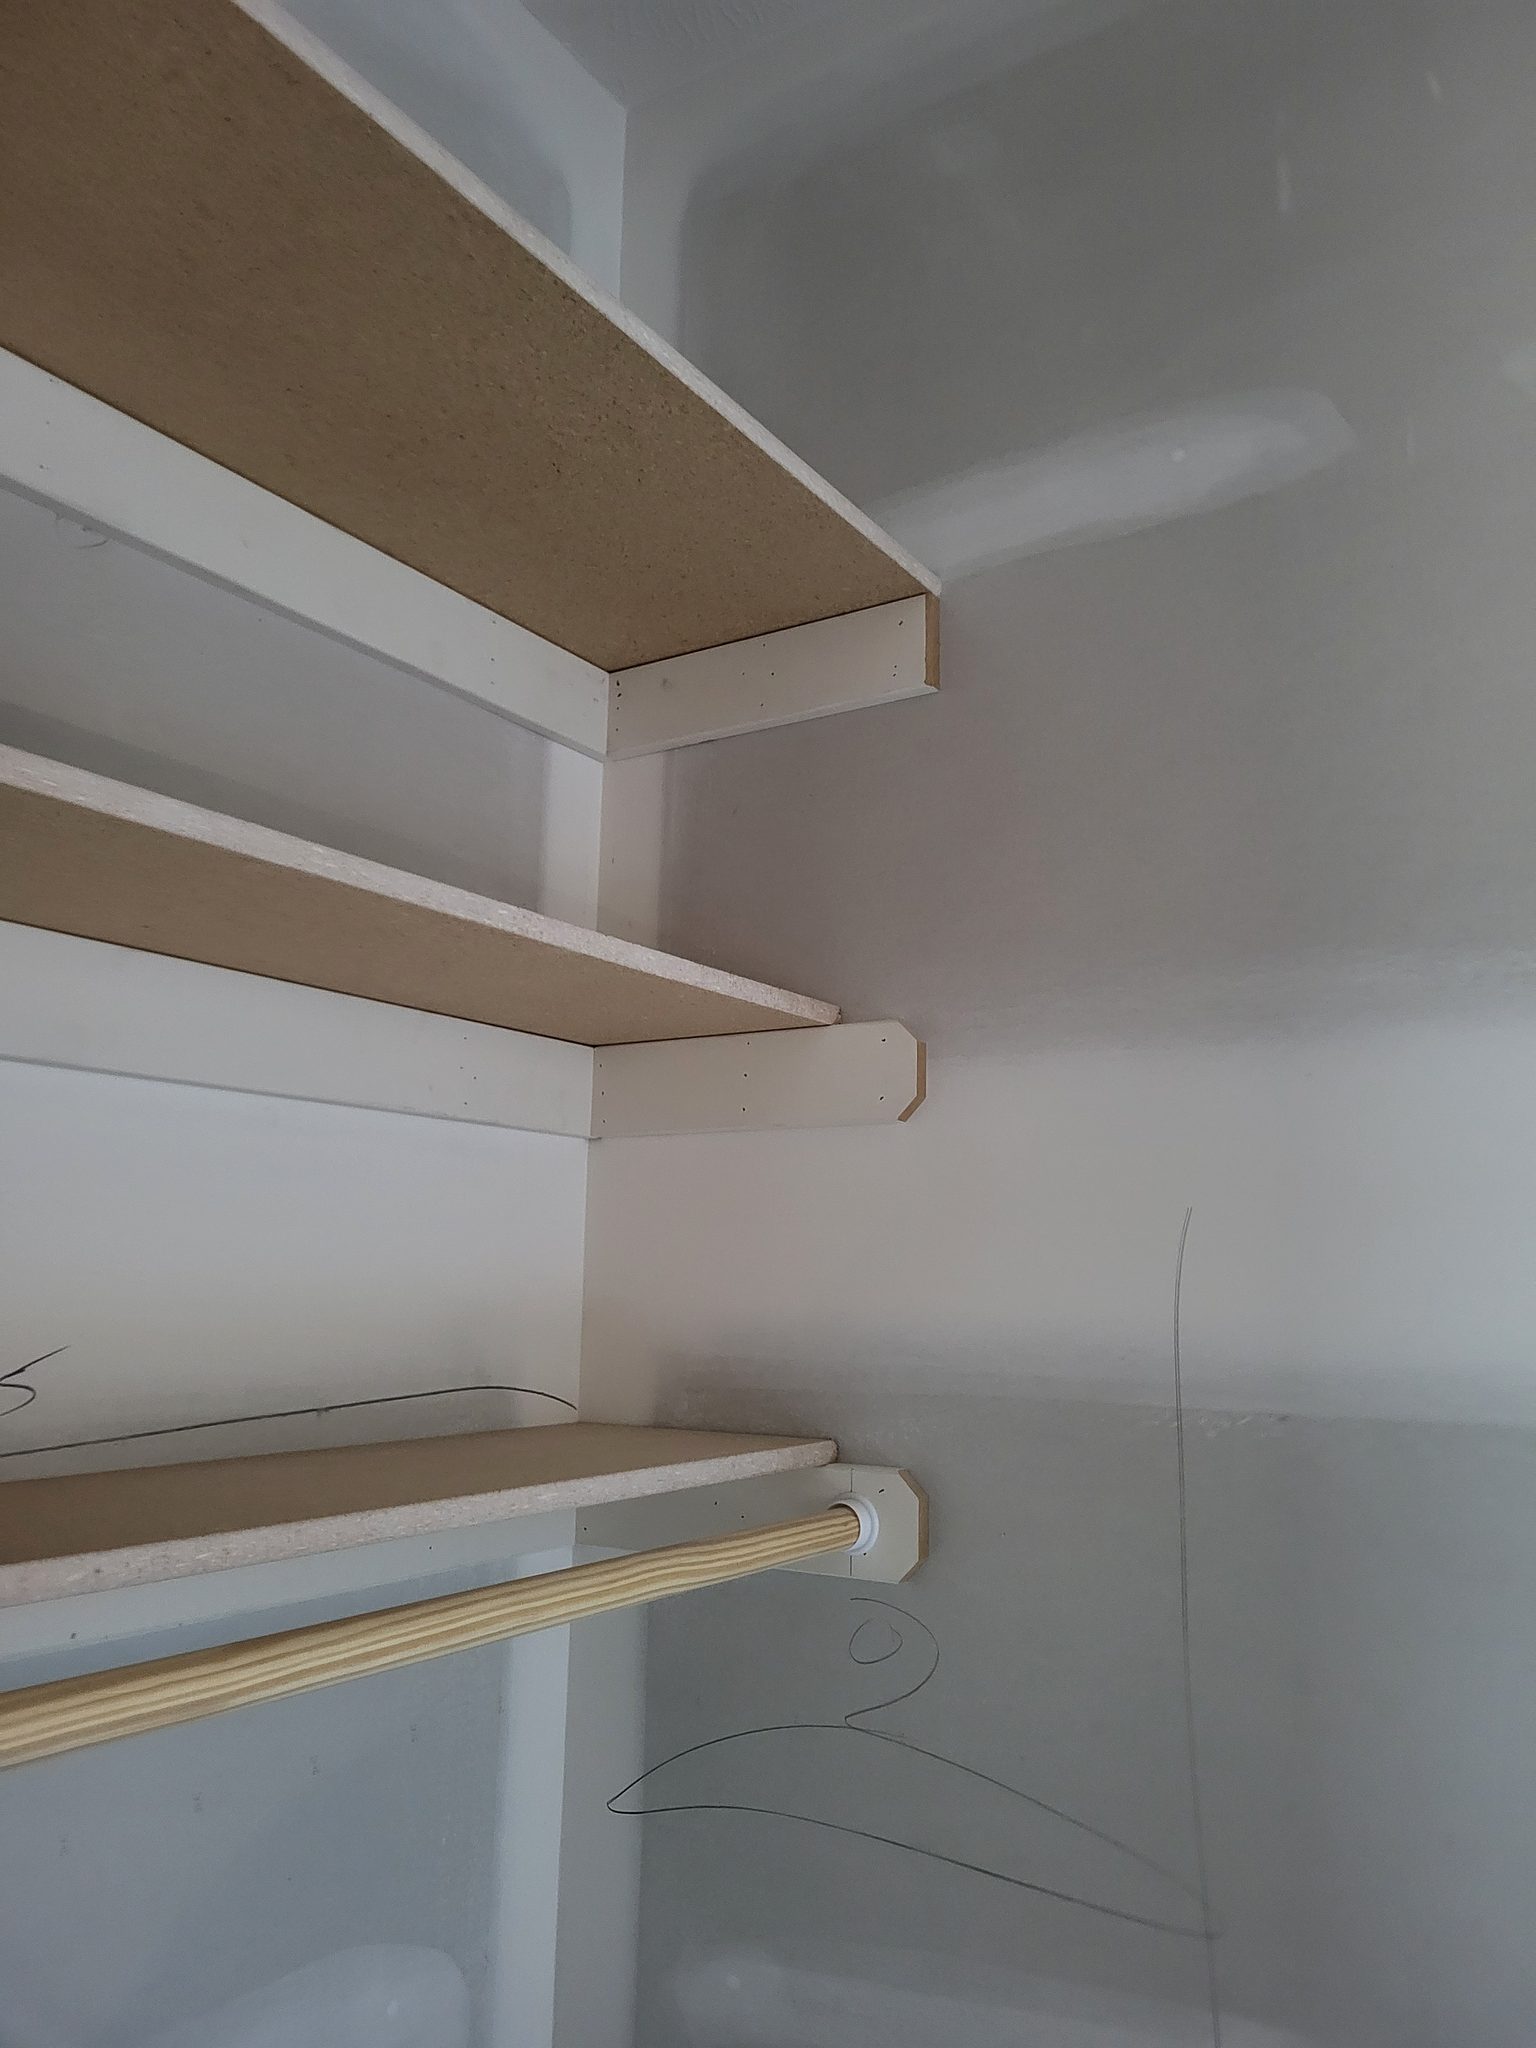
  • Set shelves on cleats. Slide each shelf into position, resting it on the cleats on all three walls (back and both sides). Push the shelf back until it touches the back wall. The front edge should be flush with or slightly behind the front face of the cleats.
  • Nail or leave loose depending on preference. Some builders nail every shelf down; others leave them sitting on the cleats so homeowners can remove them for cleaning or adjustment. Check with your superintendent or the builder’s standard practice. In production work, most builders nail them down because it keeps the shelves from shifting while the rest of the house gets built.
  • Nail with 18-gauge 1-3/4″ nails if securing. Drive two to three brad nails through the top of the shelf into each cleat. Angle the nails slightly to grab the cleat better. Don’t over-nail - the shelf is resting on the cleats by gravity, and the nails are just there to stop it from sliding sideways.
  • Check for level after setting. Even if your cleats were level, confirm that the installed shelf is level front-to-back and side-to-side. If a shelf rocks, check for debris on the cleat or a high spot on the shelf edge. Don’t force it - find and fix the problem.

Step 5: Install Rods #

The rod is the last functional piece you install. A properly installed rod sits at the right height, sits the right distance from the back wall, and is fully supported across its span.

  • Cut rods 1/16″ short of wall-to-wall measurement. Measure the wall-to-wall distance where the rod will sit and subtract 1/16″. This gives you enough clearance to angle the rod into position while keeping it snug. A rod that’s too long won’t fit; a rod that’s too short will fall out of its supports.
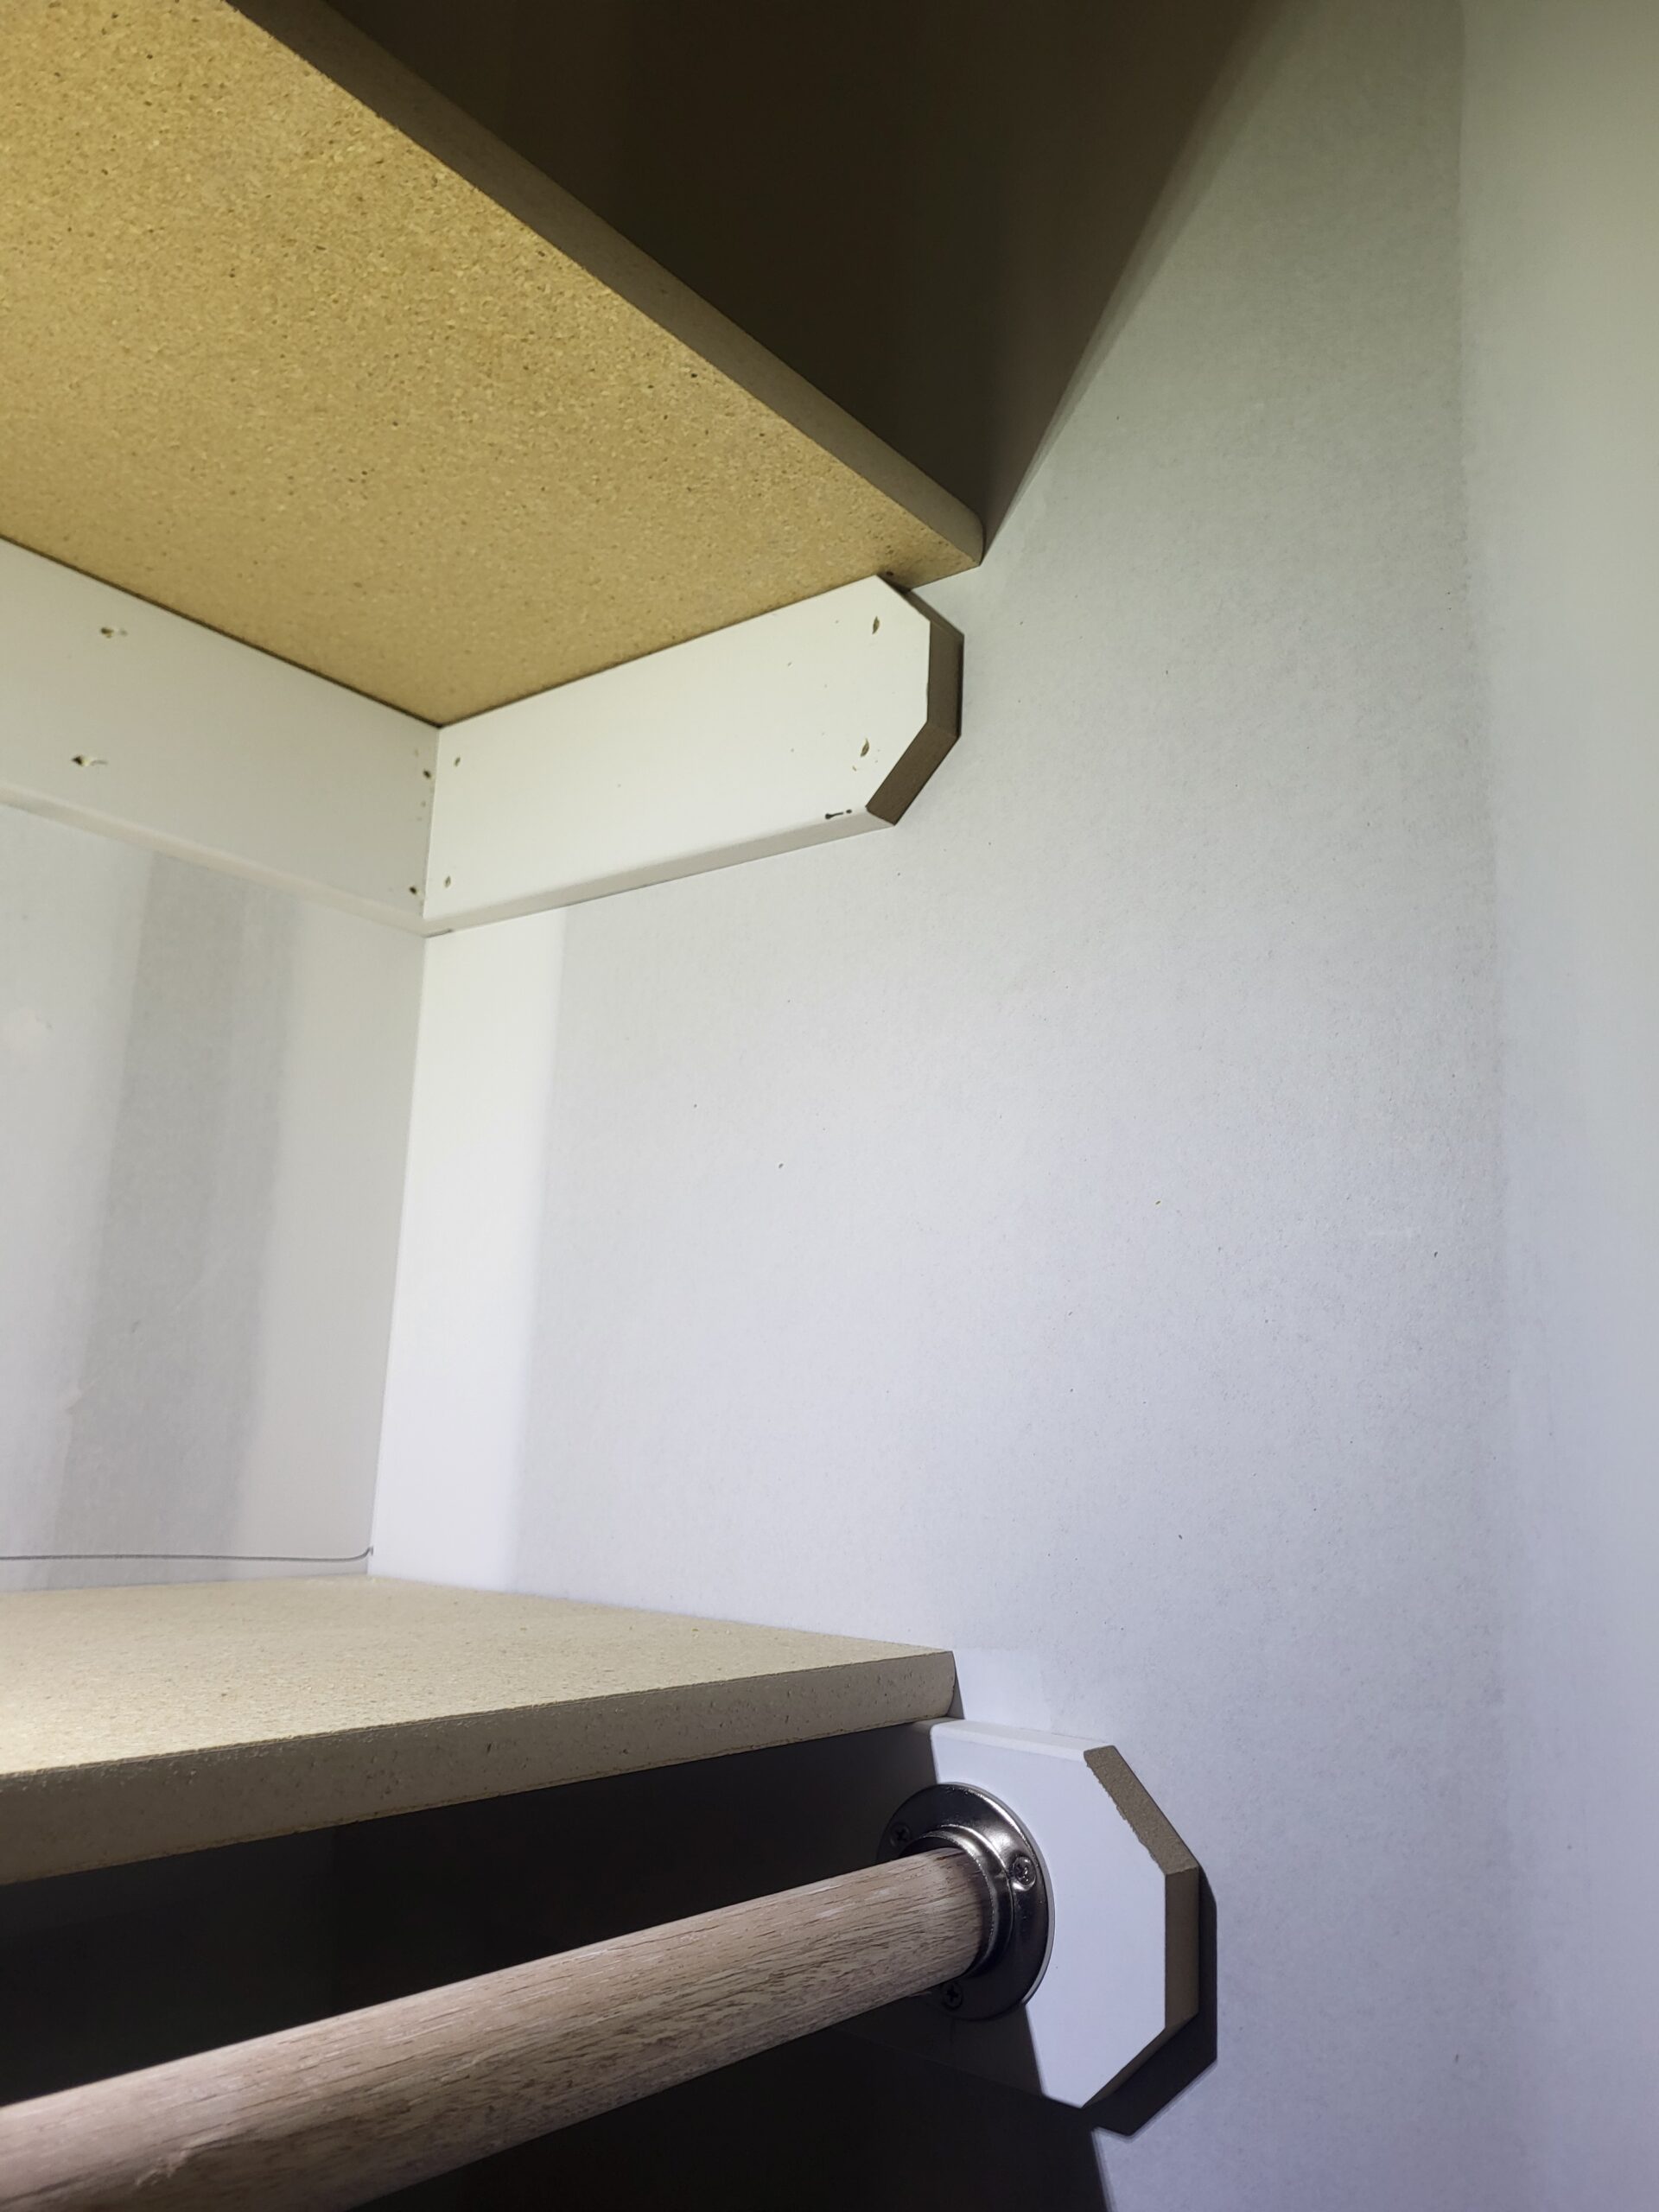
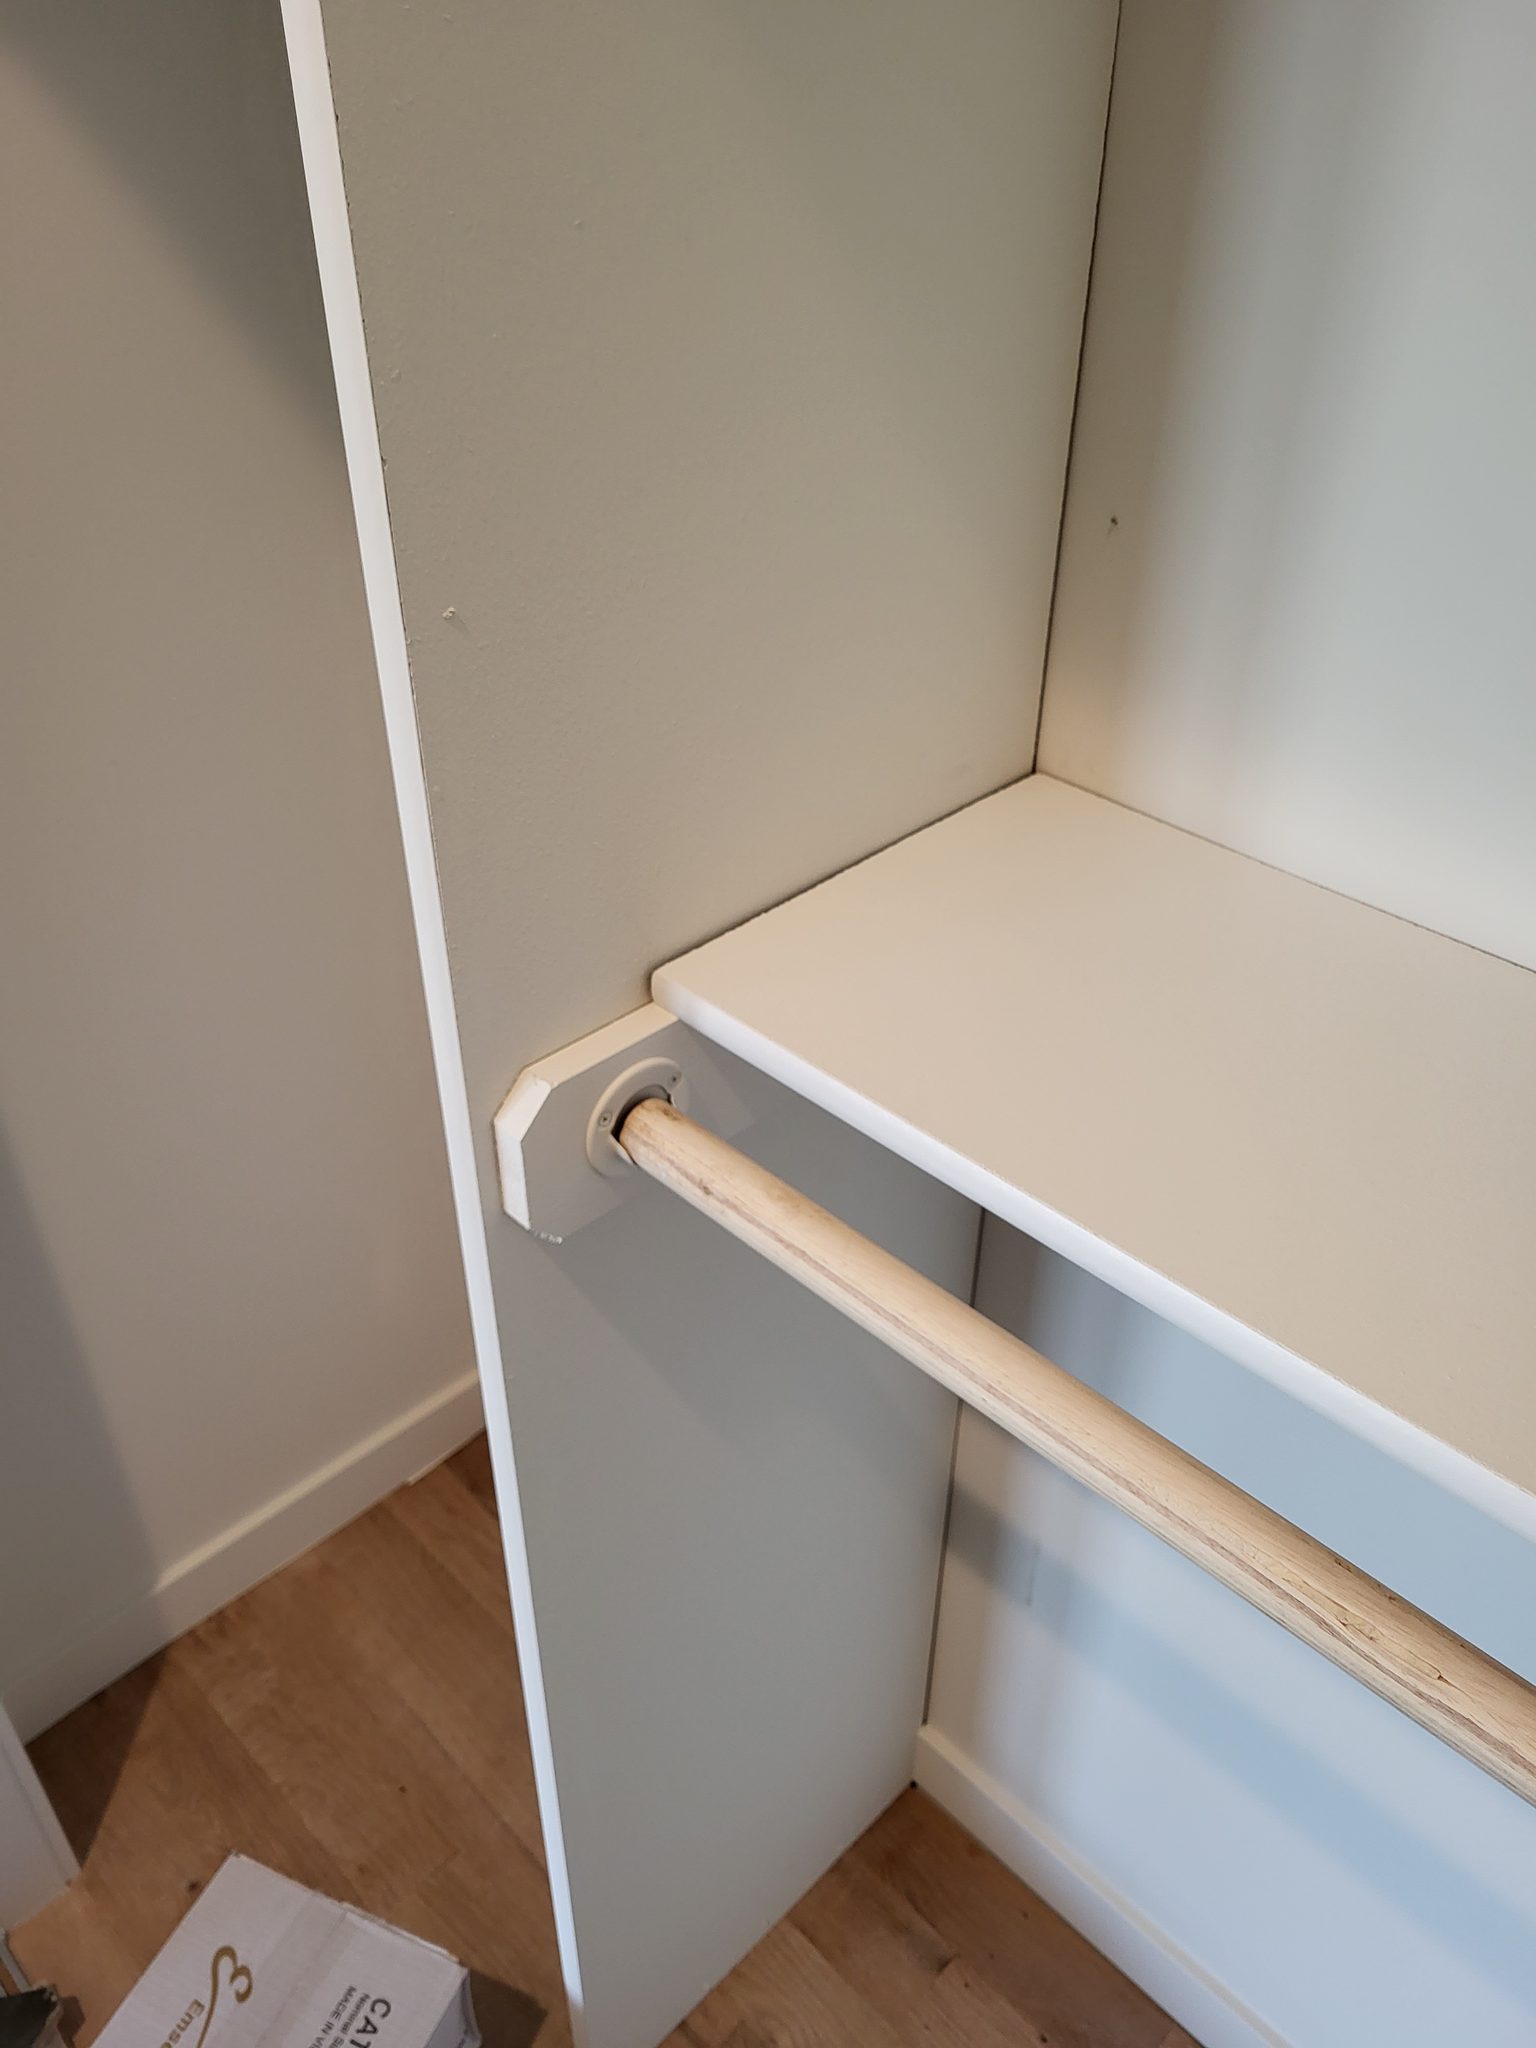
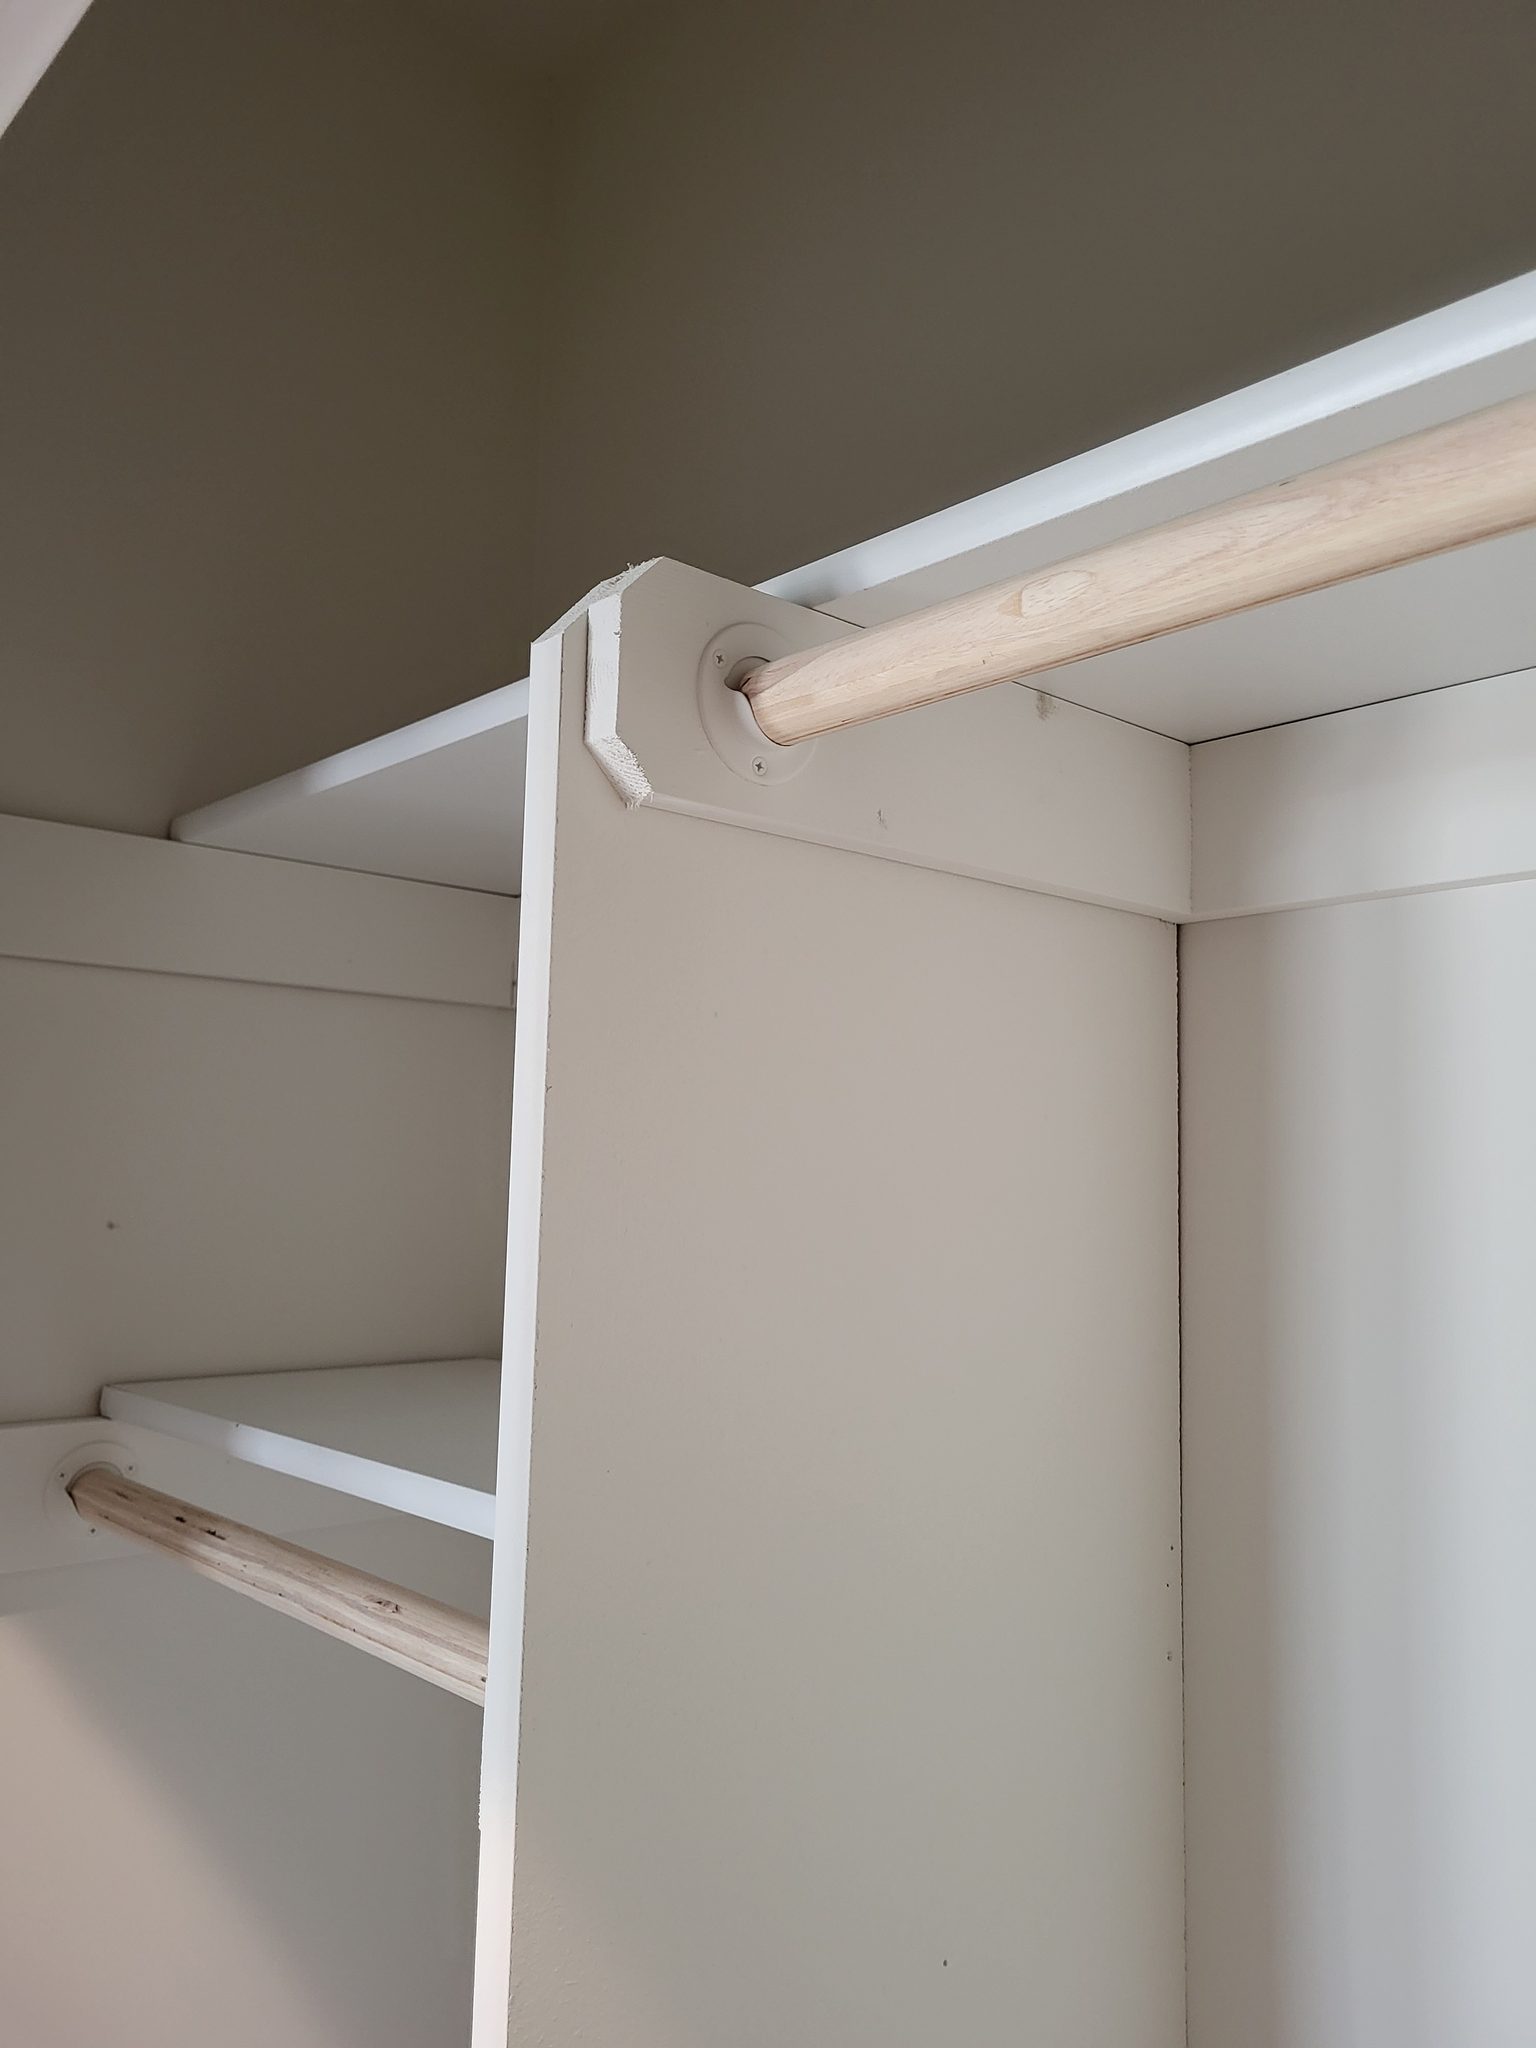
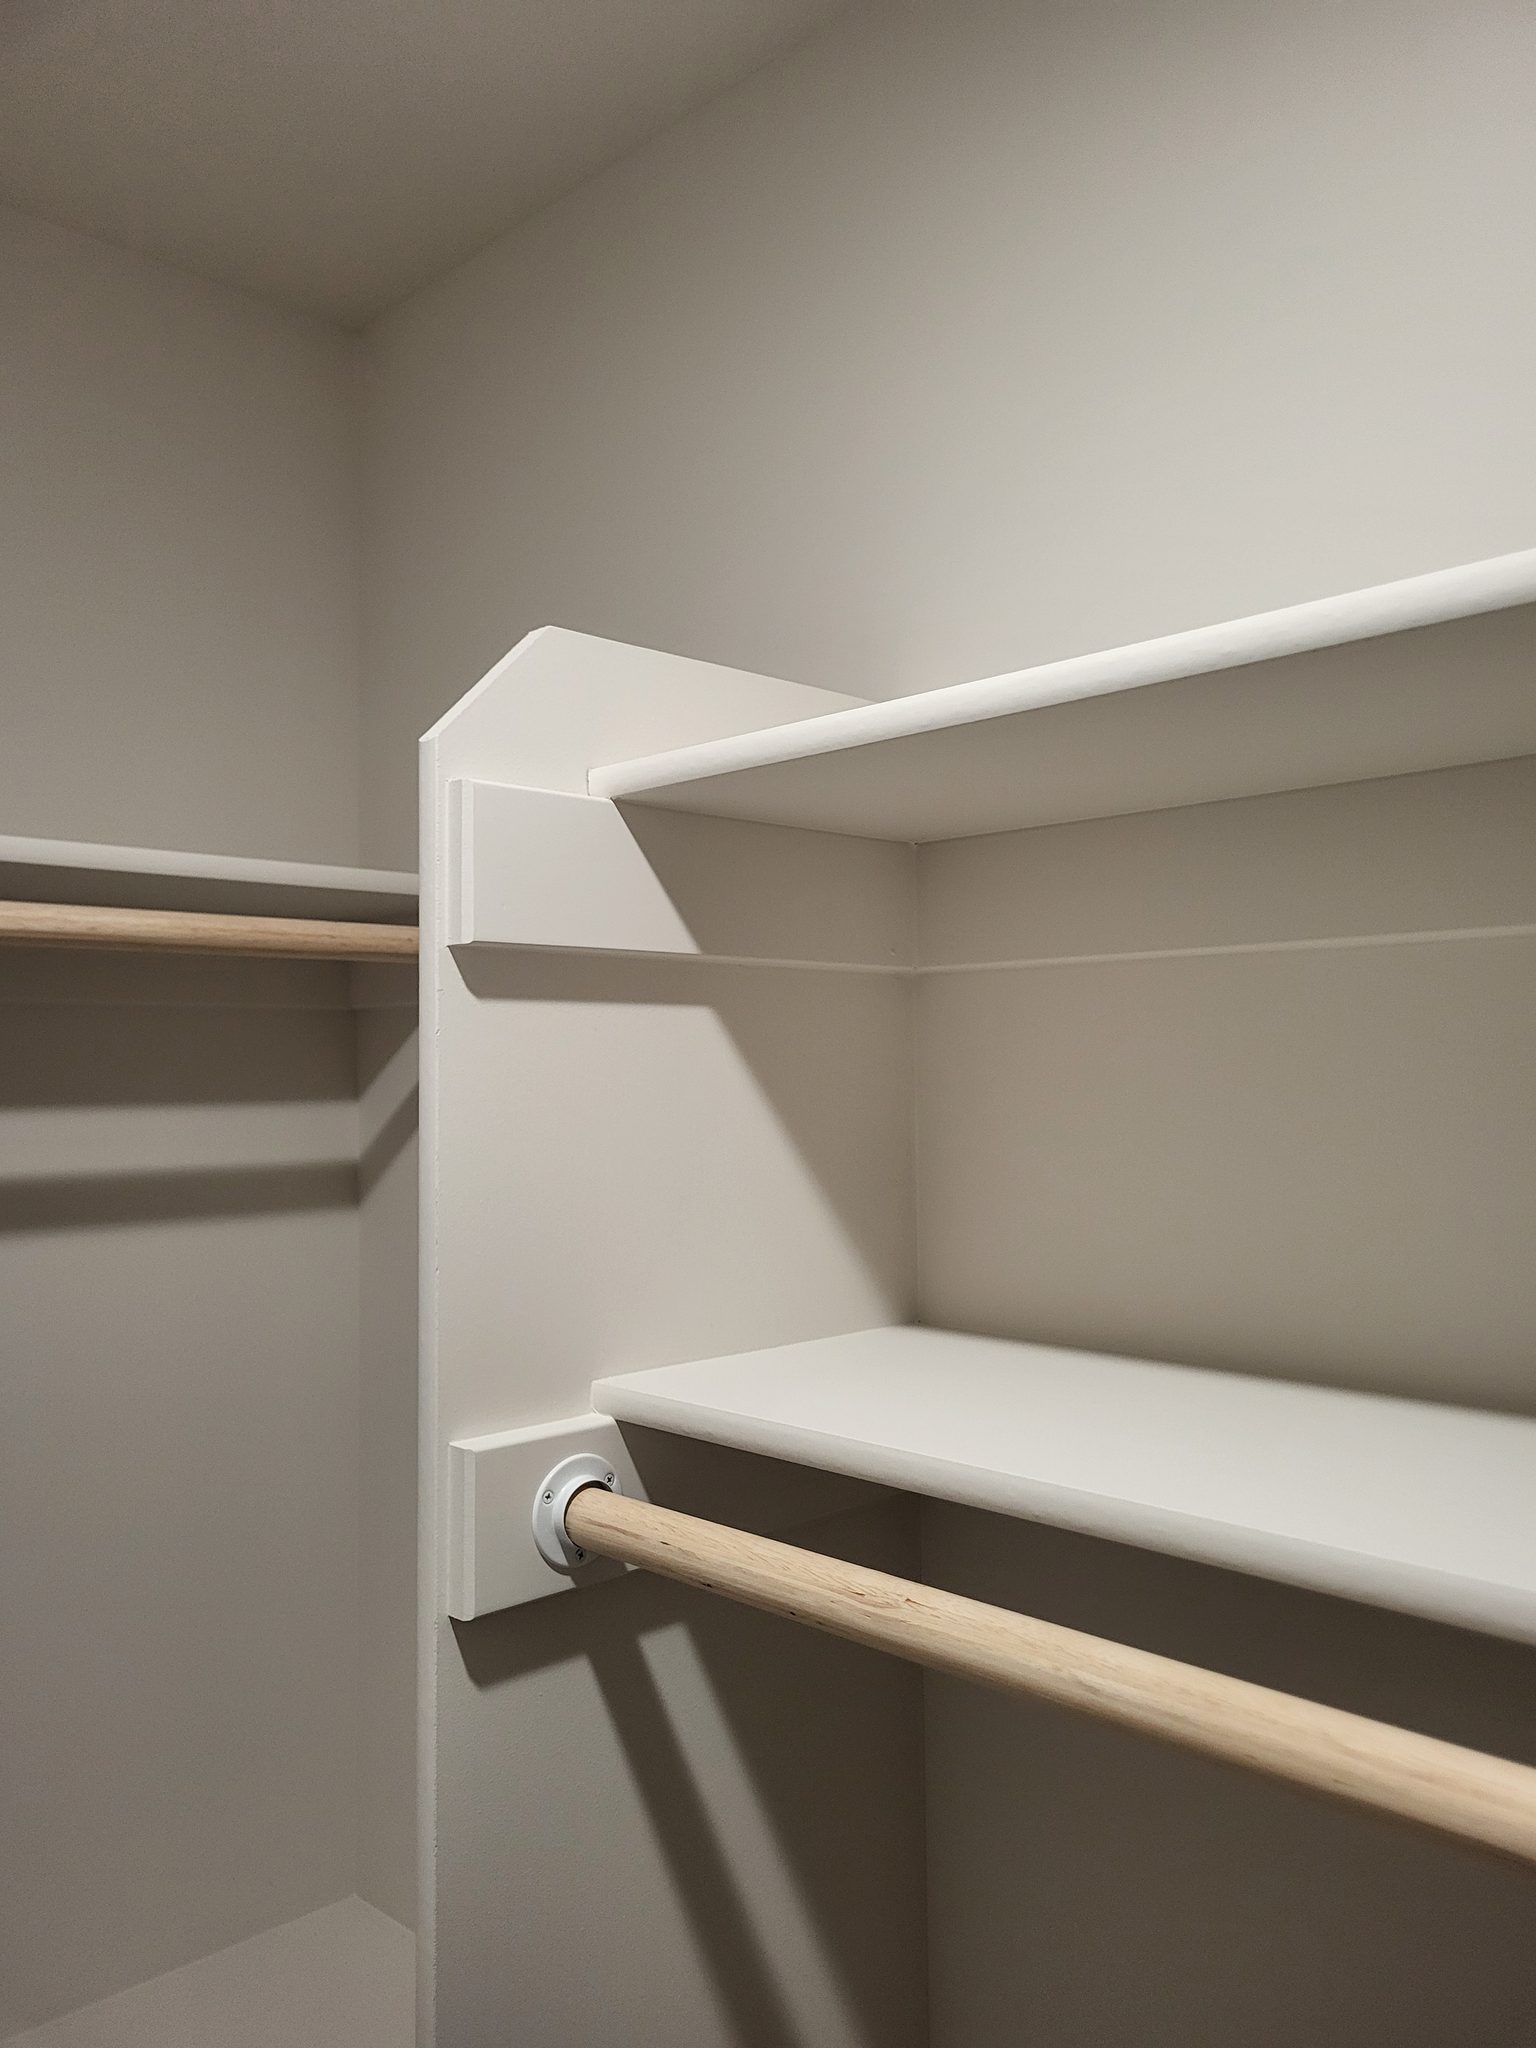
  • Notch cleats or use rod cups. If you’re using 1×4 cleats, notch a half-round shape into the top of each side cleat to cradle the rod. Use a drill with a 1-1/4″ Forstner bit (a drill bit that cuts a smooth, flat-bottomed hole) or spade bit to make the notch, then chisel out the front half so the rod drops in. Or, screw pre-made rod cups to the side walls at the right height.
  • Rod should be 10-12″ out from the back wall. This distance gives standard hangers enough room to hang freely without the clothes pressing against the back wall. Measure from the back wall to the center of the rod. If the rod is too close to the wall, hangers will tilt; too far out, and the shelf above won’t fully cover the rod.
  • Test the rod under pressure. After installing, press down firmly on the center of the rod like a full load of hanging clothes. The rod should not flex more than 1/4″ and should feel solid in its supports. If it flexes a lot, the span is too long and needs a center support bracket.

Pro Tip: When notching 1×4 cleats for the rod, notch the cleats before installing them on the wall - it’s much easier to notch on a workbench or sawhorse than while the cleat is nailed to the wall at head height. Mark the notch location from your layout plan, drill, chisel, and test-fit the rod in the notch before installation.

Step 6: Install Support Brackets #

Any time a span is over 36″, add a center support to stop sagging. Particle board is not a strong material. It bends under steady weight, and once it sags, it never goes back.

  • Center supports for any span over 36″. Measure the span and place the support at the midpoint. For a 48″ span, the support goes at 24″ from each wall. For a 60″ span, consider two supports at the one-third points (20″ from each end).
  • Use metal shelf brackets for simple support. Metal L-brackets screwed to the wall below the shelf provide adequate support for most residential closets. Use brackets rated for at least 50 pounds per bracket. Make sure the bracket is screwed into a stud, not just drywall.
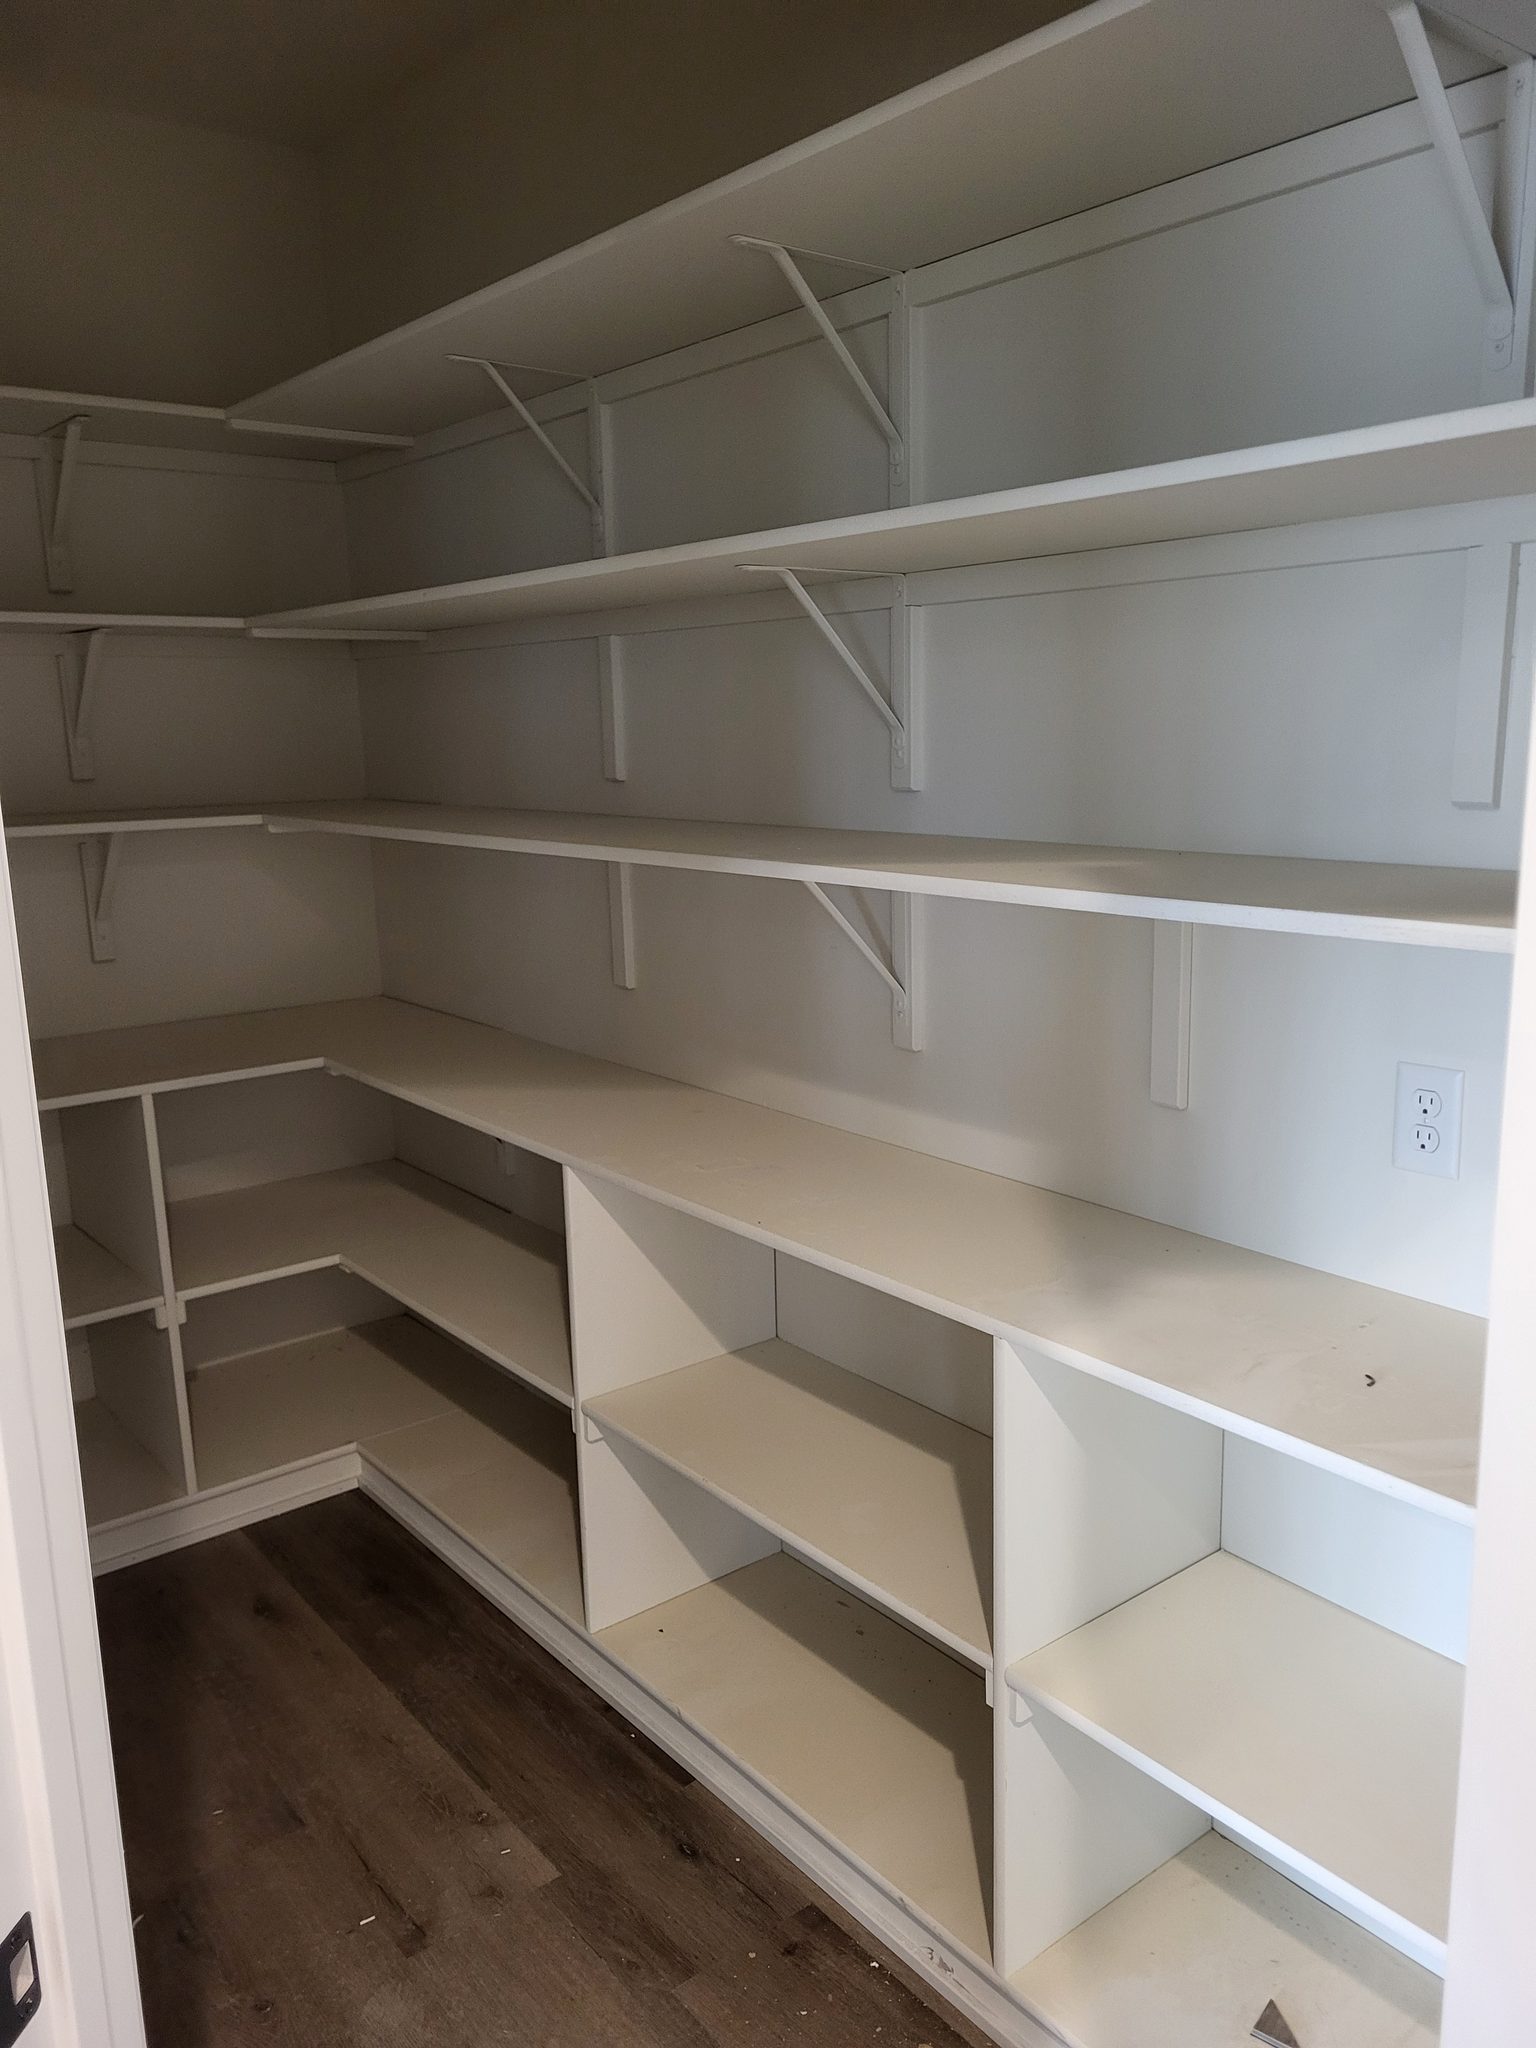
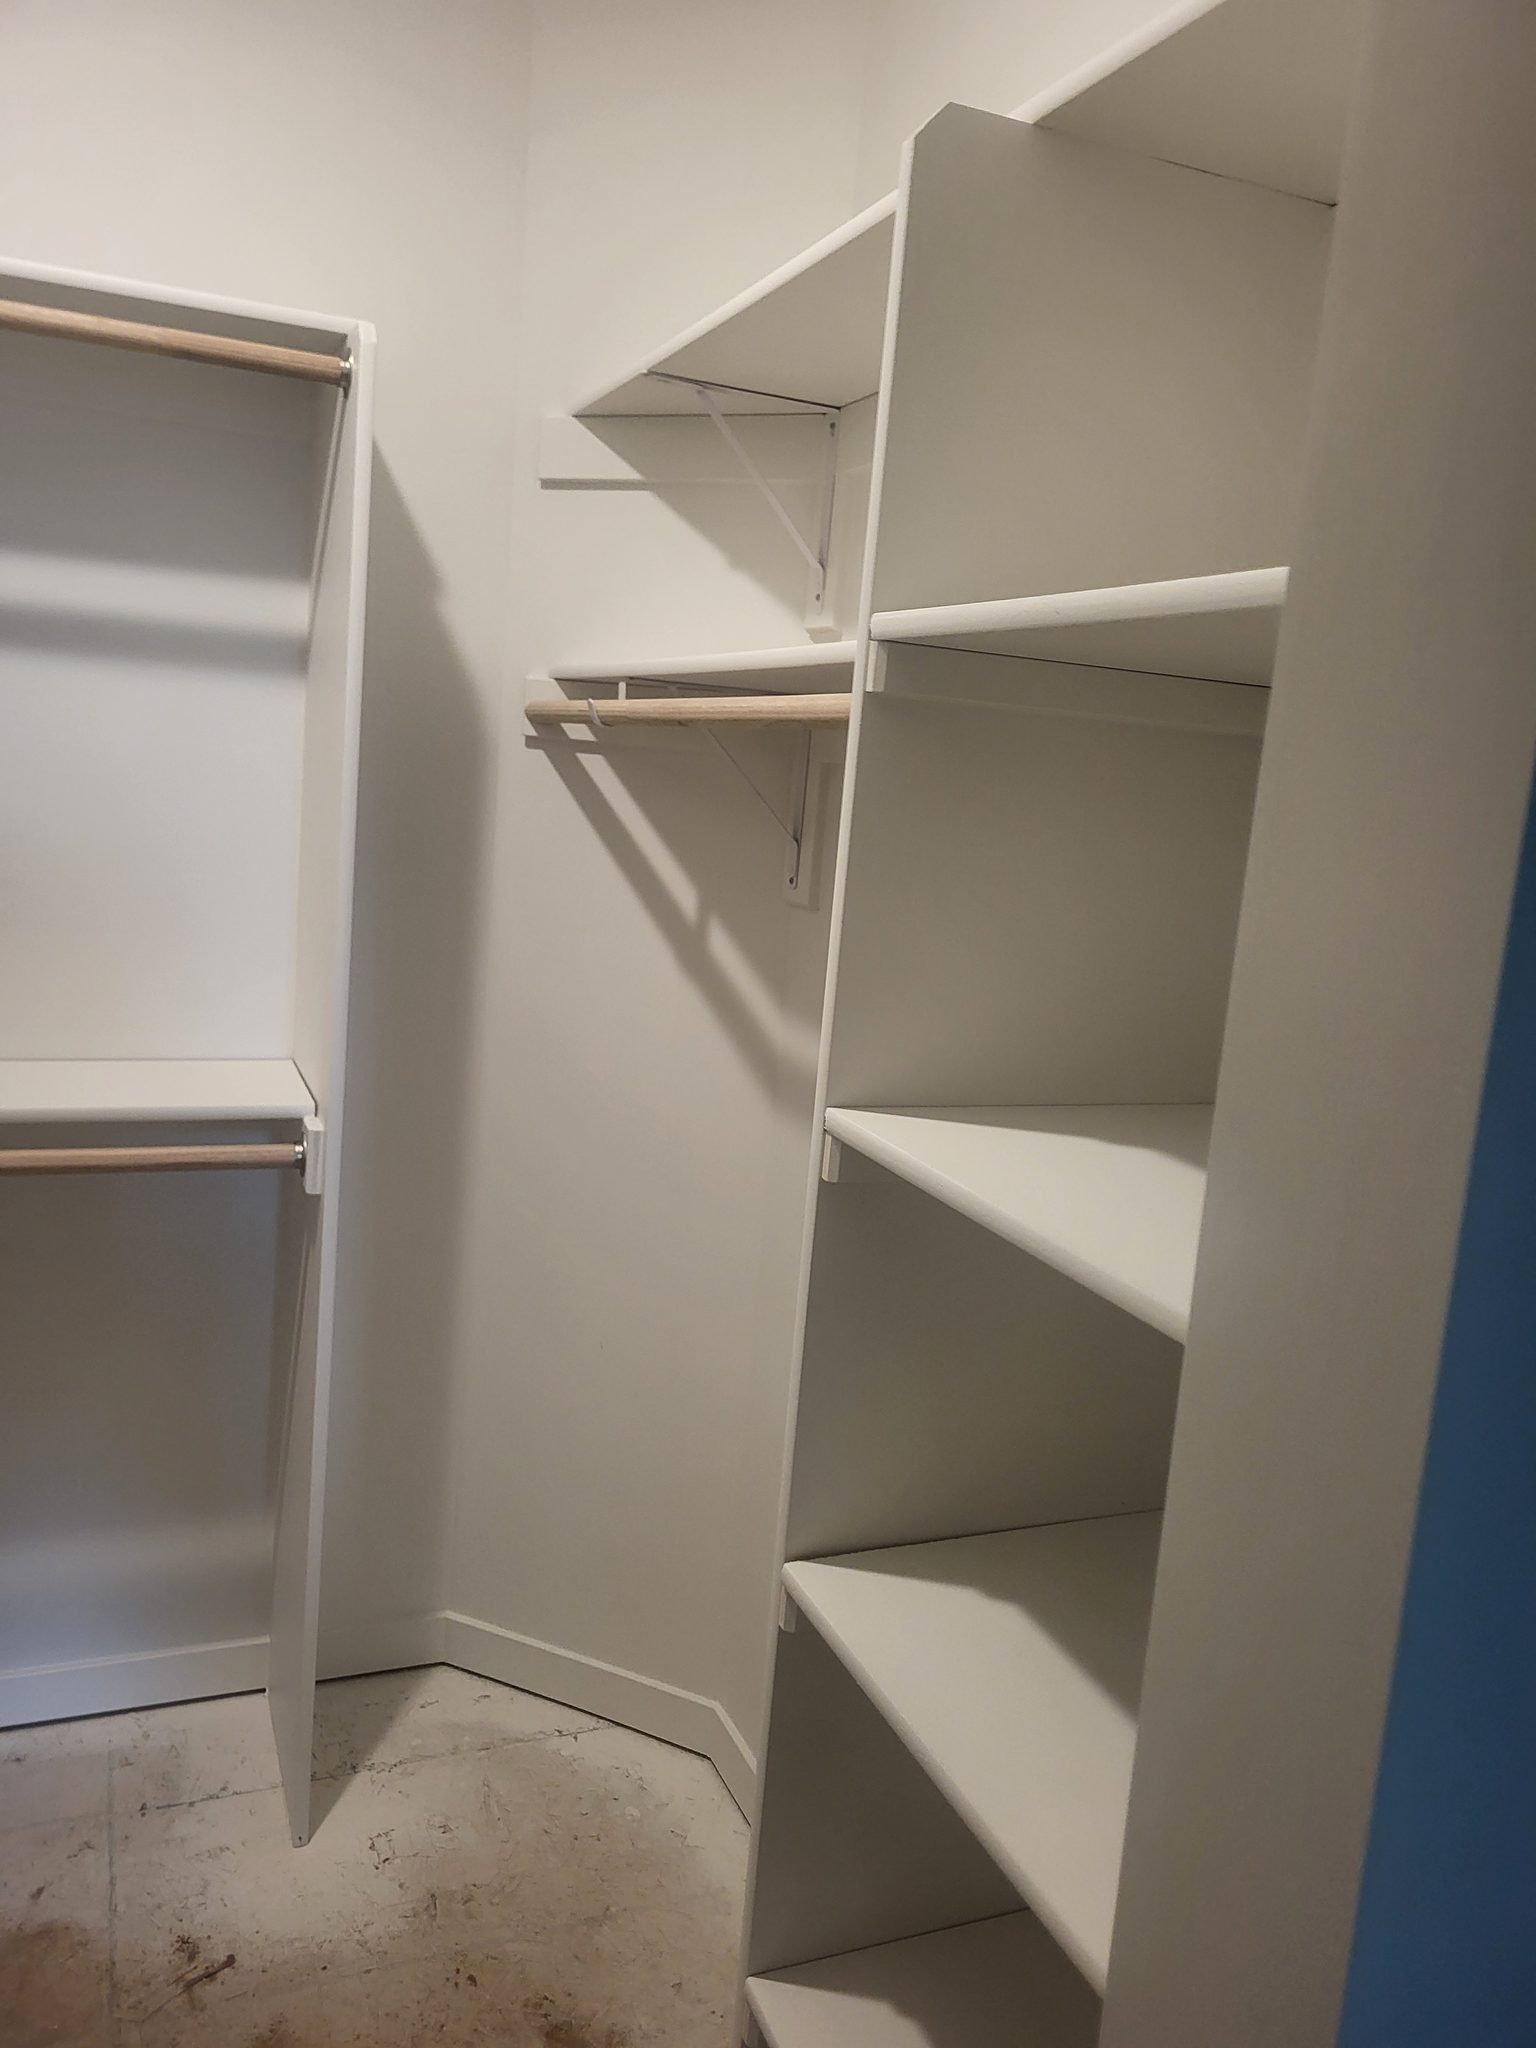
  • Build a partition wall for larger closets. In walk-in closets with long walls, a vertical partition (made from the same shelving material) divides the span into sections and provides support for both shelves and rods. The partition also creates a visual break that makes the closet look more organized.
  • Support the rod as well as the shelf. If a rod span exceeds 36″, it needs its own center support in addition to the shelf support. Use a metal rod support bracket that mounts to the shelf above, or create a wood support that drops down from the shelf to cradle the rod at the midpoint.

Step 7: Final Inspection and Clean-Up #

Before you move to the next closet, walk through your work and check it against these standards. It takes two minutes and catches problems that are easy to fix now but turn into callbacks later.

  • Check all shelves are level. Set your level on every shelf, both front-to-back and side-to-side. A shelf that’s visibly out of level is the first thing a homeowner notices.
  • Verify cleats are secure. Push firmly on each cleat to confirm it’s solid. A cleat that moves when you push on it will fail when loaded with 30 pounds of clothes and shoes.
  • Confirm rods are centered and seated. Check that each rod is fully seated in its notches or cups and that it’s centered in the closet opening. Spin the rod - it should rotate smoothly without binding.
  • Check for rough edges on particle board. Run your hand along every cut edge. Any sharp or splintered edge should be sanded smooth. Homeowners will be reaching into these closets every day - rough edges cause complaints.
  • Clean up the closet. Sweep the floor, remove sawdust from shelves, and wipe down any scuff marks on walls. Leave the closet ready for the homeowner or the next trade.

Build Closet Shelves Quality Checklist #

Use this checklist to check every closet before you move on. Every item should pass before you call the closet done:

  • All cleats are level and securely fastened to studs (minimum two nails per stud)
  • Shelves are at the correct heights per the layout plan from Part 2
  • No shelf span exceeds 36″ without a center support bracket or partition
  • Rods are at the proper height (per Part 1 standards) and 10-12″ from the back wall
  • Shelves fit snugly wall-to-wall with 1/16″ to 1/8″ clearance per side
  • All particle board cut edges are sanded smooth with no splinters or chips
  • Cleats are butted tight in corners with no gaps
  • Rod notches or cups are secure and rod does not wobble or fall out
  • Support brackets are centered on long spans and fastened into studs
  • Closet floor is clean, shelves are dust-free, and walls have no scuff marks

Troubleshooting When You Build Closet Shelves #

Shelf Sags in the Middle #

Cause: The shelf span is too long and has no center support. Always plan for supports on long spans. Particle board is not a rigid material. Any unsupported span over 36″ will eventually sag, especially under steady weight from heavy items like shoes, bins, or stacked linens.

Fix: Add a center support bracket or vertical partition at the midpoint of the span. For a shelf that has already sagged, flip it over (the sag will now bow the other way, and the weight will flatten it out over time) and add the support bracket to stop it from sagging further. If the sag is bad (more than 1/2″), replace the shelf. Once particle board bends that much, it’s too weak to trust.

Cleat Won’t Hold - Missed the Stud #

Cause: The nail went into drywall only, not into a stud. This happens when the stud finder gives a wrong reading (common near corners, electrical boxes, or metal corner bead) or when the carpenter nails between studs by mistake.

Fix: Remove the cleat and find the studs again. Probe with a finish nail or a small drill bit to confirm you’ve hit solid wood. Reposition the cleat and nail into the confirmed stud locations. Nail holes left in the drywall will be covered by the cleat once it’s back up. If you miss a stud at one spot but the cleat hits studs everywhere else, you can add a construction screw with a toggle bolt or snap toggle (a hollow-wall anchor that grips behind the drywall) at that one spot for extra support. But the main hold must always come from the studs.

Particle Board Chips When Cutting #

Cause: The blade has too few teeth, the blade is dull, or the melamine surface is tearing instead of cutting clean. A standard framing blade (24 teeth) will wreck particle board edges. Always use a fine-tooth blade for clean cuts.

Fix: Switch to a fine-tooth blade - 60+ teeth for a miter saw, 80+ teeth for a table saw. Score the cut line with a utility knife on the melamine surface before cutting. Apply painter’s tape along the cut line to back up the surface. Cut slowly and steadily - don’t force the material through the blade. If chipping still occurs, the blade is dull and needs to be replaced or sharpened.

Shelf Doesn’t Fit - Walls Out of Square #

Cause: The closet walls are not perfectly parallel or square, which is normal in residential construction. Drywall corners can be built up with mud (drywall joint compound), walls can bow, and framing can be slightly off. A shelf cut to a single measurement often ends up too long at one end or too short at the other.

Fix: Always measure at both the front and the back of the shelf position. If the two measurements differ by more than 1/4″, you may need to scribe the shelf (trace the wall’s actual shape onto the shelf edge so it fits any curve or bow). Hold the shelf in position, set a compass to the widest gap, trace the wall’s shape onto the shelf edge, then cut along that line with a jigsaw or belt sander. For small differences (less than 1/4″), just cut to the shorter measurement minus 1/8″. The small gap won’t be noticeable.

Rod Falls Out of Notch #

Cause: The notch is too shallow, too wide, or the rod was cut too short. A properly notched 1×4 cleat should cradle at least half the rod’s diameter (5/8″ deep for a 1-1/4″ rod). If the notch is less than half the diameter, the rod can pop out when loaded with hangers.

Fix: If the notch is too shallow, deepen it with a chisel or Forstner bit while the cleat is on the wall (carefully), or take the cleat down and re-notch it. If the rod is too short, cut a new rod 1/16″ shorter than the wall-to-wall measurement - no more. If you’re using rod cups instead of notches, make sure the cups are screwed securely into studs or solid blocking (short pieces of framing lumber nailed between the studs for backing), and that the rod sits fully in the cup. A drop of wood glue in the notch will keep the rod from spinning and walking out over time.

Efficiency Tips to Build Closet Shelves Faster #

  • Batch-cut all cleats for the house at once. Before you install anything, measure every closet, build a full cleat cut list, and cut all the cleats at the miter saw station in one session. Group them by length and label each one with the closet name and wall (for example, “Master WIC (walk-in closet) - Back Wall”). This saves you from walking back and forth to the saw for every closet.
  • Pre-cut standard shelf widths. If your layout plan uses standard shelf widths (24″, 30″, 36″), set up a stop block on your saw (a block clamped to the fence so every cut stops at the same length) and batch-cut all the shelves for each width. You’ll still need to fine-tune a few shelves for walls that are out of square, but pre-cut blanks save a lot of time.
  • Work room by room, not task by task. Finish each closet completely (cleats, shelves, rods, brackets, inspection) before moving to the next one. This is faster than installing all the cleats in the house, then all the shelves, then all the rods, because you skip the repeated setup and cleanup in every room.
  • Label all cleats and shelves by closet. Write the closet name and position directly on each piece with a pencil. When you walk into a closet with an armload of material, you should be able to grab exactly what you need without re-measuring. Labels on cleats should face the wall side (hidden after installation).
  • Set up a cutting station near the closets. Position your miter saw and table saw (if used) in a central location near the closets you’re working on. Minimize the distance you carry material - time spent walking is time not spent building.
  • Keep your nail guns loaded and your compressor running. Nothing breaks momentum like stopping to reload nails or wait for the compressor to catch up. Start each day with full nail magazines and a full compressor tank. Carry extra nails in your pouch.

Closet Shelving Series #

This guide is part of a three-part series that covers everything you need to build closet shelves in new construction:

  • Part 1 - Standards: Industry measurements, rod heights, shelf spacing, and material specifications
  • Part 2 - Layout Design: Planning and designing layouts for every closet type
  • Part 3 - Building (You Are Here): Step-by-step construction, cutting, installation, and finishing

Related Guides #

  • How to Build Basic Closet Shelves - Part 1 of 3 (Standards)
  • How to Build Basic Closet Shelves - Part 2 of 3 (Layout Design)
  • How to Trim a House
  • Carpenter Hand Tools

Reference Photos #

The following photos show examples of this type of work completed in the field. These serve as visual references for quality standards, proper installation techniques, and finished results.
Showing 142 of 142 photos
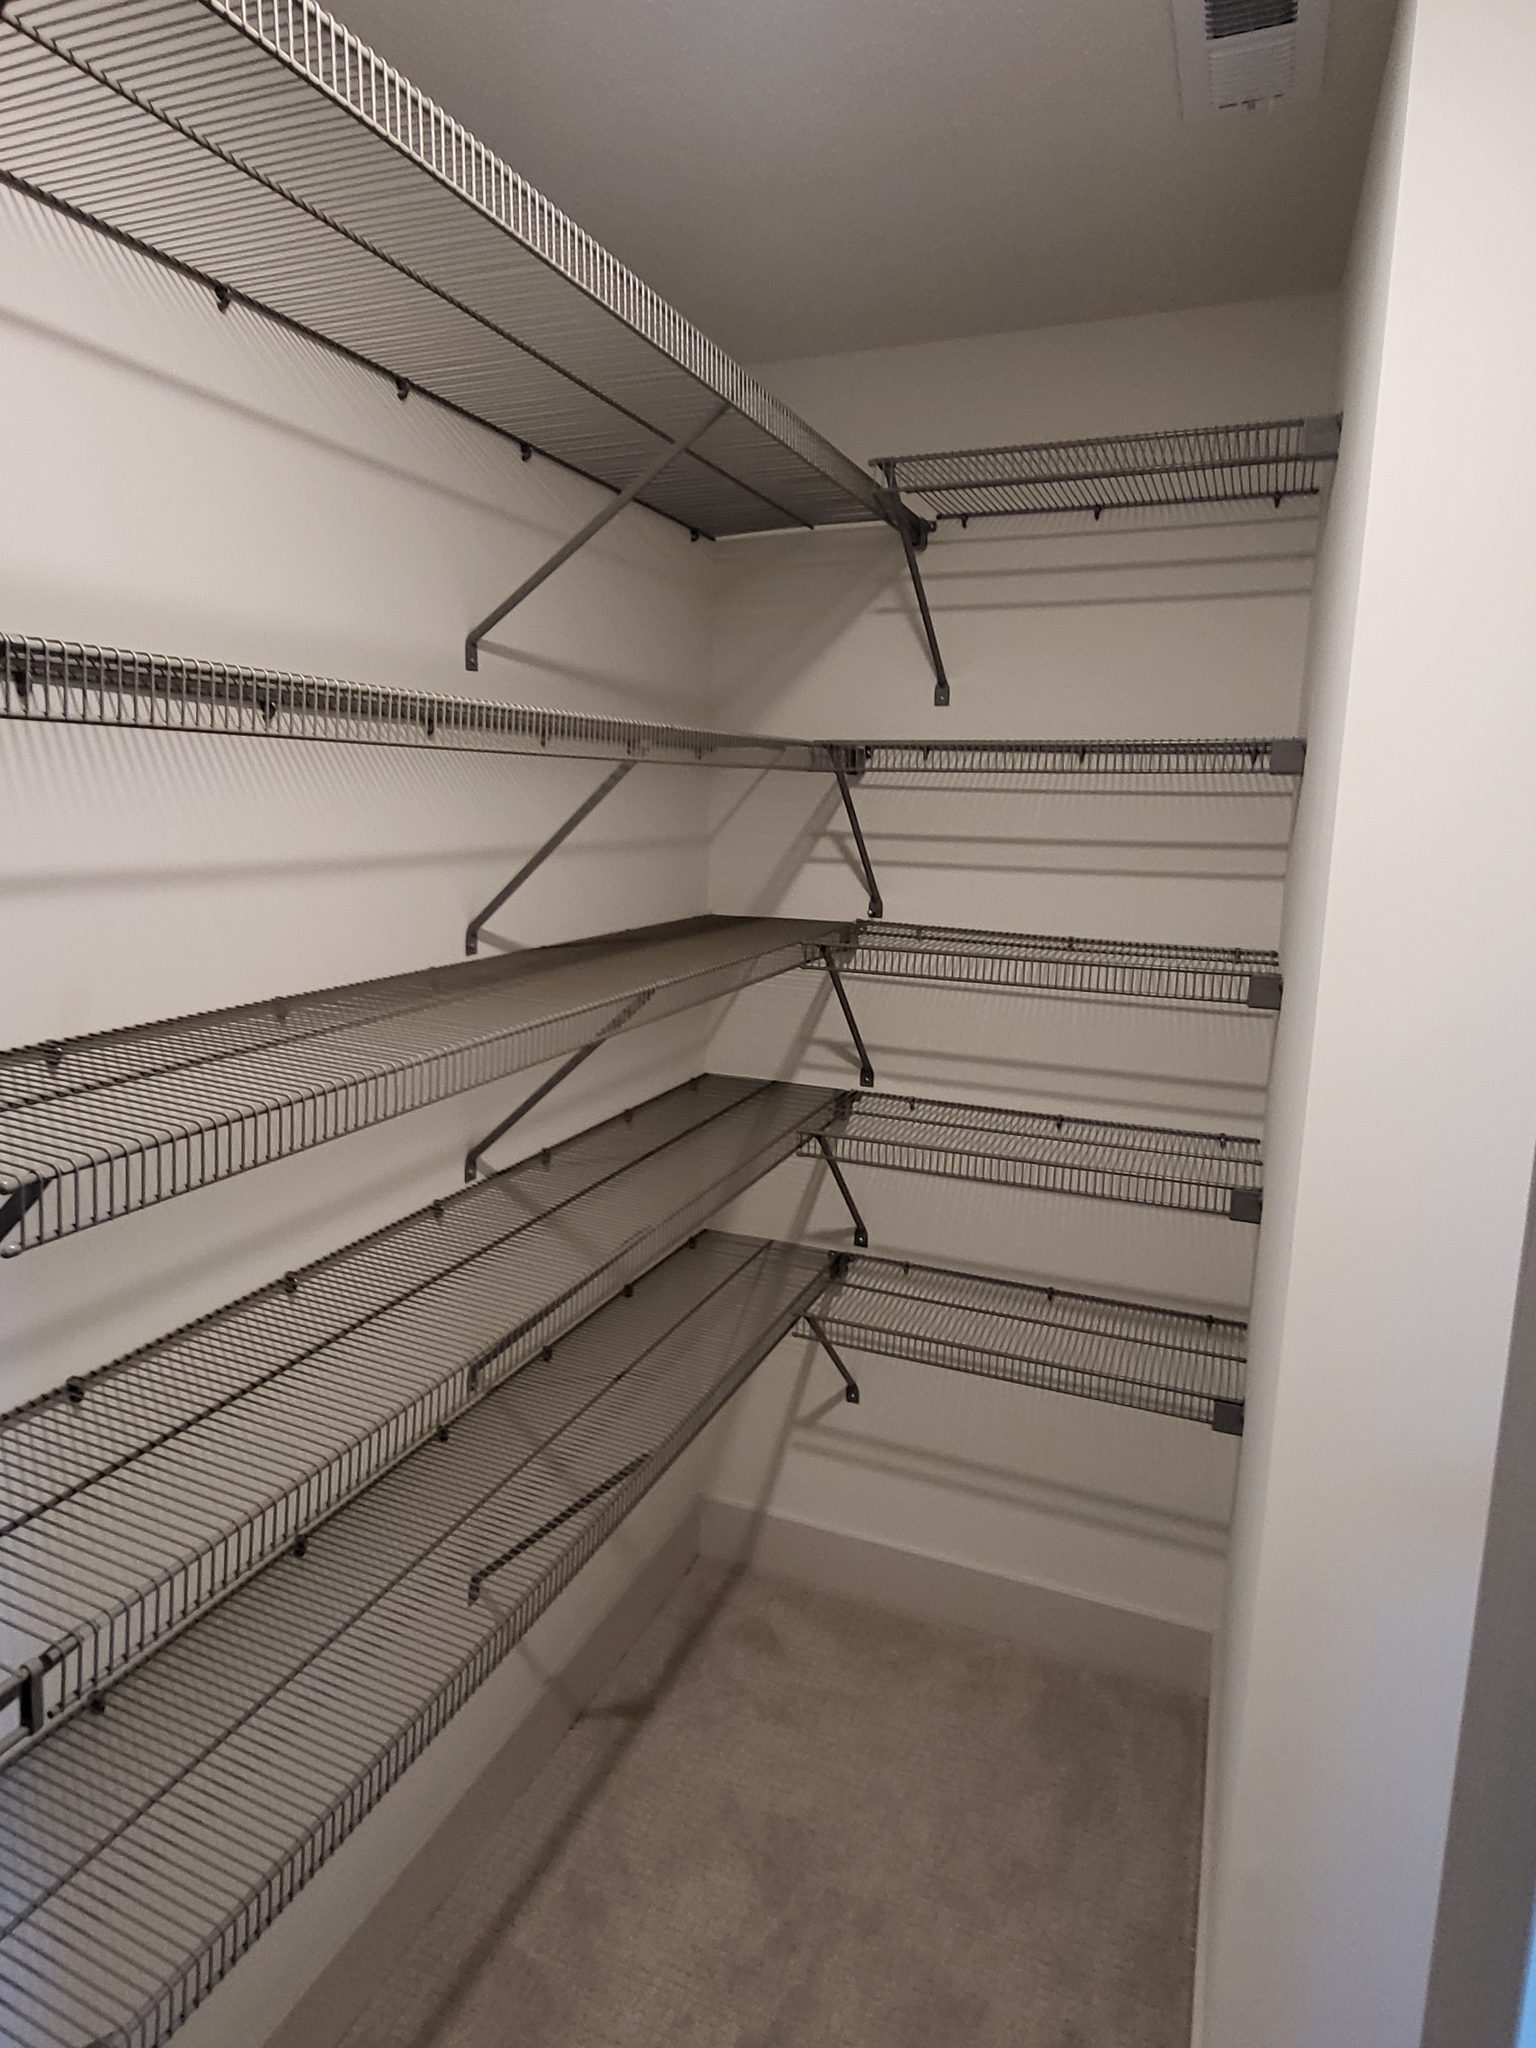
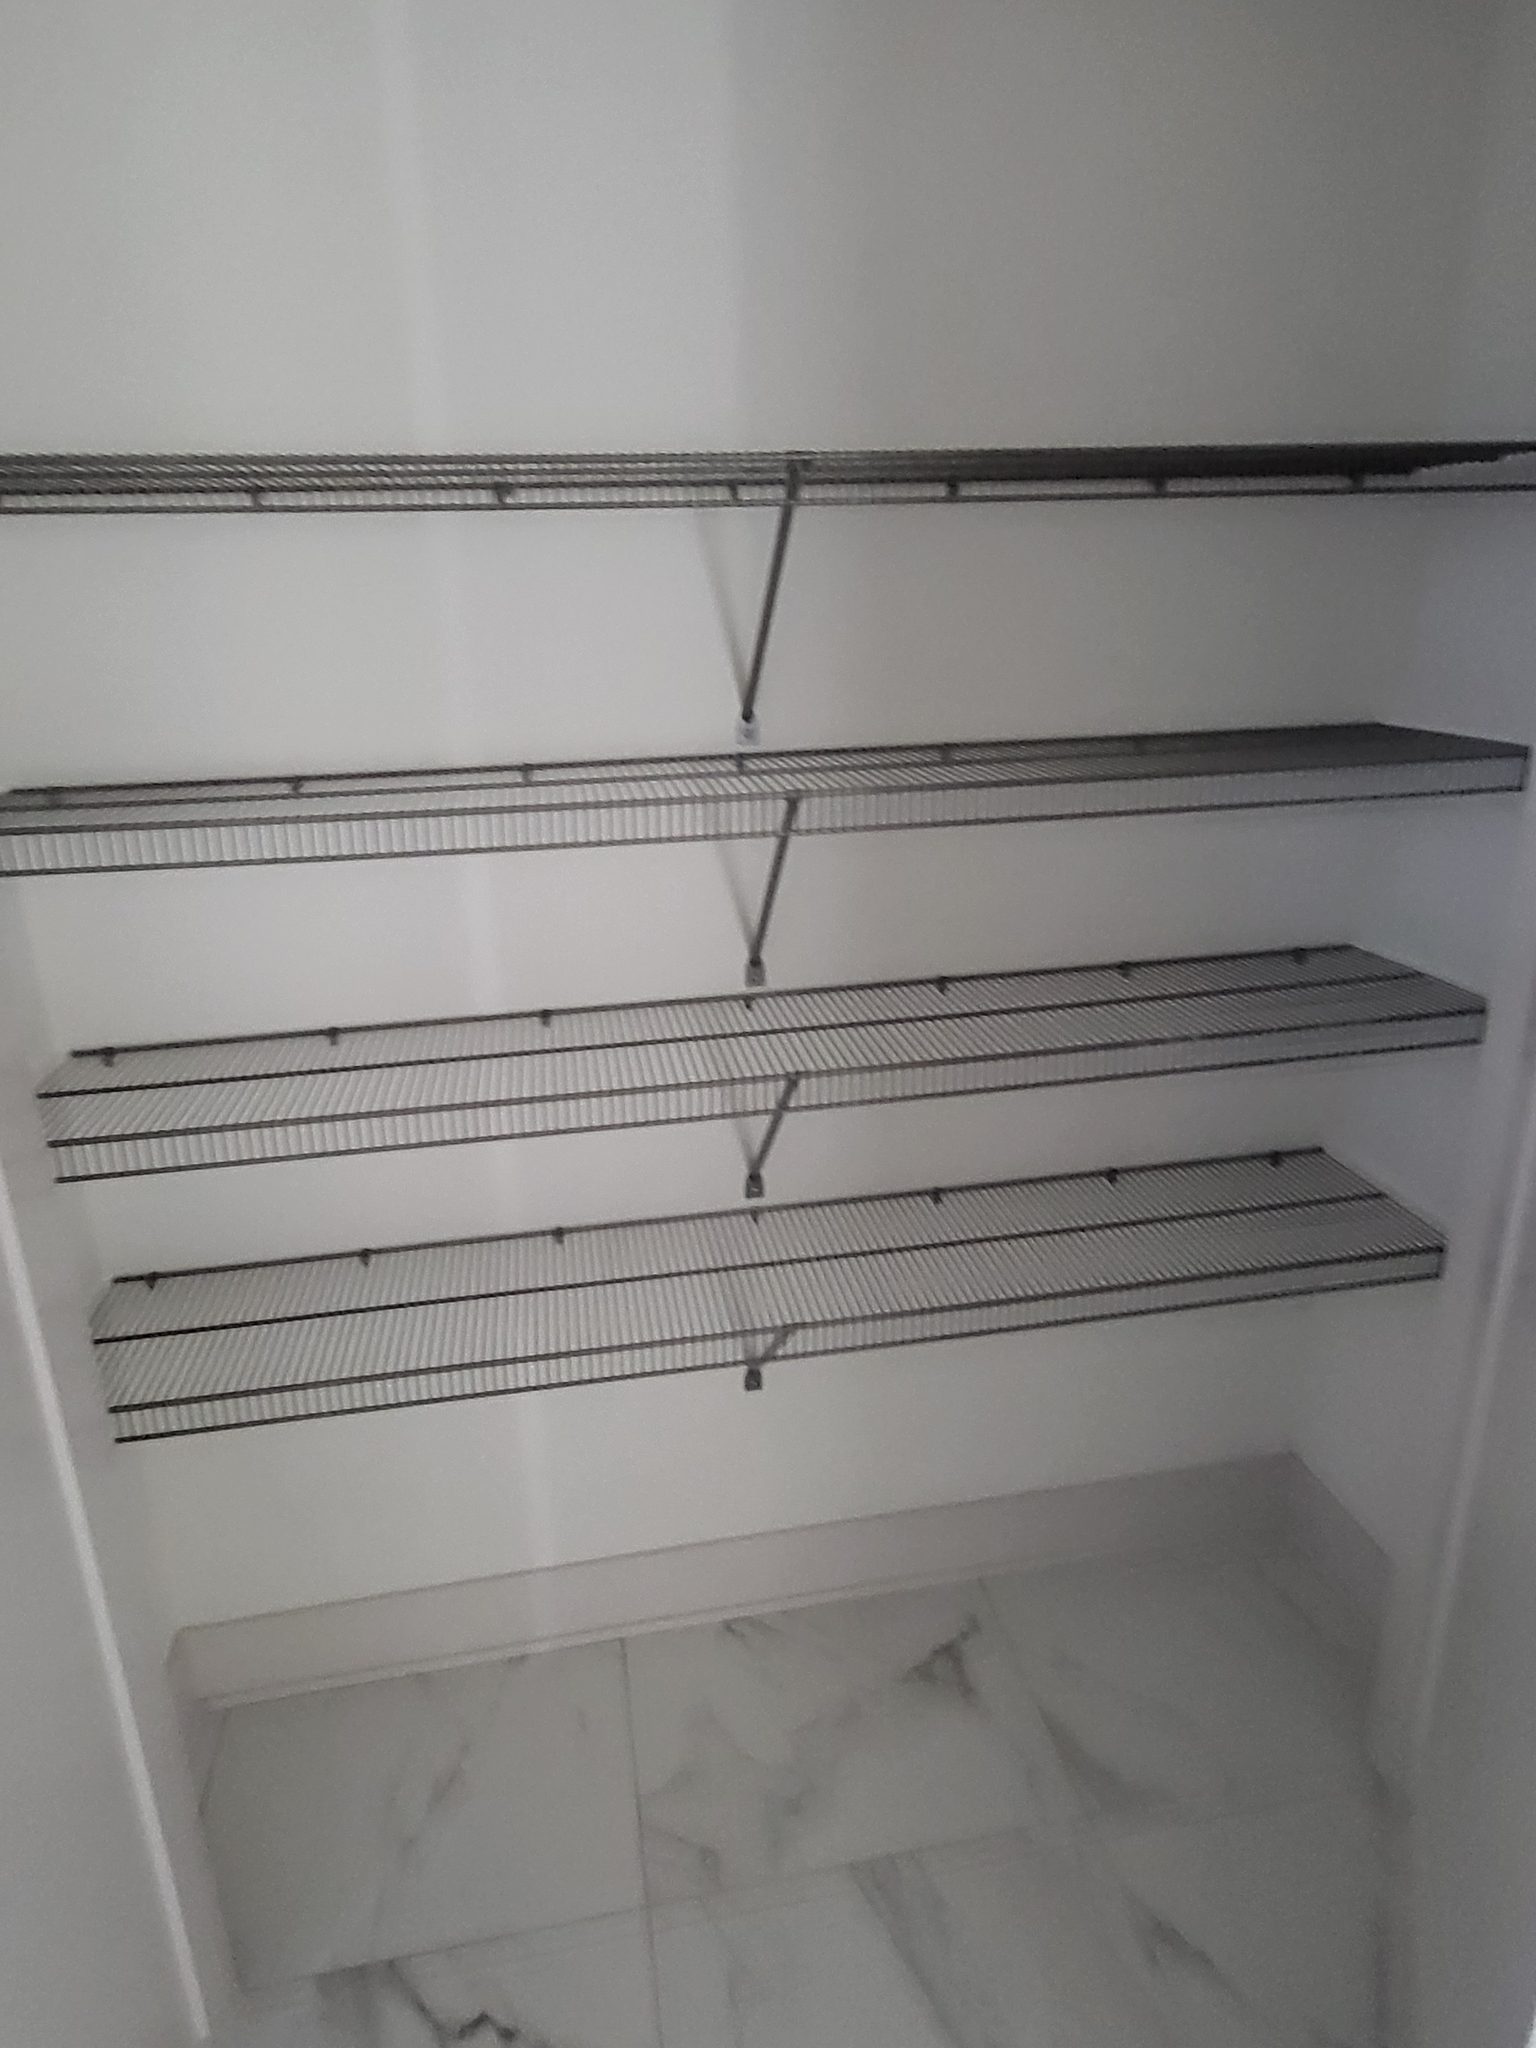
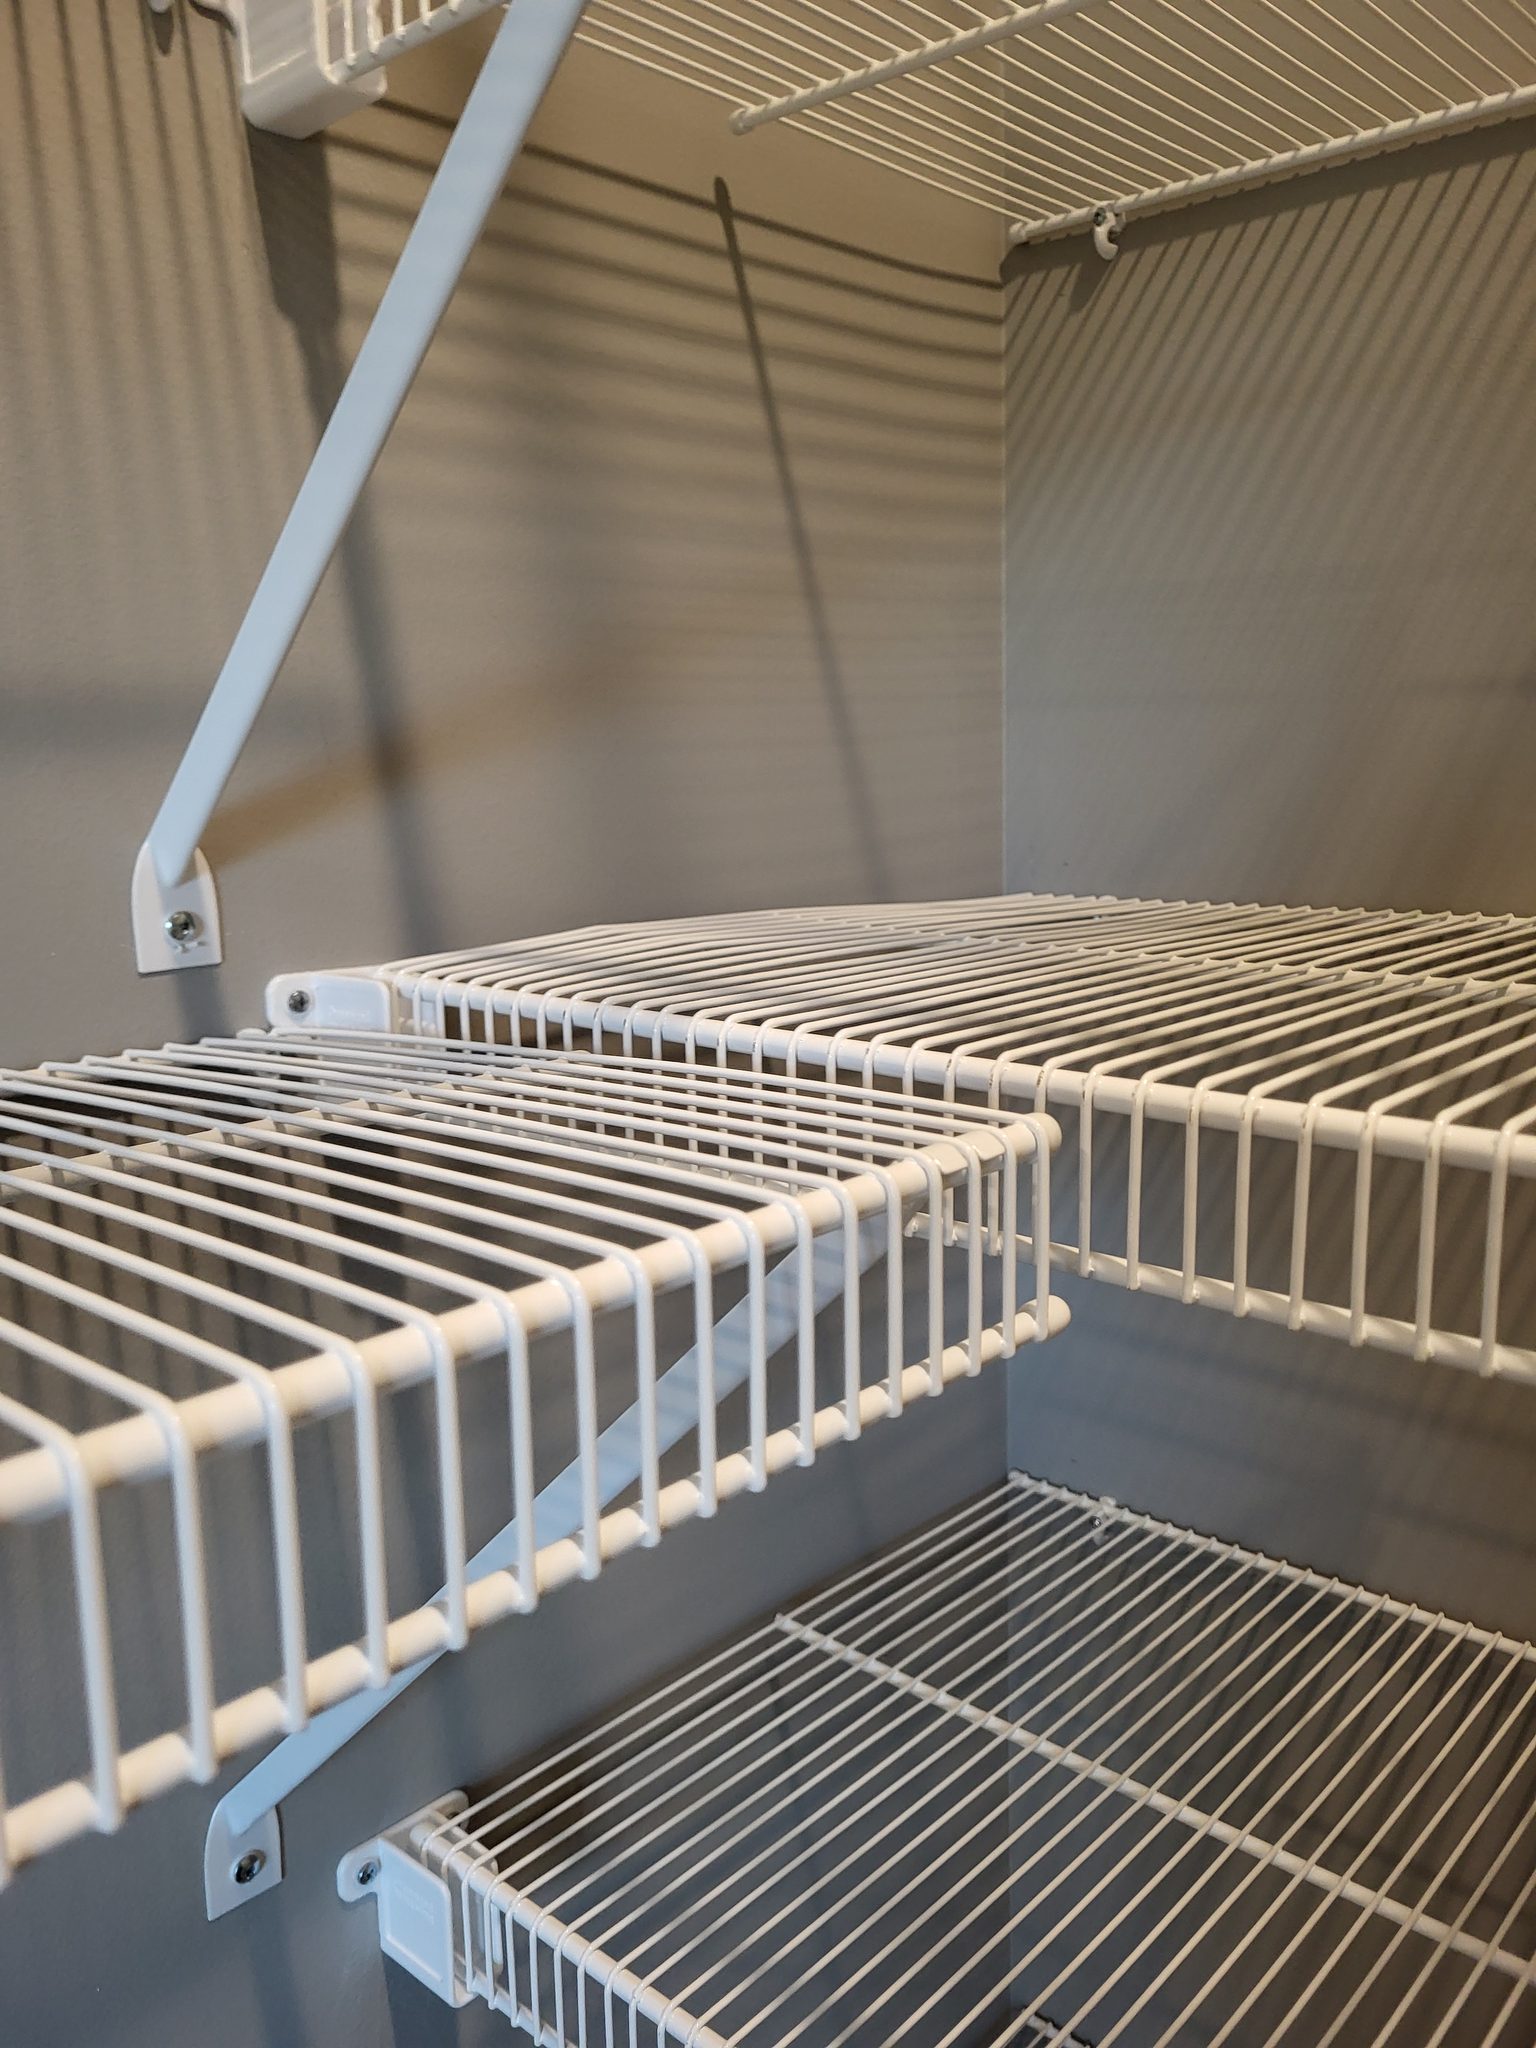
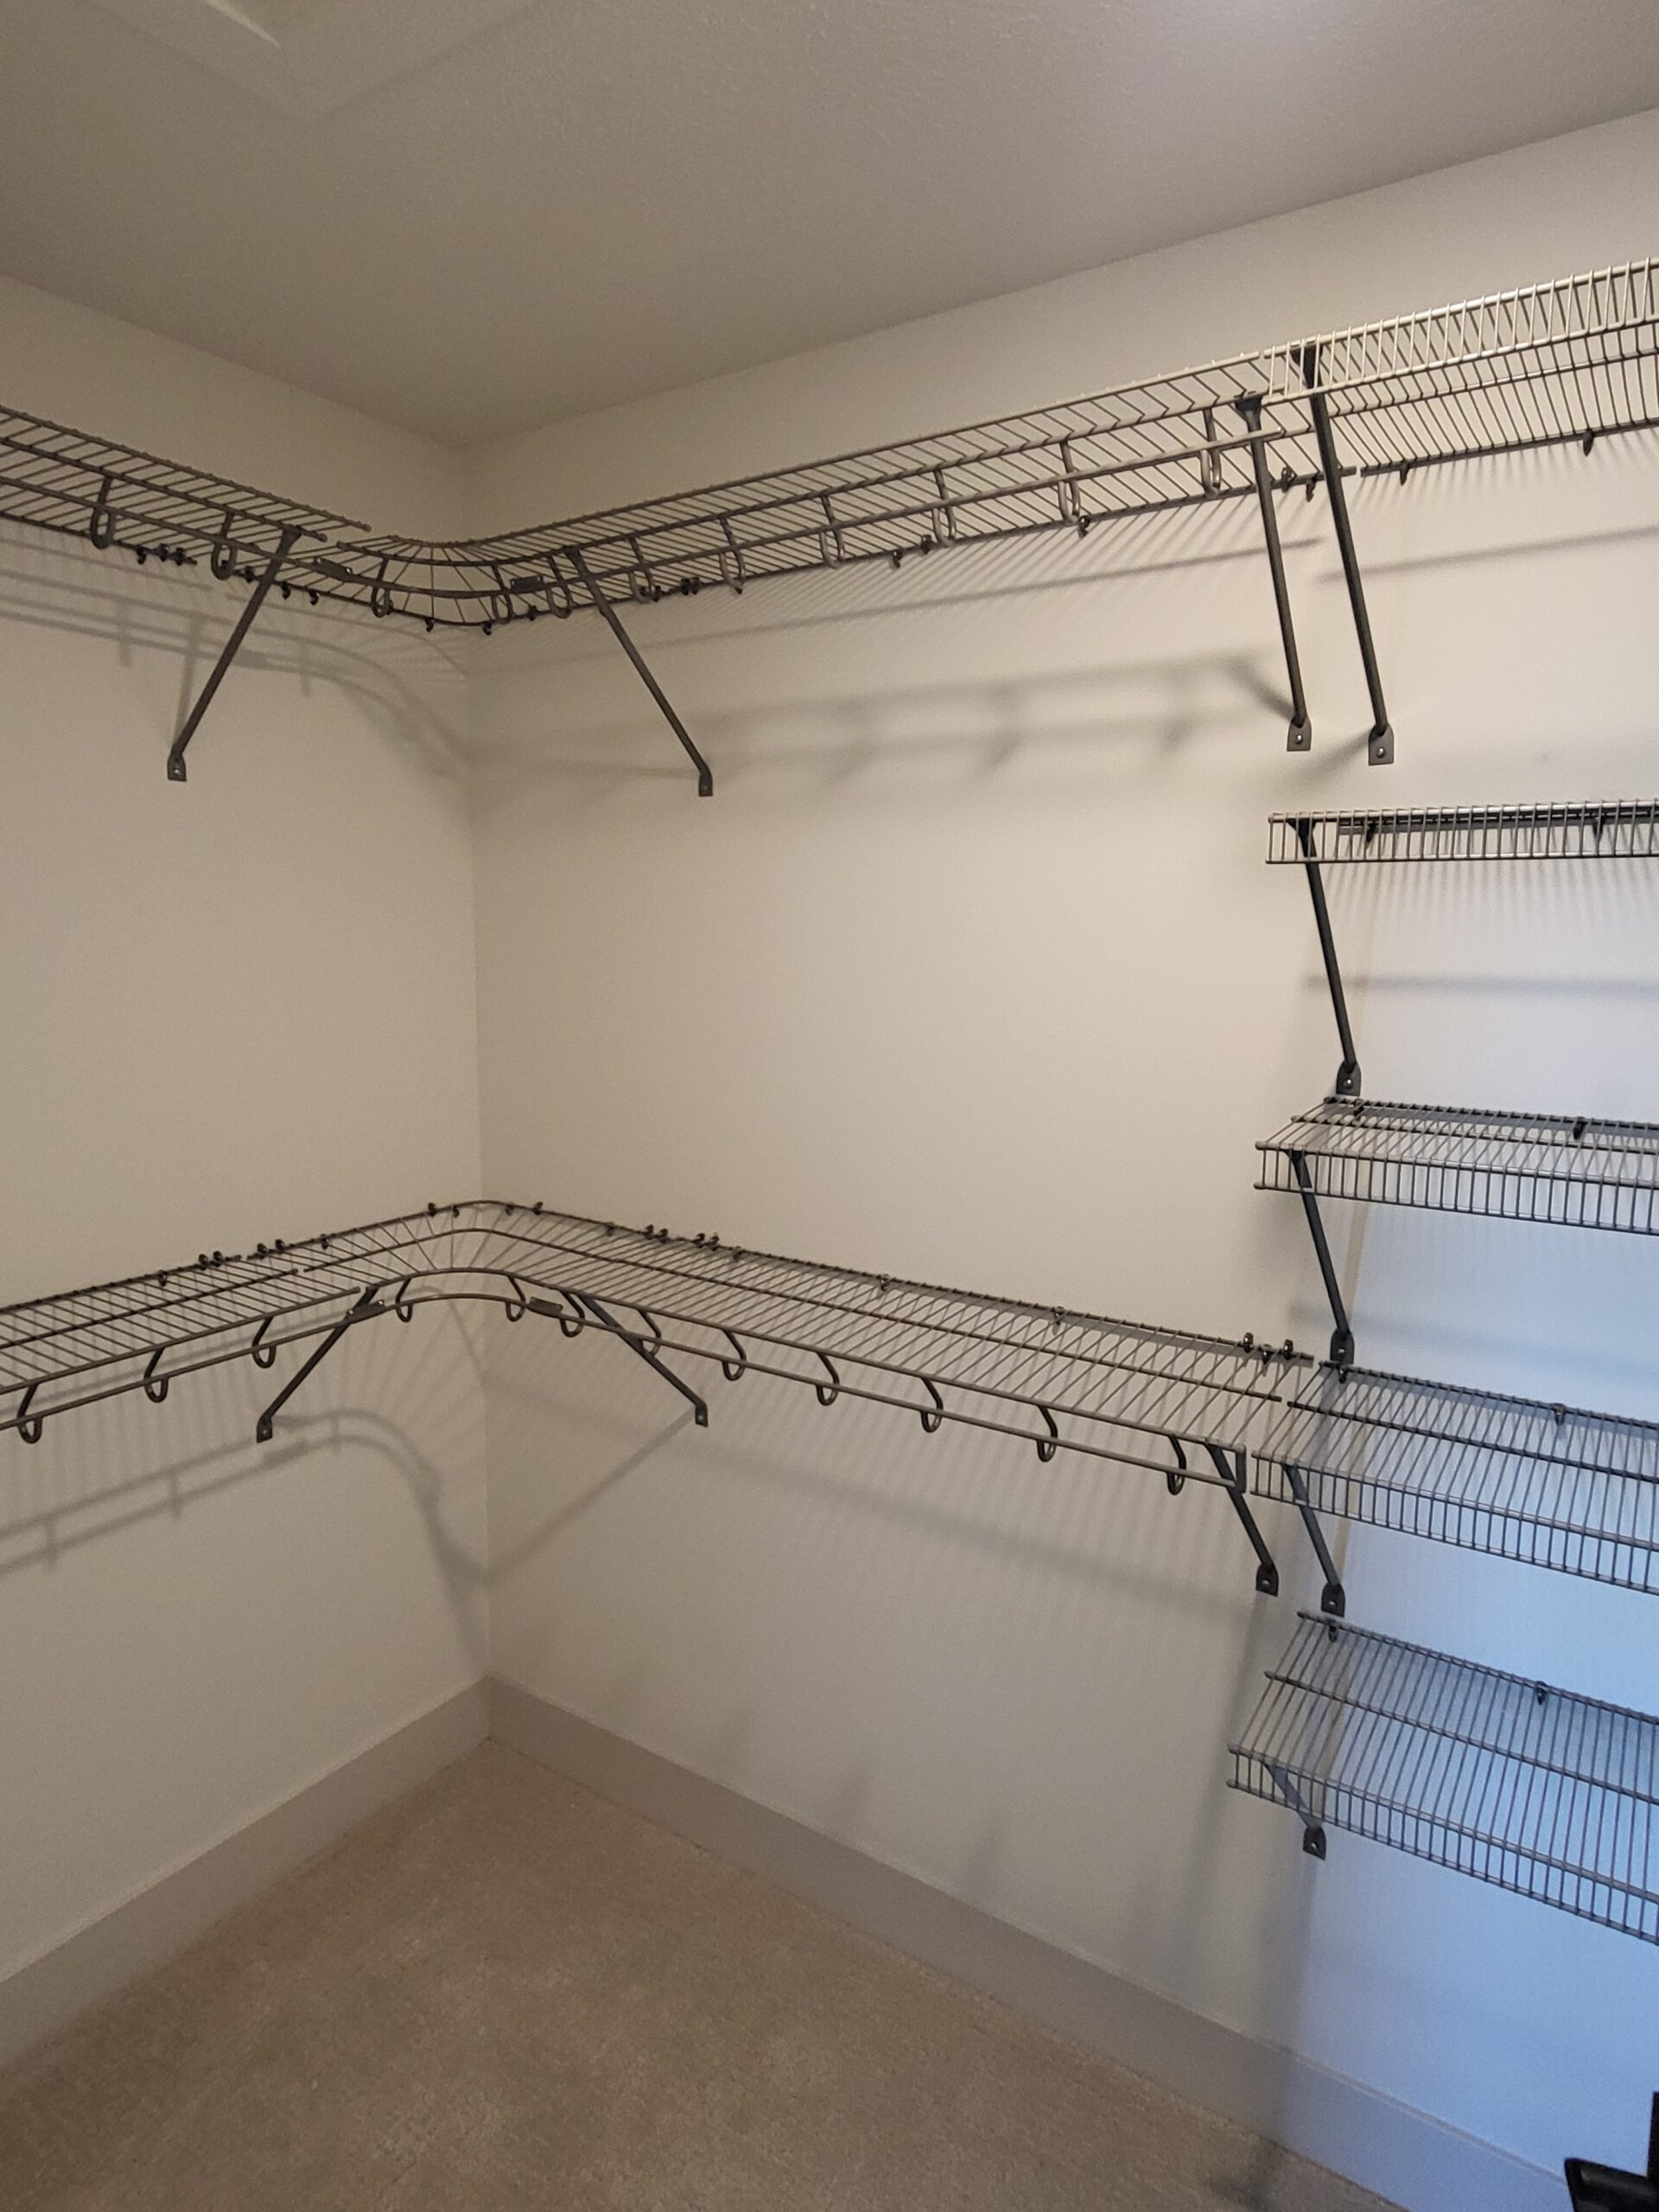
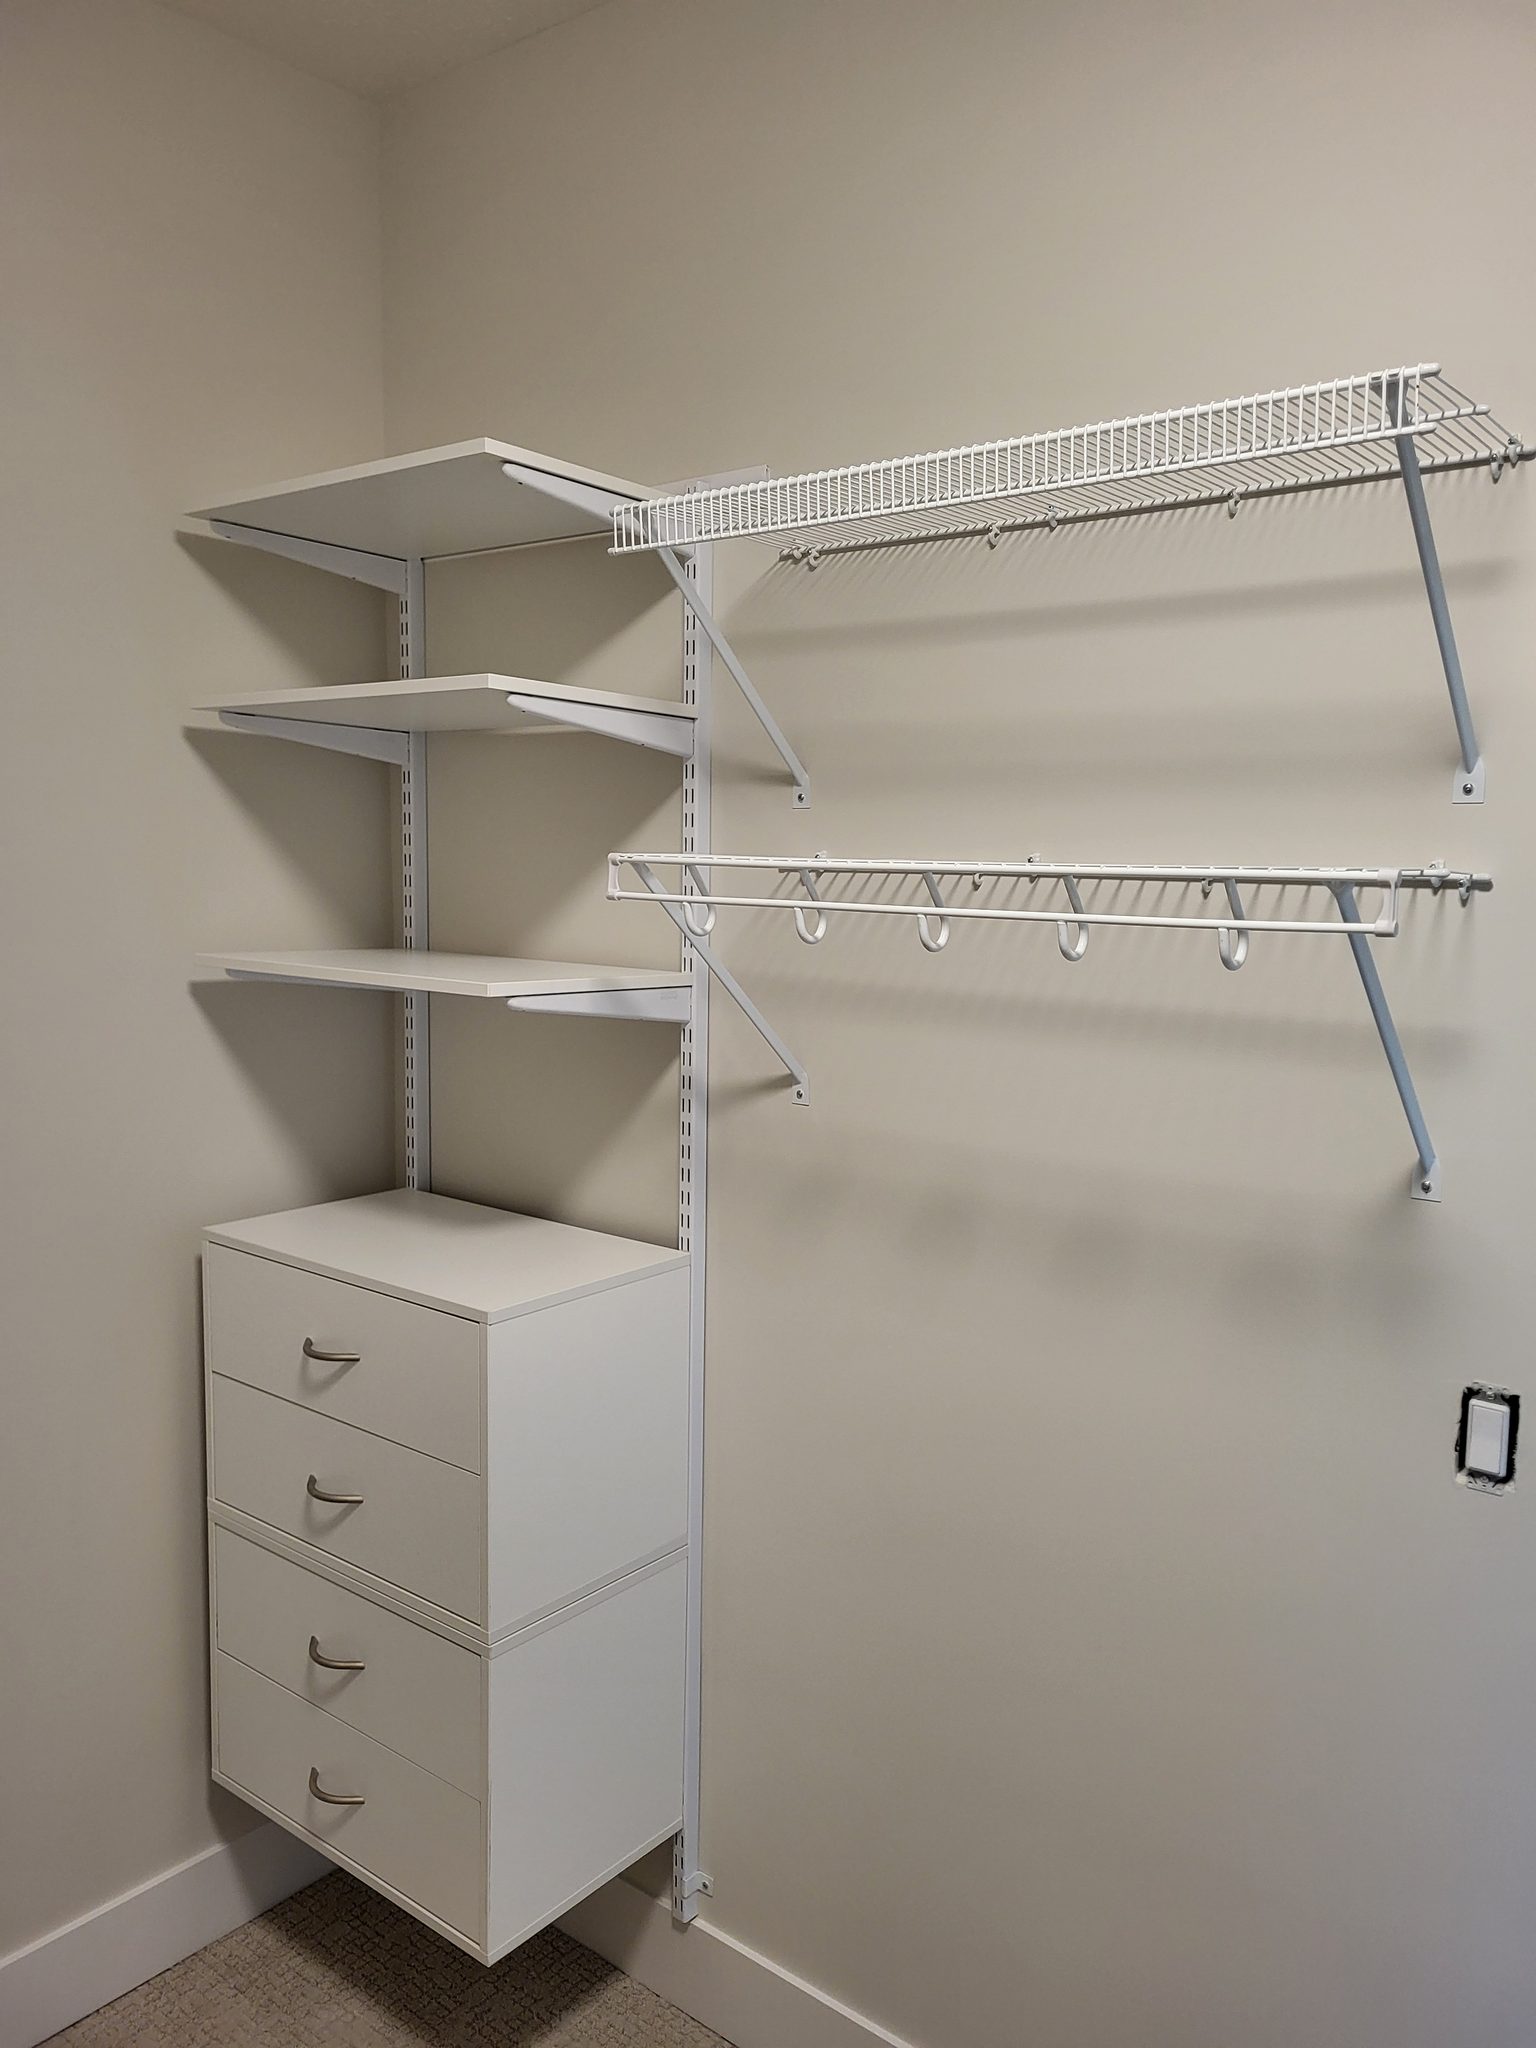
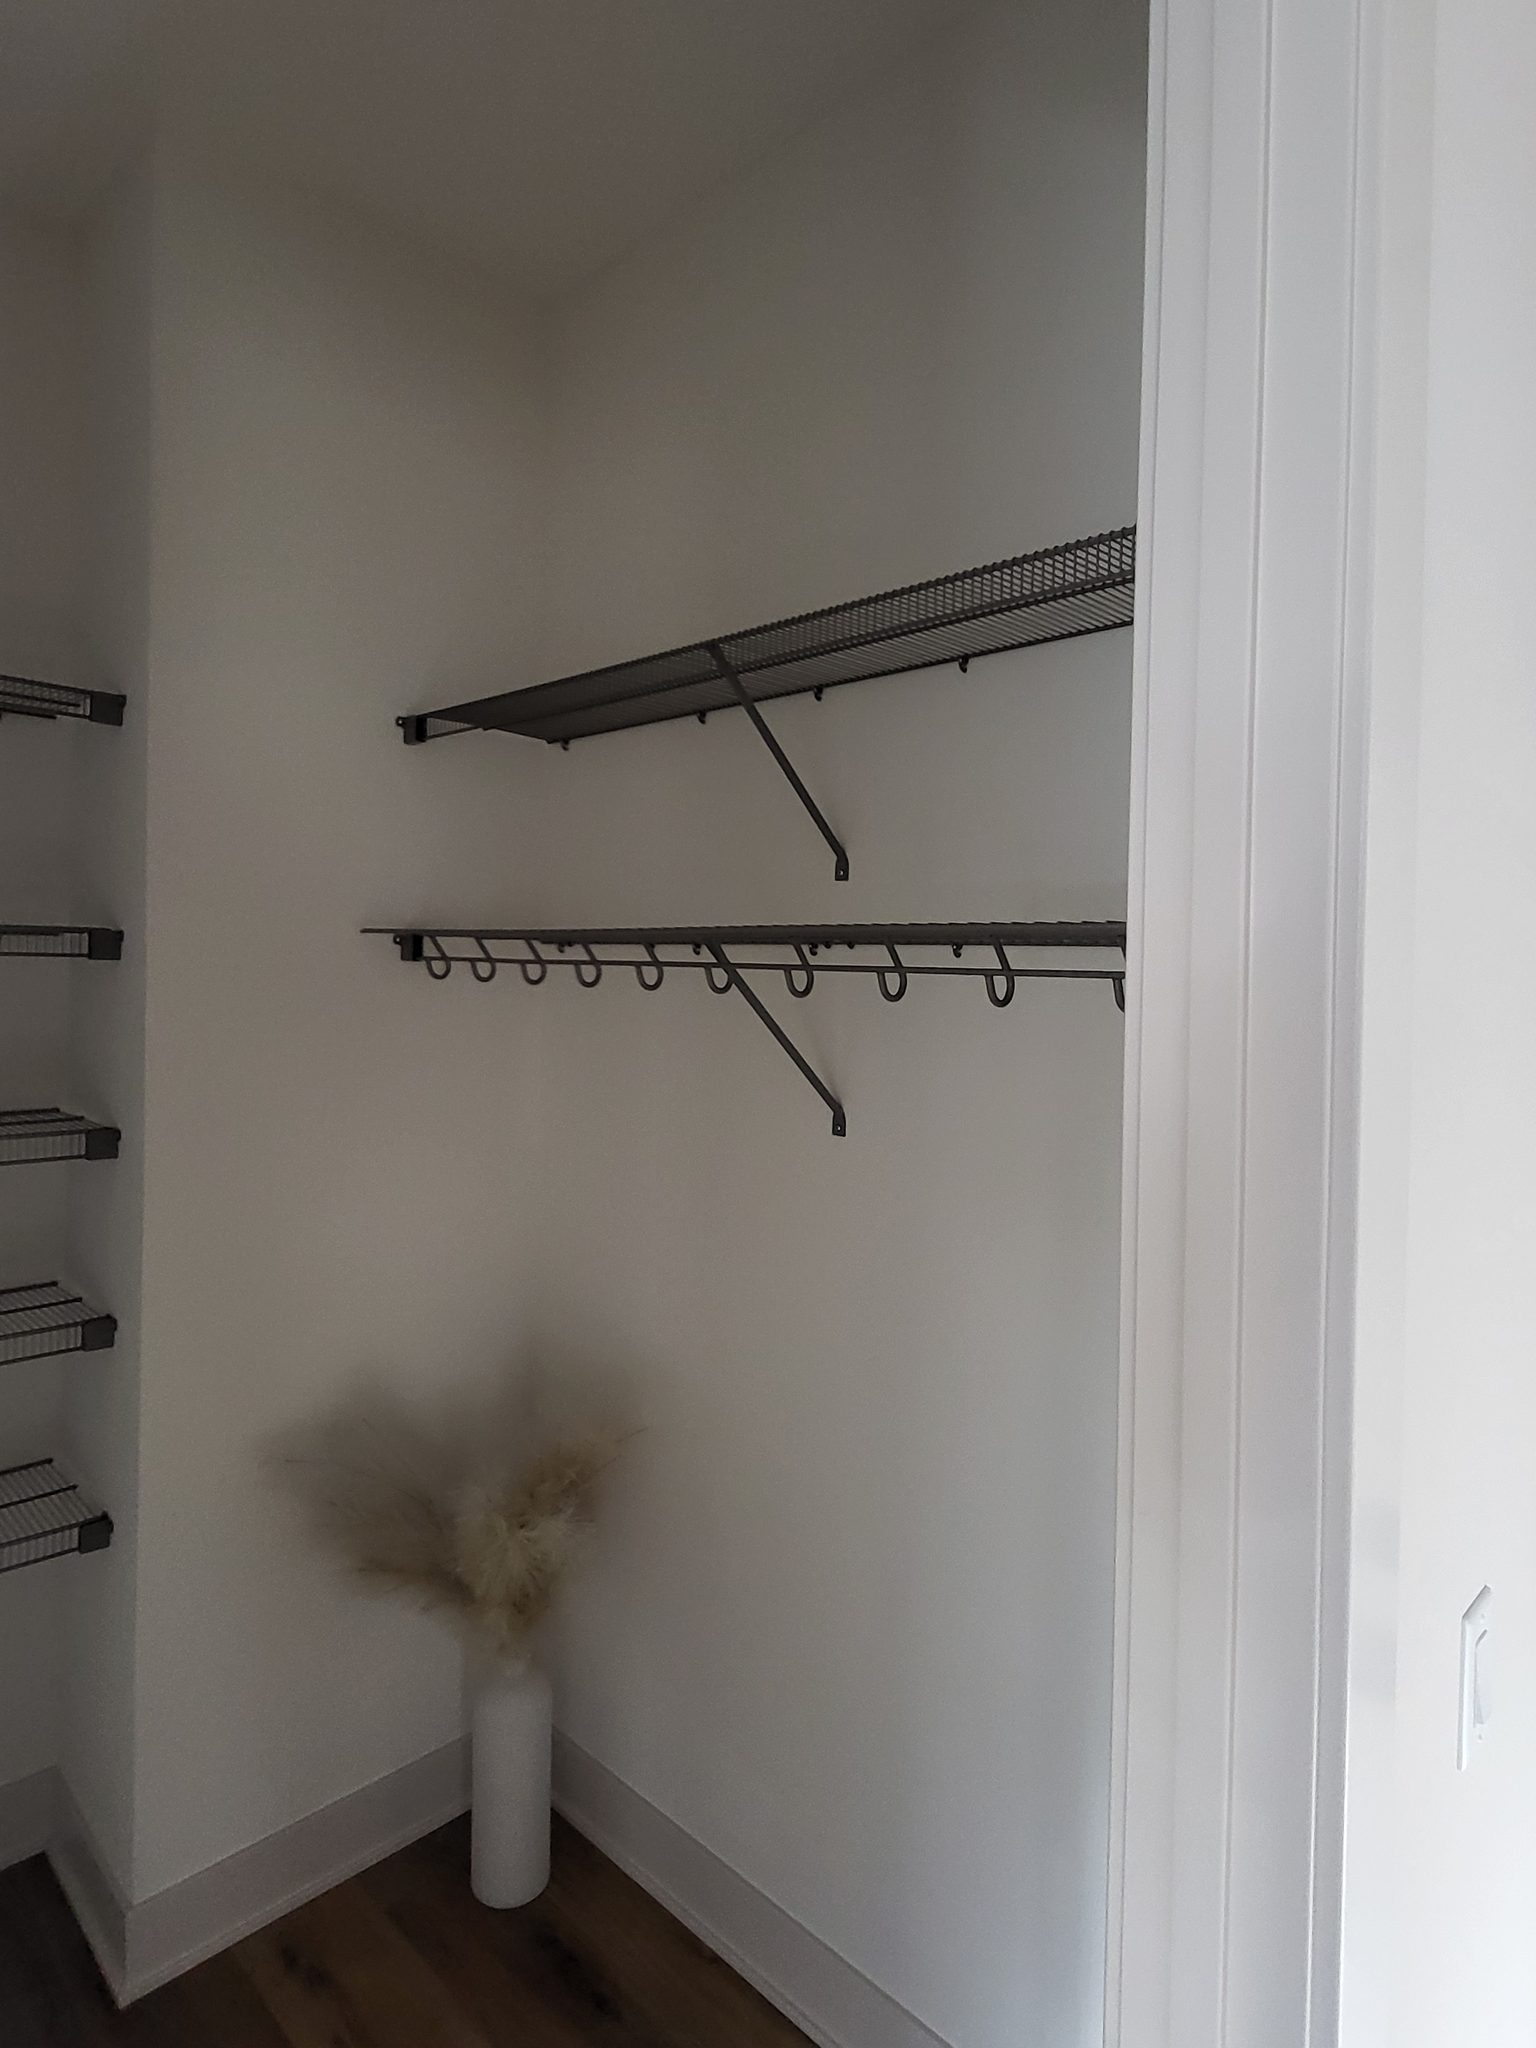
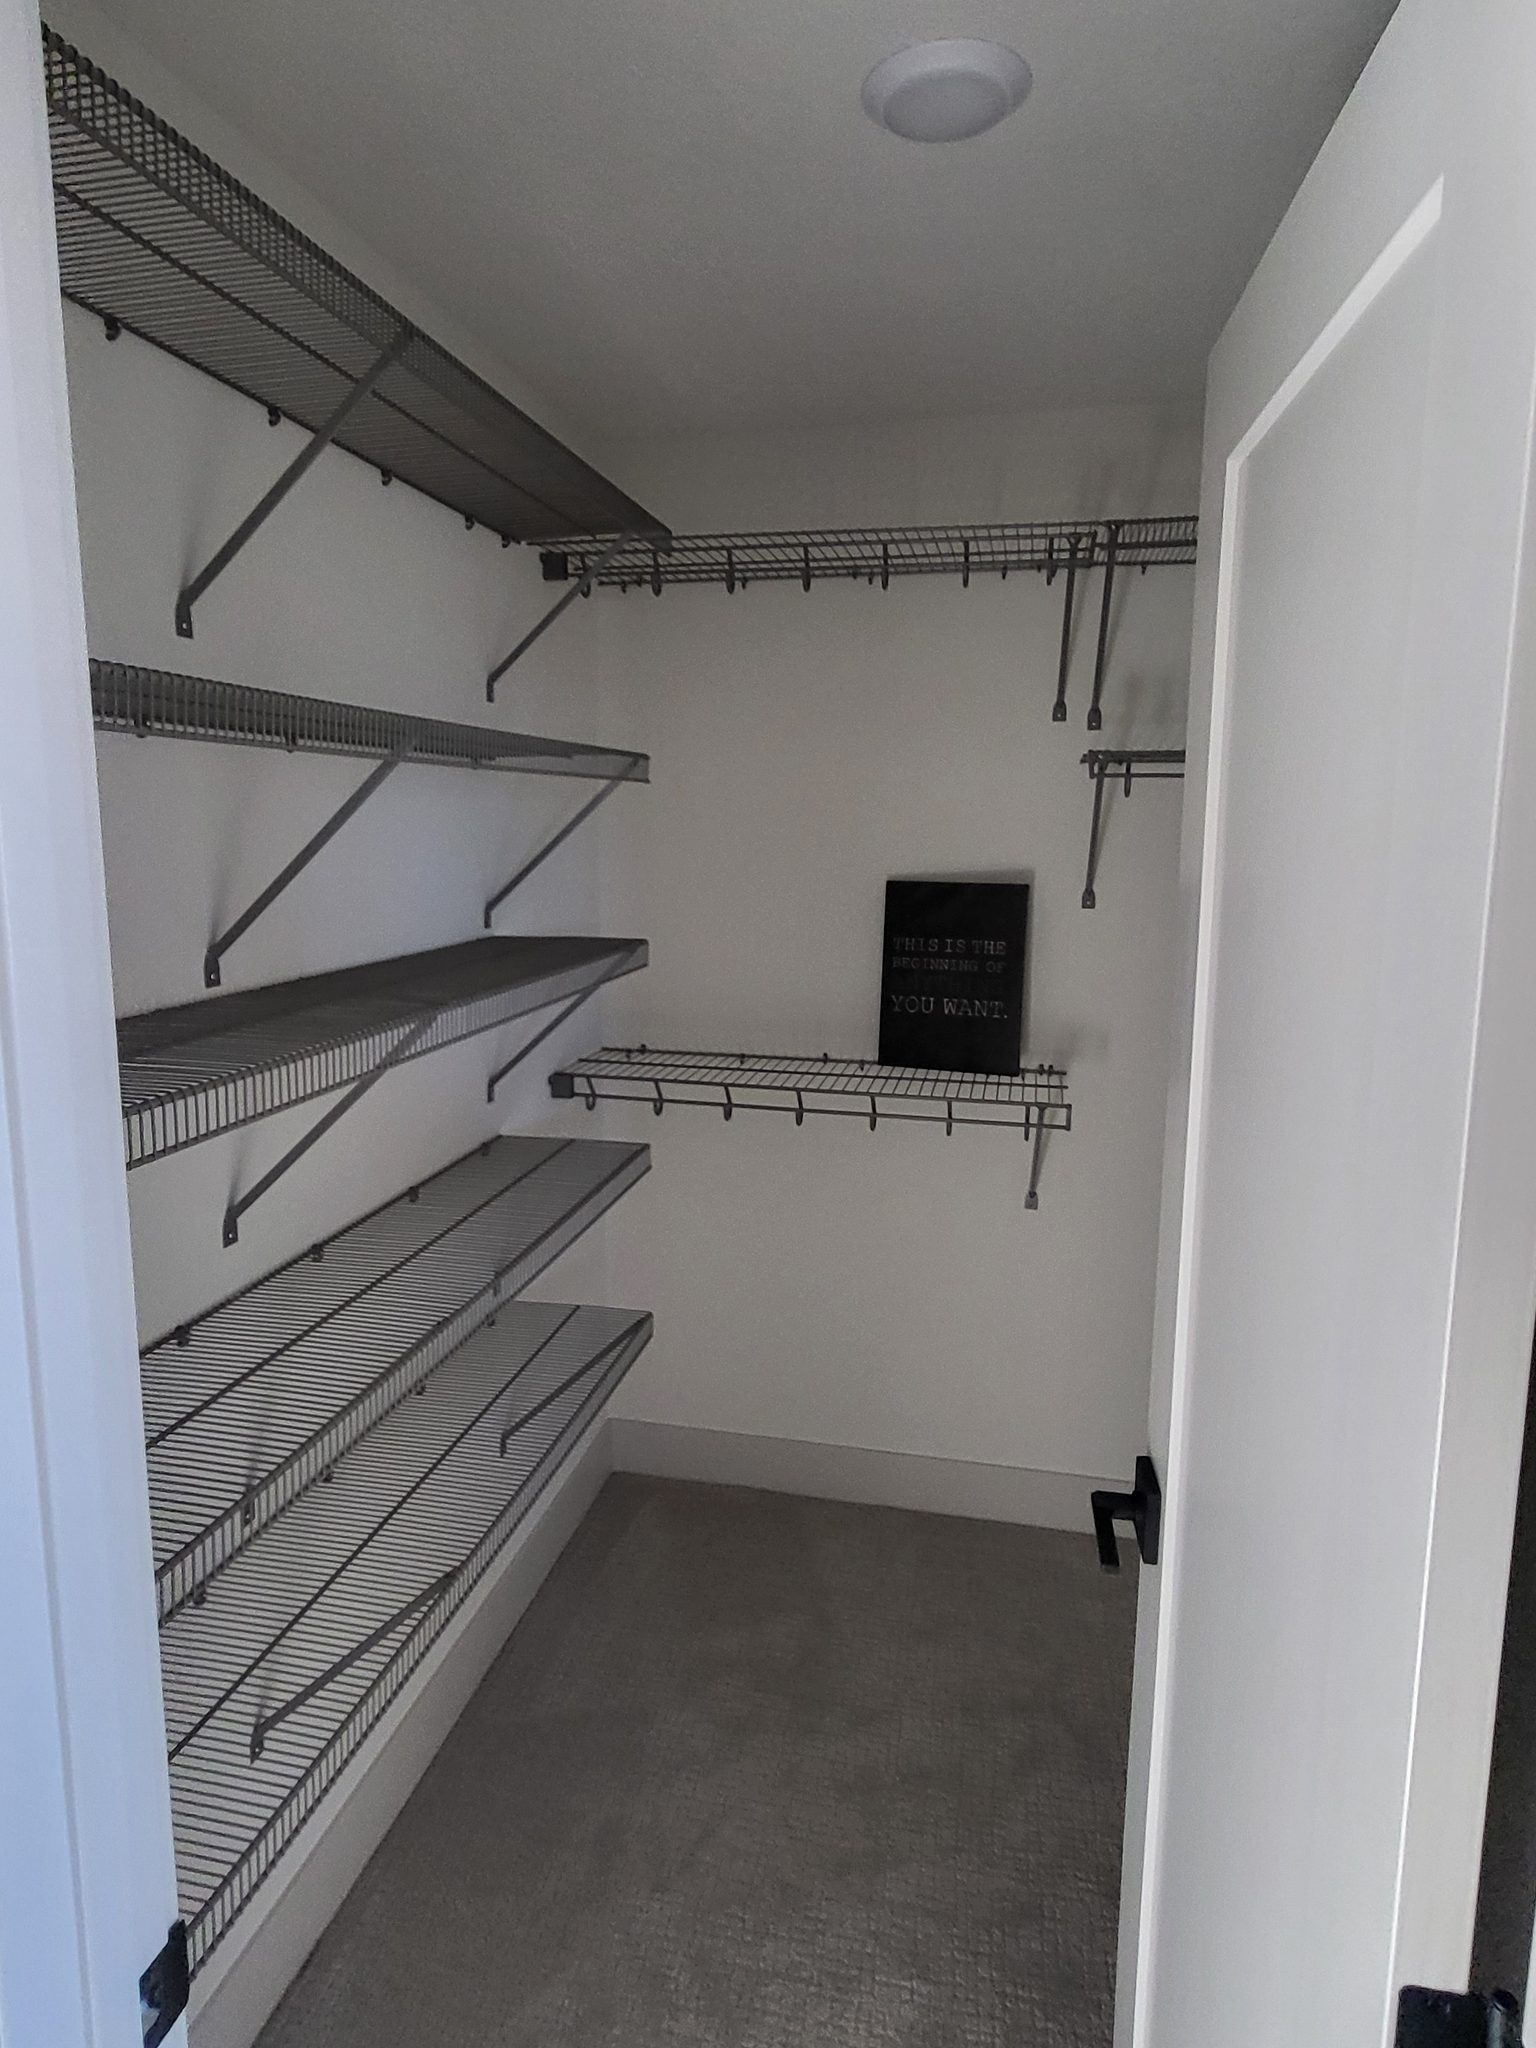
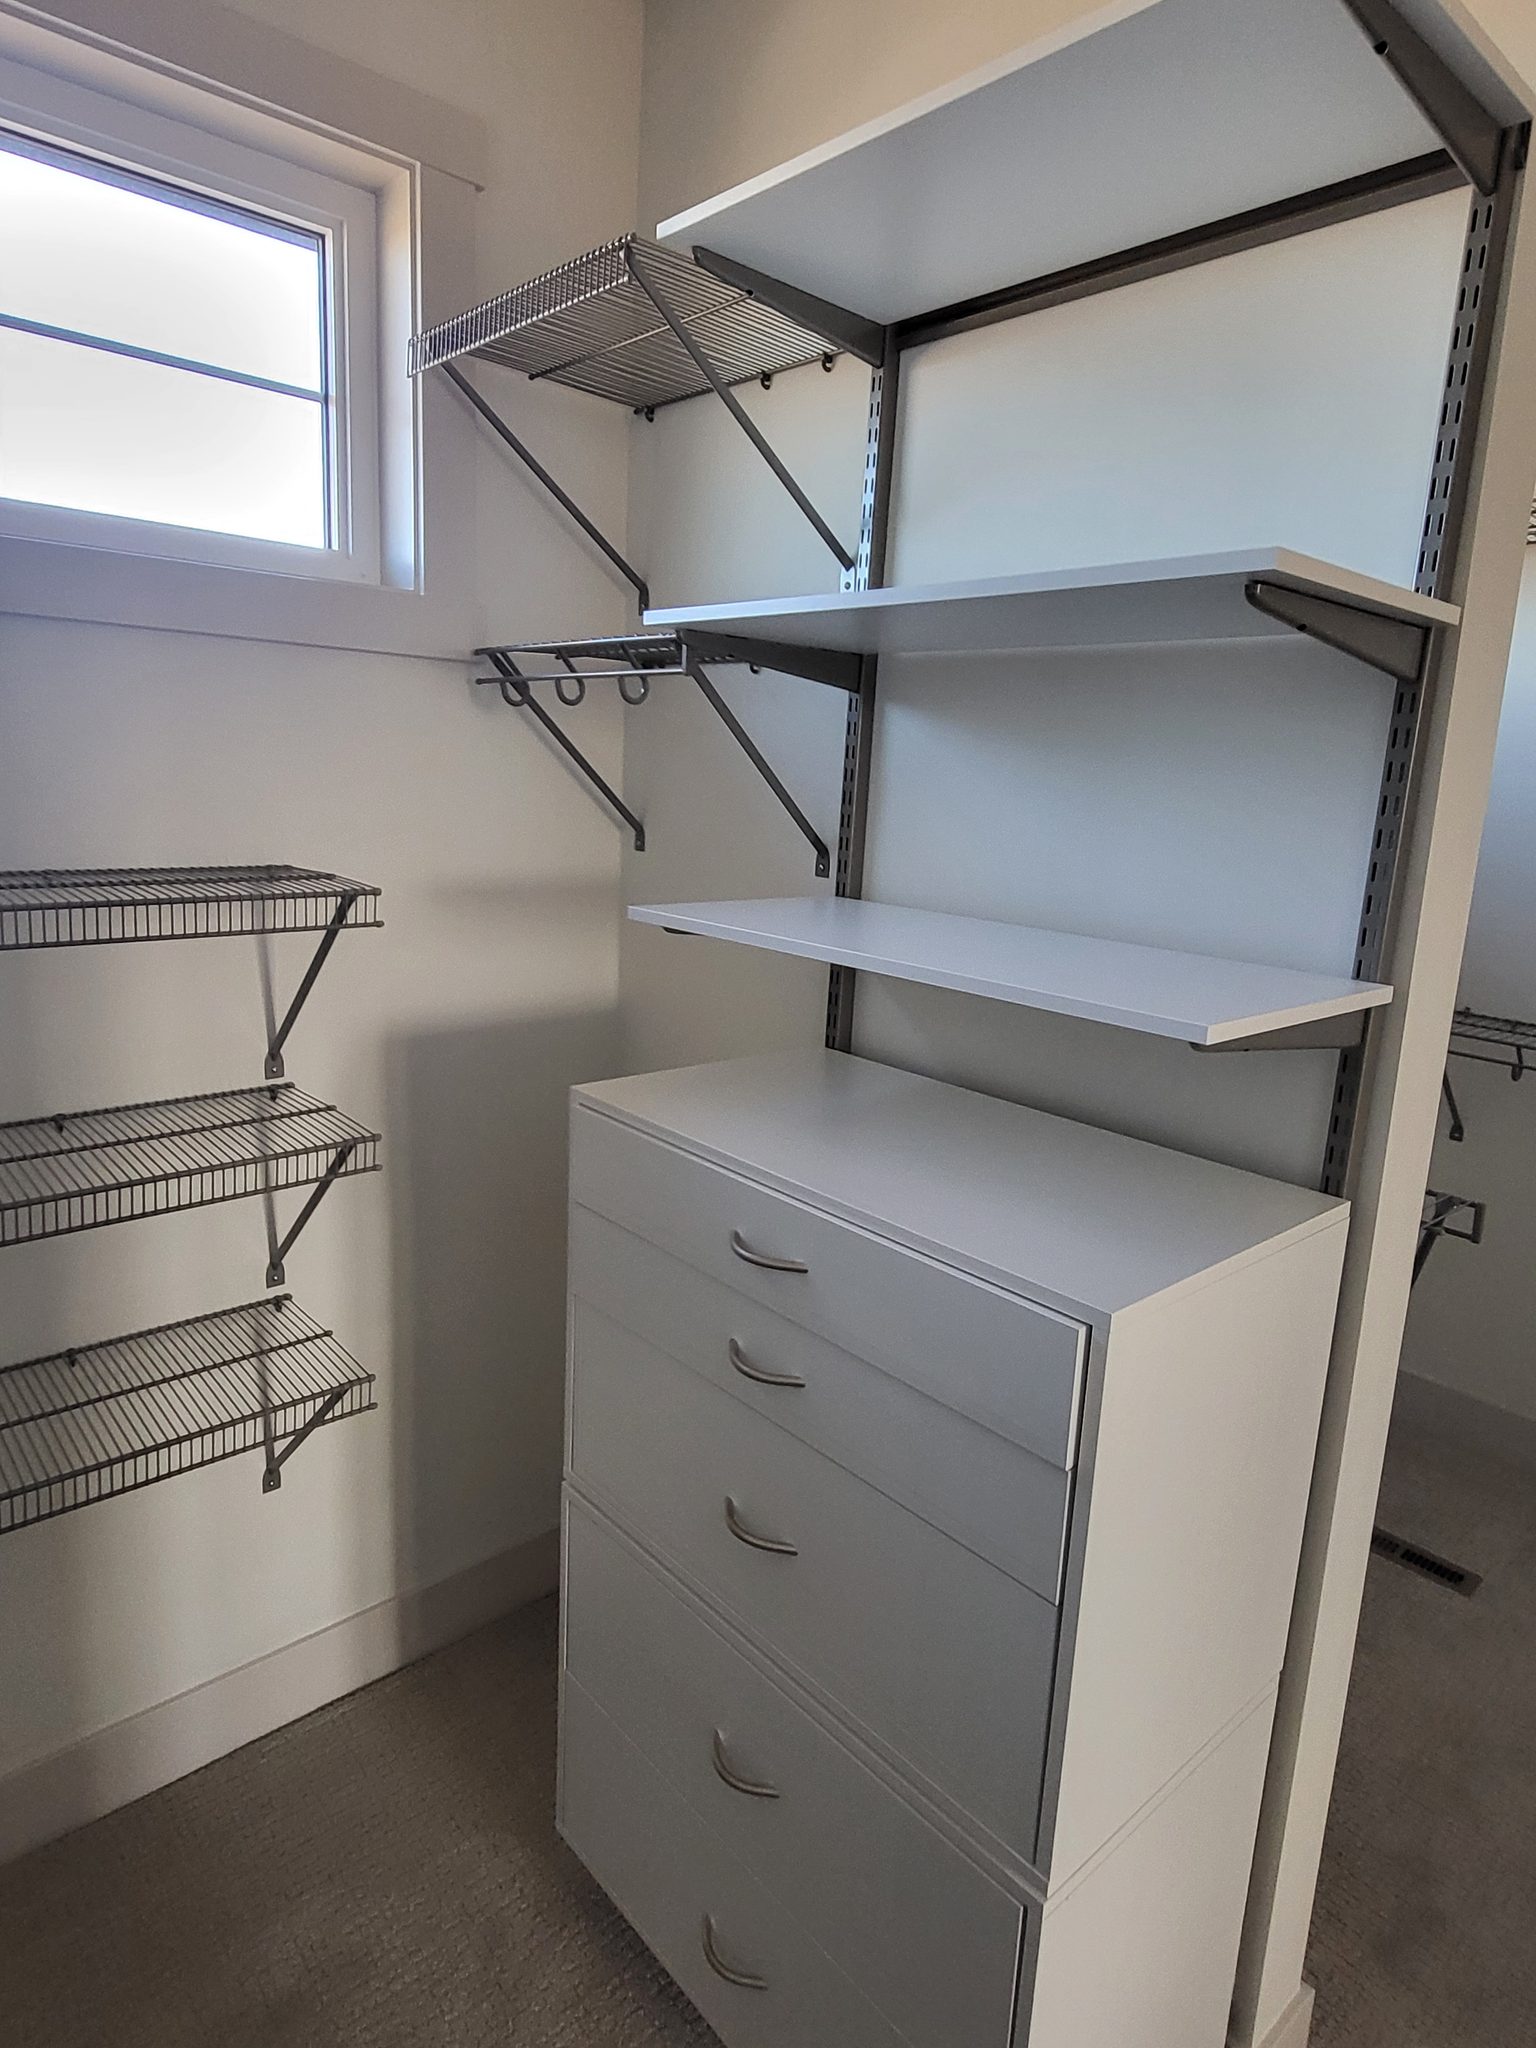
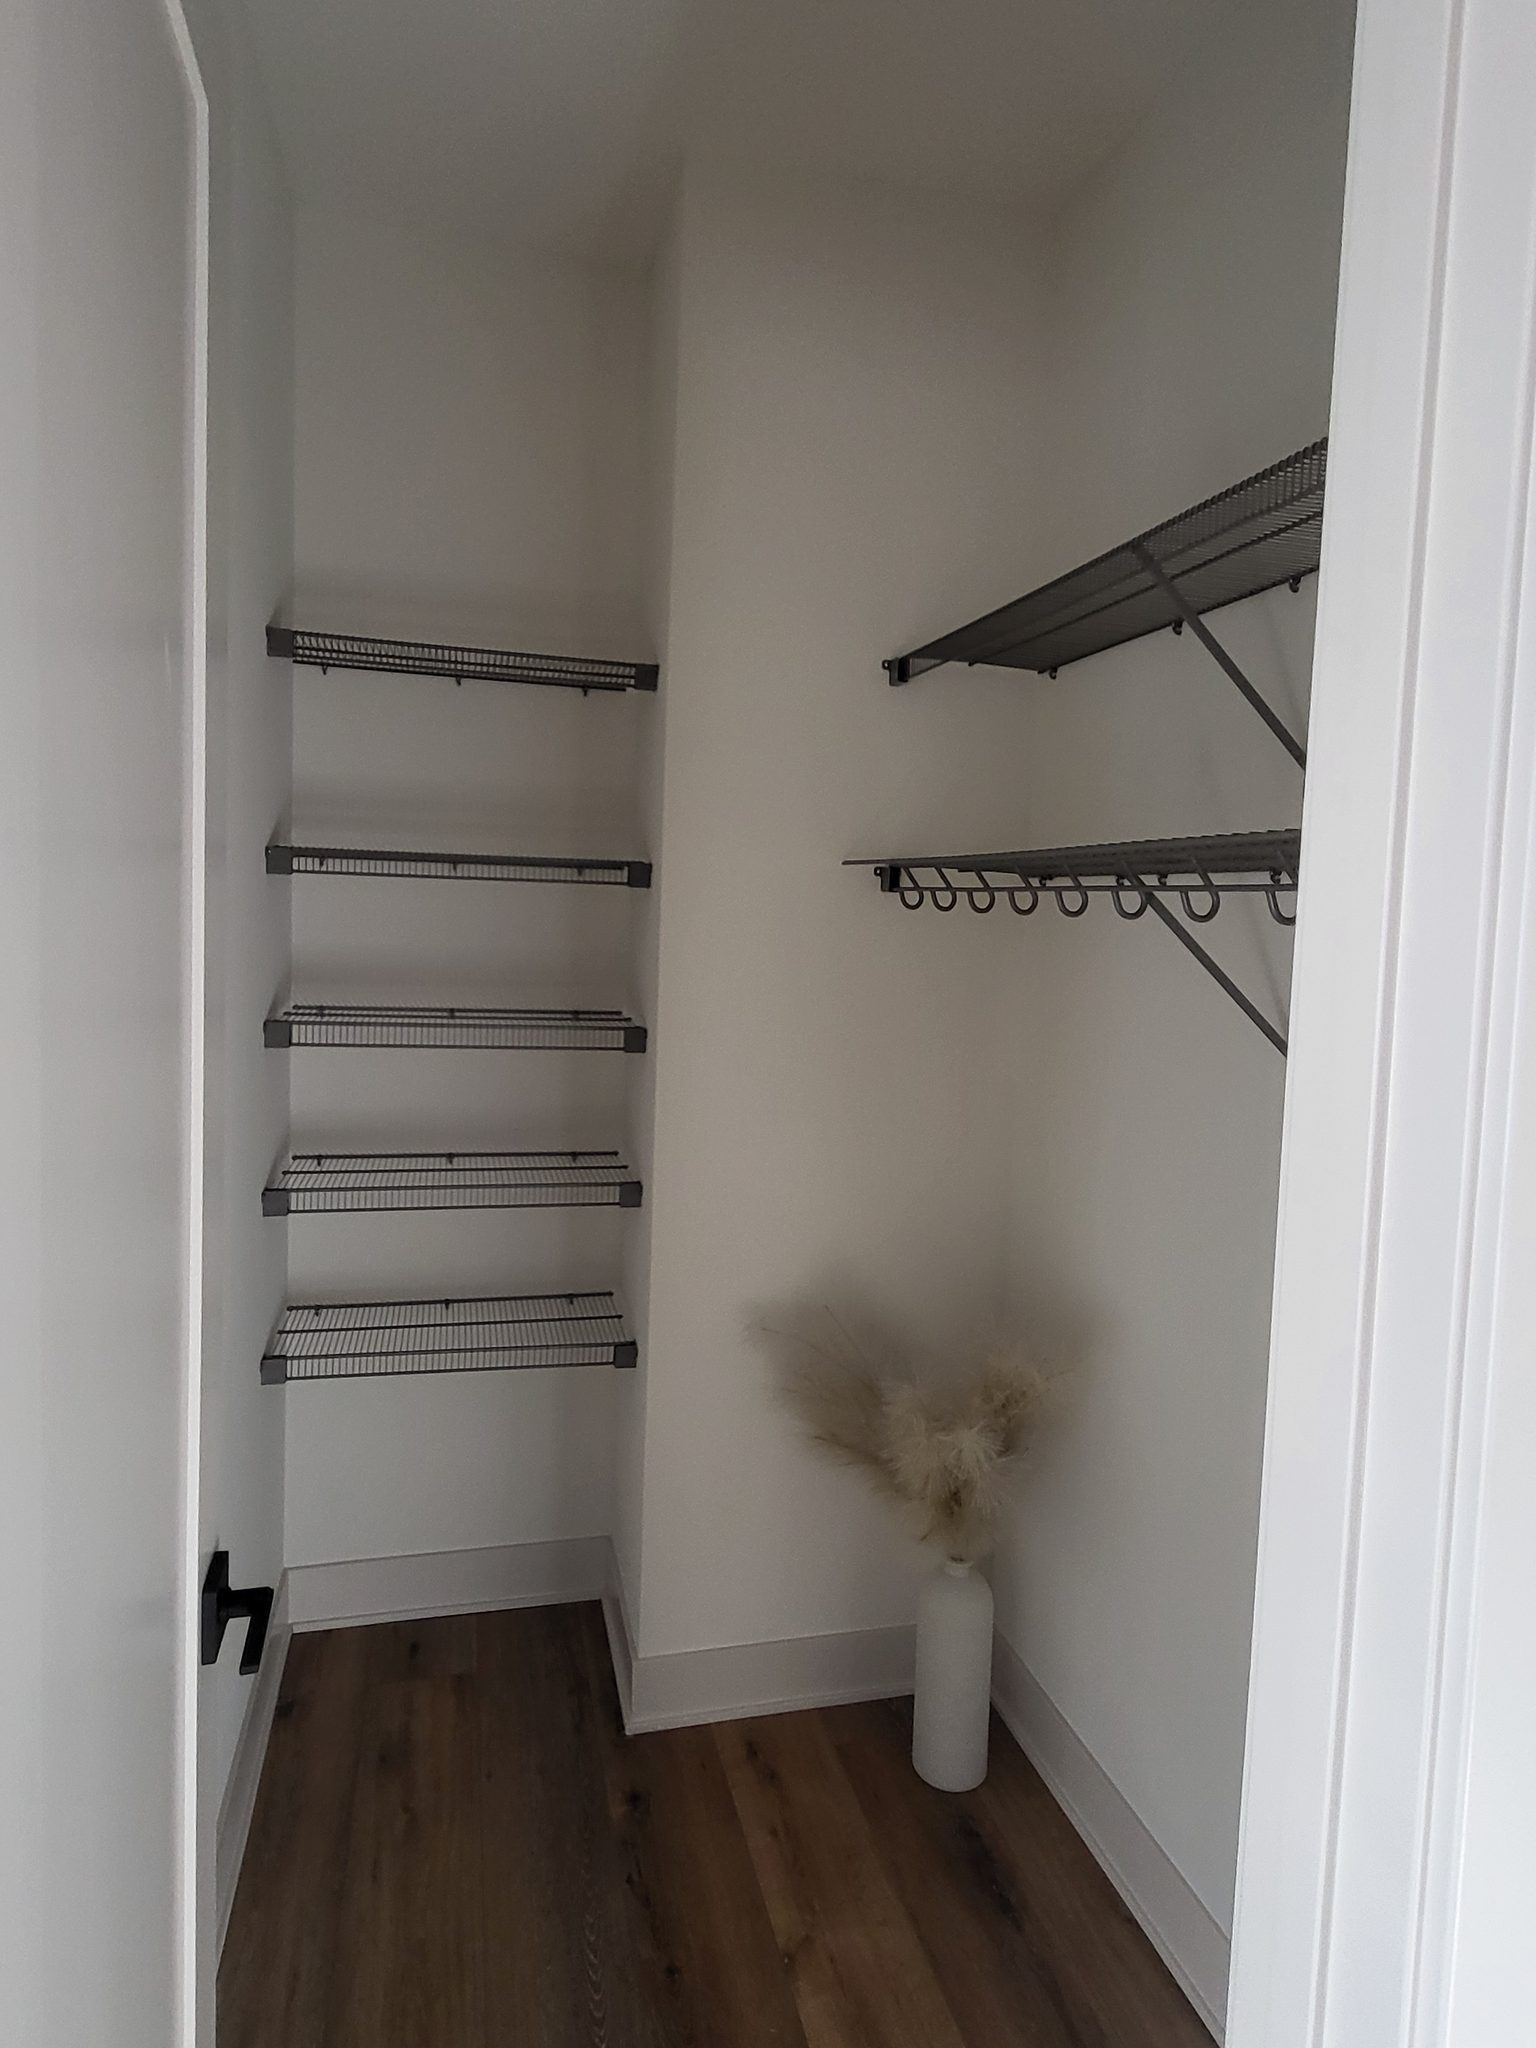
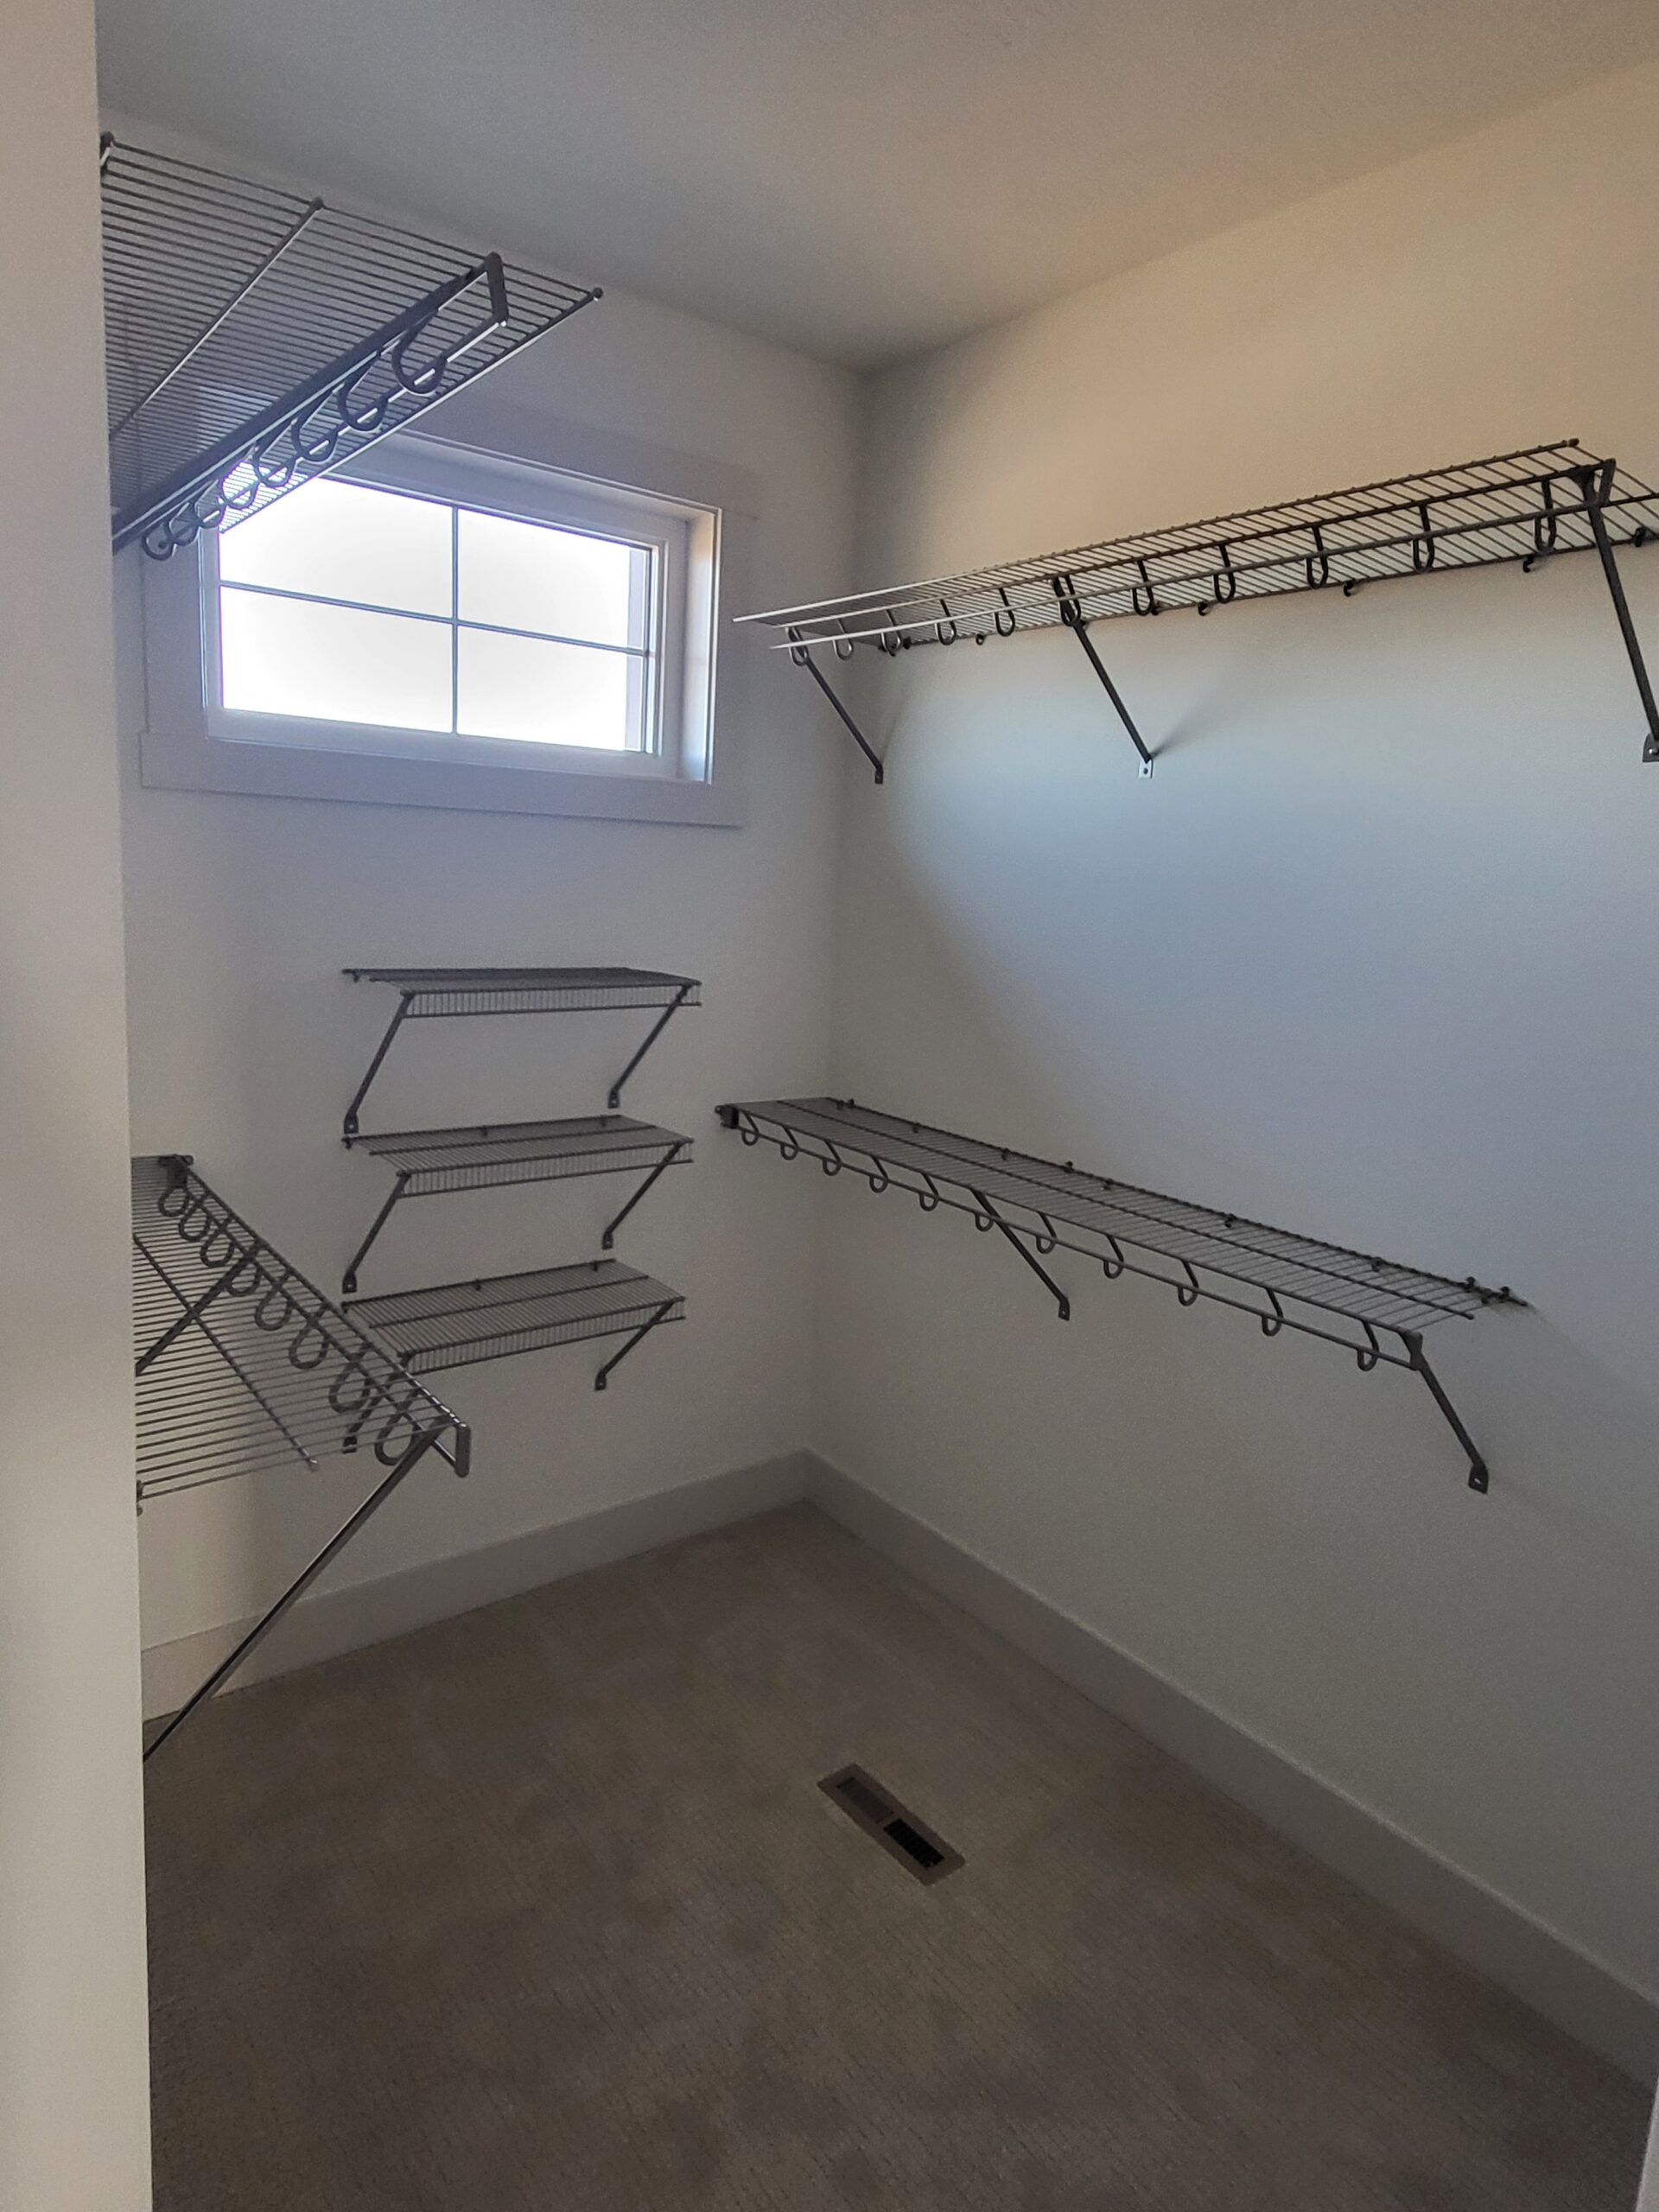
Wire shelving system installed in closet with metal brackets and support rods.
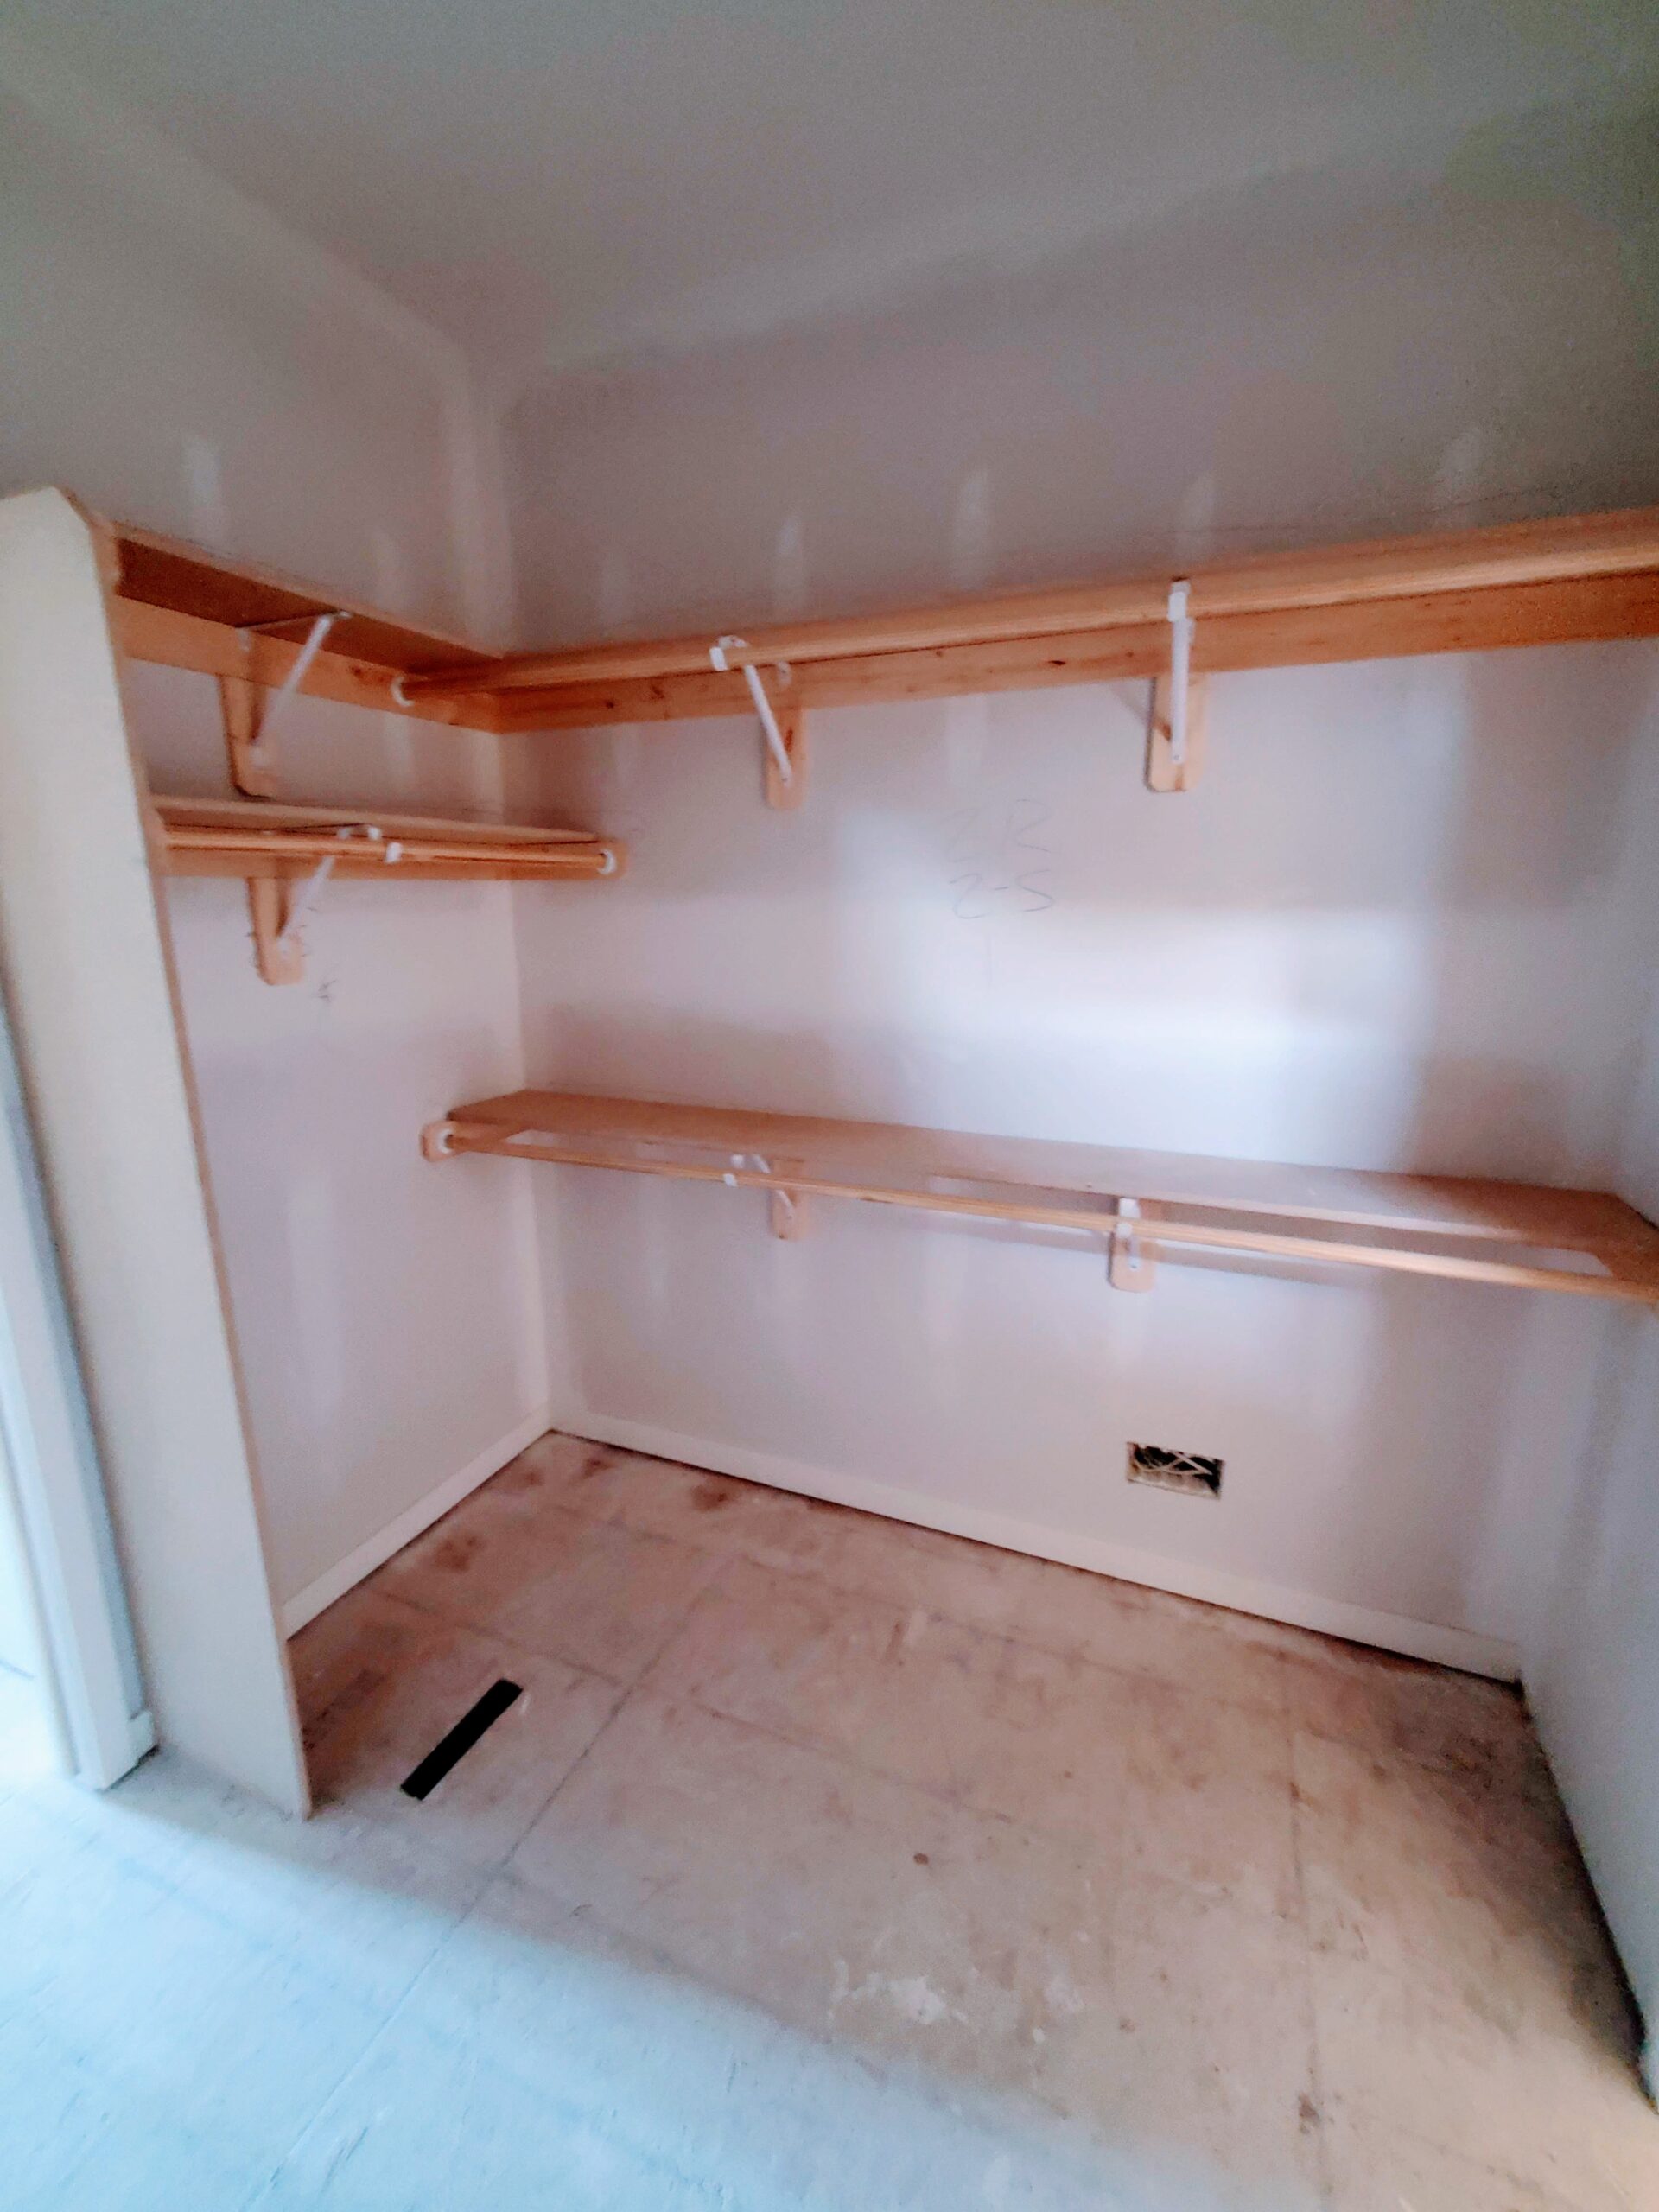
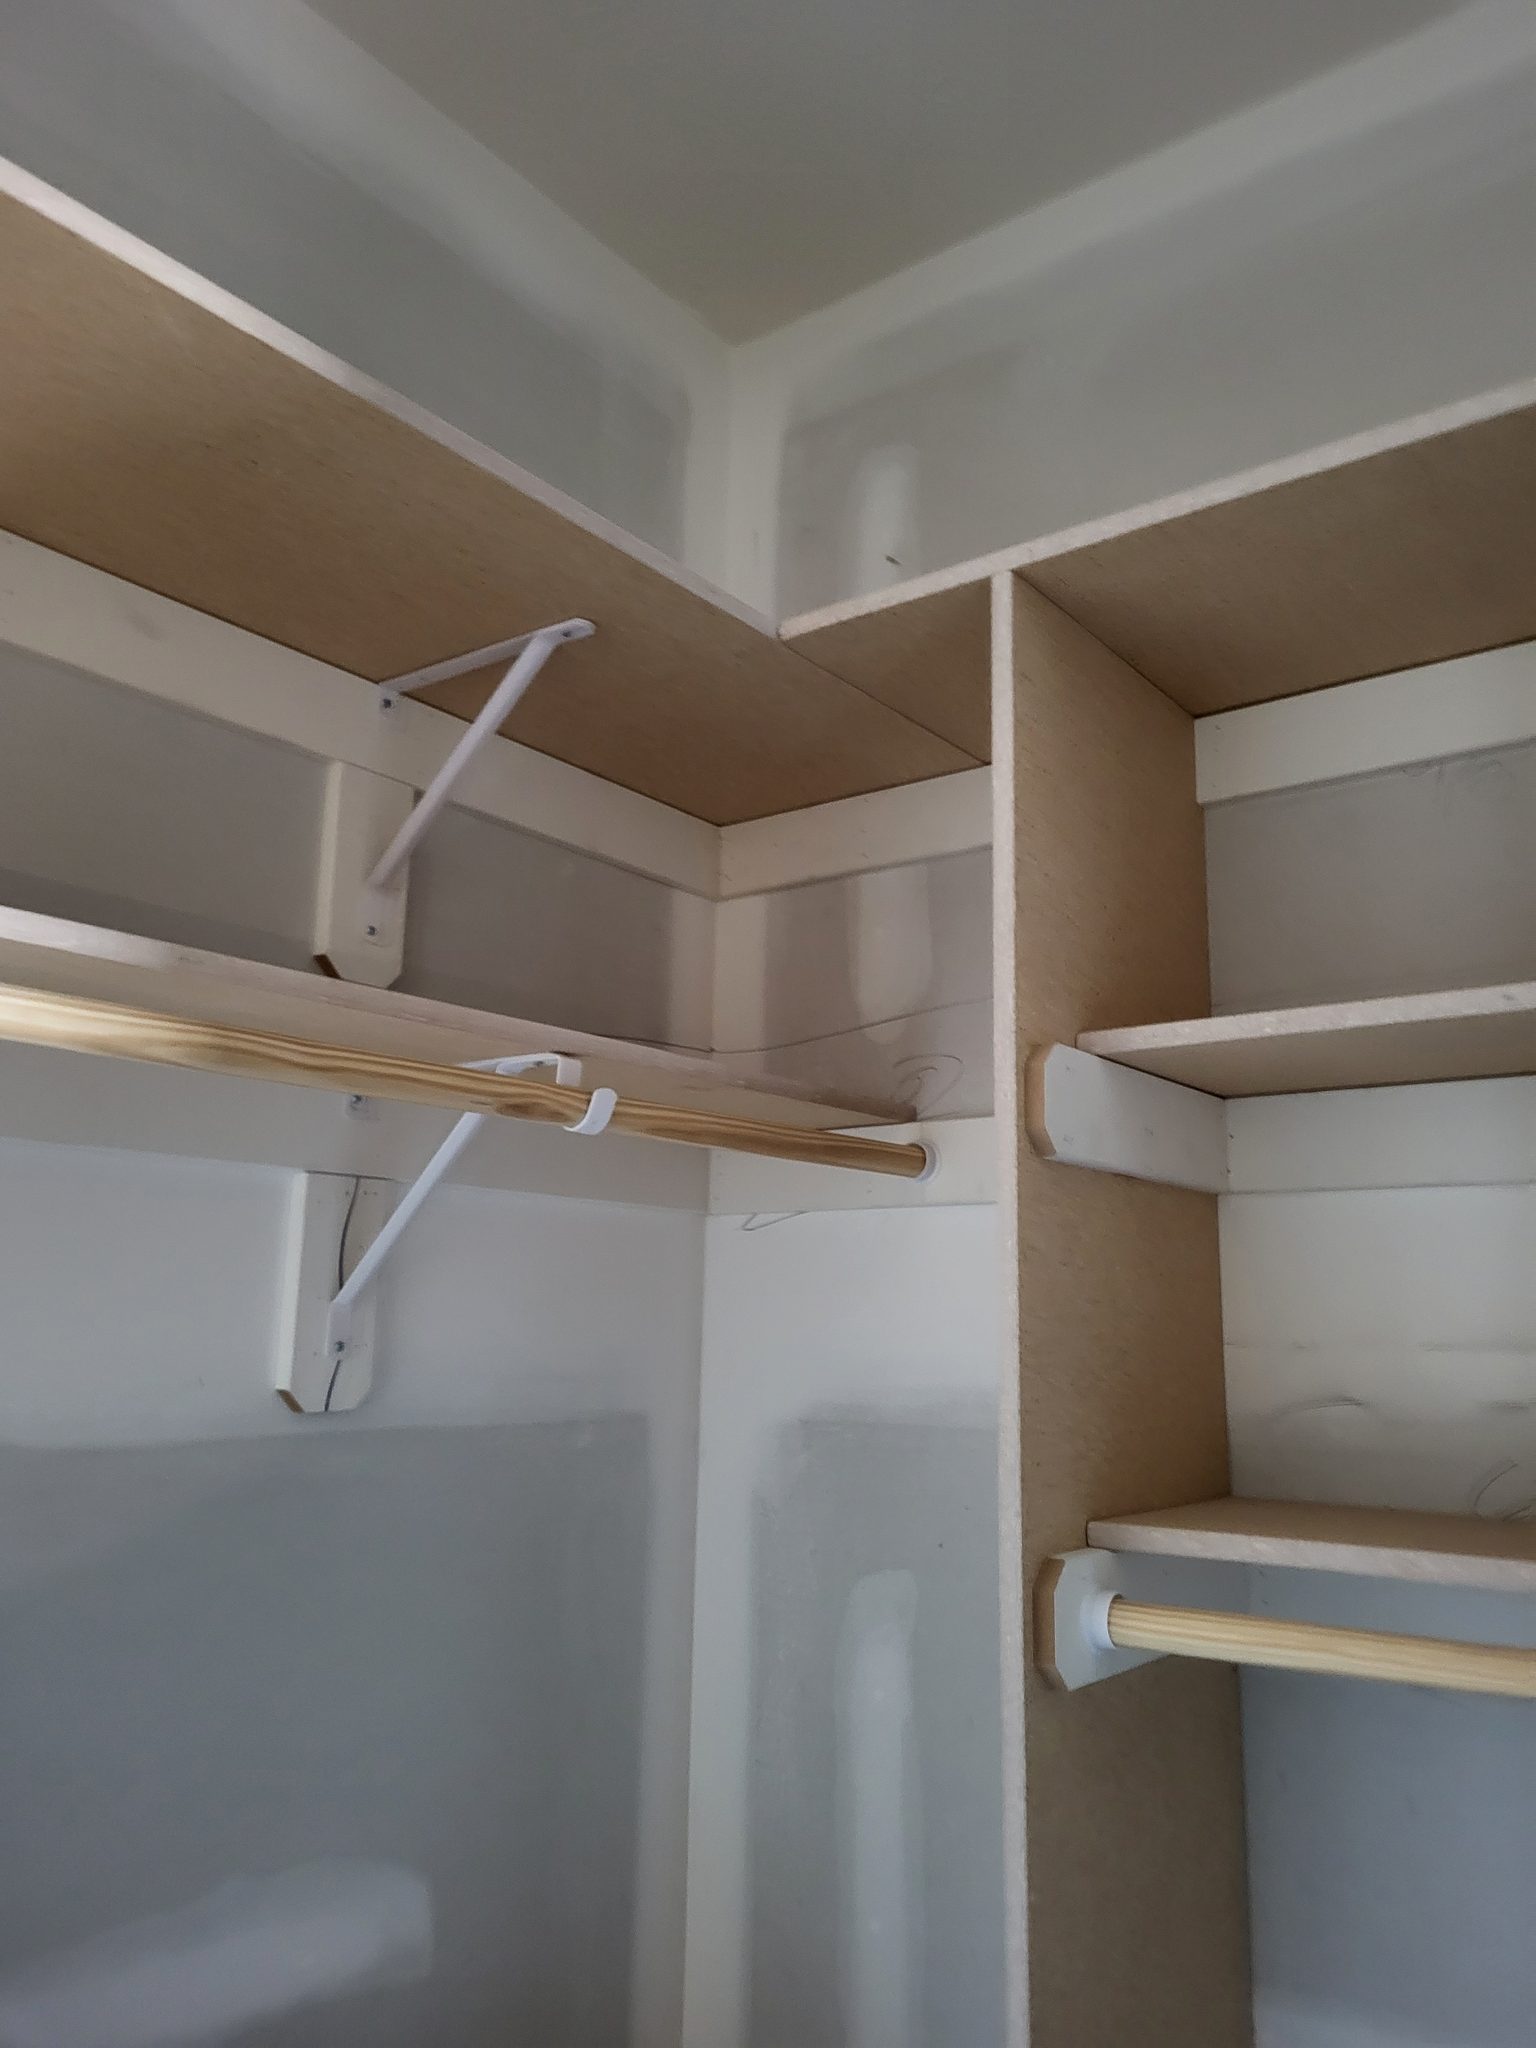
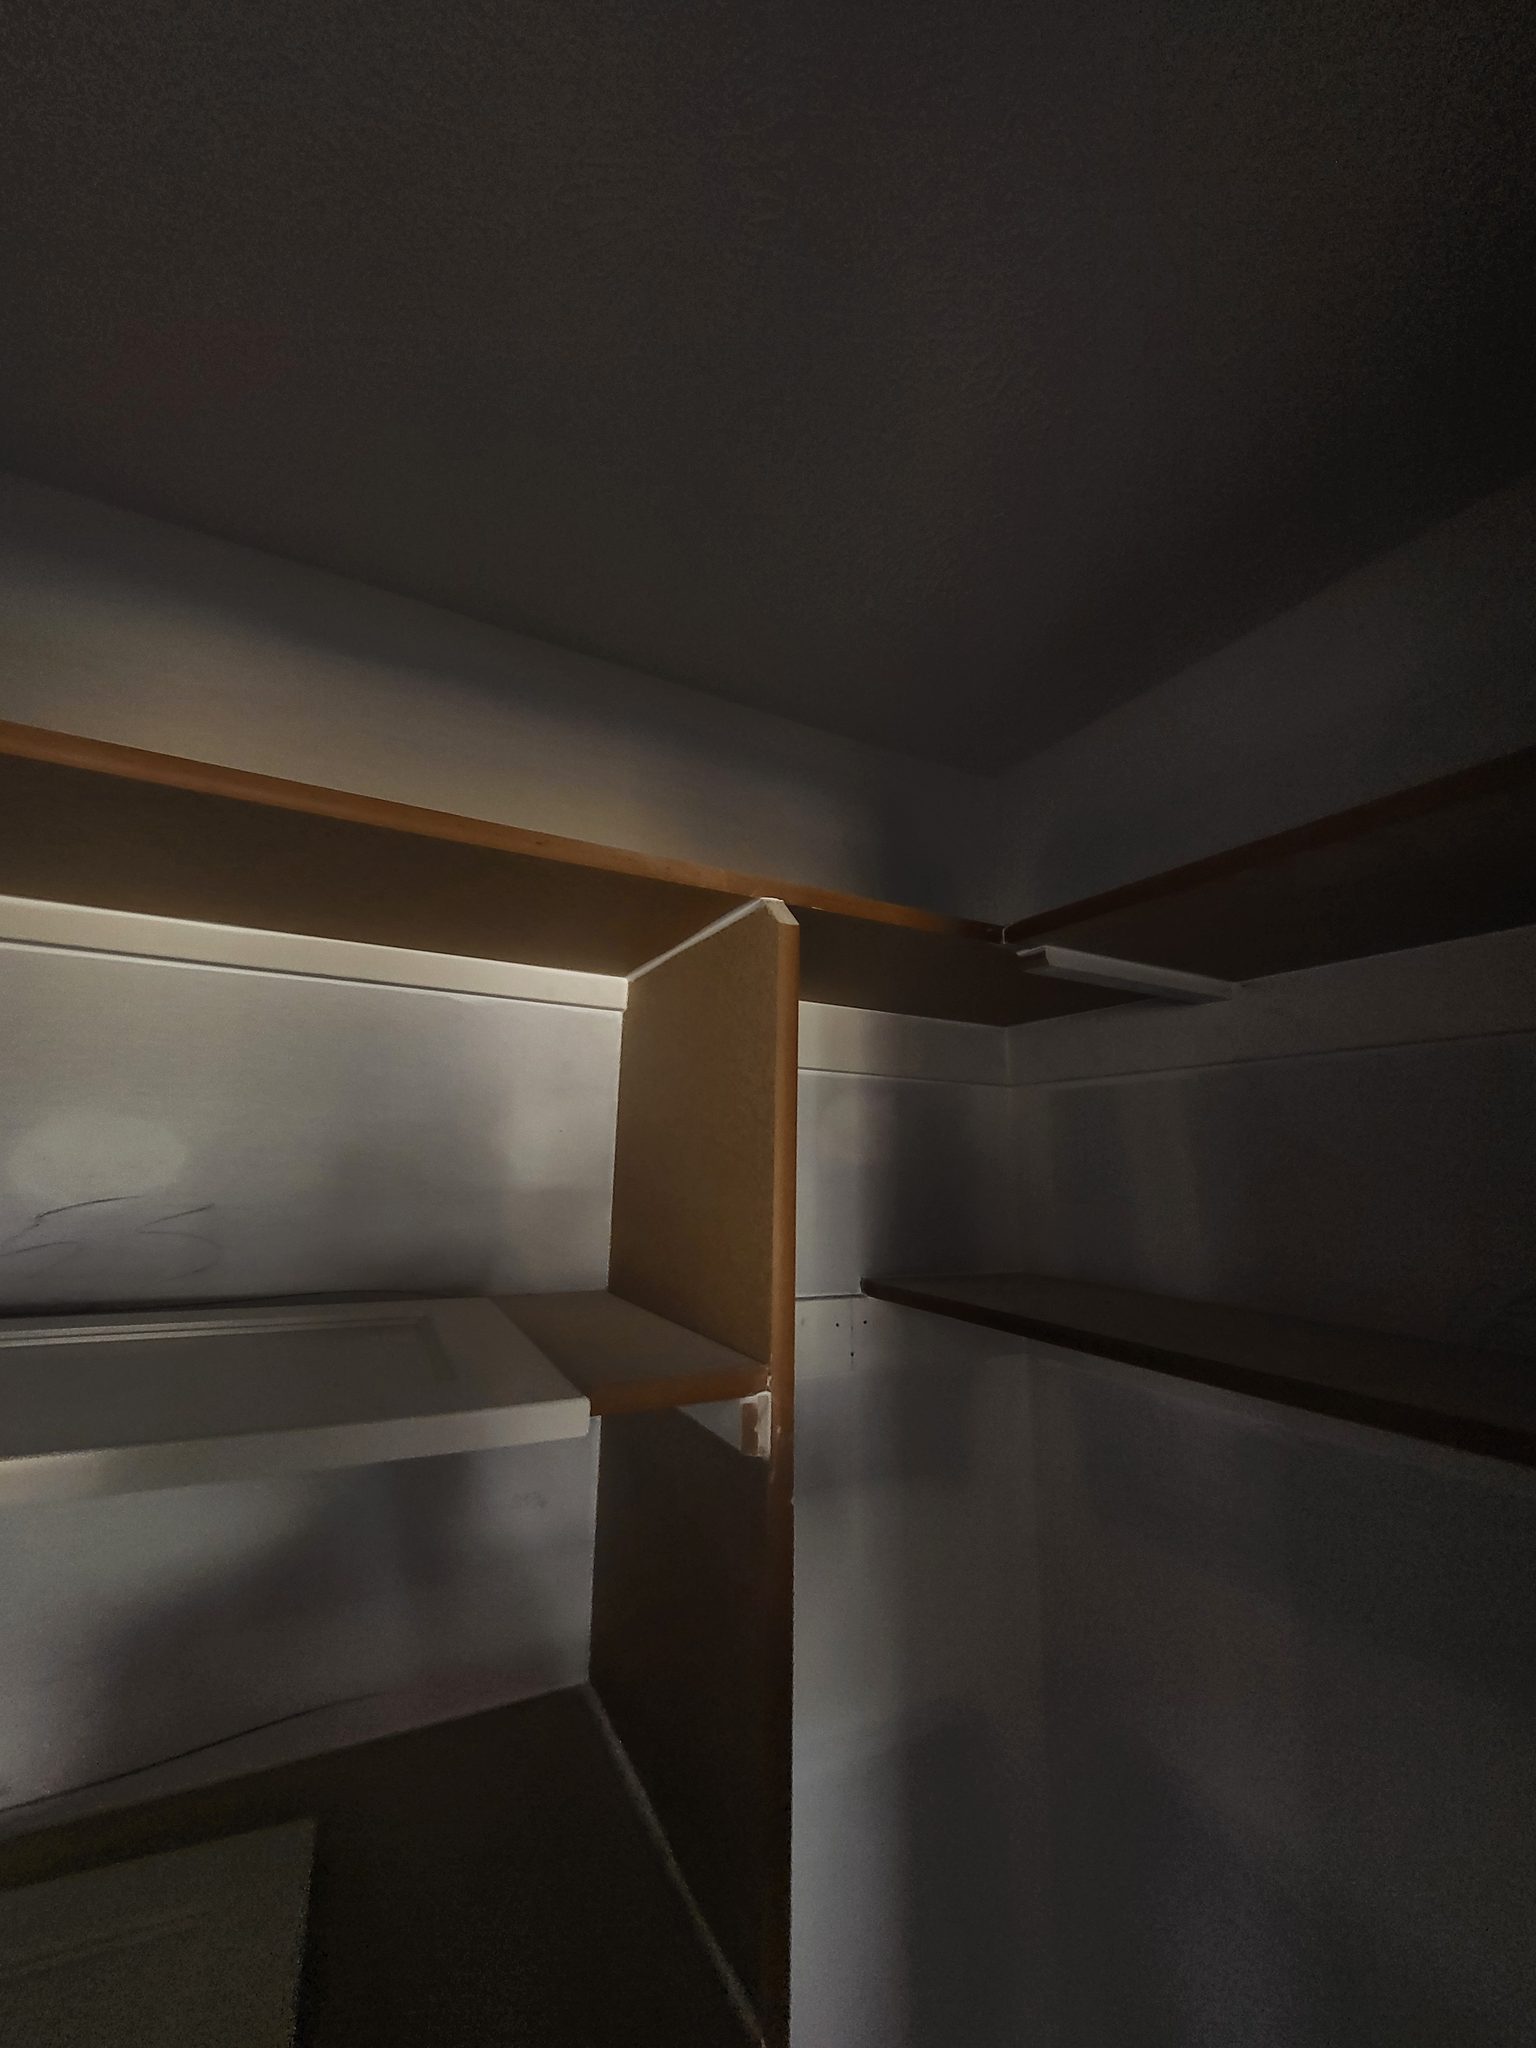
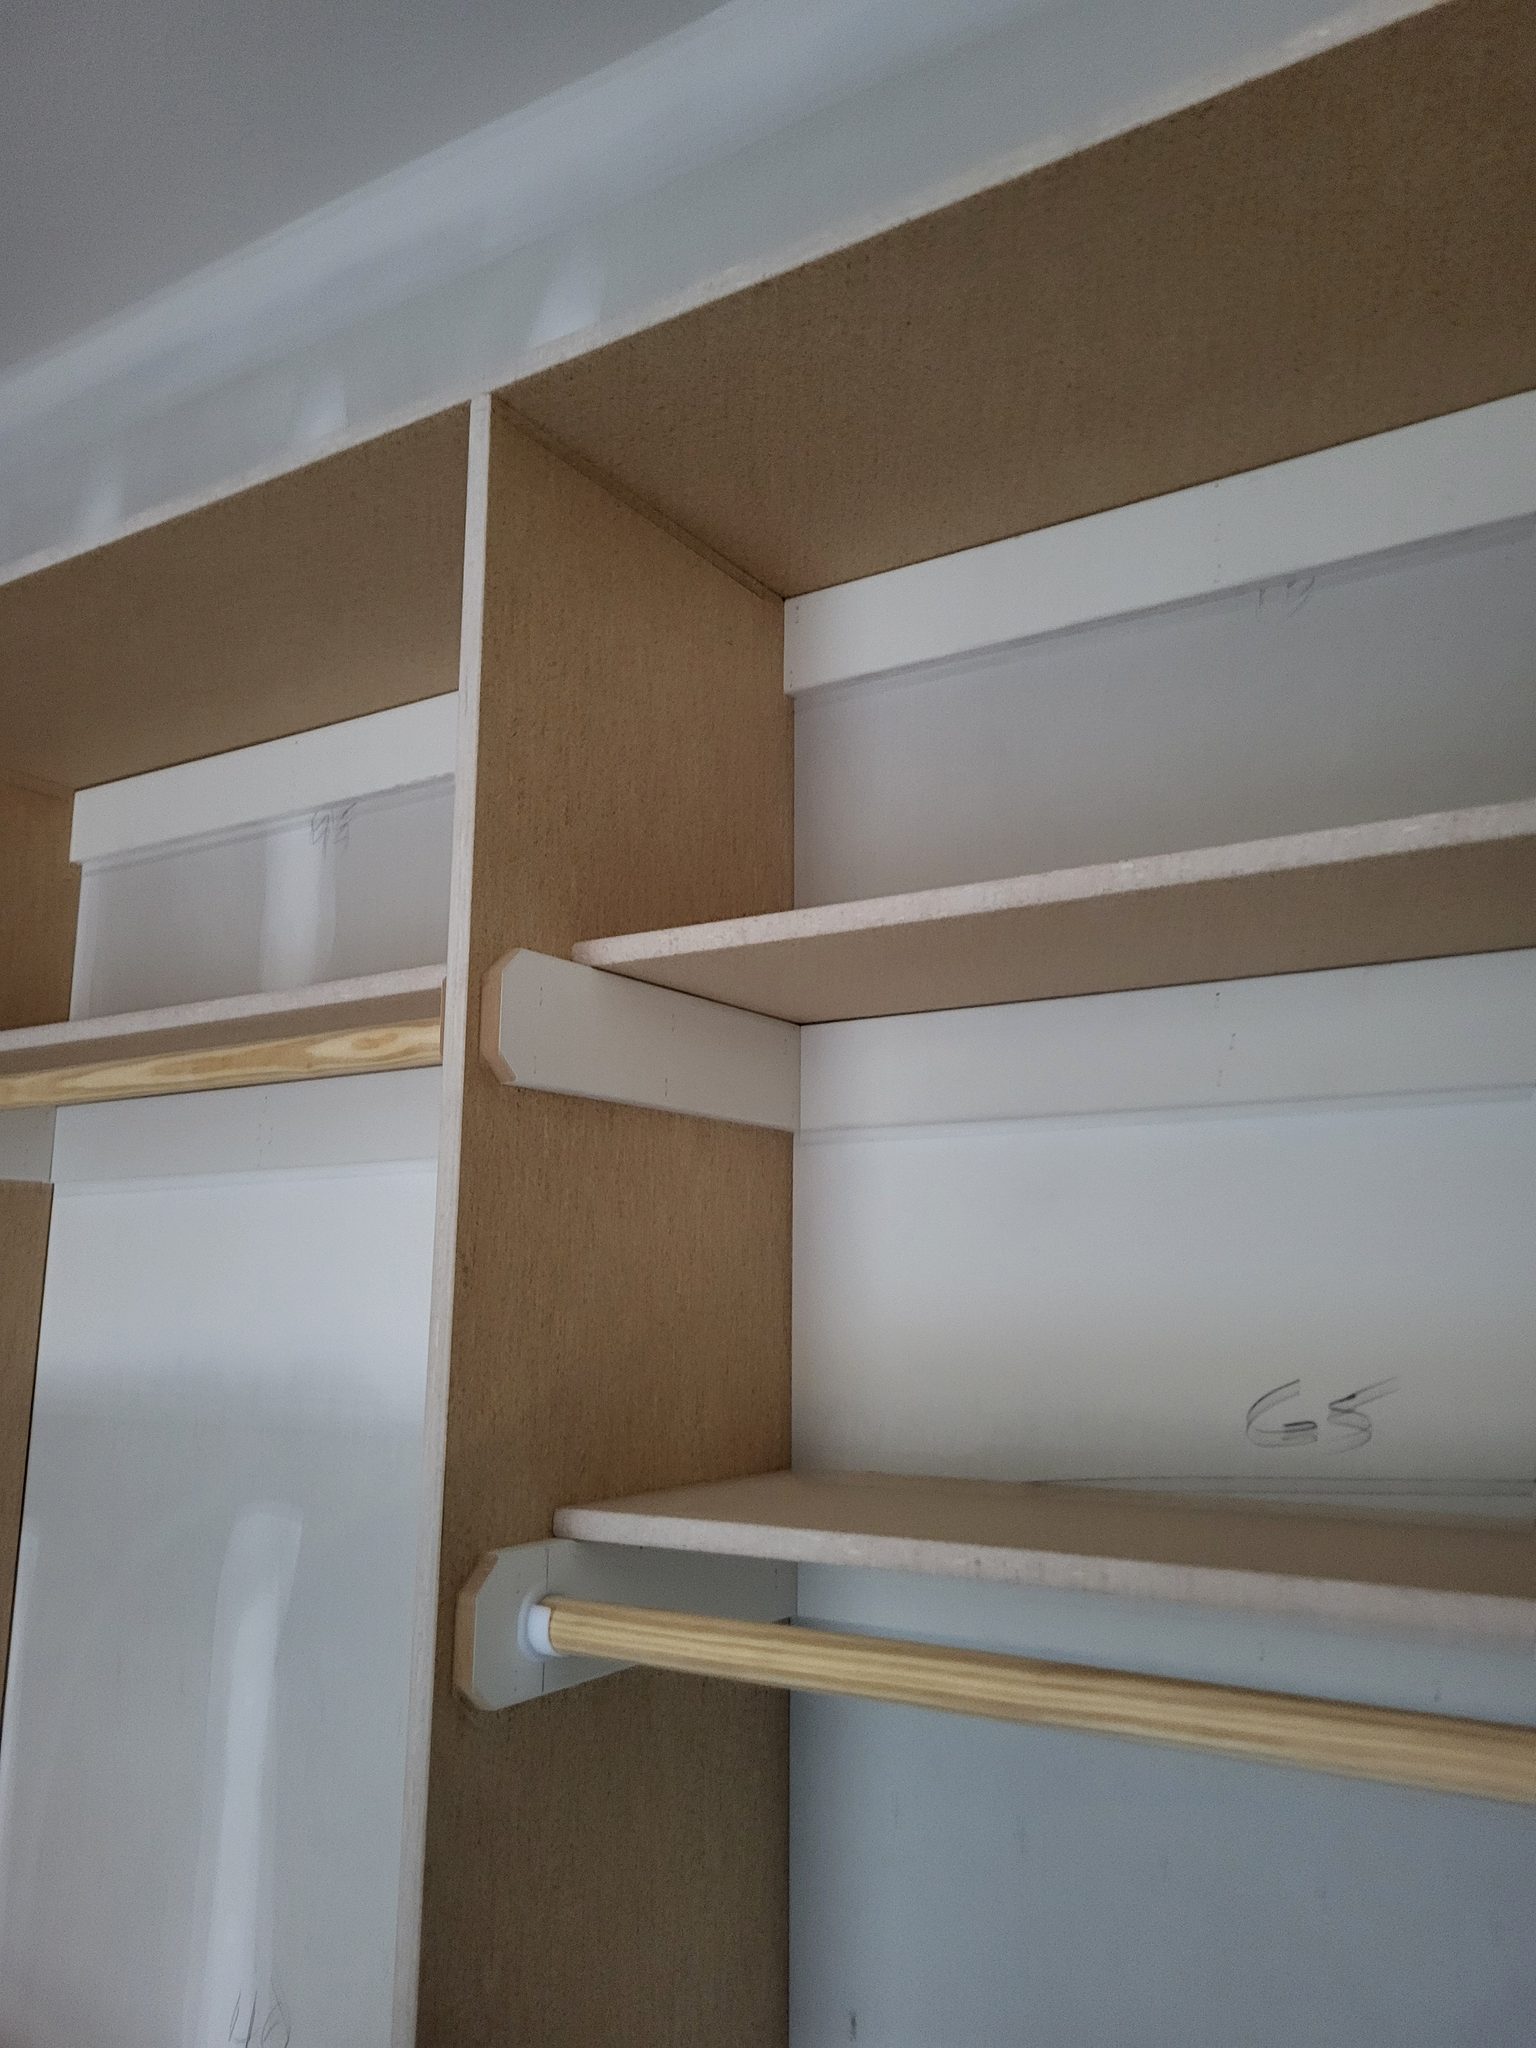
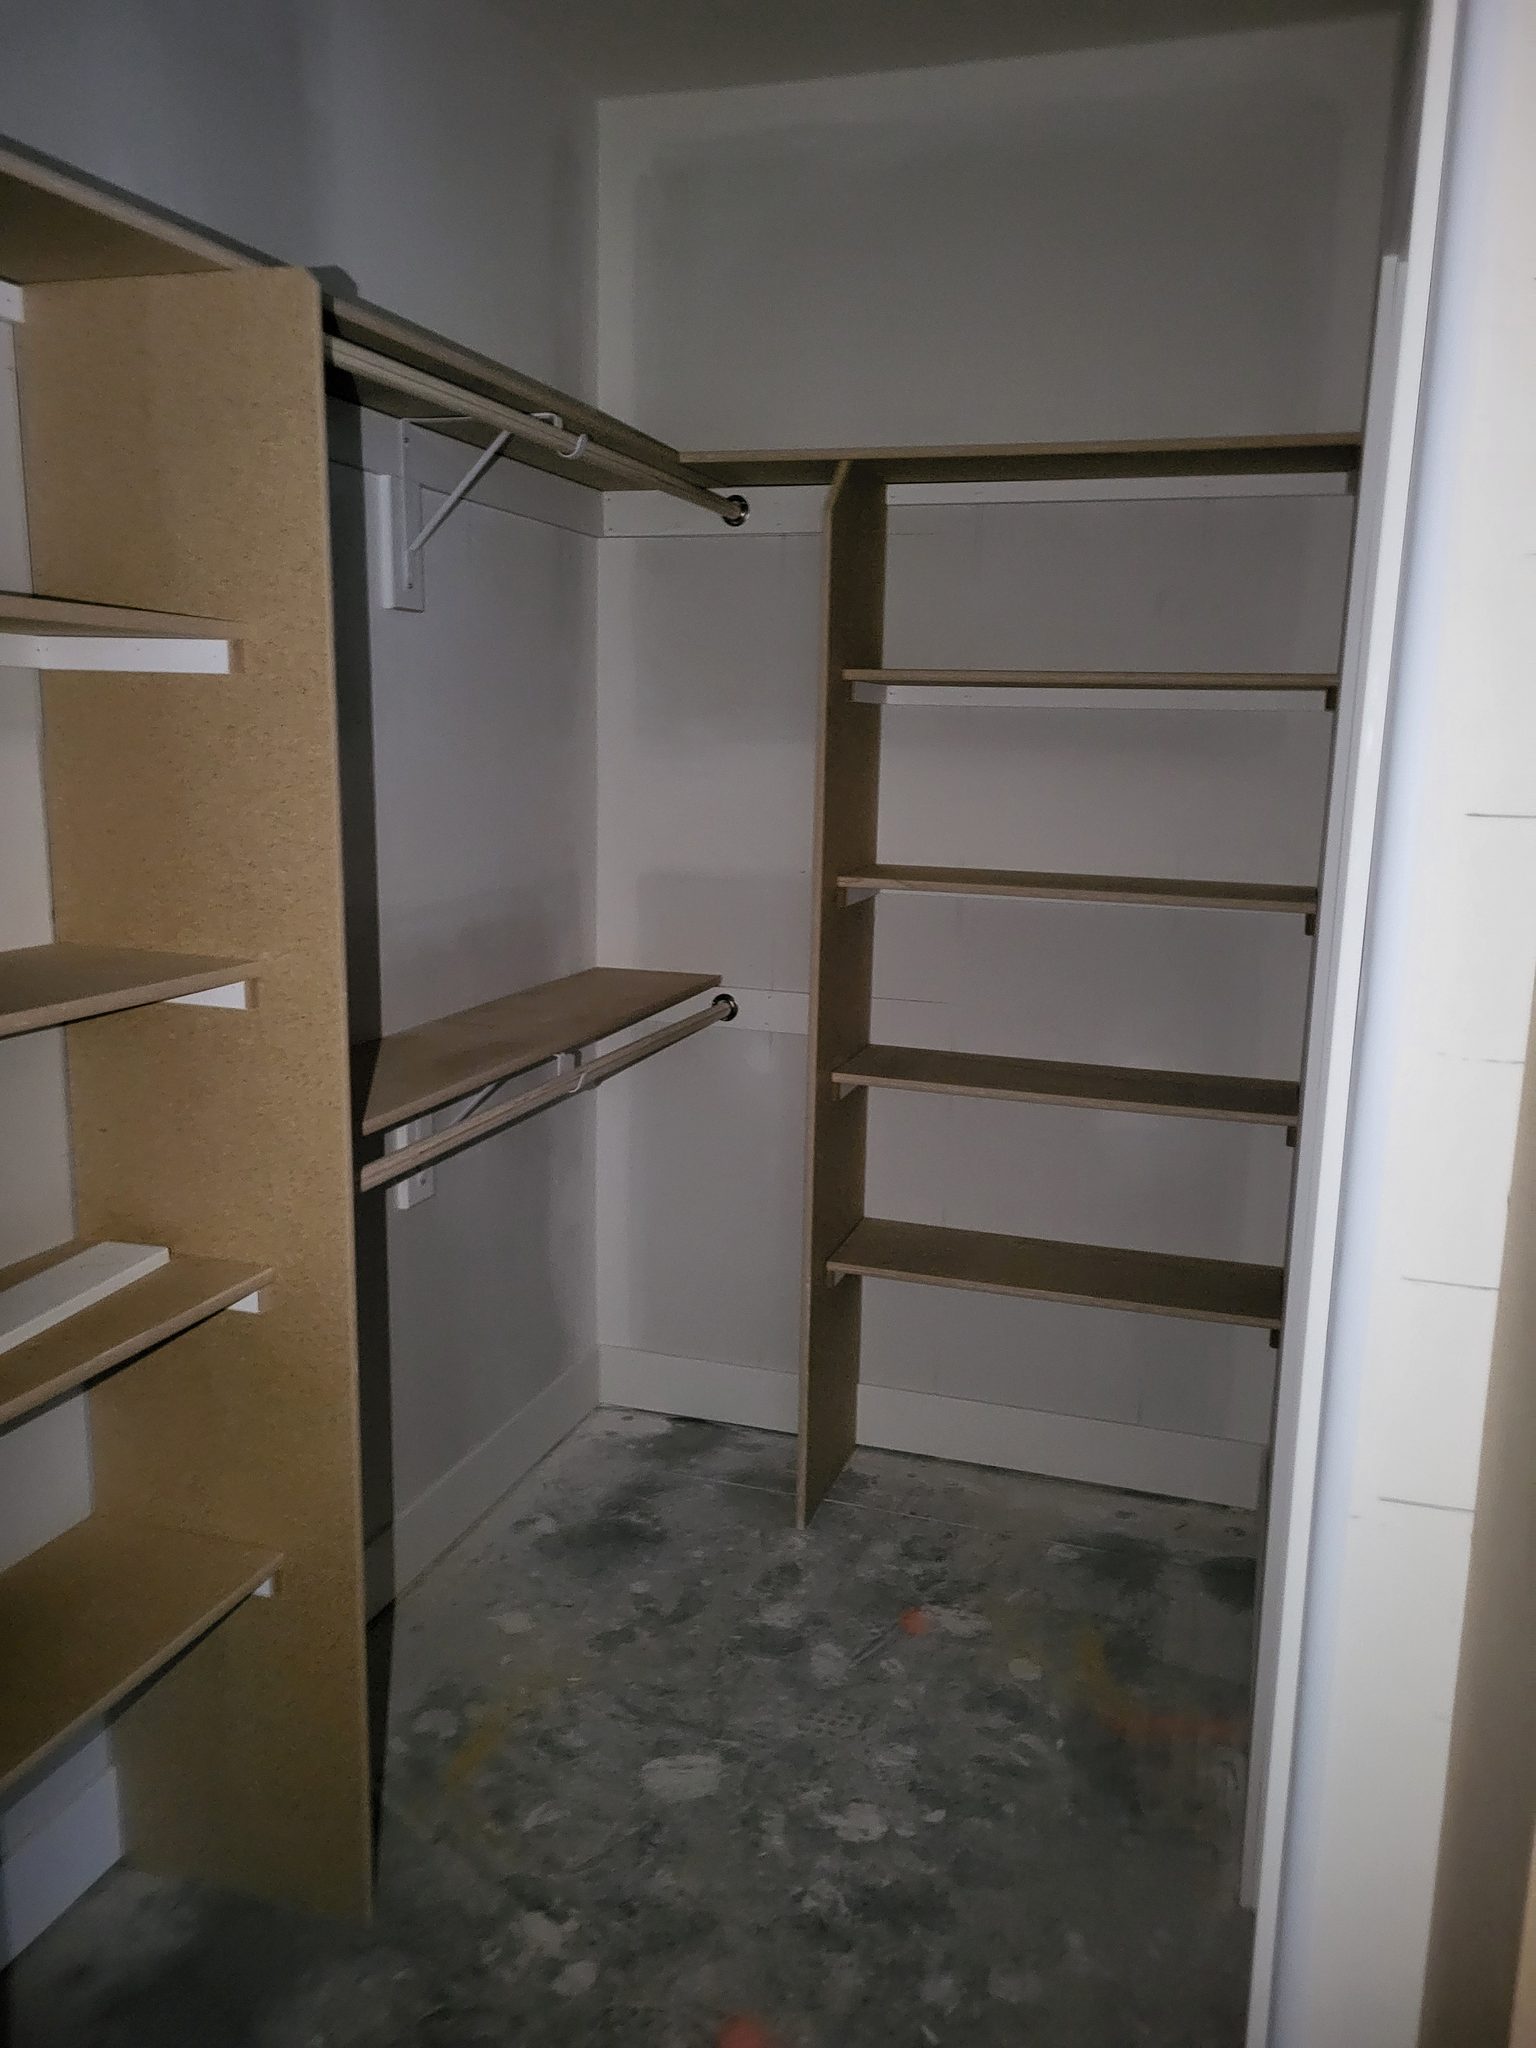
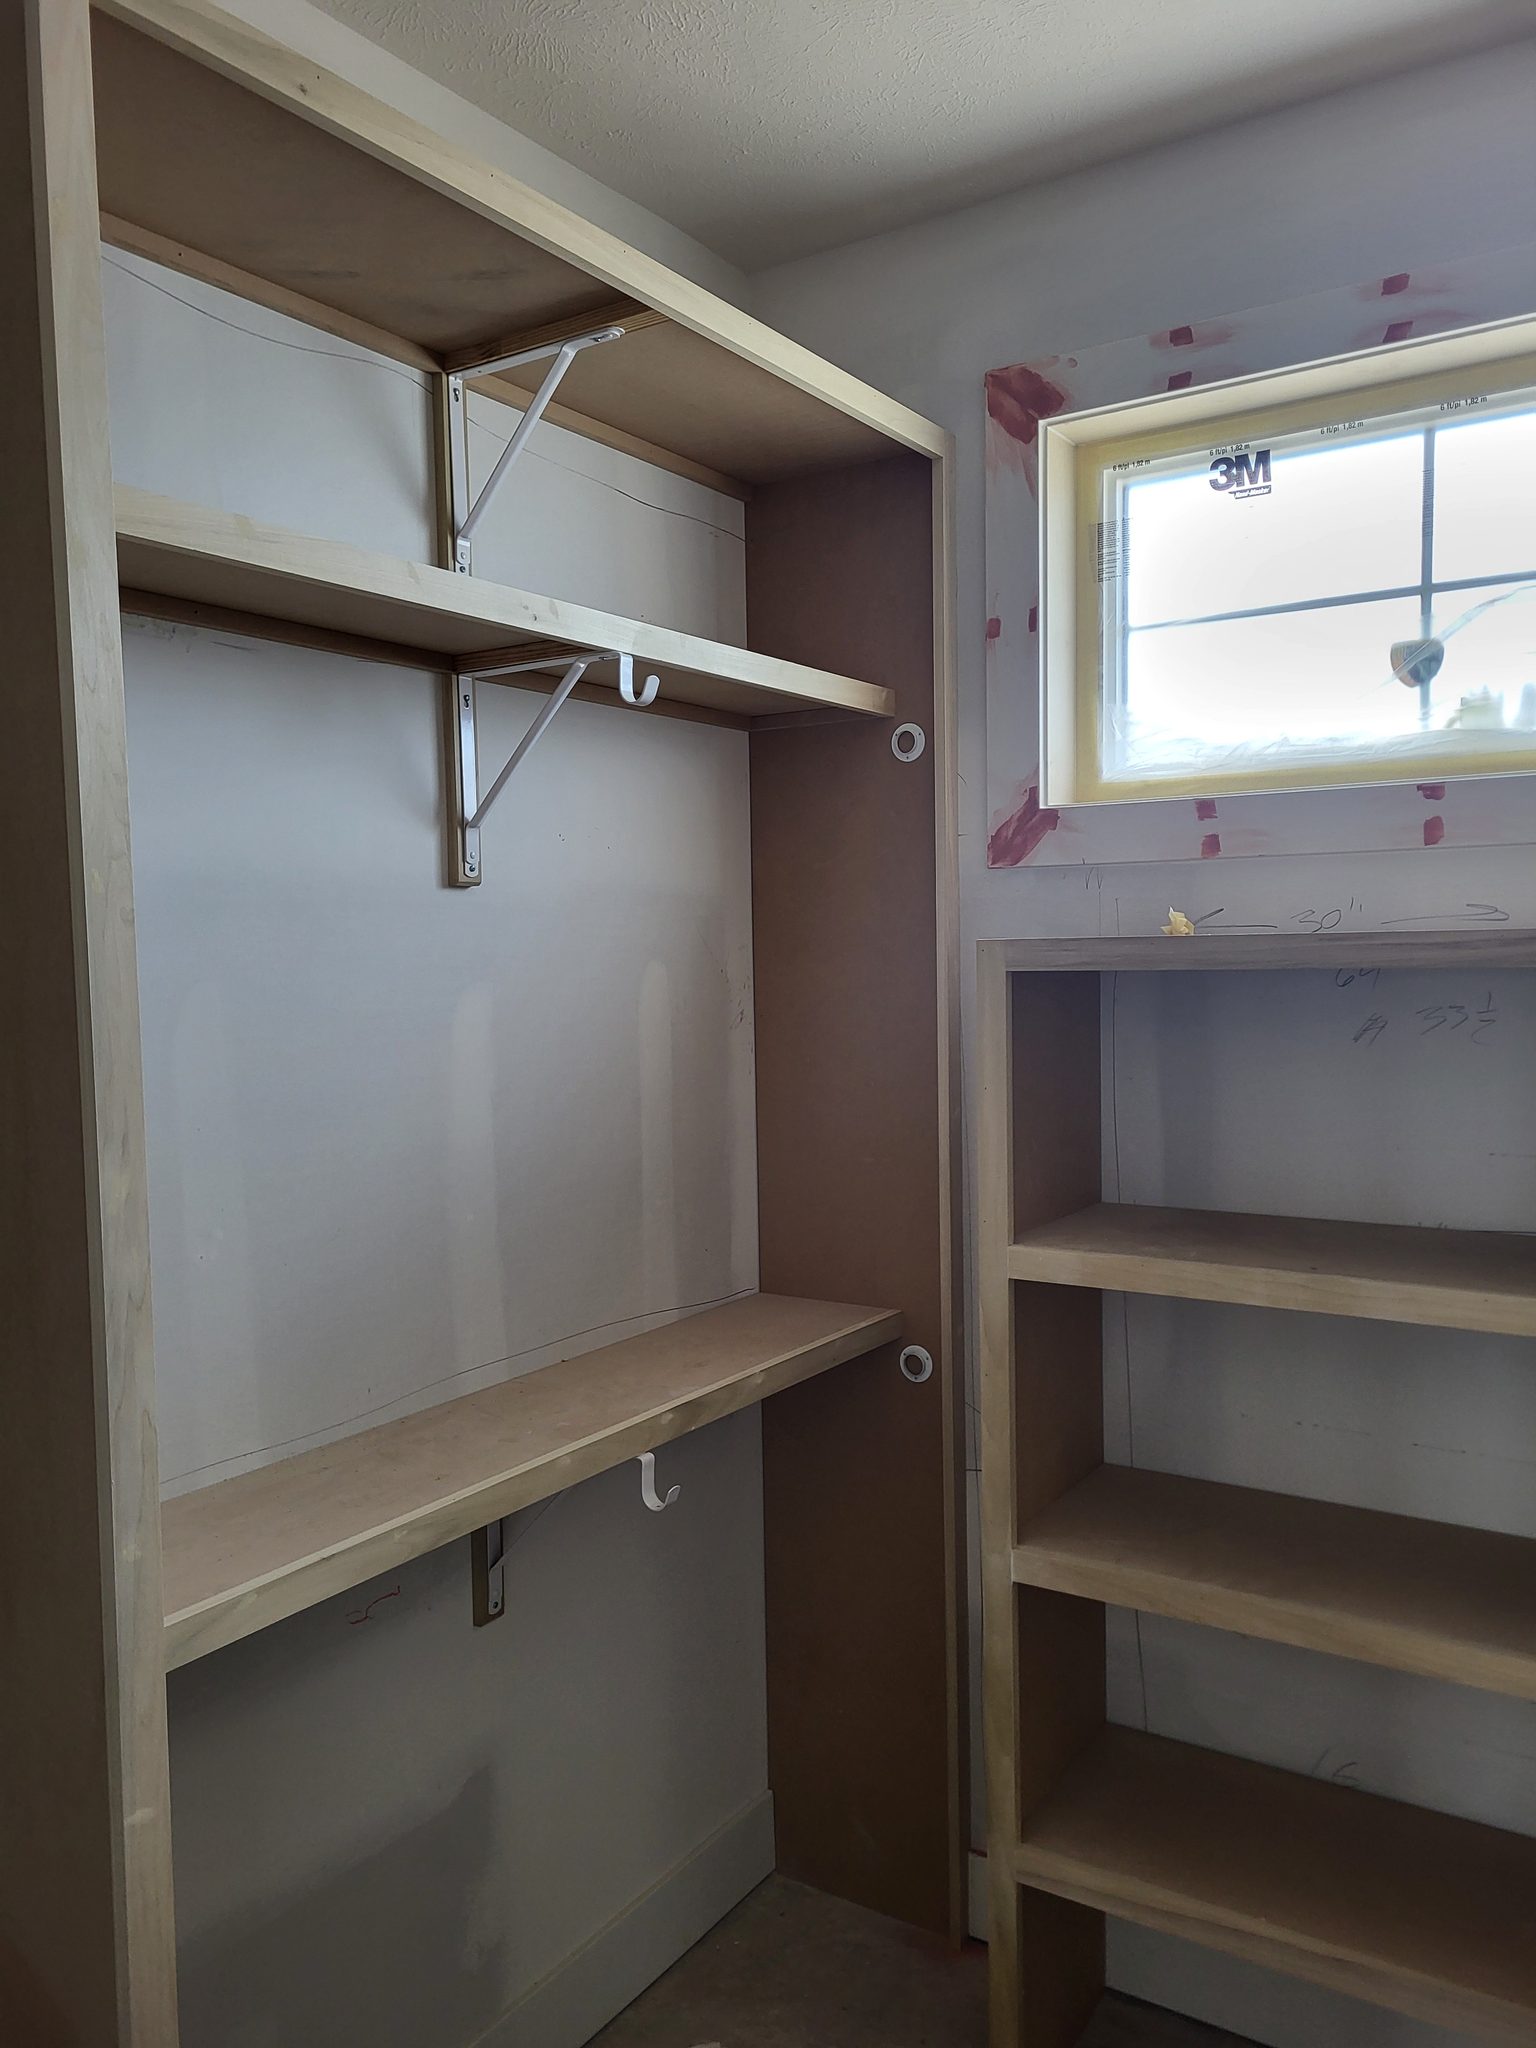
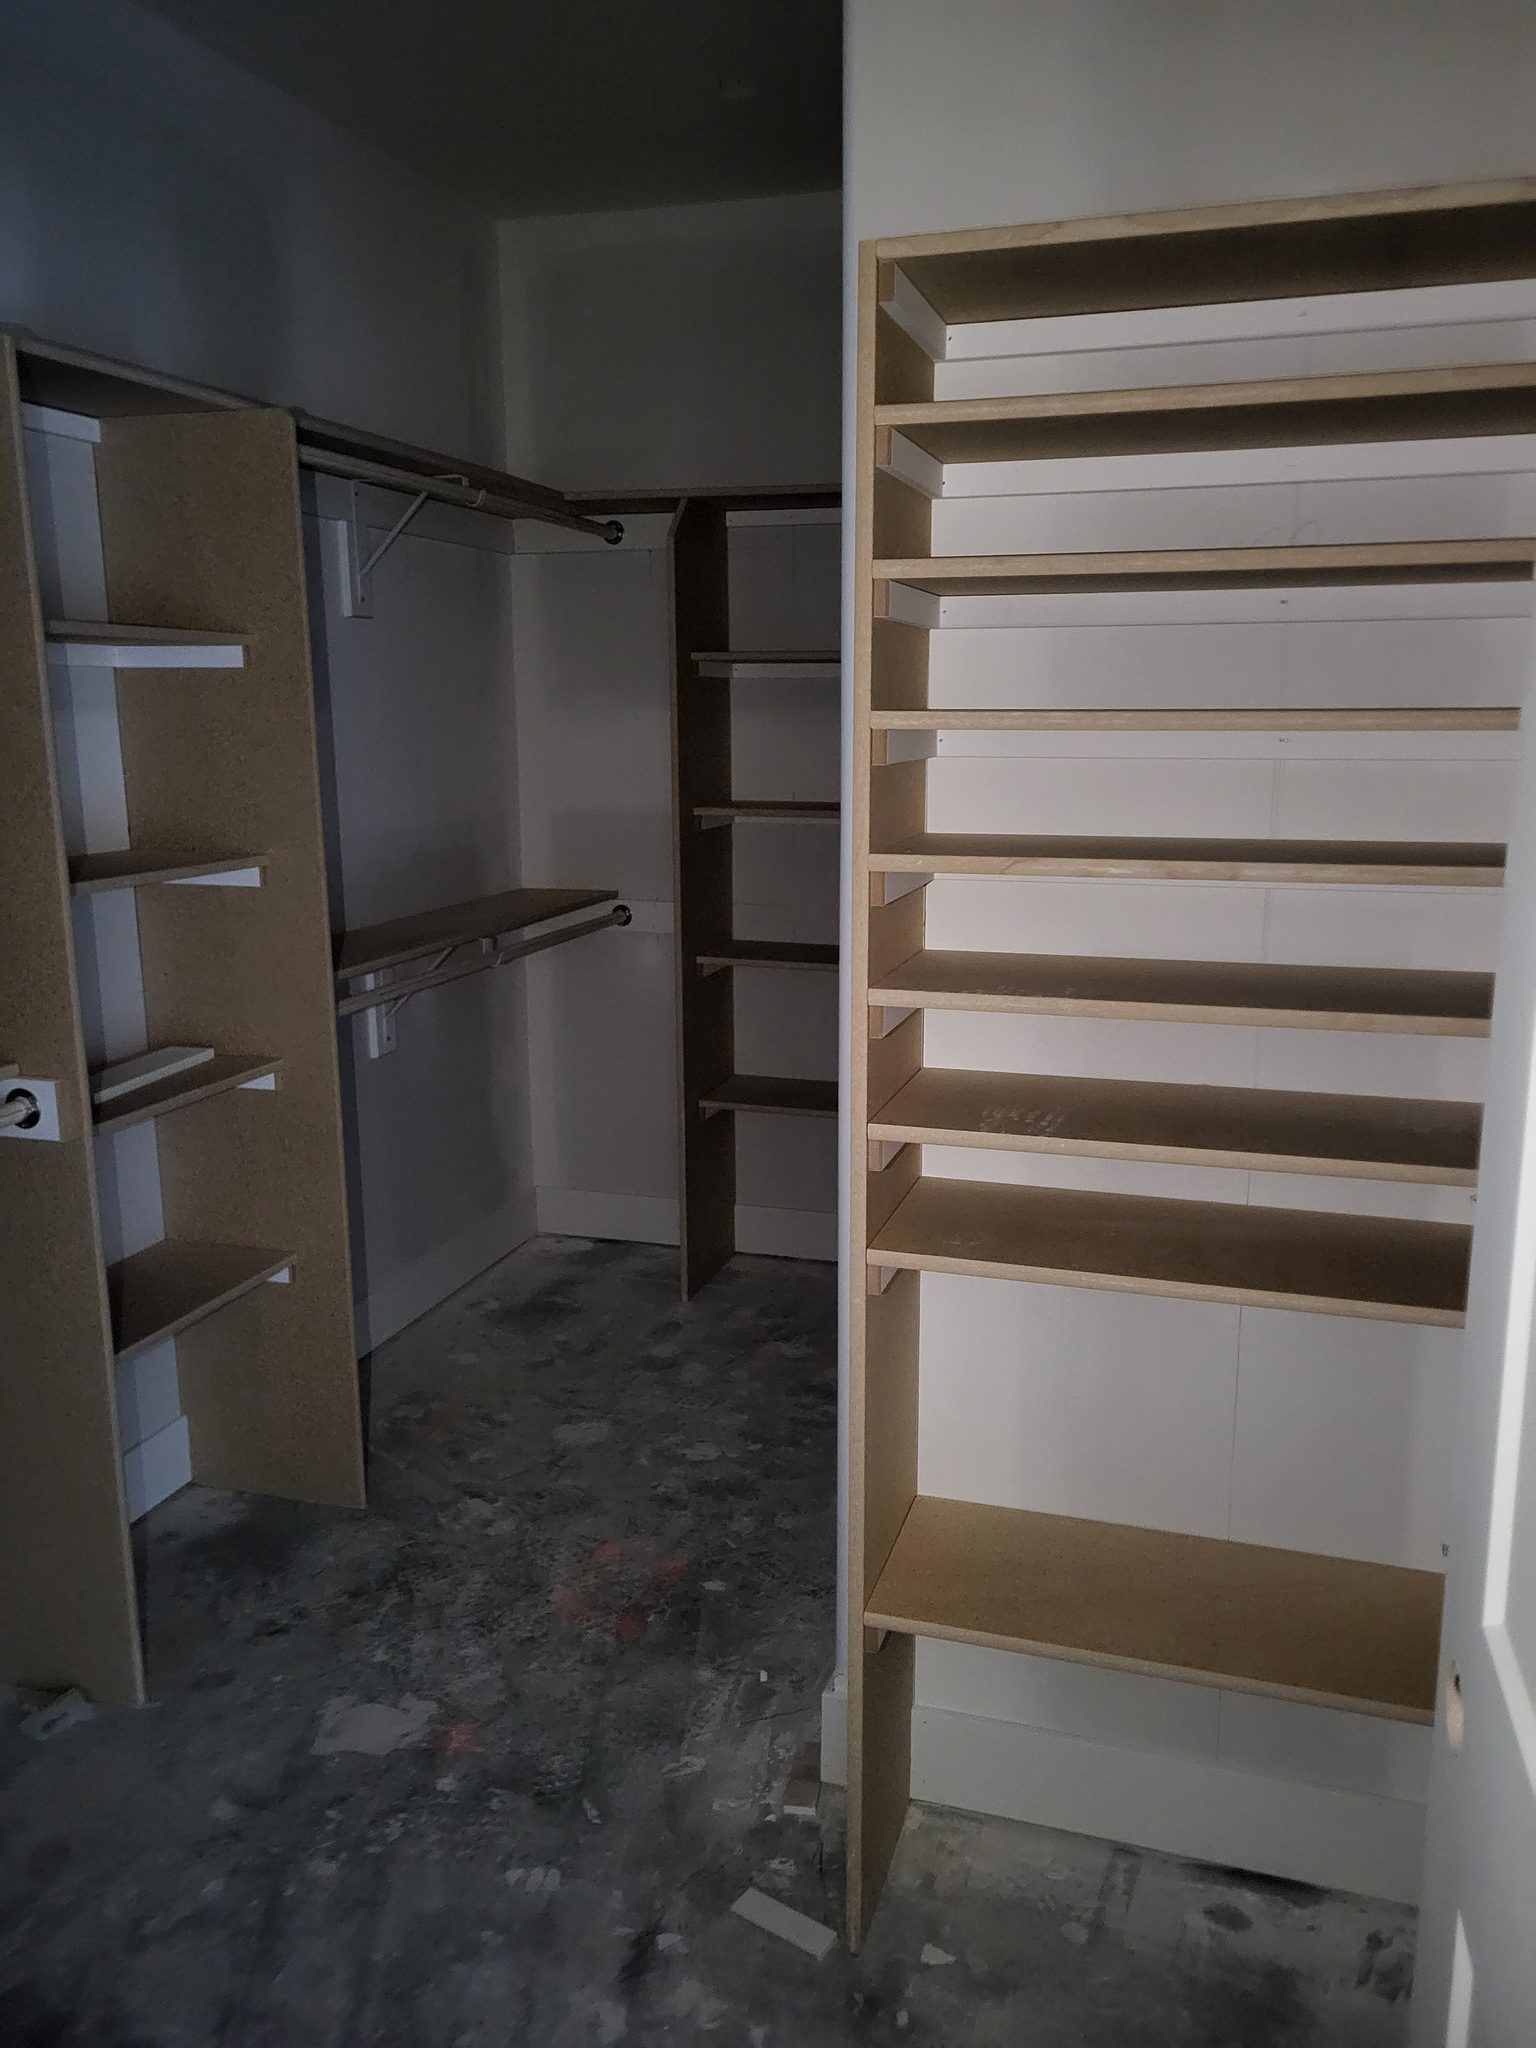
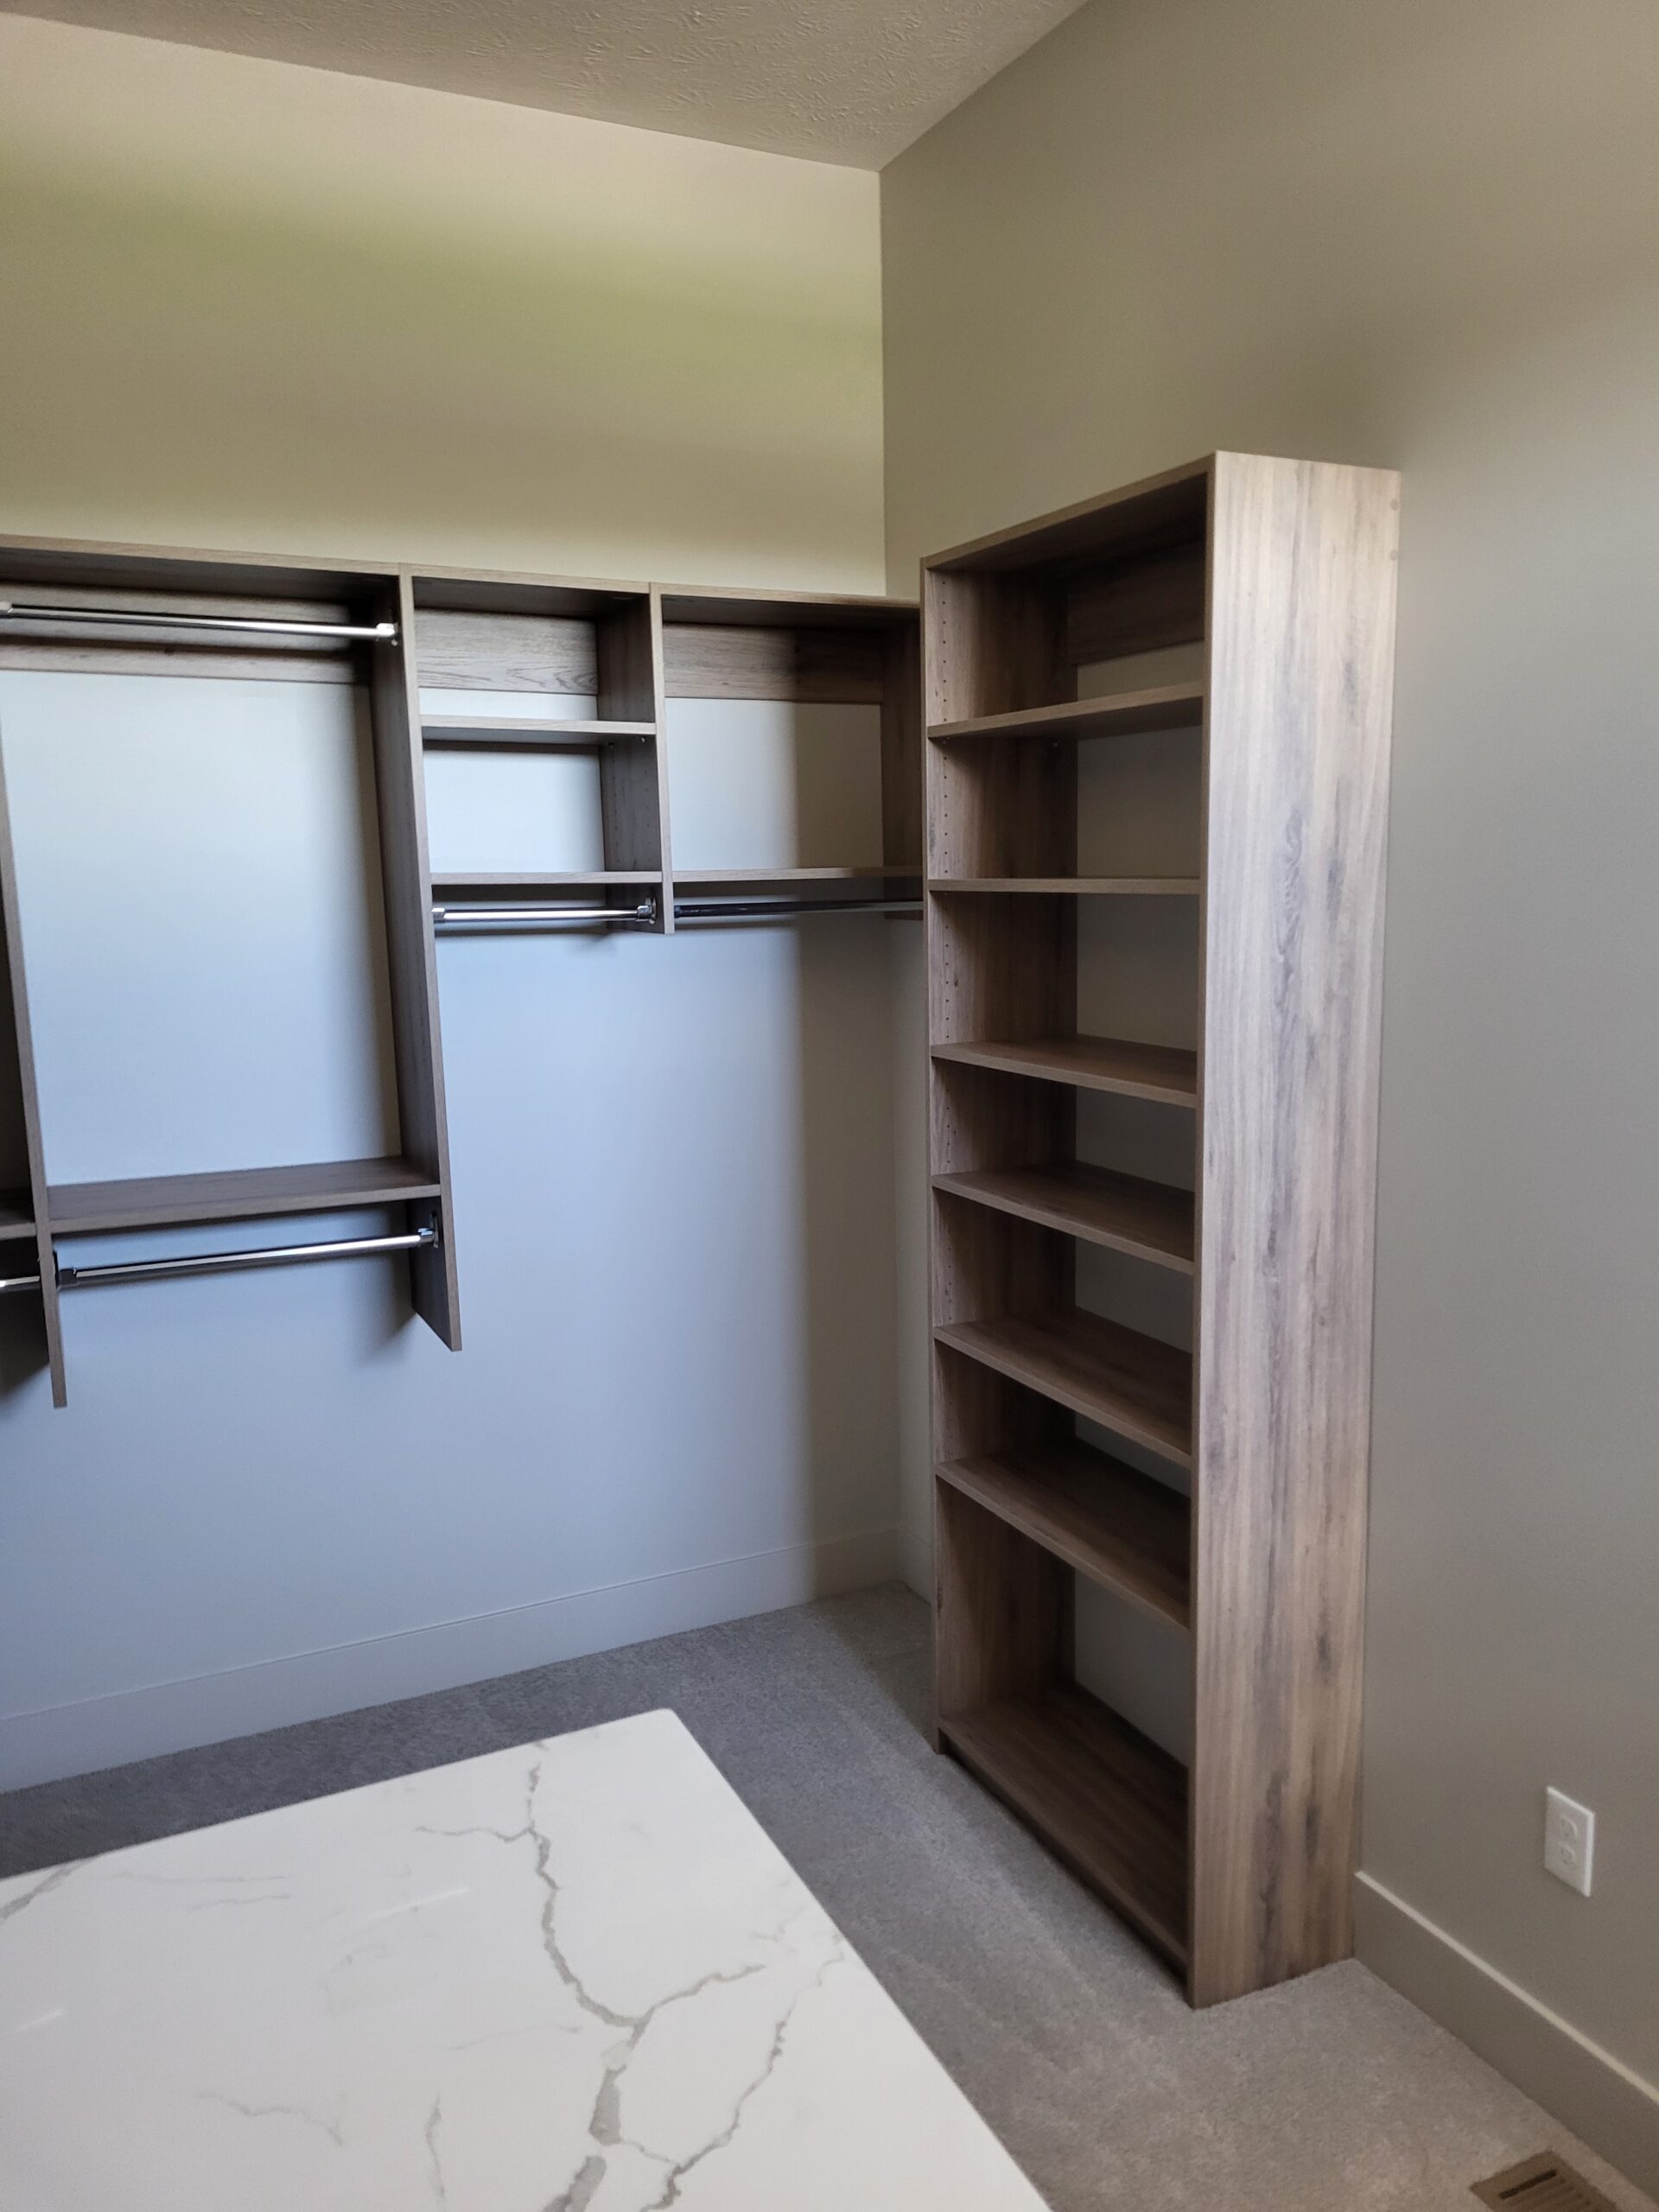
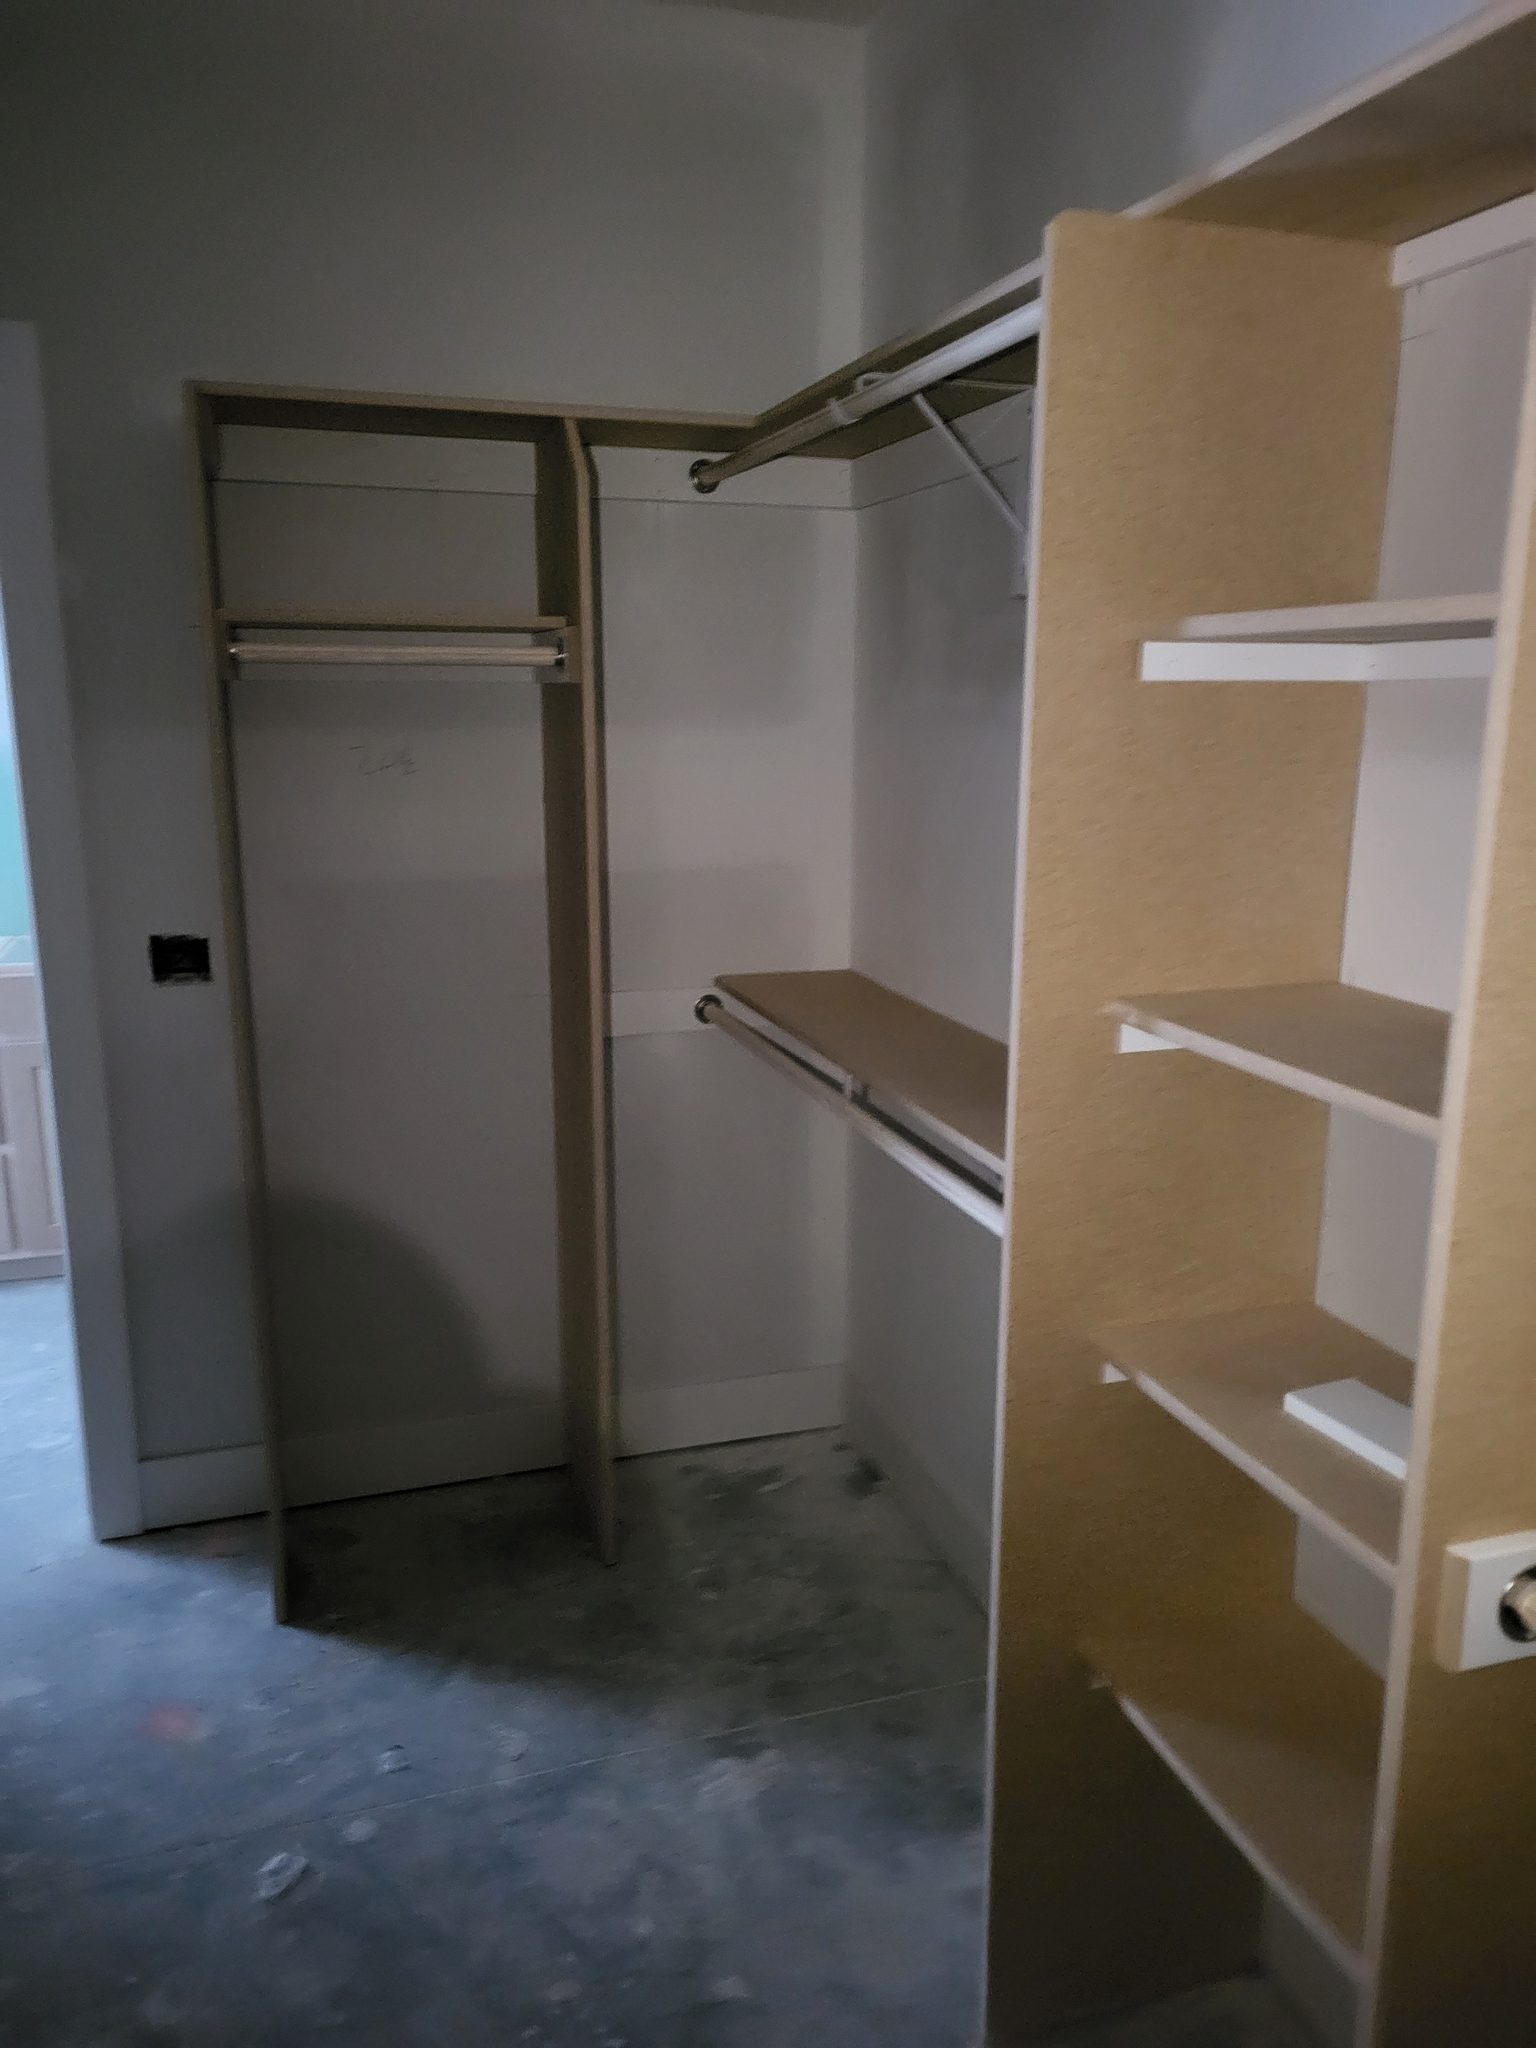
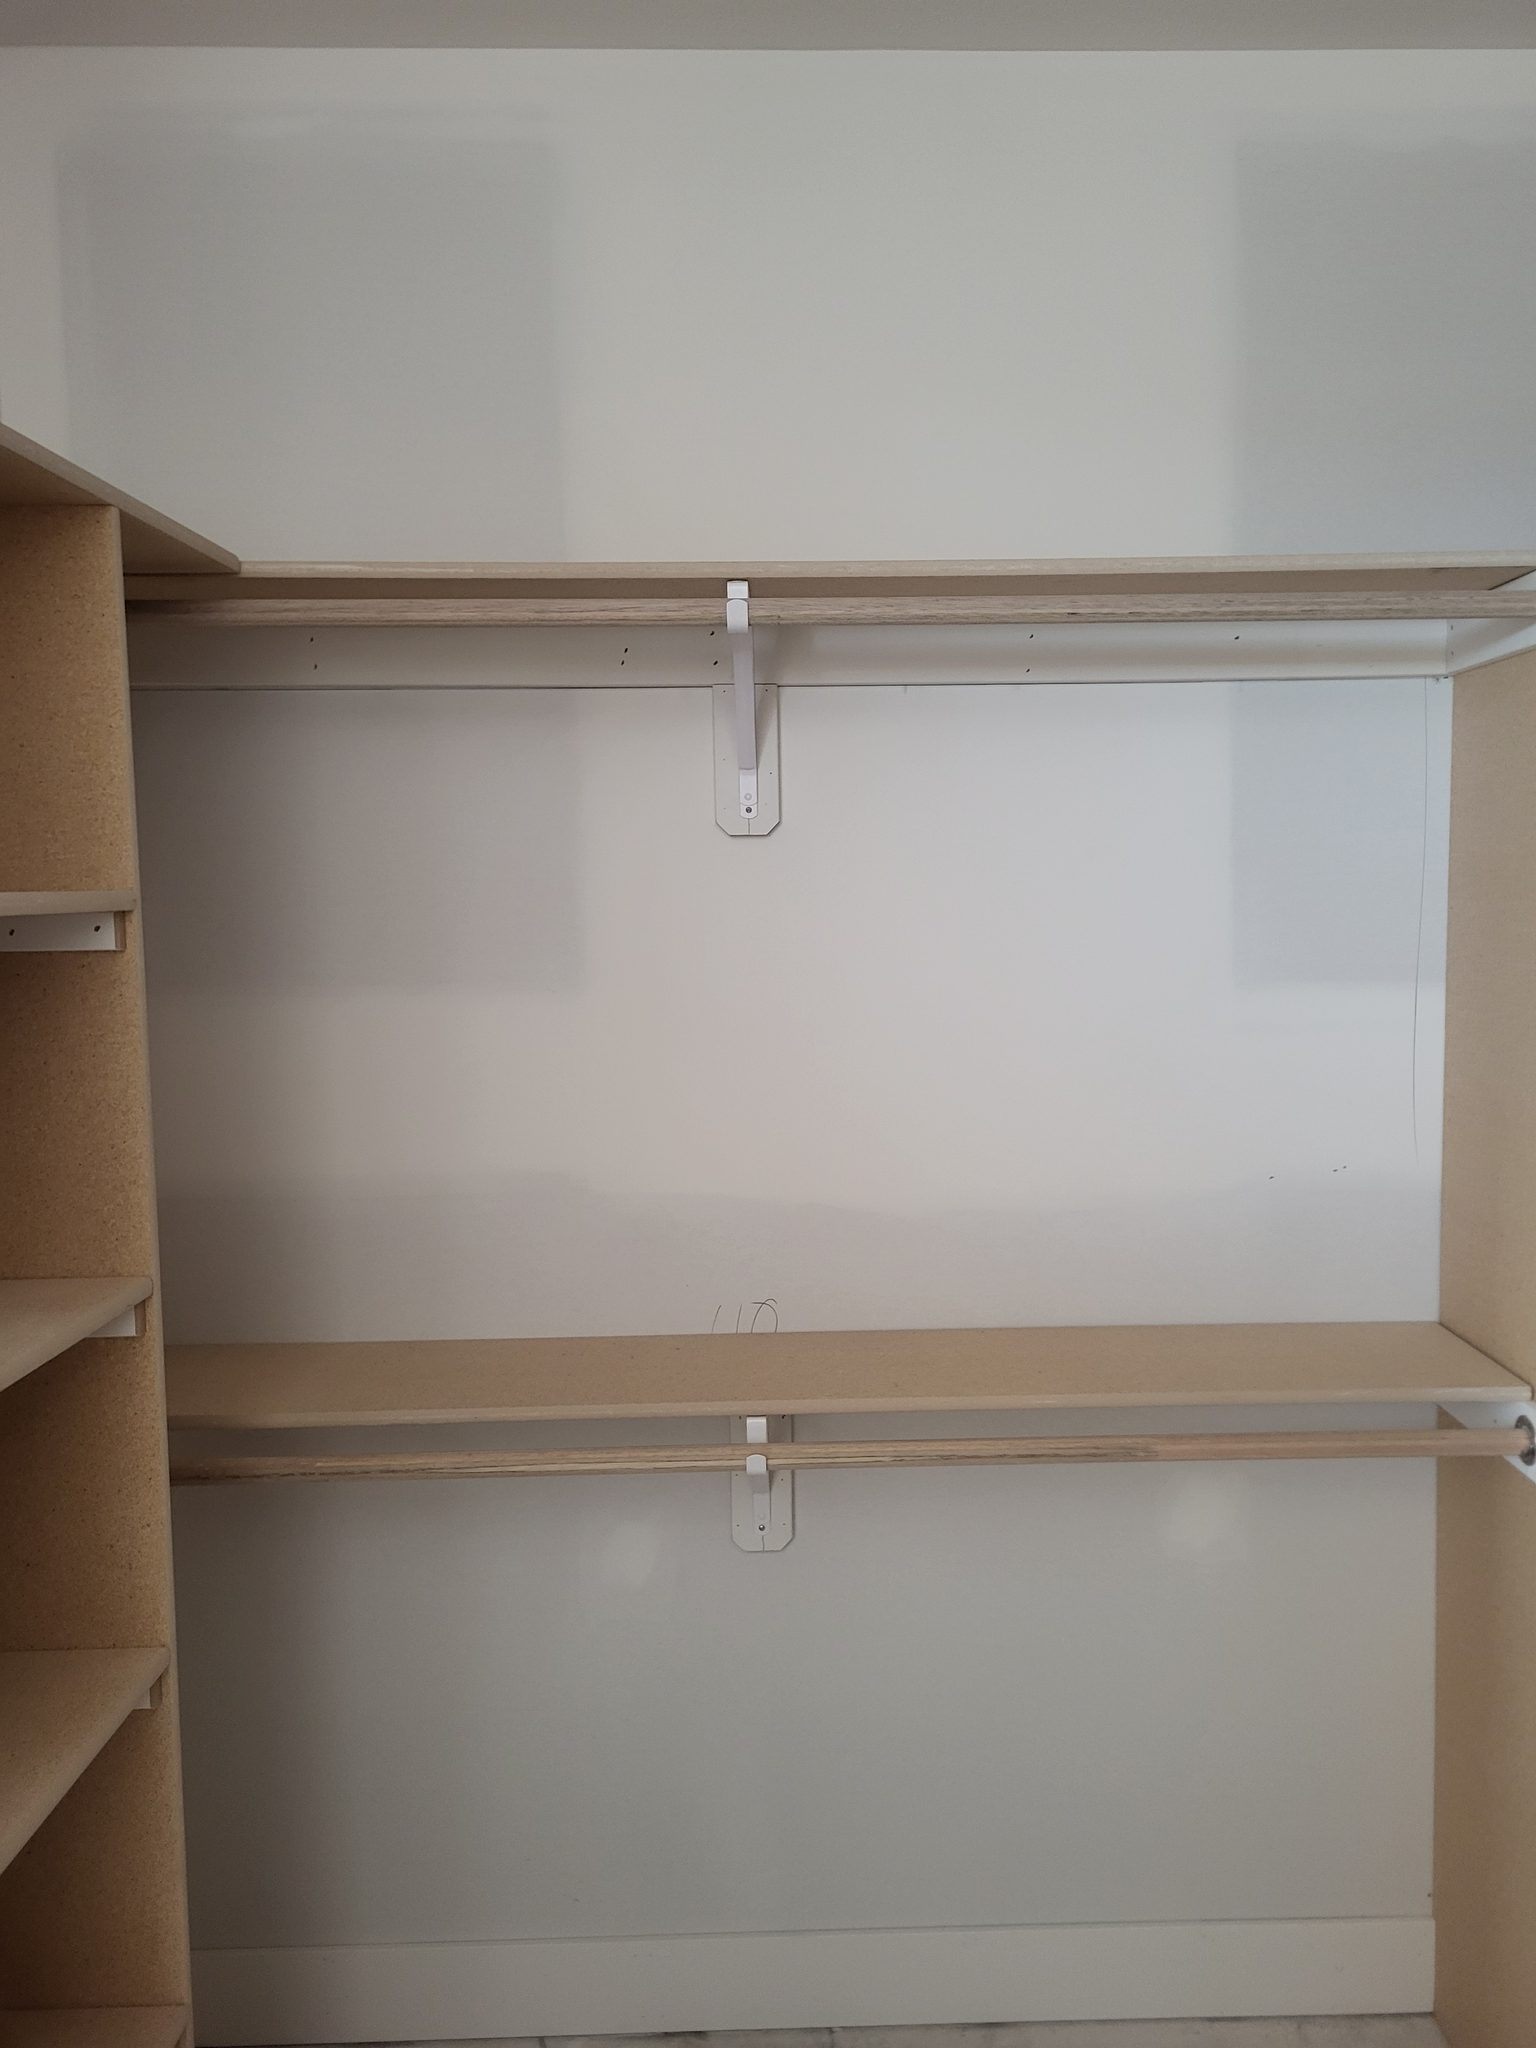
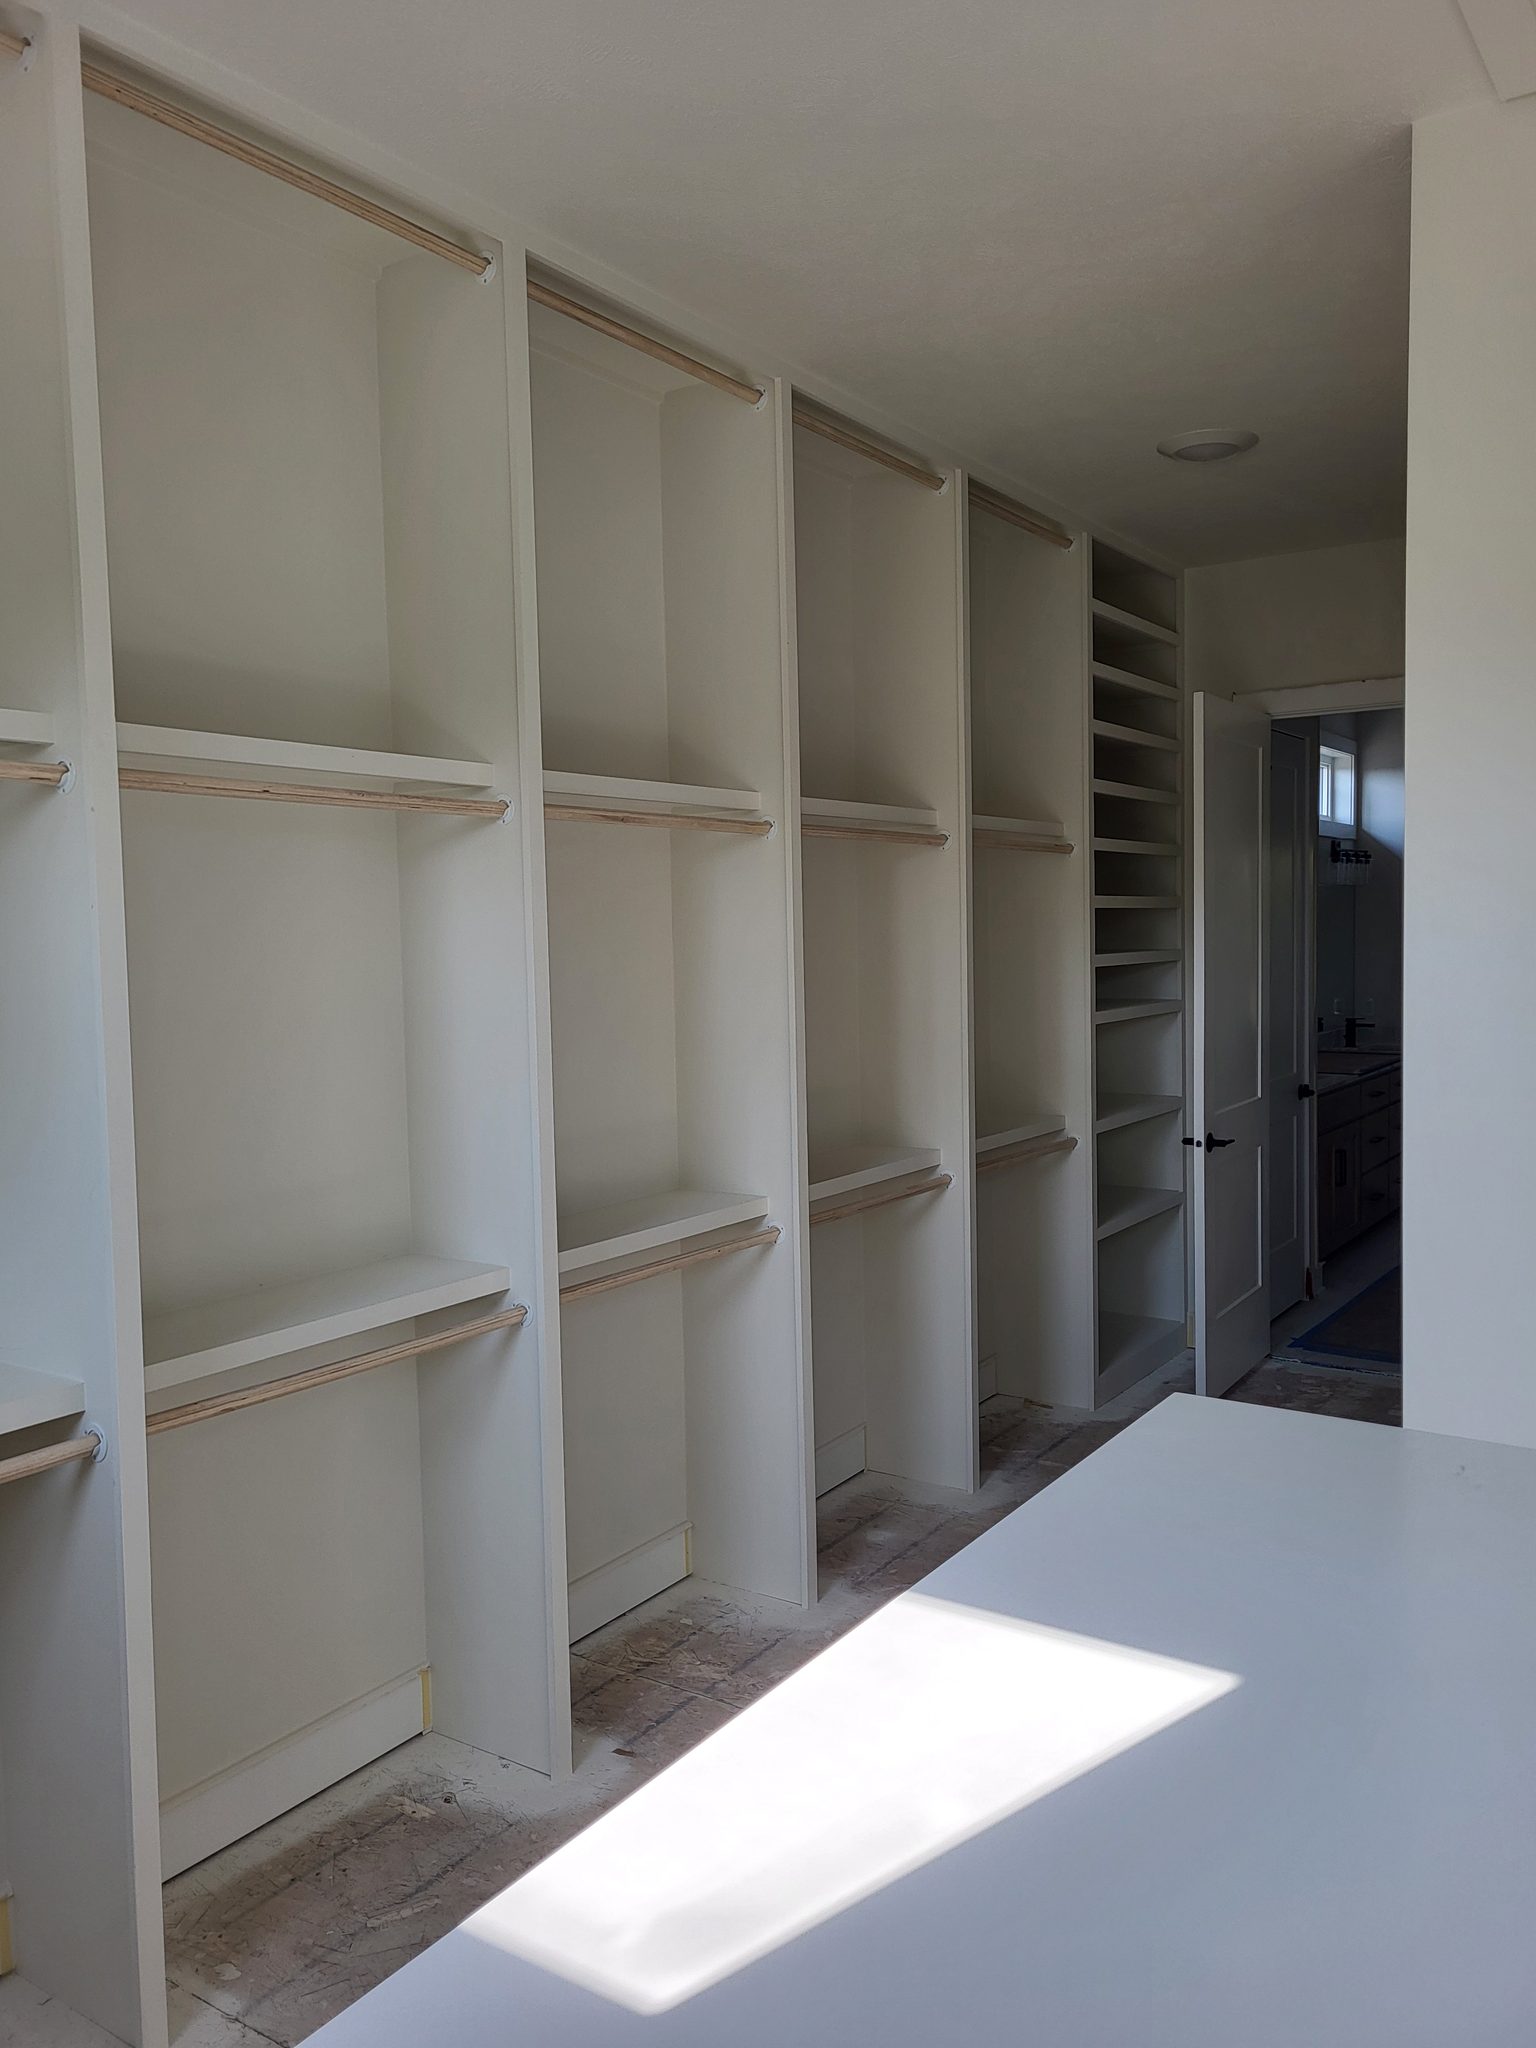
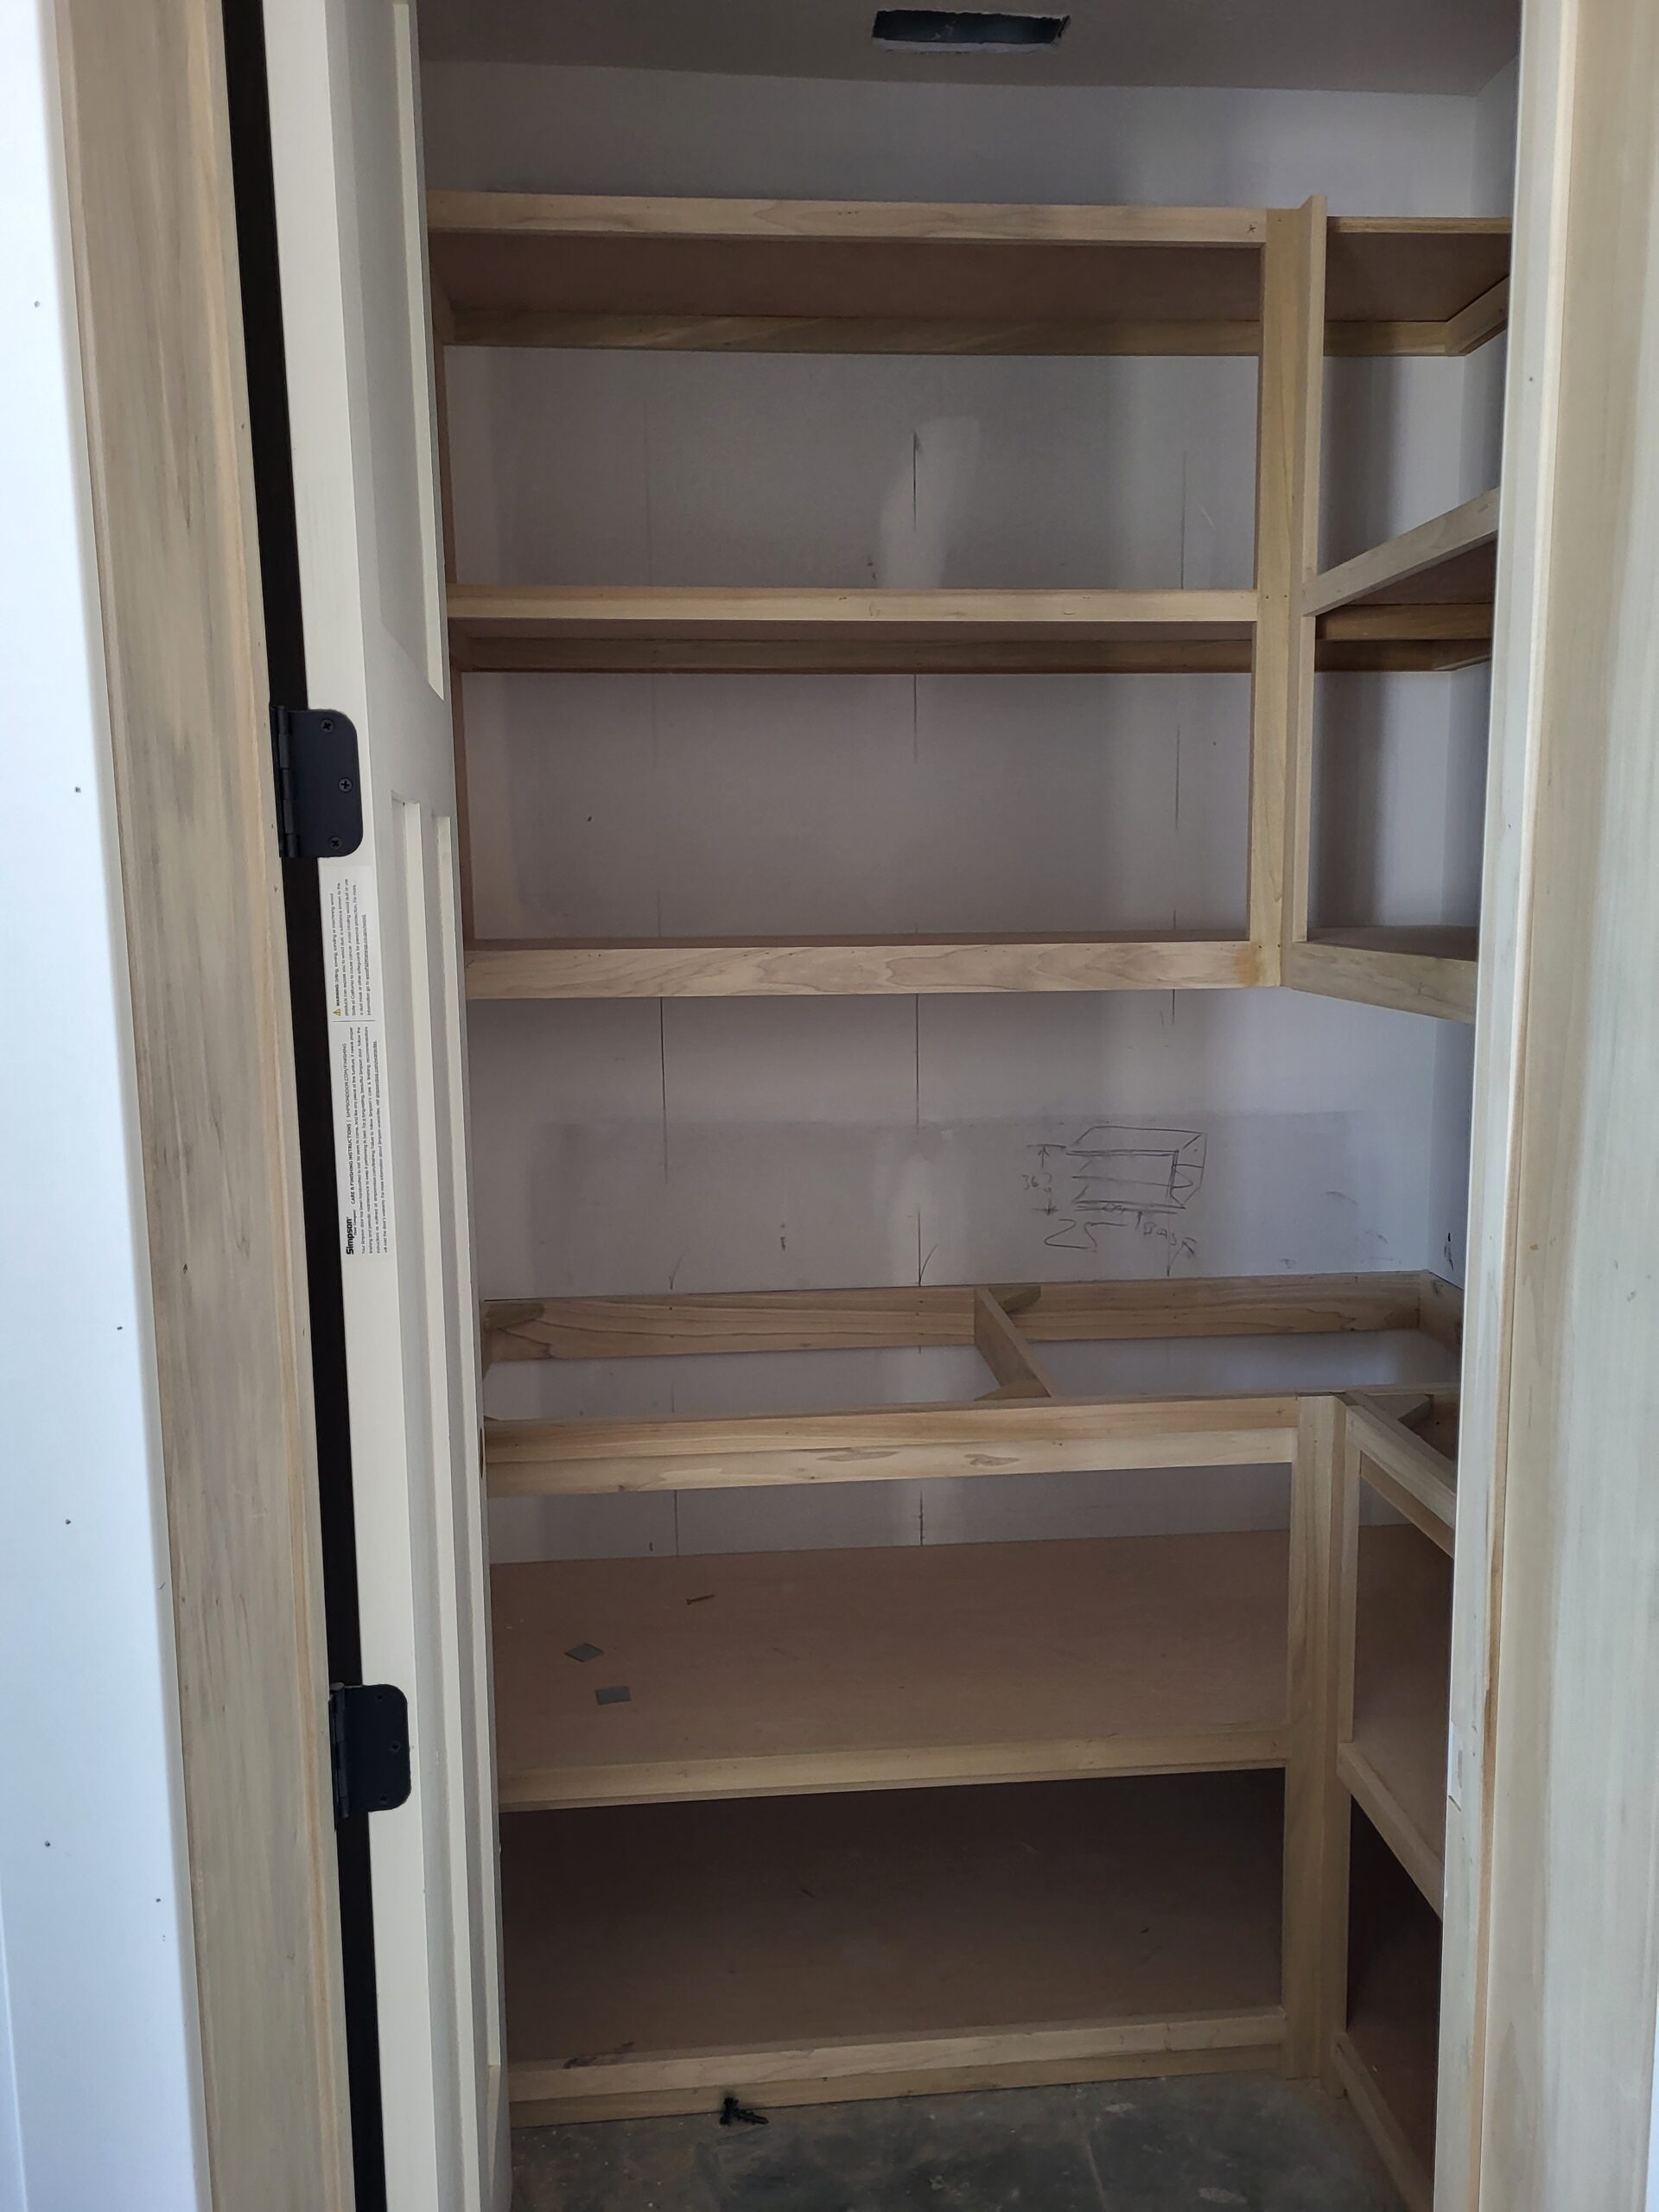
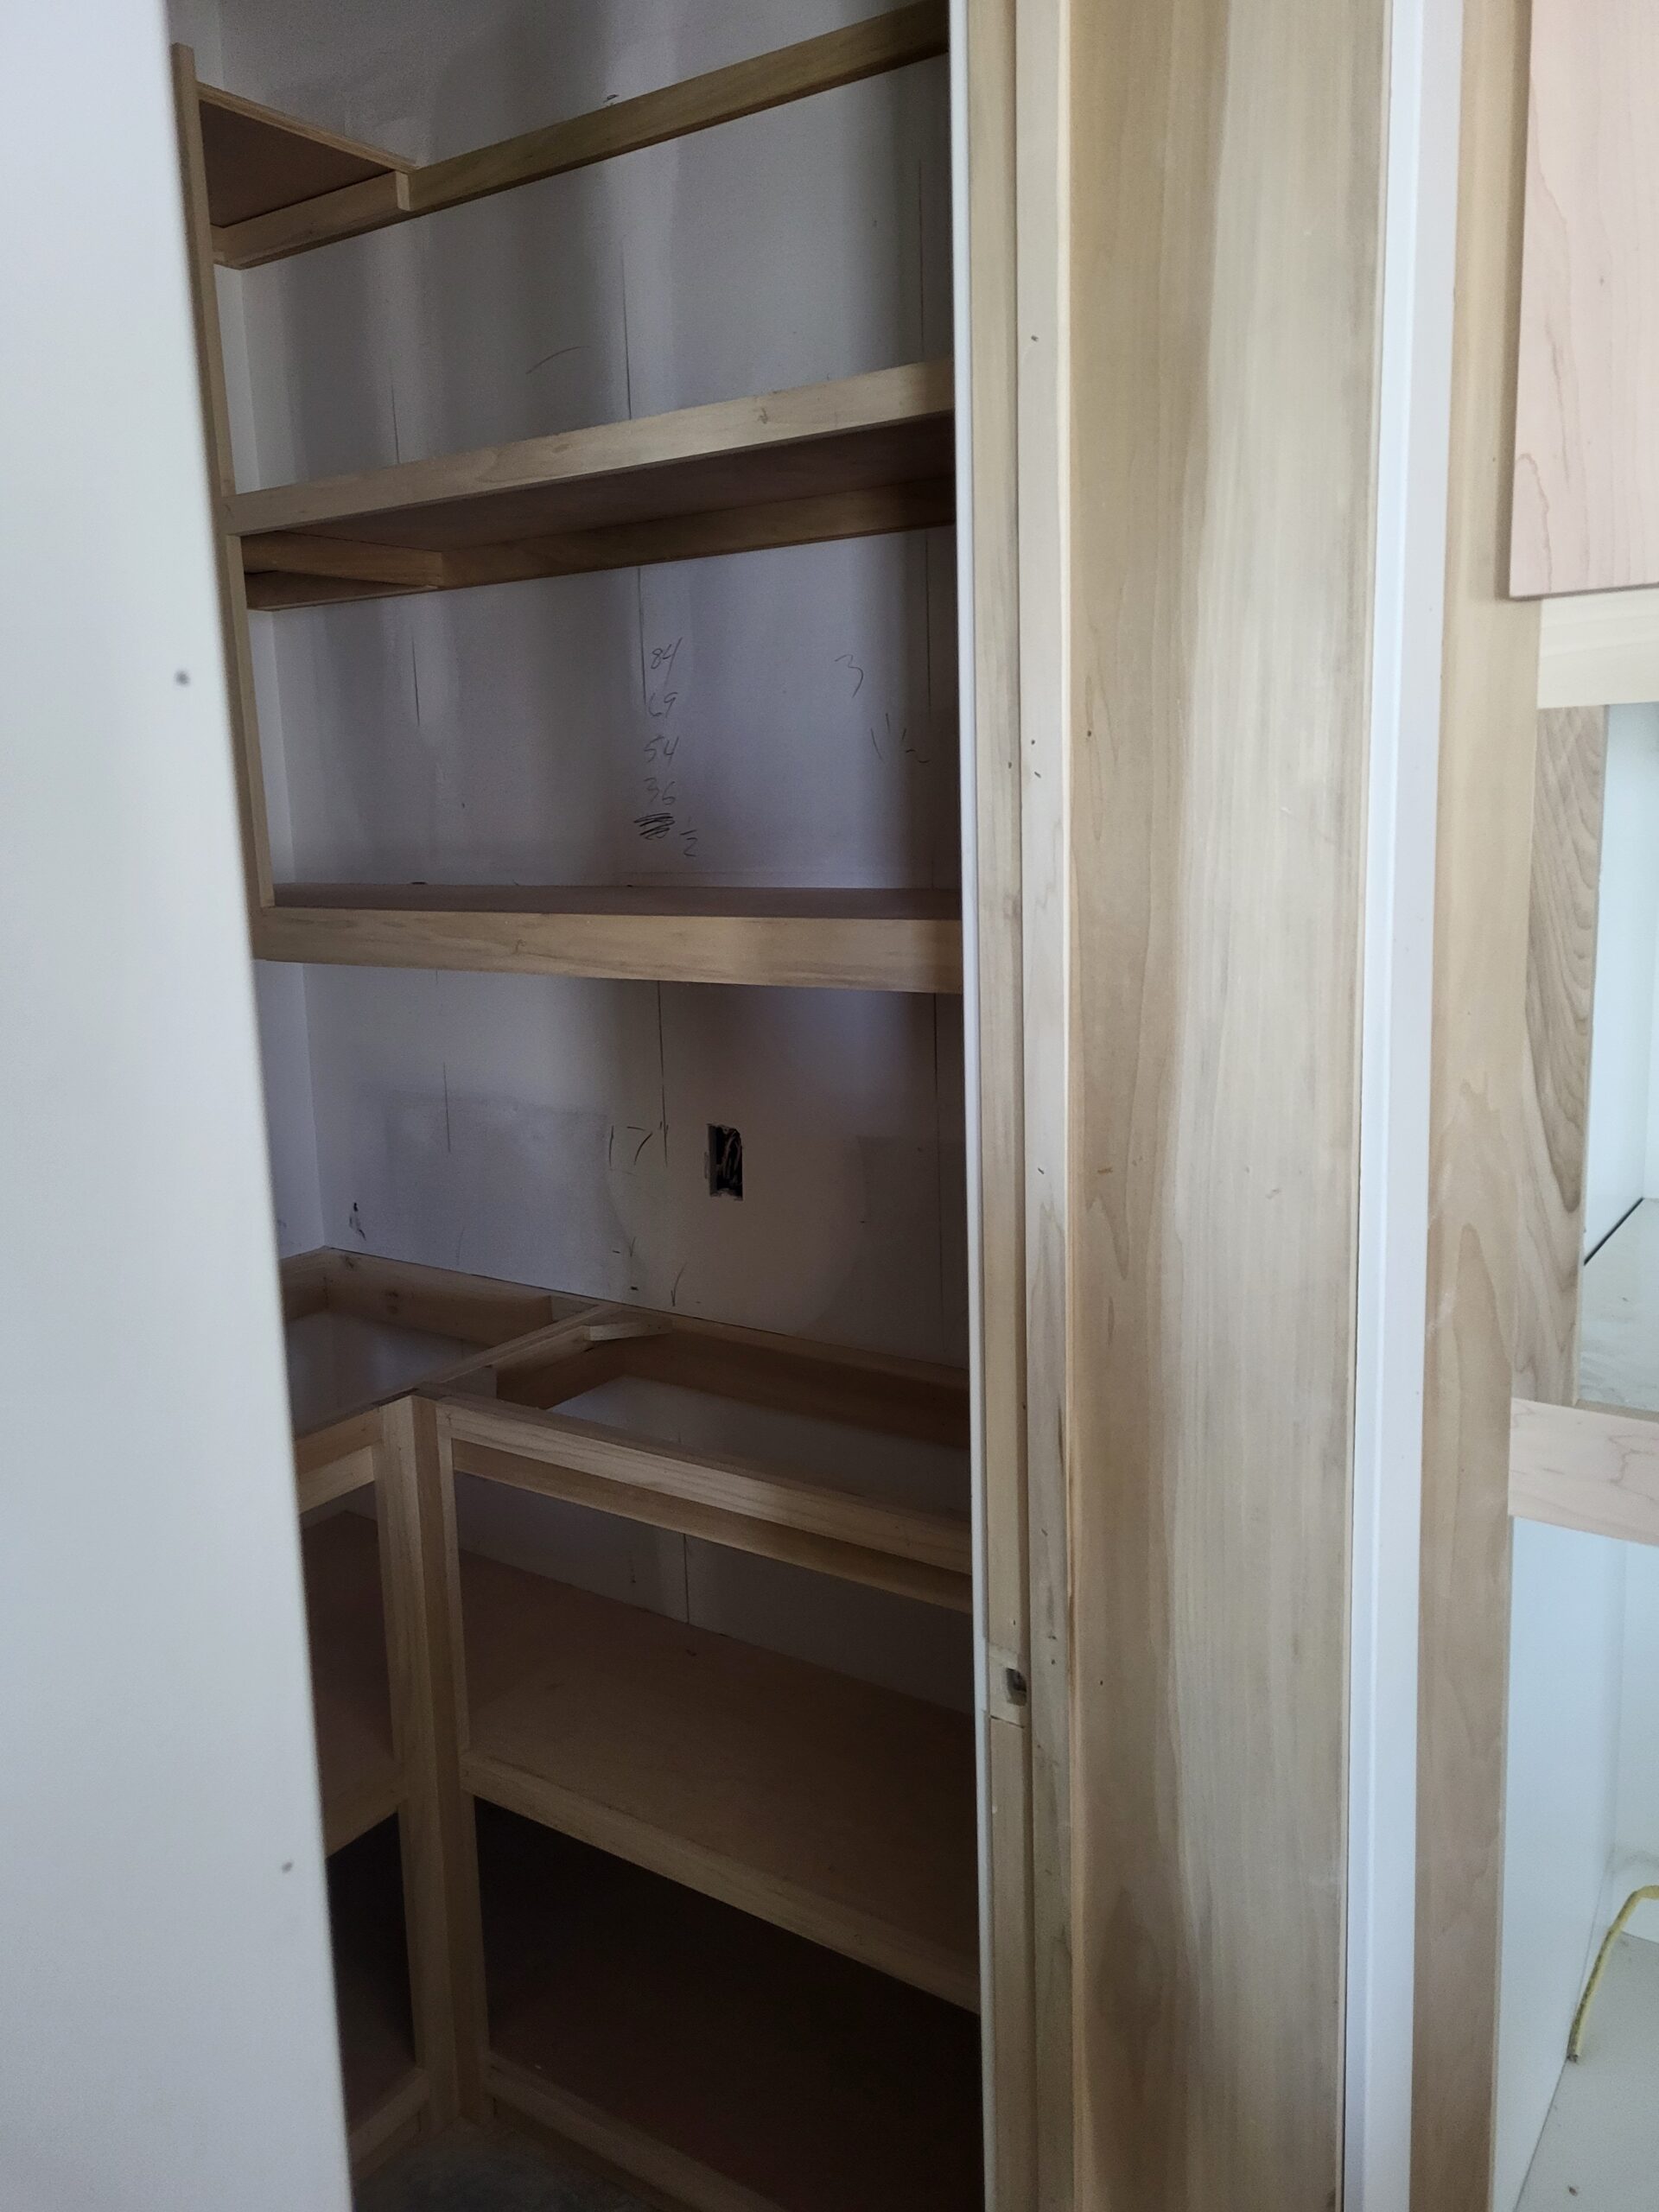
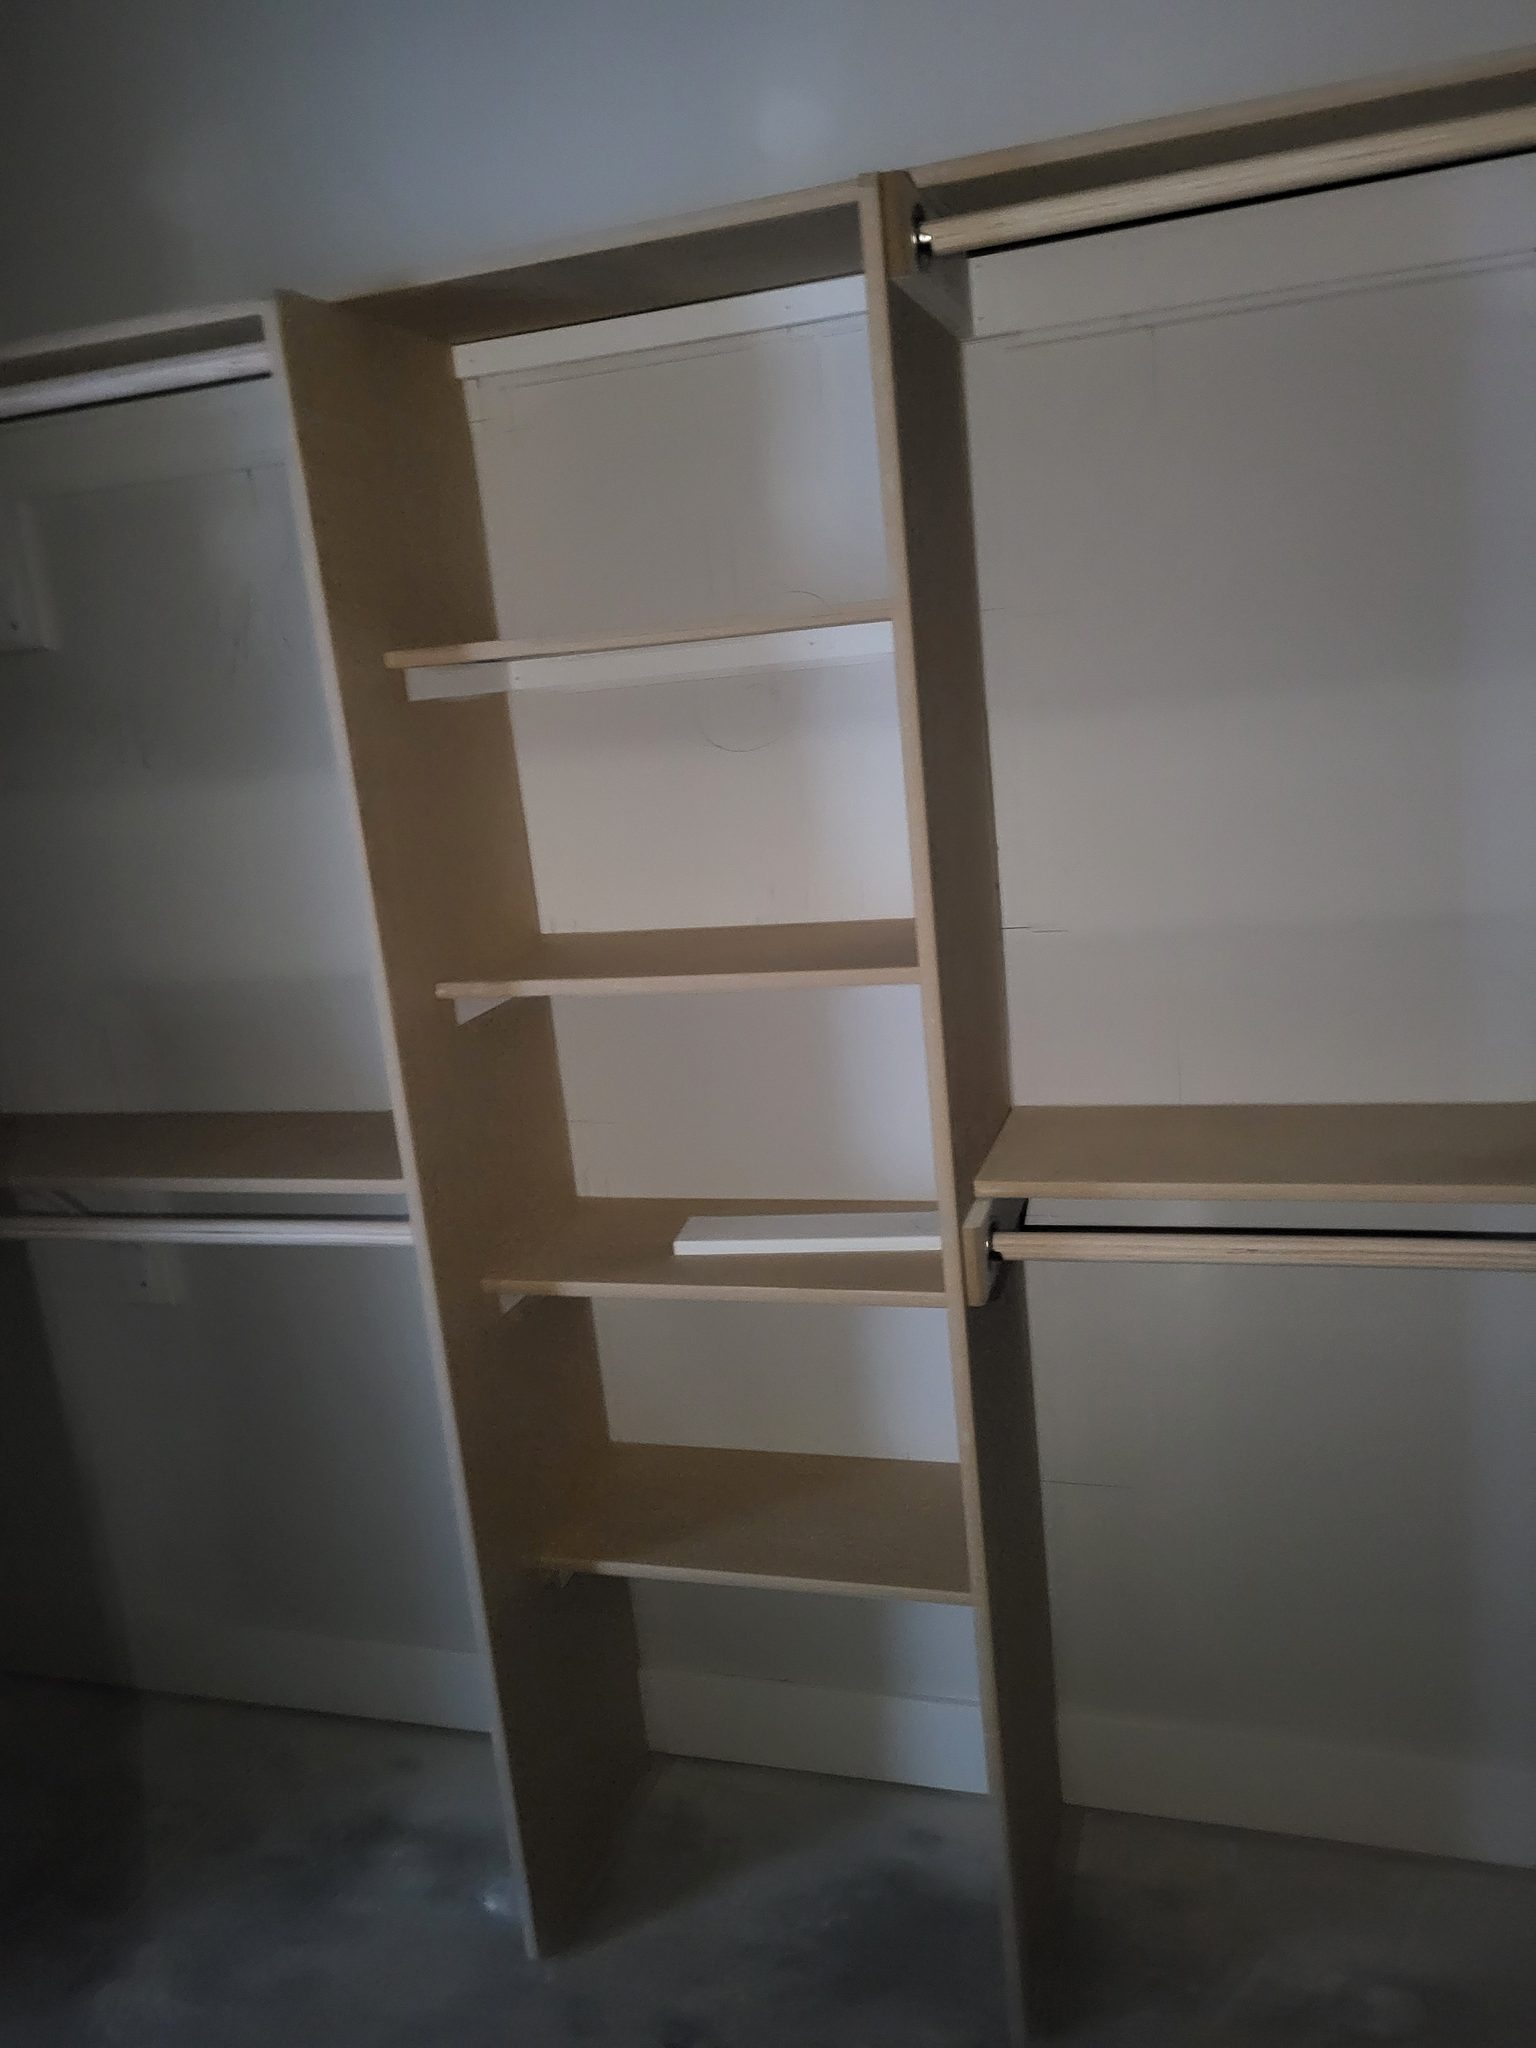
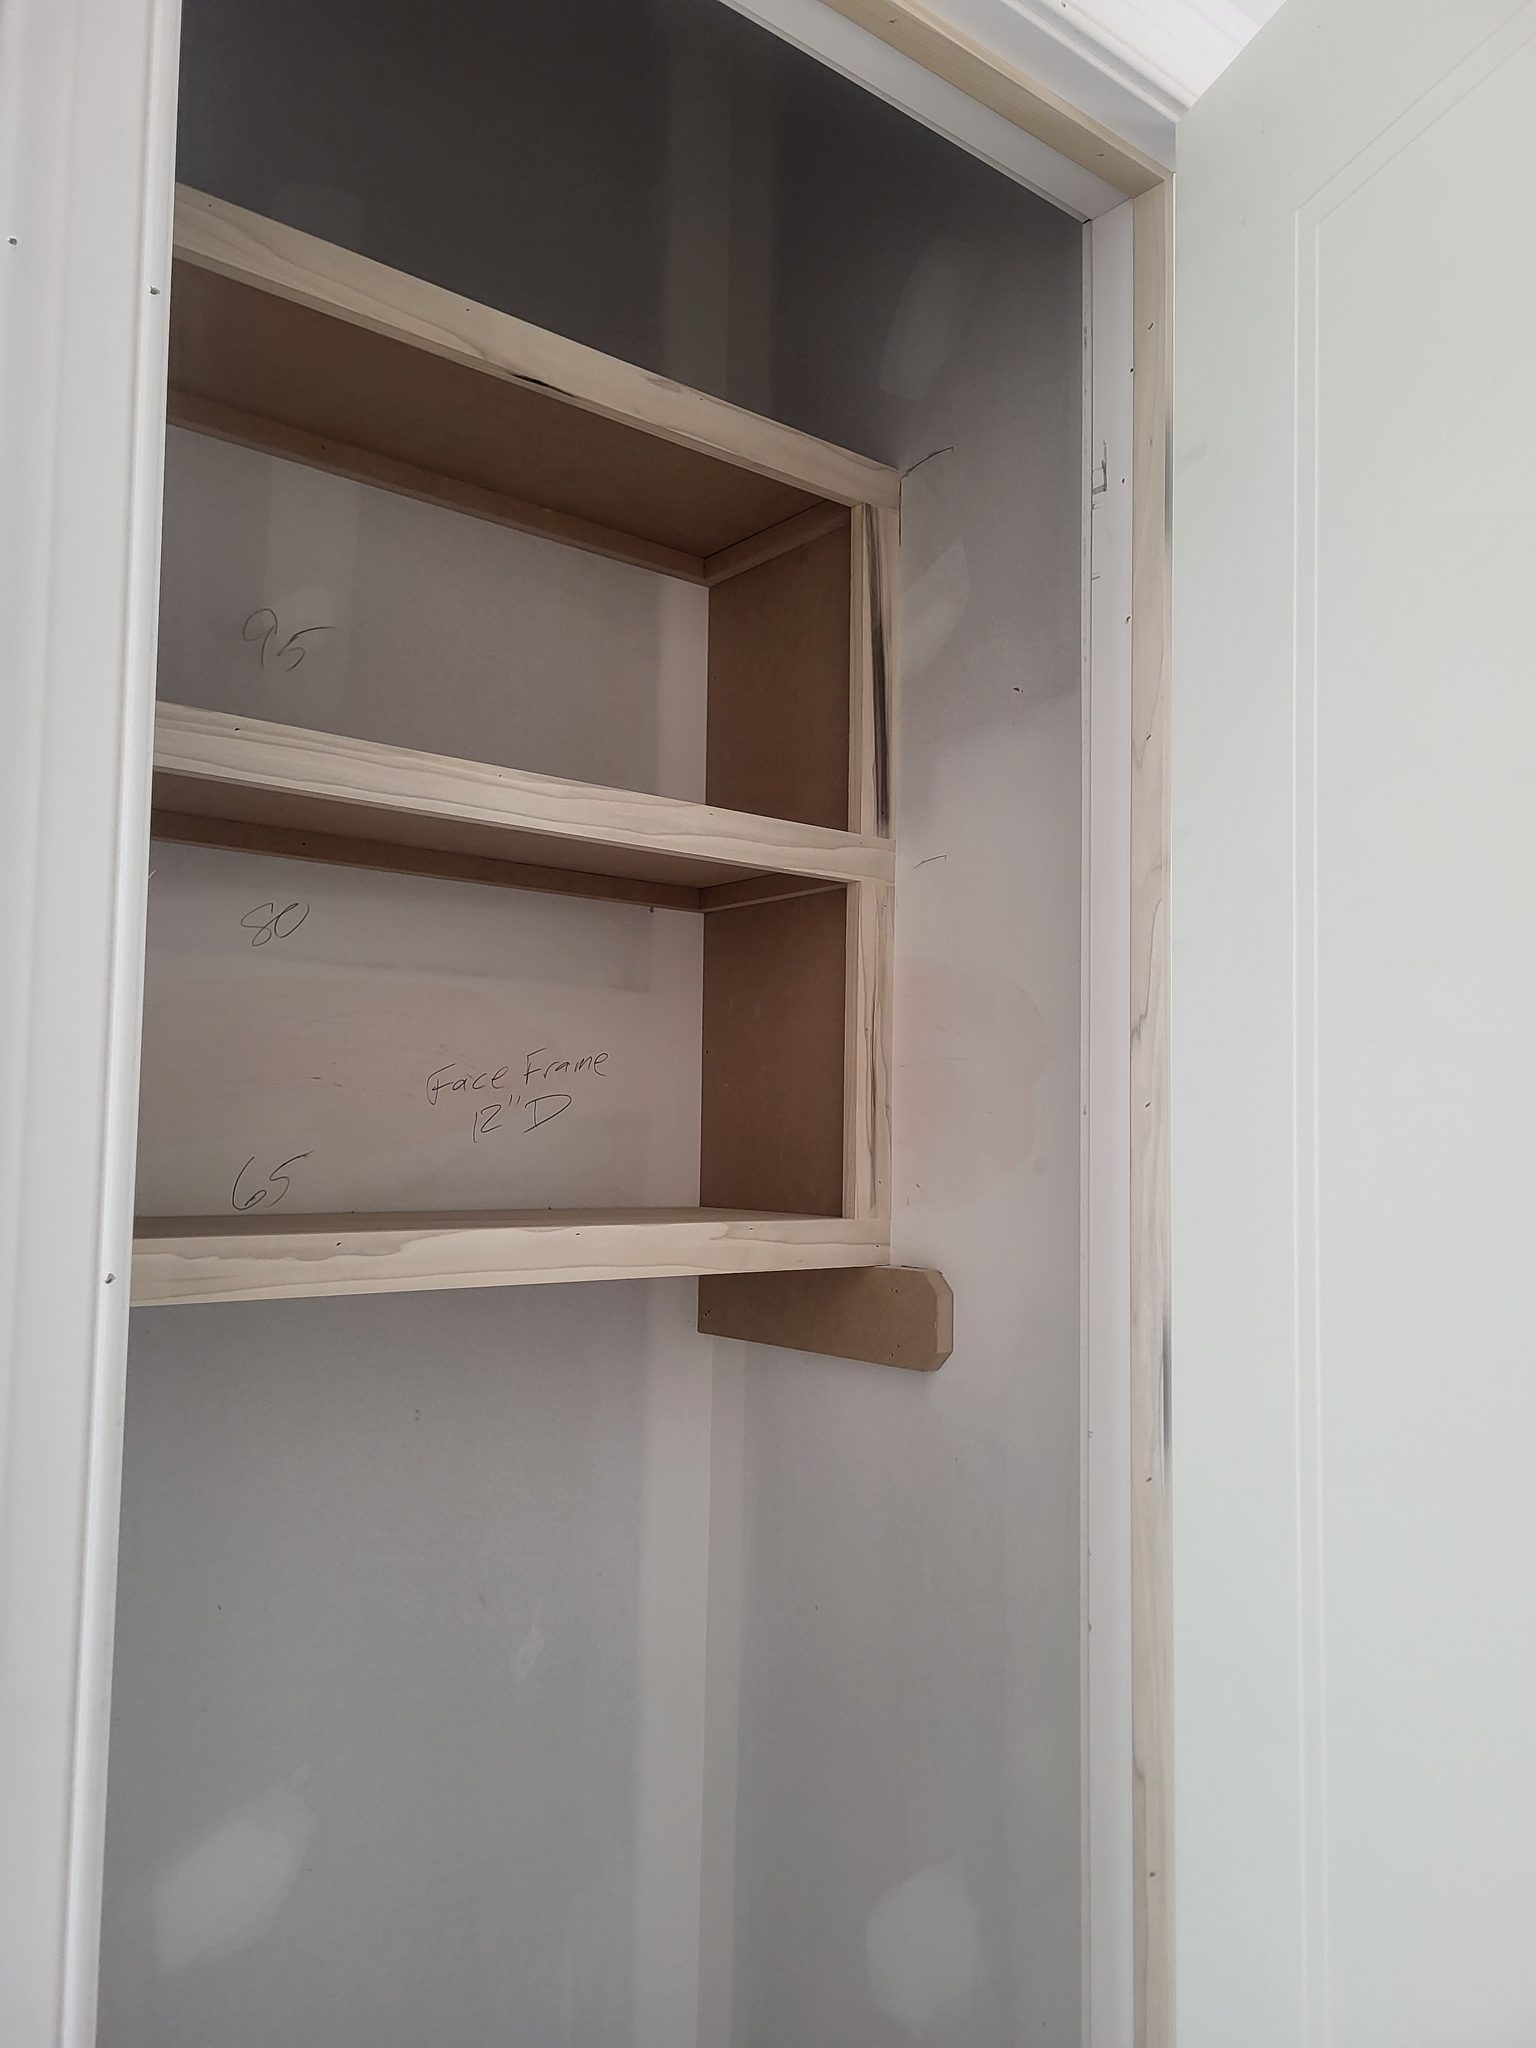
Closet shelving and hanging rods installed with raw wood and brackets, ready for paint.
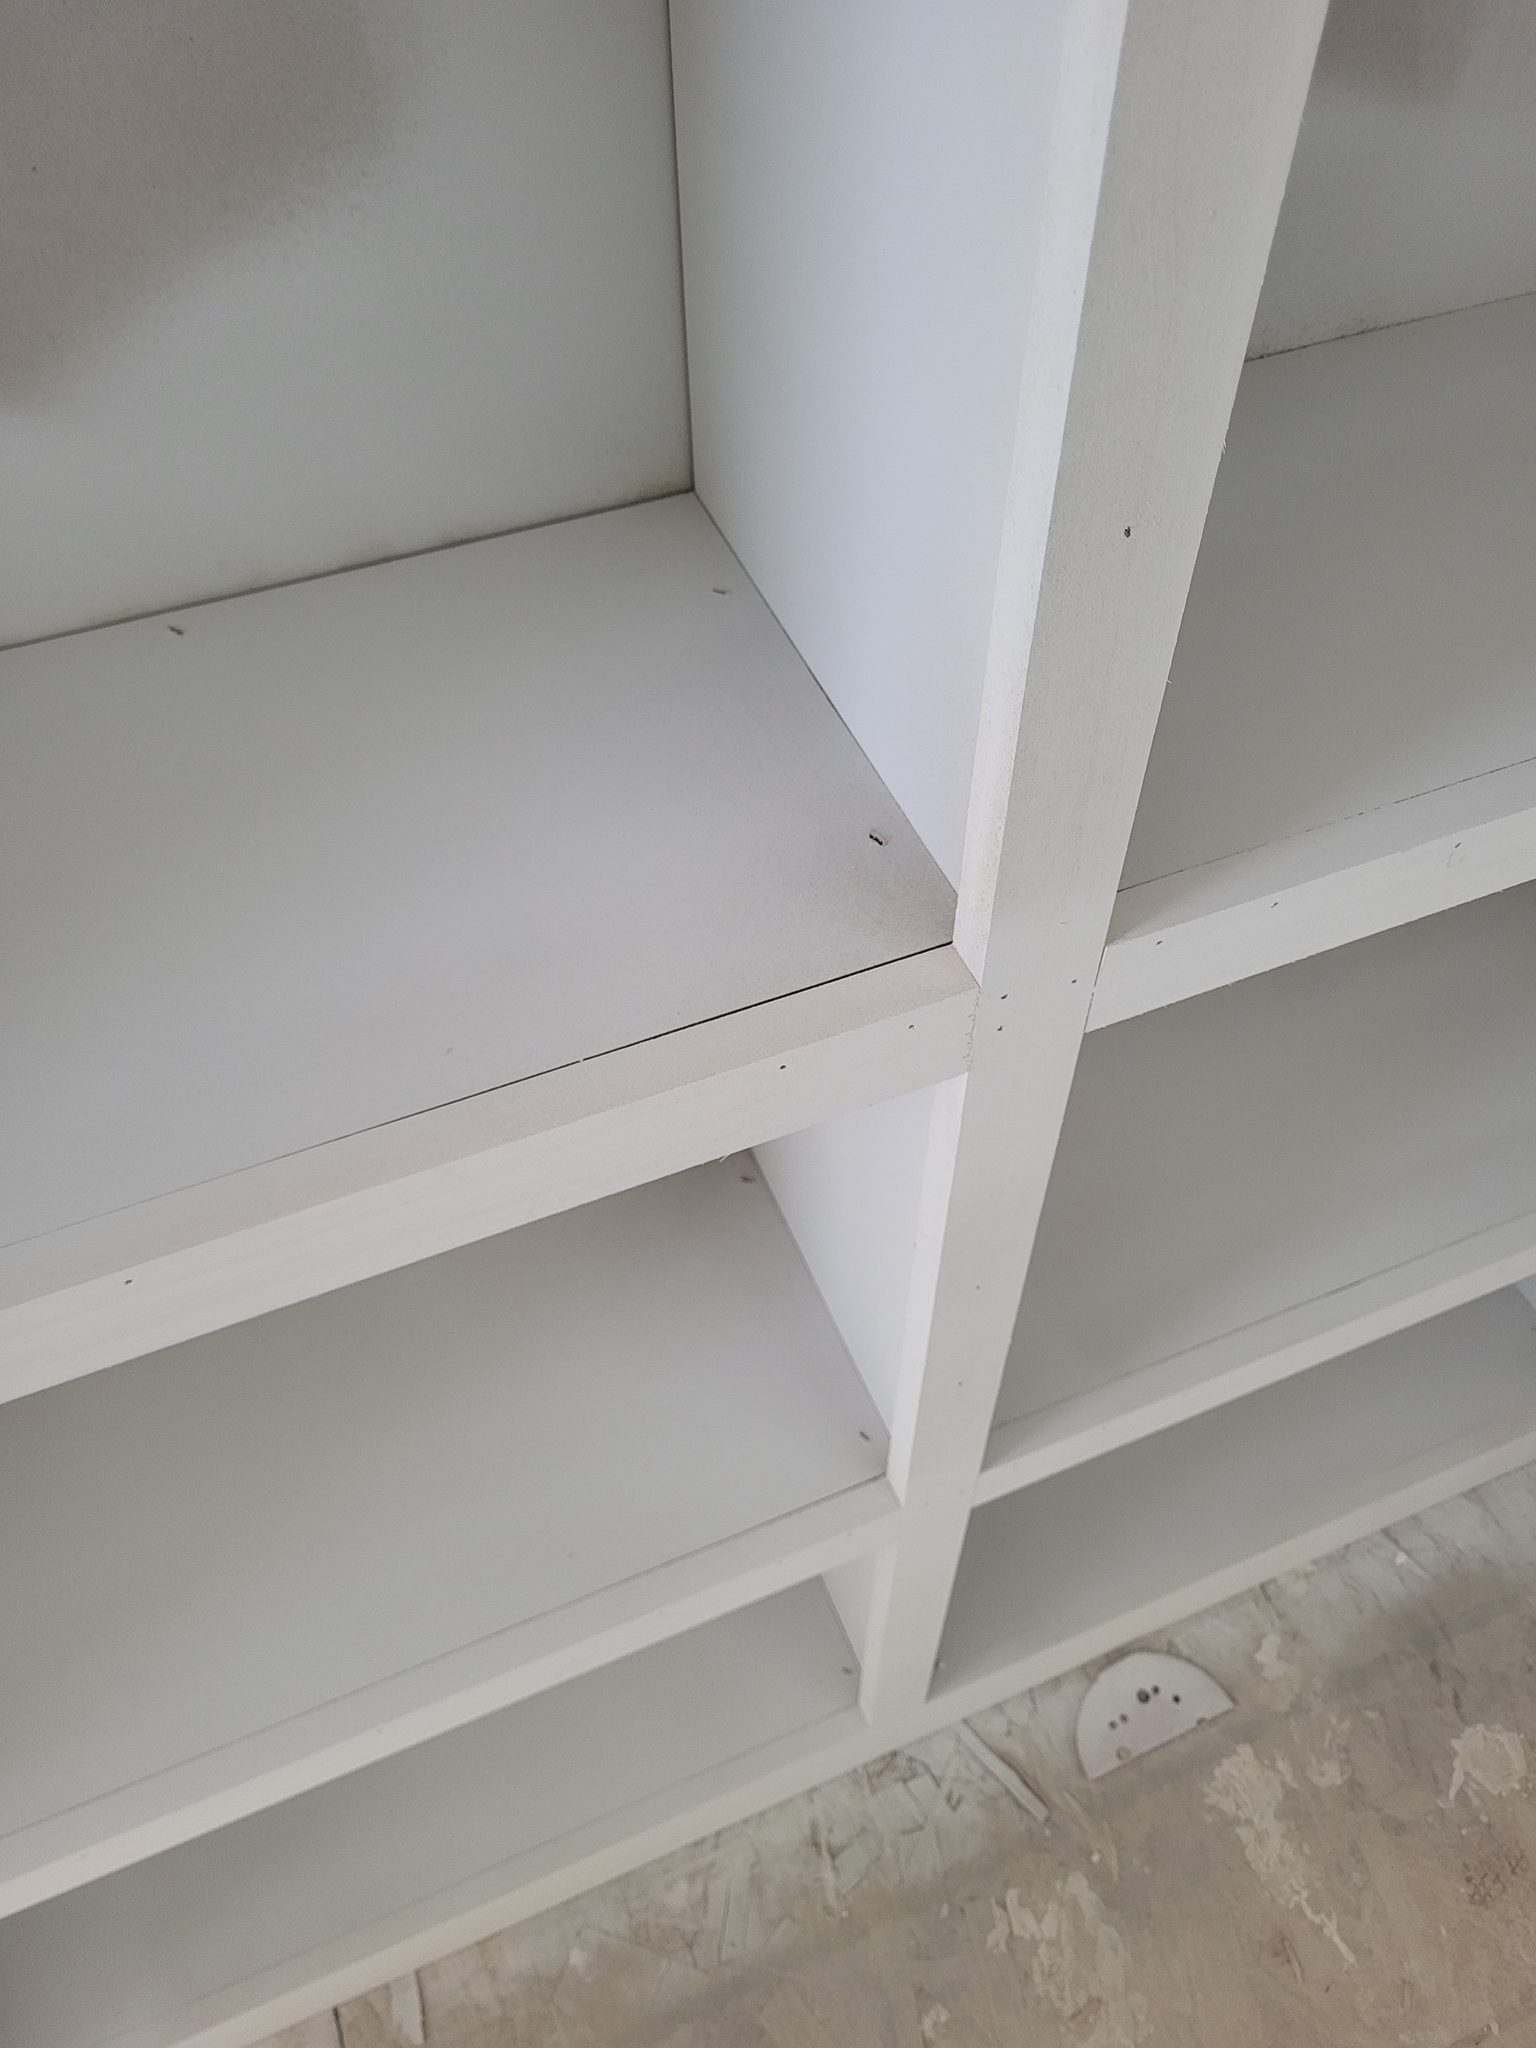
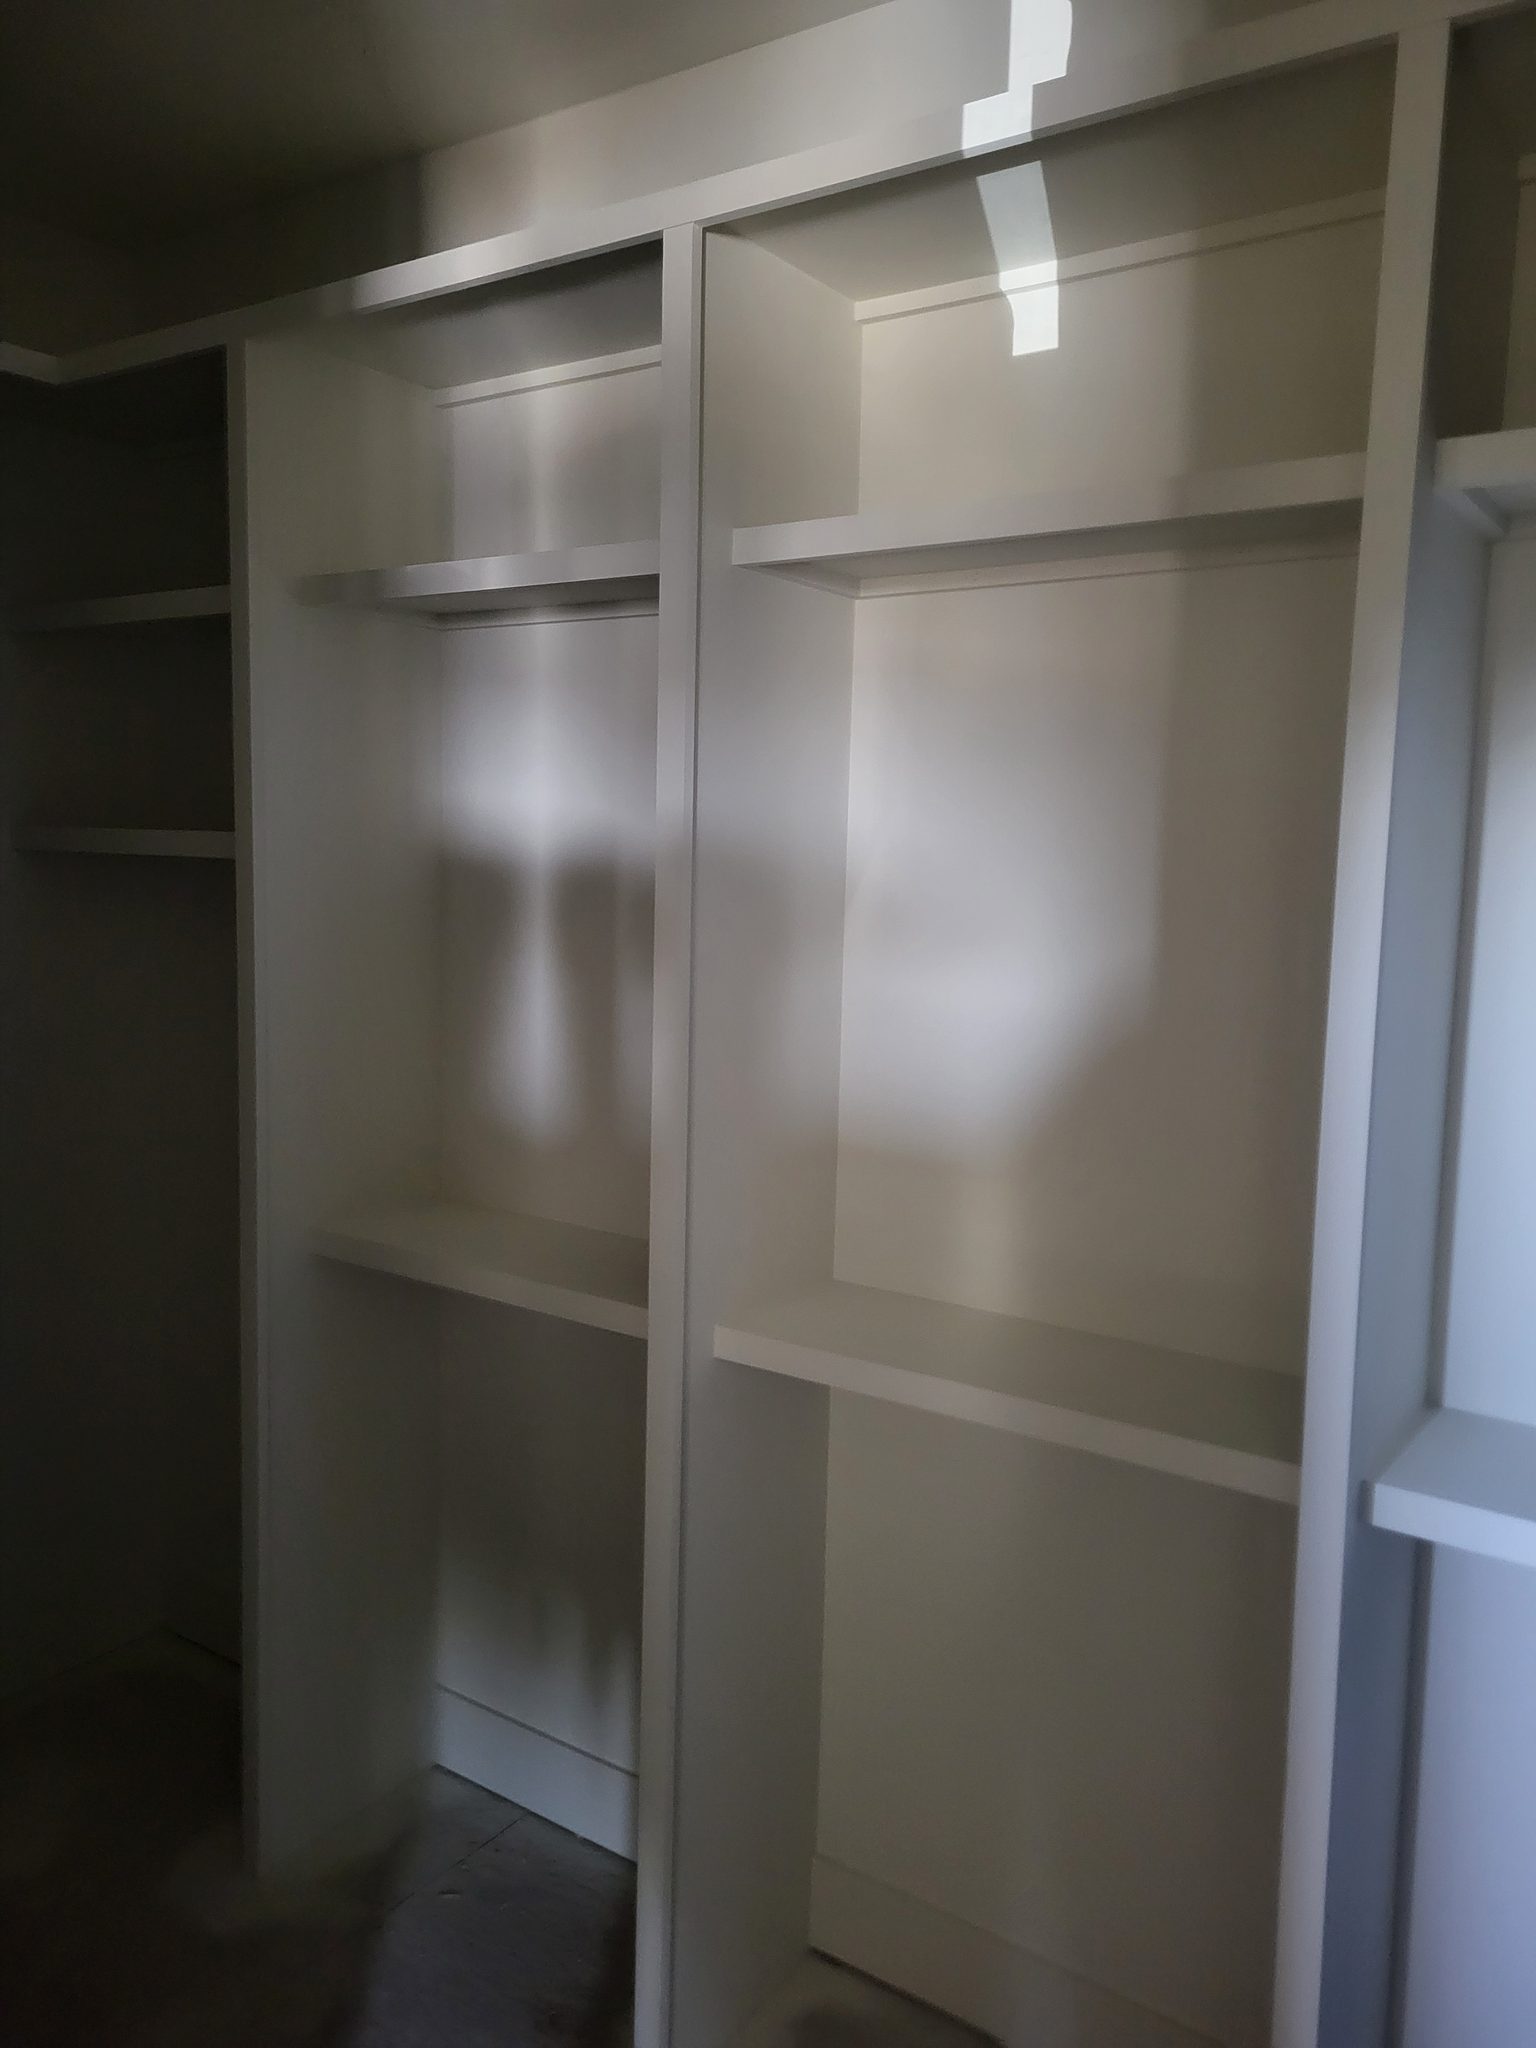
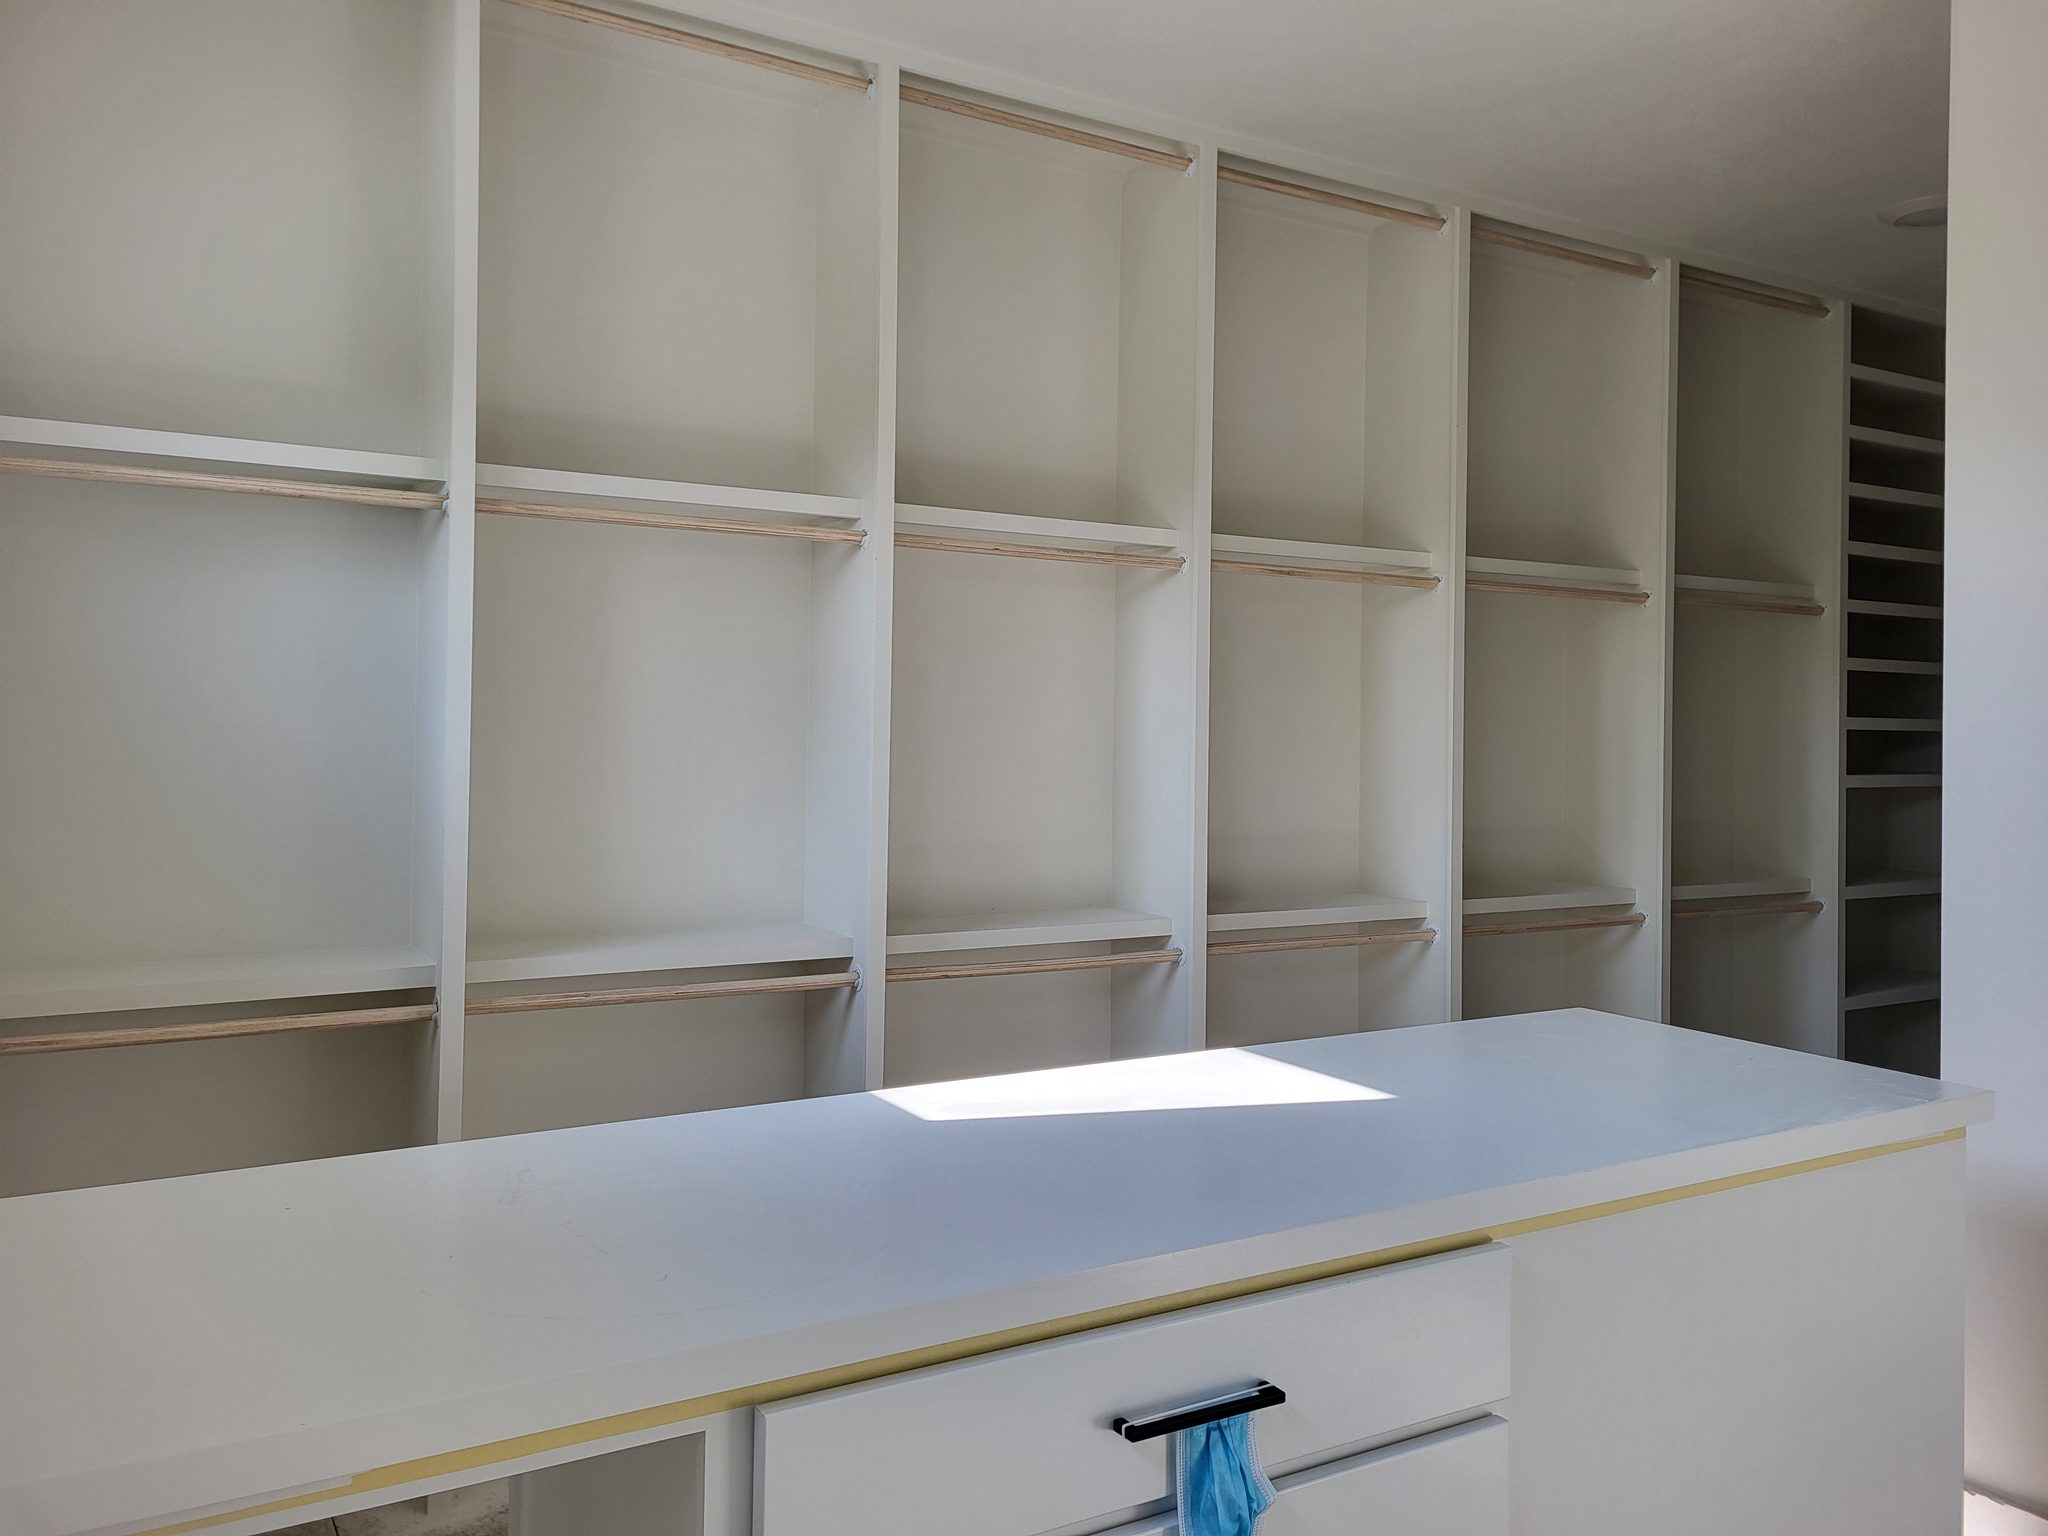
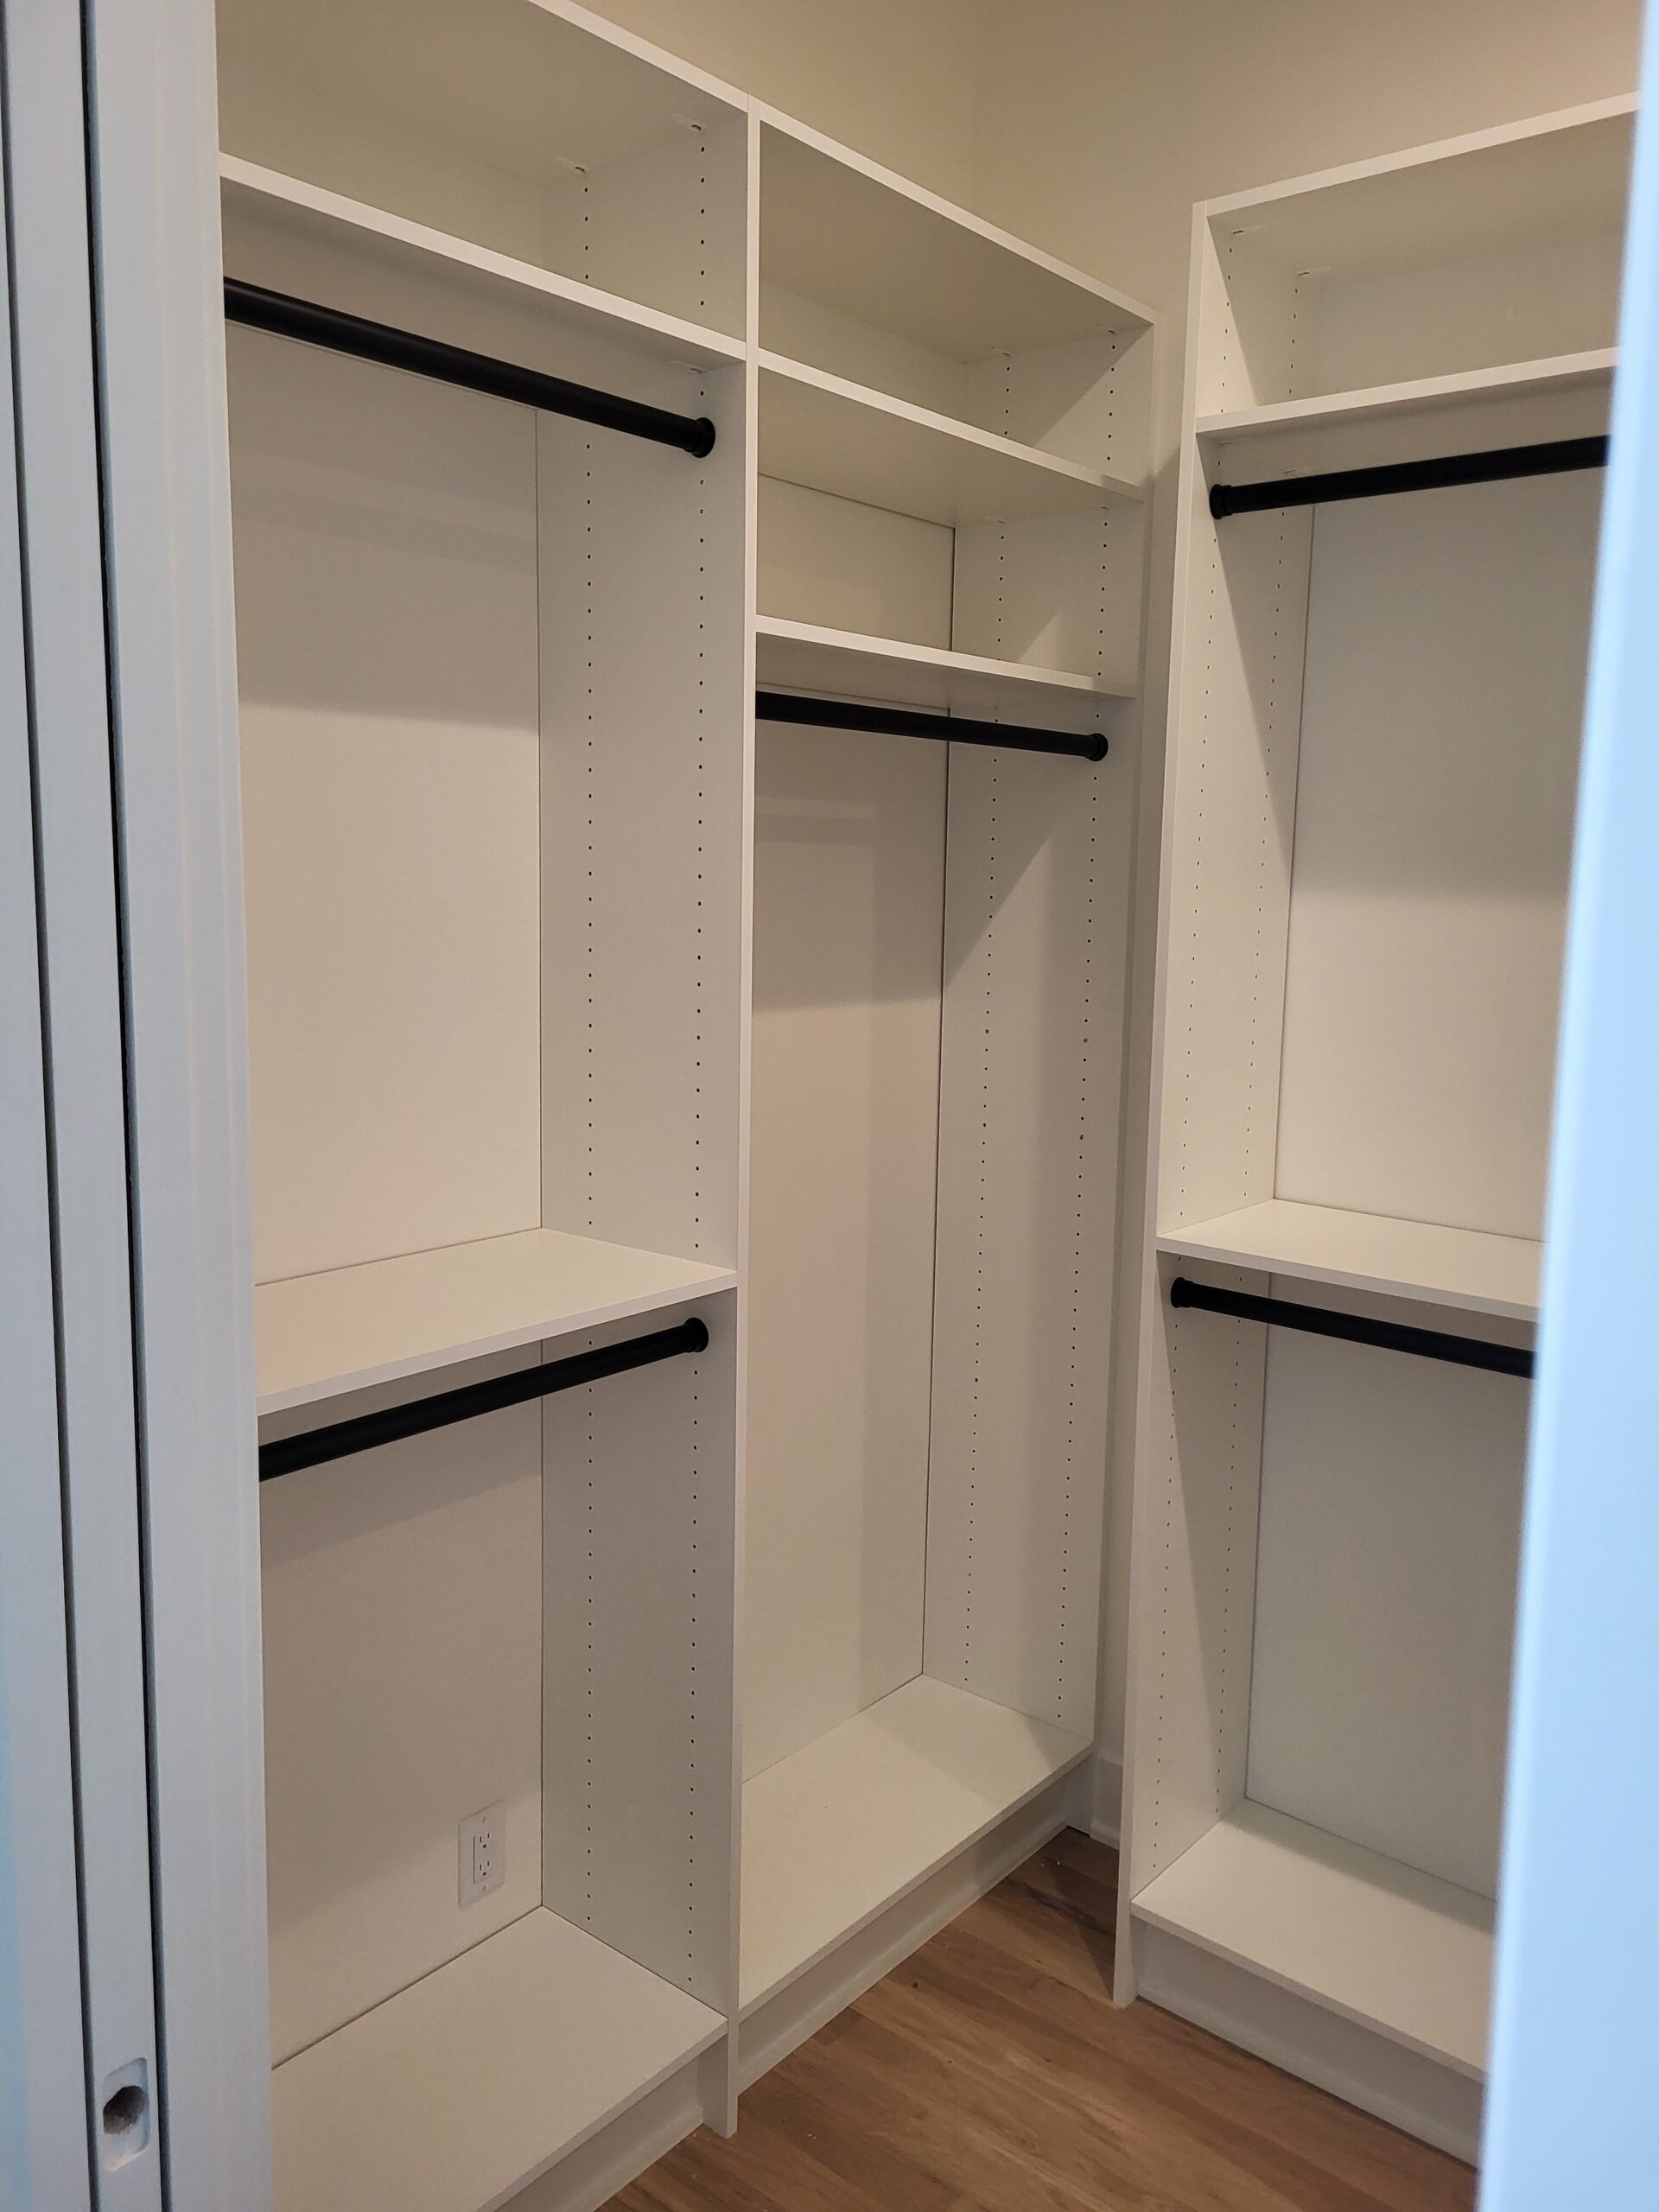
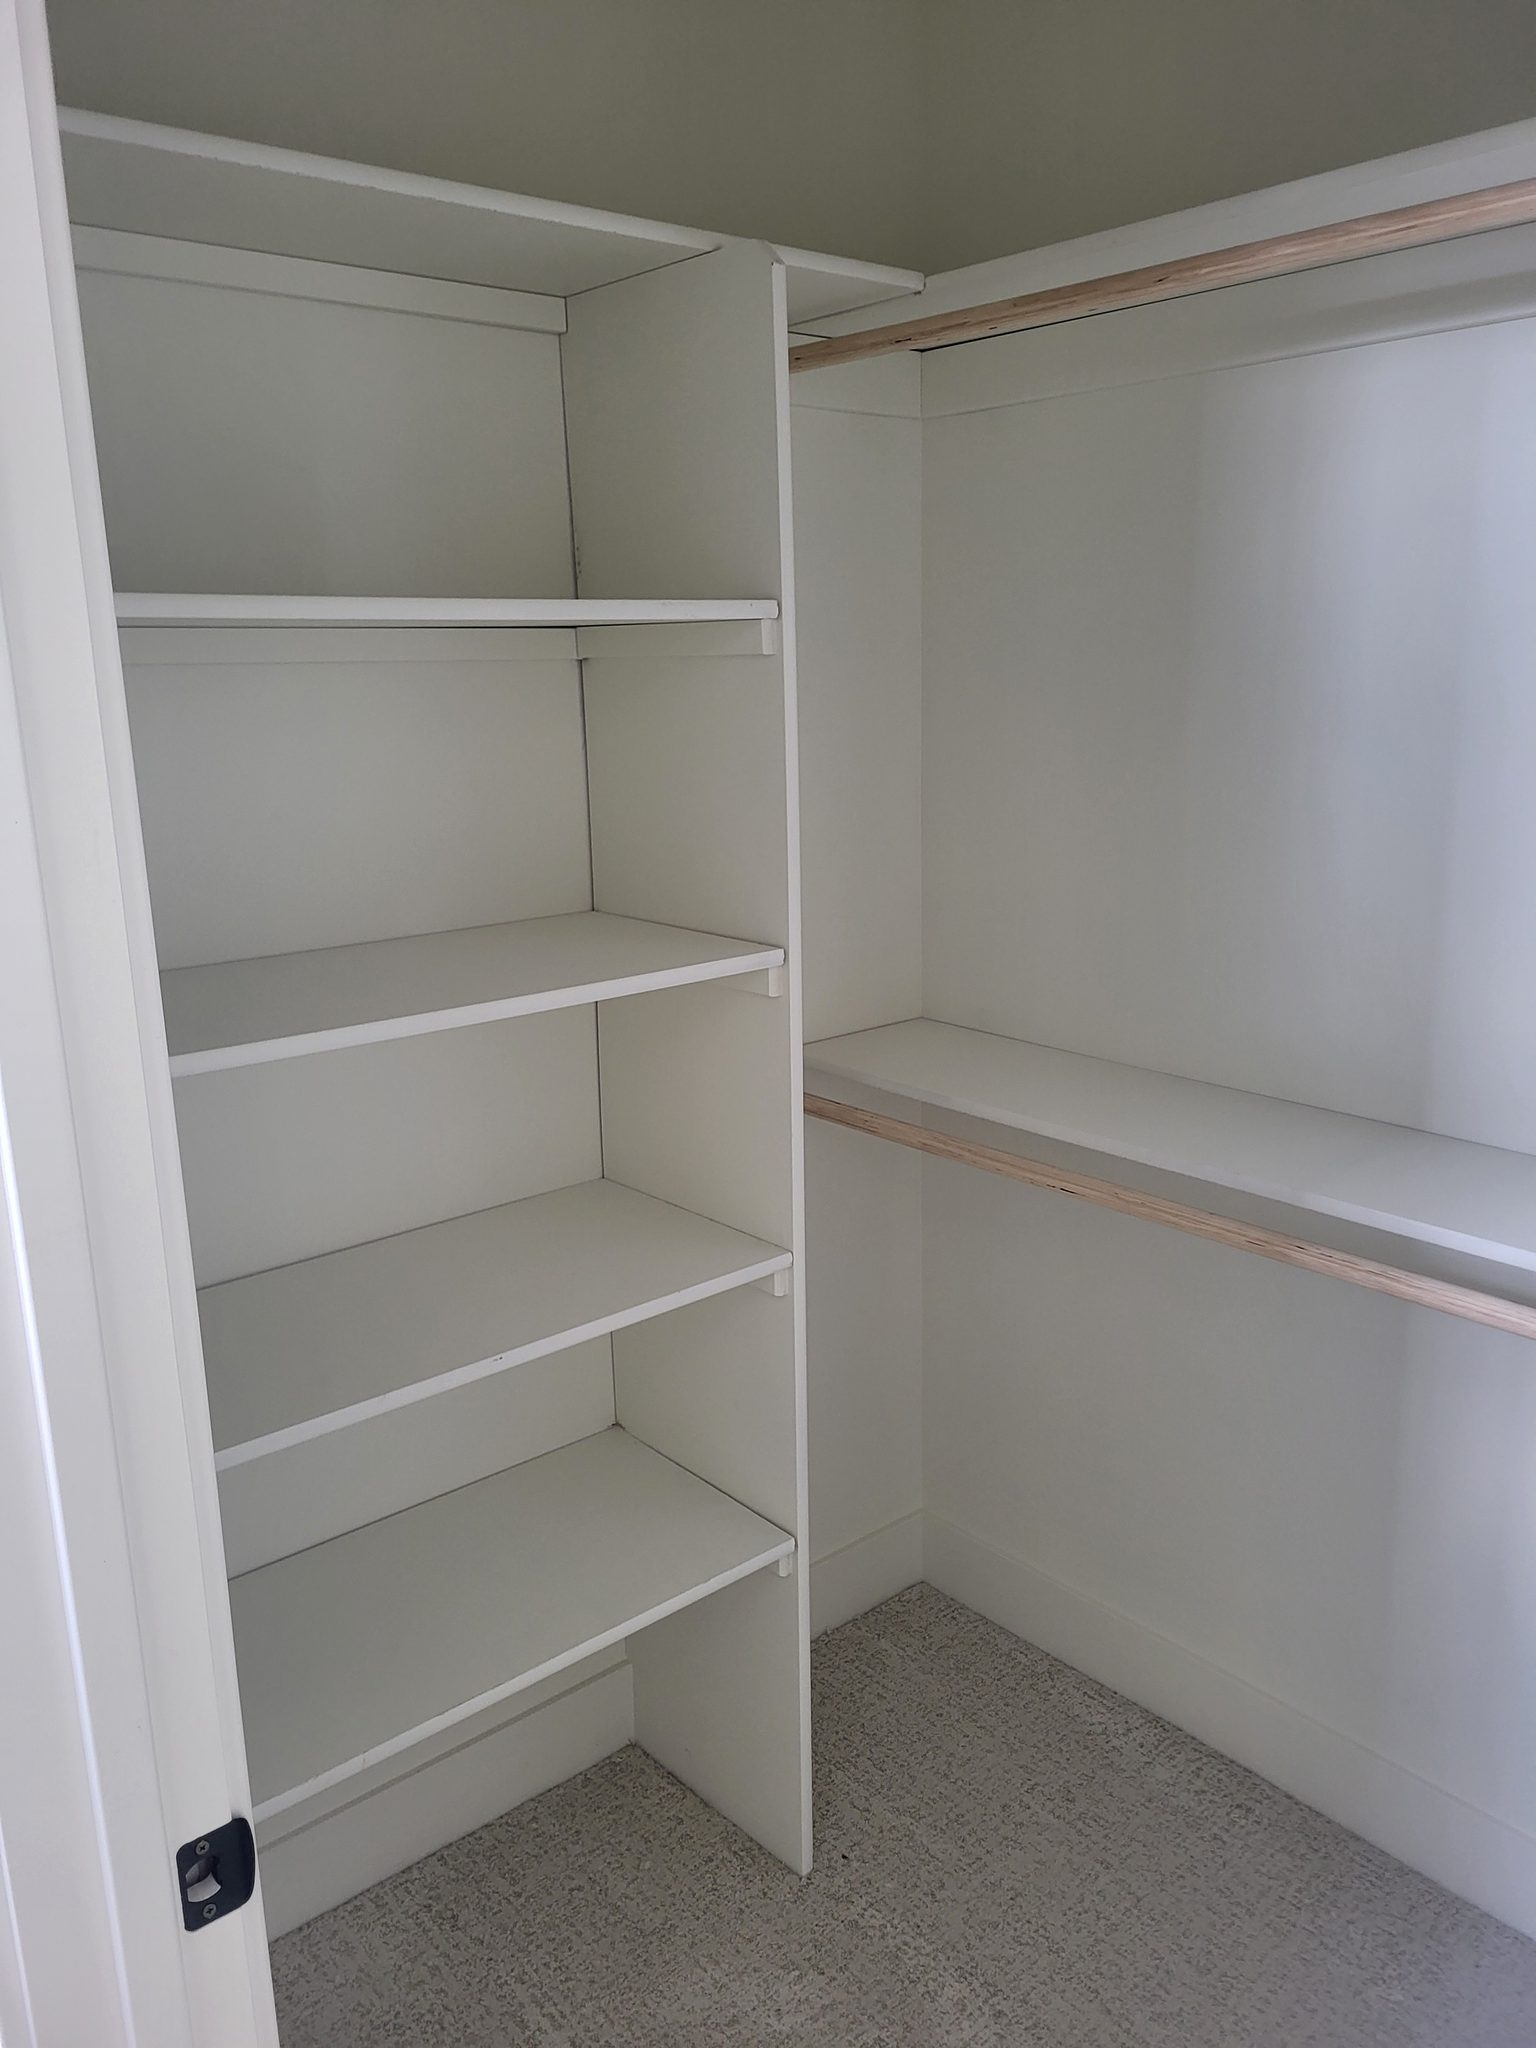
Finished face-frame closet shelving with painted white frame, multiple shelves, hanging rods, and vertical dividers installed.
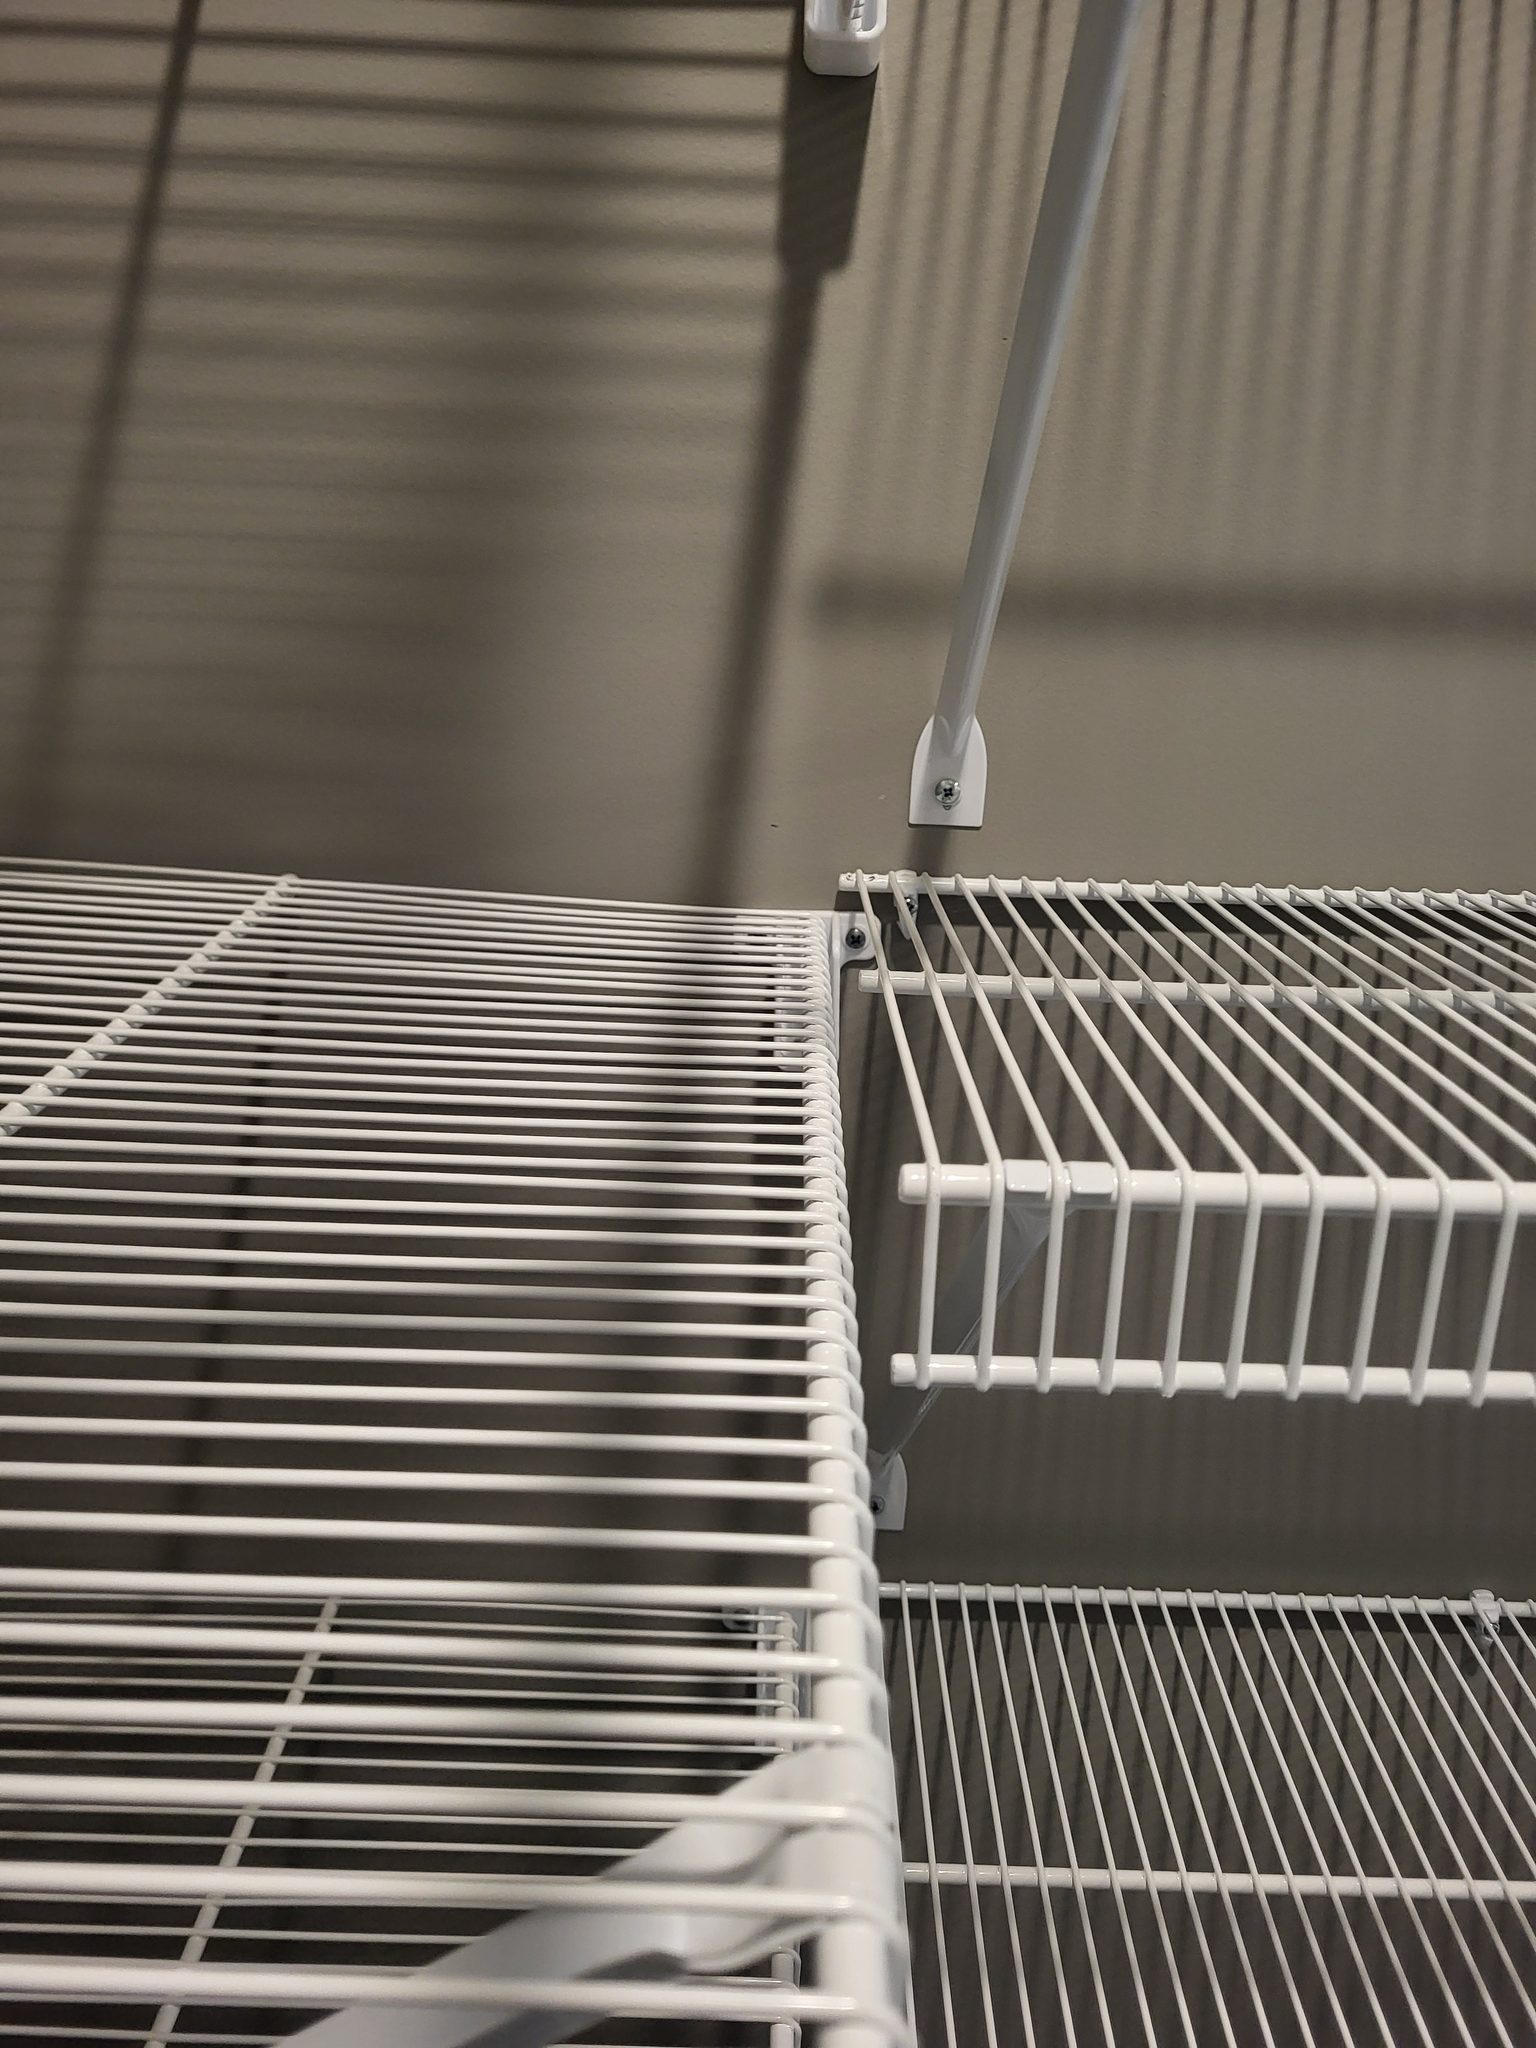
Wire shelves installed in closet with vinyl-coated metal grid and support brackets.
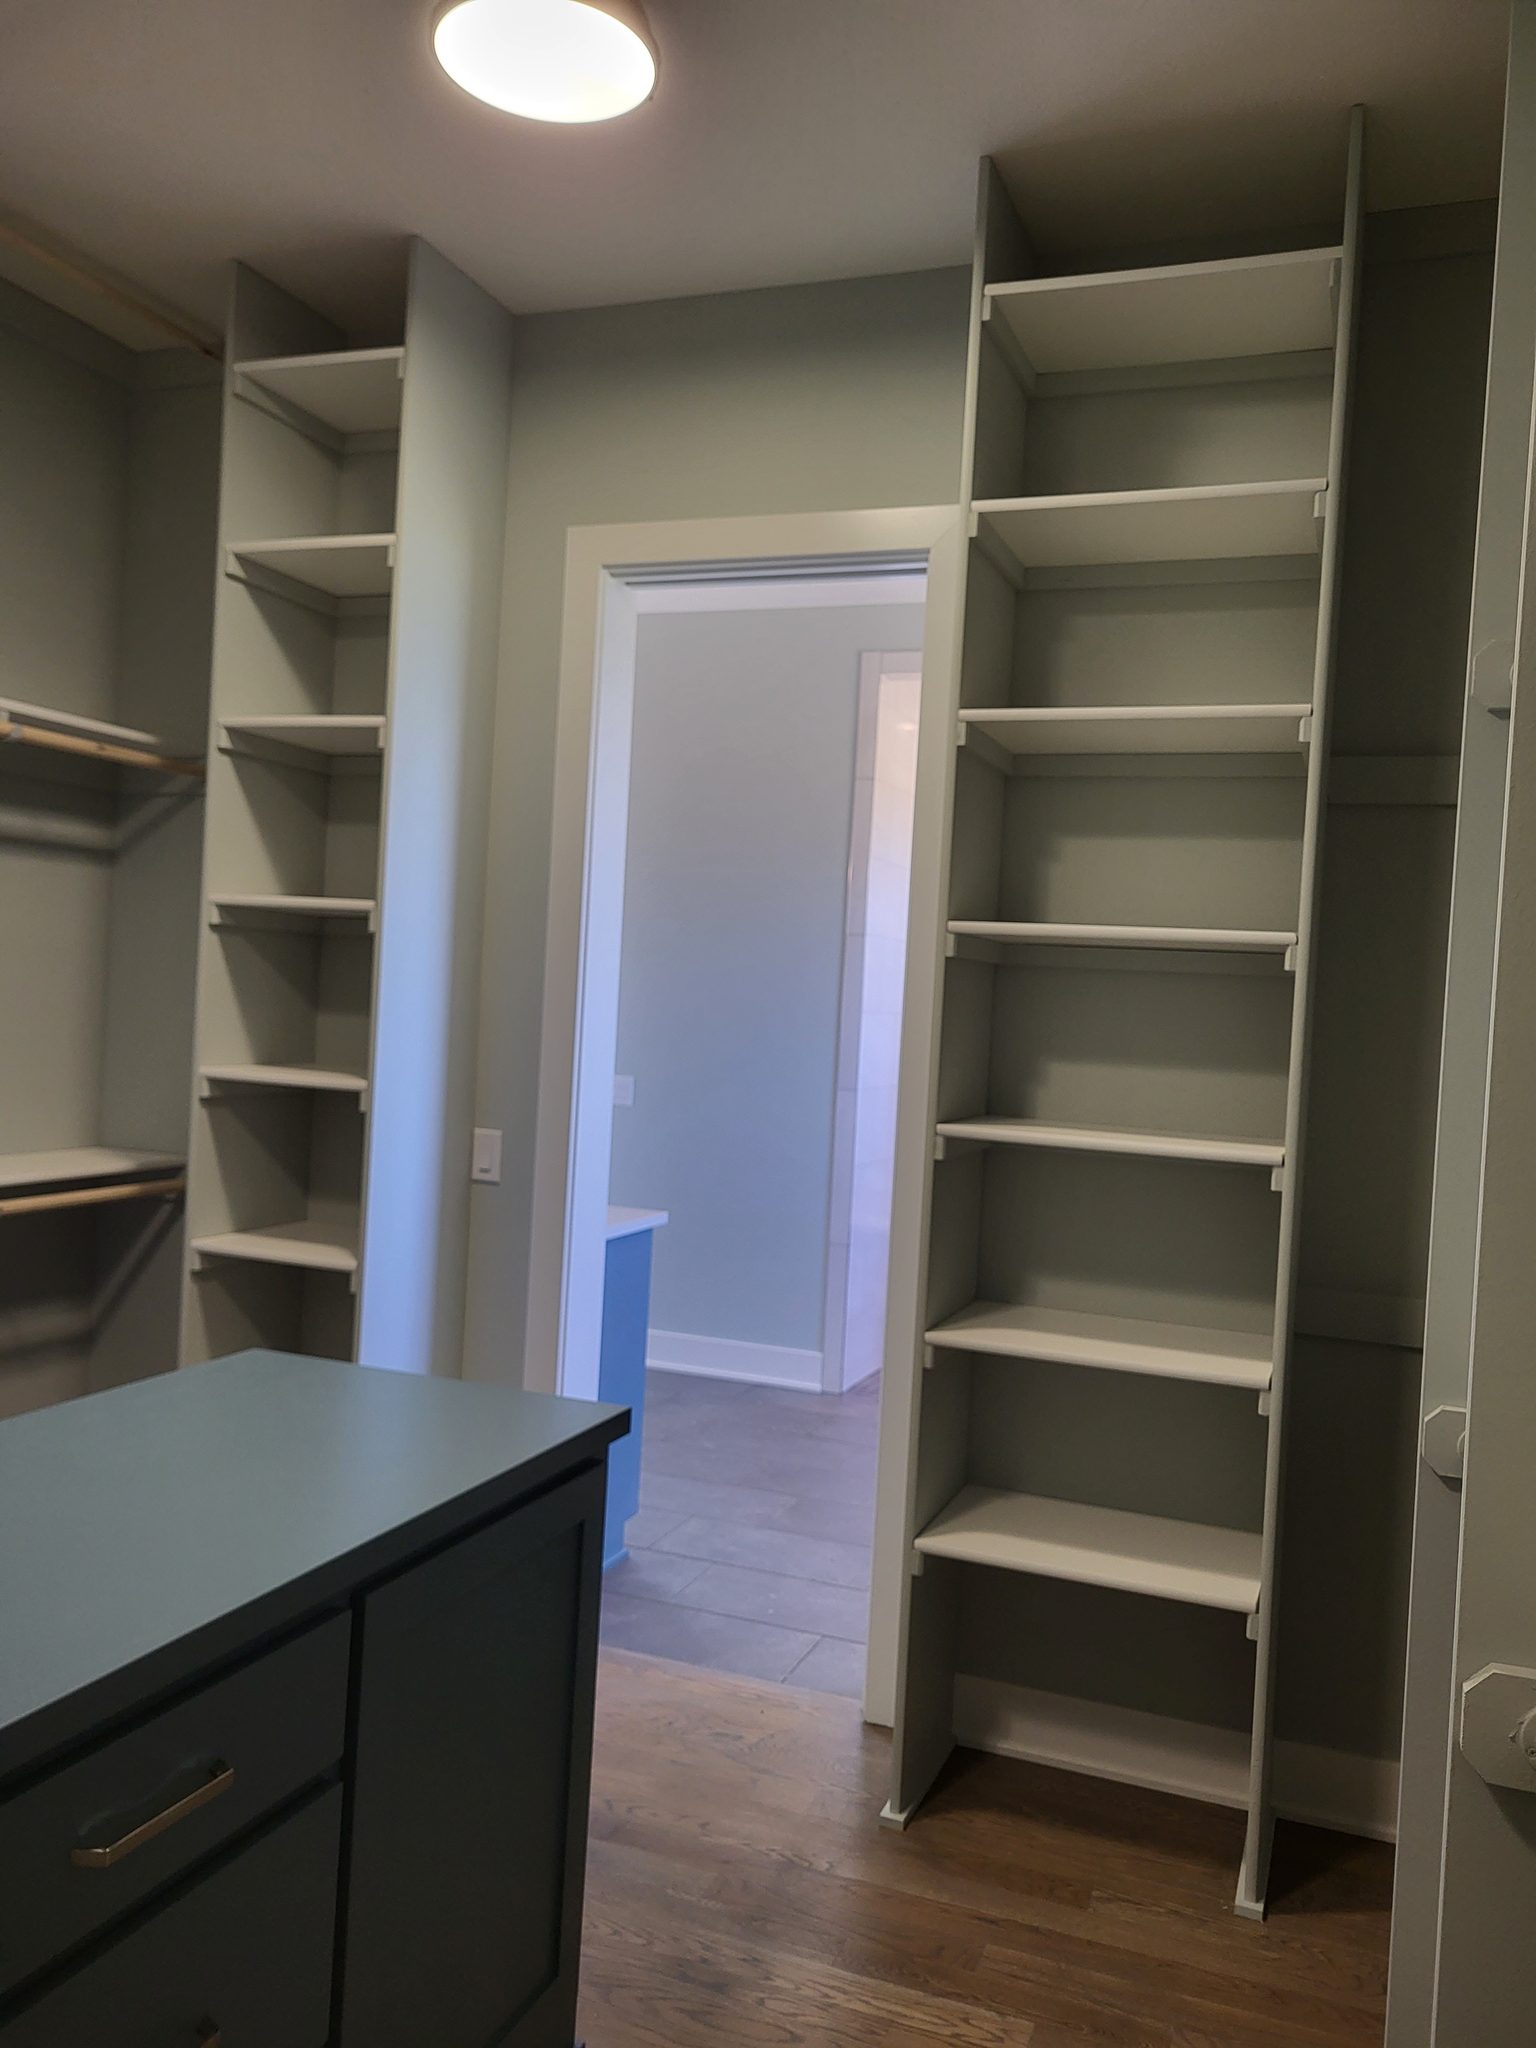
Painted face-frame closet shelving with multiple tiers and support brackets installed in walk-in closet.
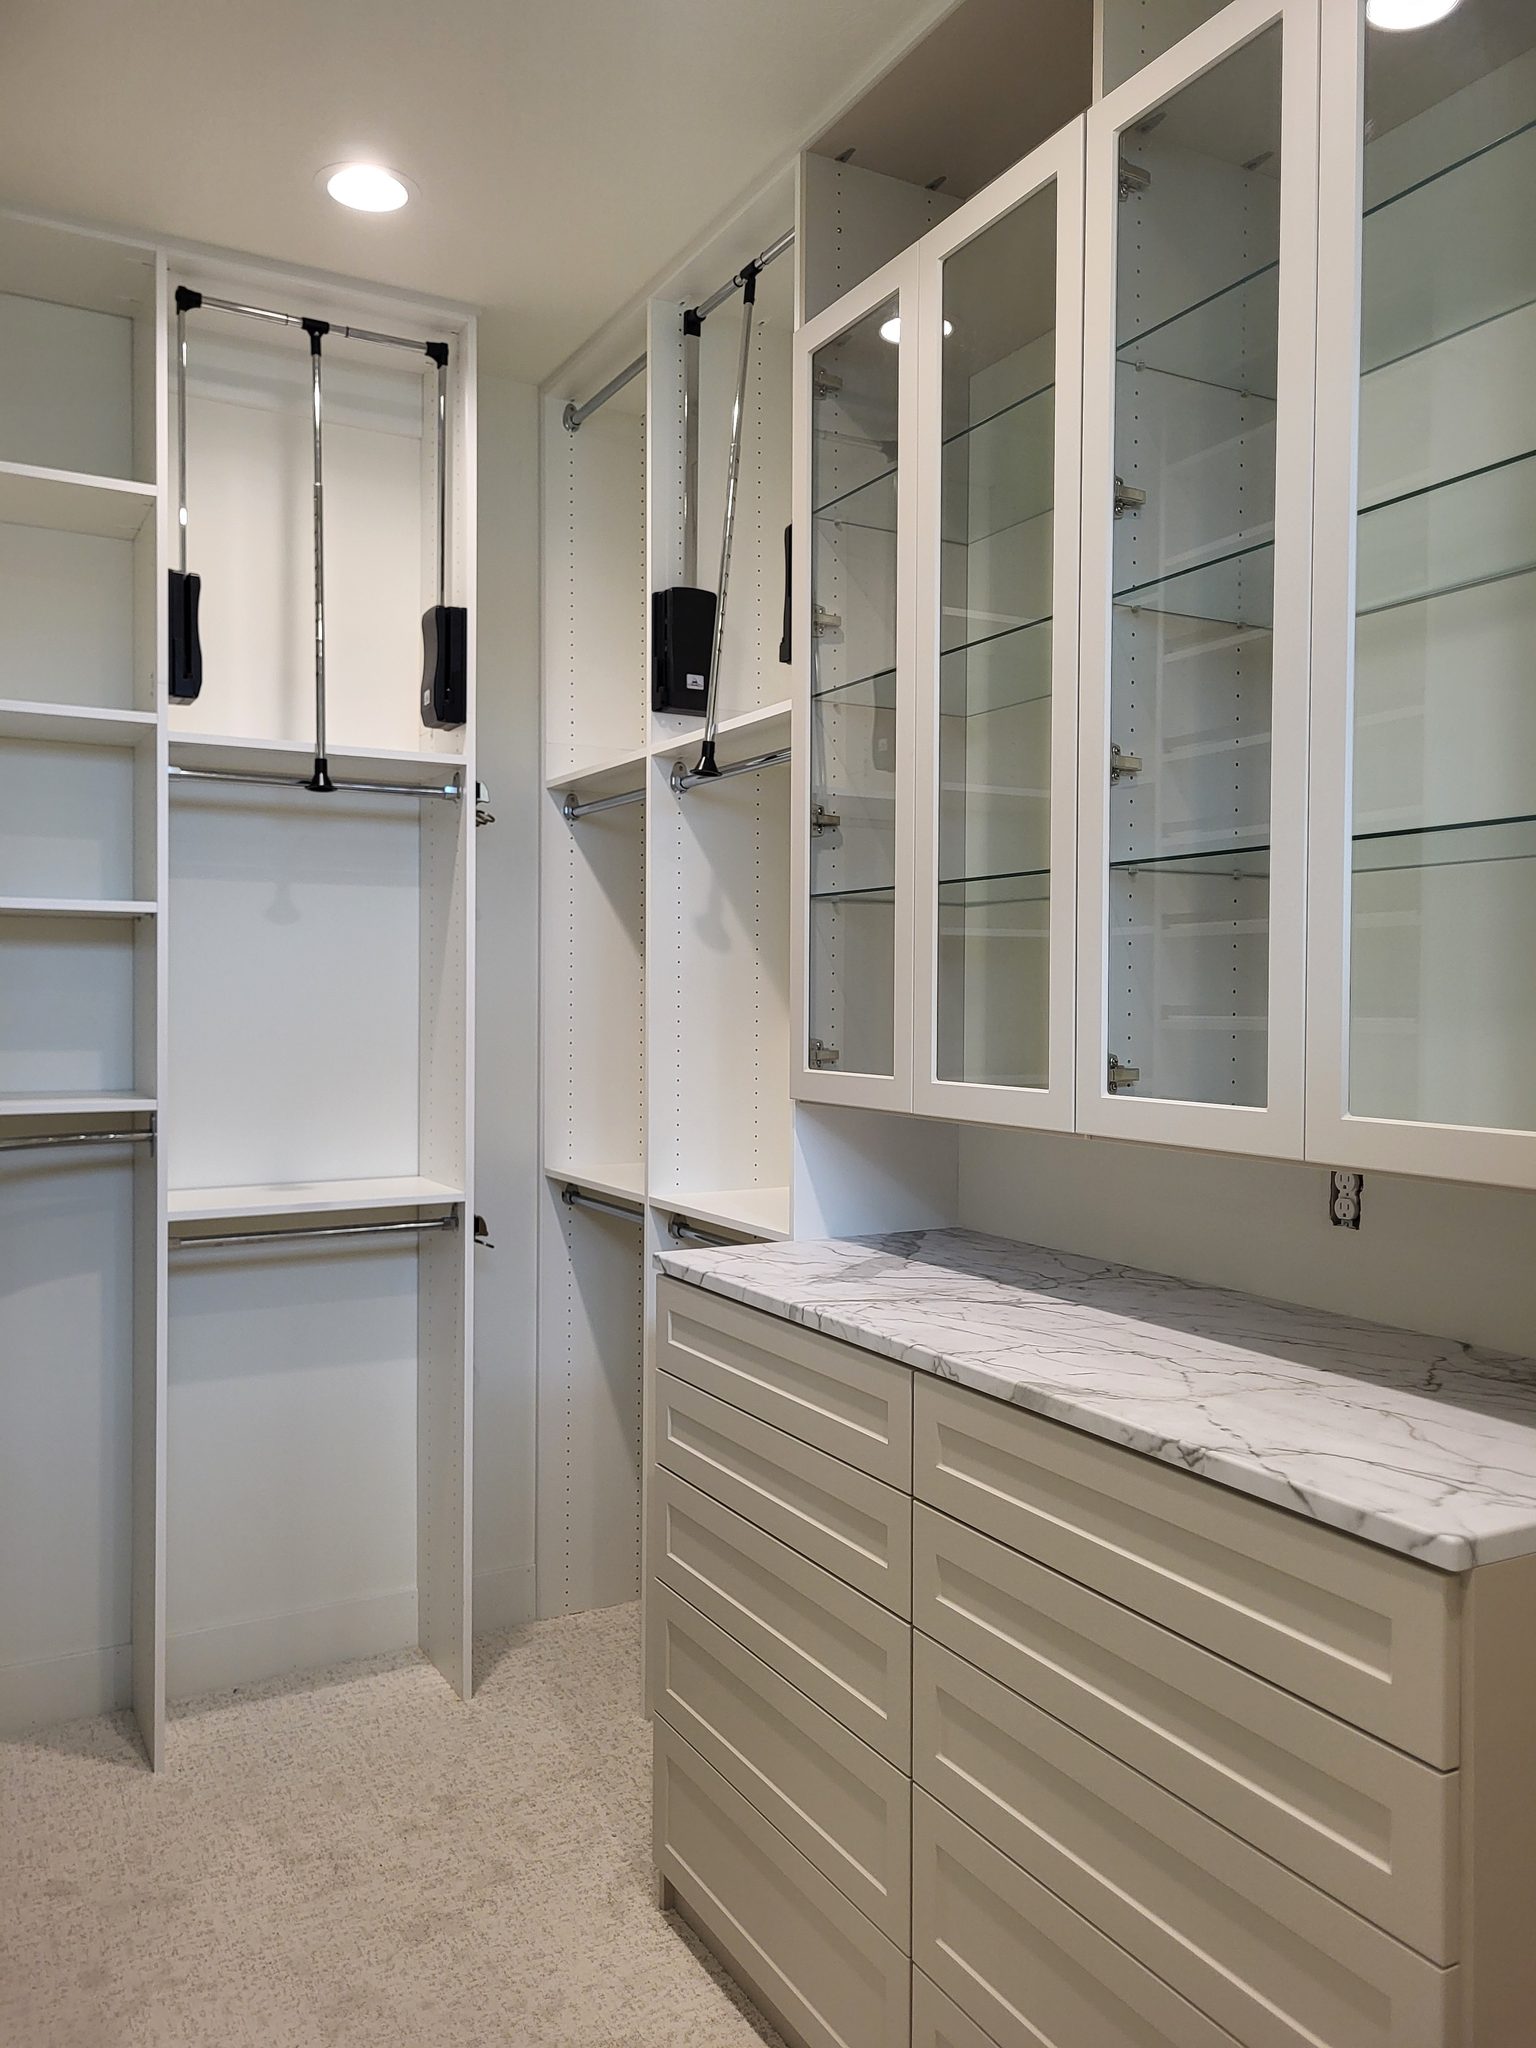
Luxury walk-in closet with custom cabinetry, glass-front shelving, and integrated lighting—finished and styled.
Custom built-in closet shelving with multiple rods, open shelves, and cubbies for organized clothing storage.
Wire shelves with hanging rod installed in closet—typical apartment-style vinyl-coated metal grid shelving.
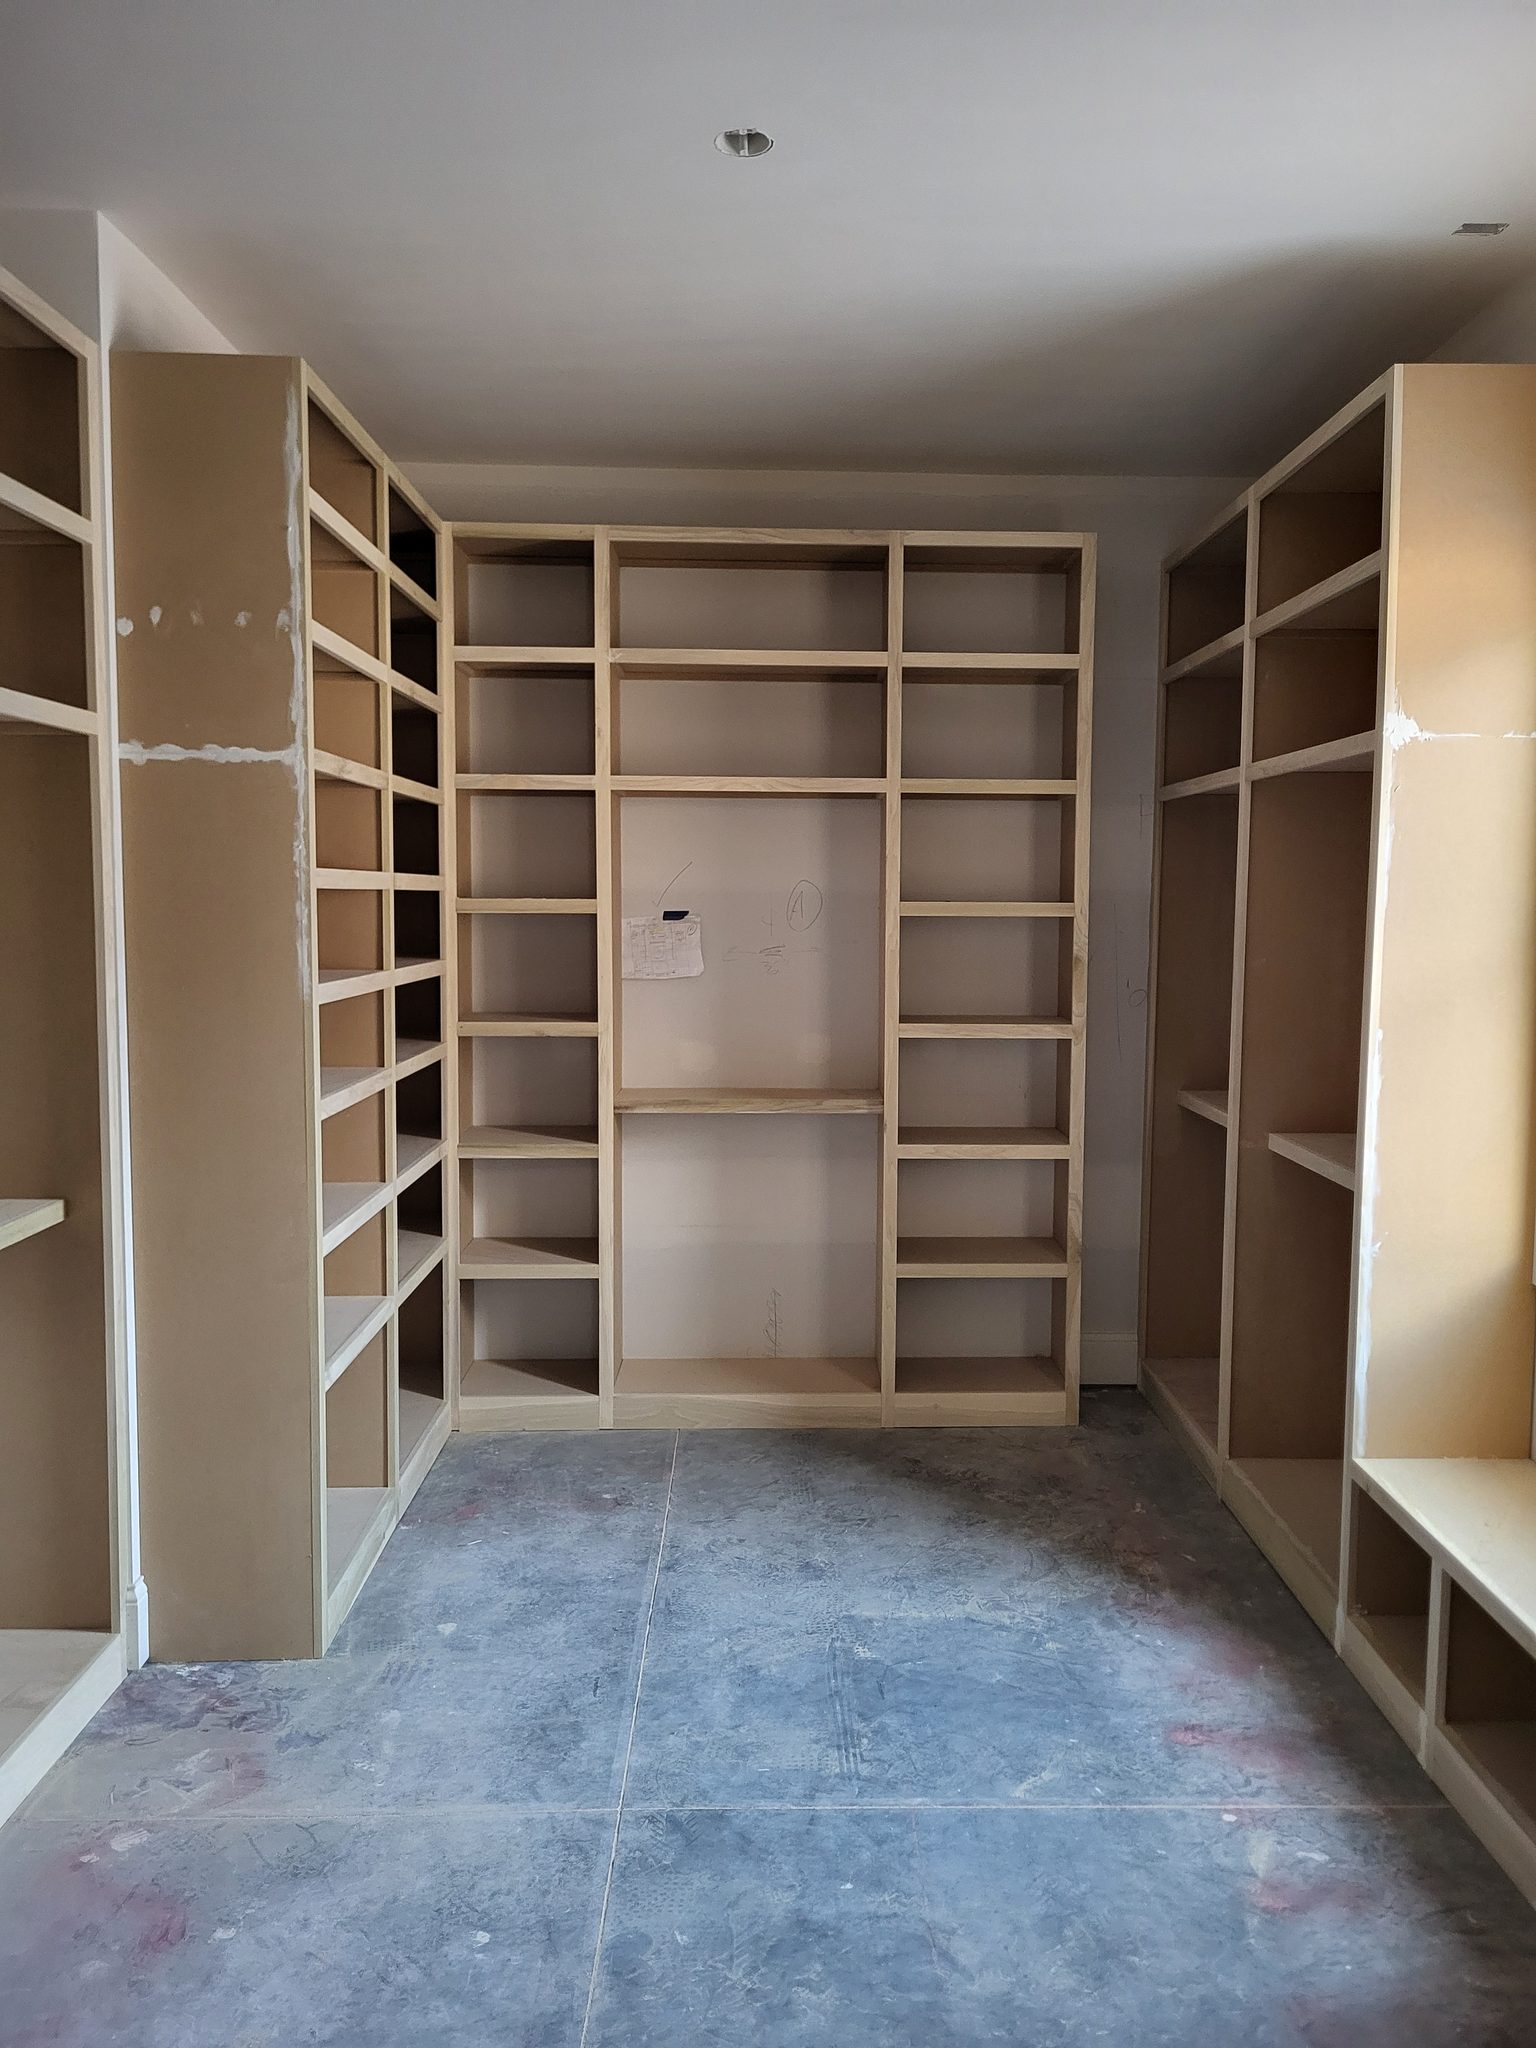
Face-frame closet shelving system with adjustable shelves, vertical dividers, and hanging rod spaces—primed and ready for paint.
White vinyl-coated wire shelves installed in closet with attached rods and support brackets.
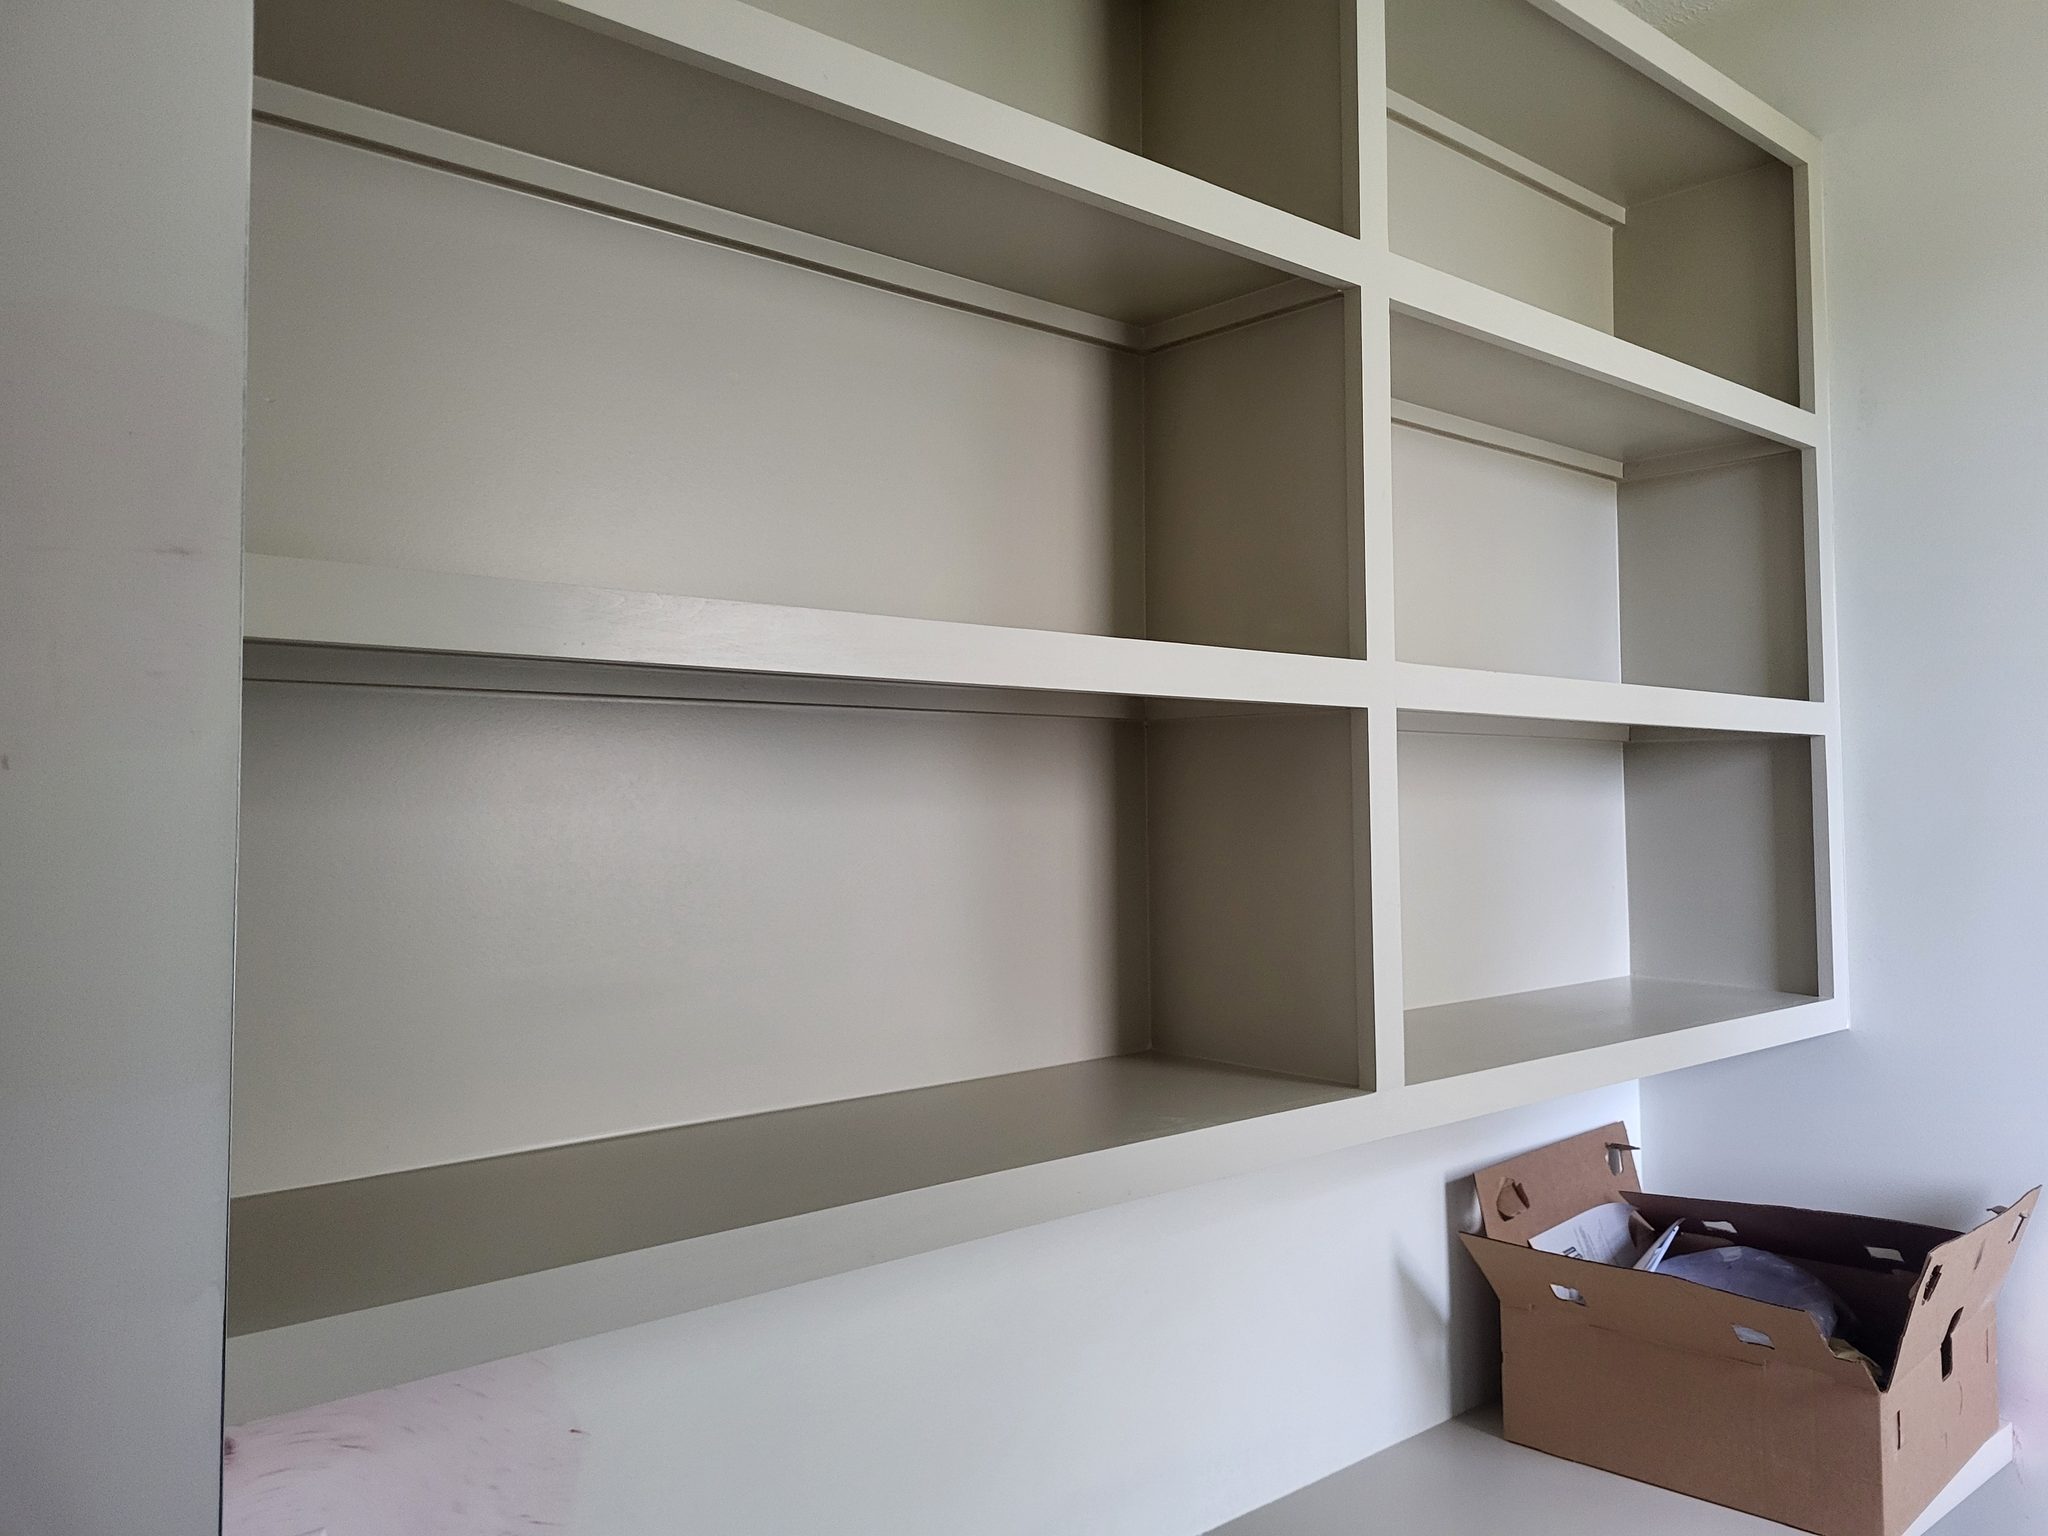
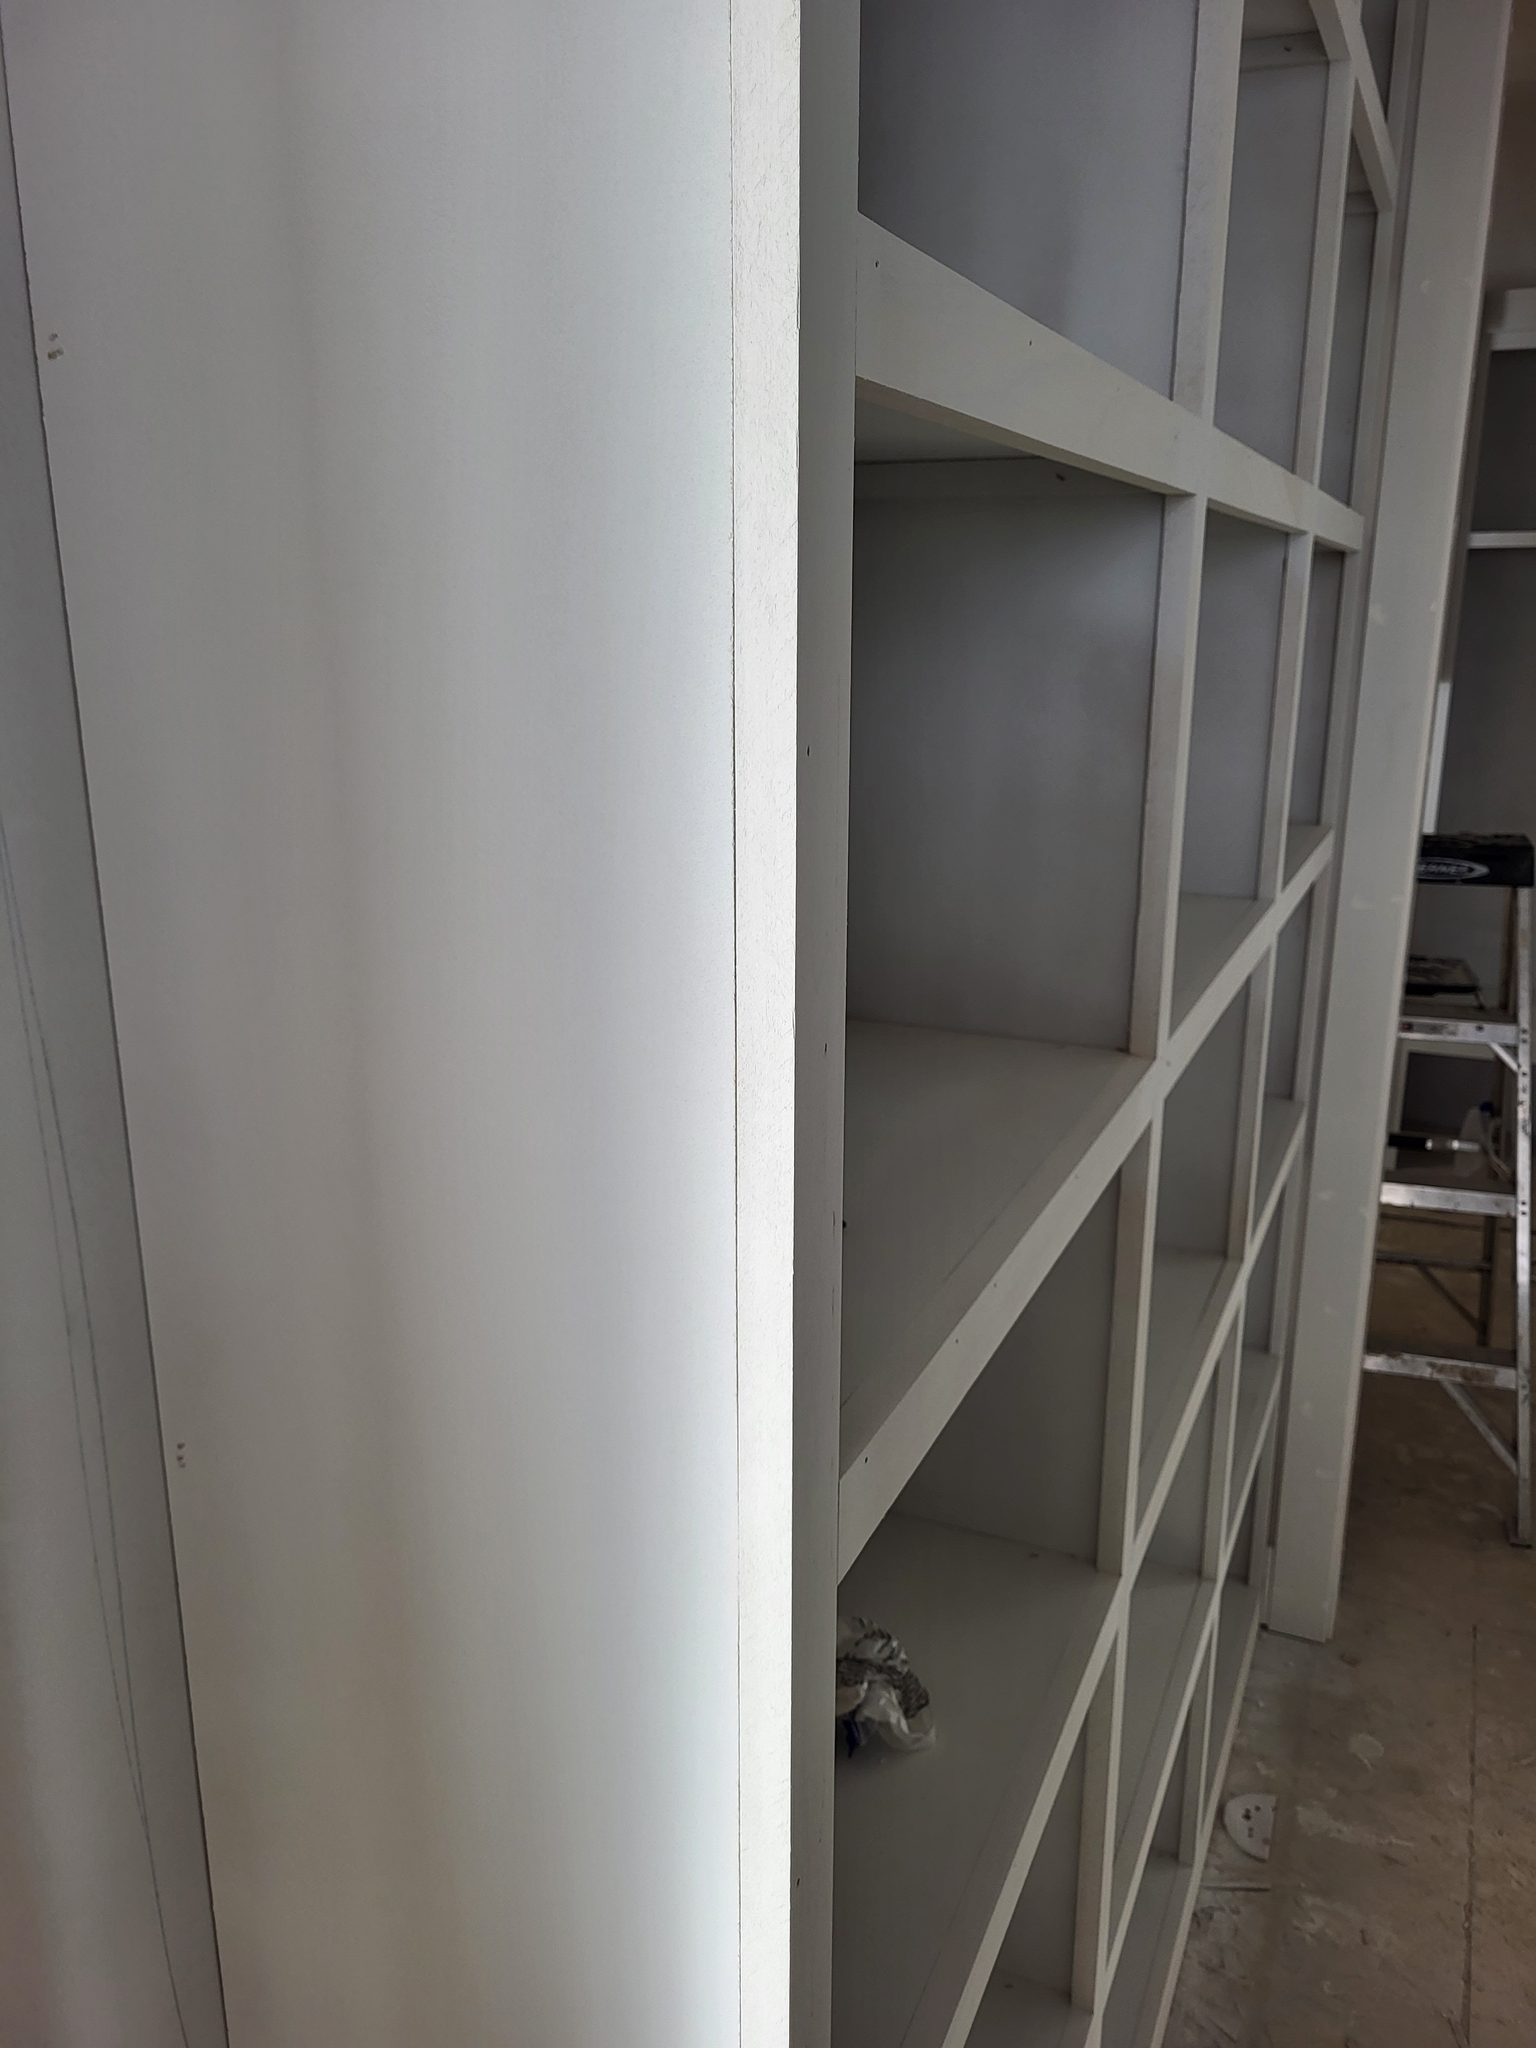
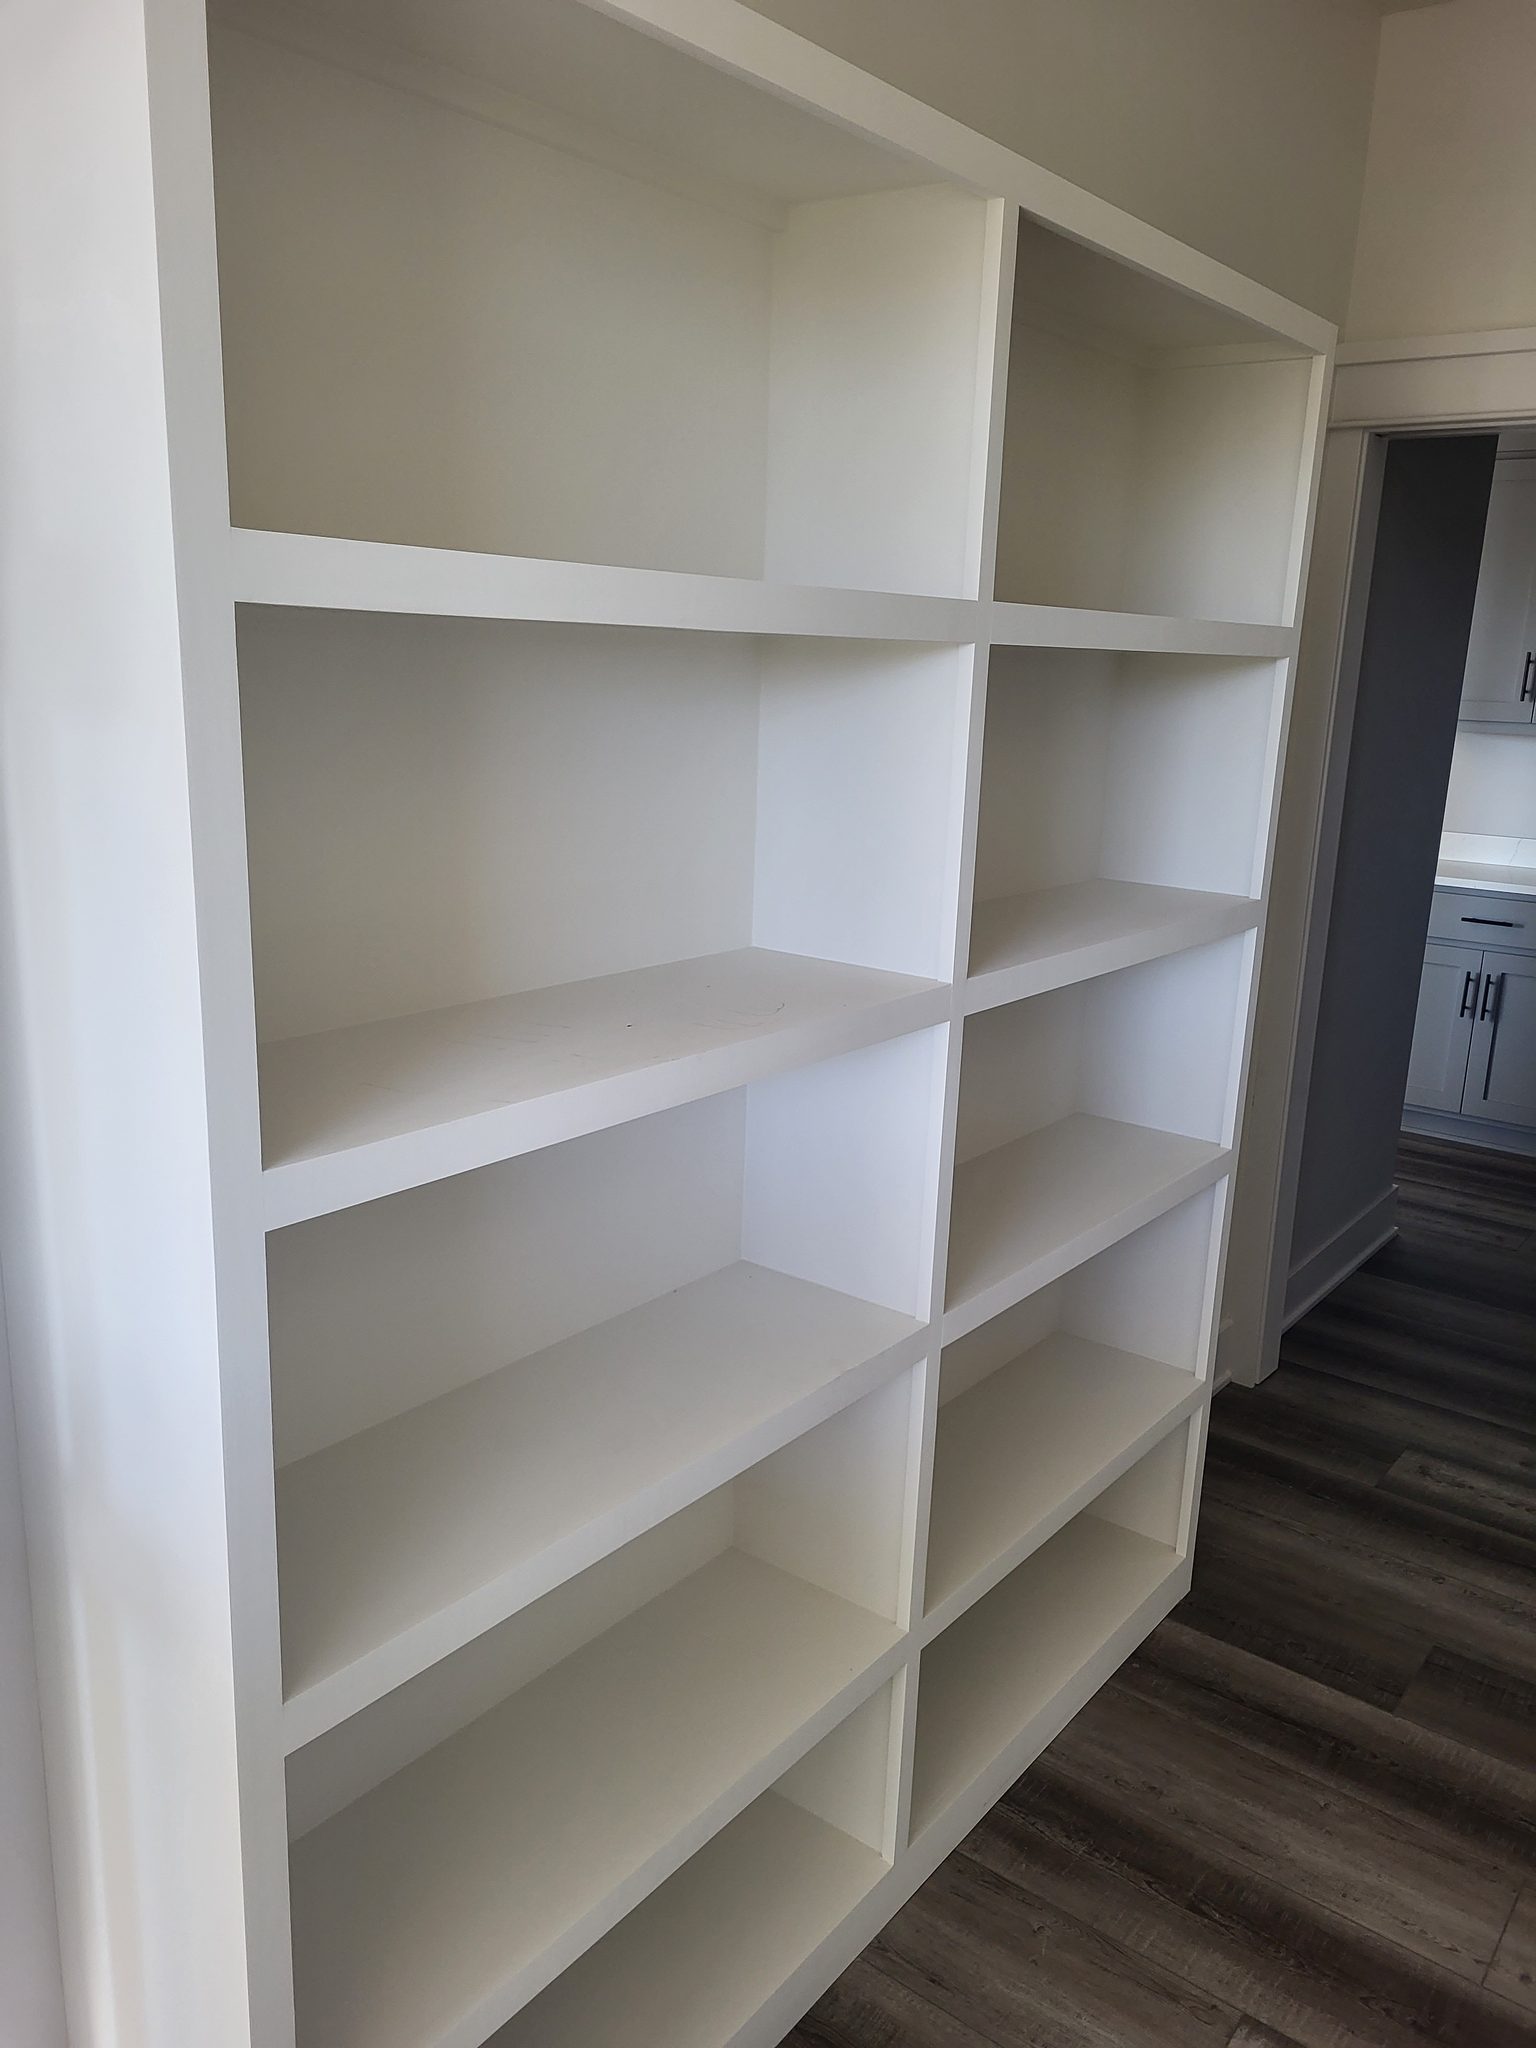
Custom built-in bookcase with face-frame shelving, painted white, ready for use.
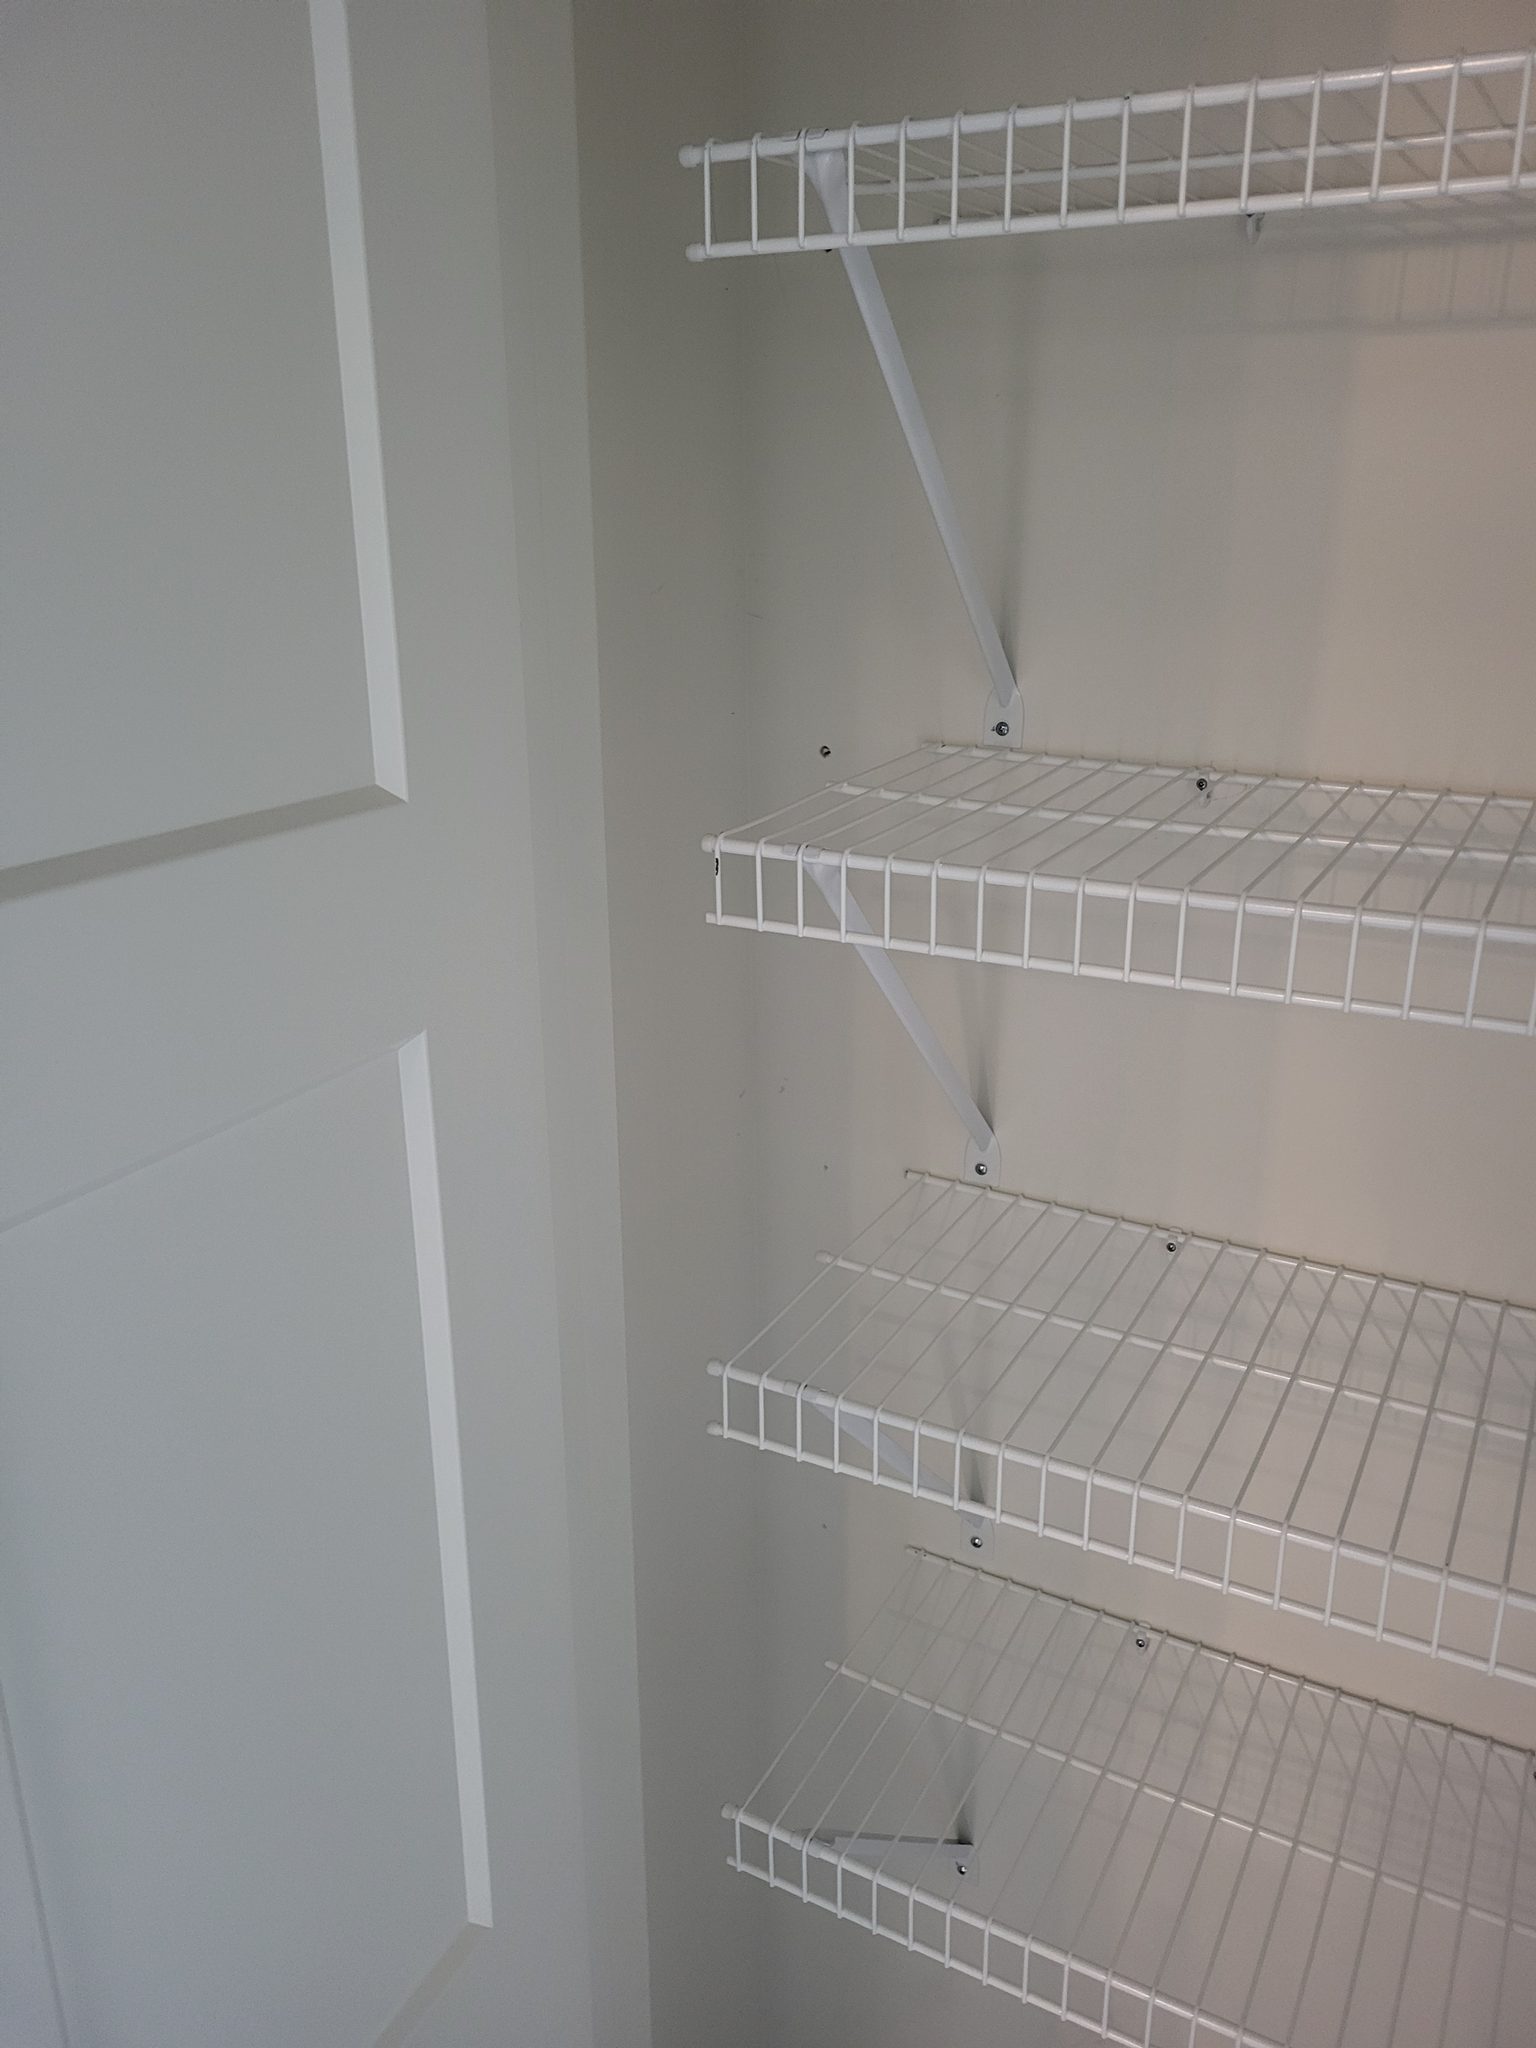
Wire shelving installed in closet with four levels and metal support brackets.
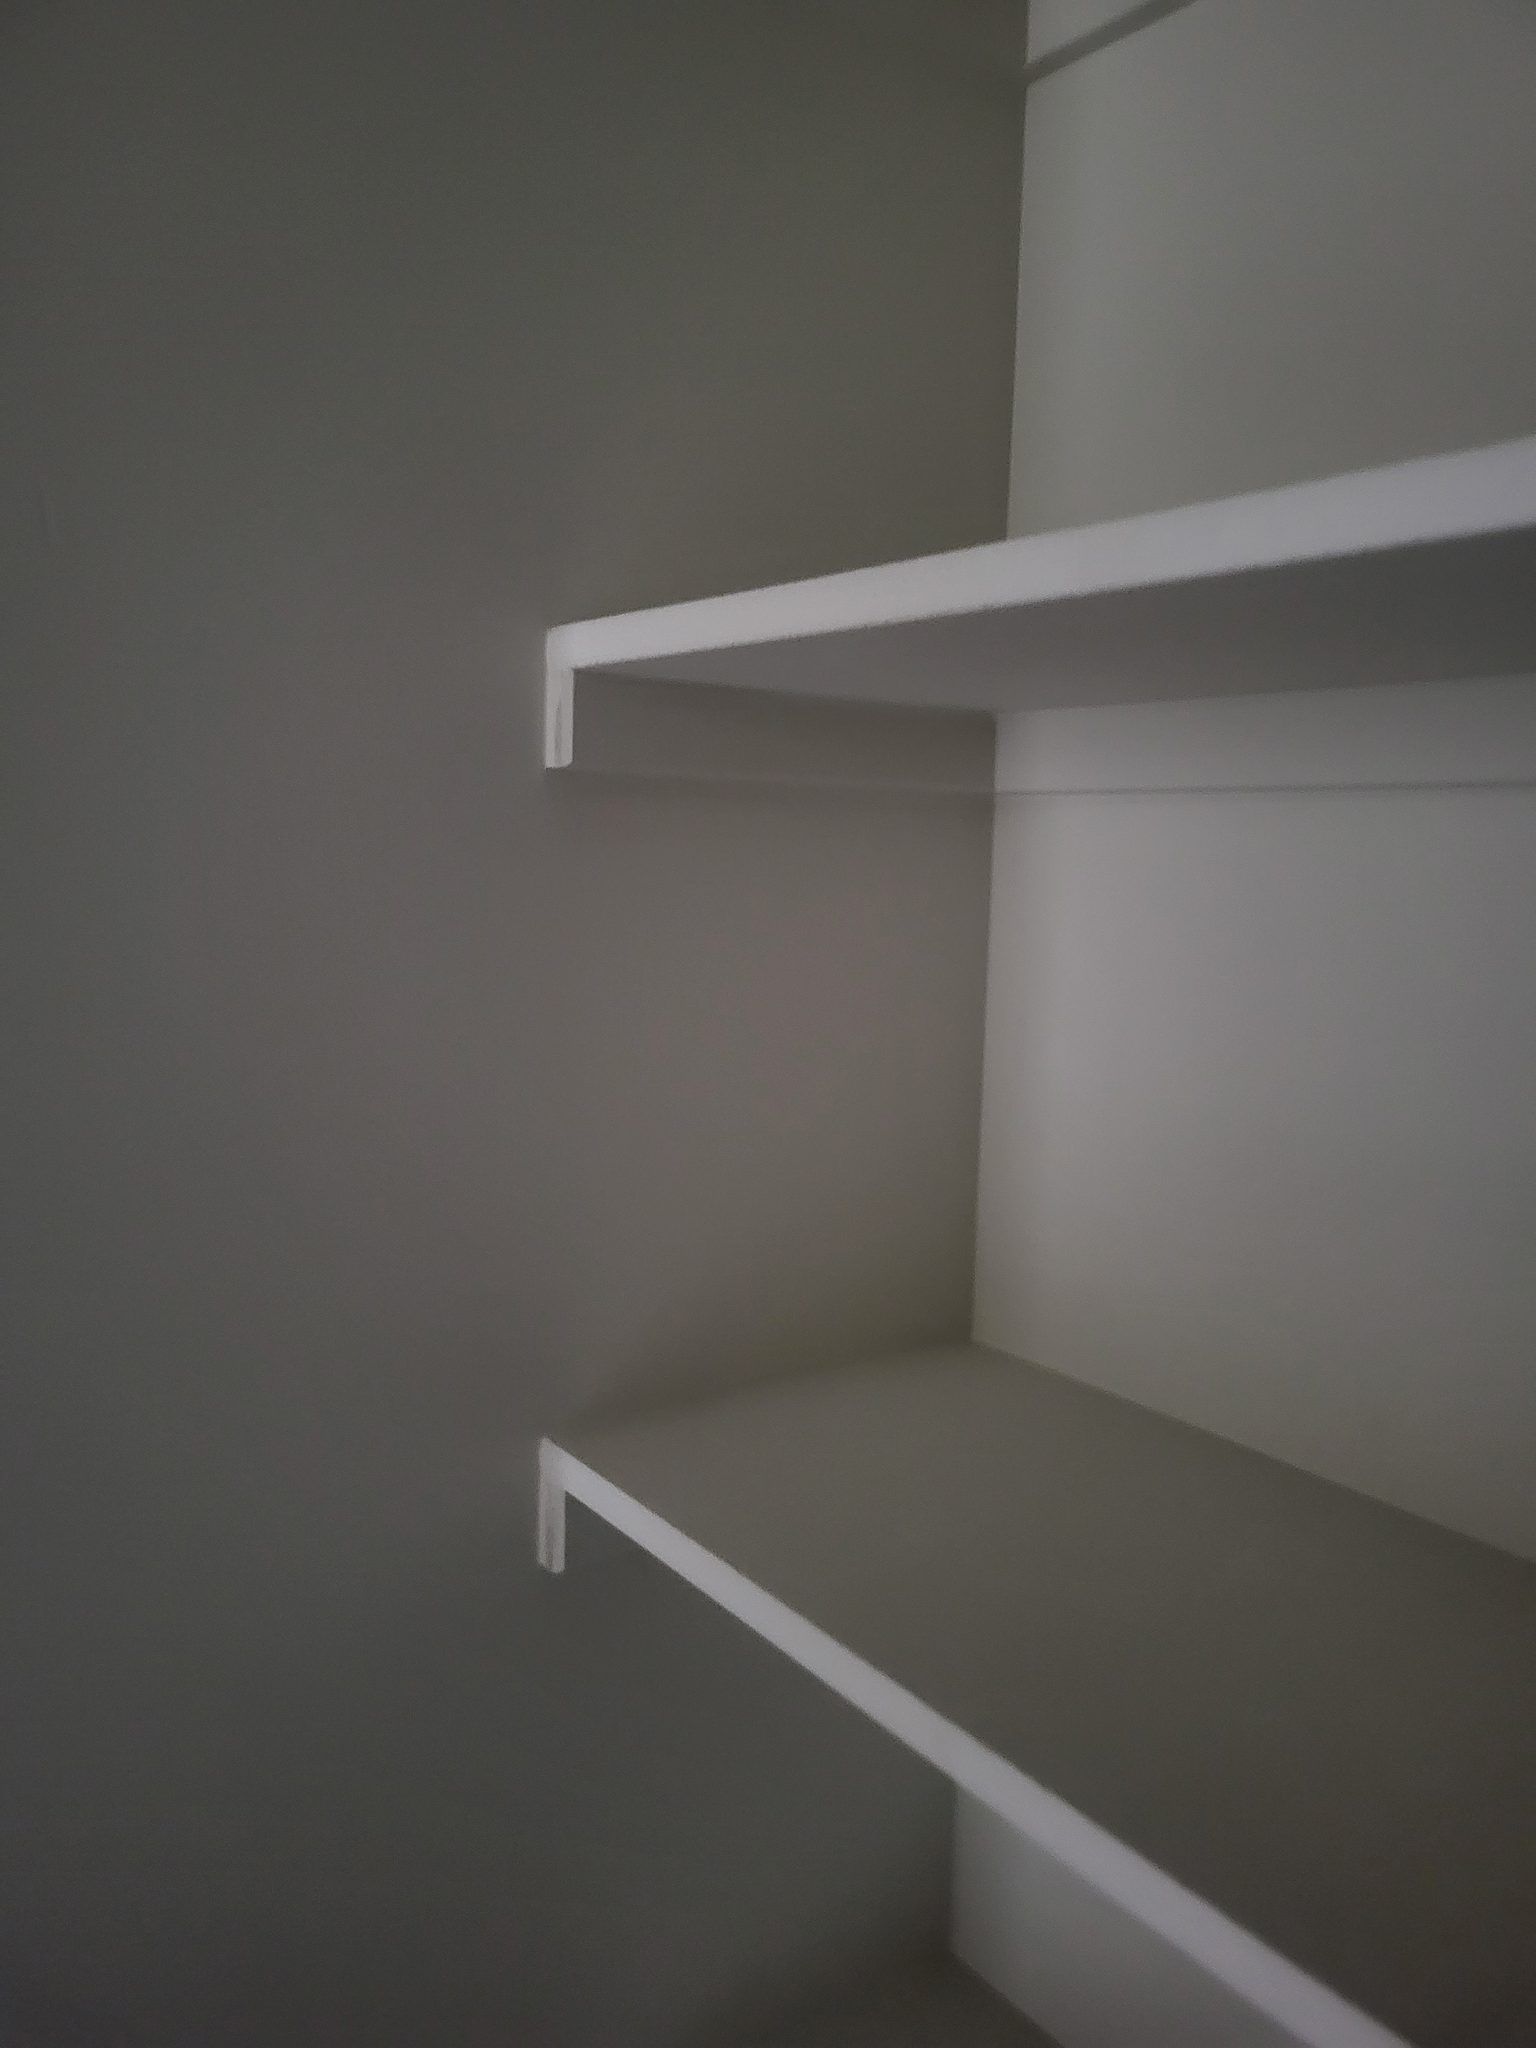
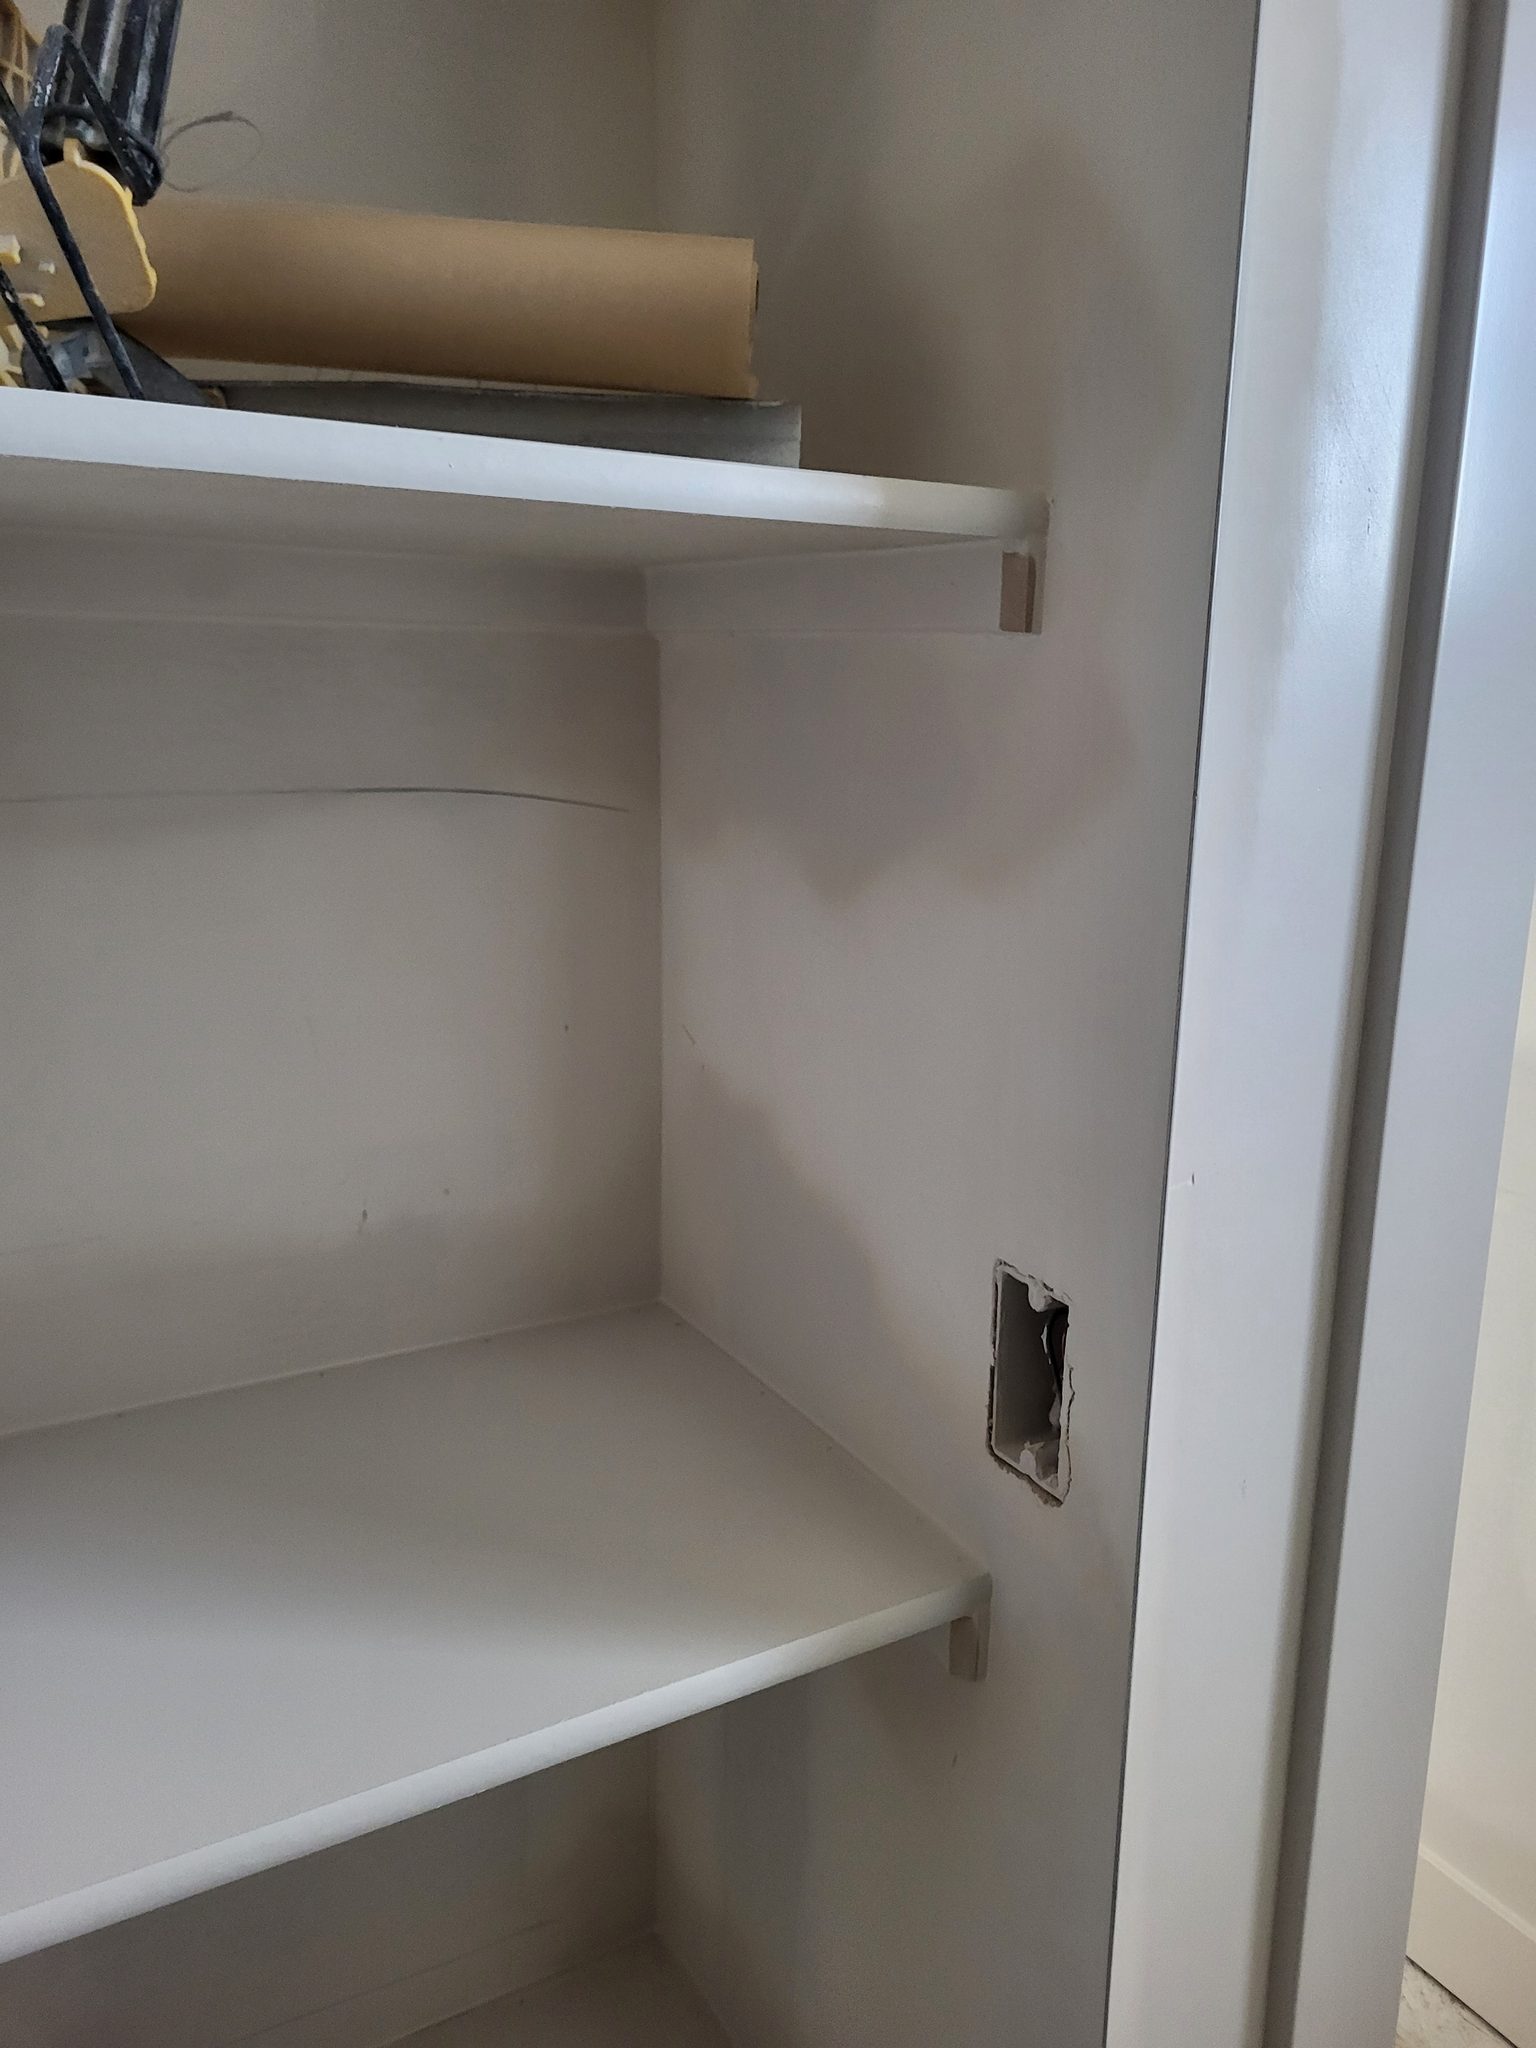
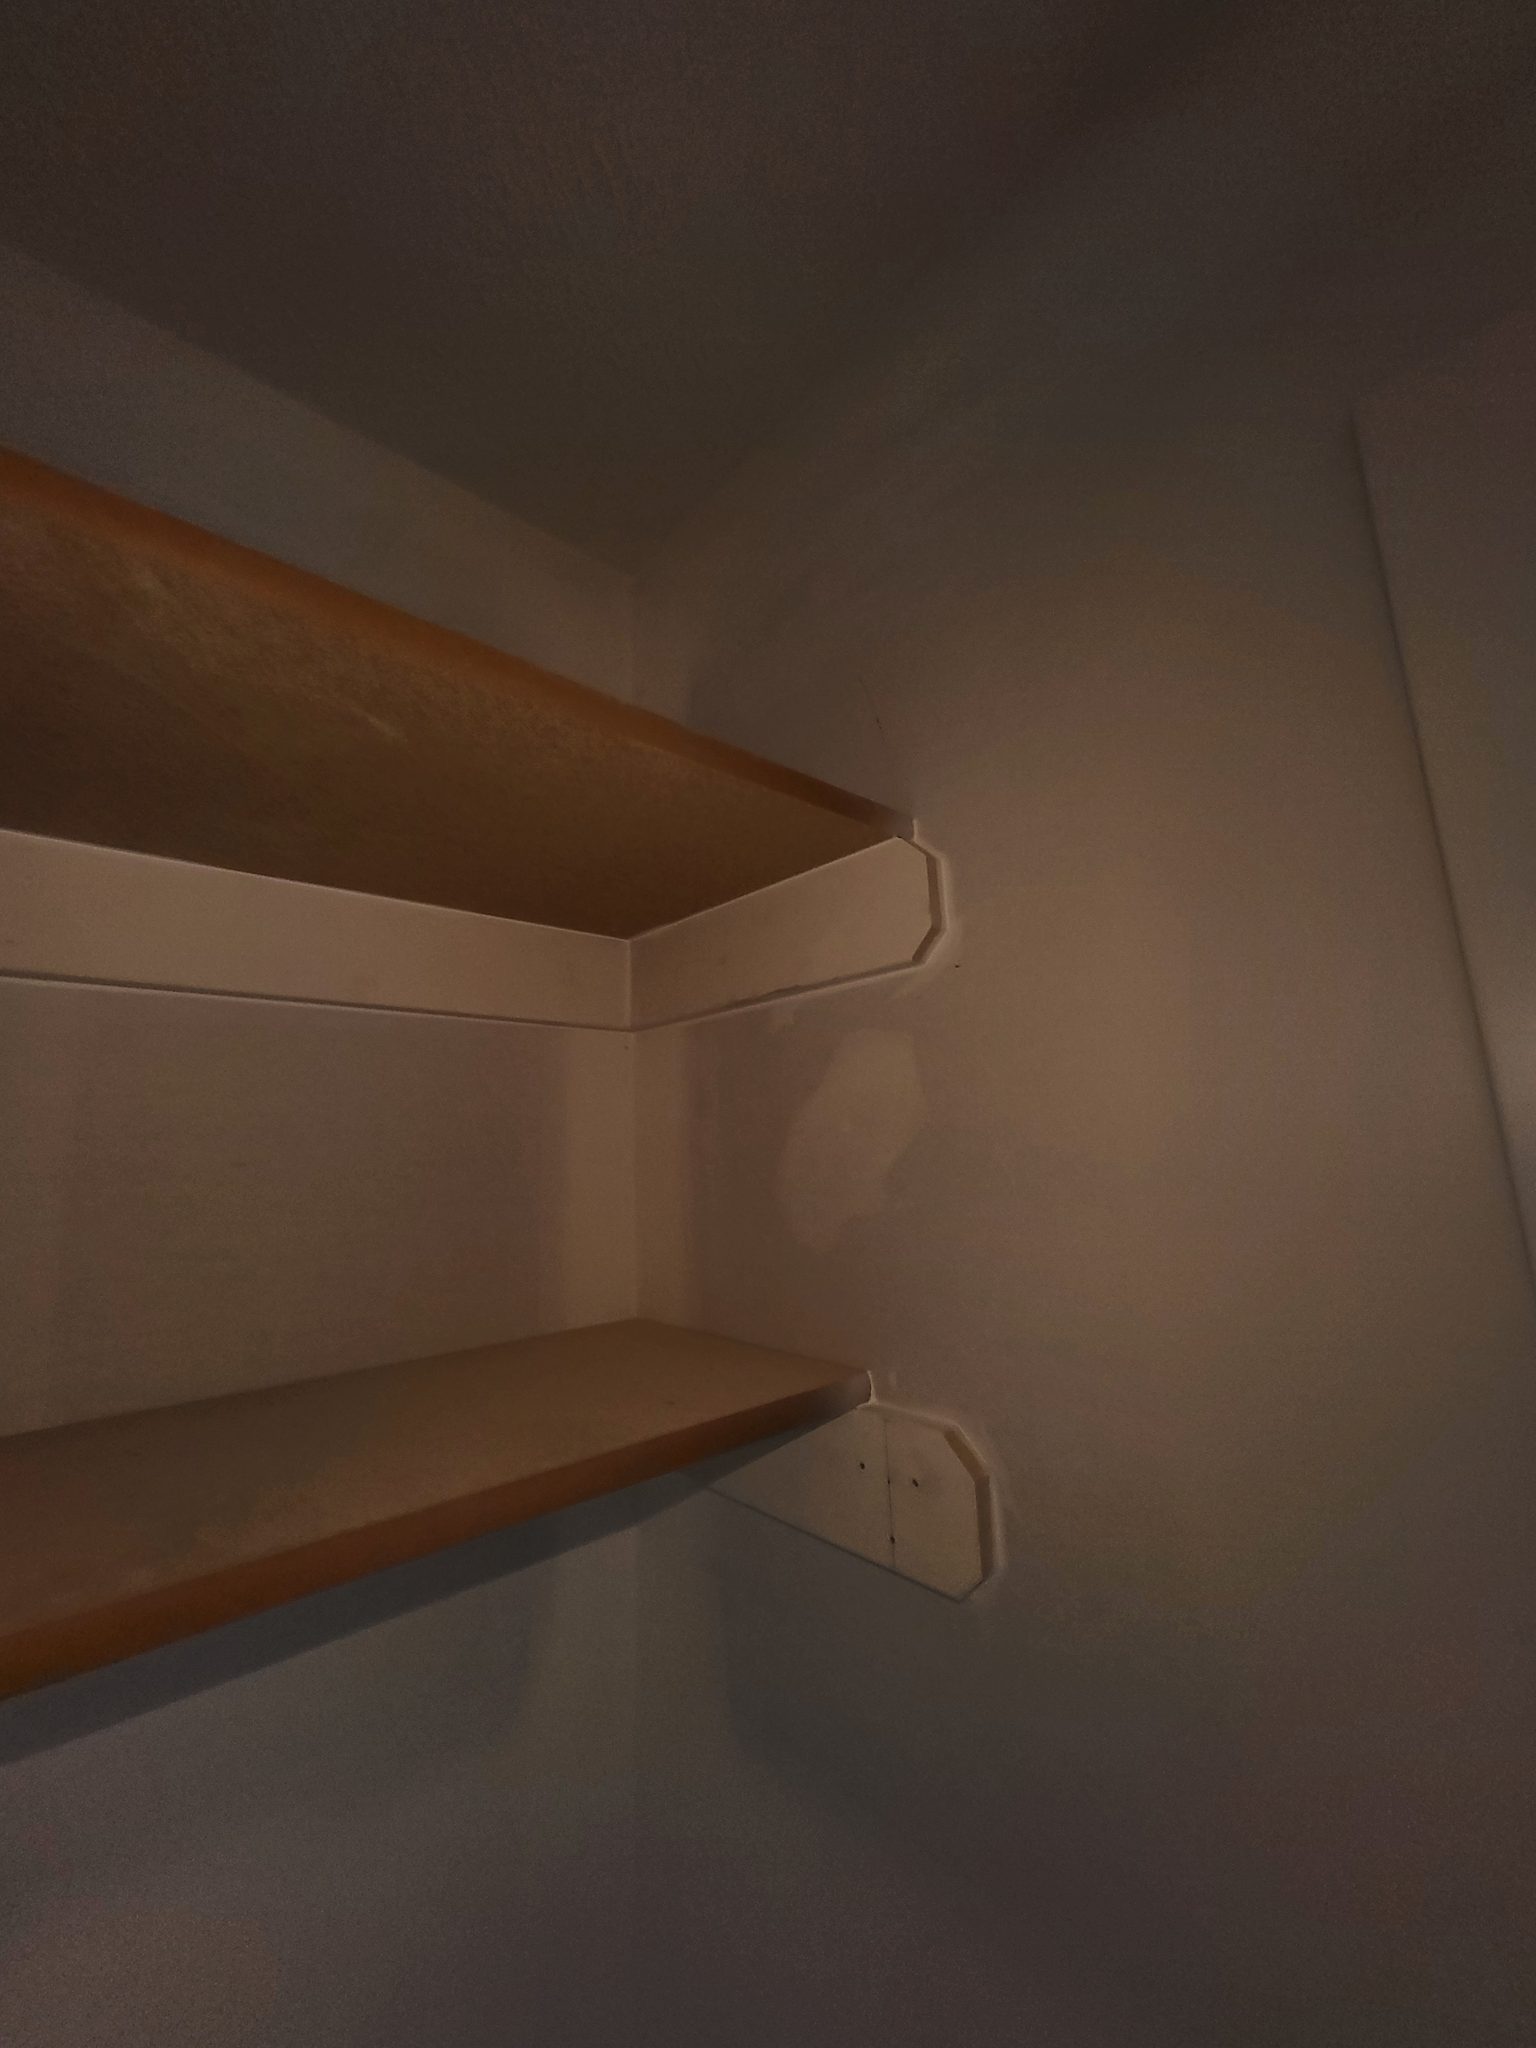
Two white-painted closet shelves with support brackets installed in raw drywall opening.
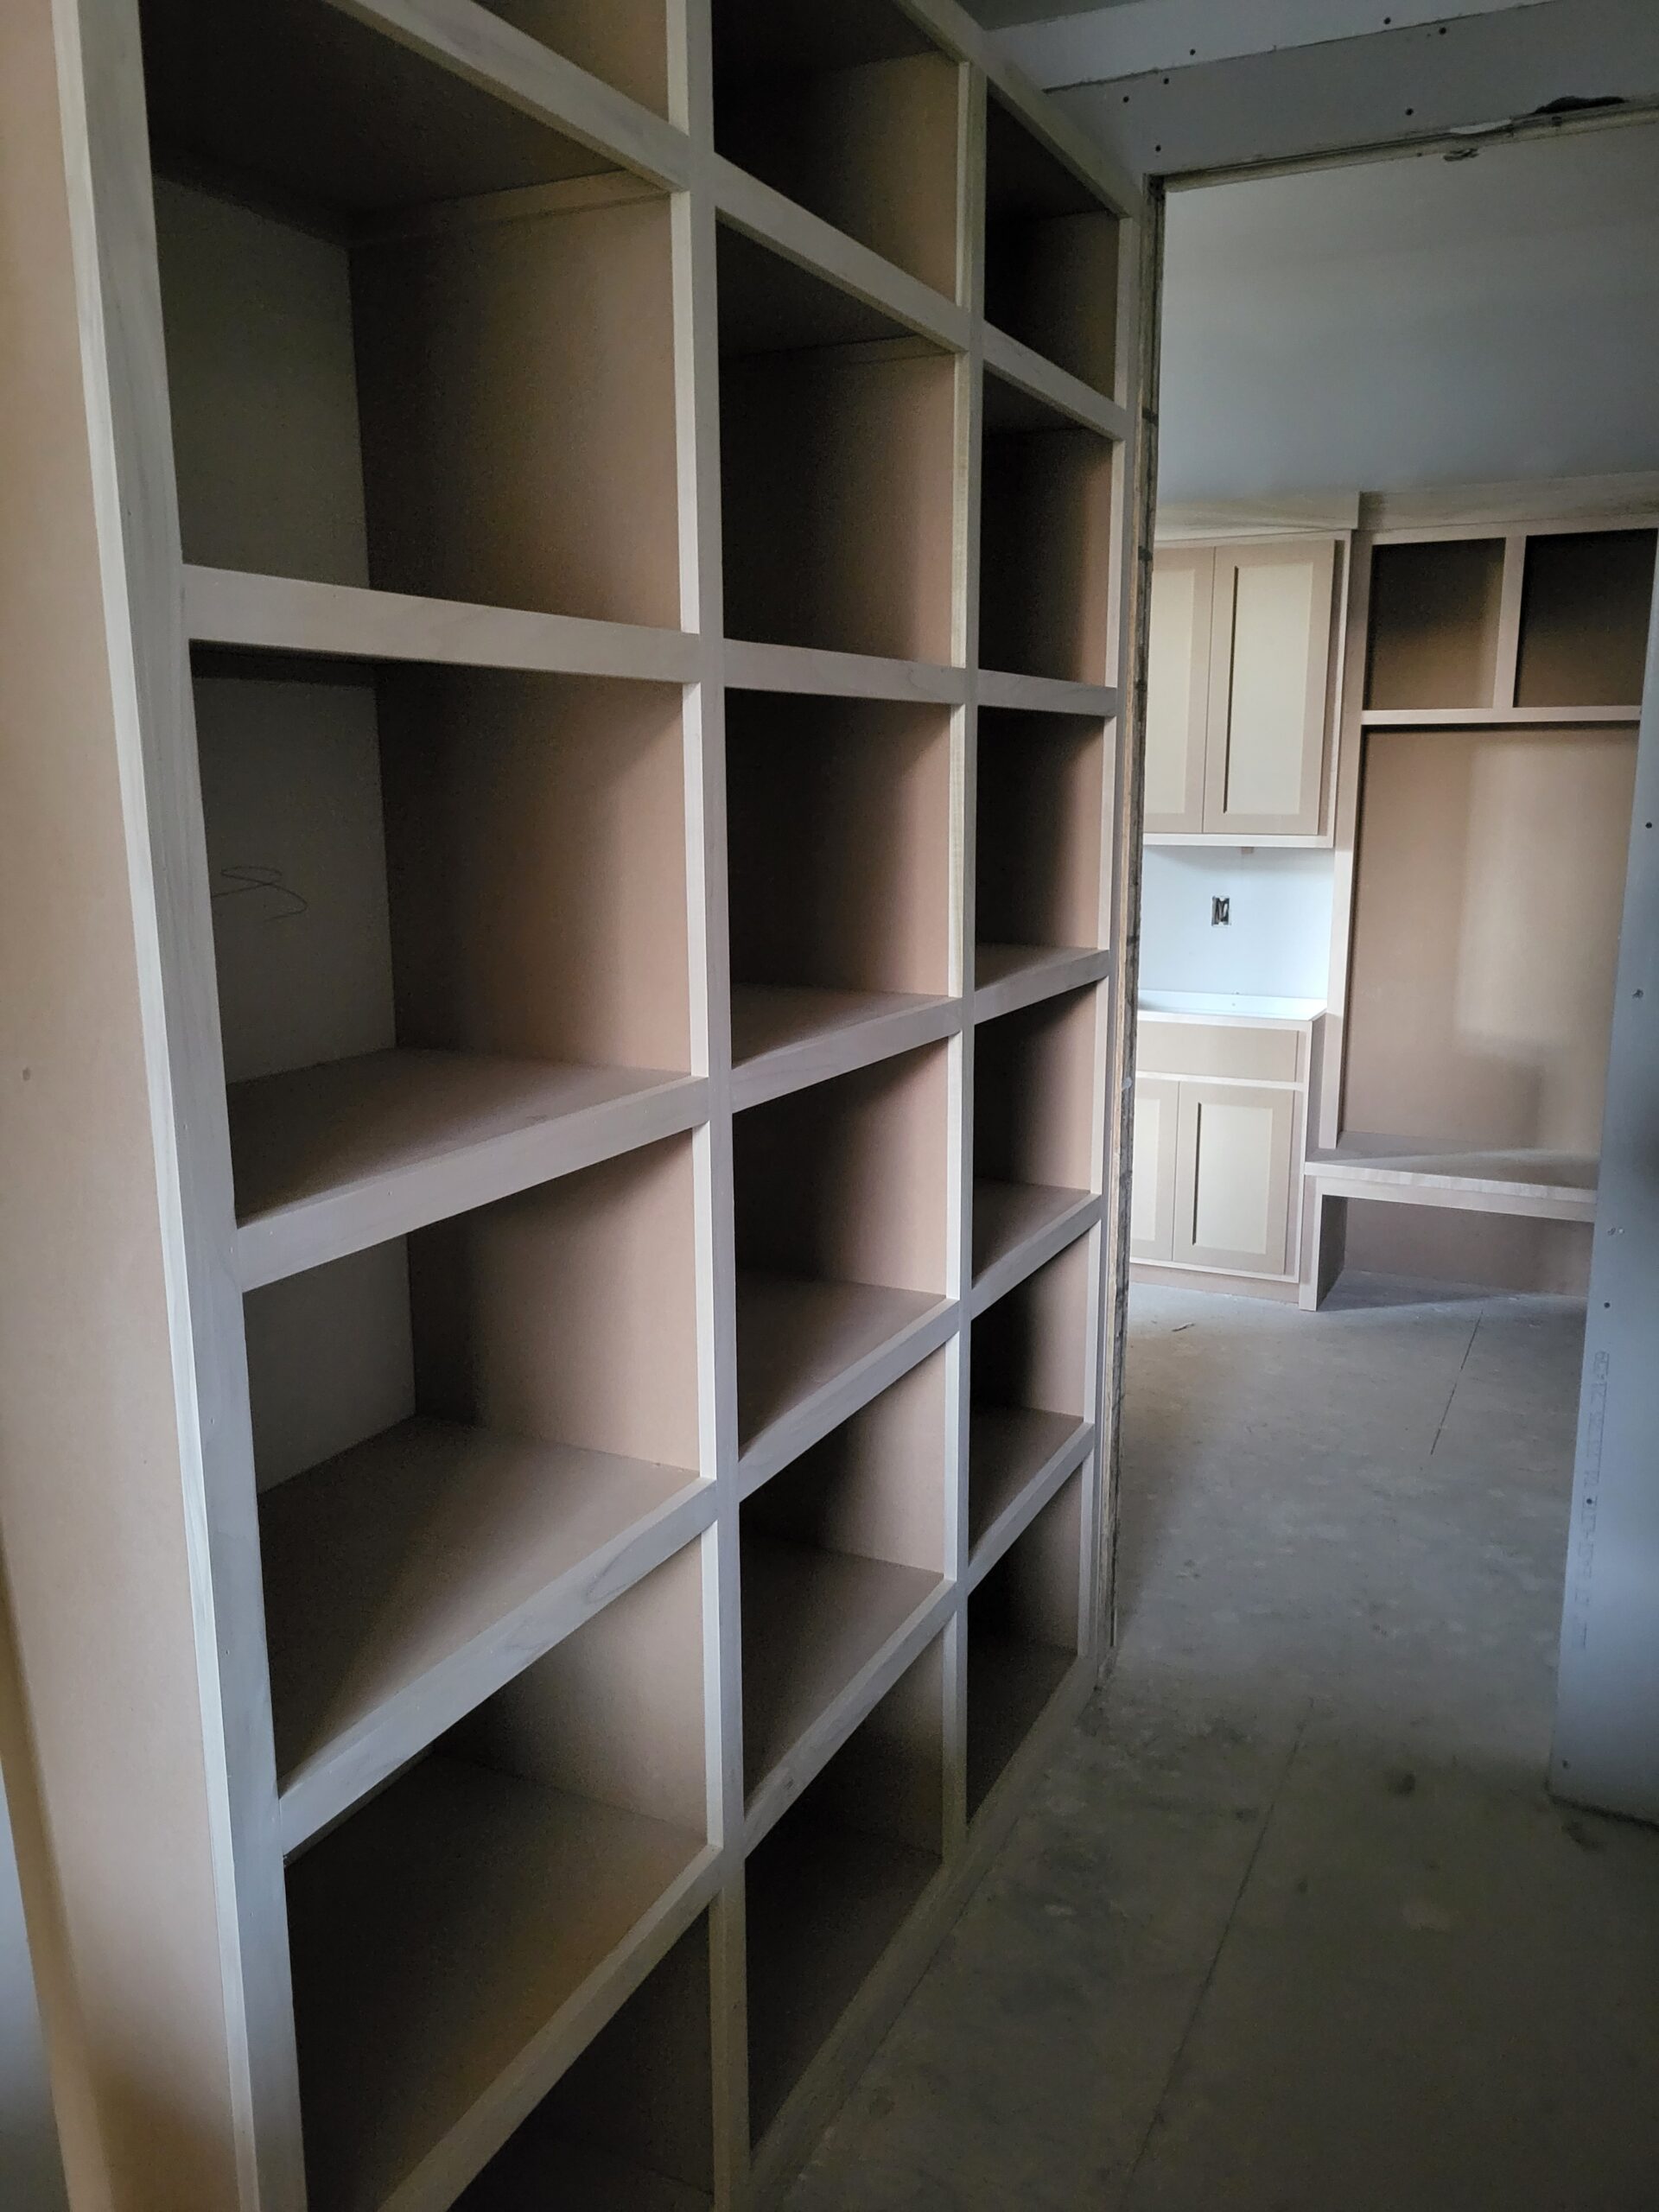
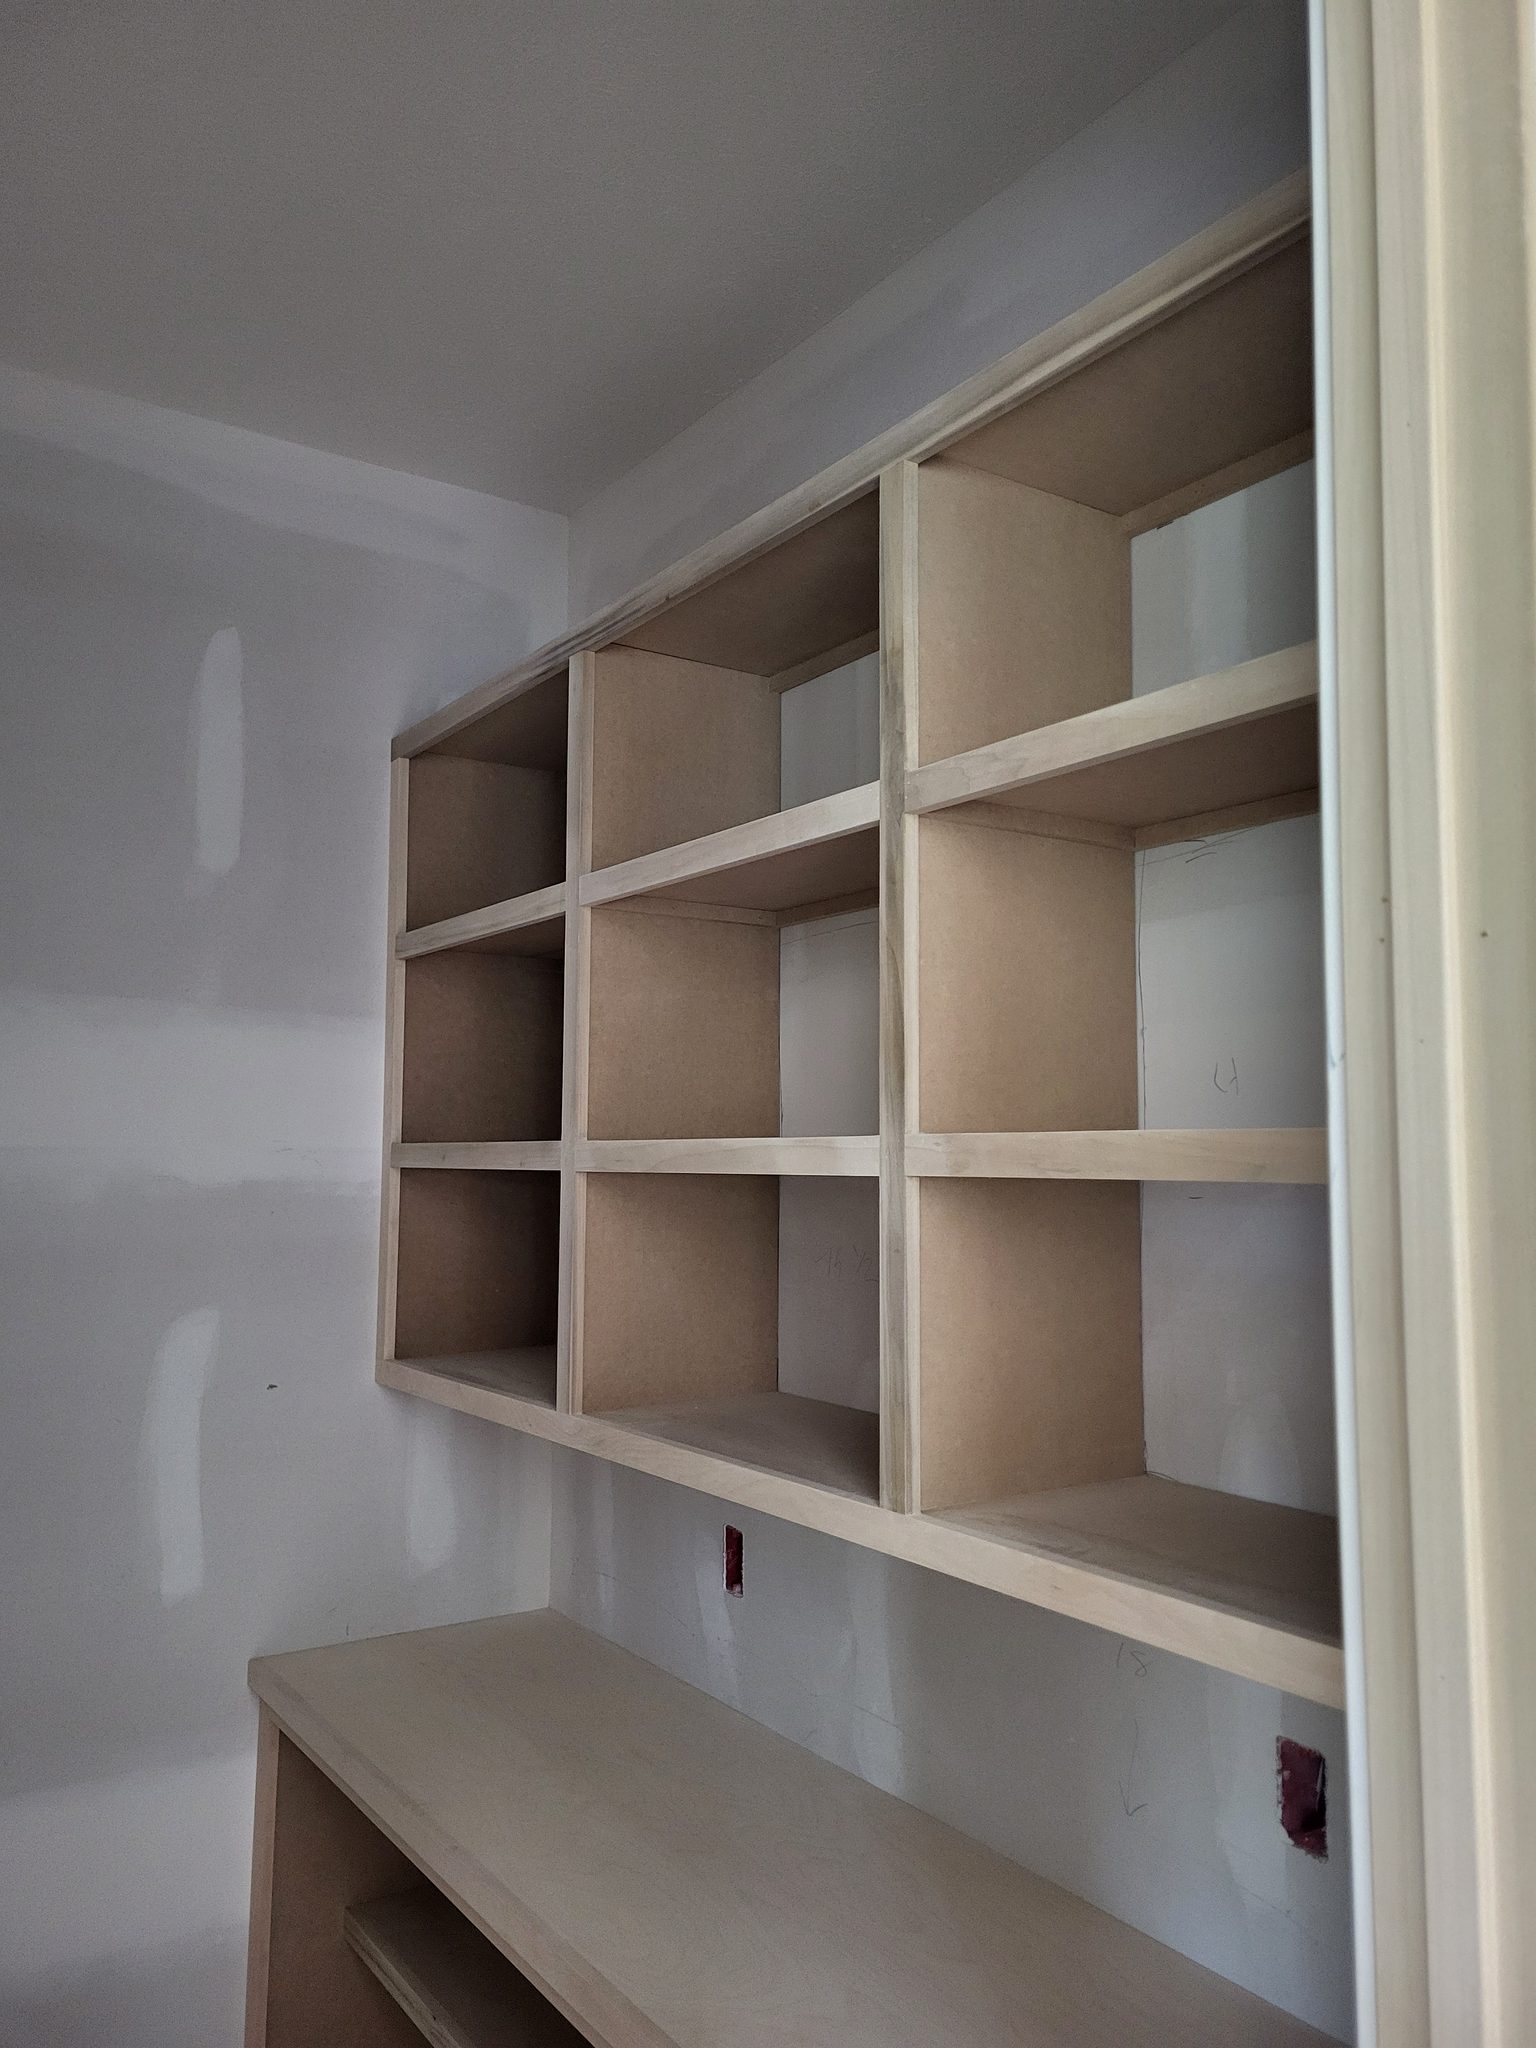
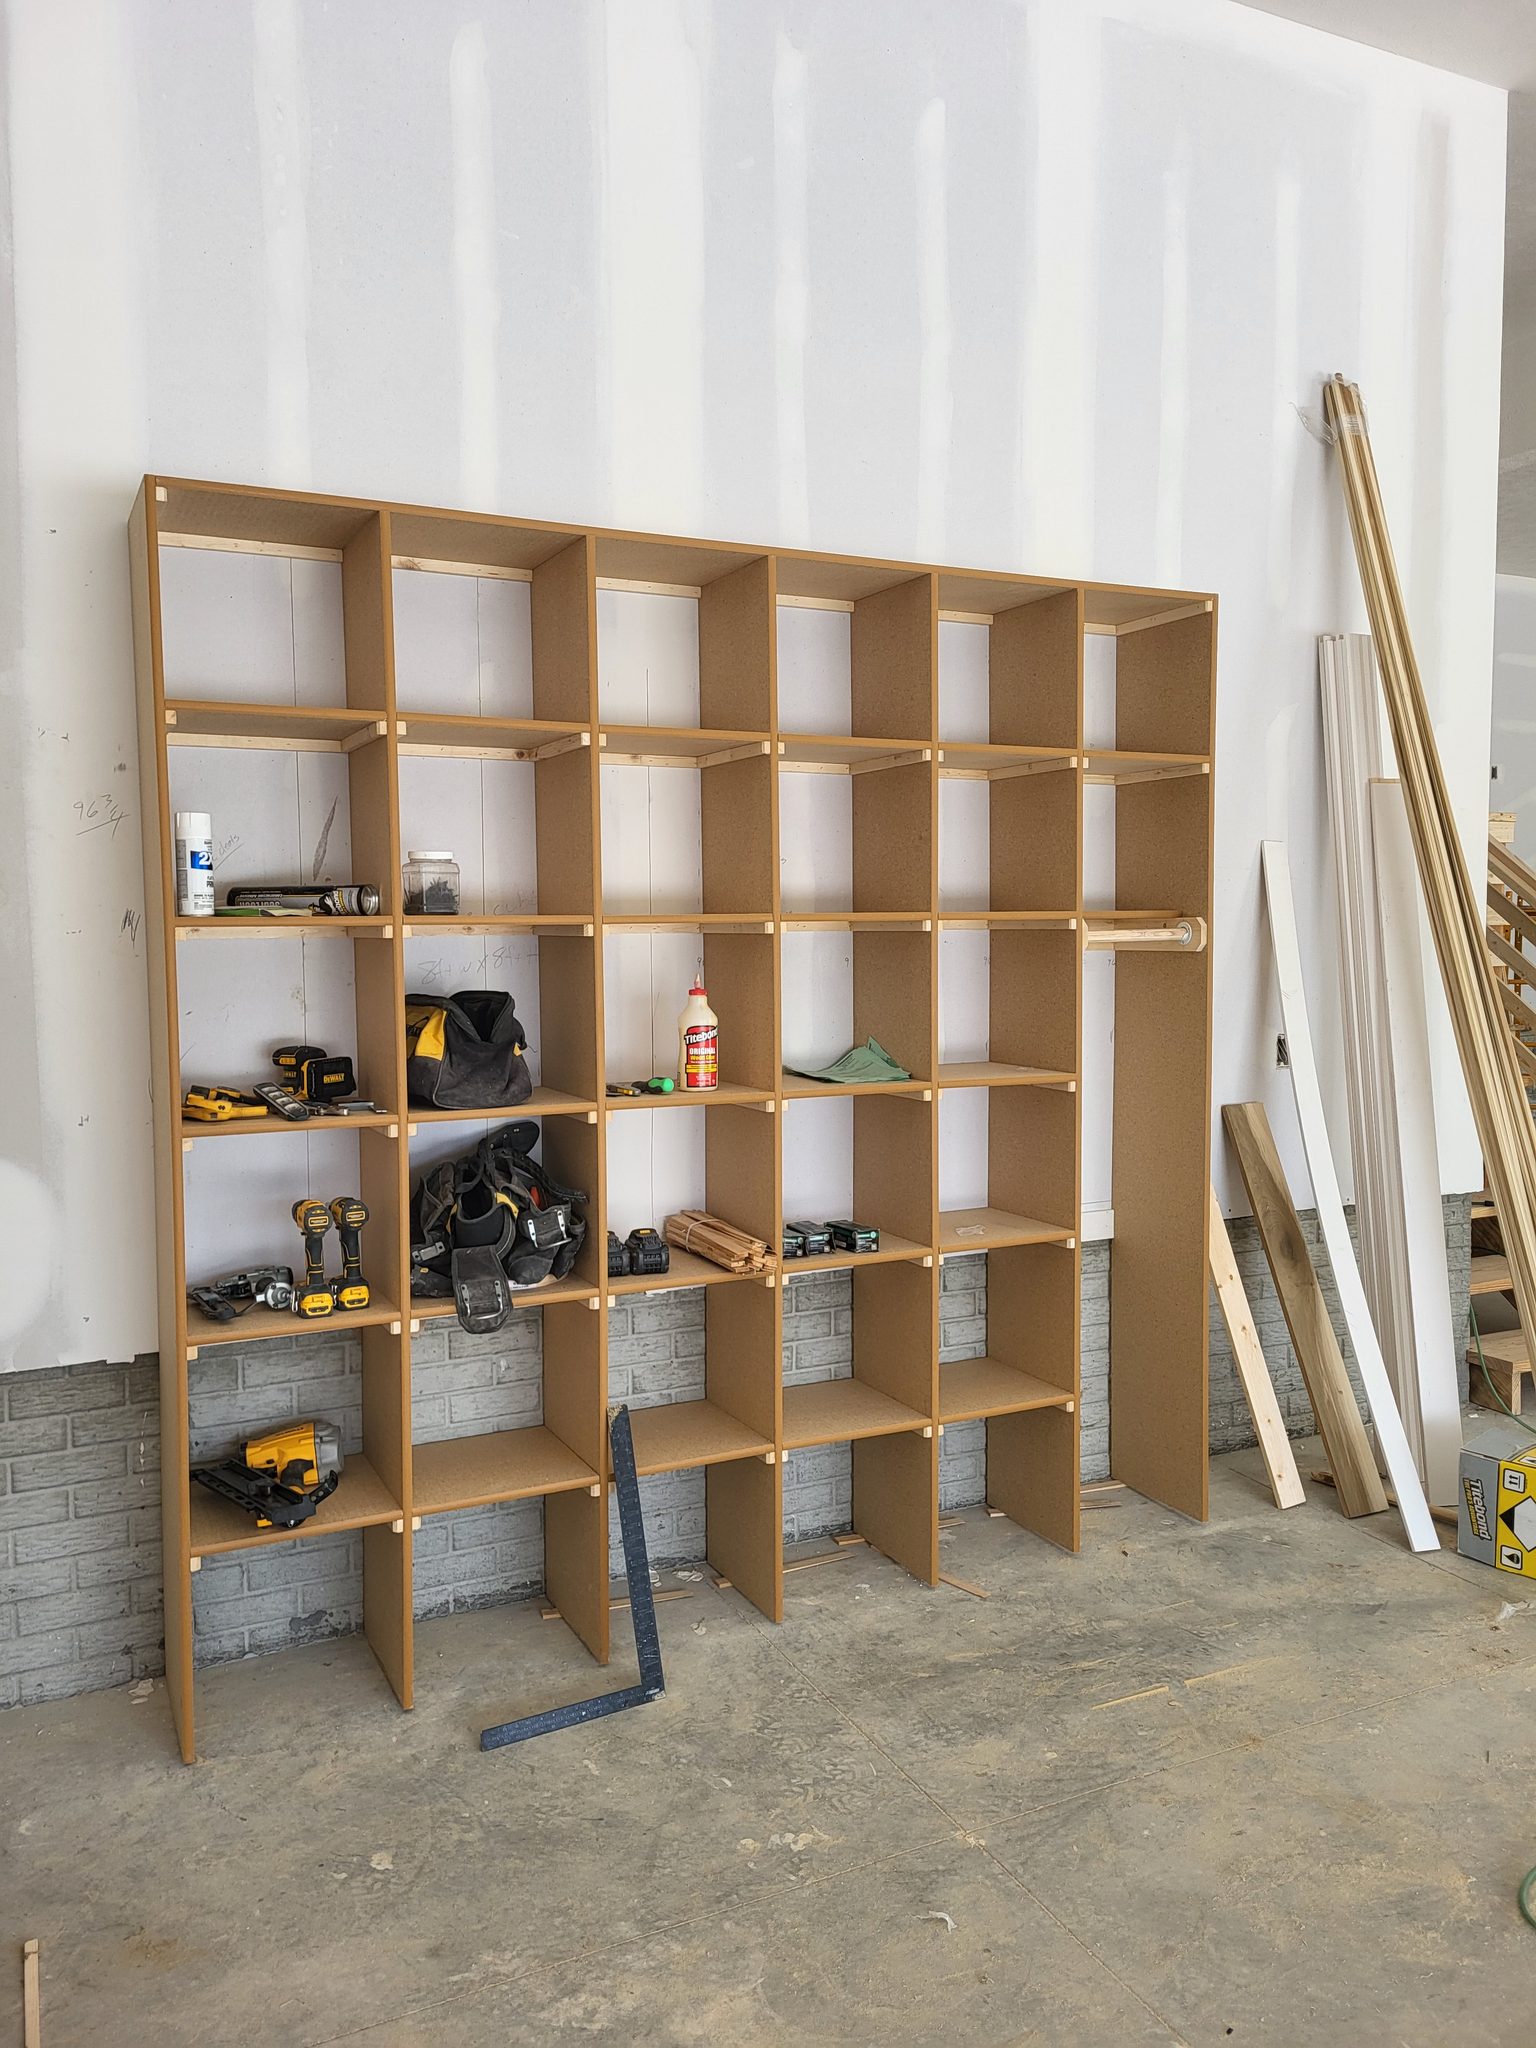
Custom built-in shelving with face-frame construction and open cubby compartments, raw wood ready for finish.
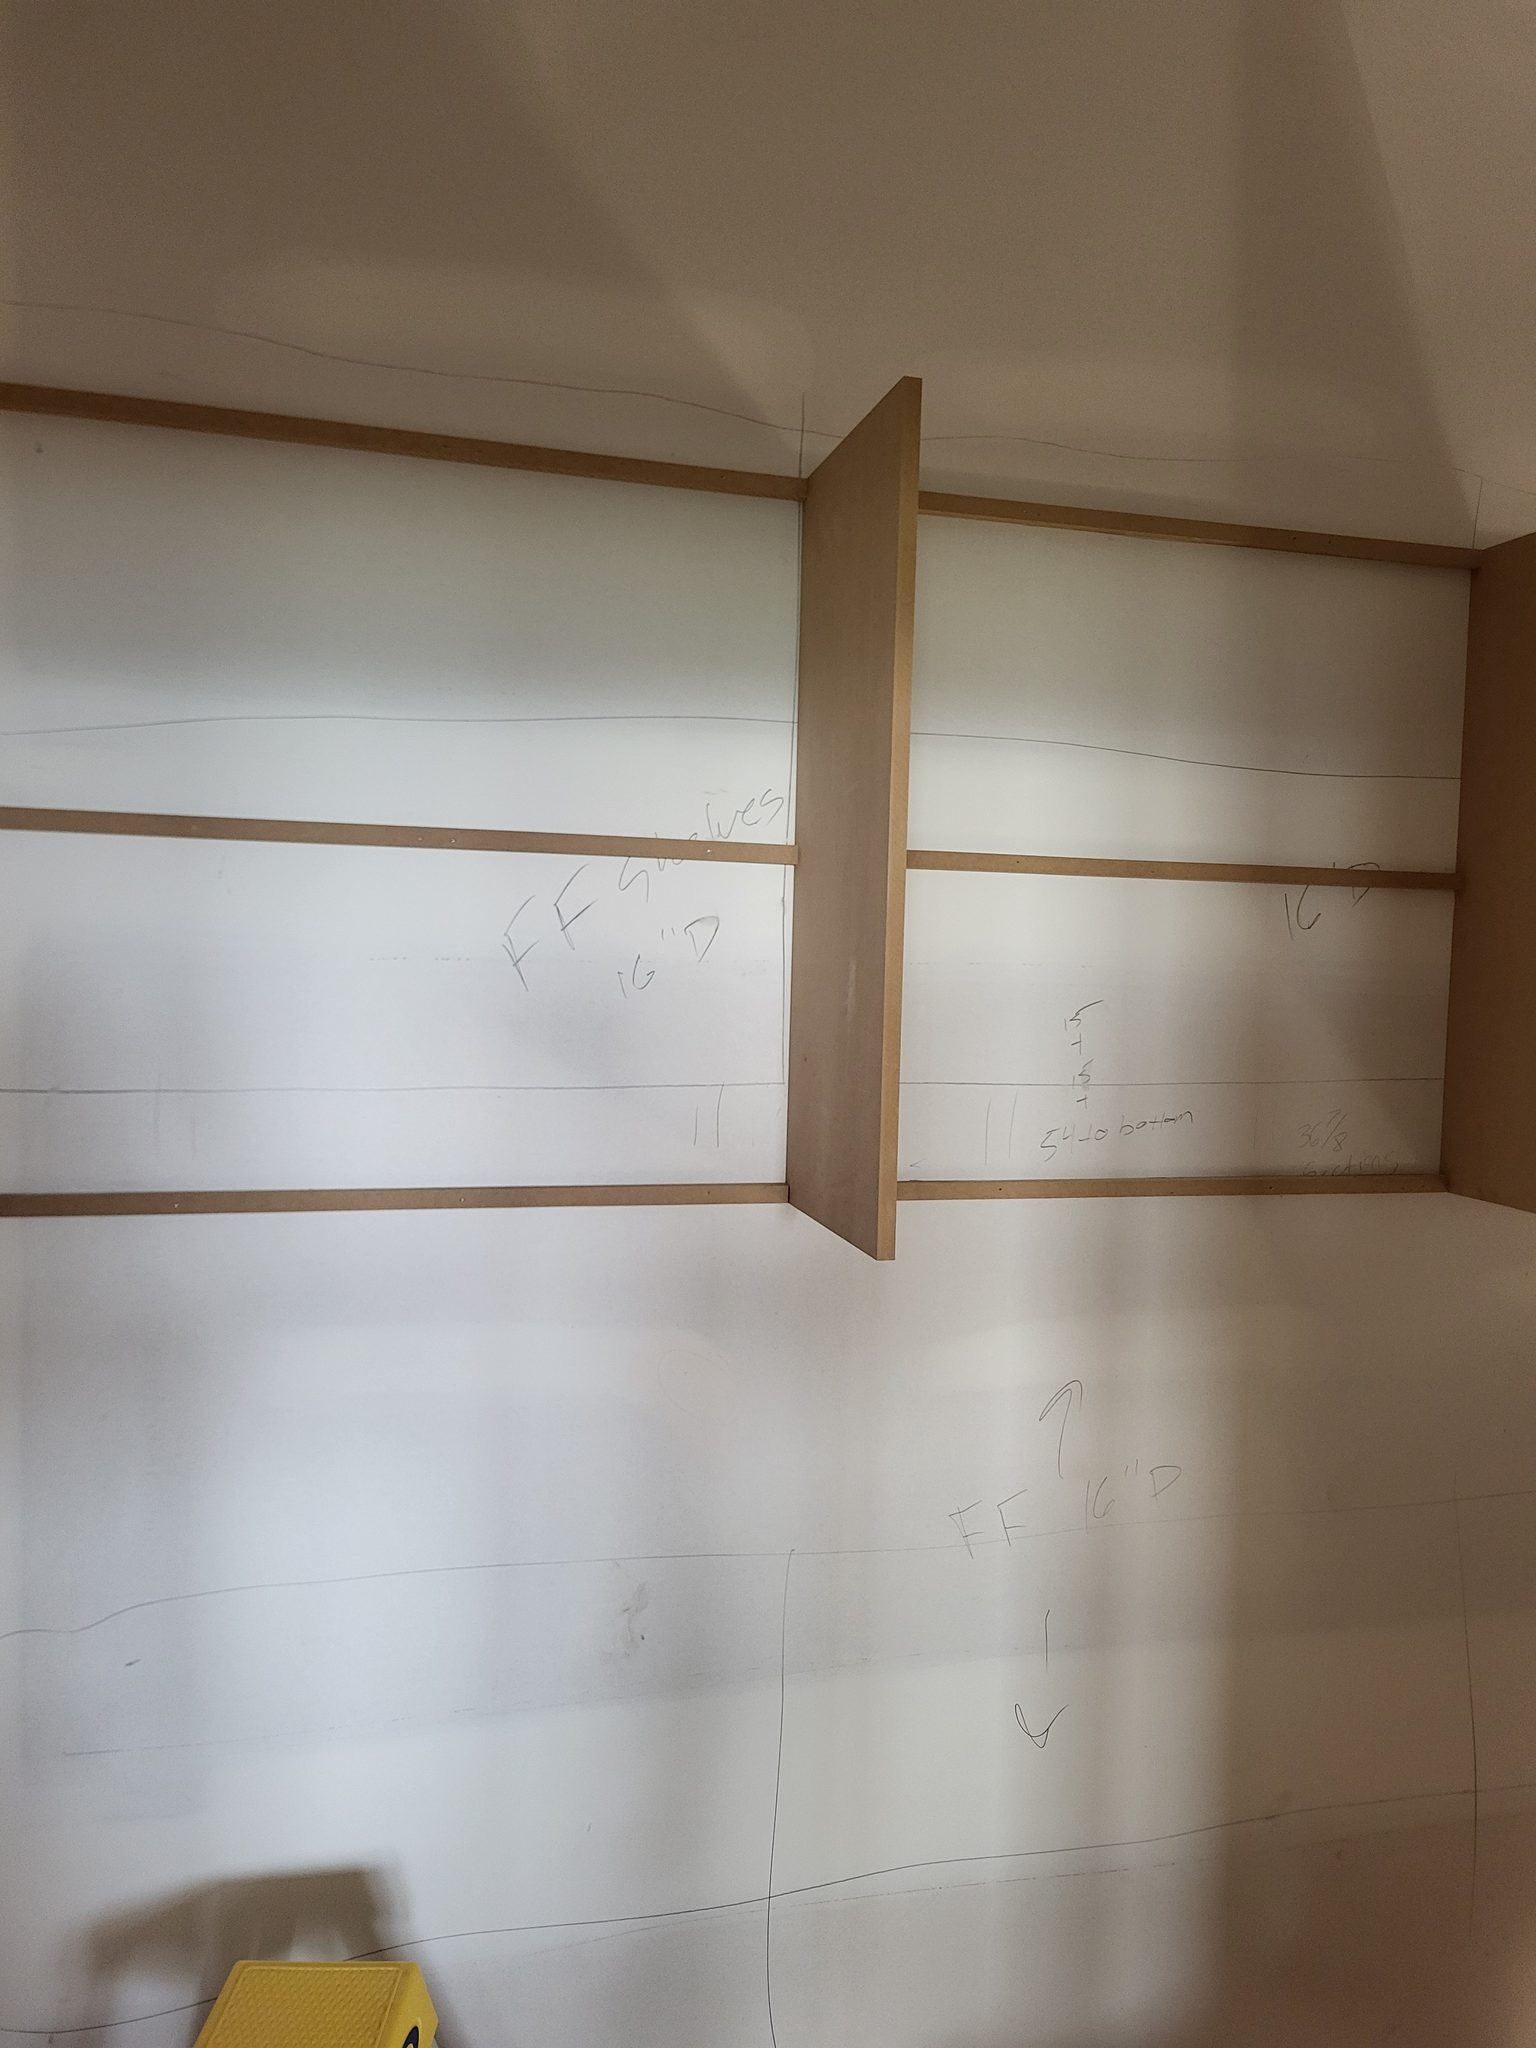
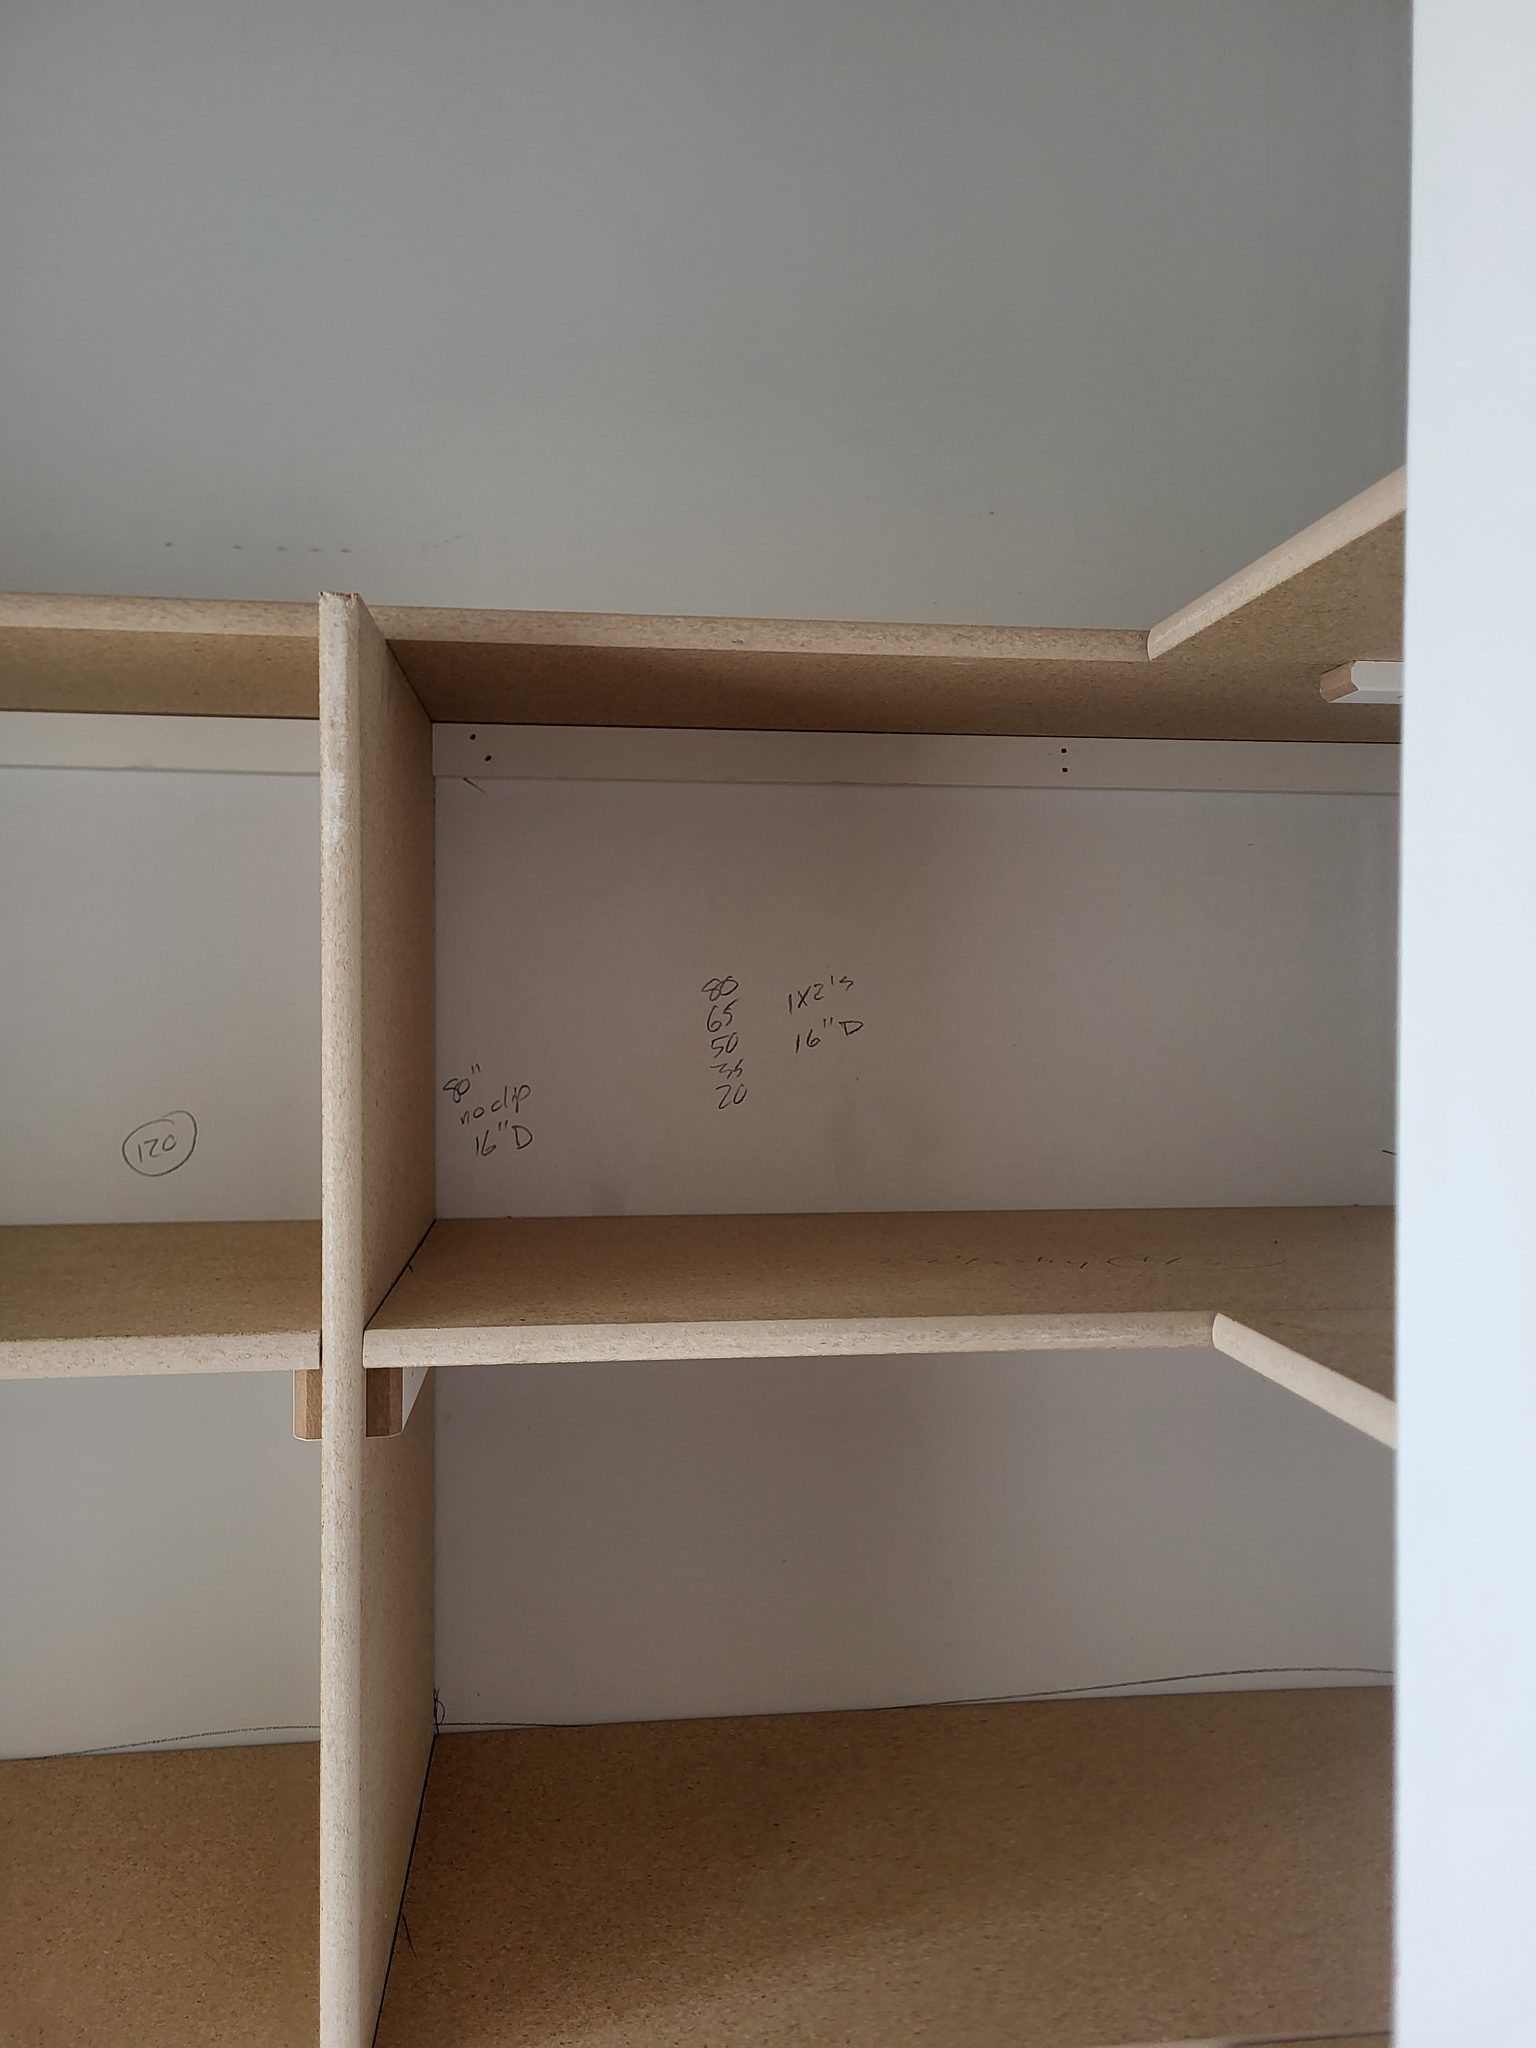
Closet shelving layout in progress with horizontal wood cleats and vertical divider, pencil marks for assembly.
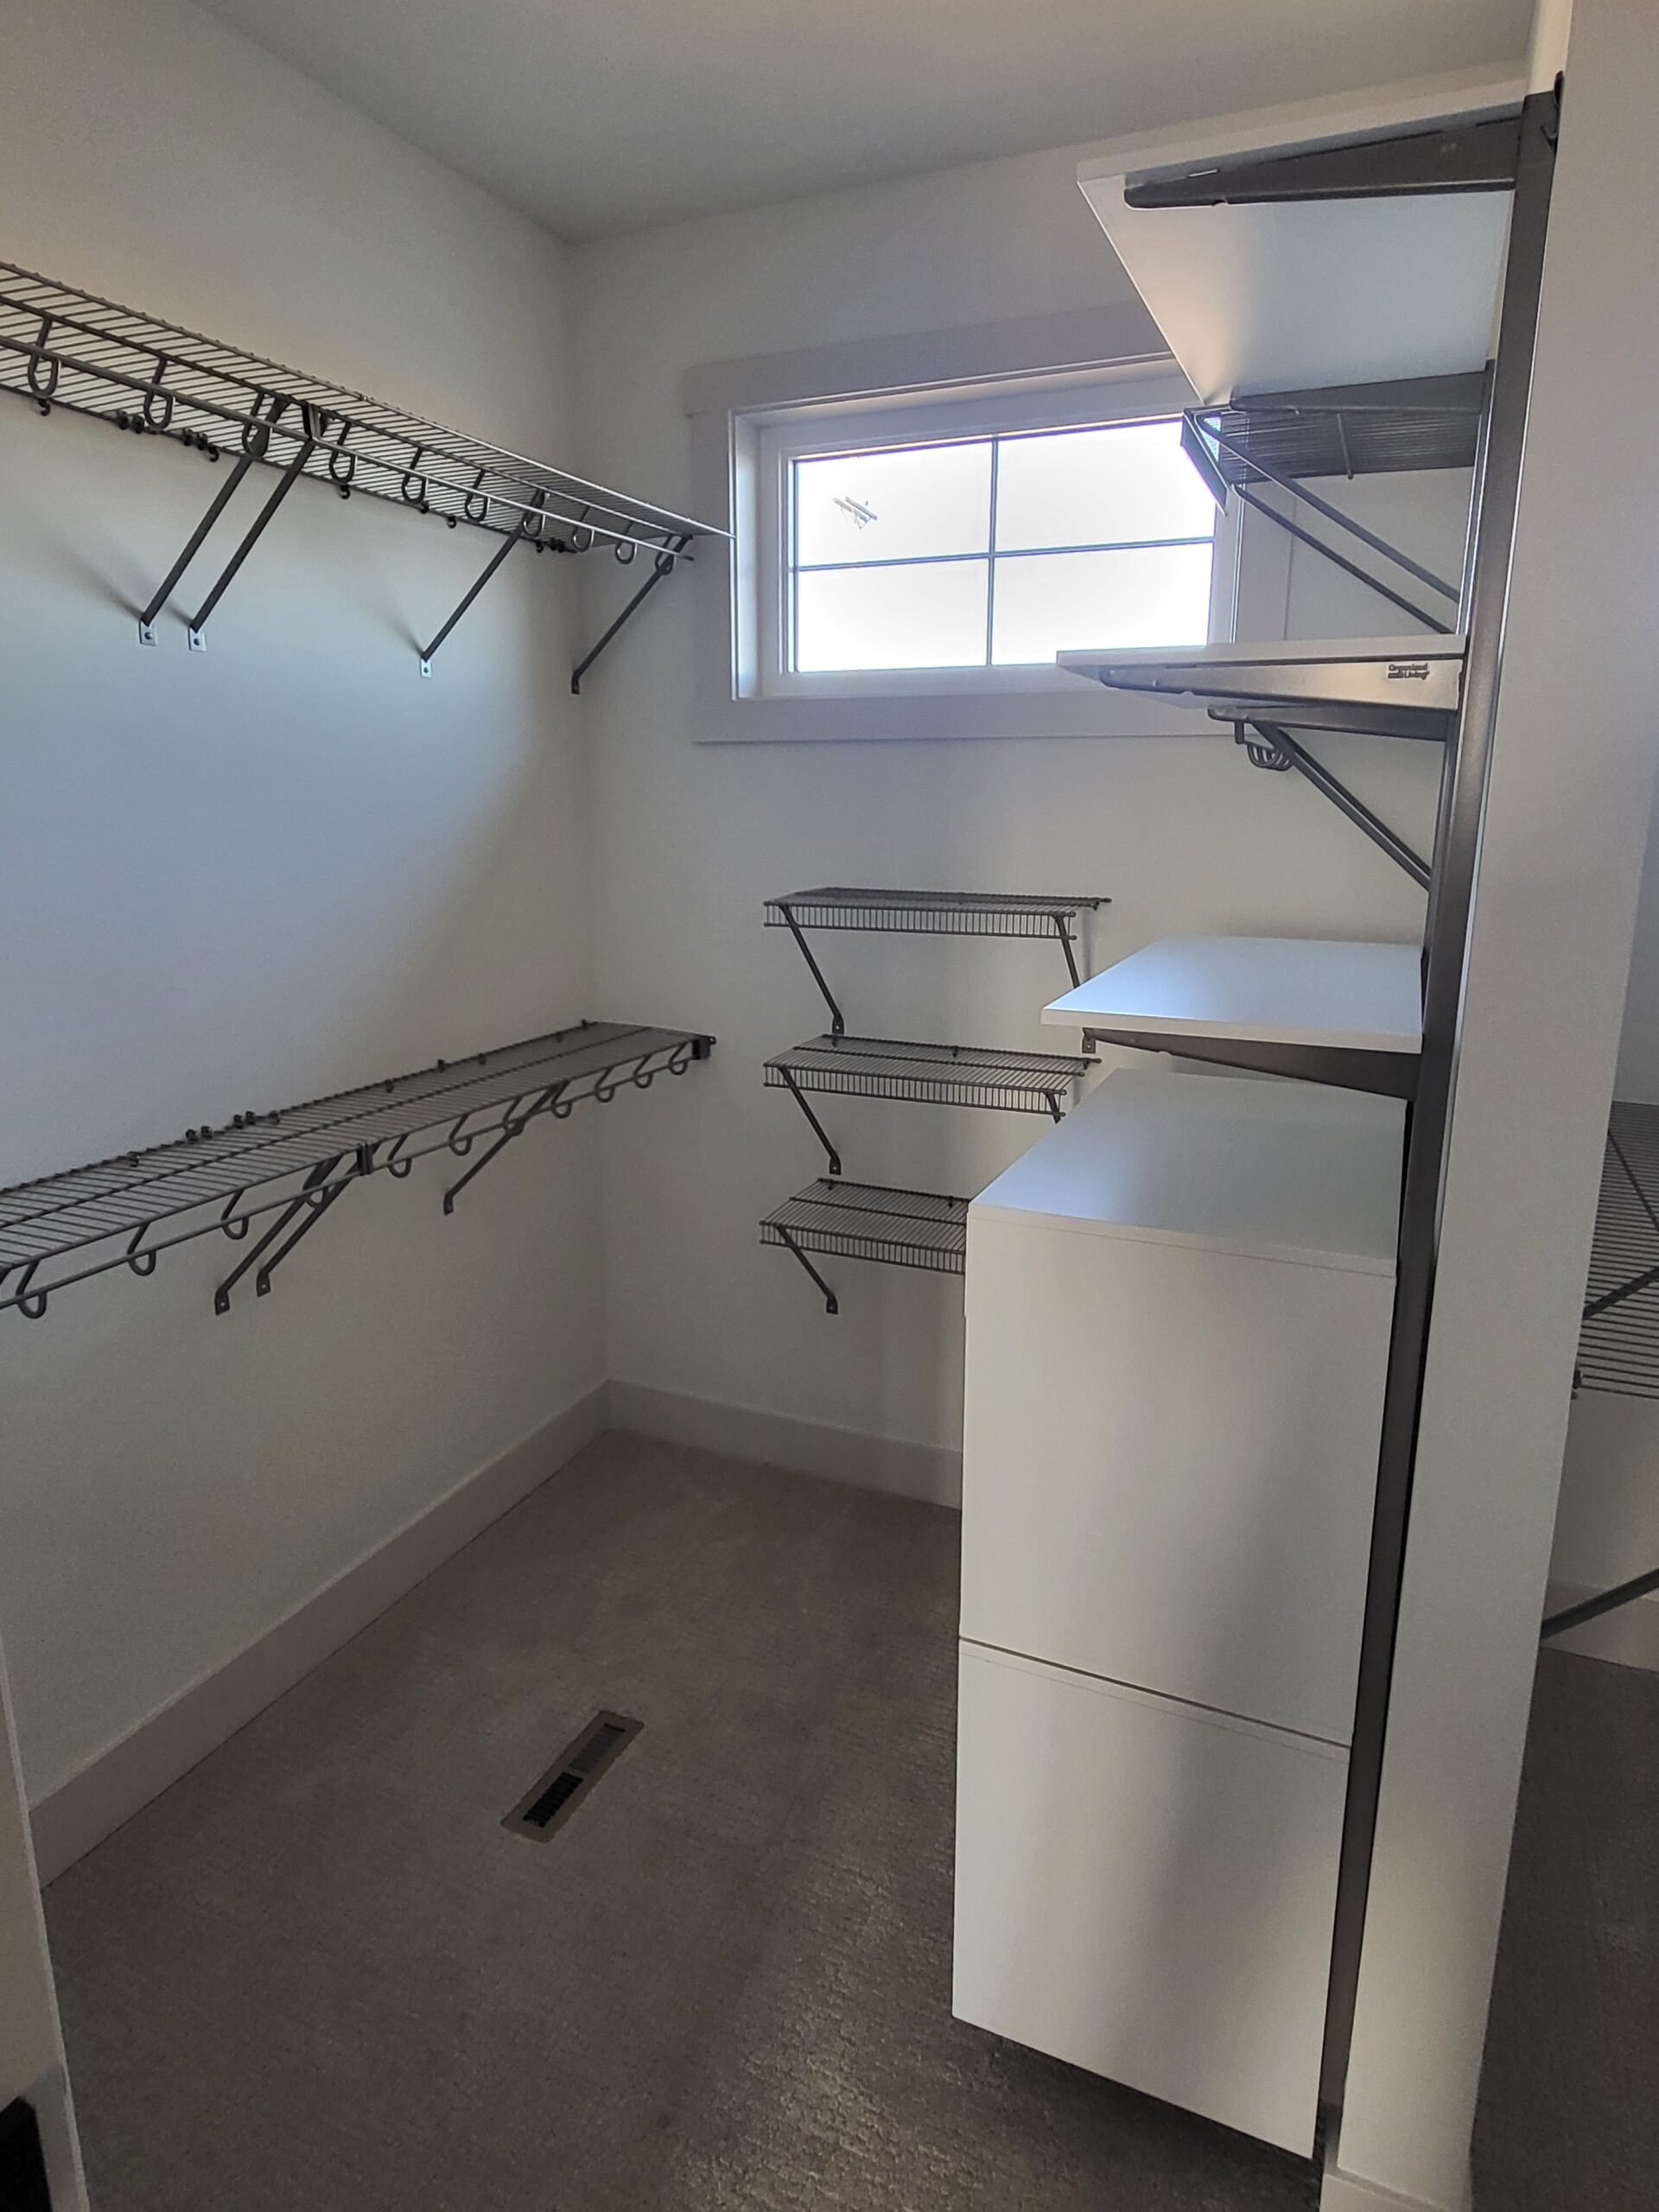
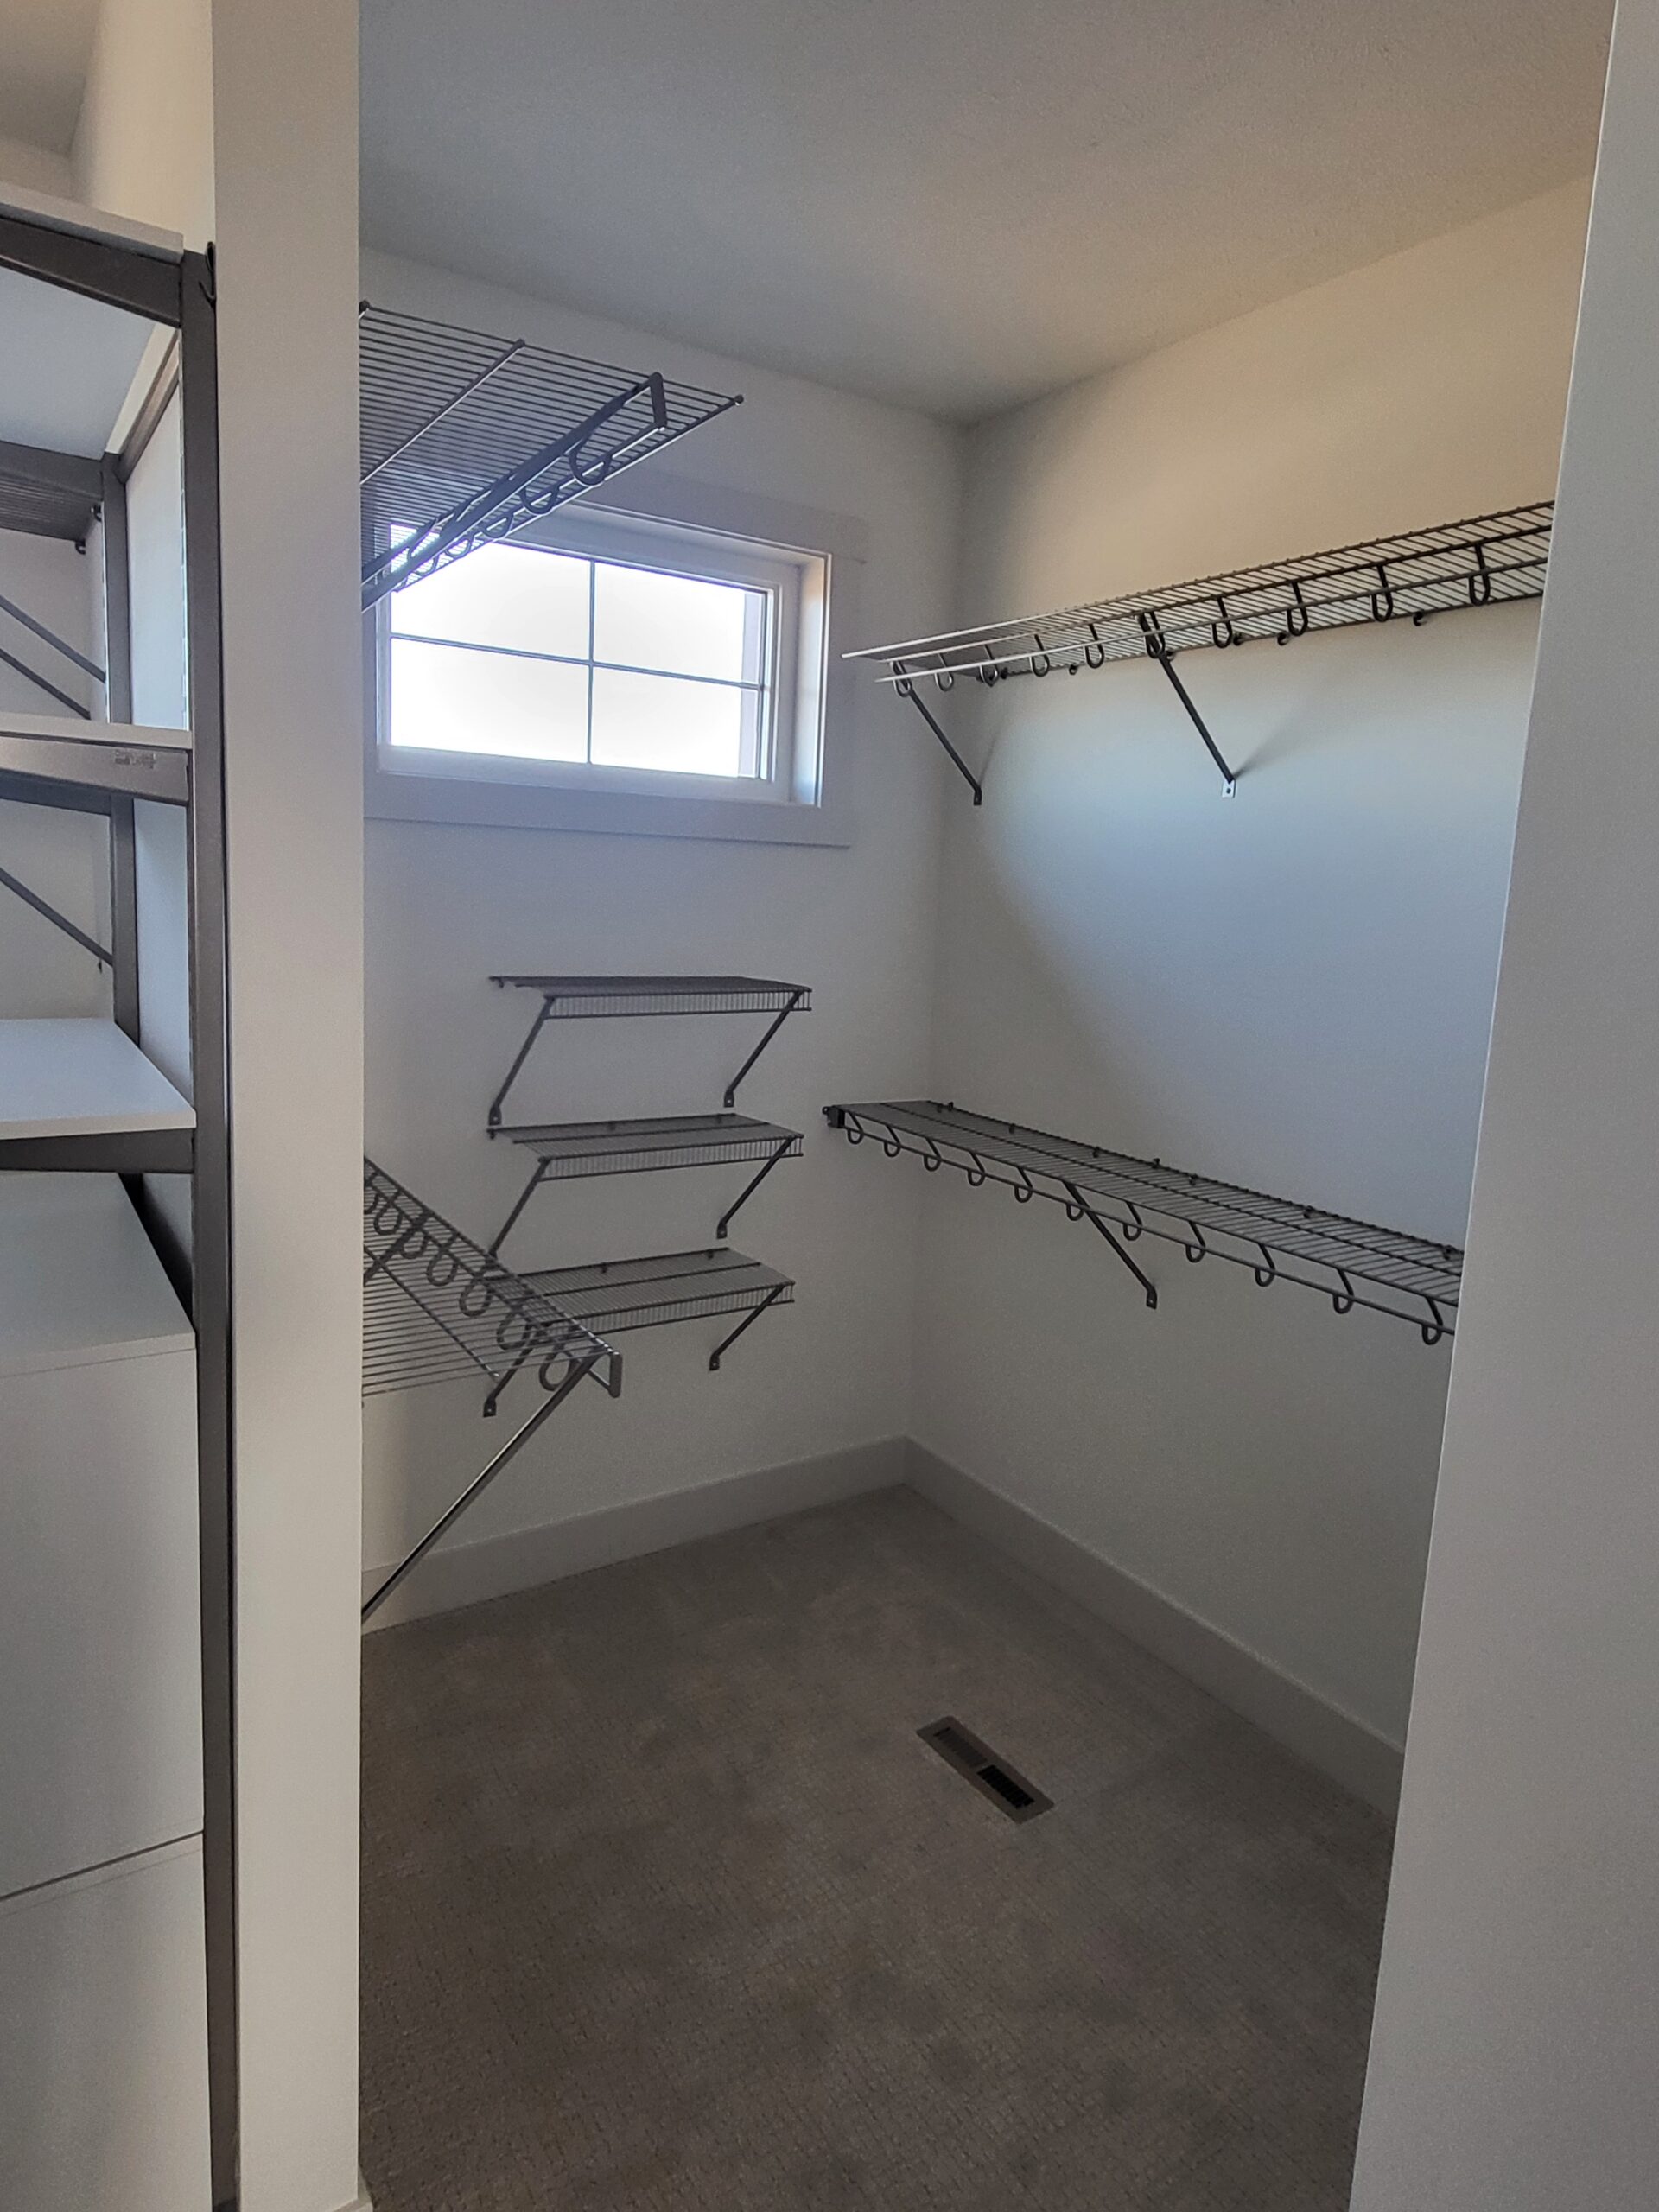
Completed walk-in closet with wire shelving, hanging rods, painted walls, and window trim installed.
Wire shelving and hanging rods installed in closet with painted walls and ceiling.
Walk-in closet with wire shelving and hanging rods installed; walls primed/painted but no finish details visible.
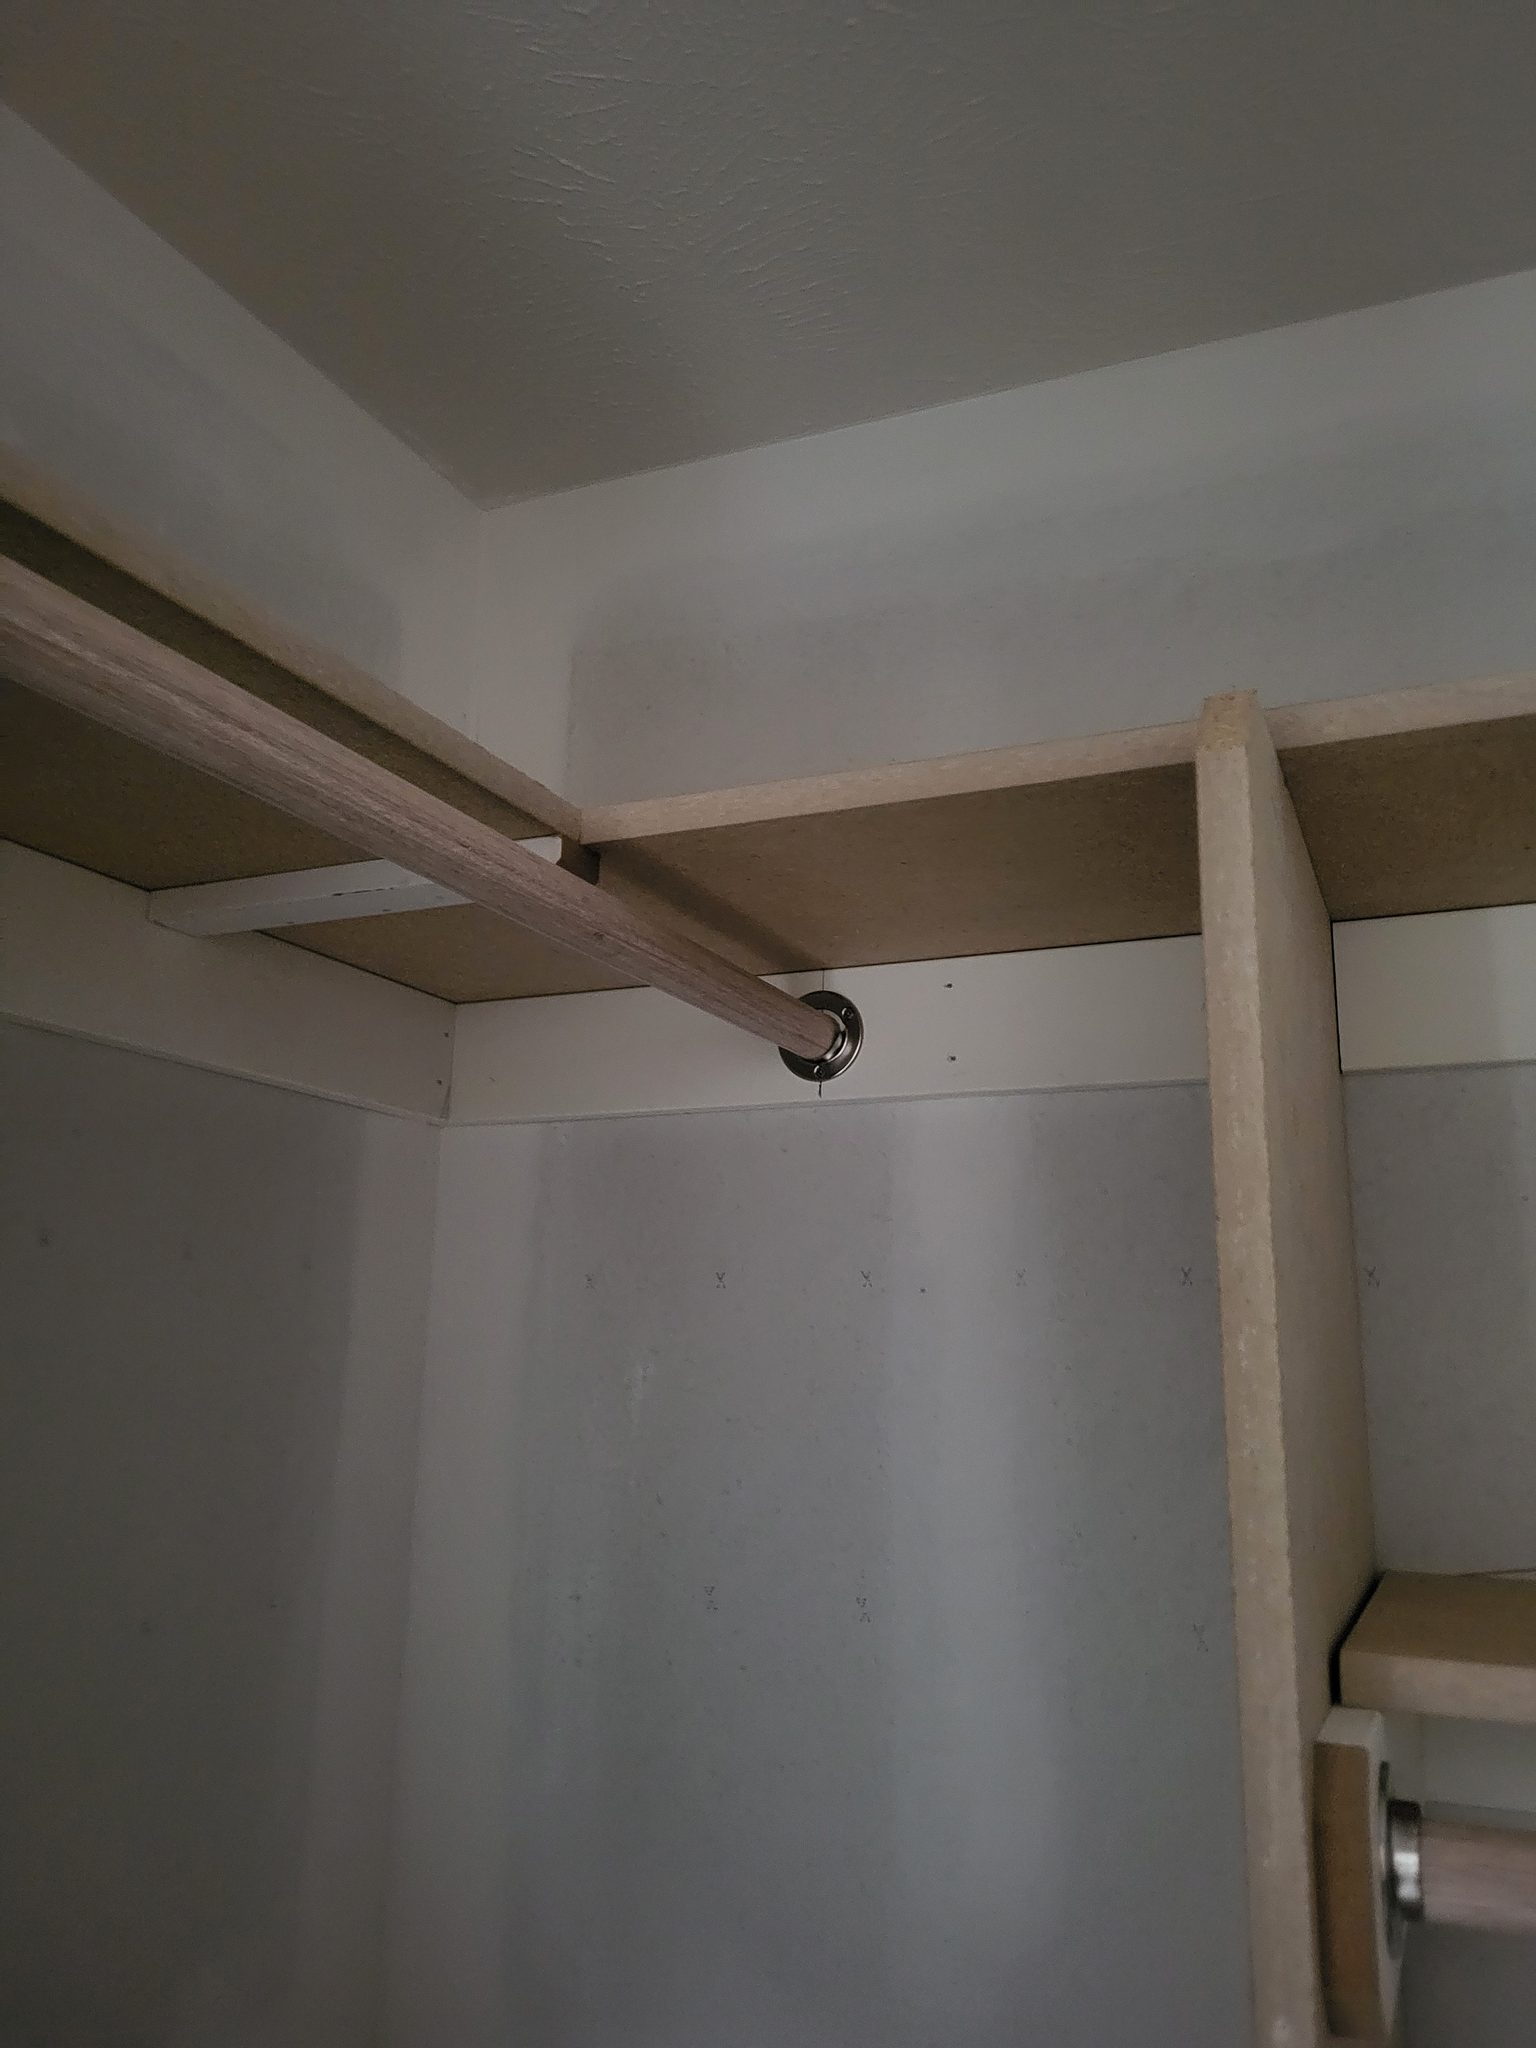
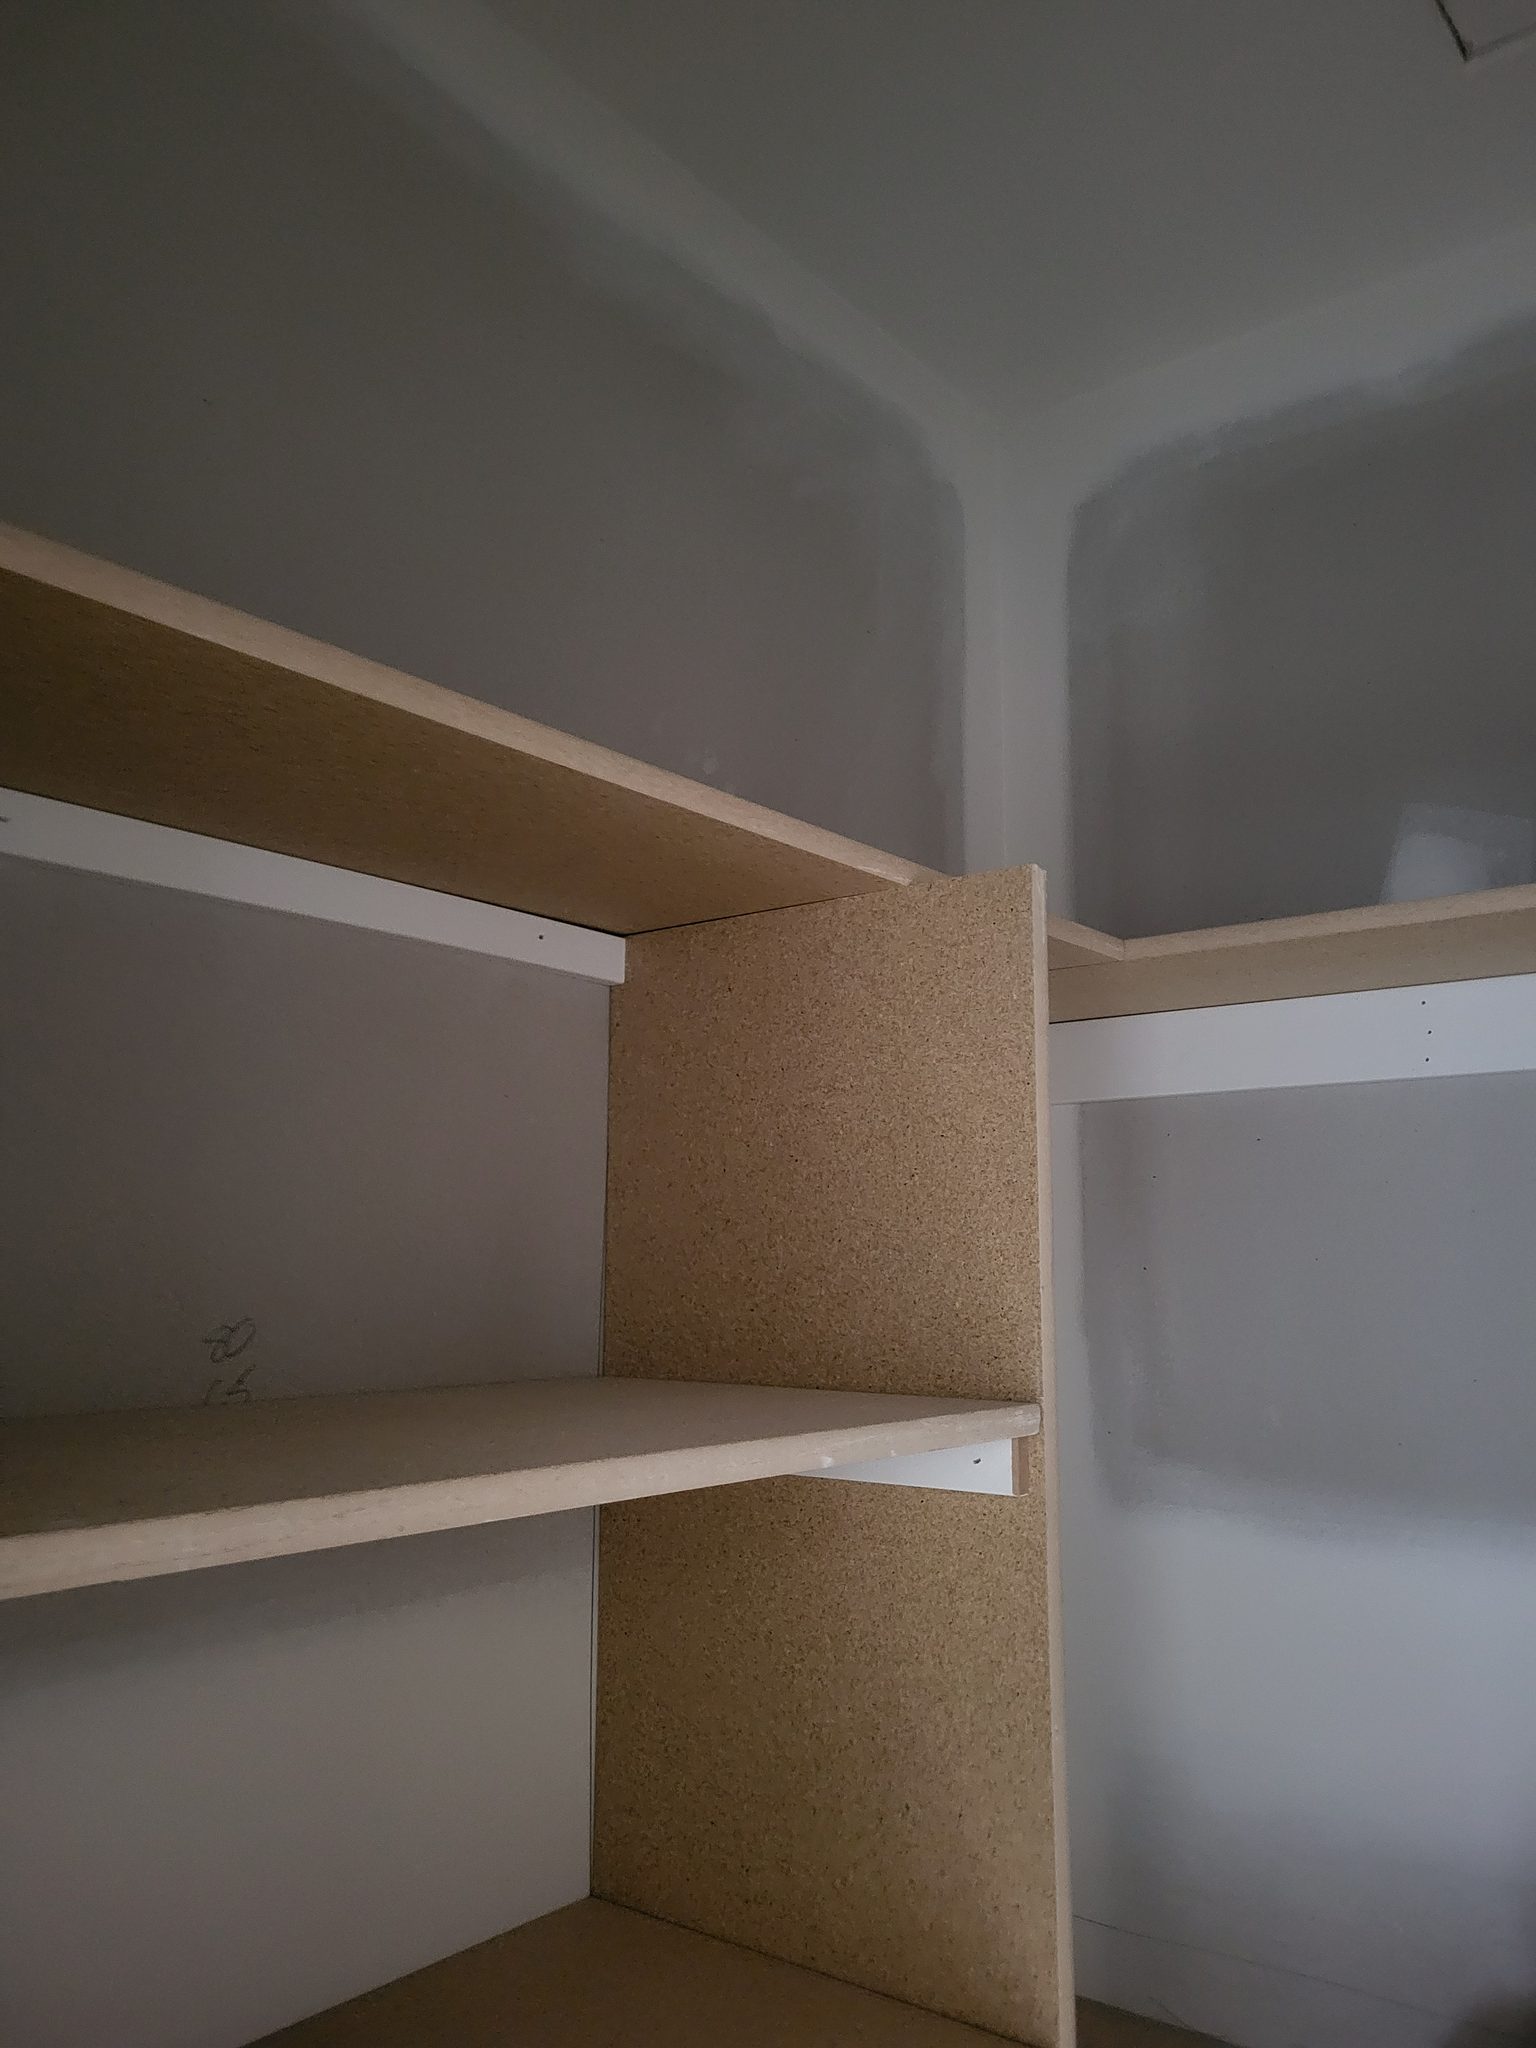
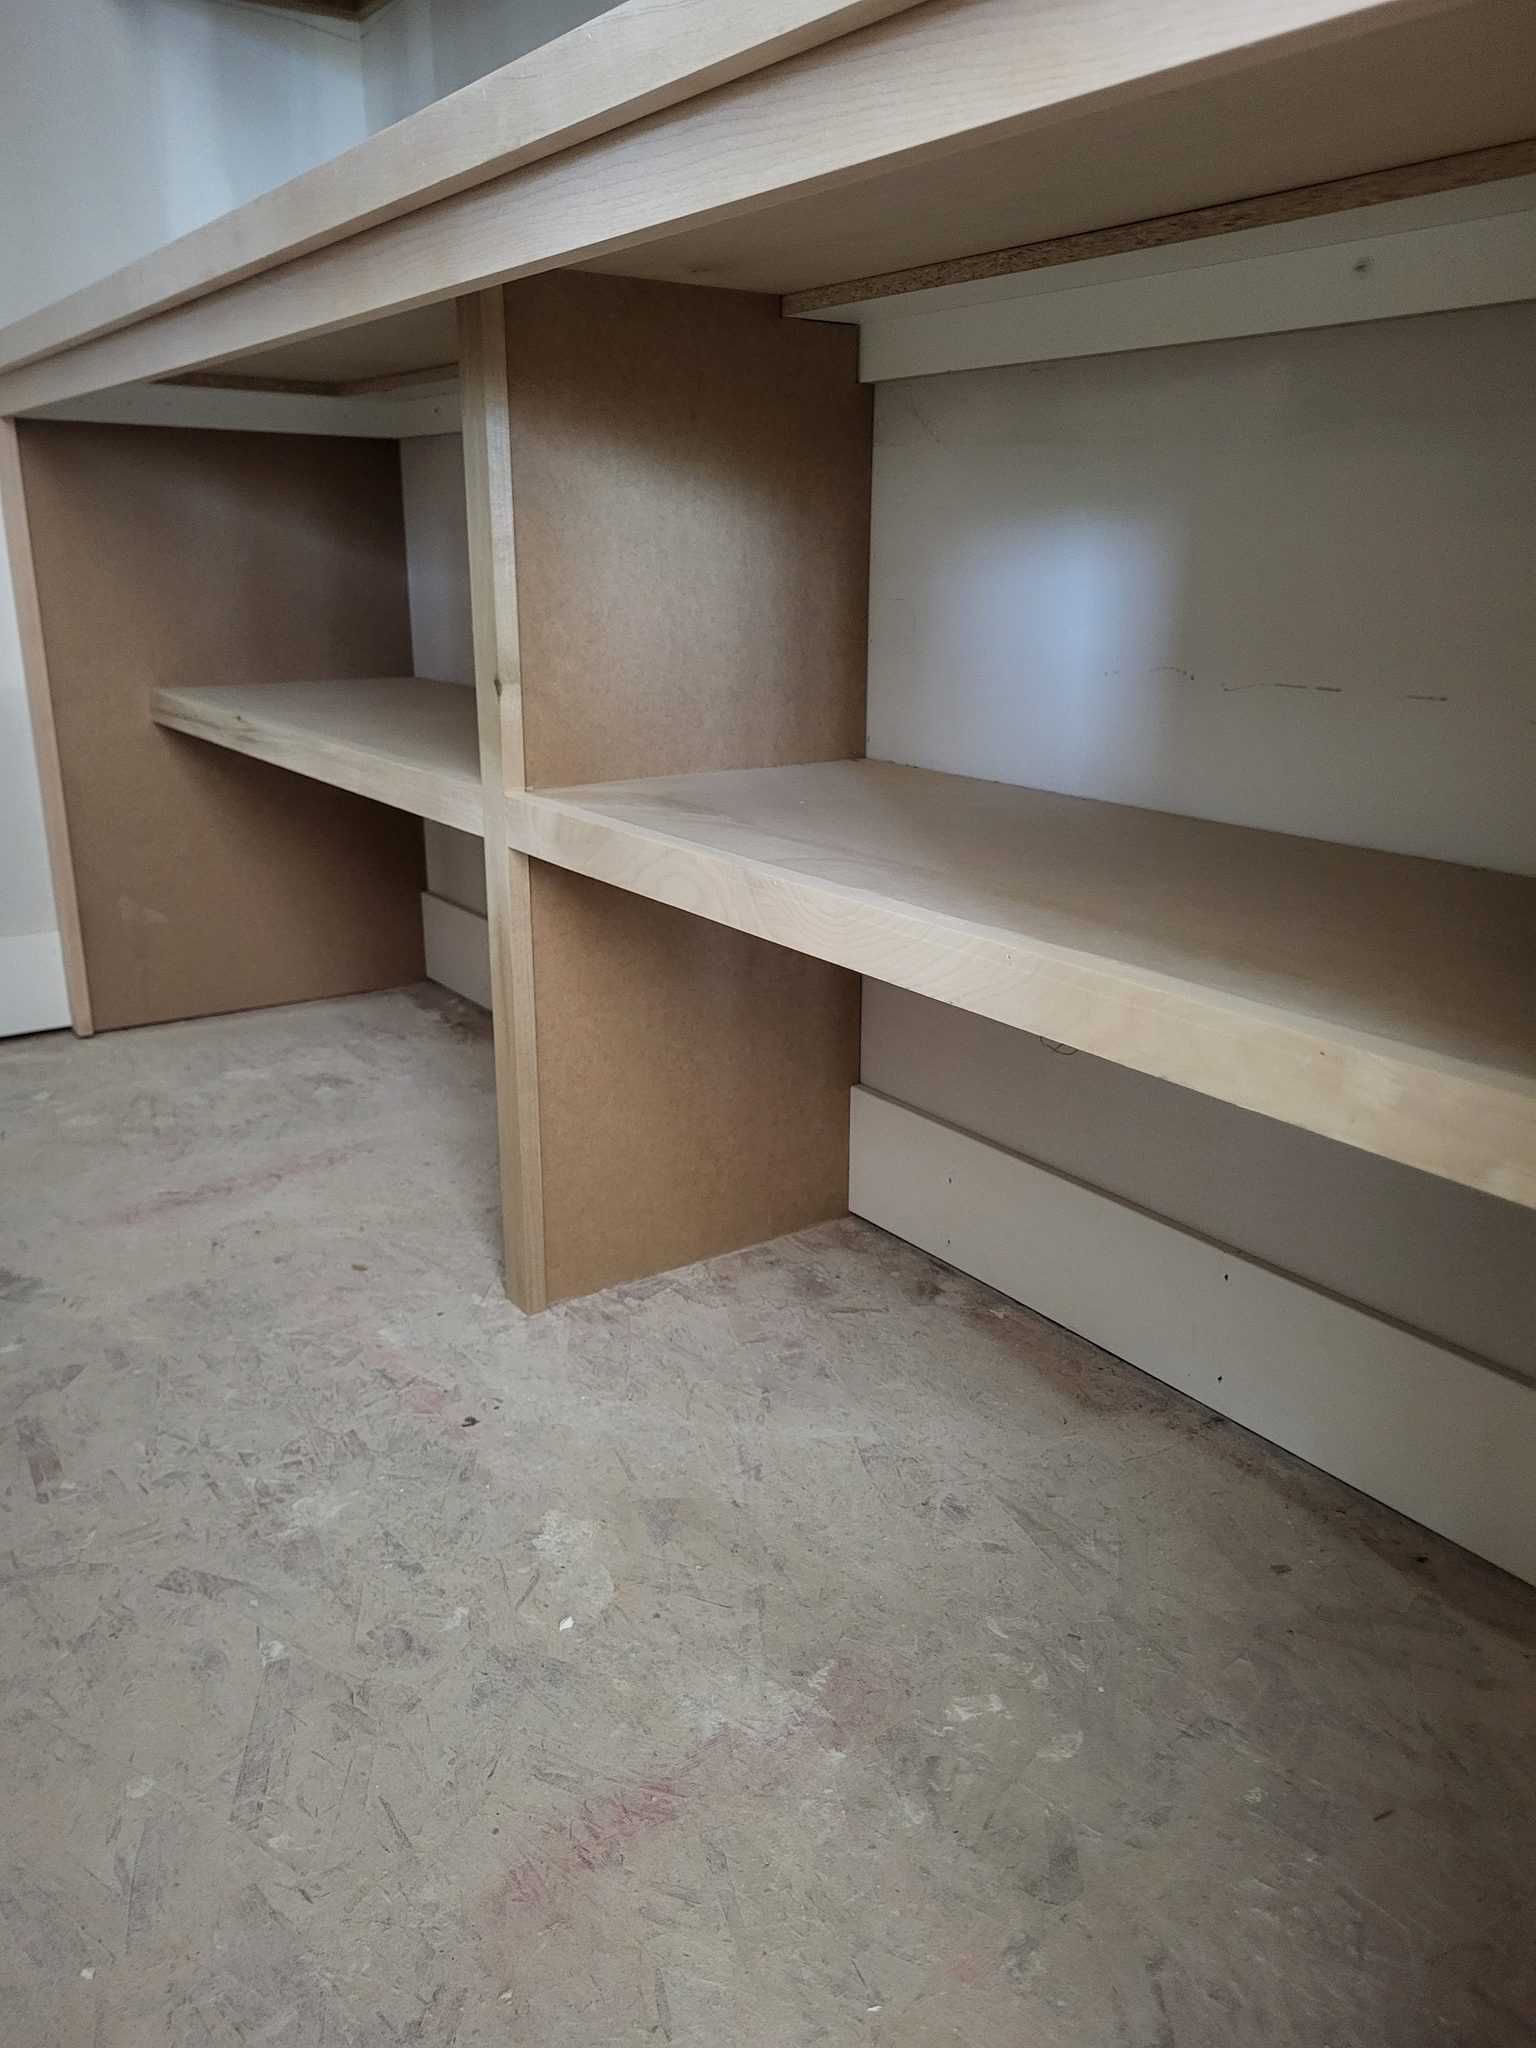
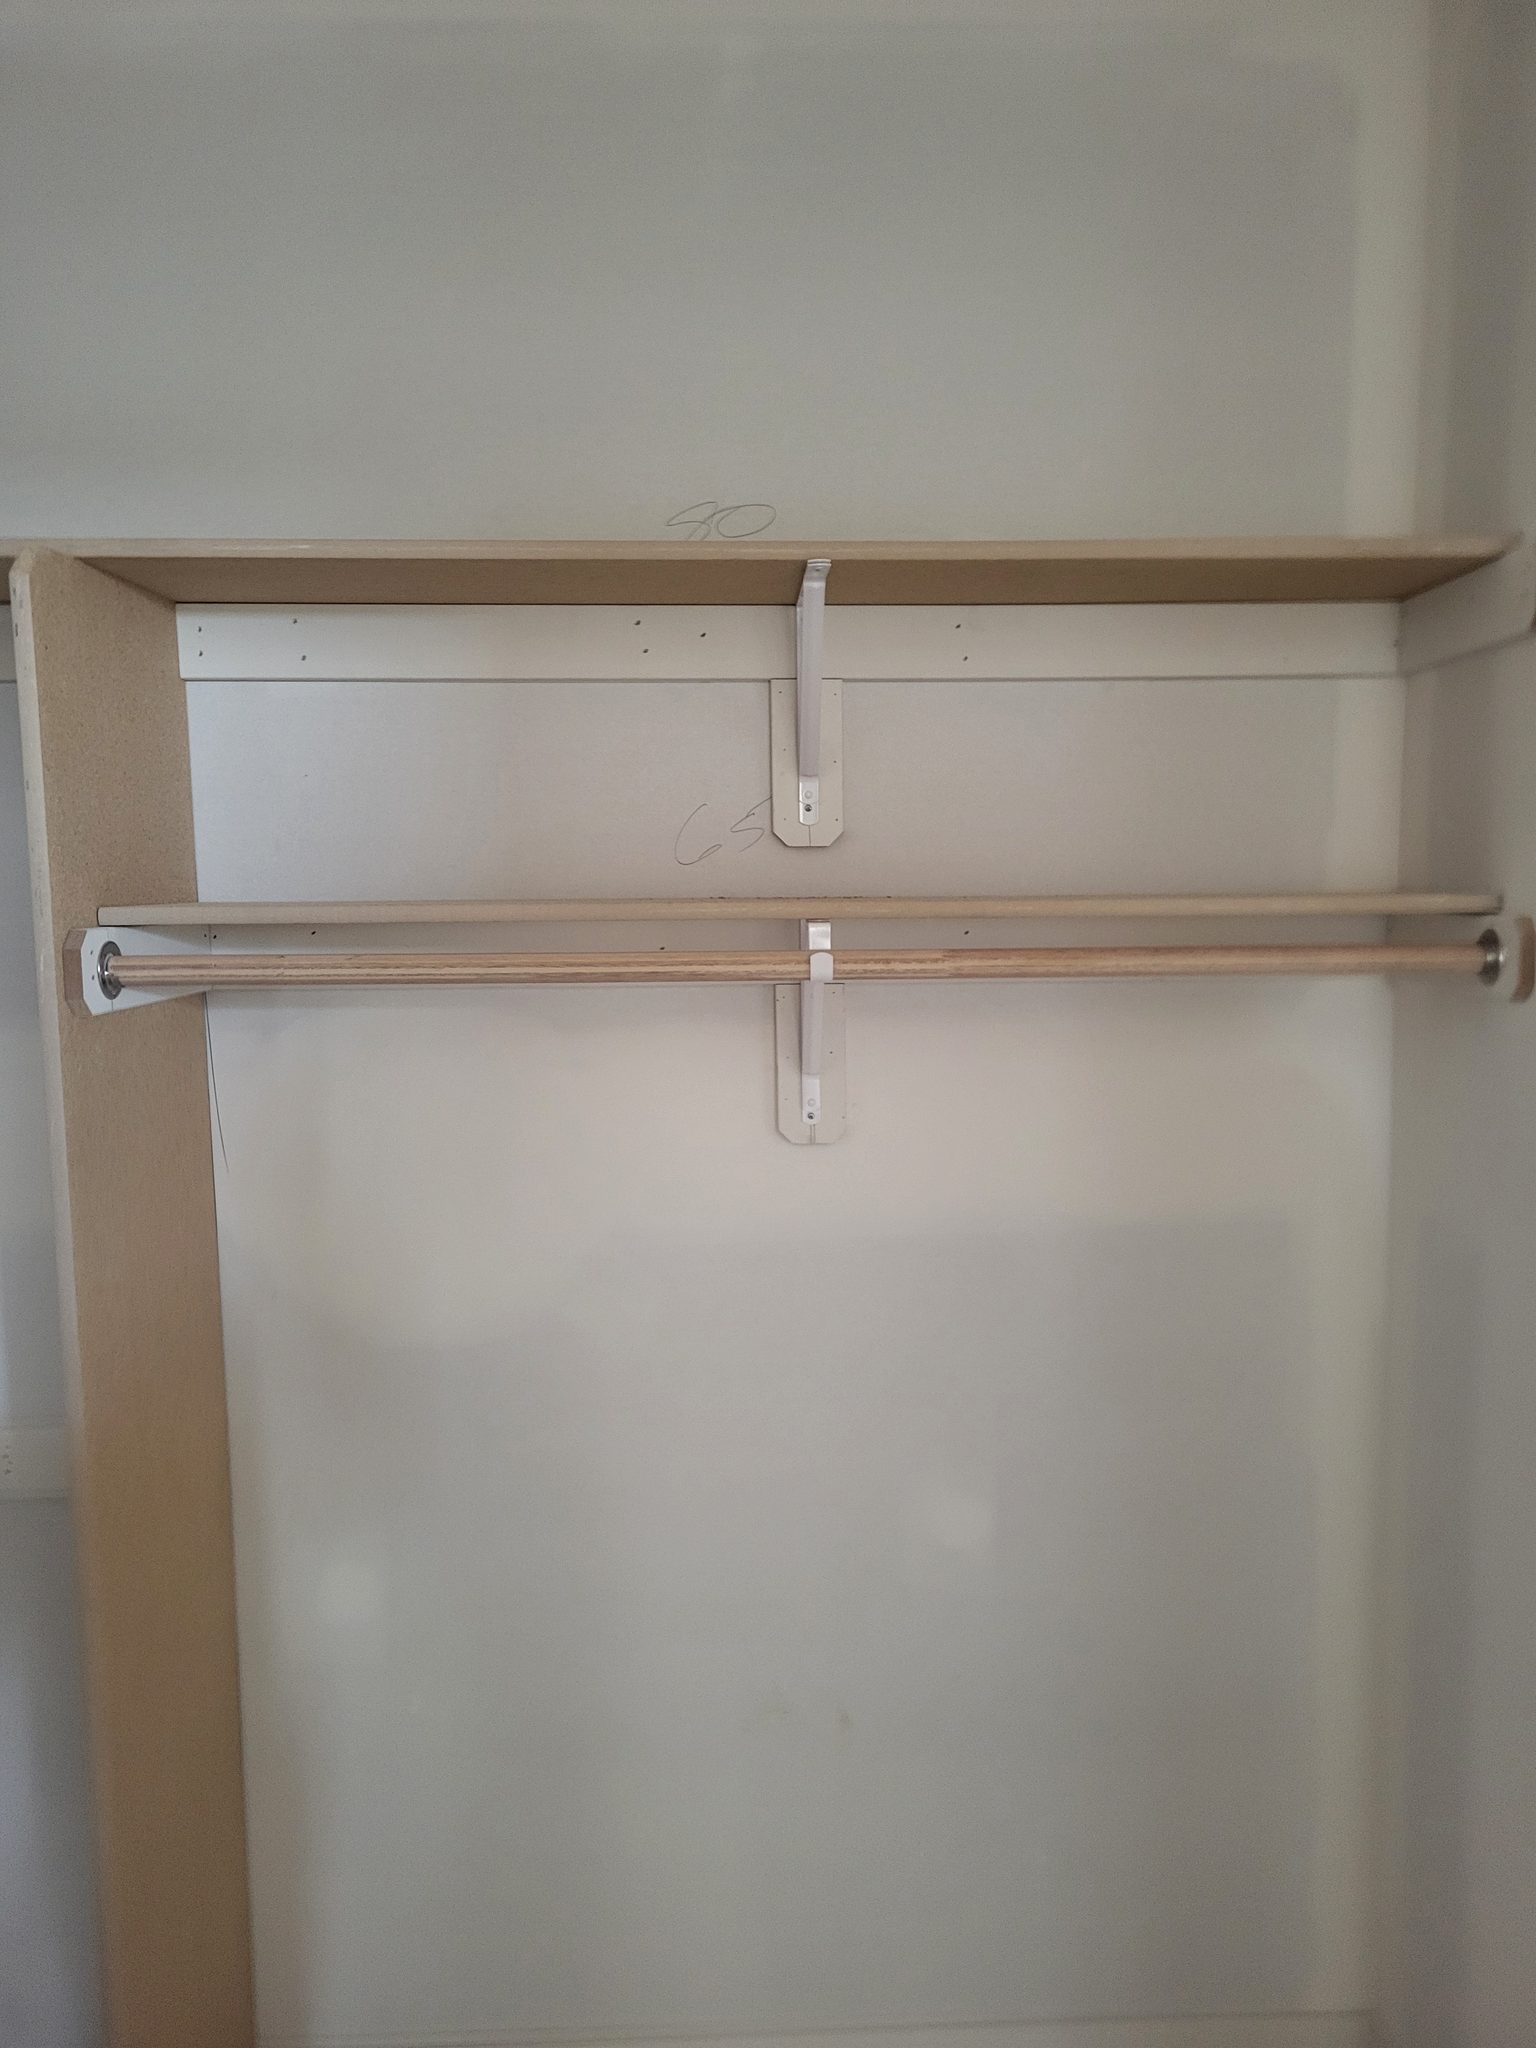
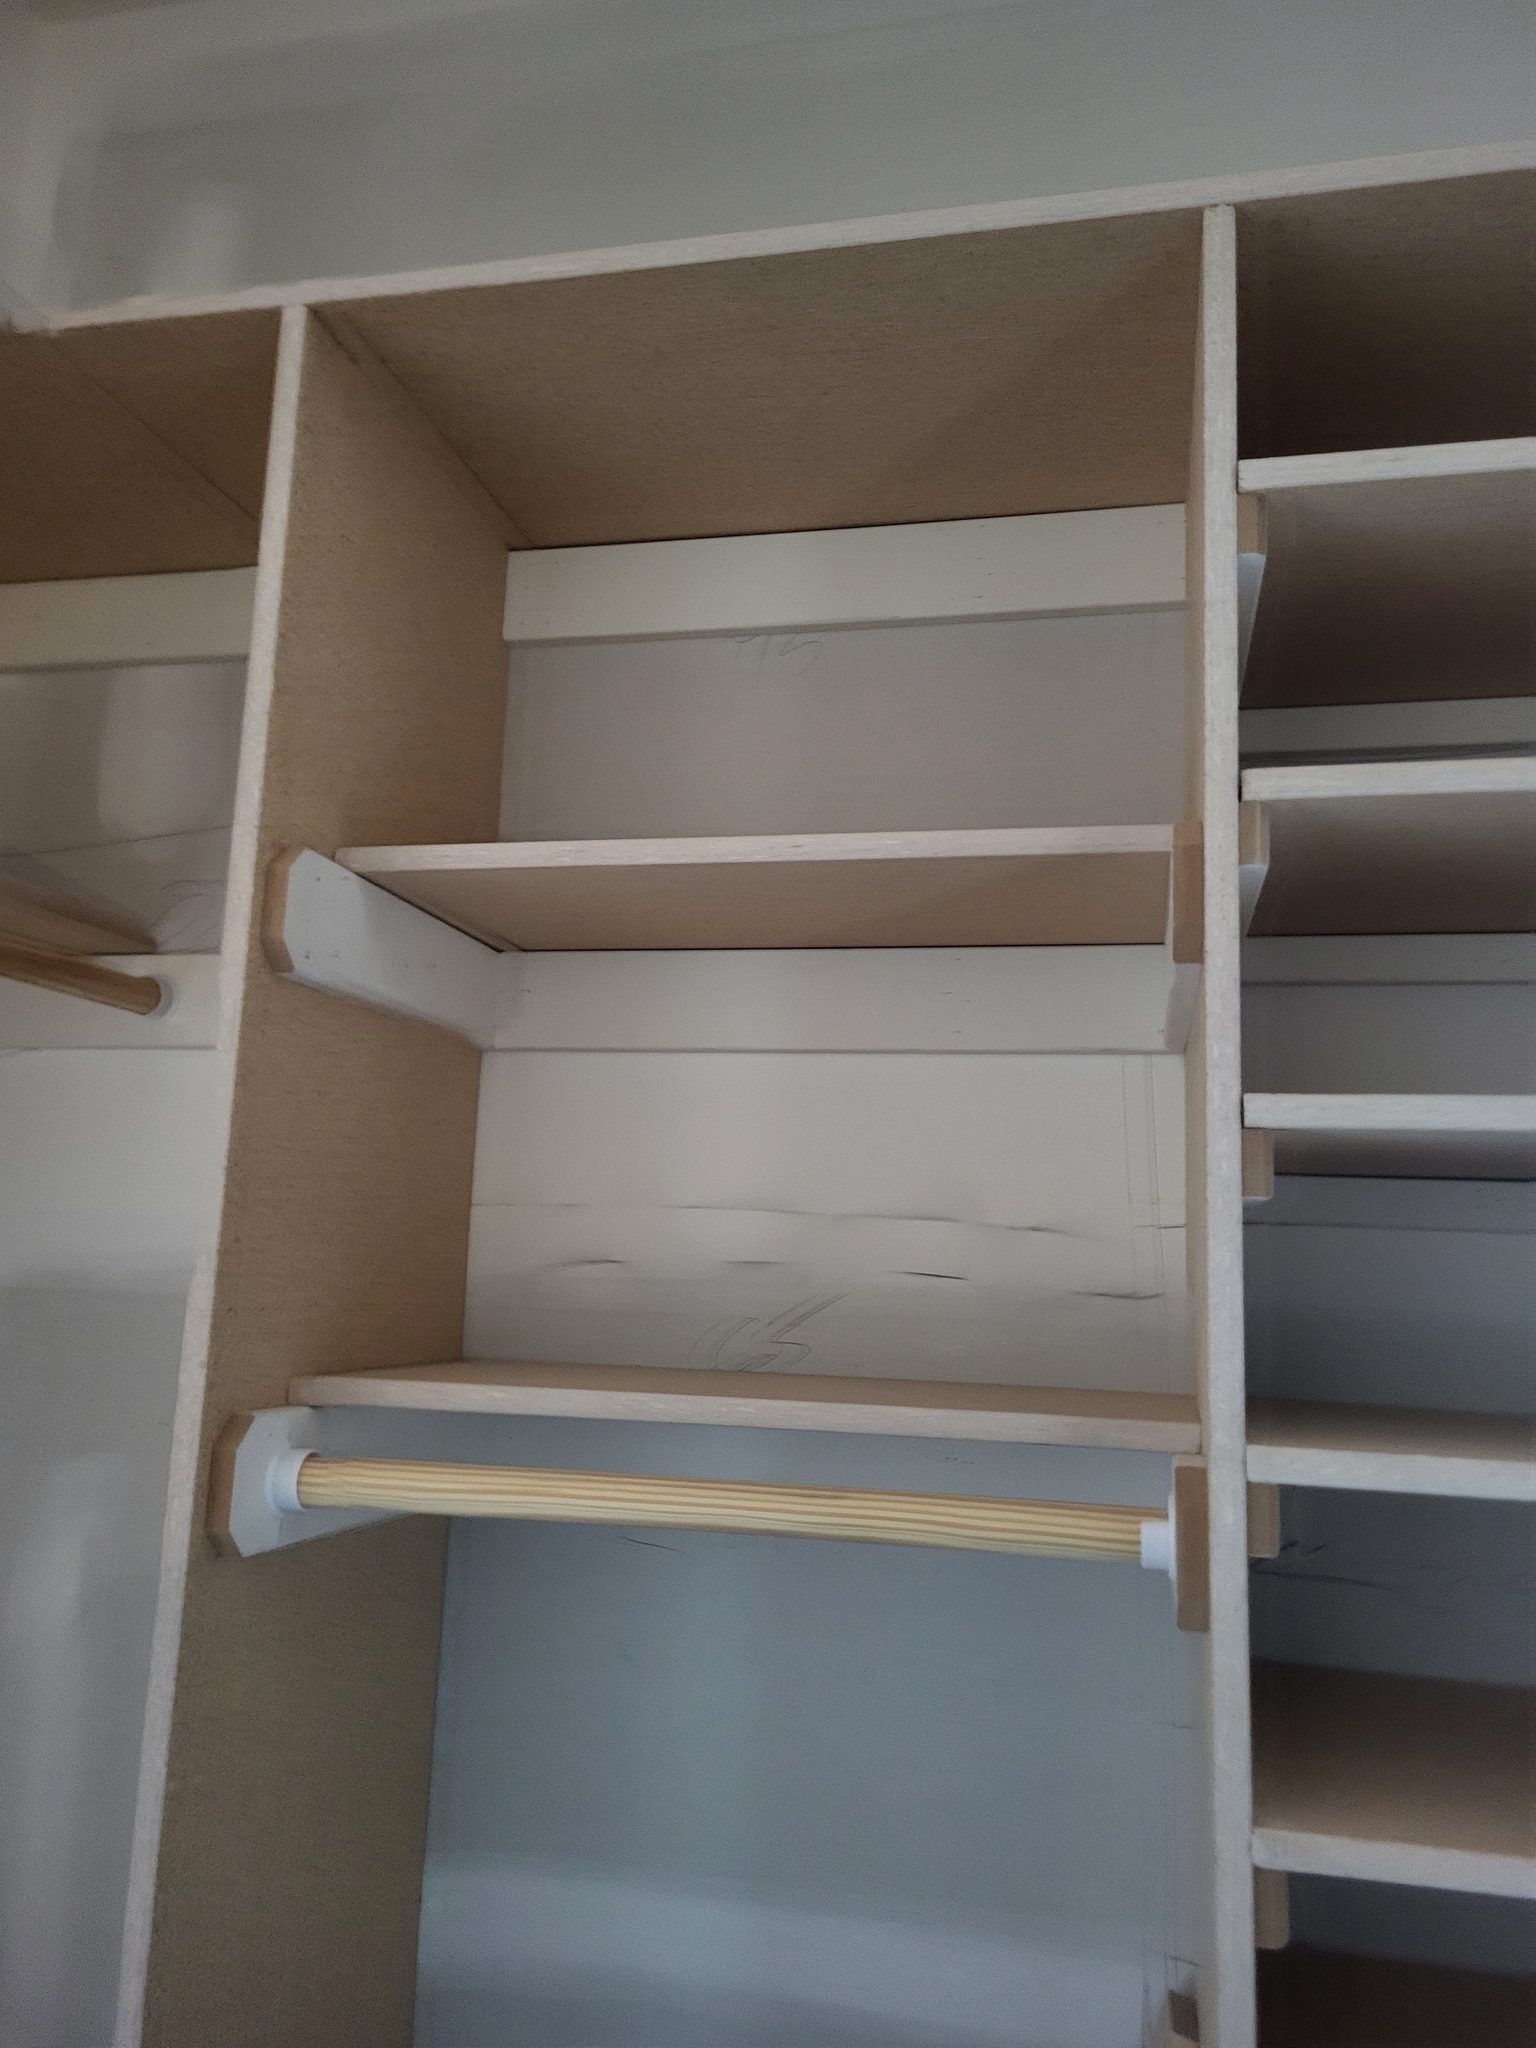
Closet shelf and hanging rod installed with raw wood cleats and particle board shelving, ready for paint.
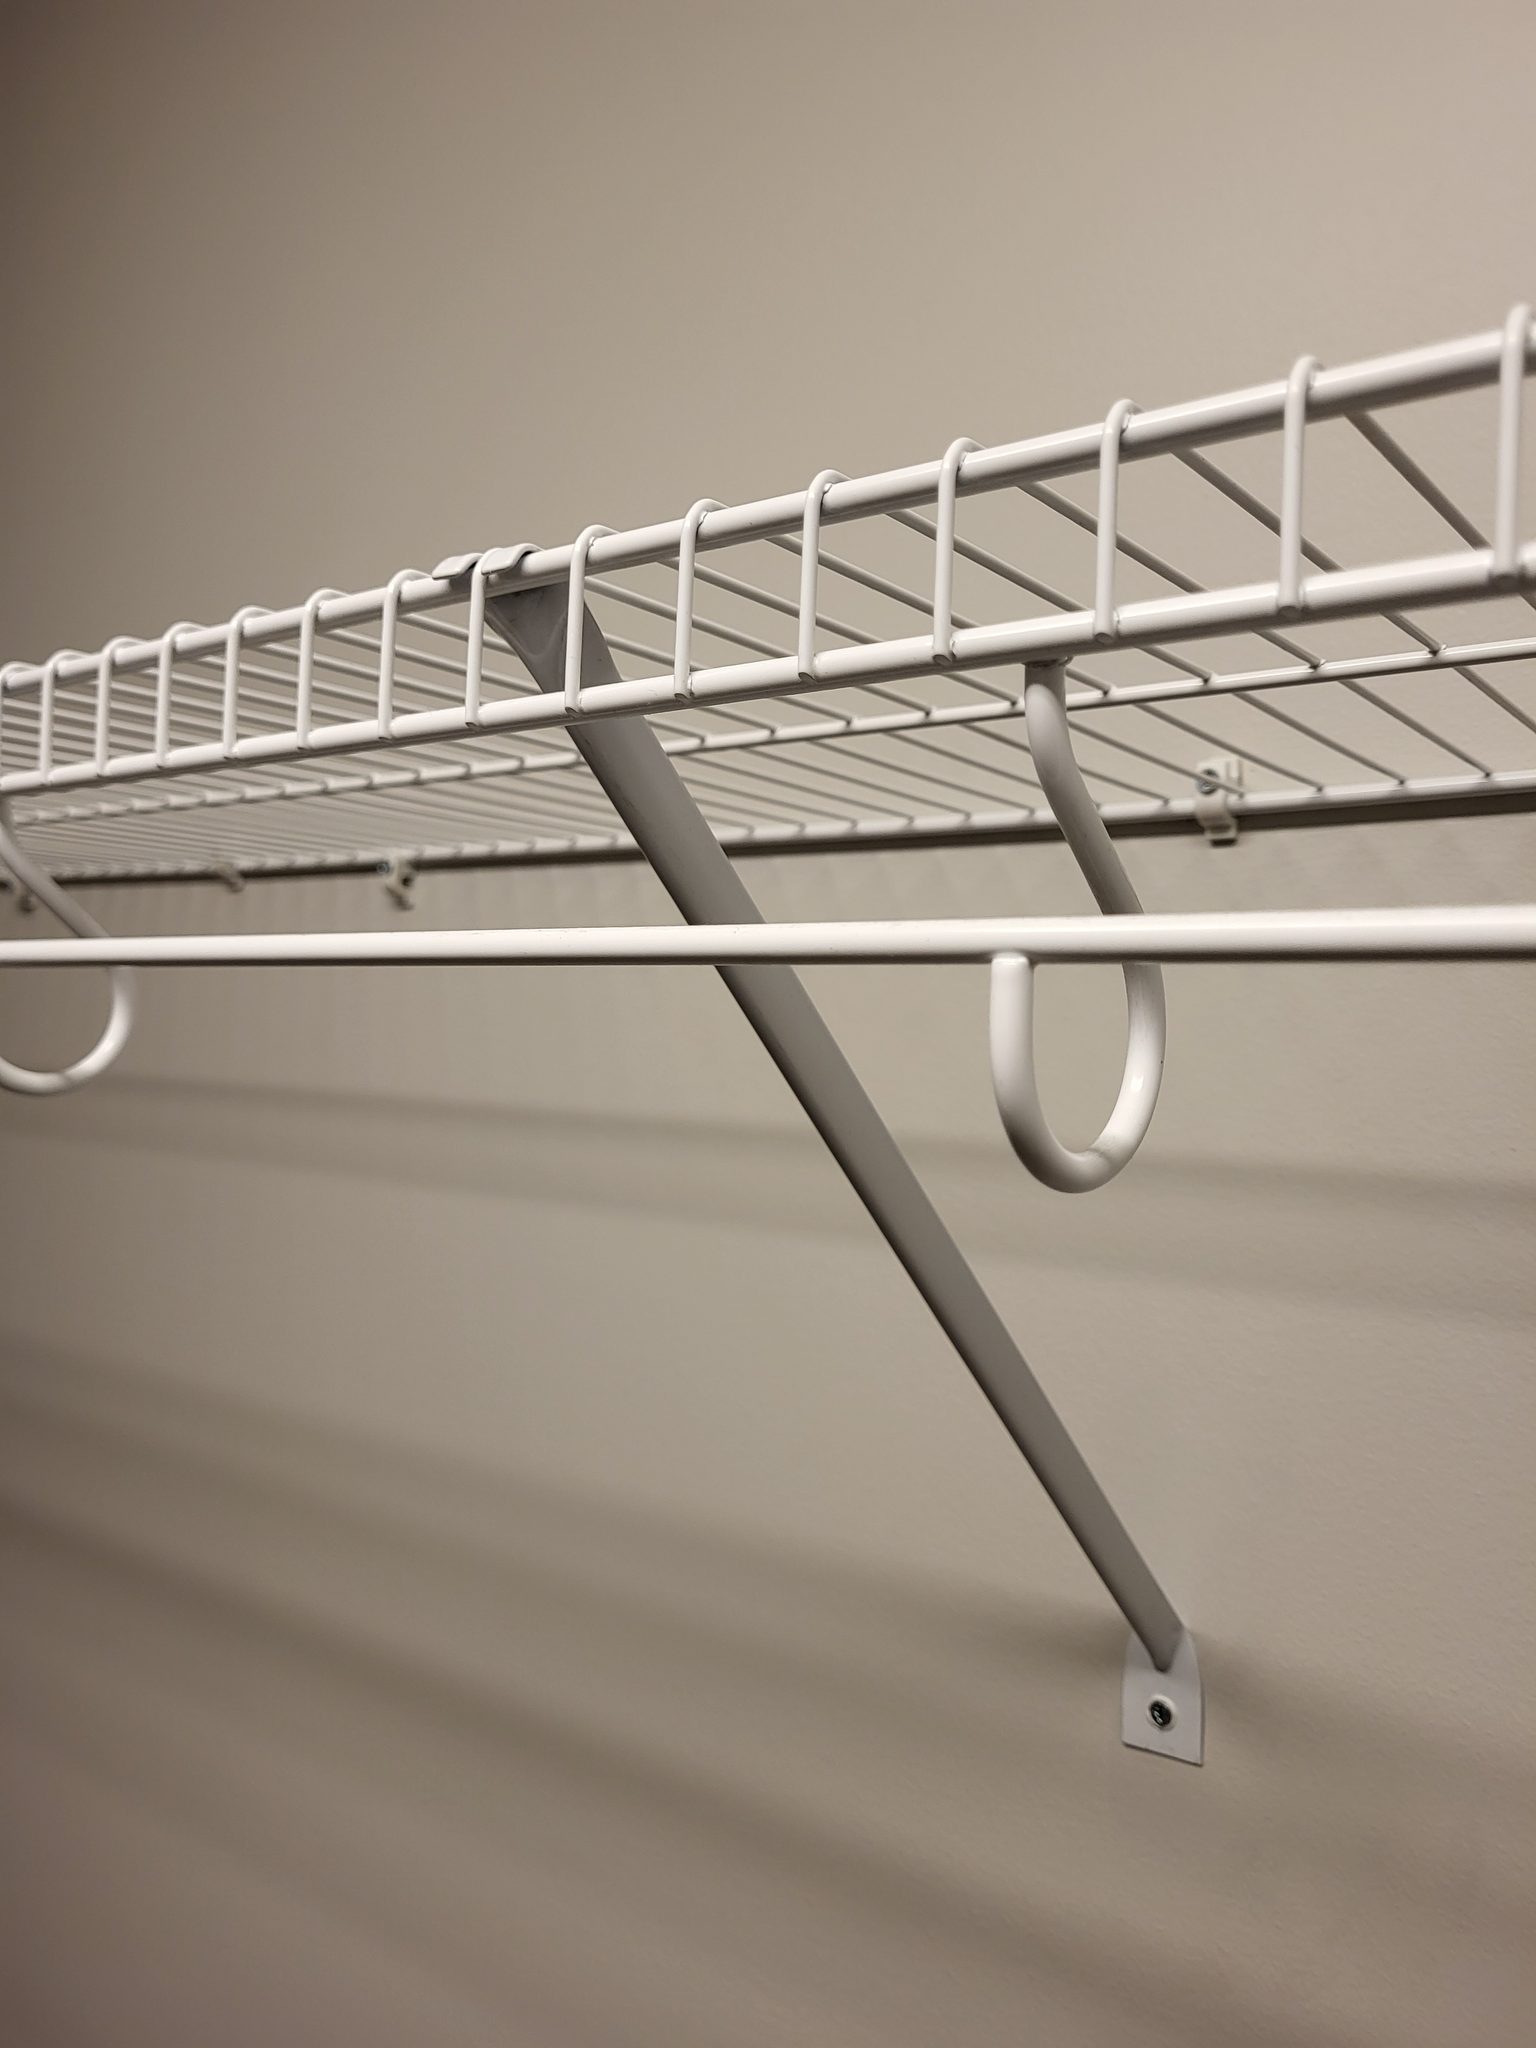
White vinyl-coated wire shelf with support bracket and hanging hooks installed in closet.
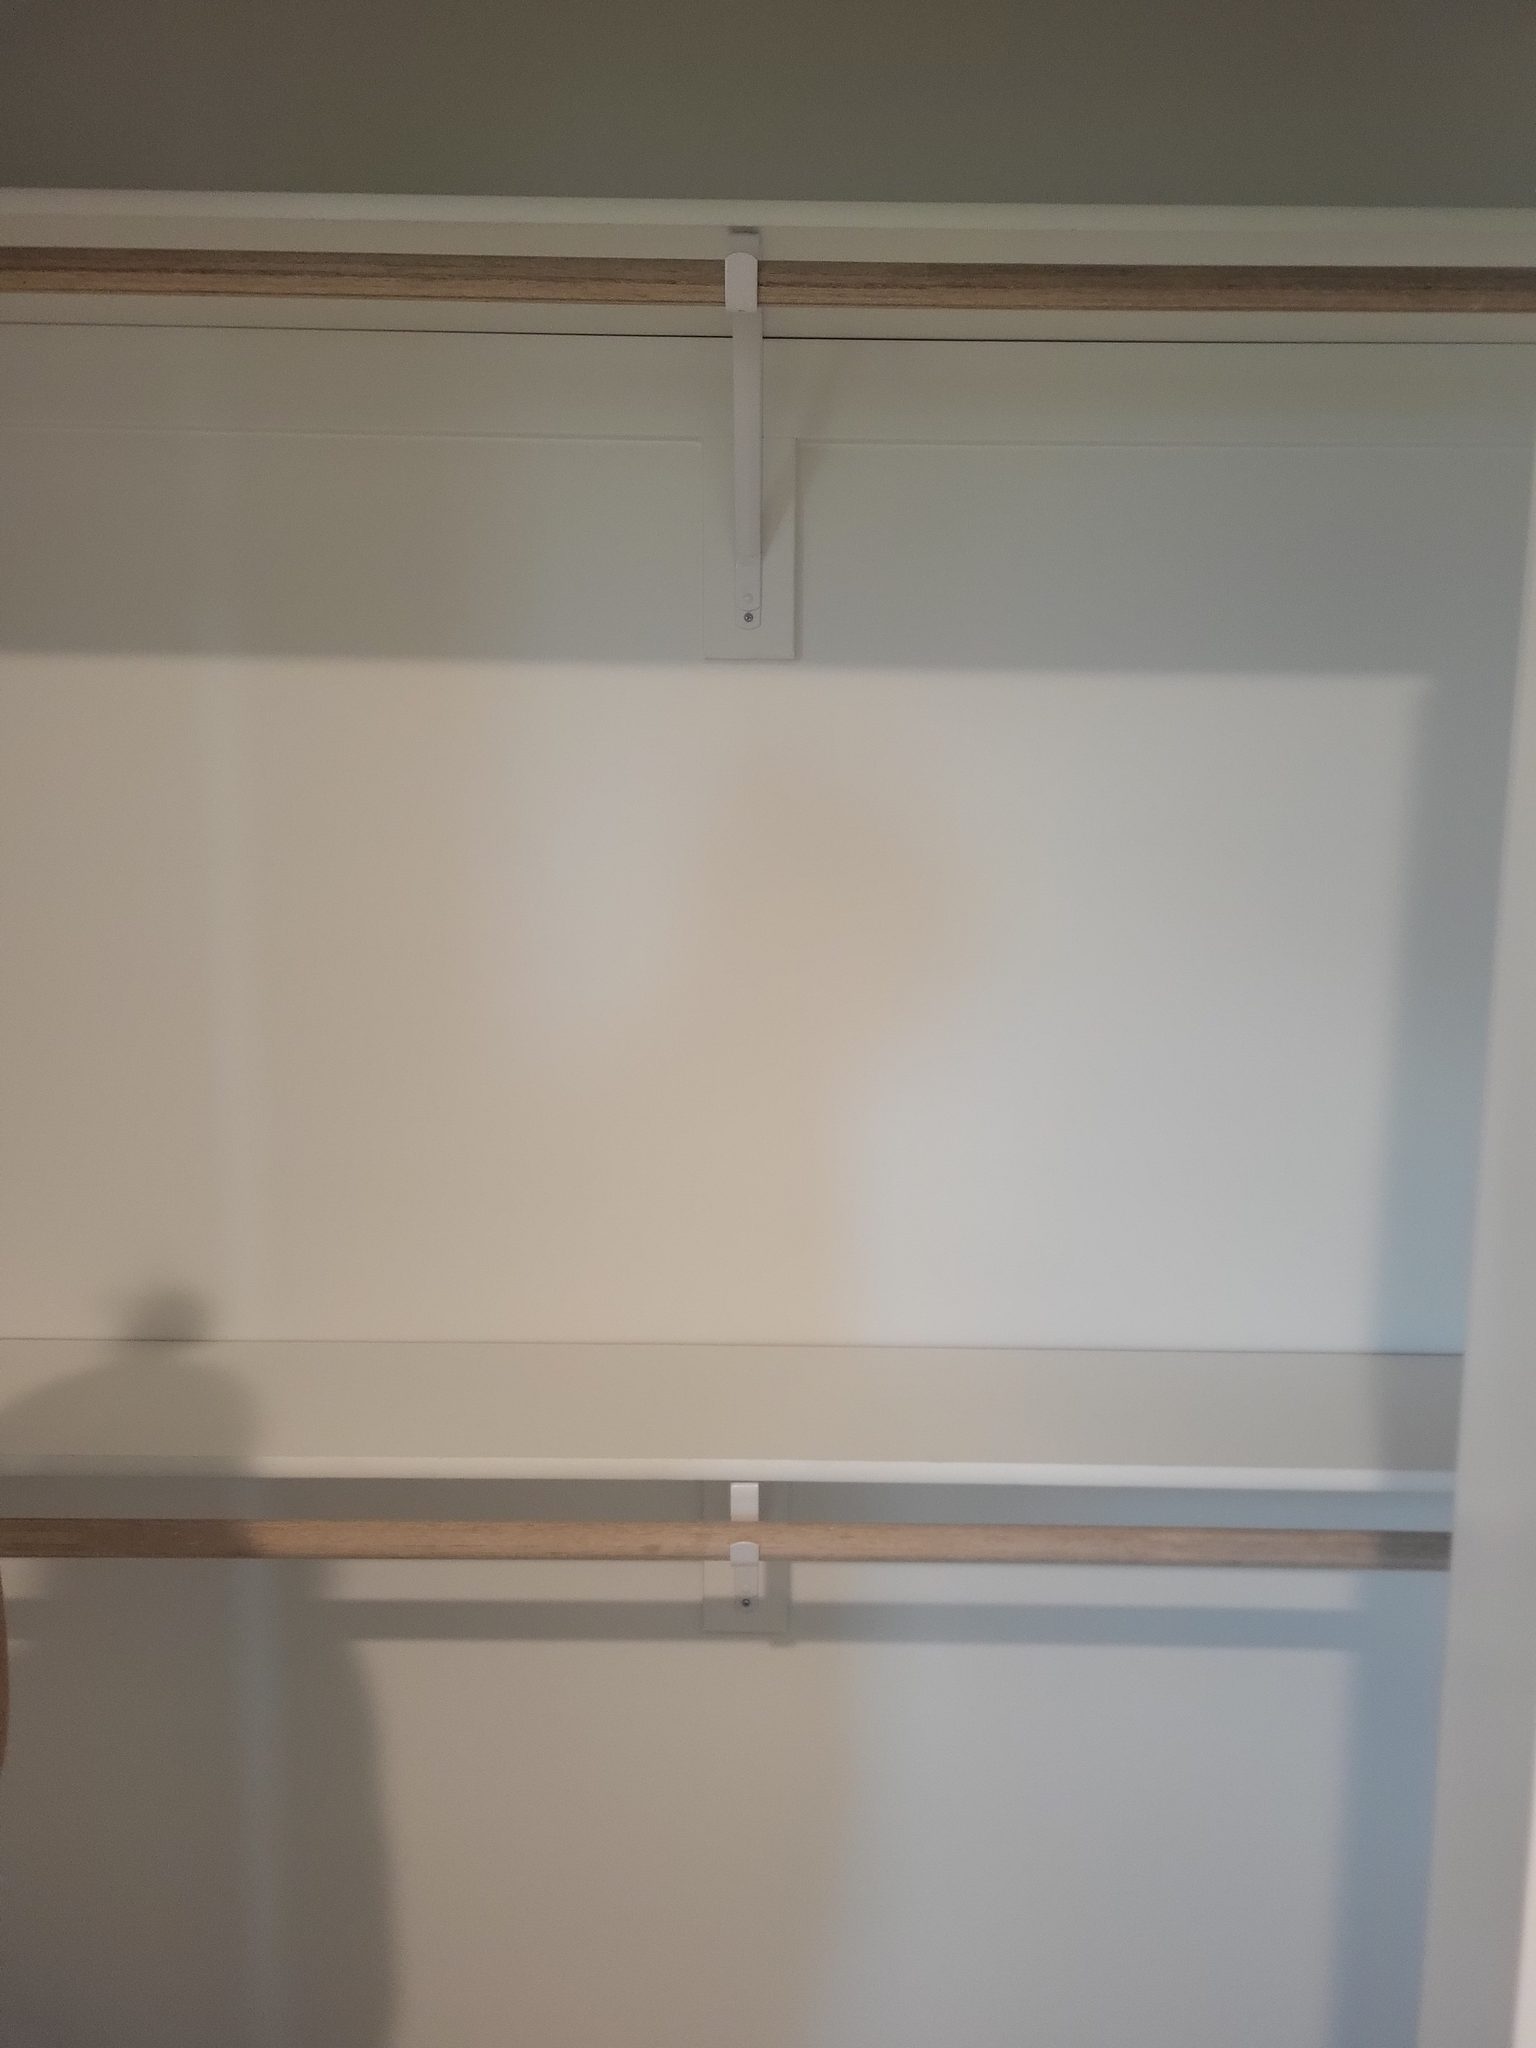
Painted closet shelf with wood hanging rod and metal end cap installed on white wall.
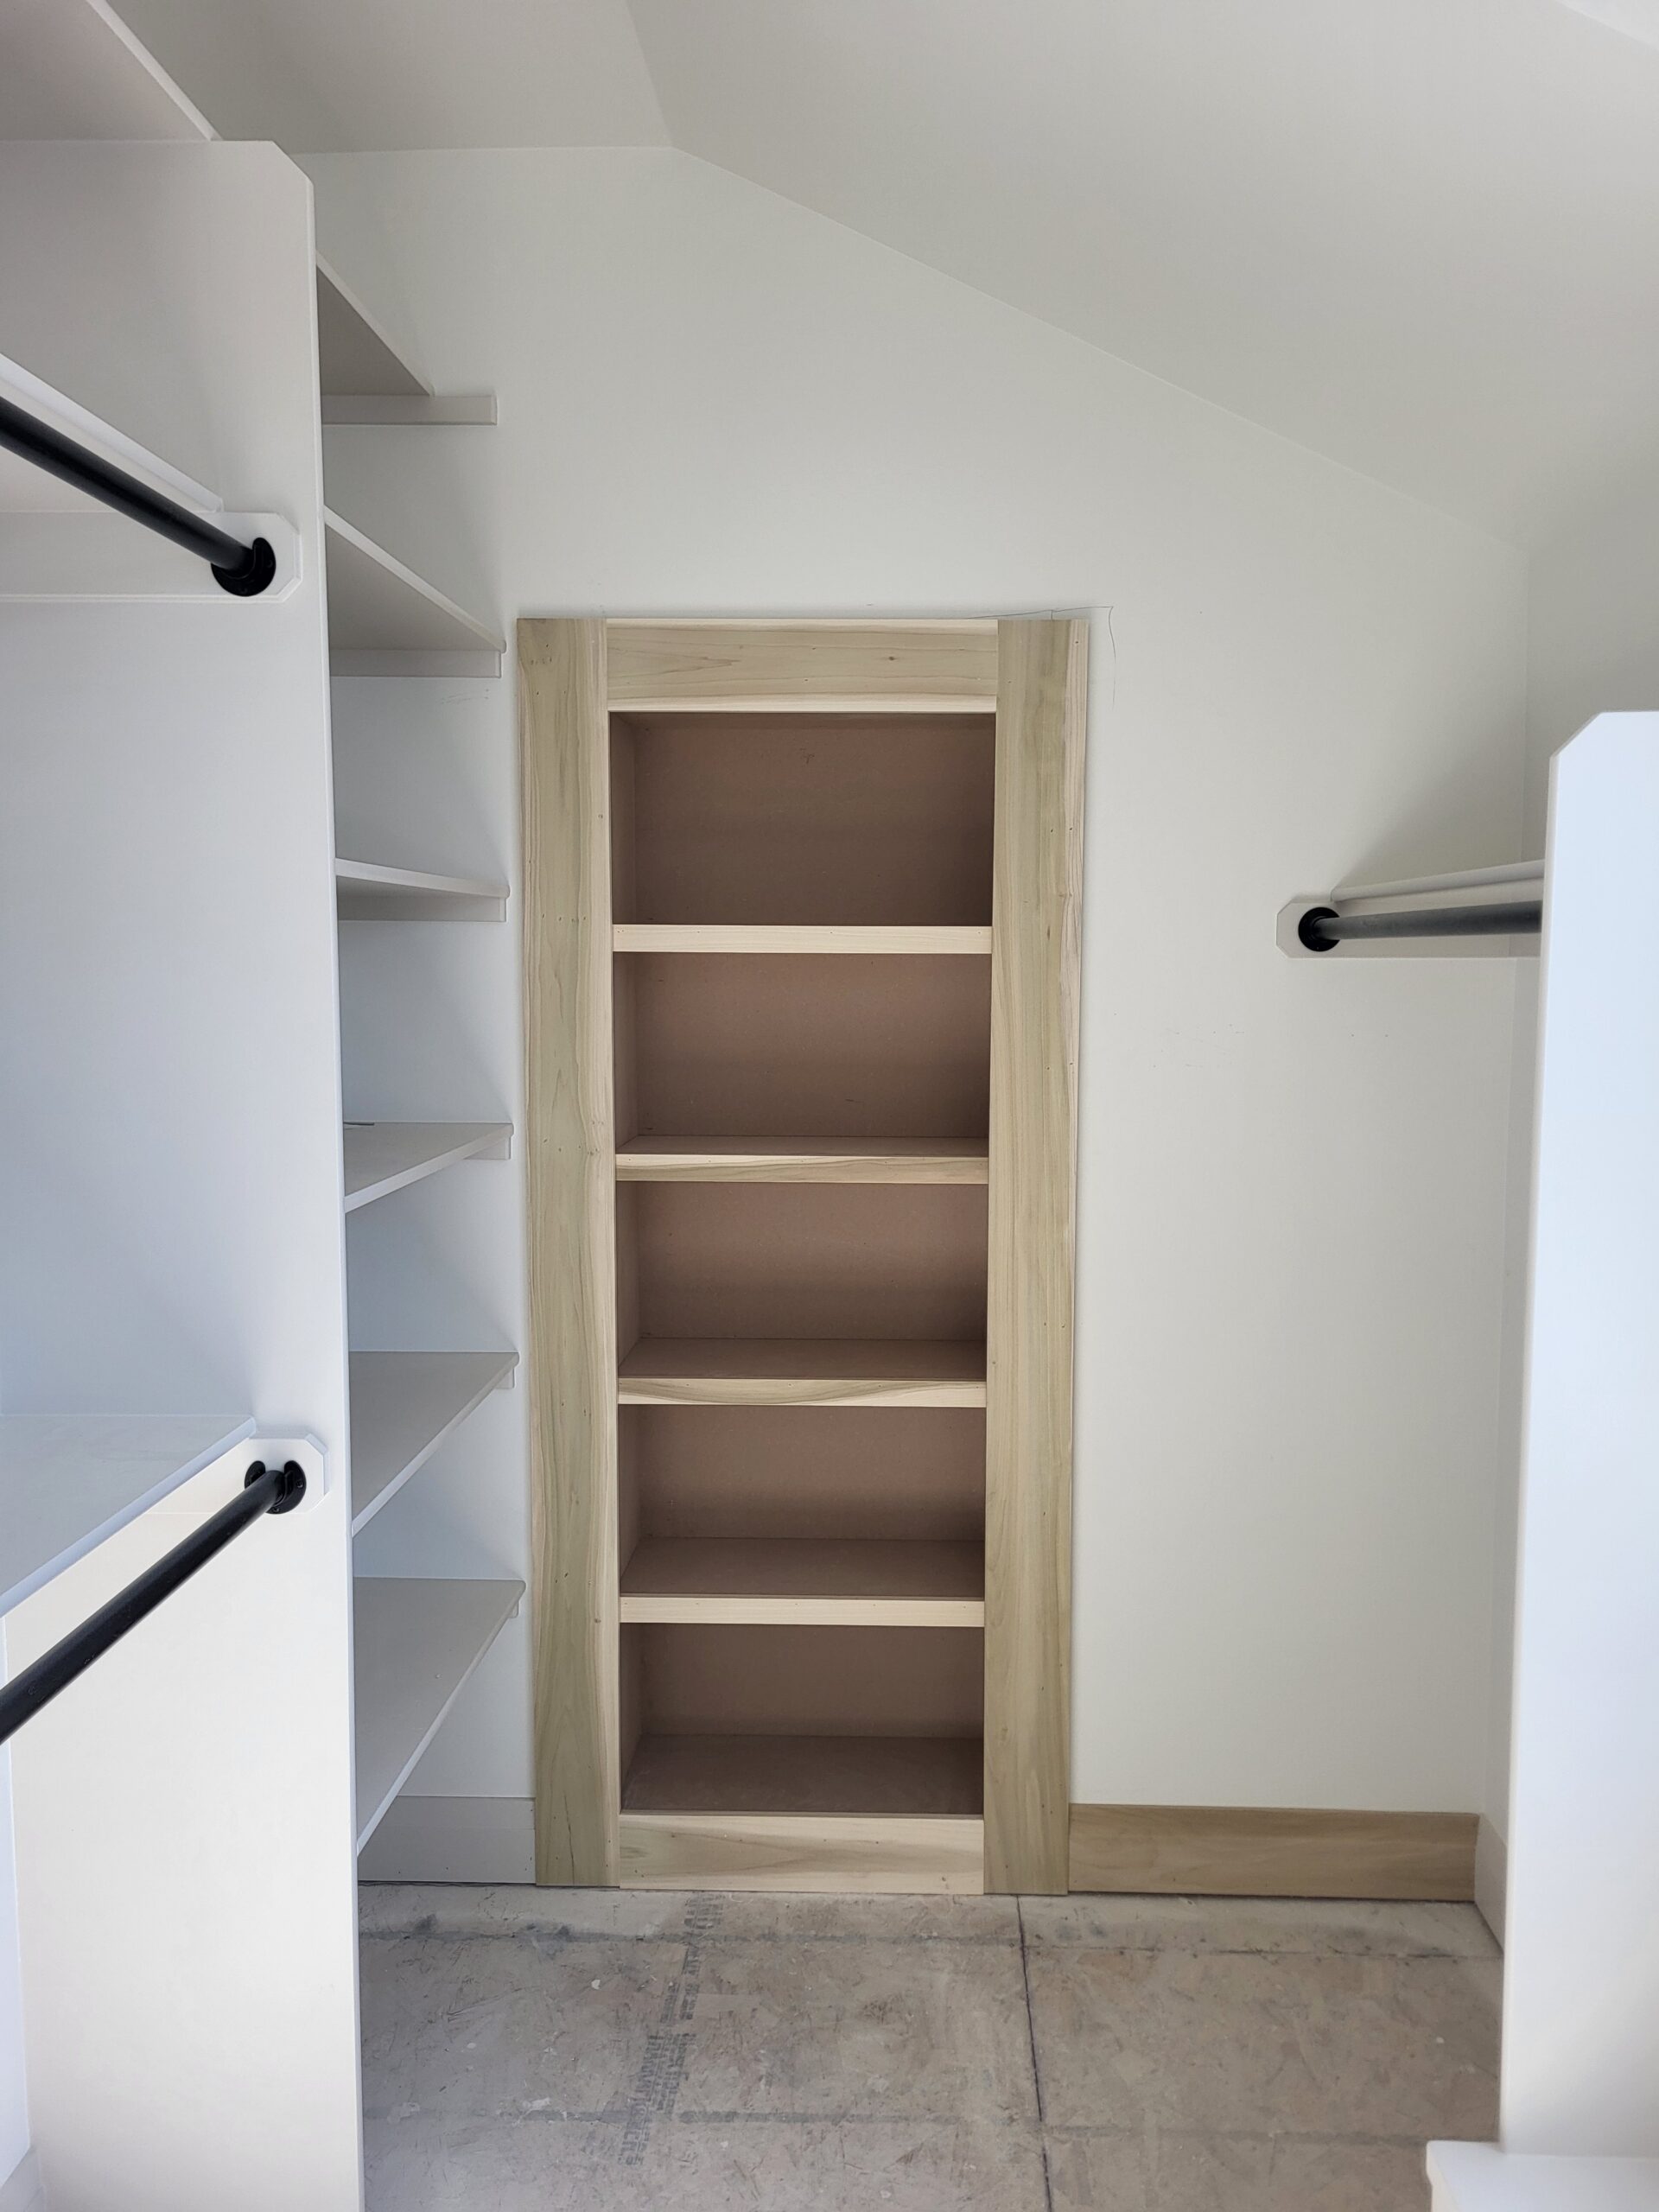
Custom built-in closet shelving with face-frame cubbies, primed door frame, ready for paint.
Custom built-in bookcase and shelving cabinetry installed in raw wood, ready for paint or stain.
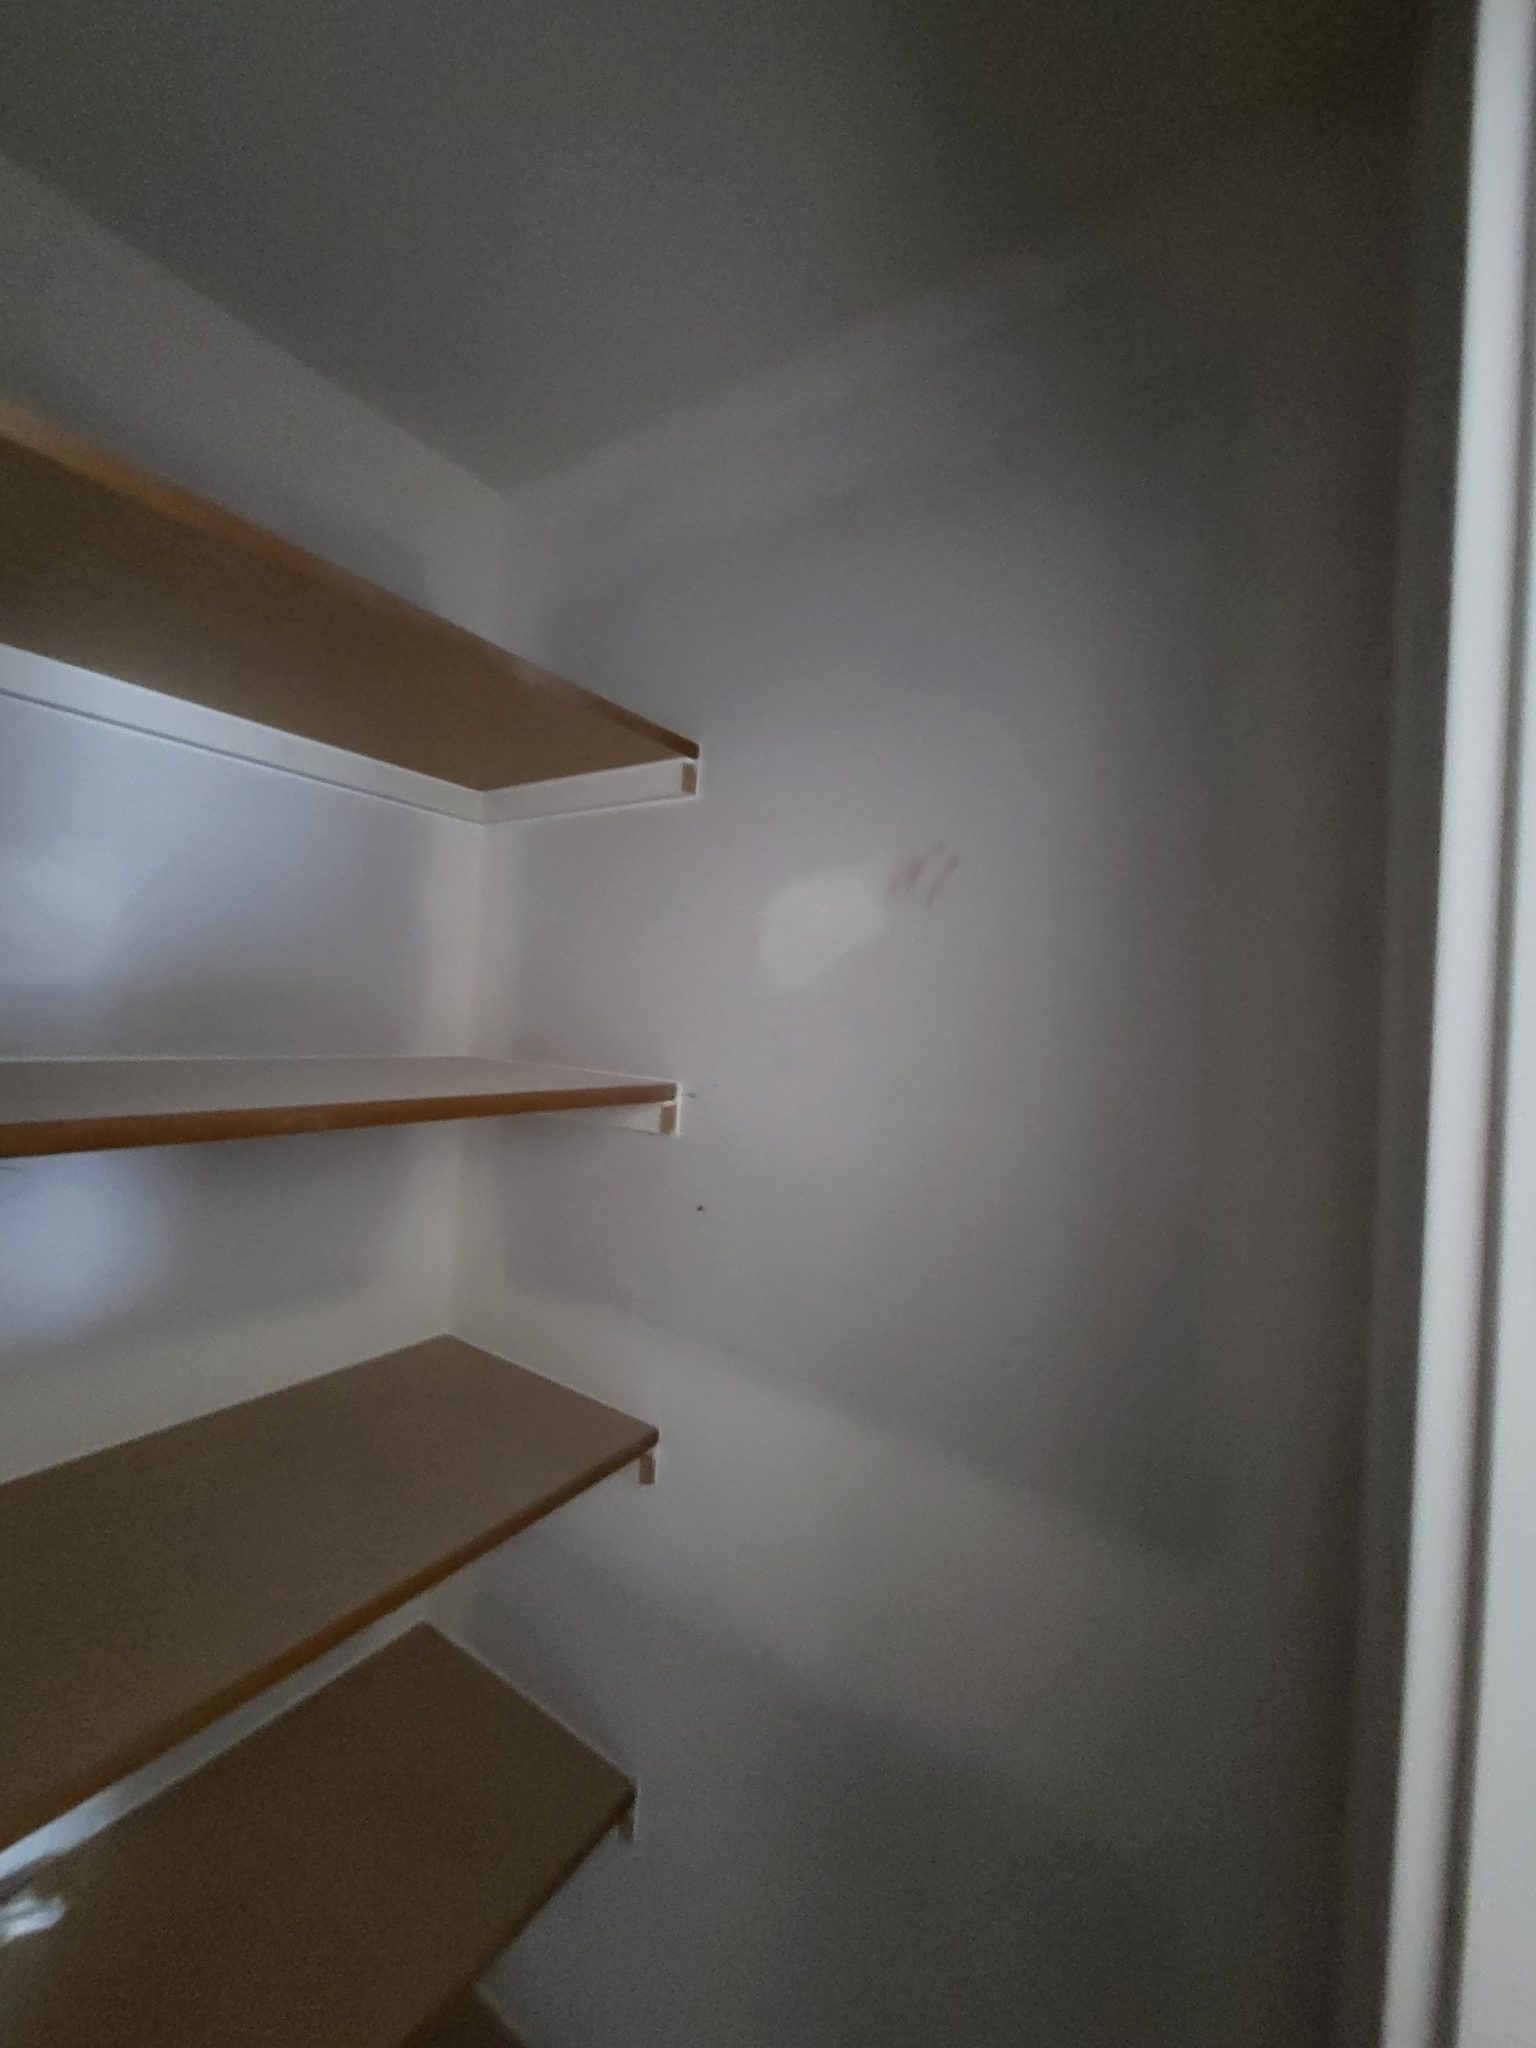
Four-shelf closet unit with stained wood shelves and white support brackets, ready for paint or final finishing.
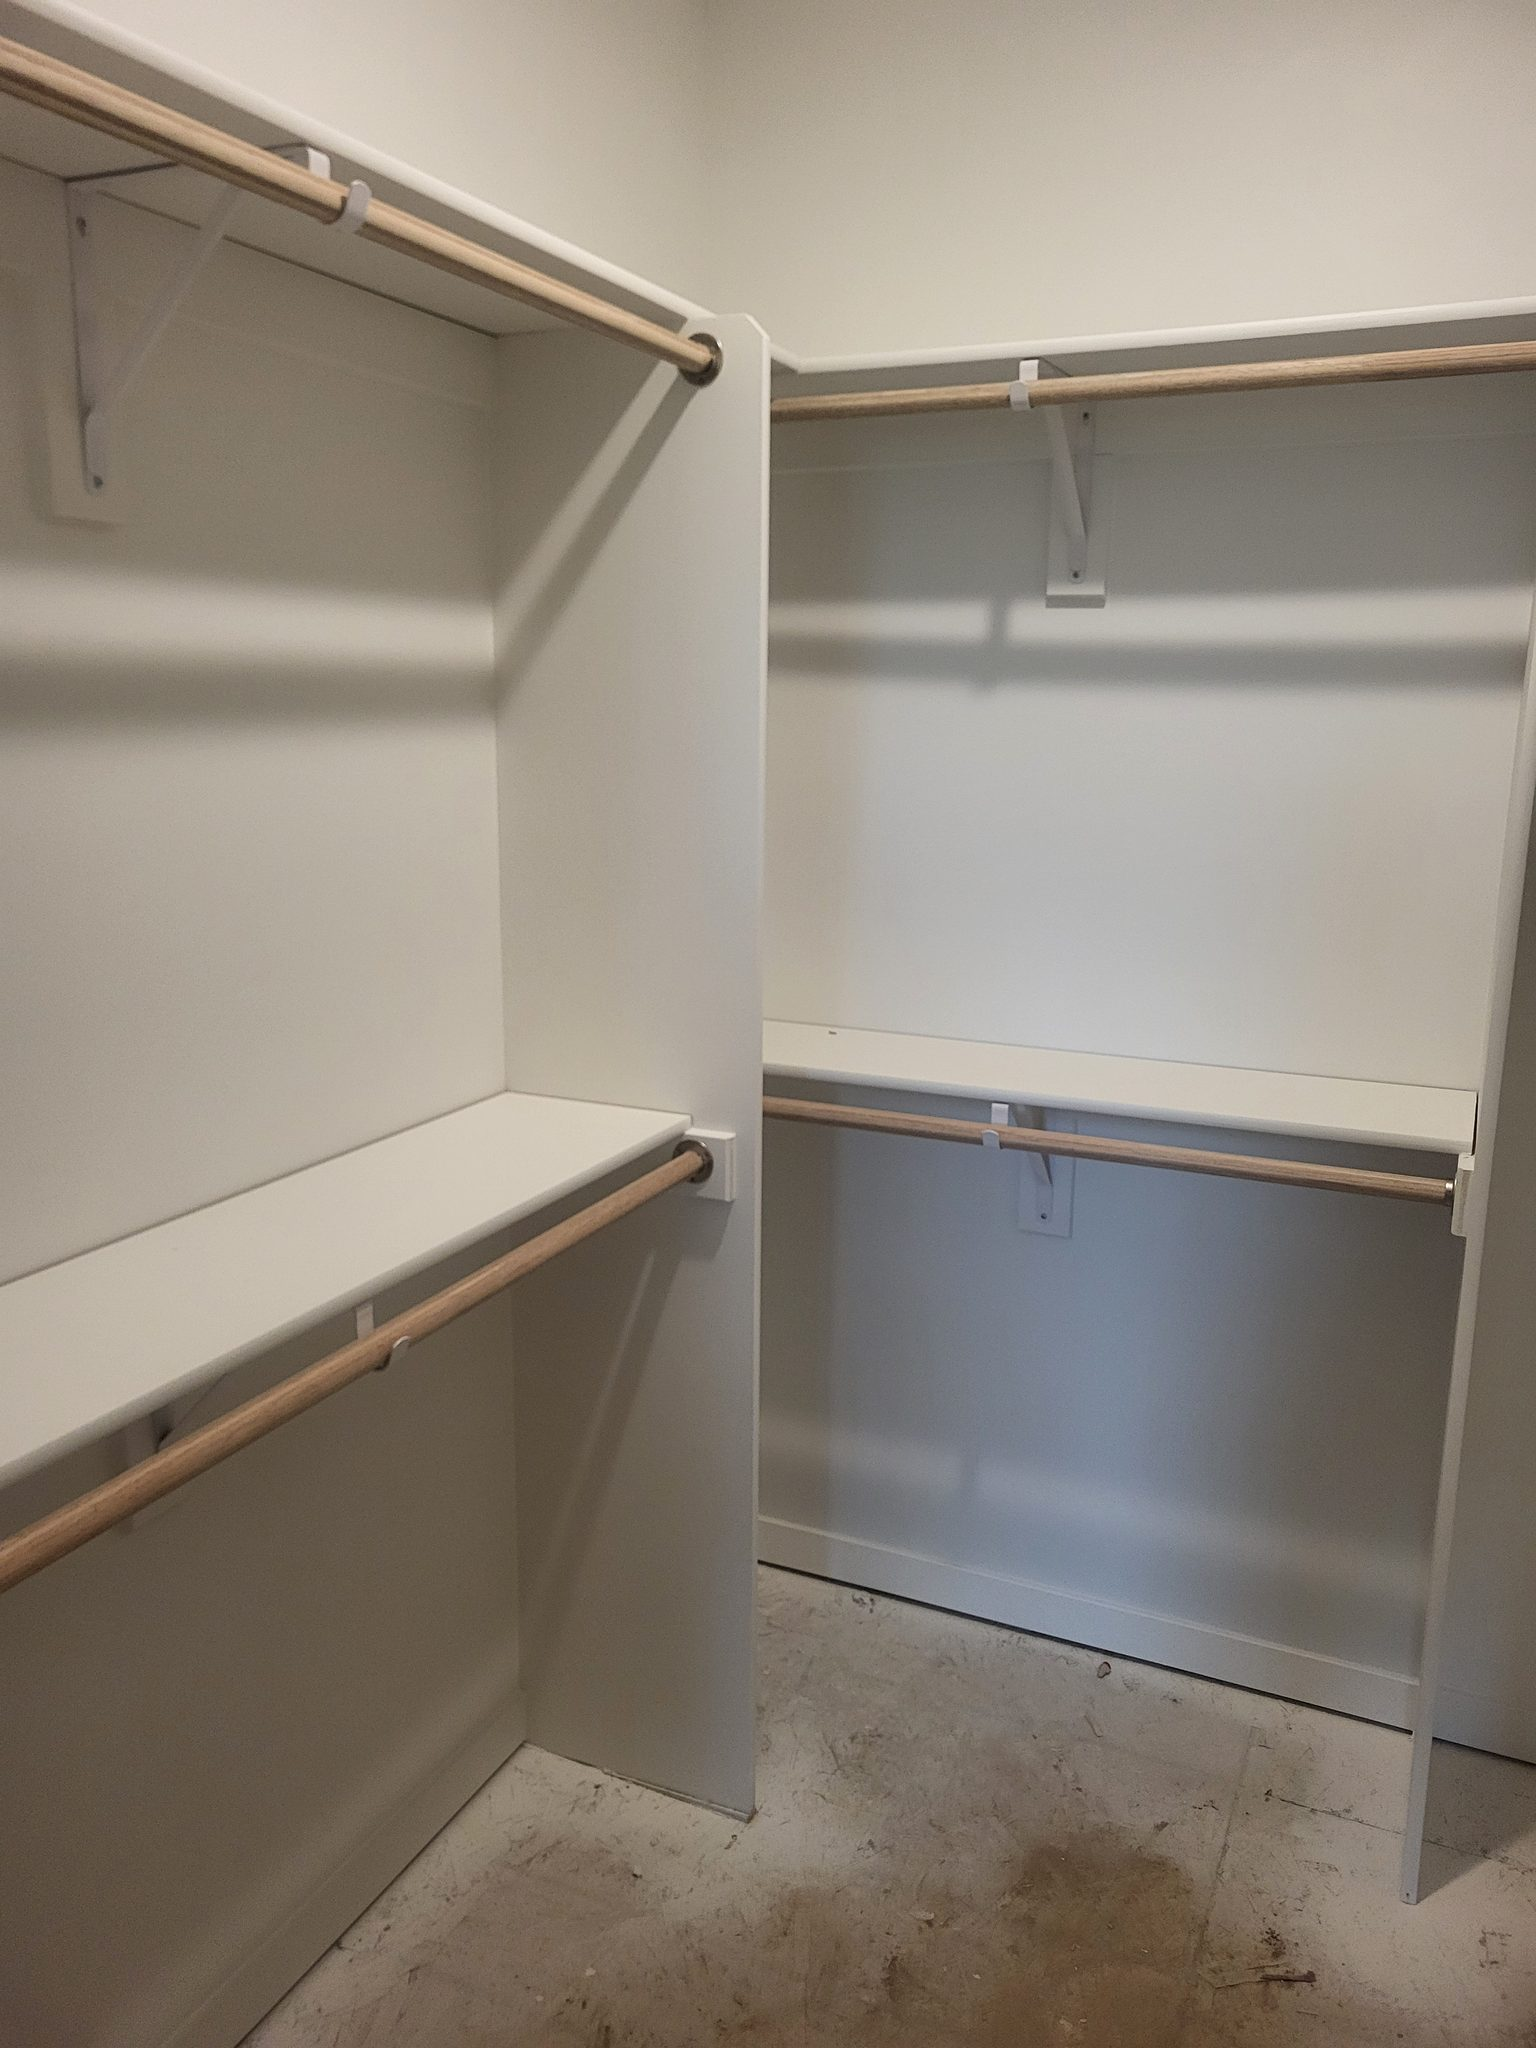
Closet shelving and hanging rods installed with white brackets, ready for paint.
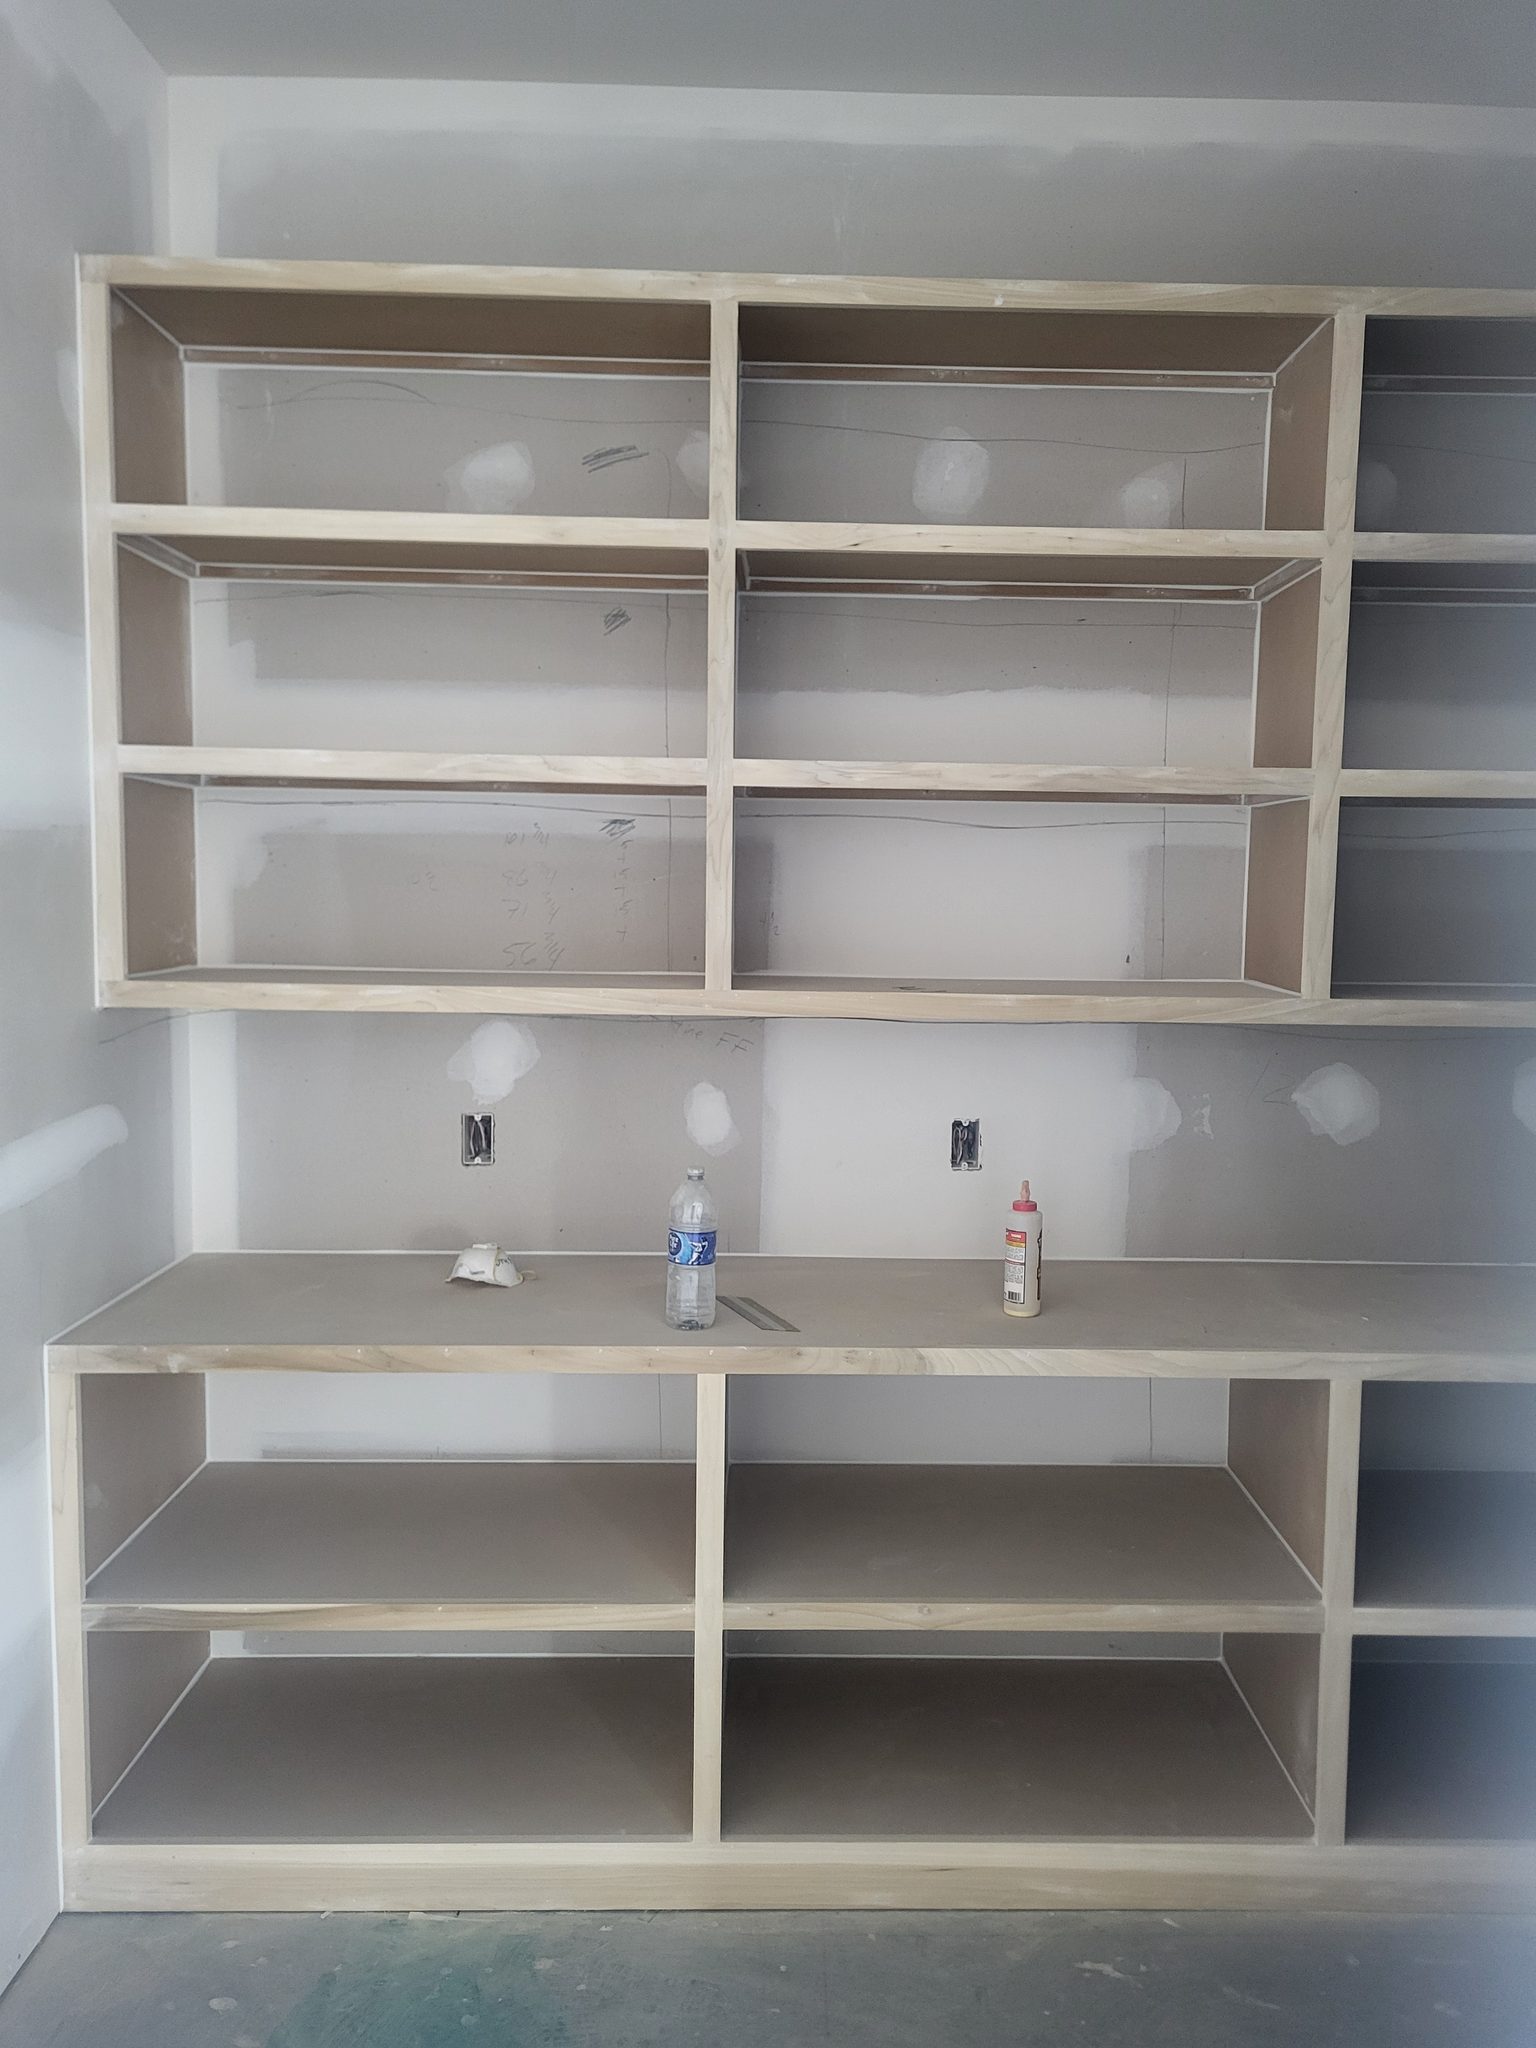
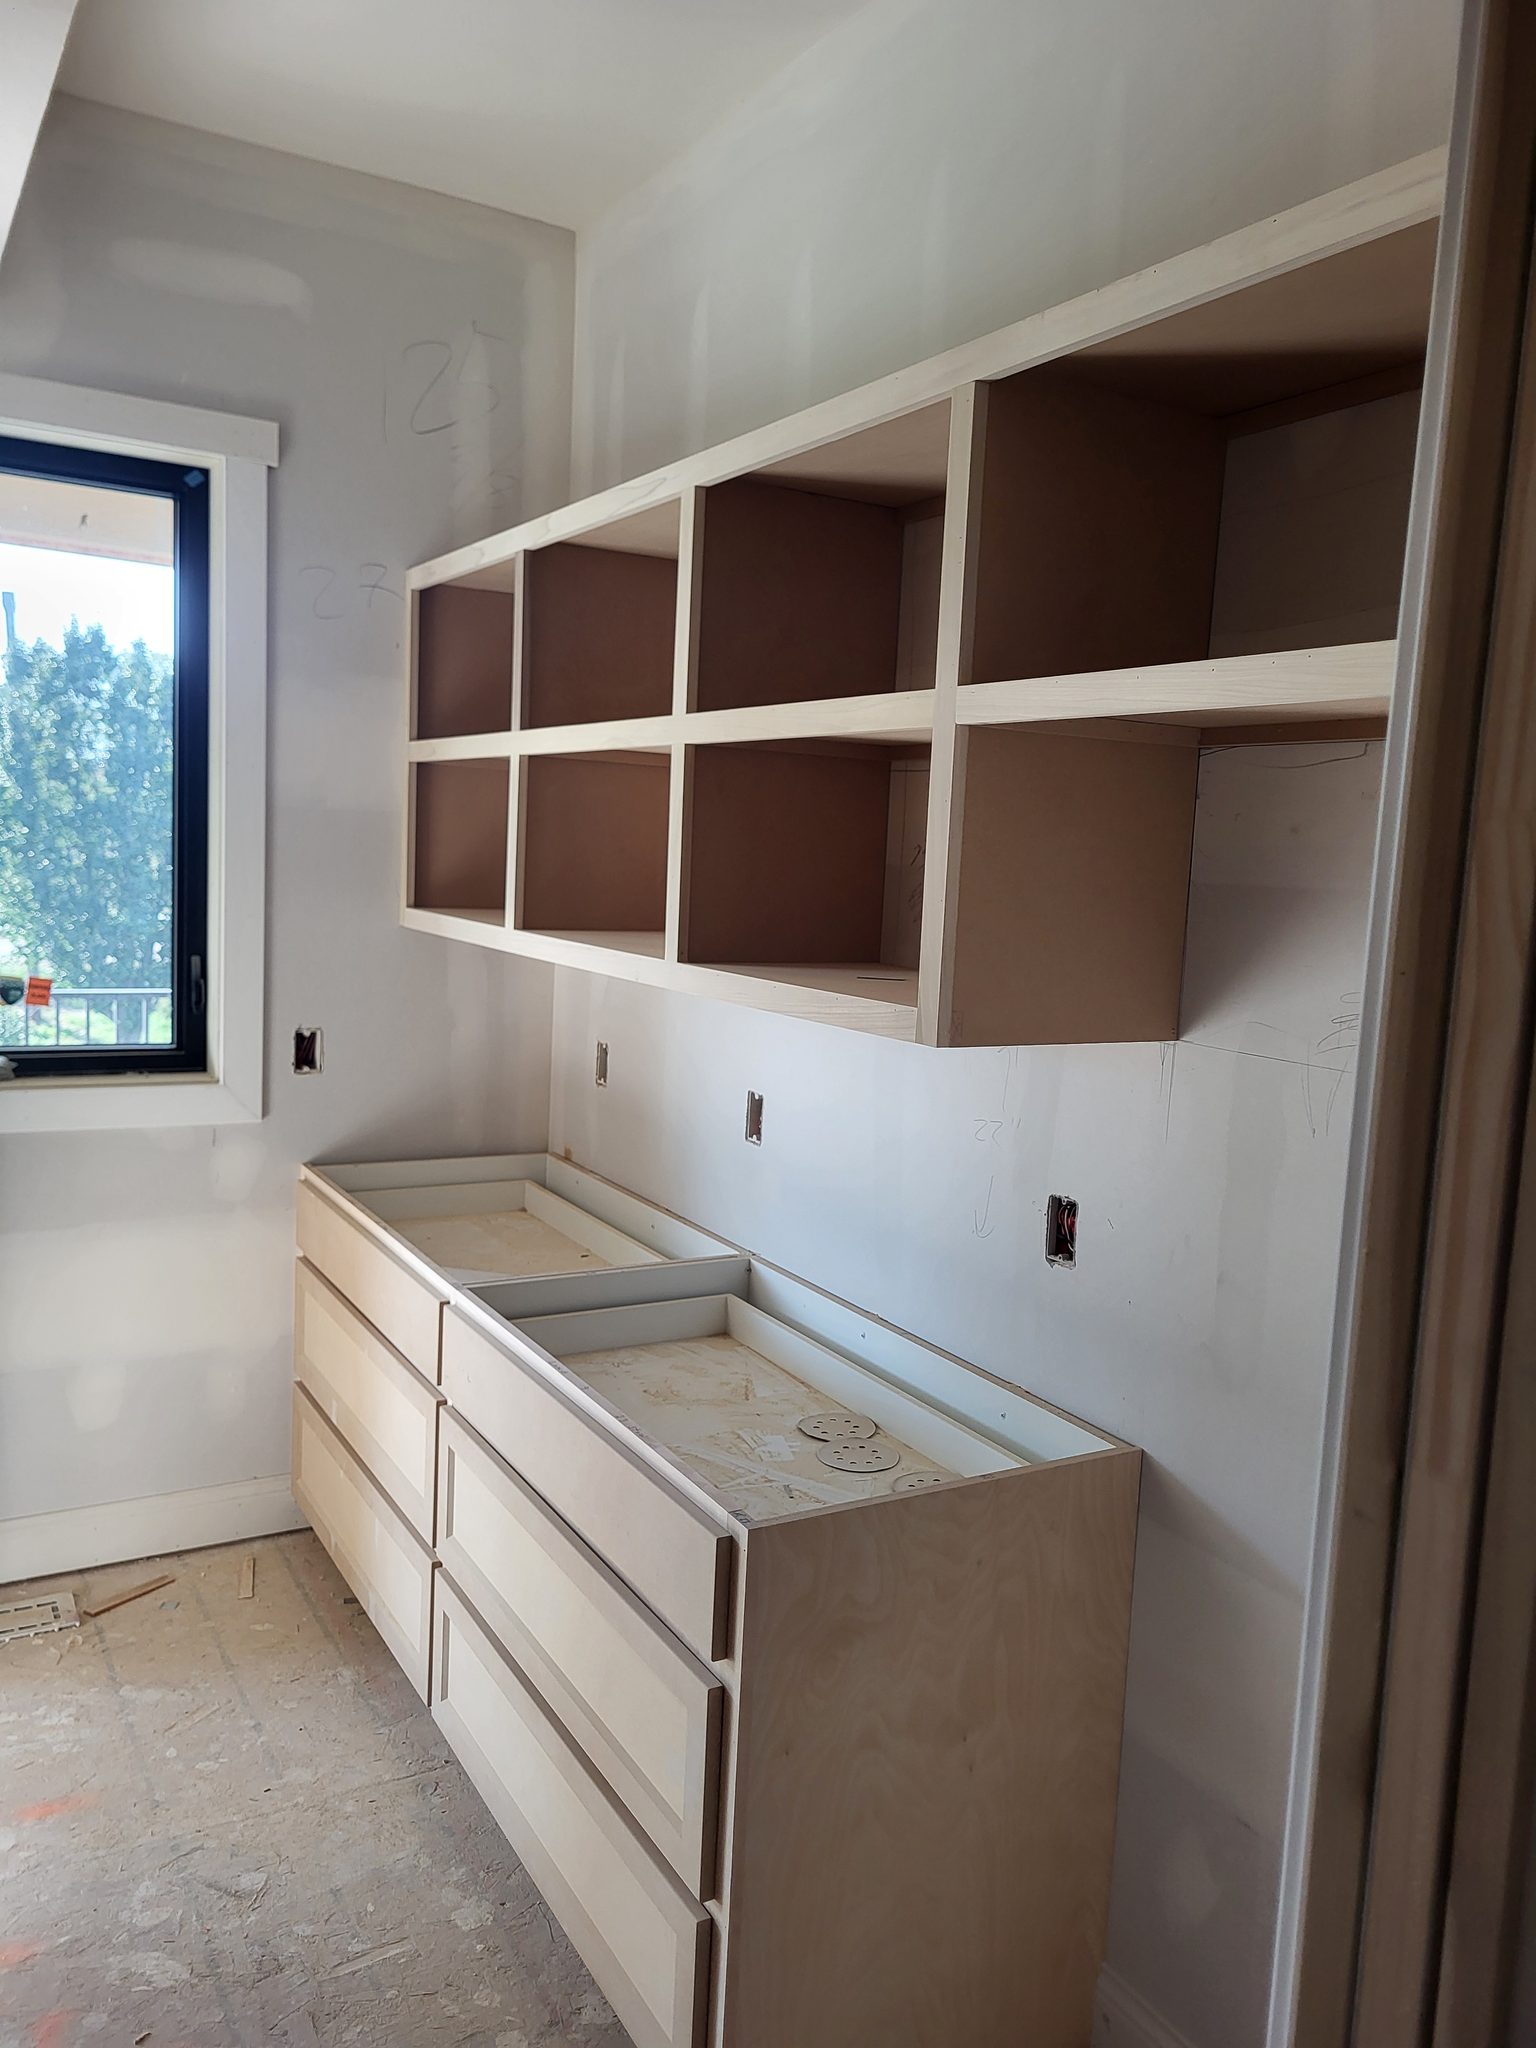
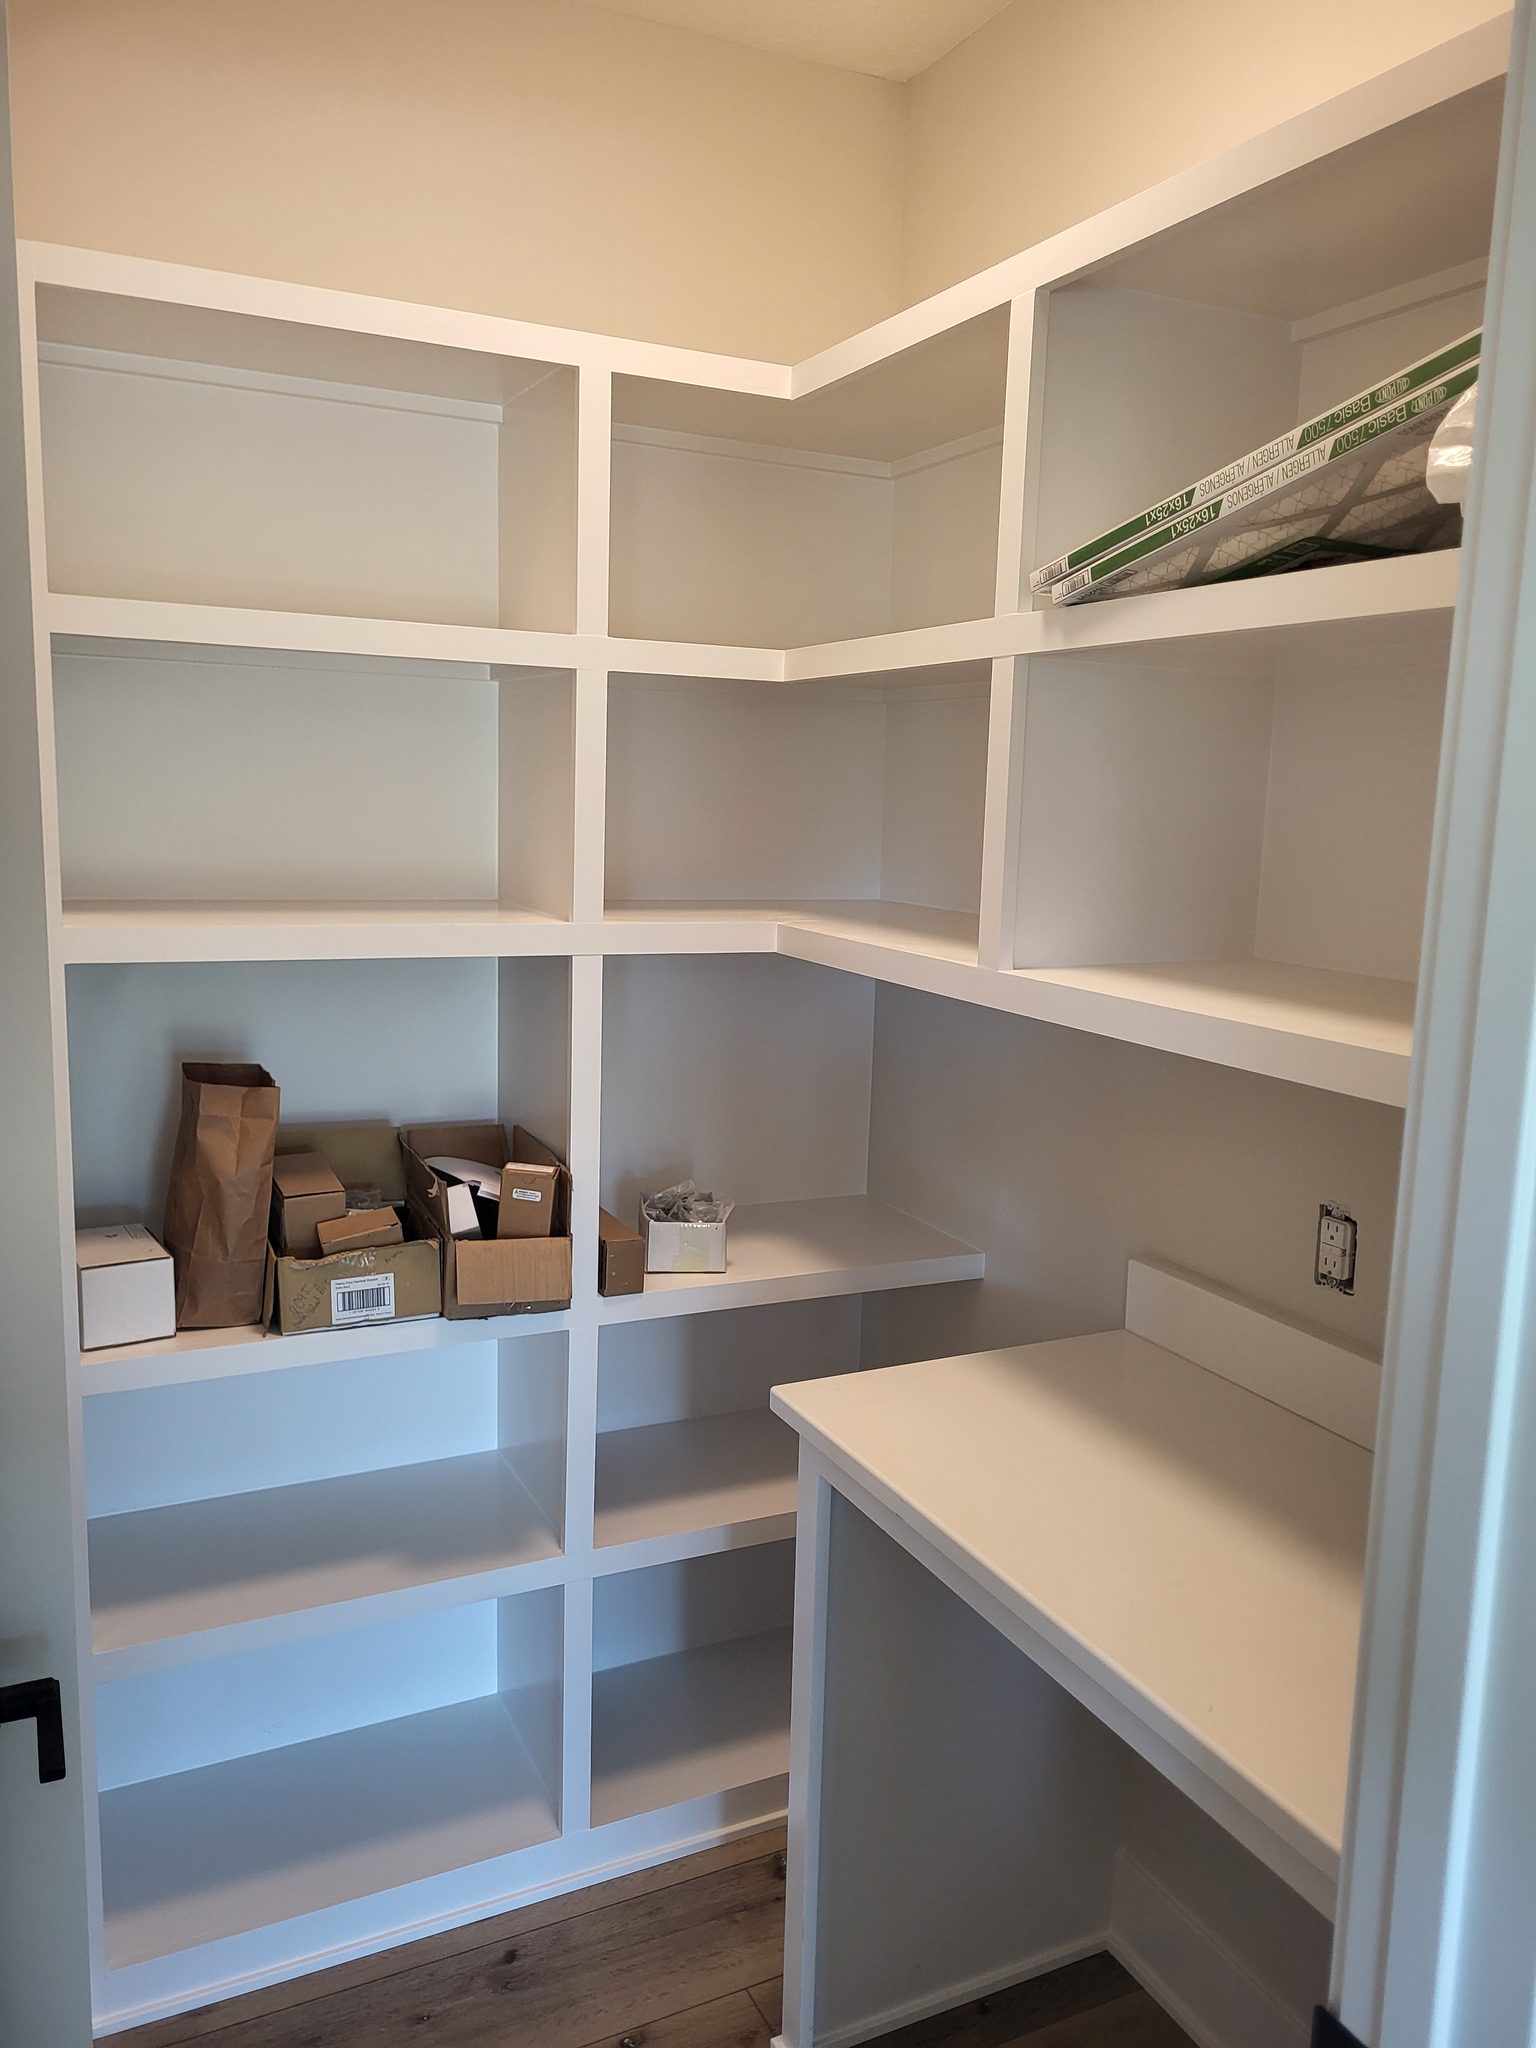
Custom built-in bookcase with open shelving compartments and integrated countertop, raw wood ready for paint or stain.
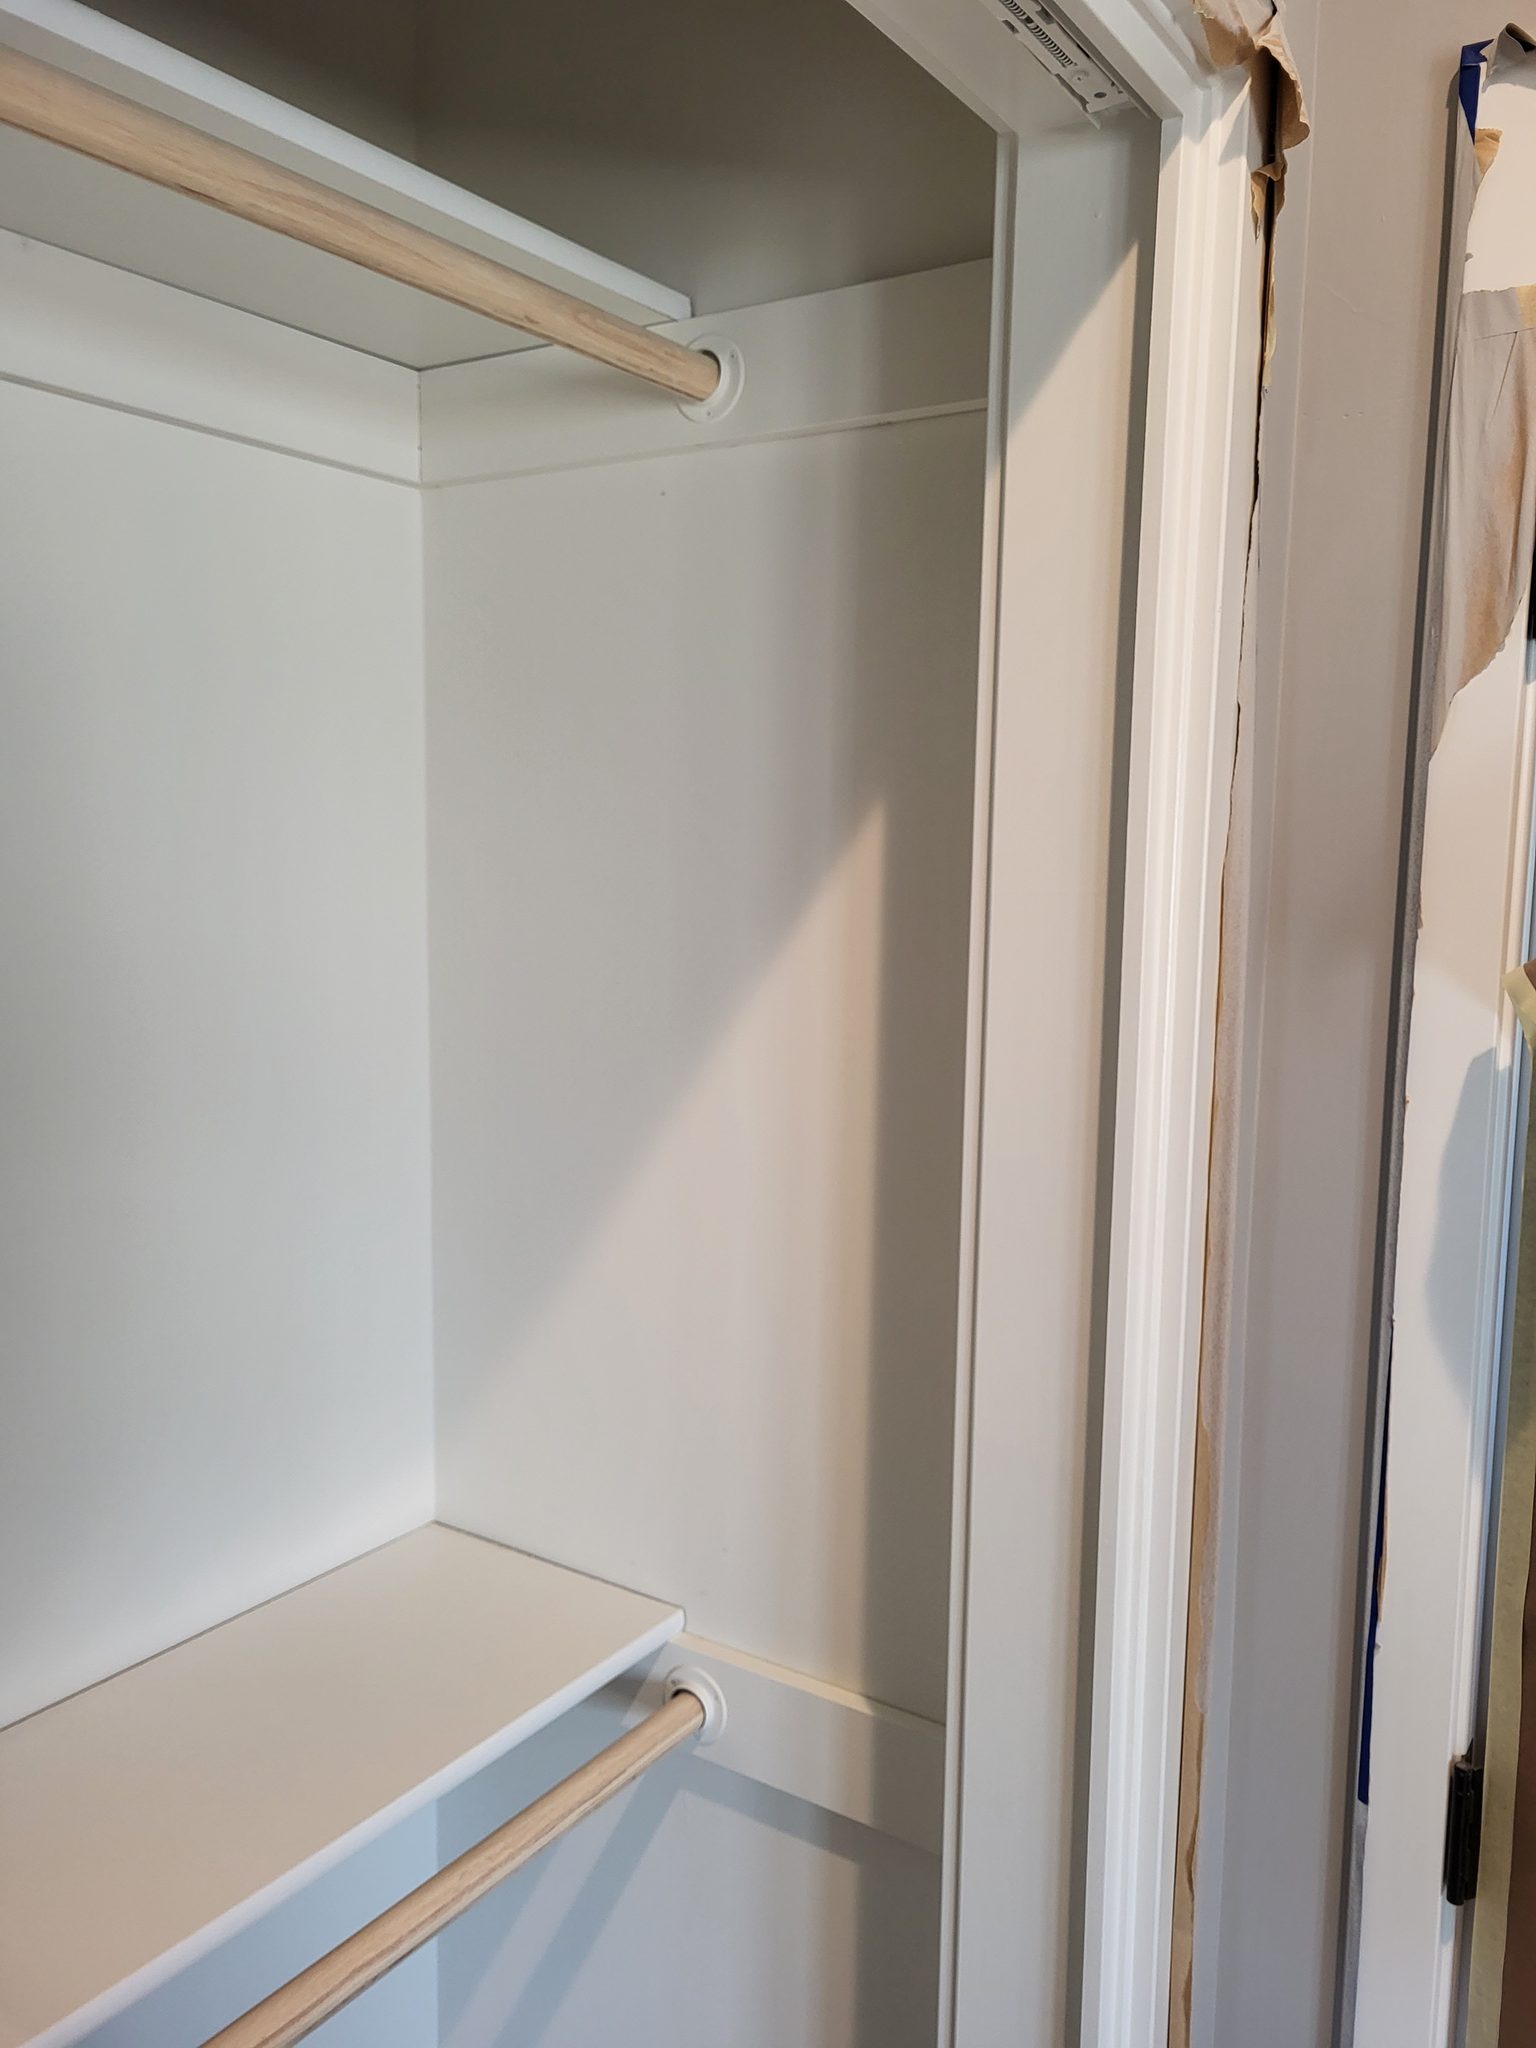
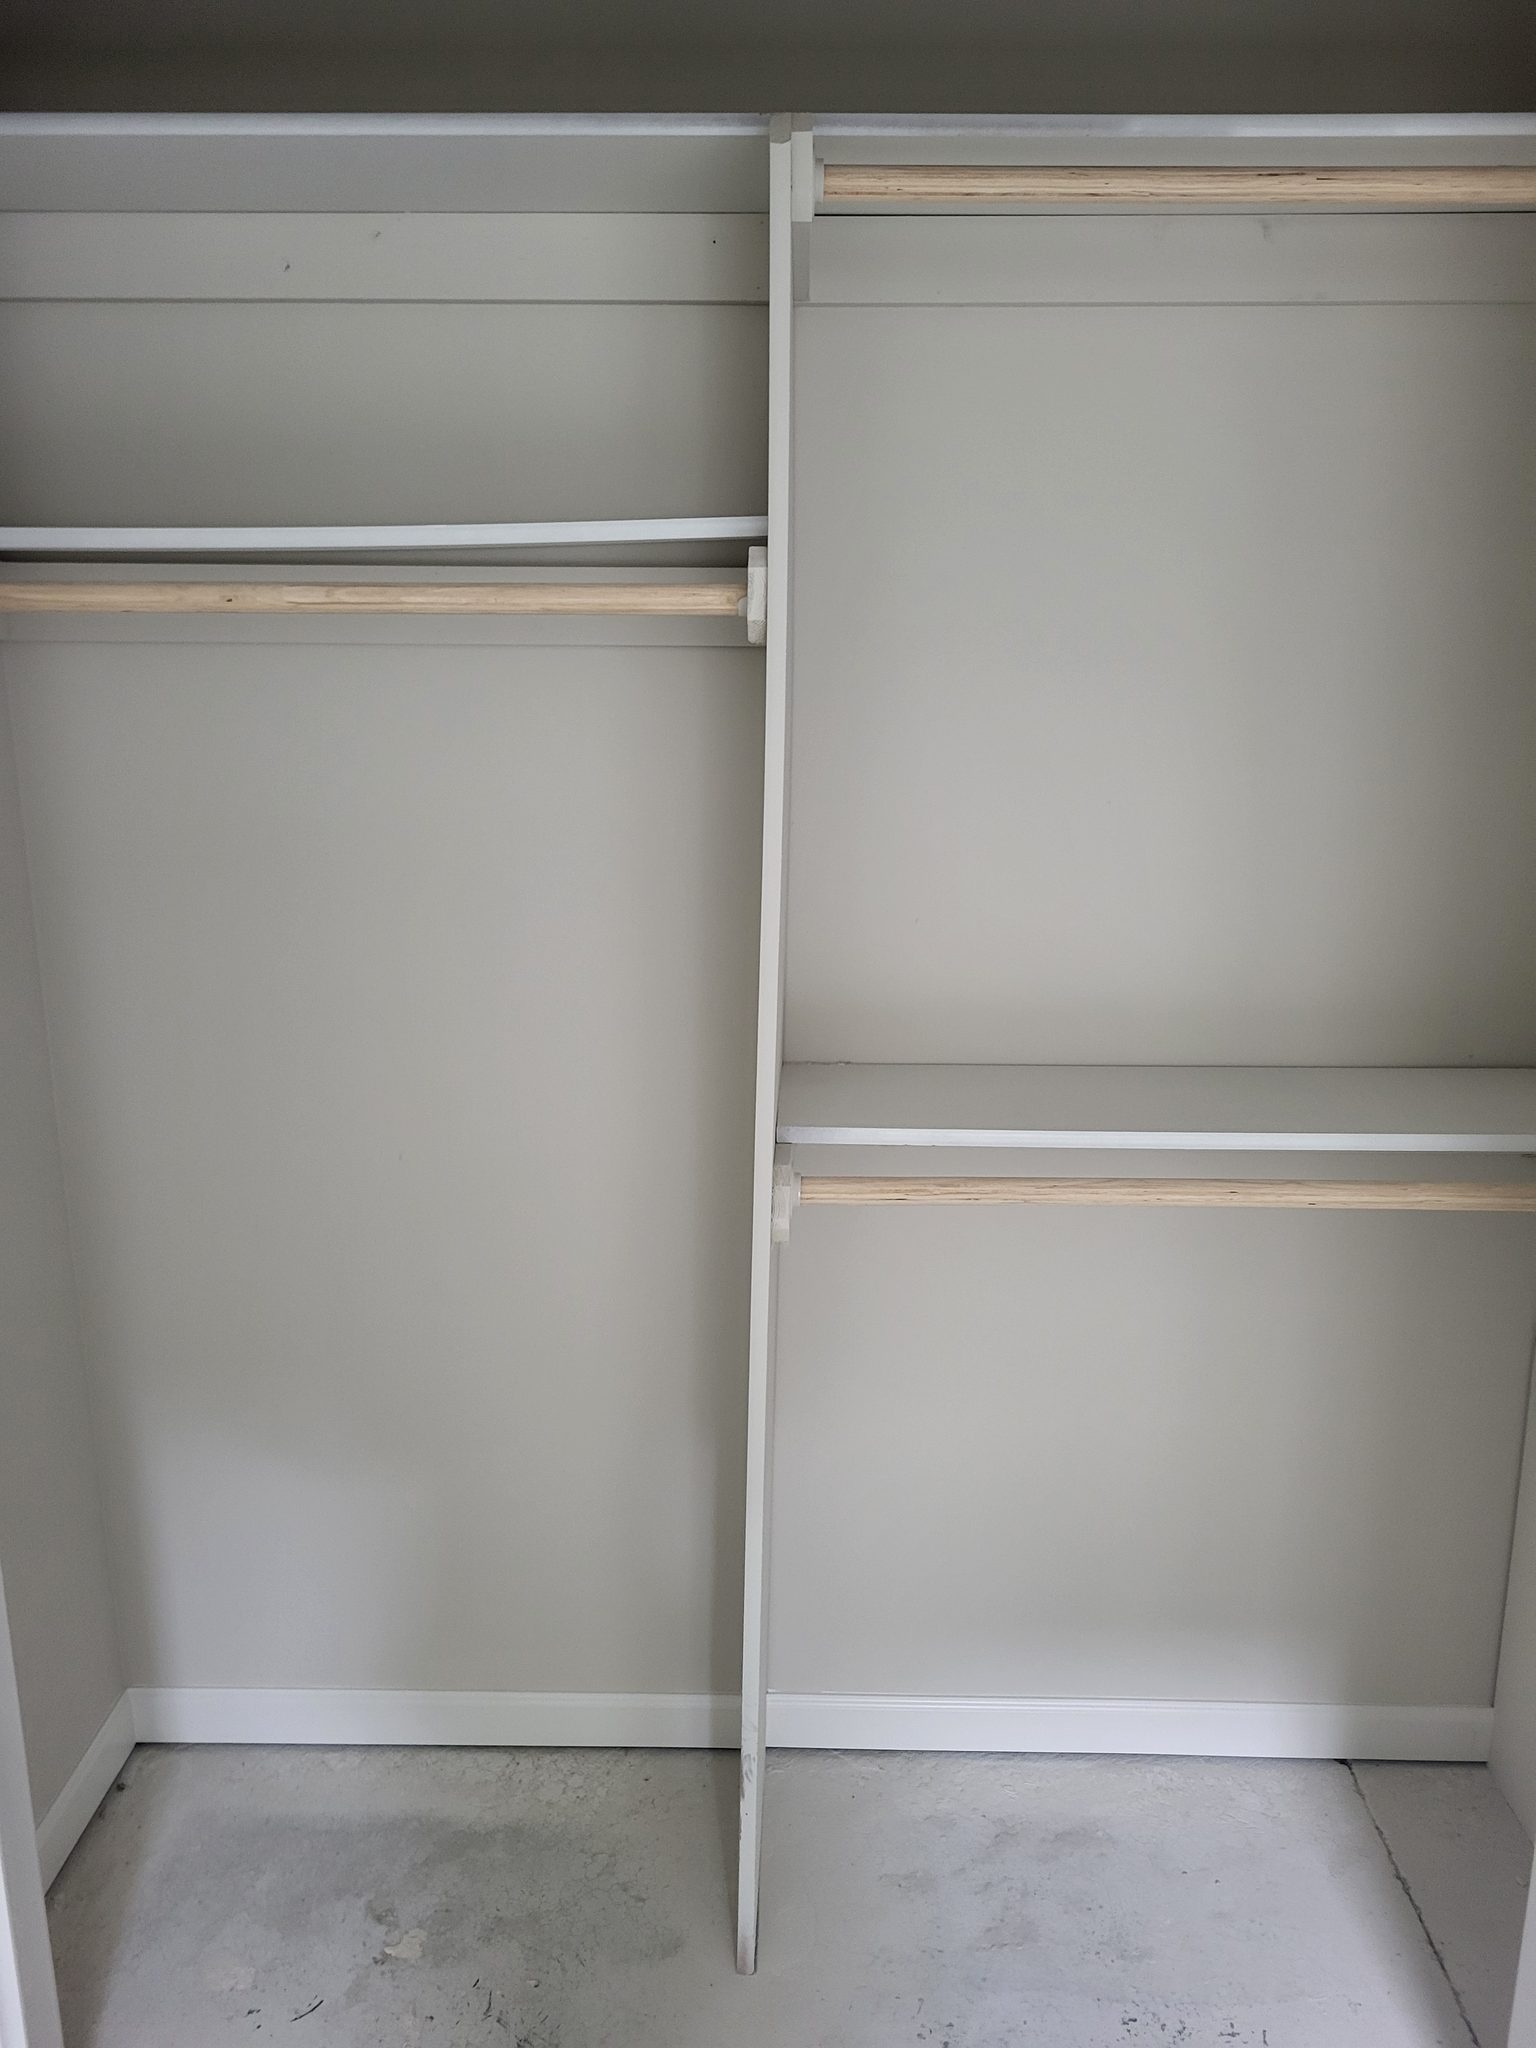
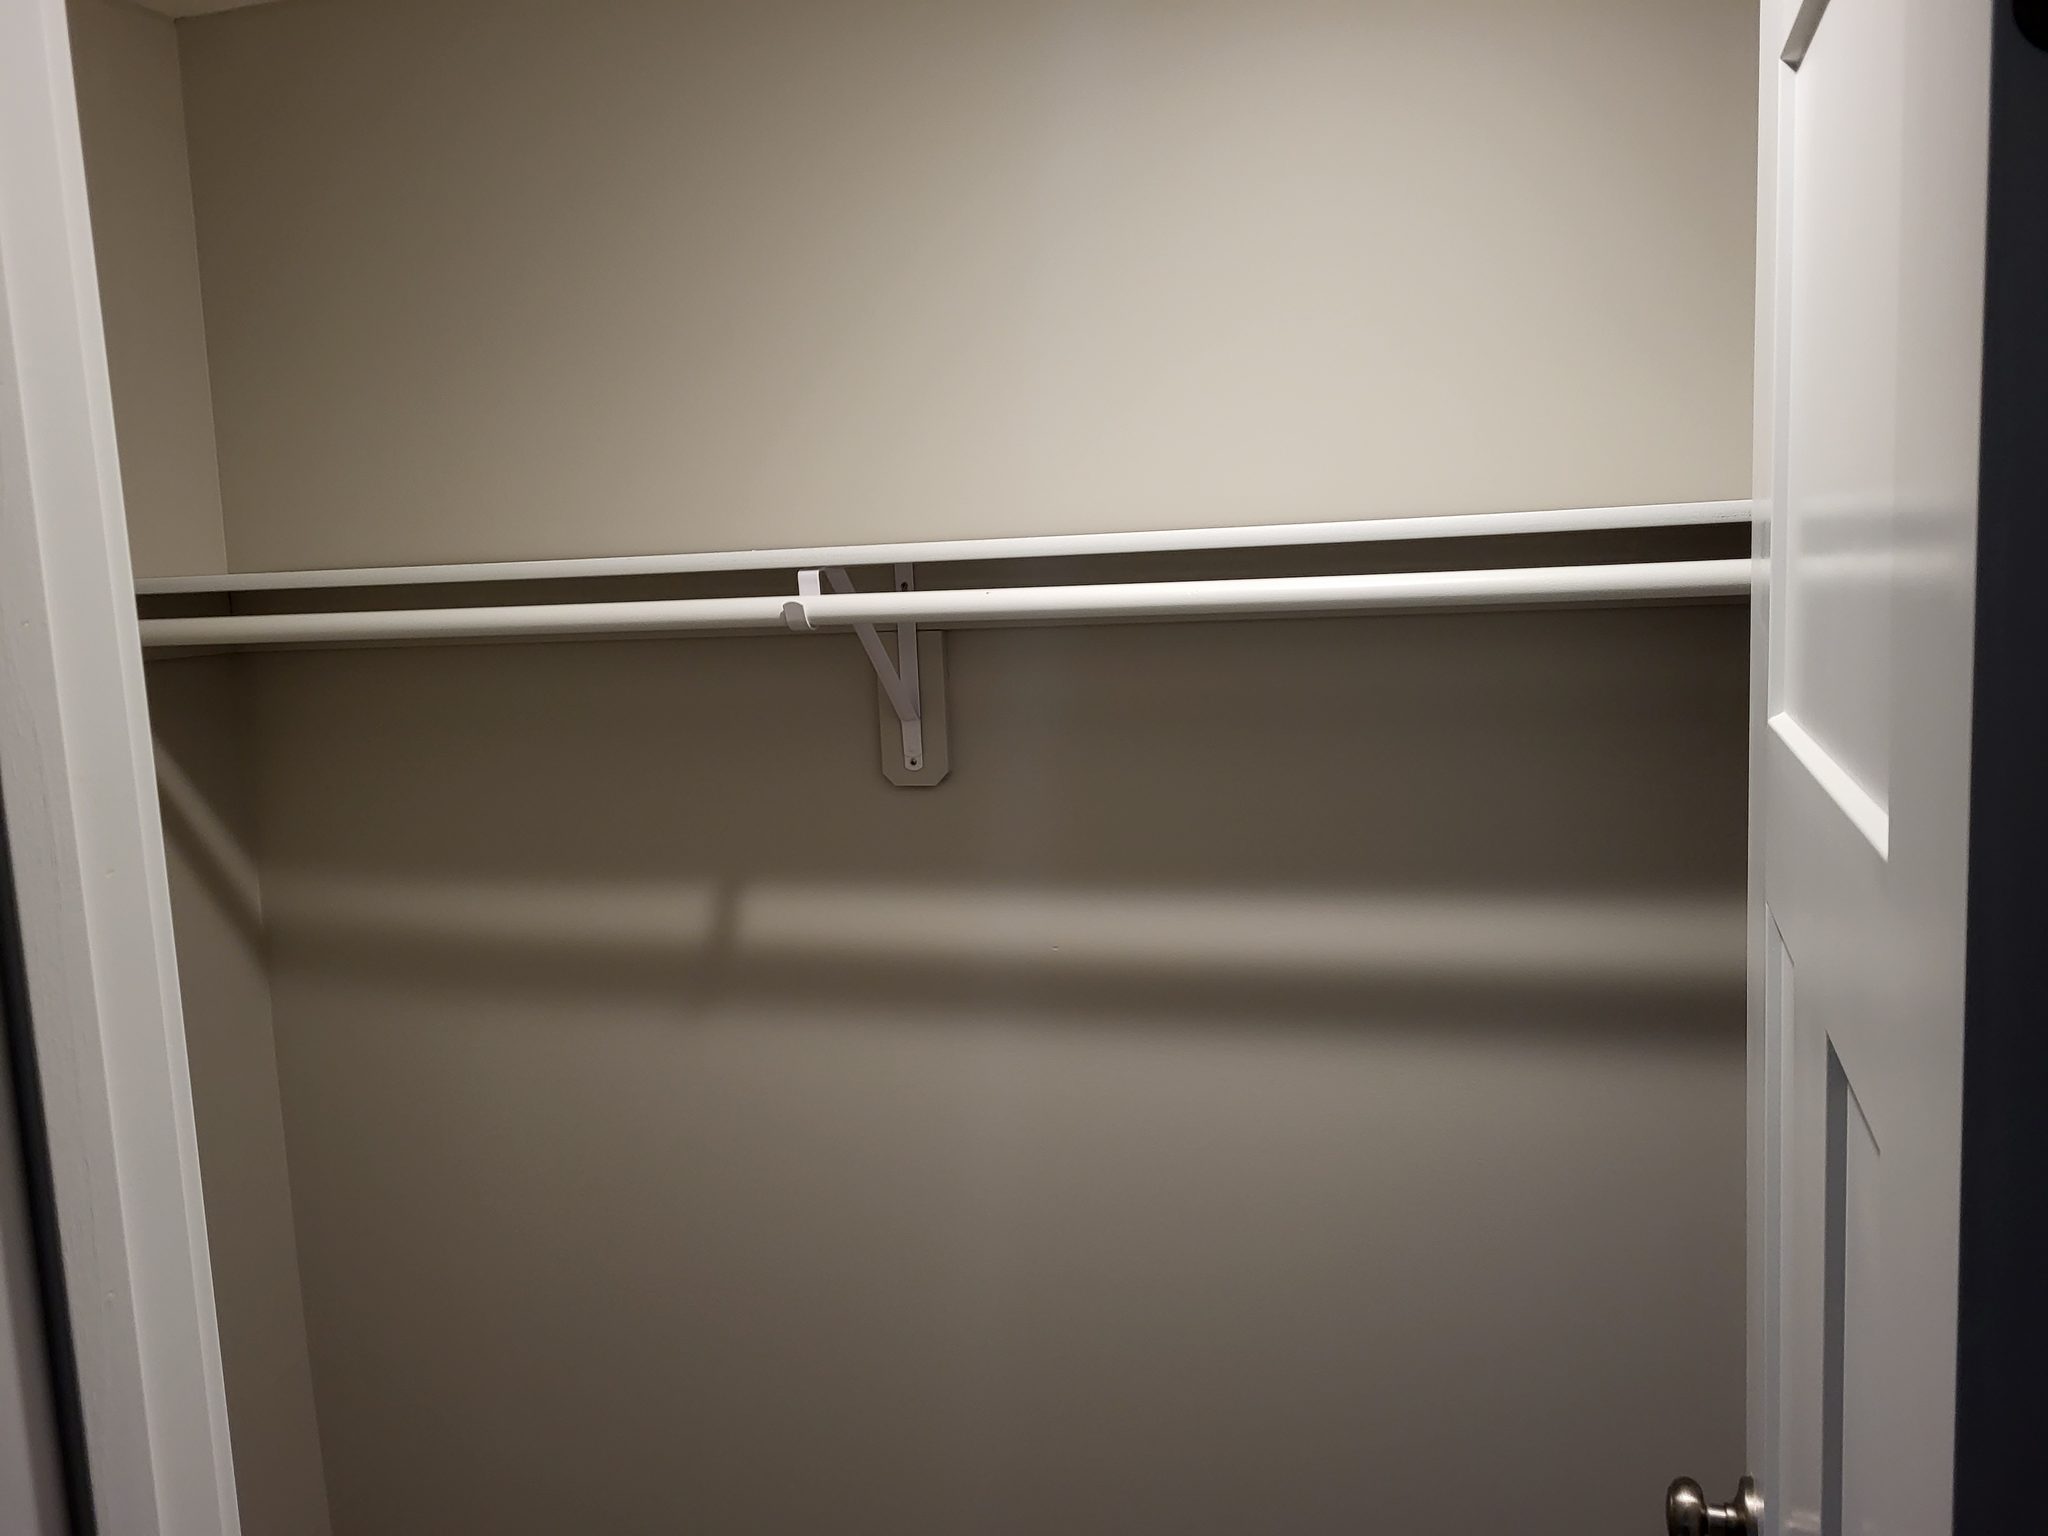
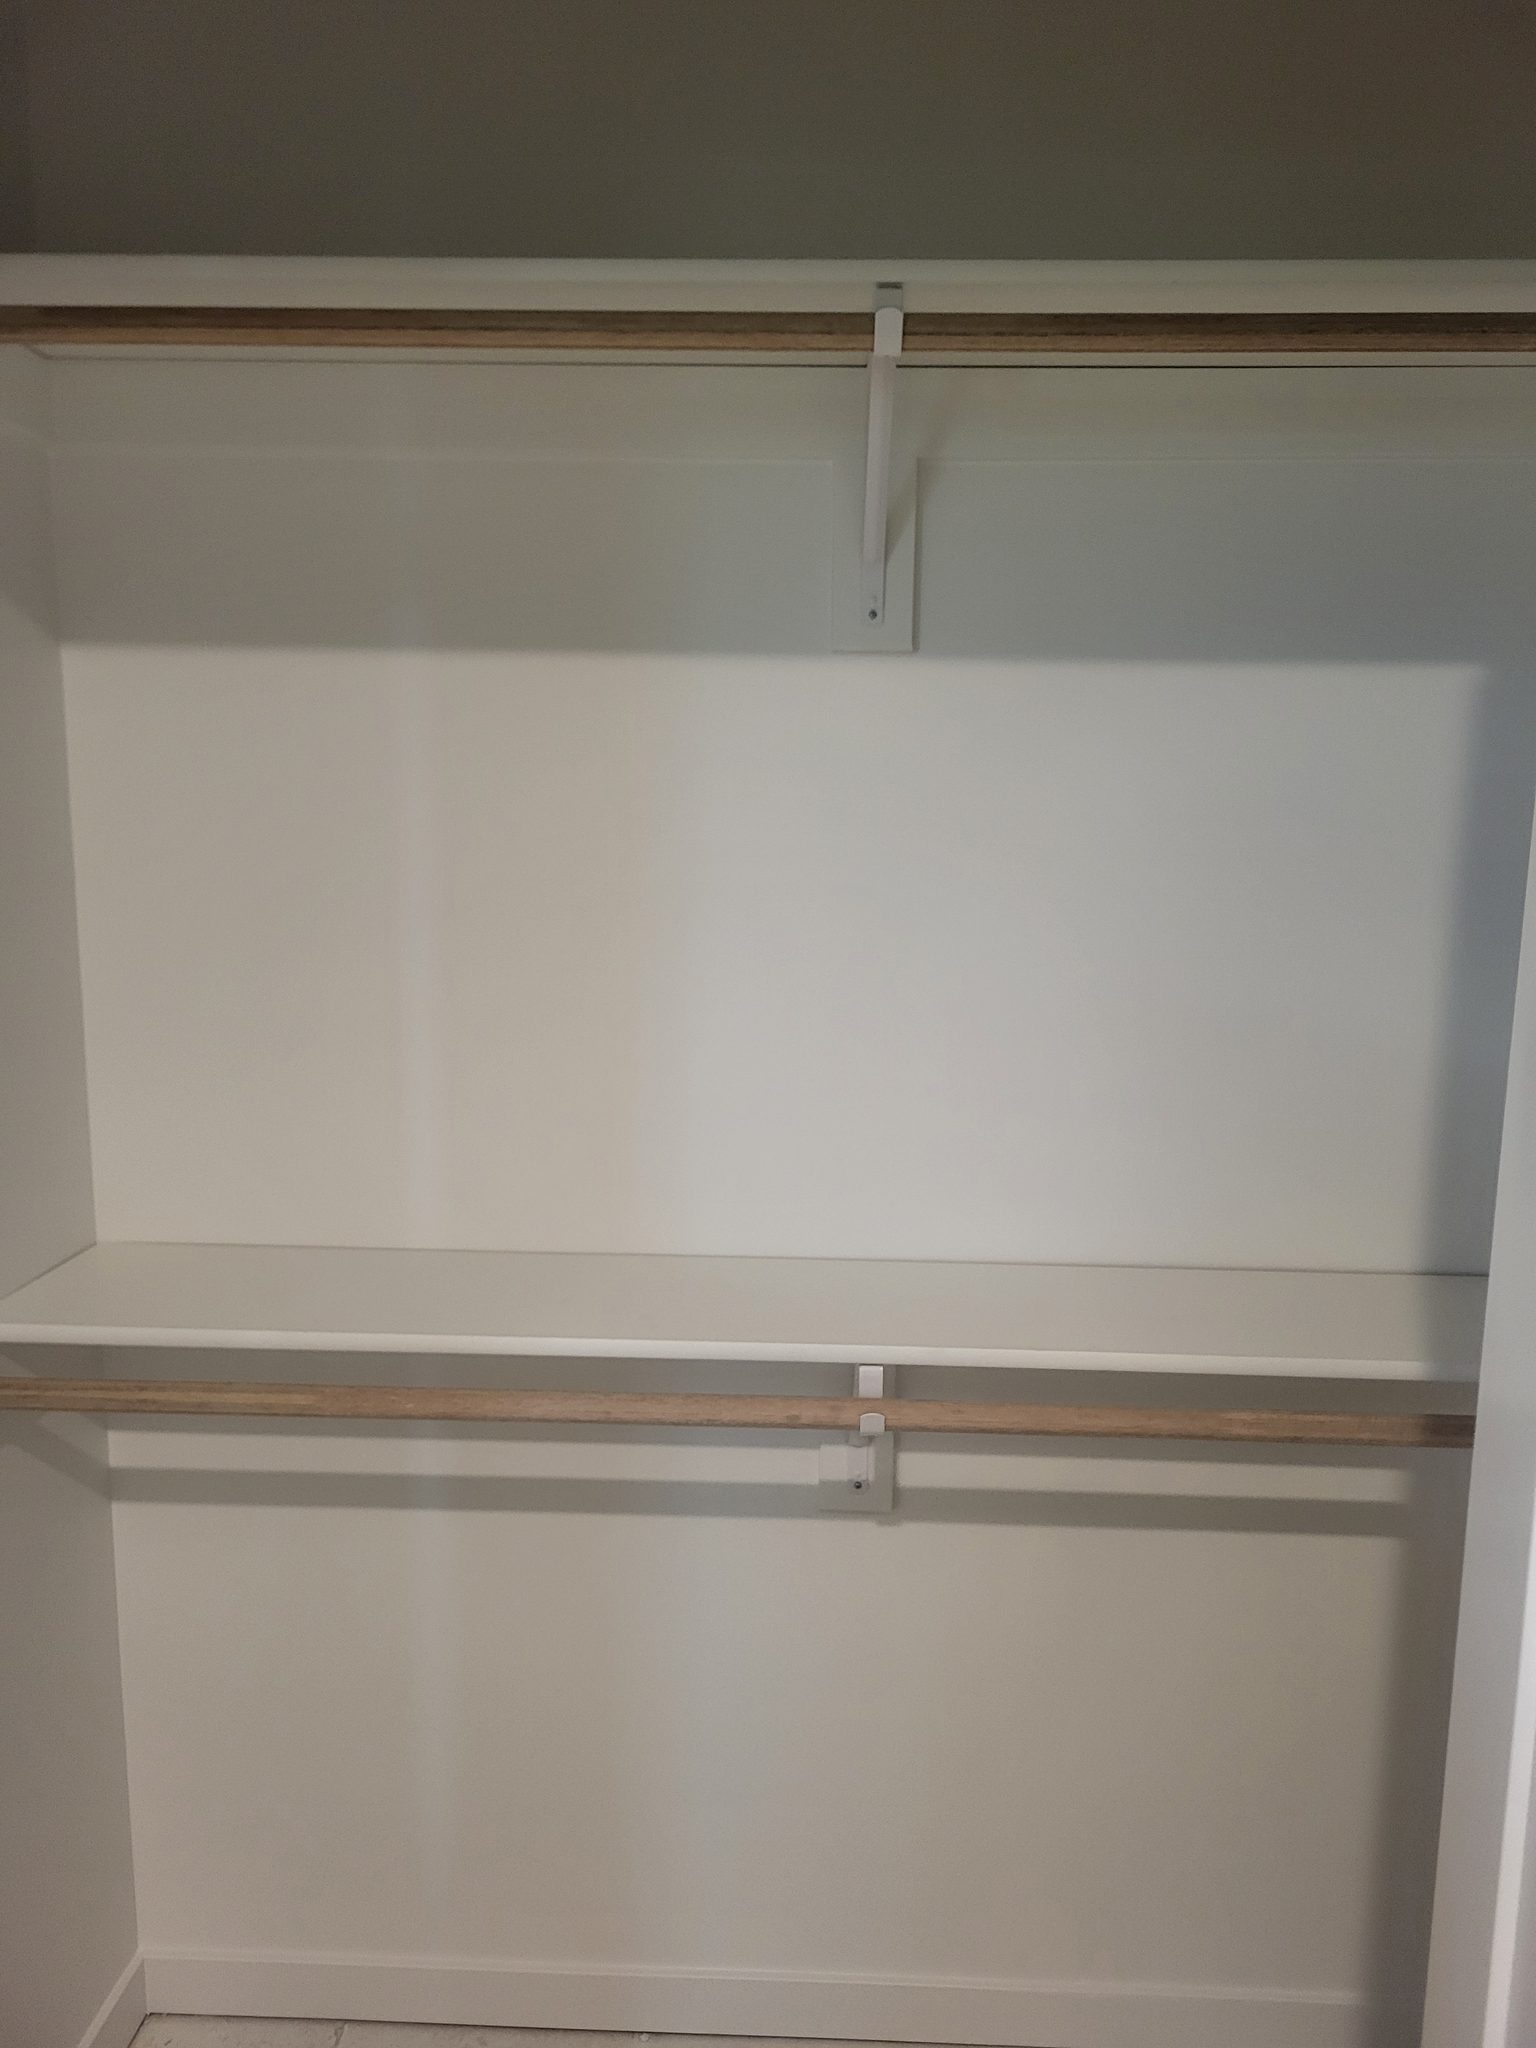
Closet interior with two hanging rods and painted walls, ready for use.
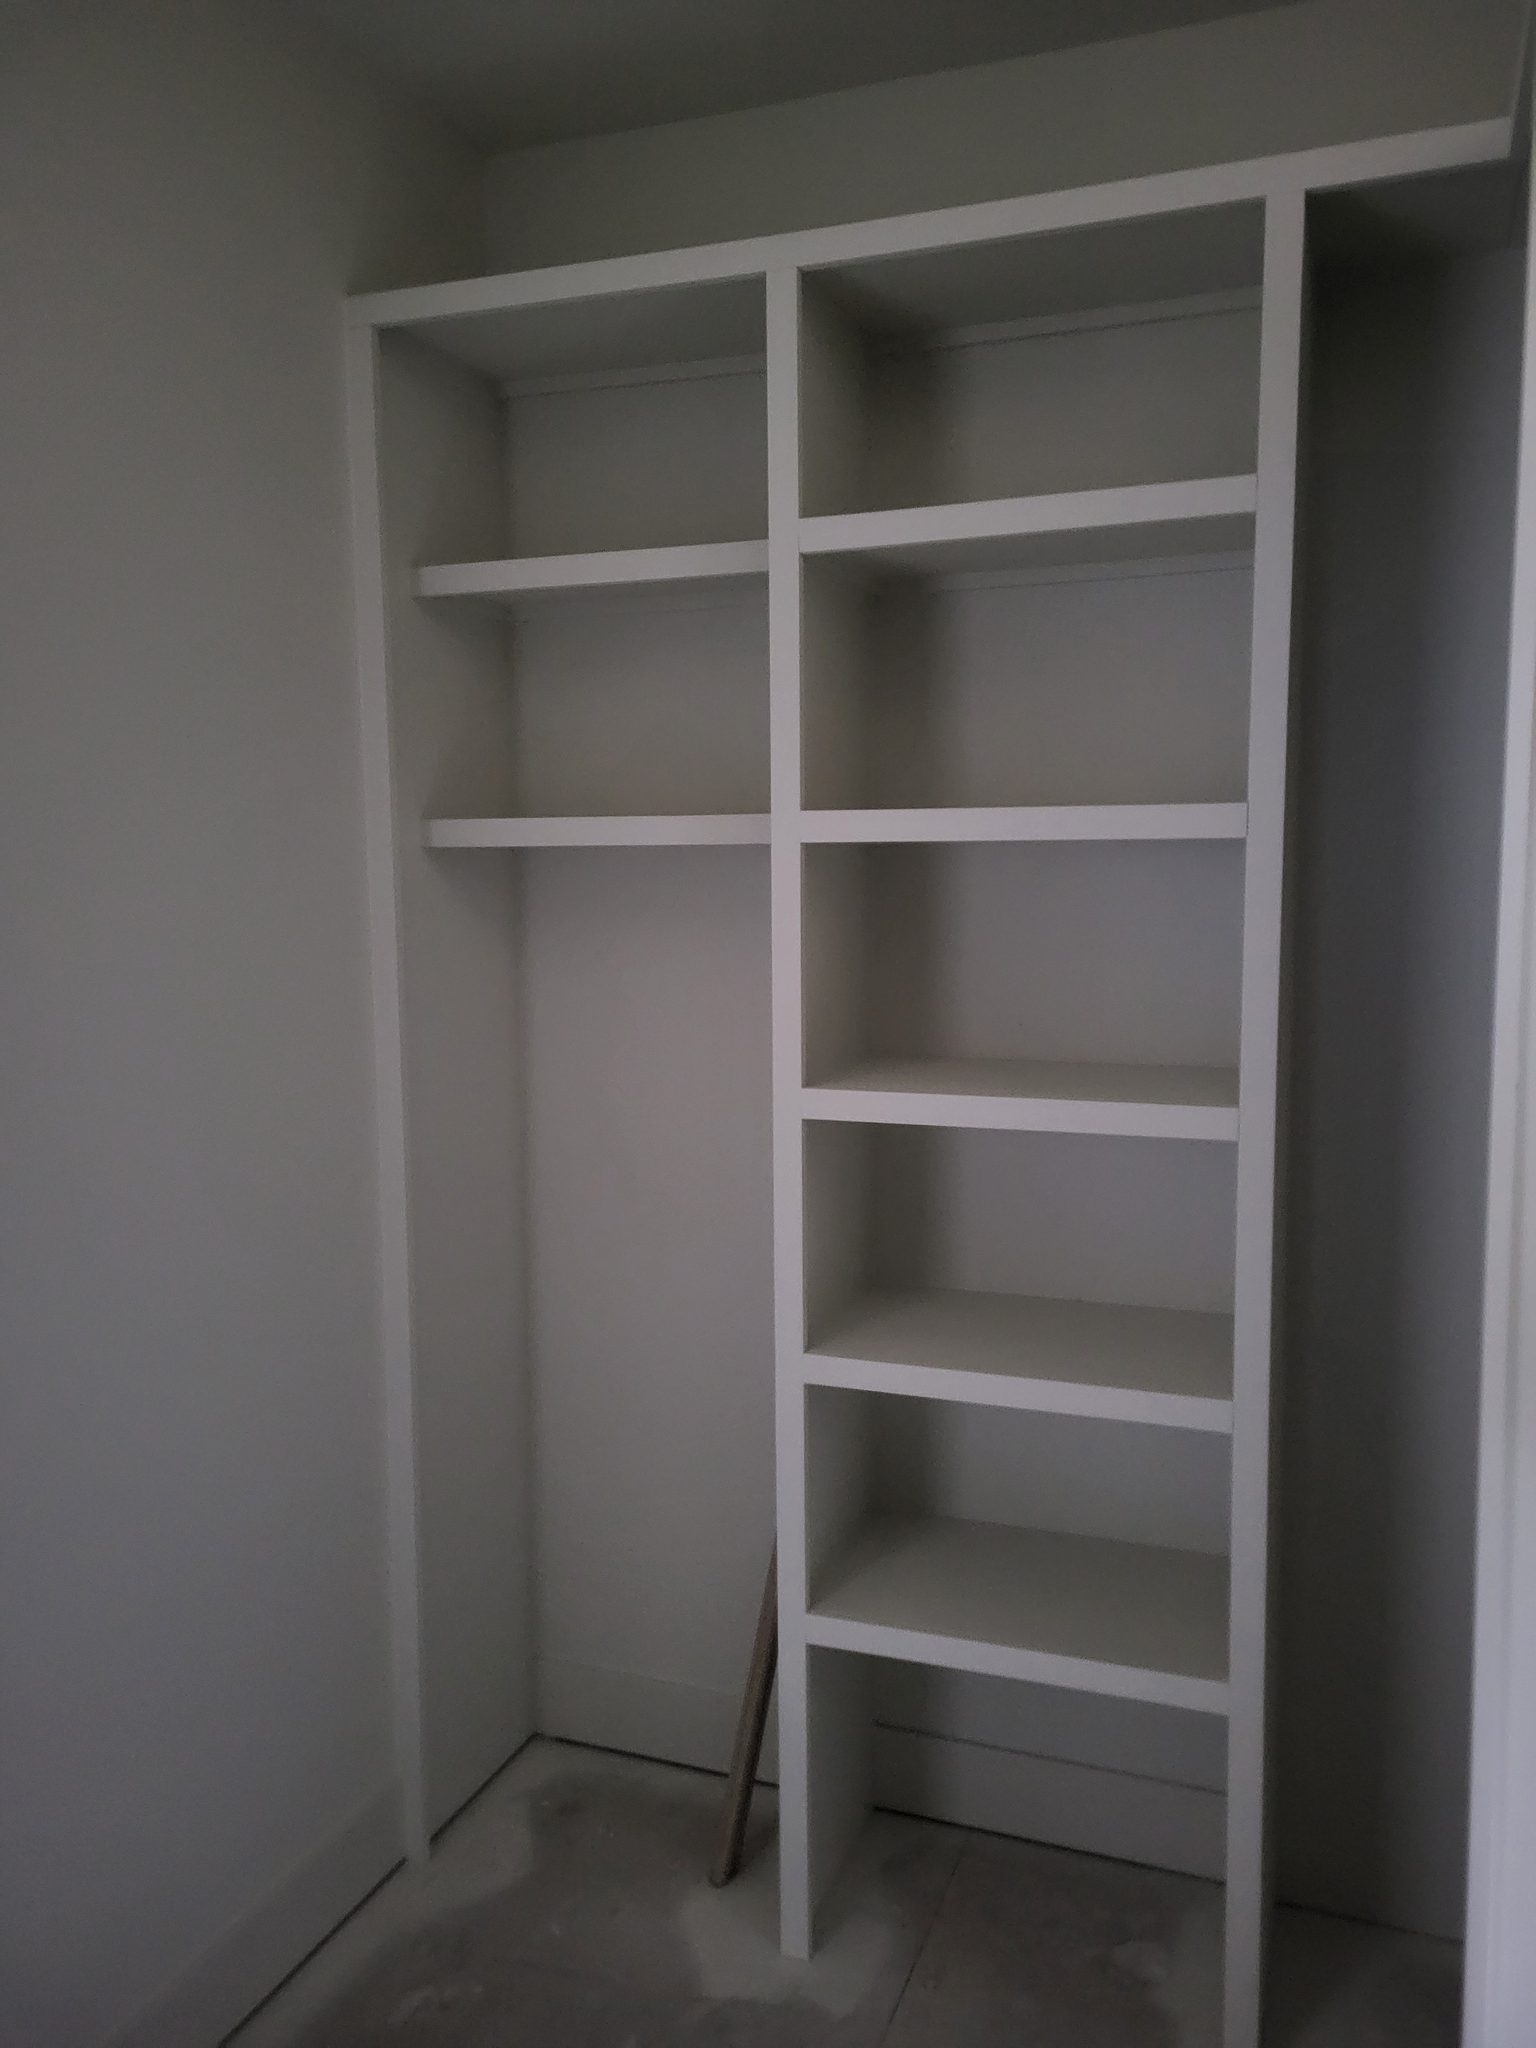
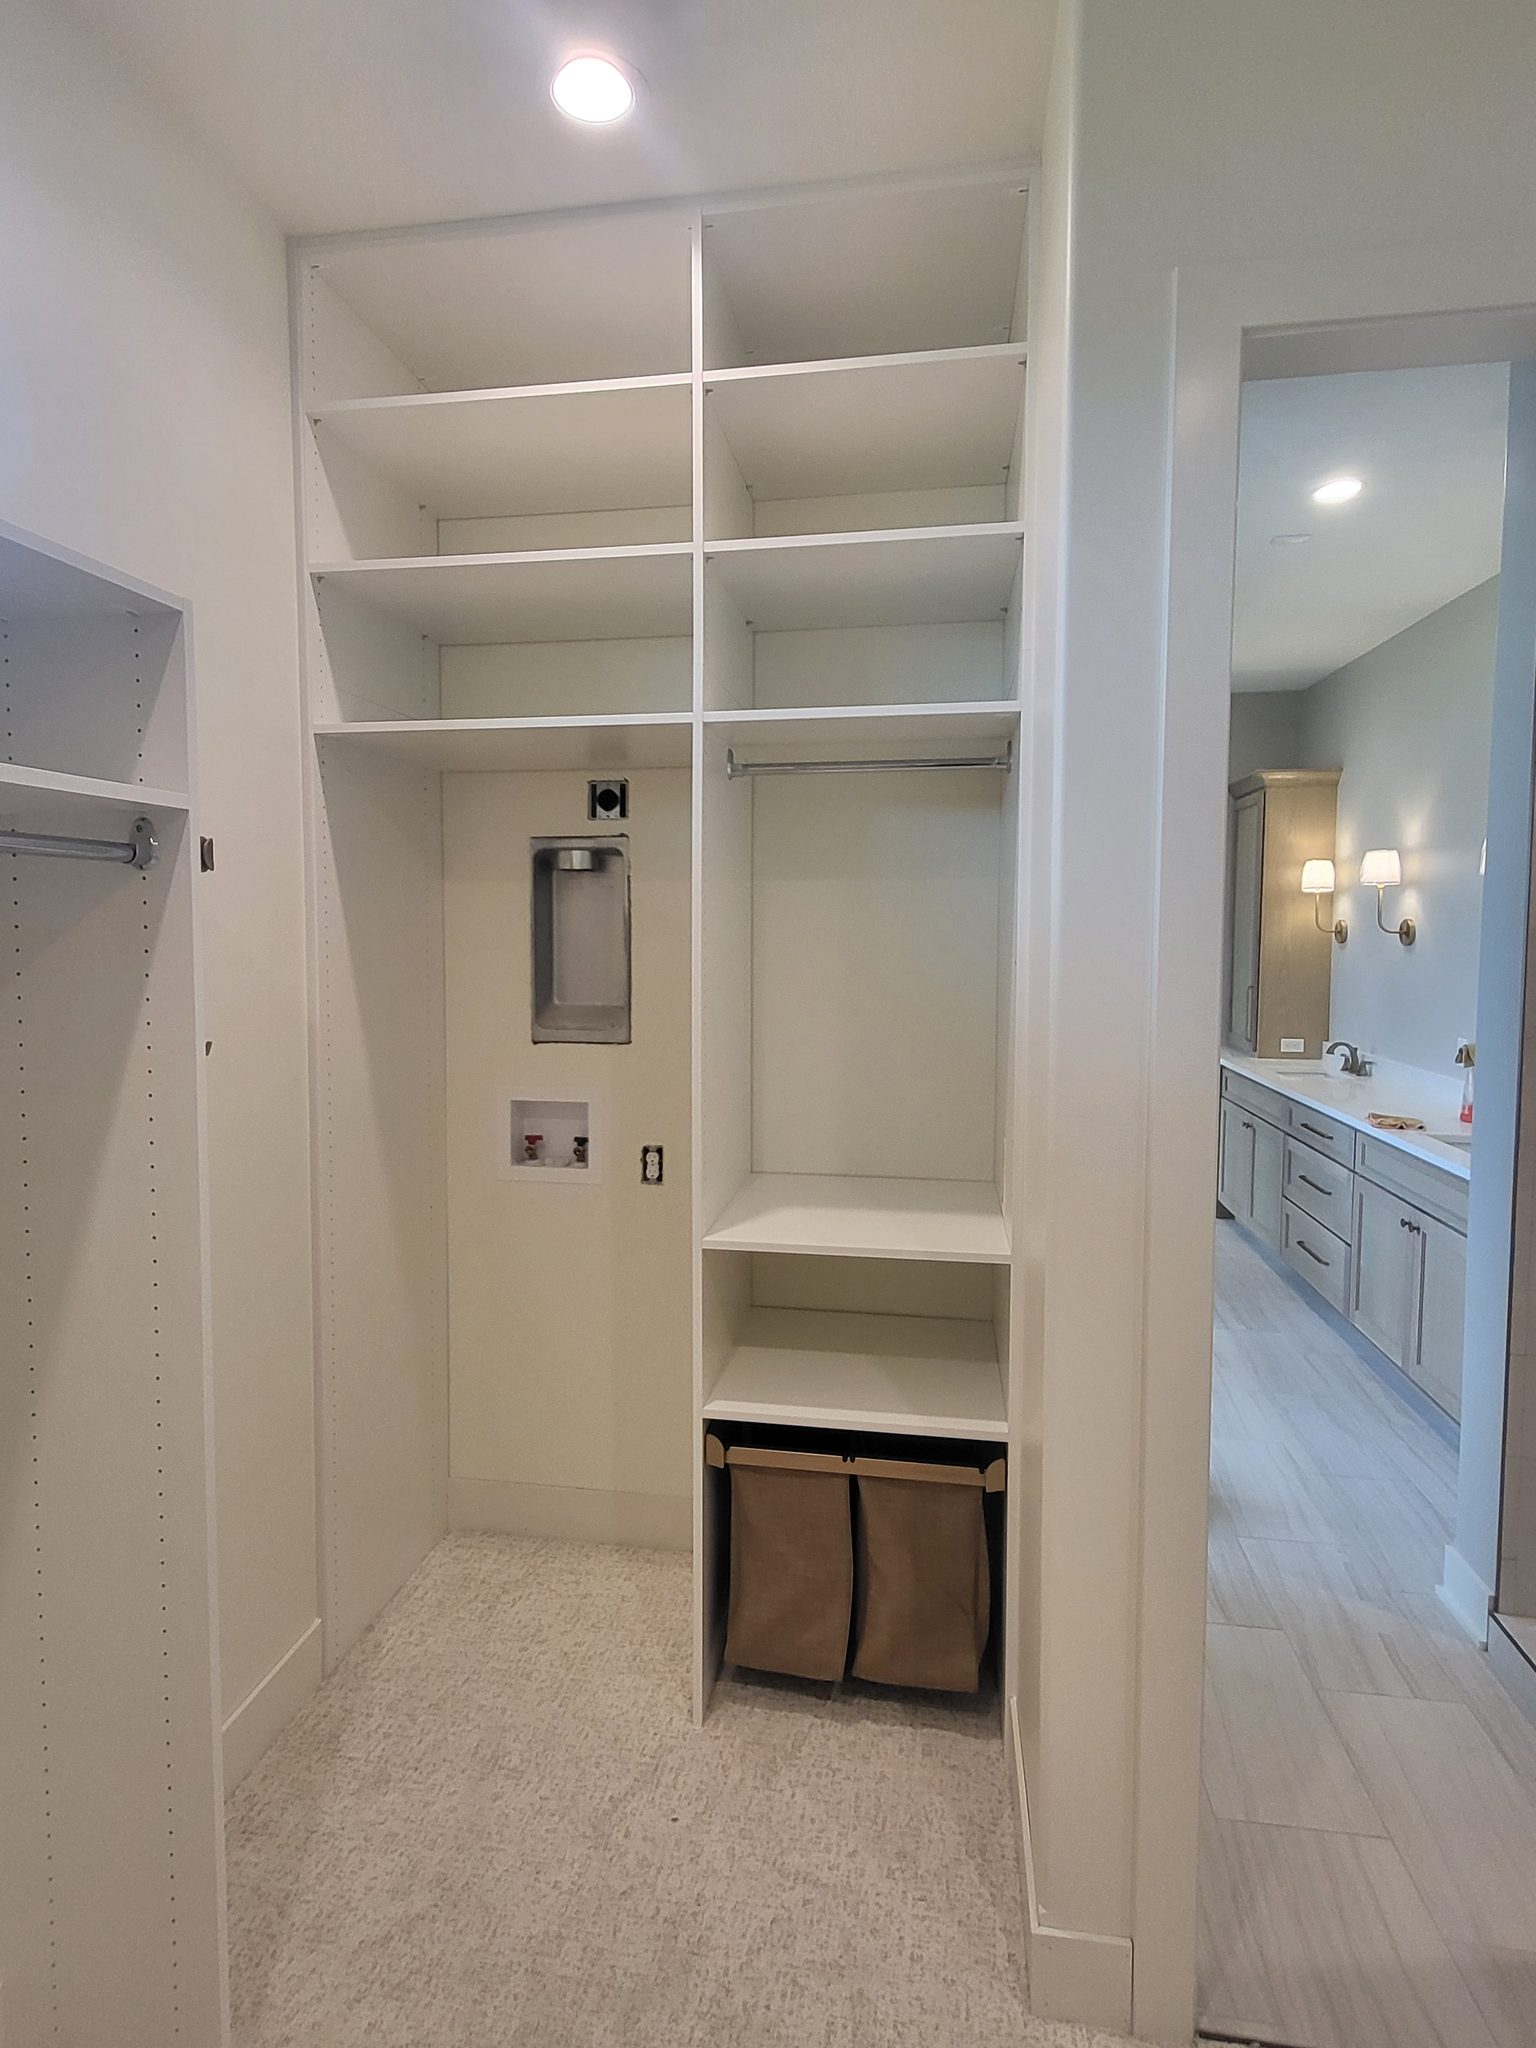
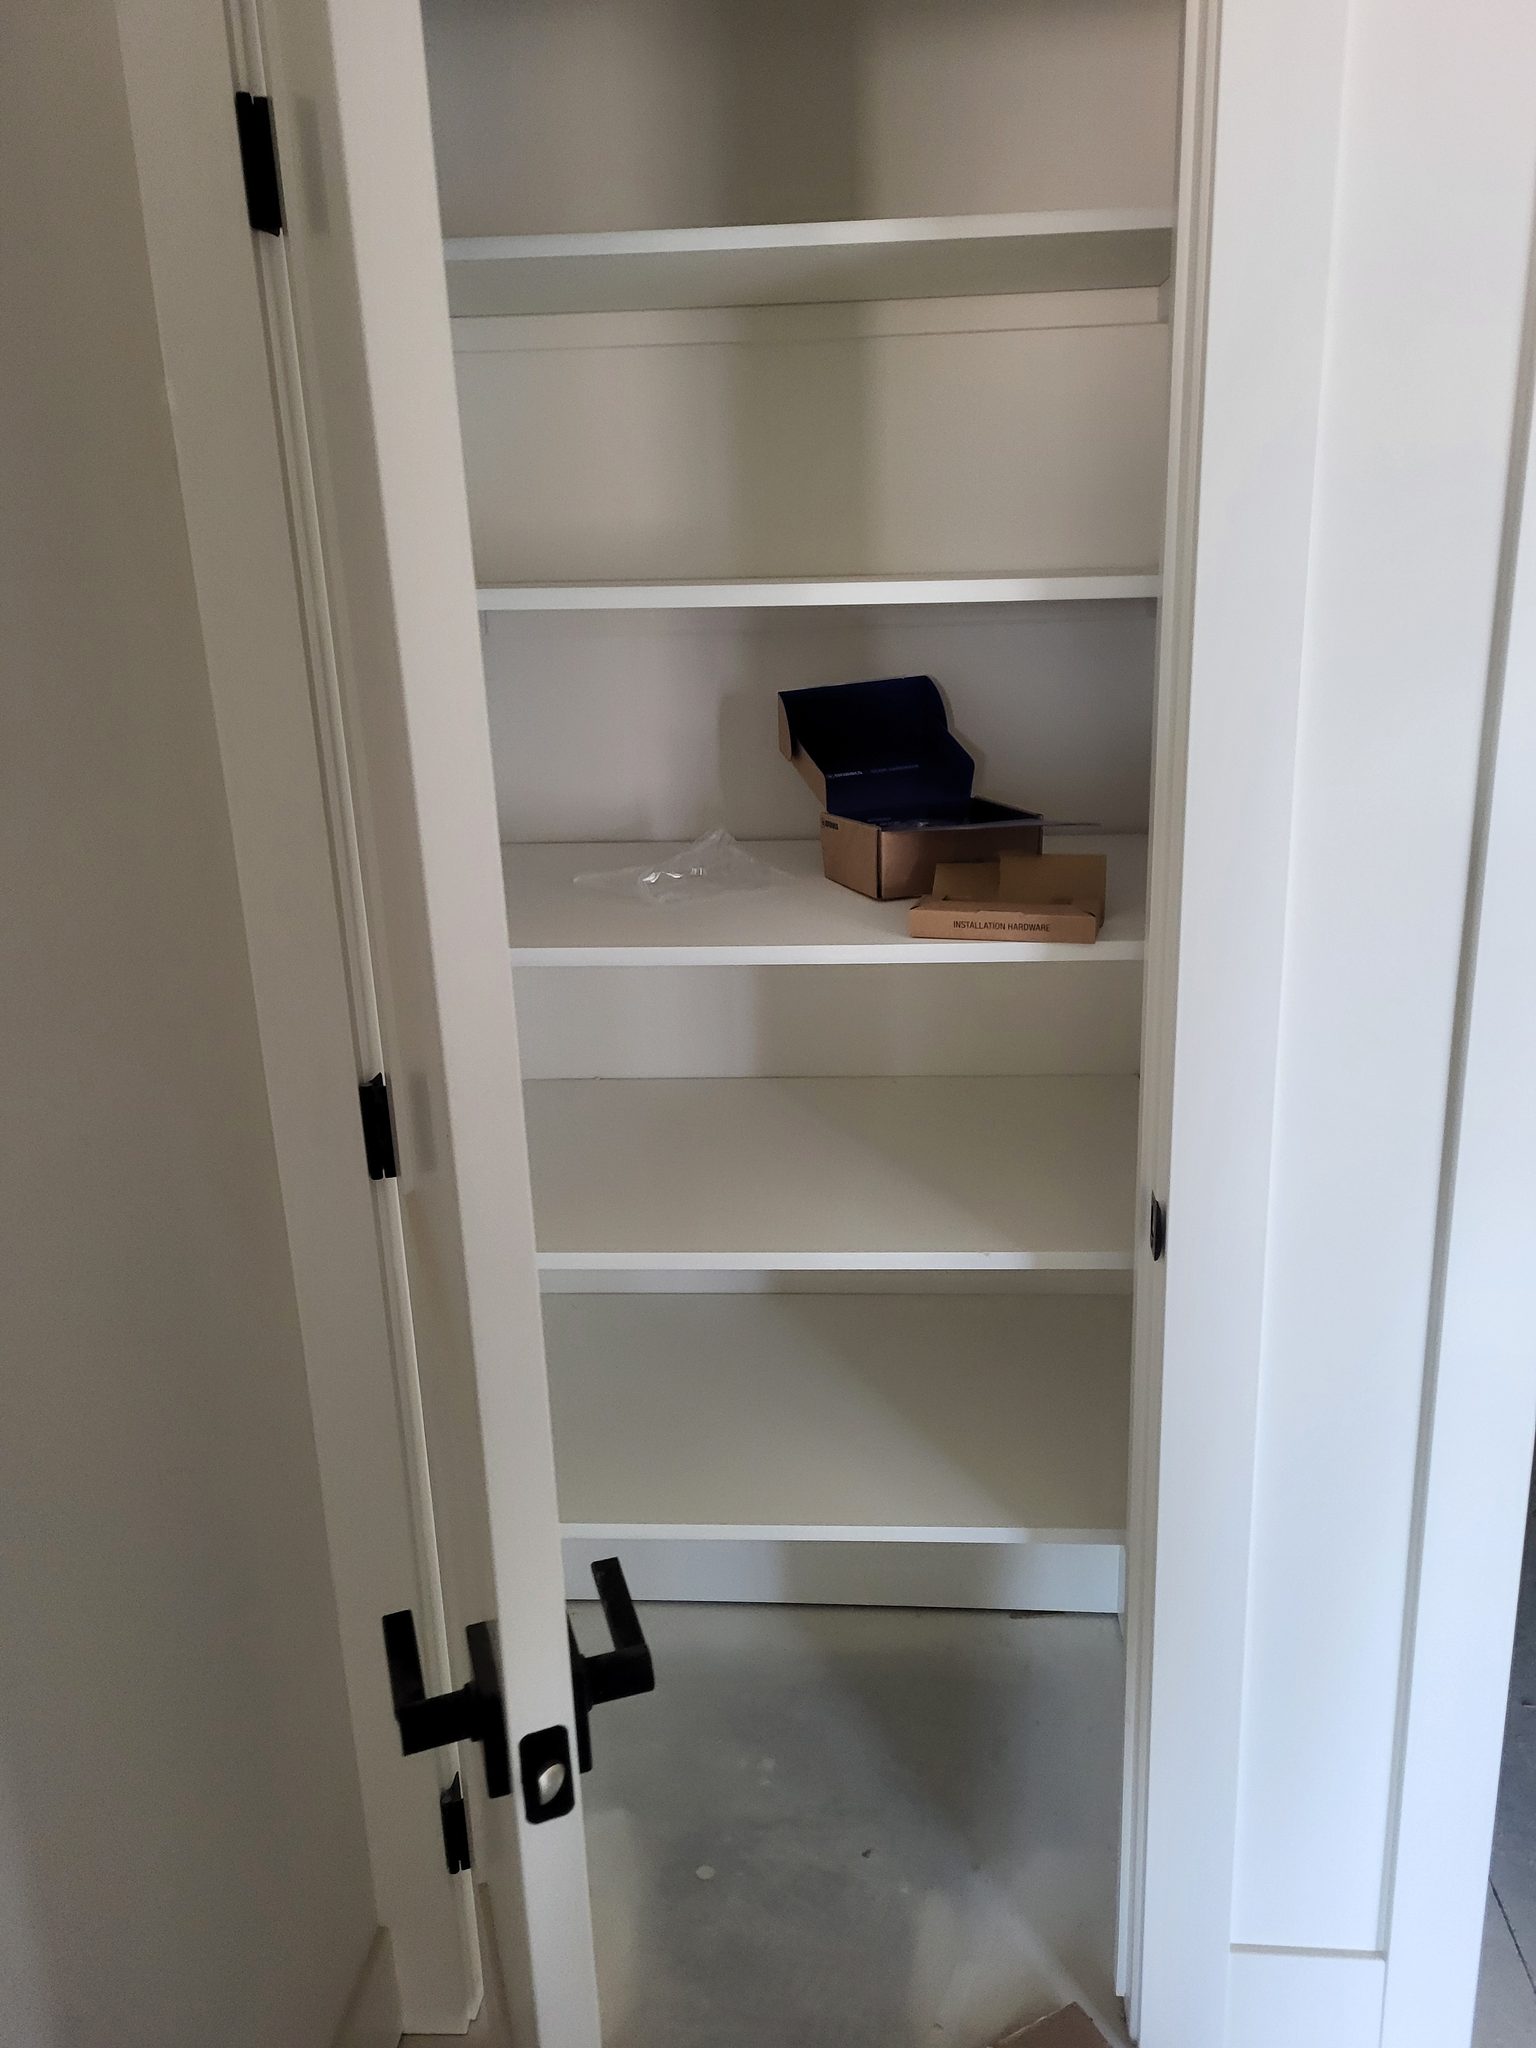
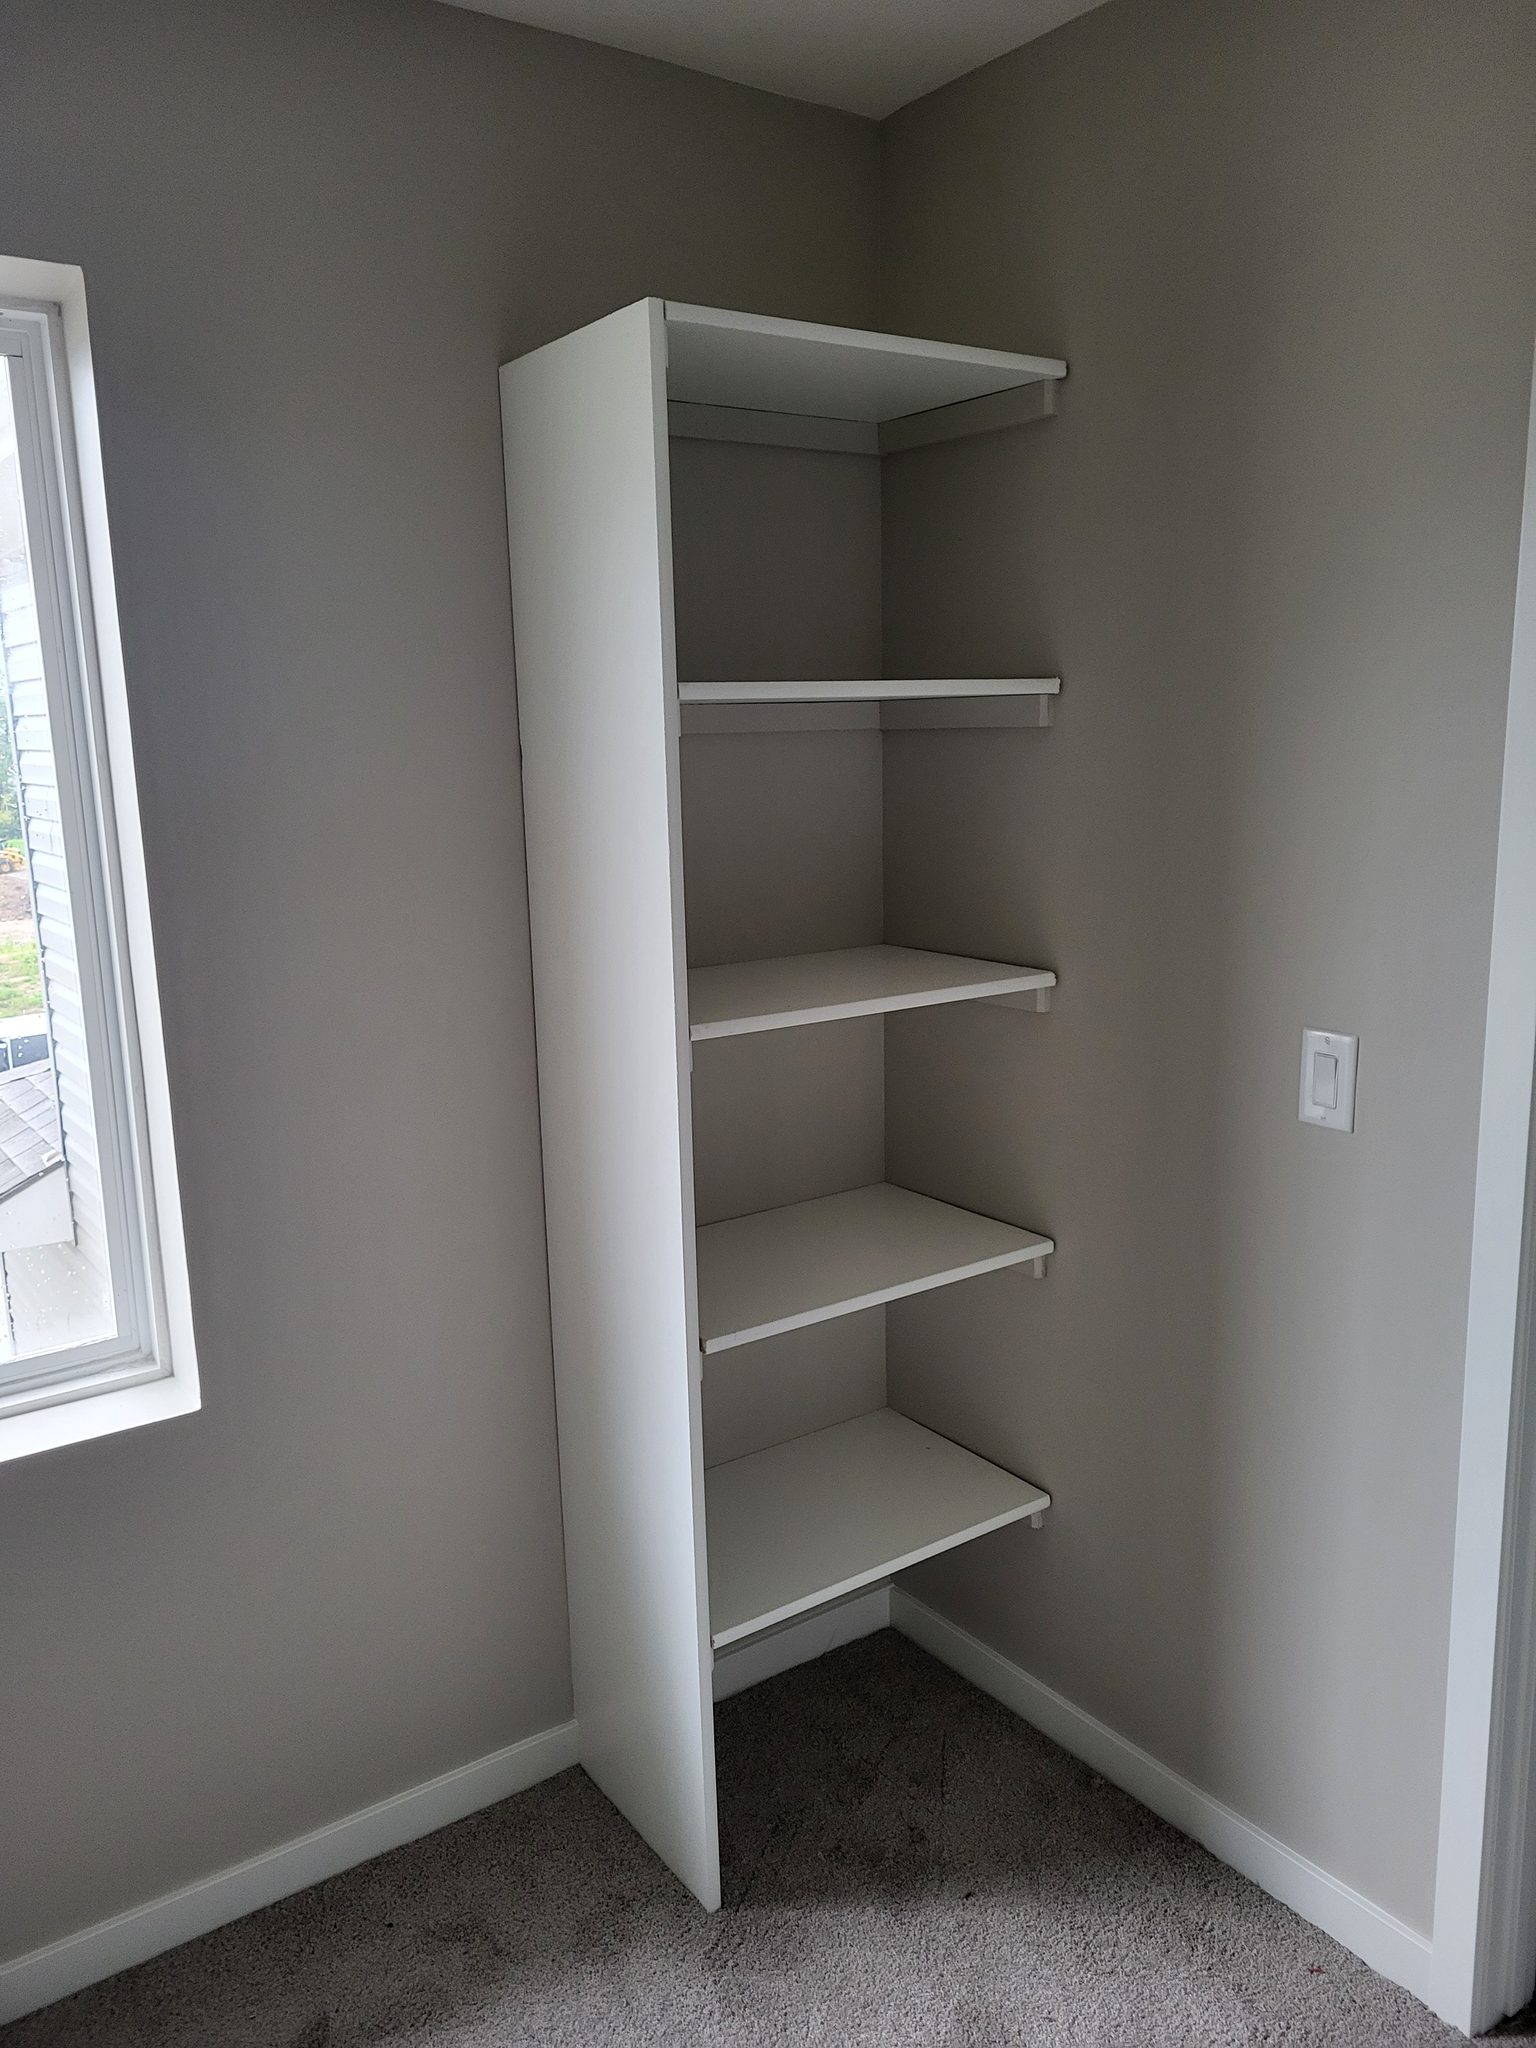
White face-frame closet shelving unit with multiple shelves, painted and installed in wall recess.
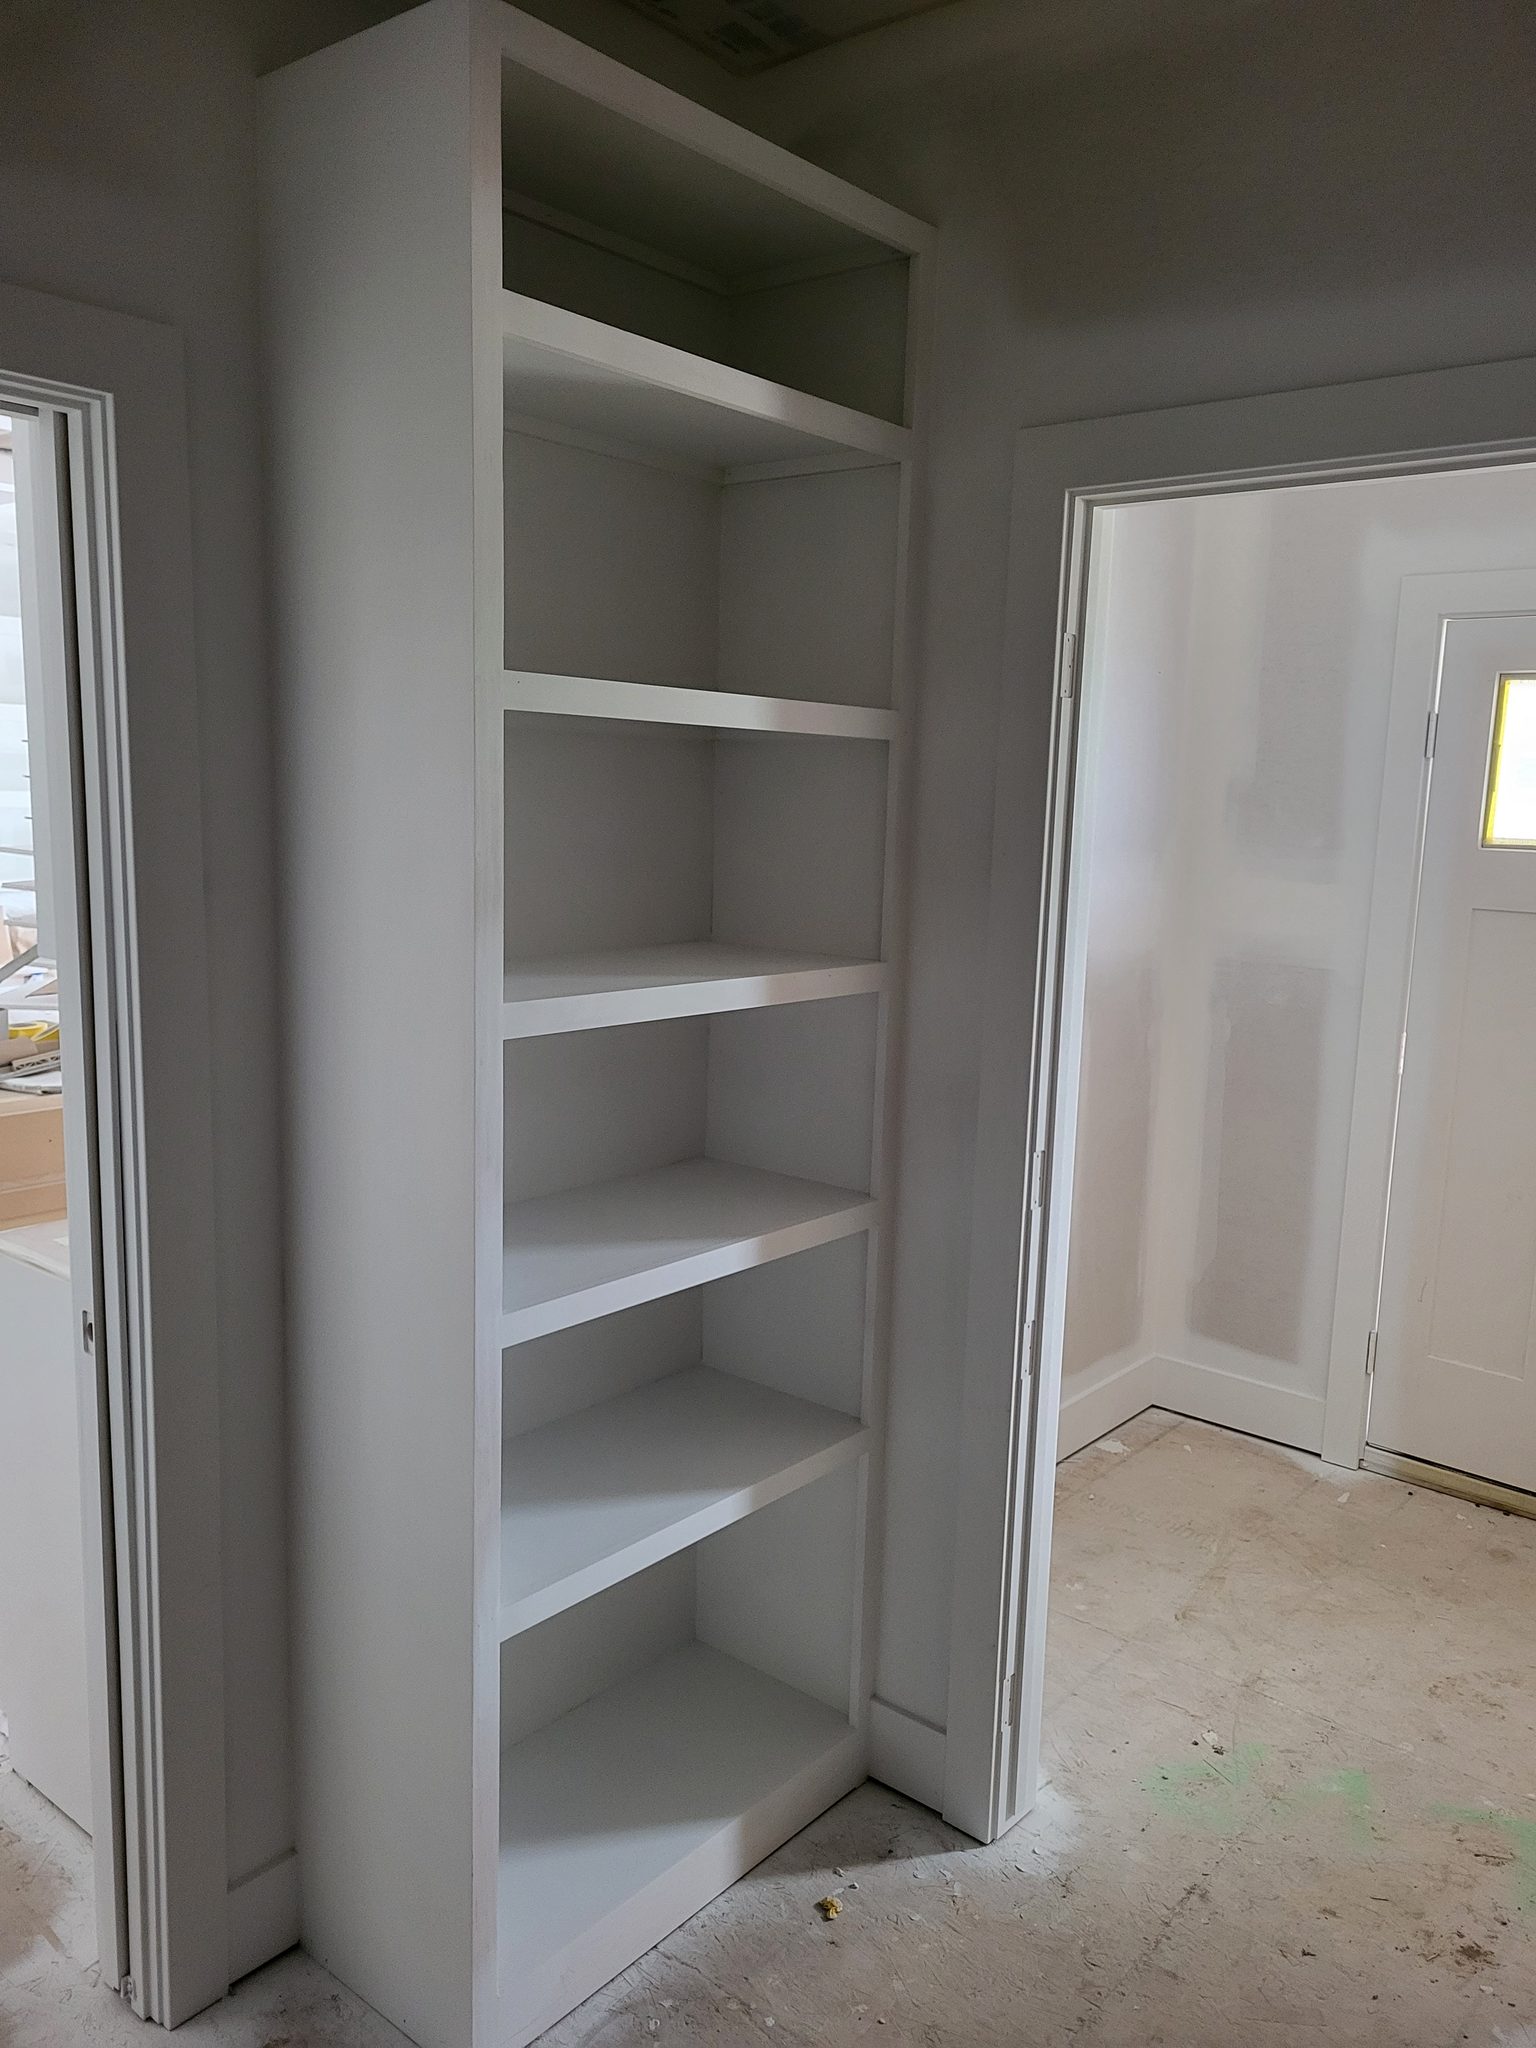
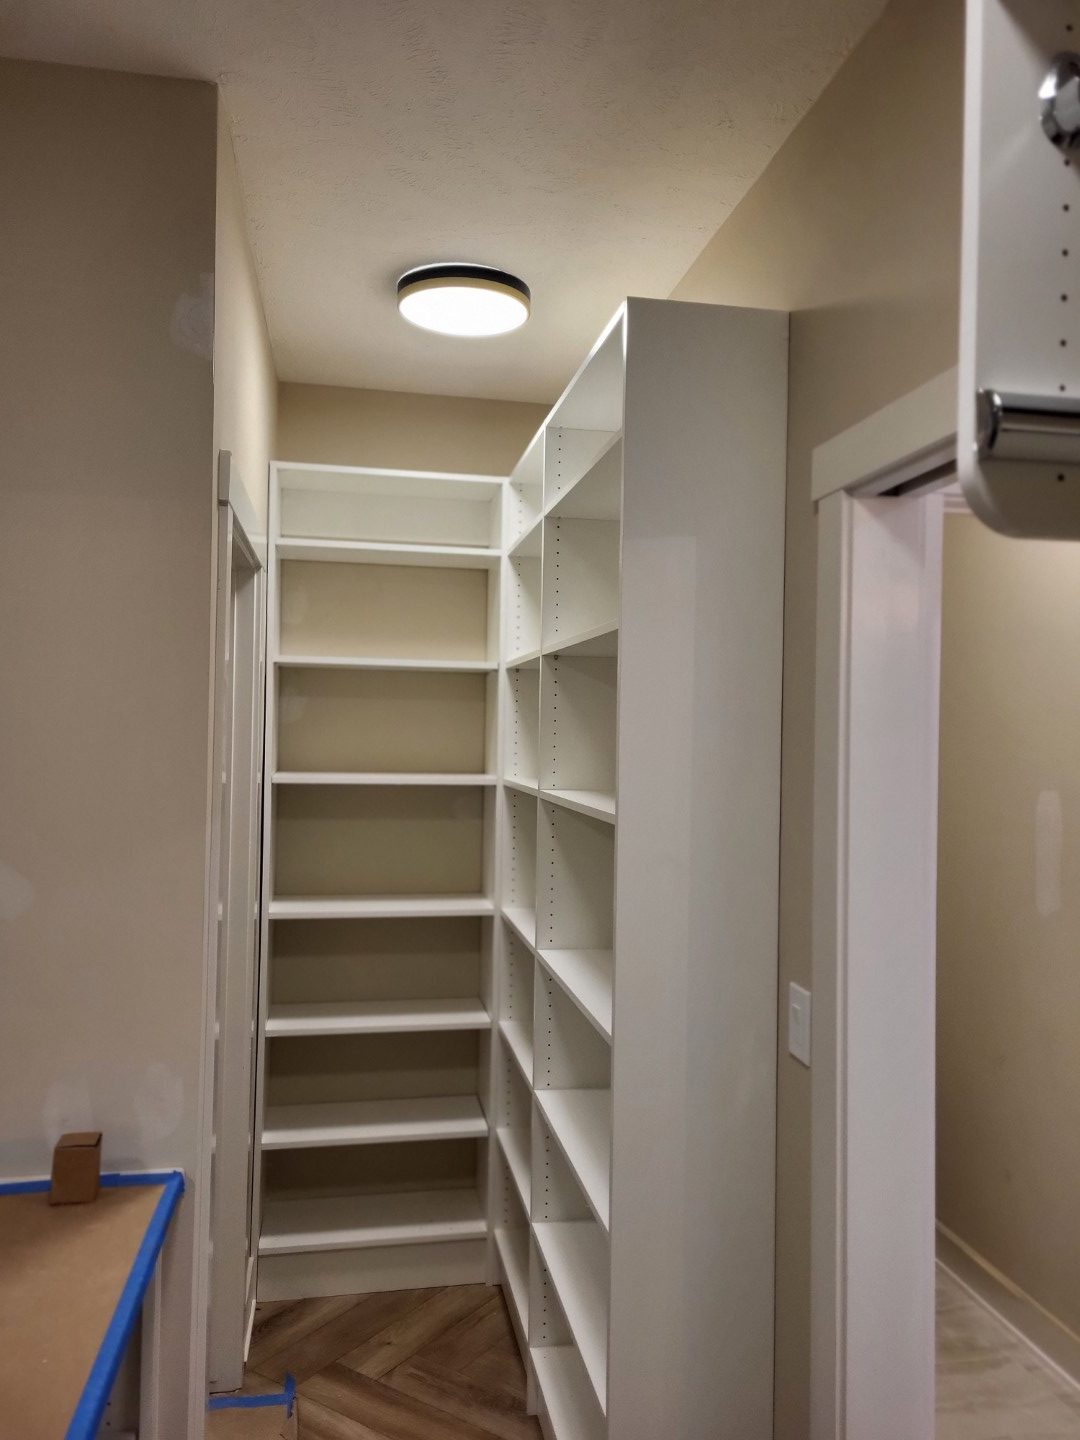
Custom built-in bookcase with six shelves, white painted finish, installed in corner between two interior doors.
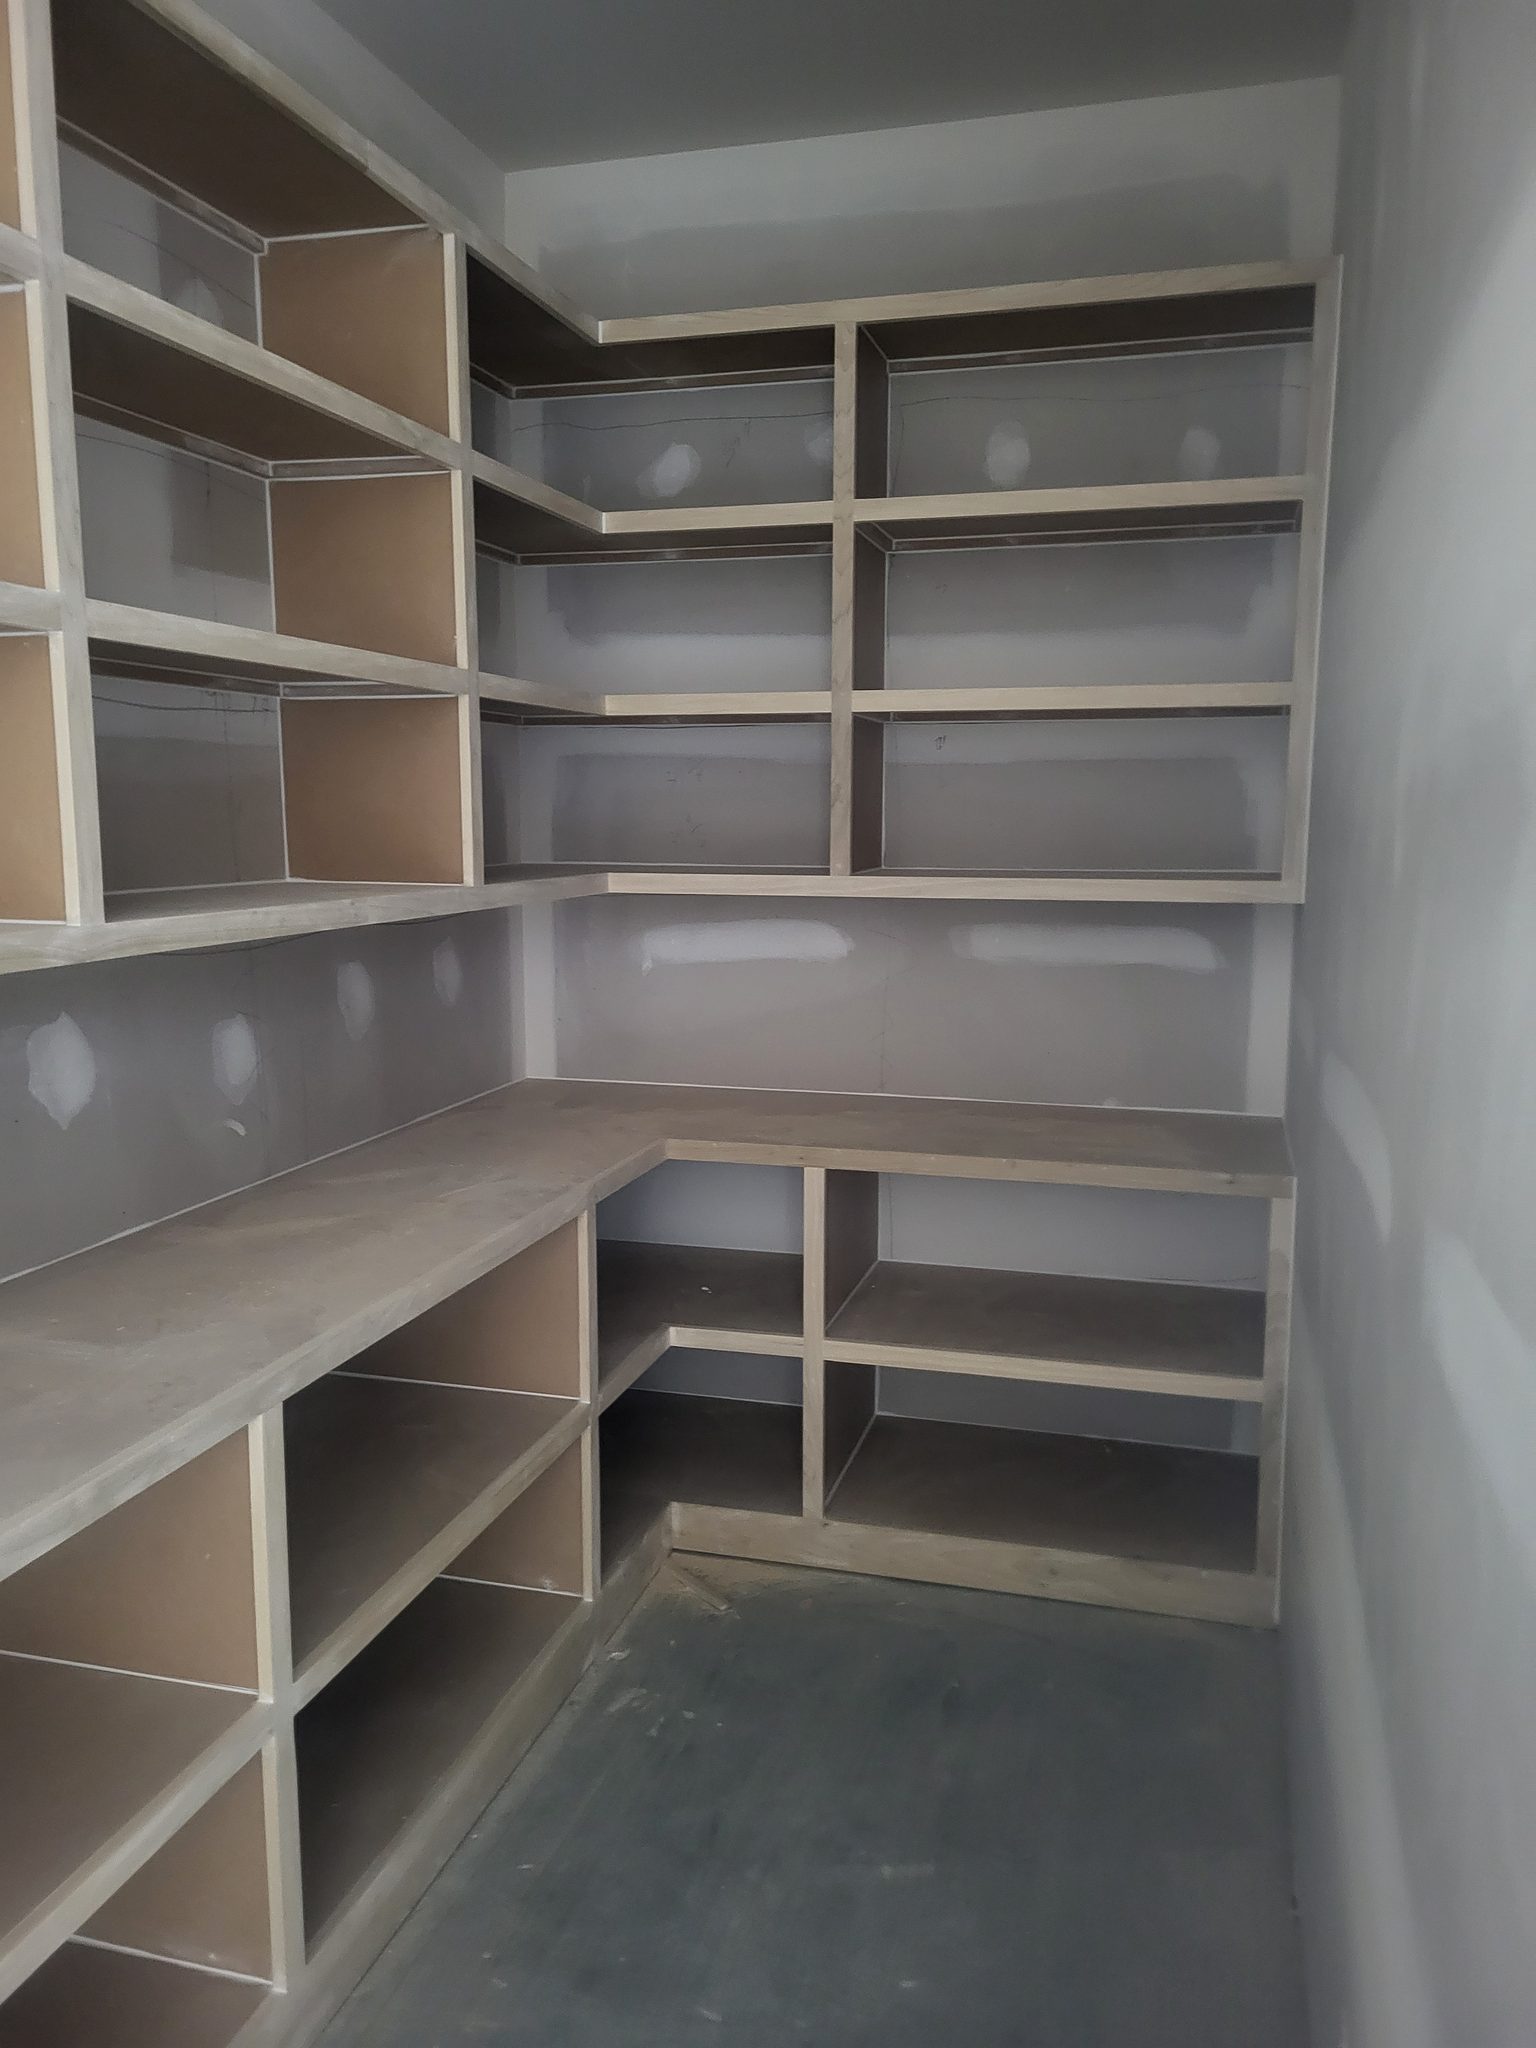
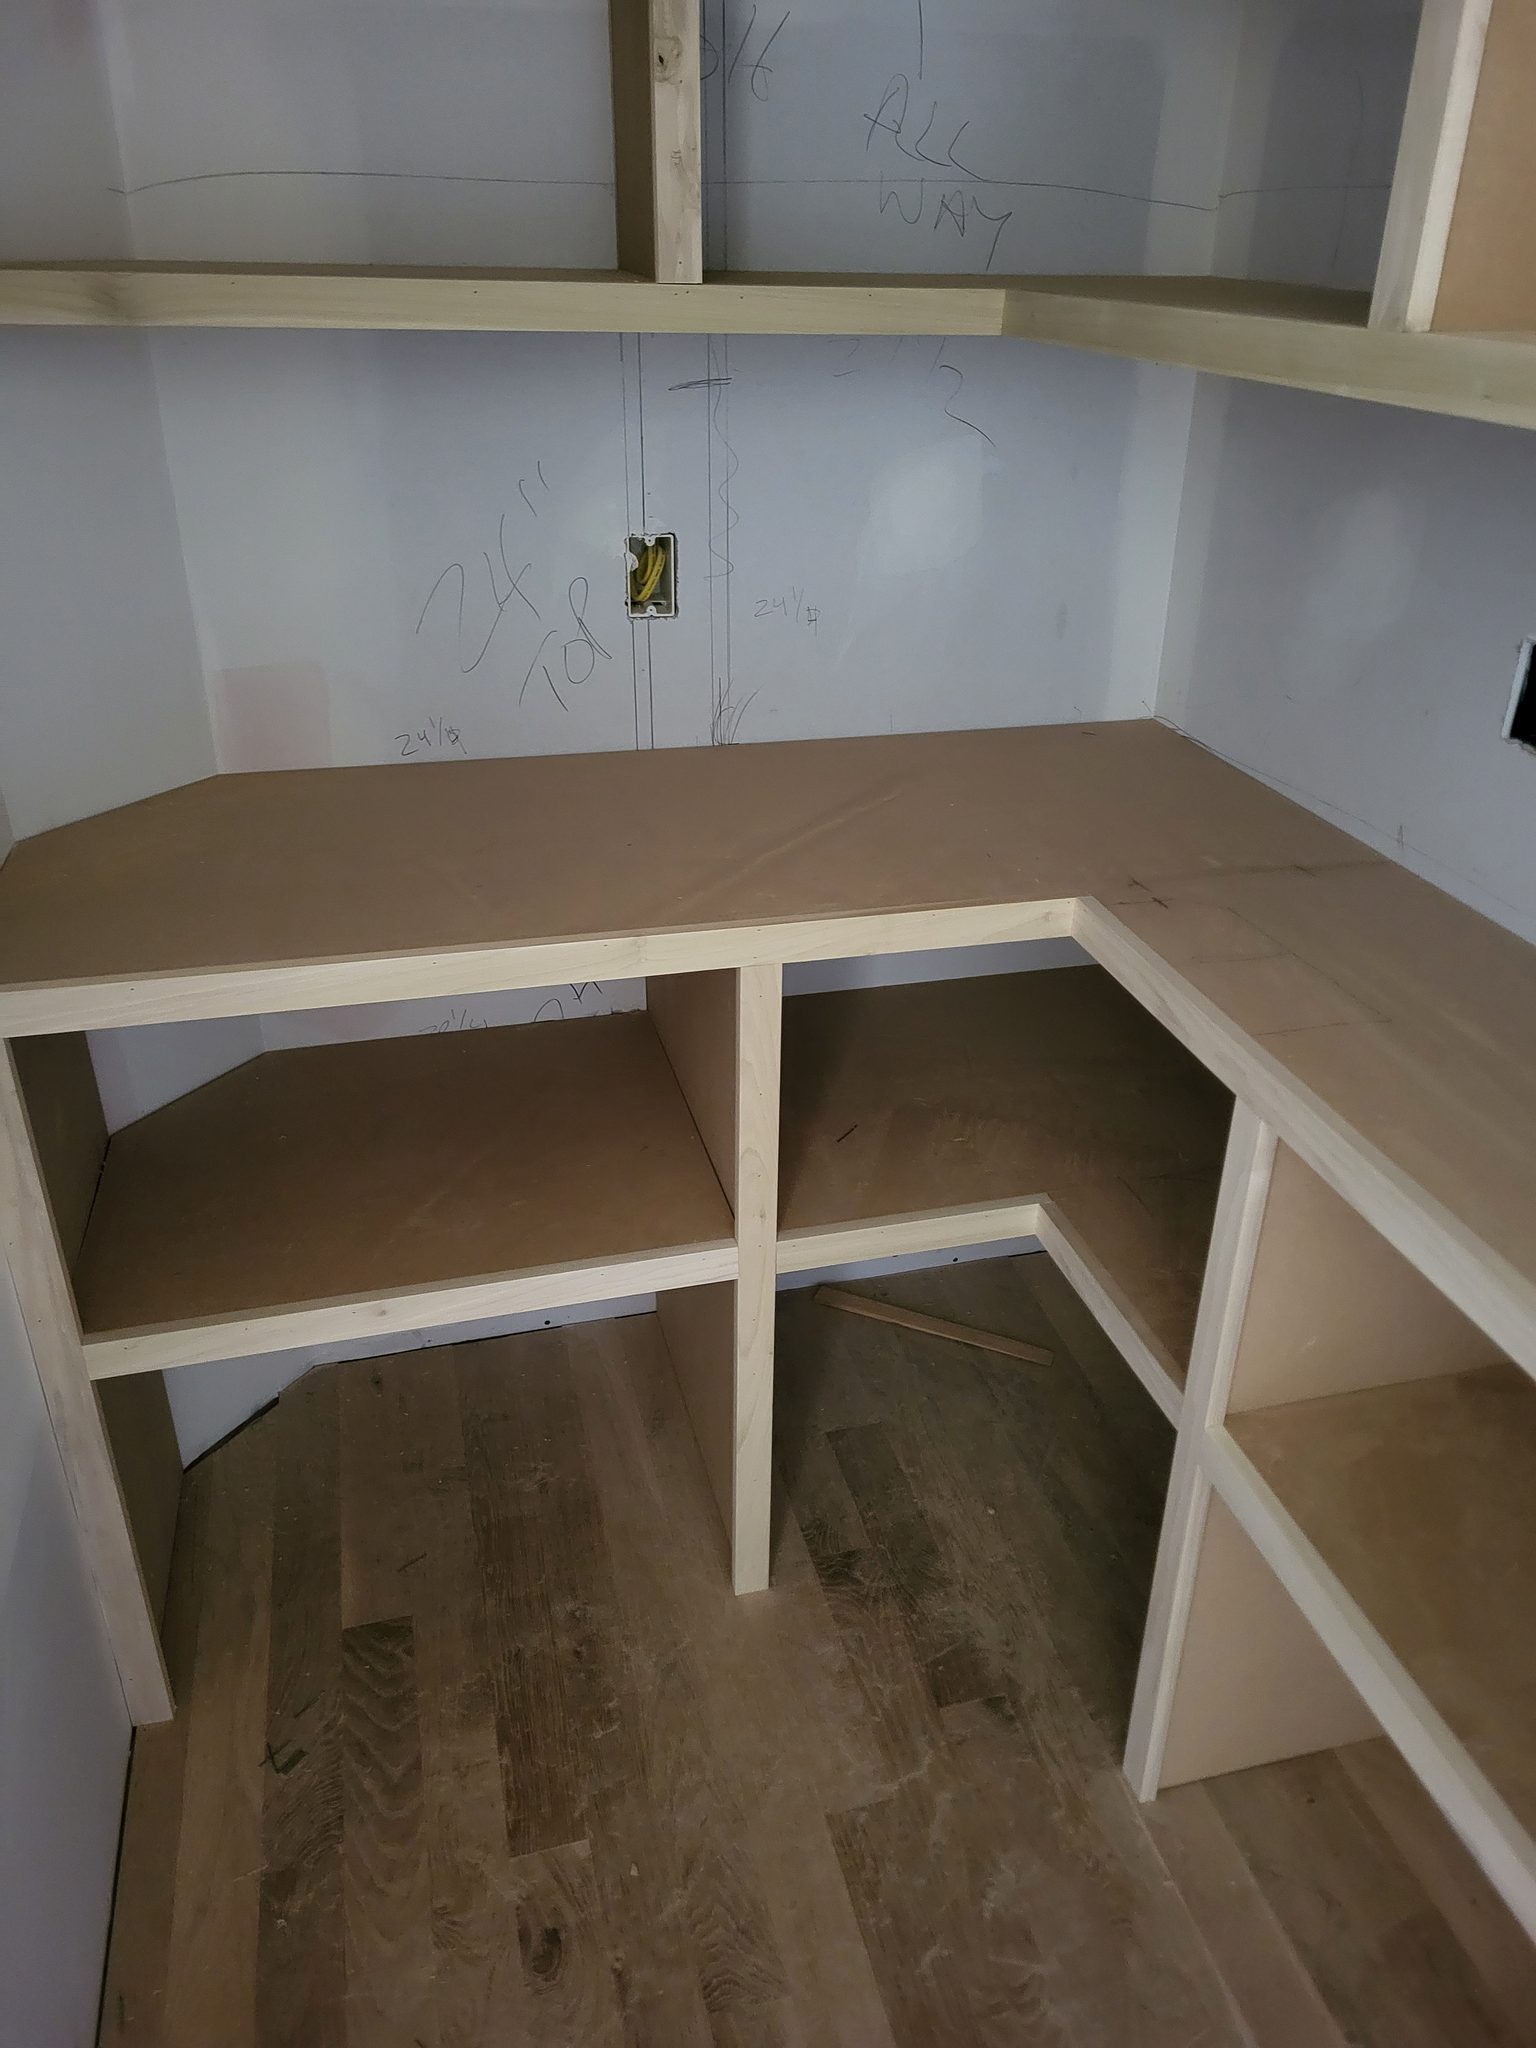
Custom built-in closet shelving with open cubbies and countertop shelf, raw wood ready for finish.
Closet shelving and hanging rod installed with white-painted frame and raw wood shelves, ready for paint.
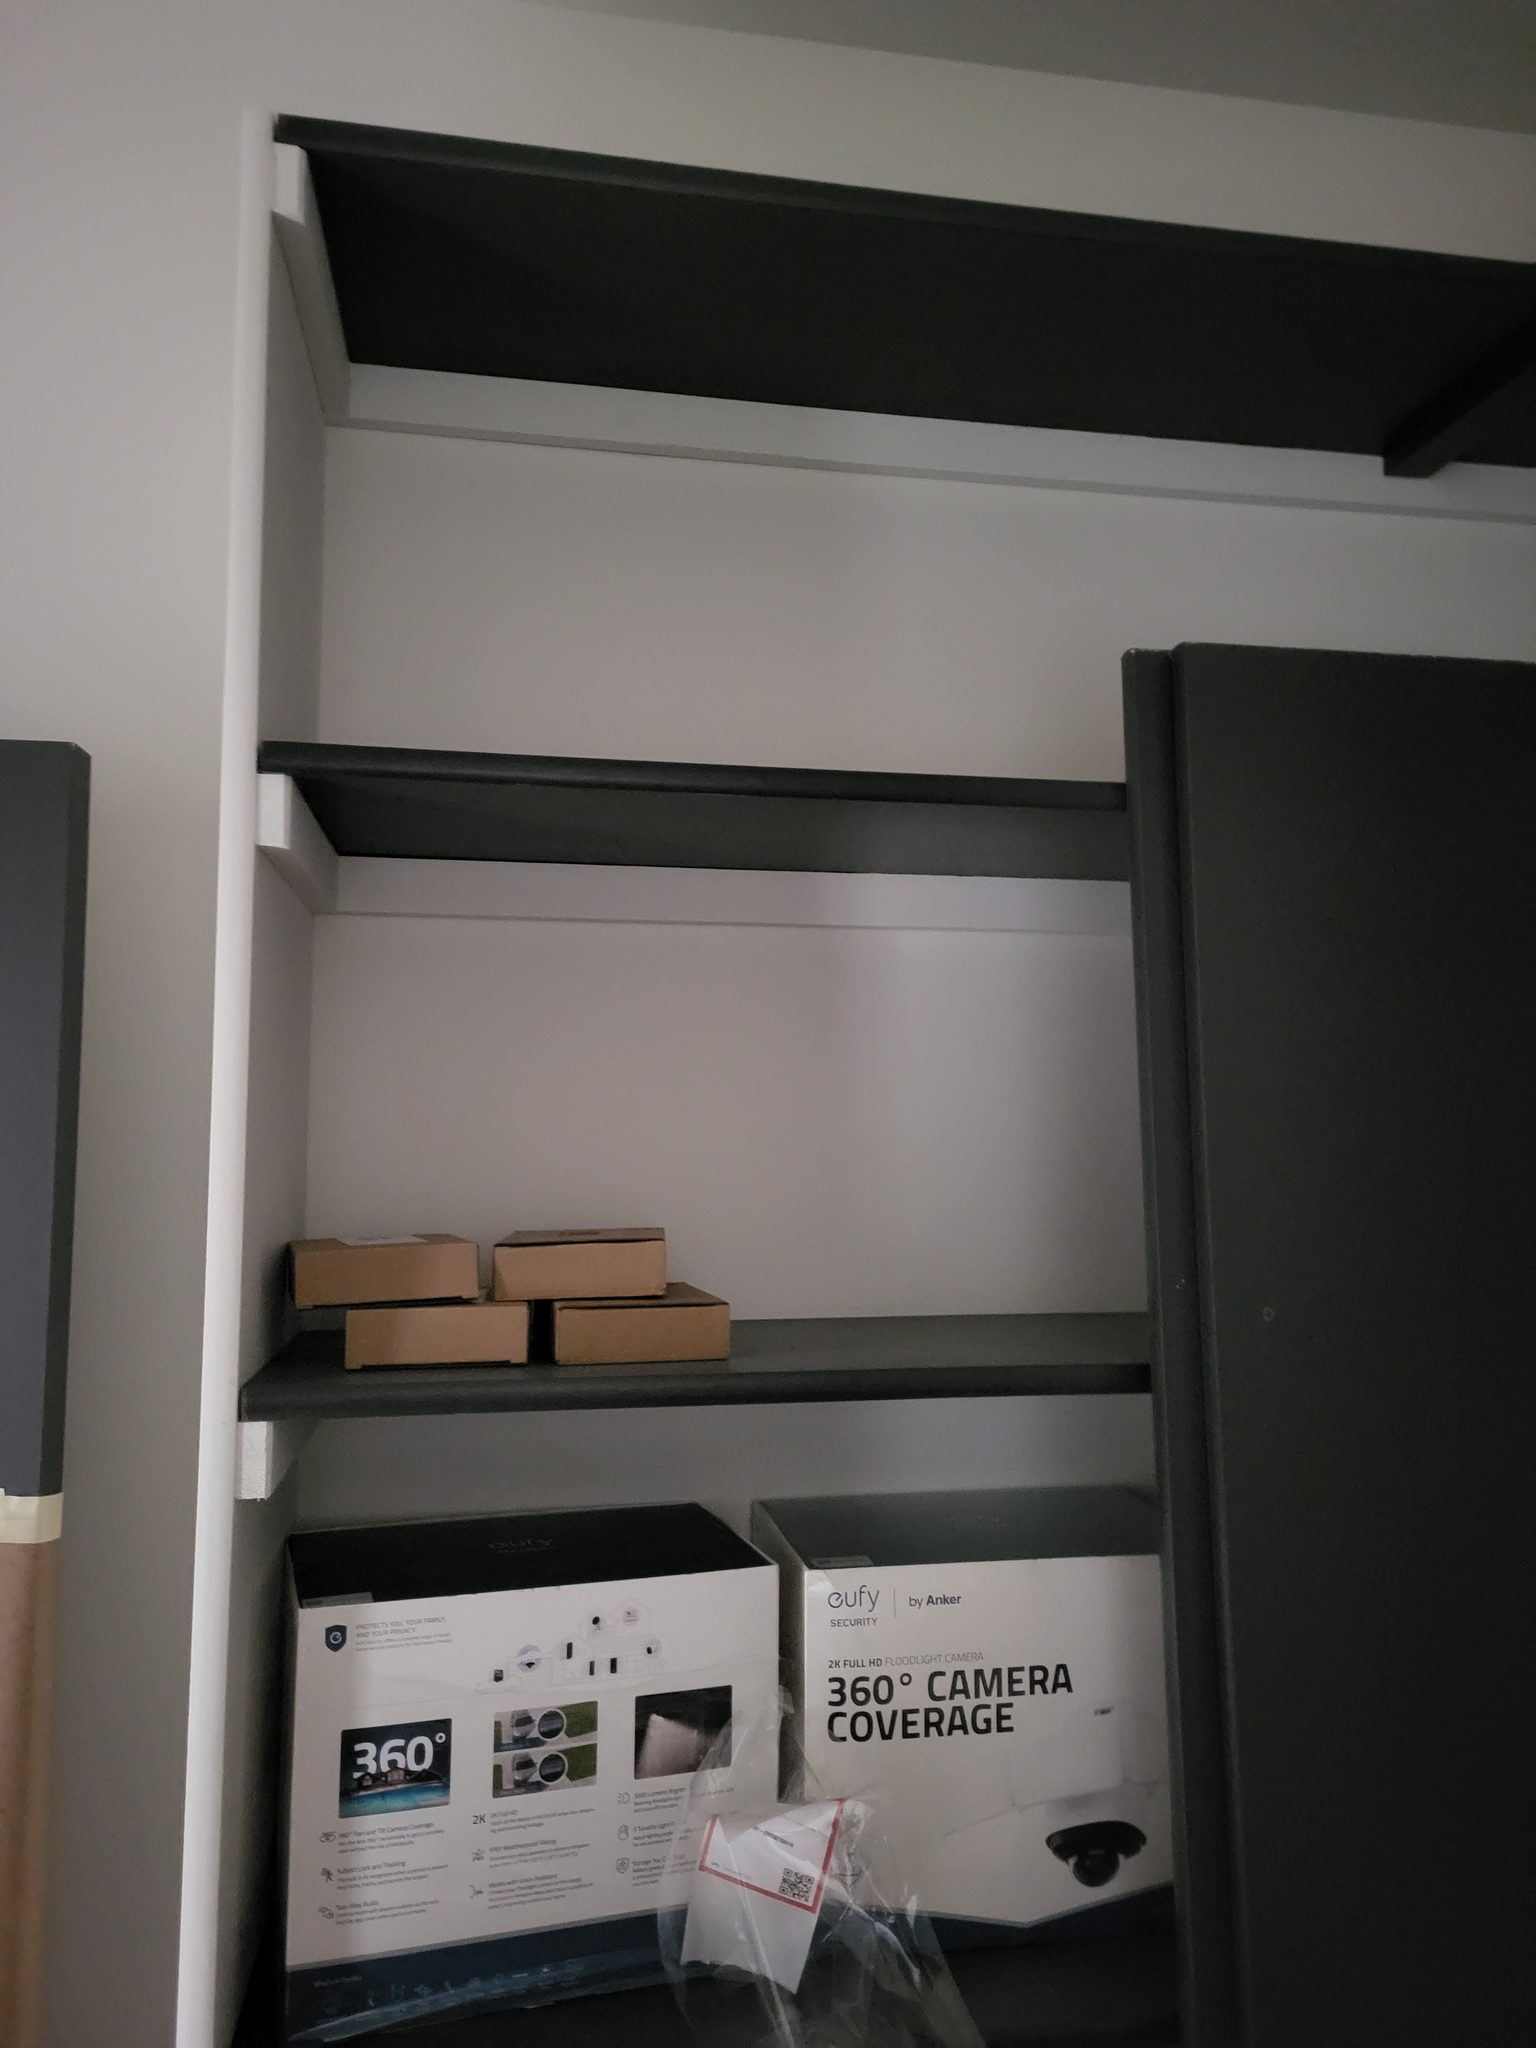
Multi-tier black shelving unit with finished wood frame and bullnose shelves installed in closet opening.
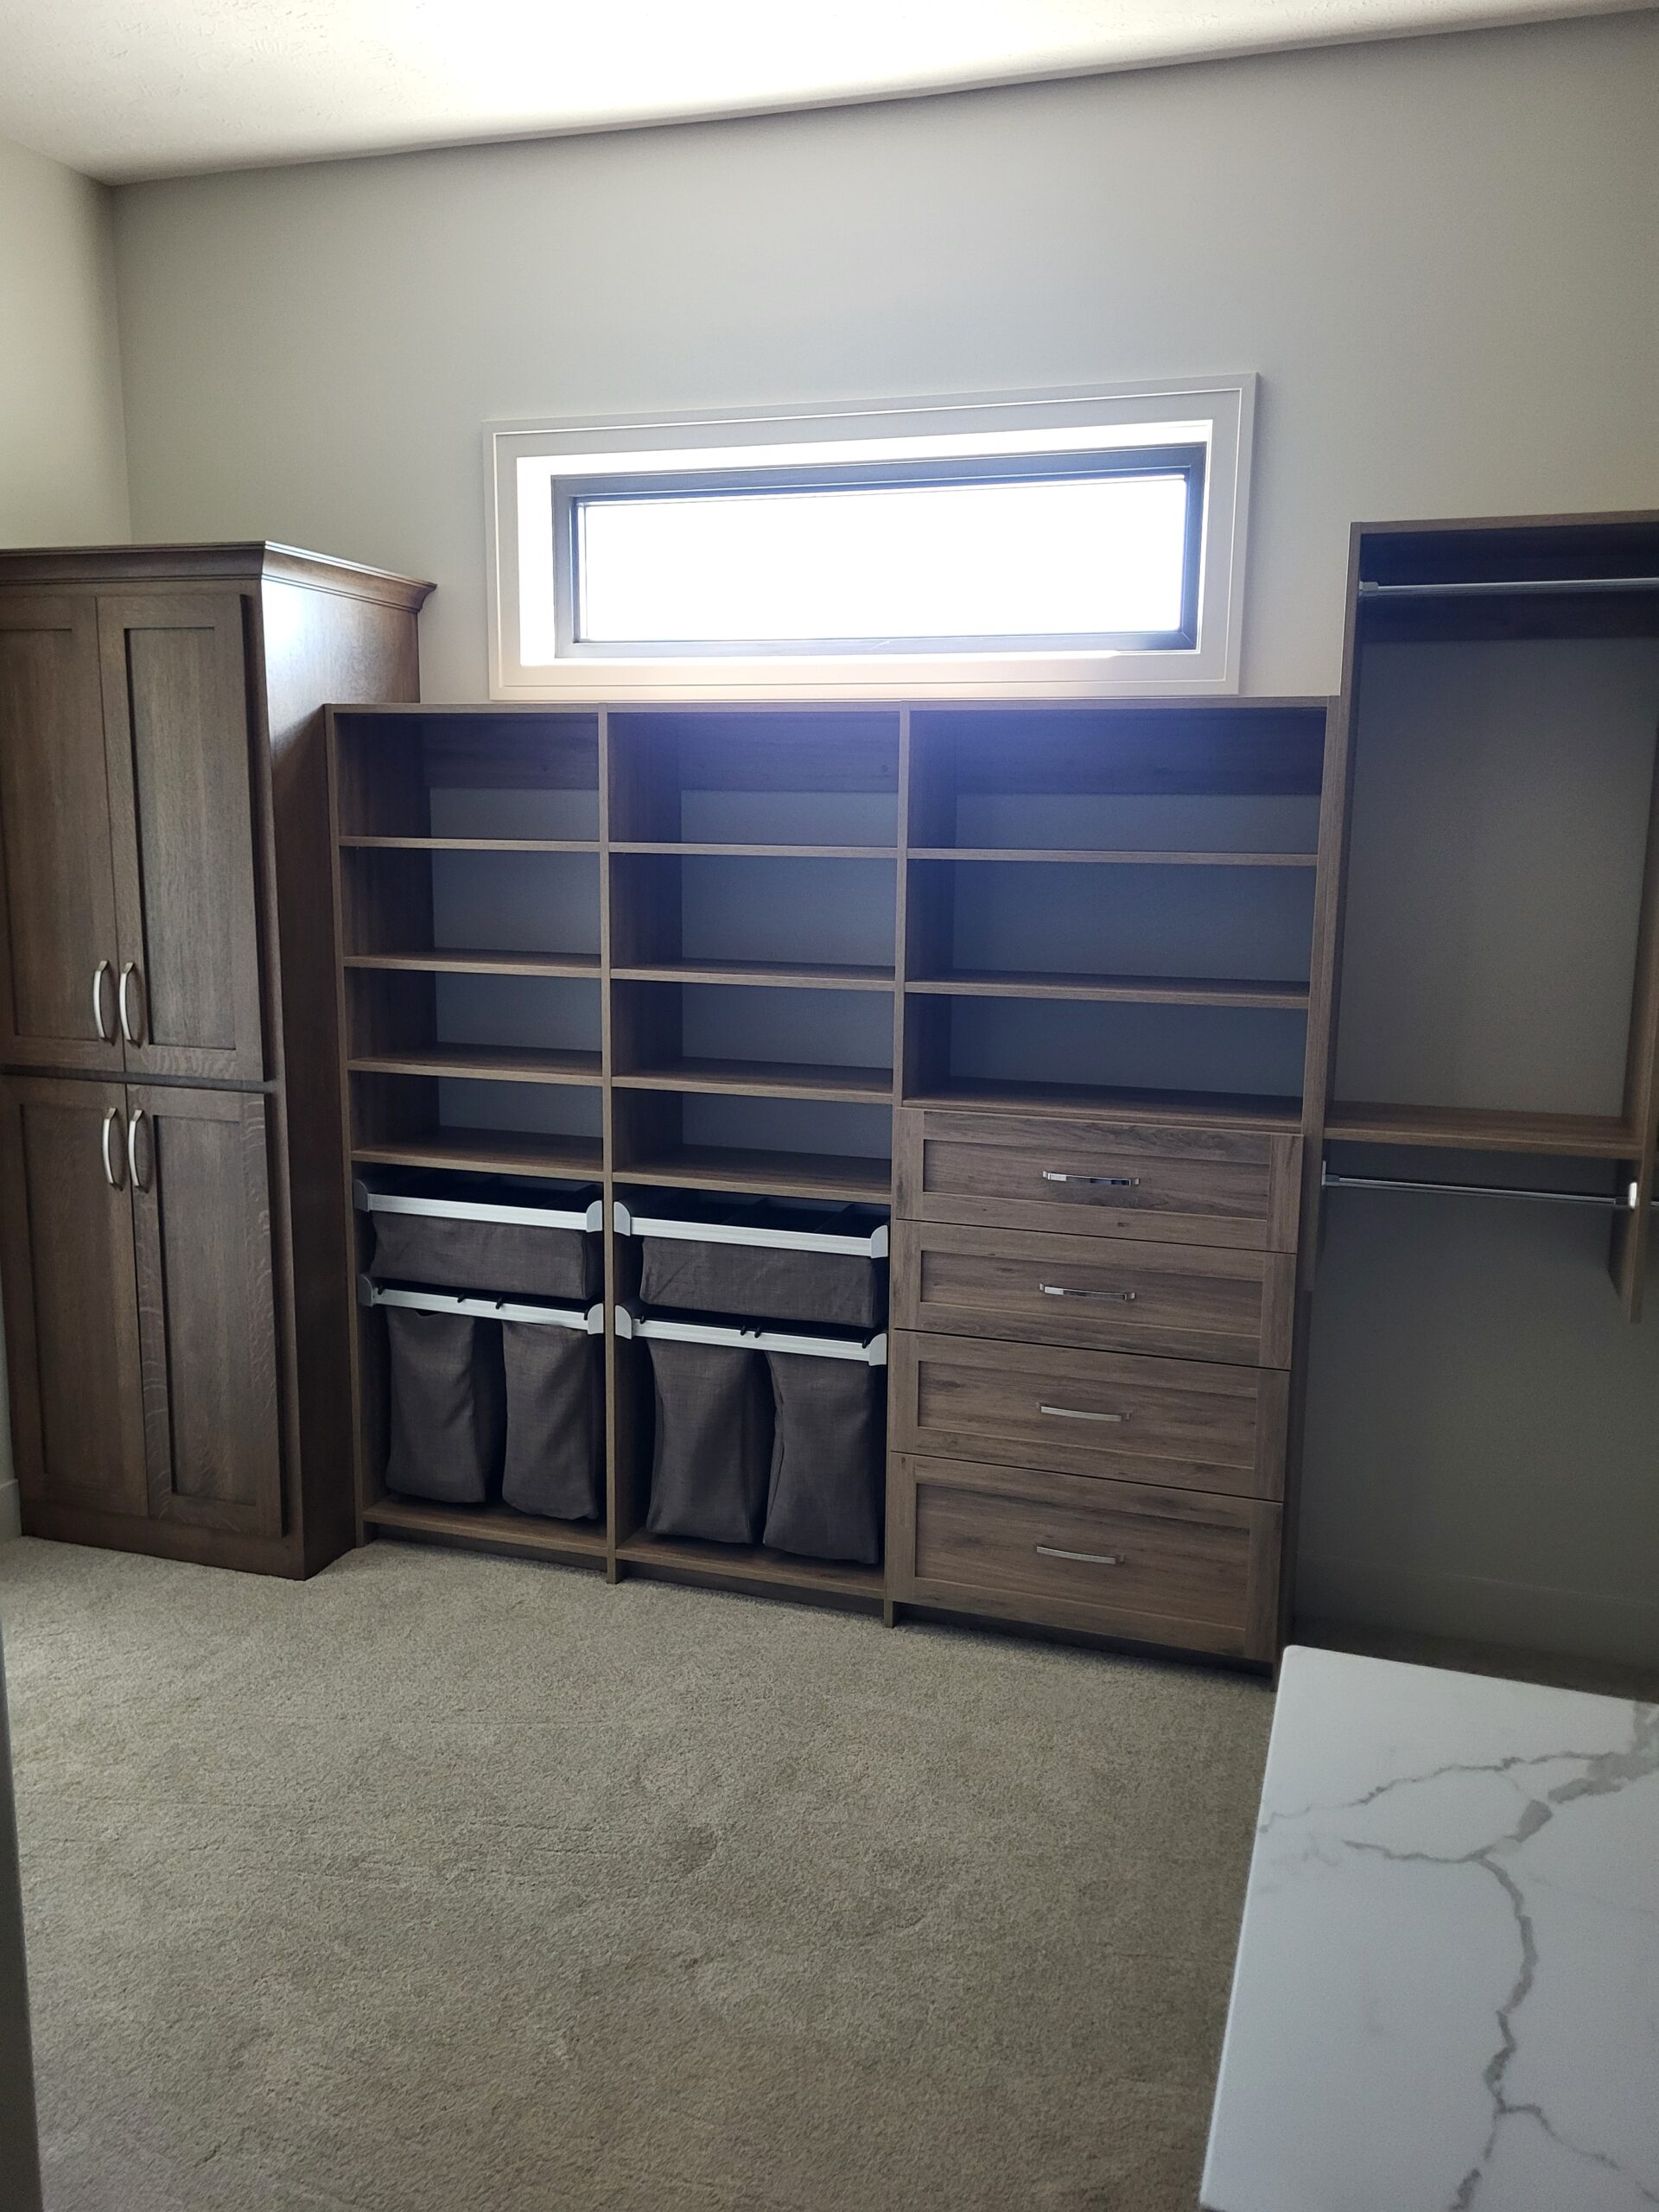
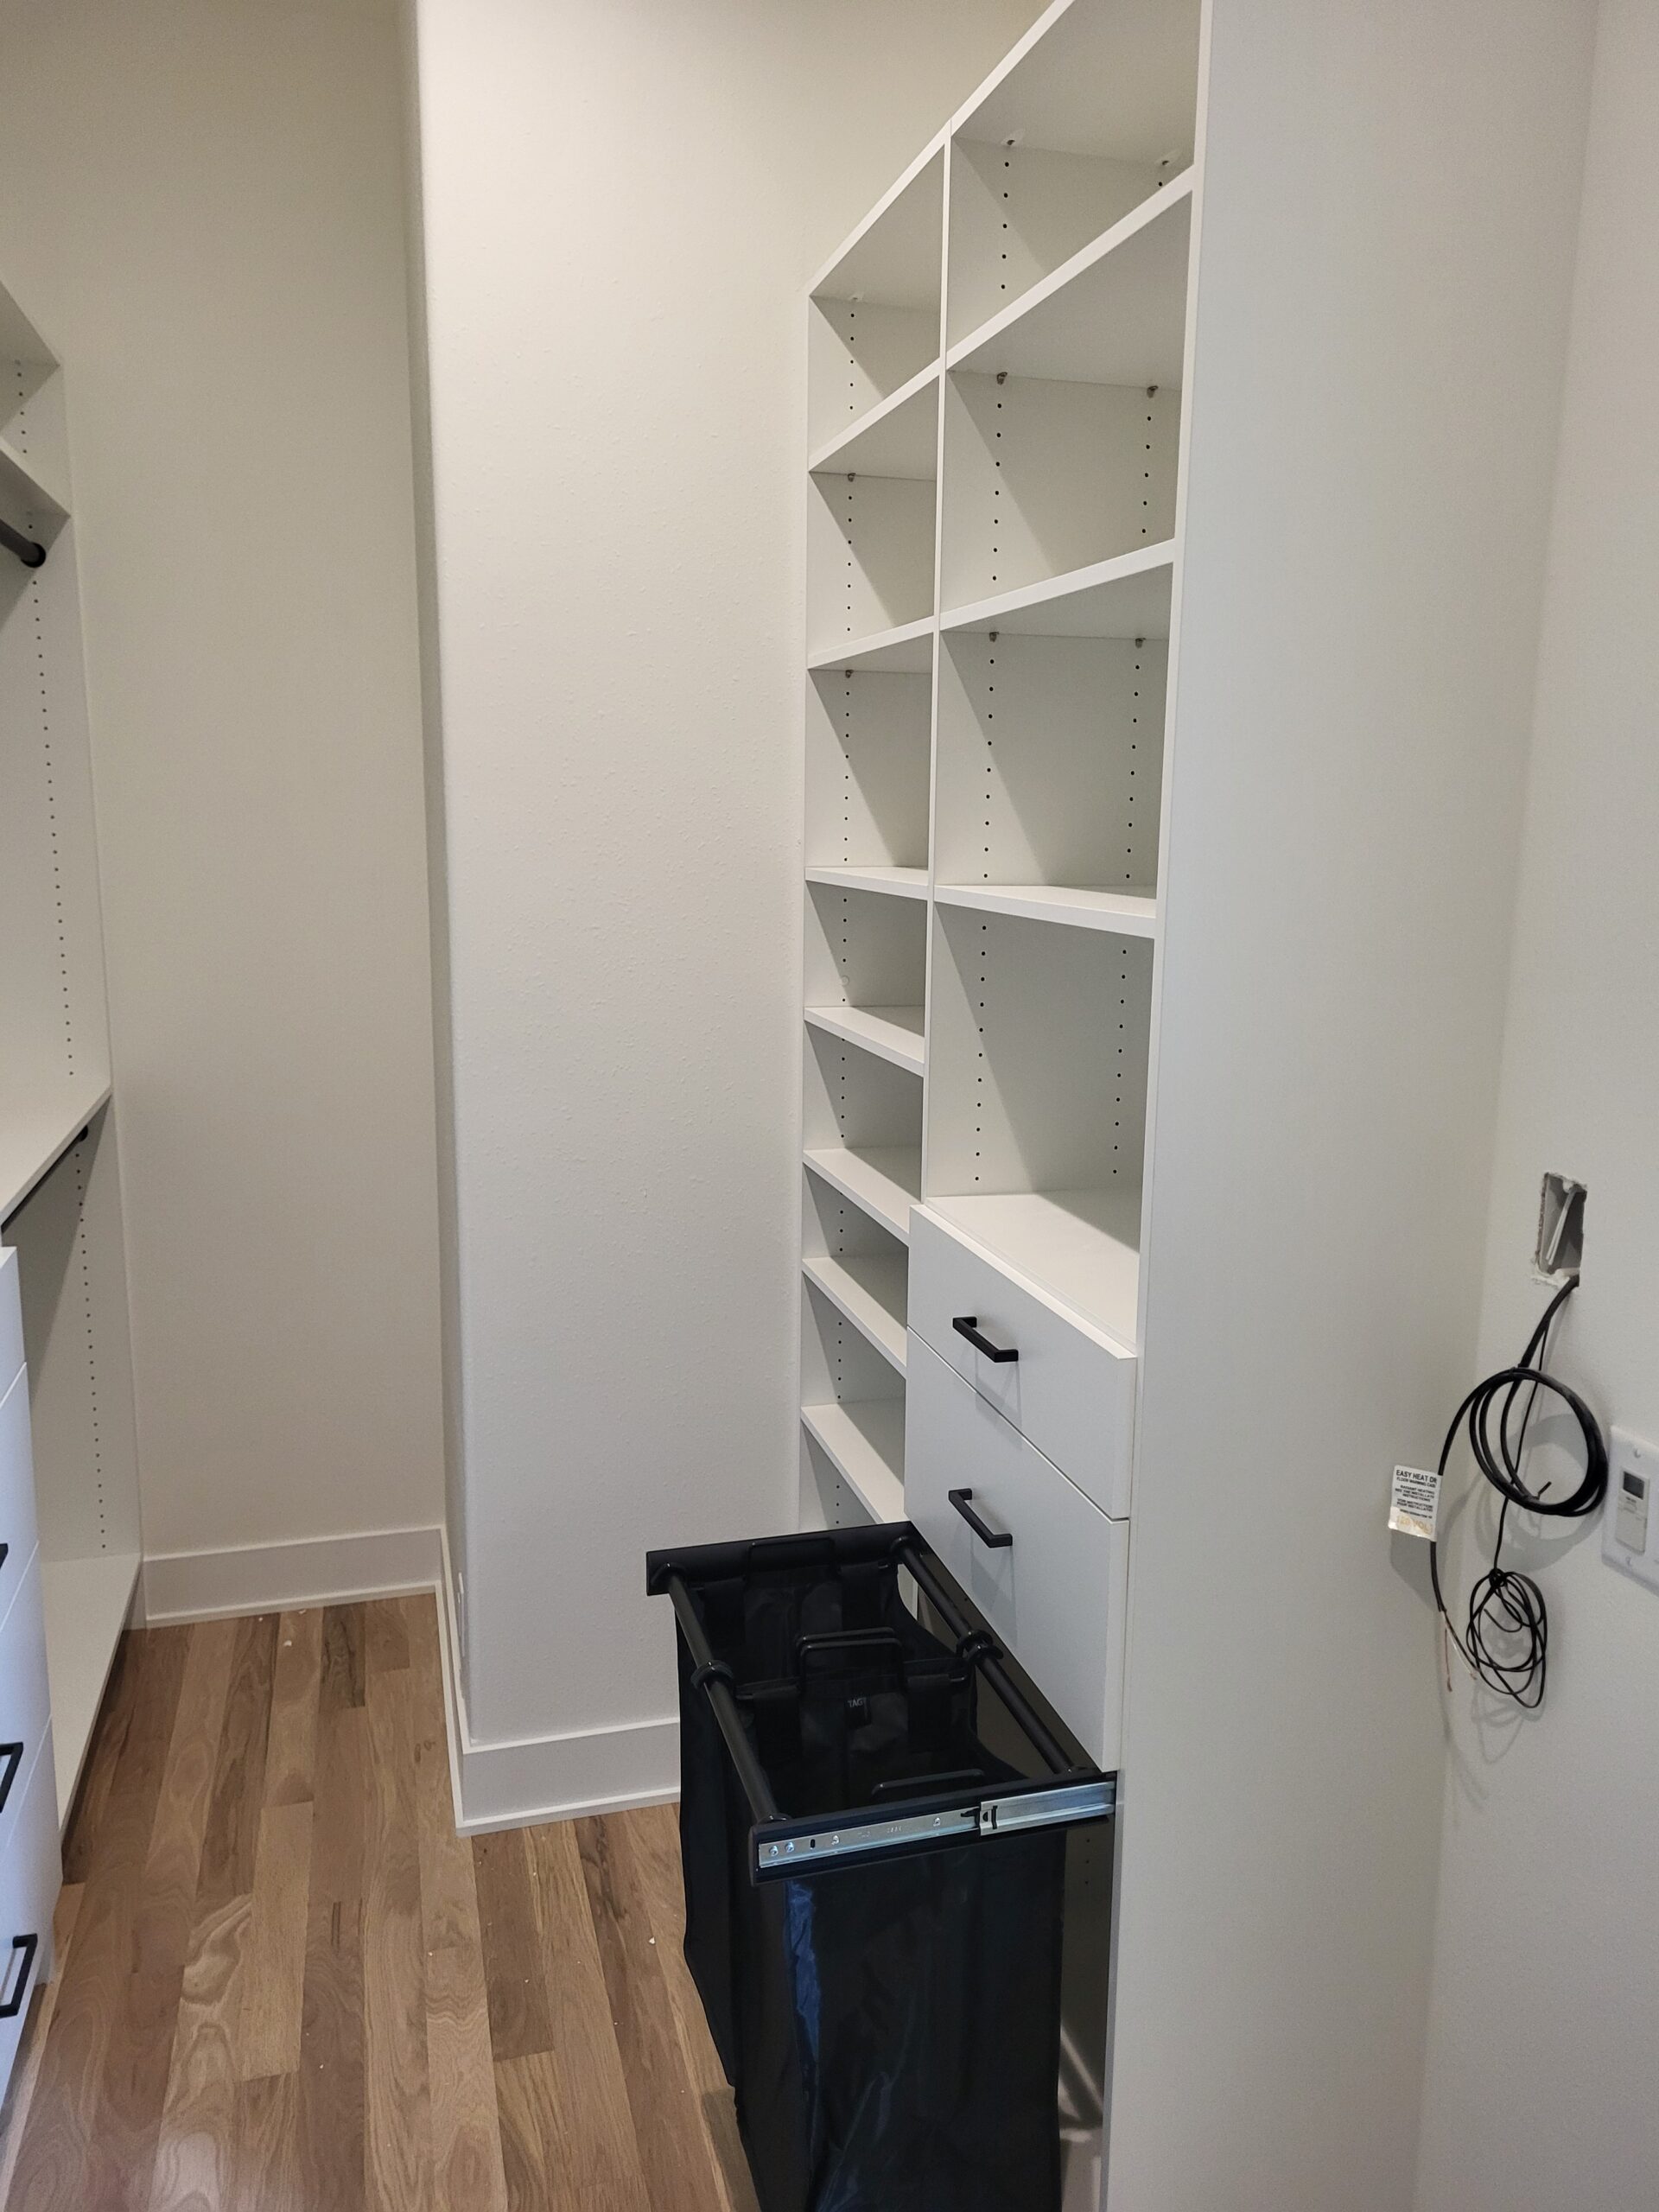
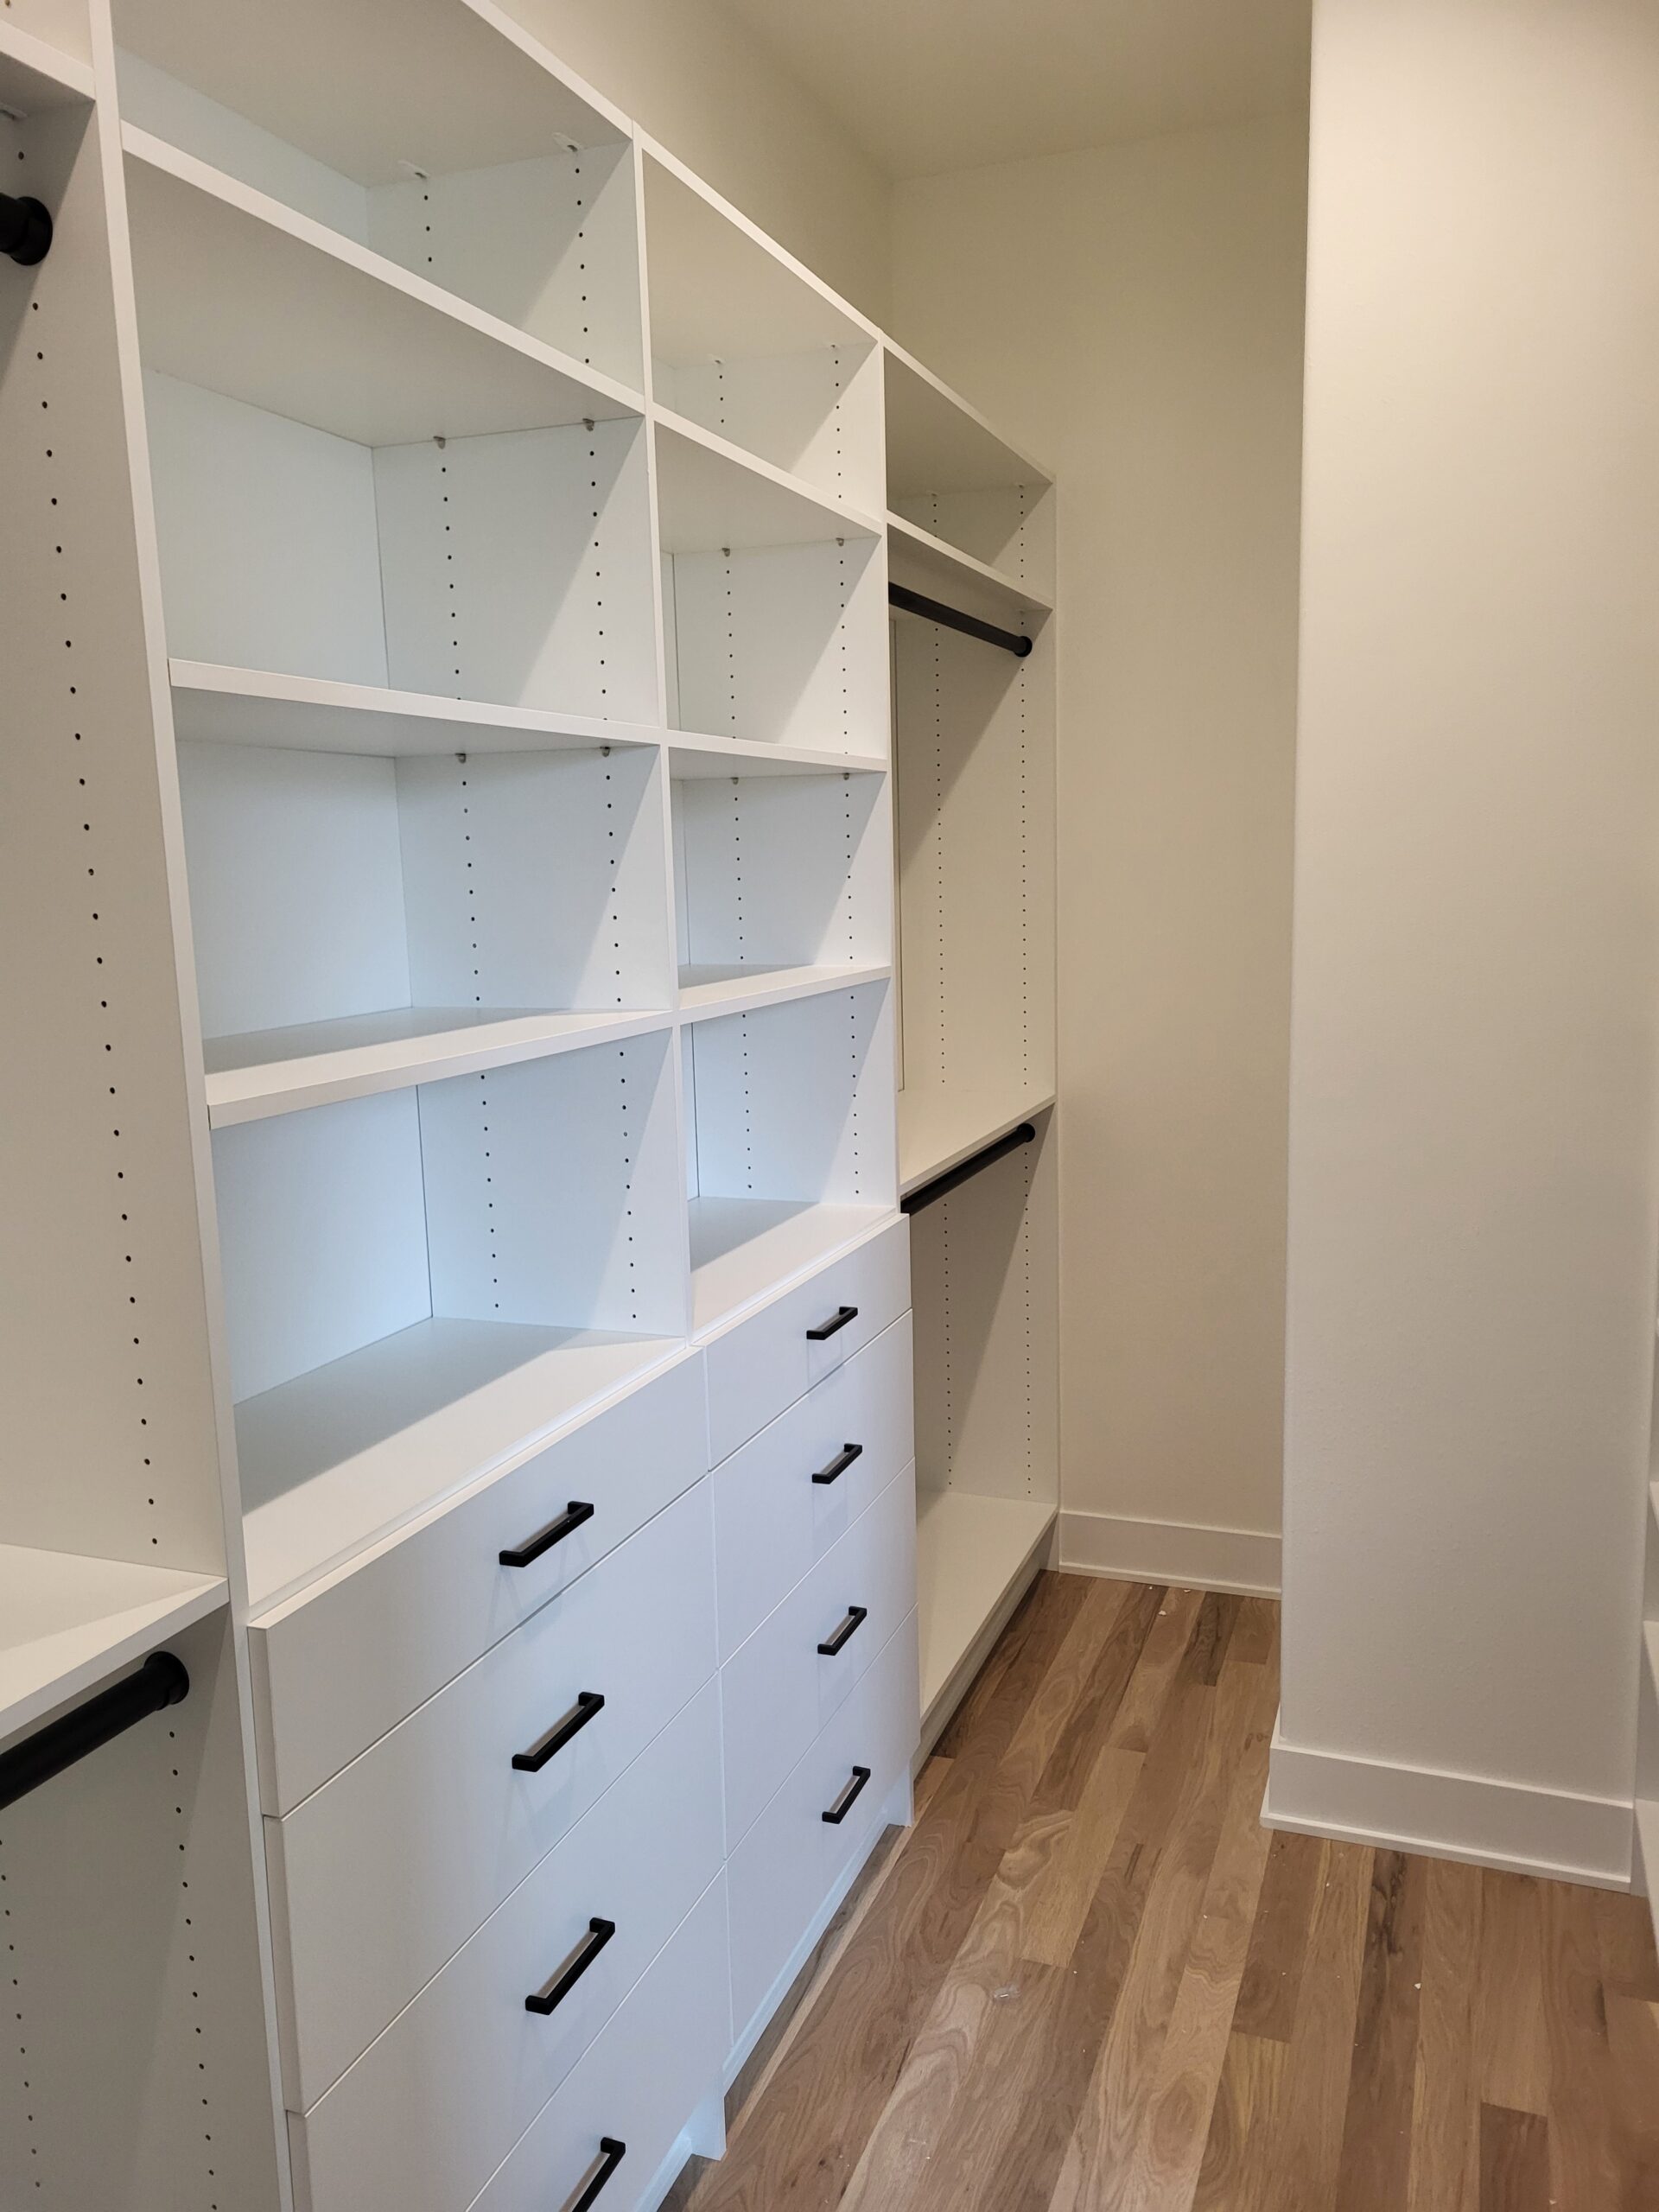
Painted face-frame closet shelving with hanging rods, open shelves, and drawer stack with black hardware.
Custom built-in closet shelving with painted white face-frame cabinetry, multiple cubbies, and lower bench storage with fabric bins.
Walk-in closet with two-tier shelving and hanging rods installed, primed/painted walls ready for finish.
Custom built-in bookcase with white face-frame shelving and open compartments under construction.
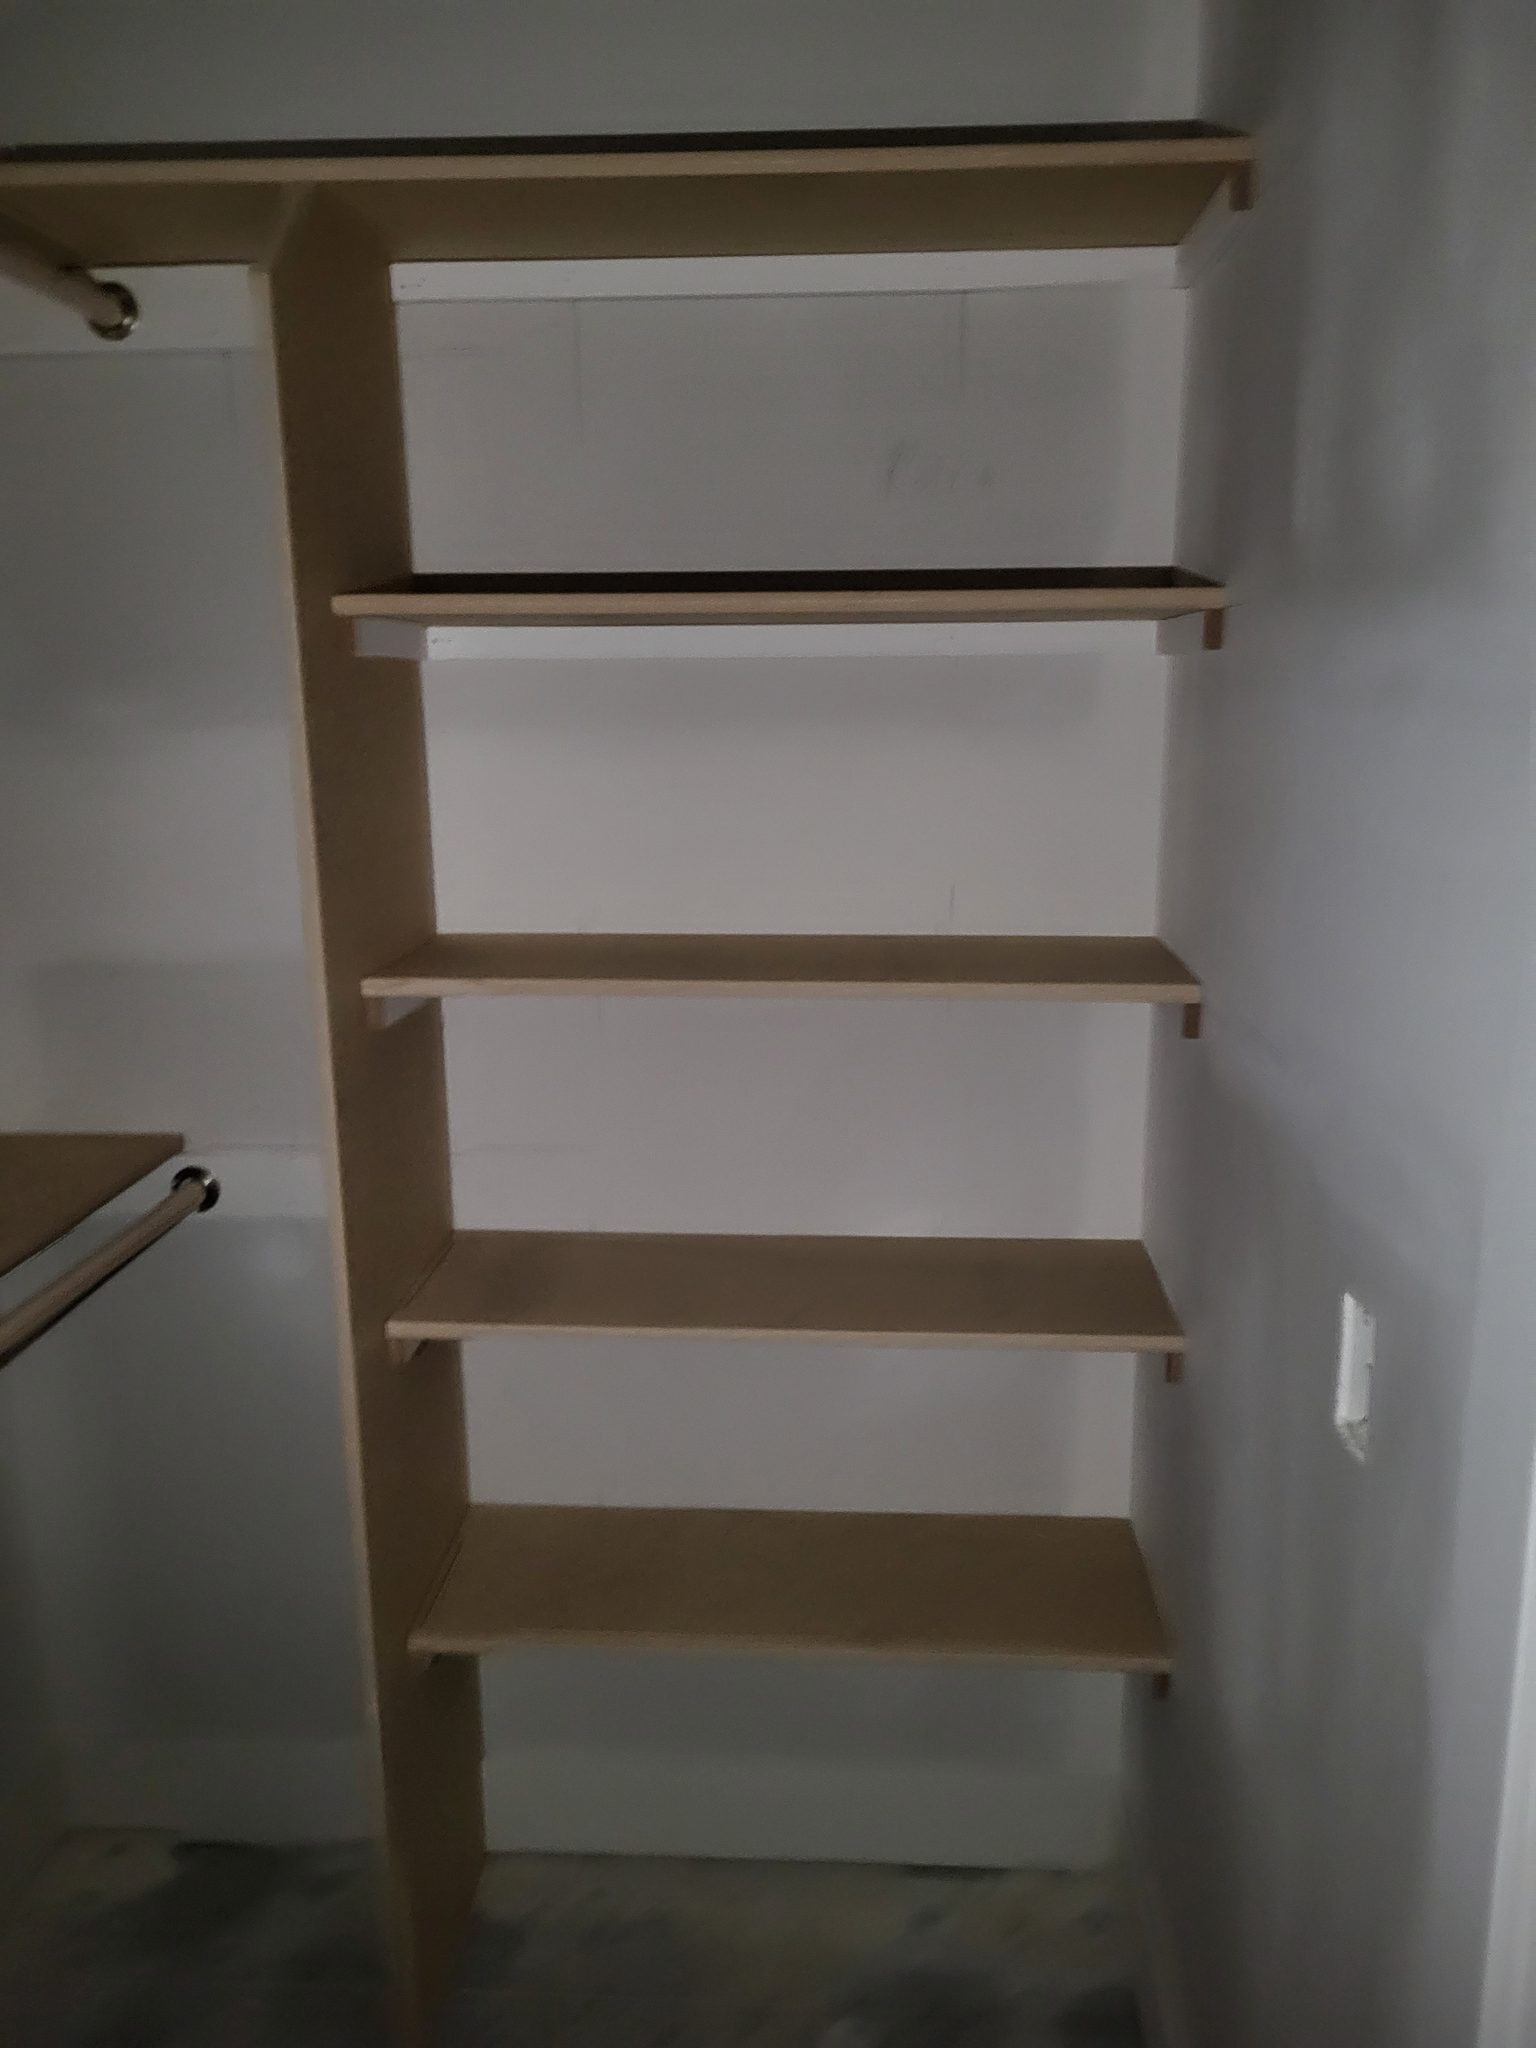
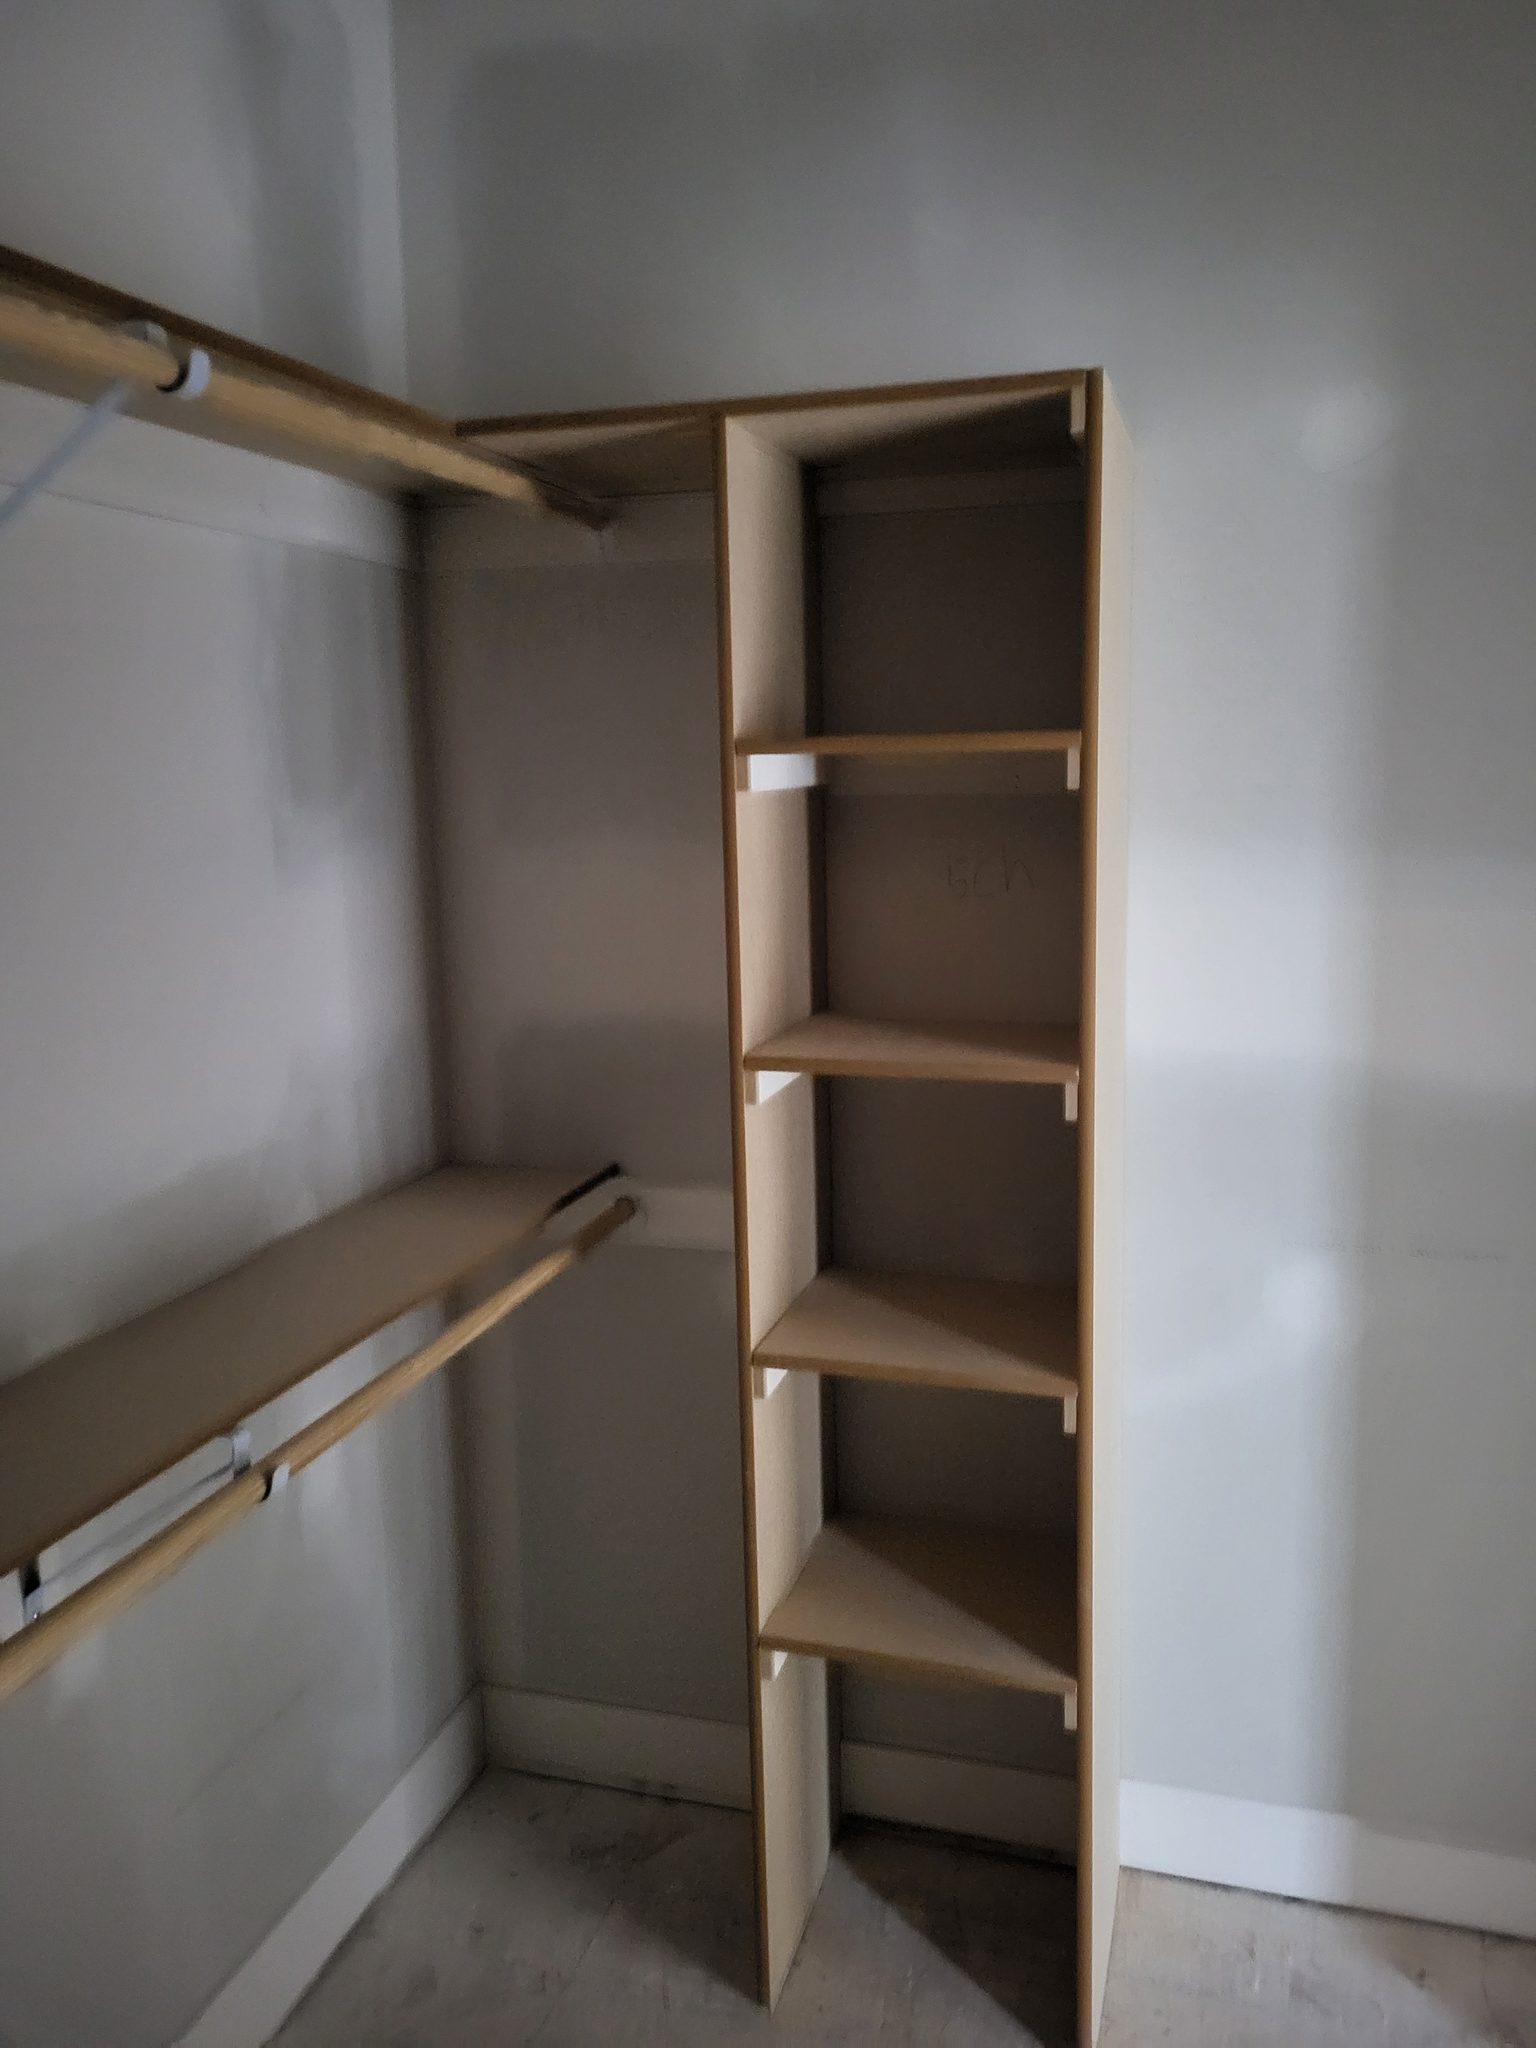
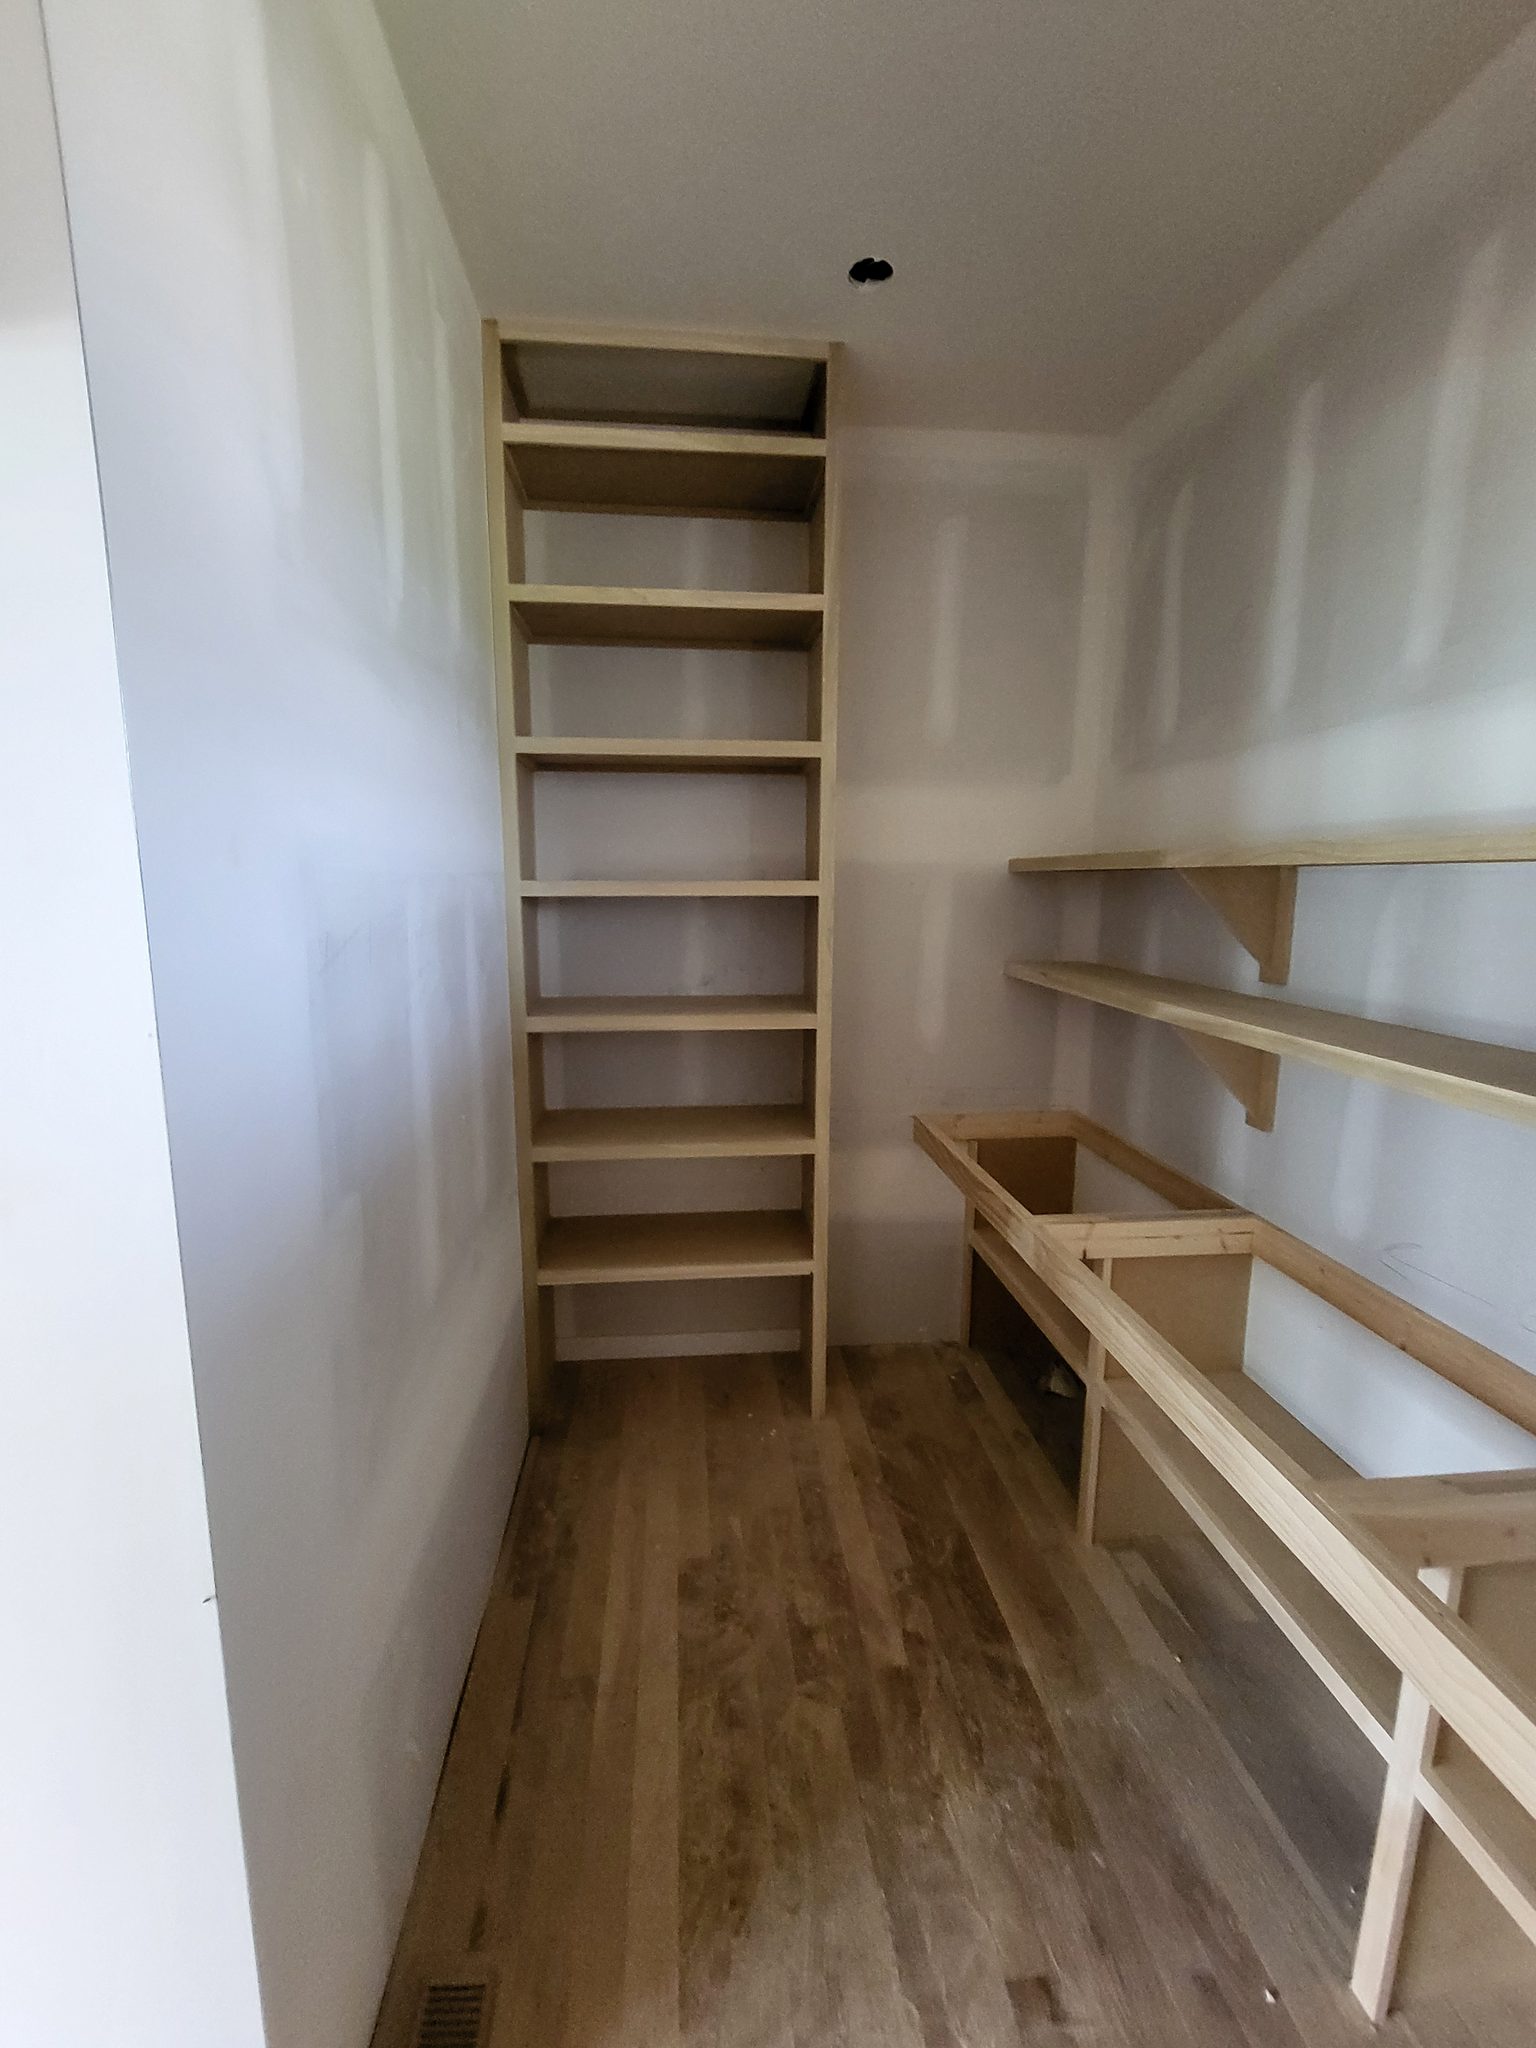
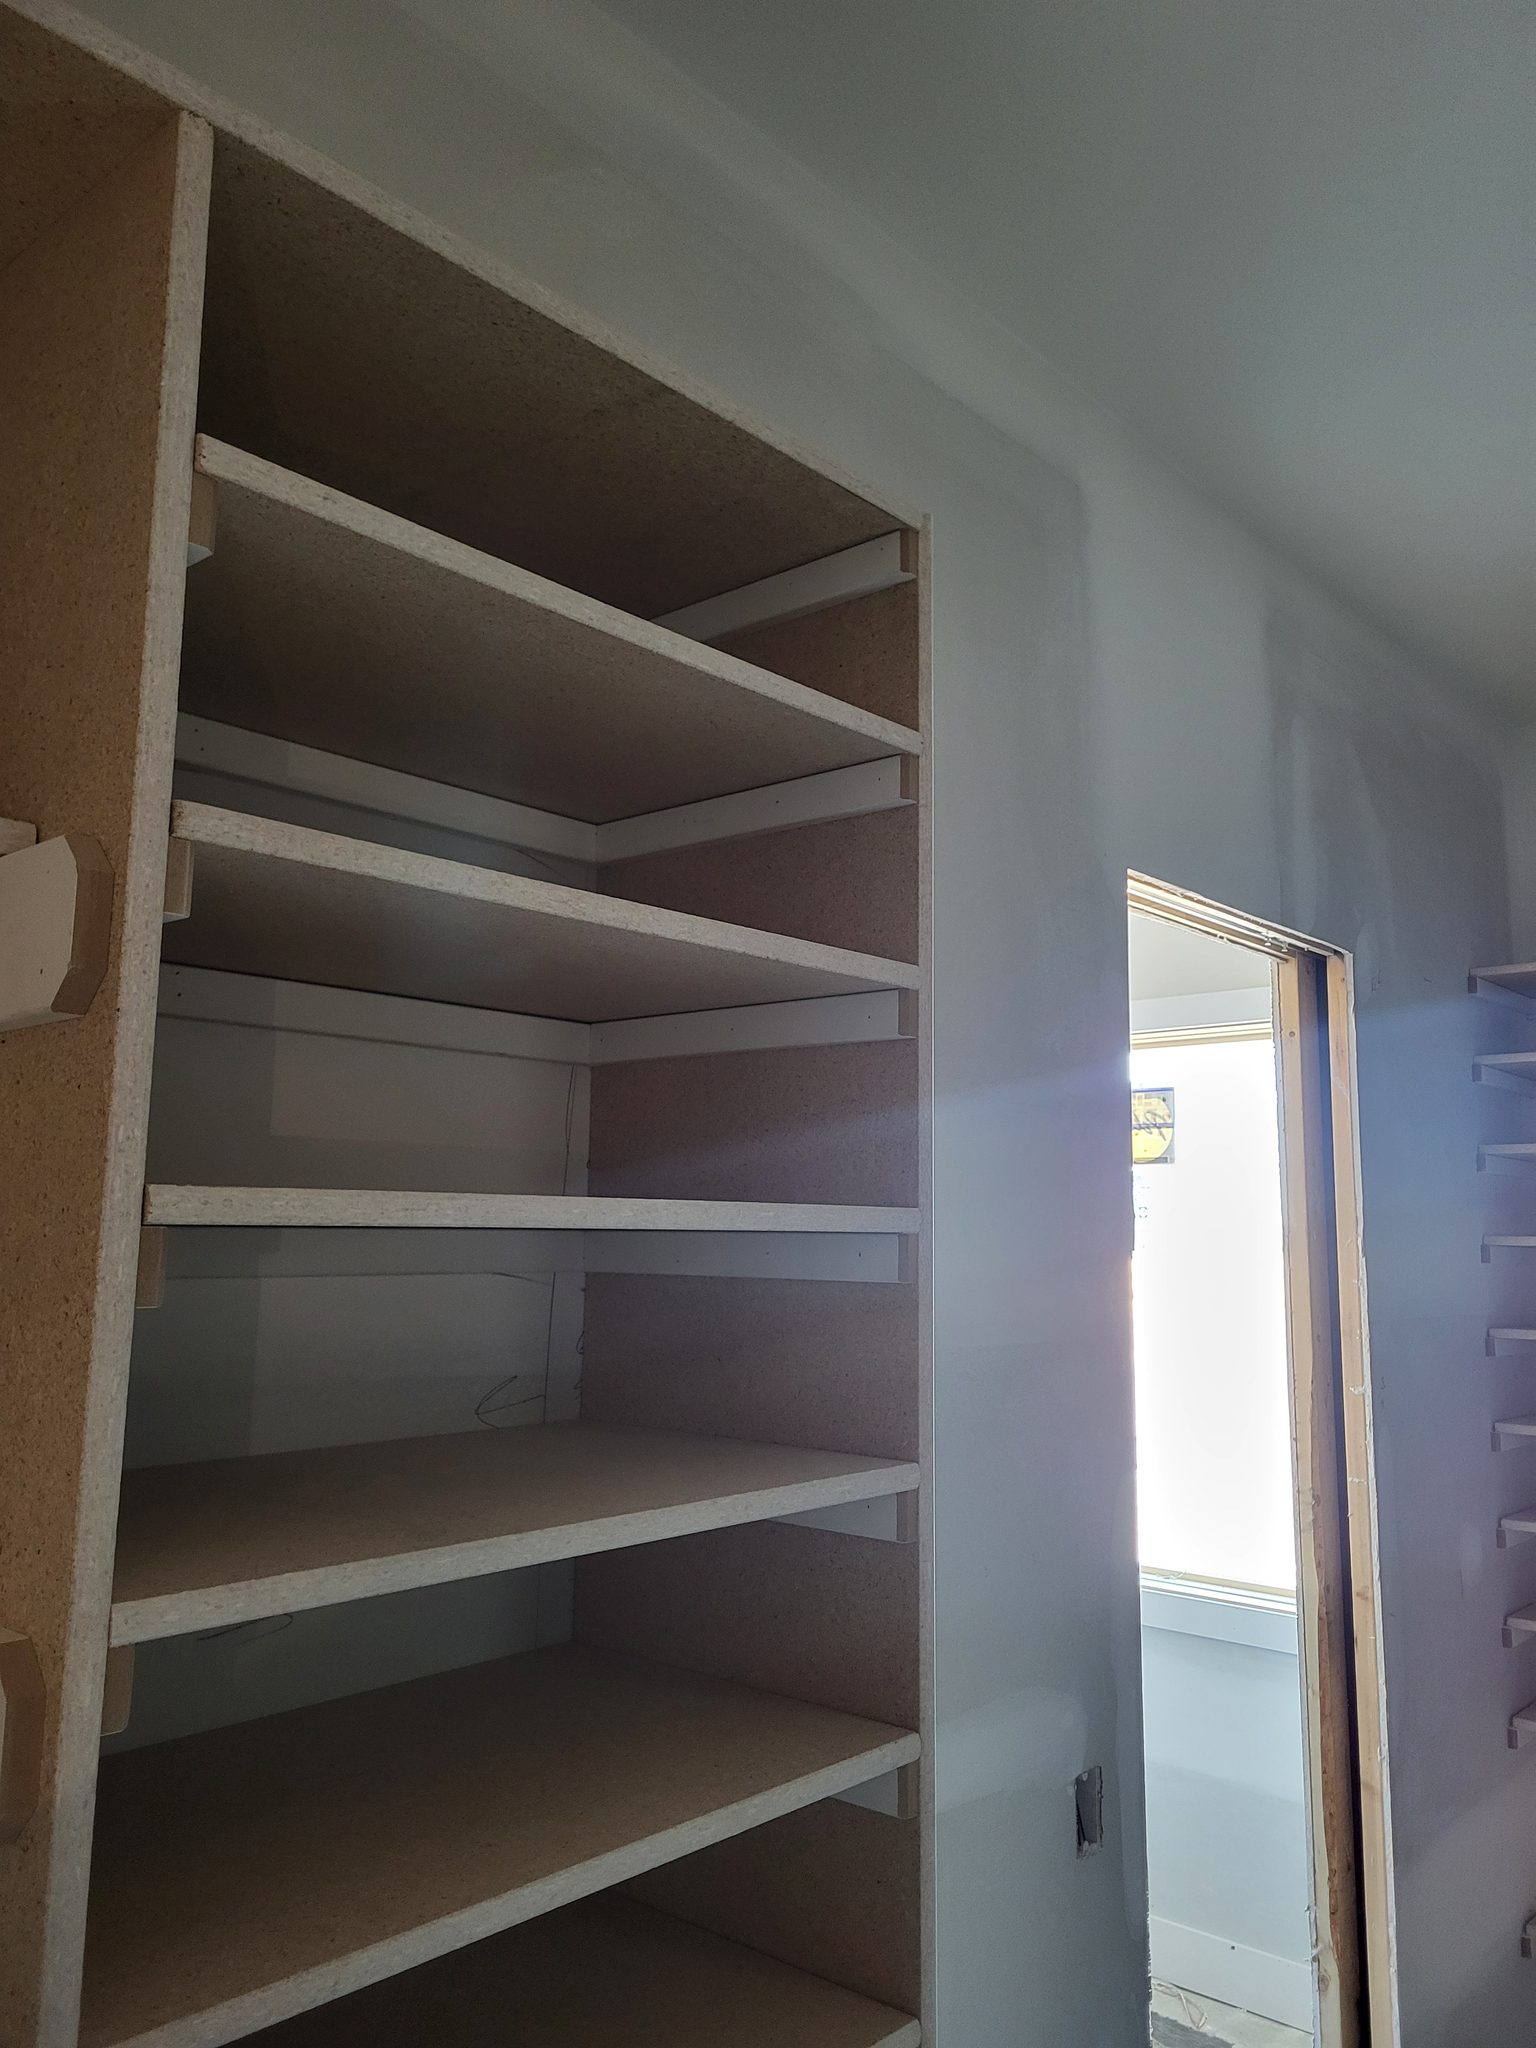
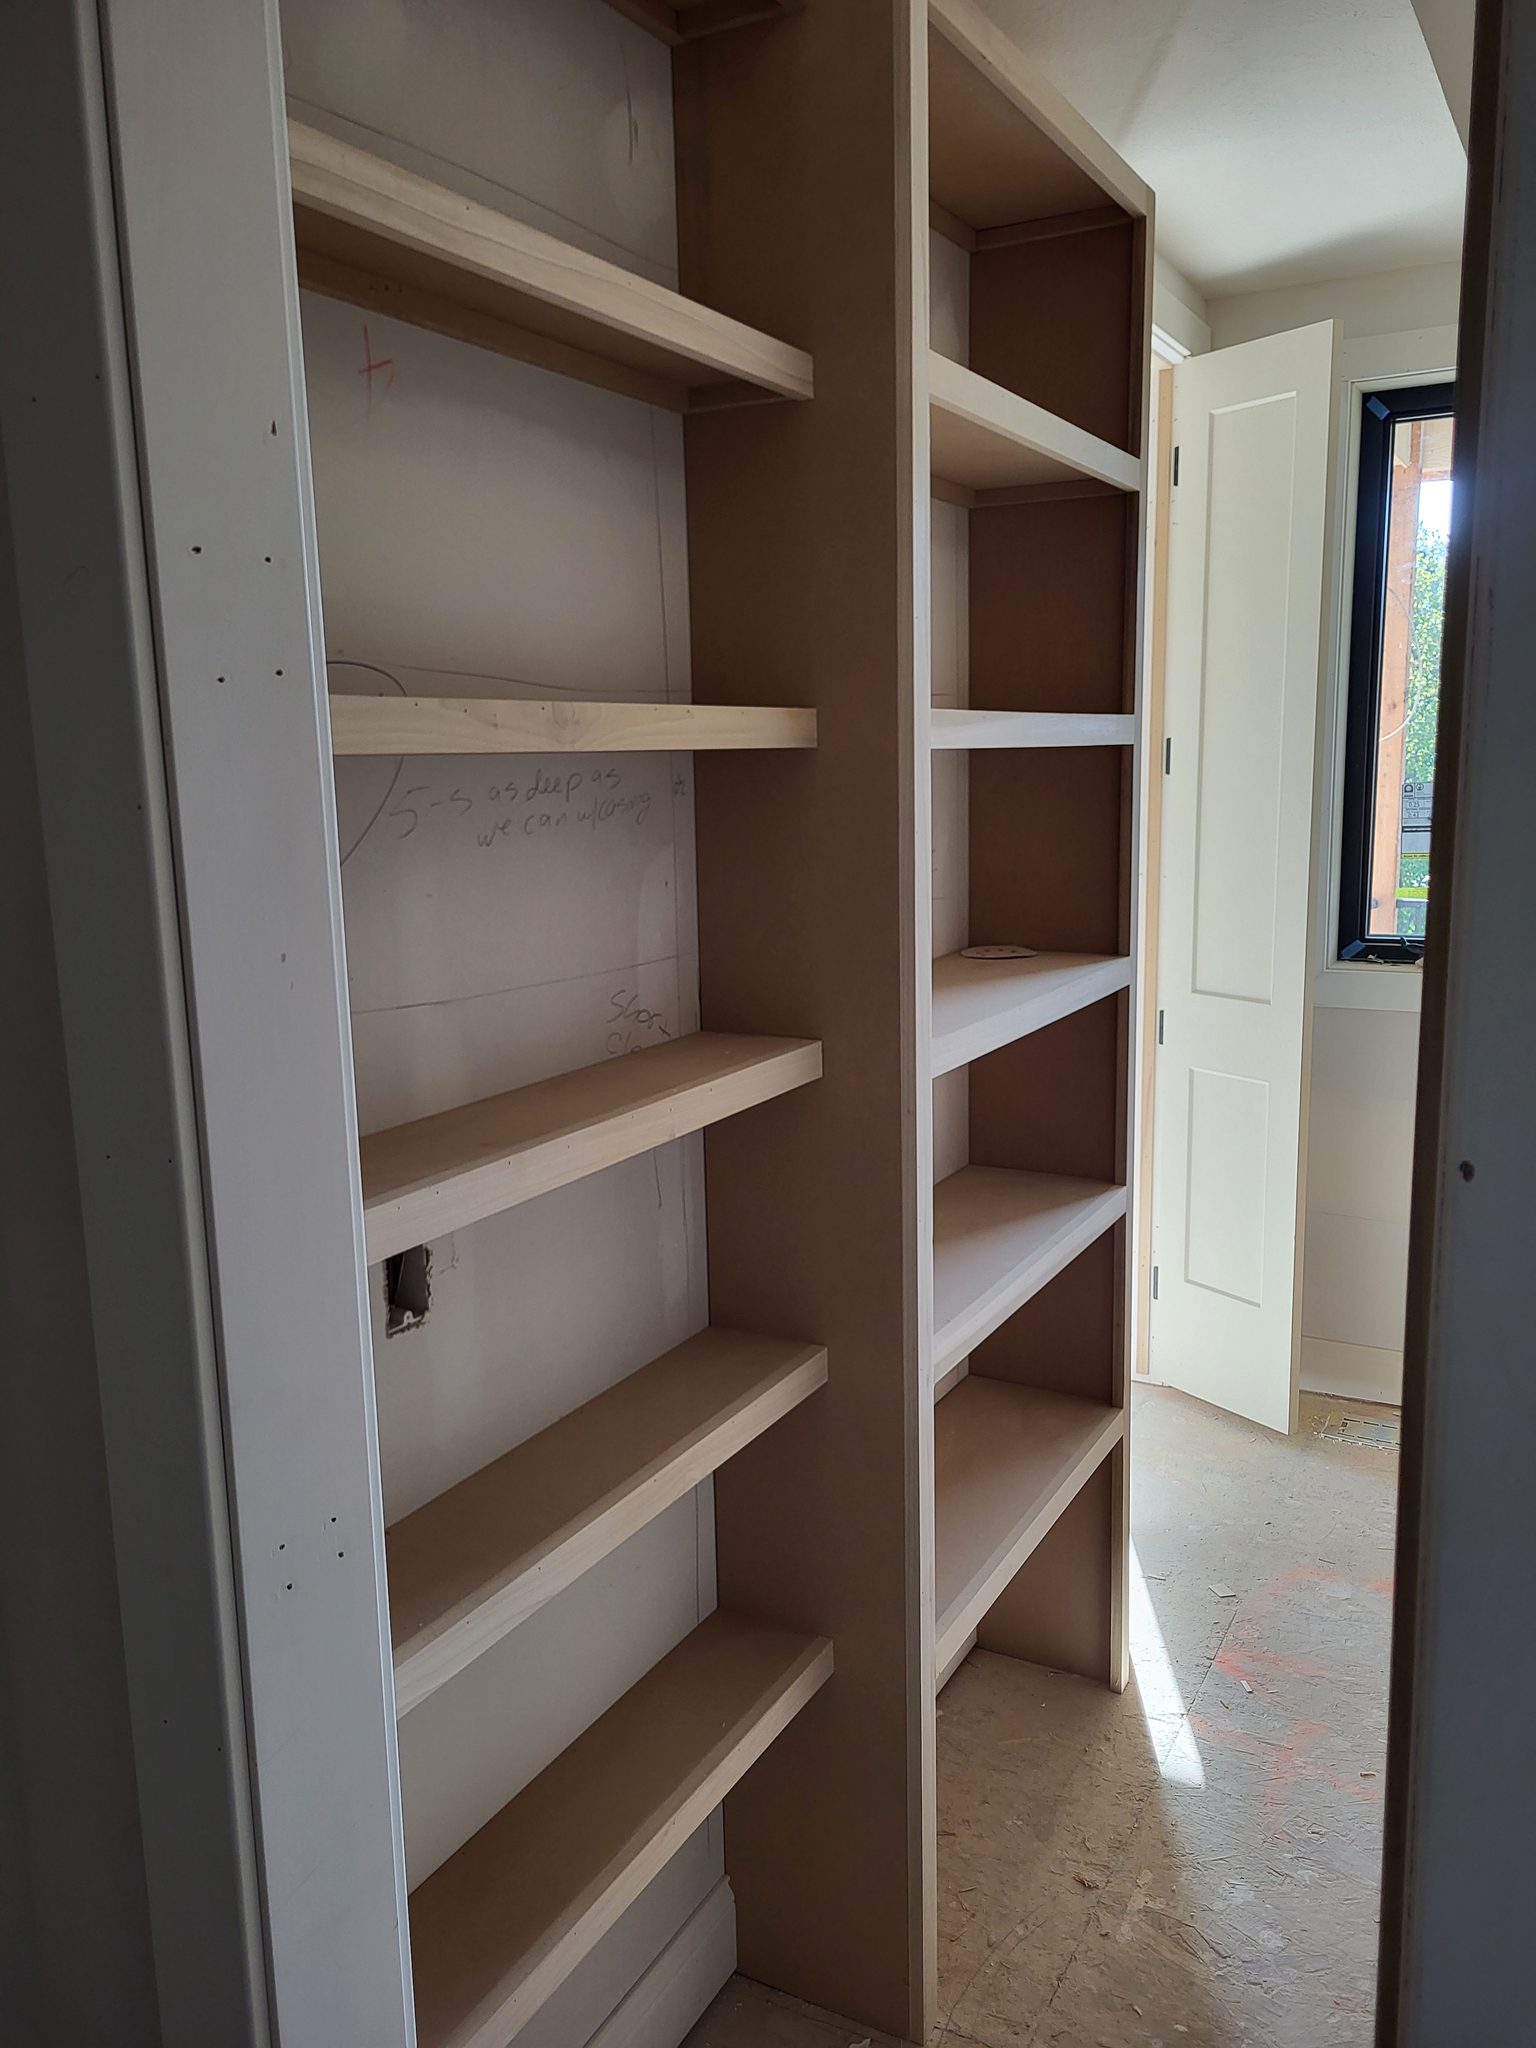
Five-shelf closet unit with particle board shelving and support post, raw wood ready for paint.
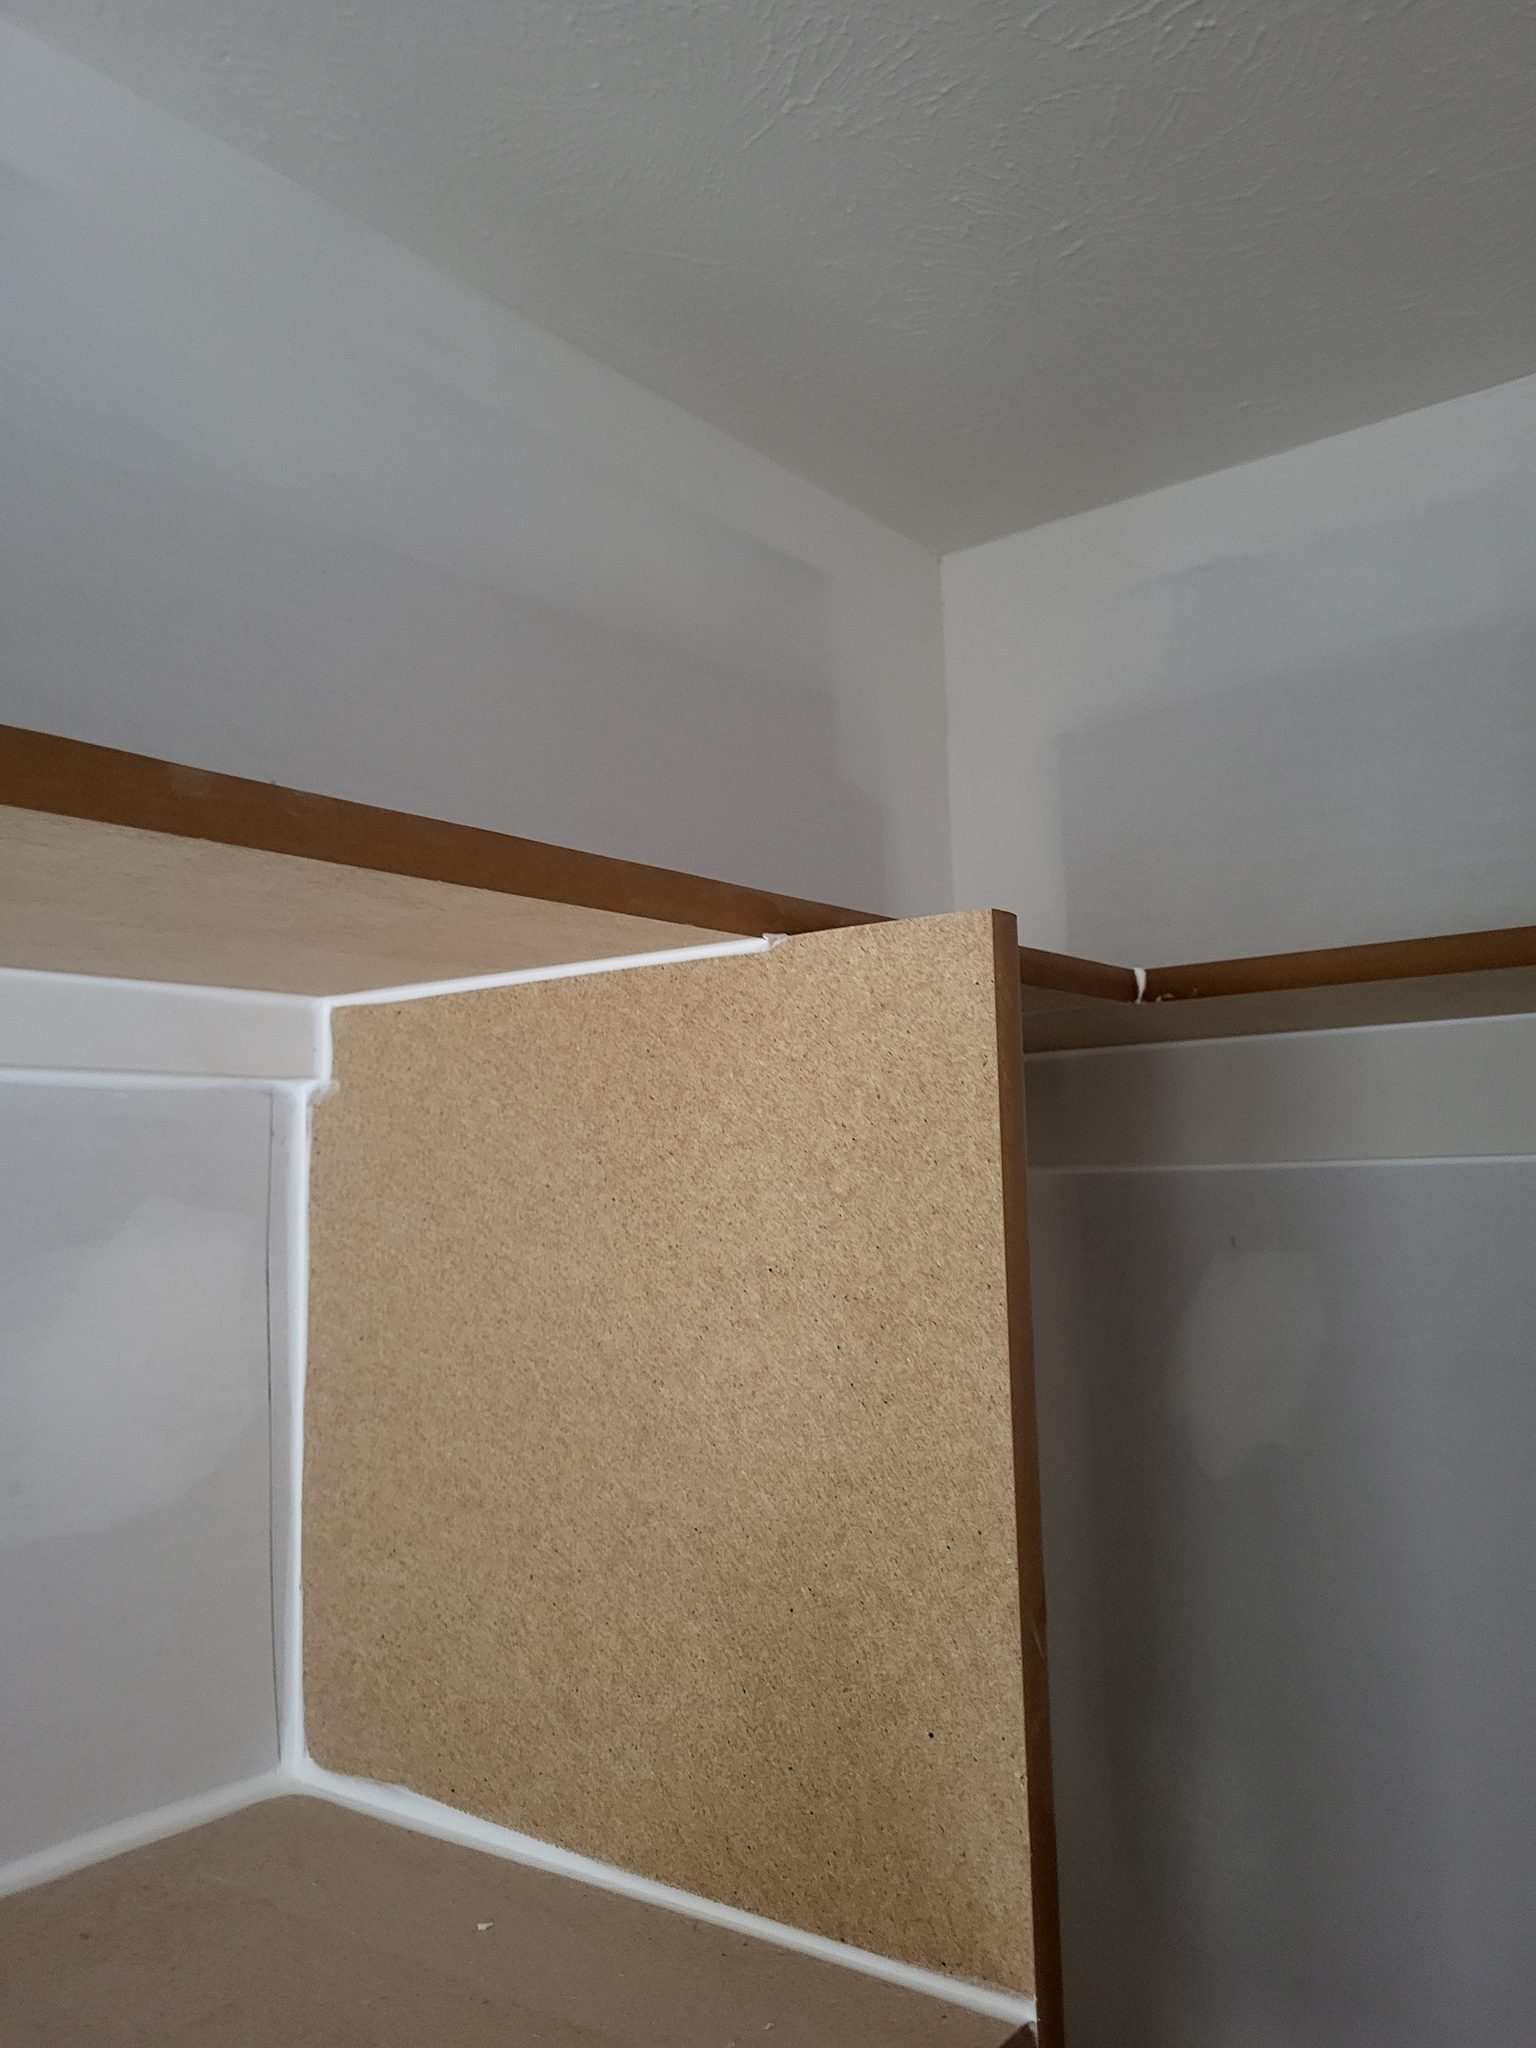
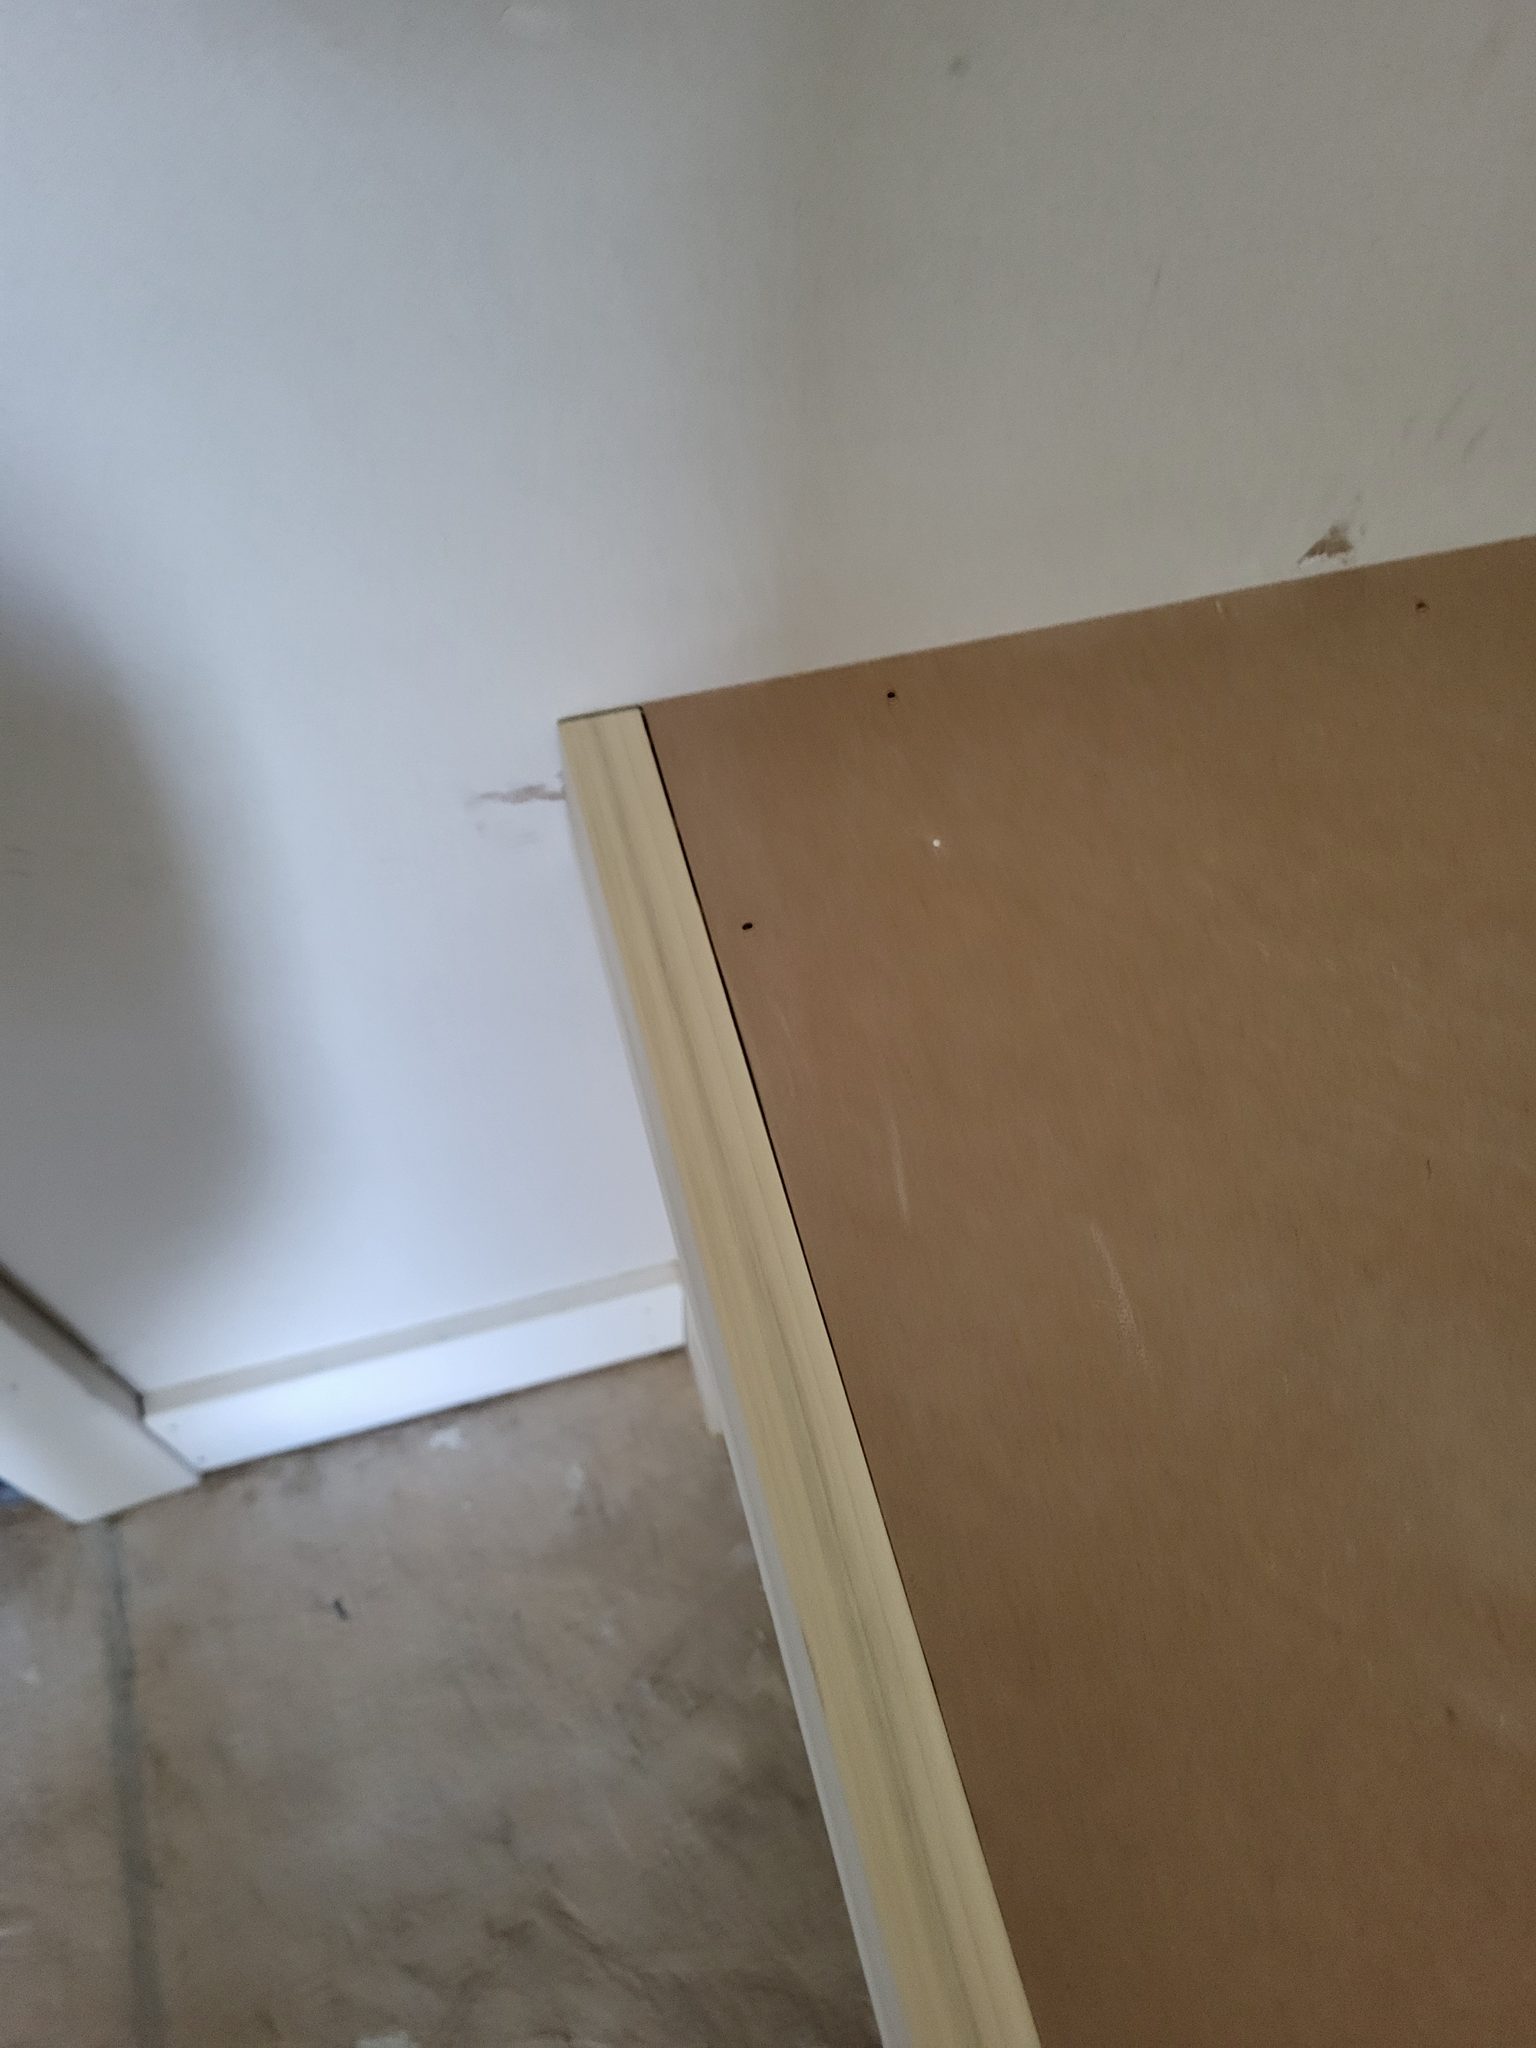
Closet shelf with bullnose edge and particle board backing, raw wood trim not yet painted.
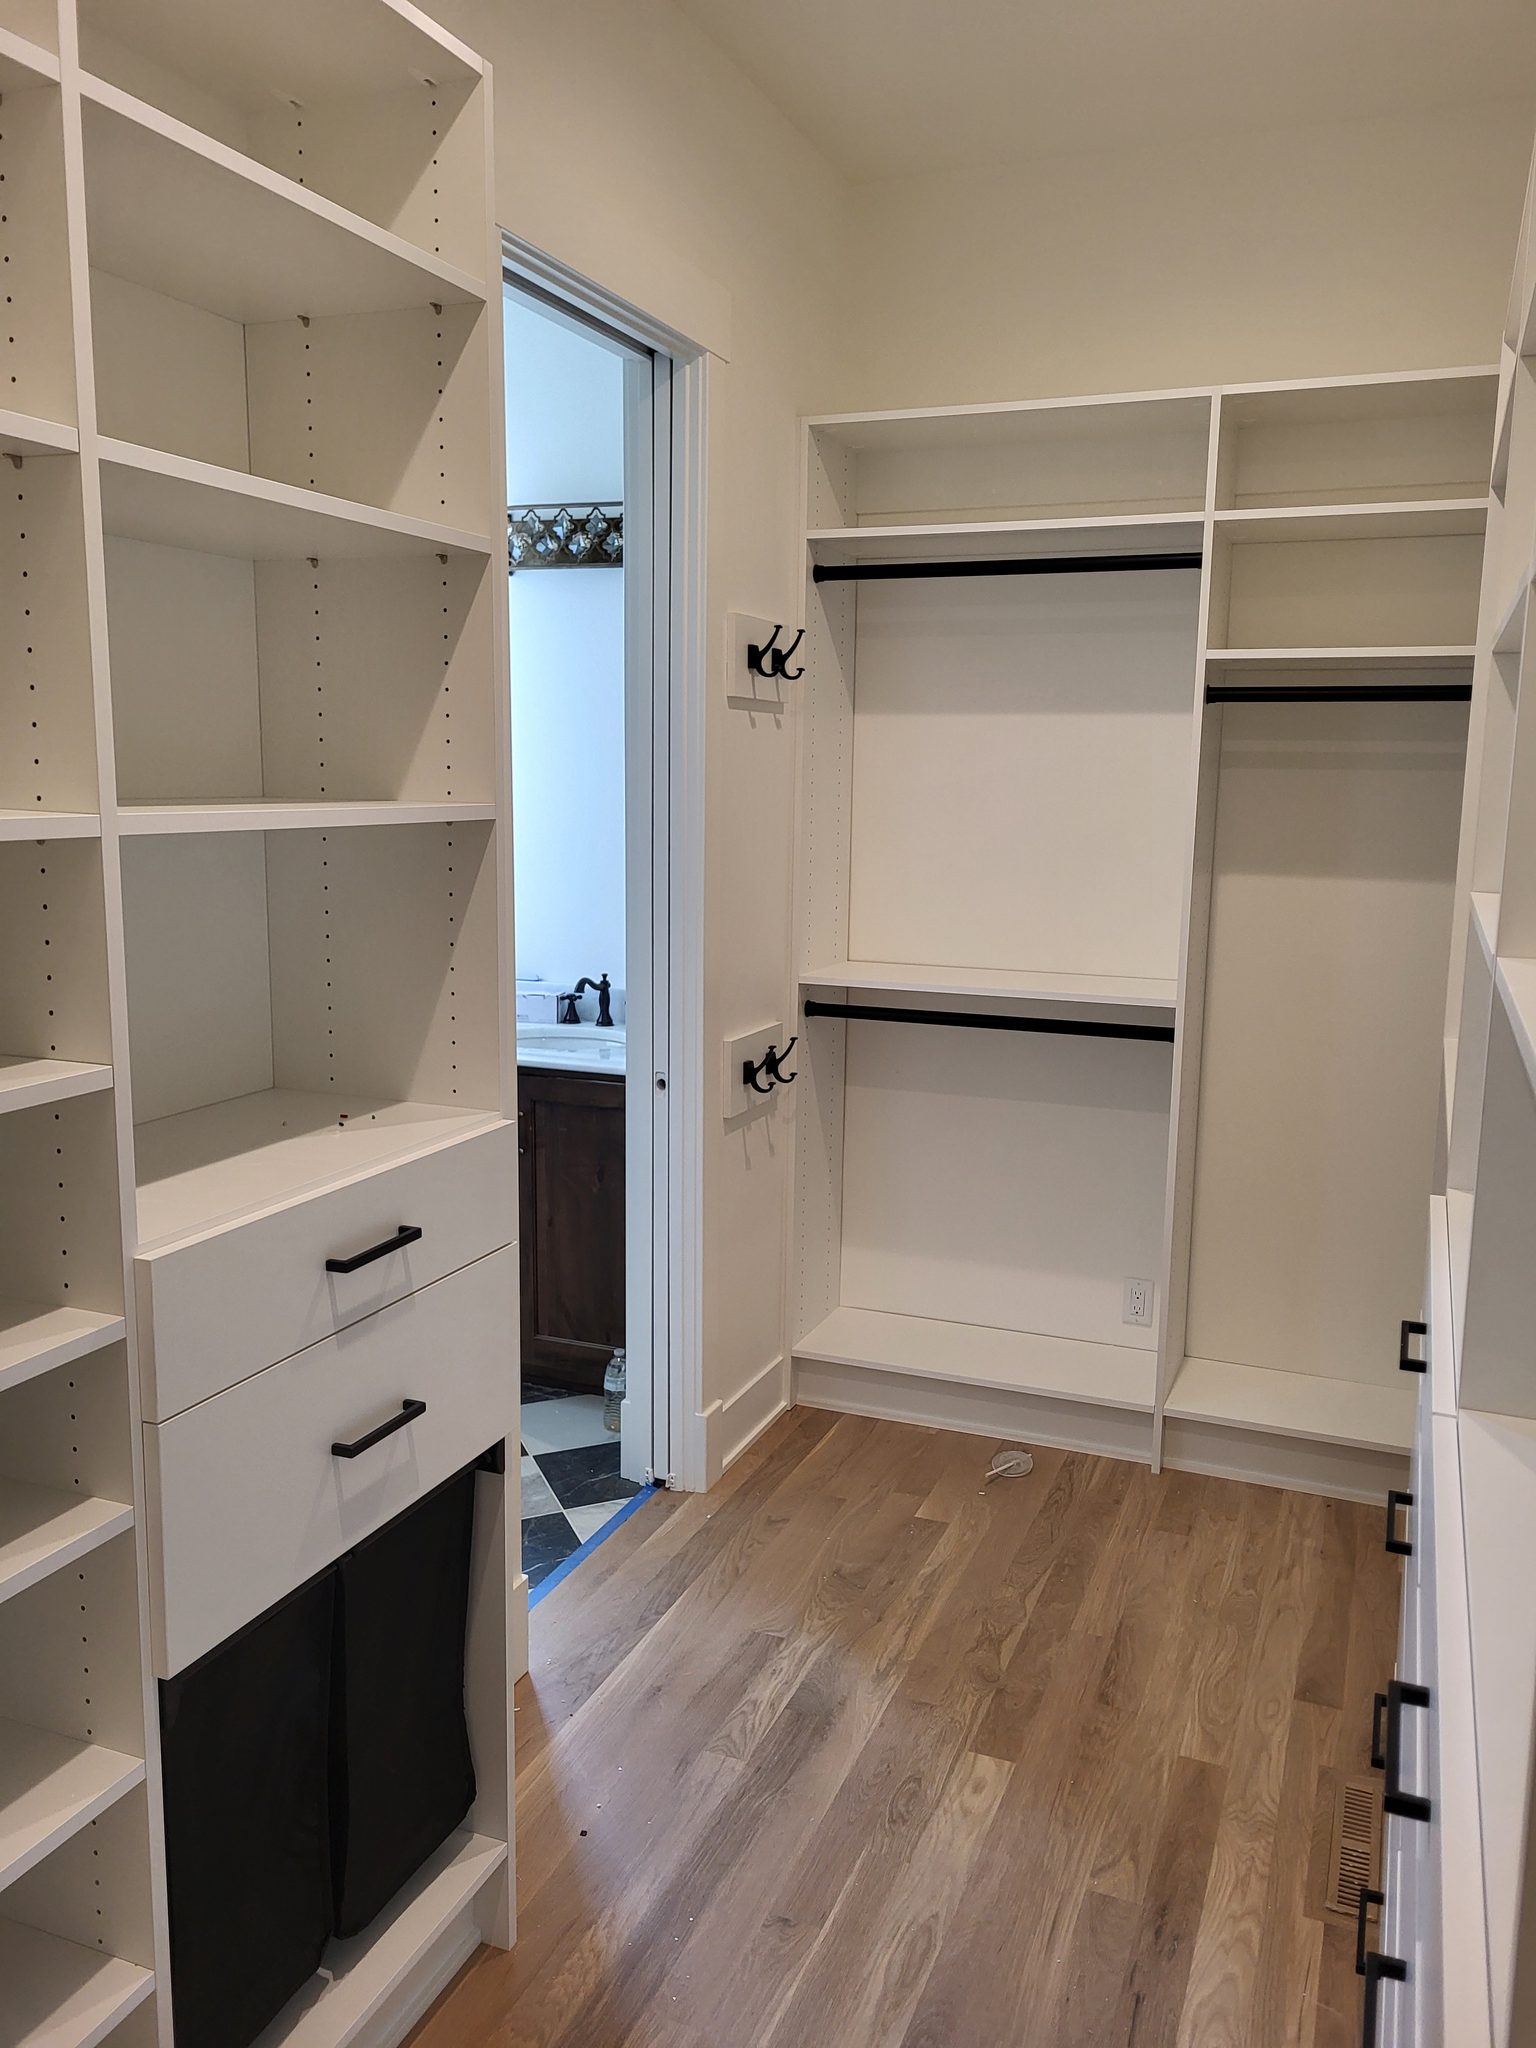
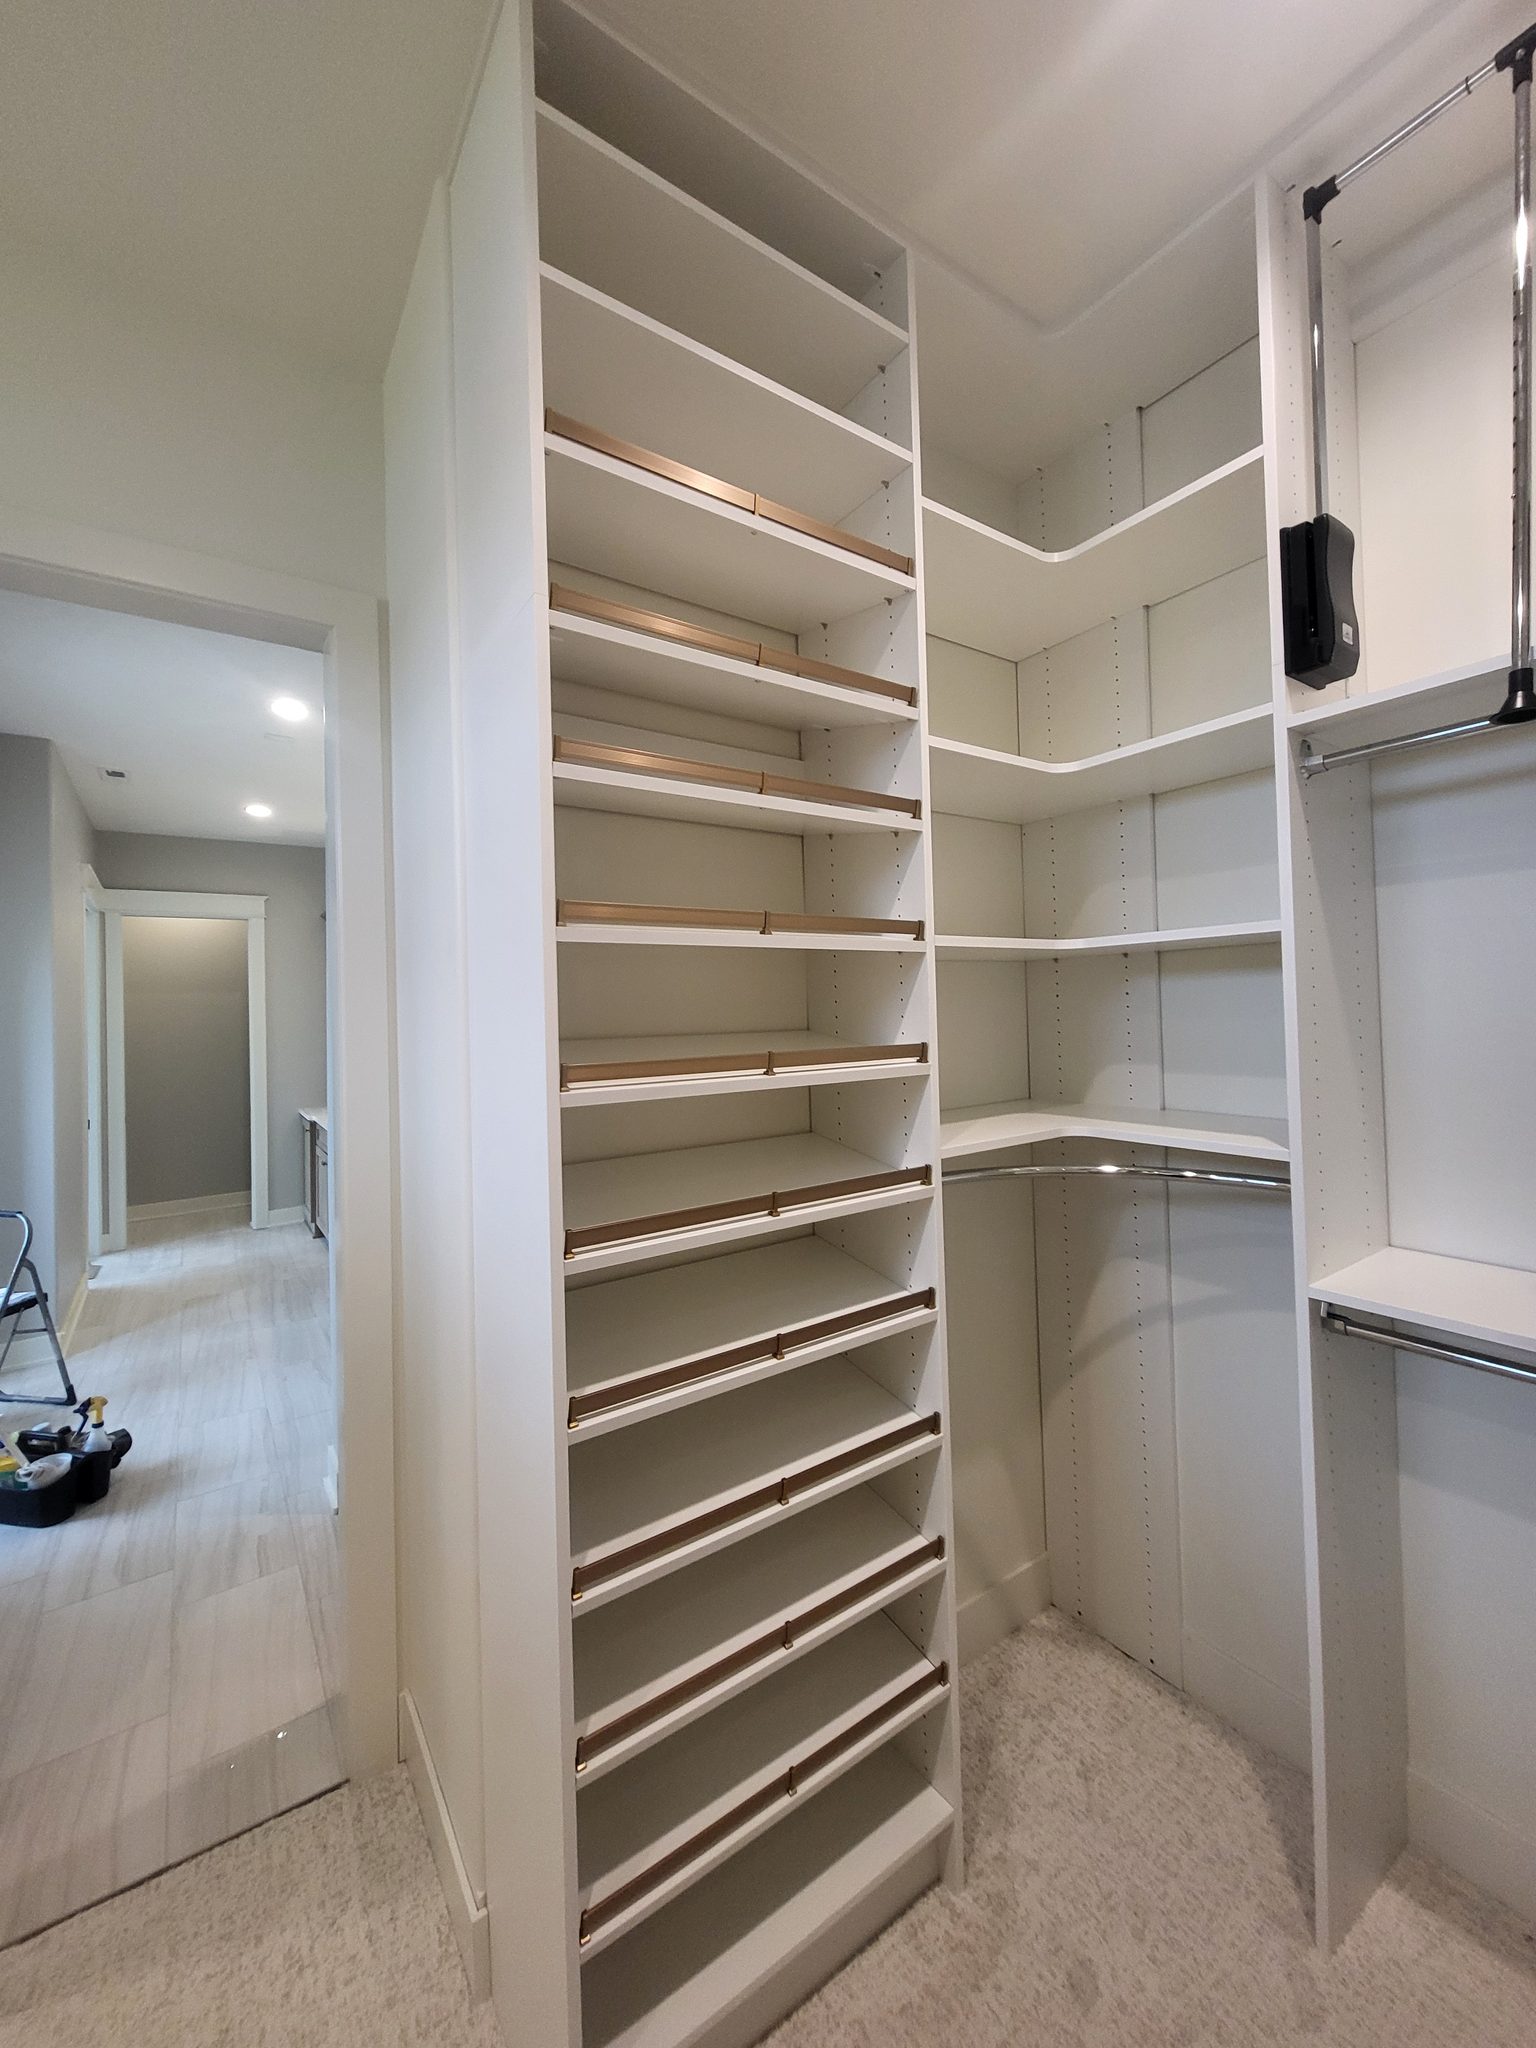
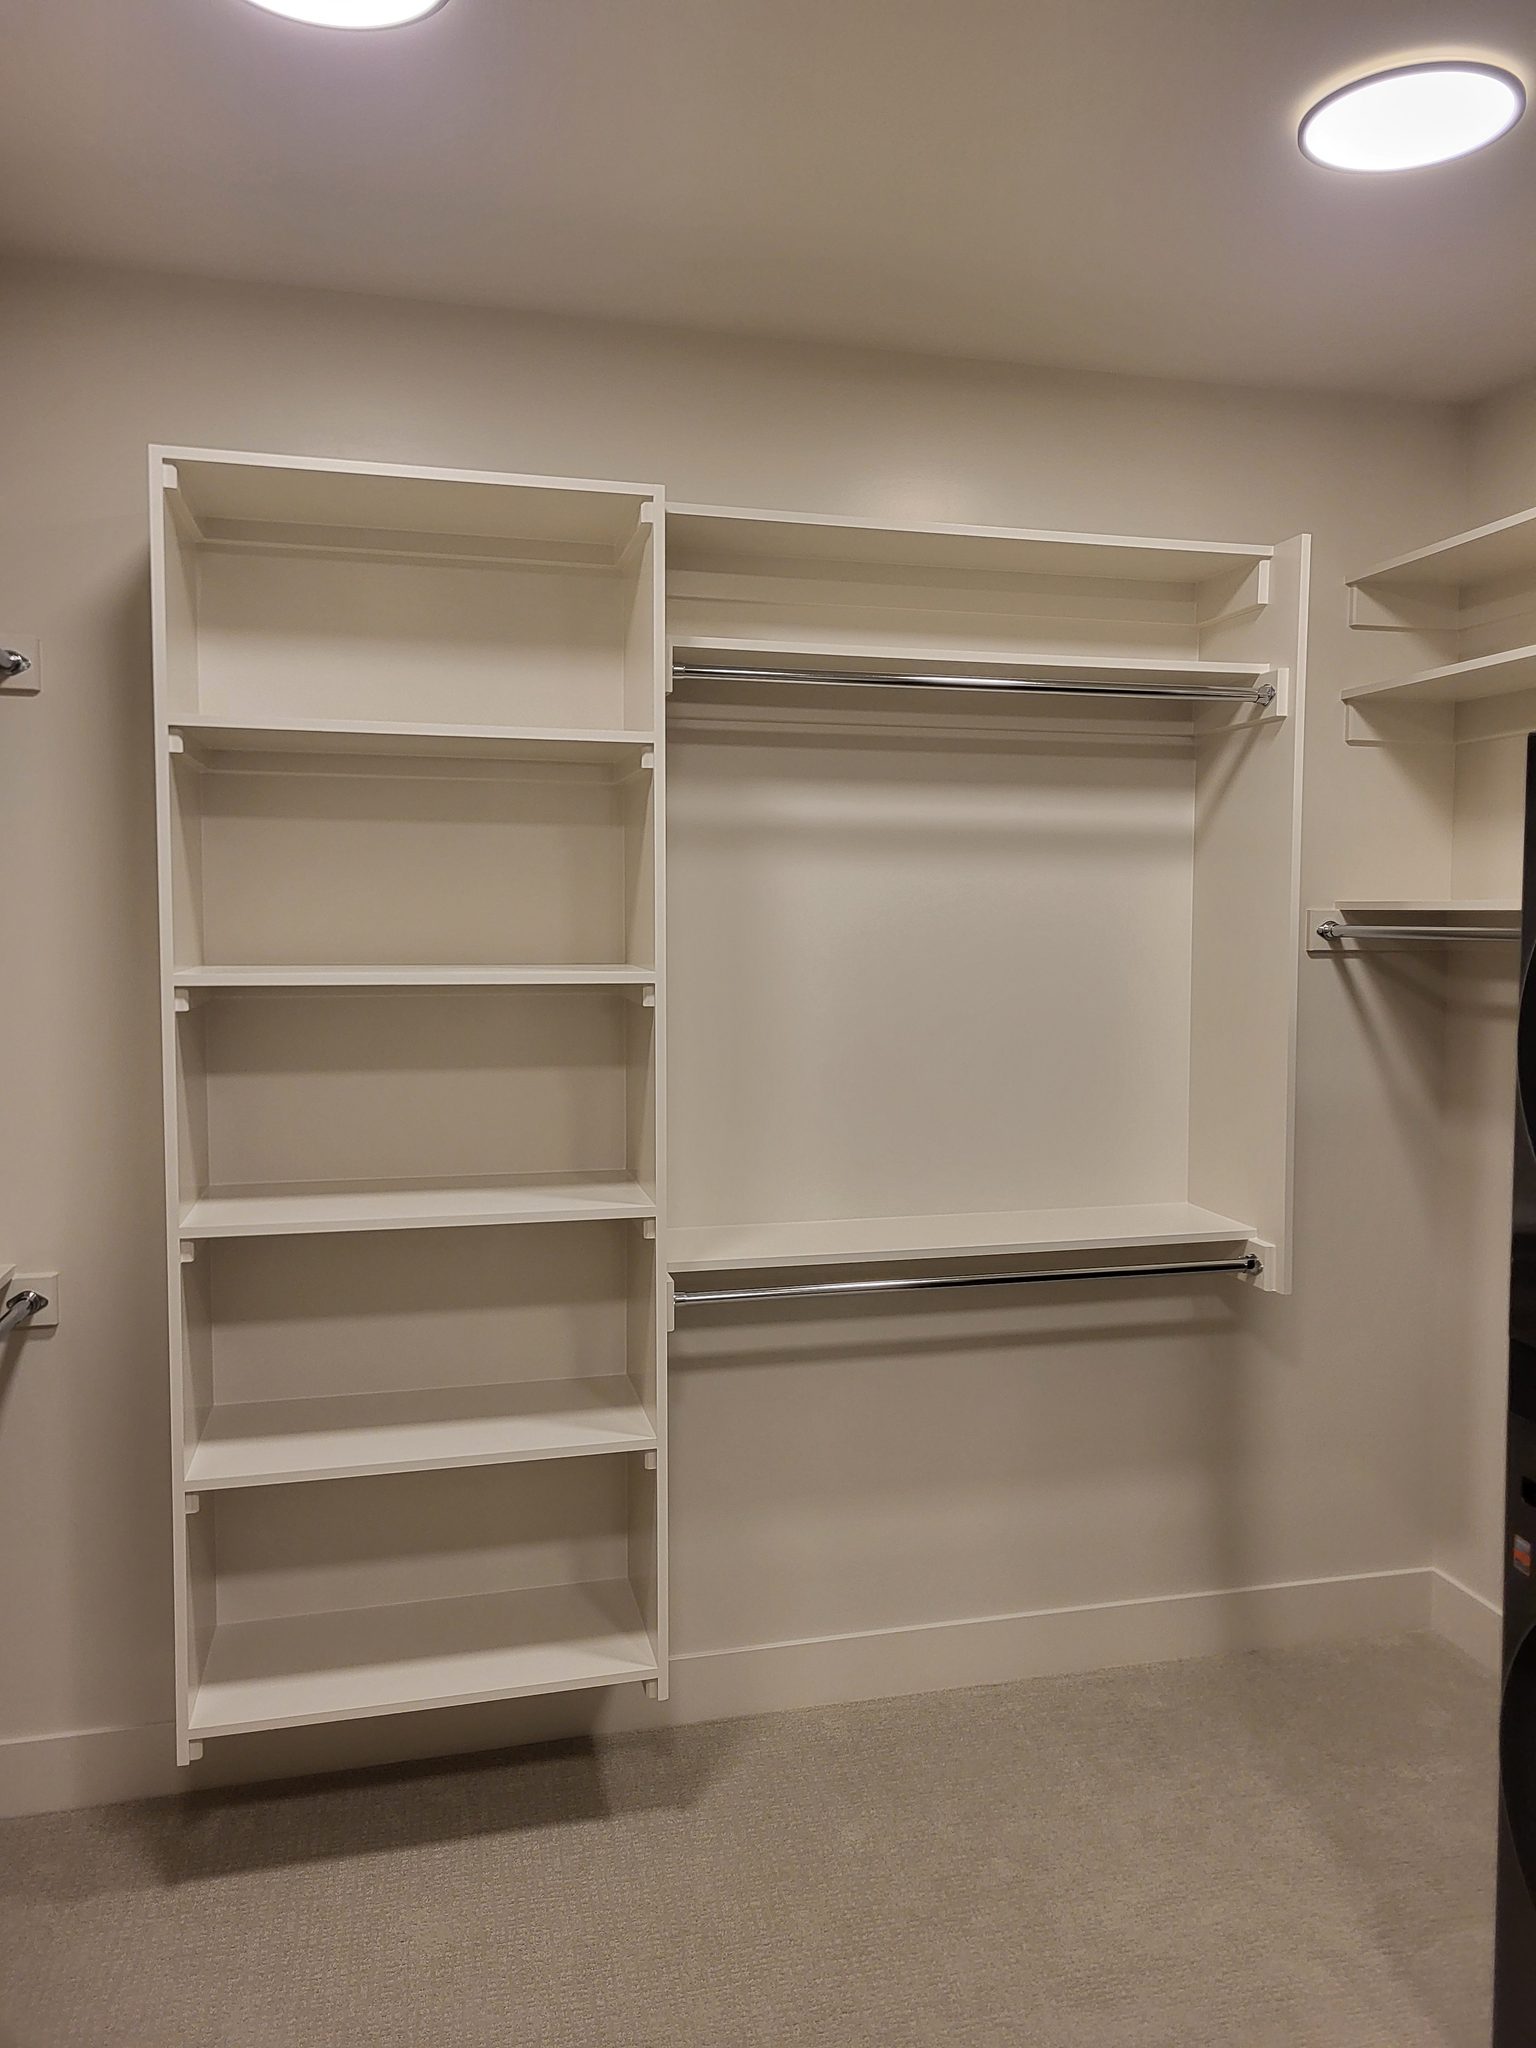
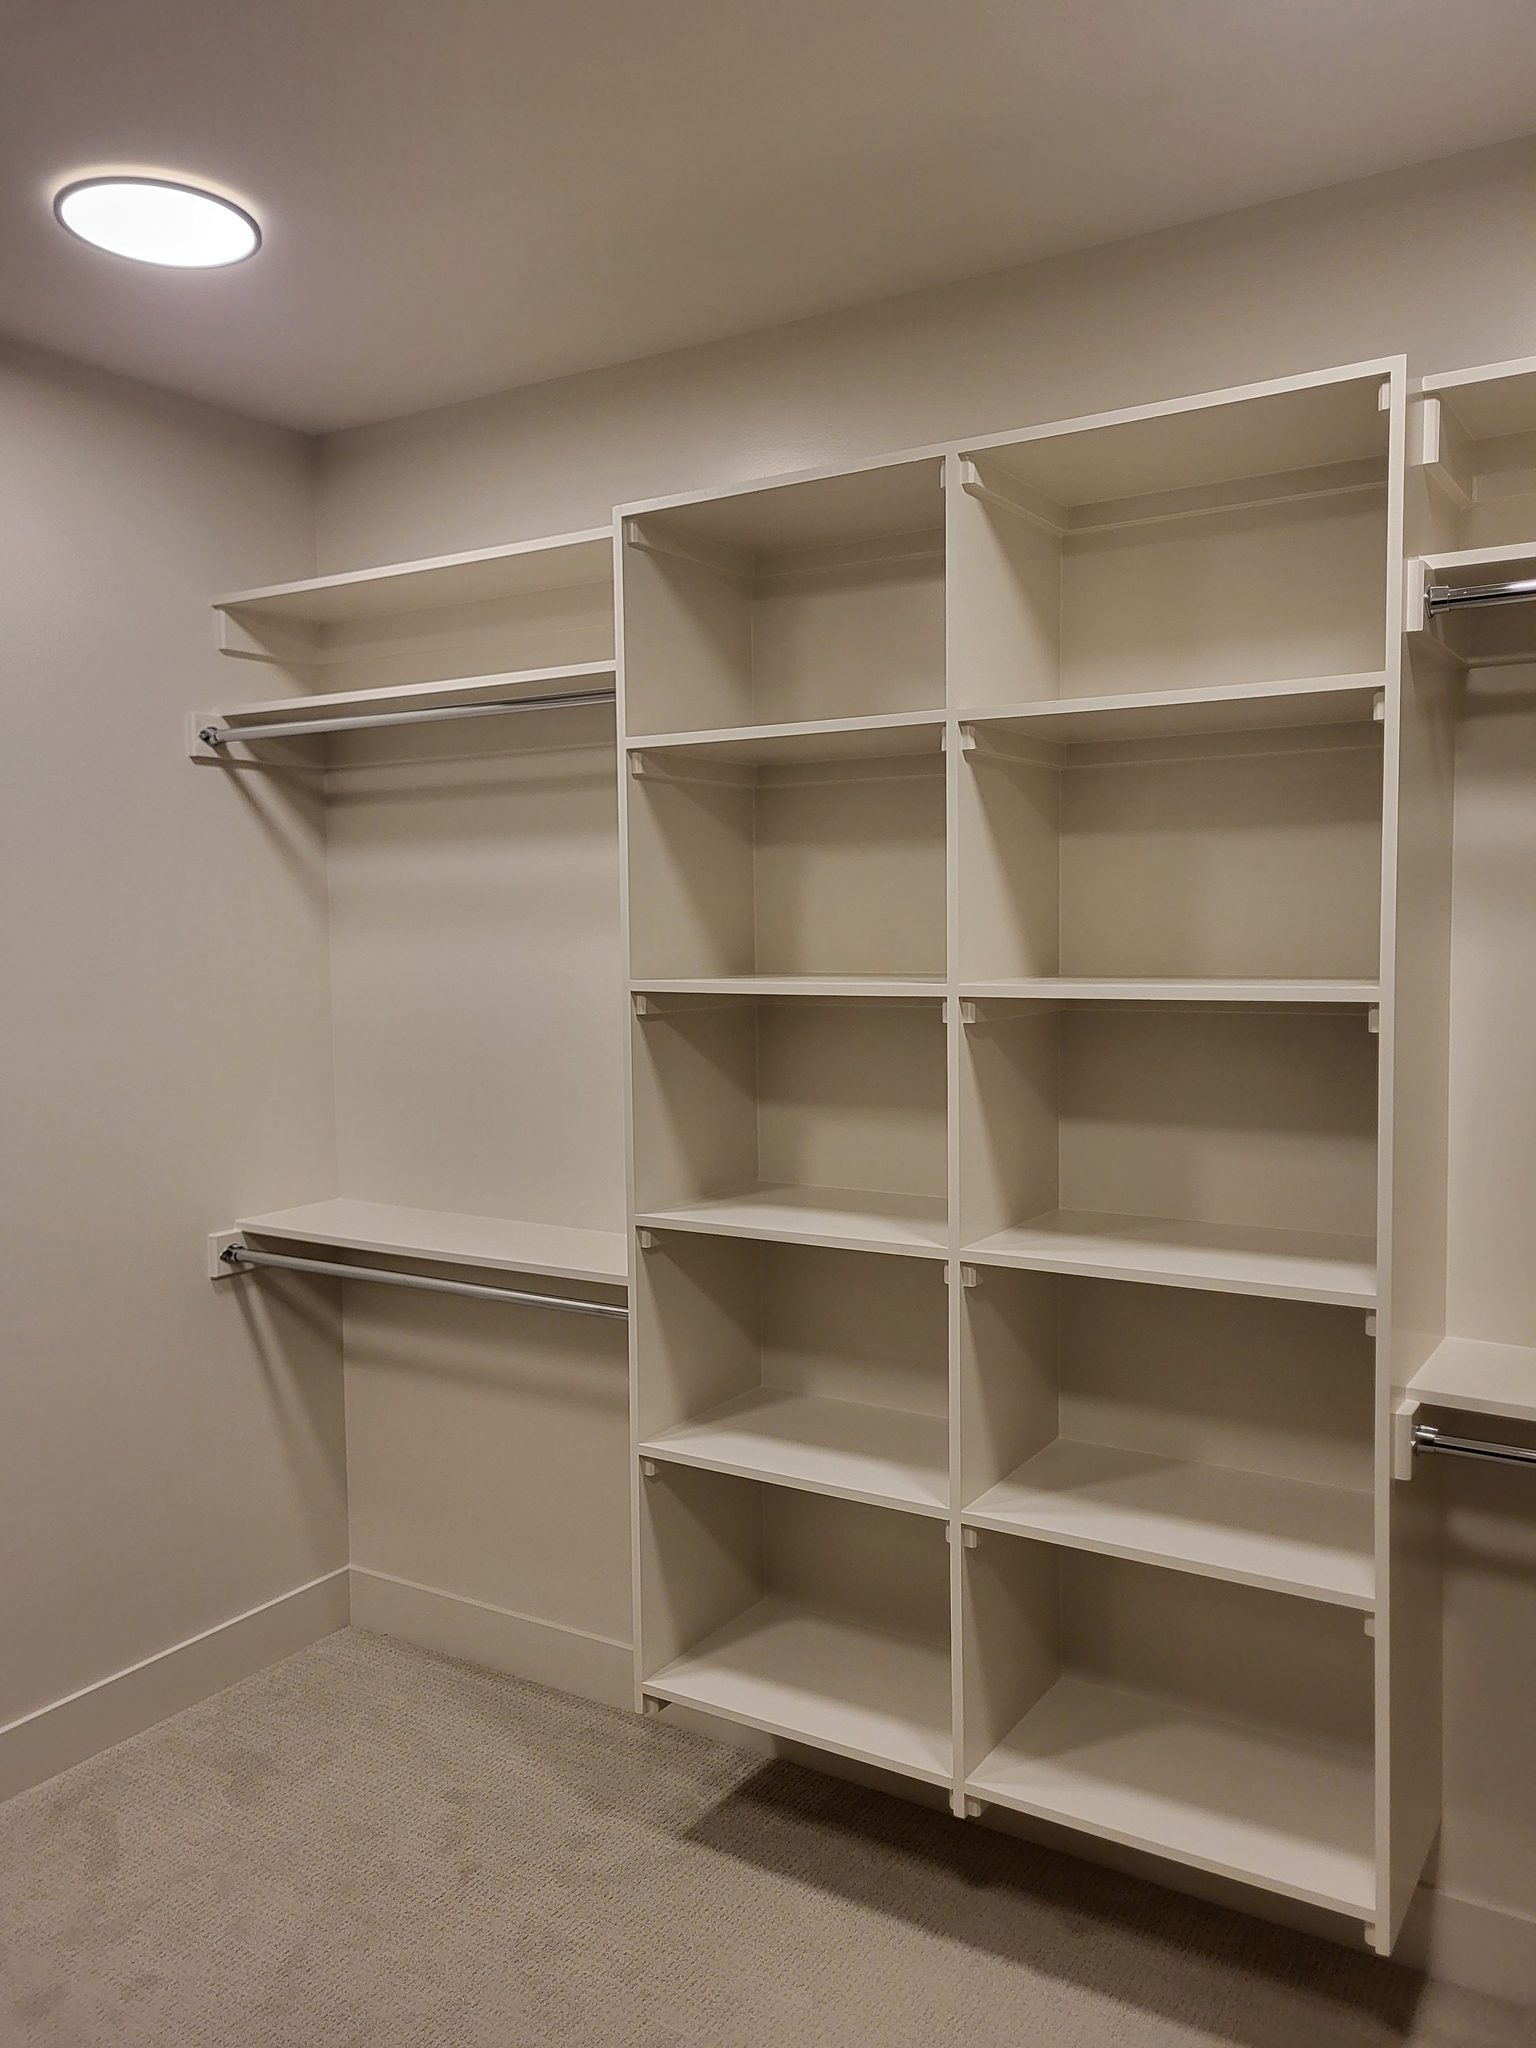
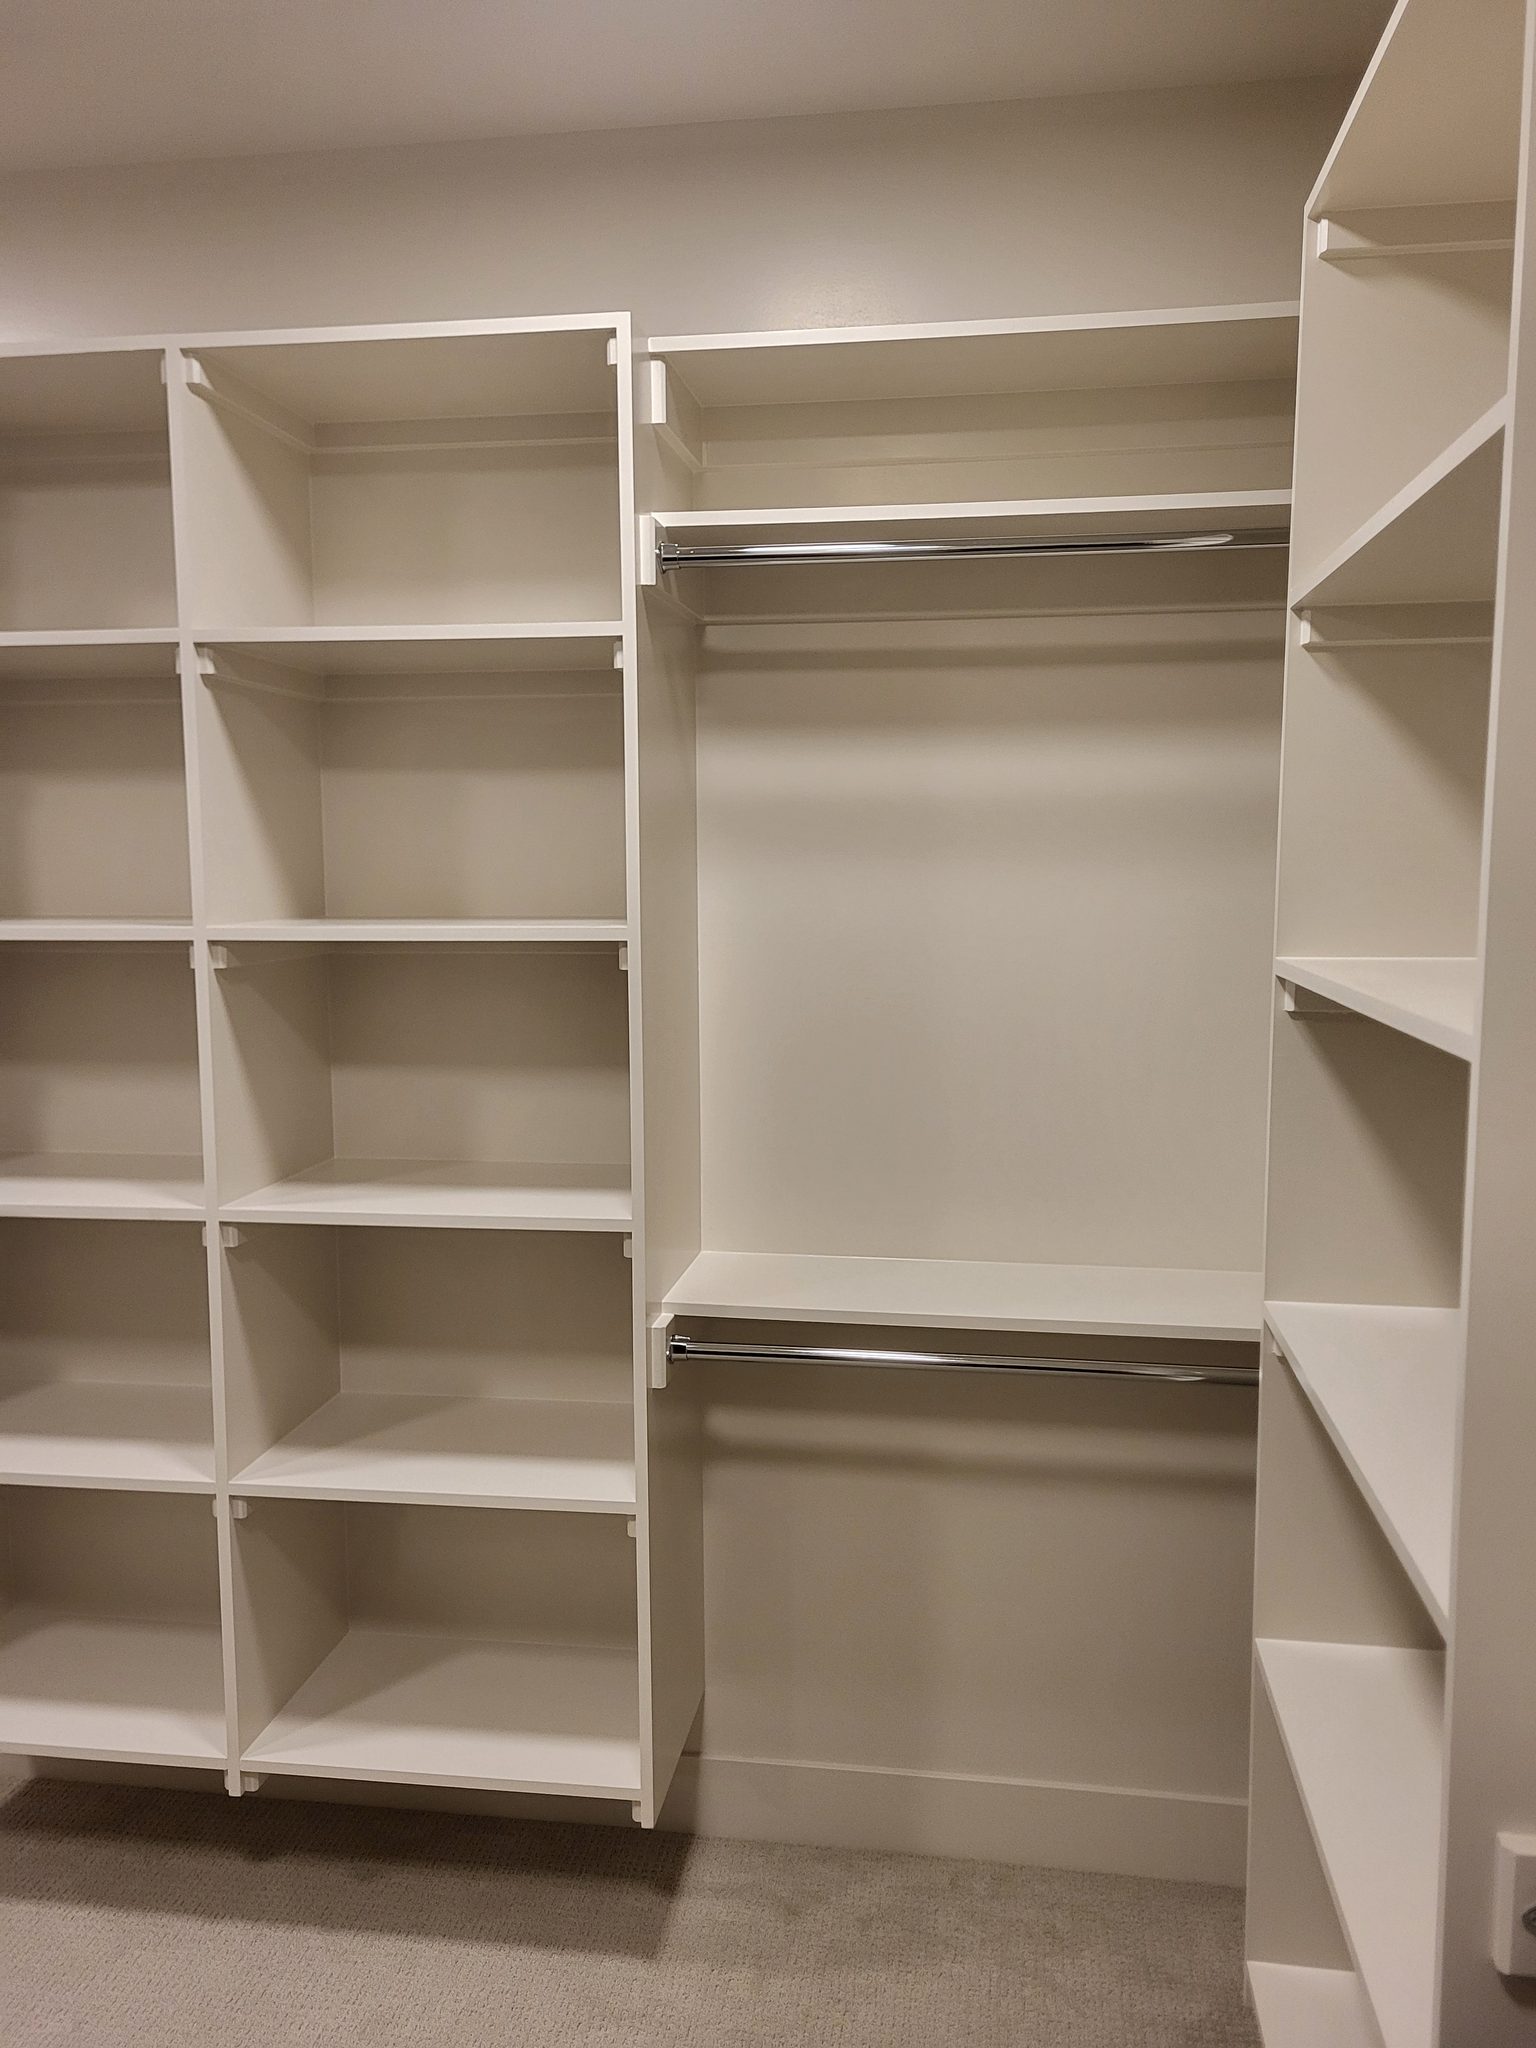
Completed walk-in closet with white face-frame shelving, hanging rods, and black hardware installed.
Three-shelf closet unit with 1x4 cleats and particle board shelving, raw wood finish ready for paint.
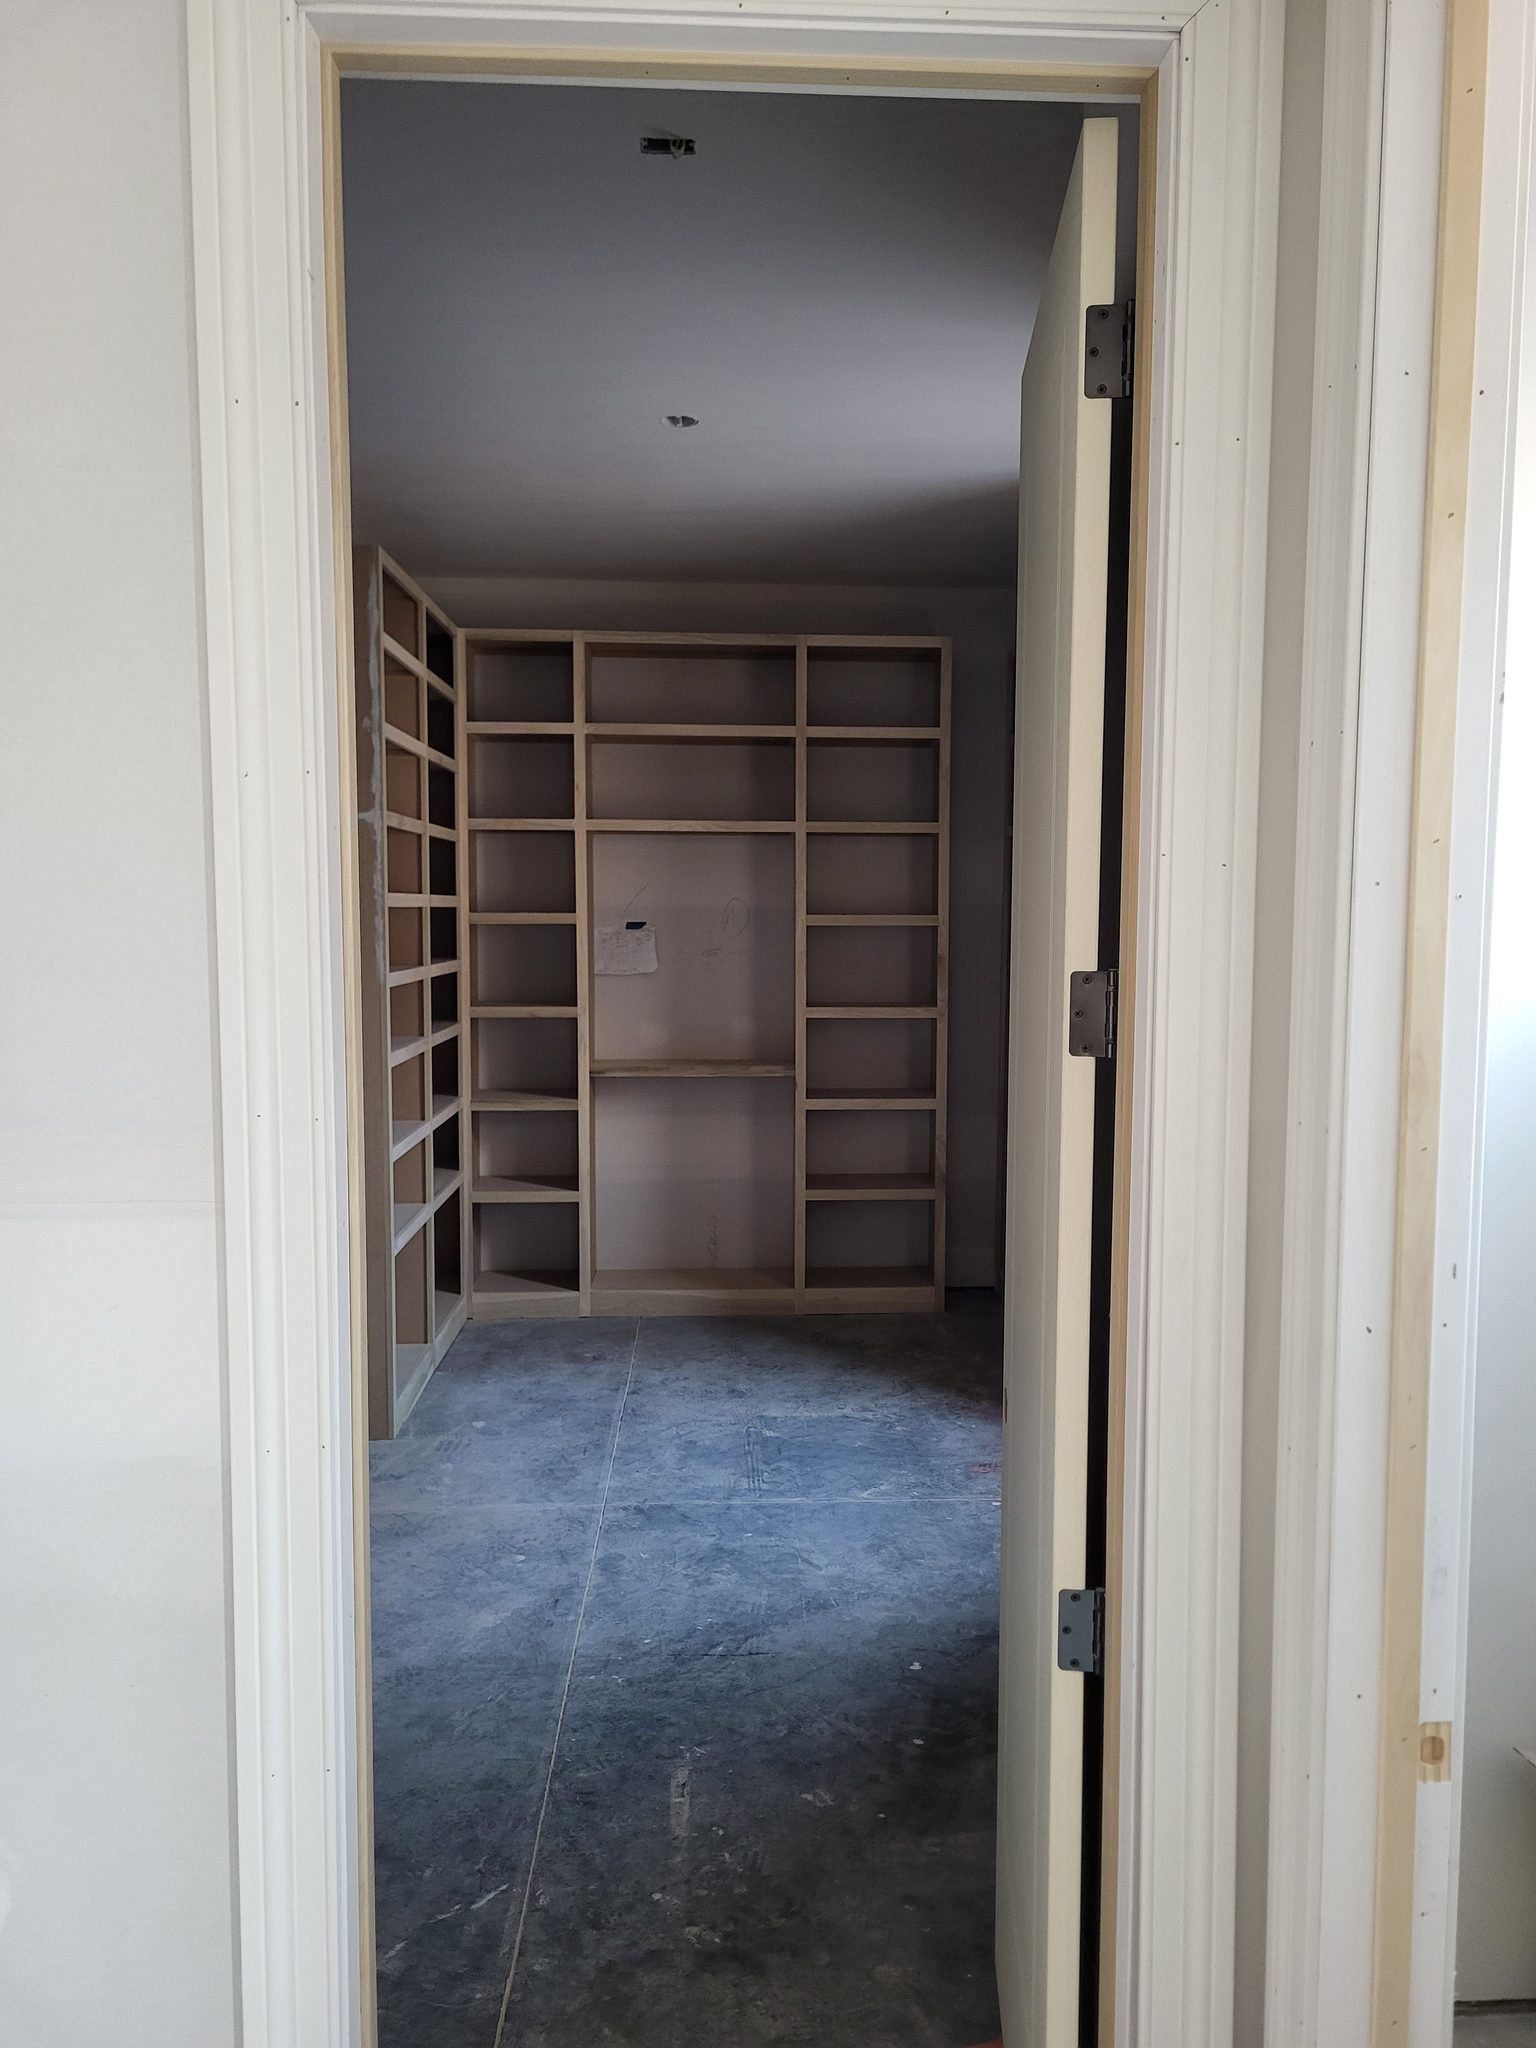
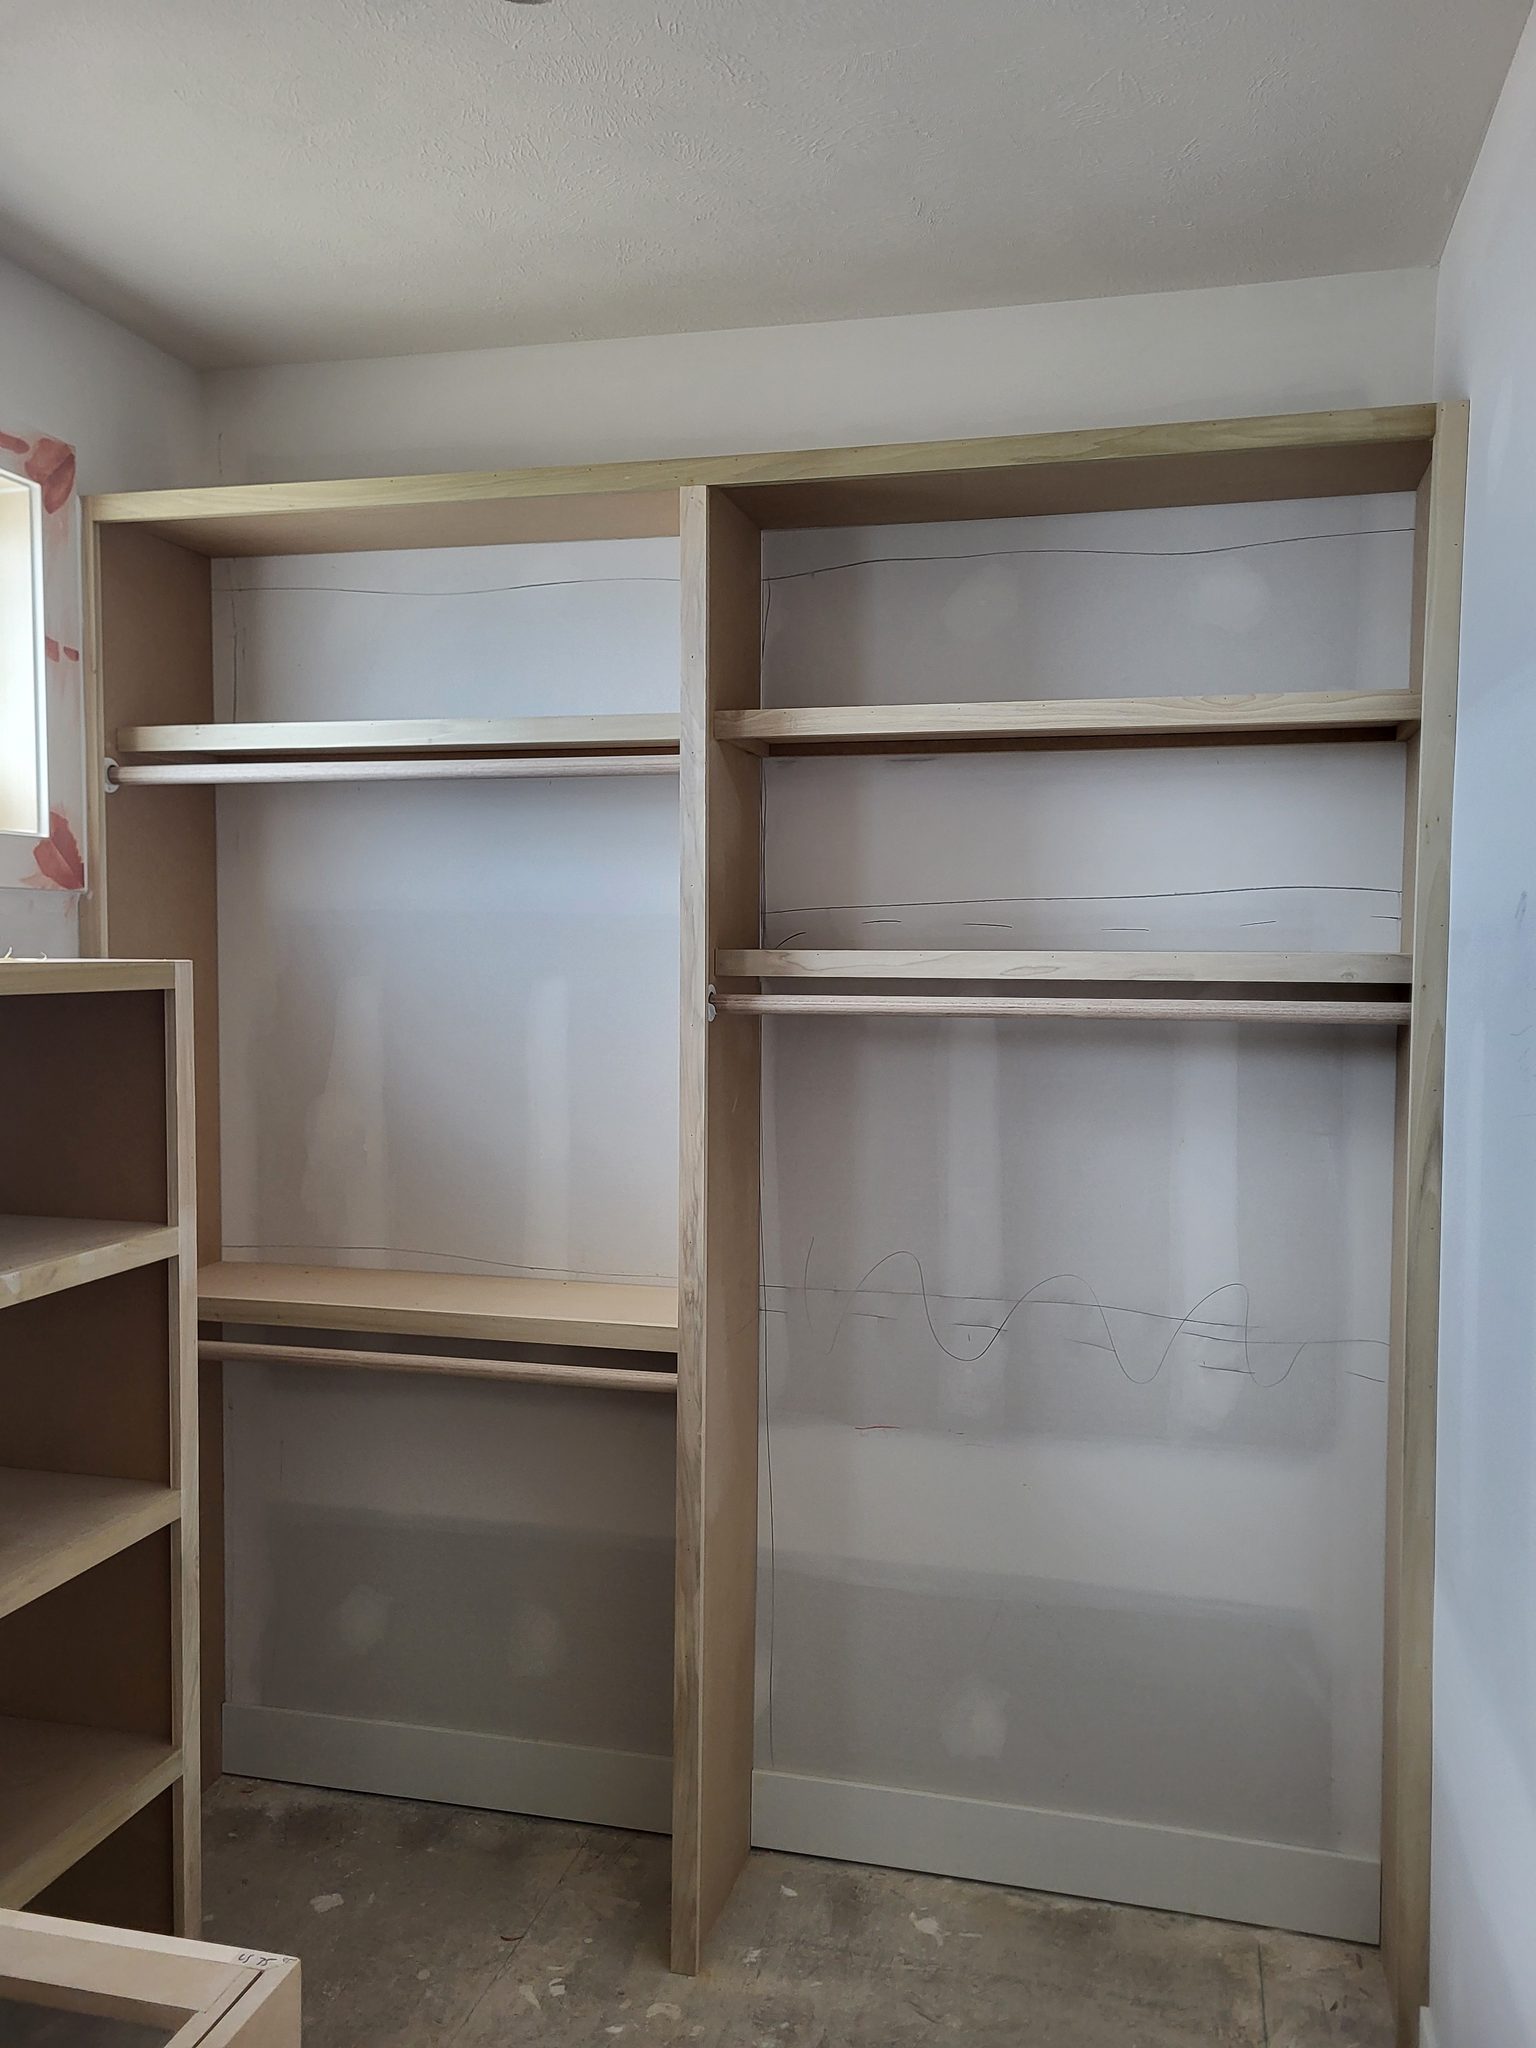
Raw wood closet shelving and hanging rod units installed in unfinished state, ready for paint.
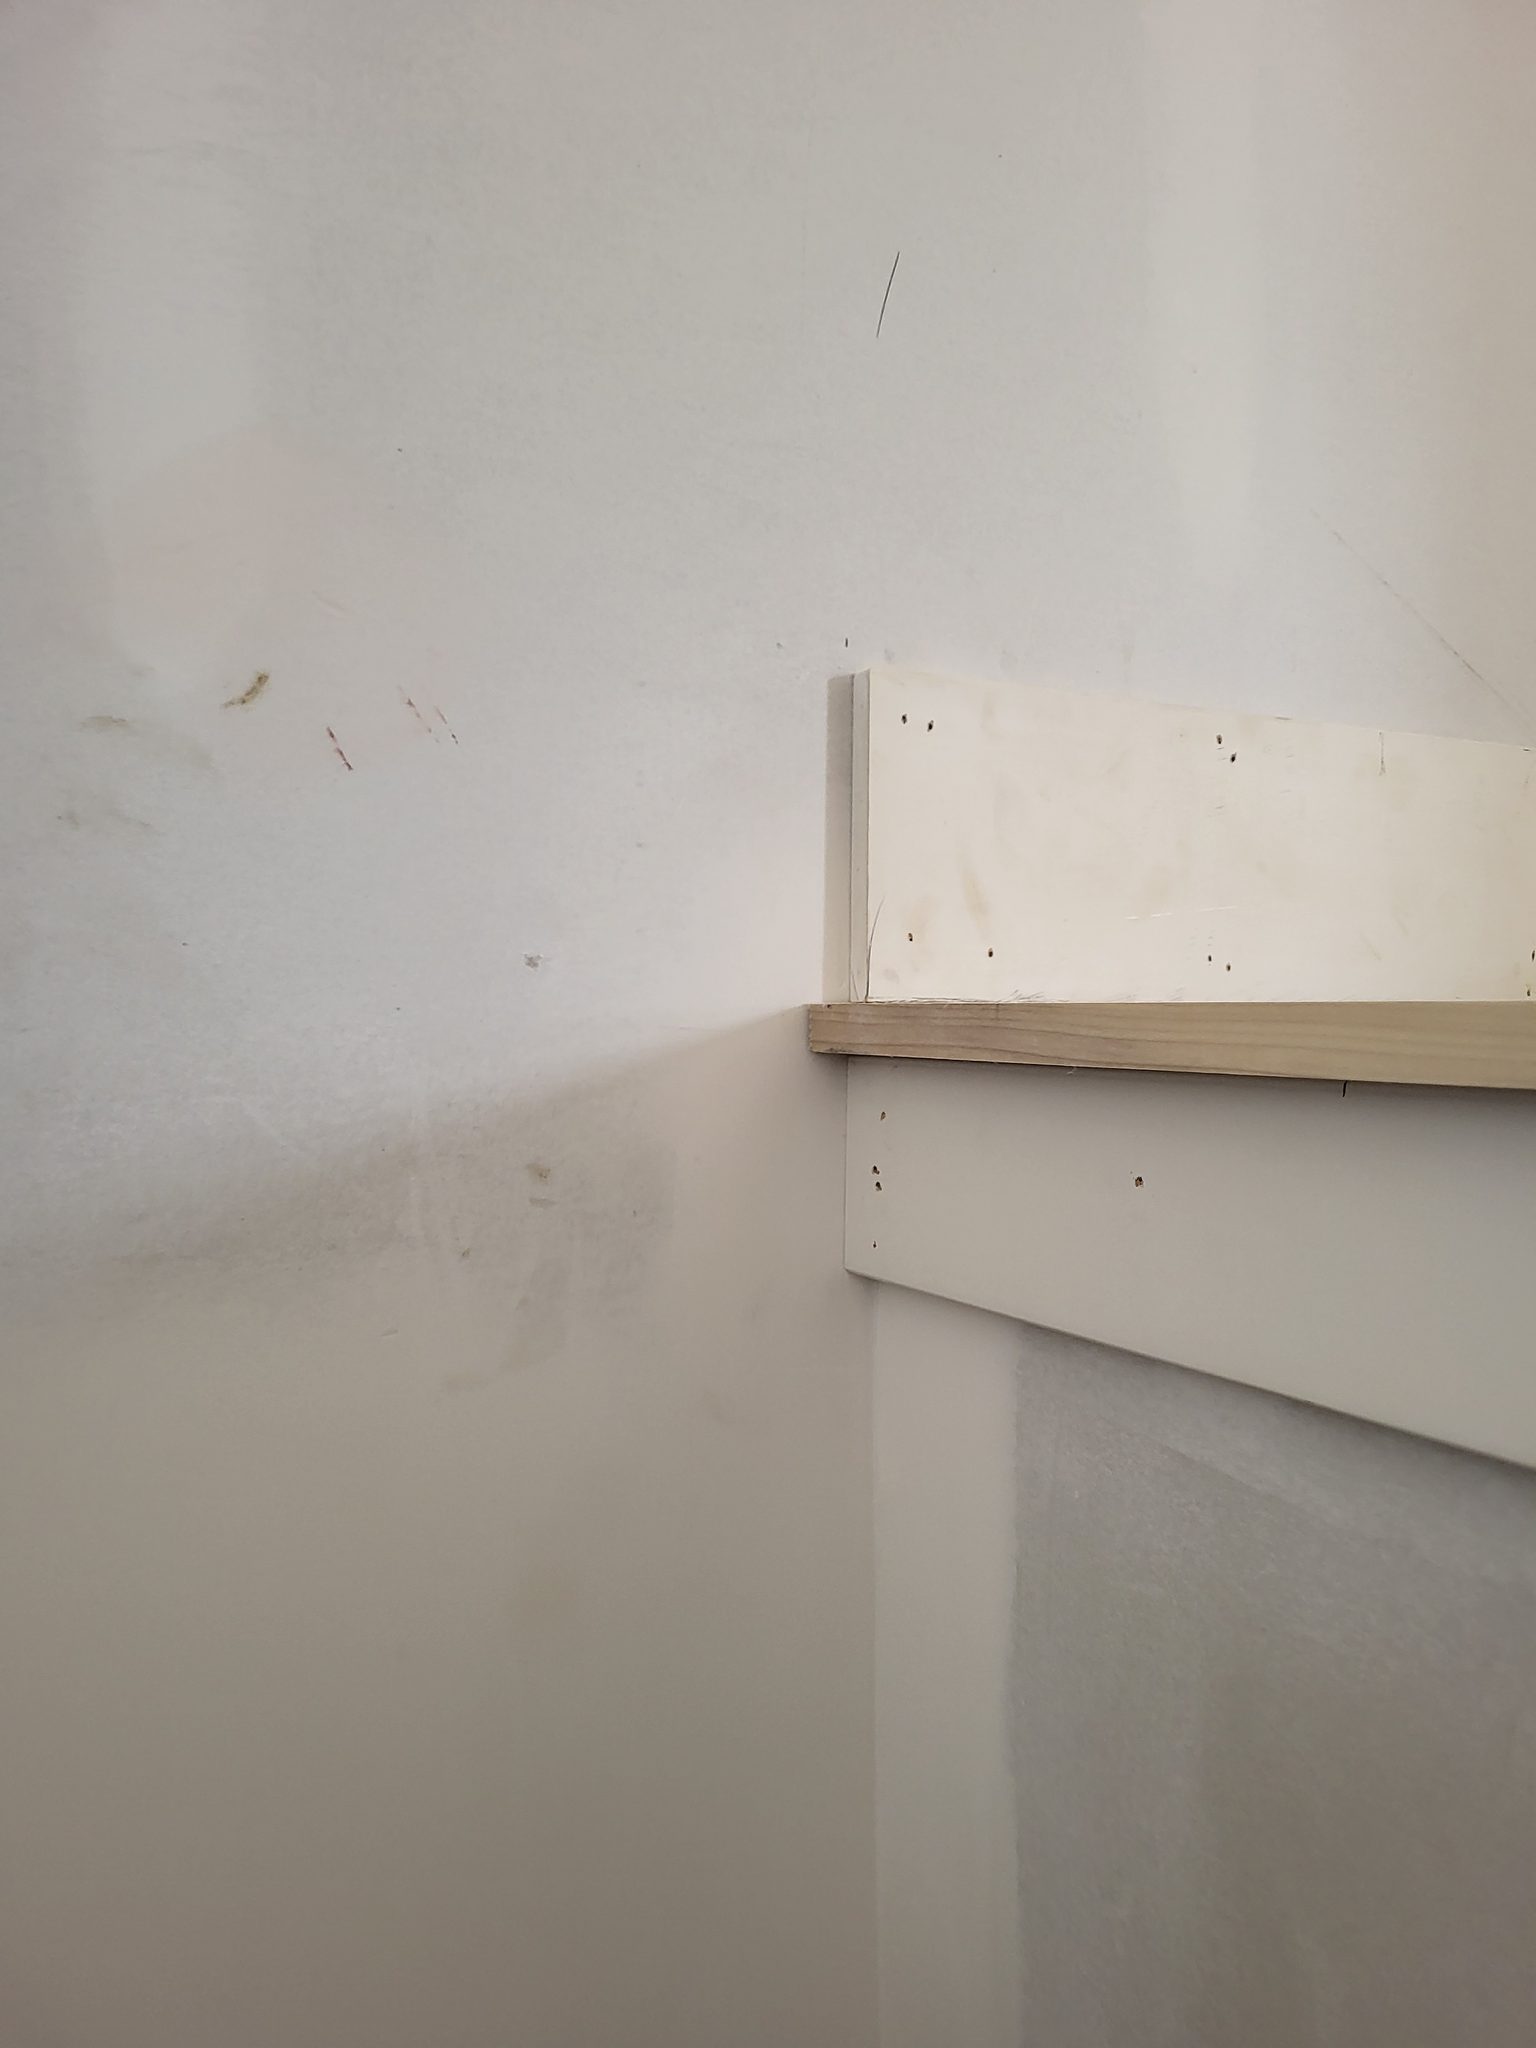
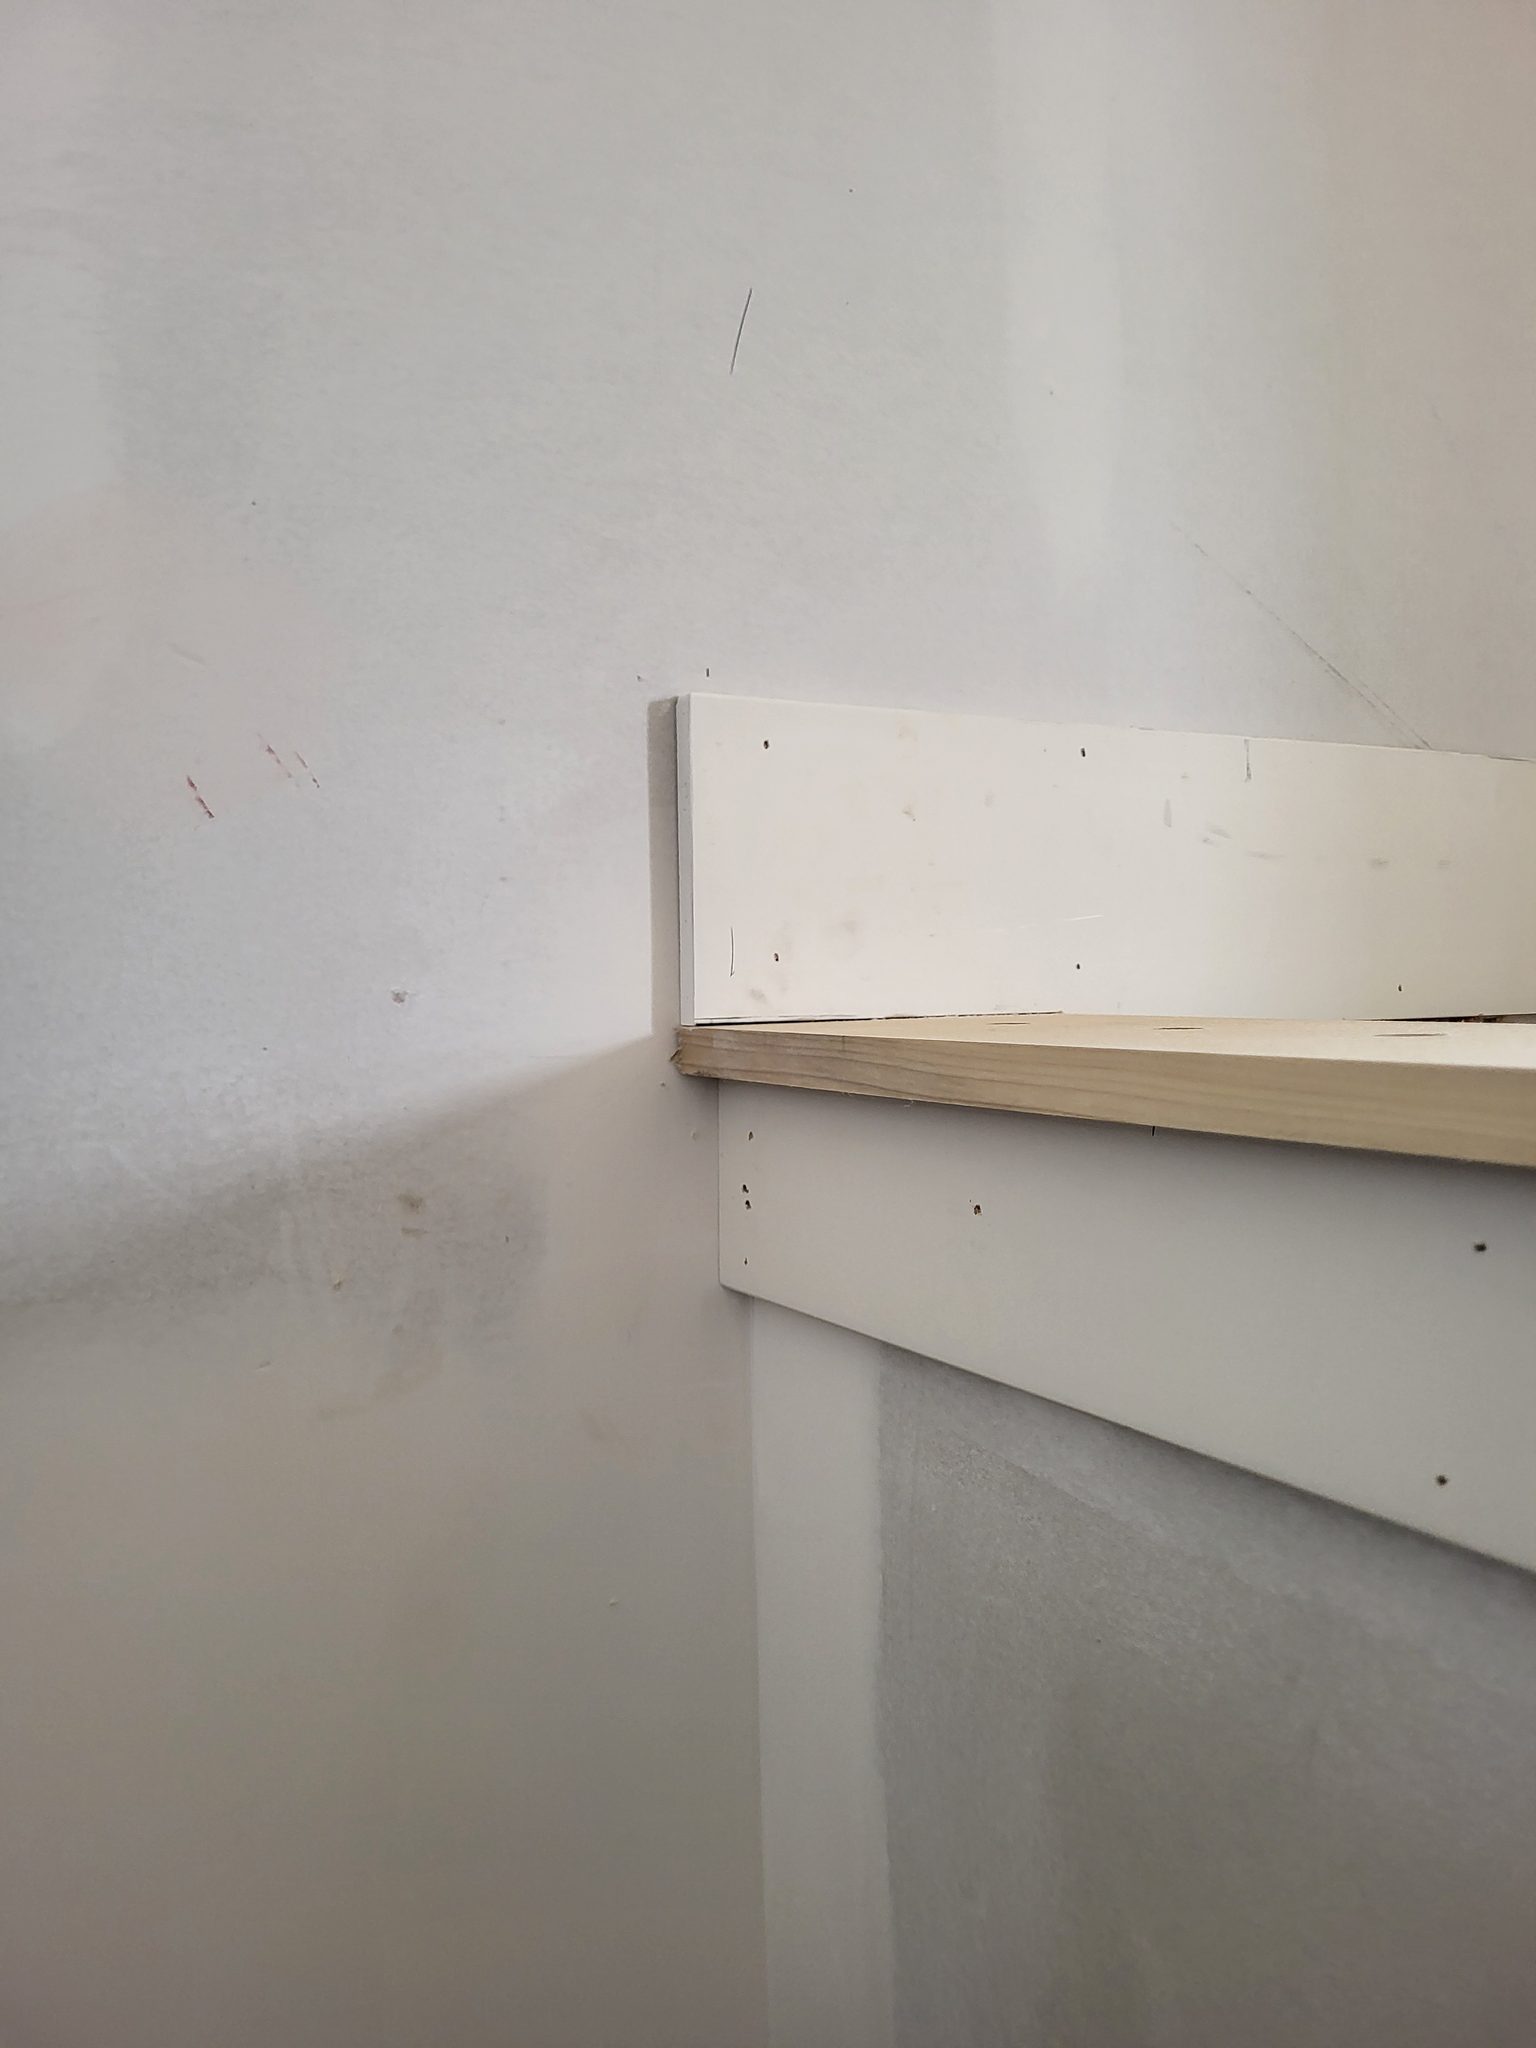
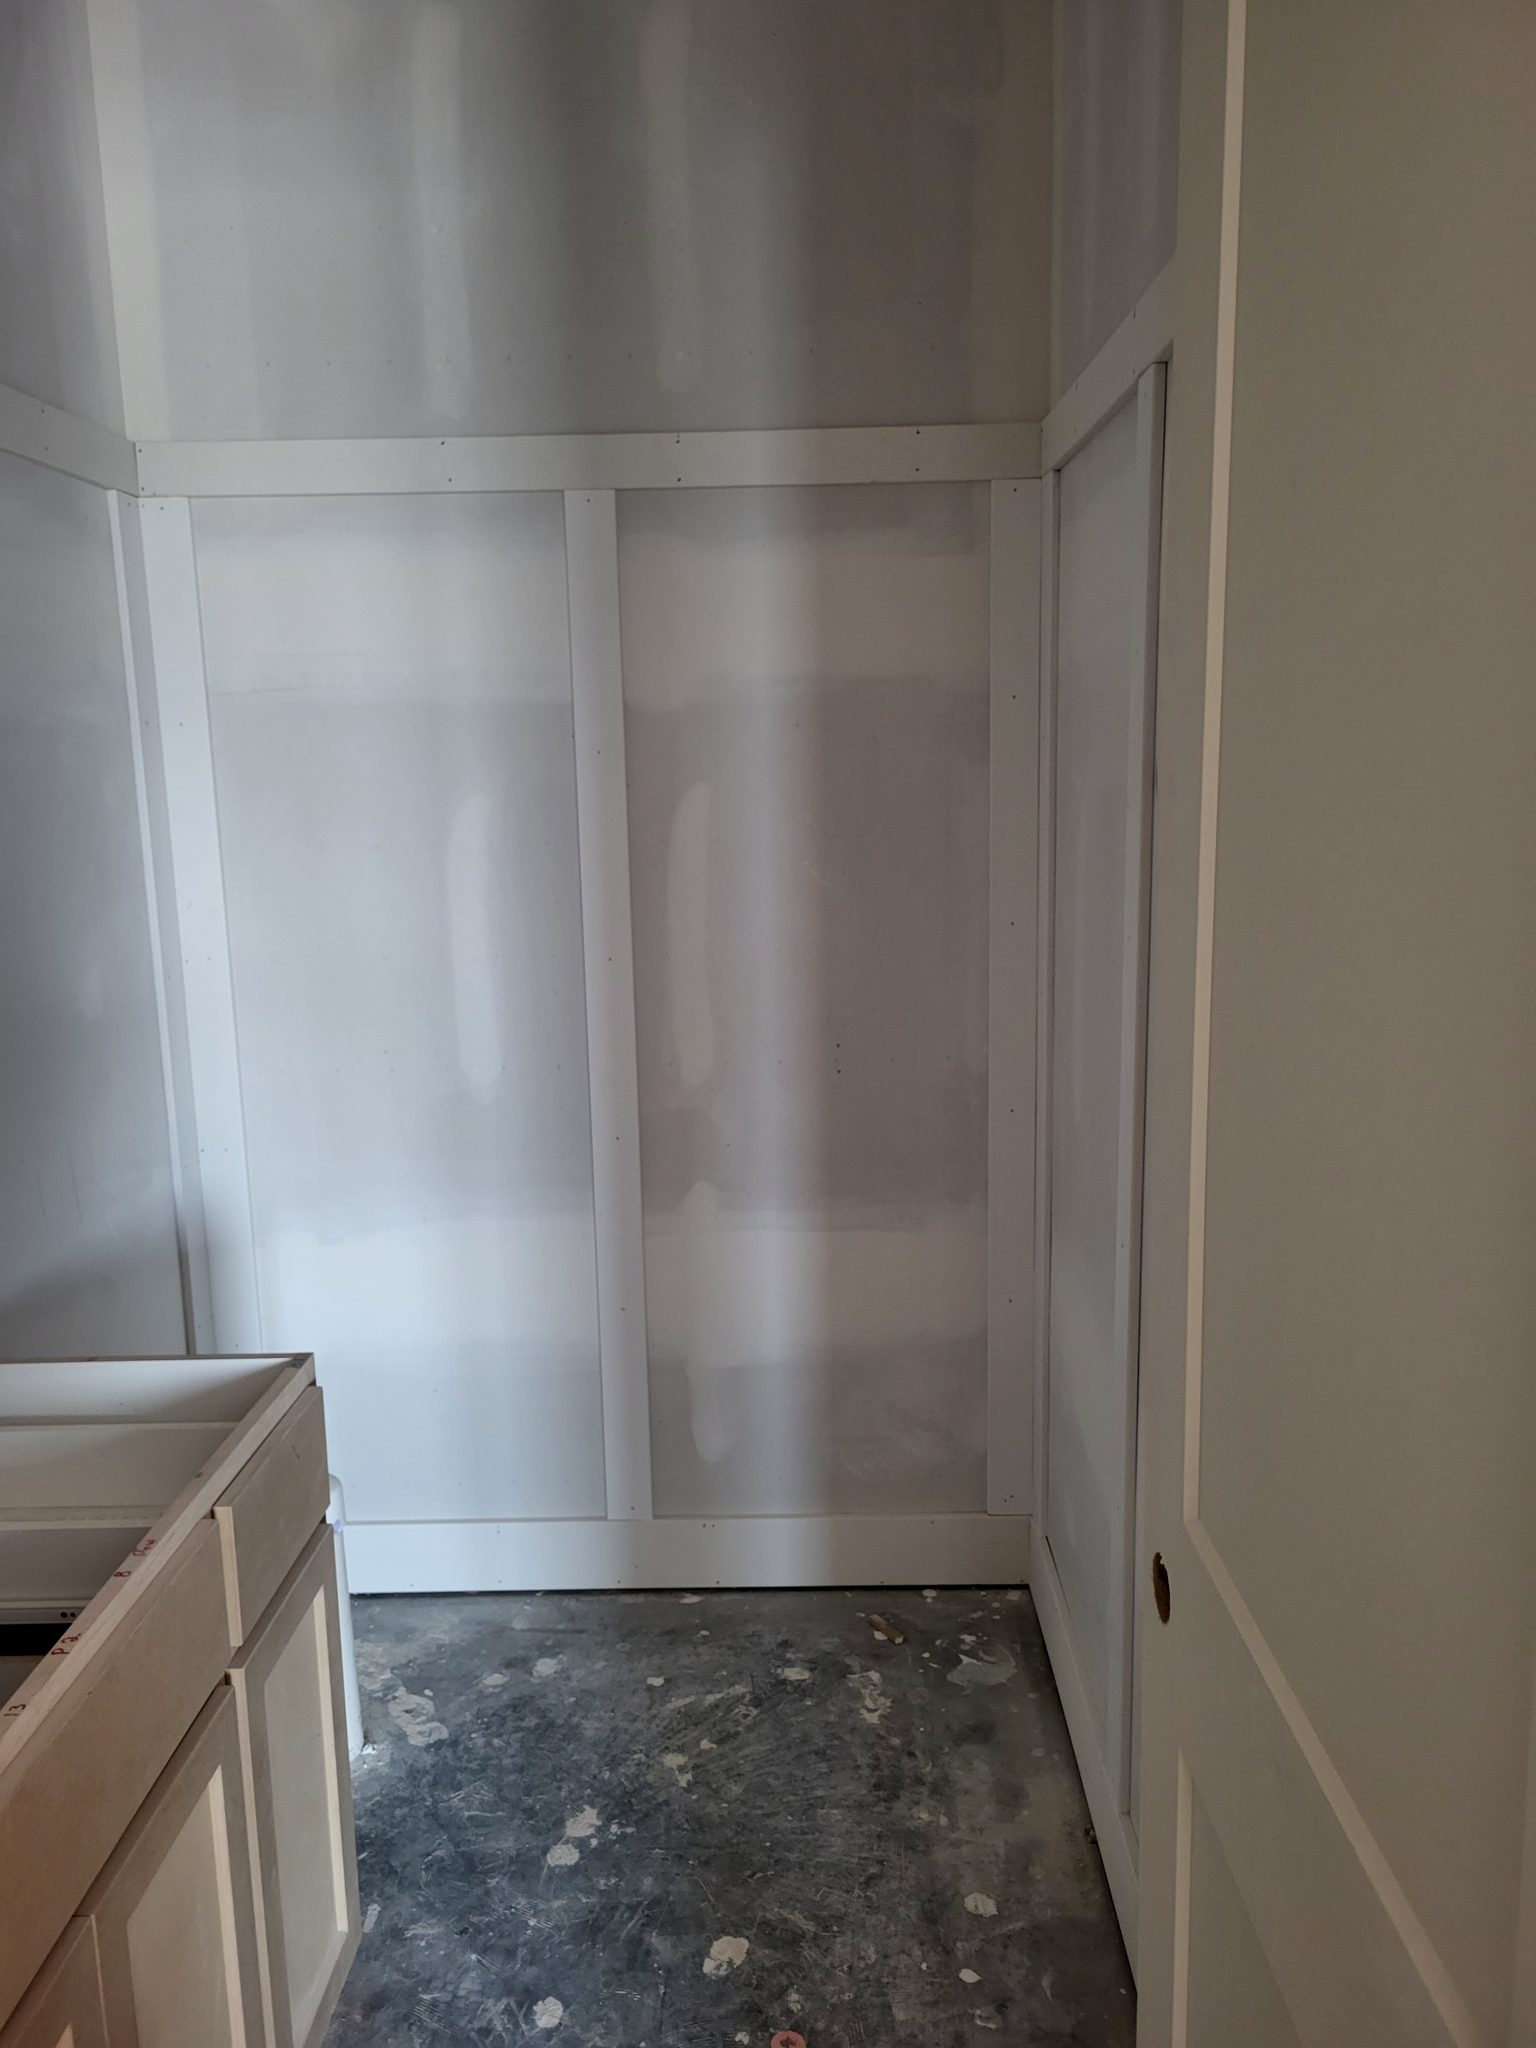
Wood rail and backing panel installation in progress at interior corner with drywall.
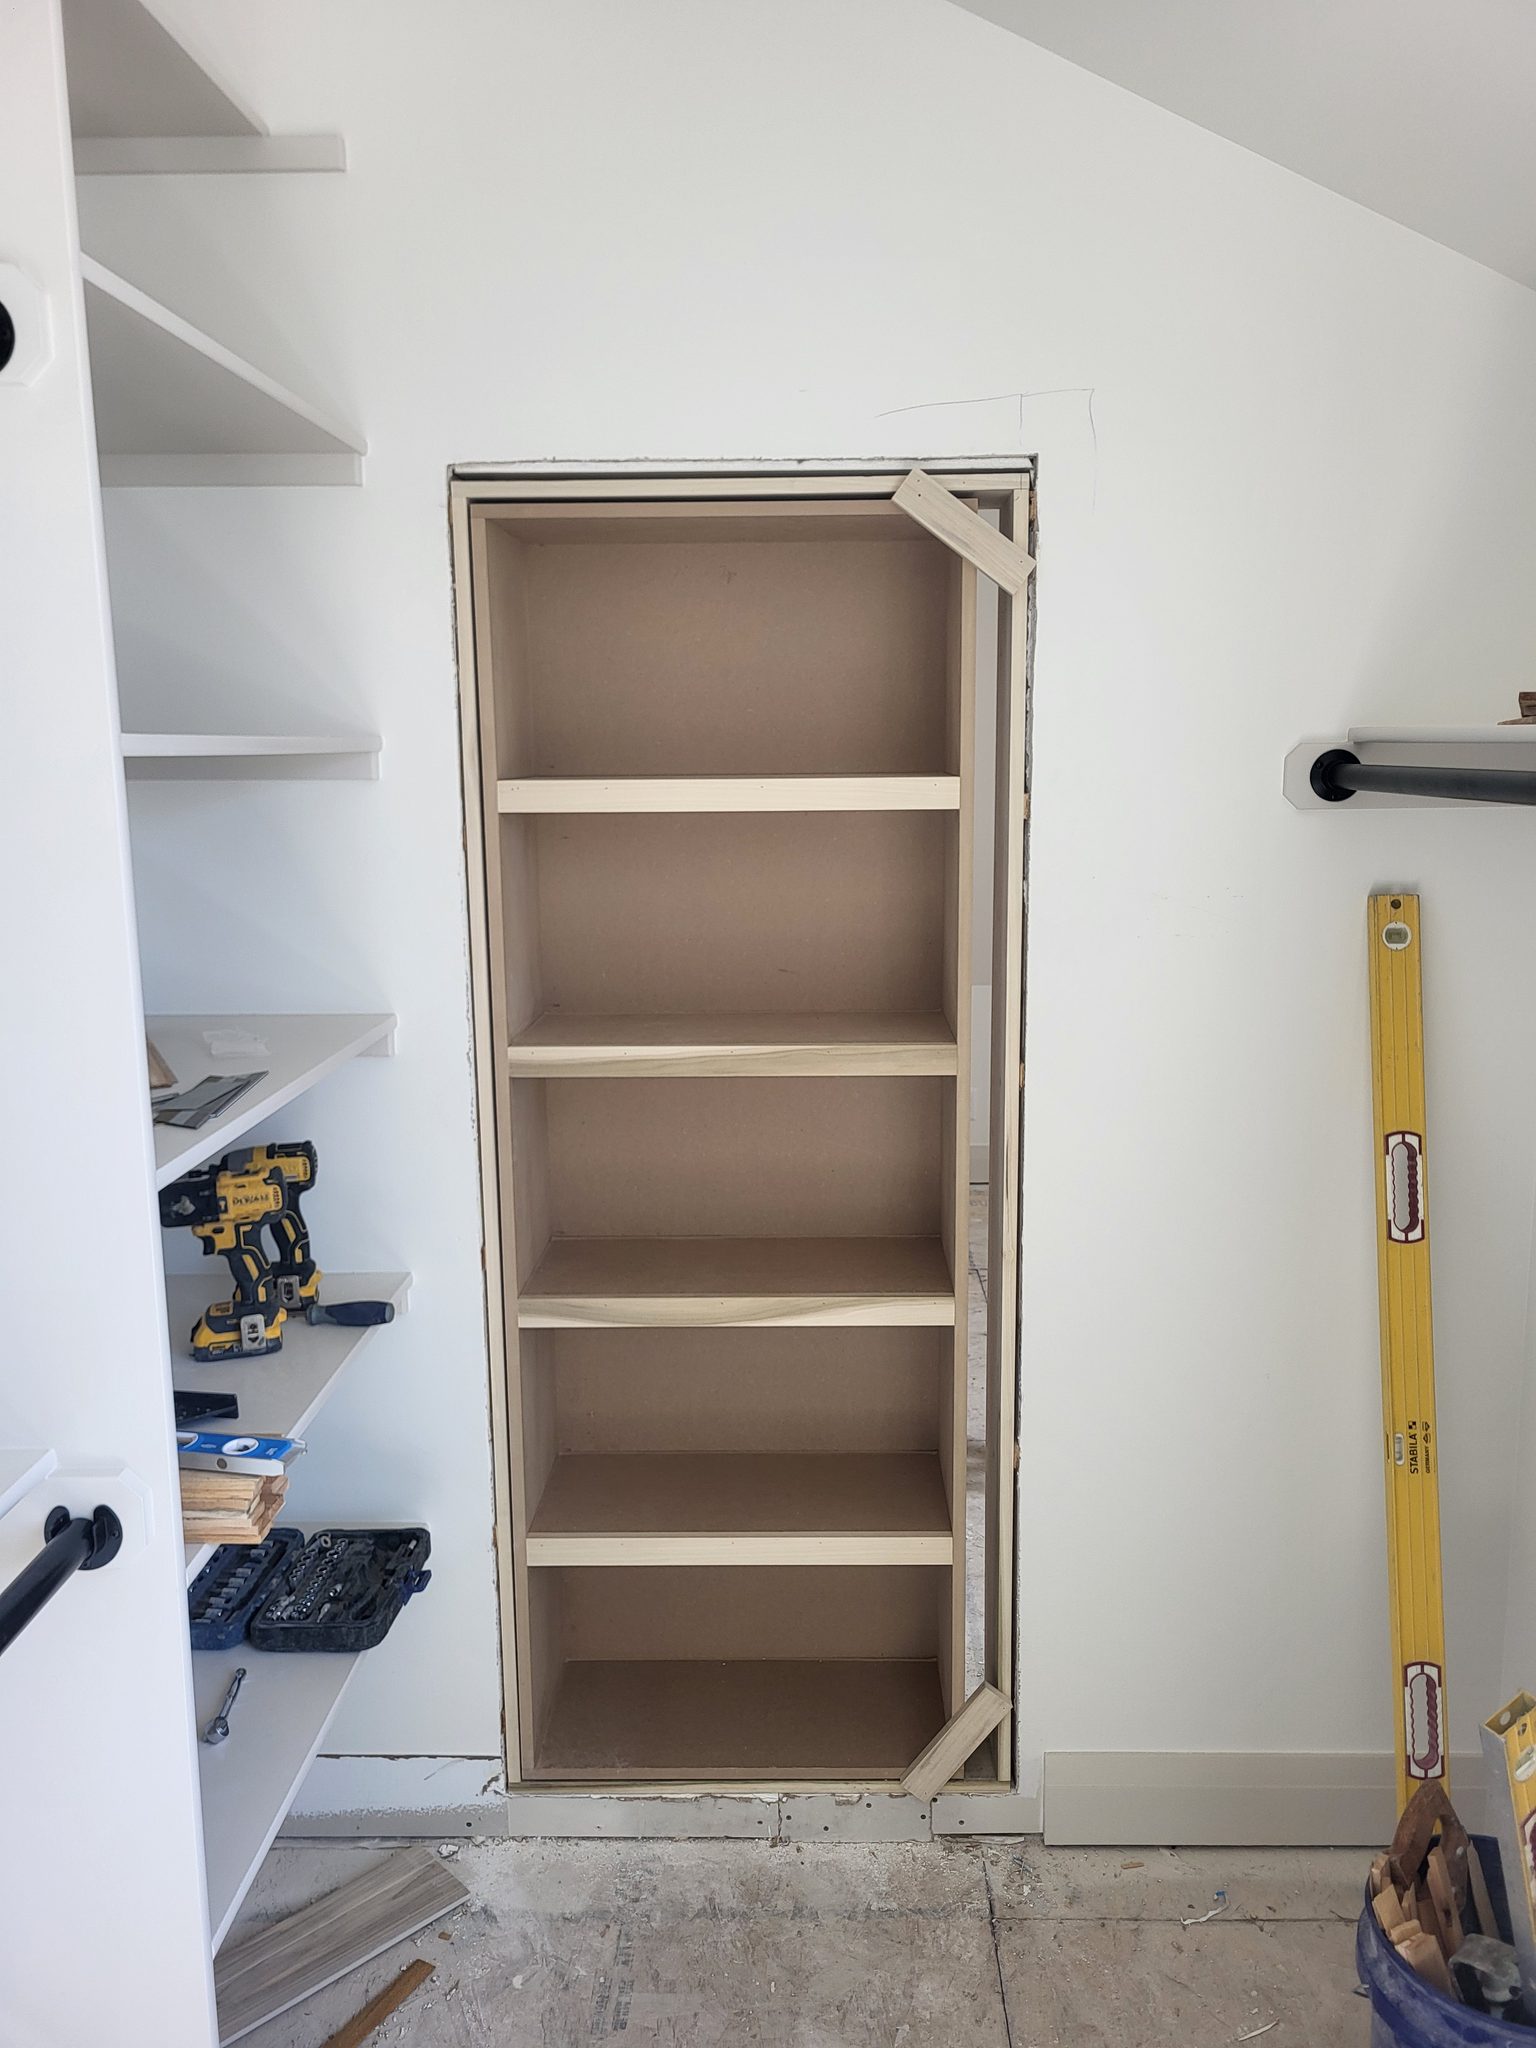
Custom built-in bookcase with five shelves and finished face frame, raw wood ready for paint.
Custom mudroom locker with painted white cabinetry, open cubby bench seating, upper storage cabinets, and decorative wood shelving with hooks.
Closet shelving installation in progress with two horizontal shelves and vertical divider, trim materials staged nearby.
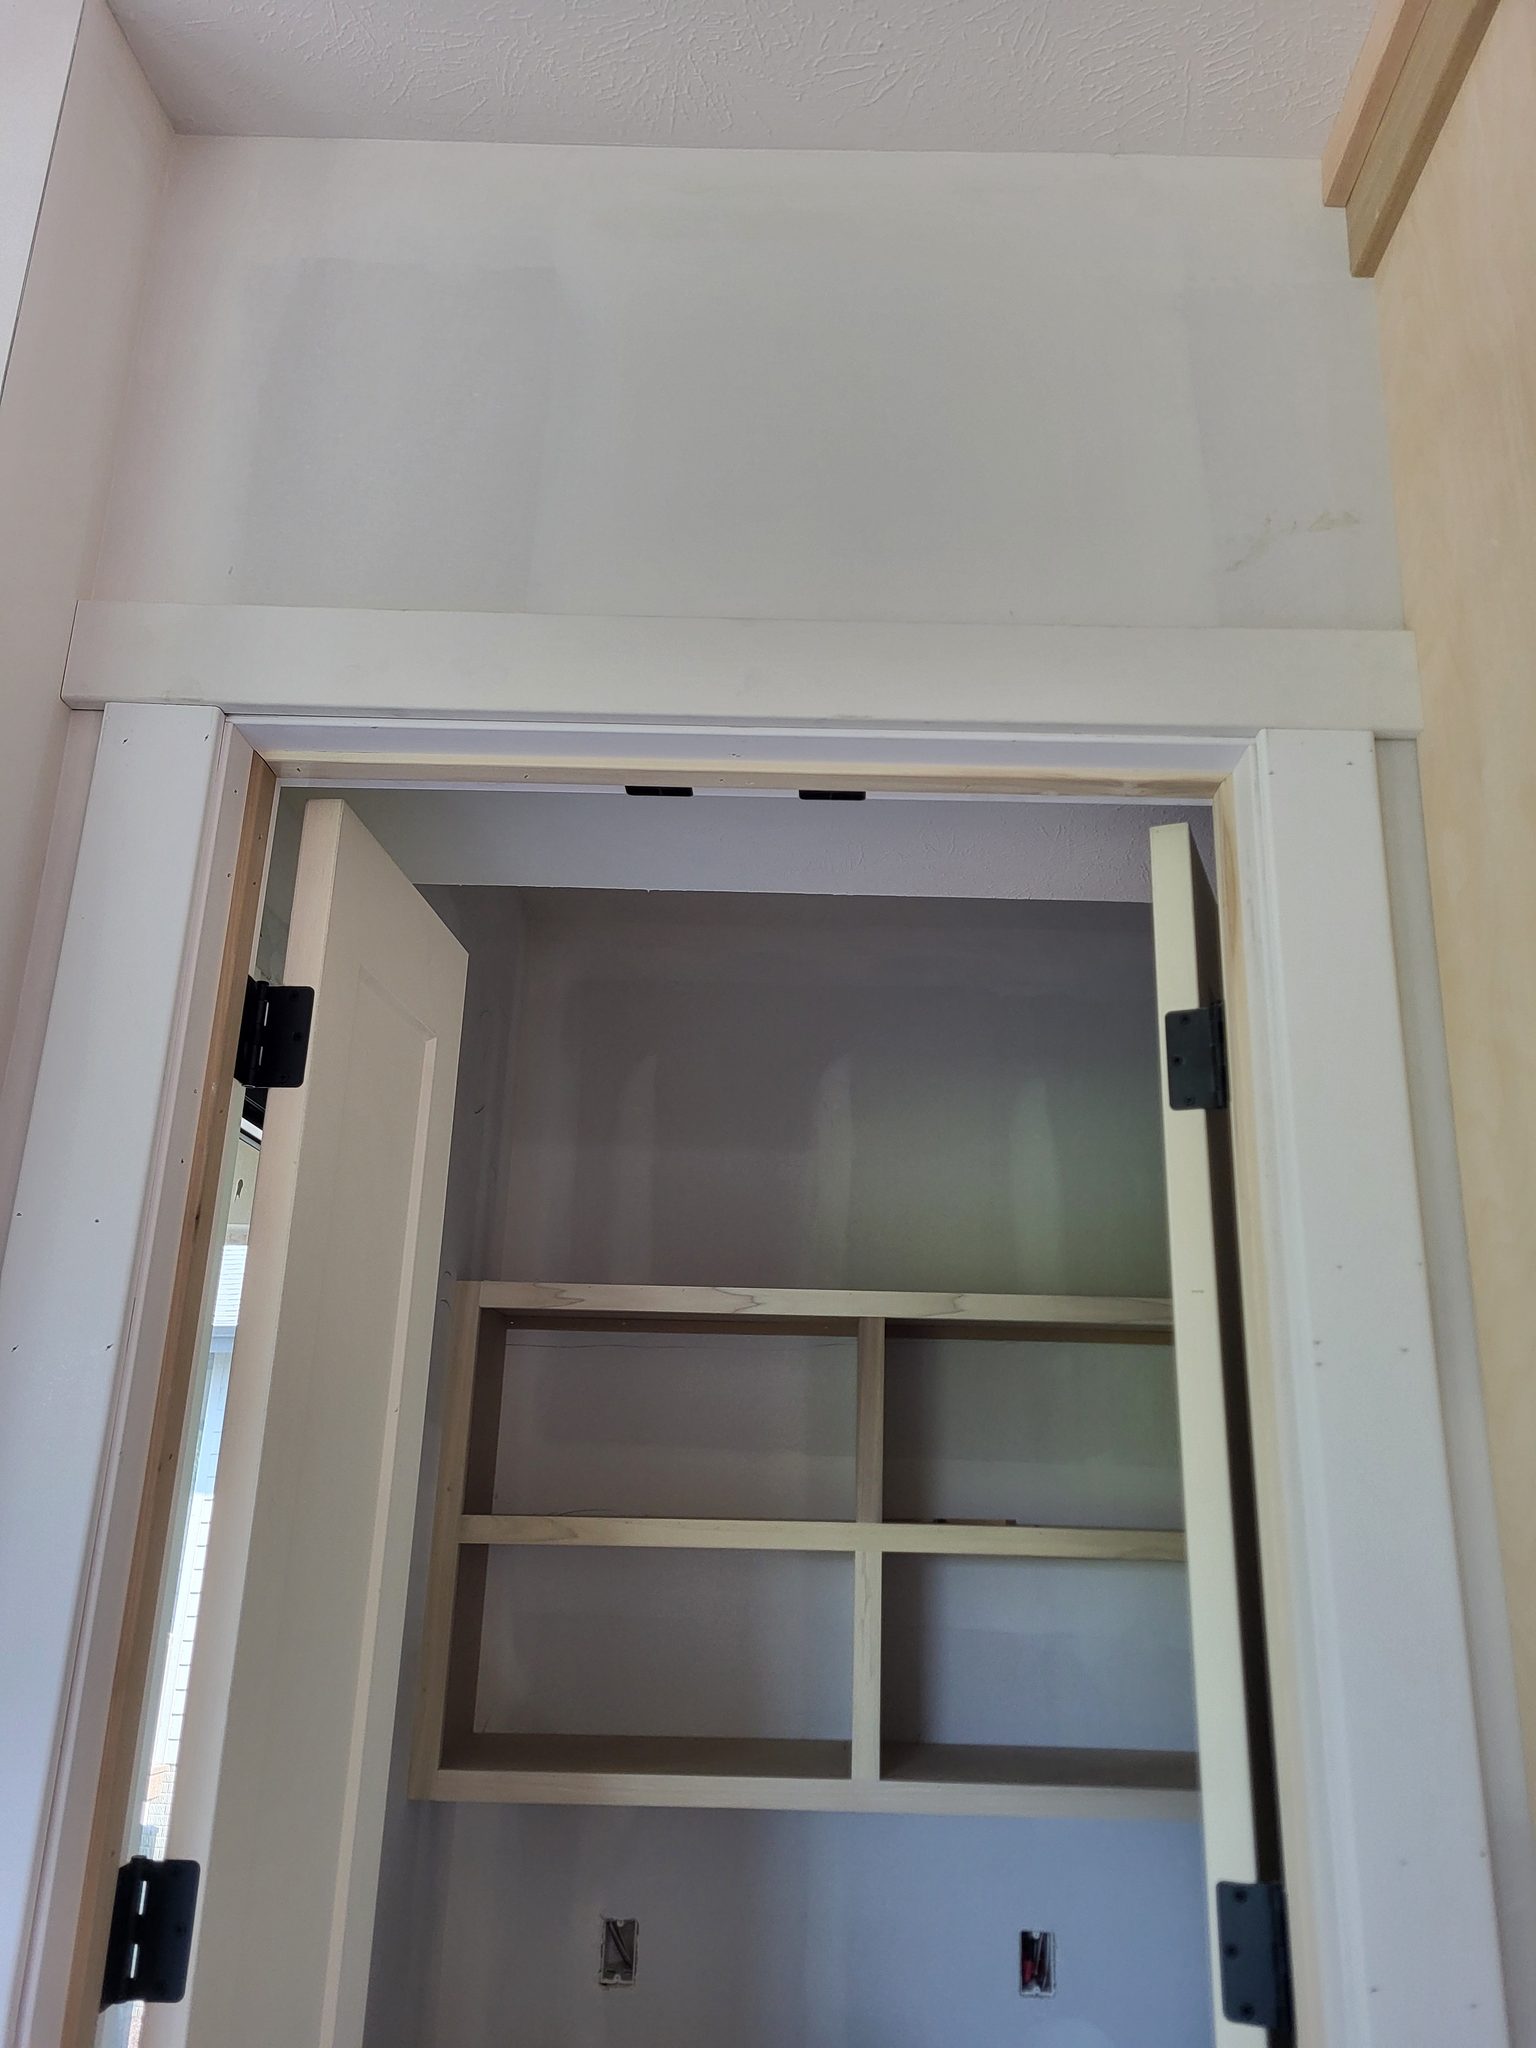
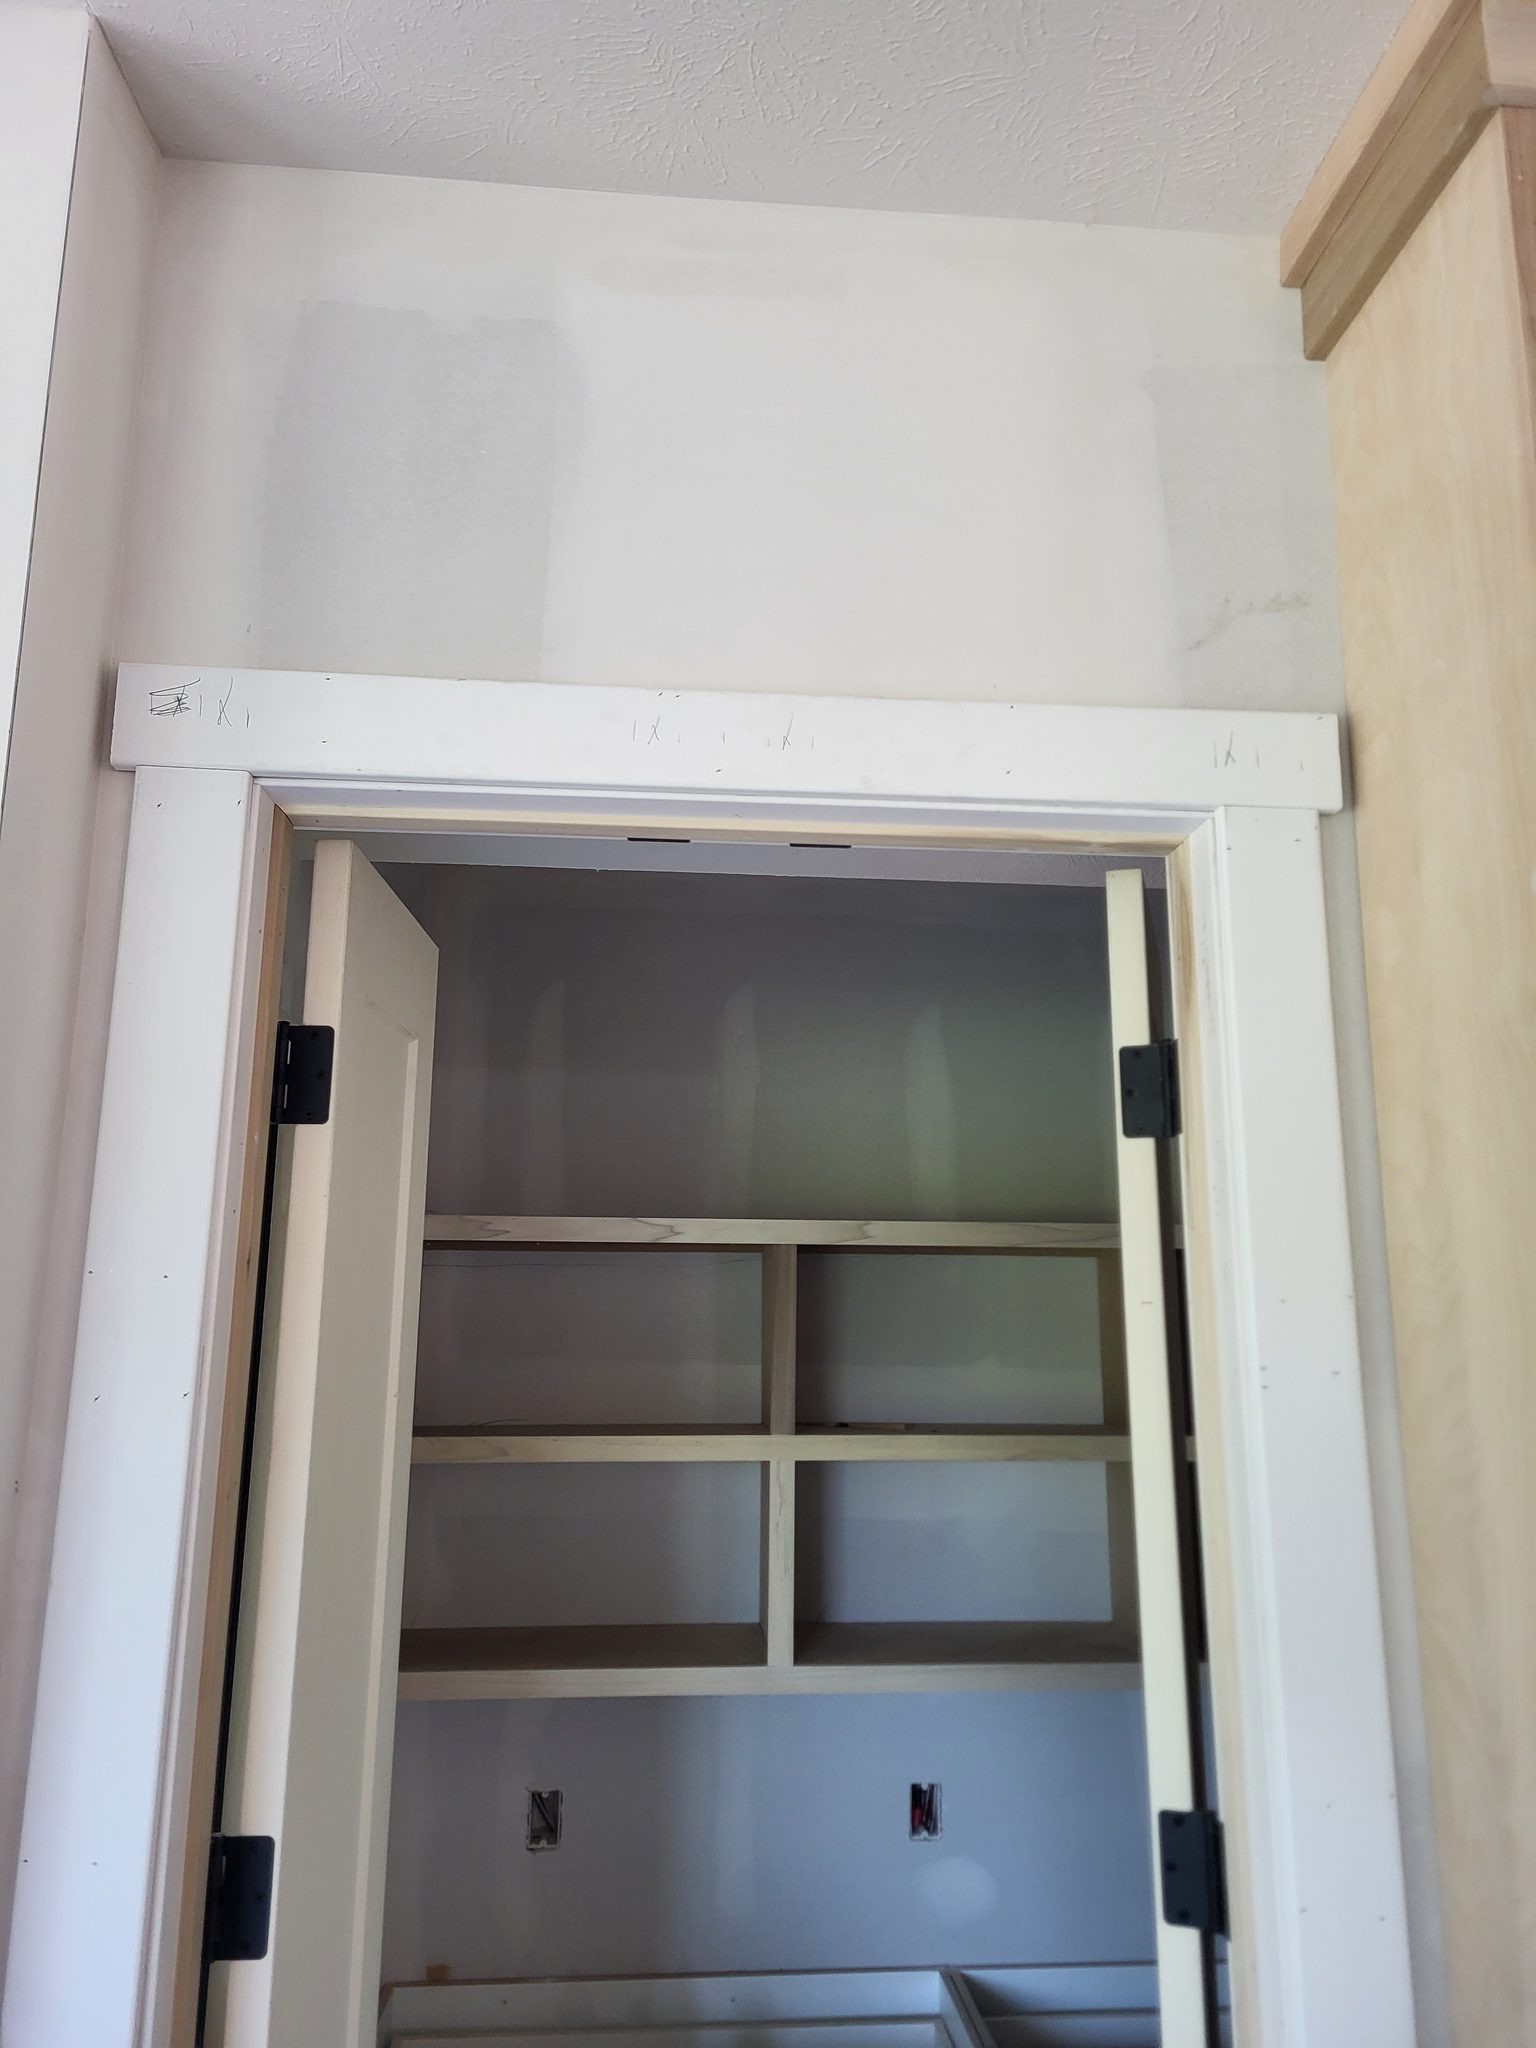
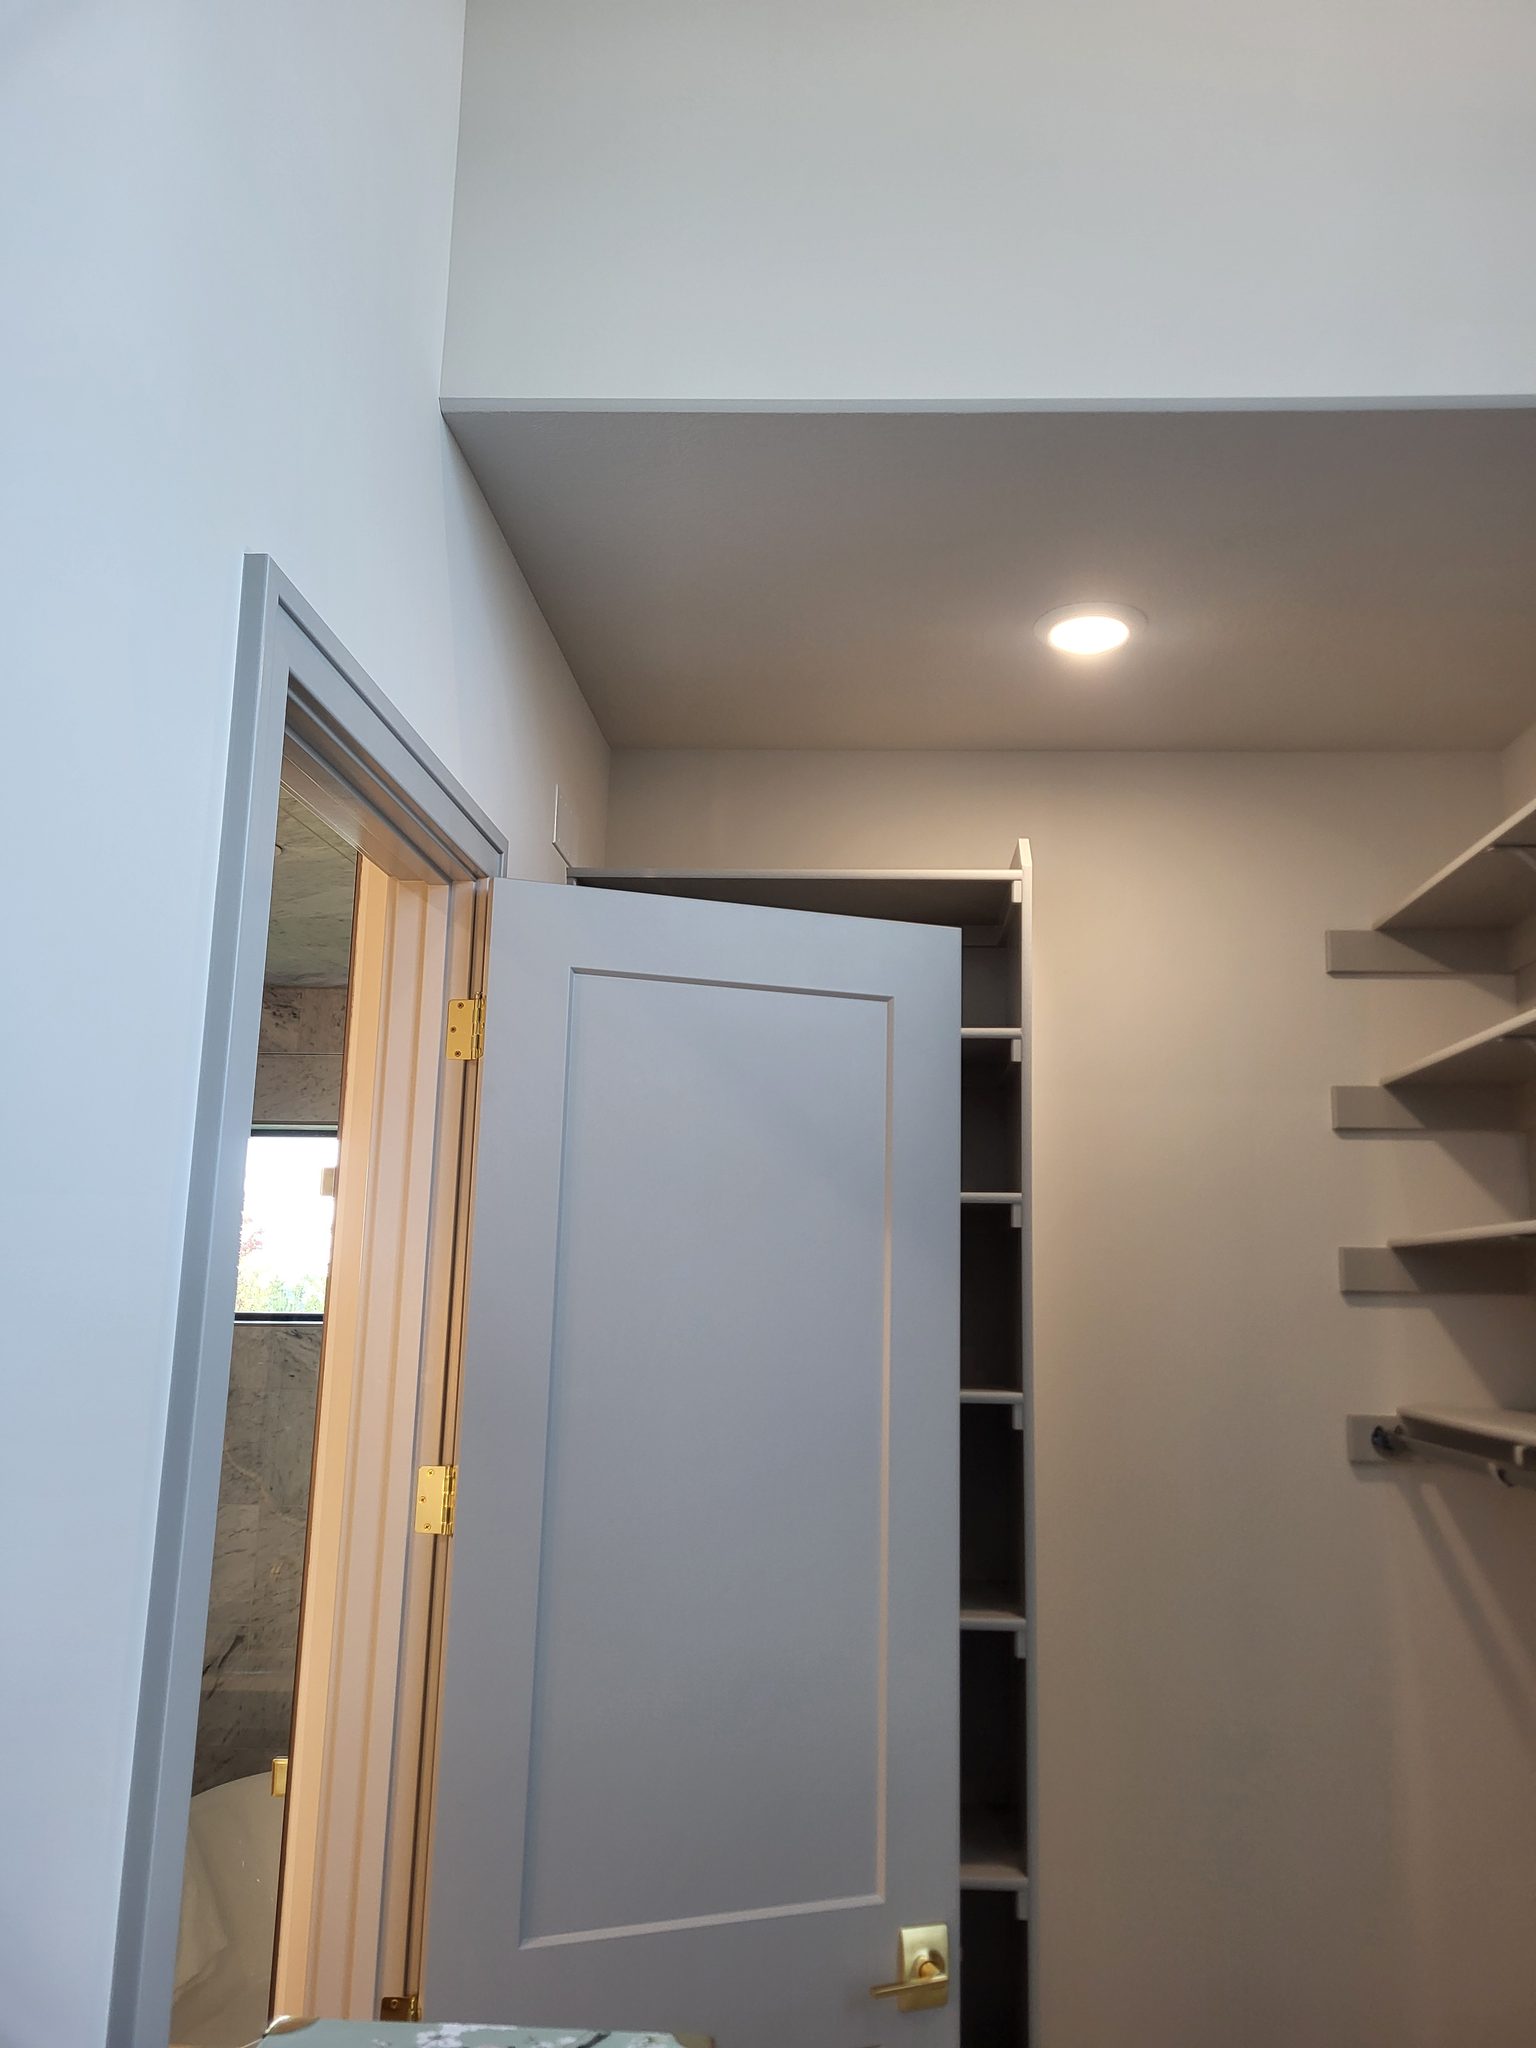
Closet opening with painted jamb, casing, and black hinges installed; shelving interior visible, doors not yet hung.
Face-frame closet shelving with painted shelves, wood rod, and textured backing board—multi-tier installation.
Custom built-in bookcase with raw wood shelves and brackets, ready for finishing.
Closet hanging rod with natural wood finish installed on painted white wall with casing trim.
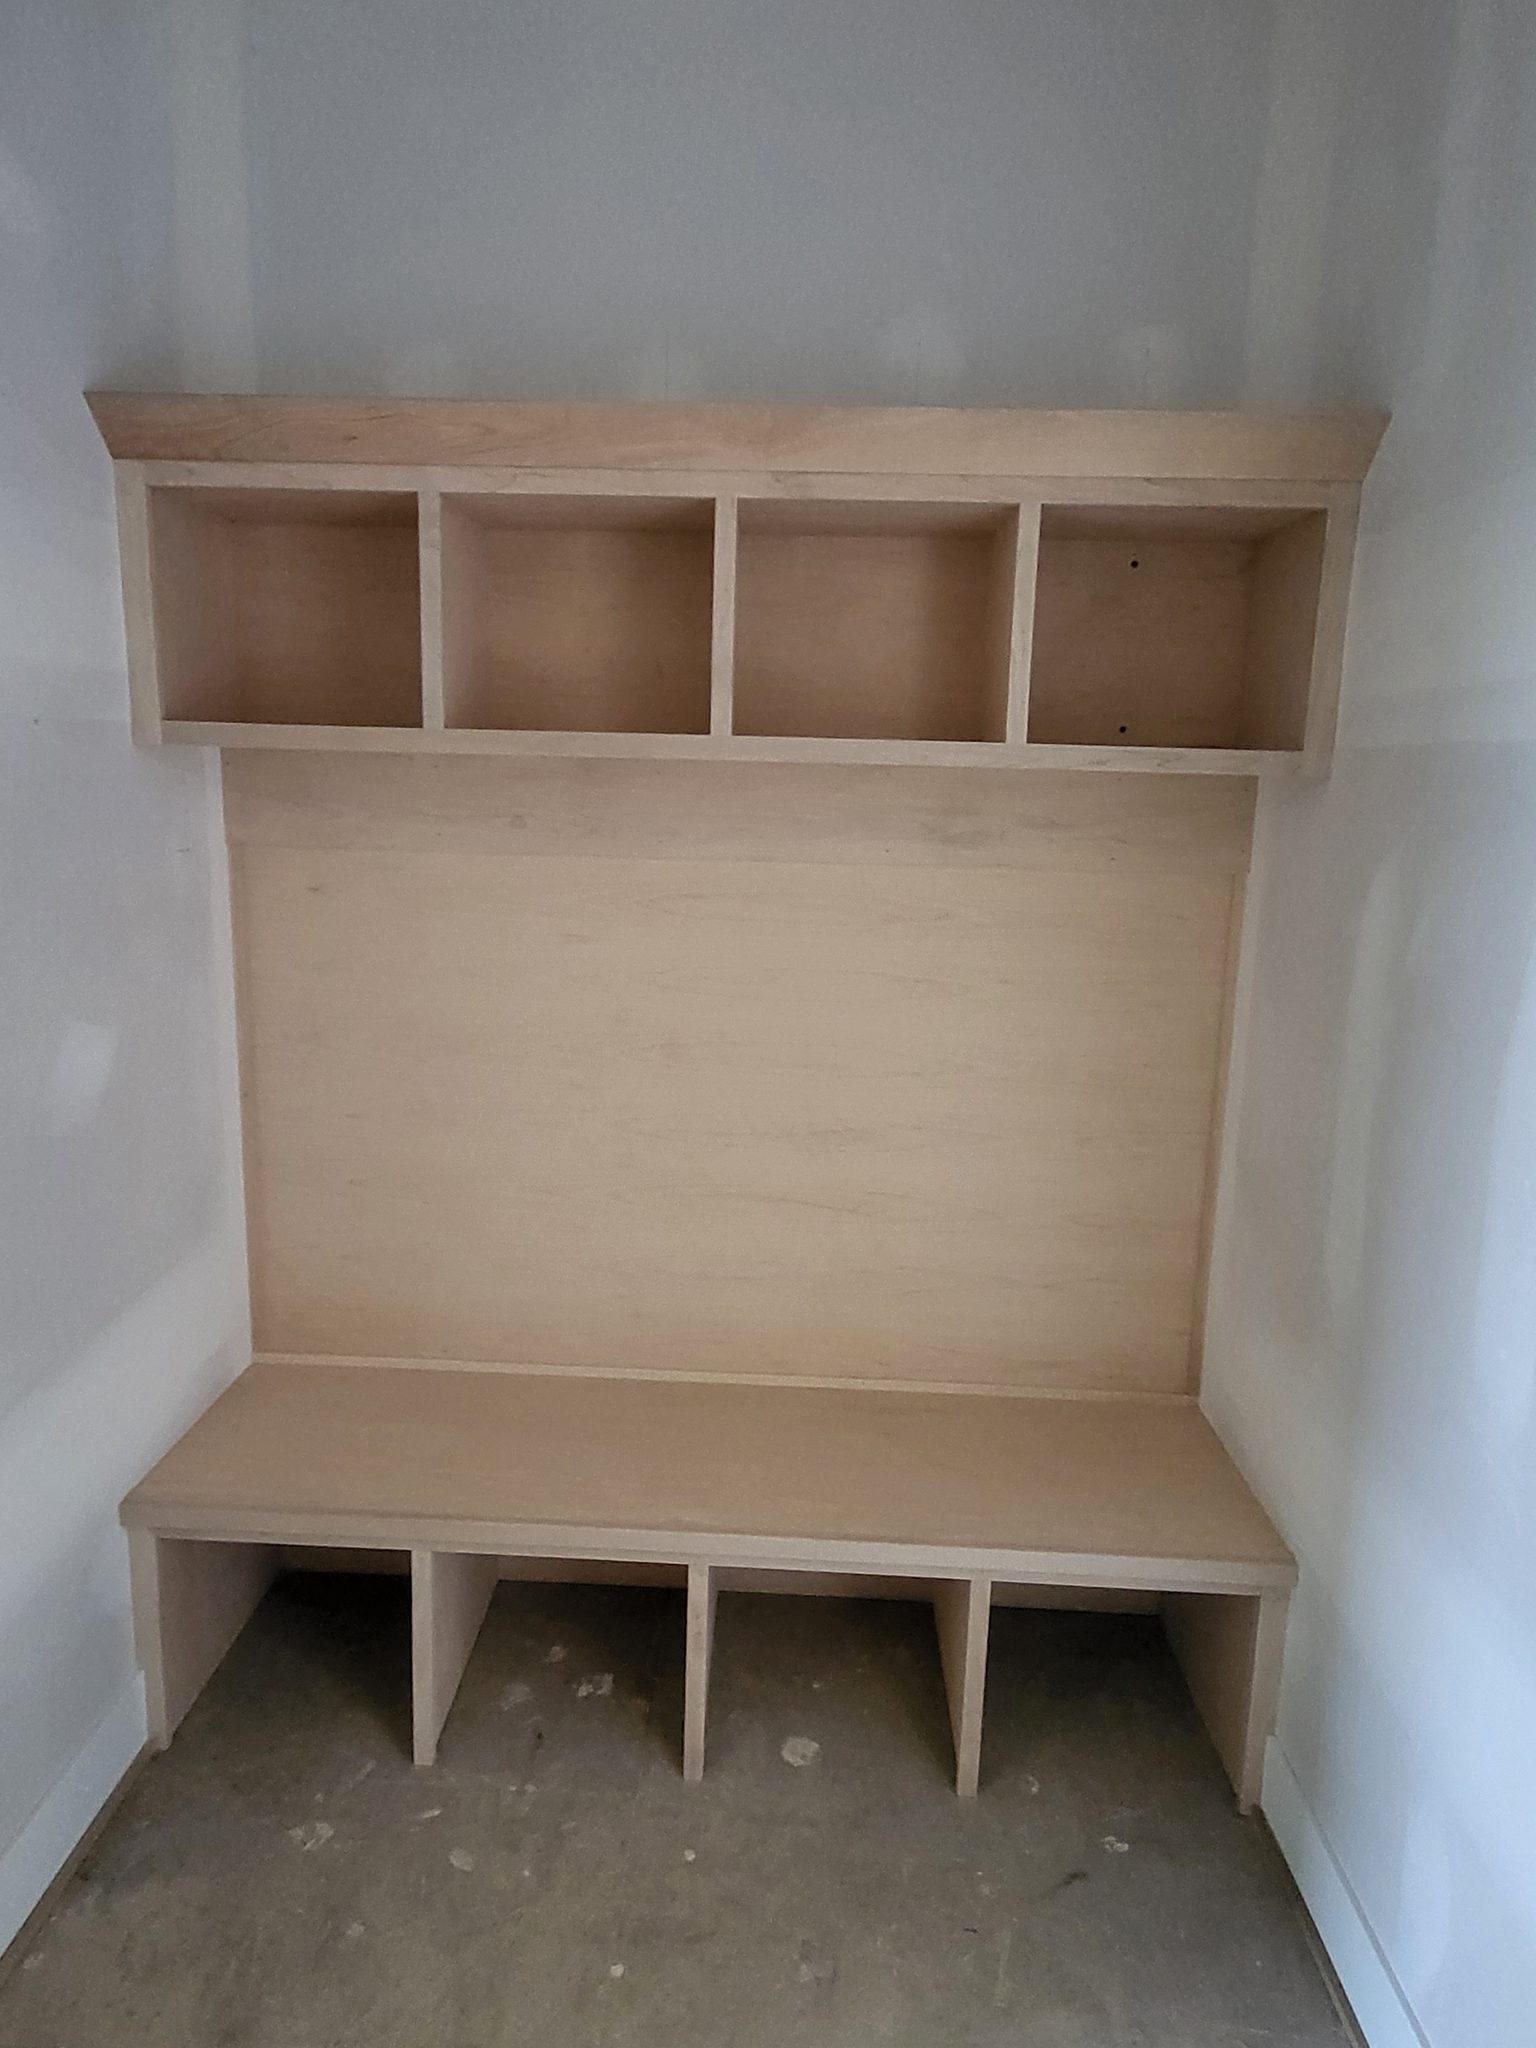
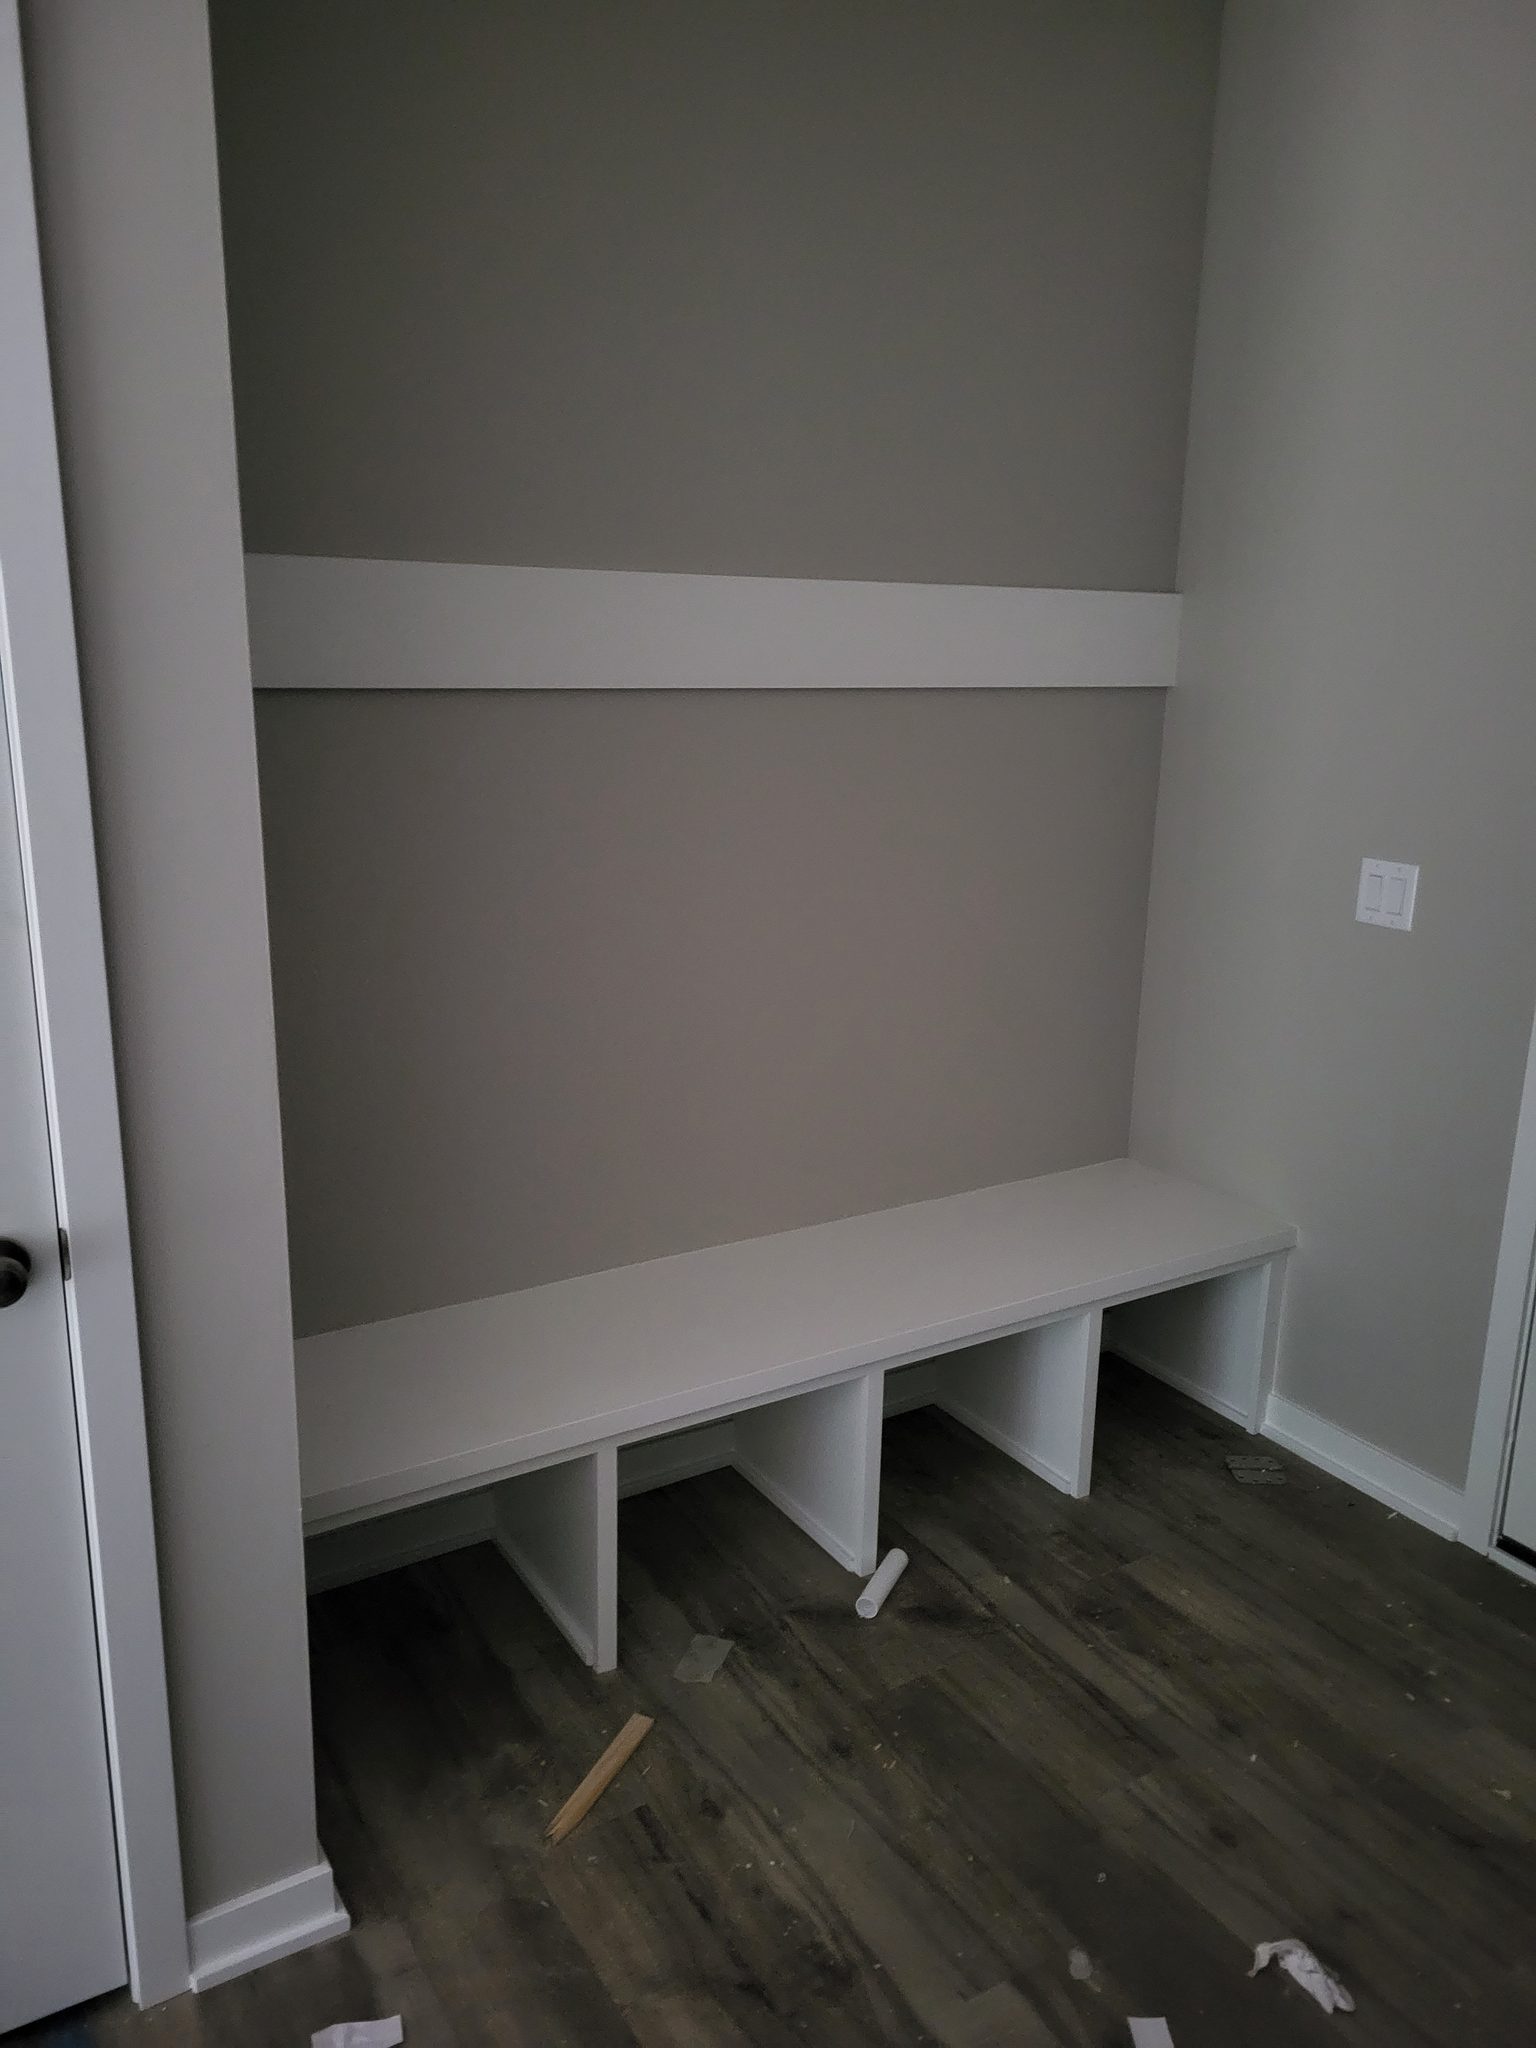
Custom built-in mudroom locker with four open cubbies on lower tier, solid middle shelf, and four upper cubbies—raw wood, ready for paint.
Walk-in closet with multiple shelves and hanging rod installed on wood cleats and brackets, raw wood finish.
Painted face-frame closet shelving with horizontal divider and lower countertop shelf with open cubbies.
Custom built-in bookcase with multiple shelves and dividers, raw wood ready for paint.
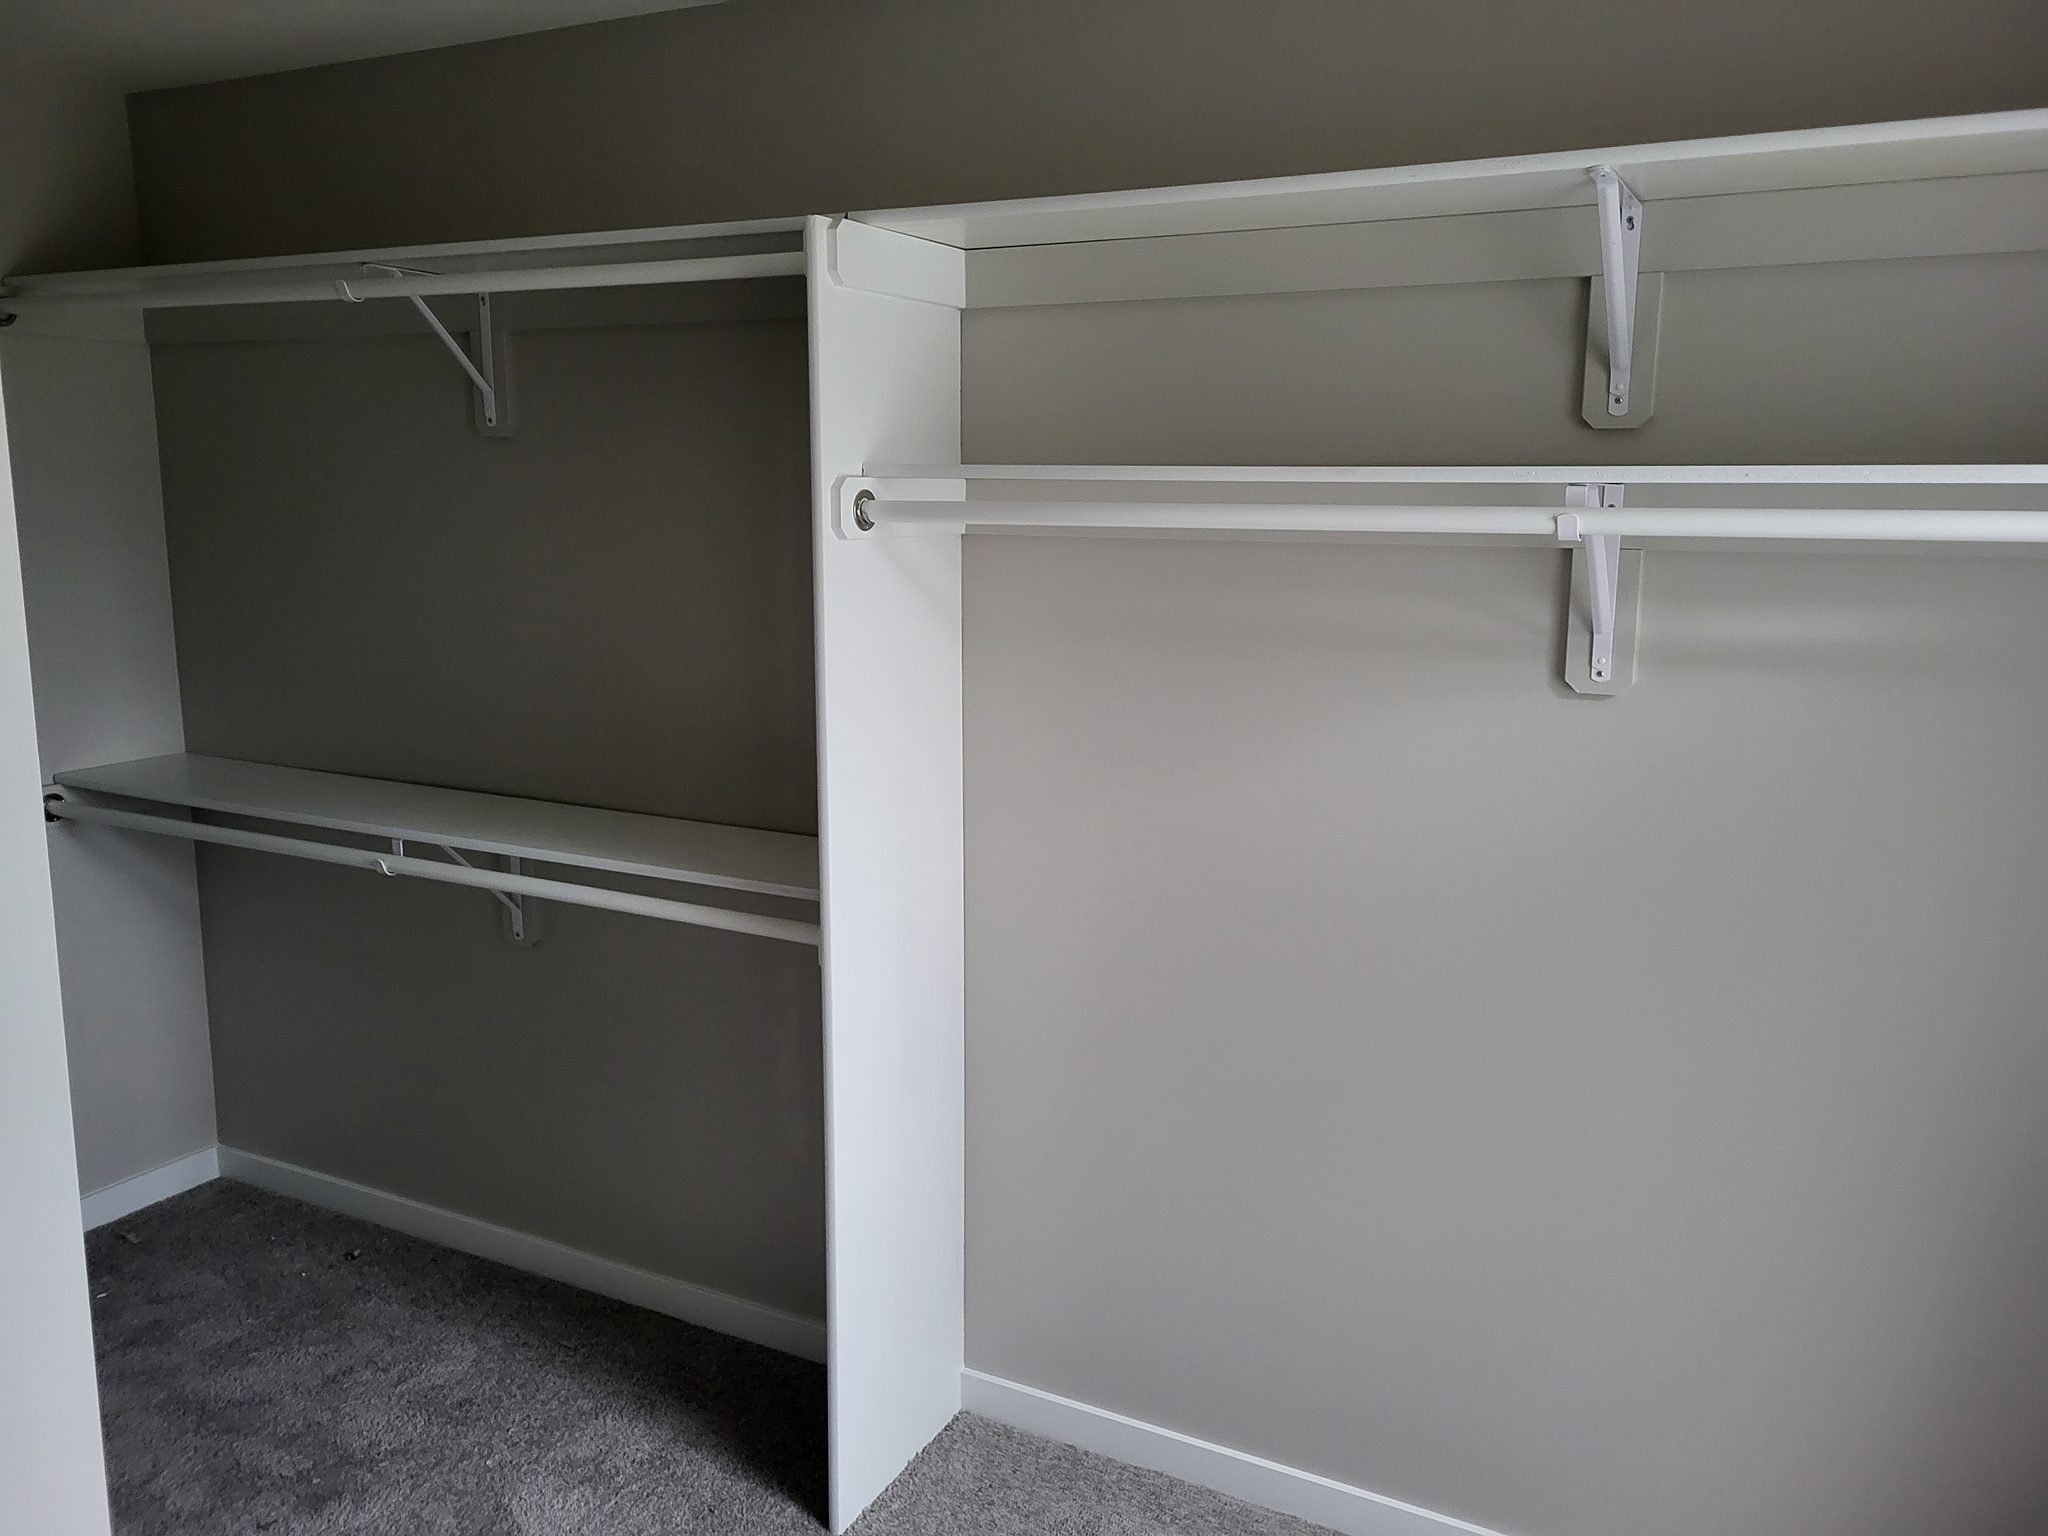
Closet shelving system with painted cabinet base, three shelves, and wire hanging rods installed.
Custom built-in shelving with multiple tiers, vertical dividers, and particle board shelves ready for finish.
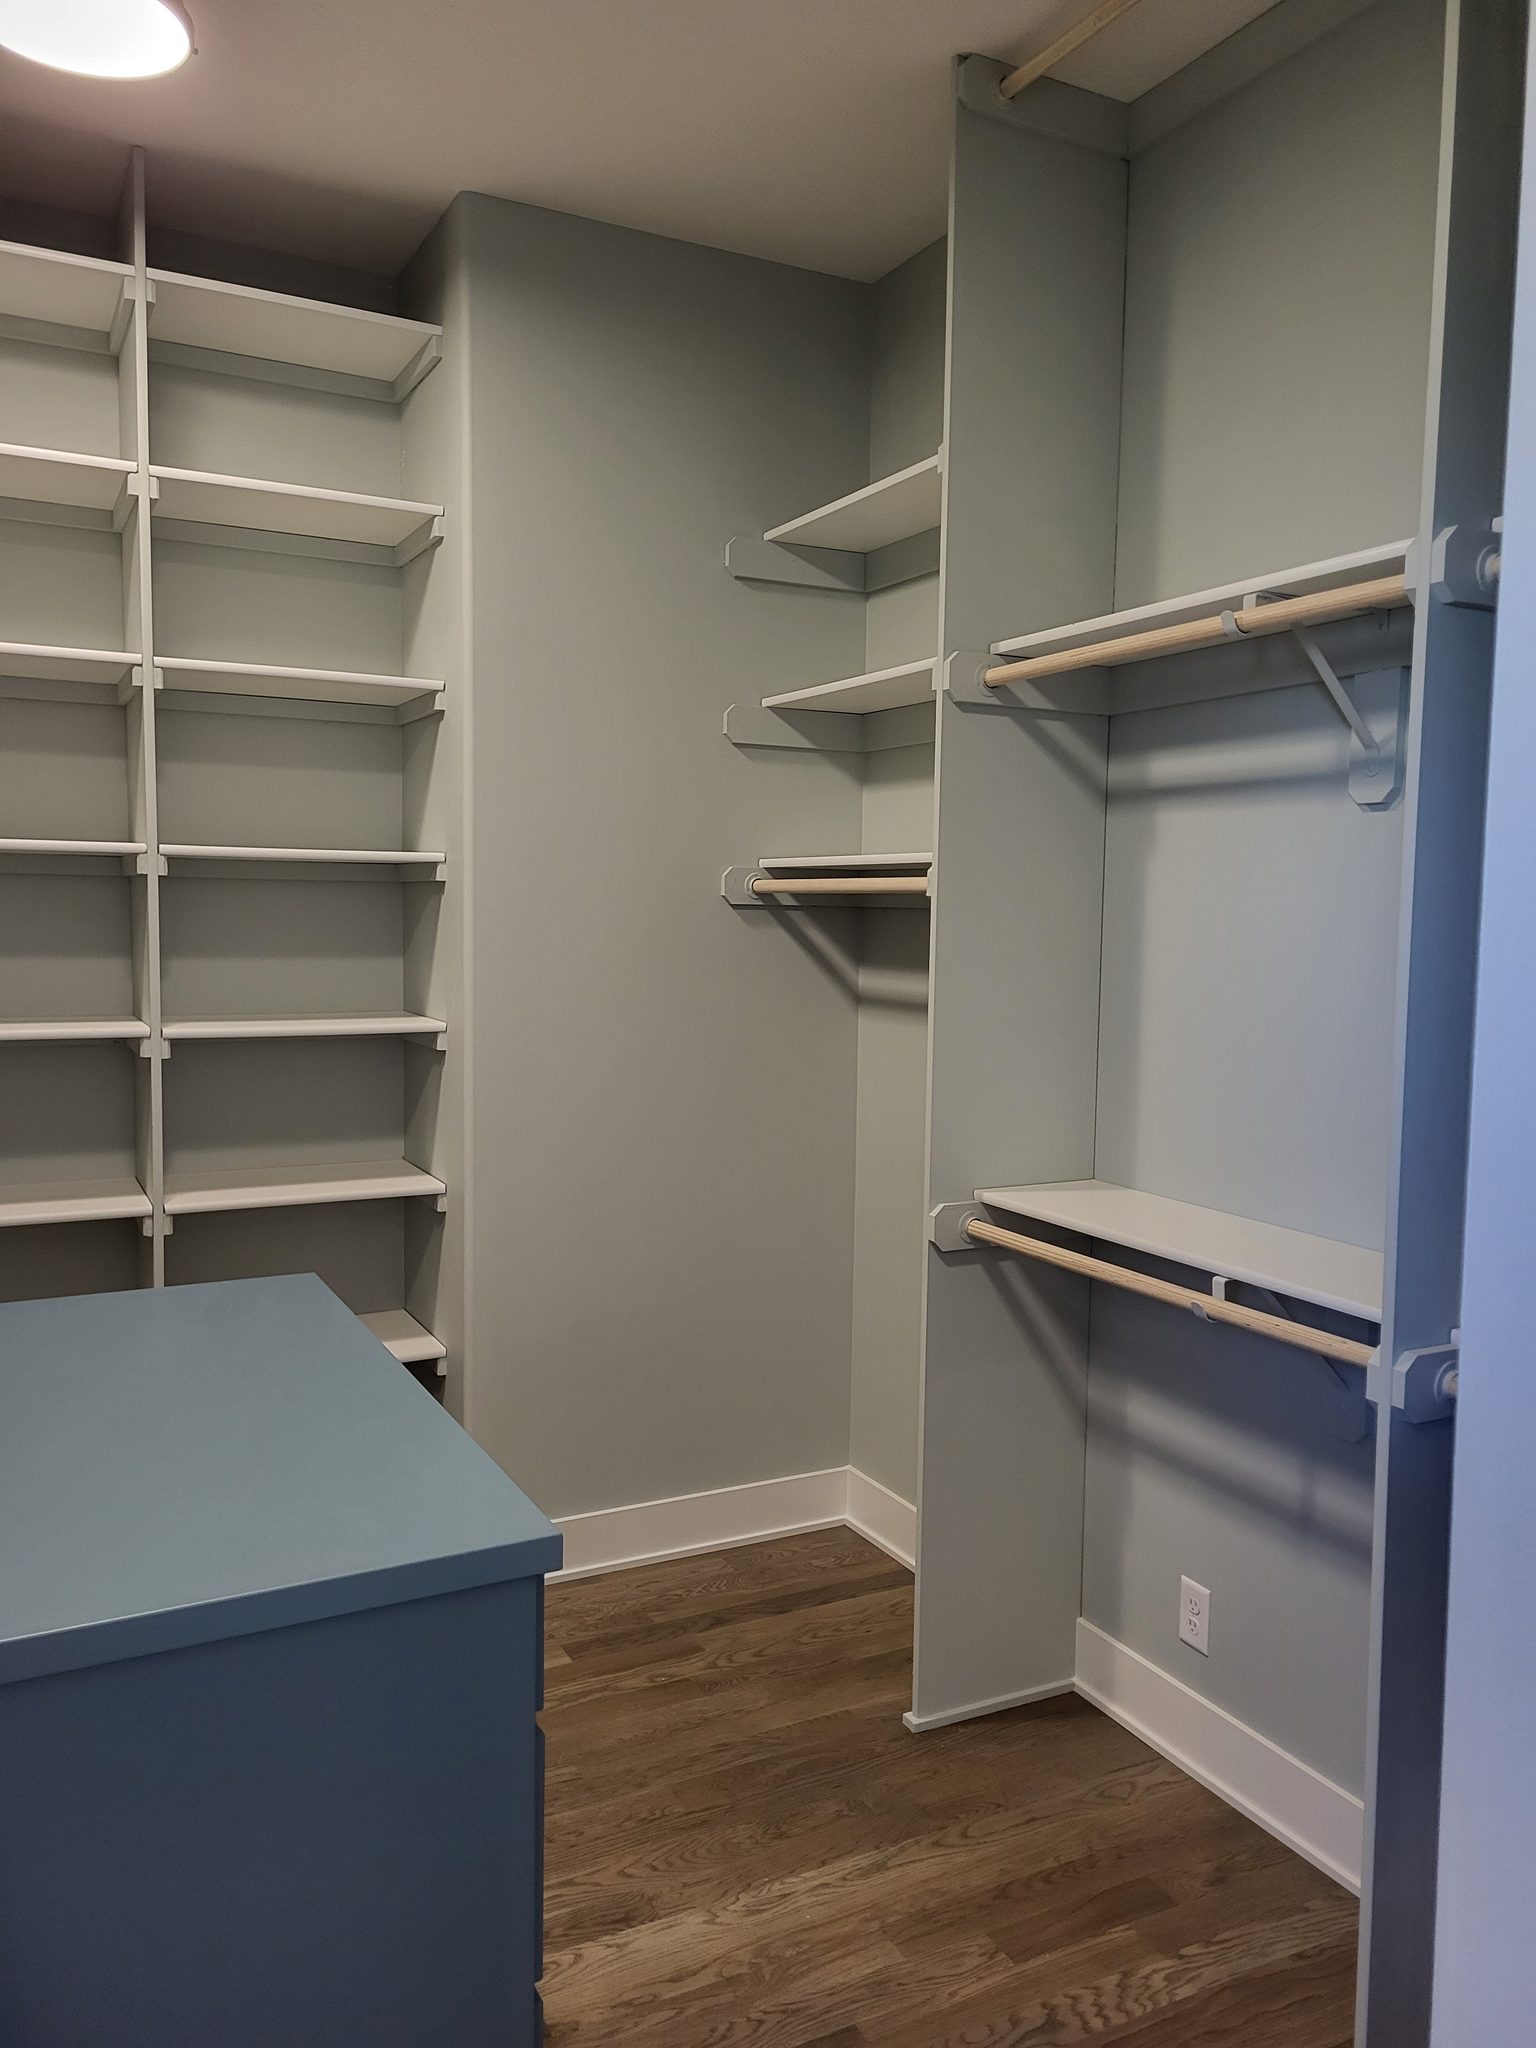
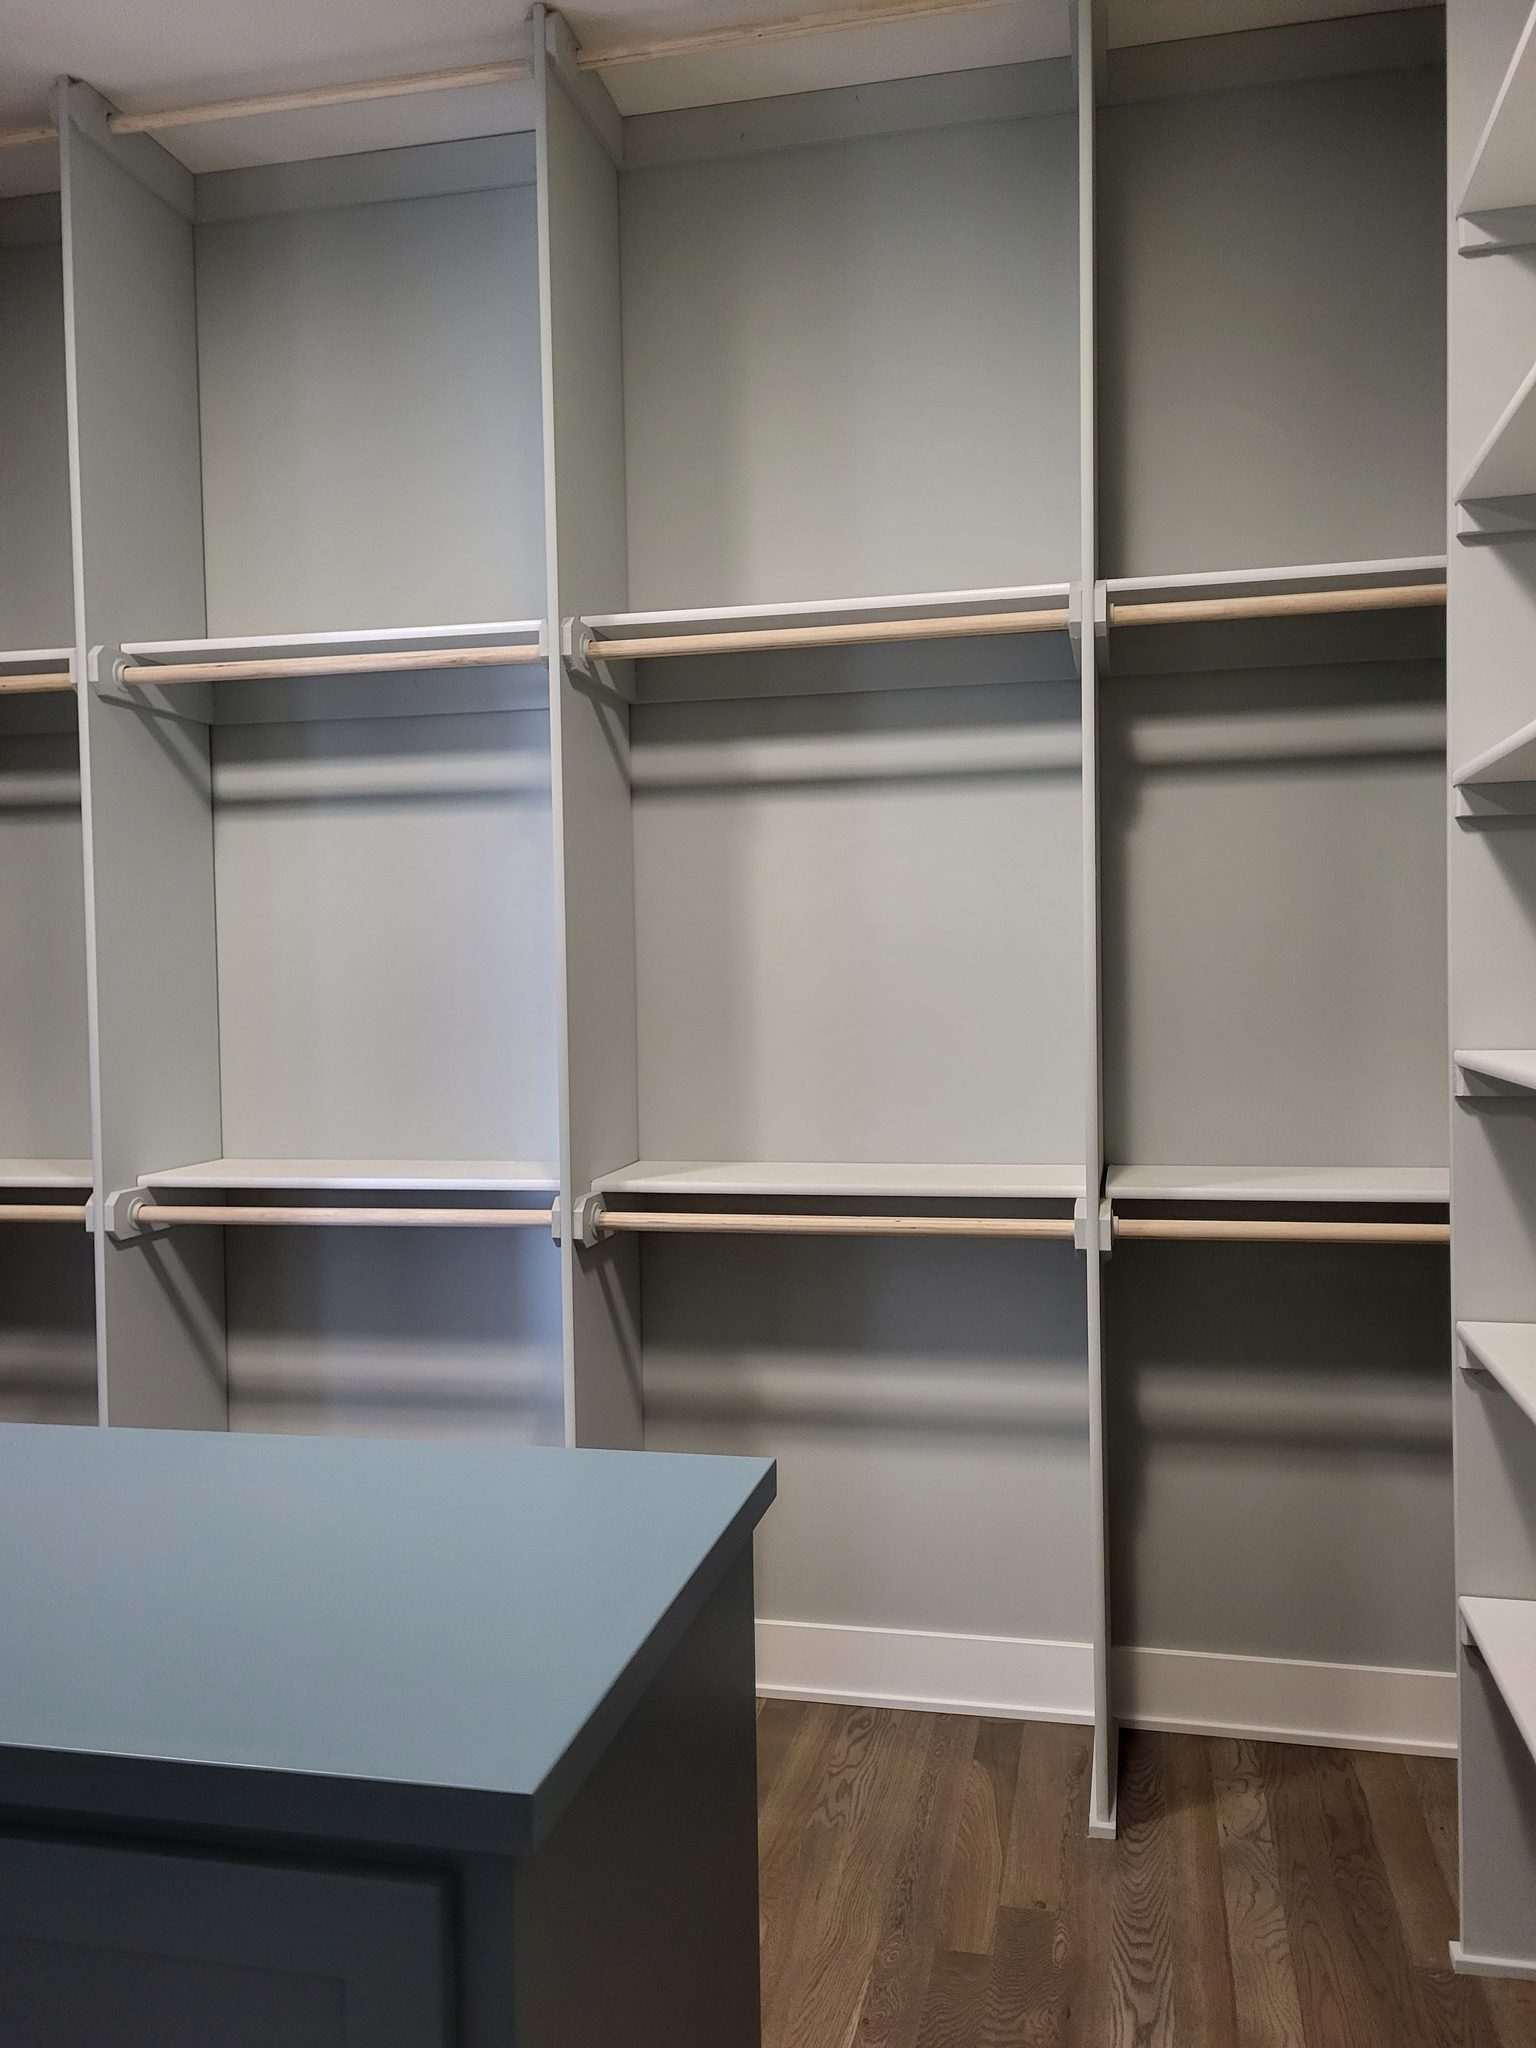
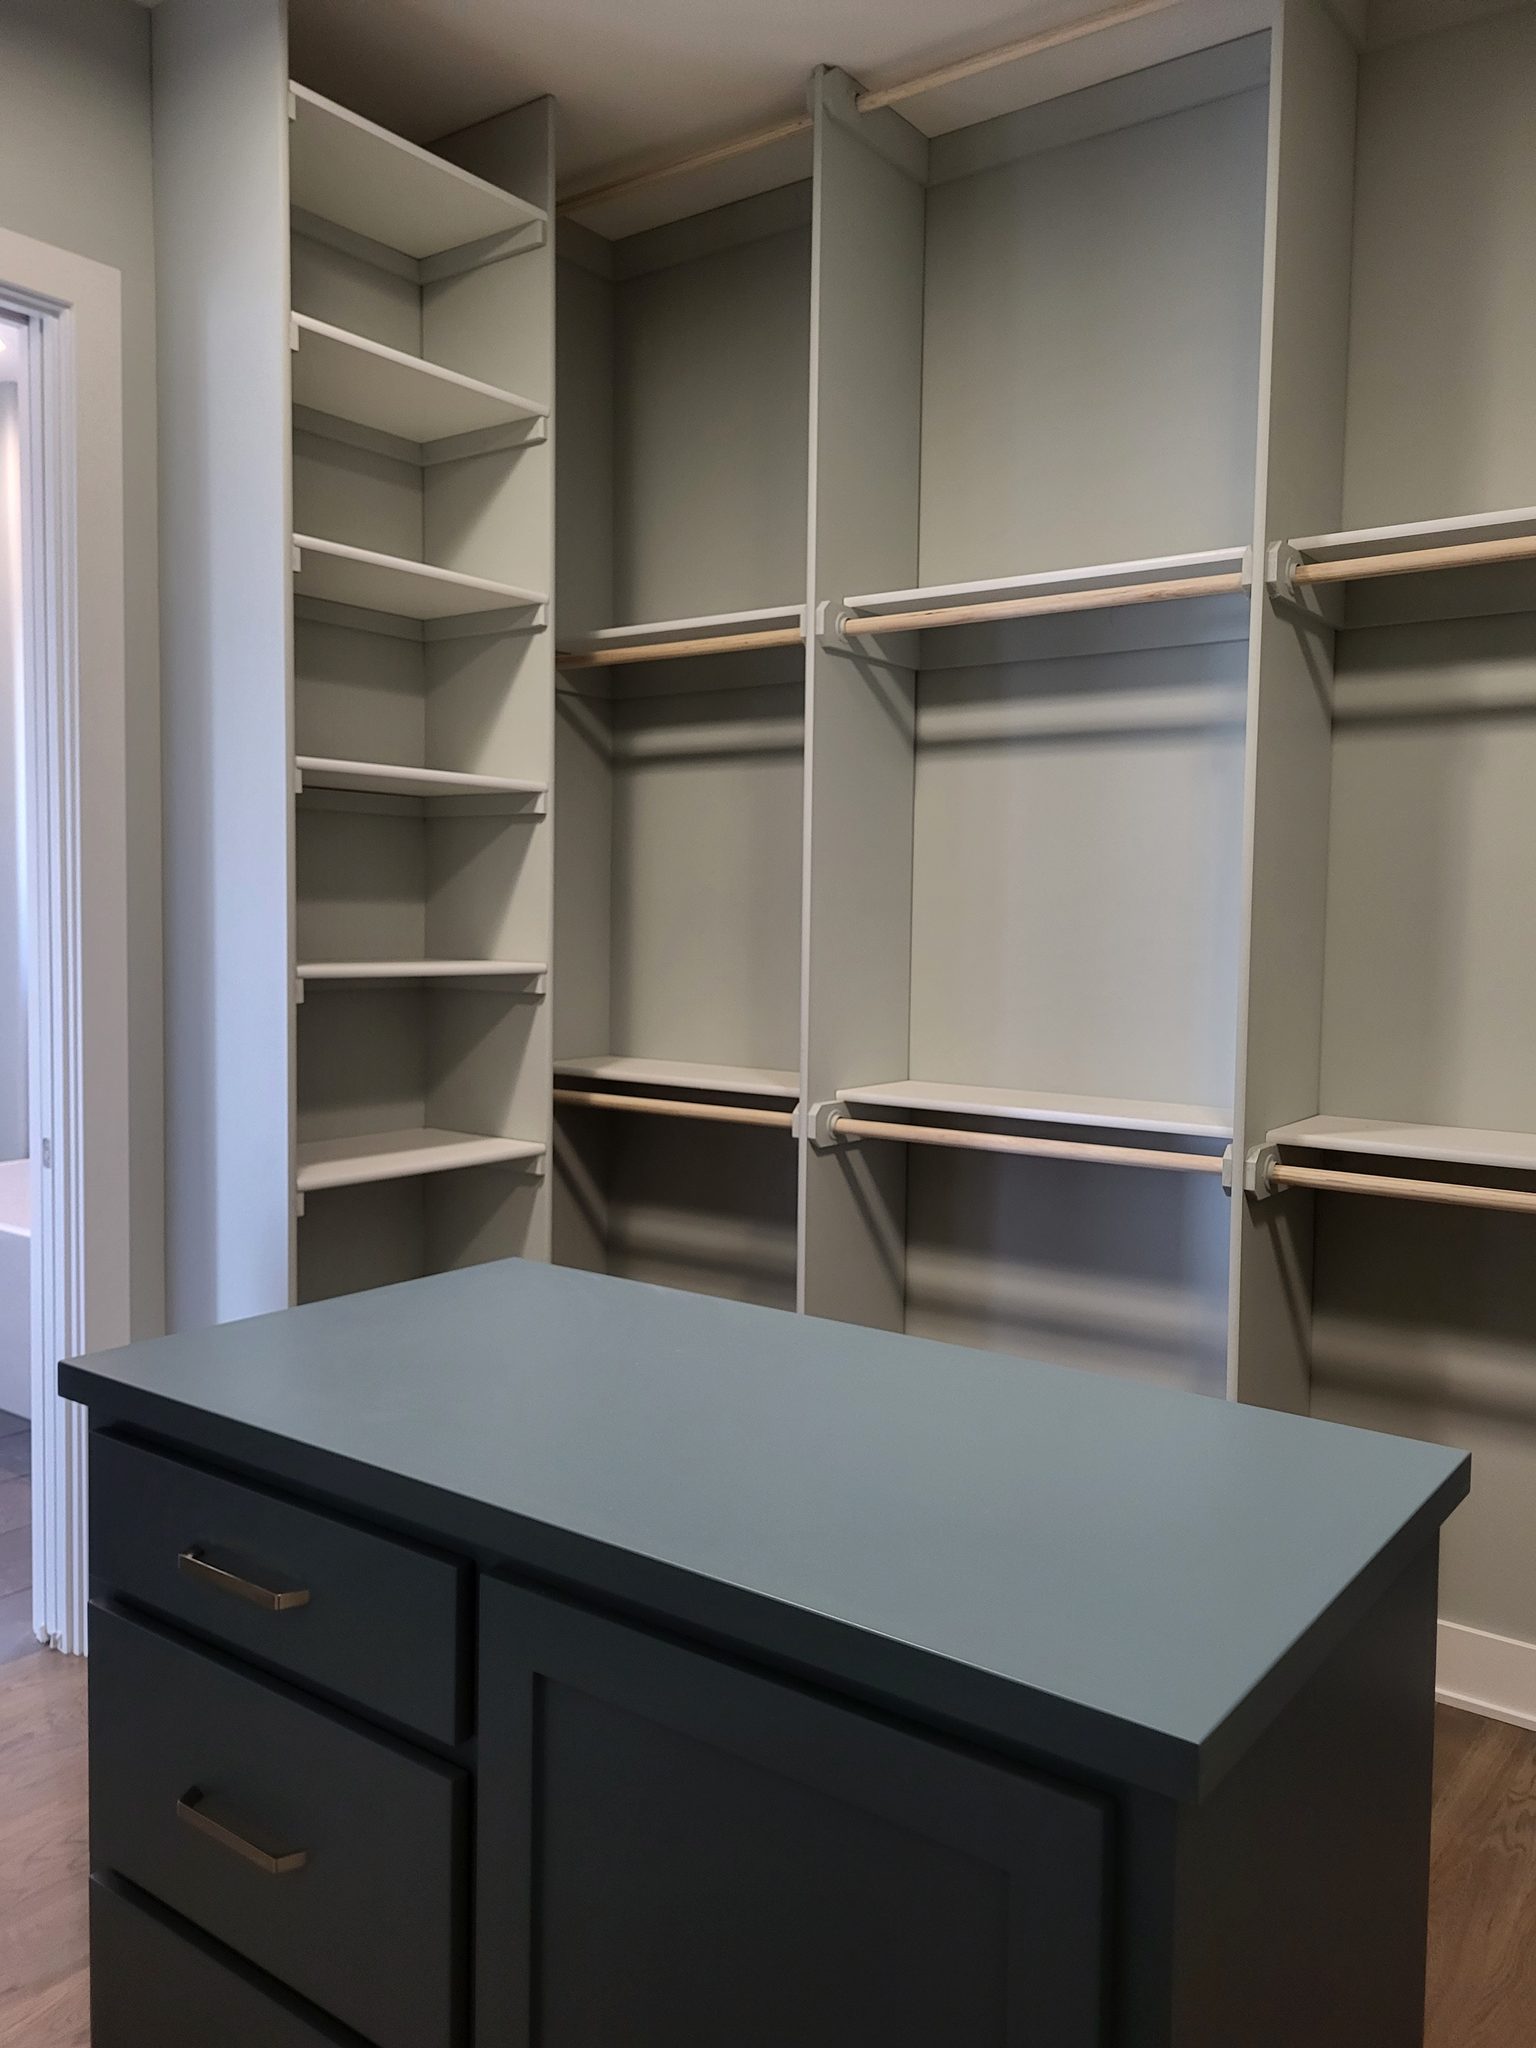
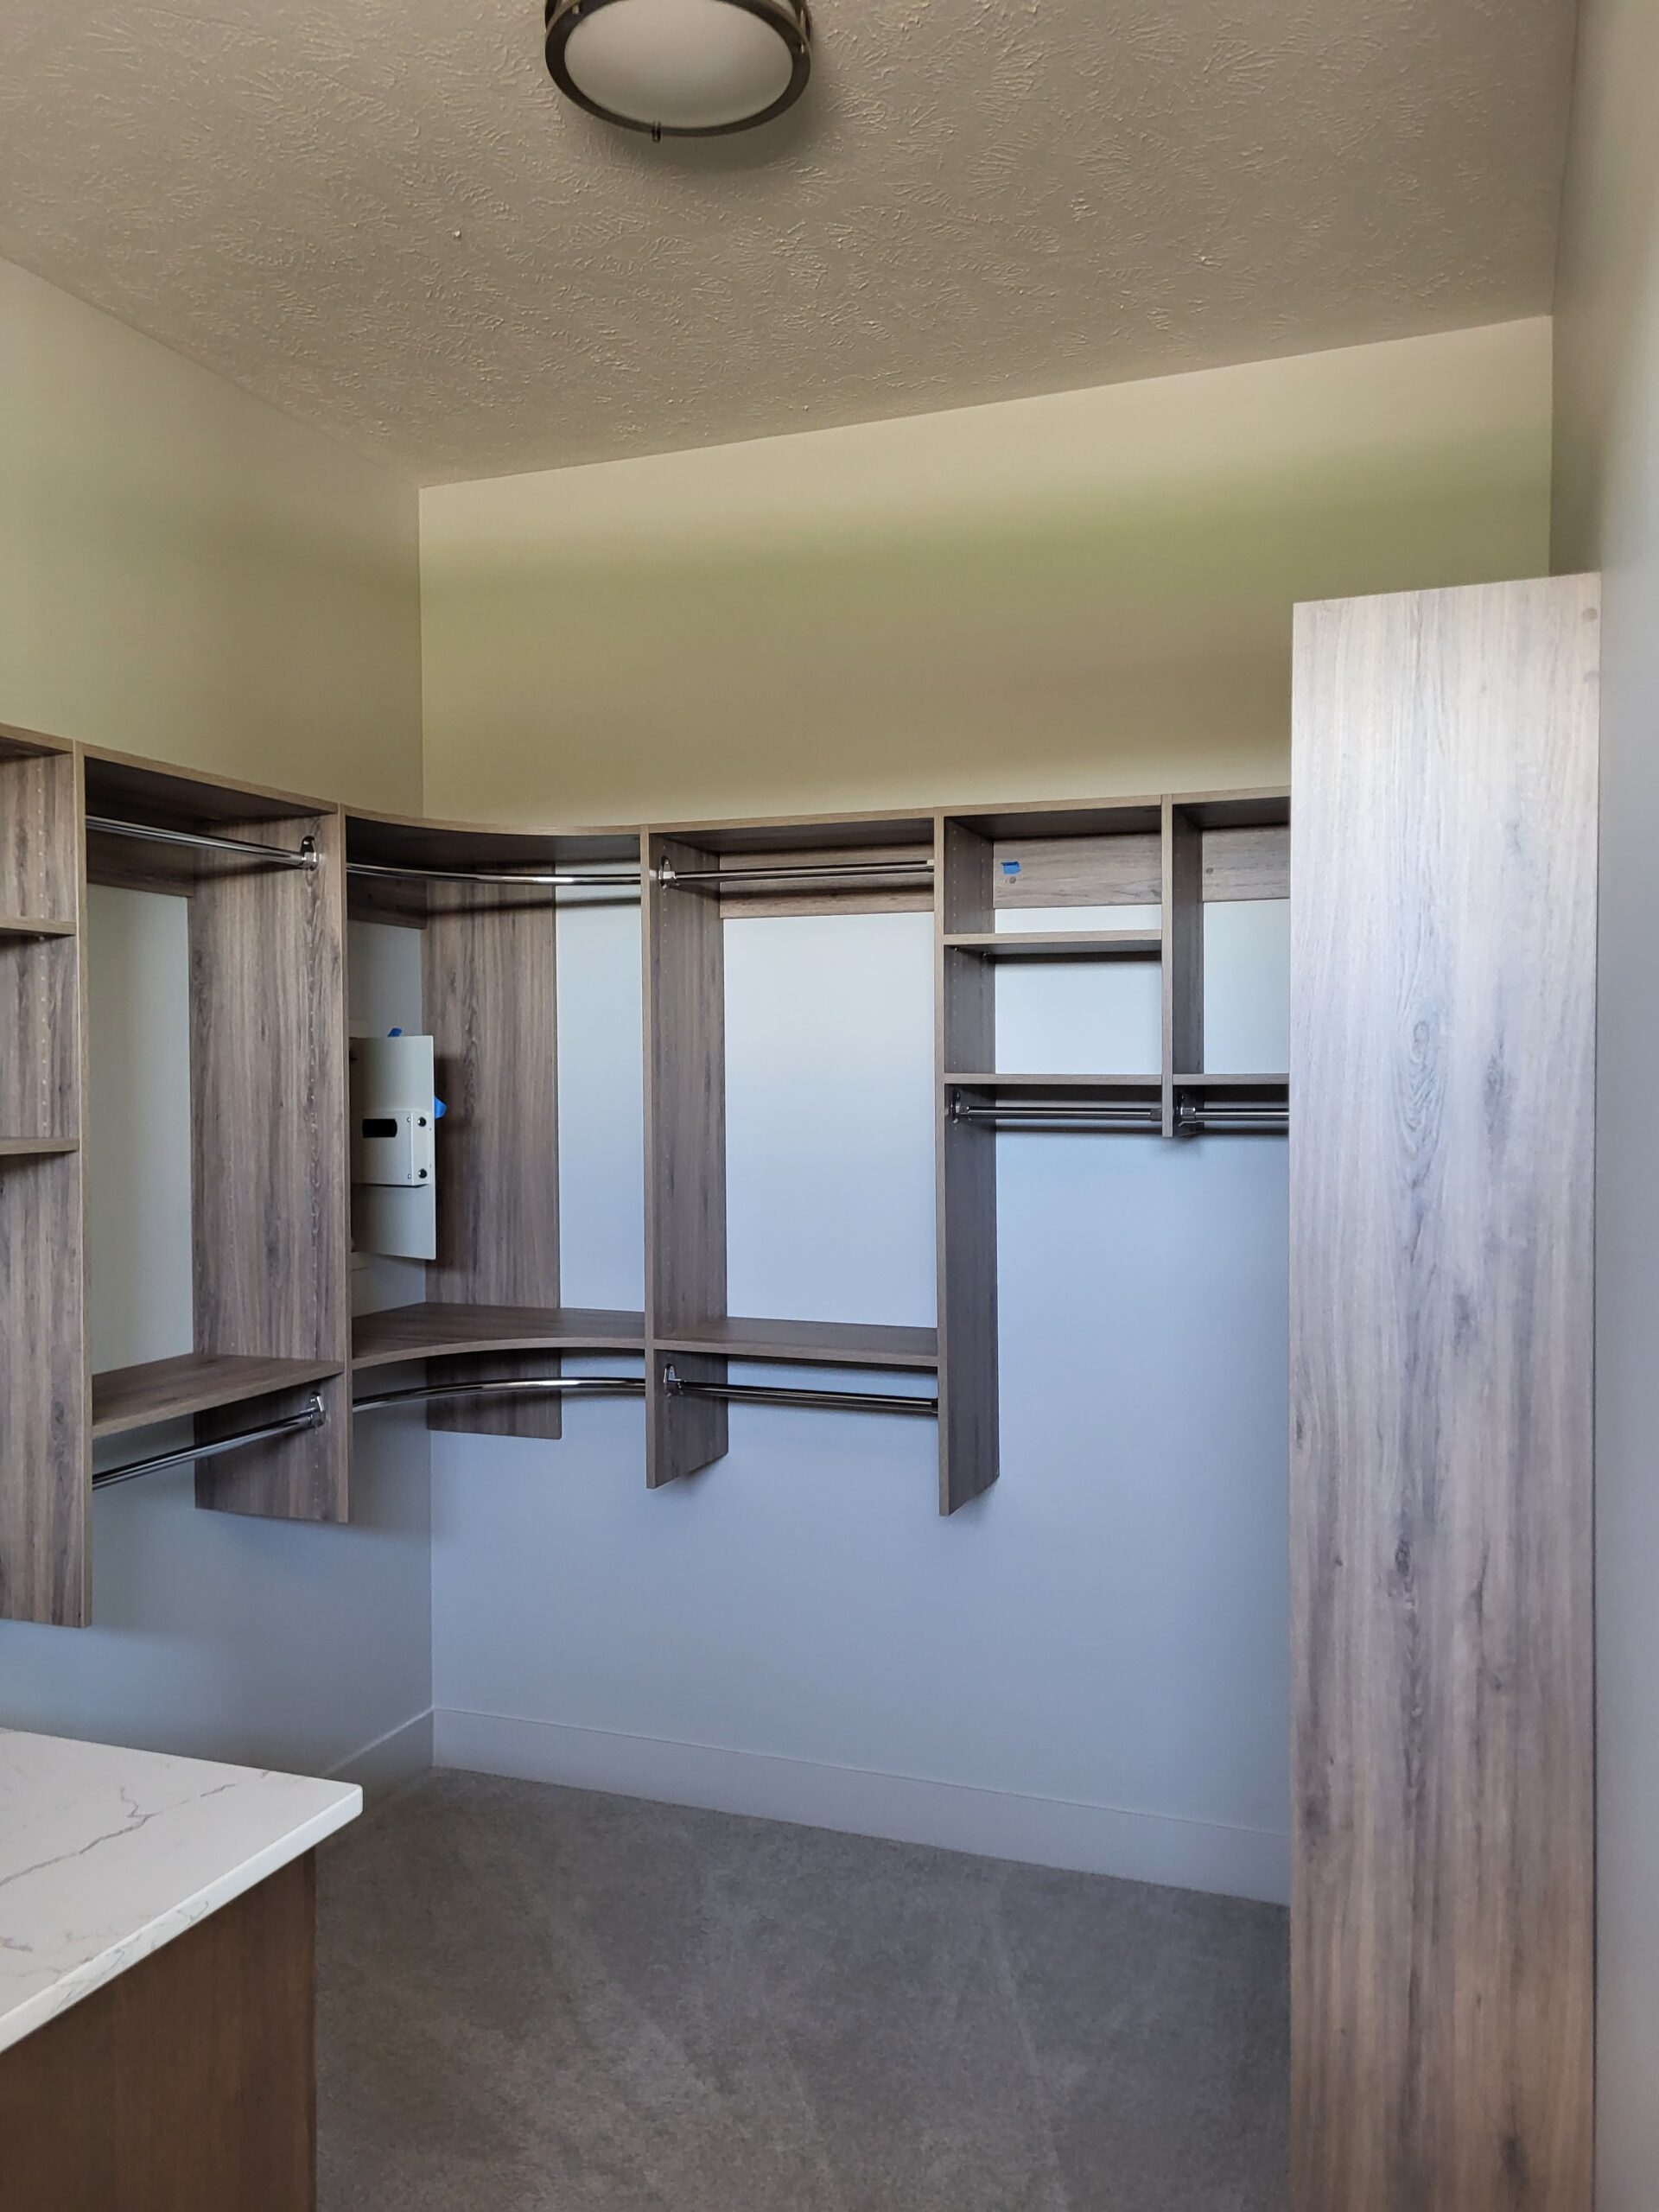
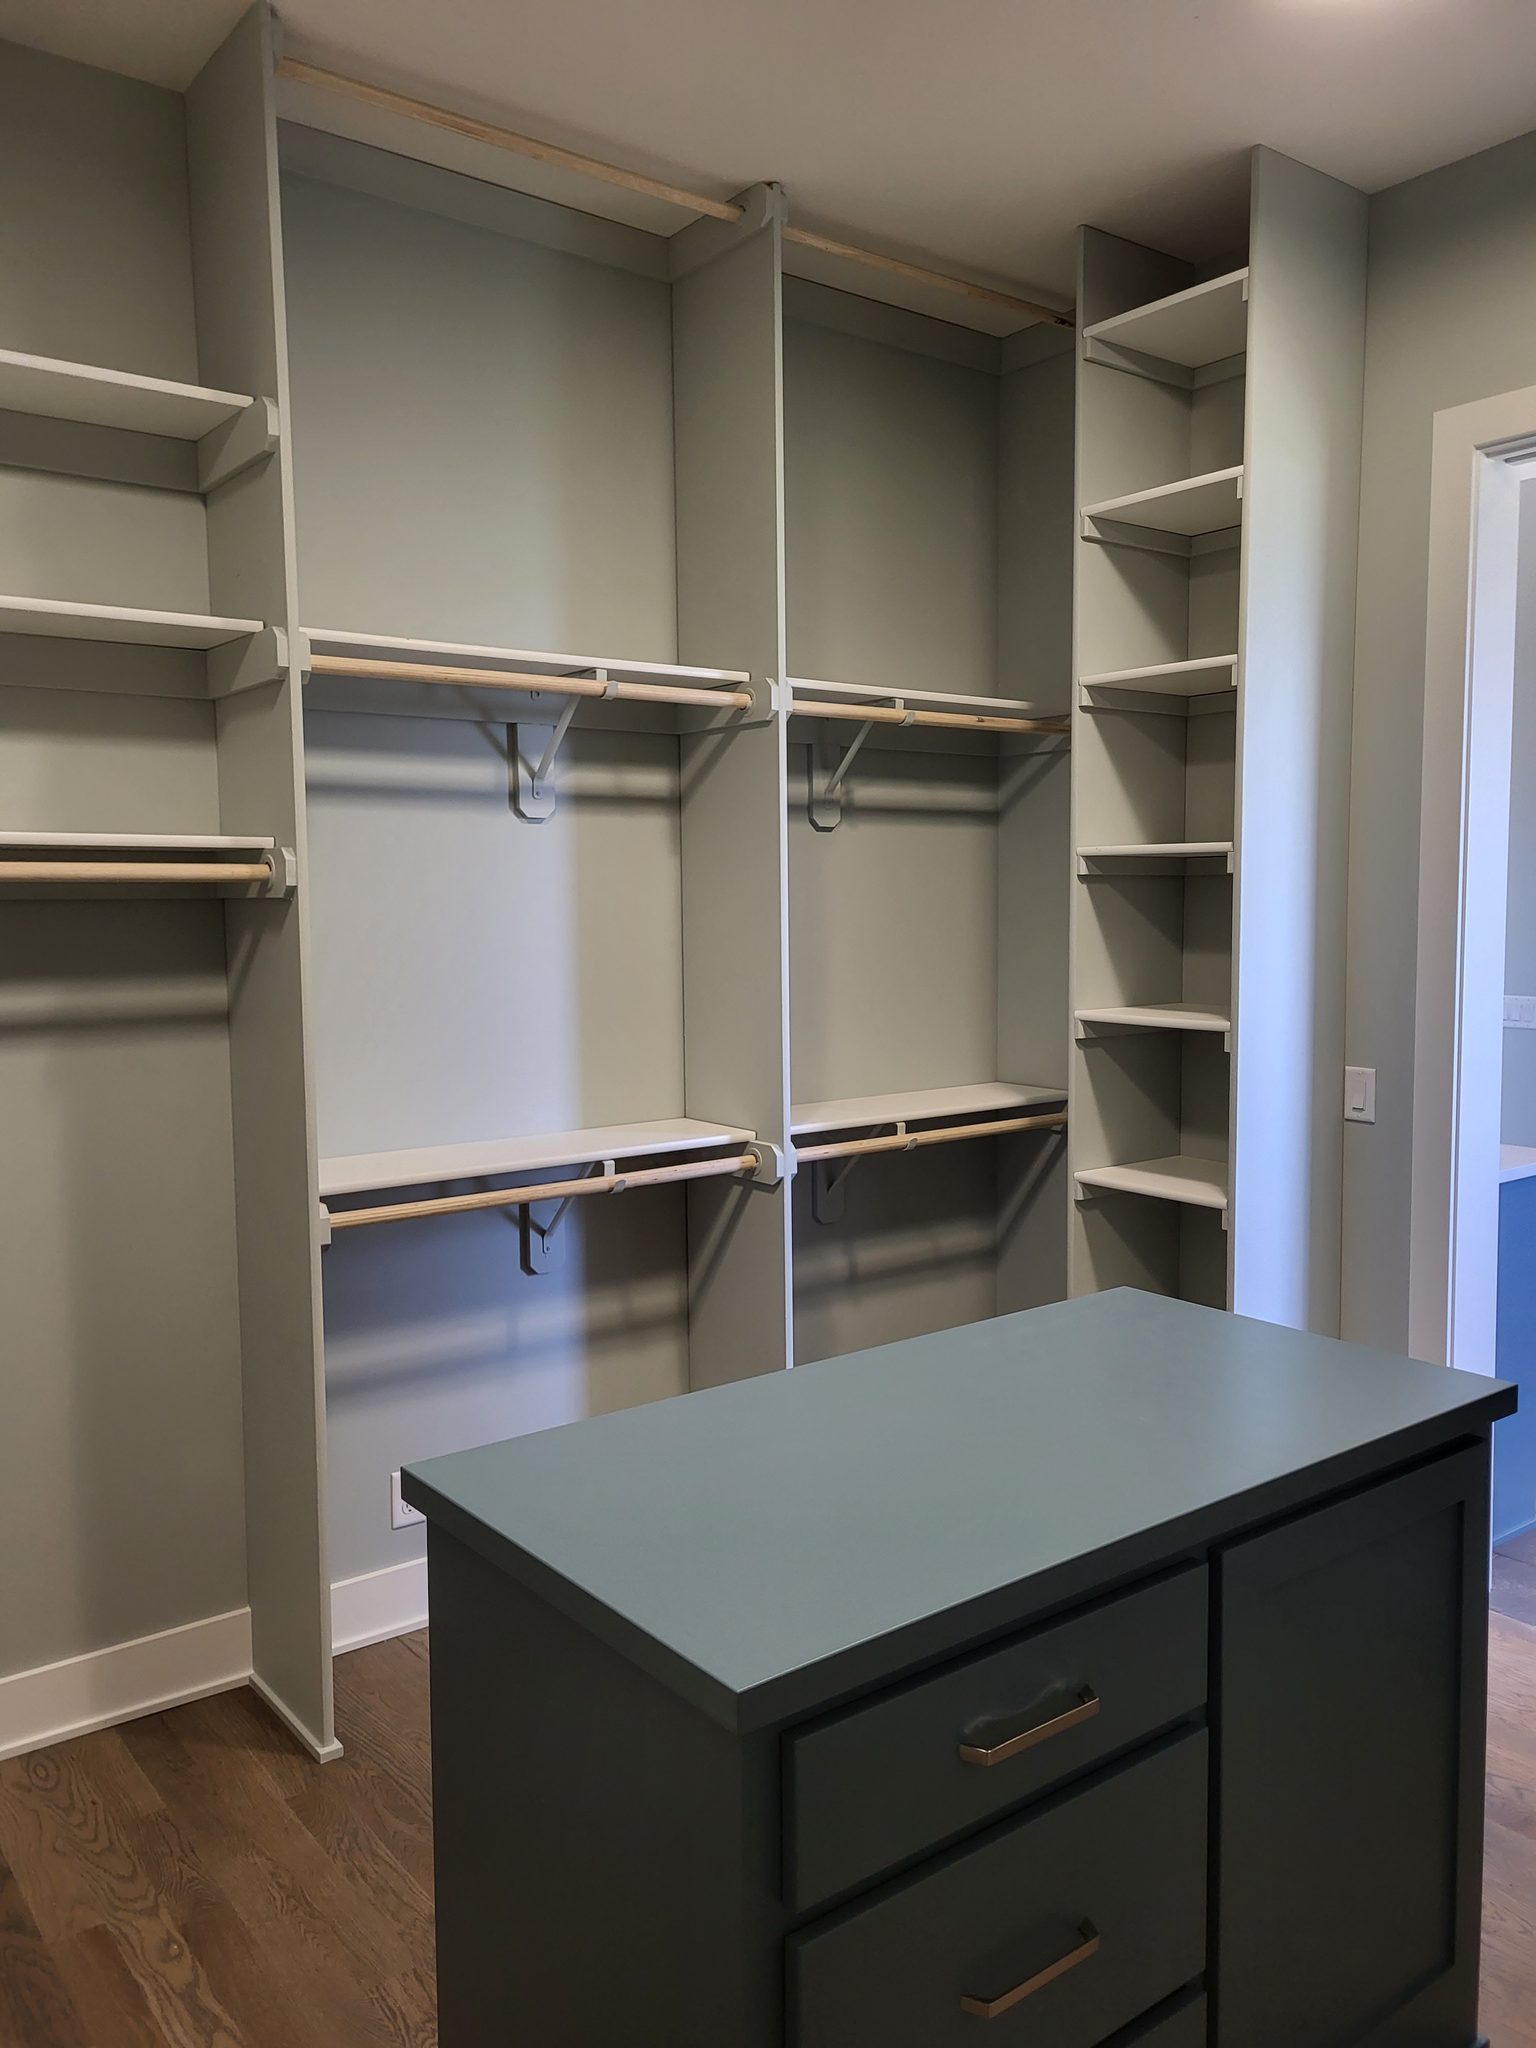
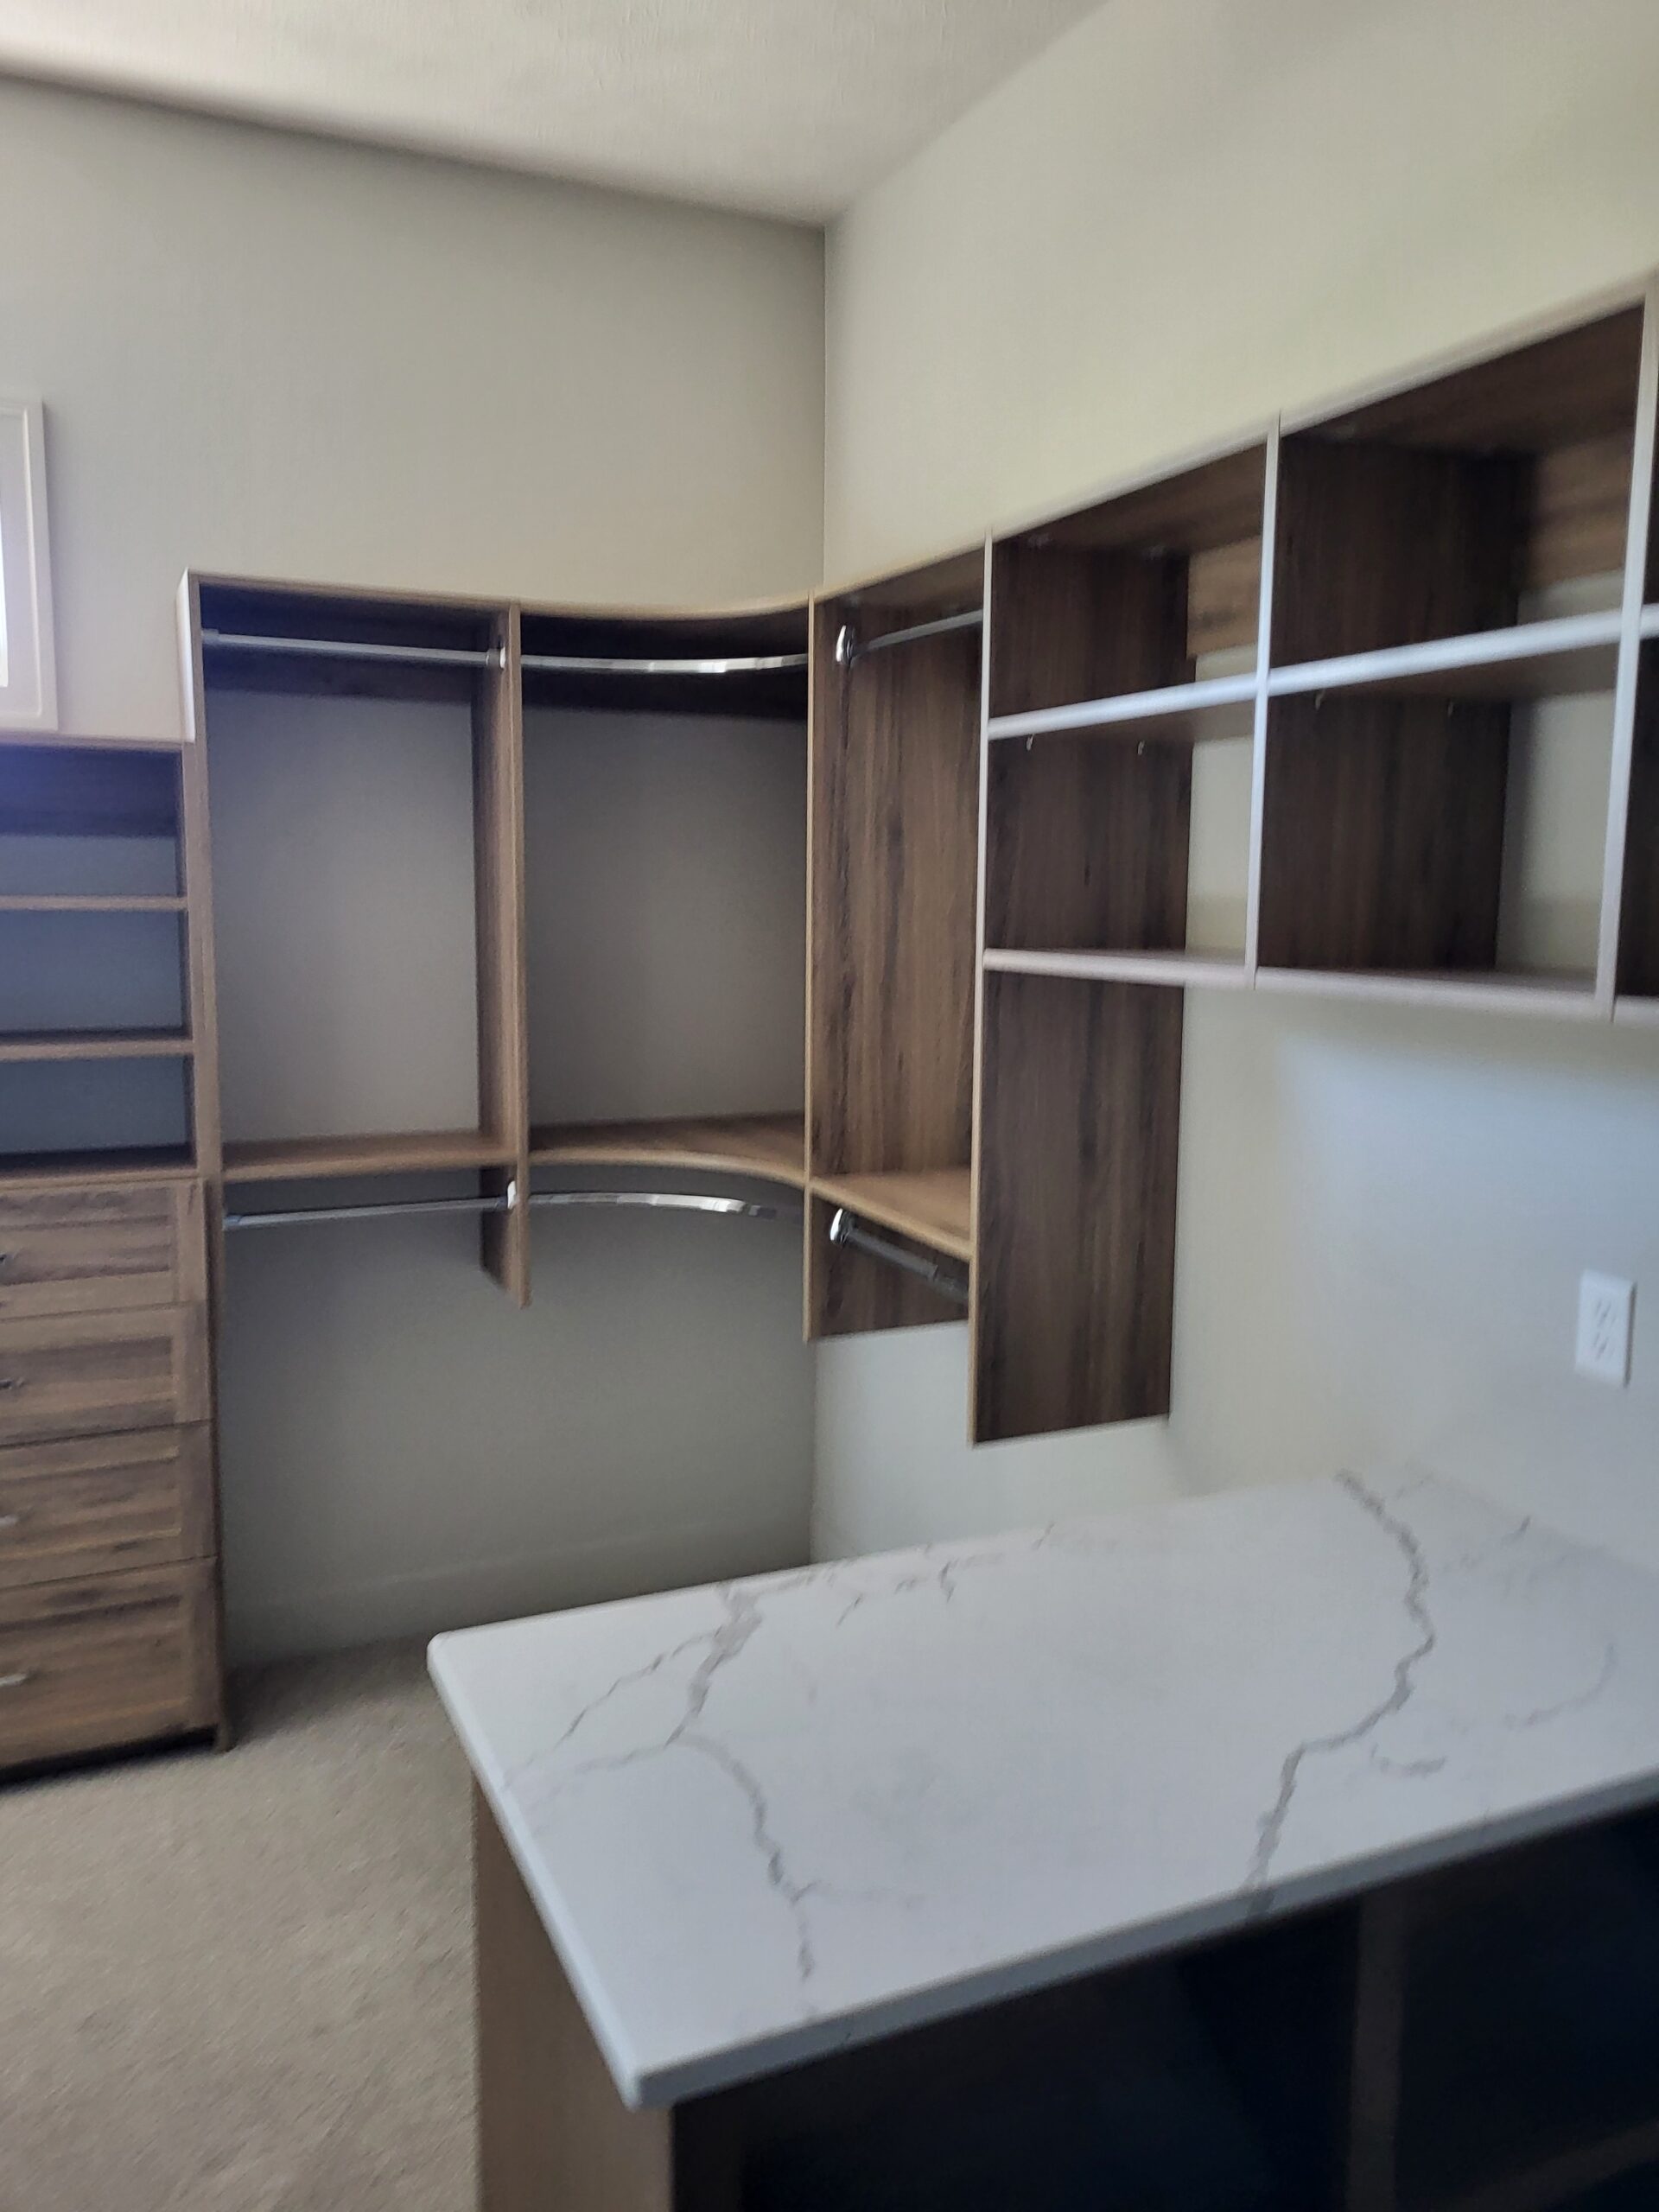
Completed walk-in closet with painted shelving, hanging rods, and built-in island countertop.
Walk-in closet with three tiers of shelving and hanging rods installed and painted white.
Finished walk-in closet with face-frame shelving, hanging rods, and painted island countertop with drawers.
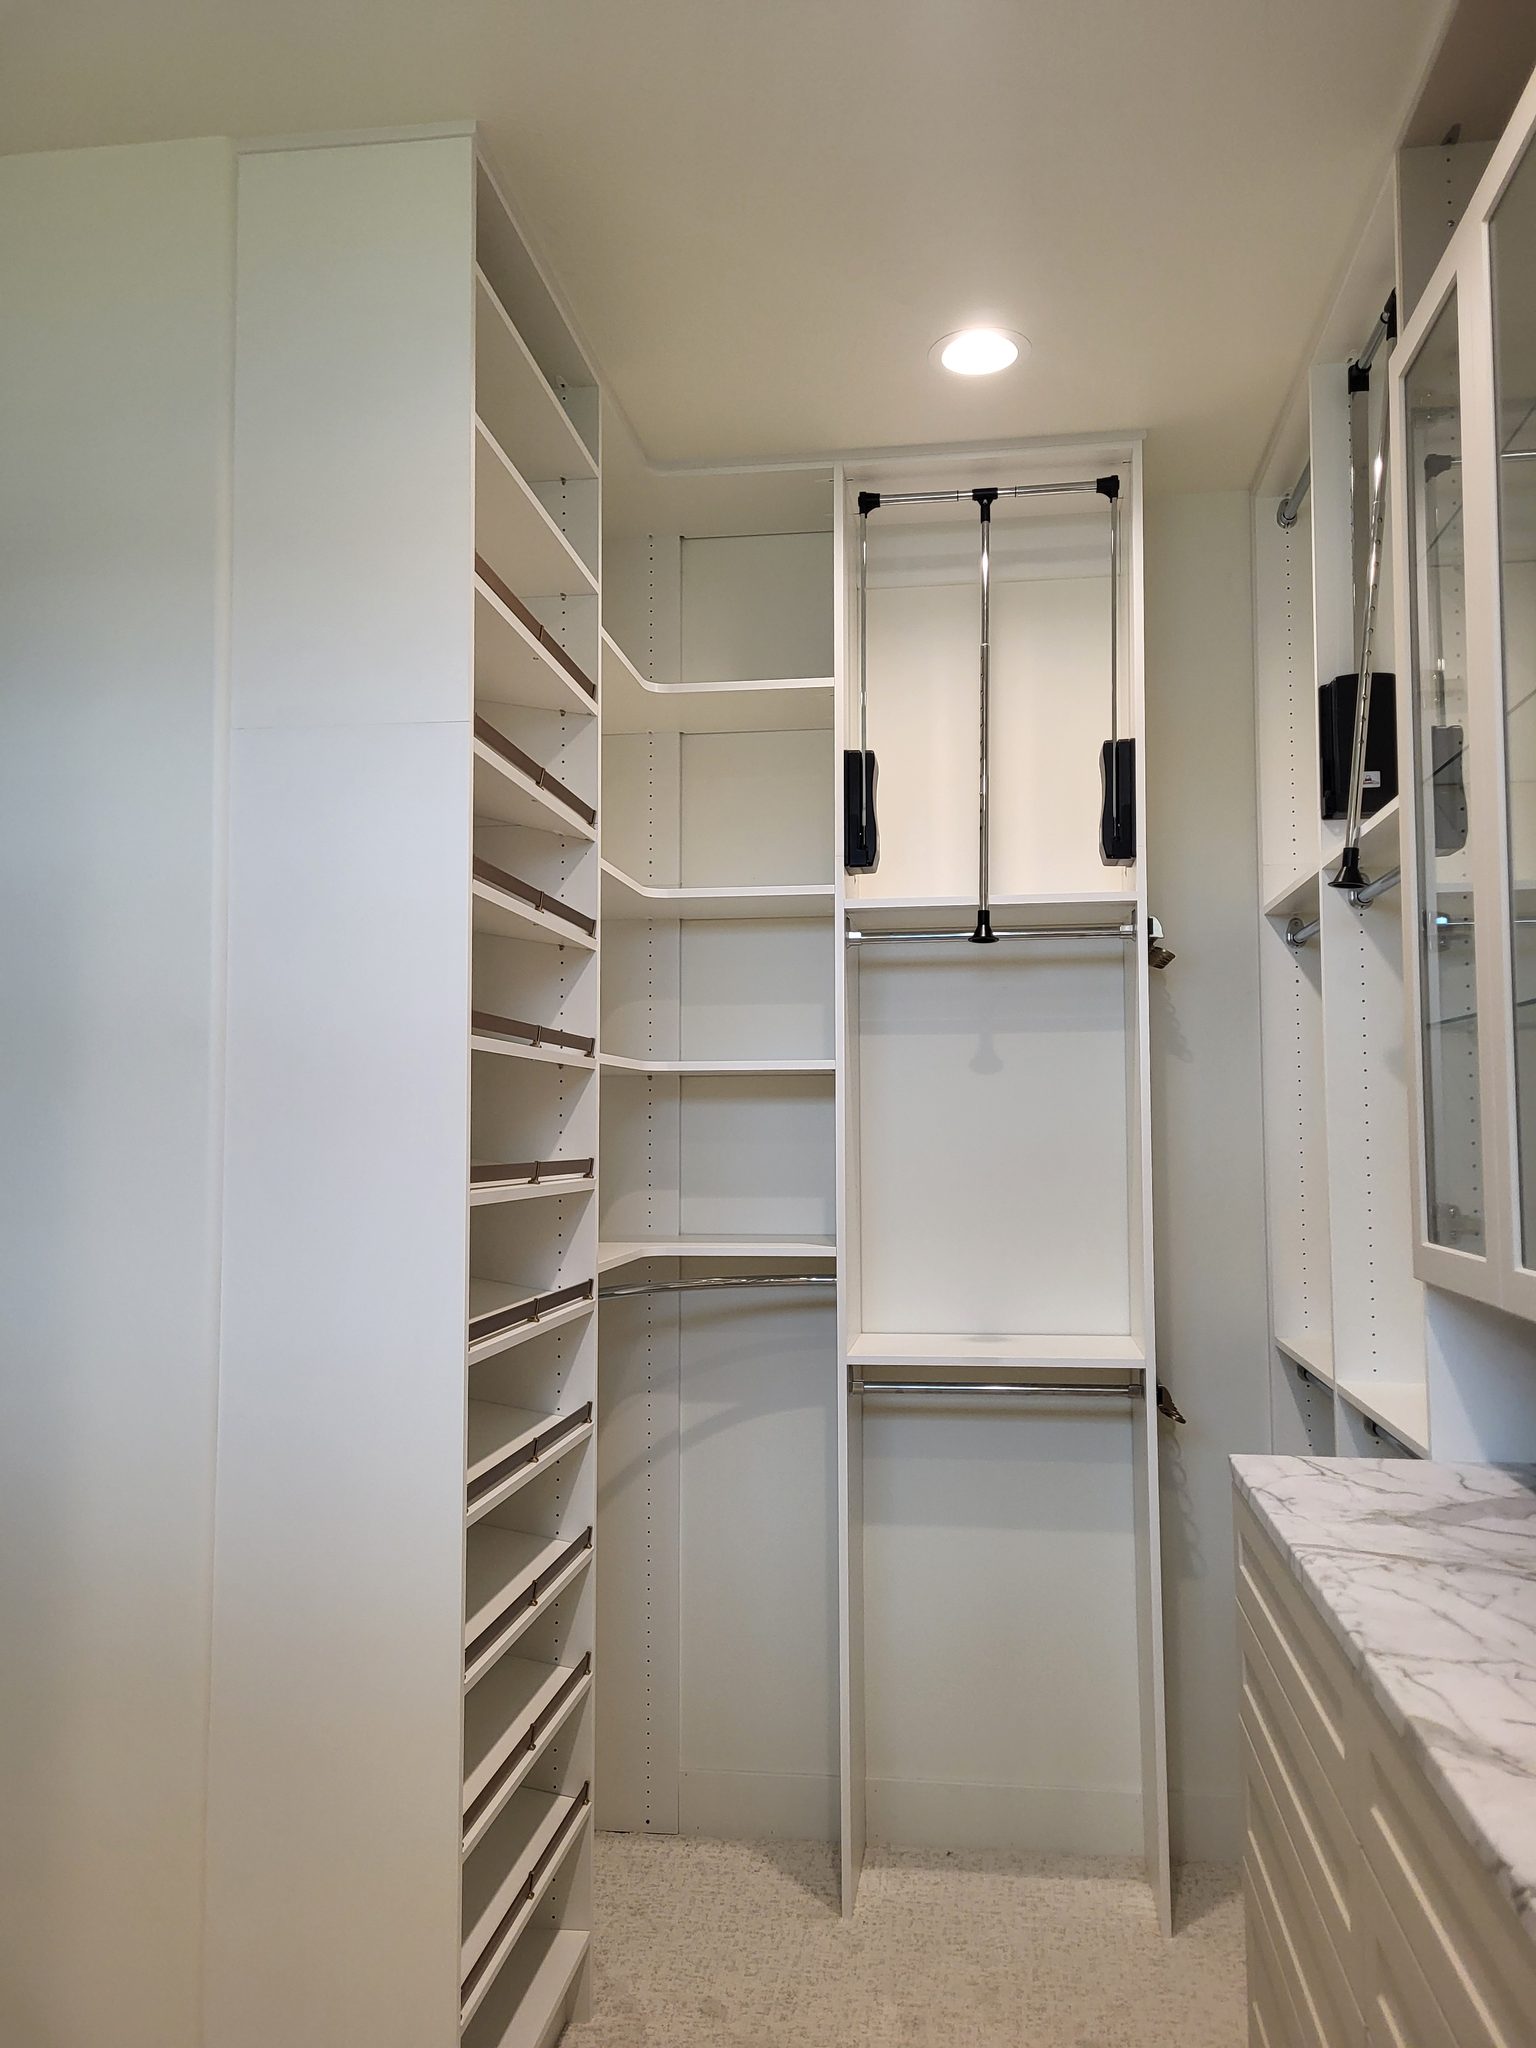
Finished walk-in closet with painted white cabinetry, glass-front uppers, marble countertop, and pull-down hanging rods installed.
Finished walk-in closet with face-frame shelving, dual hanging rods with black pulls, and adjustable shelves—fully painted white.
Closet shelving and hanging rods installed with raw wood rods on white metal brackets, ready for paint.
Wire shelving and hanging rod system installed in closet with white painted walls and support brackets.
Custom built-in open cubby shelving unit with 3x3 grid compartments and lower shelf, raw wood finish ready for paint.
Closet shelving unit with multiple open shelves and hanging rod, raw wood ready for paint.
Built-in shelving unit with white face-frame cubbies, dark shiplap backing, and wood countertop surface.
Two-shelf closet unit with particle-board bullnose shelving and 1x4 wood cleats, ready for paint.
Completed bi-fold closet door with painted white slabs, casing, and black hardware installed.
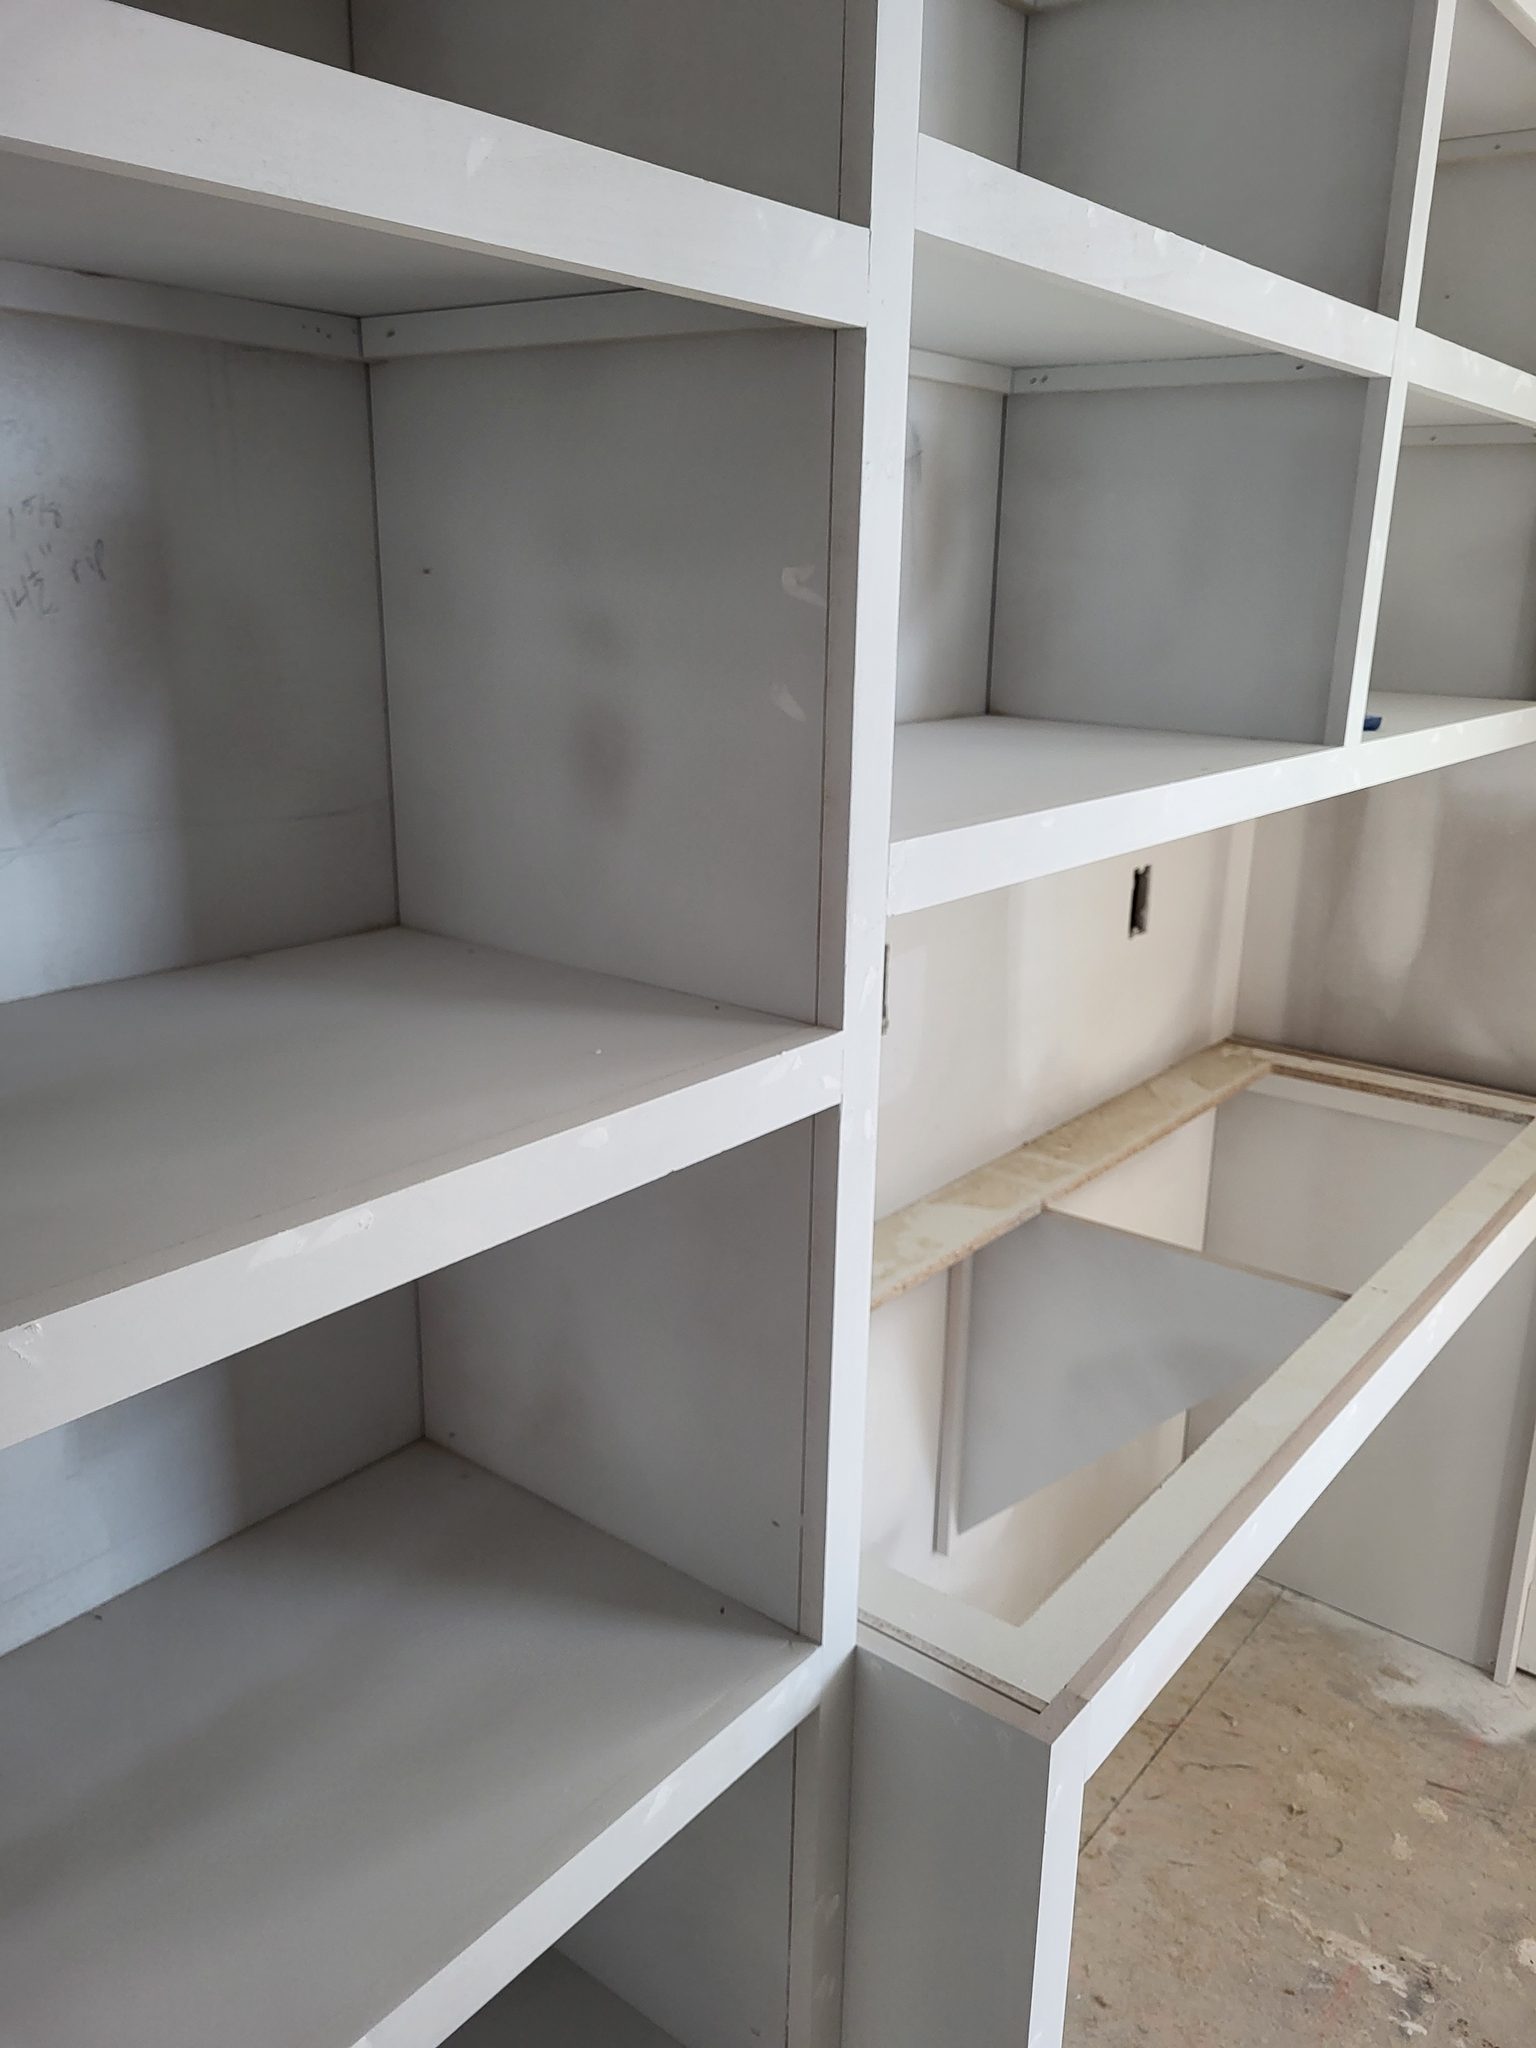
Multiple custom closet shelves under construction with raw wood framing and installed shelving units.
Painted closet opening with jamb and casing installed, ready for bi-fold or bypass door slabs. Interior shelving visible.
Face-frame closet shelving unit with five shelves and white finished frame, ready for paint.
Closet shelving and hanging rod installation with raw wood edges, ready for paint.
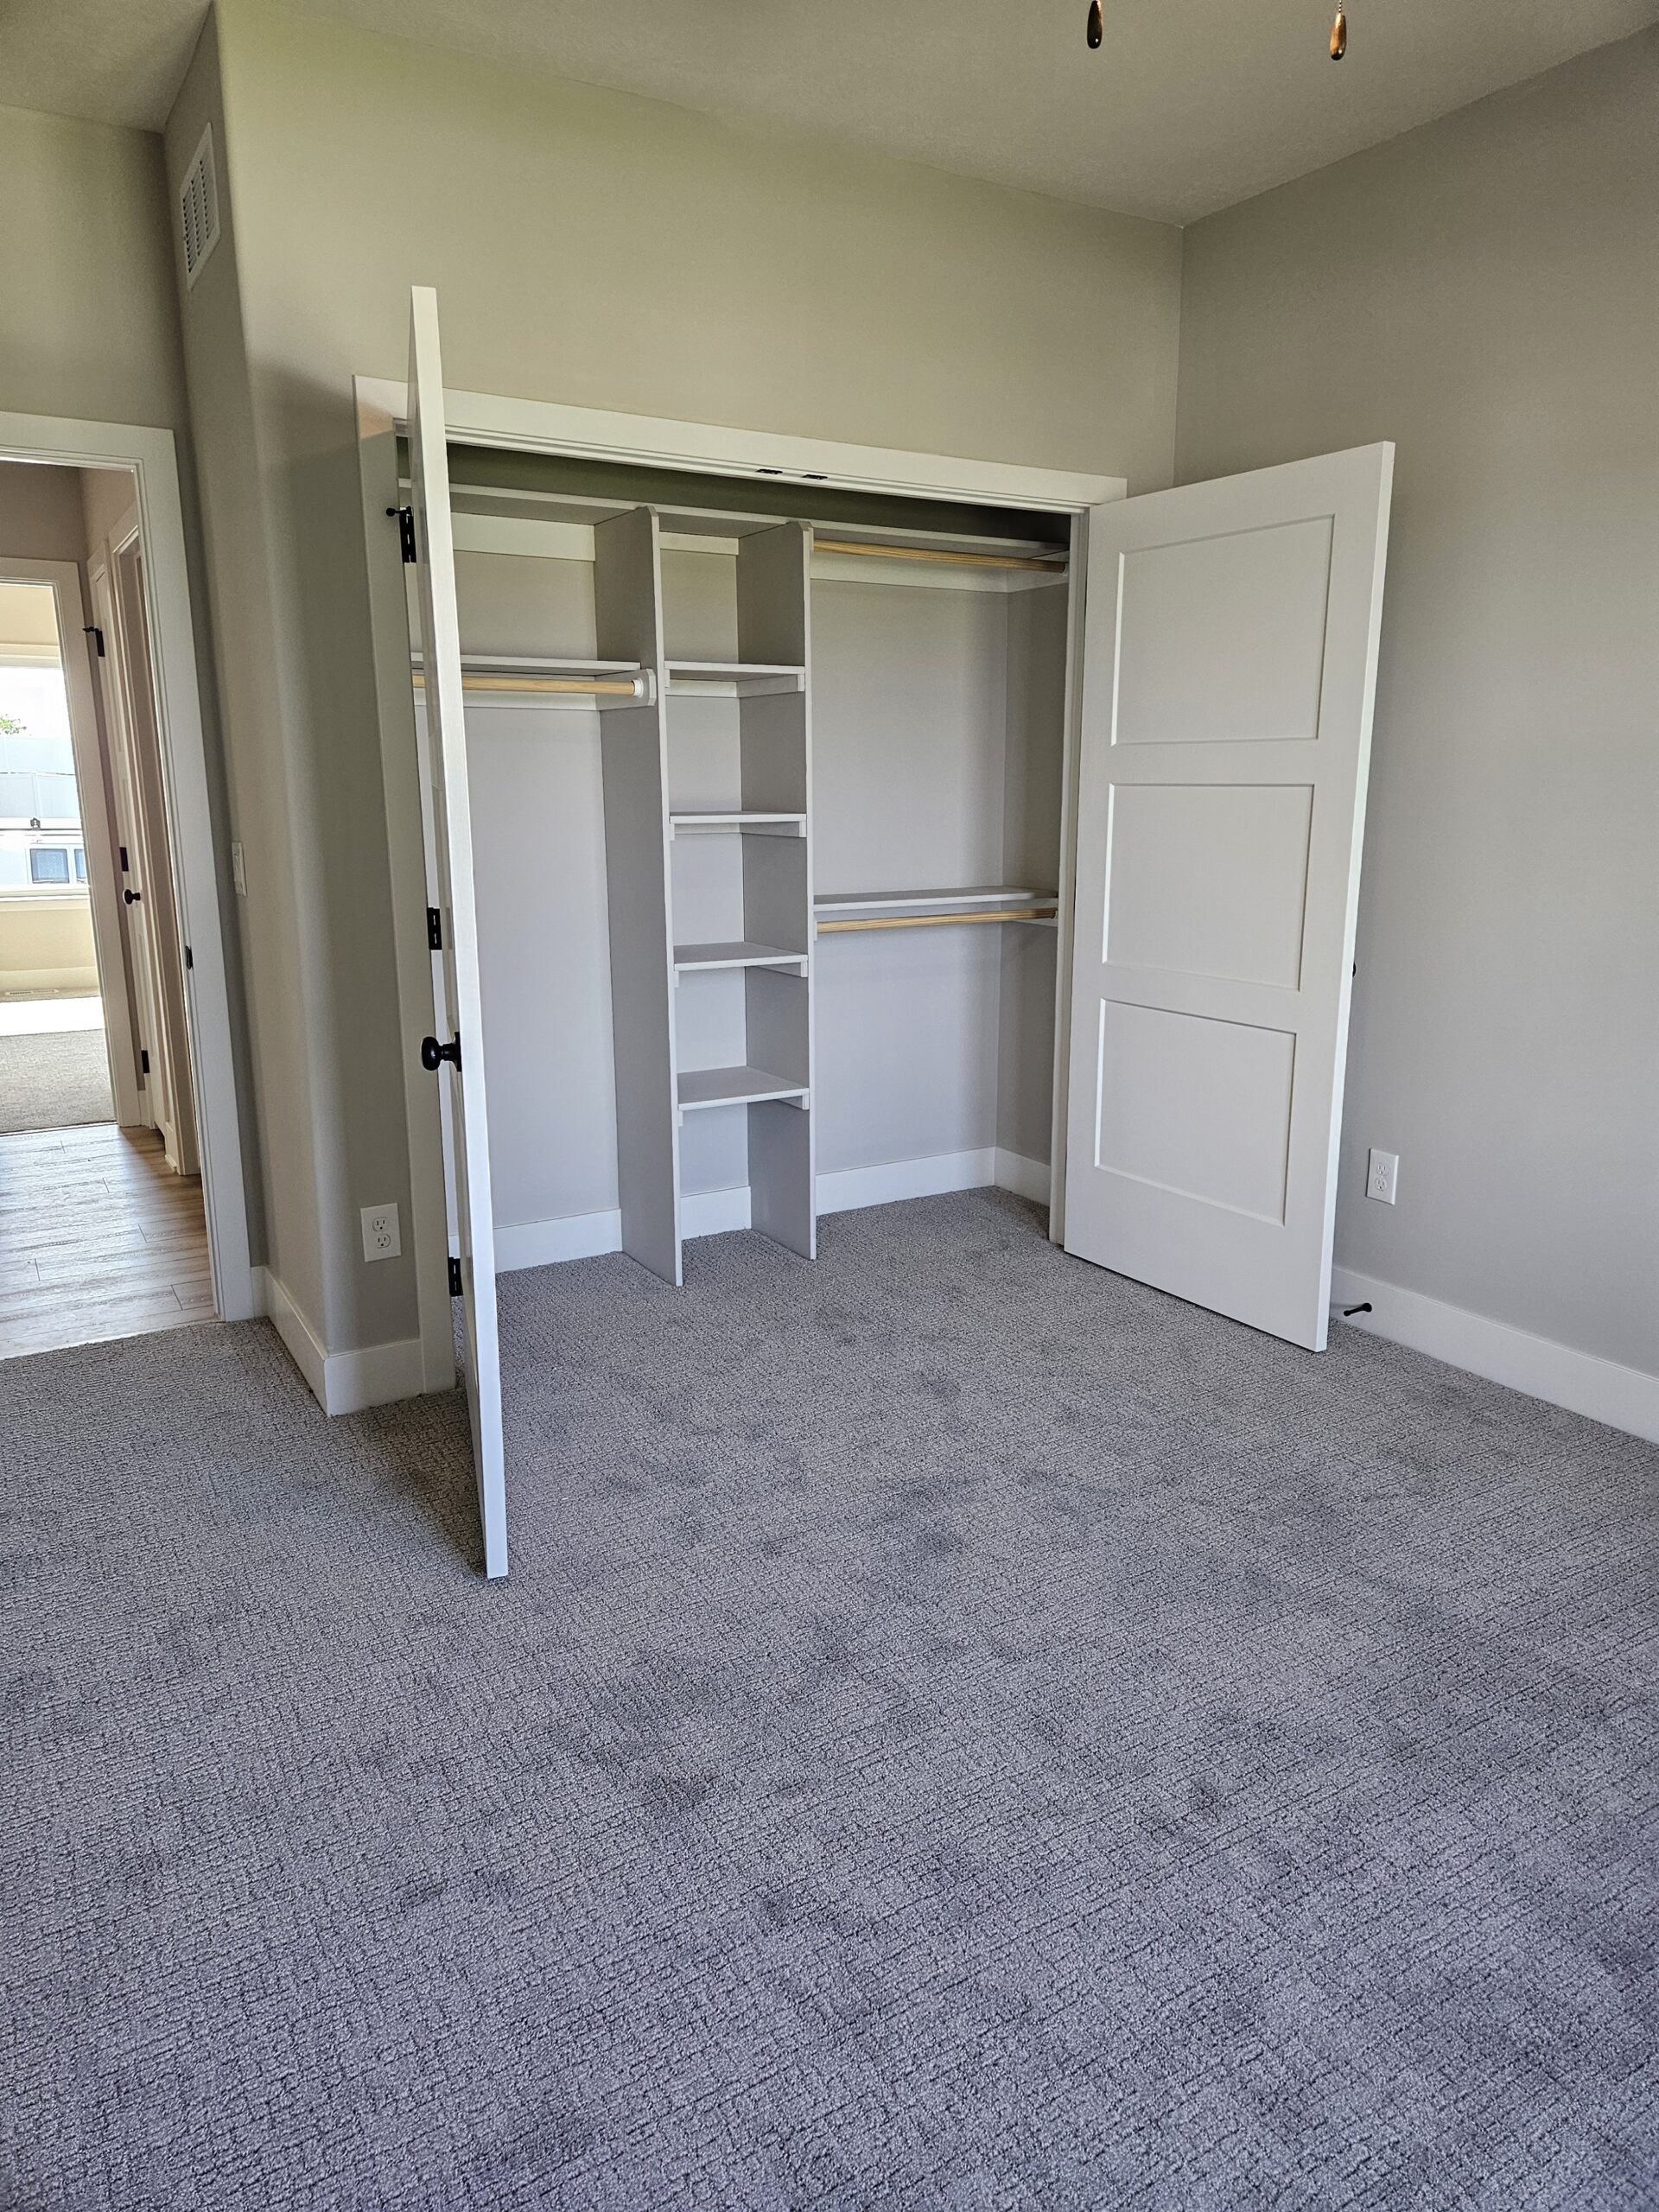
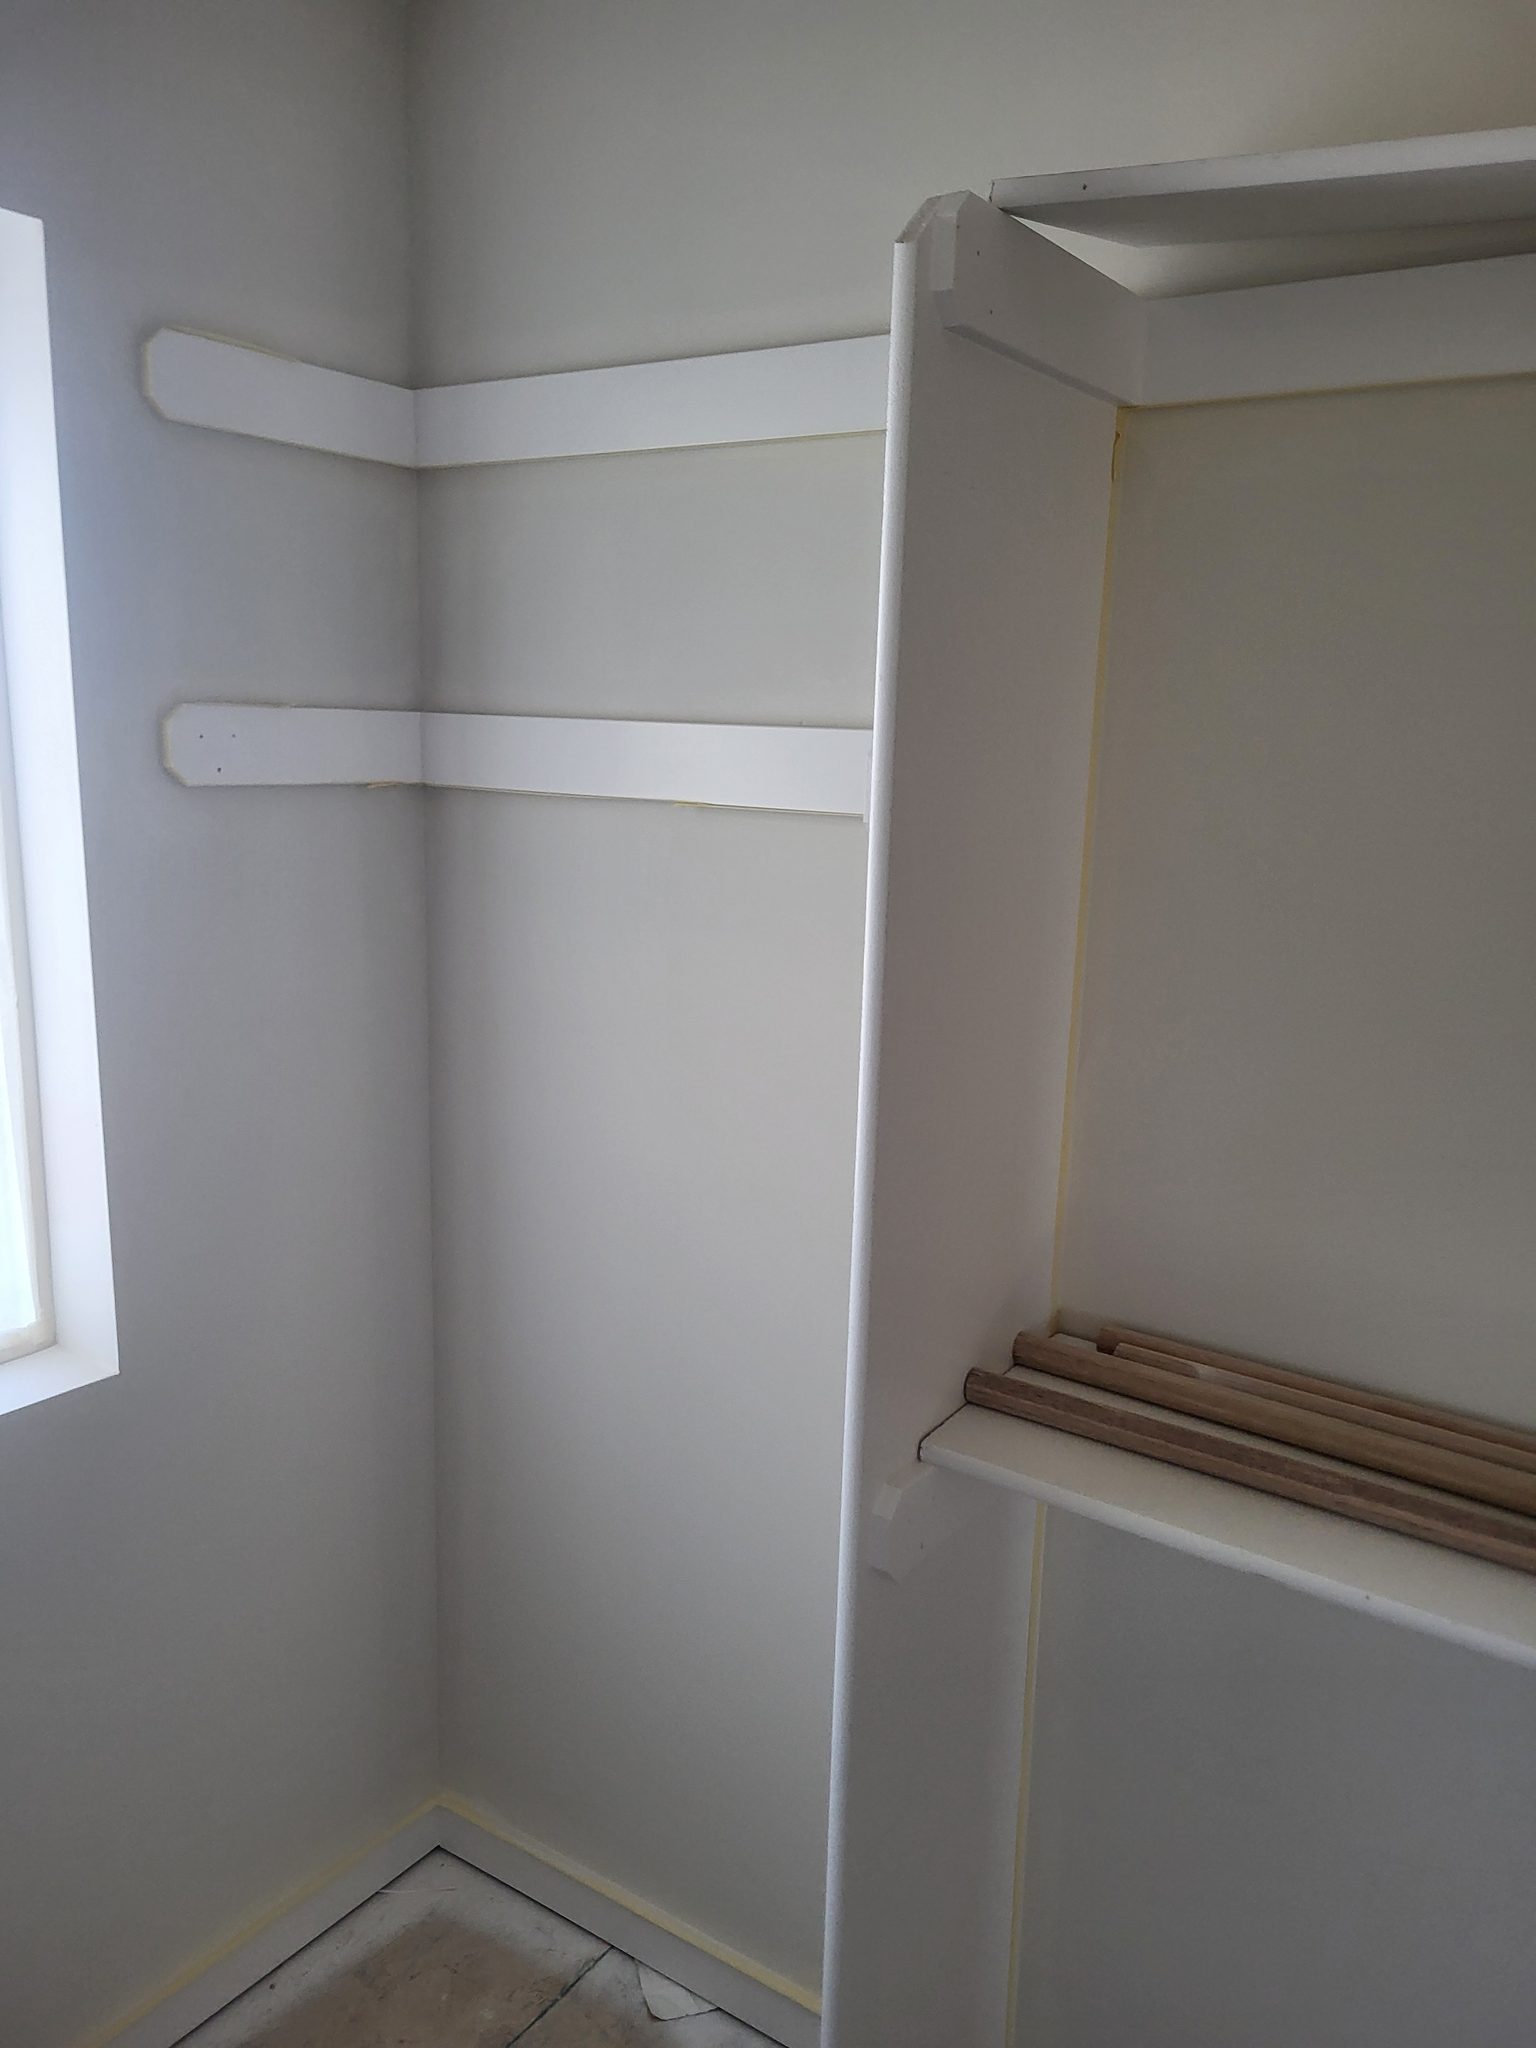
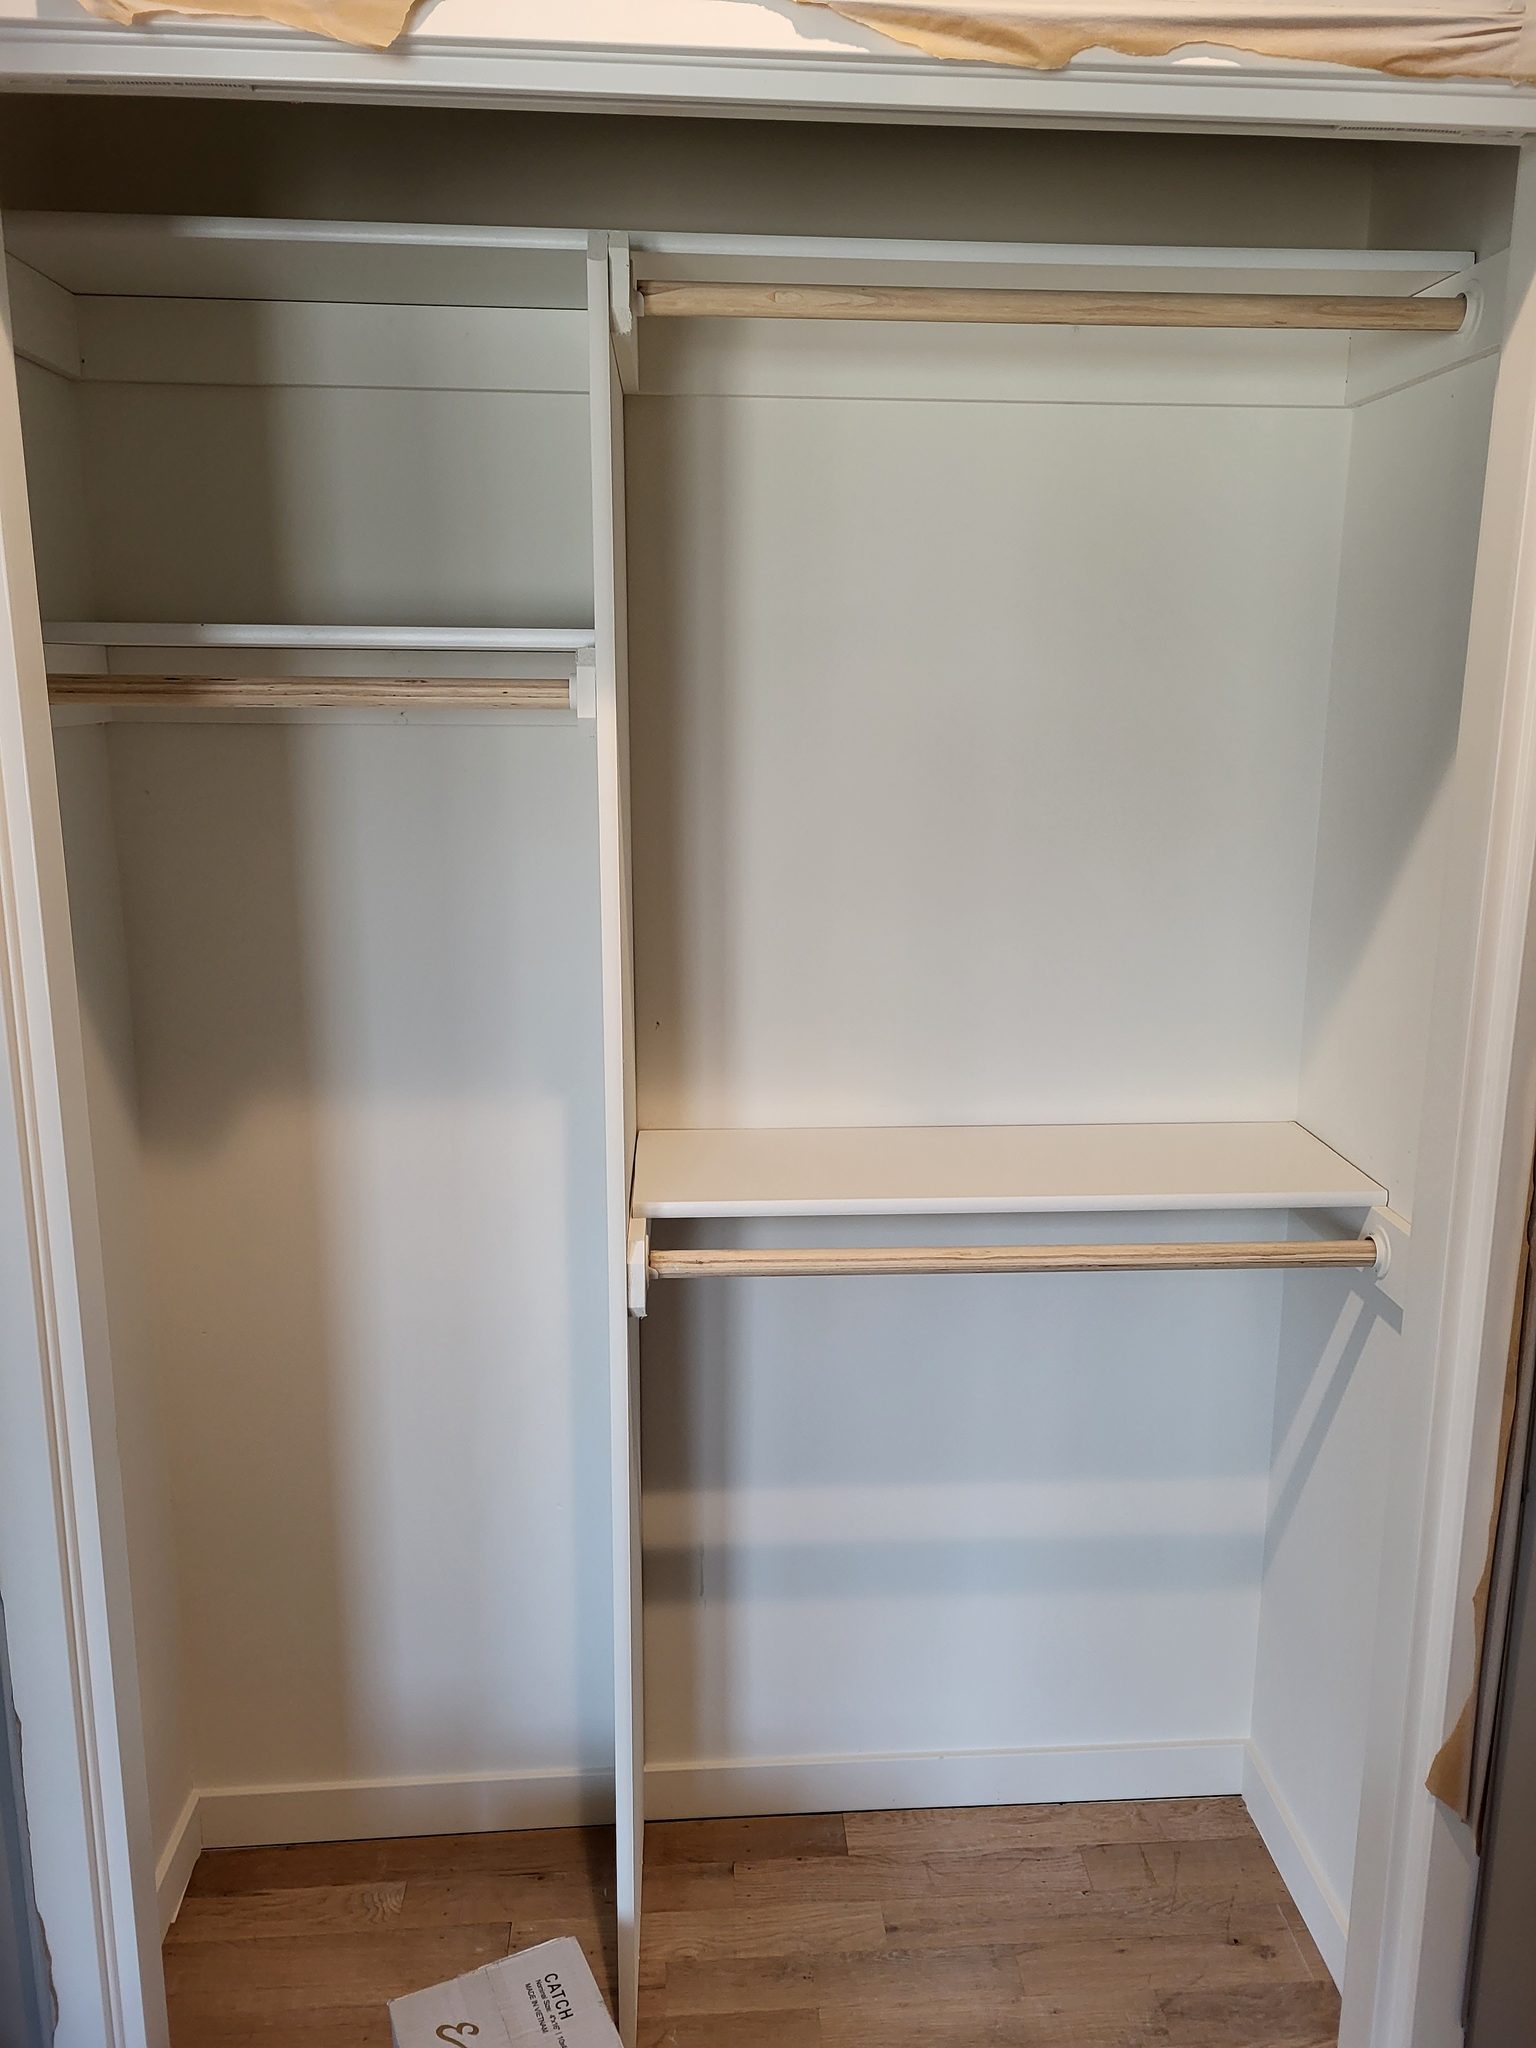
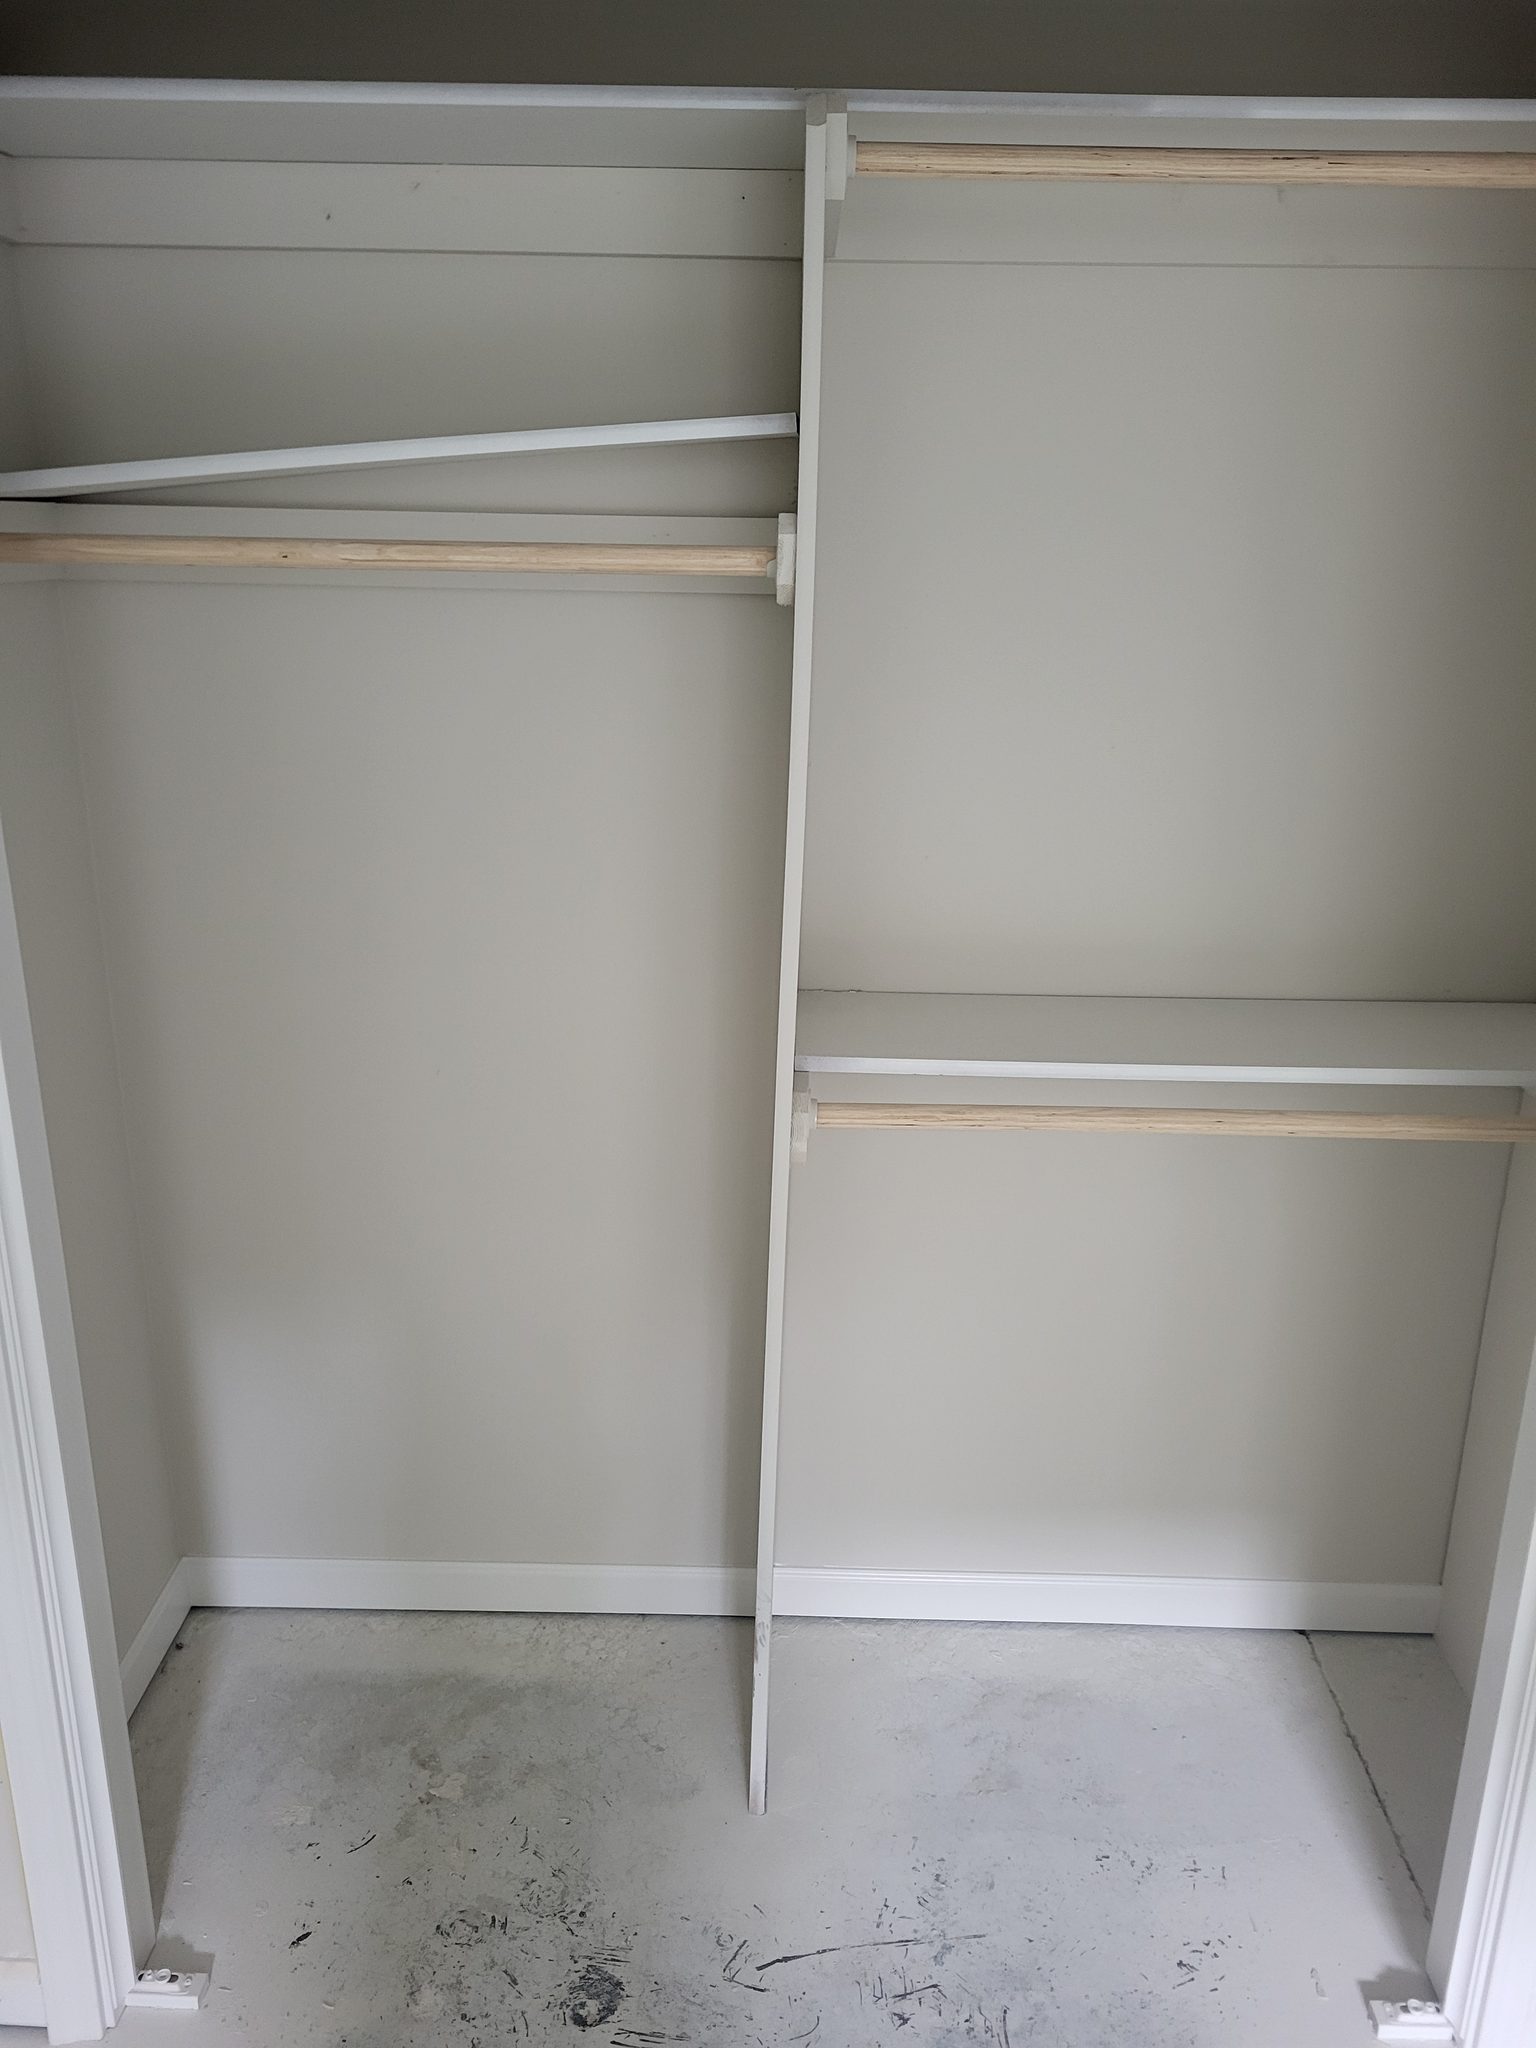
Closet face-frame with two painted white vertical supports and natural wood hanging rods installed at upper and lower levels.
Custom built-in closet shelving with white-finished wood frame, multiple shelves, and compartments ready for paint.
Closet opening with jamb, casing, and hanging rod installed; ready for bi-fold or bypass doors.
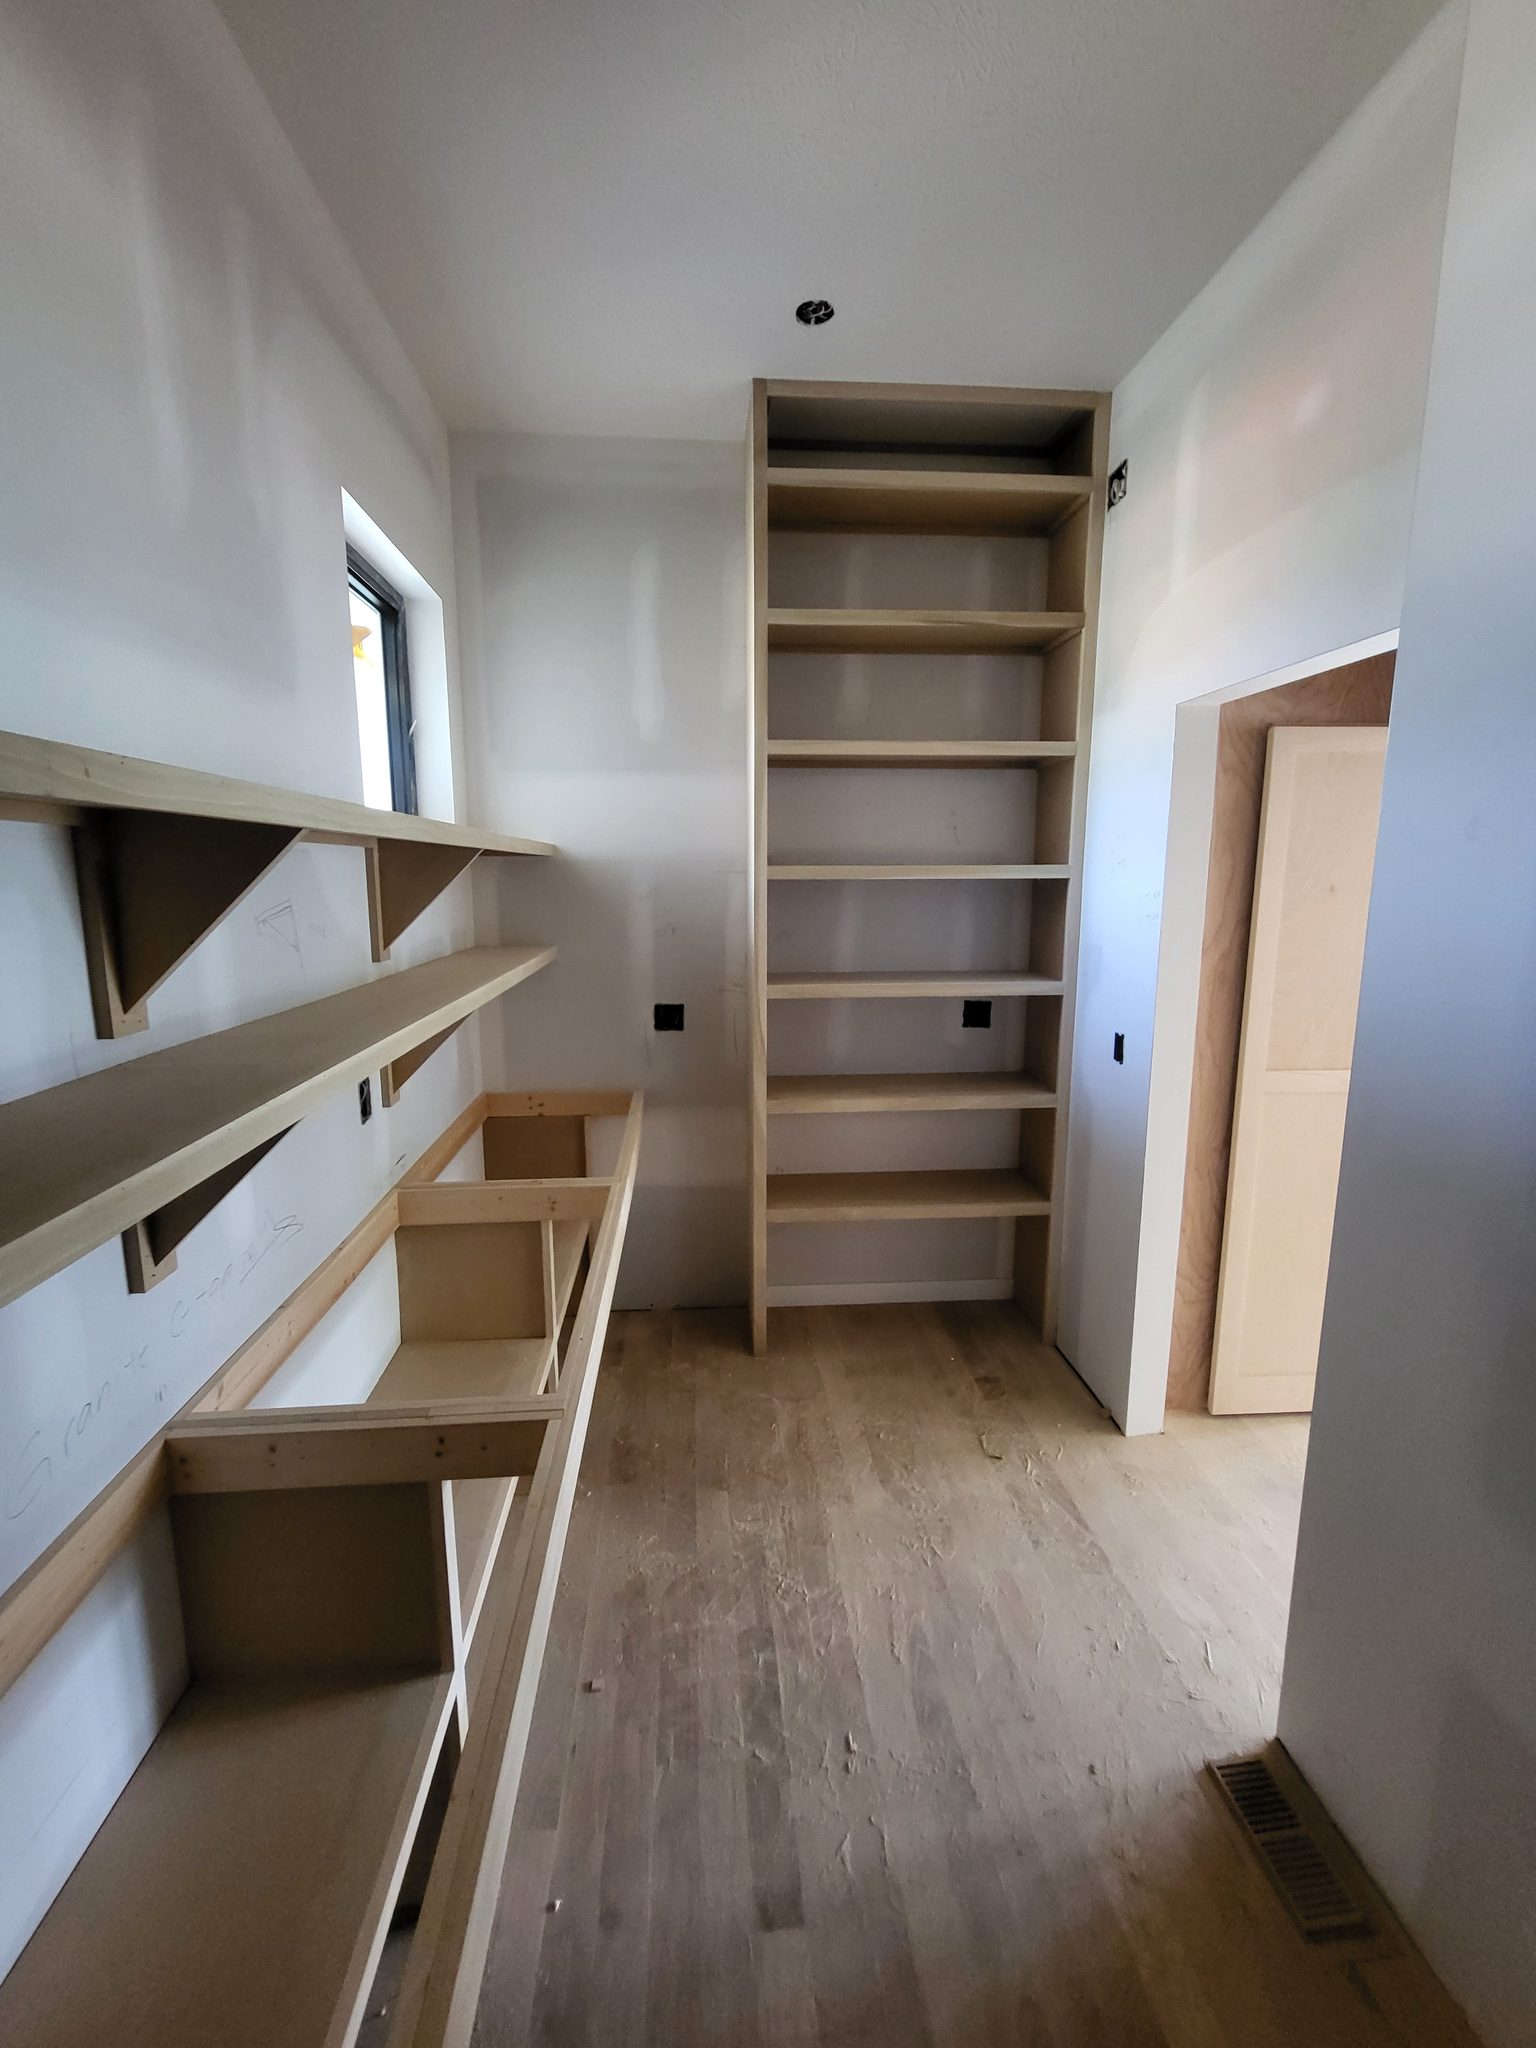
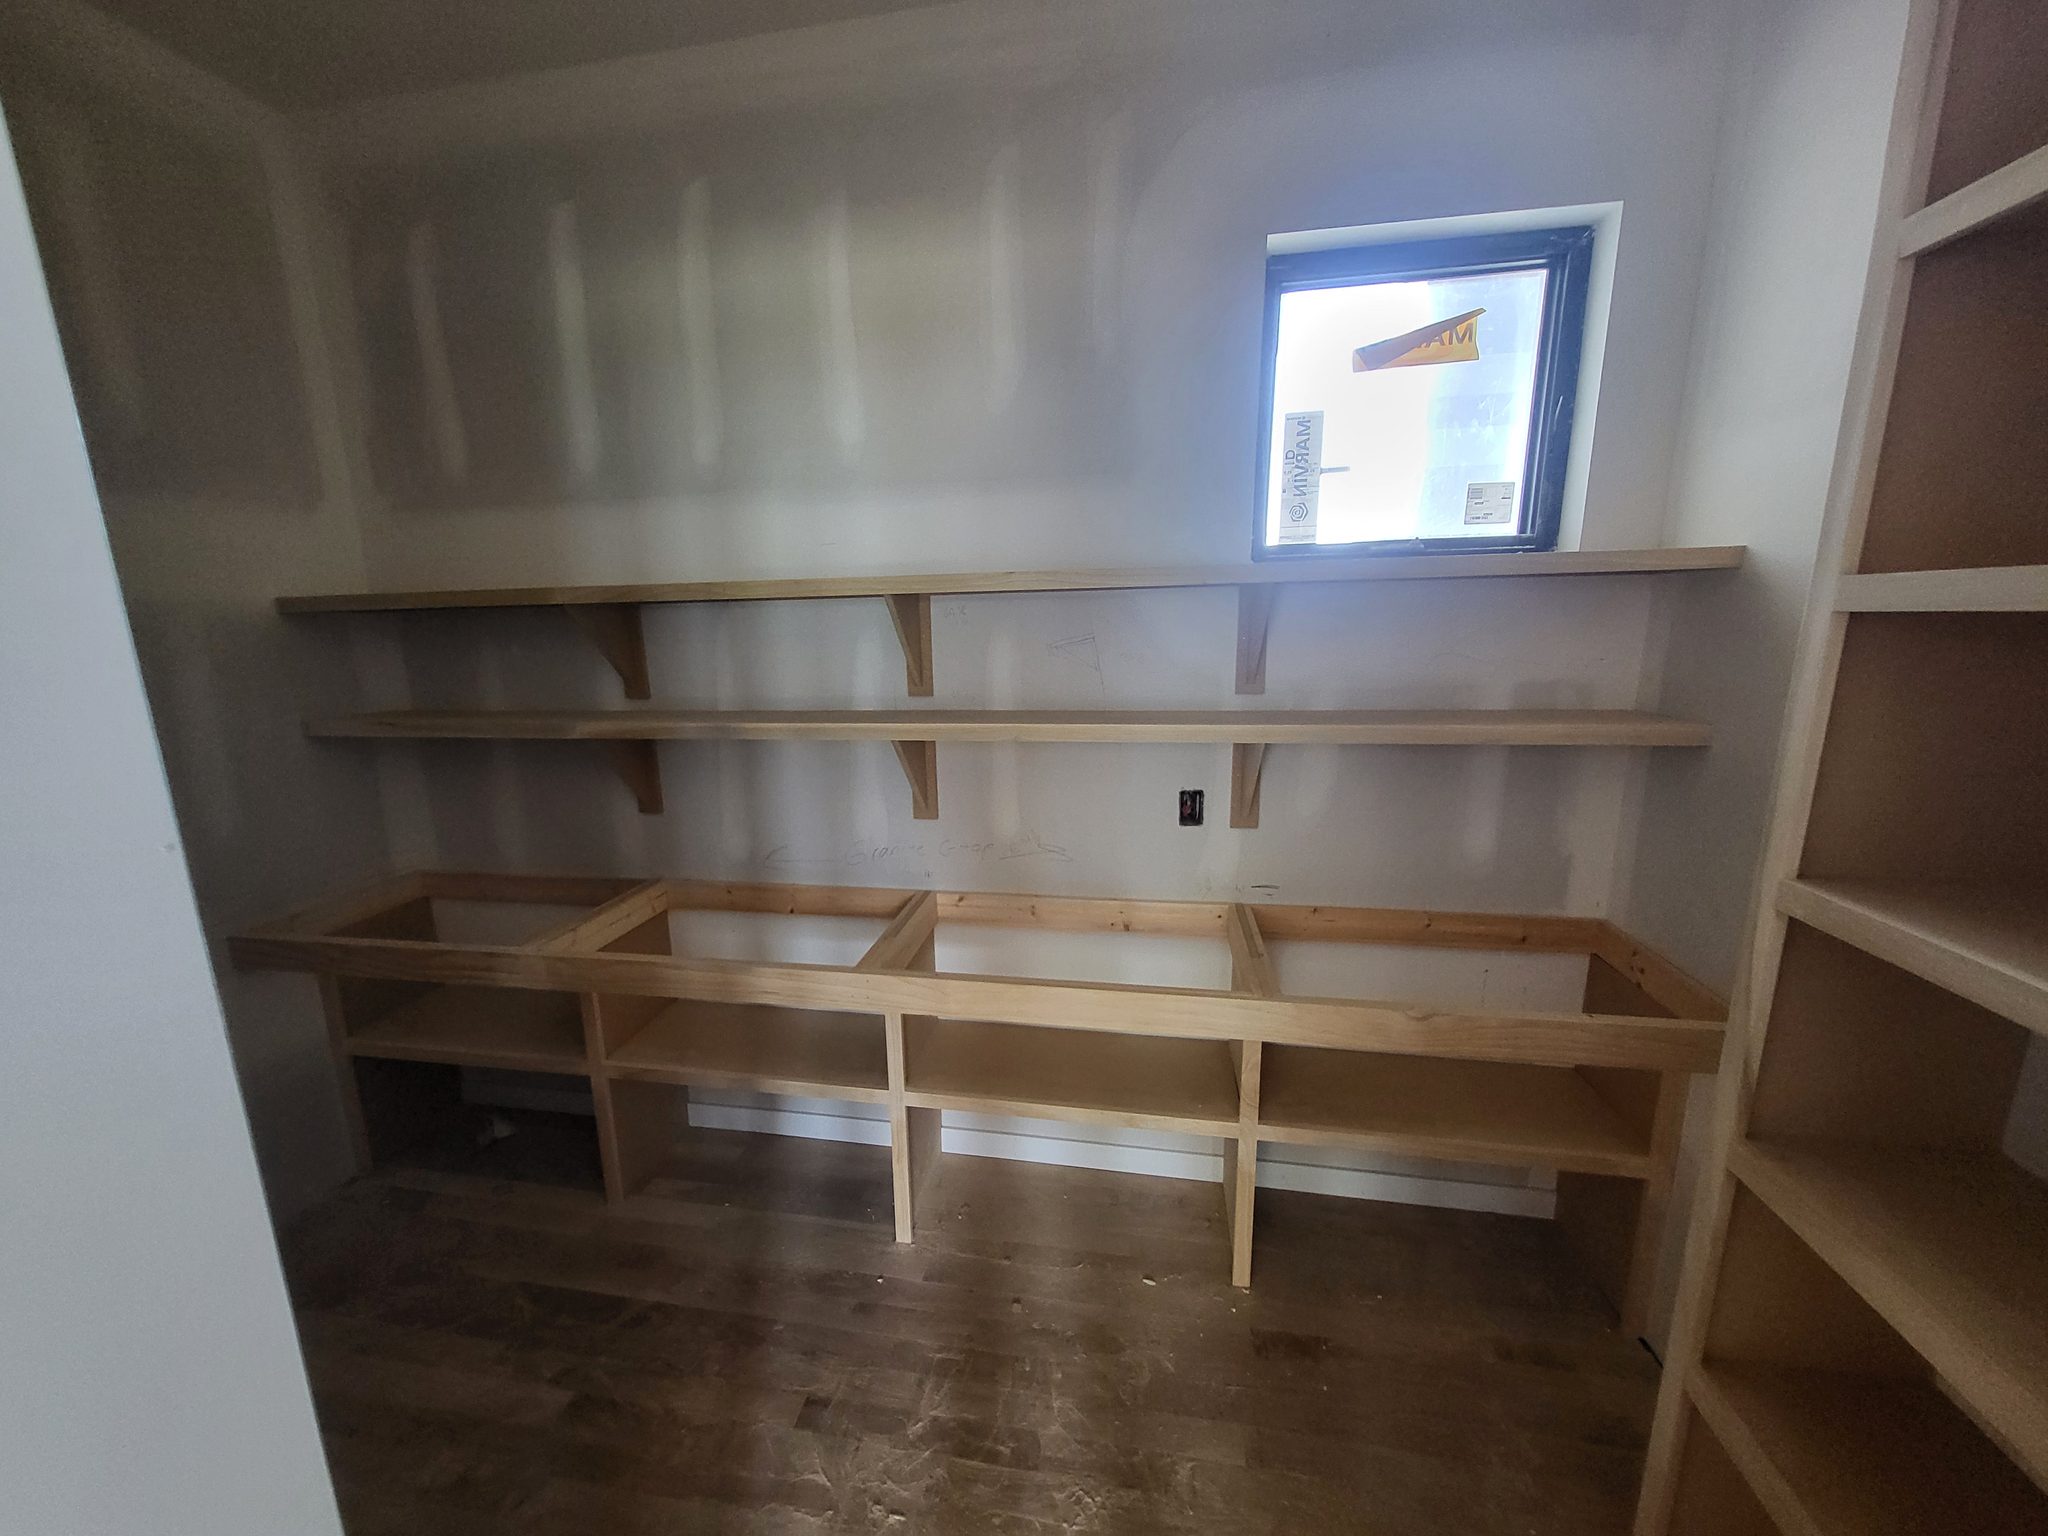
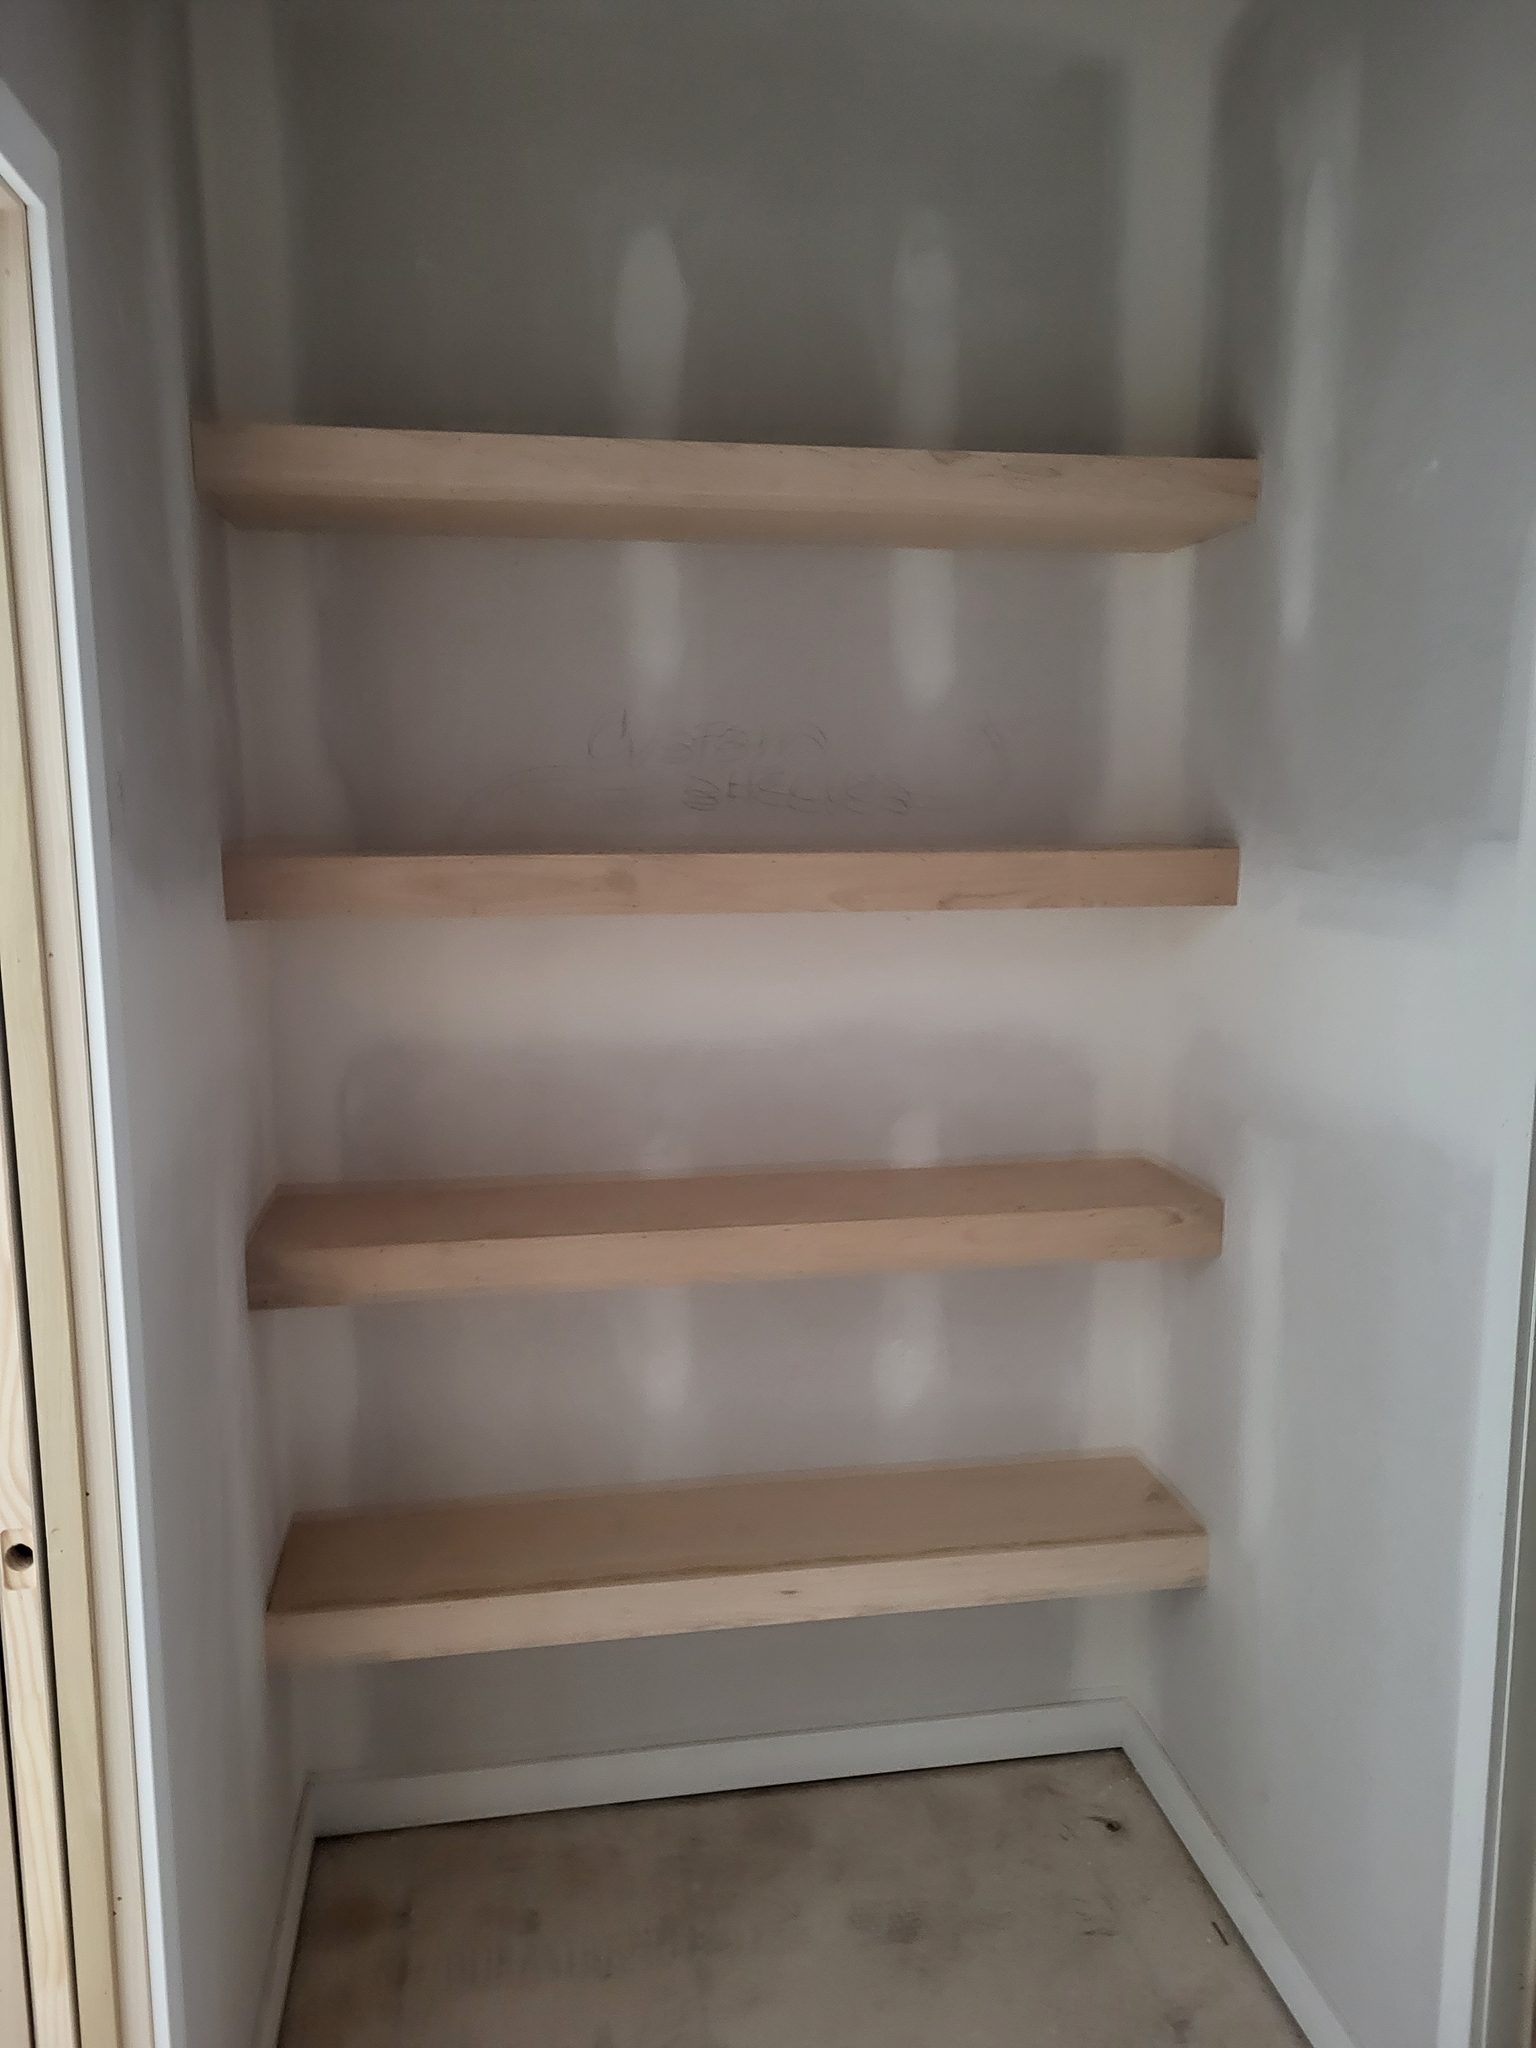
Four floating wood shelves installed in closet alcove, raw wood not yet painted or stained.
Closet shelving with stained wood rails and white support brackets installed on drywall.
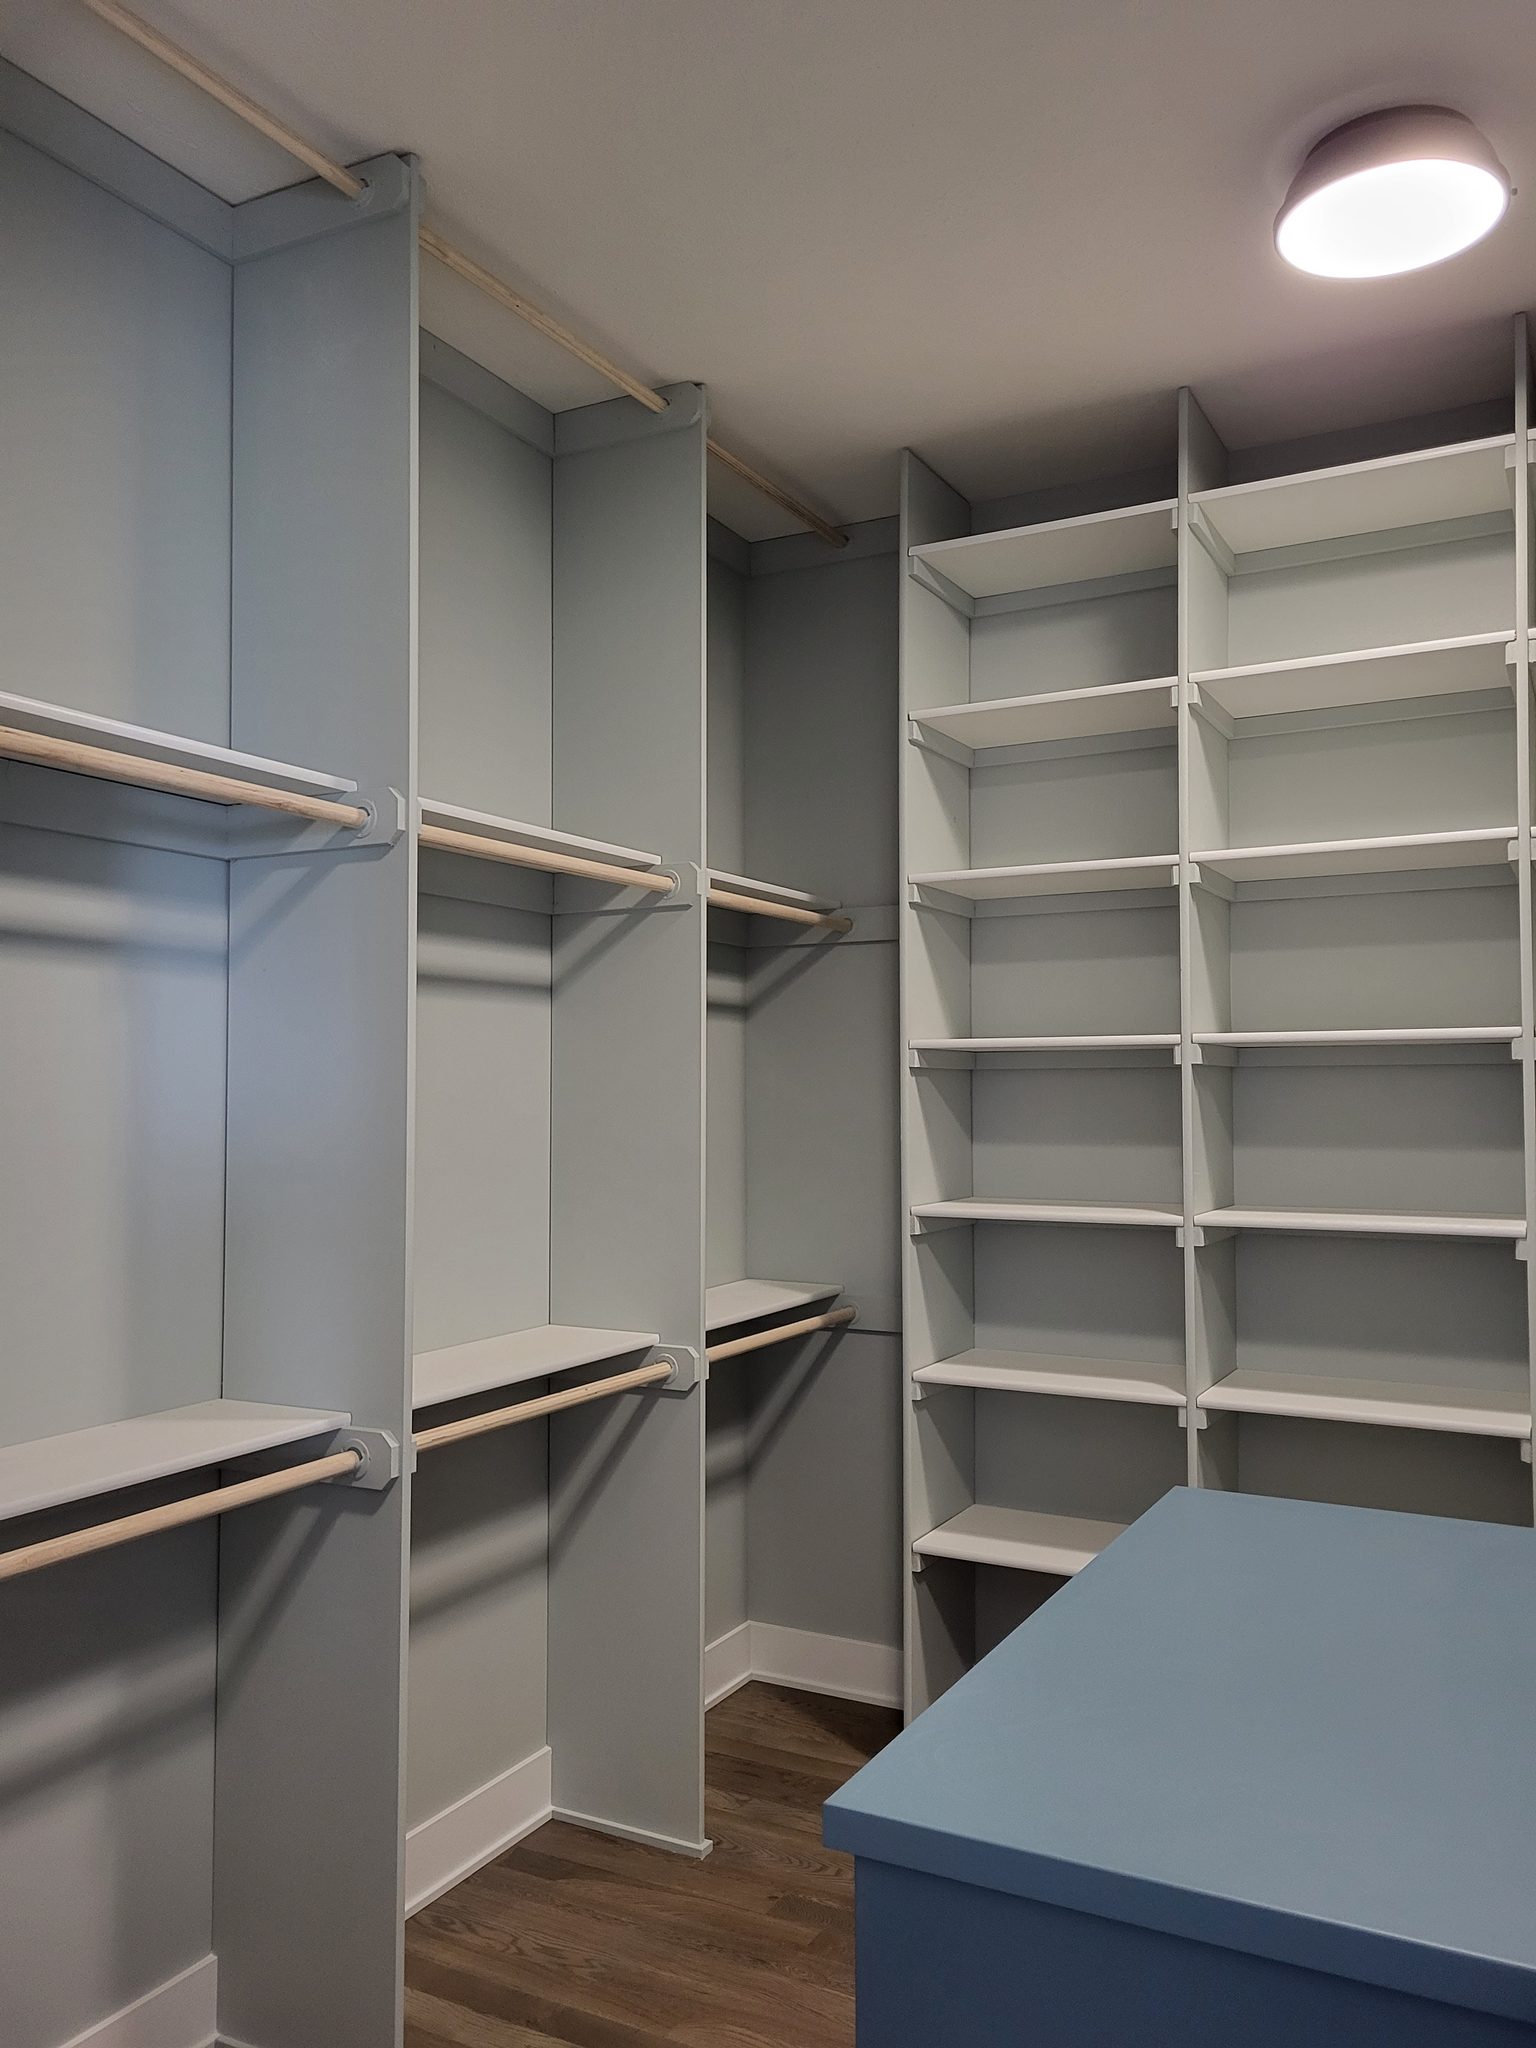
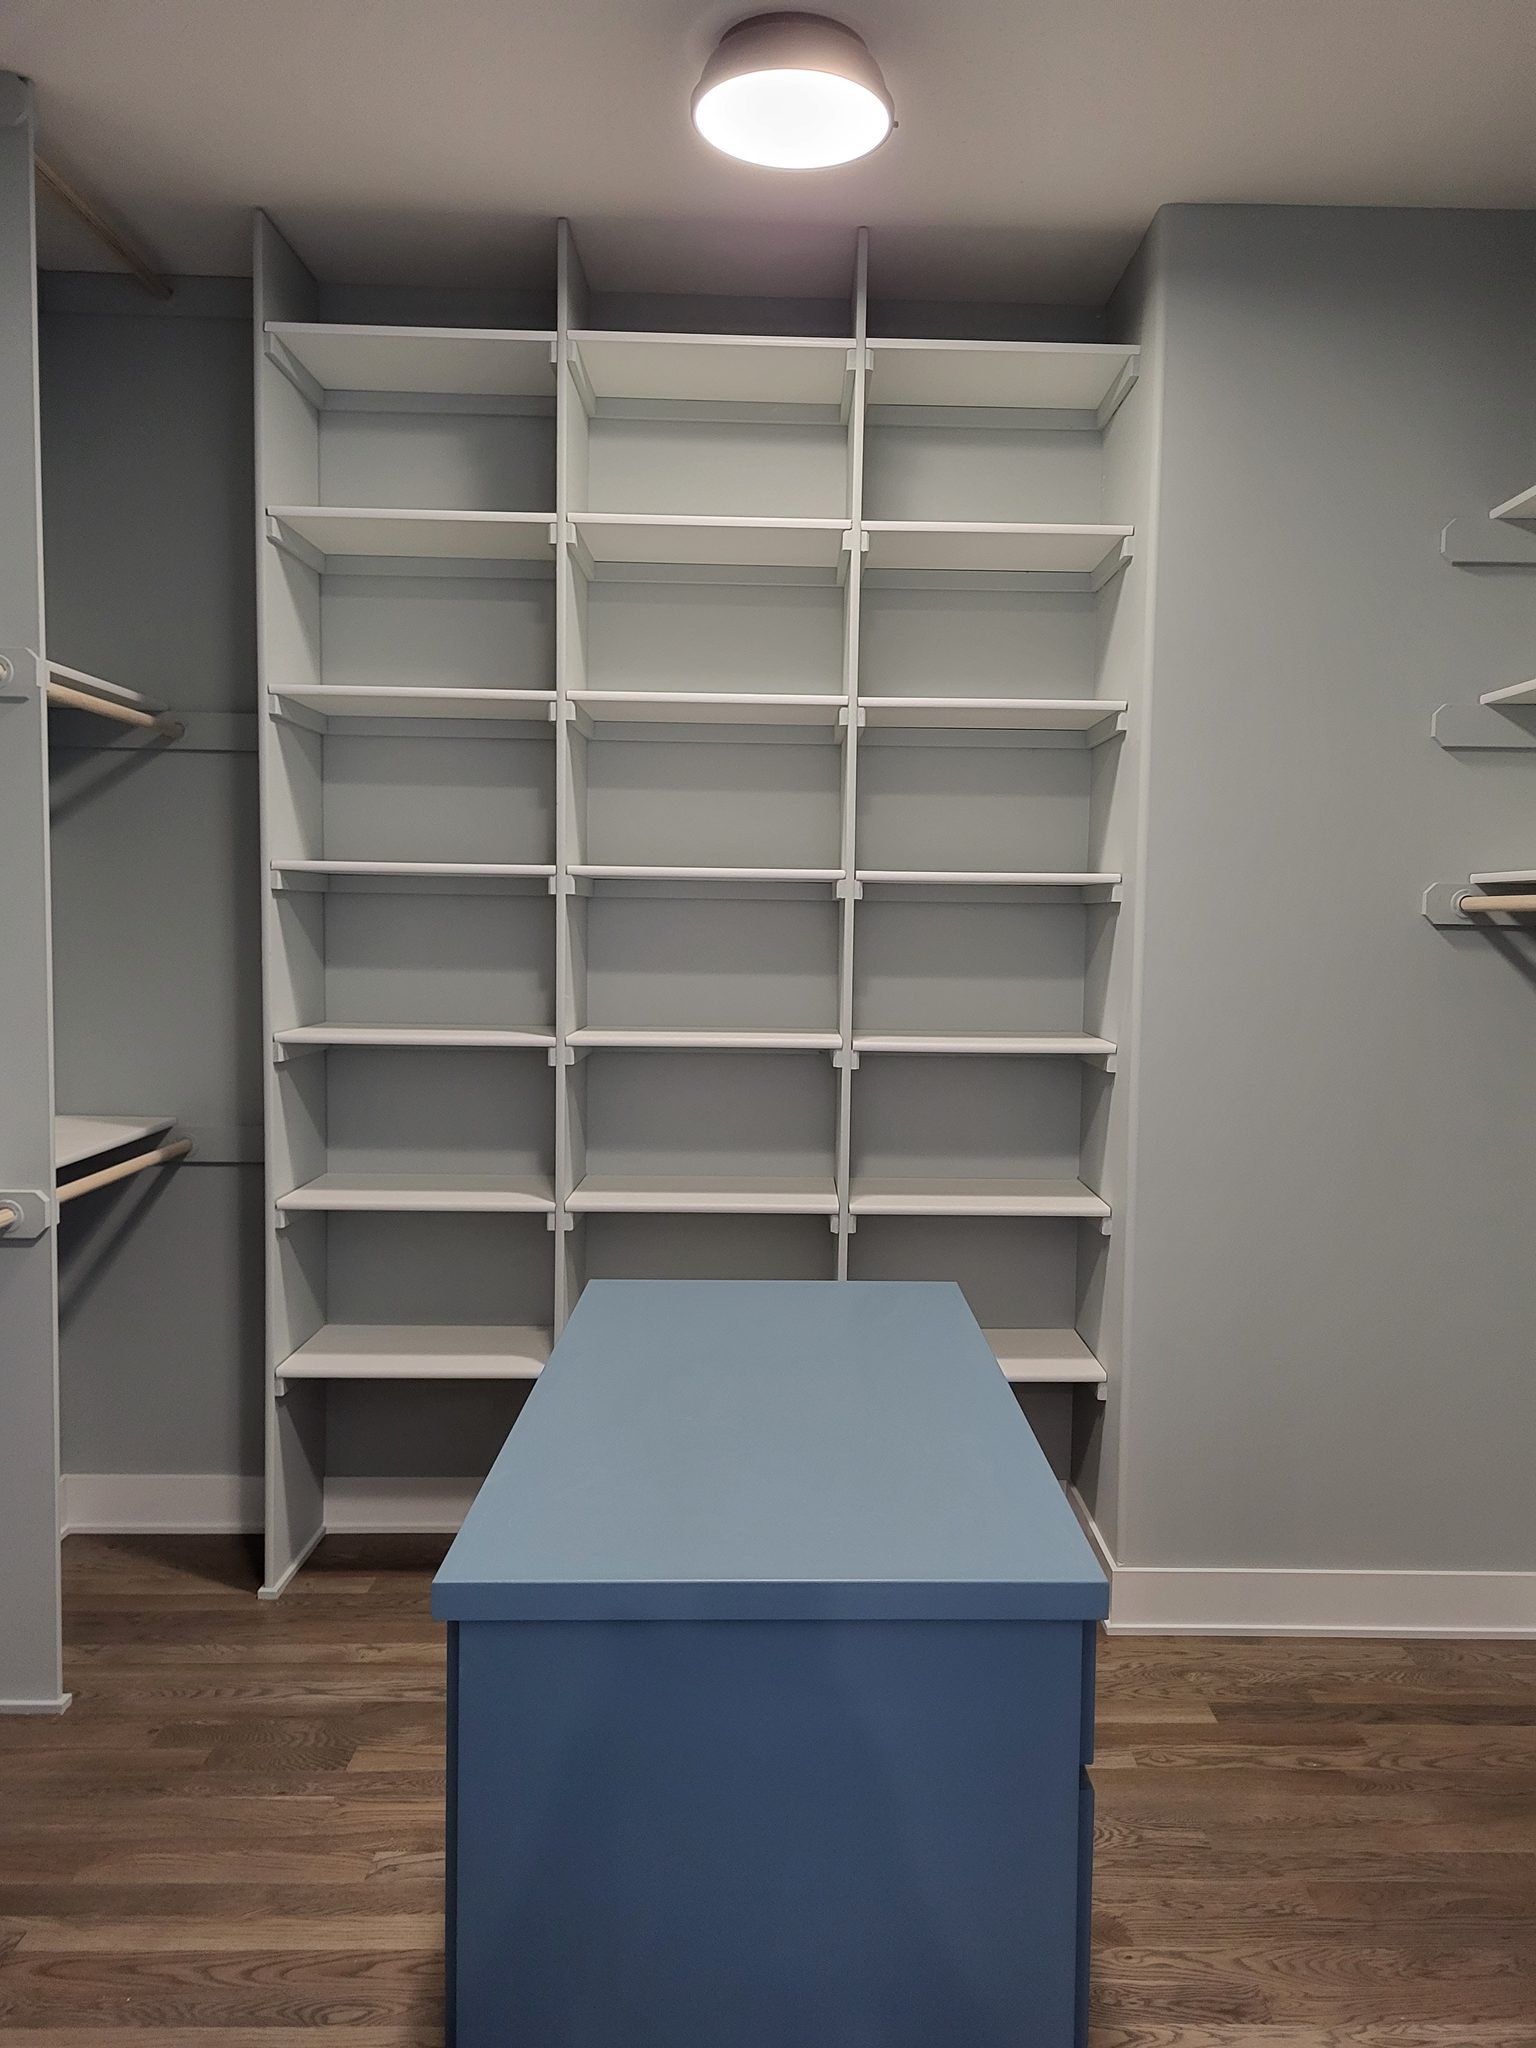
Custom built-in closet shelving system with grid-style white shelves and blue countertop island in walk-in closet.
Raw wood closet shelving with hanging rods and metal support brackets, pre-paint stage.
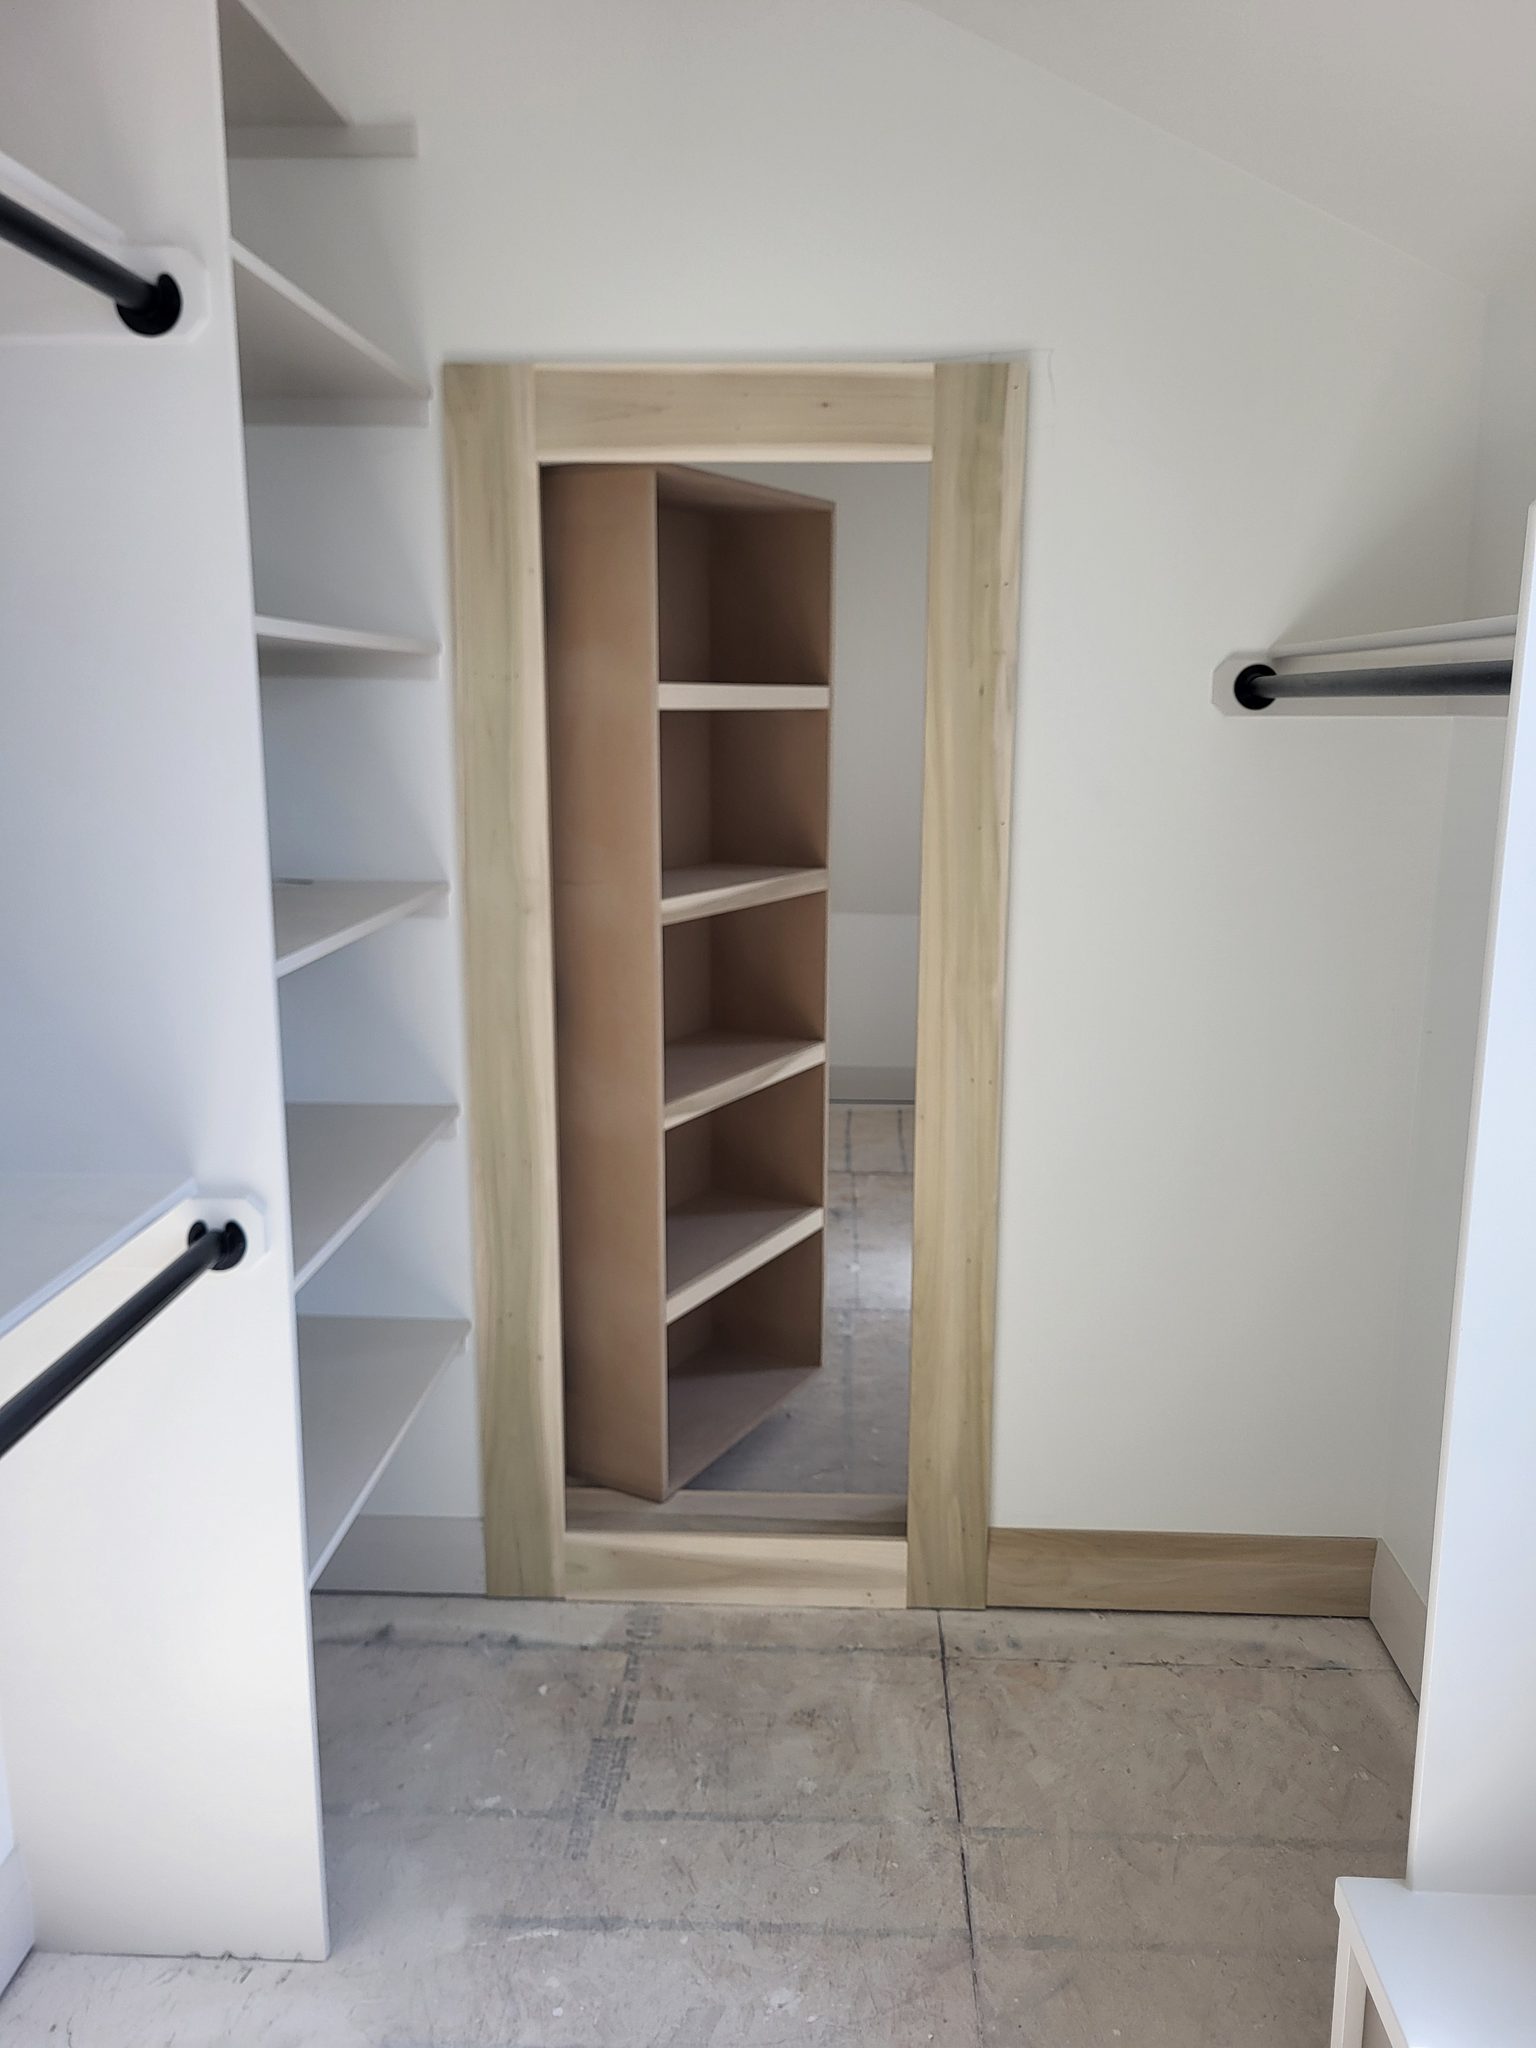
Light wood cased opening to walk-in closet with jamb and trim installed, unpainted raw wood finish.
Closet shelving with particle-board shelves, white brackets, and wooden hanging rod installed.
Multi-shelf built-in closet or storage unit with particle board shelves and support cleats, raw wood finish ready for paint.
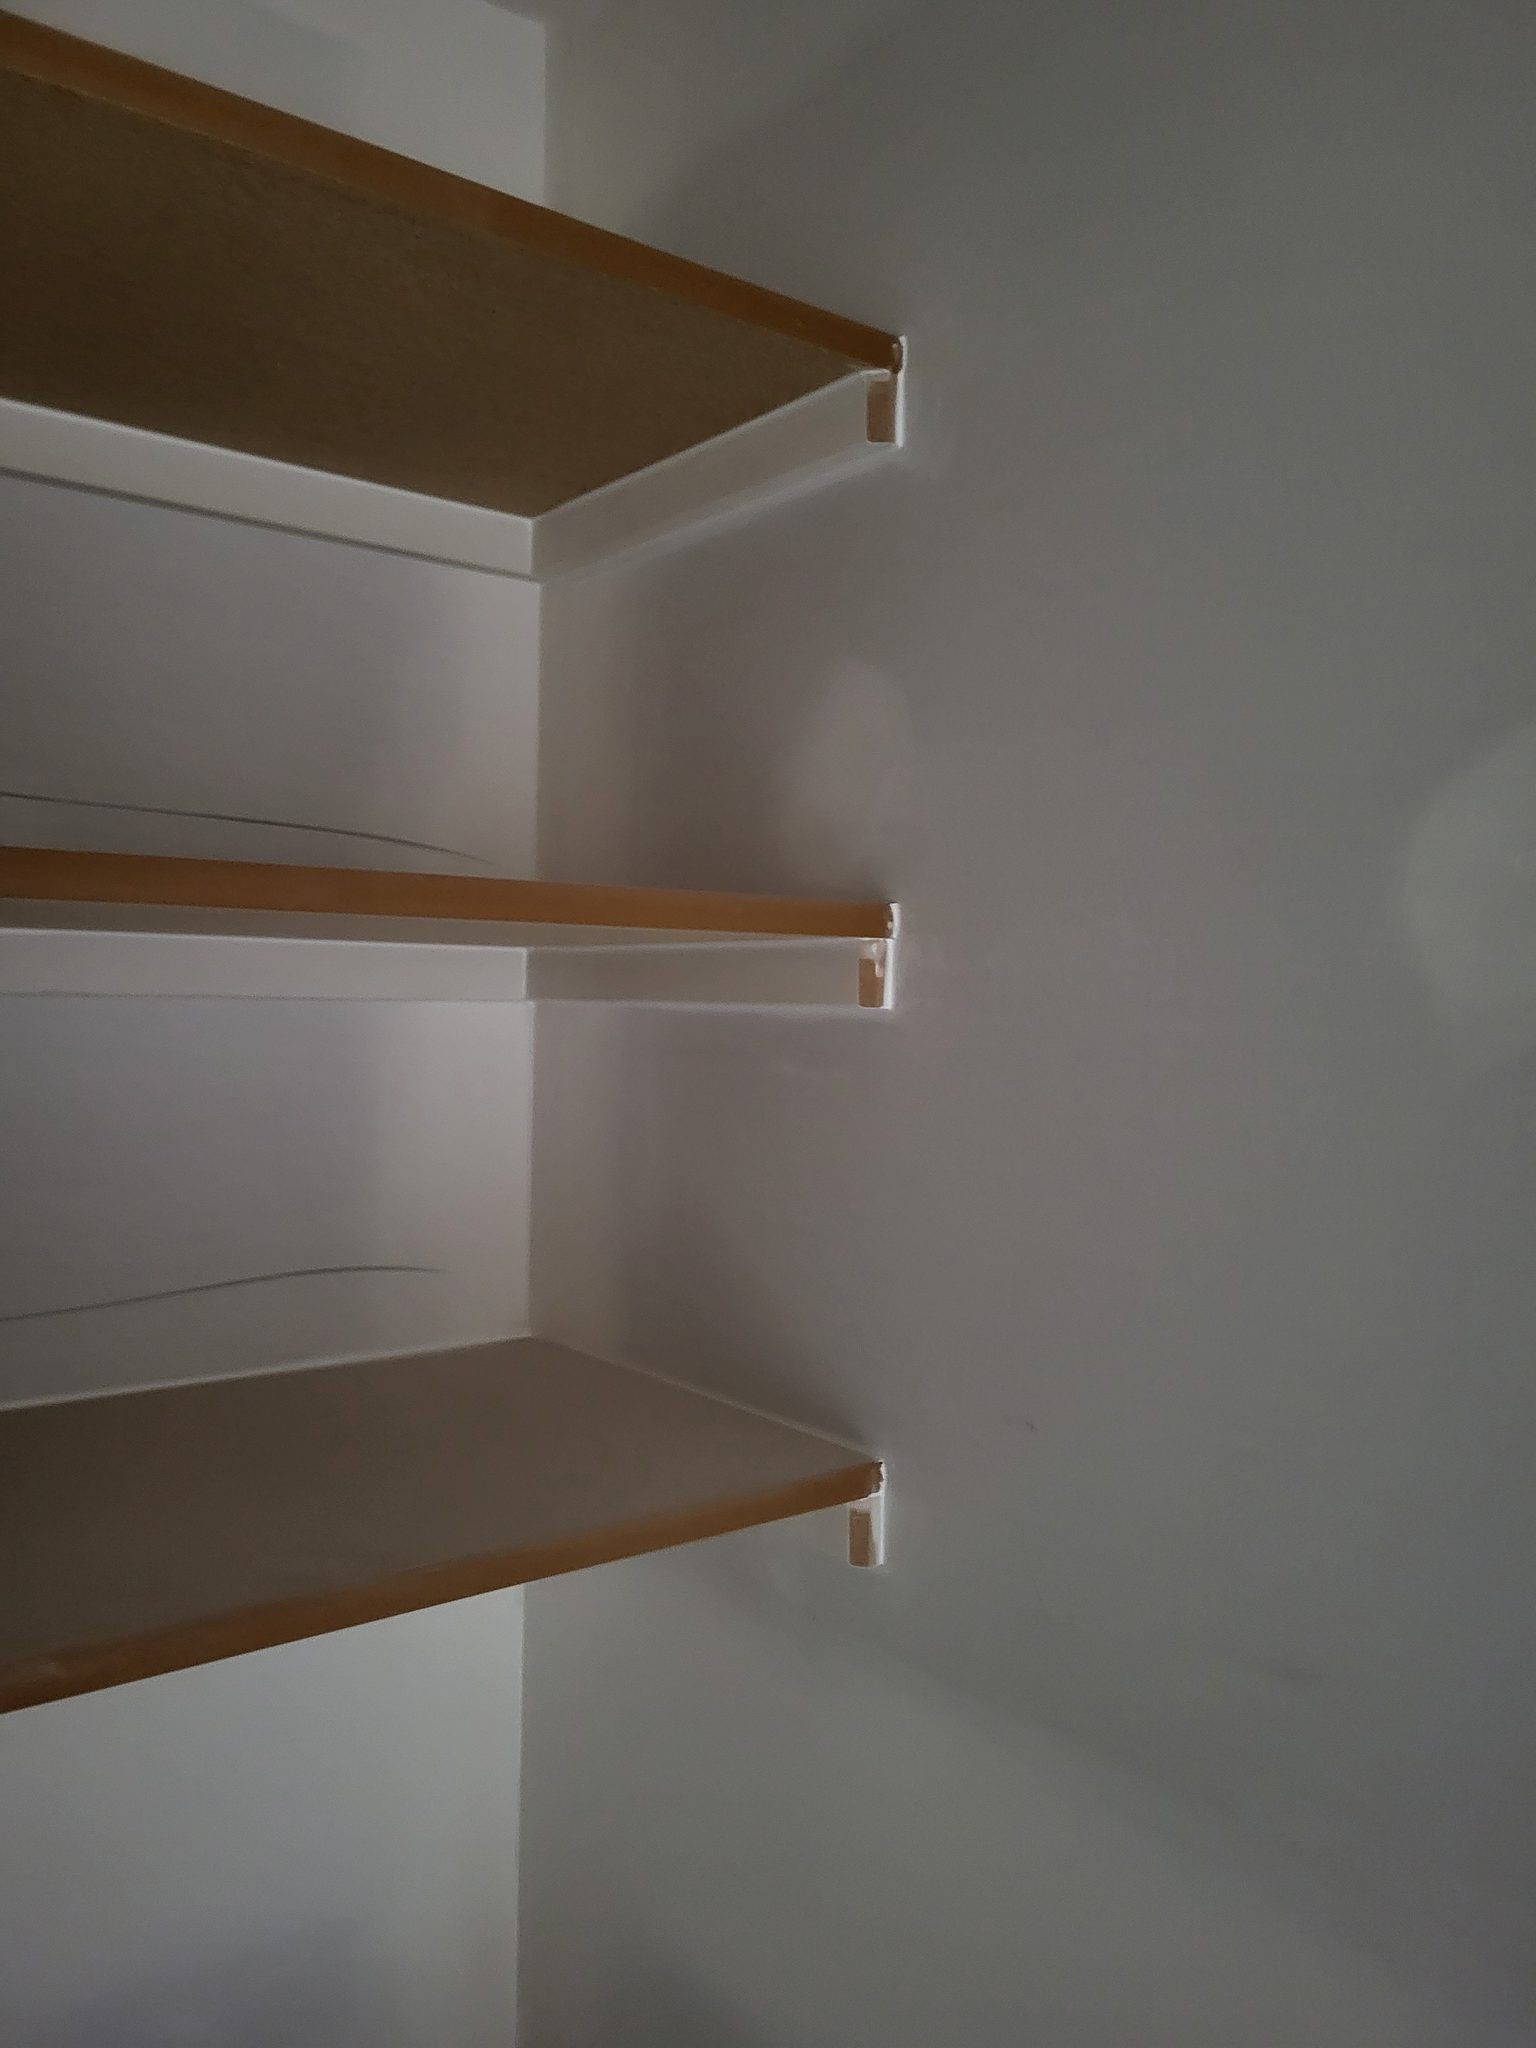
Four raw wood shelves with white brackets installed in closet, pre-paint stage.
Face-frame closet shelving with multiple tiers, white brackets, and built-in cubby storage boxes—ready for paint.
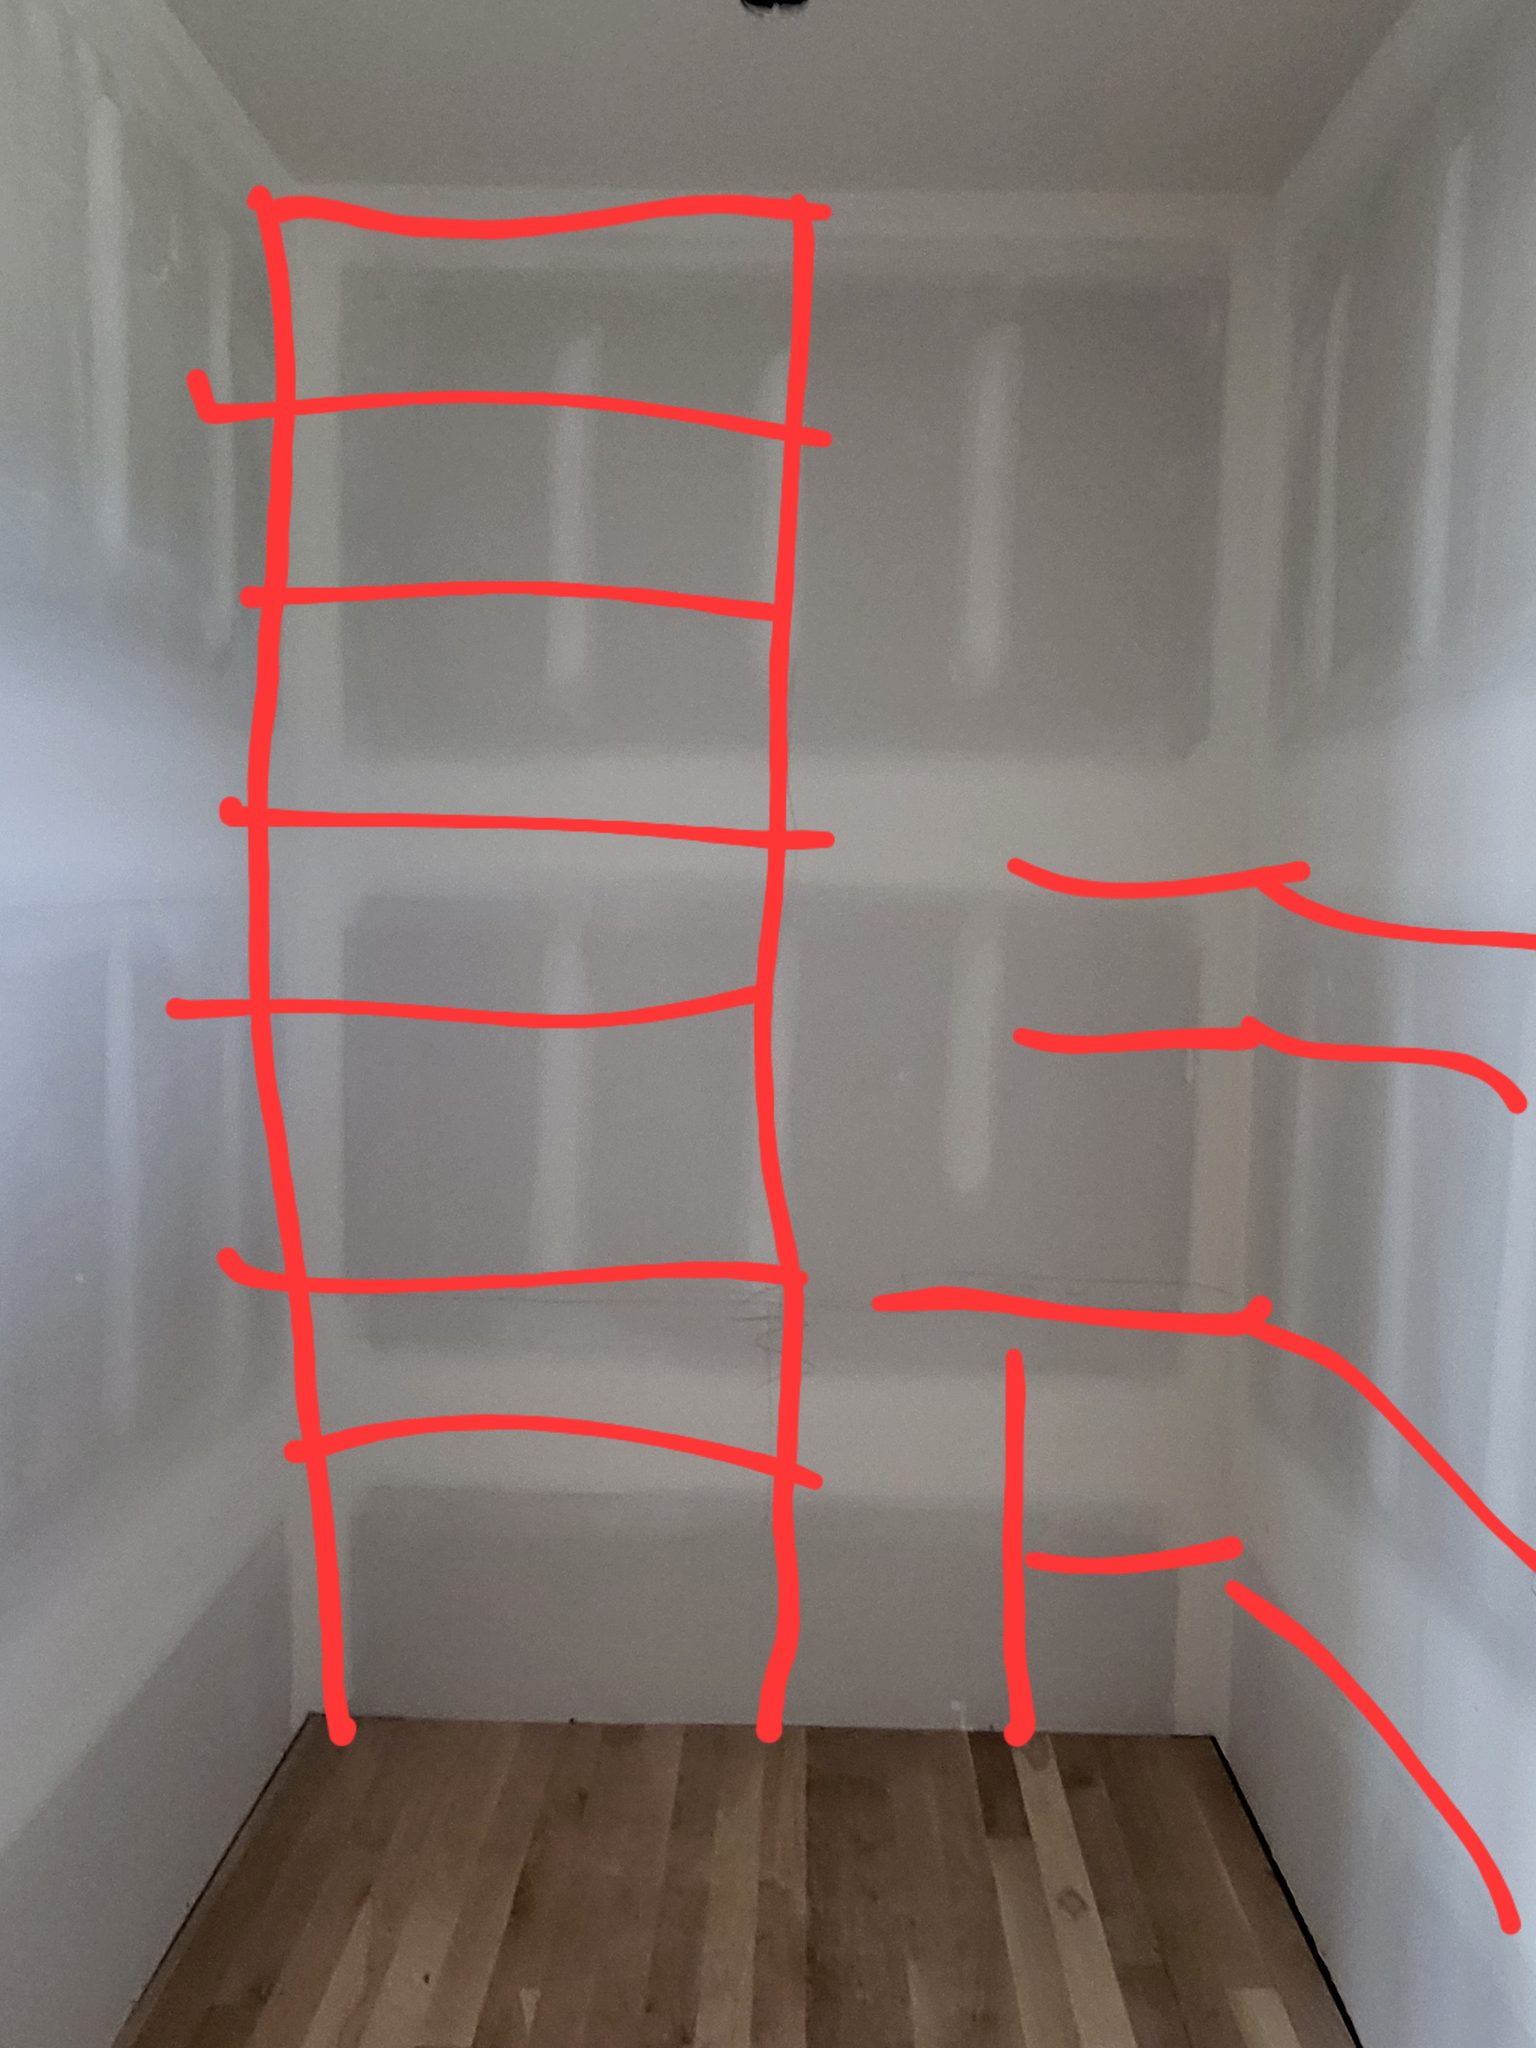
Closet layout marked with red lines showing shelf and rod placement heights before installation.
Face-frame closet shelving unit with five shelves, natural wood frame, and brown backing installed in walk-in closet.
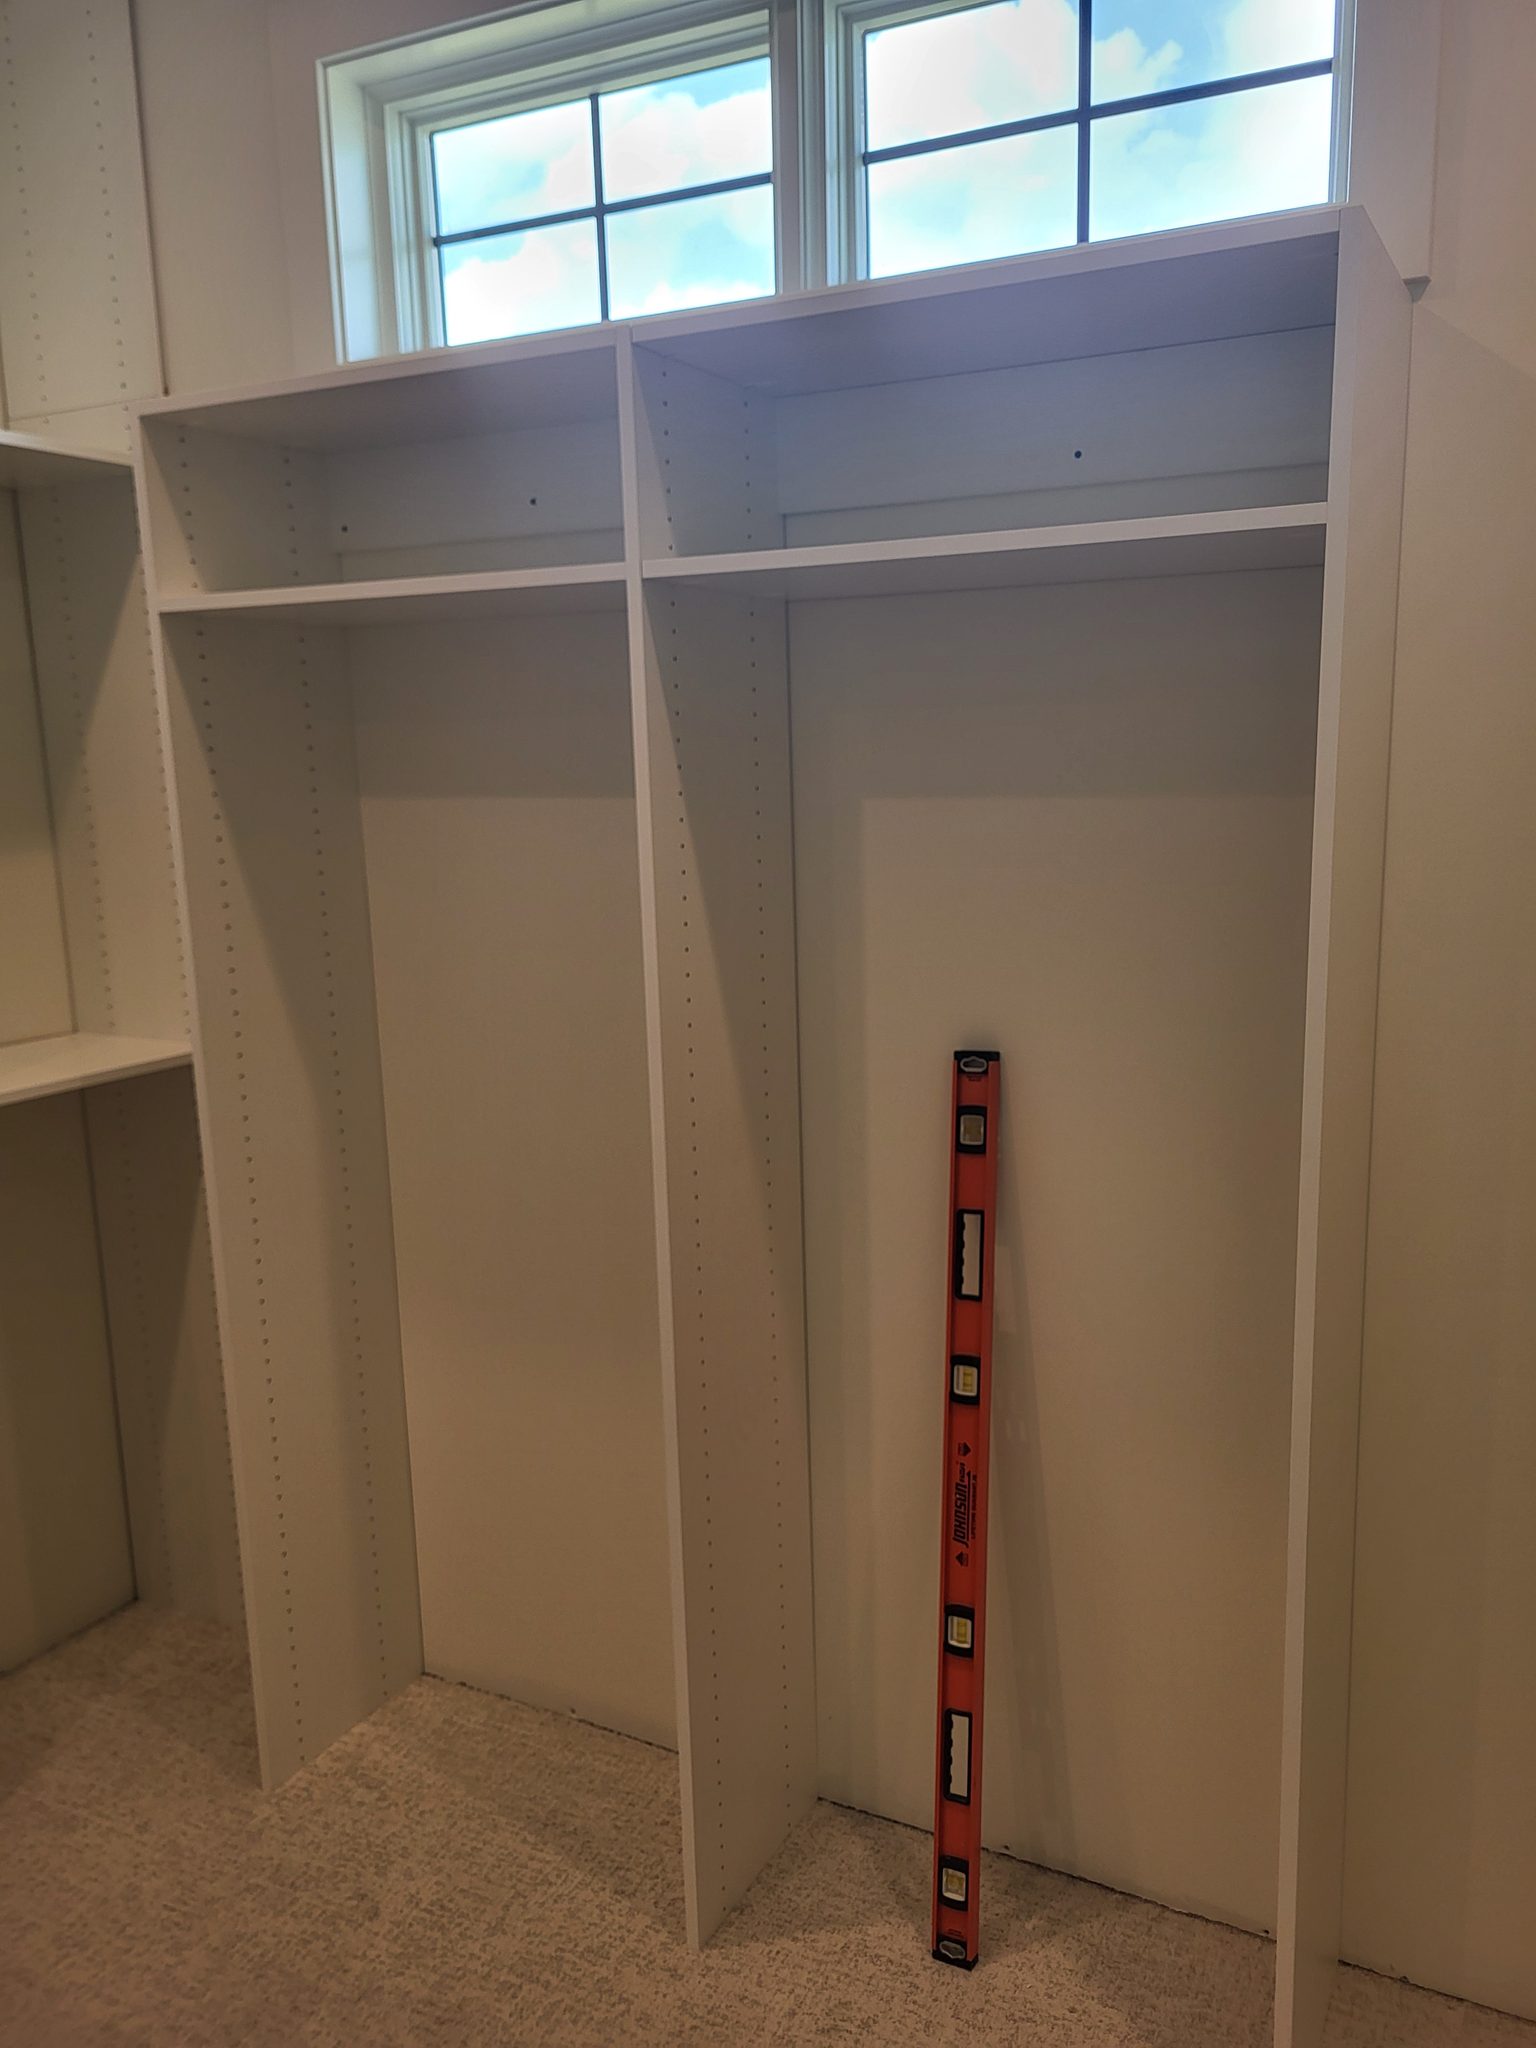
Face-frame closet shelving unit with multiple shelves, primed and painted white, ready for hardware and final finishing.
Unfinished closet shelving with multiple tiers, metal support brackets, and hanging rod—ready for paint.
Custom built-in closet shelving with face-frame construction, multiple shelves, hanging rods, and countertop work surface—fully painted and finished.
Closet shelf and hanging rod installed with white support brackets on side wall.
Wire shelving and hanging rods installed in closet with painted walls and ceiling.
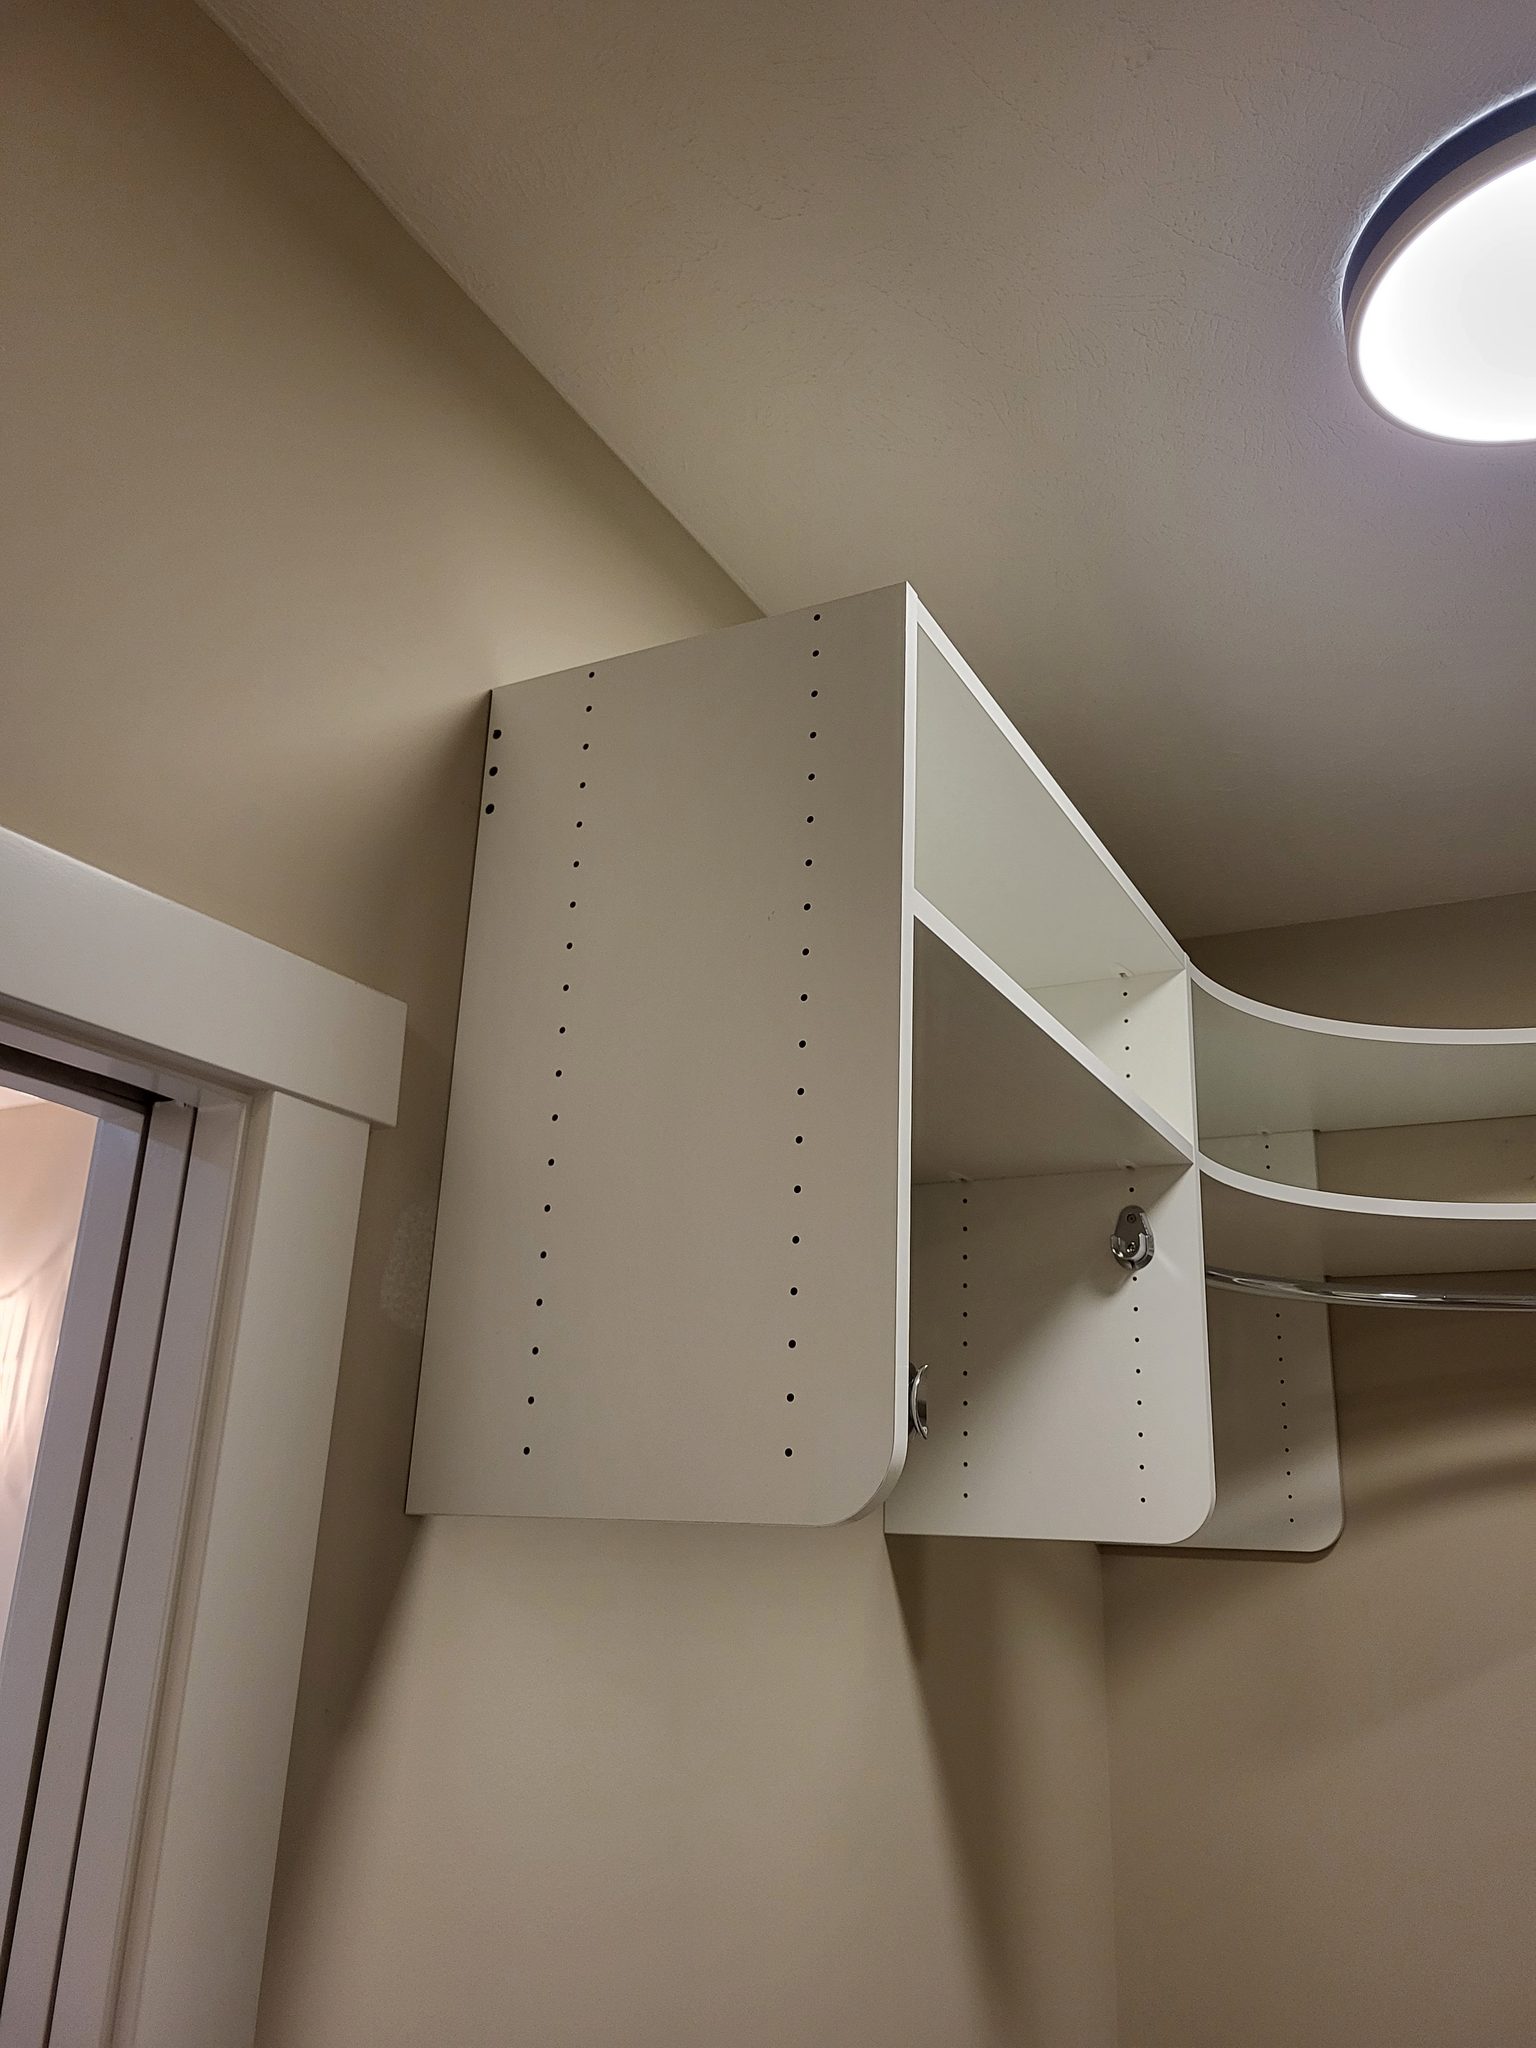
Installed white face-frame closet shelving with adjustable brackets and wood support cleats throughout walk-in closet.
Closet layout marked with red tape showing planned shelf and rod placement before installation.
Closet shelving system with painted shelves, metal brackets, and hanging rod installed.
Walk-in closet with multiple shelves, hanging rods, and support structure installed; raw wood and drywall ready for paint.
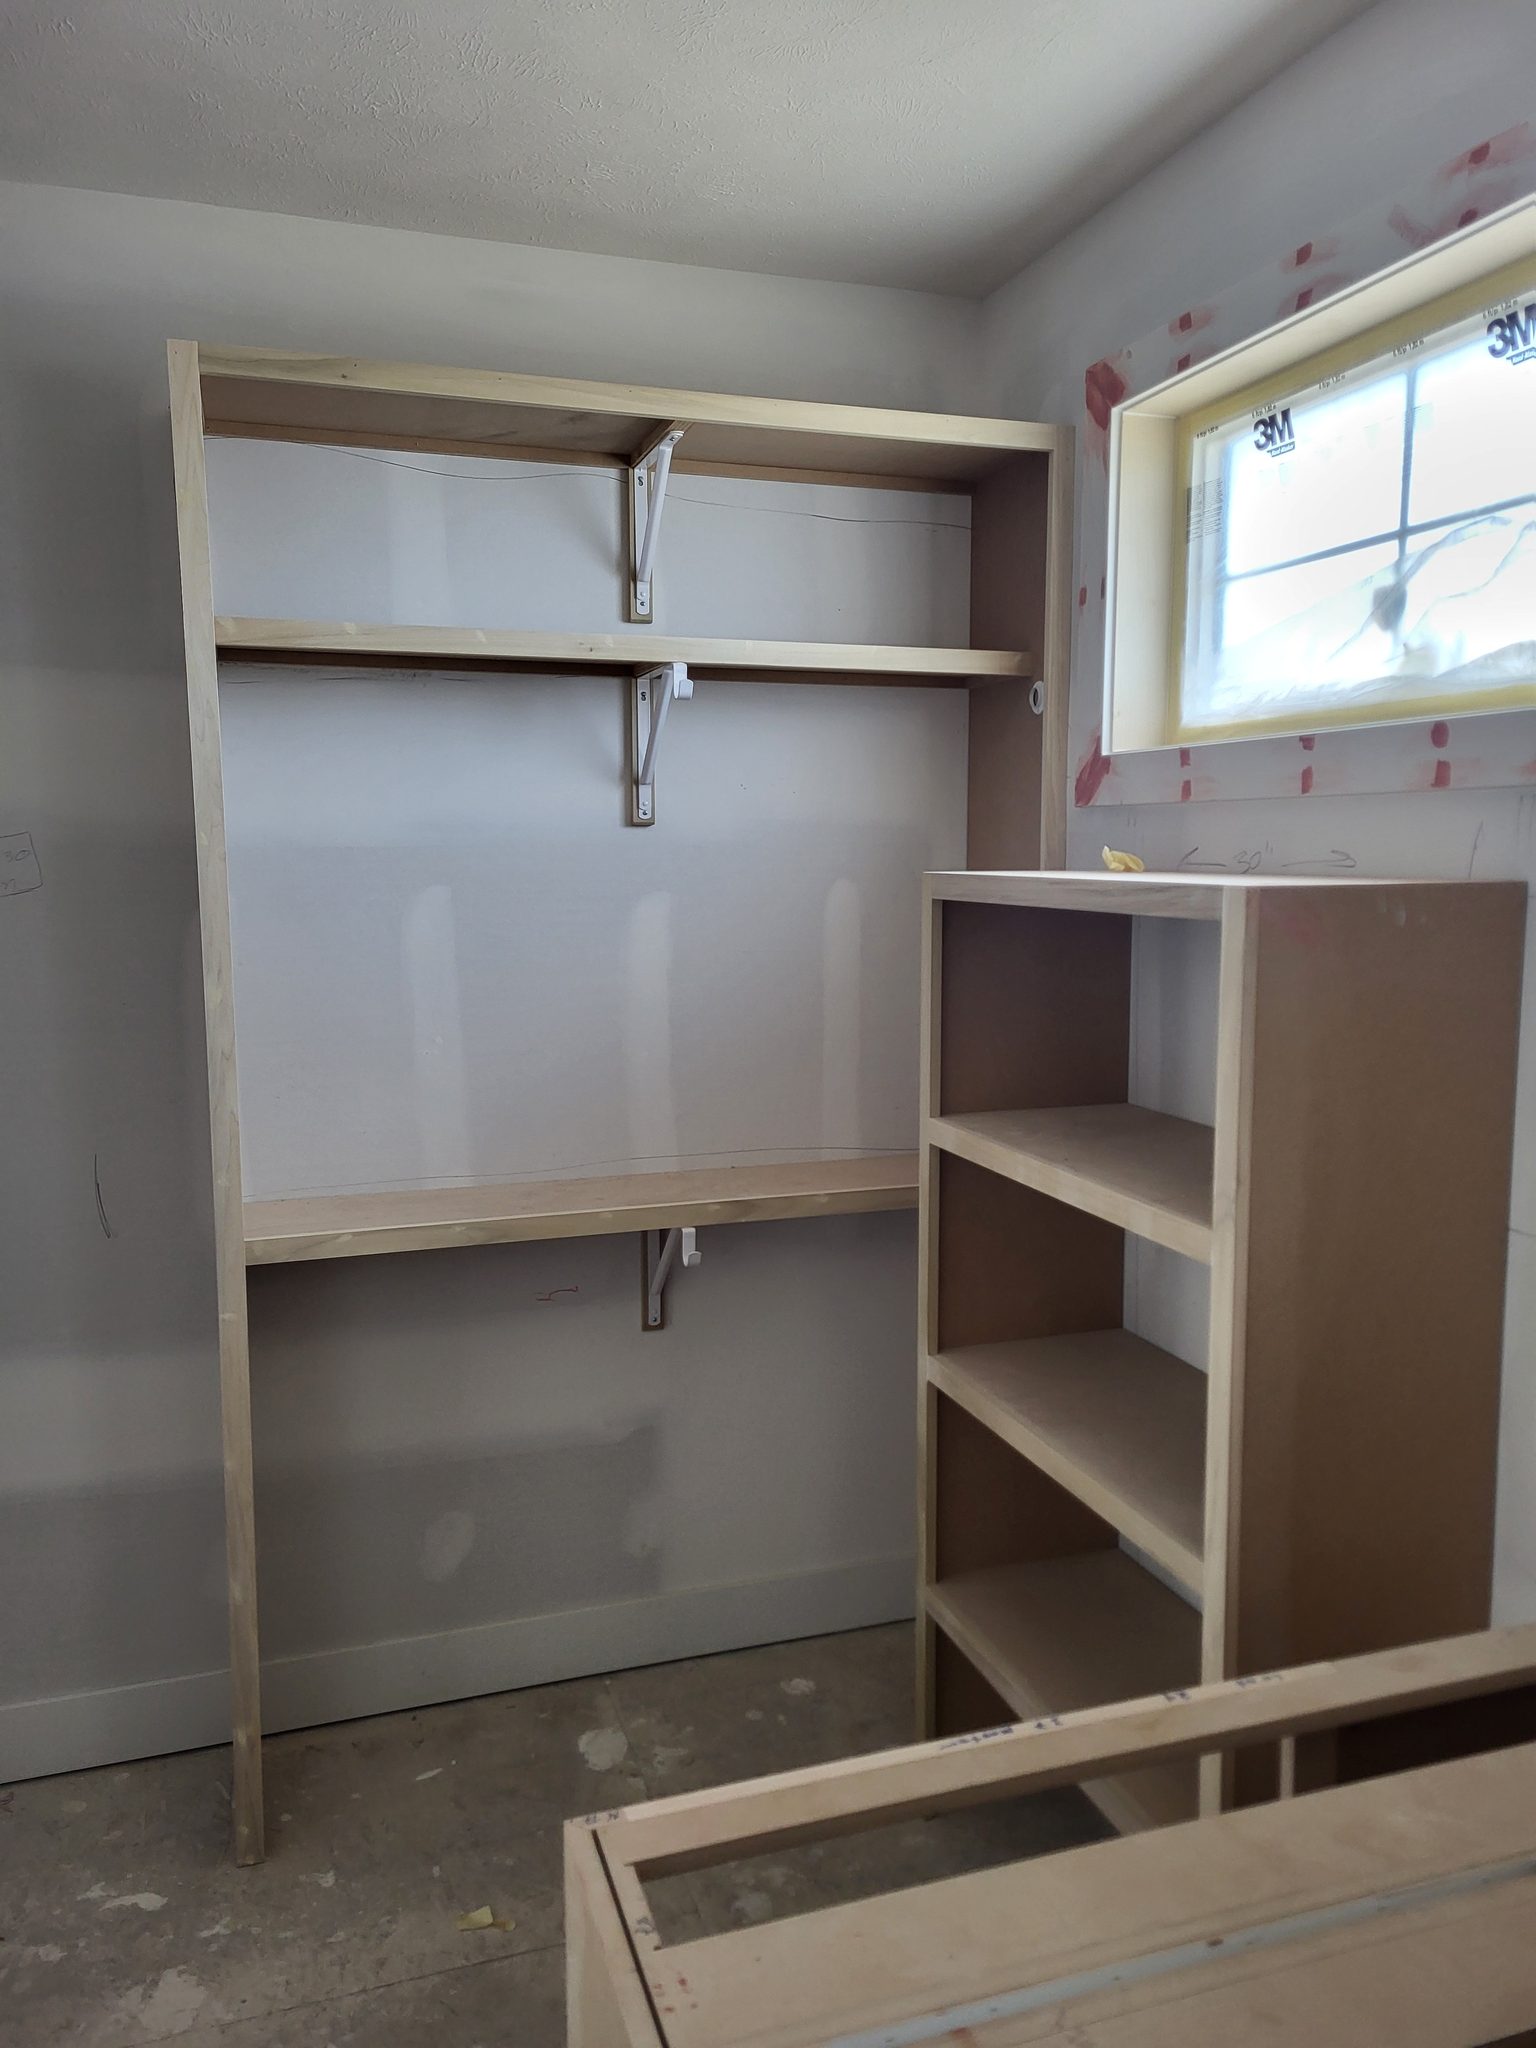
Two-tier closet shelving with particle board shelves, 1x4 cleats, and white support brackets installed.
Closet framing plan with annotated shelf, rod, and bench layout on drywall.
Completed walk-in closet with wire shelving, hanging rods, and painted walls ready for use.
Installed closet shelves with bullnose particle board and wood edge banding, white face frame casing.
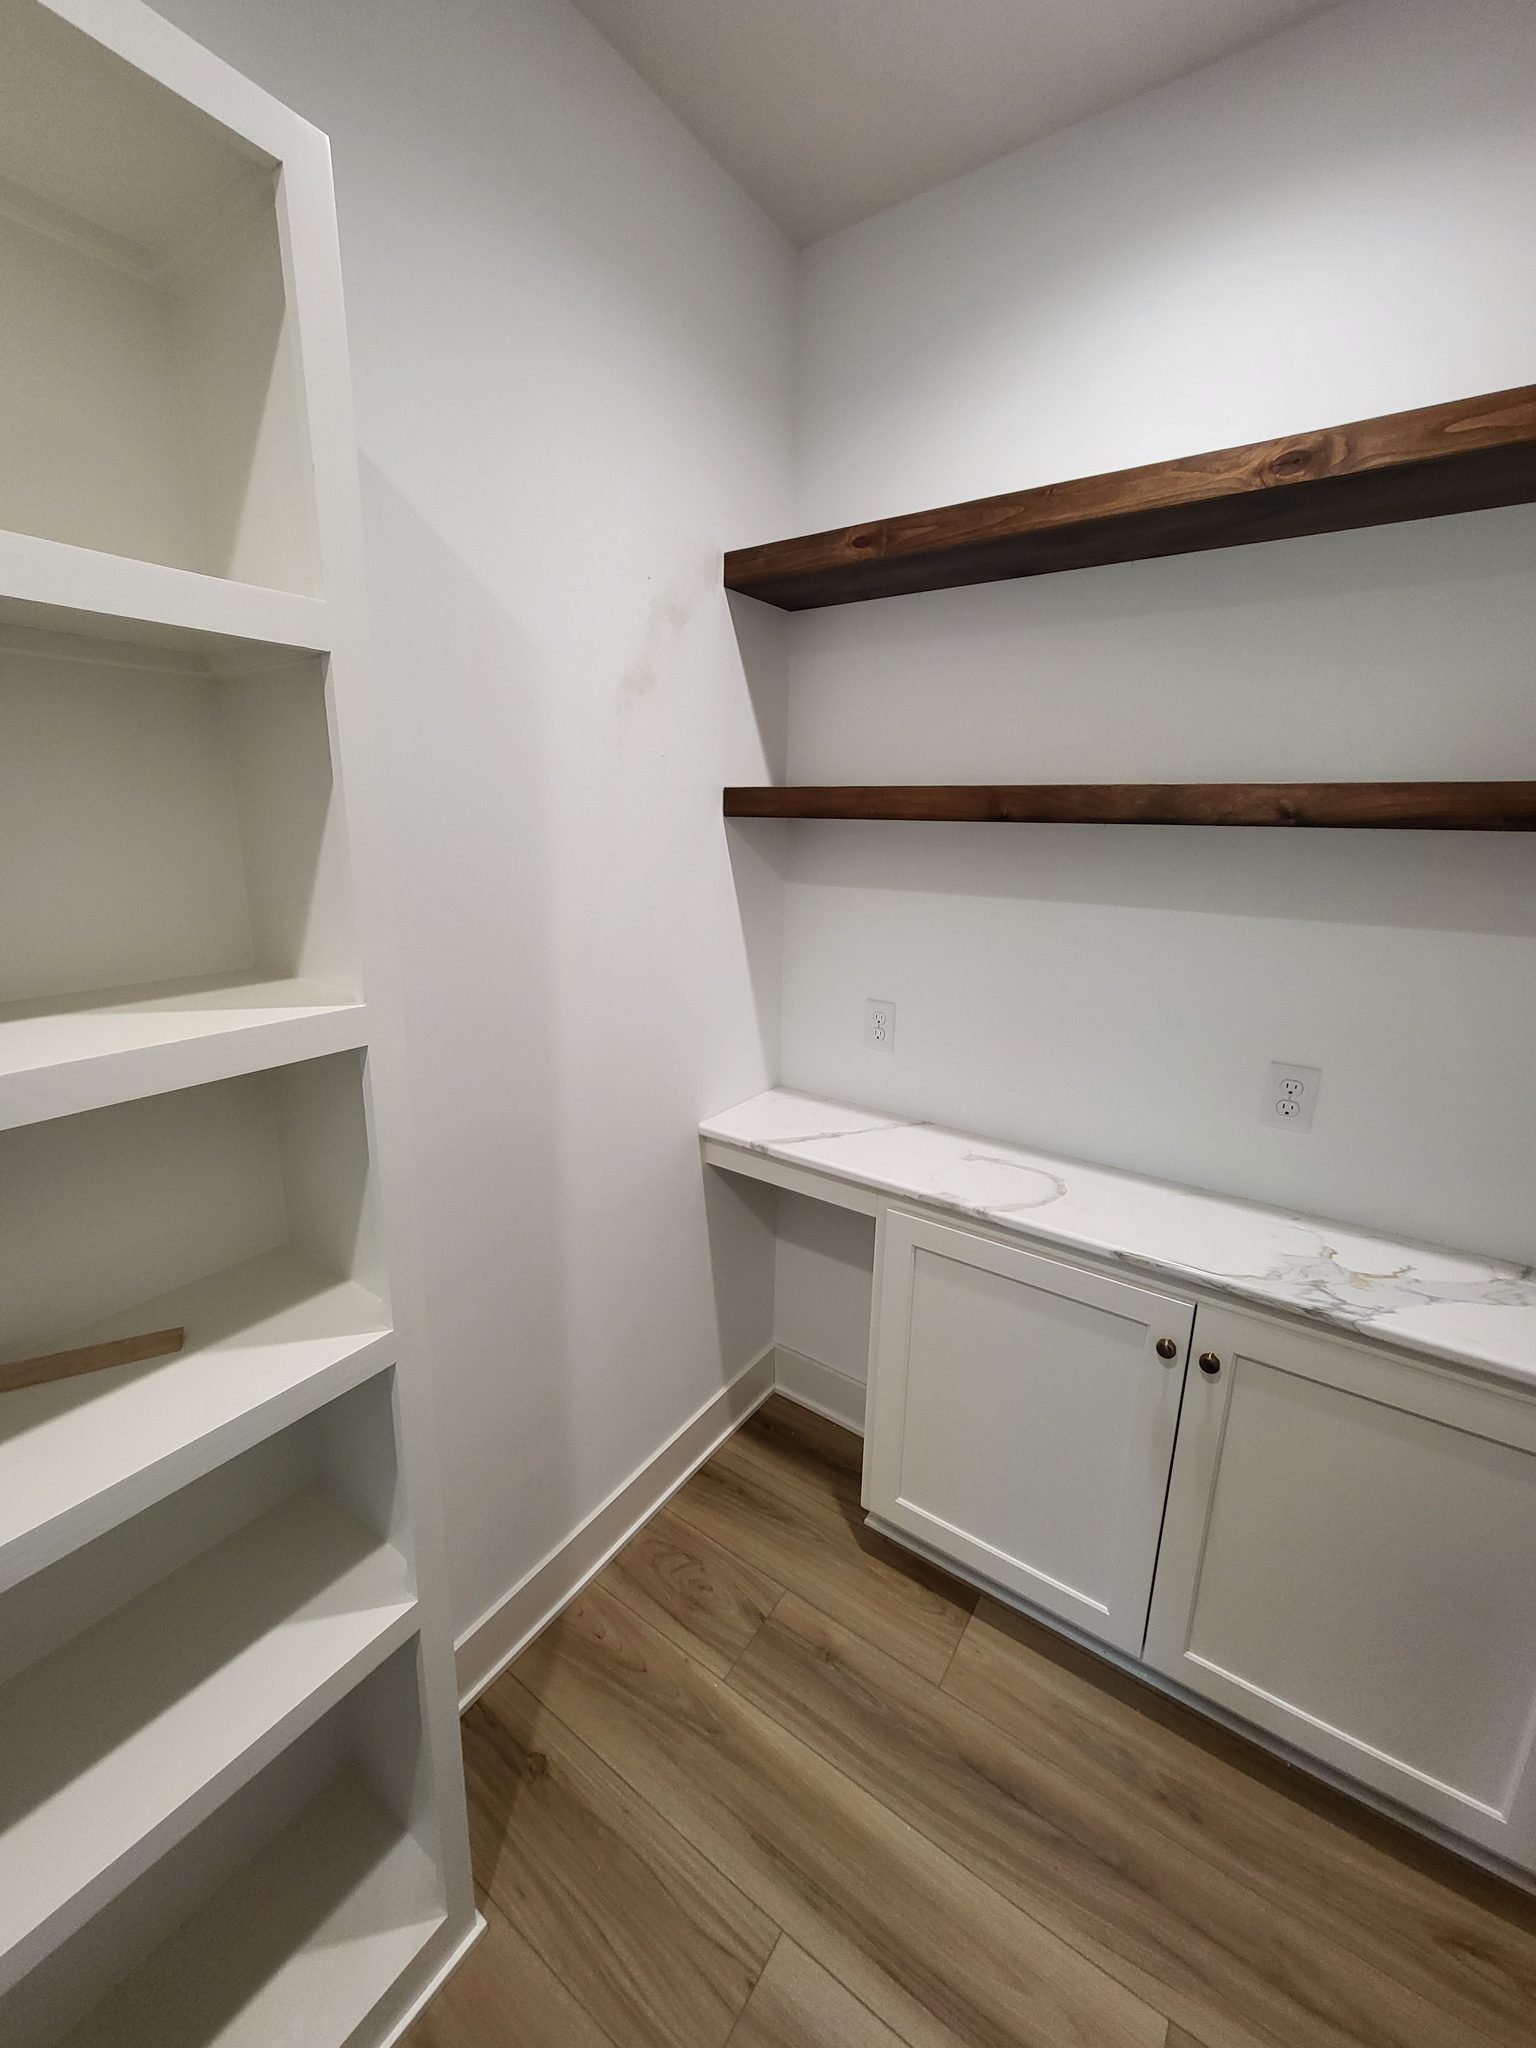
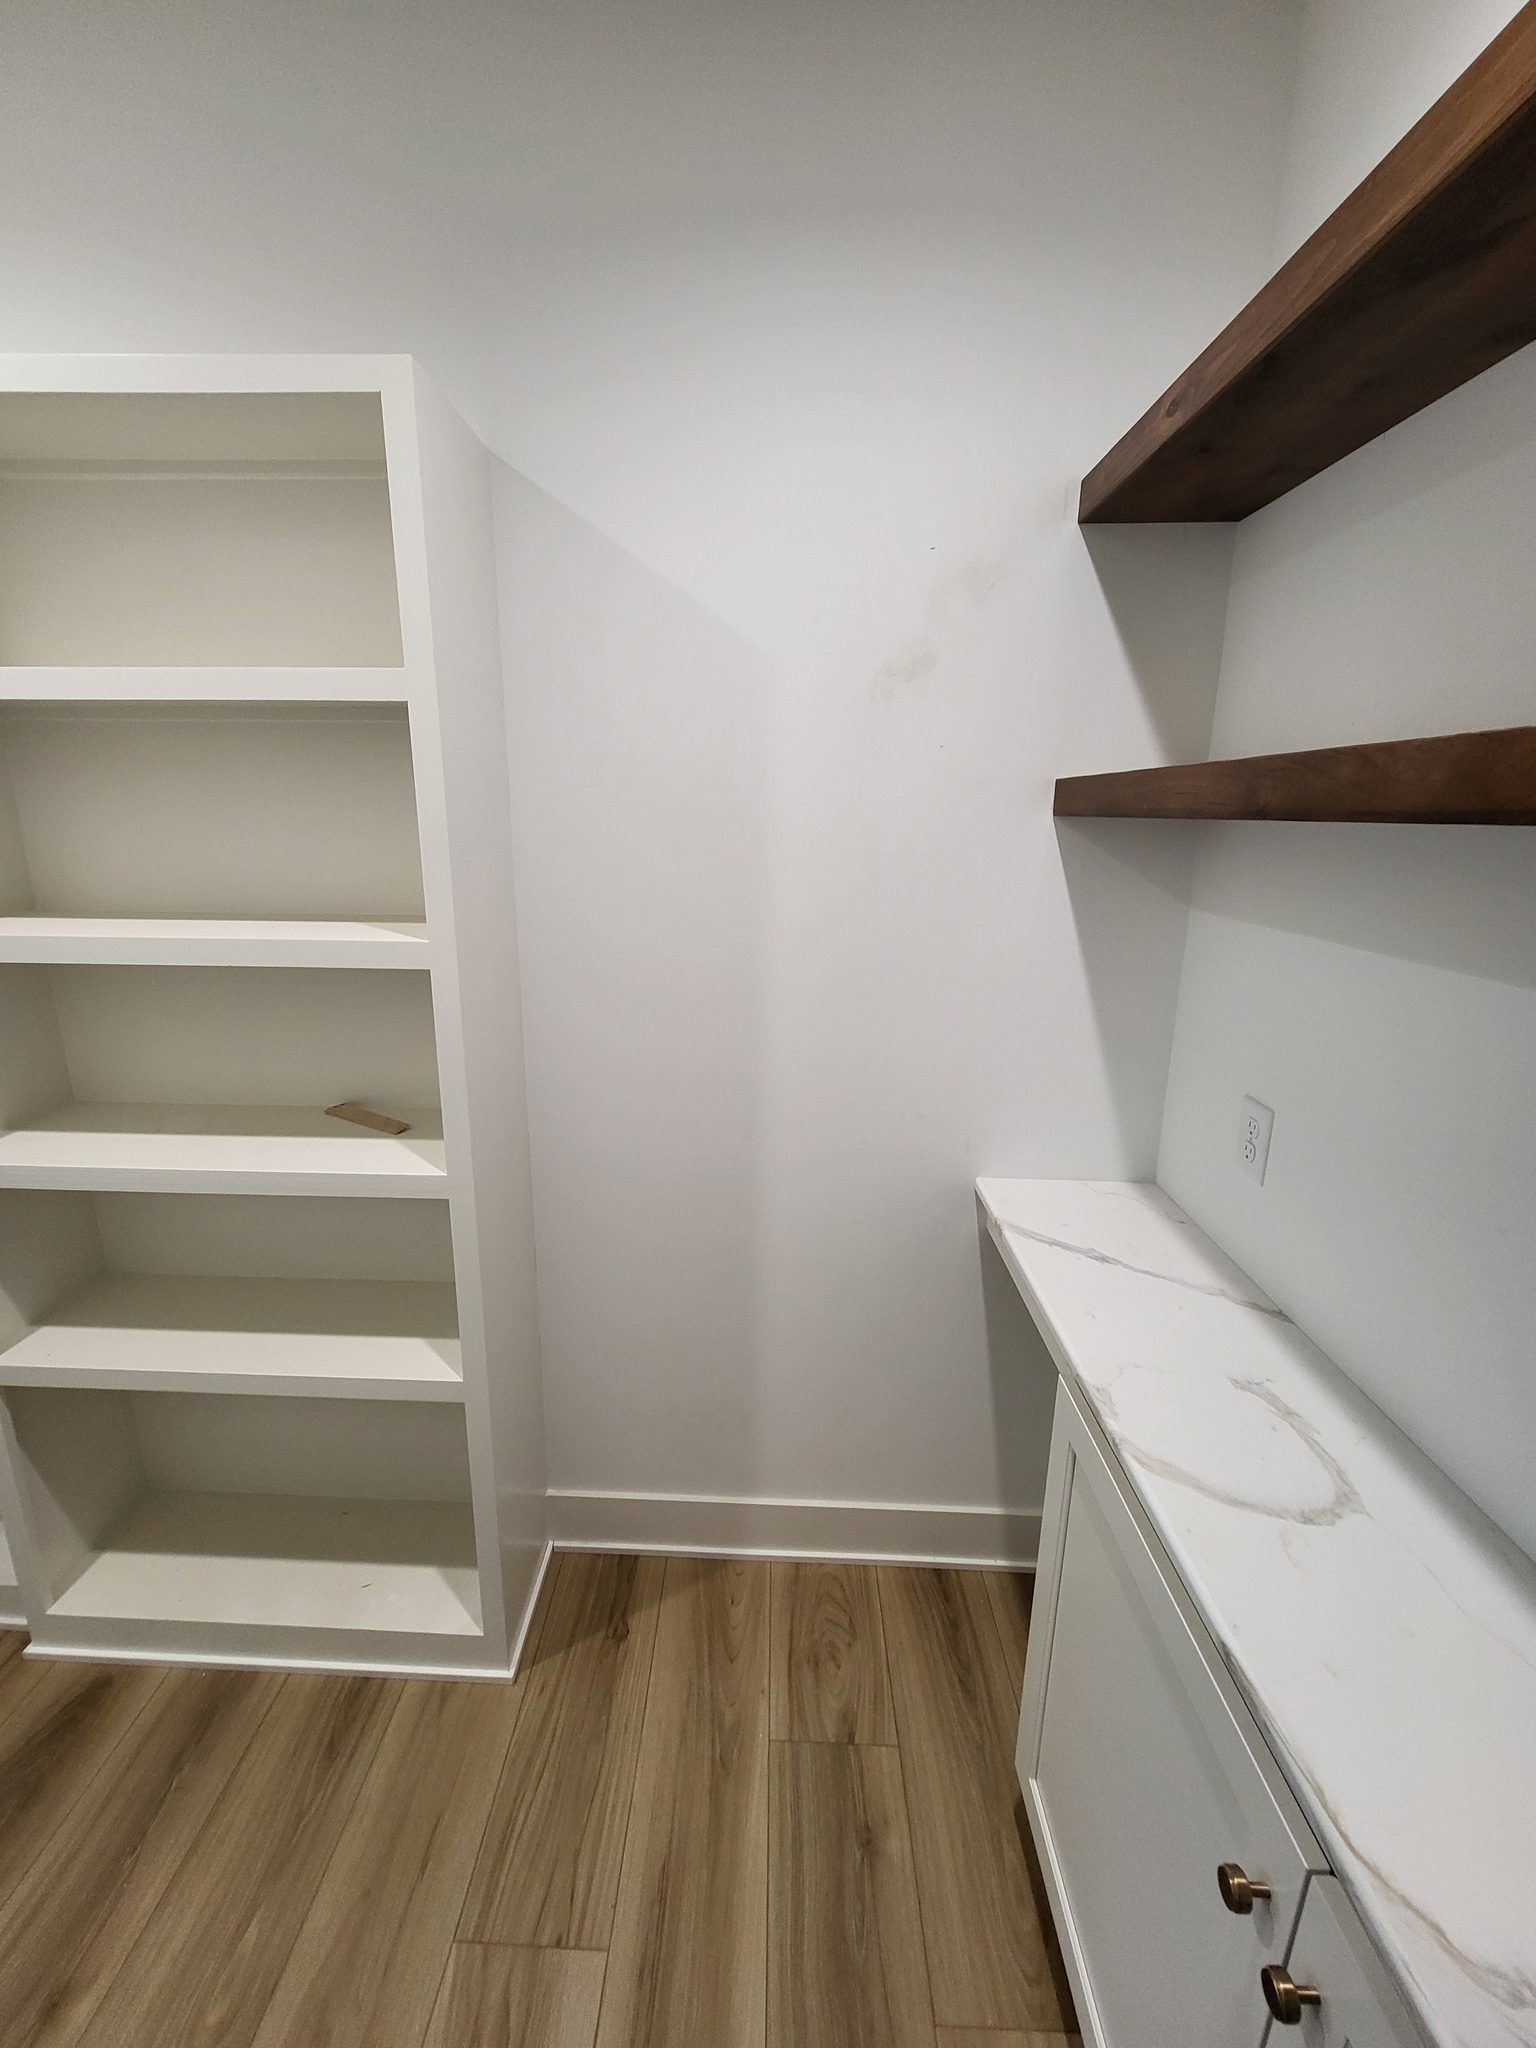
Finished closet with white painted shelving, dark wood floating shelves, base cabinet with countertop, and hardwood floor.
Closet shelving and hanging rod assembly with particle board shelves and wood cleats, unfinished.
Completed closet with white painted built-in shelving unit and dark wood floating shelves, ready for use.
Face-frame closet shelving with multiple tiers and hanging rods, primed white, ready for paint.
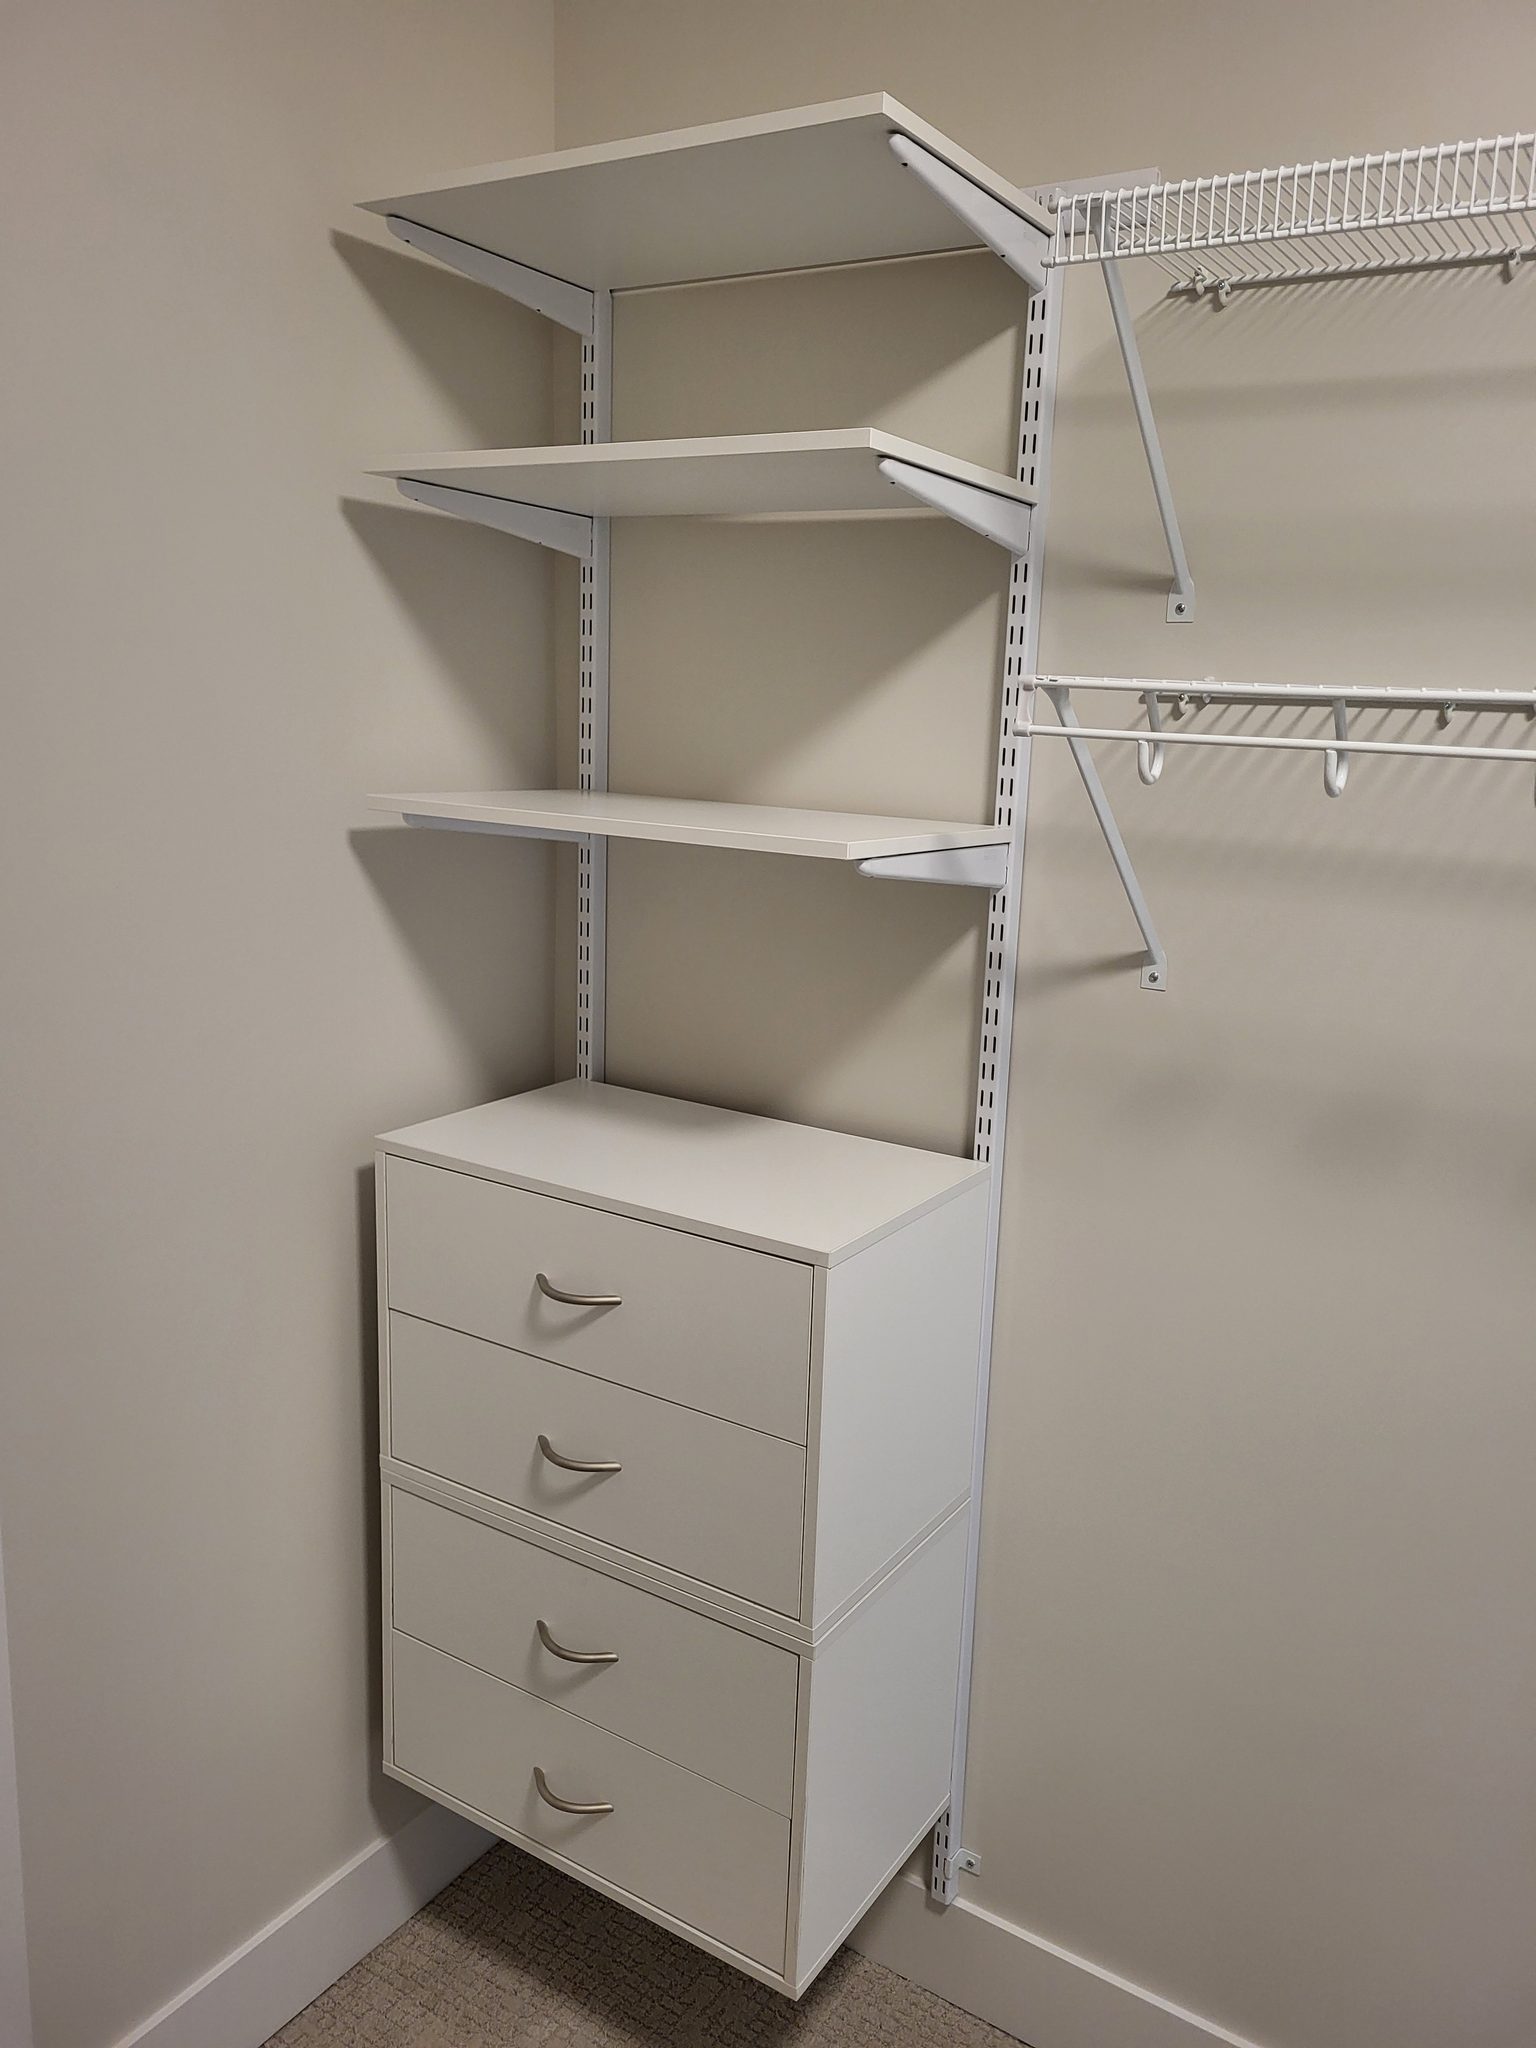
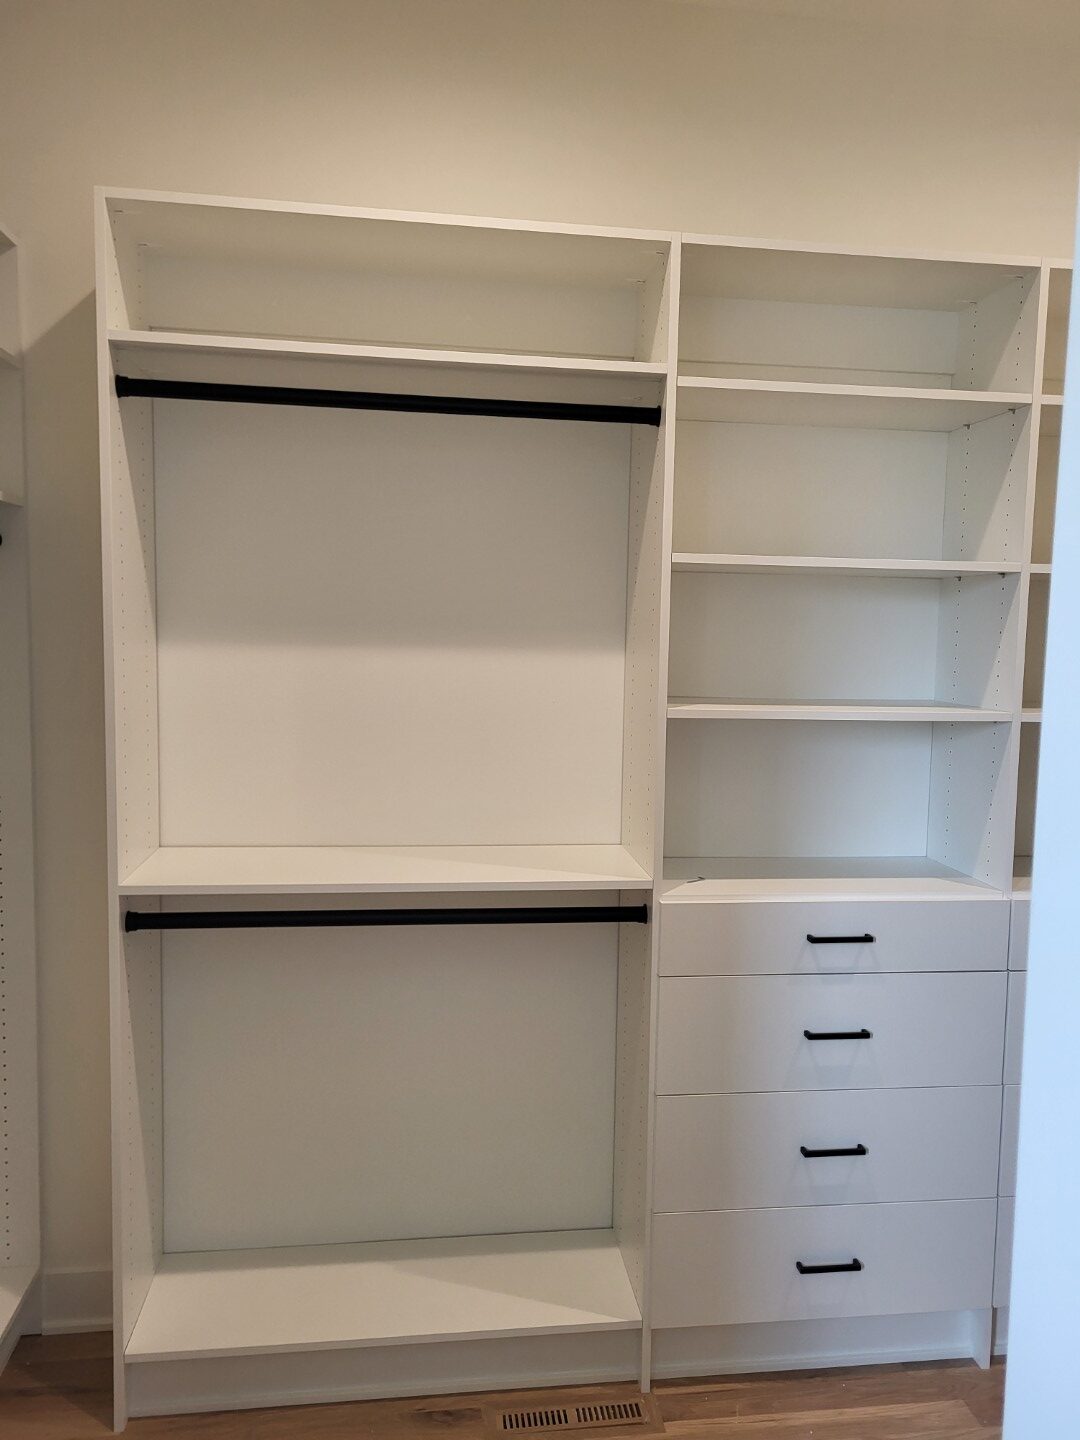
Painted face-frame closet shelving unit with four drawers and three open shelves installed in closet.
Custom built-in bookcase with white face-frame shelving and open cubbies, ready for paint.
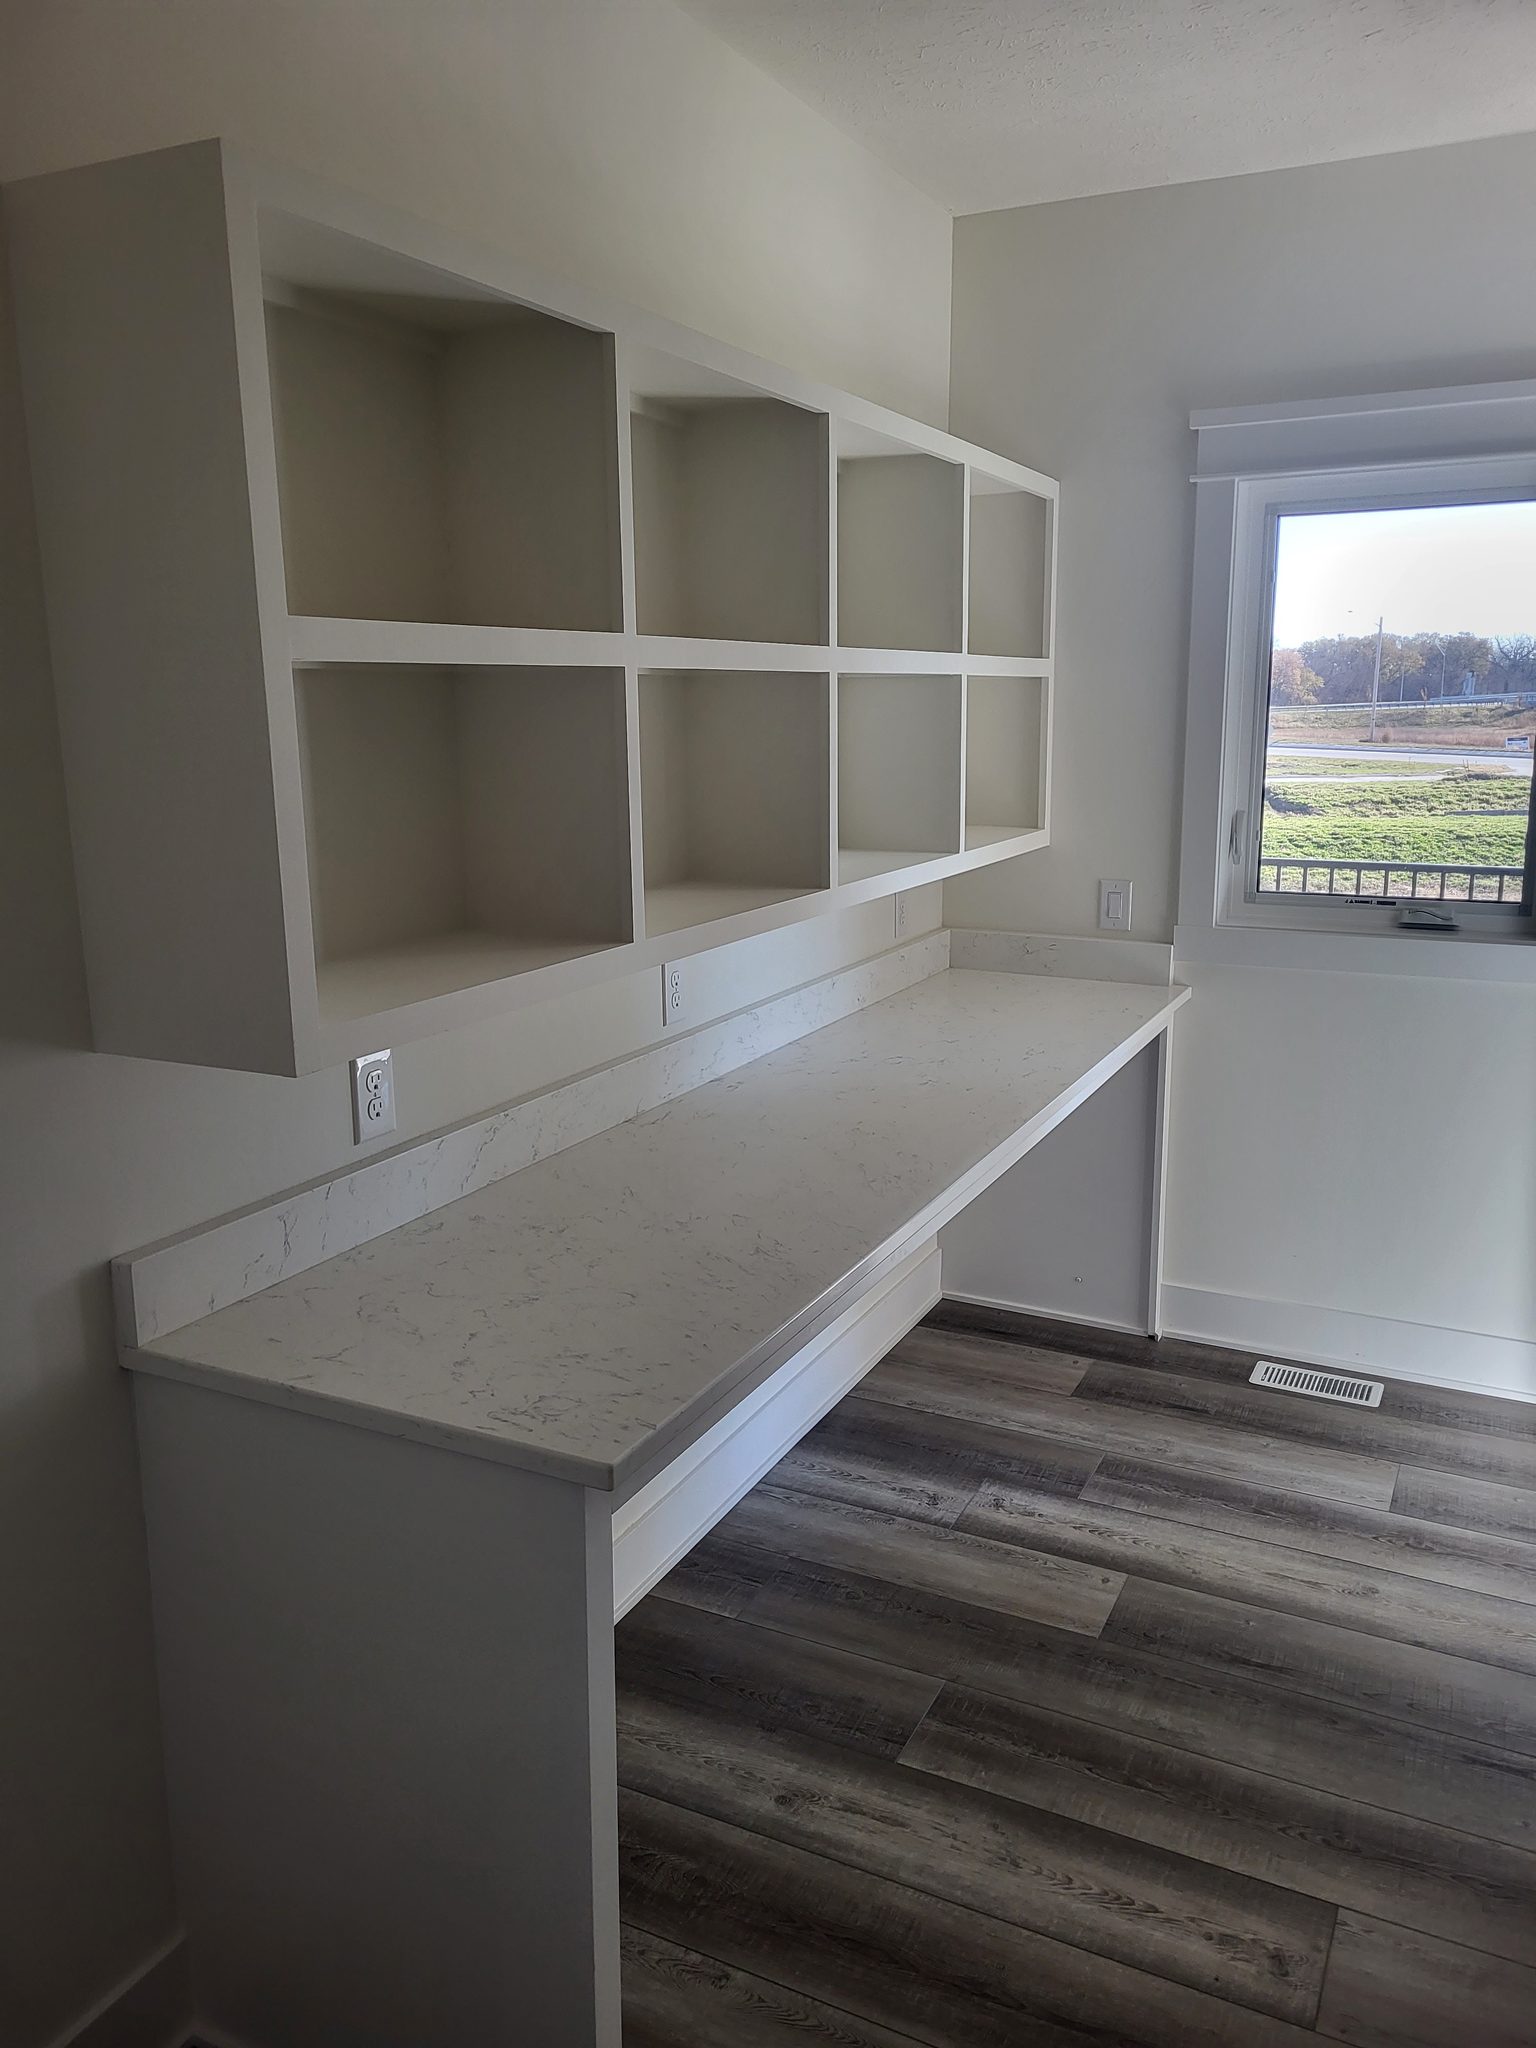
Custom built-in desk with overhead cubby shelving unit, painted white with marble countertop.
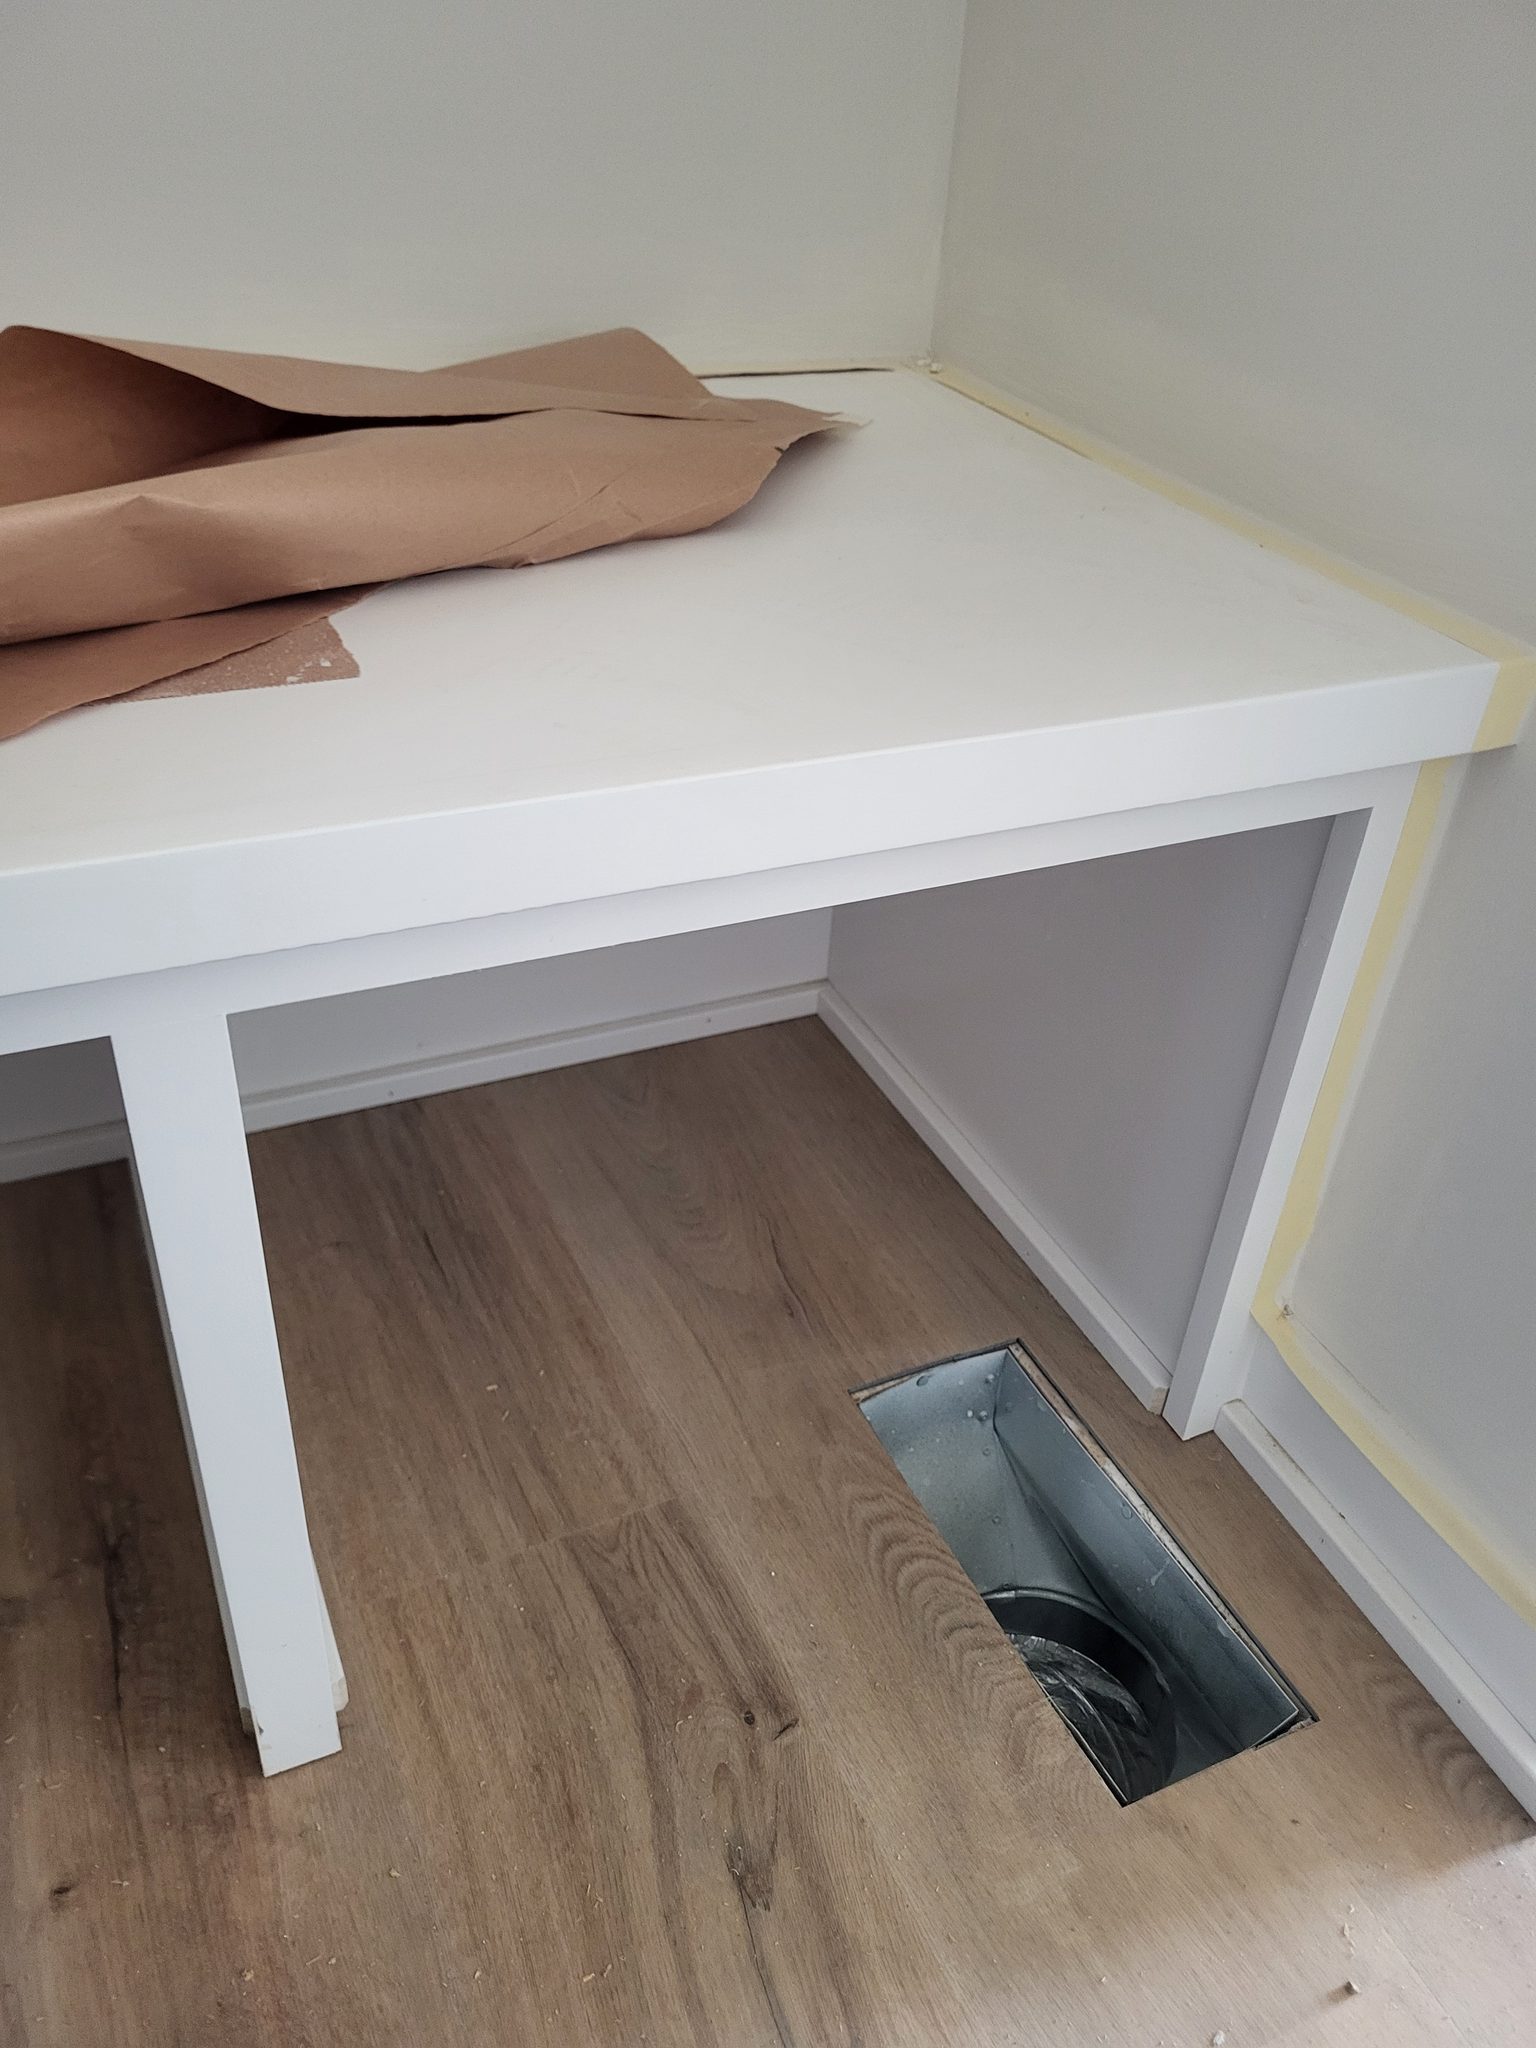
Finished white painted countertop shelf with wood frame and legs installed in closet space.
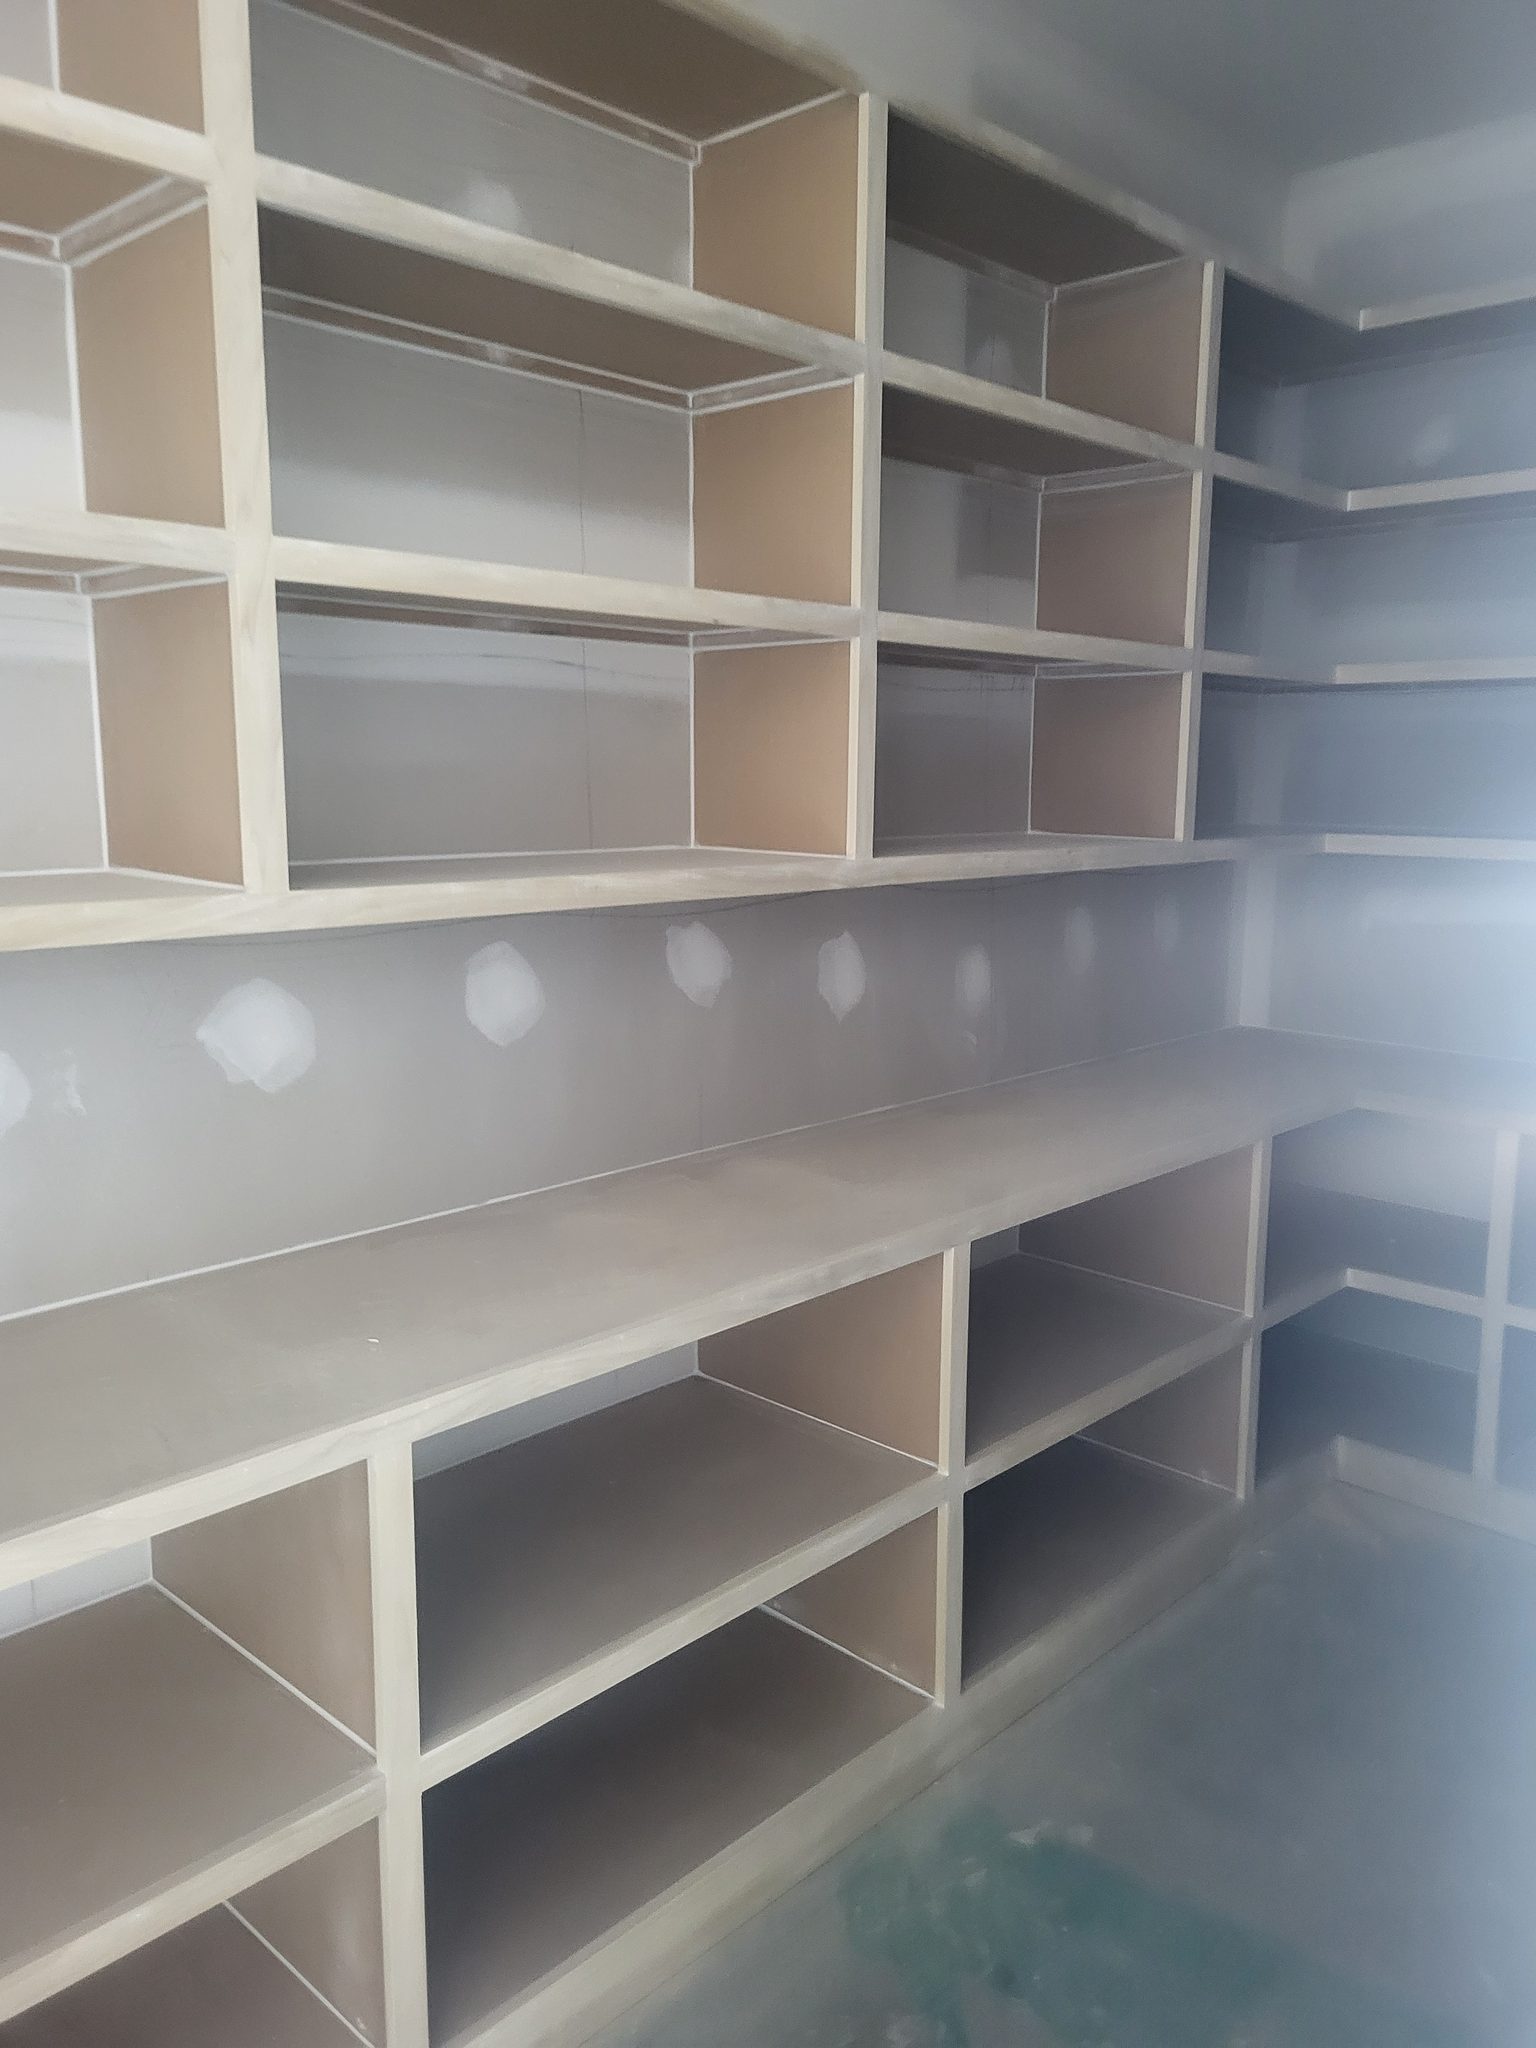
Custom built-in bookcase with face-frame shelving and countertop work surface, raw wood finish ready for paint.
Two-tier closet shelving with bullnose particle board shelves and wood support cleats, ready for paint.
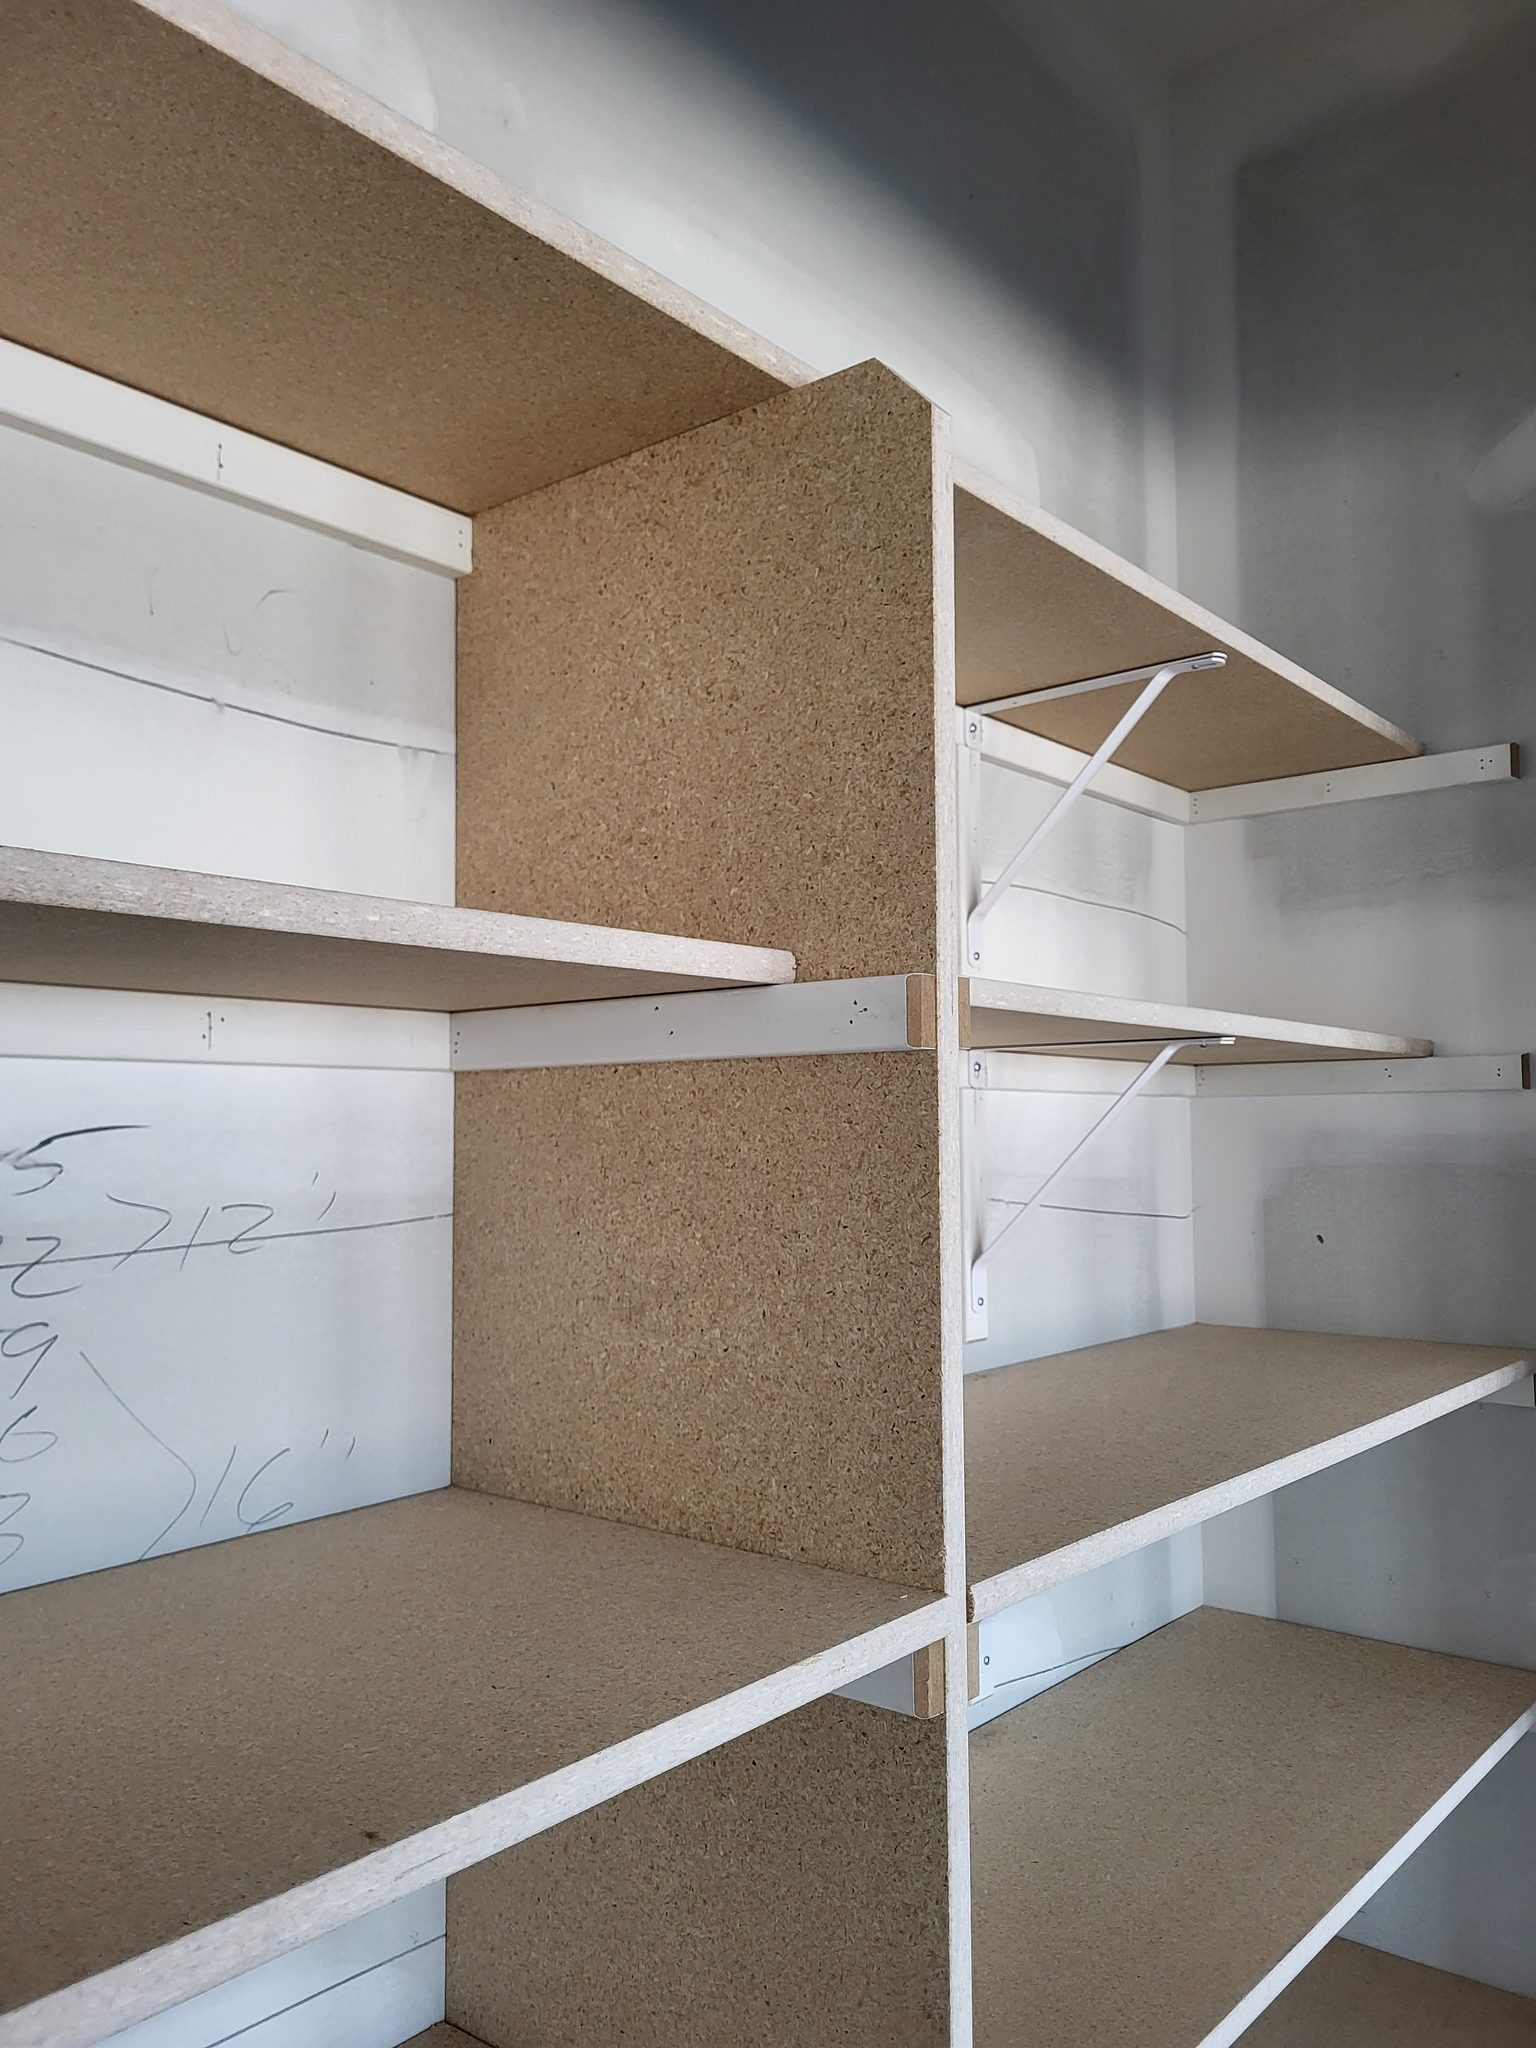
Multiple closet shelves with particle-board bullnose shelving and white metal brackets, raw unfinished wood ready for paint.
Two painted closet shelves with bracket supports installed in a finished closet opening.
Painted closet shelving with multiple tiers, bullnose shelves, and hanging rod installed.
Custom built-in bookcase with painted white shelving and face frame, multiple compartments ready for storage.
Painted closet shelving system with multiple rods, shelves, and vertical dividers installed in walk-in closet.
Custom built-in bookcase with face-frame cubby shelving and drawer base, raw wood ready for paint.
Raw wood shelving installed in closet—multiple shelves on cleats, unfinished, ready for paint.
Bypass door frame installed in closet opening with jamb and casing, ready for paint and door slabs.
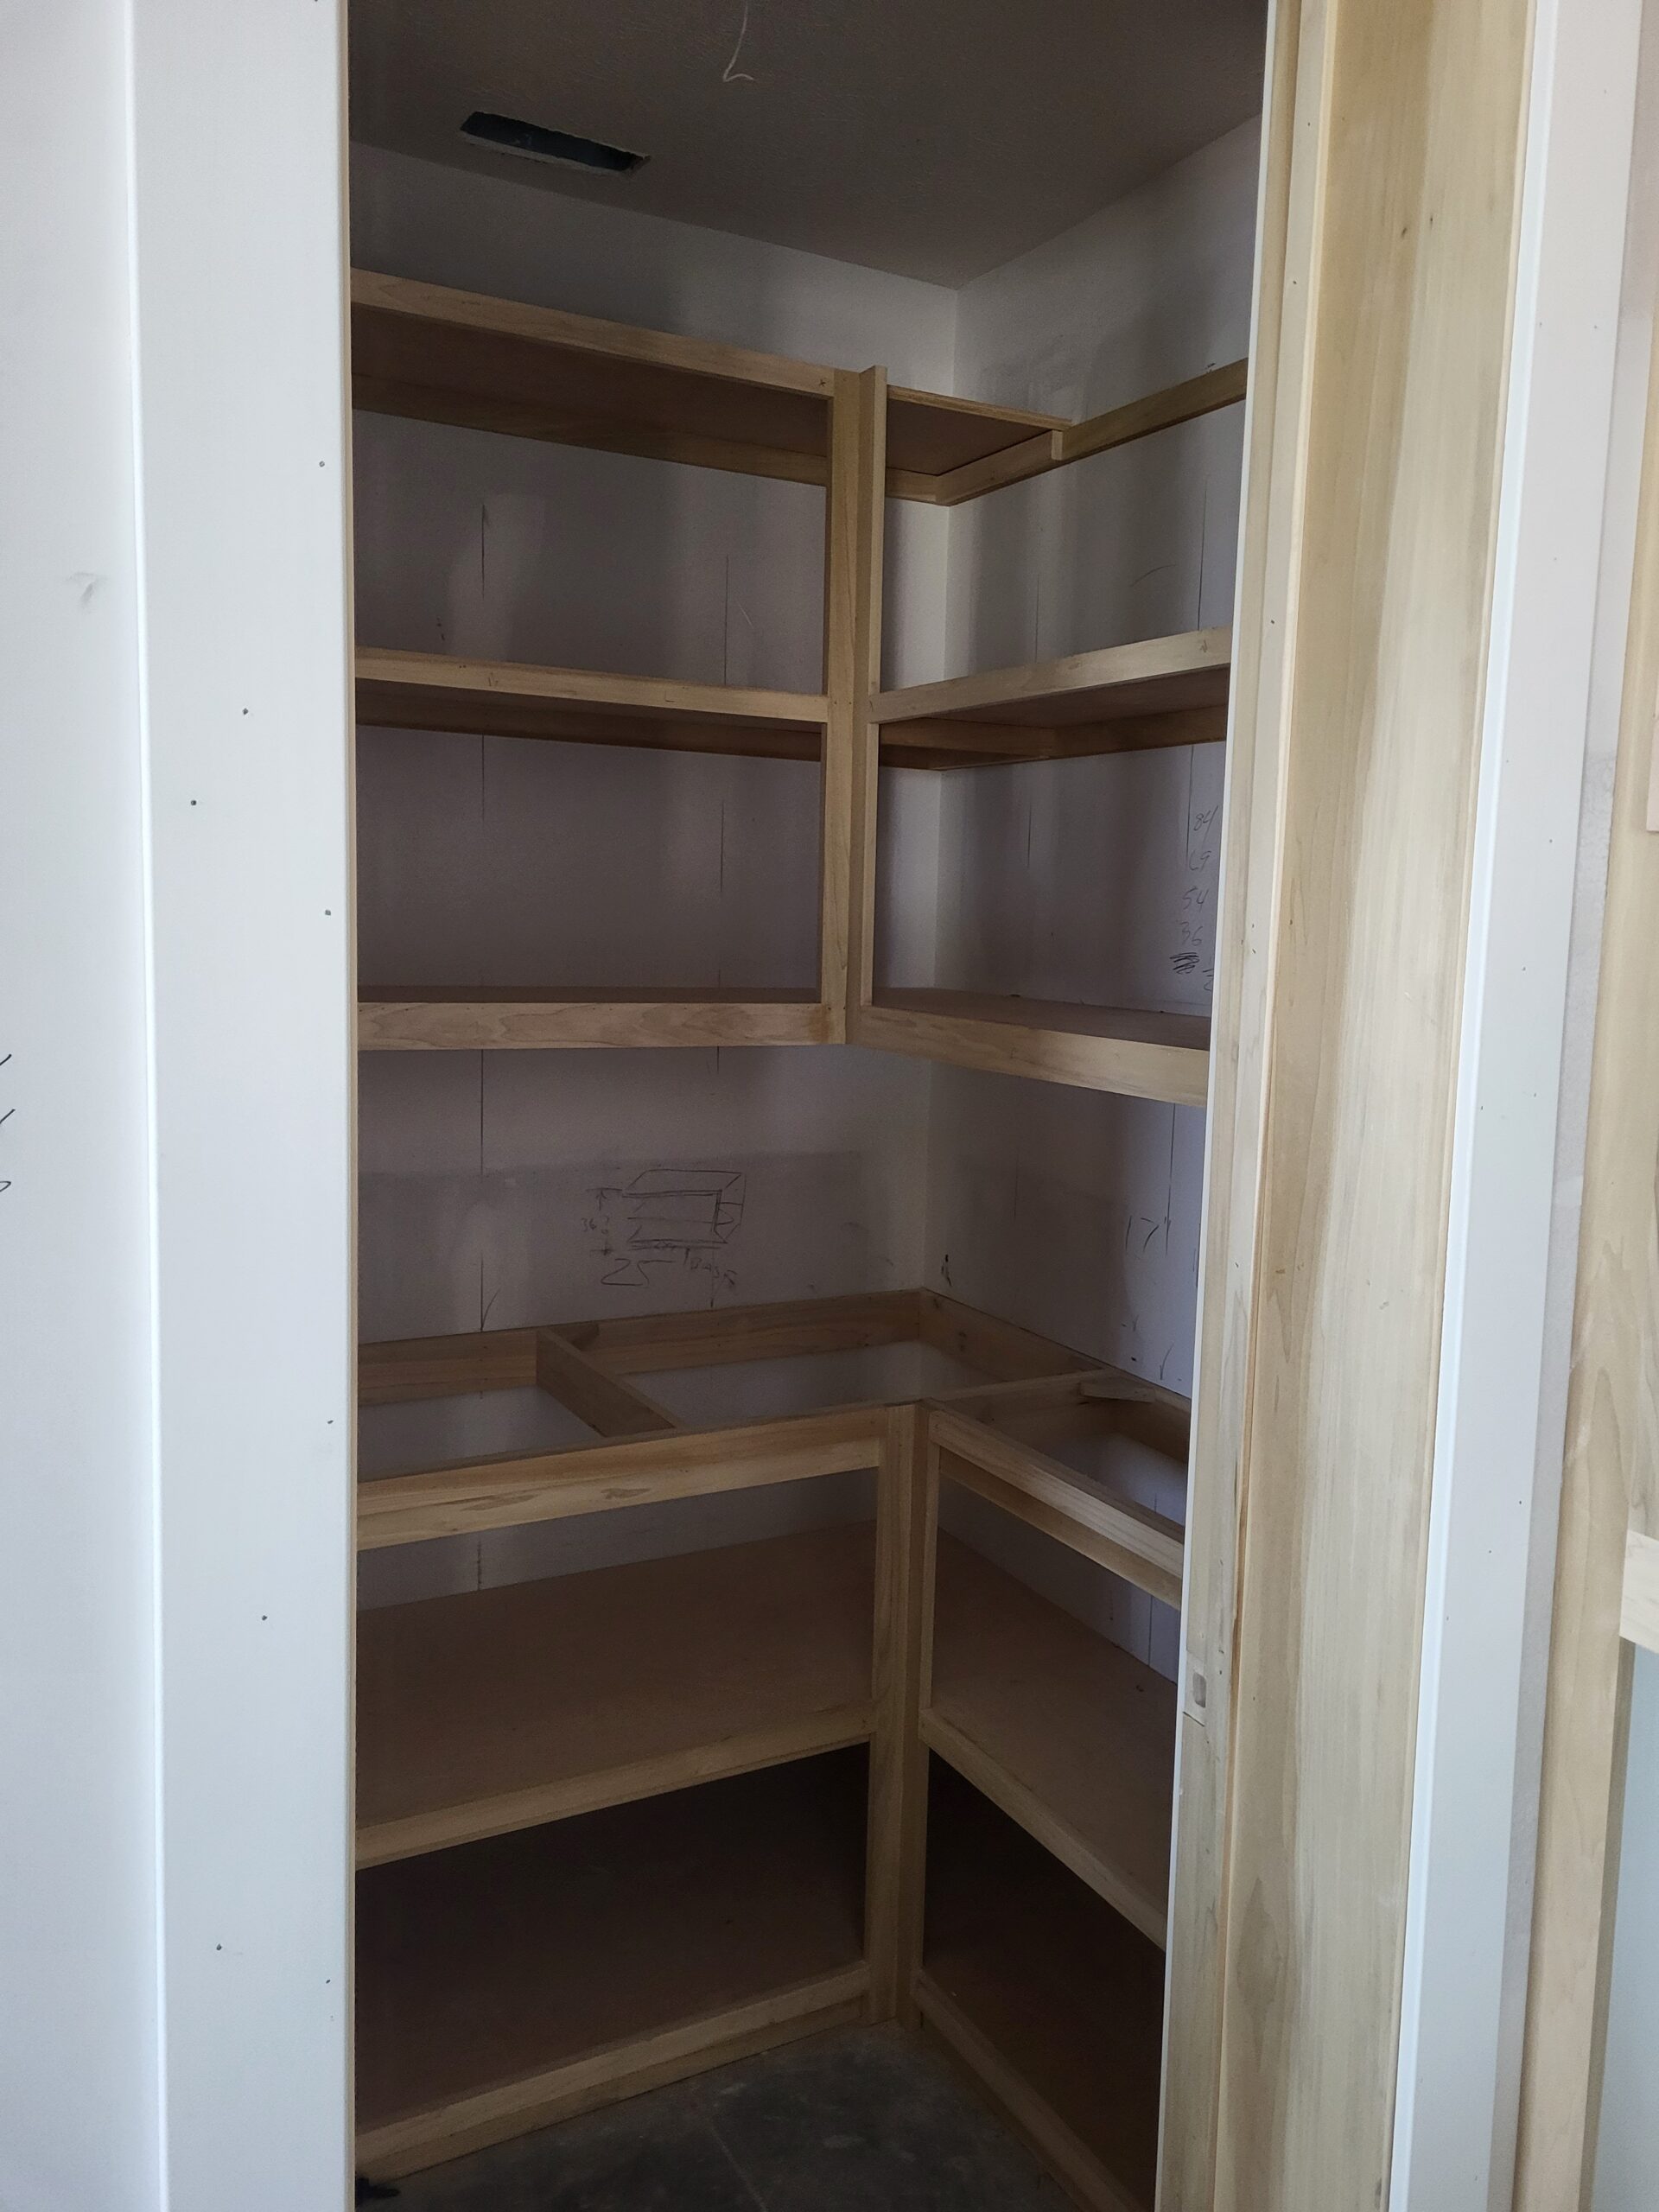
Corner closet shelving with multiple tiers and wooden cleats, raw wood ready for finish.
Custom built-in shelving unit with raw wood frame, multiple shelves, and vertical dividers ready for finishing.
Custom built-in shelving unit with raw wood frame and multiple shelves, ready for finishing.
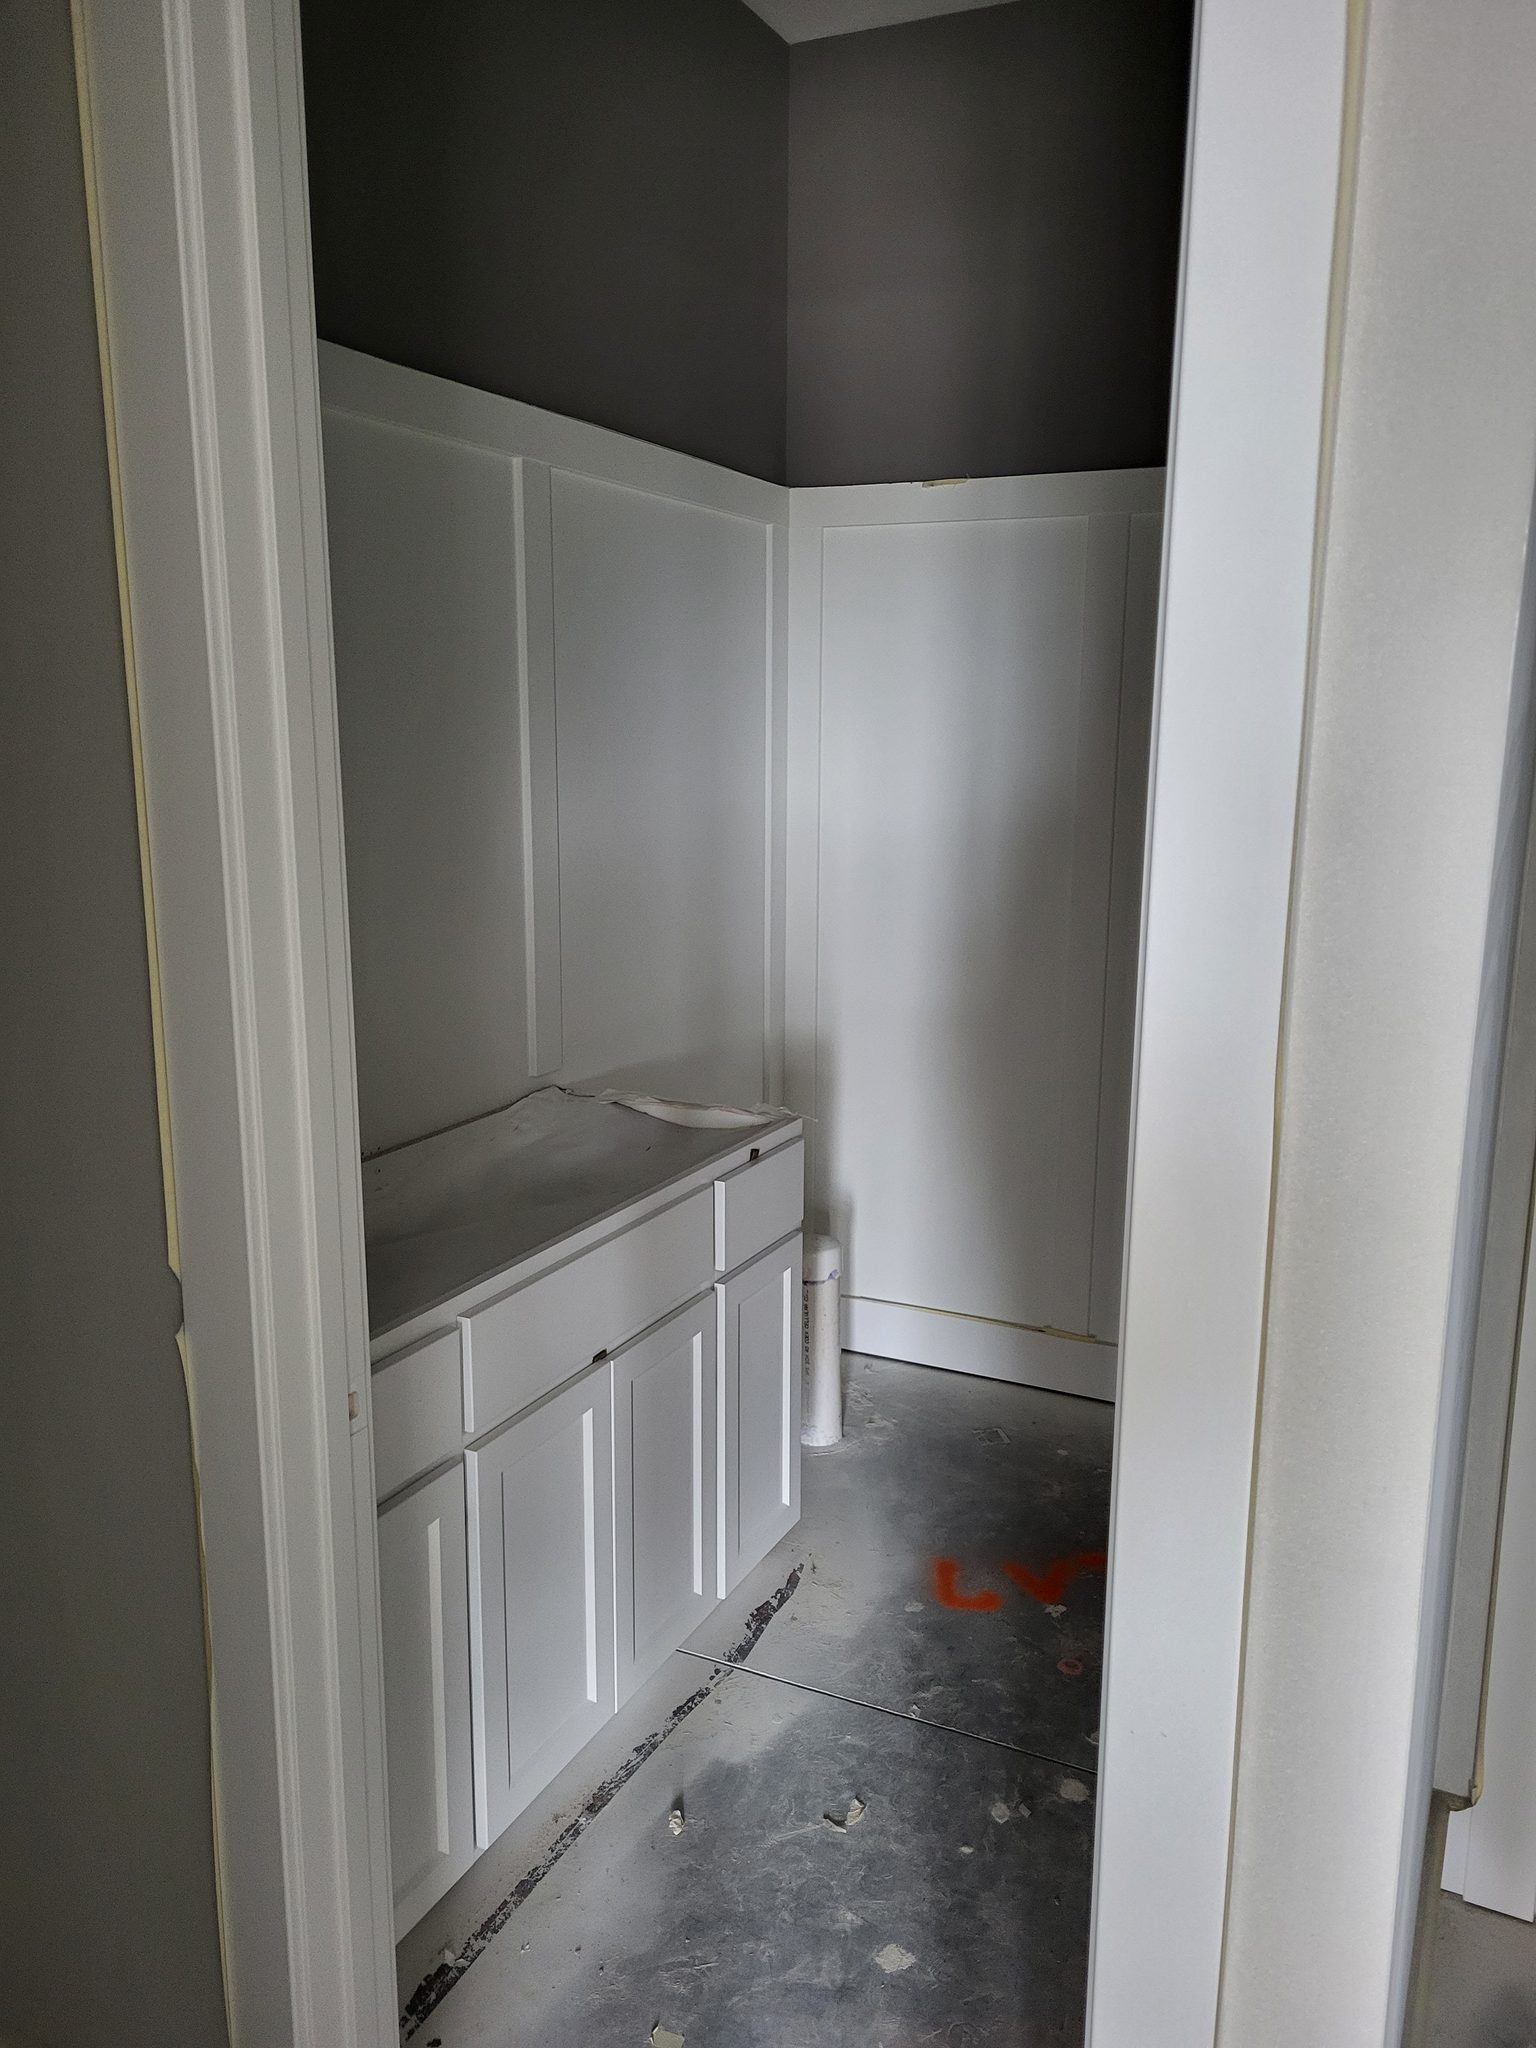
Painted white bathroom or vanity cabinets with finished casing and countertop installed in opening.
Four-panel bypass doors installed and painted gray in closet opening with recessed pulls.
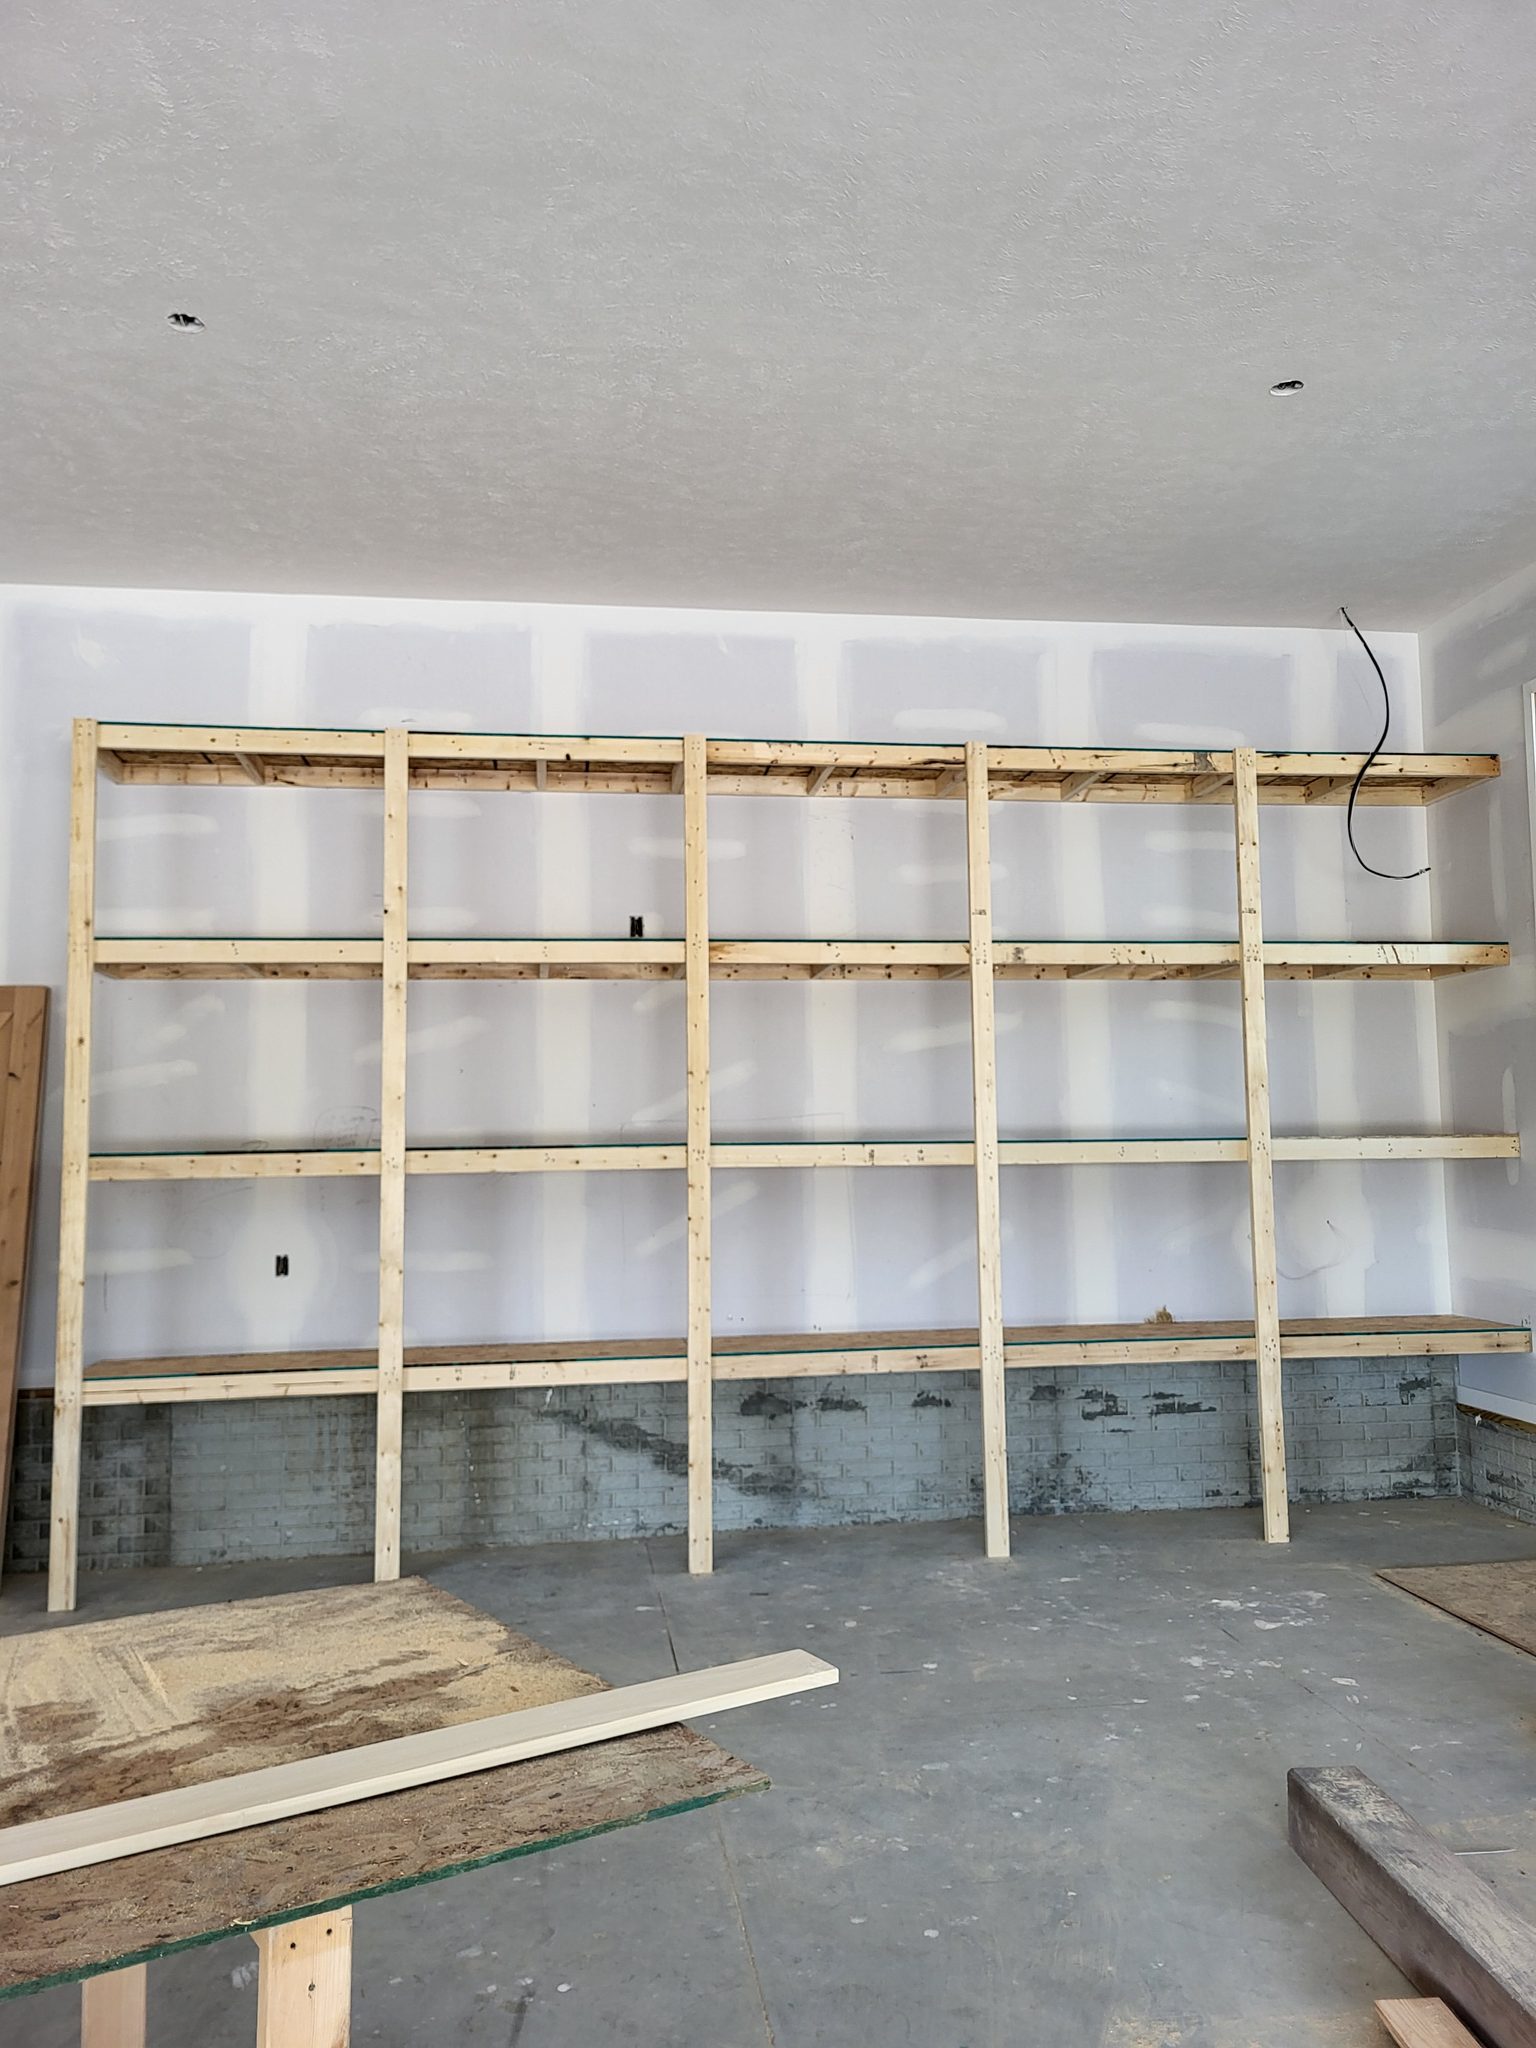
Custom built-in open shelving unit with wood frame and particle board shelves, installed in job site storage area.
Multi-tier closet shelving system with raw wood frame and particle board shelves, ready for paint.
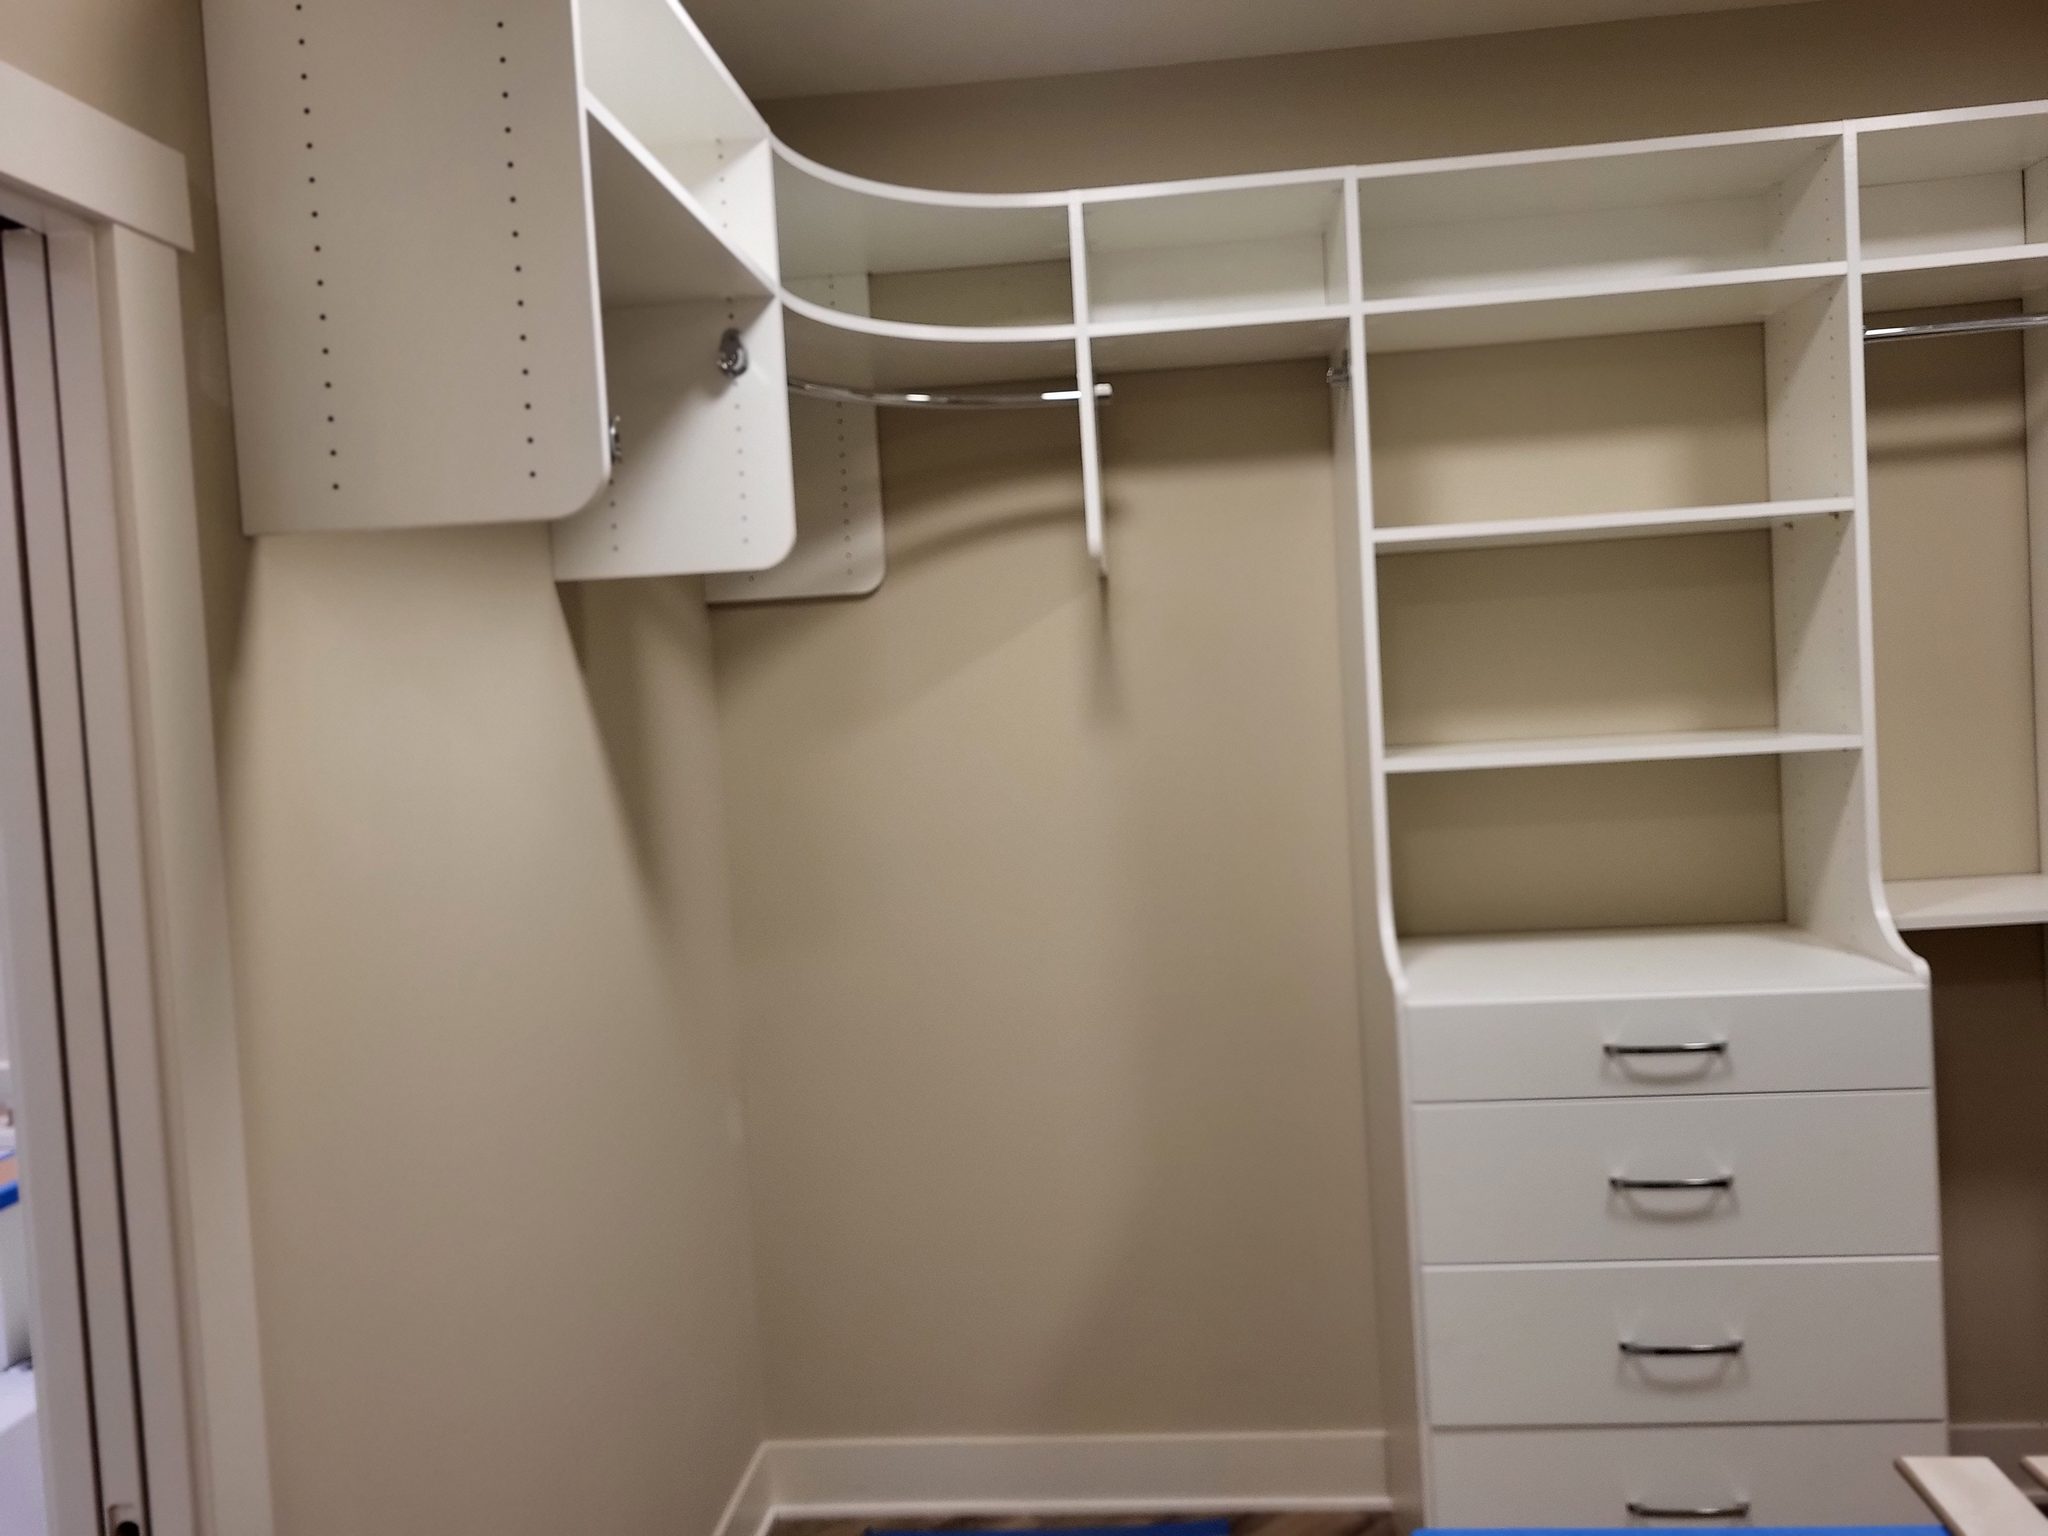
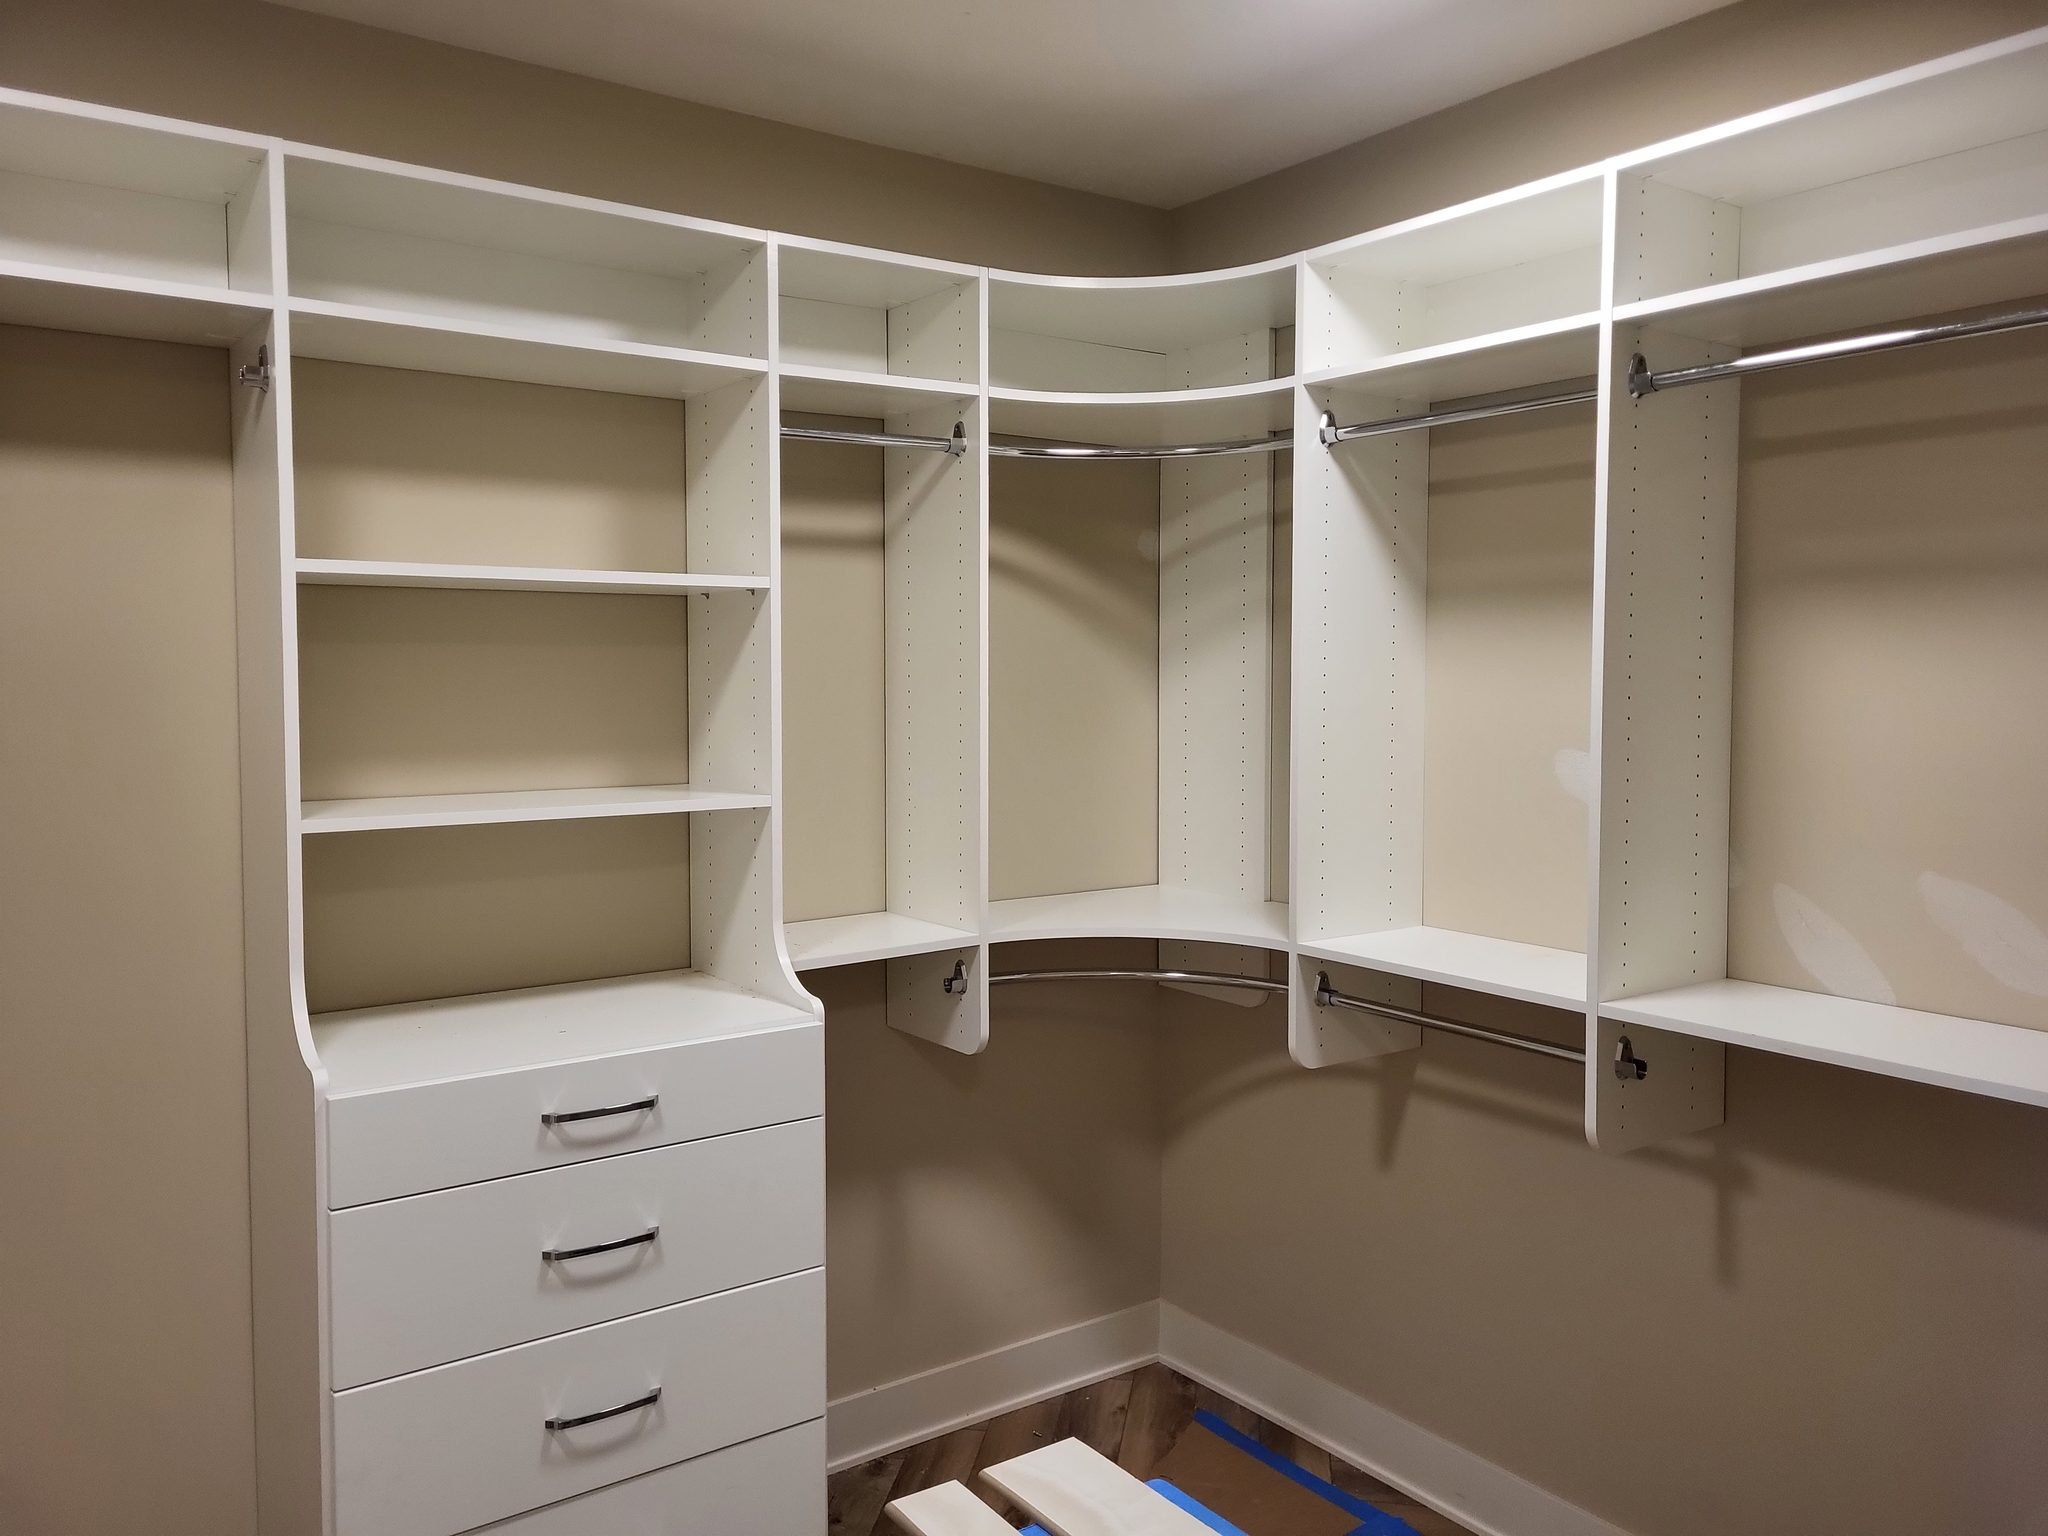
White painted face-frame closet shelving with multiple cubbies, drawers, and hanging rods installed in walk-in closet.
Custom walk-in closet with face-frame cabinetry, shelving, hanging rods, drawers, and integrated LED lighting.
Raw wood closet shelving with five horizontal shelves and vertical supports, ready for paint.
Custom built-in shelving unit with painted white face frame, multiple shelves, and integrated countertop work surface in closet.
Completed walk-in closet with painted shelving units and hanging rod installed on both walls.
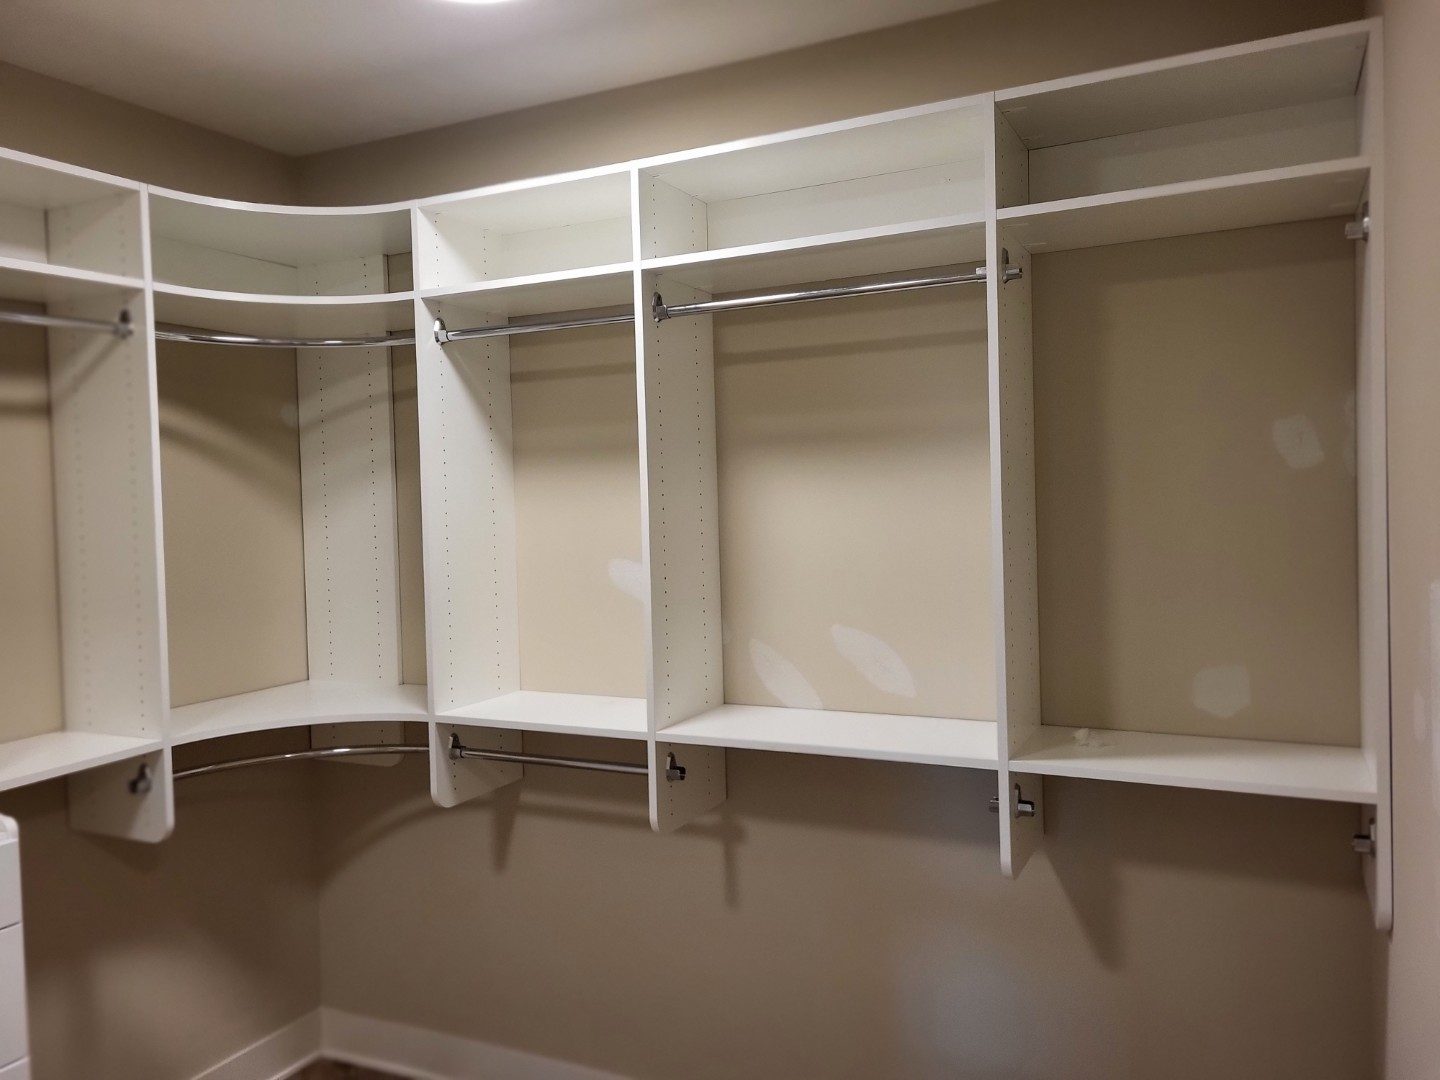
Finished walk-in closet with white face-frame shelving, multiple hanging rods, and tiered shelf storage.
Closet shelving with painted white shelves, wood hanging rod, and finished trim.
Painted interior door with casing and lockset installed in finished room with built-in shelves.
Finished face-frame closet shelving with multiple tiers, hanging rods, and painted white trim.
Finished face-frame closet system with painted white shelving, hanging rods, and cubby storage in walk-in closet.
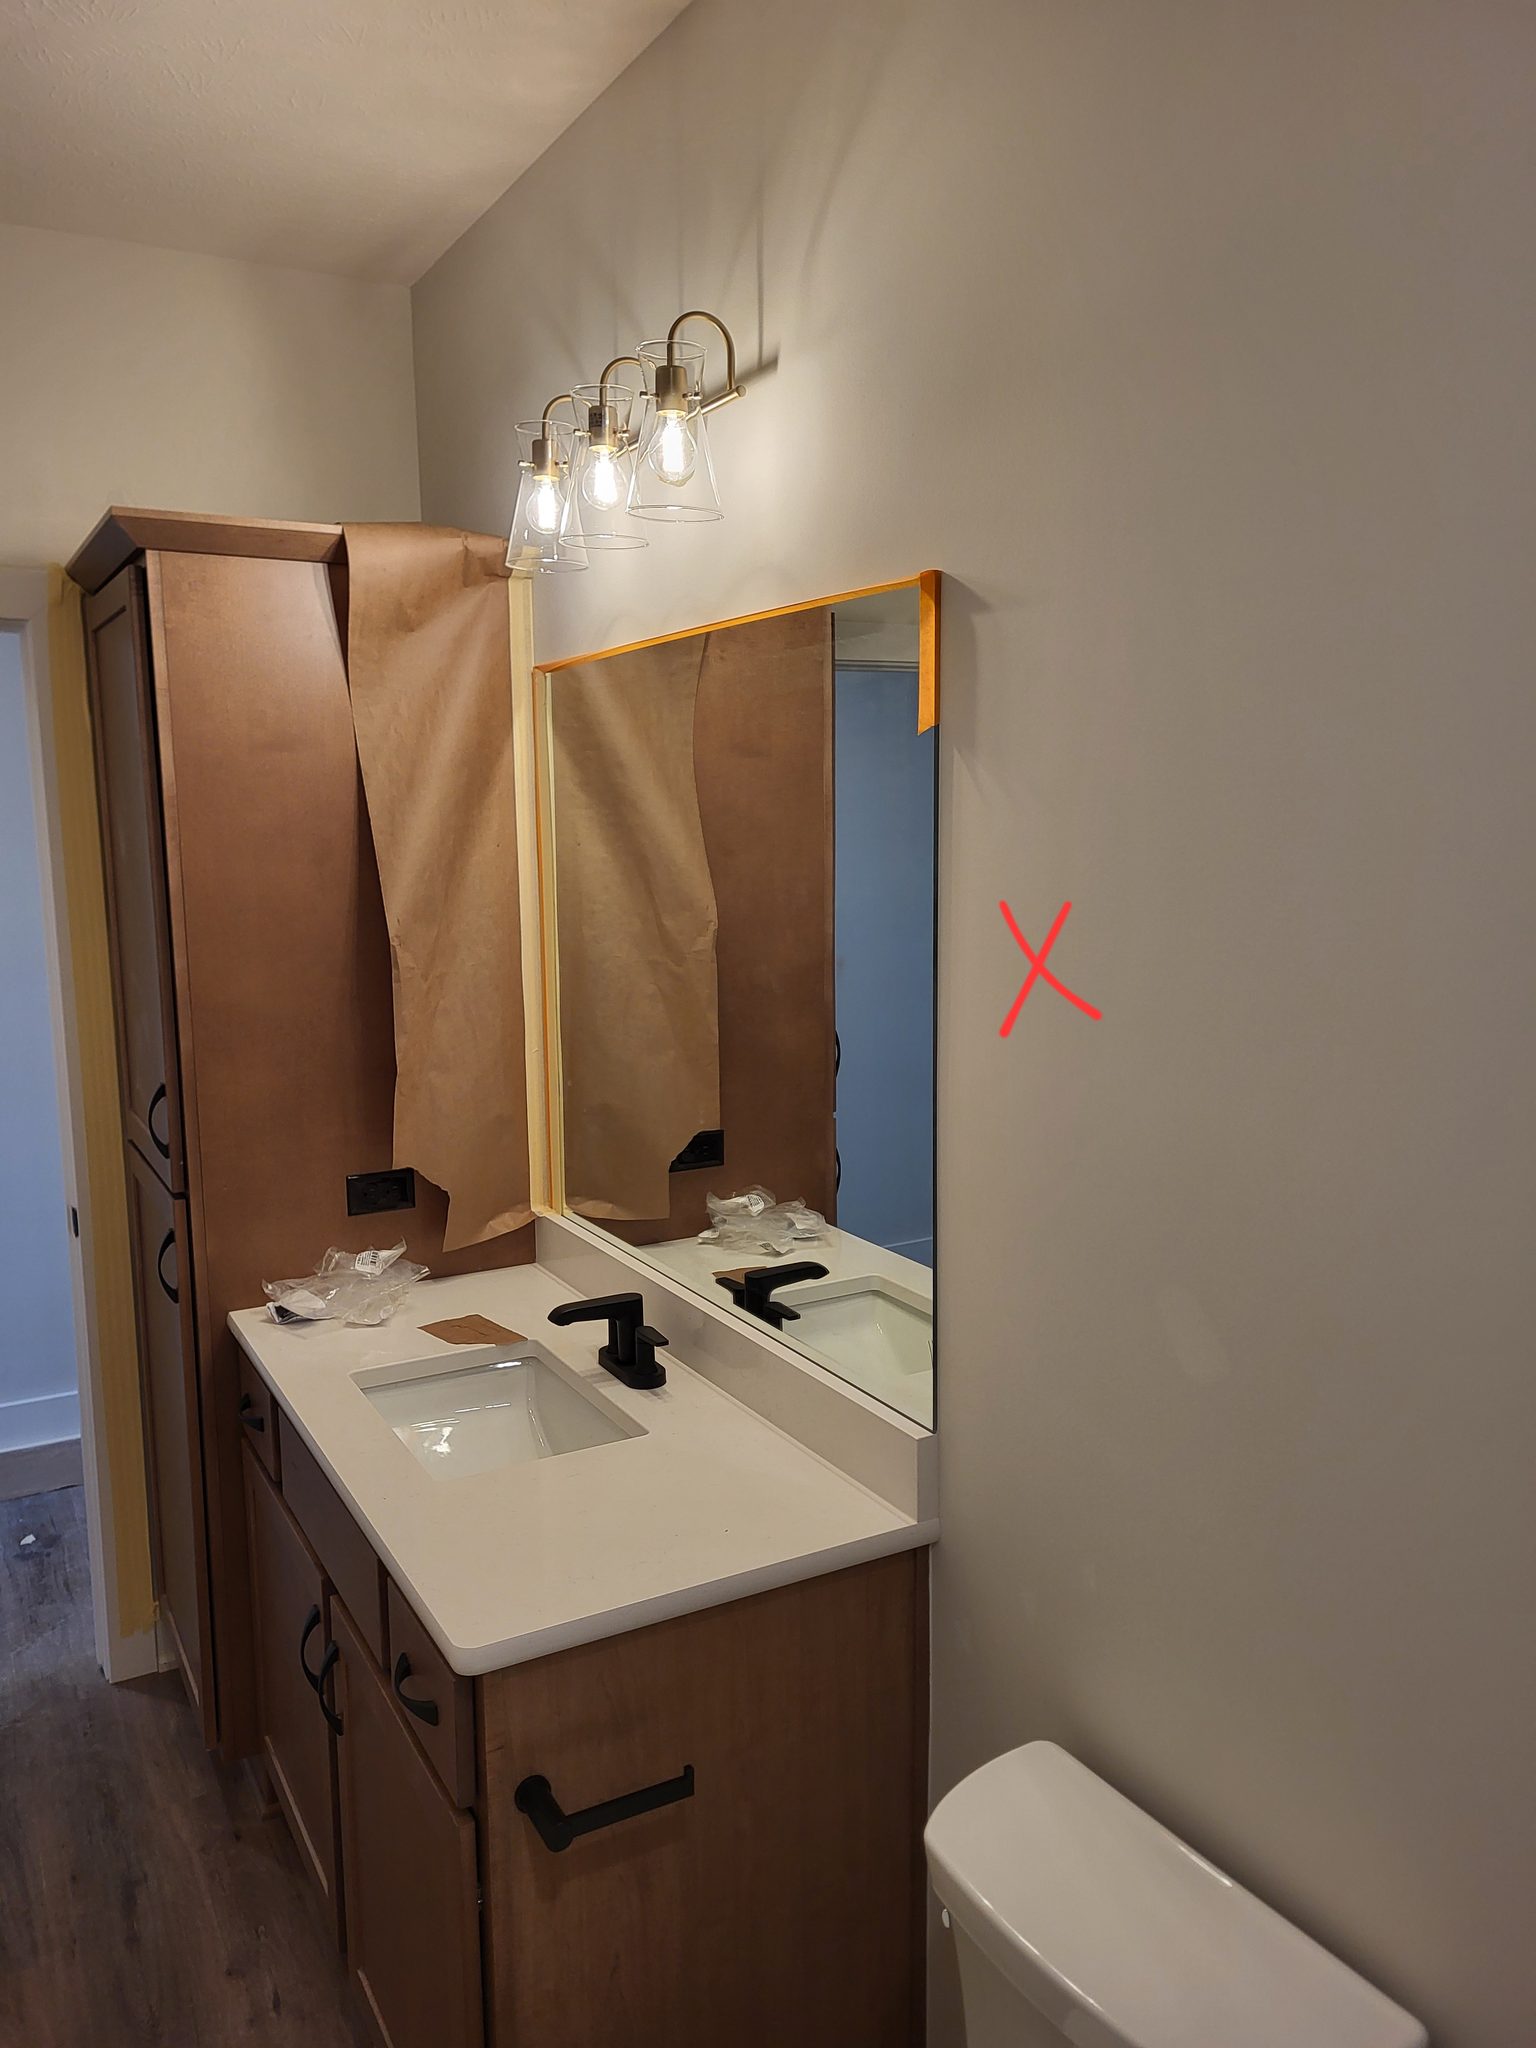
Finished bathroom vanity with wood cabinets, white countertop, framed mirror, and pendant lighting installed.
Wire shelving and hanging rods installed in closet with painted walls and window.
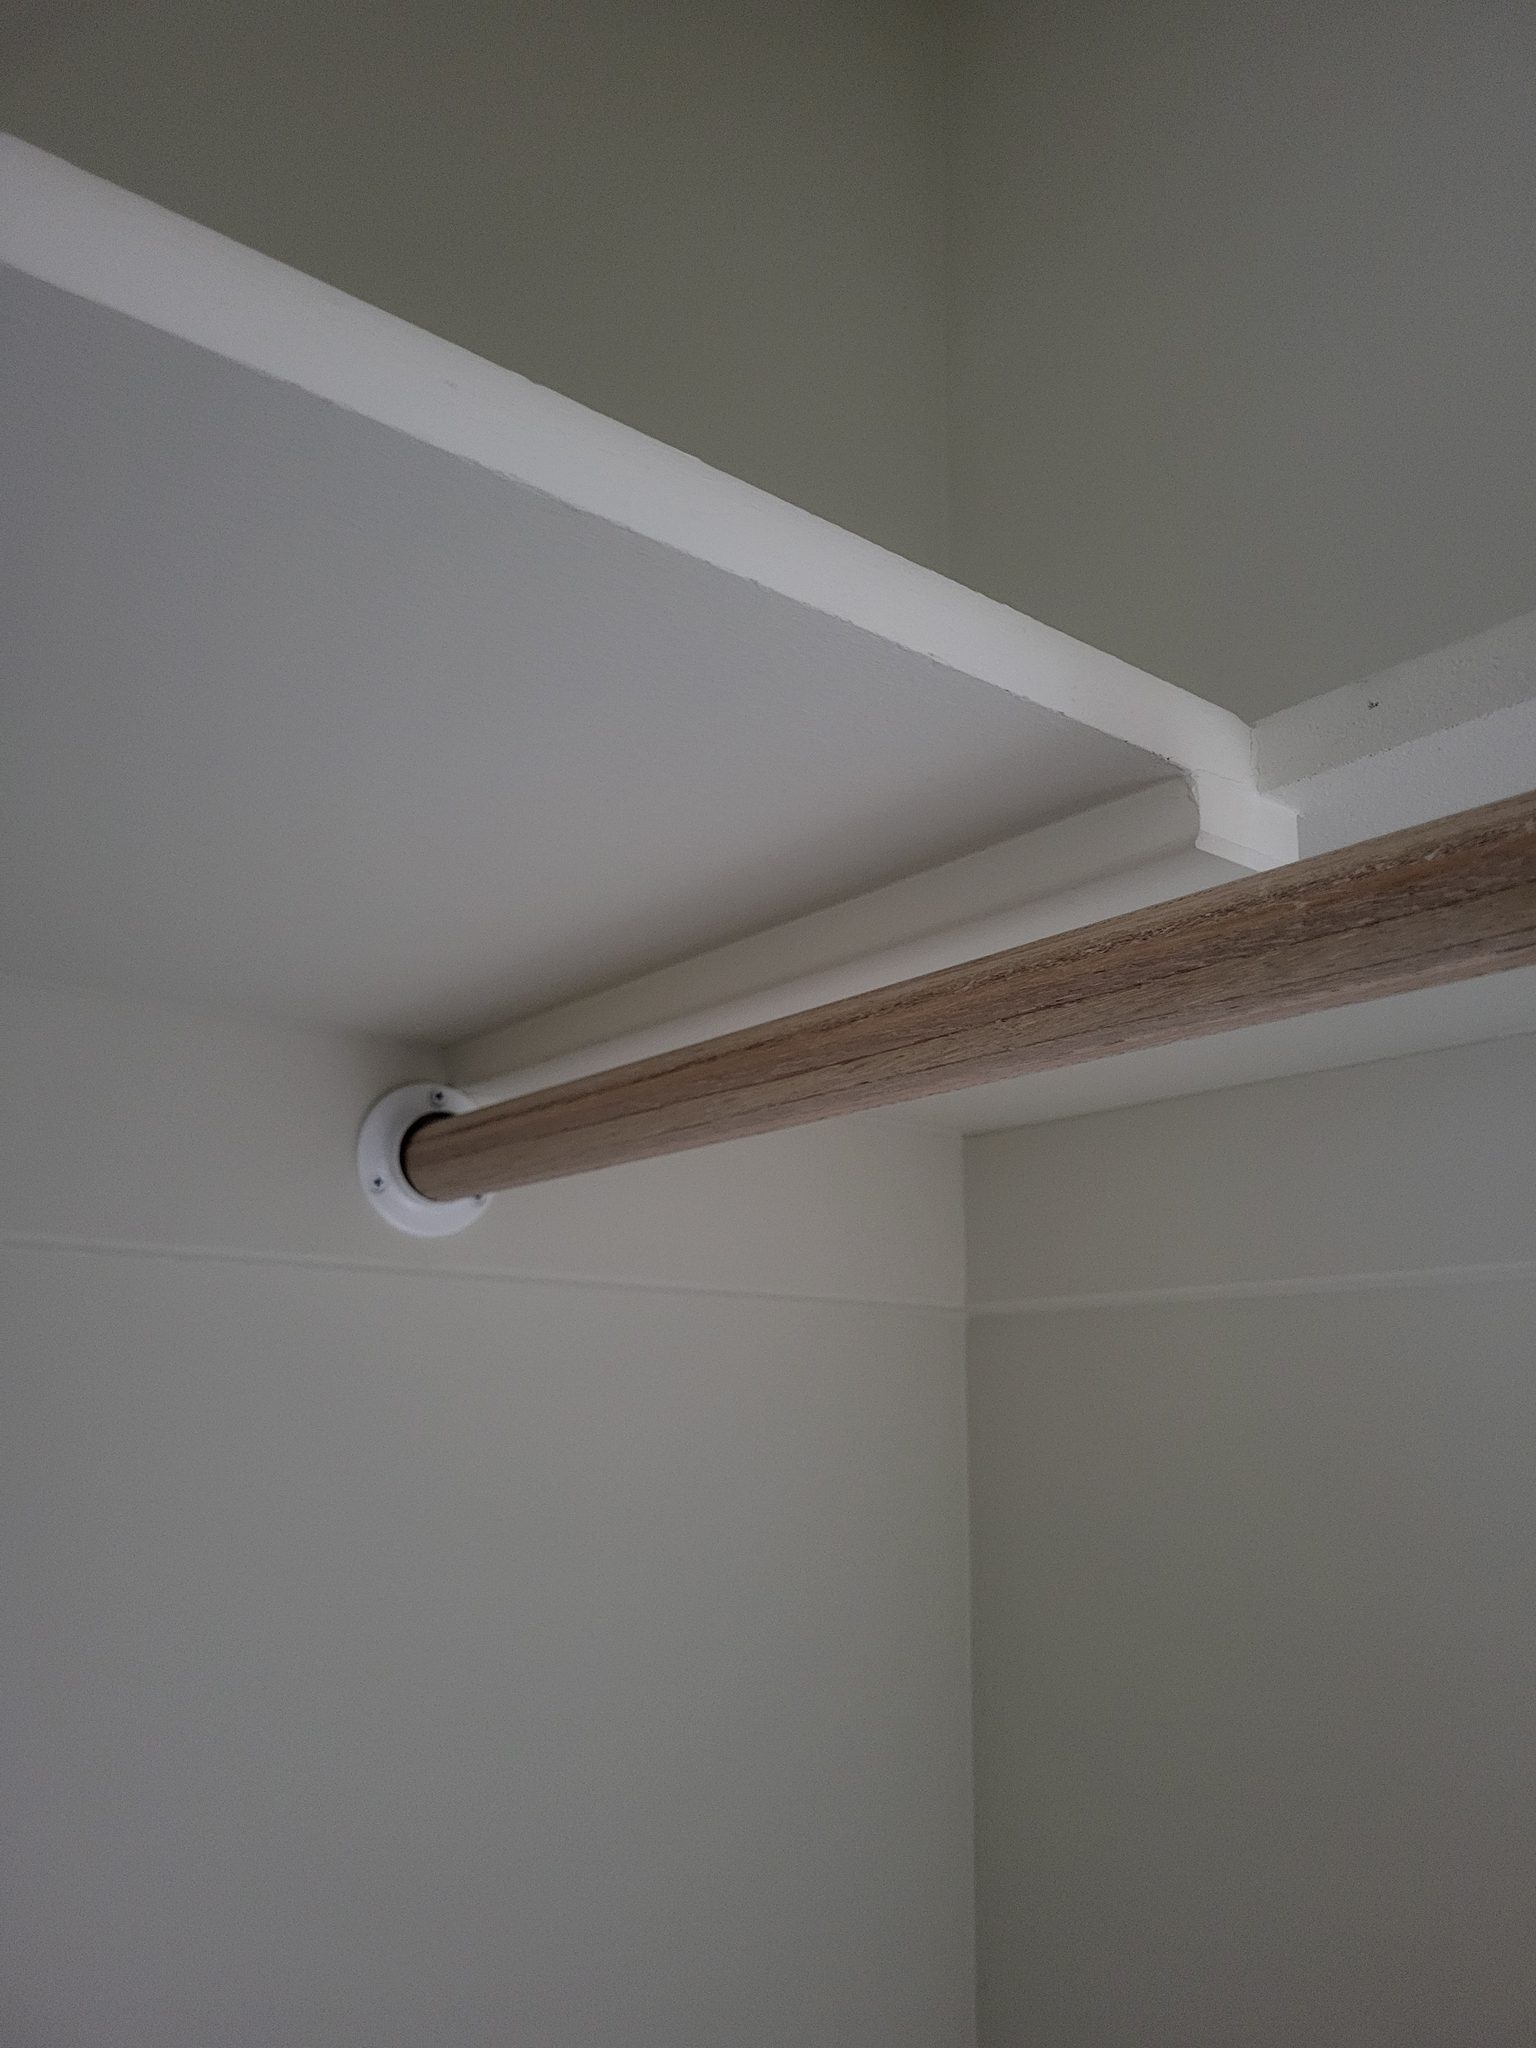
Closet hanging rod with wood-grain finish and white mounting bracket installed between walls.
Custom built-in closet shelving with face-frame cubbies, raw wood ready for paint.
Custom built-in shelving with three wood shelves and cleats, raw wood ready for finish.
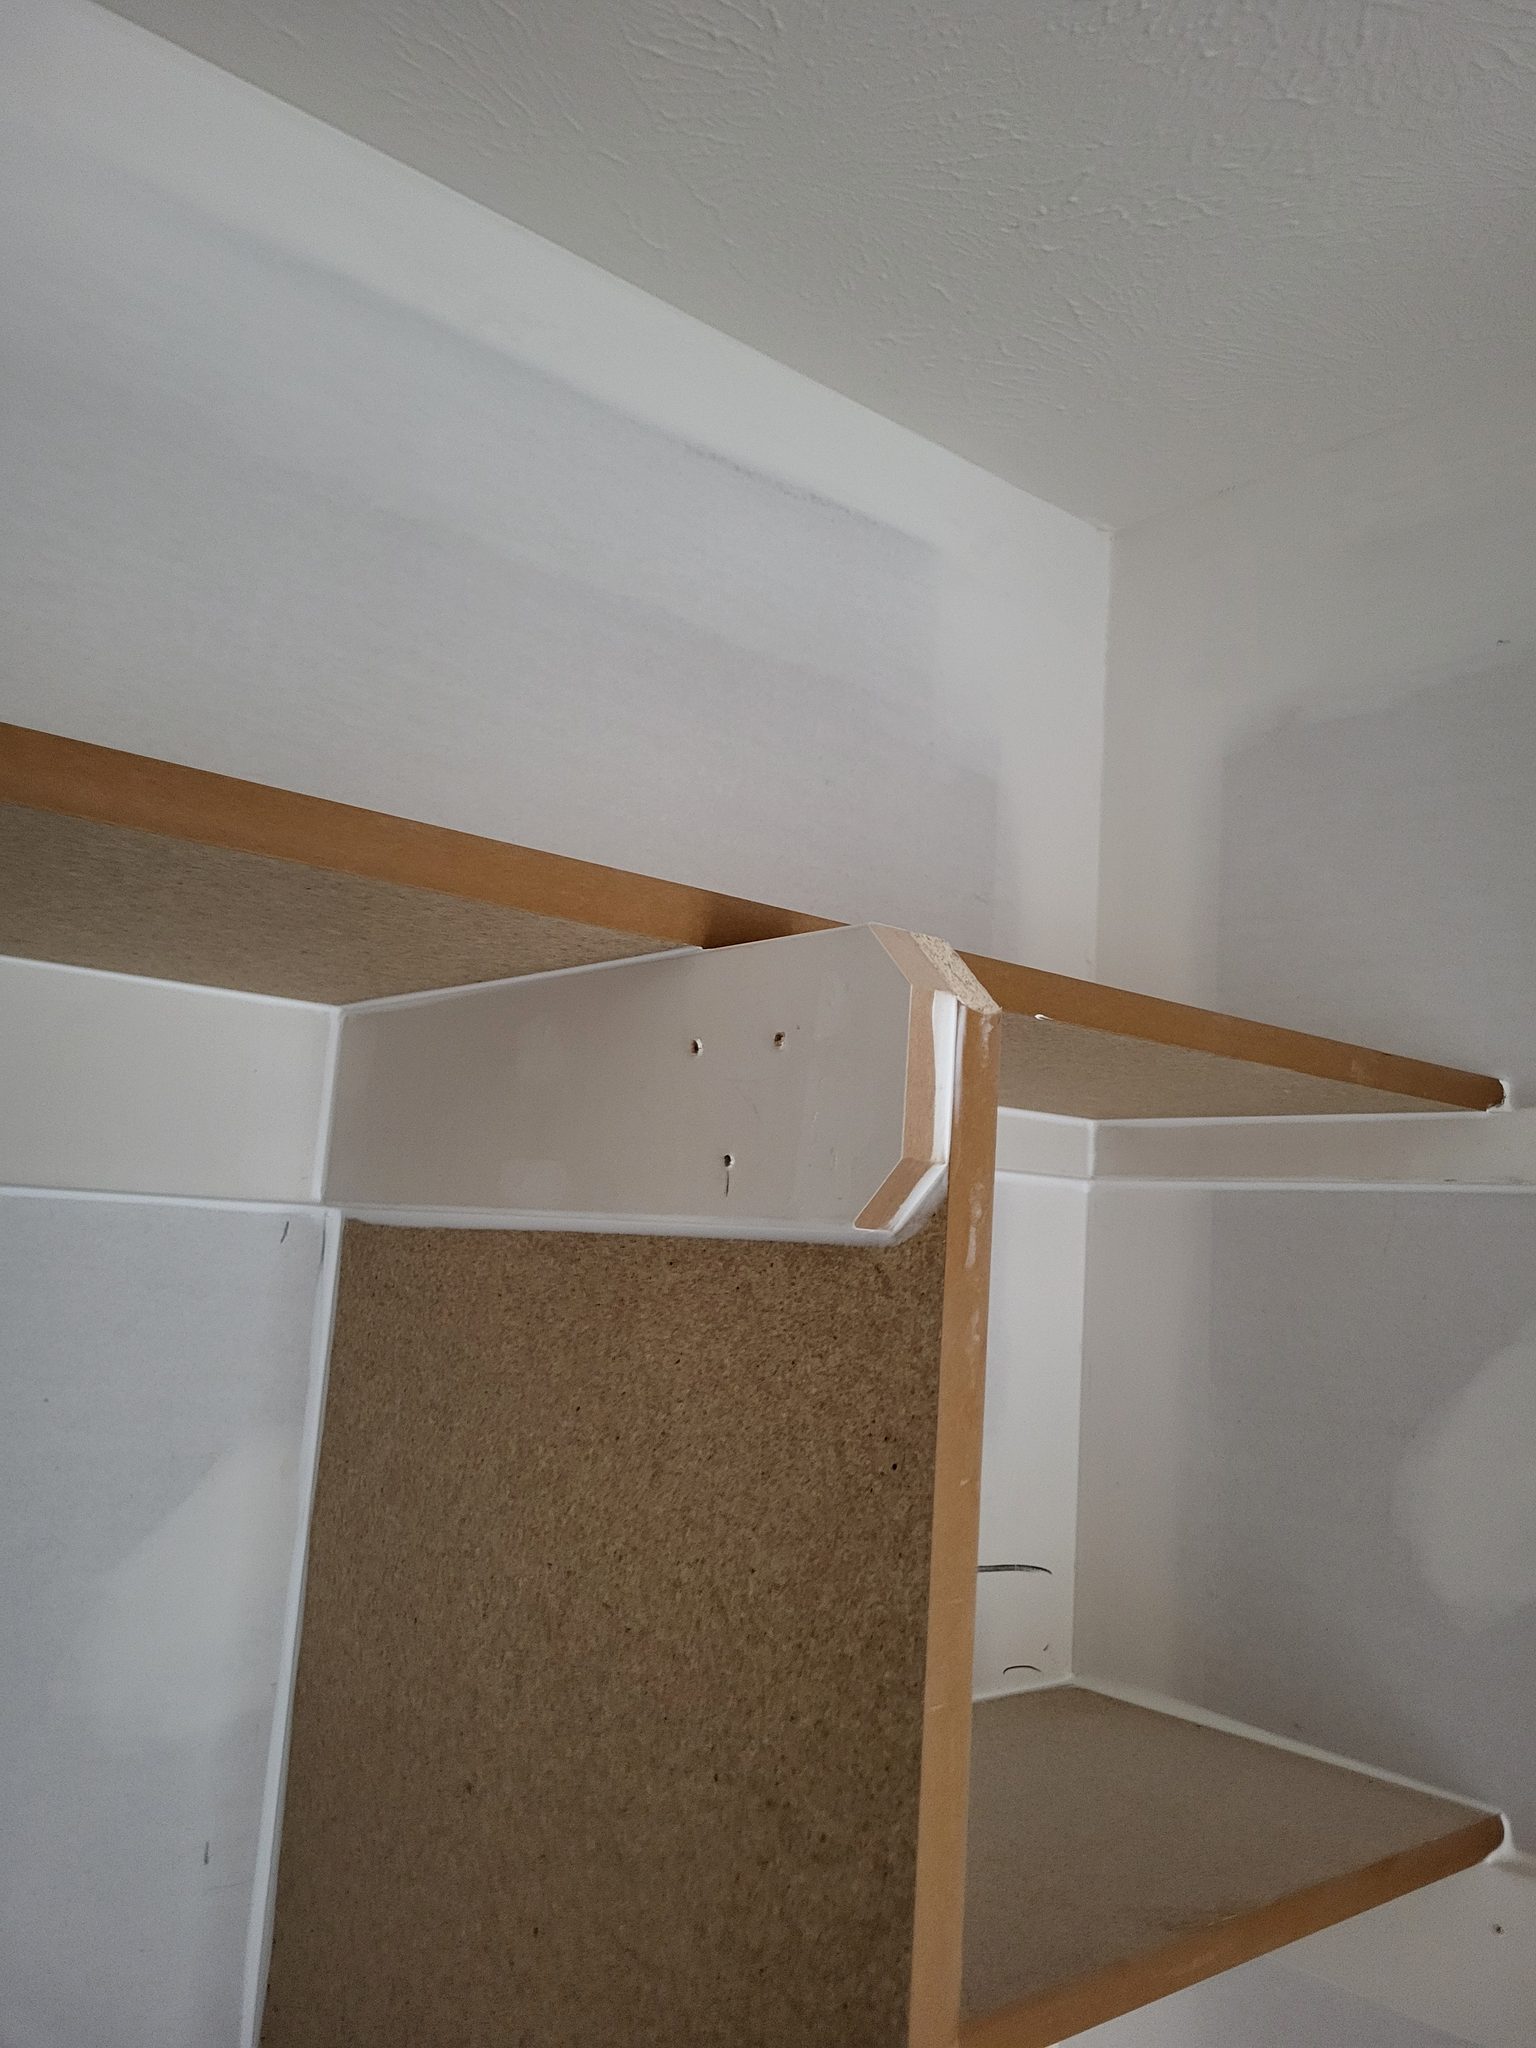
Raw particle board shelving unit with two shelves and dividers, unfinished and marked for installation. (Wrong Way)
Wrong Way
Raw wood closet shelving with two tiers, particle board shelves and 1x cleats, pre-paint stage with layout markings visible. (Wrong Way)
Wrong Way
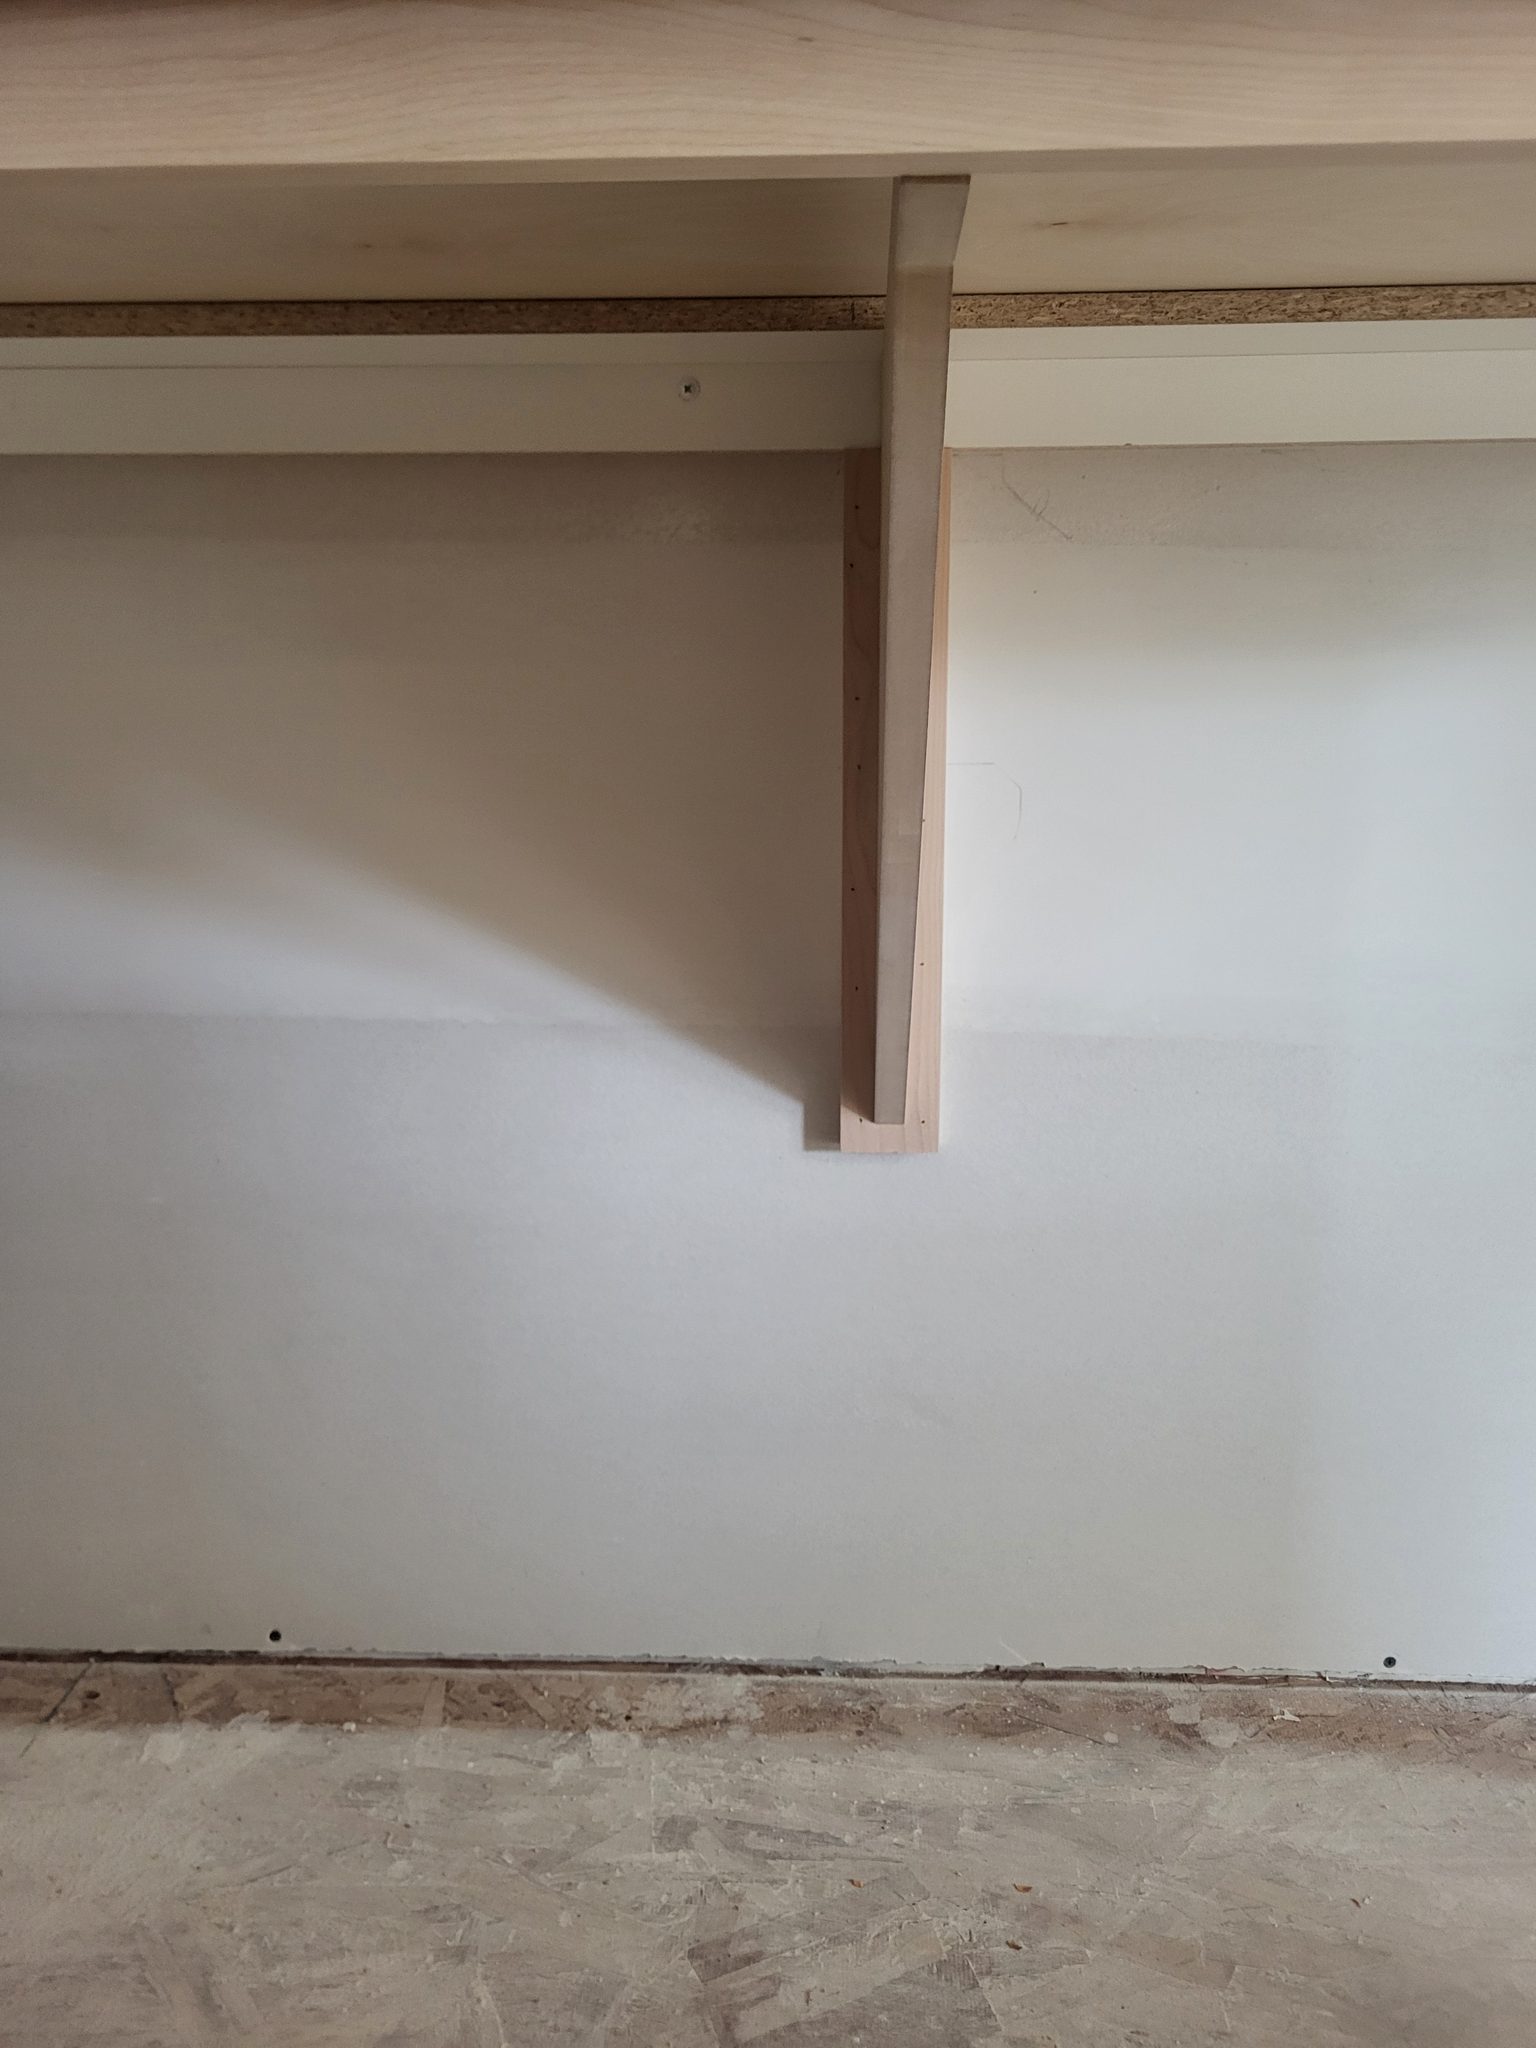
Standard closet shelves painted brackets installed on white wall.
Standard Closet Piece 2
× ‹ ›
Core Guide, Level 2, Multi-Part
What are your Feelings

Share This Article :

  • Facebook
  • X
  • LinkedIn
  • Pinterest
Still stuck? How can we help?

Still stuck? How can we help?

Updated on August 22, 2026
How to Build Basic Closet Shelves - Part 2 of 3 (Layout Design)How to Build Basic Closet Shelves - Part 1 of 3 (Standards)
Table of Contents
  • Introduction
  • Series Overview
  • Before You Begin
    • Prerequisites
    • What You Need To Know
  • Tools Required
    • Power Tools
    • Hand Tools
    • Supplies
    • Materials
  • How to Build Closet Shelves Step by Step
    • Step 1: Prep the Closet
    • Step 2: Install Cleats
    • Step 3: Cut Shelves to Fit
    • Step 4: Install Shelves
    • Step 5: Install Rods
    • Step 6: Install Support Brackets
    • Step 7: Final Inspection and Clean-Up
  • Build Closet Shelves Quality Checklist
  • Troubleshooting When You Build Closet Shelves
    • Shelf Sags in the Middle
    • Cleat Won’t Hold - Missed the Stud
    • Particle Board Chips When Cutting
    • Shelf Doesn’t Fit - Walls Out of Square
    • Rod Falls Out of Notch
  • Efficiency Tips to Build Closet Shelves Faster
  • Closet Shelving Series
  • Related Guides
  • Reference Photos
Let's Build Stuff
  • Glossary
  • Learn
  • Blog
  • About
  • Contact
  • Affiliate Disclosure
  • Privacy Policy

© 2026 Let's Build Stuff - Interior Finish Carpentry Experts
  • Home
  • Start Here
  • Glossary
  • Learn
  • Blog
  • About
  • Contact
  • Browse the guides