On this page
Introduction #
Casing a window is a basic skill in trim carpentry. Window casing is the trim that frames a window opening. It covers the gap between the window jamb (the wood frame built into the window opening) and the drywall around it. Casing does two jobs: it hides the rough framing and shims behind the wall, and it gives the window a clean, finished look.
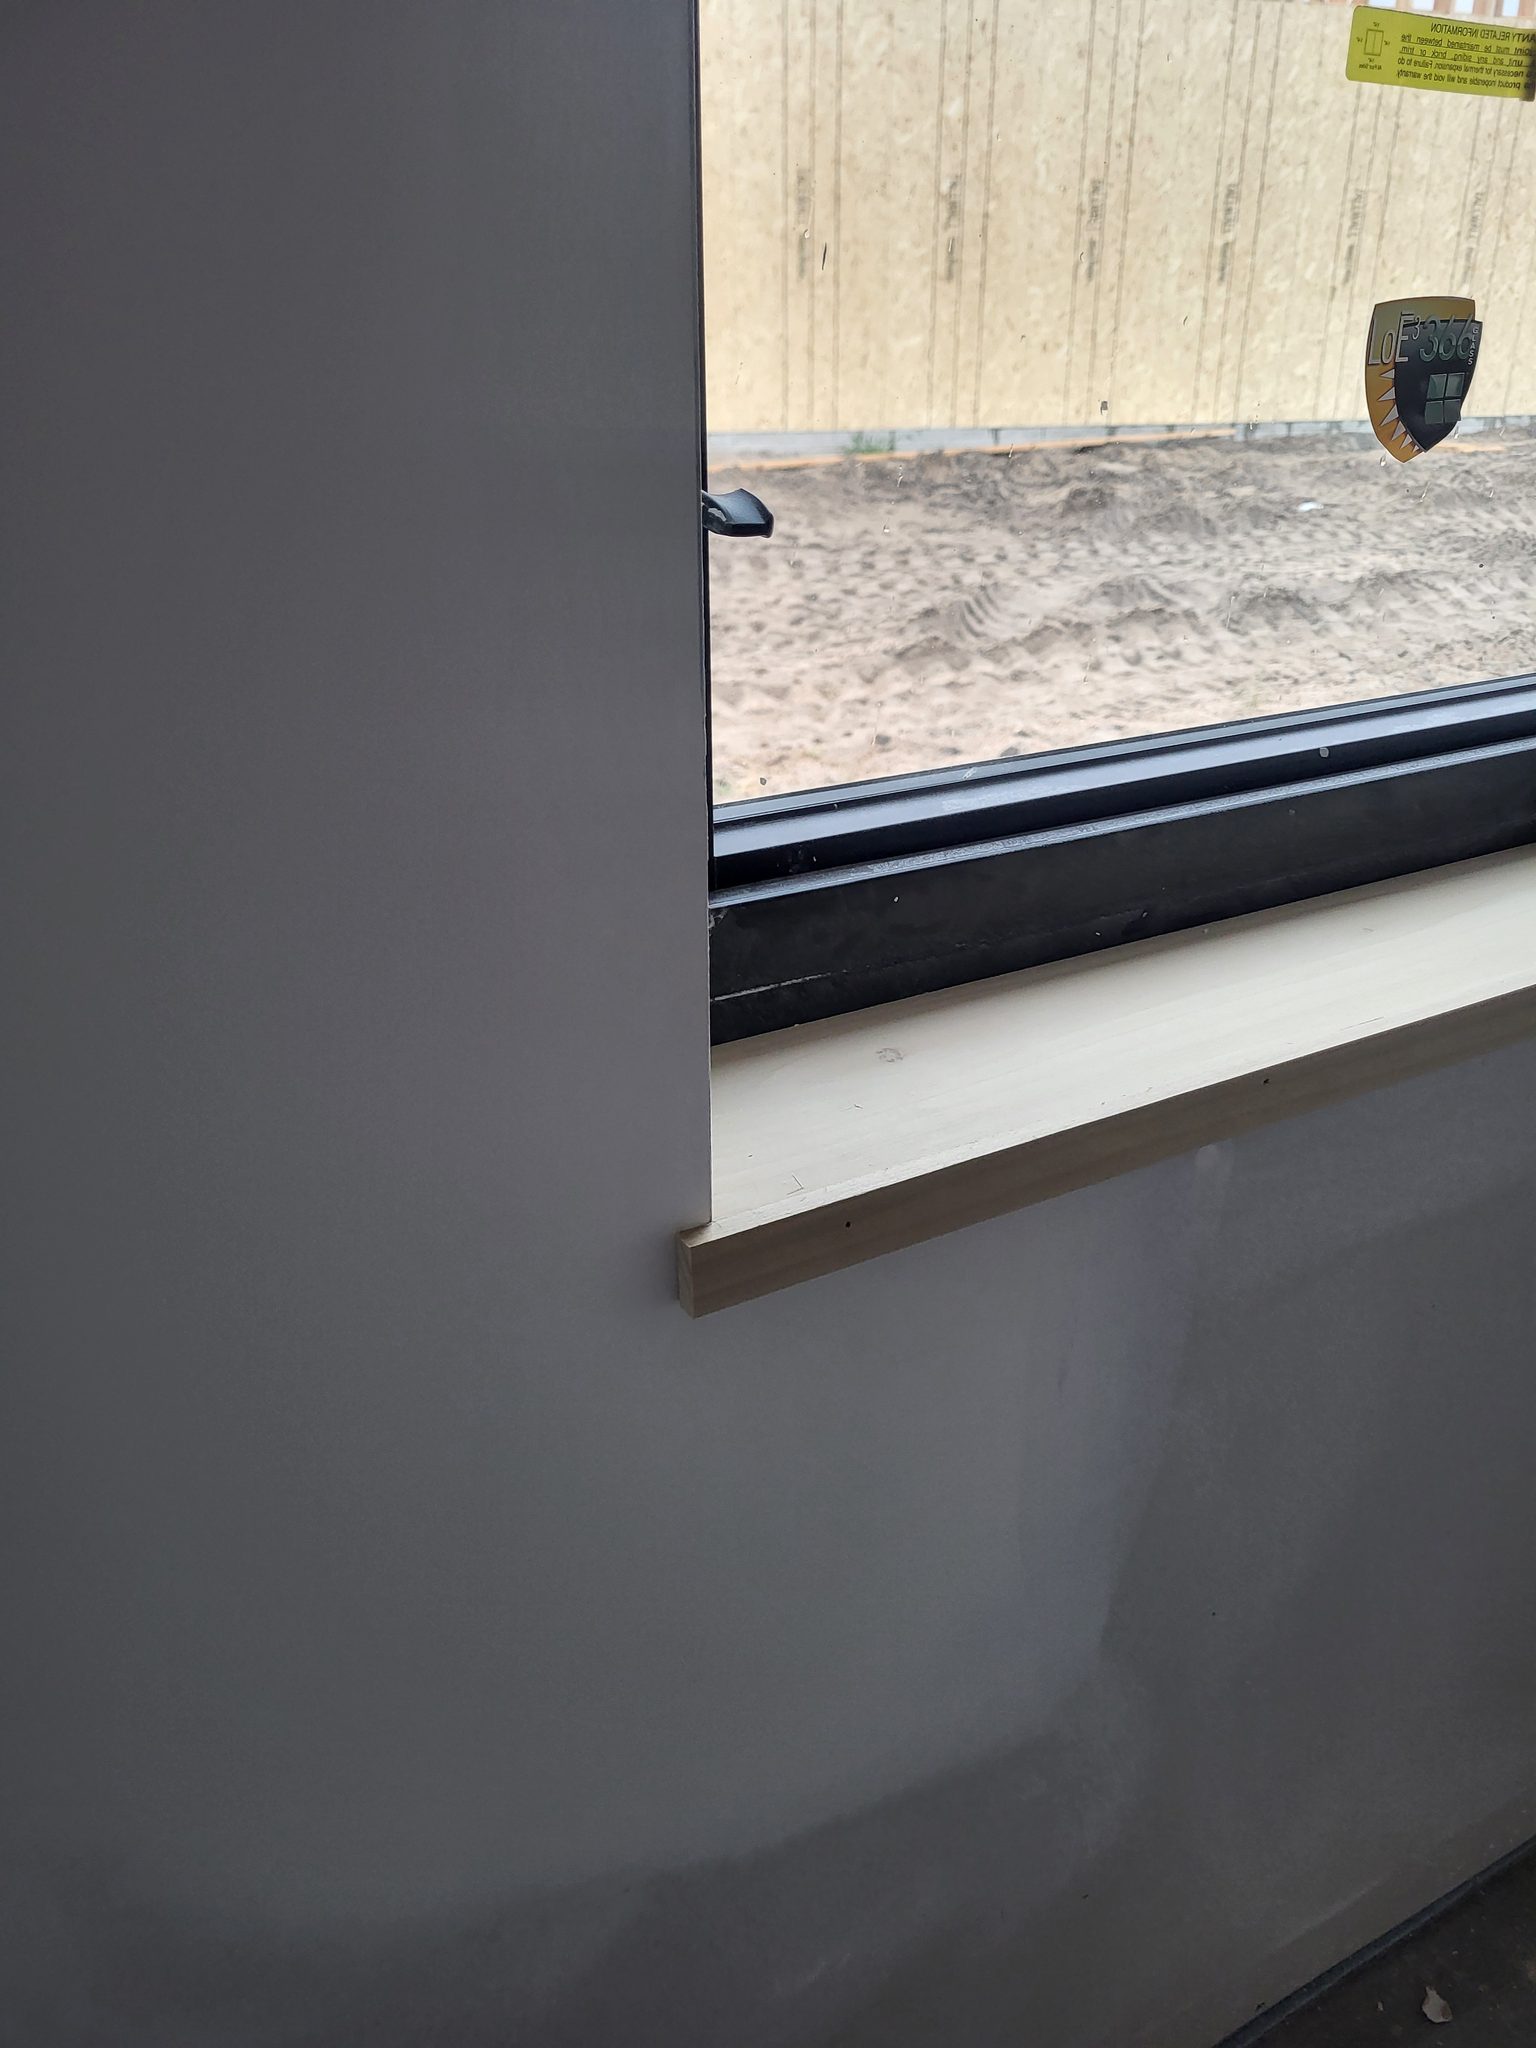
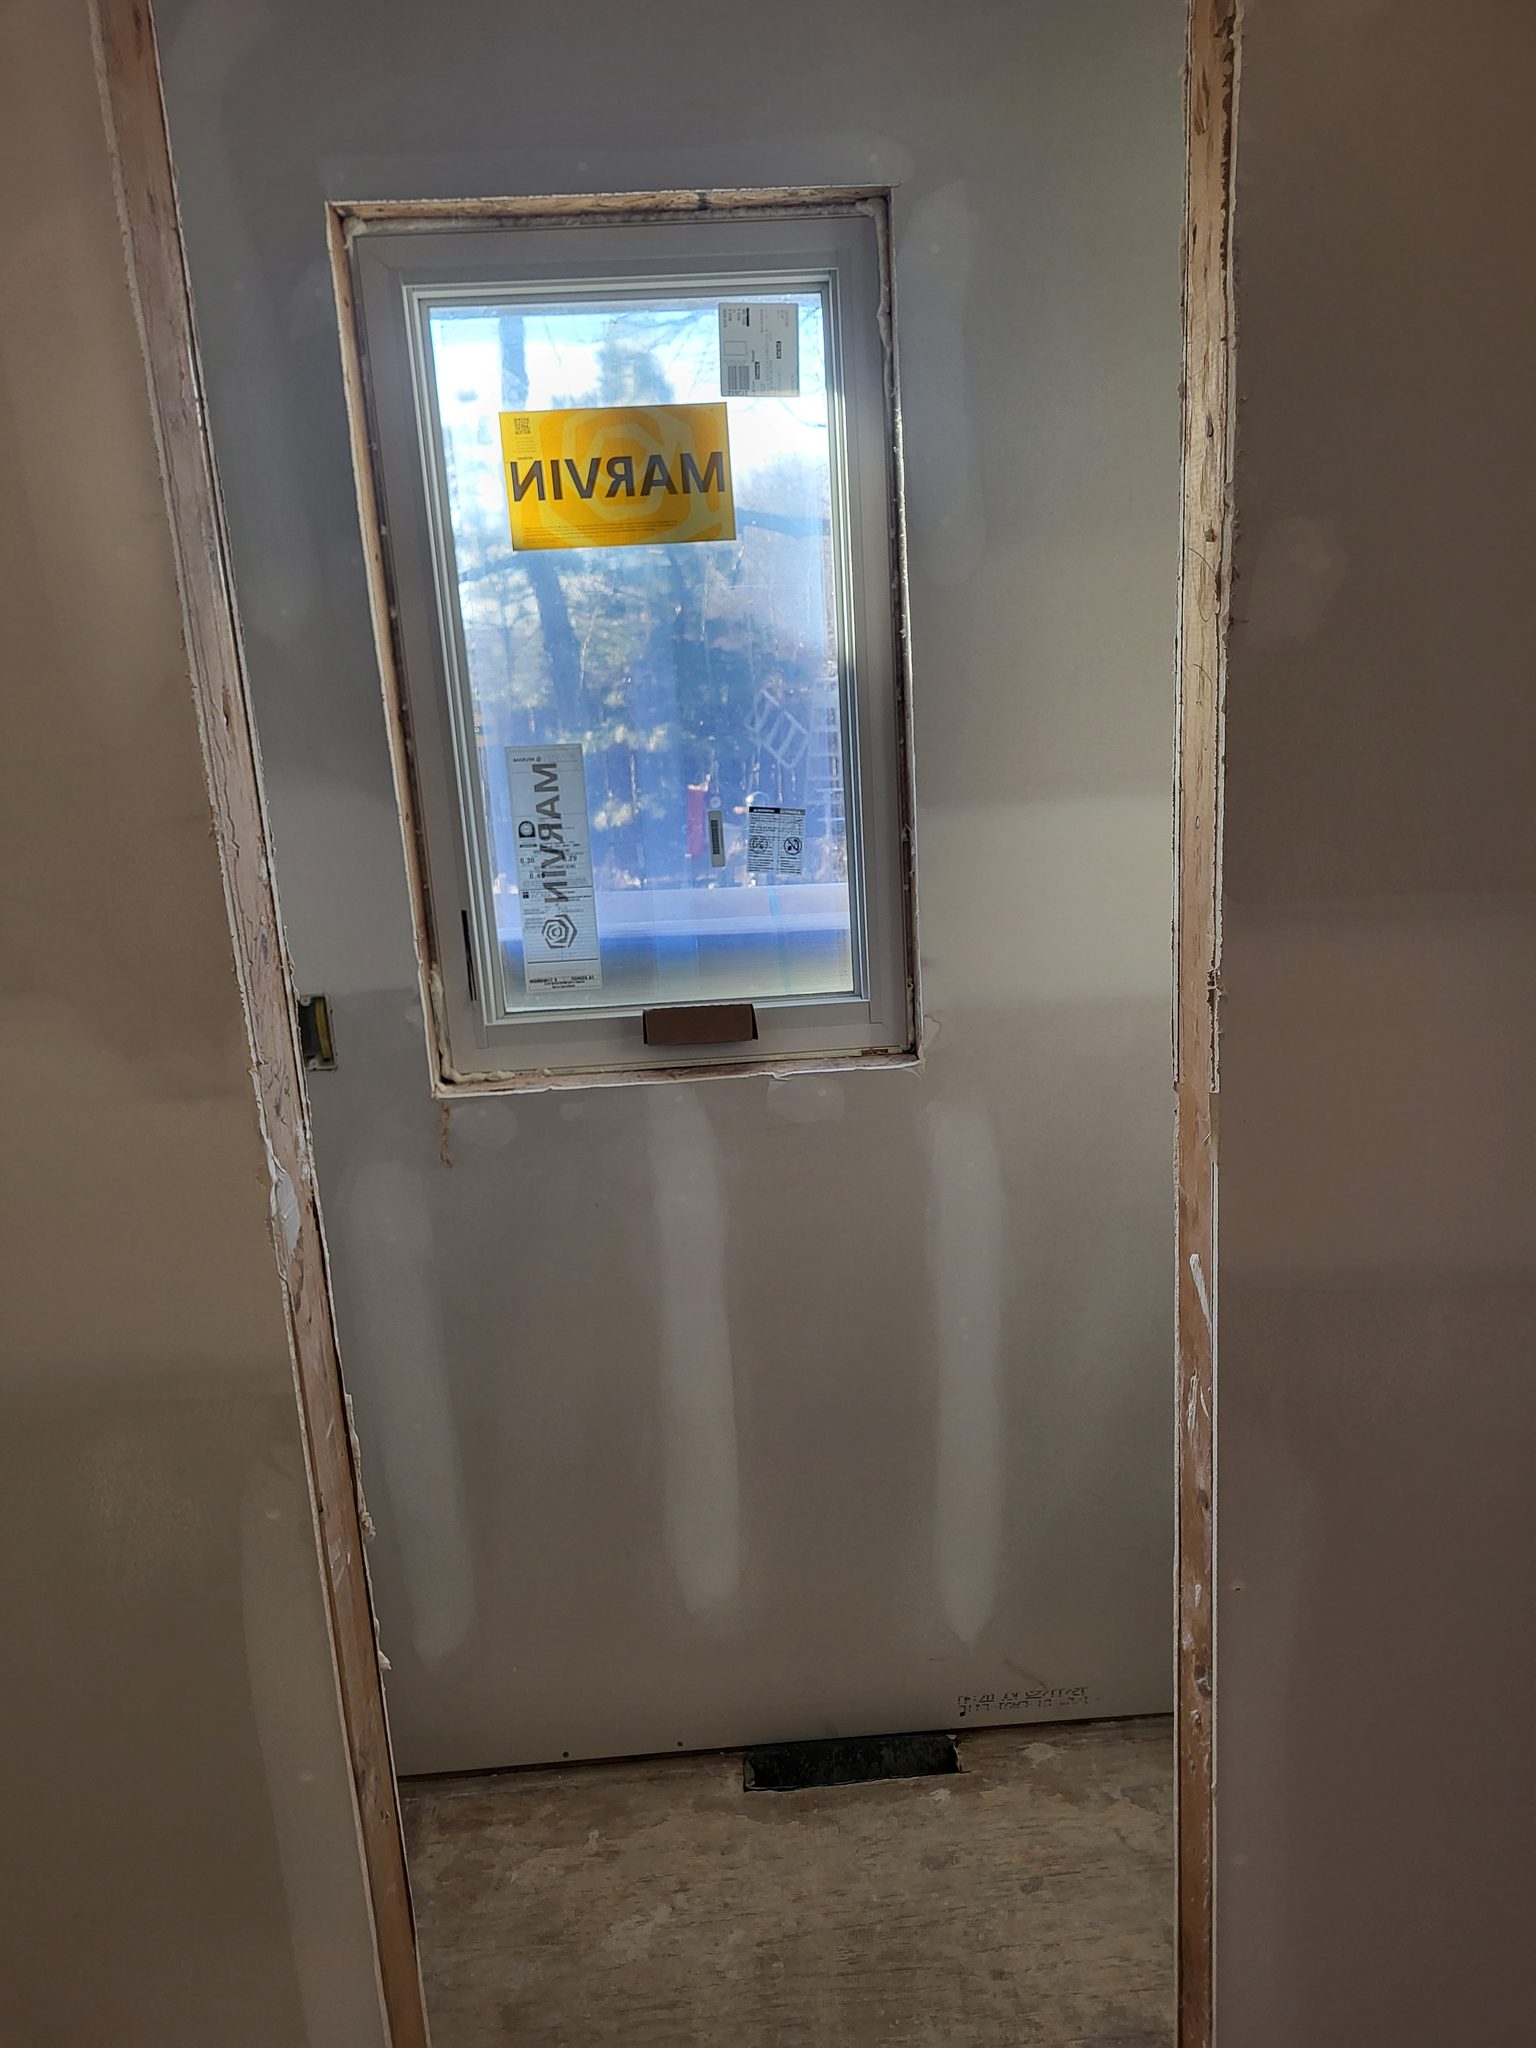
On new construction, we case windows after the drywall is hung and taped. A primer coat on the walls isn’t required before we case. Before you start, check how far off flush the jamb sits from the finished wall. A small gap, up to about 1/4″ to 1/2″, you can adjust for as you case. More than that, install jamb extensions first (thin strips added to the edge of the jamb to bring it out flush with the wall): past that point the gap is too big to case around, and it isn’t possible to case the window well without the extension. Casing over a jamb that’s significantly out of flush will leave gaps, make the casing rock, and keep the joints from staying tight. Where the drywall sits proud of the jamb within that adjustable range (sticking out past the jamb face), pound it back with a hammer along the edge so the casing can seat flat, tight to the jamb on the inside edge and tight to the wall on the outside edge. What the wall looks like behind the casing doesn’t matter once it’s covered, only that the wood sits flat and tight.
Window casing uses many of the same skills as door casing: marking an even gap along the jamb, cutting clean mitered corners (corners where two pieces meet at an angle, usually 45 degrees, instead of butting square), and following the right nailing pattern. If you’ve already cased a door, you already have most of what you need. The main difference: most windows get picture-frame casing, with mitered corners on all four sides. Most doors only get three pieces of casing (two legs and a header), with the bottom meeting the floor. Once you can case a window cleanly on all four sides, casing a door is the easier version of the same skill.
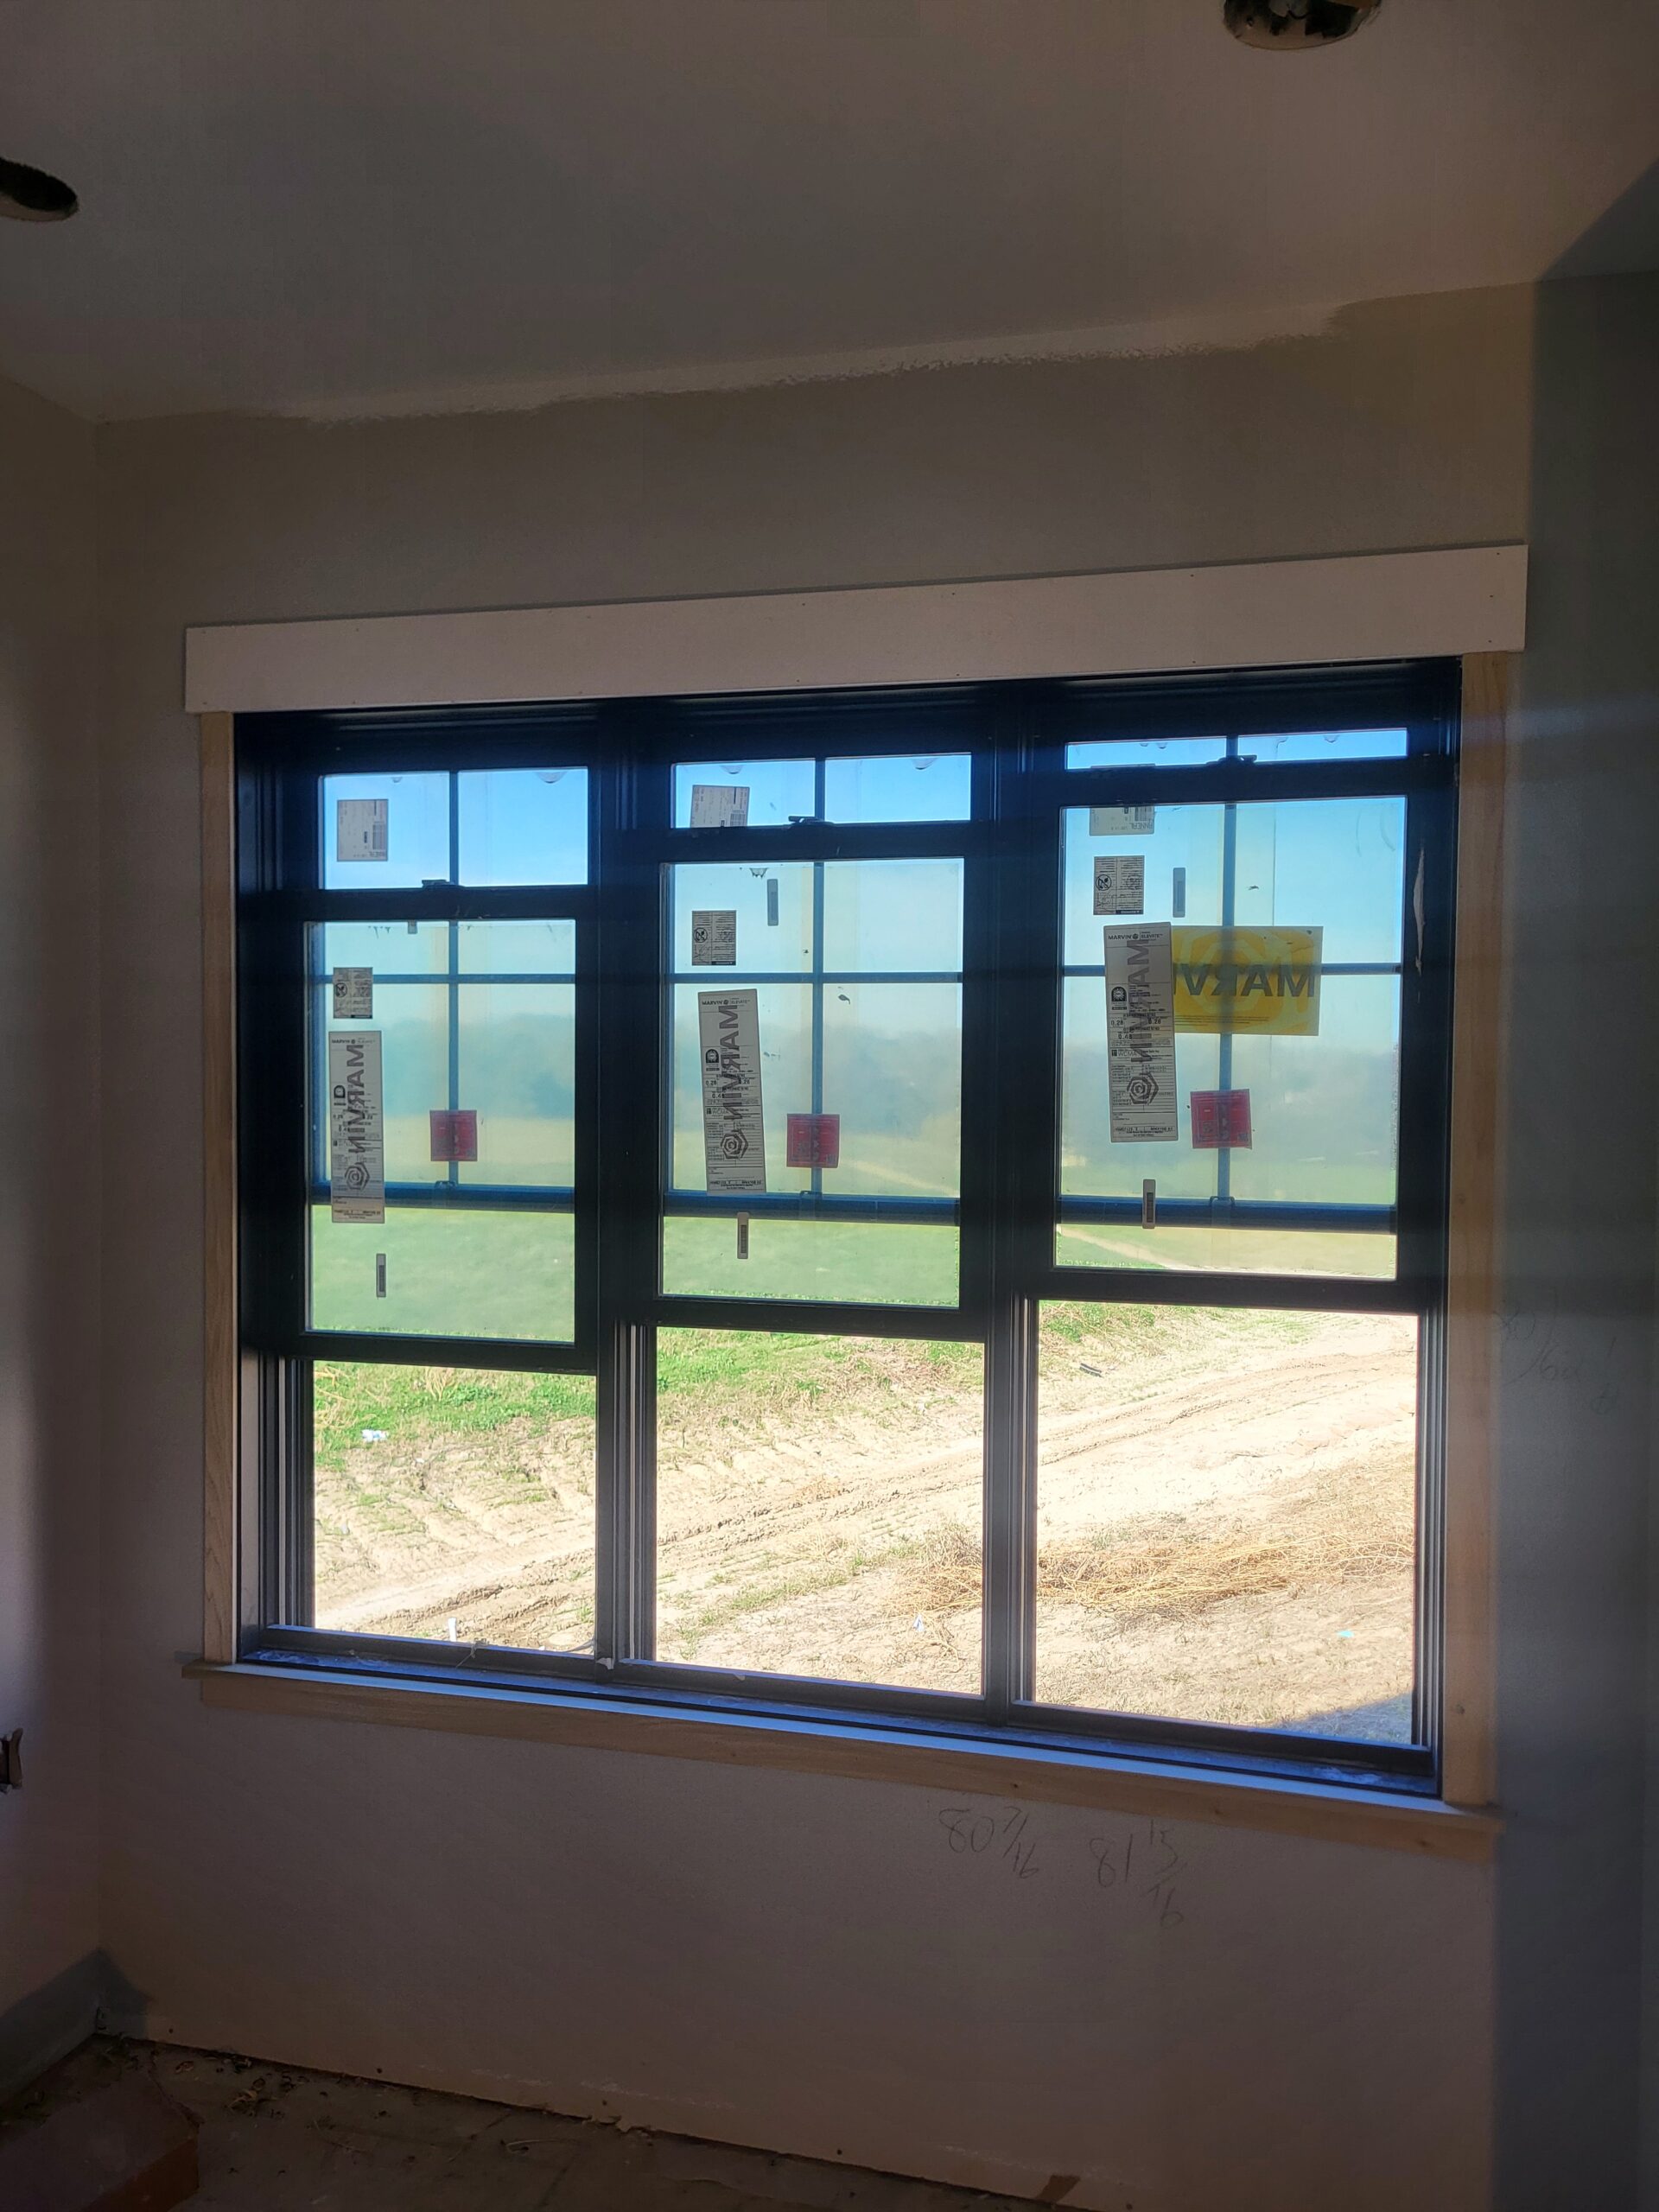
This guide covers only the picture-frame method: 45-degree miters on all four sides. Stool-and-apron windows use a different technique. How to Install a Window Seat or Sill covers the sill and stool part, not the apron. Windows ganged together with a shared mull between them are a different process, covered in How to Case Ganged Windows.
Which guide do I need?
- One window with four mitered corners: this guide
- Windows 90 to 119 inches tall: Window Casing for Medium-Tall Windows (90″ to 119″)
- Windows 10 feet and taller: How to Case Tall Windows (10 Feet and Above)
- Two or more windows side by side: How to Case Ganged Windows
How to Case a Window Step by Step #
Step 1: Inspect the Window and Mark Reveal Lines #
Start by inspecting the opening. Run your hand along each jamb edge to check it’s flush with the drywall on both sides. Open, close, and lock the window to make sure it works smoothly. Fix any problems now, before the casing goes on.
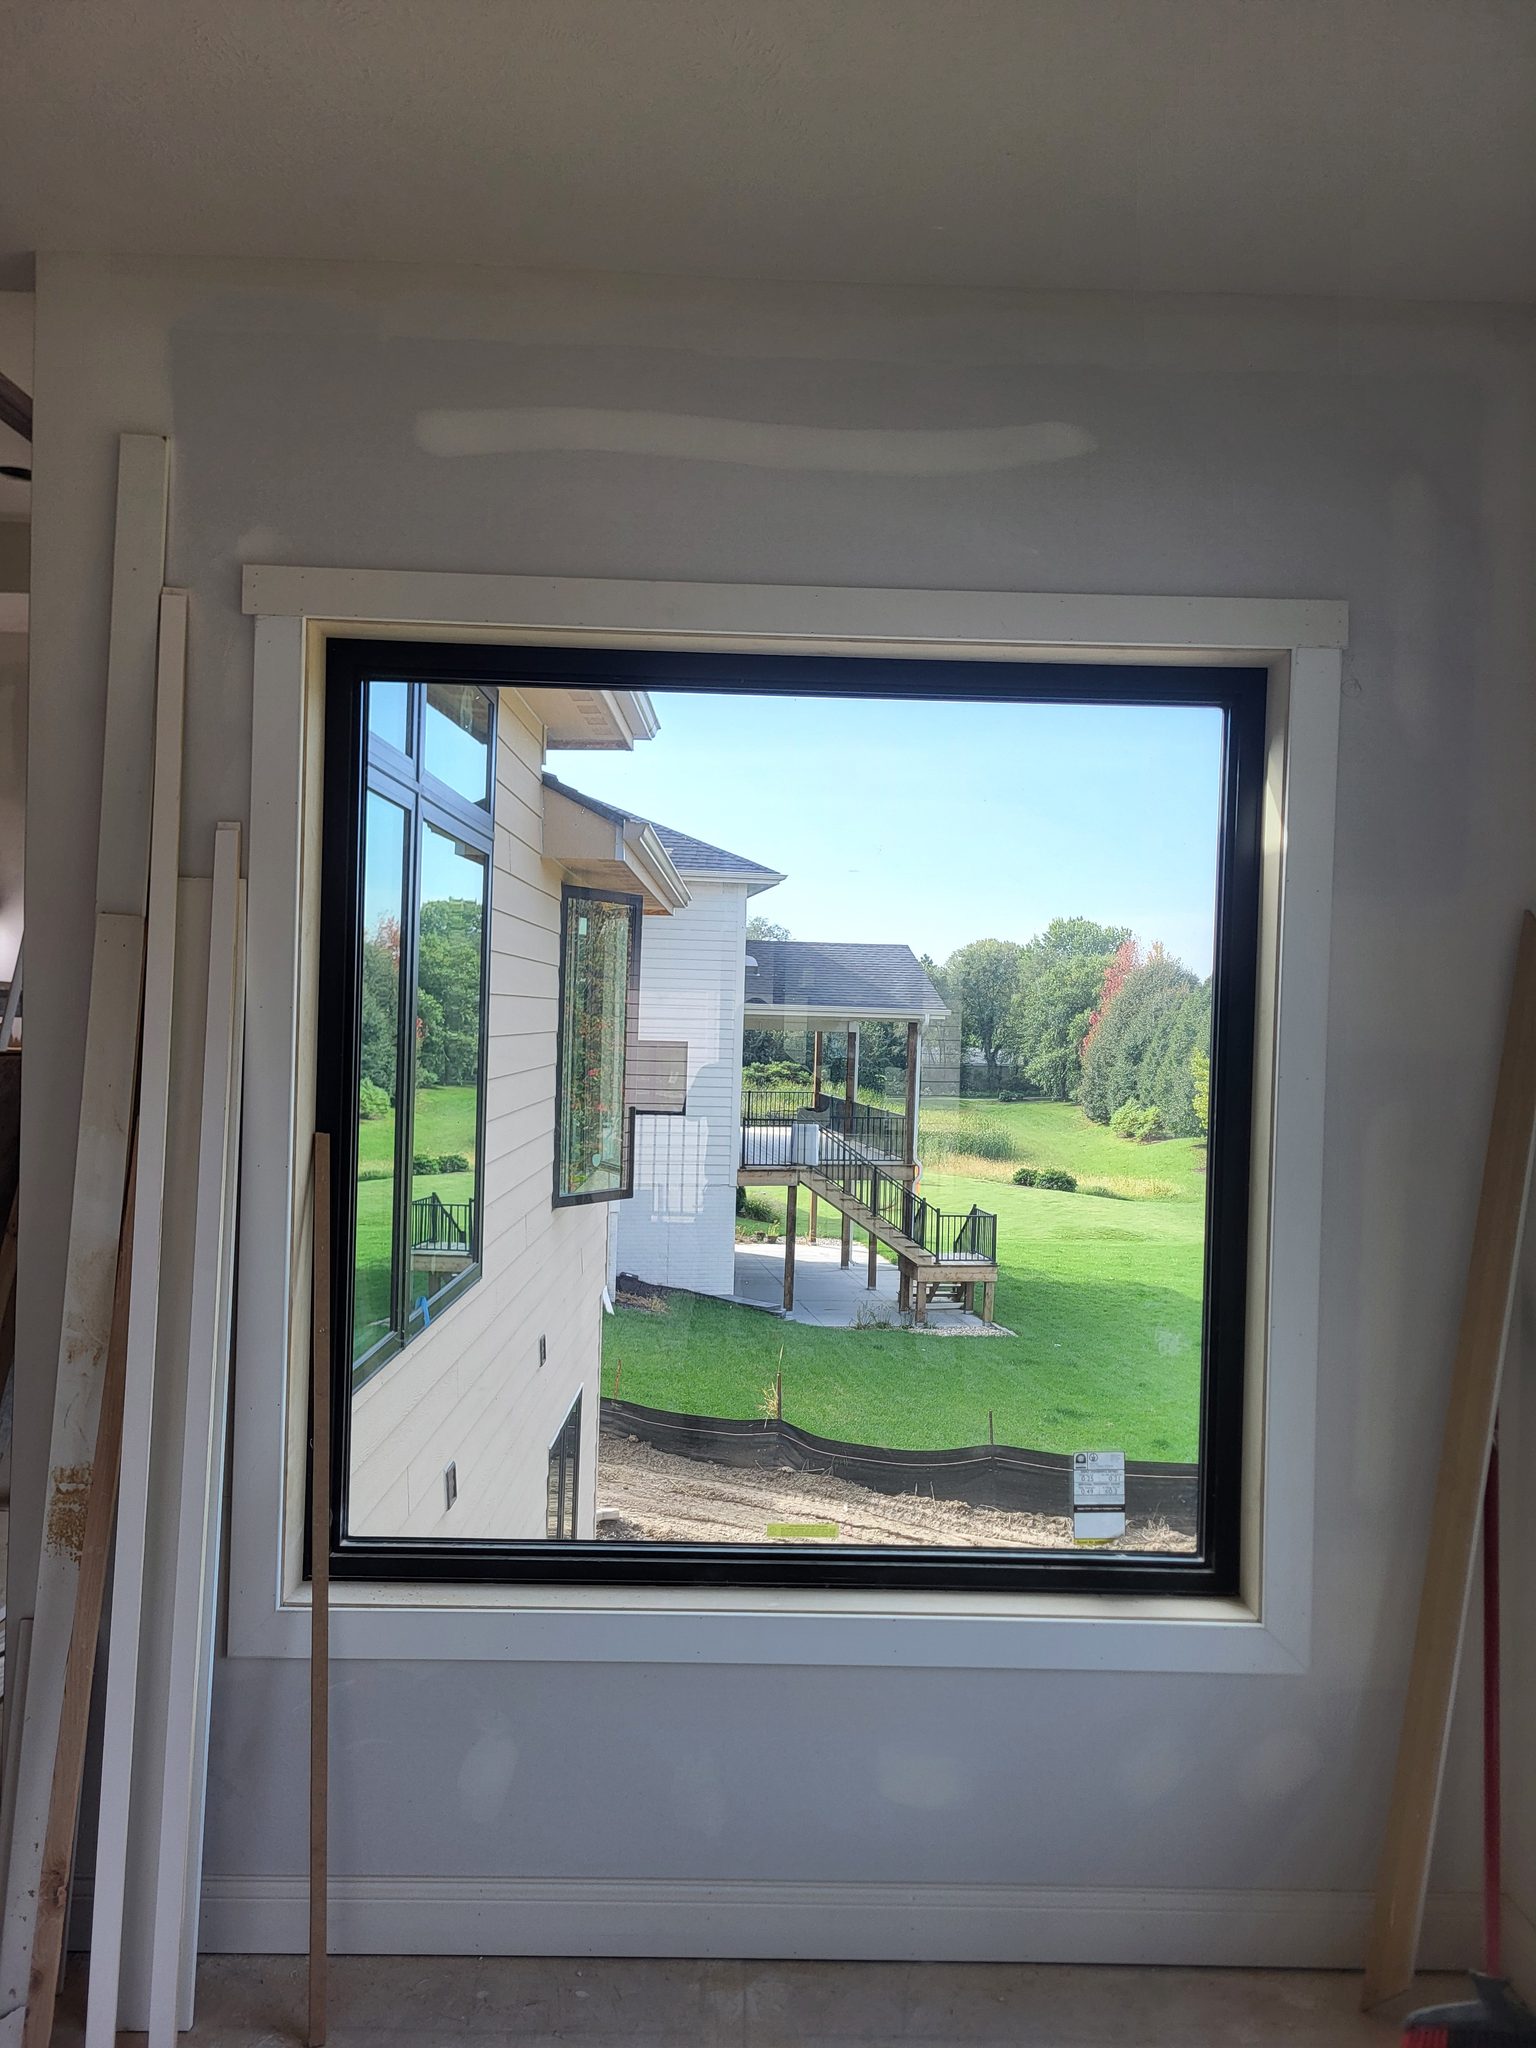
Set your combination square to 3/16″ and use it to mark the reveal line along all four jamb edges. The reveal is the strip of jamb you leave showing between the edge of the jamb and the casing, so the casing doesn’t sit flush against the window frame. Hold the body of the square against the face of the jamb and draw a light pencil line along the blade. Mark the reveal on the top jamb, both side jambs, and the bottom jamb. These lines are what you line up every piece of casing against.
Keep your pencil marks light, just dark enough to see while you position the casing. On painted material, this doesn’t matter much: the paint covers a pencil mark completely. On stain-grade material, it matters every time: pencil marks show through stain 100%, no exceptions. Either sand the marks off clean, or set your reveal line about 1/32″ past 3/16″ so the casing’s edge barely covers the mark instead of leaving it exposed.
Pro Tip: Cut a small piece of cardboard exactly 3/16″ wide. Use it as a spacer between the jamb edge and the casing. It’s faster than marking reveal lines on every jamb, and it gives you a consistent reveal with no pencil marks to clean up later.
Step 2: Measure, Cut, and Install the Side Casings #
There’s more than one way to sequence the rest of this job. This guide walks through both side casings first, the same order you’d use casing a door, and finishes with the header and bottom casing in Step 3. Some carpenters prefer to do the header and bottom first instead and finish with the sides. Either order works. What matters is installing opposite pieces as a pair, both sides together here, then the header and bottom together in Step 3, so a piece that needs a small adjustment only costs you two pieces to fine-tune instead of four.
Measure each side jamb from the top reveal mark down to the bottom reveal mark. That reveal-to-reveal distance is the short point length for your side casing, since the short point of each miter lands right on the reveal line: both ends of the side casing get 45-degree miters. There’s more than one way to get this number. You can measure jamb face to jamb face instead of reveal mark to reveal mark, and add 3/8″ total, 3/16″ for each end, to arrive at the same short-point length. Or measure long point to long point instead: add twice the width of your casing stock to the reveal-to-reveal distance, and measure at the outside edge, which is easier to hook a tape on than a short point. A couple of tricks help with a short-point measurement: set your short point against a squared-off face you can hook the tape to, or burn an inch on the tape, starting your reading at the 1″ mark instead of the hook. Whichever method you use, always measure from the same side of the material, inside to inside or outside to outside, never across the piece.
Set your miter saw to 45 degrees and cut a miter at both ends of each side casing, about 1/16″ long. The extra length isn’t just there to force a fit; it gives you room to make a micro-adjustment. A miter’s job is to close tight, not to land at a textbook-perfect 45 degrees or dead straight up and down: if drywall or a slightly out-of-square jamb has the joint a hair off, take the piece back to the saw and back-bevel it, or bump the angle half a degree, until the front face closes tight. We want that tight miter both for the glue and because we can’t always fall back on filler to hide a gap. If you’re installing a stool instead of a mitered bottom casing, make a square cut at the bottom of each side piece instead of a miter.
Pro Tip: Cut one end of each piece first, then measure from that cut to mark and cut the second end. This stops small errors from stacking up: if you measure the full length and cut both miters from a rough piece, any error in the first cut throws off the second. Use the same approach for the header and bottom casing in Step 3.
Pro Tip: When a step calls for several pieces the same length, like the two side casings, clamp a stop block to the saw fence. The fence is the bar each piece rests against on the saw table. Every piece then stops at the same spot and comes out the same length without measuring each one. Still compare the pieces to each other before you nail them.
Cut both side pieces at the same time and compare them. On a square opening they should match in length; if the window opening is slightly out of square, measure and adjust one side on its own instead of assuming they match. Apply a thin bead of wood glue to every mitered end before you set the piece in place: glue every miter, on painted and stained casing alike. Press each miter tight and line up the back edge of the casing with the reveal marks on the side jamb.
Nail each side casing with 18-gauge, 1-3/4″ brads. Use two rows: one row into the jamb edge and one row into the wall framing, closer to the casing’s inside edge than 3/8″ (you’re working with only about 9/16″ of a 3/4″-thick jamb once the 3/16″ reveal is accounted for, and a brad 3/8″ in only catches about 1/8″ of it). Don’t crowd the edge so far that the brad blows out the side of the jamb, and keep your fingers clear of the nail line: aimed at a target this small, brads tend to blow out through the side of the jamb or the casing. Start at the top and work down, spacing nails every 12″ to 16″. Leave the last 2″ at each mitered end unnailed for now, top and bottom, so you can still fine-tune those joints once the header and bottom casing go on in Step 3. Repeat for the other side.
Step 3: Measure, Cut, and Install the Header and Bottom Casing #
Measure, cut, and install the header and bottom casing the same way, and together as a pair, for the same reason you did the sides together: opposite pieces done side by side let you micro-adjust as you go instead of chasing four separate fits. Measure the short-point distance between the reveal marks on the top jamb for the header, and between the reveal marks on the bottom jamb for the bottom casing, using whichever measuring method you used in Step 2. Add twice the width of your casing stock to get the long-point length. Cut 45-degree miters on both ends of each piece, pointing outward, about 1/16″ long so the joints can close tight. The goal is a miter that closes tight against the side casings already in place, not one at a perfect 45 degrees: back-bevel it or bump the angle as needed.
Pro Tip: Hold the header and bottom casing in position before nailing, and check the miter fit against the side casings. If a joint doesn’t close perfectly, adjust your saw angle by half a degree and re-cut, or back-bevel the piece. It’s better to sneak up on a tight fit with a few test cuts than to install a bad joint and hope it disappears later.
Apply glue to both mitered ends of the header and of the bottom casing. Hold each piece with its back edge on the reveal marks, letting the mitered ends press tight against the side casings’ miters. If a piece is cut a little long, that extra length compresses into a tight joint against the sides instead of leaving a gap. Nail each piece with the same two-row, 18-gauge 1-3/4″ pattern from Step 2, starting at the center and working outward. Once both pieces are seated and glued tight, go back and finish nailing the ends of the side casings you left free in Step 2.
This guide covers picture-frame casing only, four mitered corners, no stool or apron. A stool-and-apron bottom is a different technique, covered in How to Install a Window Seat or Sill, which has the sill and stool steps but not the apron.
Step 4: Tighten, Clean, and Check #
With all four pieces on, go back around the opening and close it out. At this stage you’re checking joints and fasteners, that’s our work. The finish coat is the painter’s job, not ours.
- Tighten any loose miter: Work a small amount of glue into a miter that isn’t fully closed, press it shut, and wipe off the excess with your finger. Do this while the glue is still wet.
- Set every brad below the surface: Run a finger over the casing face and both miters. If anything sticks up above the wood (proud), tap it down with a nail set, a small hand tool made for driving a brad head just below the surface. A brad left sitting at the surface will show through the finish.
- Check the reveal one last time: It should be consistent all the way around, with the casing tight to the jamb on the inside edge and no gap.
- Sweep up: Collect the cutoffs and leave the sill and floor clear.
Filling the fastener holes and sealing the outside edge where the casing meets the wall are the painter's steps, not ours. He does the whole room in one pass with one set of materials. Anything we spot-fill ahead of him tends to flash differently under the finish coat. What he needs from us: tight miters, a consistent reveal, casing flat to the wall, and fasteners set below the surface.
A gap on the inside edge is the one thing the painter can never hide. If the casing isn't sitting tight to the jamb, it wasn't installed right. The fix is to pull it and reset it.
Quality Check After You Case a Window #
Before you move to the next window, check your work against this list:
- Reveal is consistent at 3/16″ on all four sides of the window
- All four miter joints are tight with no visible gaps. On painted casing, glue the miter, then putty and sand it smooth. On stained casing, skip the filler and rely on a tight, glued joint instead
- Casing sits flat against the wall - no rocking or bowing
- Casing sits tight against the jamb edge - no gaps on the inside edge
- No gaps between casing pieces at any of the corners
- Every brad is set below the surface, nothing proud to the touch
- Window still operates properly - opens, closes, and locks without binding against the casing
- Casing profile matches the door casing used in the rest of the house
Troubleshooting #
Even careful work can run into small problems. Here are the most common ones and how to fix them.
Miter Won’t Close Tight #
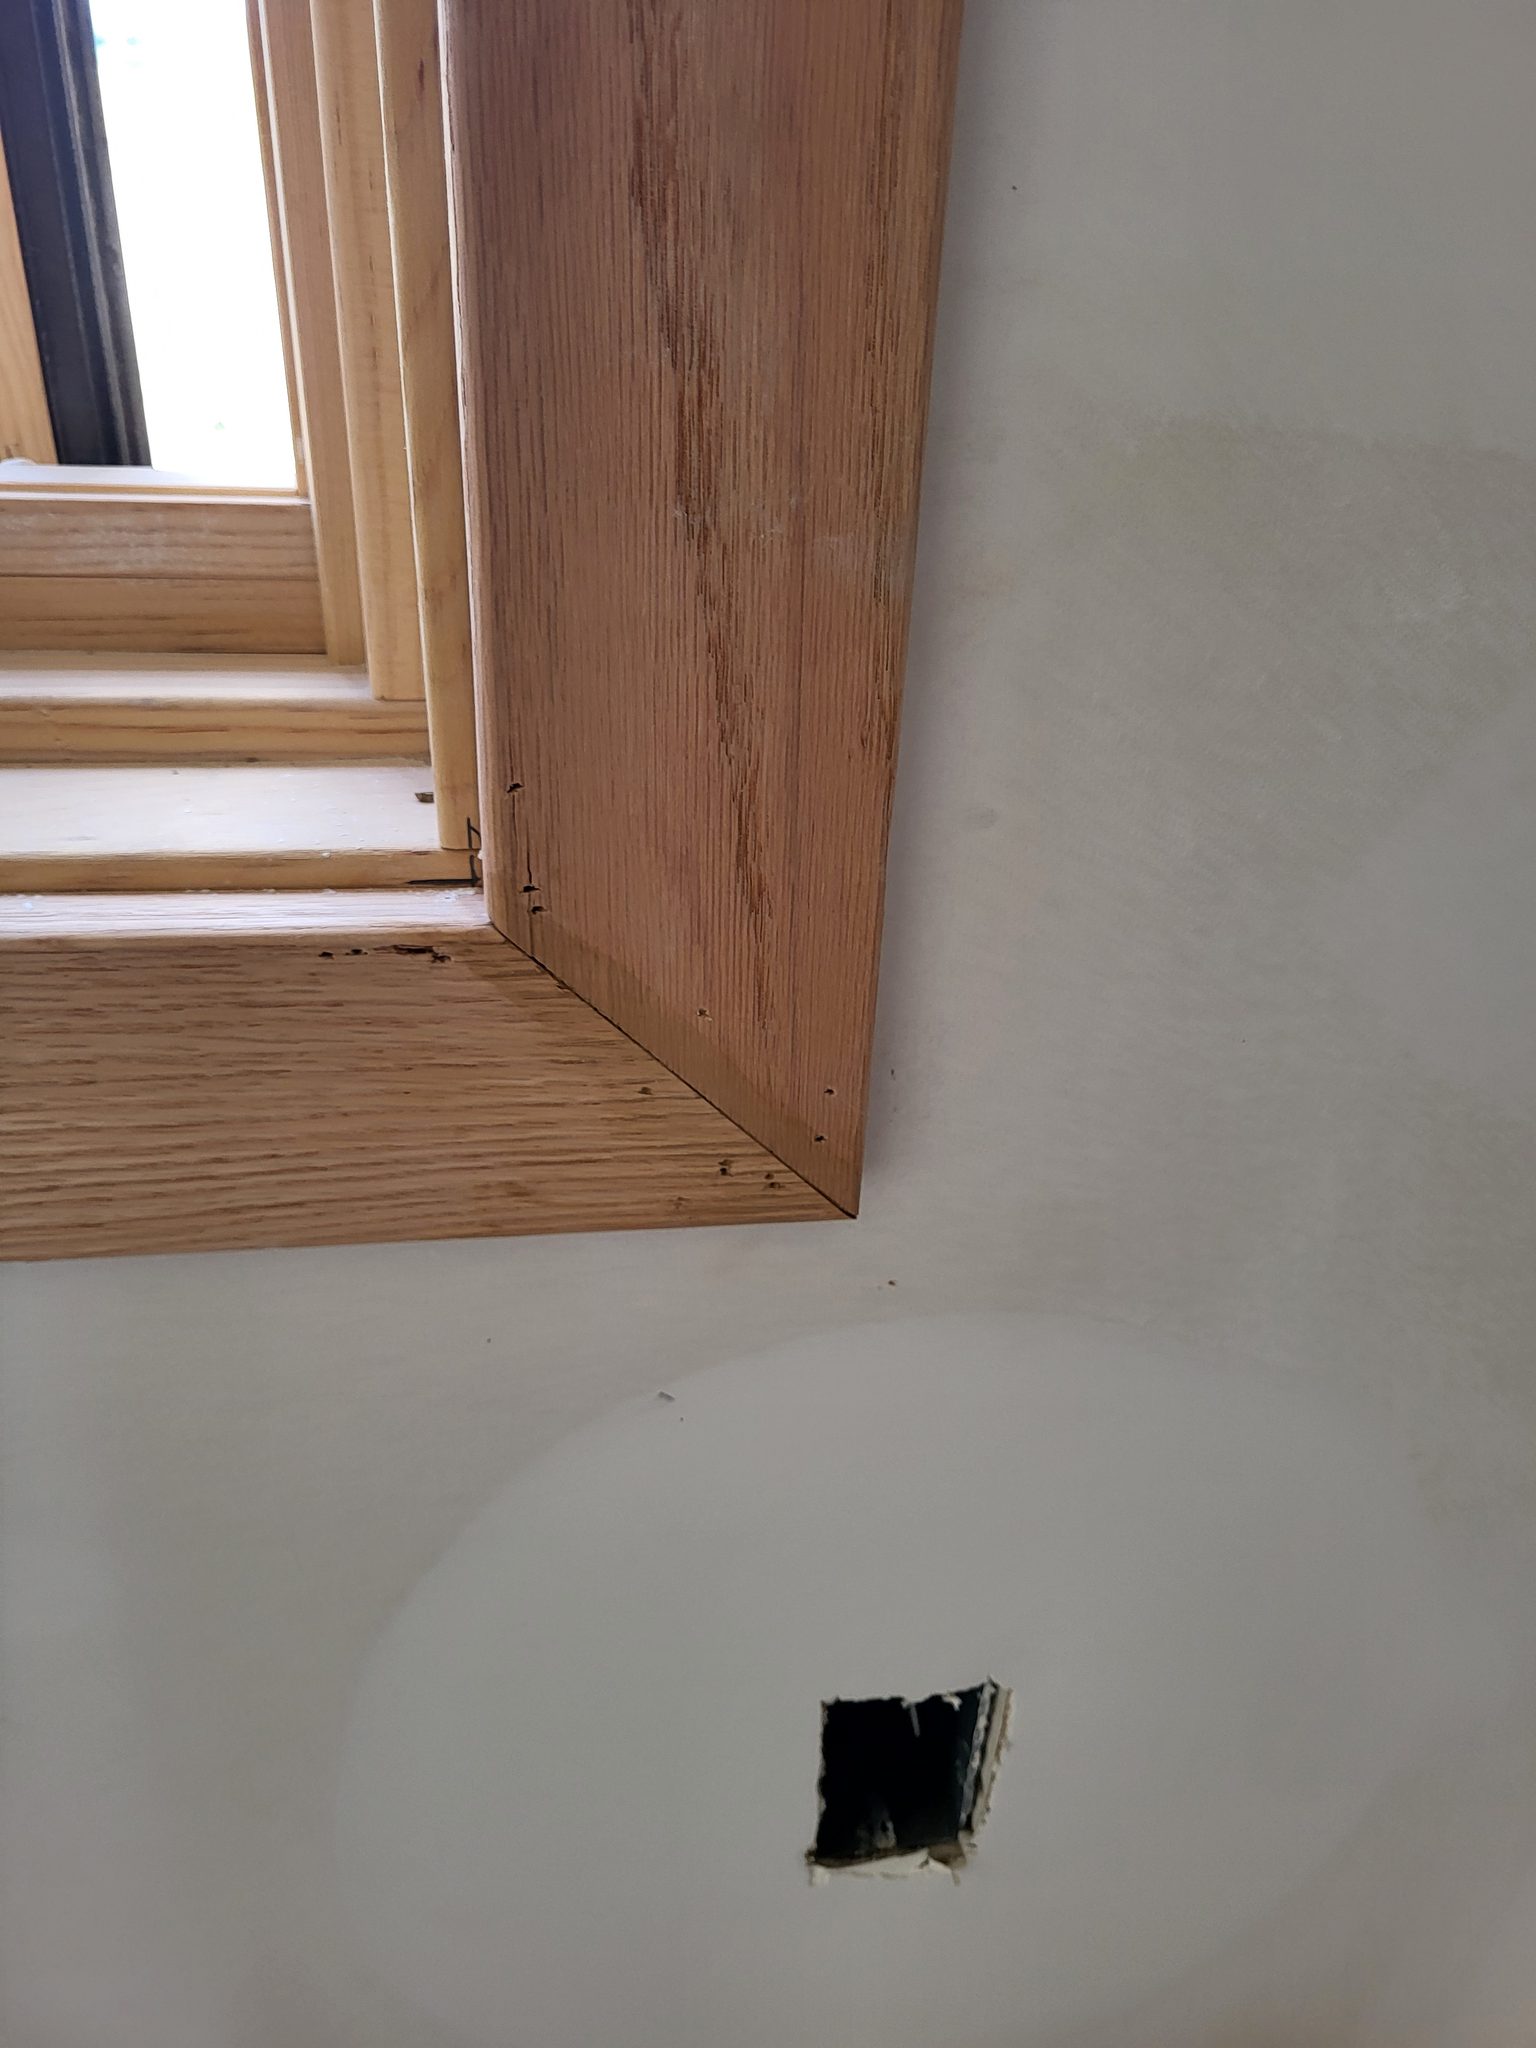
This is the most common problem with picture-frame casing. If the miter joint has a gap on the face but is tight on the back, your saw angle is a little less than 45 degrees. If it’s tight on the face but open on the back, the angle is a little more than 45 degrees. Adjust your saw by half a degree and re-cut. If the joint is tight on one end but open on the other, the wall or jamb isn’t perfectly square. Back-cut the miter, shave a little extra angle off the back edge with a utility knife or block plane, so the face edges can close.
Casing Rocks Against the Wall #
This usually means the drywall is proud of the jamb near the opening, sticking out past the jamb face or bumped up with drywall compound, so the casing has a high spot to ride over instead of sitting flat. Pound the drywall back with a hammer wherever it’s proud, right along the jamb edge, so the casing can seat flat: tight to the jamb on the inside edge and tight to the wall on the outside edge. What the wall looks like behind the casing doesn’t matter once it’s covered, only that the wood sits flat and tight.
Reveal Not Consistent #
If the reveal varies from one side of the window to the other, either the jamb isn’t straight or the casing wasn’t aligned carefully. Double-check alignment at each nail location before you nail. If the jamb has a slight bow, split the difference: let the reveal vary slightly so the casing stays straight, rather than following a bowed jamb and ending up with a wavy edge. The same idea applies when windows sit close together: even if the windows themselves aren’t perfectly in line, cheat the reveal on each one as needed so the outside edges of the casing line up visually. Getting the casing to tie together matters more than holding an exact 3/16″ on every window.
Miter Corner Opens After Nailing #
This happens when nailing pulls the casing away from the miter joint before the glue has grabbed. Glue does the holding at the miter. Work fresh glue into the joint, press it tight, and hold it there with firm hand pressure until it grabs. Wipe away any squeeze-out, the glue that oozes out when you press the joint shut, with your finger while it’s still wet. On future installs, glue and press every miter tight before you nail the ends of the adjoining pieces, so the joint is already set before nailing has a chance to pull it open.
Window Won’t Open After Casing Is Installed #
If you case a window too tight, the casing or the nails can interfere with the sash, the moving part of the window. Check that no nails went through the jamb into the window frame or sash. Make sure the casing isn’t overlapping the window stop (the strip that holds the sash in its track) or reaching past the reveal into the window channel (the track the sash slides in). If the casing is too tight against the sash, carefully pry it away from the jamb, reposition it with a slightly wider reveal, and re-nail. Always test the window before you leave the opening, while the casing is still easy to pull and reset.
Related Guides #
Once you can case a window with consistent reveals and tight miters, the same layout and nailing skills carry over to doors and cased openings. For more on window casing techniques and material selection, see this guide from our medium-tall window casing article.
- How to Case an Exterior Door
- How to Install Baseboard
- How to Trim a House
- How to Install a Door Jamb Extension
- Which Material and Profile Goes Where
Reference Photos #
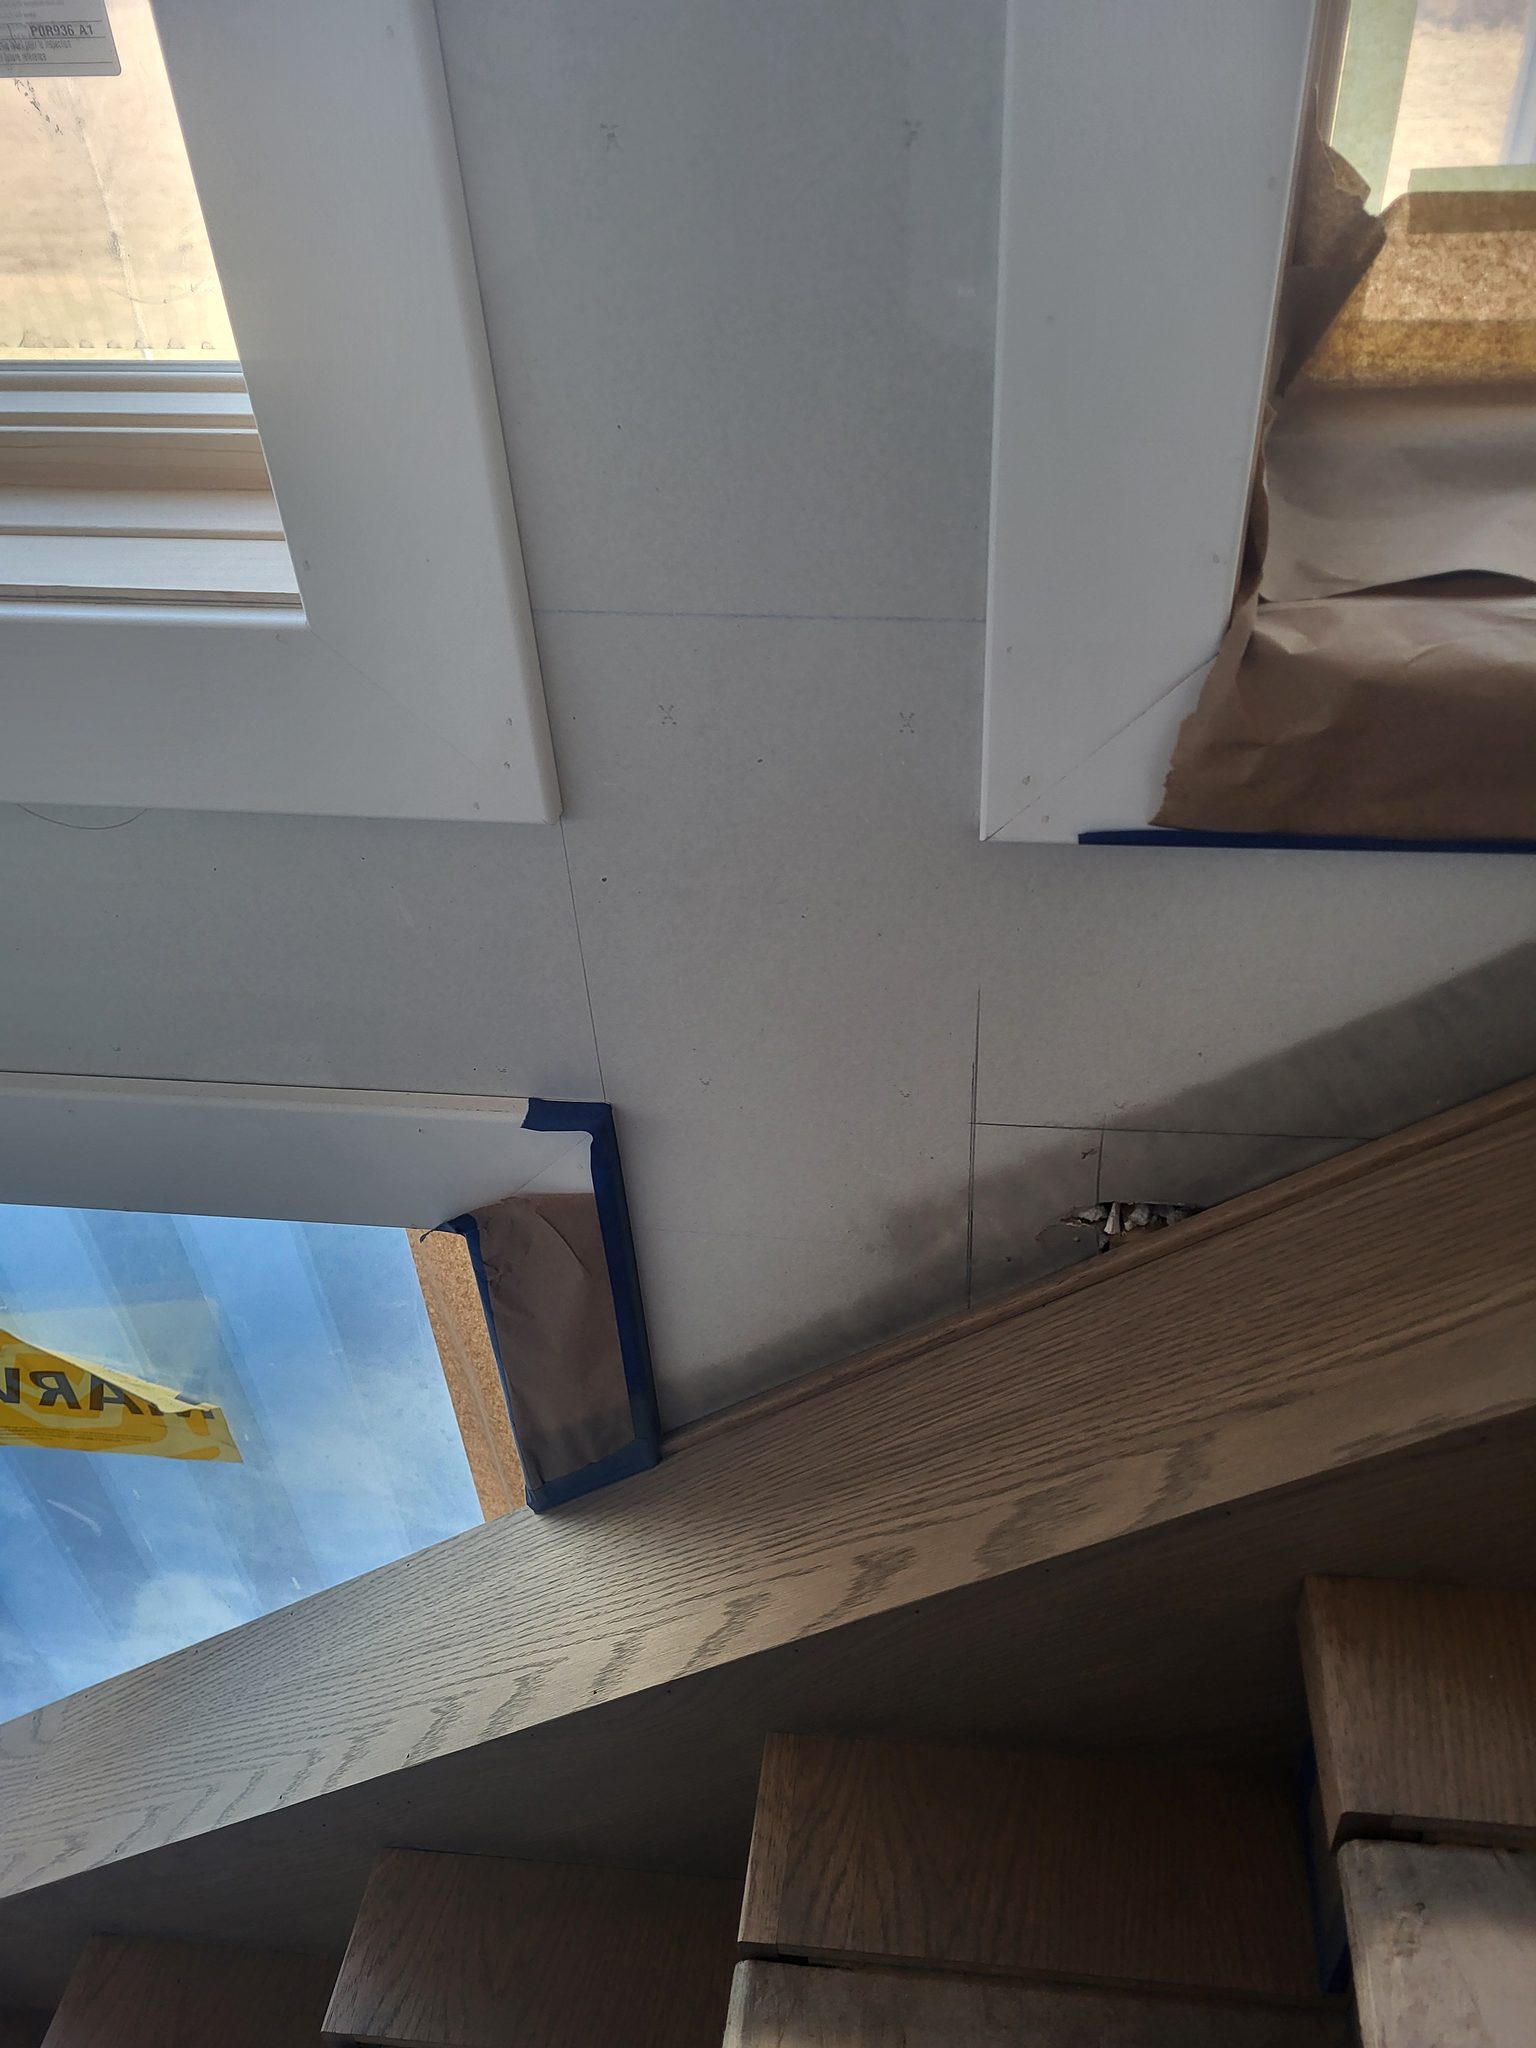
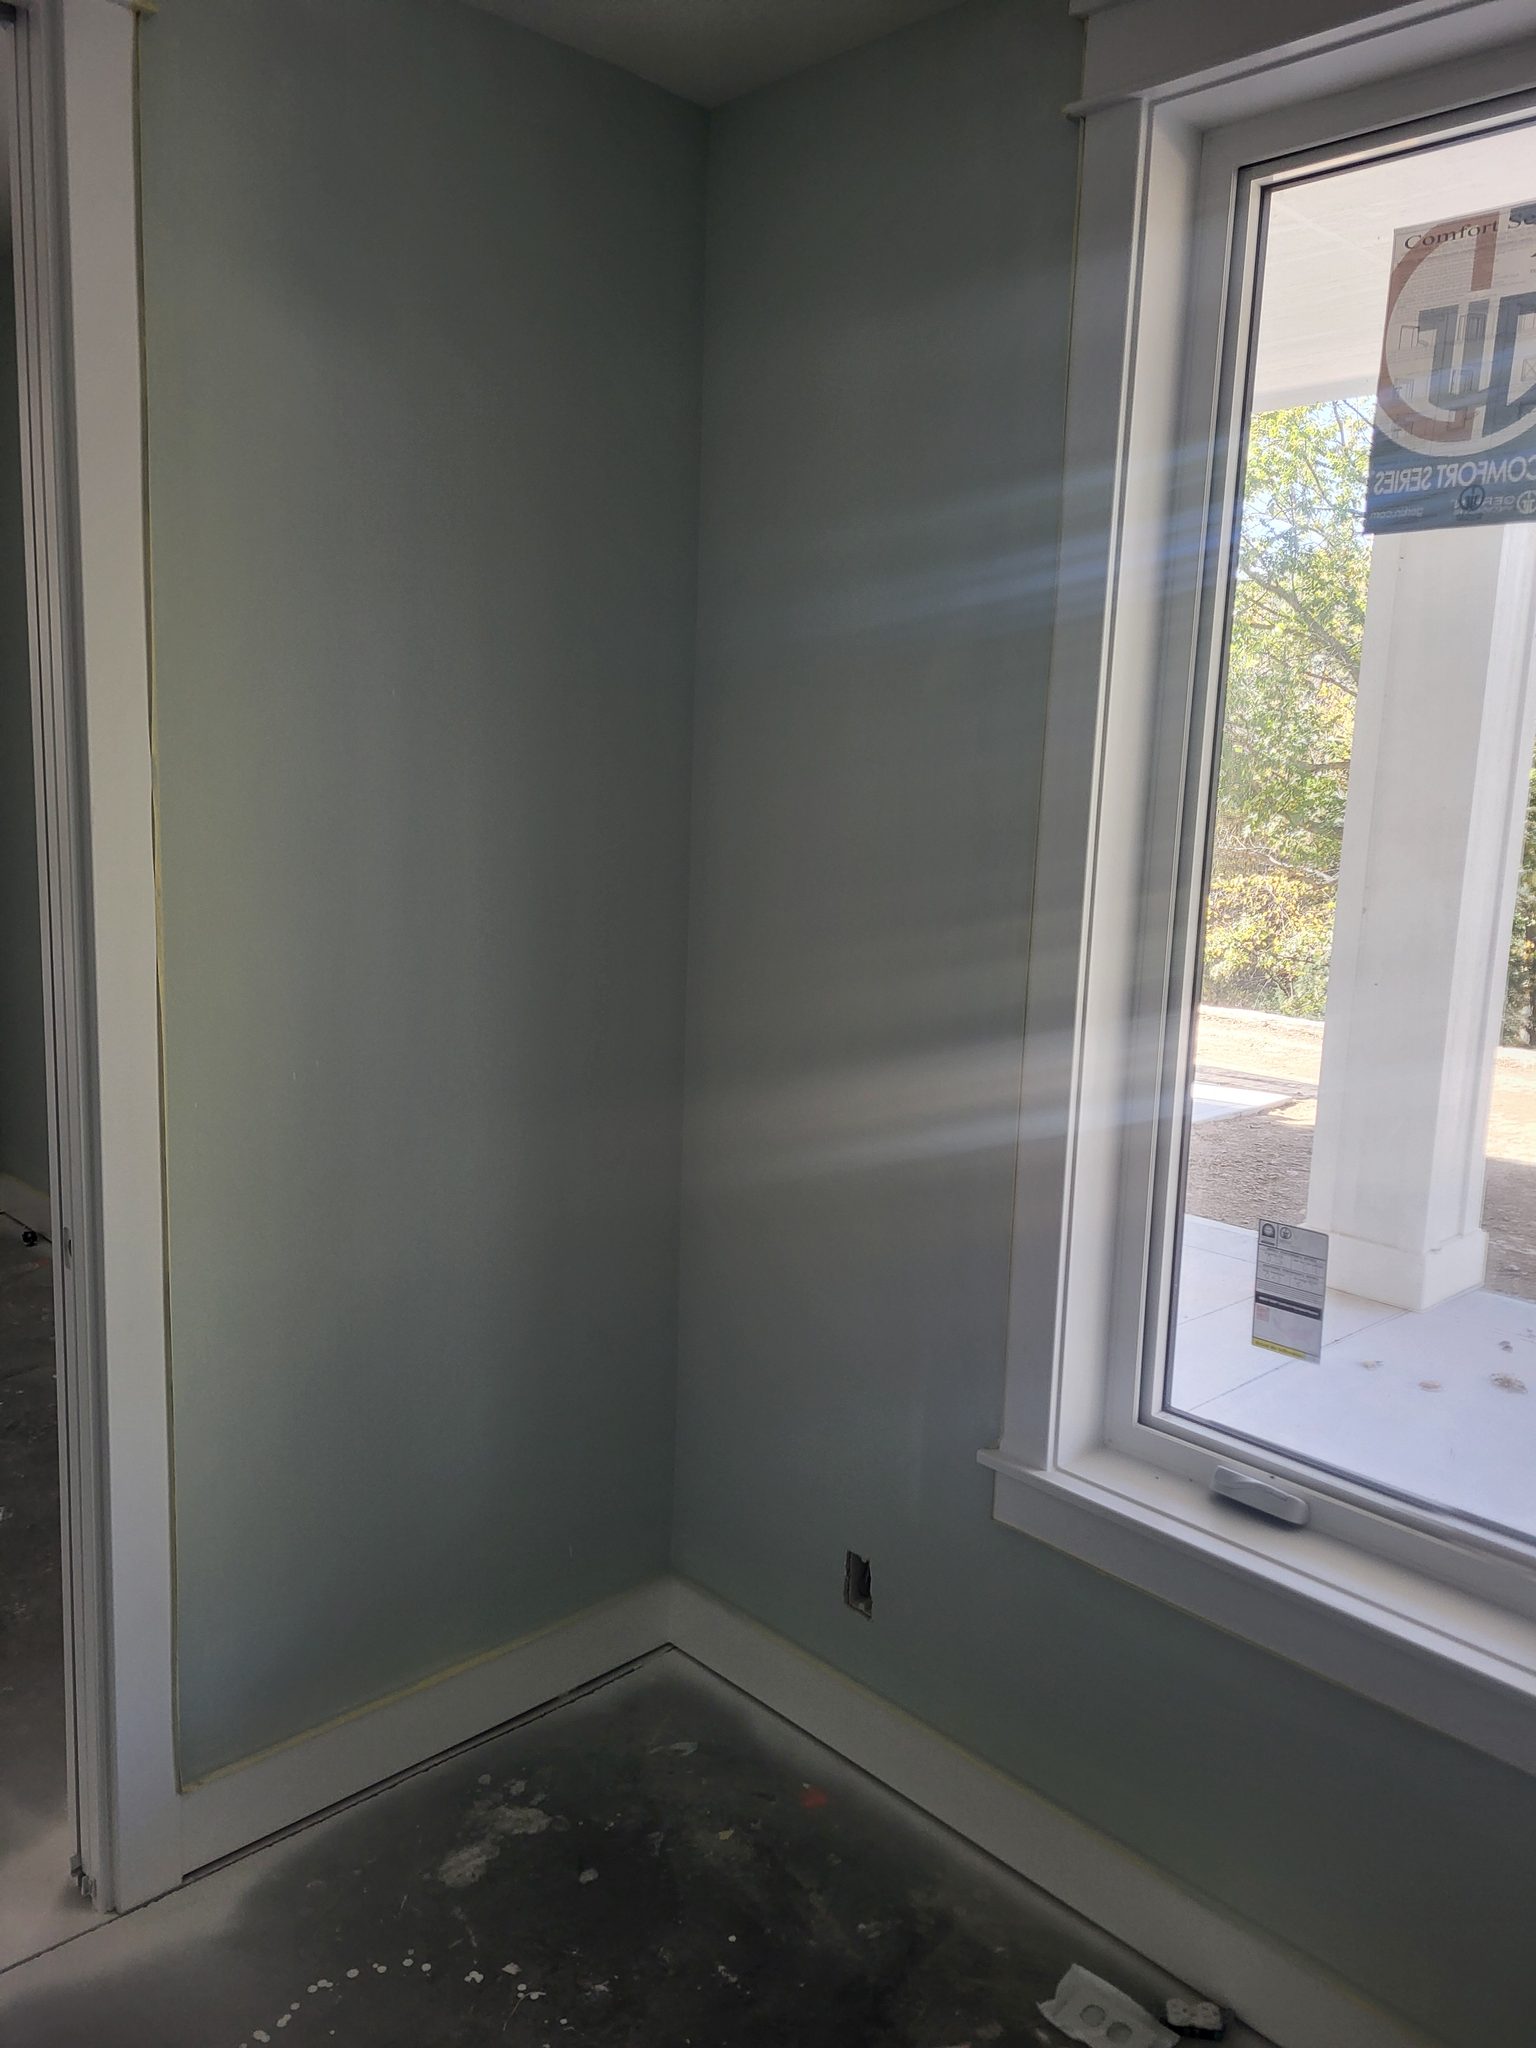
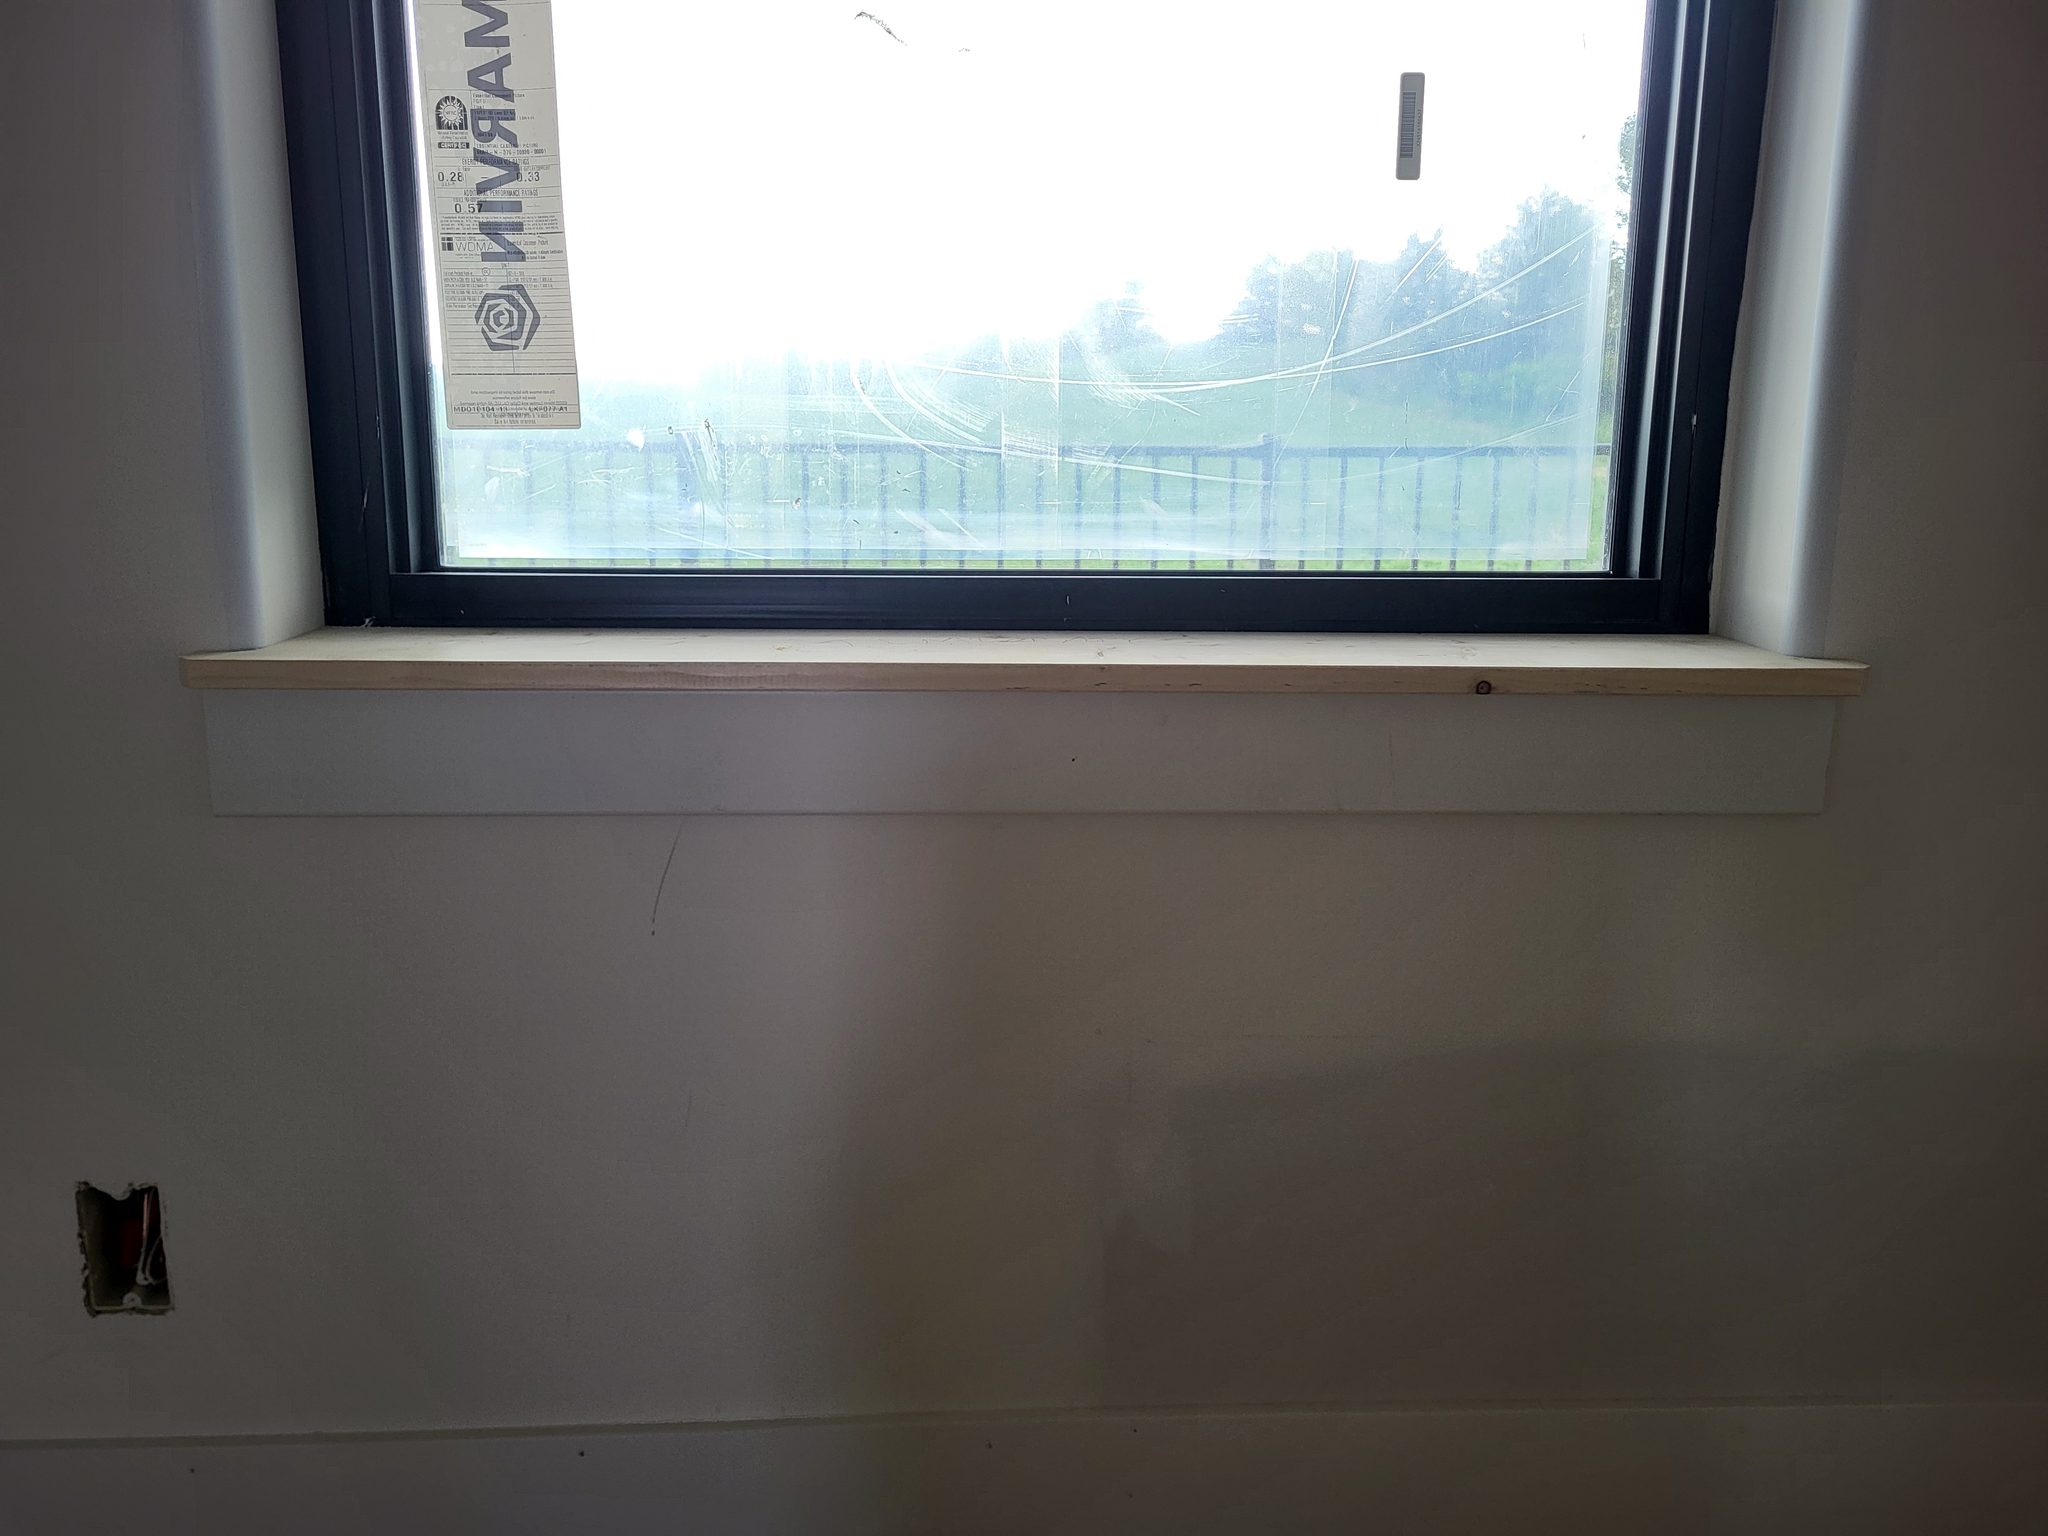
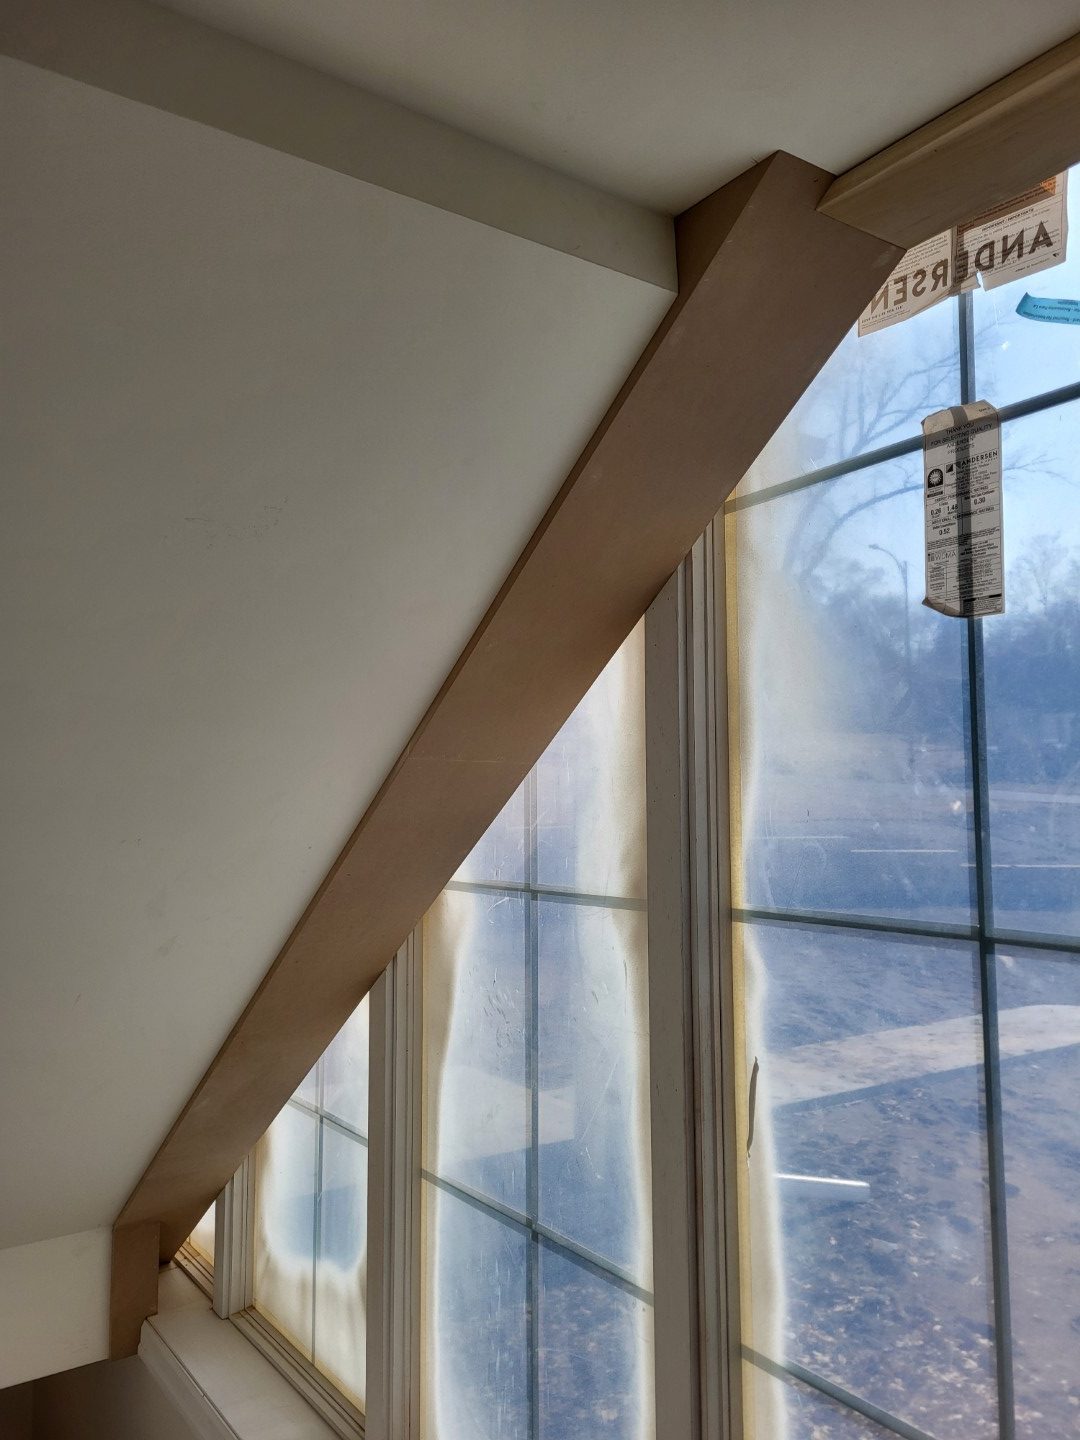
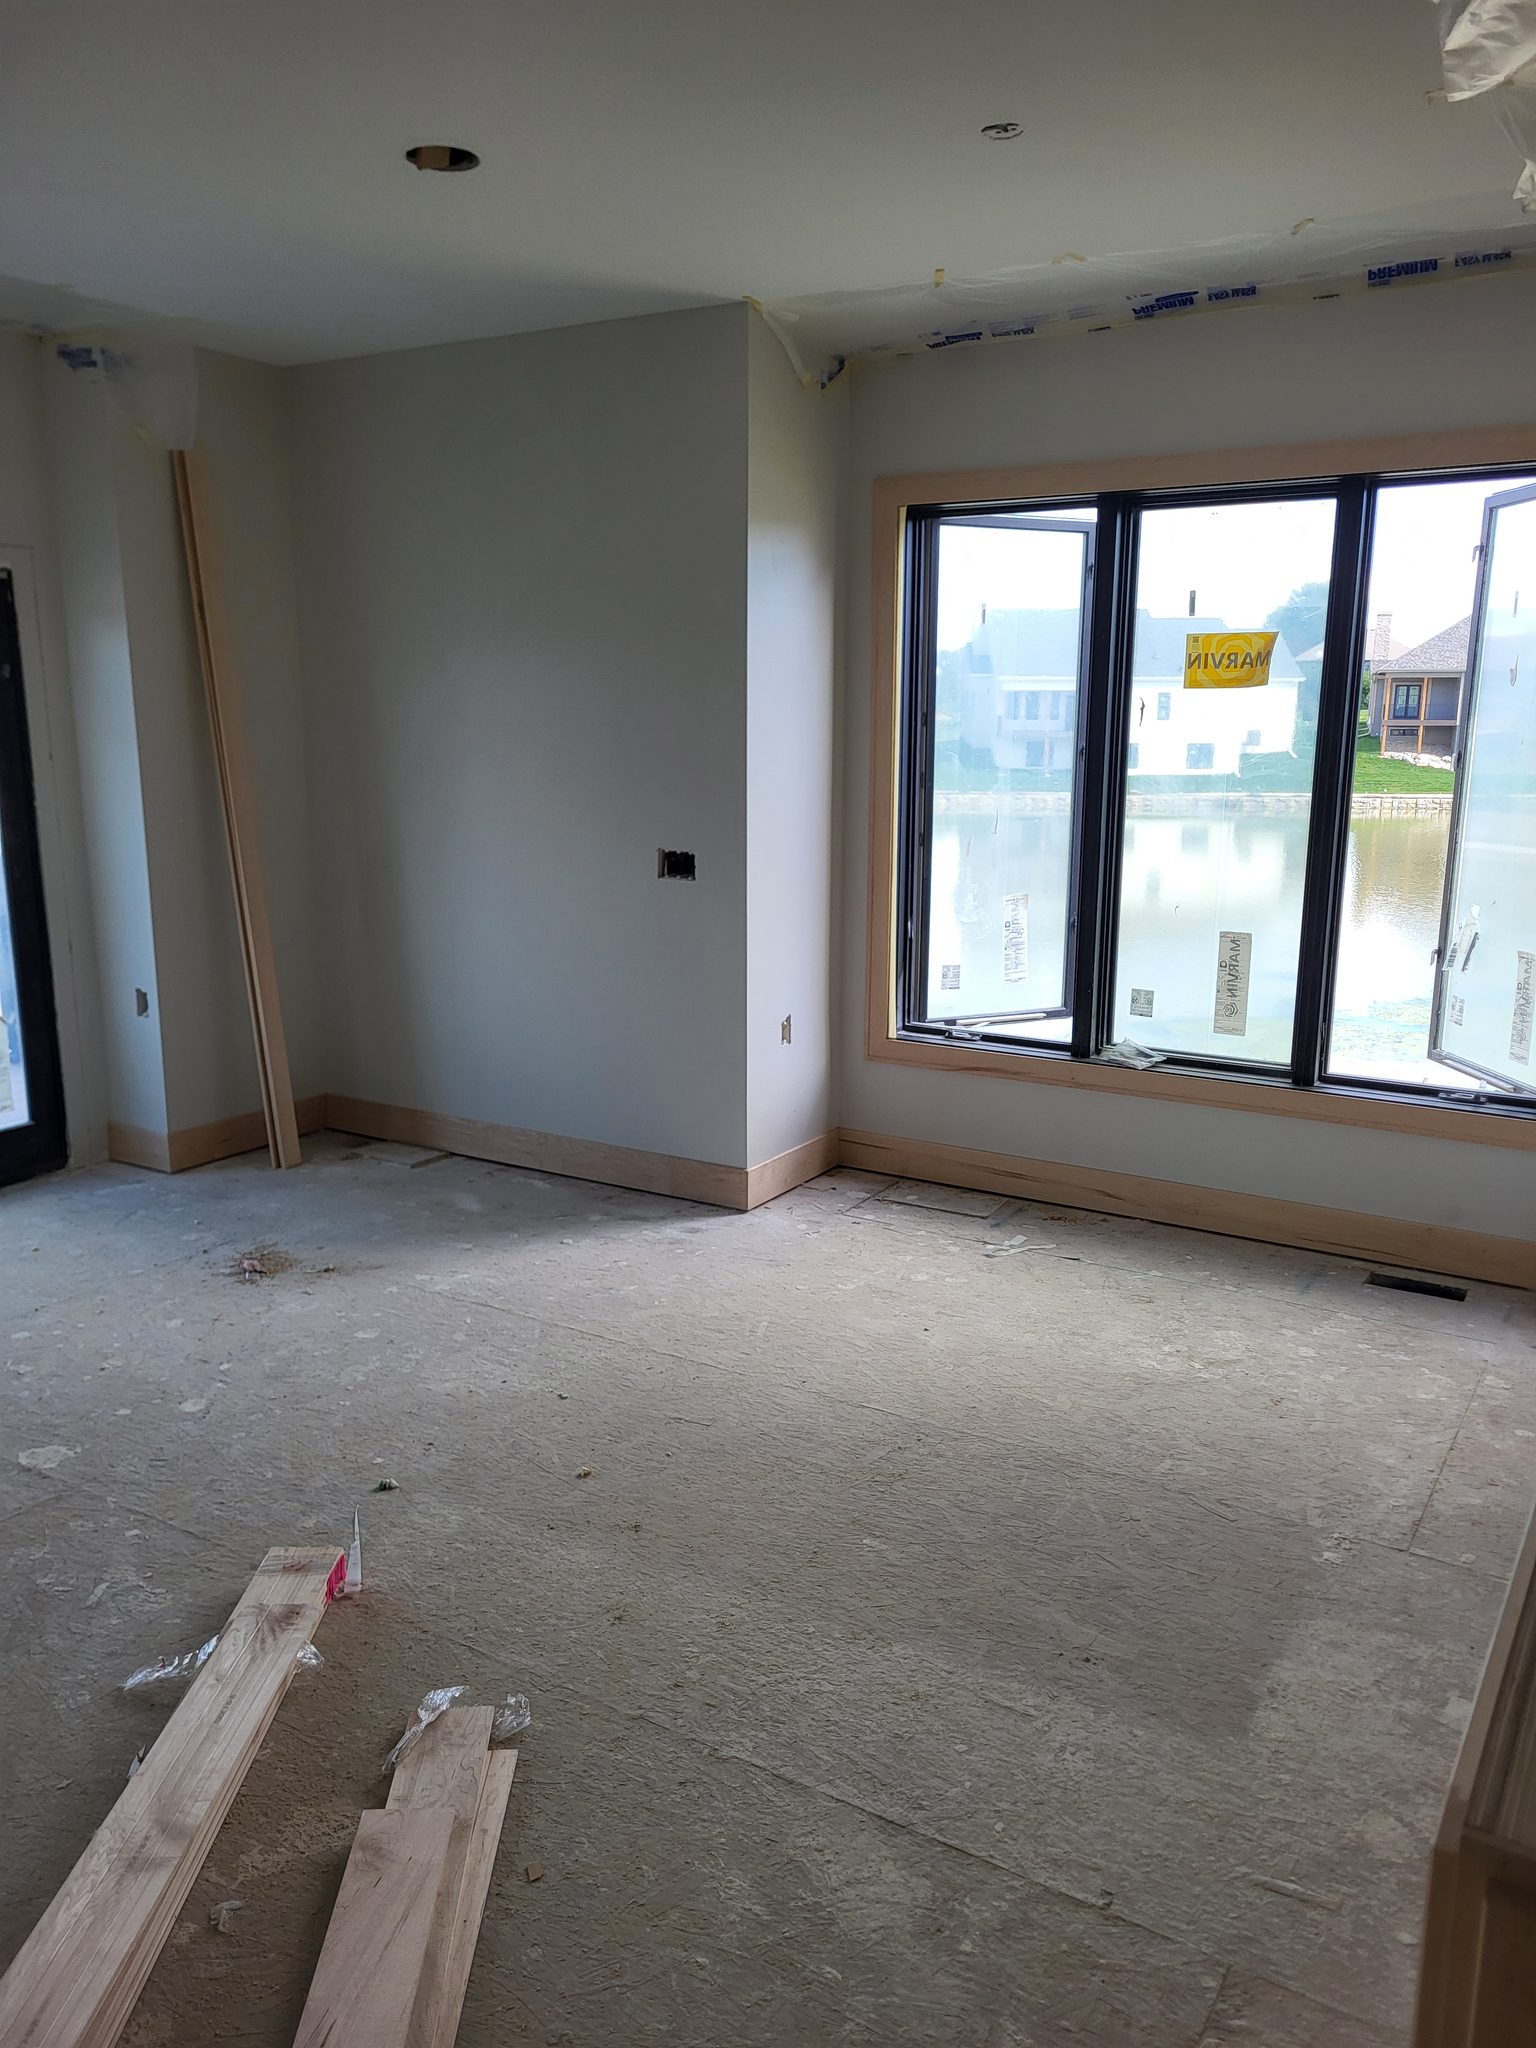
The following photos show examples of this type of work completed in the field. These serve as visual references for quality standards, proper installation techniques, and finished results.
Showing 10 of 10 photos