On this page
Introduction #
A pre-hung door is a complete unit. It comes from the factory with the door itself (called the slab), the frame around it (called the jamb), and the hinges all already put together. You set the whole unit into the rough opening, the framed hole in the wall, and secure it there. This is the standard guide for a 6-foot-8 hollow-core prehung interior door. Taller and solid-core doors have linked variant guides. Installing a pre-hung door well is one of the most useful skills in finish carpentry.
A slab-only replacement is different: you mortise the hinges, cutting shallow pockets for them, into an existing jamb and fit a new door to it. With a pre-hung unit, you control everything: the jamb's position, whether it's plumb, and its margin (the even gap between the door and the jamb). Pre-hung doors are standard on new construction. On a typical job you might install dozens or even hundreds of them, so a fast, repeatable method matters for both speed and quality.
In new construction, pre-hung interior doors go in after the framing is done. This guide covers interior doors that get wood casing (trim) around them, and those doors always go in after the drywall is hung and finished. Installing before drywall is a hollow-metal-frame practice, not something you'll see on wood-cased doors.
In residential work, interior doors almost never go in before drywall. About the only exception is unit entry doors in an apartment building. Before you start: the rough opening should be framed, the drywall around it should be finished, and the door unit should be on site and checked.
The single most important thing when you install a pre-hung door is getting the hinge-side jamb (the side of the frame where the hinges attach) perfectly plumb. Everything else follows from that.
If the hinge side is plumb, the door will swing freely without binding. The margins will stay even, and the latch will click into the strike plate (the metal piece on the jamb that catches the latch) cleanly. If the hinge side is out of plumb, the door will swing open or closed on its own. The margins will be uneven, and you'll fight the installation every step of the way. Experienced carpenters spend most of their time on the hinge side. They treat the strike side, the side with the latch, as a smaller adjustment after that.
Still deciding which door to buy? Our interior door selection guide compares materials, sizing, and swing direction before you get to the installation.
Before You Begin: Pre-Hung Door Prep #
Prerequisites #
- The rough opening is the right size: about 2″ wider and 2″ taller than the door unit (a 2’8″ x 6’8″ door needs a 34″ x 82″ rough opening)
- Framing is complete and solid. The jack studs and the header (the horizontal framing piece above the opening) are nailed securely
- Drywall is complete - hung, taped, mudded, and sanded around the door opening
- The subfloor or finished floor is installed and level at the door opening - if flooring hasn’t been installed, you need to know the finished floor height
- The correct pre-hung door unit is on site. Check that the size, swing direction, and style match the plans or door schedule. Manufacturer instructions come with each unit and cover details specific to that product - Masonite’s interior door guide is a good example
- Door packaging is intact - do not remove the factory shipping brace or cardboard spacers until you’re ready to install
What You Need To Know #
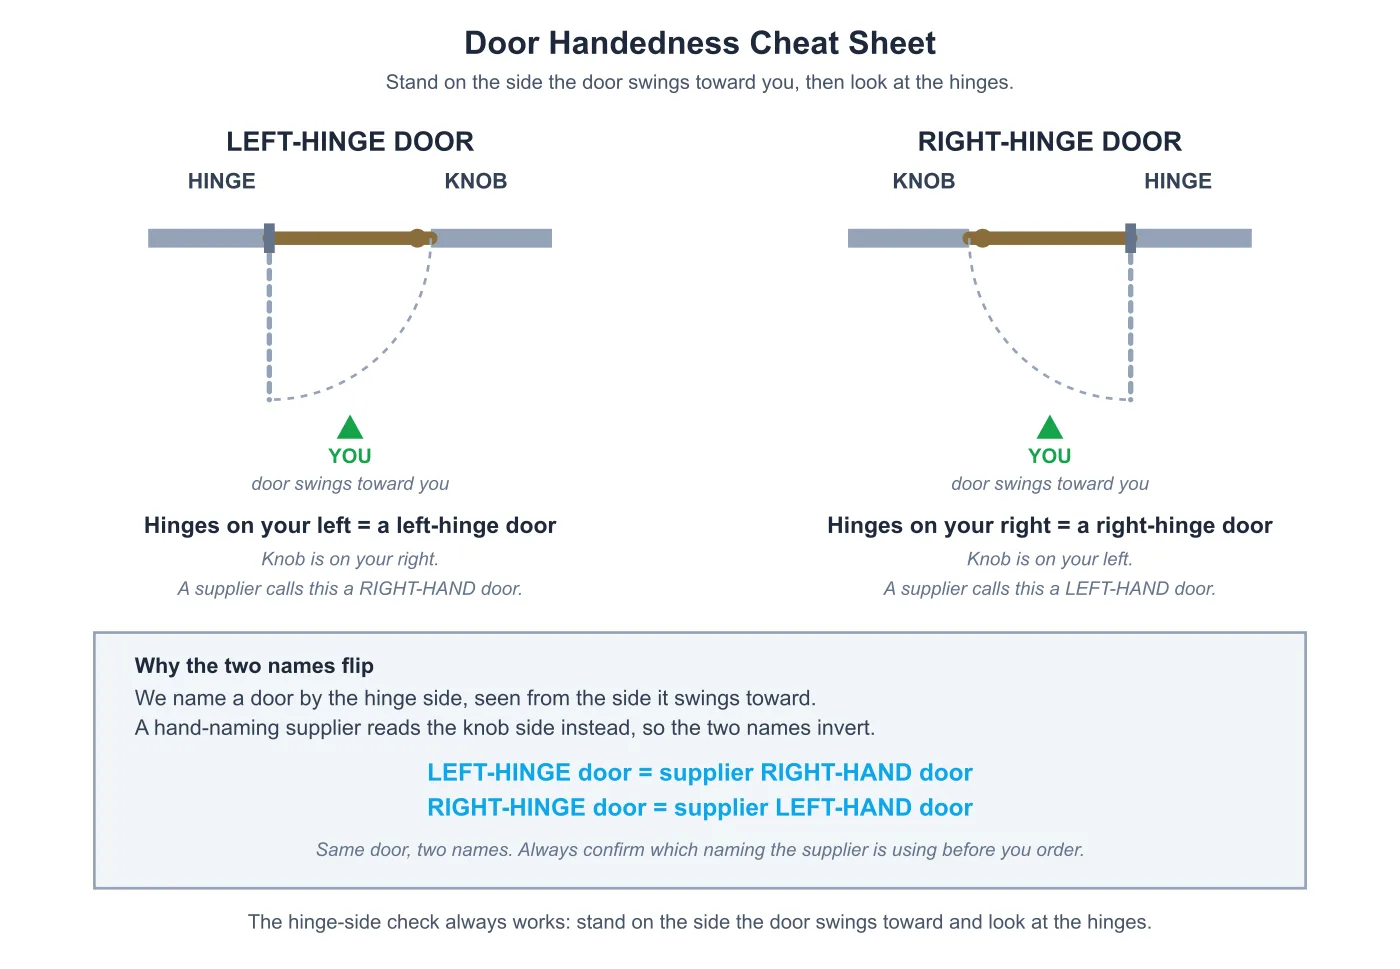
- Door swing direction must match the plans. Stand on the side the door swings toward you. If the hinges are on your left, it's a left-hinge door. If they're on your right, it's a right-hinge door. Check this before you remove the door from its packaging. Some suppliers name doors by hand instead of by hinge: a right-hinge door puts the knob on your left, so that same door can be sold as a left-hand door, because your left hand is closest to the knob when you pull it toward you. When in doubt, confirm which naming the supplier uses - the stand-on-the-swing-side check above always tells you where the hinges are.
- The hinge side gets plumbed first. This is the most critical step in the whole installation. Everything else follows from a plumb hinge-side jamb.
- Check the rough opening for plumb before you start. If the jack studs are badly out of plumb (more than 1/2″ over the height), you may need to fix the framing before you set the door.
- Shims (thin, tapered wood wedges you drive into the gap to hold and adjust the jamb) make or break the installation. Place them at every hinge location and at the strike plate, at minimum. Add more at the top and bottom of each side jamb and behind the header.
- Keep the margin even all the way around the door. The standard margin is 1/8″. Uneven margins are the clearest sign of a sloppy install.
- Standard interior door heights are 6’8″ (80″), 7’0″ (84″), and 8’0″ (96″). Standard widths range from 1’6″ (18″) to 3’0″ (36″). Check that the size matches the schedule before you open the packaging.
- The gap under the door (between the bottom of the slab and the finished floor) depends on the flooring type. Typical clearance is 3/8″ to 1/2″ for hard floors, 3/4″ for carpet. Check with the customer or general contractor (GC) for the required gap.
Pre-Hung Door Tools Required #
Power Tools #
- Drill/driver (cordless) - for driving screws through hinge jamb into framing as reinforcement. Only required for solid core doors
- 15-gauge finish nailer (pneumatic or cordless battery-powered) - for nailing through jamb and shims into framing, with 2-3/4″ nails
- Air compressor - needed when running a pneumatic nailer
Hand Tools #
- 6-foot level - for checking plumb on both side jambs and level on the header; the only level you need for hanging doors
- Tape measure (16′ or 25′) - for measuring rough opening dimensions and door margins
- Pencil - sharp carpenter’s pencil for marking shim locations
- Hammer - for tapping shims and making minor adjustments
- Wood shims (cedar) - tapered wooden shims for plumbing and securing the jamb in the opening
- Utility knife - for scoring shims flush with the jamb before snapping them off
- Handsaw (optional) - for trimming the bottom of the jamb legs (the two vertical side pieces of the frame) if you need extra floor clearance
Supplies #
- 15-gauge finish nails, 2-3/4″ - for through-jamb nailing into framing at shim locations
- Wood shims (cedar) - tapered shims. Use them in opposing pairs (one from each side) where you can for a flat, adjustable shim point; if the framing is off, the pair might not go in from opposite sides
- #9 x 3″ wood screw (1 per solid core door) - hollow core doors just get nailed; a solid core door gets one 3″ screw through the top hinge into the framing, replacing a short factory hinge screw
Materials #
- Pre-hung door unit - Check the hinge side (left-hinge or right-hinge) against the plans, along with size (width x height) and style, before you remove it from packaging. A supplier who names by hand calls the same door the opposite - see What You Need To Know above. The unit includes the door slab, the jamb frame (two side jambs and a header jamb), and hinges already mortised (with their hinge pockets cut) and installed. Most interior pre-hung doors come with three hinges. Do not remove the factory shipping brace or cardboard spacers that hold the slab centered in the frame until the door is plumbed and secured - these spacers keep the margin correct during installation.
Pre-Hung Door Installation Process #
Step 1: Verify the Rough Opening #
Before you move the pre-hung door unit into position, take a minute to check the rough opening. Catching problems now saves you time and frustration later. This matters even more on production jobs, where framers sometimes build openings out of spec.
- Measure the width of the rough opening at the top, middle, and bottom. It should be about 2″ wider than the door unit (for a 2’8″ door, that's about 34″). If the opening is too tight, the door won't fit. If it's too wide (more than 2-1/2″ of space per side), you'll need extra-long shims or blocking to fill the gap.
- Measure the height of the rough opening on both sides. It should be about 2″ taller than the door unit. If the height is very different from one side to the other, the header or subfloor may not be level. Note it and plan your shimming around it.
- Check both jack studs for plumb with your 6-foot level. Hold the level against the face of each stud and note which way it leans and by how much. You'll fix this with shims, but knowing it ahead of time tells you where you'll need the most shim work.
- Find out which side gets the hinges, using the door schedule or floor plan. The door symbol on the plans shows the swing direction. Remember: the hinge side is where the door pivots, and the strike side is where it latches.
- Check that the floor is level across the bottom of the opening. Set your level on the subfloor, spanning from one jack stud to the other. If the floor is out of level, you'll need to adjust the door height on one side. Trim or shim the bottom of the jamb legs so the head jamb stays level.
Step 2: Position the Door Unit #
With the rough opening checked, move the pre-hung door unit into position. Keep the factory shipping brace and cardboard spacers in place. They hold the slab centered in the jamb frame at the correct margin, and you'll rely on that spacing during installation.
- Remove the outer packaging (cardboard, plastic wrap, corner protectors), but leave the shipping brace across the bottom of the jamb legs and any cardboard spacers between the slab and jamb. These factory spacers keep the correct gap around the slab while you shim and nail.
- Lift the door unit and set it into the rough opening from the side the door will open toward. Most interior doors are set from the room side (the side with the door stop already applied to the jamb).
- Center the unit in the opening from side to side. You should have about equal space on both sides between the jamb and the jack studs. Don't worry about exact centering. The shims will handle the final position.
- Check the gap between the top of the slab and the header jamb (the top piece of the door frame itself, not the framing header above it). It should stay even across the width - if it tapers, the unit may be tilted, or the framing header isn't level. The factory spacer at the top should hold this gap for you.
- Make sure the jamb edges sit flush with the finished wall on both sides. The jamb width should match the wall thickness (drywall plus stud plus drywall). If the jamb is too narrow and sits back behind the drywall, you'll need jamb extensions. If it's too wide and sticks out past the drywall, plane it flush before you go on.
Step 3: Shim, Plumb, and Nail the Hinge Side #
This is the most critical step in the whole installation. A perfectly plumb hinge-side jamb means the door will hang straight, swing freely, and stay wherever you leave it. Shimming and nailing happen together, one shim point at a time: set the shims, check plumb, then nail through the jamb and shims into the jack stud before you move to the next point. Nailing as you go is what holds each shim pair in place. Shims that aren't nailed won't stay put.
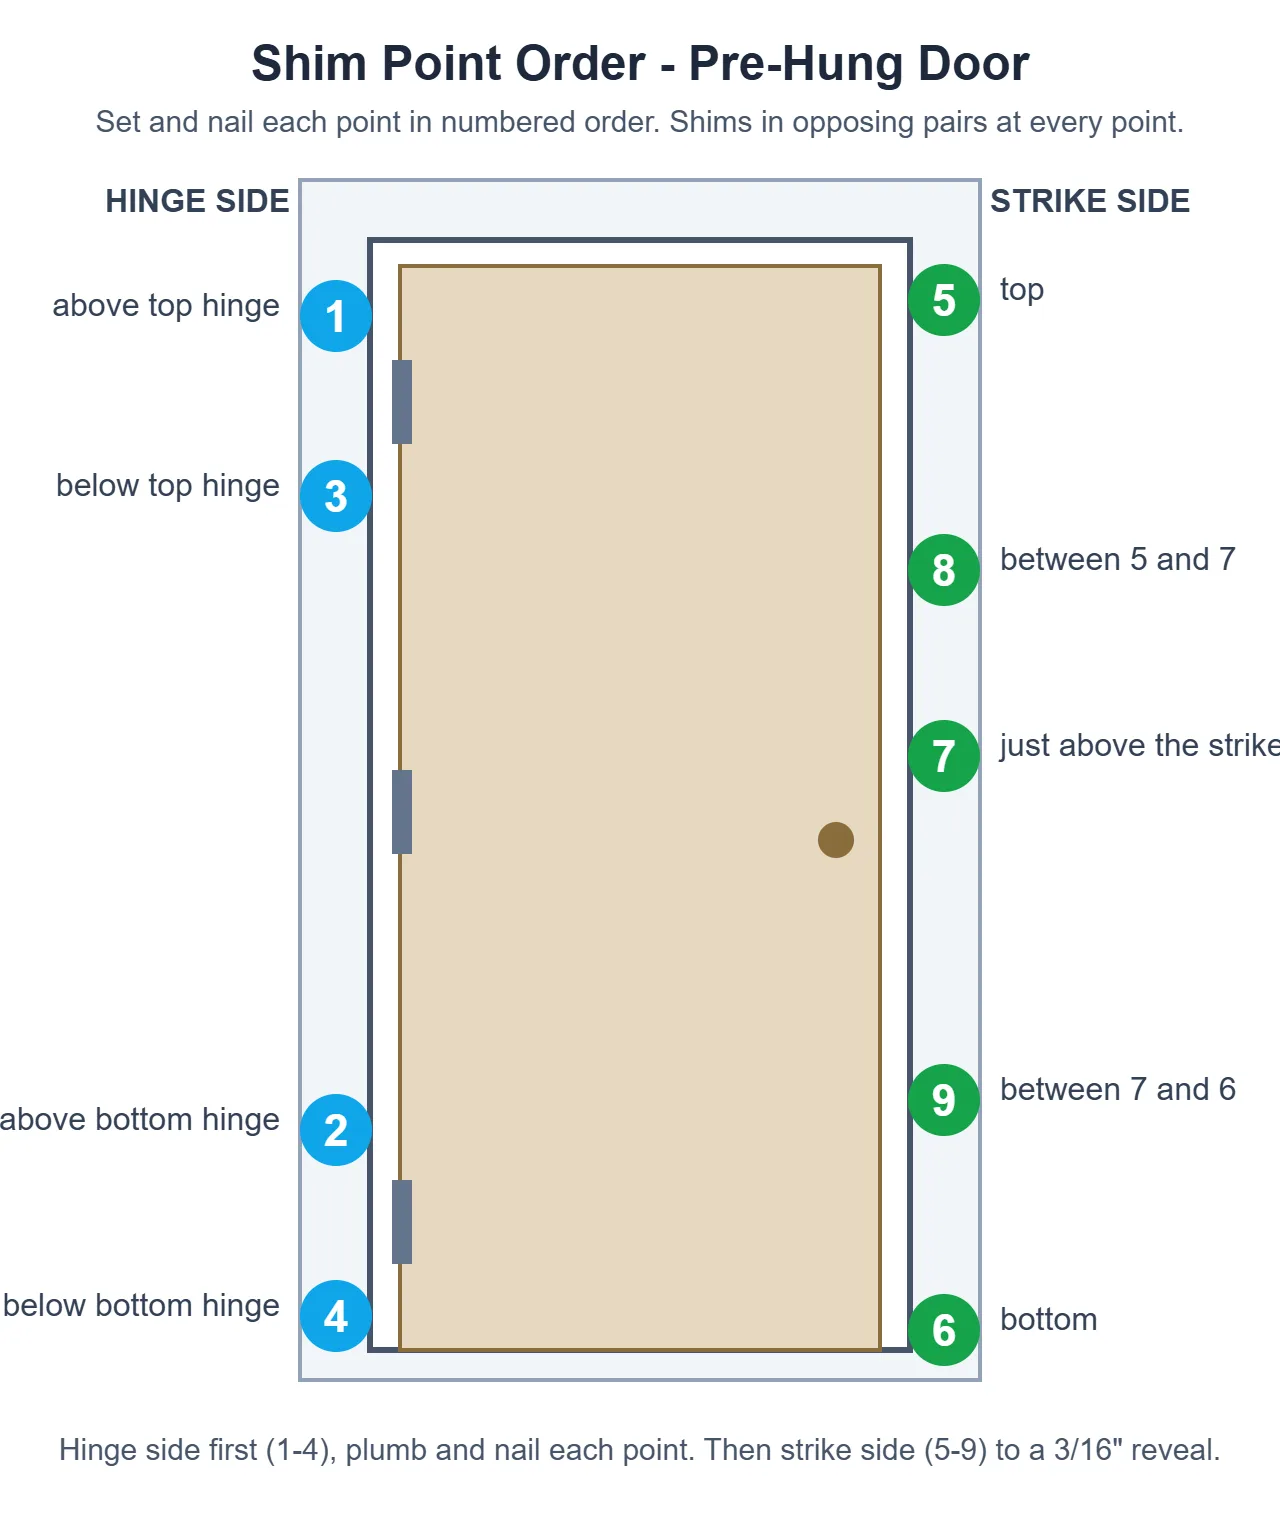
- The hinge side gets four shim points, set in this order: 1 - above the top hinge. 2 - above the bottom hinge. 3 - below the top hinge. 4 - below the bottom hinge. See the shim order diagram below. Use shims in opposing pairs (one from each side) where you can, so the shim point is flat and adjustable - sliding the shims past each other increases or decreases the thickness. If the framing is off, the pair might not go in from opposite sides.
- At each point, adjust the shim pair, place your 6-foot level against the face of the hinge-side jamb, and center the bubble. Check plumb on the face (side to side) and on the edge (front to back). Both readings must be plumb.
- Once a point reads plumb, drive two 15-gauge finish nails (2-3/4″) through the jamb and through the shims into the jack stud. Place the nails where the door stop or casing will cover them. Nailing through the shims matters: nails that miss the shims won't hold.
- Check plumb again after nailing each point, before you move to the next one. Nailing can shift the jamb slightly, so verify as you go.
- On solid core doors, swap one factory hinge screw (the top screw in the top hinge) for a #9 x 3″ wood screw driven through the hinge plate into the jack stud. This screw carries the weight of the door and keeps it from sagging over time. Hollow core doors just get nailed - no screw needed. See the 6’8″ solid core guide and 8’0″ solid core guide.
- Check that the jamb is straight. Sight down the edge, or hold your level along the full length. It shouldn't bow in or out between shim points.
- Check the margin between the slab and the hinge-side jamb. With the factory spacers in place, it should stay a consistent 1/8″ from top to bottom.
Pro Tip: When you check plumb, hold the level against the jamb and read it at eye level. Reading the bubble from above or below skews what you see, so get eye-level with it. On production jobs, where you're hanging dozens of doors, check plumb in the same spot every time. A consistent method gives you consistent results.
Step 4: Adjust the Strike Side #
With the hinge side locked in, adjust the strike side (the side with the latch) to match. The goal is a margin between the slab and the strike-side jamb that's consistent, matching the hinge side. Close the door and use the edge of the slab as your reference line, a straightedge, for setting the strike-side jamb position.
- Close the door gently and look at the margin between the slab and the strike-side jamb. The gap should be about 1/8″, consistent from top to bottom and matching the hinge-side margin.
- Check the margin at the top (header jamb) as well. The gap between the top of the slab and the header should also be about 1/8″ and even across the width of the door.
- The strike side gets five shim points, set in this order: 5 - top of the jamb. 6 - bottom of the jamb. 7 - middle, just above the strike plate. 8 - between the top and the middle. 9 - between the middle and the bottom. See the shim order diagram in Step 3. Keep the middle point and its nails just above the strike plate - never drive nails into the latch area. Adjust each pair until the margin is consistent, then nail it off before moving to the next point, same as the hinge side.
- Once the margin is even, nail through the jamb and shims at each shim point using two 15-gauge finish nails (2-3/4″) per location. Nail at the shim points only. Nails driven into unsupported sections of jamb will pull the jamb toward the framing and create a bow.
Pro Tip: When you adjust the strike side, close the door and look at the margin from the hinge side. Your eye picks up unevenness more easily when you're looking at the margin as one continuous line from top to bottom. If the margin is wider at the top than the bottom (or the other way around), the strike-side jamb isn't parallel to the slab - adjust the shims at the top or bottom to fix it. A consistent margin is what separates a pro install from a sloppy one.
Step 5: Shim the Header if Needed #
The header jamb (the horizontal piece across the top of the door frame) doesn't carry any real load on an interior pre-hung door, so shimming it is optional. Shim the header only if it's wonky: out of level, bowed, or throwing off the margin at the top of the slab. Otherwise, a butterfly nail at the top is all it needs. That's two nails driven at opposing angles through the header jamb into the framing header, locking the top in place.
- Close the door and check the margin between the slab and the header jamb. It should be about 1/8″ and even across the full width. If it is, butterfly nail the top and you're done - no shims needed.
- If the header is wonky or the top margin is off: place opposing shim pairs between the header jamb and the framing header where needed (near each end and the center is typical). Adjust until the margin is even, then nail through the jamb and shims with two 15-gauge finish nails per shim location. Place nails where they'll be covered by the door stop or casing.
- If the header is out of level but the margins are even, go with the margins. The casing will cover any small difference in the header position.
Step 6: Check Door Operation #
Before you call this door done, test it thoroughly. This is your quality check: catching problems now is easy, but catching them after casing and painting costs real time and money. Open and close the door several times and check every part of the installation.
- Open the door fully (90 degrees or more) and let go. The door should stay put wherever you leave it. If it swings open by itself, the hinge side is leaning toward the opening. If it swings closed by itself, the hinge side is leaning away from the opening. Either way, the hinge-side jamb isn't perfectly plumb, so go back and adjust it.
- Close the door slowly and check for binding anywhere in the swing. The slab shouldn't touch the jamb anywhere except at the stop. If the door drags at the top or bottom, the jamb may not be plumb, or the slab may be warped. Check both.
- With the door closed, check the margin on all three sides (hinge, strike, and header). It should be about 1/8″ and even. Sight down each side from one end to the other - any waviness or unevenness means a shim adjustment is needed.
- Check that the latch catches the strike plate cleanly. Push the door closed and make sure the latch bolt engages without you having to push or pull the door into position. If the latch doesn't engage, the strike side may need a shim adjustment, or the strike plate may need to move.
- Check the gap under the door (between the bottom of the slab and the floor). It should match the spec for the flooring type: typically 3/8″ to 1/2″ for hardwood or tile, 3/4″ for carpet. If the gap is wrong, the jamb legs may need to be trimmed, or the whole unit raised with shims under the jamb legs.
Step 7: Cut the Shims Flush #
The final step is cutting the shims flush with the drywall so the casing can go on. Shims that stick out will get in the way of the casing. Either method below works; use whichever you're faster with. The one thing that matters is not disturbing the shim position. A shim that shifts while you're trimming it can throw off the margin and plumb you just set.
- Multi-tool: cut each shim flush with the drywall surface with an oscillating multi-tool. Let the blade do the work; don't lean on the shim while you cut.
- Score and snap: score the shim with a sharp utility knife at the flush line, using several firm passes. Then snap off the excess by bending it toward the jamb. Cedar shims score and snap cleanly. If it doesn't snap clean, score deeper and try again.
- Trim shims on both sides of the wall at each shim point. They stick out on the room side and on the adjacent side of the opening.
- After all the shims are trimmed, remove the factory shipping brace from the bottom of the jamb legs and any remaining cardboard spacers between the slab and jamb. Open and close the door one more time to confirm everything still works right.
Pre-Hung Door Quality Check #
Before you move on to the next pre-hung door, run through this checklist. Every item should pass. If something fails, fix it now rather than coming back after the casing is installed.
- Hinge-side jamb is perfectly plumb (check with level on face and edge)
- Margins are consistent at approximately 1/8″ on all three sides (hinge, strike, and header)
- Door swings freely without binding at any point in the arc
- Door stays put at any position when released - does not swing open or closed on its own
- Latch engages the strike plate cleanly without forcing the door
- All shims are tight - no rattling or movement when the door closes
- All shims are scored and snapped flush with the jamb and wall surfaces
- Gap under the door is correct for the specified flooring type (3/8″ to 1/2″ for hard floors, 3/4″ for carpet)
- Jamb edges are flush with the finished wall surface on both sides of the opening
- Factory shipping brace and spacers have been removed
Pre-Hung Door Troubleshooting #
Door Swings Open or Closed by Itself #
This problem means the hinge-side jamb isn't plumb. If the door swings open on its own (toward the hinge side), the top of the hinge-side jamb is leaning into the room. If it swings closed on its own (toward the strike side), the top of the hinge-side jamb is leaning into the next room. Pull the nails at the top or bottom hinge shim point, adjust the shims to bring the jamb plumb, and re-nail. Even 1/16″ out of plumb can make a door drift on its own. That's why the hinge side has to be dead plumb: exactly vertical, with zero lean.
Top of Door Hits the Jamb When Closing #
The header shims are too tight, pushing the header jamb down into the slab. This shrinks the margin at the top and can make the slab hit the header as it swings. Pull the header nails, back the shims off a little to open up the margin, and re-nail. It's also possible the hinge-side jamb is out of plumb, leaning toward the strike side at the top. Check plumb on the hinge side and fix it if needed.
Door Binds at the Latch Side #
The strike-side jamb is too close to the slab at one or more points. Close the door and find where it's binding: top, middle, or bottom. The jamb is bowed inward there. Pull the nails at the shim point closest to the bind, adjust the shims to push the jamb away from the slab a little, and re-nail. Close the door again and check that the margin is even from top to bottom. Binding can also mean the slab itself is warped. Hold a straightedge (a straight board or level edge) against the slab to check.
Large Gap at the Bottom of the Door #
The rough opening is too tall for the door unit, or the jamb legs are sitting on the subfloor instead of at the finished floor height. If flooring hasn't been installed yet, check the finished floor height with the GC and shim the jamb legs up from the subfloor to the right height. If flooring is already down and the gap is still too big, the rough opening was framed too tall. You can add an extra shim between the header jamb and the framing header to lower the whole unit, but that only goes so far. If the opening is more than 1″ too tall, the framing needs to be fixed.
Door Won’t Latch #
The strike plate isn't lined up with the latch bolt. Close the door and see where the latch bolt hits the strike plate. It might be hitting above, below, or to one side of the opening. The most common cause is a strike-side jamb that's not quite in the right spot. Adjust the strike-side shims to move the jamb in or out until the latch bolt lines up with the strike plate. If it's off vertically (hitting above or below), the strike plate itself may need to move: chisel the mortise (the shallow pocket it sits in) a little higher or lower and remount the plate. On a properly shimmed door, the factory-positioned strike plate should line up without any changes.
Margins Are Inconsistent #
Inconsistent margins mean the jamb isn't tracking the slab evenly. The most common cause is too few shim points. The jamb bows between shim locations from the pressure of nailing or from the door pushing against it. Add shim points between the existing ones for steady support. Another cause is a warped door slab. Hold a straightedge across the face of the slab to check for twist or bow. A twisted slab can look fine at the hinge and strike sides but be off at the header, or the reverse. Badly warped slabs should go back to the supplier.
A pre-hung door that's plumb on the hinge side, shimmed at every point, and nailed to schedule will swing, latch, and keep an even margin for the life of the house. Get the hinge side right, and the rest of the installation falls into place.
Door Variant Guides #
- How to Install a 6’8″ Solid Core Pre-Hung Interior Door - Standard height, heavier door. Weight-specific shimming, structural screws, and handling techniques.
- How to Install an 8’0″ Hollow Core Pre-Hung Interior Door - Taller door, standard weight. Ladder work, longer levels, additional shim points, and tall rough opening considerations.
- How to Install an 8’0″ Solid Core Pre-Hung Interior Door - The most challenging variant. Two-person technique, slab removal, and maximum structural reinforcement.
Related Guides #
- How to Install Exterior Door Casing
- How to Install an Exterior Door
- How to Install a Cased Opening
- How to Install a Door Jamb Extension
- How to Install a Lockset on a Door
- How to Install a Door Bump
- How to Install a Transom Window Above a Door
Reference Photos #
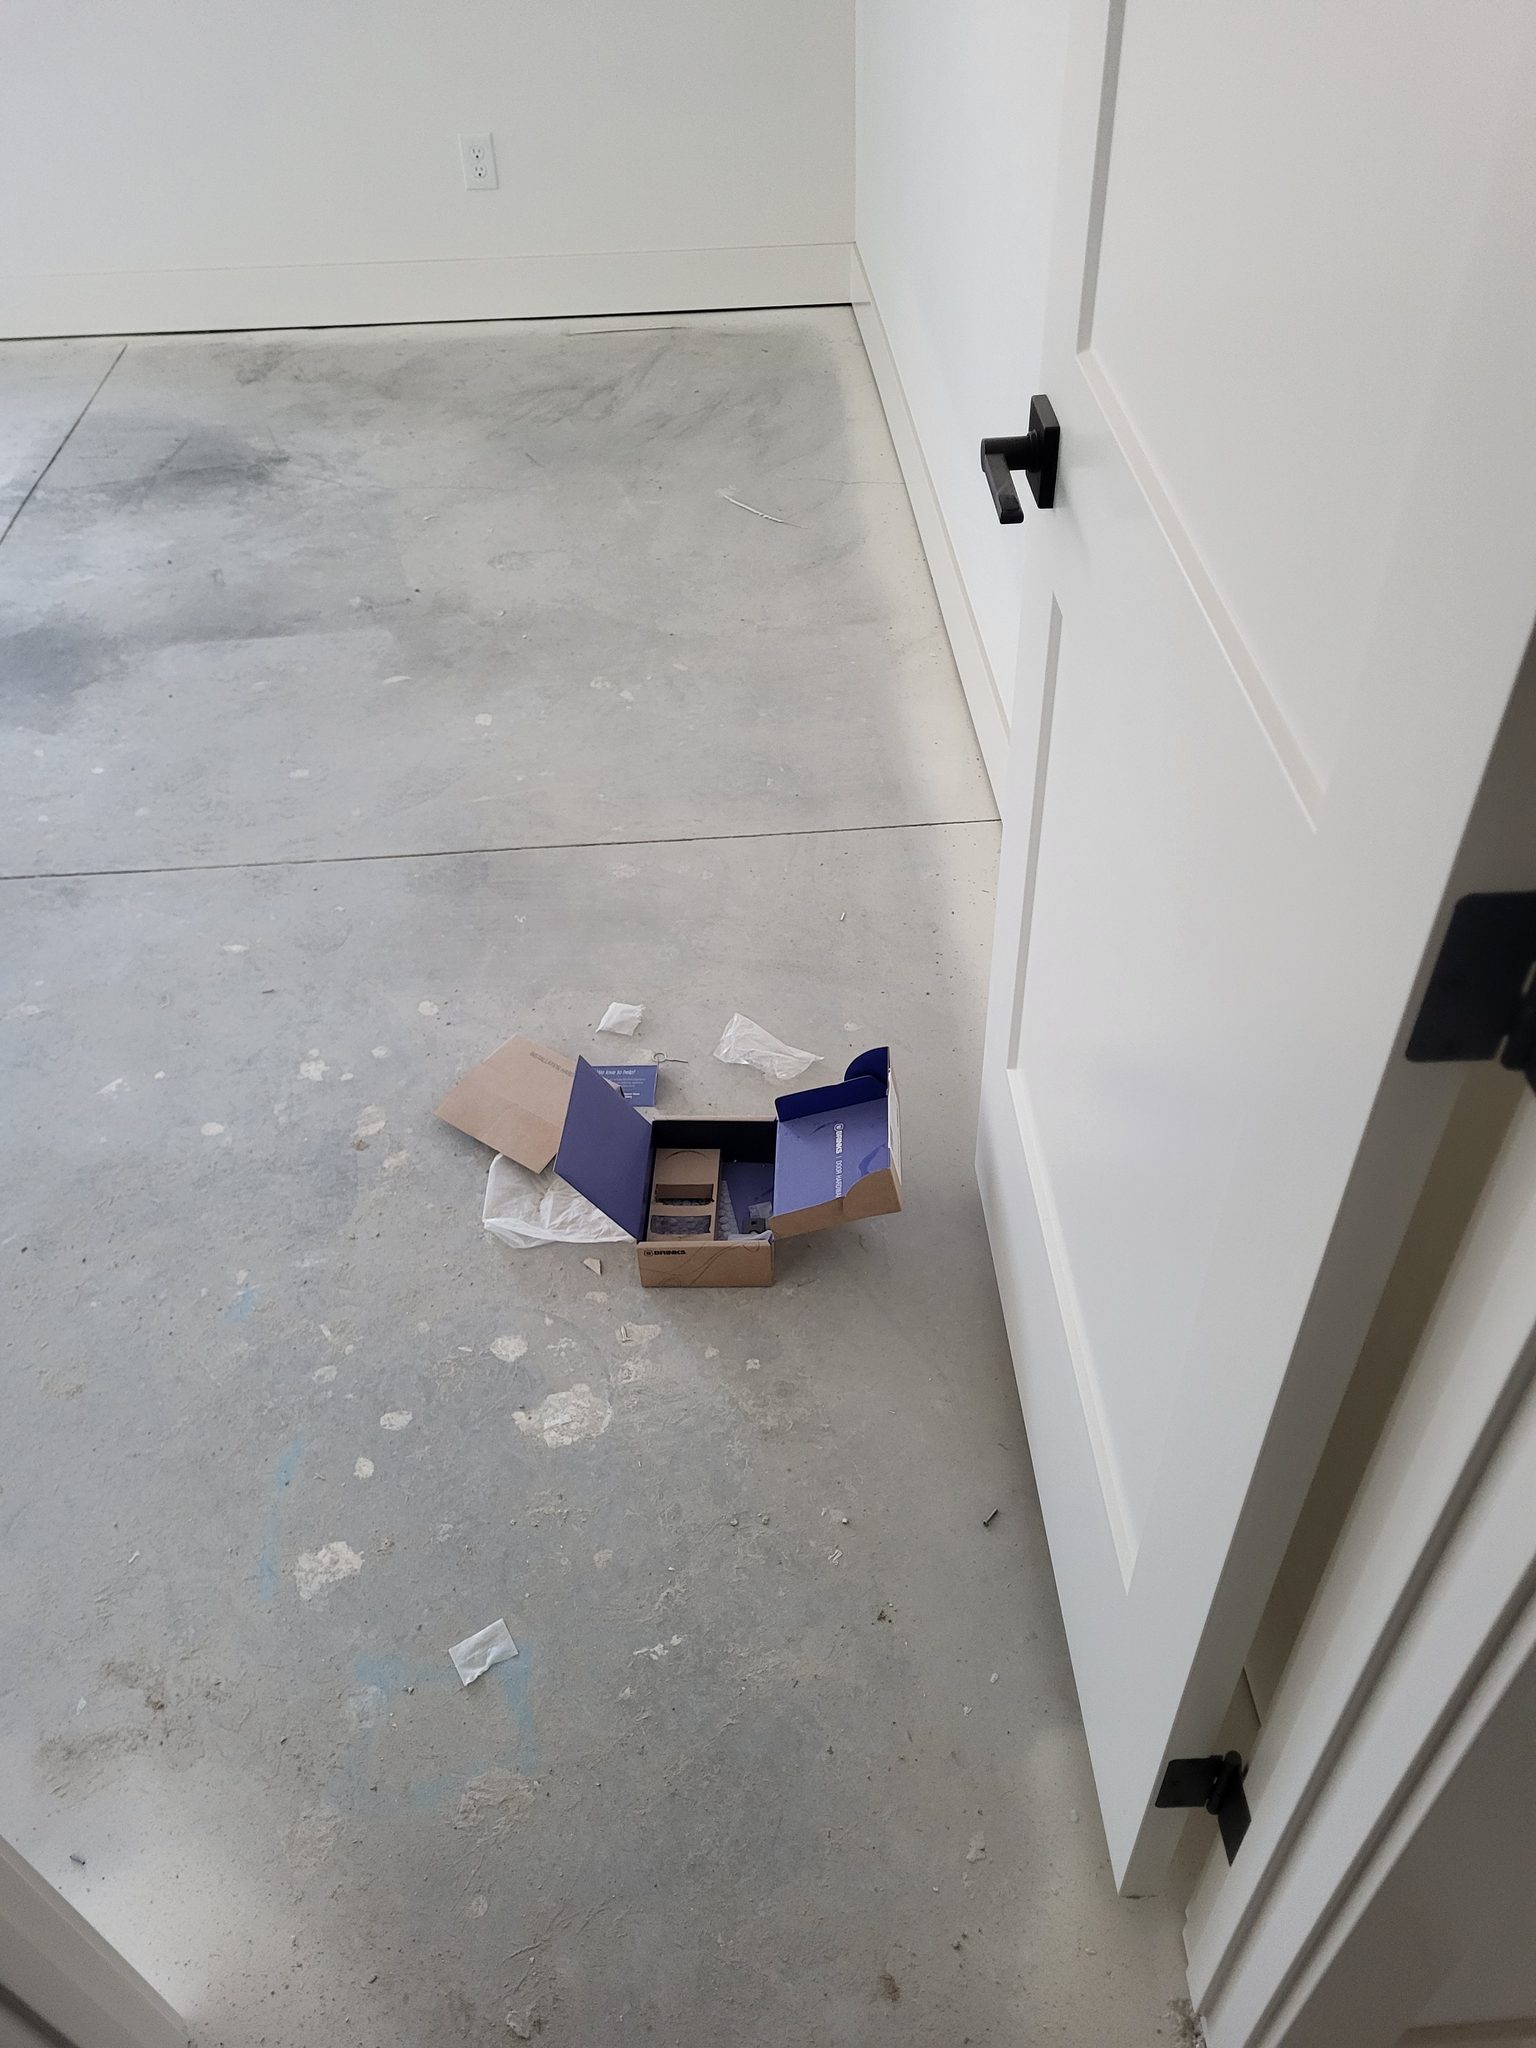
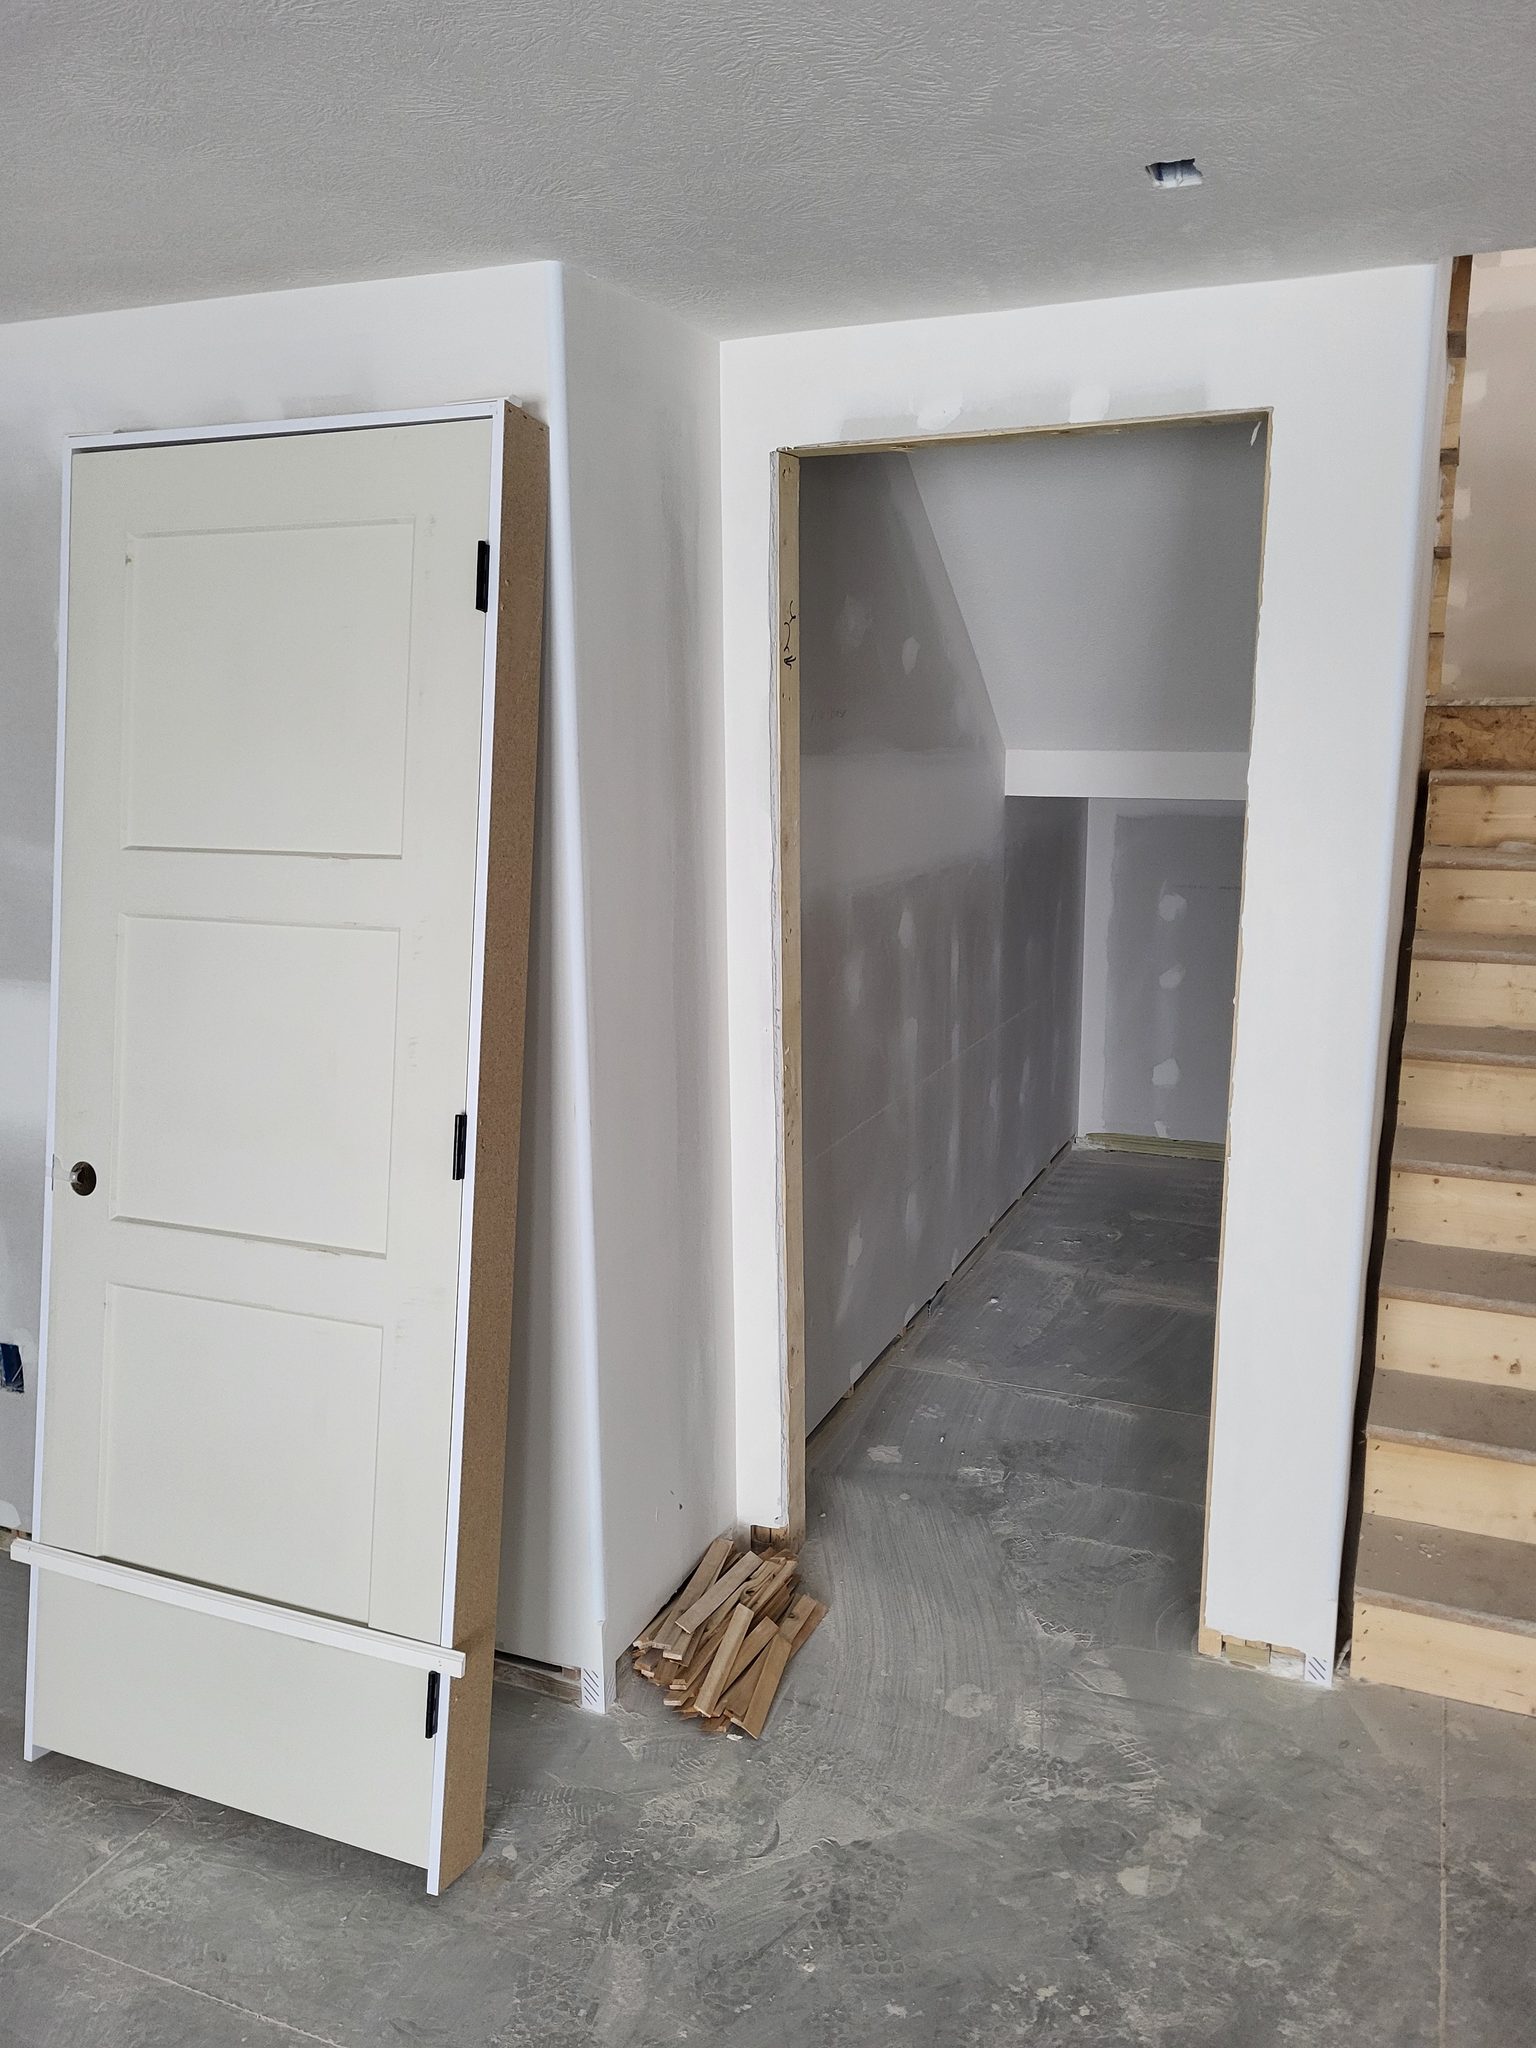
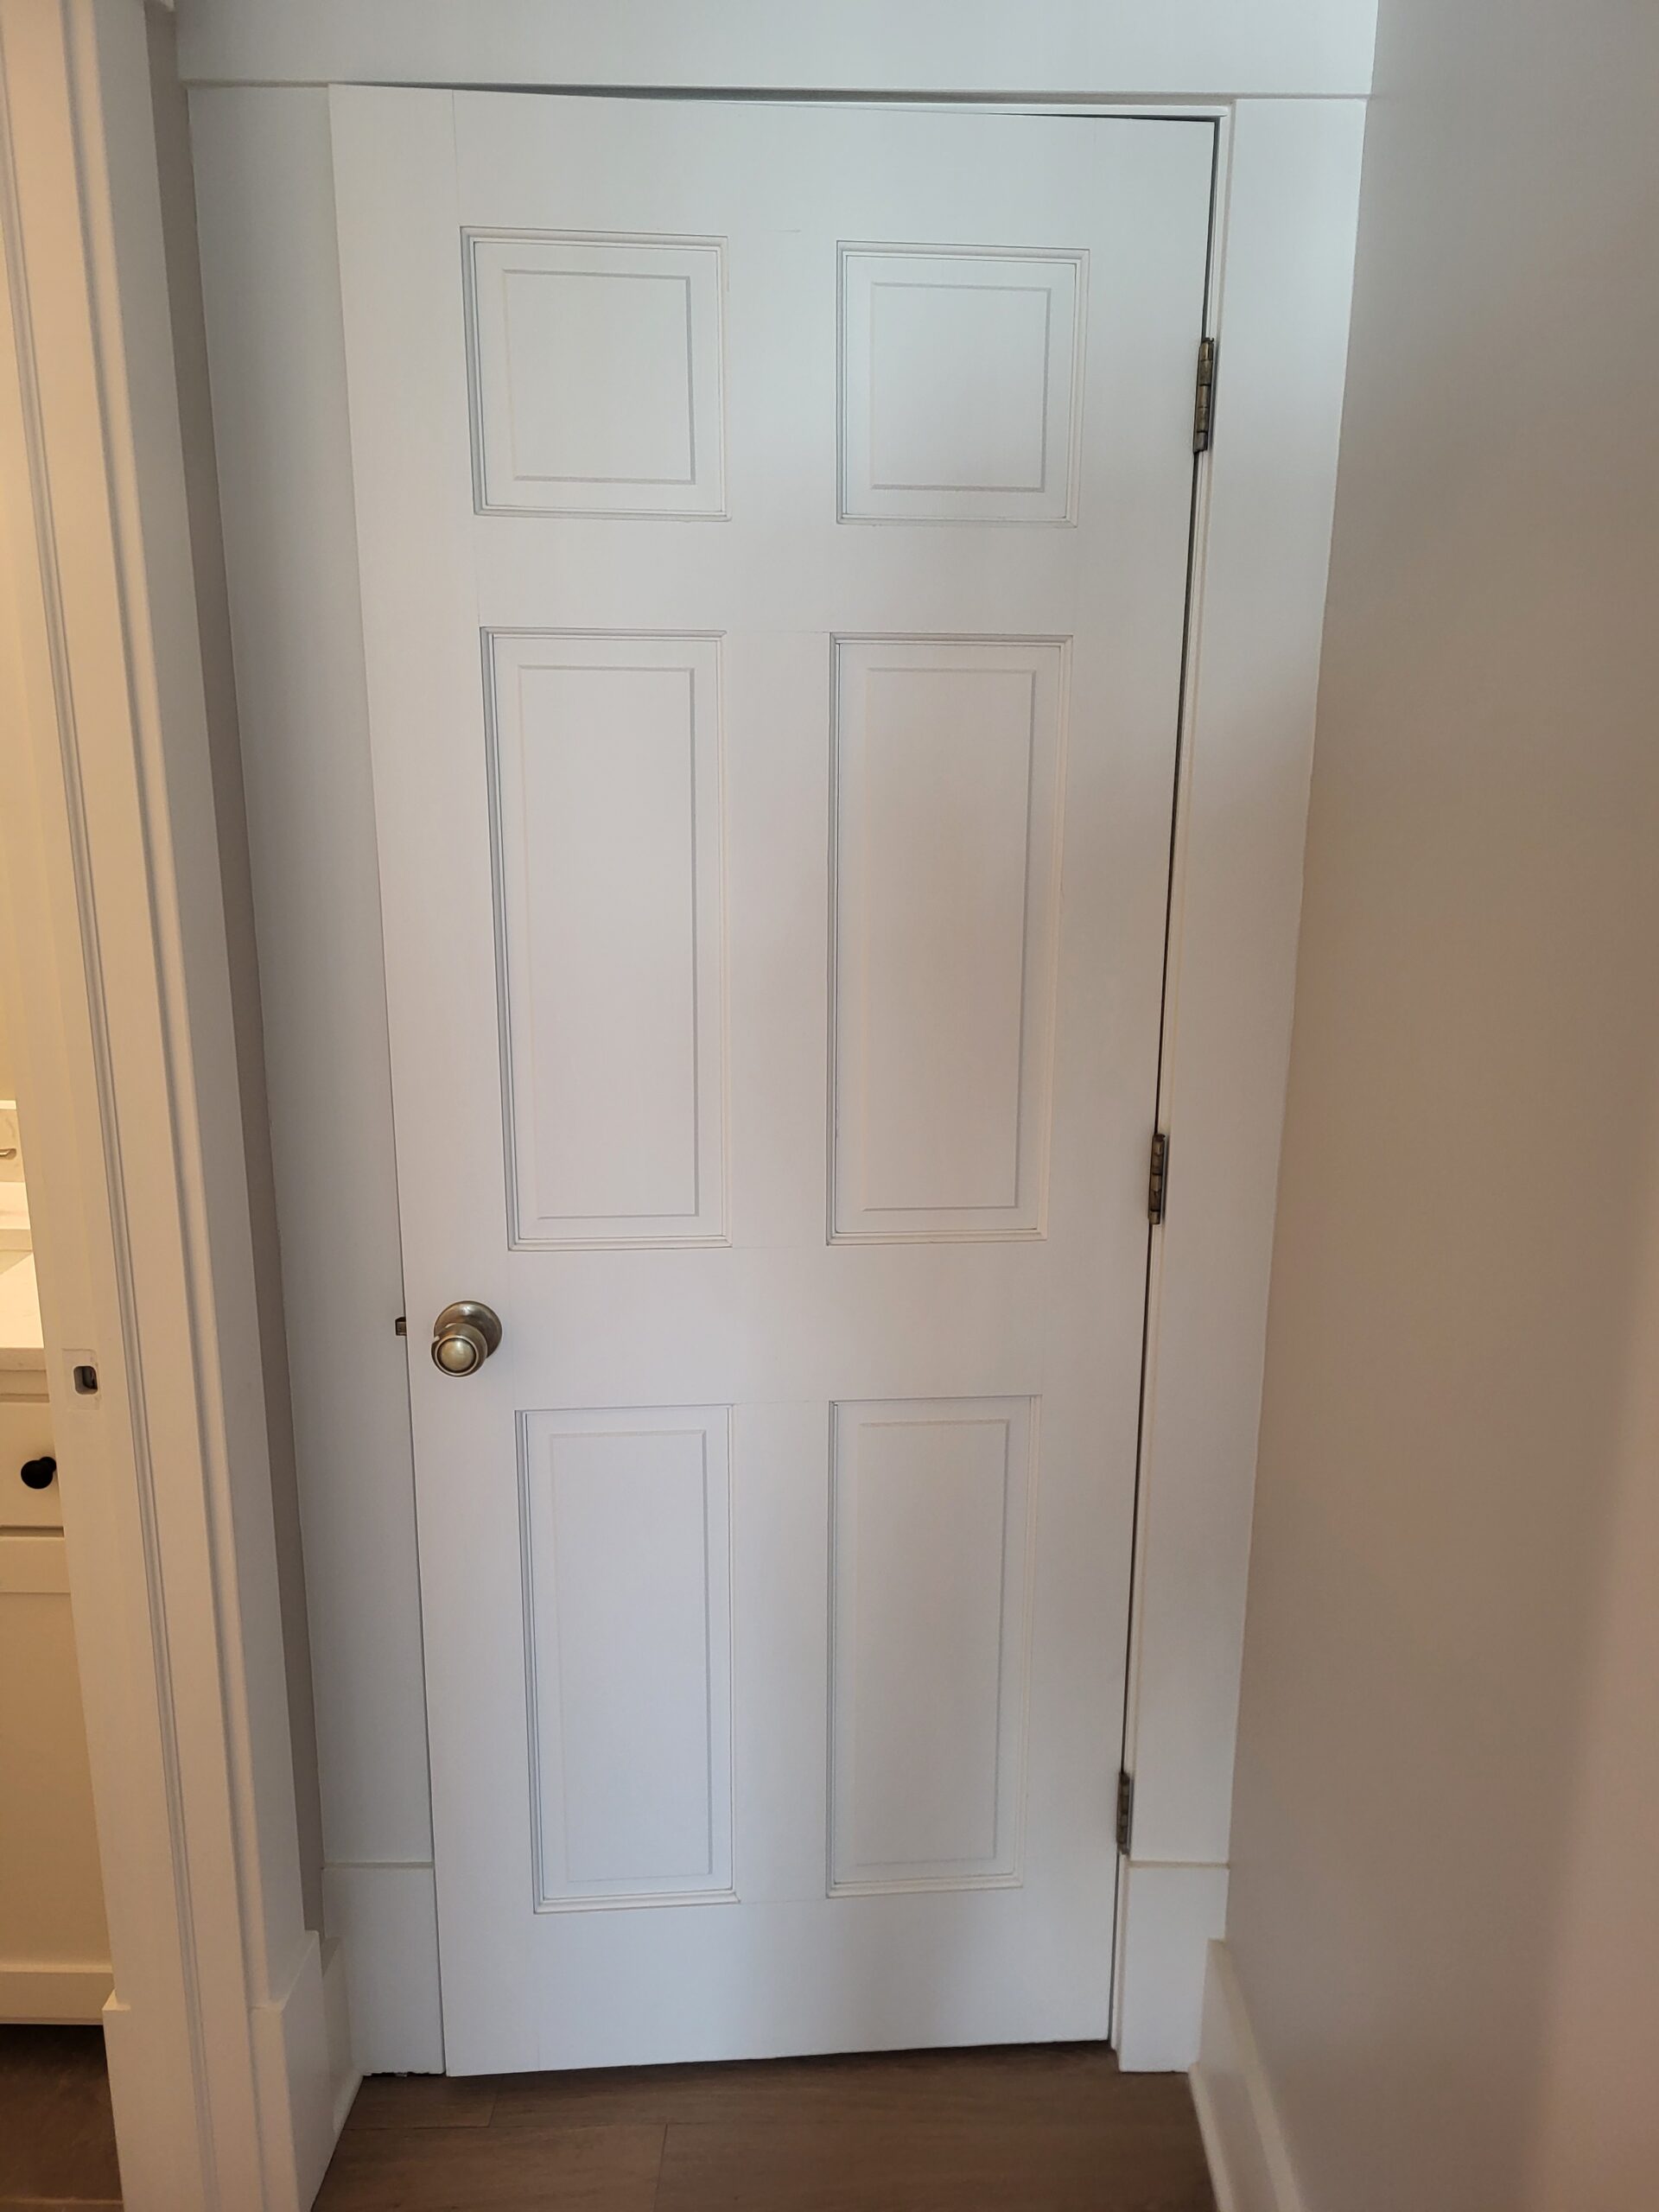
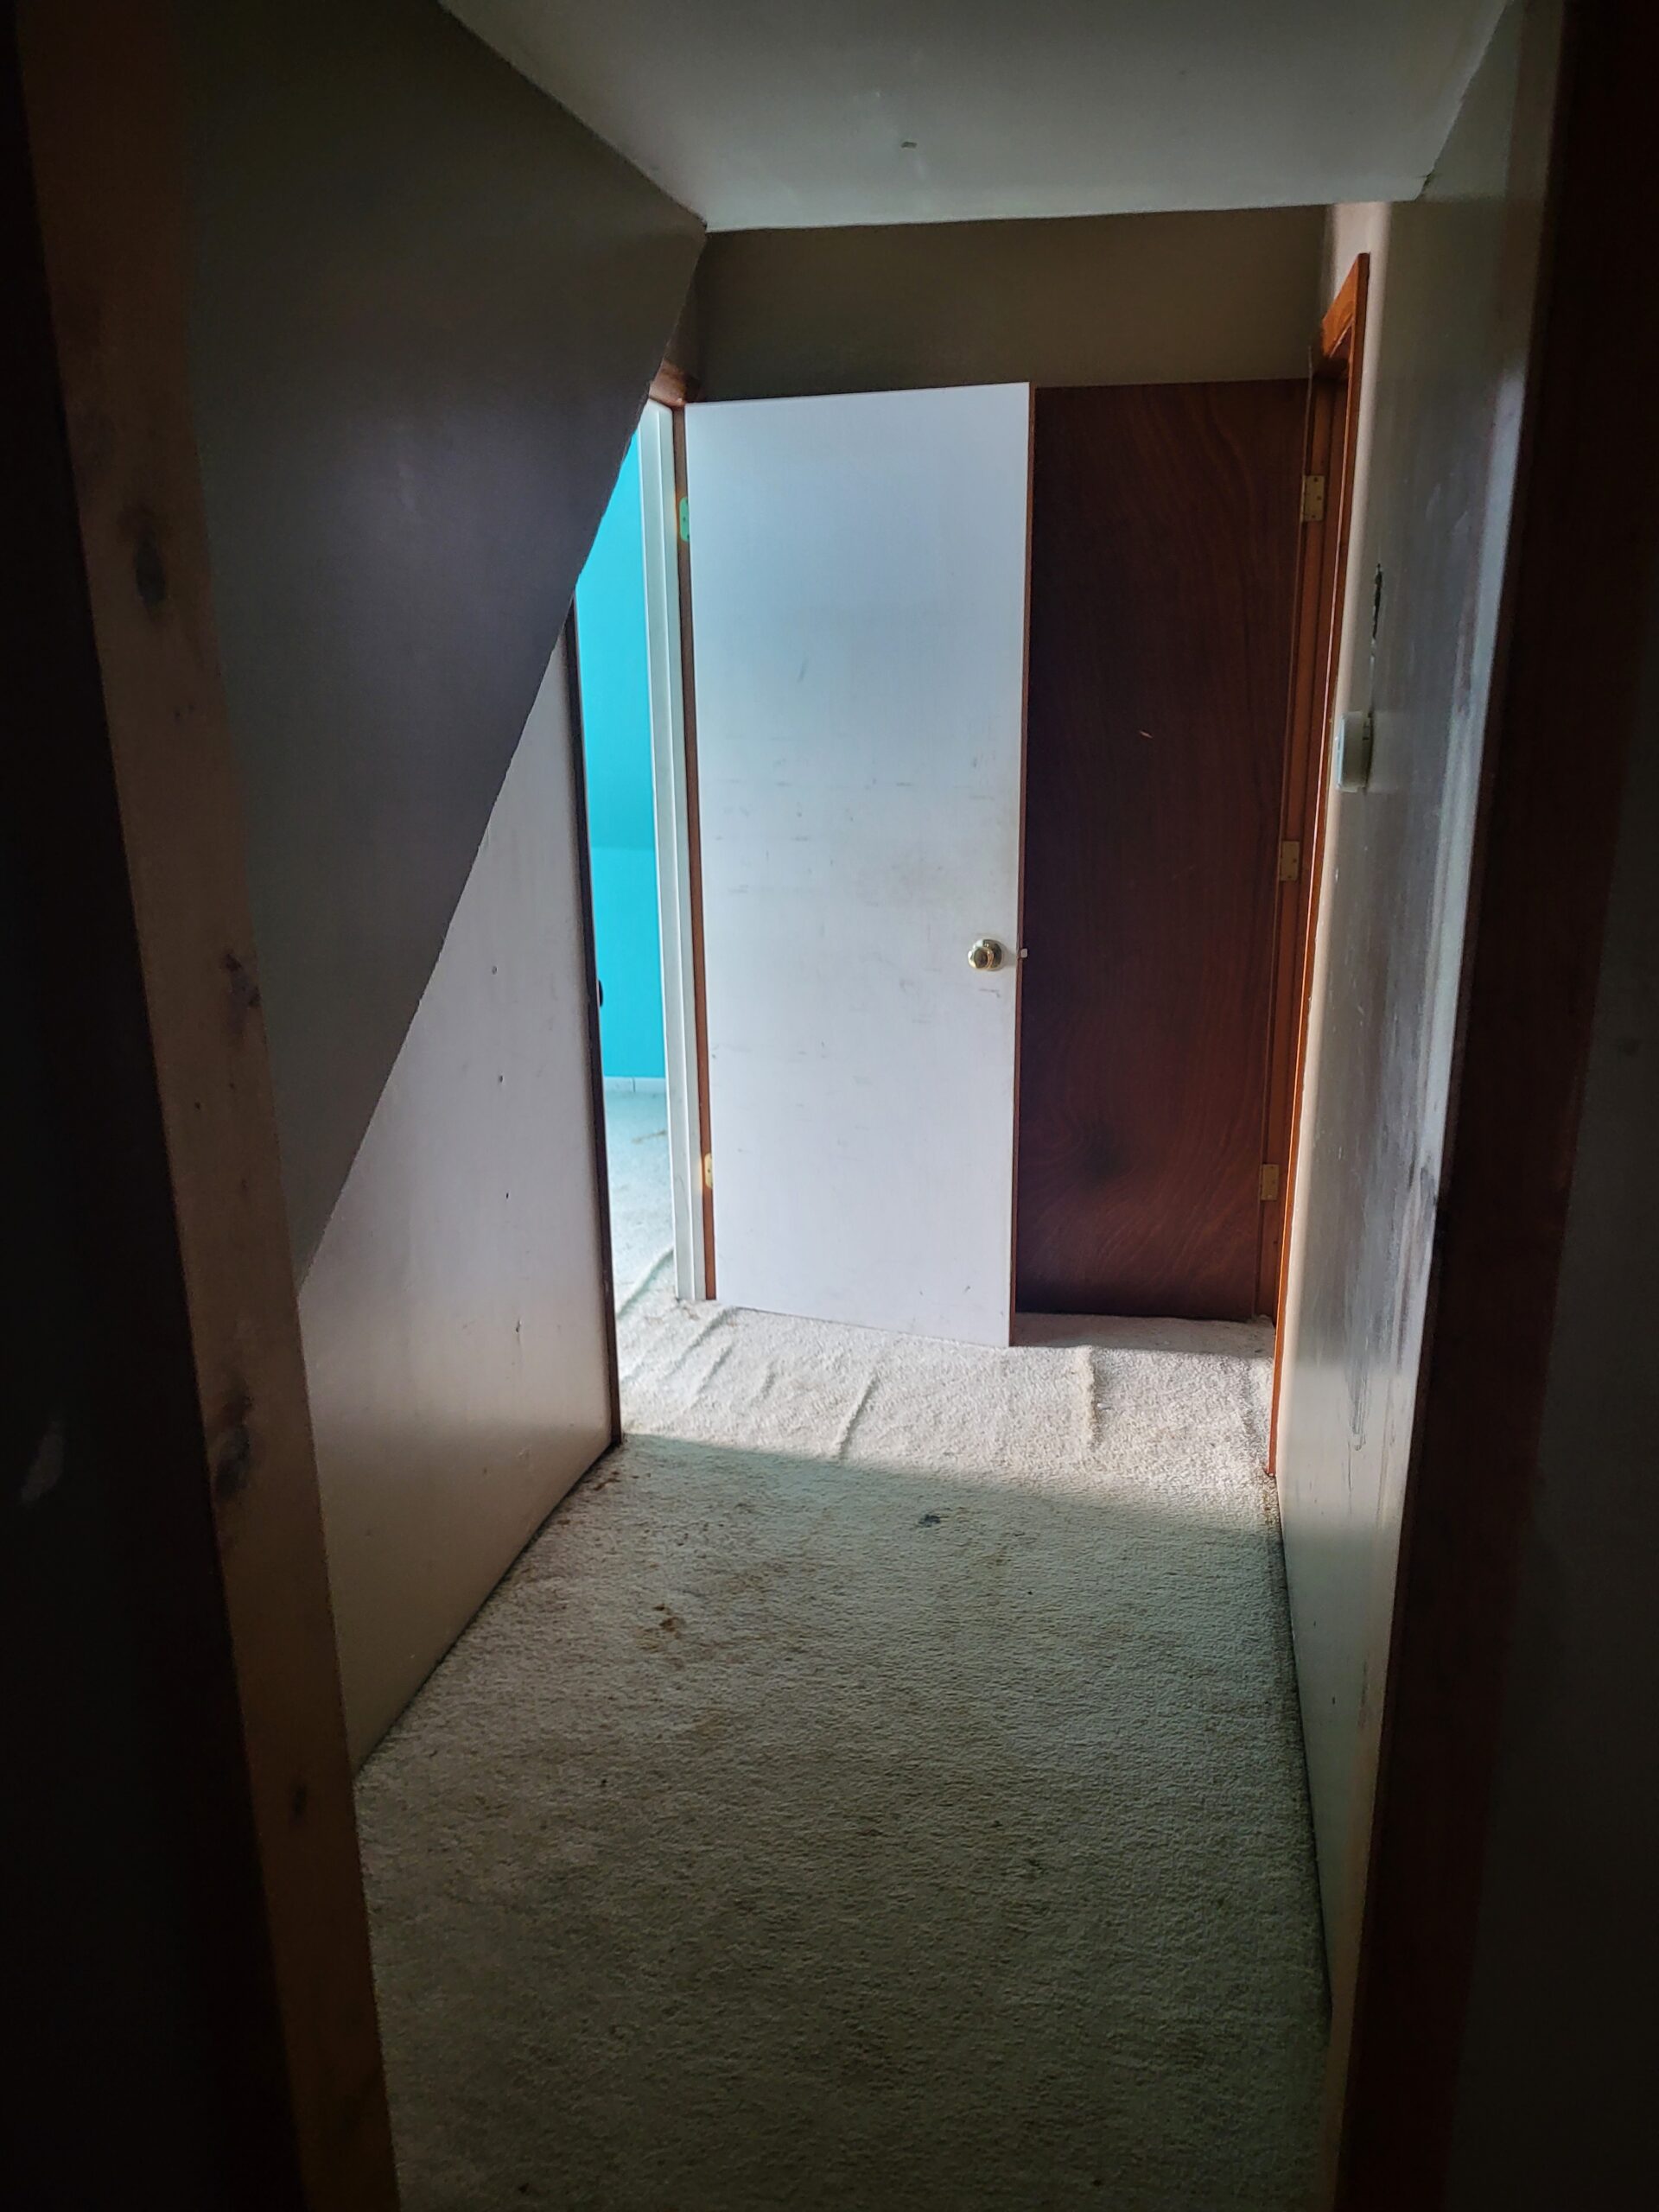
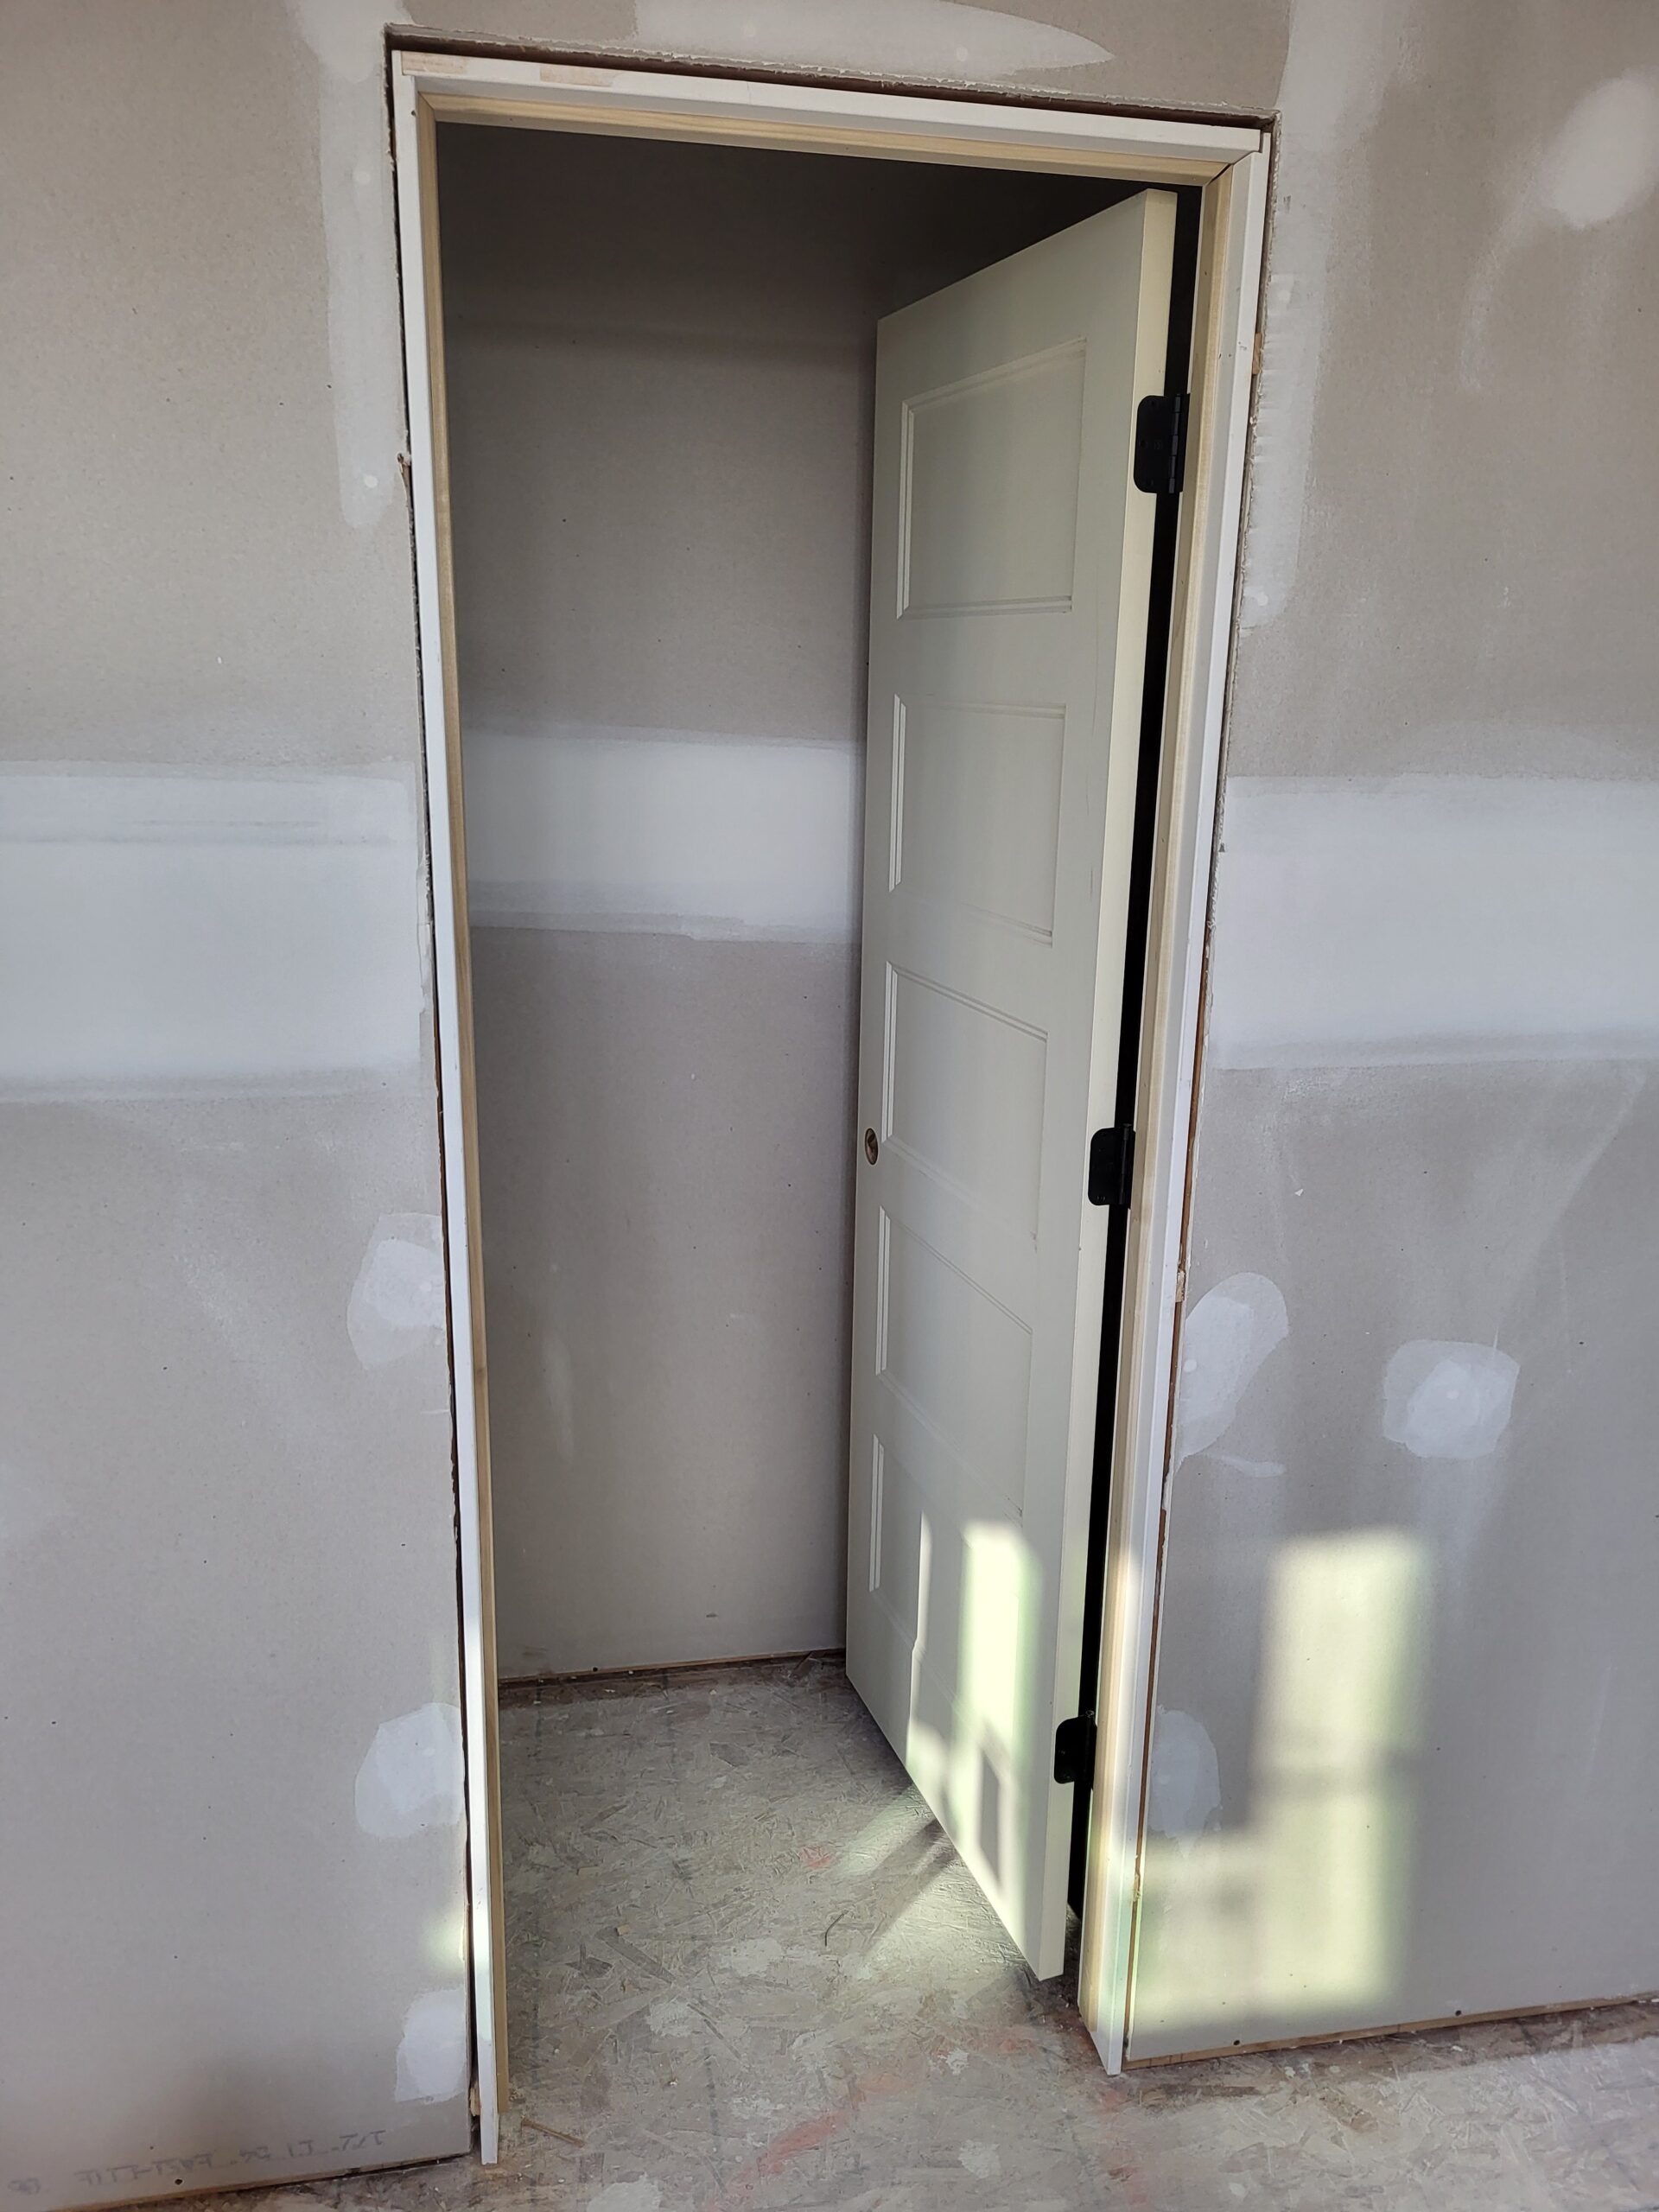
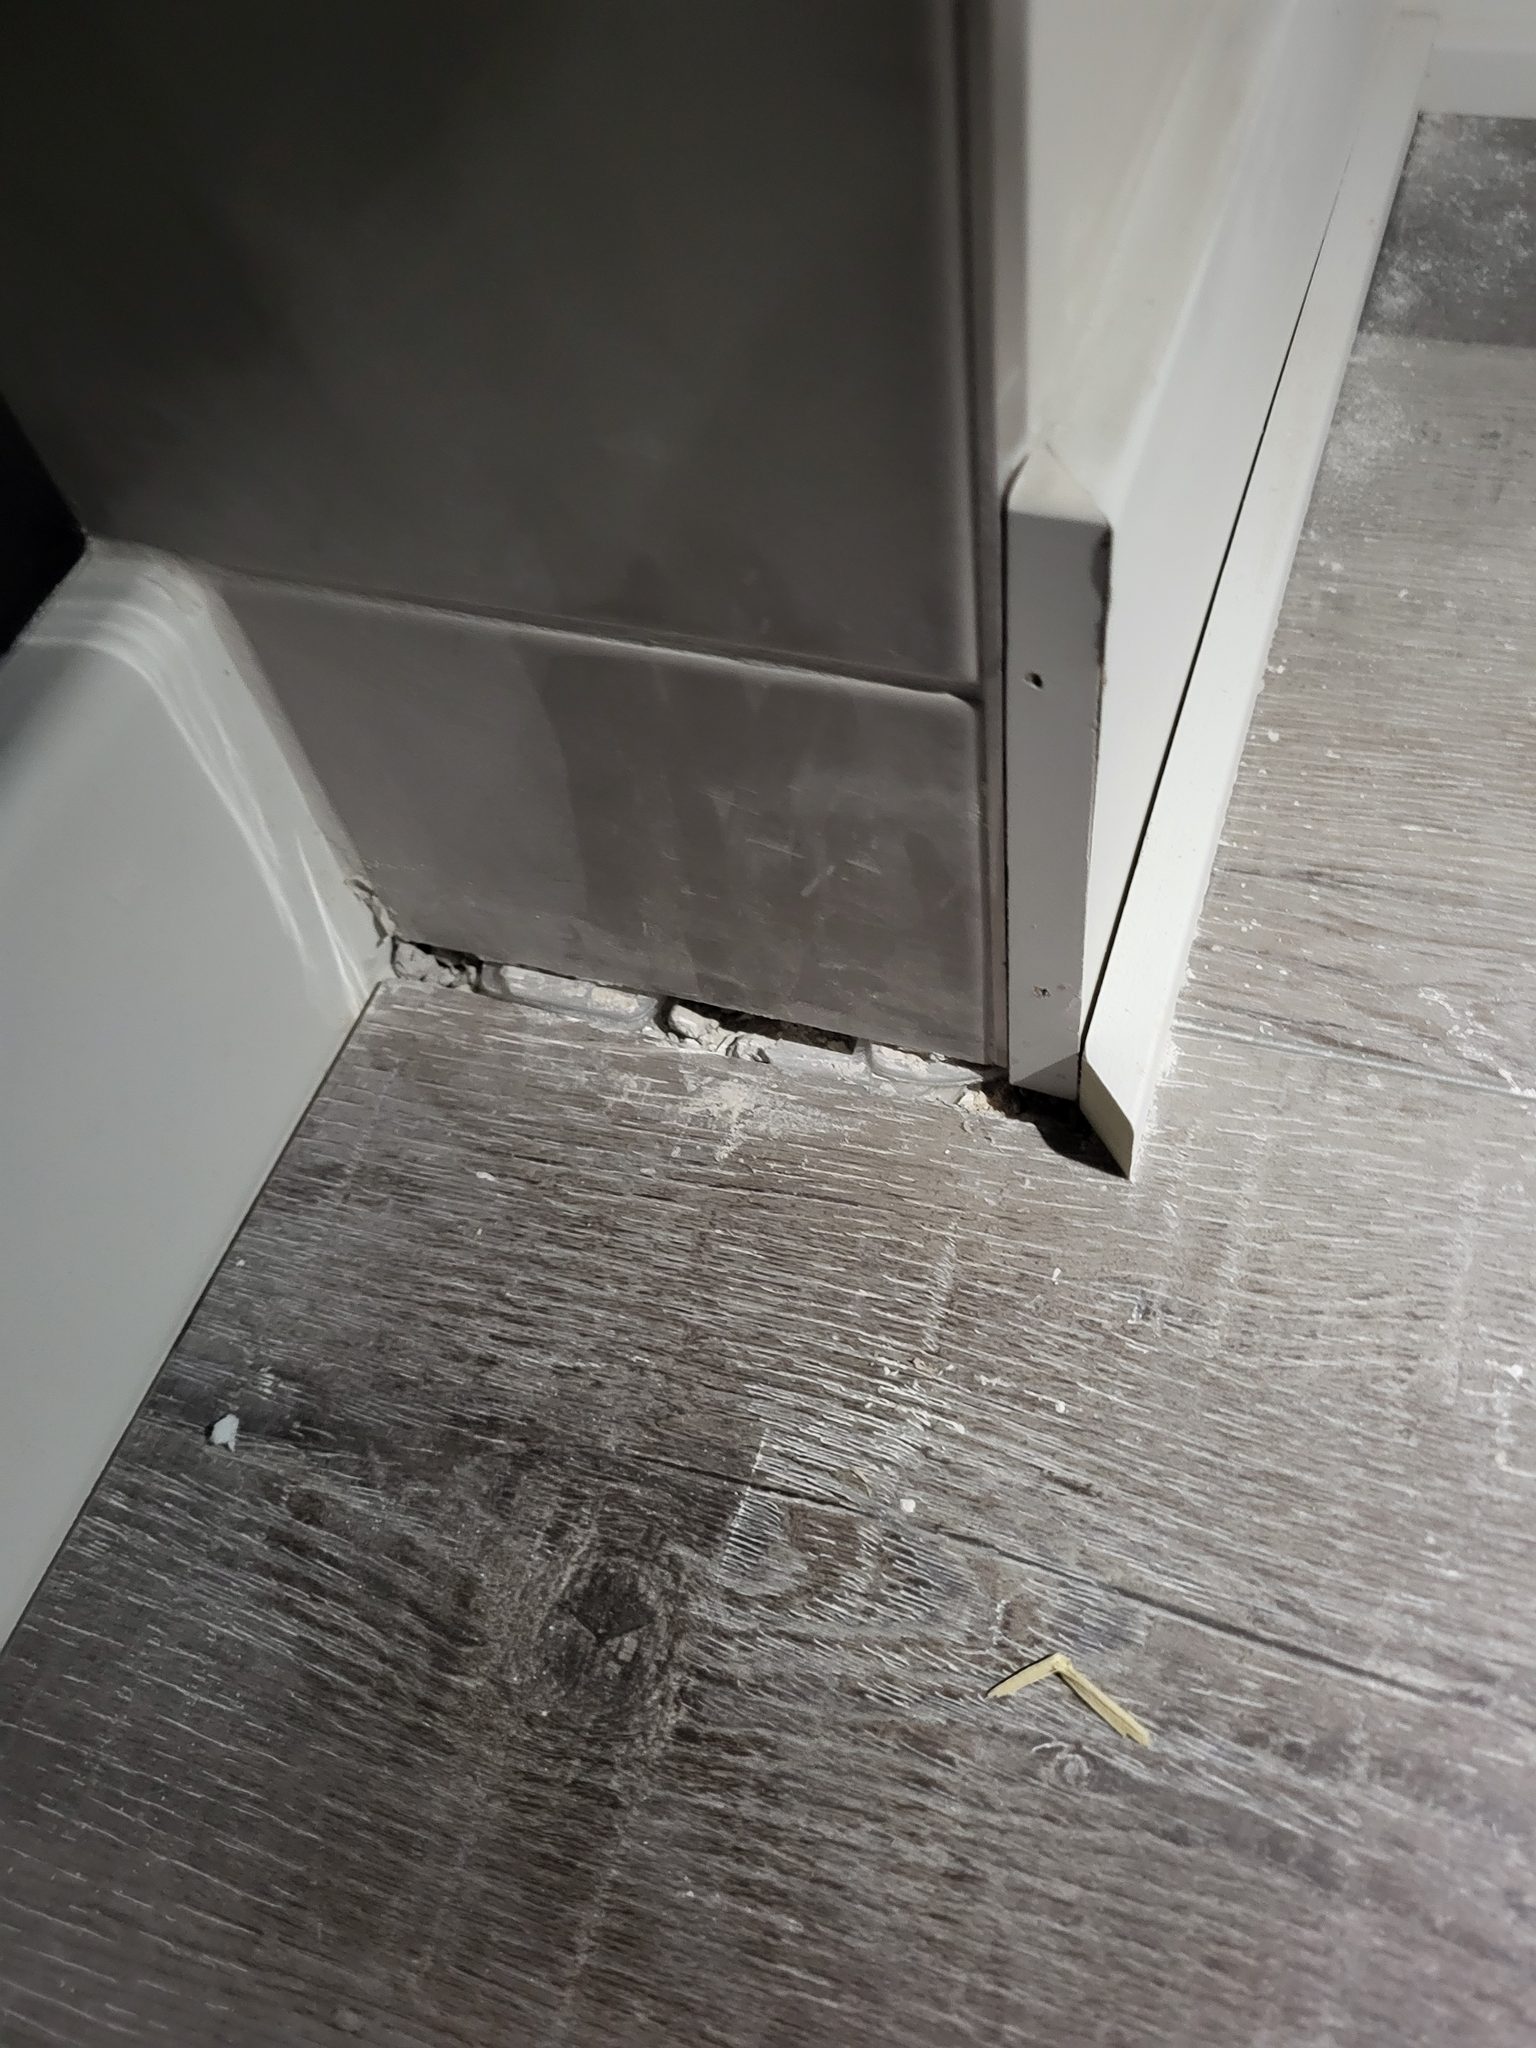
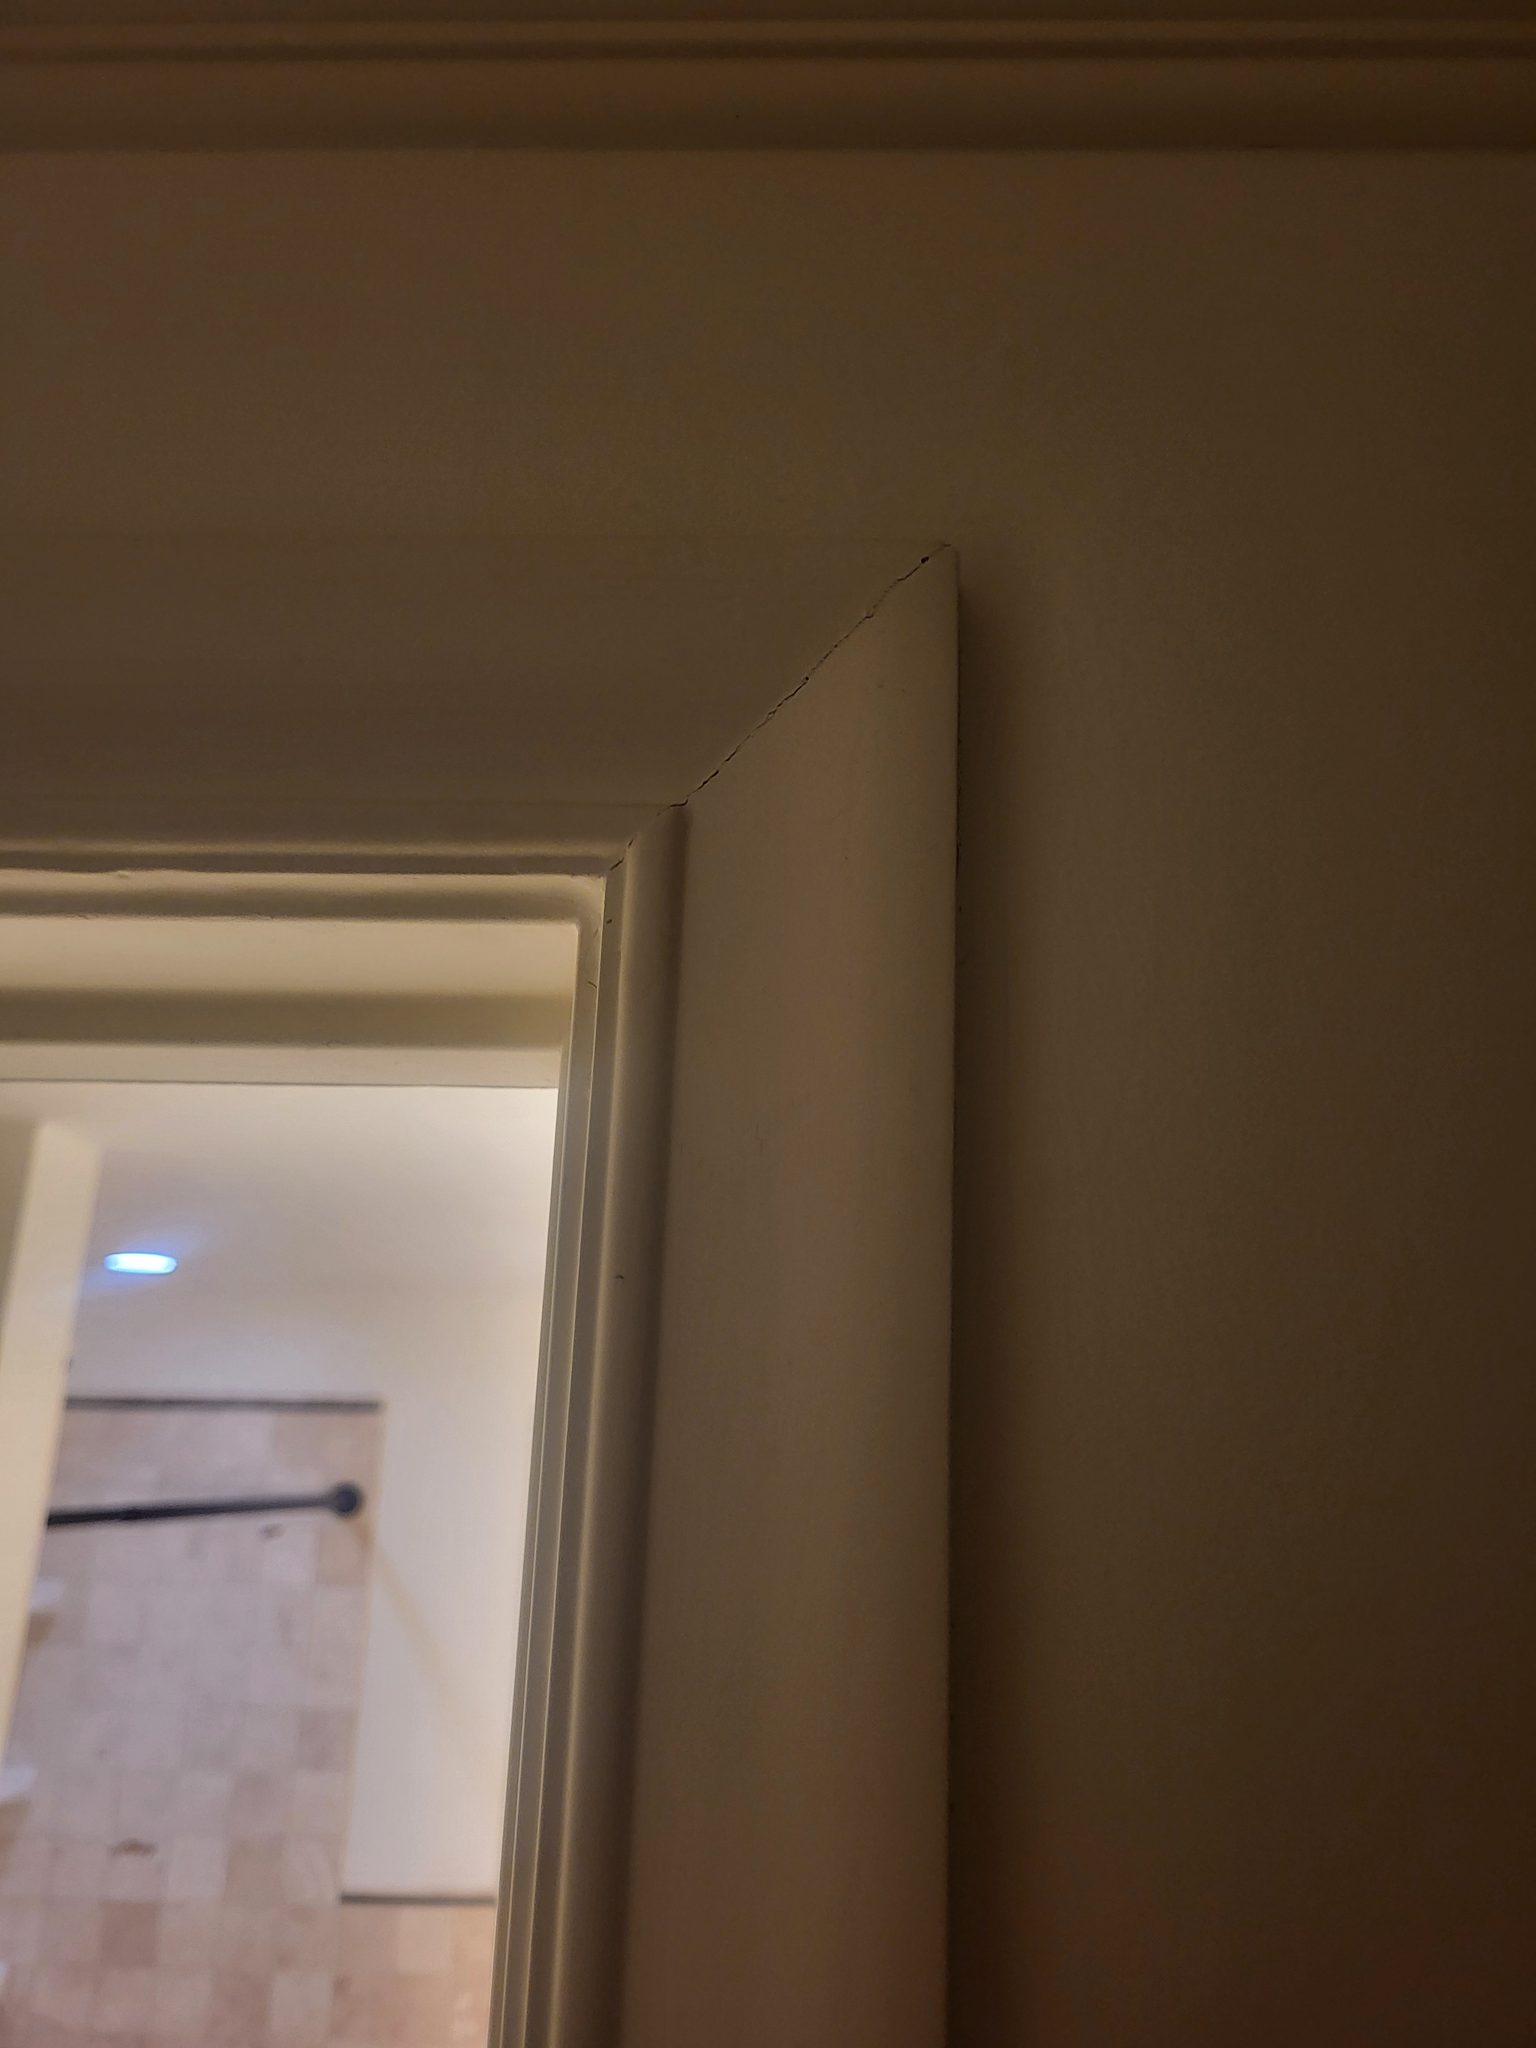
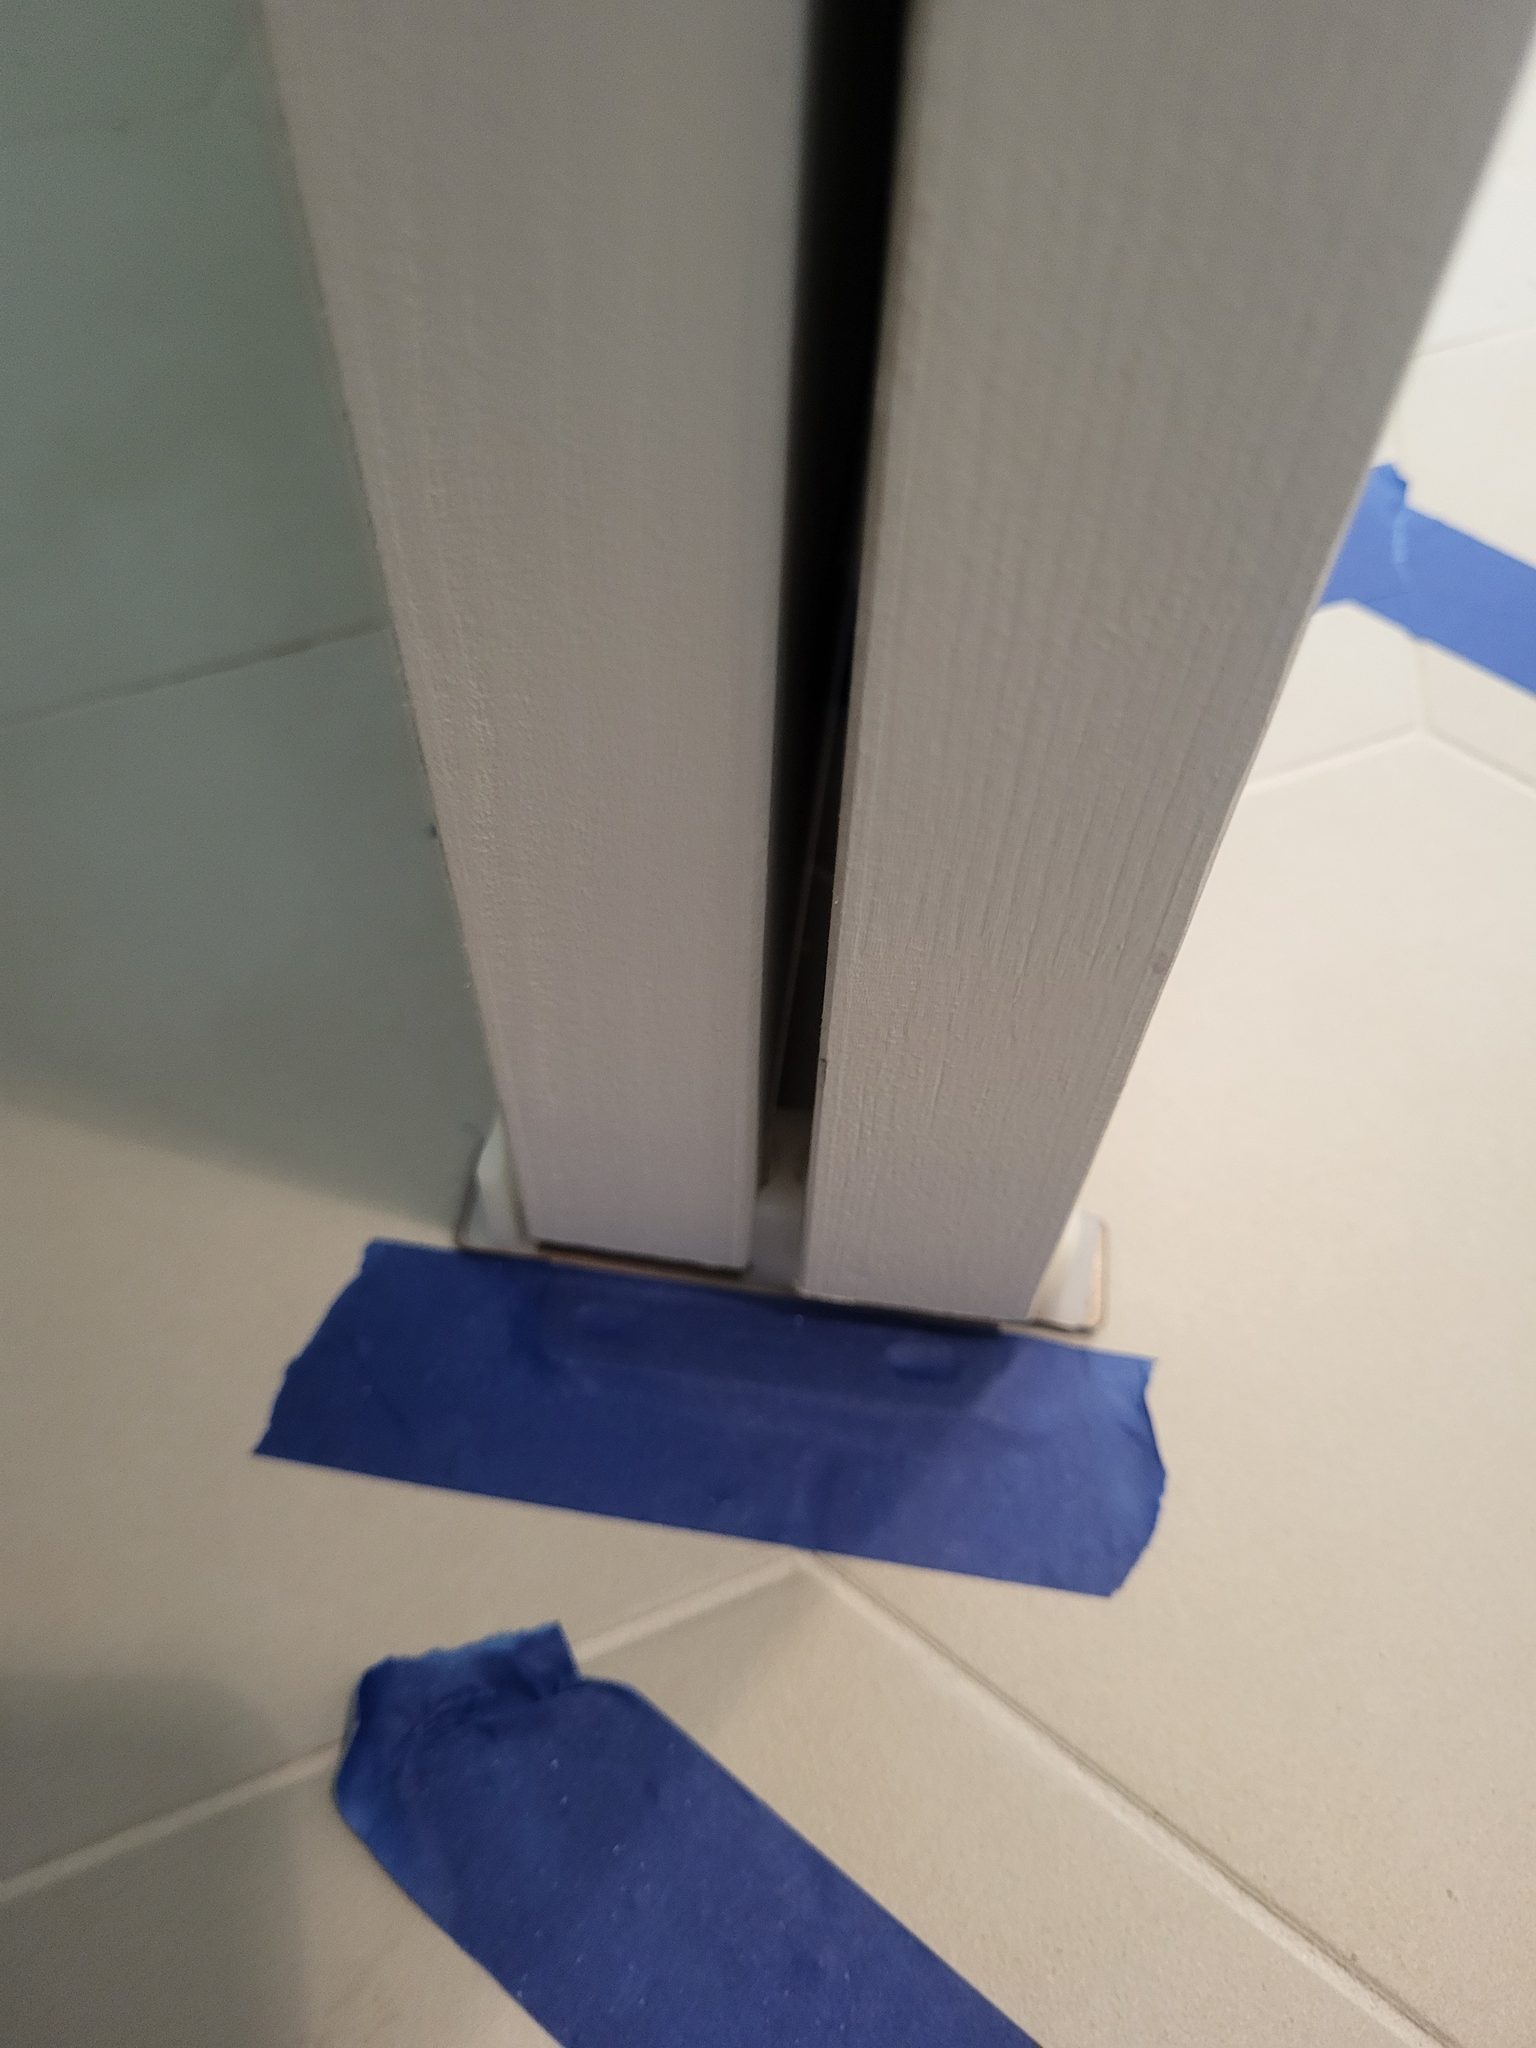
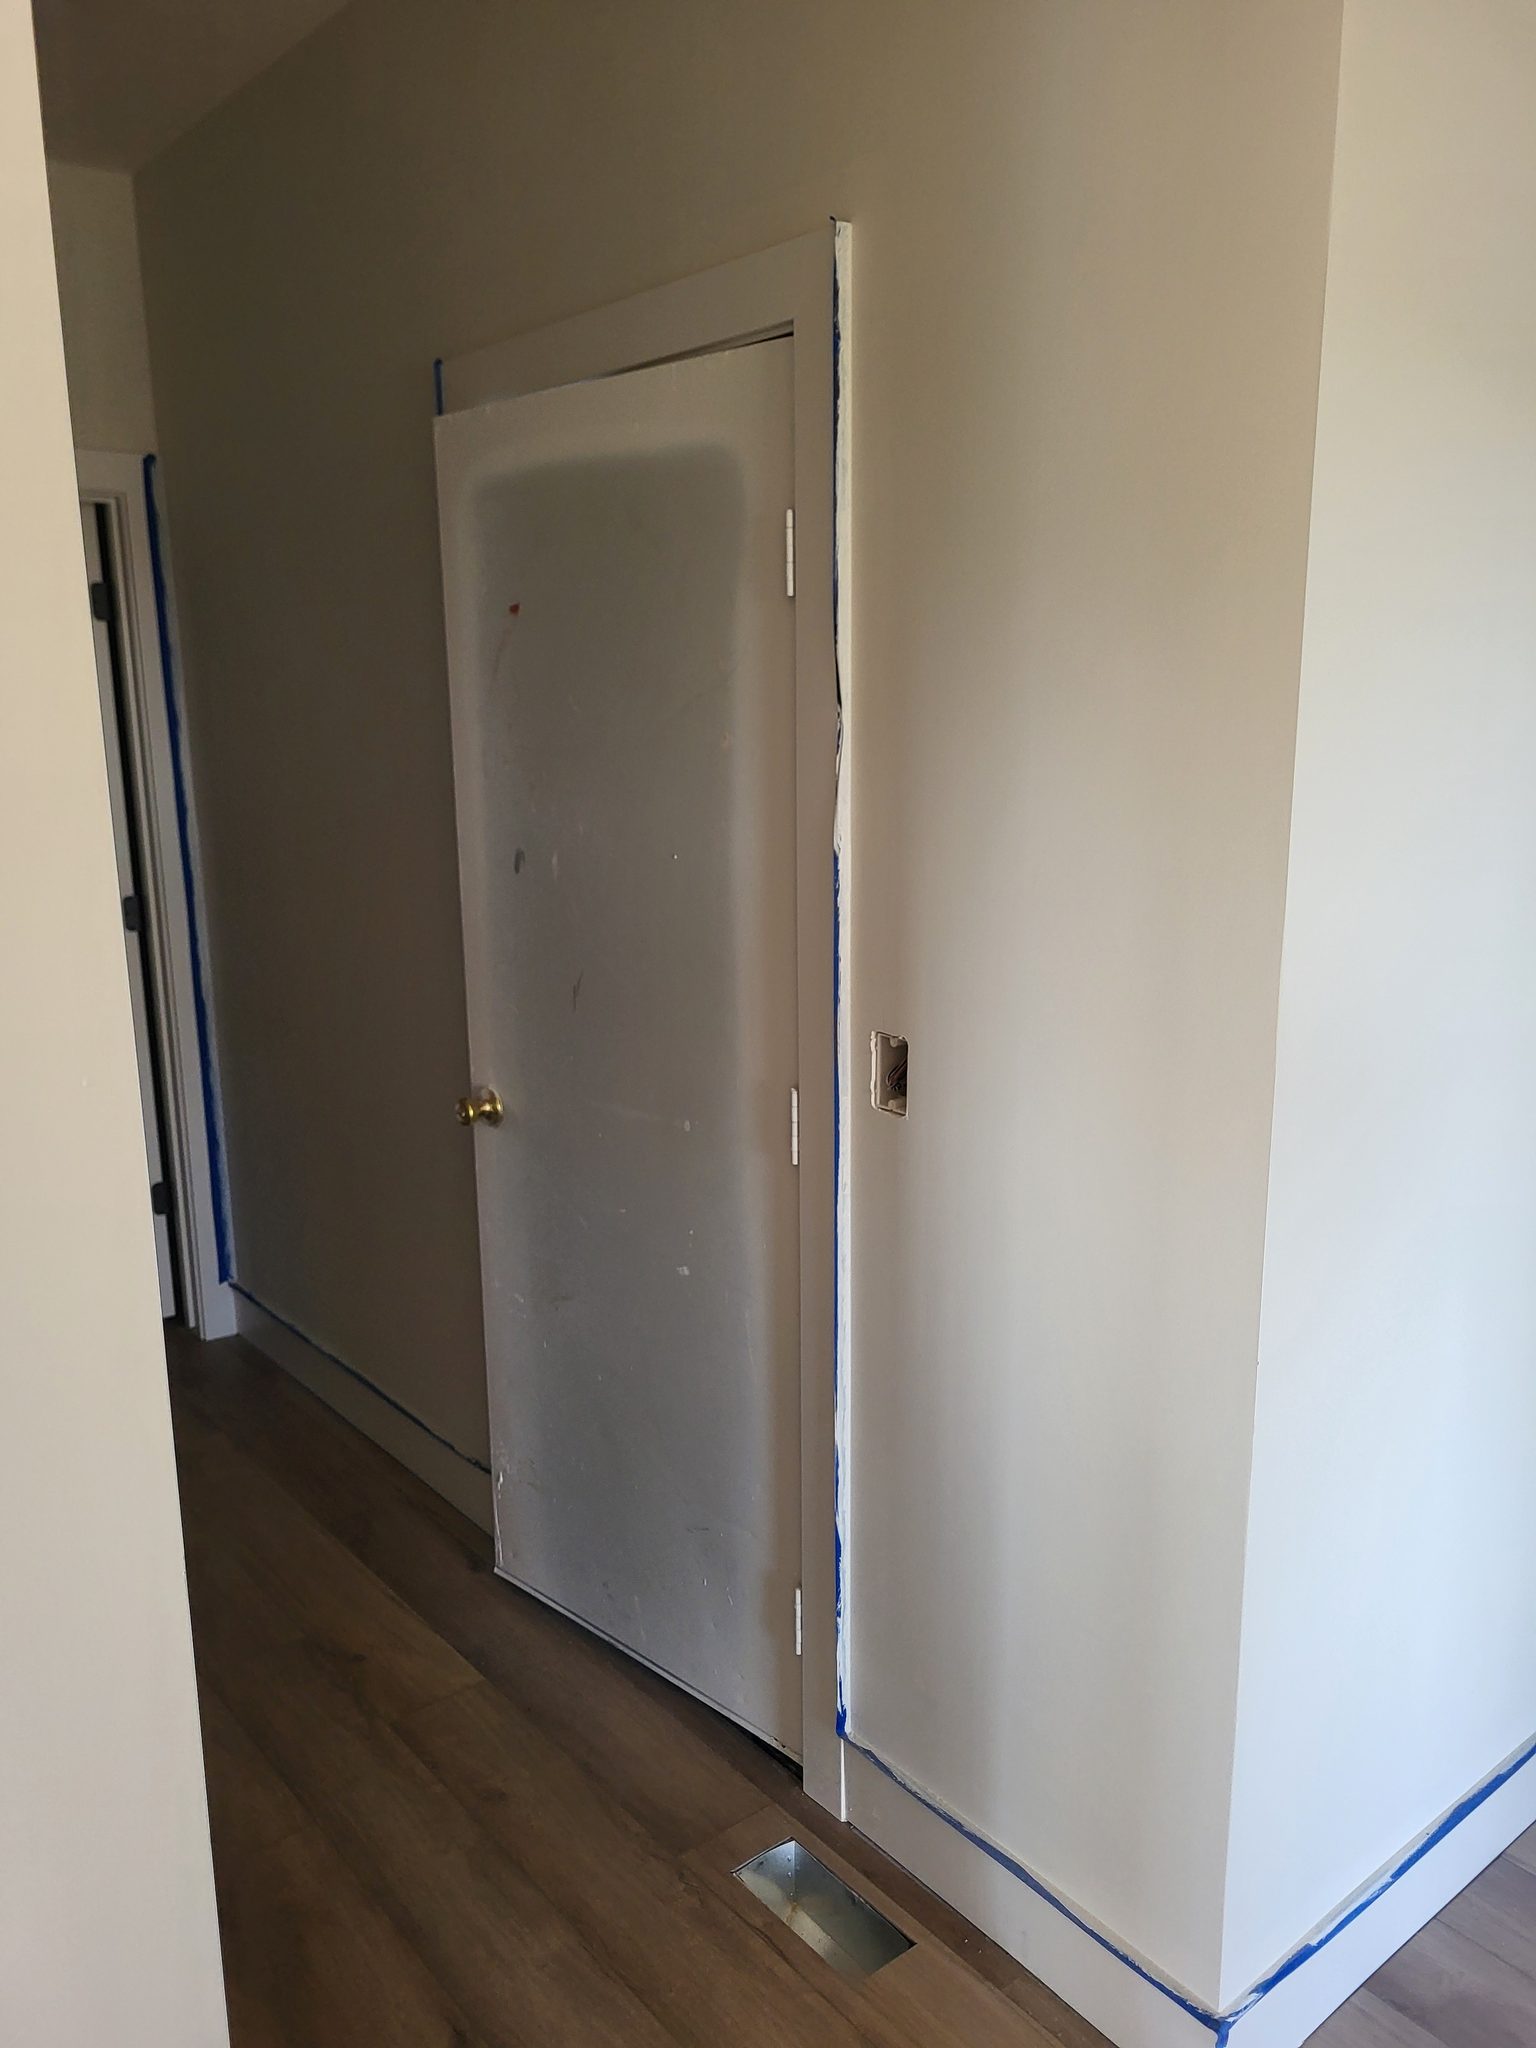
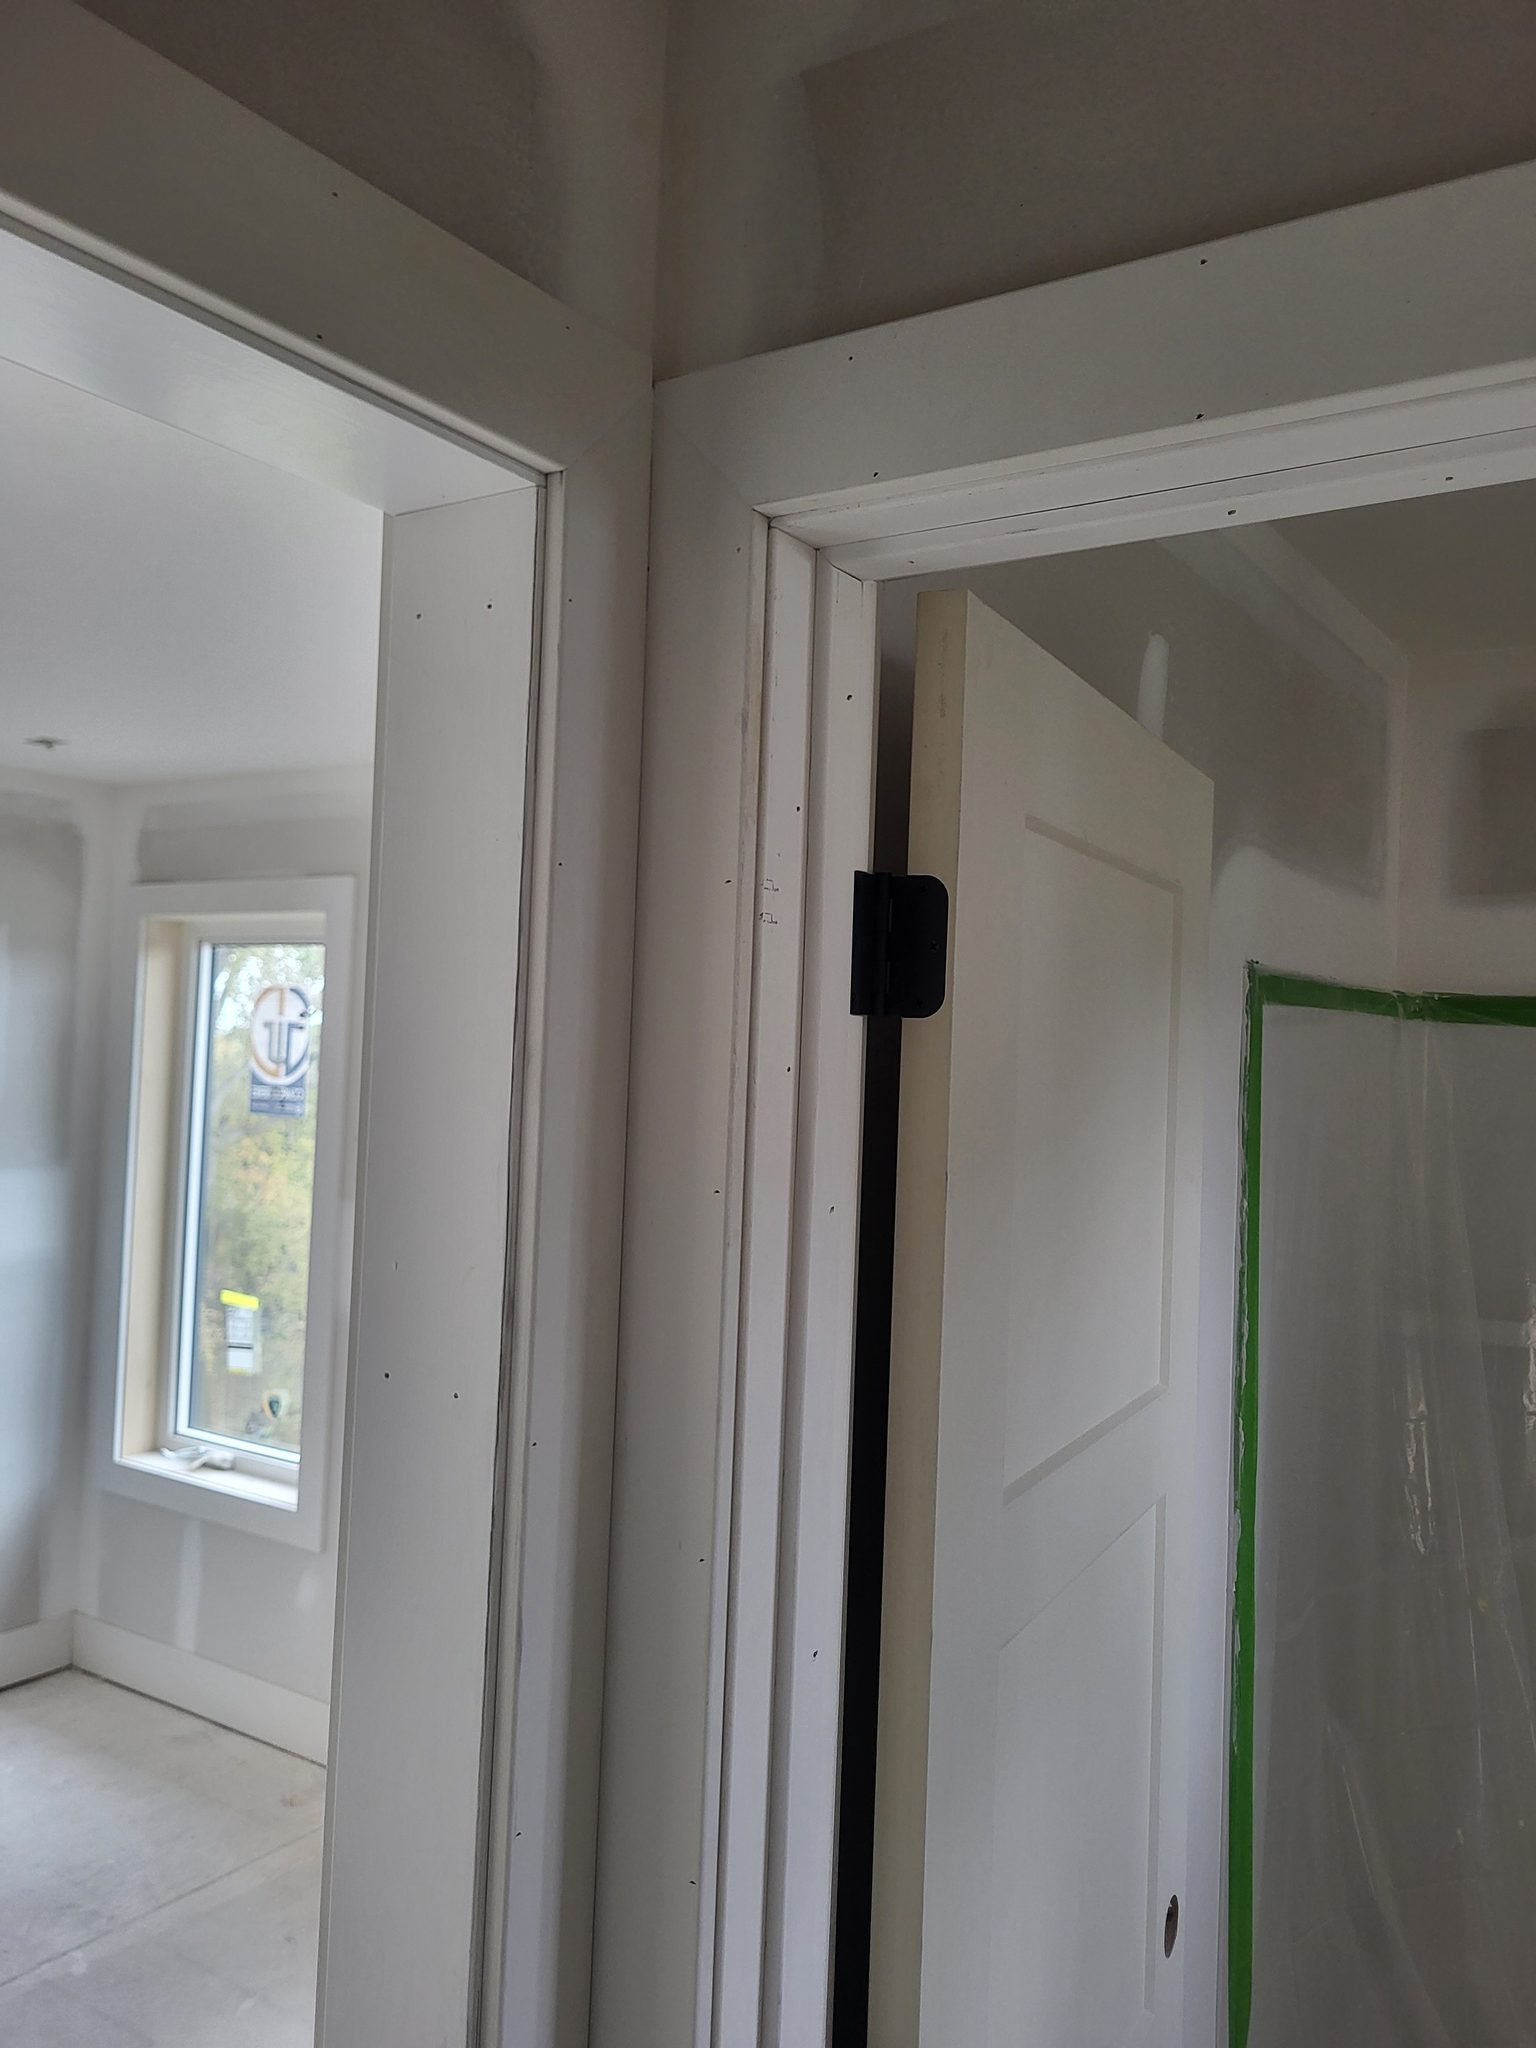
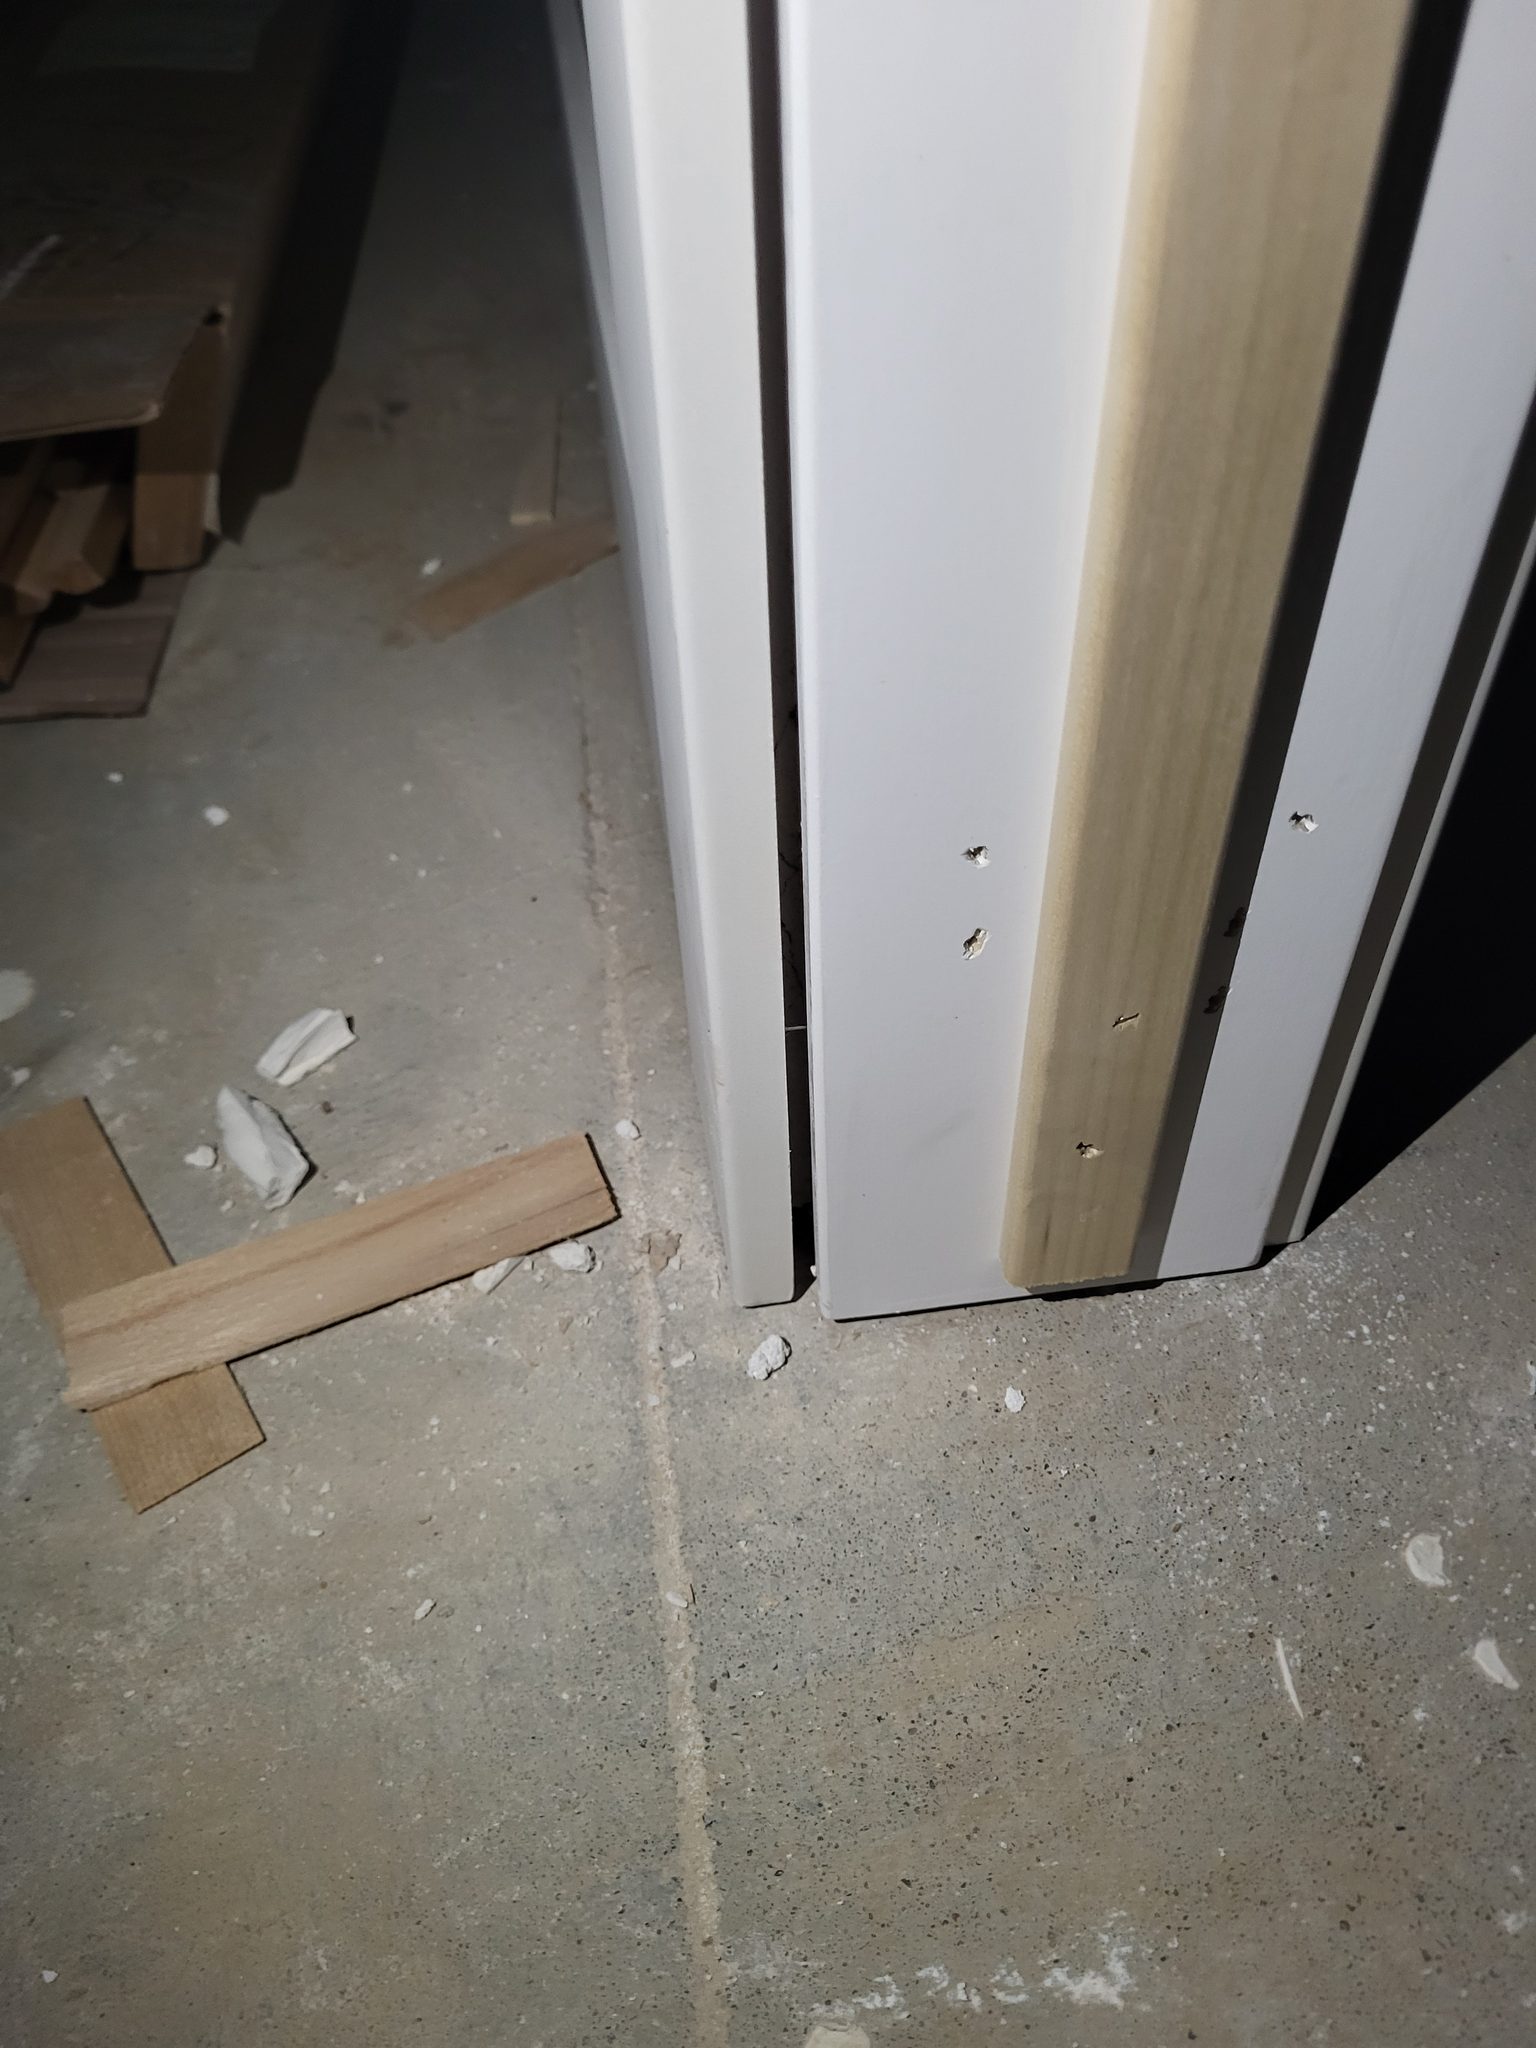
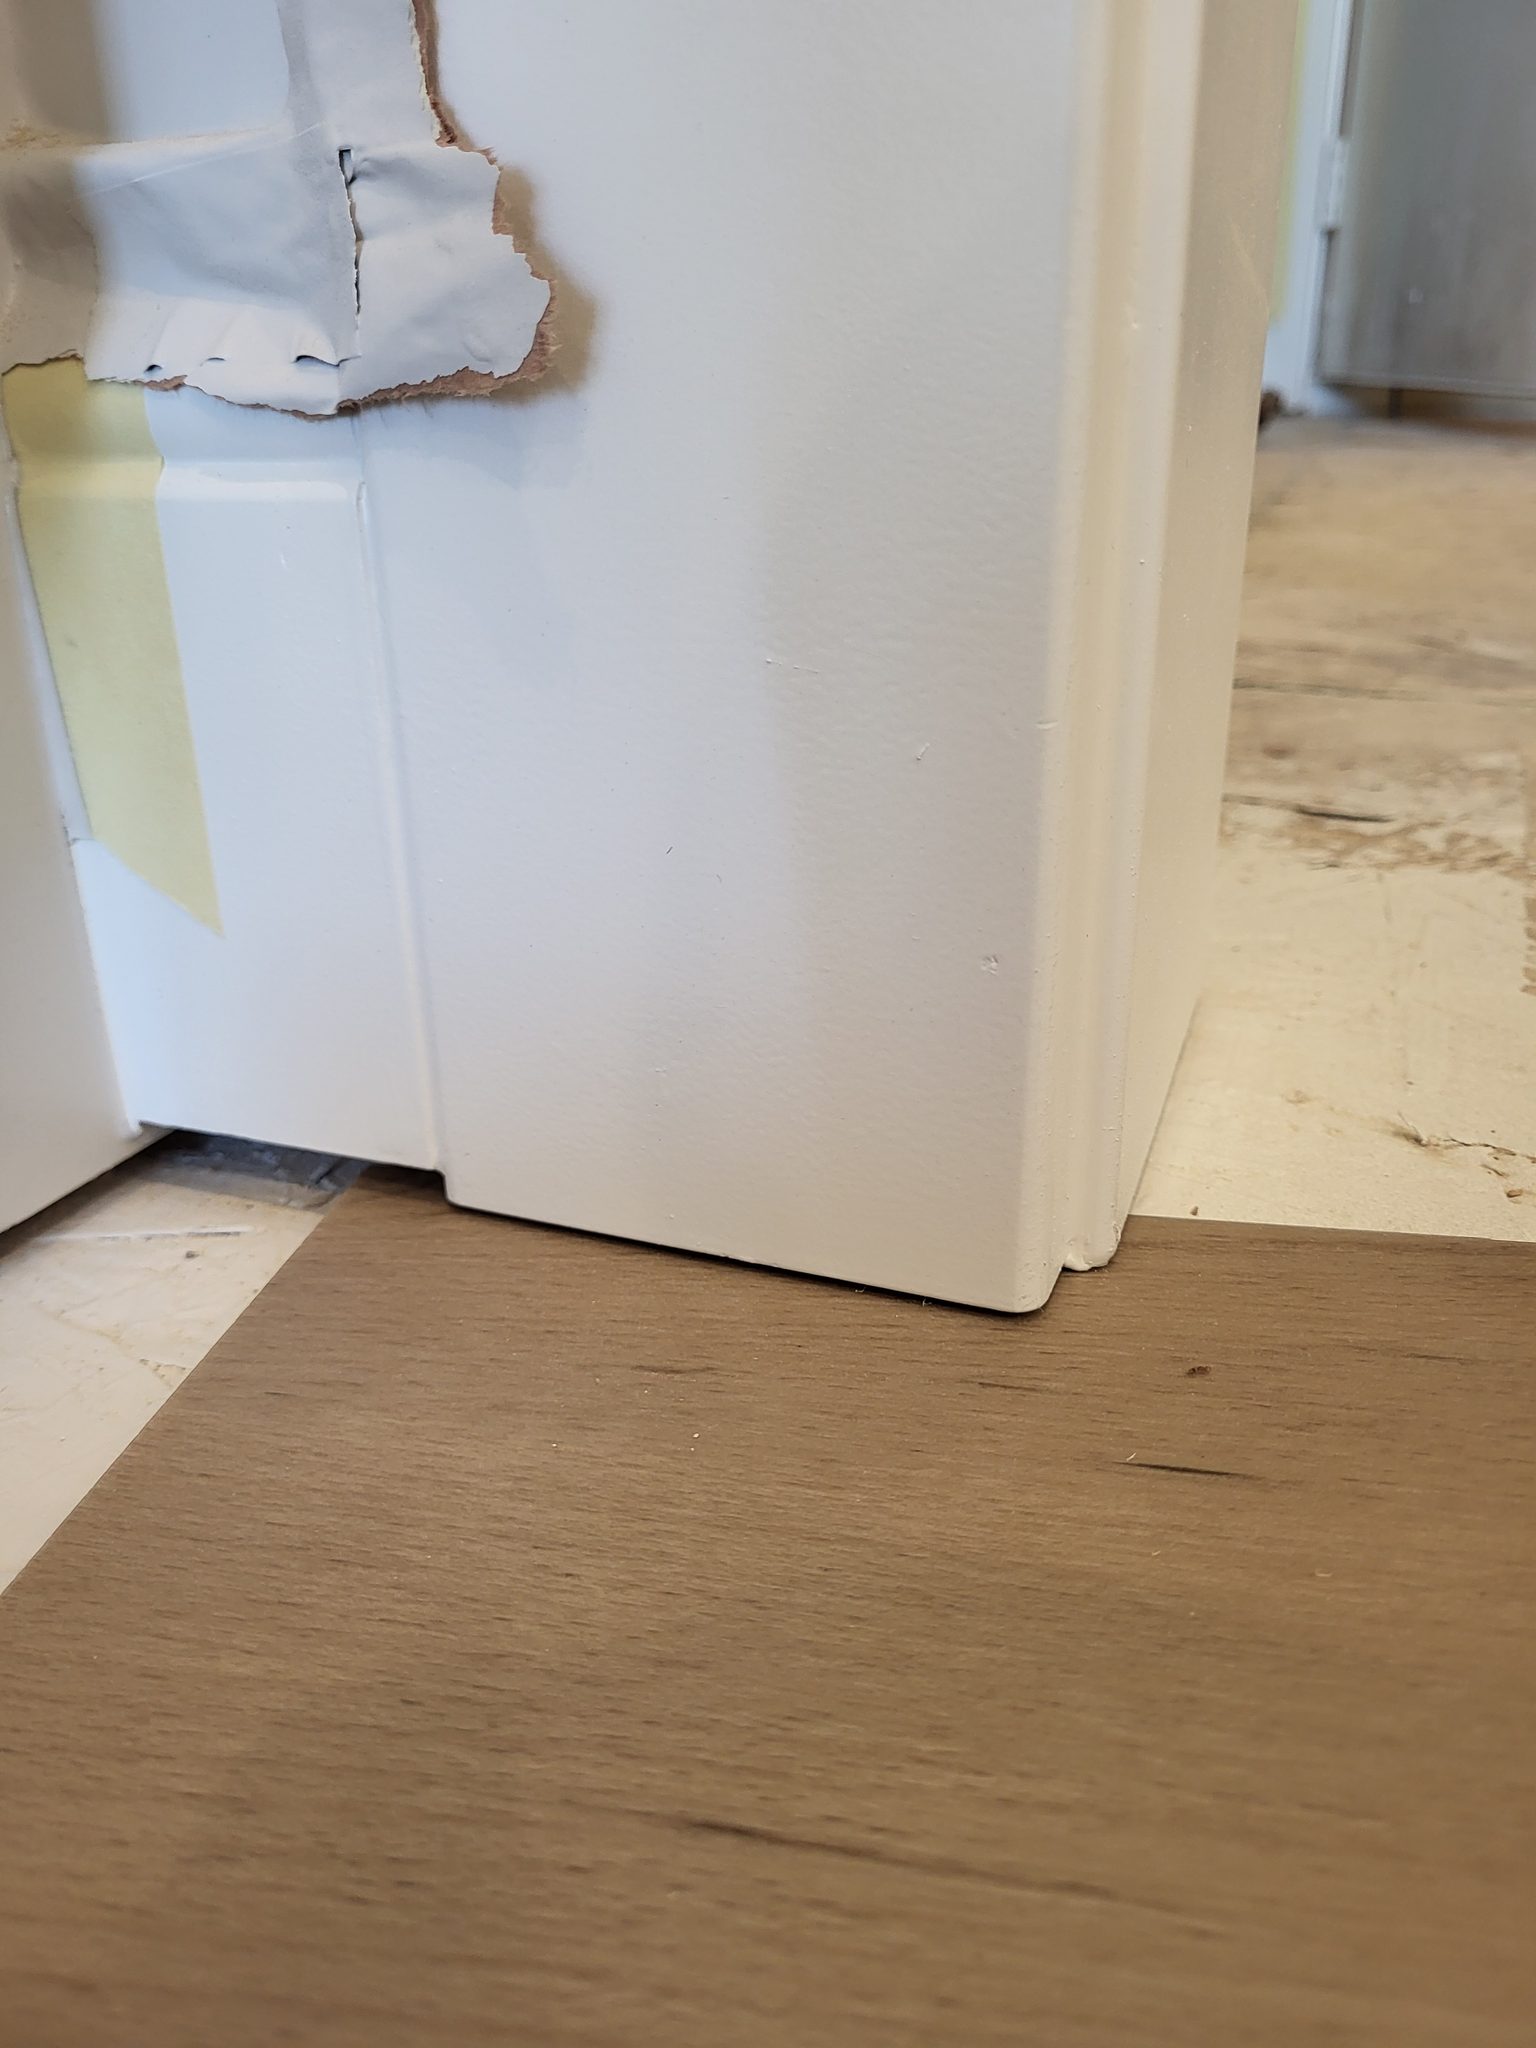
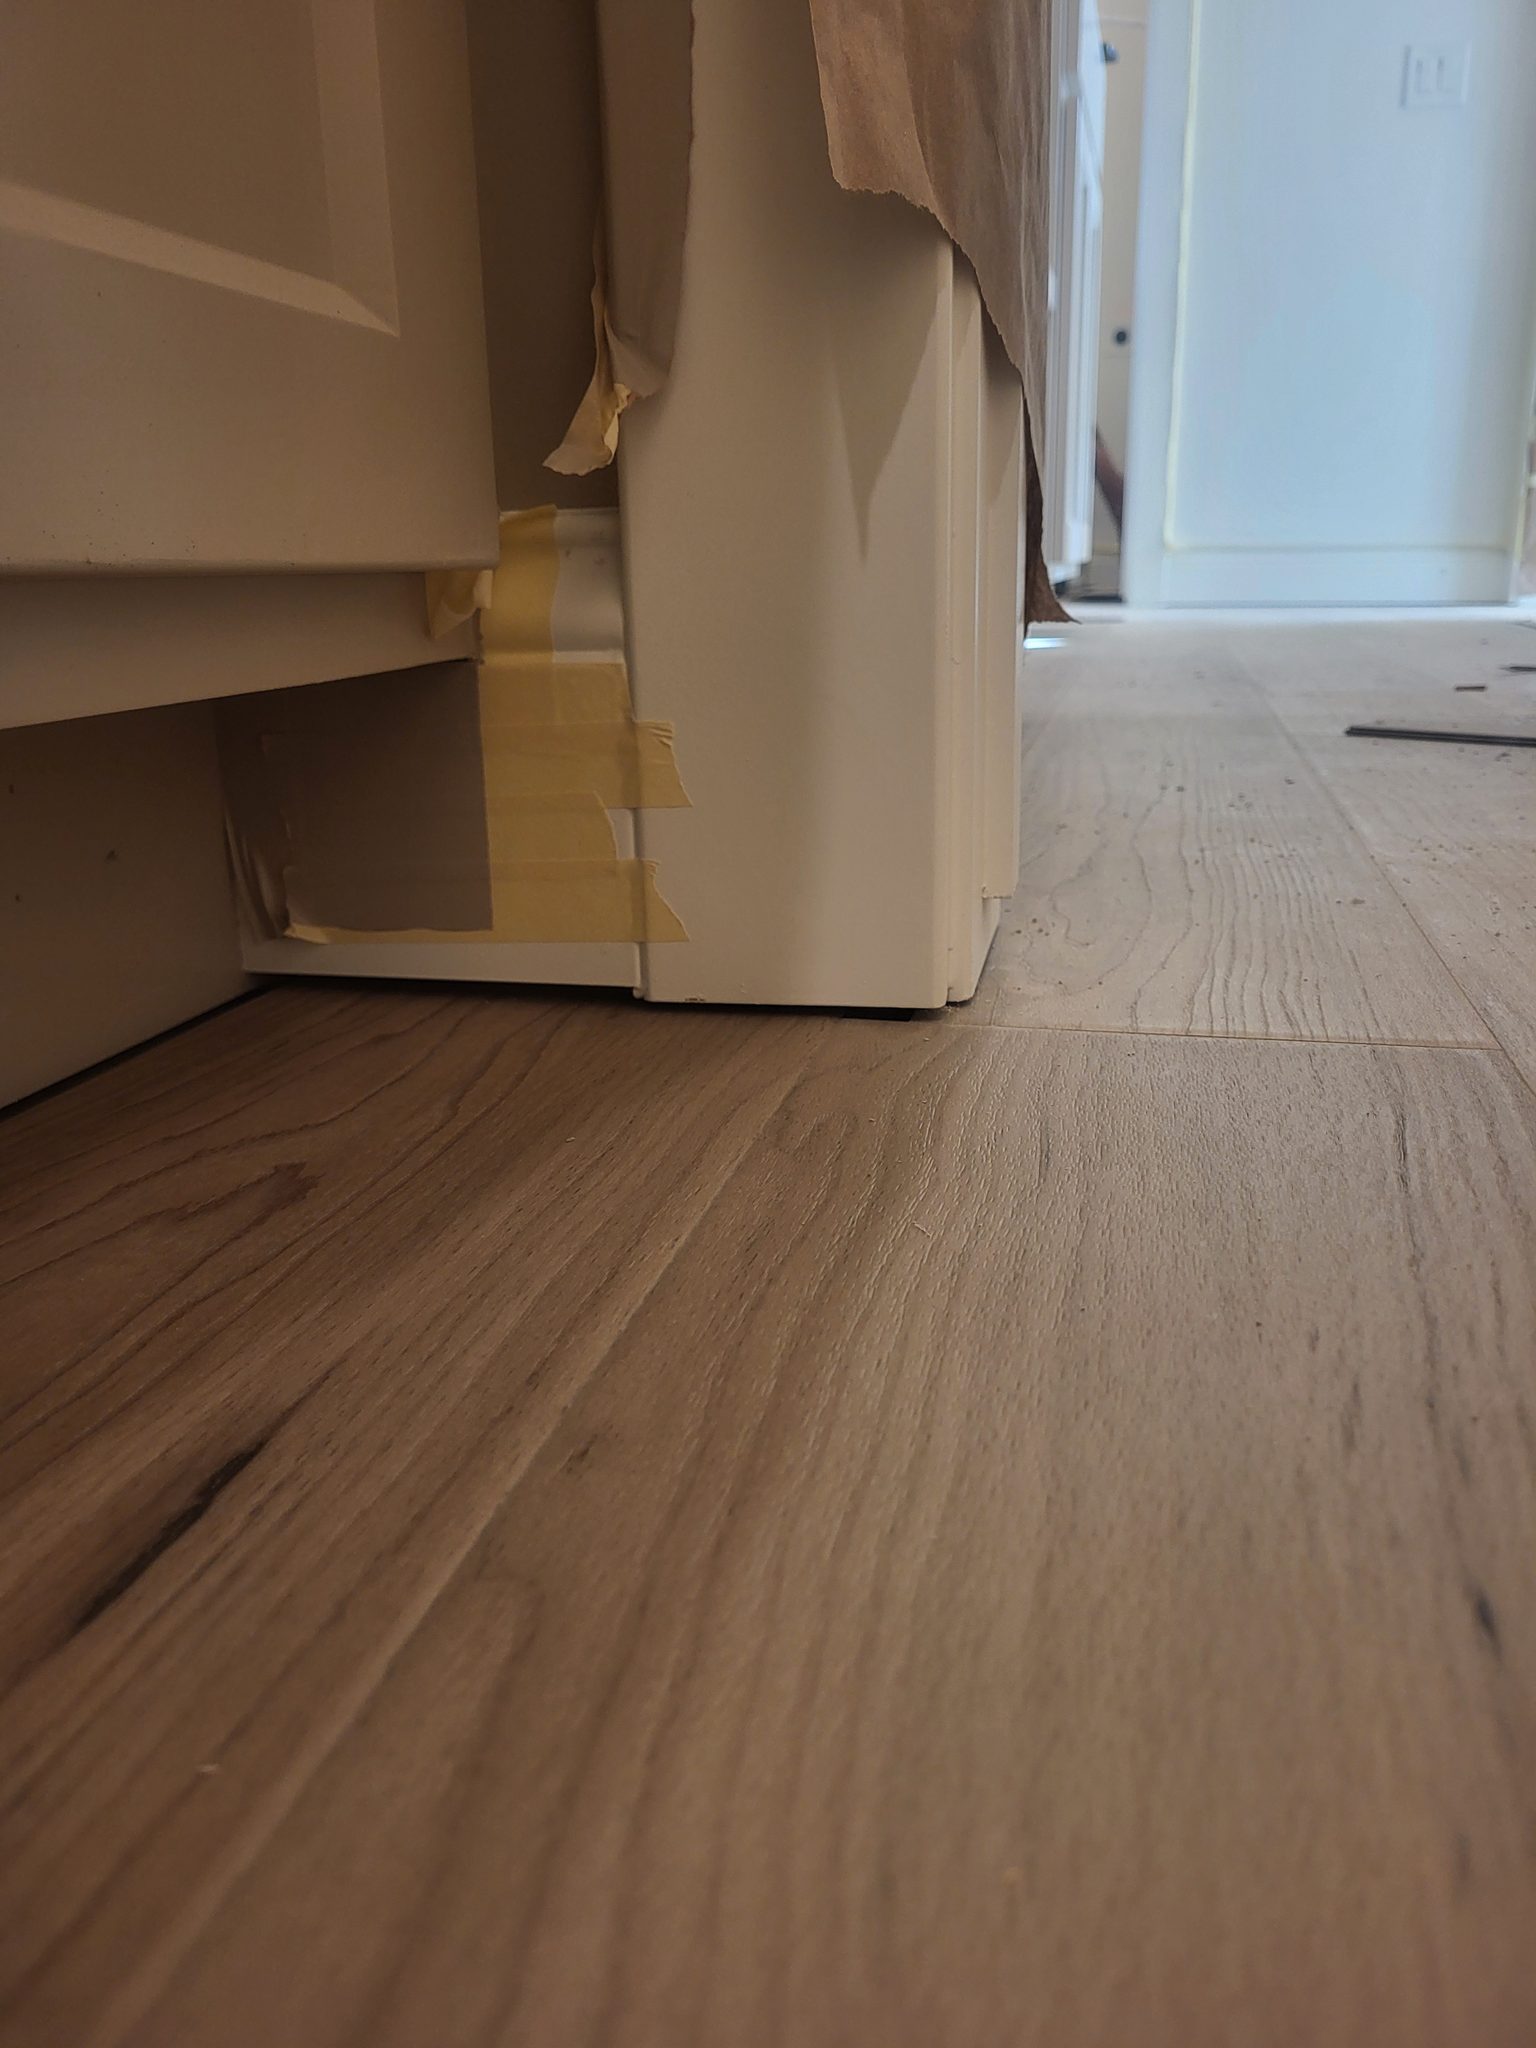
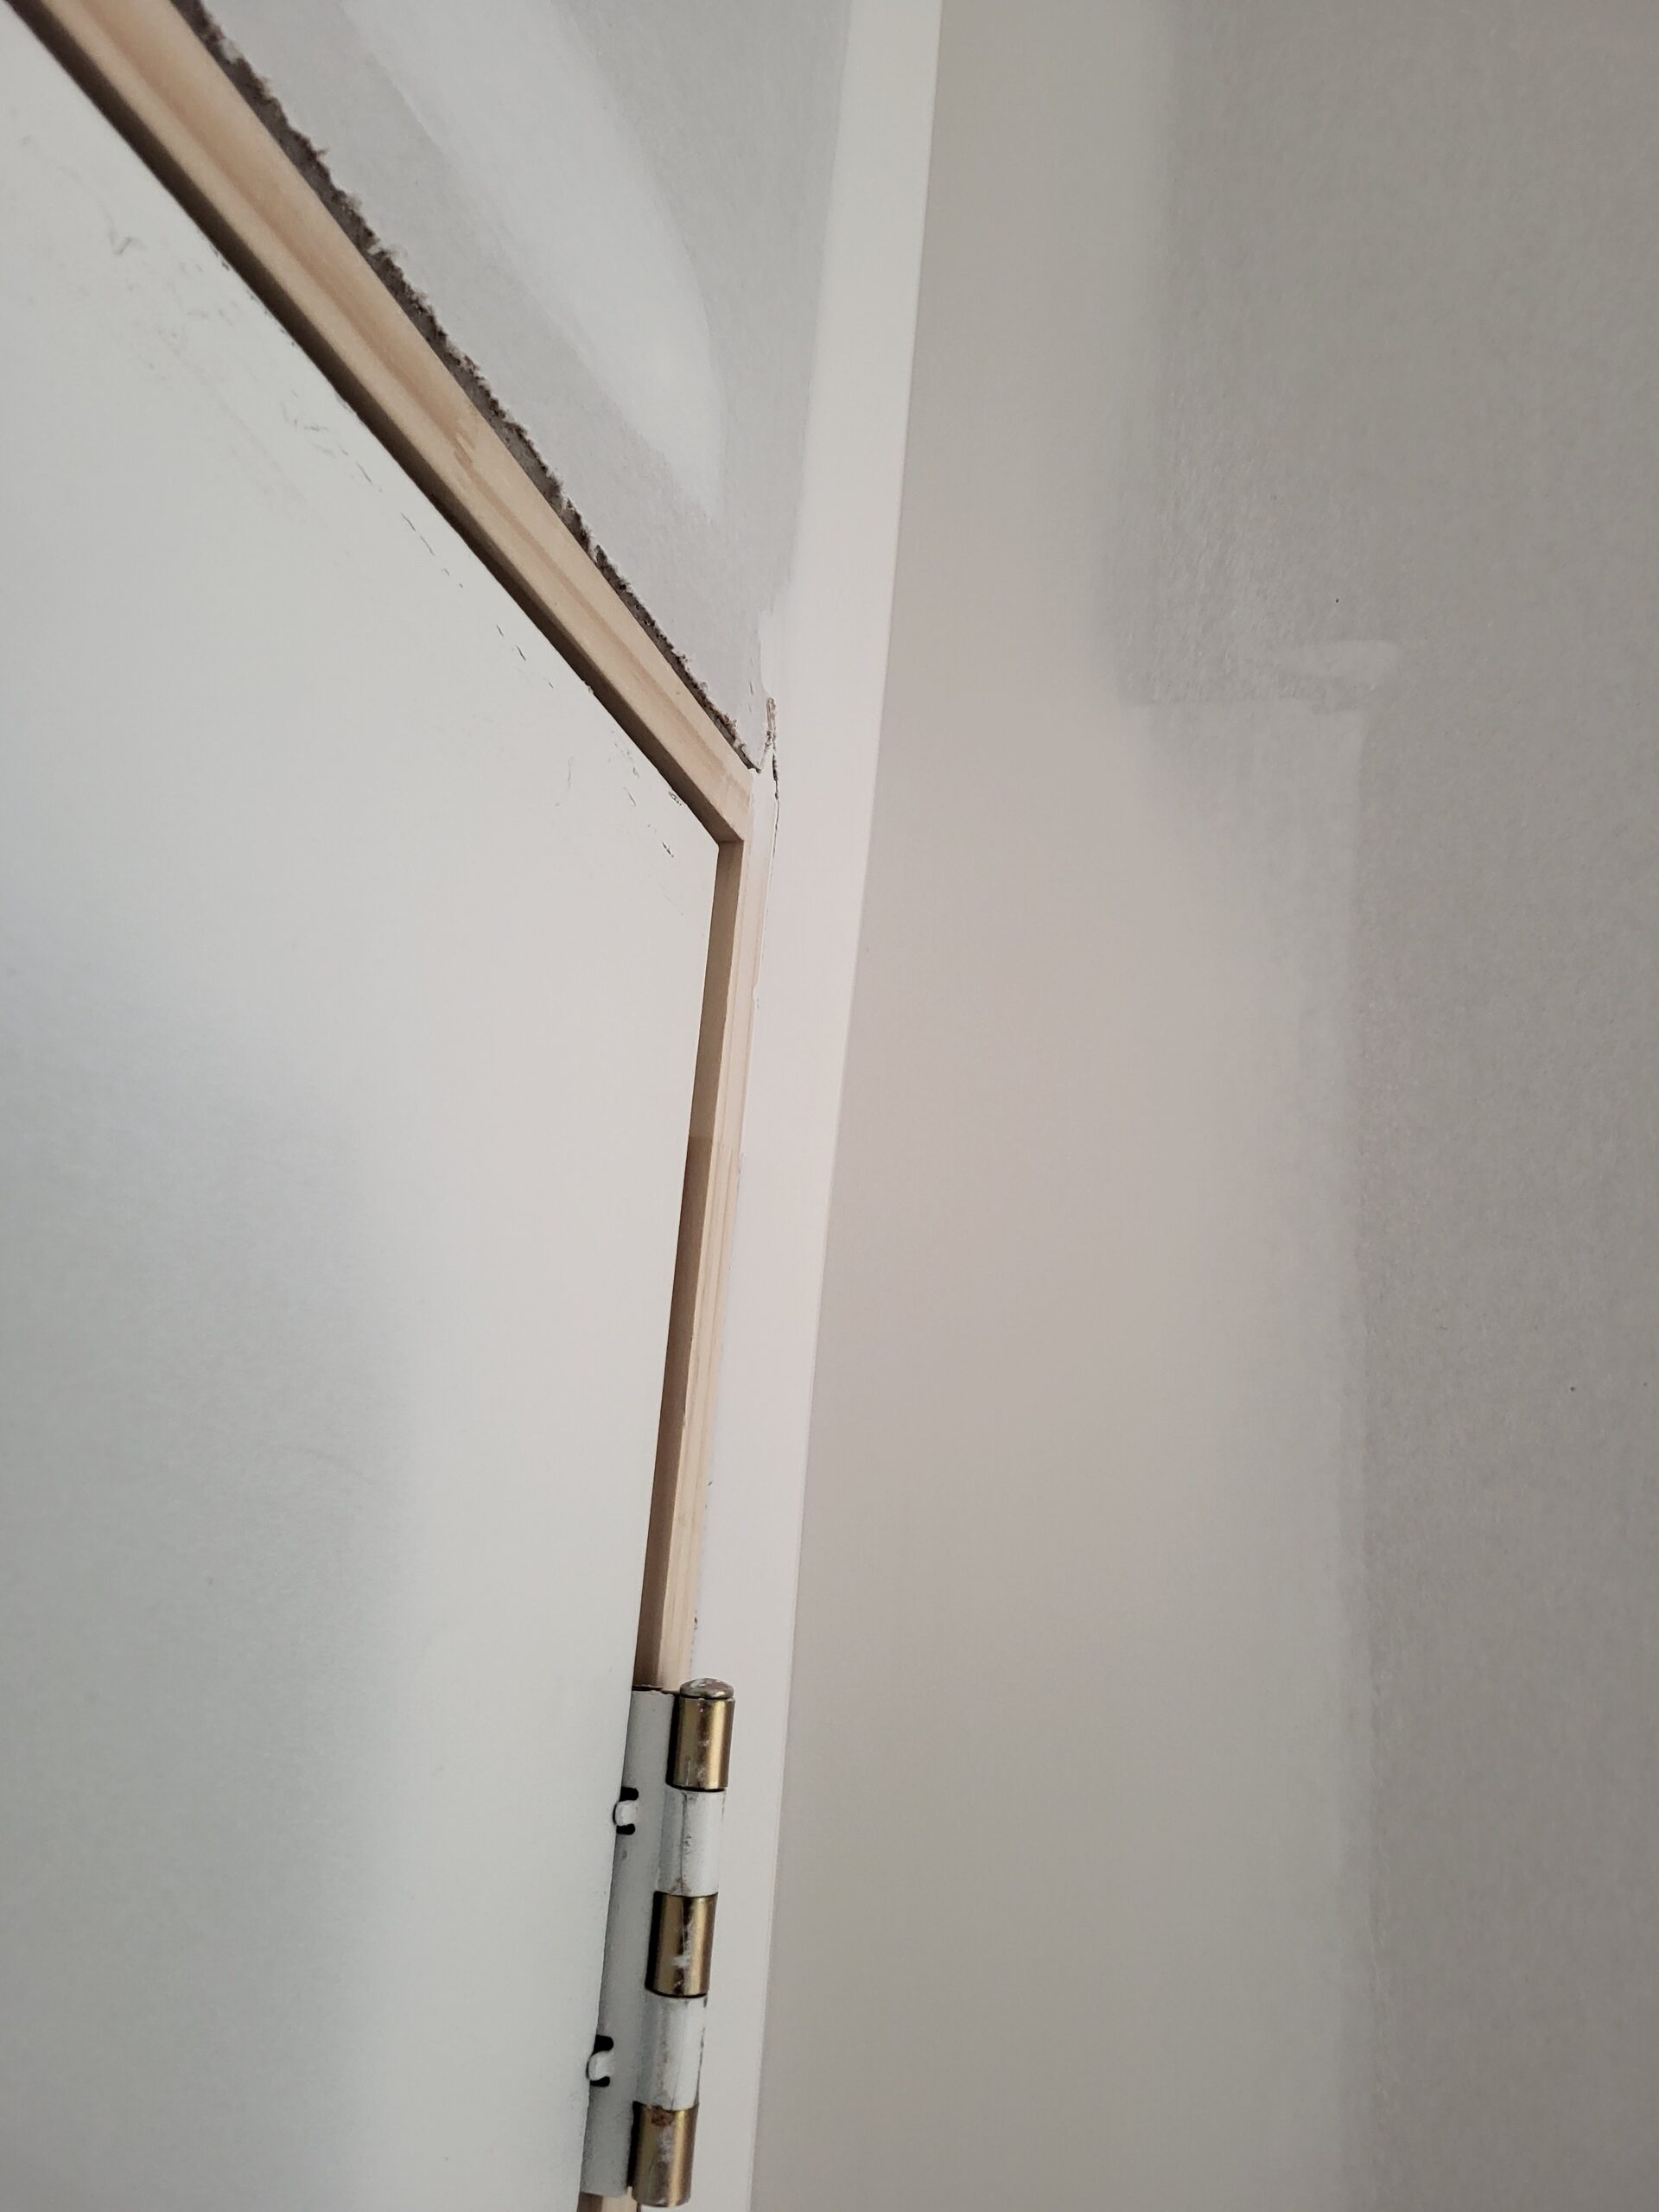
The following photos show examples of this type of work completed in the field. These serve as visual references for quality standards, proper installation techniques, and finished results.
Showing 15 of 15 photos