On this page
Introduction #
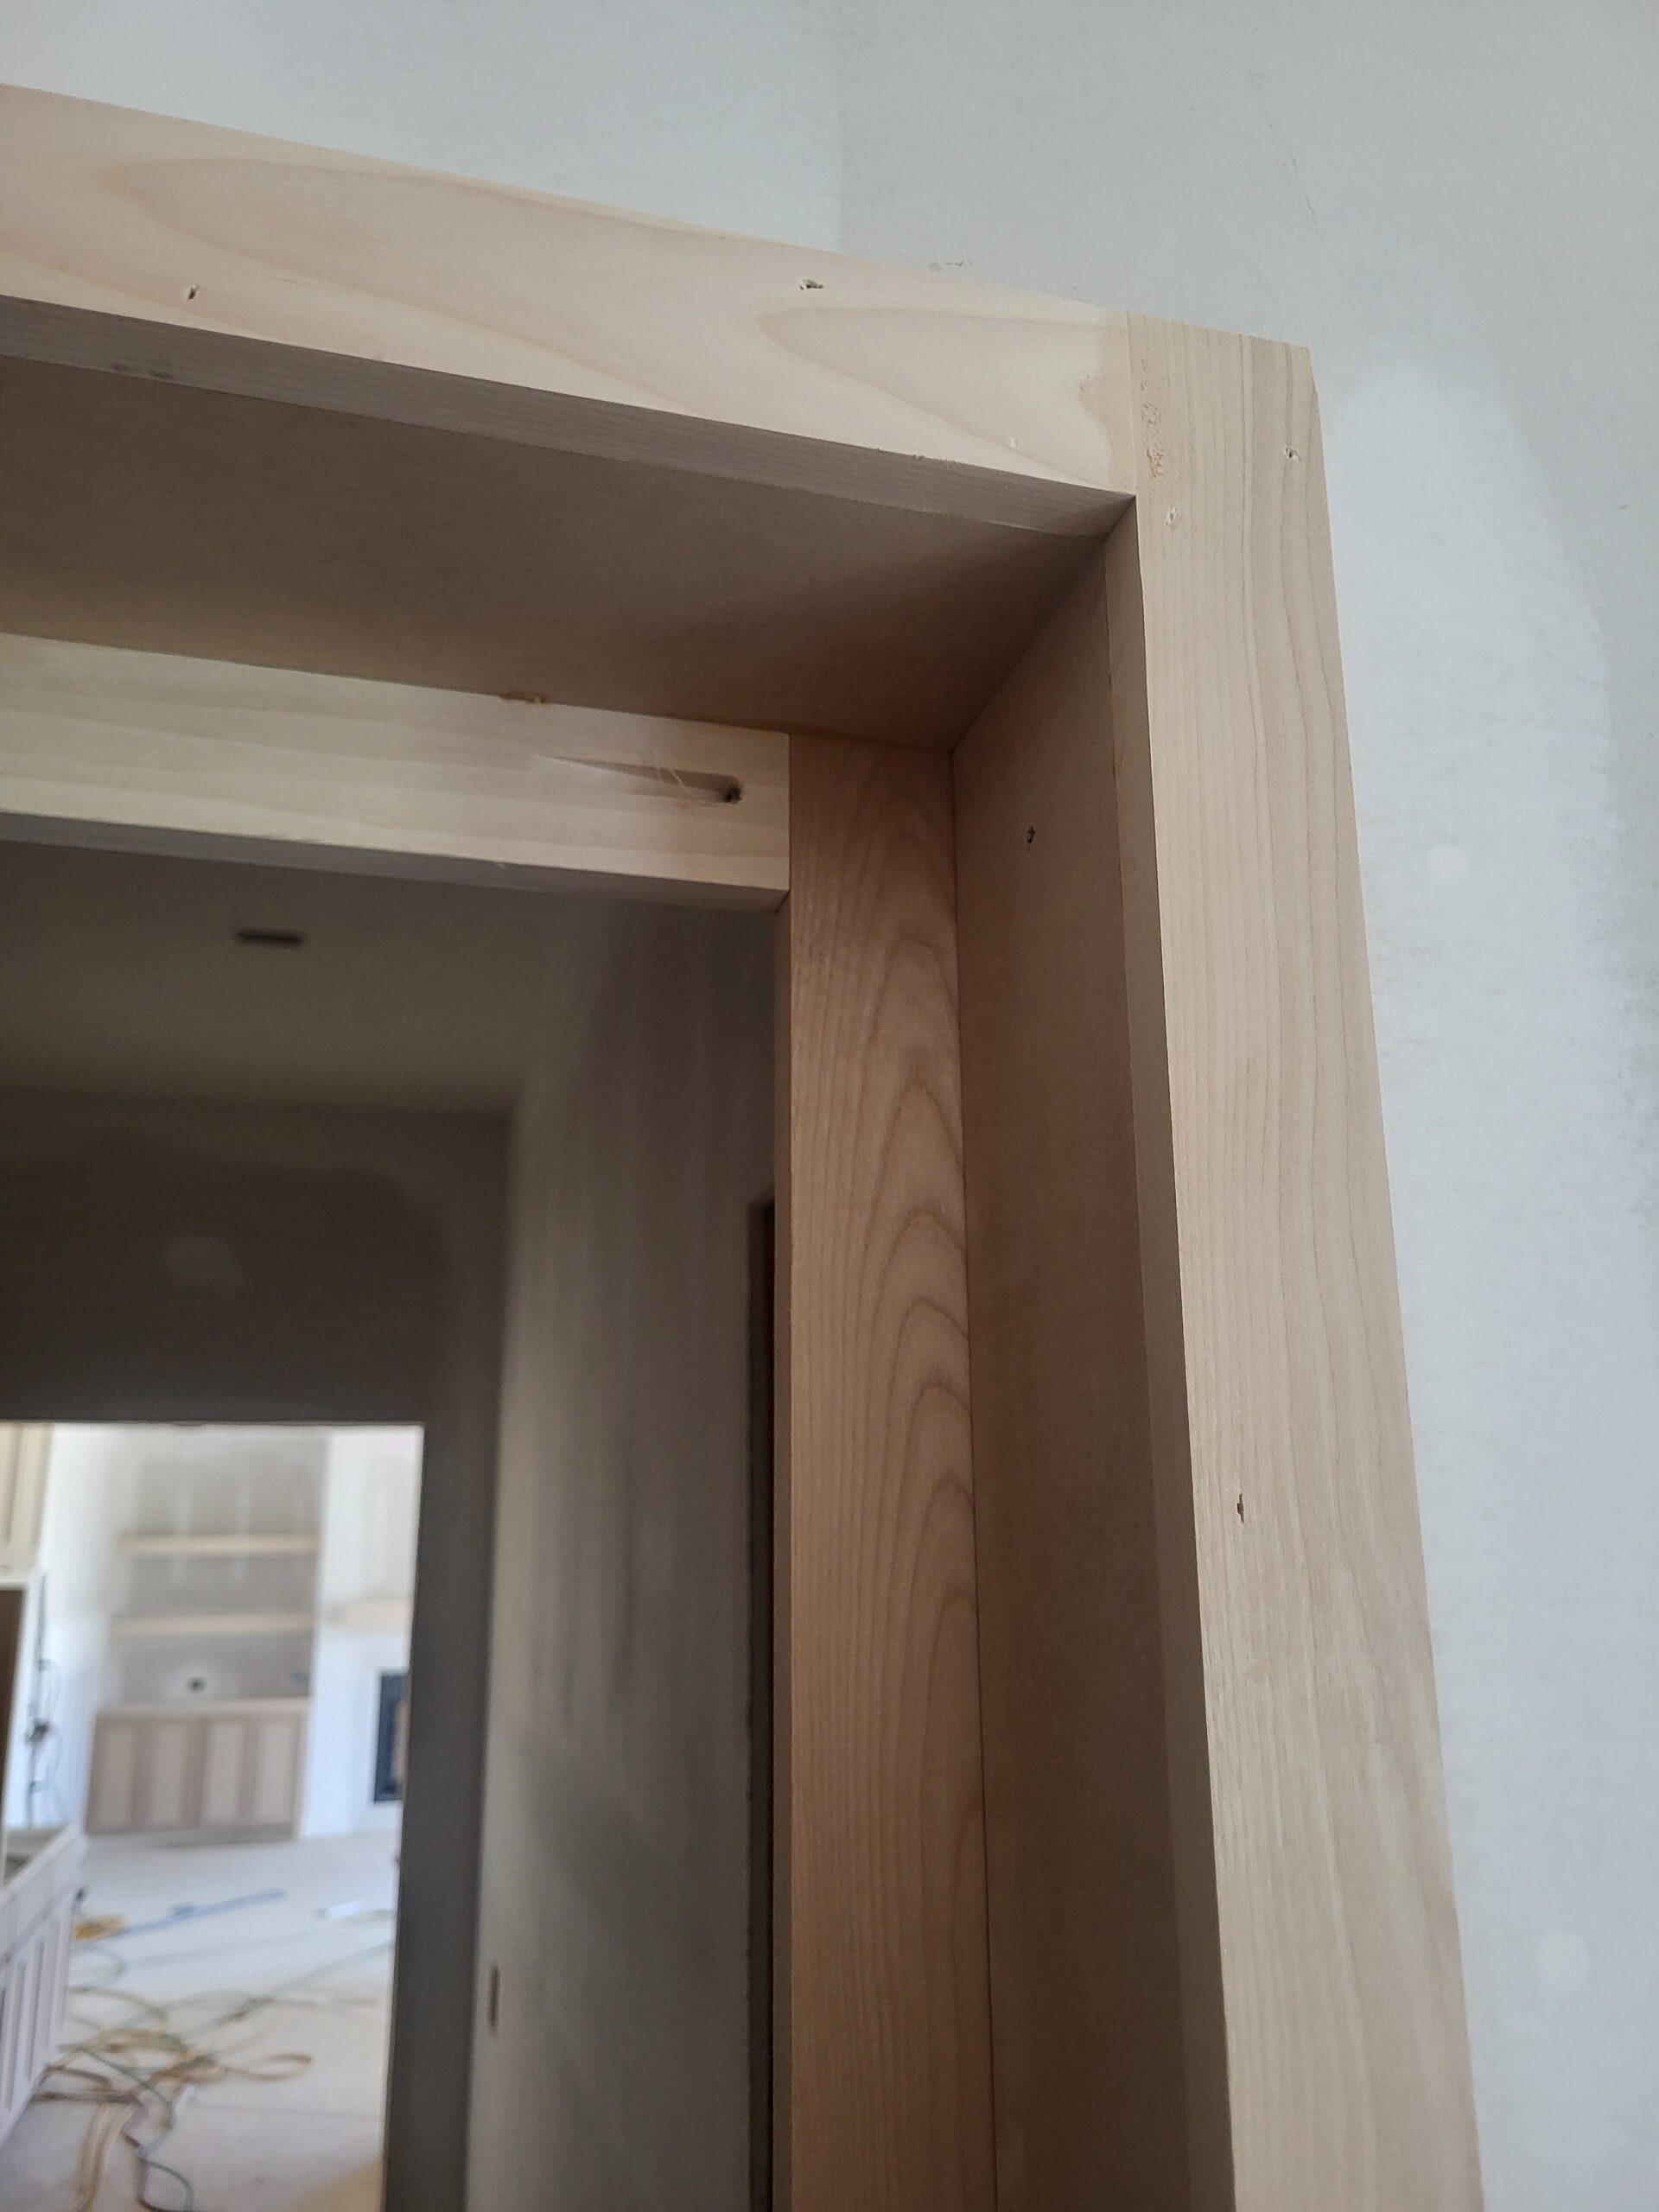
You need a door jamb extension whenever a wall is thicker than the standard jamb. A door jamb extension is a strip of wood or MDF (medium-density fiberboard, a flat manufactured wood panel) that widens the jamb. It brings the jamb’s edge out flush with the finished wall. This happens more often than you might think. Exterior walls framed with 2×6 studs, interior walls with stone or brick veneer, and rooms where new drywall has been added over old walls all create the same problem: the factory jamb falls short of the wall surface, anywhere from 1/4″ to over an inch. Without an extension, the casing has nothing solid to land on. The result is a rocking, gapped mess that looks amateur.
Every extension bridges that gap. It’s a simple piece of material: rip it (cut it to a narrower width on the table saw, with the grain) to width, then glue and nail it to the edge of the existing jamb. That brings the jamb edge flush with the wall. Once it’s installed, the casing sits flat against both the jamb and the wall, with no rocking and no visible gaps, a tight and professional result. Nobody notices this detail when it’s done right. Everyone notices when it’s done wrong.
In new construction, jamb extensions show up most on exterior doors, where the wall is thicker than the standard 4-9/16″ jamb. They also show up on interior doors in homes with unusual wall thicknesses, in remodels where furring strips (thin strips of wood added to build out a wall) or extra layers of drywall were added, and anywhere a door opening was framed with wider-than-standard lumber. The method stays the same no matter the reason: measure the gap, rip the material, and attach it flush to the jamb face.
Installing a door jamb extension is a beginner-level task, but don’t mistake “beginner” for “unimportant.” Get this wrong and it will haunt you through every step that follows: the casing won’t sit right, the reveal (the strip of jamb edge left showing where the casing sits back from it) will be uneven, and the whole door assembly will look off. Take the time to measure accurately, rip precisely, and attach the extension flush. Do this right and you set yourself up for a clean, professional casing job.
Before You Begin #
Prerequisites #
- The door must be hung, shimmed (wedged with thin tapered shims to hold the jamb straight and square), and secured in the rough opening. The jamb must be in its final position before you add an extension
- Drywall must be done, taped, and finished around the door opening. You need the finished wall surface in place so you can measure the gap accurately
- You need to know the gap width between the jamb edge and the finished wall. Measure it before you order or rip material
- The jamb face must be clean. Clear off debris, paint drips, or dried drywall mud, anything that would stop the extension from sitting flush
- If it’s an exterior door, confirm that insulation and vapor barrier work (the plastic sheet or coating that blocks moisture from passing through the wall) is finished before you close up the jamb area with extensions
- Our pre-hung door installation guide - Covers jamb prep and extension work as part of the full install
What You Need To Know #
- Measure the gap between the jamb edge and the wall at several points: top, middle, and bottom of each side jamb leg (the vertical side piece of the doorframe), plus left, center, and right of the header. Walls are rarely consistent. The gap can vary by 1/16″ to 1/8″ or more from one end of a jamb leg to the other
- The extension must sit flush with the jamb face on the room side. This alignment is the most important part of the job. If the extension is proud (sticking out past the jamb face) or recessed (sitting behind it), the casing will bridge the gap and you’ll see a gap or a bump under the trim
- For paint-grade work (the trim will be painted, not stained), MDF is the best choice. It stays flat and true, cuts cleanly, and won’t warp or twist even in narrow strips. For stain-grade work (the trim will be stained and clear-coated, so the wood grain shows), match the extension material to the jamb species so the grain and stain color come out consistent
- Wood glue is essential on jamb extensions. A properly glued joint is stronger than the wood itself, so the extension will never separate from the jamb over time. Apply glue along the full length of the jamb edge before you set the extension in place
- Extension thickness should match the jamb thickness, typically 3/4″. Thinner material changes the reveal between the original jamb and the extension, which looks inconsistent
Tools Required #
Power Tools #
- Table saw - the best tool for ripping extension strips to a consistent, precise width. It cuts straight, parallel edges so the extension fits tight against the jamb edge and sits flush with the wall
- Circular saw with rip guide (alternative) - if you don’t have a table saw, a circular saw with a straightedge guide can rip extension material. The cut quality will be a little less consistent
- 18-gauge brad nailer - for pinning the extension to the jamb edge while the glue sets. Brad nails are thin, so they won’t split narrow extension strips, and they leave small holes
Hand Tools #
- Tape measure - a 16′ or 25′ tape, for measuring the gap at multiple points along each jamb leg and the header
- Straight edge or 4-foot level - for checking that the extension is flush with the jamb face after installation. Bridge the straight edge from the jamb face across the extension and it will show any high or low spots right away
- Pencil - a sharp carpenter’s pencil, for marking measurements on extension material and marking the jamb for reference
- Utility knife - for scoring cut lines on MDF, trimming dried glue squeeze-out, and cleaning up the jamb edge before gluing
- Block plane - essential for fine-tuning the extension after installation. If it’s slightly proud of the jamb face or the wall, a few passes with a sharp block plane will bring it flush
- Combination square - for checking that the extension sits square to the jamb face, and for verifying the extension width matches your measurement
Supplies #
- 18-gauge brad nails, 1-1/4″ to 1-1/2″ - for pinning the extension to the jamb edge. Length depends on extension thickness. The nail should go at least 1/2″ into the jamb
- Wood glue - for bonding the extension to the jamb edge. Use a waterproof glue on exterior doors; standard wood glue is fine for interior doors
- Sandpaper (120 grit) - for knocking down plane marks at the extension-to-jamb transition. Not for finish-sanding the face
Materials #
- MDF (Medium Density Fiberboard) - The go-to choice for a paint-grade door jamb extension. MDF stays flat and true - it won’t expand, contract, or warp, even when ripped into narrow strips. It cuts cleanly on the table saw and leaves a smooth surface that takes paint well. Use 3/4″ MDF to match standard jamb thickness. The downside: MDF can’t tolerate moisture. Don’t use it on exterior doors in wet climates without sealing it properly.
- Pine (Clear or Finger-Jointed) - A solid choice for paint-grade extensions when you want real wood instead of MDF. Clear pine has no knots and is easy to work. Finger-jointed pine (short pieces joined end to end with interlocking finger-shaped cuts) is cheaper and comes pre-primed. Pine handles damp environments a little better than MDF, but it’s still a paint-grade material. Available in 3/4″ thickness at most lumber yards.
- Poplar - A hardwood that works well for both paint-grade and semi-transparent finishes. Poplar is harder and more durable than pine. It resists dents better and takes paint well. It’s a good upgrade for mid-range to custom homes where the customer wants a tougher extension, one that won’t dent or ding during the rest of construction.
- Species-Matched Hardwood (Oak, Alder, Maple) - Required for stain-grade jobs, where the extension will be stained and clear-coated to match the existing jamb. The extension must match the jamb species exactly, both in species and grain direction, so the stain soaks in evenly and the finished look is seamless. This is the most expensive option and needs more careful material selection, but there’s no substitute on a stain-grade trim package.
Door Jamb Extension Installation Process #
Step 1: Measure the Door Jamb Extension Gap #
Start by measuring the distance between the edge of the existing jamb and the finished wall. This gap is the width your extension needs to be. Take the measurement at three points on each jamb leg (top, middle, and bottom) and three points across the header (left, center, and right). Write every measurement down. Walls are never perfectly plumb or flat. Drywall thickness varies, and the rough opening may not be perfectly square. So the gap will almost always vary from one point to the next.
Pay close attention to the largest measurement on each piece. Your extension strip needs to be at least as wide as the widest point of the gap. You can always plane down a strip that’s slightly too wide, but you can’t add material to one that’s too narrow. If the gap varies by more than 1/8″ from one end of a jamb leg to the other, you’ll need to taper the extension or plane it after installation. In most cases, the gap stays consistent enough that a single rip width works for all three pieces (both legs and the header).
Step 2: Rip Extension Material #
Ripping the extension material is straightforward. Set your table saw fence to the widest measurement from Step 1. If all your measurements were consistent (within 1/16″), rip all your extension strips to that single width. If the gap varies a lot between the two side jambs or the header, rip different widths for each piece. Always rip the material a little wider than your measurement. An extra 1/32″ to 1/16″ gives you room to plane it flush without ending up short.
Run the material through the table saw with the factory edge against the fence. That keeps the edge that will sit against the jamb straight and true. The freshly ripped edge faces the wall side, where any small saw marks stay hidden behind the casing or the wall-to-extension joint. Cut each extension strip to length too. Measure the actual jamb leg lengths and header width instead of assuming they match the door size. Cut the header extension to fit between the two side extensions, or miter the corners (cut them at an angle so they meet in a clean point) for a cleaner joint on stain-grade work.
Pro Tip: If you’re doing multiple doors with the same wall thickness, rip all the extension material at once. Set the fence, check the cut width on a test piece, then rip enough strips for every door on the job. This is much faster than resetting the fence for each door, and it keeps every extension exactly the same width for a consistent look throughout the house.
Step 3: Attach the Door Jamb Extension #
Apply a continuous bead of wood glue along the whole edge of the existing jamb, where the extension will sit. Don’t be stingy with the glue. You want full coverage across the edge so the bond is strong all the way along. Position the extension strip against the glued edge, flush with the jamb face on the room side. This flush alignment is the most important part of the whole job. The extension’s room-side face must be perfectly even with the jamb’s room-side face, so the casing sits flat across the transition.
Once the extension is positioned flush, pin it in place with 18-gauge brad nails spaced every 12″ to 16″ along its length. The brads hold the extension in place while the glue cures. The glue is doing the real structural work. Start nailing from the center and work toward the ends. Check the flush alignment at each nail before you pull the trigger. If the extension slides out of position as you nail, gently tap it back flush before the next nail. After nailing, run your straight edge across the jamb face and extension face to confirm they line up perfectly. Fix any gap or step now, before the glue sets.
Pro Tip: Before you attach the extension, check the jamb edge. If it’s rough, uneven, or has dried drywall compound on it, scrape it clean with a utility knife or chisel before you glue. Glue bonds to wood, not to paint drips, drywall mud, or sawdust. A clean edge means a stronger bond and a tighter fit between the extension and the jamb.
Step 4: Plane or Sand Flush #
Even with careful alignment during nailing, there will almost always be small inconsistencies between the extension and the jamb face. Maybe a spot where the extension is slightly proud, or a section where it doesn’t quite reach the wall. This is where a sharp block plane earns its keep. Set the plane for a very light cut. You want paper-thin shavings, not chunks of material. Plane across the transition between the jamb face and the extension face, working with the grain, until the straight edge shows no gap or bump at the joint.
On the wall side, check that the extension is flush with the finished wall. If the extension is slightly proud of the wall, plane it down. If the wall is slightly proud of the extension, you have two choices: plane a slight bevel on the wall-side edge of the extension (so the casing compresses against it), or handle it later with shims during casing. After planing, a light pass with 120-grit sandpaper at the transition knocks down any plane marks. That’s as far as sanding goes on our end. Wipe away the dust before you move on to casing.
Step 5: Verify and Prepare for Casing #
With all three extensions installed (both jamb legs and the header), do a final check before you move on to casing. Place your straight edge or level across each transition, from the original jamb face across the extension, and confirm there’s no bump, step, or gap. Then check the other side: hold the straight edge from the wall surface across the extension and confirm that side is flush too. The extension should create a seamless transition from jamb to wall on all three sides of the door opening.
Now test the extension. Grab a piece of casing material and hold it in position against the jamb and wall. The casing should sit flat against both surfaces, with no rocking or gapping. If one edge of the casing lifts while the other edge touches down, the extension isn’t perfectly flush and needs more planing. Press the casing at several points along each leg and across the header, especially at the corners where the side extensions meet the header extension. This dry-fit test is your last chance to catch problems before the nails go in.
Pro Tip: Flag the extensions for the painter before casing goes on, stain-grade or paint-grade alike. Once the casing is nailed in place, the jamb face behind it is out of reach for any finish coat. Bare MDF or raw wood left uncoated back there can soak up moisture later and swell, creating a bump that shows right through the casing. Make sure the painter has been through the opening before you close it up.
Door Jamb Extension Quality Check #
Before you call the door jamb extension complete and move on to casing, run through this verification checklist. Every item must pass - a failure on any point means going back and correcting the issue now, which is always faster and easier than trying to fix it after casing is nailed on.
- Extension flush with jamb face - Run a straight edge across the transition between the original jamb face and the extension face. There should be zero step, gap, or bump. If the straight edge rocks, or you can see light under it, plane the high side until the transition is seamless.
- Extension flush with wall surface - Hold a straight edge from the wall across the extension on the wall side. The extension should be flush with the wall, or no more than 1/32″ proud. A slightly proud extension is fine, since the casing will compress against it. A recessed extension is a problem, since the casing will bridge the gap and rock.
- No gaps between extension and jamb - Inspect the glue joint between the extension and the jamb edge along its whole length. There should be no visible gap. If you see one, the extension wasn’t fully seated during nailing, or the jamb edge had debris on it. A gap under 1/16″ is within the painter’s normal tolerance to close later. Anything wider means the glue joint failed. Remove the extension and reattach it with a fresh glue line rather than leaving a gap behind.
- Casing sits flat without rocking - Hold a piece of casing in its final position against the extended jamb and the wall. Press it at several points. The casing should touch both surfaces fully, with no rocking, tipping, or gapping. This is the real test. If the casing sits flat, you’ve done the job right.
- Wood glue bond is solid - After the glue has had at least 30 minutes to set, try to flex the extension away from the jamb with gentle hand pressure. There should be zero movement. If it moves, the glue bond failed, likely from a dirty surface or not enough glue. Remove the extension, clean both surfaces, and reattach with fresh glue.
- Planed transition is clean - No plane chatter, gouges, or ridges where the extension meets the jamb or wall. A light 120-grit pass at the transition is as far as sanding goes on our end. Sweep the dust before casing goes on.
Troubleshooting Door Jamb Extension Problems #
Extension Not Flush with Wall Surface #
If the extension sits proud of the wall (sticks out past the drywall), the strip was ripped too wide. This is an easy fix. Plane the wall-side edge of the extension down until it’s flush with the wall. Use a block plane set to a light cut, work along the full length of the extension, and check with a straight edge after every few passes. If the extension is recessed below the wall surface (the wall sticks out past the extension), the strip was ripped too narrow. You have two options: remove the extension and rip a new, wider strip, or add a thin shim between the jamb edge and the extension to push it outward. For gaps less than 1/16″, you can often make up the difference during casing by angling the casing slightly.
Gap Between Extension and Jamb Edge #
A visible gap between the extension and the jamb edge usually means the jamb edge wasn’t clean when you applied glue, or the extension wasn’t pressed firmly against the jamb during nailing. A gap that small (1/32″ or less) is within the painter’s normal tolerance to close later, paint-grade or stain-grade. For larger gaps, the best fix is to remove the extension (carefully pry it off, scrape away the old glue), clean the jamb edge thoroughly with a utility knife or chisel, and reattach it with fresh glue and firmer clamping or nailing pressure. Make sure you apply glue across the full width and length of the jamb edge. A thin or spotty glue line leaves bare spots where the extension can pull away.
Extension Too Narrow After Ripping #
If you measured the gap at one point and ripped to that dimension, but the gap is wider at another point on the jamb, the extension will be too narrow at the wider sections. This is why Step 1 tells you to measure at multiple points. If you’ve already ripped and installed an extension that’s too narrow in spots, your options depend on how bad it is. Gaps of 1/16″ or less are within the painter’s normal tolerance to close during the casing phase. For bigger gaps, the cleanest fix is to remove the extension, re-measure using the widest point along the whole jamb leg, and rip a new strip to that wider measurement. The narrow spots can then be planed flush with the wall after installation.
Extension Bows Away from Jamb #
If the extension is tight at the nailed points but bows away from the jamb edge between nails, either you spaced your brads too far apart, or the material has a slight bow or cup to it. The fix is simple: add more brad nails where the extension is pulling away. Space them every 6″ to 8″ instead of the standard 12″ to 16″ until the extension sits tight against the jamb along its whole length. For stubborn bows, you can use a small clamp, or even blue painter’s tape pulled tight, to hold the extension against the jamb while you add nails. If the material itself is badly bowed, it’s usually better to rip a new strip from a flatter piece of stock. Fighting badly warped material is rarely worth the effort.
Casing Still Rocks After Extension Installed #
If you’ve installed the extension but the casing still rocks when you hold it in position, something isn’t flush. Check each surface, one at a time. First, hold the straight edge across the jamb face and extension face. If there’s a step here, the casing will rock on the jamb side. Second, hold the straight edge from the wall across the extension. If there’s a step here, the casing will rock on the wall side. Third, check for lumps of dried drywall compound, paint drips, or glue squeeze-out on any surface the casing touches. These small bumps can cause rocking too. Scrape them flat with a utility knife or chisel. Finally, check the casing itself. A warped or twisted piece will rock even on perfectly flat surfaces. Swap it for a straight piece and test again.
Related Guides #
- How to Install a Pre-Hung Door - Understanding how the door was hung and how the jamb was set helps you assess whether the jamb is ready for extensions and whether the rough opening contributes to uneven gaps
- How to Install Exterior Door Casing - Door casing is the next step after jamb extensions are installed, and this guide walks you through the complete casing process including reveal layout and miter cutting
- How to Case a Window - Window casing uses many of the same techniques as door casing, and windows often require jamb extensions for the same reasons doors do - thicker wall assemblies
- How to Install an Exterior Door - If you’re working on exterior doors, this guide covers the complete door installation process including rough opening preparation and jamb positioning
- How to Install a 6'8" Cased Opening
- Make a Plinth Block
- How to Install a Transom Window Above a Door
Reference Photos #
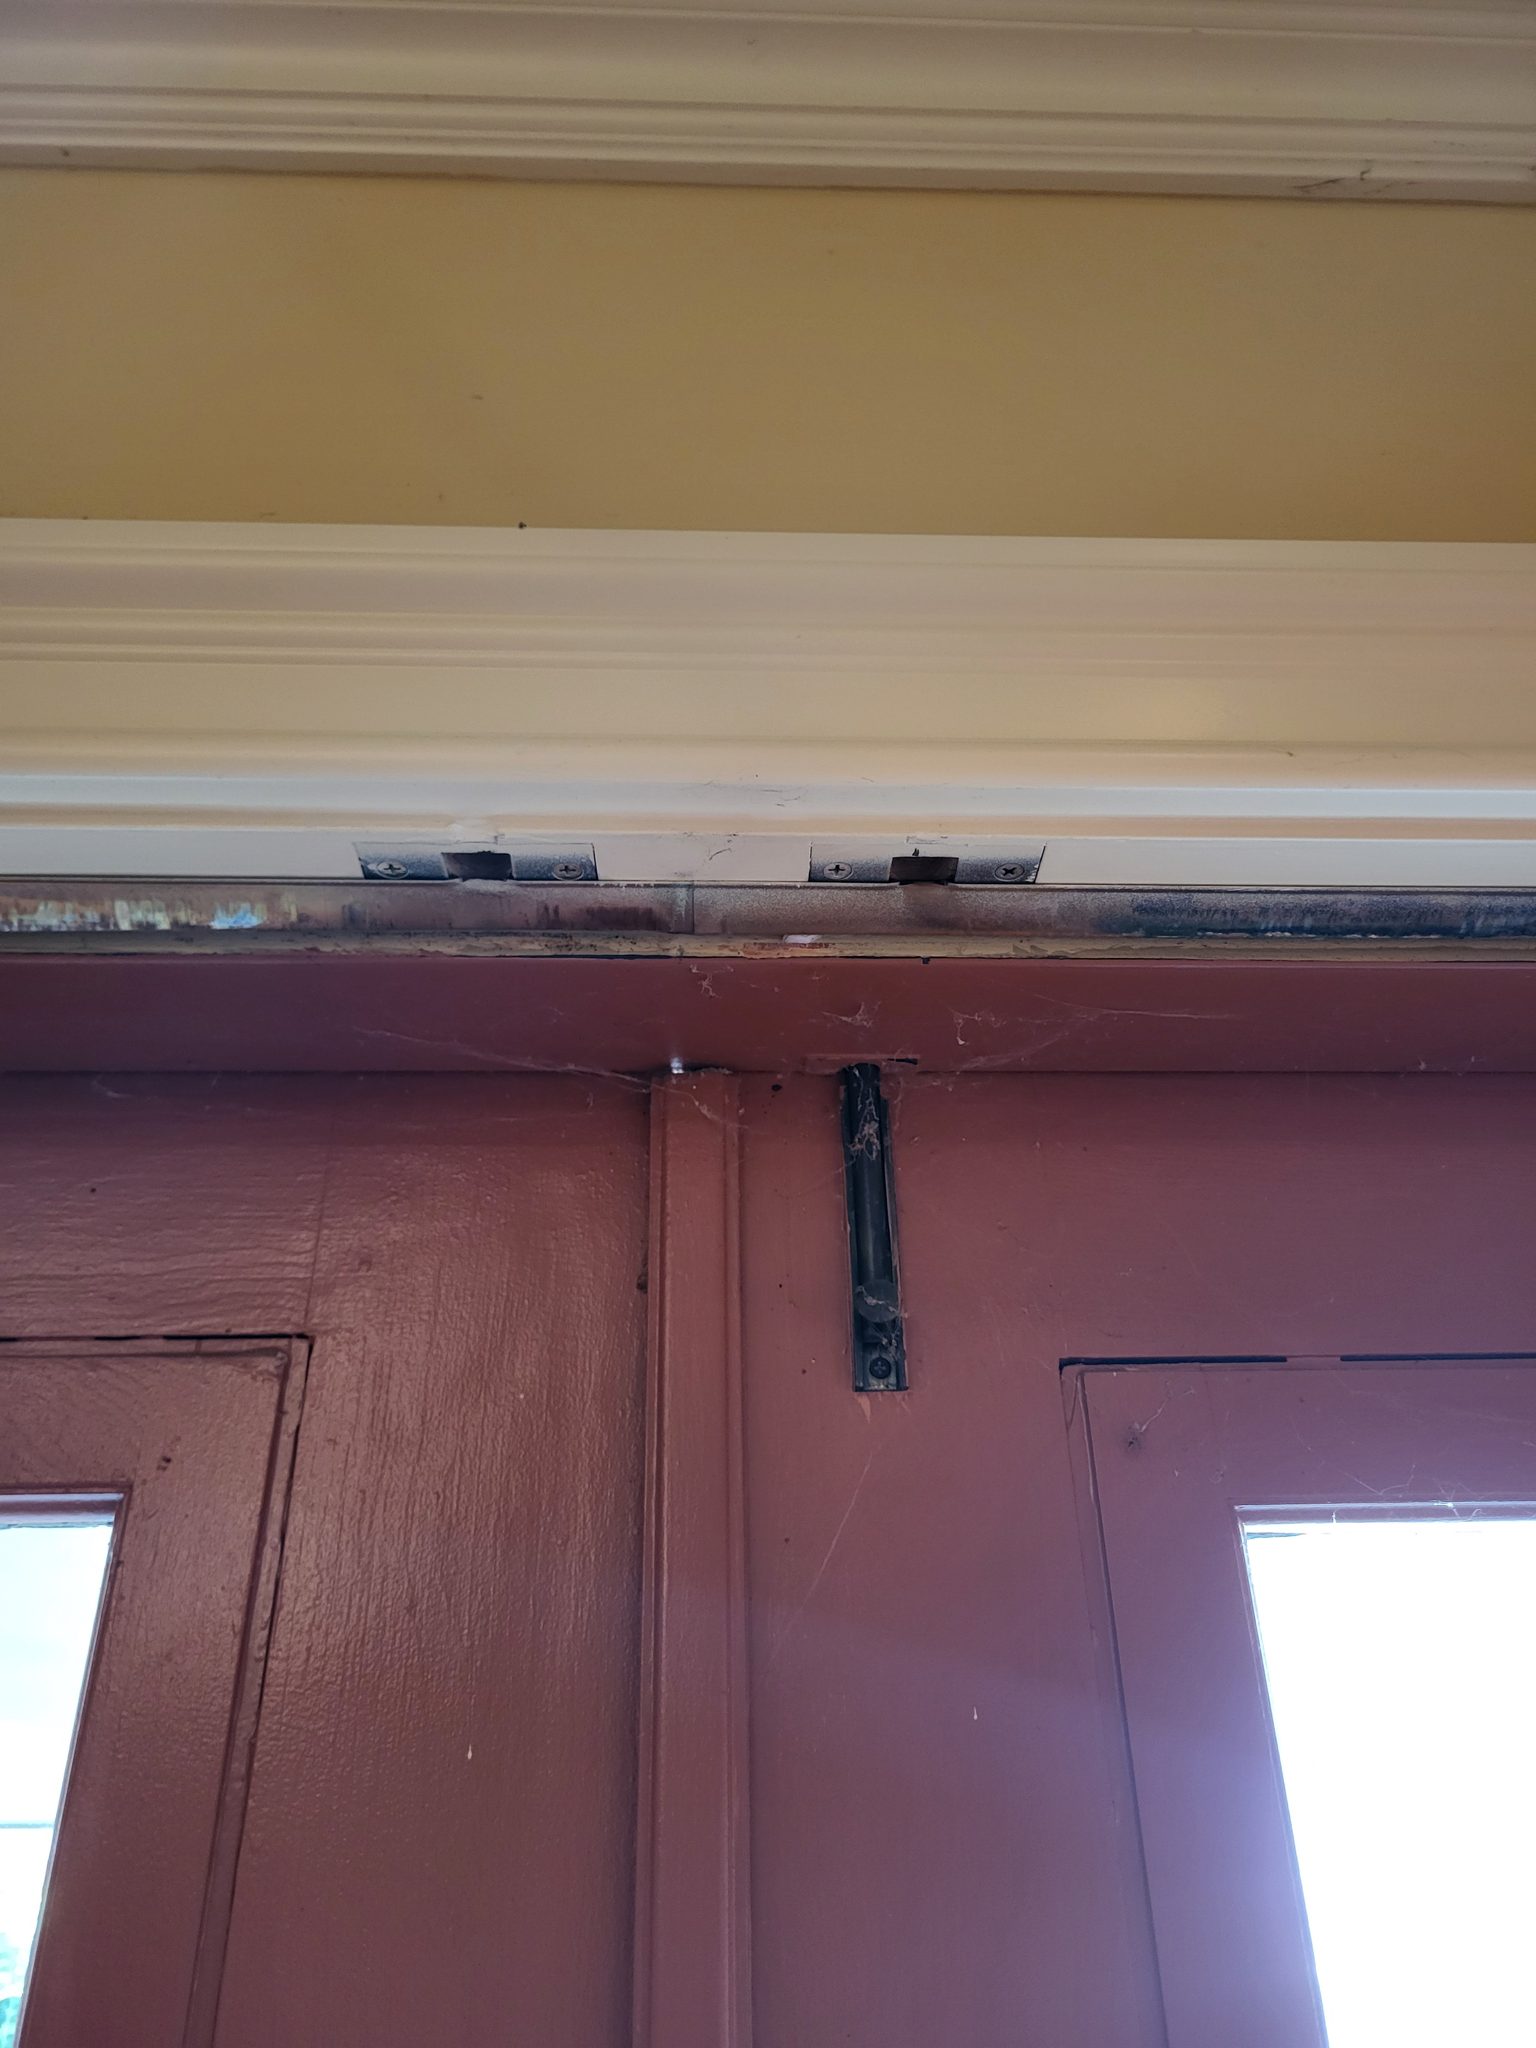
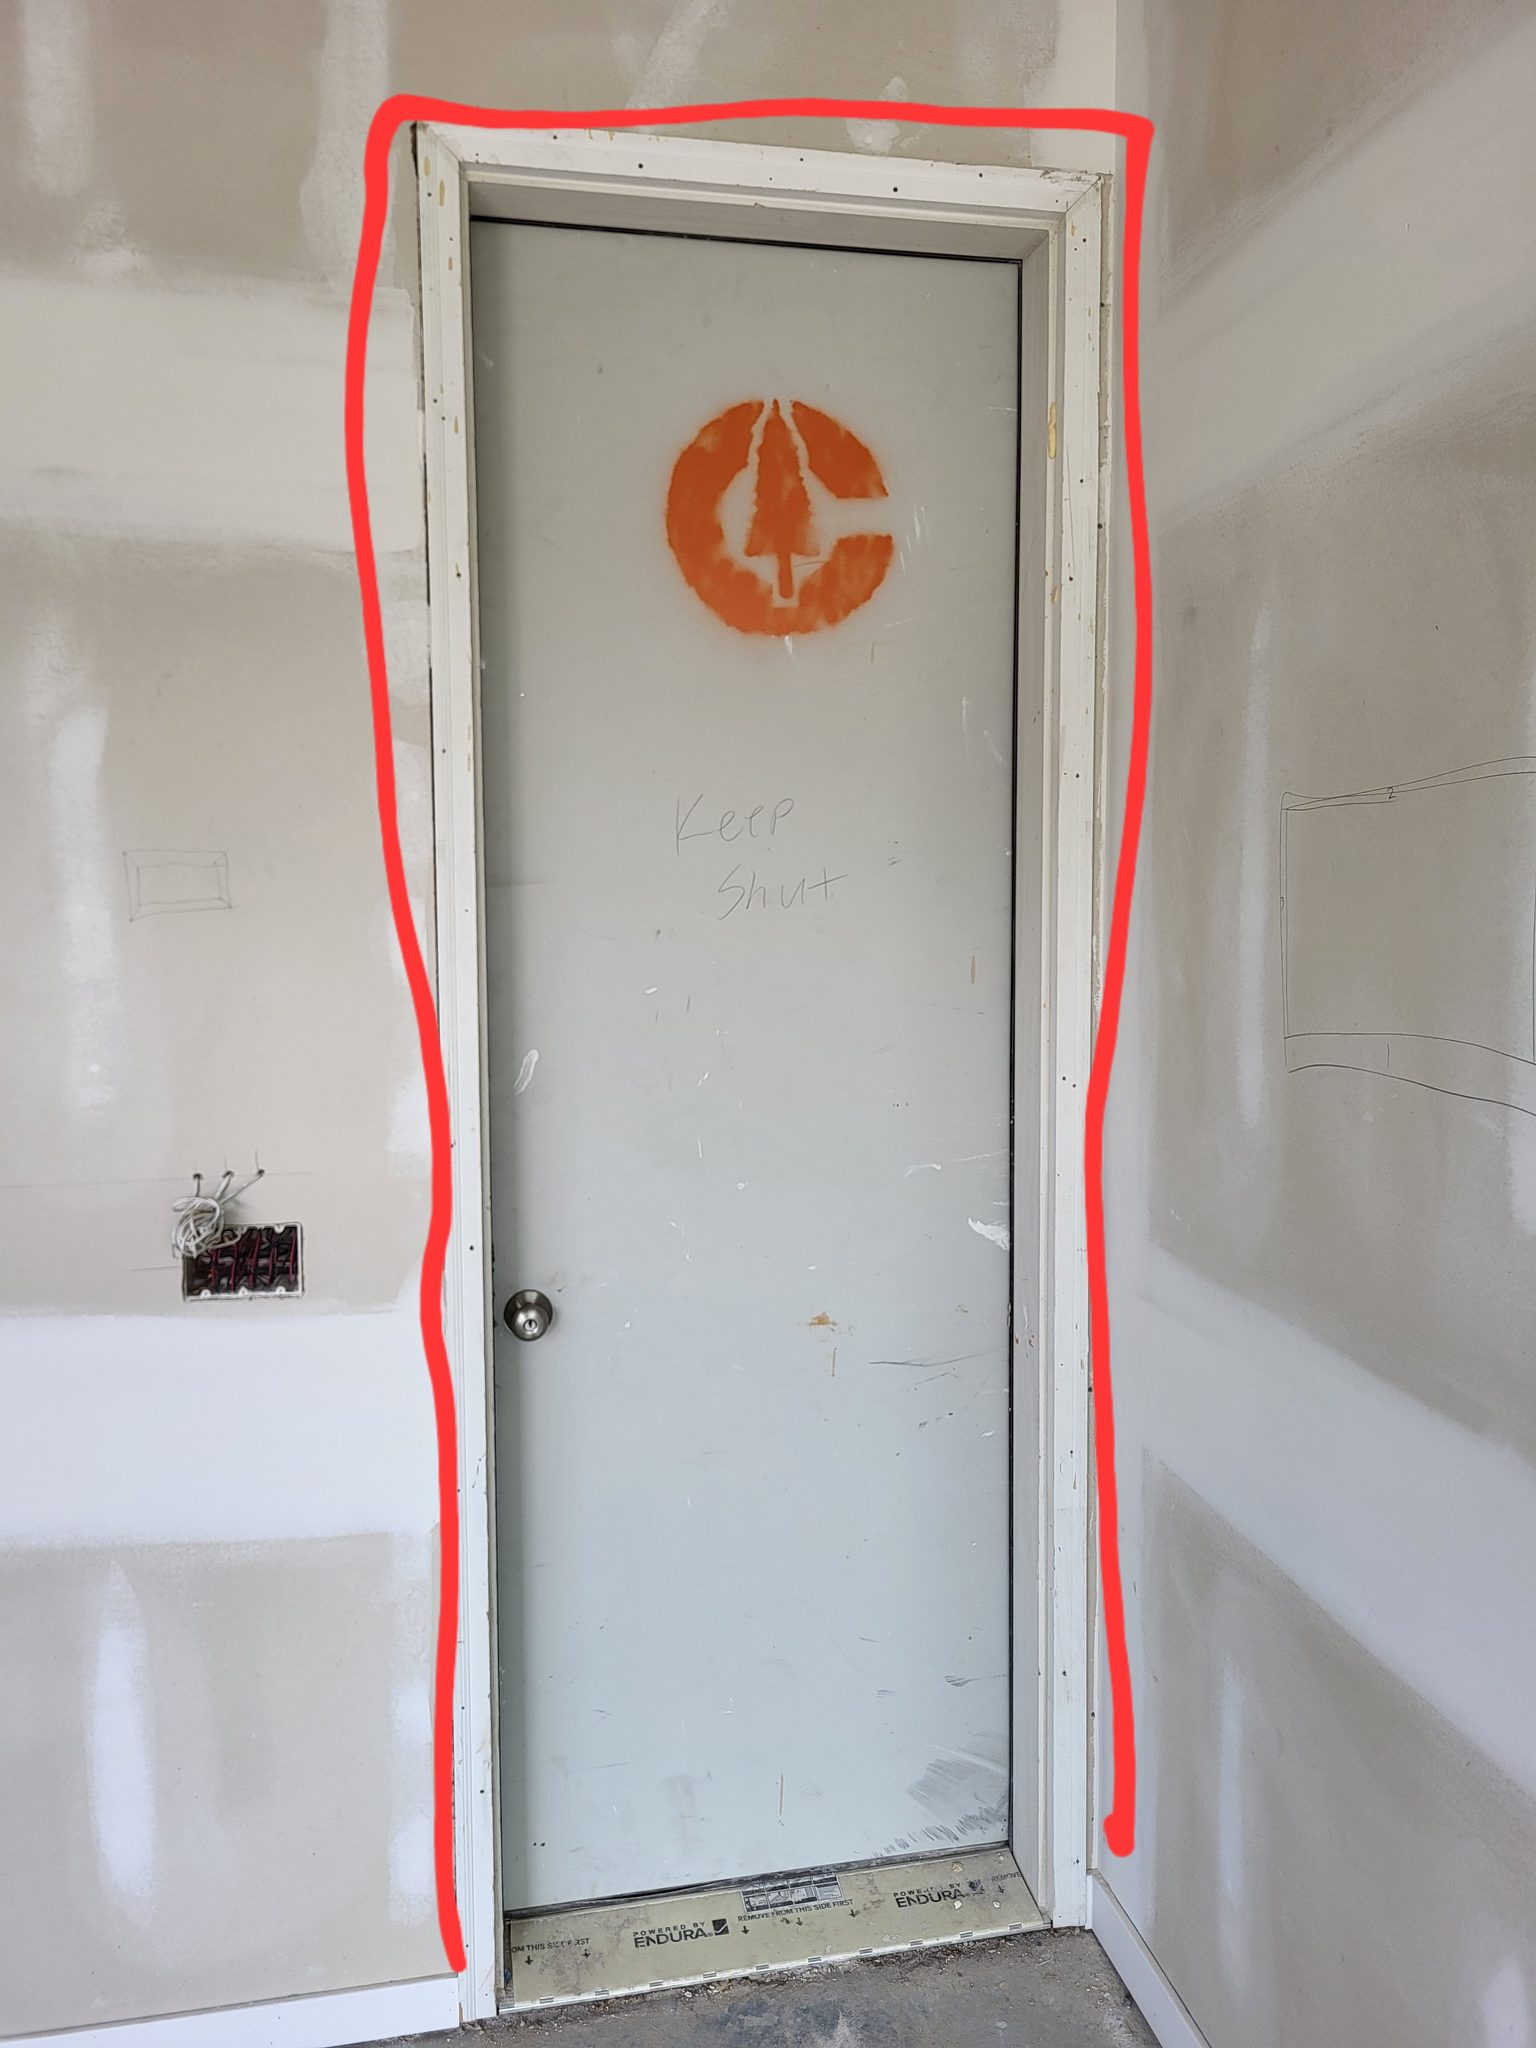
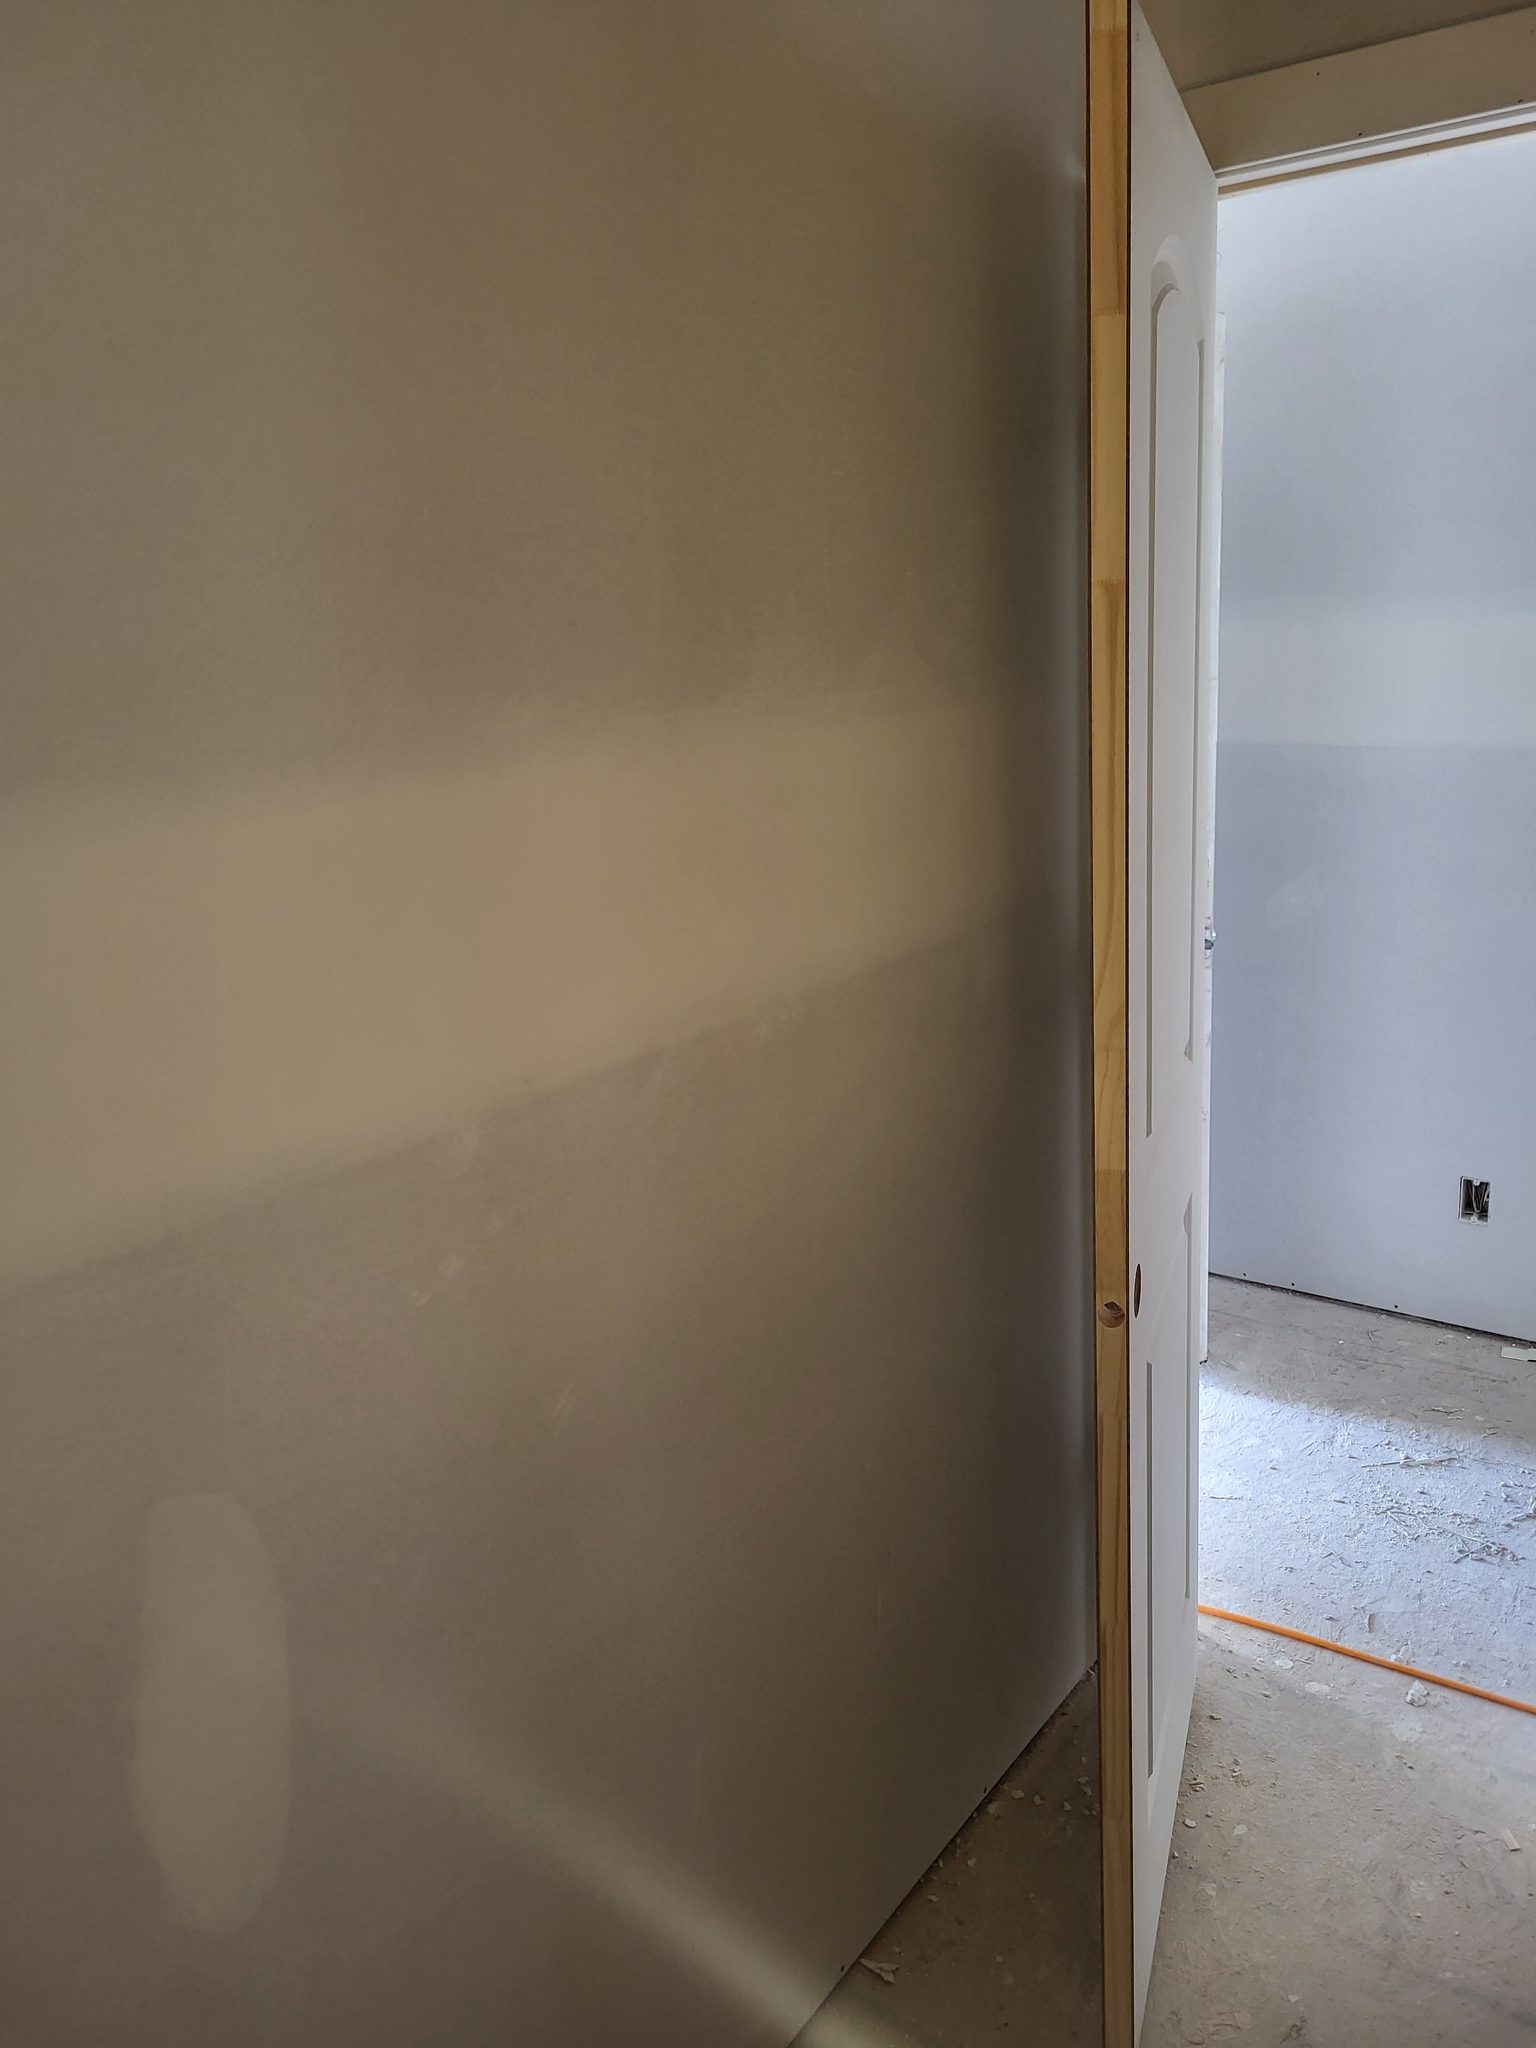
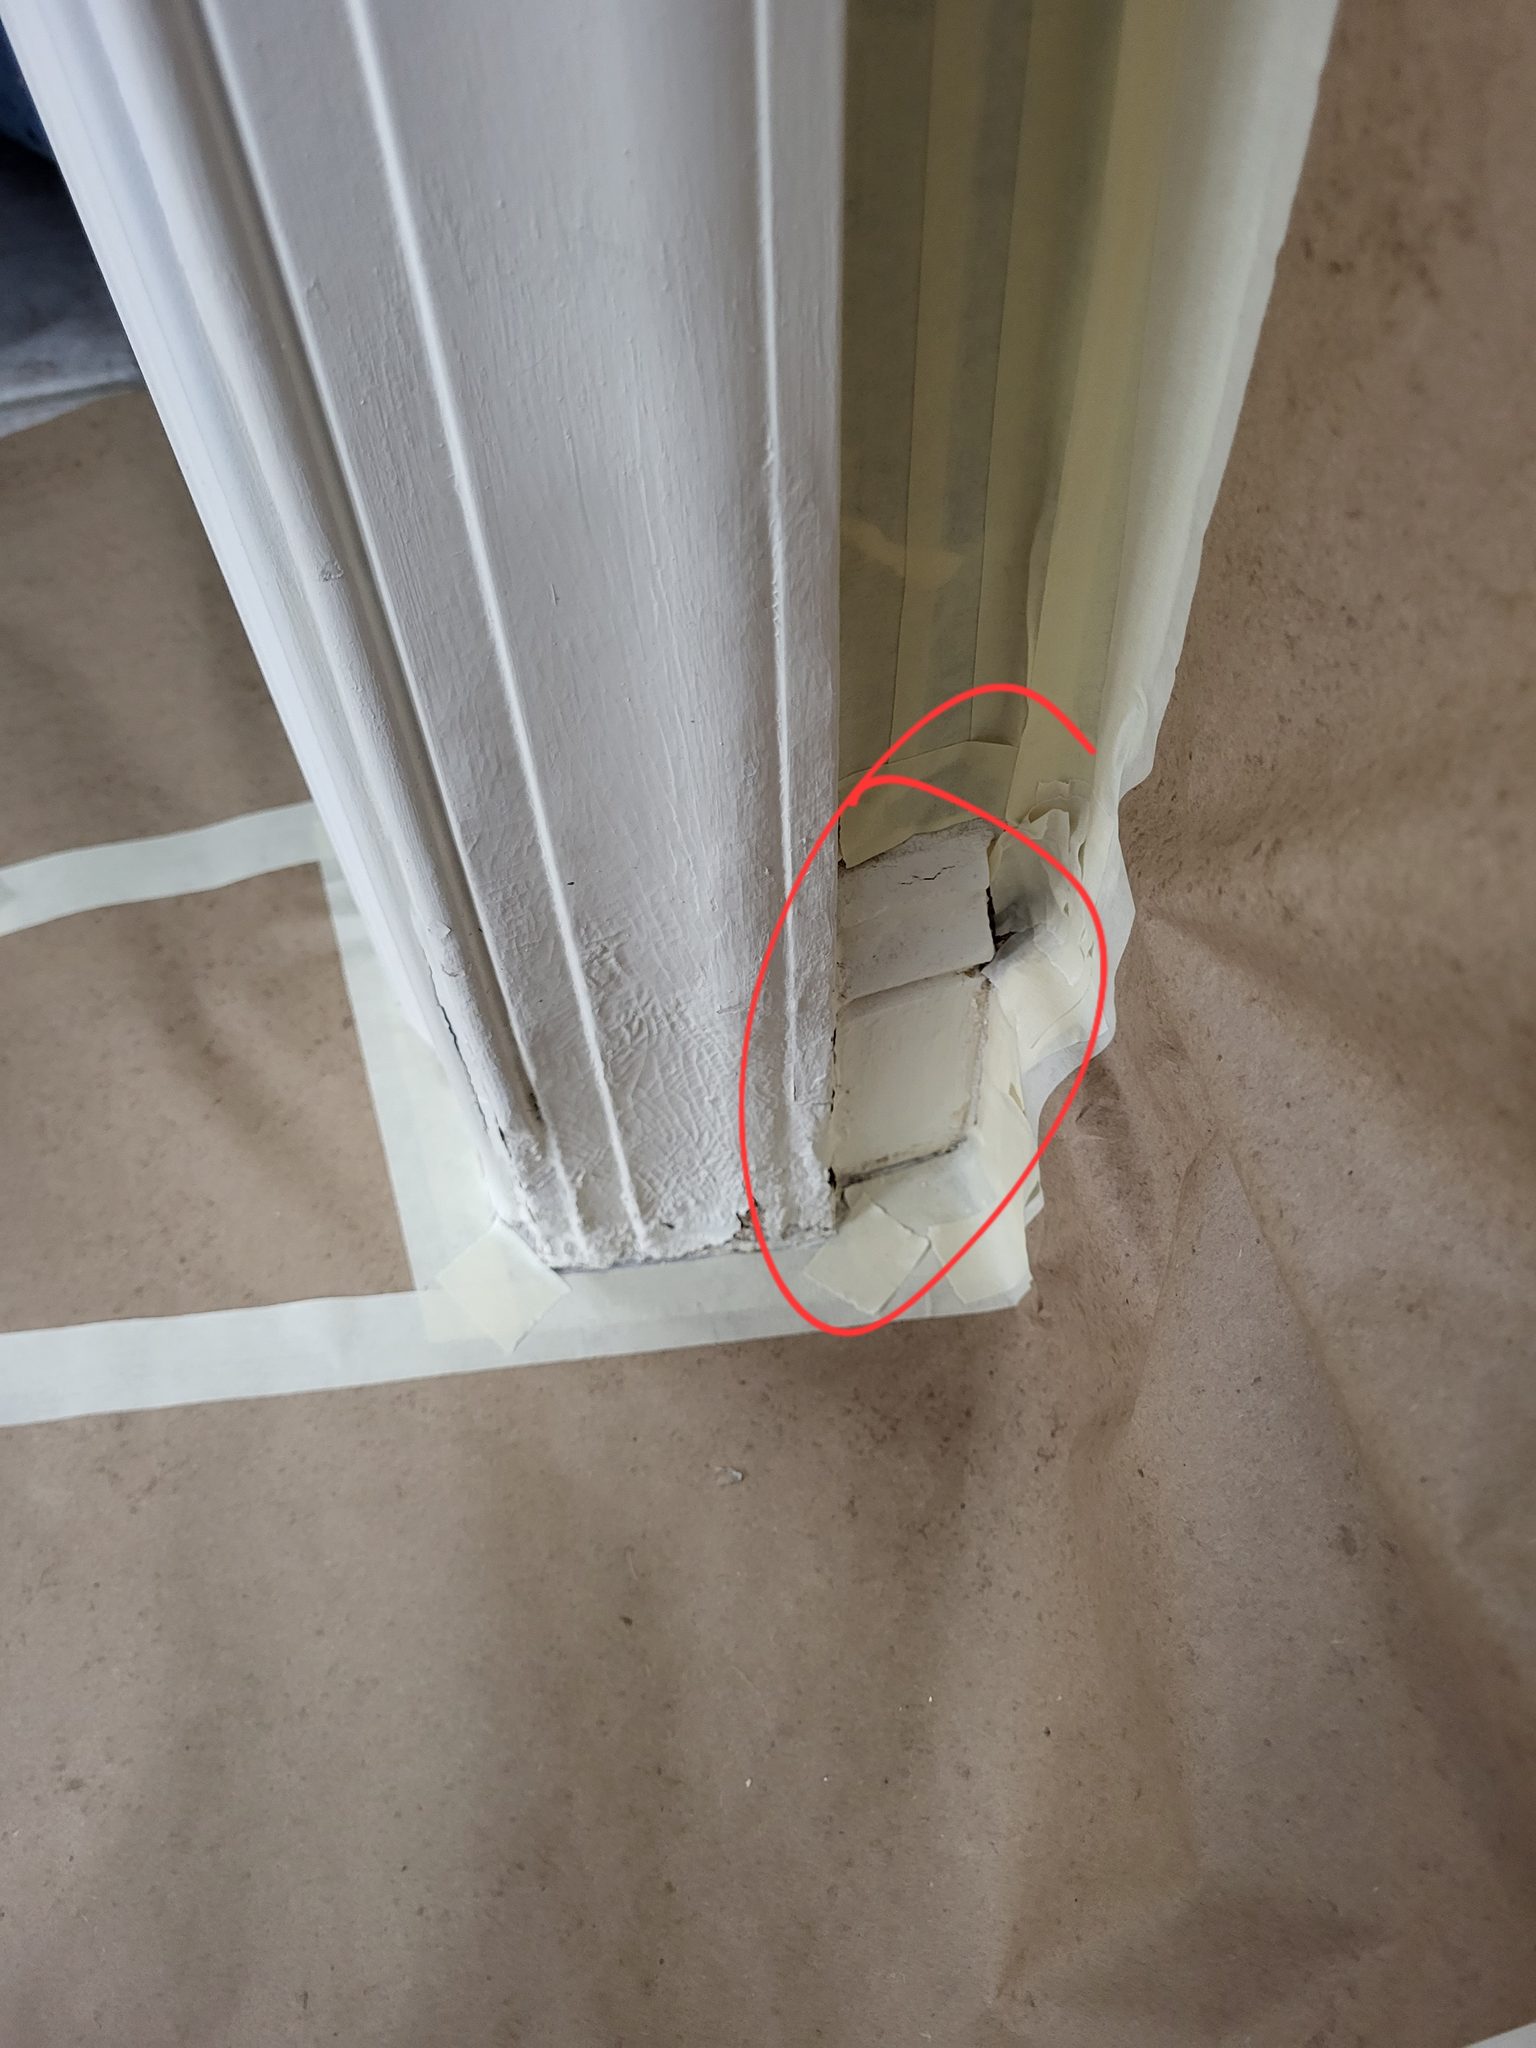
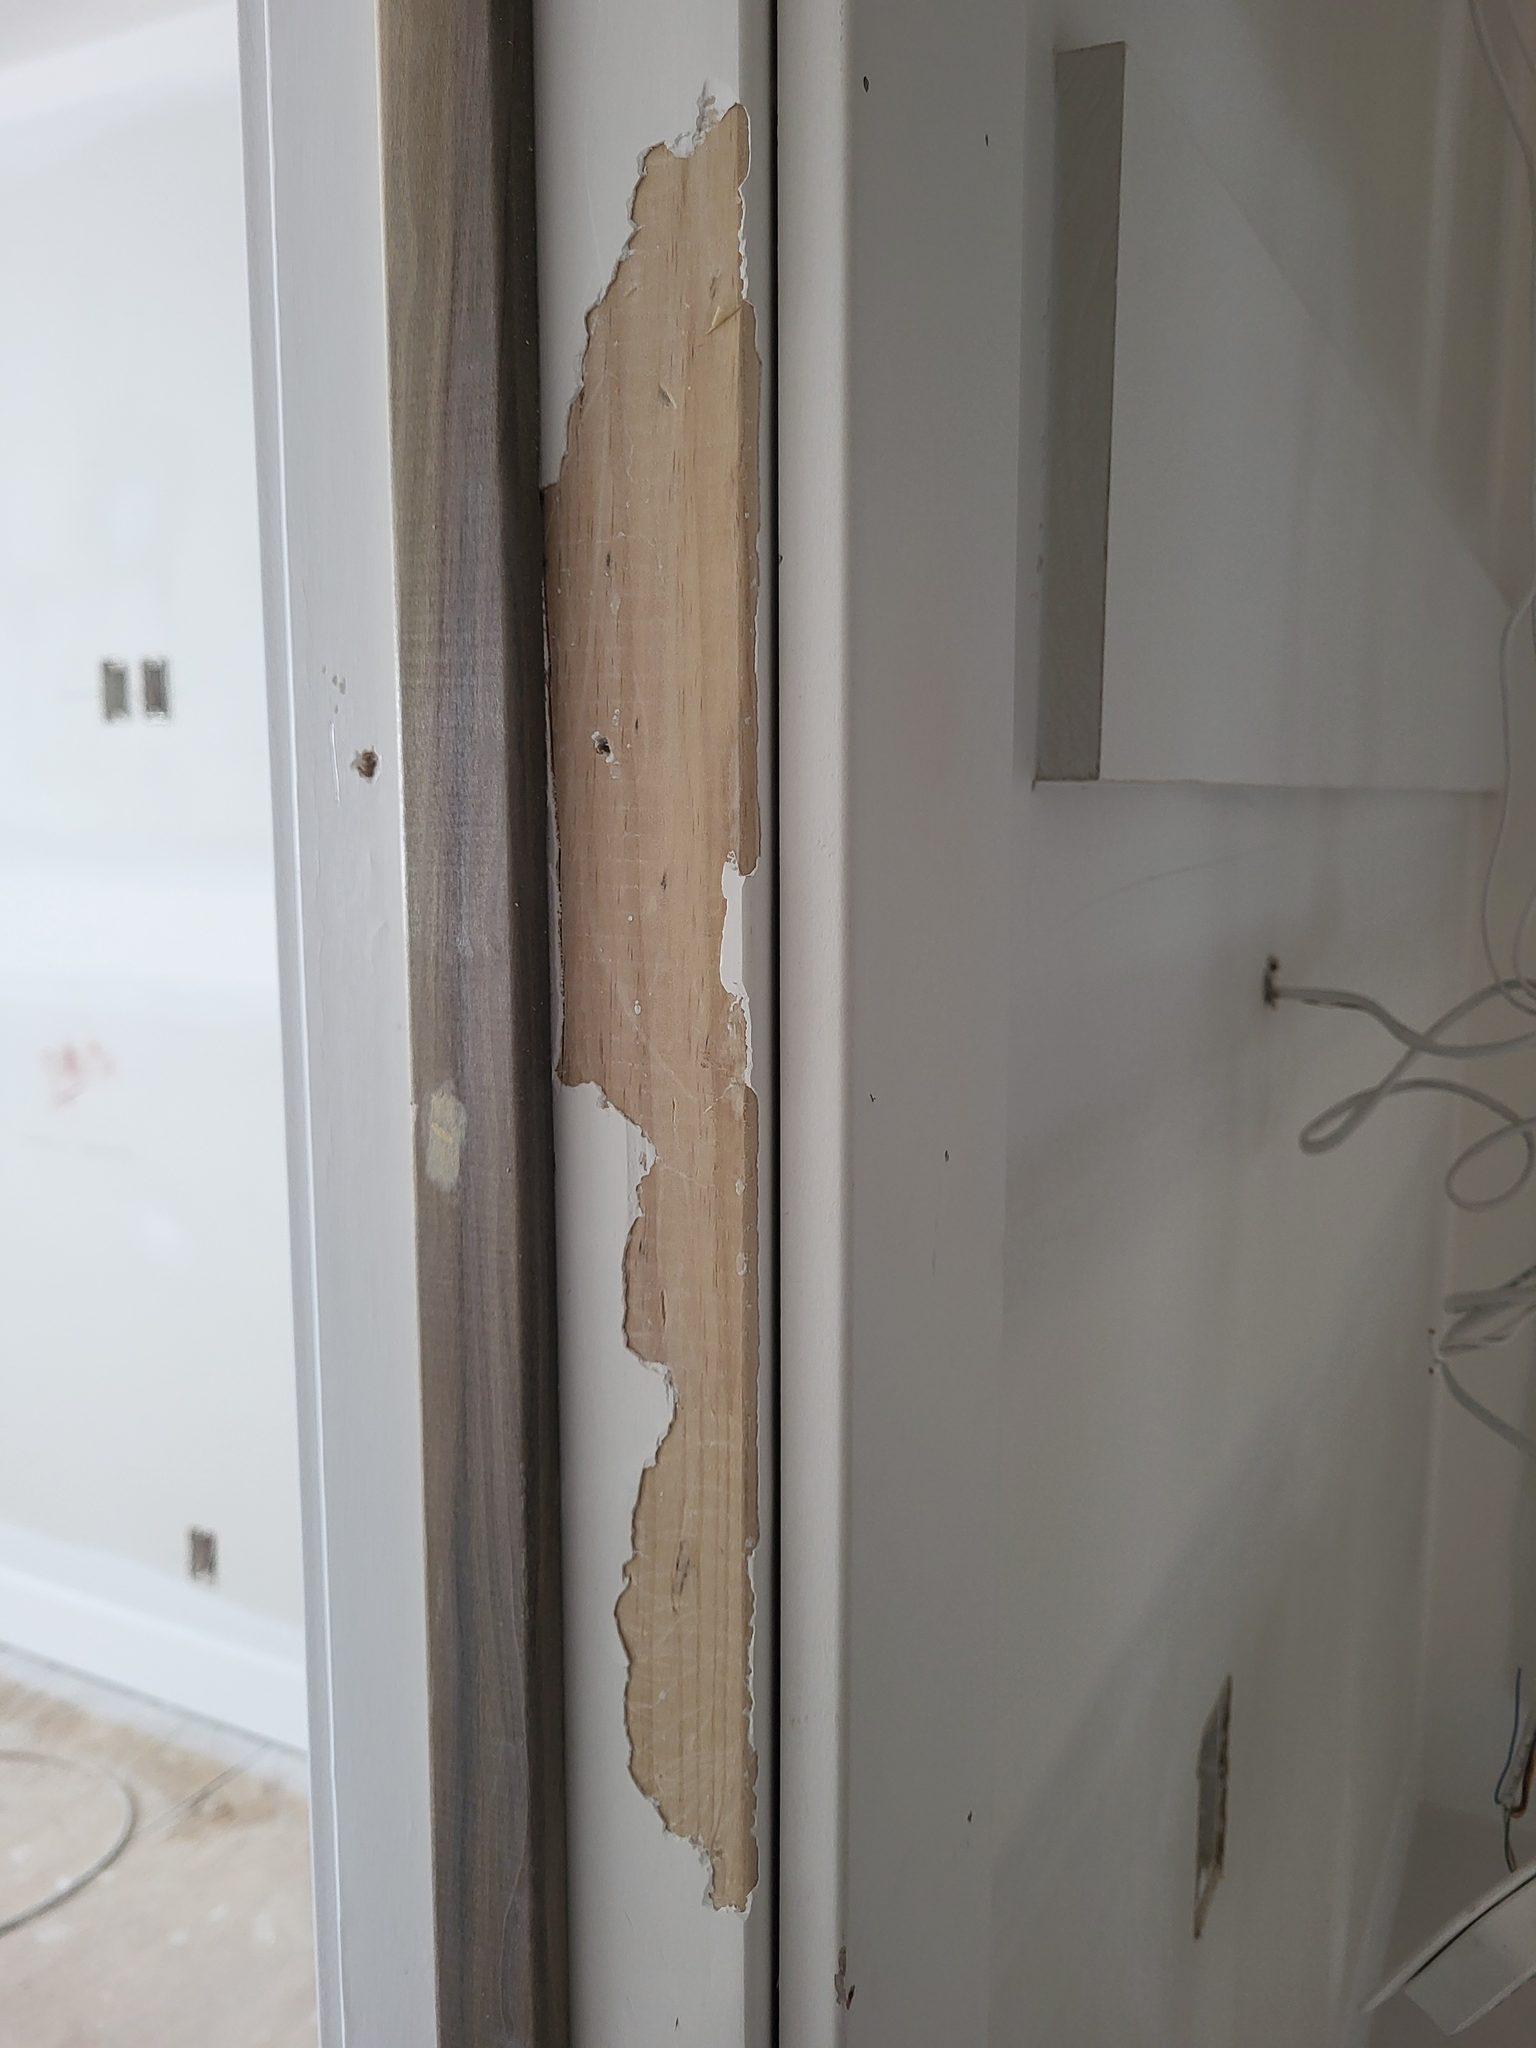
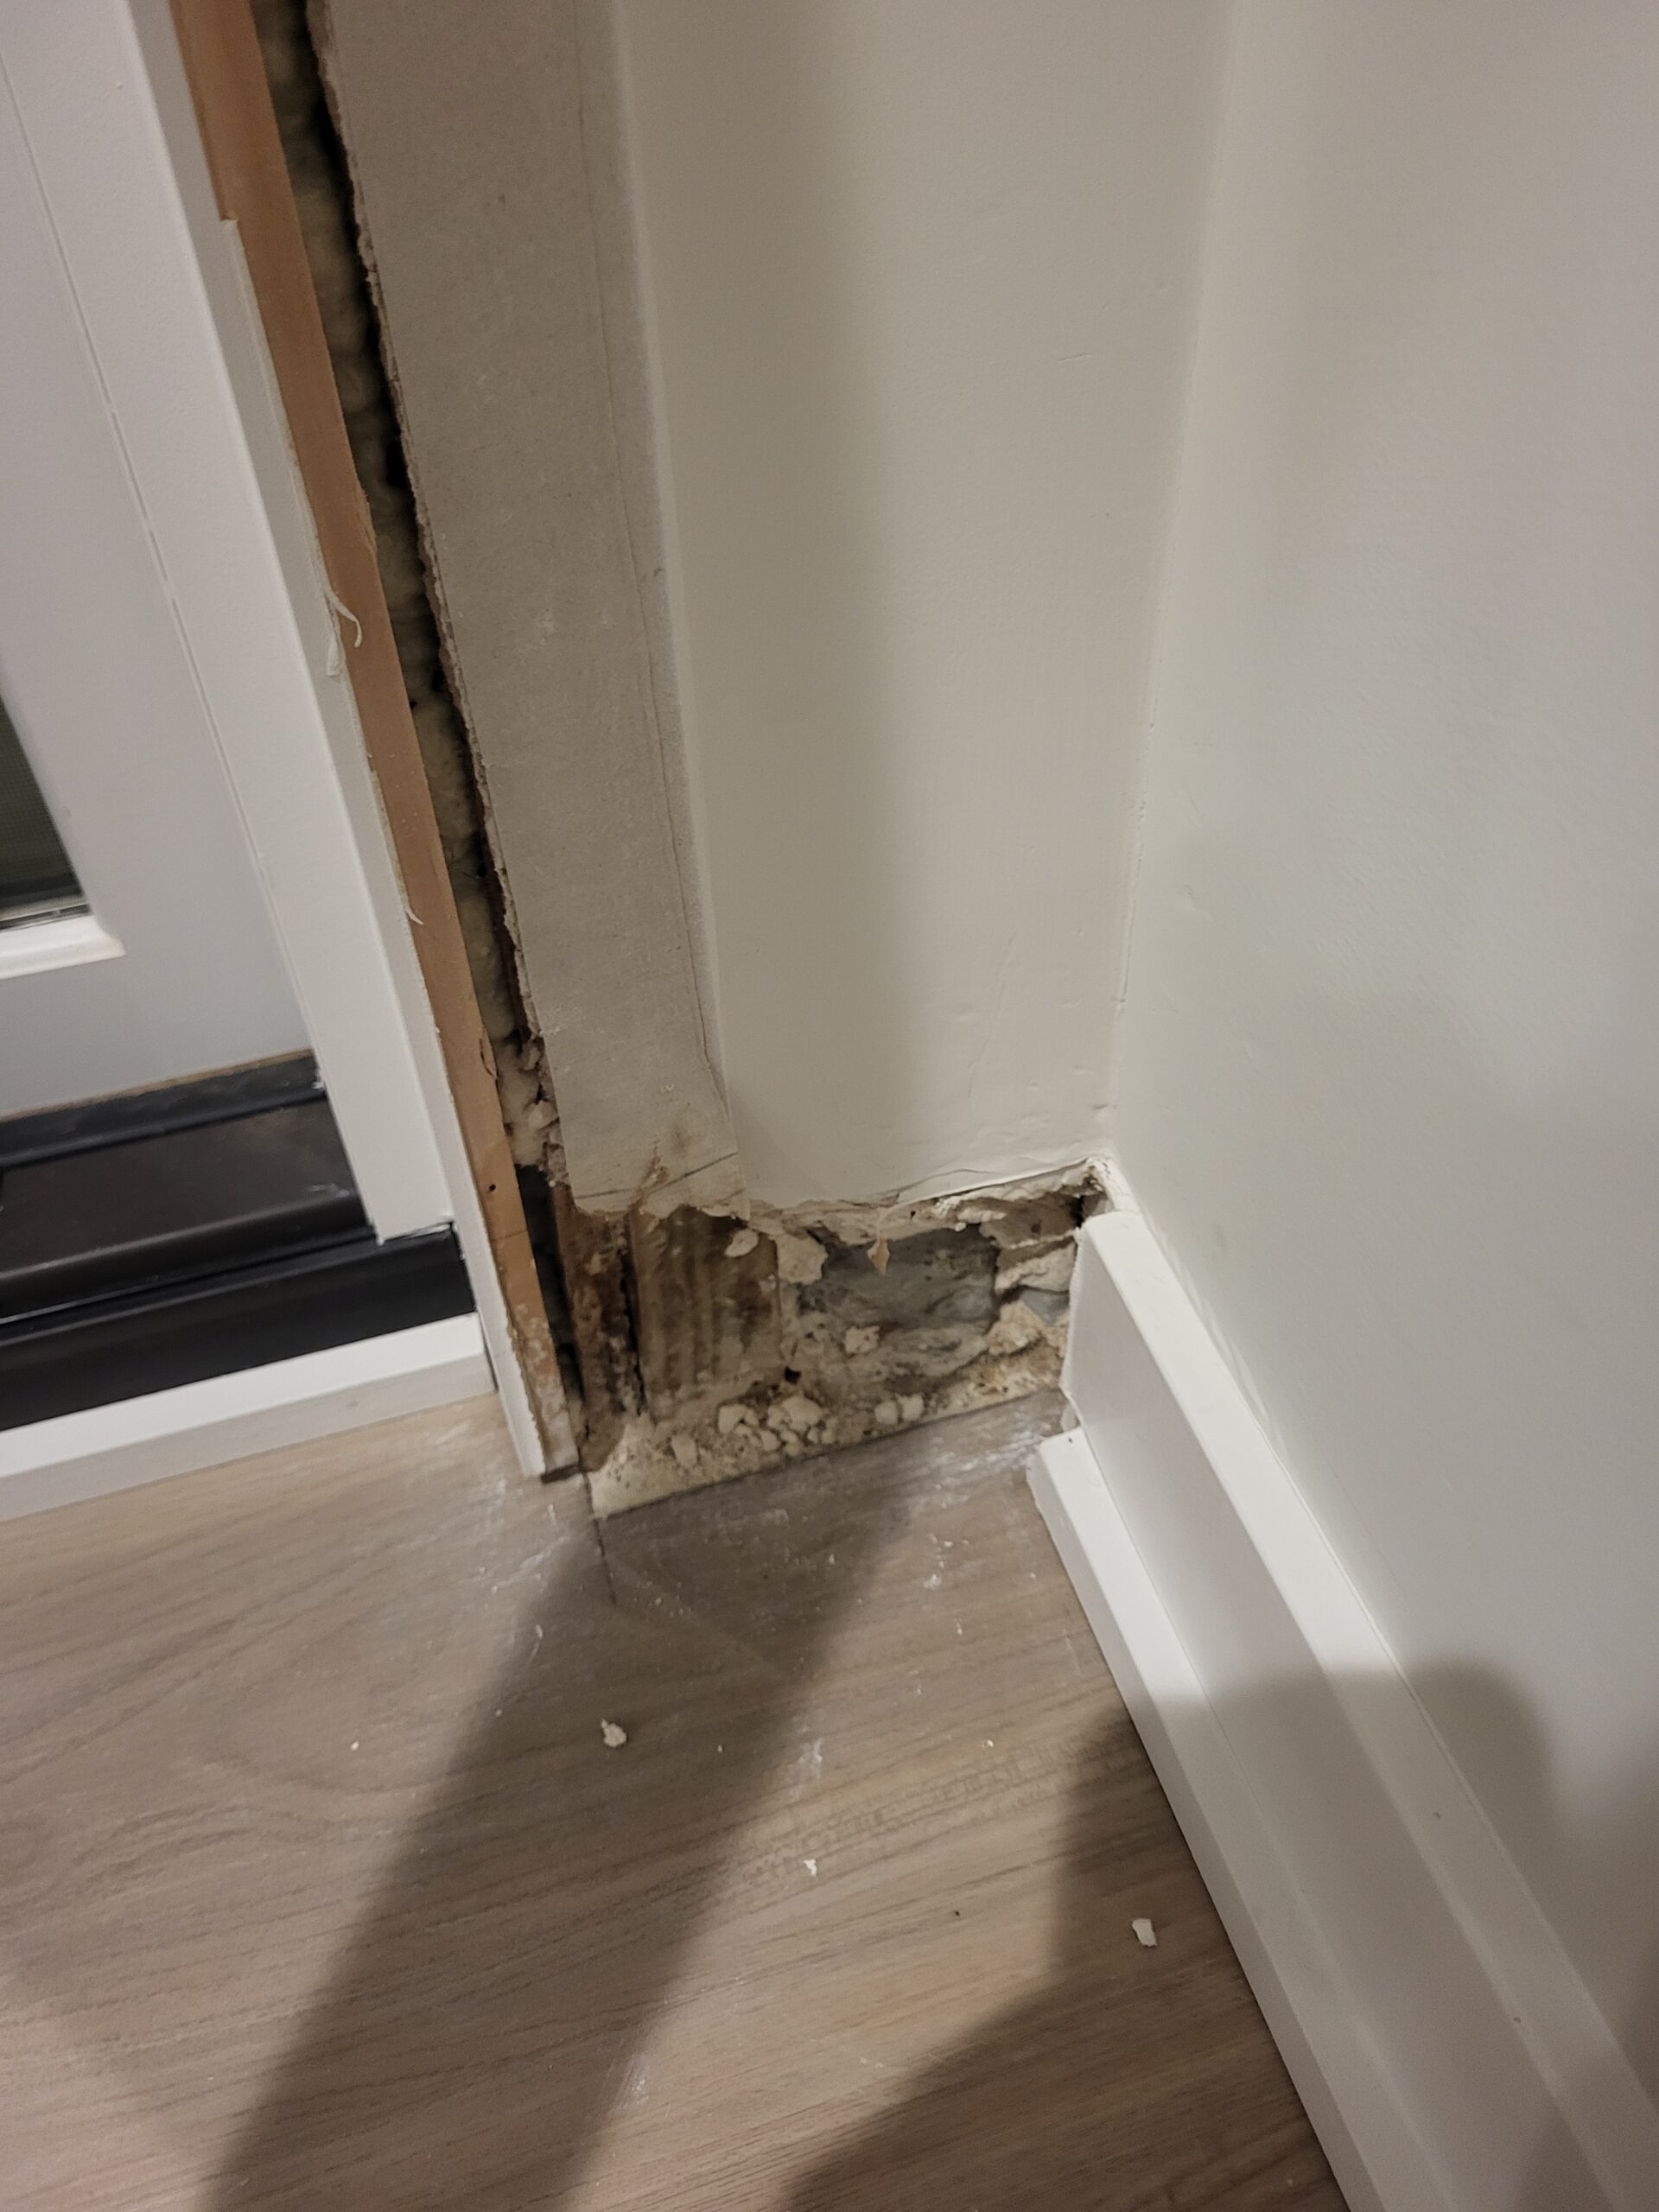
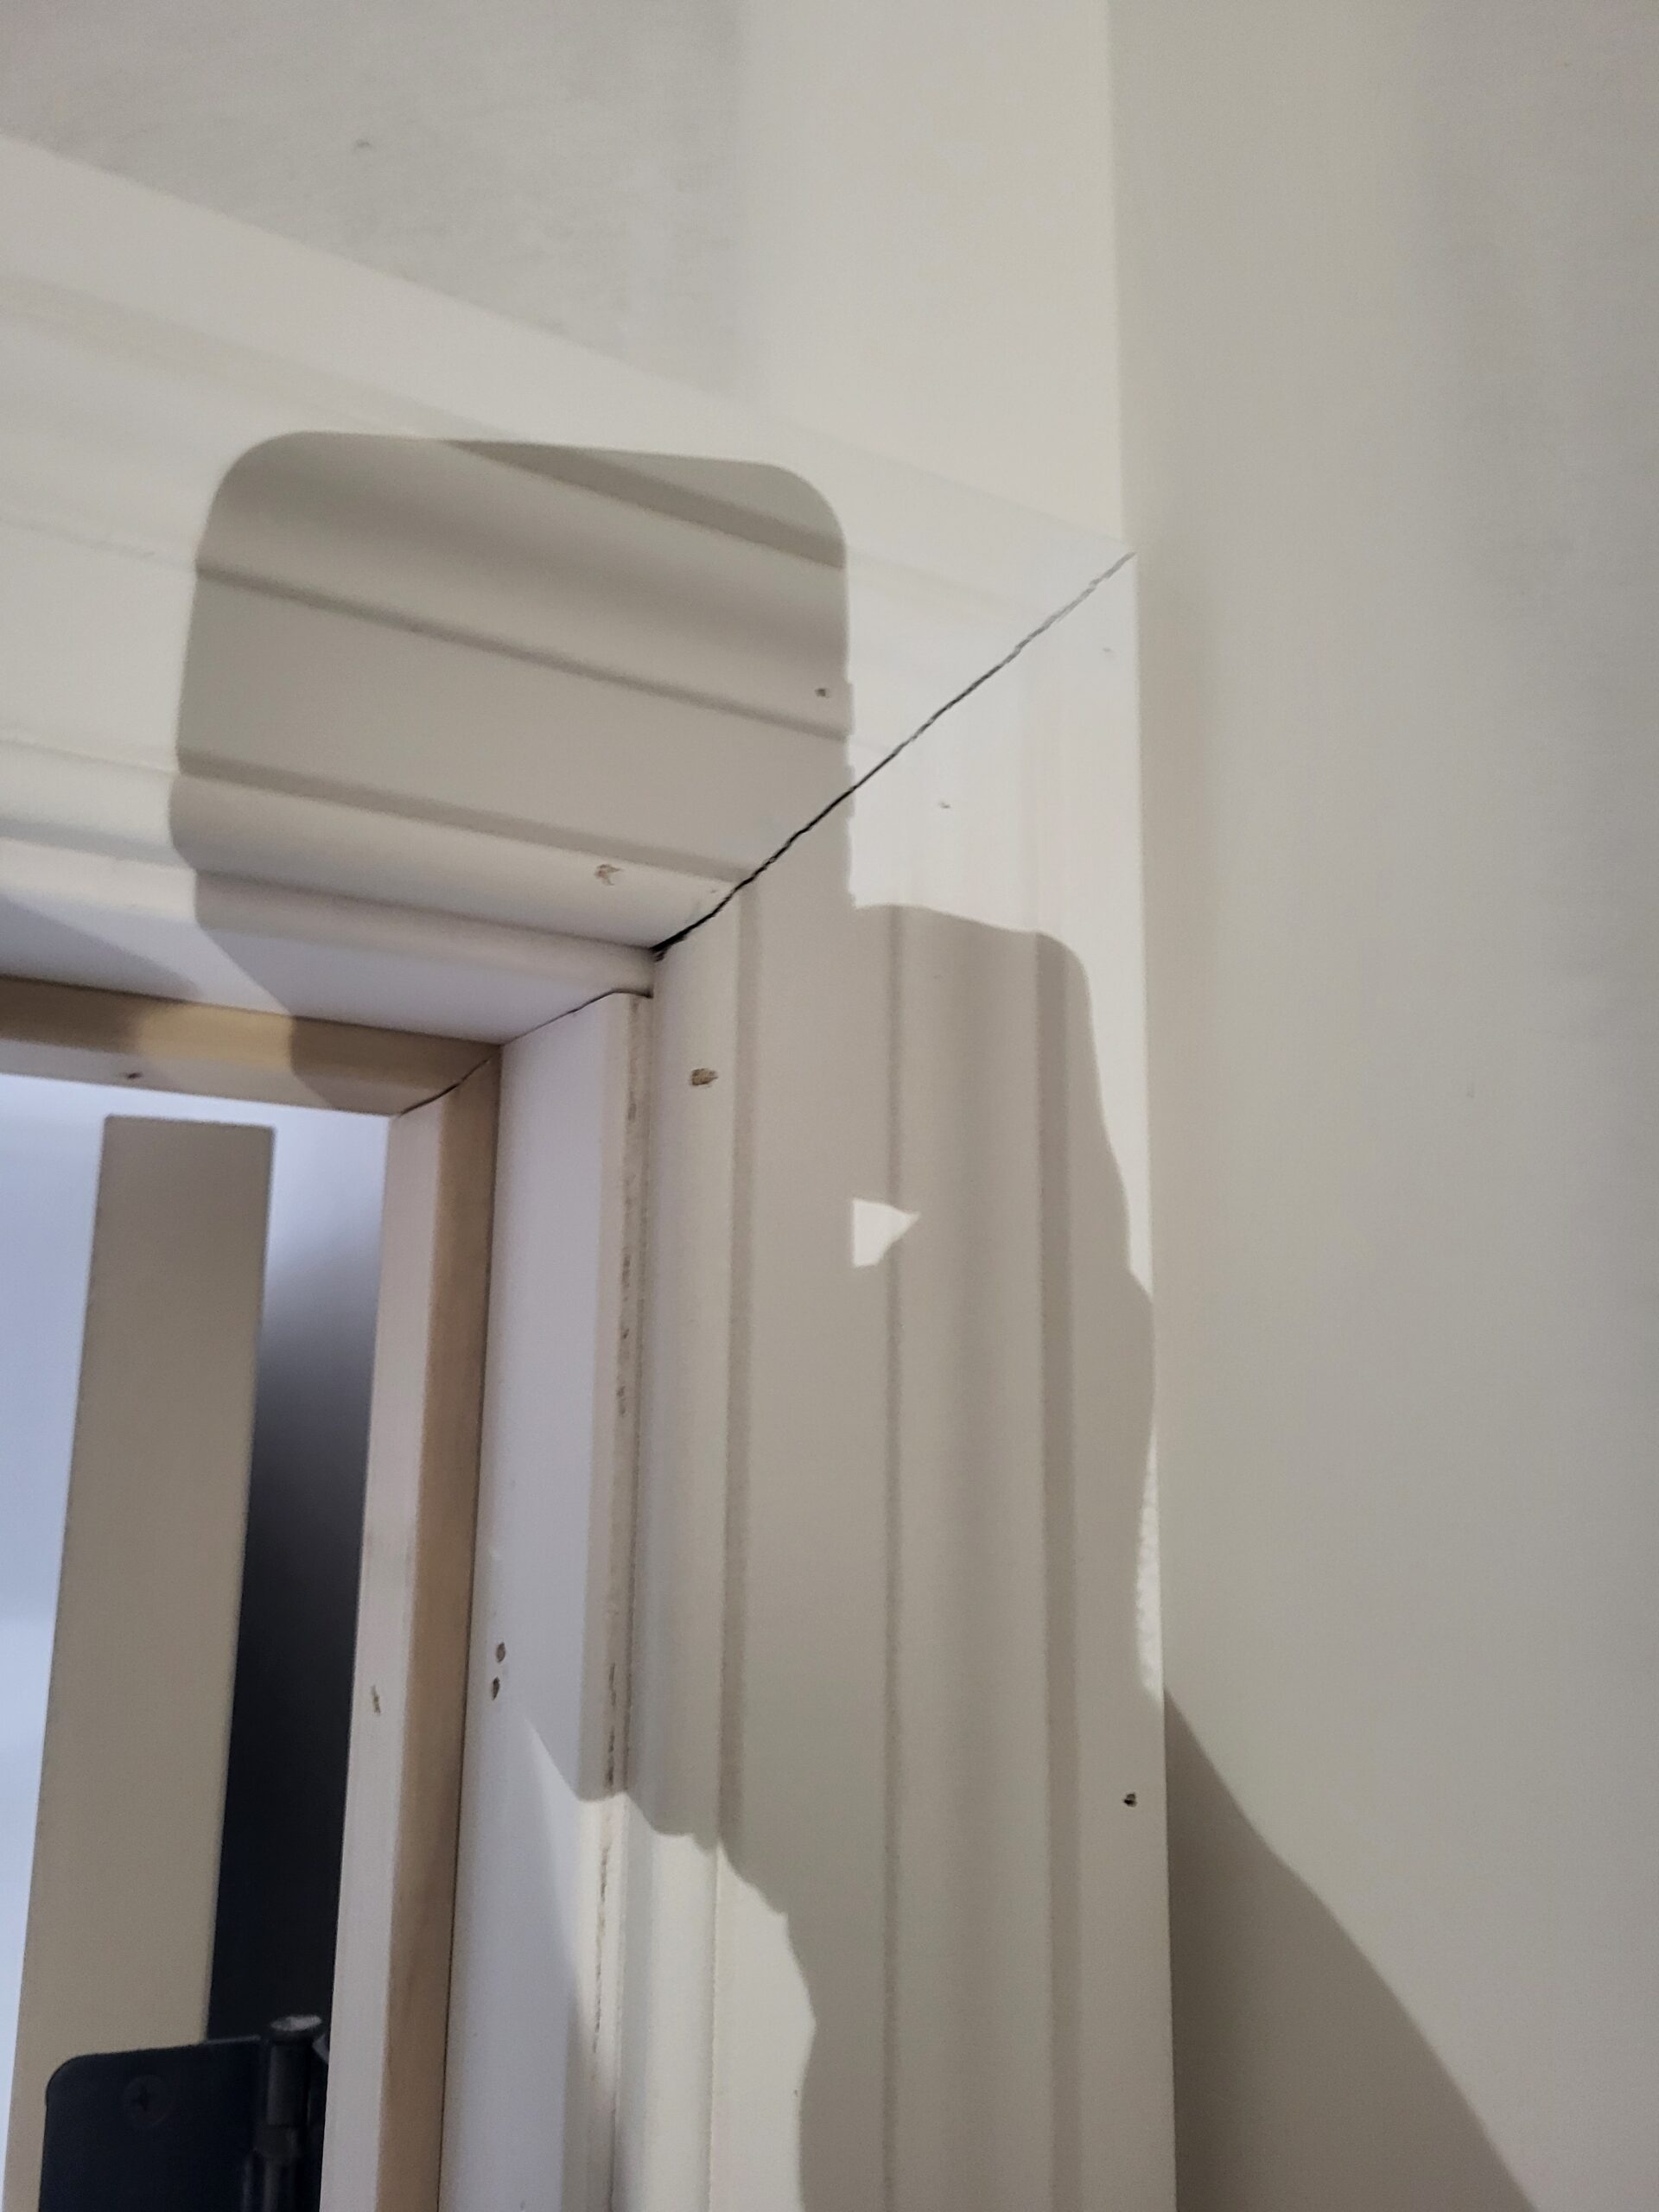
The following photos show examples of this type of work completed in the field. These serve as visual references for quality standards, proper installation techniques, and finished results.
Showing 9 of 9 photos