On this page
Introduction #
Installing an exterior door correctly matters. A good door keeps intruders out and keeps the house's heating and cooling costs down. The exterior door we install most often is a house-to-garage door: the door between the conditioned house (heated and cooled) and the unconditioned garage (not heated or cooled). On this door, the real job is building a solid air and heat seal between the two spaces. You are not managing rain or snow here, just air and heat.
If you are installing a weather-exposed exterior door instead of a house-to-garage door, use this guide for the core install, then add the extra steps in Installing a Weather-Exposed Exterior Door: The Extra Steps.
Exterior door units are different from interior doors. They come with weatherstripping (a rubber or foam gasket that seals the gap when the door is shut) and a threshold at the bottom. The gap between the door frame and the rough opening (the framed hole in the wall, sized to fit the door before any trim goes on) needs a solid air seal. That means low-expansion spray foam, not a bead of exterior sealant. On a house-to-garage door, the garage side sees no weather, so there is no water to manage. The foam is the whole seal, and its job is stopping air and heat from moving between the garage and the house. The tolerances on this job are still tighter than on interior doors, and the materials are heavier. Get it wrong and you get energy loss and drafts, a door that will not latch or swing right, or a door that sags over time.
You will run into exterior door replacements on both new construction and remodel jobs. Old doors often have worn weatherstripping, warped frames, or single-pane glass. All of that lets heat transfer and air leak through, which drives up the homeowner's utility bills year-round.
This guide covers the pre-hung method, the one you will use most on the job. A pre-hung unit comes with the door already mounted in its frame, hinges and all. It usually includes the threshold, the weatherstripping, and the brick mold (the exterior trim that covers the gap between the frame and the siding) or exterior casing. We will walk through every step, from prepping the rough opening to the final hardware check and the air seal.
Before You Begin #
Prerequisites #
- Rough opening is framed and properly sized - typically 2 inches wider and 2.5 inches taller than the door unit
- Exterior sheathing and siding have been cut back to expose the rough opening
- Interior is ready for installation with drywall or framing accessible
- Subfloor is level and clean at the threshold location
What You Need To Know #
- Exterior doors swing IN per building code - this prevents wind from blowing the door open and allows the door stops to resist forced entry
- The threshold should sit flat and tight against the subfloor with no rocking - on a house-to-garage door there is no exterior water to manage, so the seal that matters is the air and heat seal from the spray foam, not drainage
- Shimming (wedging thin, tapered shims behind the frame to hold it steady and square) matters for two things: smooth door operation and a good air seal. A frame that is not plumb (perfectly vertical, side to side) throws off the weatherstripping and leaves gaps in the foam
- Pre-hung exterior door units are heavy, often 100+ pounds - always have a helper on hand to lift and position the unit in the opening
- Check the rough opening for plumb and level before you start - fix any framing issues now, since they will only get worse once the door is installed
Tools Required #
Power Tools #
- Drill/driver with assorted bits
- Circular saw (for trimming door or casing if needed)
- Reciprocating saw (for demolition of old door frame in remodel work)
Hand Tools #
- 4-foot level
- Tape measure
- Pry bar
- Hammer
- Pencil
- Utility knife
Supplies #
- Exterior-rated composite shims (NOT wood shims - composite won’t rot or absorb moisture)
- Construction adhesive
- 3-inch exterior-rated screws
- Low-expansion spray foam - must be door/window rated (NOT regular expanding foam, which exerts too much pressure and will bow the frame)
Materials #
- Pre-hung exterior door unit (sized to fit your rough opening)
- Exterior casing or brick mold (if not already attached to the door unit)
- Threshold (usually pre-attached to the door unit)
- Weatherstripping (usually pre-installed on the door frame)
House-to-Garage Door: Step-by-Step Process #
Step 1: Remove the Old Door or Prepare the Opening #
If this is a remodel job, start by taking out the existing door. Pry off the interior and exterior trim with a pry bar. Work carefully so you do not damage the wall finish around it. Pull the hinge pins and take out the door slab (the door panel itself, without the frame) first - that cuts the weight you are lifting. Then take out the old door frame. Cut through the fasteners with a reciprocating saw, or pry the jambs (the side and top pieces of the frame) away from the rough opening.
Once the old frame is out, clean the rough opening out completely. Remove any old foam, shims, and debris. Check the jack studs (the vertical framing on each side of the opening), the header (the horizontal framing across the top), and the sill plate (the horizontal framing at the bottom) for rot or water damage. This is your one chance to catch structural problems before the new door covers them up. Replace any damaged framing before you go on.
For new construction, check that the rough opening matches the door unit's size requirements. It should be 2 inches wider and approximately 2.5 inches taller than the door unit. Check that the jack studs are plumb and the header is level. Fix anything that is off now.
Step 2: Dry Fit the Door Unit #
Before you fasten anything permanently, set the door unit into the rough opening for a dry fit (setting it in place, unfastened, just to check the fit). This lets you check clearances and catch problems before you commit to the install.
With a helper, lift the door unit and set it into the opening carefully. Center it in the opening. Check that there is enough space on both sides and at the top for shims - approximately 1/4 inch to 1/2 inch of gap on each side and at the top. Make sure the threshold sits flat and tight against the subfloor, with no rocking.
If the unit does not fit, figure out what needs to change. The rough opening may need to be bigger, or the door unit may need trimming. It is much easier to fix fit issues now than after sealant has been applied.
Step 3: Set the Door Unit #
With the rough opening clean and the dry fit confirmed, it is time to set the door unit for good. Have your helper ready. Exterior door units are heavy and awkward, and you need to place them right the first time.
Lift the unit and set it into the opening carefully, seating the threshold flat and tight against the subfloor. Center the unit in the opening, left to right. From the outside, push the casing or brick mold tight against the framing around the rough opening.
Tack the hinge side first: drive a single screw through the upper hinge area into the jack stud. Do not drive it all the way in - leave it slightly loose so you can still make adjustments. This screw is temporary. It just holds the unit in place while you shim and level.
Step 4: Shim and Level the Hinge Side #
The hinge side anchors the whole installation. Get this side perfectly plumb, and the door will swing right and the weatherstripping will seal evenly.
Shim the hinge side at four points, in order: one above the top hinge, two above the bottom hinge, three below the top hinge, and four below the bottom hinge. An exterior door typically carries three hinges, so place these same four points relative to the top and bottom hinges. Insert shims from both sides at each point so they form a flat, stable pad. Place your 4-foot level against the hinge-side jamb. Adjust the shims until the jamb reads perfectly plumb in both directions.
Once the hinge side is plumb, secure it. Drive screws through the jamb and shims at each hinge location into the jack stud. Check for plumb again after tightening - driving the screws can sometimes pull the frame slightly out of alignment.
Pro Tip: Replace one short hinge screw per hinge with a 3-inch screw that reaches the framing. This anchors the door to the structure and stops it from sagging over time. On a heavy exterior door, the factory screws alone are not enough to carry the weight long-term.
Step 5: Shim and Adjust the Latch Side #
With the hinge side secured and plumb, move to the latch side of the frame. Shim it at five points, continuing the numbering from the hinge side, in order: five at the top of the jamb, six at the bottom, seven in the middle just above the strike plate area (where the latch and deadbolt engage), never into the latch area itself, eight between five and seven, and nine between seven and six.
Close the door and check the gap between the door edge and the frame on the latch side. The gap should stay consistent from top to bottom - approximately 3/32 inch to 1/8 inch. That consistent gap is what lets the weatherstripping compress evenly and seal properly.
Adjust the shims until the gap is even, then secure the latch-side jamb with screws through the shims into the jack stud. Open and close the door several times. Check that it swings freely, does not drag or bind, and the latch engages the strike plate cleanly without forcing.
Step 6: Insulate and Seal #
Once the frame is installed and plumb, it is time to insulate the gap between the frame and the rough opening. Apply low-expansion spray foam made specifically for doors and windows, around the entire perimeter. Work in small passes, filling about one-third of the gap depth at a time, and let each pass expand before you add more.
Let the foam cure fully, following the manufacturer’s instructions, then trim off any excess with a utility knife. On the interior, install the casing or trim to cover the gap and foam. On a house-to-garage door, this foam is the entire seal - there is nothing else to add on the exterior side. The garage sees no weather, so the low-expansion foam is doing the real work: stopping air and heat from moving between the unconditioned garage and the conditioned house.
Pro Tip: Use only door/window rated low-expansion foam. Regular expanding foam pushes too hard and will bow the jambs, which makes the door stick or keeps it from latching. If the foam bows the frame, you will have to remove it and start over - a slow, frustrating fix.
Step 7: Install Hardware and Final Adjustments #
The last phase is the hardware: install the deadbolt if it did not come pre-installed in the door unit. Follow the manufacturer’s instructions for placement and bore depth (how deep the hole for the lock cylinder needs to be drilled). Make sure the deadbolt throw (how far the bolt extends when locked) reaches fully into the strike plate and engages smoothly without binding.
Test the latch and deadbolt several times. If the strike plate needs adjusting, use a chisel to enlarge the mortise (the shallow recess cut into the jamb that the strike plate sits in) slightly, or reposition the plate. The latch should click into the strike without forcing the door, and the deadbolt should throw and retract smoothly.
Finally, check the weatherstripping all the way around the door. When the door is closed, it should make full, even contact with the door slab on all sides. If there are gaps, adjust the weatherstripping or revisit the frame shimming. Lock the door and look from the interior for any daylight around the edges - daylight means air and water can get through.
Quality Check #
- Door swings freely, with no dragging on the frame or threshold
- Consistent 3/32″ to 1/8″ gap between door and frame on all sides
- Deadbolt and latch engage smoothly without forcing
- Weatherstripping makes full contact when the door is closed
- Threshold seals tightly against the door bottom sweep or gasket
- No daylight visible around the closed door from the interior
- The gap between the frame and the rough opening is fully foamed with no open voids
- Door frame is plumb and level in all directions
House-to-Garage Door Troubleshooting #
Door Won’t Latch #
If the door will not latch into the strike plate, the frame is probably bowed - from too much spray foam pressure, or from bad shimming. Open the door and check the latch-side jamb with a straightedge. If the jamb is bowed inward, remove the foam from behind it, re-shim to straighten the jamb, and reapply the foam in thinner passes. If the strike plate is just misaligned, reposition it by enlarging the mortise with a chisel.
Door Drags on Threshold #
A door that drags on the threshold may mean the sill is not level, or the door has settled. Check the threshold for level across its full width. Many exterior thresholds have height-adjustment screws you can reach from the top - turn these to raise or lower specific sections of the threshold until the door clears evenly. If the threshold has no adjustable screws, check whether the hinge side has settled, and re-shim as needed.
Air Drafts Around the Door #
Drafts mean the weatherstripping is not making full contact with the door slab. Close the door and run the dollar-bill test: slide a bill between the door and the weatherstripping at several points. If the bill slides out easily, the weatherstripping is not compressing there. Adjust the frame shimming to close the gap, or replace worn or damaged weatherstripping sections. On the threshold, adjust the height so the door bottom sweep (the strip along the bottom edge of the door that seals against the threshold) presses firmly.
Water Leaking at the Sill #
Water getting in at the sill is a weather-exposed-door concern, not a house-to-garage one - see Installing a Weather-Exposed Exterior Door: The Extra Steps for the water-management steps.
Door Sags Over Time #
If a door sags after installation, the cause is almost always hinges that are not properly anchored into the structural framing. The factory screws that come with most hinges are only 3/4 inch long, and they grip only the door jamb, not the jack stud behind it. To fix a sagging door, replace at least one screw in each hinge (on the jamb side) with a 3-inch screw that reaches through the jamb and shims into the jack stud. Tighten these screws gradually, checking the door operation as you go, until the door hangs straight again.
Door Sticks in Humid Weather #
Wood doors and frames absorb moisture and expand, which can cause binding in humid weather. If the door sticks seasonally, find where it is binding by checking the gap with the door closed. You may need to plane a small amount of material off the binding edge - remove the door, plane lightly, and get it back to the painter to seal the raw edge right away - a bare planed edge just keeps absorbing moisture and undoes the fix. You can also adjust the weatherstripping to allow slightly more clearance while still keeping a seal. Fiberglass and steel doors do not have this problem.
Related Guides #
- How to Install a Pre-Hung Interior Door
- How to Adjust an Exterior Slab Door
- How to Install Exterior Door Casing
- Installing a Weather-Exposed Exterior Door: The Extra Steps
- How to Install an Exterior Finish Slab
- How to Install a Door Bump
Reference Photos #
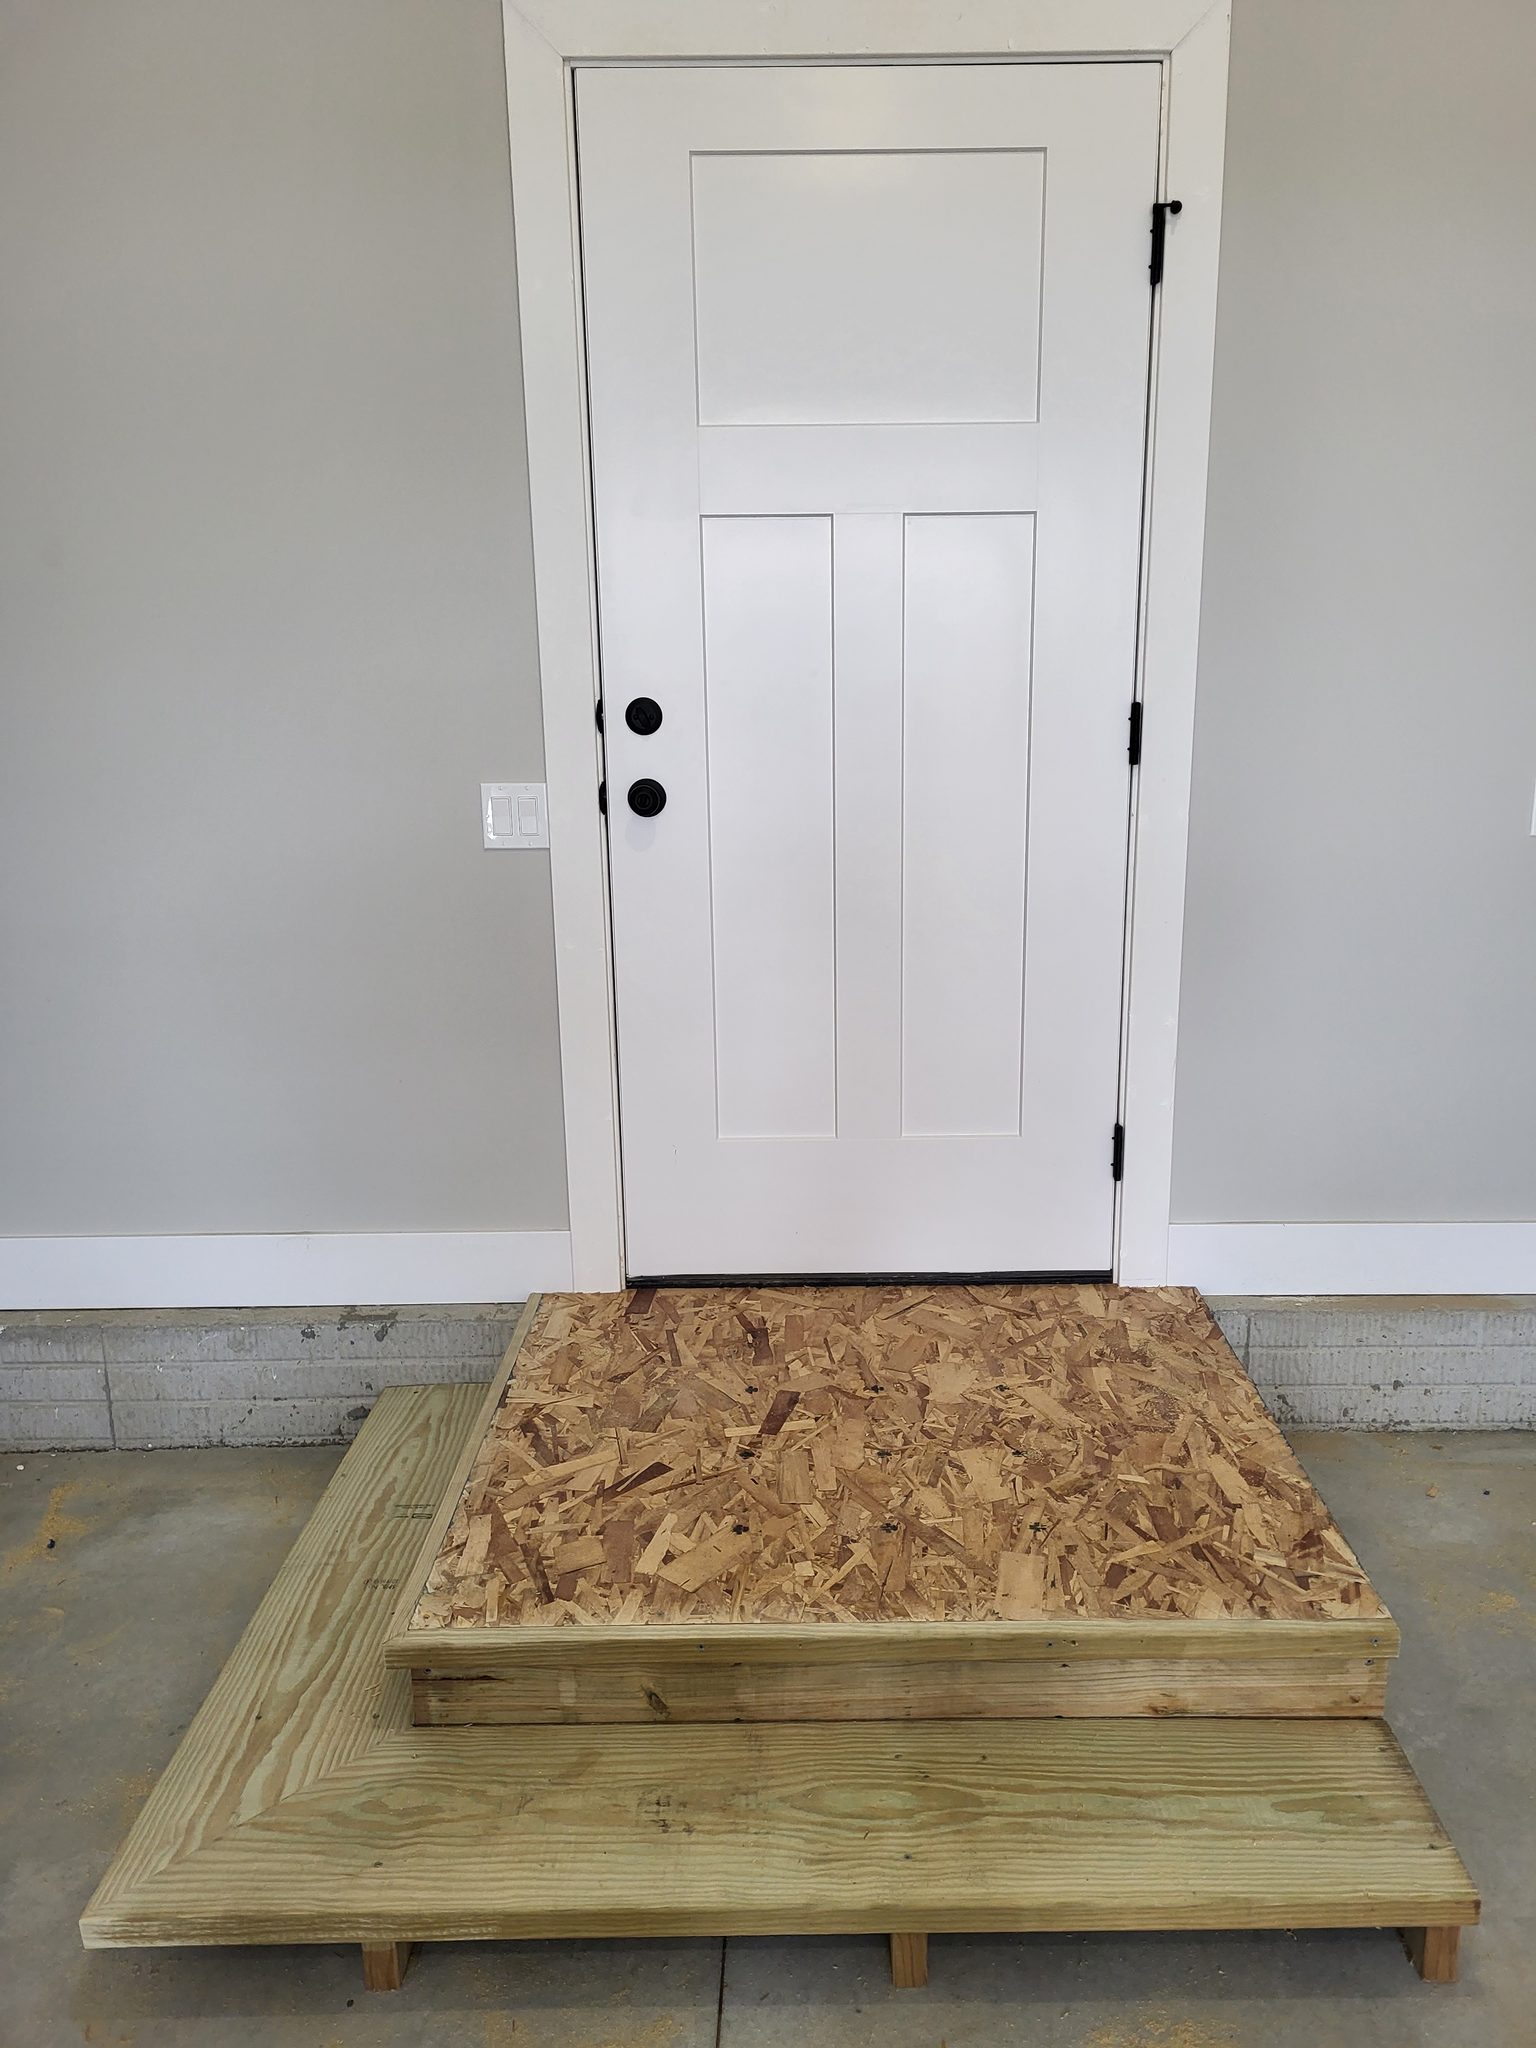
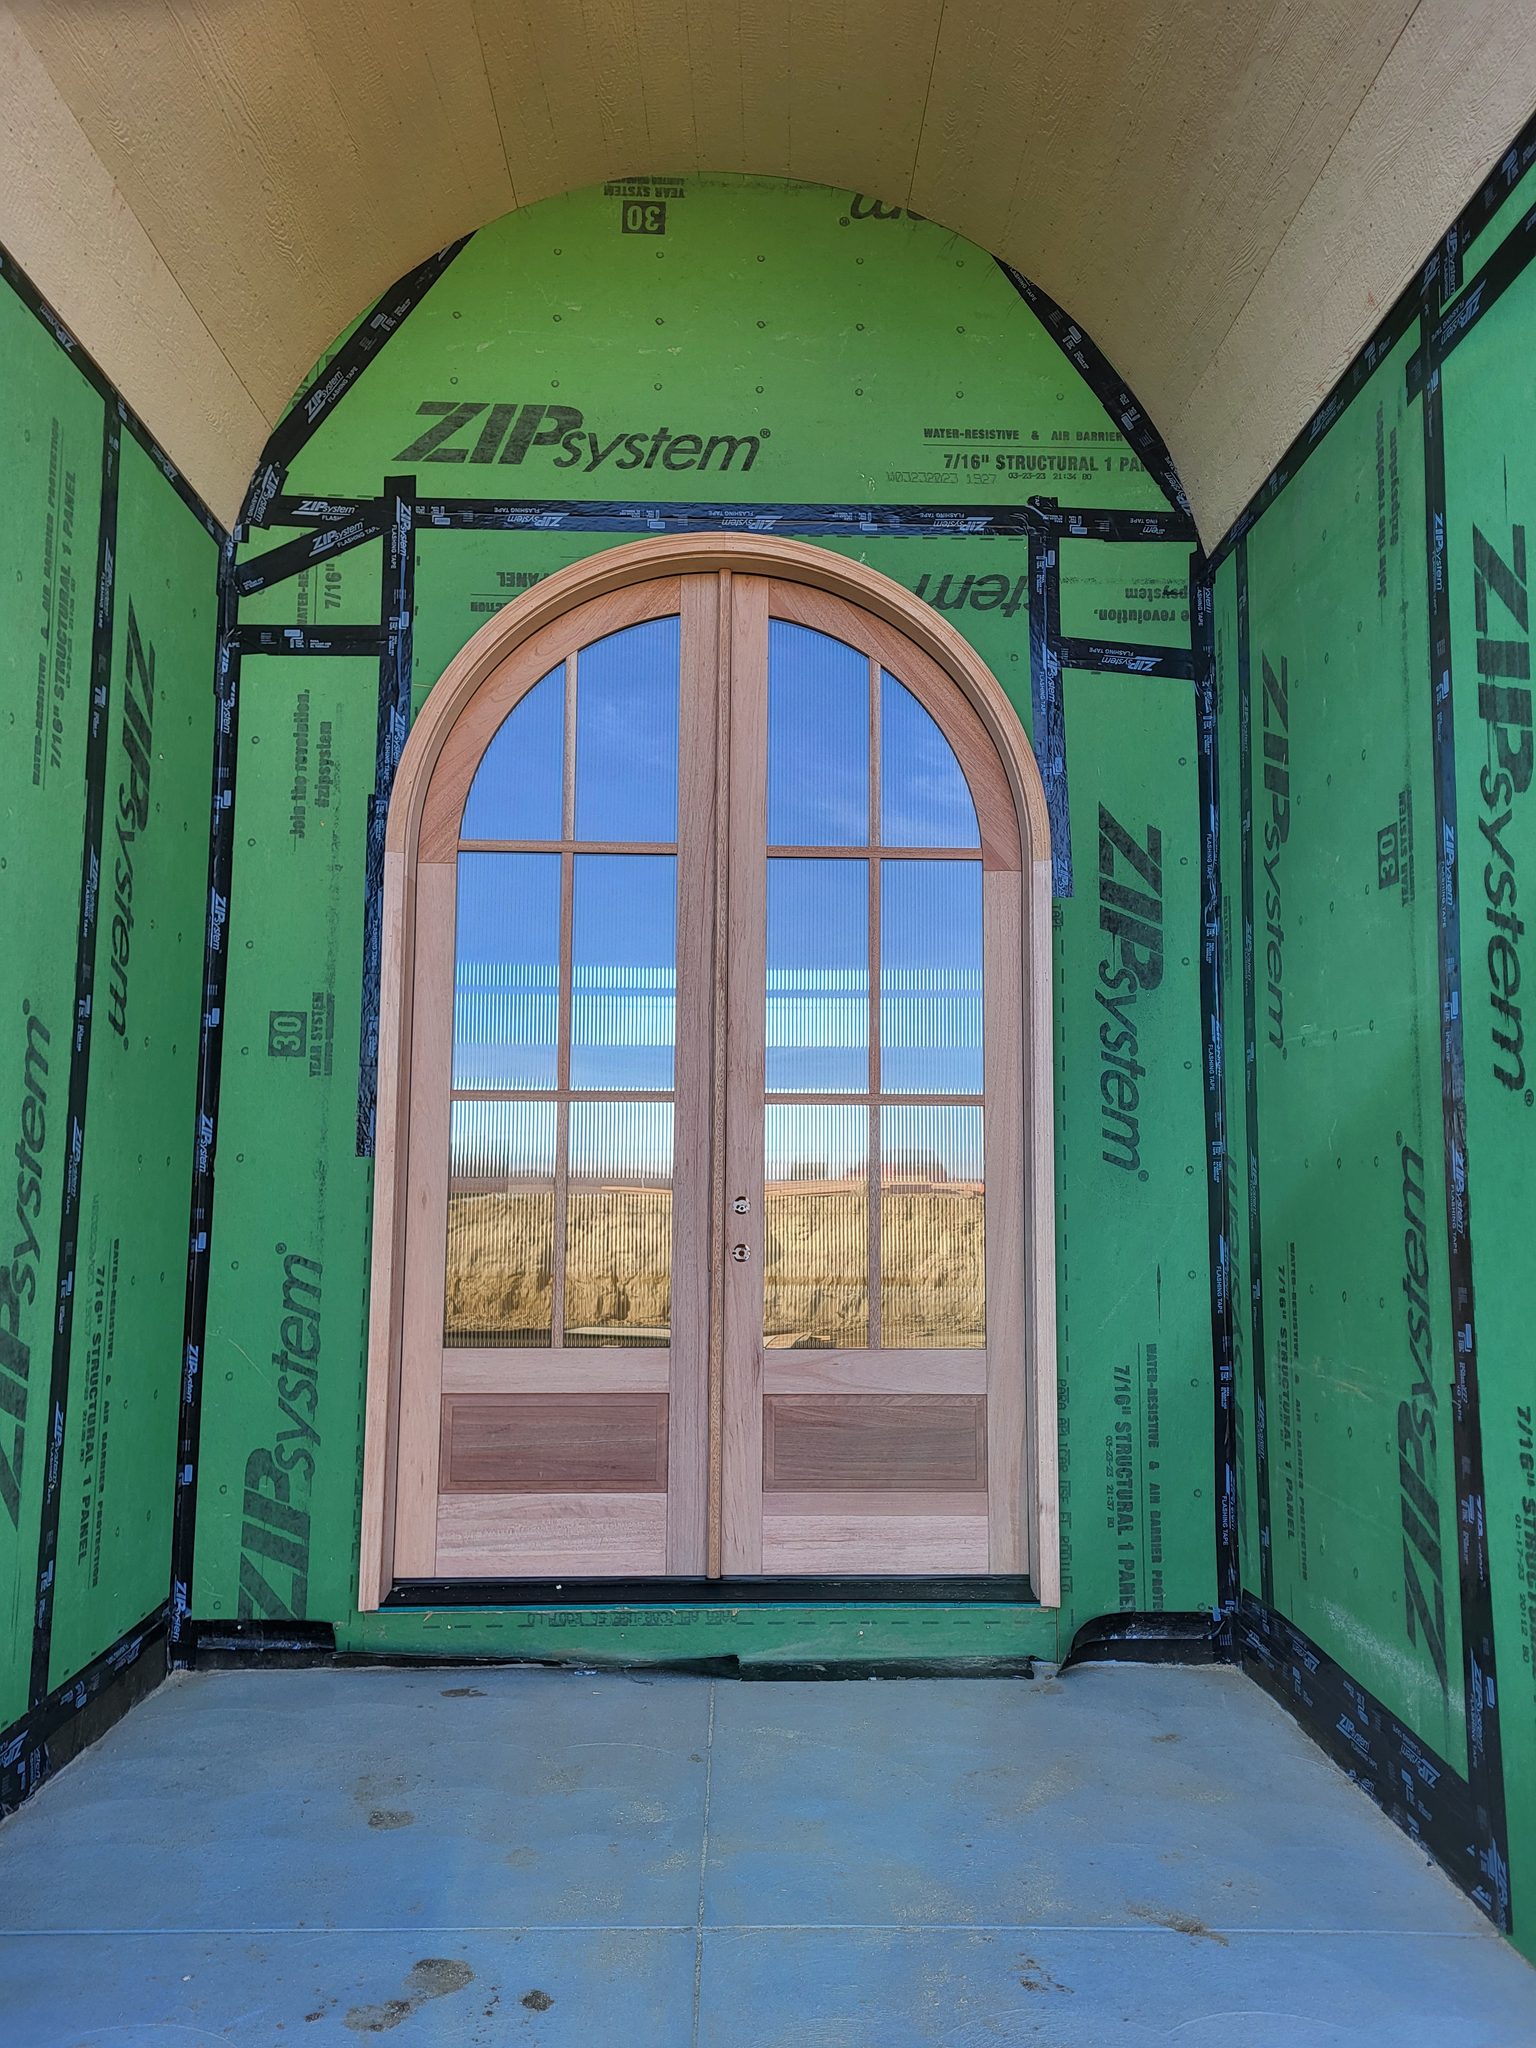
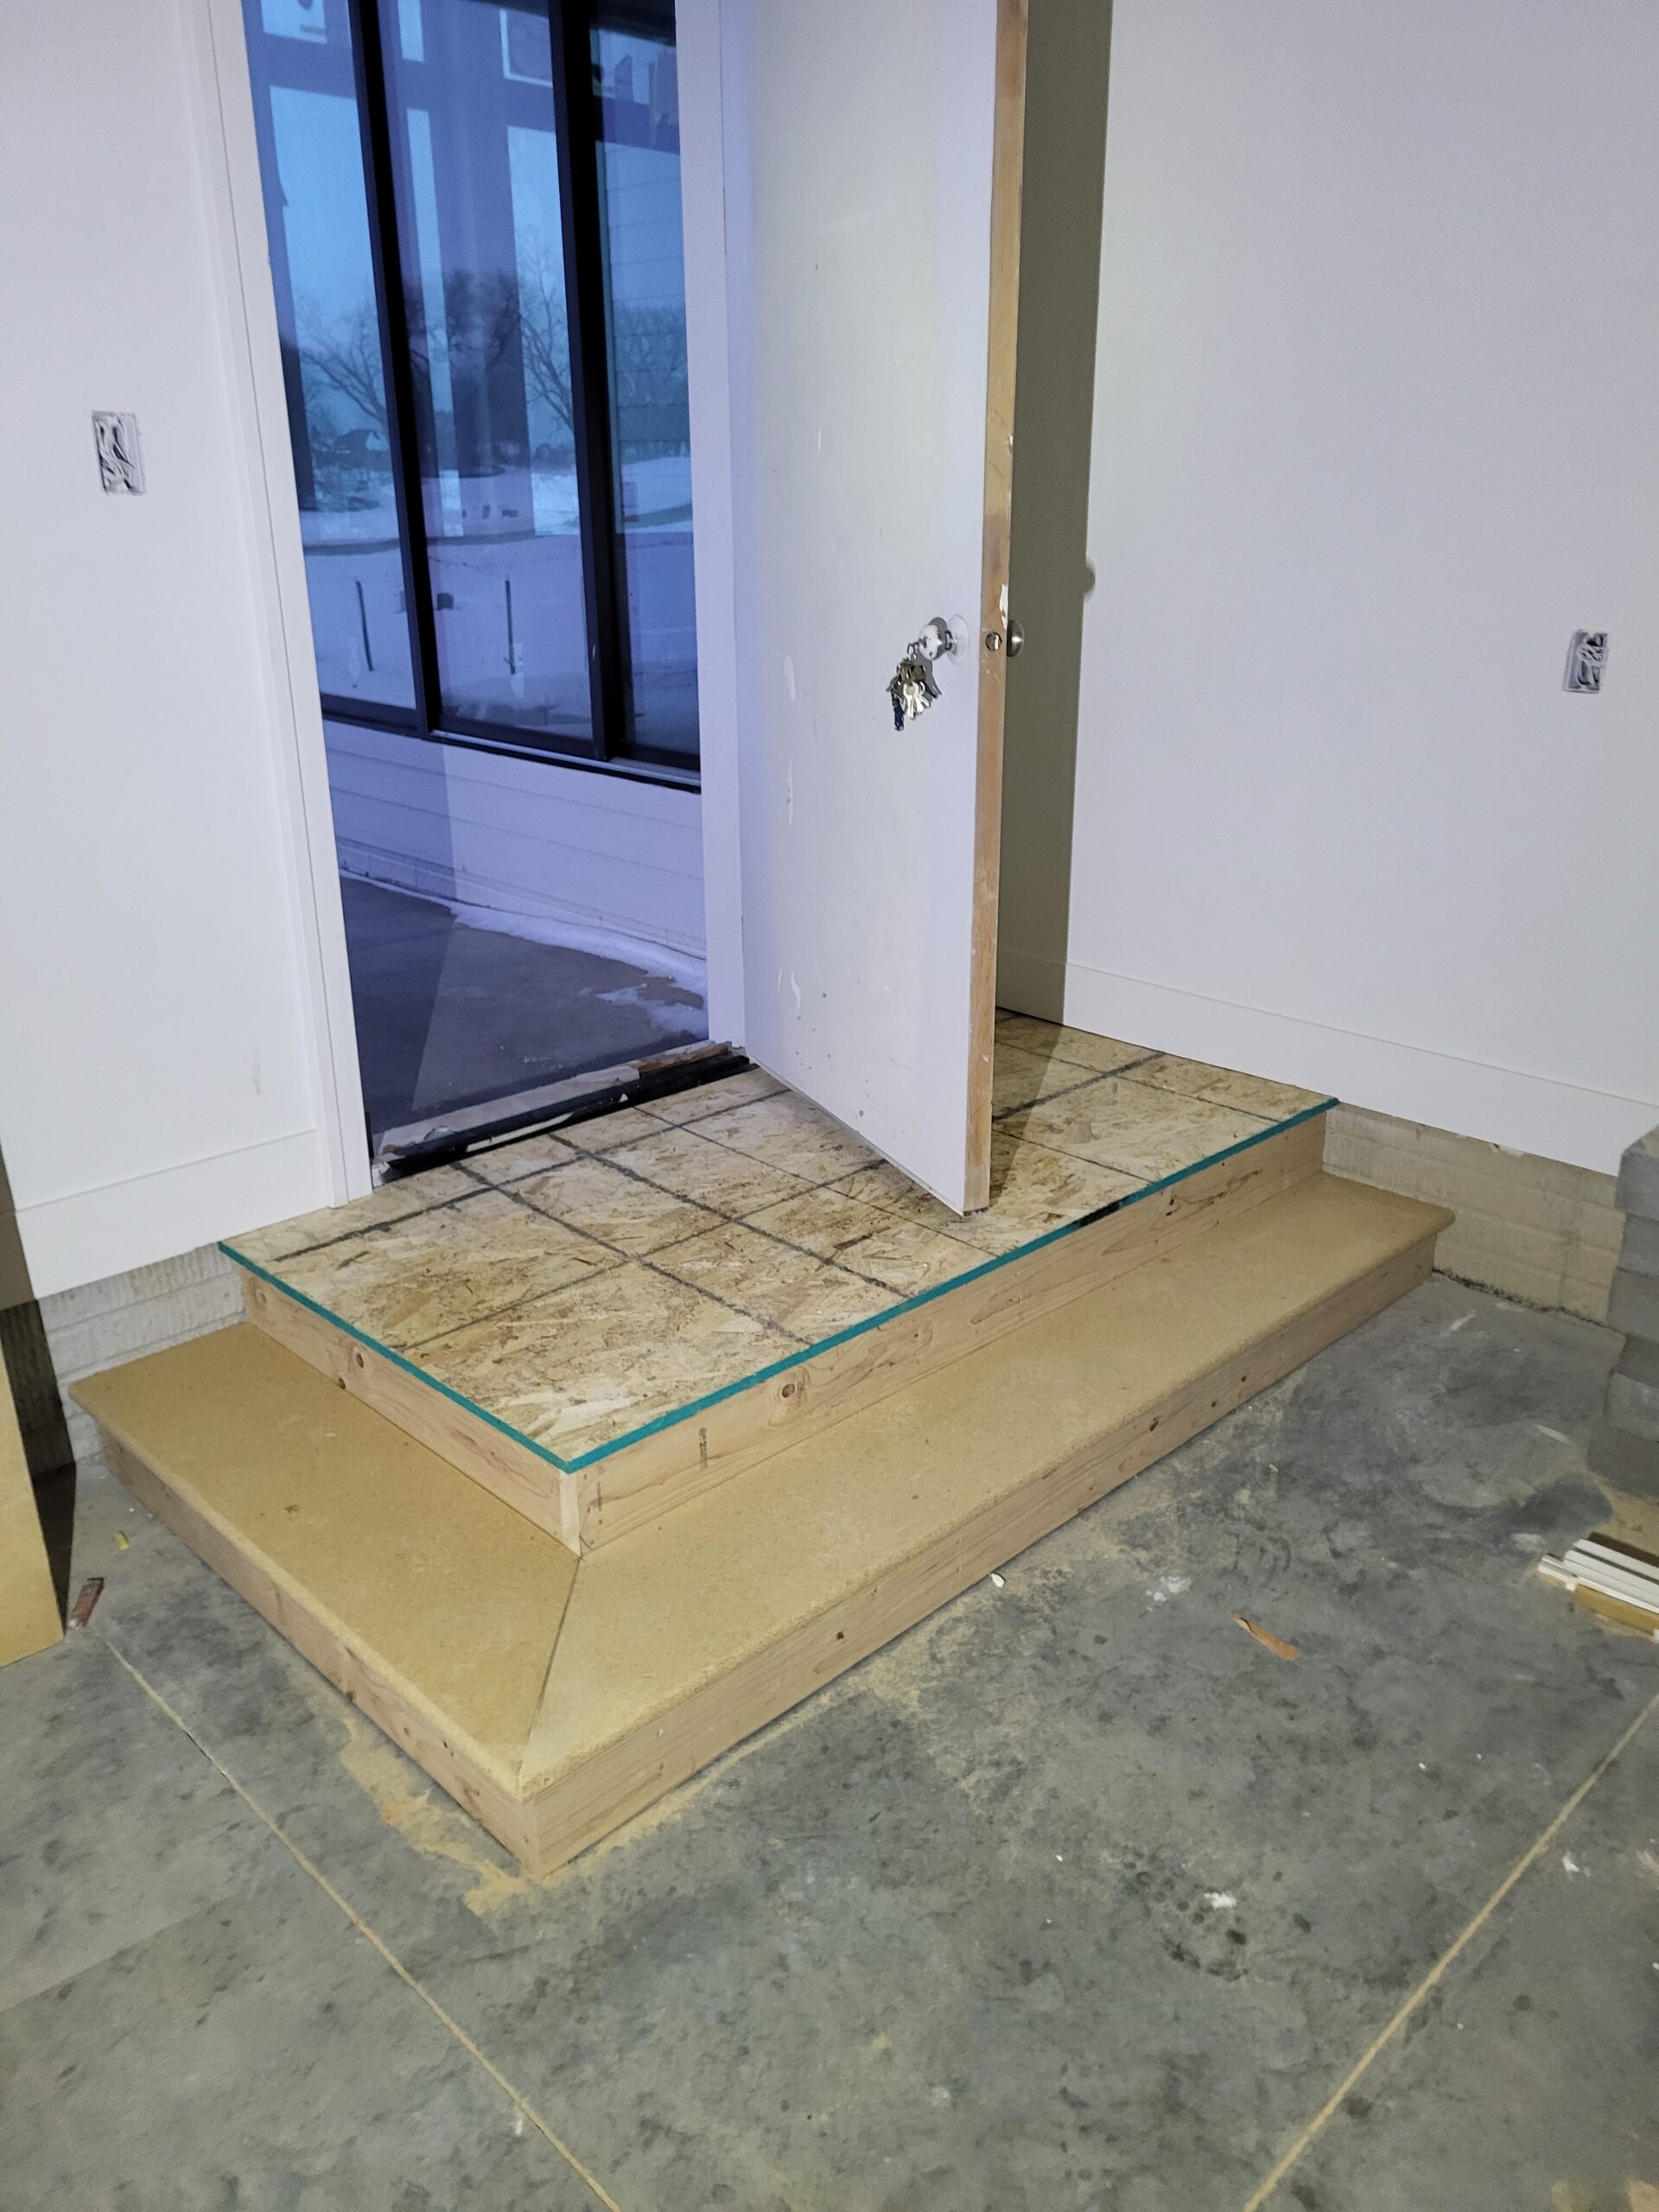
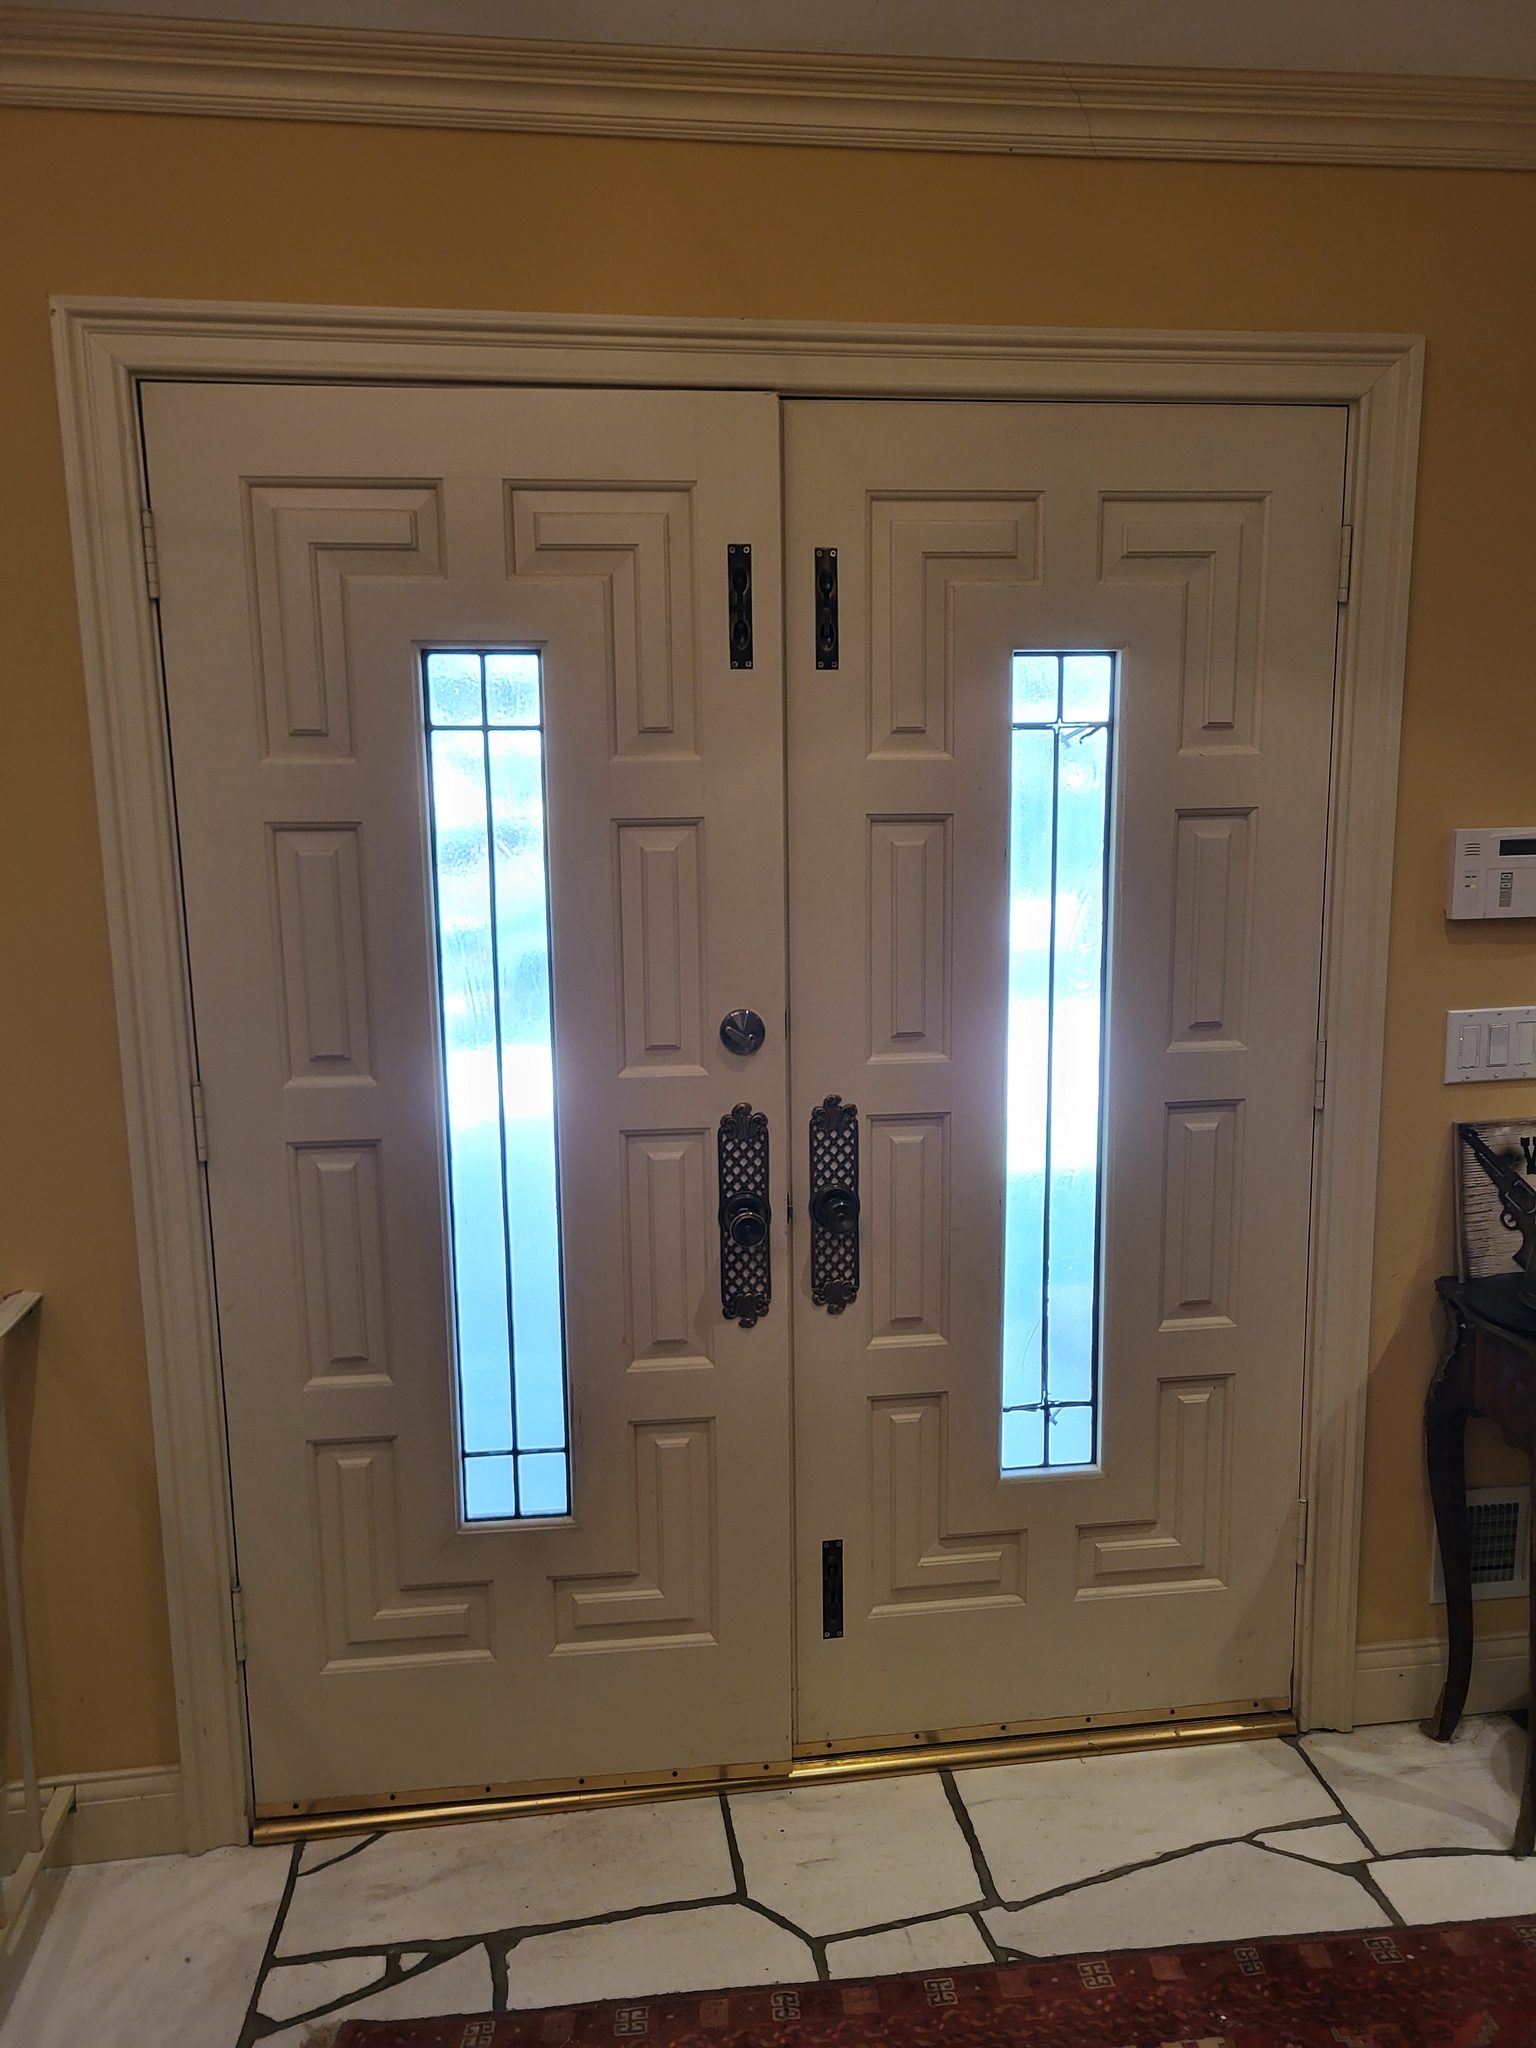
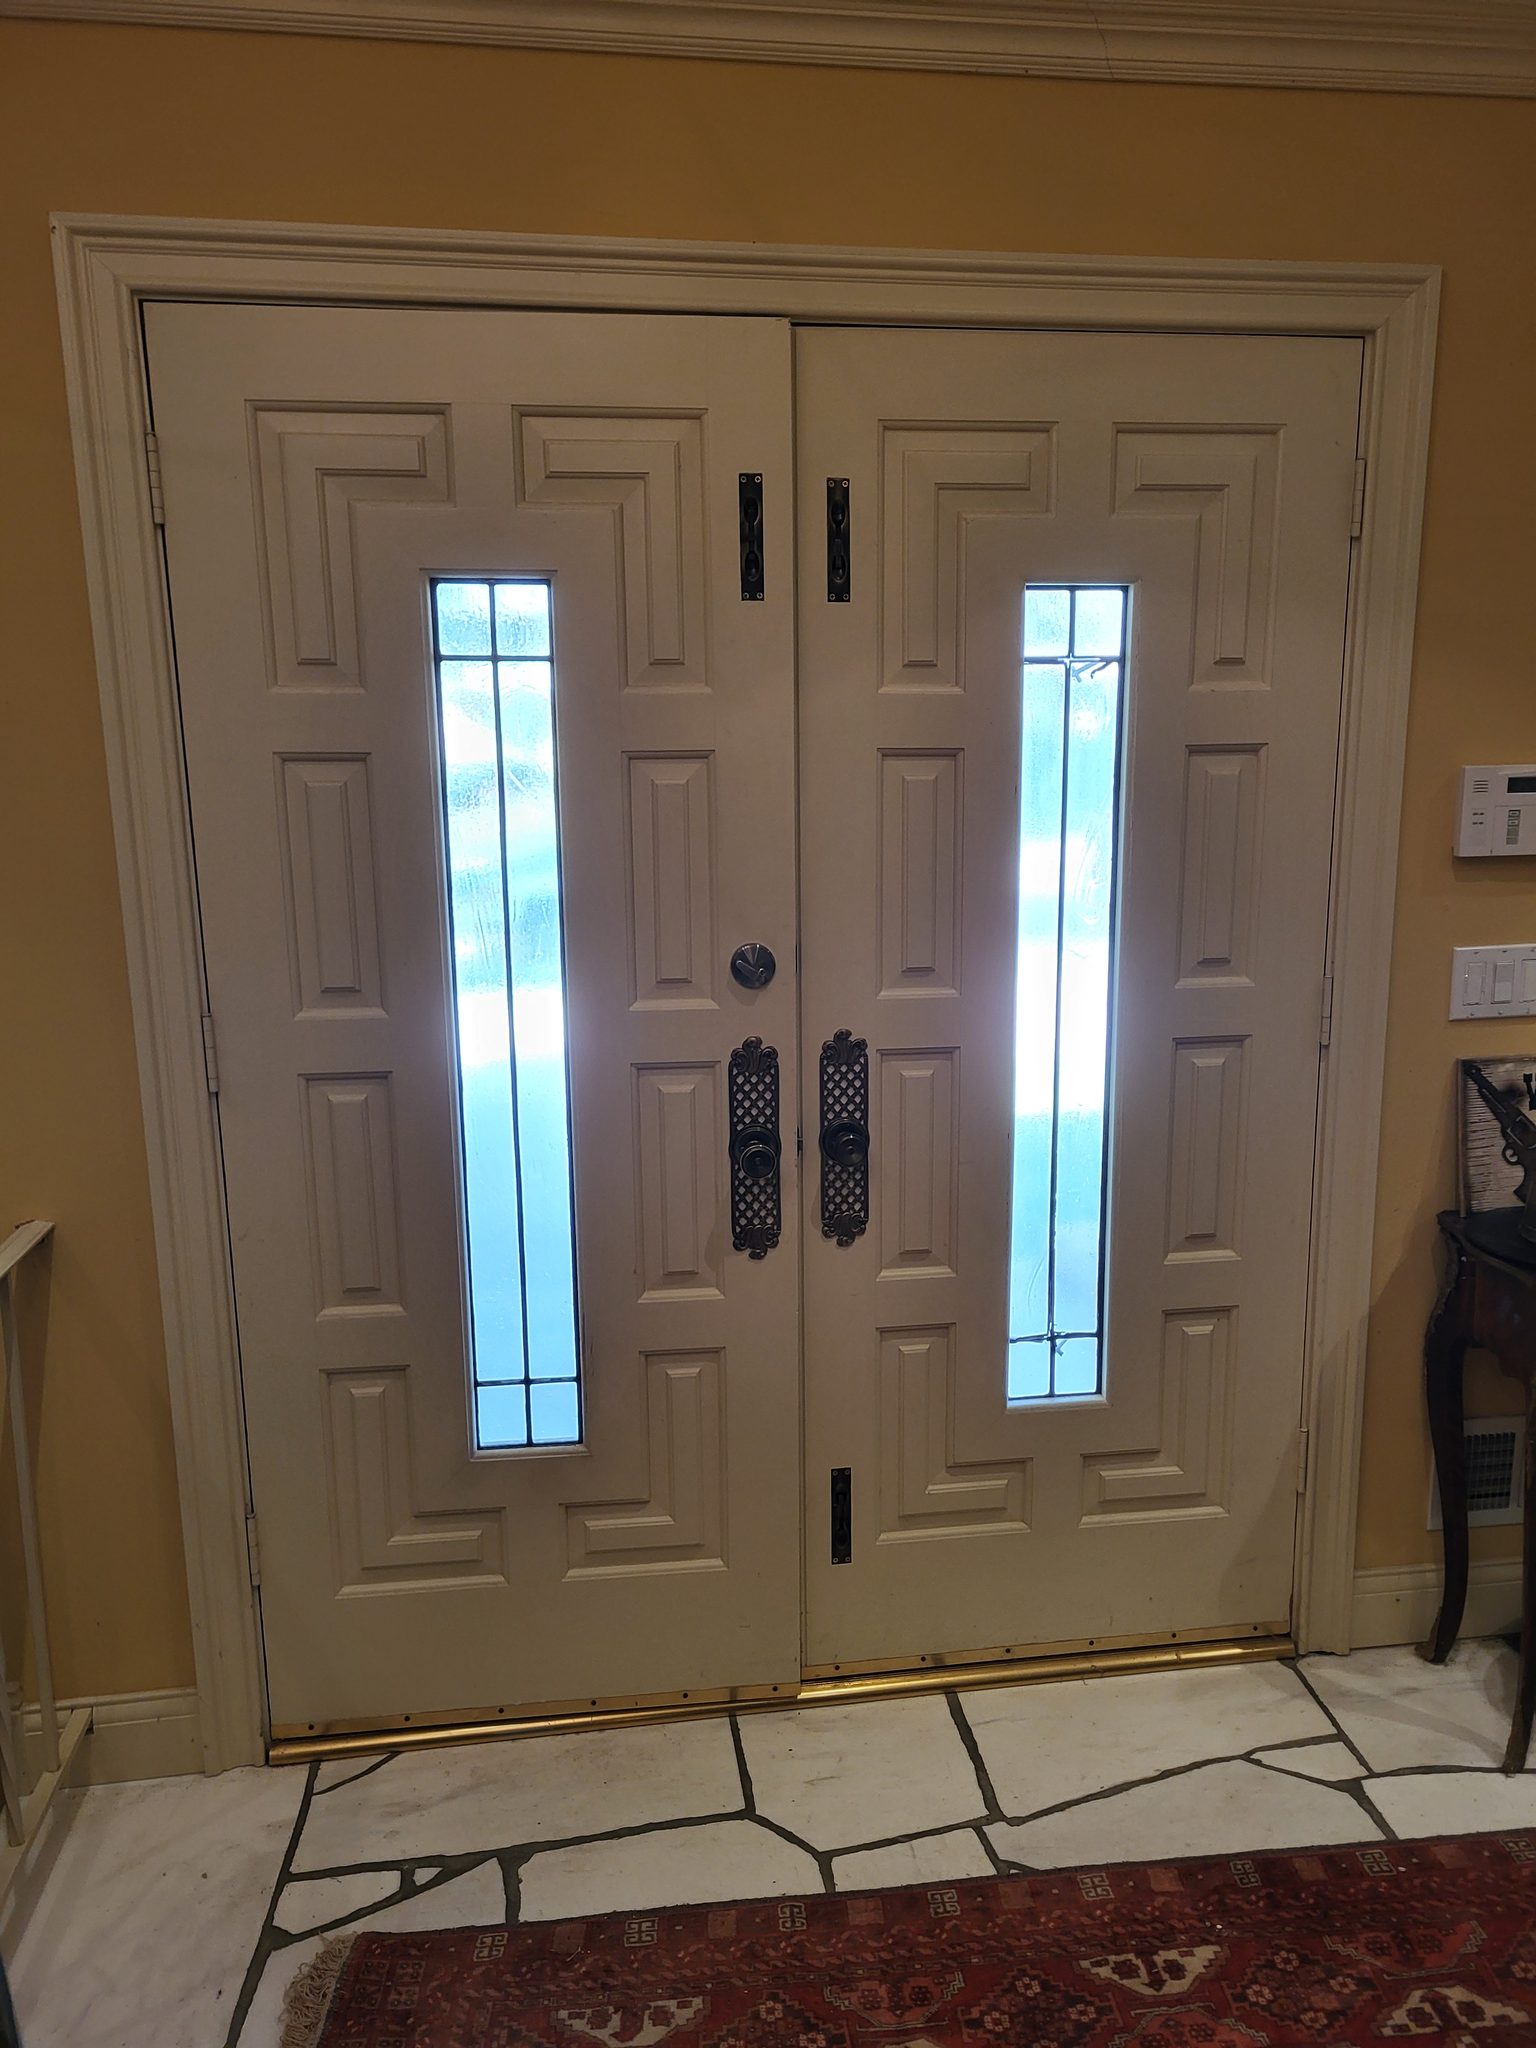
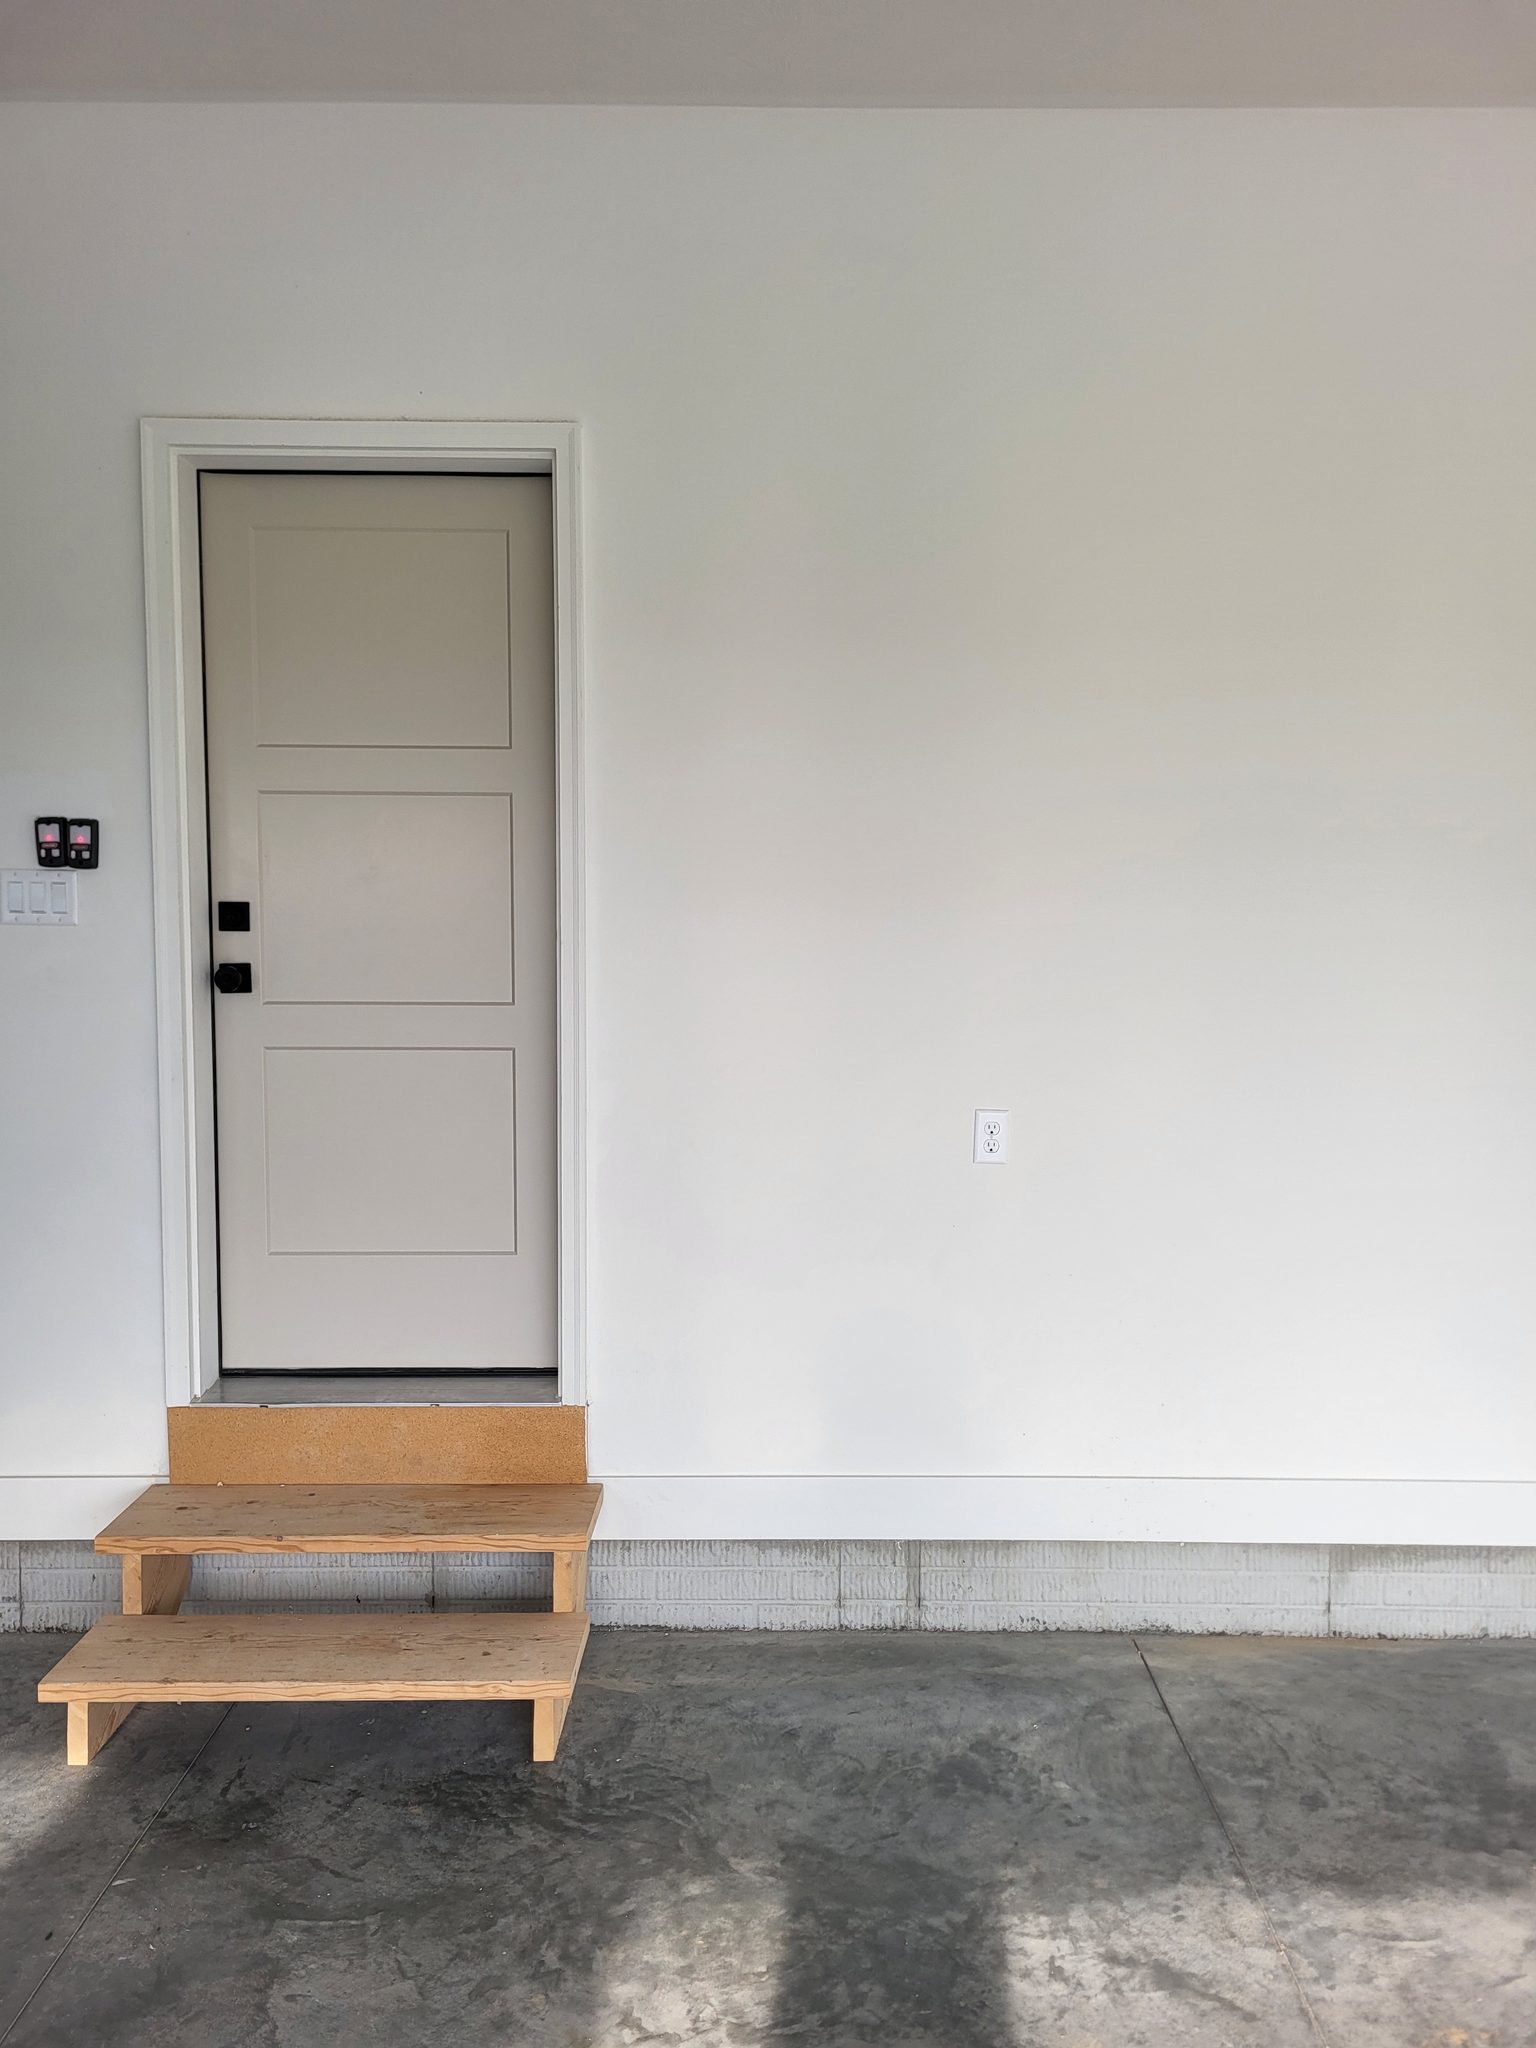
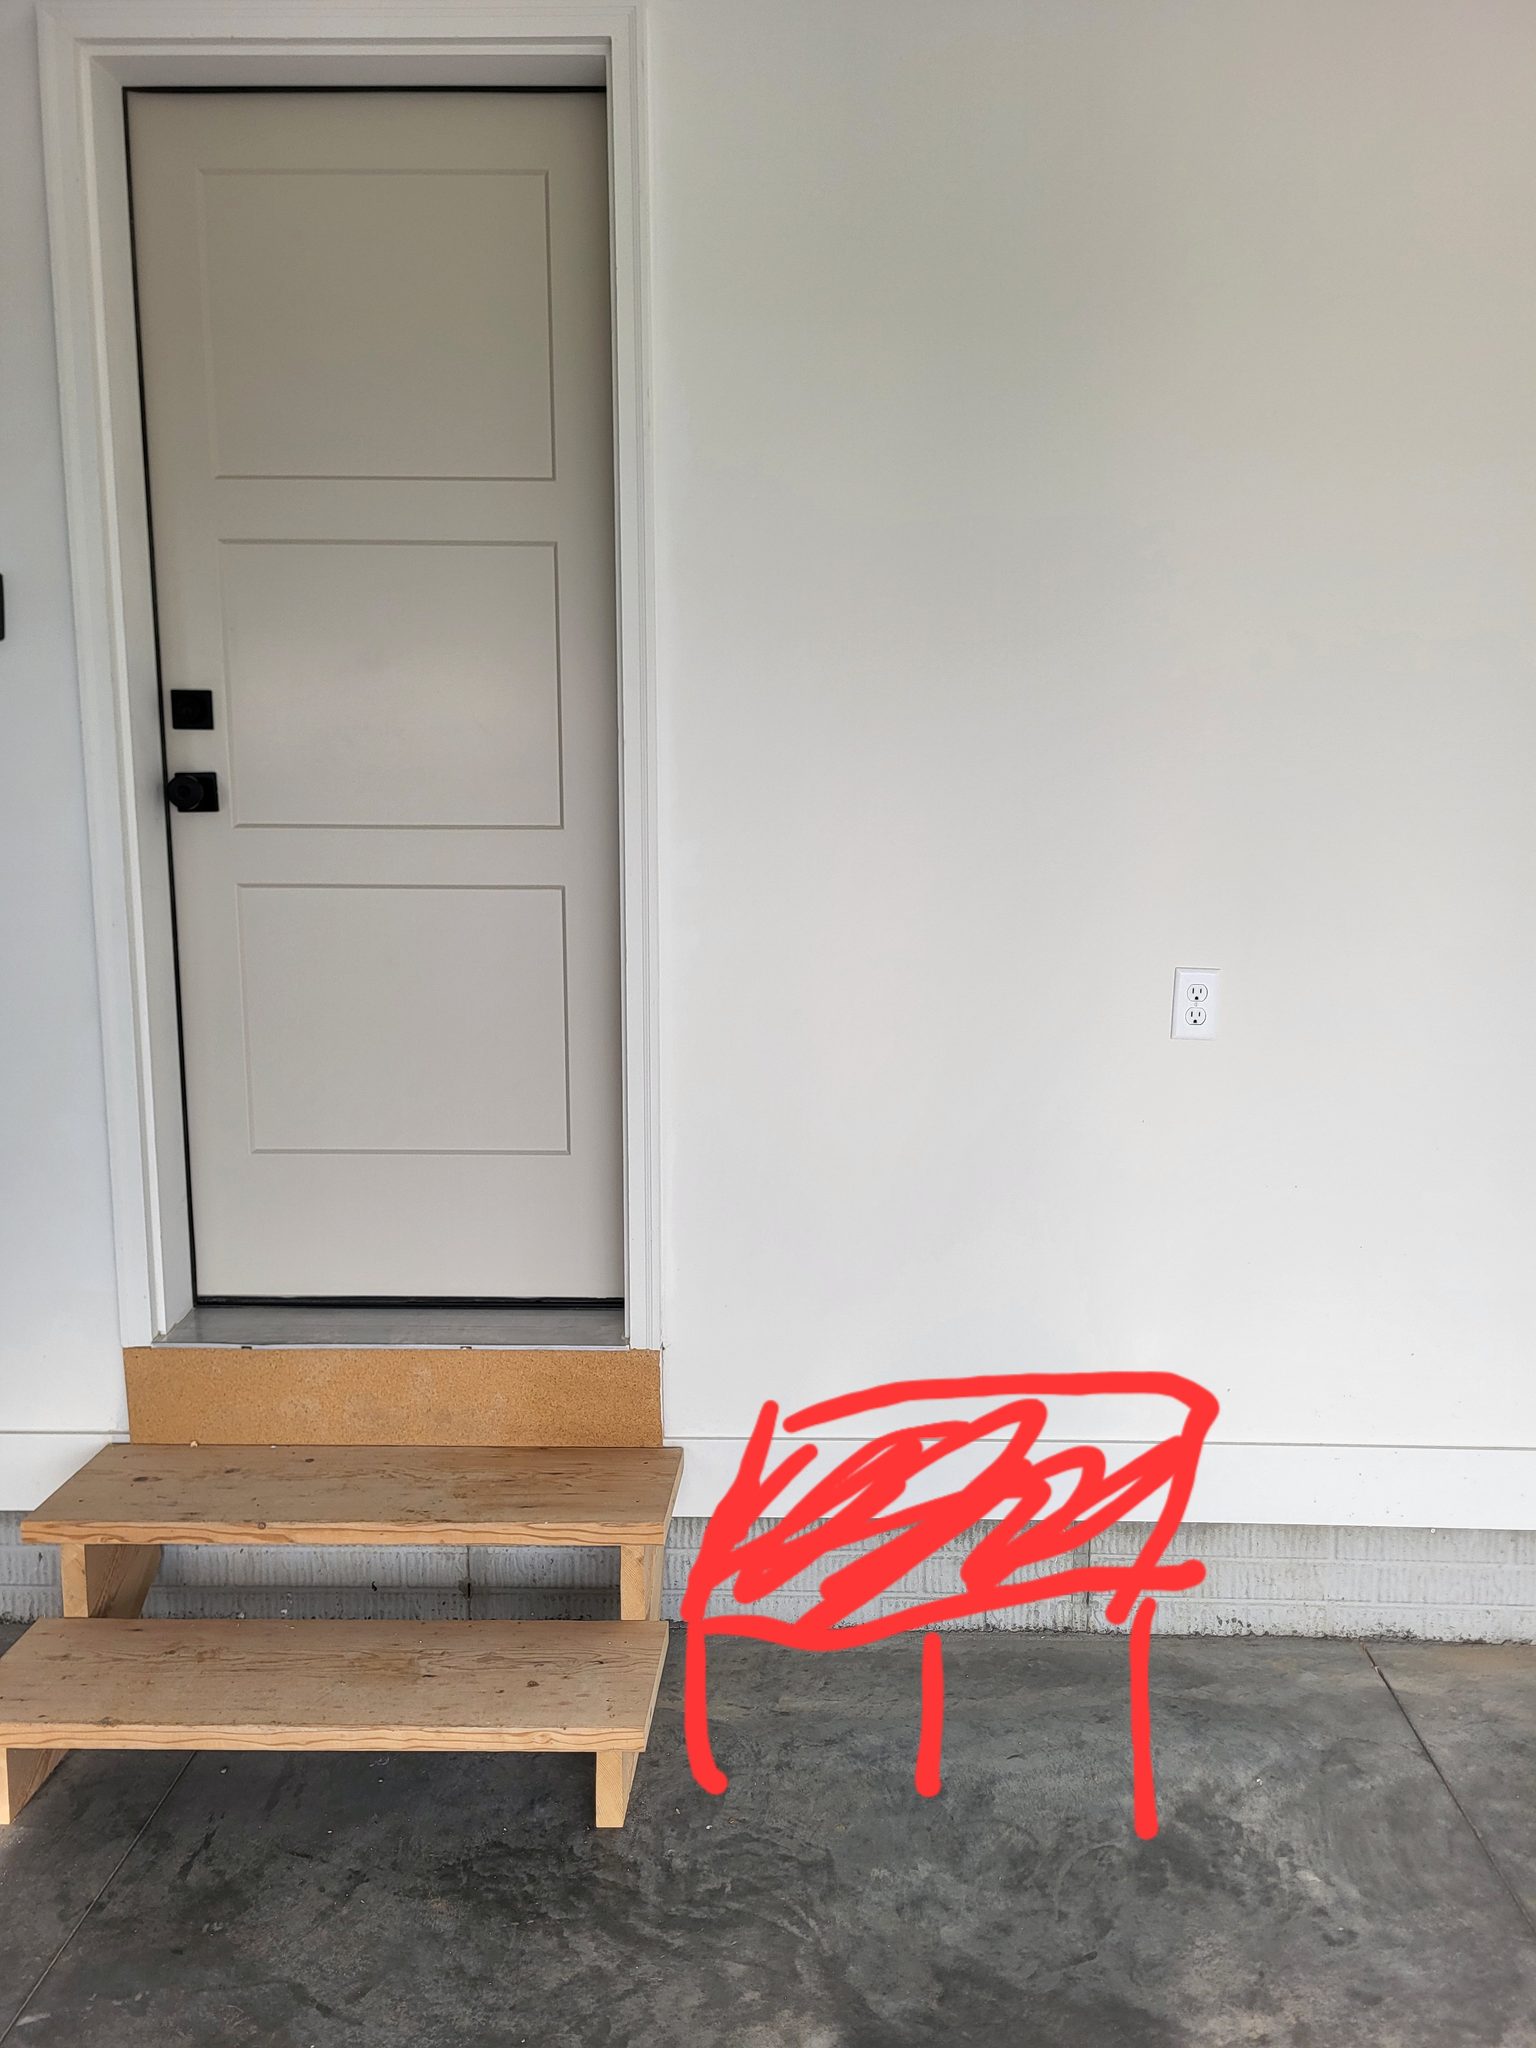
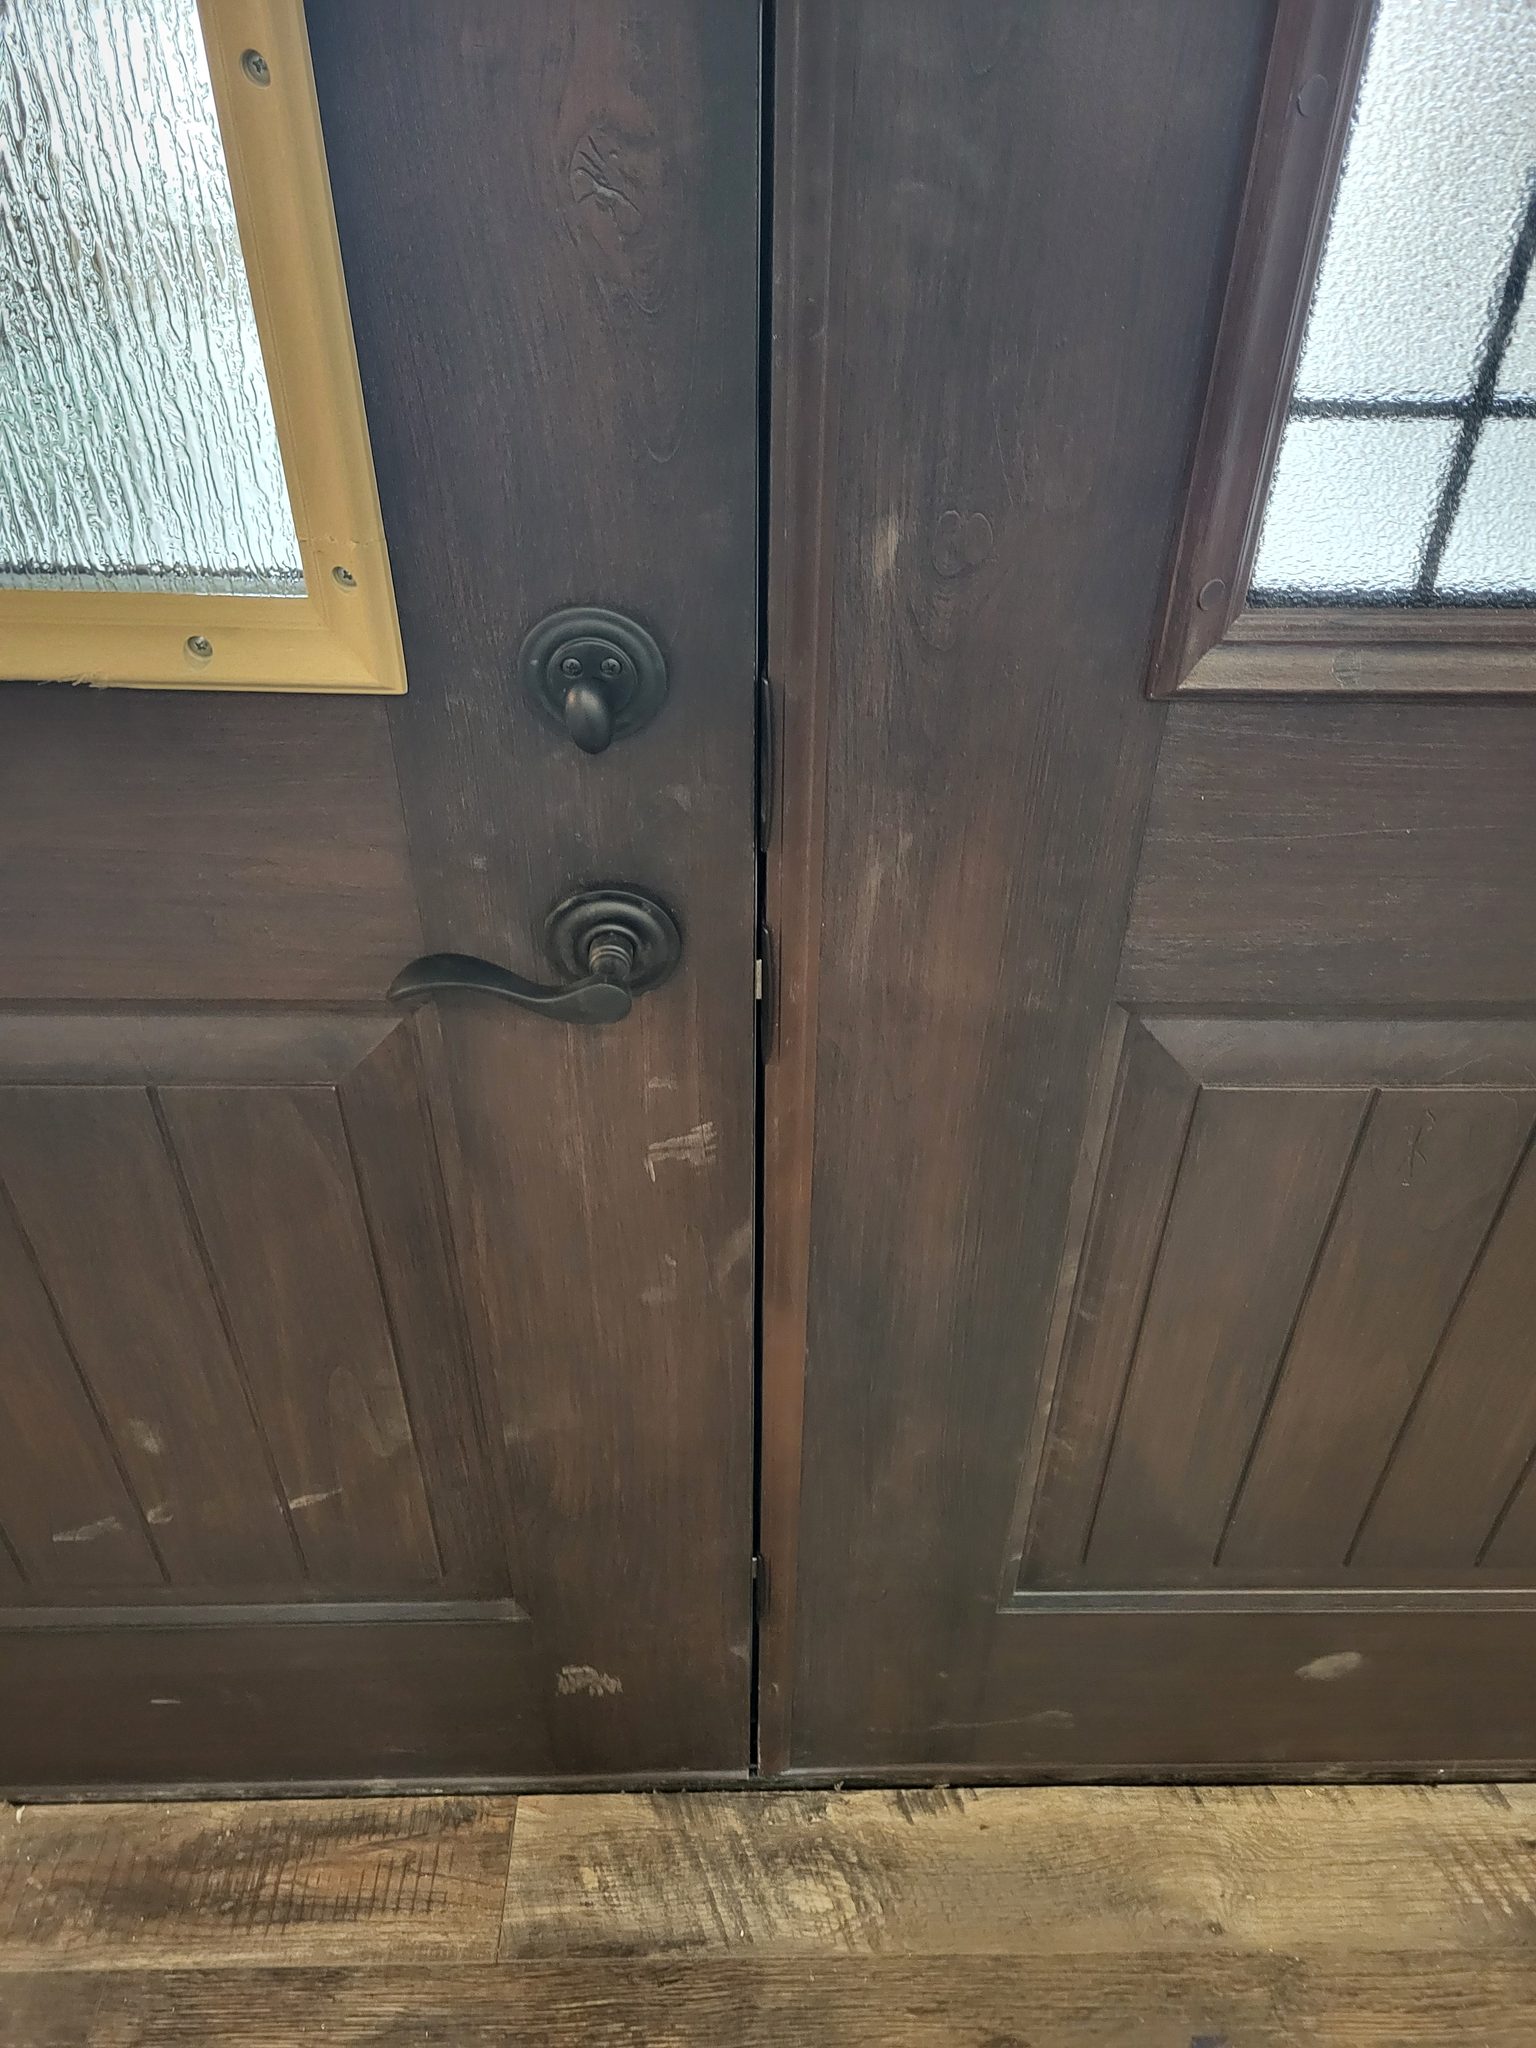
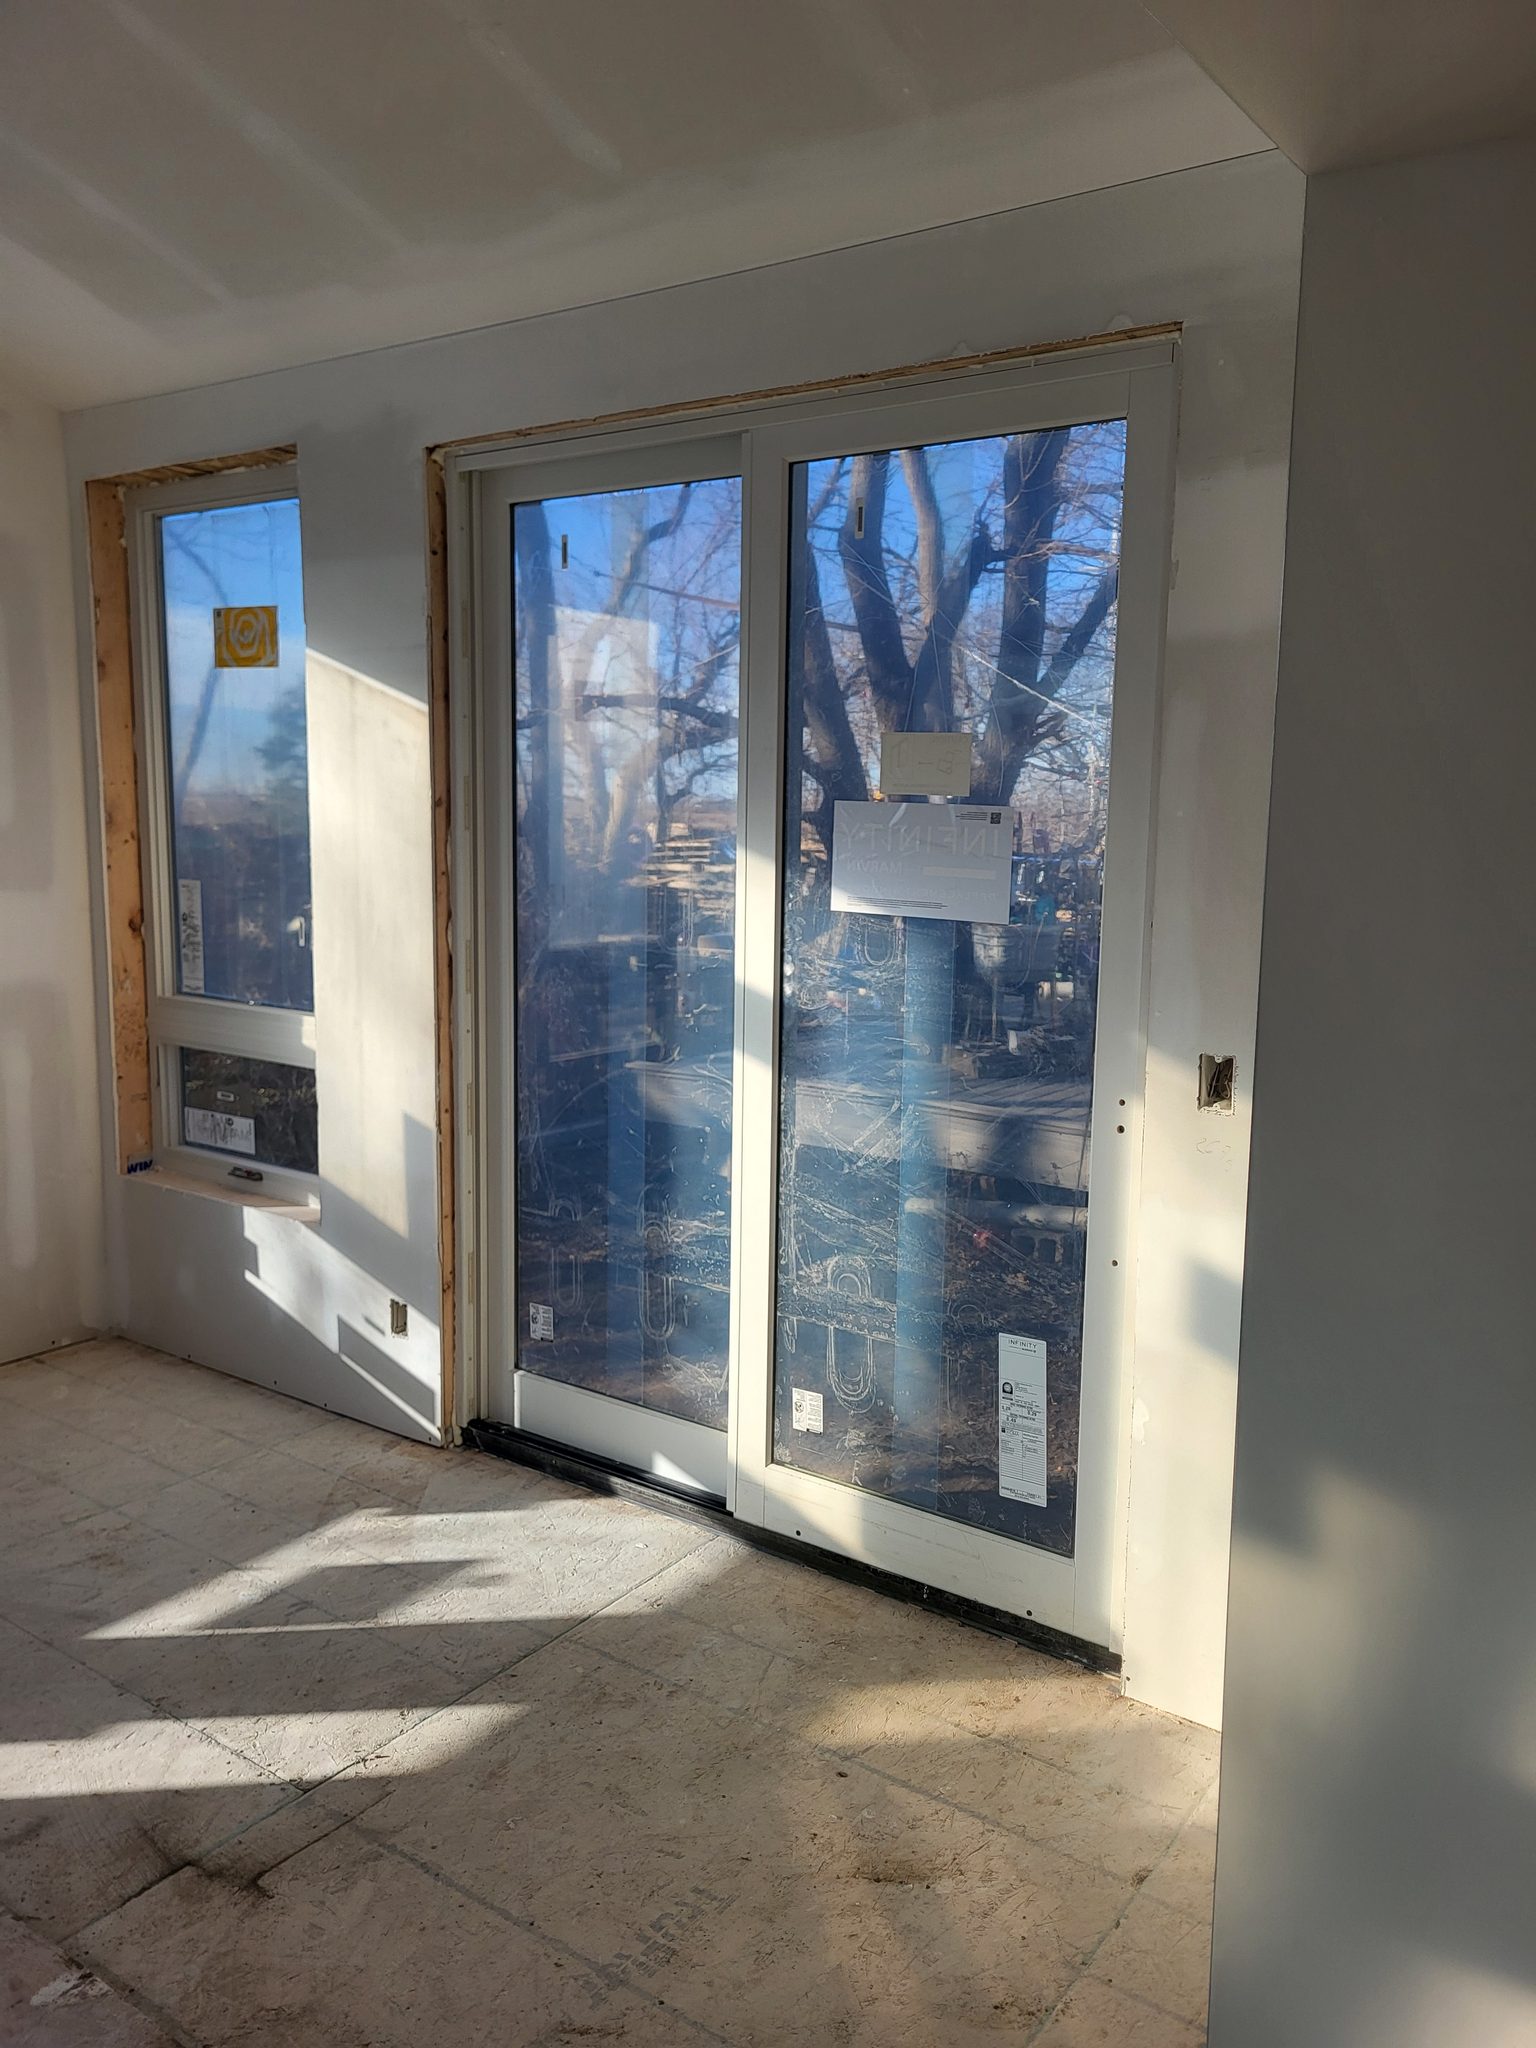
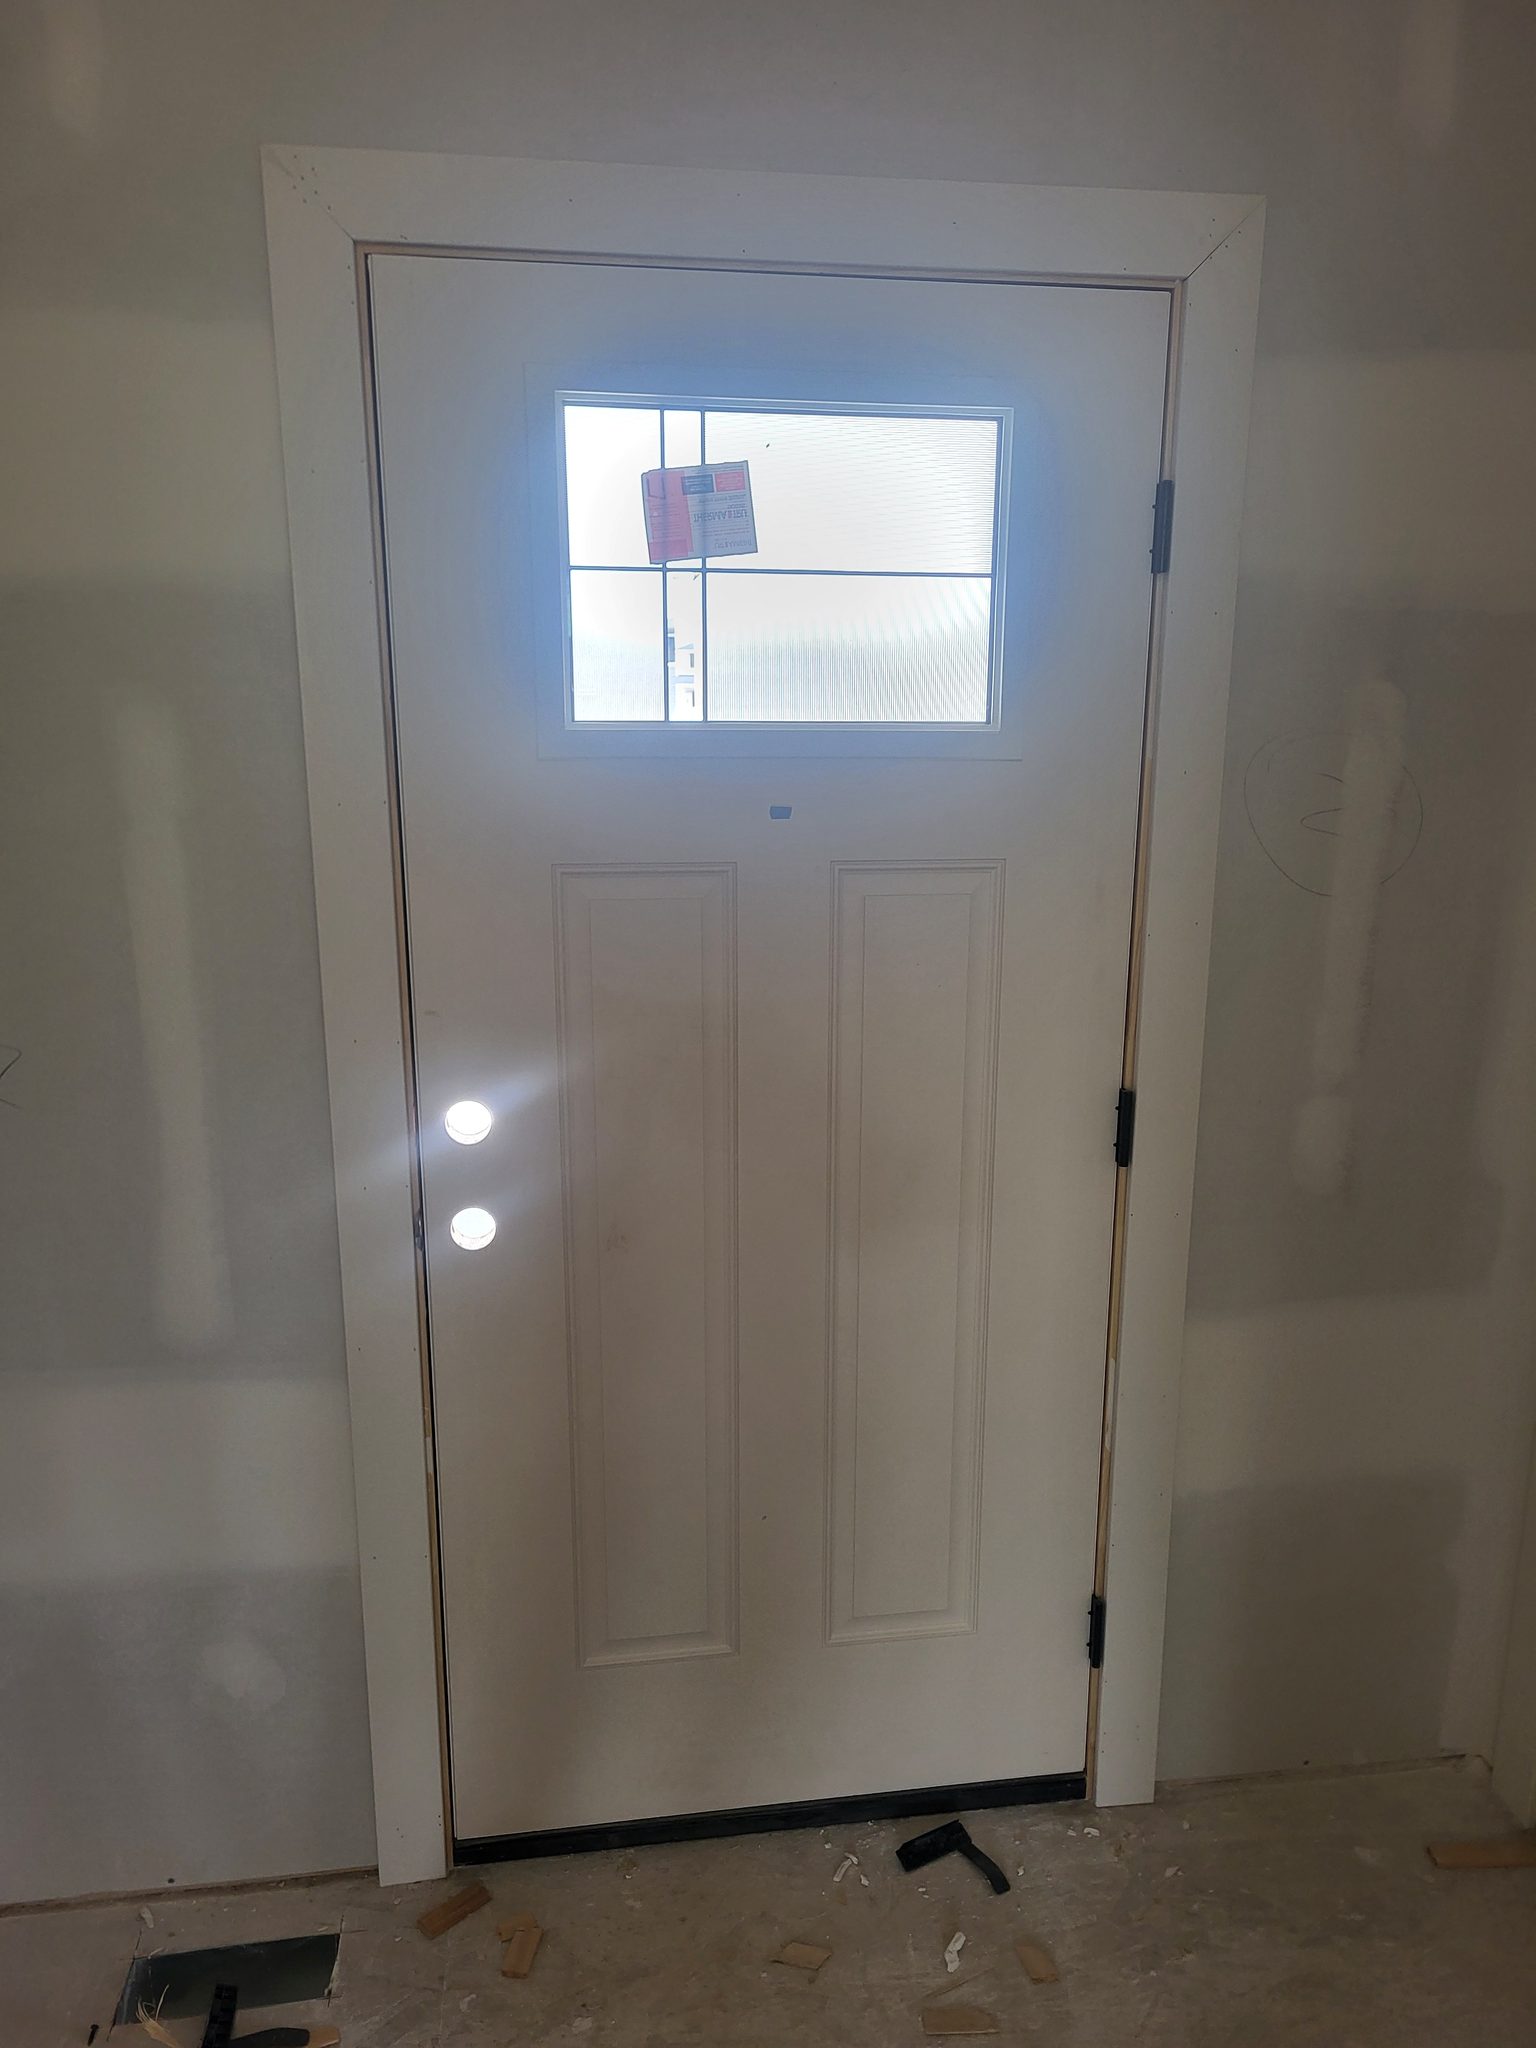
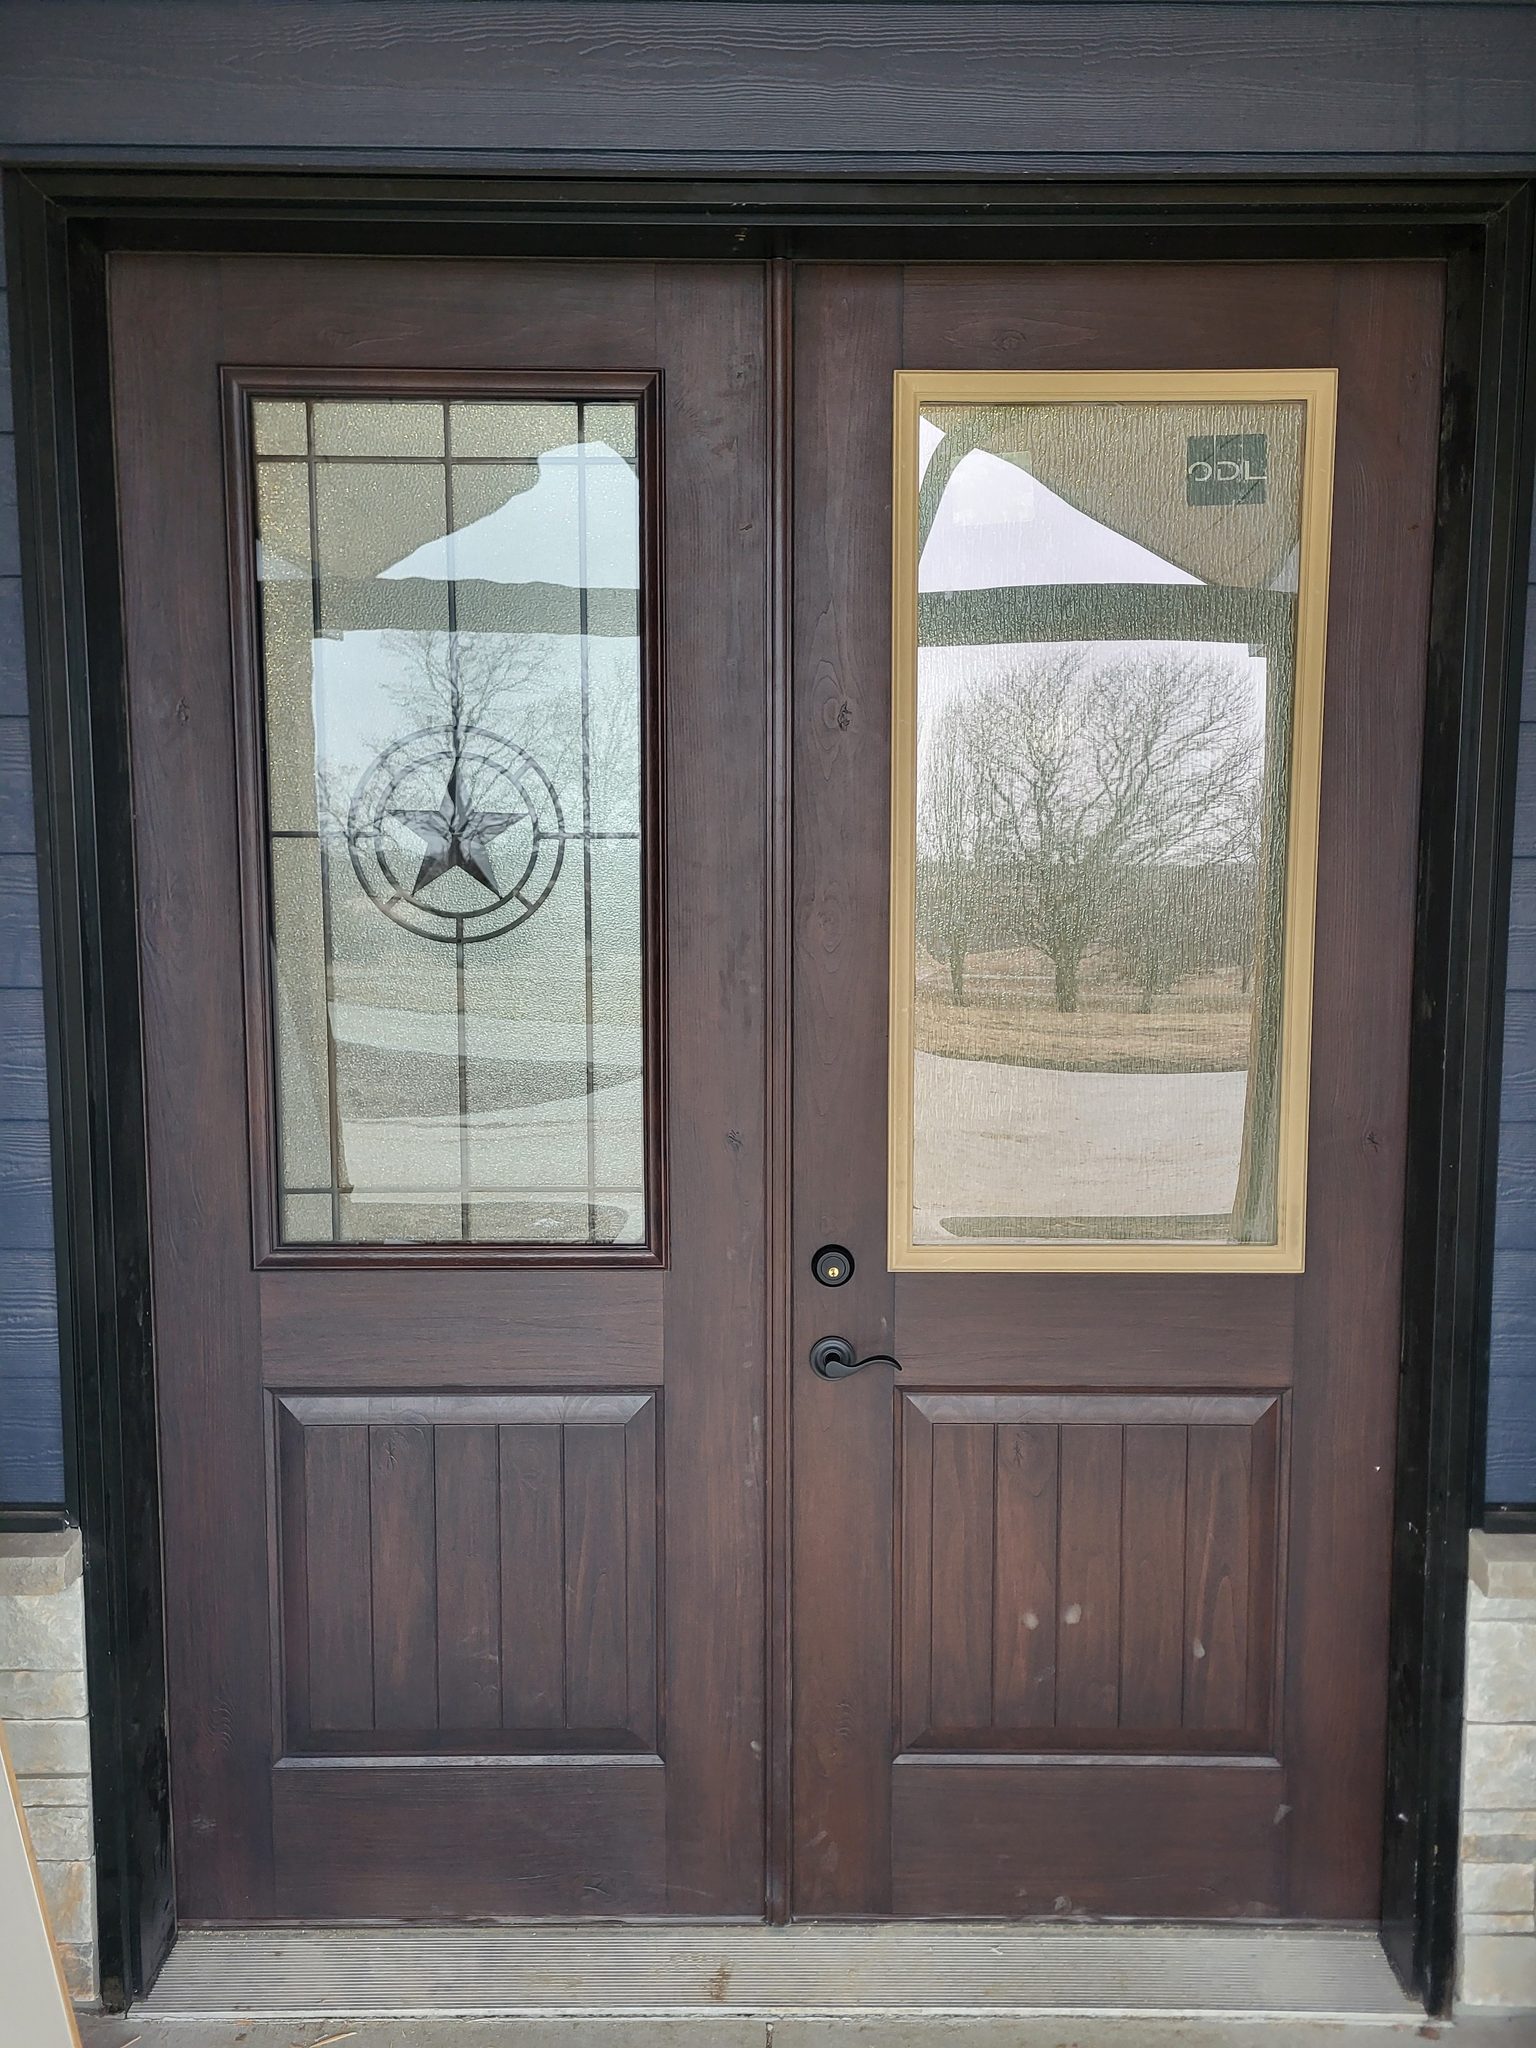
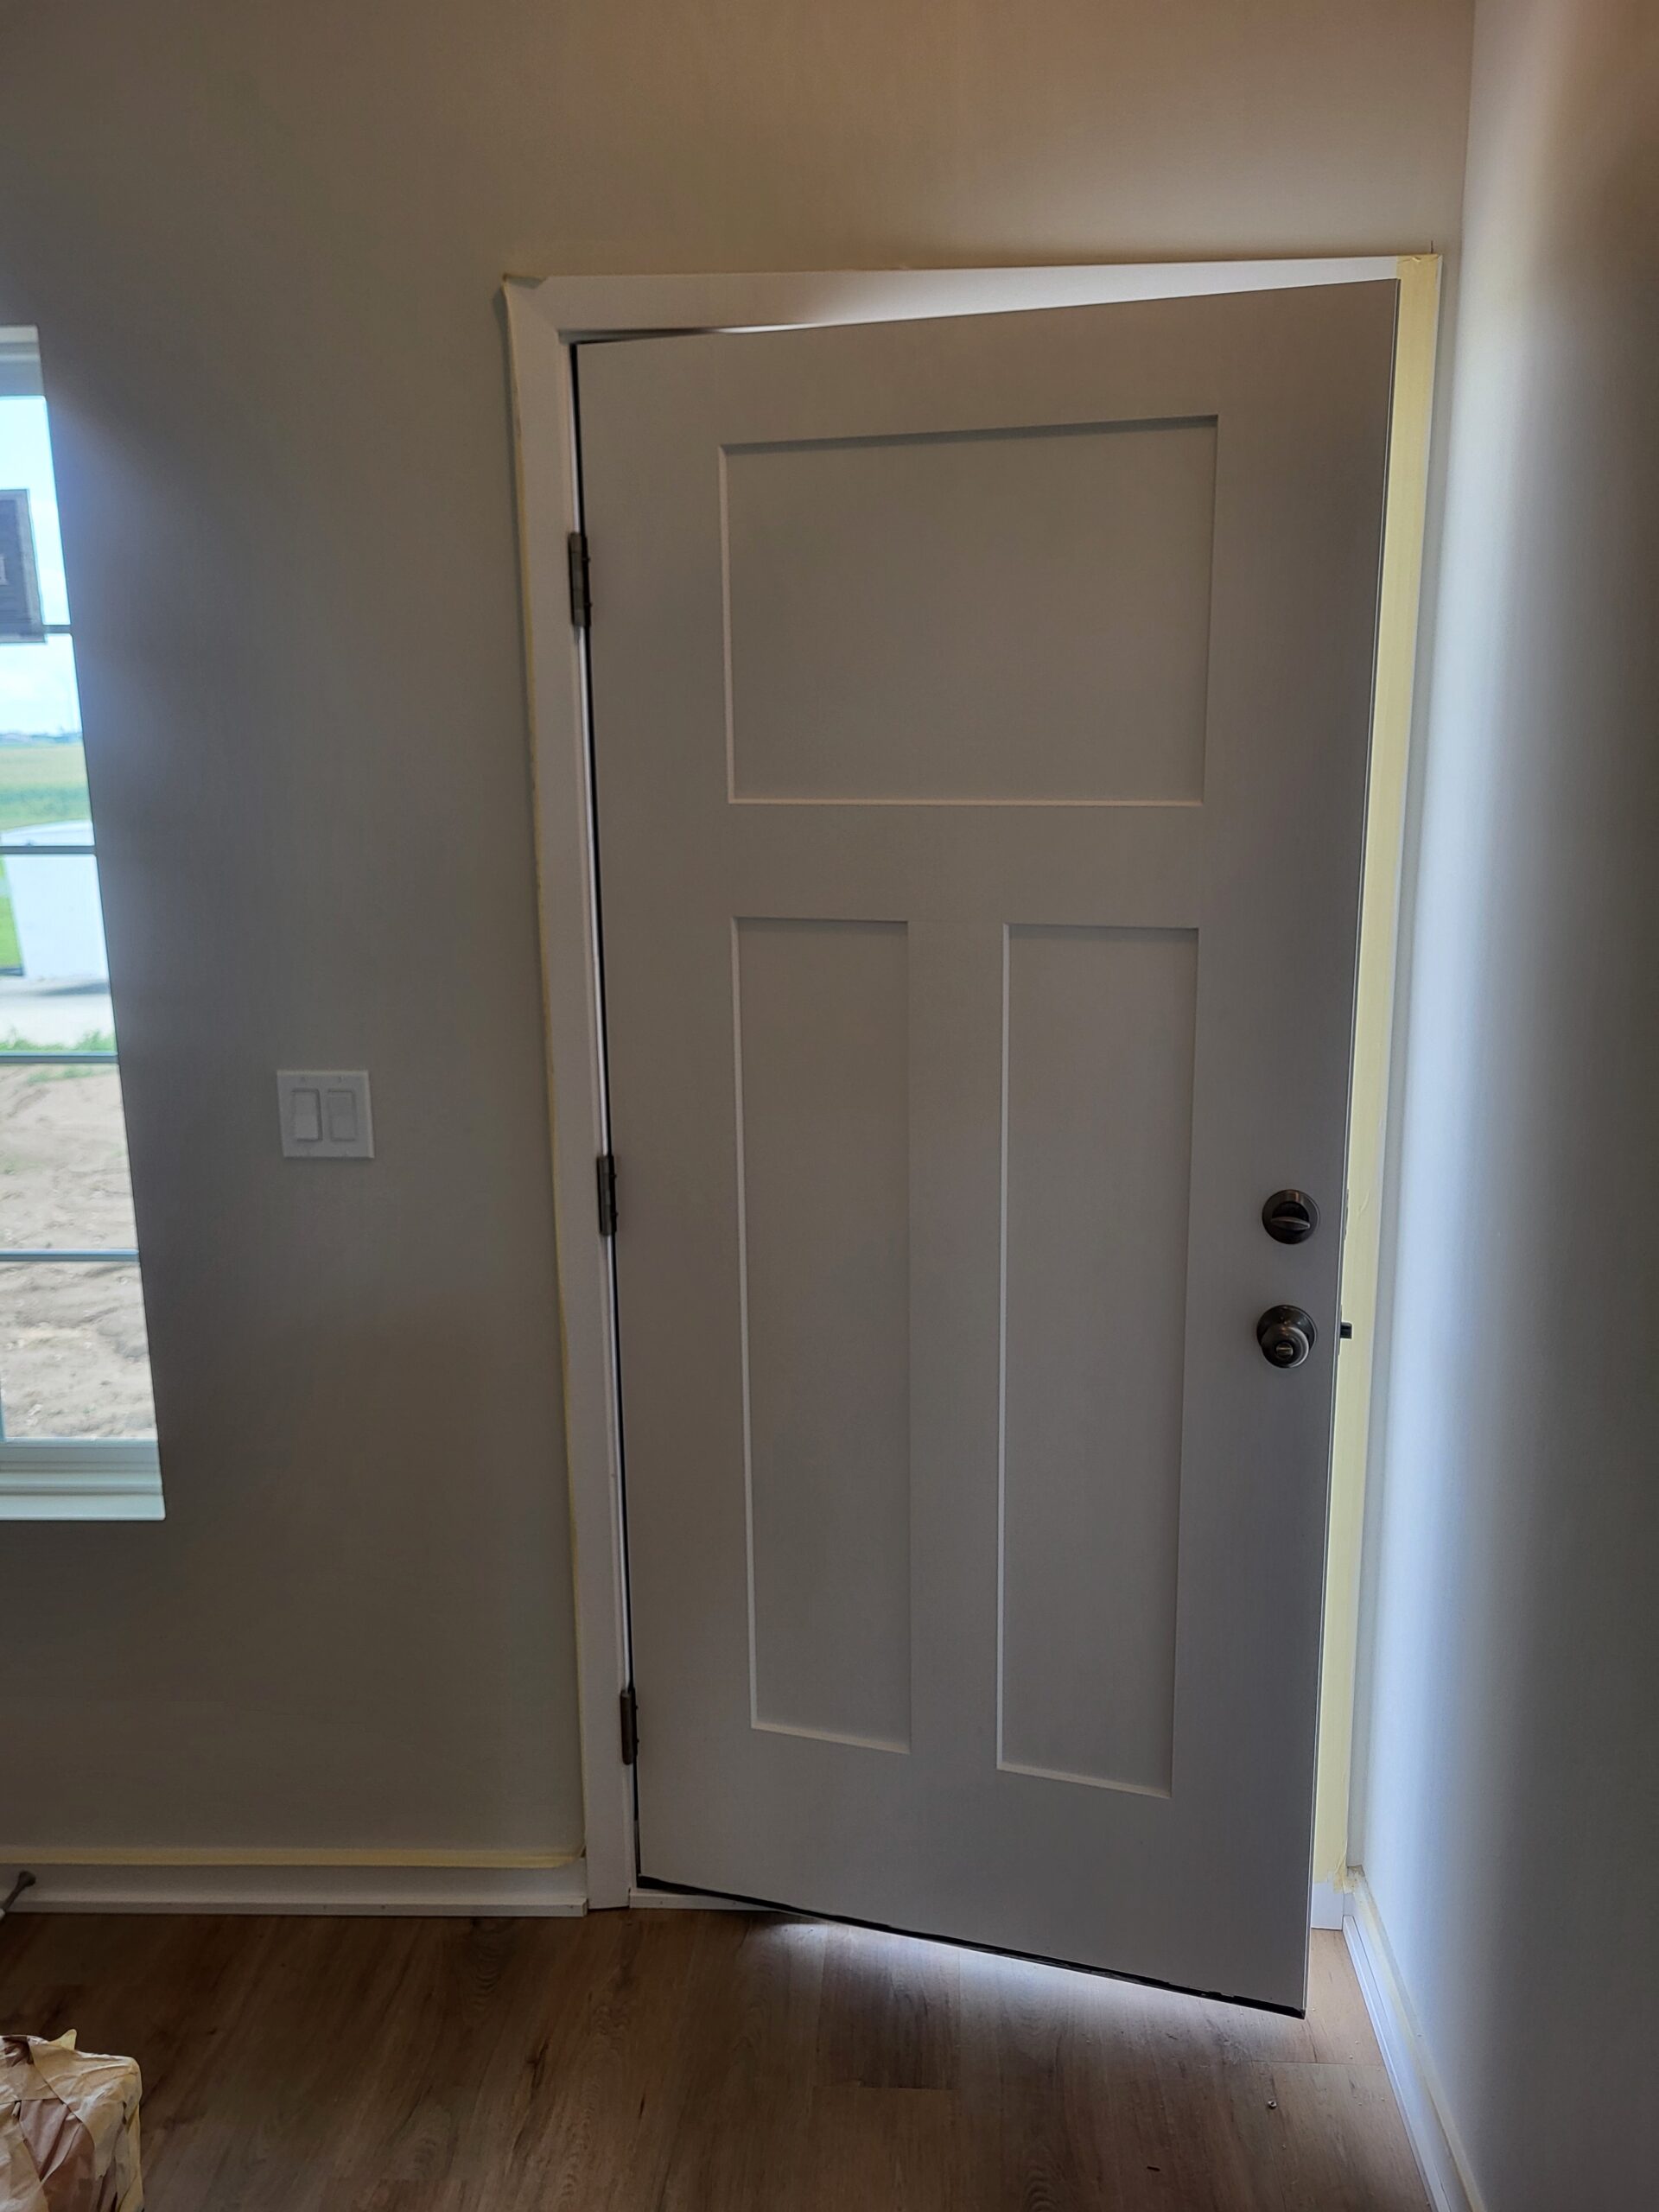
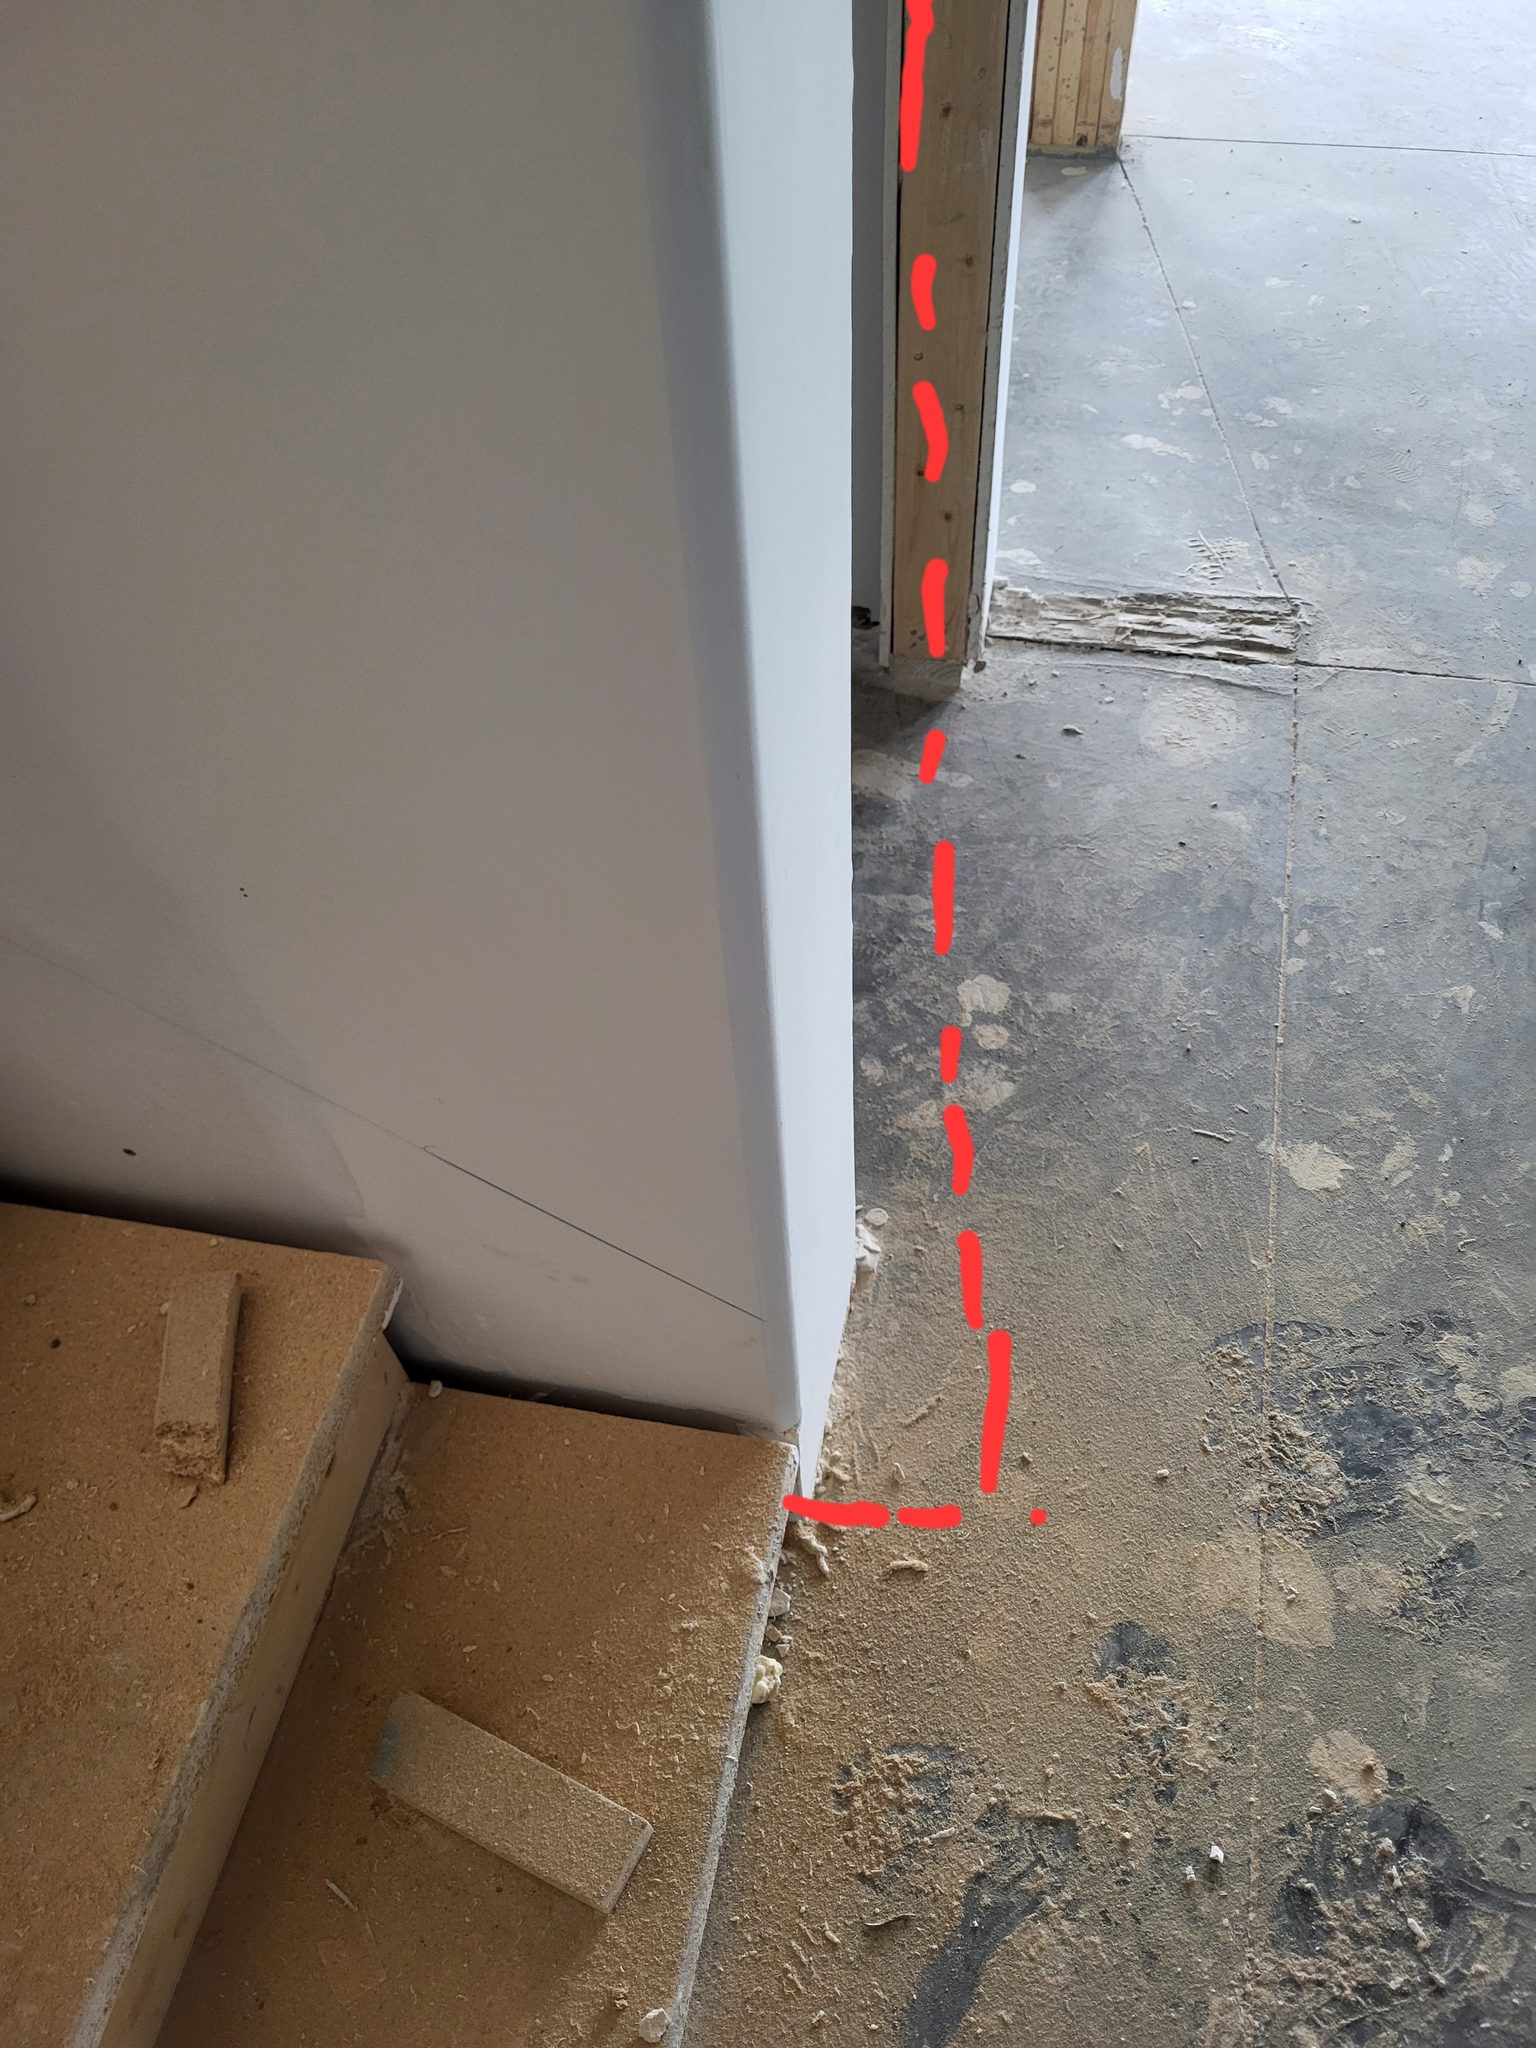
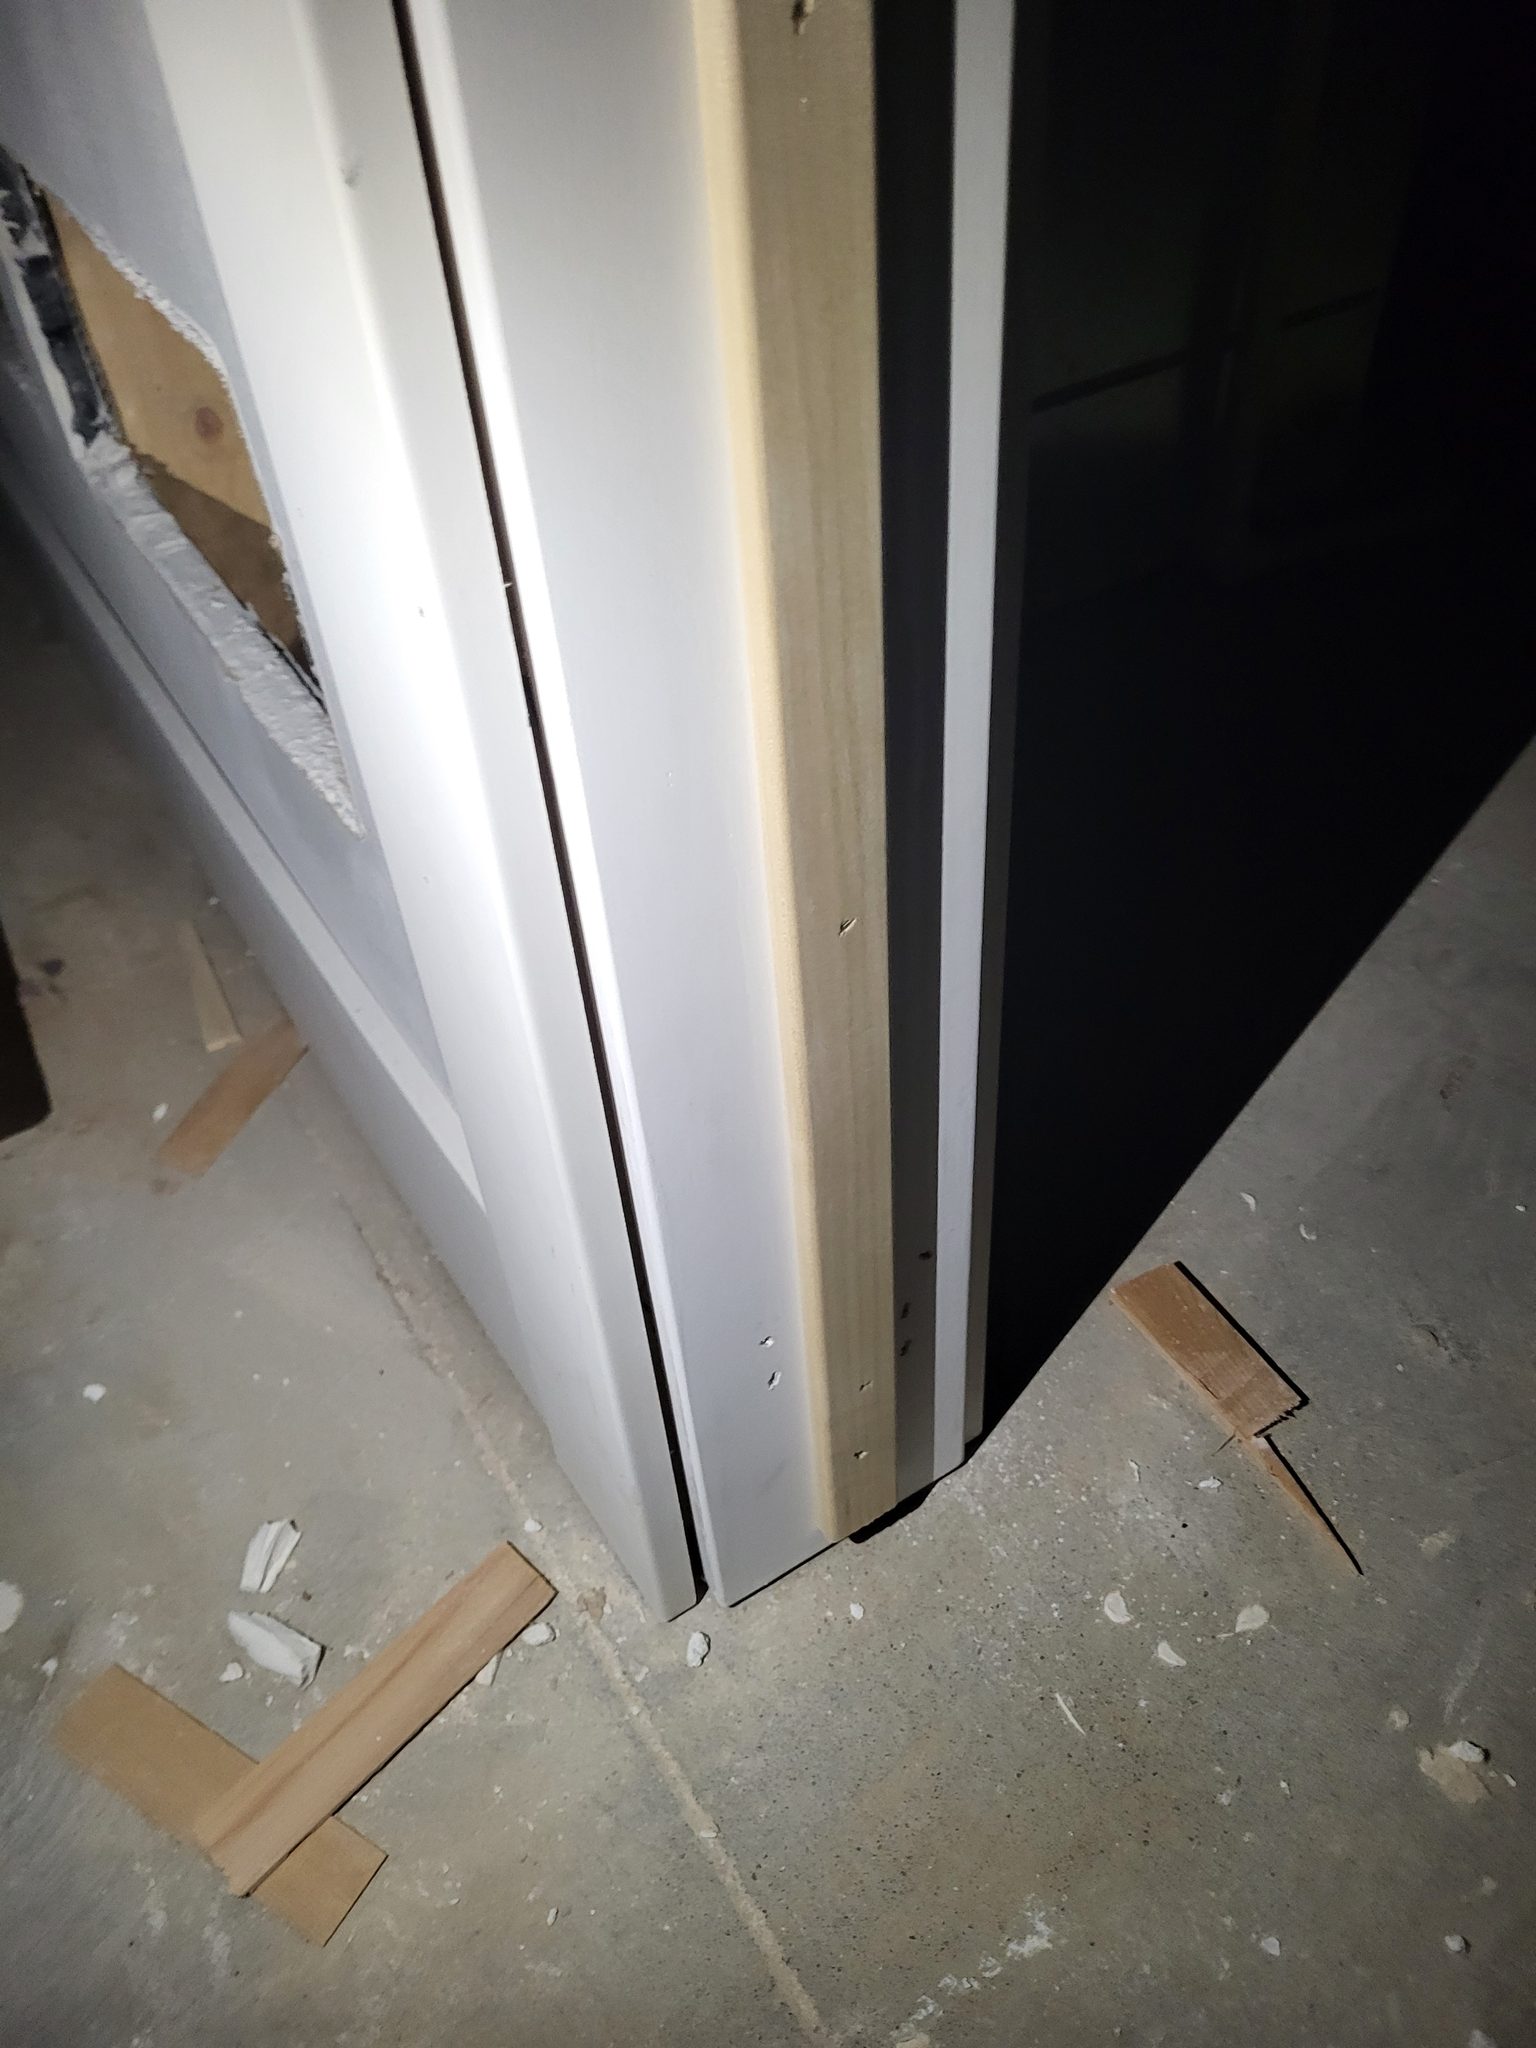
The following photos show examples of this type of work completed in the field. These serve as visual references for quality standards, proper installation techniques, and finished results.
Showing 14 of 14 photos