On this page
Introduction #
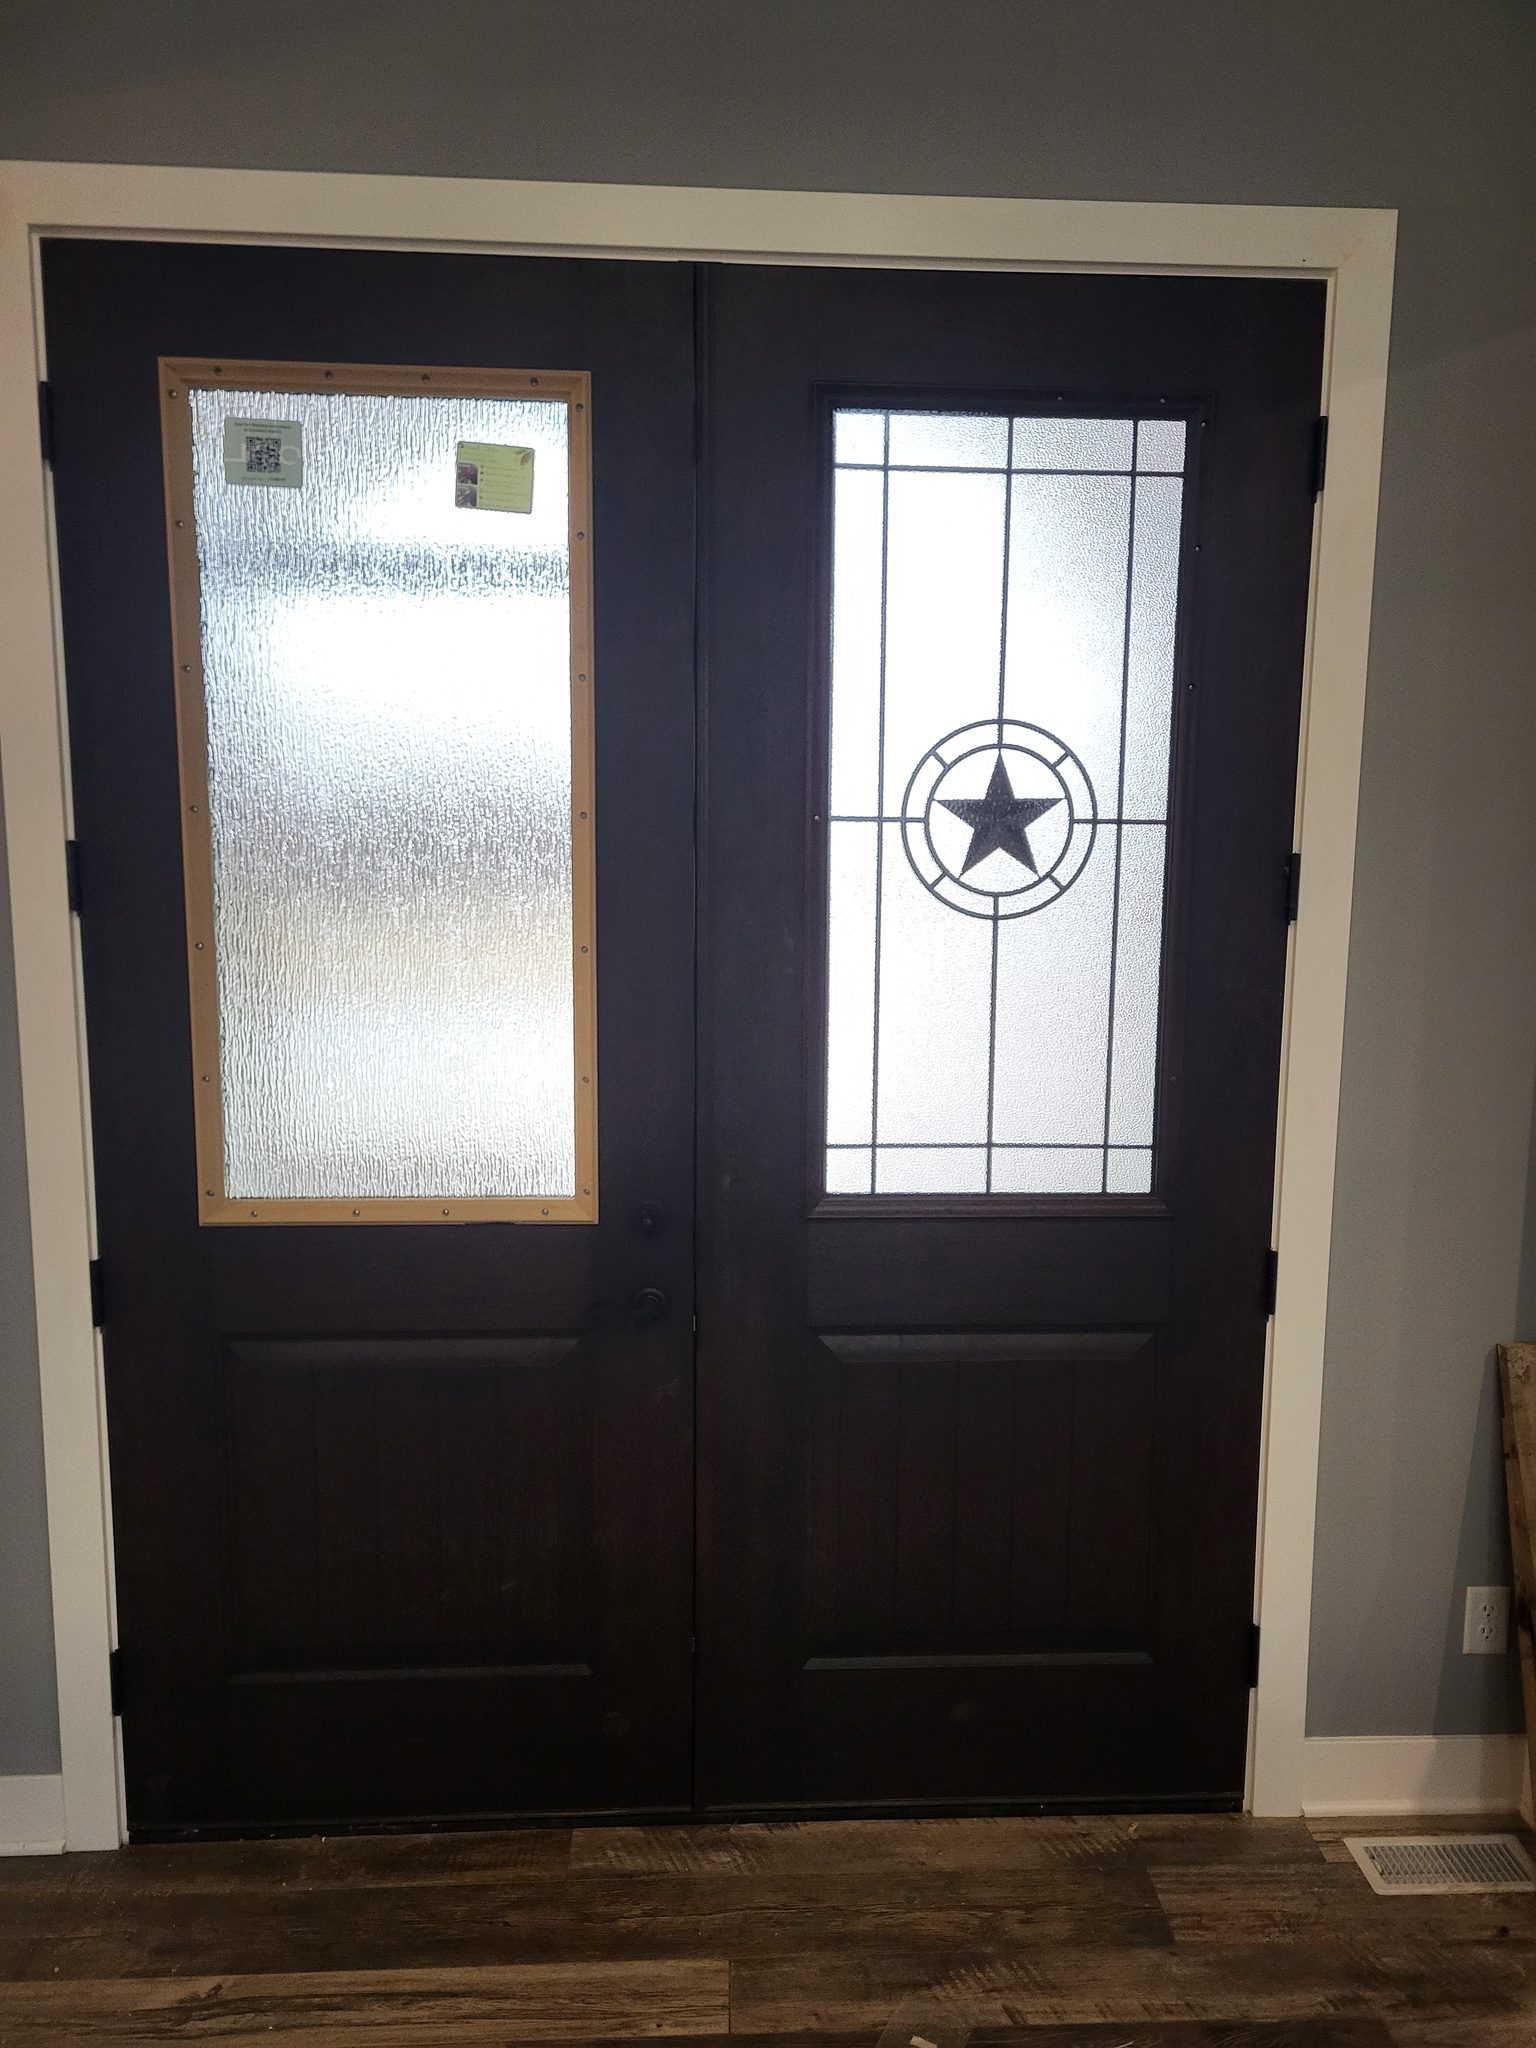
French doors open up a wide space between two rooms, but you can still close them for privacy or to block noise. They let in more light than a single door, especially when the panels are glass. Getting the install right the first time is what makes the opening look finished instead of thrown together.
A center-opening pair is also called “double doors.” Two door slabs (the doors themselves, not the frame) meet in the middle of the opening. There is no mullion (a fixed center post) between them, so either door can swing open on its own. That is different from a setup where one door is locked in place and only the other side opens.
In a center-opening pair, one door is the “active” door. That is the one you use every day, and it carries the lockset or passage latch (the door handle and latch mechanism). The other door is the “inactive” or “fixed” door. It stays shut, locked with flush bolts, metal rods you slide into holes at the top and bottom to hold the door in place. You only open the inactive door when you need the full width of the opening, like when moving furniture. The active door latches into a T-astragal (the meeting strip) attached to the edge of the inactive door.
The hard part is getting both doors to meet evenly in the center, with a consistent gap and straight alignment from top to bottom. You have to shim (wedge thin tapered pieces behind the frame to adjust it) both jamb sides (the frame pieces on each side of the opening) on their own, and check that the center gap stays even before you lock anything down.
Which guide do I need?
- Opening with no door, other heights: How to Install a Cased Opening
- Opening with no door, 6 foot 8 inch tall: How to Install a 6'8" Cased Opening
- Opening with a pair of French doors: this guide
Before You Begin #
Prerequisites #
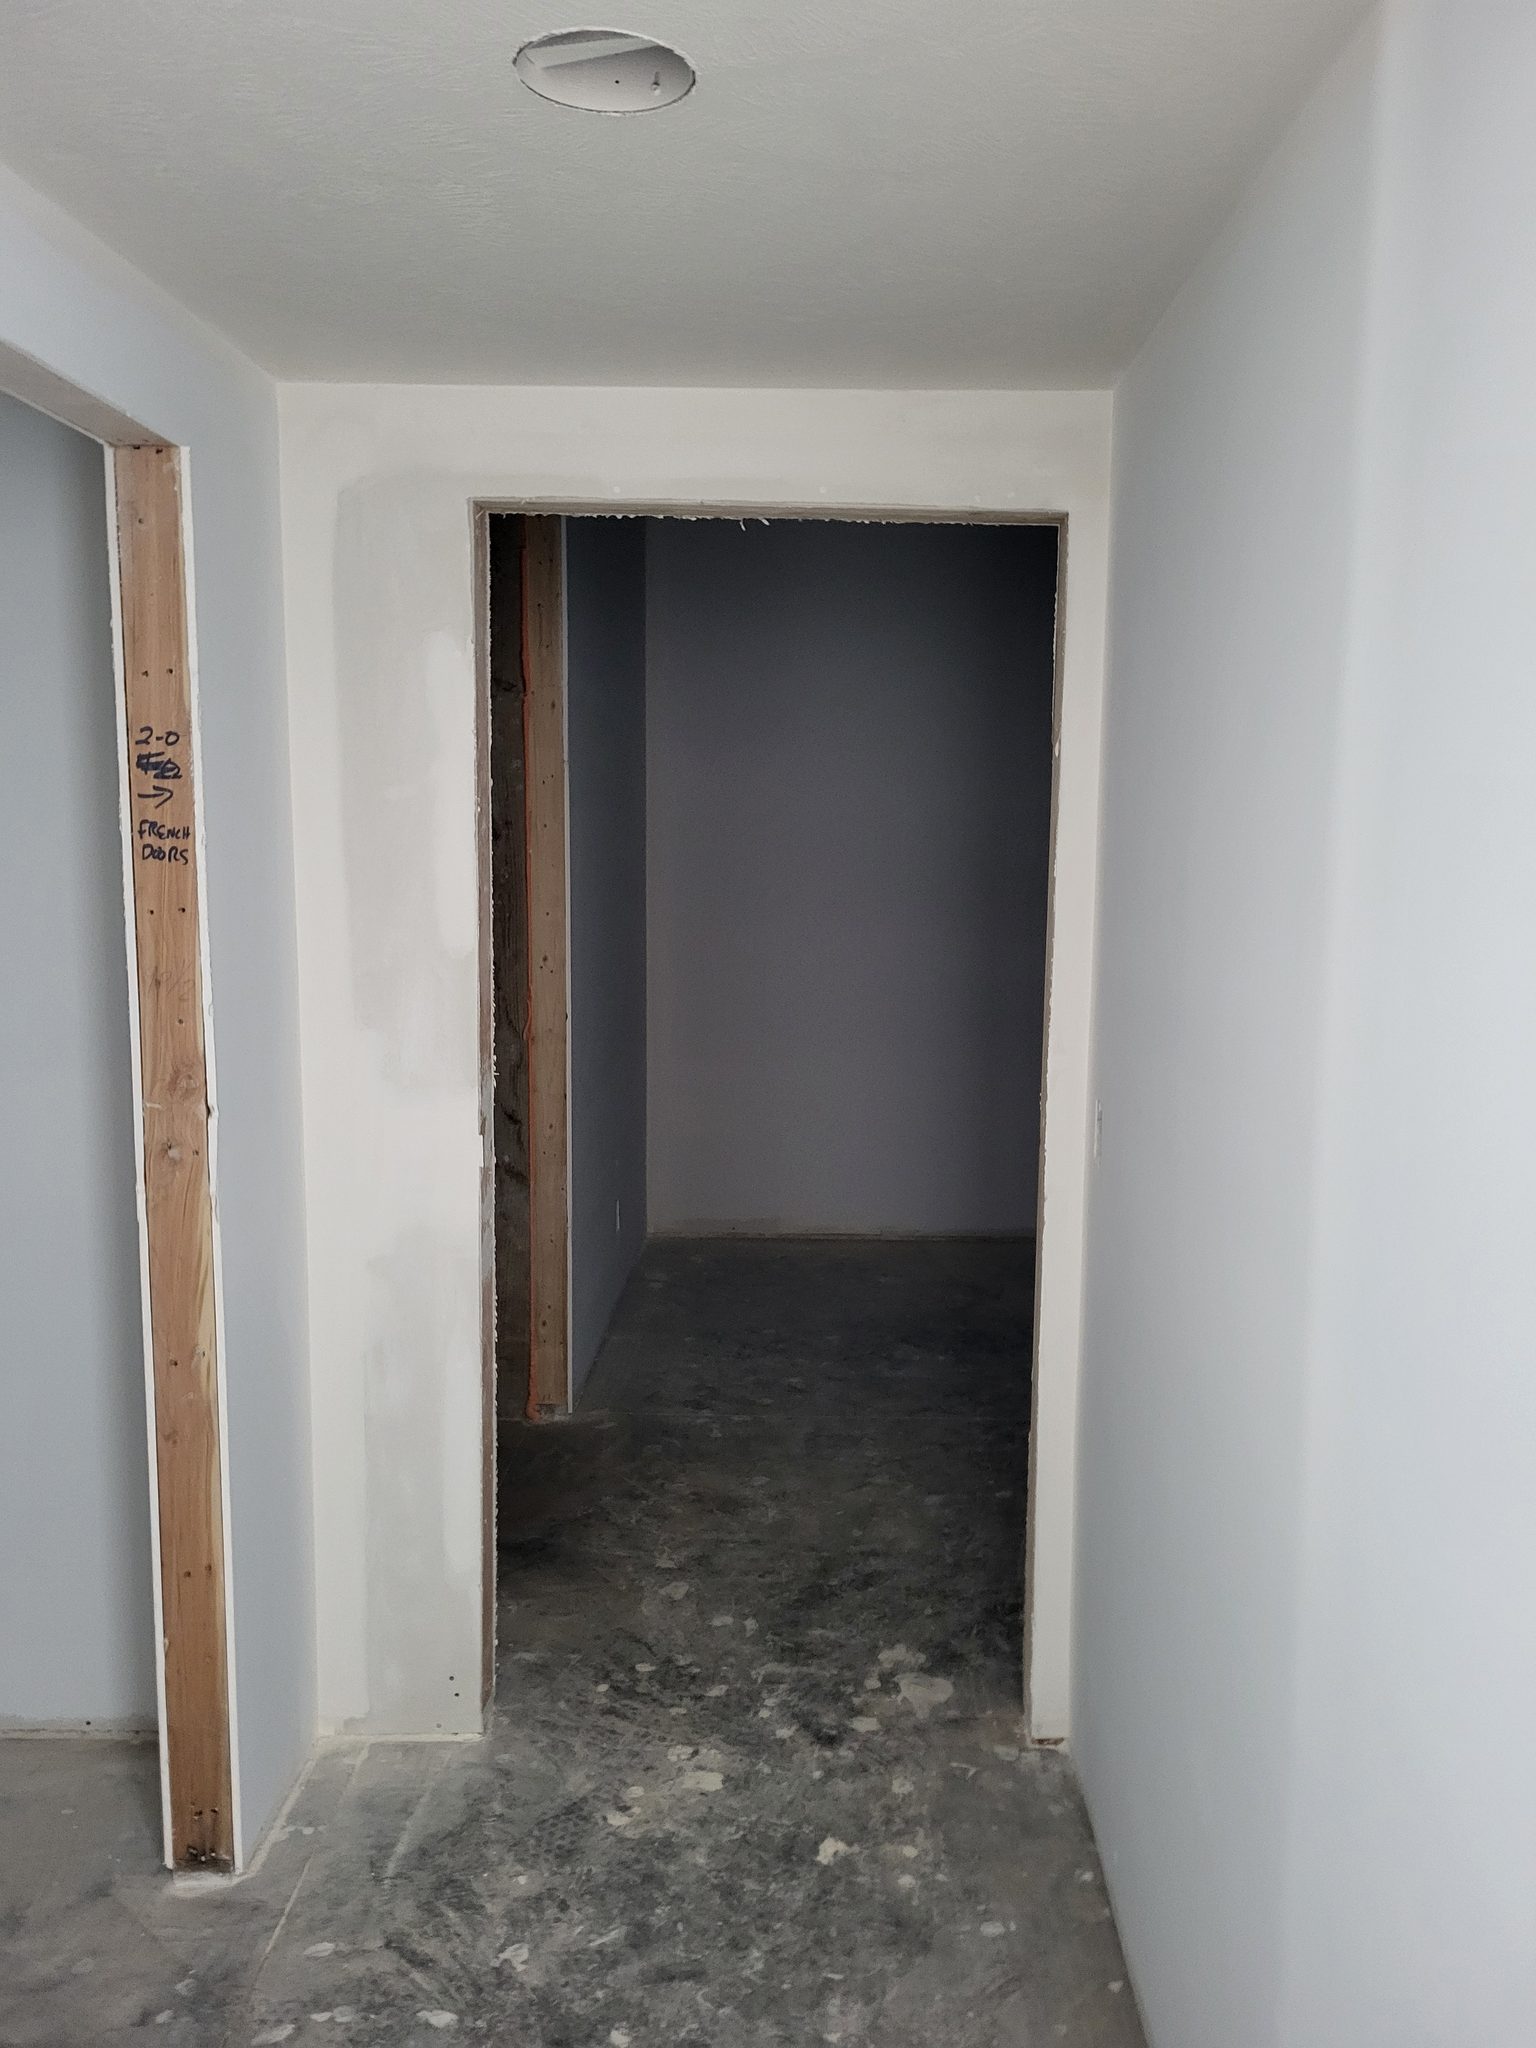
- The rough opening (the framed hole in the wall, before the door goes in) is the right size for your double door unit - usually the door unit’s width plus 1″ on each side for shimming space, plus 1/2″ to 3/4″ above for height
- The header (the framing beam above the opening that carries the load) is strong enough for the span of the opening - see our cased opening guide for more on header and opening sizing
- The floor is level across the full width of the opening - any slope will make the doors hang crooked and swing open on their own
- The framing is plumb (perfectly vertical, no lean side to side) on both sides, and the header is level
- The drywall or other wall finish is done all the way up to the opening edges
What You Need To Know #
- French door units come pre-hung. Both door slabs are already hung on hinges inside one frame, so installing them is a lot like installing a standard pre-hung door, just wider and heavier
- The T-astragal (the meeting strip) attaches to the edge of the inactive door - it gives the active door’s latch something to catch when the door closes
- Flush bolts hold the inactive door in place - one bolt shoots up into a hole in the head jamb (the top piece of the frame), and one shoots down into a hole in the floor or the threshold (the strip along the bottom of the doorway)
- The active door latches into the astragal on the inactive door - that means you have to secure the inactive door first, or the active door will not close right
- The order matters - hang the whole unit, secure and plumb the inactive door first, then adjust the active door to match it
Tools Required #
Power Tools #
- Drill/driver with assorted bits
- Miter saw (for cutting casing, the trim boards around the opening, to length)
- 18-gauge brad nailer (for attaching casing)
Hand Tools #
- 4-foot level
- Tape measure
- Hammer
- Shims (cedar or composite)
- Pencil
- Utility knife
- Chisel (for cutting the flush bolt pockets, called mortising, into the door edge if it is not already pre-cut)
Supplies #
- 3″ wood screws (for securing jamb through shims into framing)
- 18-gauge brad nails (1-1/2″ to 2″ for casing)
- Construction adhesive
- Low-expansion spray foam insulation
Materials #
- Pre-hung French door unit (center-opening pair) sized for your rough opening
- Flush bolts - top and bottom (usually included with the door unit)
- T-astragal / meeting strip (usually included with the door unit)
- Casing material (enough for both sides of the opening - four vertical pieces and two head pieces)
Install Interior French Doors: Step-by-Step Process #
Step 1: Prepare the Rough Opening #
Check that the rough opening matches the size your door unit needs. Measure the width at the top and bottom, and the height on both sides. The opening should be about 1″ wider and 1/2″ to 3/4″ taller than the door frame itself.
Use your 4-foot level to check the jack studs (the shorter studs that support the header on each side of the opening) for plumb, and check the header for level. If the floor is not level across the opening, find the high side. You will set the door unit on the high side first, then shim the low side up to match.
Clear out any debris, protruding nails, or old shims from the rough opening. Make sure the framing is clean and gives you solid backing for shimming and fastening.
Step 2: Set the Door Unit in the Opening #
With a helper, lift the whole pre-hung assembly and set it into the rough opening. Center the unit so you have roughly equal shimming space on both sides. If the floor is not perfectly level, set the hinge side of the active door on the high point first.
Place shims under the jamb on the low side to bring the head jamb level. Check it with your level and adjust until it reads true. Tack the unit in place with a couple of finish nails near the top, on the active door’s hinge side - do not drive them all the way in yet. This just holds the unit steady while you plumb and shim it.
Pro Tip: French door units are heavy and awkward to handle alone. Use two people. Set the hinge side of the active door first - it is your reference point for the whole installation.
Step 3: Shim and Plumb the Active Door Hinge Side #
Start with the active door’s hinge jamb. This is your main reference side. Place shims behind each hinge location, inserting them from both sides so they overlap and form a flat, solid surface between the jamb and the framing.
Check the hinge-side jamb for plumb with your 4-foot level. Check it both face-to-face (across the width of the jamb) and edge-to-edge (front to back). Adjust the shims until the jamb reads perfectly plumb both ways.
Once it is plumb, drive 3″ screws through the jamb and shims into the framing at each hinge location. For extra hold, pull one short screw from each hinge and replace it with a 3″ screw that reaches through the jamb and shims into the jack stud. This locks the hinge side solidly to the framing.
Close the active door and check the gap, called the margin, between the door slab and the head jamb. It should stay consistent, about 1/8″, from the hinge side across the top. If it is not even, adjust your shims.
Step 4: Shim and Plumb the Inactive Door Hinge Side #
Next, move to the opposite jamb: the hinge side of the inactive door. Place shims behind each hinge location, the same way you did on the active side. Check this jamb for plumb in both directions.
Before you fully secure this side, close both doors and check the gap where they meet in the center. This center gap should stay consistent from top to bottom, about 1/8″. If it is wider at the top than the bottom, or the other way around, the inactive jamb needs adjusting. Move the shims in or out until the center gap is even.
Once the center gap is even and the inactive jamb is plumb, secure it with 3″ screws through the shims at each hinge location. Replace one short hinge screw per hinge with a 3″ screw into the framing.
Pro Tip: Check the center gap before you fully secure the inactive side. If the doors do not meet evenly, adjust the shims on the inactive side until the gap is even top to bottom.
Step 5: Install Flush Bolts on Inactive Door #
Flush bolts hold the inactive door in position when it is closed. One goes in the top edge of the door and shoots up into the head jamb. The other goes in the bottom edge and shoots down into the floor. Many pre-hung French door units come with the flush bolt pockets already cut (pre-mortised). If yours does not, you will need to cut them yourself with a chisel.
With the inactive door closed and held in position, mark where the flush bolt rods will hit the head jamb and the floor. Drill holes at these marks, typically 1/2″ in diameter and about 1/2″ deep. Make sure the holes line up so the bolts slide in cleanly without binding.
Install the flush bolts into the door edge, following the manufacturer’s instructions. Test them by sliding the bolts in and out. They should move smoothly and seat fully into the holes. When both bolts are in, the inactive door should feel completely solid and not move at all.
Step 6: Install T-Astragal and Adjust Active Door #
Attach the T-astragal (the meeting strip) to the edge of the inactive door, where the two doors meet. This strip gives the active door’s latch something to catch when both doors are closed. If the astragal is not already installed, attach it to the inactive door edge with the screws provided. Make sure it is straight and lines up with the door edge.
Engage the flush bolts to lock the inactive door in place. Now close the active door against the astragal. The active door’s latch should catch smoothly on the strike plate (the metal plate the latch catches on), mounted on the astragal. If the latch does not line up, adjust the strike plate position. You may need to move it slightly up, down, in, or out.
Check that both doors sit flush with each other when closed. They should be in the same plane, with no steps or offsets. Check the margin all the way around both doors: between the doors and the head jamb, between each door and its side jamb, and between the two doors at the center. All these gaps should be consistent, about 1/8″.
Step 7: Install Casing and Final Adjustments #
With both doors aligned, it is time to install the casing (trim) around the opening. First, shim any remaining gaps between the jamb and the rough opening. At a minimum, shim at the top, middle, and bottom on both sides, and at two points along the head jamb.
Apply low-expansion spray foam in the gap between the door frame and the rough opening. Use low-expansion foam only. High-expansion foam can bow the jambs and cause the doors to bind. Let the foam cure, then trim it flush with a utility knife.
Measure and cut your casing pieces. A French door needs casing on both sides of the wall, front and back. That is four vertical (leg) pieces and two horizontal (head) pieces. Set a consistent reveal on the jamb edge (typically 3/16″), and mark it with a pencil or combination square before you nail.
Attach the casing with 18-gauge brad nails, nailing into both the jamb edge and the wall framing. Set the nail heads slightly below the surface. Leave the filling to the painter. That is his job, not ours.
Pro Tip: With French doors, the casing reveals have to match on both sides of both jambs. Take the time to set them consistent before you nail the casing. On an opening this wide, uneven reveals stand out fast.
Quality Check #
- Both doors hang plumb and sit in the same plane
- Center gap between the two doors is consistent top to bottom (approximately 1/8″)
- Active door latches smoothly into the T-astragal on the inactive door
- Flush bolts engage and release easily without binding
- Inactive door is solid and immovable when flush bolts are engaged
- Casing reveals are consistent on all sides of both jambs
- No binding, rubbing, or dragging when opening and closing either door
- Both doors swing to full open position without hitting walls, stops, or each other
Interior French Door Troubleshooting #
Doors Don’t Meet Evenly in the Center #
If the gap between the two doors is wider at the top than the bottom, or the other way around, one jamb side is out of plumb. Find out which side by checking both hinge jambs with a level. Loosen the screws on the out-of-plumb side, re-shim it back to plumb, and re-secure it. Recheck the center gap after you adjust it.
Active Door Won’t Latch #
If the active door’s latch will not catch on the strike plate on the astragal, first check that the inactive door is fully secured with both flush bolts engaged. If the inactive door has any play, the astragal will move and the latch will not catch. If the bolts are engaged and the door is solid, the strike plate may need repositioning. Adjust it up, down, or sideways until the latch catches cleanly.
Flush Bolts Won’t Engage #
If the flush bolt rods will not seat into the holes, the holes are probably out of line with the bolts. Close the inactive door, push the bolt in partway, and mark exactly where the rod hits the head jamb or floor. Re-drill the holes at the corrected spots. Make sure the holes are deep enough for the bolt to fully extend and seat.
Doors Swing Open on Their Own #
If the doors swing open on their own, the cause is almost always a jamb that is out of plumb. A door naturally swings toward the side it leans away from plumb. Recheck both hinge jambs with a level, adjust the shims to bring them to true plumb, and re-secure them. Even 1/16″ out of plumb over the height of the door can cause this.
Center Gap Is Too Wide or Too Narrow #
If the gap between the two doors is always too wide or too narrow, but even top to bottom, the problem is where the inactive door’s jamb sits overall. To narrow the gap, add more shims behind the inactive door’s hinge jamb to push it toward the center. To widen the gap, use fewer shims to let it pull away. Make small adjustments and recheck. The goal is a consistent 1/8″ gap.
Related Guides #
- How to Install a Pre-Hung Door
- How to Install a Cased Opening
- How to Case a Window
- How to Install a Door Bump
A center-opening french door install rewards patience over speed. Most problems trace back to a hinge jamb that went in slightly out of plumb, so recheck both sides before you decide the astragal needs adjusting. Once the doors swing true and the center gap holds even top to bottom, the casing goes on fast and the job looks clean.
Reference Photos #
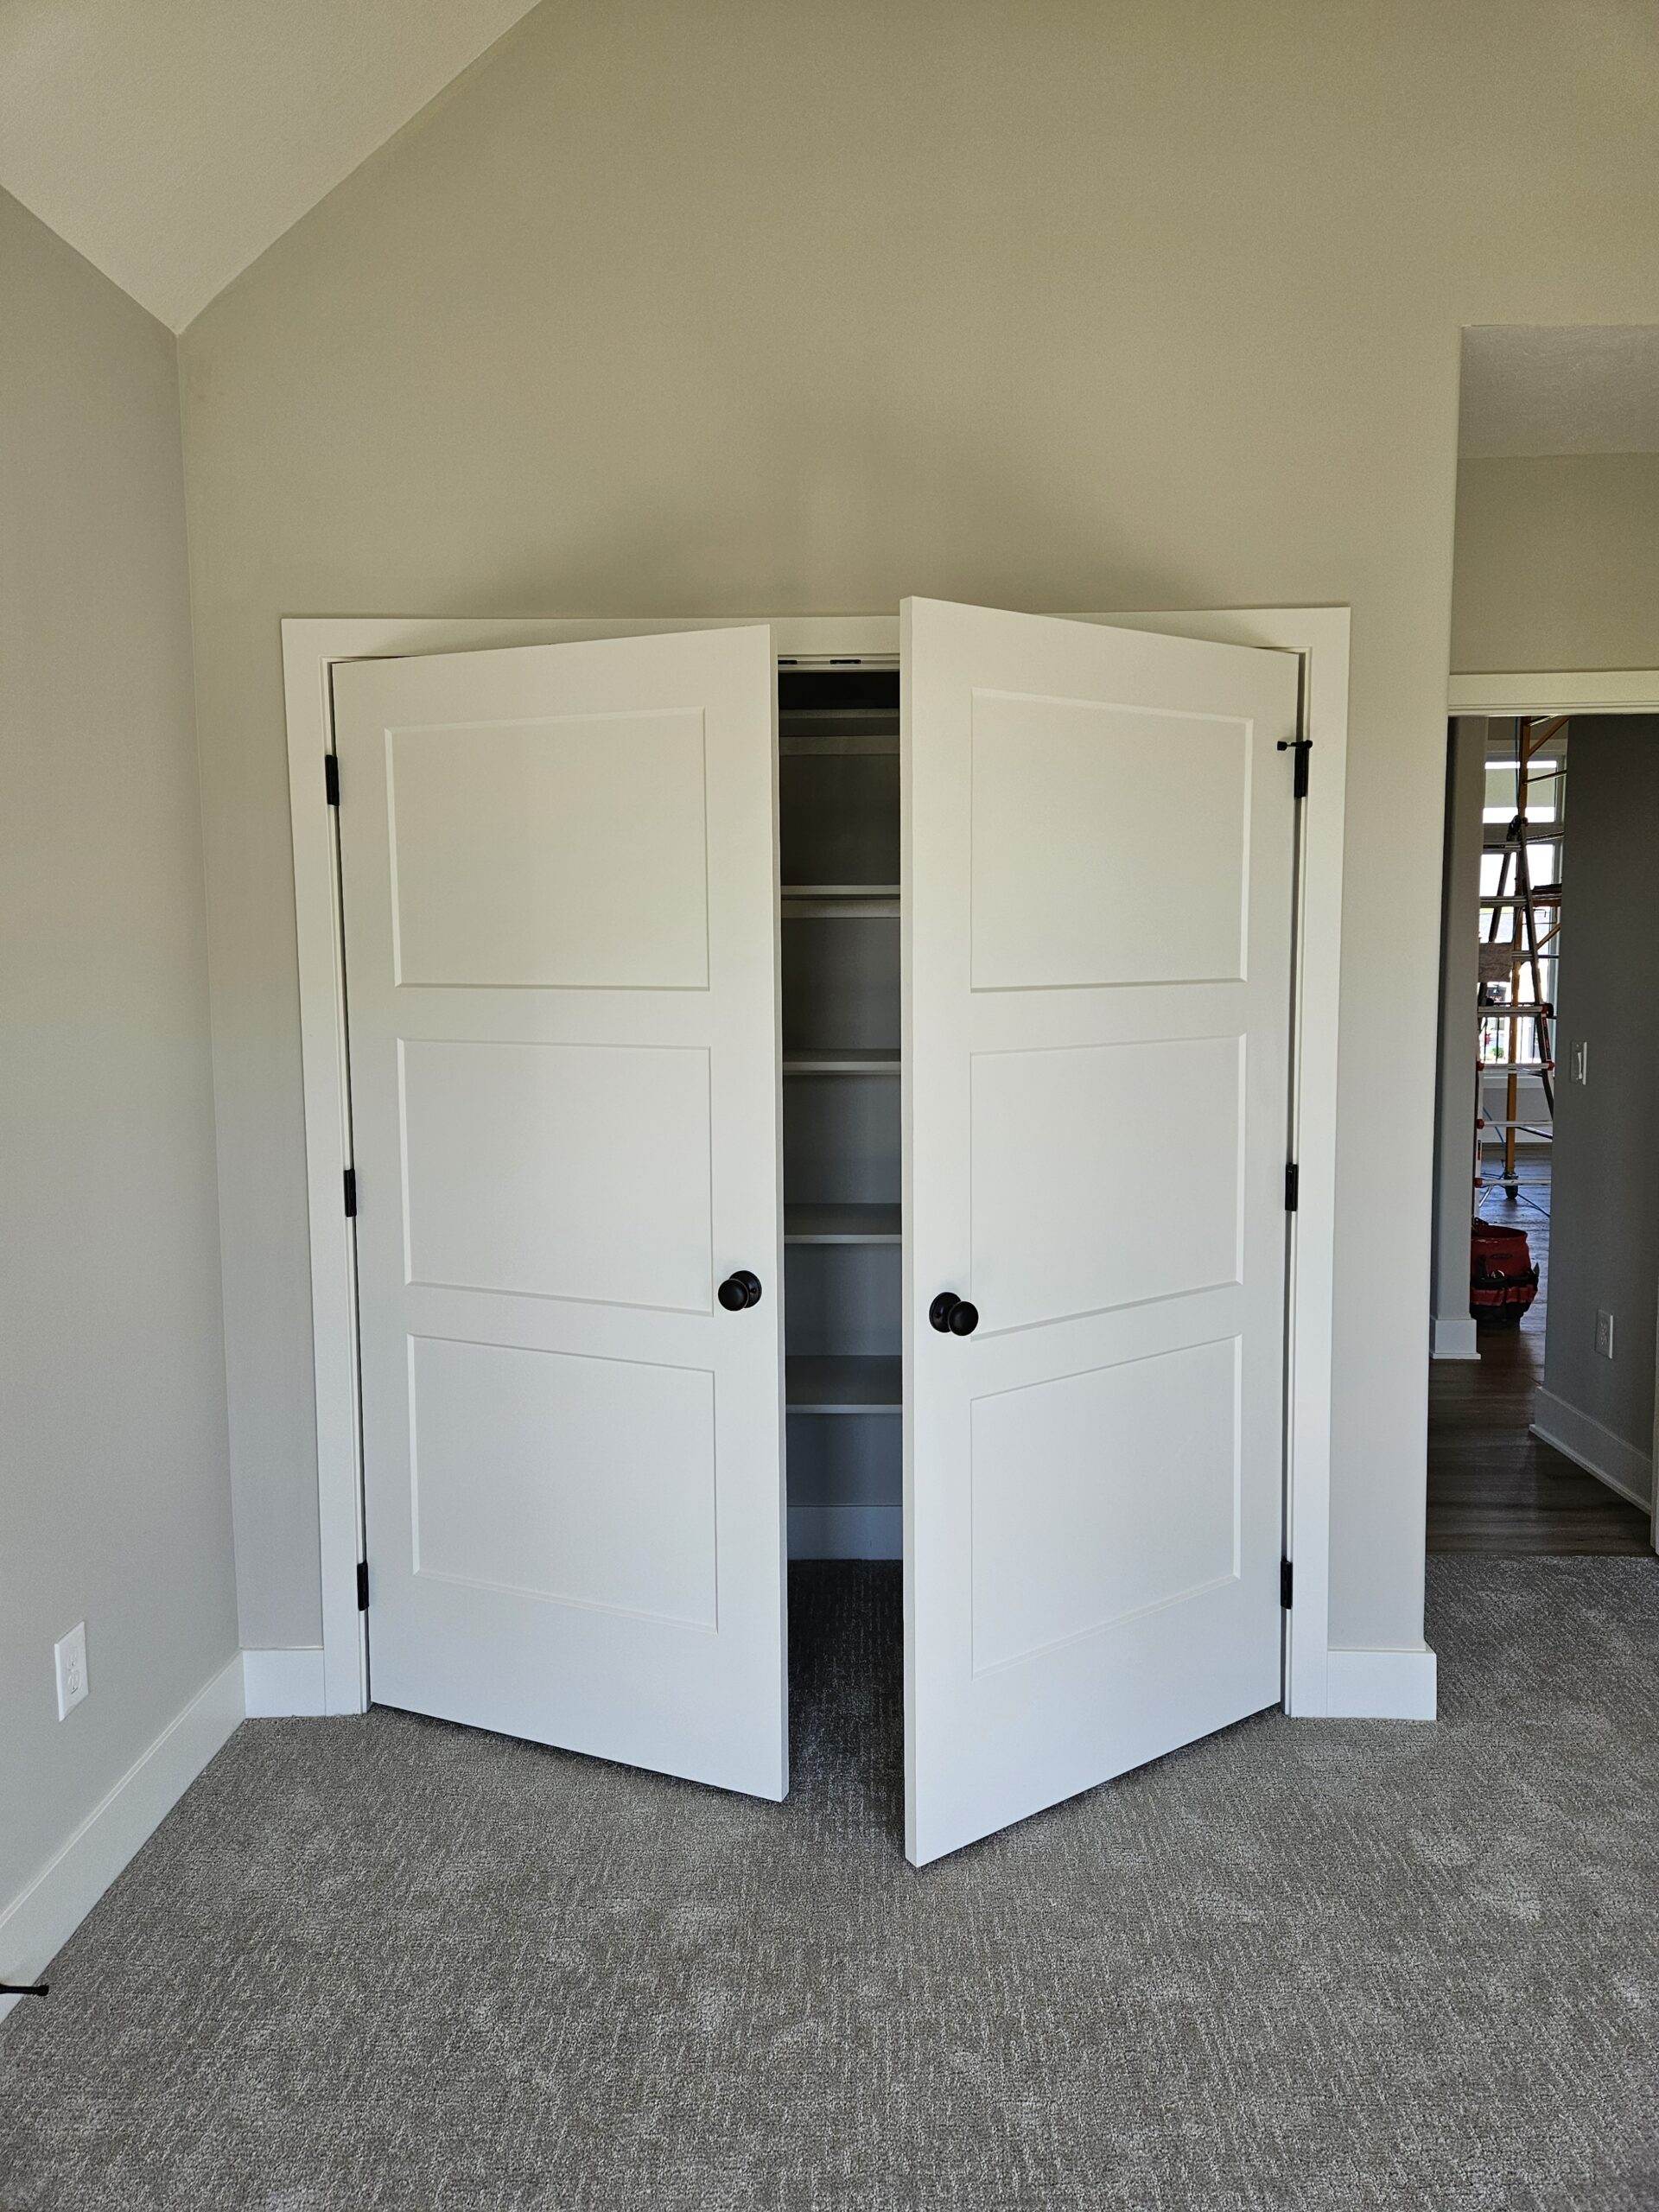
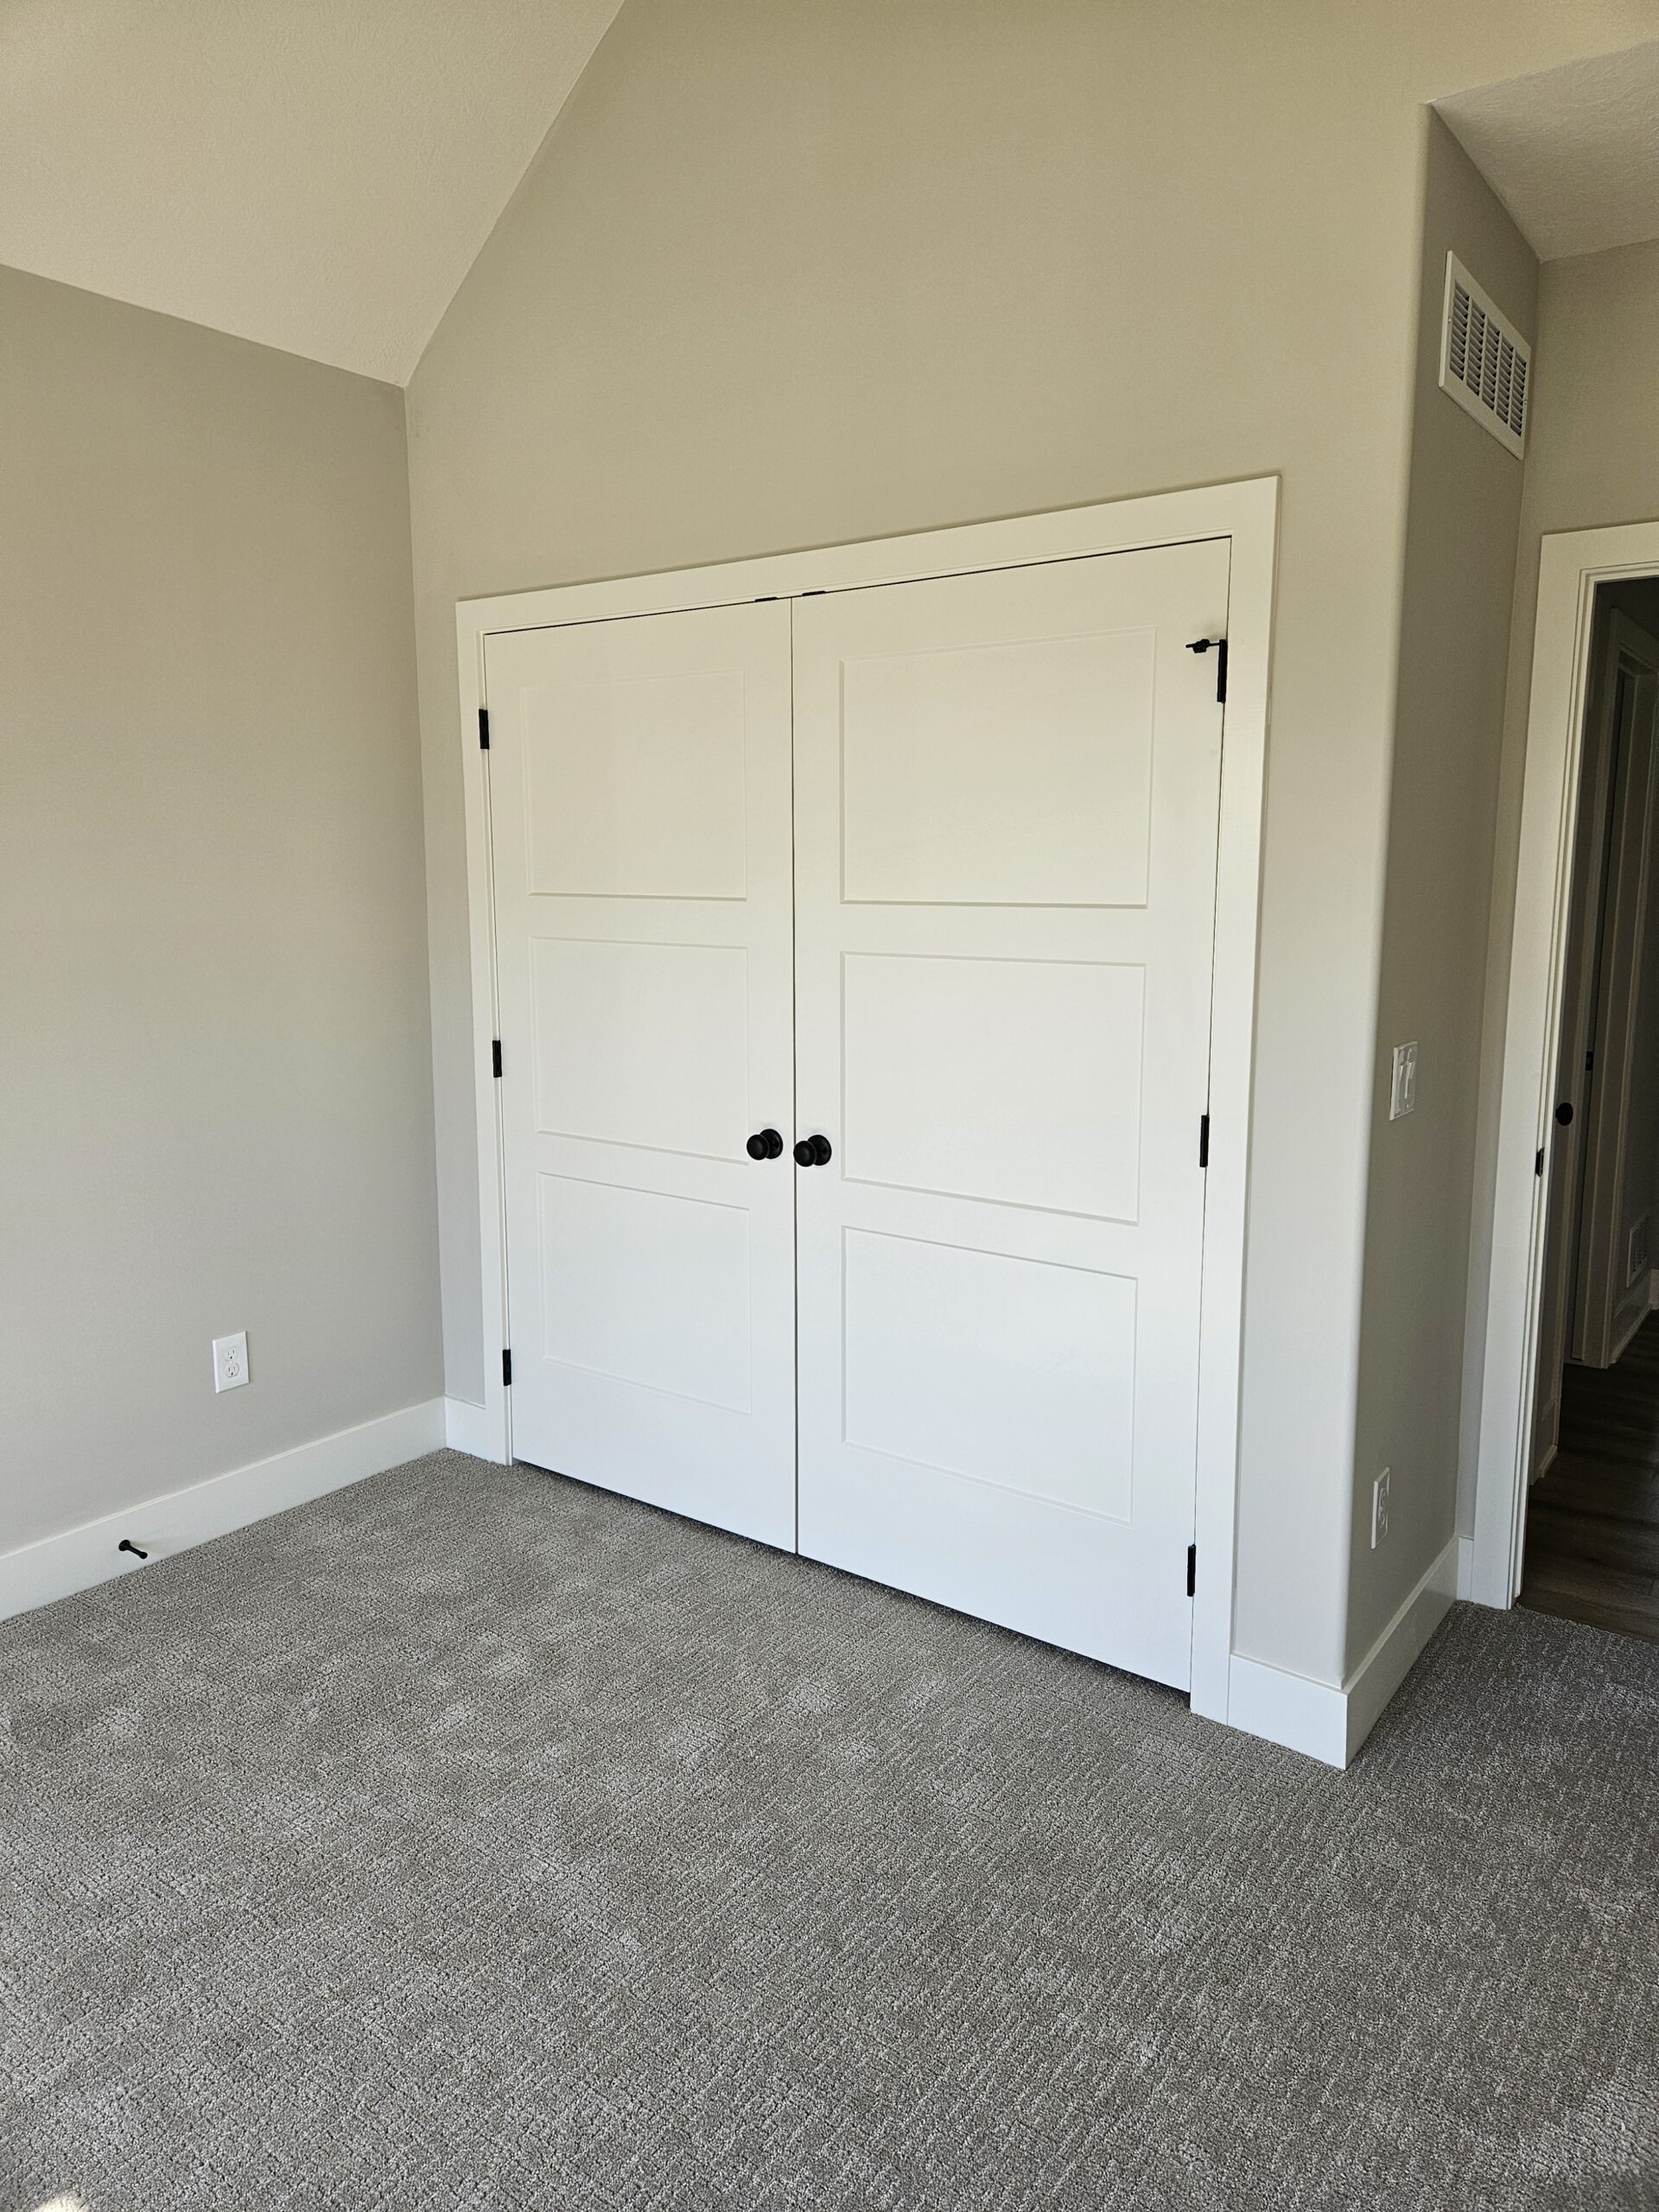
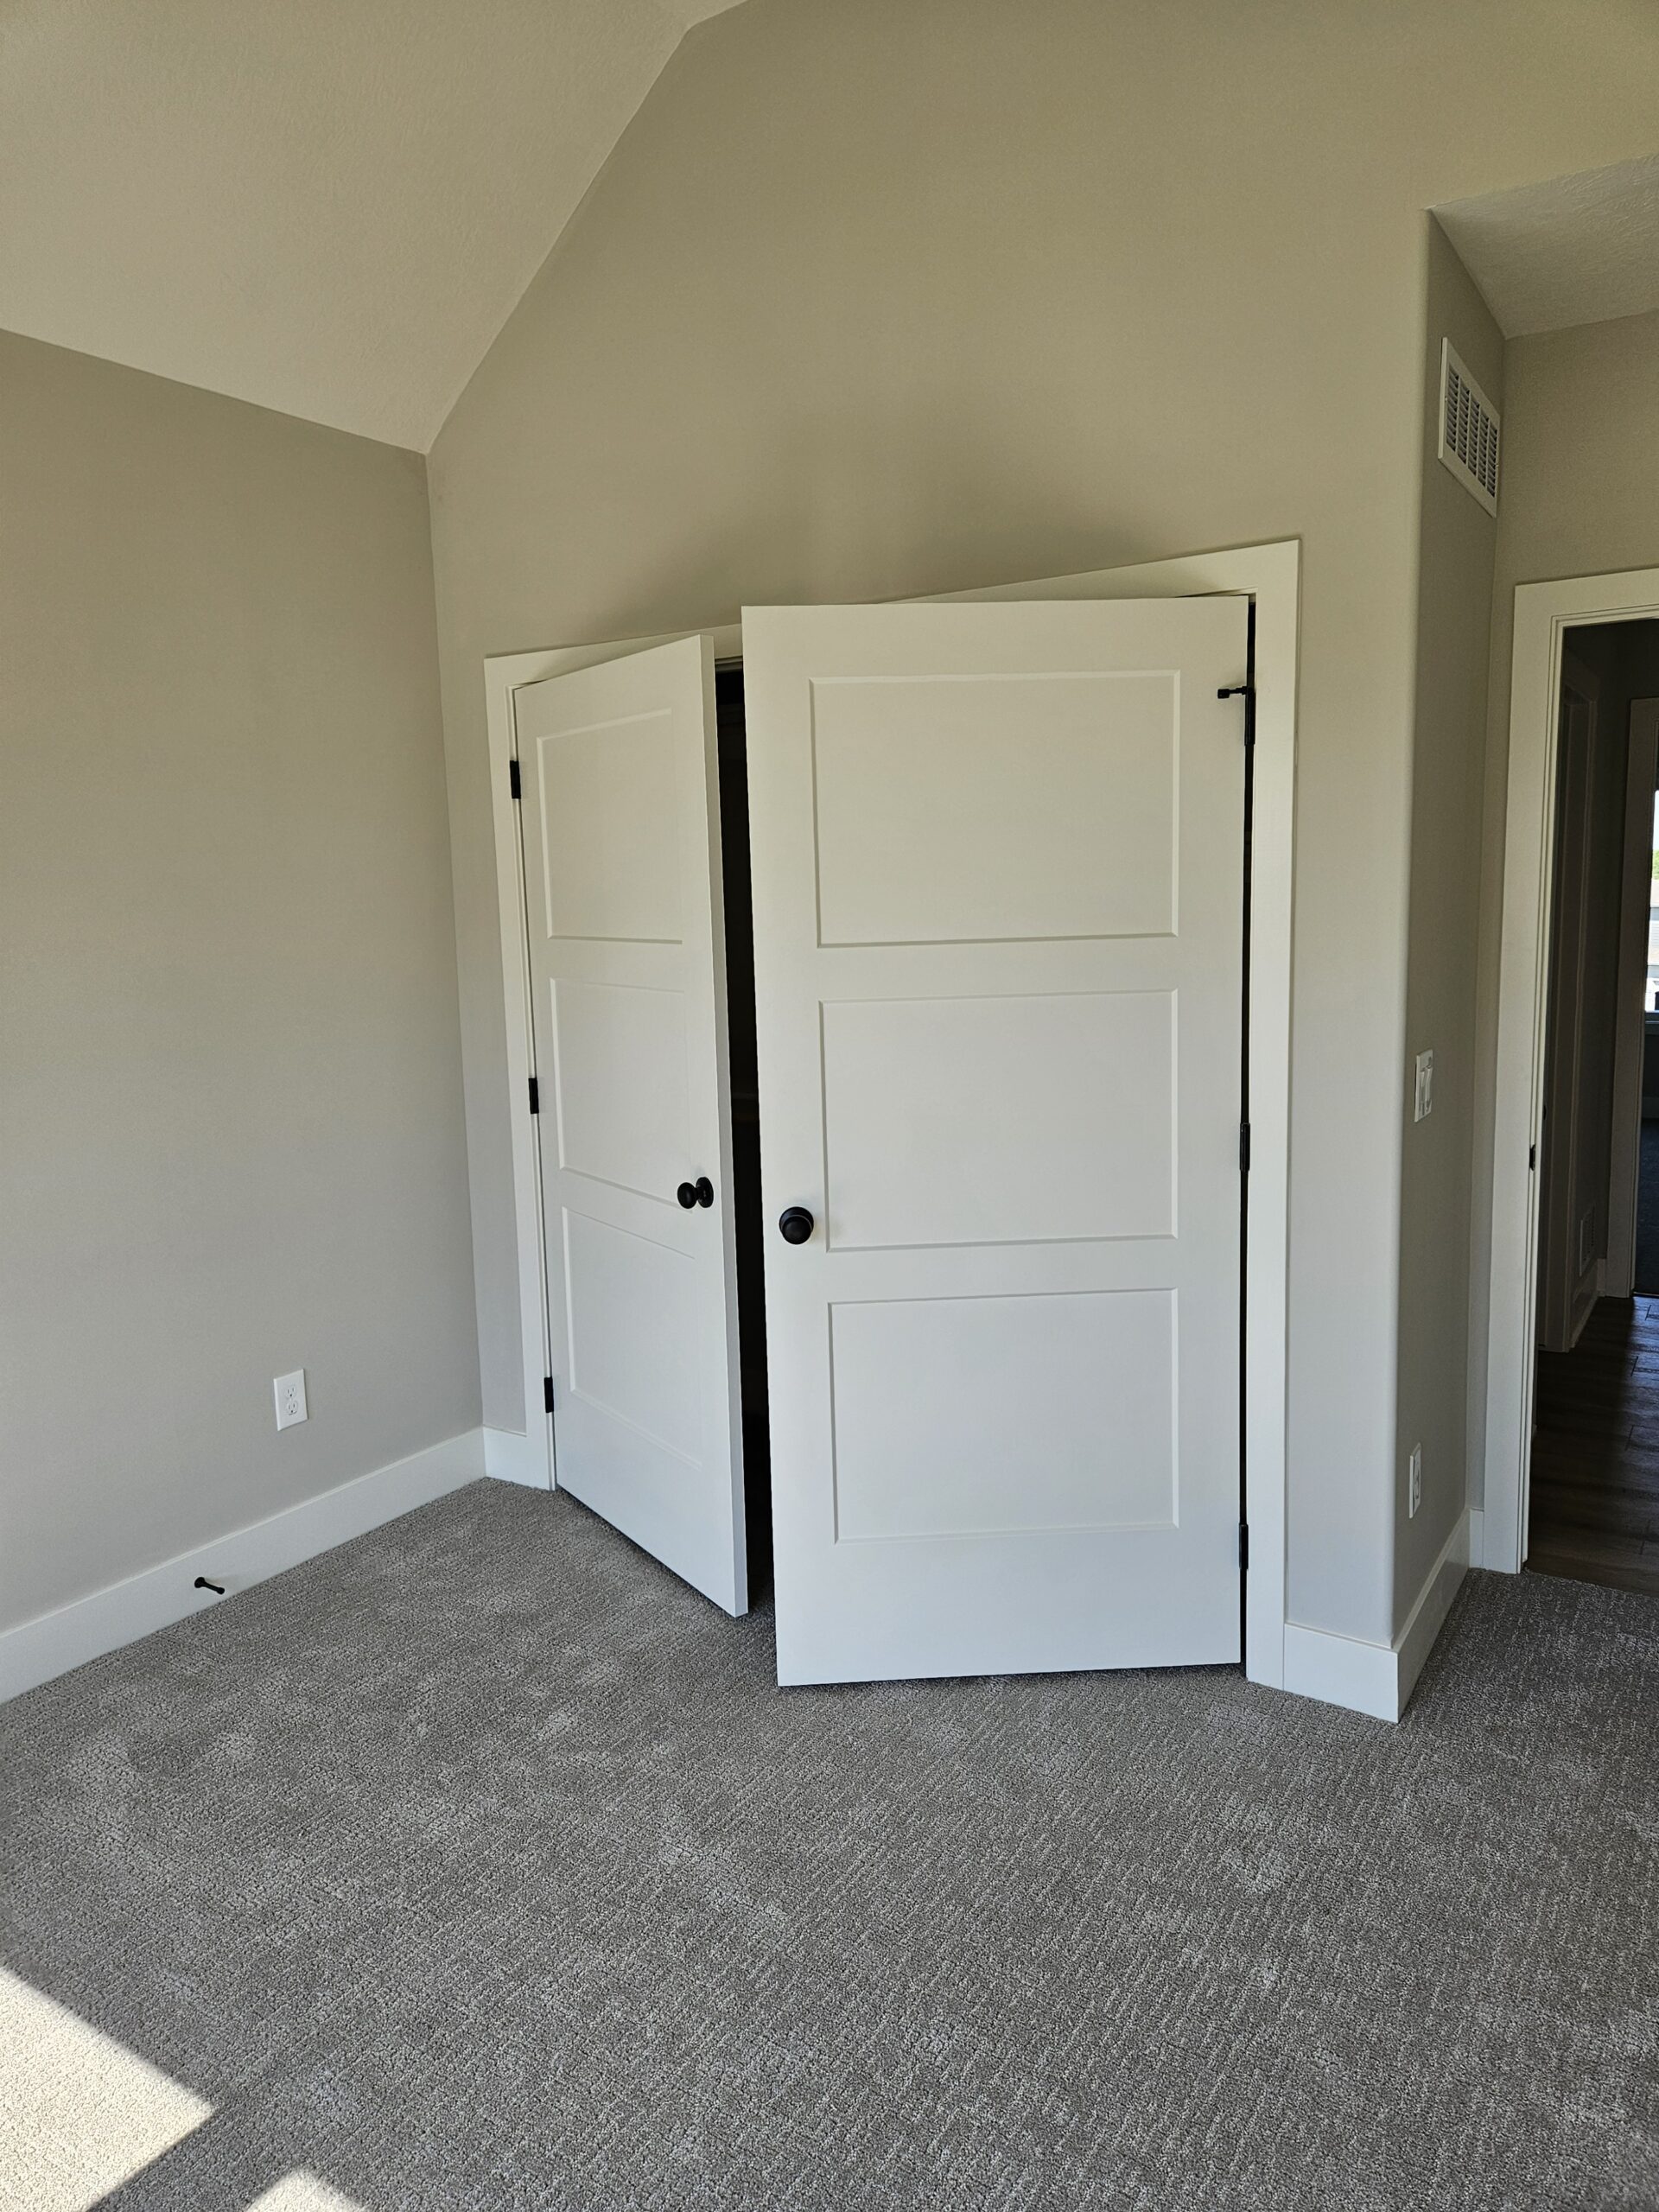
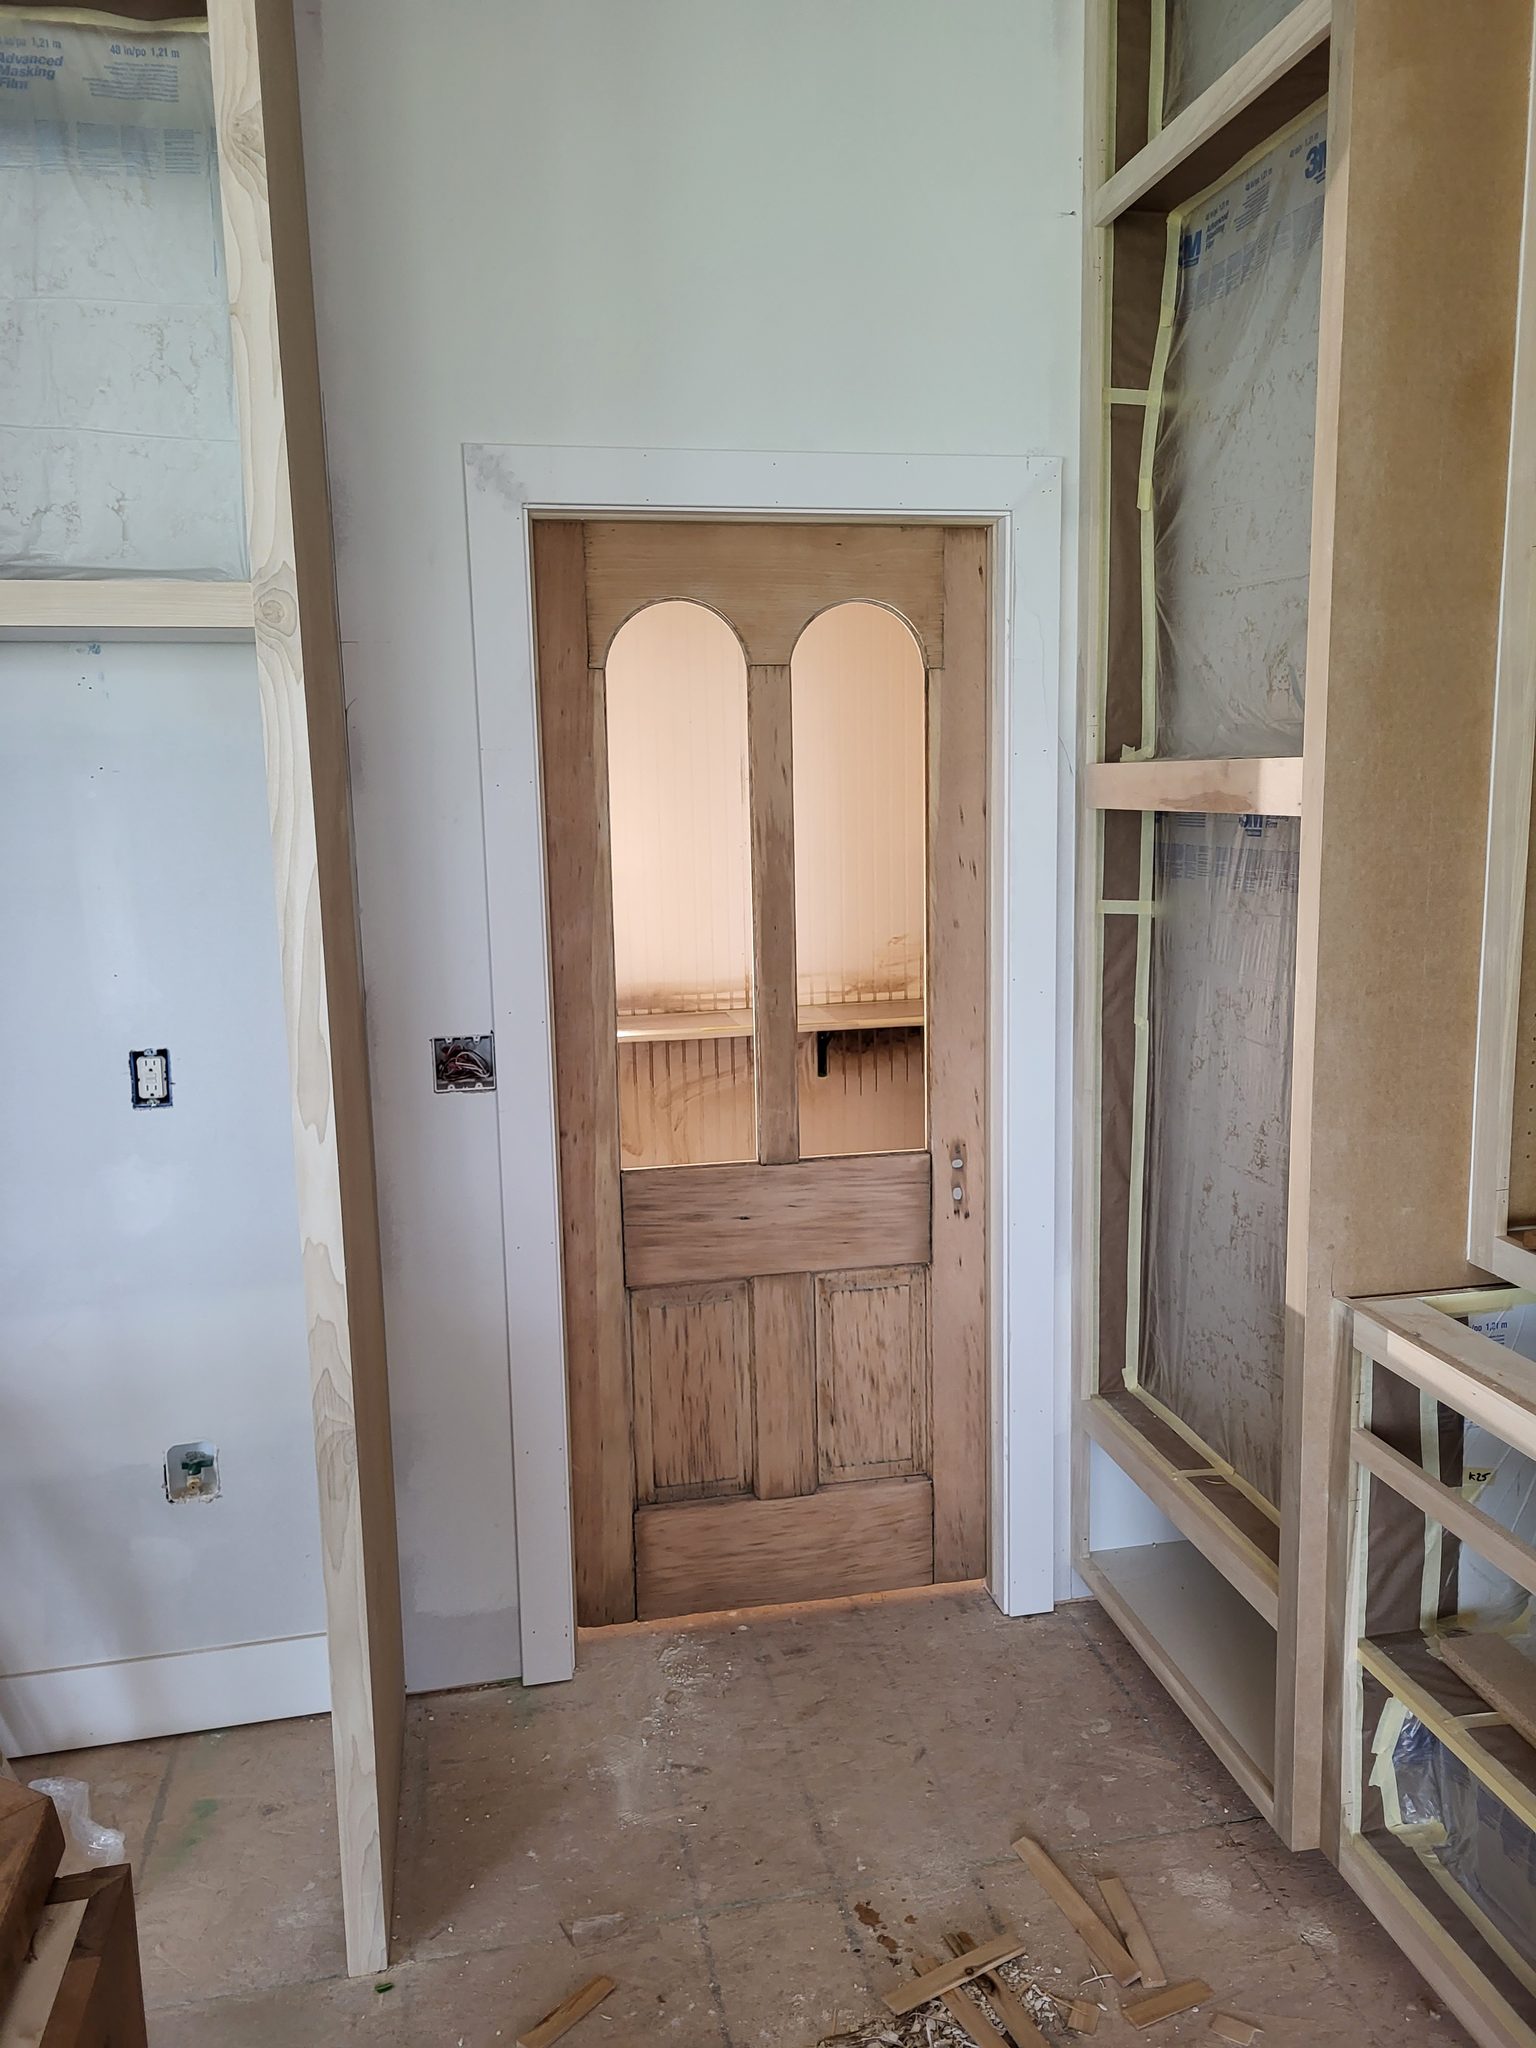
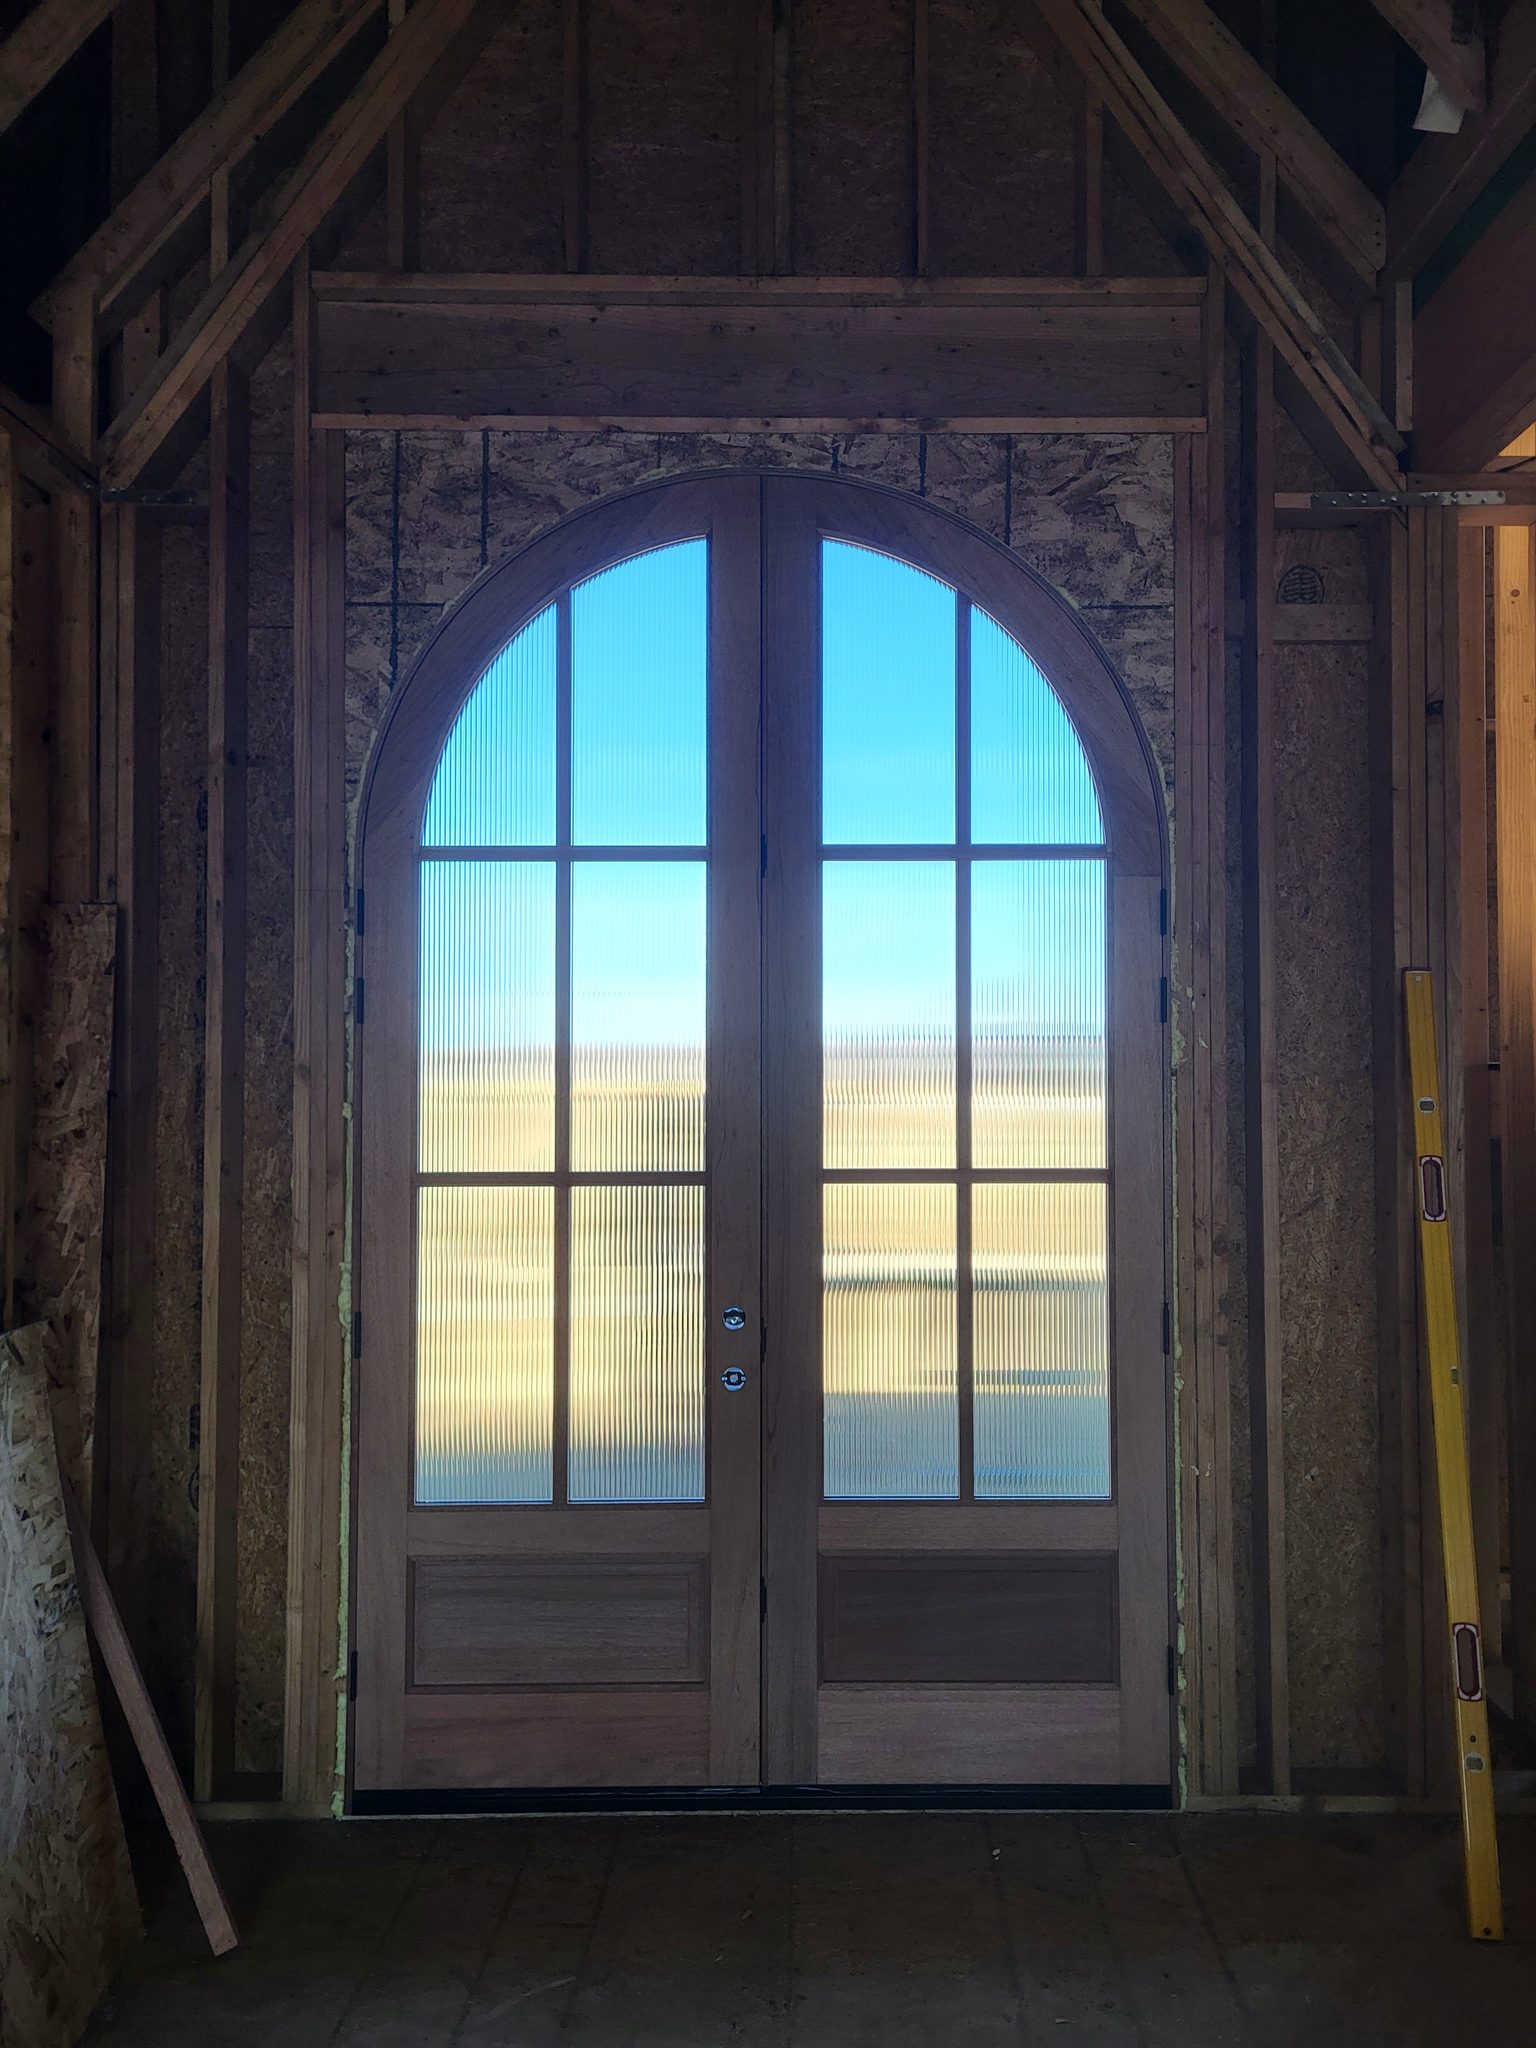
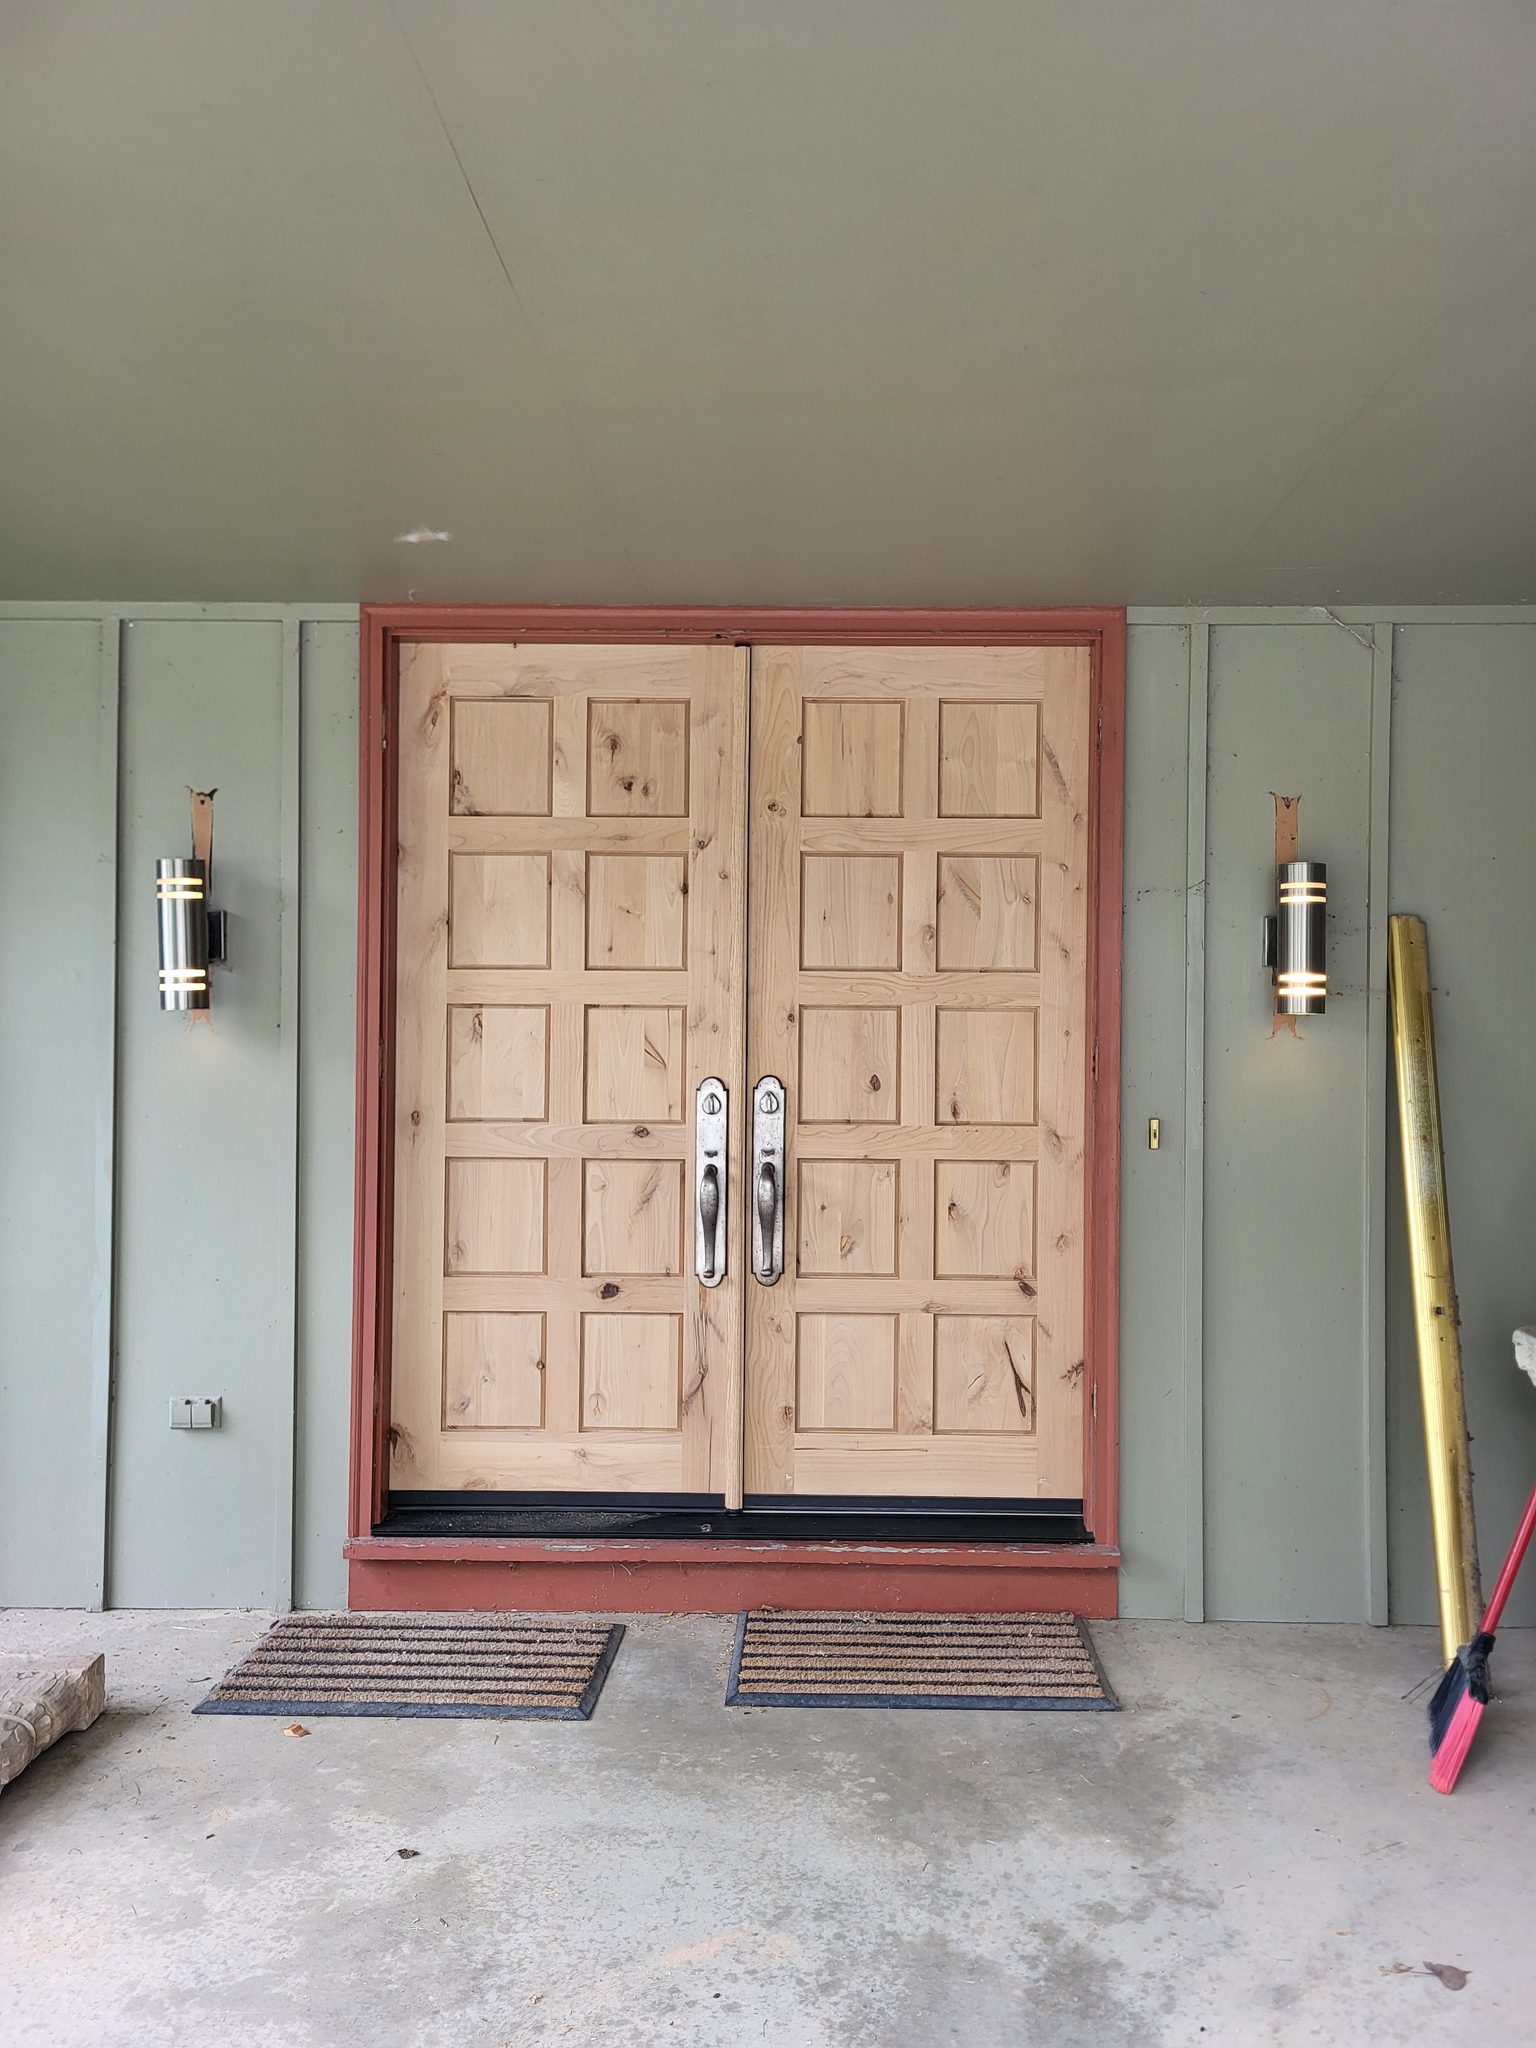
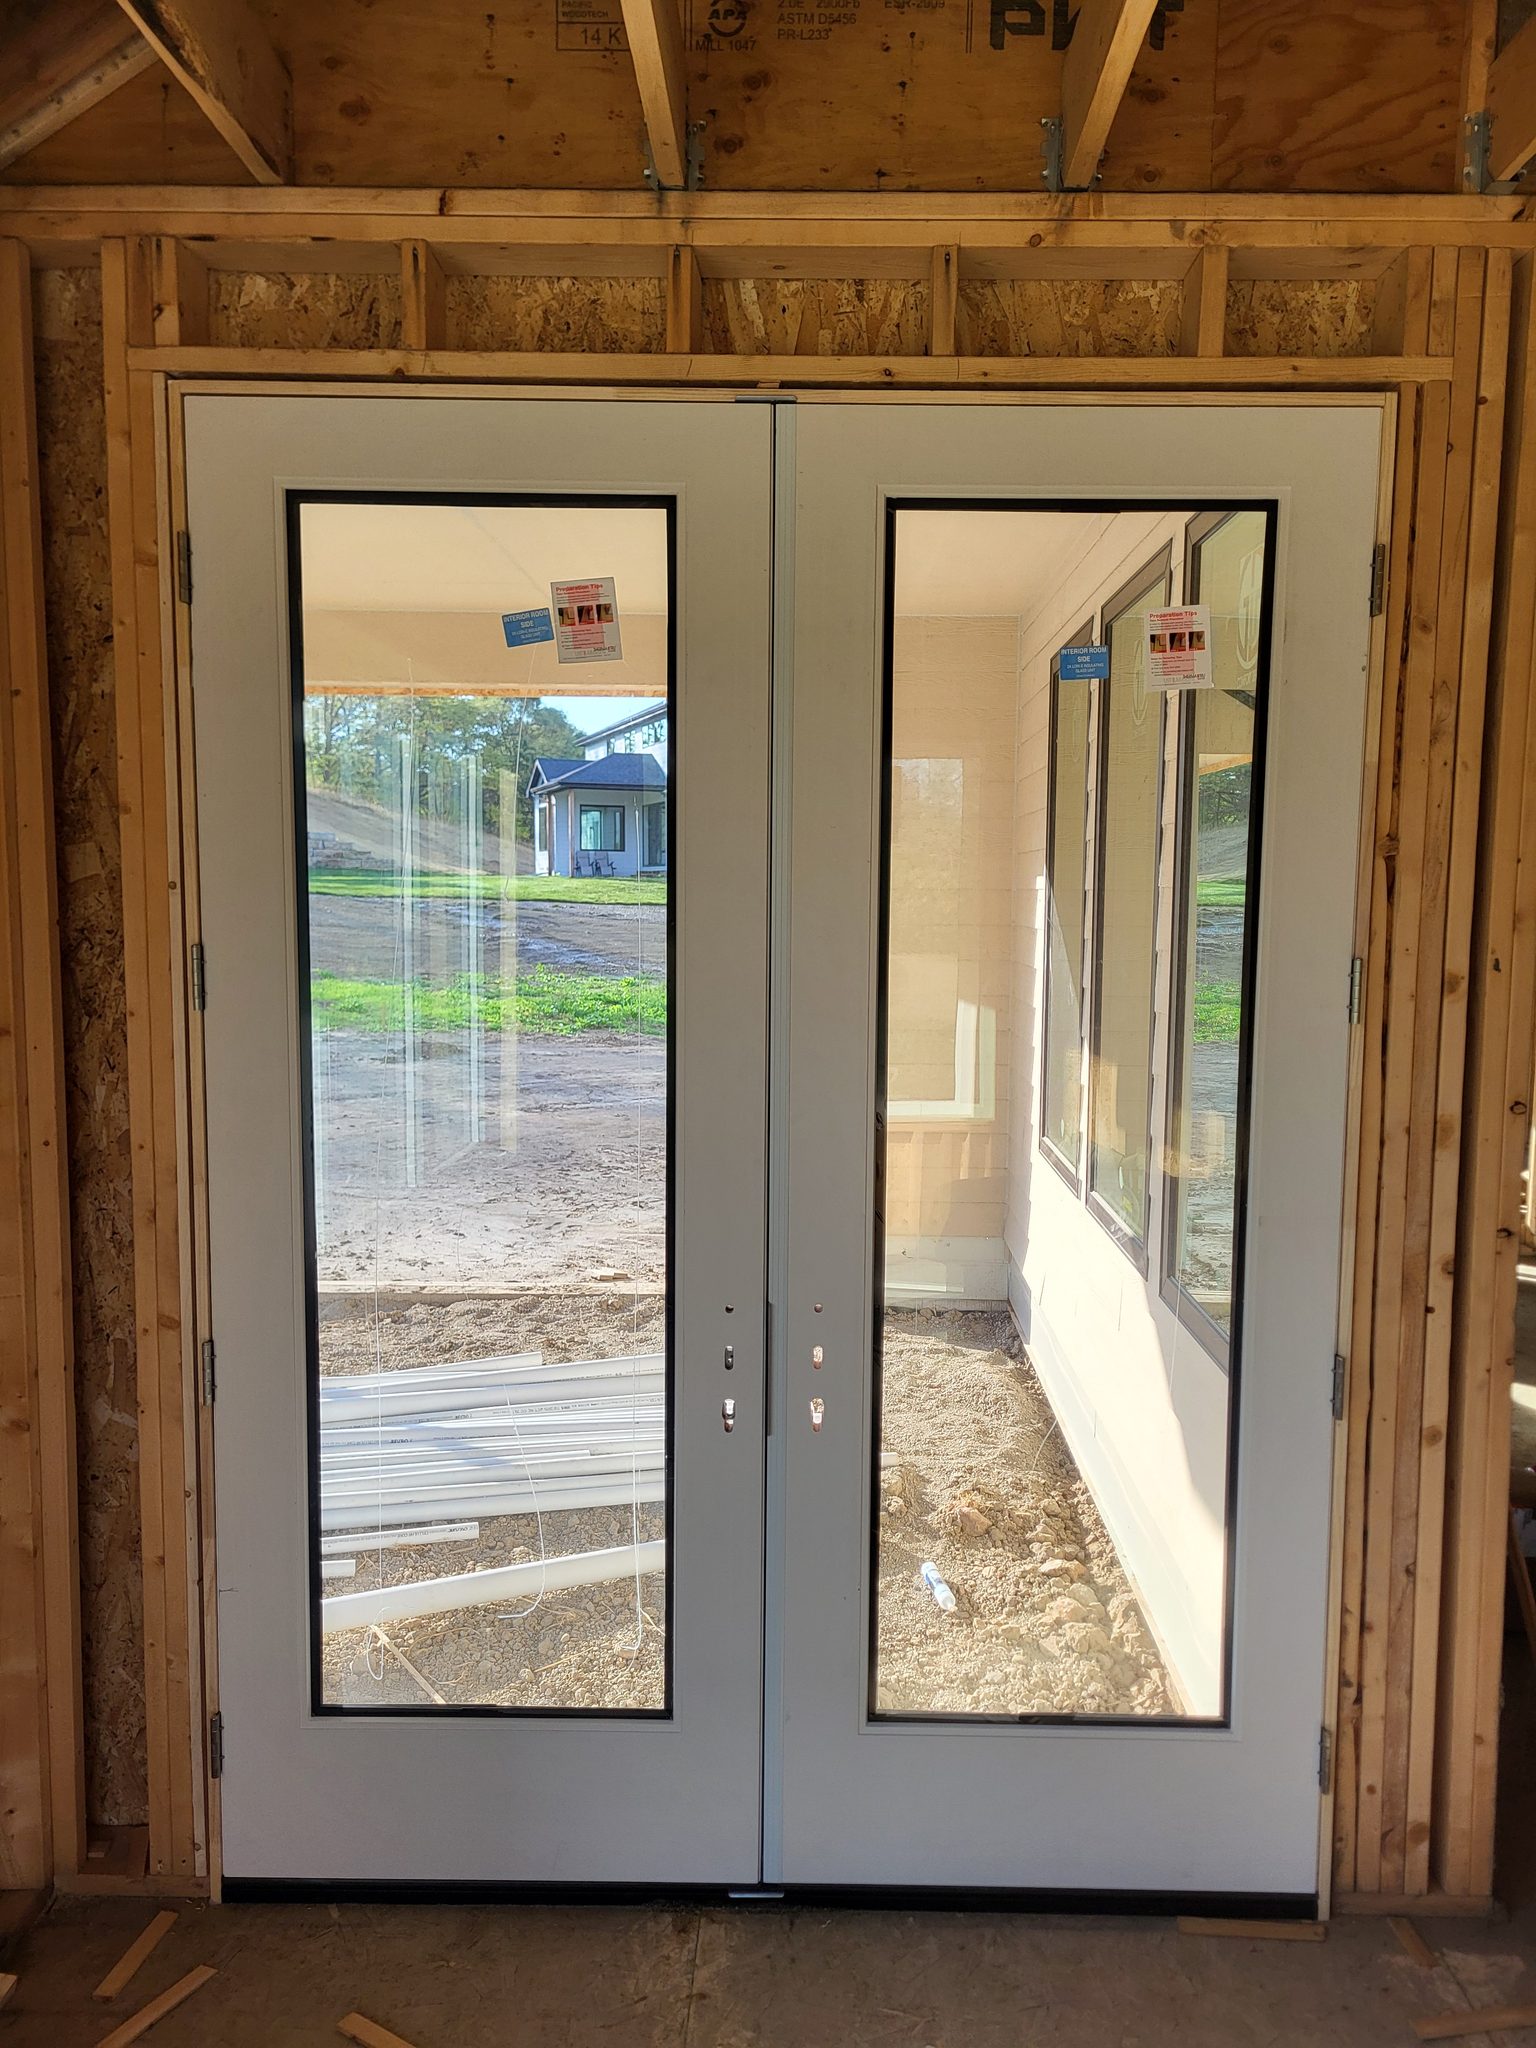
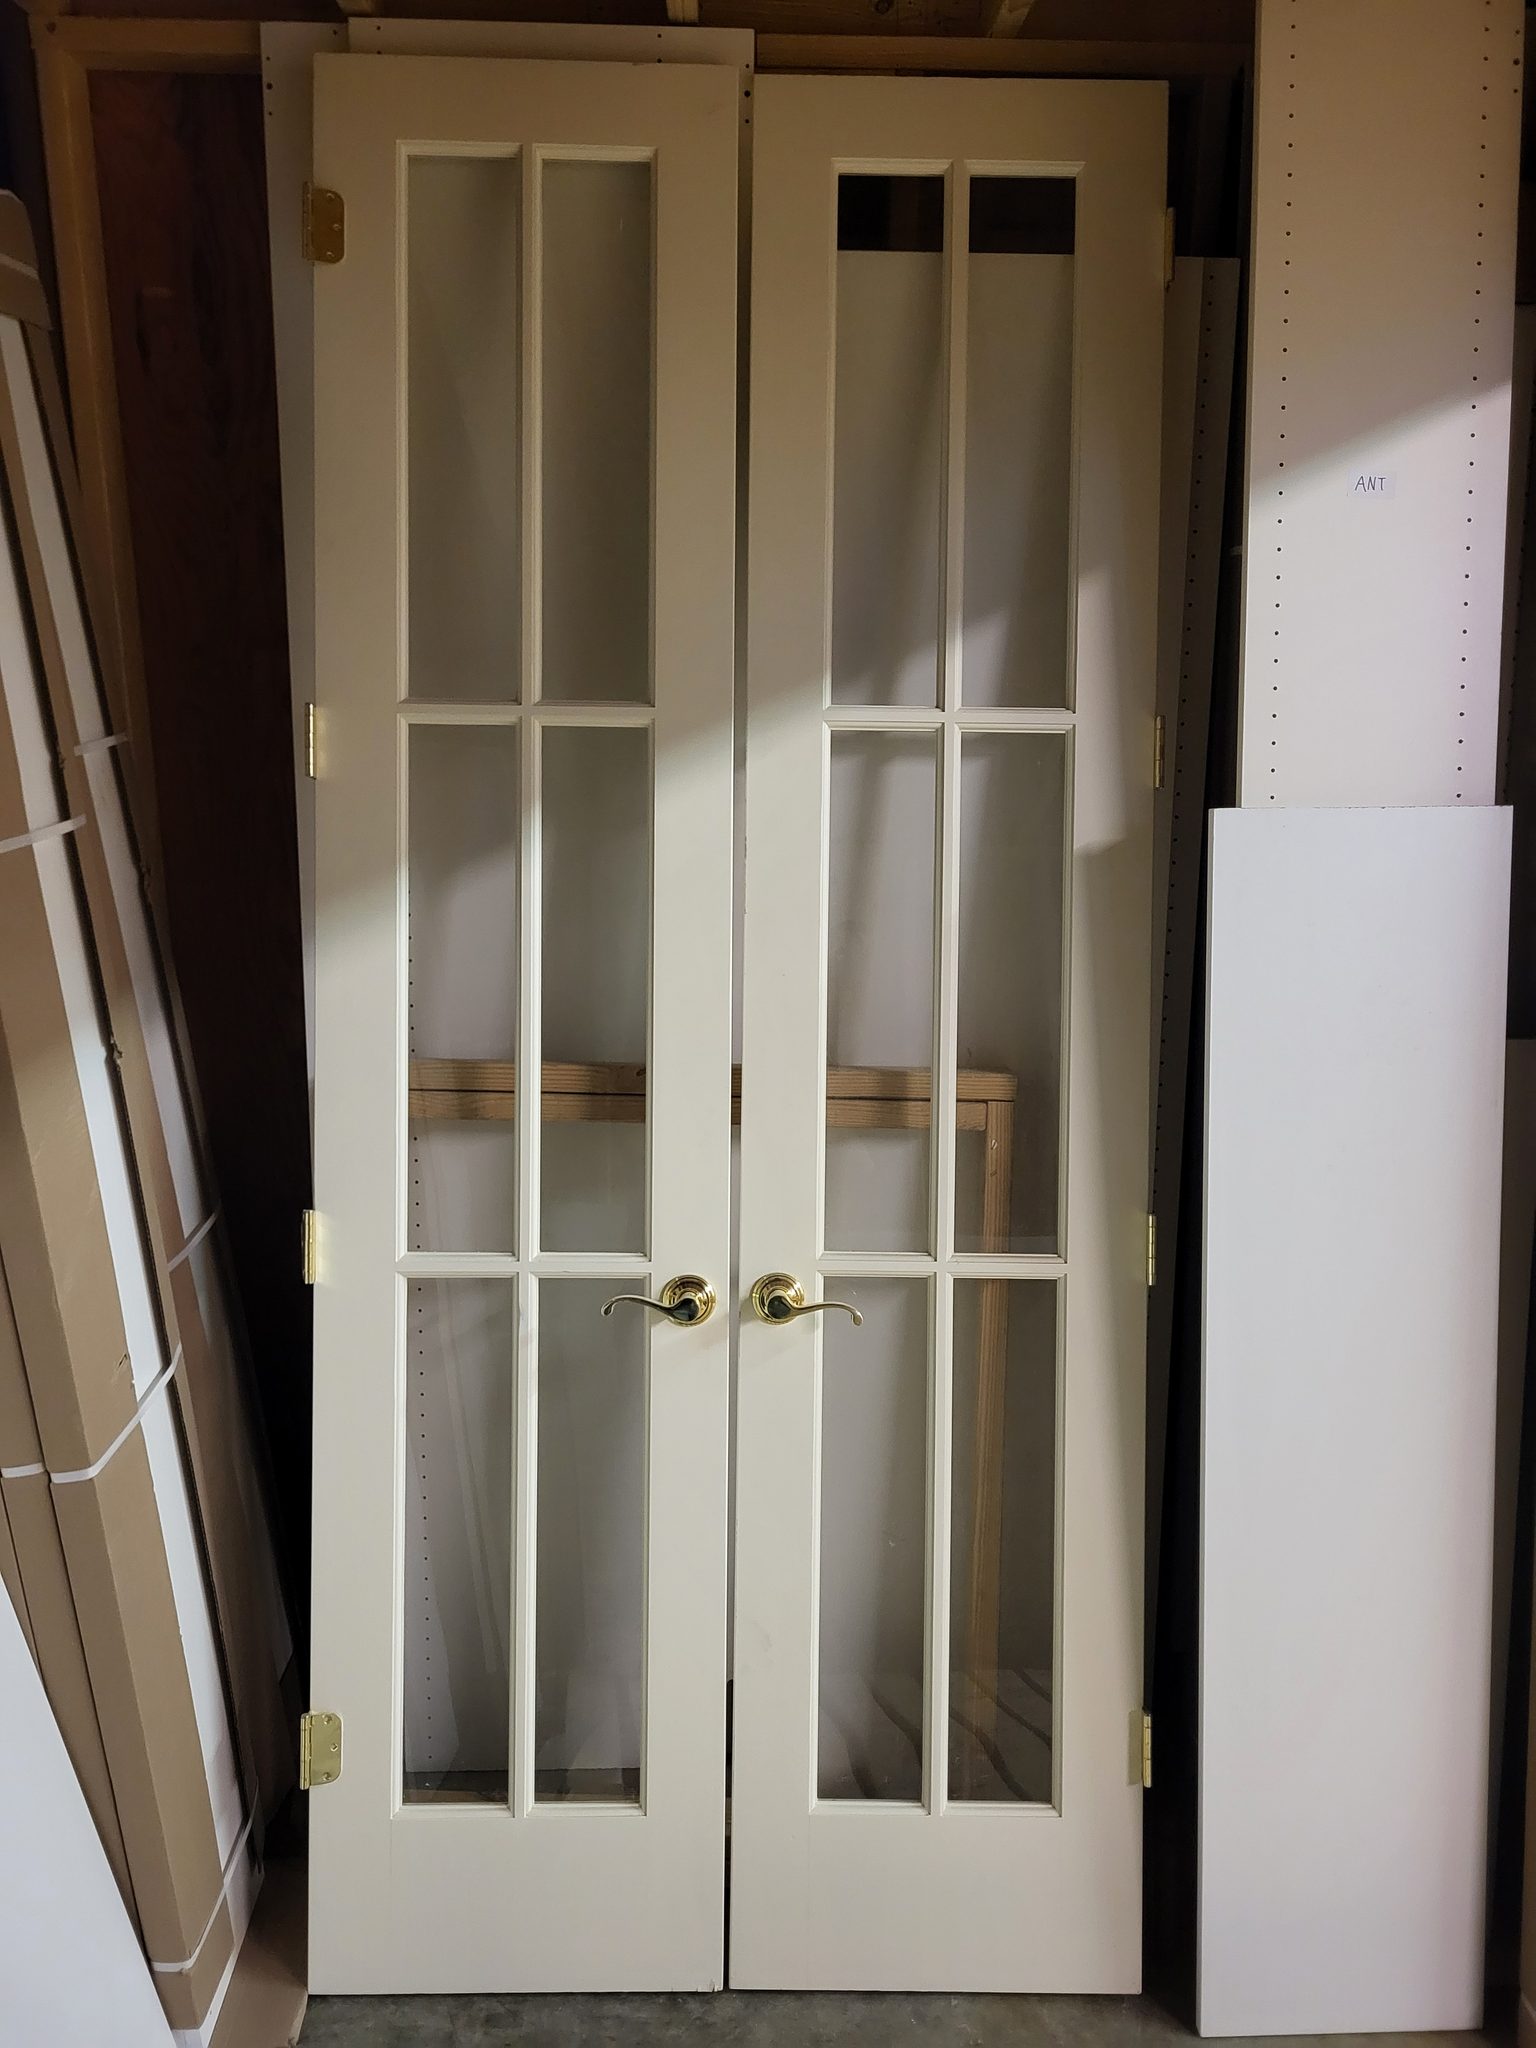
The following photos show examples of this type of work completed in the field. These serve as visual references for quality standards, proper installation techniques, and finished results.
Showing 10 of 10 photos