On this page
Introduction #
A shiplap fireplace wrap is one of the most visible jobs you will take on all year. Get the layout right and it becomes the showpiece of the room. This guide covers a peninsula fireplace (a fireplace that sticks out from the wall, so you see three sides of it) under 10 feet tall.
Shiplap fireplaces are one of the most requested feature walls we build. A 3-sided fireplace is harder than a flat wall, because the shiplap has to wrap around an outside corner on each side. On a flat wall you just stack boards from bottom to top. On a three-sided fireplace you work three faces at once, and every course (a course is one full row of boards) has to stay level and line up across all three faces. Homeowners ask for this more than almost any other feature wall, because it turns a plain fireplace into the centerpiece of the room.
The main challenge is the outside corners, where the front face meets each side return (the section of wall that turns the corner and runs back toward the room). You have three ways to handle it. A mitered corner, where each board is cut at an angle so the two ends meet in a clean point like a picture frame, looks the cleanest but is the hardest to cut. A butt joint, where one board just overlaps the other, is easier but shows a seam. Decorative corner trim is the easiest option, since it just covers the joint. This guide walks you through mitered corners, since that gives the cleanest, most professional finish.
Heat clearance matters on every shiplap fireplace job. Before you start layout, check the manufacturer’s specifications for the minimum clearance to combustibles (the closest a material that can catch fire, like wood, is allowed to sit to the firebox). The mantel and the area right around the fireplace typically need non-combustible materials or a set clearance distance. Shiplap is wood, so it is combustible, and it must stay outside the required clearance zone. Ignoring this creates a fire hazard and violates building codes. No amount of good-looking woodwork is worth that risk.
Plan your layout before you cut anything. The board spacing should look planned, not random: widths consistent, the reveal (the small gap you can see between each board) even, and the top and bottom rows equal, or at least not awkwardly thin. That means doing the math before you start nailing. Measure the total height, divide by the board exposure (the width of board you actually see once it is installed, meaning the full board width minus the hidden lap), and adjust your starting point so you end up with balanced rows at both the top and bottom of each face. Getting this planning step right is what separates an average shiplap fireplace from one that looks custom-built.

Which guide do I need?
- Fireplace surrounds under 10 feet tall: this guide
- Fireplace surrounds 10 to 15 feet tall: How to Install Shiplap 3 side fireplace wrap 10'-15'
- Fireplace surrounds over 15 feet tall: How to Install Shiplap 3 side fireplace wrap above 15'
Before You Begin #
Prerequisites #
- Fireplace installed and operational
- Framing and substrate (the plywood or drywall surface you nail the boards to) complete on all three sides (typically 1/2″ plywood or drywall)
- Electrical and gas lines are roughed in behind the wall, and the flooring is installed
- Mantel location decided, if there is one
- Paint or stain color picked, and the boards already finished by the painter before they get to you
What You Need To Know #
- Shiplap boards overlap each other by the “lap” (ship-lap joint) - typically 1/4″ to 3/8″
- True board width is the visible face PLUS the hidden lap
- Plan the layout so board joints on the front face do not line up with joints on the side returns - staggering them looks more natural
- Boards should already be primed, stained, or painted by the painter before they get to you - once the shiplap is up, it is almost impossible to finish well between the boards
- Use nickel spacing (the thickness of a nickel coin, used as a spacer) for consistent reveals between boards
Tools Required #
Power Tools:
- Miter saw (with fine-tooth blade for clean cuts)
- 18-gauge brad nailer
- Table saw (for ripping - cutting a board lengthwise to make it narrower)
Hand Tools:
- Tape measure
- Pencil
- Level
- Speed square
- Torpedo level
- Small block plane
- Utility knife
Supplies #
- 18-gauge brad nails (2″)
- Construction adhesive (for problem areas)
- Nickel coins or 1/8″ spacers (for consistent reveals)
Materials #
- Shiplap boards, either tongue-and-groove (one edge has a ridge, the other a matching groove) or rabbeted (the overlap is a notch cut into the edge)
- Corner trim (if not mitering)
- Mantel (if applicable)
3-Sided Shiplap Fireplace Installation Process #
Step 1: Plan the Layout #
Measure the total height of each face of the fireplace surround. Divide the height by the board exposure. That tells you how many courses you need. If the math does not land on full boards, adjust your starting point so the partial-width rips end up at the top or bottom, ideally split evenly between the two so both look planned instead of like a mistake. Mark a level line for the first board on all three faces.
The goal is full or near-full boards everywhere. A 1″ sliver at the top looks like a mistake. A 3″ board at top and bottom looks like it was planned that way. Take the time to plan this on paper before you pick up a nail gun.
Pro Tip: Start your layout planning at the most visible point, usually the center of the front face. If you end up with a narrow rip, put it at the bottom where furniture may hide it.
Step 2: Establish Level and Start the First Course #
Snap a level line for the bottom of the first row. On a 3-sided shiplap fireplace, this line has to wrap around ALL THREE SIDES at the same level. Use a laser level or a long straight level to carry the line around the corners accurately. Even a small mistake in the first course will get worse as you work your way up.
Start with the first board on the front face, then continue the same row onto each side return. Install every course across all three sides before you move up to the next course. This keeps the boards aligned at the corners for the whole installation.
Step 3: Handle the Outside Corners #
For mitered corners, set your miter saw to 45° and cut matching miters on the front face board and the side return board. The two mitered edges meet at the outside corner to make a seamless 90° wrap. Always dry fit the boards before nailing (hold them in place without nails or glue, just to check the fit). Check that the miter joint is tight, the boards are level, and the reveal spacing matches the rest of the row. Apply wood glue to the miter joint before you nail it for good, for a stronger bond.
Pin the miter joint with 18-gauge brads shot through both sides of the corner to lock it together. This keeps the miter from opening up as the wood swells and shrinks with the seasons. Wipe away any glue squeeze-out (the extra glue pushed out of the joint) right away with a damp cloth.
Pro Tip: Mitered shiplap corners are unforgiving - even 1/2 degree off shows as a gap. Cut test pieces from scrap first to dial in your saw angle. Most walls aren’t perfectly 90°, so your miter may need to be 44.5° or 45.5° rather than a perfect 45°.
Step 4: Work Up the Wall Course by Course #
Install each row across all three sides before you move to the next row. This is the single most important rule on a 3-sided fireplace. If you get ahead on one face, the boards will drift out of alignment at the corners. Use 1/8 inch spacer blocks between each course for consistent reveals; a nickel is about 5/64 inch, so it leaves a tighter gap than 1/8. Place a spacer at each end and one or two in the middle of each board.
Nail through the tongue, or high on the board where the next board will cover the nail hole. For shiplap with a rabbeted joint, nail through the top of the rabbet. Use two brads everywhere the board crosses a stud, one high and one low, to keep the board from cupping (warping into a curve). Check for level every 3-4 courses and make small adjustments to the reveal spacing if you need to.
Step 5: Work Around the Firebox Opening #
When you build a shiplap fireplace, measure carefully around the firebox opening (the actual opening where the fire burns). Transfer those measurements to the shiplap boards and mark your cutlines clearly. Use a jigsaw or circular saw for straight cuts, and an oscillating multi-tool (a small saw that vibrates side to side, good for tight spots) for detail cuts and inside corners. Keep the required clearance to combustibles, per the fireplace manufacturer’s specifications. This is typically 6″ to 12″ from the firebox opening, but it varies by manufacturer and model.
The boards that frame the firebox opening are the most visible boards in the whole installation. Take extra care with these cuts. They need to be straight, clean, and consistent on both sides of the opening.
Pro Tip: Board ends at the firebox opening need to be perfectly straight since they won’t be covered by trim. Use a table saw for these cuts rather than a circular saw freehand.
Step 6: Install the Top Row #
The top row may need to be ripped to fit if your layout math did not land on a full board. Rip the board on a table saw for a clean, straight edge. Never use a circular saw freehand for a visible rip cut. On a 3-sided fireplace, the top row has to line up across all three sides. This is where careful layout planning at the start pays off.
If you planned it right in Step 1, your top row should be a half-board or wider. Nail securely along the top edge, since there is no board above to hide the fasteners. Set them below the surface so the painter can fill them in his pass.
Step 7: Set, Clean, and Hand Off #
Once the last course is nailed on all three faces, close the job out before you call the painter in. This is the last thing standing between your install and his finish work.
- Set every proud brad: Walk all three faces and run a hand across the boards. A brad sitting proud (sticking up above the wood instead of flush or below it) will telegraph, or show through, once the finish goes on. Set it below the surface with a nail set.
- Clean any glue you missed: If squeeze-out dried at a miter before you caught it, scrape it off with a sharp chisel instead of leaving it. Dried glue sits proud and will not take stain or paint evenly.
- Check every outside corner: Both mitered corners, top to bottom, on all three faces. Tight and flush passes. A joint that has opened gets re-cut, not filled.
- Install the mantel if it applies: Level, and properly supported by blocking (extra framing added behind the shiplap to carry the weight).
- Sweep up: Cutoffs collected, dust off the hearth and floor.
Filling the fastener holes, sealing where the shiplap meets the ceiling, crown, or baseboard, and any finish touch-up work all belong to the painter. He fills and coats the whole surround in one pass with one set of materials. If we fill spots ahead of him, those spots look different once the finish goes on, and he ends up redoing them anyway. What he needs from us is tight, glued, and pinned miters on both corners, fasteners set below the surface, and a swept hearth.
Stand back and check the completed shiplap fireplace from multiple angles and distances before you hand it off. Alignment and reveals are still your call, not his.
Quality Check #
After you finish the installation, run through this checklist to check for professional-quality work on your shiplap fireplace.
- All boards level across all three sides
- Reveals consistent throughout (nickel spacing)
- Outside corner miters tight with no gaps
- Board courses align across front and sides
- Firebox clearance requirements met
- Every brad set below the surface, nothing proud to the touch
- Top and bottom rows are equal or symmetrical
- Glue cleaned off every miter, no dried squeeze-out left on the face
- Mantel level and properly supported (if applicable)
A well-built shiplap fireplace should look as good in five years as it does the day you finish it. Revisit the checklist above before you call the job done. Tight miters and consistent reveals are what turn a good installation into a great one.
Troubleshooting Shiplap Fireplace Issues #
Most shiplap fireplace problems trace back to the outside corners or the firebox clearance line, so start troubleshooting there before you assume the whole wall needs to come down.
Miter joints have gaps #
The saw angle is not perfectly matched to the actual wall angle. Walls are rarely exactly 90°, so your miter may need fine-tuning. Re-cut the miter at a slightly adjusted angle - try 44.5° or 45.5° and test with scrap pieces. For small gaps on a board that is already nailed, pull it and re-cut rather than filling it. A gap filled to look closed will open again as the wood moves with the seasons.
Boards don’t lay flat #
The substrate behind the shiplap is not flat. Use a long straightedge to find the high and low spots. Add shims behind boards at low spots to bring them flush with the rest of the wall, or plane down the high spots on the substrate before you keep going. Construction adhesive can help hold boards tight to an uneven surface, but shimming is the better long-term fix.
Reveals getting inconsistent halfway up #
Boards can vary slightly in width from piece to piece, which causes the reveals to drift over several courses. Set a new level reference line every 5-6 rows and adjust your spacing to get back on track. Small adjustments spread across several rows are invisible. One big correction on a single row is obvious.
Corner miters opening up over time #
Wood expands and contracts with seasonal humidity changes, and outside corner miters are particularly susceptible to this movement. Prevent this by applying wood glue to the miter joint AND pinning with brads shot through both faces of the corner. If a miter opens up after the house has settled, that is a finish touch-up for the painter, not a reinstall - cured, painted trim does not take a re-cut reliably. Prevention is what matters here, and you already have it above: glue and pin every miter at install.
Shiplap too close to firebox #
This is a code violation and a fire hazard. Remove any boards that are inside the manufacturer’s required clearance zone for combustible materials. Replace with non-combustible material (tile, stone, or cement board) within the clearance zone. Never compromise on fire safety - check the manufacturer’s installation manual for exact clearance dimensions.
Boards are cupping or warping #
The material was not properly acclimated before installation. Shiplap boards should be stored in the room where they will be installed for at least 48 hours before cutting and nailing. This allows the wood to reach equilibrium with the room’s temperature and humidity. If boards are already installed and cupping, remove them, allow them to flatten (weight them down on a flat surface), and reinstall once acclimated.
Helpful Resources #
Every shiplap fireplace job benefits from a second opinion on code minimums before you pick up a nail gun. These external resources provide additional detail on shiplap fireplace installation and fire safety:
- How to Install Shiplap 3 side fireplace wrap 10'-15' - The corner technique carries over once the fireplace gets bigger than this one.
- How to Install Shiplap, 0' to 7' - Our base guide to nailing patterns and layout planning
- NFPA 211 - Chimneys and Fireplaces Standard - National fire safety codes for clearance to combustibles around fireplaces.
Bookmark this shiplap fireplace guide next to the mantel-height and multi-zone versions above. Most jobs only need one of the three, so knowing which shiplap fireplace variant fits your job before you buy lumber saves a return trip to the yard.
Reference Photos #
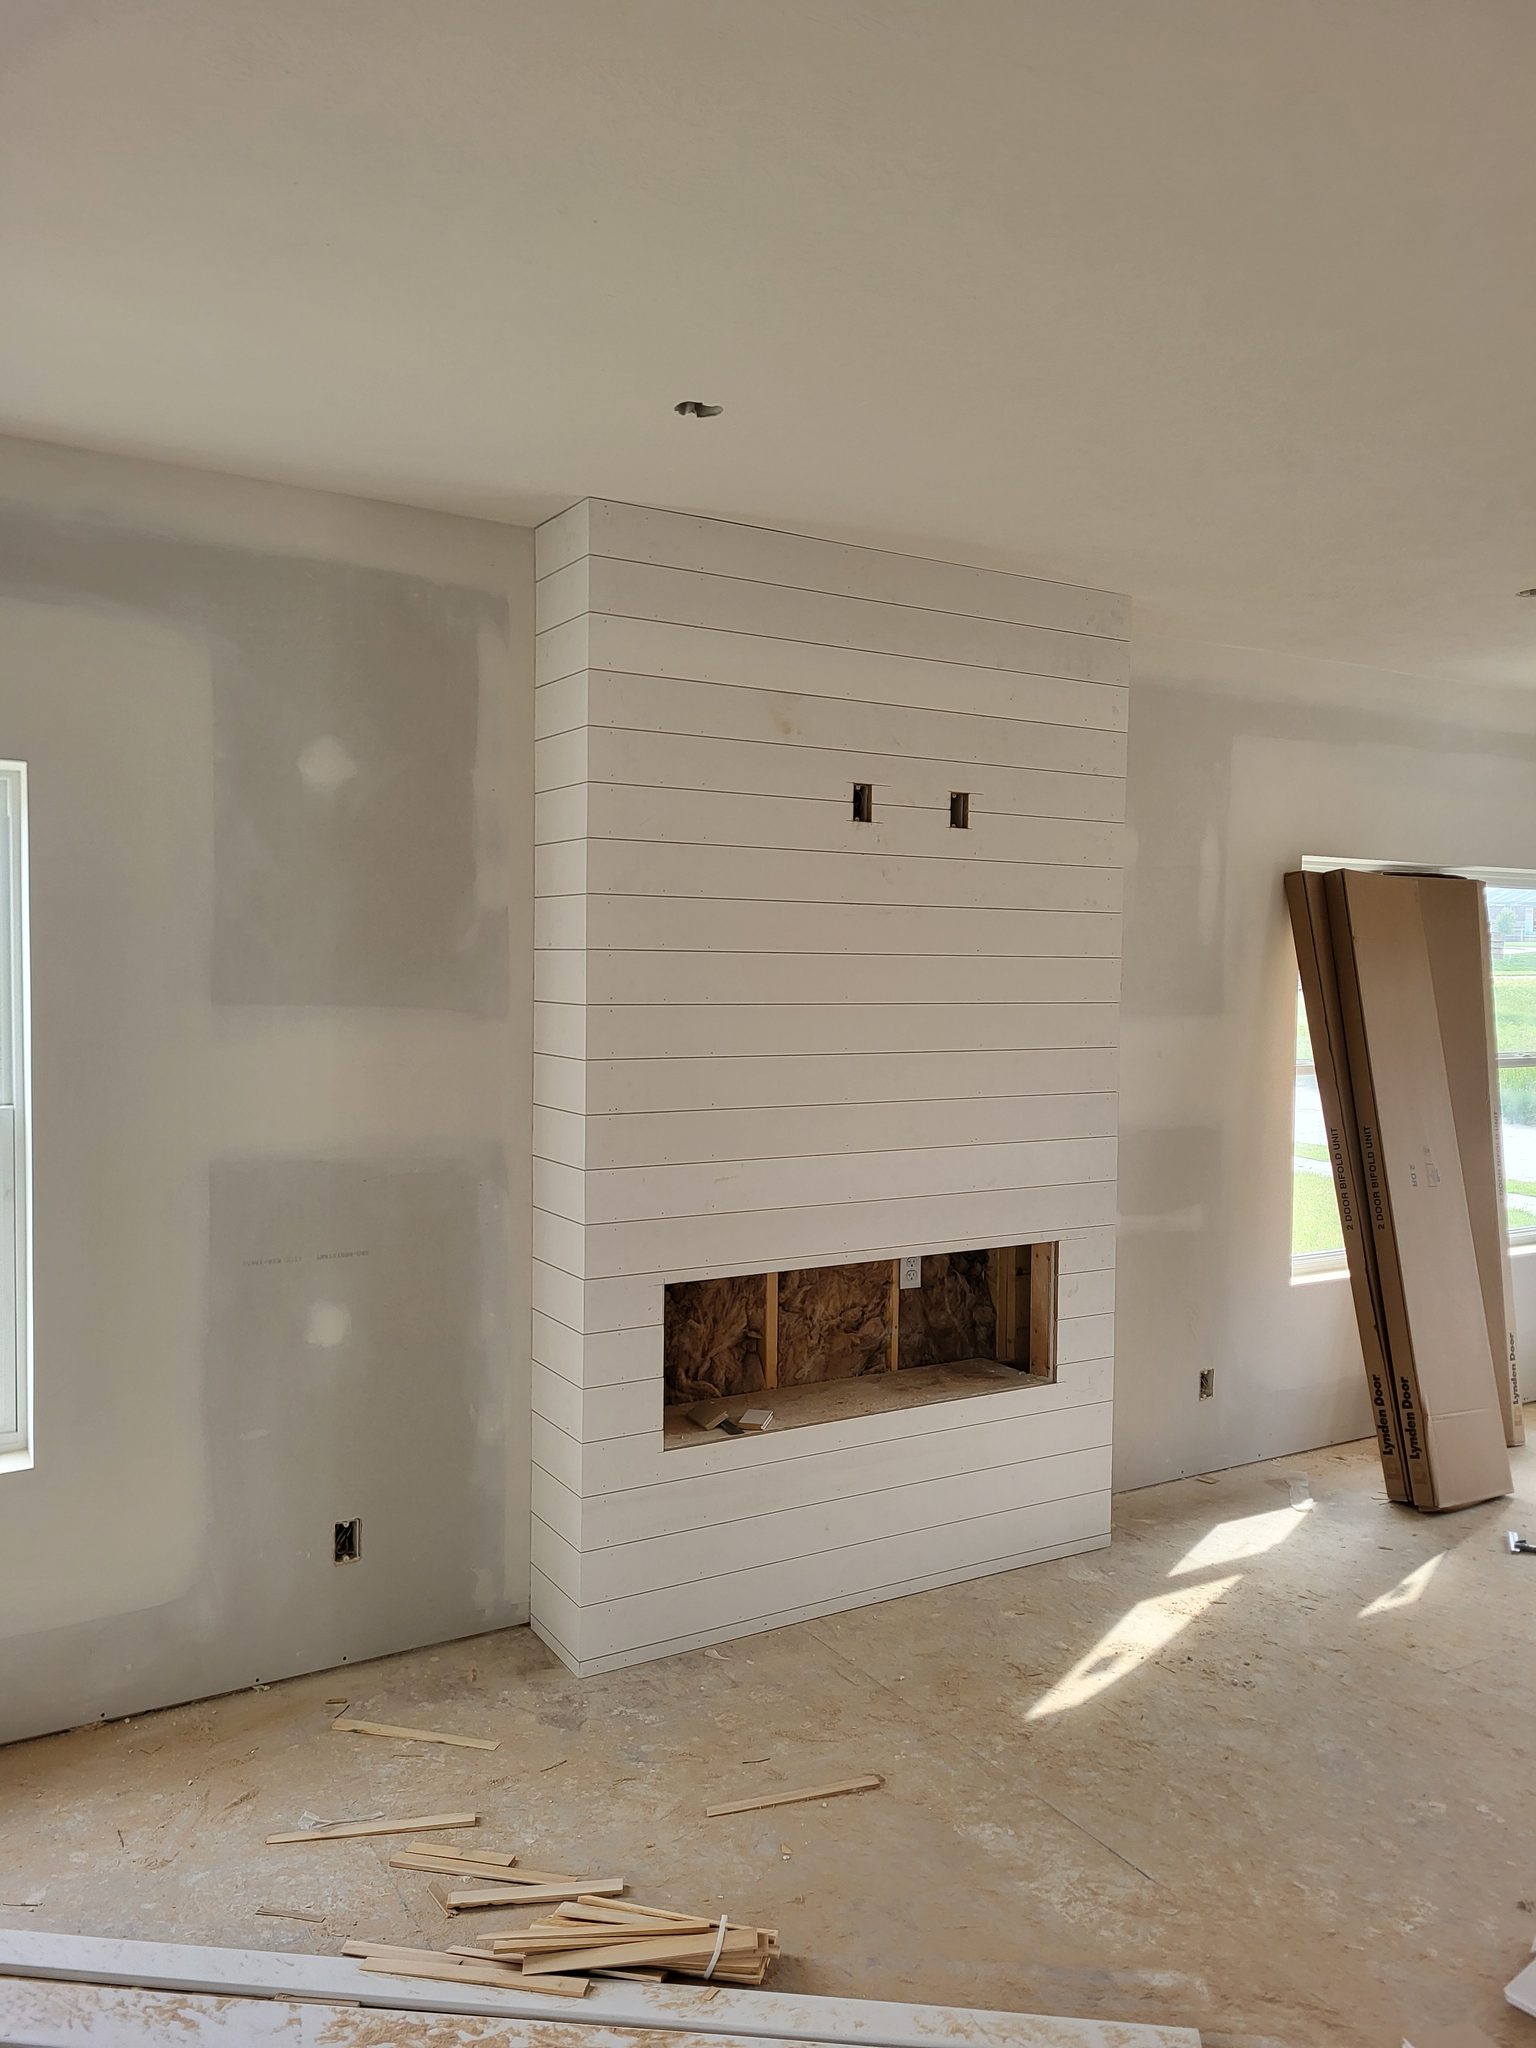
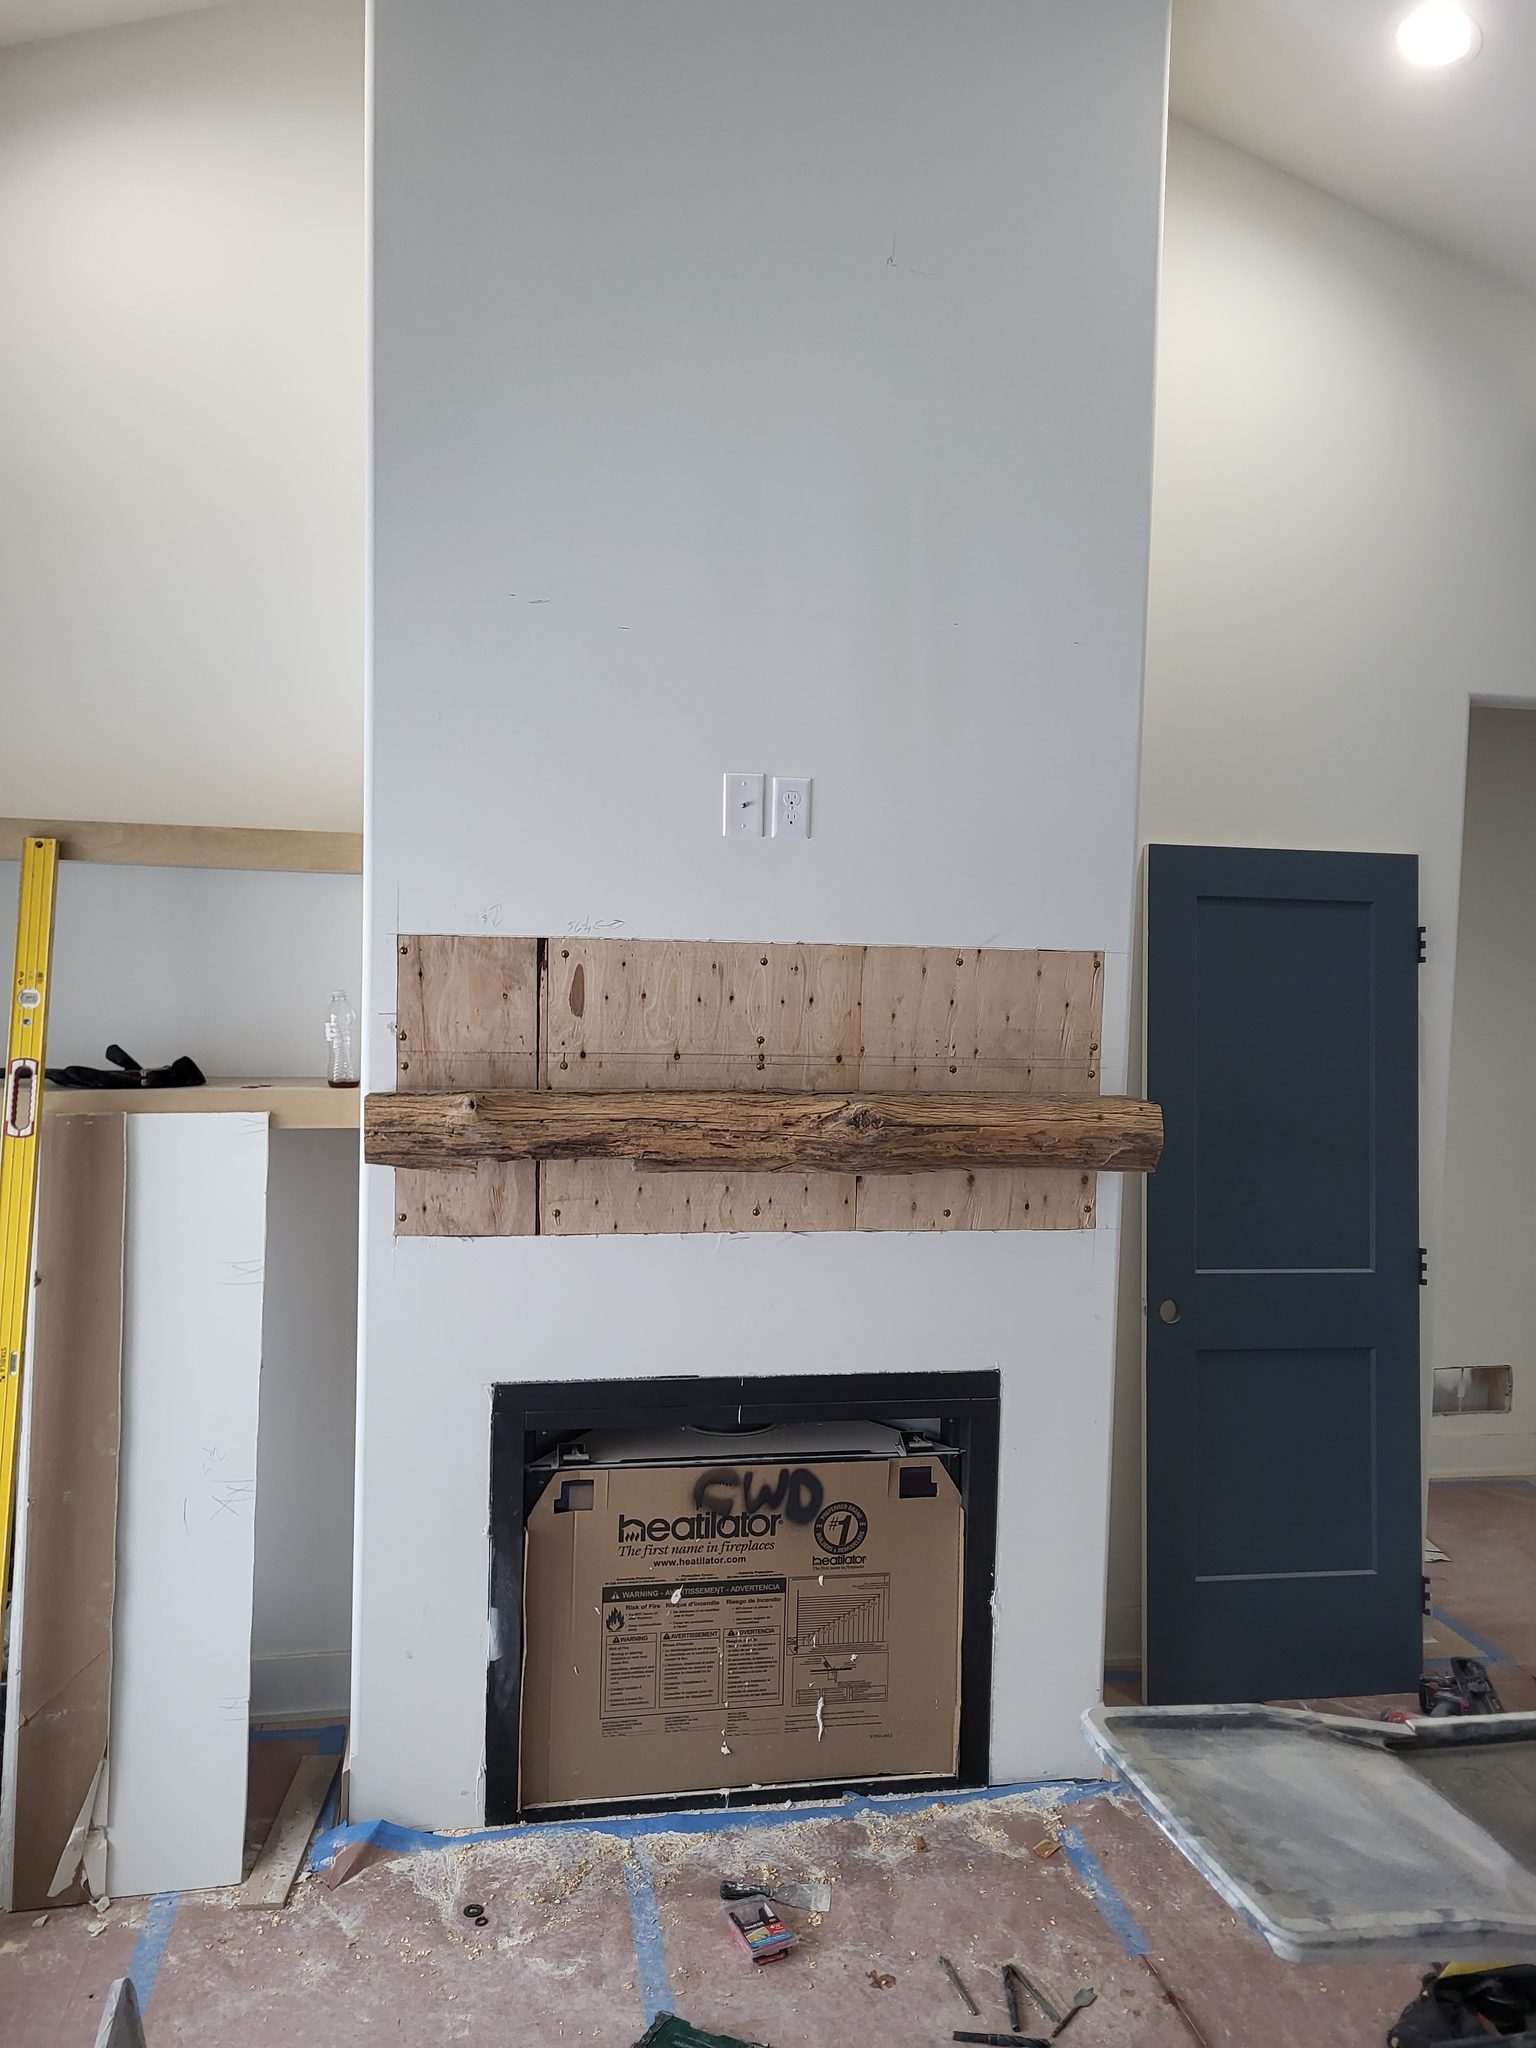
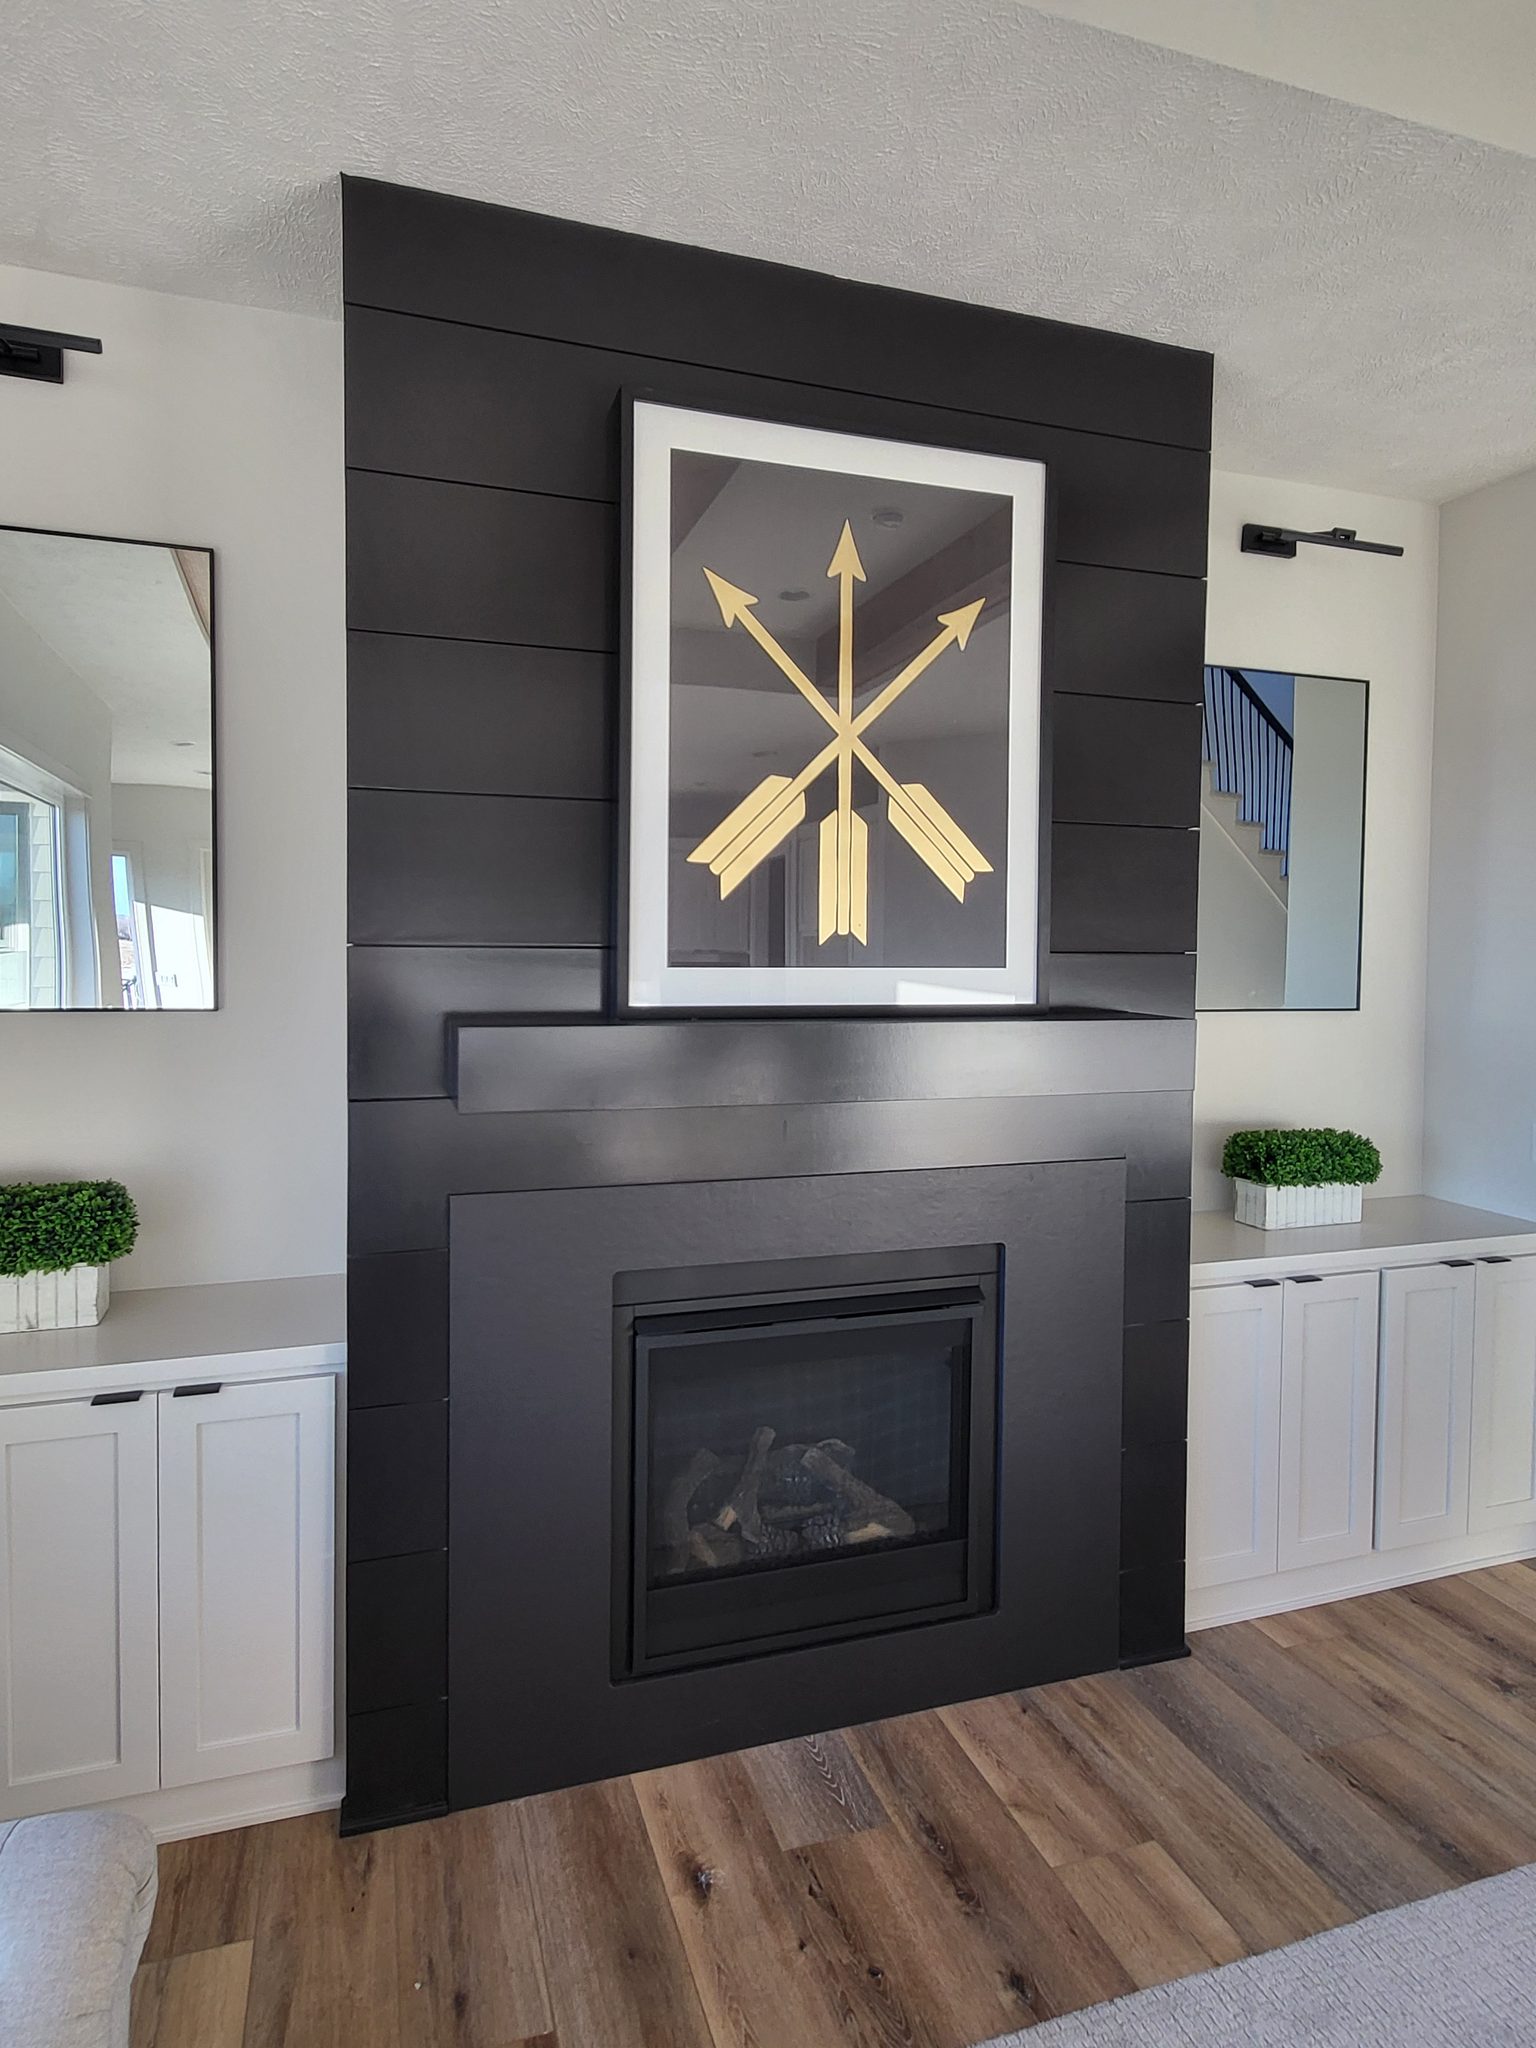
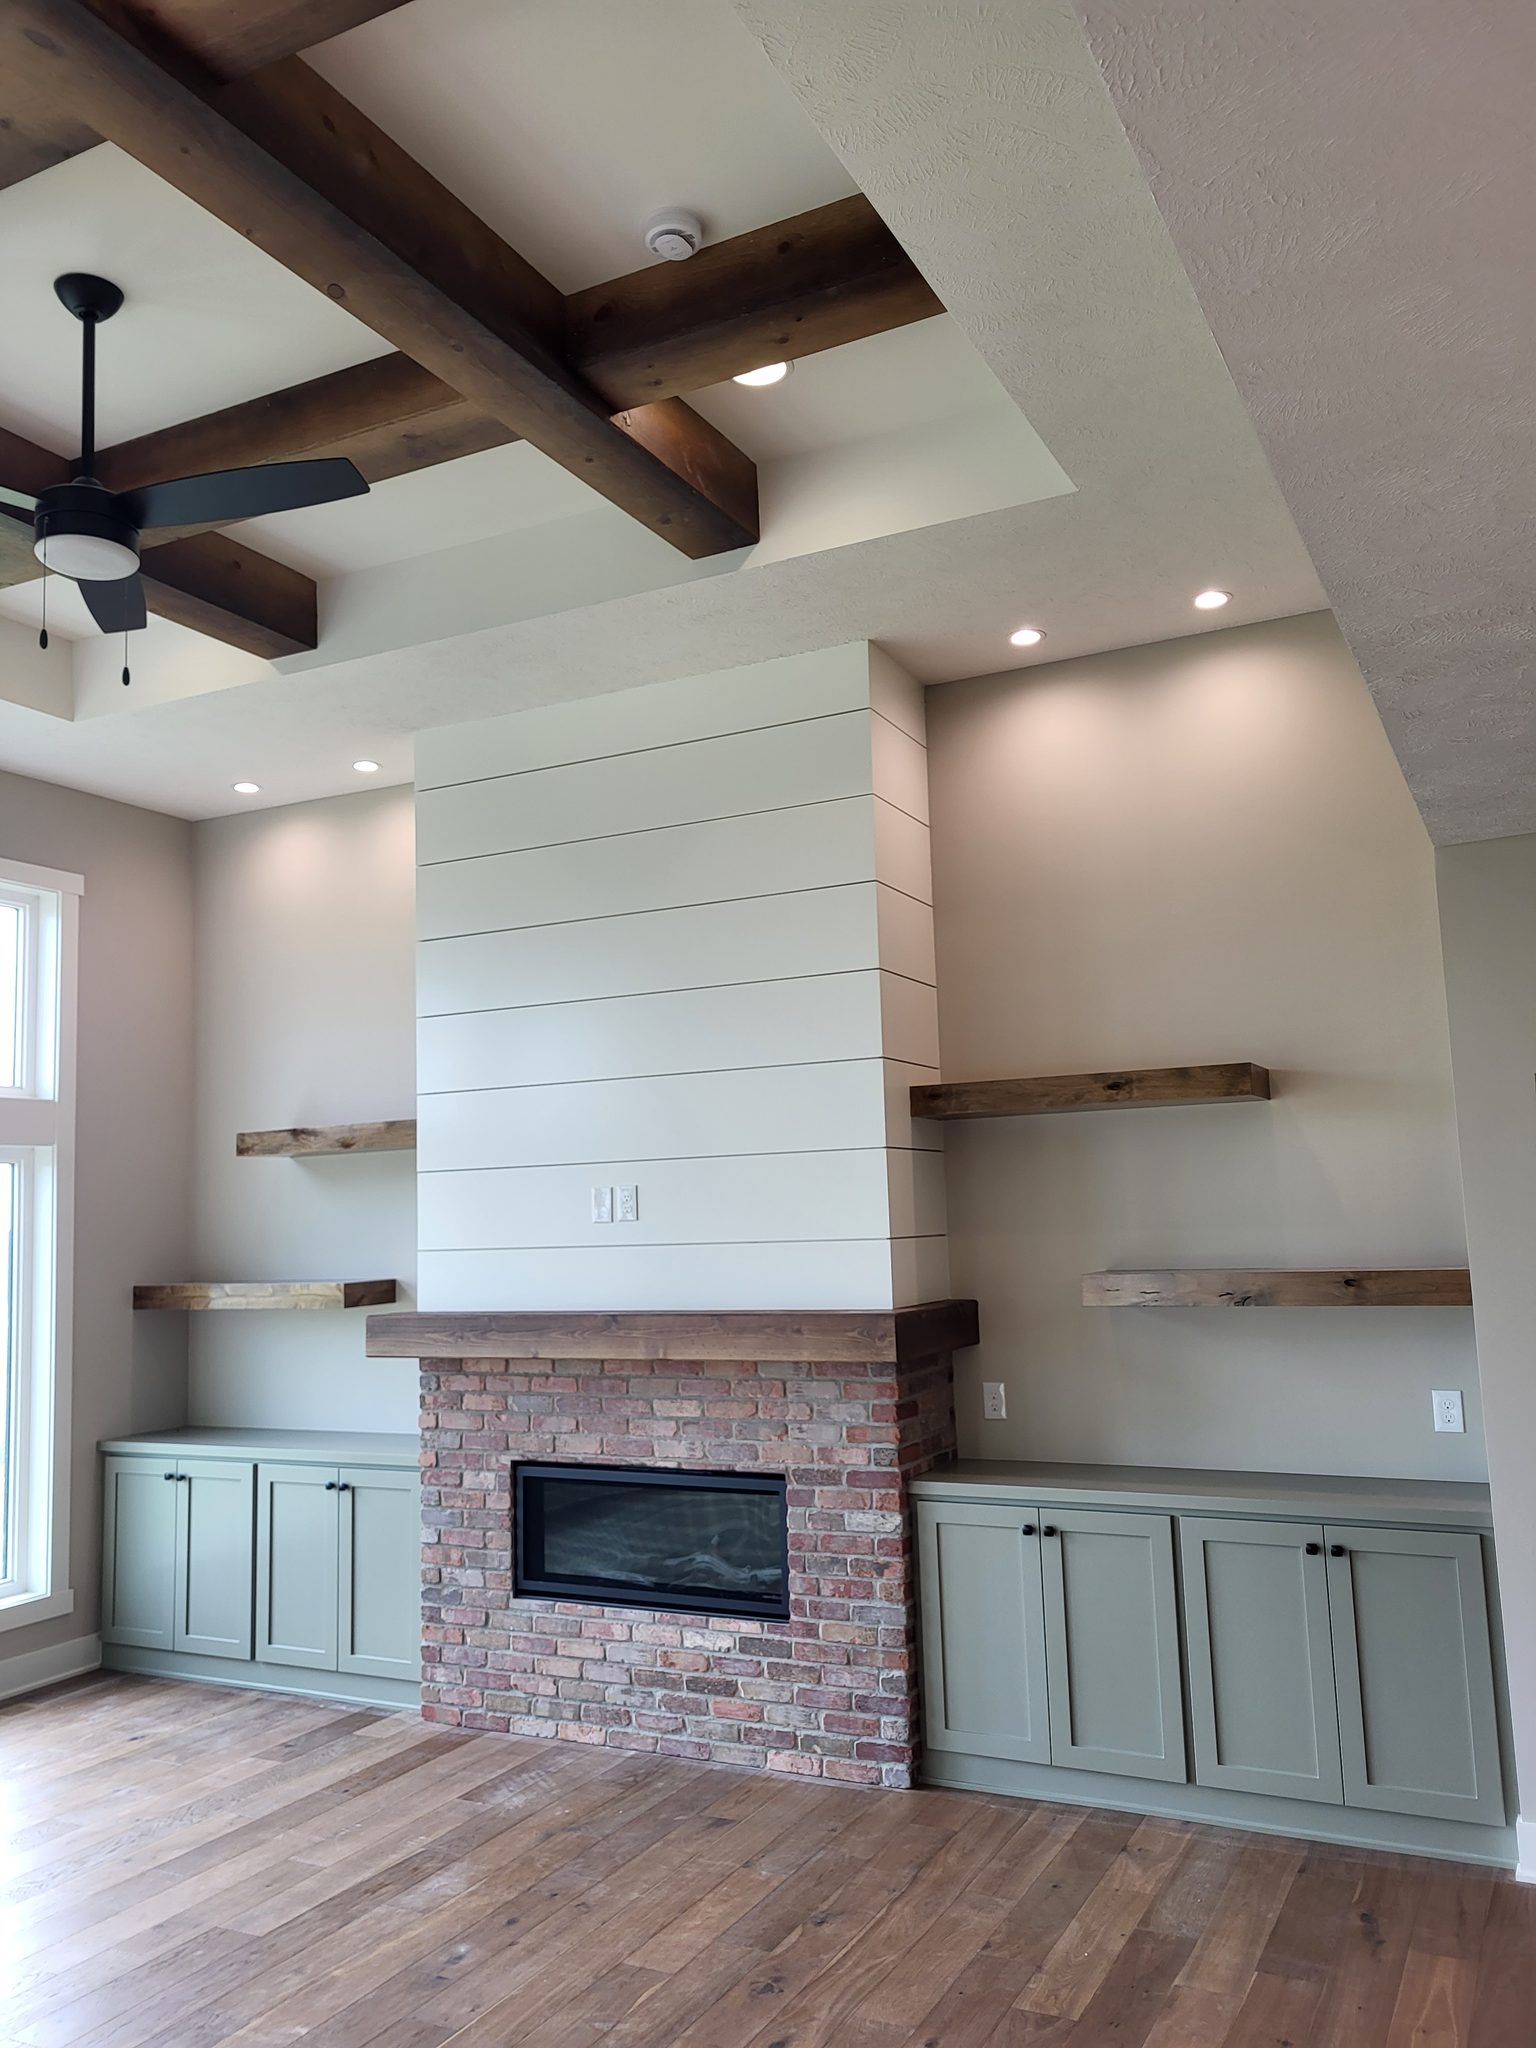
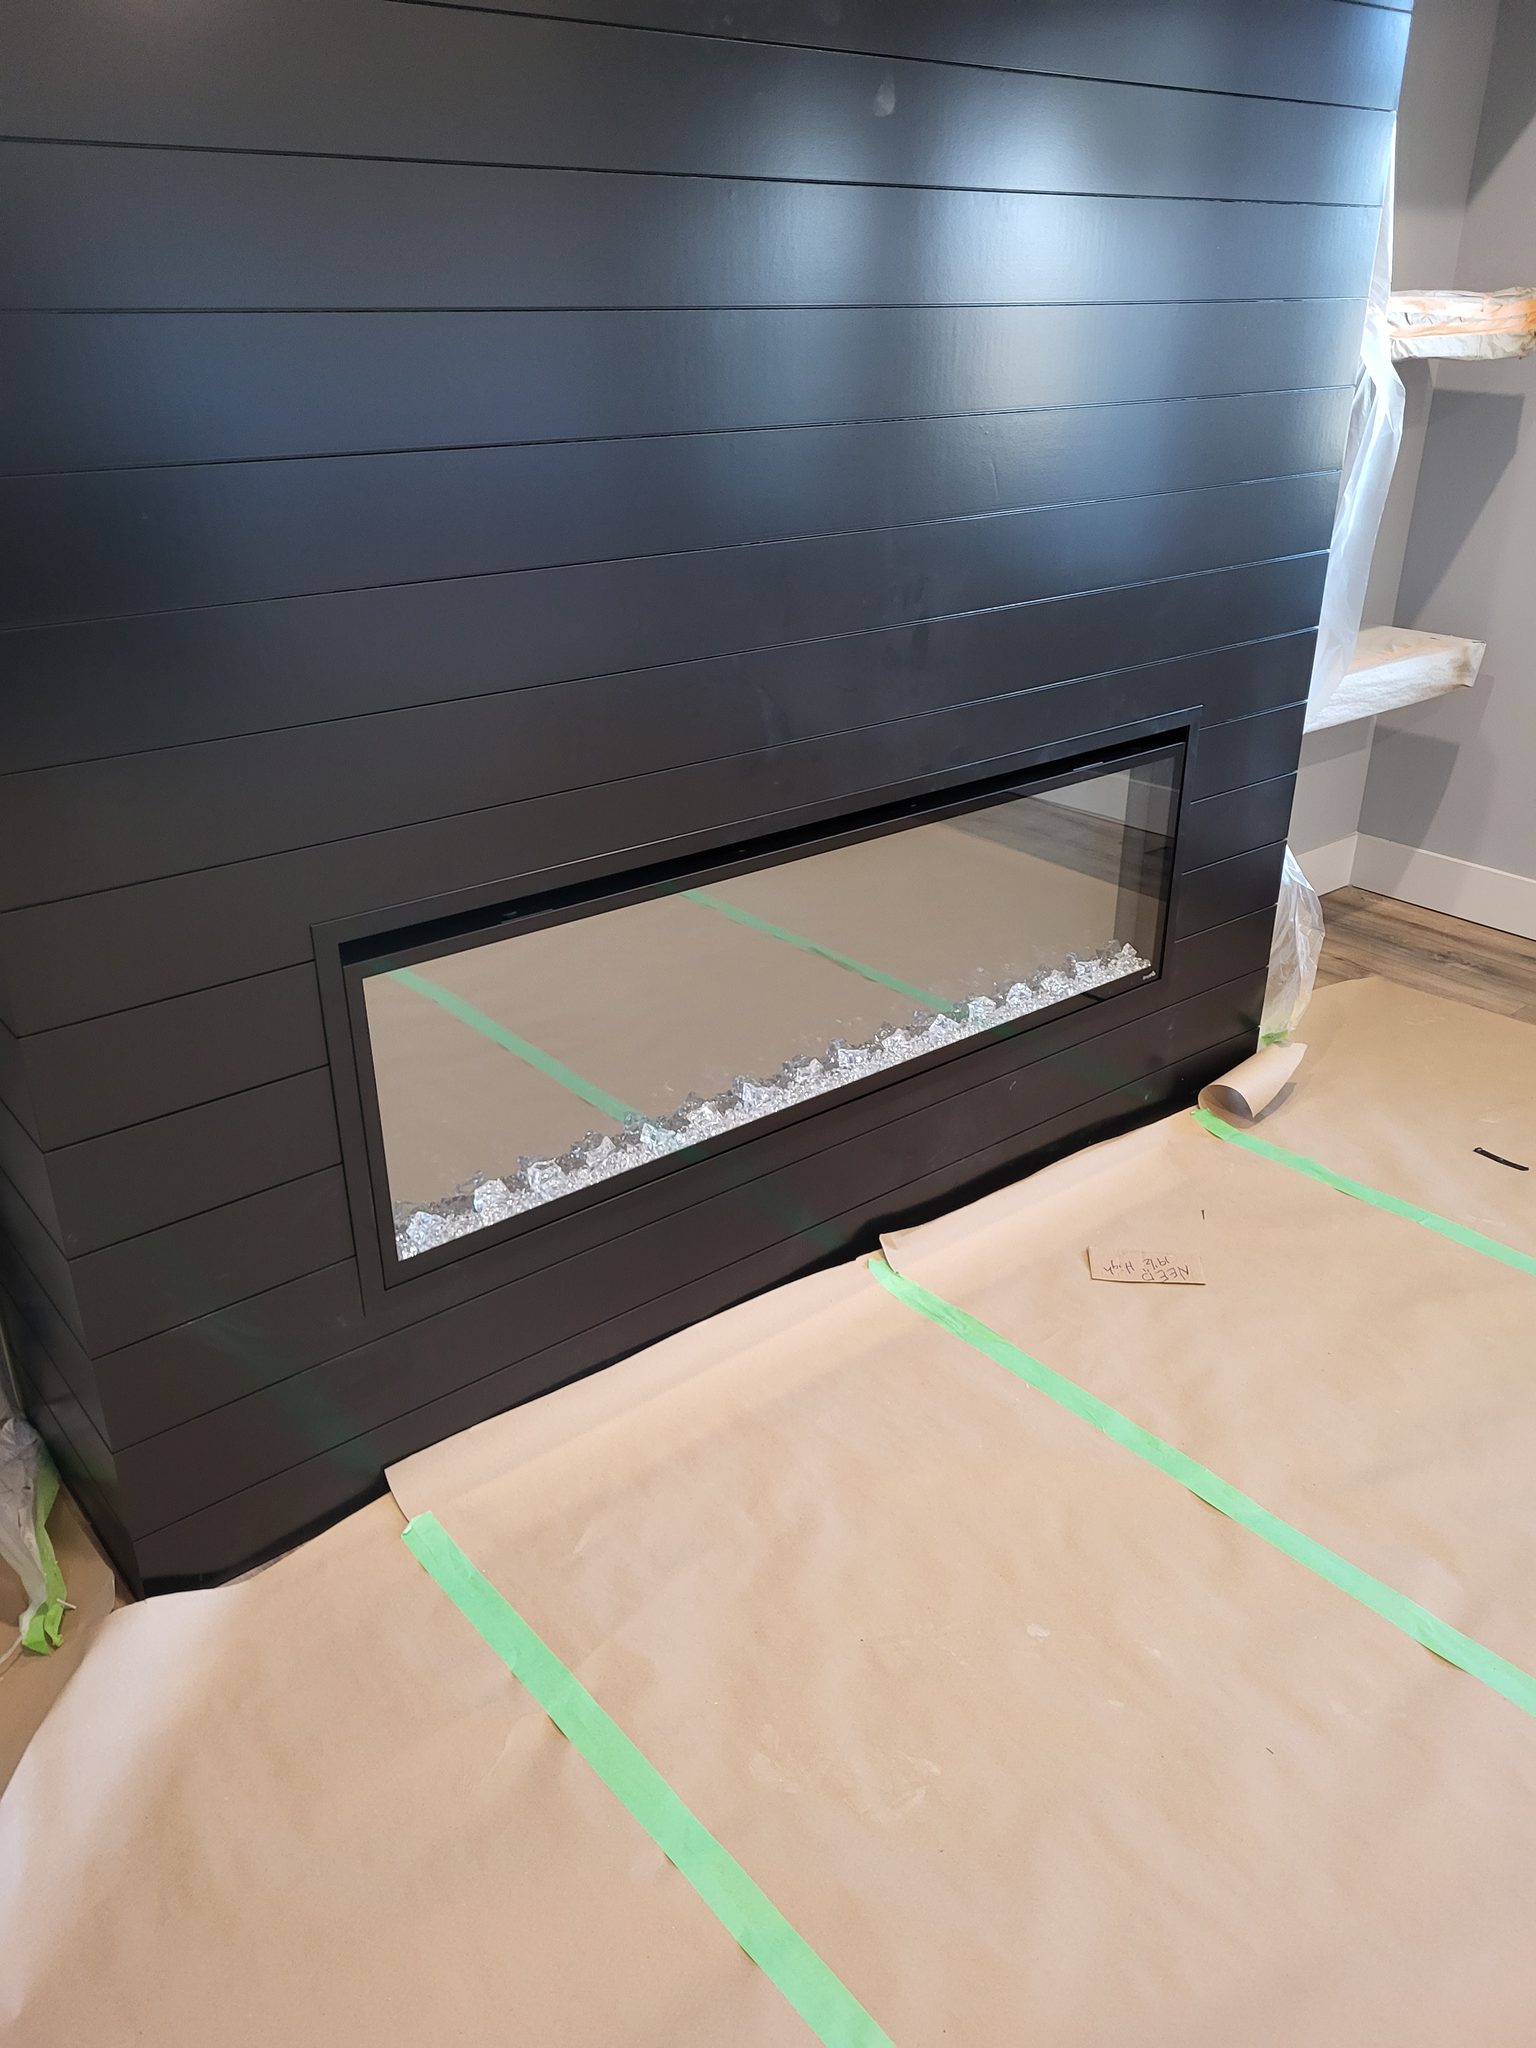
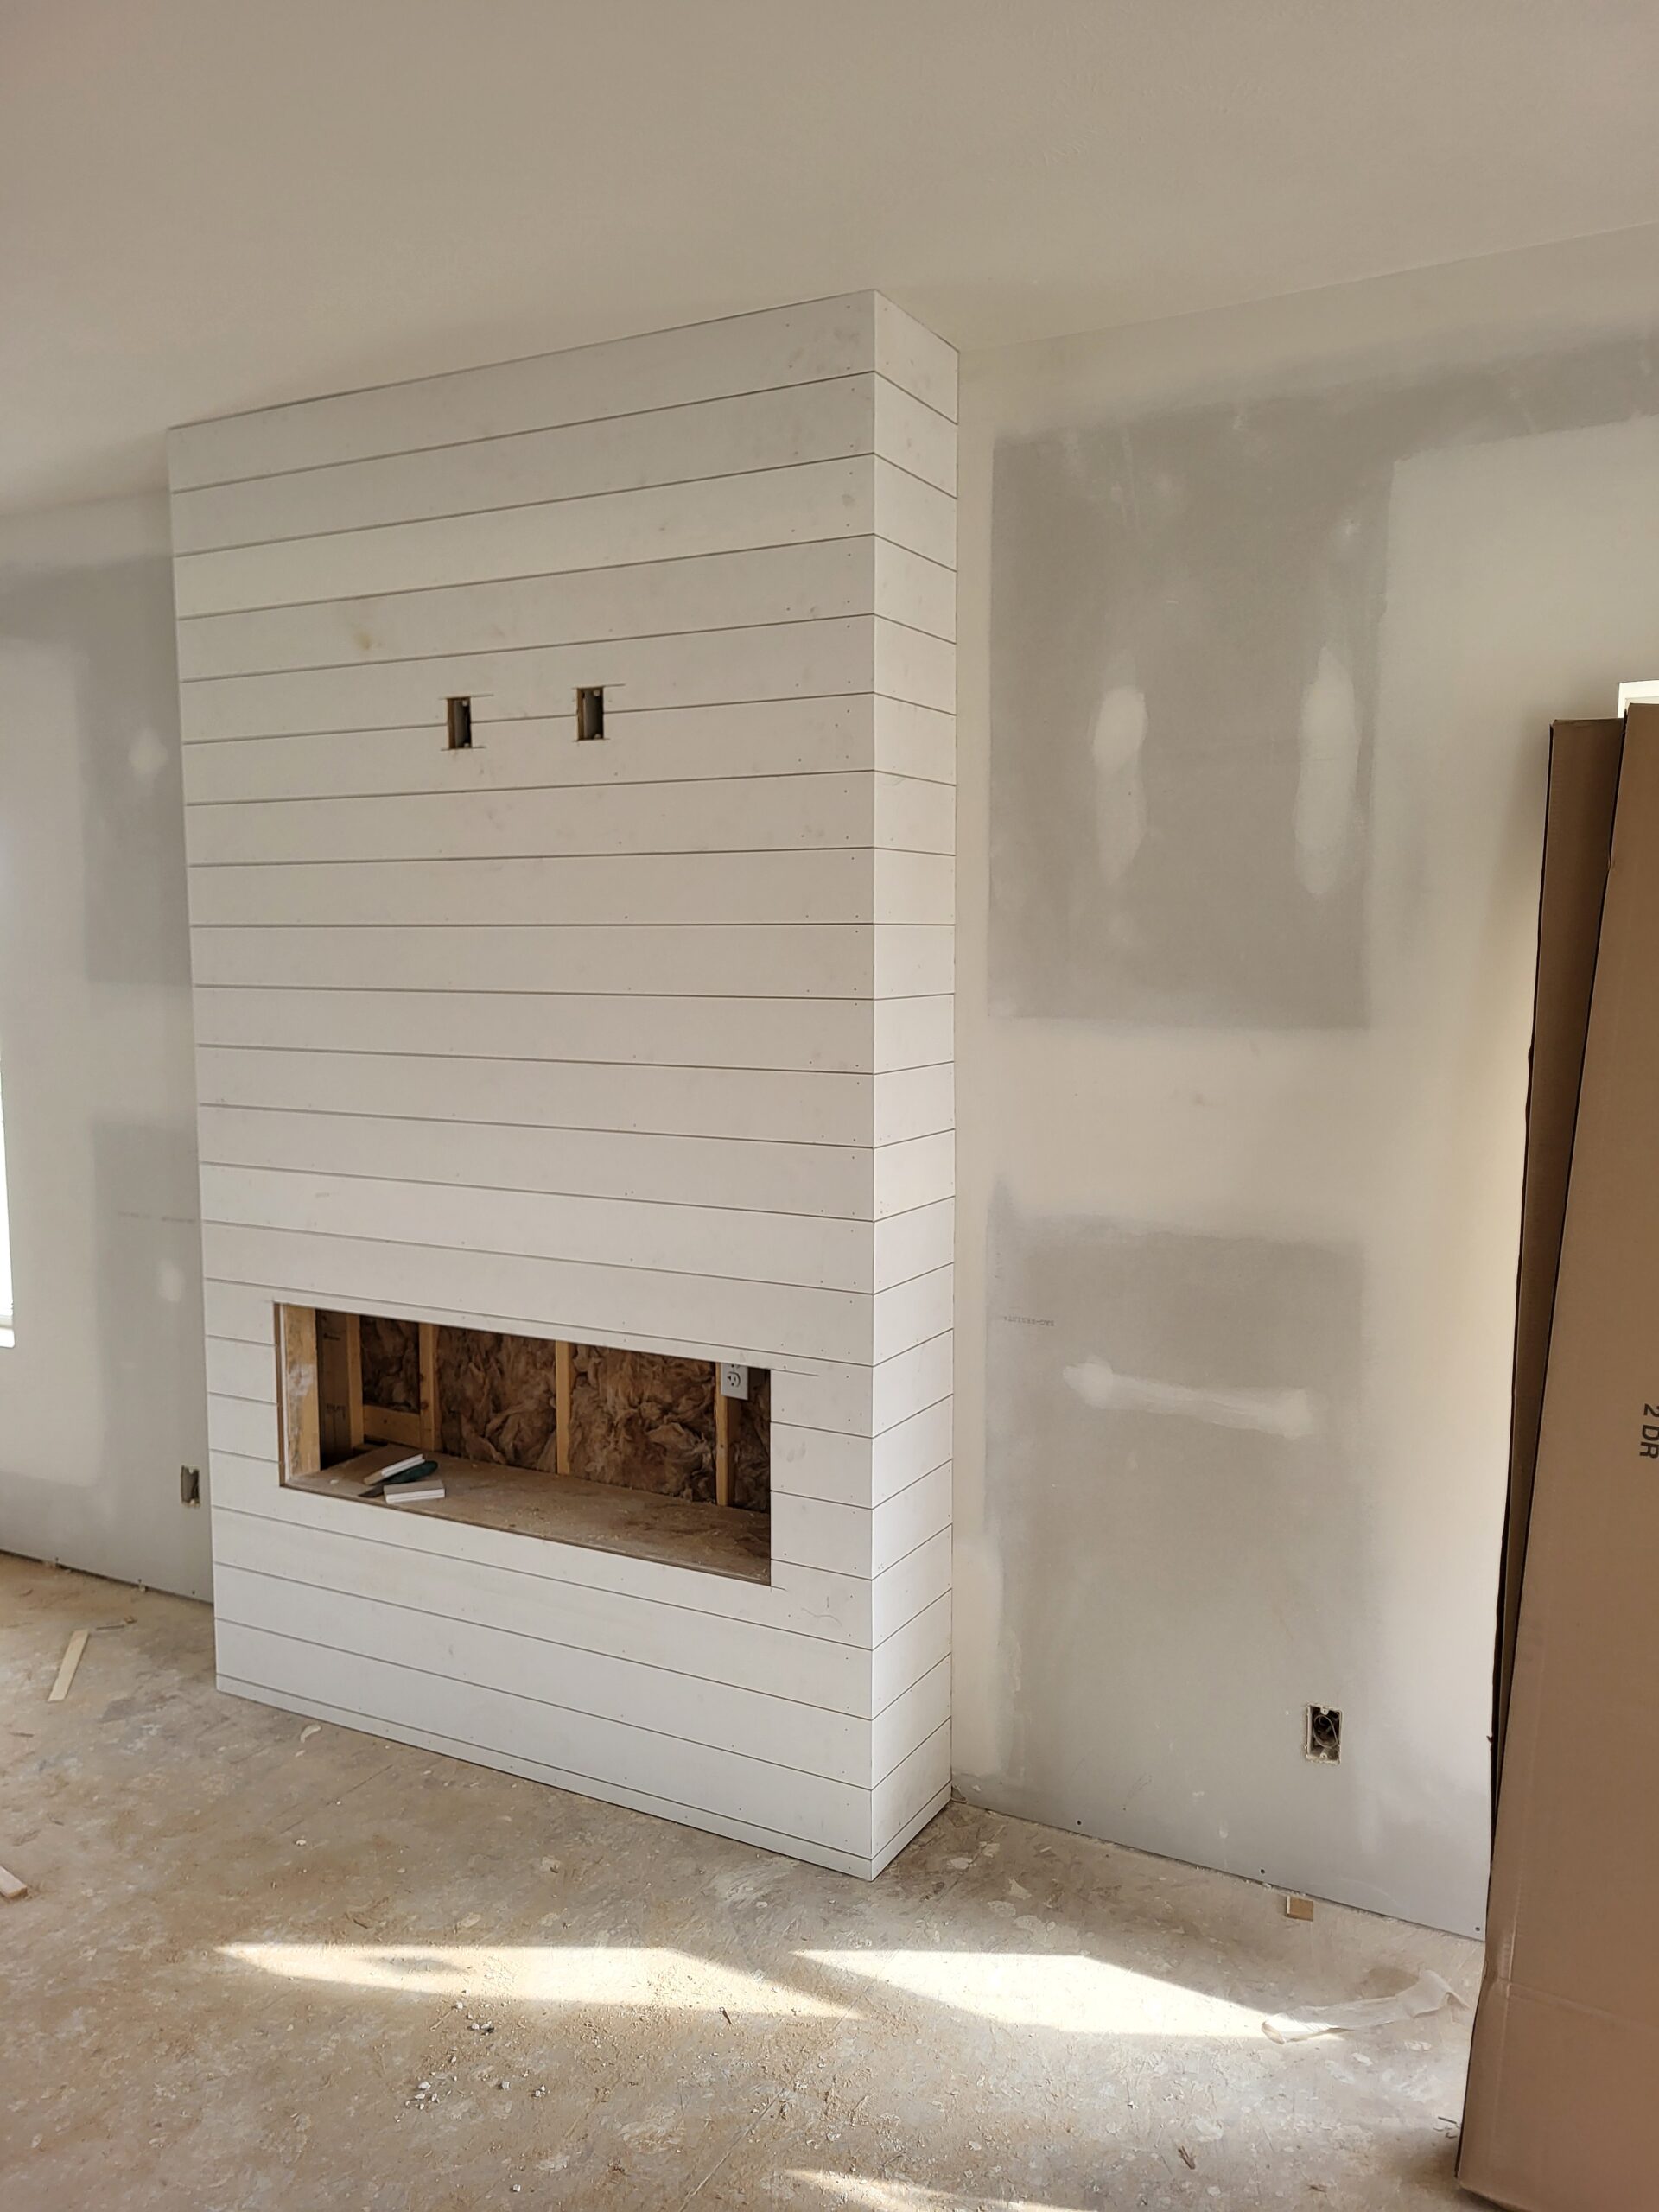
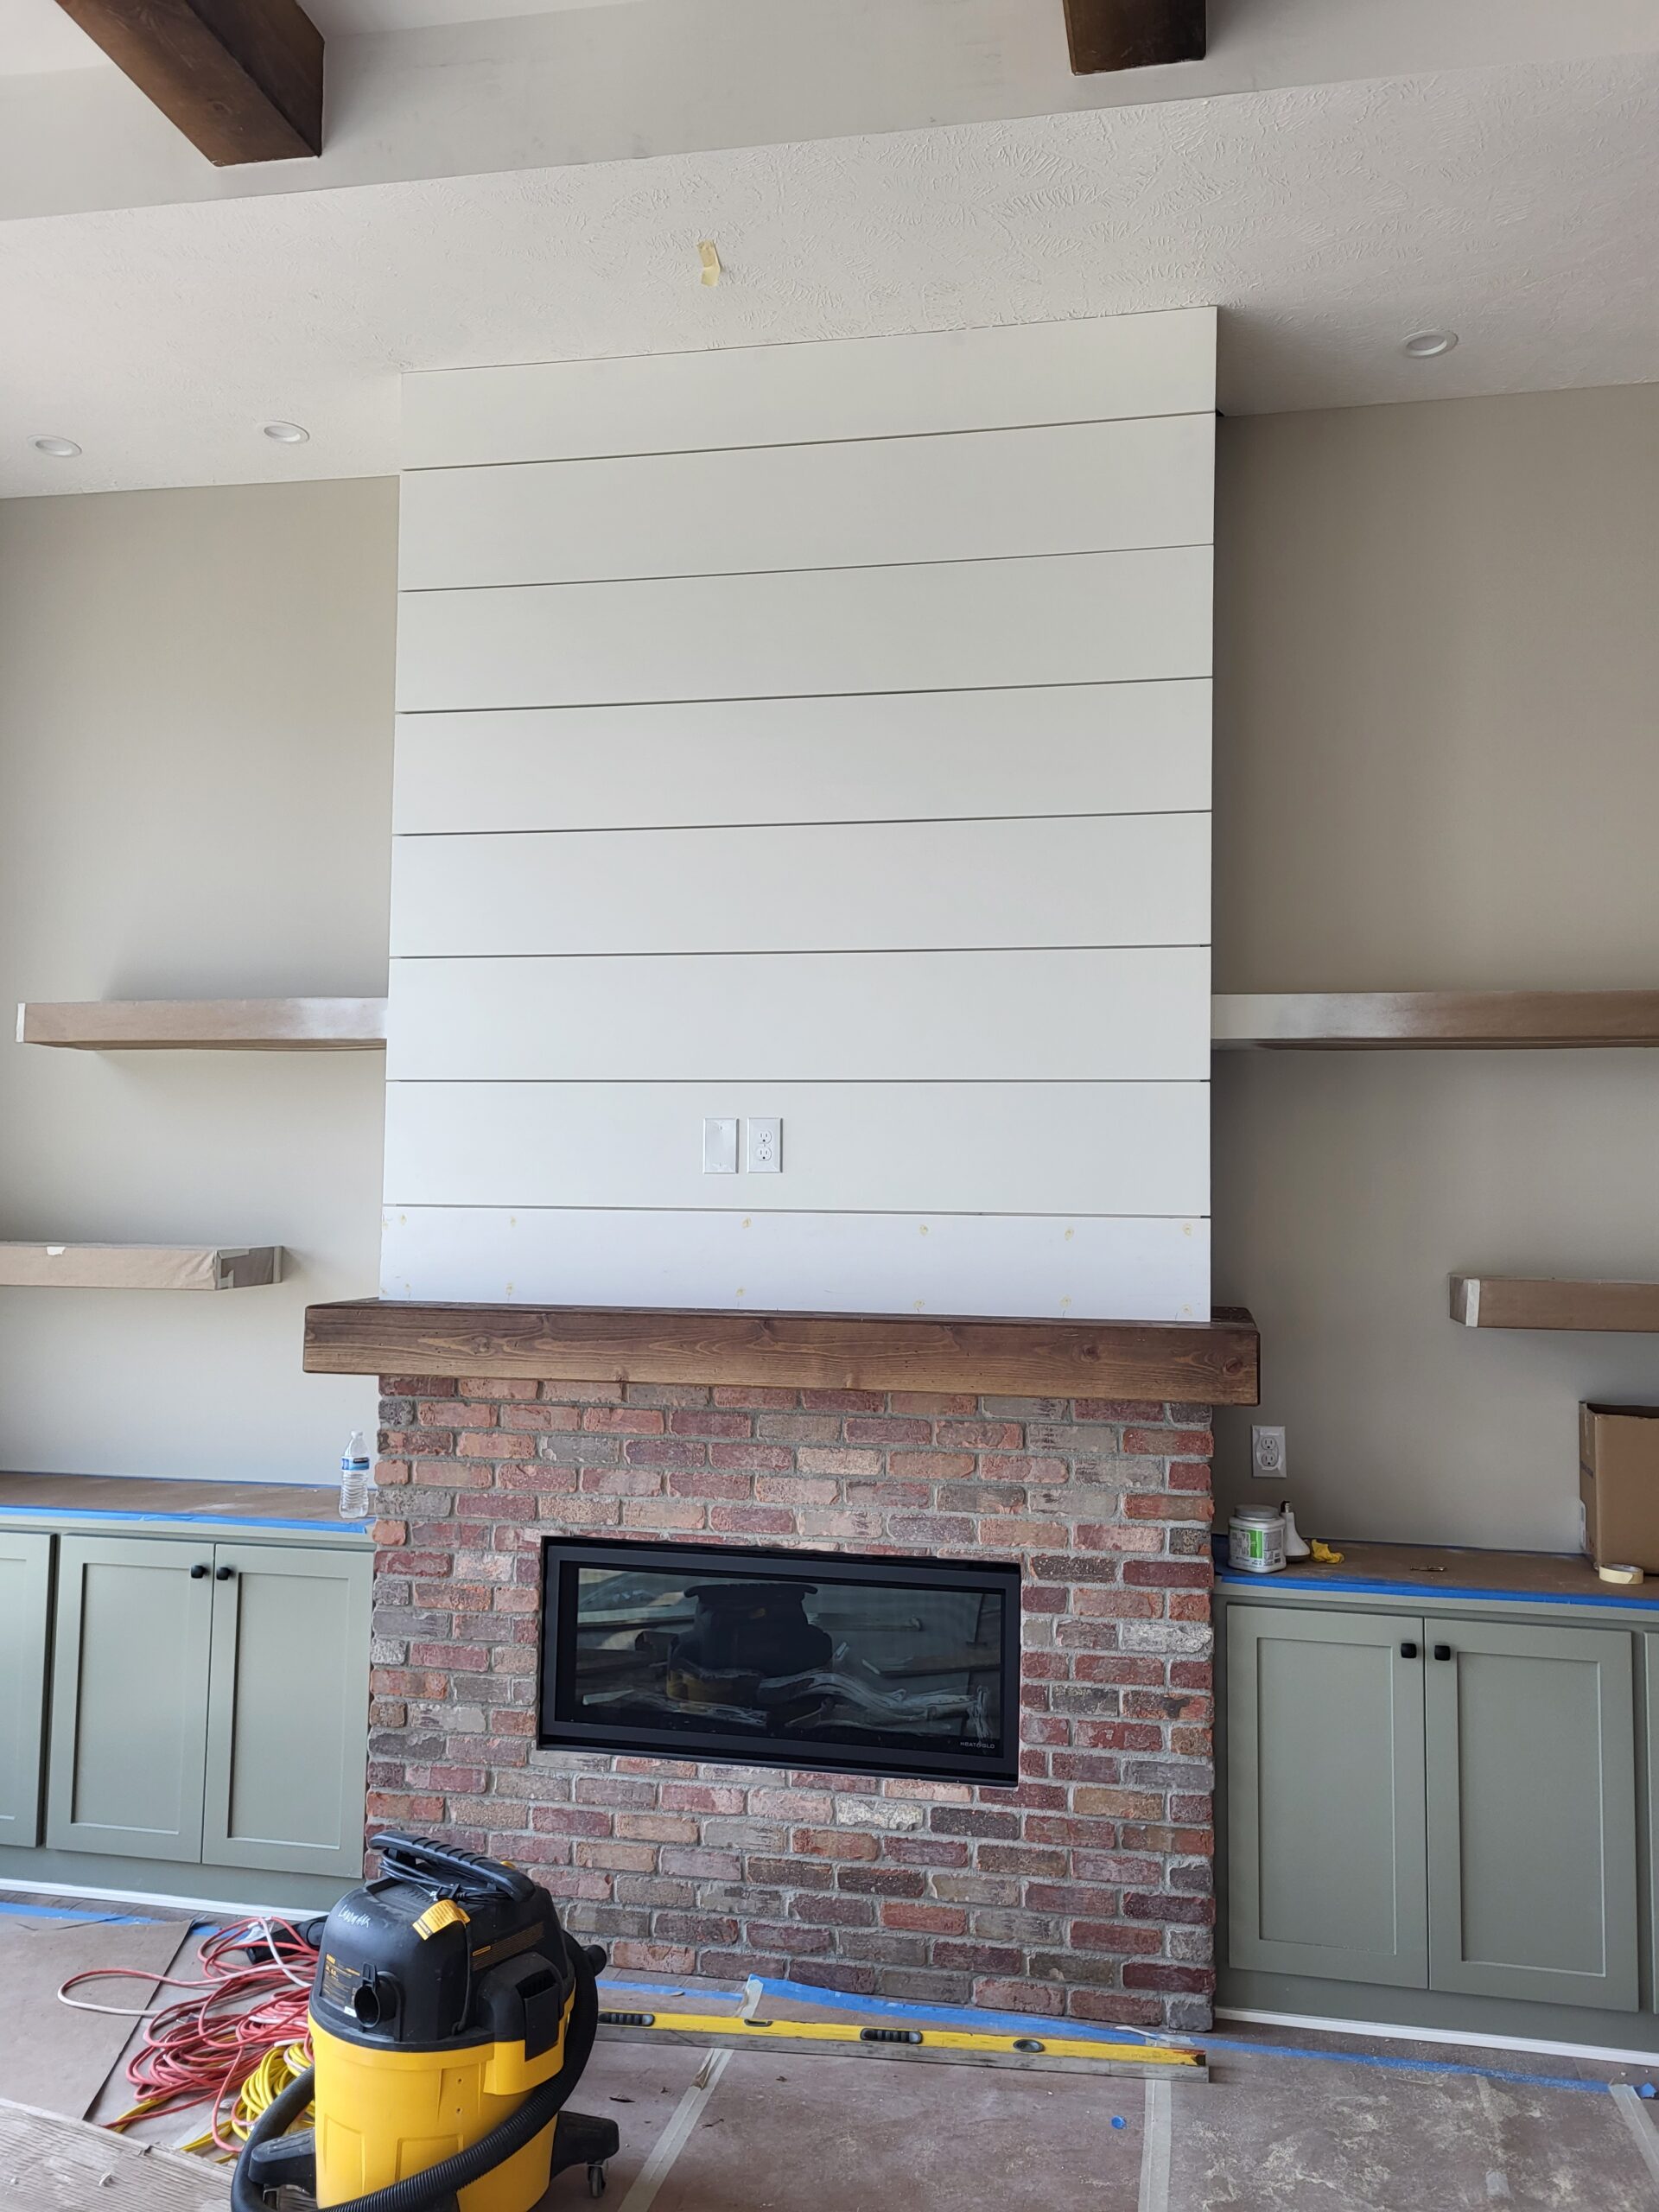
The following photos show examples of this type of work completed in the field. These serve as visual references for quality standards, proper installation techniques, and finished results.
Showing 7 of 7 photos