On this page
Introduction #
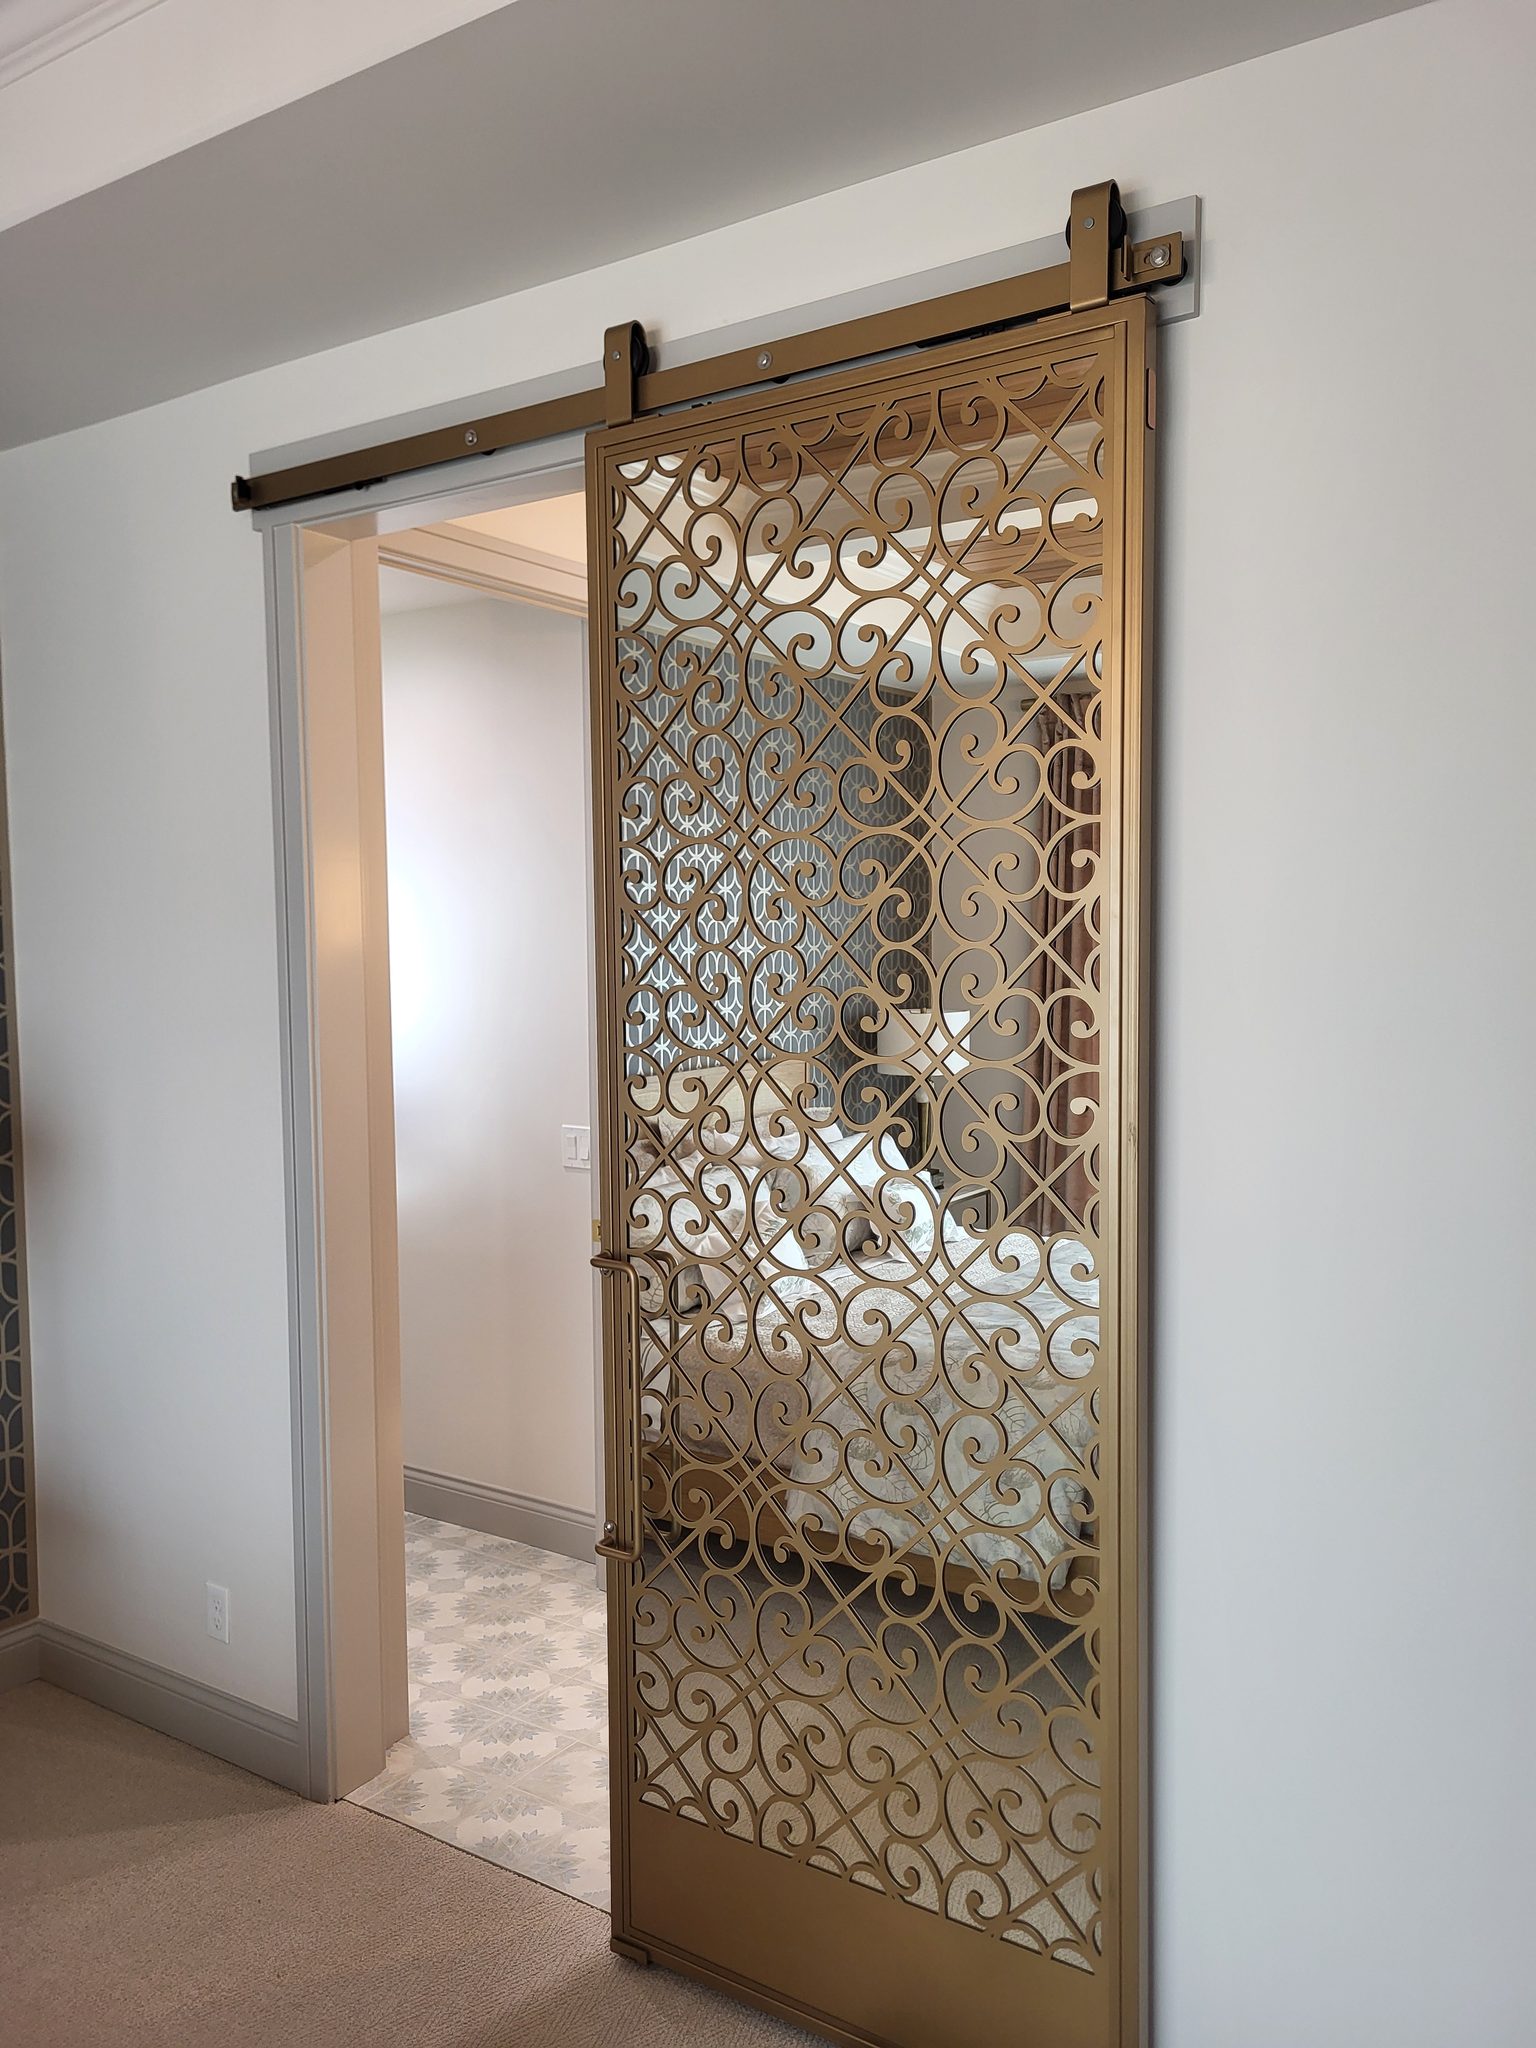
Barn doors are one of the most popular interior door styles right now. Unlike a swinging door or a pocket door (a door that slides inside a pocket built into the wall), a barn door hangs from a track mounted above the doorway. It slides along the face of the wall to open and close. The hardware stays out in the open instead of hiding inside the wall, so it becomes part of the look of the room.
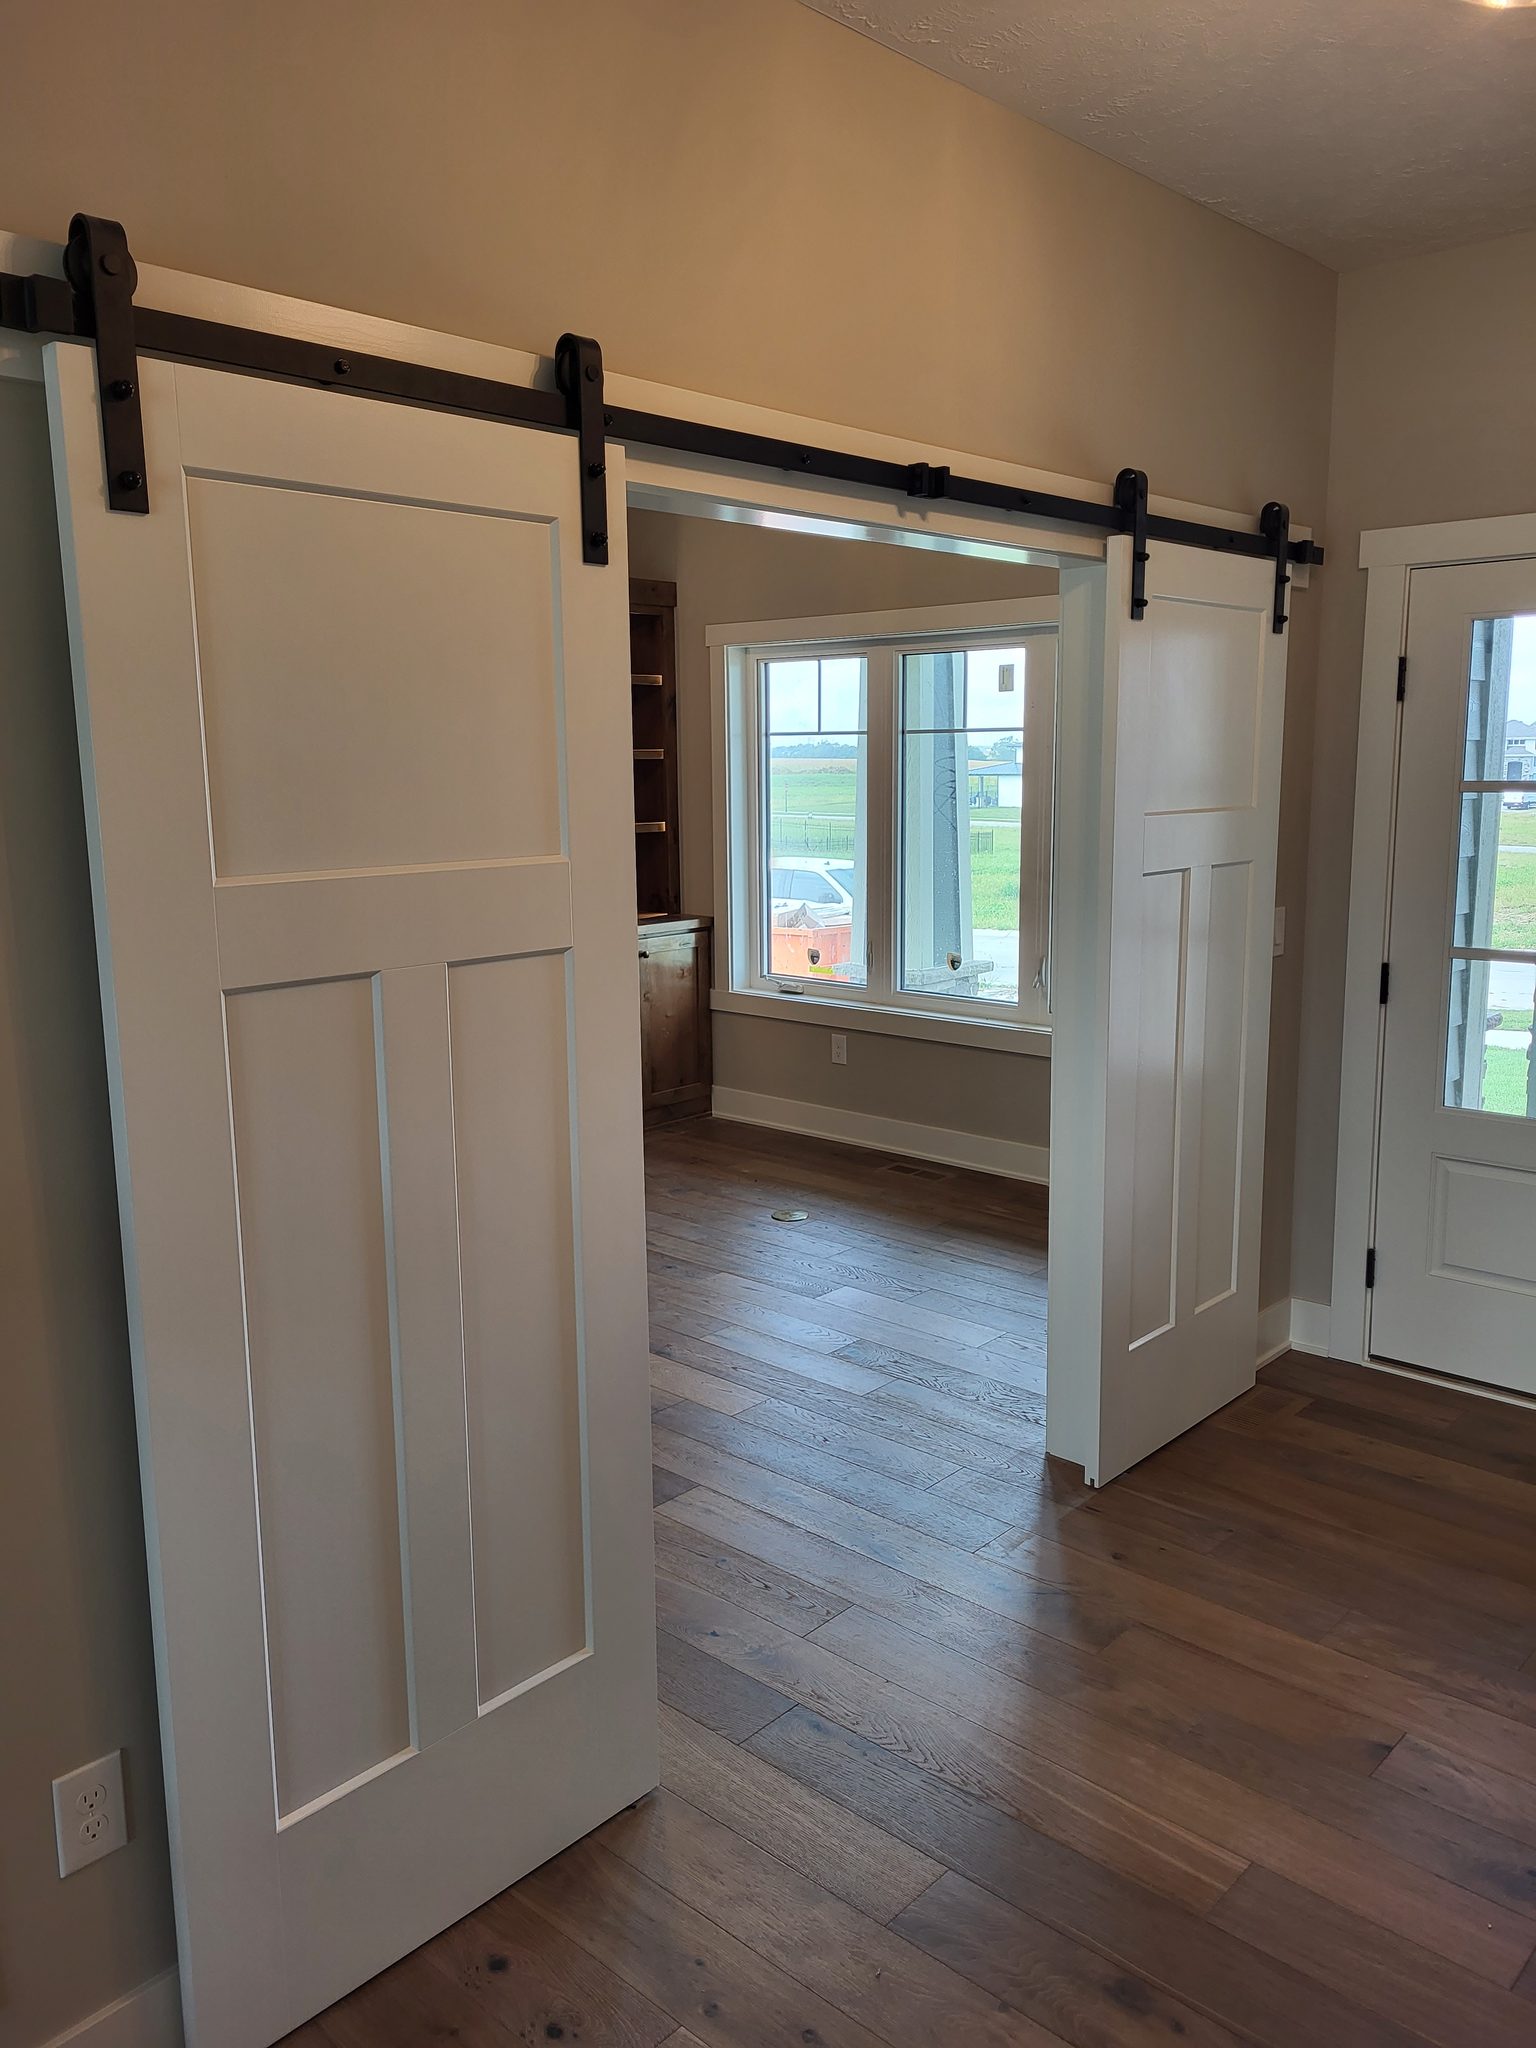
Barn doors work for two reasons: looks and function. The exposed hardware can look industrial, modern, or farmhouse-style, depending on what you pick, and the door itself becomes a feature in the room. On the practical side, a barn door does not need swing clearance the way a regular door does. It slides flat along the wall instead of swinging out into the room, so it works well in tight spaces or rooms where a swinging door would hit furniture or block foot traffic. You can install a single door (one panel sliding one direction) or a double door (two panels sliding apart from the center).
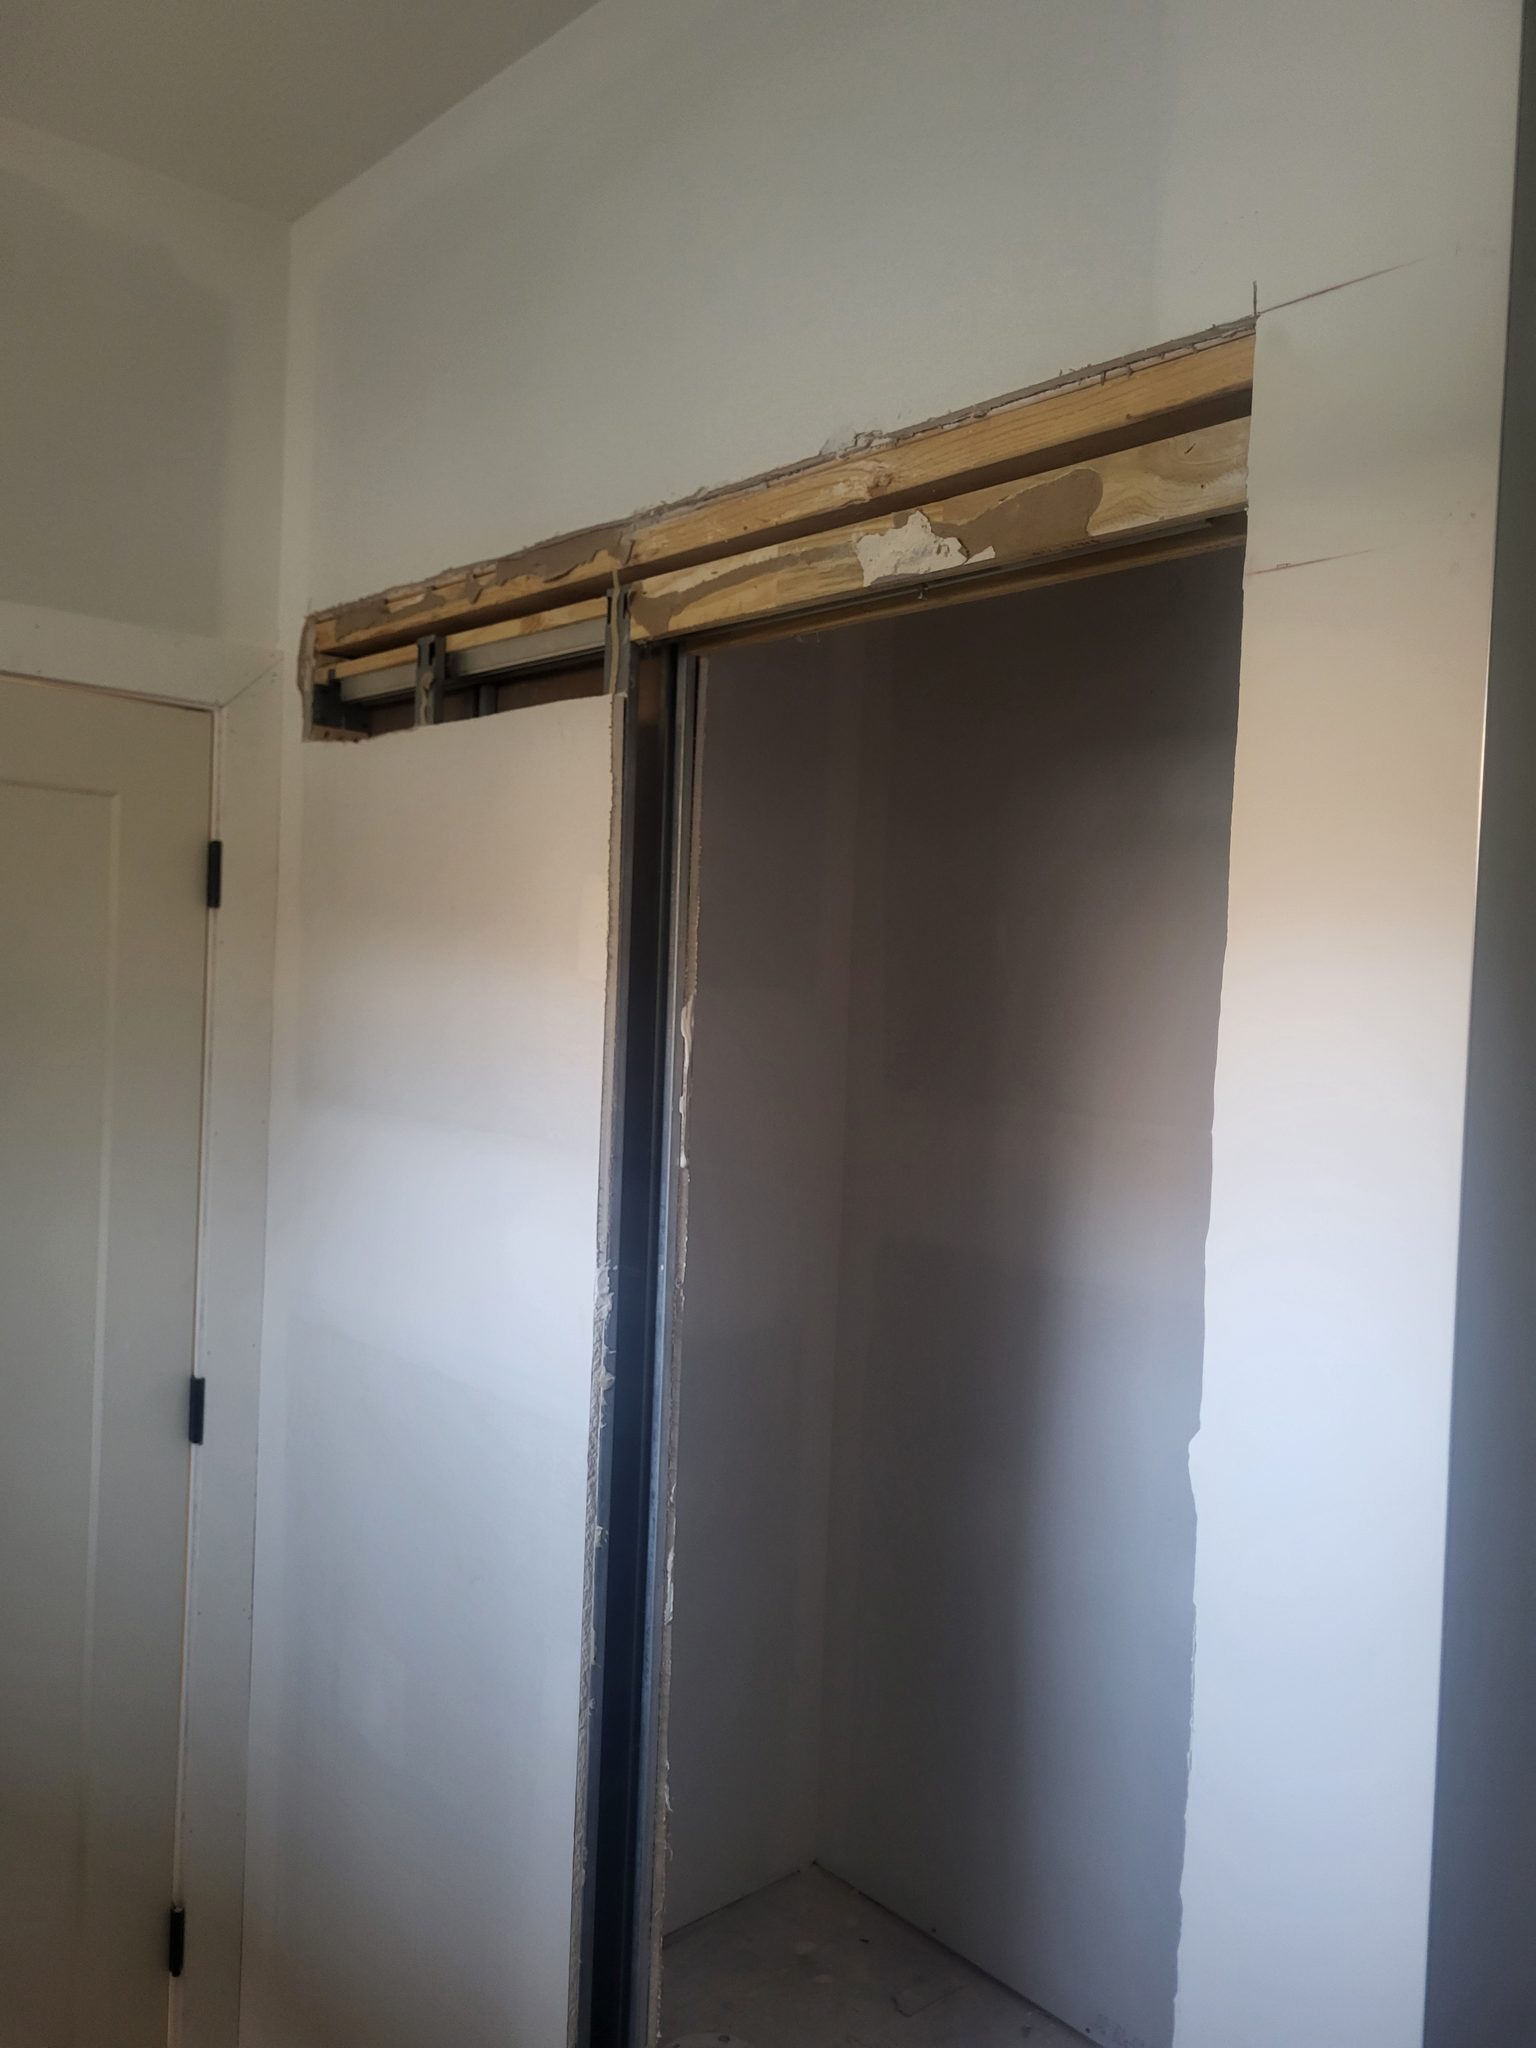
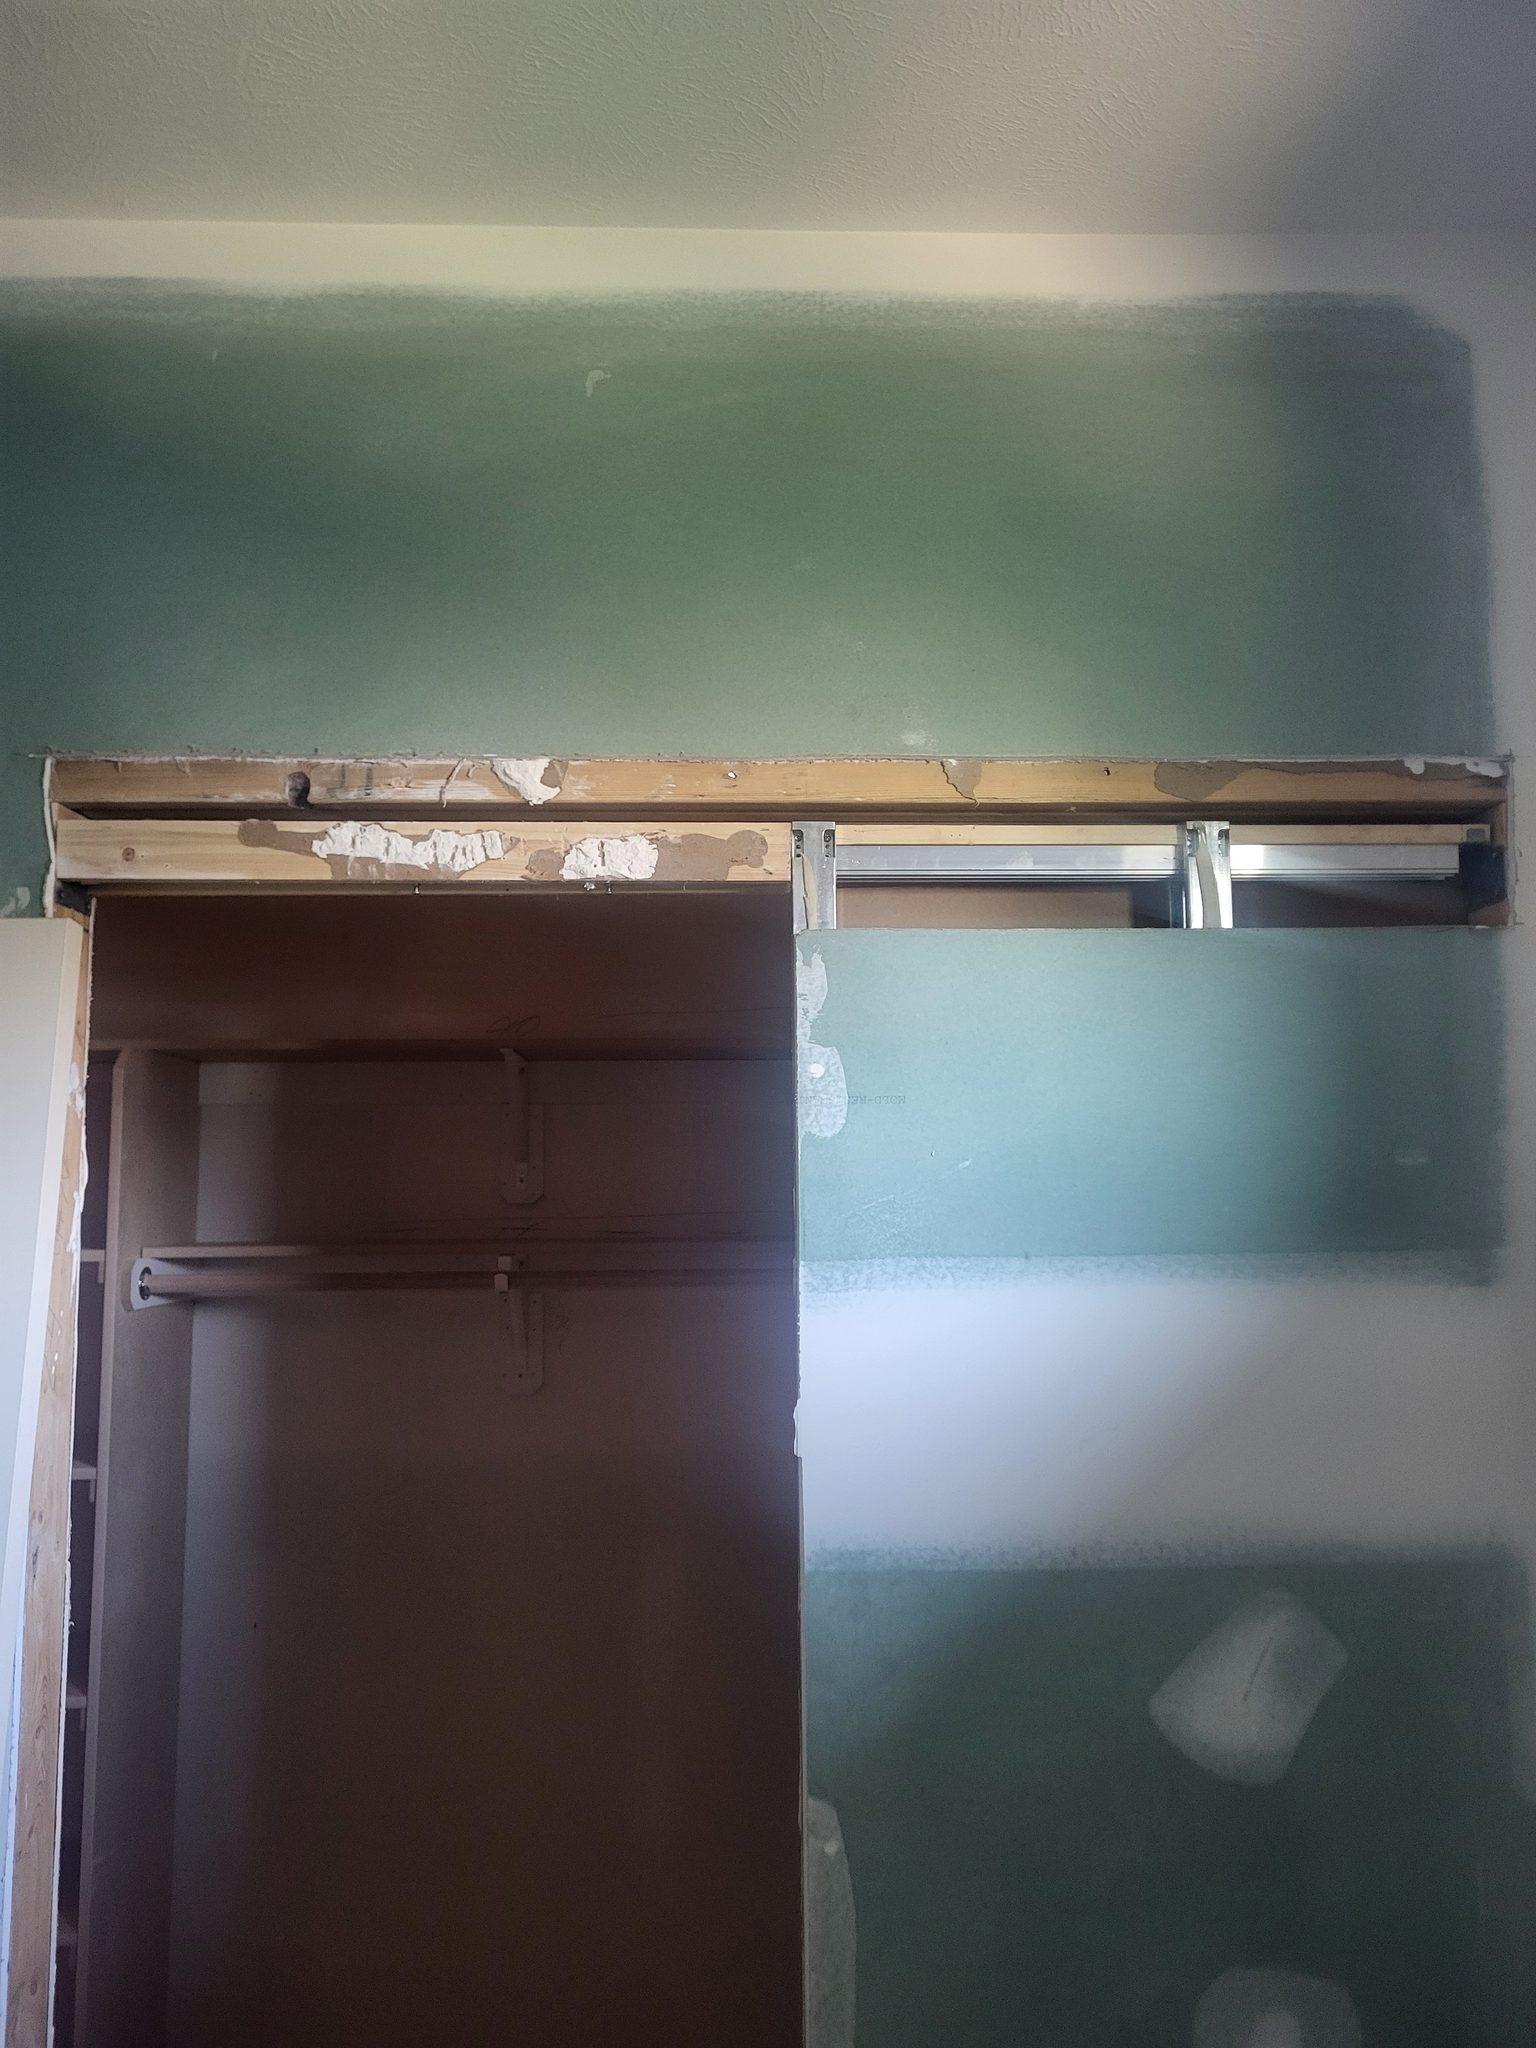
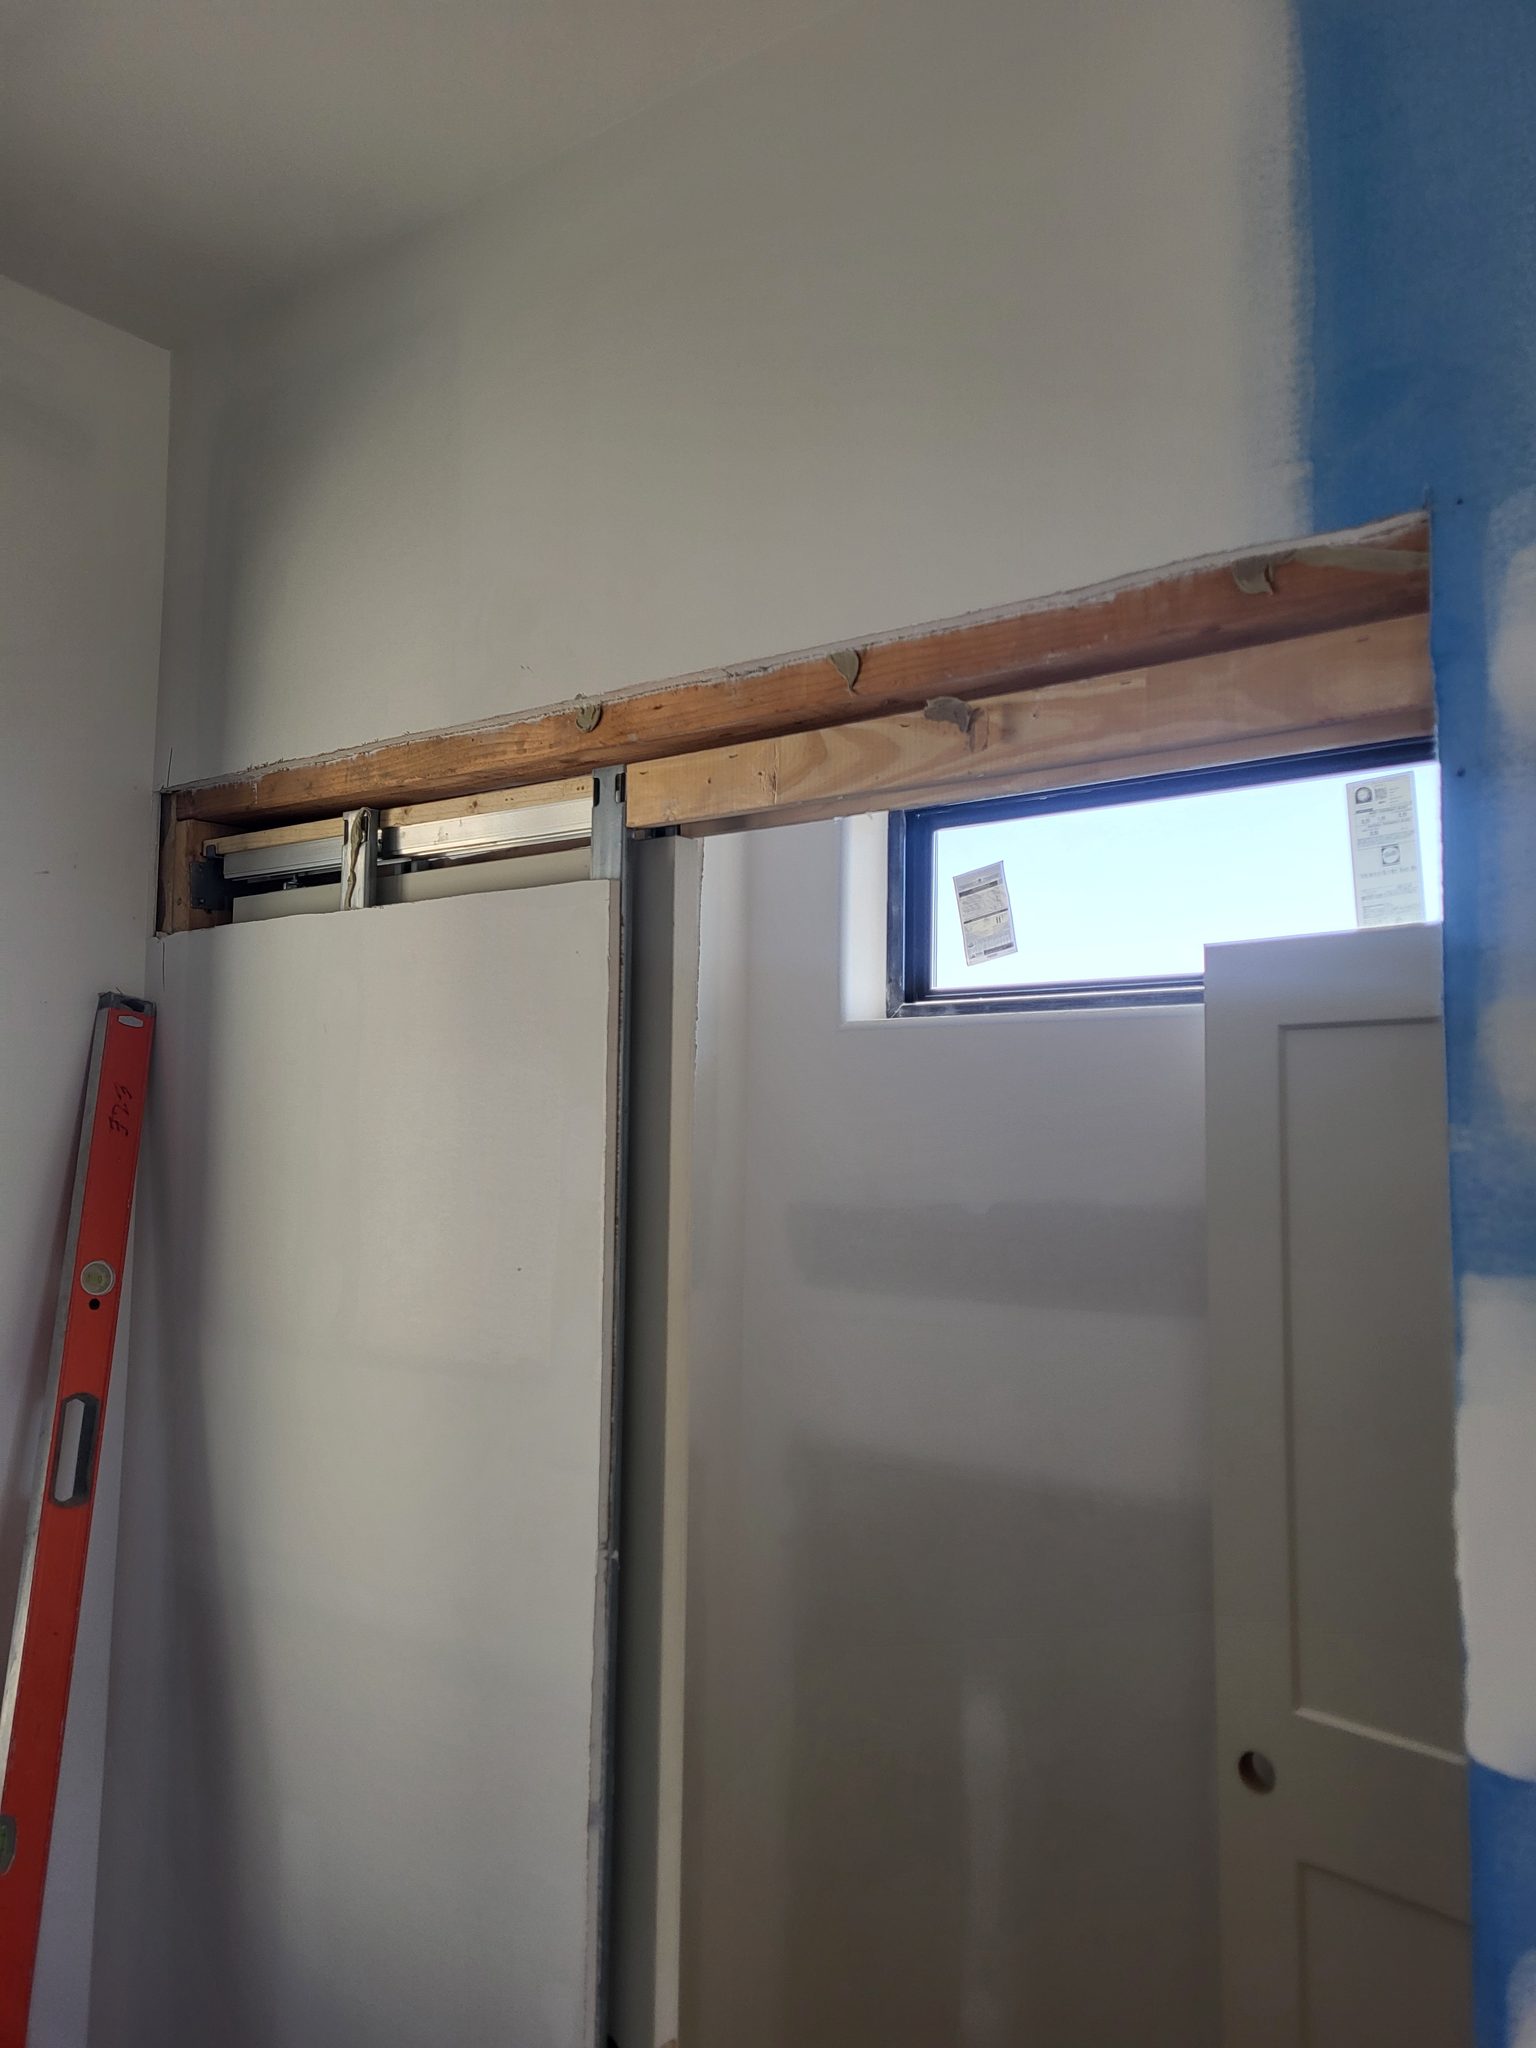
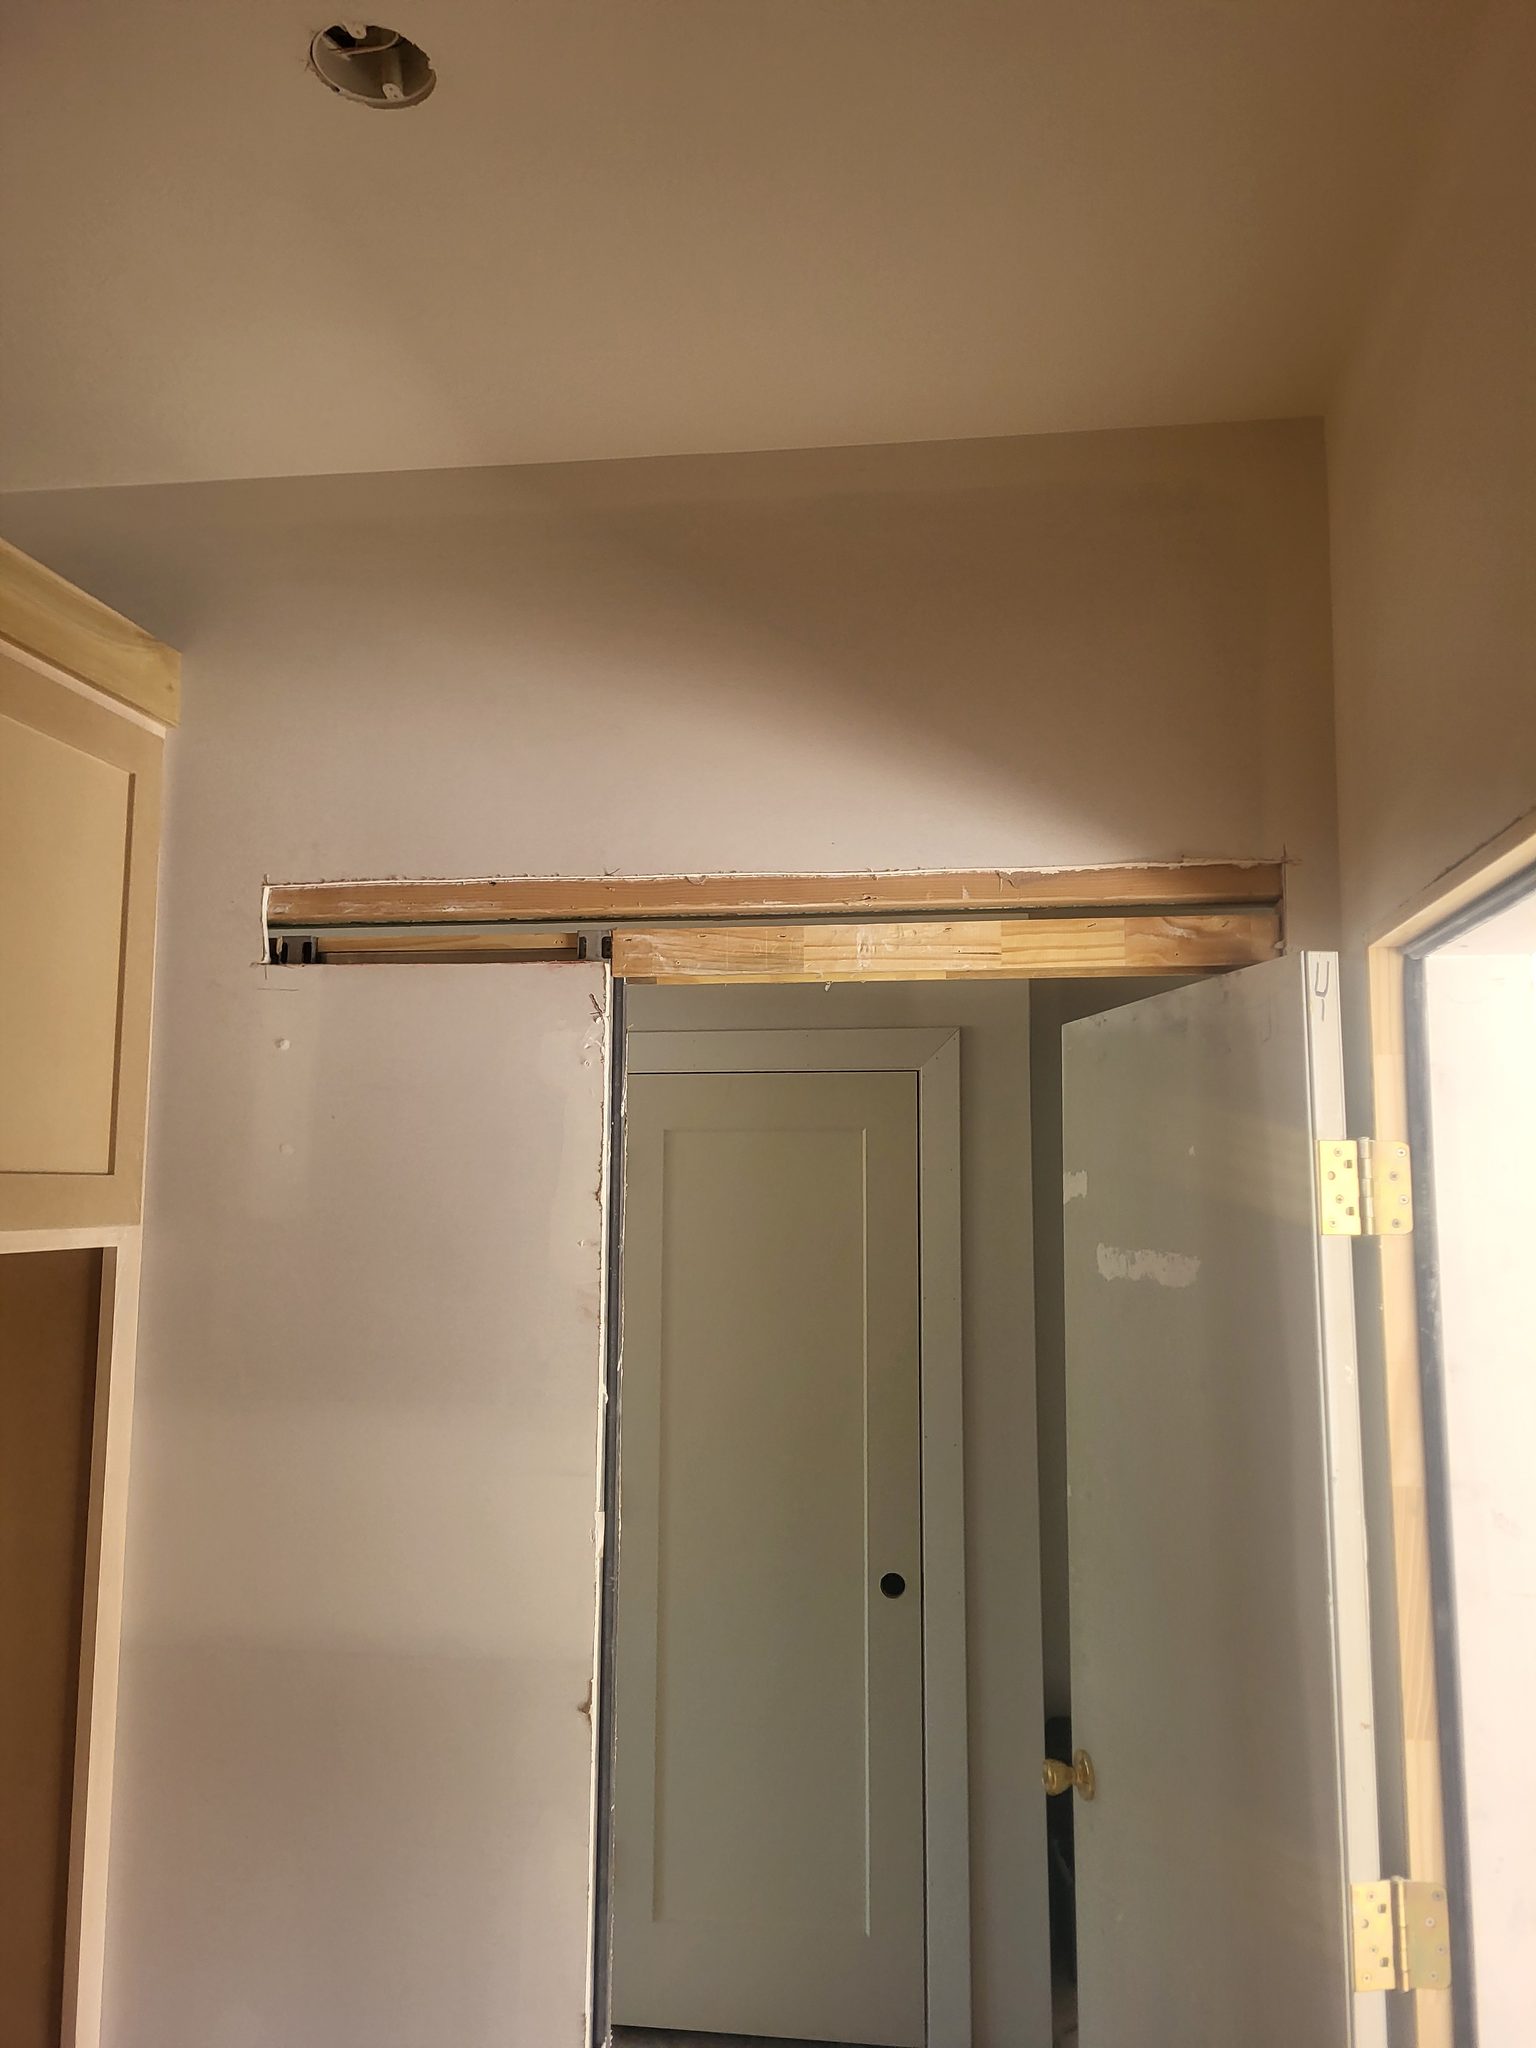
The most important thing to get right is what is behind the wall above the doorway. The track has to mount into something solid, because the door is heavy and all of its weight hangs from that track. Drywall by itself cannot hold up a barn door. You need one of three things: a header (a solid wood beam built into the framing above the opening), blocking (short solid wood pieces added between the studs, the vertical framing boards inside the wall), or a mounting board that spans across several studs. Do not cut corners on the mounting. A door that falls off the wall is a serious safety hazard.
Think about space before you start. The door slides along the wall next to the opening, so you need clear wall space on one side (or both sides, for a double door) equal to the full width of the door. Light switches, outlets, artwork, or anything else in that path will stop the door from opening all the way. Plan the layout first, before you buy hardware or drill any holes.
Which guide do I need?
- Installing a full barn door system: this guide
- Adding or fixing just the floor guide: How to Set a Barn Door Floor Guide
Before You Begin #
Prerequisites #
- Doorway opening defined (no door frame needed - barn doors typically cover the entire wall surface around the opening)
- Wall surface finished
- Adequate wall space for door to slide into
- Header/blocking confirmed above doorway location
What You Need To Know #
- The door panel should be 2-4″ wider than the doorway opening on each side. For example, a 36″ opening needs a door panel about 40-44″ wide.
- The track length is typically twice the door width (so the door can slide fully open)
- Track height: hang the door so the bottom sits about 1/2″ to 1″ above the floor
- If you use a mounting board, it should span at least 3 studs and be lag-bolted (fastened with heavy-duty threaded bolts) securely into each one
- Door weight matters. Check the weight rating on your track hardware - see the This Old House barn door guide (most residential kits rate 150-200 lbs)
- A floor guide at the bottom of the door keeps it from swinging away from the wall. This is required.
Tools Required #
Power Tools #
- Drill/driver (with impact driver for lag bolts)
- Stud finder
- Miter saw (for cutting track if needed)
- Level (4-foot)
Hand Tools #
- Tape measure
- Pencil
- Socket wrench (for lag bolts)
- Screwdriver
Supplies #
- Barn door hardware kit (track, rollers/hangers, stops, floor guide, spacers, mounting hardware - usually sold as a complete kit)
- Lag bolts (typically 3/8″ x 3″ or 3/8″ x 4″, deep into framing)
Materials #
- Mounting board (1×6 or 2×6 if wall needs additional backing, stained/painted to match)
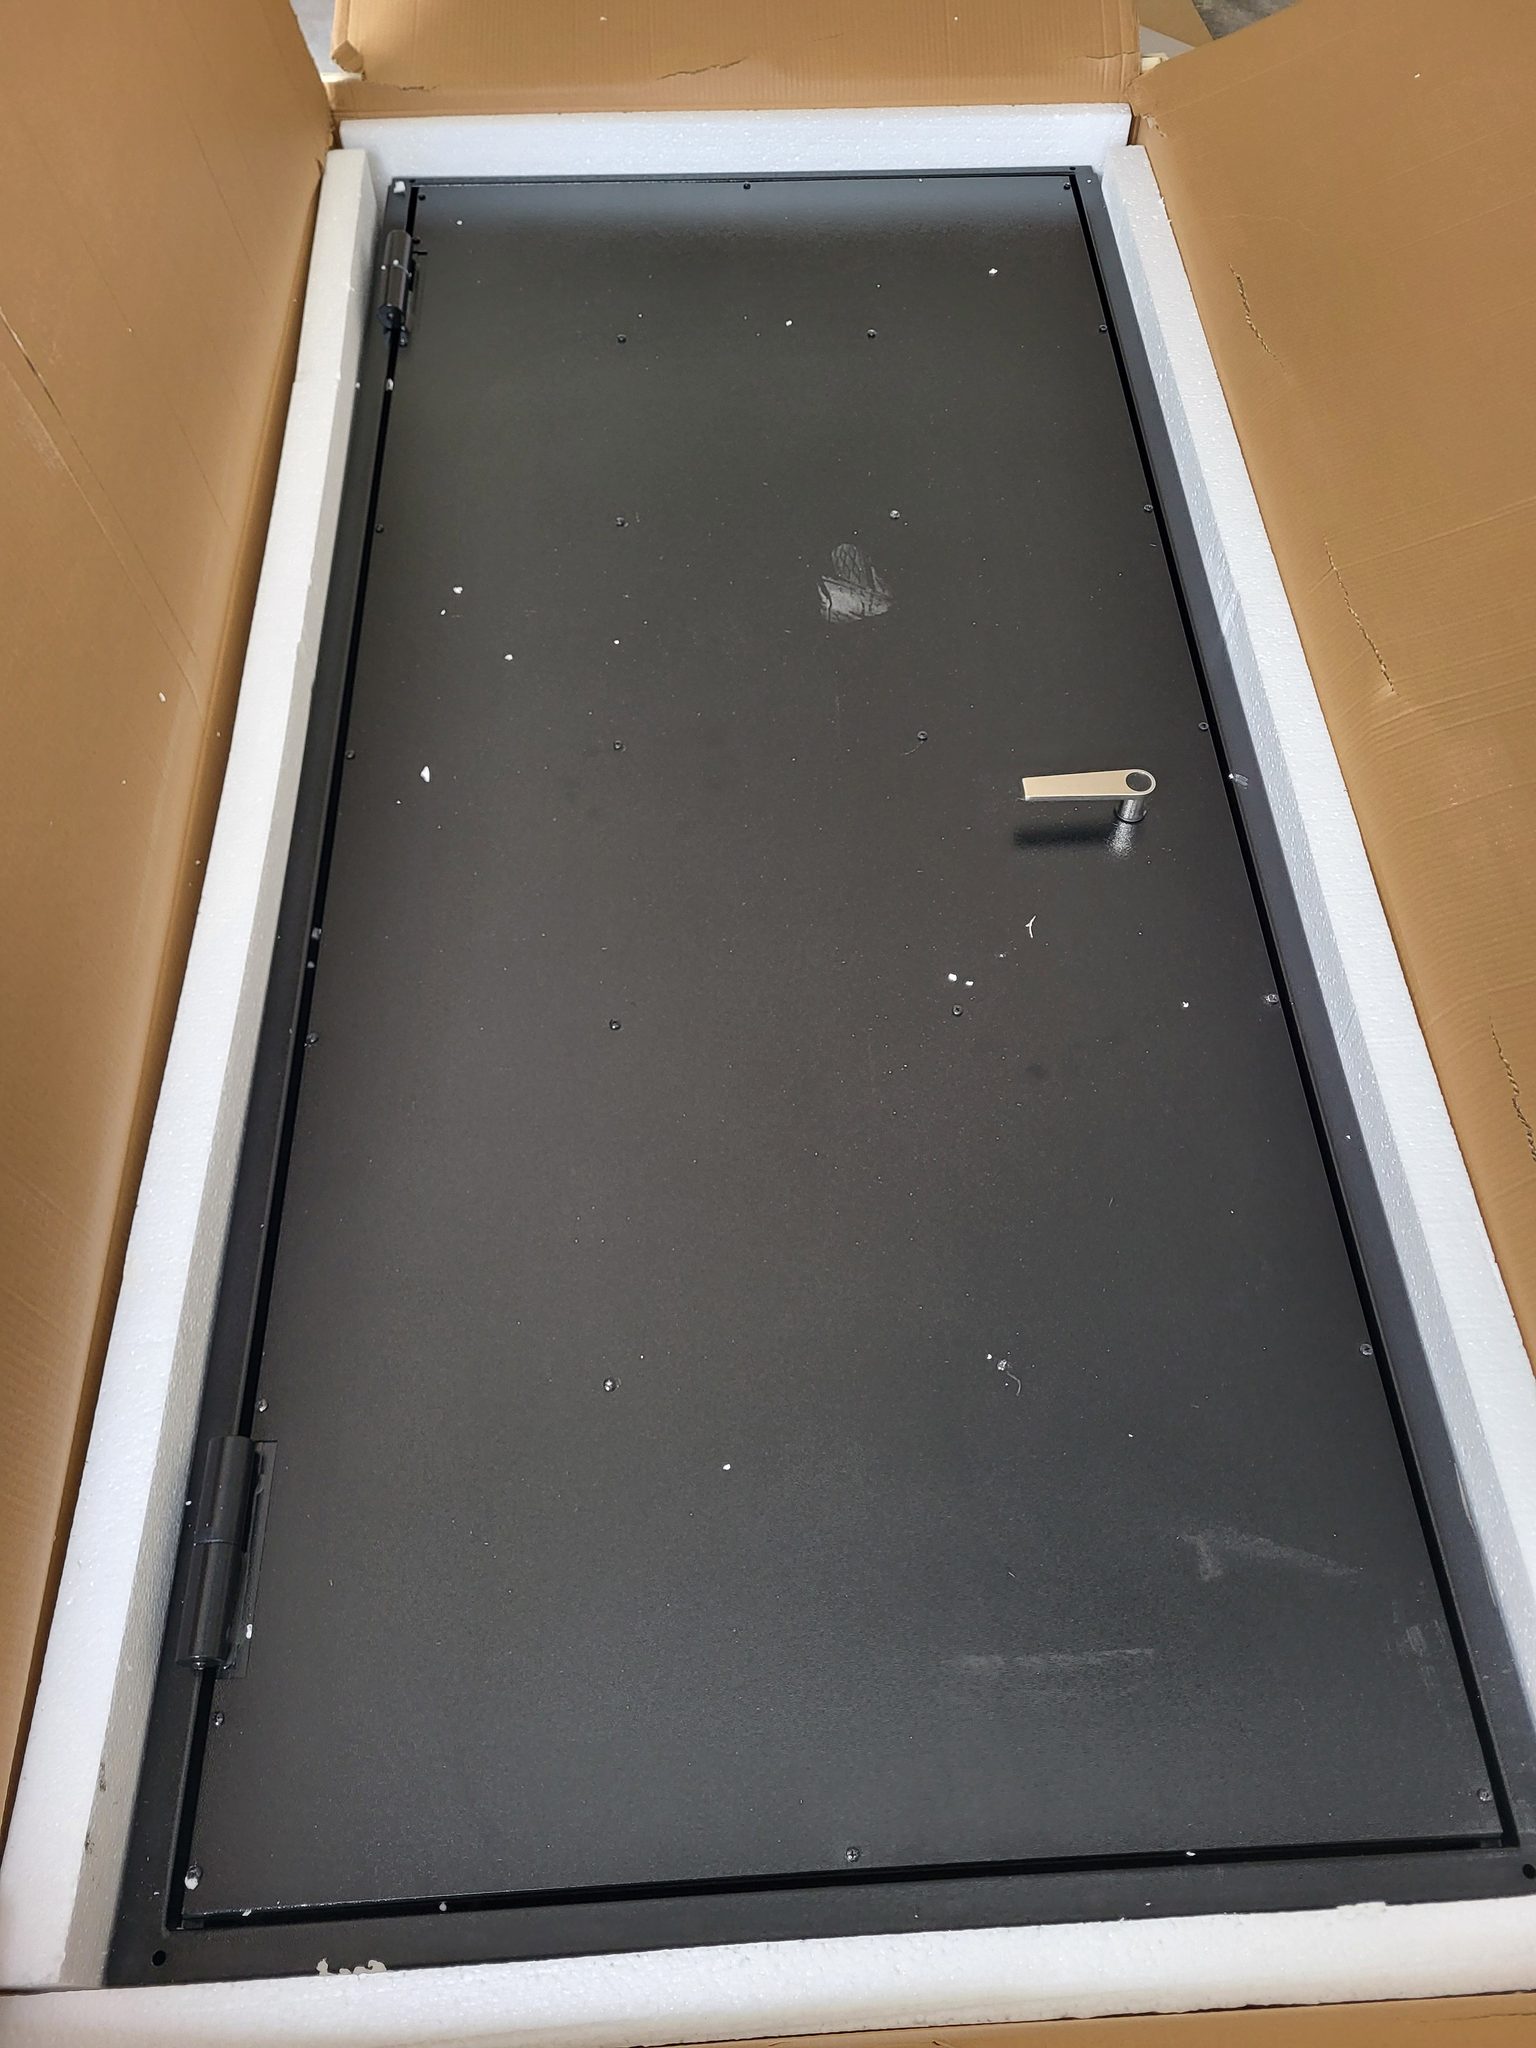
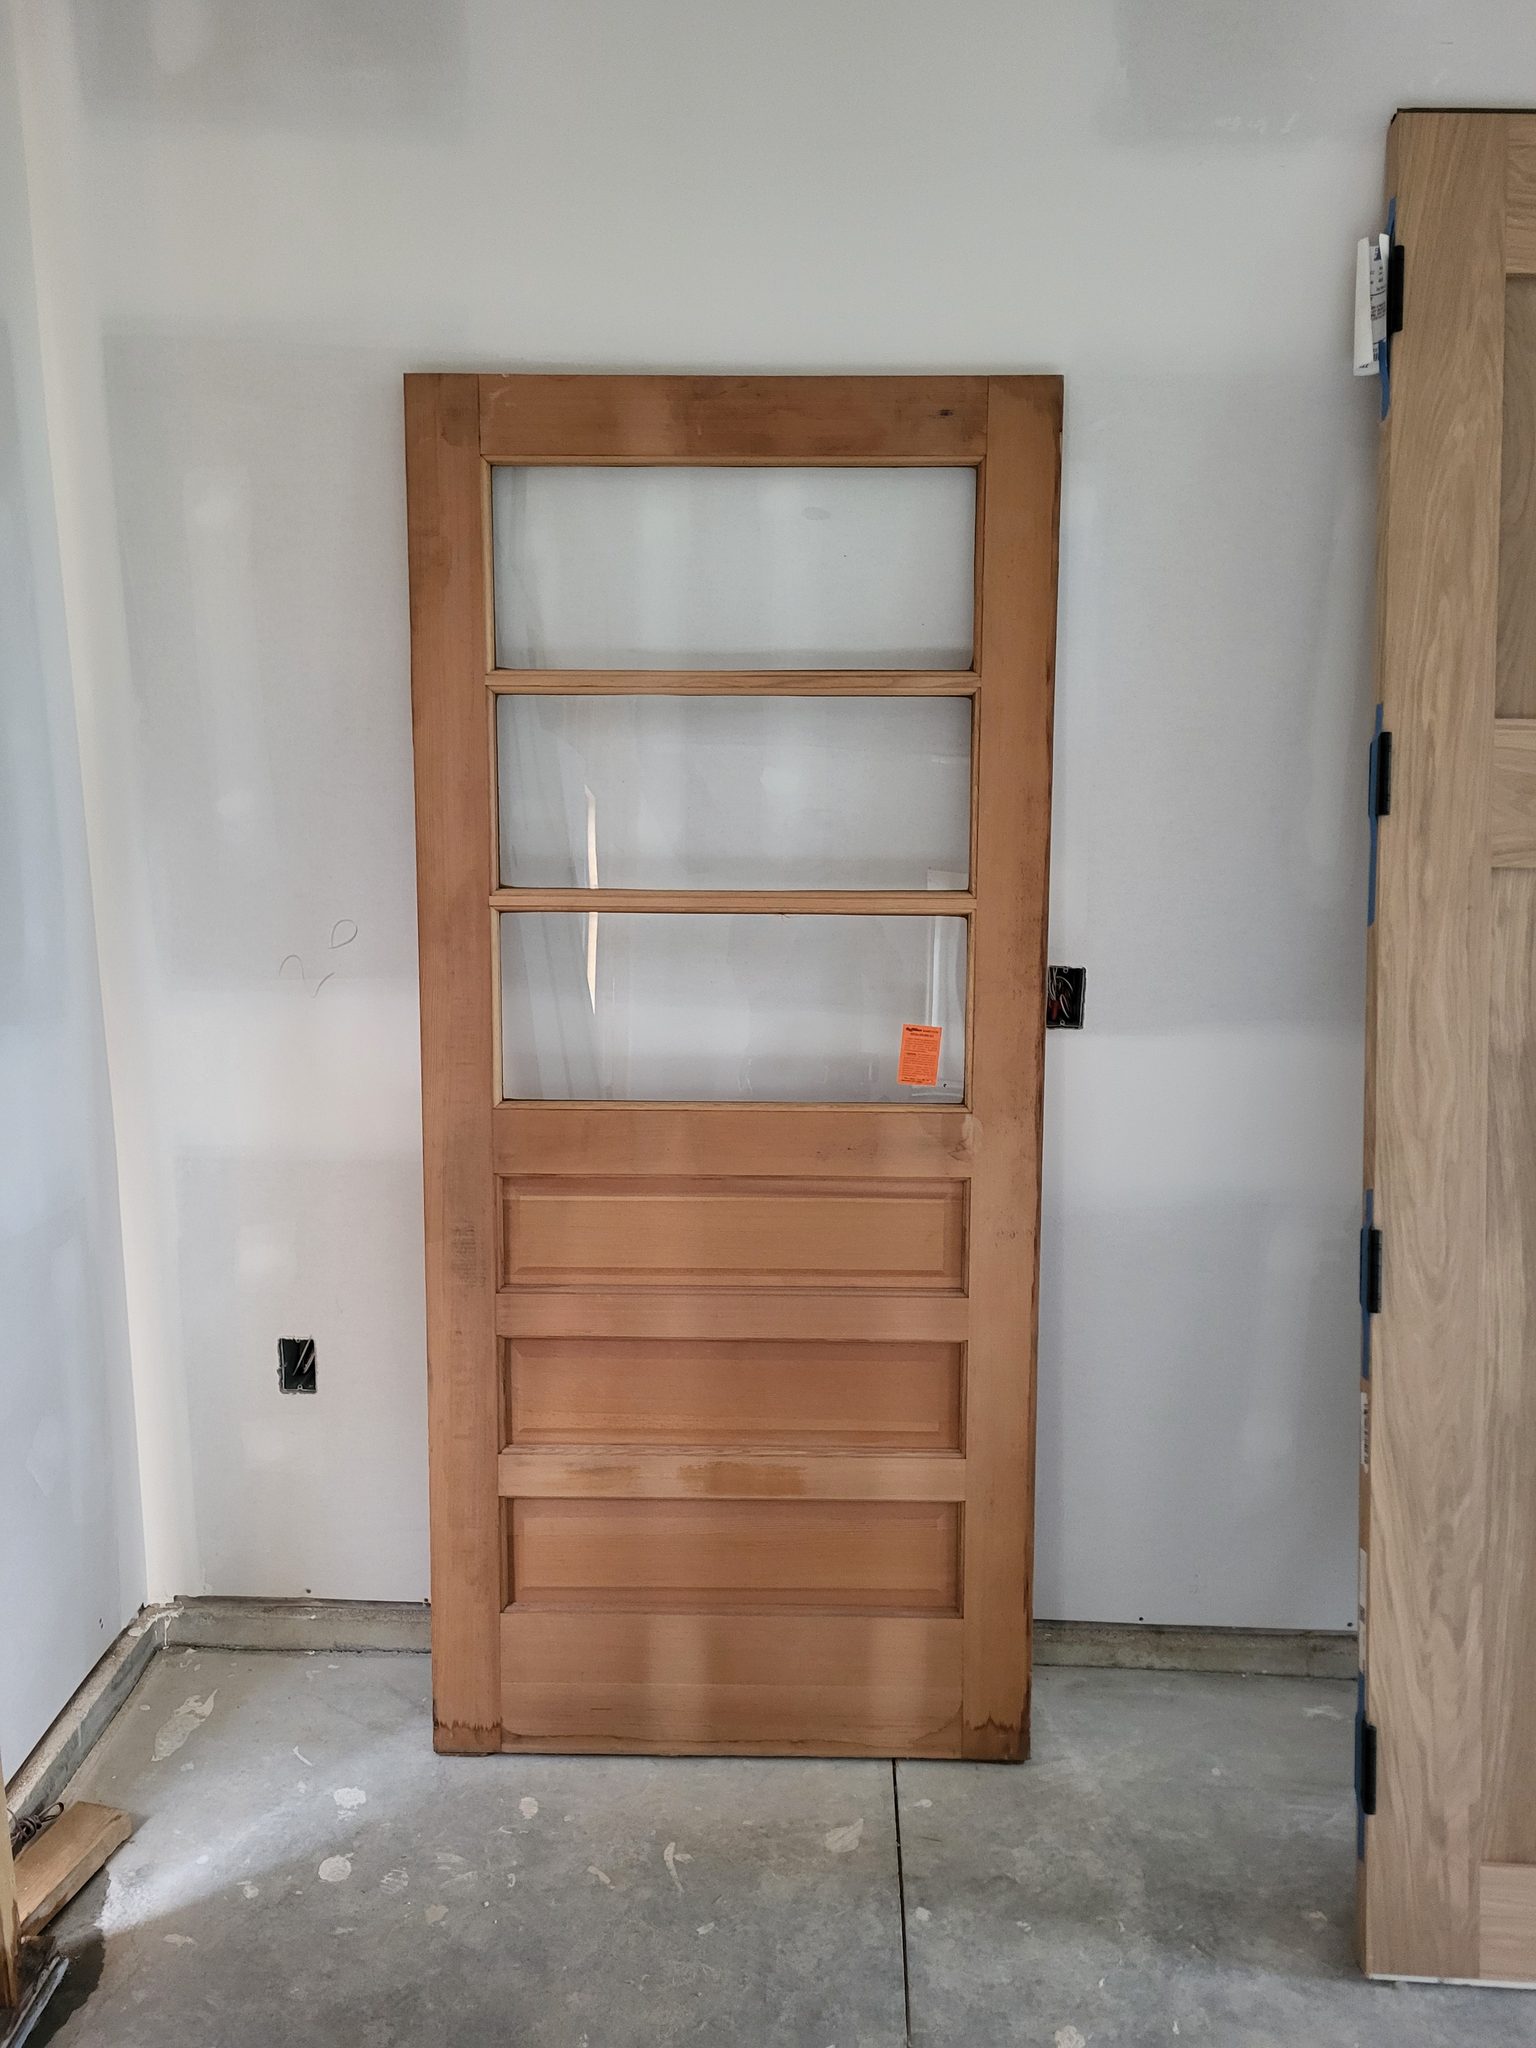
- Door panel (pre-built barn door slab)
- Door pull/handle
Install Barn Door: Step-by-Step Process #
Step 1: Verify Wall Structure and Plan #
Before you install the barn door hardware, use a stud finder to locate every stud in the header area and along the slide path. Confirm you have enough clear wall space for the door to travel fully open - you need clear wall equal to the width of the door on the slide side. Check that no electrical wires or plumbing lines run where you plan to drill your lag bolts. Then decide if you need a mounting board: if the studs don’t line up with the holes in the track, a mounting board spreads the load across several studs and gives the track solid backing all the way along.
Pro Tip: Use a stud finder AND verify with a small nail. If the lag bolts miss the studs, the door can fall off the wall. That is a serious safety hazard - the door can weigh 80-100+ lbs.
Step 2: Install the Mounting Board (If Needed) #
Cut the mounting board to the full length of the track. Pre-drill it, then lag-bolt it to every stud it crosses (at least 3 studs). Check the level carefully. The board must be perfectly level front-to-back and side-to-side, because the door will roll along the track that is mounted to this board. Any high or low spot in the mounting board carries straight through to the track and will make the door drift or hang unevenly.
Step 3: Mount the Track #
Next, position the track on the mounting board (or directly on the header, if you did not need a board). Most kits include spacers that hold the track a little away from the wall, so the door does not rub against the wall surface. Level the track precisely. Run a marble or a roller along it to check - if it rolls on its own, the track is not level yet. Lag-bolt through the track’s mounting holes into the mounting board or into the studs. Every mounting point must land in solid framing.
Pro Tip: A track that is even slightly out of level will make the door drift to one side on its own. Use a 4-foot level on the track, and also do the marble test. If a marble placed on the track rolls, the track is not level yet.
Joining Two Track Sections on a Double Door #
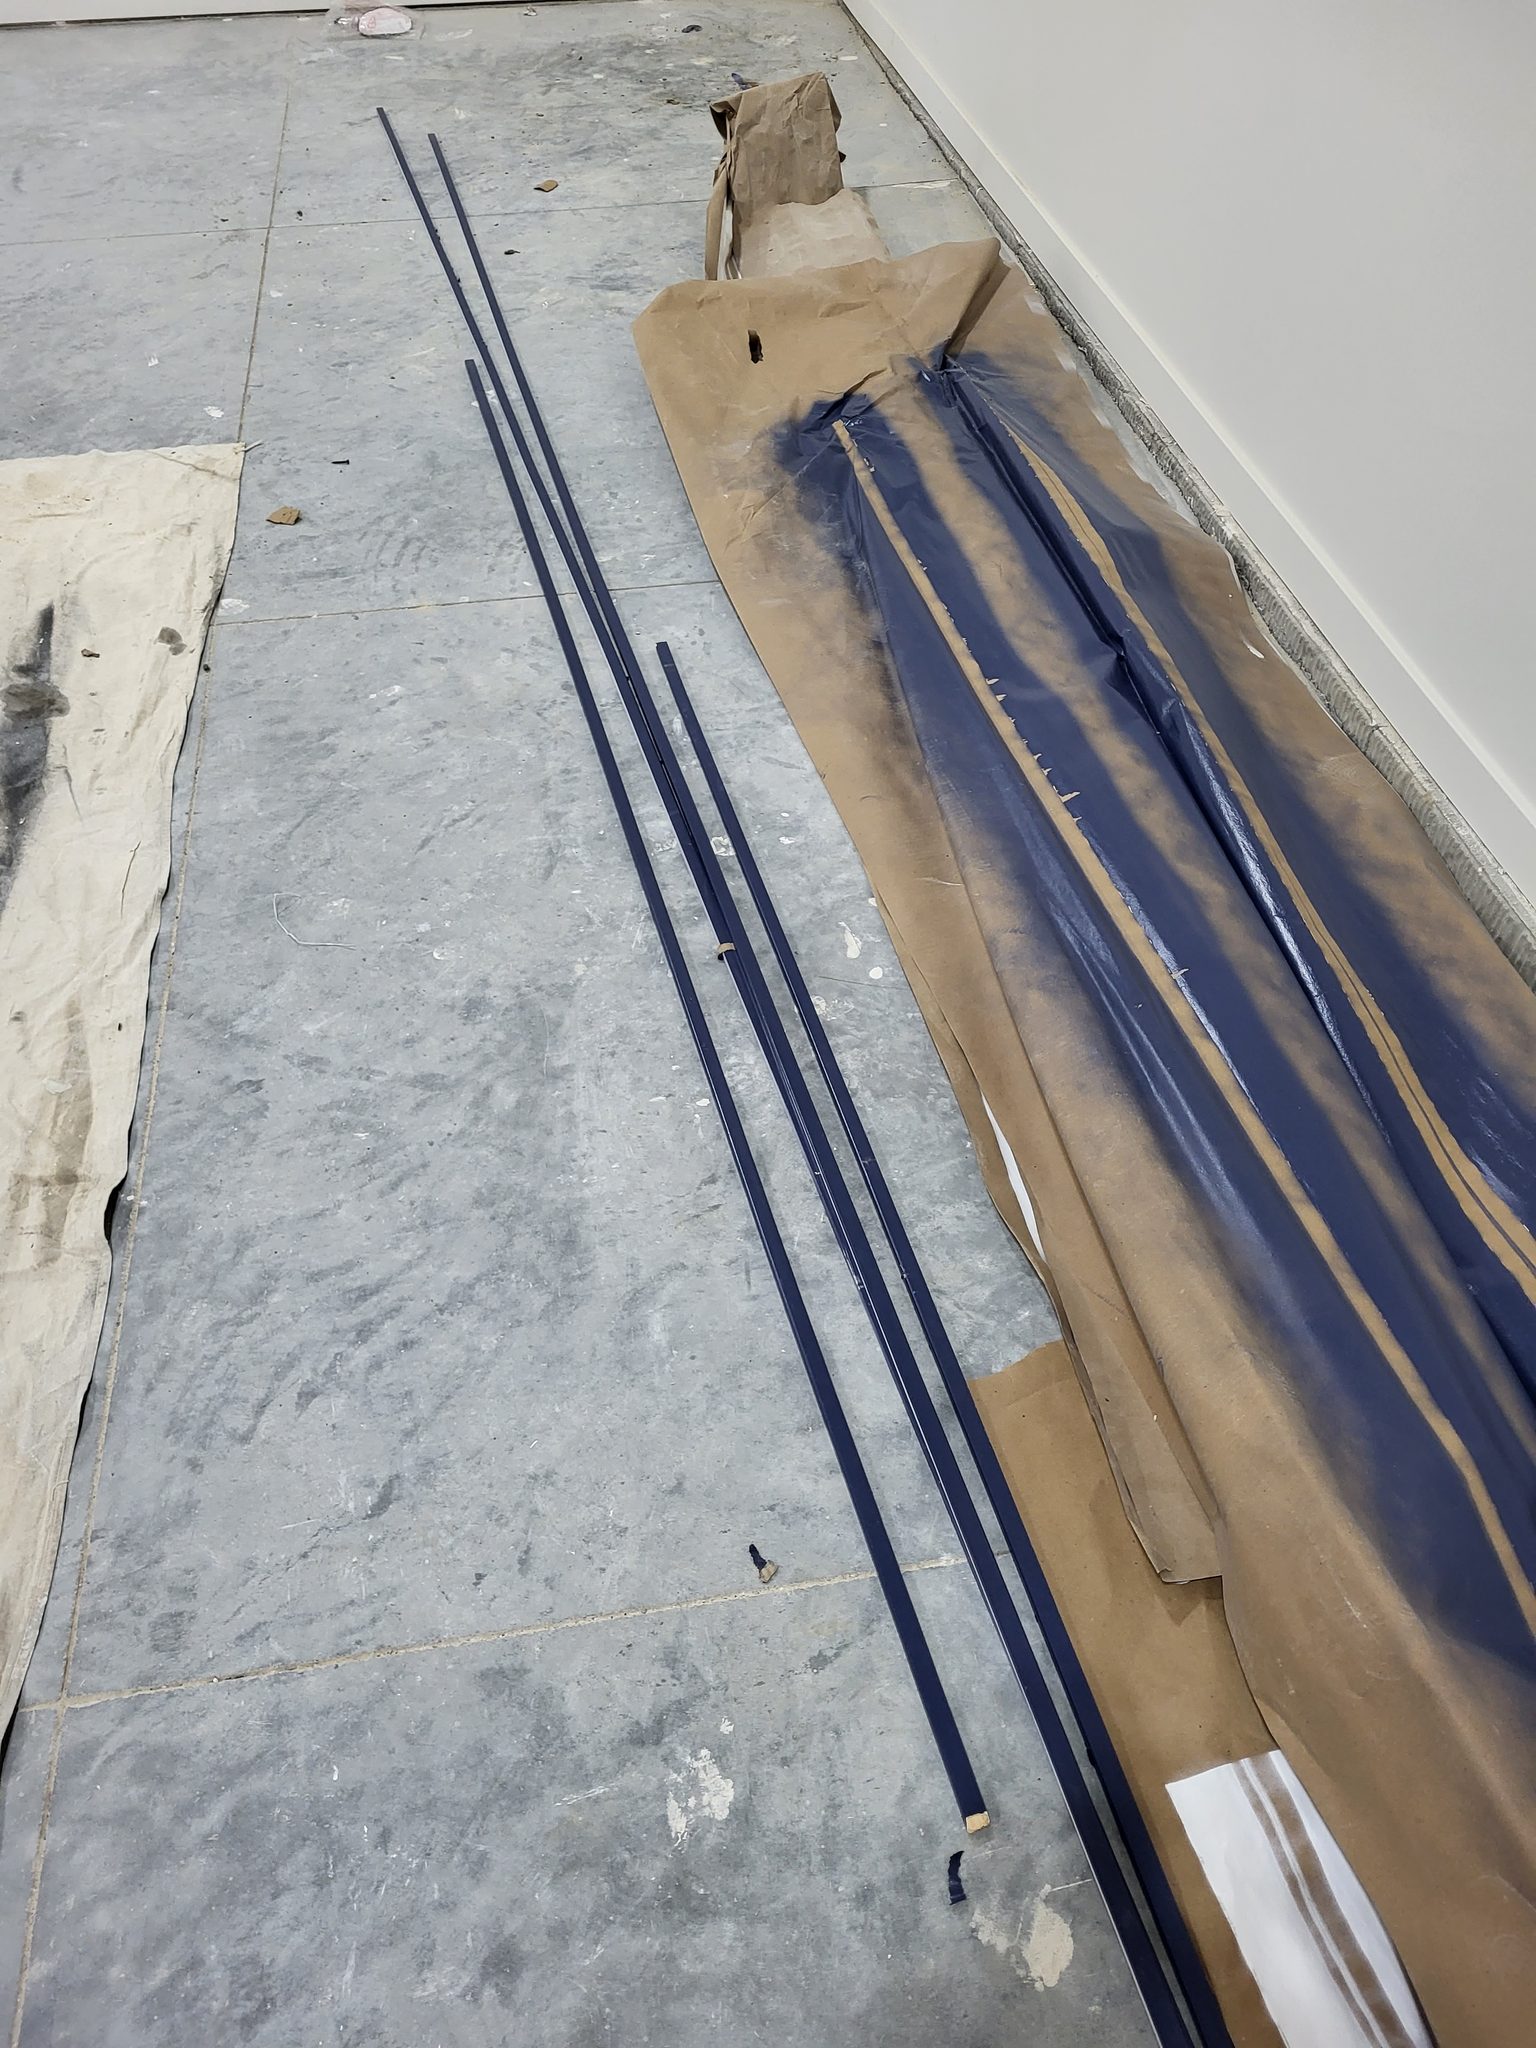
When two barn doors come together, the run usually needs more track than one piece gives you, so two sections get joined with a track connector into one continuous rail. This is not a separate service and we do not charge it. It is just part of doing a double door, and we supply the connector hardware on some jobs.
- Dry fit both sections first. Butt the ends together and check that the channel profile lines up exactly across the joint, front to back and top to bottom. A roller feels a step you can barely see.
- File the cut ends smooth before the connector goes on.
- The mounting board or blocking has to run continuously UNDER the joint, not just under each section. The connector needs solid backing behind it or the track sags right there.
- Snug the connector enough to hold alignment, then level the whole run as one rail before you fully tighten. Level section by section and the joint ends up with a kink in it.
- Run a roller across the joint by hand before you call it done. It should cross with no bump, catch or dip. Then re-tighten everything, including the connector, since testing loosens a snug joint.
Step 4: Install Door Stops #
Attach the end stops to the track. These are rubber or metal bumpers at each end that keep the door from rolling off the track. Set the closed-position stop so the door fully covers the opening when it is closed. Set the open-position stop so the door clears the opening fully when it is open. Tighten both stops securely - they take a hit every time the door reaches the end of its travel.
Step 5: Attach Roller Hardware to Door Panel #
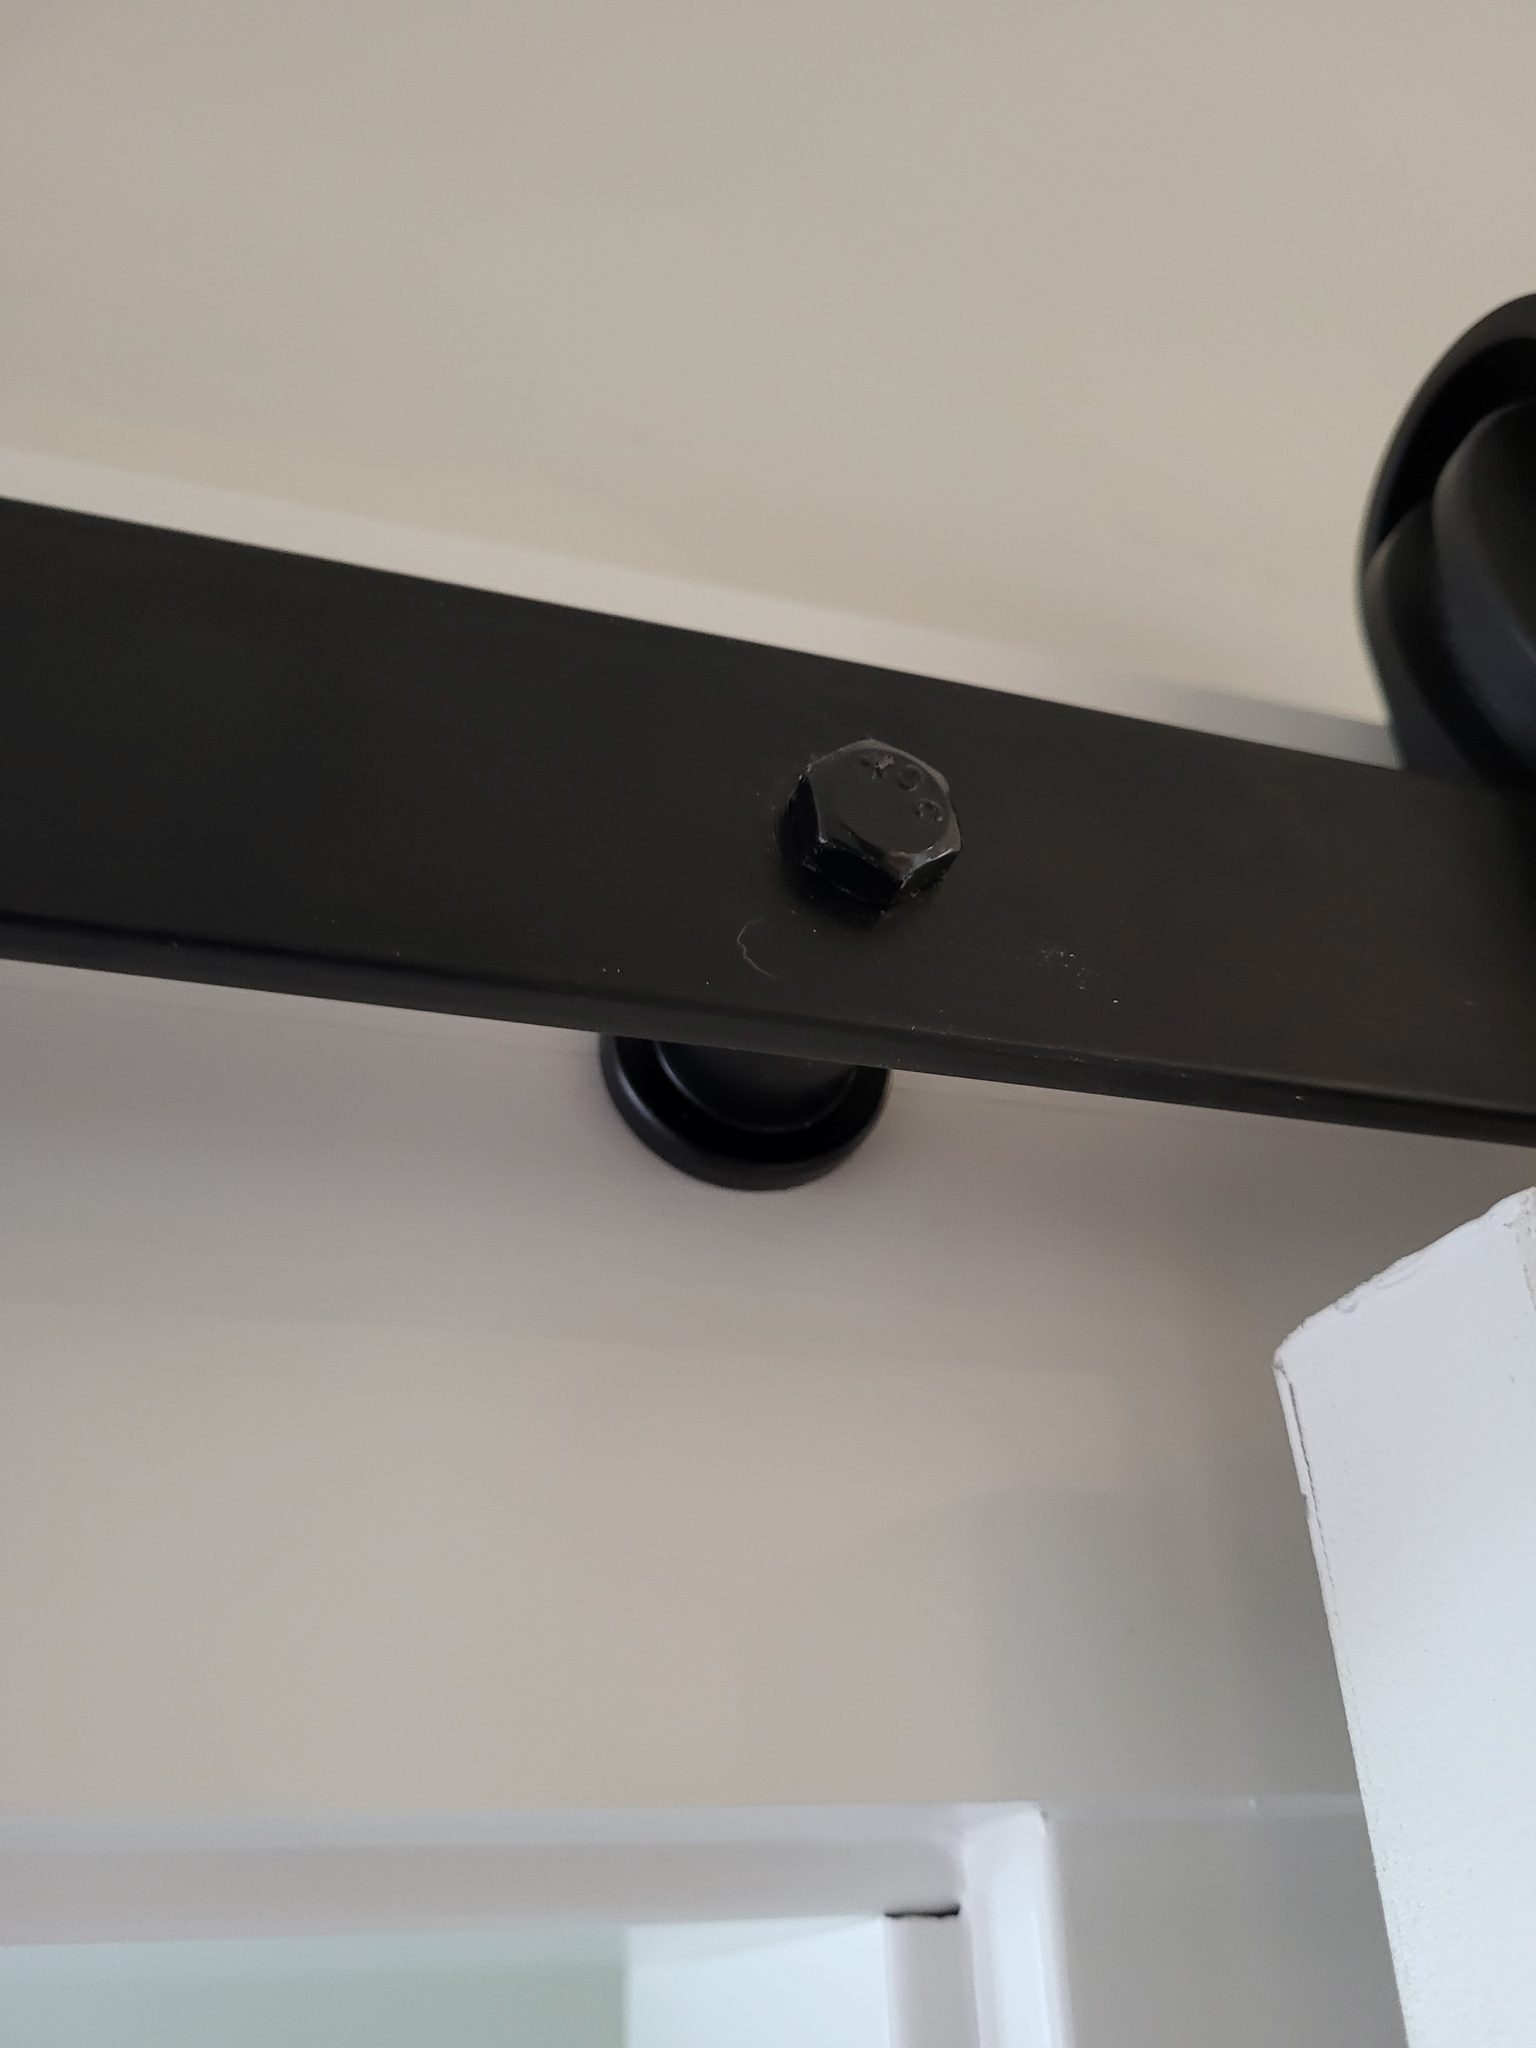
Mount the roller hardware (sometimes called hanger hardware) to the top edge of the door panel, following the manufacturer’s instructions. Most kits use a mix of lag bolts through the face of the door and a bracket mounted on top. This hardware stays visible and is part of the look, so position it carefully and make sure the mounting bolts are tight. The rollers must be parallel to each other and the same distance from the door edge, or the door will not roll smoothly.
Step 6: Hang the Door #
Lift the door (it is heavy, so use a helper) and hook the rollers onto the track. Most rollers have an open hook that simply drops over the track rail. Slide the door back and forth to test it - it should glide smoothly without binding or rubbing. Then install the anti-jump discs. These are small hardware pieces that keep the rollers from lifting off the track if the door gets bumped or during normal use.
Pro Tip: Install the door pull or handle before you hang the door, while it is still flat on sawhorses. It is much easier to drill and mount hardware on a flat surface than on a door that is already hanging.
Step 7: Install Floor Guide and Final Adjustments #
The last step is mounting the floor guide to the floor at the doorway. This keeps the bottom of the door from swinging away from the wall. Most guides are T-shaped, and the door straddles the guide as it slides. If the door hangs unevenly, adjust the roller heights (most roller hardware has a height-adjustment bolt for this). Test the door through its full travel in both directions, and check that the gap at the bottom stays consistent the whole way.
Quality Check #
- After you install barn door hardware, the door slides smoothly through full travel
- Door hangs plumb
- Door fully covers opening when closed
- Door clears opening fully when open
- Track perfectly level
- All lag bolts in solid framing
- Door stops prevent overtravel
- Anti-jump discs installed
- Floor guide keeps door from swinging
- Door pull/handle functional
- Bottom clearance consistent across travel
Install Barn Door Troubleshooting #
Door Drifts to One Side on Its Own #
The track is not perfectly level. Loosen the mounting bolts and adjust the track until it passes the marble test: a marble placed on the track should sit still, not roll in either direction. Re-tighten all the bolts after leveling, then test again.
Door Wobbles or Rattles #
The rollers may need adjustment. Check that both rollers sit at the same height and that the mounting bolts are tight. The anti-jump discs may also be too loose, which lets the rollers lift and drop slightly as the door moves. Tighten the anti-jump hardware so the rollers stay firmly seated on the track rail.
Door Is Hard to Slide #
The rollers may be dirty or damaged, the track may be out of alignment, or the door may be rubbing against the spacers or the wall. Clean the rollers and the track rail. Check that the spacers are holding the door far enough away from the wall. Then verify the track is straight and level along its full length.
Door Doesn’t Fully Cover the Opening #
The door panel is too narrow. A barn door should be 2-4″ wider than the opening on each side. If the door is already installed and it is too narrow, the only real fix is a wider door panel. No trim or adjustment can make up for a door that is significantly undersized.
Track Is Sagging in the Middle #
There are not enough mounting points into solid framing. The track needs support at regular intervals - every mounting hole should land in solid wood if possible. Add more lag bolts into studs, or install a mounting board that gives the track continuous solid backing across its full length.
Door Swings Away from Wall at Bottom #
The floor guide is missing or out of position. Install the floor guide at the doorway so the door straddles it as it slides. If the guide is already installed, reposition it so it touches the door correctly and stops the outward swing.
Related Guides #
Reference Photos #
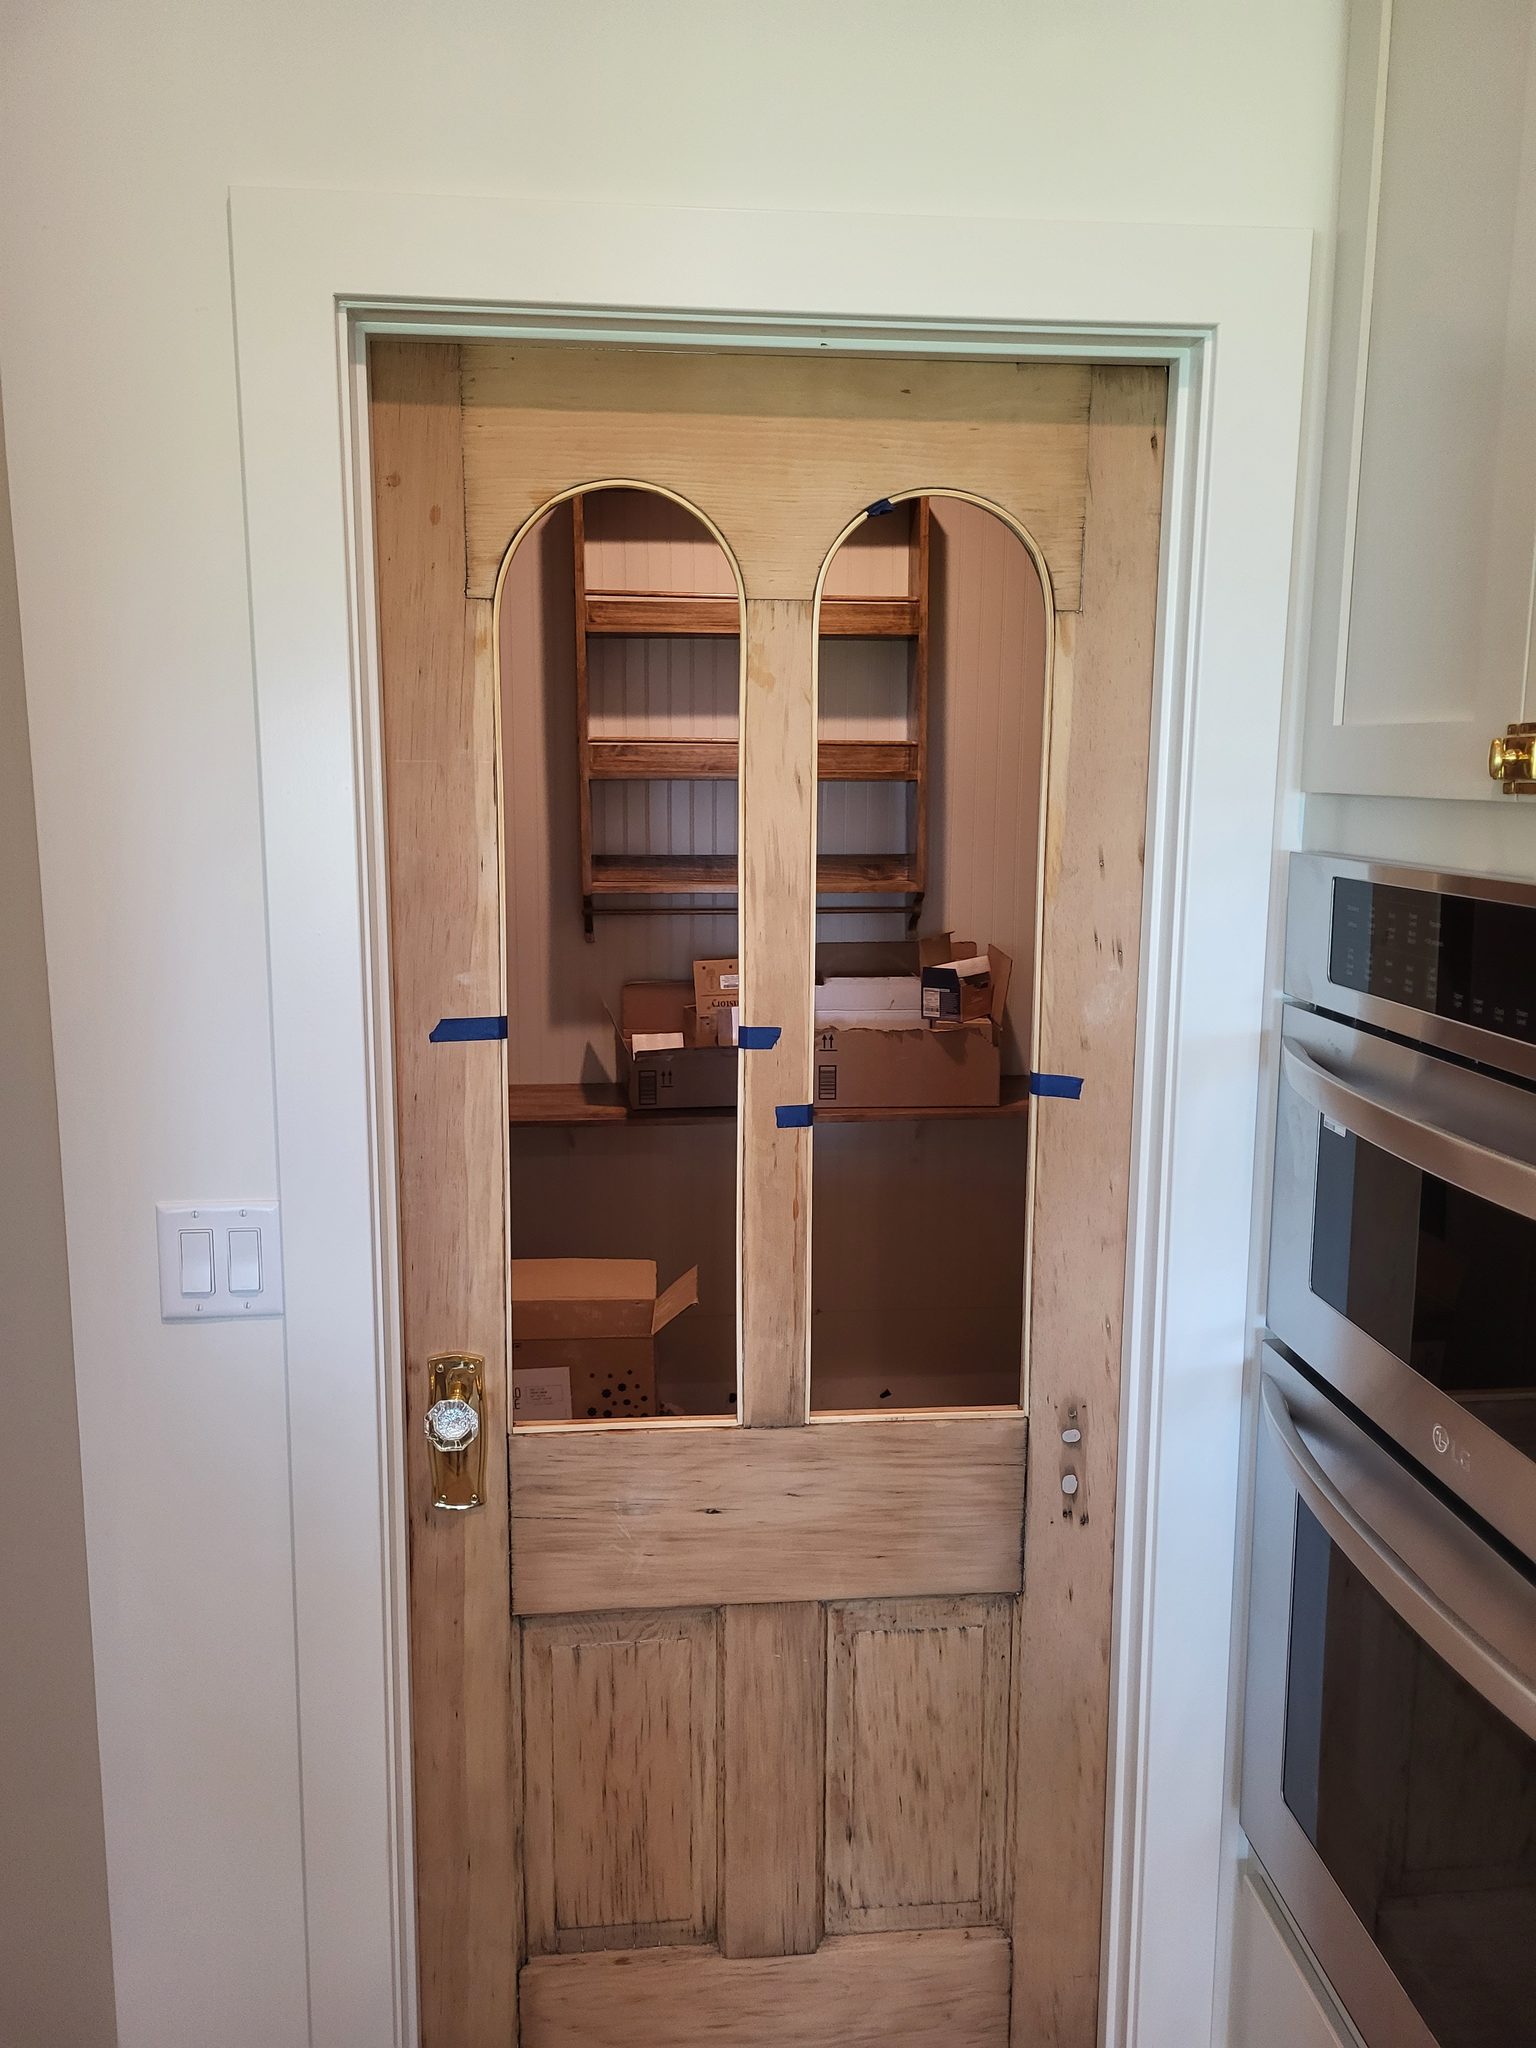
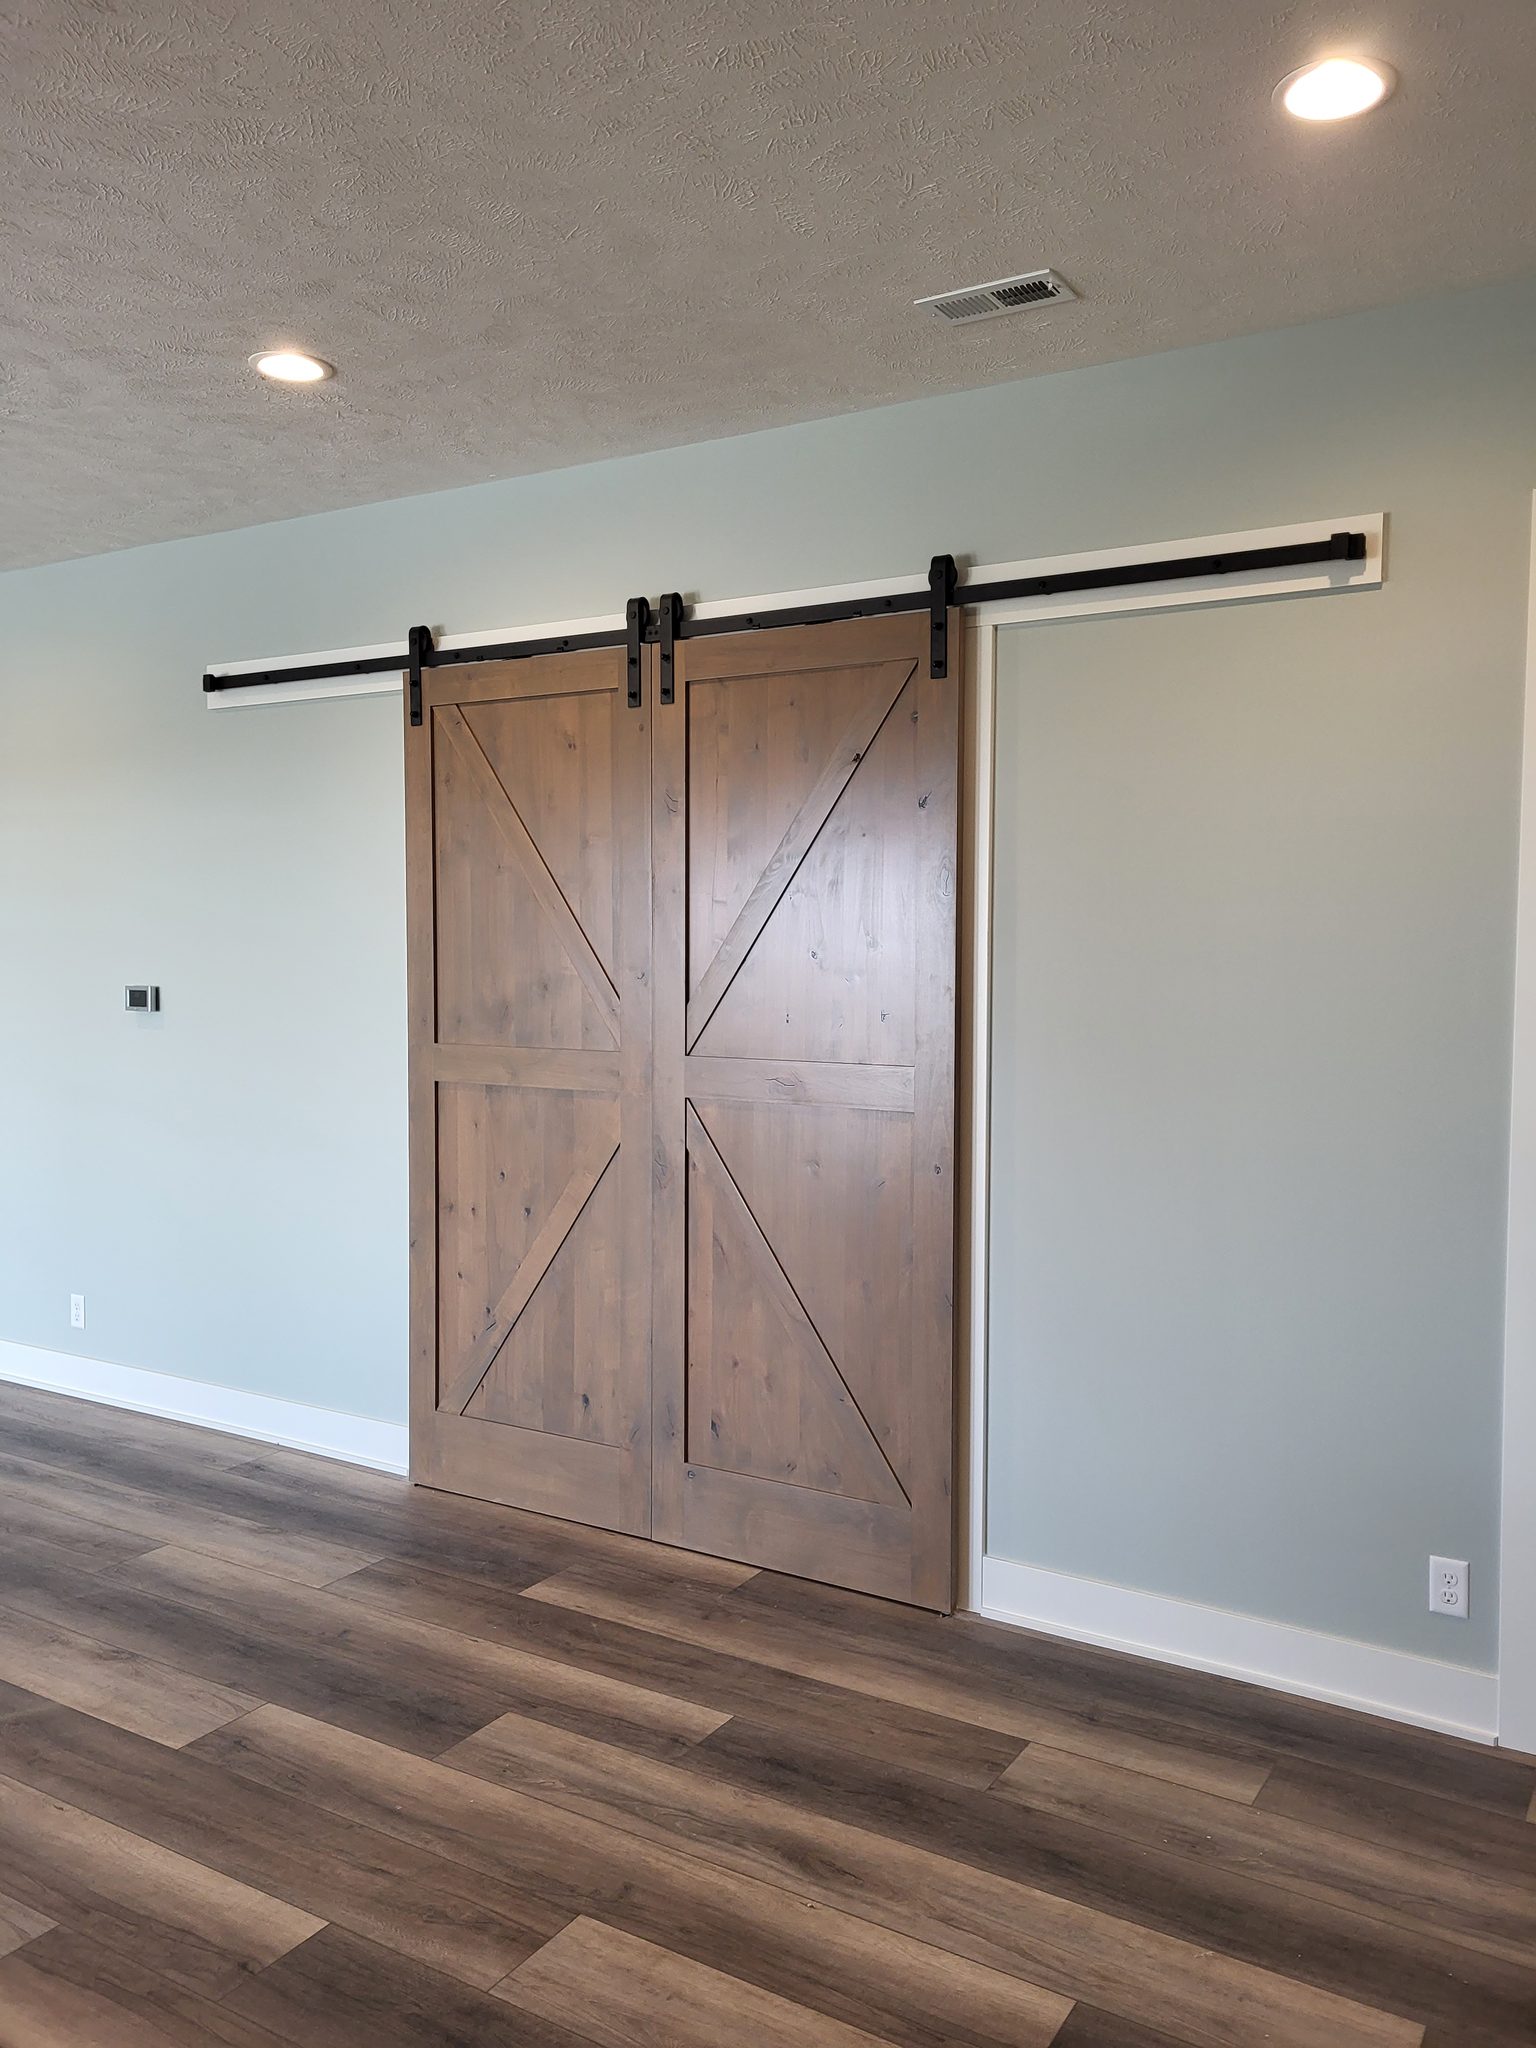
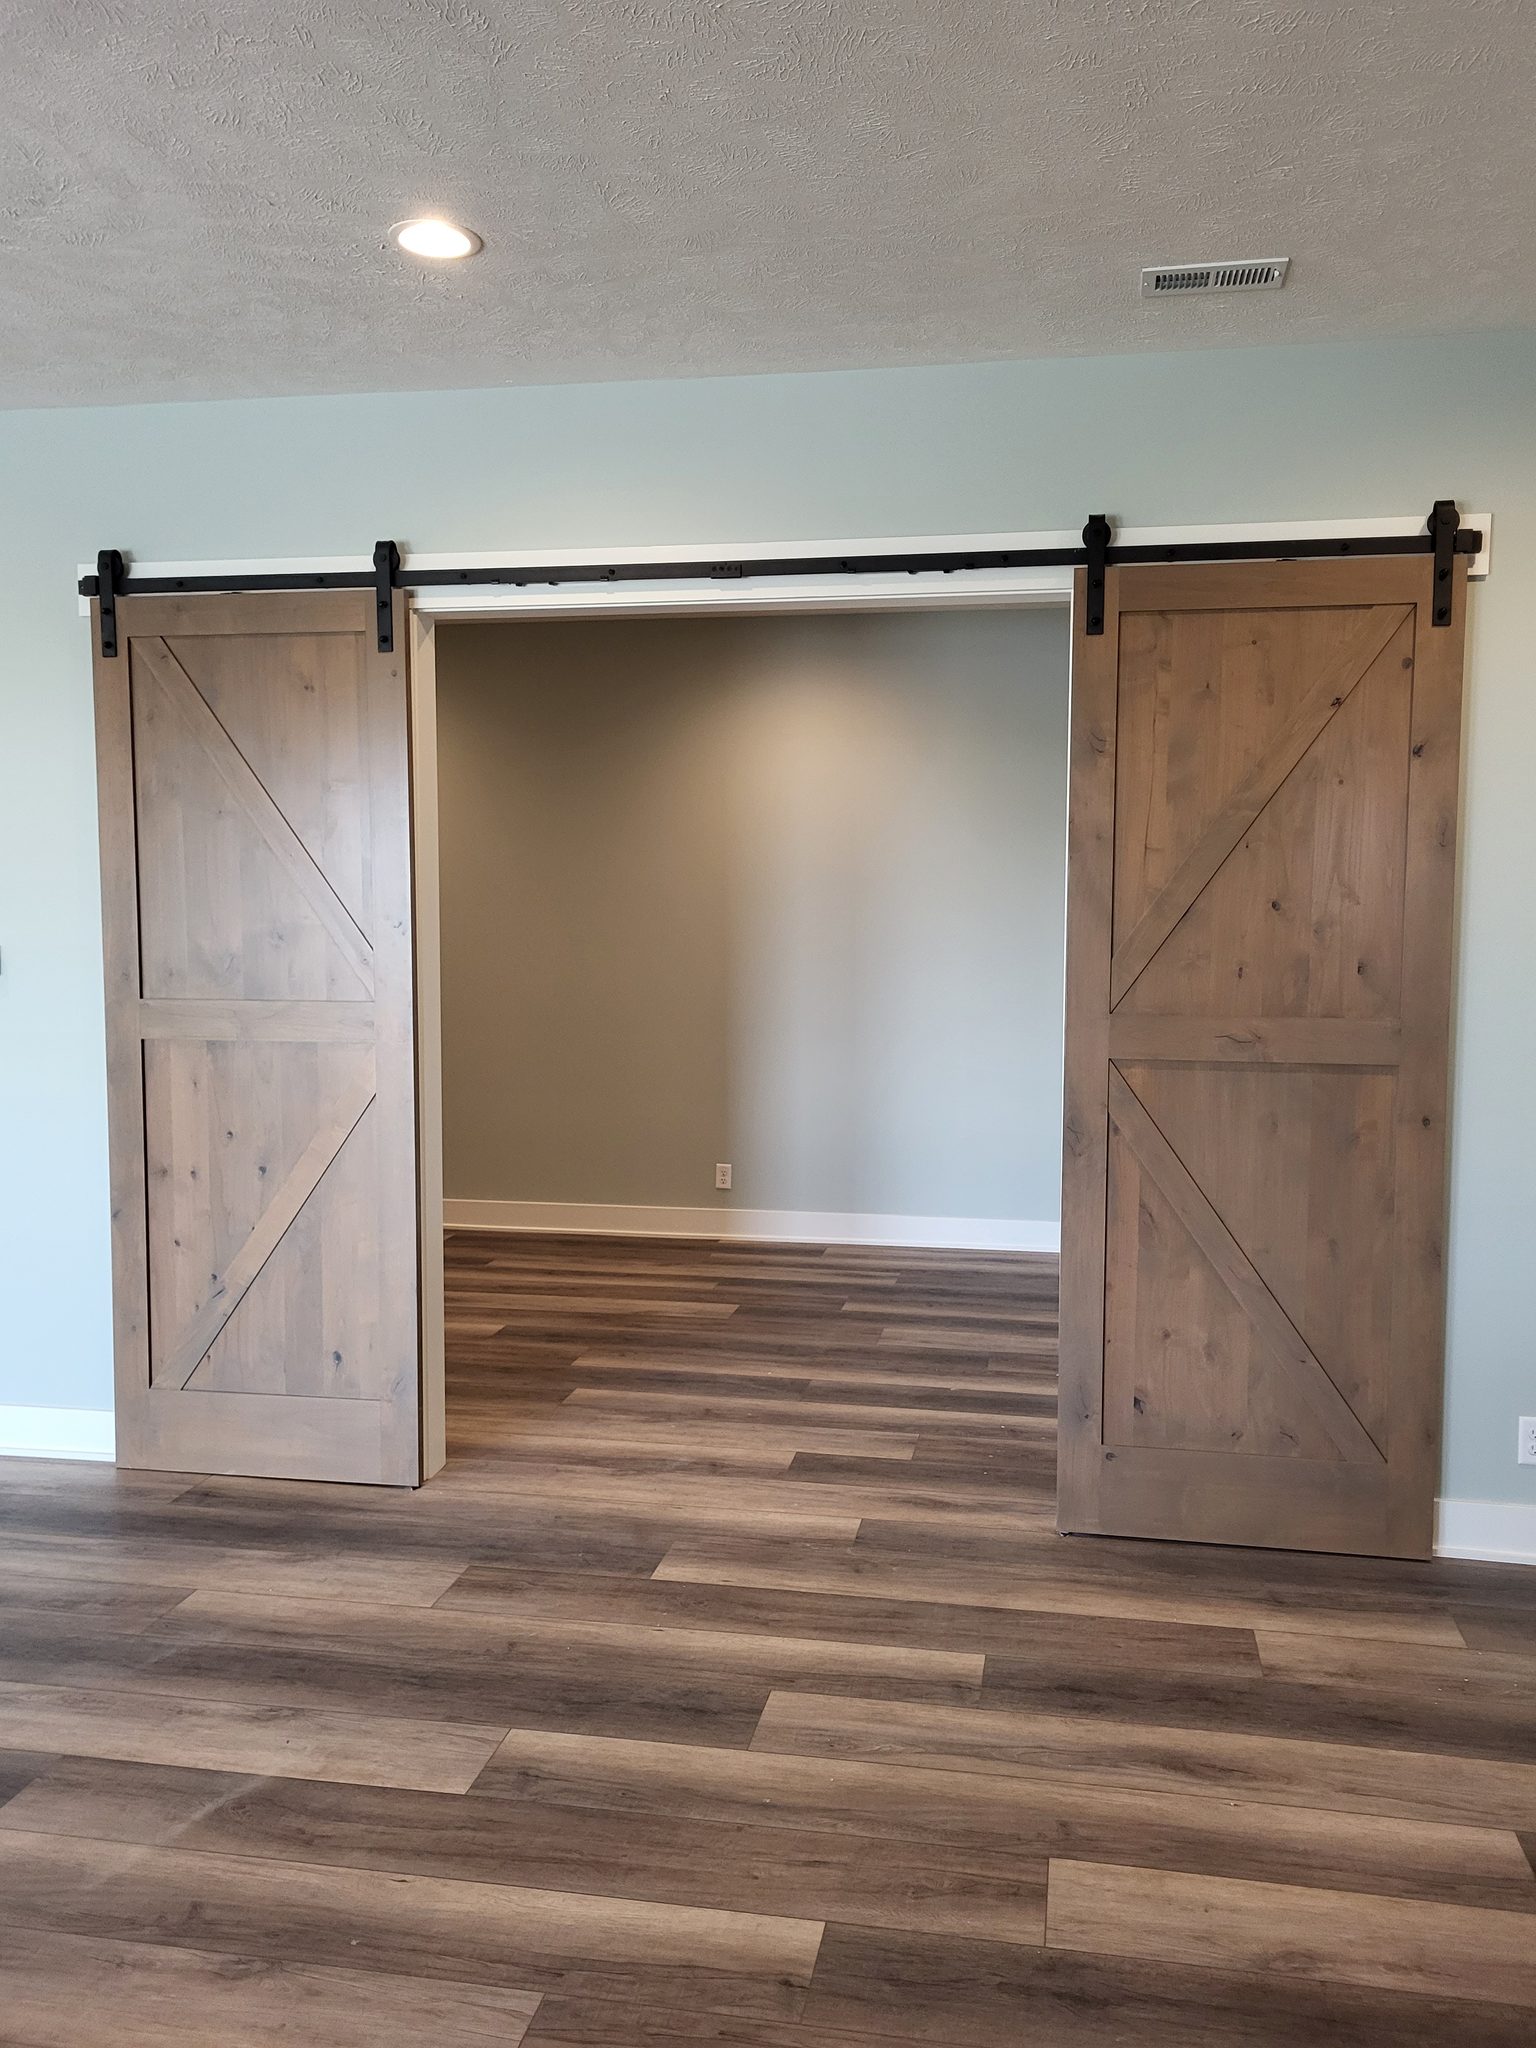
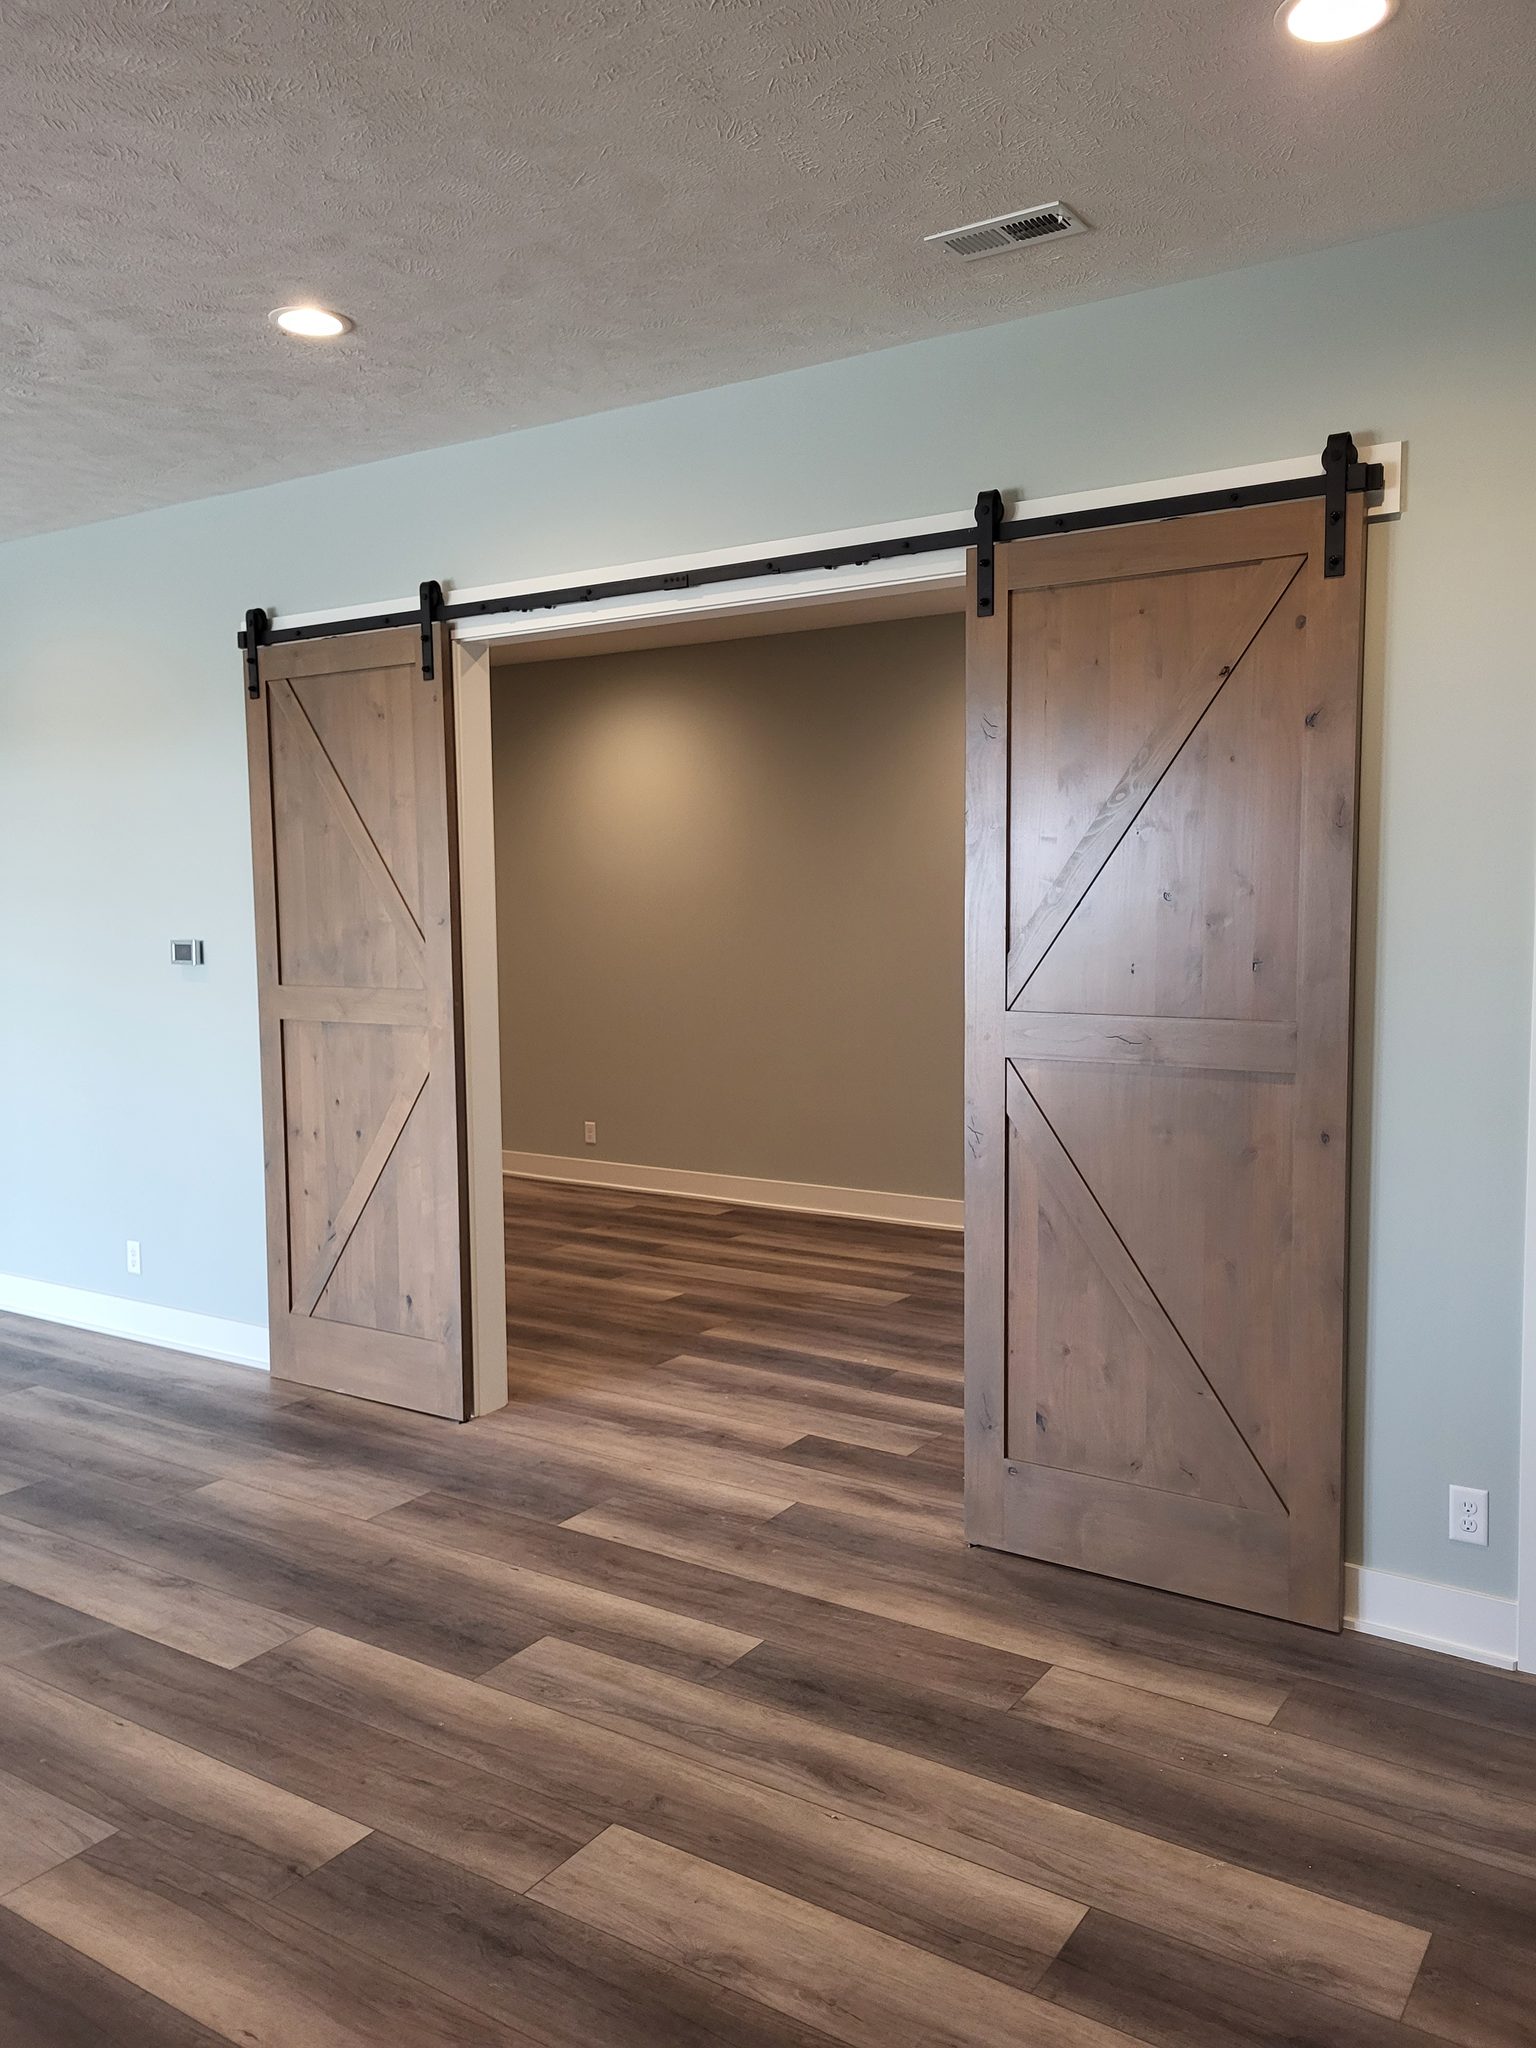
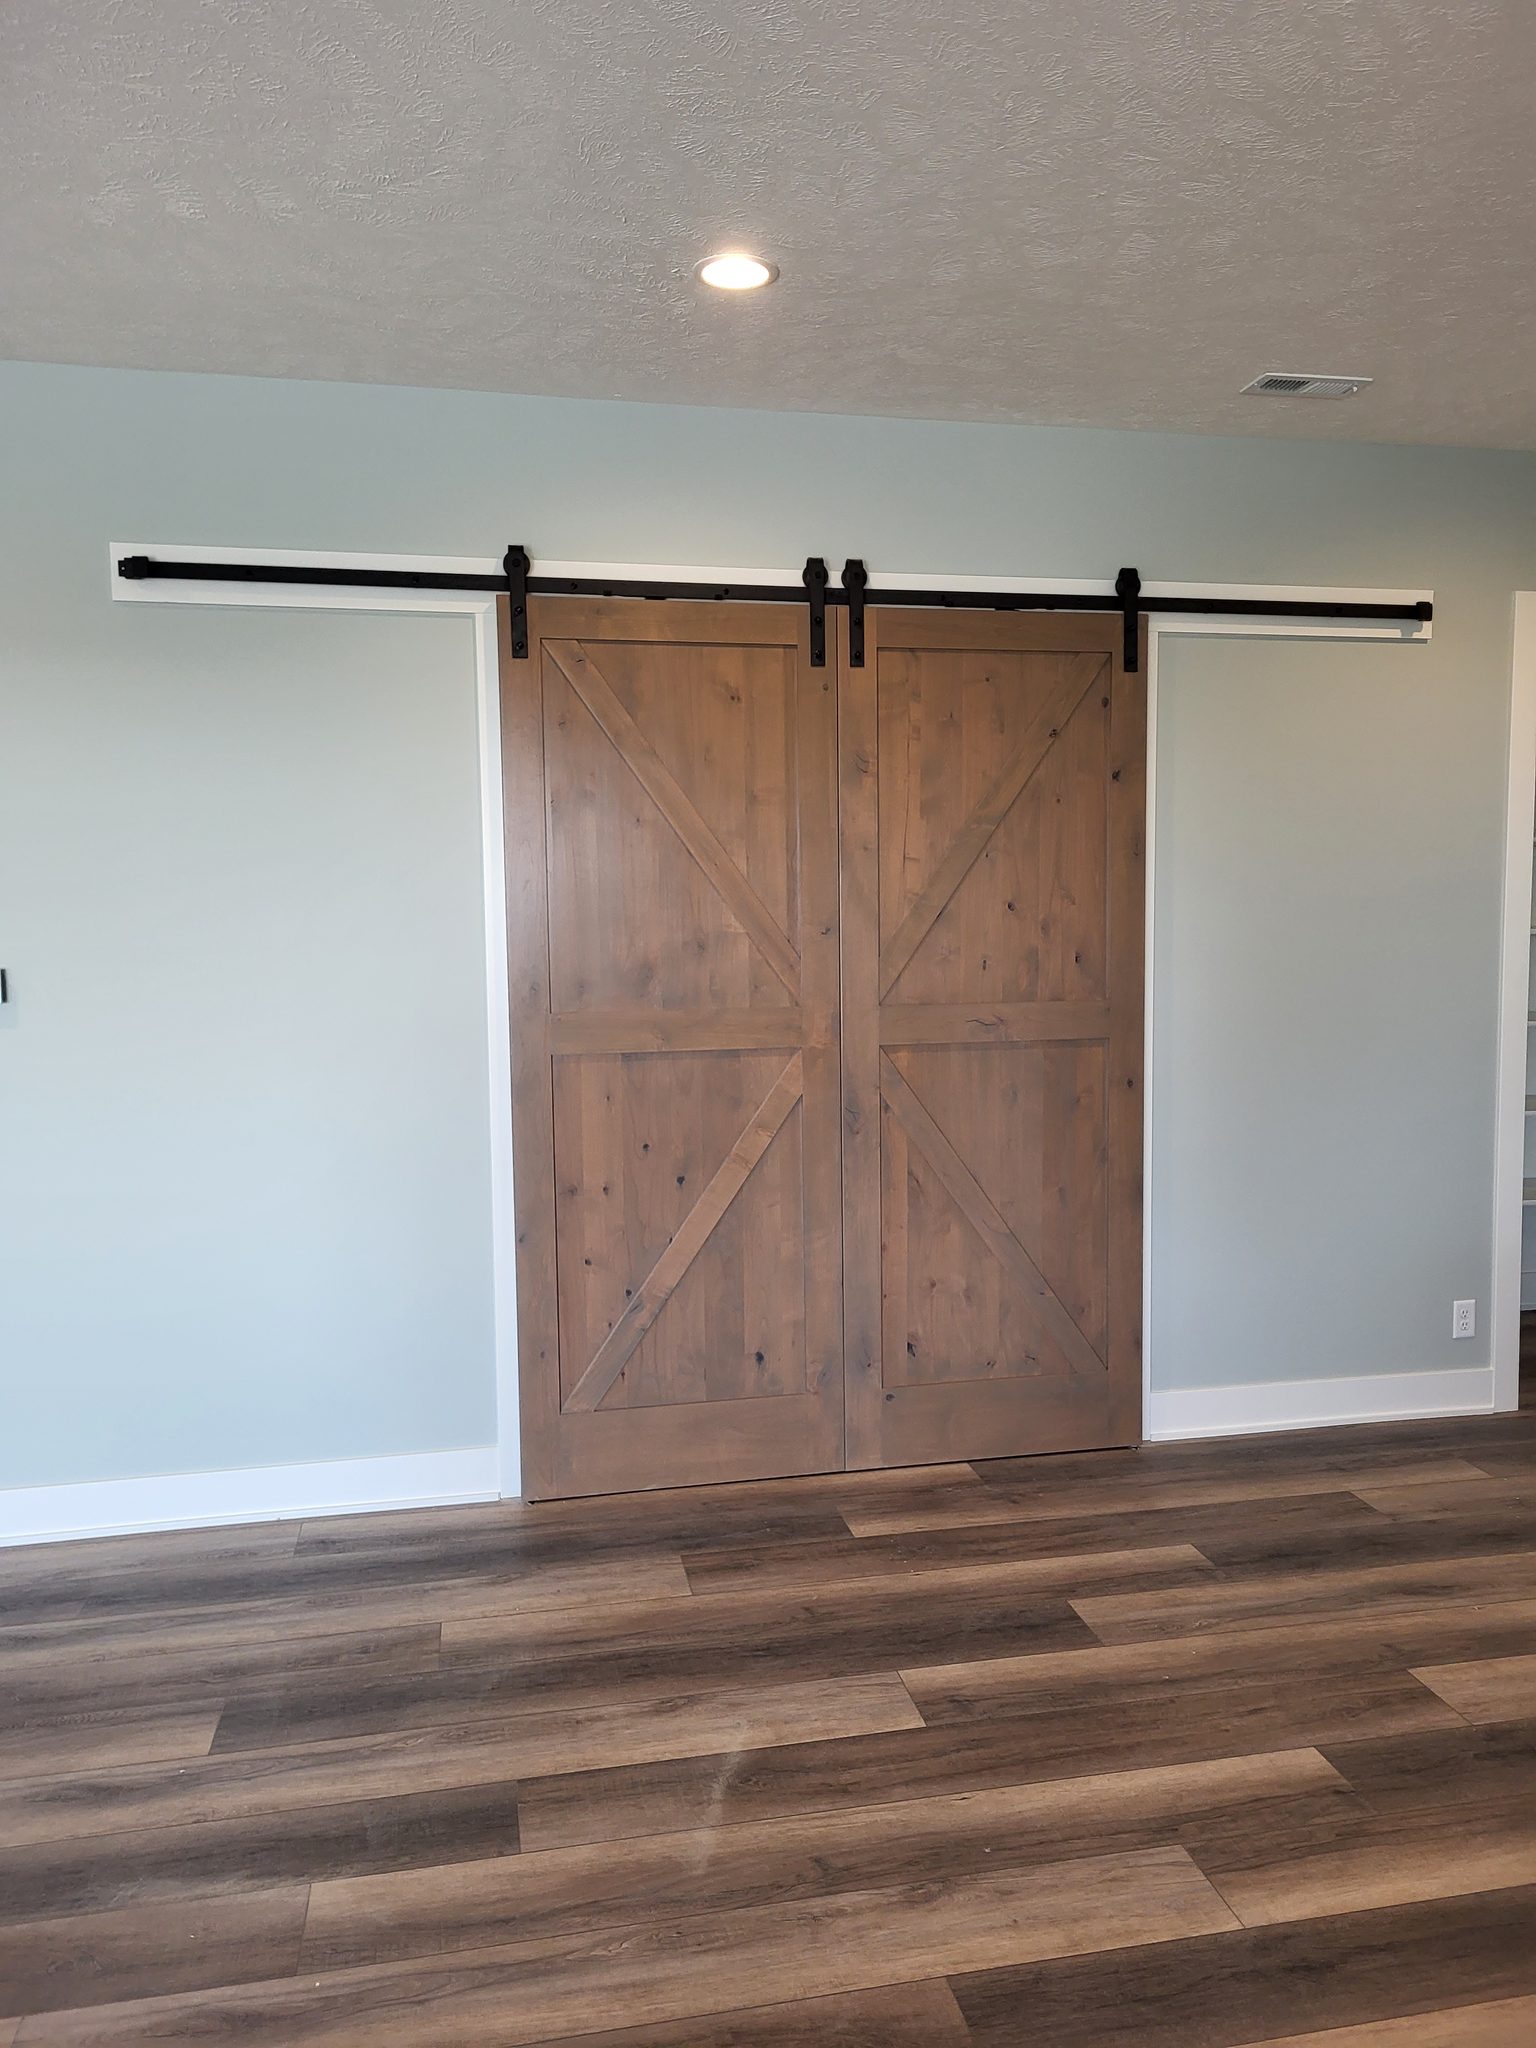
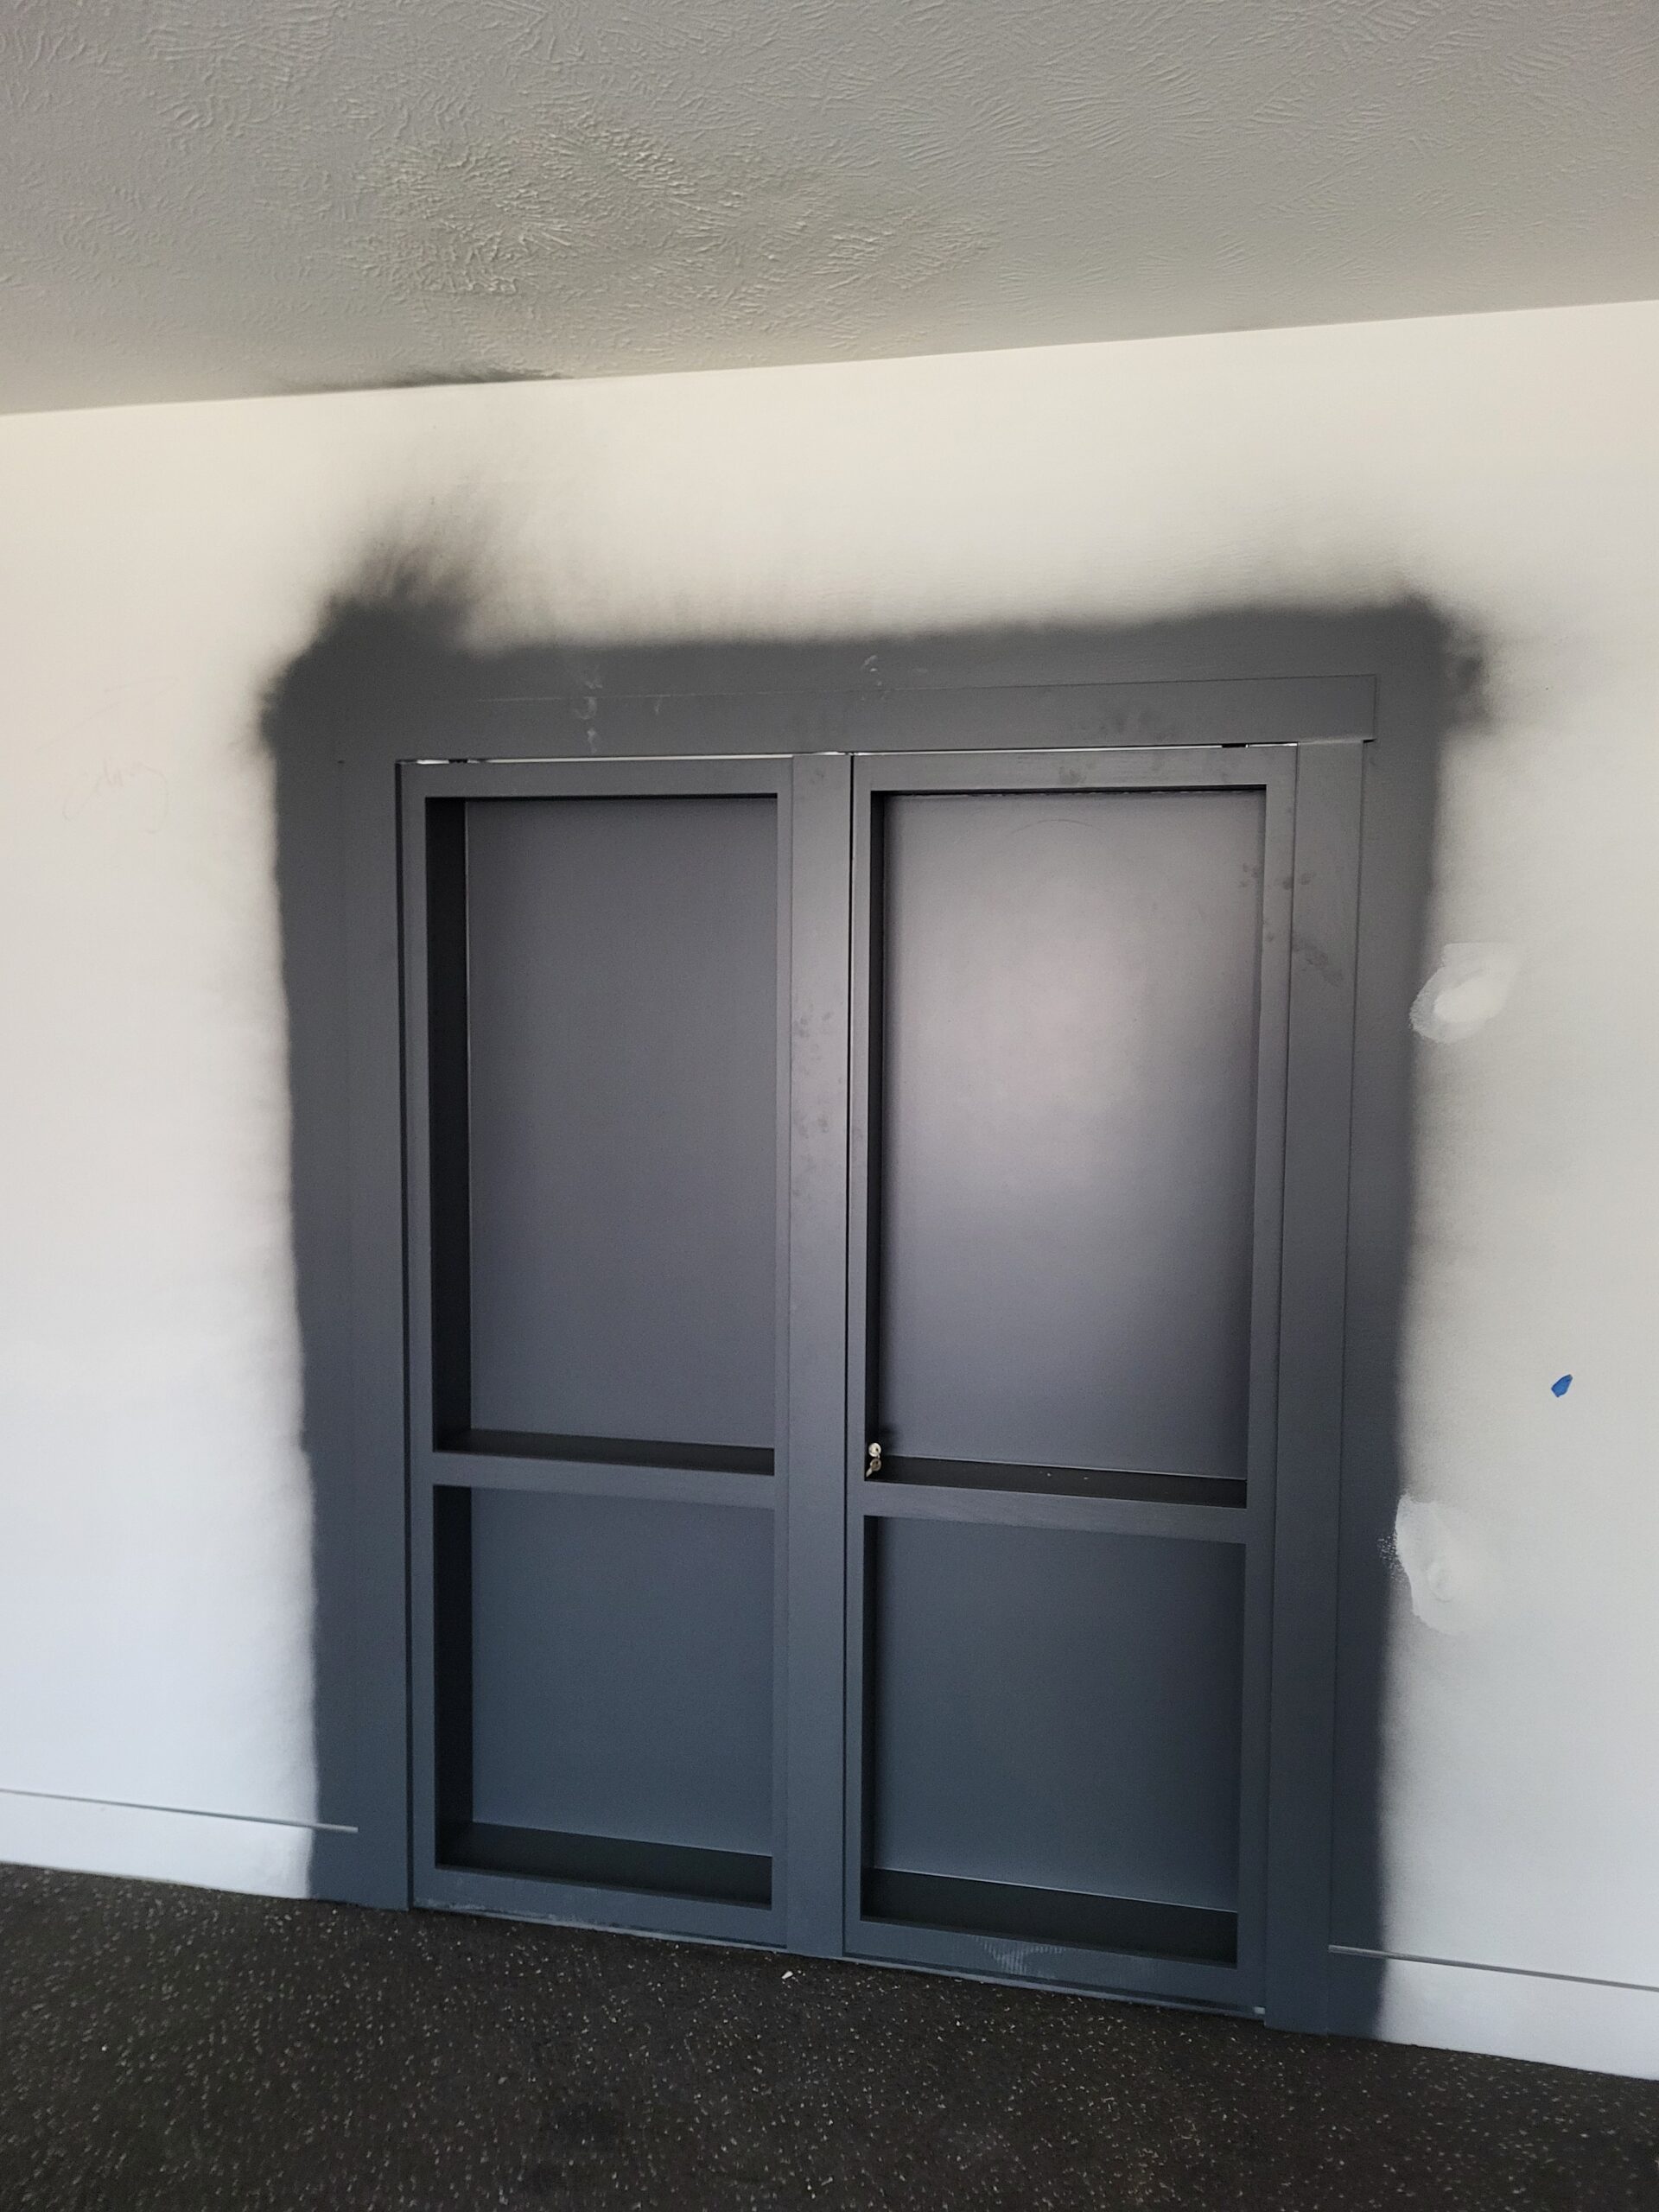
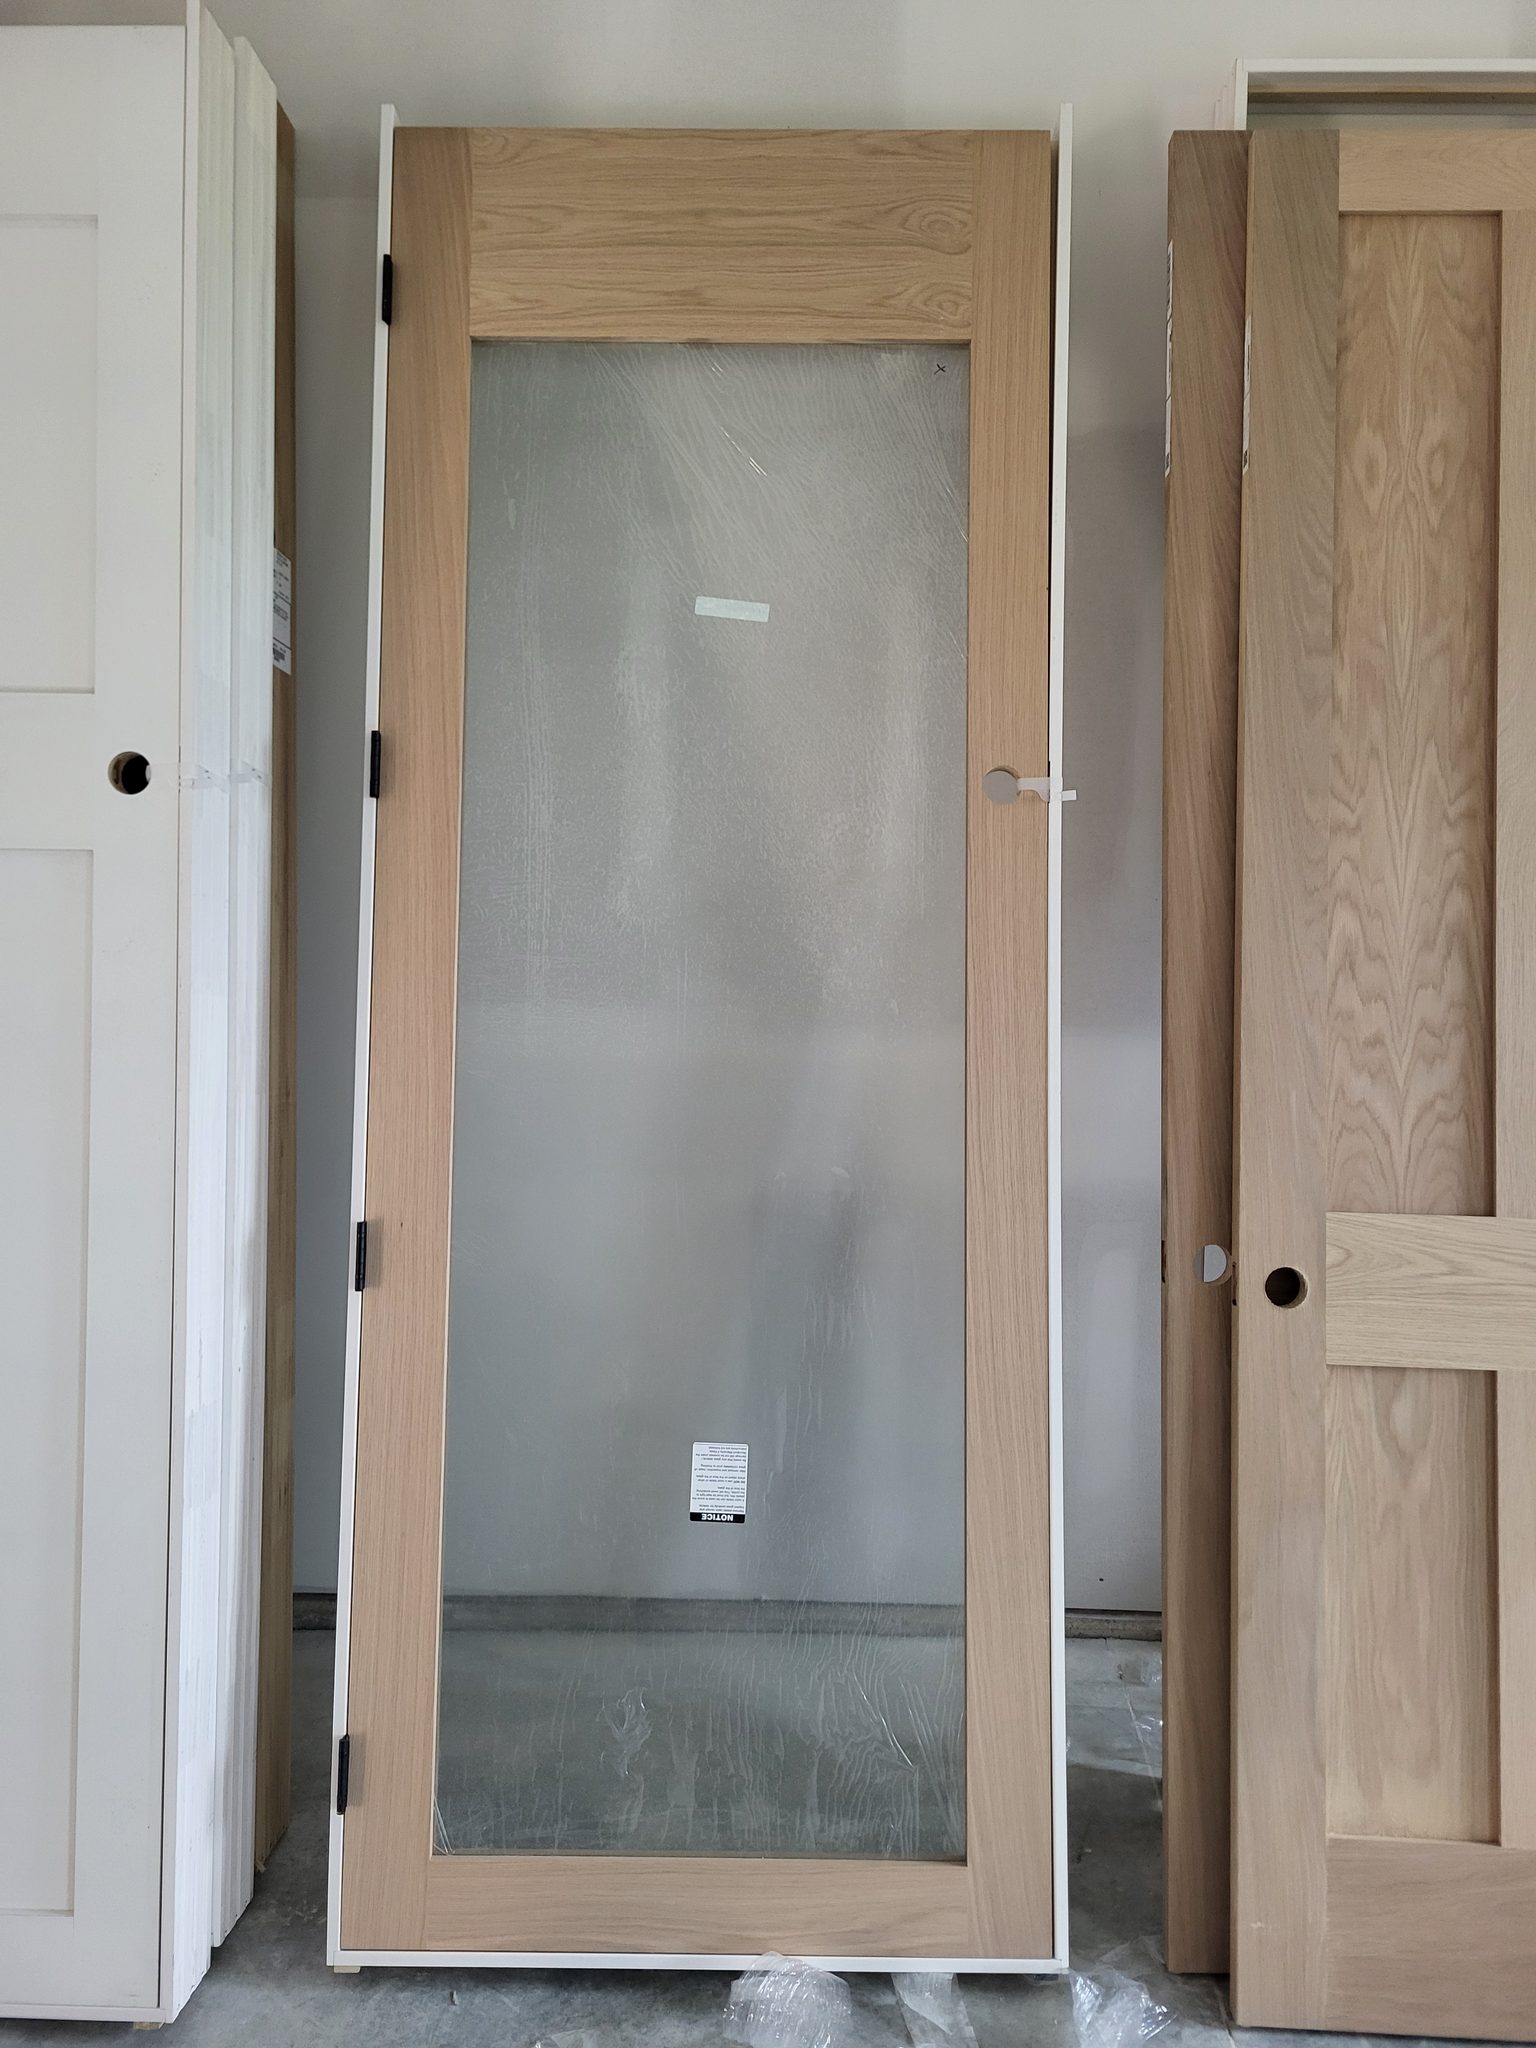
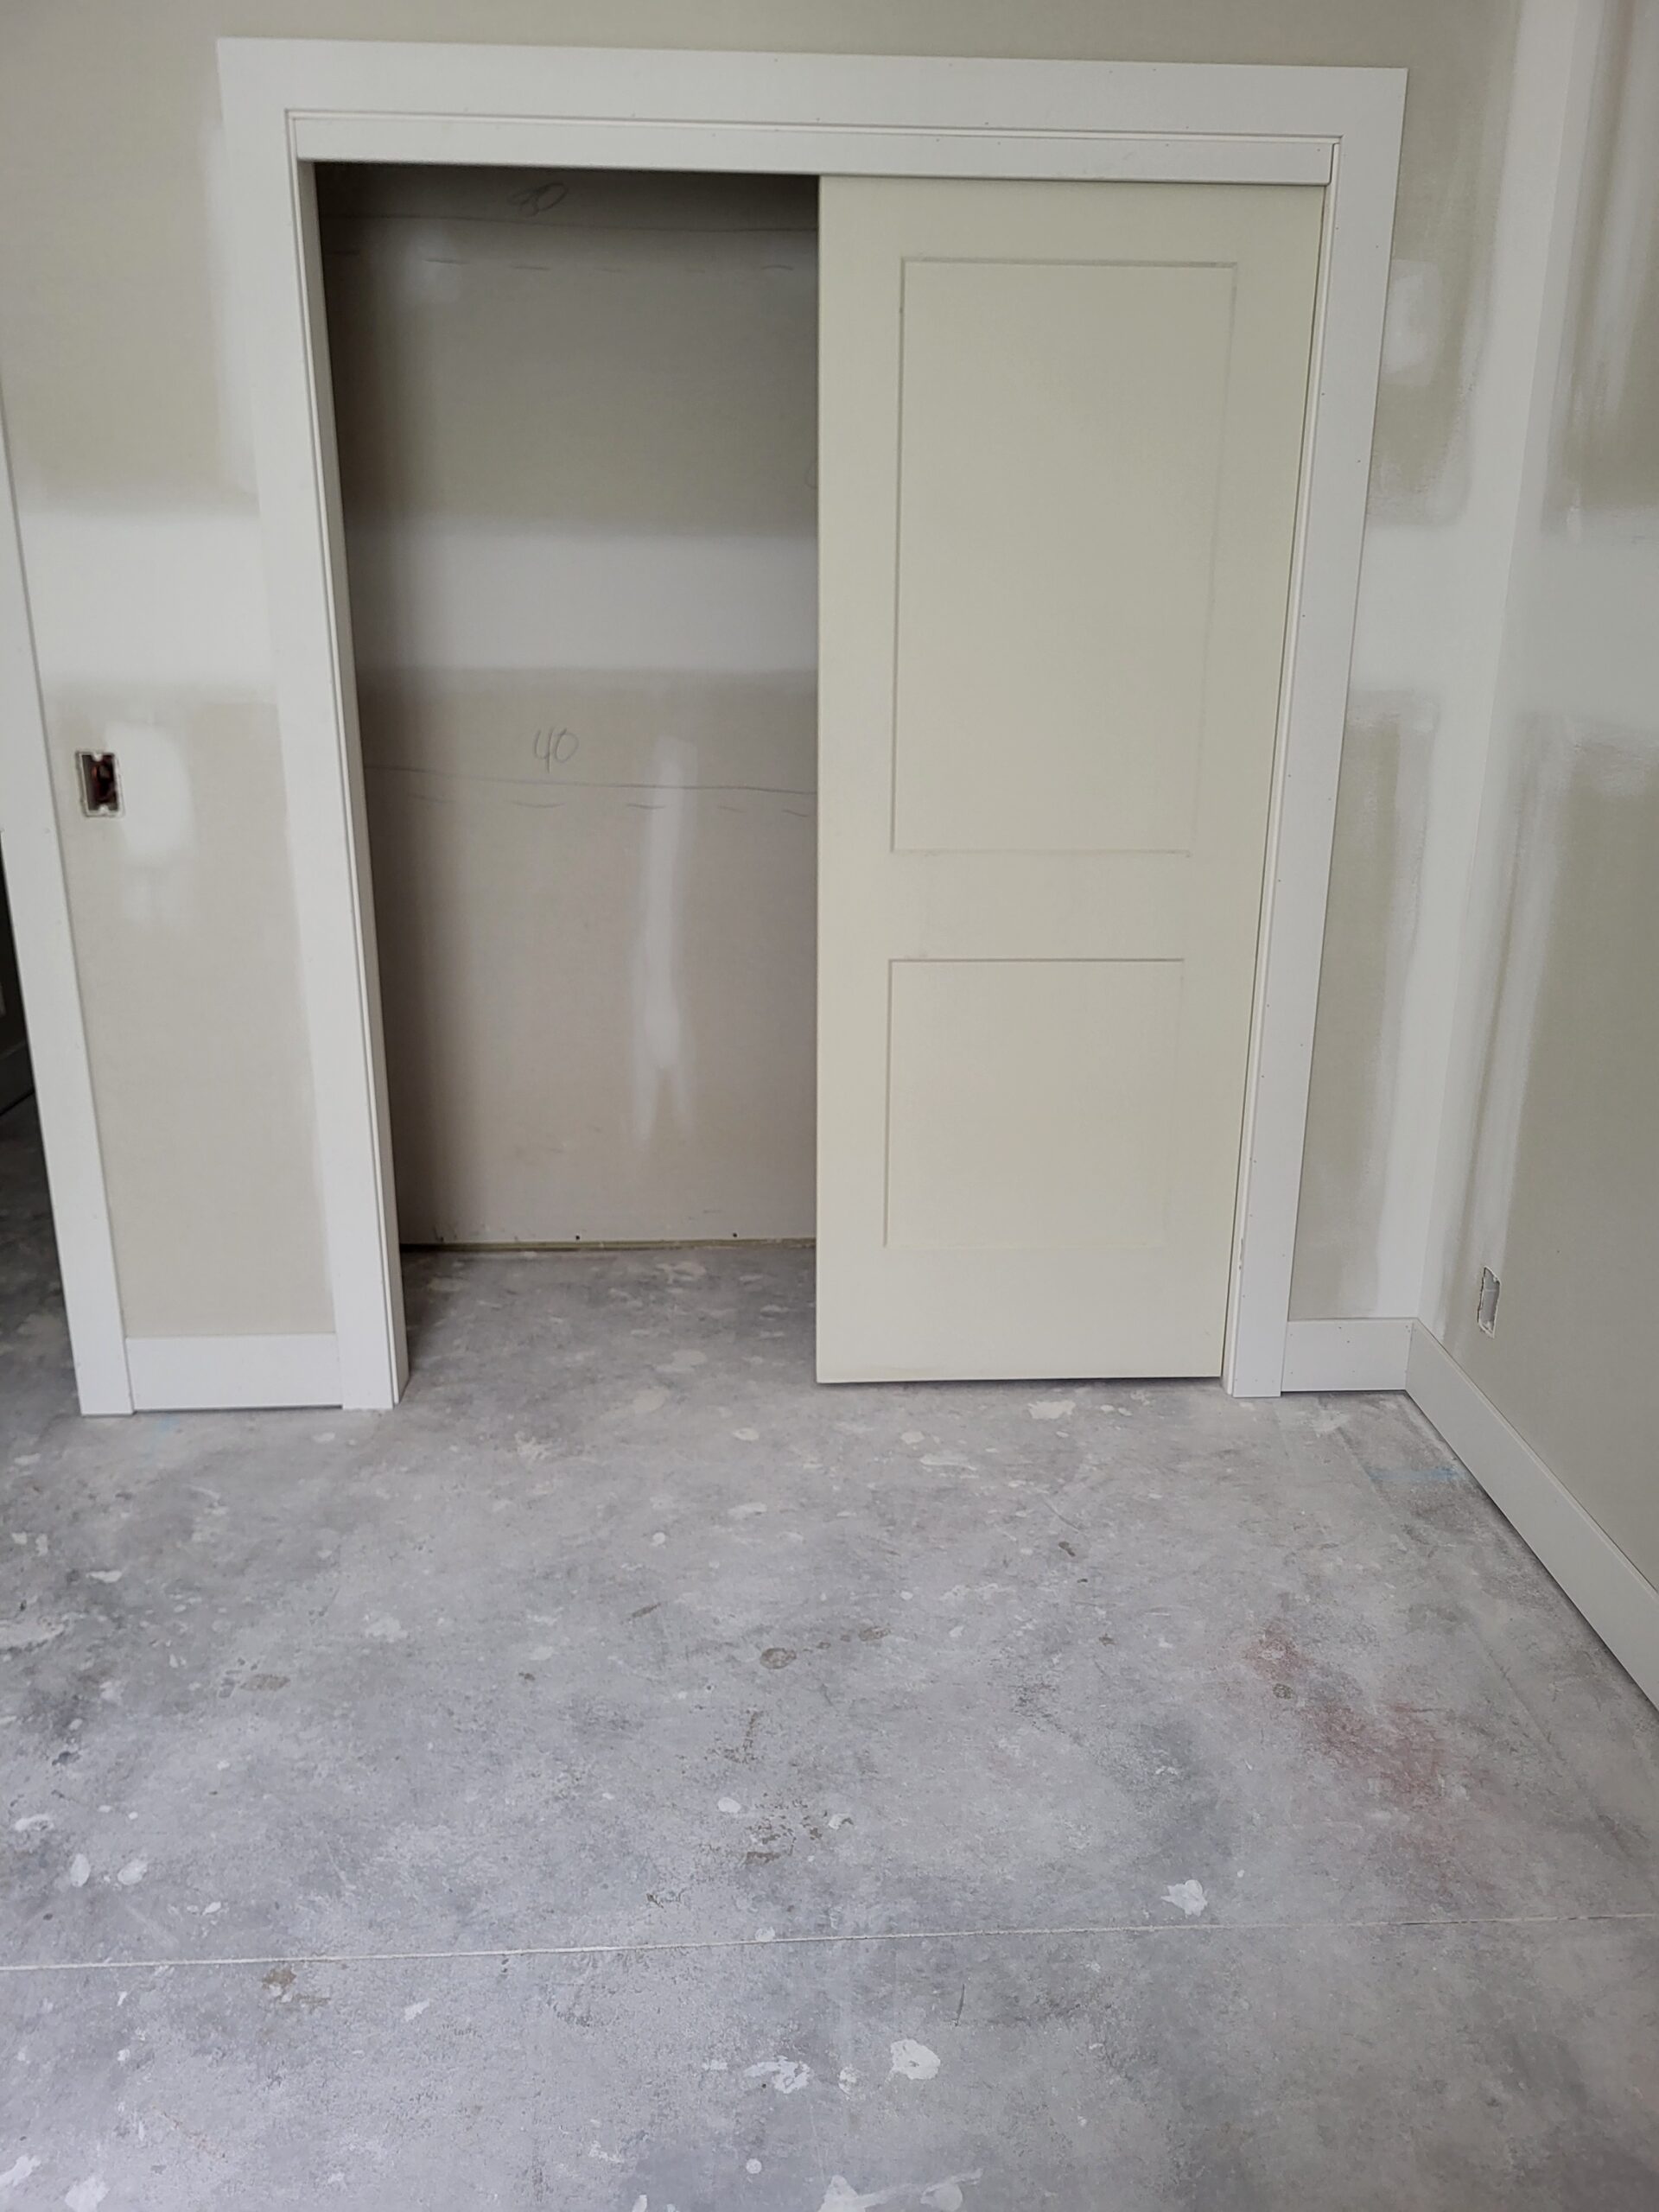
The following photos show examples of this type of work completed in the field. These serve as visual references for quality standards, proper installation techniques, and finished results.
Showing 19 of 19 photos