On this page
These finish carpentry cheat sheets are for carpenters working on new home construction. Each one is a free, printable page. It covers real dimensions, installation details, and step-by-step checklists we use every day on our own job sites. Download them, print them, and keep them in your truck or tool bag so they are ready when you need them on the job.
No fluff. Just the numbers and details you need, when you need them. Every cheat sheet uses the same standards and steps we follow at Sun's Up Construction, where we trim and shelve new homes full-time across the Omaha, NE area.
We built this library after years of answering the same measurement questions on the job site. When a question comes up often enough to deserve its own page, we add a new cheat sheet. Bookmark this list and check back. The crew adds more all the time.
Closet Shelving Cheat Sheets #
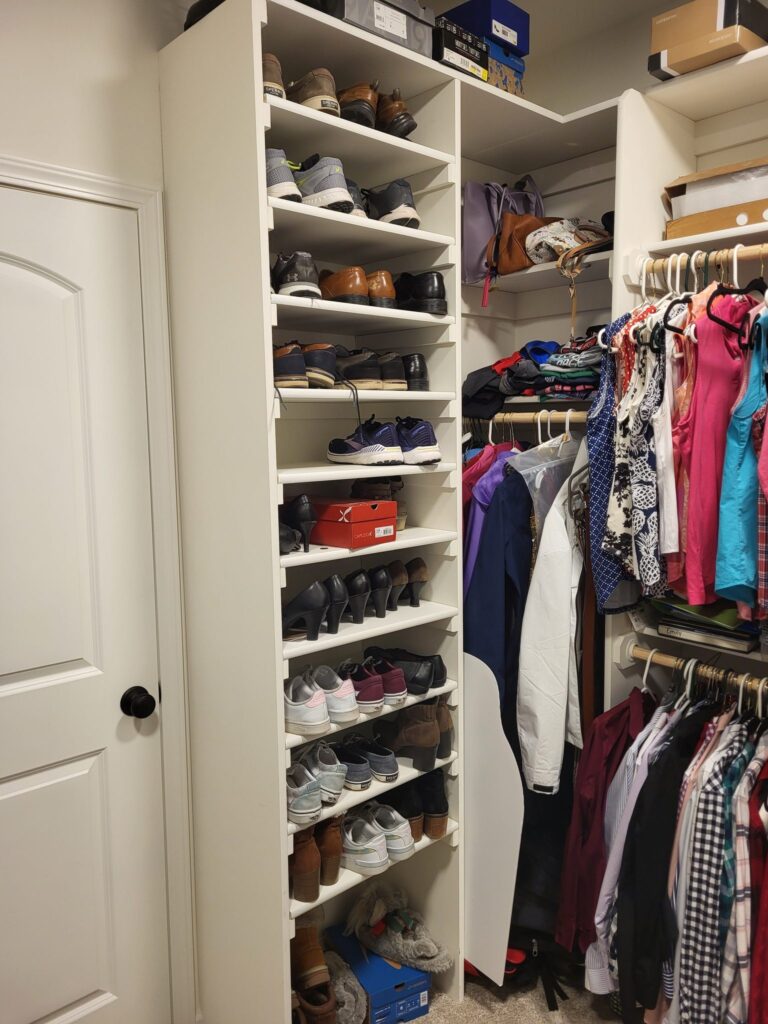
These are quick references for closet shelving layouts, dimensions, and installation details. They cover everything from standard bedroom closet heights to detail drawings for shelf cleats. Print these out and take them to the job site when you build closets in new homes.
- Standard Bedroom Closet Heights - Rod heights, shelf heights, and top shelf dimensions for standard bedroom closets. The most-used reference on closet jobs.
- Standard Split Reach-In Closet Layout - Double-hang rod heights (two closet rods stacked at different heights) and shelf placement for standard split reach-in bedroom closets.
- Split Reach-In Closet with Shelf Stack - Reach-in layout combining double-hang sections with a stack of shelves for folded clothes.
- Reach-In Linen Closet Heights - Shelf heights for a linen closet behind a 6'8" door. The lower door head drops the top shelf to 72", and the shelves step up every 13" instead of the usual 15".
- Pantry Shelf Heights - Pantry cleat heights (the height the wall cleats are set at) built around one shelf at countertop height, 36". Leave 18" of clearance above it for counter appliances, then 15" per shelf.
- Tapered Pantry Divider Layout - Dimensions and installation details for tapered pantry dividers in new home closets and pantries.
- Counting Closets - Job Planning Reference - How to count and sort closets from floor plans before you start shelving. This helps you estimate material and labor on new houses.
- Cleat on Middle Bulkhead - Detail Drawing - How to attach a shelf cleat at a middle bulkhead (a vertical divider) in a closet shelving system.
- Cleat on End Bulkhead - Detail Drawing - How to attach a shelf cleat at an end bulkhead, where a closet section meets the wall.
Trim Carpentry References #
These are standard dimensions and detail drawings for interior trim work: baseboard transitions, shoe molding details, and other trim standards every finish carpenter should have on hand. They follow the same conventions used by most production builders, and they match the standards published by the National Association of Home Builders (NAHB).
- Basic Trim Standards - Quick Reference - Standard reveal dimensions (the reveal is the strip of jamb left showing between the jamb and the casing), casing sizes, and baseboard specs for interior trim in new homes.
- Baseboard on Nosing - Detail Drawing - How baseboard ends at a stair nosing (the rounded front edge of a stair tread). Covers cut angles, transition details, and the order to install it.
- Shoe Molding on Skirt Board - Detail Drawing - Where to place shoe molding and how to angle-cut it where it meets a stair skirt board (the trim board that runs along the side of a staircase).
- Garage Landing Standard Dimensions - Step heights, tread depths (how deep each stair step is), and landing platform sizes for garage entries in new homes.
Job Site Checklists #
These are step-by-step checklists for running finish carpentry jobs from setup to cleanup. Print them and check off each item as you go. That catches small problems before they turn into callbacks (a customer calling you back to fix something you missed). Use them whether you are running your first house or training a new crew member. They keep the job organized.
- Setting Up the Job - Checklist - Material delivery, staging (getting materials organized and ready at the site), tool setup, workspace prep, and first measurements before you start trim work.
- Finishing the Job and Cleaning Up - Checklist - Final inspection, cleaning up, and checking the punch list before you leave the job site.
- Interior Door Installation - Checklist - Step-by-step checks for hanging interior doors: shimming (wedging thin pieces of wood behind the jamb to hold it straight), plumbing (checking that the jamb stands perfectly vertical), hinge placement, strike plate (the metal plate the door latch catches on), and hardware.
How to Use These Finish Carpentry Cheat Sheets #
Use these on the job, not just on a screen. Here is how to get the most out of them:
- Download and print. Click any link above to open the PDF, then print it. These are made to be easy to read on standard 8.5 x 11 paper.
- Keep them in your truck. Keep printed copies in a binder or on a clipboard in your work vehicle. That way they are always on hand at the job site.
- Use them as training aids. Give these to new crew members as quick references while they learn standard dimensions and steps. This saves time explaining things and cuts down on mistakes.
- Bookmark this page. We add new cheat sheets every time we publish a new guide. Check back often for updates.
Why We Made These Cheat Sheets #
When we started training new carpenters, we noticed the same questions came up on every job. What height does the double-hang rod go? How do you end baseboard at a stair nosing? What is the standard garage landing dimension? Instead of answering these questions again and again, we wrote the answers down as one-page printable references.
These cheat sheets started as internal documents for our own crews. They saved us so much time on the job site that we decided to share them here, so other carpenters and apprentices can use them too. Every dimension and detail comes from real production work in the Omaha, NE new construction market.
If you are new to the trade, start with the cheat sheets that match what you are building that week. Do not try to memorize all of them at once. Most carpenters on our crews keep two or three cheat sheets in rotation at a time, the ones for whatever phase of the job they are on, and swap them out as the work changes. Treat these cheat sheets like a tool you use again and again, not something you read once and put away.


